Baby Shower

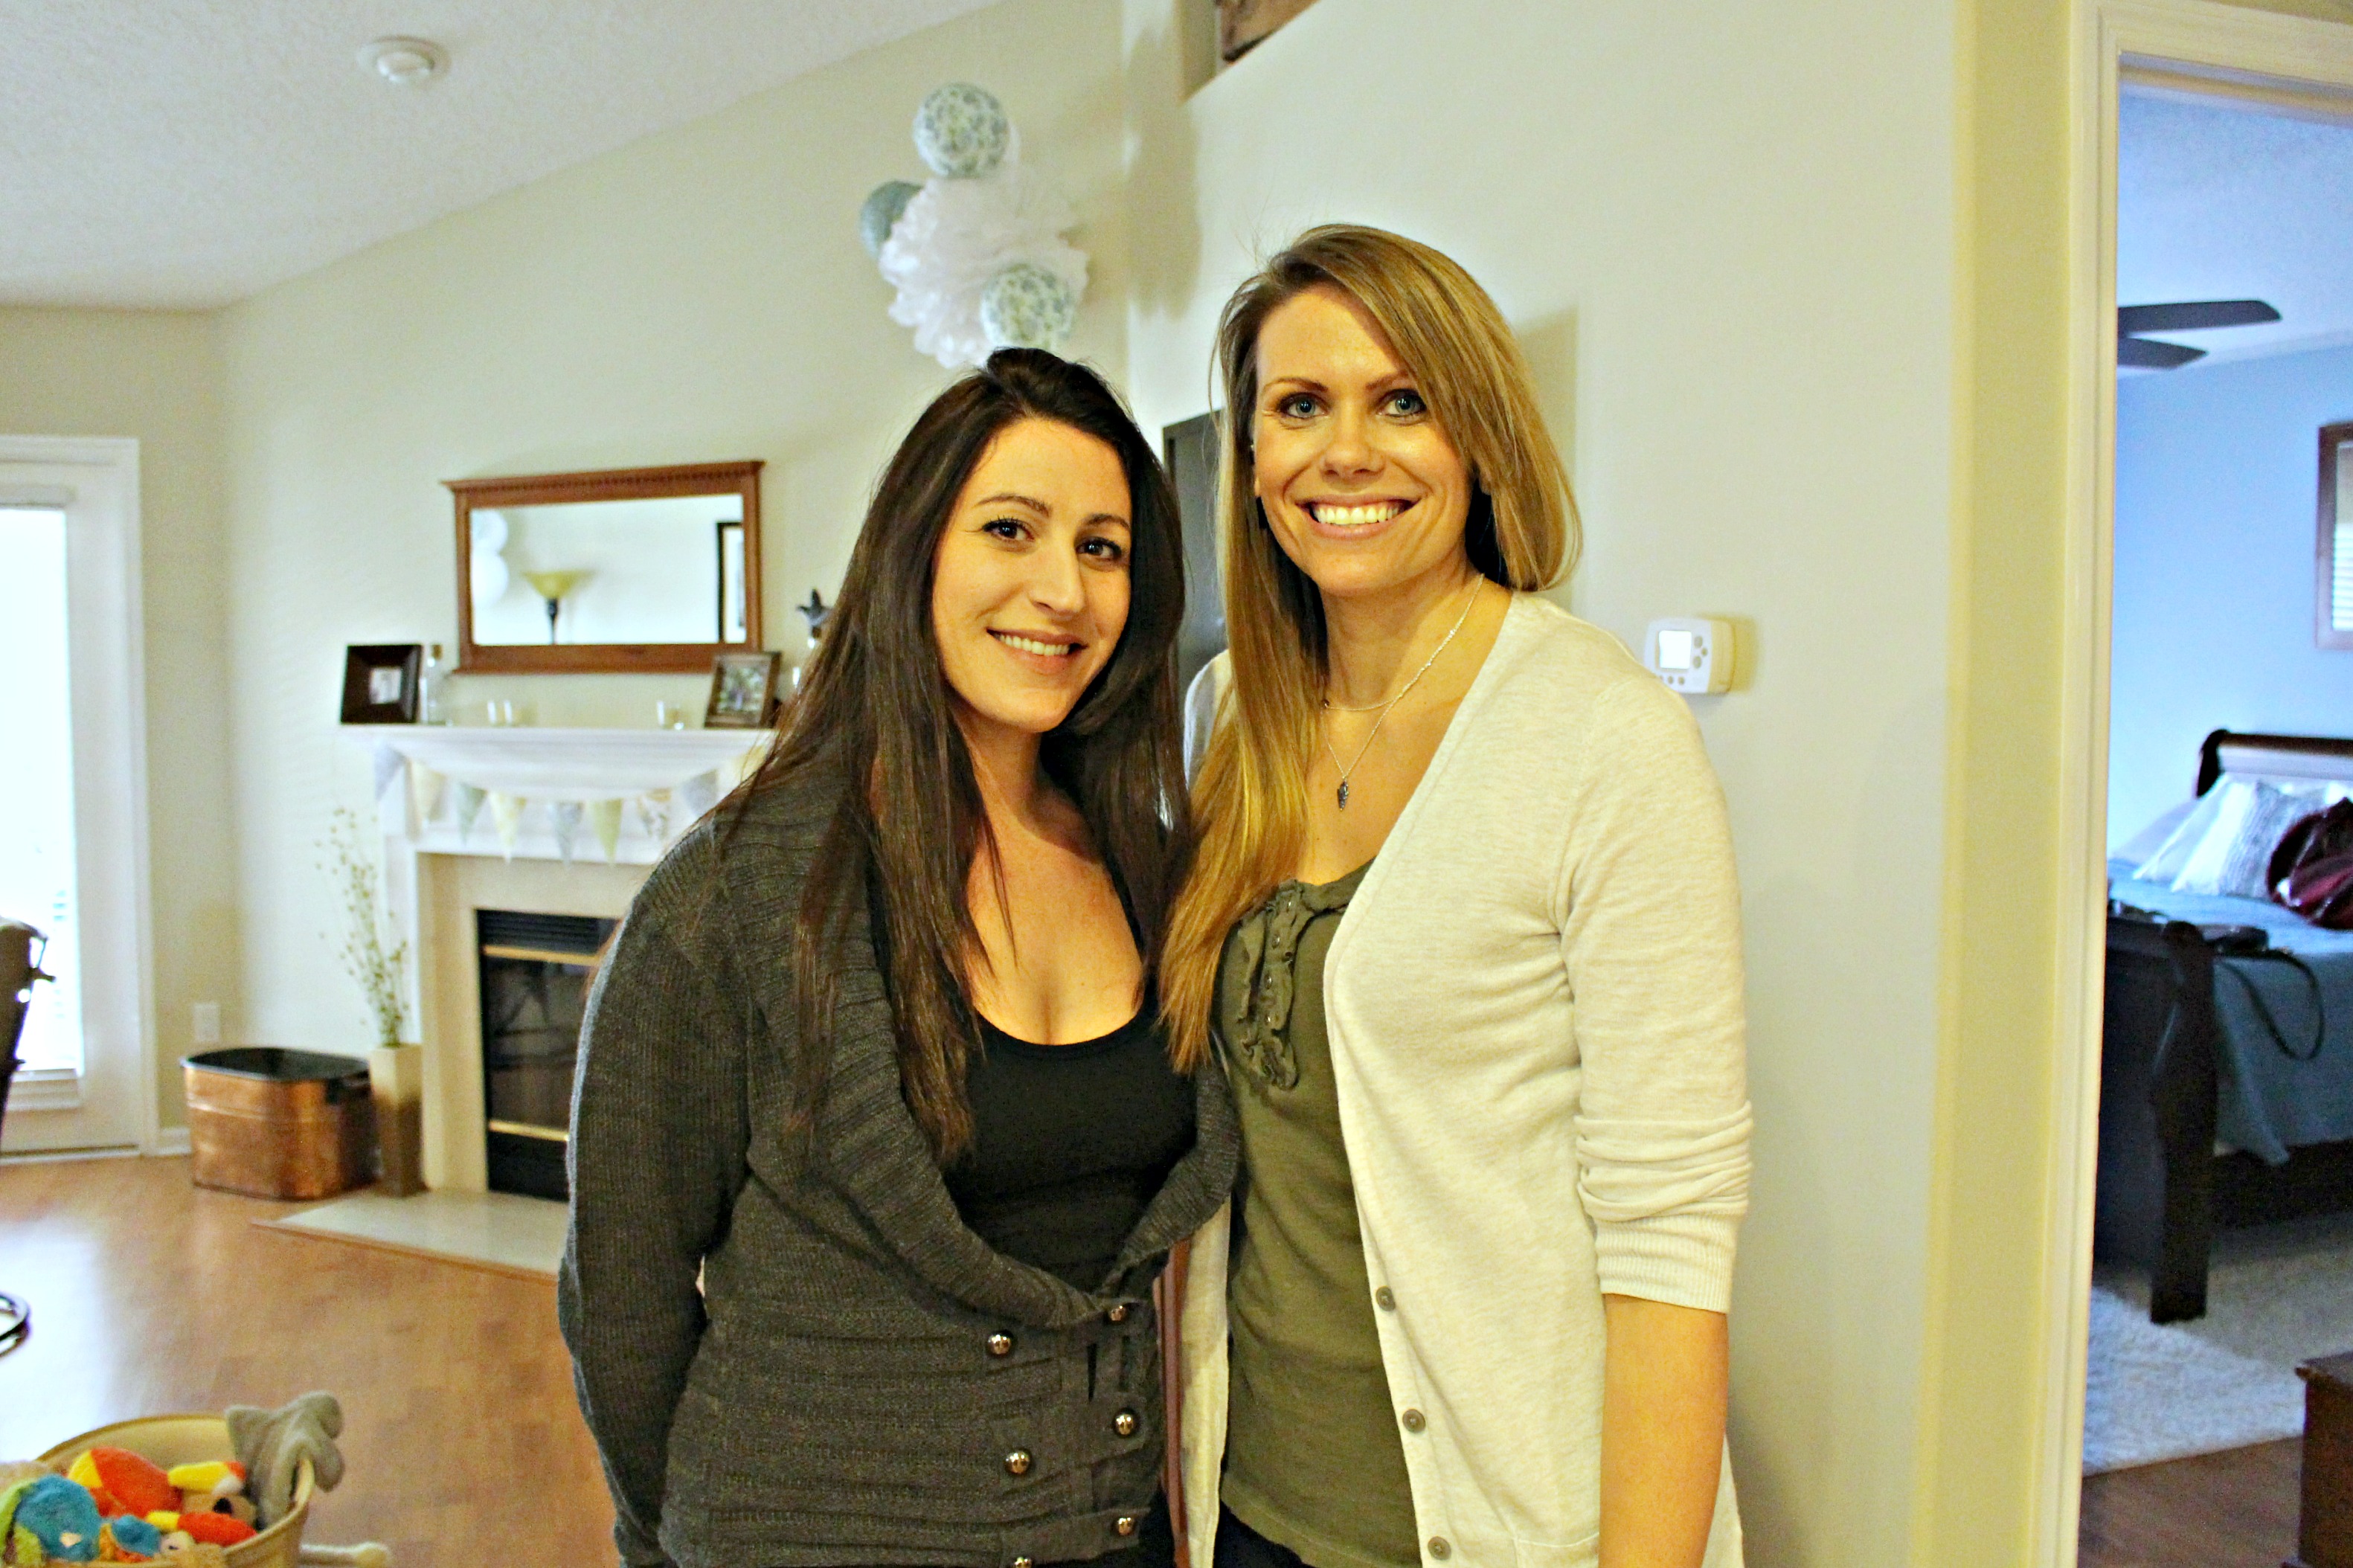
So, my friend Gwen had a baby!  And, a few weeks ago I threw her a shower.  It was so much fun and I got to make a ton of different shower decorations. Wanna take a gander?  Okay!

First up, I made this little “Baby Warren” sign.  I just cut the letters out of some pretty patterned paper, and clothes pinned them to this chicken wire frame.  FYI, the babies name is not Warren.  Gwen wanted to wait until she saw him to decide on his name.  Their last name is Warren.Baby shower decorI, also, used the same floral patterned paper to make a couple bunting banners.   I just cut some triangles out of the patterned paper, popped two hole punches in the top two corners and strung some string through them.  Baby shower decorationsVoila!  Bunting banner made from paper.bunting banner
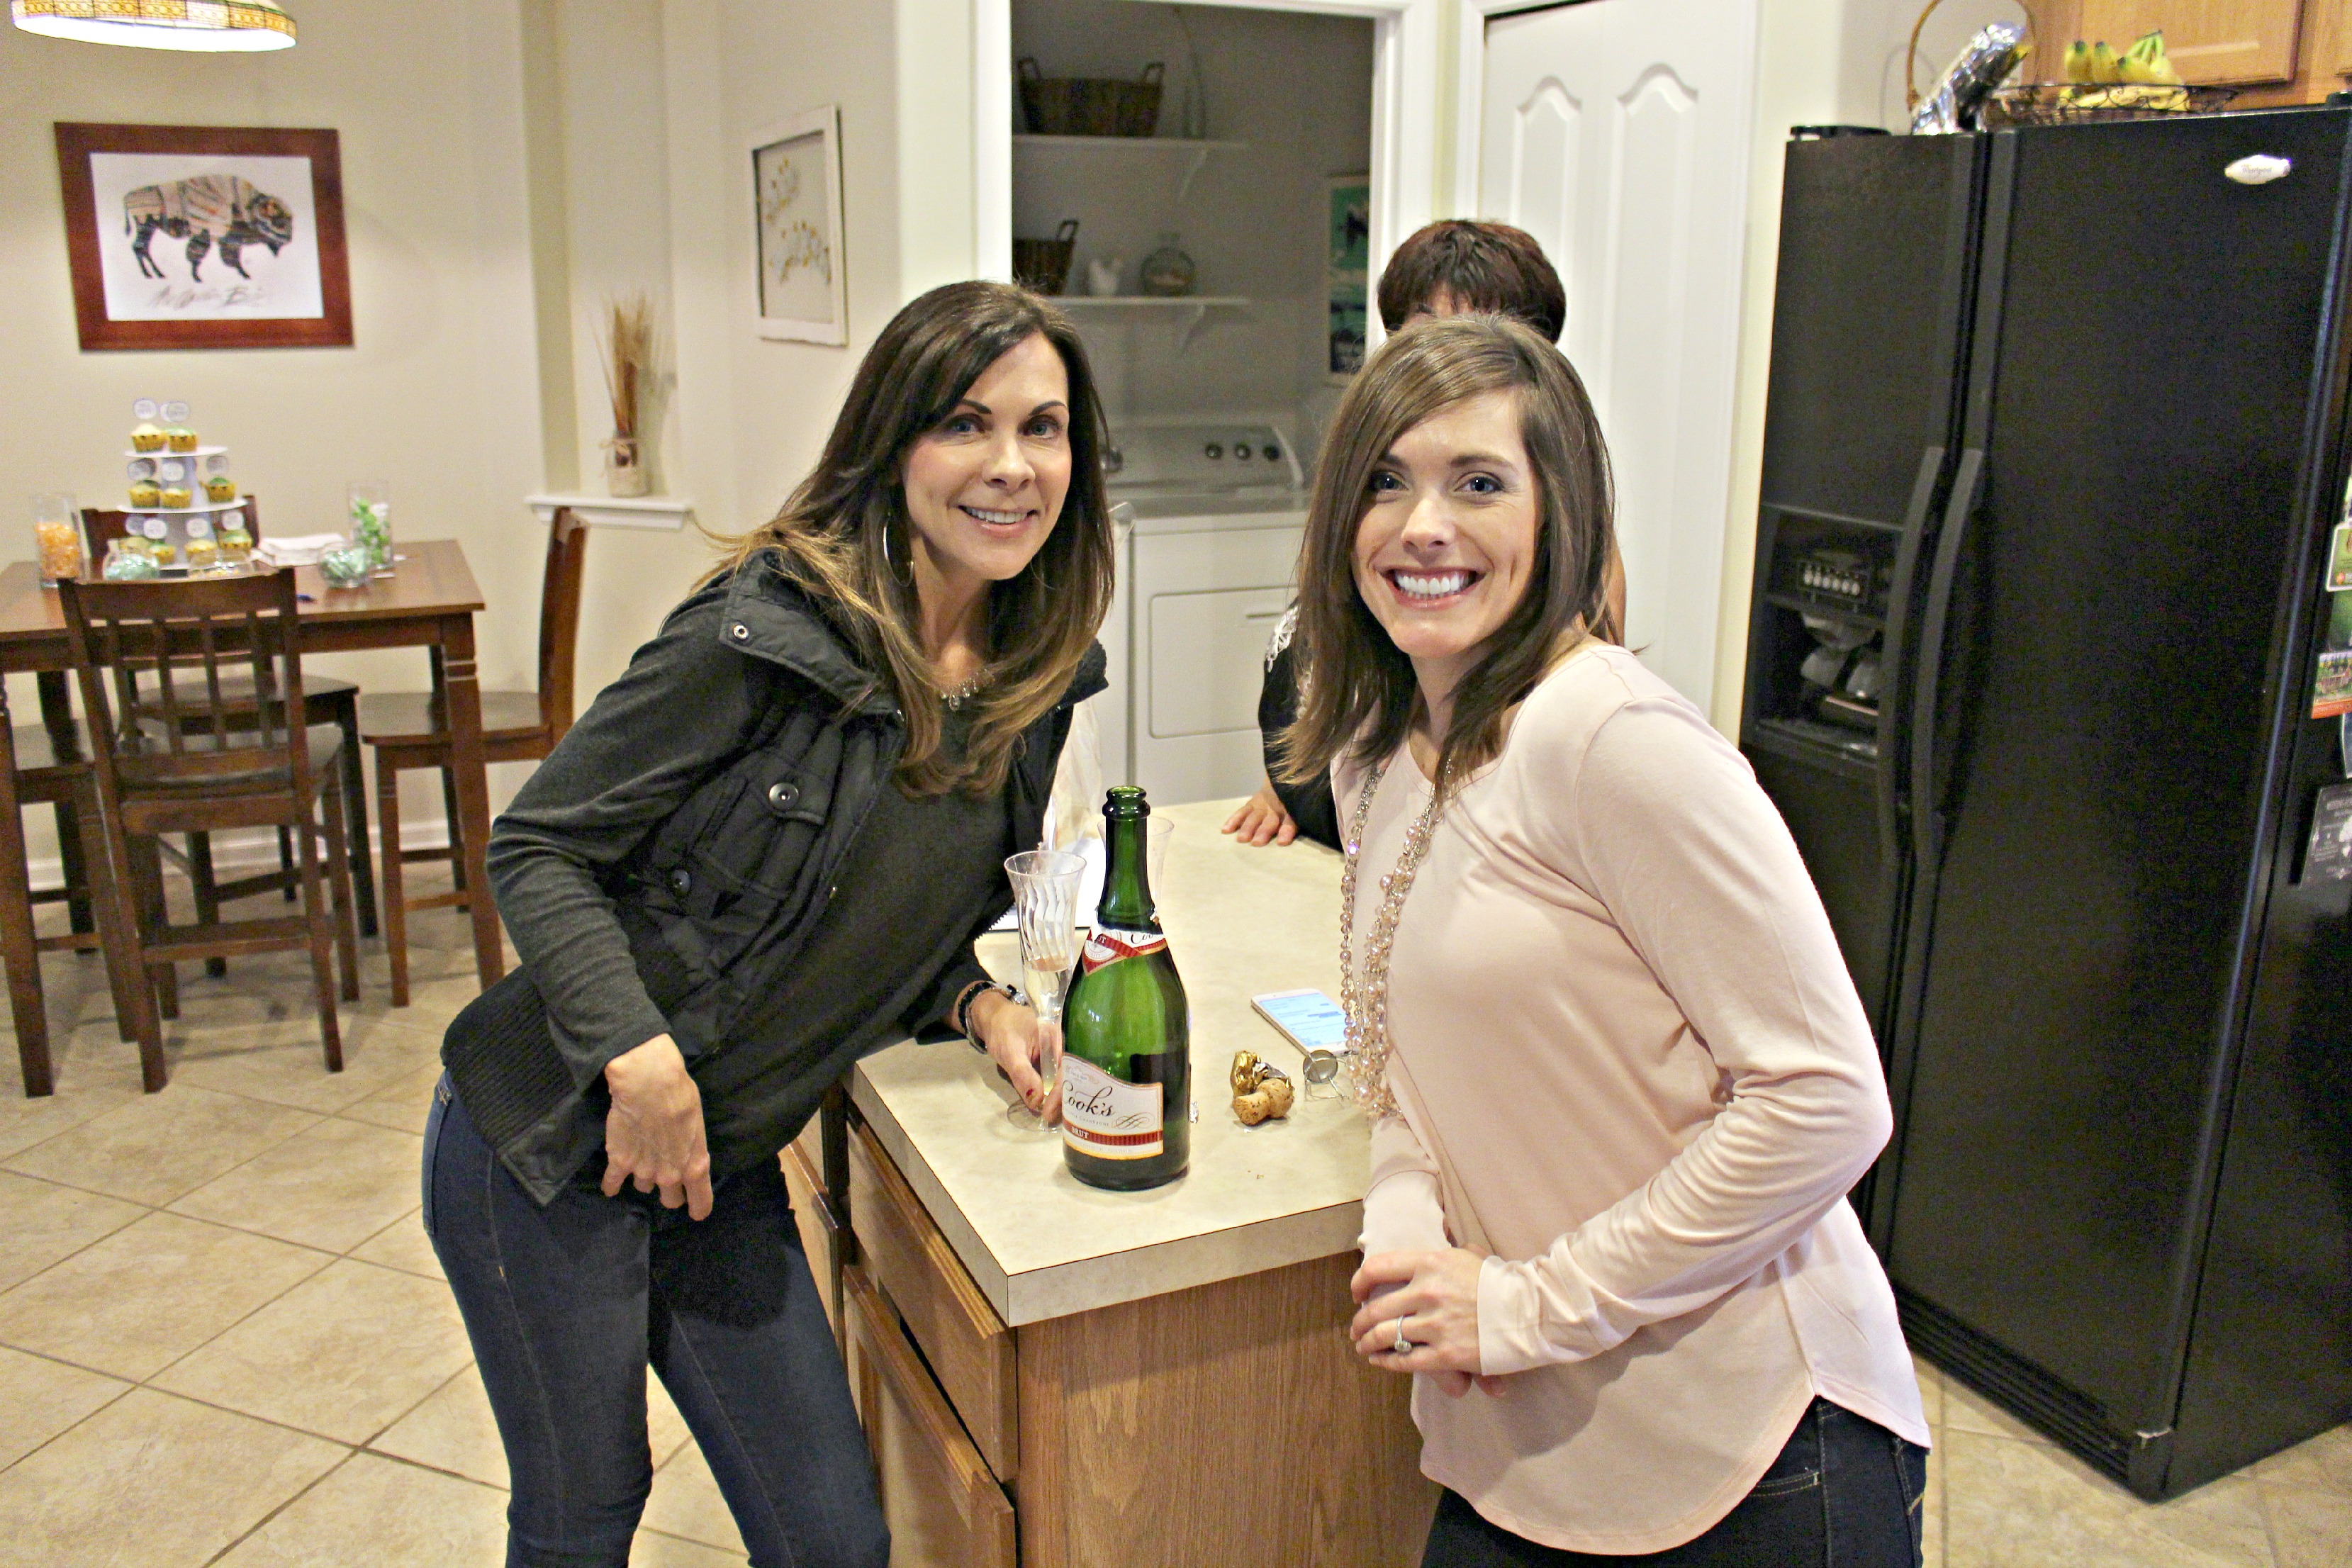
I thought a mimosa bar would also be fun for us non-prego people.  And, of course, Gwen still got to enjoy the juices and fruits to garnish…Mimosa barShower mimosa barshower decorations
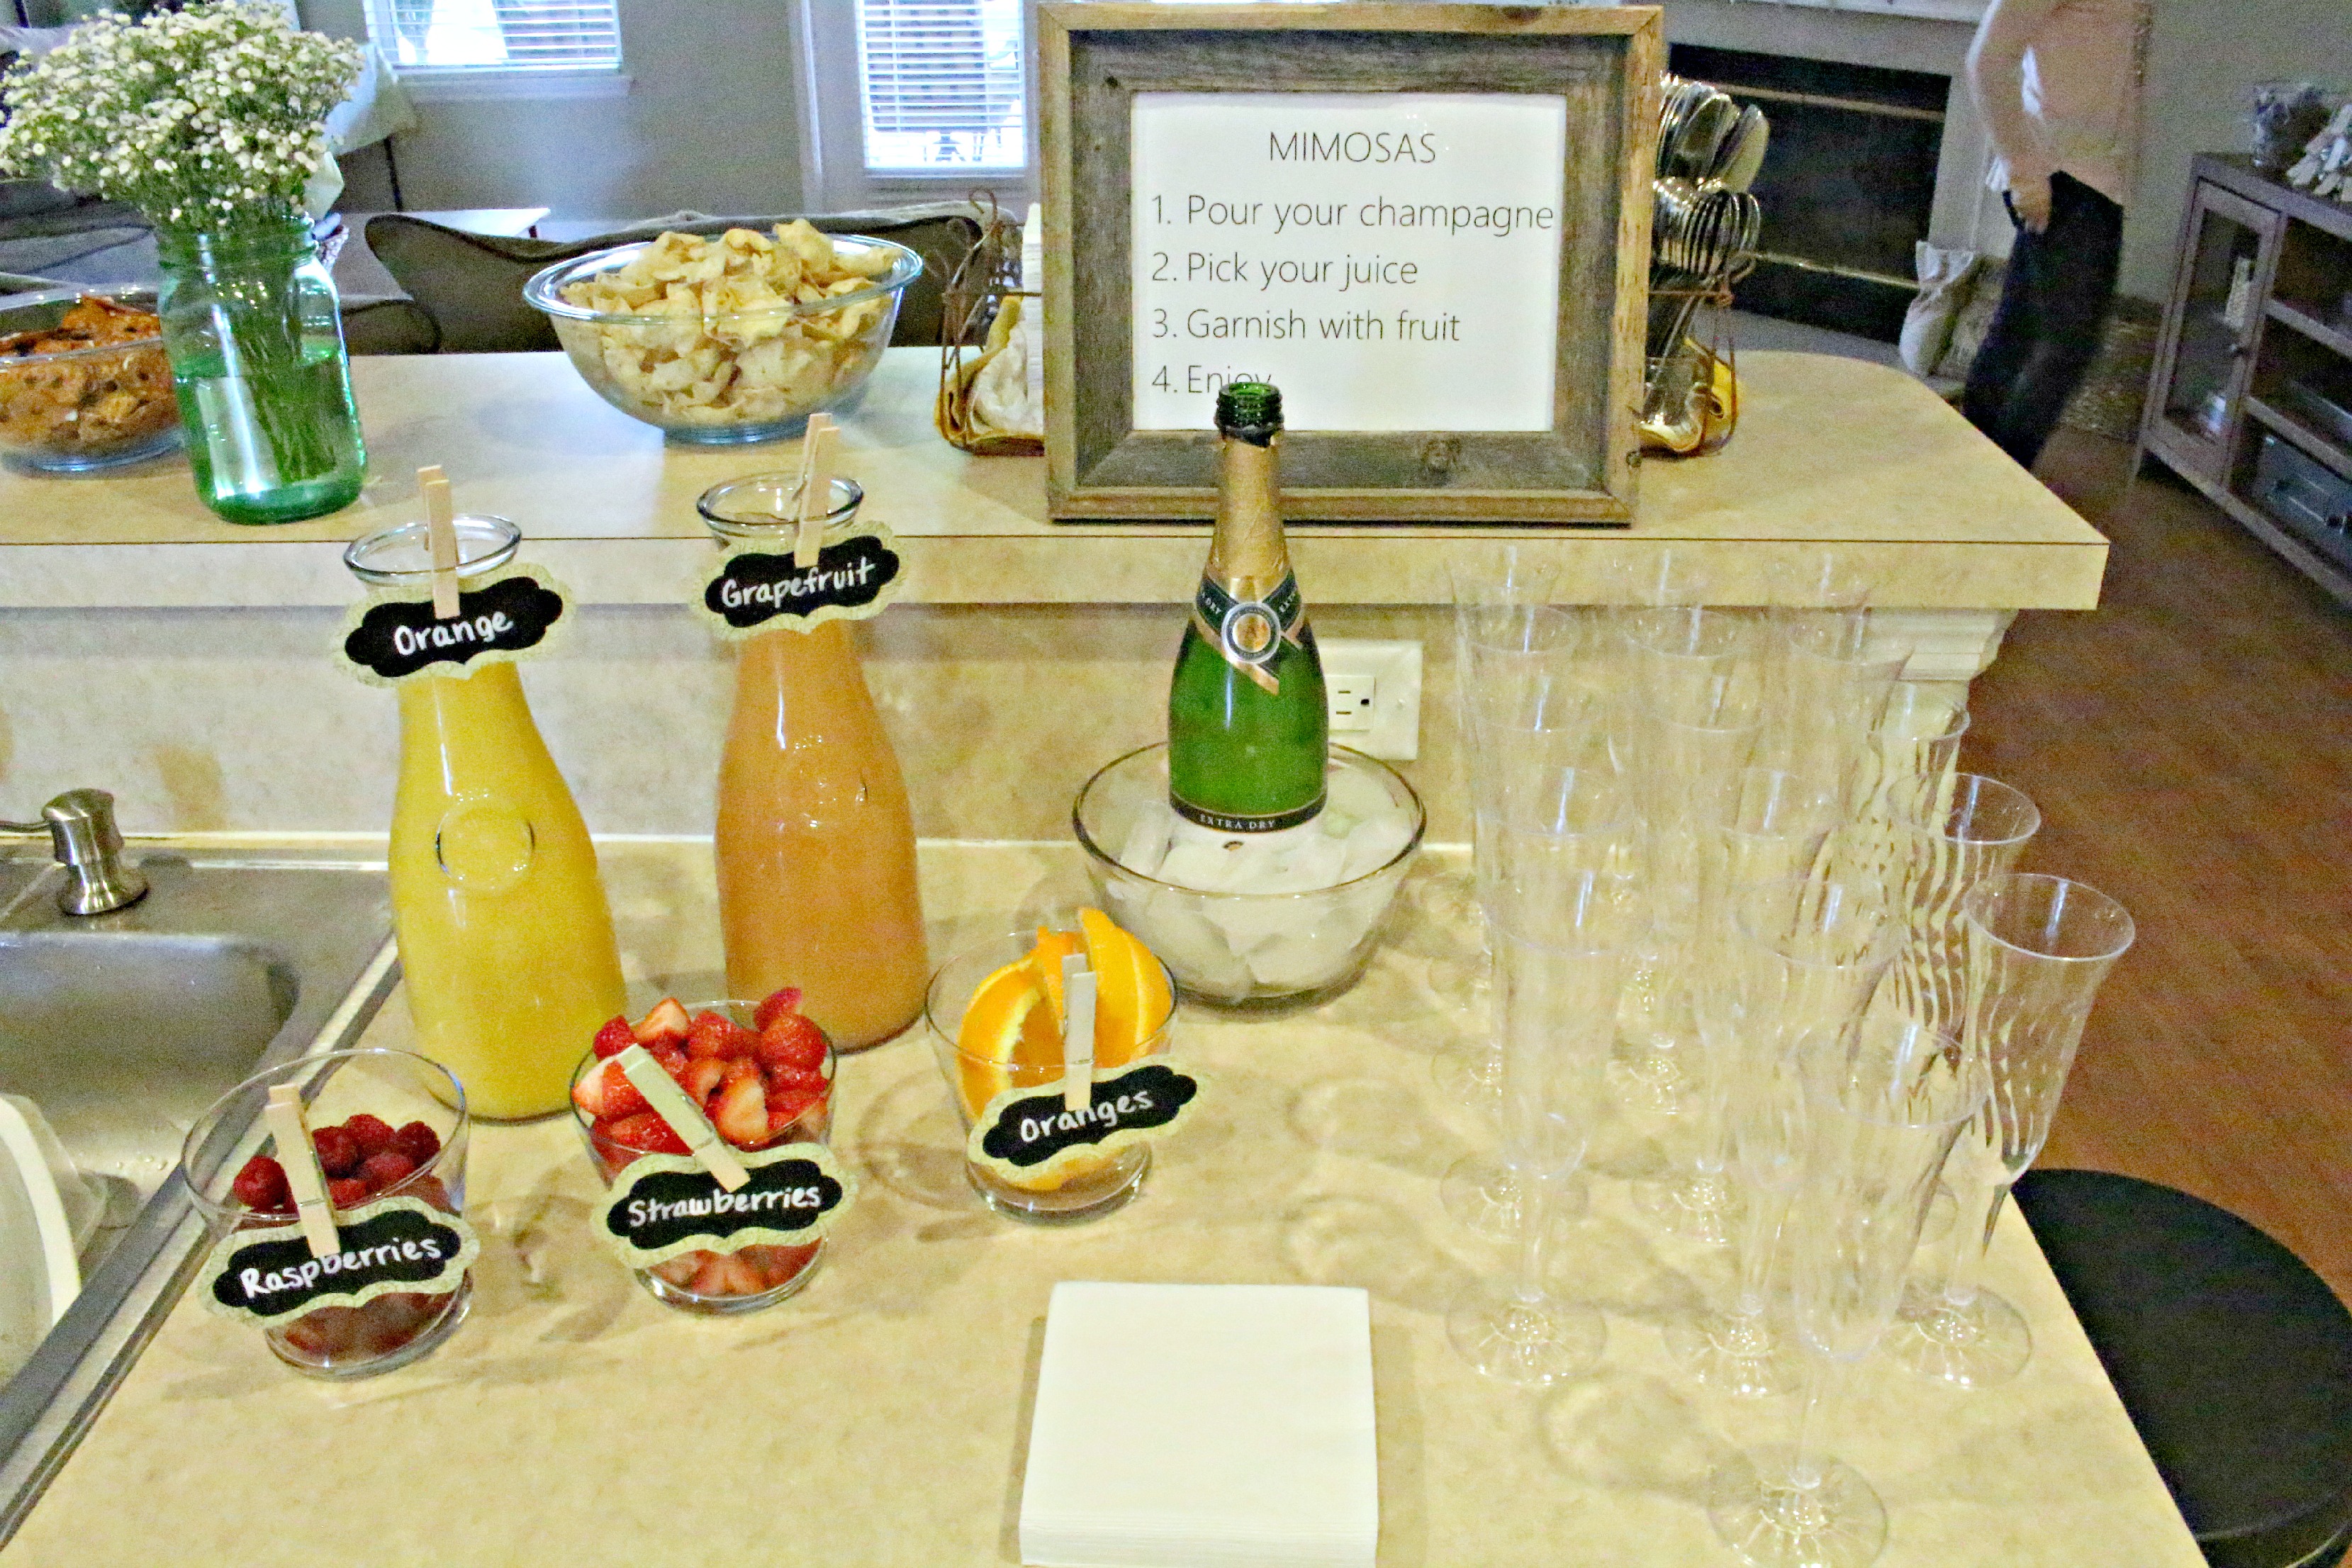
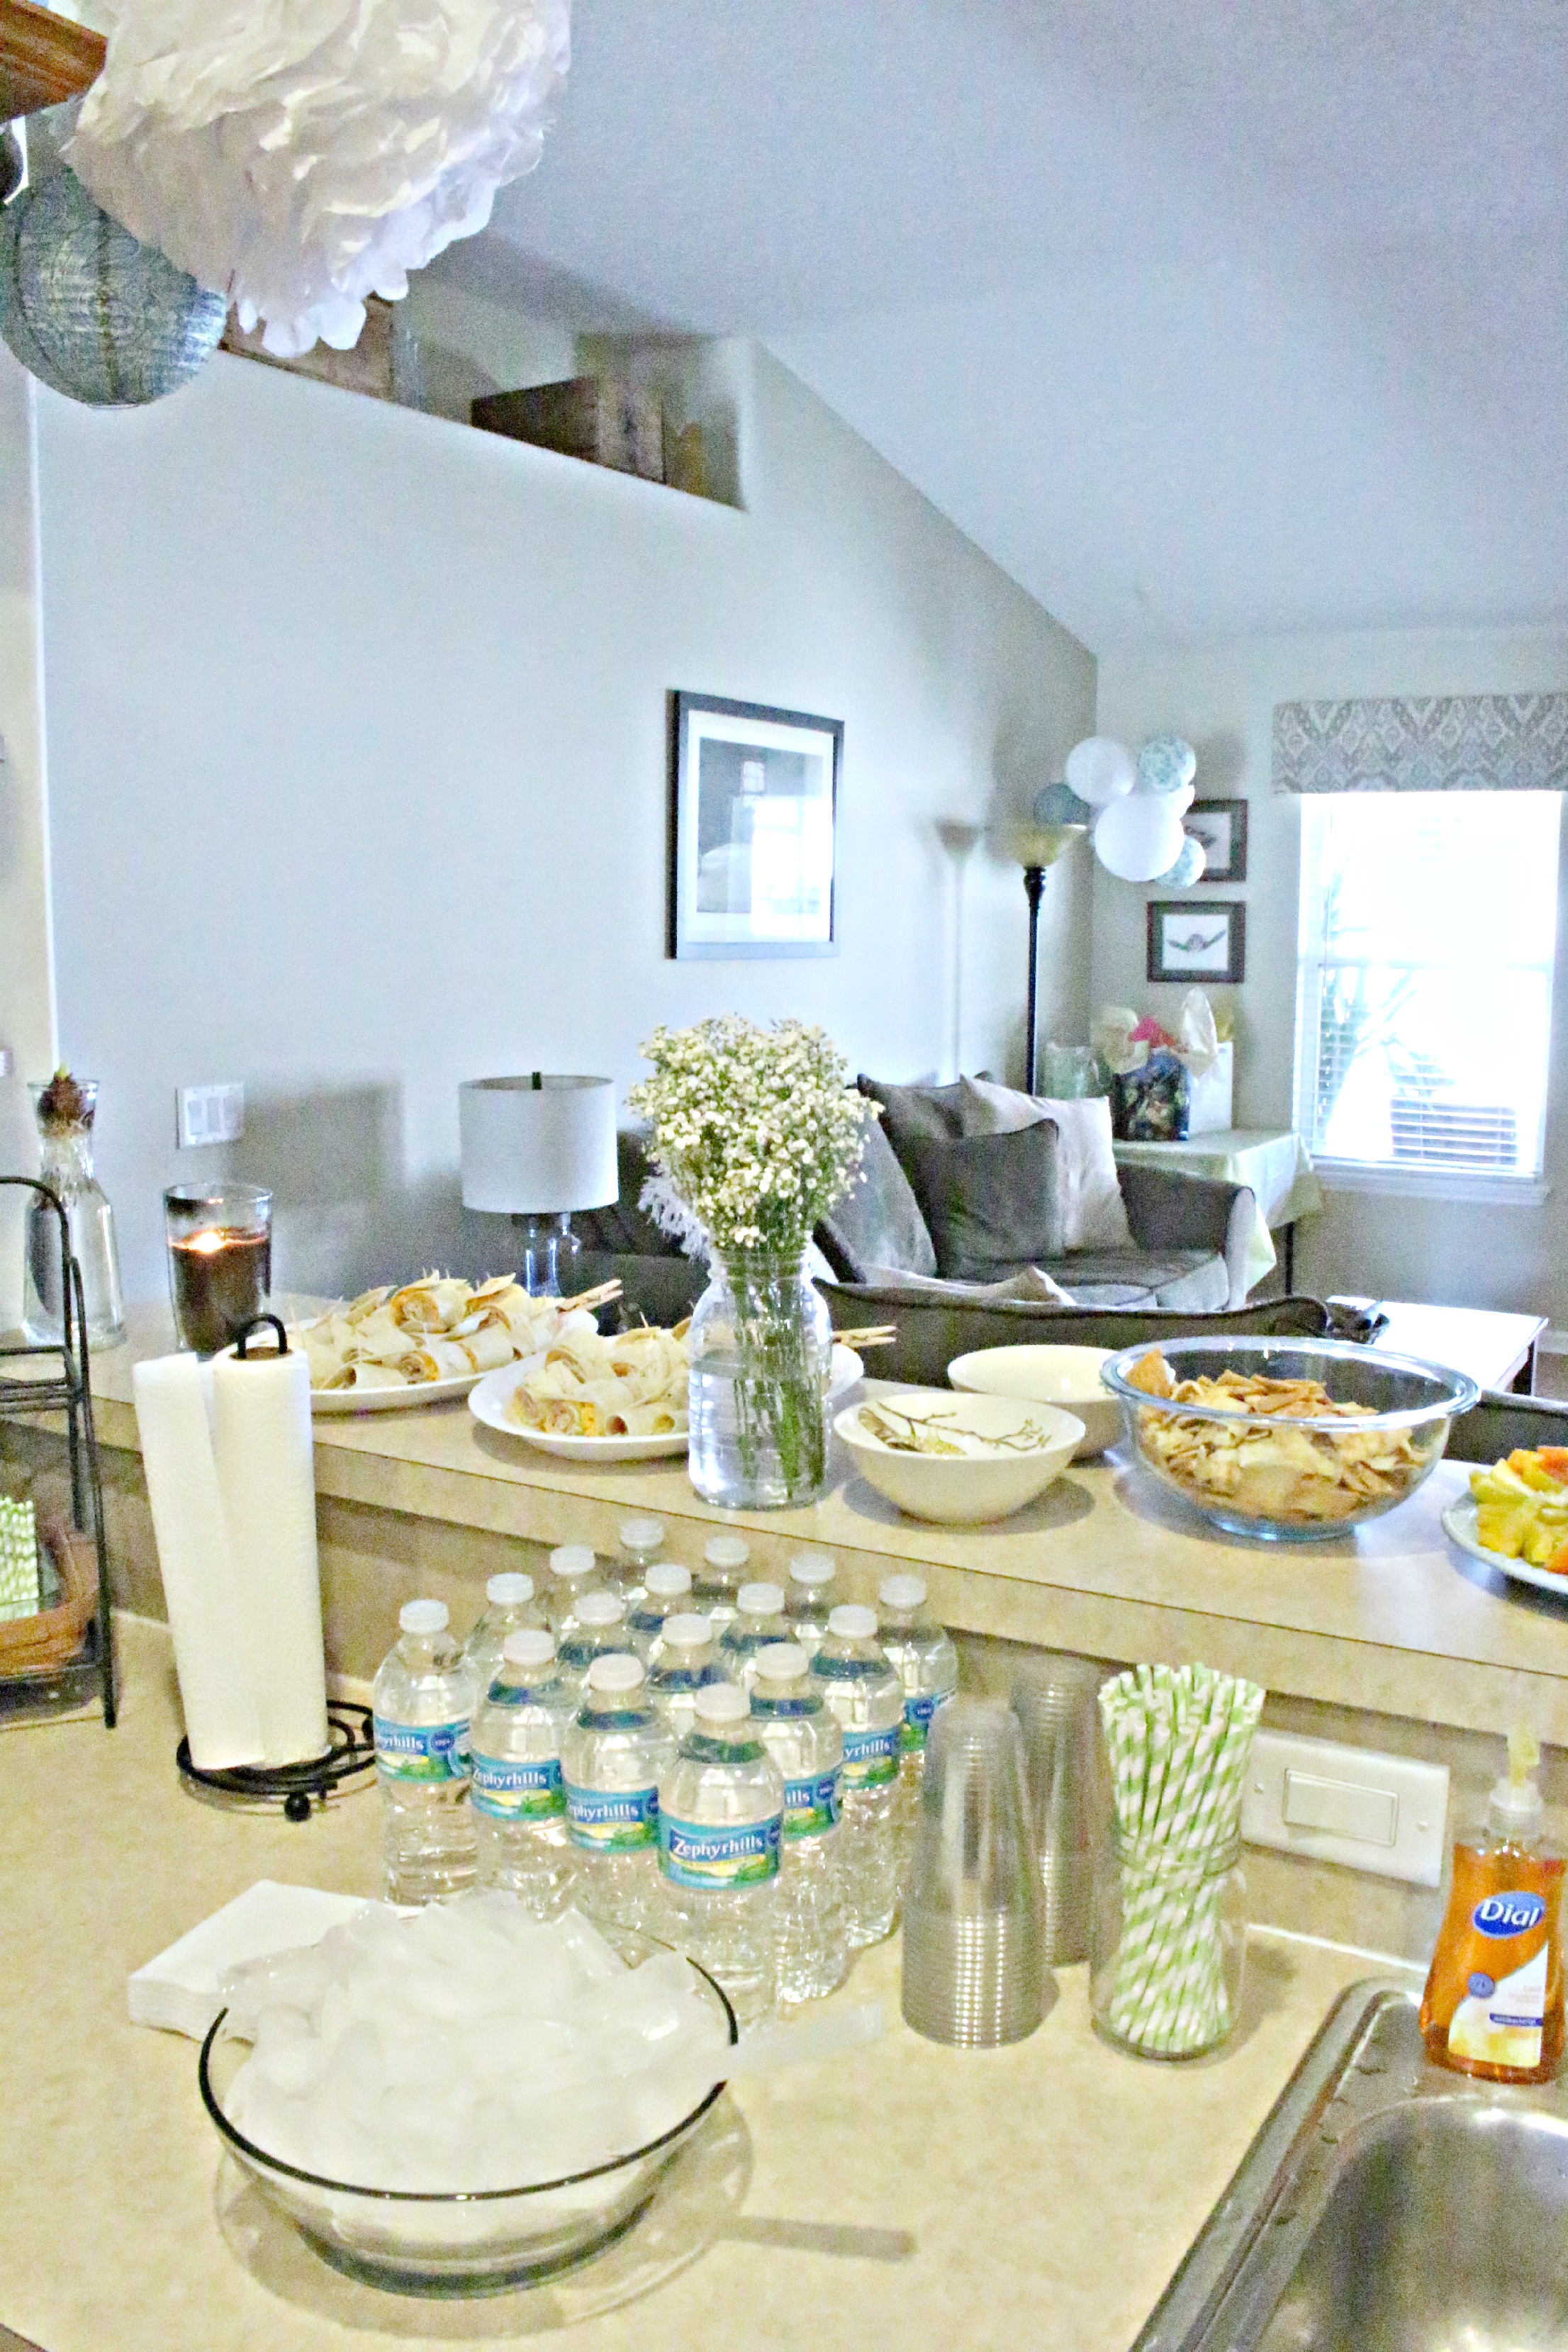
I made some ham and turkey pinwheels for brunch…pinwheel sandwichesAnd, some dips and snacks of course…shower decorationsFor activities at this shindig, I didn’t want to do the typical baby shower games.  So, I thought onesie painting would be fun!  I had seen this idea around Pinterest, and thought it was simple enough to recreate.  outdoor showerI purchased some plain white onesies (in assorted sizes) and bibs from amazon.  I, then, hung them with burlap twine and clothespins from the posts in my back patio.  This way everyone could just grab the onesie or bib they would like to paint.hanging onesiesWhile pondering this activity, I figured the paint would seep through the onesies if I didn’t put some kind of barrier in between.  So, I cut up some pieces of cardboard for the girls to put inside of the onesies, so the paint wouldn’t bleed through.  painting onesiesI, also, thought that not everyone may be comfortable coming up with a design to paint off the top of their heads.  So, I made some stencils.  I just printed some outlines of objects on cardstock and cut them out.  Boom!  I had me some stencils.

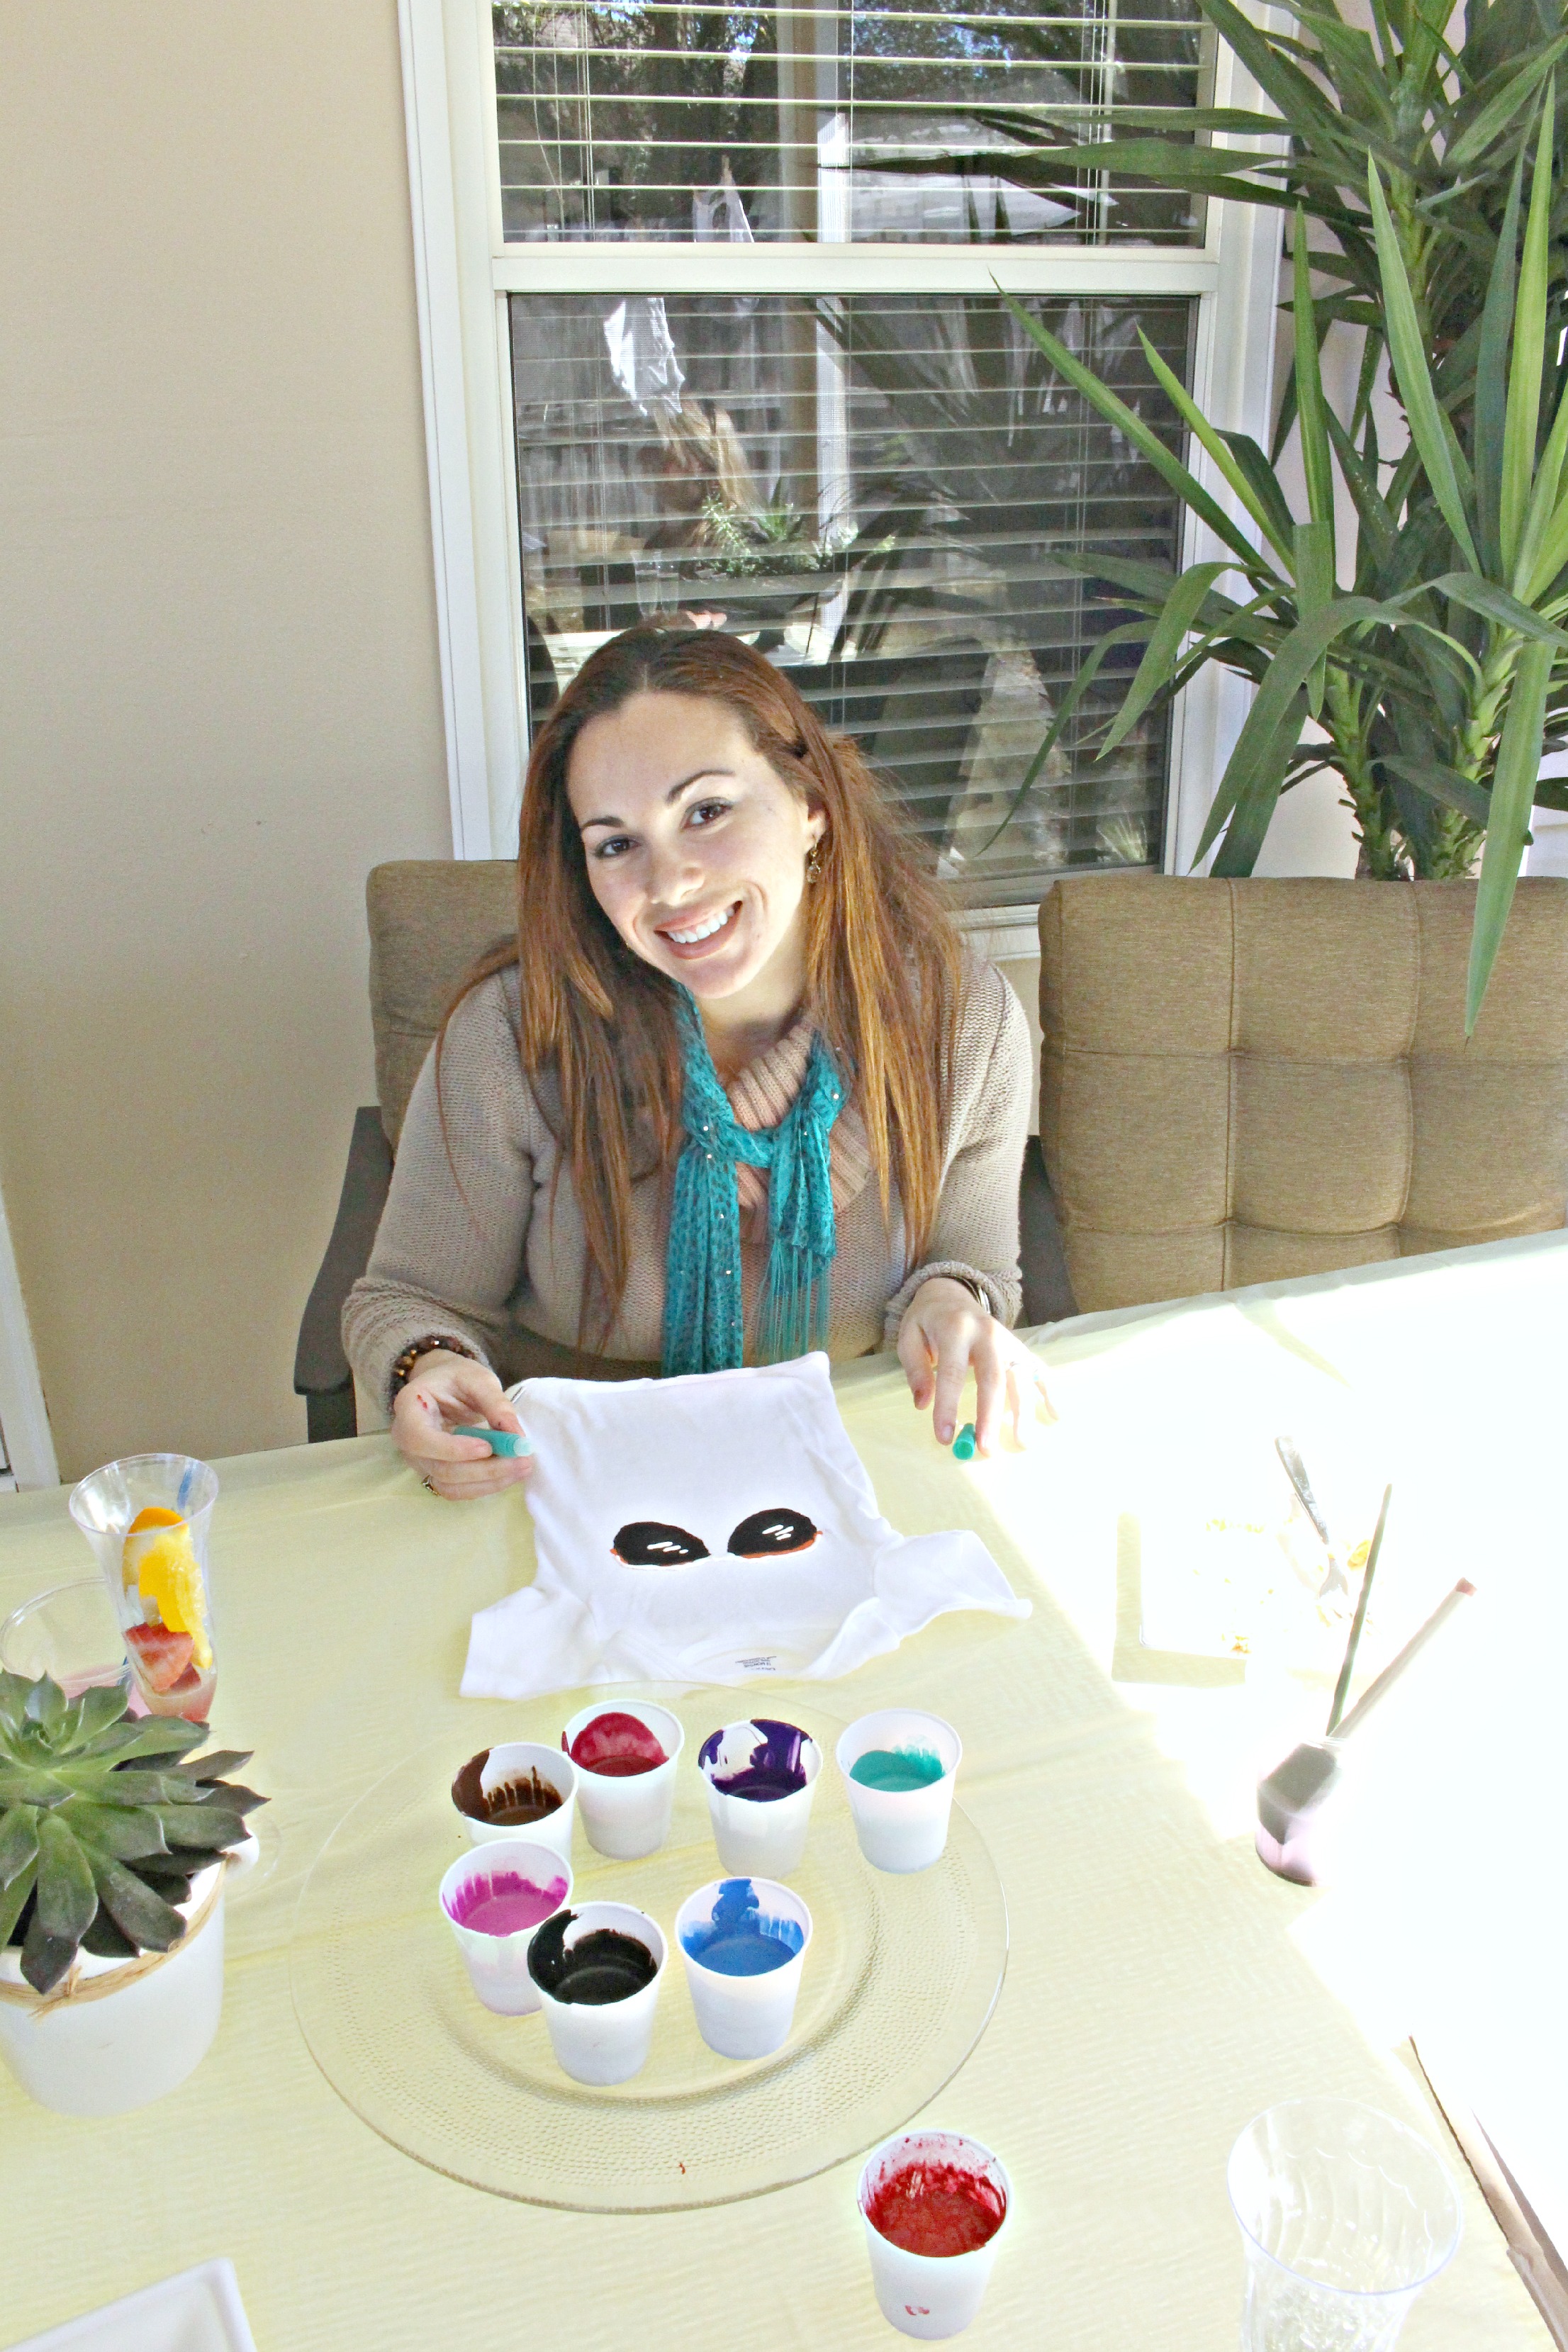
This was a really fun activity, that I think everyone enjoyed.  The stencils were very helpful. Everyone got to be creative, without having to be super artistic.  baby shower onesie paintingAs for paint, I always pick up acrylic craft paints while at Michael’s, so I had a ton on hand.  I didn’t want to have to buy a bunch of fabric paint that I probably wouldn’t be using again.  So, I found a bottle of this Delta Creative Textile Medium at Michael’s…textile-medium-fabric-paintAll I had to do was add the Textile Medium to each paint color that I wanted to use.  It was a 1:3 ratio of the medium to the paint.  And, I had myself an assortment of fabric paint colors ready to go.  baby shower onesie paintingonesie painting
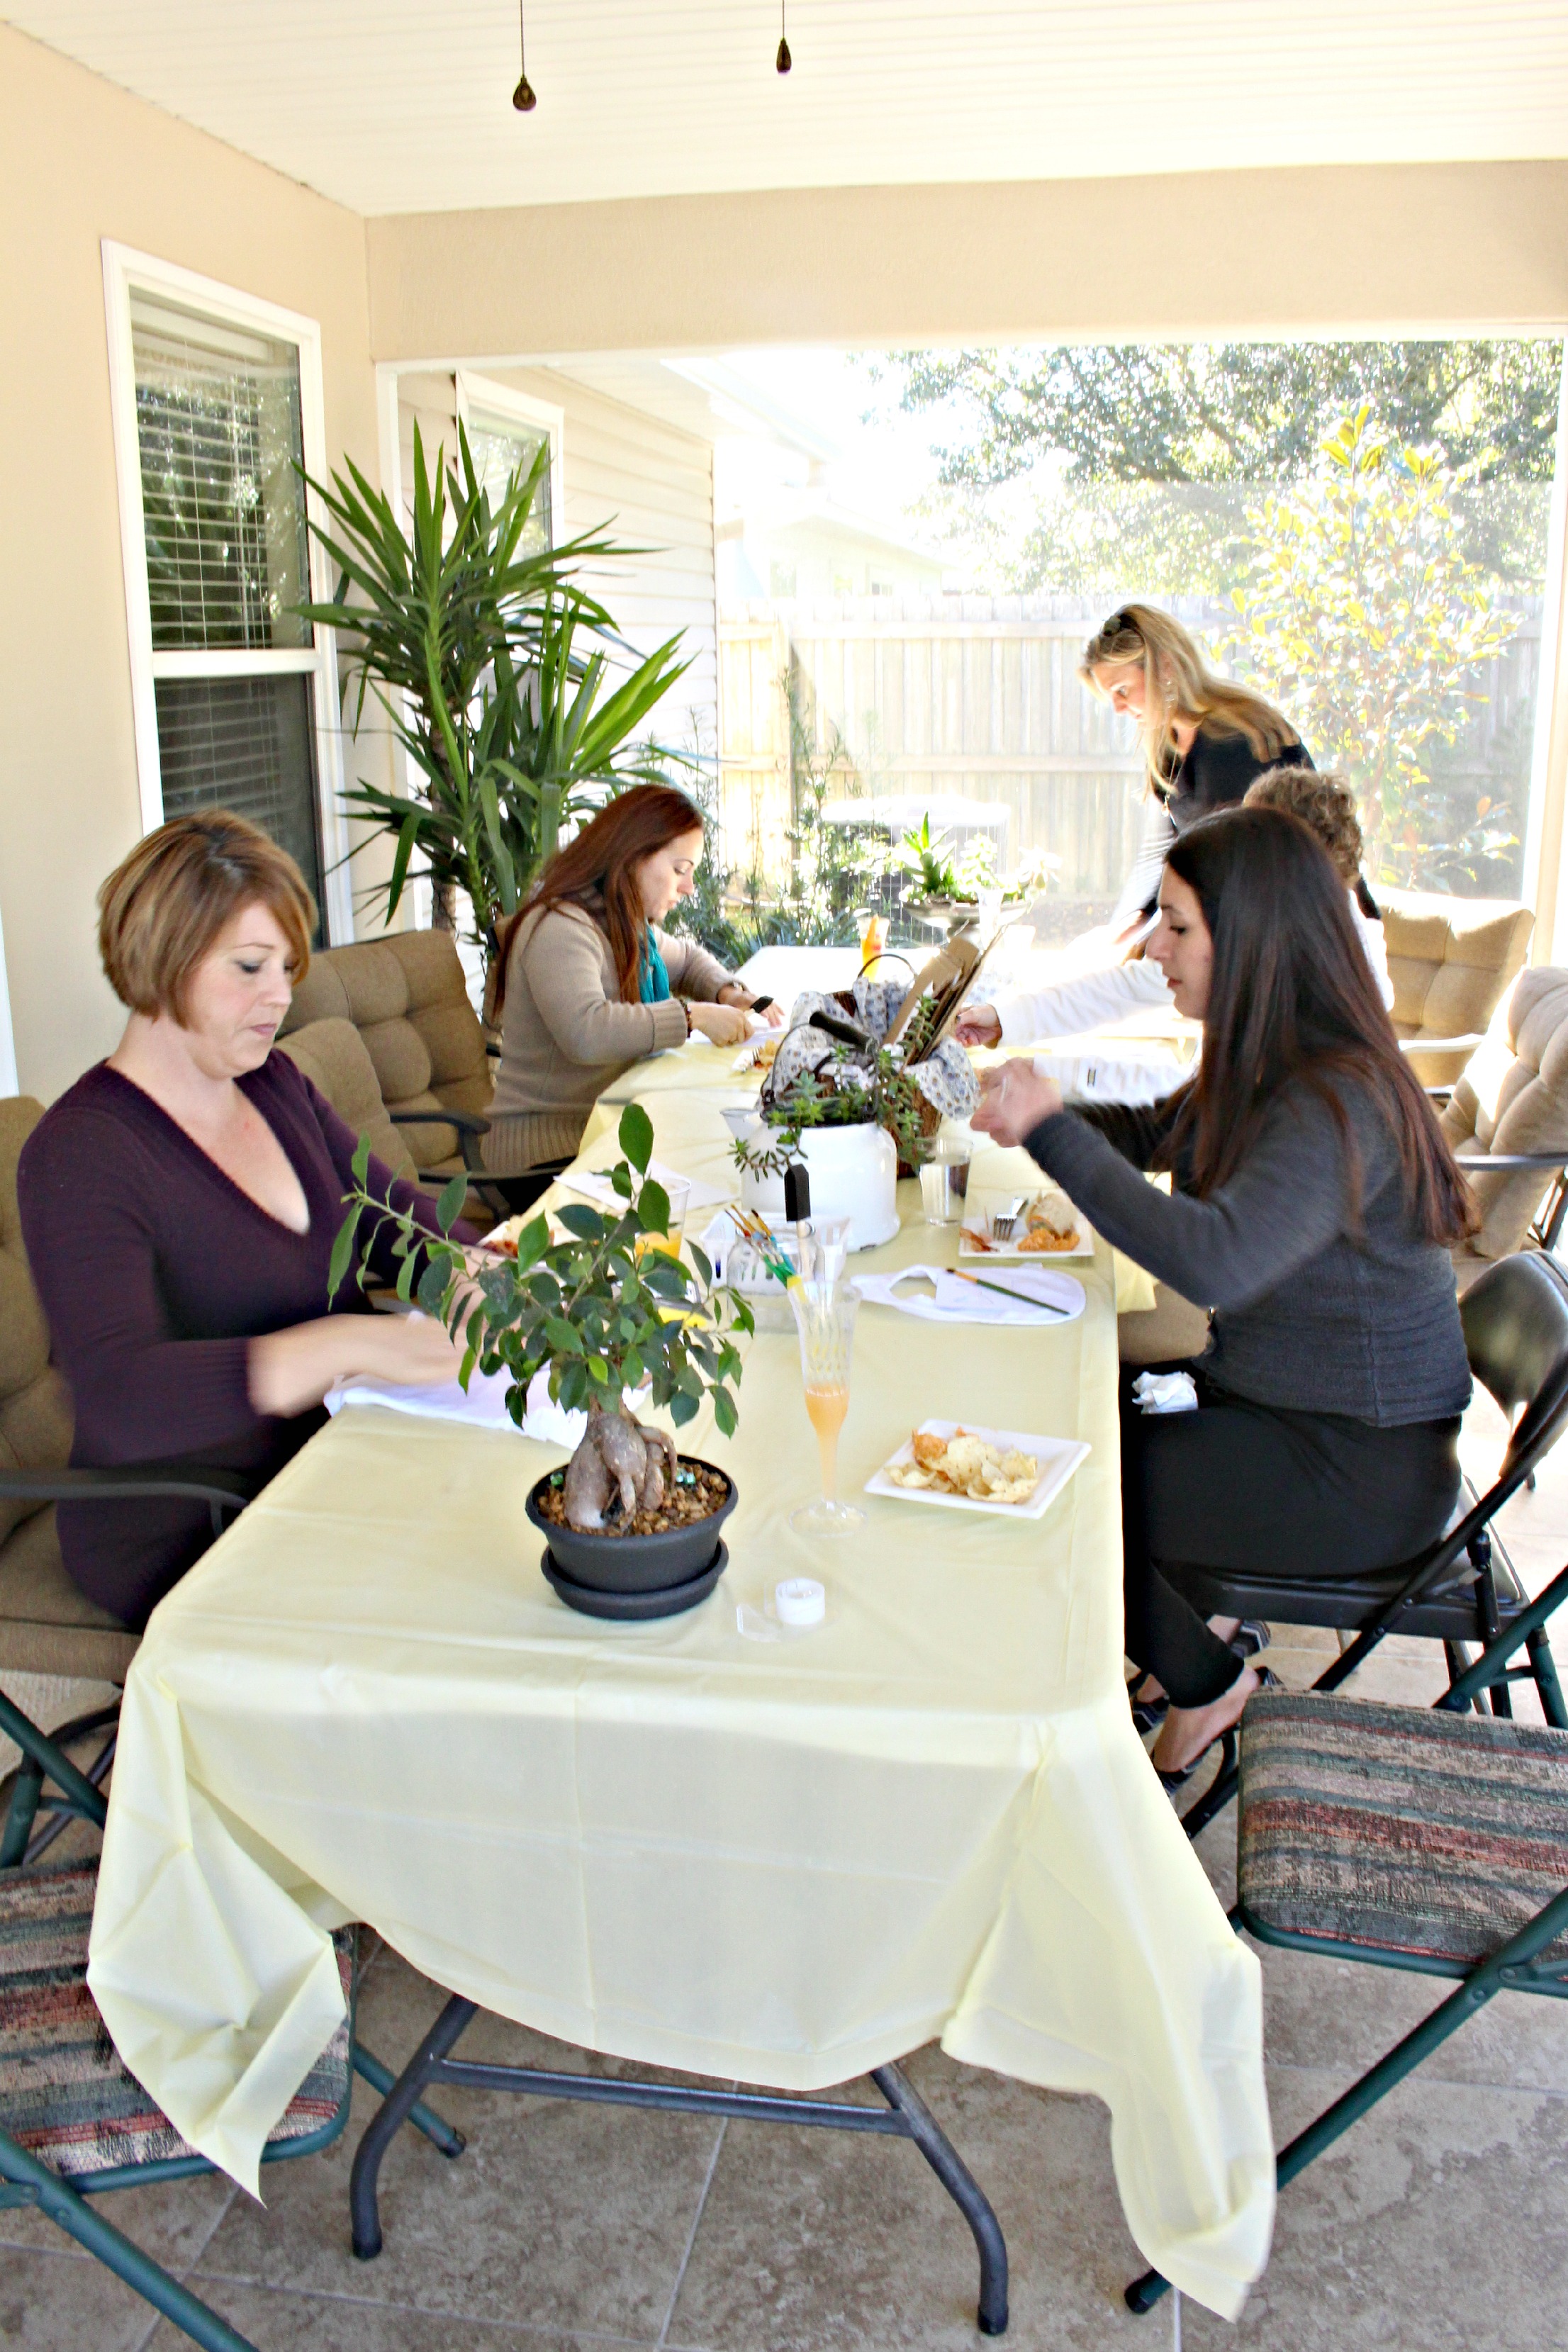
Everyone did such a great job, and thankfully Gwen loved how they turned out!onesie paintingonesie clotheslineonesie painting at shower
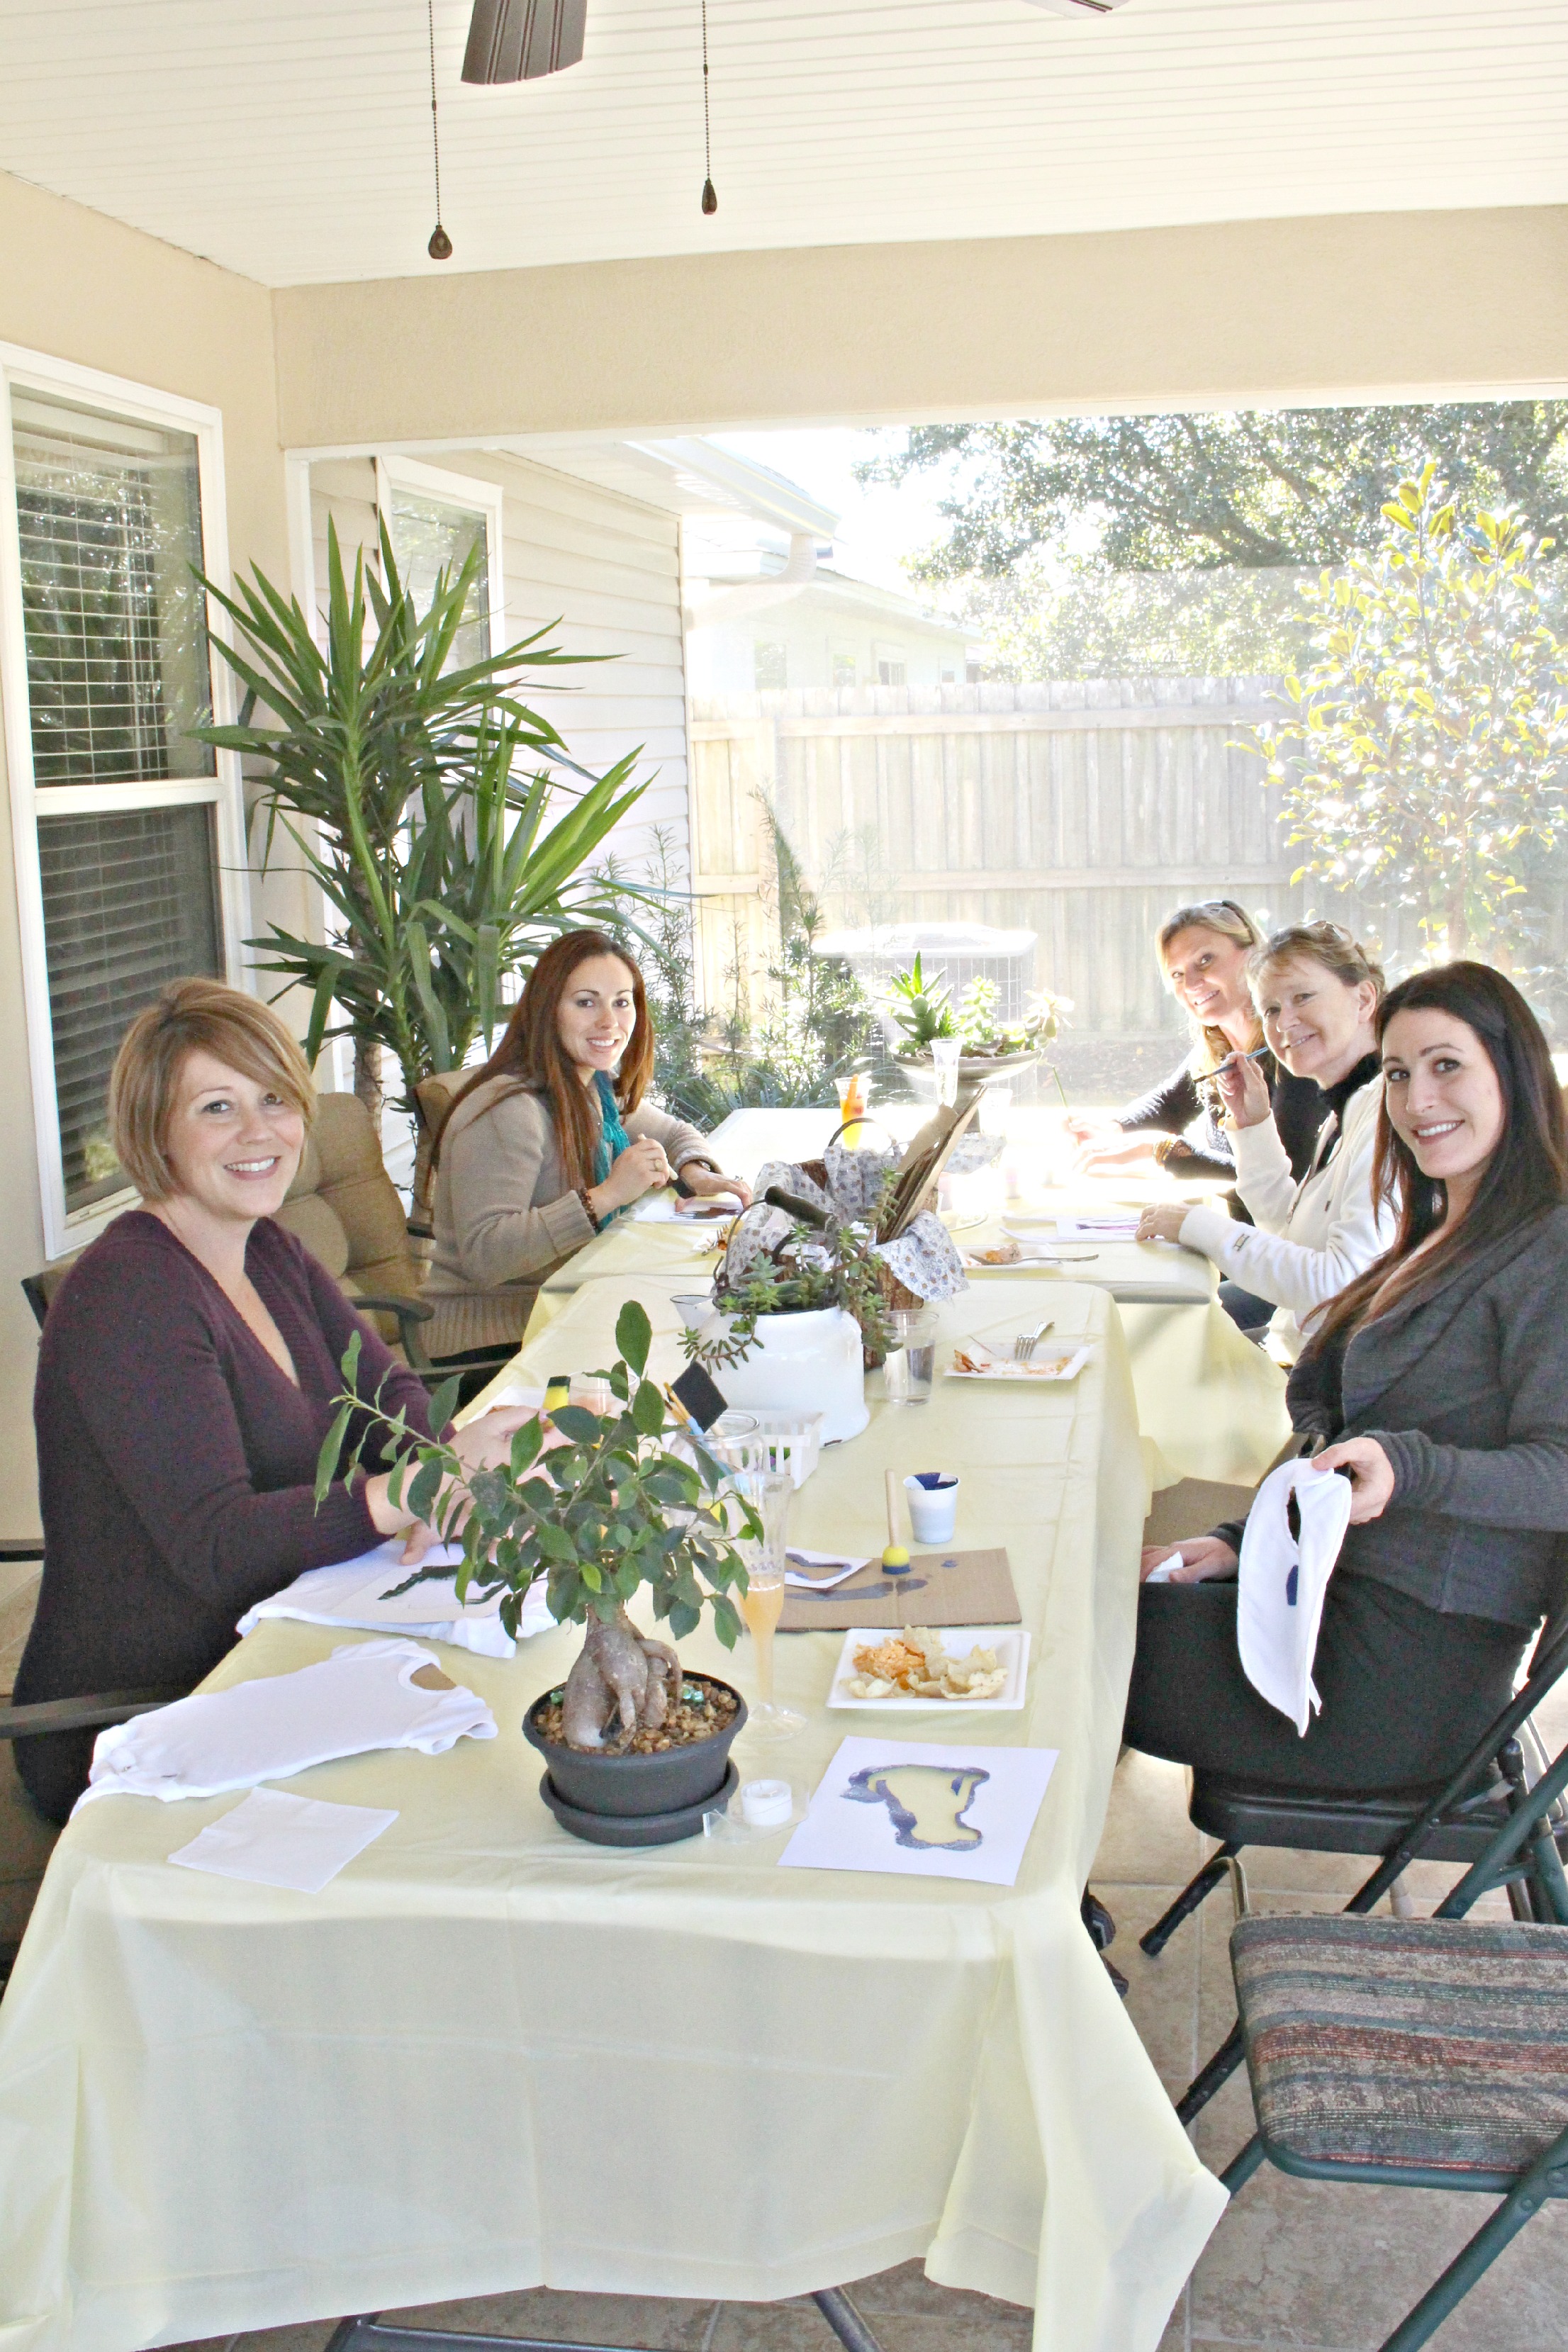
Here are a few of the finished products…
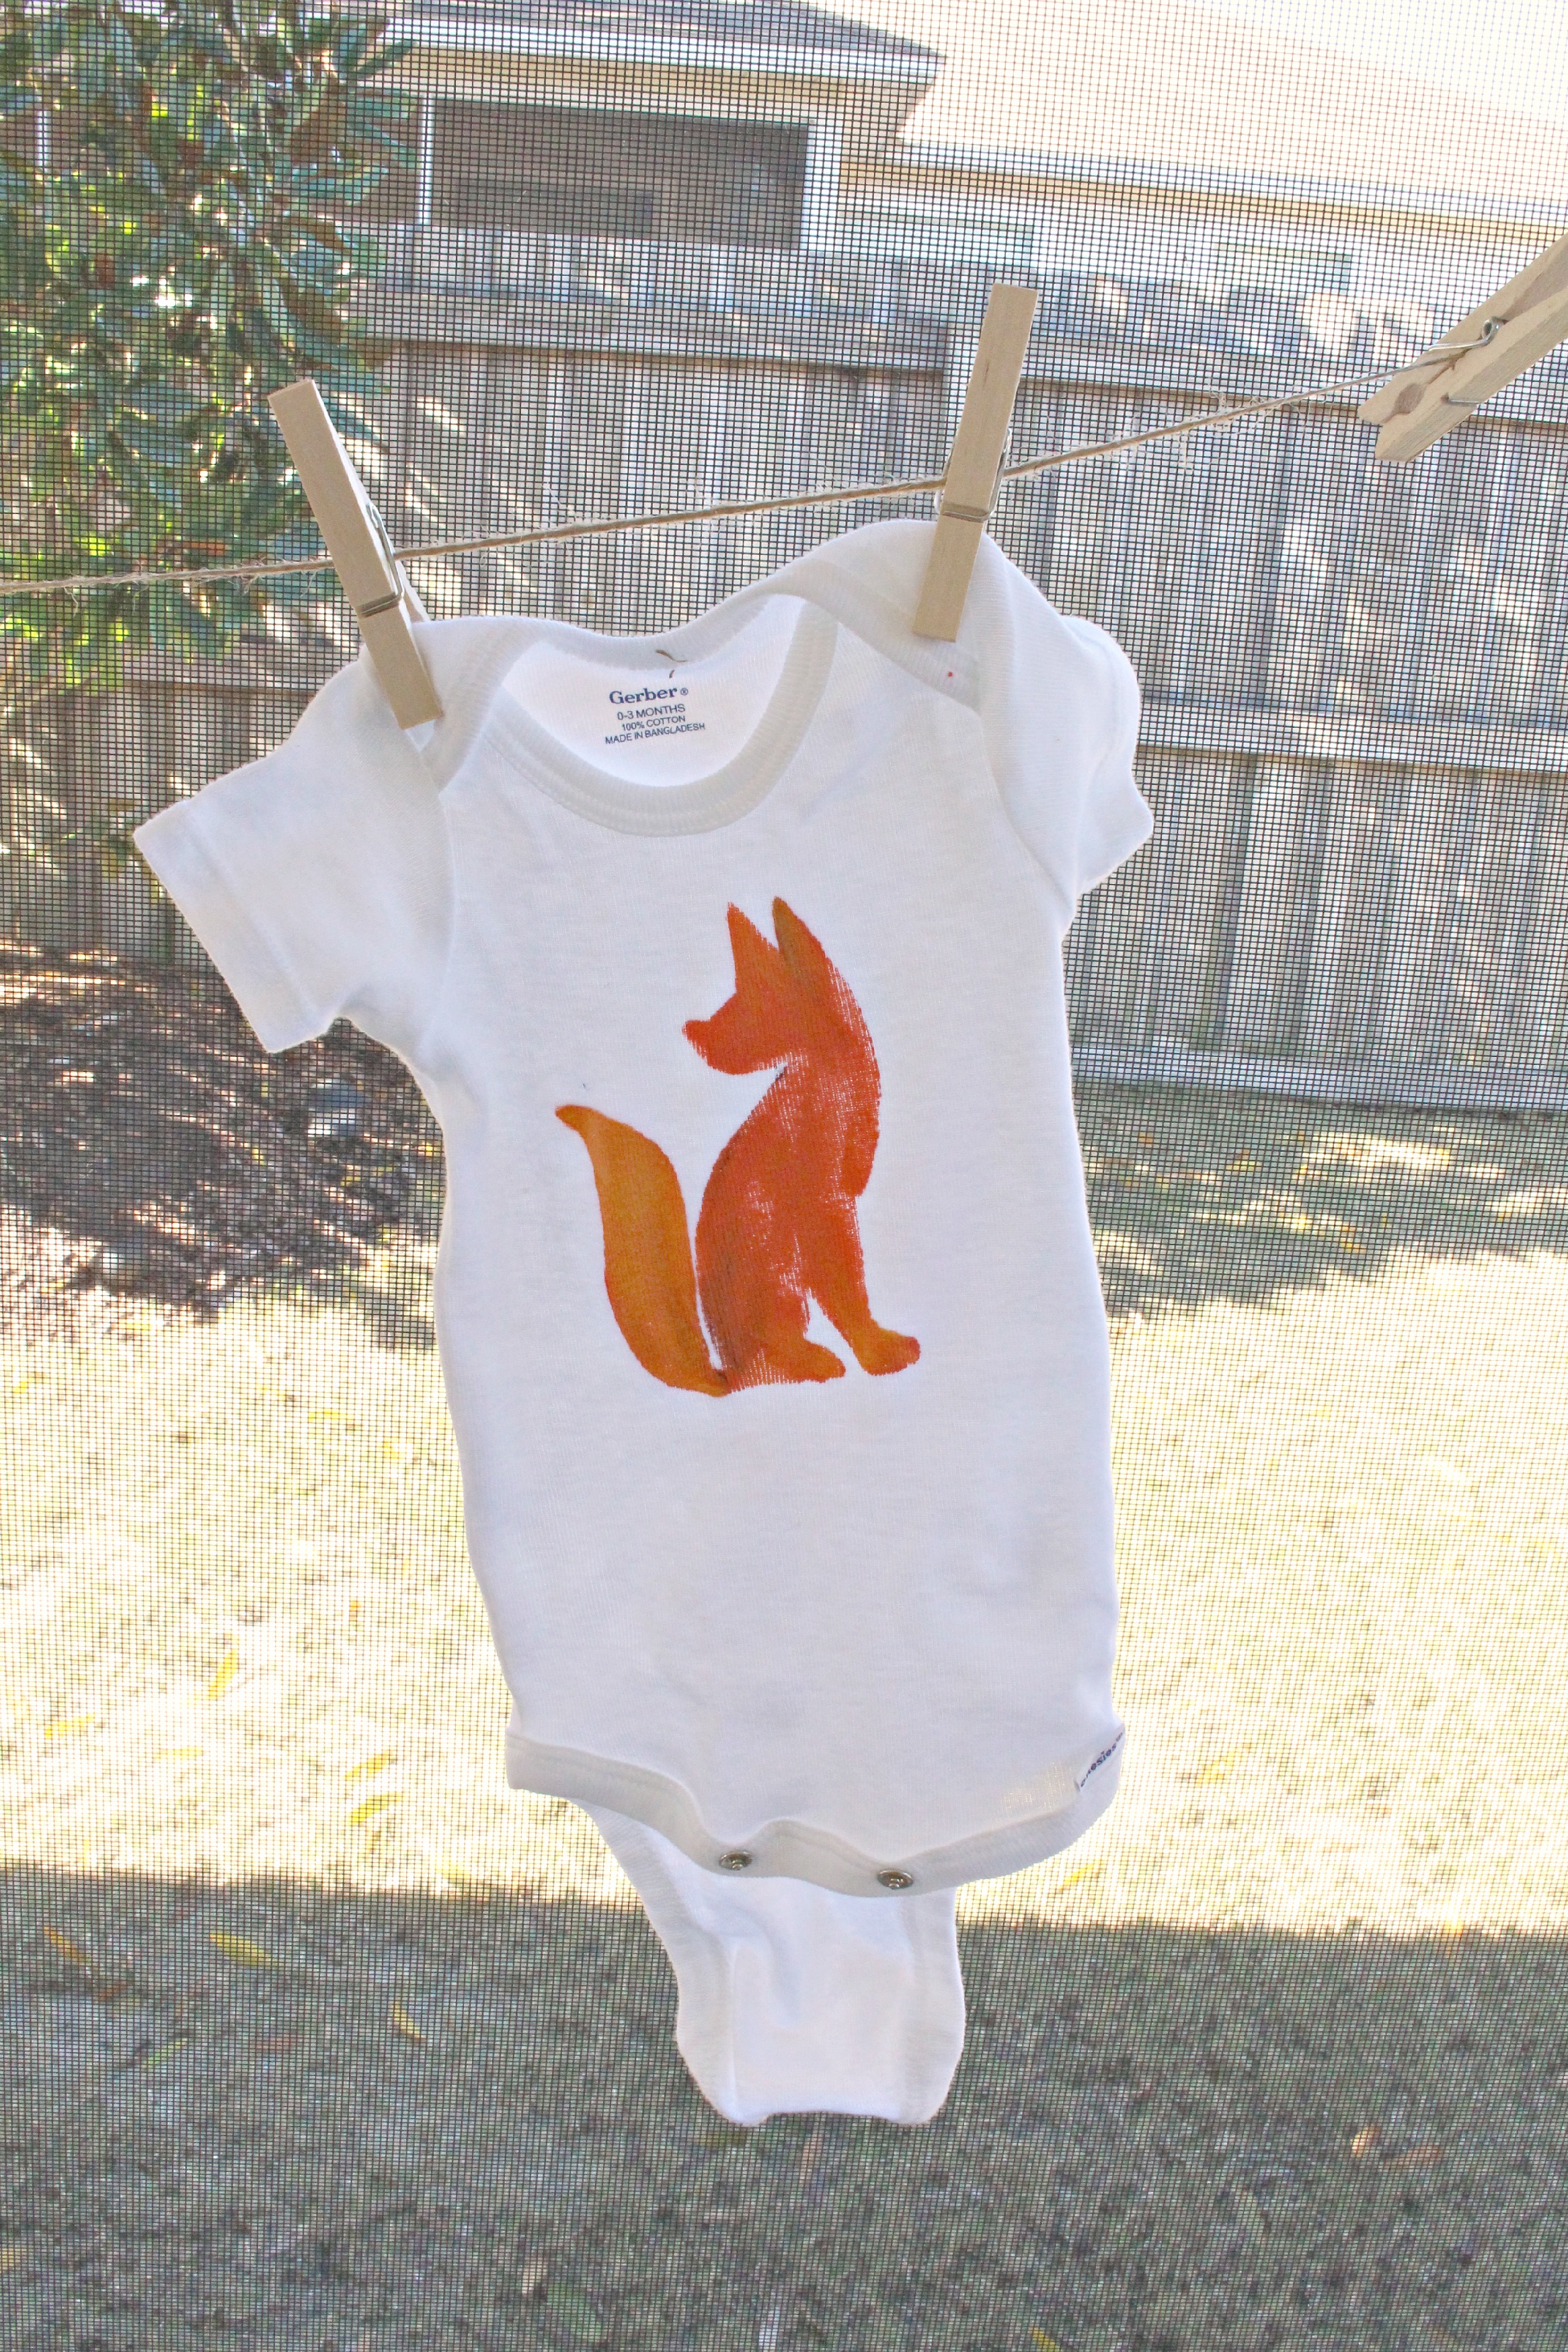
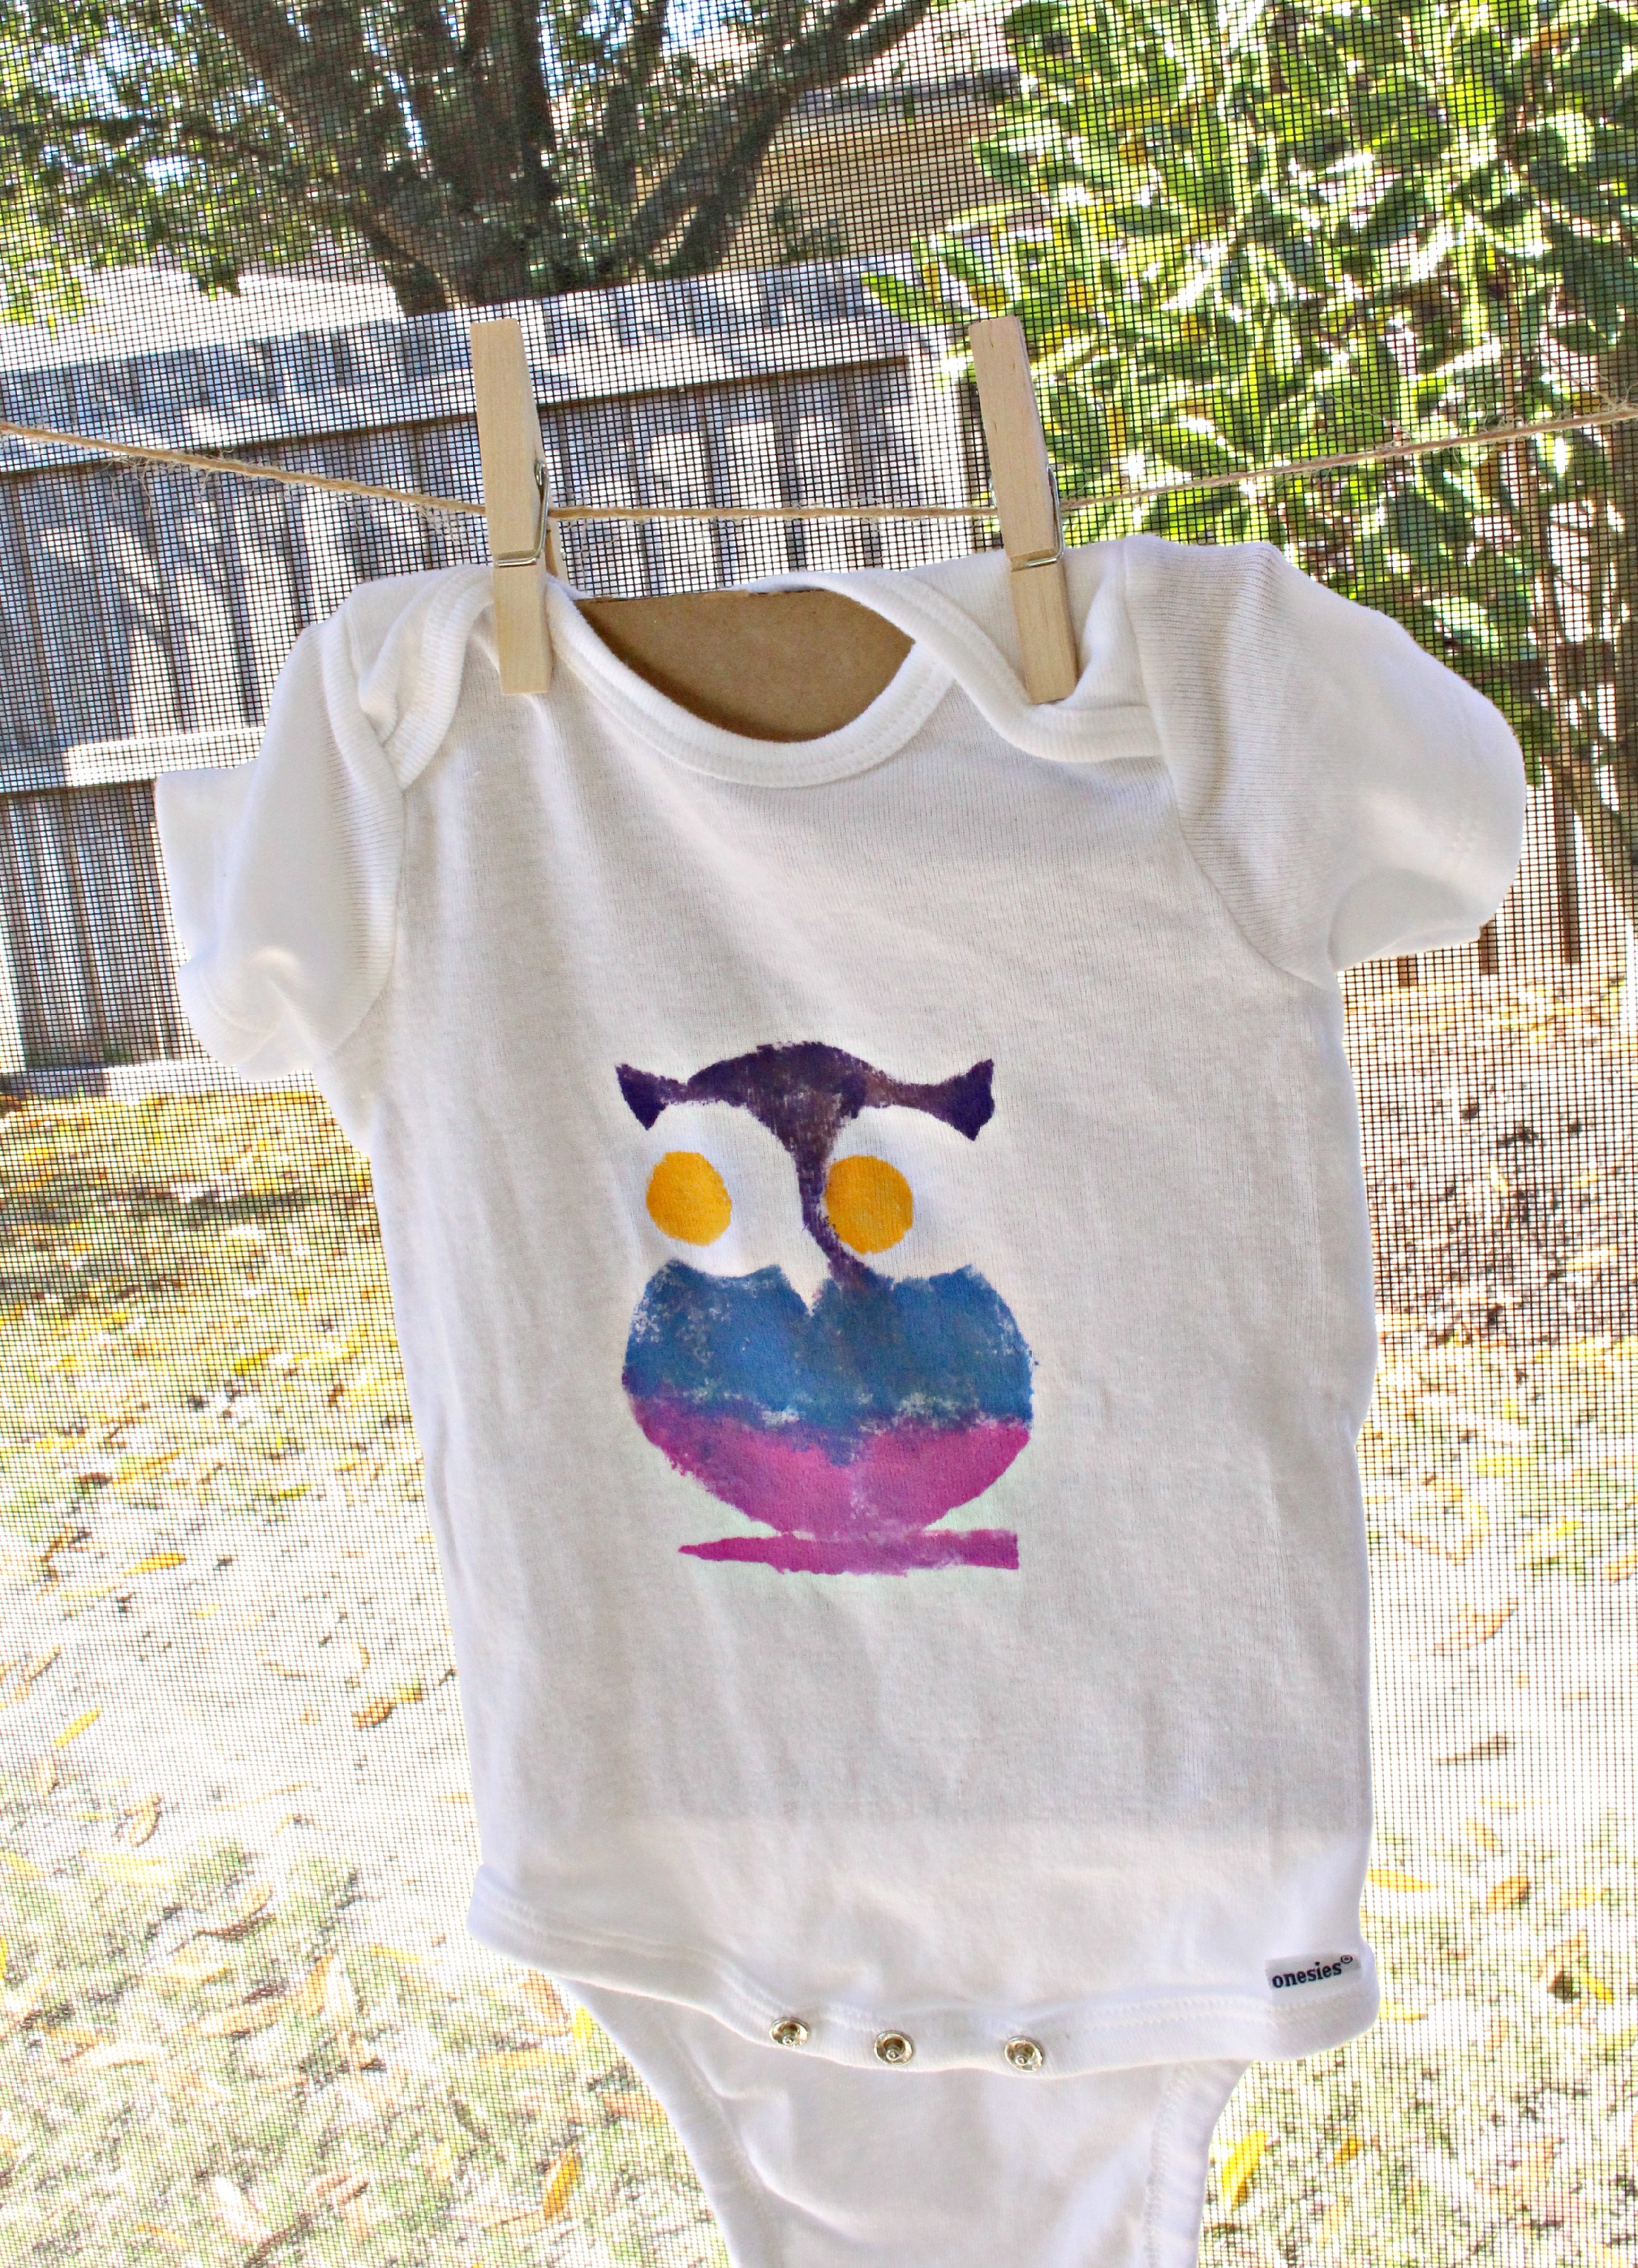
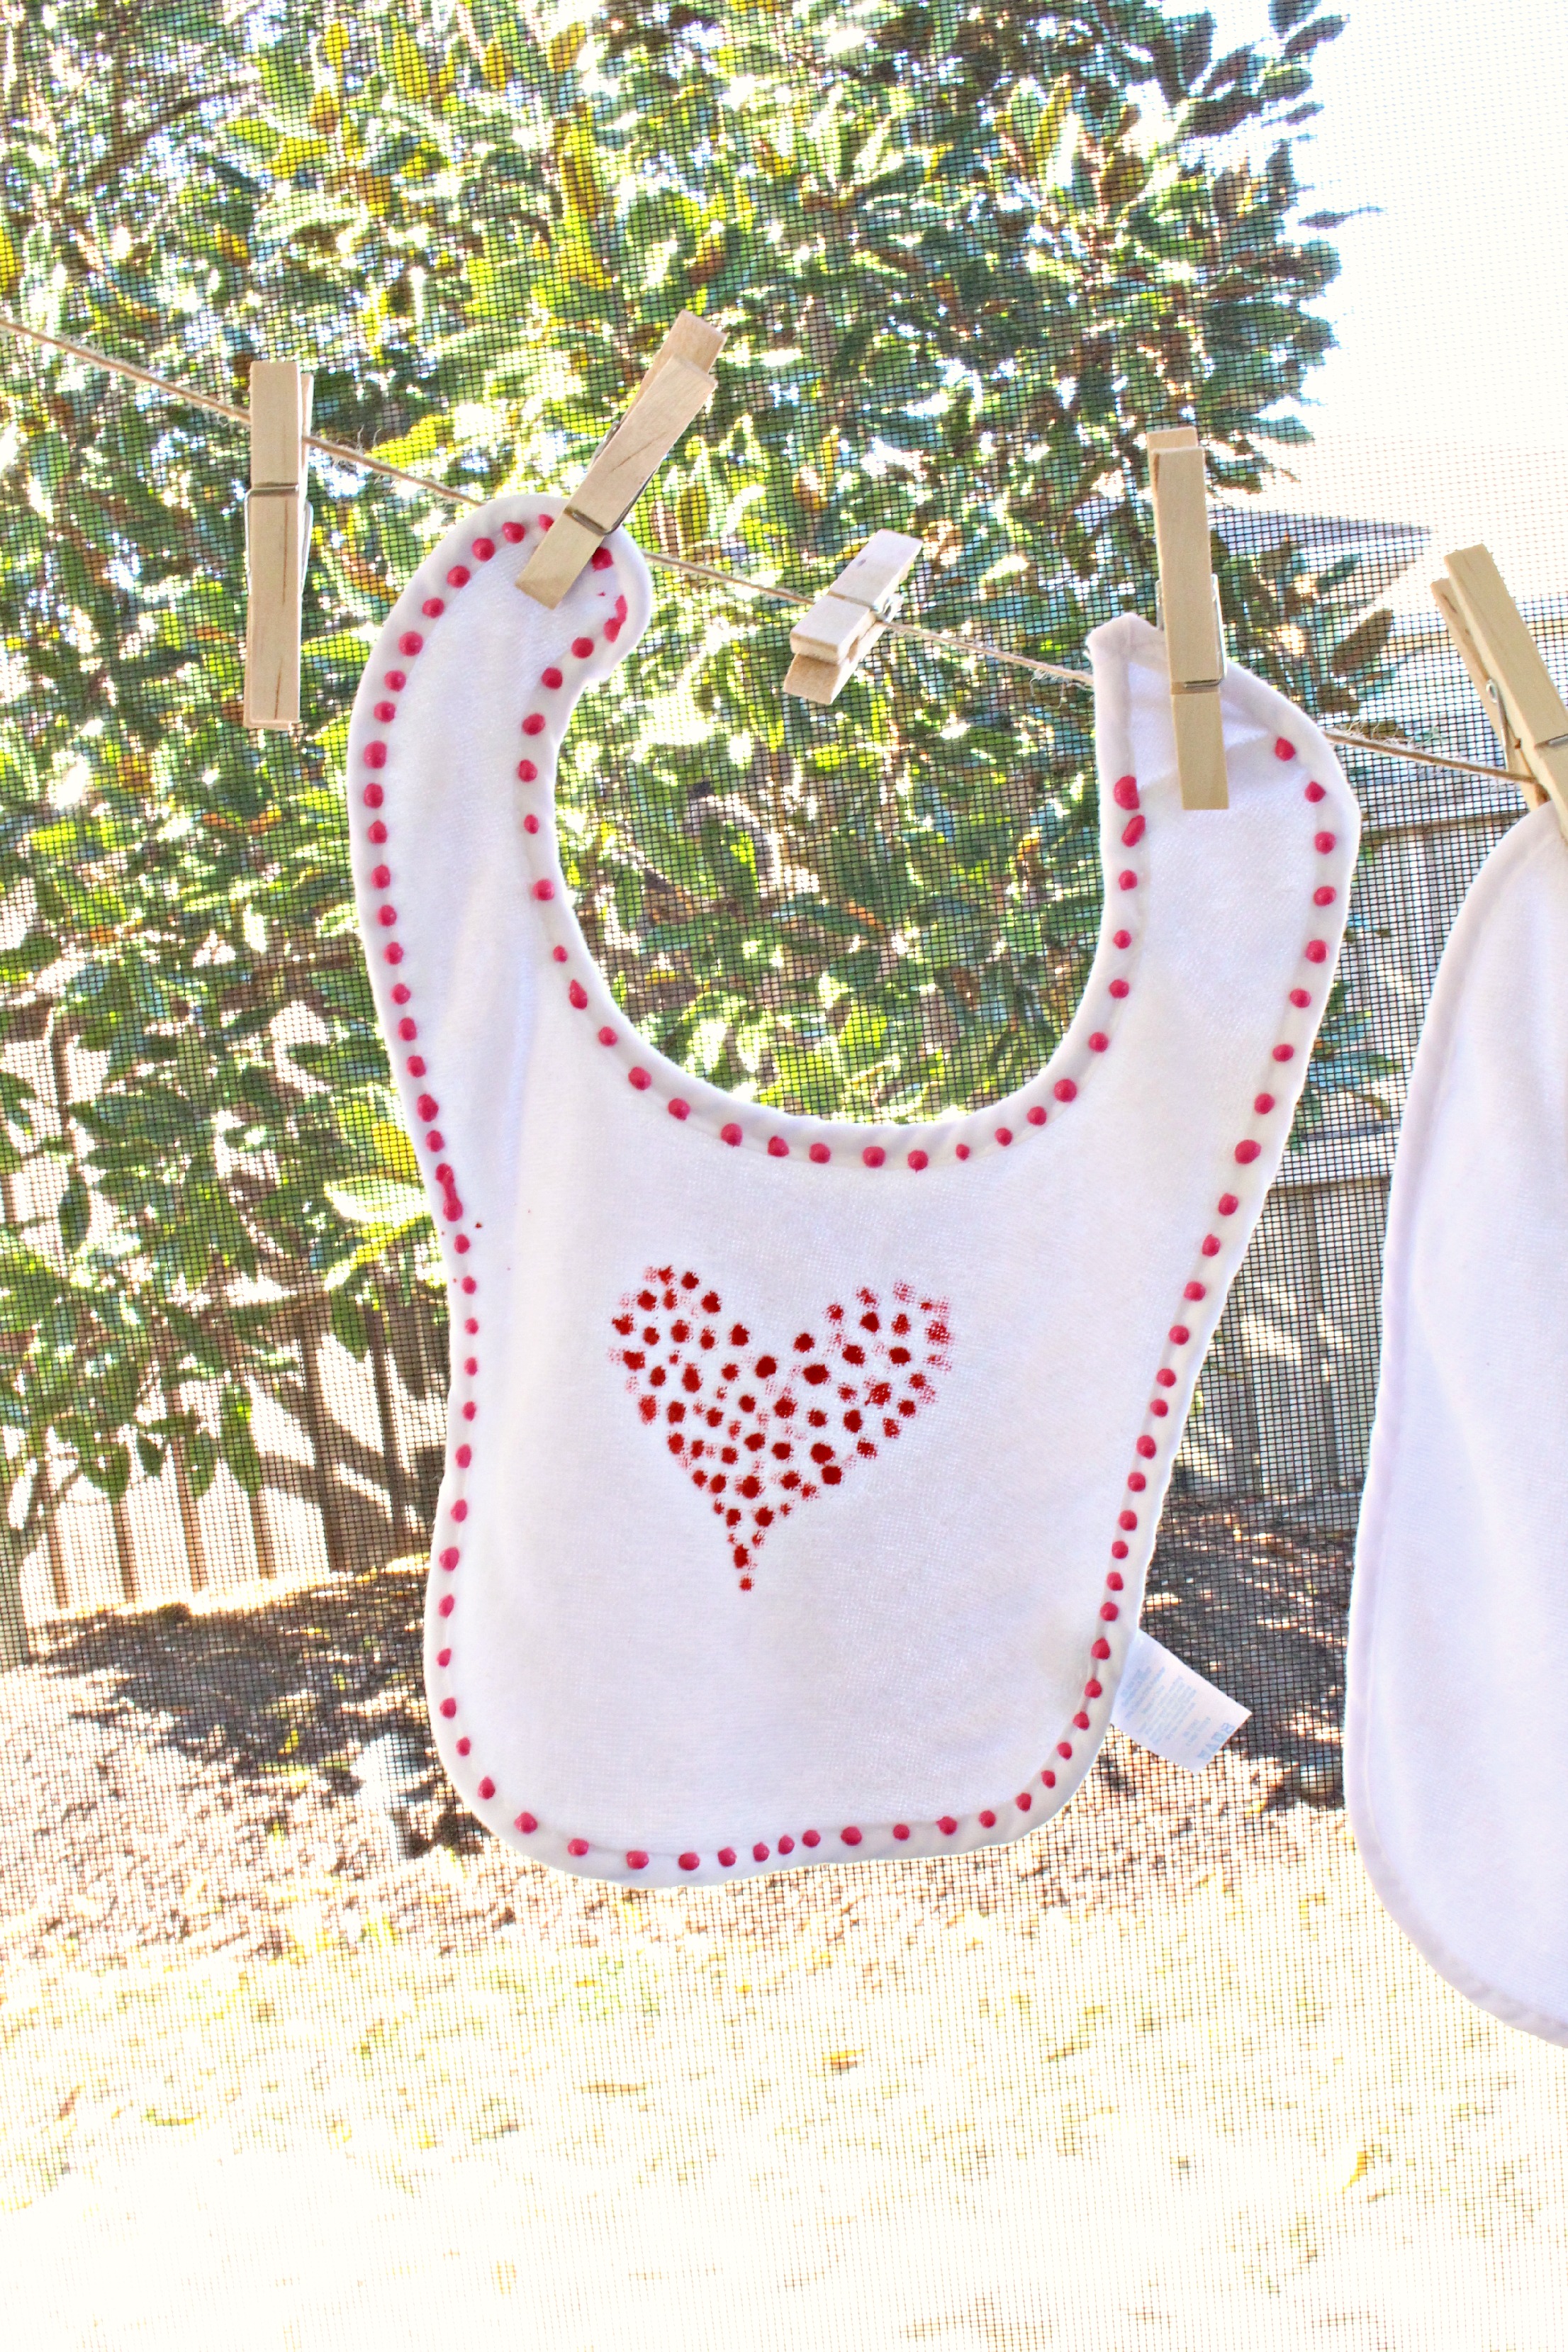
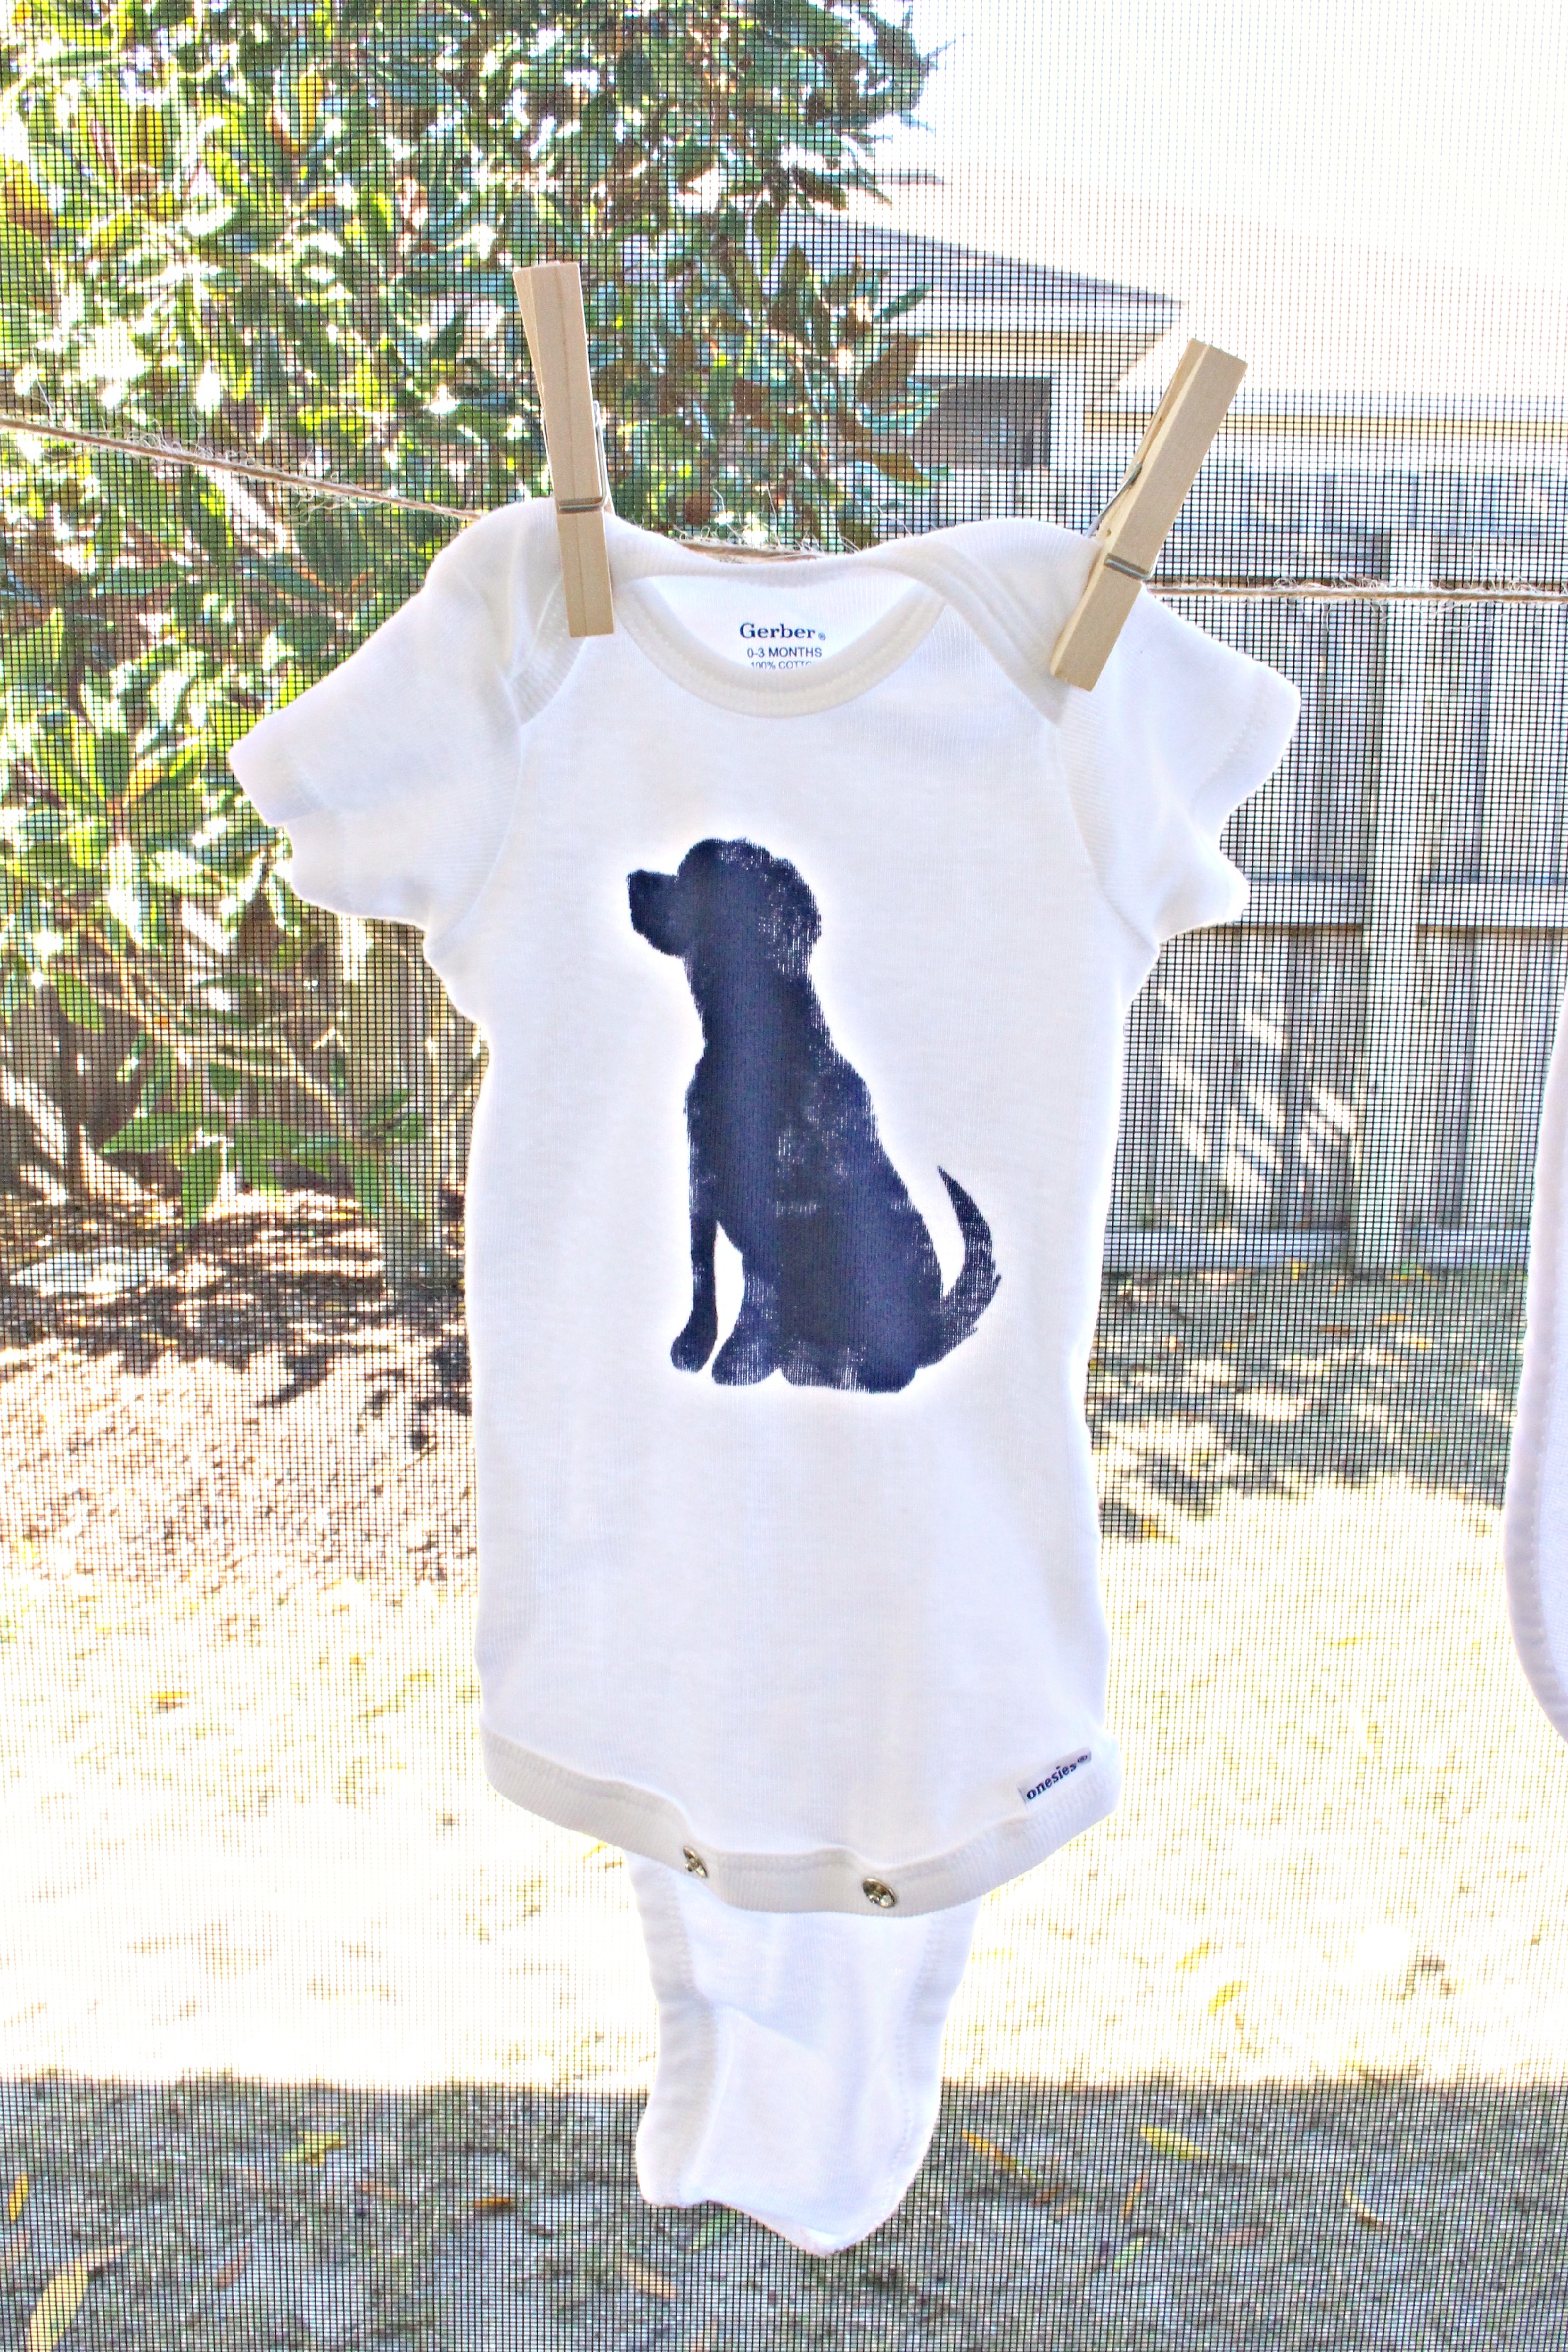
making onesiesonesie painting showeronesie paintspainting onesie with stencilshower onesie paintingPretty good, huh?

I didn’t want to get too crazy with the baby shower games, but I did put together one pretty common game.  It was the one where you guess what’s in the diaper.  I just melted 5 different candy bars and plopped each one into a diaper. name that poo gameAll the girls had to do was inspect each diaper and write down what they thought was inside.  I think you get the gist of it.  poopy diaper gameIt was quick and fun, and I had three prizes for the three girls that got the most correct answers in the fastest time. 1For the prizes, I just put together a few fun themed baskets…Prize tableThe first basket was a movie night theme.  It included: the movie Knocked Up (I thought it was appropriate), Junior Mints, Swedish Fish, and a box of Crunch n’ Munch popcorn.  Prize for showerThe second basket was baking themed.  It included: a brownie baking pan, two different brownie mixes, a measuring cup, a spatula and a whisk. shower prizeThe last basket was gardening themed.  It included: two flower pots, a bag of soil, four packets of flower seeds, gardening gloves, a shovel and a little garden gnome.shower prizesFor desert I just made some cupcakes and had some assorted candy.          baby boy shower cupcakes11121415
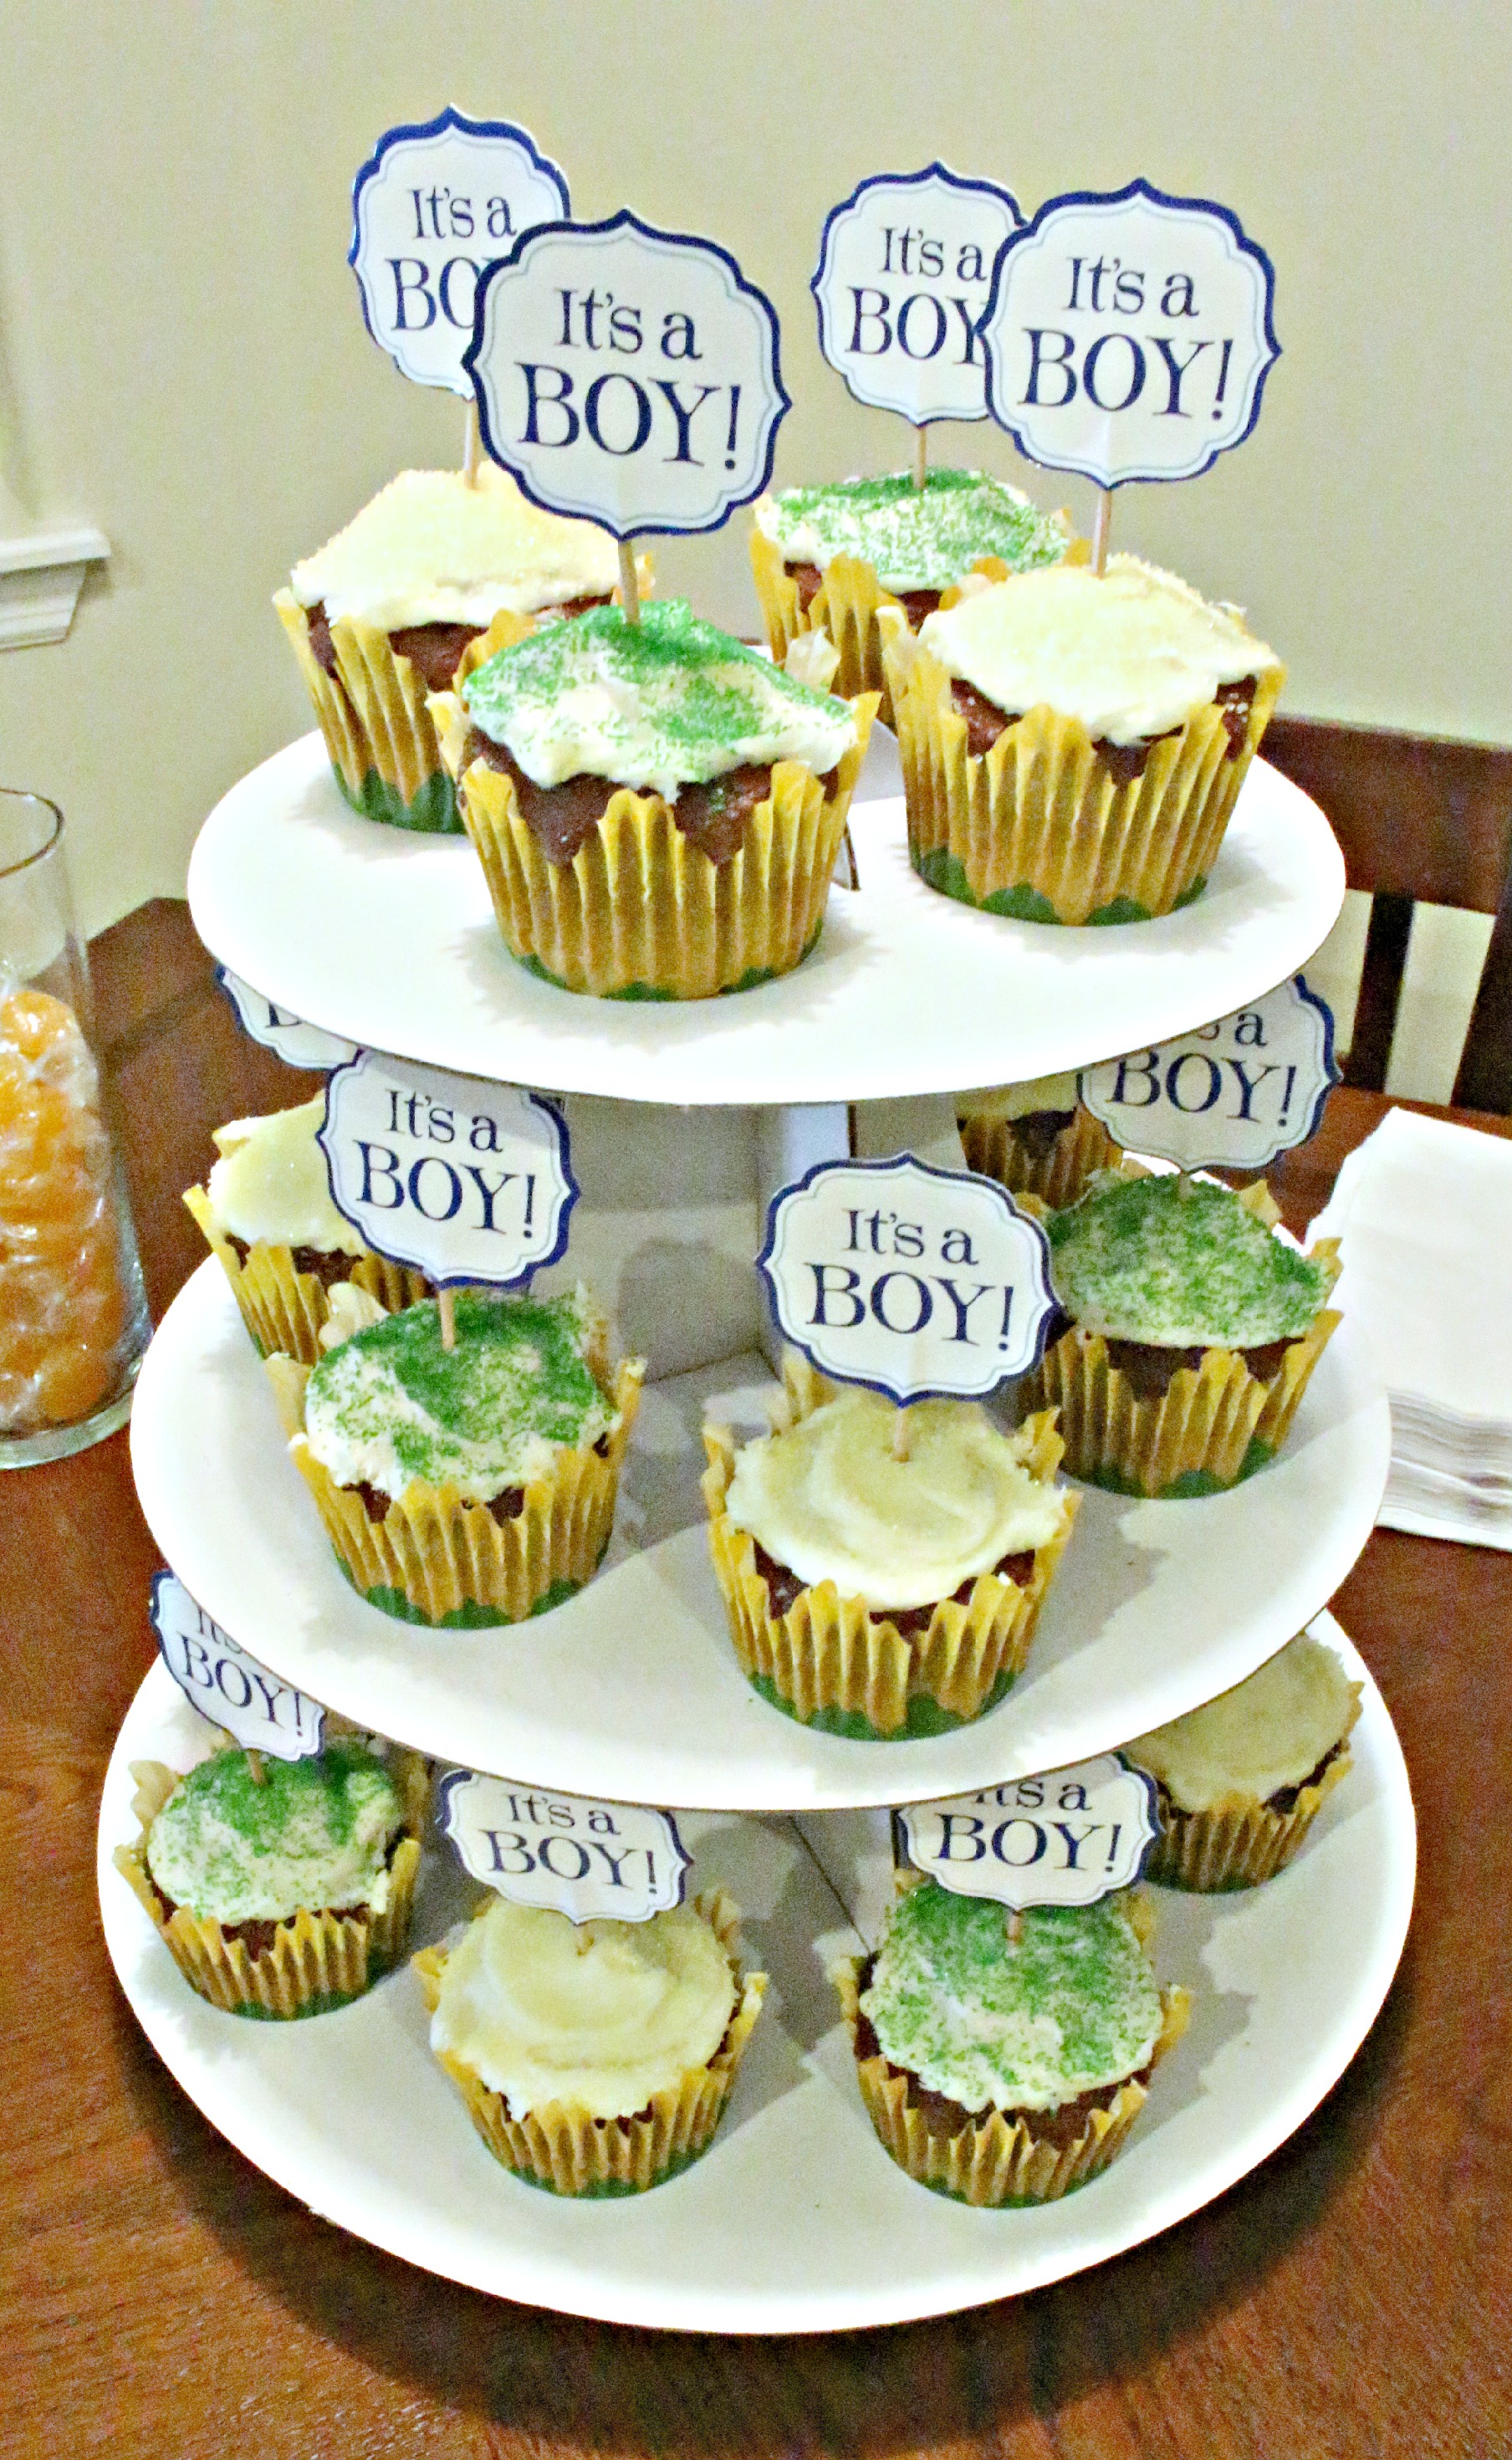
And, lastly, Gwen opened her presents!  We even Face-timed with her parents so they could get in on all the action. 248539
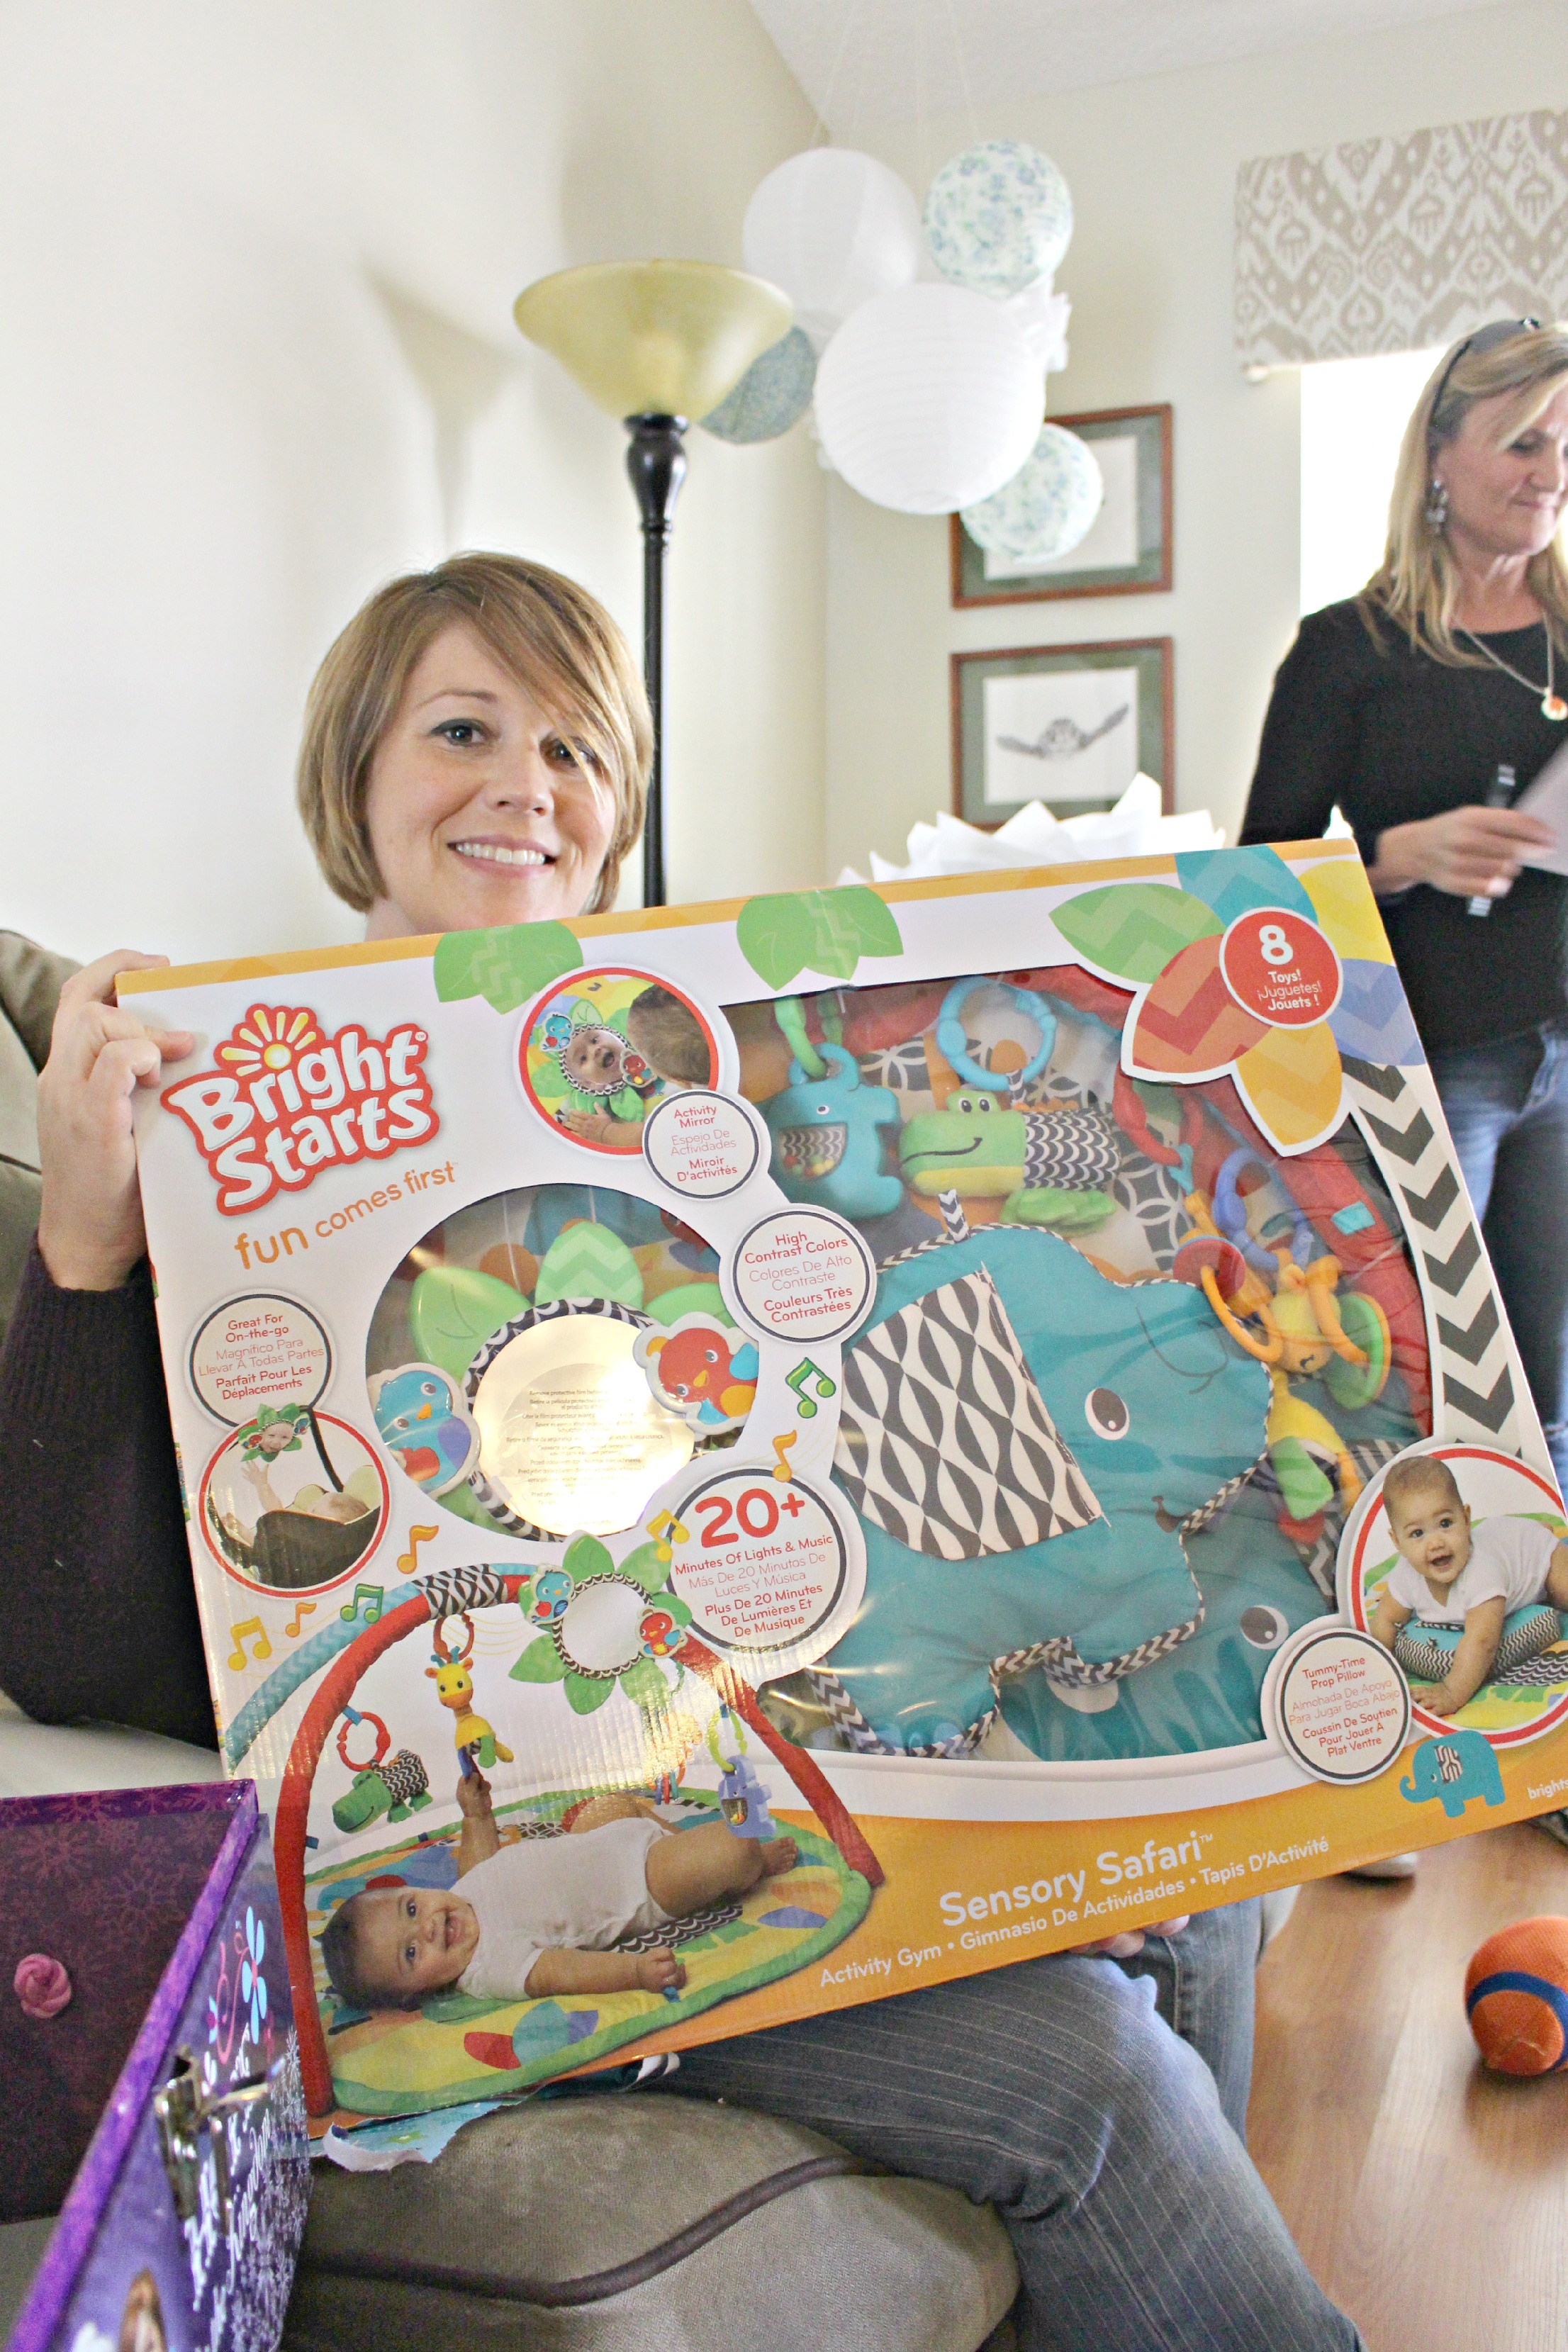
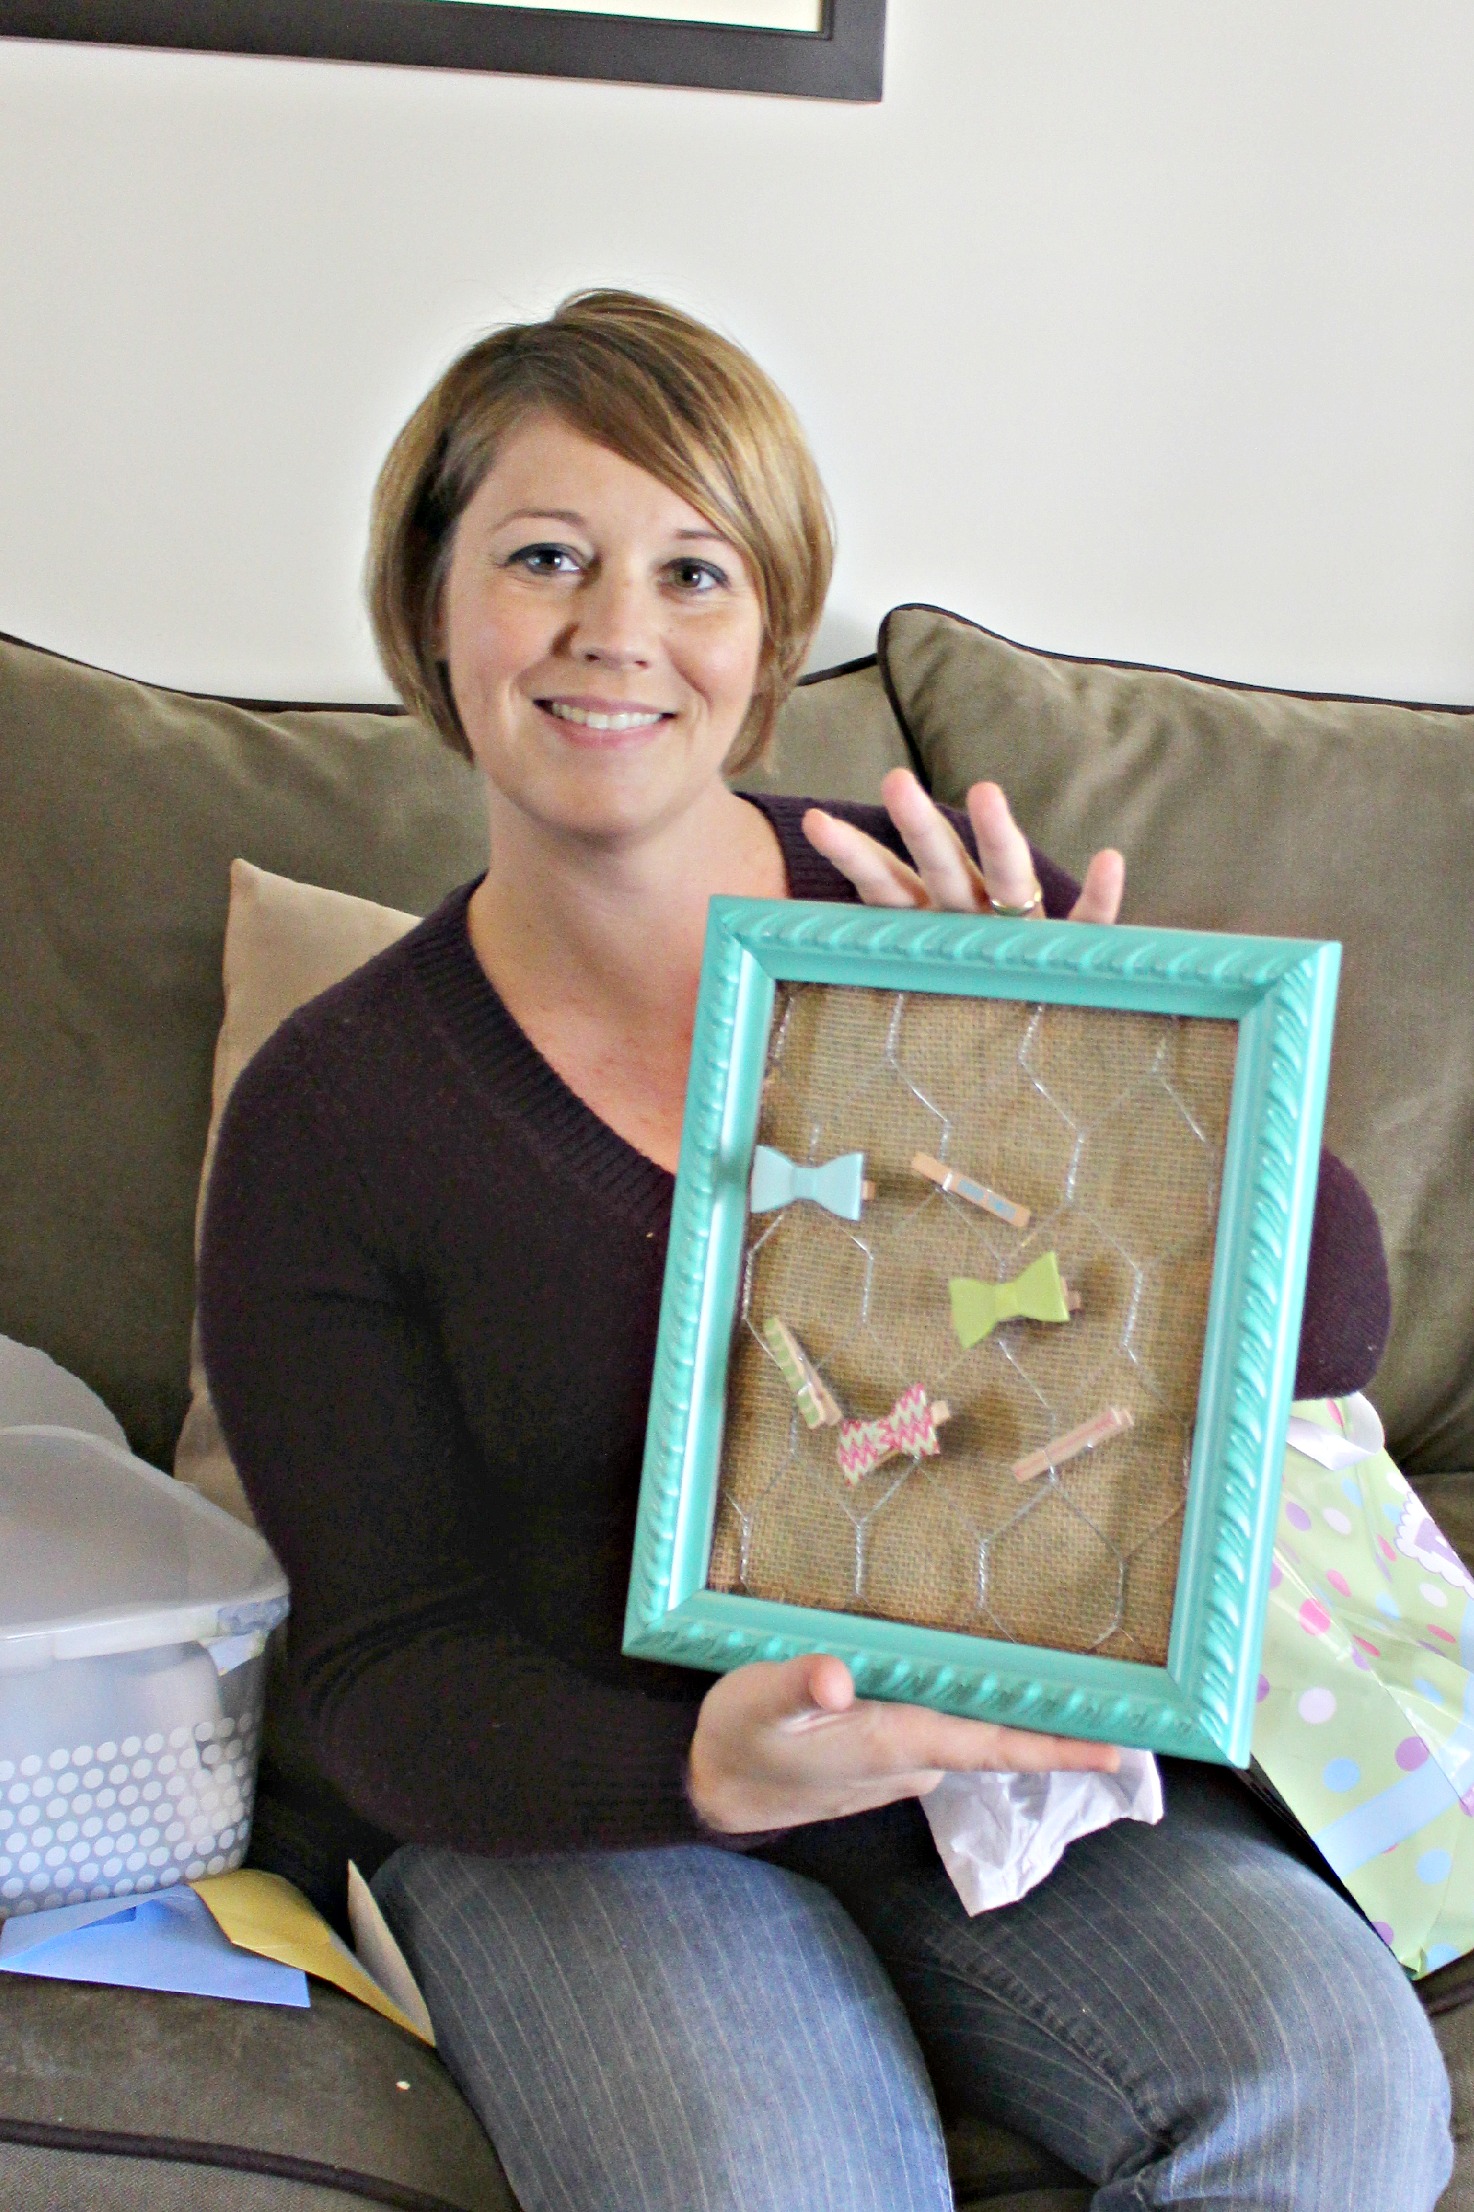
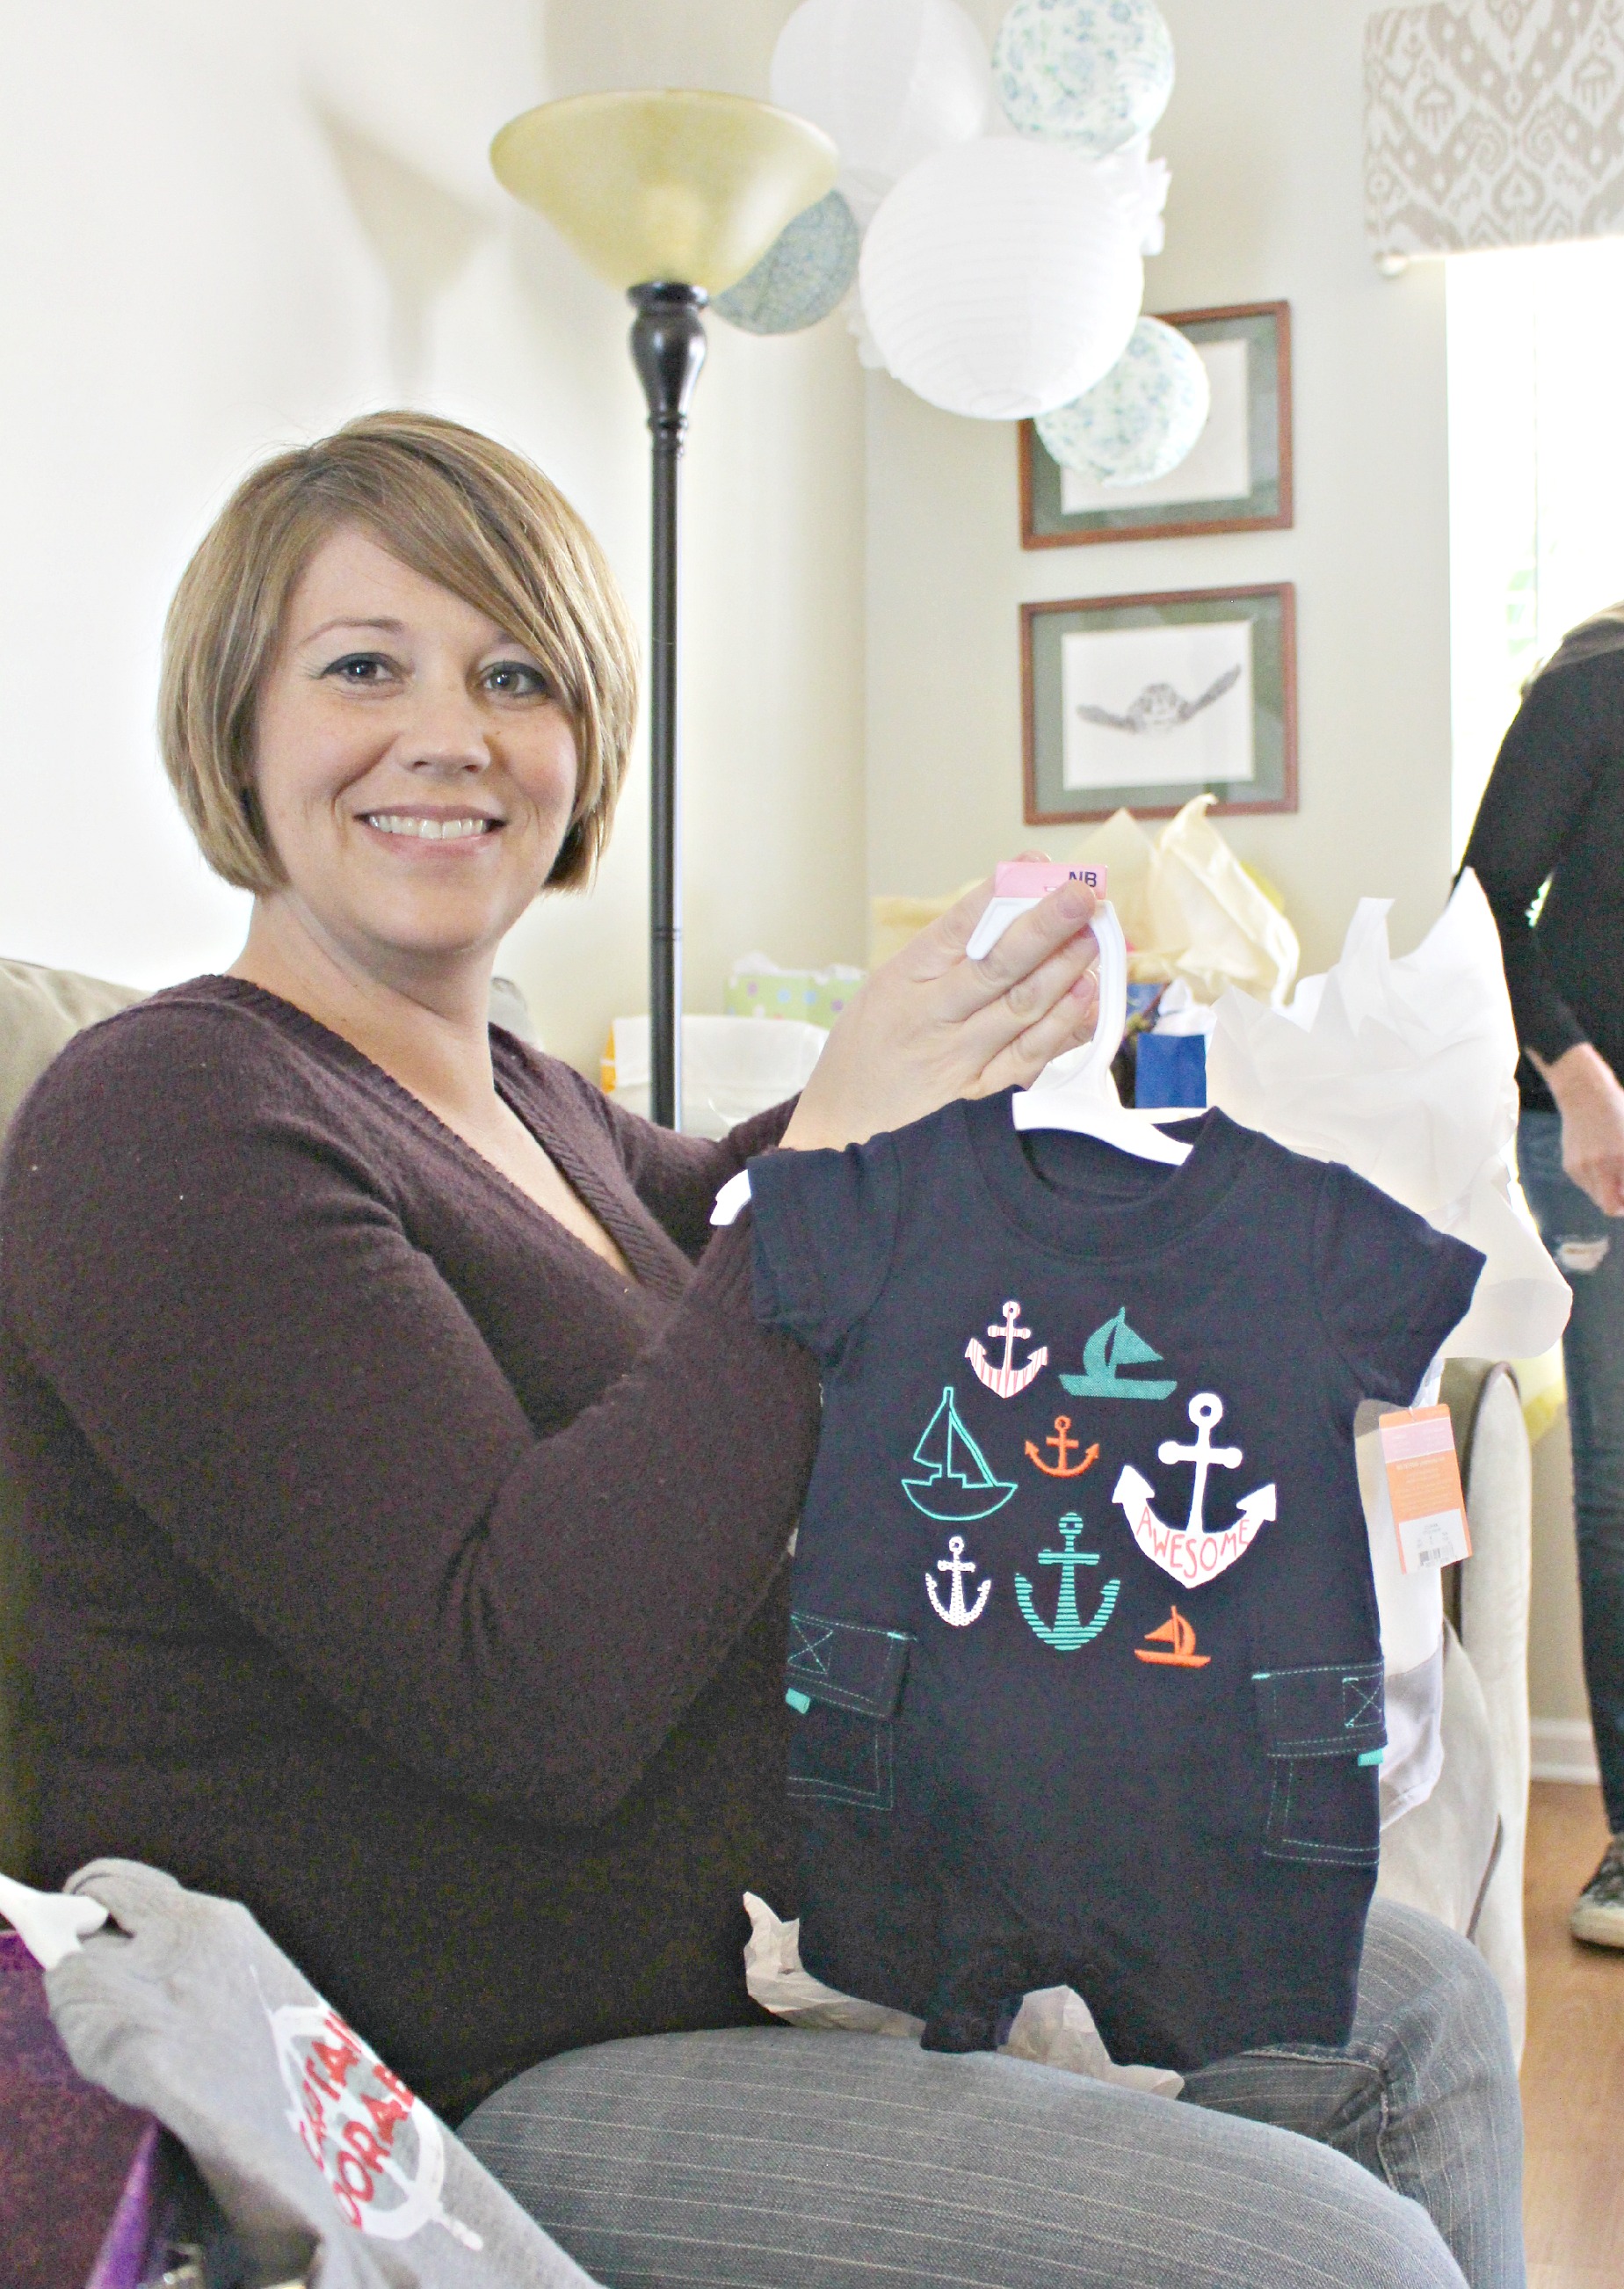
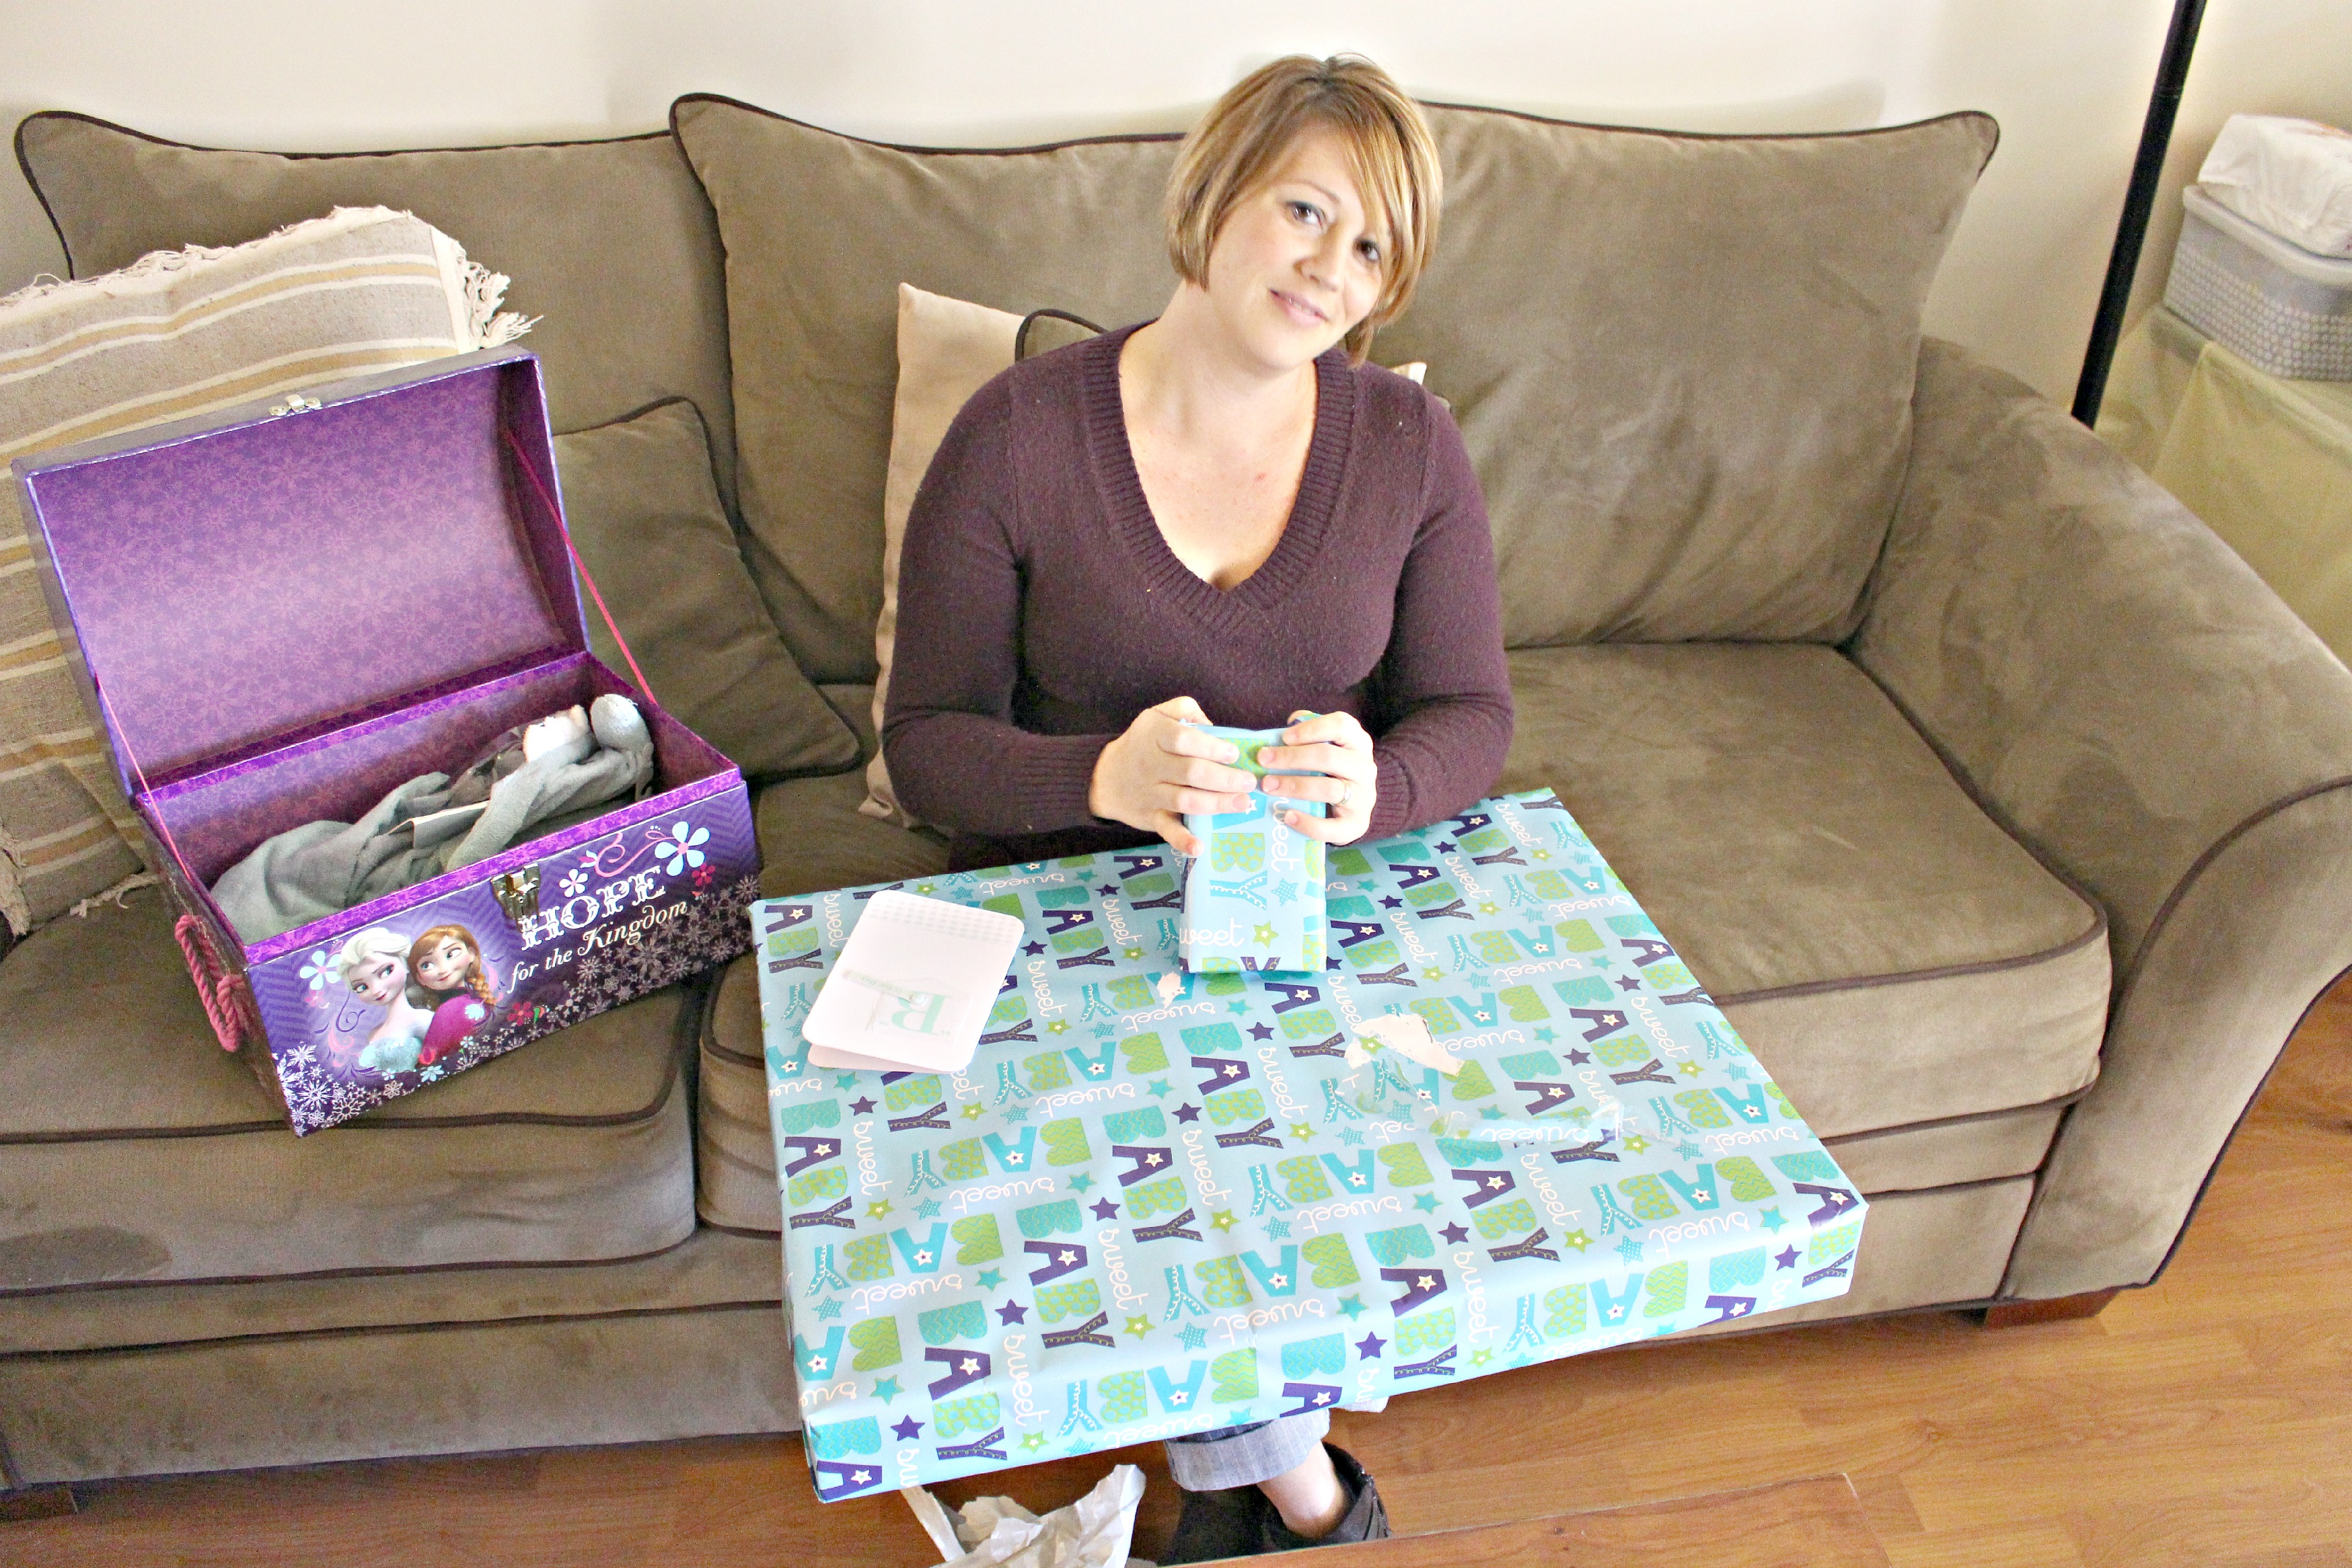
She got some really great stuff!

And, for favors, Gwen and I made some lavender sugar scrub for all of the girls to take home with them.Sugar scrub favors10Oh, and by the way, this is Owen…photoIsn’t he amazing?

Burlap Bag to Doorstop

Remember when my friend Christina gave me this awesome gift basket full of antiques for my bridal shower?

antique-shower-gift

Well, I have been pondering about what I should do with that snazzy feed sack, and I finally figured it out.  Doorstops!  I have been thinking a lot about how we needed doorstops for our back french doors that lead out to our patio.  And, we needed them A.S.A.P., since the weather is about to get cool enough to turn off the AC and leave the doors open! Woo to the hoo!

So, I grabbed my feed sack and did some more pondering about how I can make this work.  I had previously made a pretty nifty doorstop for our bedroom, so I figured I would do something pretty similar this time around.

First, let me show you this feed sack…burlap bagfeed sackOne thing that I love about it is that it has something printed on both the front and the back.

The front says Hoffman’s Farm Seeds.  I dig it.antique seed bagAnd the back….antique corn sackFunk’s Hybrid?  I mean, come on, you had me at Funk’s!

My first step was to cut the bag so that it laid flat.  This way, I had one long piece of fabric.  I did this by cutting across one side and along the bottom. seed bag craftVoila!!!

Then, I gave the whole thing a good ironing.  From there, it was time to do some cutting.  I wanted the doorstops to be a bit taller this time around, because there is actually a step up into the house making the doors a bit higher.  Since they needed to be taller, I cut the fabric longer vertically. This worked out well, since the printing on the bag is more vertical. antique burlap bags

I also made sure to cut both pieces the same size.  I did this by cutting one piece to the size I wanted, then laying that piece directly onto the center of the uncut piece.  I cut the uncut fabric directly around the edge of the top pre-cut fabric, basically tracing the exact size.   Hope that makes sense!  Probably not, but that’s as good as it gets for my explanation.

Anywho, those two pieces were to be the front of my new doorstops.  That means I needed two more pieces that are the exact same size.  I just so happened to have some tan fabric that matched pretty well with the fabric from the feed sack.  So, I cut two more pieces of that fabric the same way.tan fabricI needed two more pieces, because I was making two doorstops.  Which both have a front and a back, just in case you’re not following where I am going with this.  Now, that I had all of the pieces cut to the same size, it was time to get sewing.

I took the tan fabric, “good” side facing up, and laid it down first.  I, then, placed my feed sack piece, “good” side facing down, on top of the tan fabric, making a fabric sandwich. This way both “good” sides are facing inward.  And when I say “good” side, I mean the side that I want to be seen when I am done sewing, so for the feed sack it would be the side with the printing.  how to sew pouchesHere is a peek at the inside of my fabric sandwich…sewing fabric together good side facing inGet it?

Then, I just sewed up all sides of each, leaving only a small opening on one side. sewing-fabric-inside-outsewing inside outThe opening was about 3 inches wide. leaving opening in fabric for stuffingI left an opening, so I was able to turn the soon-to-be doorstop inside out. flipping fabric inside outOnce, I had turned each doorstop inside out I was left with this…burlap bag craftI didn’t sew those openings up just yet.  I first used them to fill the doorstops with rice.using rice for weight how to make fabric weightI just poured the rice right in, totally expecting to make a mess, but it was pretty easy and mess-free.  However, if you have a funnel, you might want to break it out for this step.filling fabric pouchIt took about 7 lbs. of dry rice to fill each doorstop. burlap sack craftI didn’t want them to be so stuffed they looked like they were going to burst, but I did wanted them to be heavy enough to prop each door open.  So, 7 lbs. seemed like a happy medium.burlap bag crafts
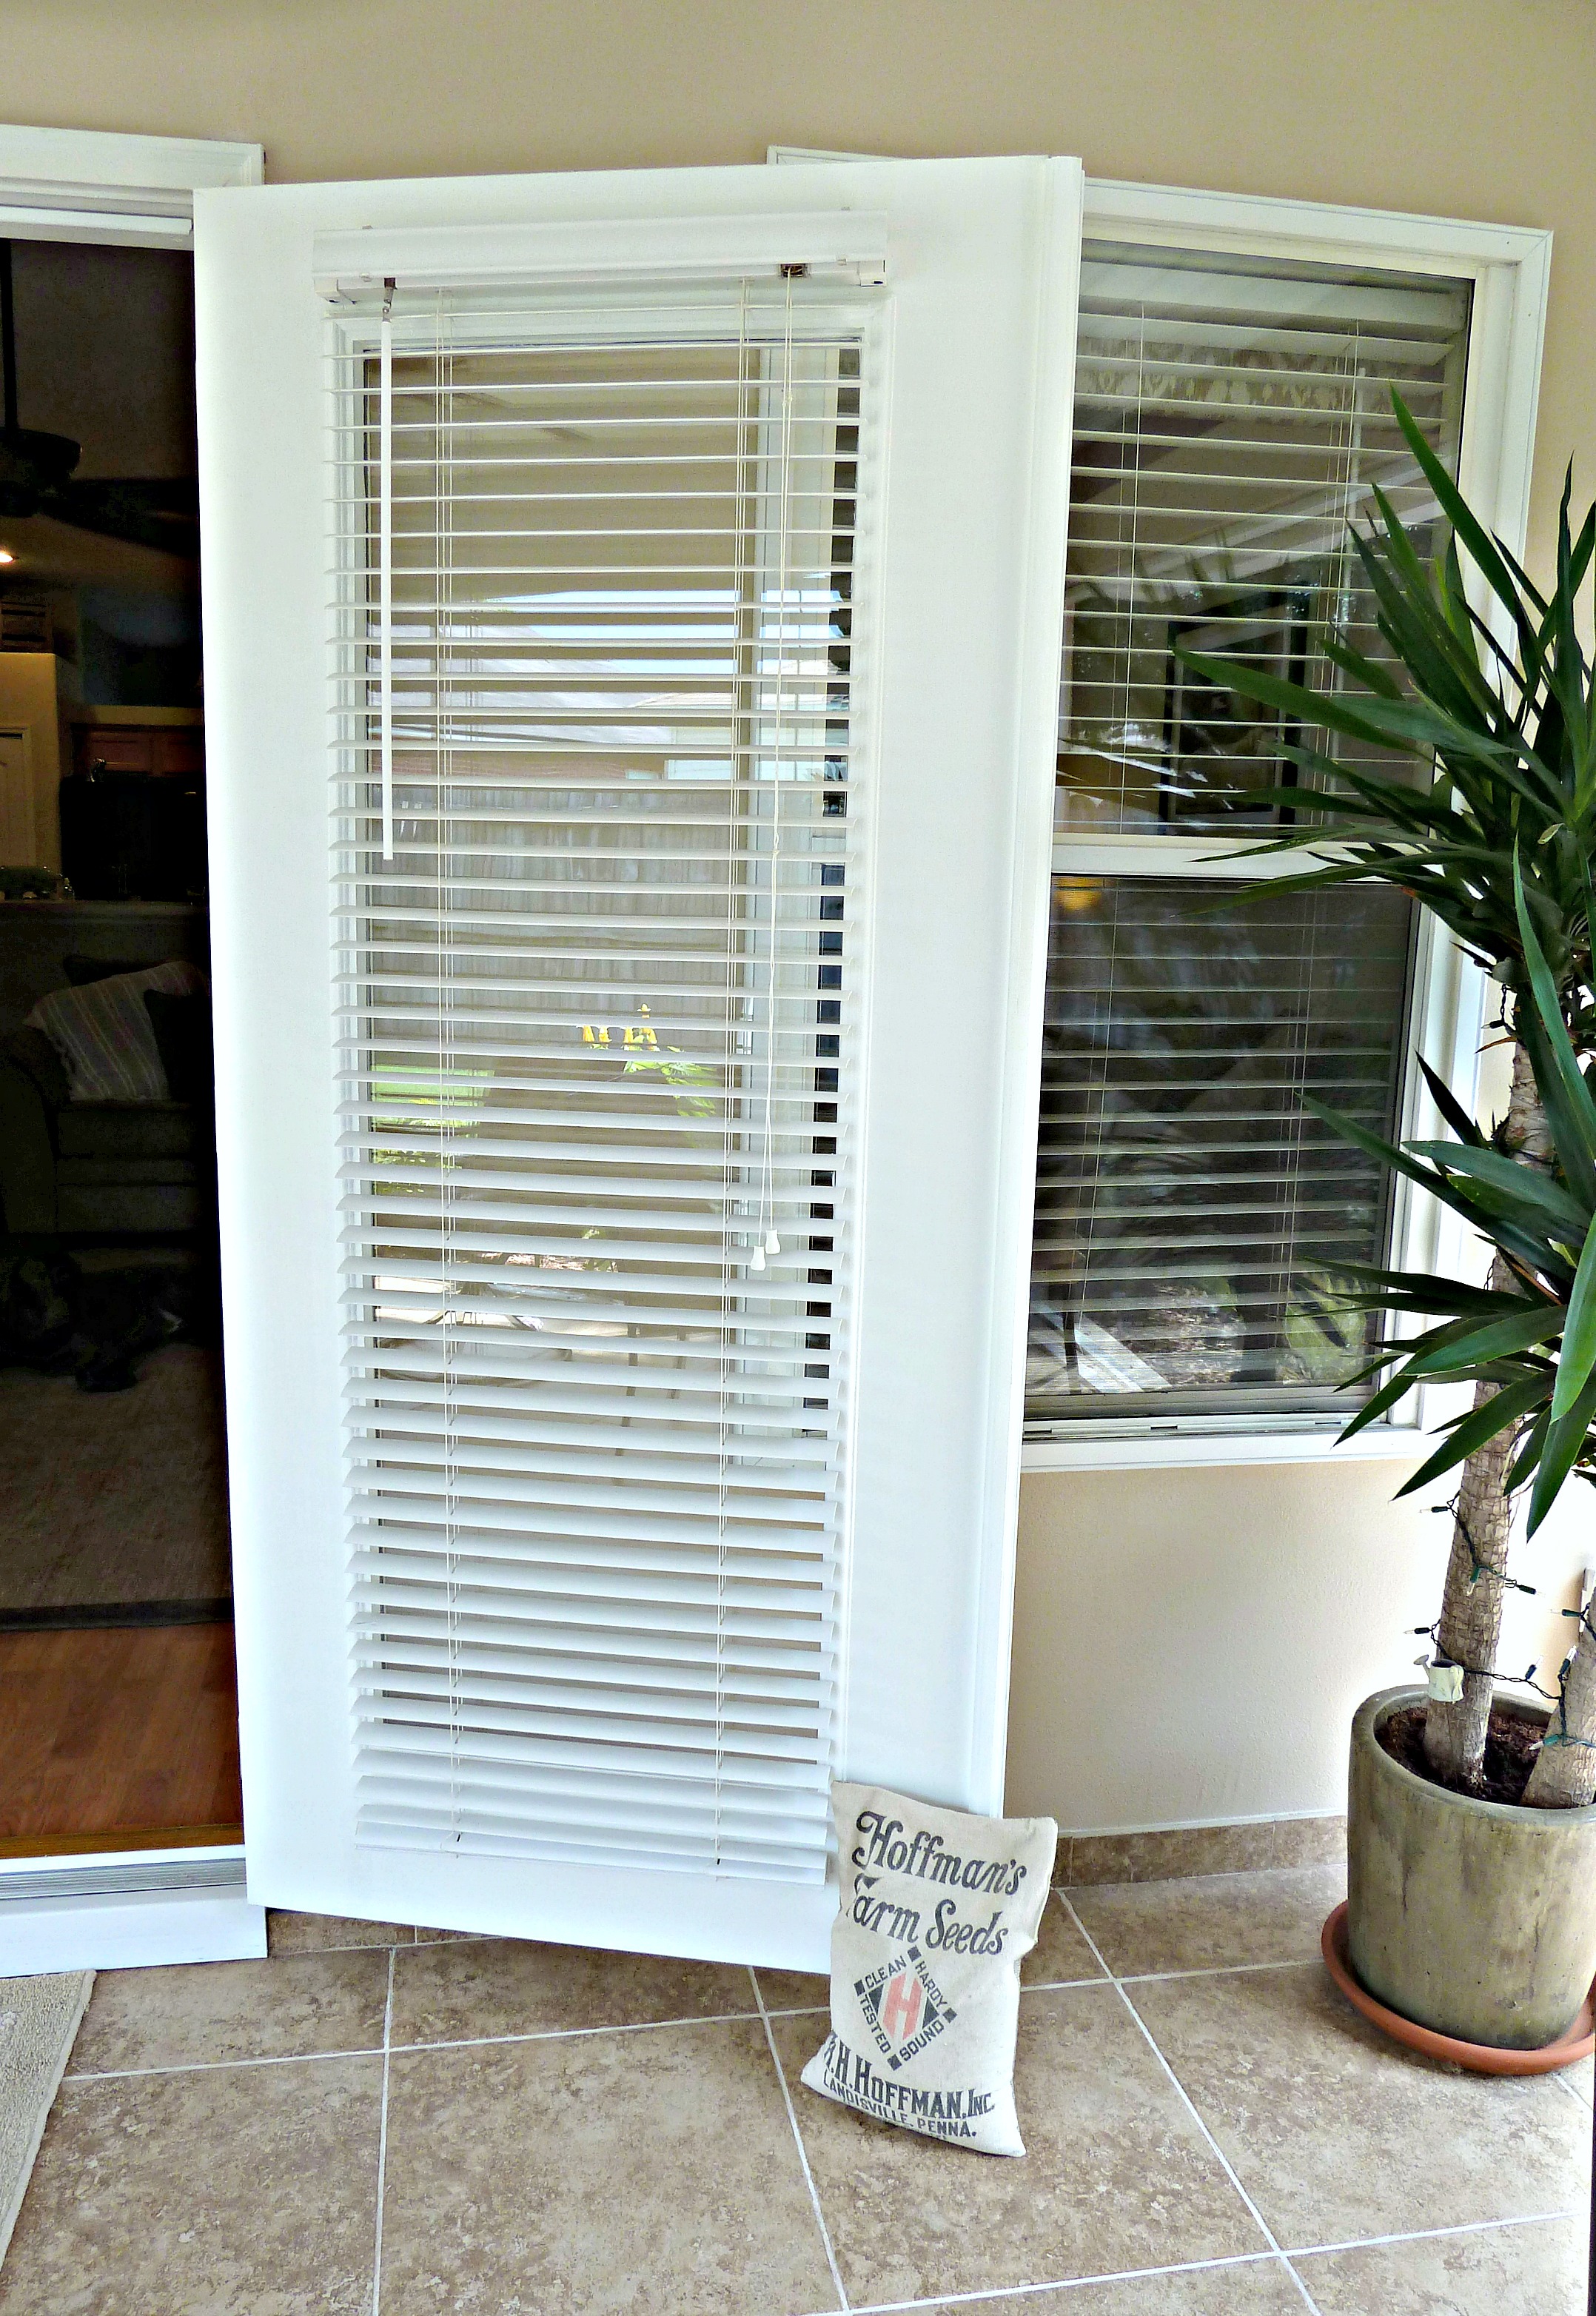
Once, they were both full, I sewed up the opening and then took them for a test run.       antique doorstopburlap bag doorstop Check out that door propping action! Wanna get closer? Okay!…feed sack ideasburlap sack
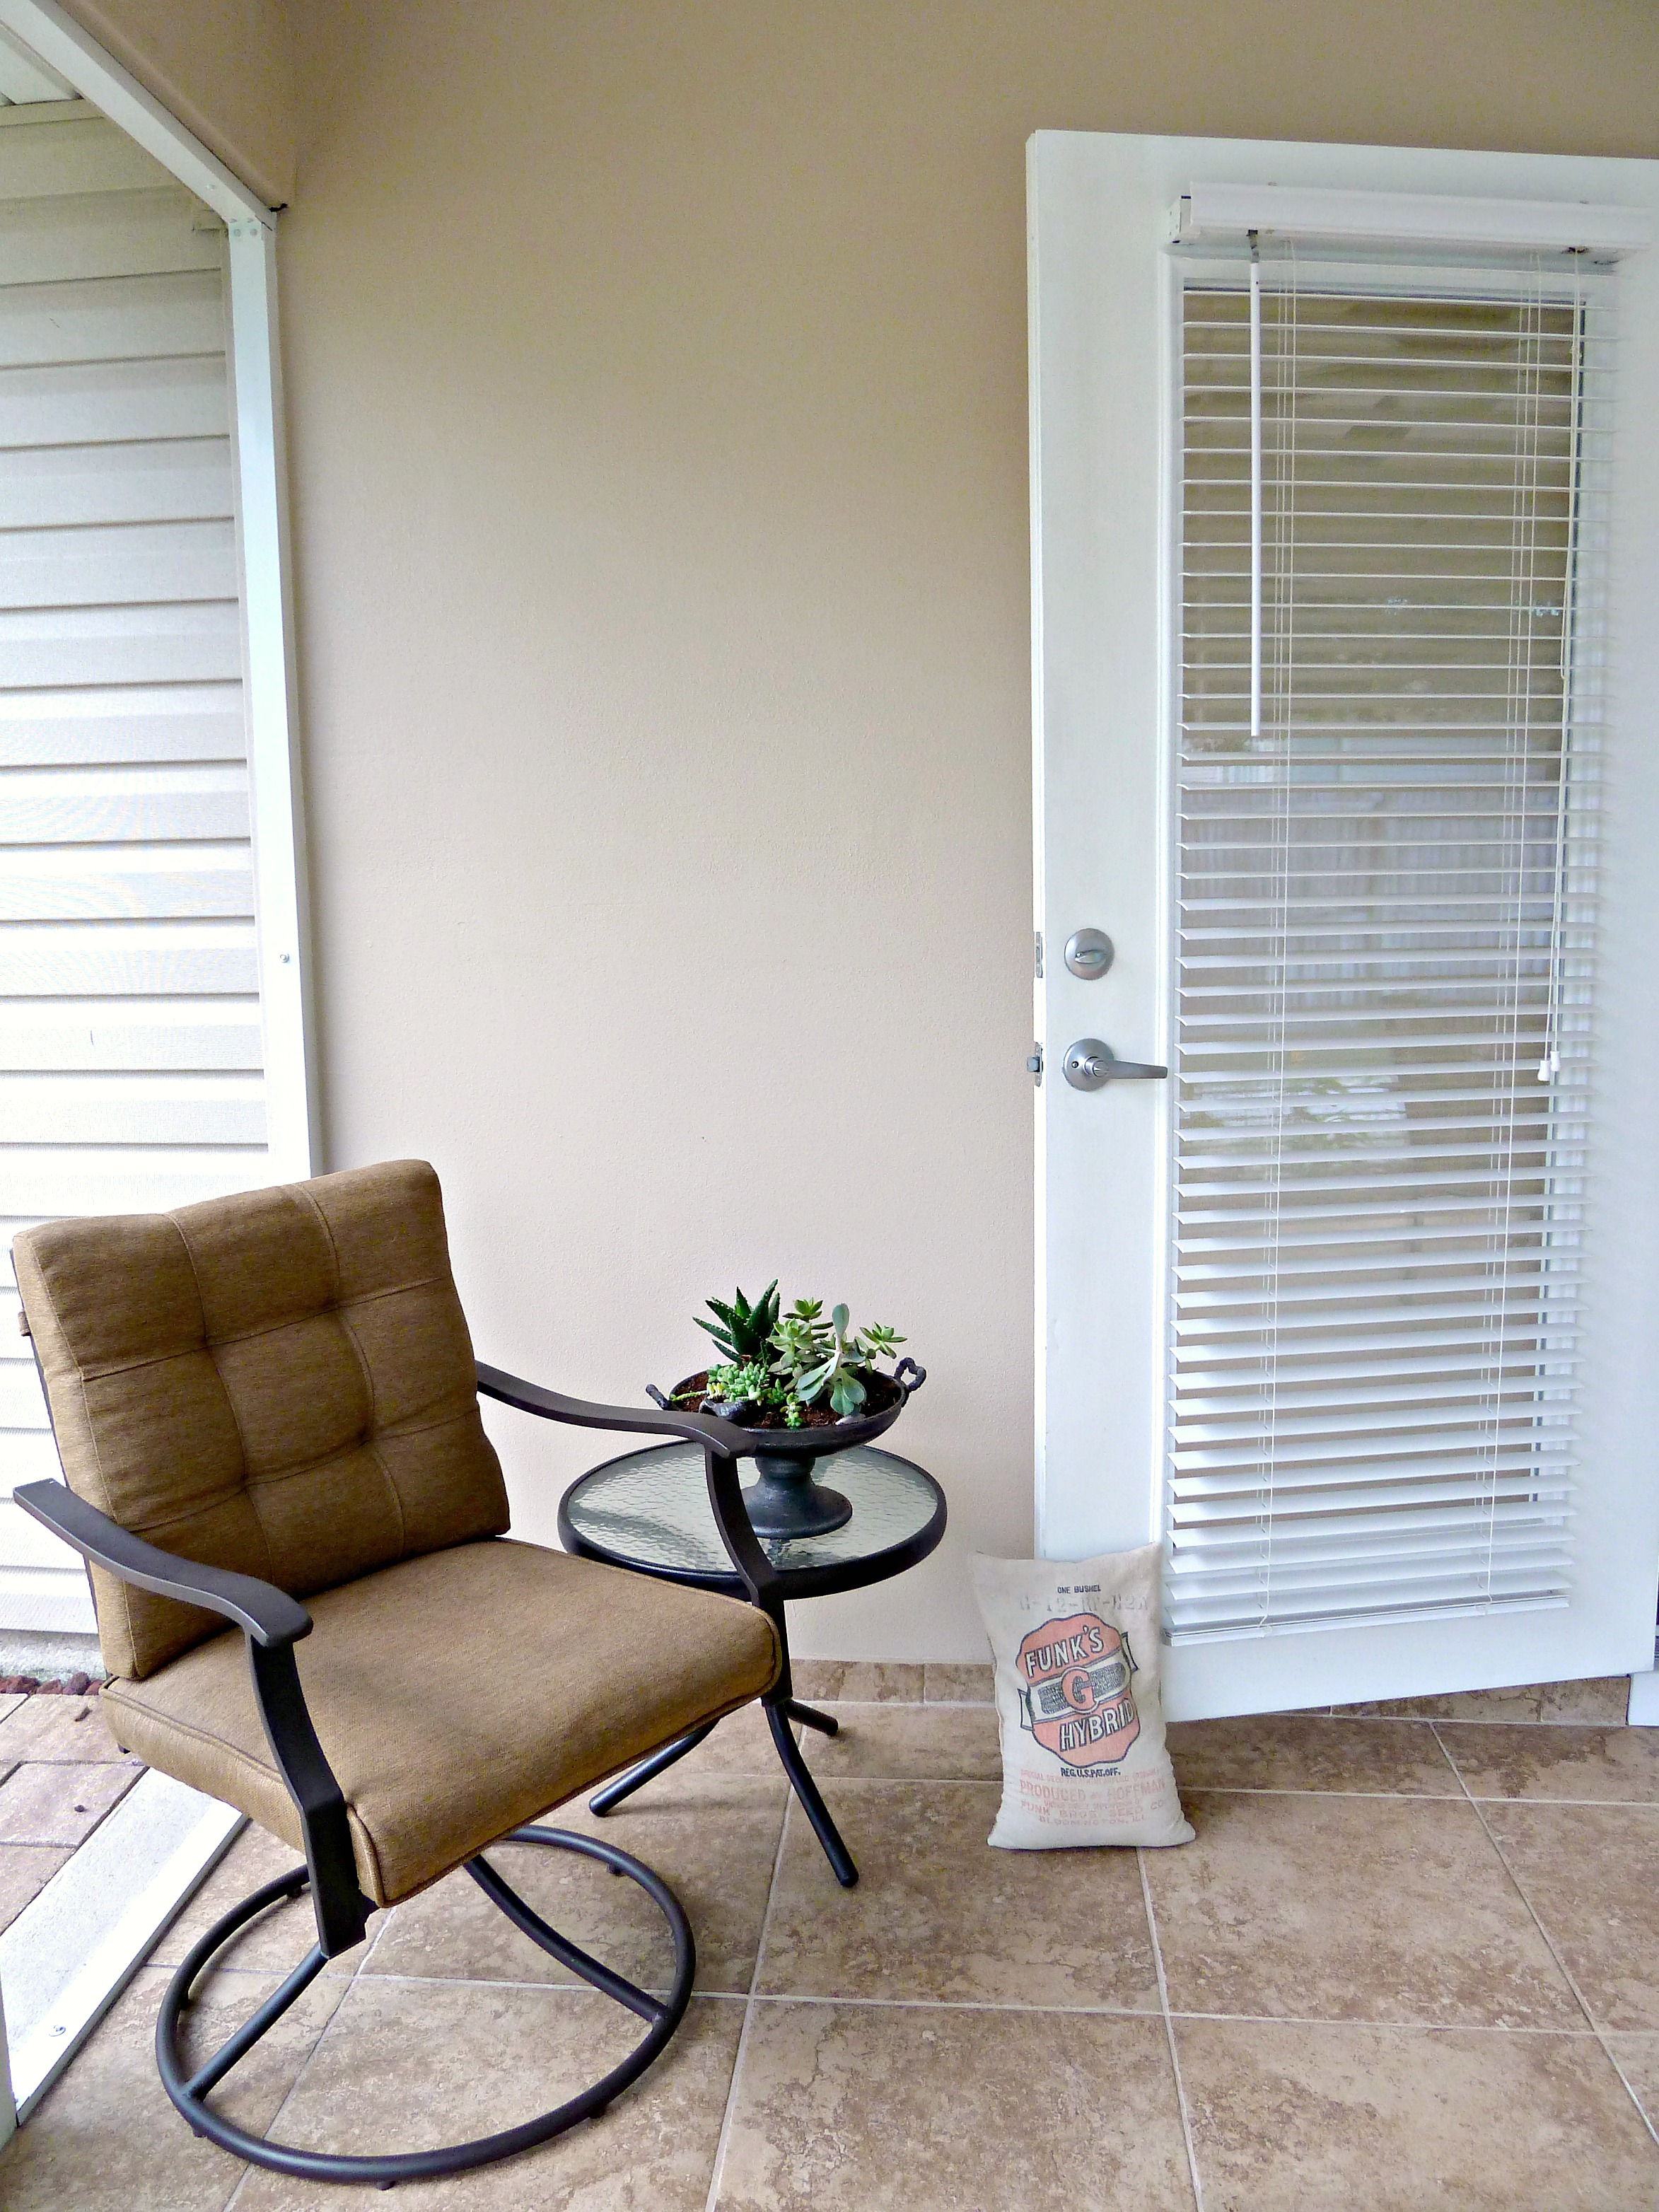
Closer still? Fine!…feed sack craftfeed sackI totally dig them, and they serve their purpose!  Just in time for some nice fall weather. unique doorstopsAnd, when they are not keeping those pesky doors open, they hang out here…burlap sack project
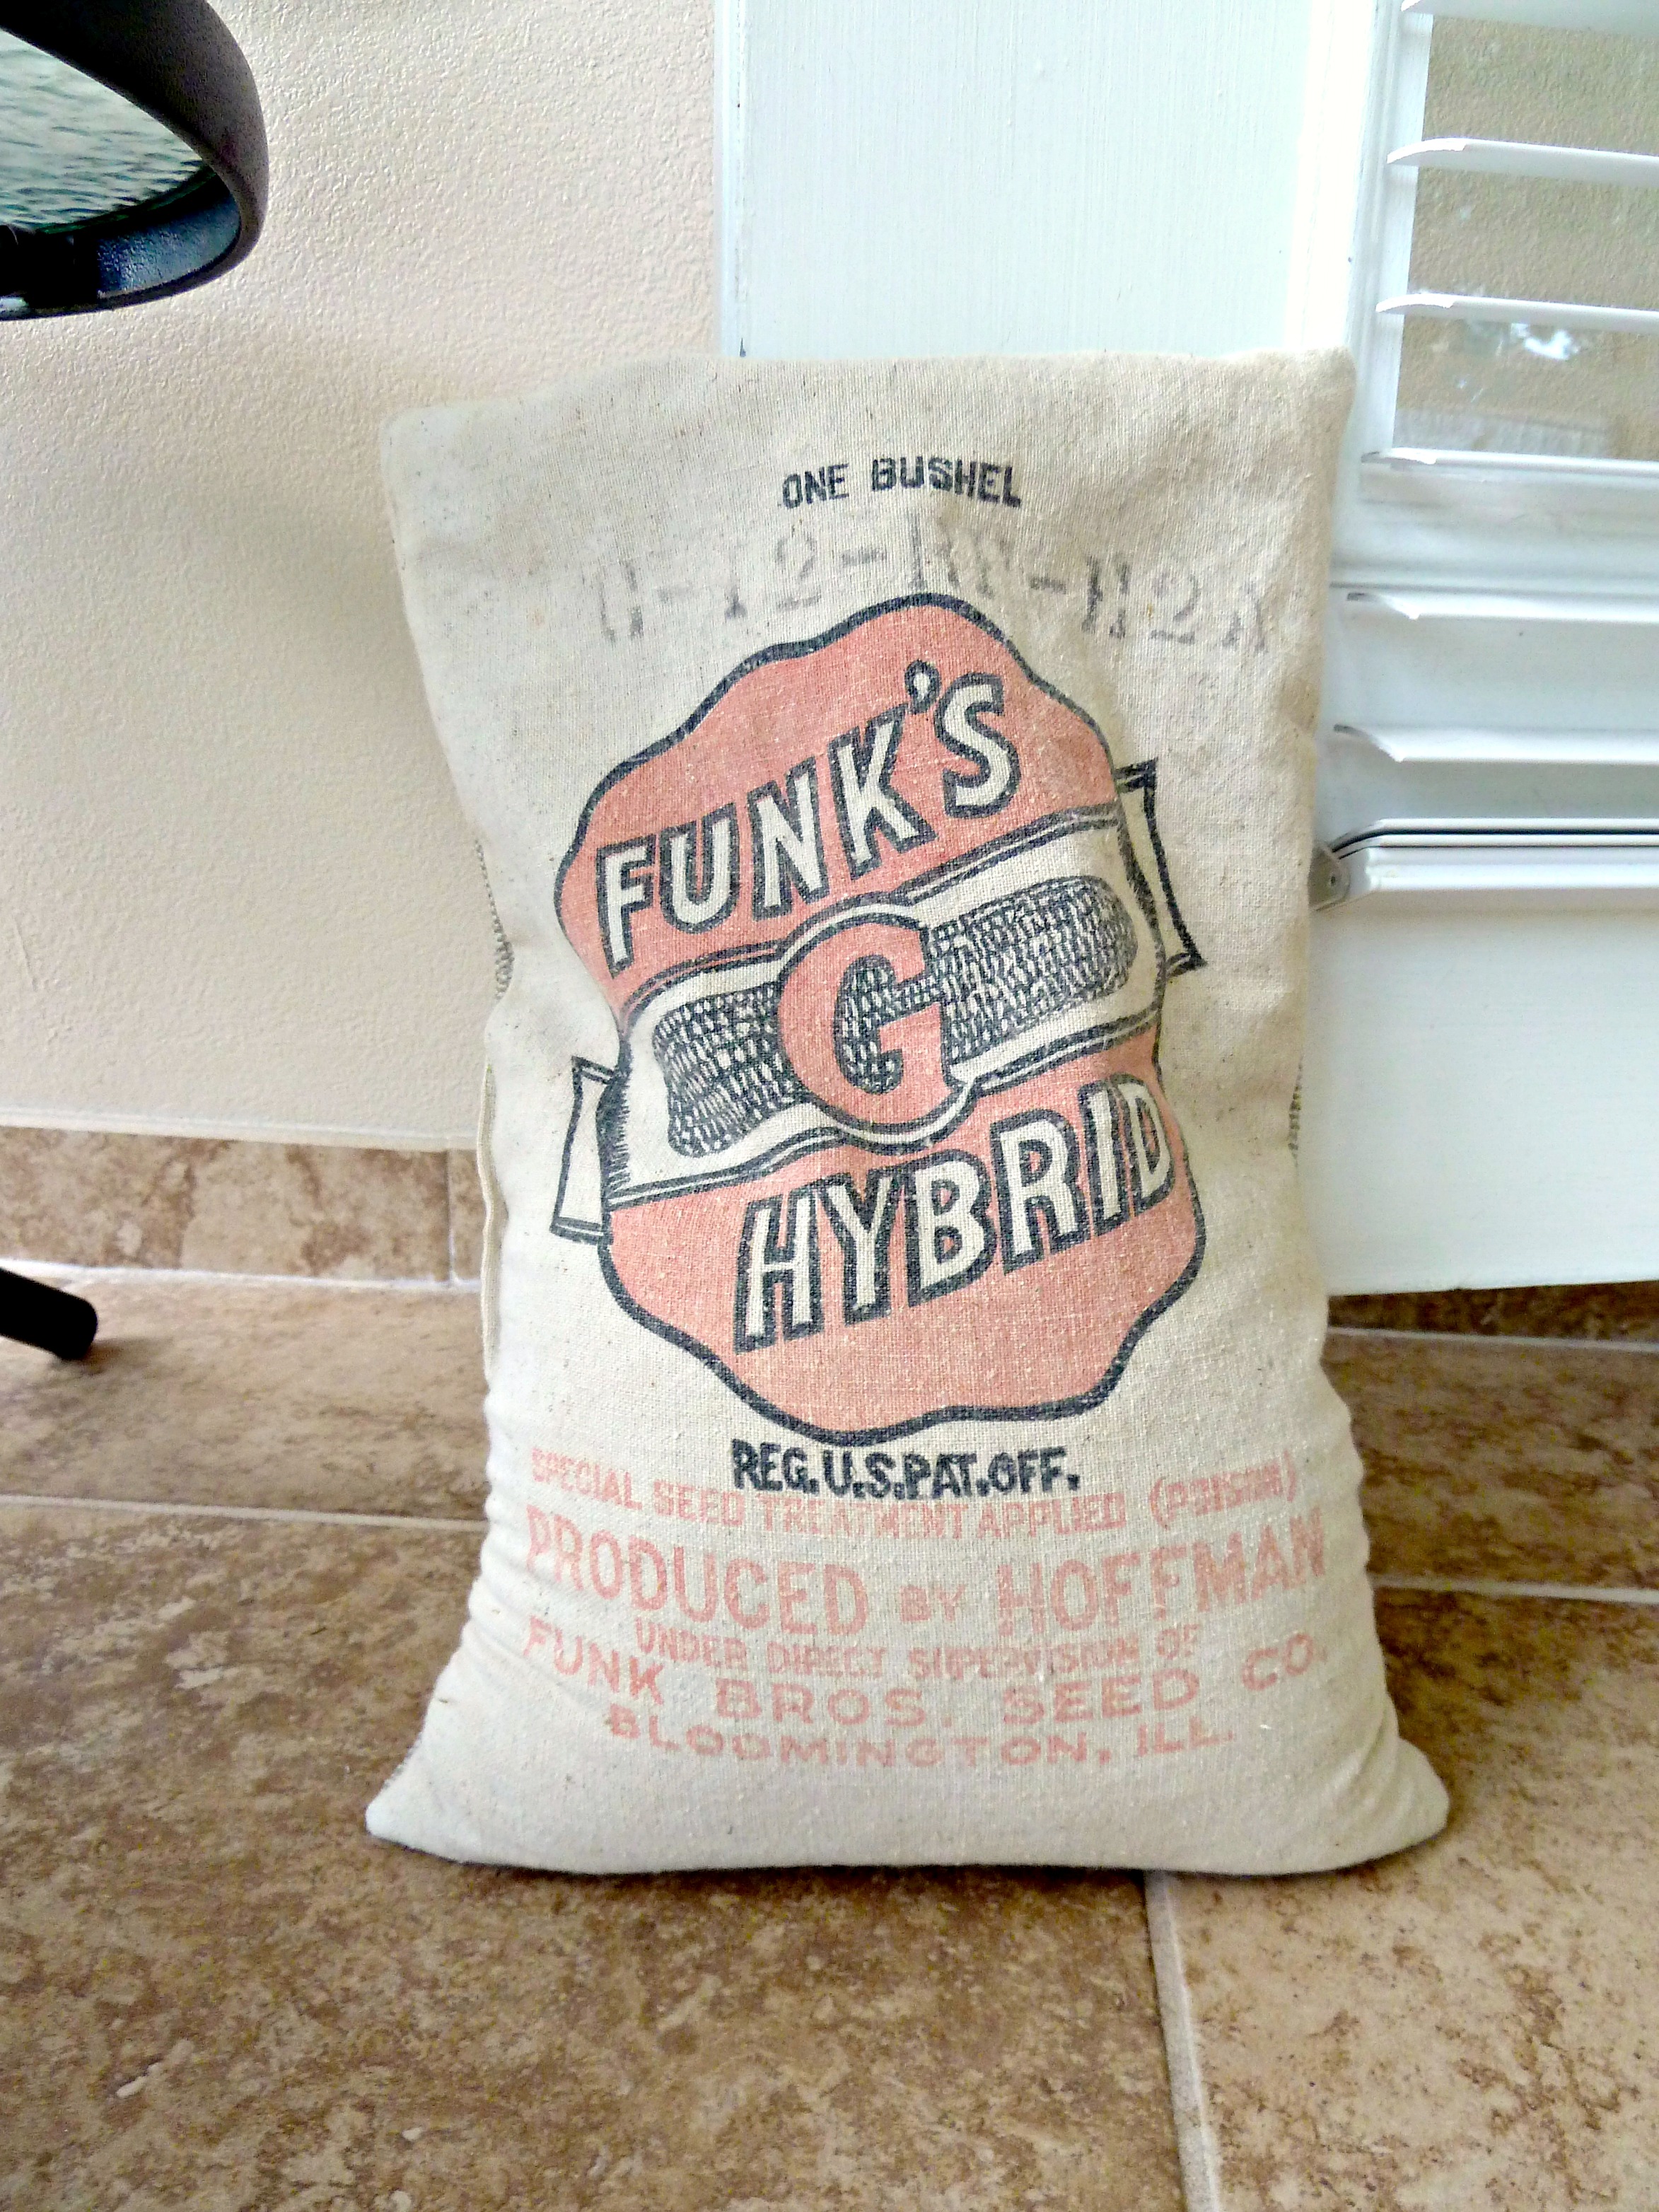
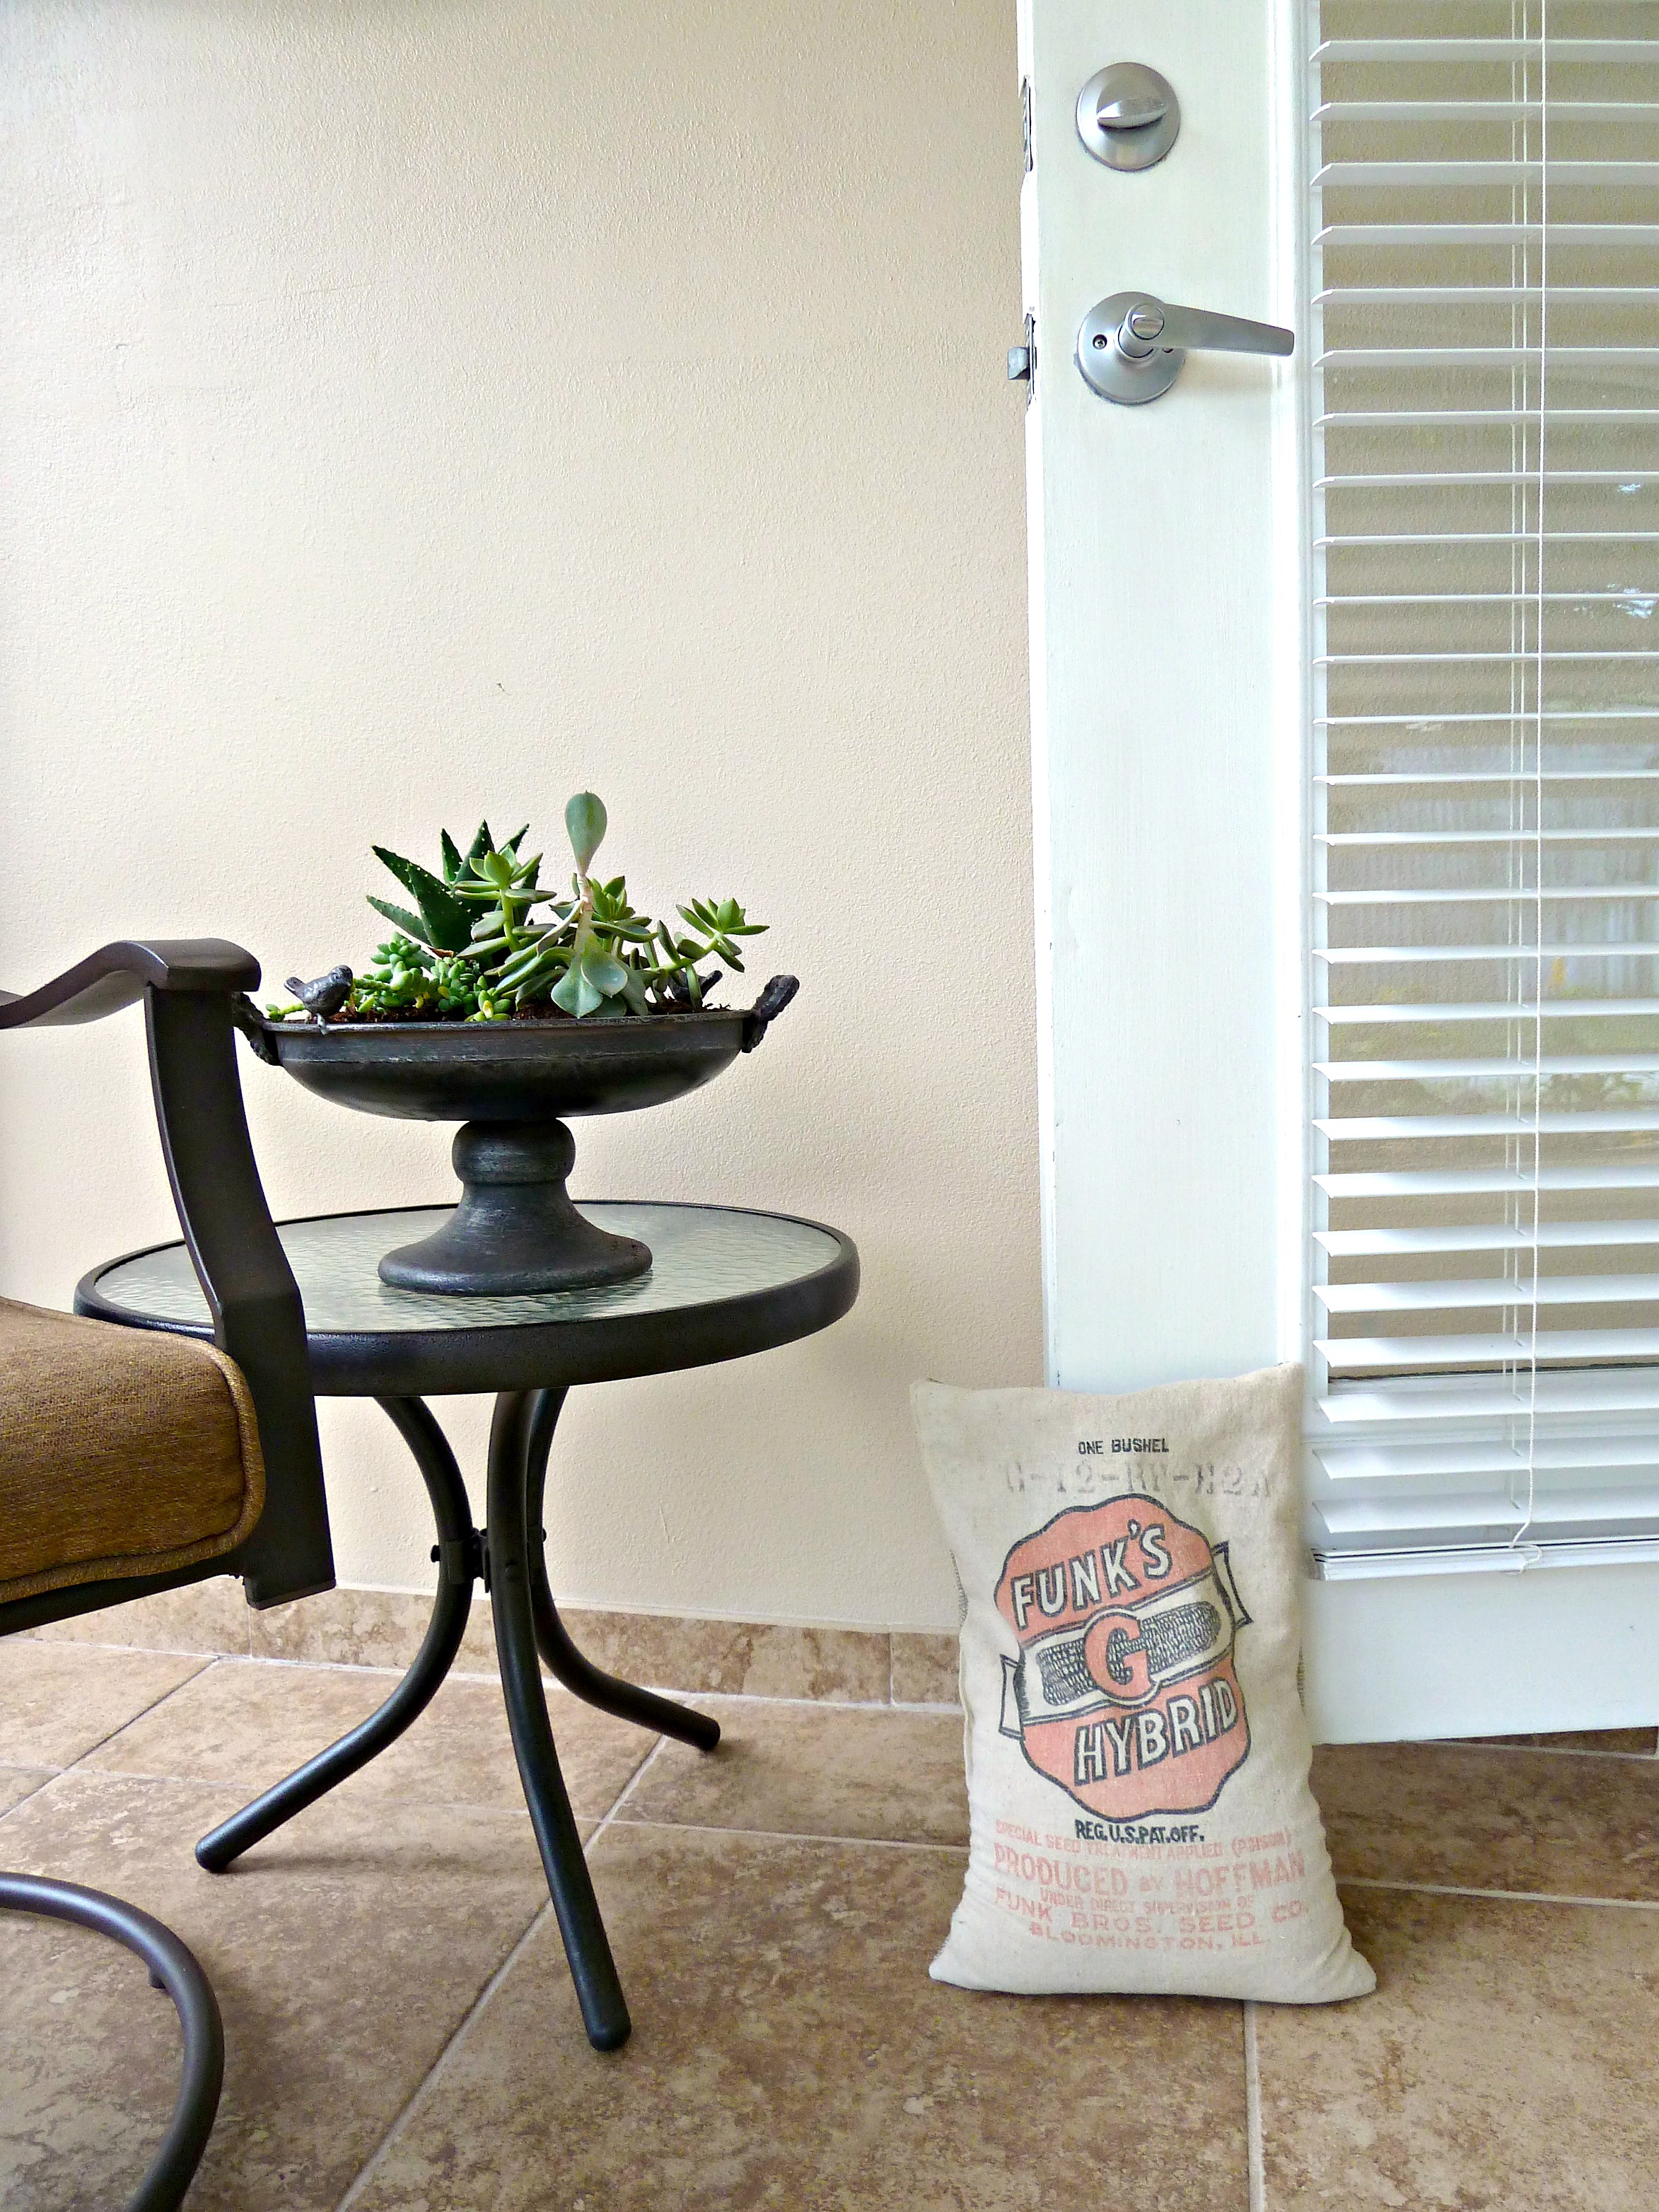
Right next to the fireplace.feed sack projectI think I did a bang up job.  Don’t you?mantel decor with antiques

Living Plants, they’re really alive!

I know, you’re shocked.  I have managed to keep some plants alive! Even with this black thumb thing I have going on.

Now, let me tell you about these easy/almost no maintenance plants. When summer came around (yes summer, this post has waiting to be written for too long) I thought it would be nice to bring some color to our back yard.  I thought about getting some flowers and putting them in the gardens in the back, but Justin was currently working on those gardens.  So, I thought my best bet would be to get some pots and fill them with flowers instead.

Once I was set on potted plants, I picked up two large pots at Lowes.  Also, I picked up some potting soil. Once I got home, I just plopped the soil right into the pots. Like so…

Outdoor planters

Large outdoor planters

While at Lowes, I also grabbed some flowers…

Planting outdoor pots

Aren’t they pretty?  From there, I figured out an arrangement for the flowers that I liked.  It wasn’t too complicated, considering both pots got the same exact flowers.

Arranging flowersI then popped them all out of the containers they came in, and planted them right into my new bigger pots, adding more soil as I went.

Spring FlowersI love them, we needed some color out back and I think this is a start.

Large outdoor potsWhile I was doing my planting flowers thing, Justin was hard at work making new gardens and re-mulching.  He’s such an overachiever.

Before I explain this new garden bed, I figured I should show you what this part of the yard used to look like.  The photo below is last year, right after we had irrigation installed and our yard re-sodded.

laying sodEven after the irrigation was installed, we still have some water hanging out in this corner from time to time.  Justin figured we should just add a garden bed, that way we don’t have to deal with this muddy corner.

new bottle brush treesAs you can see, the grass was still coming back to life at this point, also Justin had just aerated the yard.

potocarpusHe planted 6 podocarpus plants…

potocarpus plantAnd two small bottle brush trees…

P1100331While he was at it, he decided to re-mulch all of the garden beds in the back to match the new brown mulch we had used in the front.  Here is what our gardens were looking like post winter…

plantless gardenNot looking so hot (once again, please don’t judge our poor grass, it was having a rough time coming back after winter).

Here are things after Justin mulched…

tall magnolia trees

planting palm tree

mulching backyard

corner gardenSee how the grass is coming back now?  Woot woot!

And here is where my new planters live…

backyardOh ya, while I was at it I planted these little succulents.  They hang out in the patio.Planting succulentsThese guys are so easy to take care of, they require very little water and lots of light.  I think even I can manage to keep them alive, fingers crossed.

And just because Justin likes to make me look bad, he also planted a new garden in the front on the side of the house…


P1110123I’ll leave you with what our front is looking like nowadays…

P1110102

Thanks for checking out this super late post!

Hit the Lights


Wanna see a couple outdoor lights that have seen better days?

Ok! Coming right up…

replacing outdoor lights

These guys are the outdoor lights that were on our house when we purchased it.  They are so worn from the sun and weather.

outdoor lighting

They are not horrible and may look a lot better with a nice coat of paint, but we also weren’t digging the style of them.  So we decided it was time to retire them and move on to something we are more jazzed about.

We took a stroll through both Home Depot and Lowes and settled on a couple of these guys…

Allen roth outdoor wall lantern

They are the Allen + Roth Castine Rubbed Bronze Outdoor Wall Light from Lowes.  They were more our style, being rubbed bronze and the bubbled glass stole my heart.  Fo real!  They were pretty much middle ground for pricing considering there size, they are almost 21 inches tall.

Justin did his electrical thing, while I held them up to the house(that’s my helping when it comes to electrical) and we now have this…

outdoor lighting

Much better!

outdoor garage lights


What do you think?

picisto-20140615112738-790080

picisto-20140615112850-977884

picisto-20140615113317-143818

The above photo is the day we moved into our house on top, beginning of our first year in the middle and beginning of our second year(currently) on bottom.  Making progress.

Garden Party

Can you believe we have been in our house for a year now?  Me neither!  I mention this because we have replanted our front gardens and I can not believe this is our second time planting them!  Crazy stuff I would say.  Here is what we managed to come up with last year…

tan house blue door

The only survivors are the two gardenia plants in the corners and the sago palm, which has no leaves in this photo.  So, as you can imagine we had a lot of space to work with since most of our plants didn’t make it through the cold weather.  We decided to go a different route with our plant choices this year and also our mulch.  That is actually where this all began because Justin jumped the gun and ordered a boat load of mulch and had it delivered to our house…

mulch delivery

Justin started by removing most of the red mulch that was left from last year…

removing mulch

removing mulch from garden

Poor guy always gets the hard work!

Once he added the new mulch(we decided to change it up to brown), we had this…

front gardens with brown mulch

Awesome new mulch… no plants.  That’s where I come in to this story.  We picked up some plants at Lowes…

plants from lowes

Then I planted my little heart out.

orange red leafy tree

Justin did help out and planted two of these guys next to the front door.  They are small croton trees.

We also got some gerber daisies, petunias, lilies, a couple more podocarpus and some grasses.  Here is the set up I planned out before digging…

how to arrange plants in garden before planting

laying out plants before planting

It was Justin approved, so it was time to dig.  Here are the results…

garden with brown mulch orange flowers

You dig it?  I do.

I also wanted to mention that I got a new garden flag.  I am officially that cool because I have multiple garden flags.

photo

Yup, it’s a tree flag and the leaves look like the world.  Pretty sweet right?

photo(3)

And here are some before and afters because I’m really into those.

picisto-20140417105552-834945

picisto-20140417105704-456309

These two gardens were pretty bare before, so the update was much needed.

picisto-20140417105511-205602

And then one more of last year and then this year…

picisto-20140418111505-780134

Sorry about the clarity of the photo on the left, it was hard to catch a good time of day to get this photo.  But I had to show that our flowers have bloomed and the sago now has some new palms!  Yay for us!


Landscaping Phase #3

Last I showed you our backyard was looking pretty good…

y7

y4

Look at all that pretty green grass.

Anywho, there were a few more things Justin wanted to accomplish out here since the new drainage and landscaping were finished.  A few of the solar lights we had previously installed were broken.  So, Justin purchased some new outdoor lights for the garden beds back here.  He decided to go with regular electric lights.  He moved the remaining solar lights that were still trucking along to the front yard.  He purchased the new lights from lowes.  Once he got home he started installing them…

y999

Since the sod was freshly laid, Justin was able to run the cords from one garden to another right under the top layer….

y999999

y9999

While he was burying the new cords he came across this little guy…

y99999

He was just sleeping under the mulch and Justin dug up his bedding!  So he buried the cord and then buried him under the mulch again.  We saw him later the same night once the sun went down, we’re all friends now.  Once Justin had finished installing all the lighting he added new mulch to all of the garden beds…

yy4

Charlie also helped…

yy3

This guy showed up too…

yy

Isn’t he handsome?  Love these little lizards.

After hanging out with the lizard I got some photos of the freshly finished backyard…

yy99999

And you know I can’t help but give you some before, middle and after photos…

yyyy

Check out how much the plants by the patio have grown!

yyyy1

yyyy2

I don’t have a before photo from this angle, but here is the mid way point and after…

yyyy4

We also got to see the new lights in action that night…

yyy5

Aren’t they pretty?

yyy8

yyy4

Char man also hung out to check out the lighting…

yyy9

It was already past Zack’s bed time.

We are thrilled with our backyard now.  We may have some other ideas for the the fence and possibly another little garden. For now we are just happy to sit on the porch and enjoy the unflooded yard!  It’s a far cry from this…

photo(12)

Don’t you think?  PS the drainage works.   Here is a photo I took immediately after a down pour…

photo5

BOOM! Do you see a drainage issue?  I think not!

Laying Pavers

As you hopefully already know, you should not grill in an enclosed area.  AKA we cannot use the big green egg in our patio.  This is how we have been dealing with this dilemma…

060

Yes, that is a piece of particle board.  You don’t have to tell us we are high class… we know.  Also as you can see, Char man was checking out how fancy the particle board was as well.  Would you like another view of our set up?

048

We just put the particle board next to the door and wheeled that heavy sucker right out of the patio.  From there we can grill safely.   If we didn’t put something sturdy in the yard to put the egg on it would sink right into the grass.  The egg is like 200 pounds, pretty hefty.  I was digging the particle board, but Justin decided pavers might look a little nicer.  So it is time to part with the particle board and move on.   Justin picked out these pavers from Lowe’s.

014

Then from there he built a two sided wood frame to place against the patio in the size he wanted the area to be.  This made it so he knew how much he needed to dig and where he needed to dig.  Then he started removing the sod in that area.  He also dug out some of the soil so the pavers would be level with the patio.   From there he poured in a layer of sand.

009

He used a rake to get the sand spread and level.

012

Once the sand was in he started laying the pavers, making sure they were level with the patio as he went.  Once all of the pavers were in place, he poured on another layer of sand.  He then swept the sand into all of the spaces between the pavers.

015

He’s so talented.

017

Now the egg has a nice solid area to live on.

028

Love it.

030

The excess sand will eventually wash away.  It is almost completely gone already.   Here’s a close up.

031

I love that the area doesn’t take up too much of our already small yard, but is big enough to grill and hang out on.

Painting the patio

Next on the list for the patio was painting, so that’s what I did.  Since the wall connecting the patio and the house is now textured, it was time to paint.  So we brought a piece of siding to Lowe’s and had them match the color perfectly for the outdoor paint.  We wanted the patio to be a perfect match so it didn’t look odd next to the siding on the back of the house.  Did you know you can bring anything in to Lowe’s and they can create a paint to the exact color of that object?  Pretty sweet huh?  After getting the outdoor paint home, I got going on the project.

038

Yes, that is what I look like/what I wear when I paint.  And… yes I am wearing two long sleeve shirts.  I think I picked the coldest day of the last few months to paint the outdoor room.

042

Justin even helped out(a little.)  Can’t say he is as excited about painting as I am. Although I can sometimes manage to get him to help, but he will roll and that’s it.  I do the trim, taping and edging in.  I am just grateful when he will help for big projects!

045

Did I mention that I have never painted an outdoor space, let alone the outside of a house?  Well as you can sort of tell from the photos these walls are textured, REALLY textured.  I had quite the time getting in all of the small nooks and crannies.  Somehow I managed.

044

I think it turned out pretty good.

050

Matches perfect. Go Lowe’s!

081

Can’t wait to get some tile on that floor!  But I wasn’t done painting just yet…

037

These guys needed a fresh coat of paint badly.

033

Gross.

034

And more gross.  That’s after scrubbing them down, yuck!

082

Much better!  So far the patio has come a long way from this…

394

Still have a few things on the list:

  1. screen patio. 
  2. replace fan.
  3. texture drywall.
  4. paint patio and doors.
  5. tile and grout floor.
  6. find patio furniture.
  7. enjoy!

Texturizing the patio walls

Since Justin and Kent finished up the screen for the patio, the wall that they took the siding off ended up looking like this…

049

The next step was to texturize that wall so we could begin painting.  So Kent stopped by and gave a quick lesson on how to texturize the wall and he dropped off a few cans of this…

020

This stuff is awesome.  Basically it sprays out as a foam like plaster.  It sprays on kind of bubbly like an “orange peel” texture.  We wanted it a little less bubbly so after spraying it on I used a putty knife to flatten out a bit.

013

There I am in action.  I used a piece of cardboard to block the screen and ceiling when spraying close to those areas.

014

Once I finished you could still see the green outdoor drywall, but it was mostly covered in the texture spray.  Here is a close up.

018

Perfect for an outdoor wall! It is a messy process though!

031

AH!