We finally invested and got a patio dining set. We are thrilled, I don’t think we have eaten one meal inside since. This was not an easy decision though, we have been quite the patio furniture shoppers. We spent a Saturday searching for something that would work in our space. We first hit up Home depot and debated getting this…
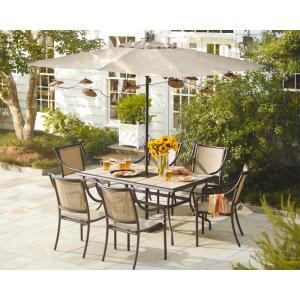
I really liked the look of it and the price was pretty good at $479, but we weren’t sold. I don’t know about you, but I can’t purchase something without looking a couple places to make sure I am getting the best deal, so we headed to BJ’s. Justin had seen a patio set there that he wanted to show me…
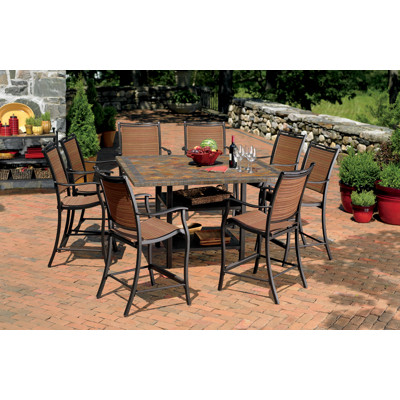
This thing is huge! Seating for 8, it was very nice, but pretty pricey at $999. We really weren’t looking to spend that much and we really do not need seating for 8. It had a nice tile top and it is bar height. We measured it and it turned out it would just fit in our patio, but you might have trouble when trying to get in and out of your seat if you’re sitting near the screen. We would prefer to be comfortable and not have to suck in our guts to scooch out of our seats. So we moved on and headed to Lowe’s aka our second home. That’s where we found this guy…
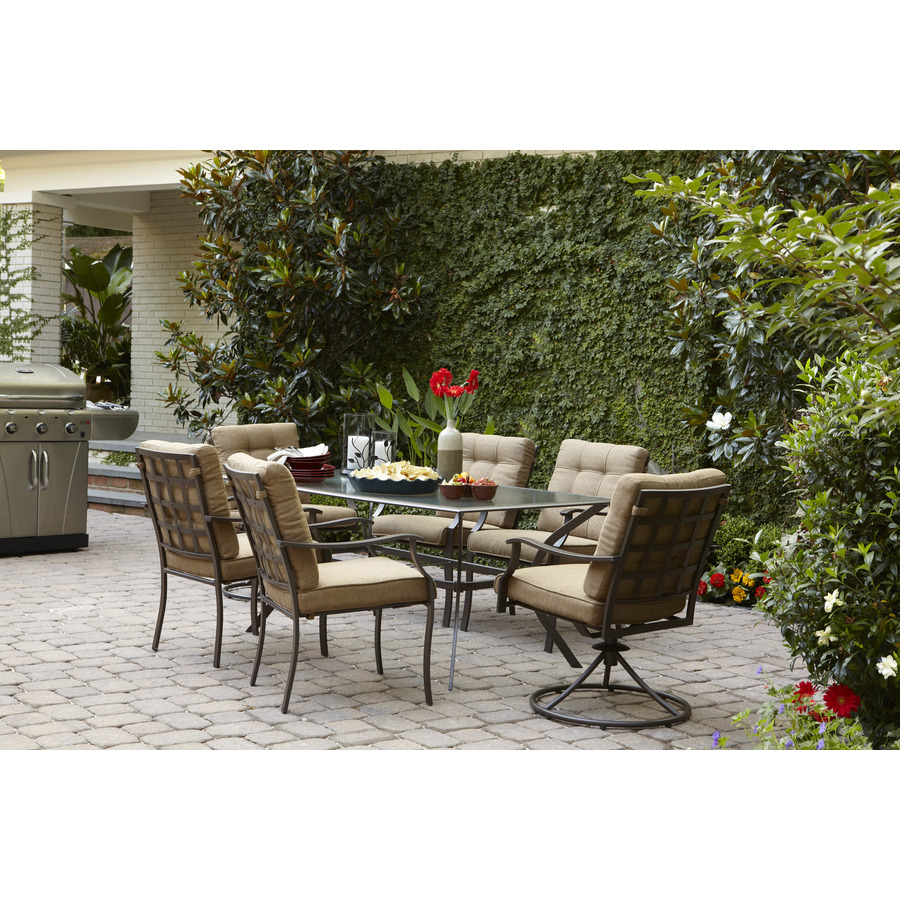
We love it. It’s so pretty and comfortable. So we snatched it up and purchased it for $498. Guess what else, we got it home and it fits perfectly. We now even can have more that two guests over for dinner(our kitchen table only seats 4) Woot woot! Here she is in her new home(yes it’s a girl)…
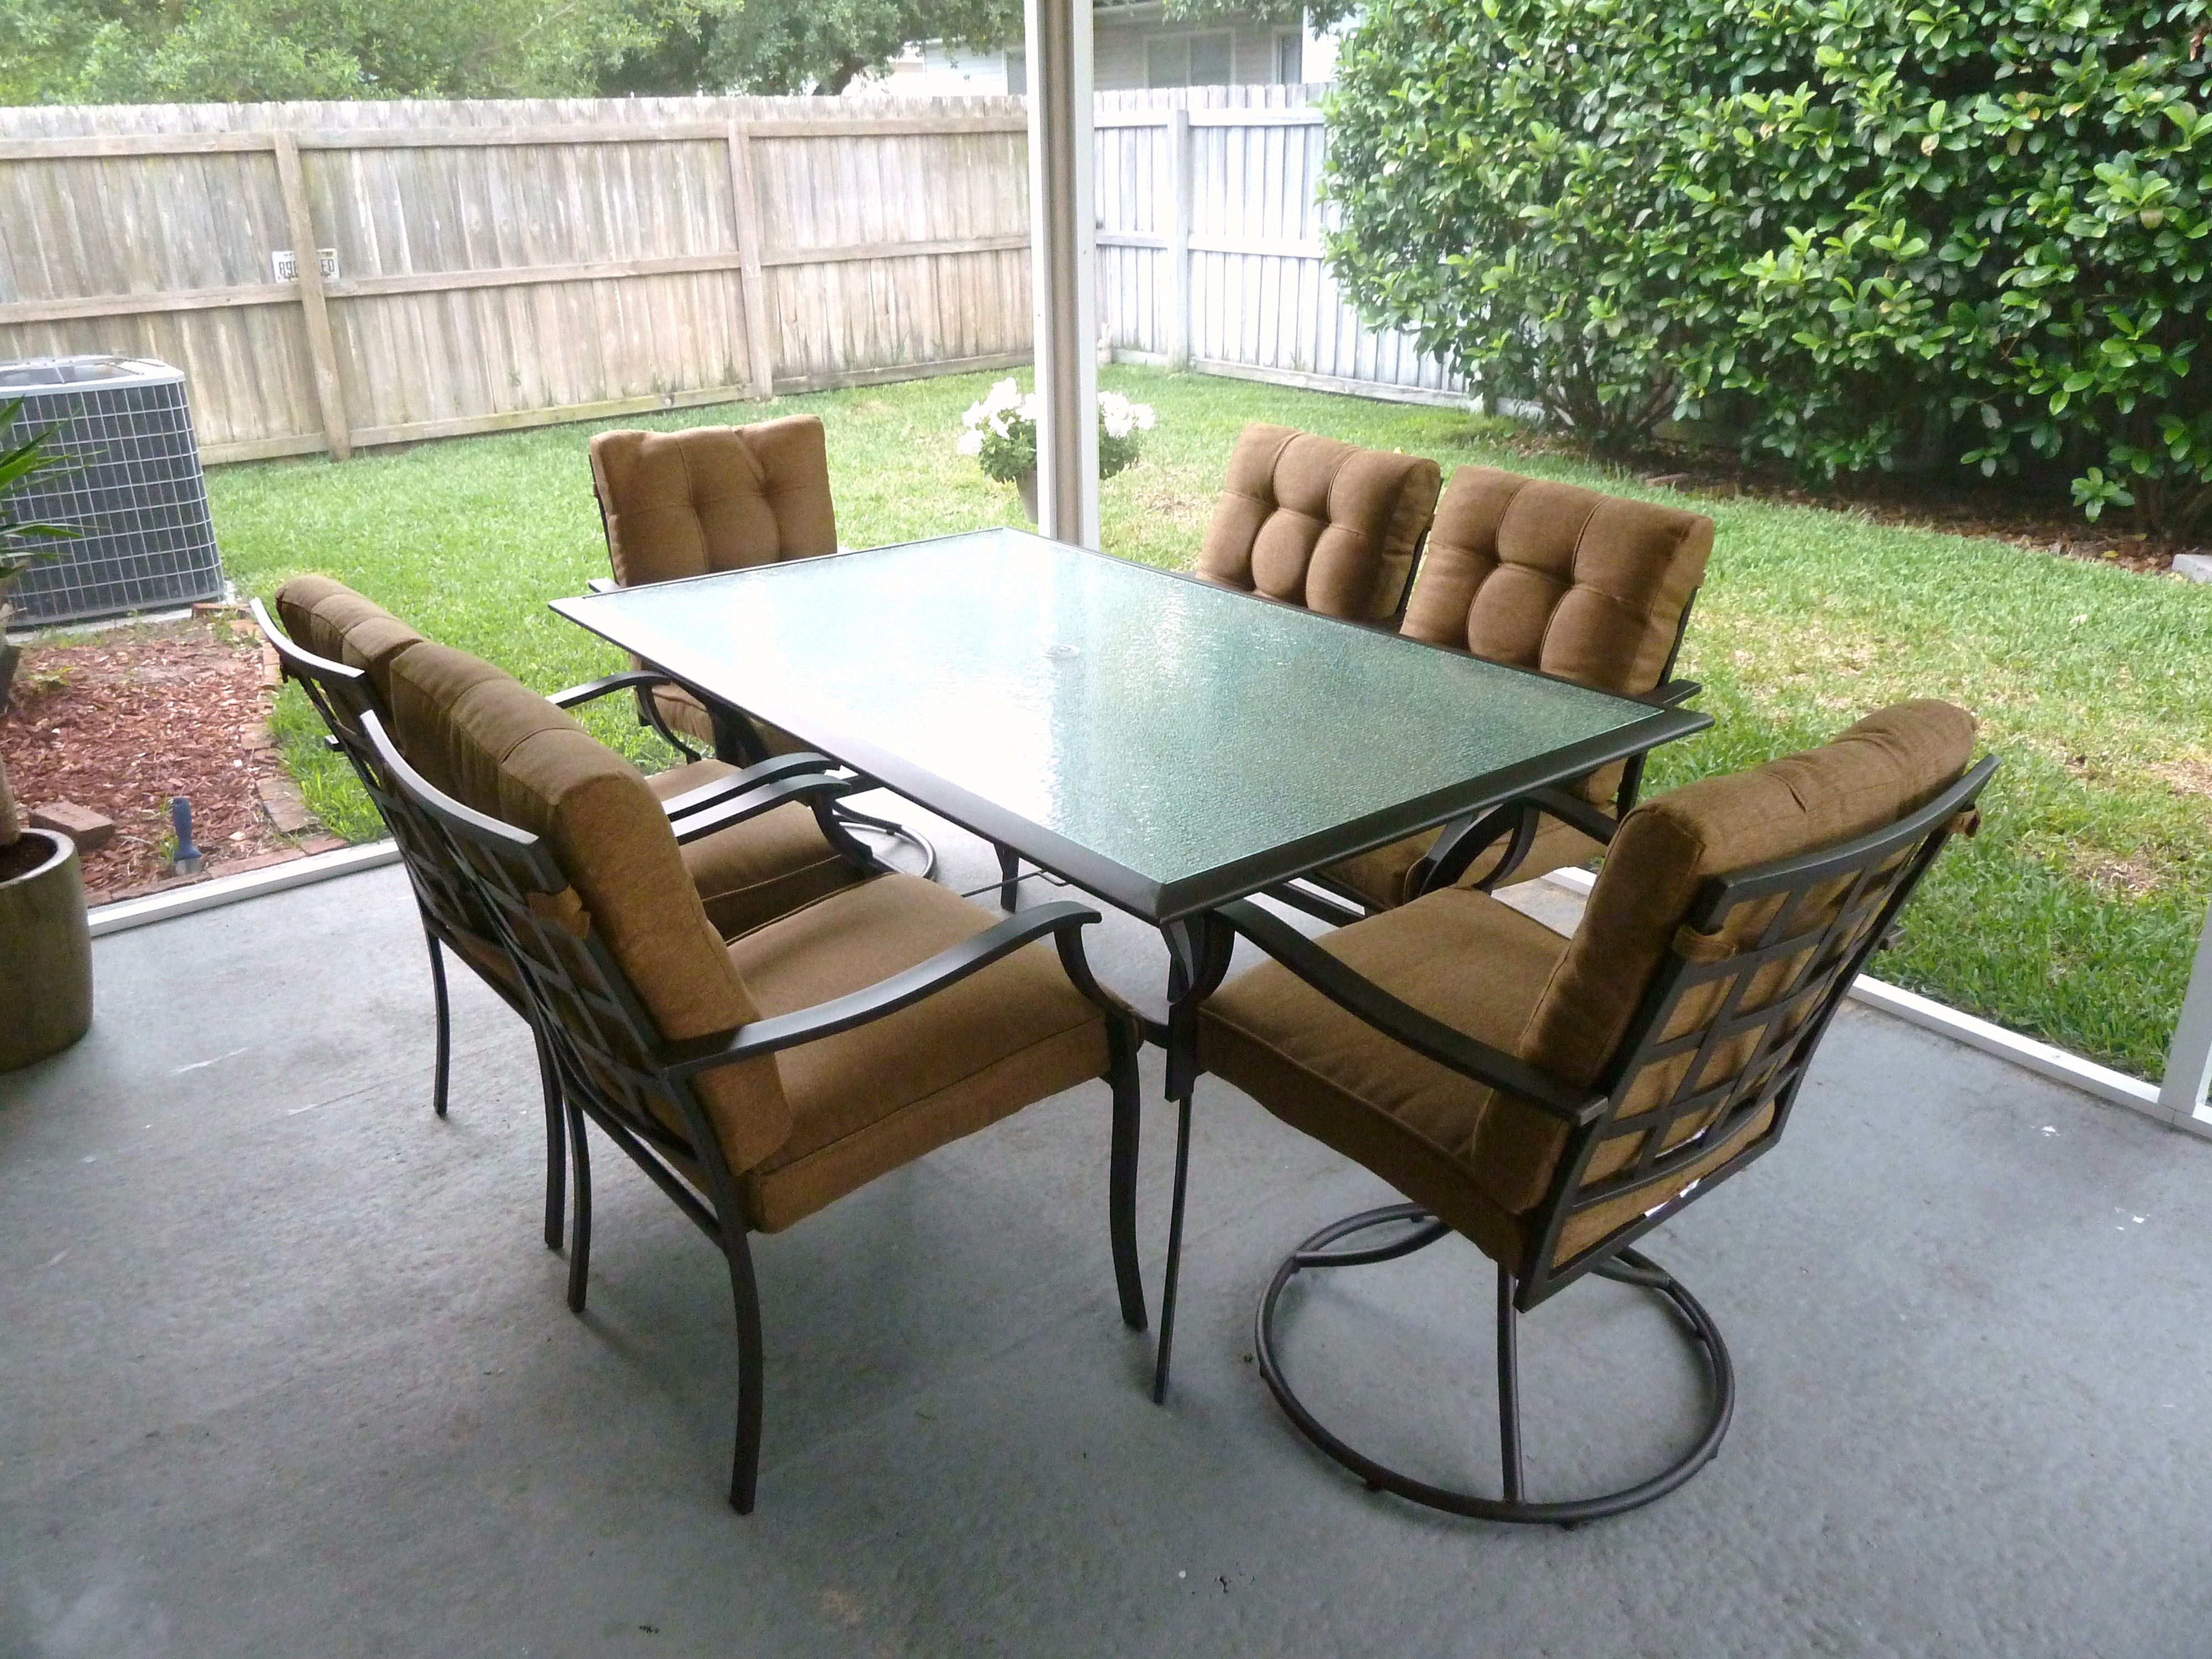
Yay.
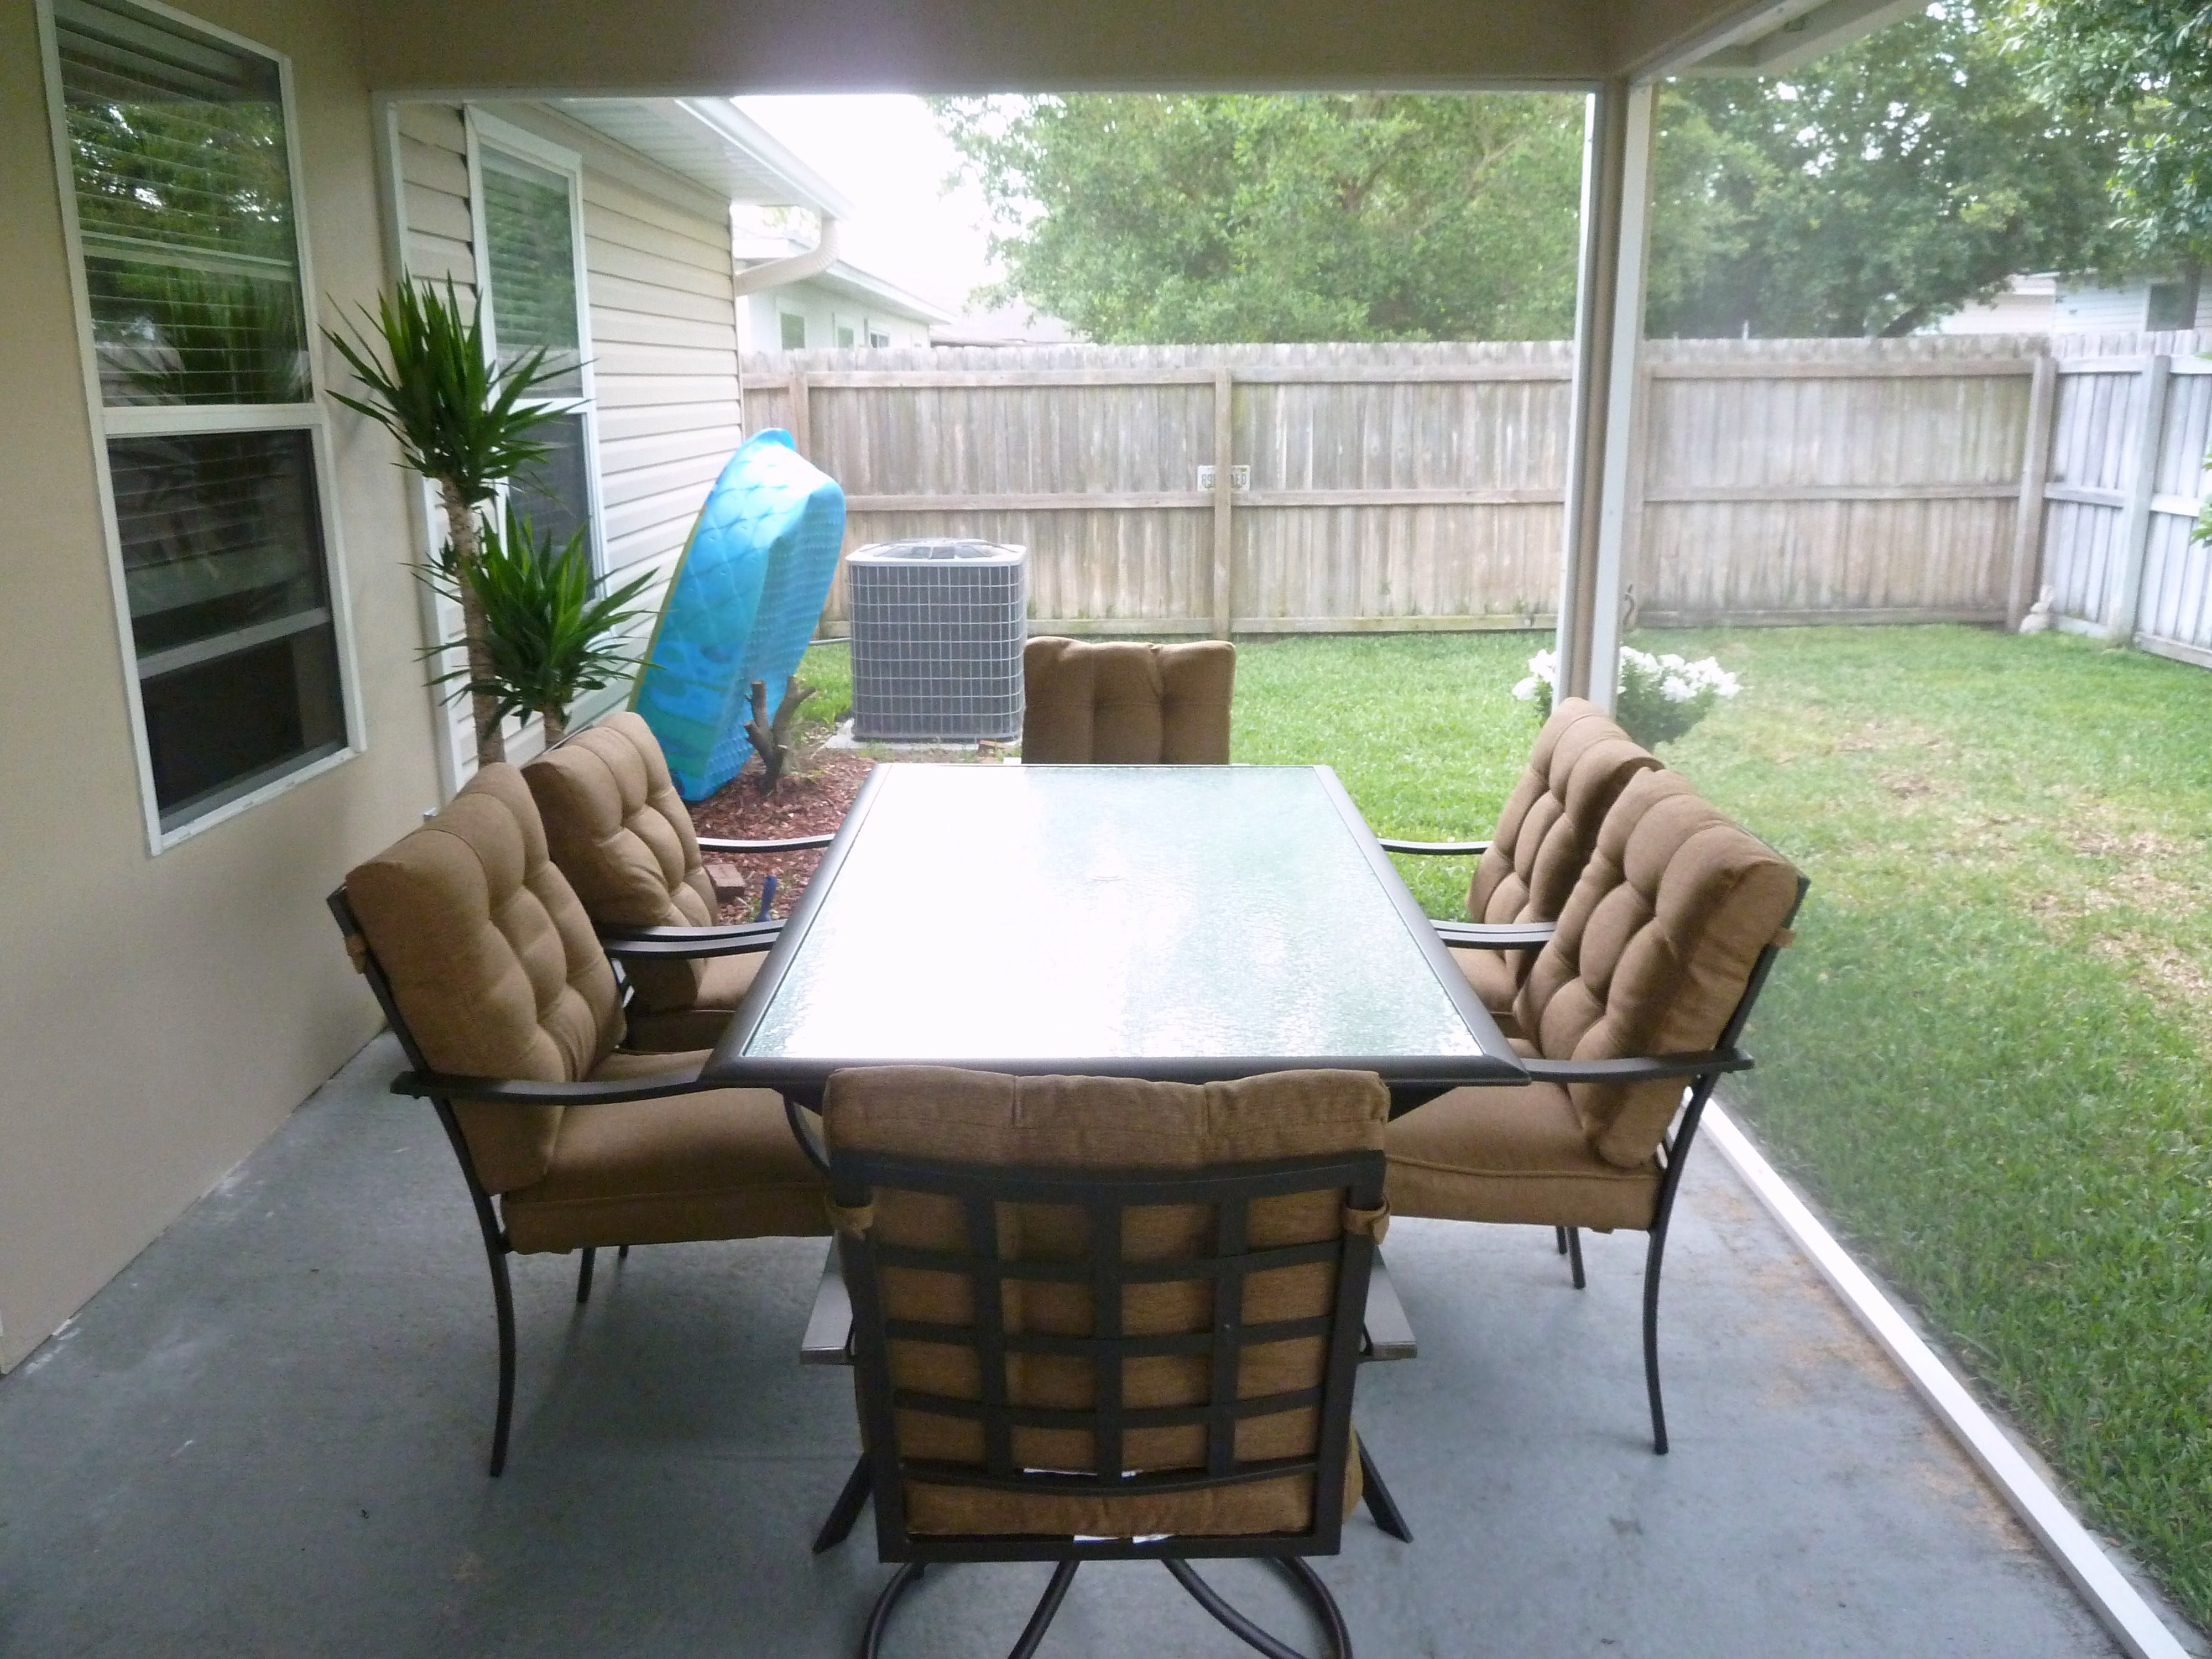
Fits so well.
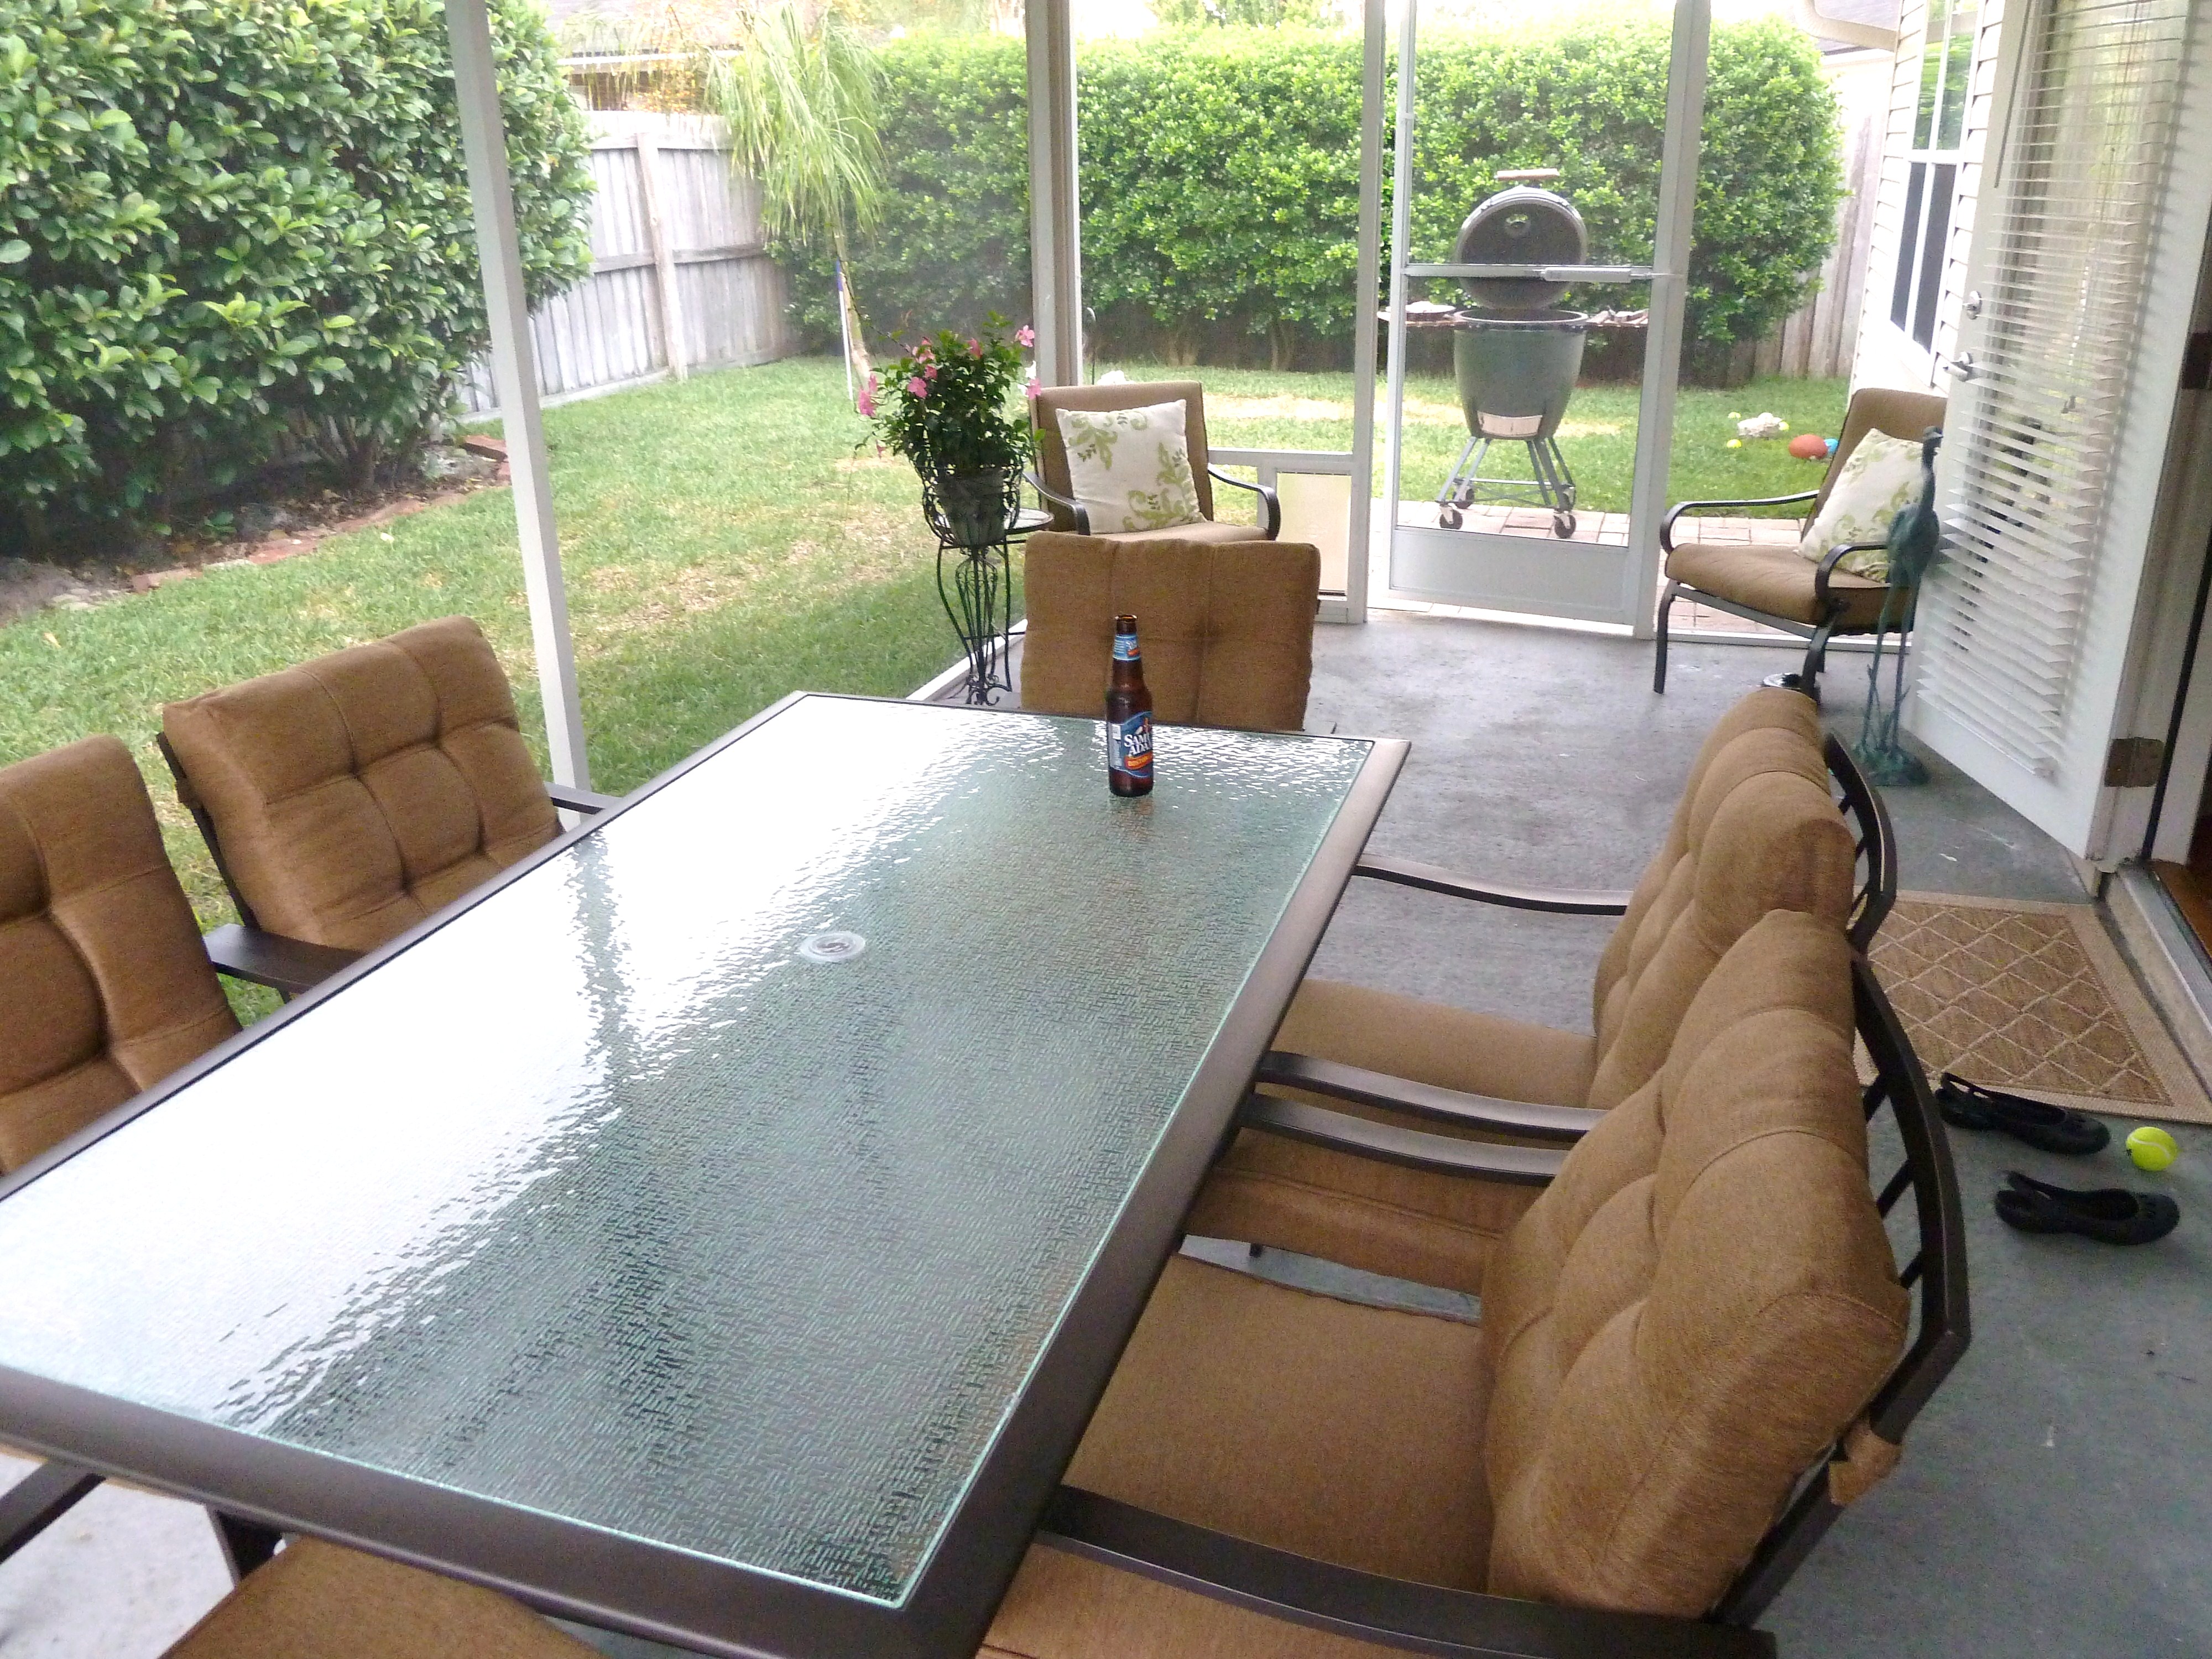
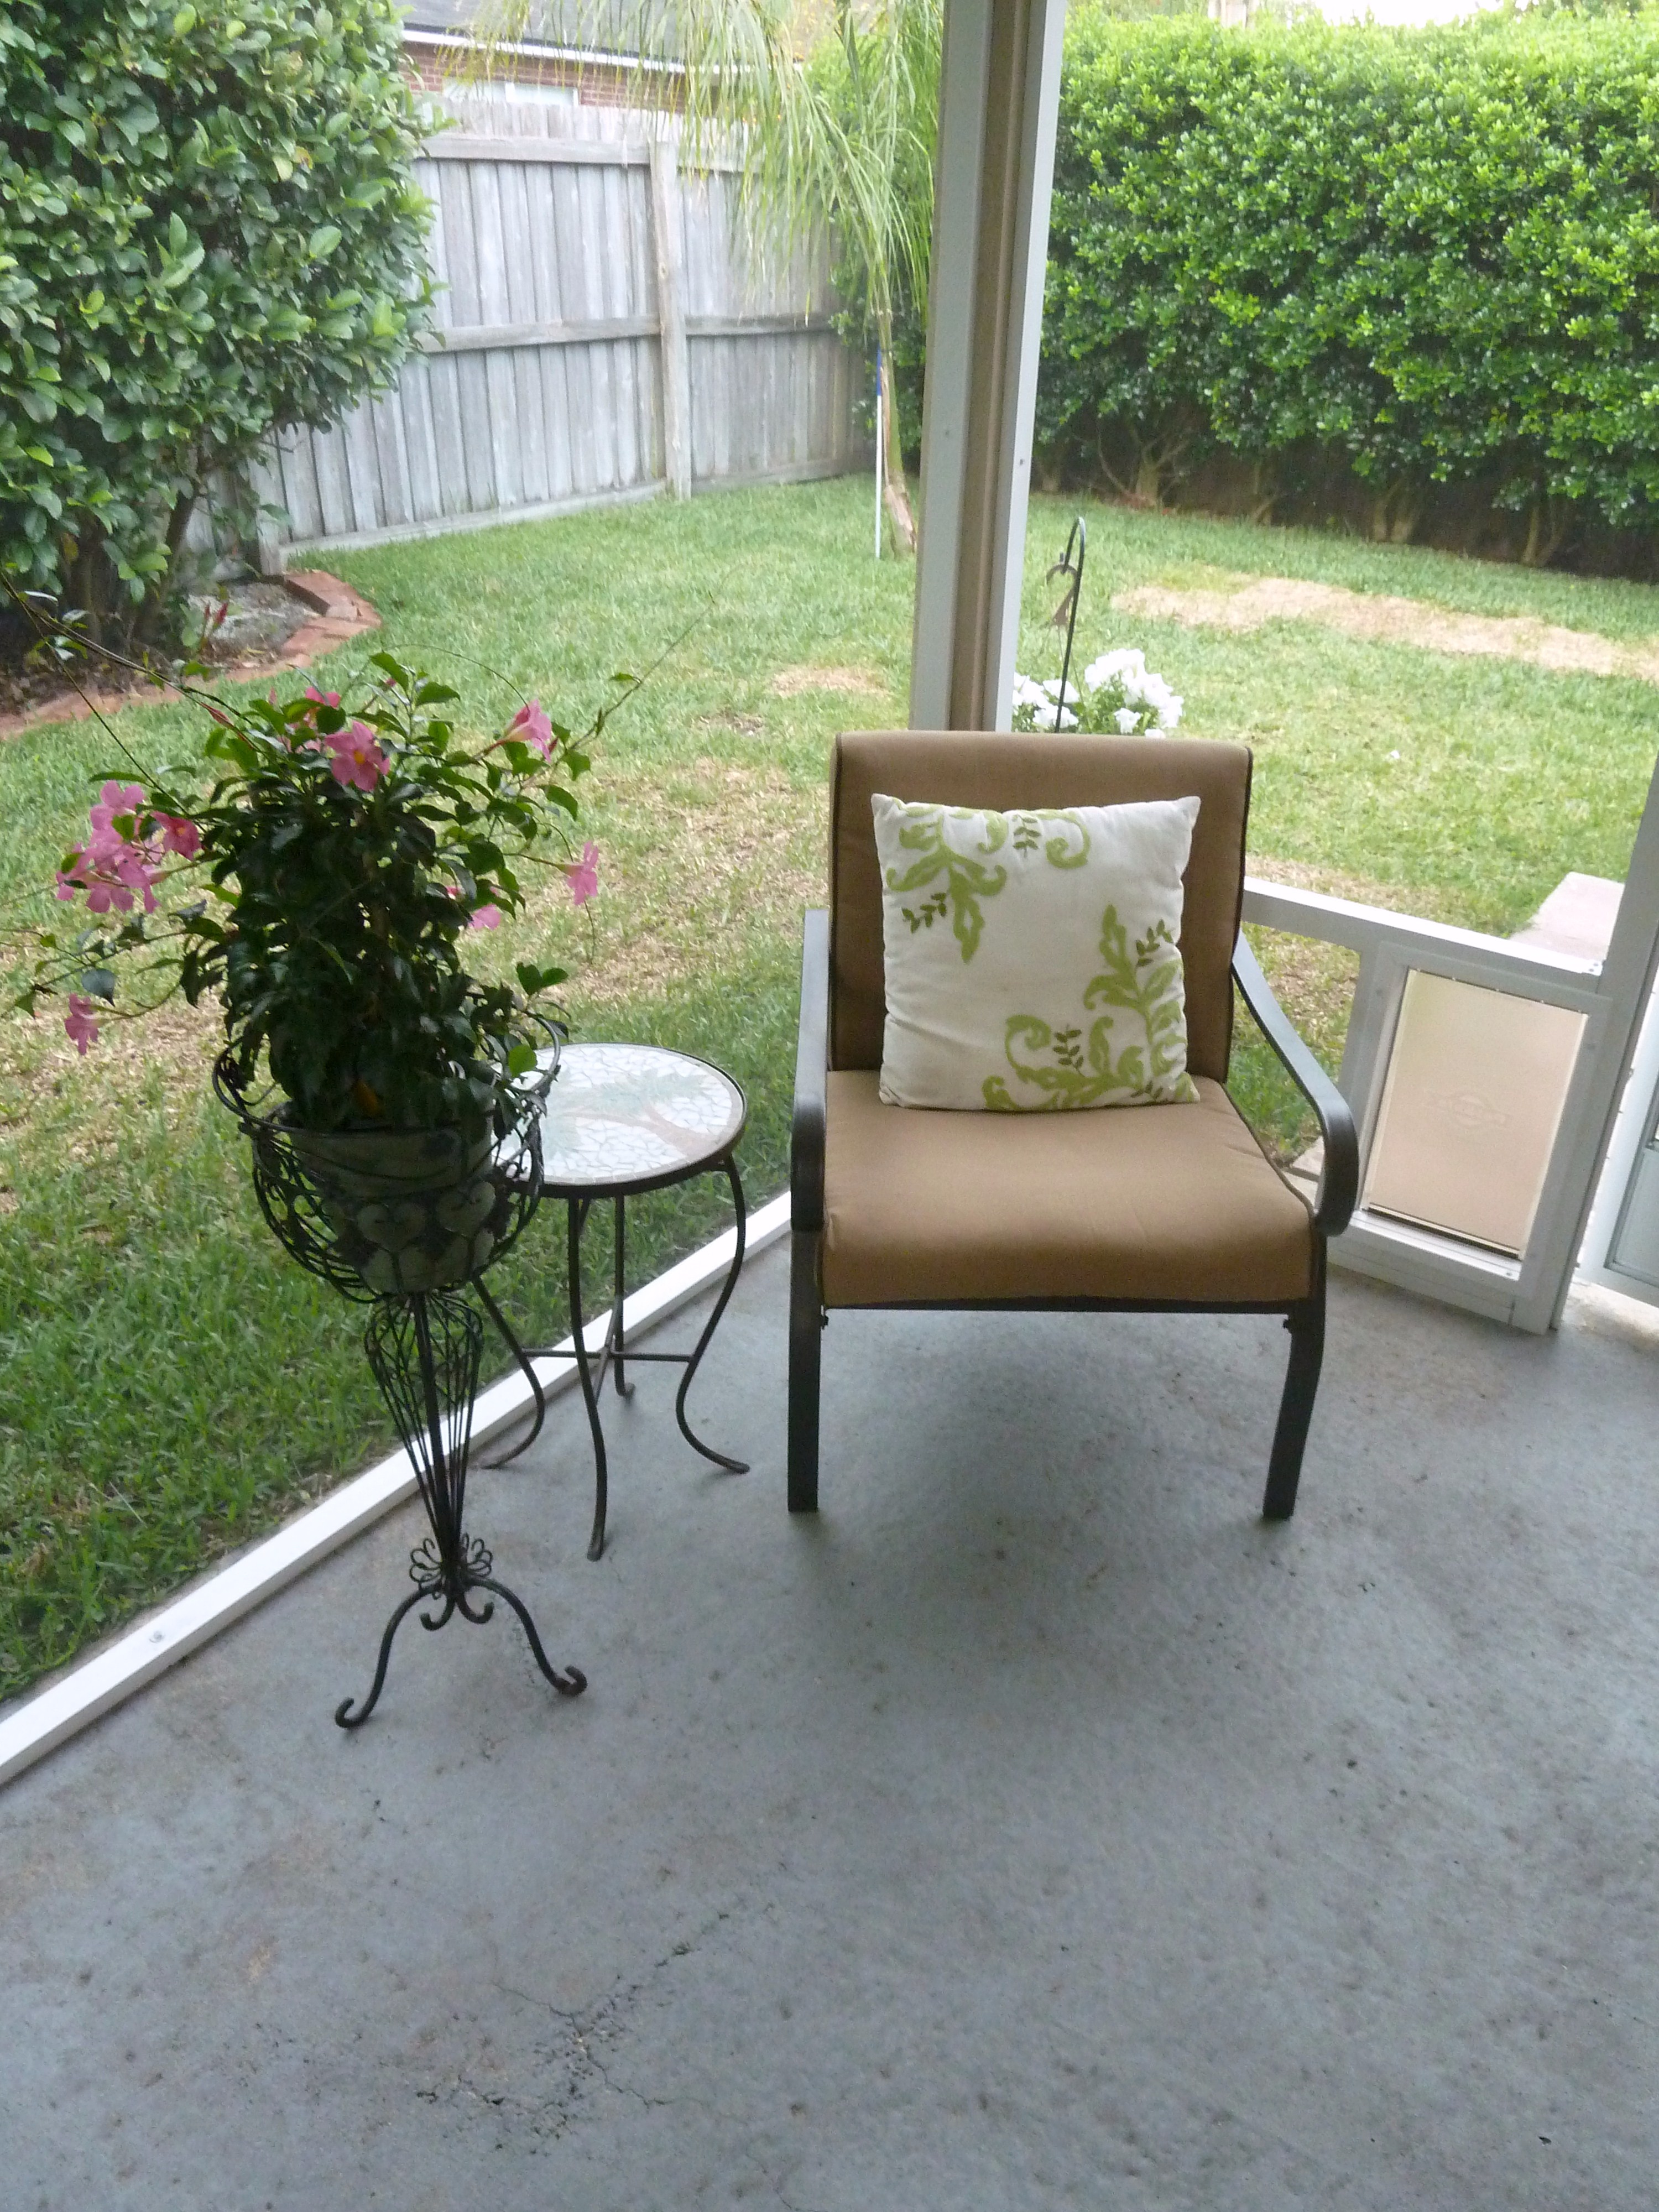
I also think it matches our other patio chairs nicely.
While at Lowe’s we also got a new plant.
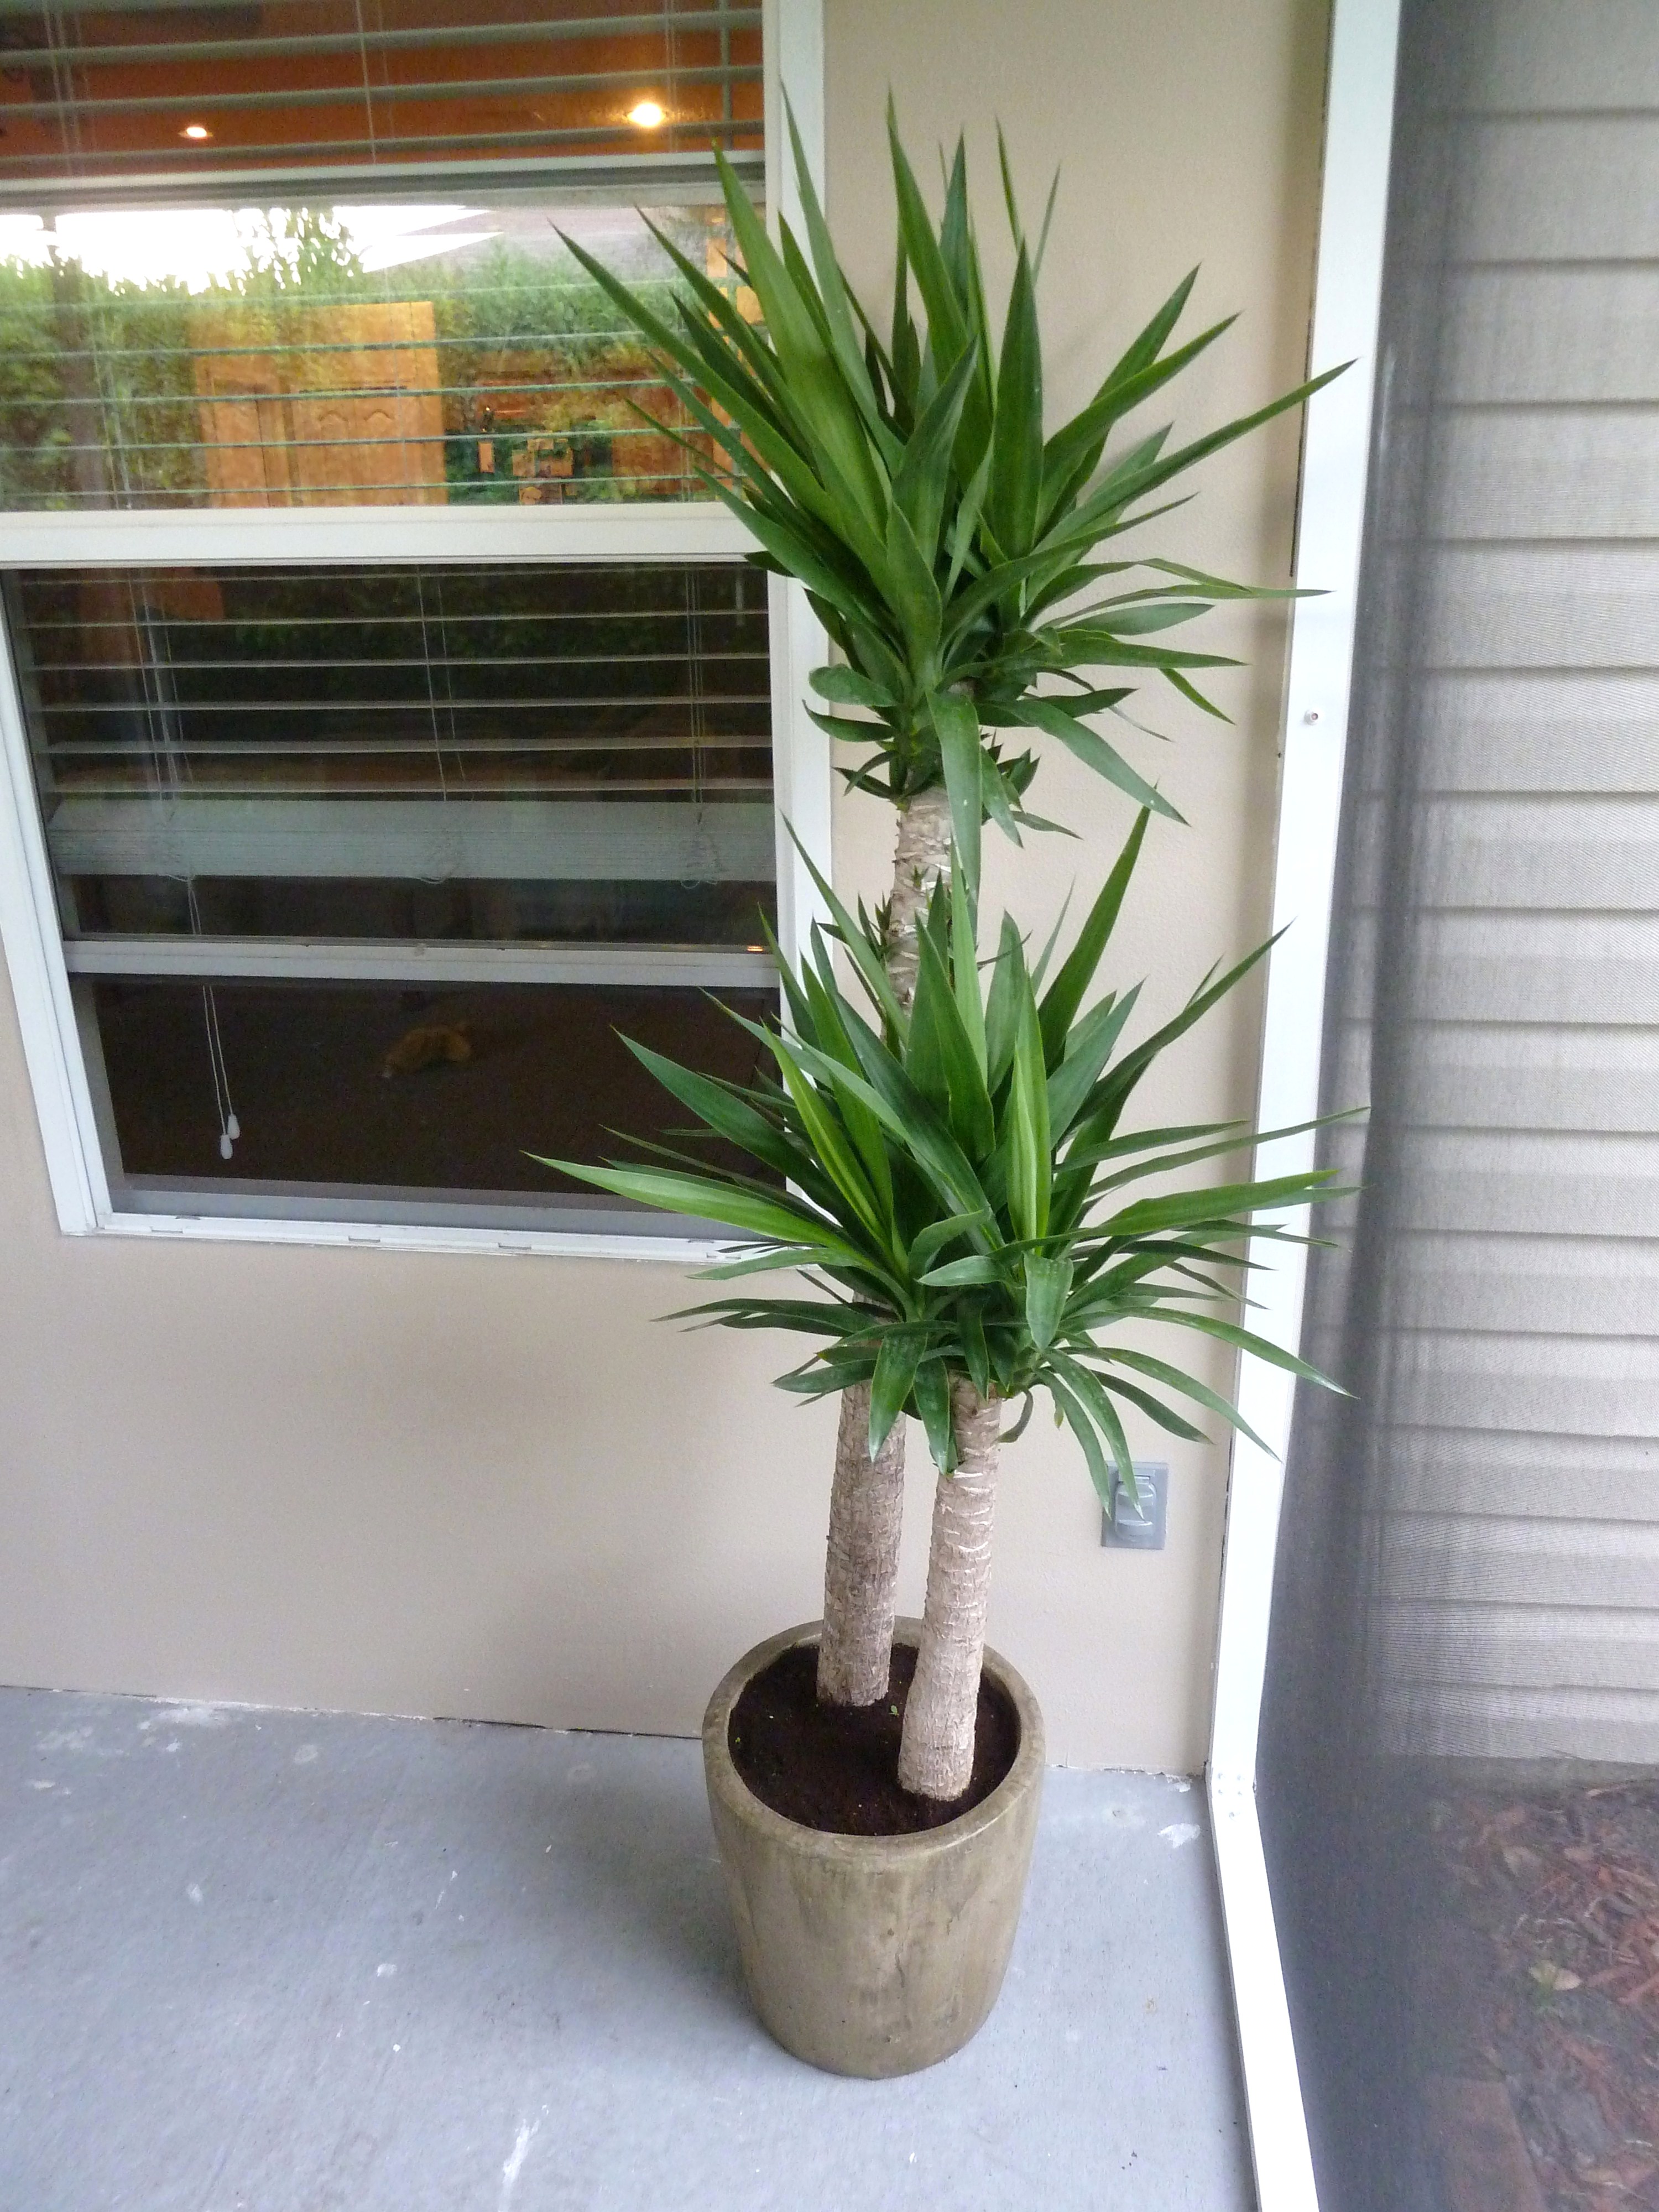
Pretty sweet right? It’s called a yucca plant. I hope I don’t kill it! I have trouble keeping plants alive, usually I over water them. I am going to try my best with the yucca and hopefully it will live a long happy life.
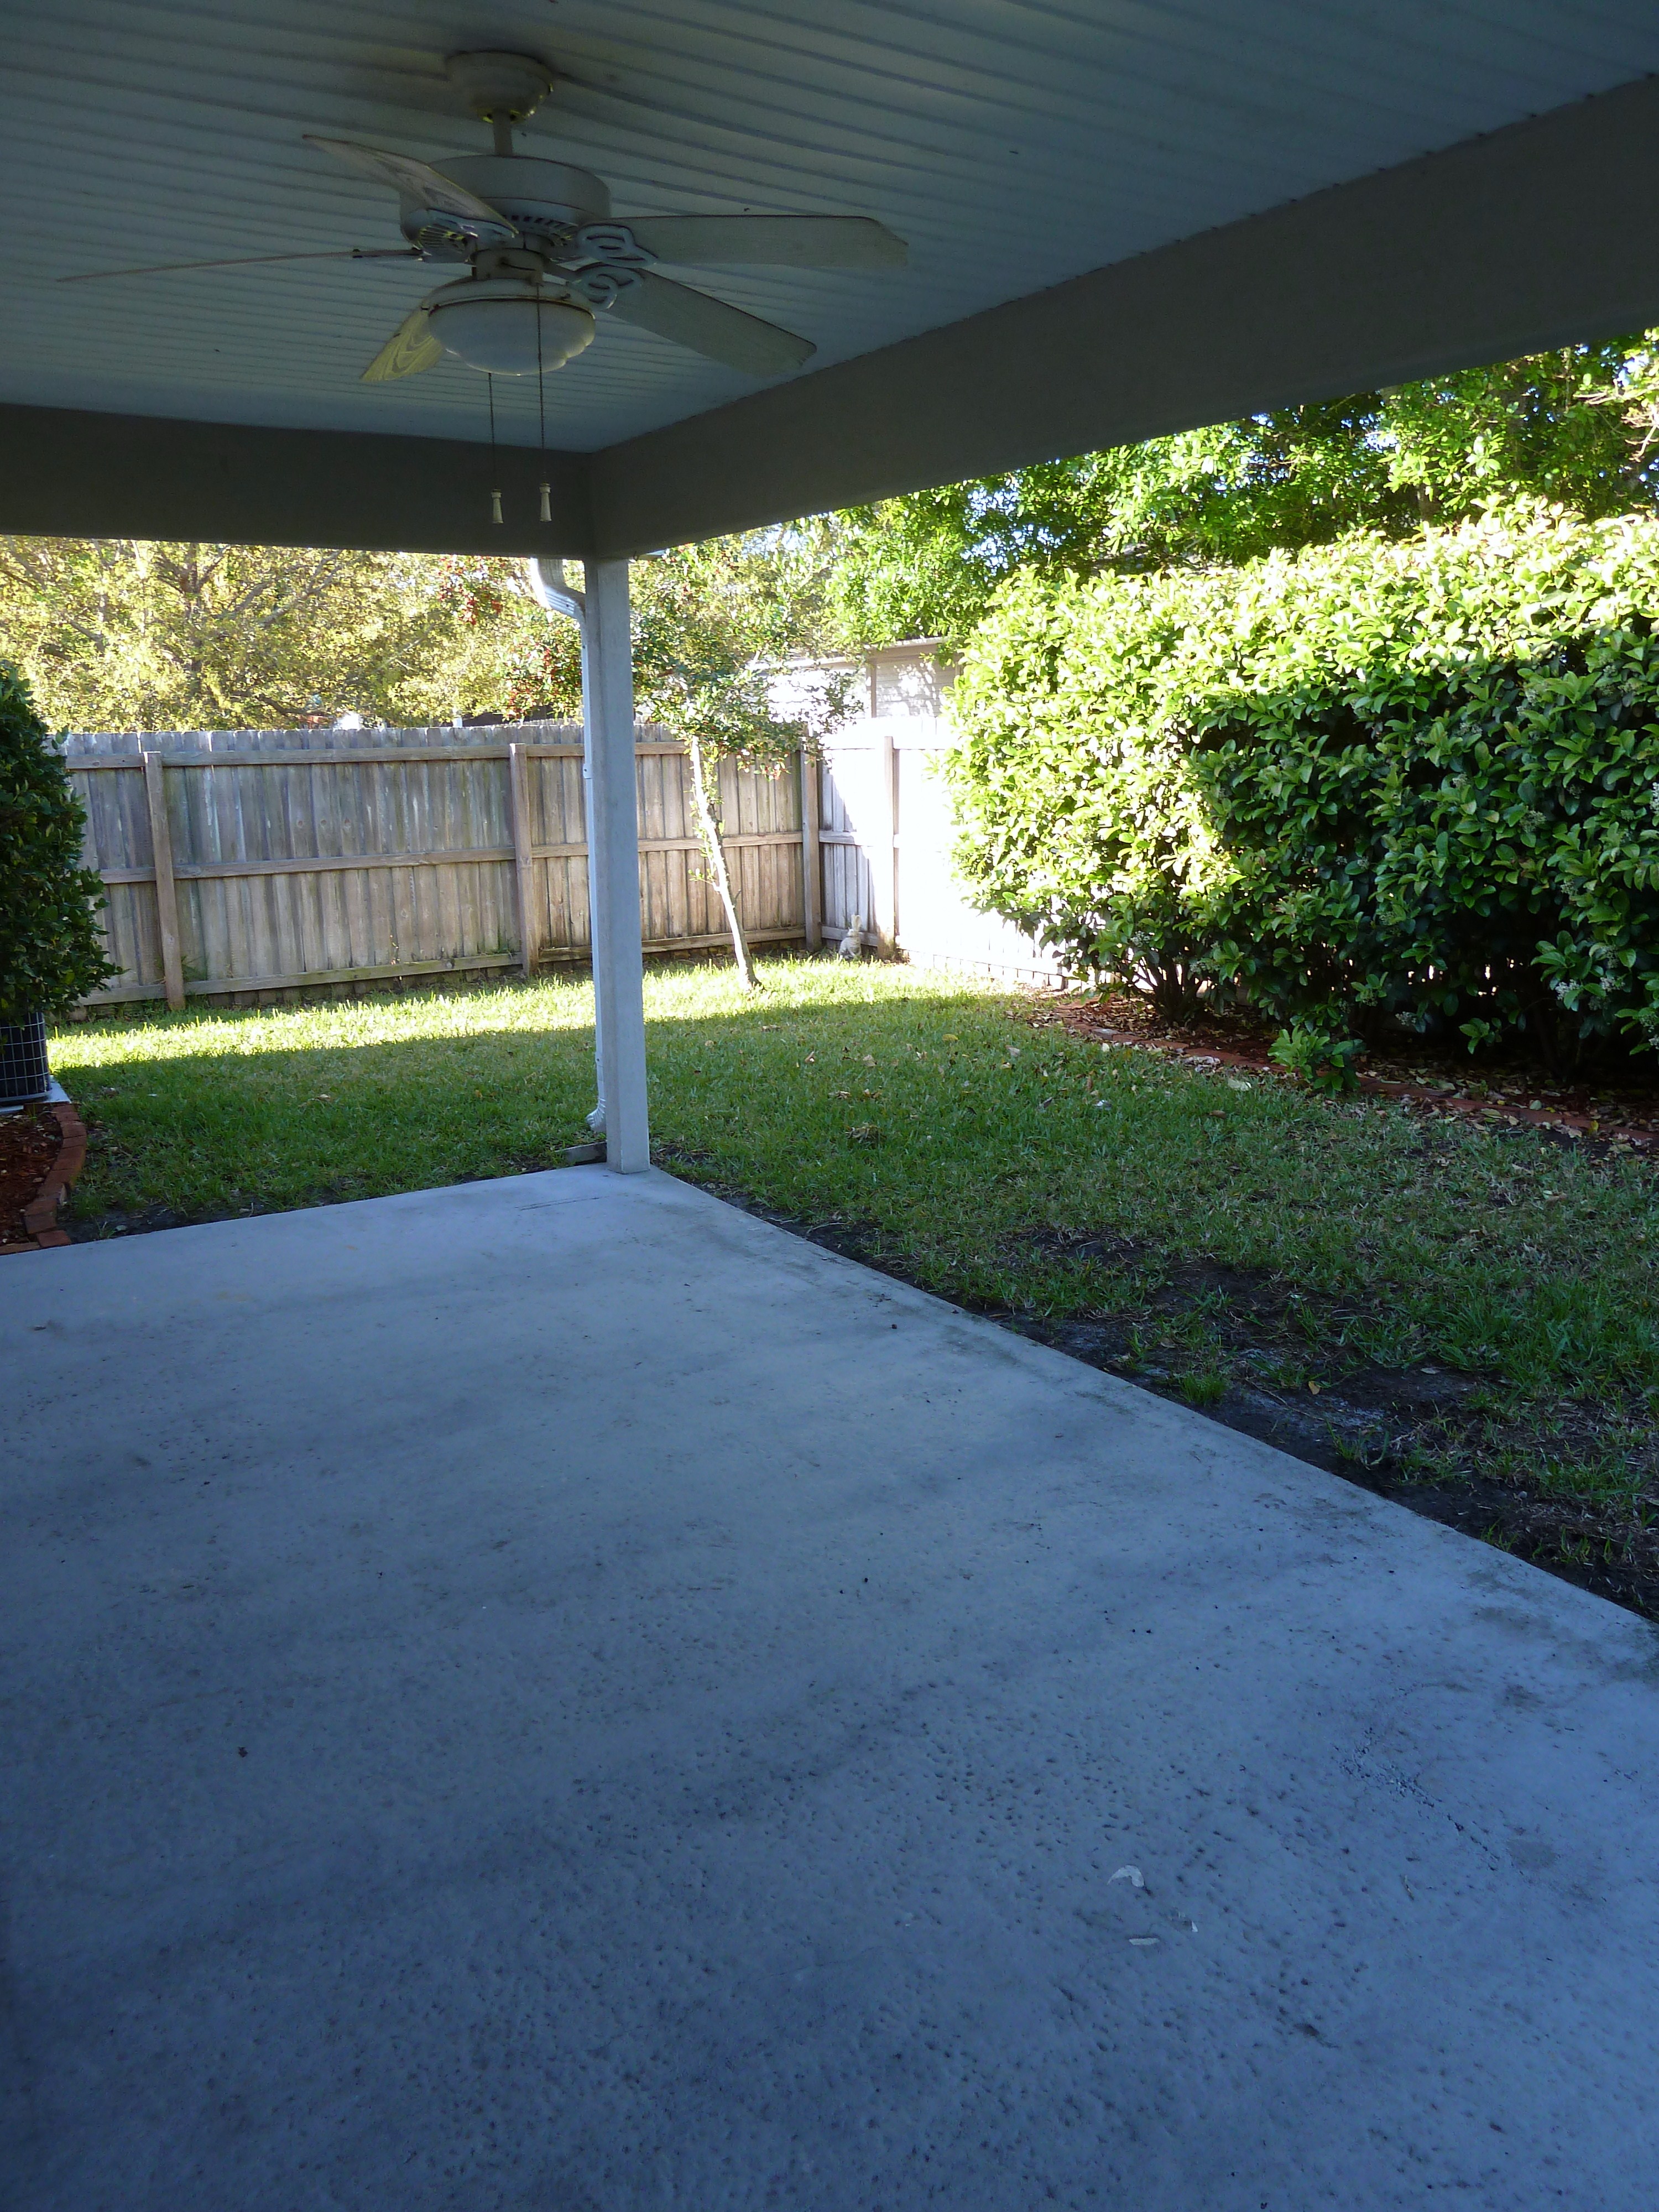
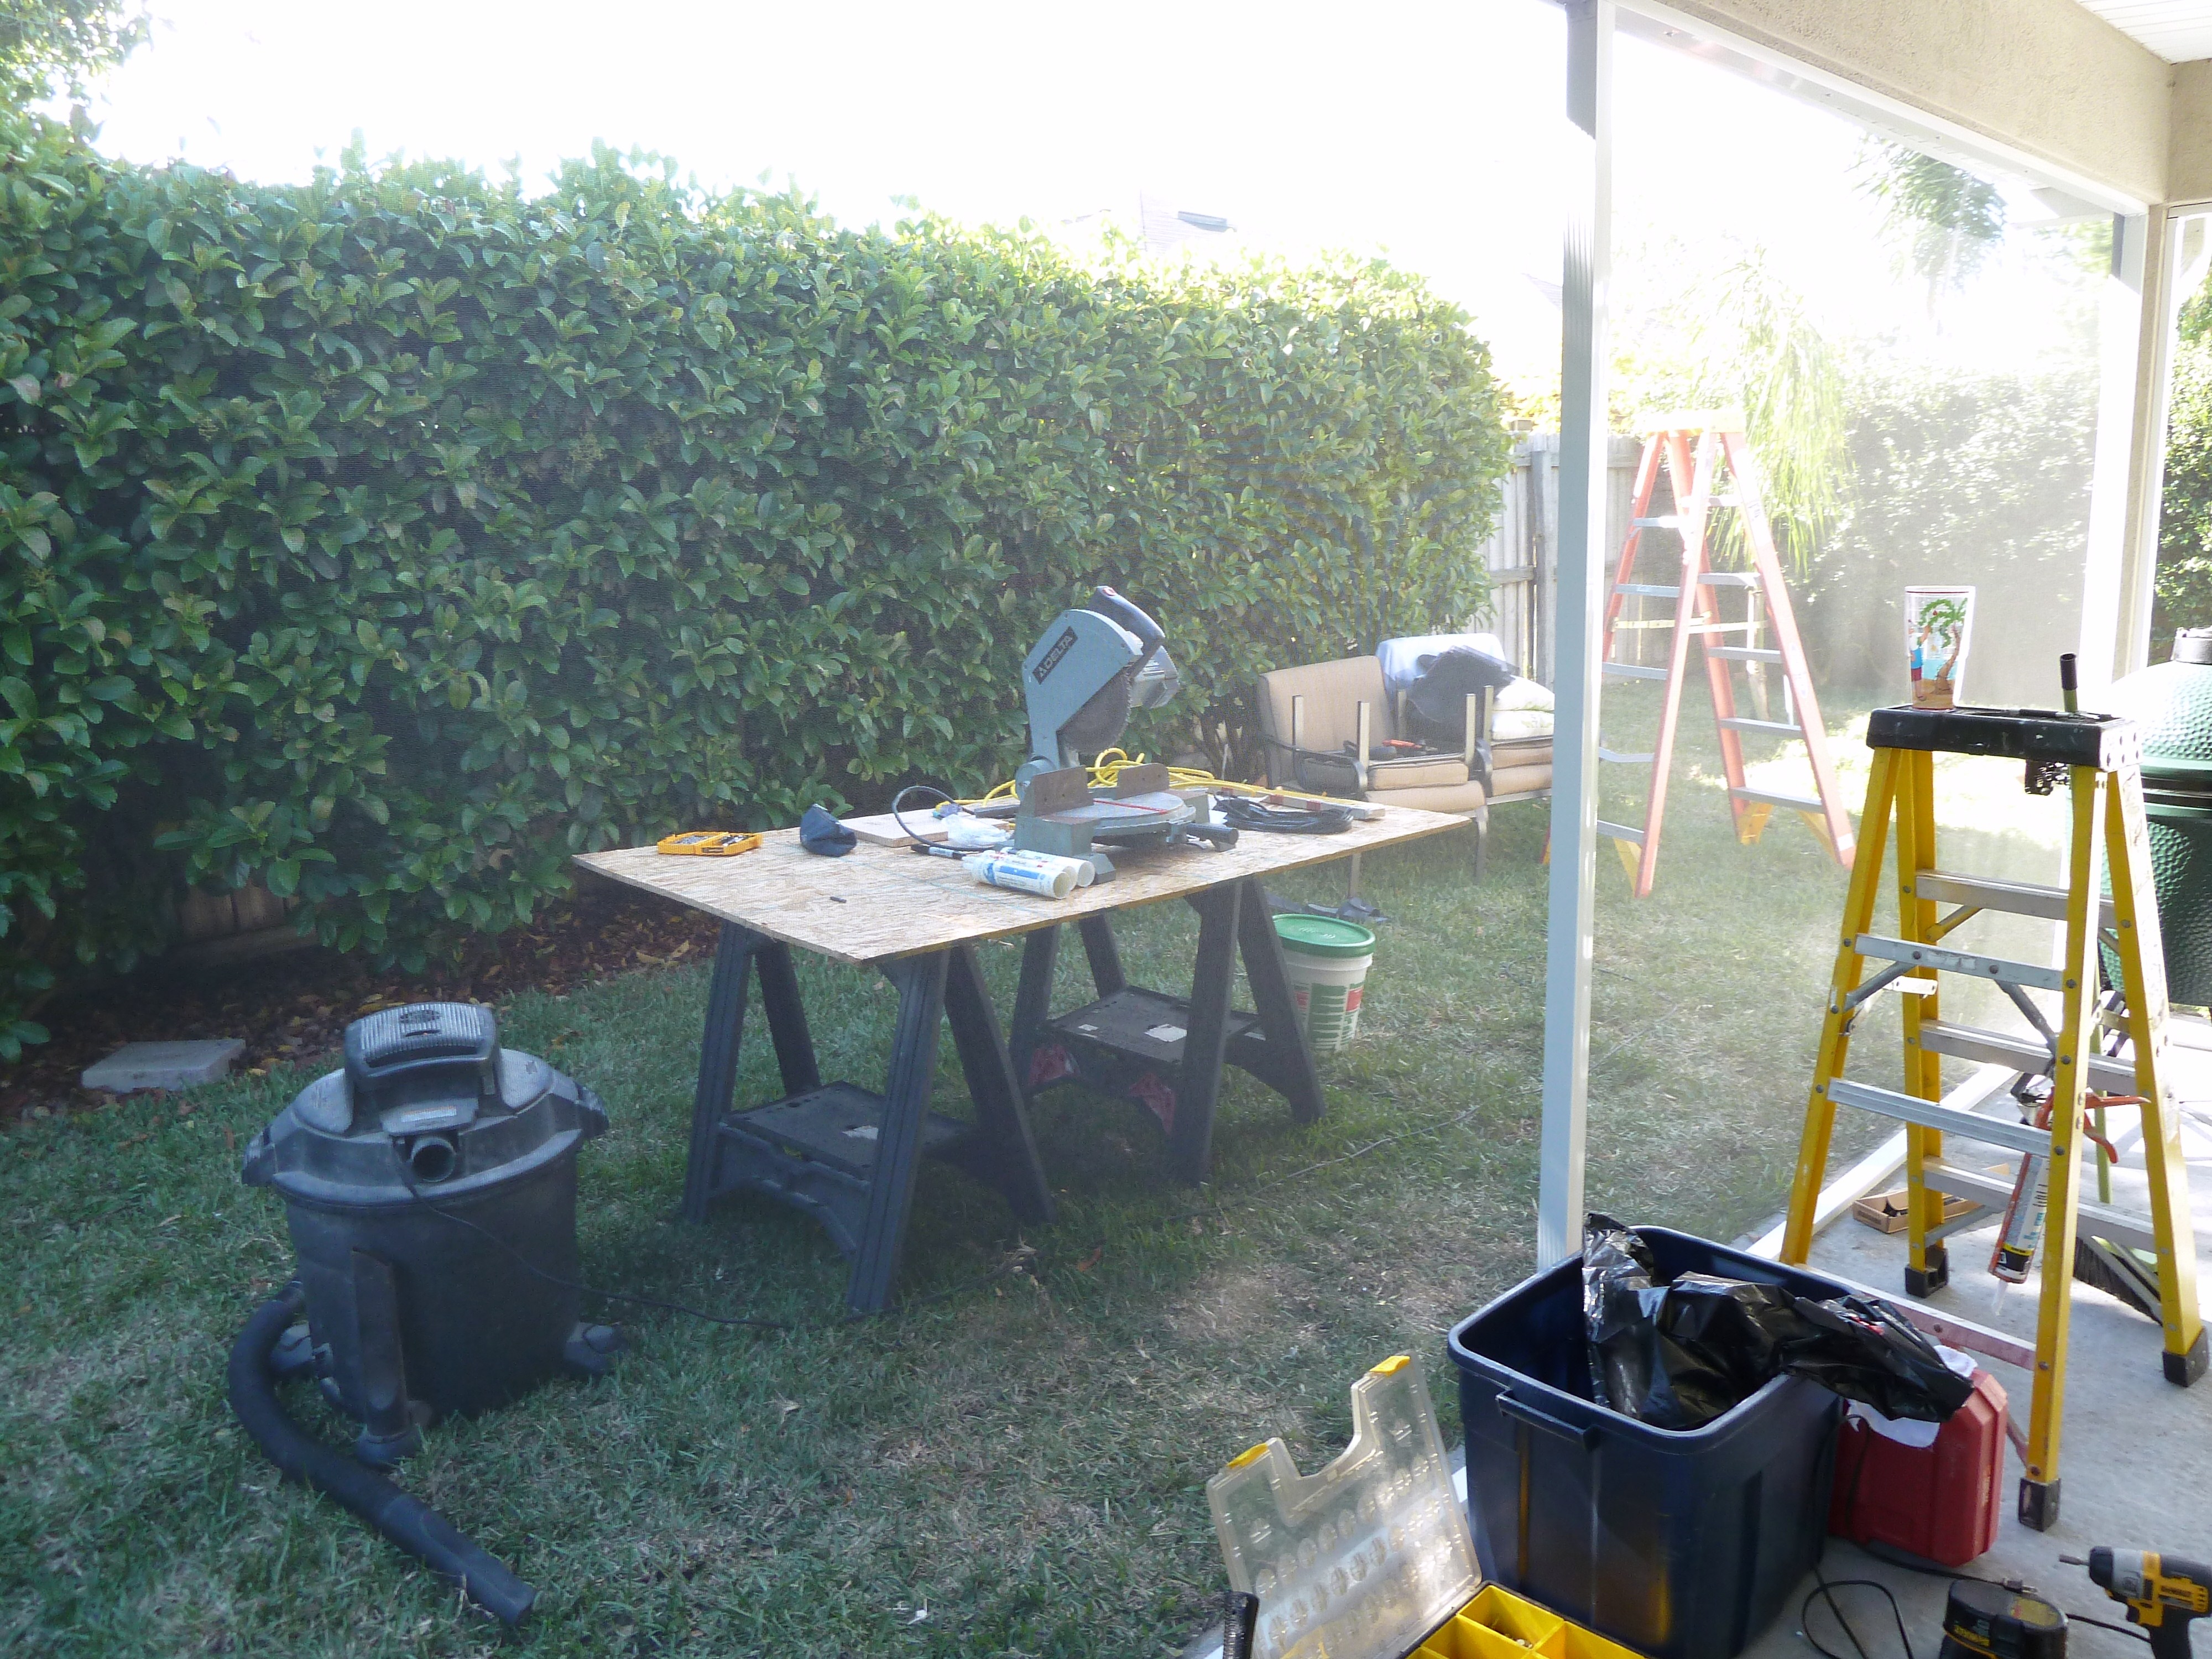
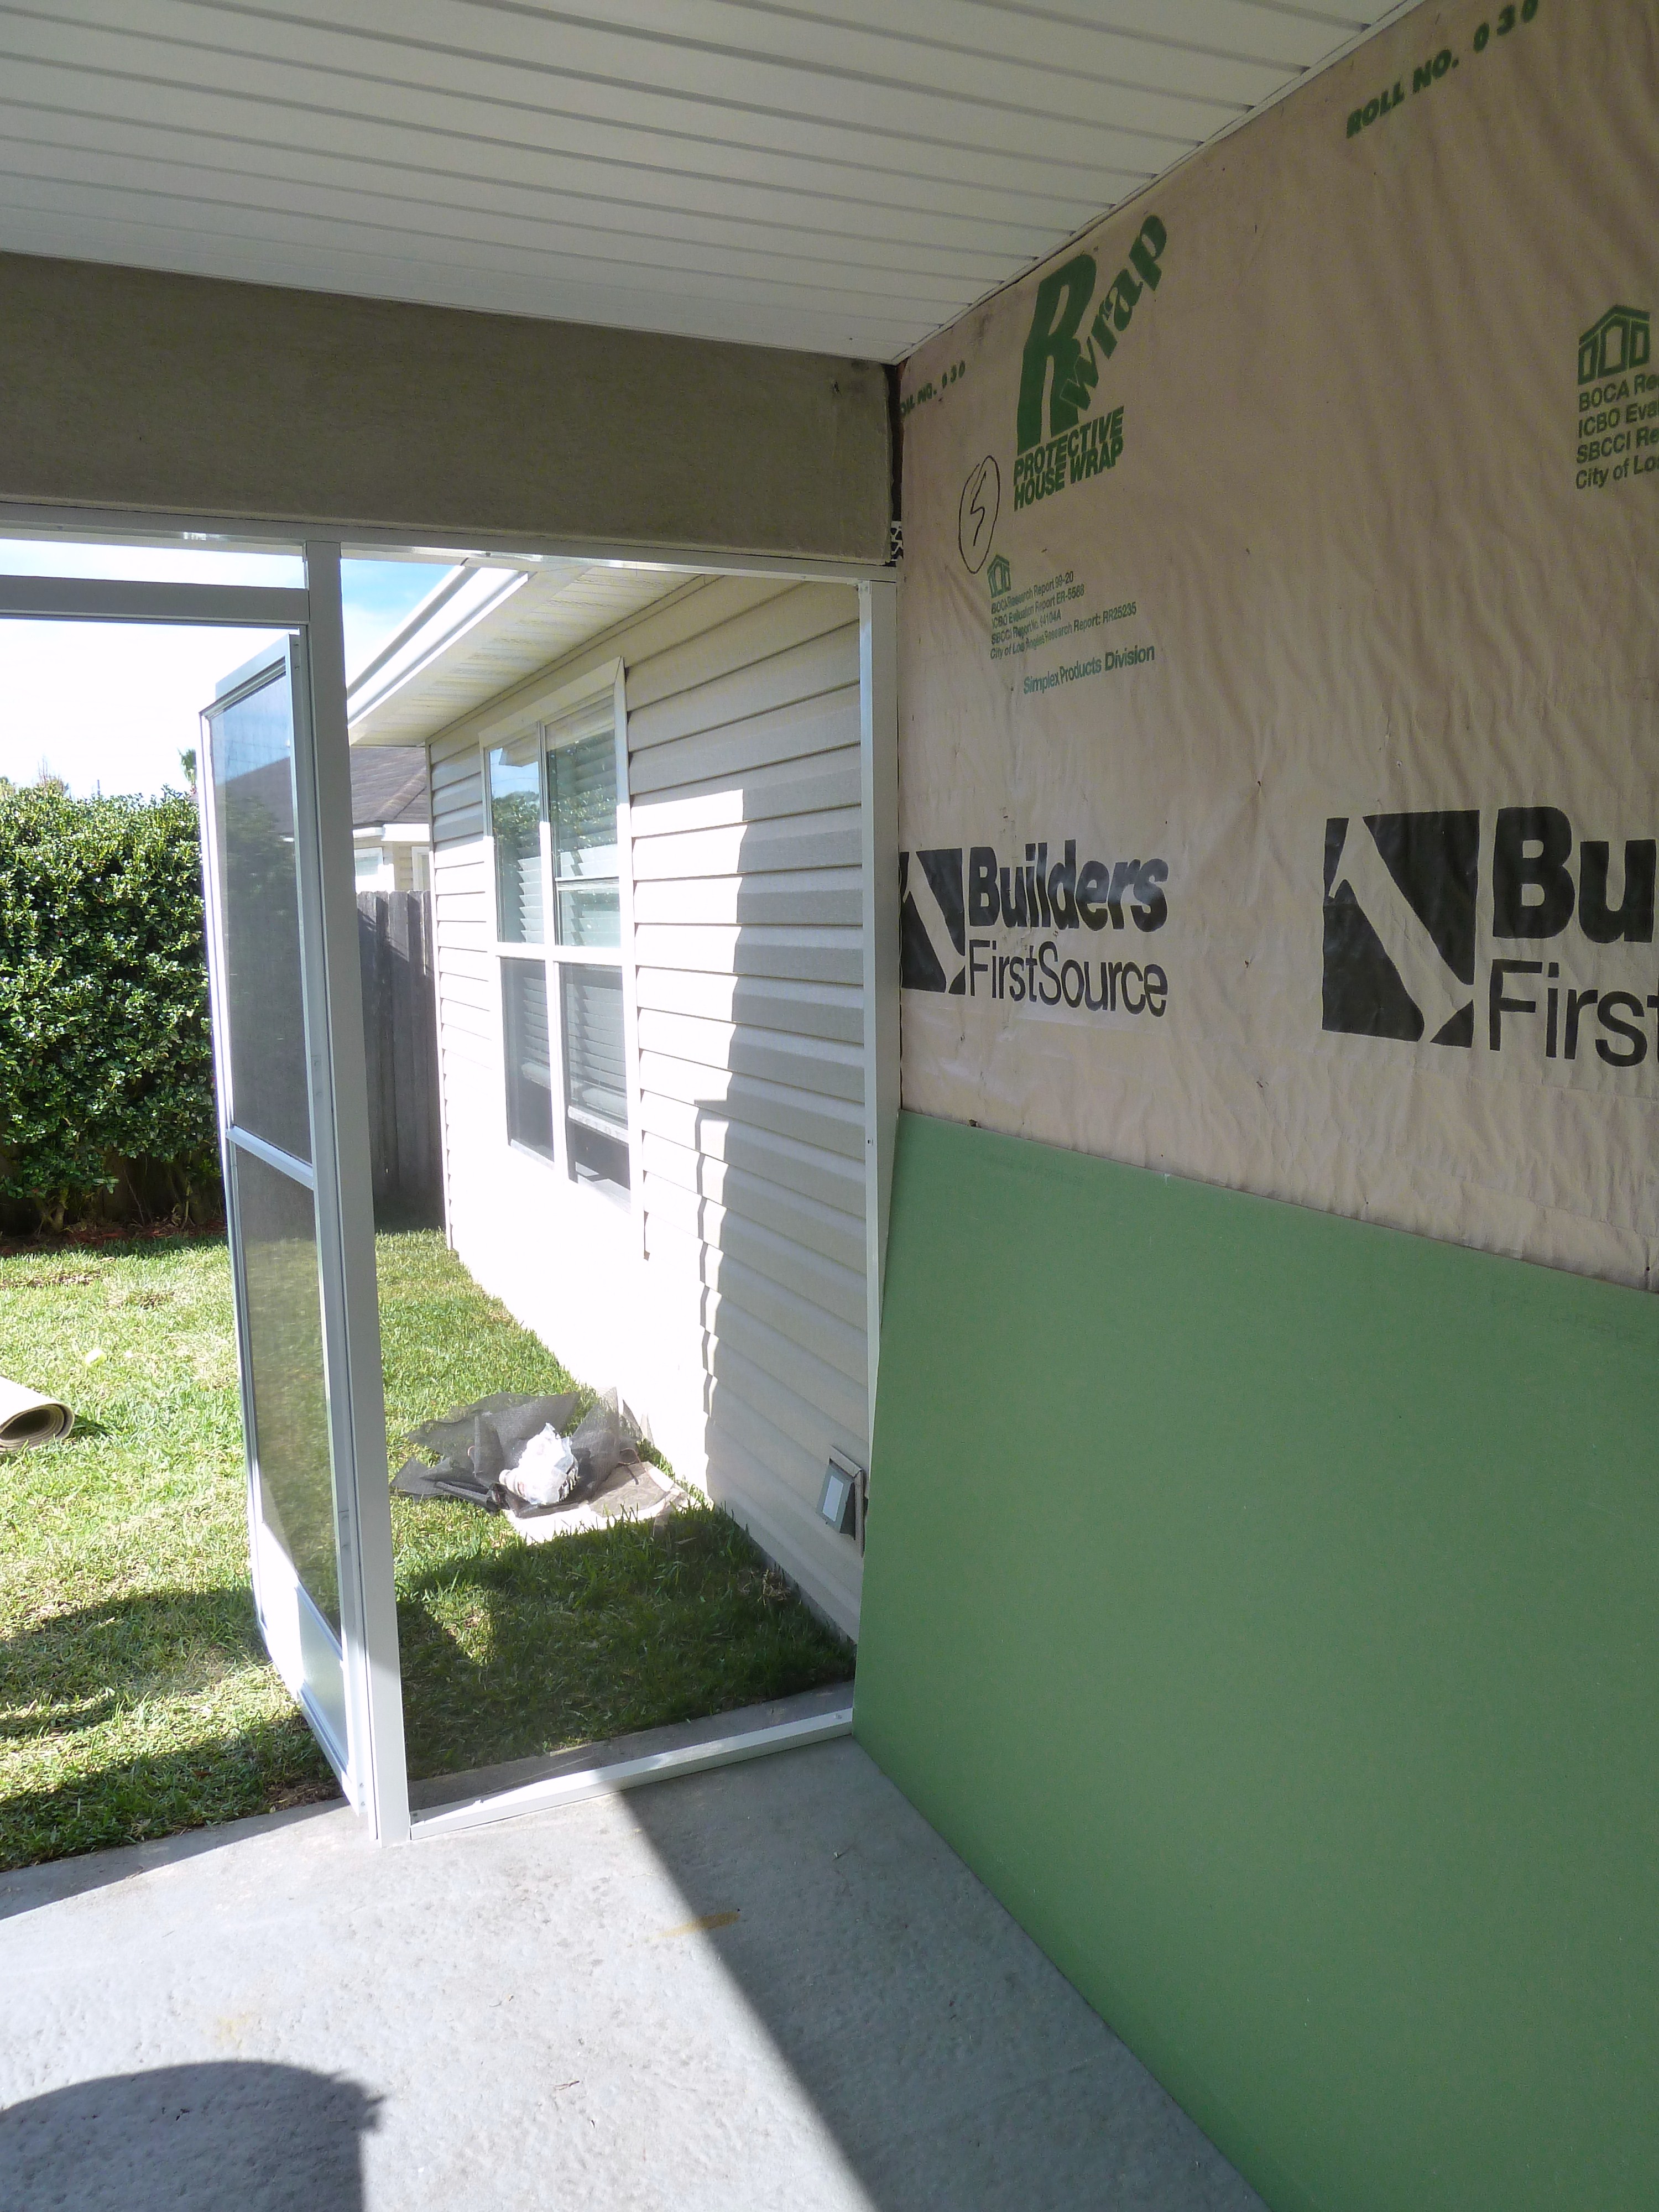
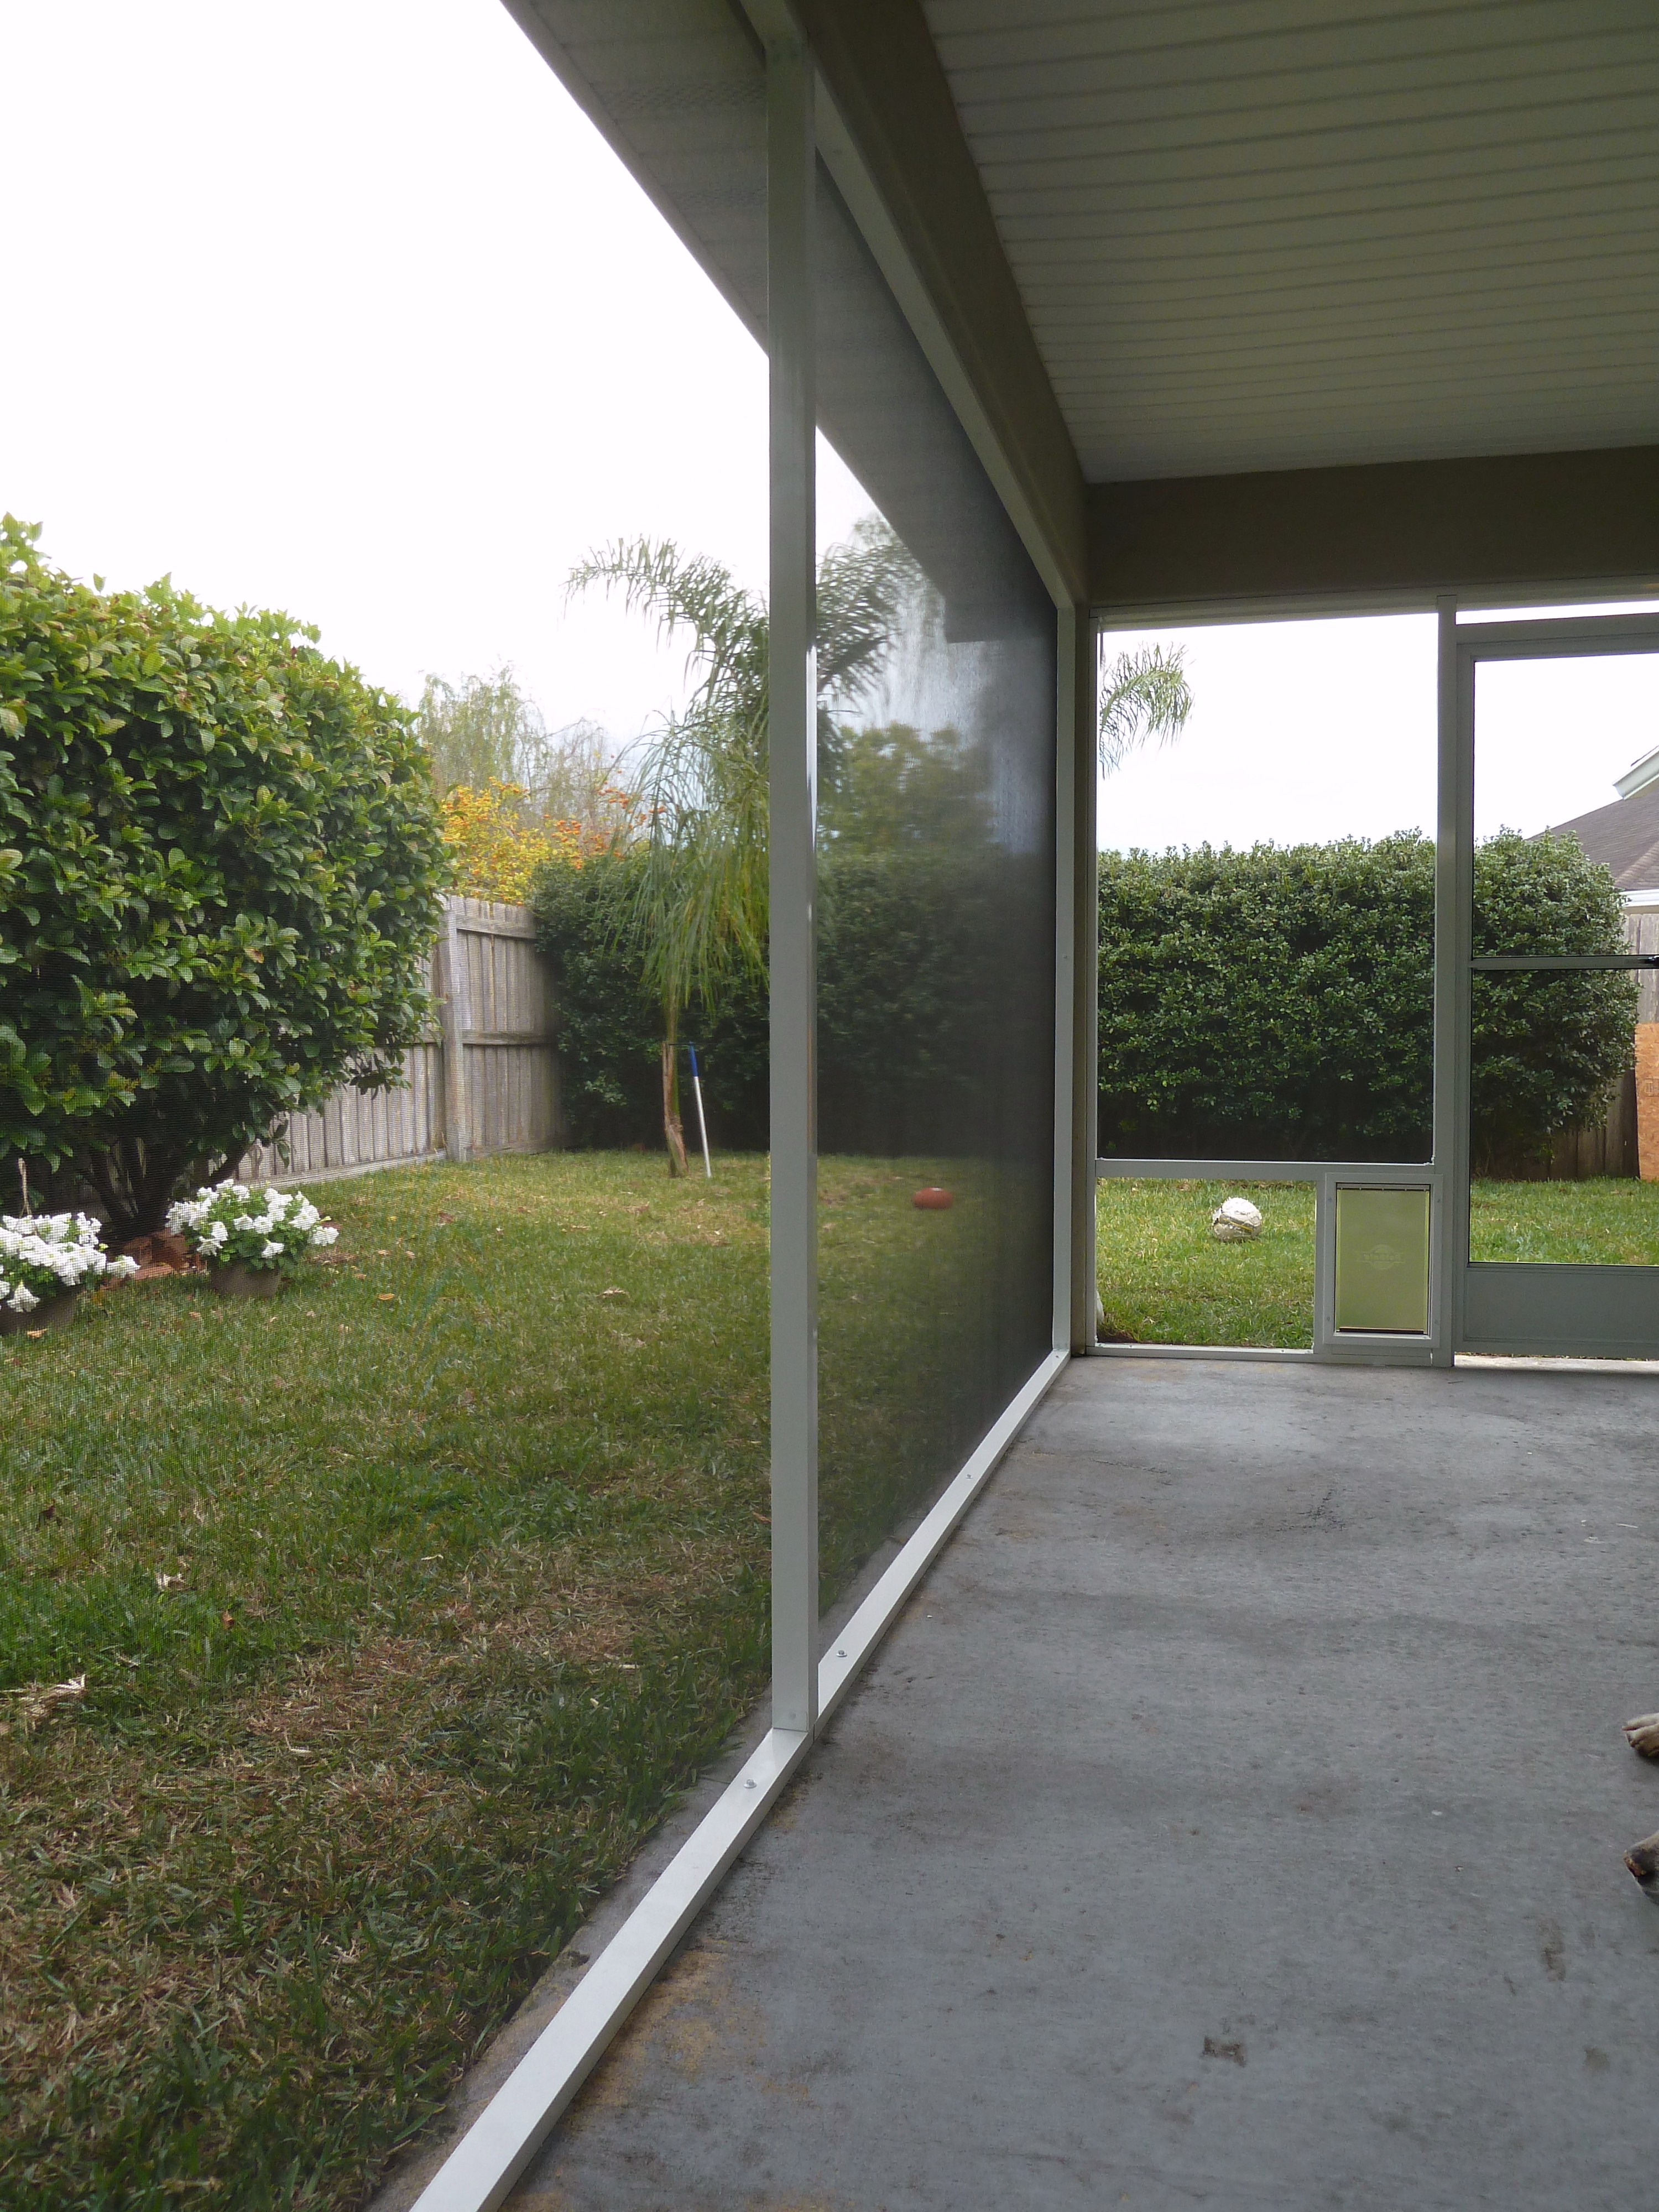
We are moving along with finishing up the patio area and that means updated list!
Patio to do list:
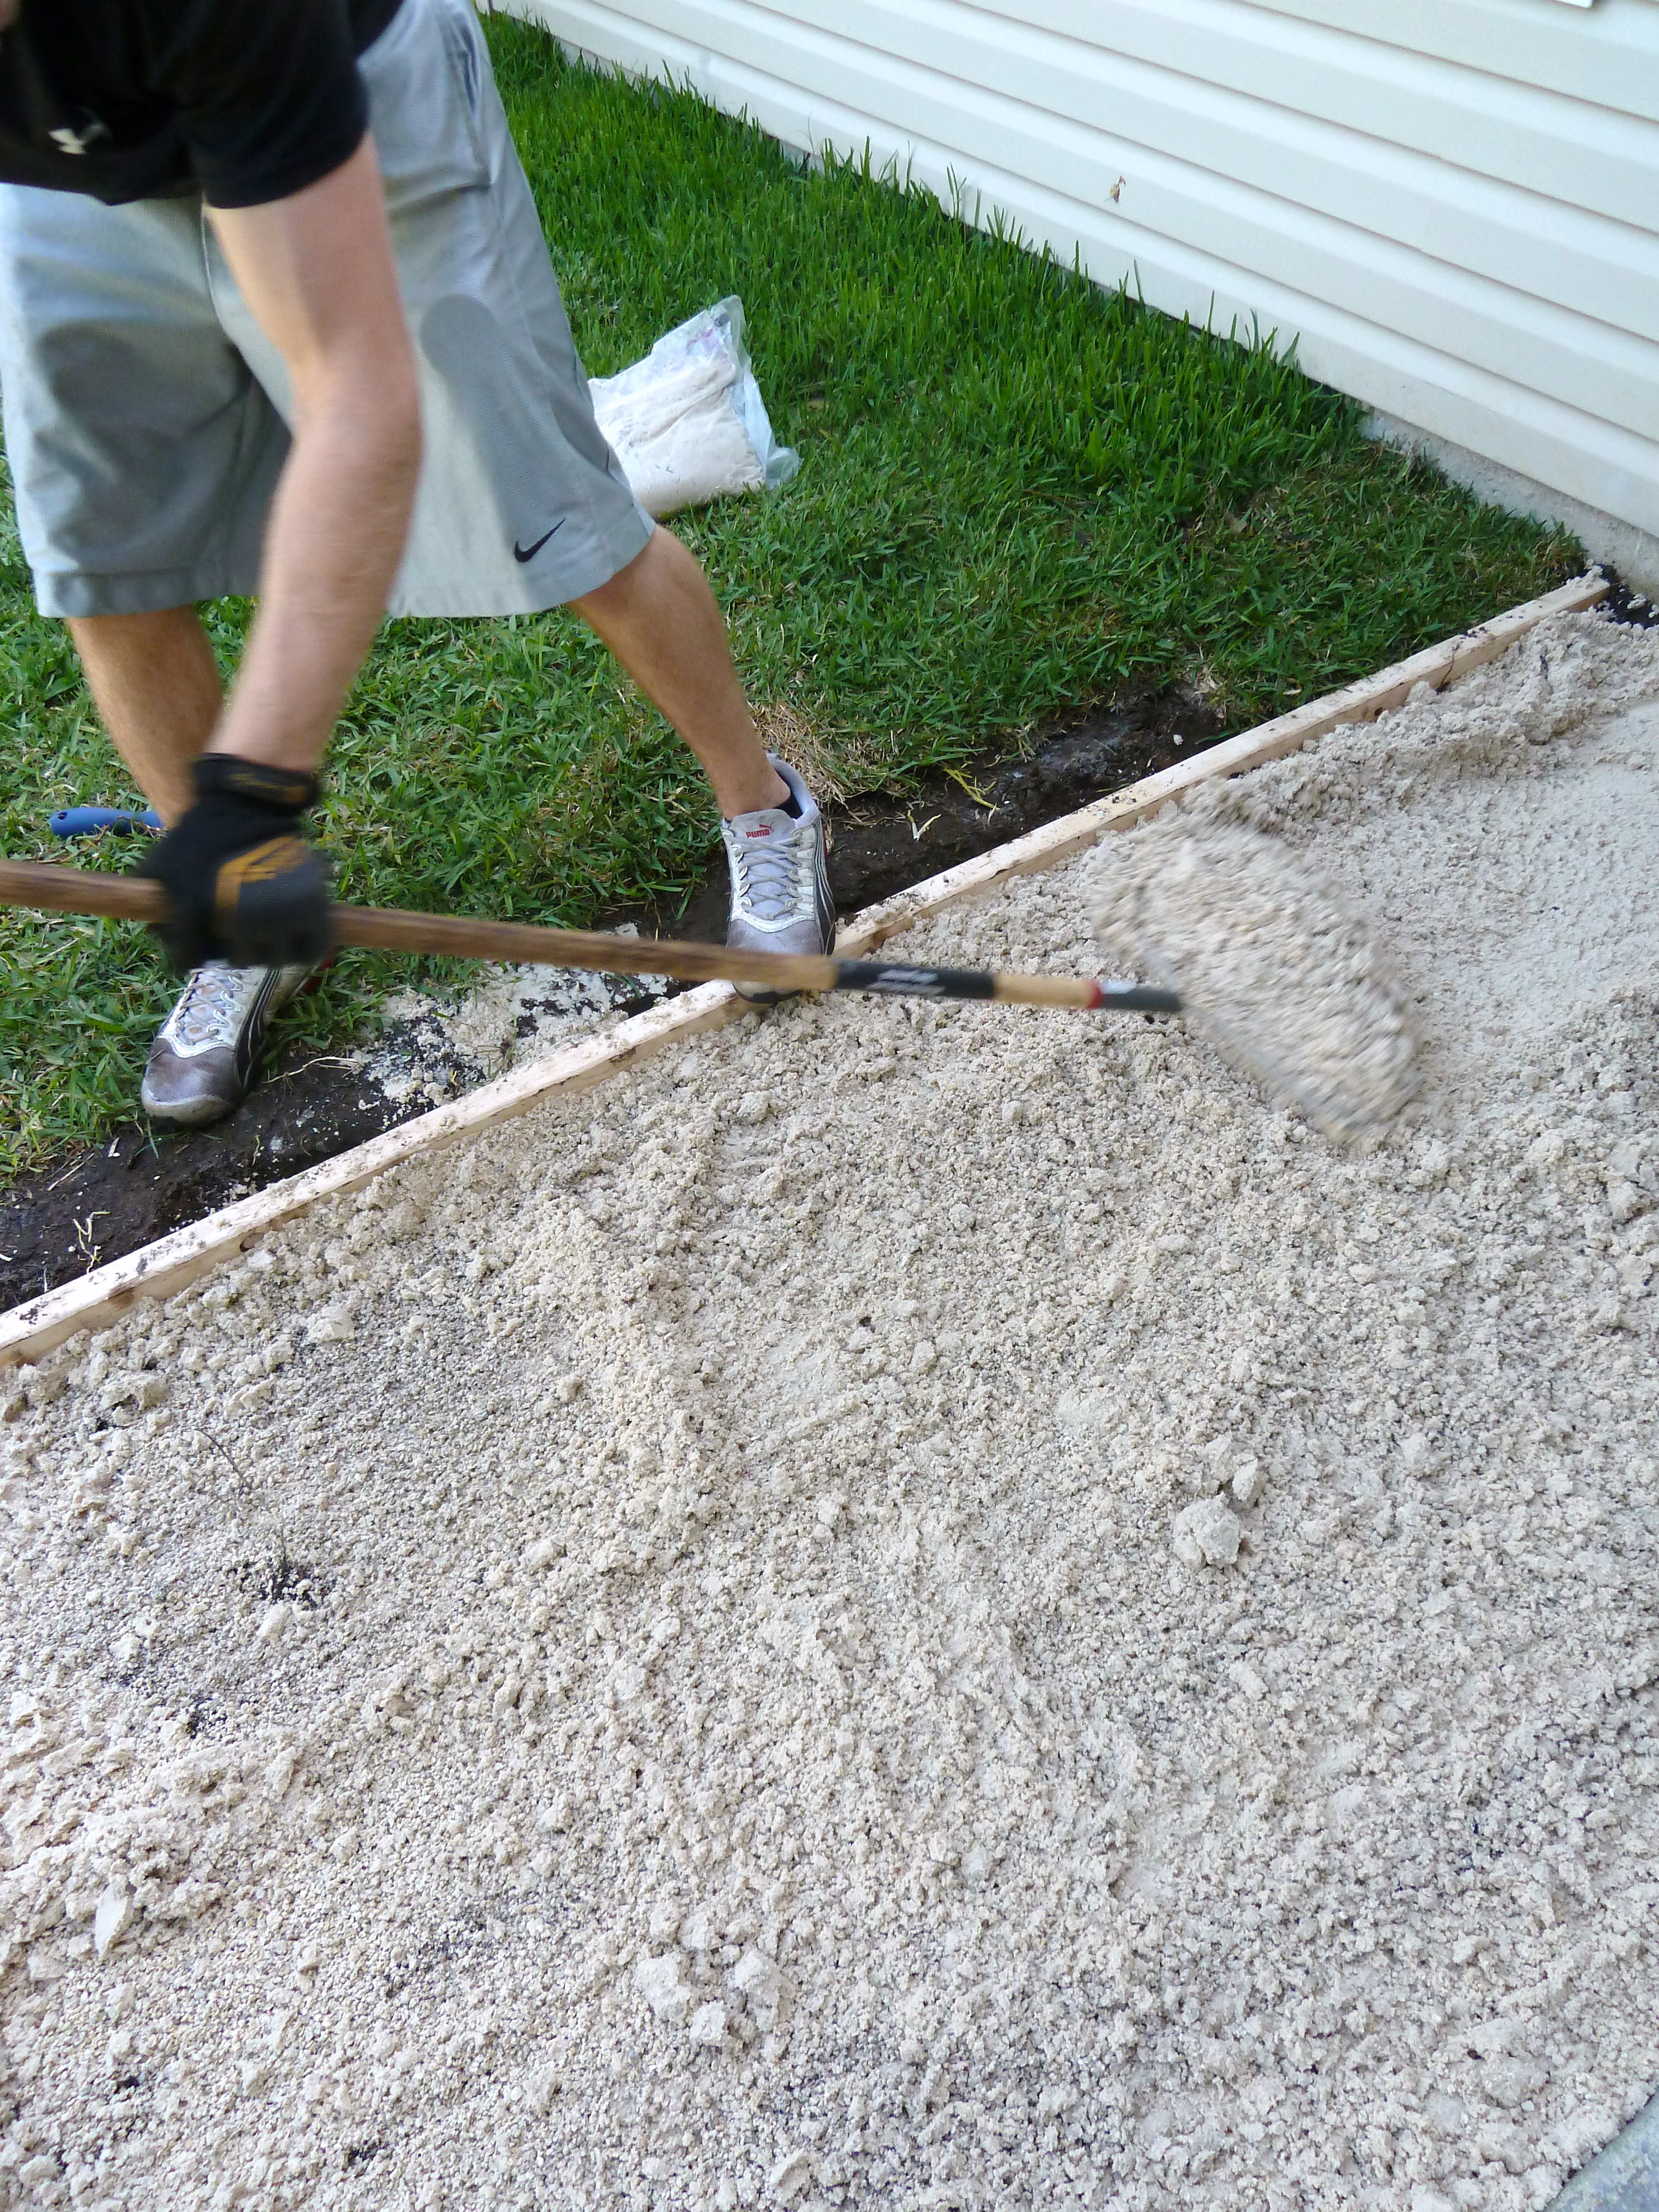
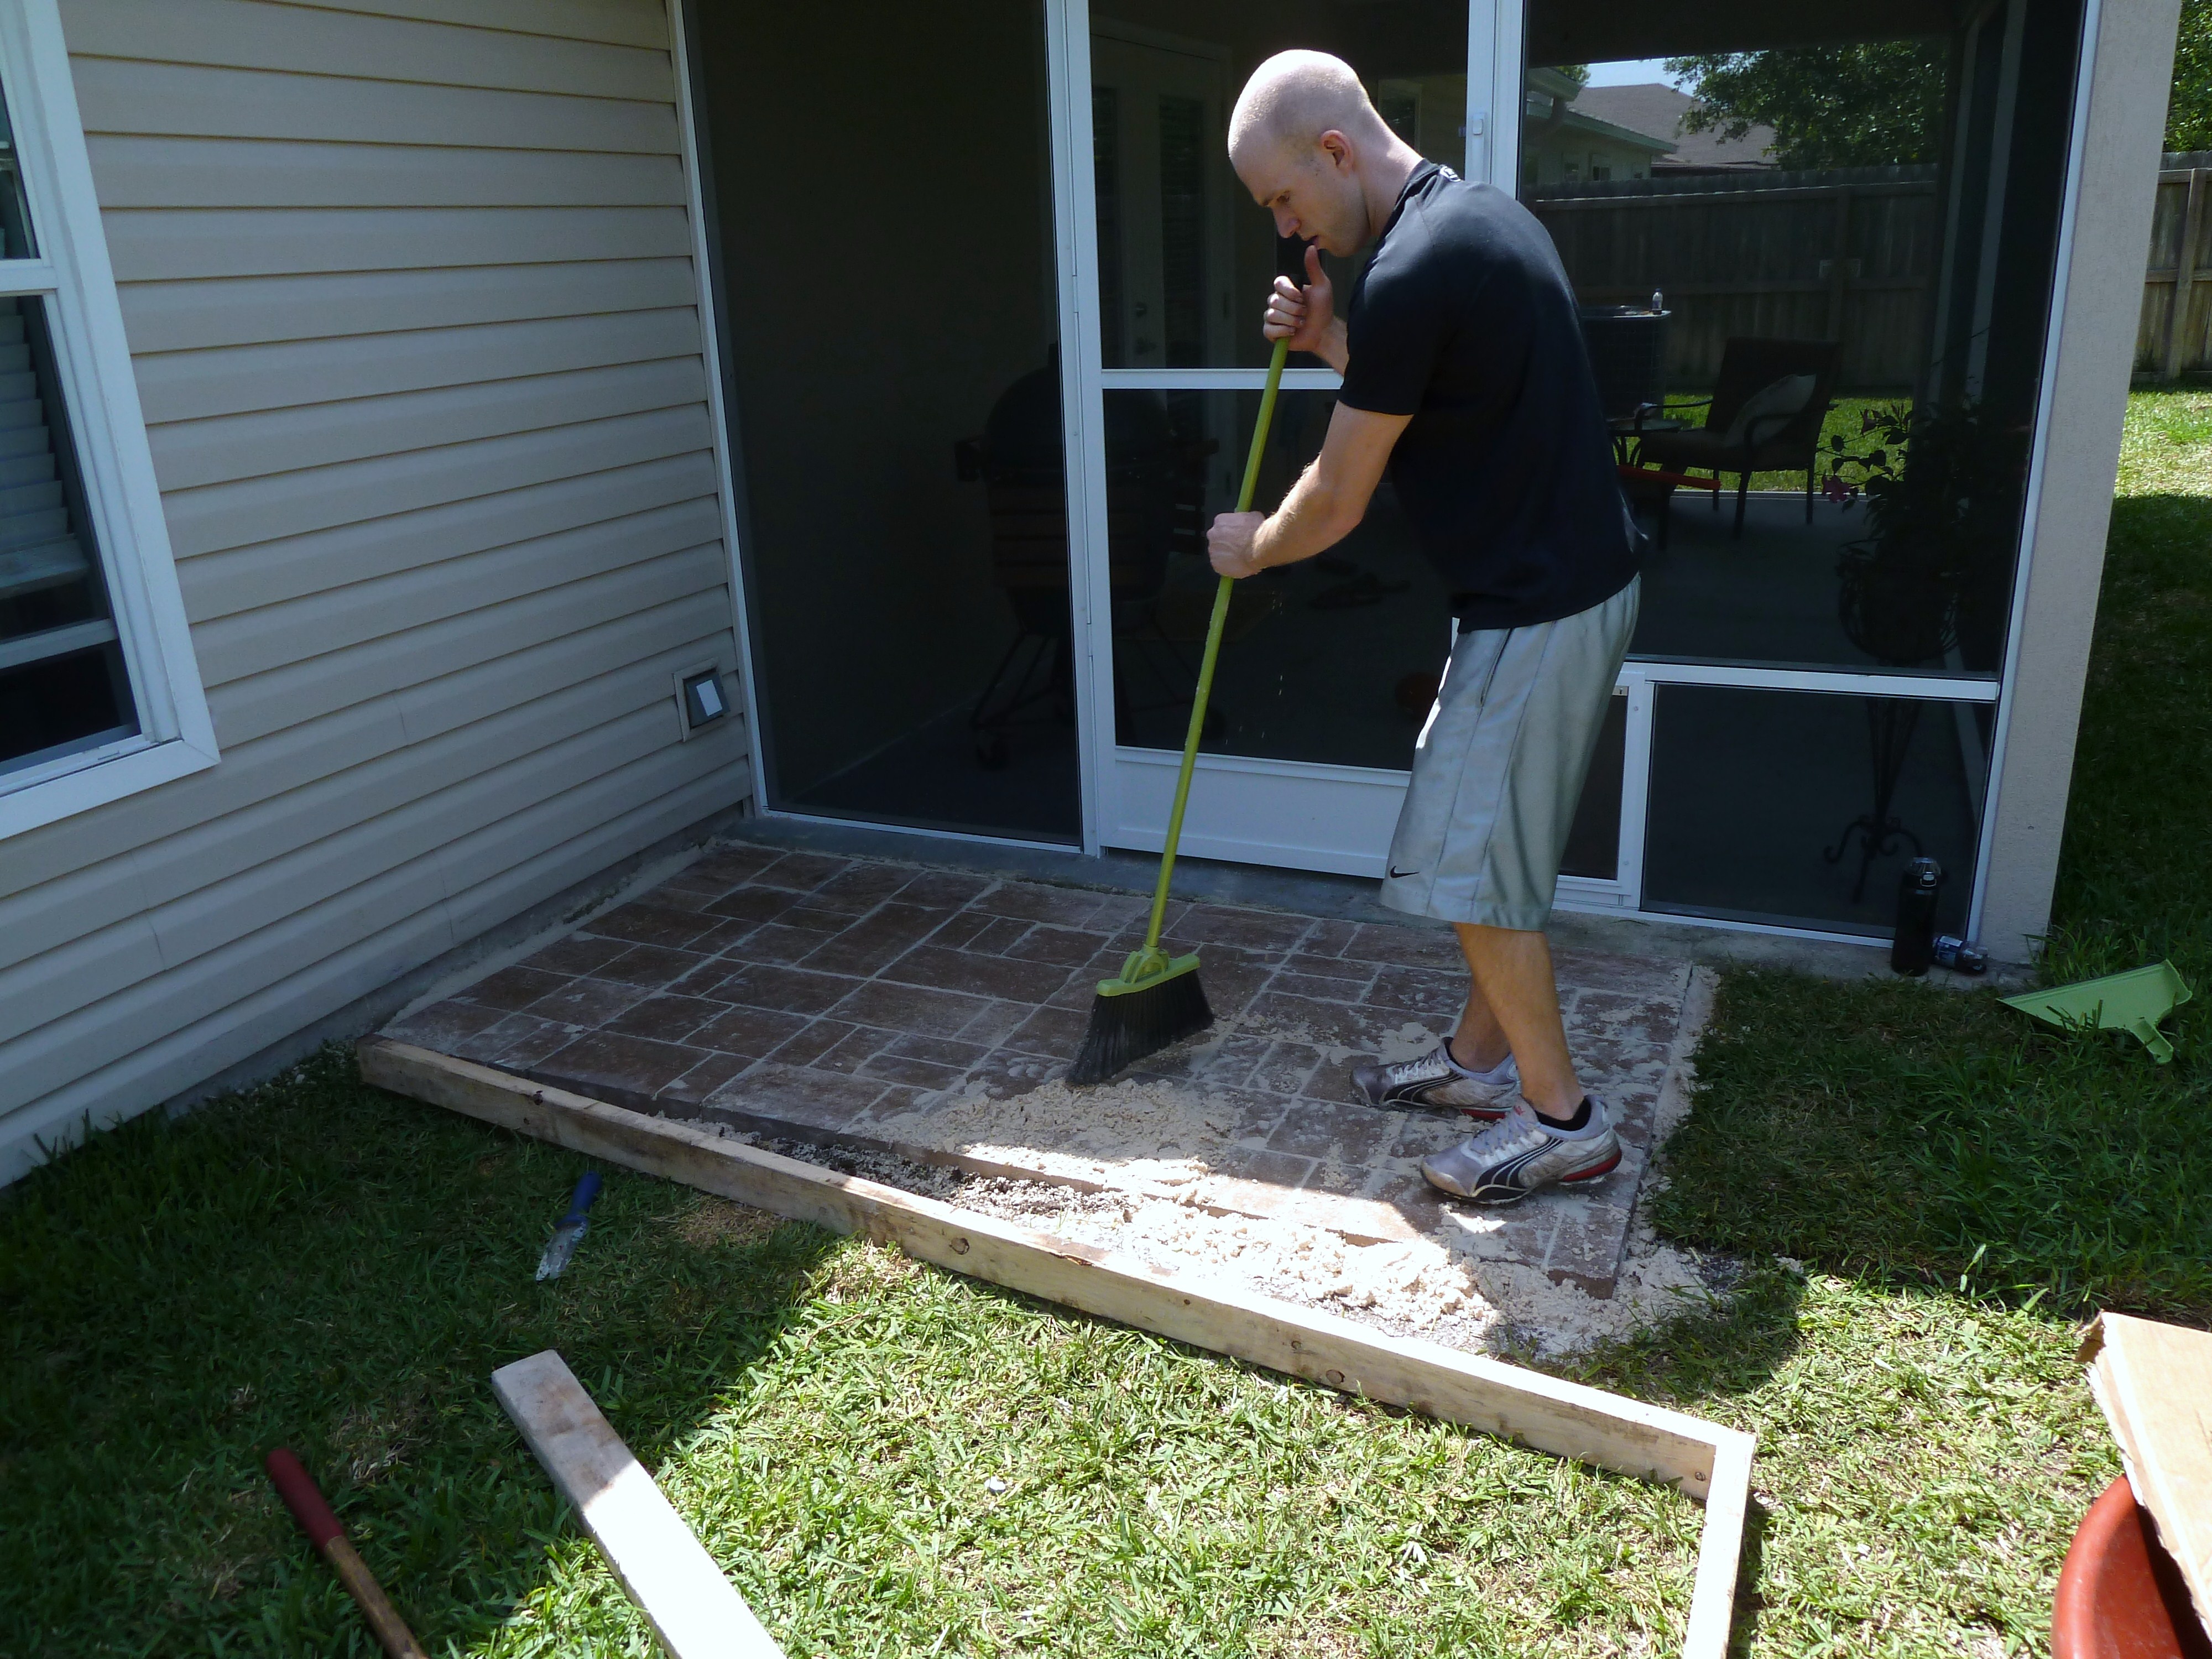
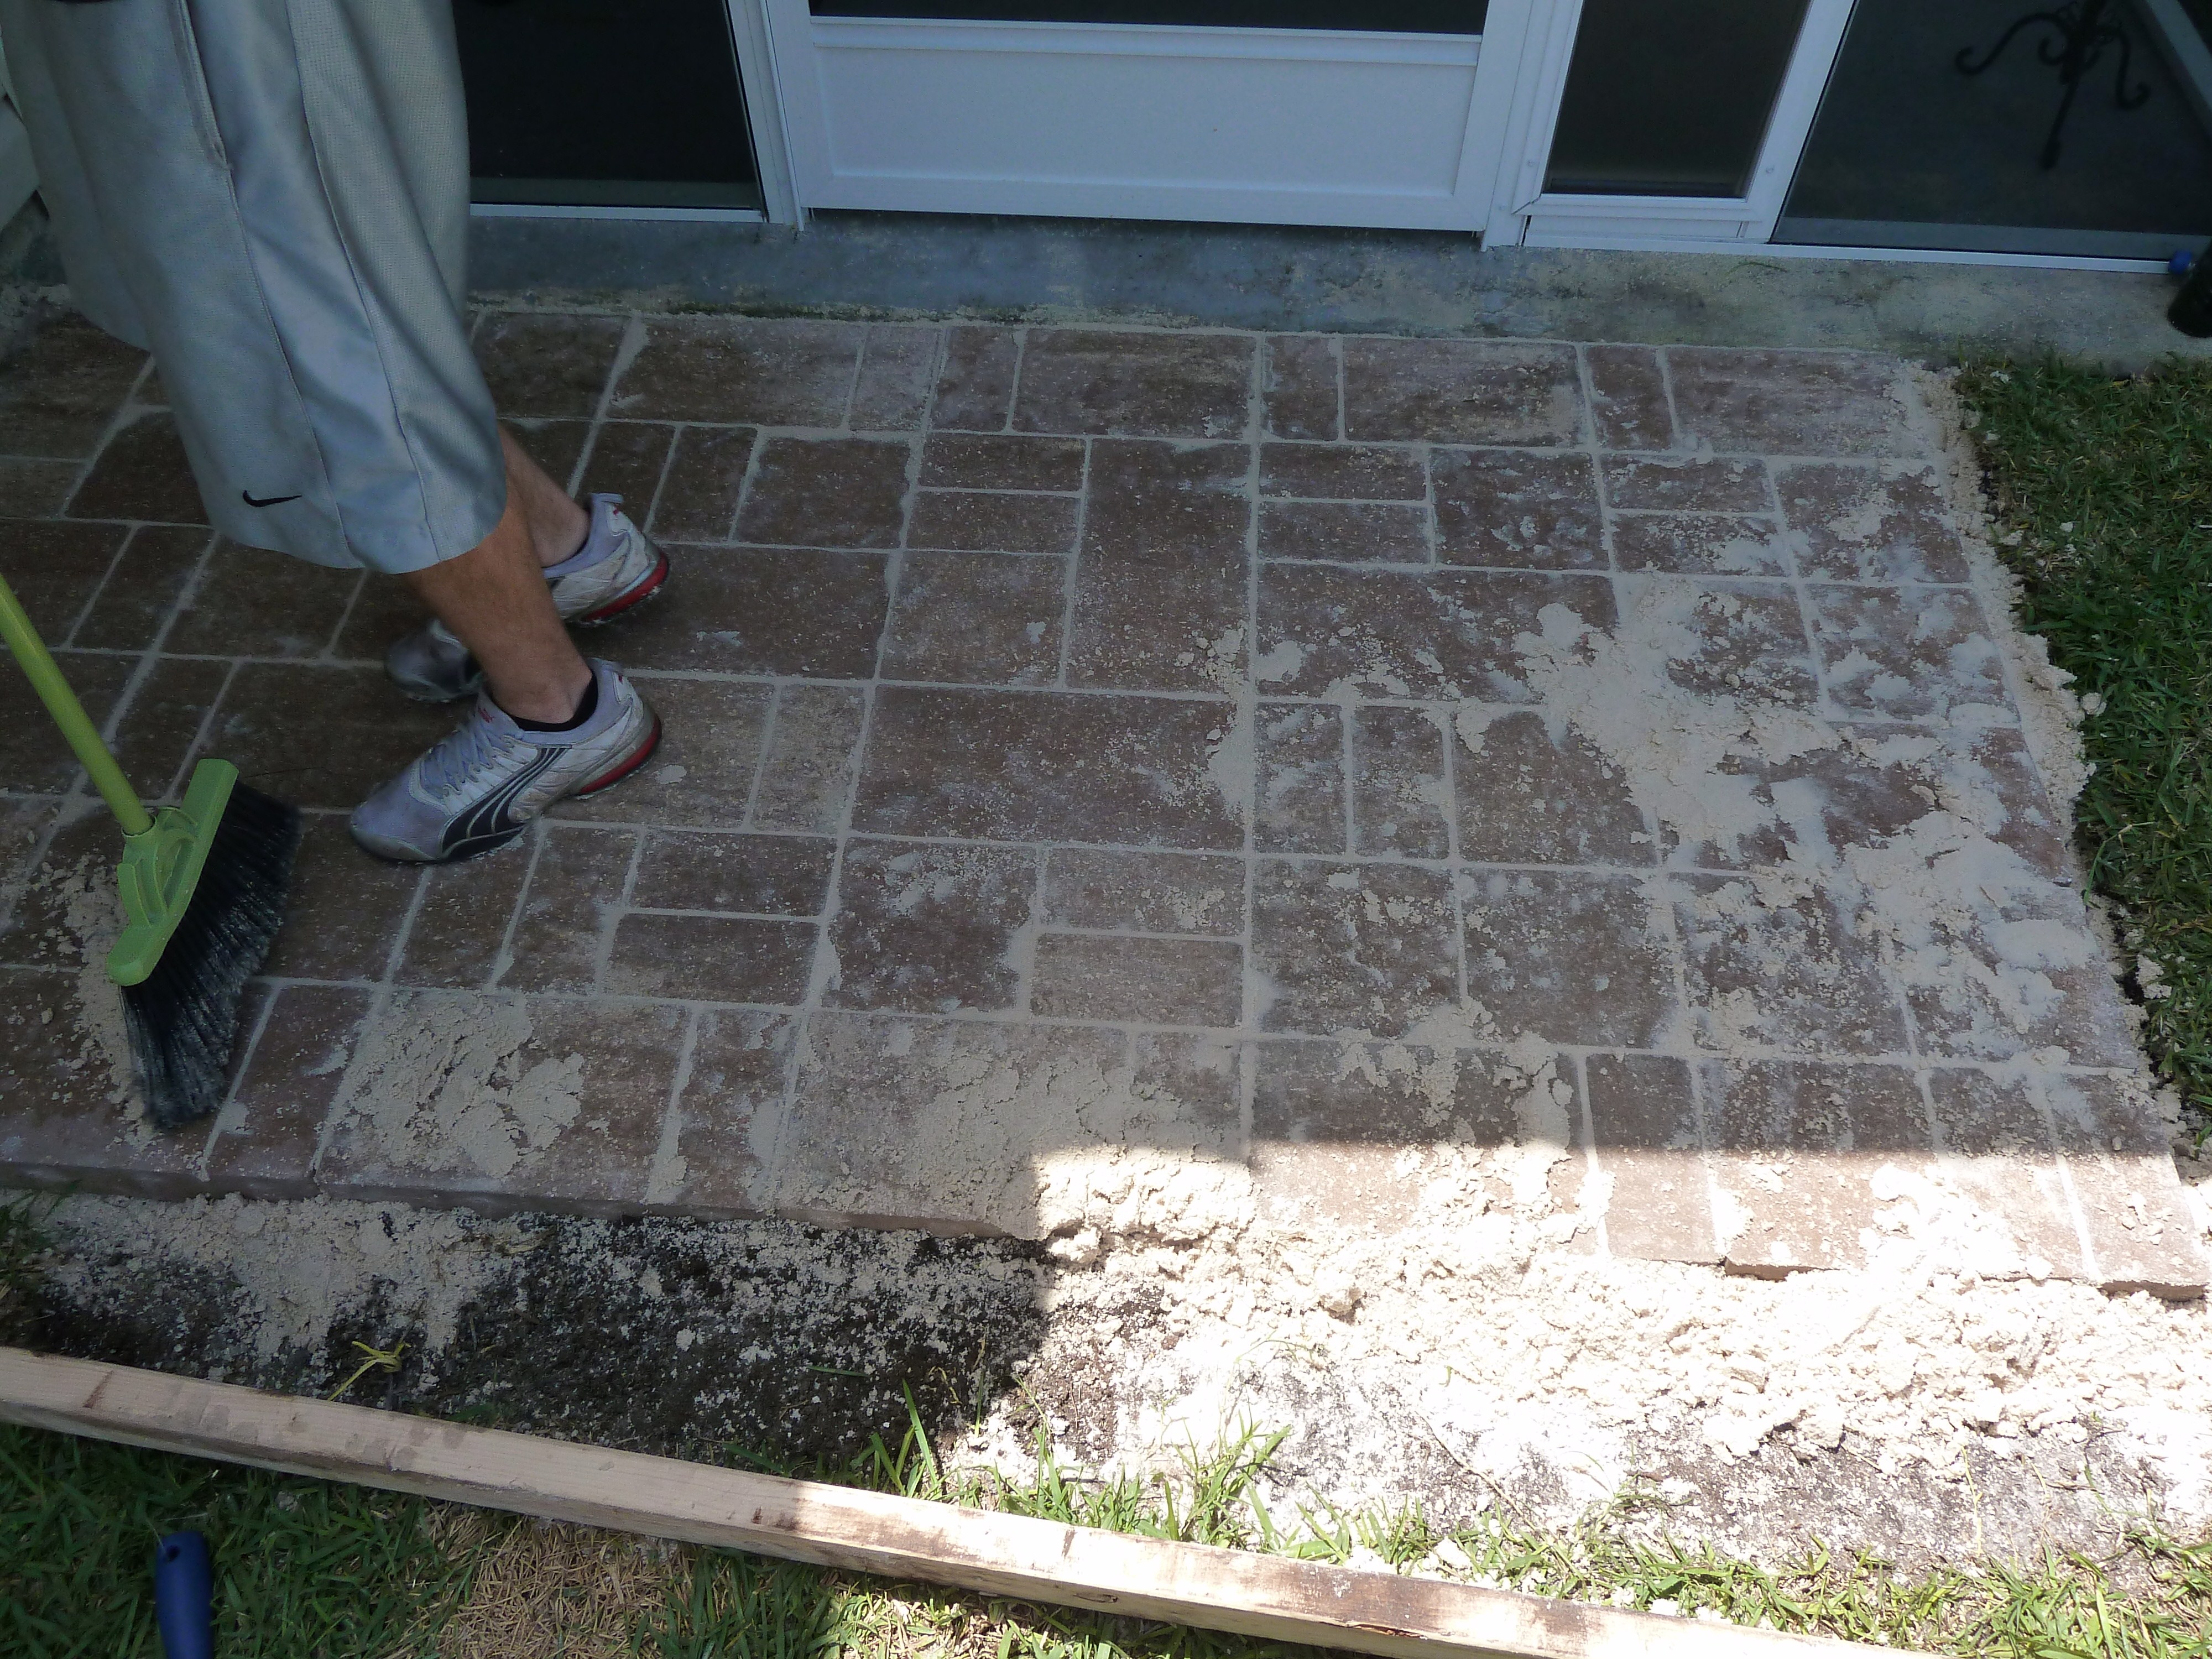
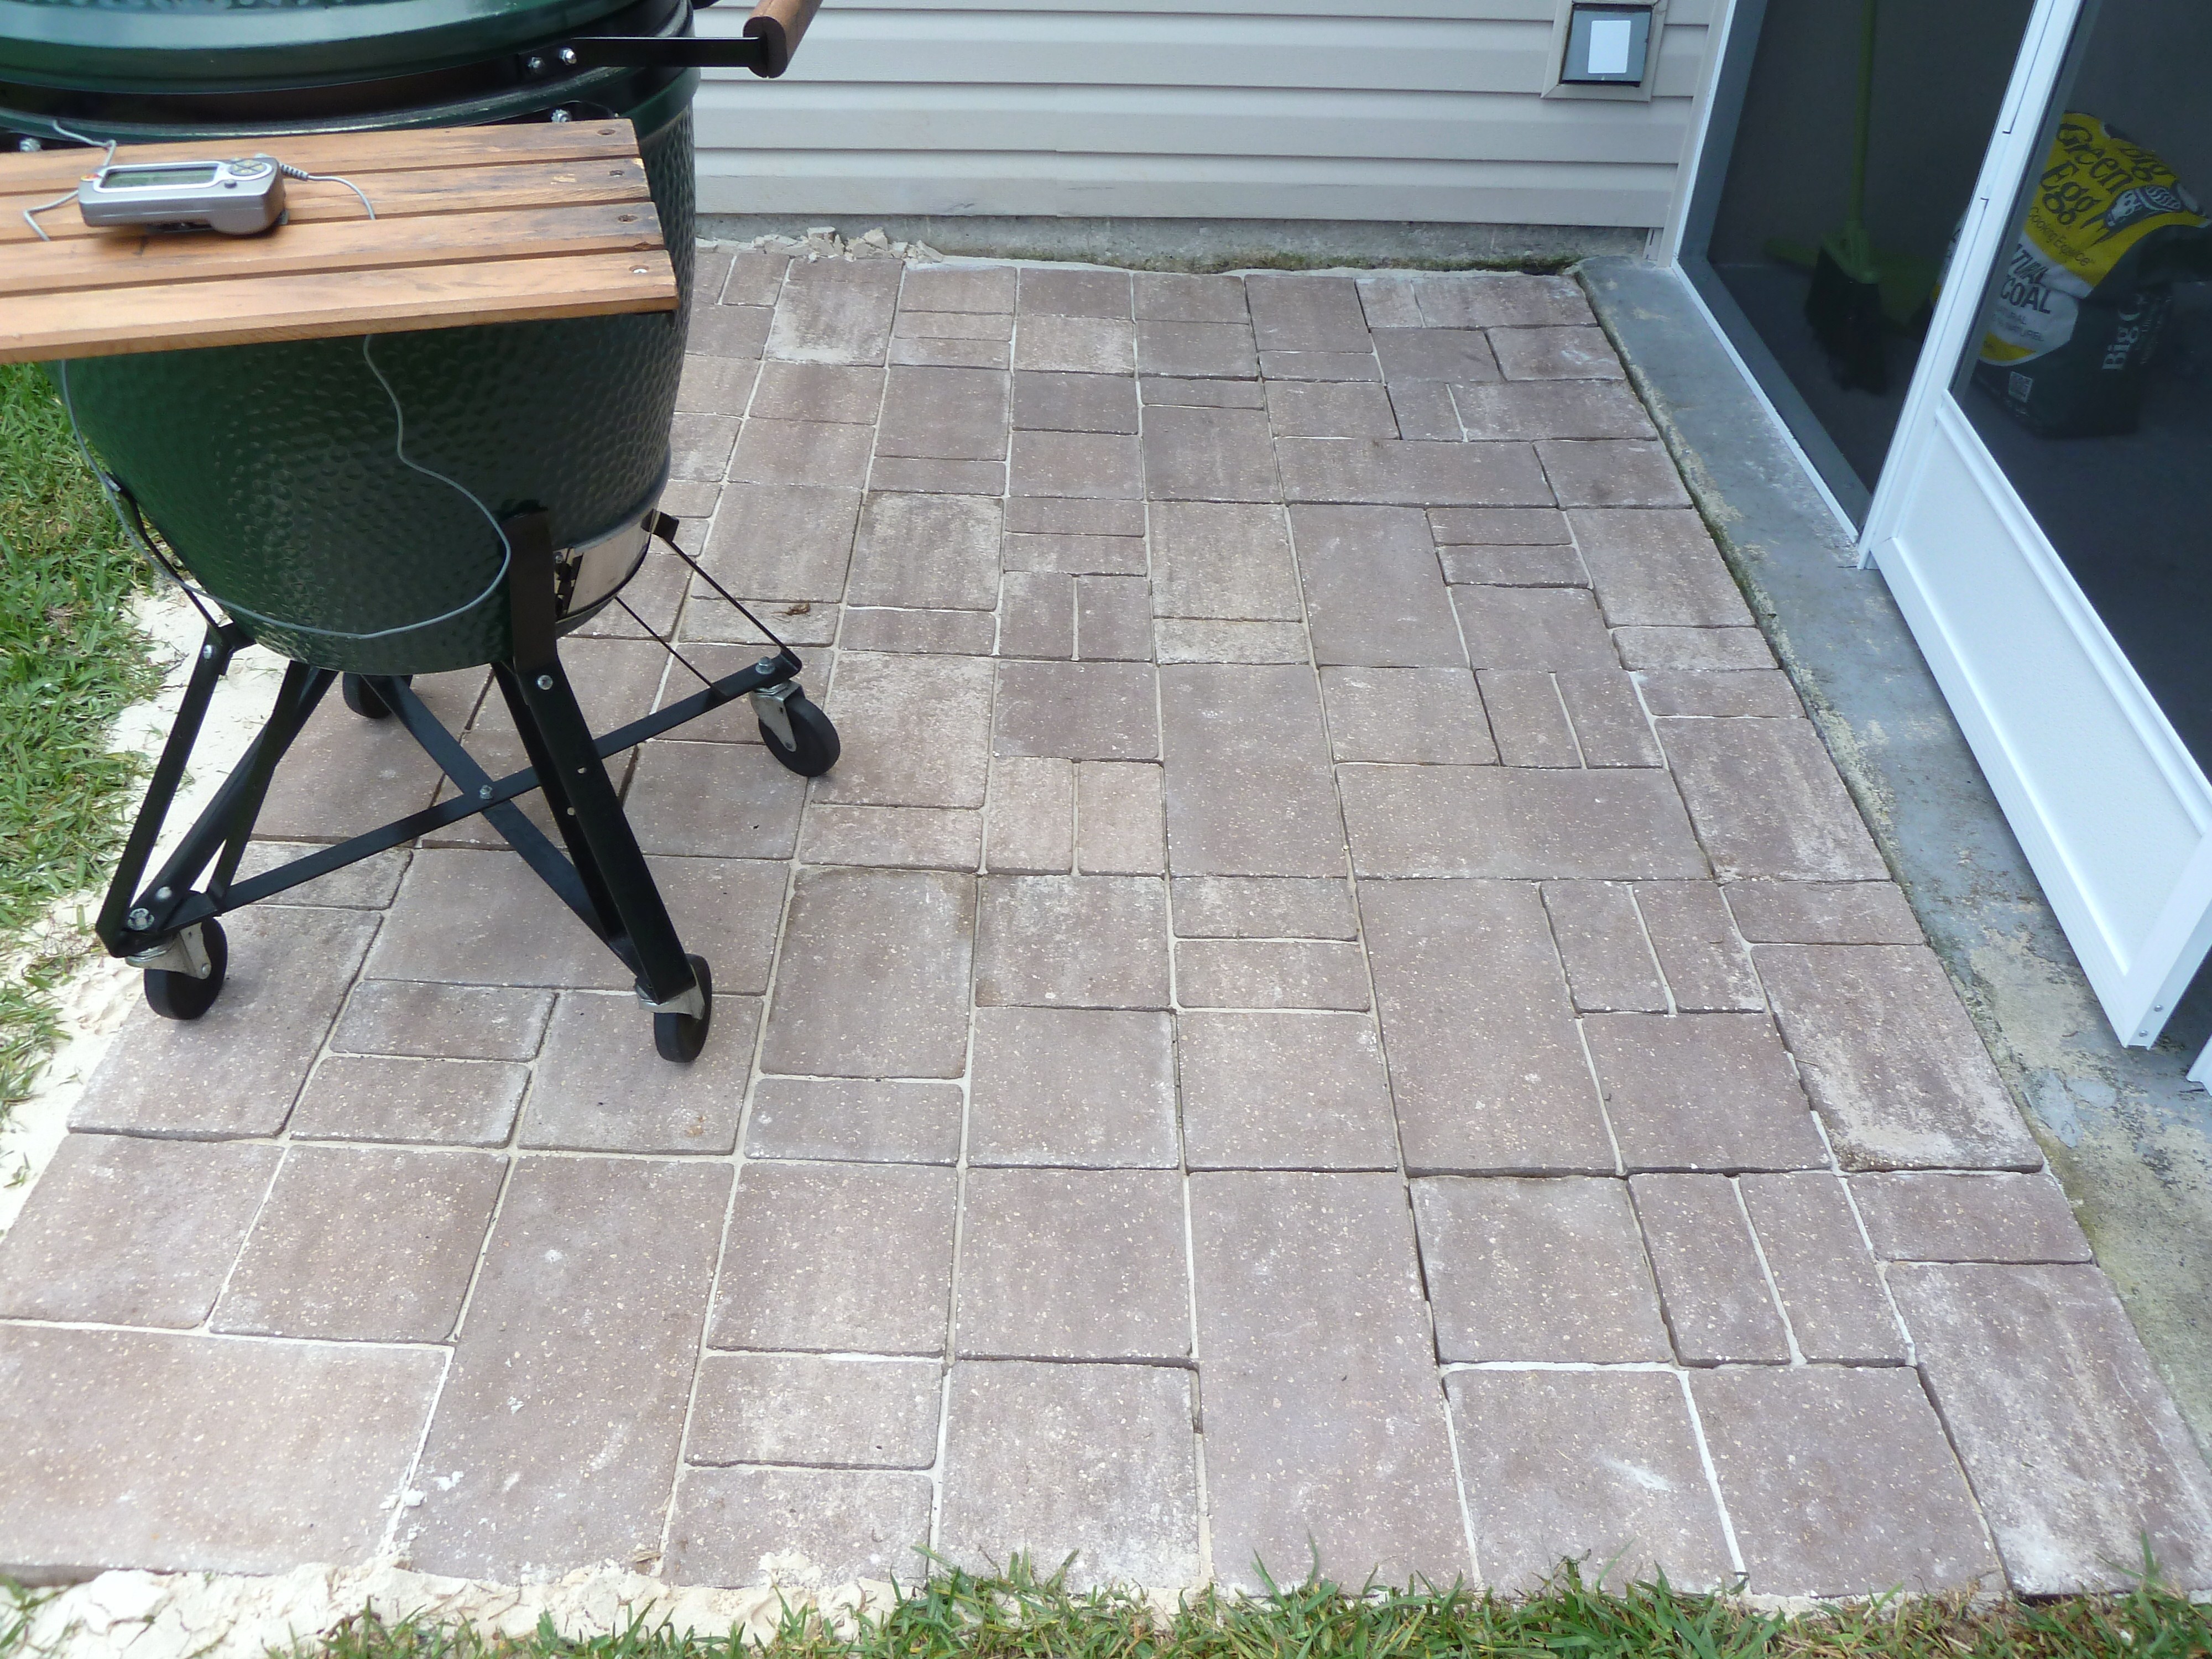
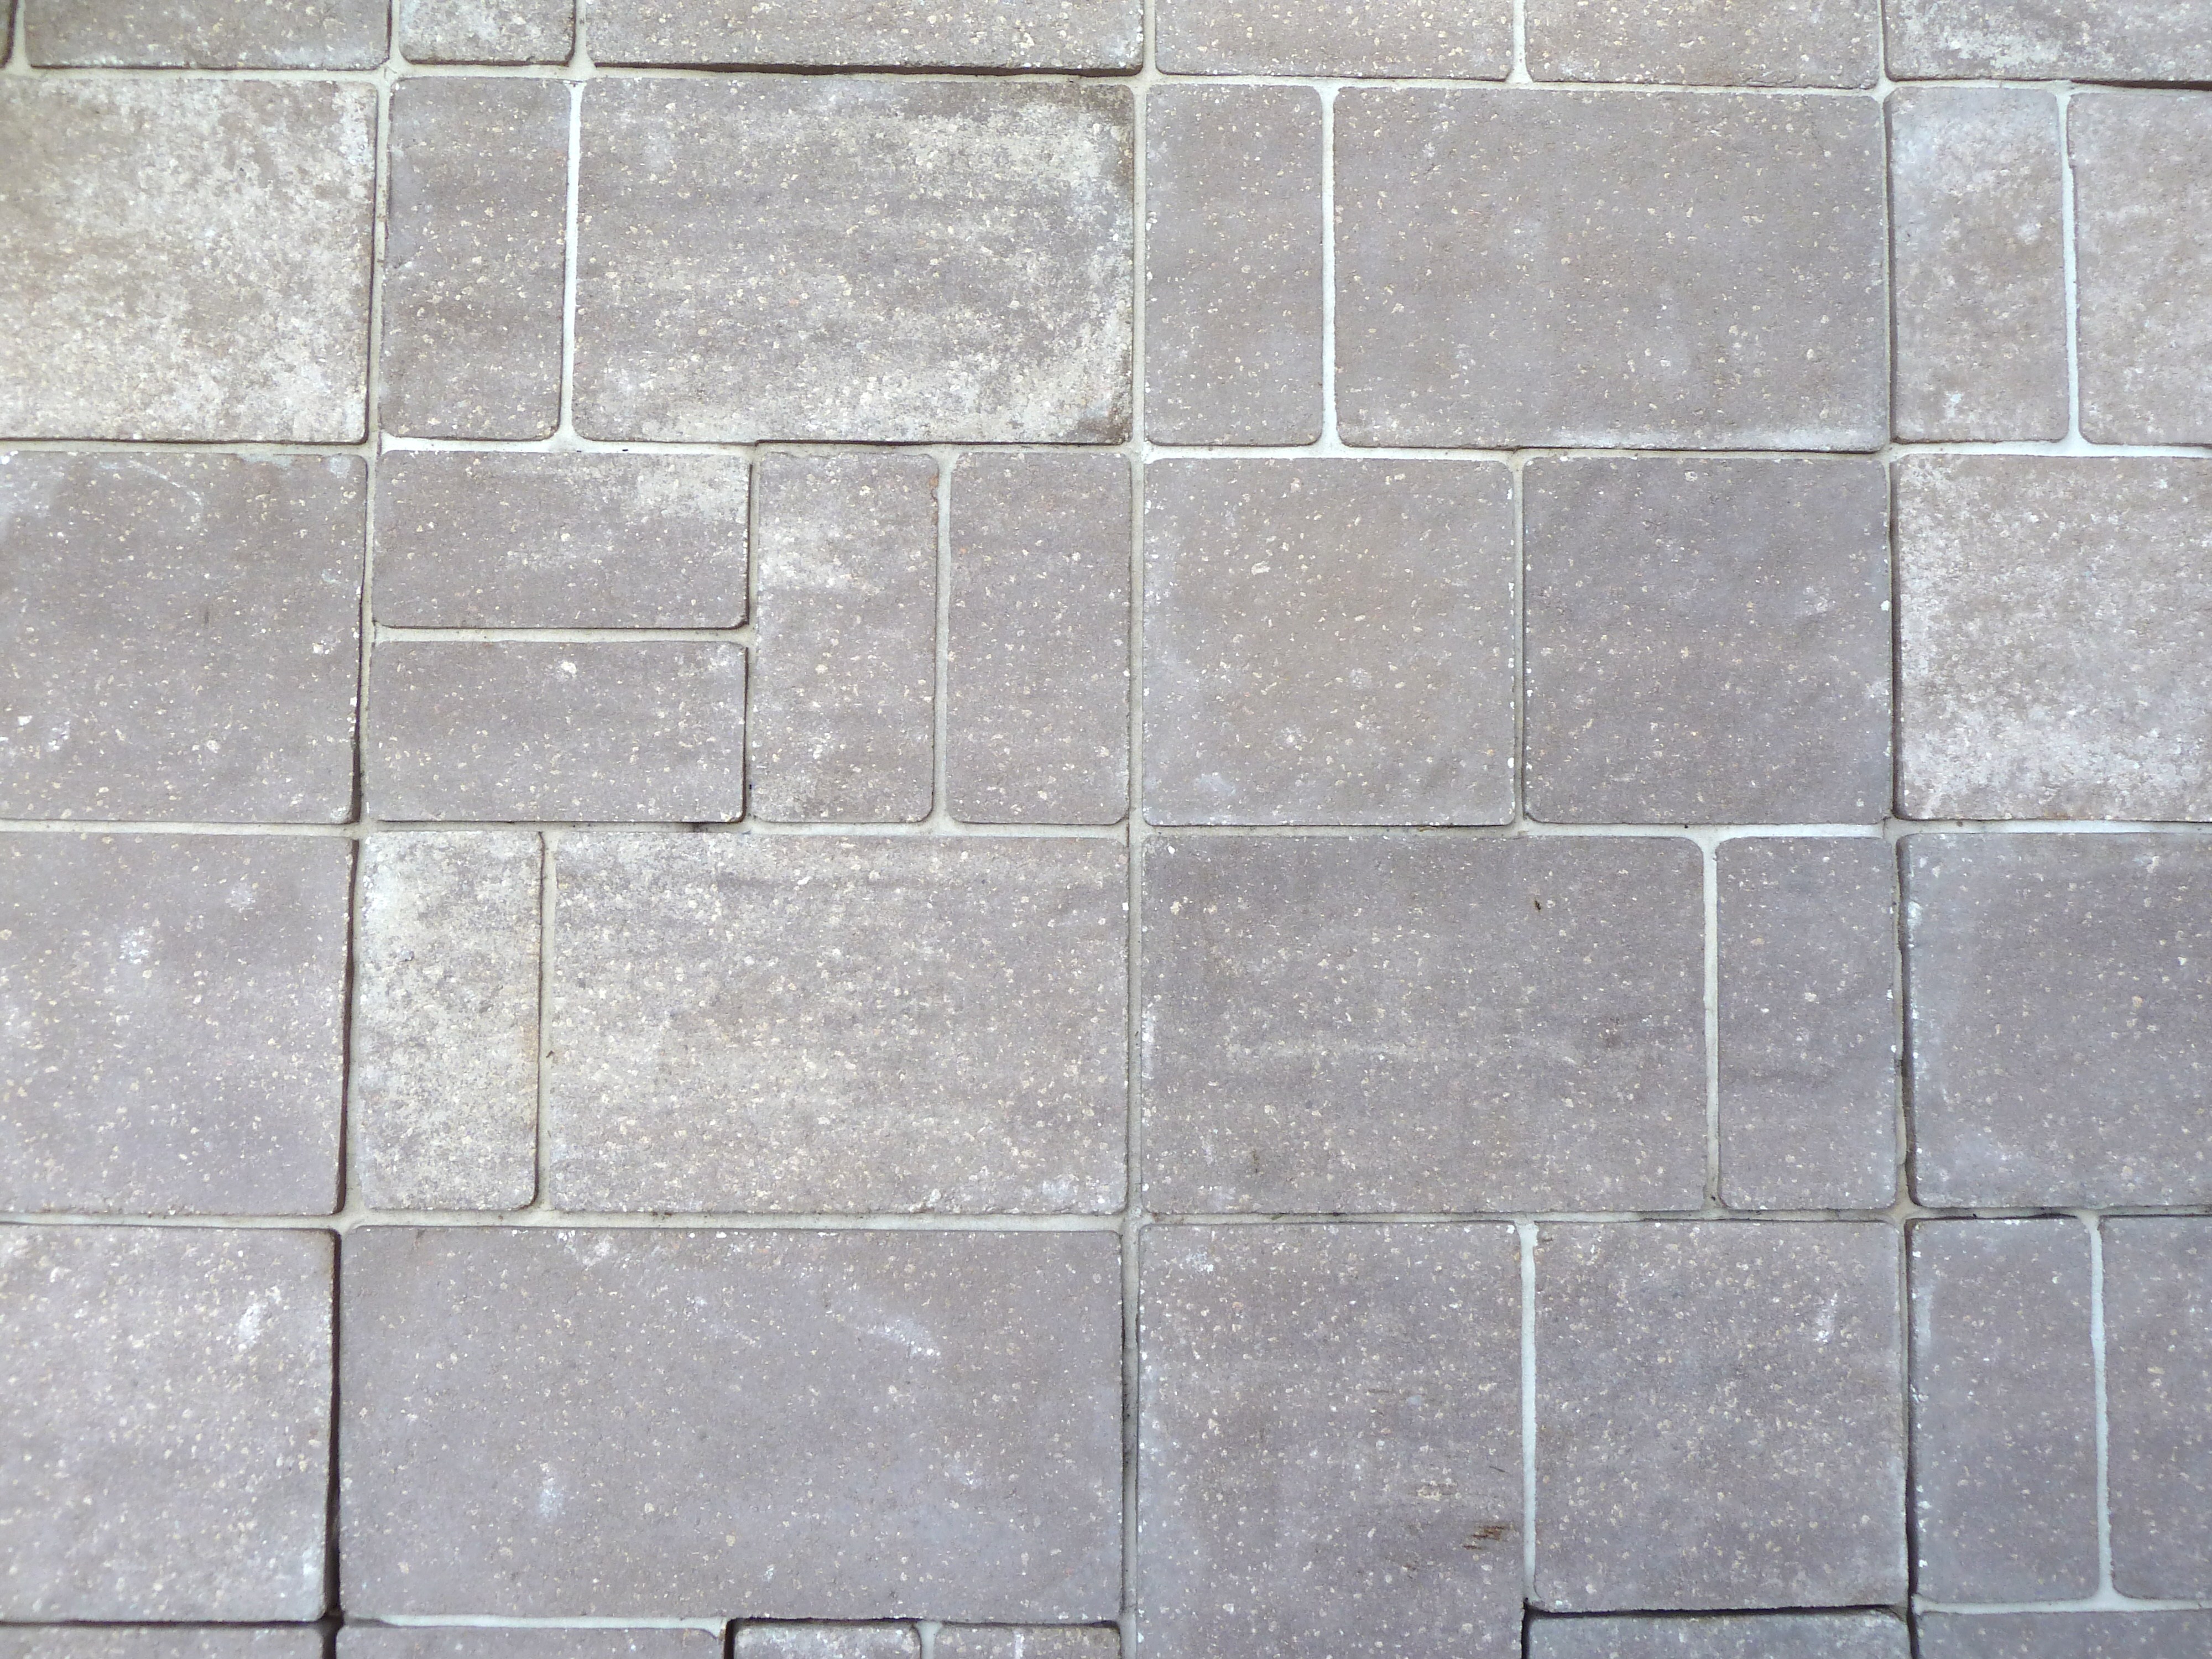
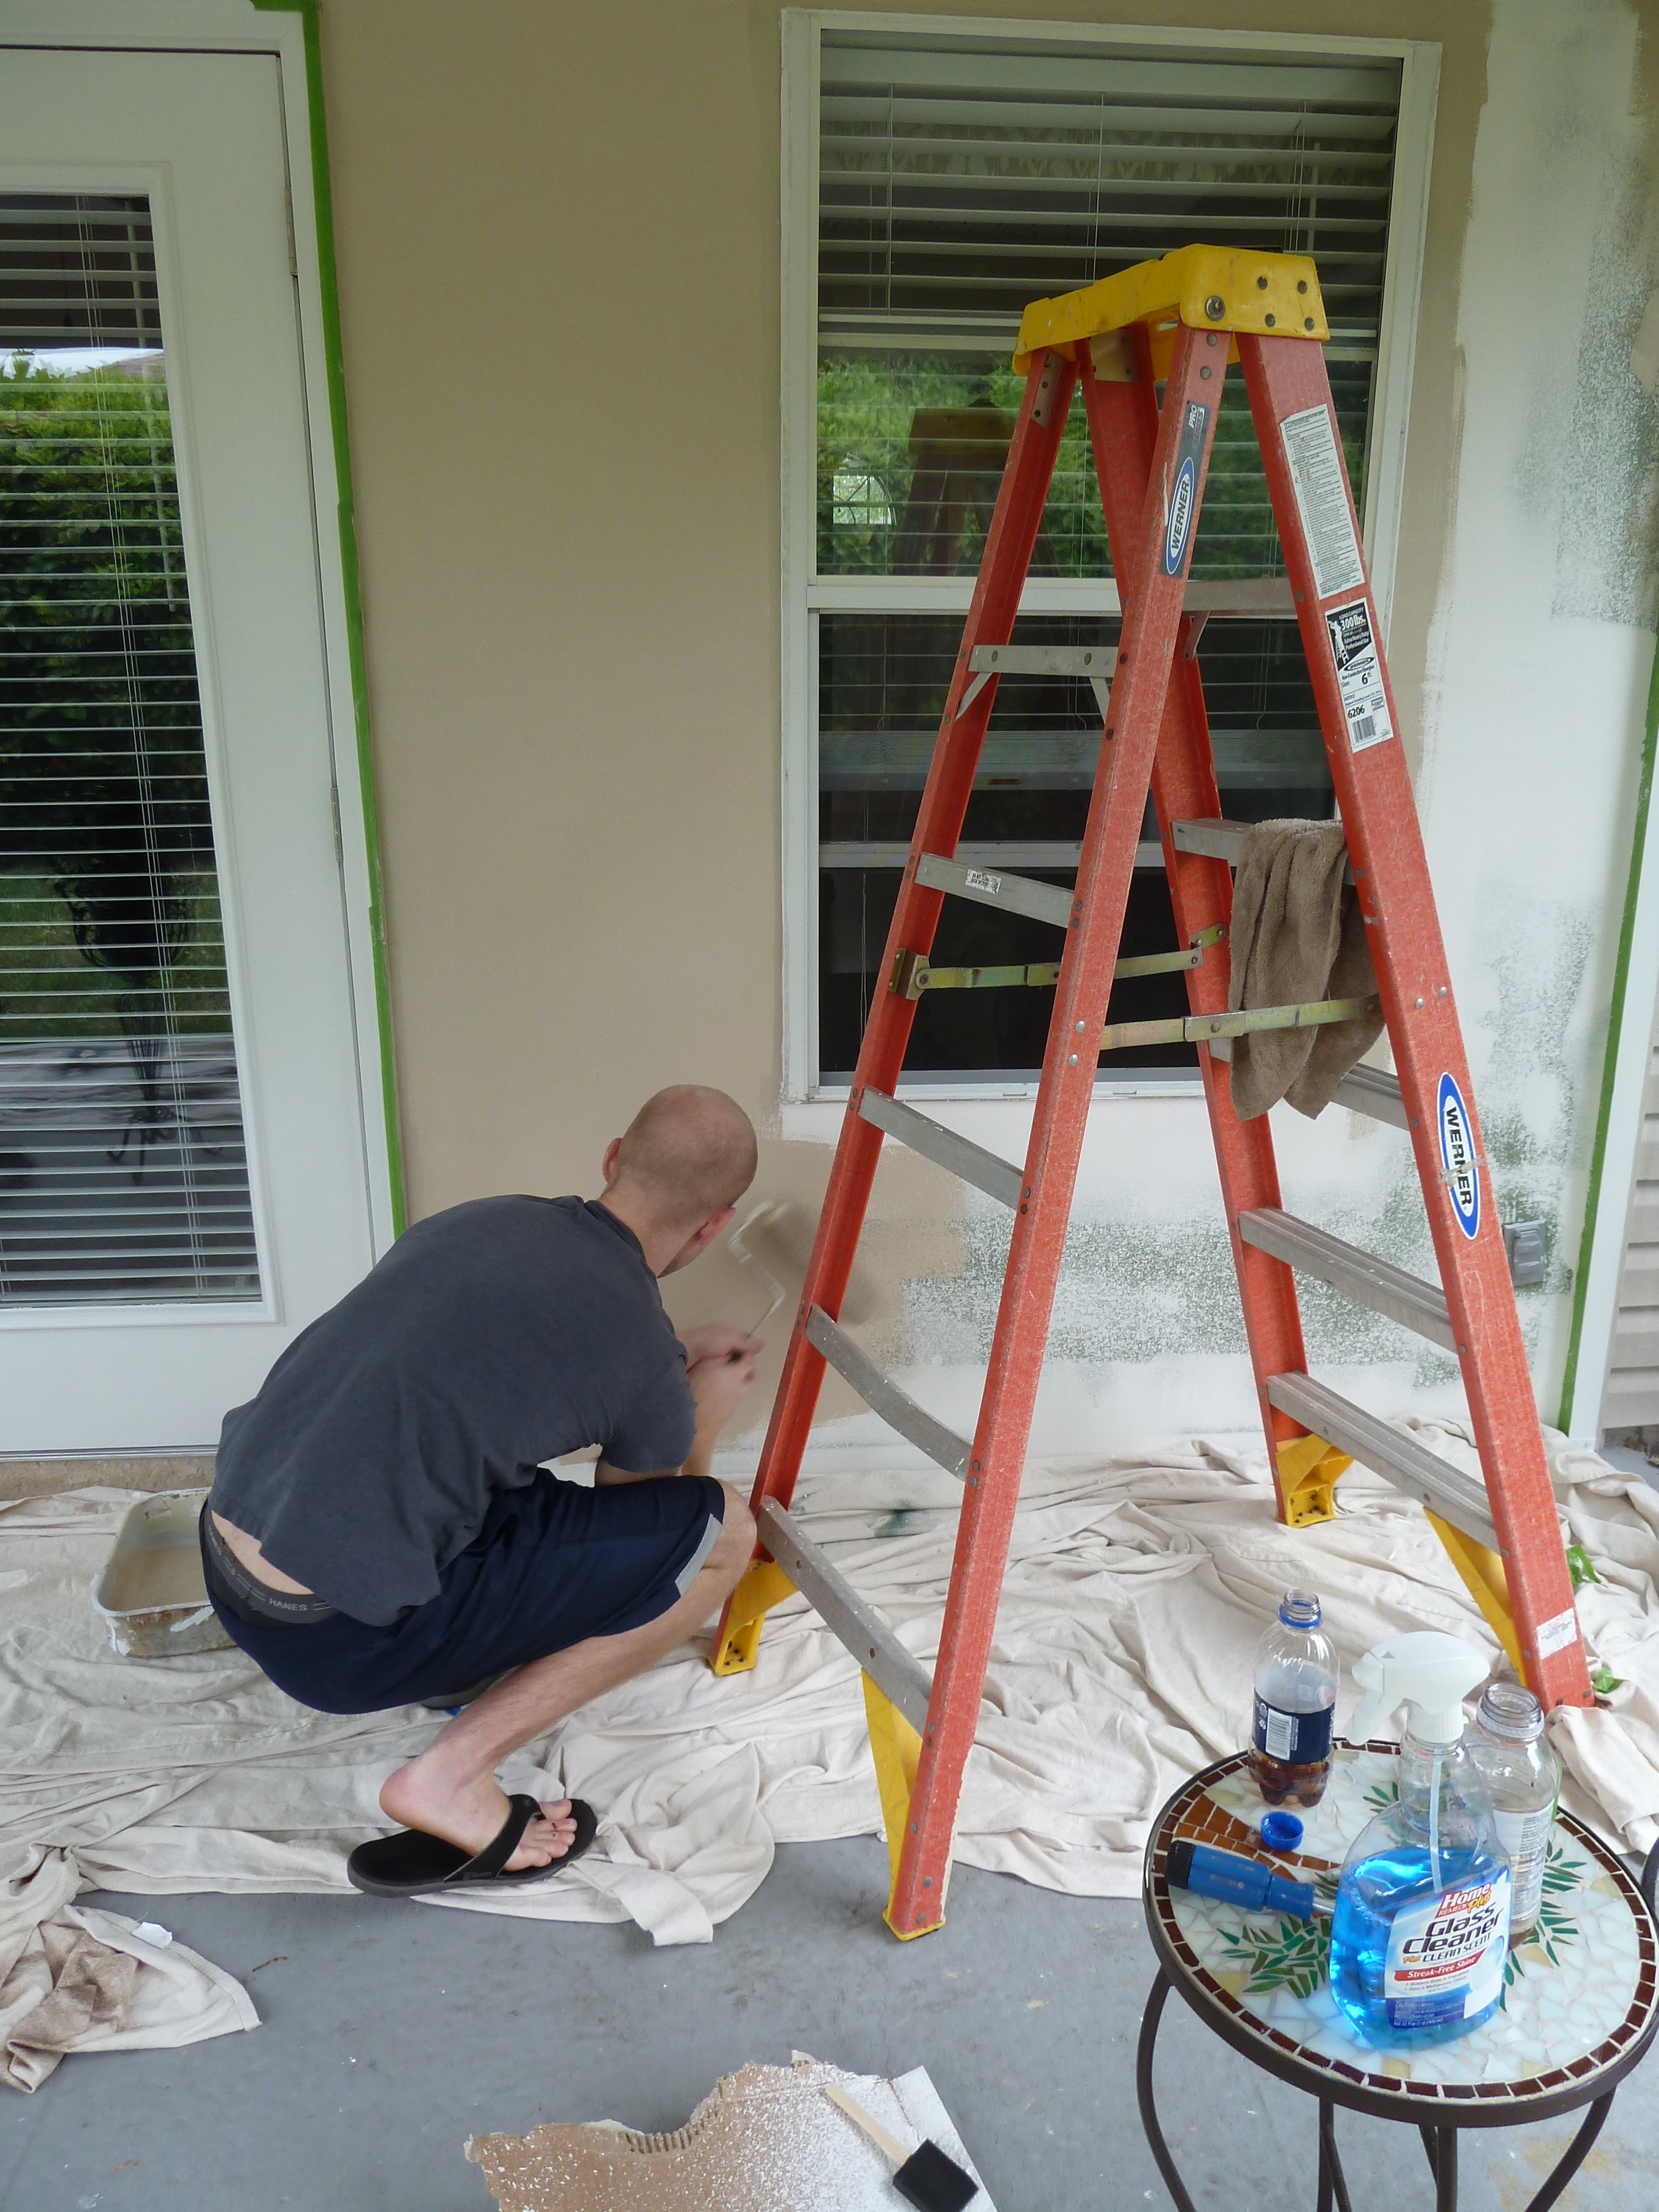
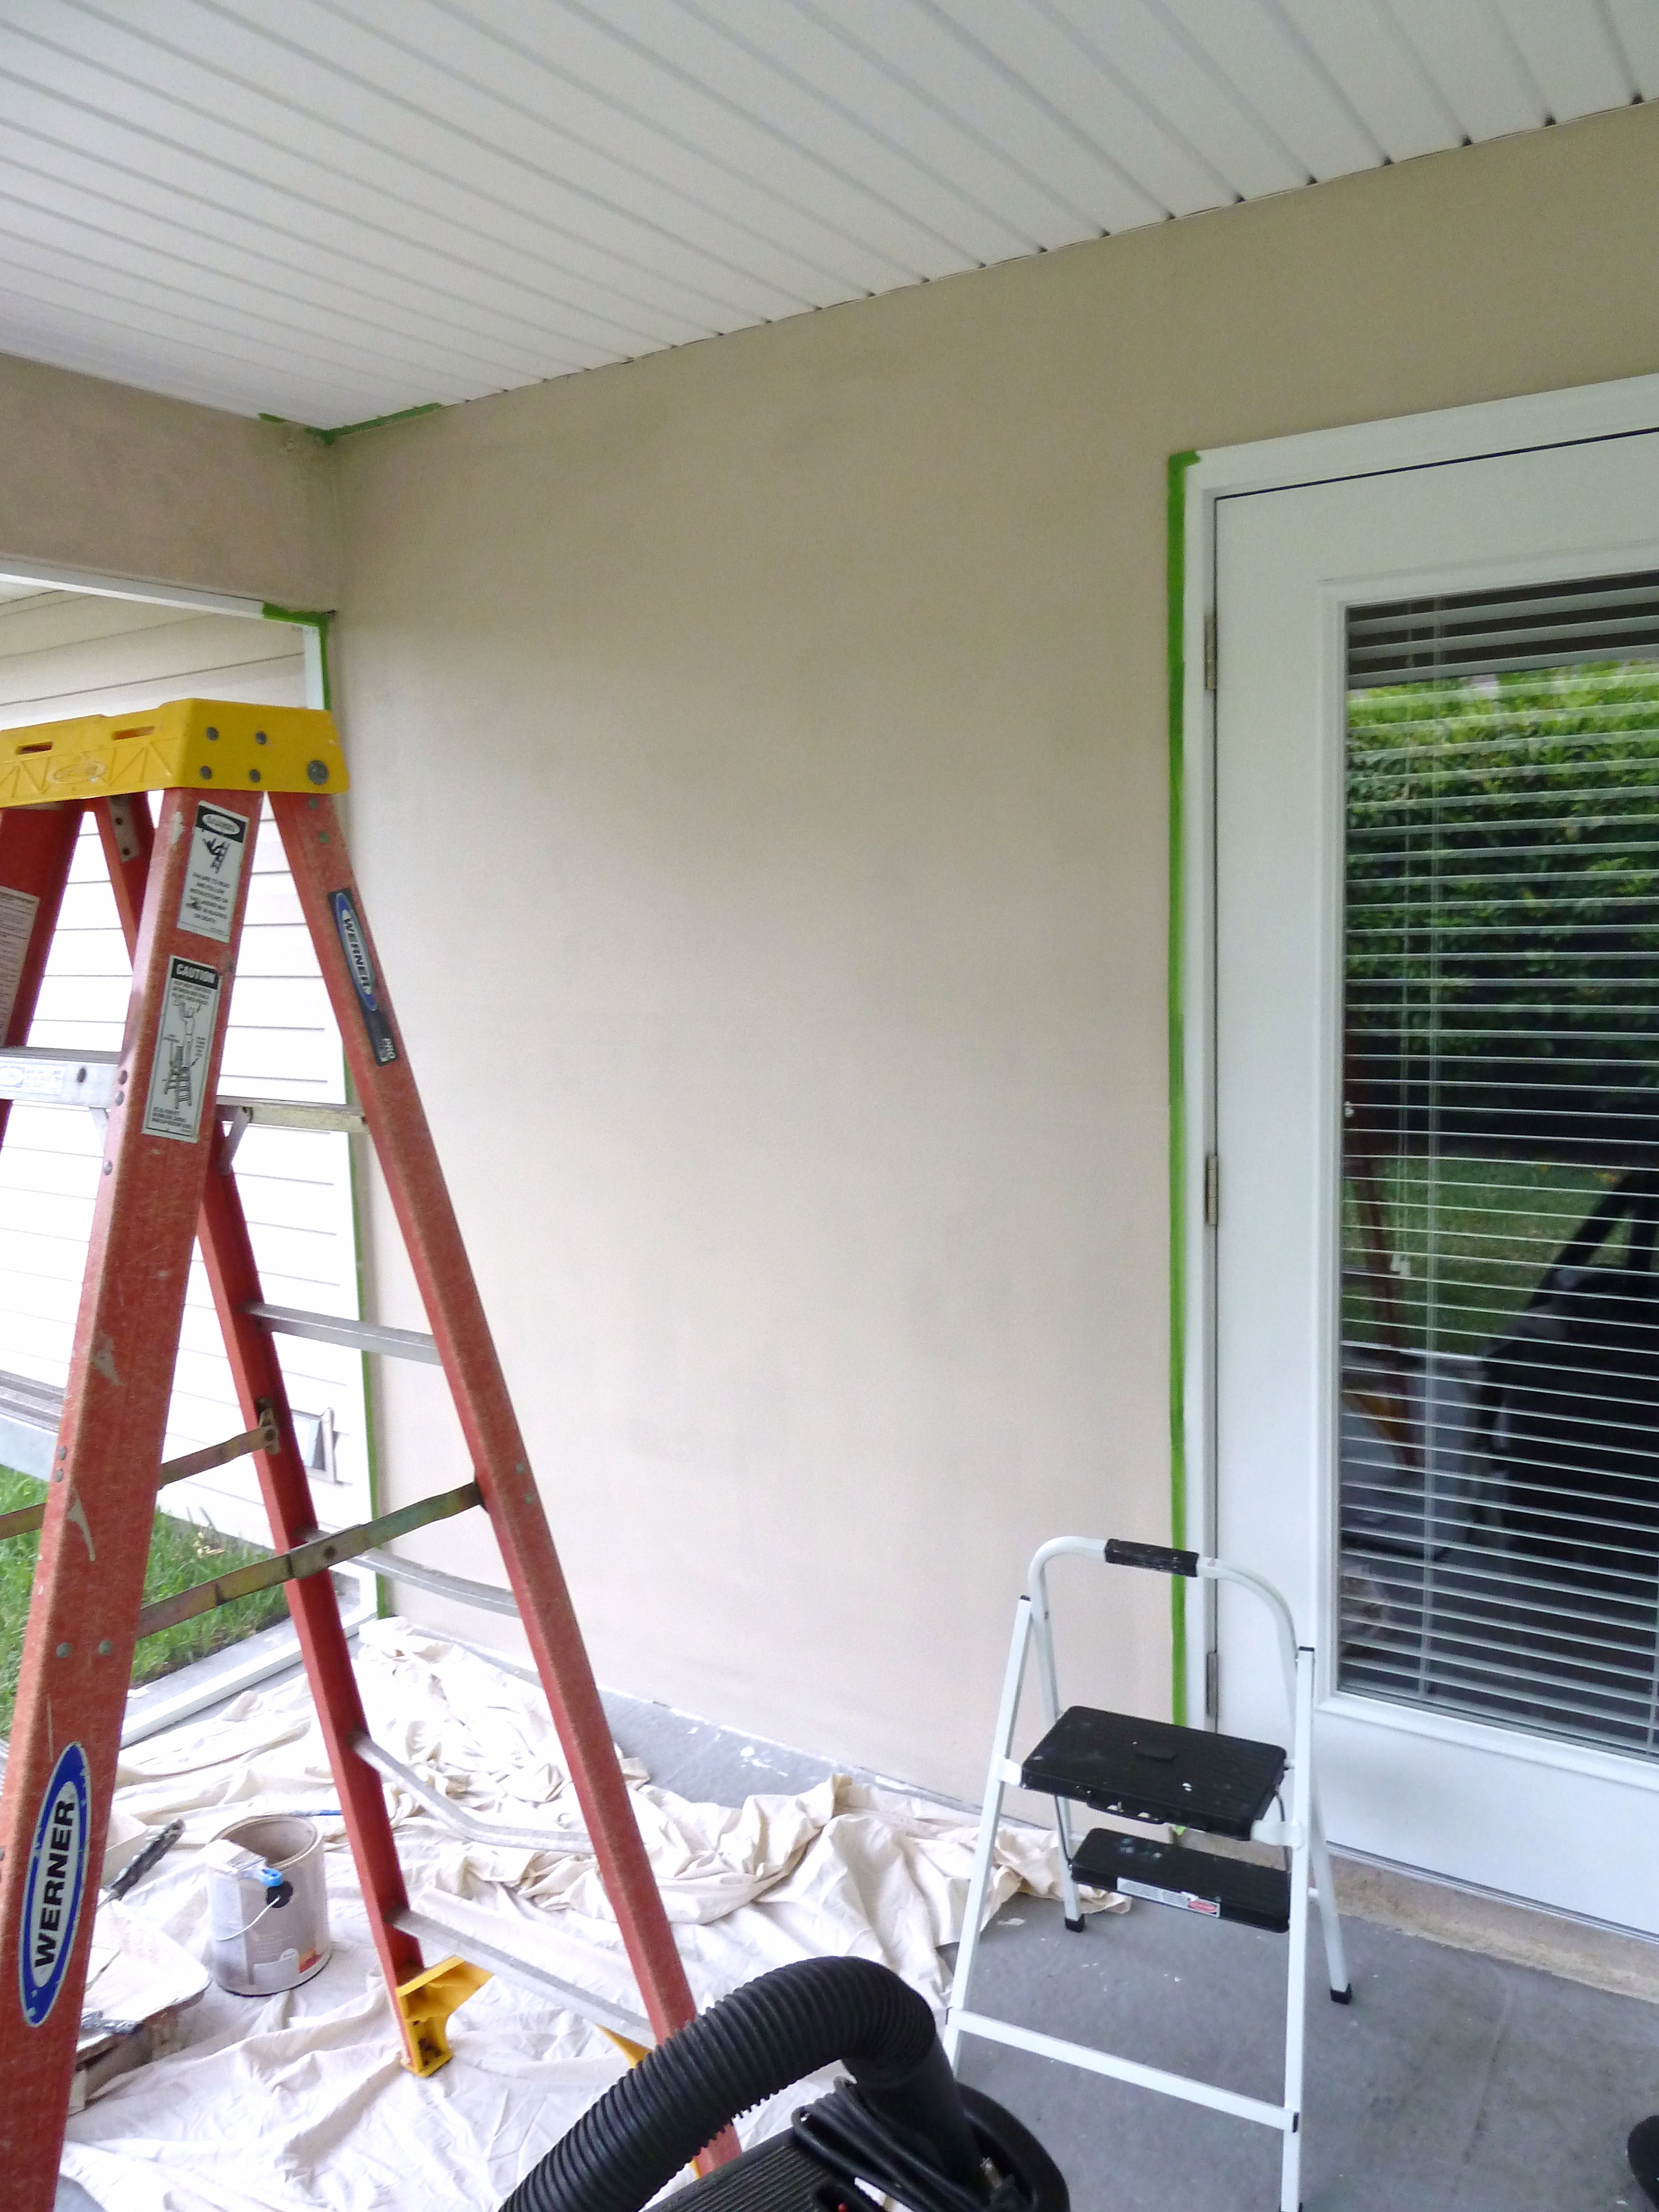
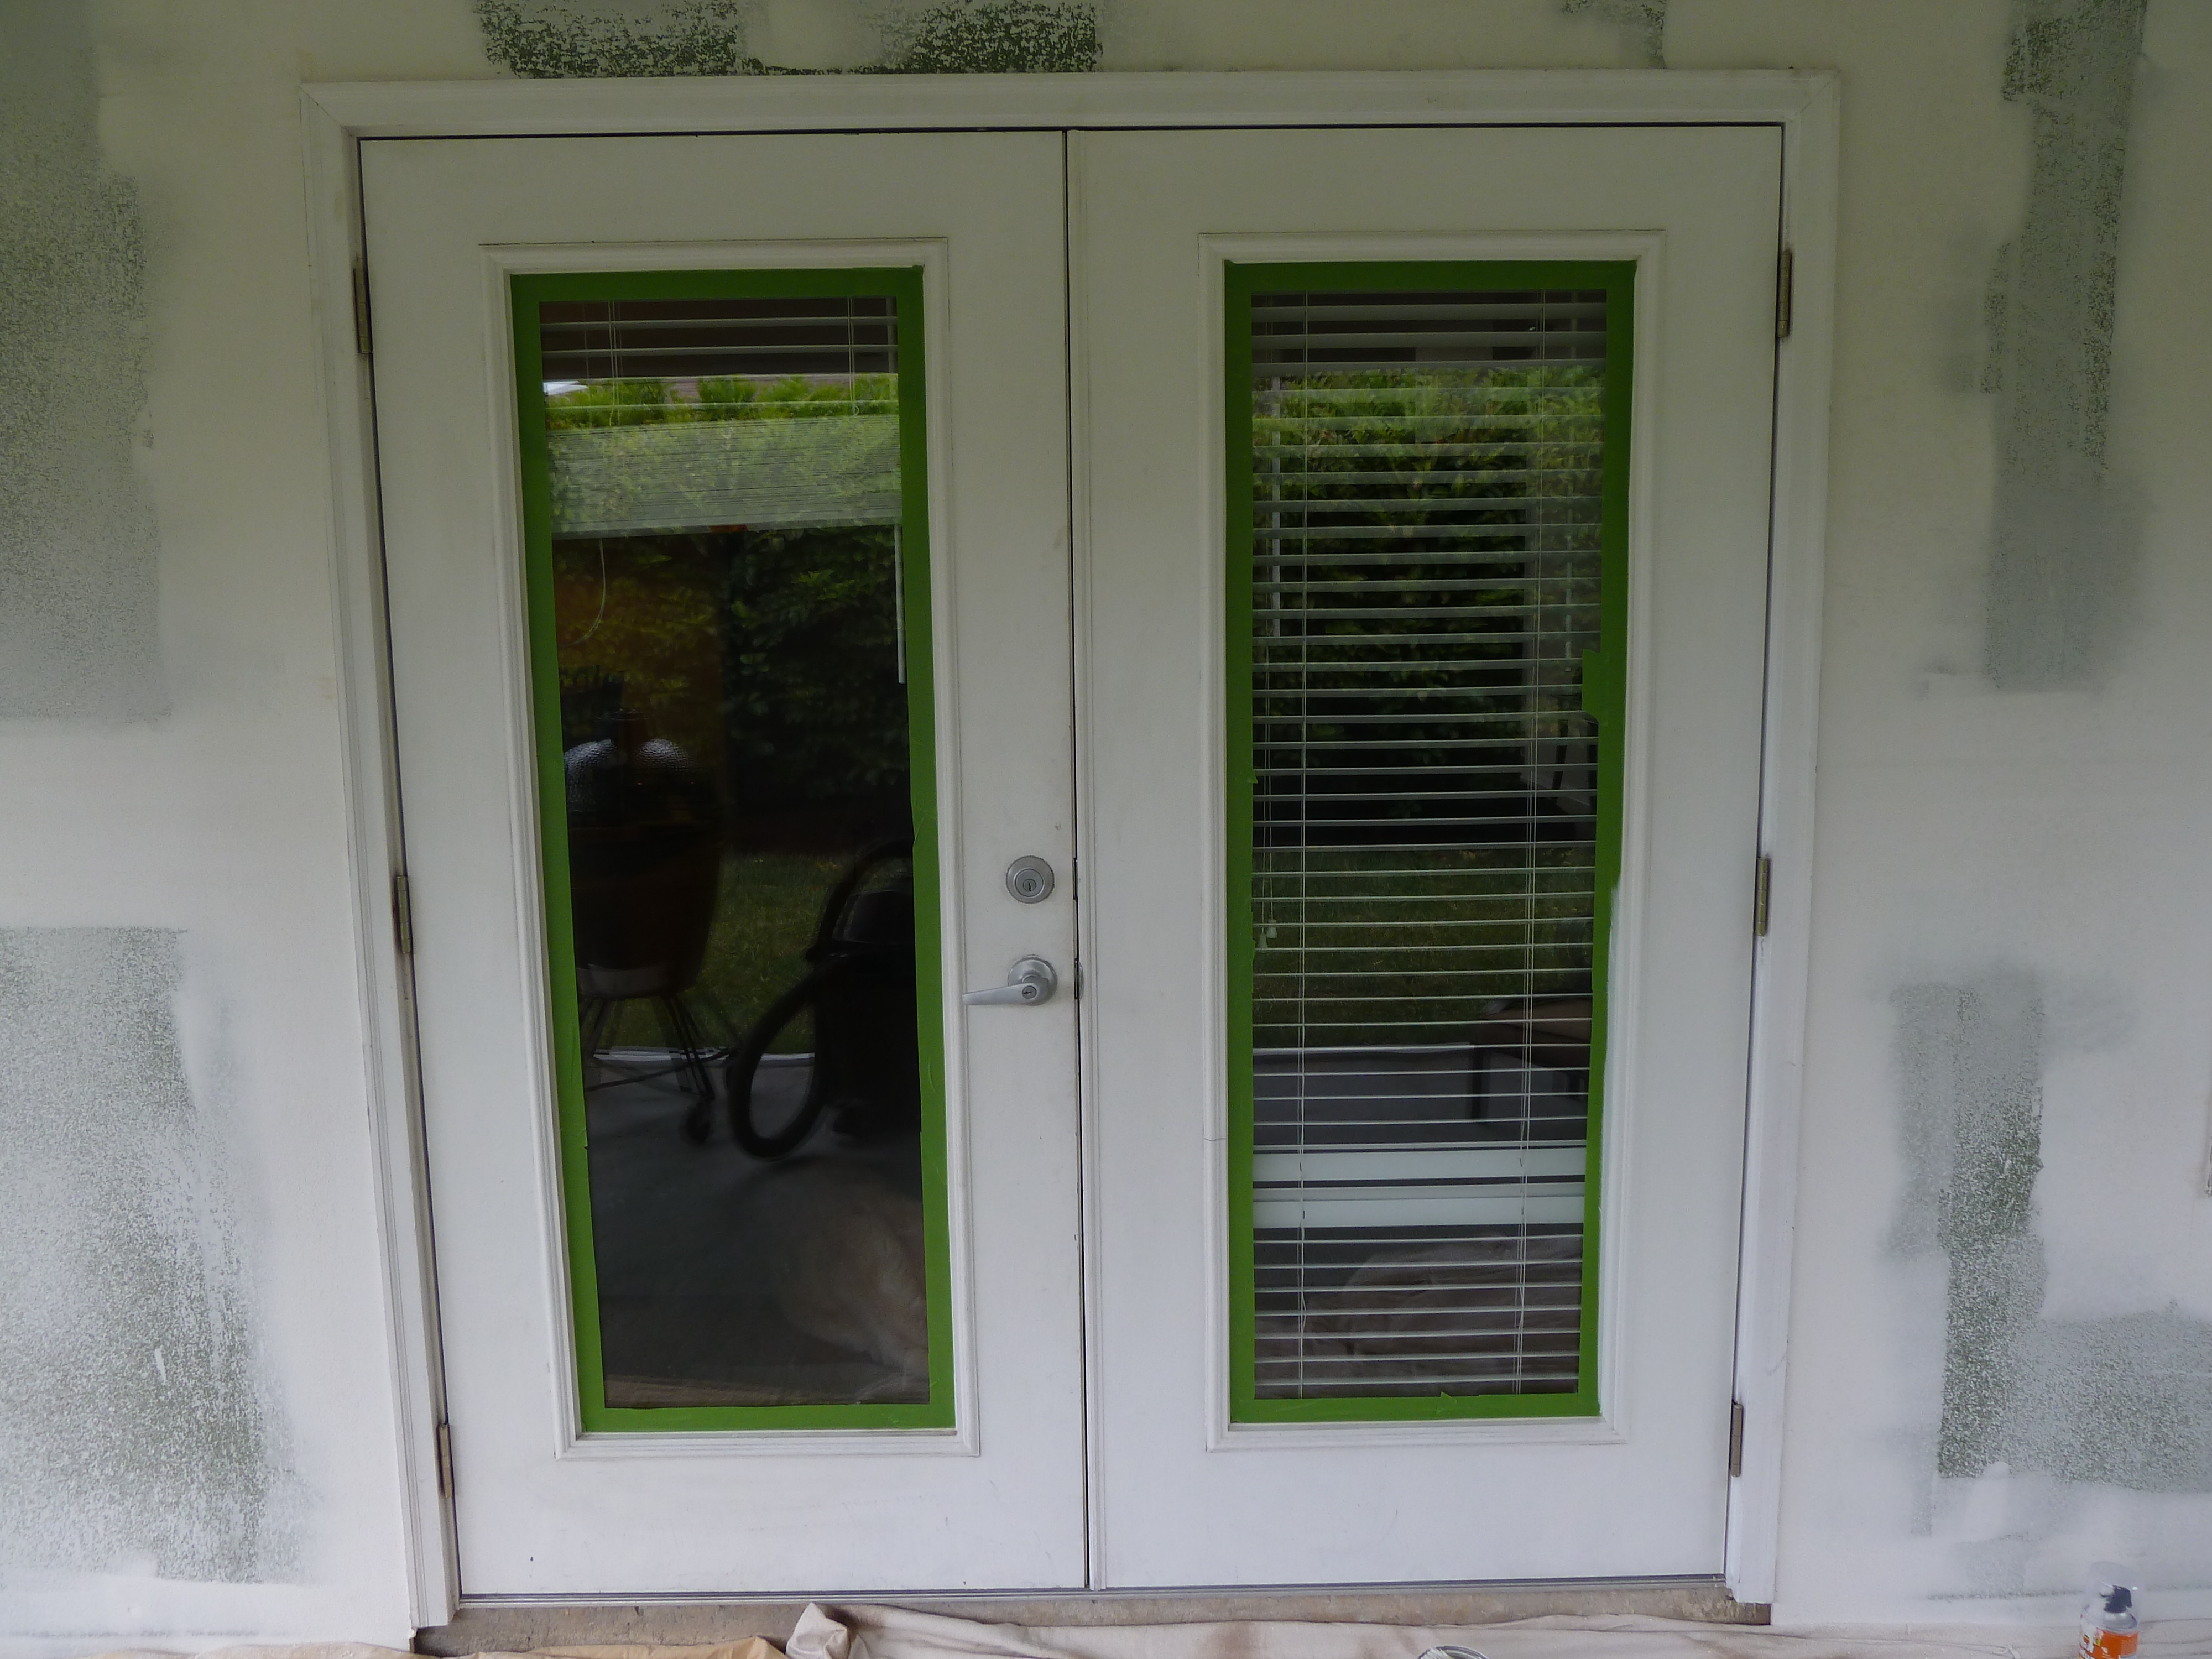
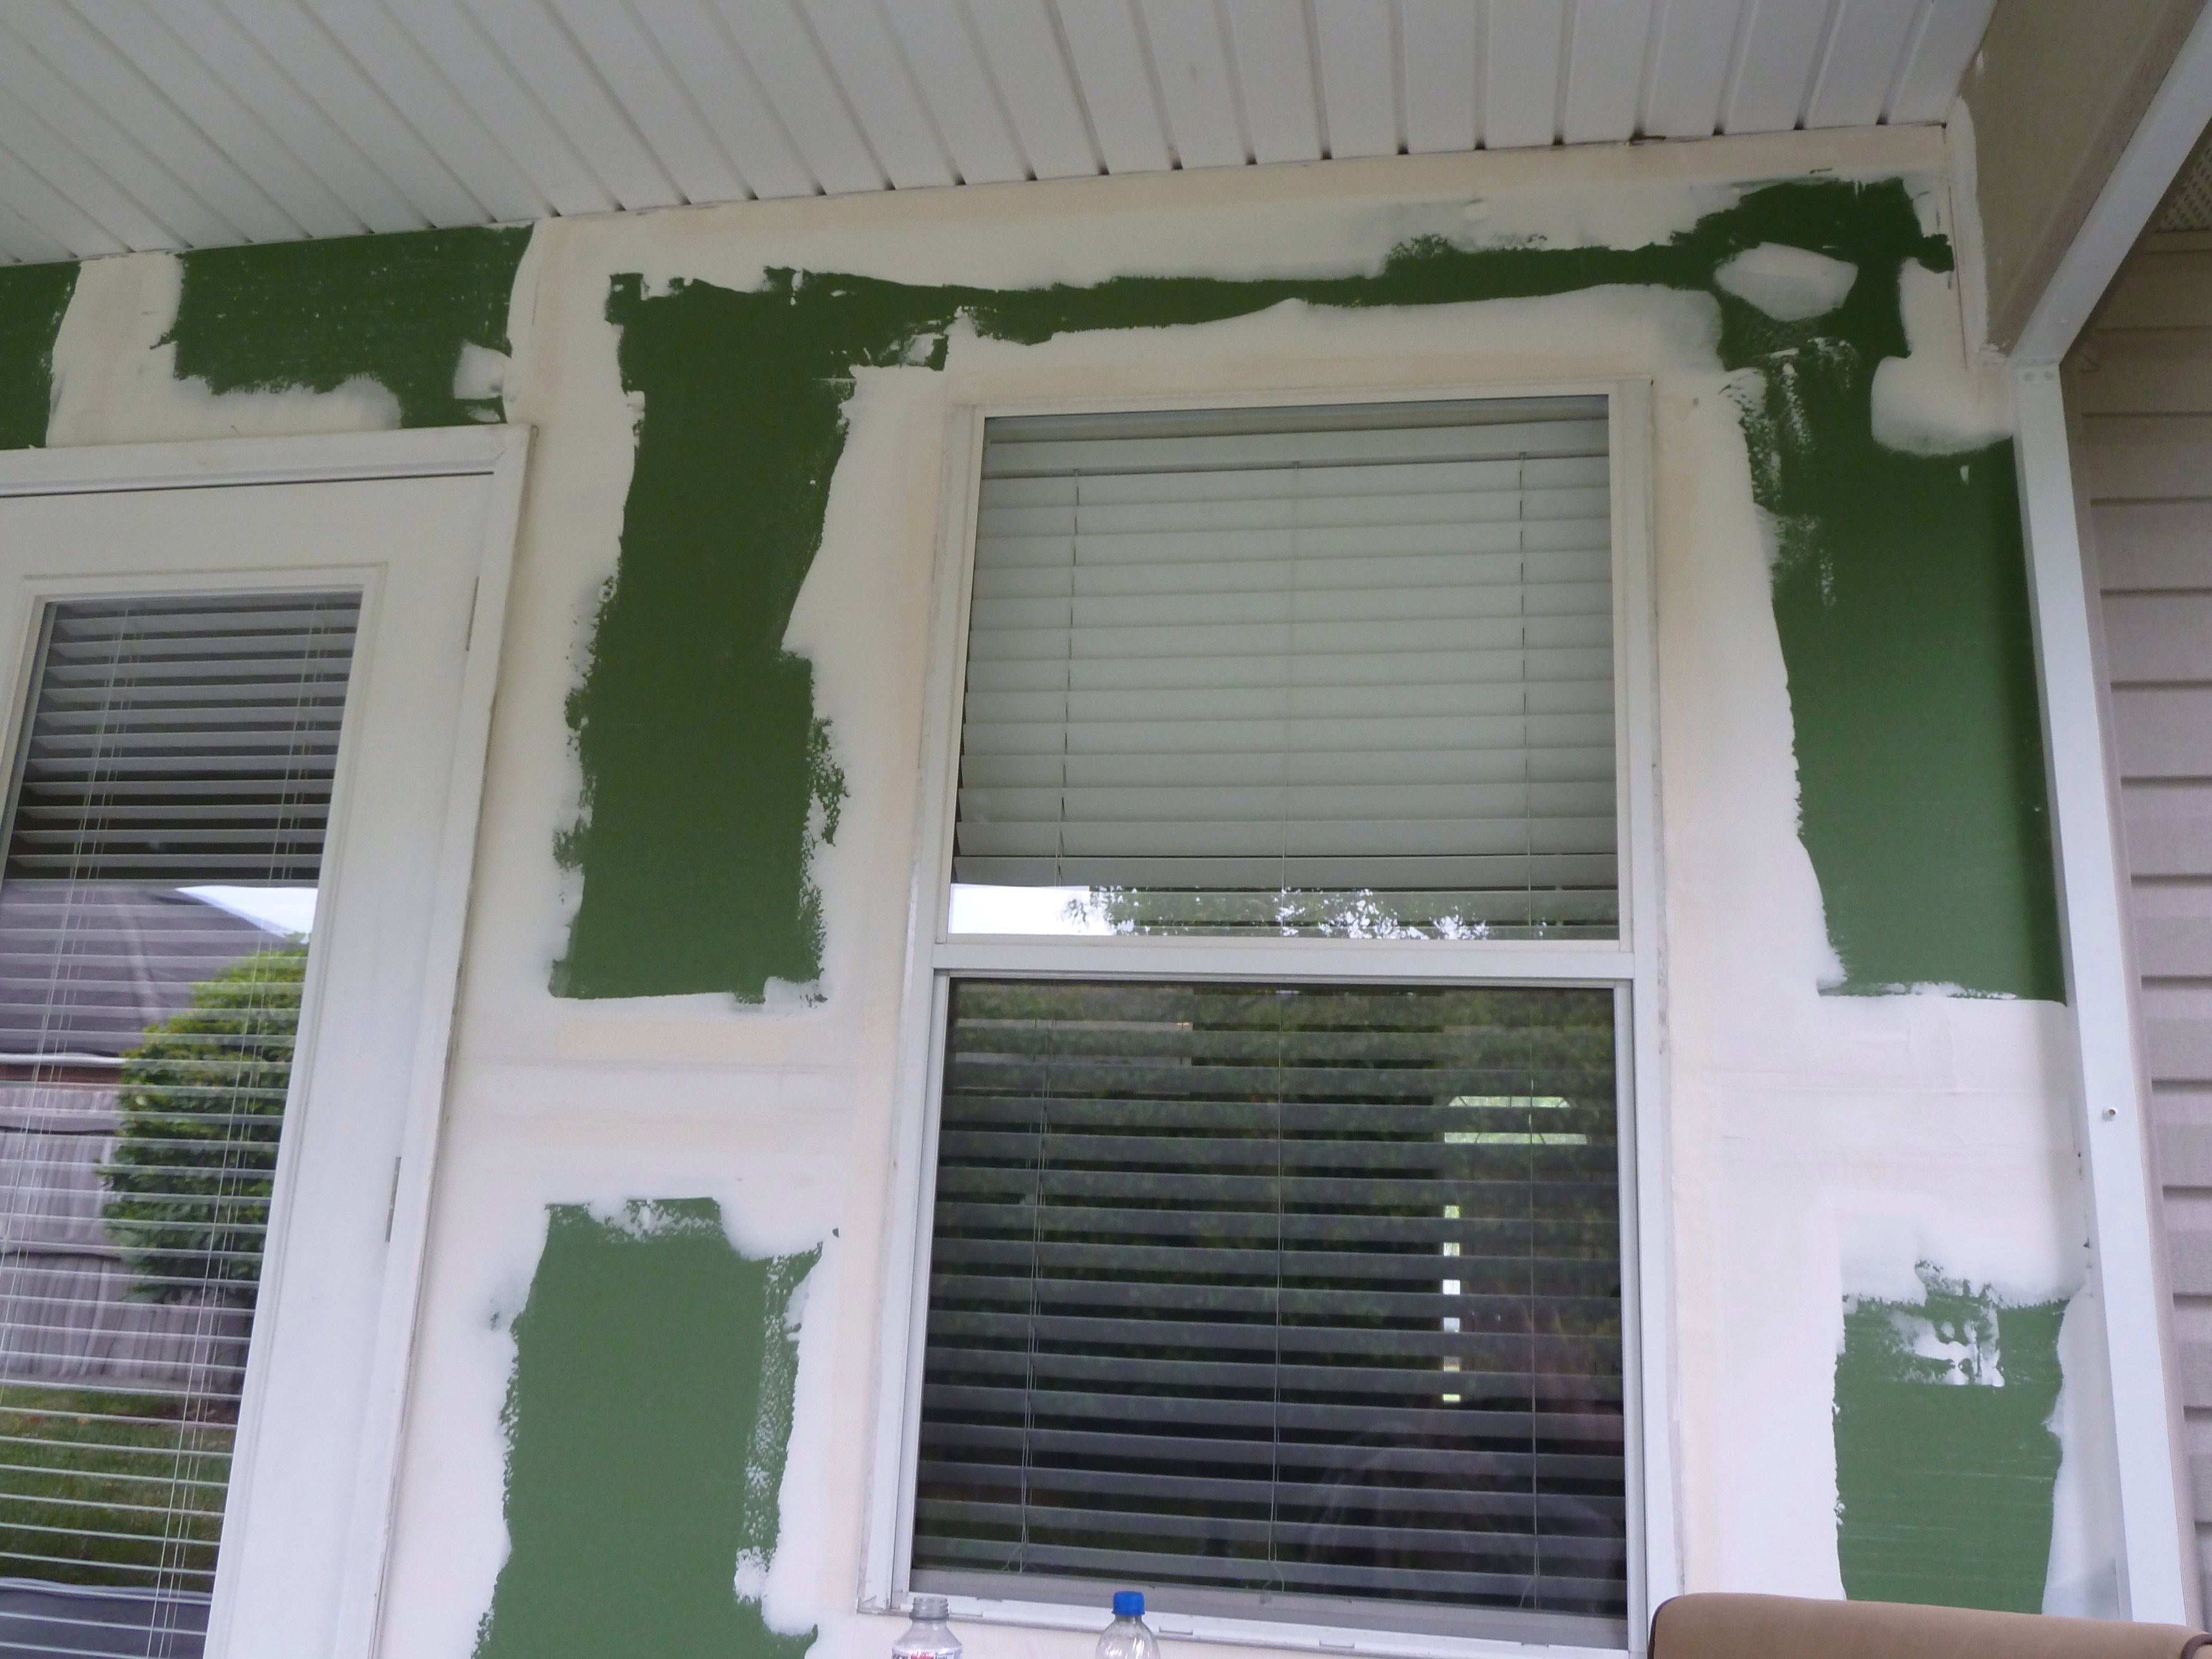
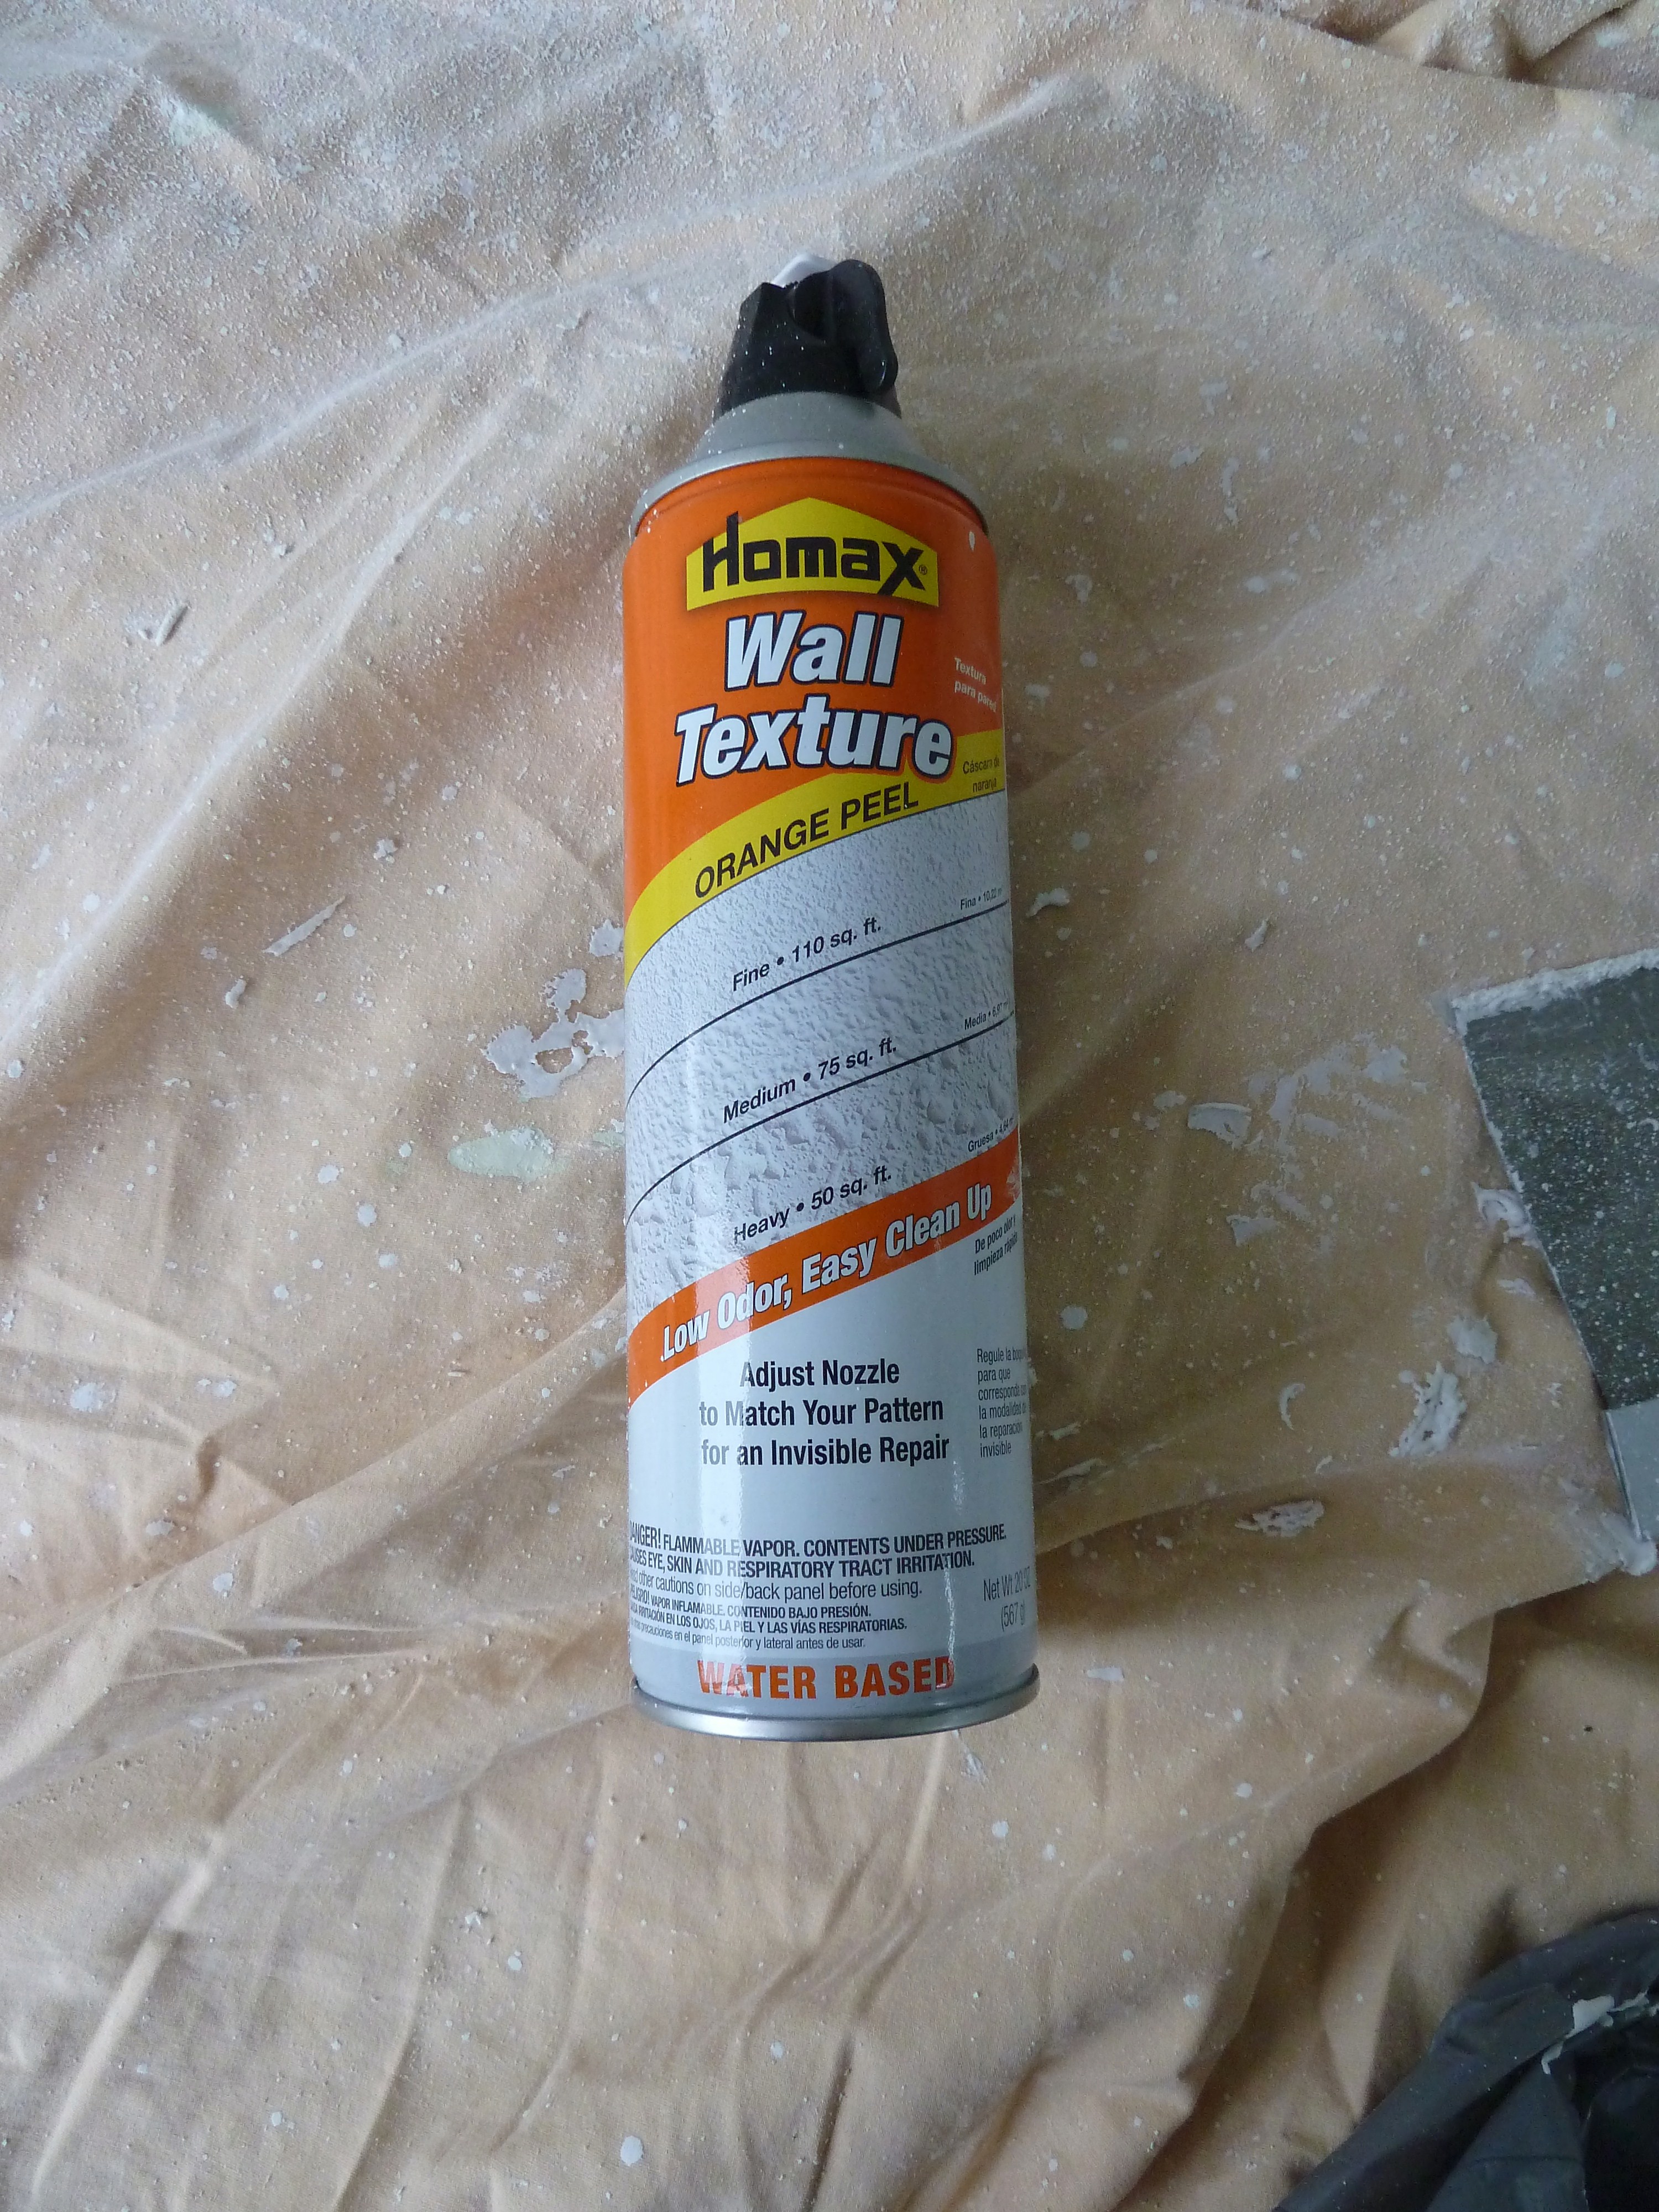
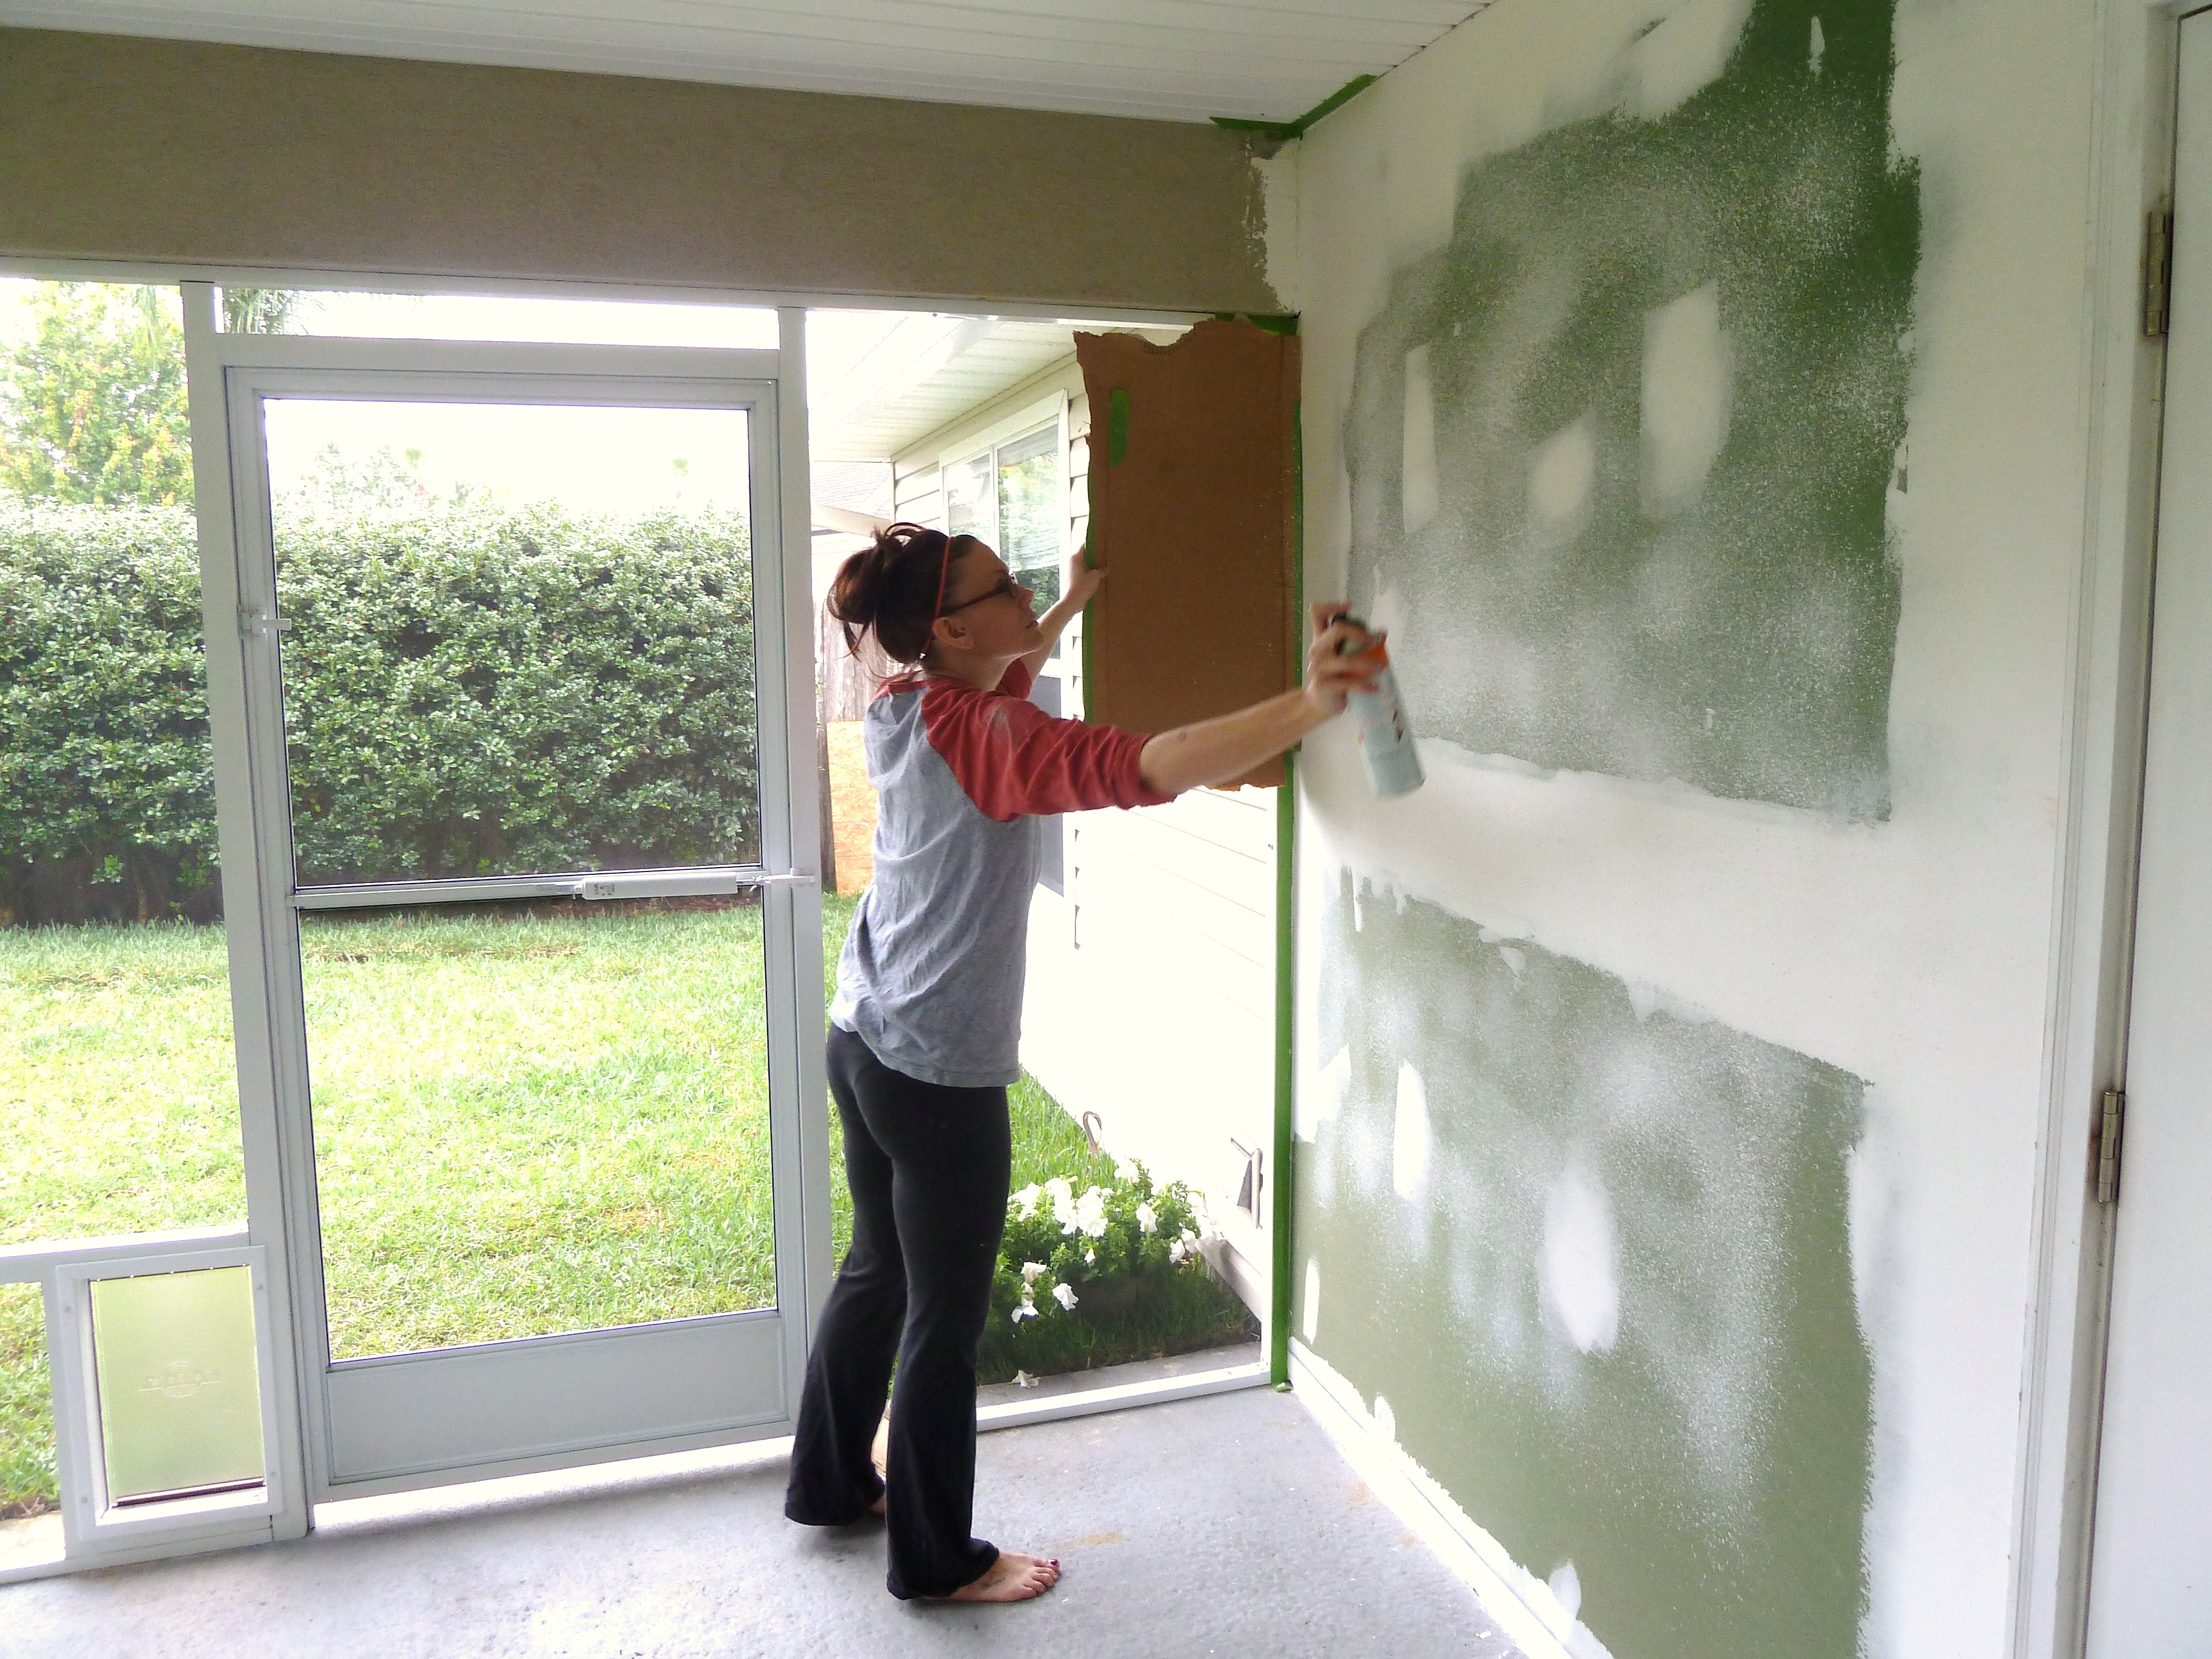
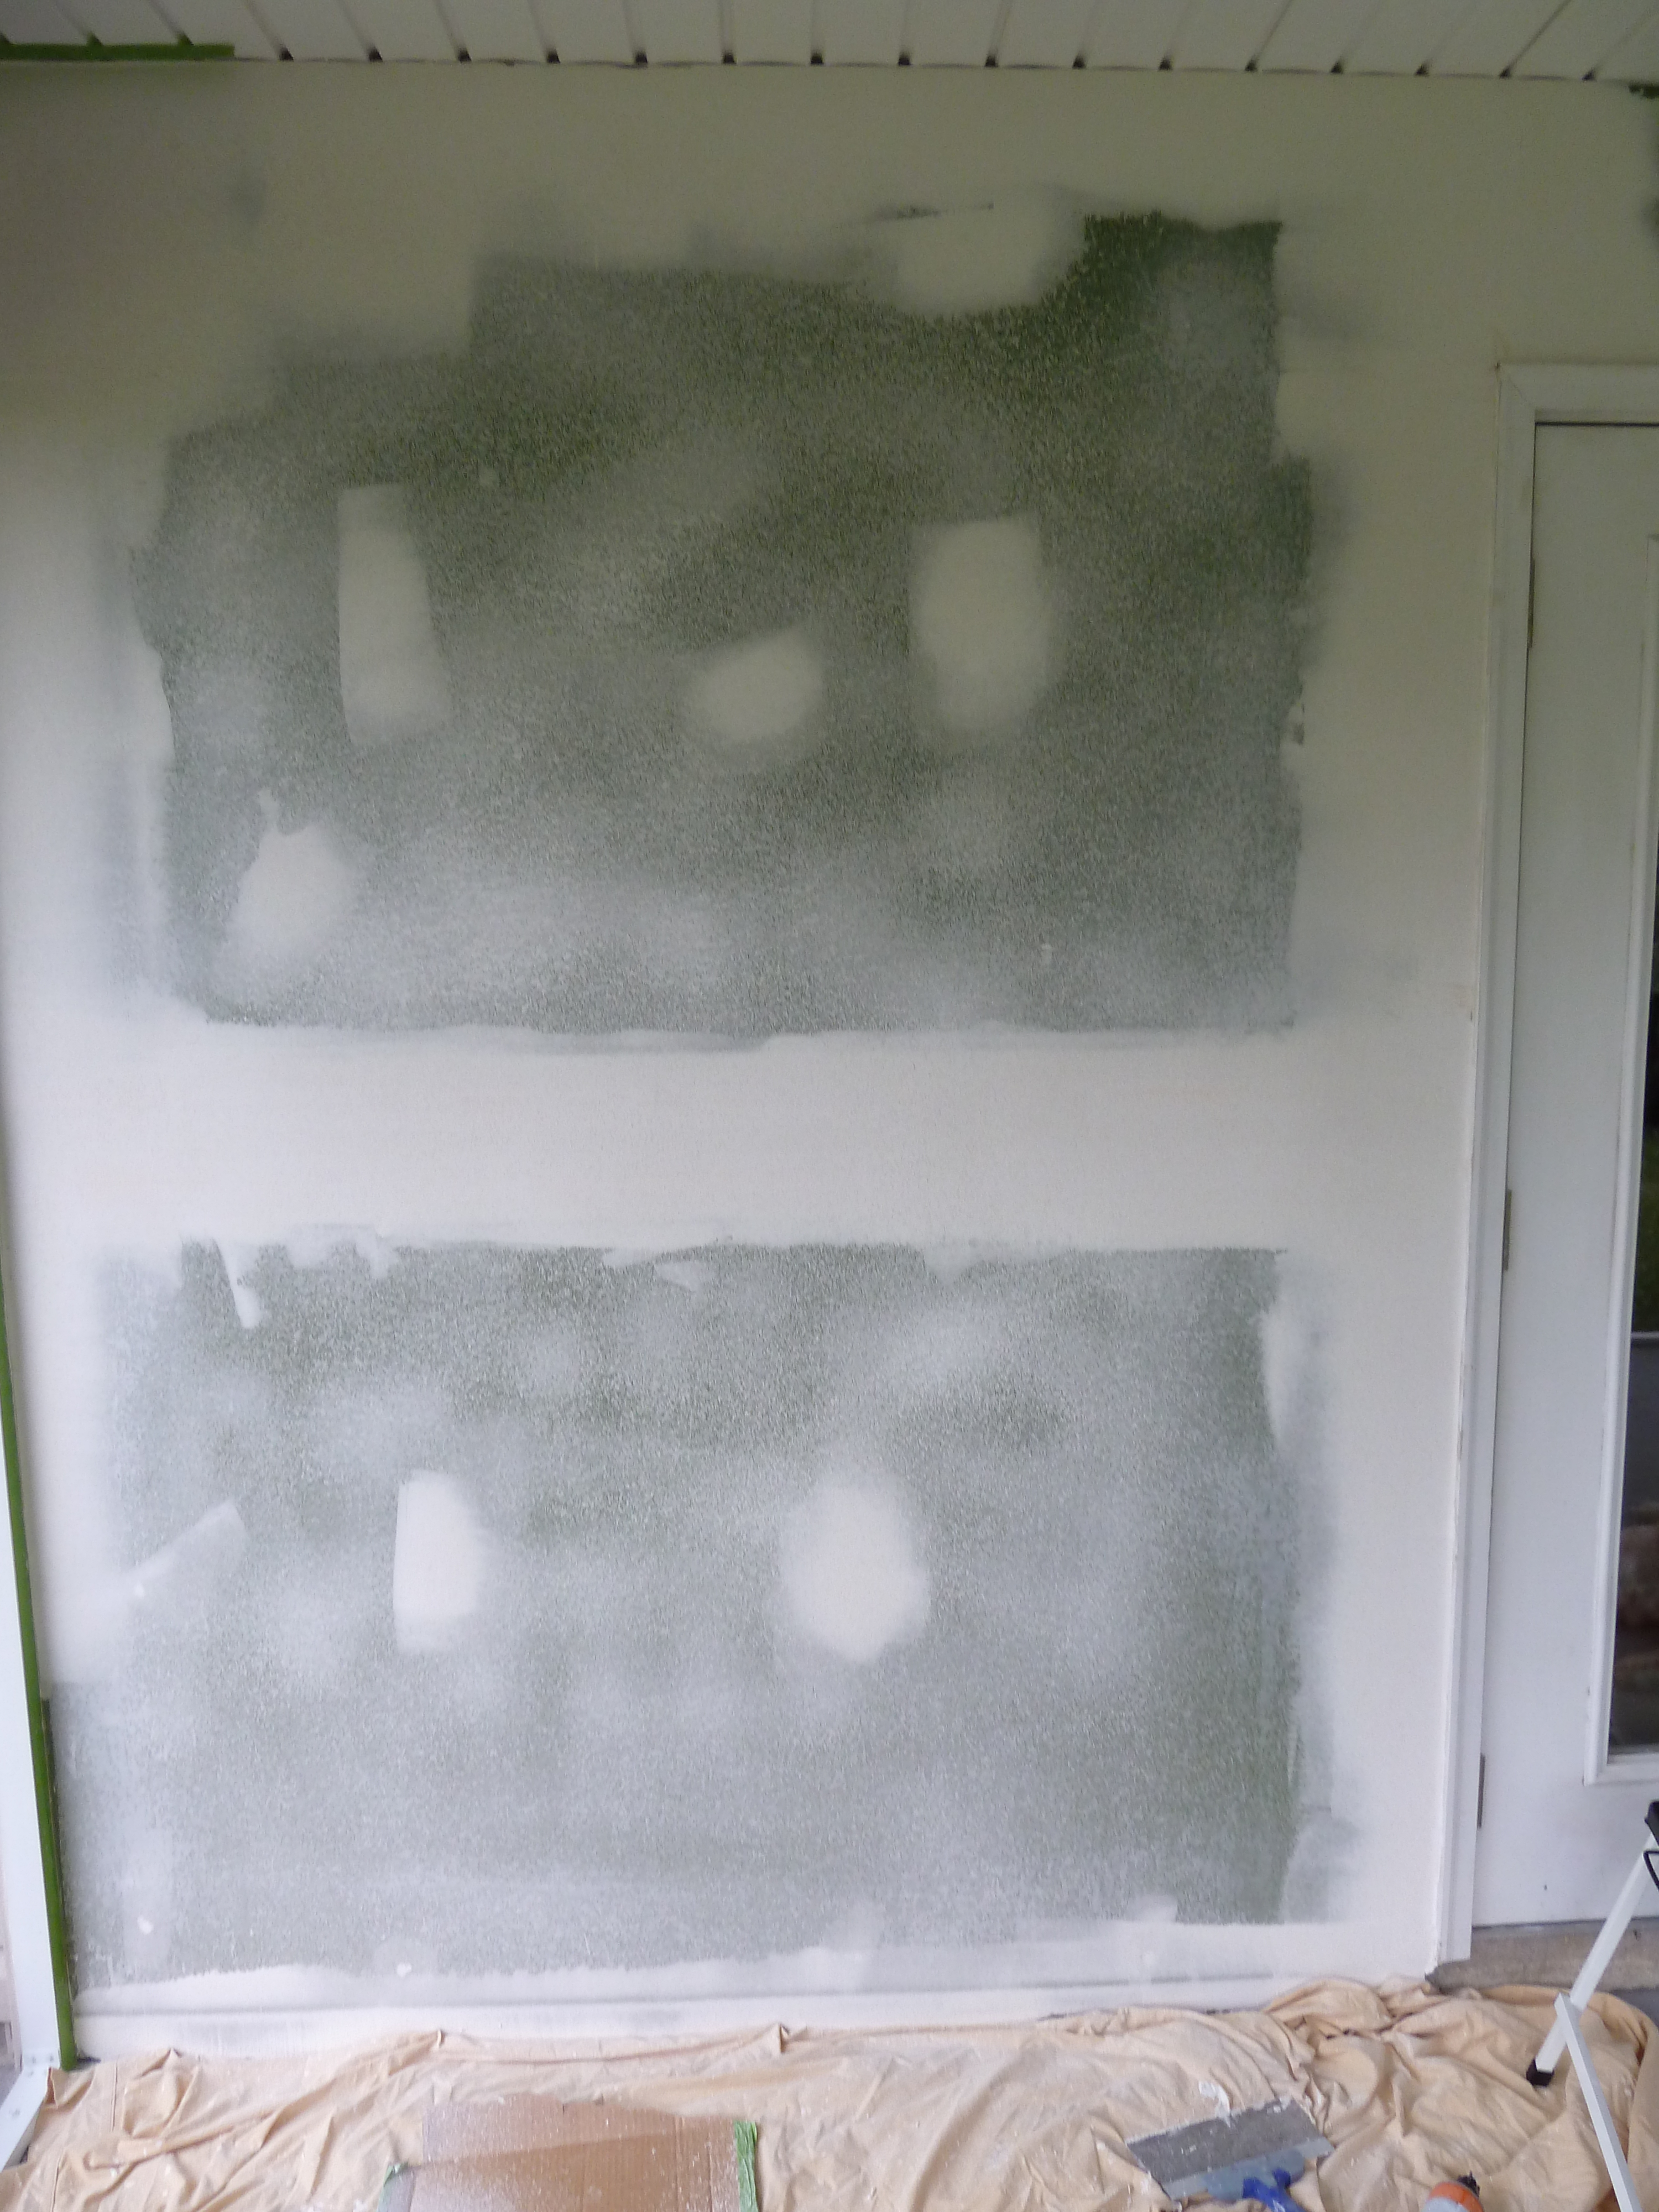
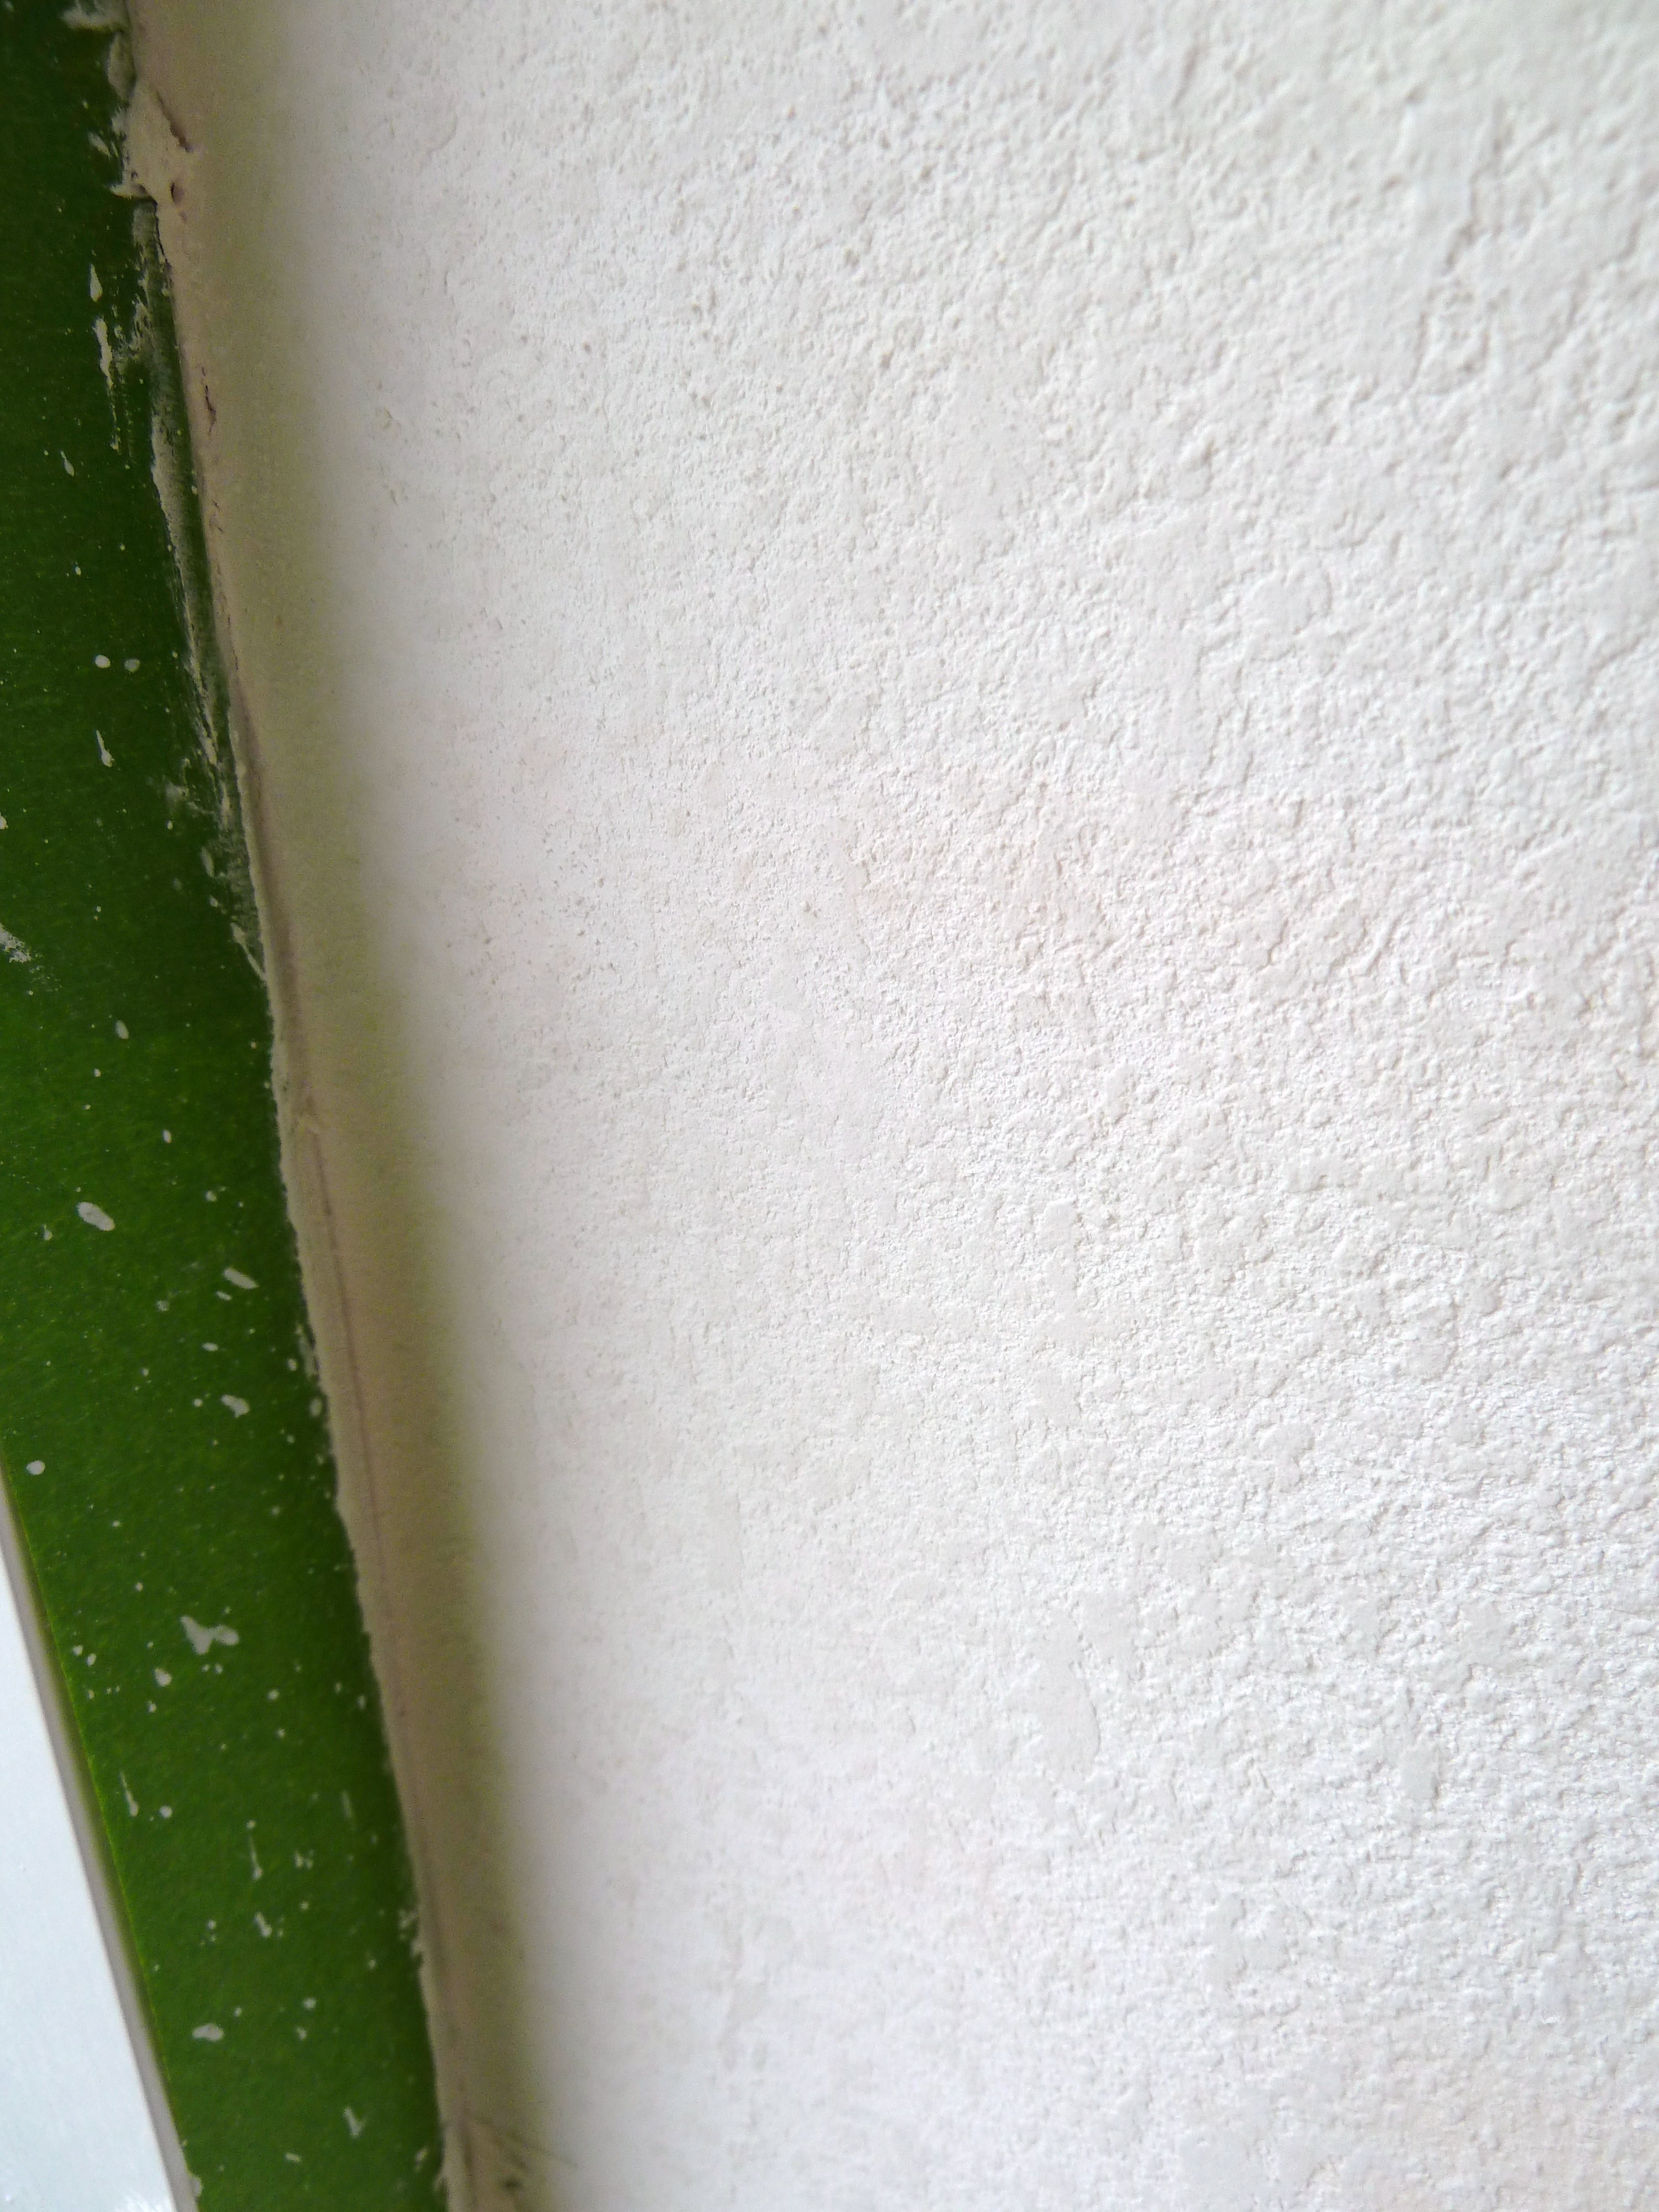
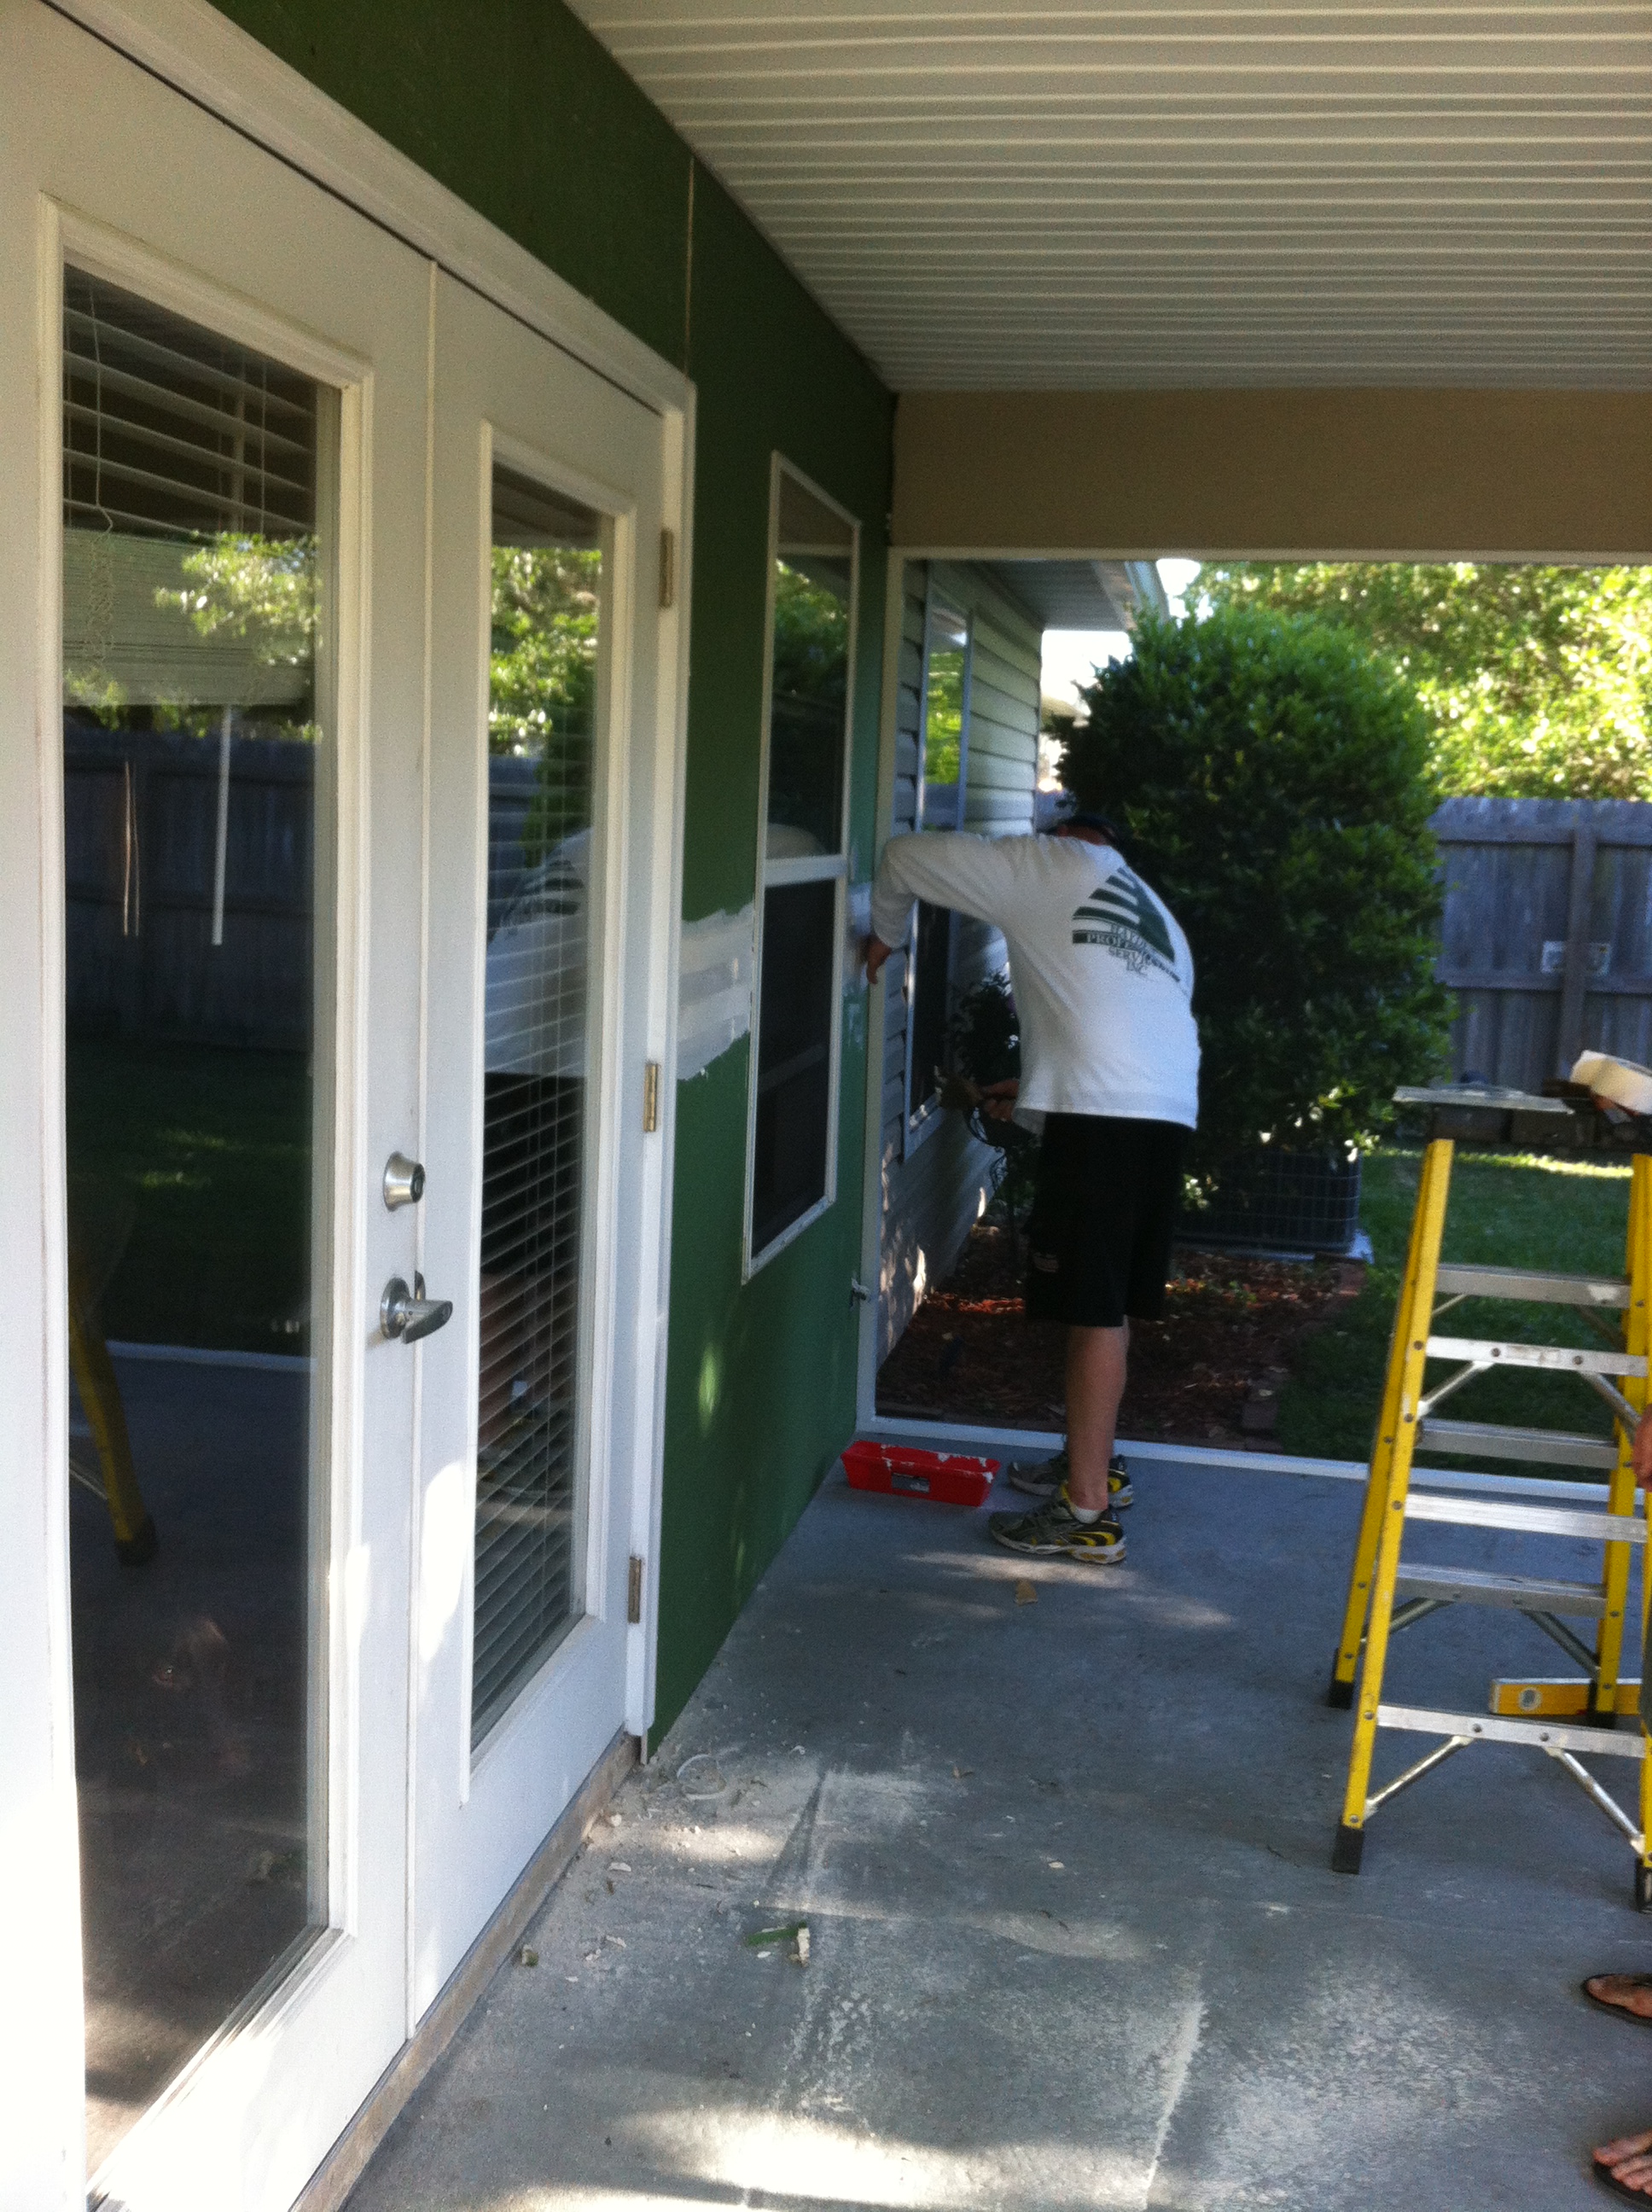
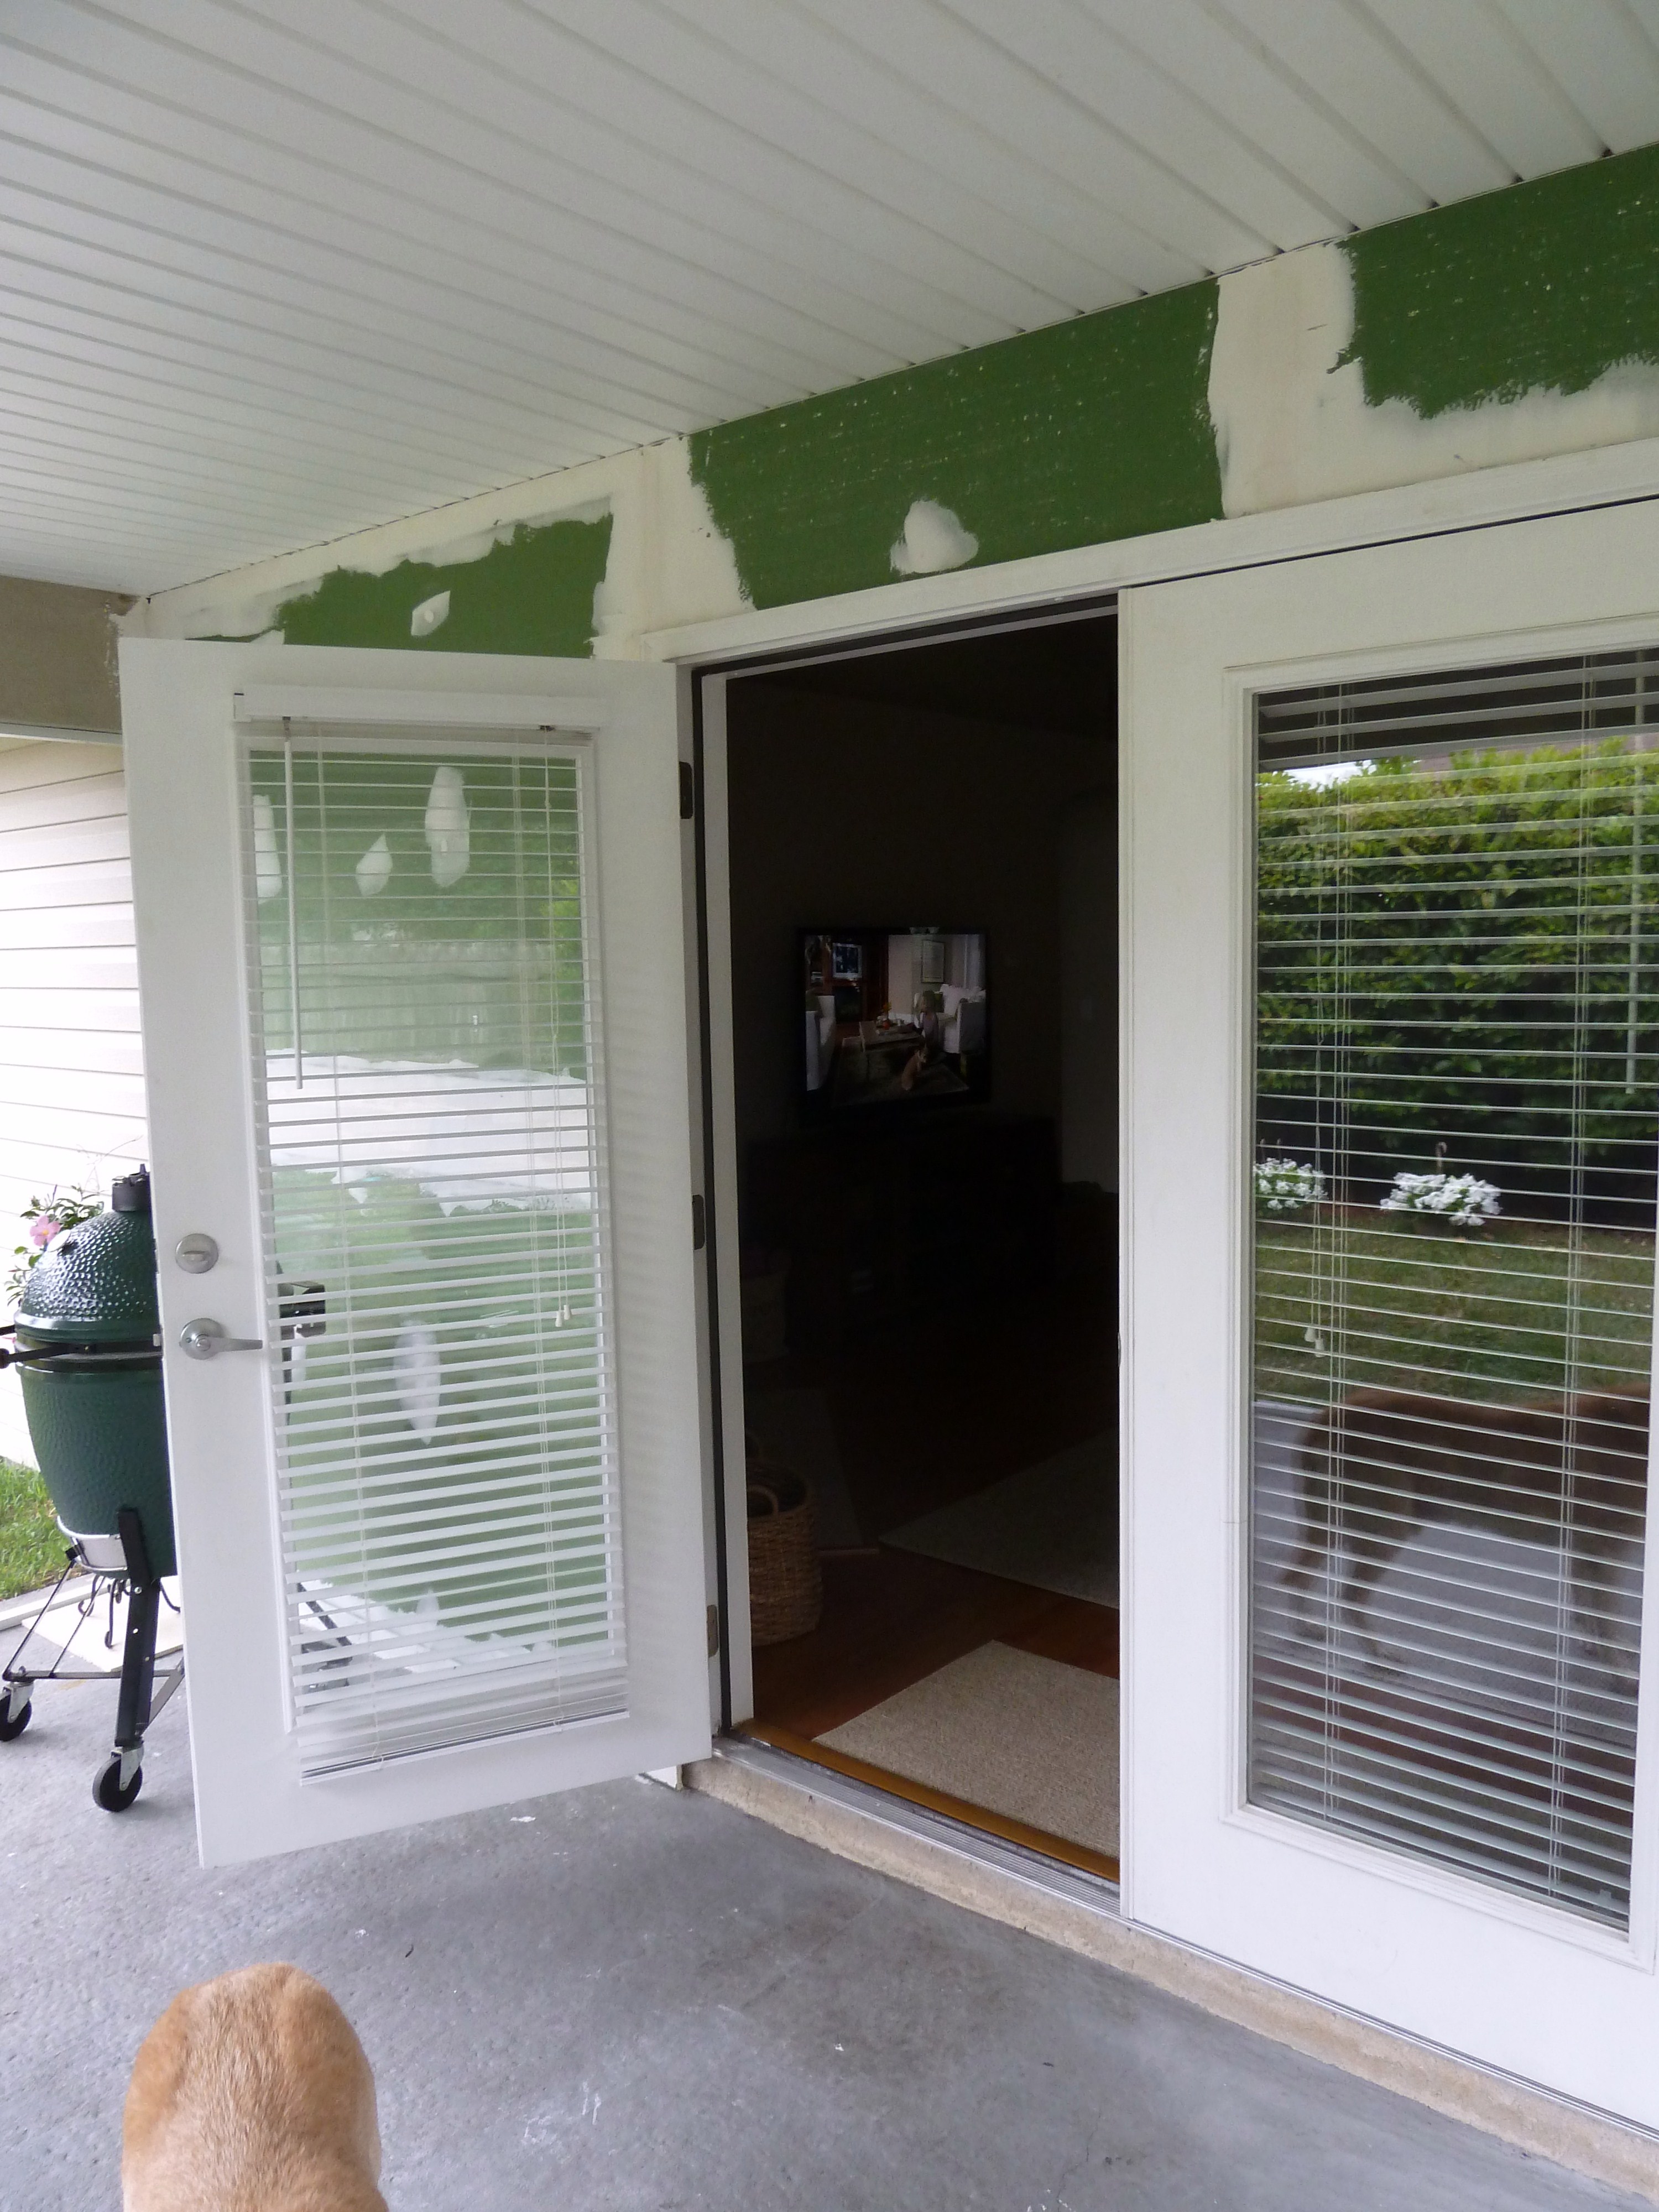
screen patio.replace fan.texture drywall.paint patio and doors.- tile and grout floor.
find patio furniture.- enjoy!
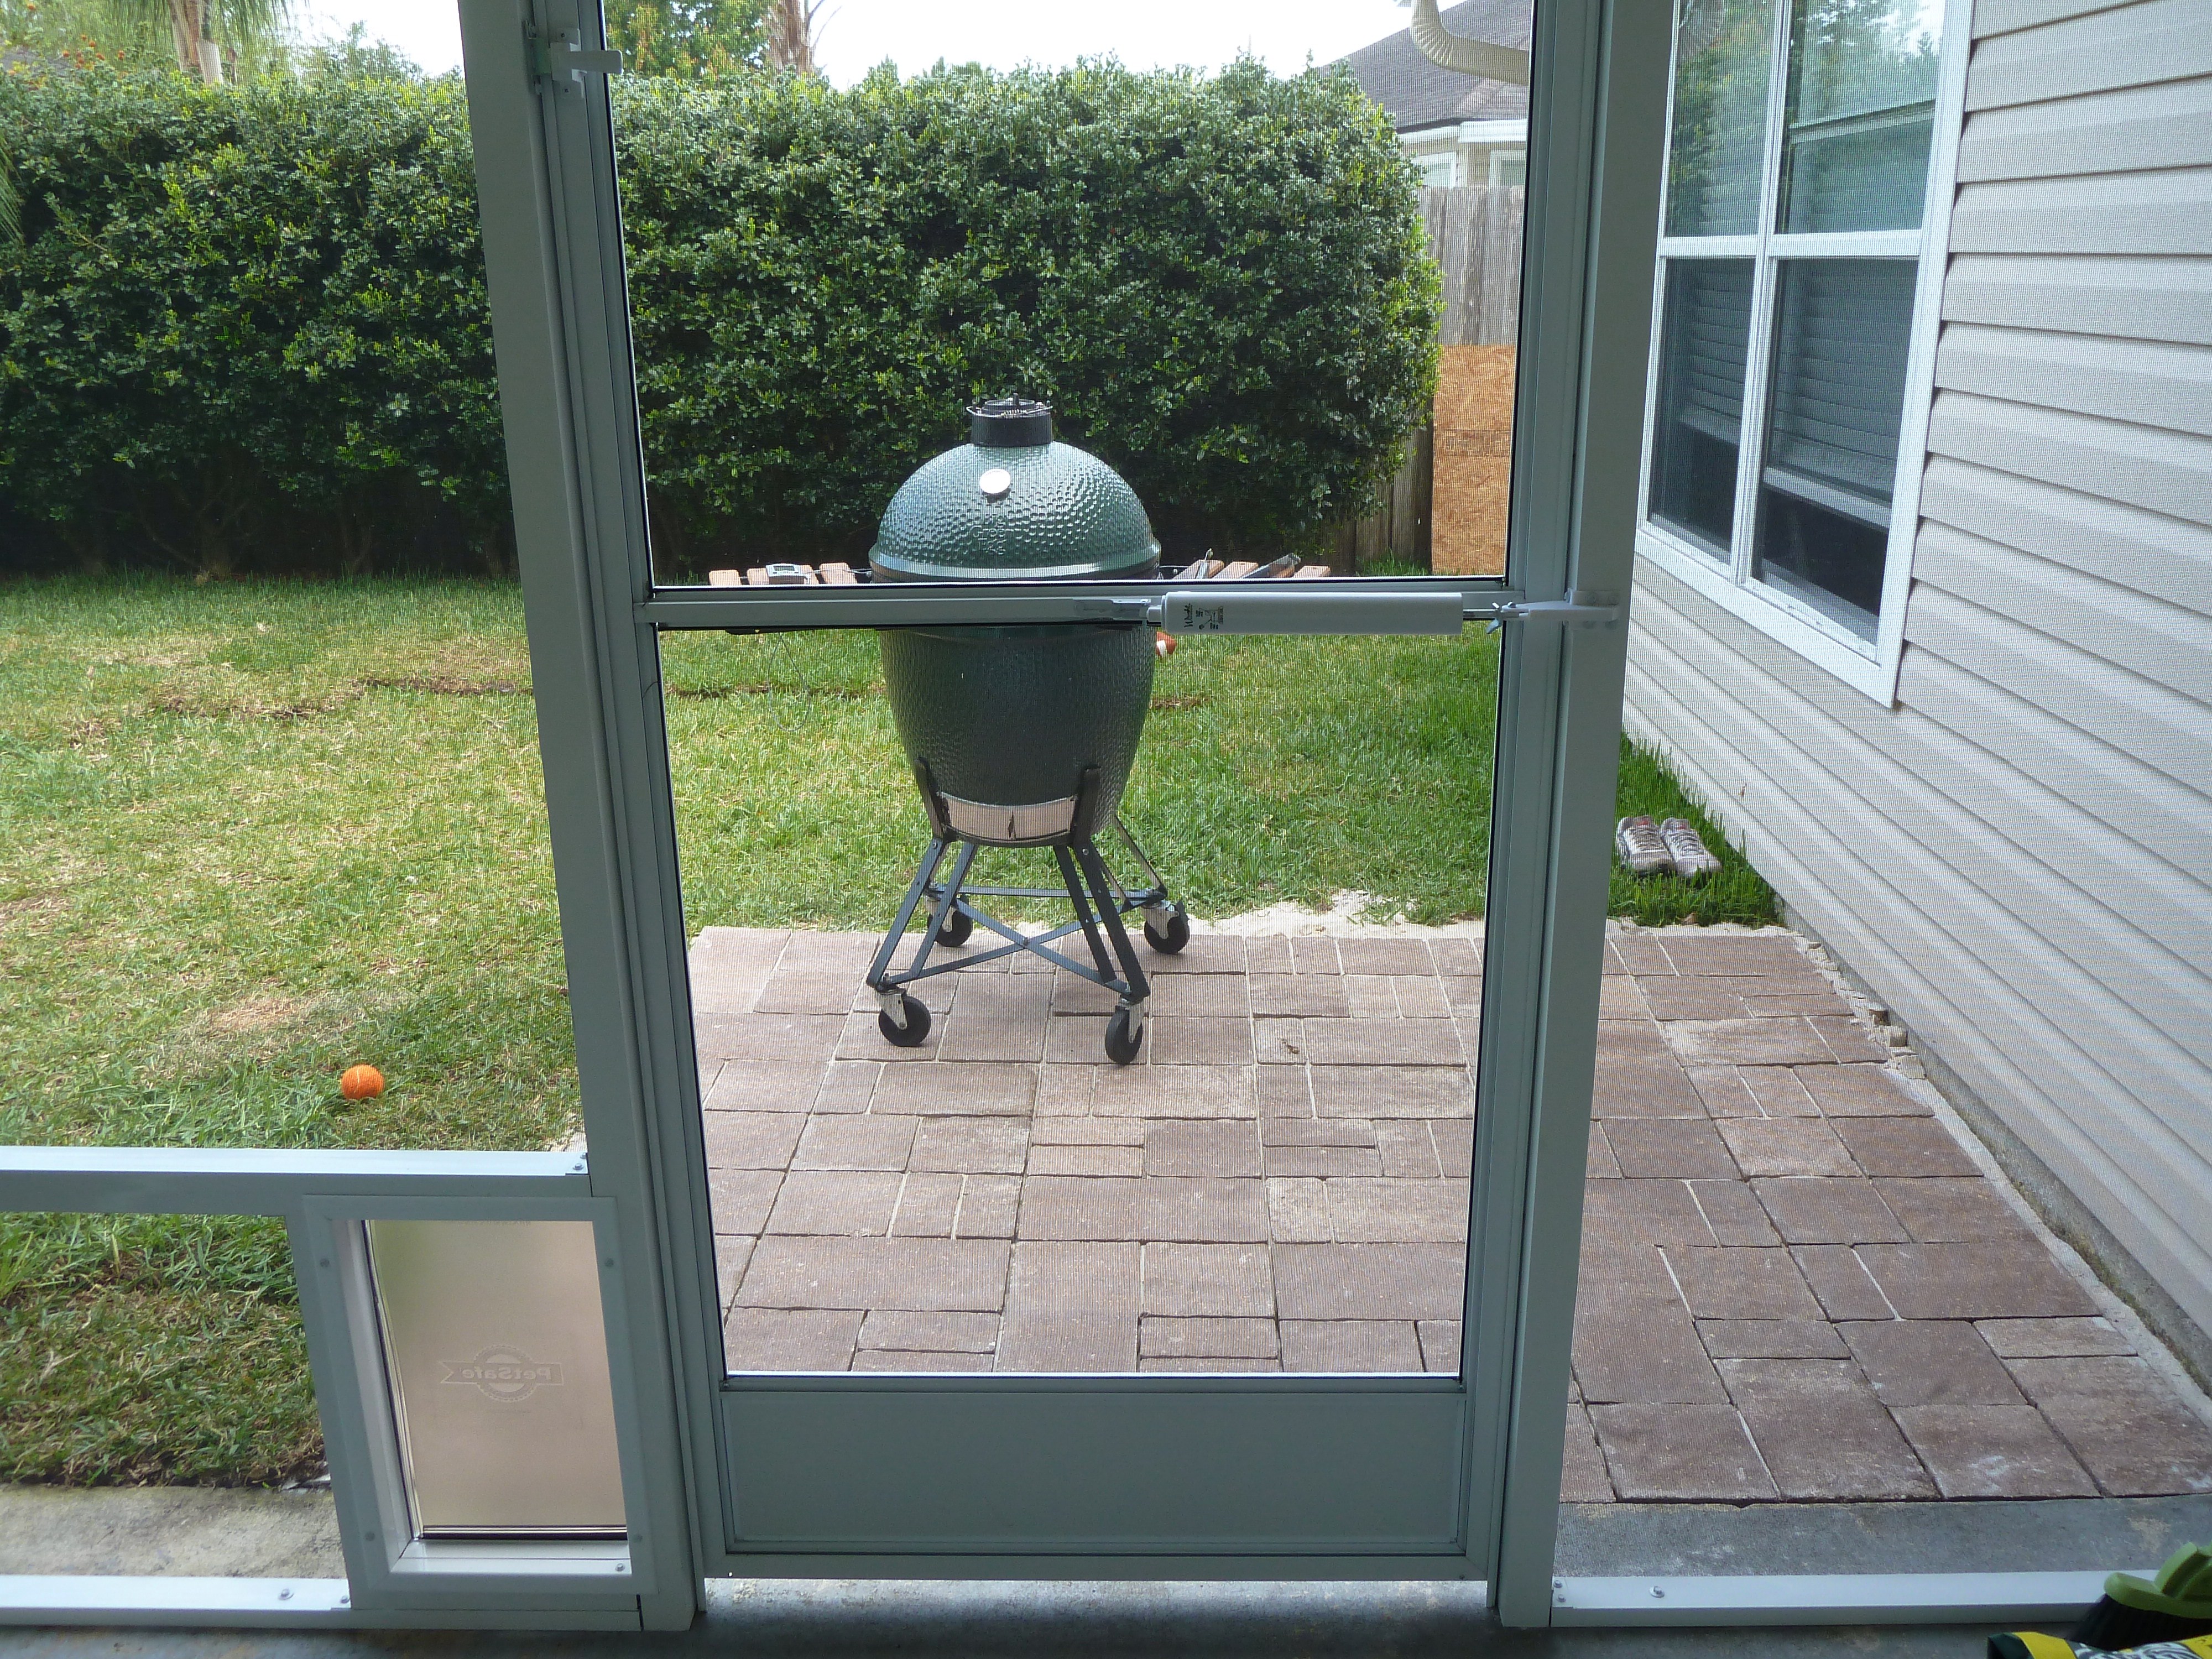
Getting pretty close to being finished with this space!