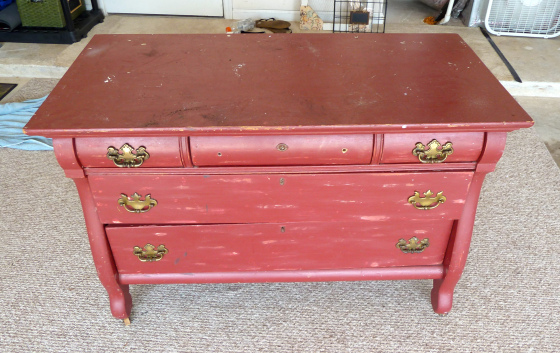
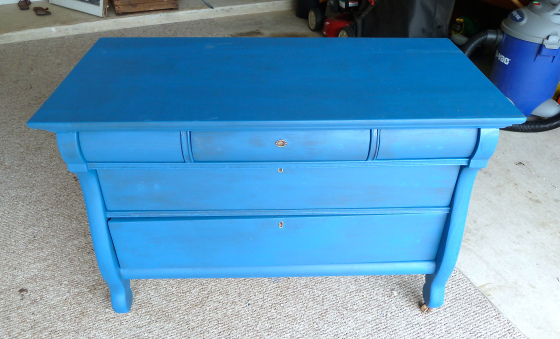
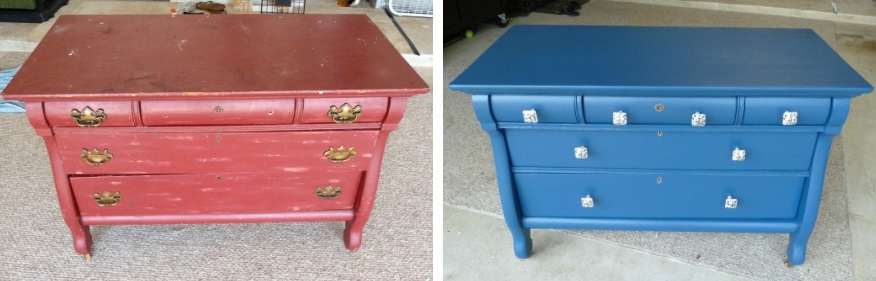
A while back (were talking months ago) my friend Gwen gave me a small antique dresser. She told me it needed some love, and thankfully I always have extra love to share with an antique dresser. Here she is…
 I know, she’s a beaut!
  I got her home and guess what? … It sat in my garage for about 3 months. Justin threatened to bring it to the curb multiple times. Of course, I retaliated, that I would be moving out if he did. Gotta do, what you gotta do for an antique dresser. Fast forward a few months, and I decided it was time to get to work.
There were a few things I wasn’t jazzed about. First the color. Don’t get me wrong, red can be amazing, but I have no place for a red dresser in my house.
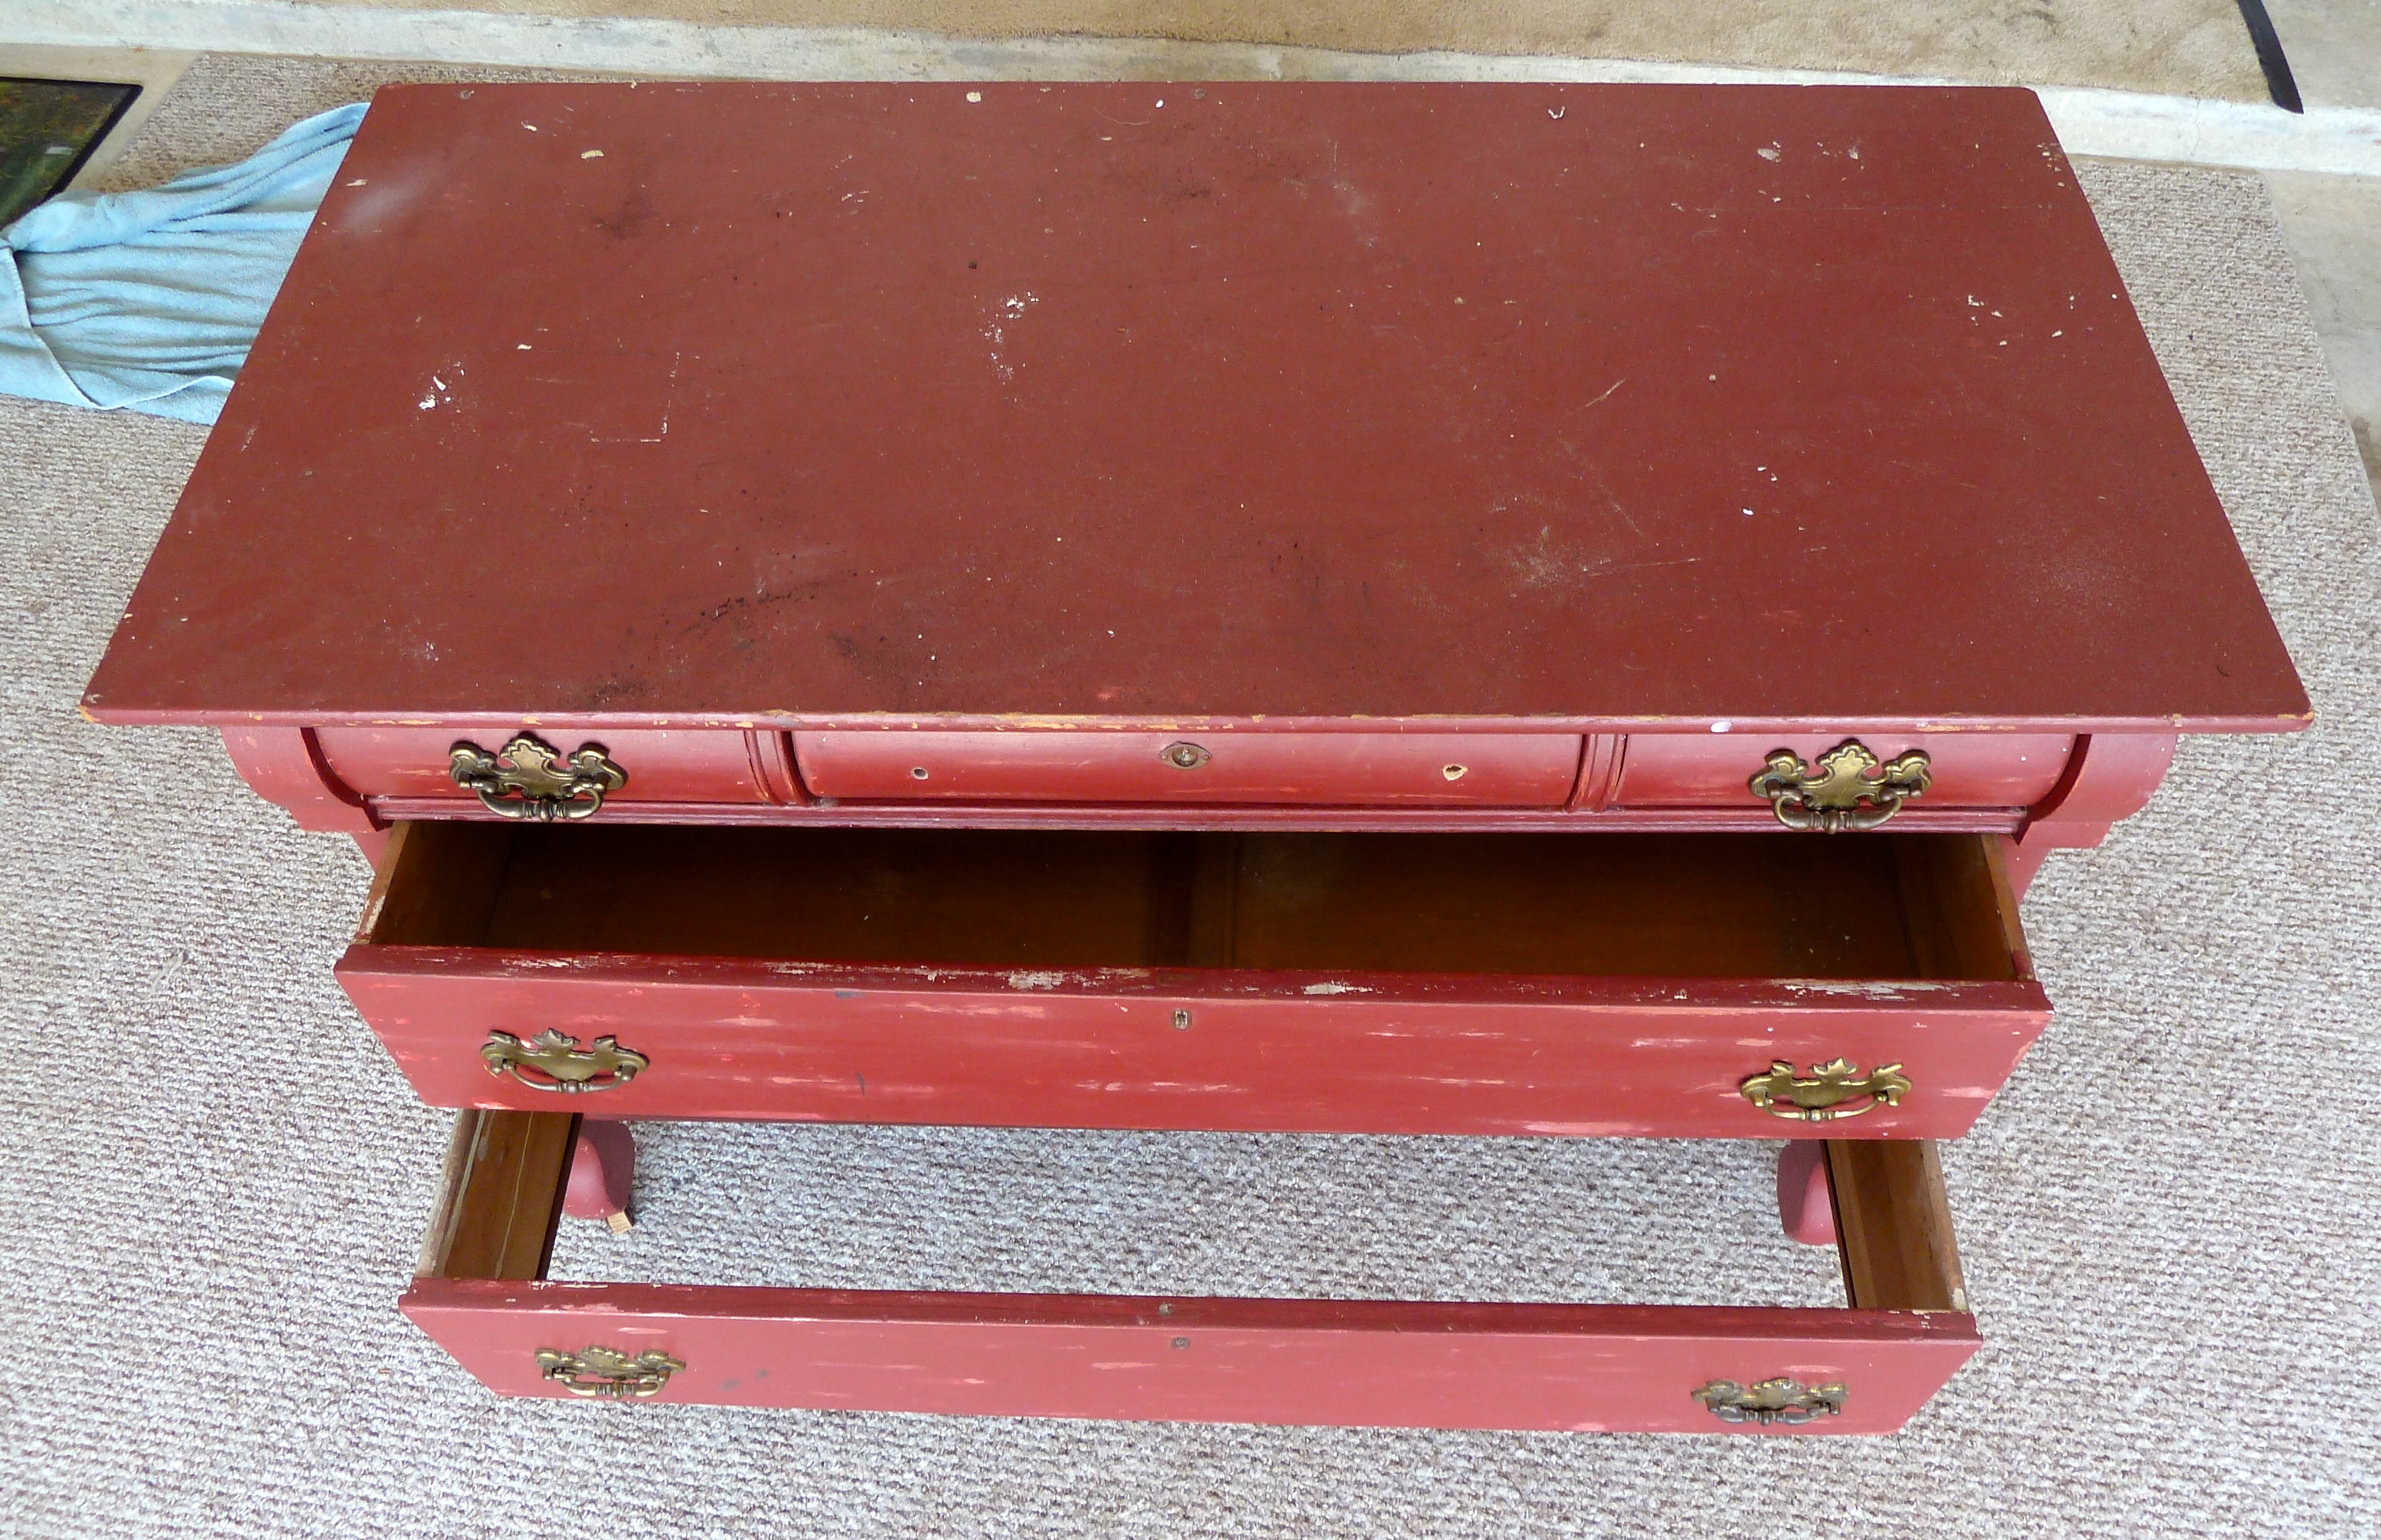
Next up, this broken drawer…
 All of the drawers were in great condition, except that lower one. It had seen better days, and was missing the bottom. Kind of defeats the purpose of a drawer when you can’t store anything in it. Lastly, I wasn’t in love with the drawer pulls.
The first thing I did was give the whole piece a good scrub, inside and out. I used a few old rags with some diluted vinegar. Did the job perfectly, and I swear the vinegar smell wears off.
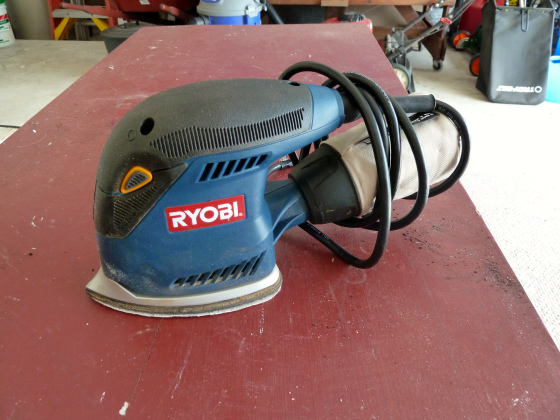
Next, I wanted to sand all of the surfaces down with my palm sander. I have a Ryobi detail sander. Before starting, I removed all of the knobs from the drawers, then removed the drawers from the dresser completely.
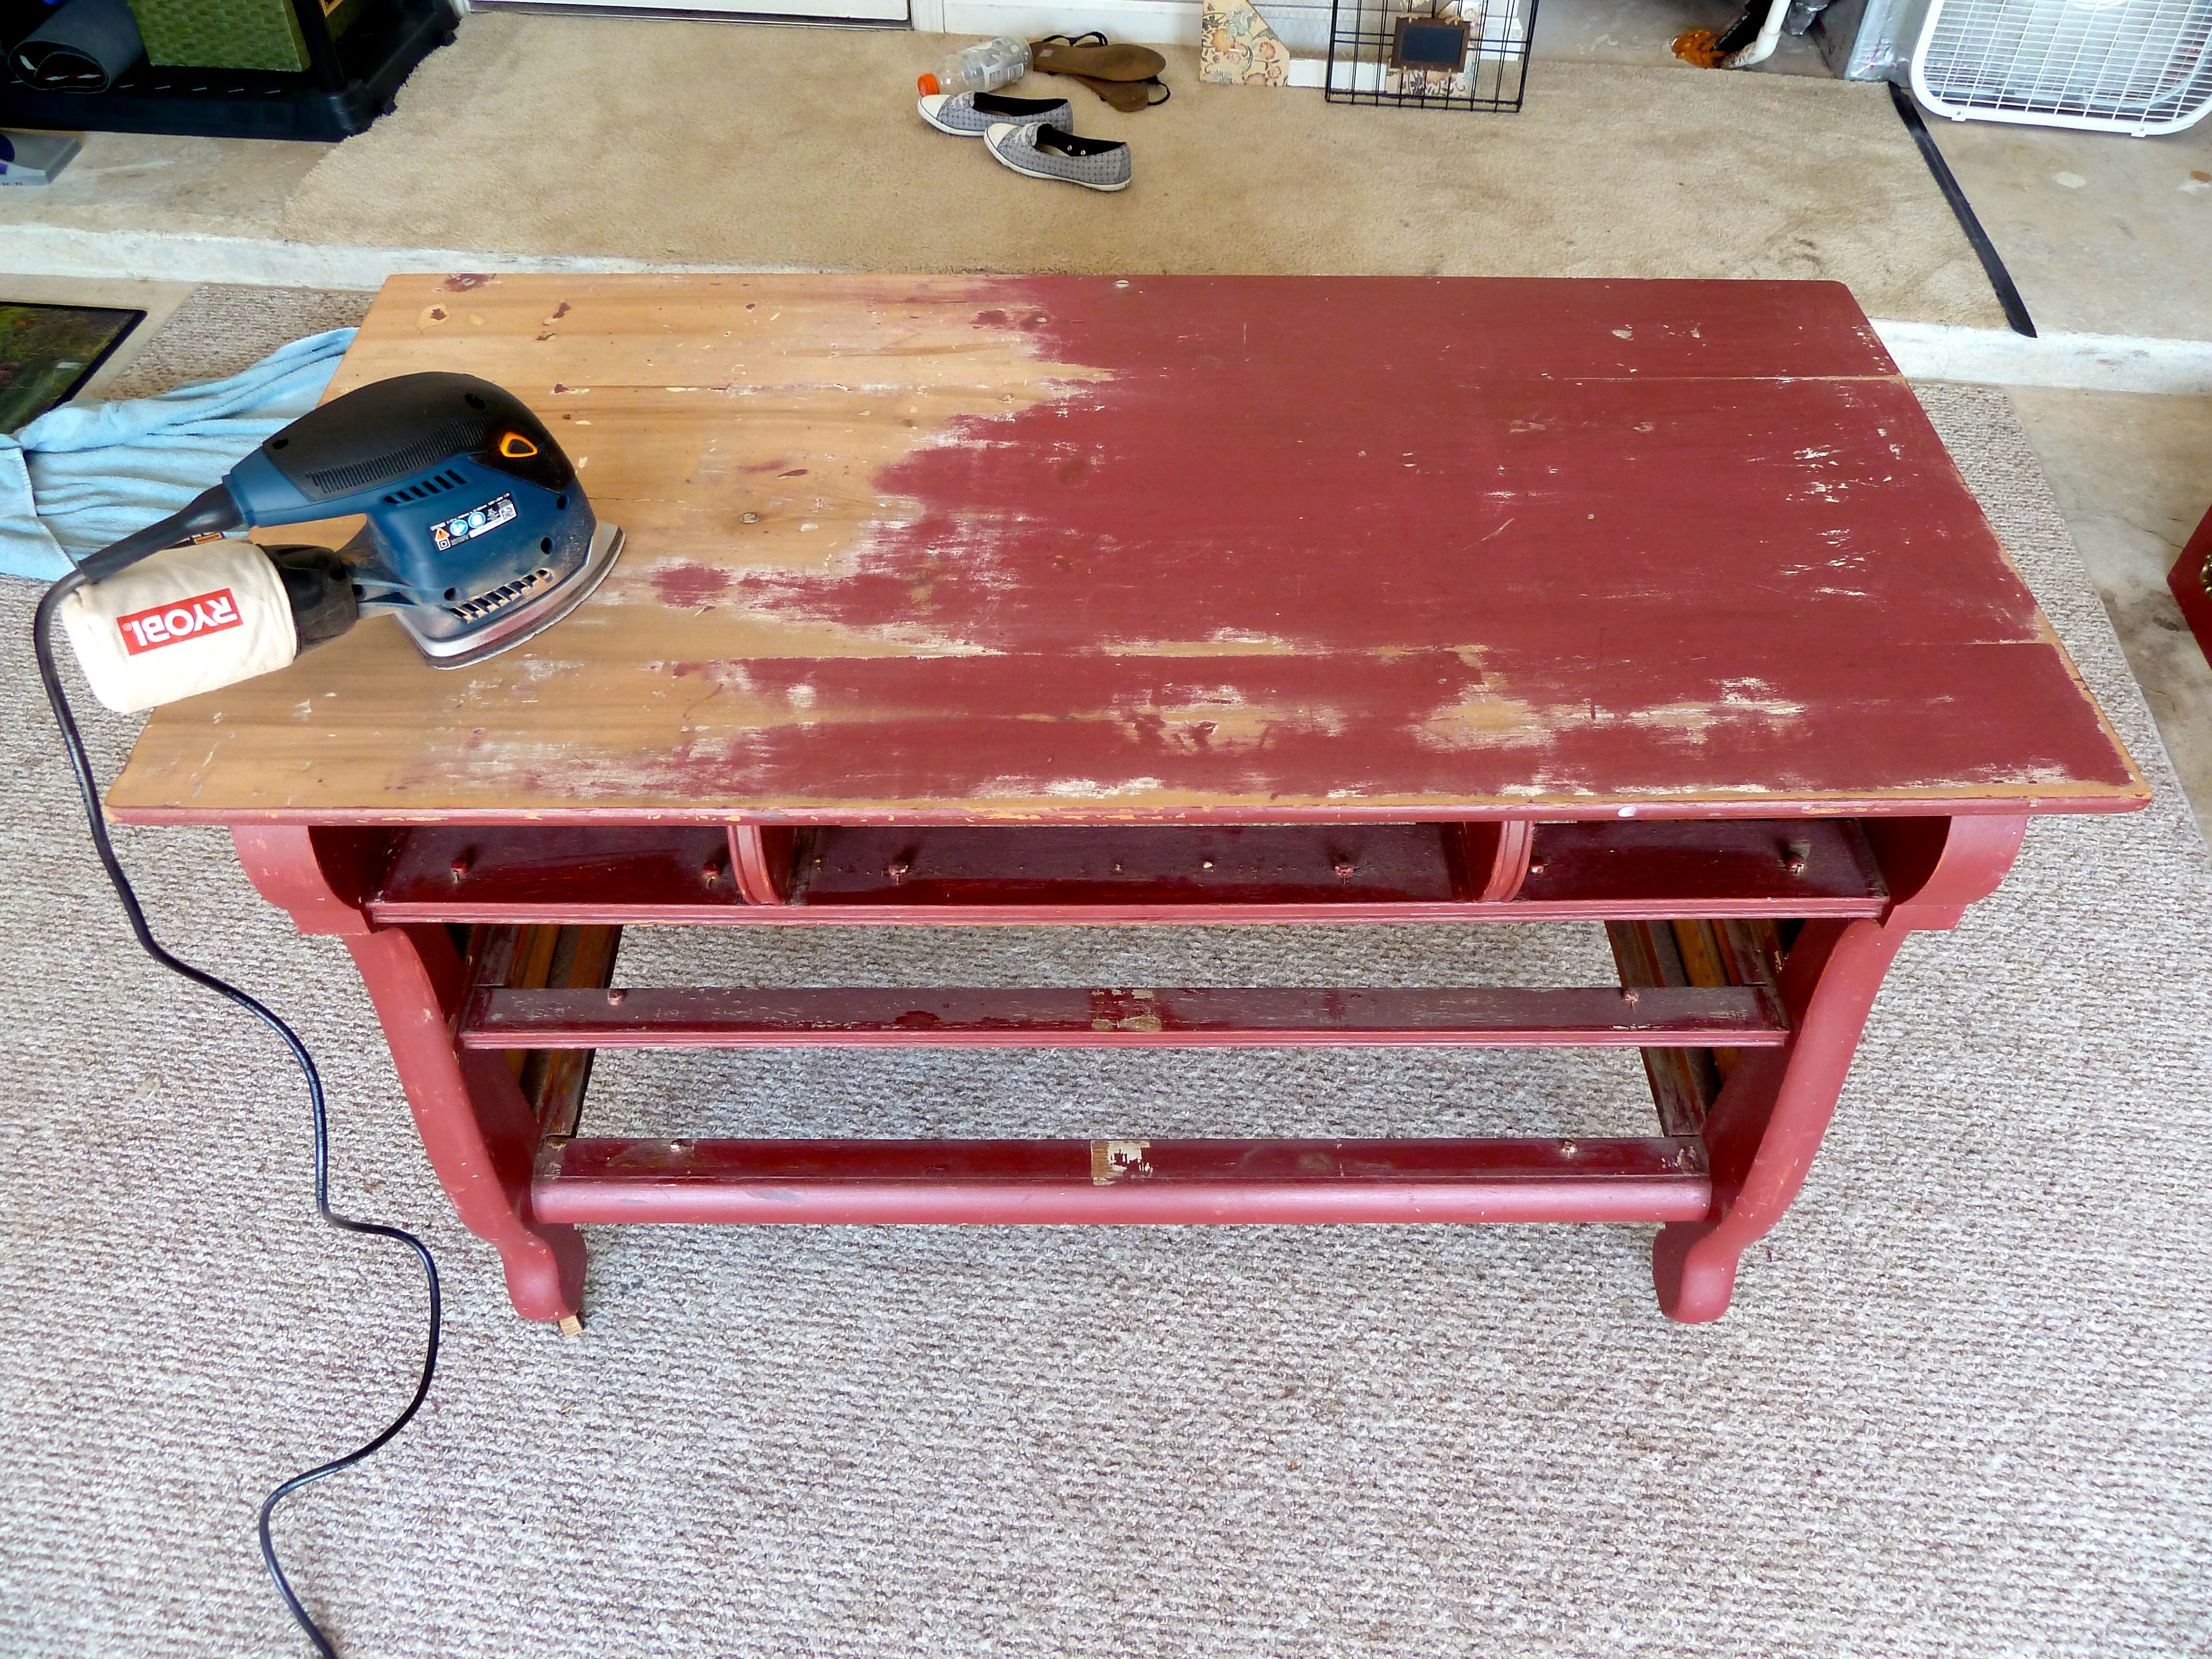
 From there, I just made my way from right to left using the palm sander. I started with the lowest grit sandpaper I had, which was 80. With a little pressure on the palm sander, I was able to remove most of the paint in the first shot.
  Some areas were harder to work with, like the slats in between the drawers. But, overall the paint removed pretty easily.
  The palm sander wouldn’t quite fit in the top slots, where I had removed the top three drawers. So, I used a low grit sand paper to get in those areas by hand.
Lastly, I had to get the paint off of the drawers. This was pretty straight forward, just sanding some more flat surfaces. I gave all off the surfaces one more good sanding with 120 grit sand paper. I made sure to work with the grain of the wood. This last sanding removed any remaining paint, and evened out any scratches on the wood.
  As I previously mentioned, I was not planning on reusing the same hardware that came with the dresser. So, I needed to fill the holes in the drawers left from the old pulls. I used DAP painter’s putty.
  You just fill the hole with the spackle, then pull a trowel across the area to remove any access putty. Once I had all of the holes filled, I let them dry for a few hours. I, then, gave the drawers one last sanding with my palm sander to remove any remaining putty around the (now filled) holes. Here she is holes filled and free of paint…
 I had planned to give this dresser a painted distressed look, and I wanted to have some darker wood tones showing through. In order to do so, my next step was to stain the wood to a darker tone. I used Minwax stain in English Chestnut. I just used a foam brush to paint the stain on, going with the grain of the wood. I, then, took an old rag and wiped any access stain off of the surface. This is one step where you have to move a little quicker, since you do not want the stain to dry.
 Please don’t judge my poor dresser at this stage, it looks a bit rough. As you can see, I didn’t completely get the red paint off of the ledge where the top drawers sit. It was a tight area to work with, but I made sure everything was smoothed out, even if there was still paint remaining.
 Also, the top of the dresser had been spackled by a previous owner and those spots did not take the stain. I was not worried though because I knew I would be painting over all of these issues. Perfection wasn’t what I was going for at this point.
 Then, it was time for paint. This is a make or break, color is a big choice, and I was thinking about going a little more bold than usual. I decided on a blue, specifically Olympic’s Celestial Blue. Once I had my paint, I got right too it…
 Let me tell you, I was really worried about my choice at this point. I was not digging how bright this blue was turning out.
  I figured I made it this far, I might as well slap a second coat on and see how I feel about it.
 Much better! Thank god for second coats. Just check out the difference in these drawers.
 The top drawer is one coat and the bottom drawer has two coats, in case you can’t tell.
Here she is, in all her blue glory… Woo to the hoo people, I am stoked about how it turned out!
Now, this is where the distressing comes in to play. I debated how I wanted to go about distressing this dresser, and I ended up deciding not to do anything at all. I love it just as it is, and I figure if I want to distress it in the future, I can do so at anytime.
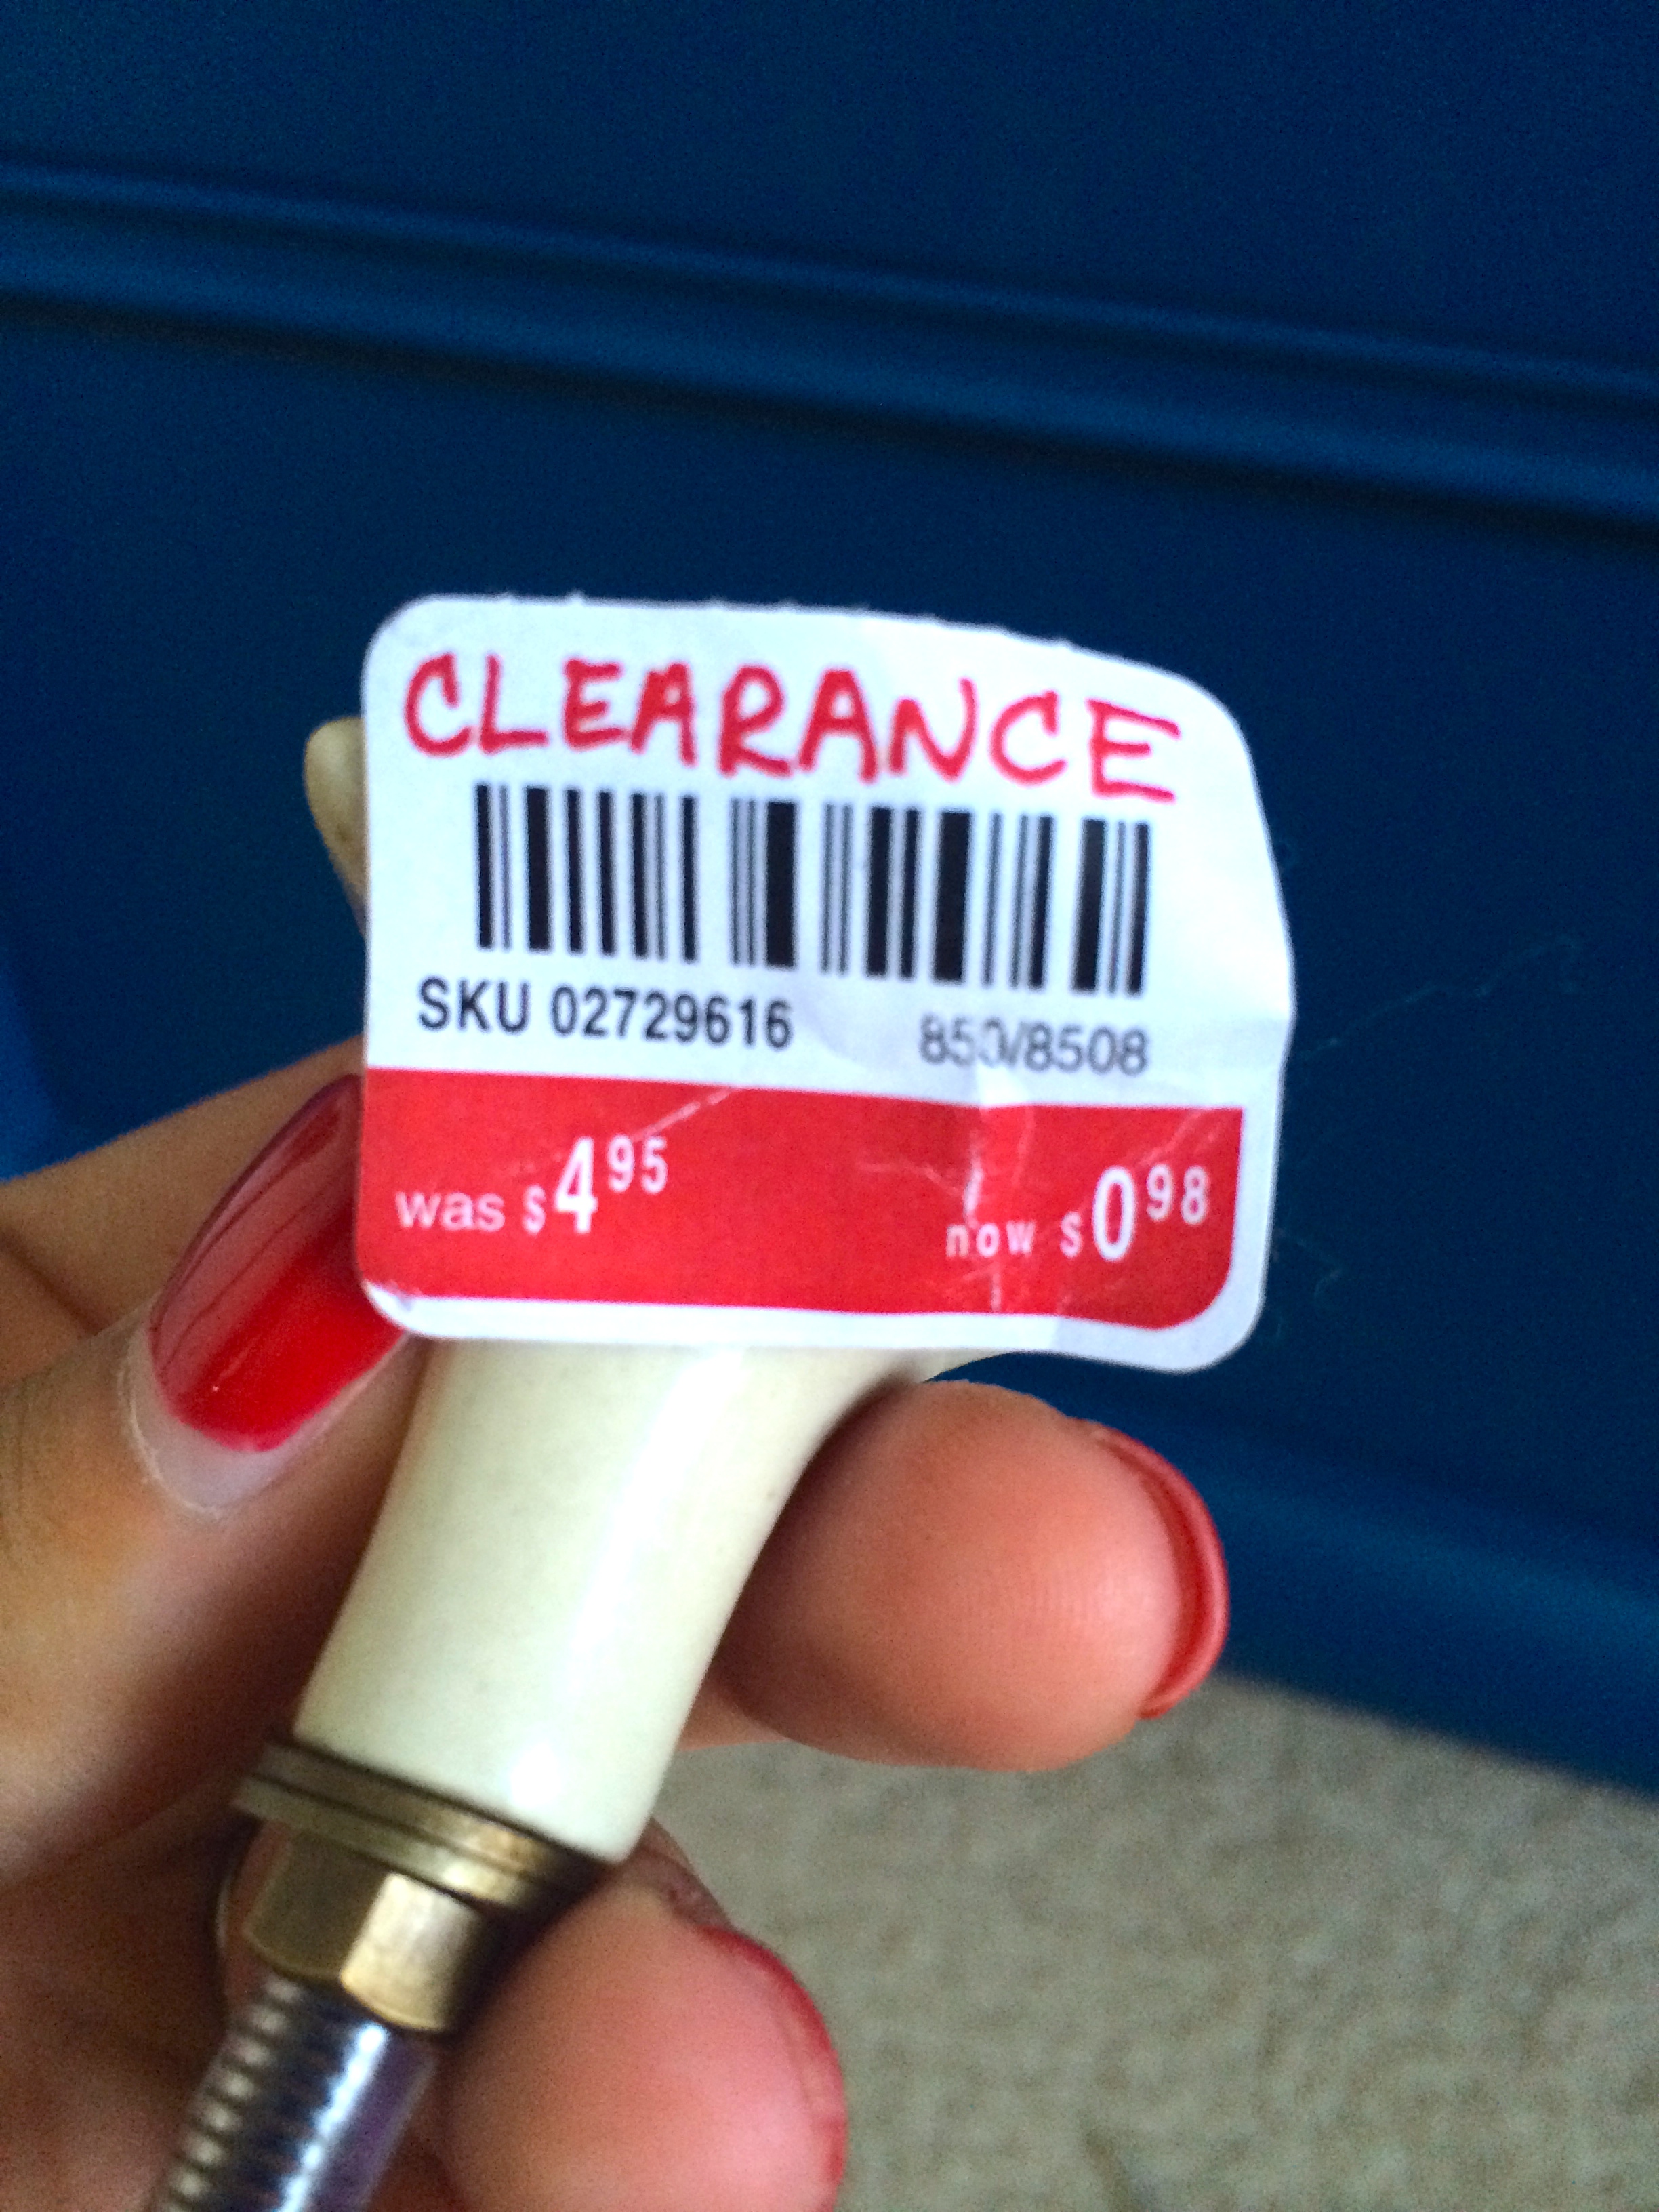
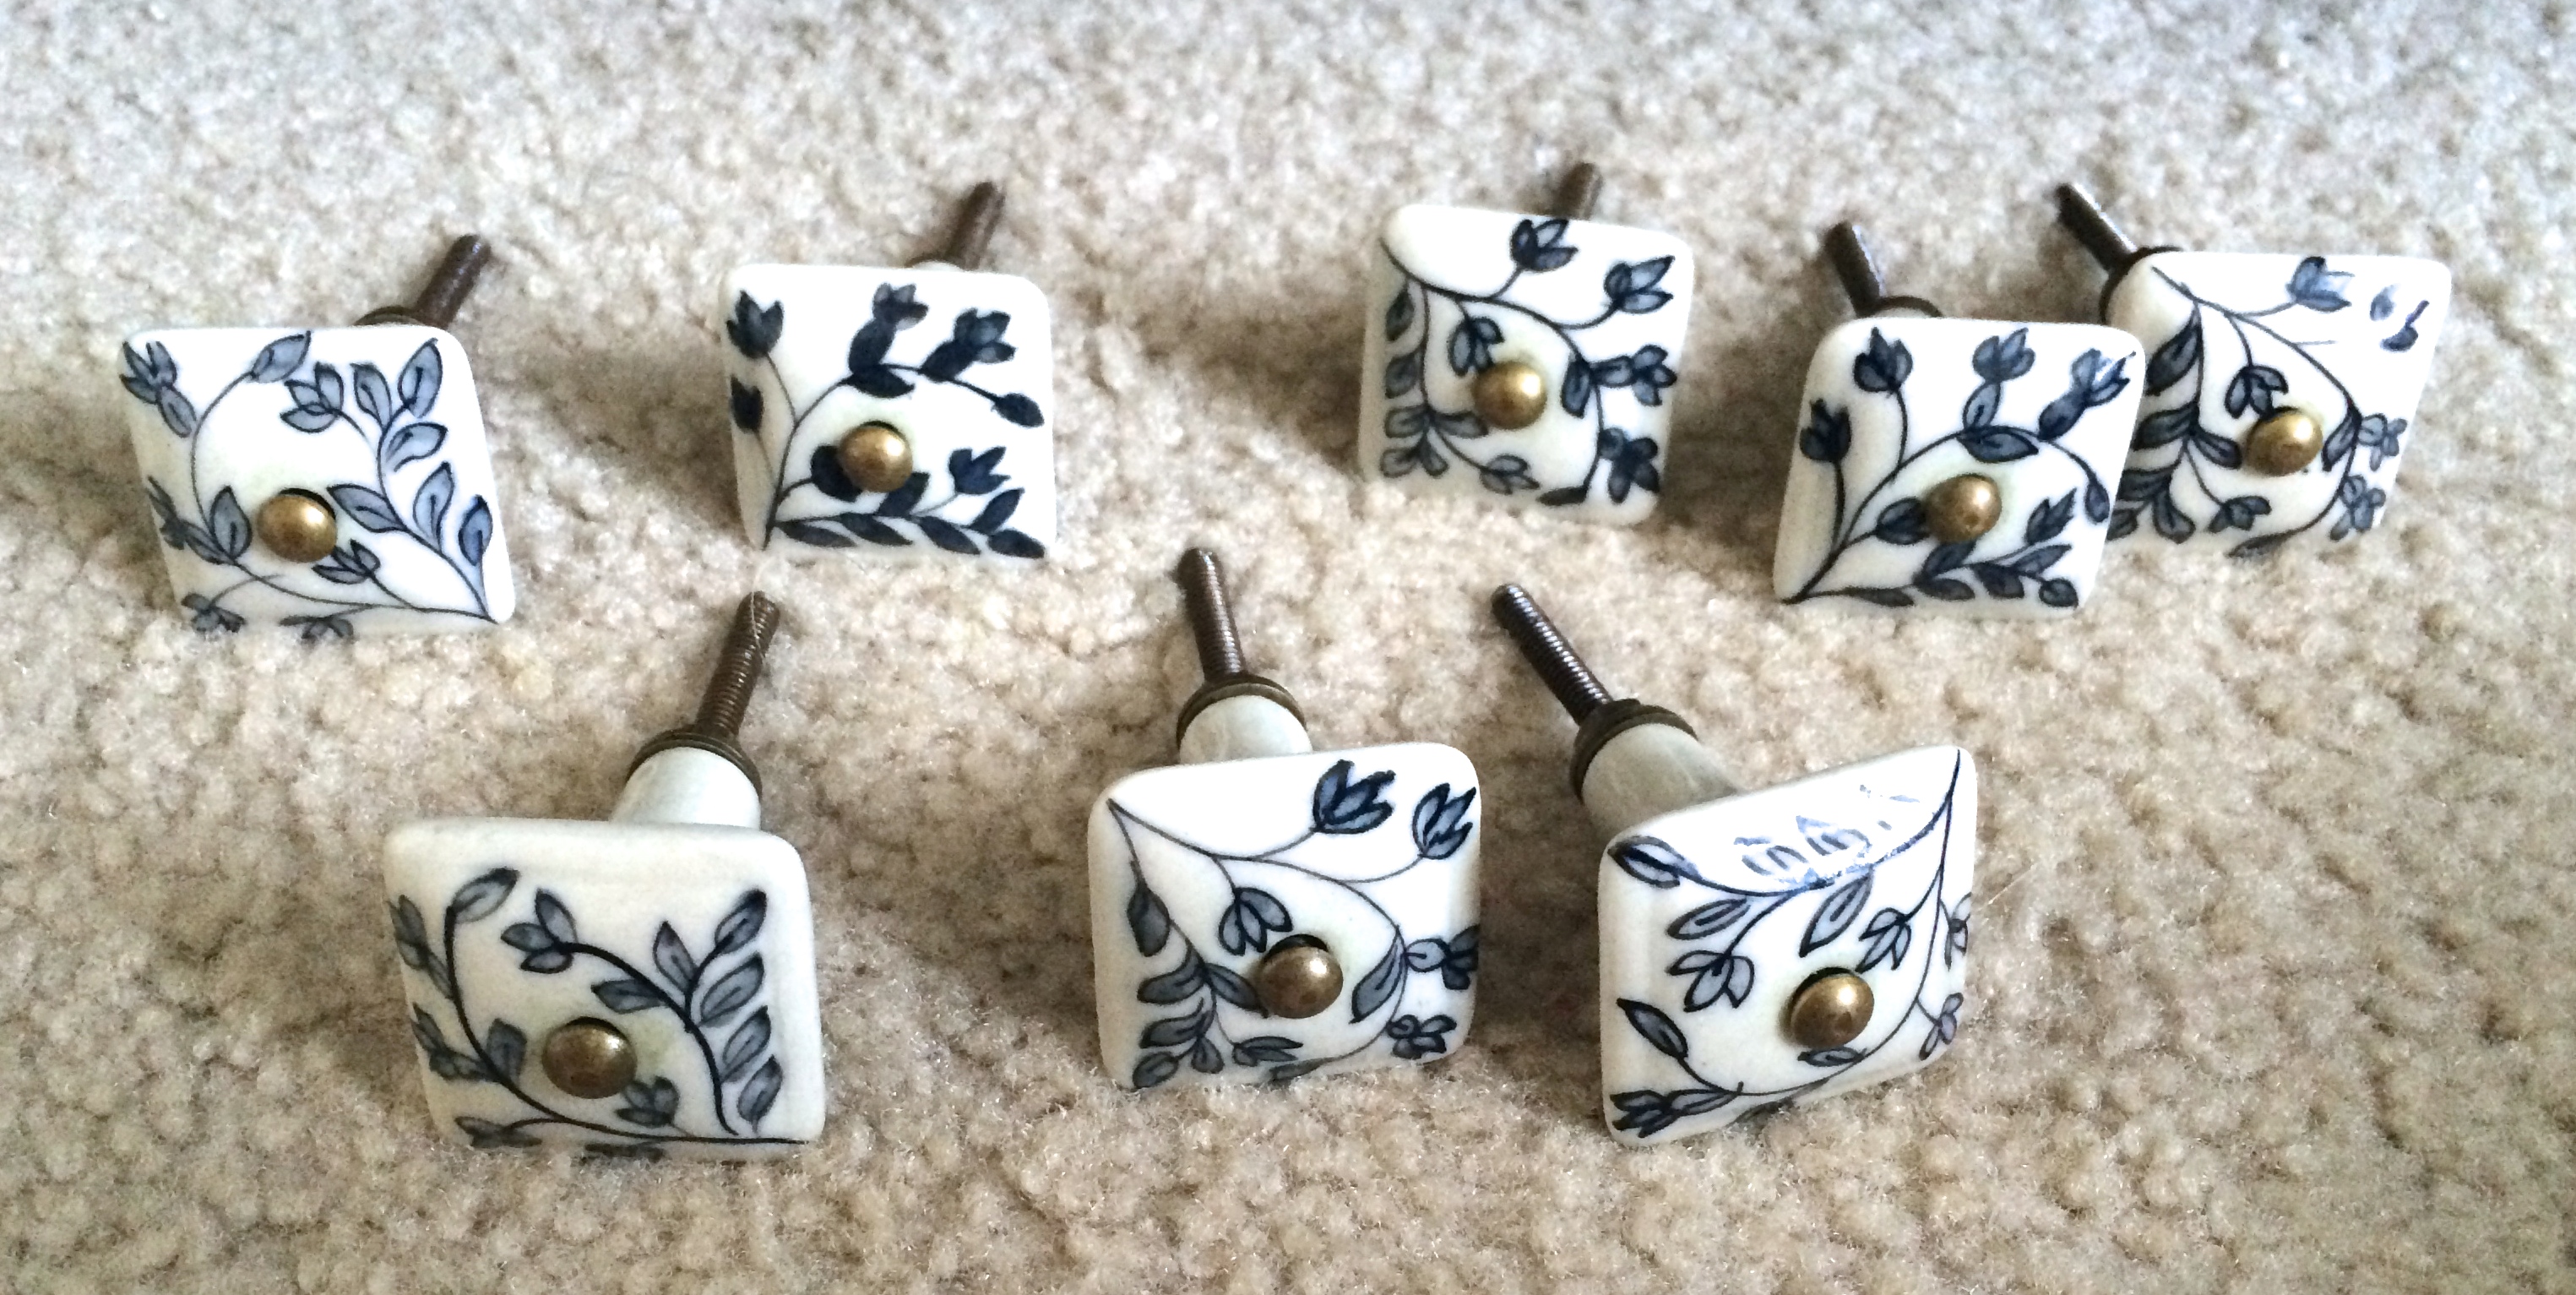
Since there would be no distressing, I just had to get some new hardware and this puppy is done! So, I let the paint dry for a few days, and while I waited I came across a sale on these knobs at Pier One…
 $0.98 each! Which is amazing considering I needed 8 of them! The metal matches the antiqued gold key slots on the drawers and I love the hand painted leaves.
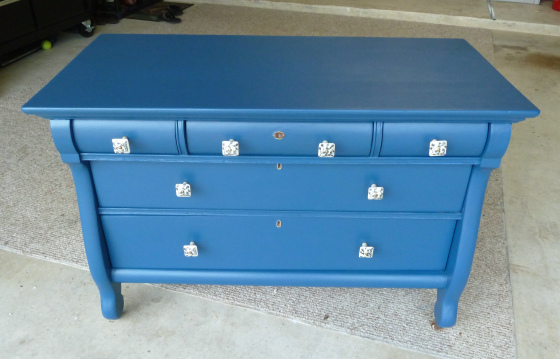
  Before I drilled my new holes for the pulls, I measured and marked where I wanted them to go. I measured twice, just to be sure. Then, I grabbed Justin’s Dewalt drill, and I found the drill bit that was just slightly larger than the screws that came with the knobs. I placed a piece of painters tape over my marks (I saw somewhere that this will reduce the chances of splintering your wood or damaging your paint). Then, I just drilled right into the tape. Once I had all of my news holes, I plopped the new hardware in place and voila…
 If you are wondering, I did not forget about the broken drawer! I brought the whole bottom drawer to Home Depot, and one of the guys in the lumber section cut me a piece of wood that fit the slot in the drawer perfectly (yes, they do that for FREE). Once I got the wood home, I just nailed it in place, so it wouldn’t move around. The wood piece only cost about $4, and this dresser now is in full working condition!
And just for fun, a slideshow of the process…
This slideshow requires JavaScript.
There you have it, our new/old dresser. Can’t wait to show you where it ended up, but that’s a different post for a different day.


 I should say here she WAS, because we have made a few changes in here.
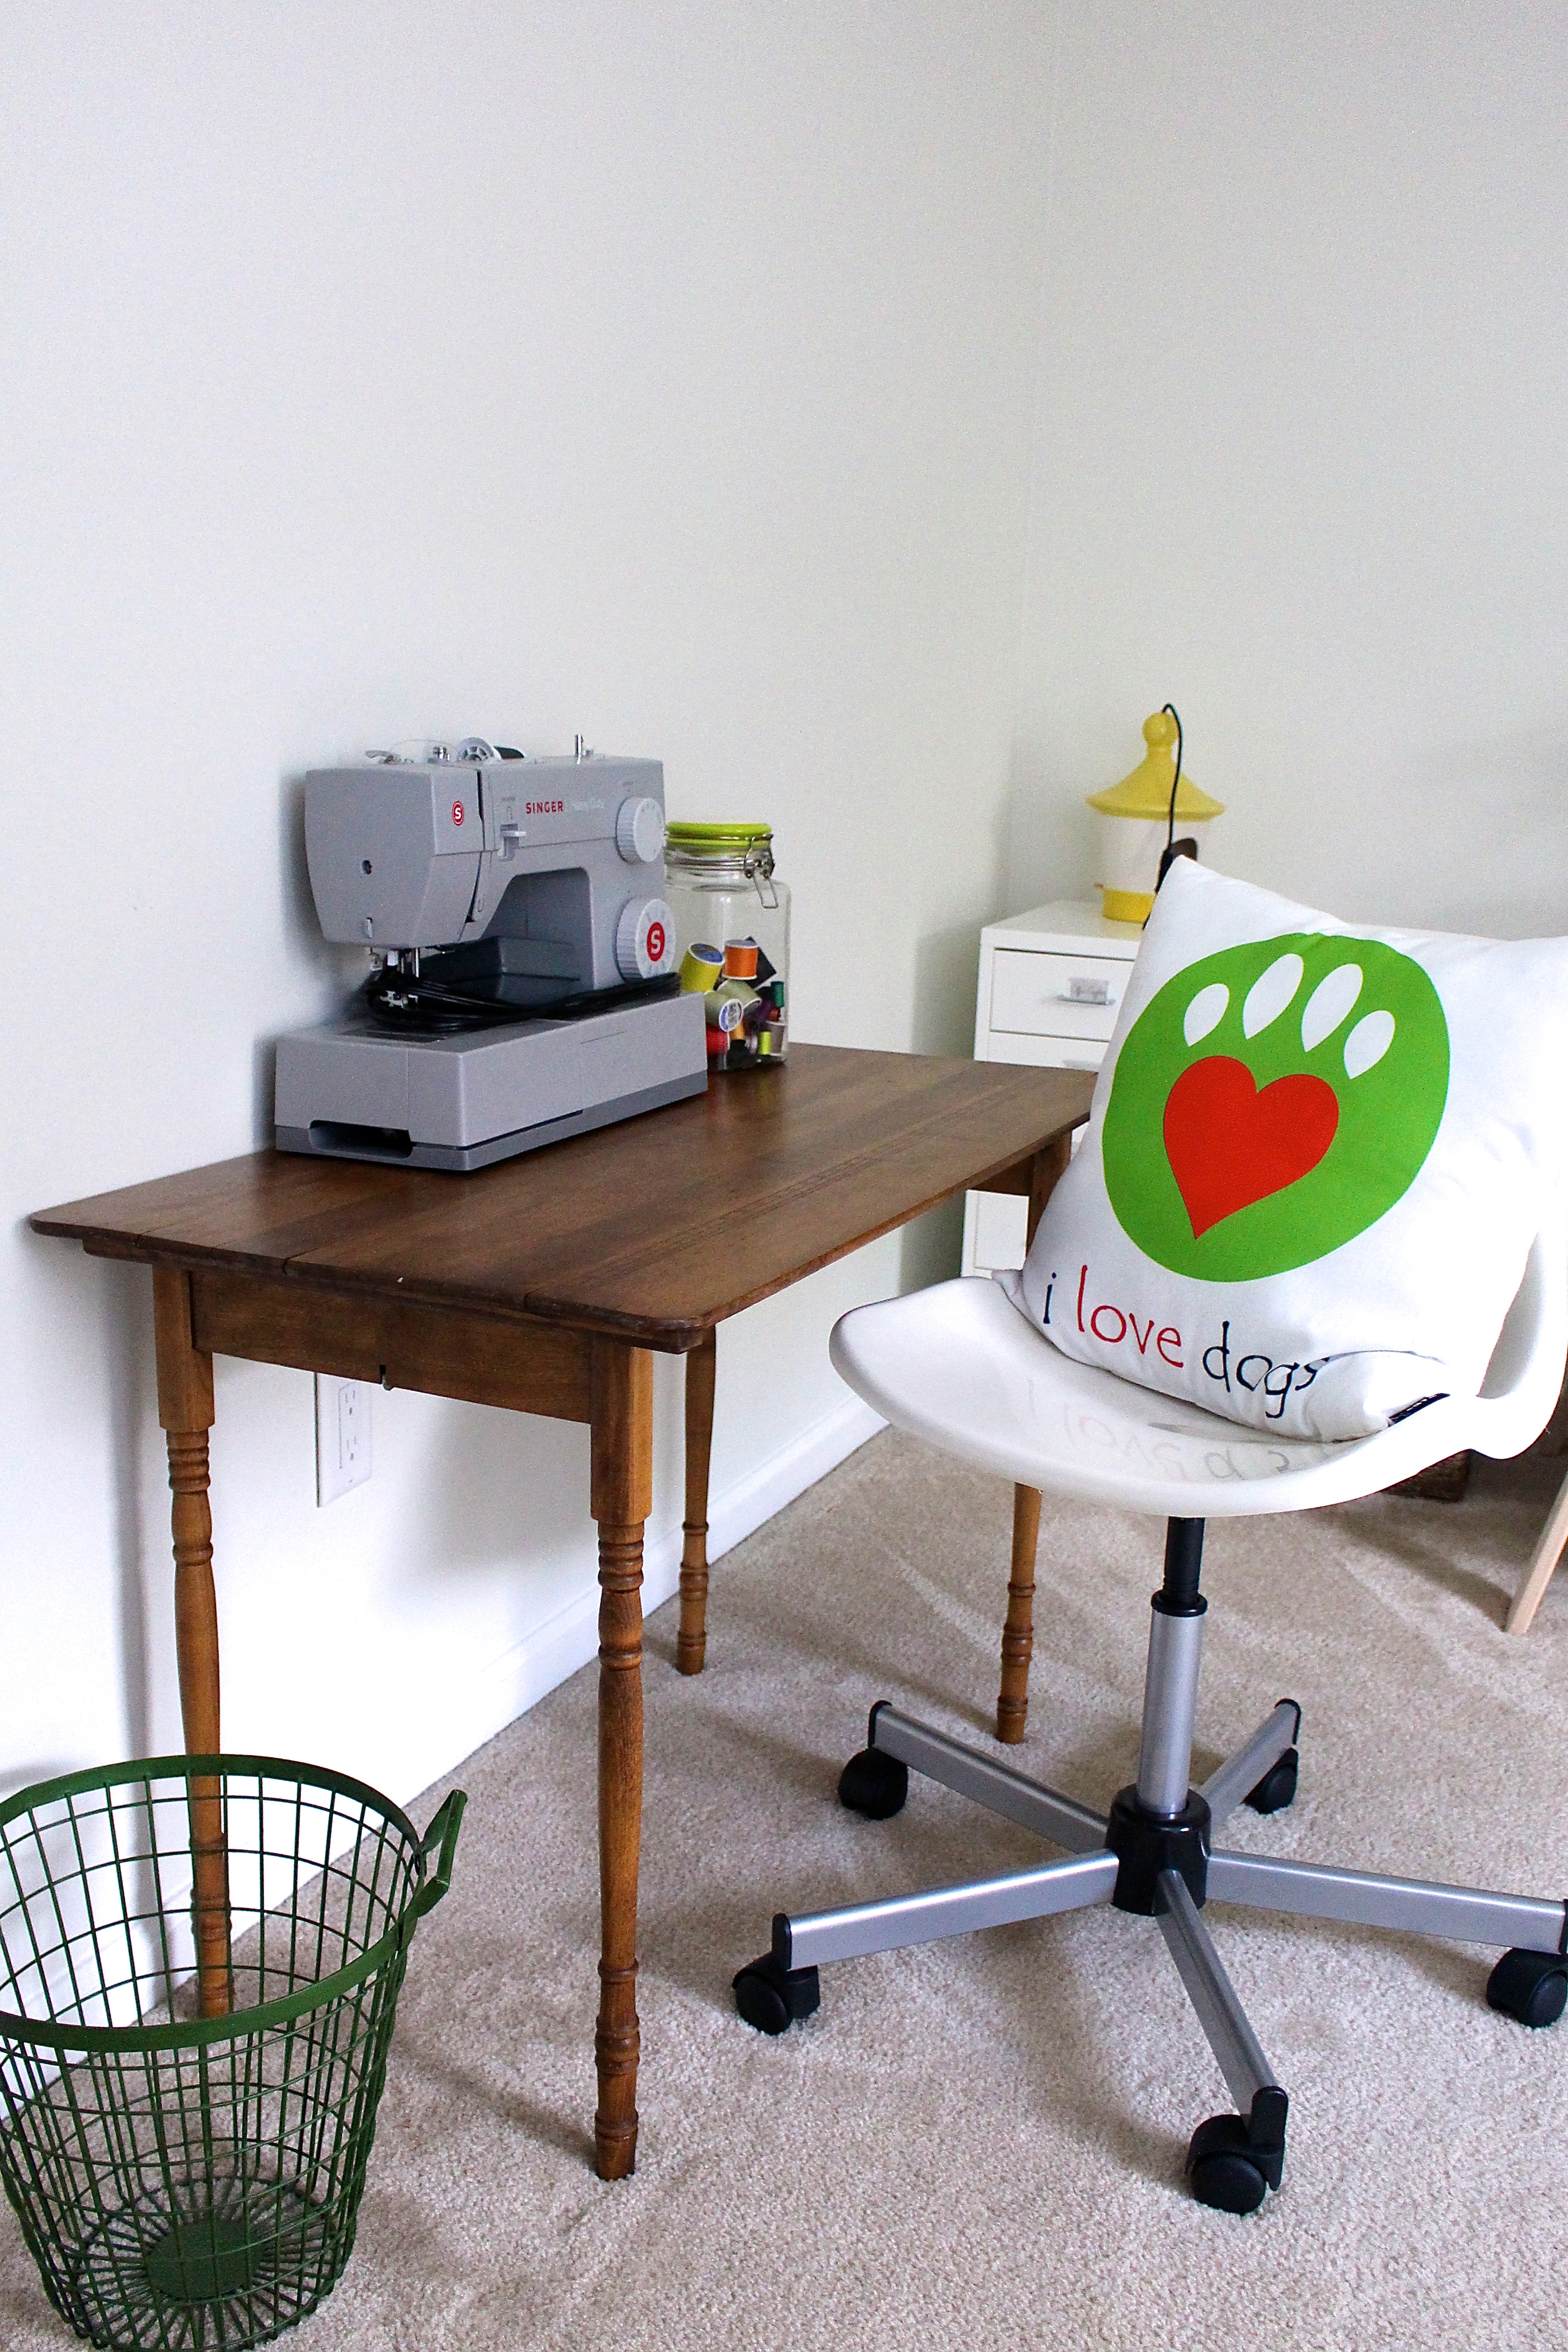 Next, I bought some IKEA RIBBA Picture Ledges. These…
 Once they were at my doorstep, I was pumped to get them on the wall. I almost put them up myself, but then I couldn’t find the stud finder and the screw gun wasn’t charged. So, I got smart and decided to wait for Justin. Good thing too, because it was a lot easier with two people. It’s always nice to have someone around to eye out heights and double check if things are level. Let’s face it, sometimes things get wonky when you don’t take a step back and take a look. Here they are, all hung up…
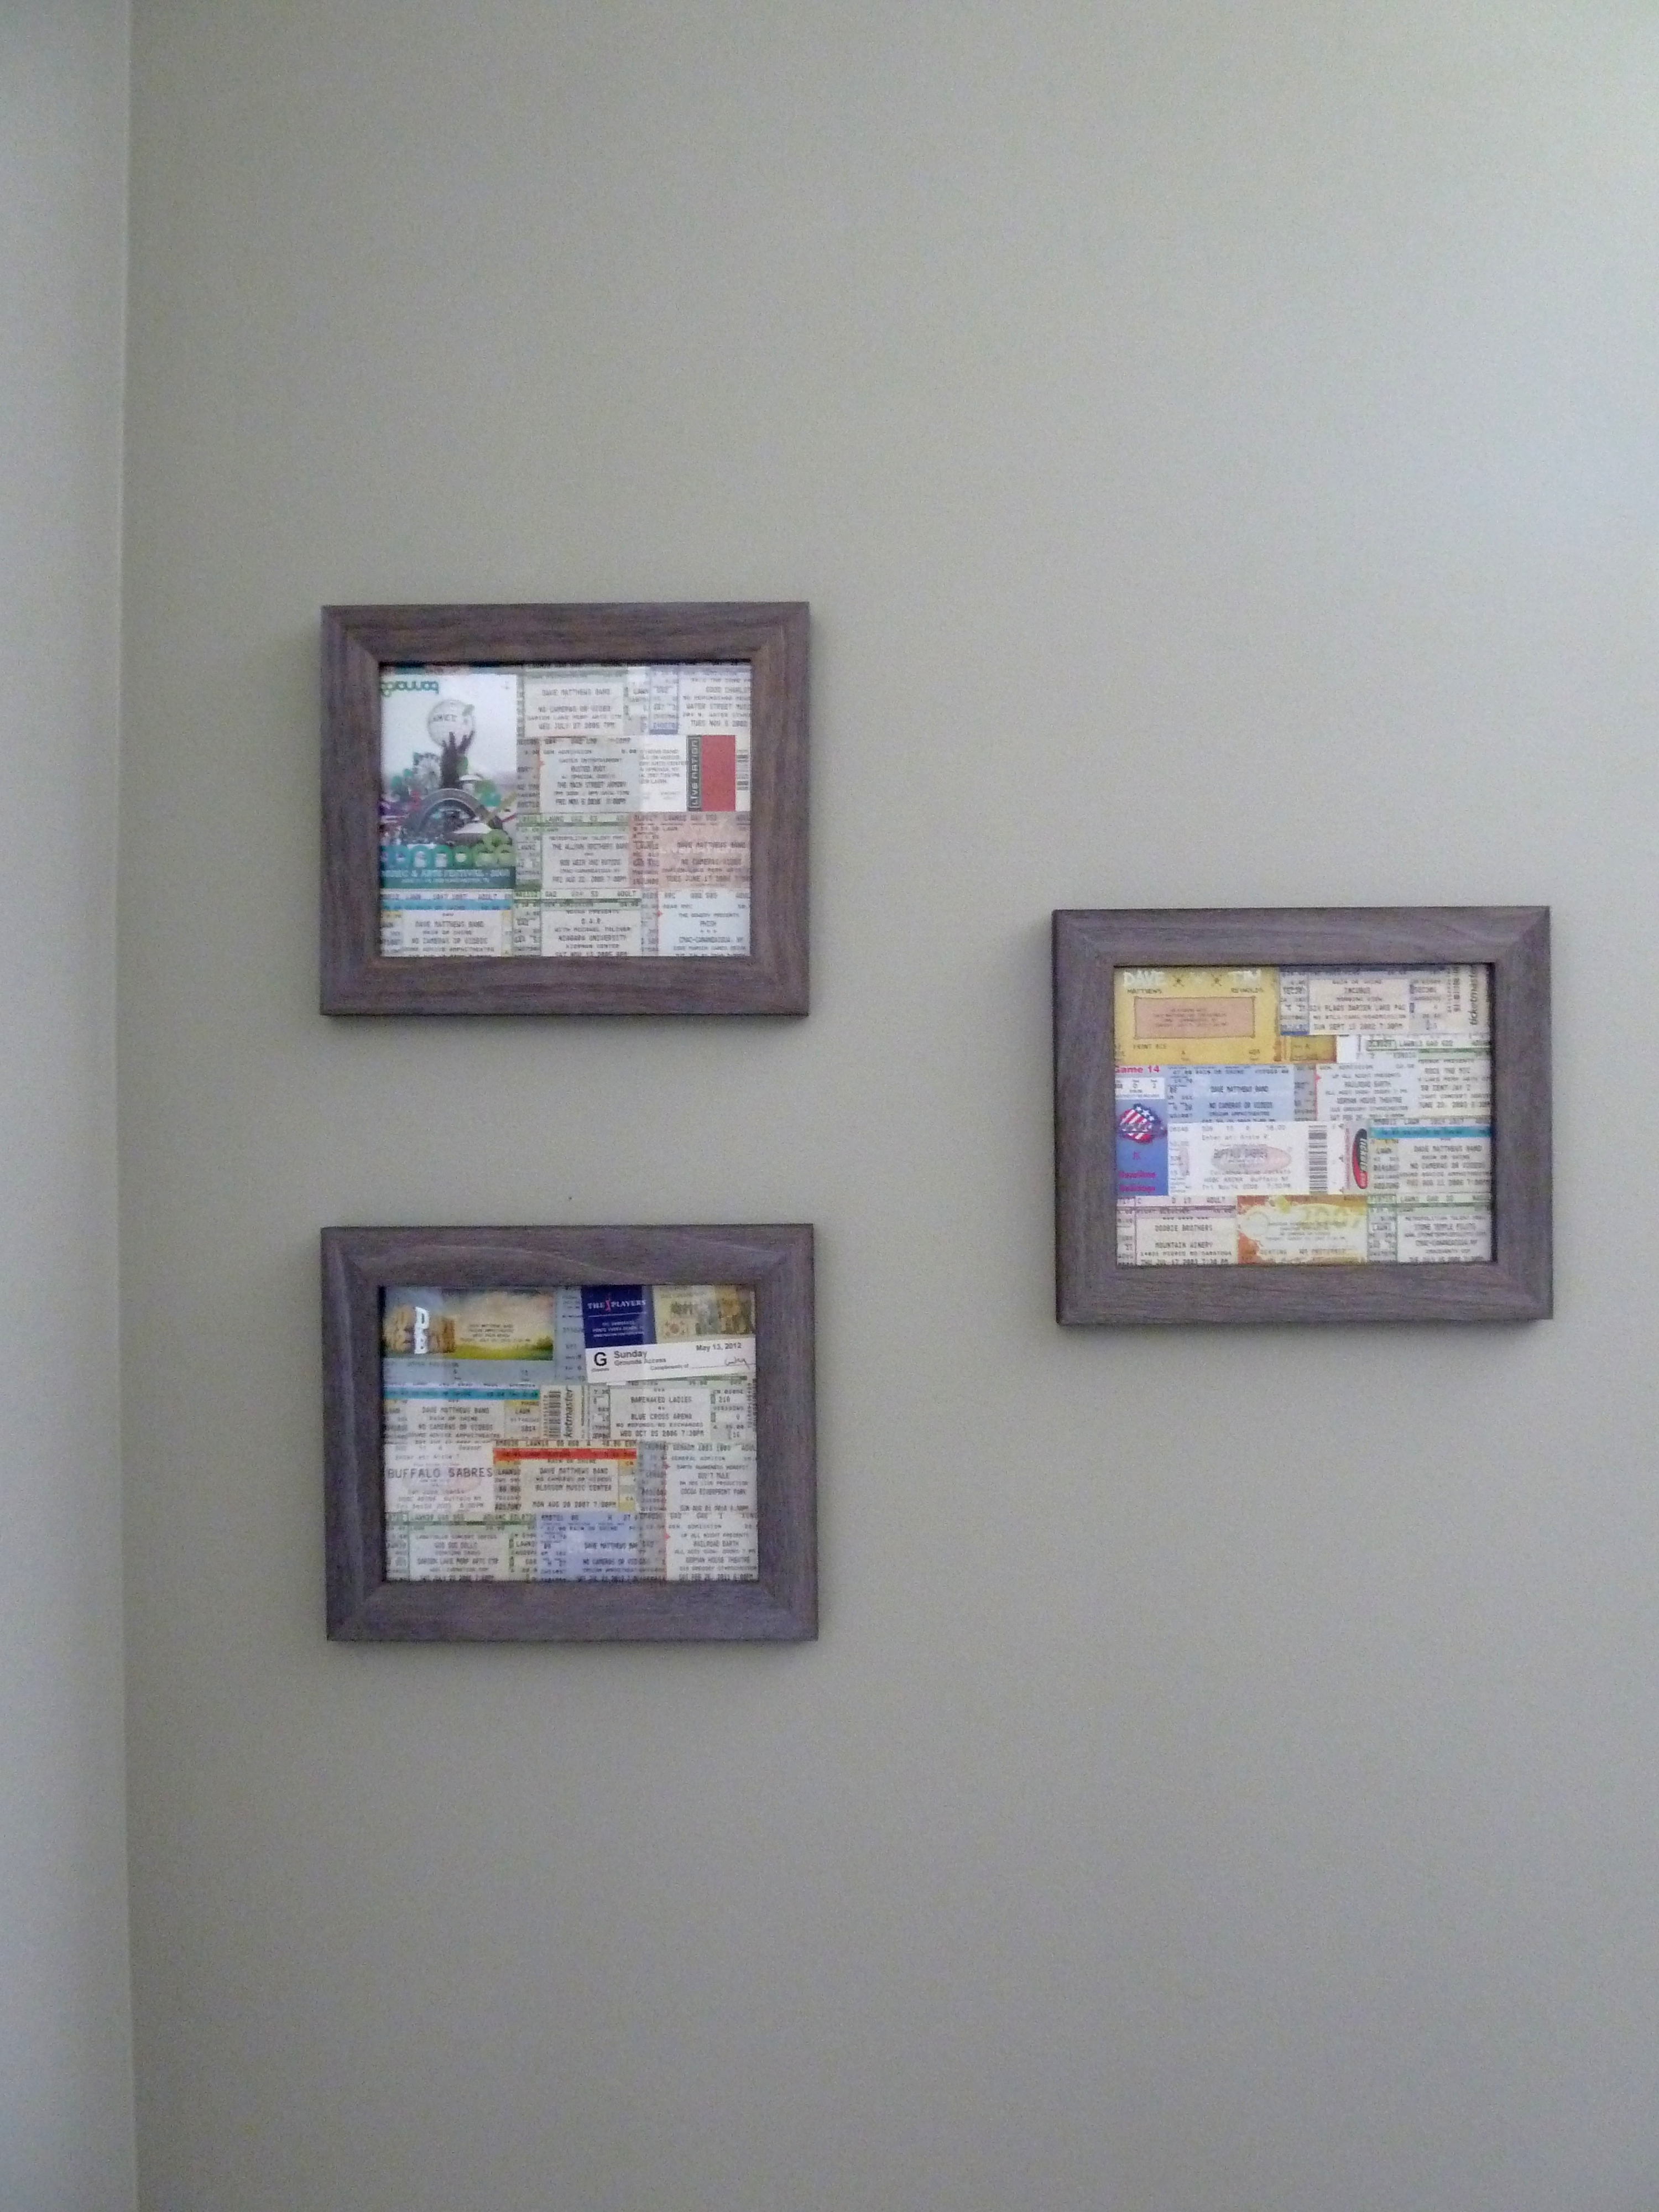
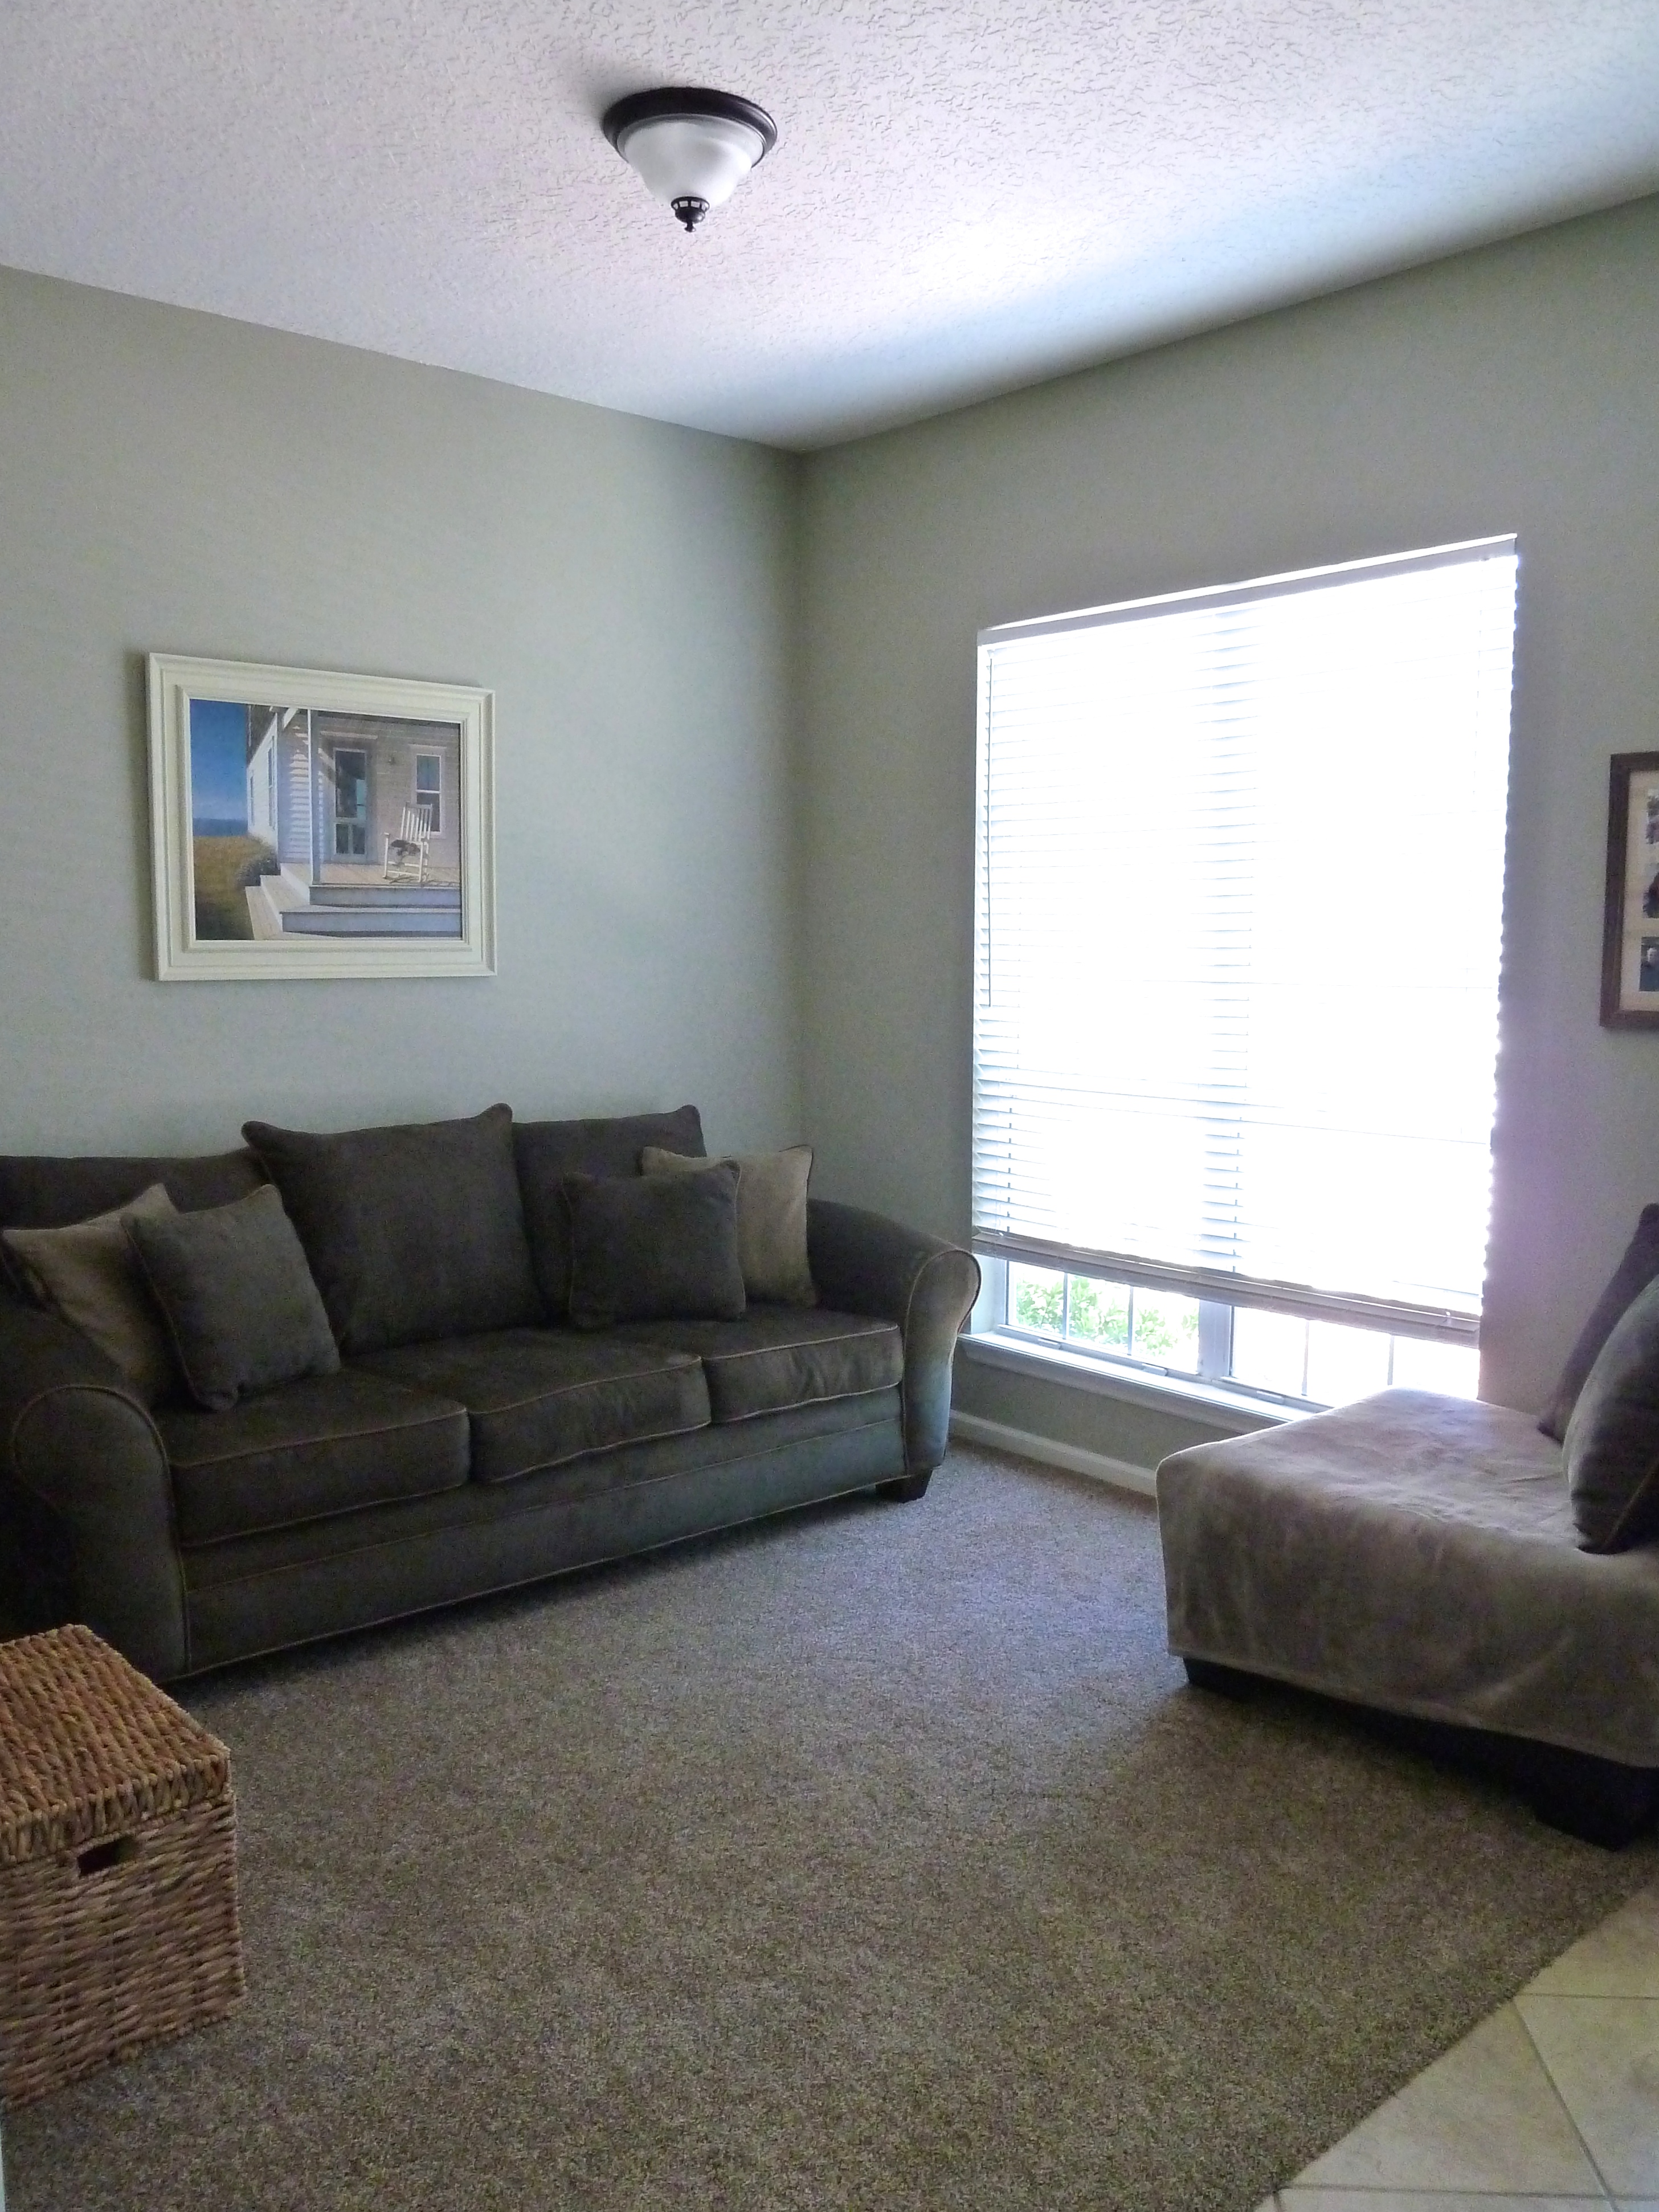
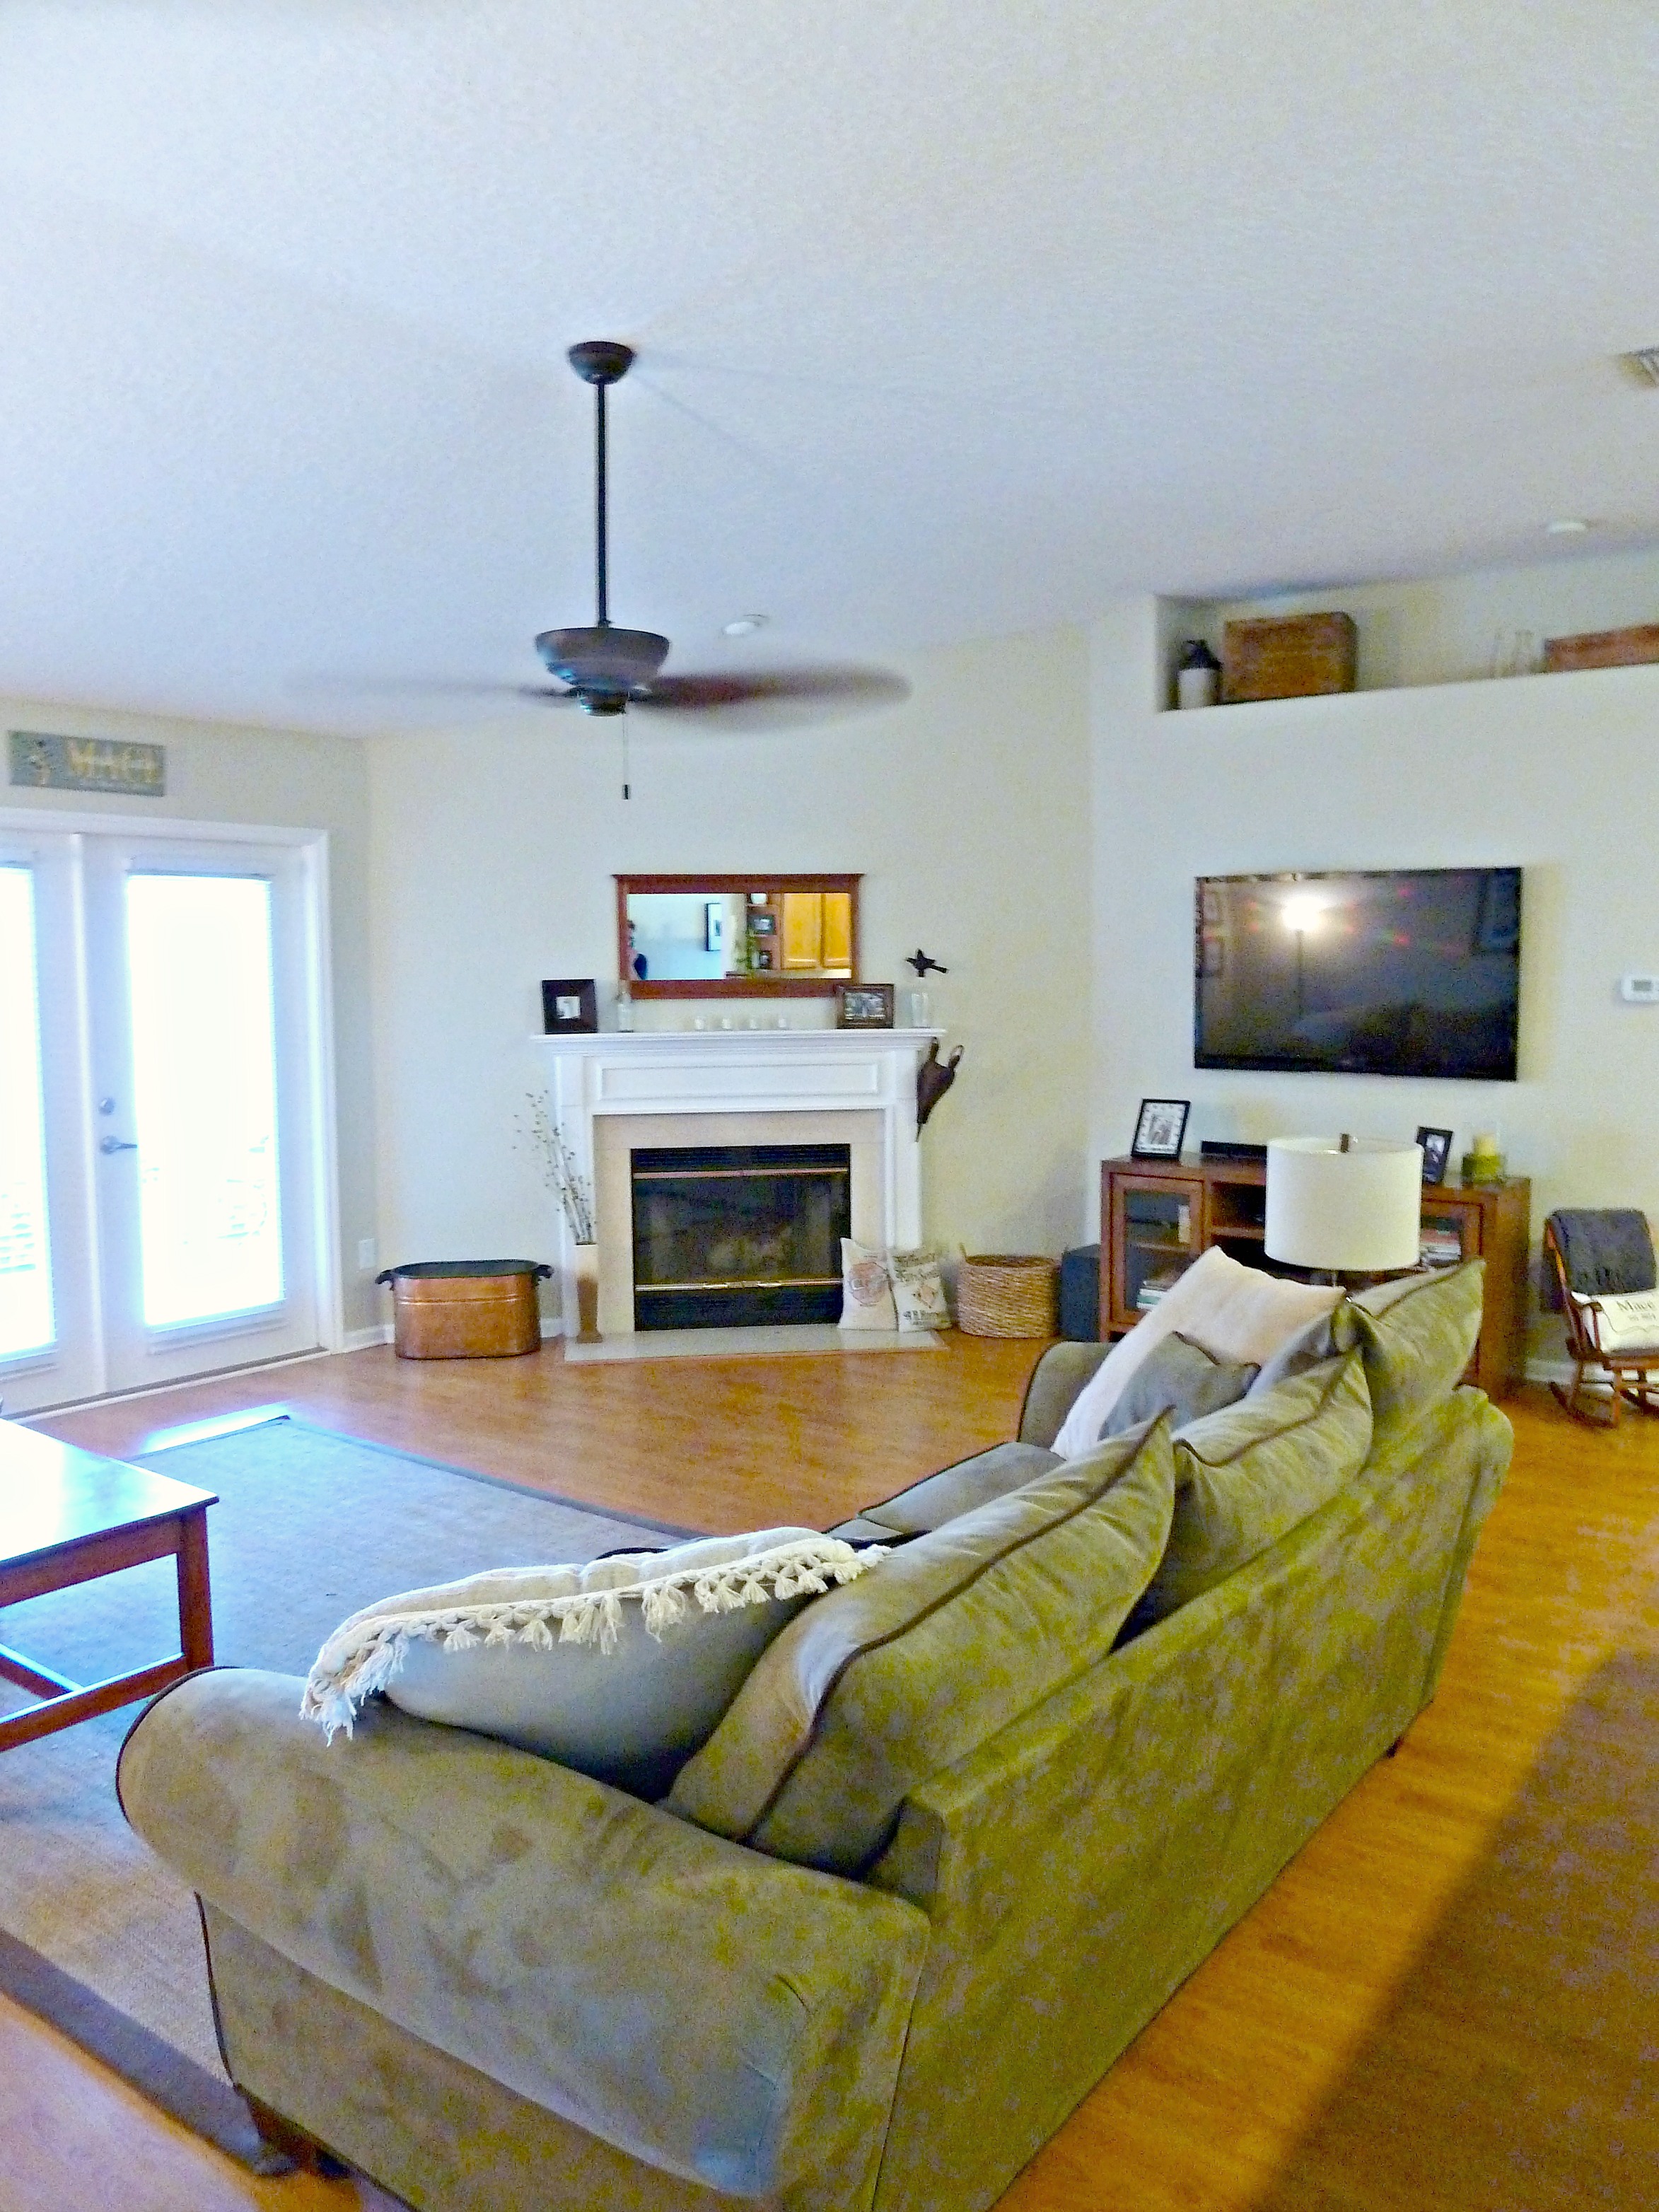
 This room was bare for so long, it was about time we added something to these walls.
 Once everything was anchored in place, I did my thing adding art.
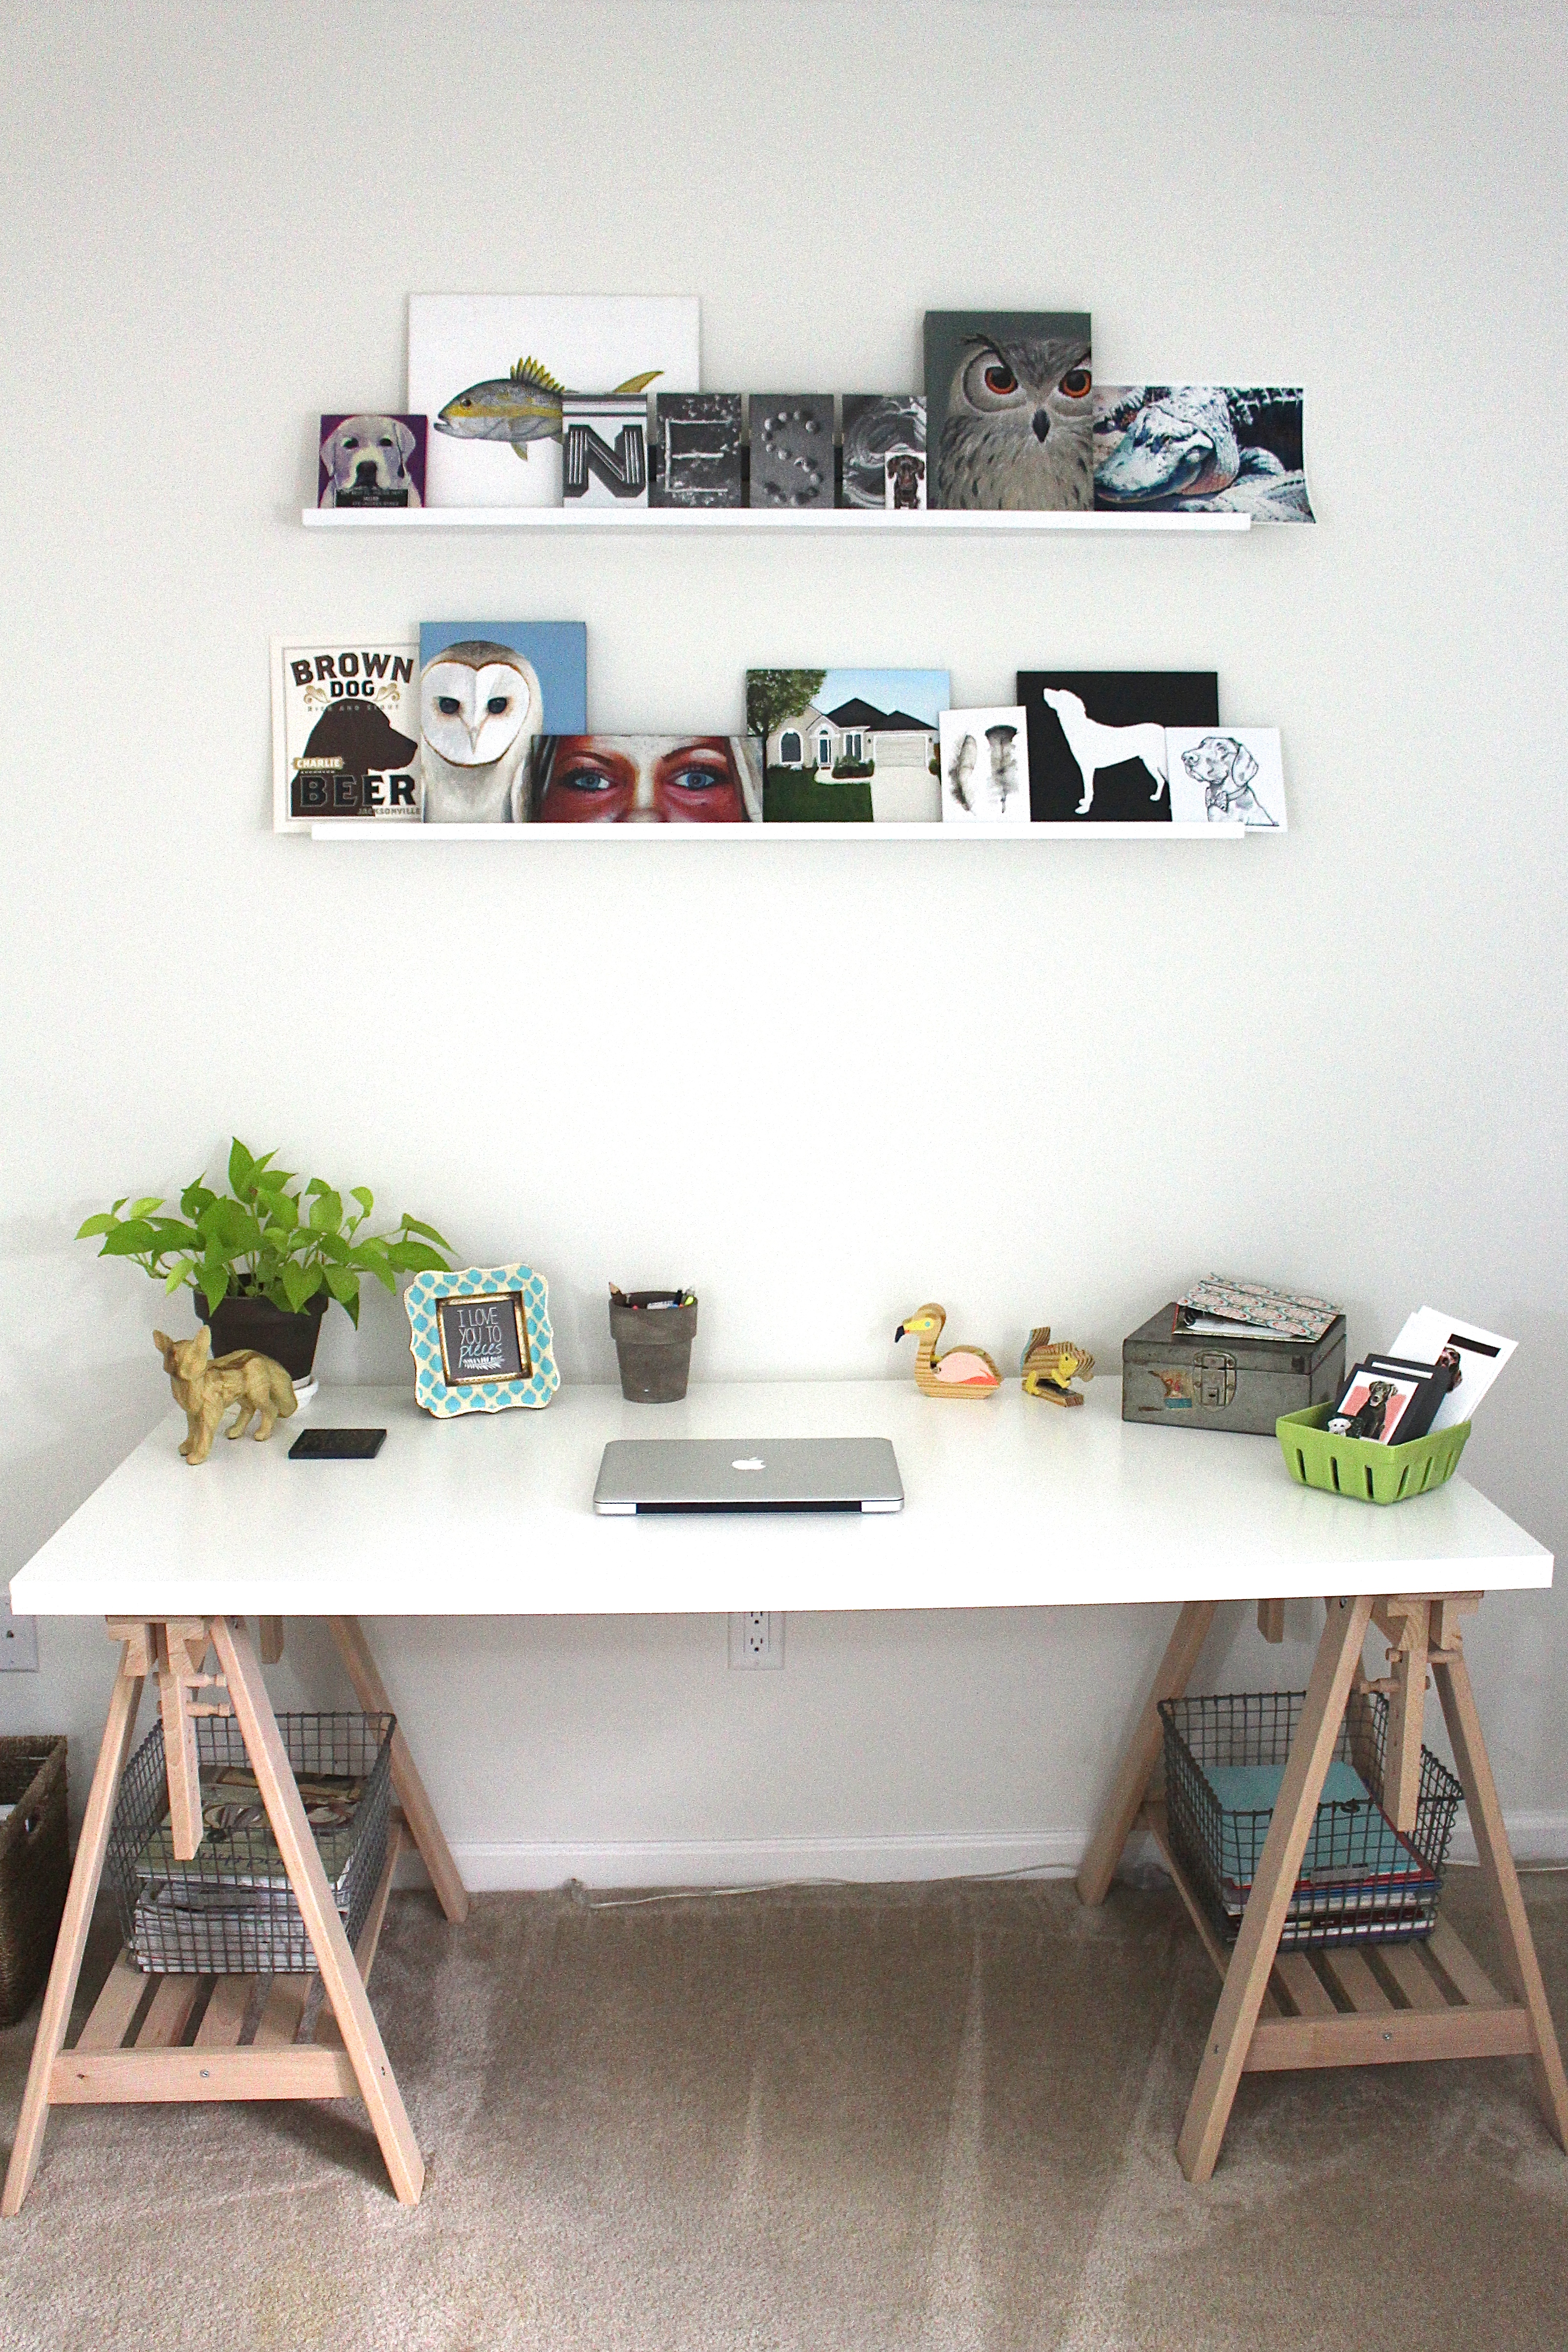
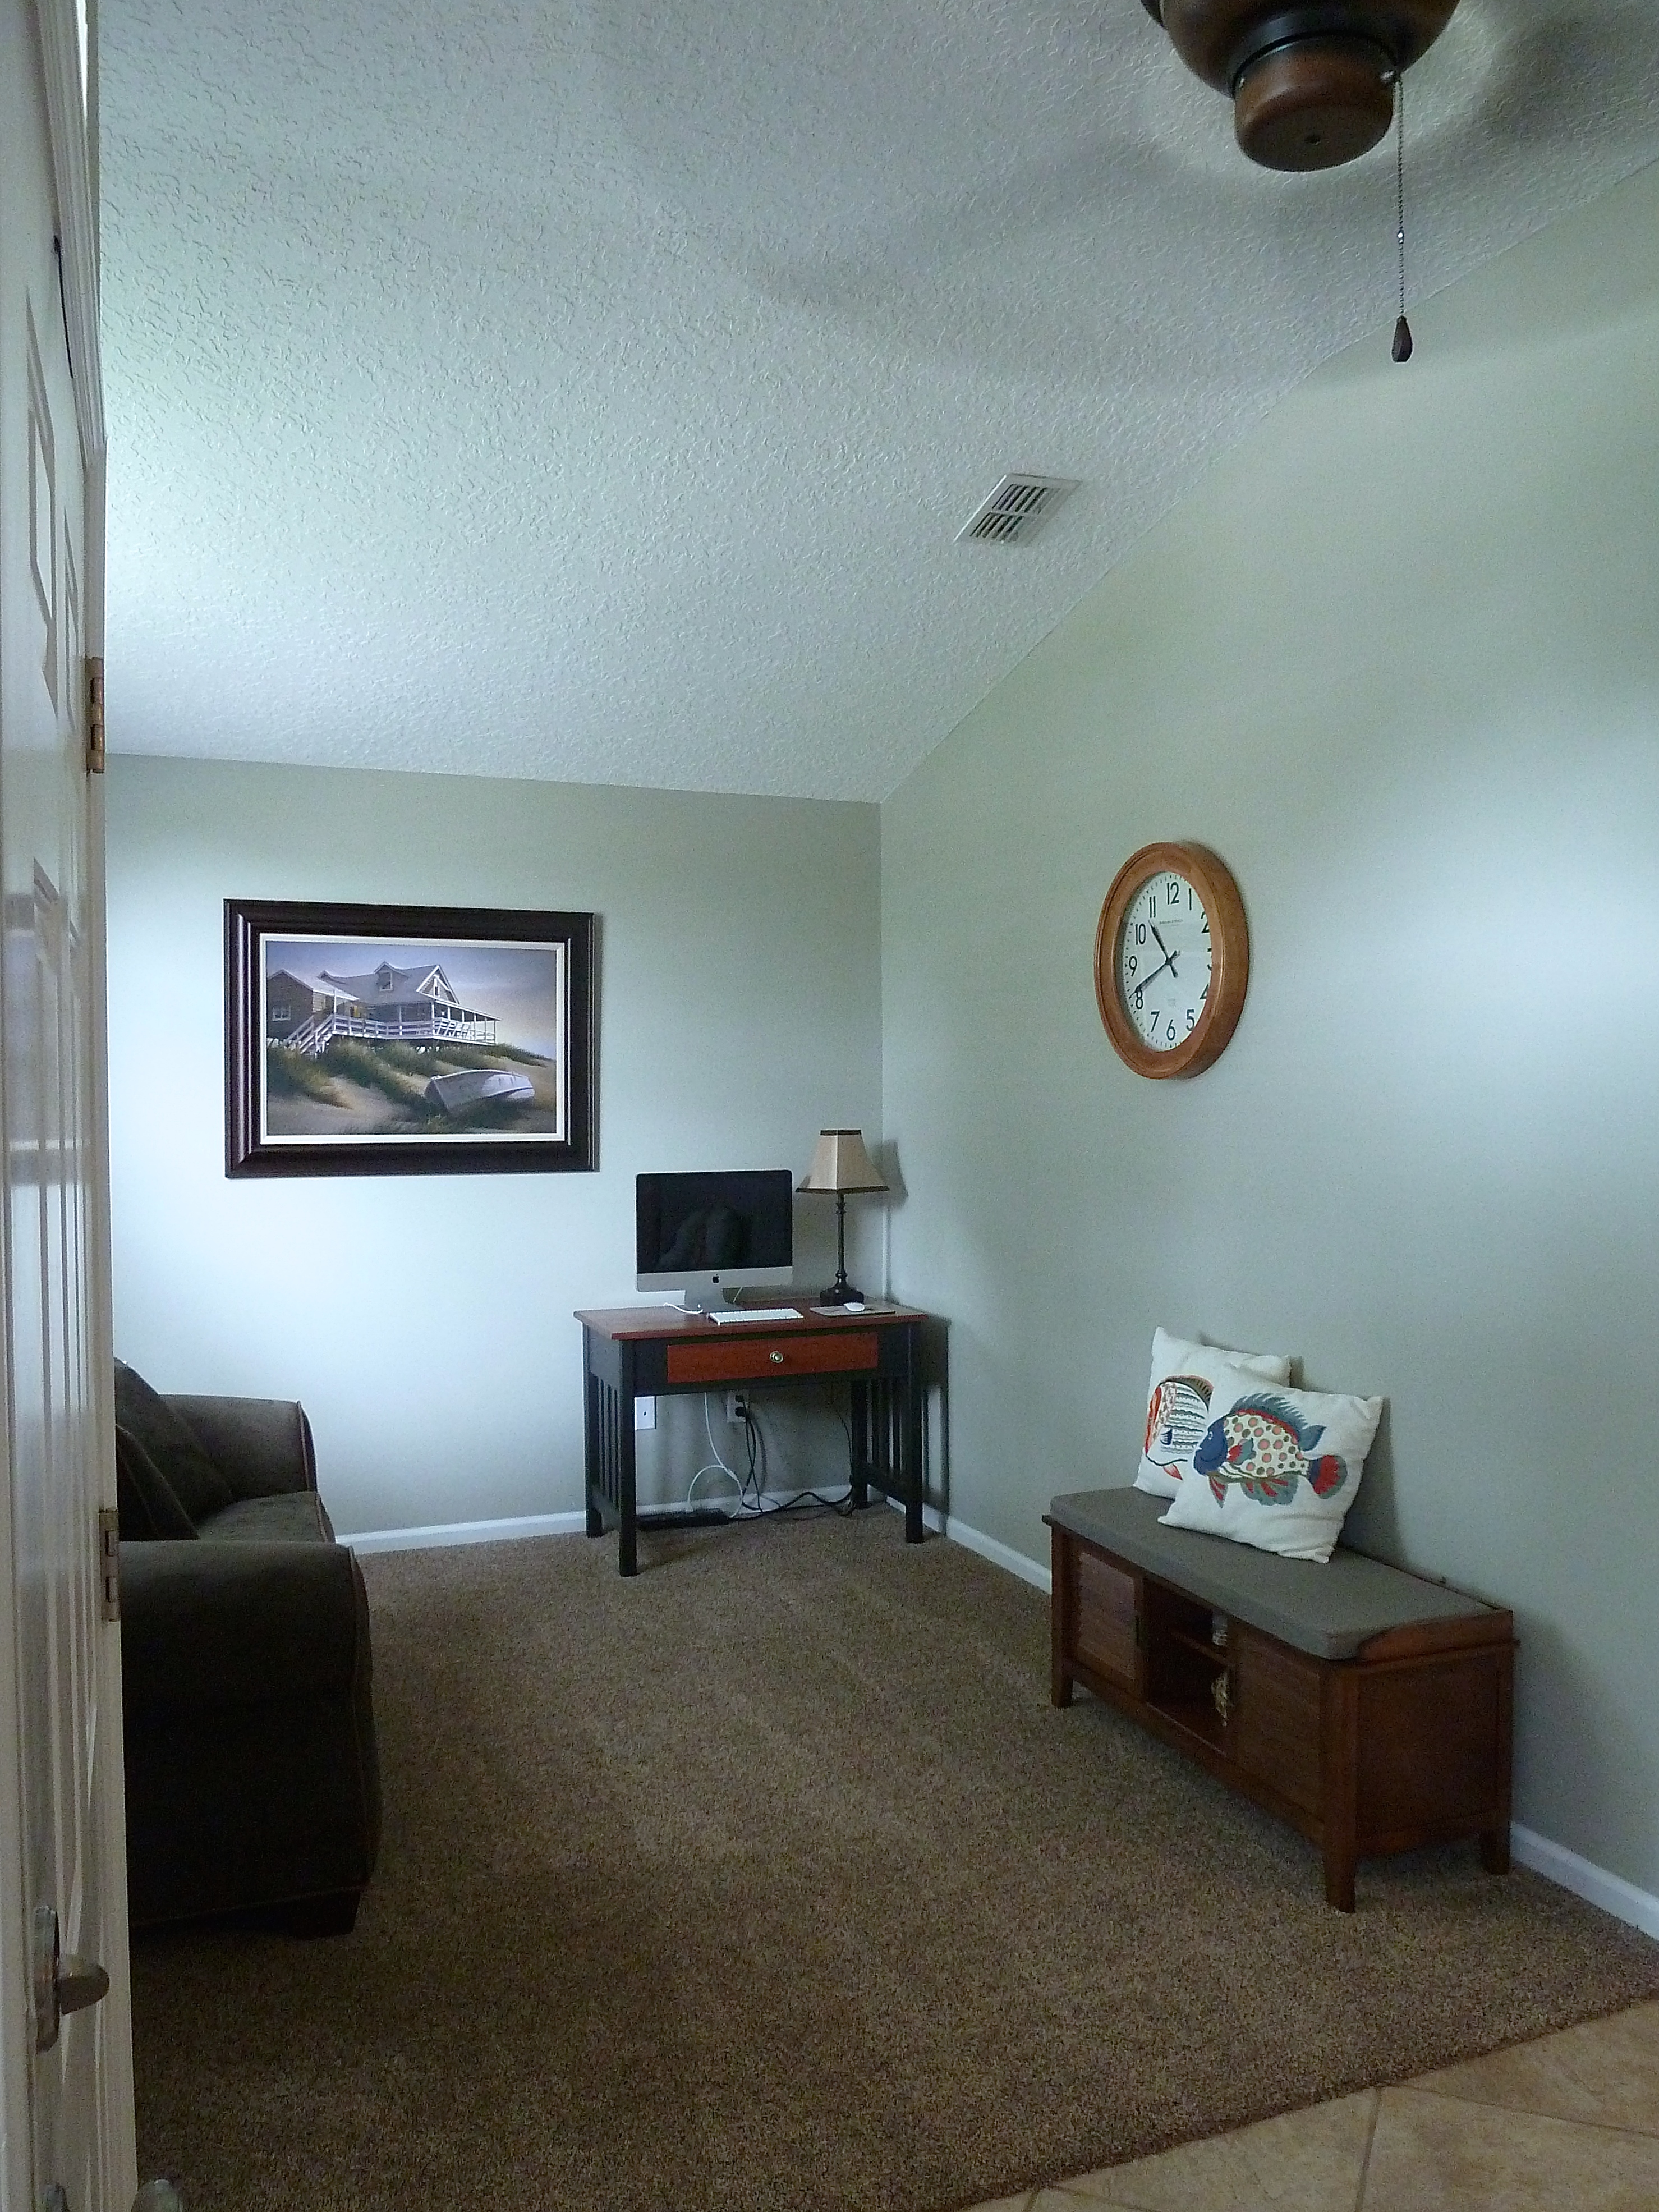
 When you take a step back now, this is what you see…
 And, I know, you see that dresser in the right-hand side of this photo. I’ll explain more on that another day. For now, I hope you enjoy my new ledge shelves!
 What do you think? Better?
 And, here…

 Let’s just say, I wasn’t having a shortage of crates. My dilemma was if I should sell them, or find a use for them. Guess what? I couldn’t bear to part with them. So, they now live here…
  And, here…
 Hanging out in those crazy tall nooks in our living room.
 Then, I plopped in some other nickity nack things, mostly antiques, and called it a day.
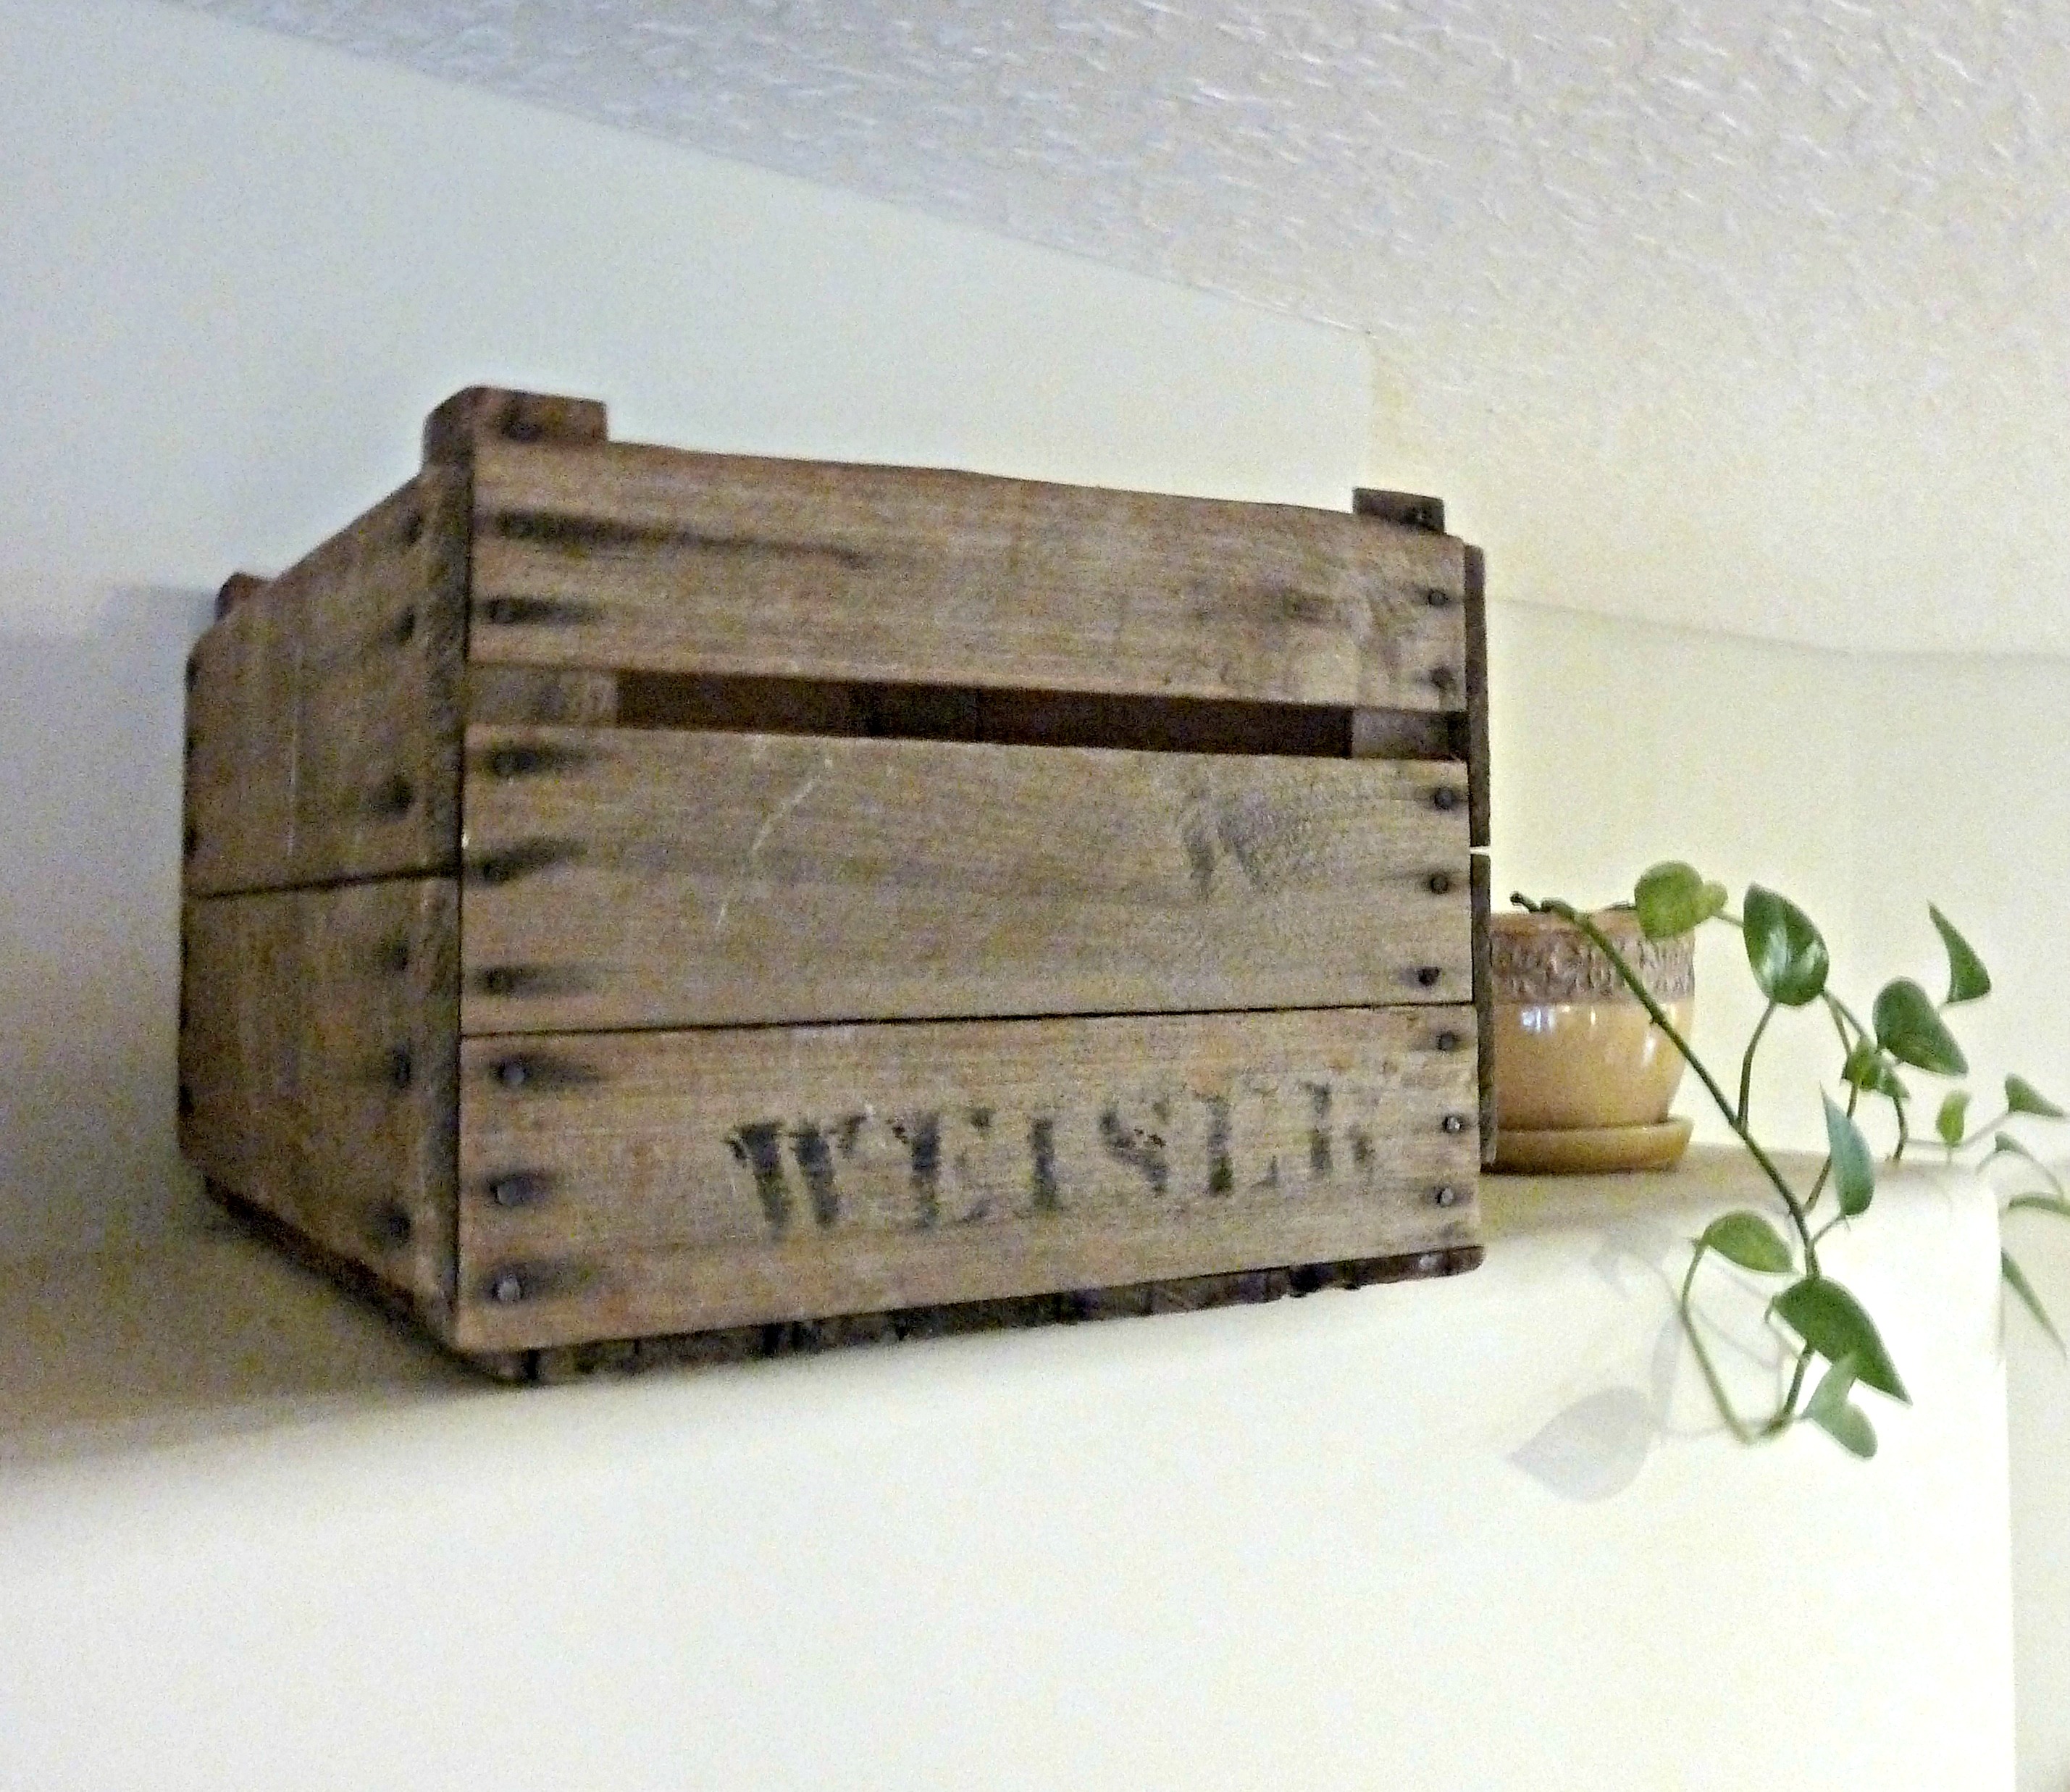
 I used some antique milk bottles and antique crocks.
  And, our
 So, that’s where all of the crates went, and our pesky nooks are finally filled!
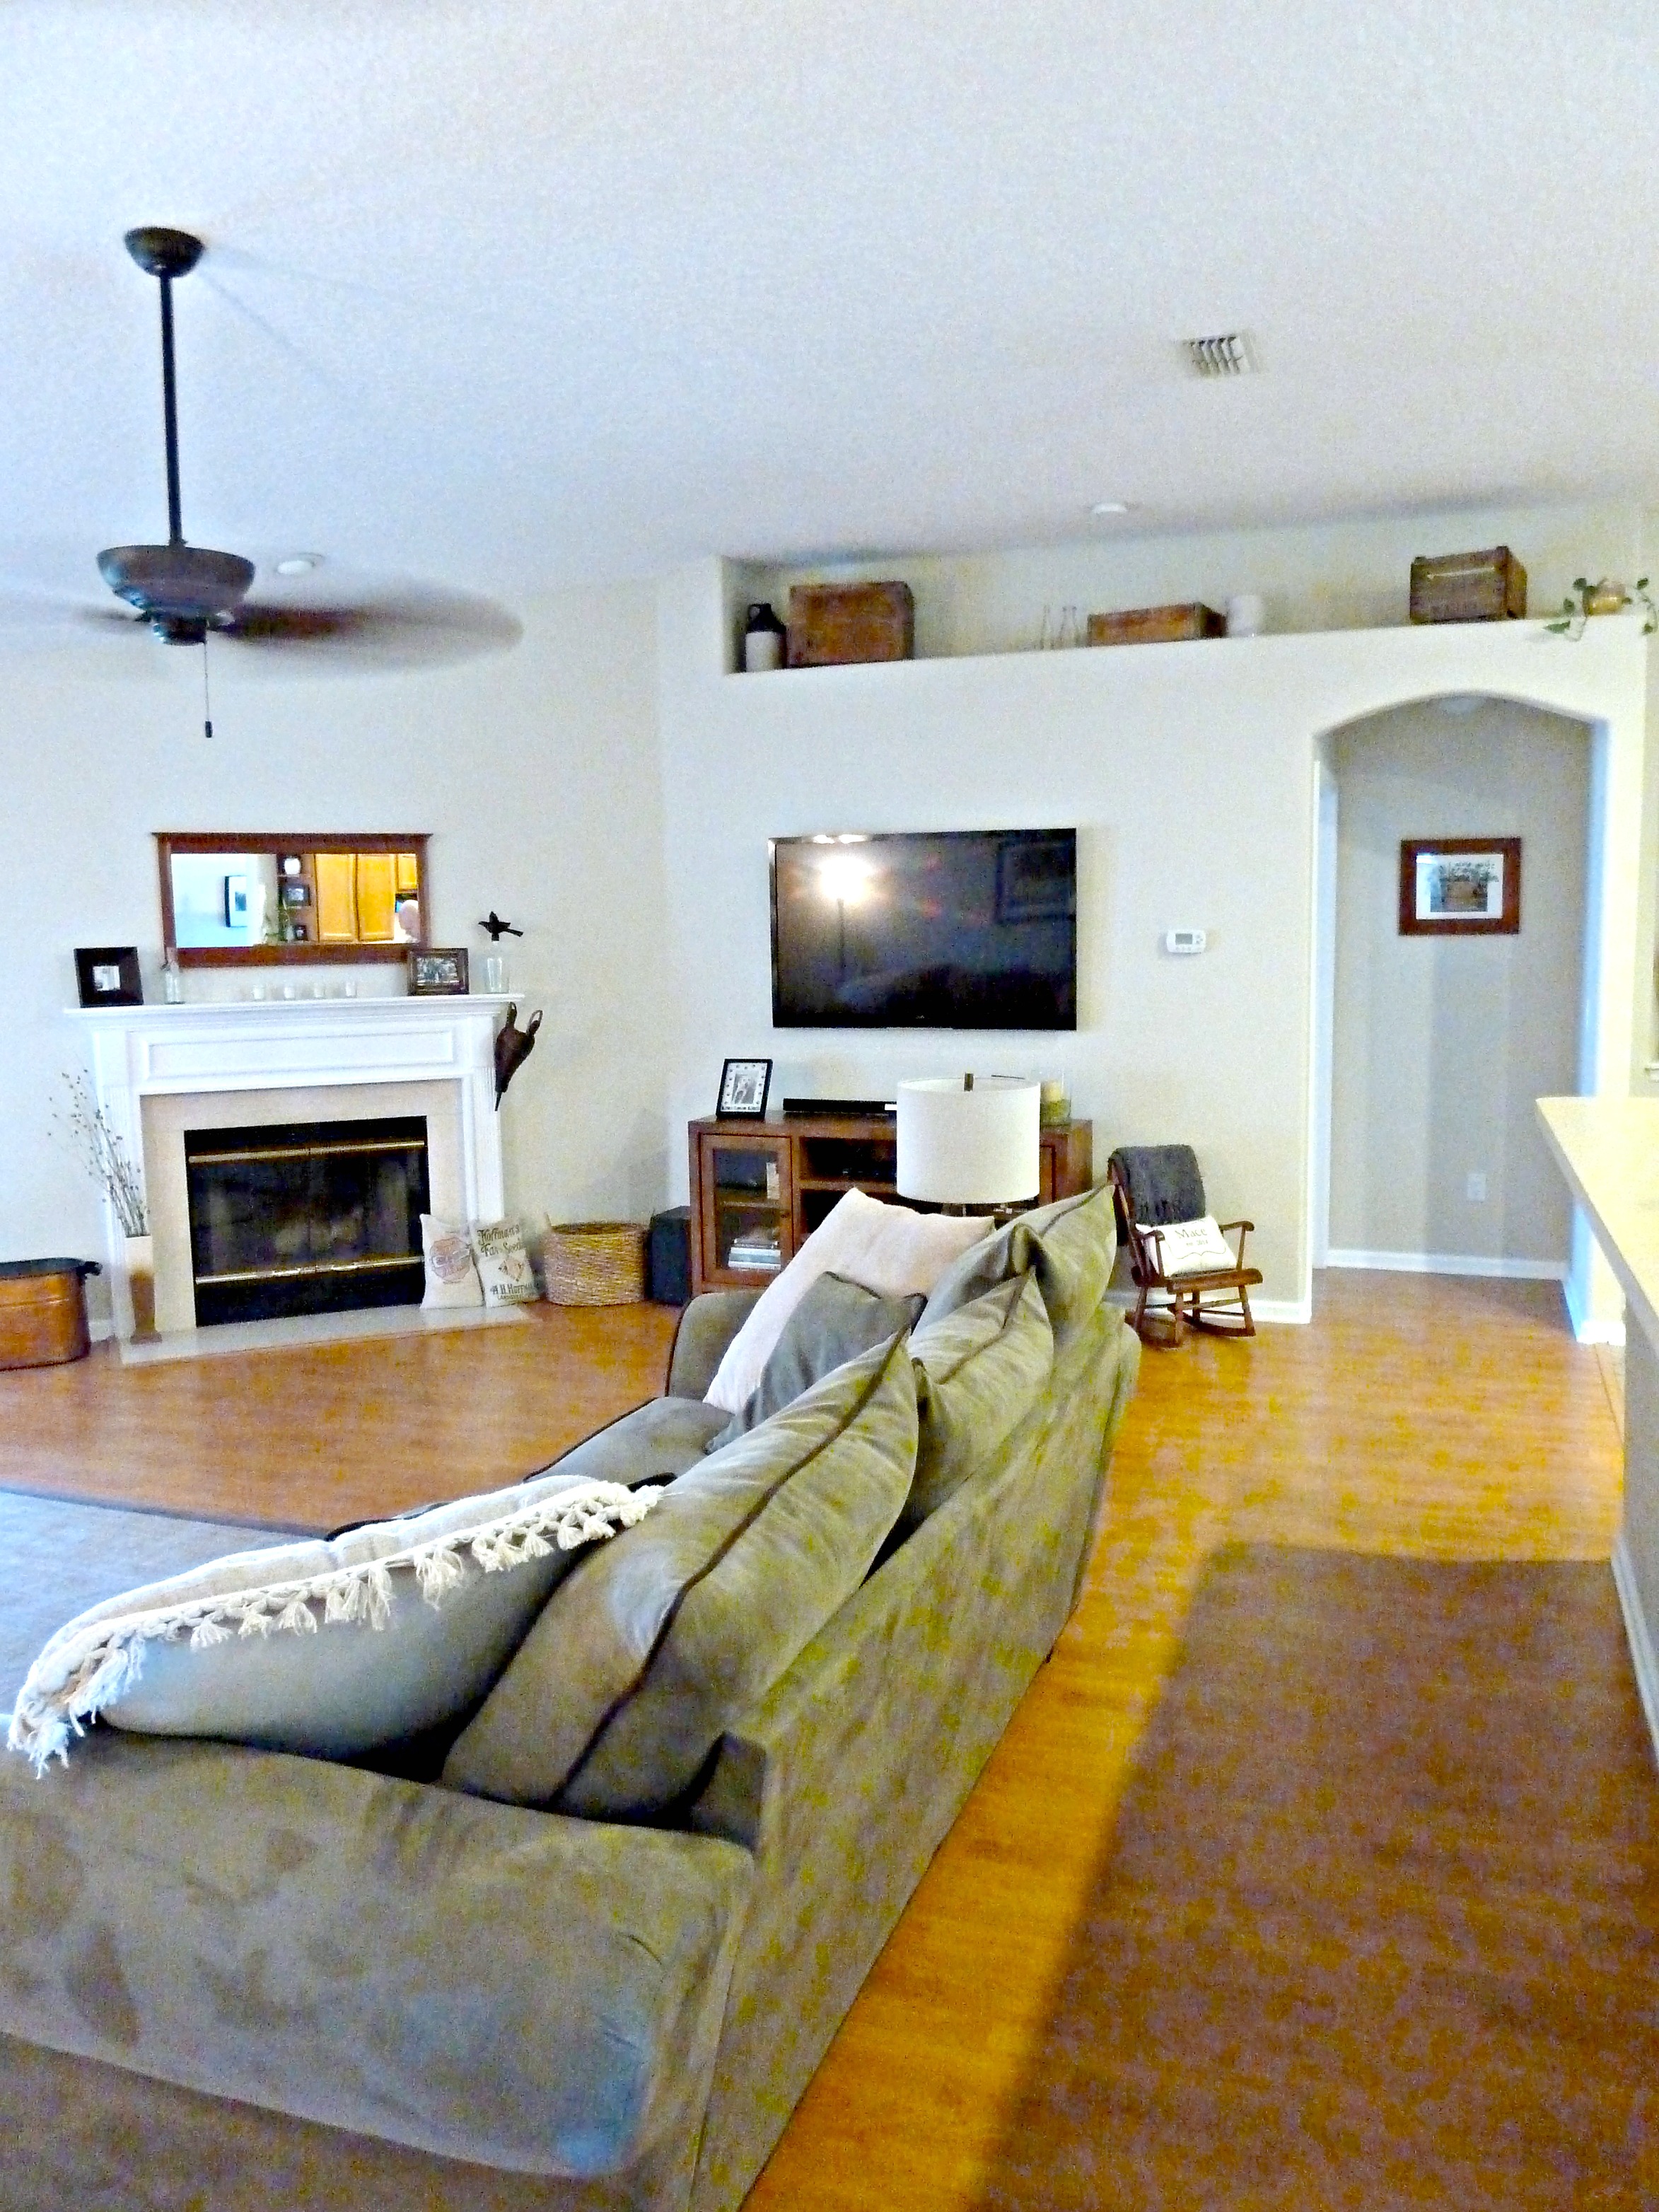


 I went with Colorplace Autumn Haze. It is a pretty neutral tan color. I figured with all the blue going on in here, it would help tone things down.
  P.S. I just throw everything in the center of the room when I paint, don’t mind my mess.
  Once I was finished painting, I brought the dresser back in. And, what do you know? It looked much better with the neutral wall color! Woot woot!
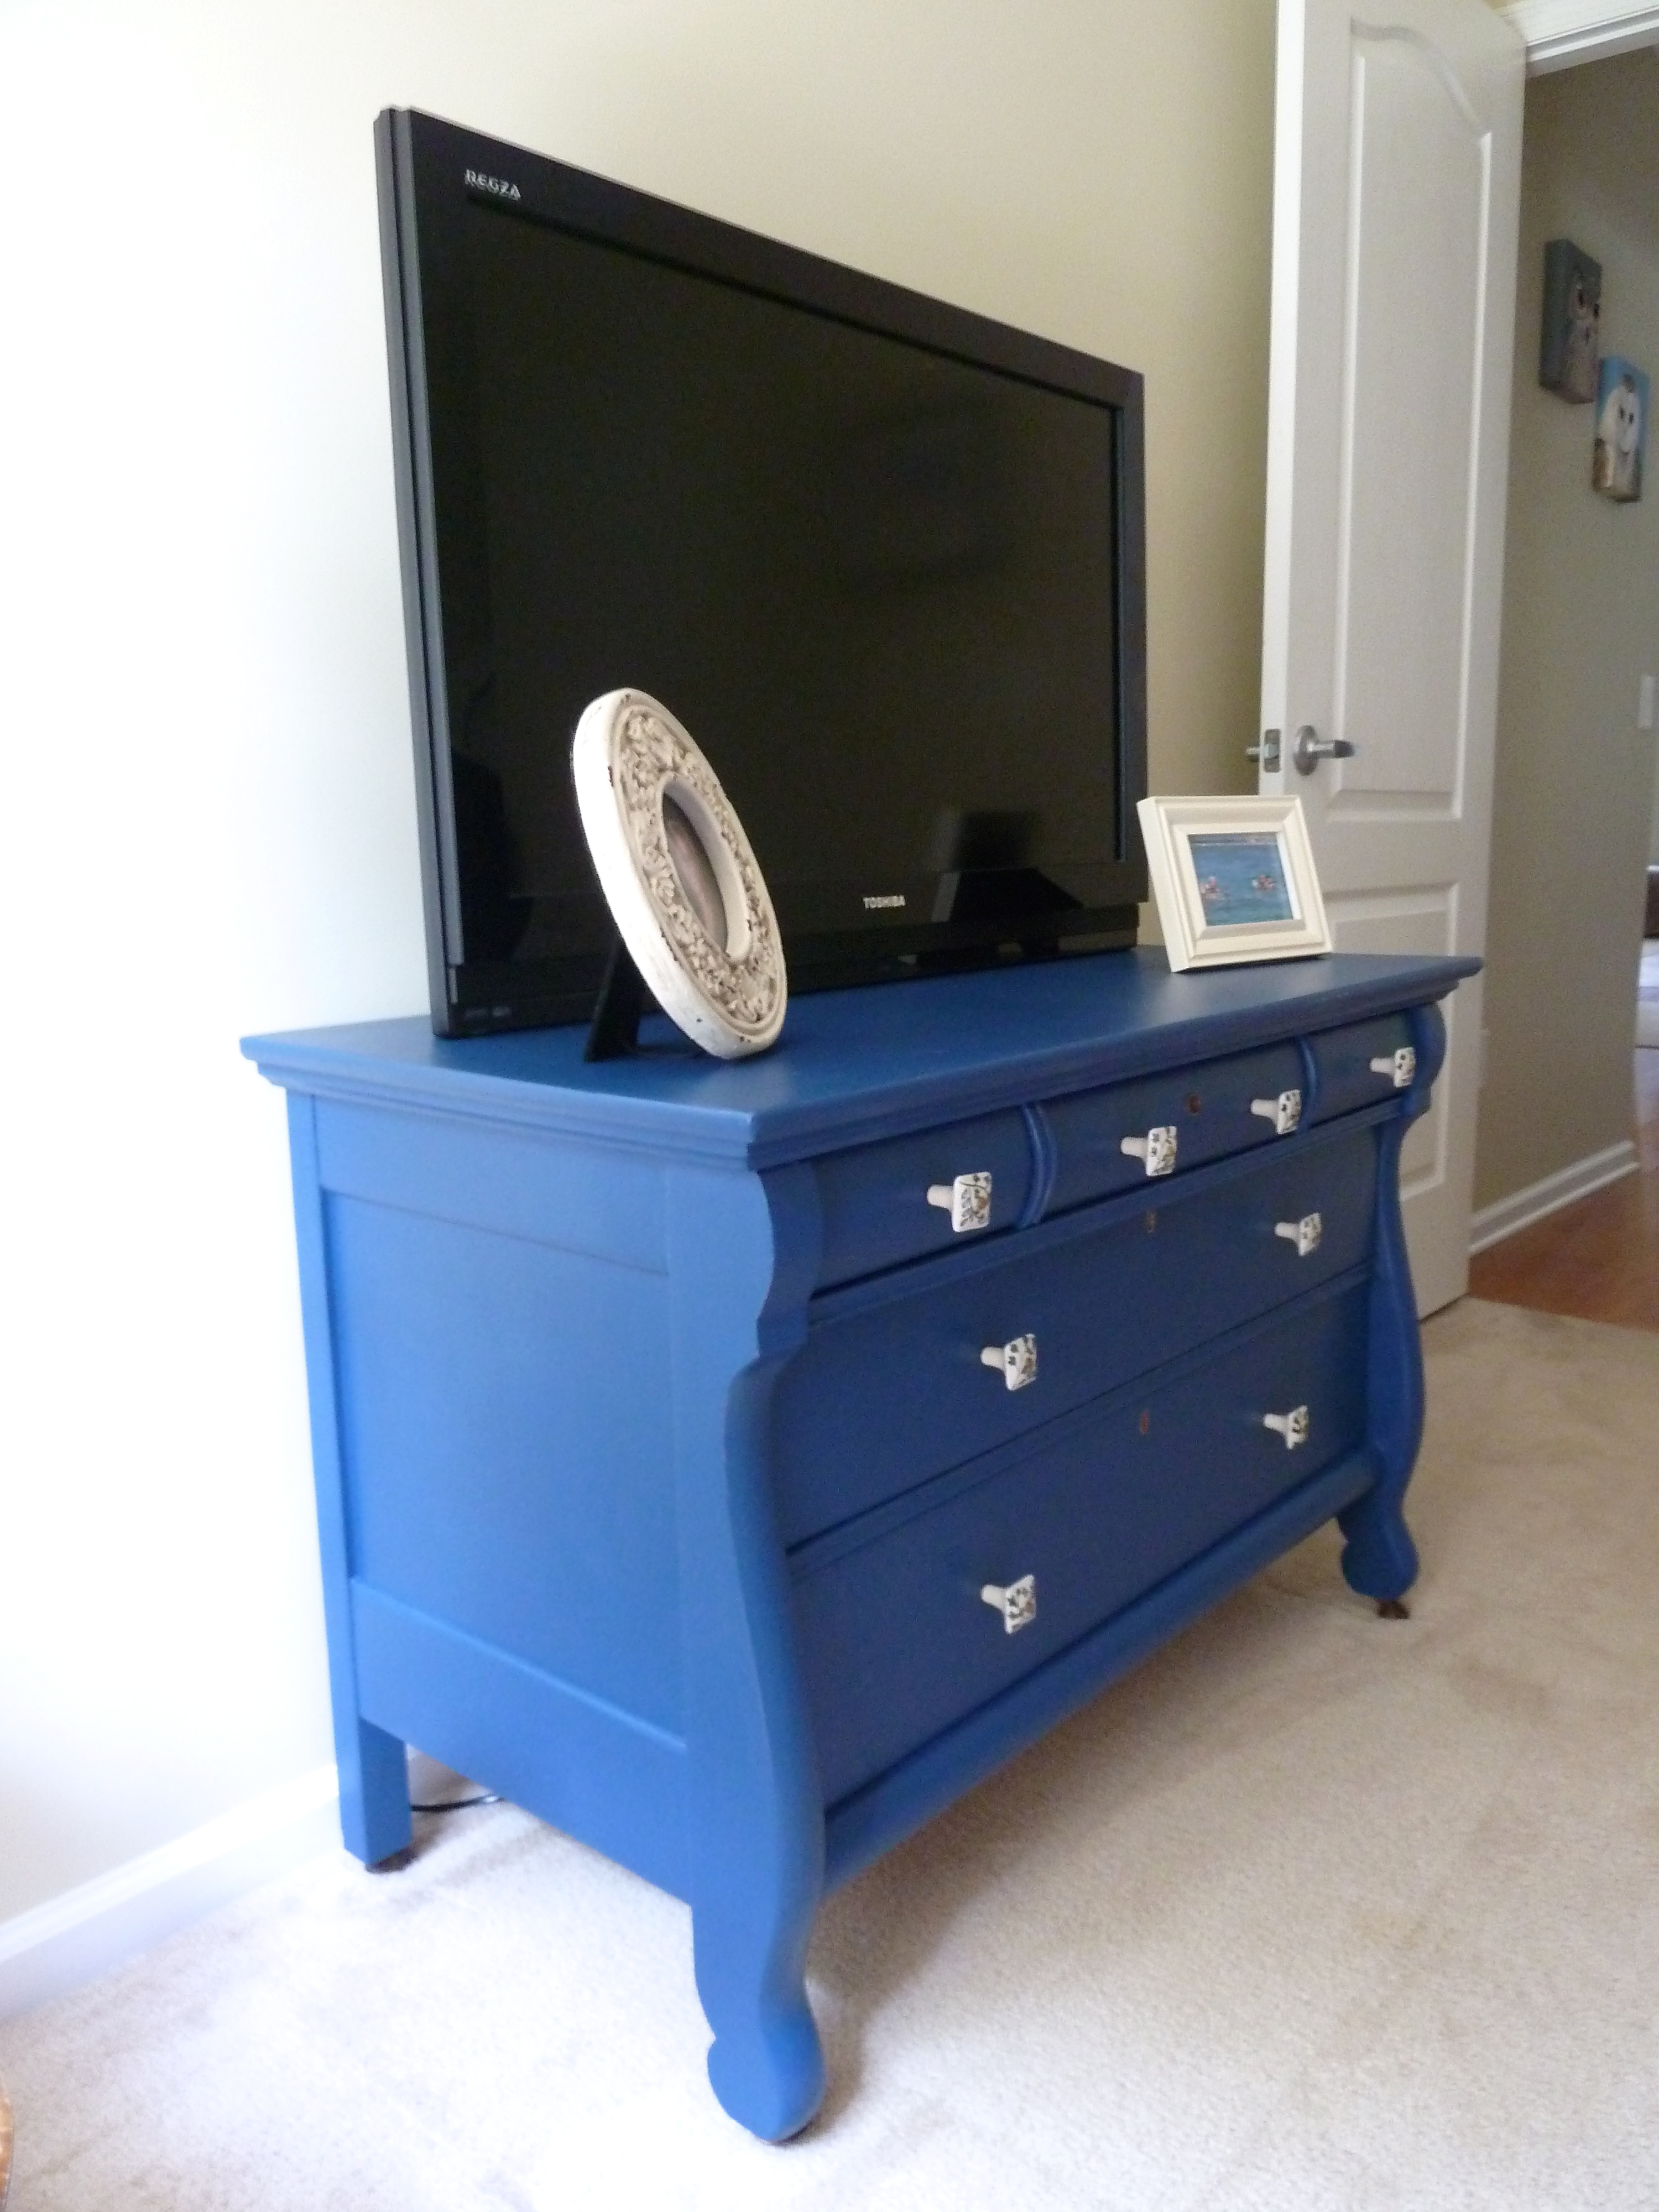
 Of course, Charlie helped keep an eye on my work.
  And he also digs the new color.
  I think it looks bigger in here now, even with more furniture. Weird how a color will do that.
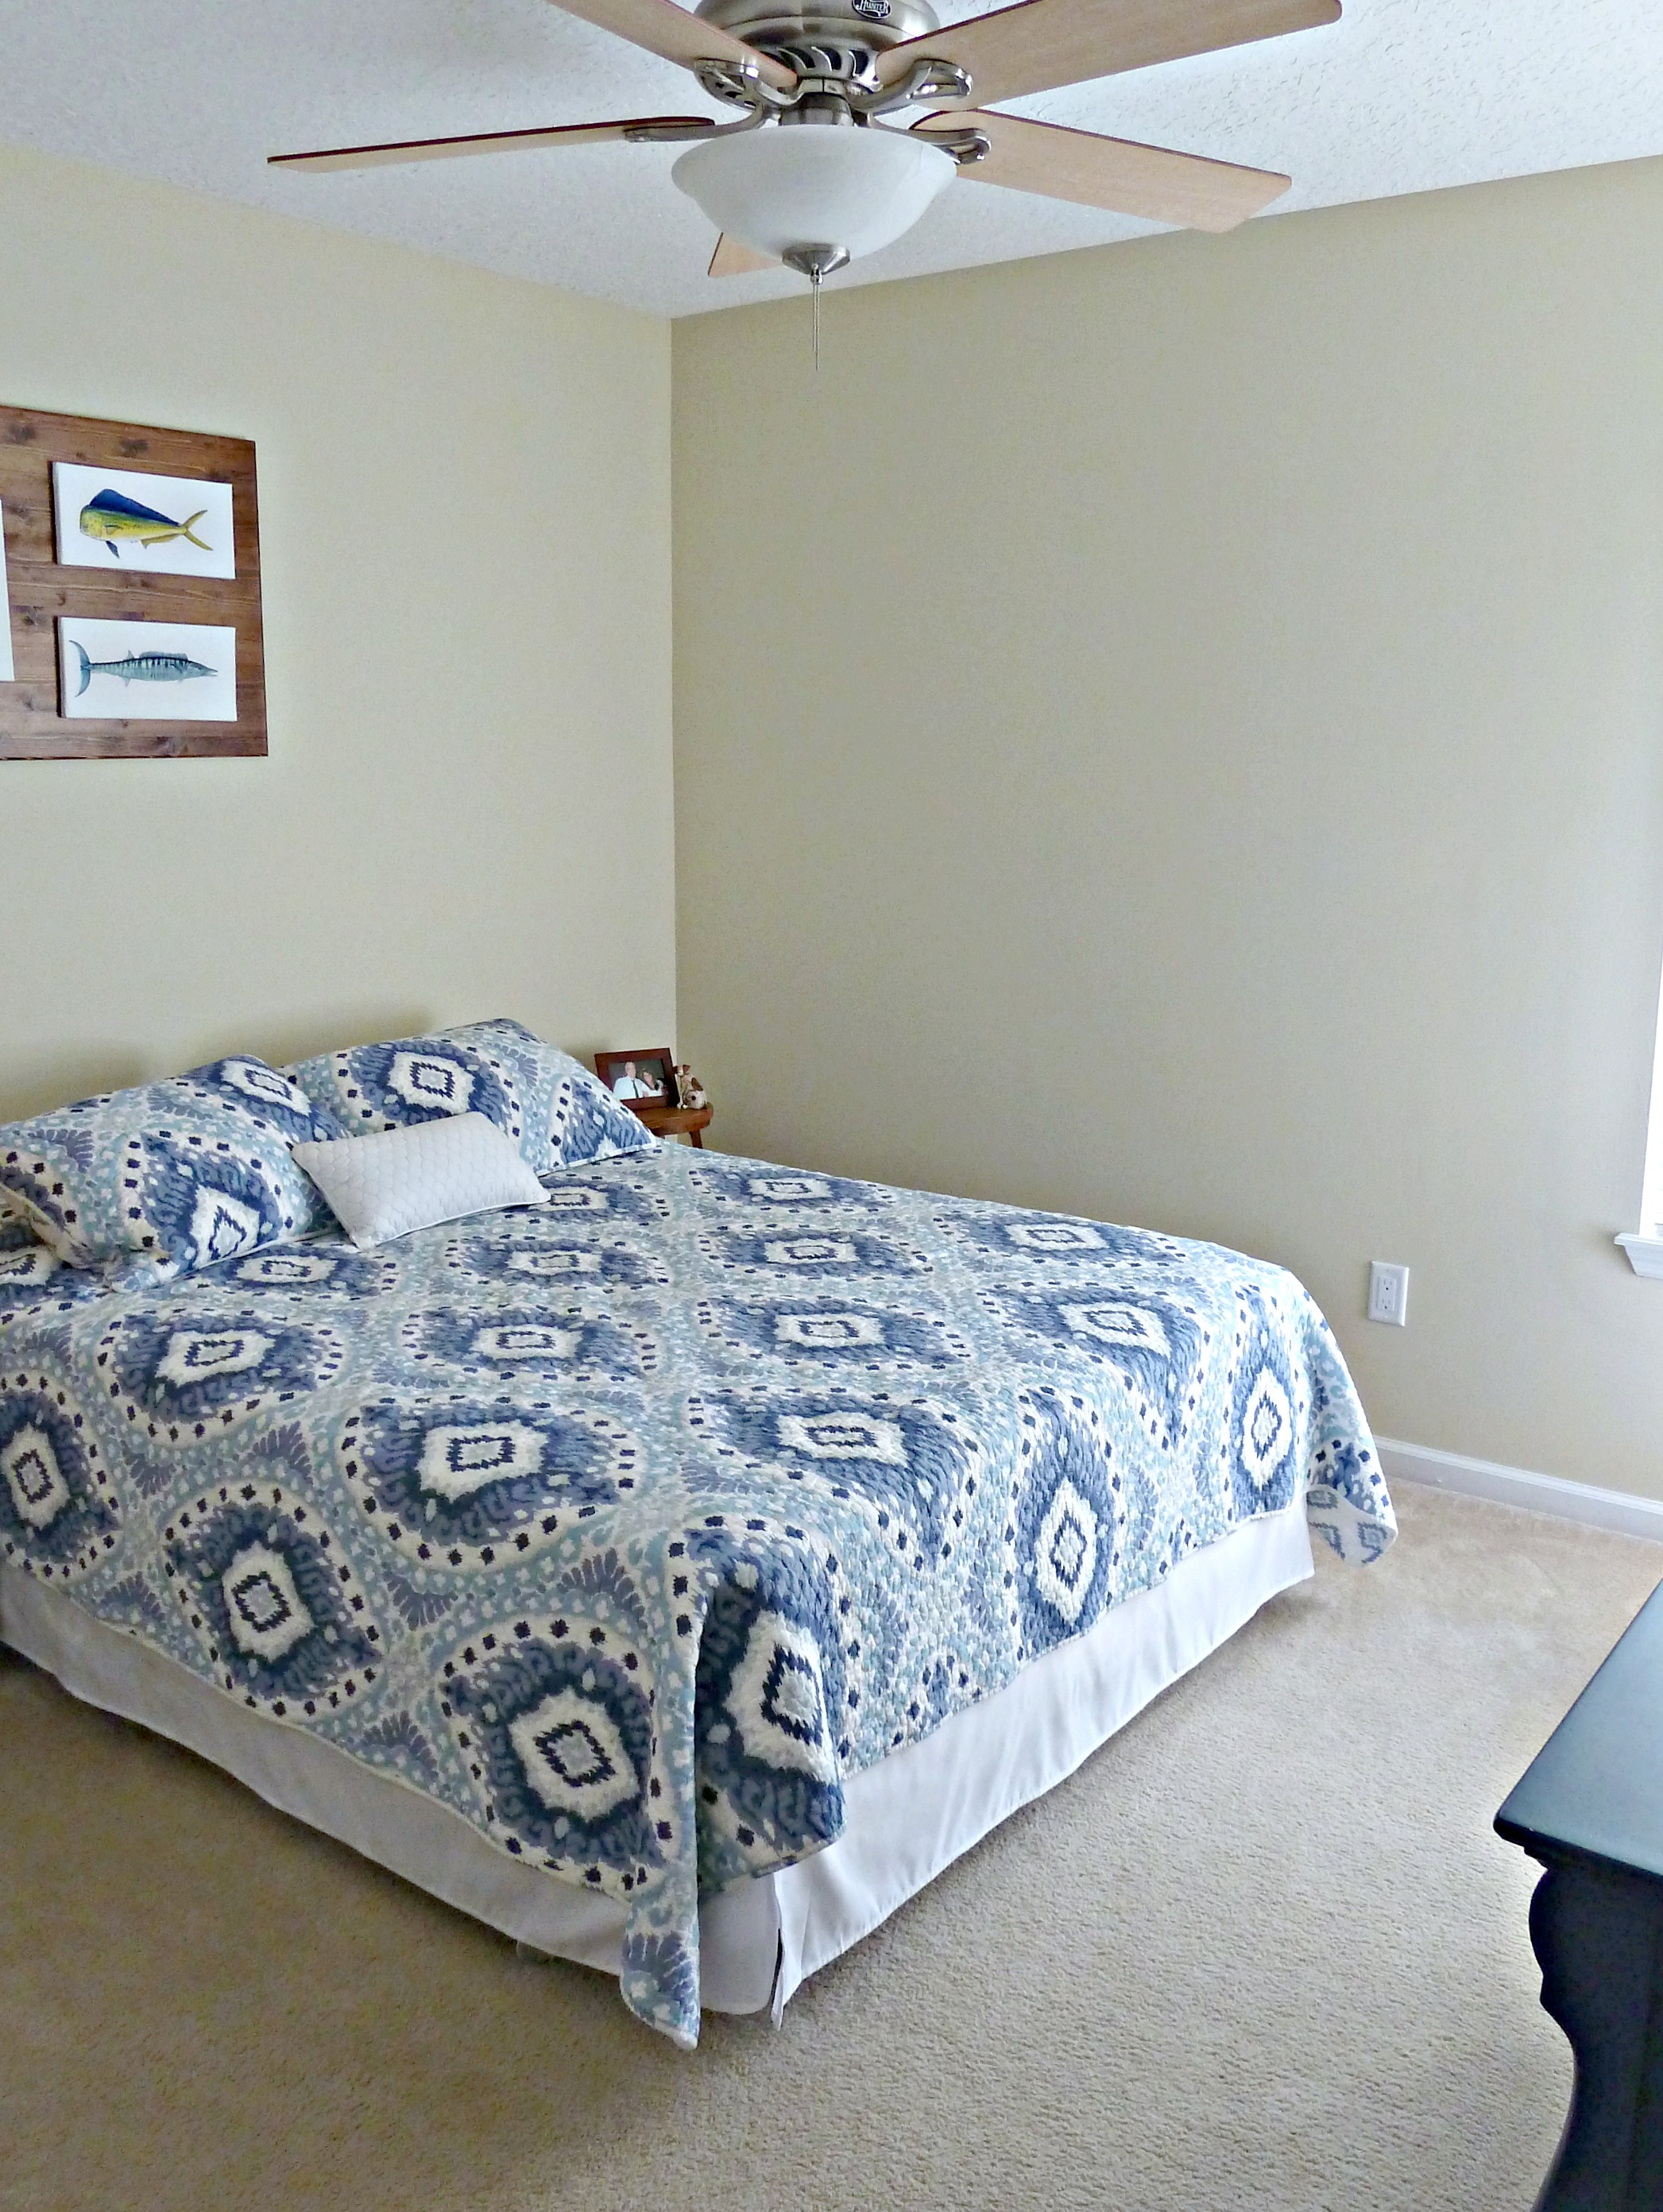

 One last thing before you go. A before and after…
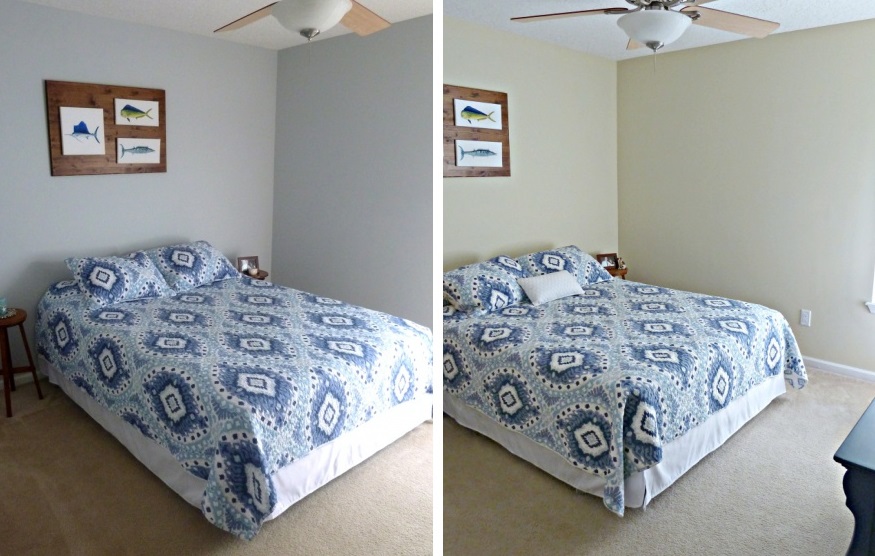


 Funk’s Hybrid? I mean, come on, you had me at Funk’s!
 Voila!!!
 I needed two more pieces, because I was making two doorstops. Which both have a front and a back, just in case you’re not following where I am going with this. Now, that I had all of the pieces cut to the same size, it was time to get sewing.
 Here is a peek at the inside of my fabric sandwich…
 Get it?
 I left an opening, so I was able to turn the soon-to-be doorstop inside out.
  Once, I had turned each doorstop inside out I was left with this…
 I didn’t sew those openings up just yet. I first used them to fill the doorstops with rice.
 I just poured the rice right in, totally expecting to make a mess, but it was pretty easy and mess-free. However, if you have a funnel, you might want to break it out for this step.
 It took about 7 lbs. of dry rice to fill each doorstop.
  I didn’t want them to be so stuffed they looked like they were going to burst, but I did wanted them to be heavy enough to prop each door open. So, 7 lbs. seemed like a happy medium.
 Once, they were both full, I sewed up the opening and then took them for a test run.
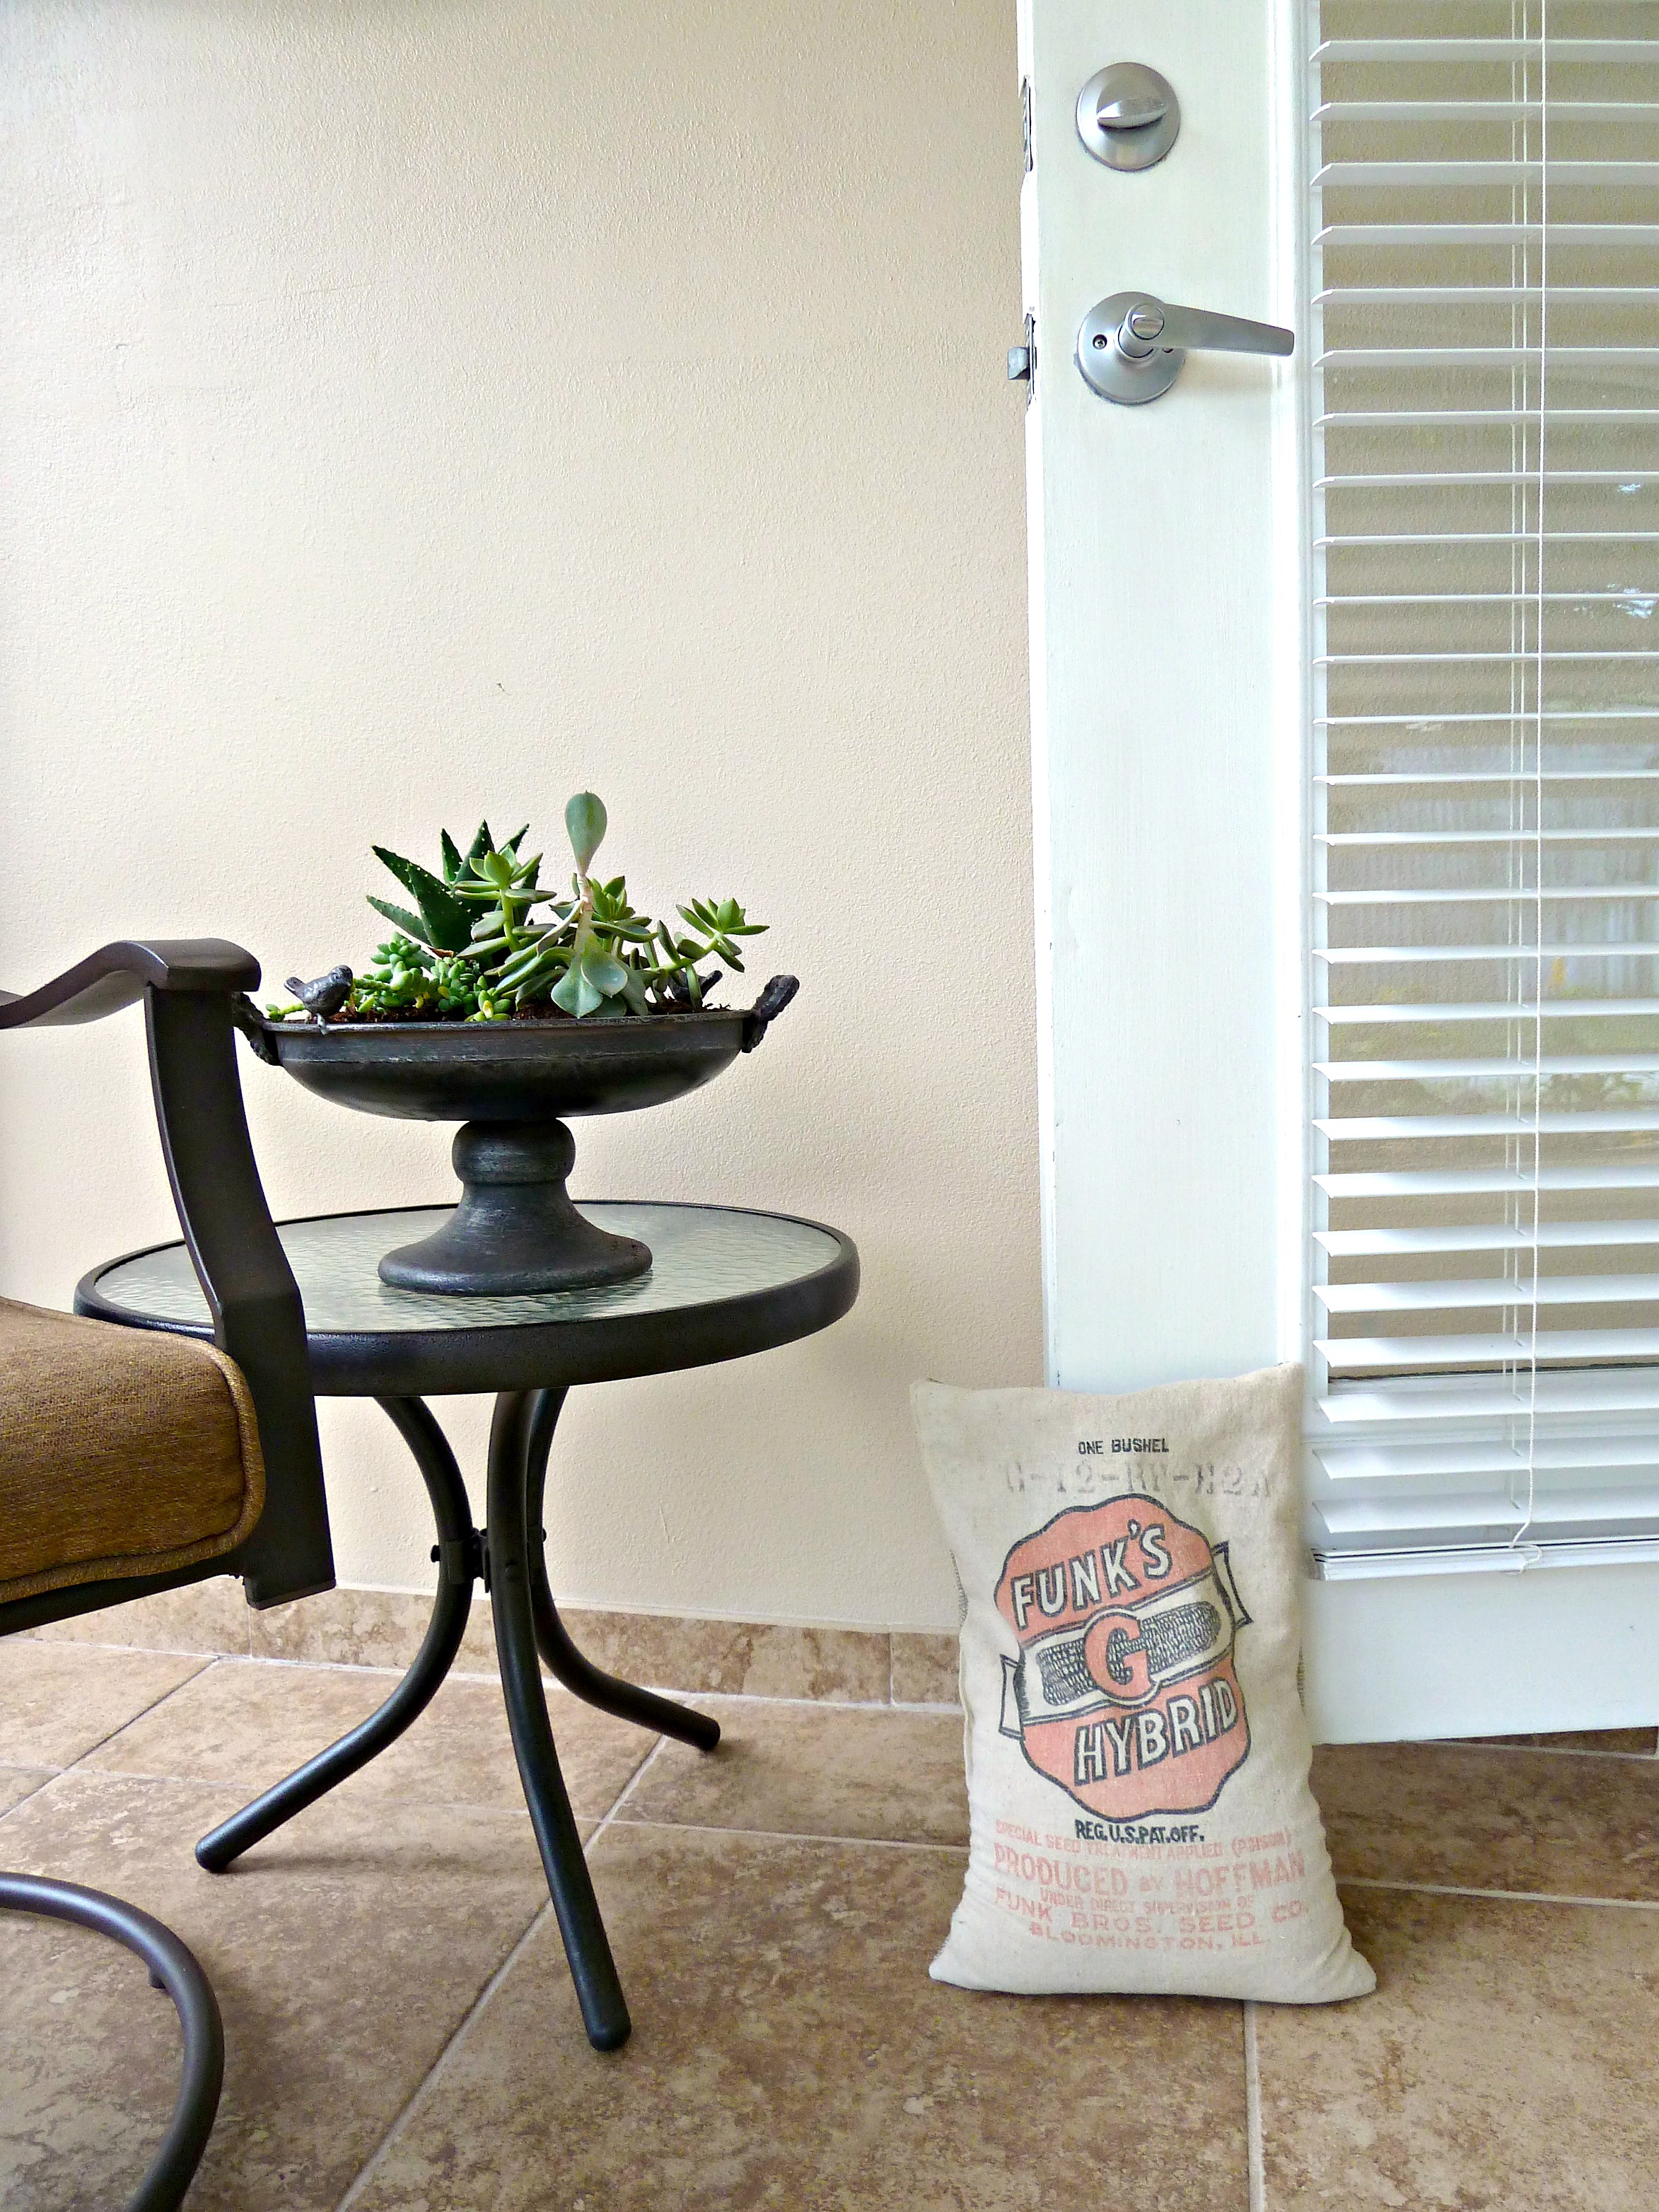
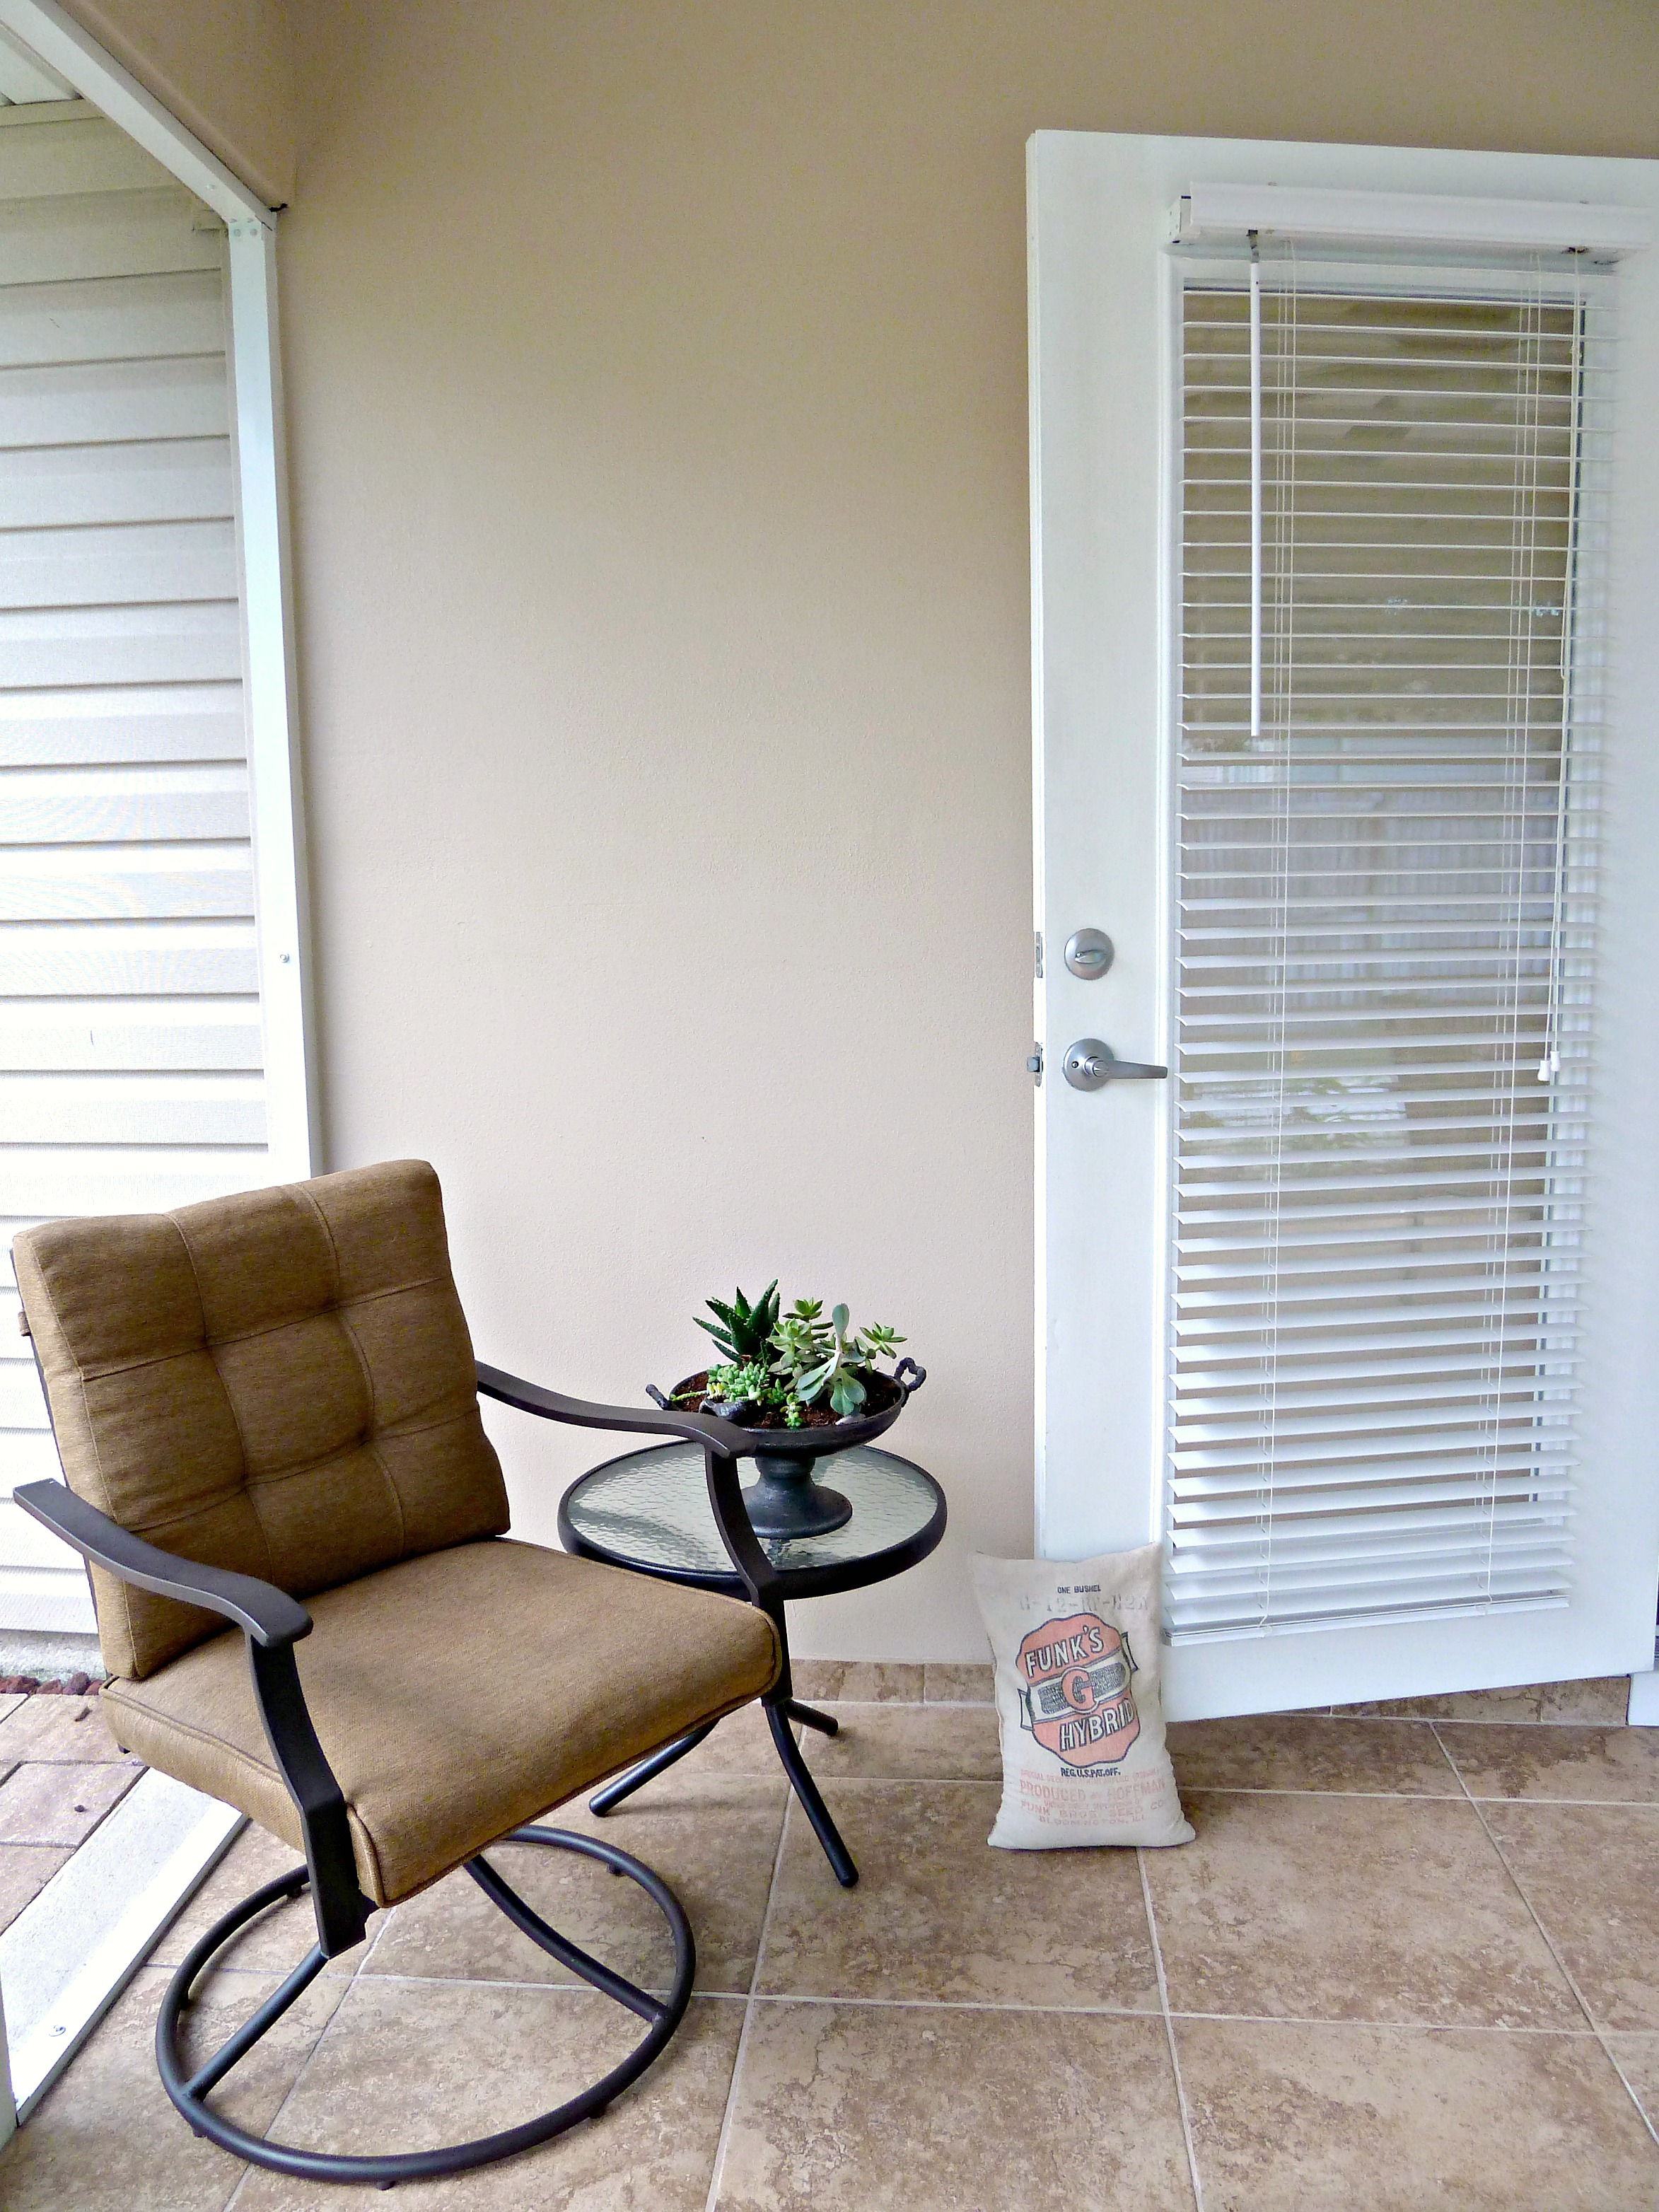
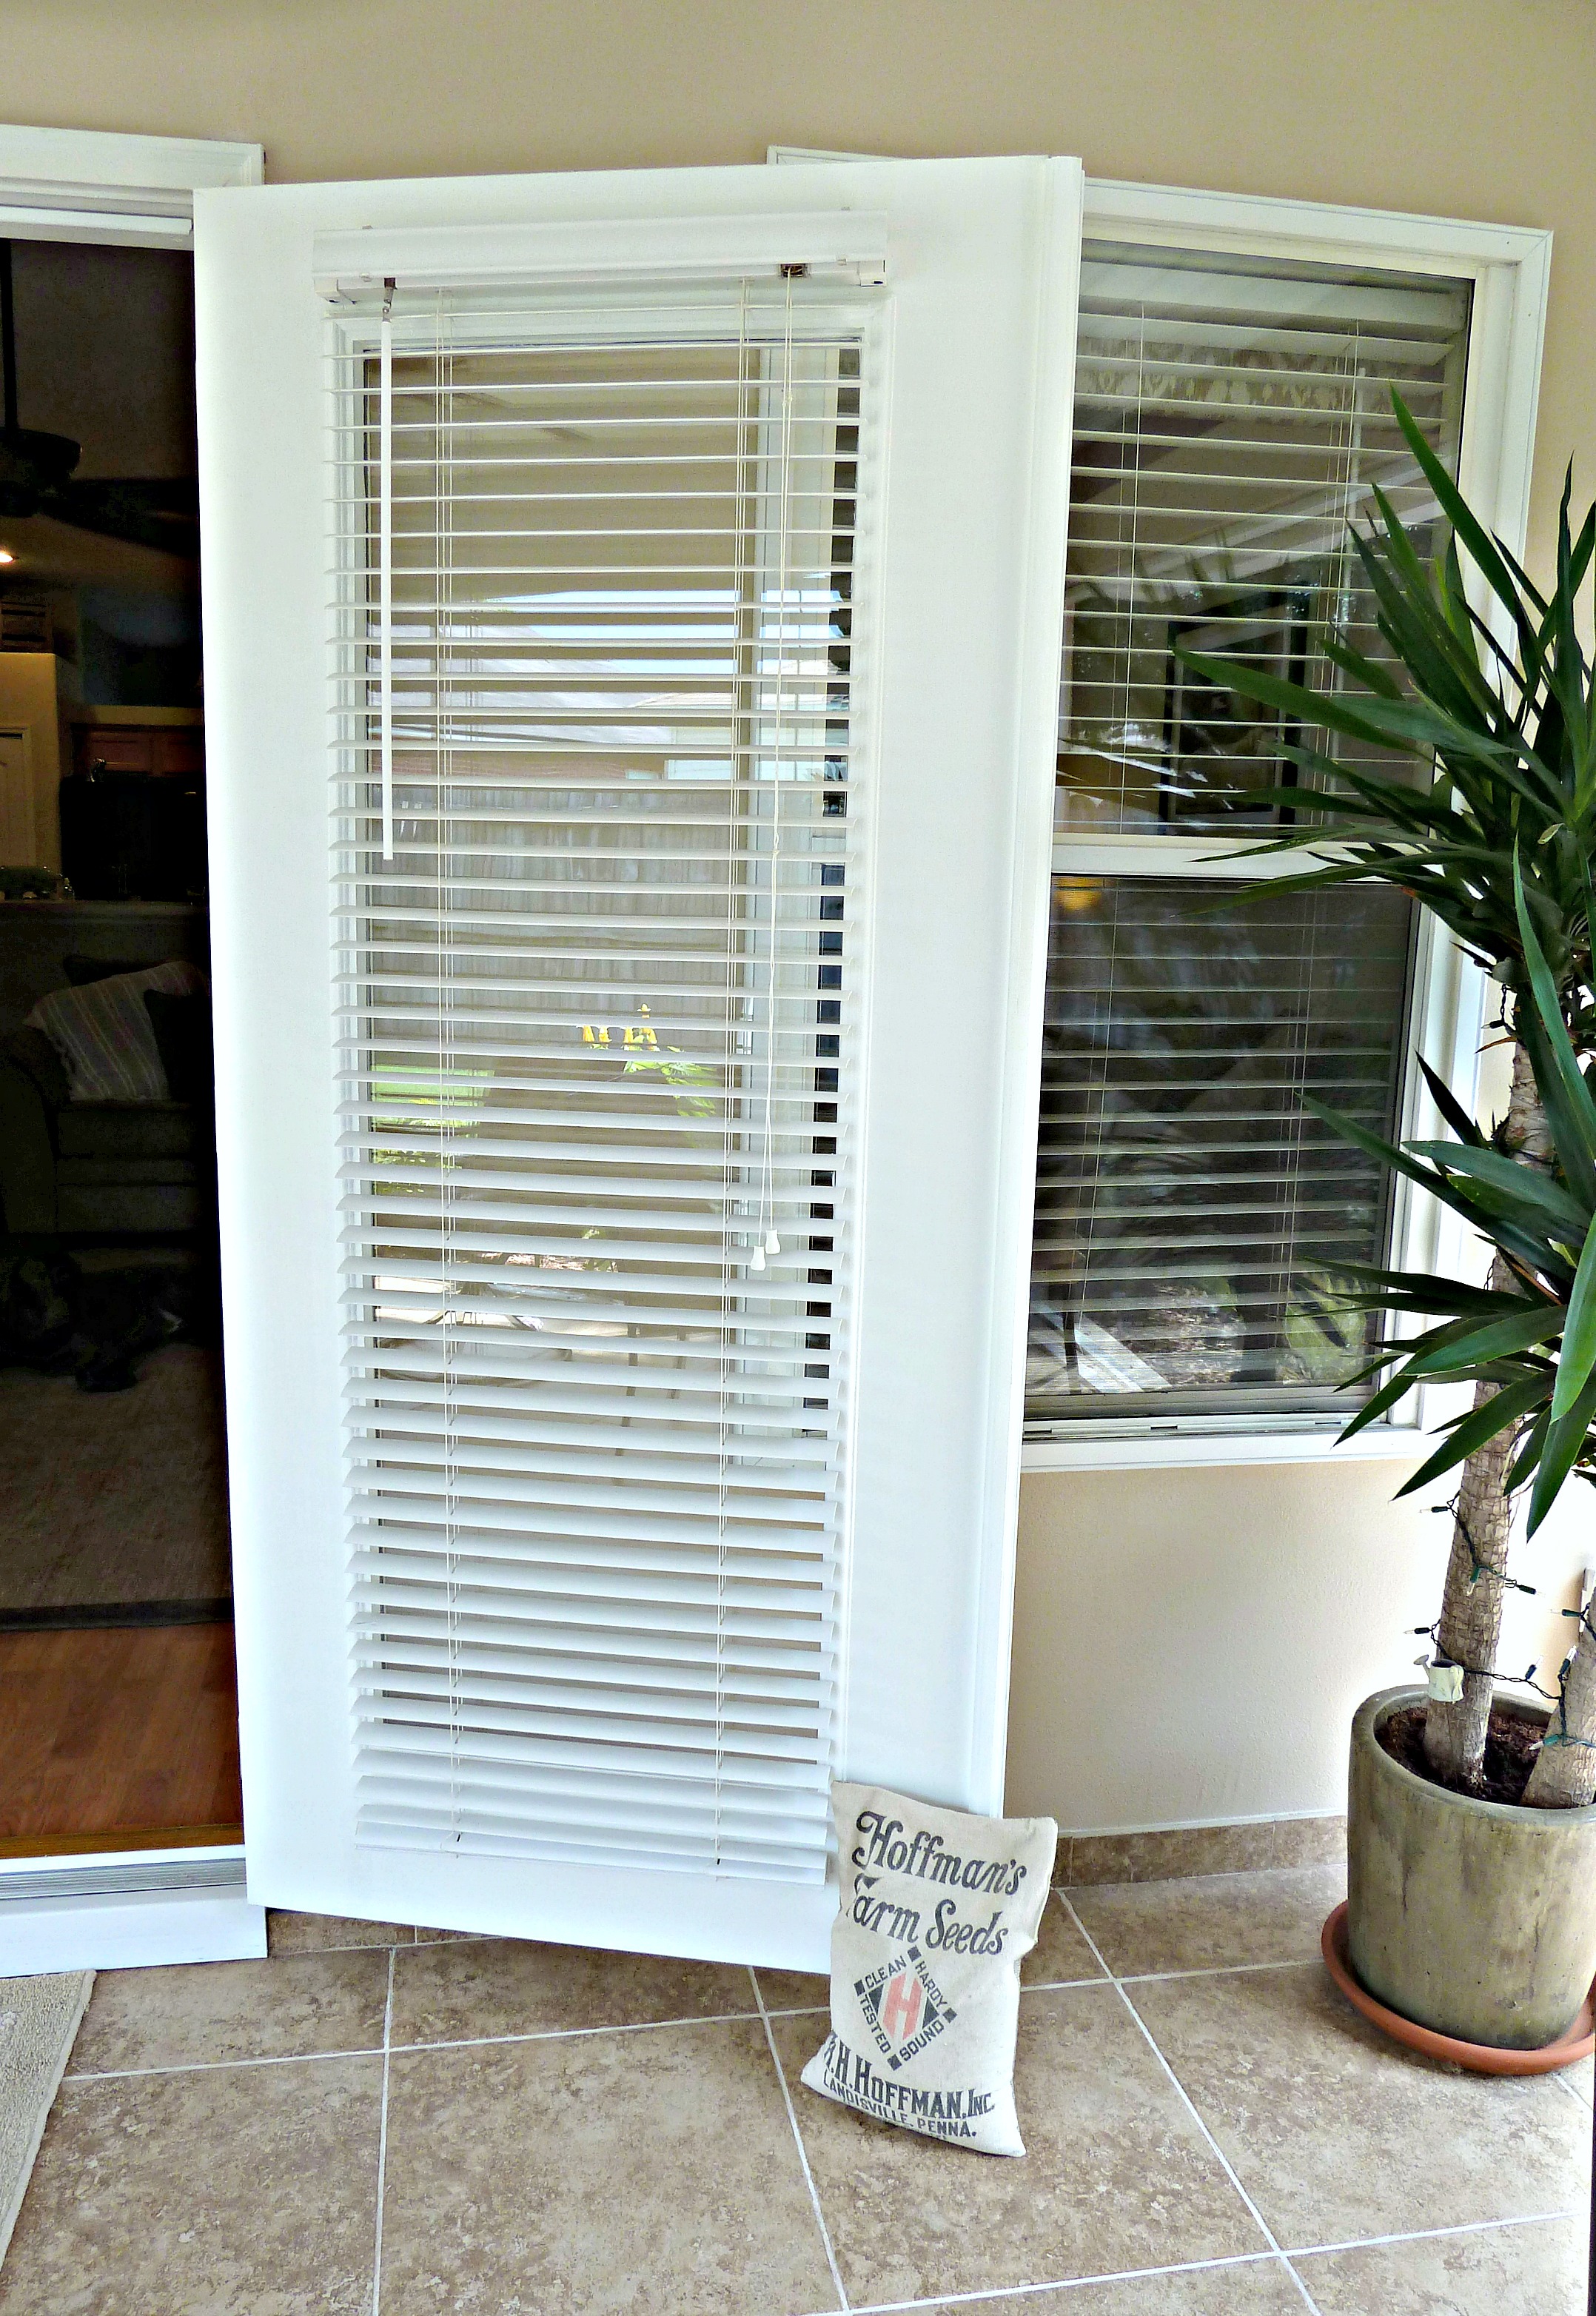
 Closer still? Fine!…
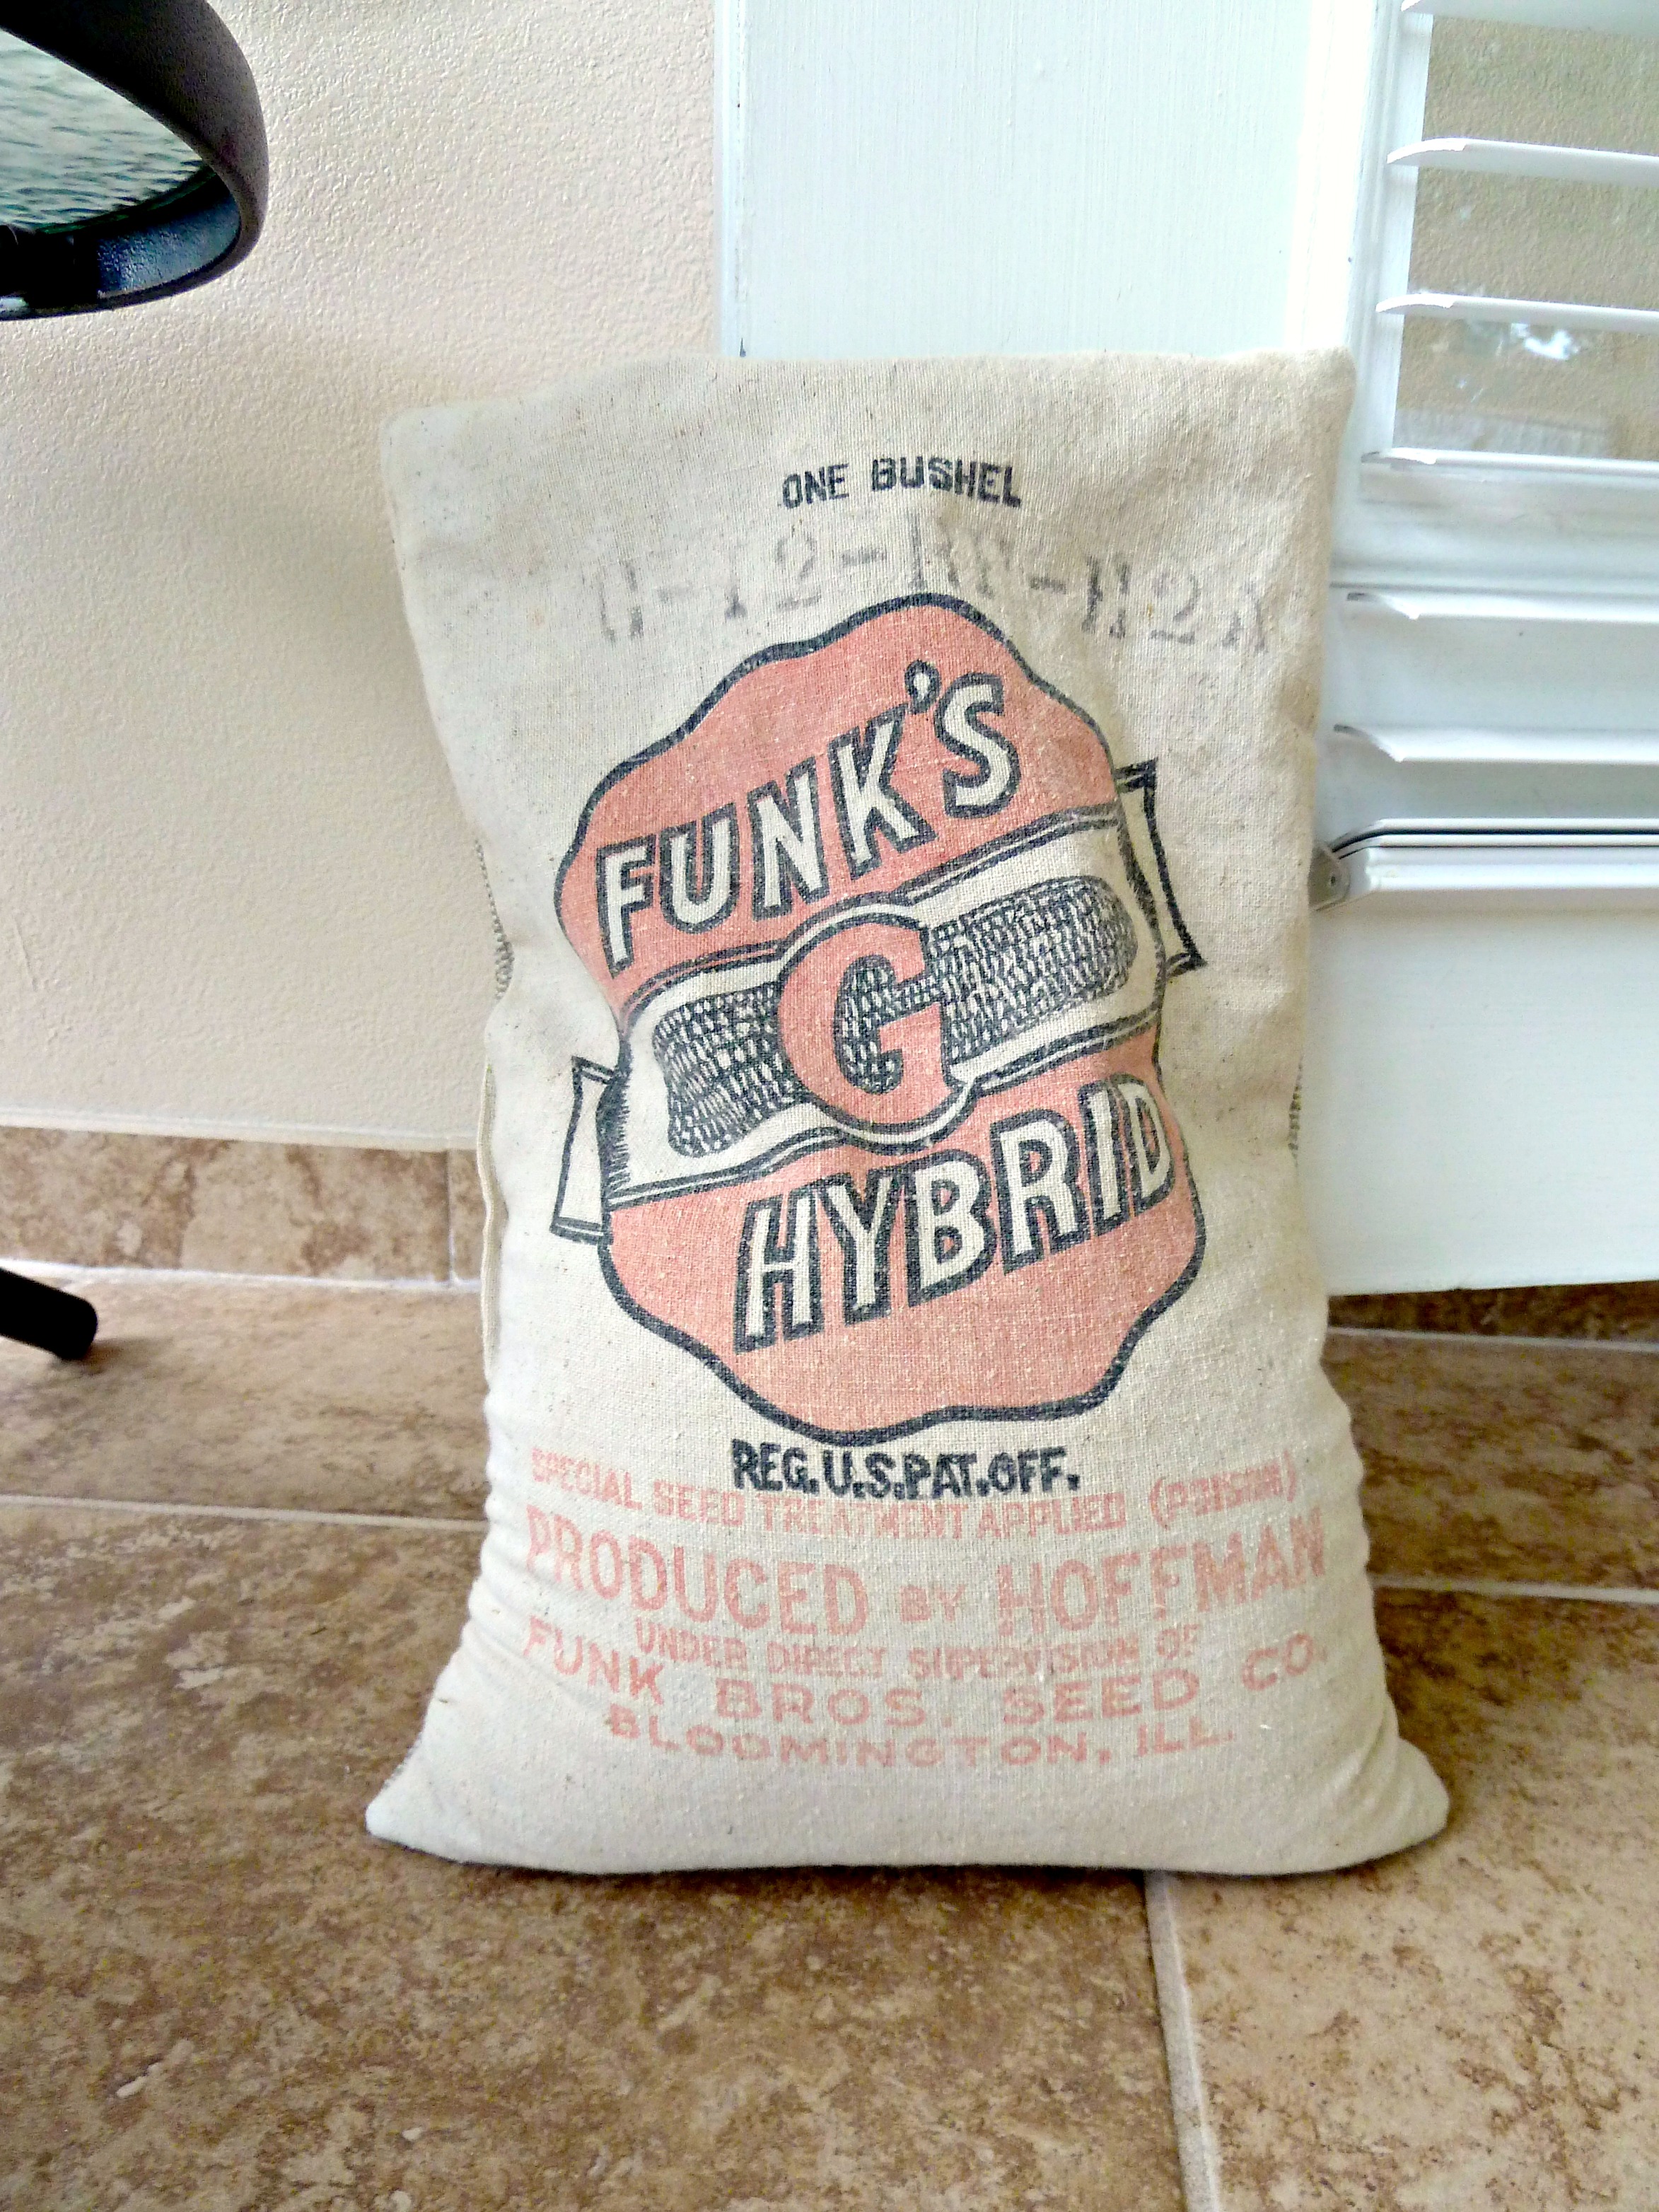

 Right next to the fireplace.
 I think I did a bang up job. Don’t you?