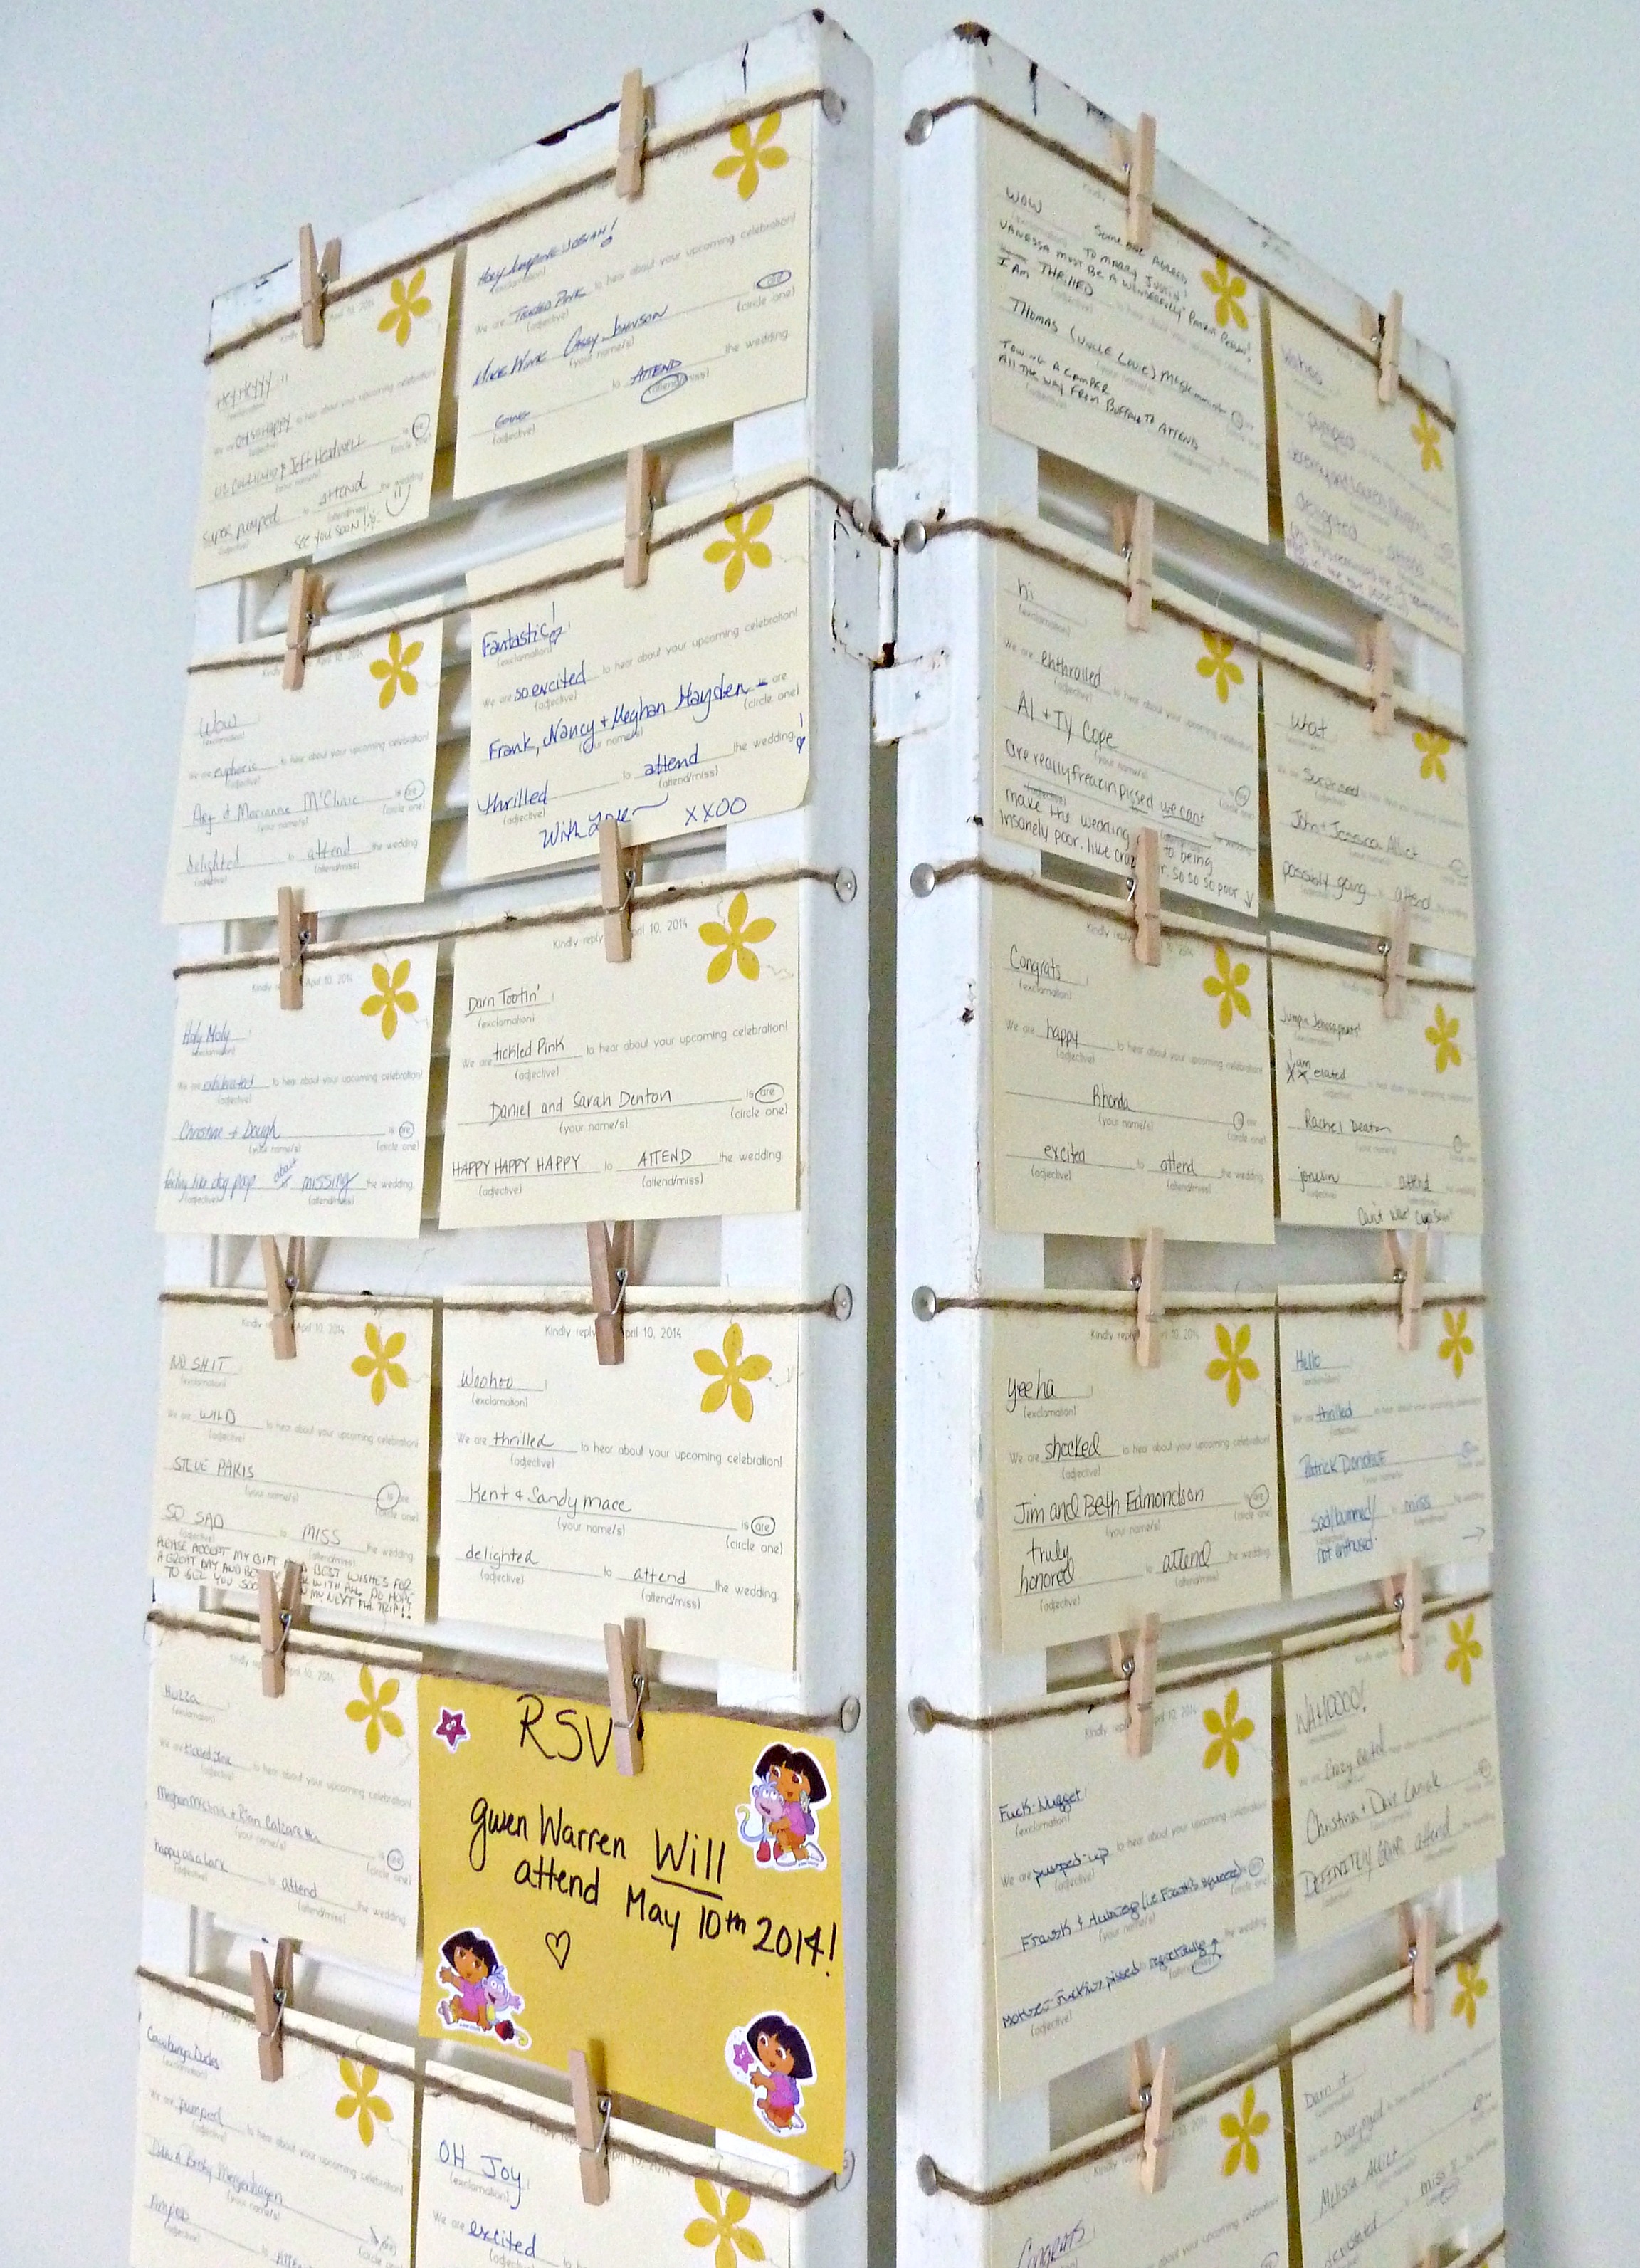
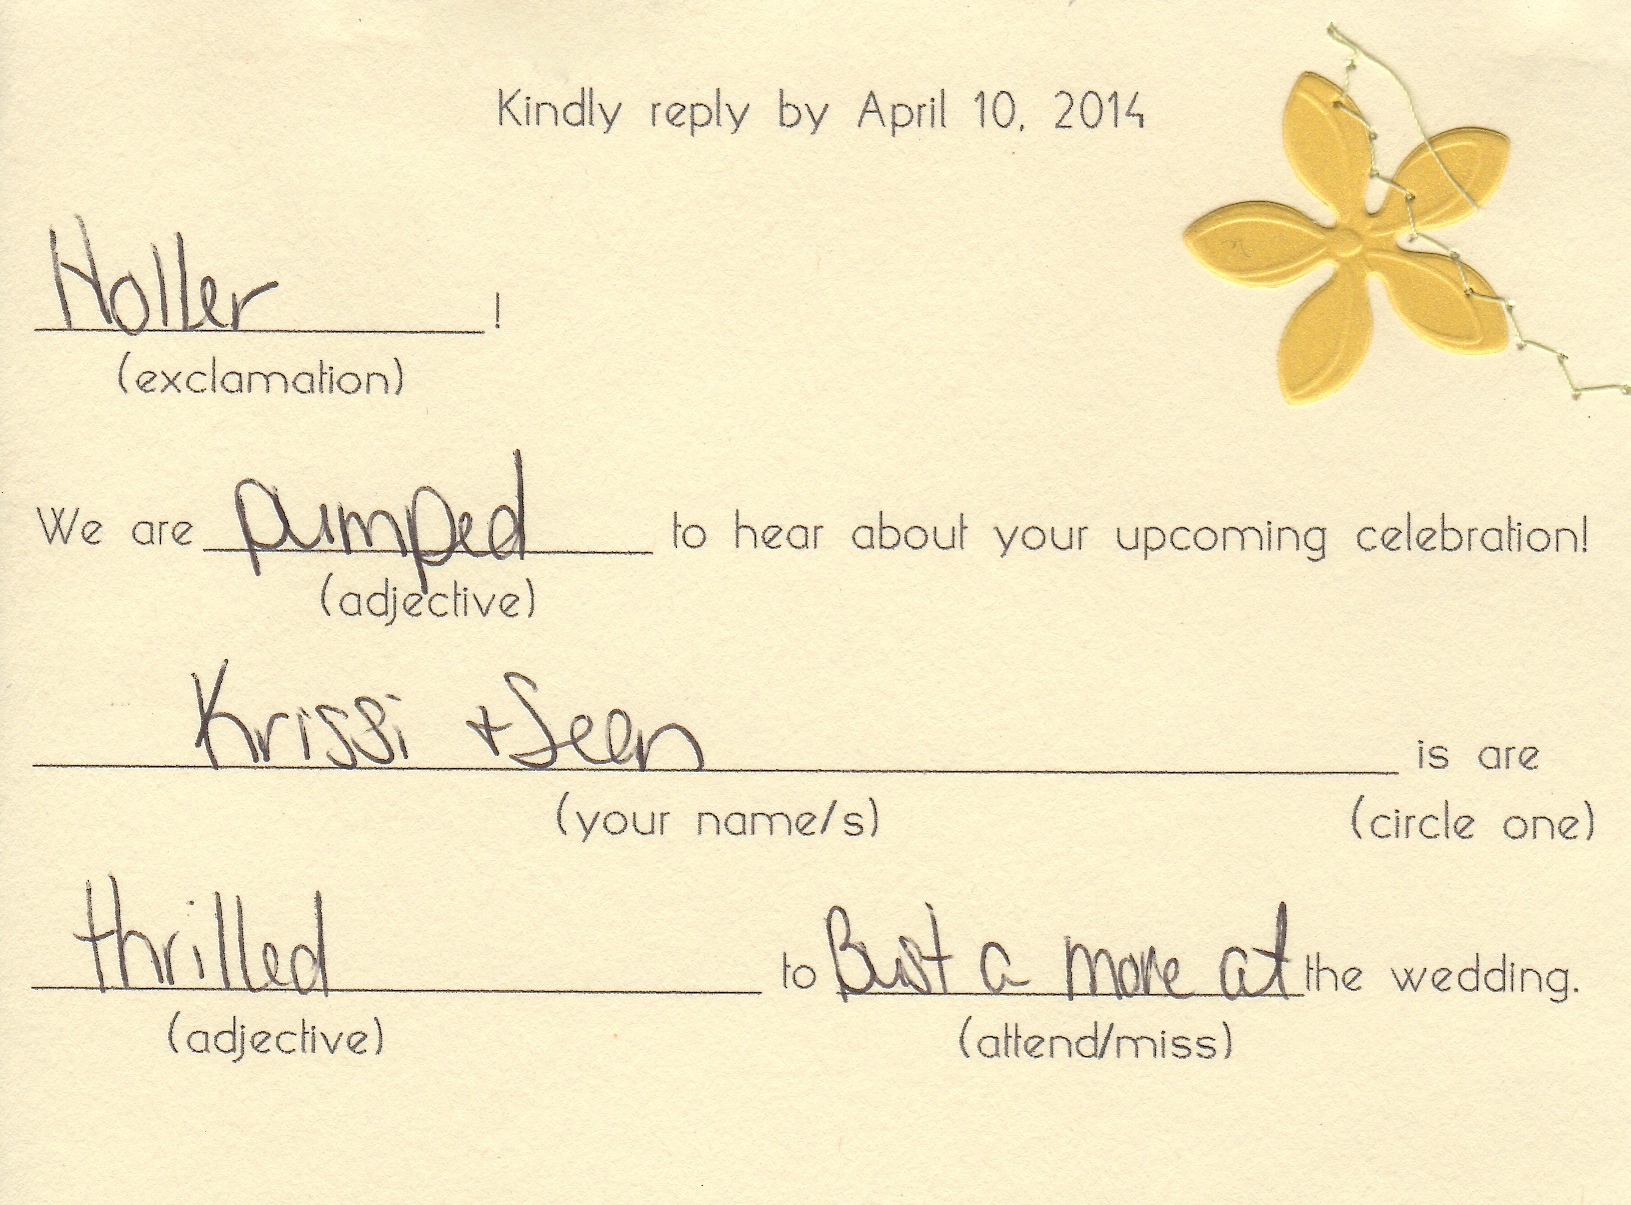
Going into planning our wedding, I thought it would be a lot of work, but it was more than a lot. You have to think of every detail, I mean EVERY last detail. You have to plan everything from the food, to the music, to bathroom arrangements, even things as simple as where people will put their cards. Don’t get me wrong a lot of these things are fun to put together, but it can be a lot all at once. Plus, I am not the type of girl who dreamed about my wedding day since I was born. I didn’t really have a good idea of what I wanted in a wedding, so I started from scratch.
Anywho, this post is about a couple more things that I made for the wedding. Just some more artsy-fartsy wedding stuff!
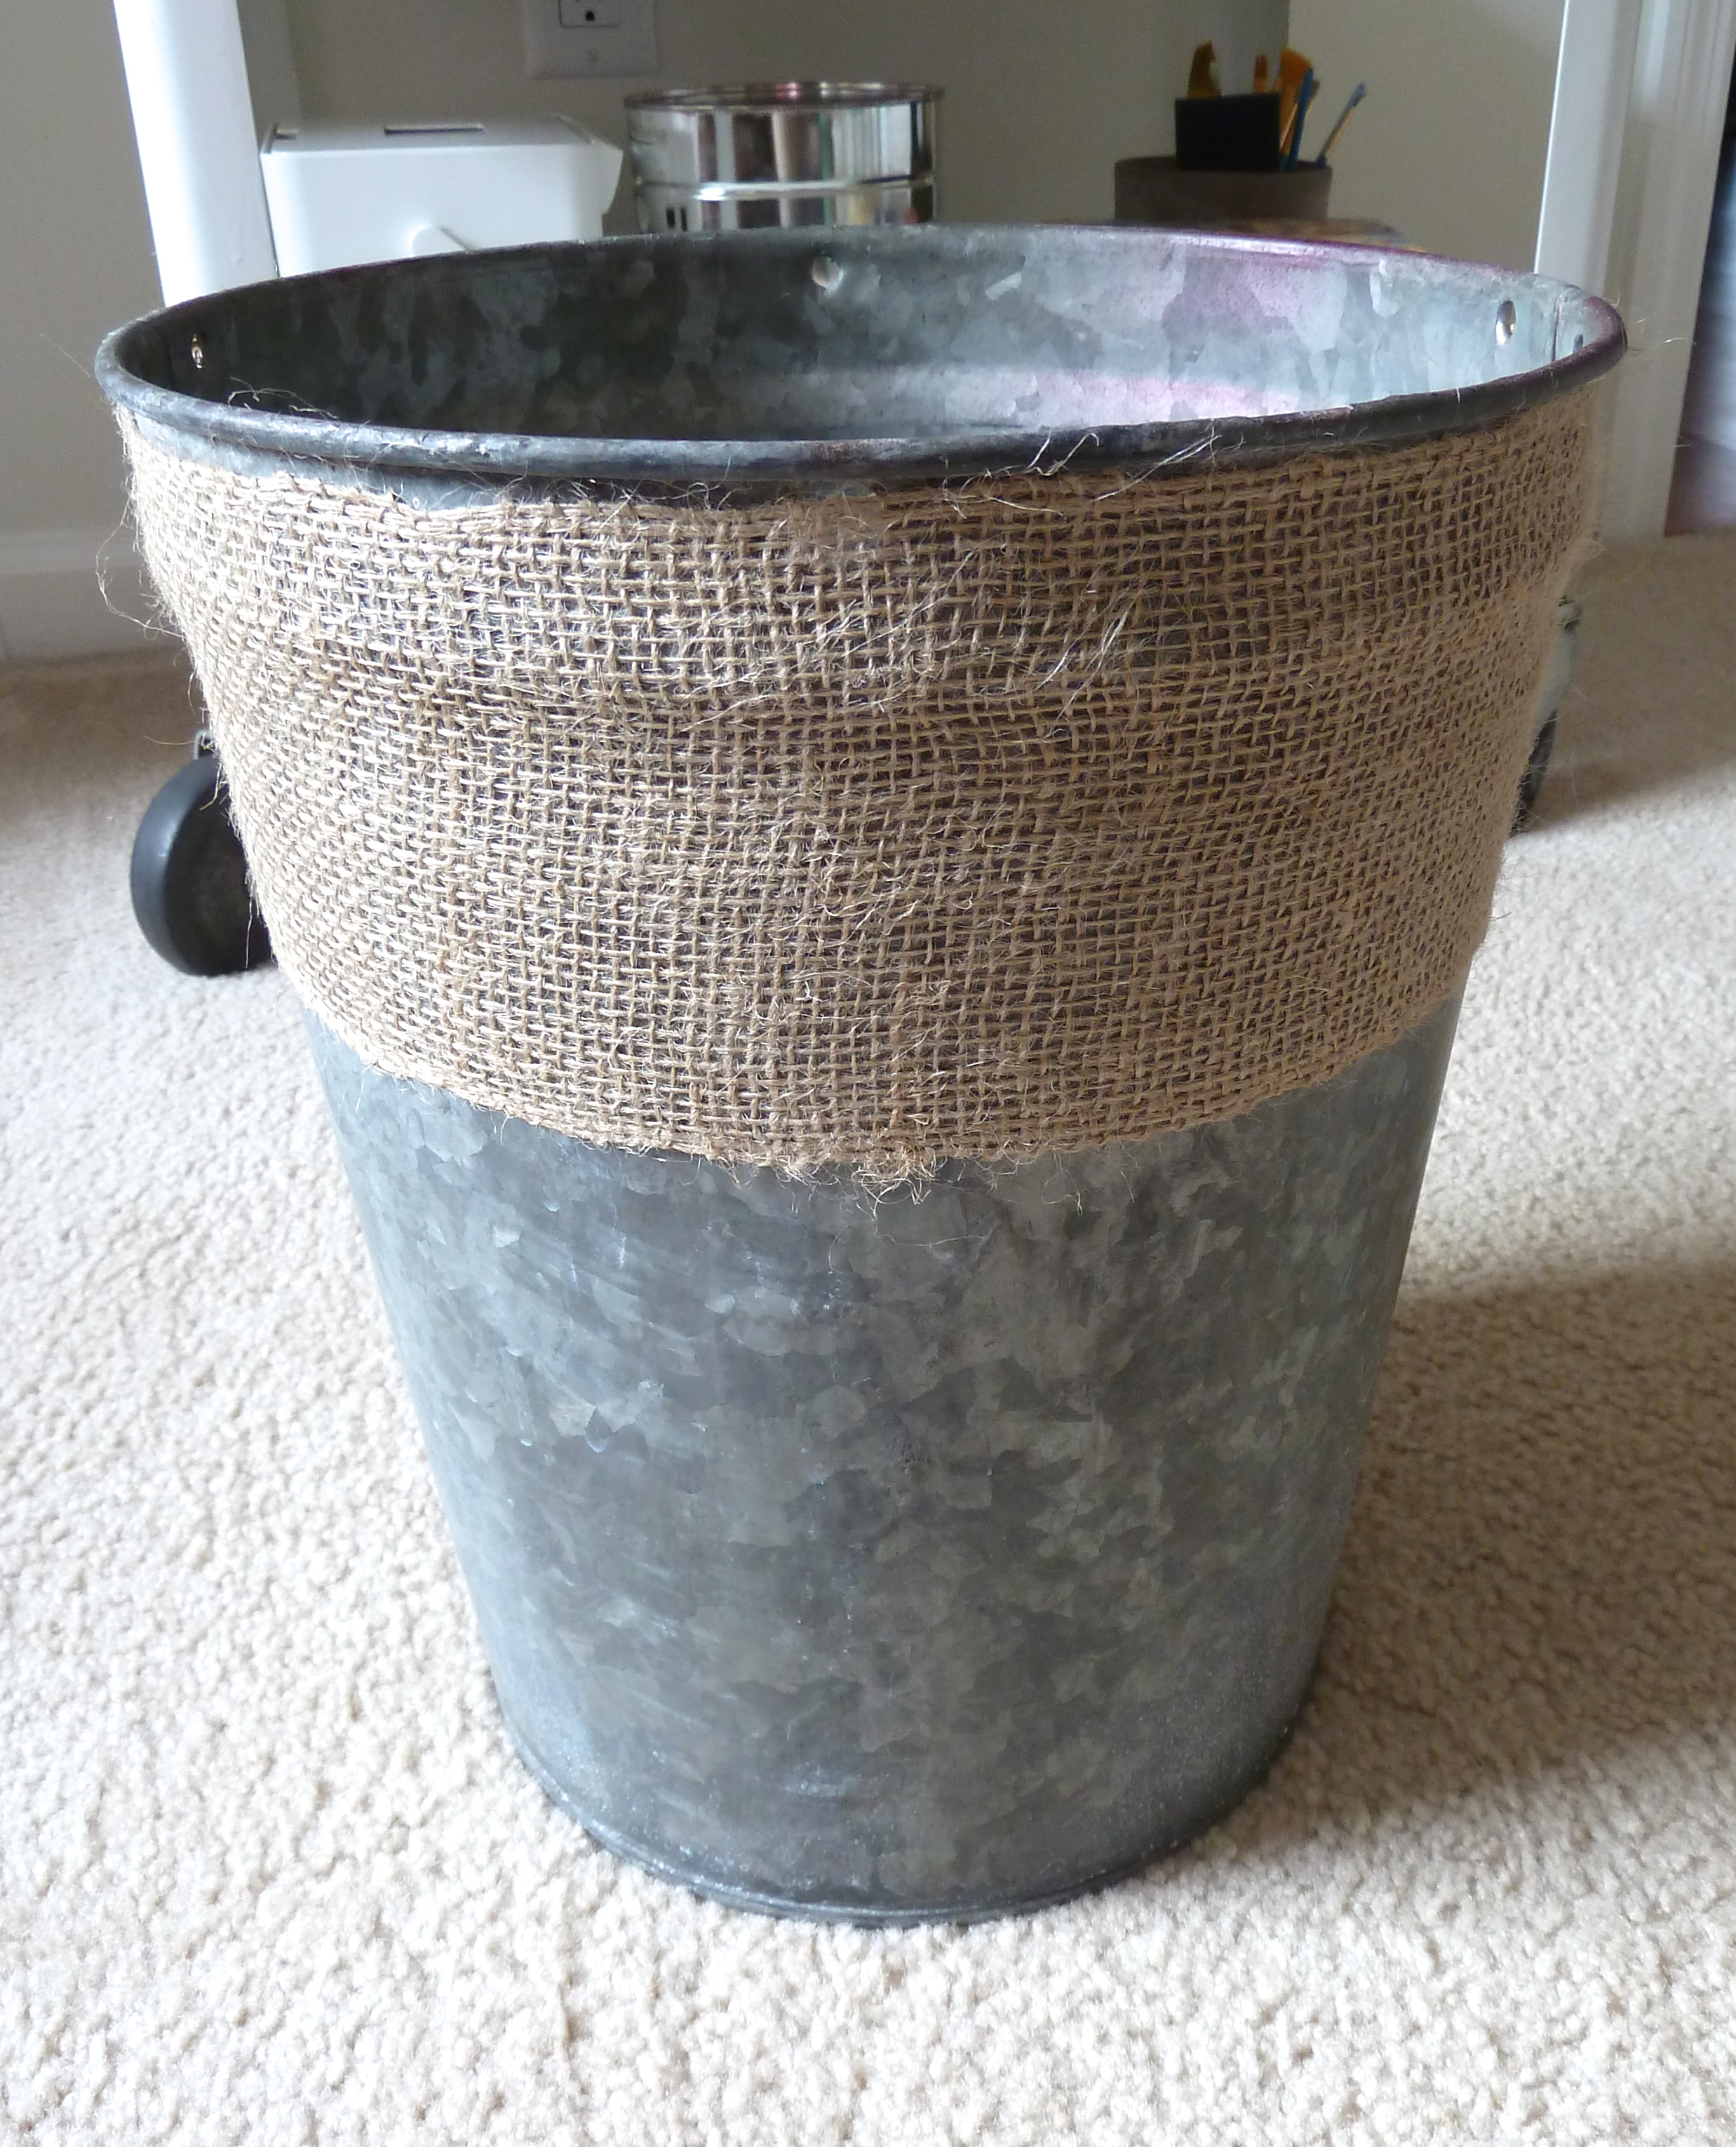
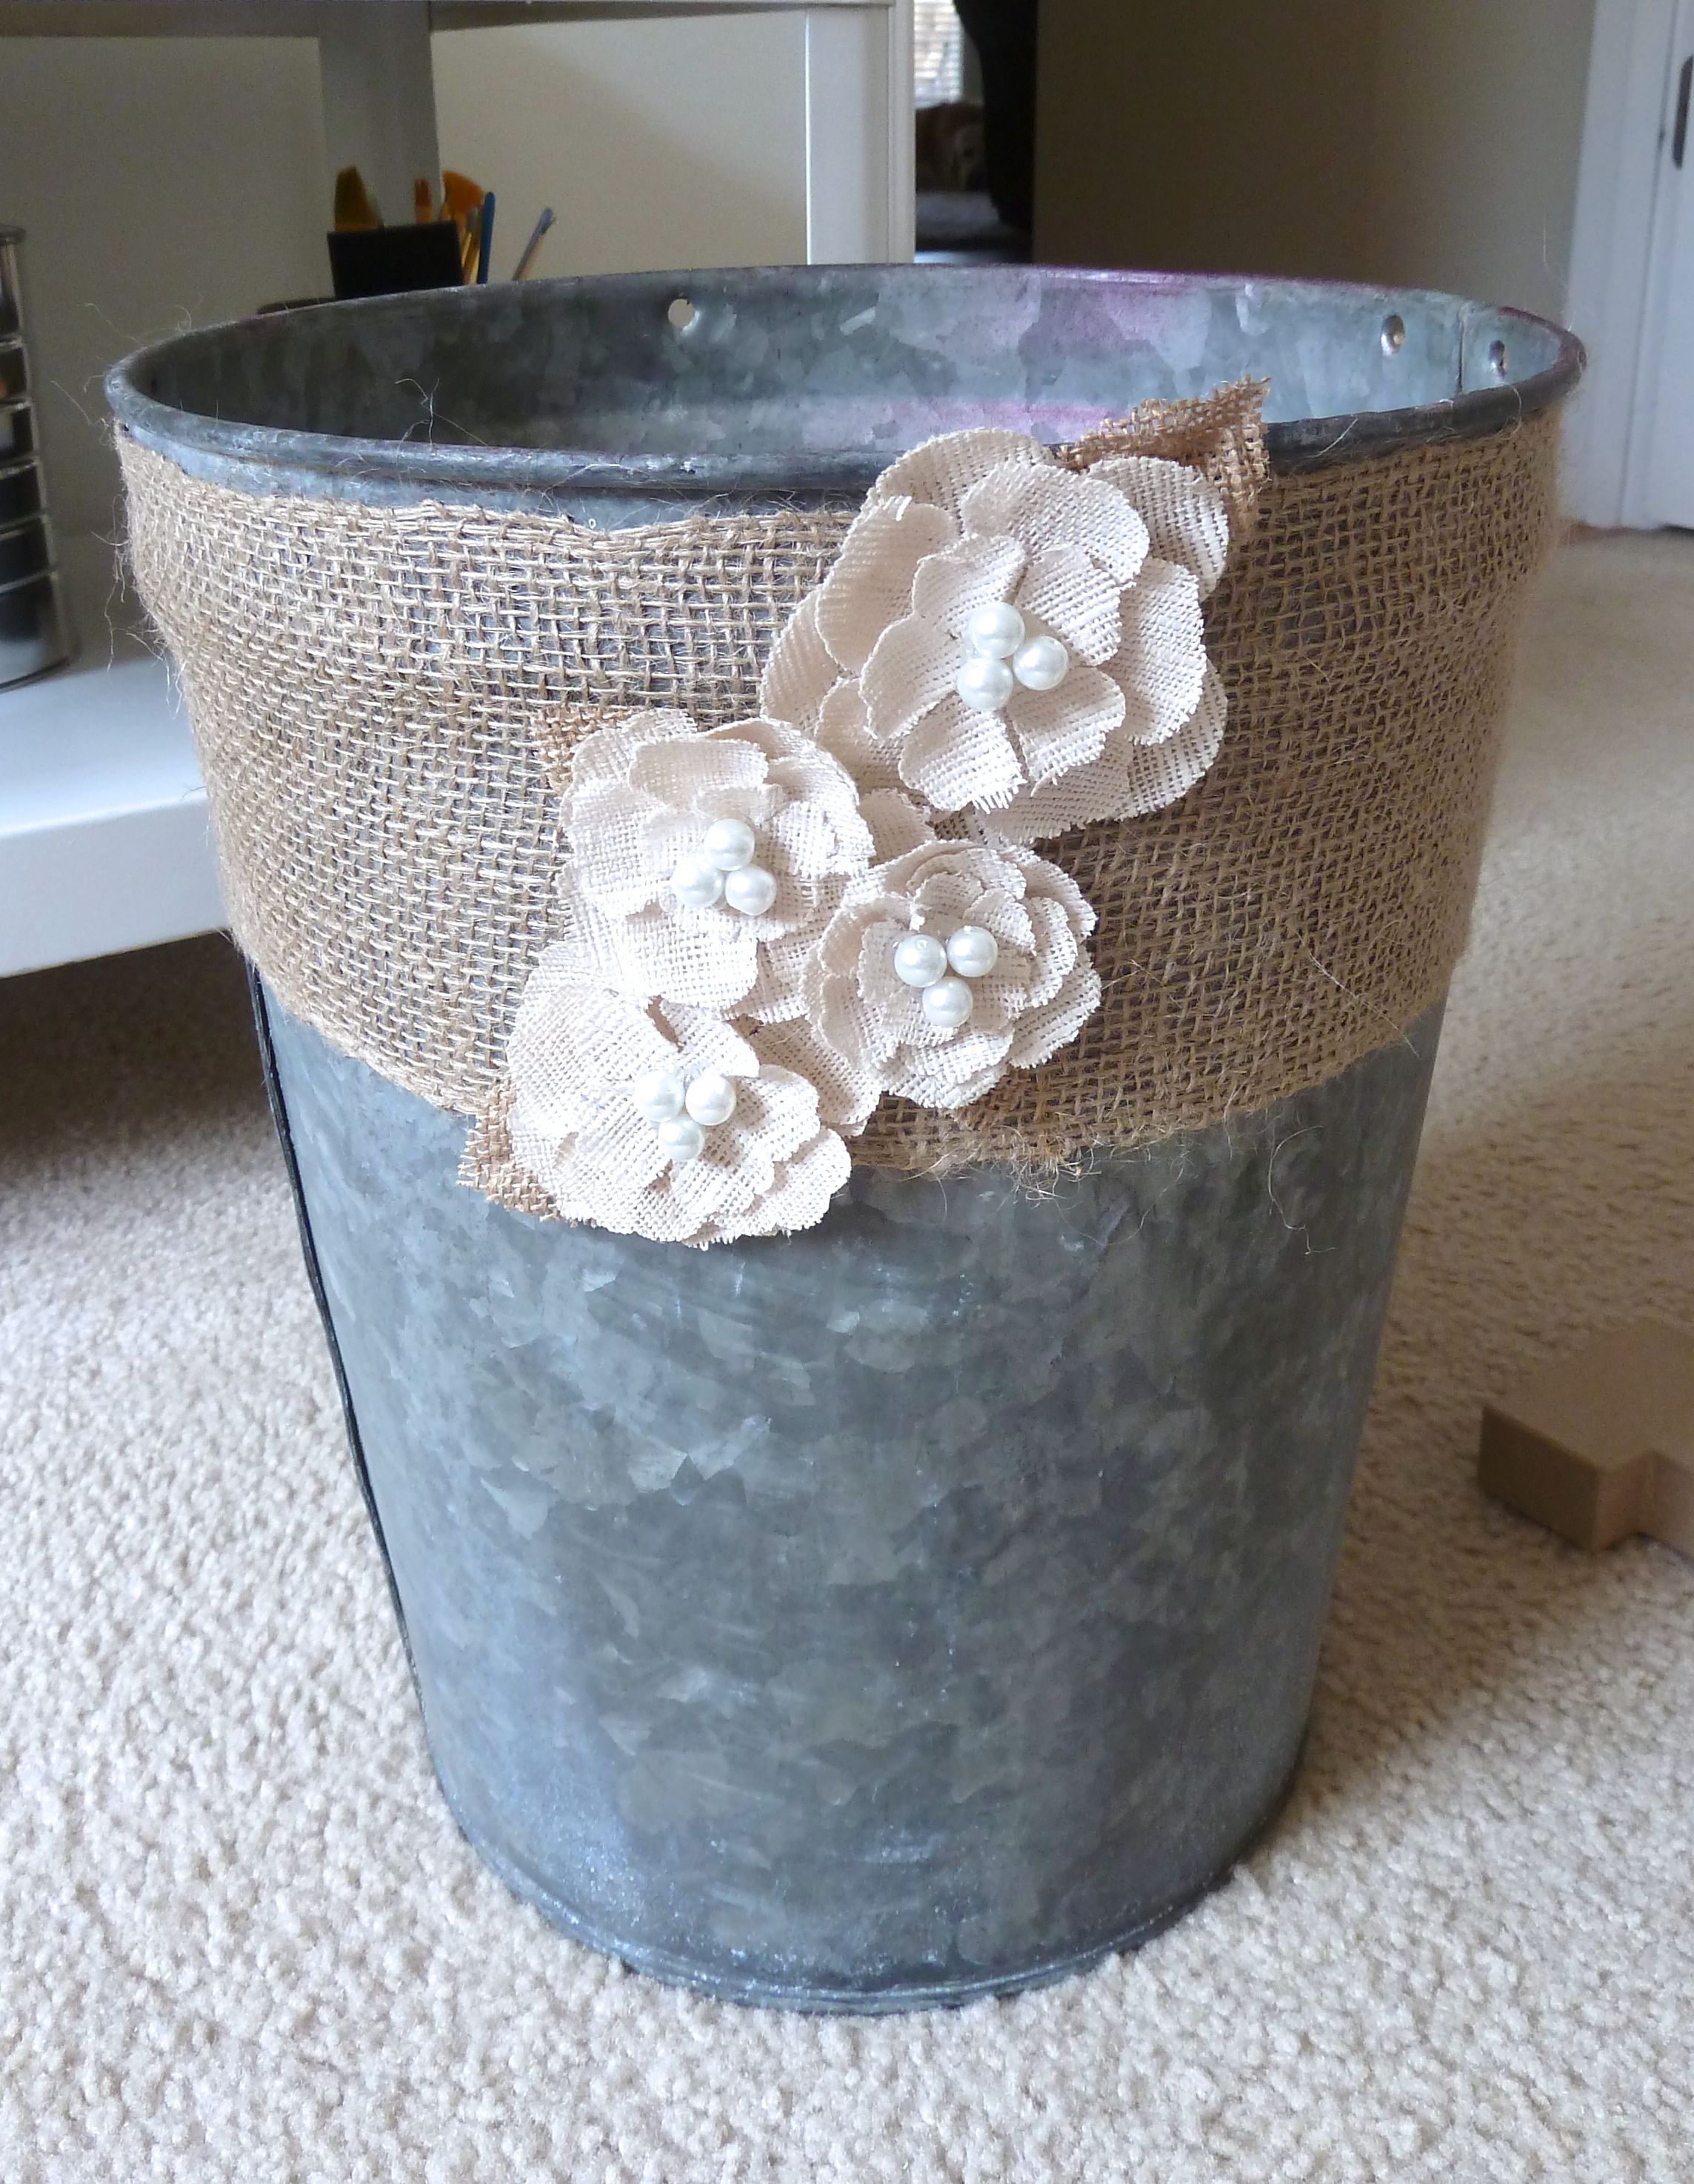
The first project was to find something to hold and display the sparklers that we planned have at the wedding. Sandy suggested this galvanized bucket, that she had on hand…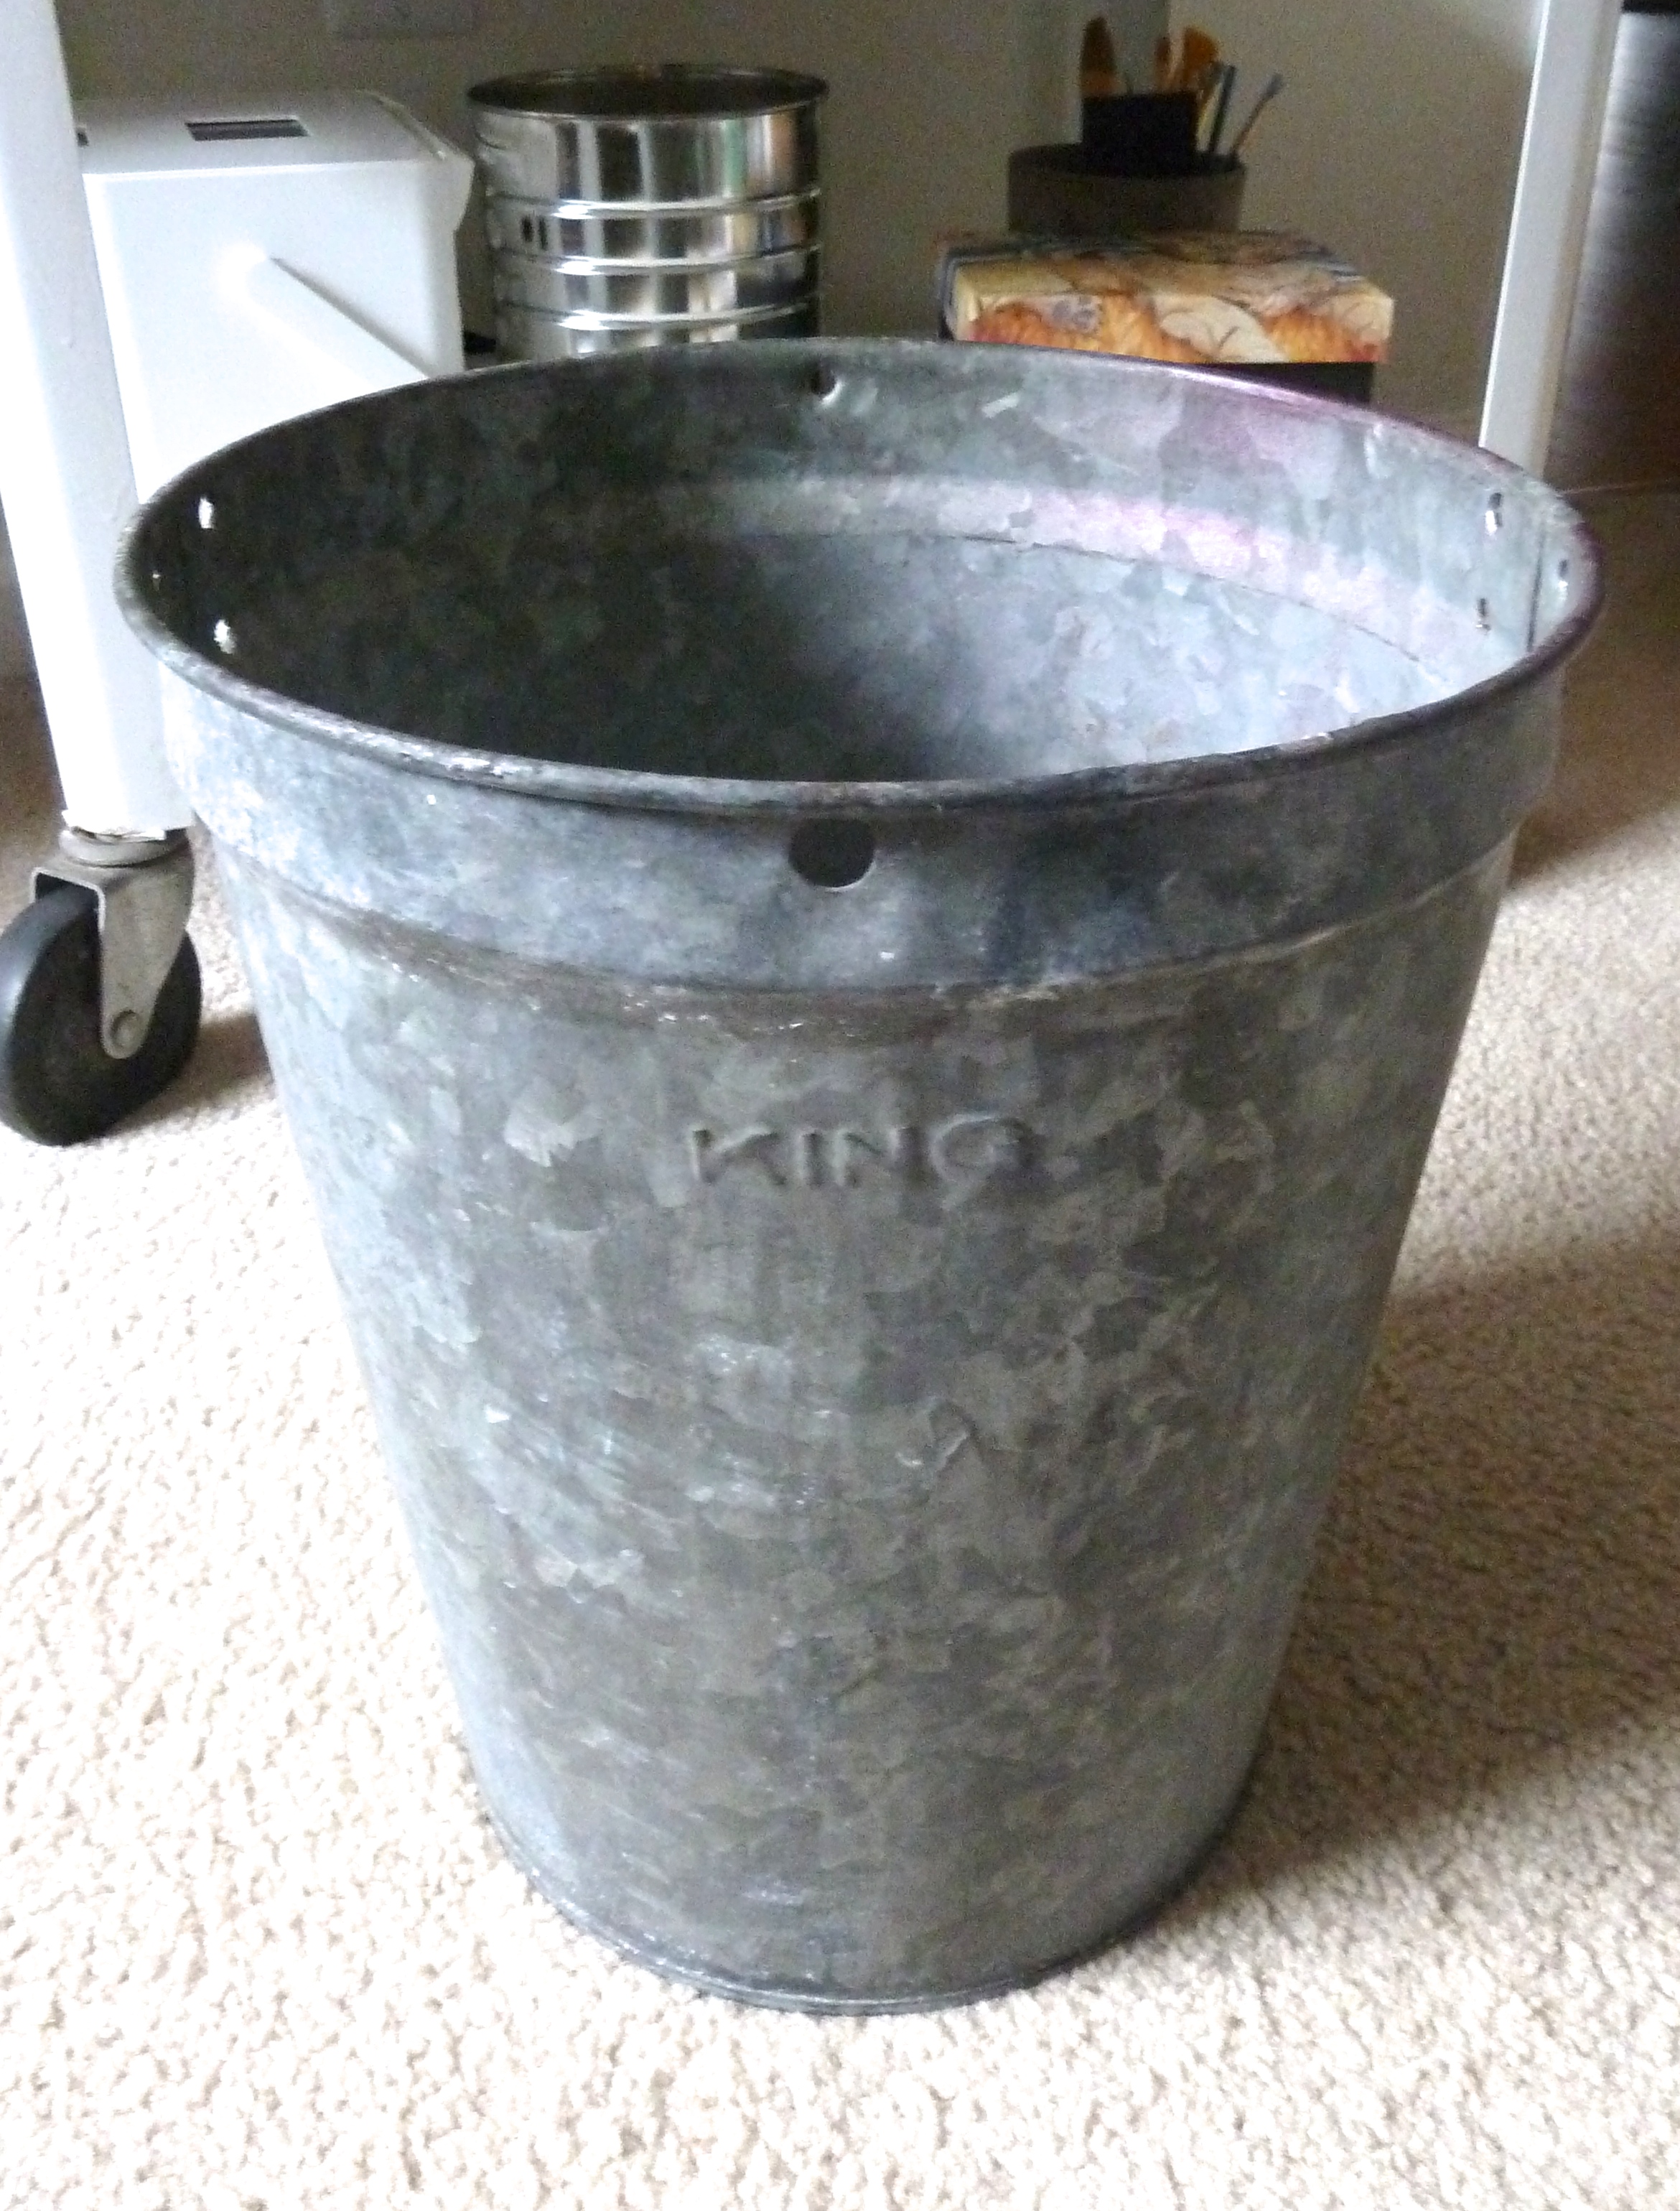
And considering I’m a big fan of anything galvanized, I was on board. Use whatcha got. Amiright, people? Now, to dress it up a bit.
I picked up these little burlap flowers at Michaels a while back for under $5 (can’t remember exactly how much, so that’s a ballpark). I knew I wanted to use them somewhere in the decor for the wedding. How about on a galvanized sparkler tin? Huzzah!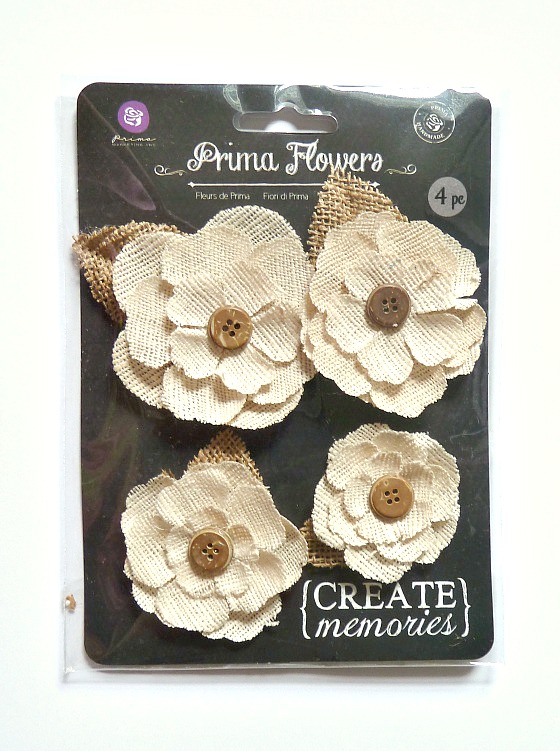 Before I got going, I decided I wasn’t quit digging those buttons. So, I dug around my art room and found a solution…
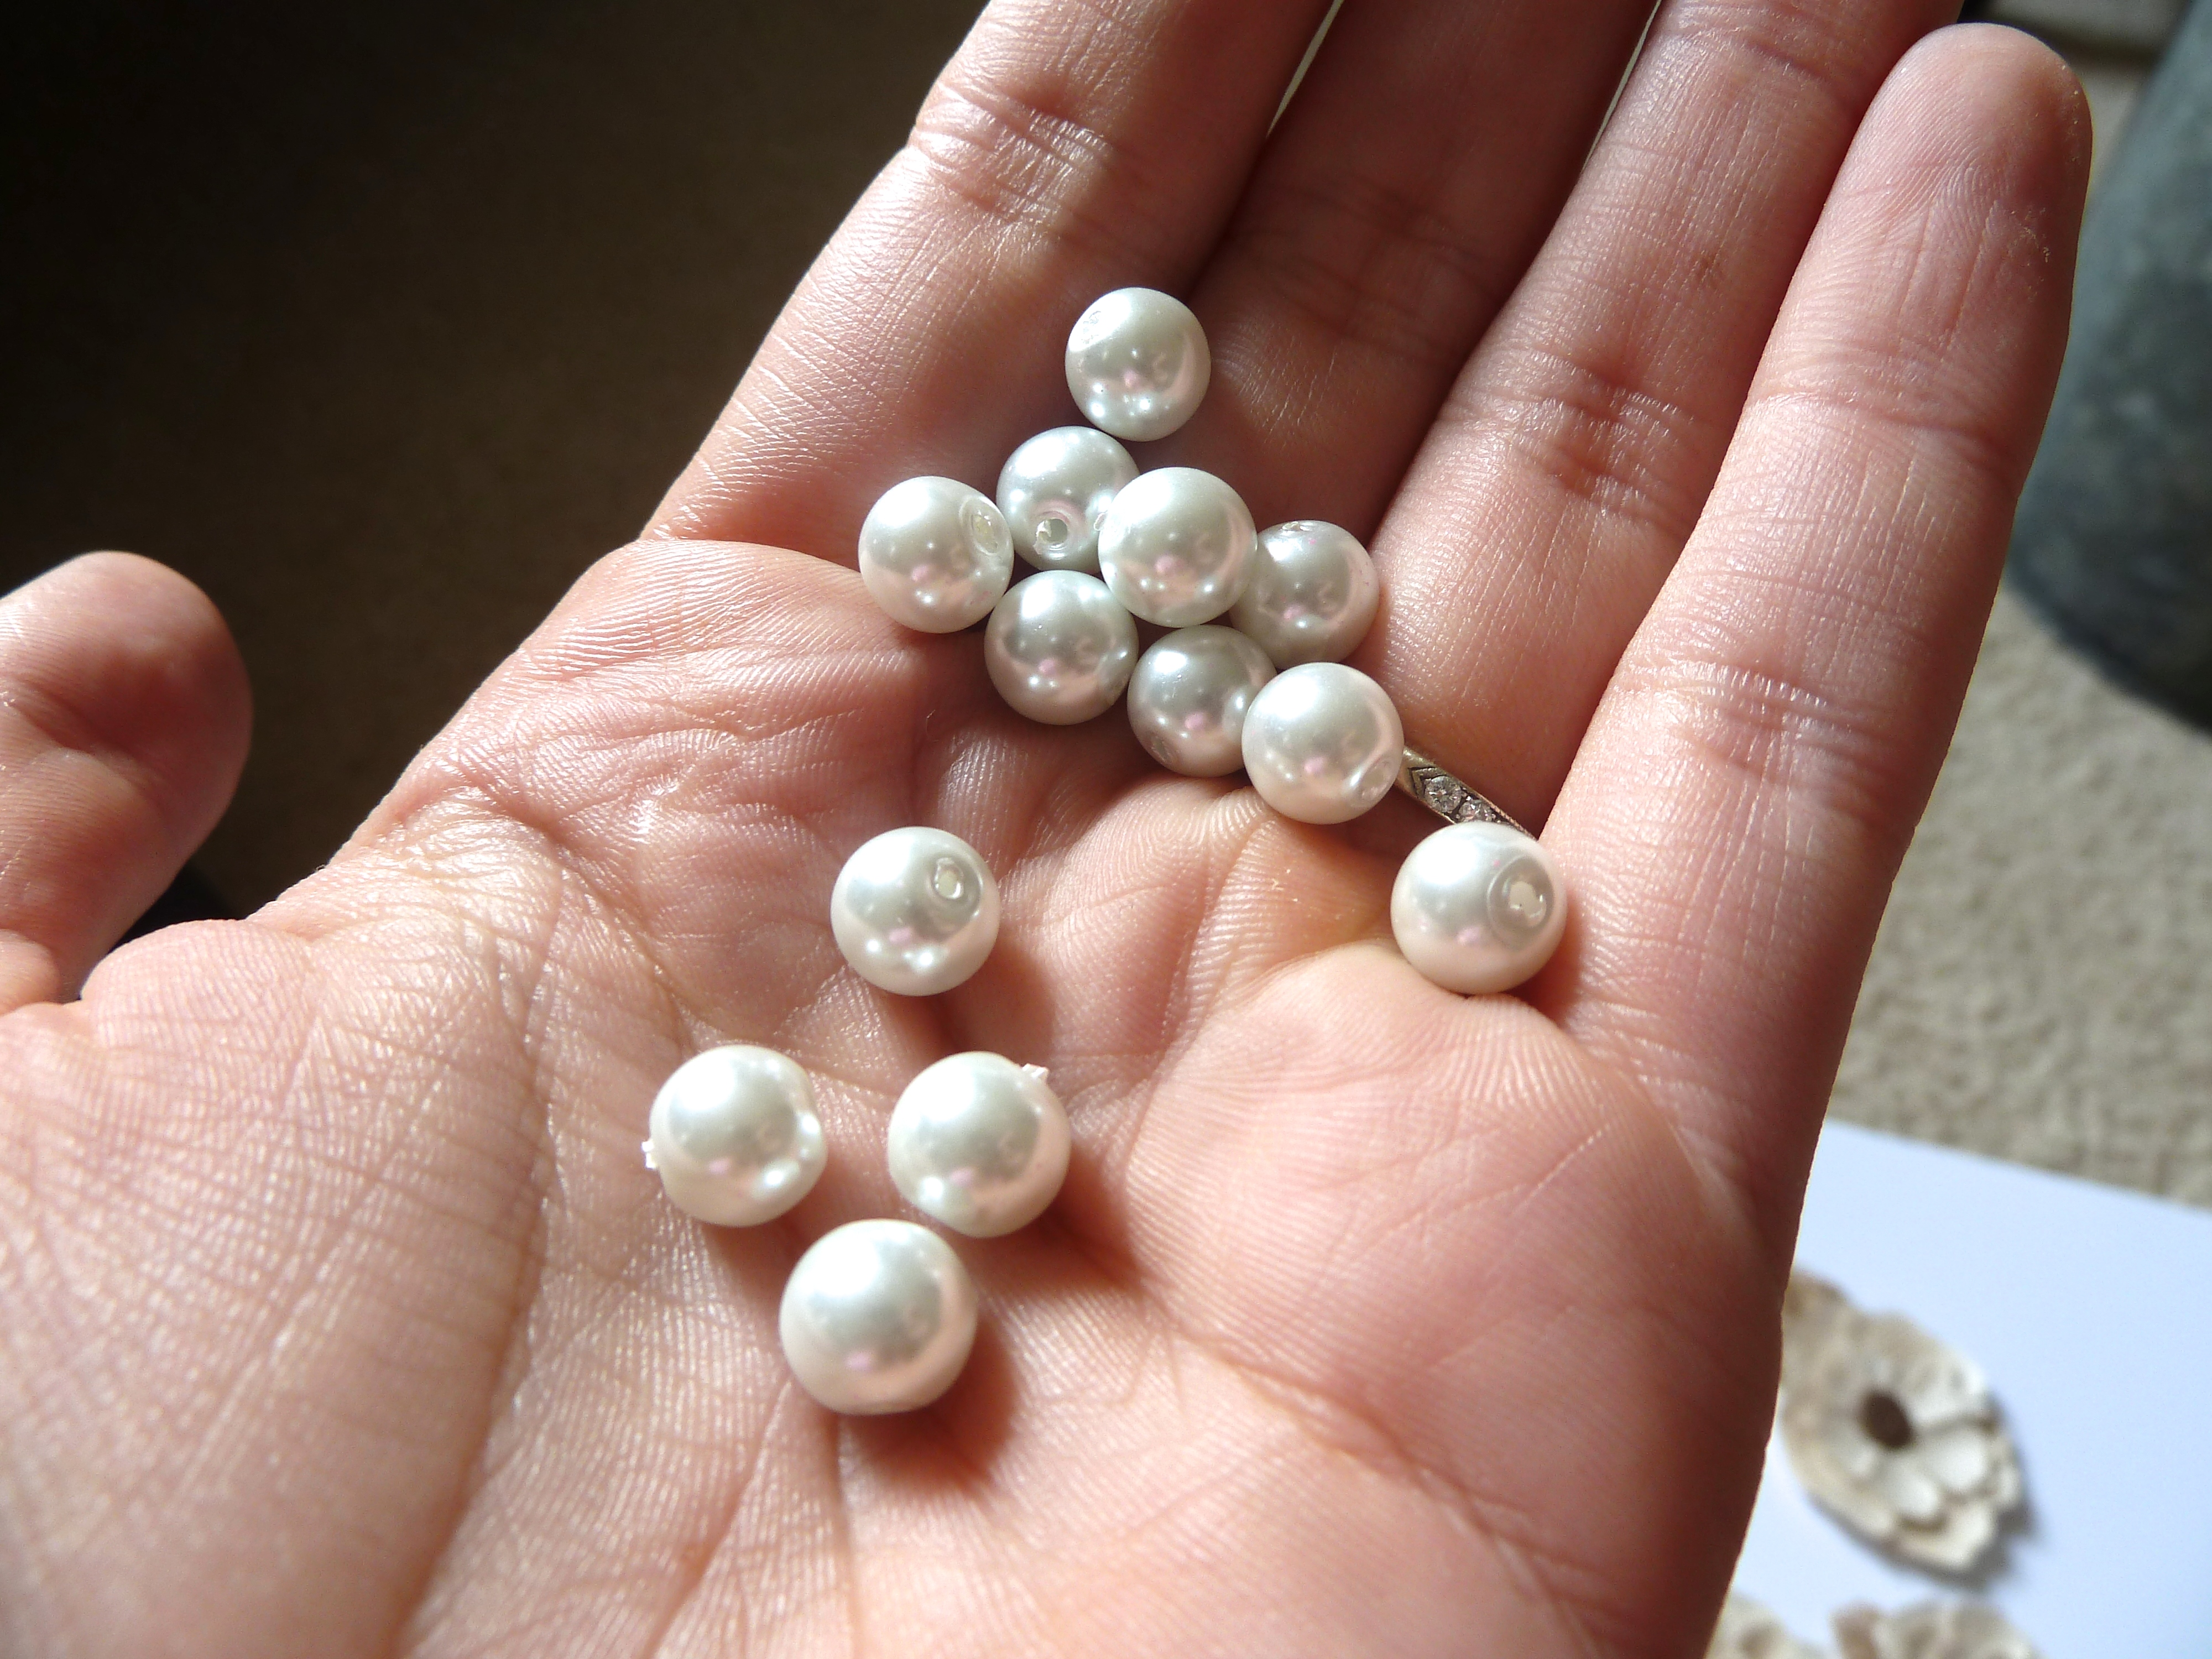 Pearls! They feel a little more “wedding” to me then the buttons.
I pulled the buttons off, and hot glued the pearls on…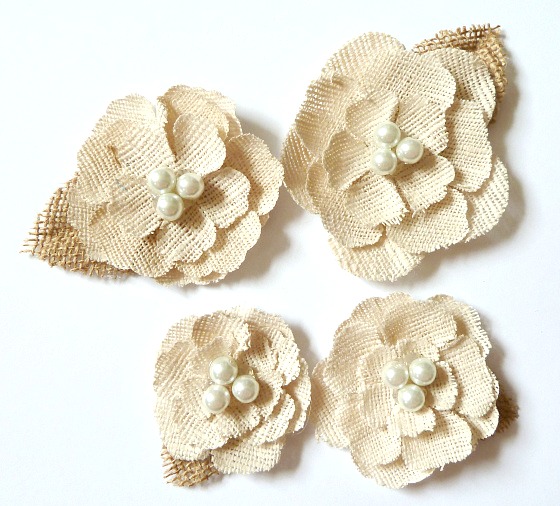 Ah, much better!
I also picked up some thick burlap ribbon for a couple bucks, at Michaels…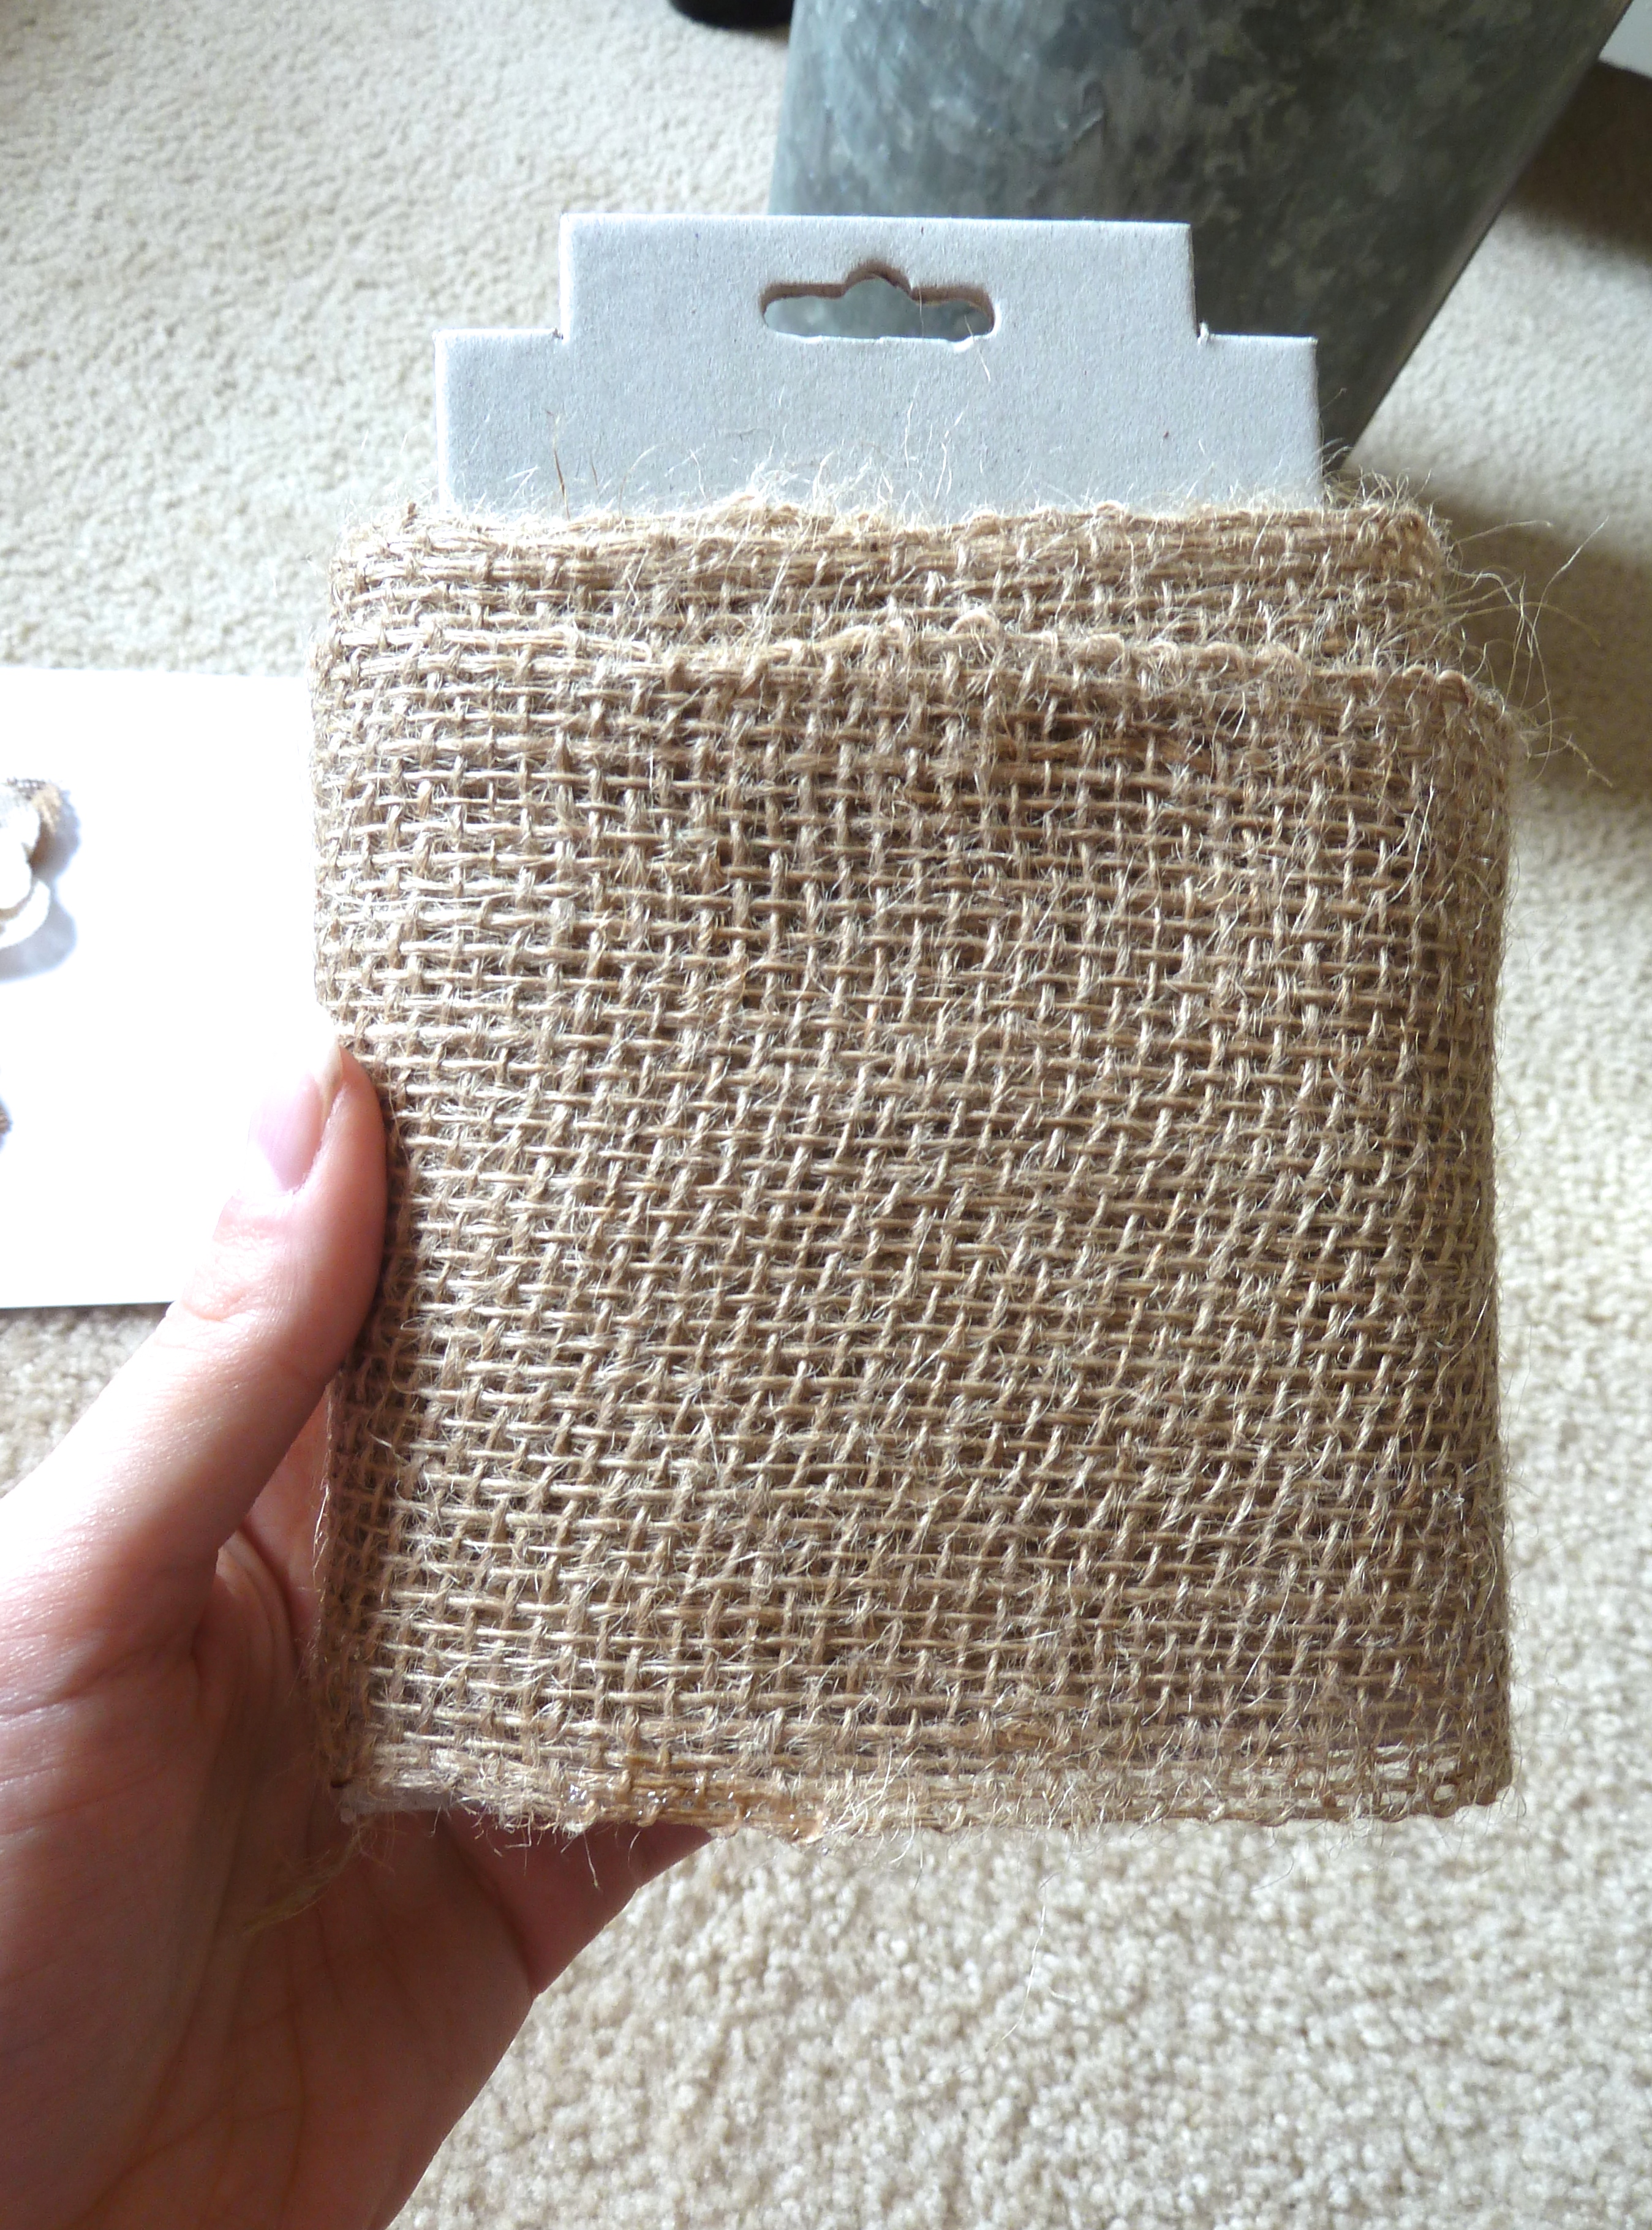 I wrapped the burlap around the top of the bucket, just under the rim and tied it in place…
 As for how I attached it, I just tied it in a knot on the back and cut off the access ribbon.
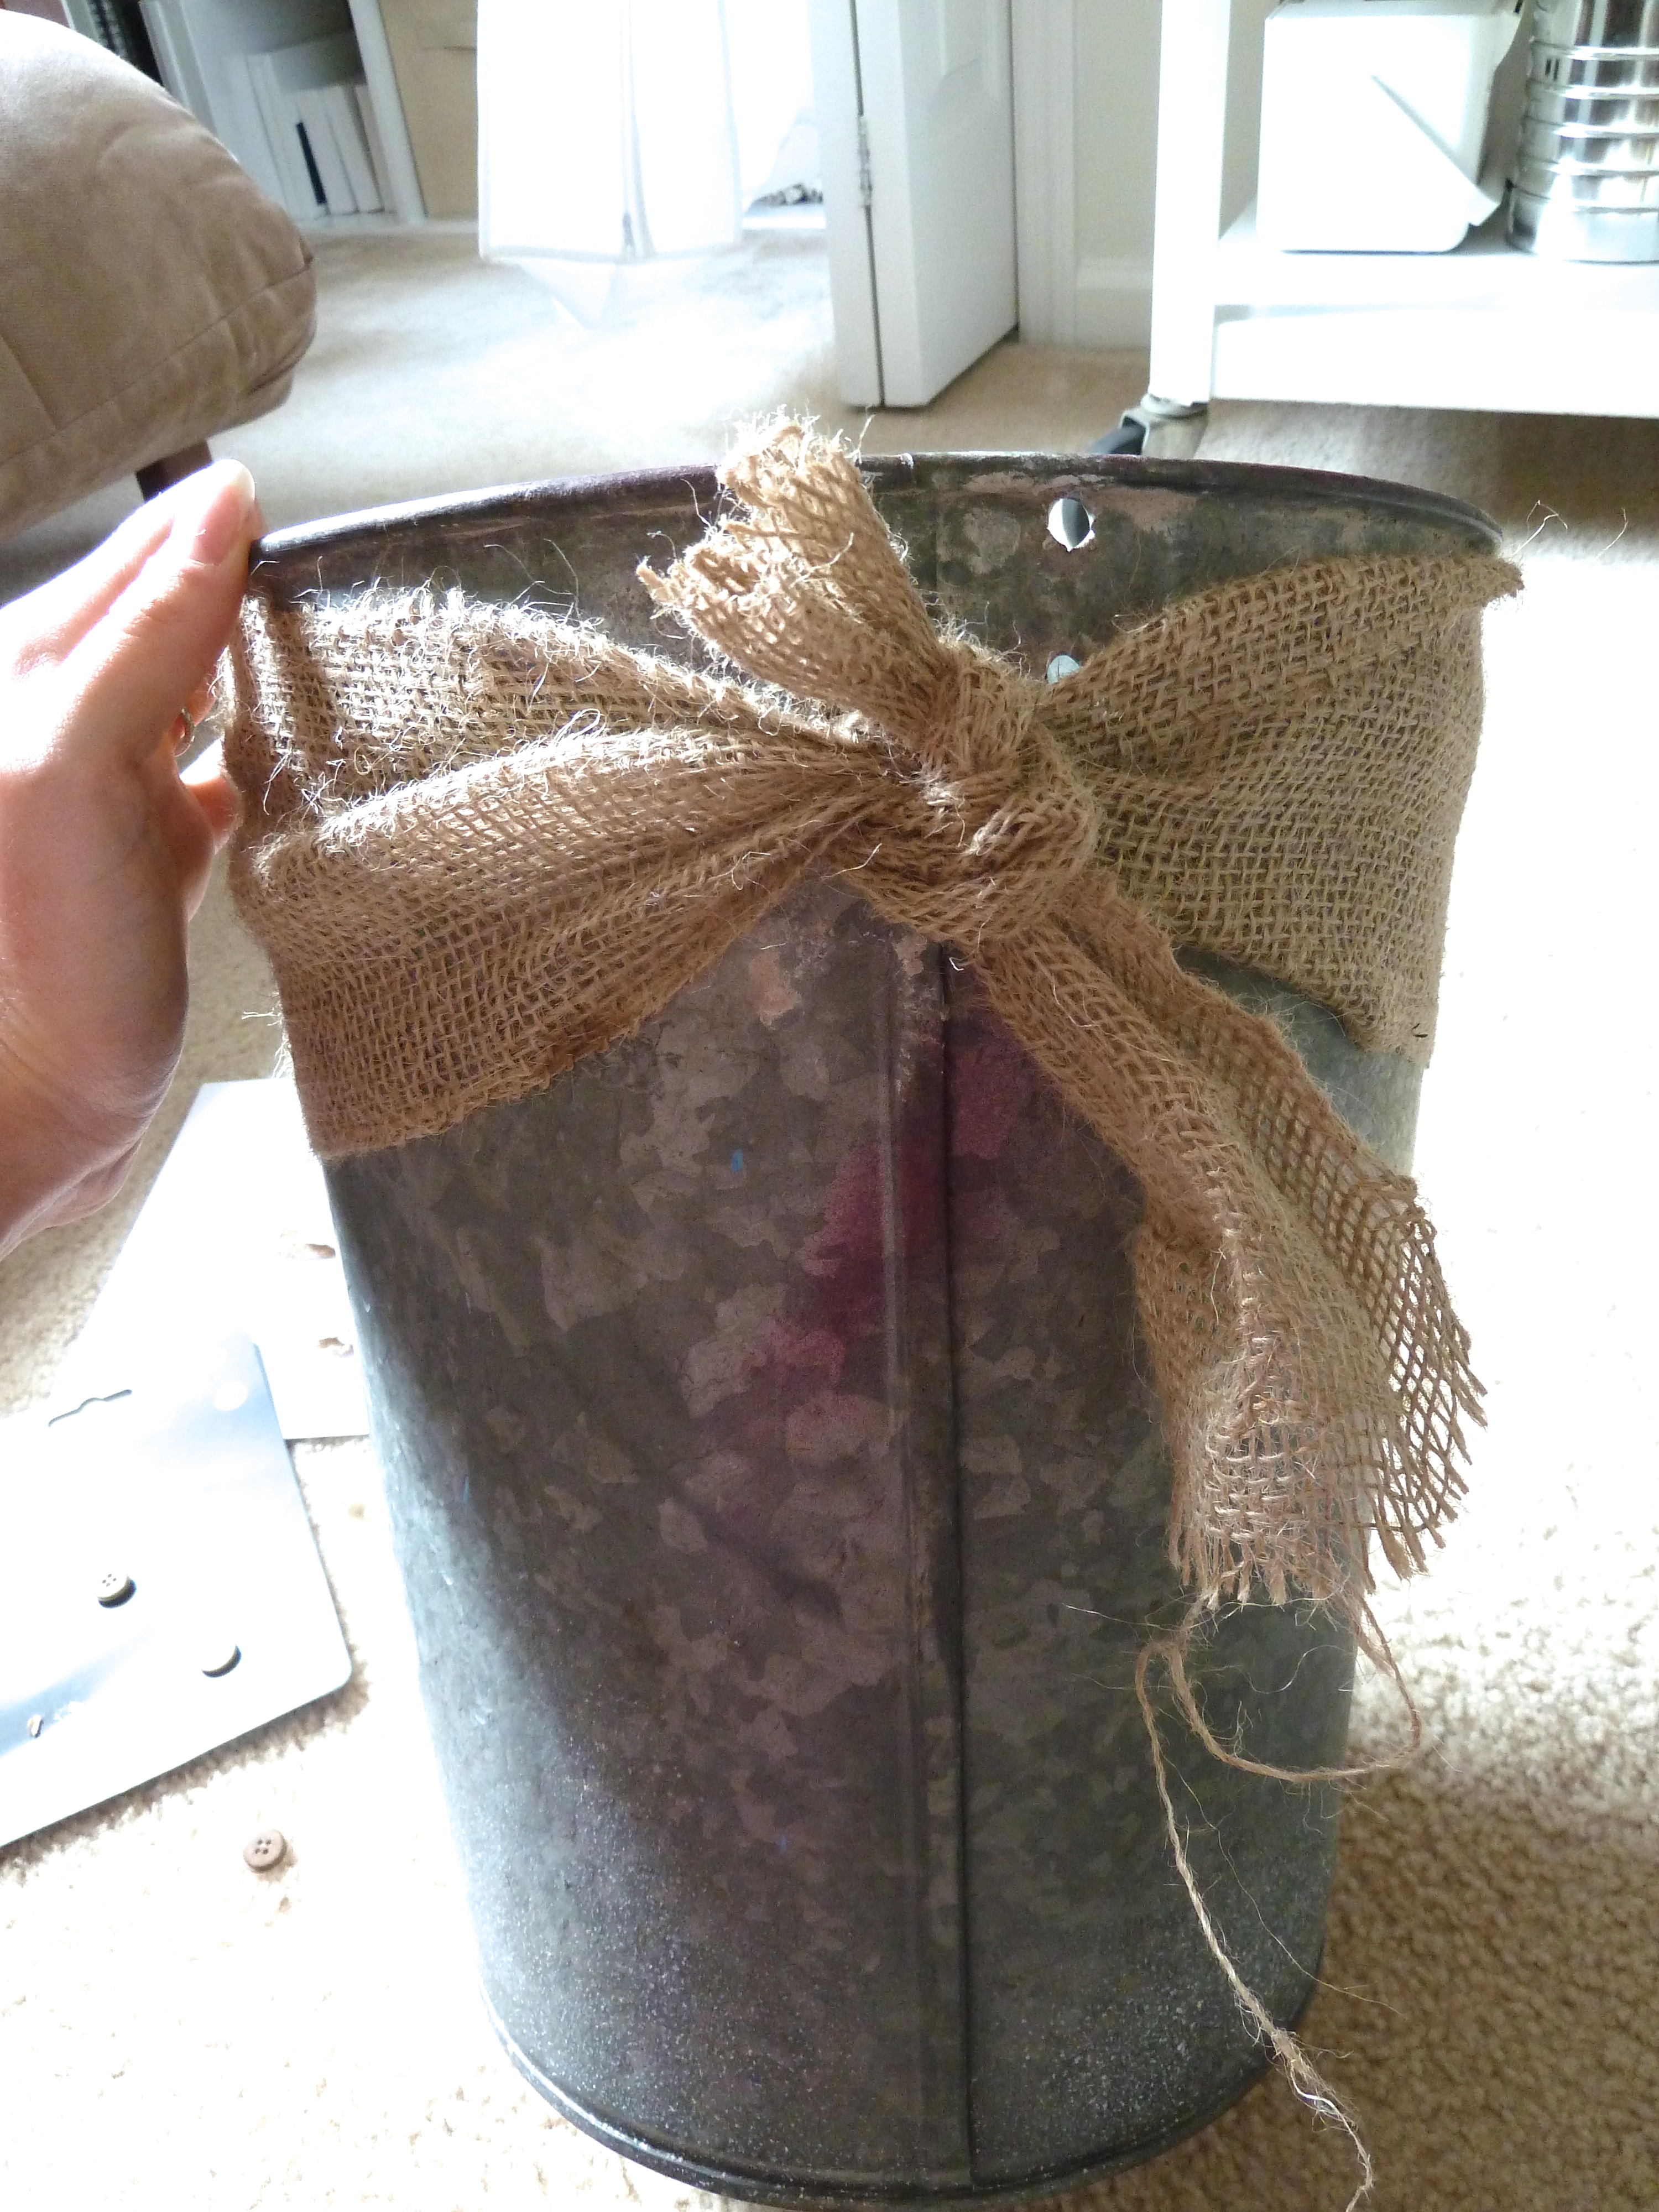 Voila! Then, I hot glued some of my burlap flowers on…
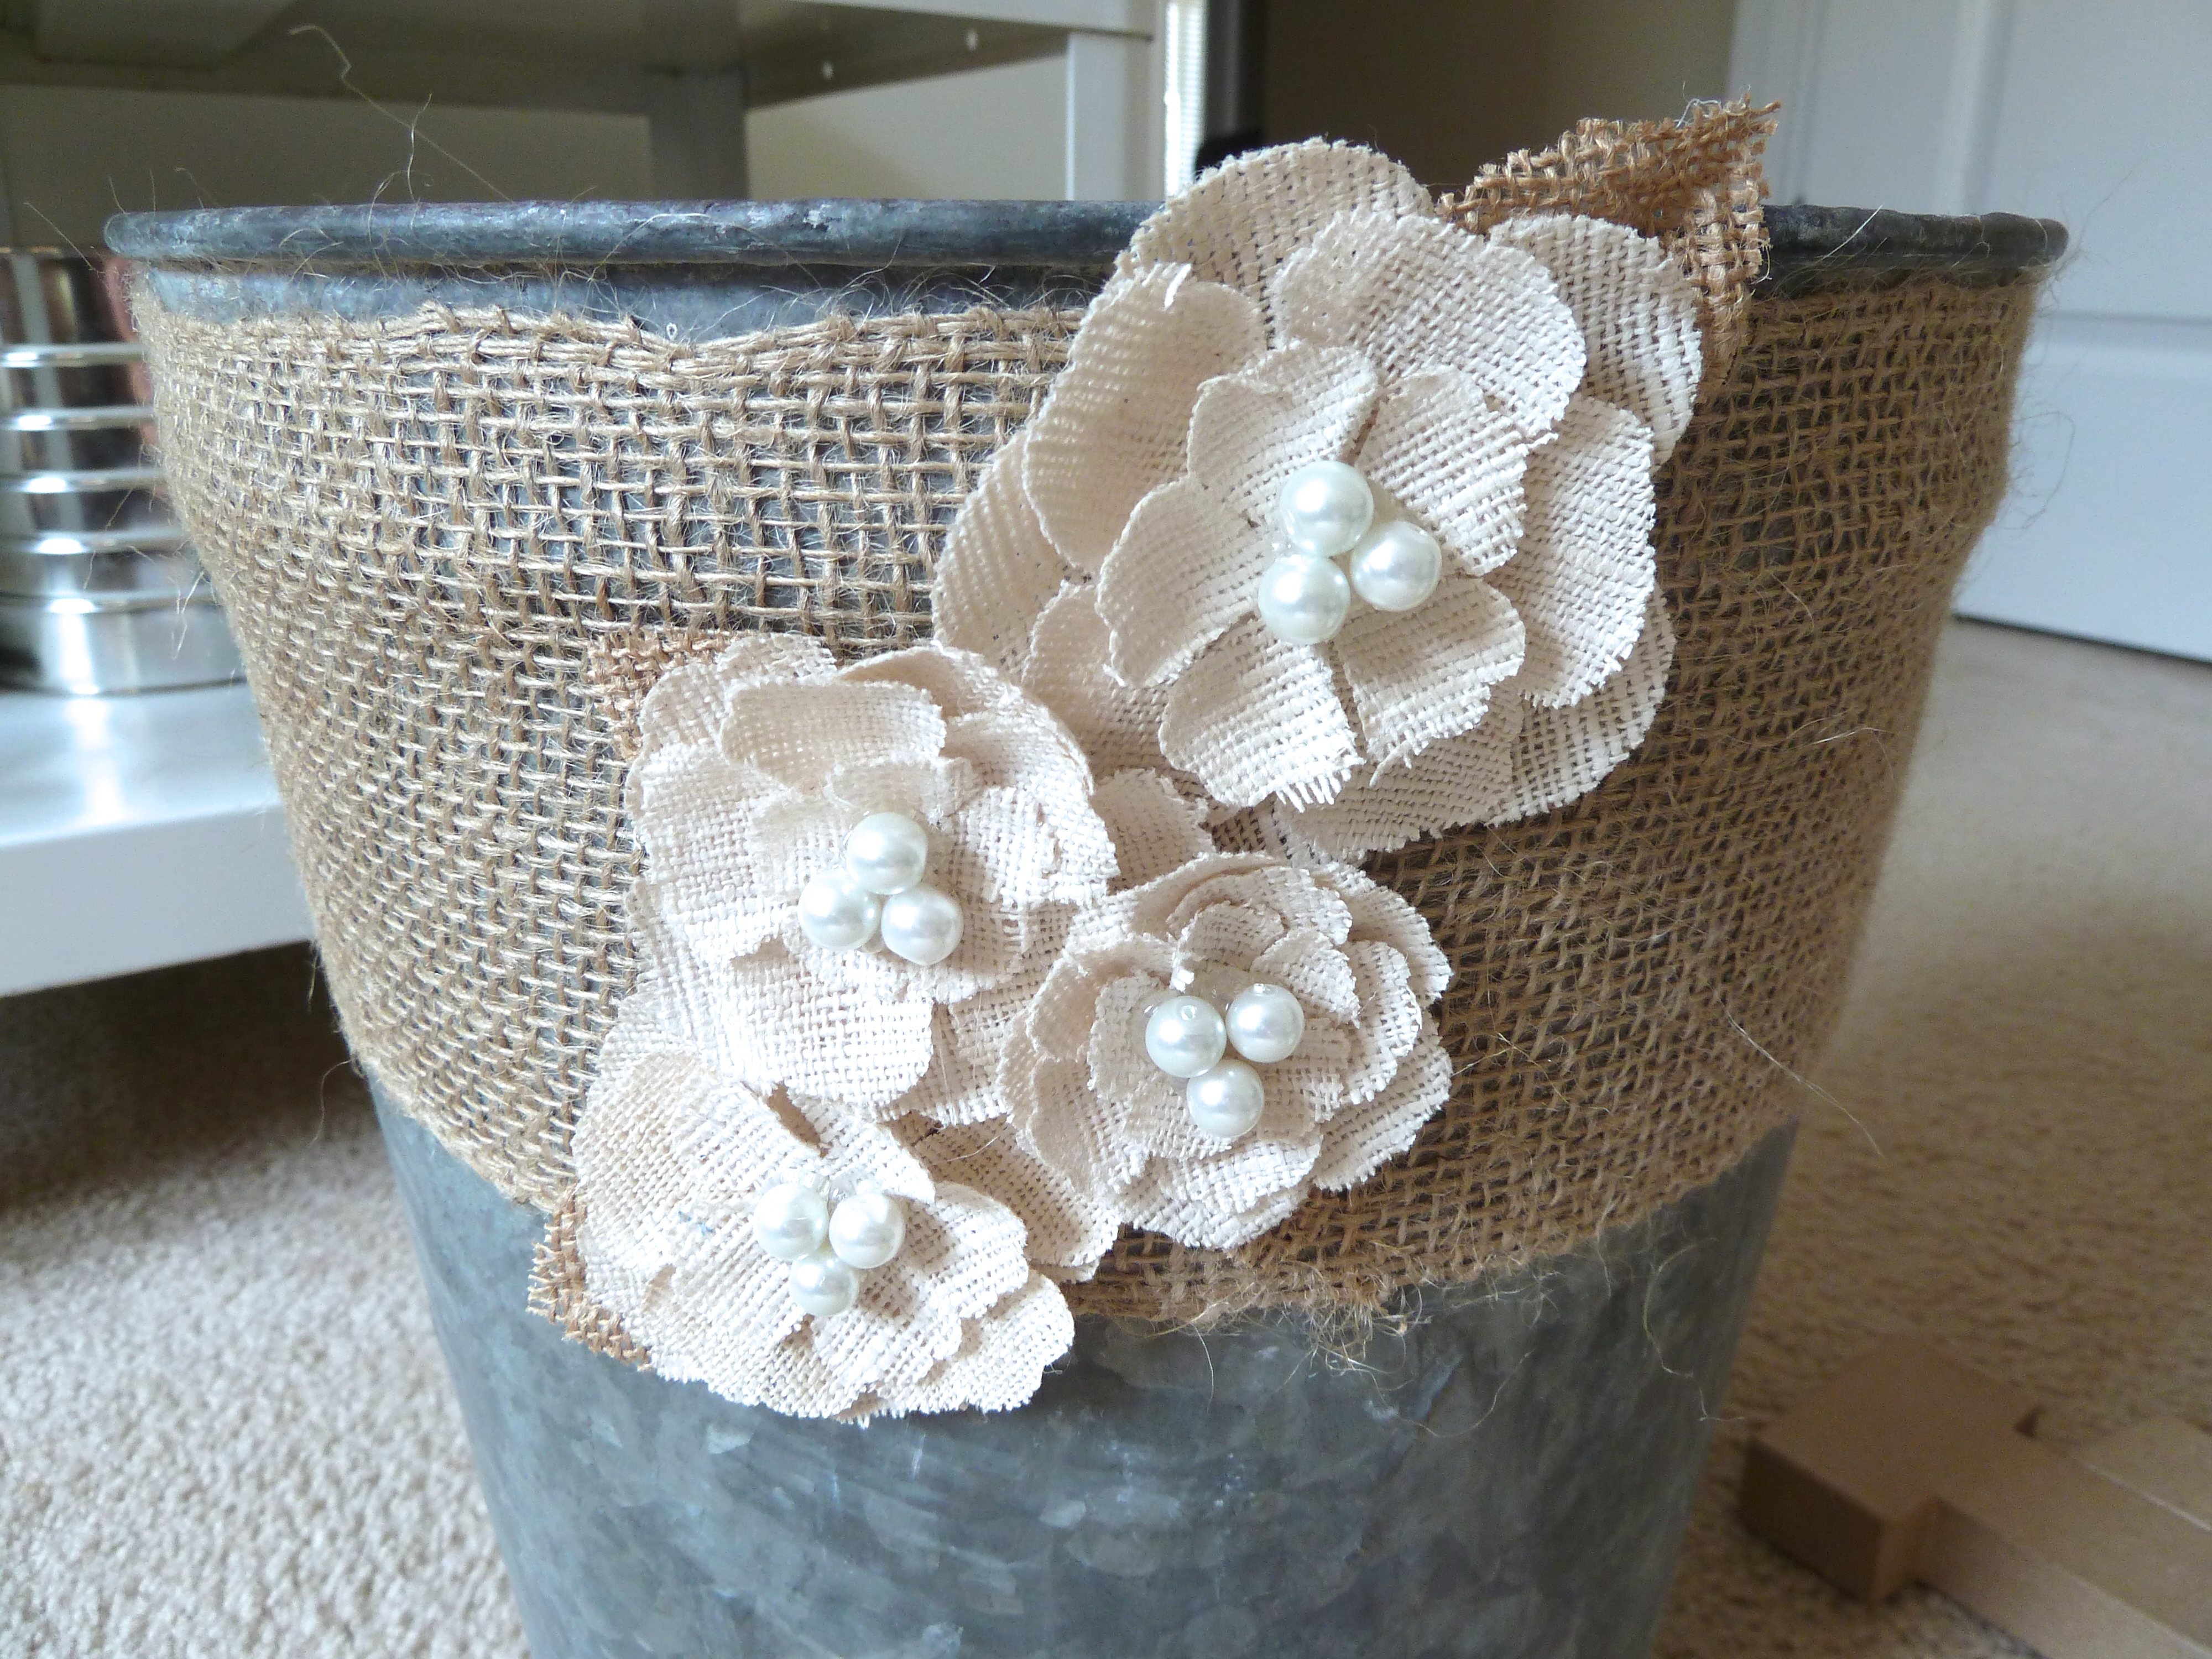 And Boom! Just like that, I had my sparker tin.
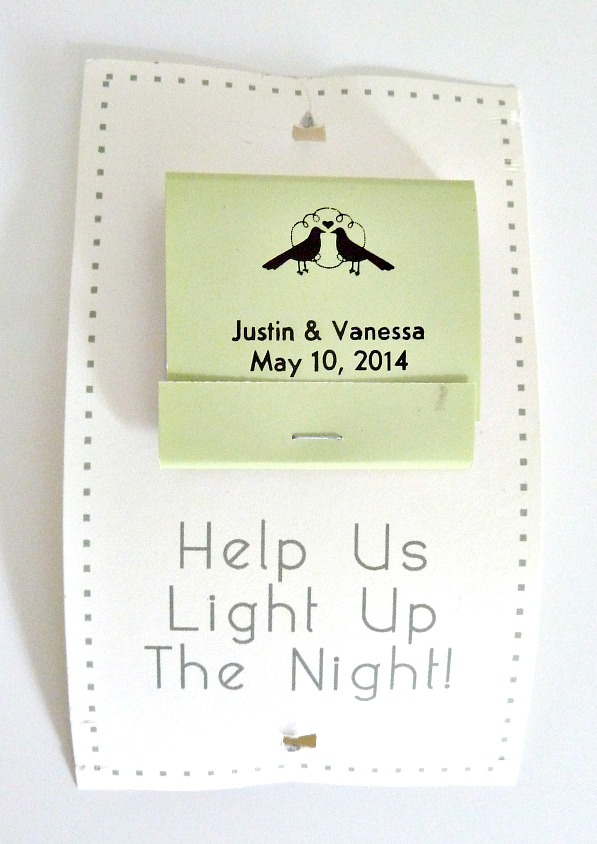
As for the actual sparklers, Sandy purchased them in bulk online. She also had matches made, personalized with our names and our wedding date. I then, just put together a document that we could attach to each sparkler. I decided to put use saying “Help Us Light Up The Night” on each sparkler. From there, we just attached a set of matches to each document with some hot glue. Then, we put a couple holes on the top and the bottom, where we could slide the sparkler through.
 Next up, I had to figure out what I was going to do for our card box/holder/basket, or whatever object you can imagine that can hold cards.
Here is what we used…
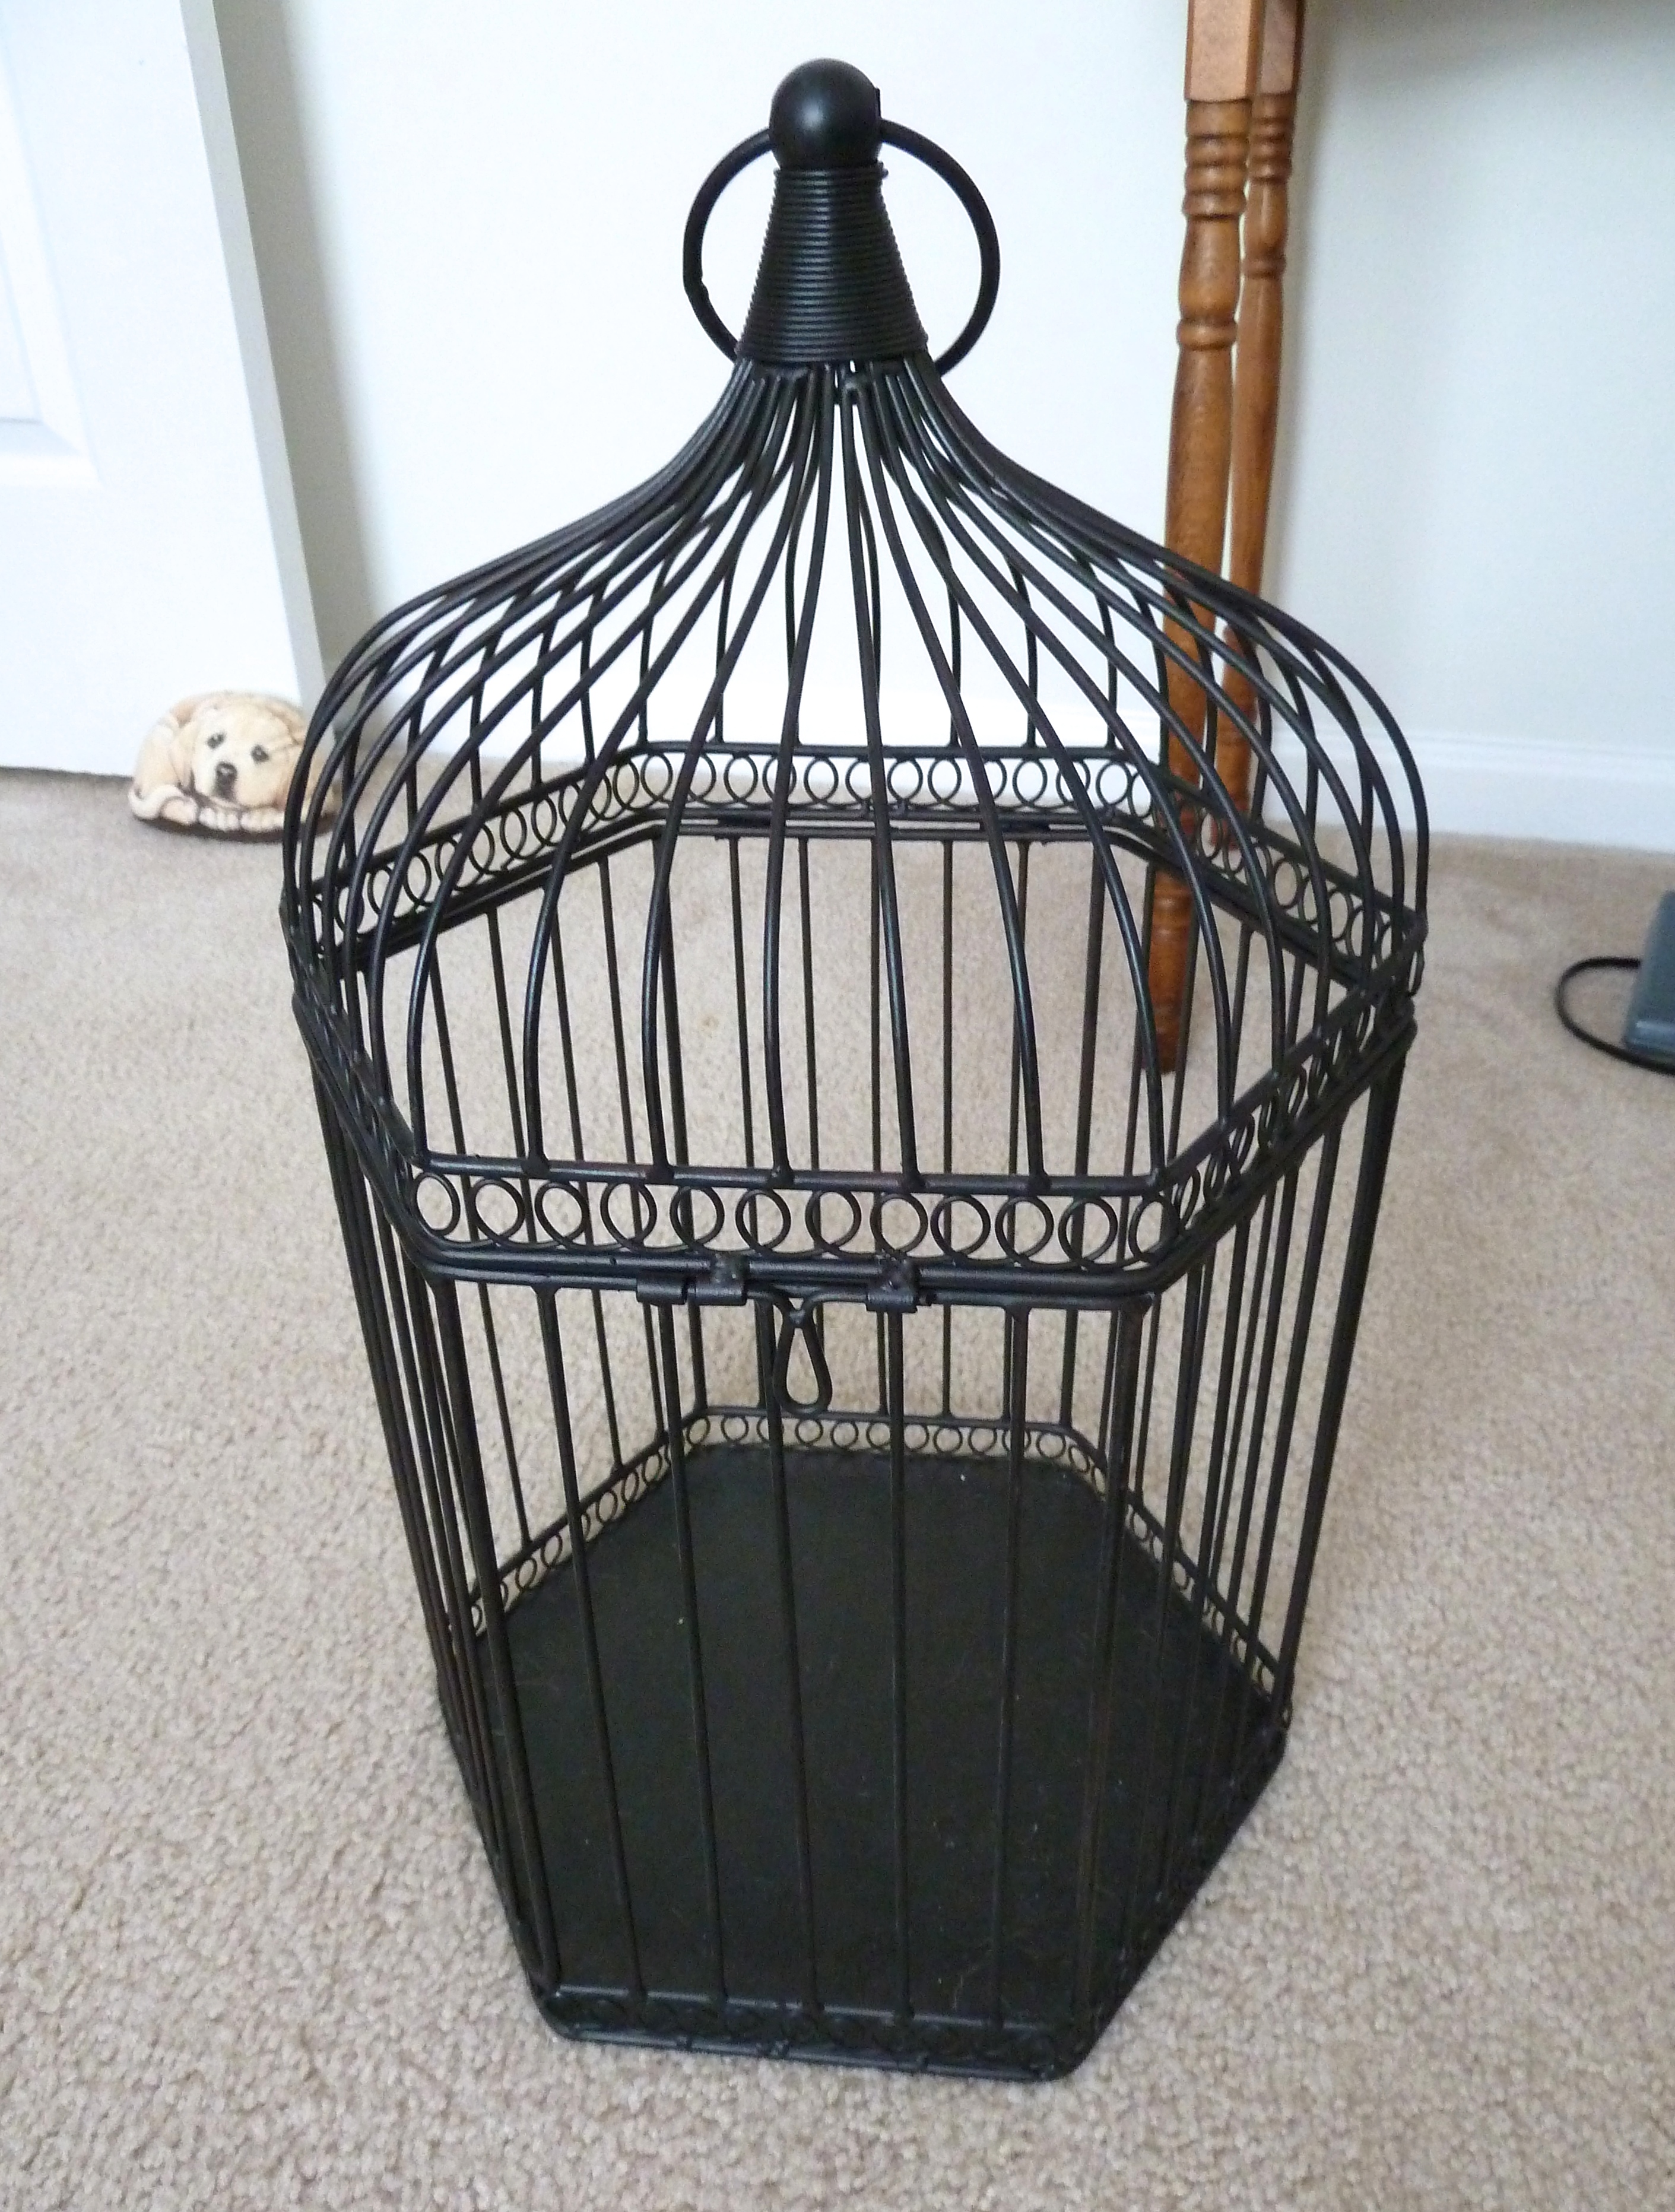 A birdcage! Sandy’s neighbor just so happened to have this guy on hand, and we thought it would be perfect to hold our cards.
I wanted the cage to match the sparkler tin, so I used the burlap ribbon and flowers again.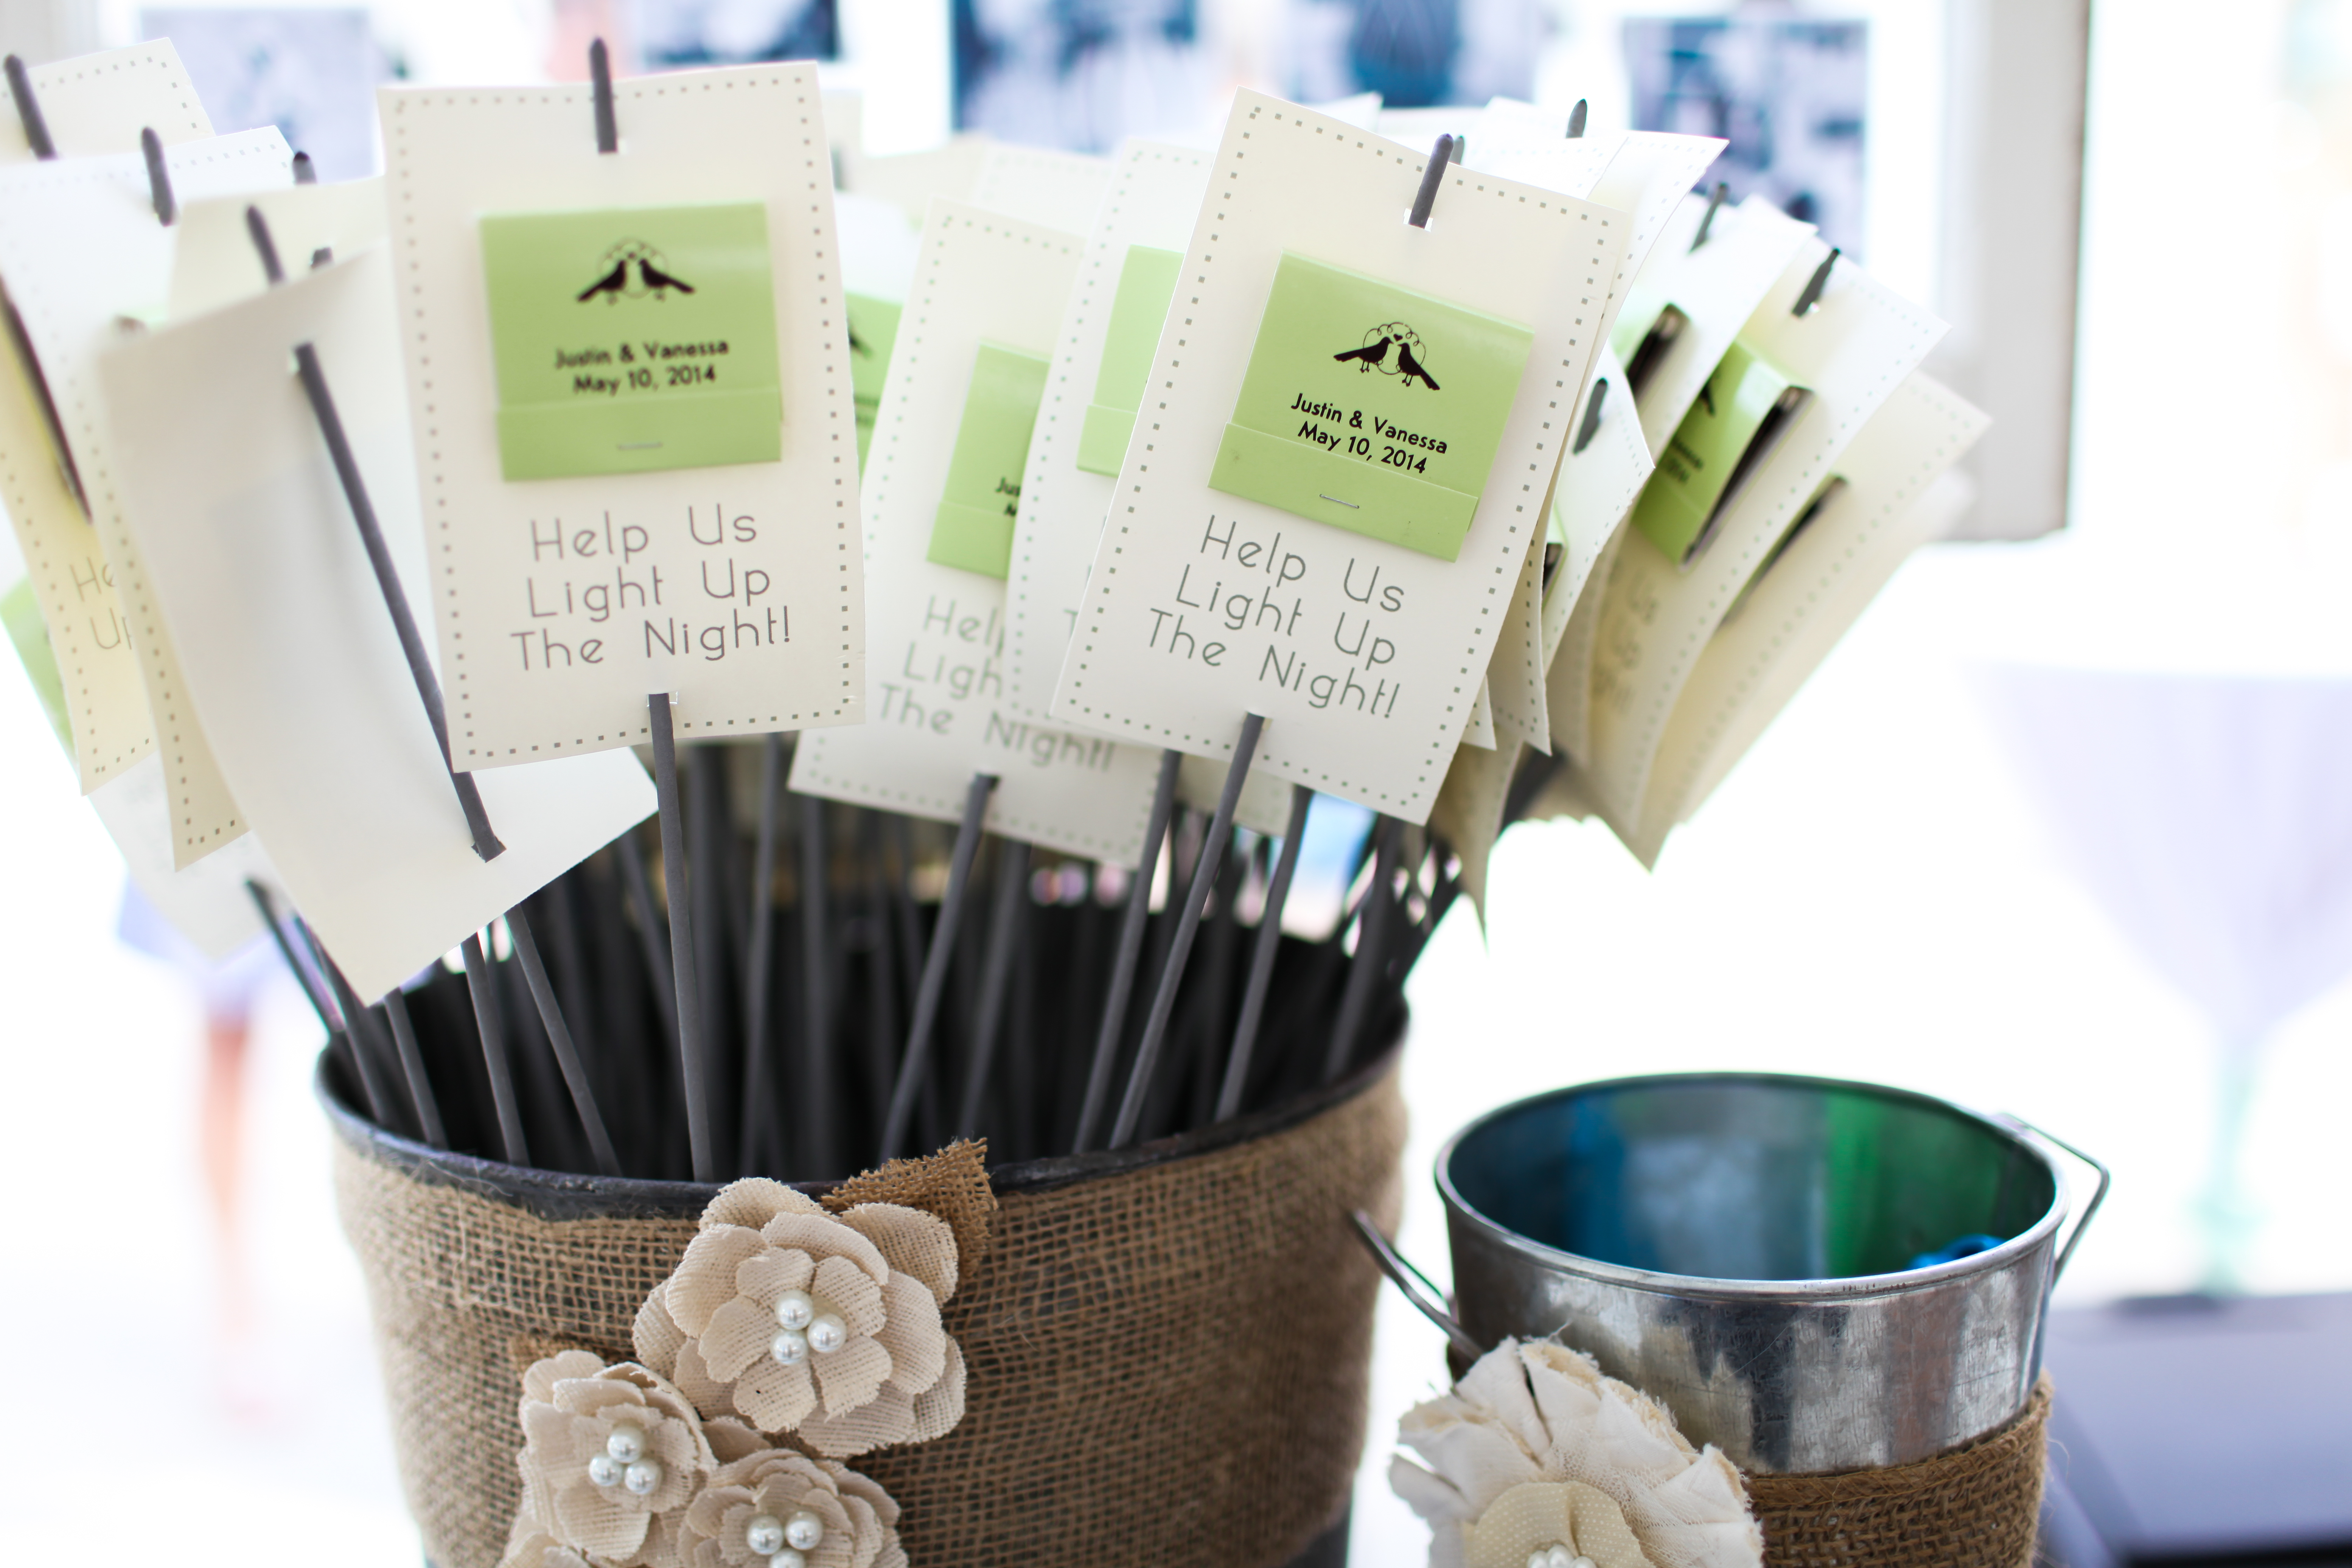
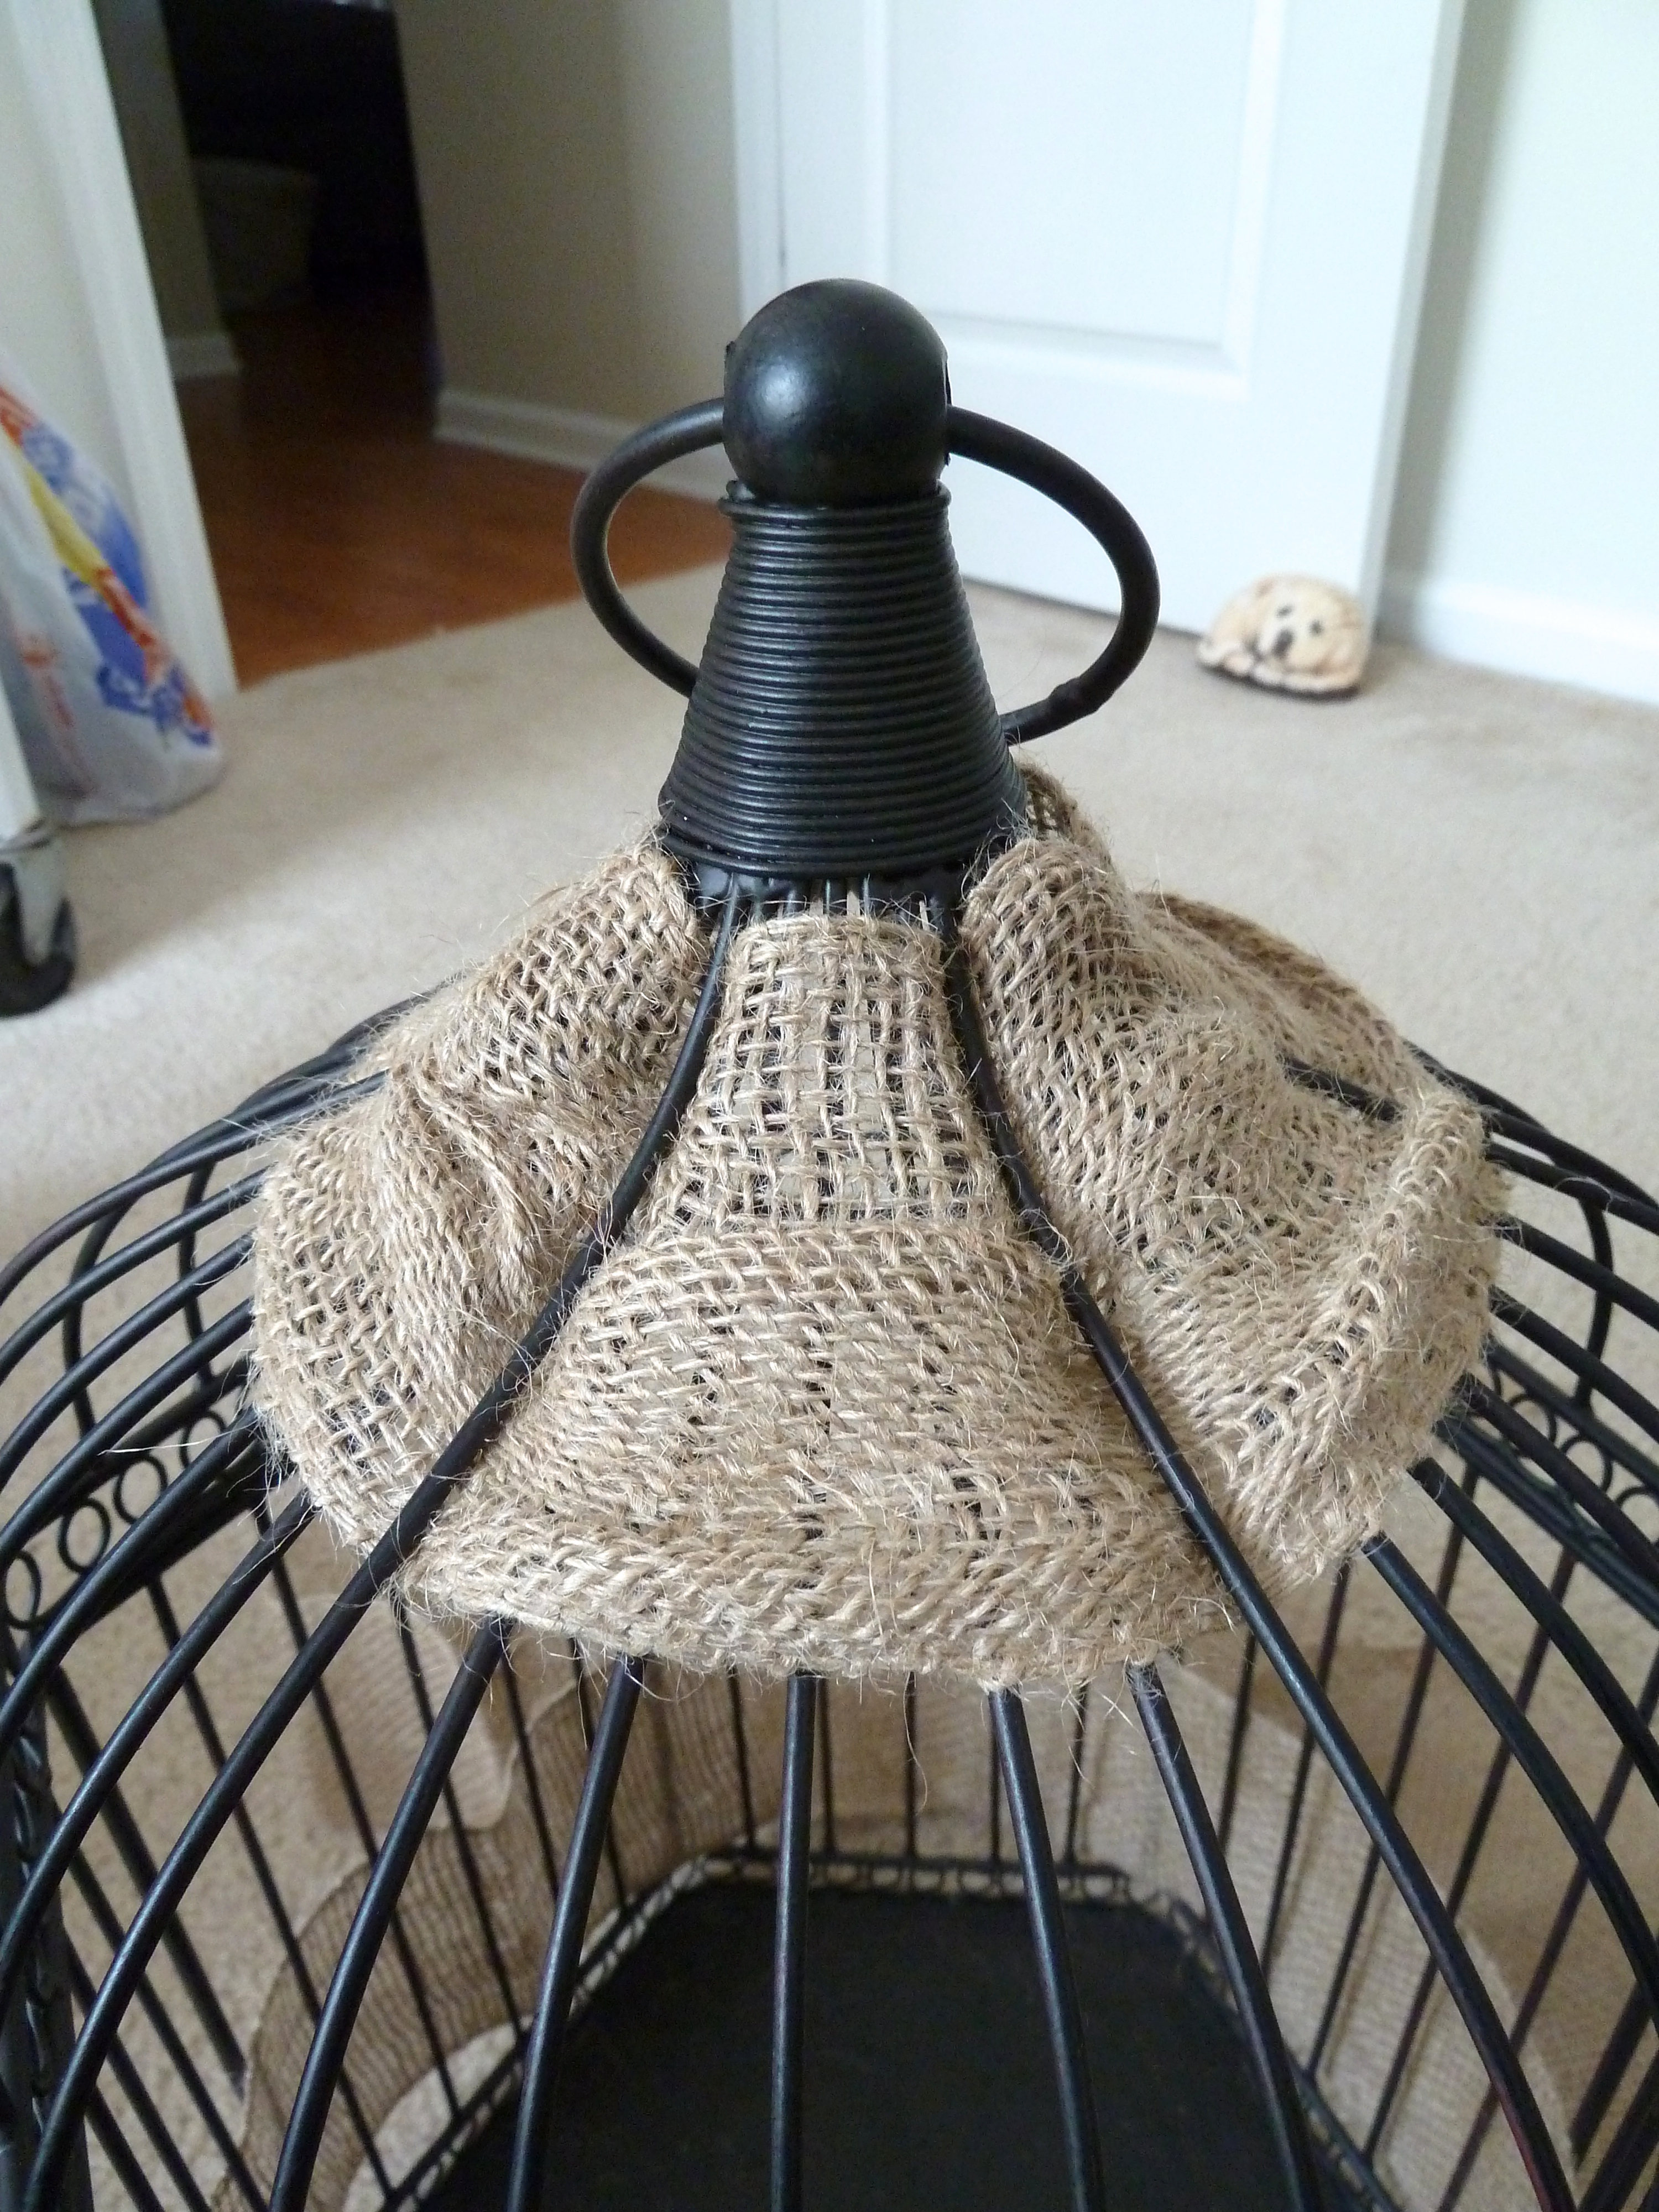 This was a little trickier than the just wrapping the sparkler tin. I had to weave the burlap in and out of the wire sides of the cage, still simple enough though. I did this on both the top and the bottom of the cage.
 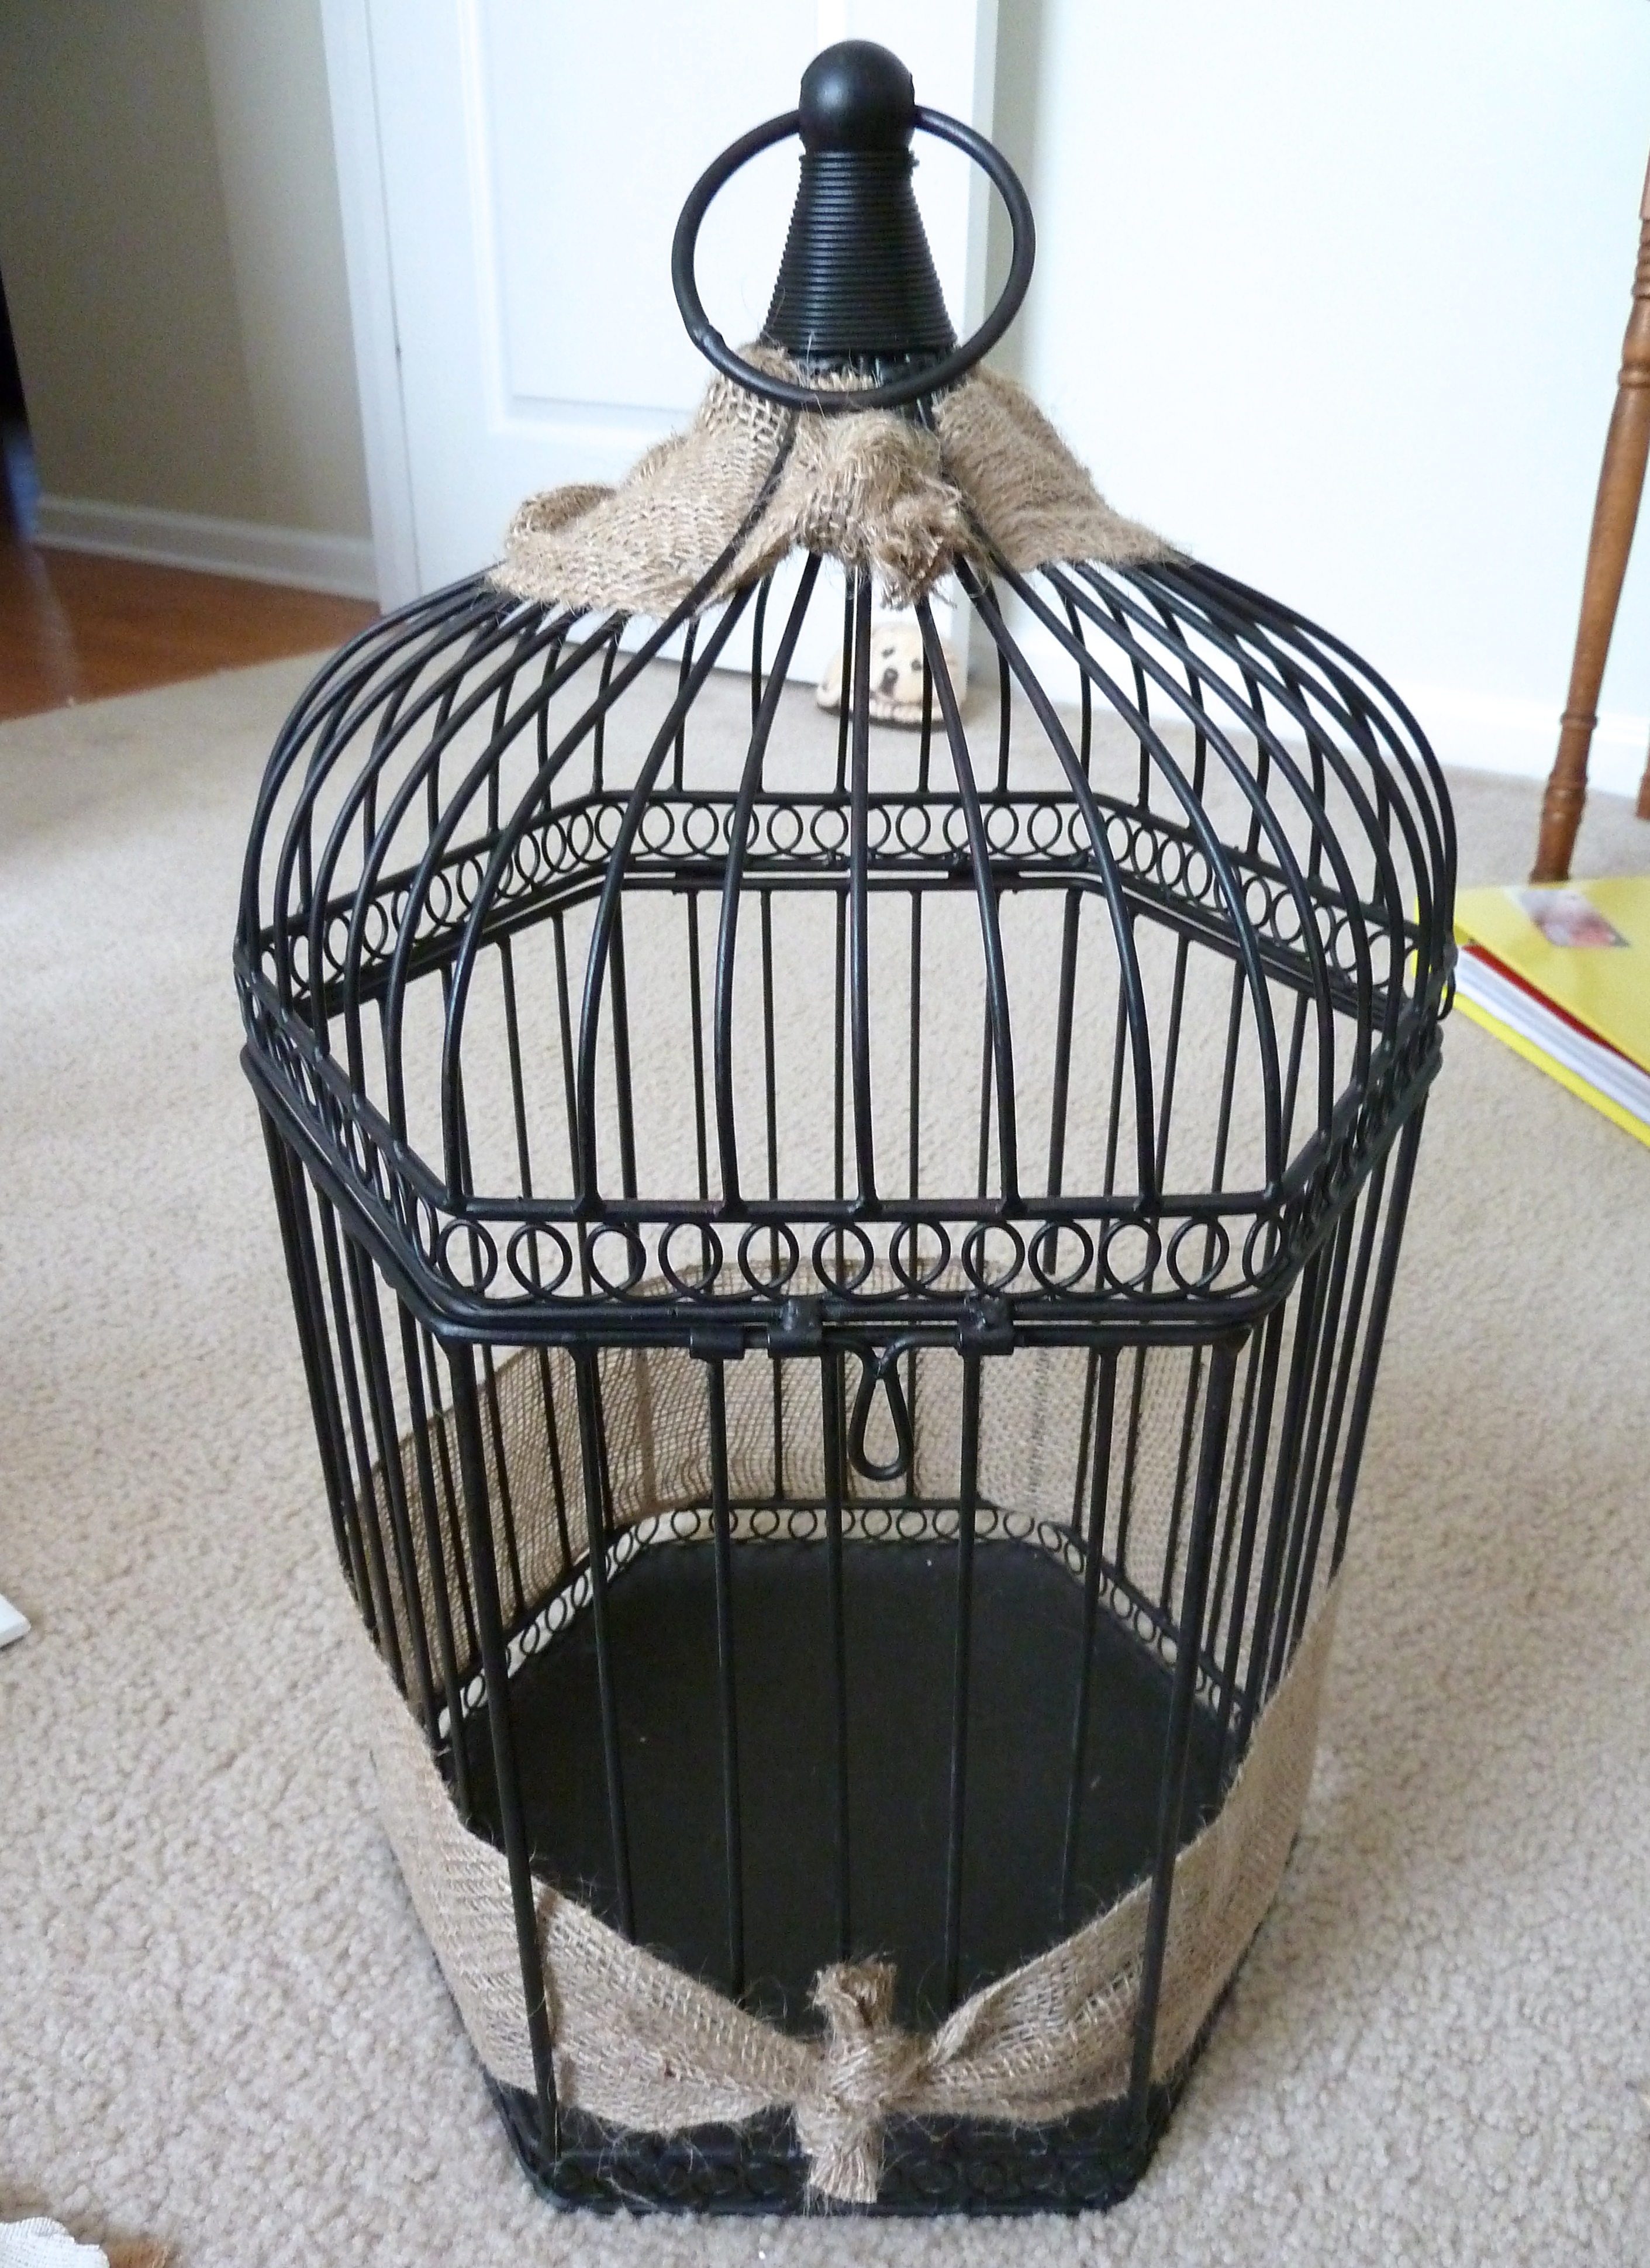 I then, just tied the burlap and cut off the excess ribbon, once again.
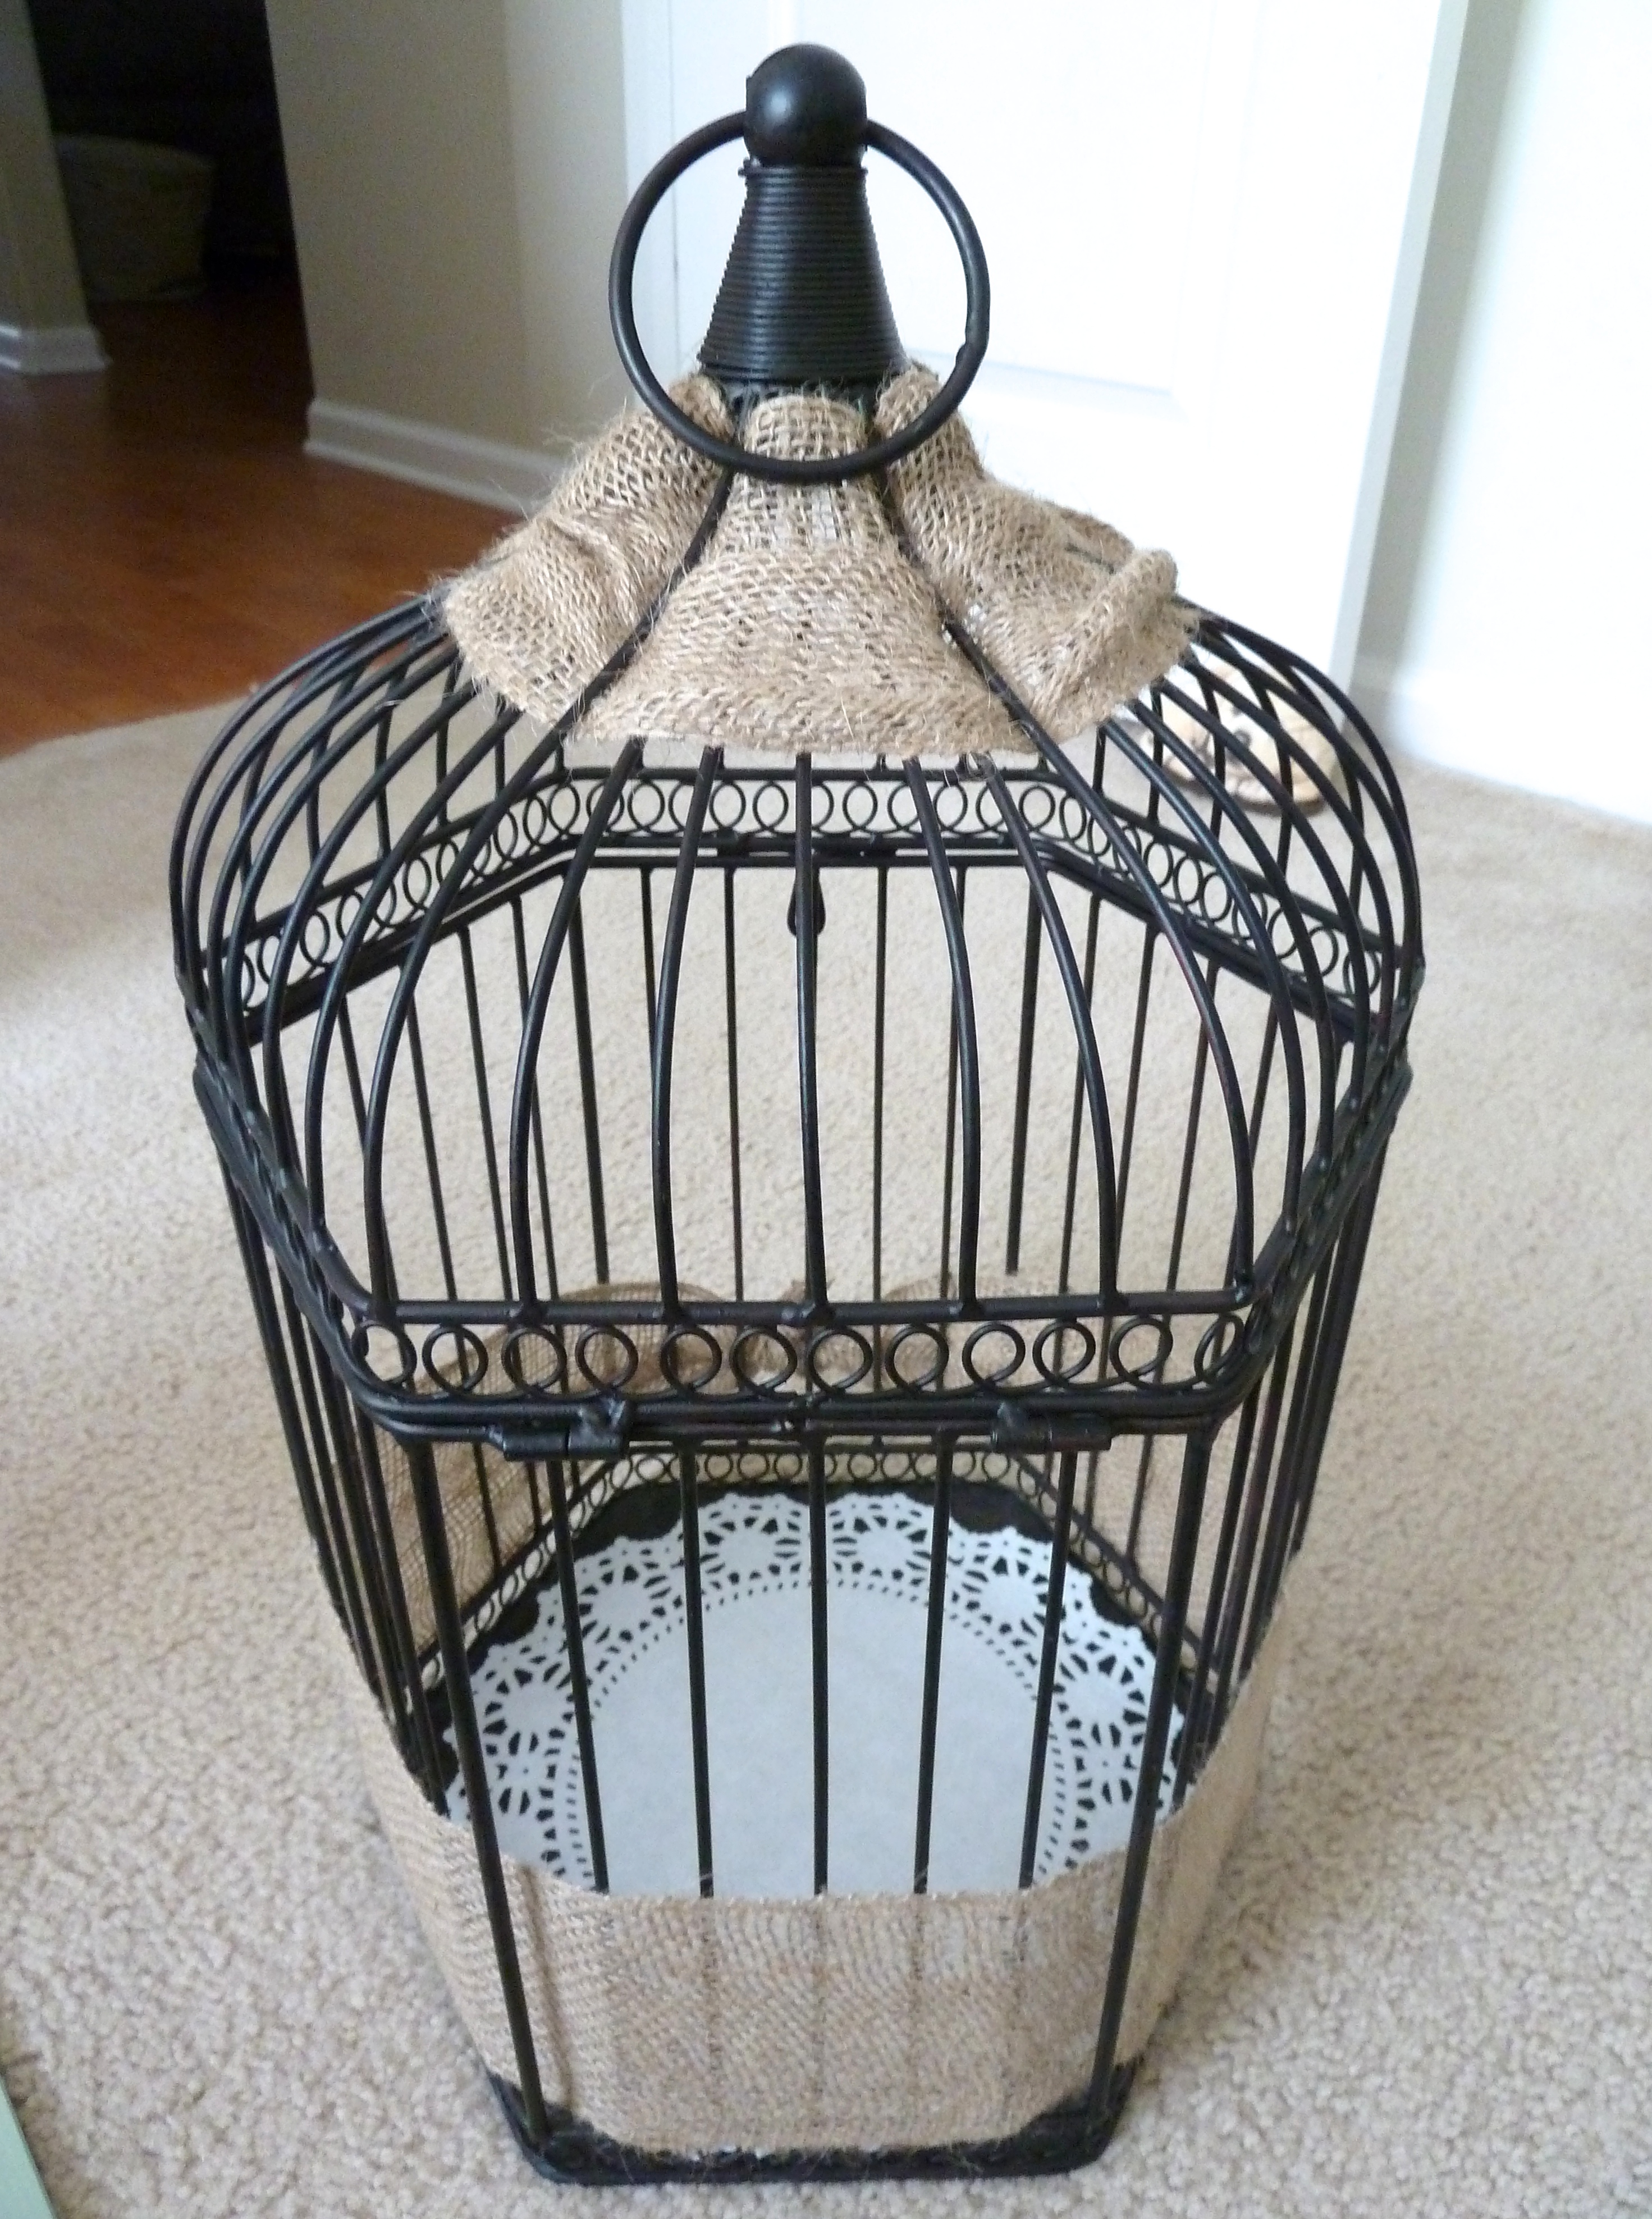 I also, tossed a paper doily in the bottom for fun.
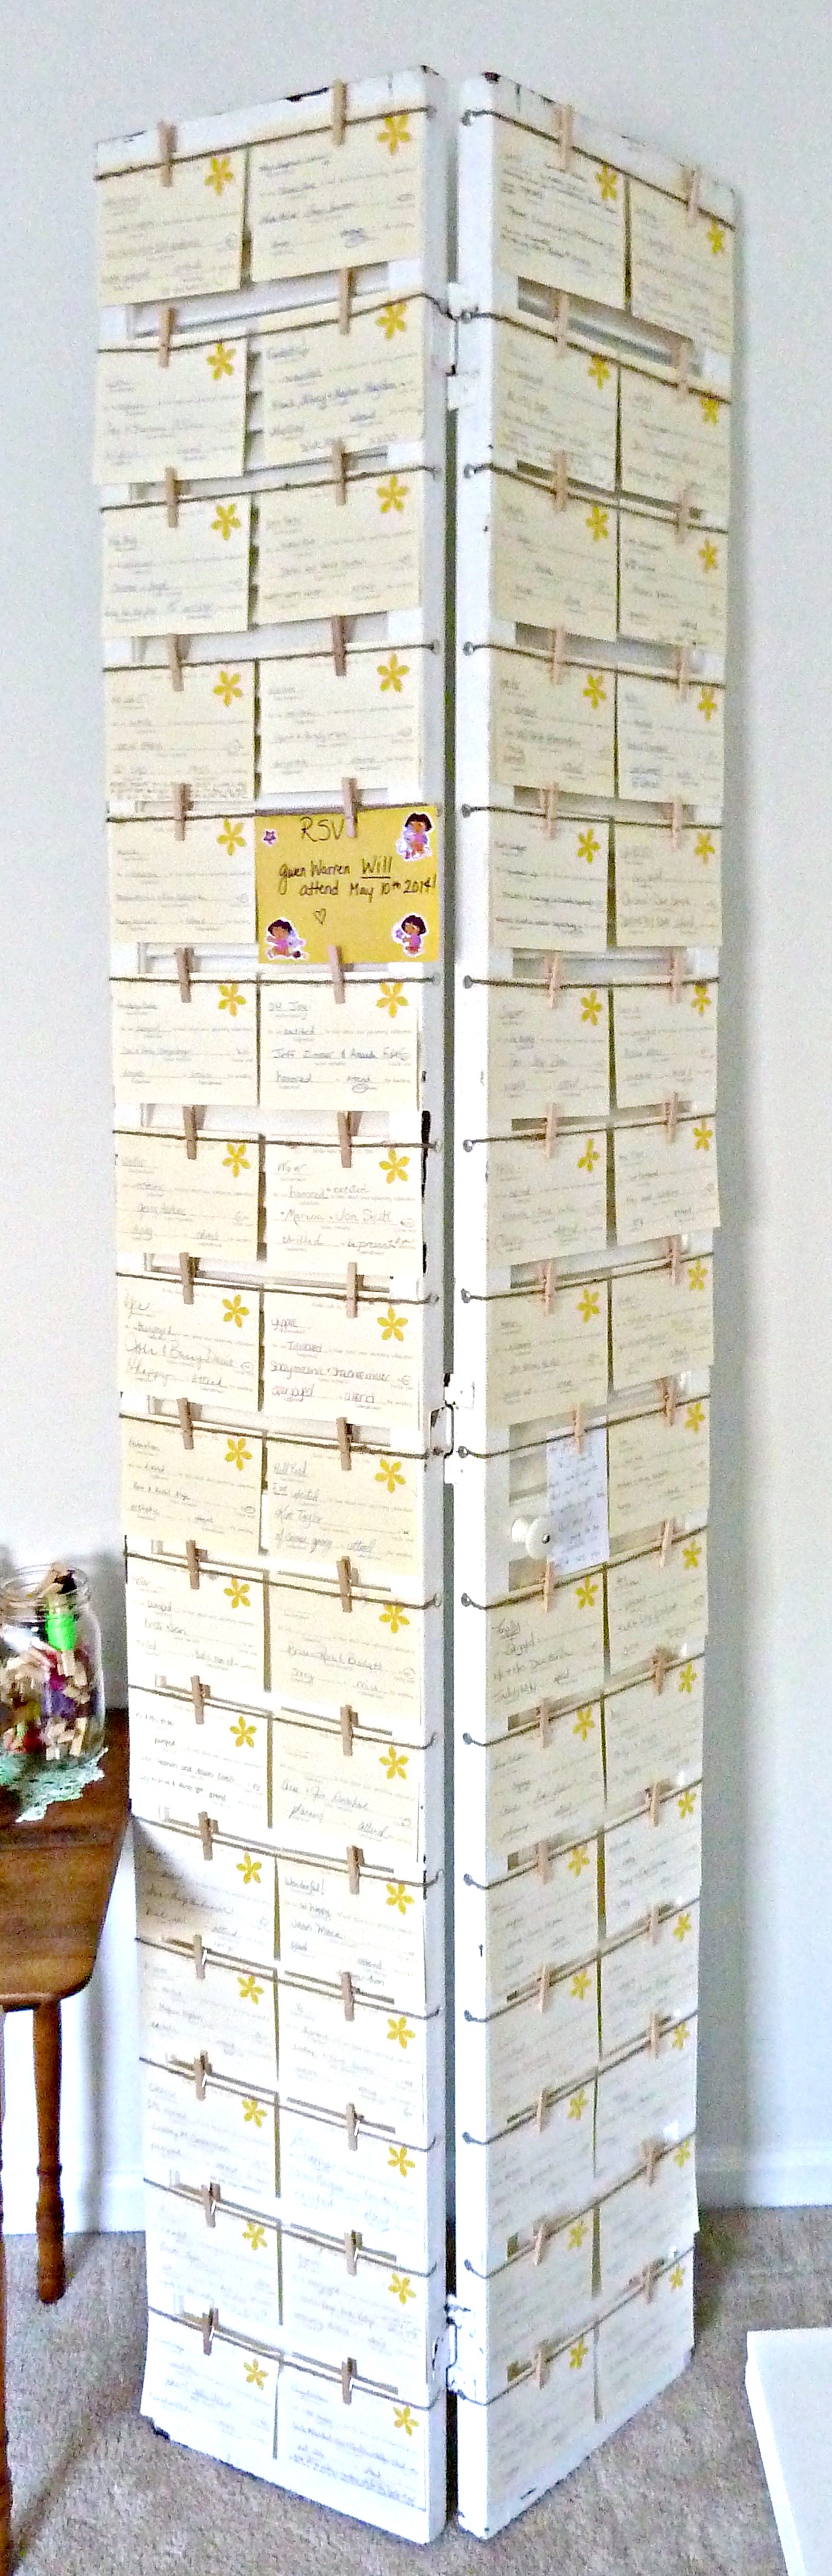
Sandy picked up a couple cute little chalkboards from Hobby Lobby and painted the edges a sage green, I then just simply wrote “CARDS” on one. You don’t want your guest to be confused to where the cards go, right? In case you’re wondering, I used twine to attach the chalkboard. I just slipped it through the holes on each side of the frame, and tied it around the back of the cage. From there, I just hot glued a couple of the burlap flowers on top and called it done!
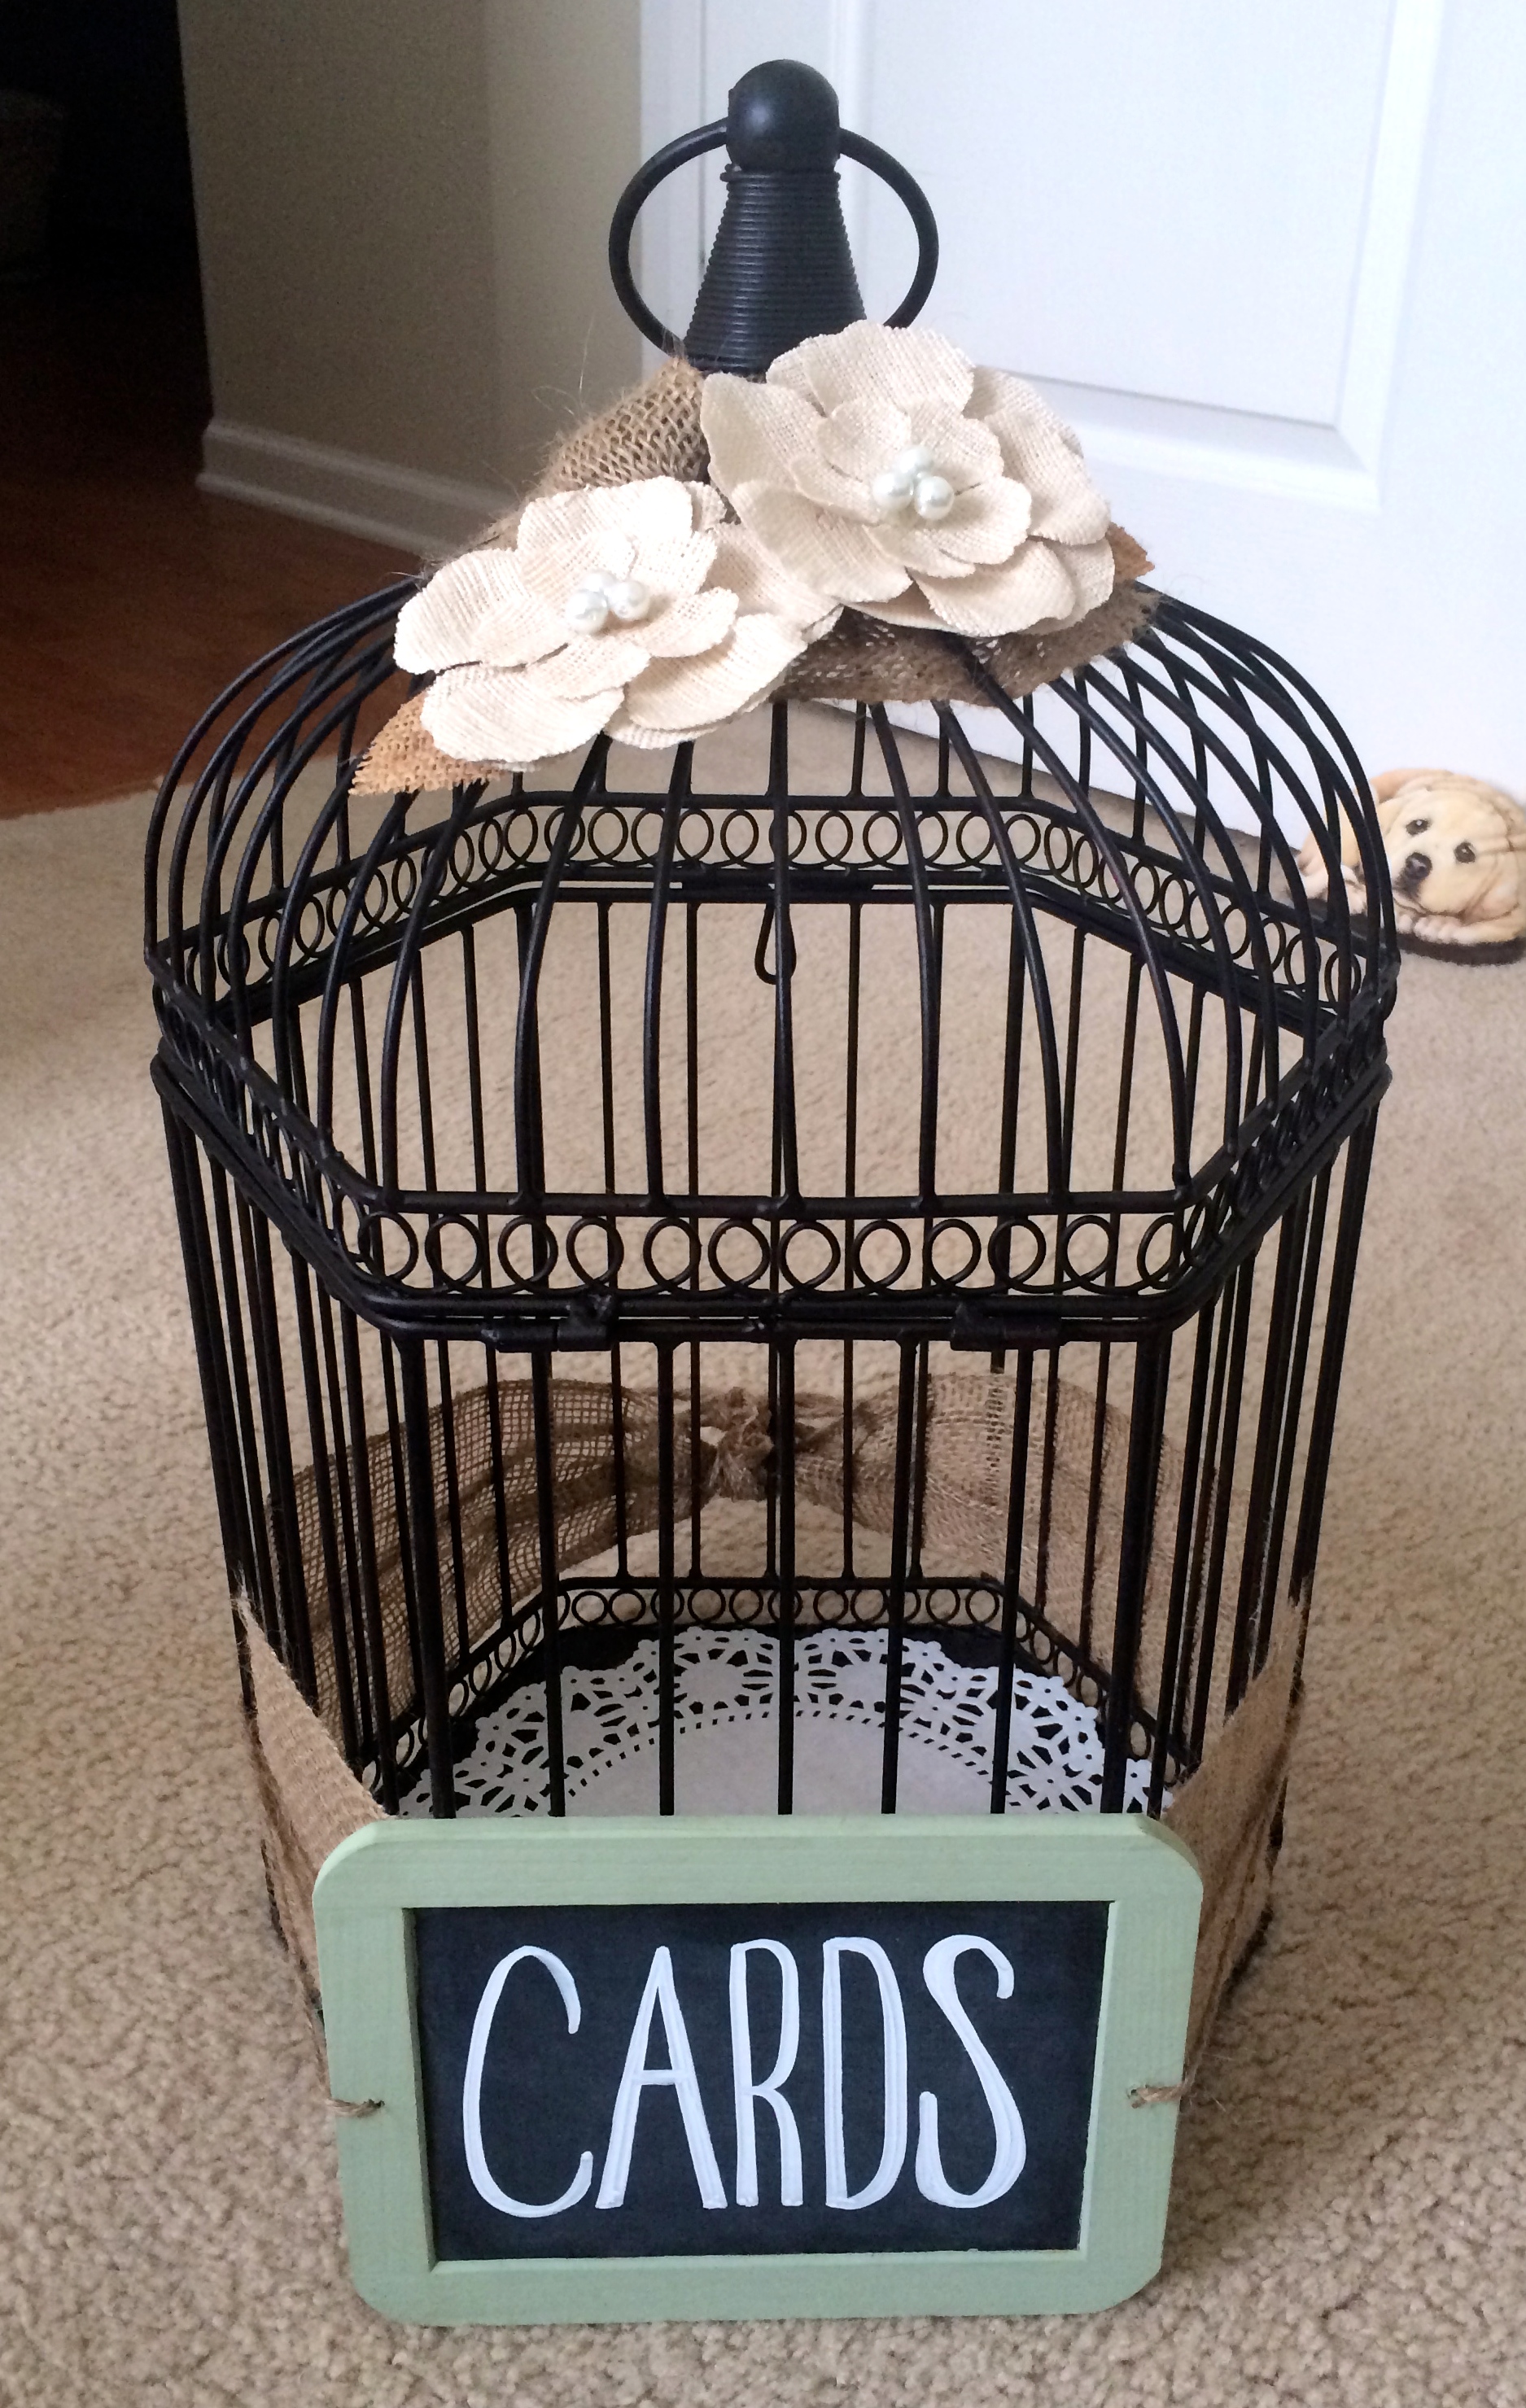 Pretty radical, huh? Here they are being all matchy matchy…
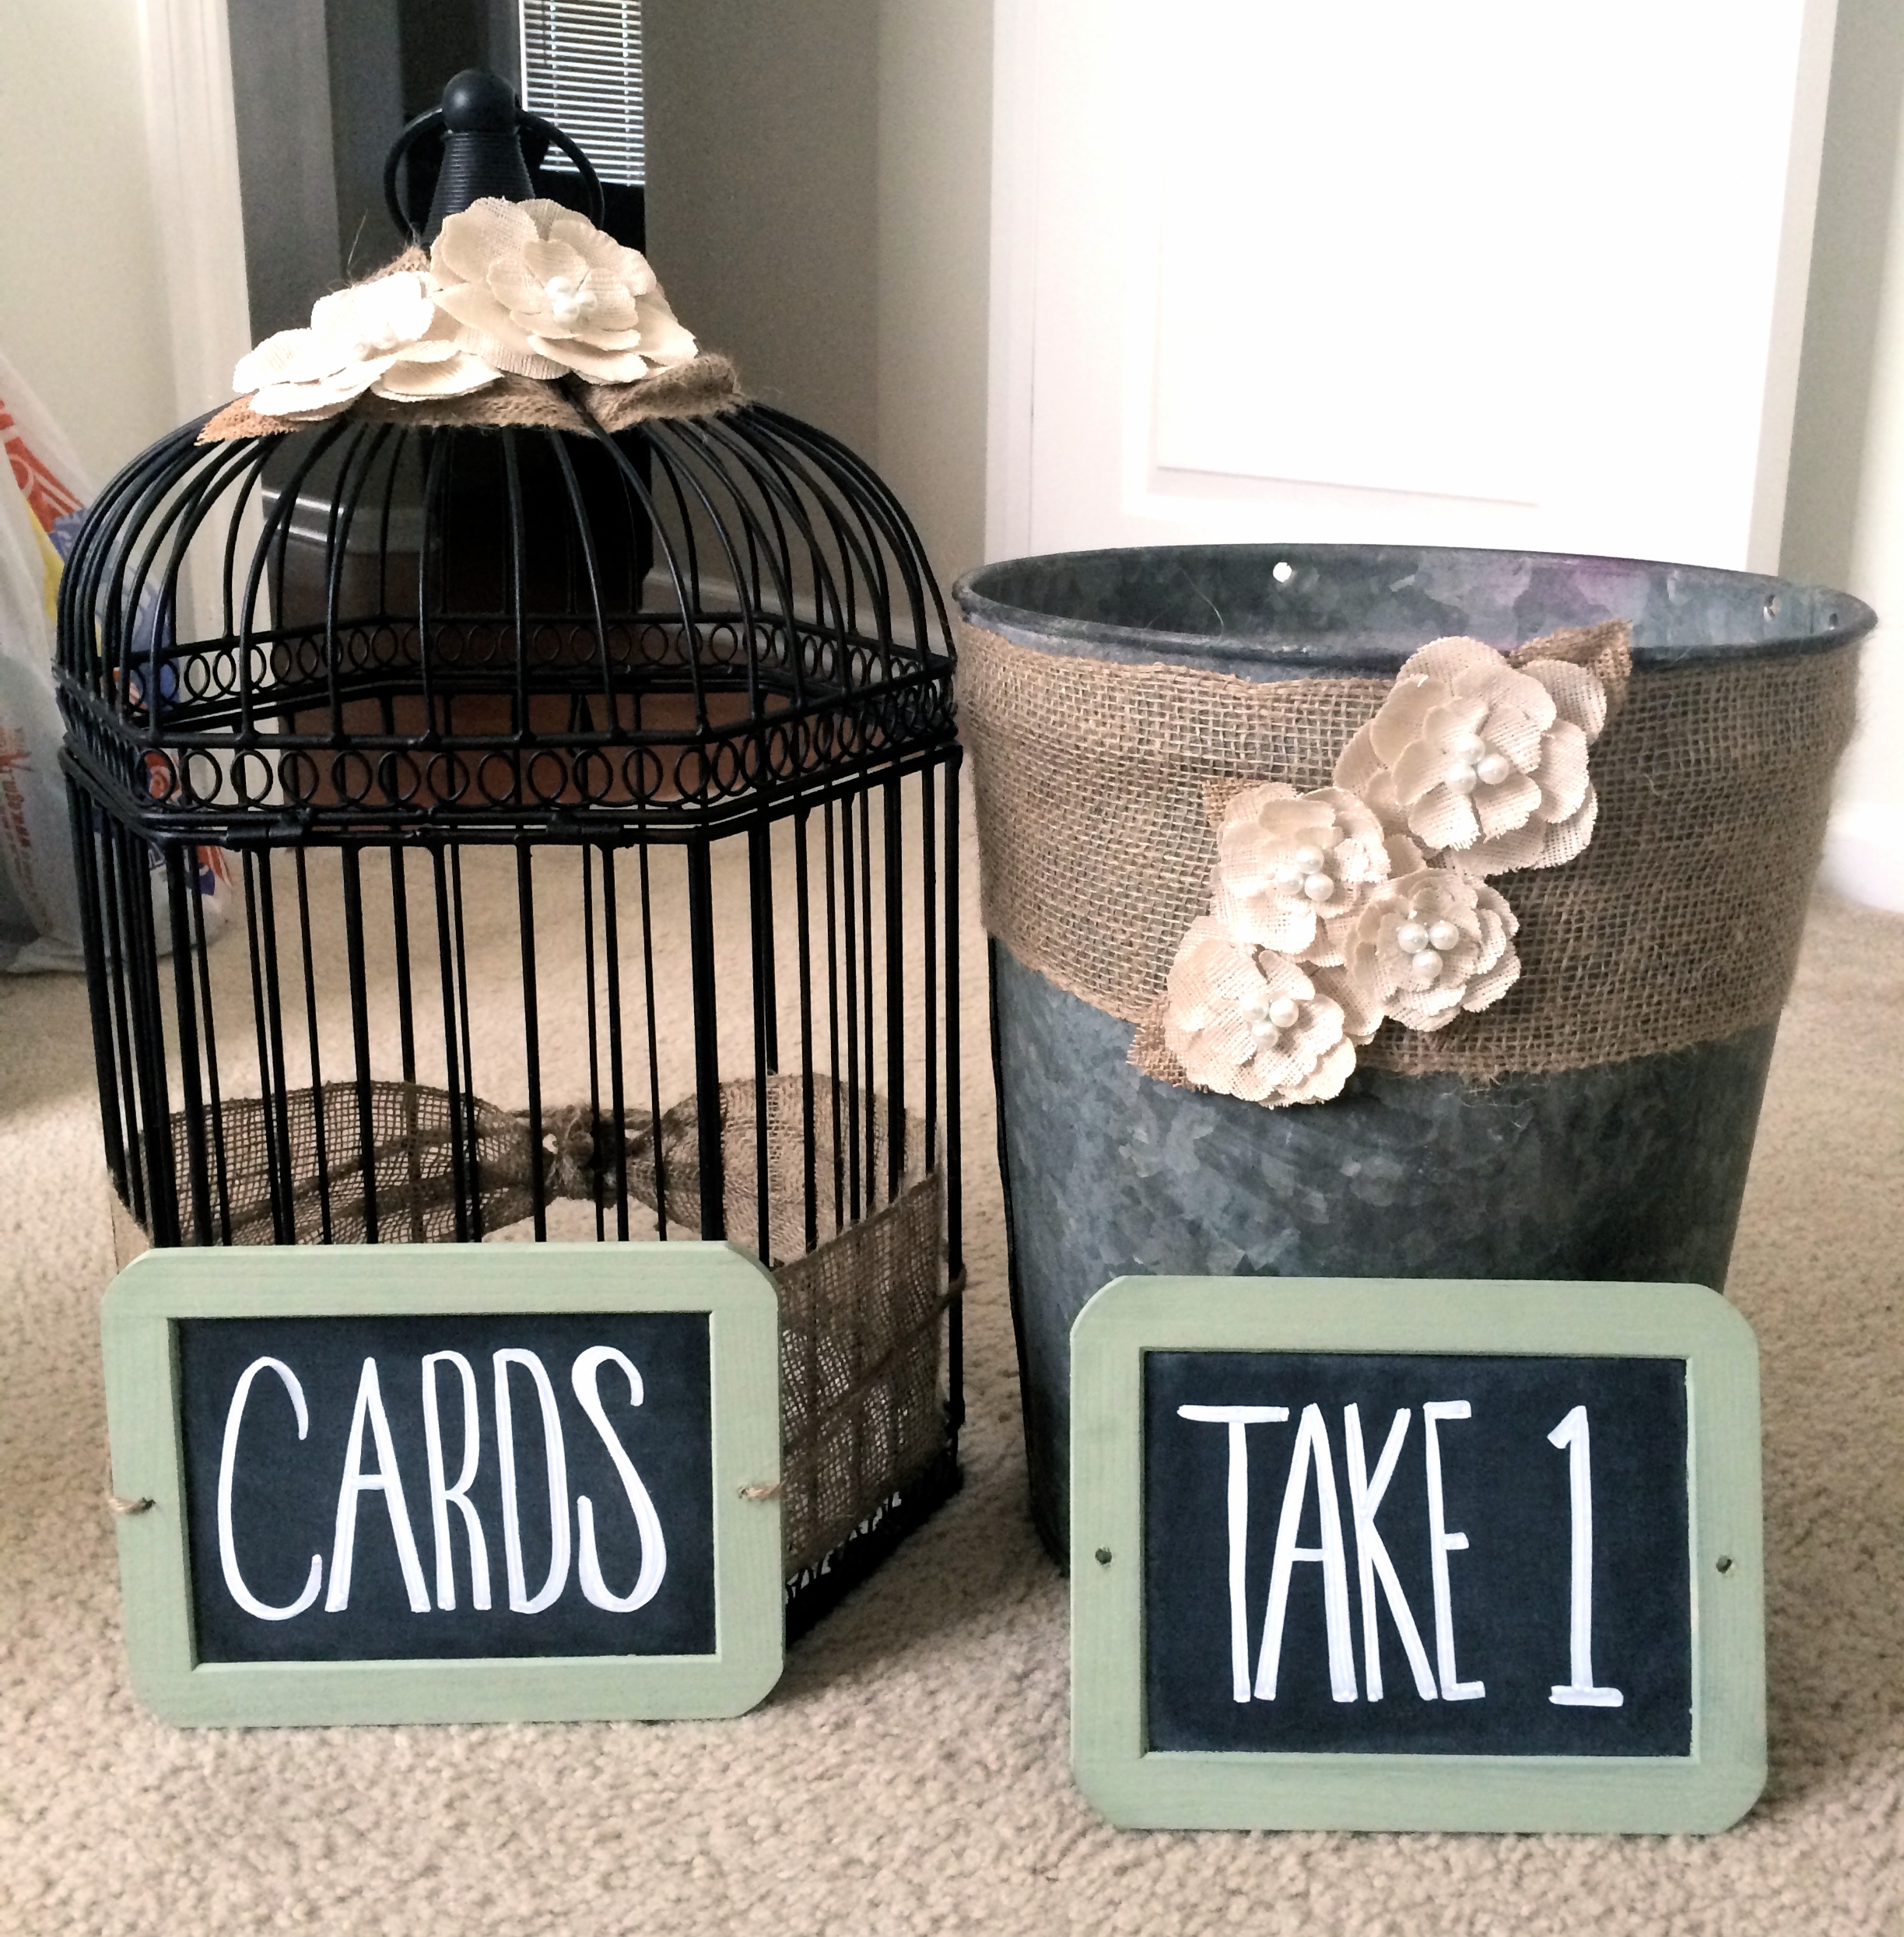 As you can see, I made a “TAKE 1” sign for the sparklers, but that didn’t actually get used, we thought it looked better without.
Want some wedding photos? Okay!Woot woot for sparklers! Below are our mom’s hanging out next to the display. Aren’t they cute?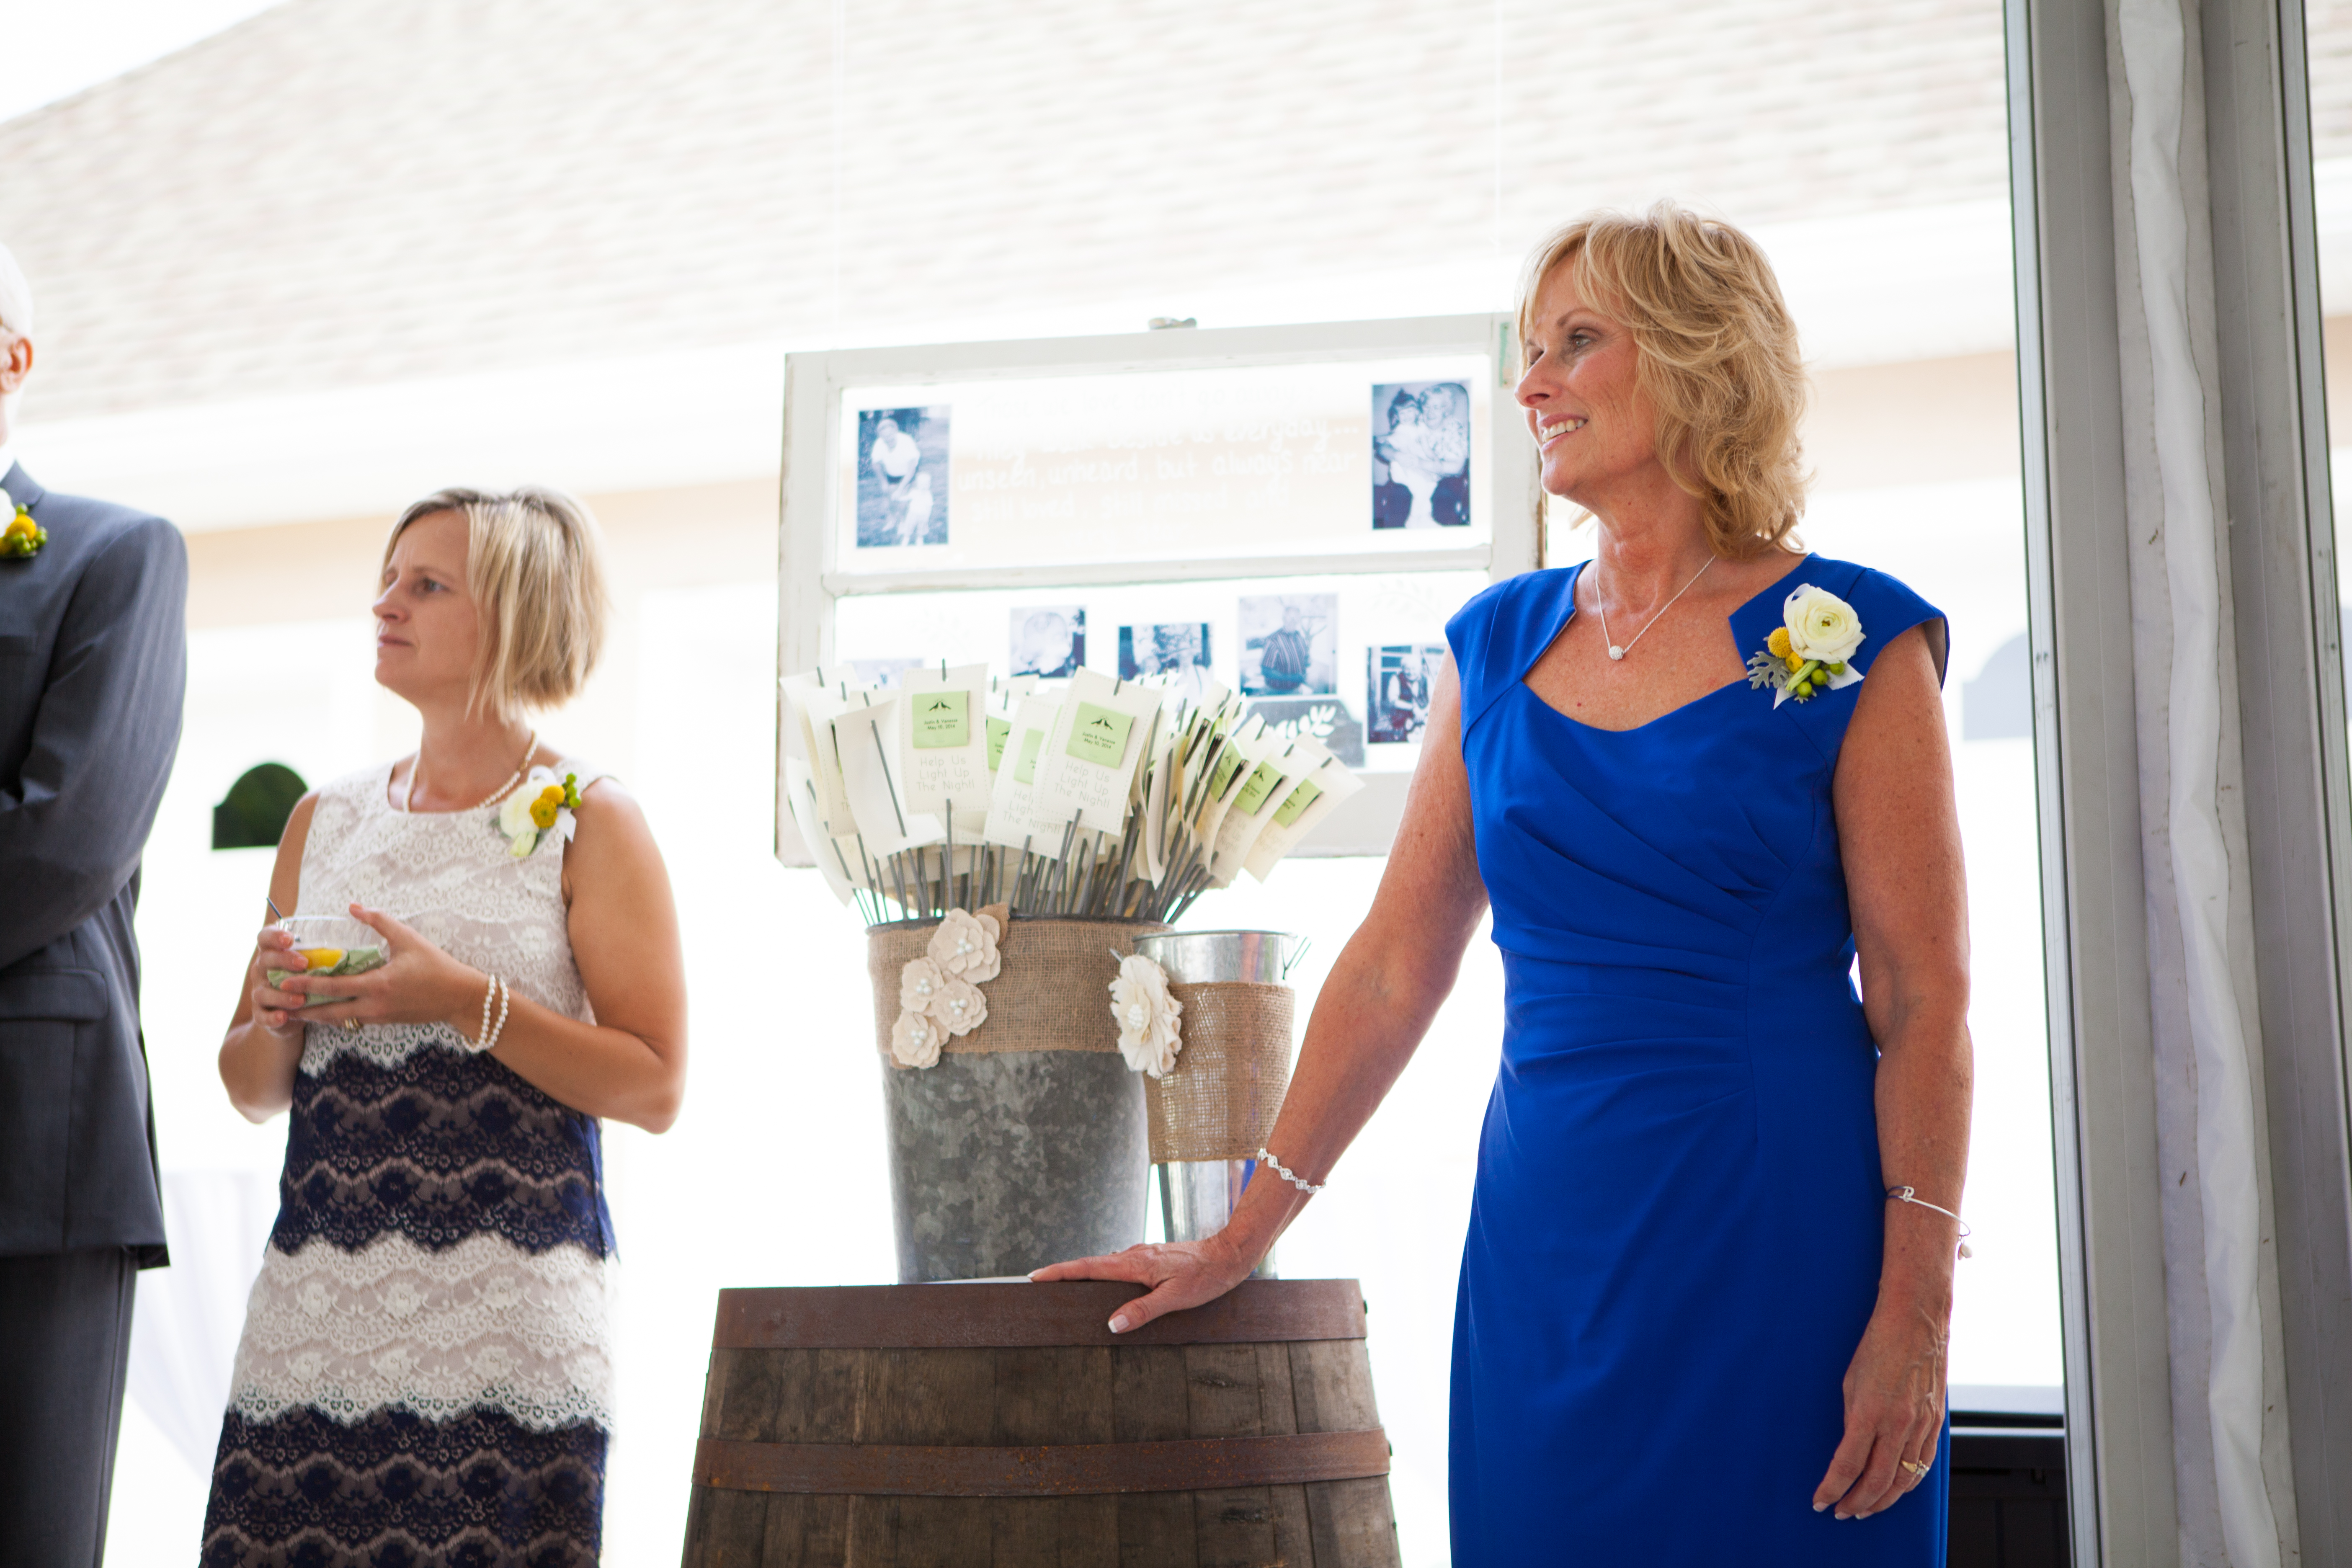 And how about the card cage…
 Hubba hubba!
Lastly, us at our sparkler send off! You gotta do this at your wedding, it was totally fun and the pictures are pretty cool too! 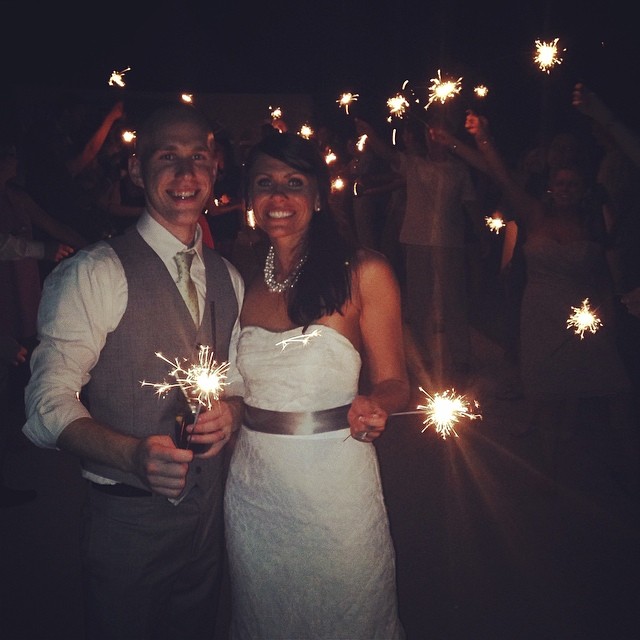

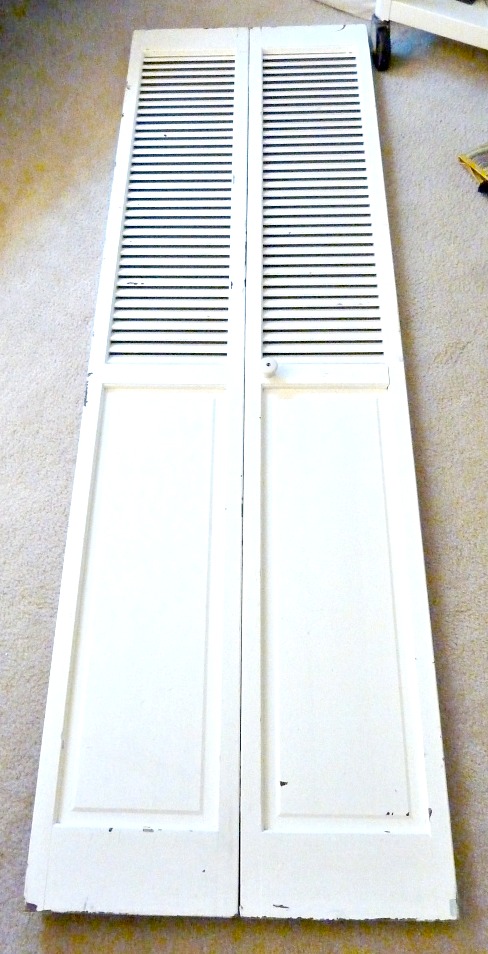
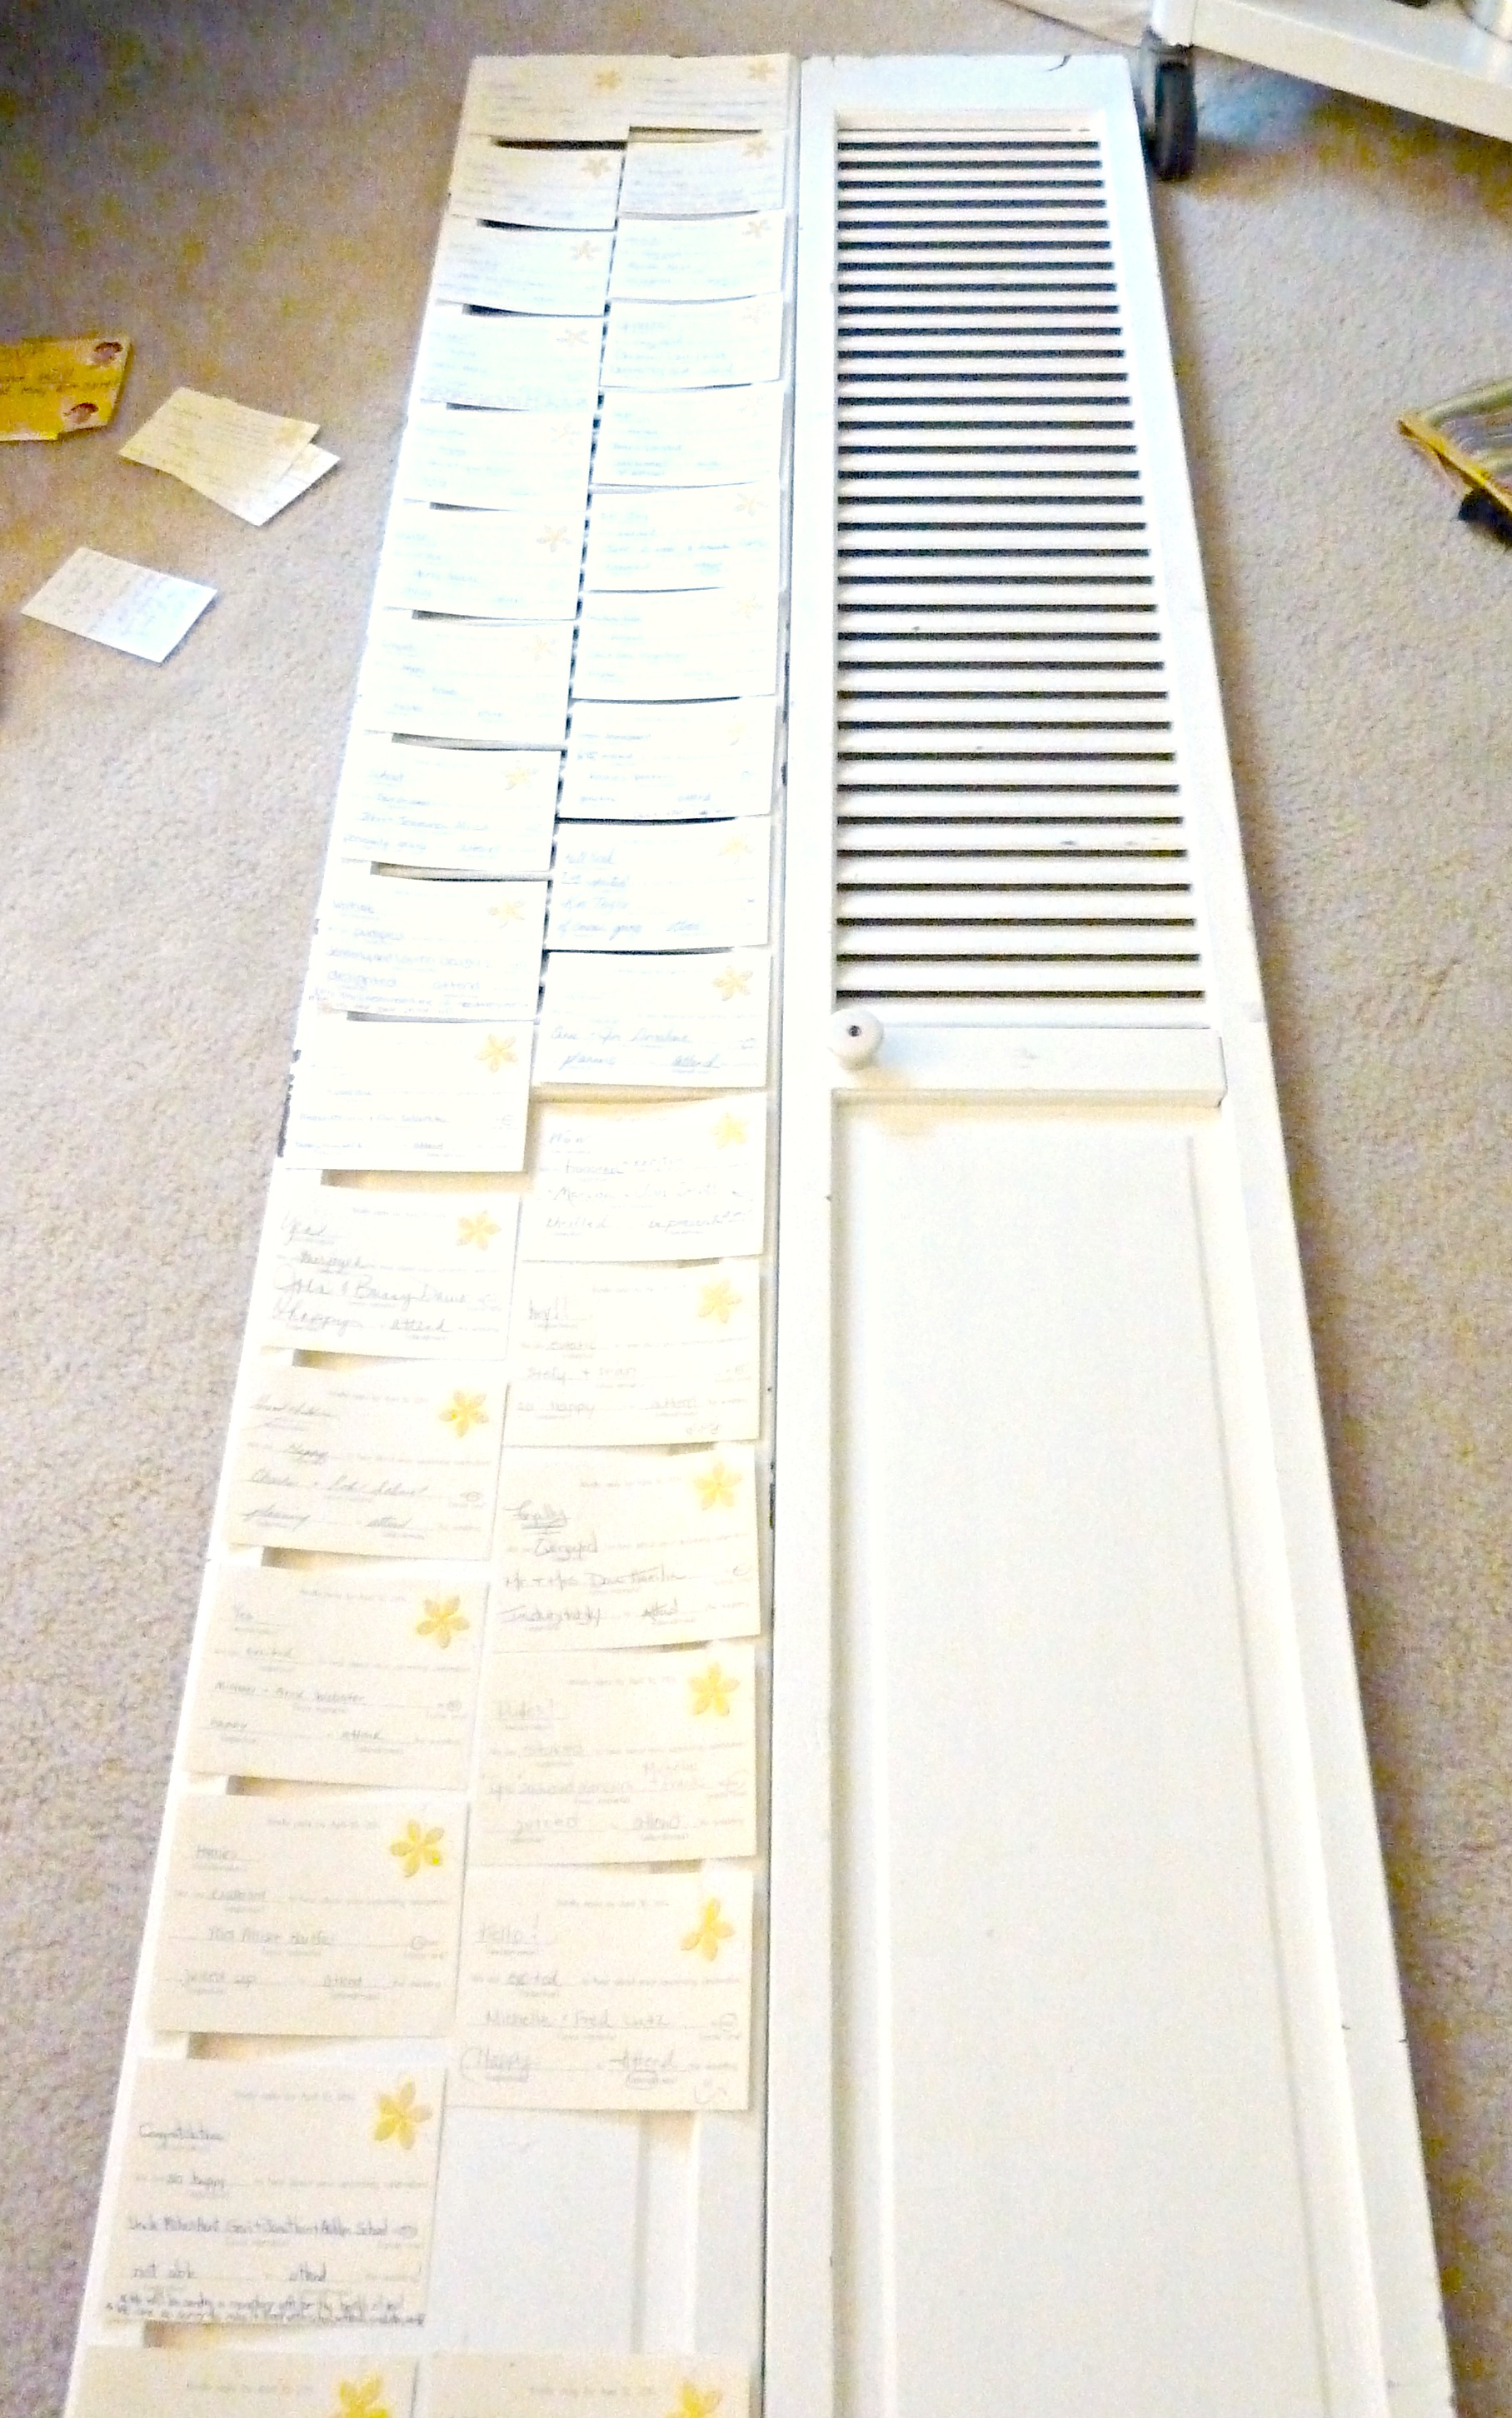

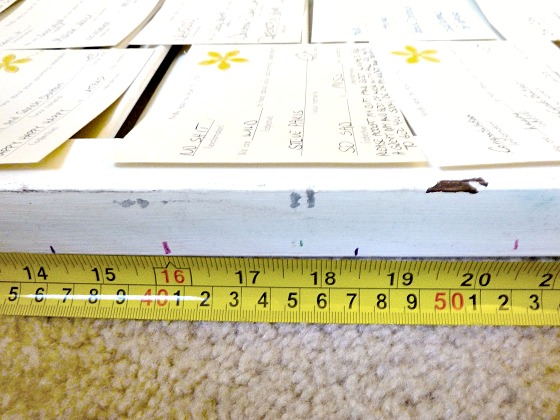
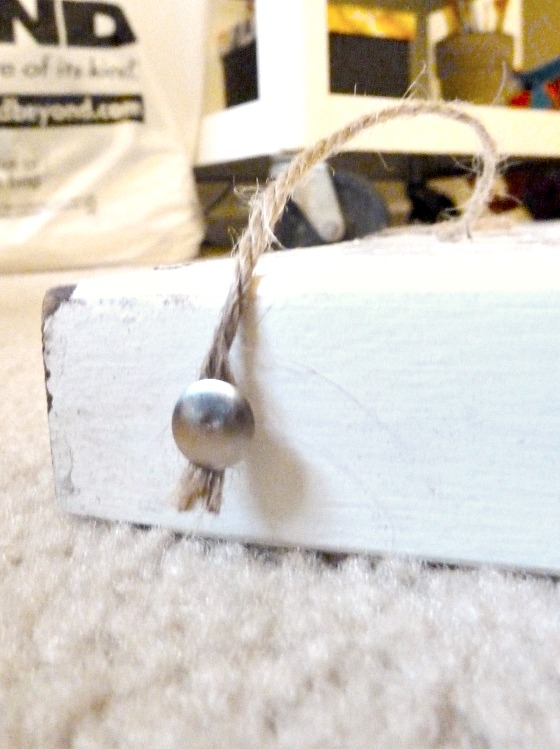
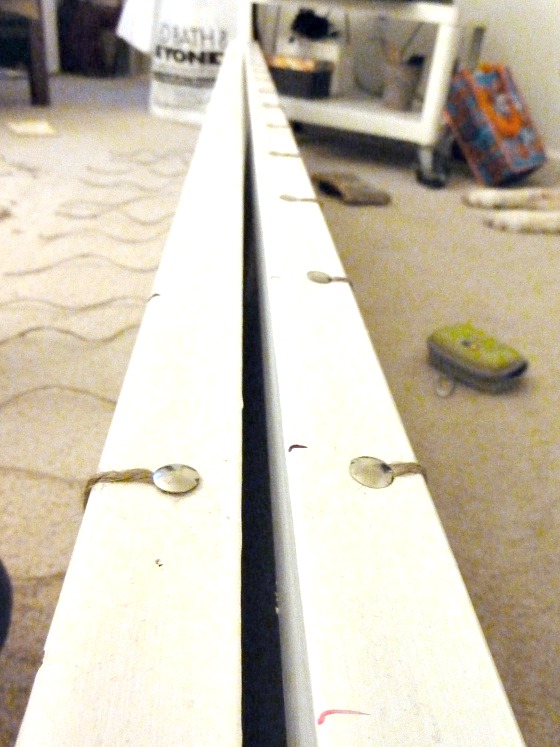
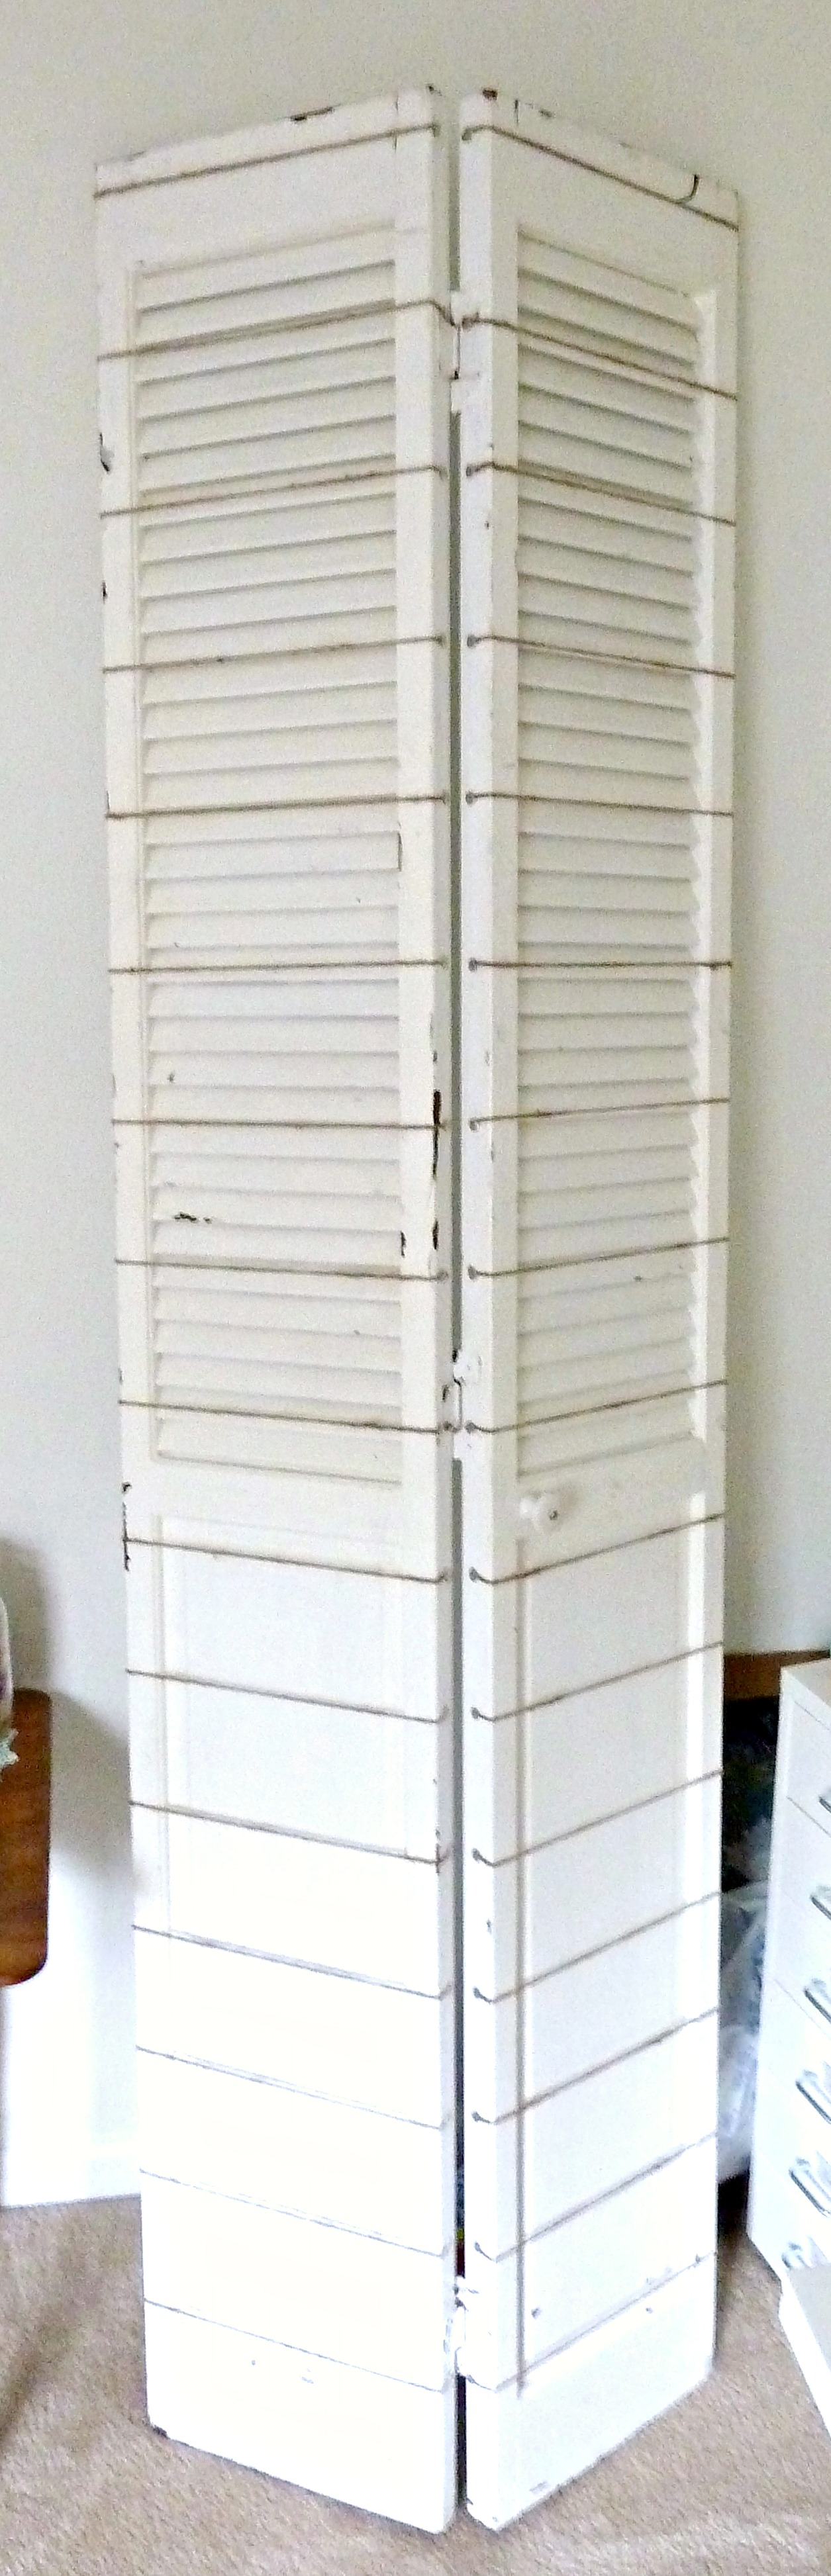
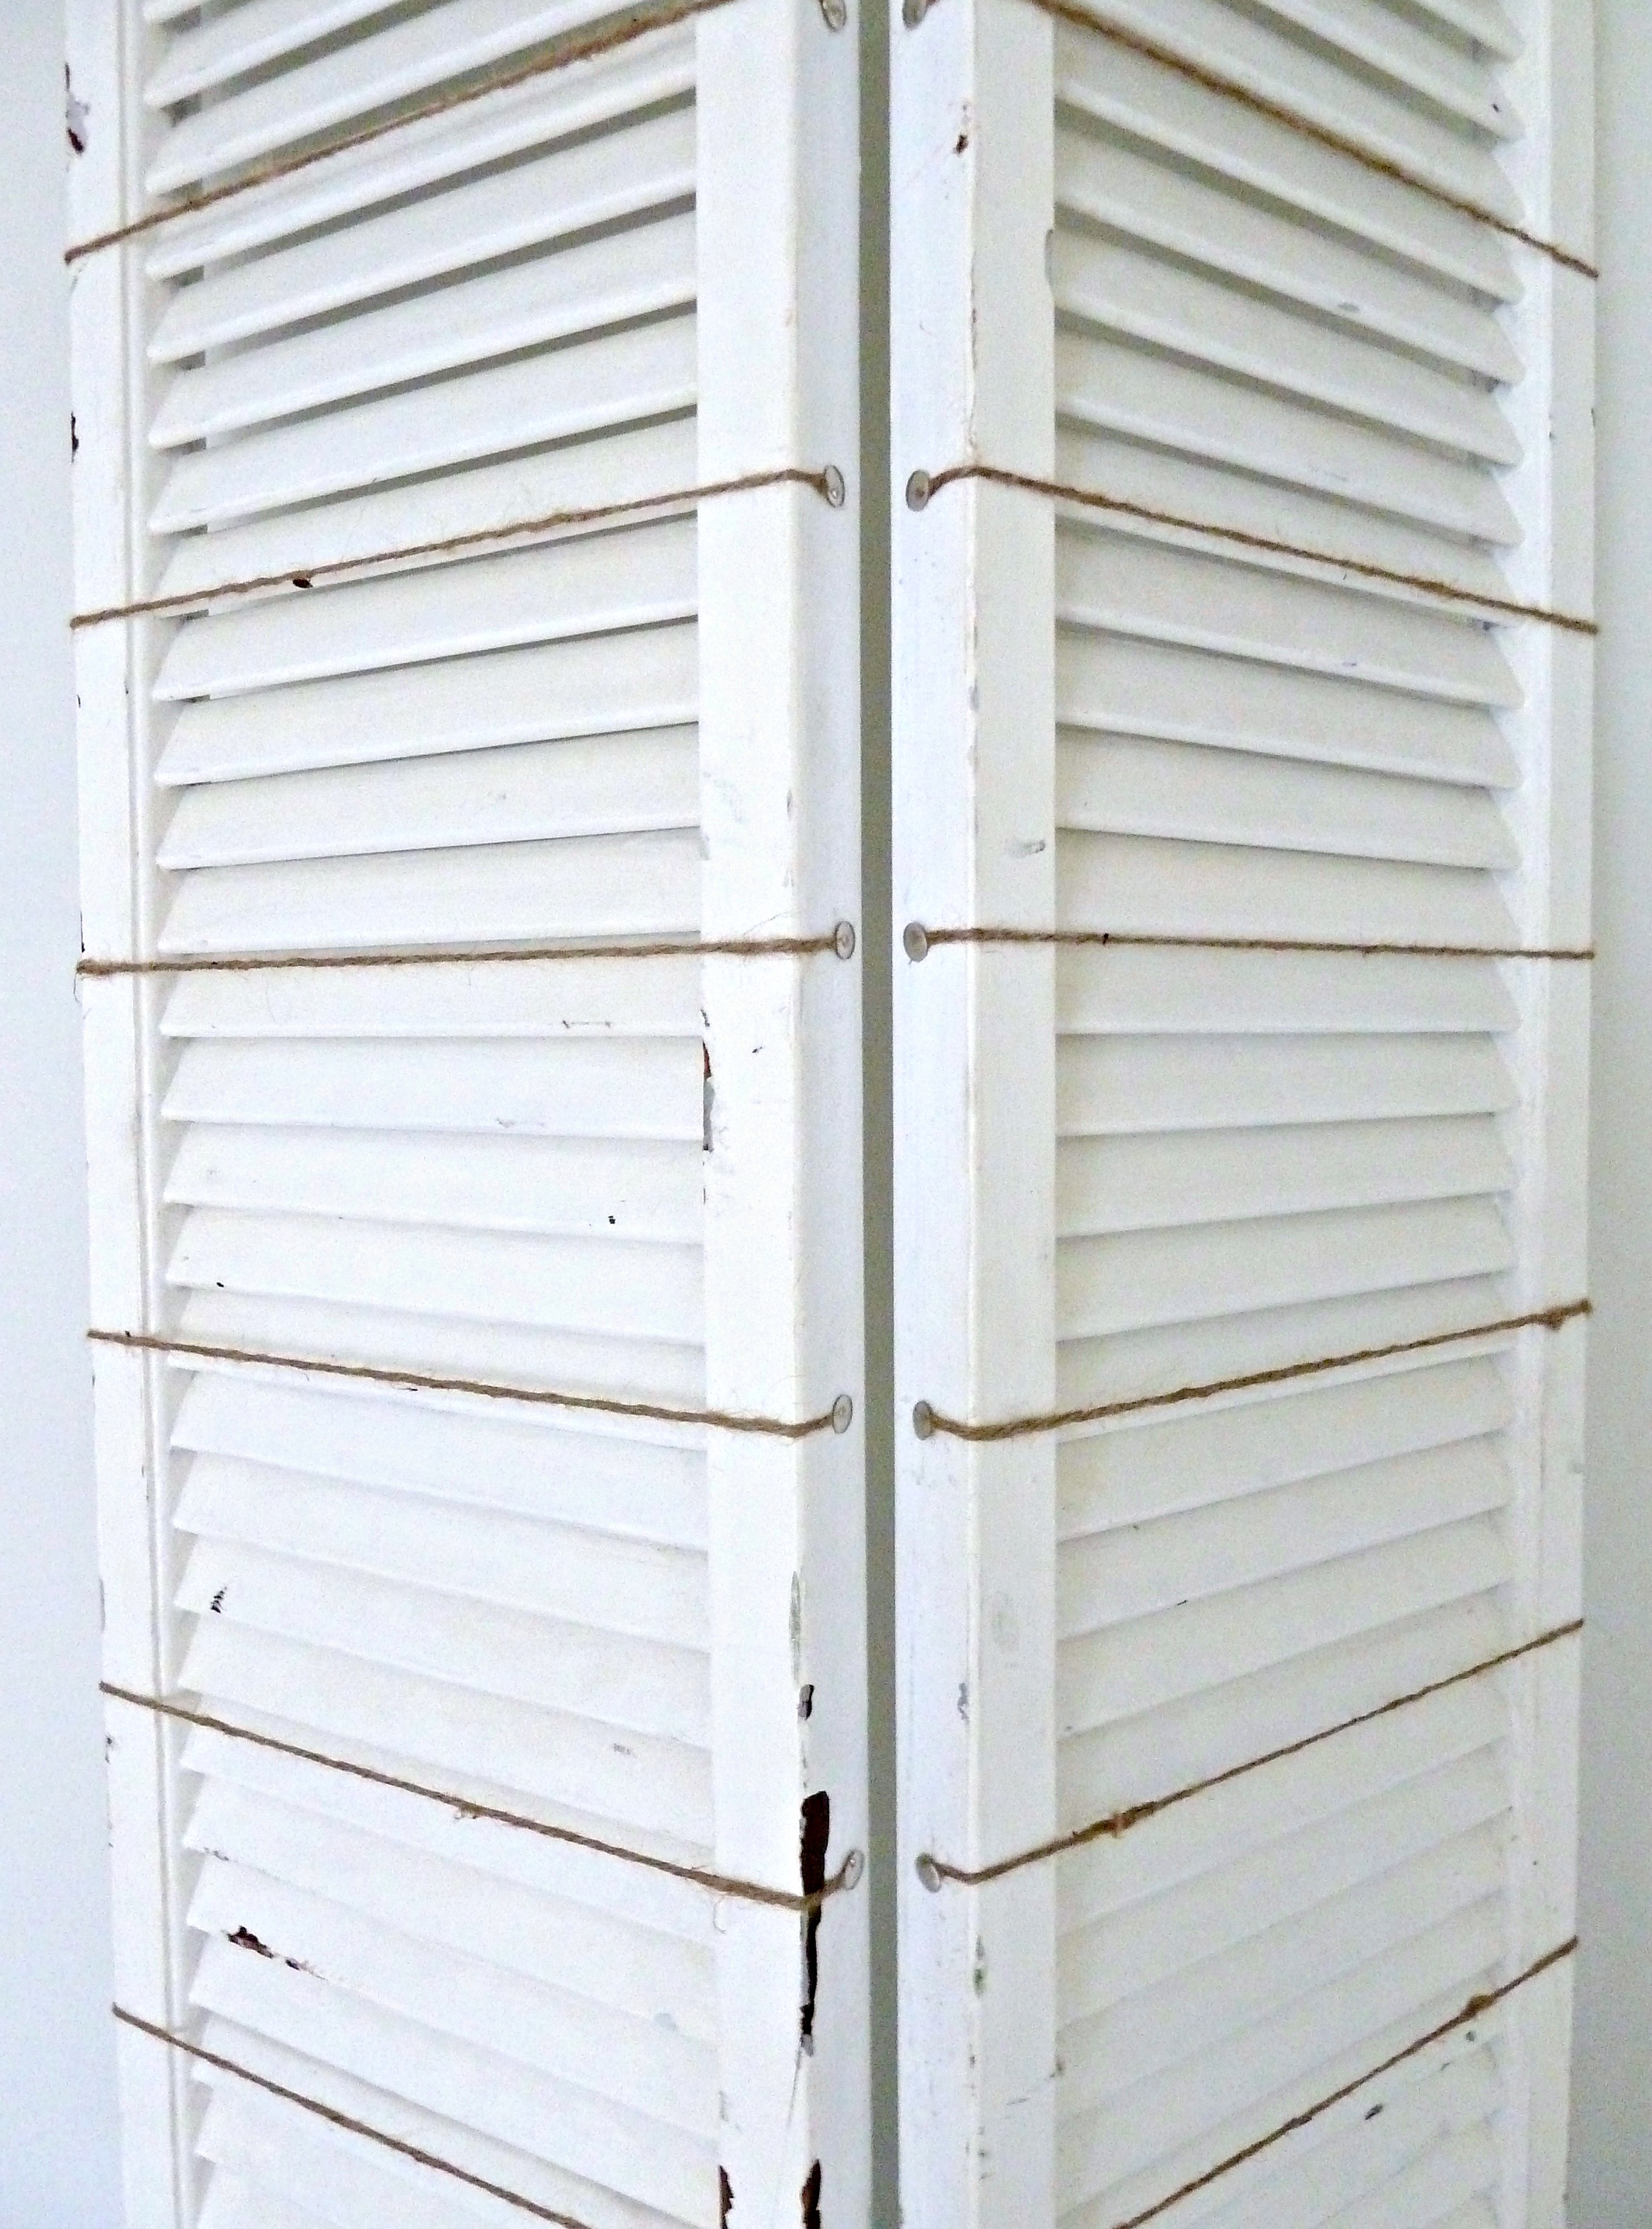
 I used a hammer to tap the tack the rest of the way into the shutter.
 Plus a very handsome yellow lab.