Wedding Memorial Display

For the wedding, I wanted to have a memorial for members of our families that have passed away.  I thought it would be nice, since Justin and I have lost family members that were very significant influences in our lives.

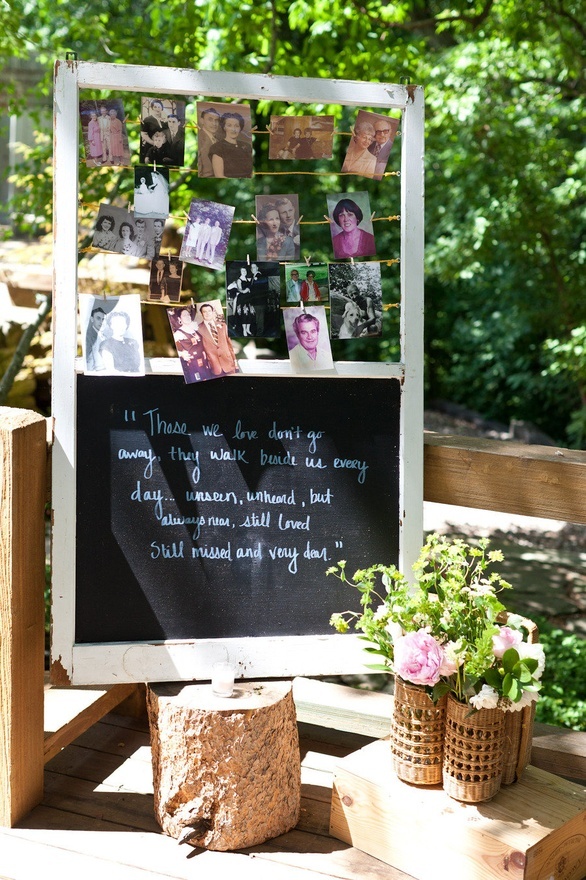
I knew I wanted my display to include photos and some kind of quote or wording. I wanted non-family members to understand who these people were as well. I dig this display that I found on Pinterest…

wedding memorial

I like the quote and the antique-ness of this set up, although I didn’t wanted to replicate this exactly.

Luckily, I found this antique window at The Antique Market

Antique Window

and I thought it would be perfect for my memorial display.

Before I got crafty, I needed to get some photos of the family members we wanted to include.  Justin’s mom and my aunt Marianna got me some pretty awesome photos.  Look at this plethora I had to choose from…

Family Photos

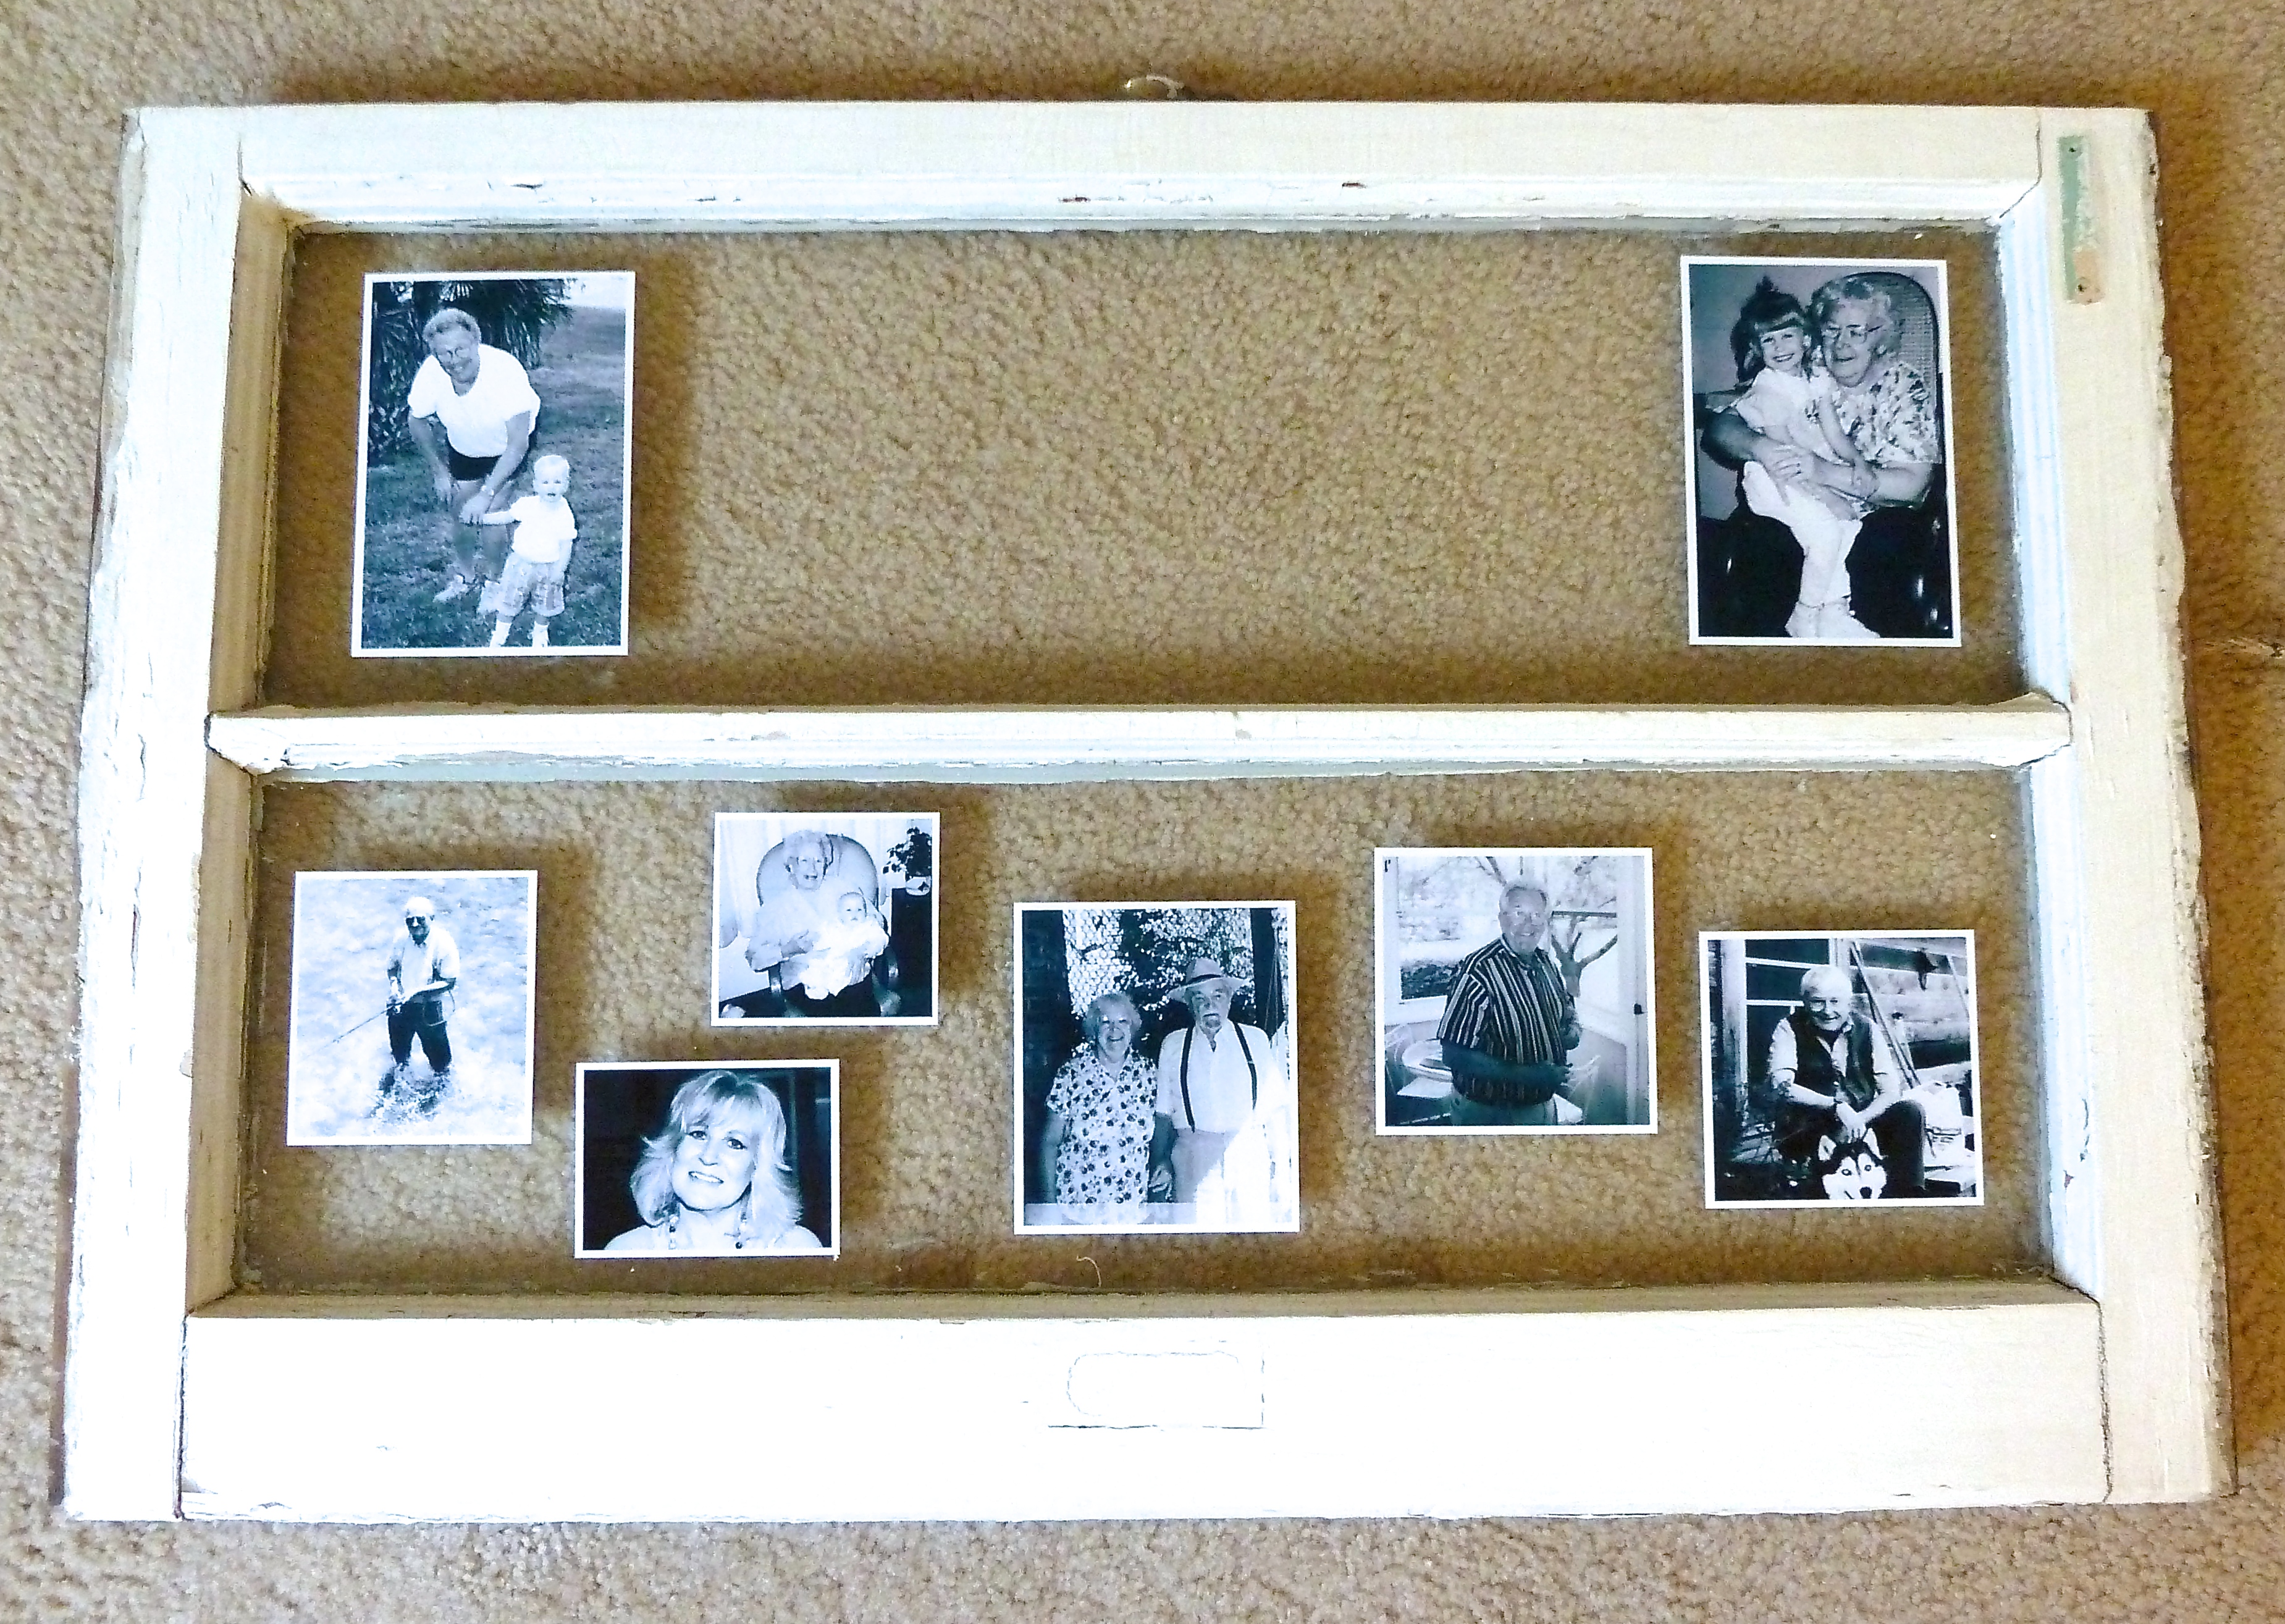
I narrowed it down to the few I wanted to use and scanned them into my computer.  I did some quick editing and reprinted them in black and white.  I like the antique feel of black and white.

Old black and white photos

I also decided to leave a small white border around each of the photos. It made them feel a little more vintage to me.

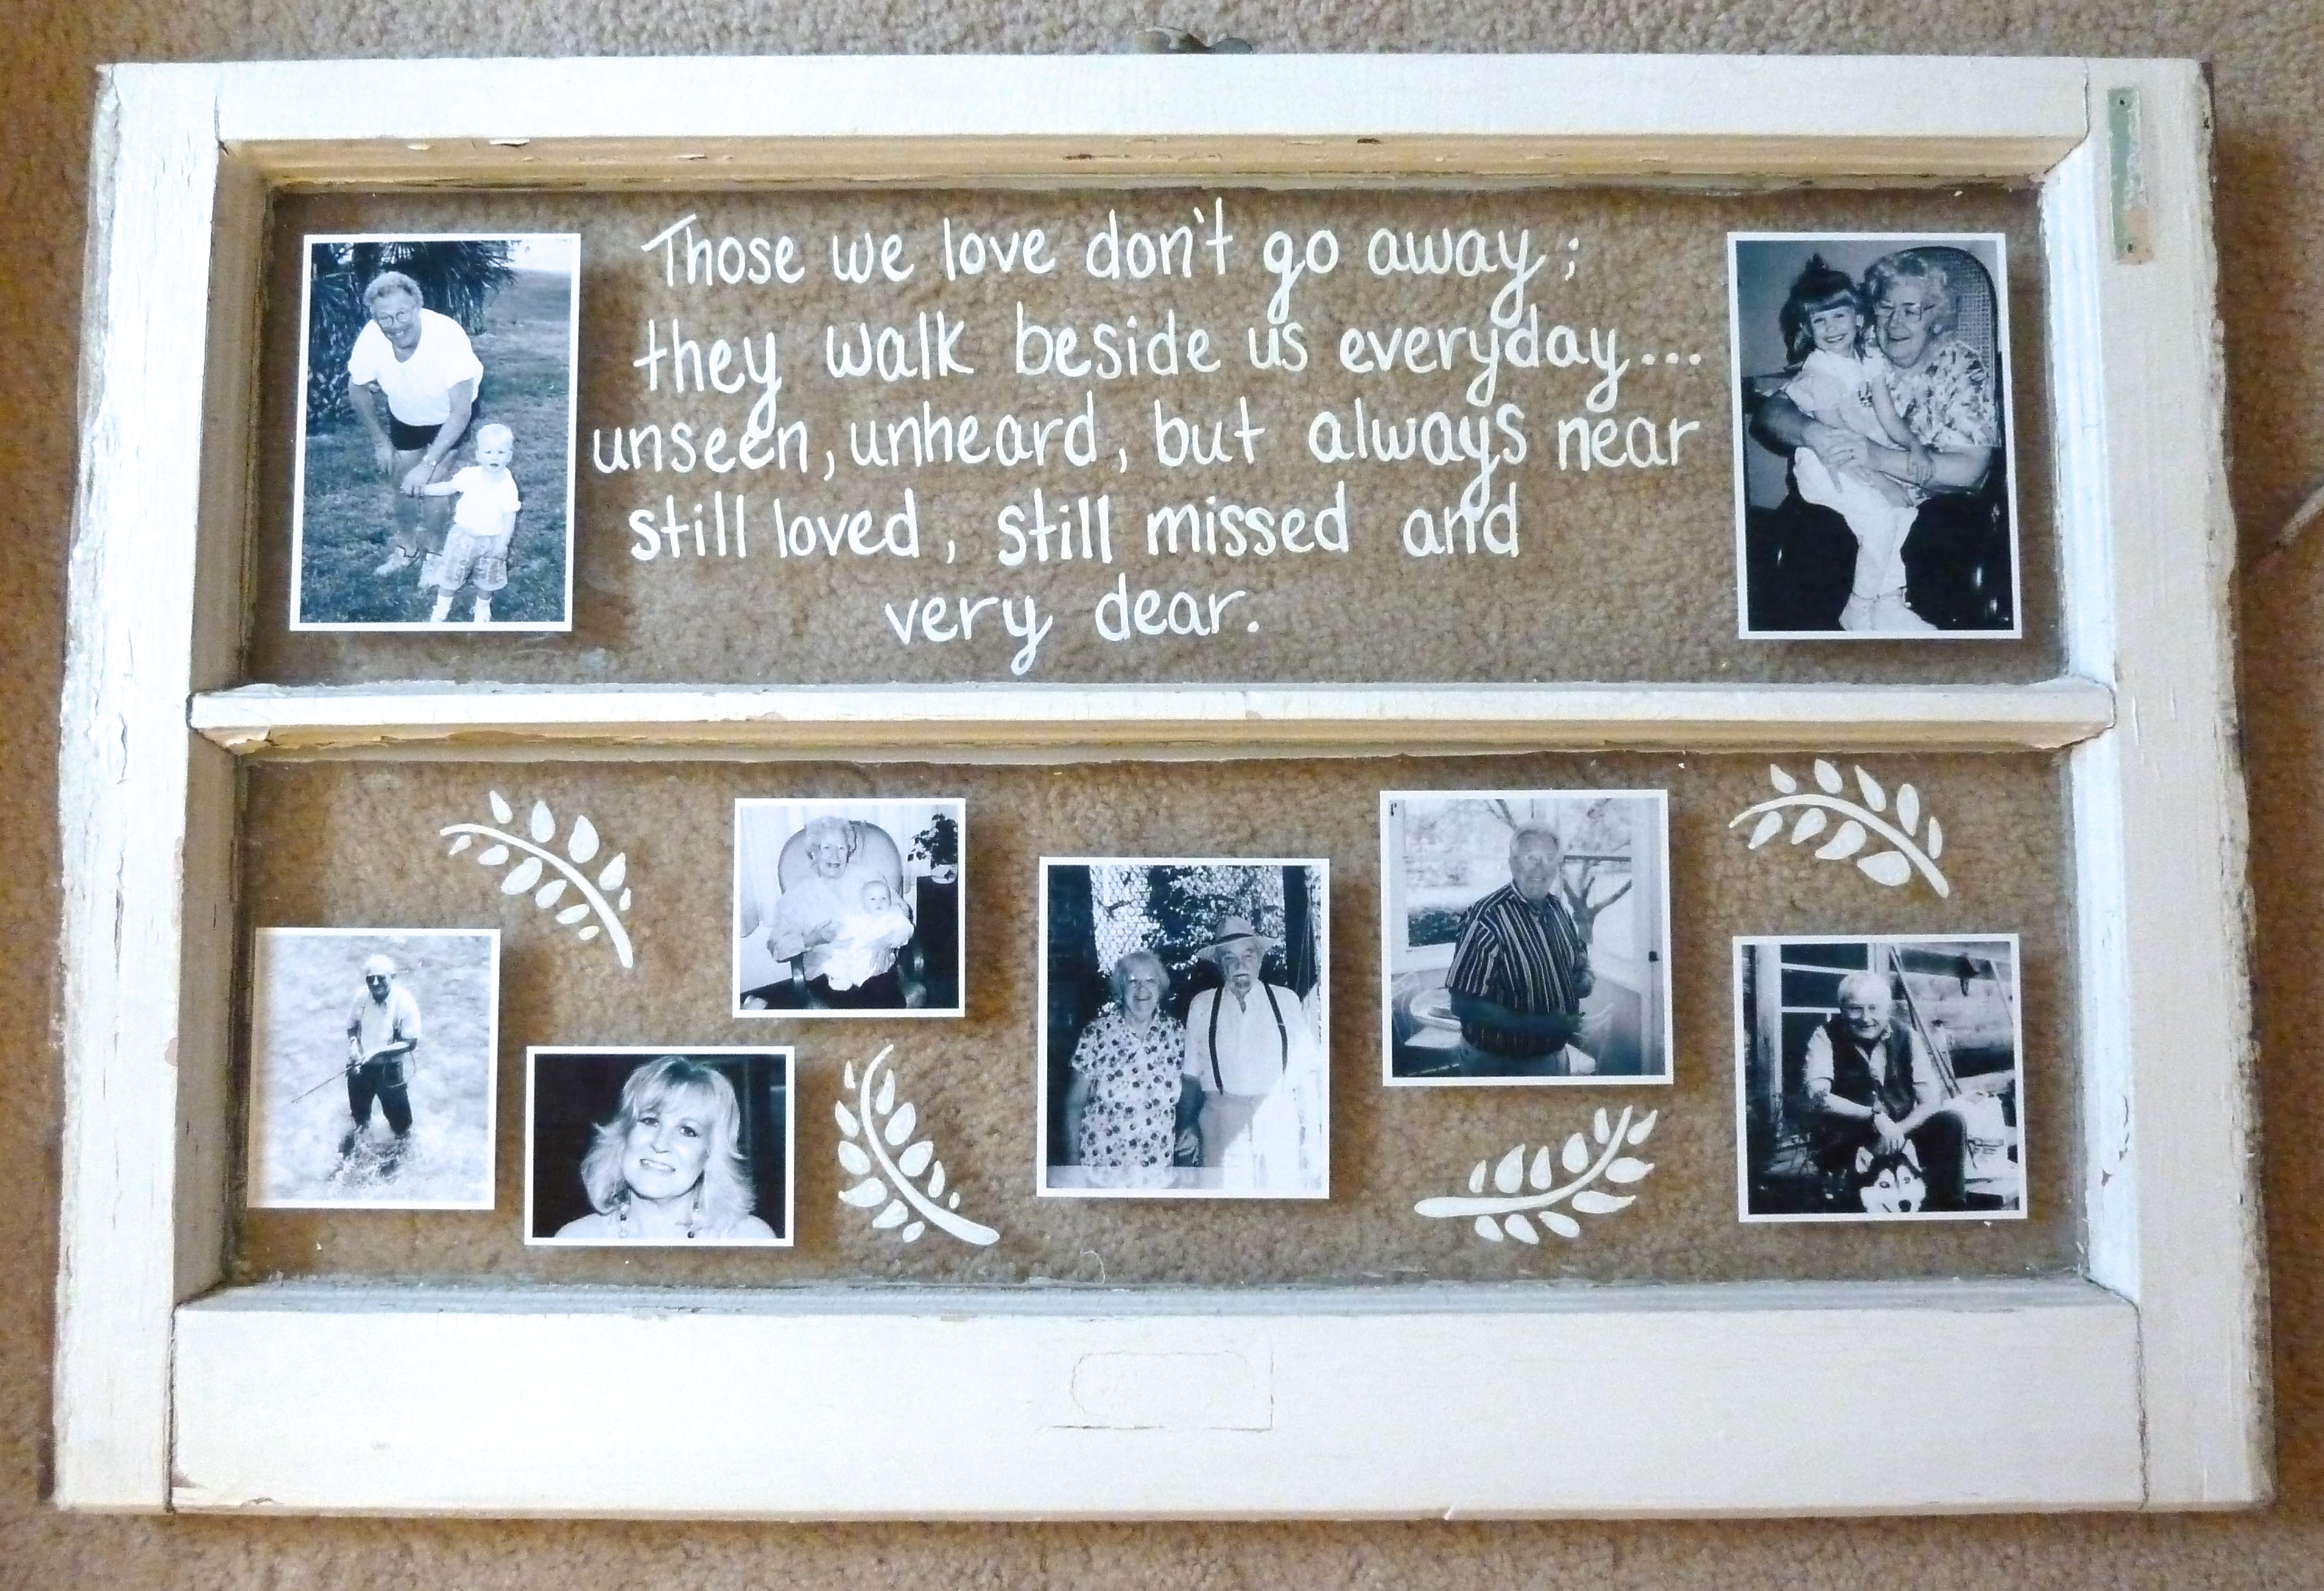
From there, I just arranged the photos on the window until I found something that felt right.

Antique window with photos

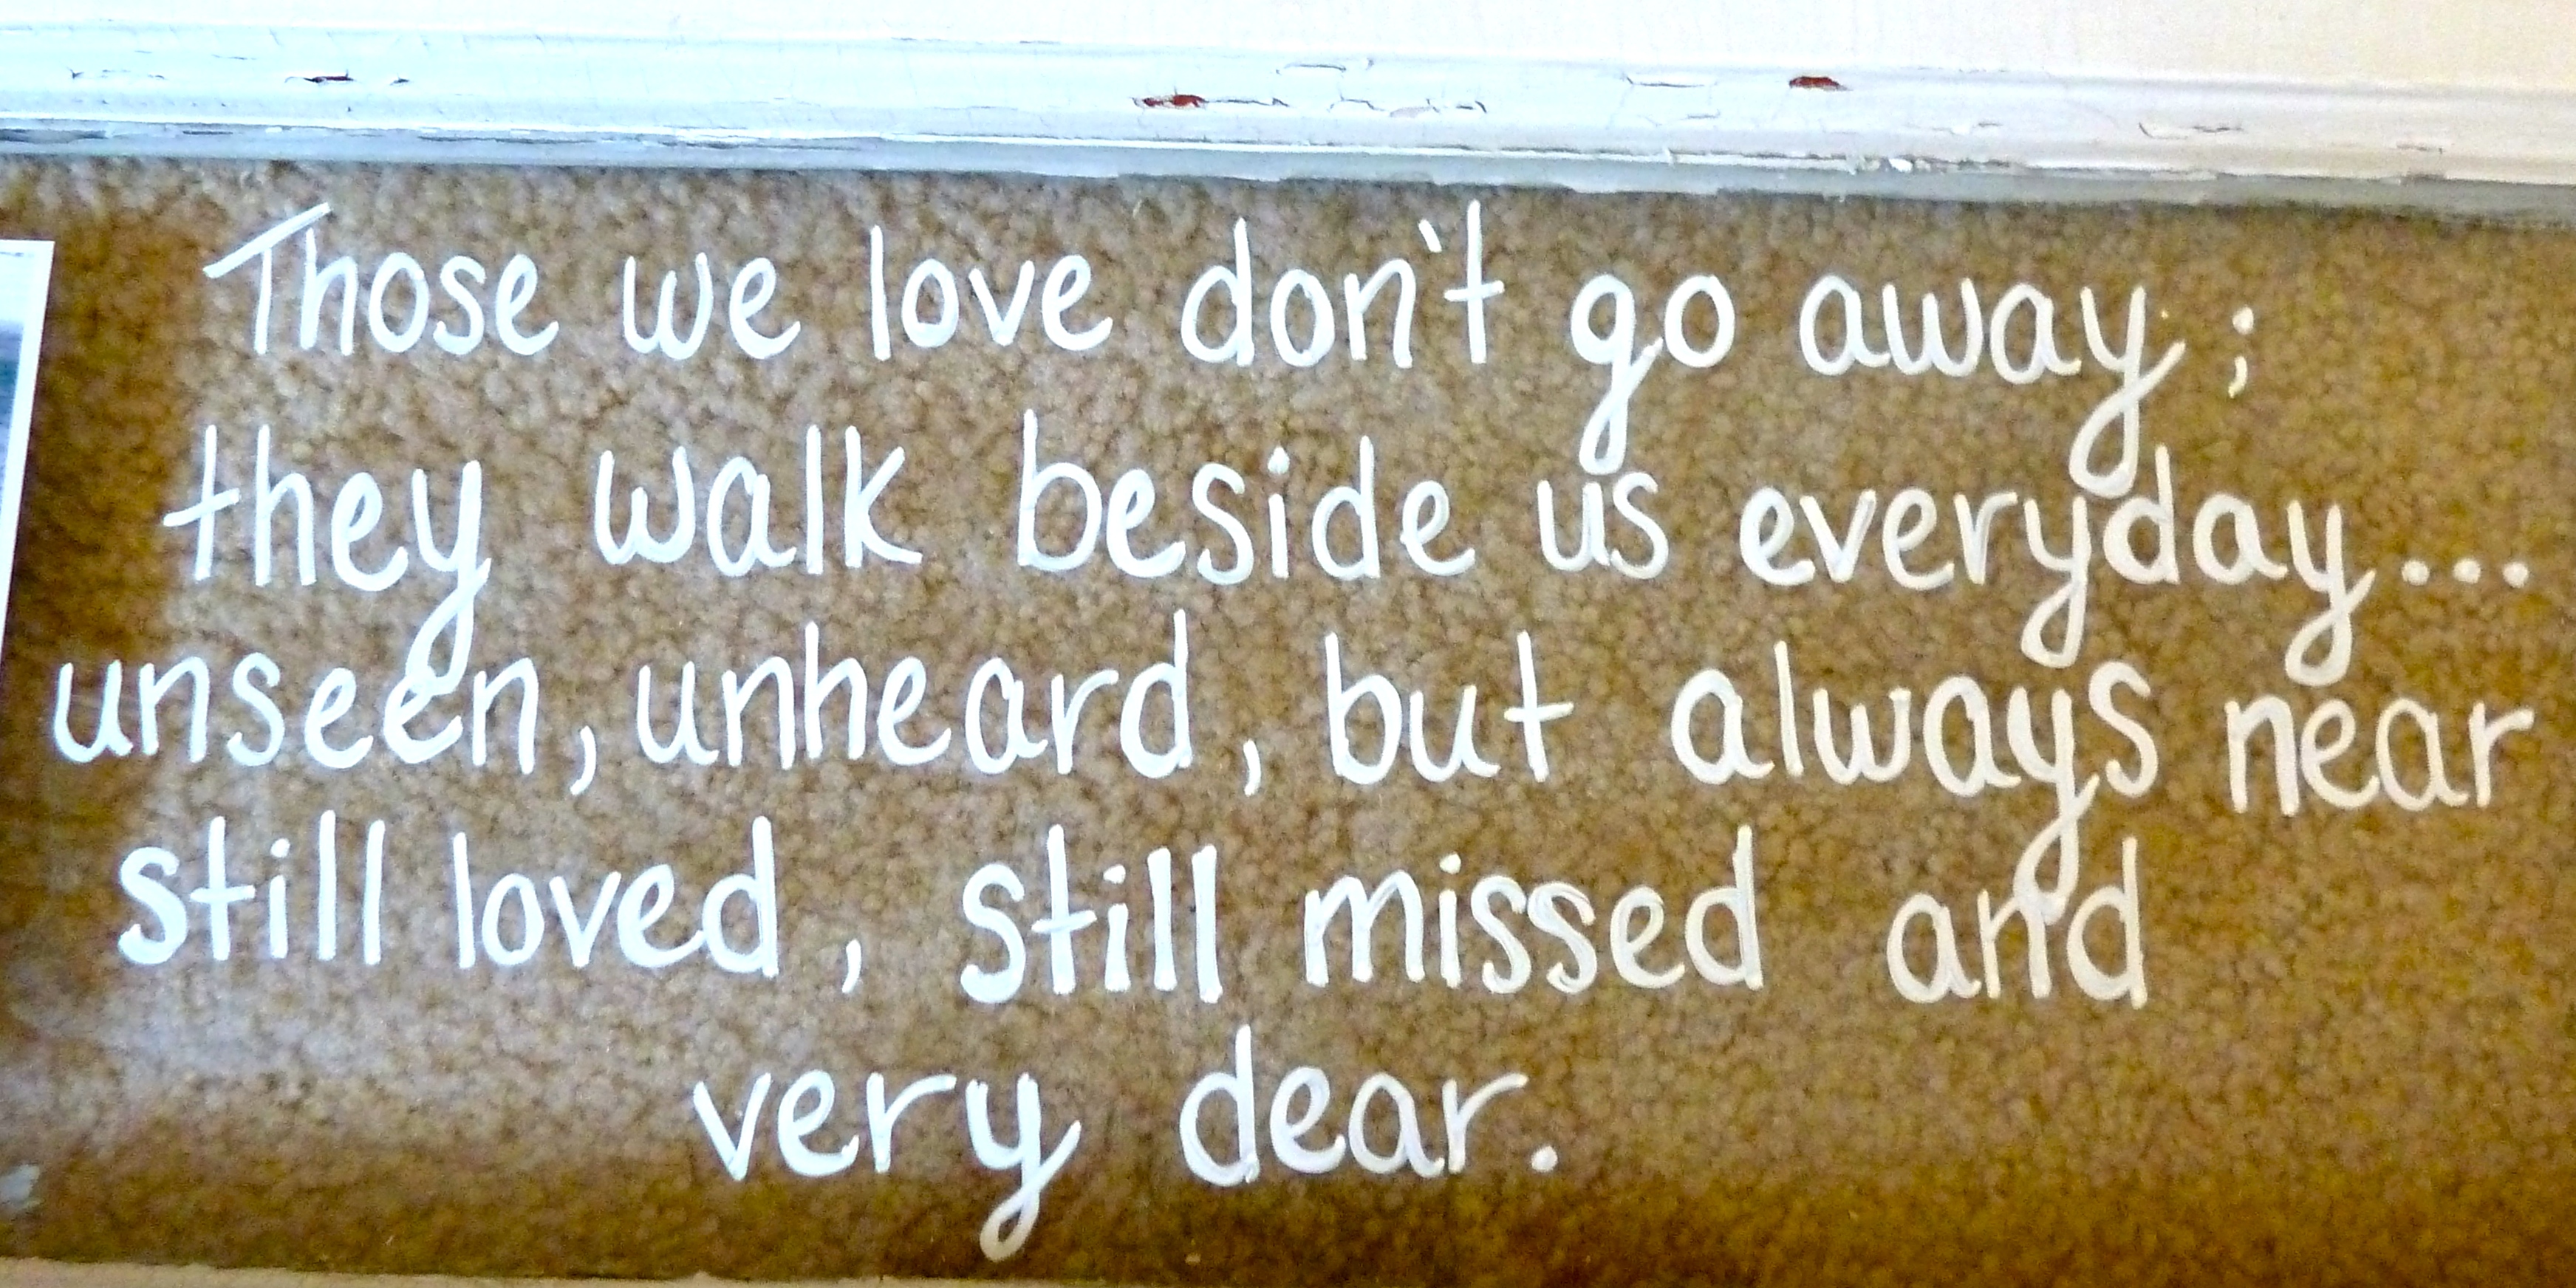
Don’t worry. That huge bare spot on the top window pane is where I planned to write my quote.  Speaking of the quote…

Those we love don't go away

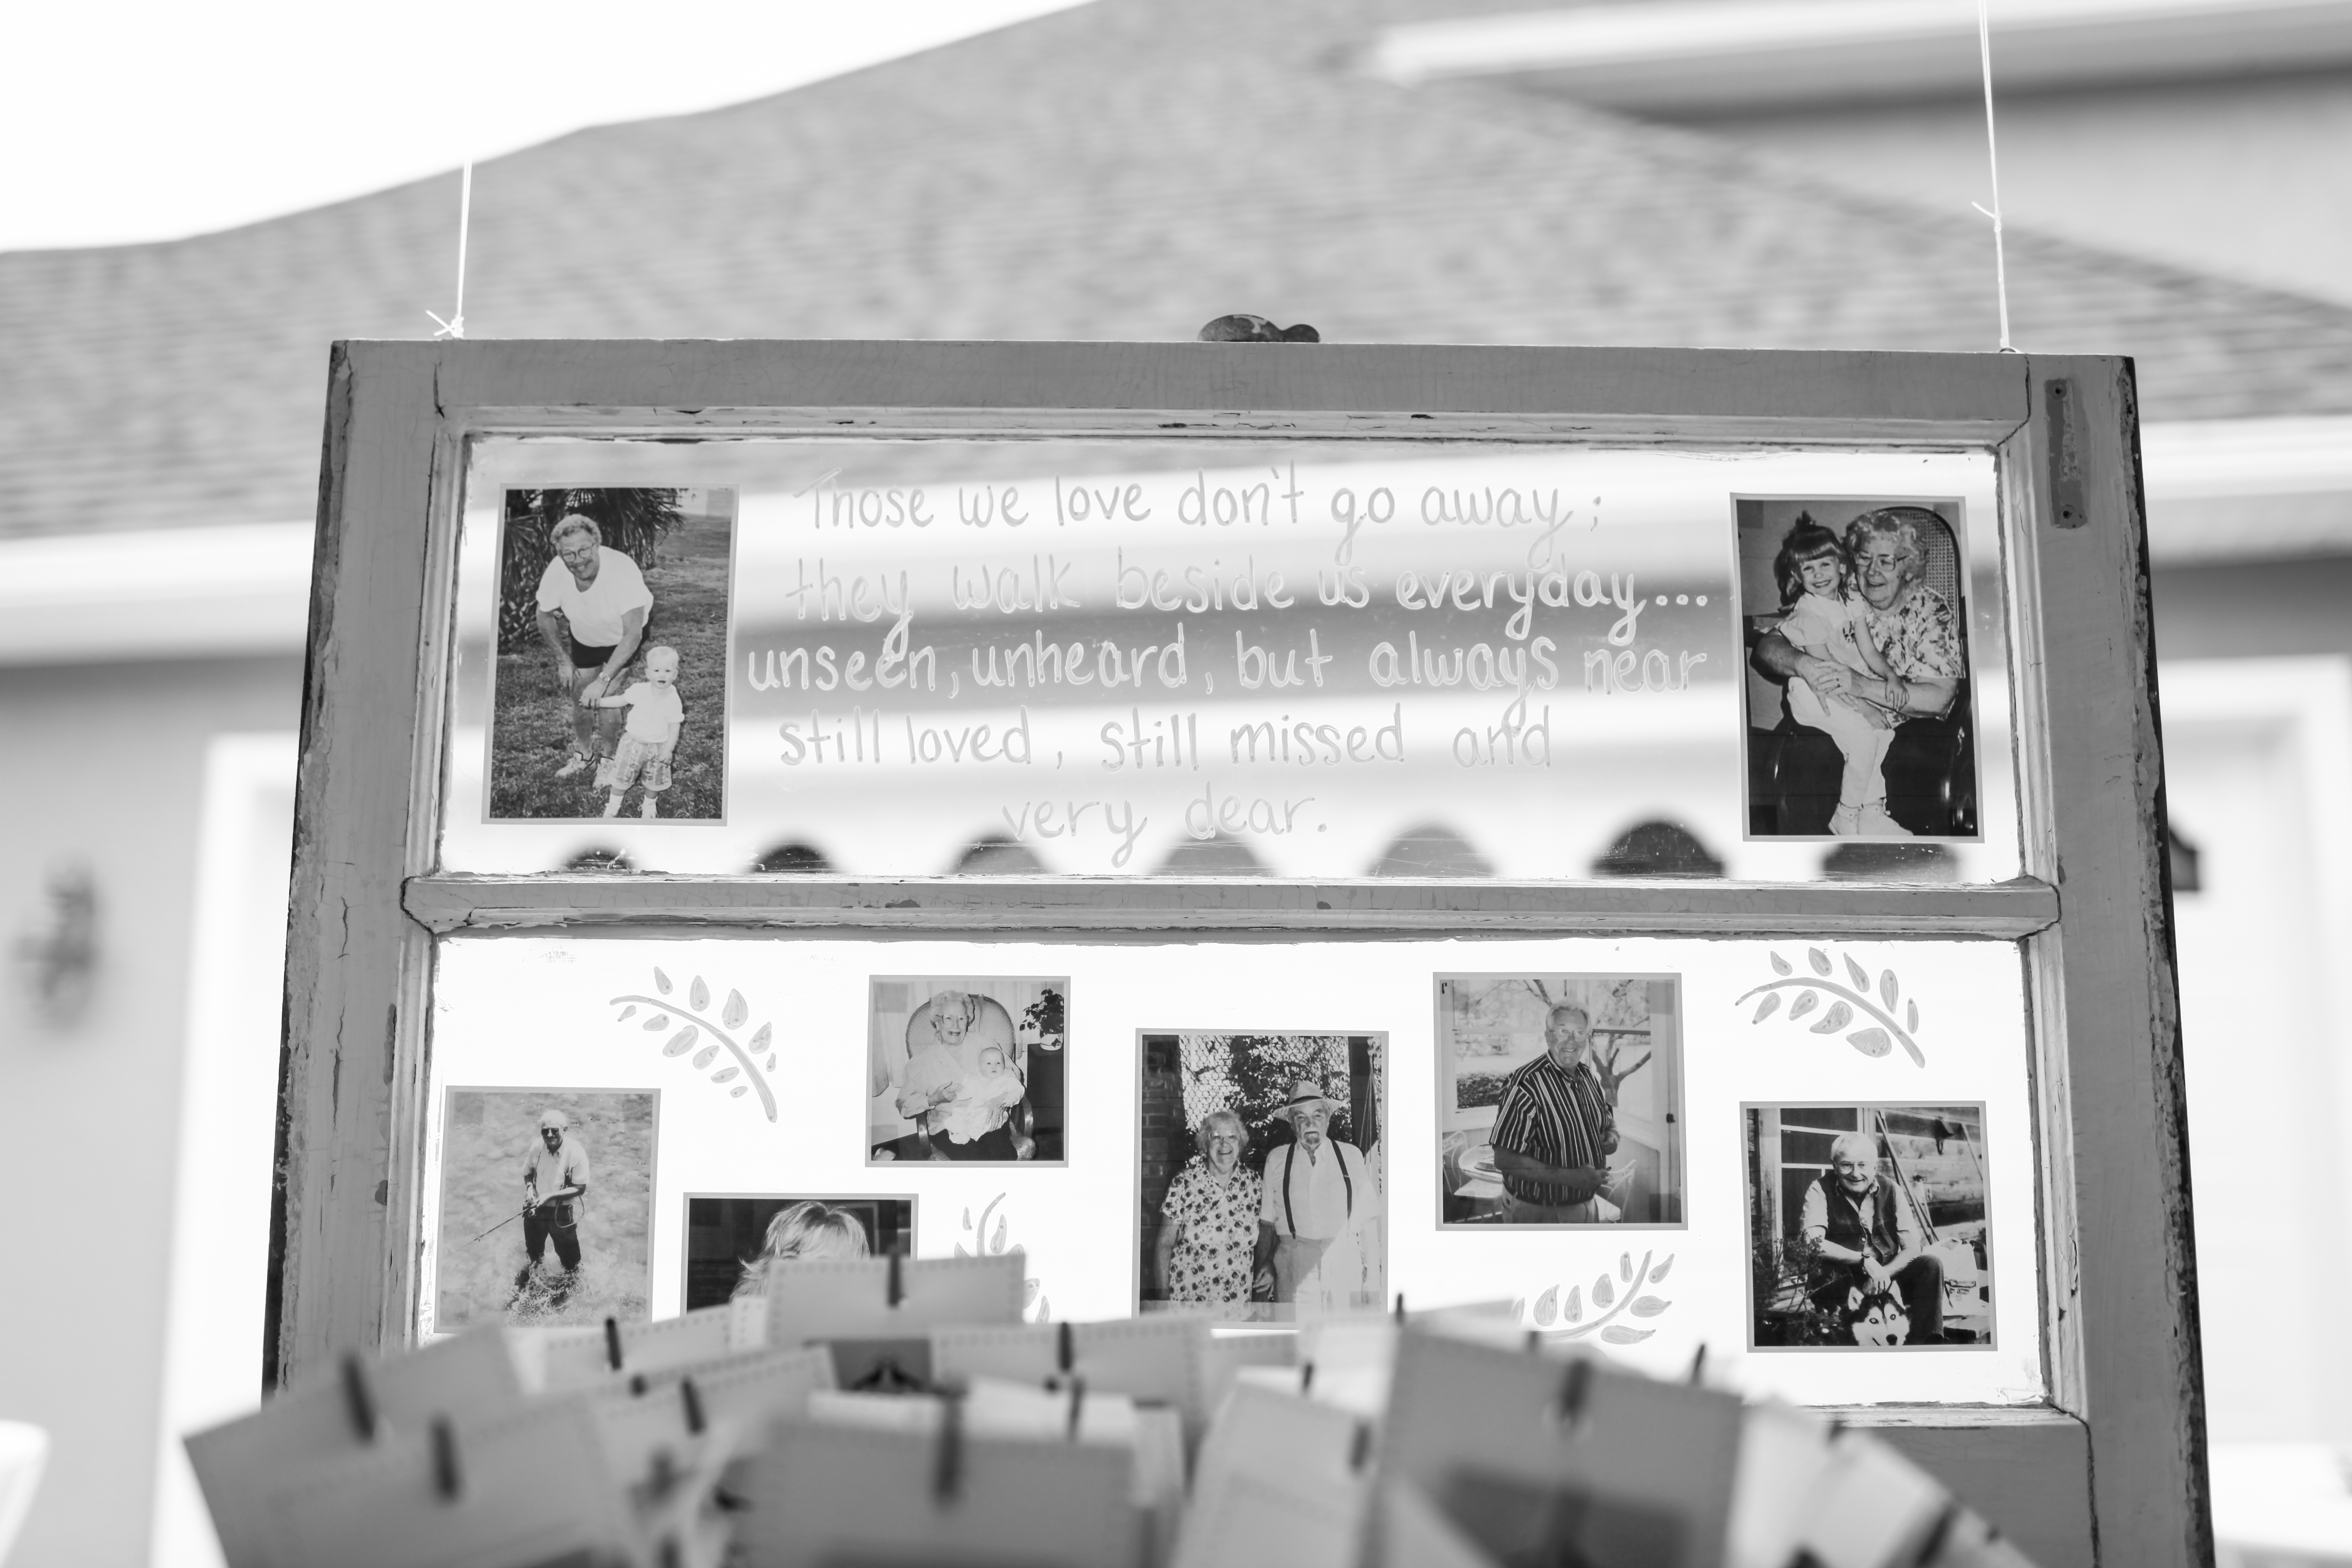
I decided to just free-hand it, instead of doing any tracing.  Once the quote was in place, it still felt a bit bare to me, so I added a few leafy branches to the mix…

wedding sign for those who've passed

I think it turned out pretty well.

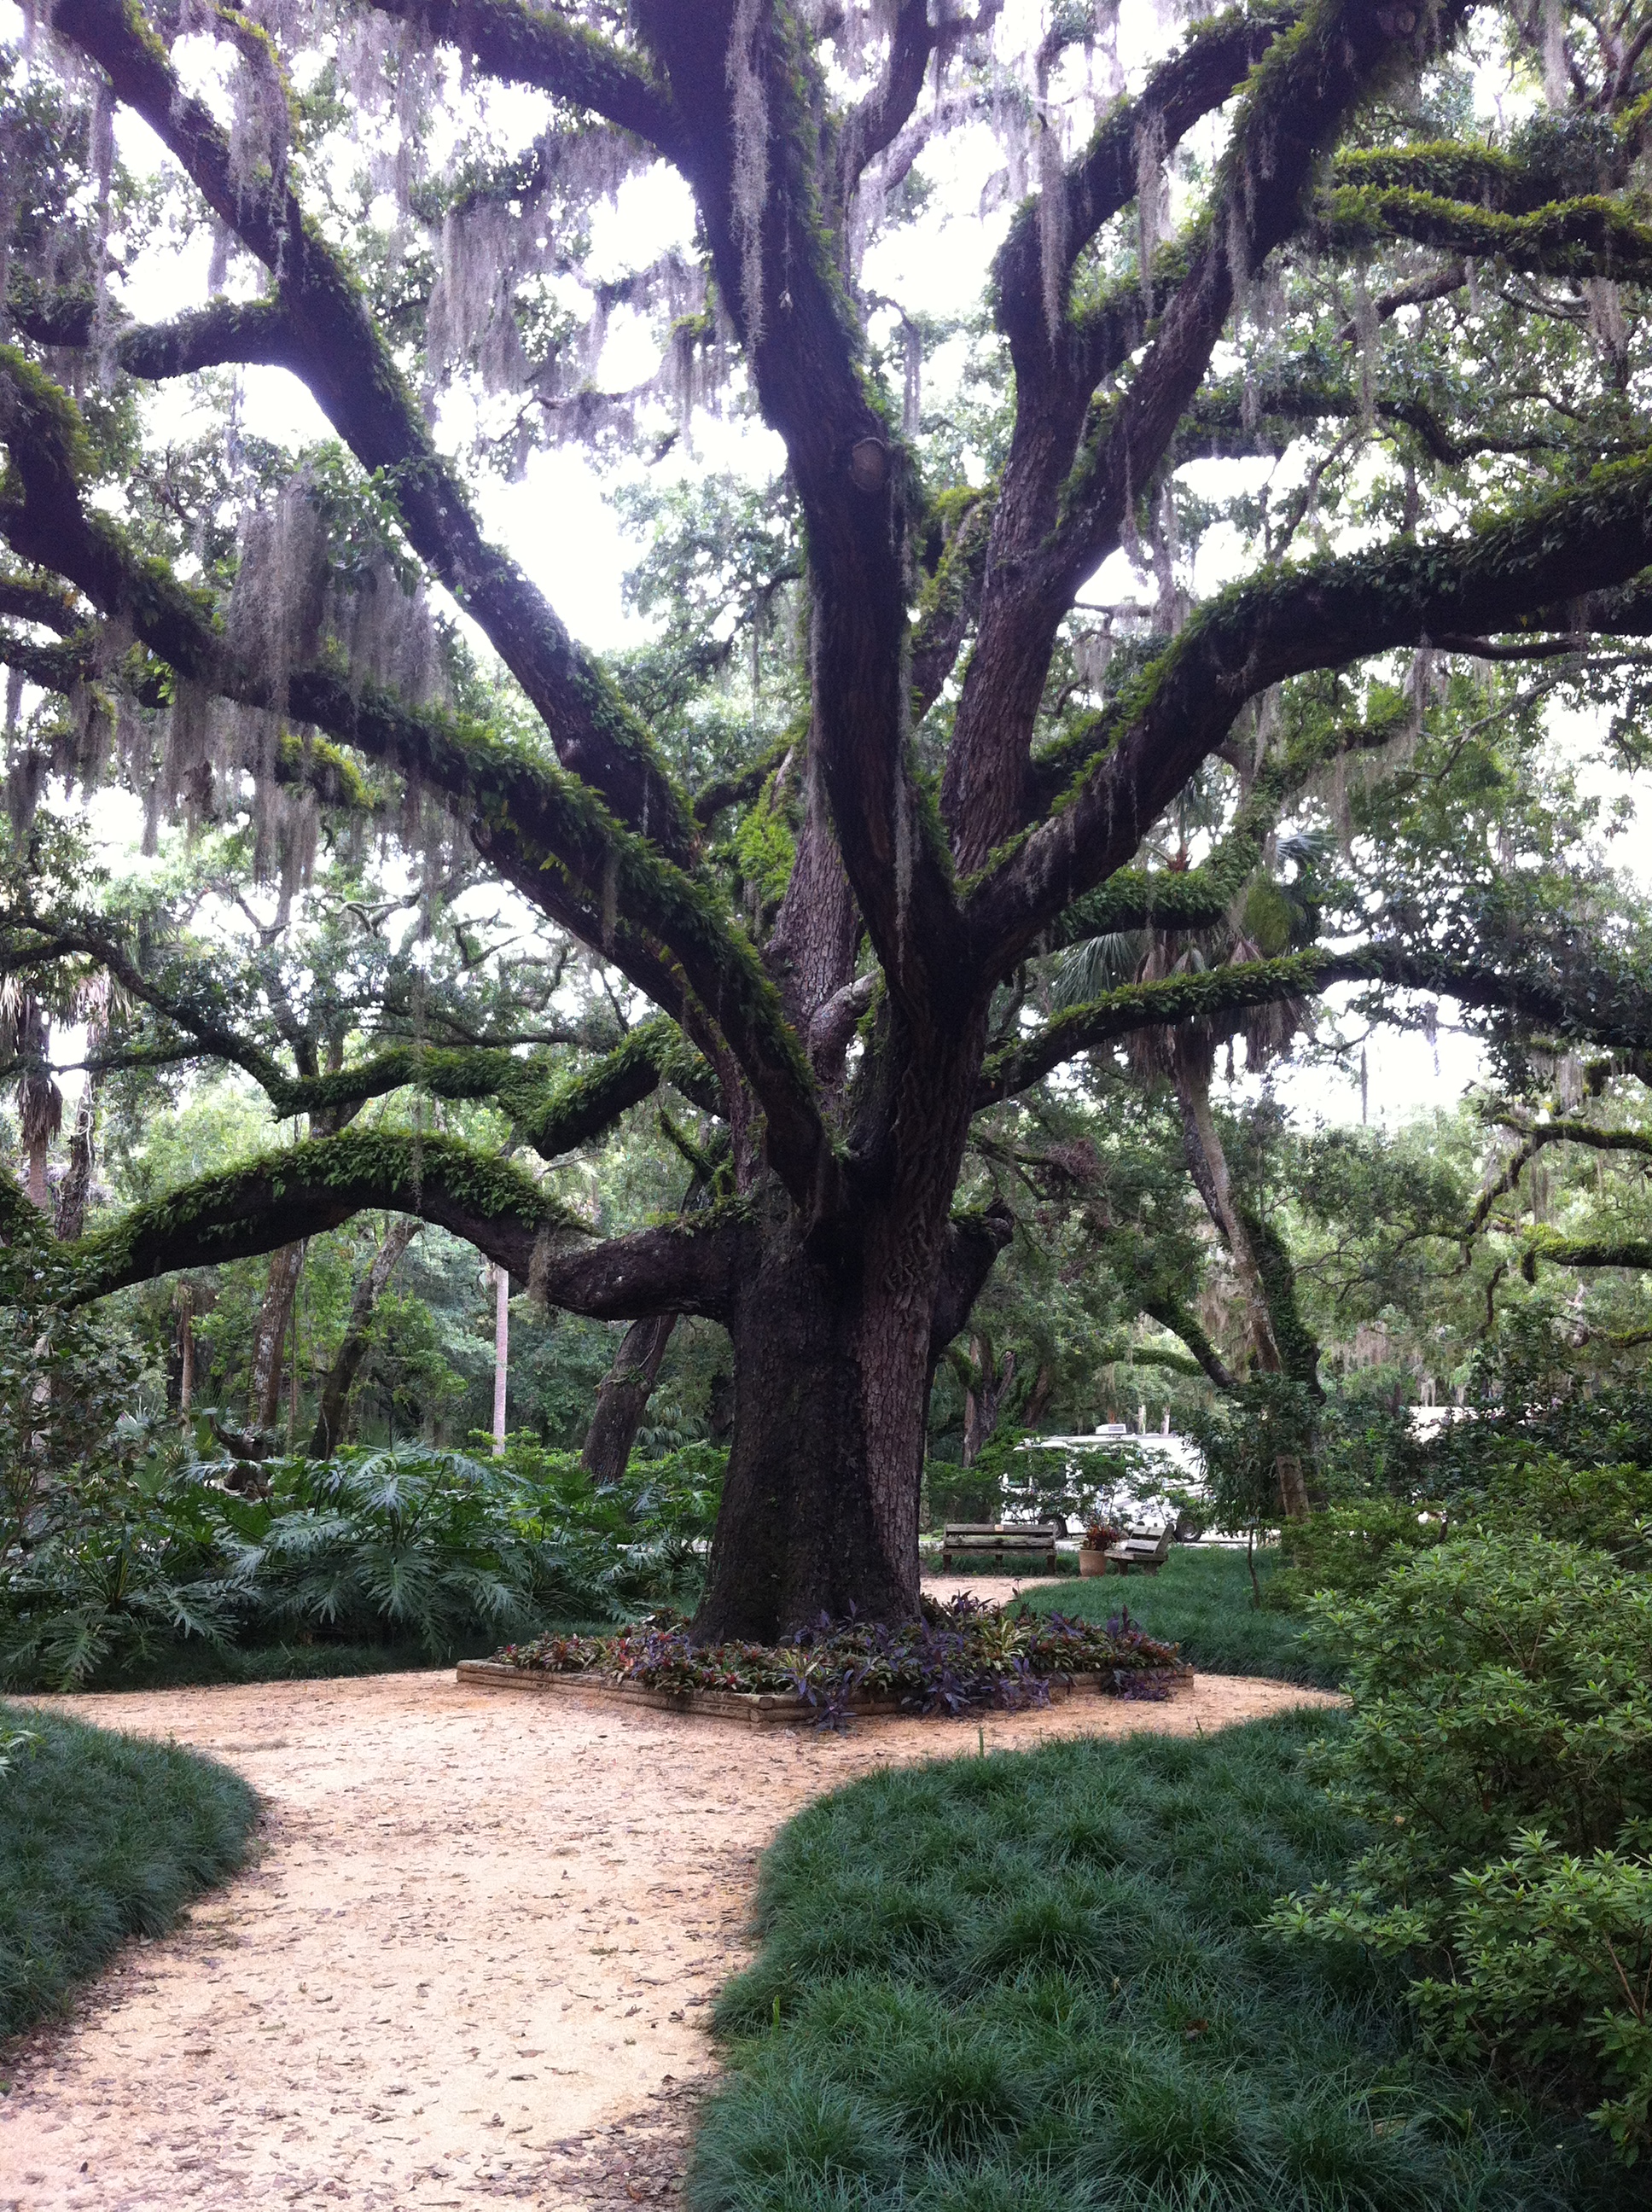
If you’re wondering where it went at the wedding, it was hung from one side of the tent above an old wine barrel…


wedding photo memorial

It made me especially happy, when family members told me they loved that we included this little display.

Who Wore What?

Since we already covered my attire for my wedding, do you want to know what my wedding party wore?  I knew you would be just as excited as me!

When planning these wedding shenanigans, Justin had few requests.  One just happened to be that he wanted to wear gray.

Keeping that in mind, I decided that my colors would be pretty neutral: tan, yellow and green.  I thought tan/nude dresses for the girls would look nice with gray.  As for the style of the dress, I pretty much left that up to them.  I only had one suggestion: they choose a short dress since it is Florida.

Since my sister and my friend, Mal, are both in NY, I FaceTimed them, while they tried on a few options at David’s Bridal.  They both liked this lace option…

David's Bridal Short Strapless All Over Lace DressGuess what?  I loved it too!  It is David’s Bridal’s Short Strapless All Over Lace Dress, in case you’re dying to know.  The color I chose is biscotti. So fancy.

As for shoes, hair and jewelry, I told them whatever they are most comfortable with.

tan bridesmaid dresses

Look how gorgeous they all are!

Lastly, I dragged Justin to Men’s Warehouse to find his wedding duds (I literally had to beg this kid to go shopping).  We had him try on a tux first, and thankfully, we both were on the same page. We hated it.  Since the tuxes weren’t doing it for us, we had him try on a couple suits.  And boom, we have a winner…

groom gray suit green tie

Don’t ask me what the name is.  I have no idea.  All I know is we both liked it. My only thought was cross it off the to do list!

A couple nice things about going with a suit instead of a tux, is that they get to keep it and they tailor it to fit them perfectly fo’ free(what what)!

Let me tell you, it was a fiasco getting all of these groomsmen in the same suit.  But look how snazzy they all look…

groomsmen gray suits

I also previously mentioned that we went with a green tie for all of the guys…

groomsman gift tie

And that completes my explanation of getting the bridal party dressed.  How about a fun action shot?

Groomsmen jumping above bridesmaids

God I love these people!

DIY Info-graphic Wedding Programs

For our wedding ceremony, I really wanted to have a unique program.  I am not a big fan of the more formal programs you normally see.  I wanted to have something a bit more us.  I figured, since we are pretty casual and always enjoy a good info-graphic, we should do something incorporating these two things.  Here is what I came up with, hope it makes you smile…

Scan 15

And on the back… Scan 16

I like the idea of an info-graphic full of fun facts about our relationship.

As for how I made them, I put together a couple documents in PowerPoint(yes, PowerPoint, believe it or not).  I like using PowerPoint for things like this, so I can move text boxes around and not have to mess with margins, spacing and all that jazz.  I also used some of my favorite fonts; I used Villa Didot, Learning Curve and Garamond.  I also found a great site where I pulled all of my icons from, called The Noun Project.  All of the fonts and icons I downloaded were free, which is a bonus.  Once I had everything in place I messed with the colors, knowing I wanted to use yellow and green.  Lastly, I played with the sizing until I found the size I liked, then I hit print.  My finished product ended up being around 5 x 7.  I did print these back and front, which also took some finagling to find the right format.  If you need more info on the back and front thing, I am sorry, but I am not tech savvy, I just mess with spacing and sizes until it works out.   Once I had my program printed correctly, I thought it still needed something.  So, I glued one of these guys on both the front and back…

t2

They are the same paper flowers I used on both my save the dates and my invitations.

After printing, cutting and gluing all 120 of my programs, I realized I didn’t mention anything about the shuttle we were providing, as I had originally wanted to.  There was no going back at this point. My solution…

A welcome tag…

wedding welcome program tag

With some shuttle instructions on the back…

wedding shuttle note

The shuttle was mentioned in our guest bags, but I was worried that they may not have seen it. So, this was just an extra reminder.

To attach these little buggers I just punched a hole in the corner…

wedding program welcome tag

Slipped some string threw and tied it around the program with a bow..

Scan 13

See what I mean?

The last thing I had to figure out, was how I wanted to get these programs into my guest’s hands.  I considered having them waiting on each guests chair, held down by a rock, or possibly having them passed out.  But, both of these options involved additional set up or additional hands for passing.  We decided the best solution was to have them available on a table as guests arrive, that way they can help themselves.

I picked up this antique basket at The Antique Market, and lined it with some yellow fabric, and then some lace…

P1110263

Here are the programs hanging out in the basket(prior to the welcome tags).

wedding program basket

And their appearance at the wedding…

outdoor-wedding-ceremony1

DIY wedding programs

It worked out well, I believe most people picked up a program on there way in.

IMG_3989

I had a lot of fun creating these little programs.

DIY Wedding Program

Wedding Program

Hope everyone enjoyed reading them as much as I enjoyed making them!

P1110440

What did you do for your wedding programs?  Anything unique?  Do tell!

DIY Chalkboard Writing

I previously mentioned that I DIYed the chalkboard signs that we displayed at our wedding, and I promised I would share how I did it.  I had fallen for some of the chalkboard displays I had come across on Pinterest.  Like this…

Wedding chalkboard sign

and this…

Chalkboard writingI really wanted to have a of couple signs like this at our wedding.  If you remember, I did do some chalkboard writing for our Save the Dates…

save the date with dogs

But, I wanted to get a little fancier with the font this time around.  Here’s the thing though. When I write freehand, my words tend to slant weird ways and end up different sizes looking a little wonky.  Then, I remembered tracing in art class in elementary school.  Don’t you remember coloring the back side of a piece of a paper in a certain shape with pencil, and then tracing the outline of the shape with a clean sheet of paper underneath?  Remember?  Well, I do, and it got the gears in my brain moving.  I figured, I can do that on a chalkboard, but instead of using pencil just use chalk!

Before I got my tracing on, I had to get a chalkboard.

wedding welcome sign

Sandy found this guy at Hobby Lobby, and it just so happens to be the same exact one that I saw in my inspiration photo from Pinterest. How about that?

Since this was meant to be the welcome sign, I decided to go with “Welcome to the Mace Edmondson Wedding May 10, 2014”.  Pretty straightforward, I think.  I searched online for some free fonts that I liked and decided on Villa Didot and Edwardian Script.  I then typed it up in a Word document and printed that sucker out.

font for wedding

You can’t really tell here, but I used legal sized paper.  I did so, because I needed my words to be a bit longer to fill the width of the chalkboard, and I wasn’t looking to do any cutting and pasting.  Next, I just cut all of the words out…

wedding chalkboard font

Then it was time to cover the back with chalk…

diy wedding chalkboard

It’s hard to see the chalk, because it is white, but I made sure I covered the entire back of the paper with it.  From there, I taped the paper onto the chalkboard, chalked side facing down.  I made sure the positioning was straight and where I wanted it before taping.

wedding chalkboard

Now, it was time to do some good old tracing.  I used a sharp pencil and was sure to press hard enough that the chalk on the back stuck to the surface of the chalkboard.  Make sense?

how to make wedding chalkboard

Before taking the paper off, I peeked behind the paper to be sure the chalk was transferring enough to be seen.

writing in chalk

Huzzah! It worked.

writing fancy with chalk

using liquid chalk

I used a white liquid chalk marker to go over the traced wording.

chalkboard writing diy

Then, I added the fancy shmancy little horizontal lines that were in the openings of the letters…

easy chalkboard font

And, BOOM, I had my first word.

I then covered the back of the remaining words in chalk and taped them on the chalkboard.

trick to writing in chalk

I completed the remaining words with the same steps and here she is…

welcome wedding chalkboard

photo(1)

Oh, and it’s a double sided chalkboard, so I did it all over again on the back side.

photo

Wanna see it in action the day of the wedding?

wedding welcome sign

Woot woot!  Welcome to our wedding!

I used the same steps again to make a seating sign…

Sit together wedding sign

I used a couple new fonts on this sign.  I stuck with Edwardian Script, but also used Ever After and Matilde.

Outdoor wedding reception

See it hanging out there at the entrance?

I also made some Reserved signs. Some for the ceremony…

wedding reserved signs

And for the reception tables…

Wedding Reserved Table sign

and cookie jar labels…

wedding coffee station

and a restroom sign…

wedding restroom sign

So, there you have it.  The easy way to make fancy pants chalkboard signs.

DIY chalkboard Sign


Ceremony Location and Such

We did some serious searching as for where to have our wedding ceremony, and by “we” I mean myself and Justin’s mother, Sandy.  Justin did not see the location until the day of the rehearsal.  Let’s just say he’s not that into wedding planning, thankfully I had Sandy.

I had just two things I was looking for in the location, I wanted it to take place outside and preferably near some trees.

We checked out the Bulow Plantation Ruins, which is close to Justin’s parent home, which is where we had already determined we would have our reception.  The Bulow Plantation is mostly associated with it’s history, being the ruins of a former sugar mill plantation.  It is very rustic and pretty, take a gander for yourself…

Bulow Plantation

It was definitely in the running for our ceremony location, but I wanted to check out a couple more places before hopping on board with the plantation.

We then headed to Washington Oaks State Park, which is equally, if not more beautiful.

Washing Oaks State Park

Washing Oaks

As you may have figured out, I have a thing for moss covered oak trees. L-O-V-E them.   I actually loved Washington Oaks so much, that I requested to book our ceremony there.  Unfortunately, our date was already taken by another couple.  Thanks a lot other couple! I guess it wasn’t meant to be.

I went back to good old google and did some more searching and found a place called Princess Place Preserve.  It is a nature preserve that is on the Matanzas River.

IMG_4748

I pretty much fell in love with the old oak trees immediately.

porch

It also has a charming old lodge on the property.  I ended up checking if our date was available and it was, so we were in.

Next, we had to get an isle to walk down and some decorations to make it look like a wedding was going to happen! So that’s just what we did.

Sandy made this amazing hydrangea wreath to hang on the tree that we decided would be our backdrop for the ceremony…

wedding wreath

We decided to use shepherd hooks with hanging mason jars filled with more white hydrangeas to line the isles.

outdoor wedding isle

And in case you are dying to know(I know you are) the chairs are rentals from Rentaland.

wedding ceremony under tree

wedding reserved signs

I also made reserved signs using chalkboard markers and small chalkboards I found at Hobby Lobby, but I’ll tell you more about that later.

wedding welcome chalkboard

One more chalkboard sign that I made that I’ll explain more about soon.

We also decided to use our friend Mike Shackelford as the musician for the wedding ceremony and reception.  Because let’s be honest, who doesn’t like live music better than pre-recorded music?

wedding ceremony musician

I am so happy we chose the preserve.  It ended up being a nice sunny day and we both showed up.  Score!

wedding welcome sign

wedding party jumping photo

PS it was a great back drop for pictures!