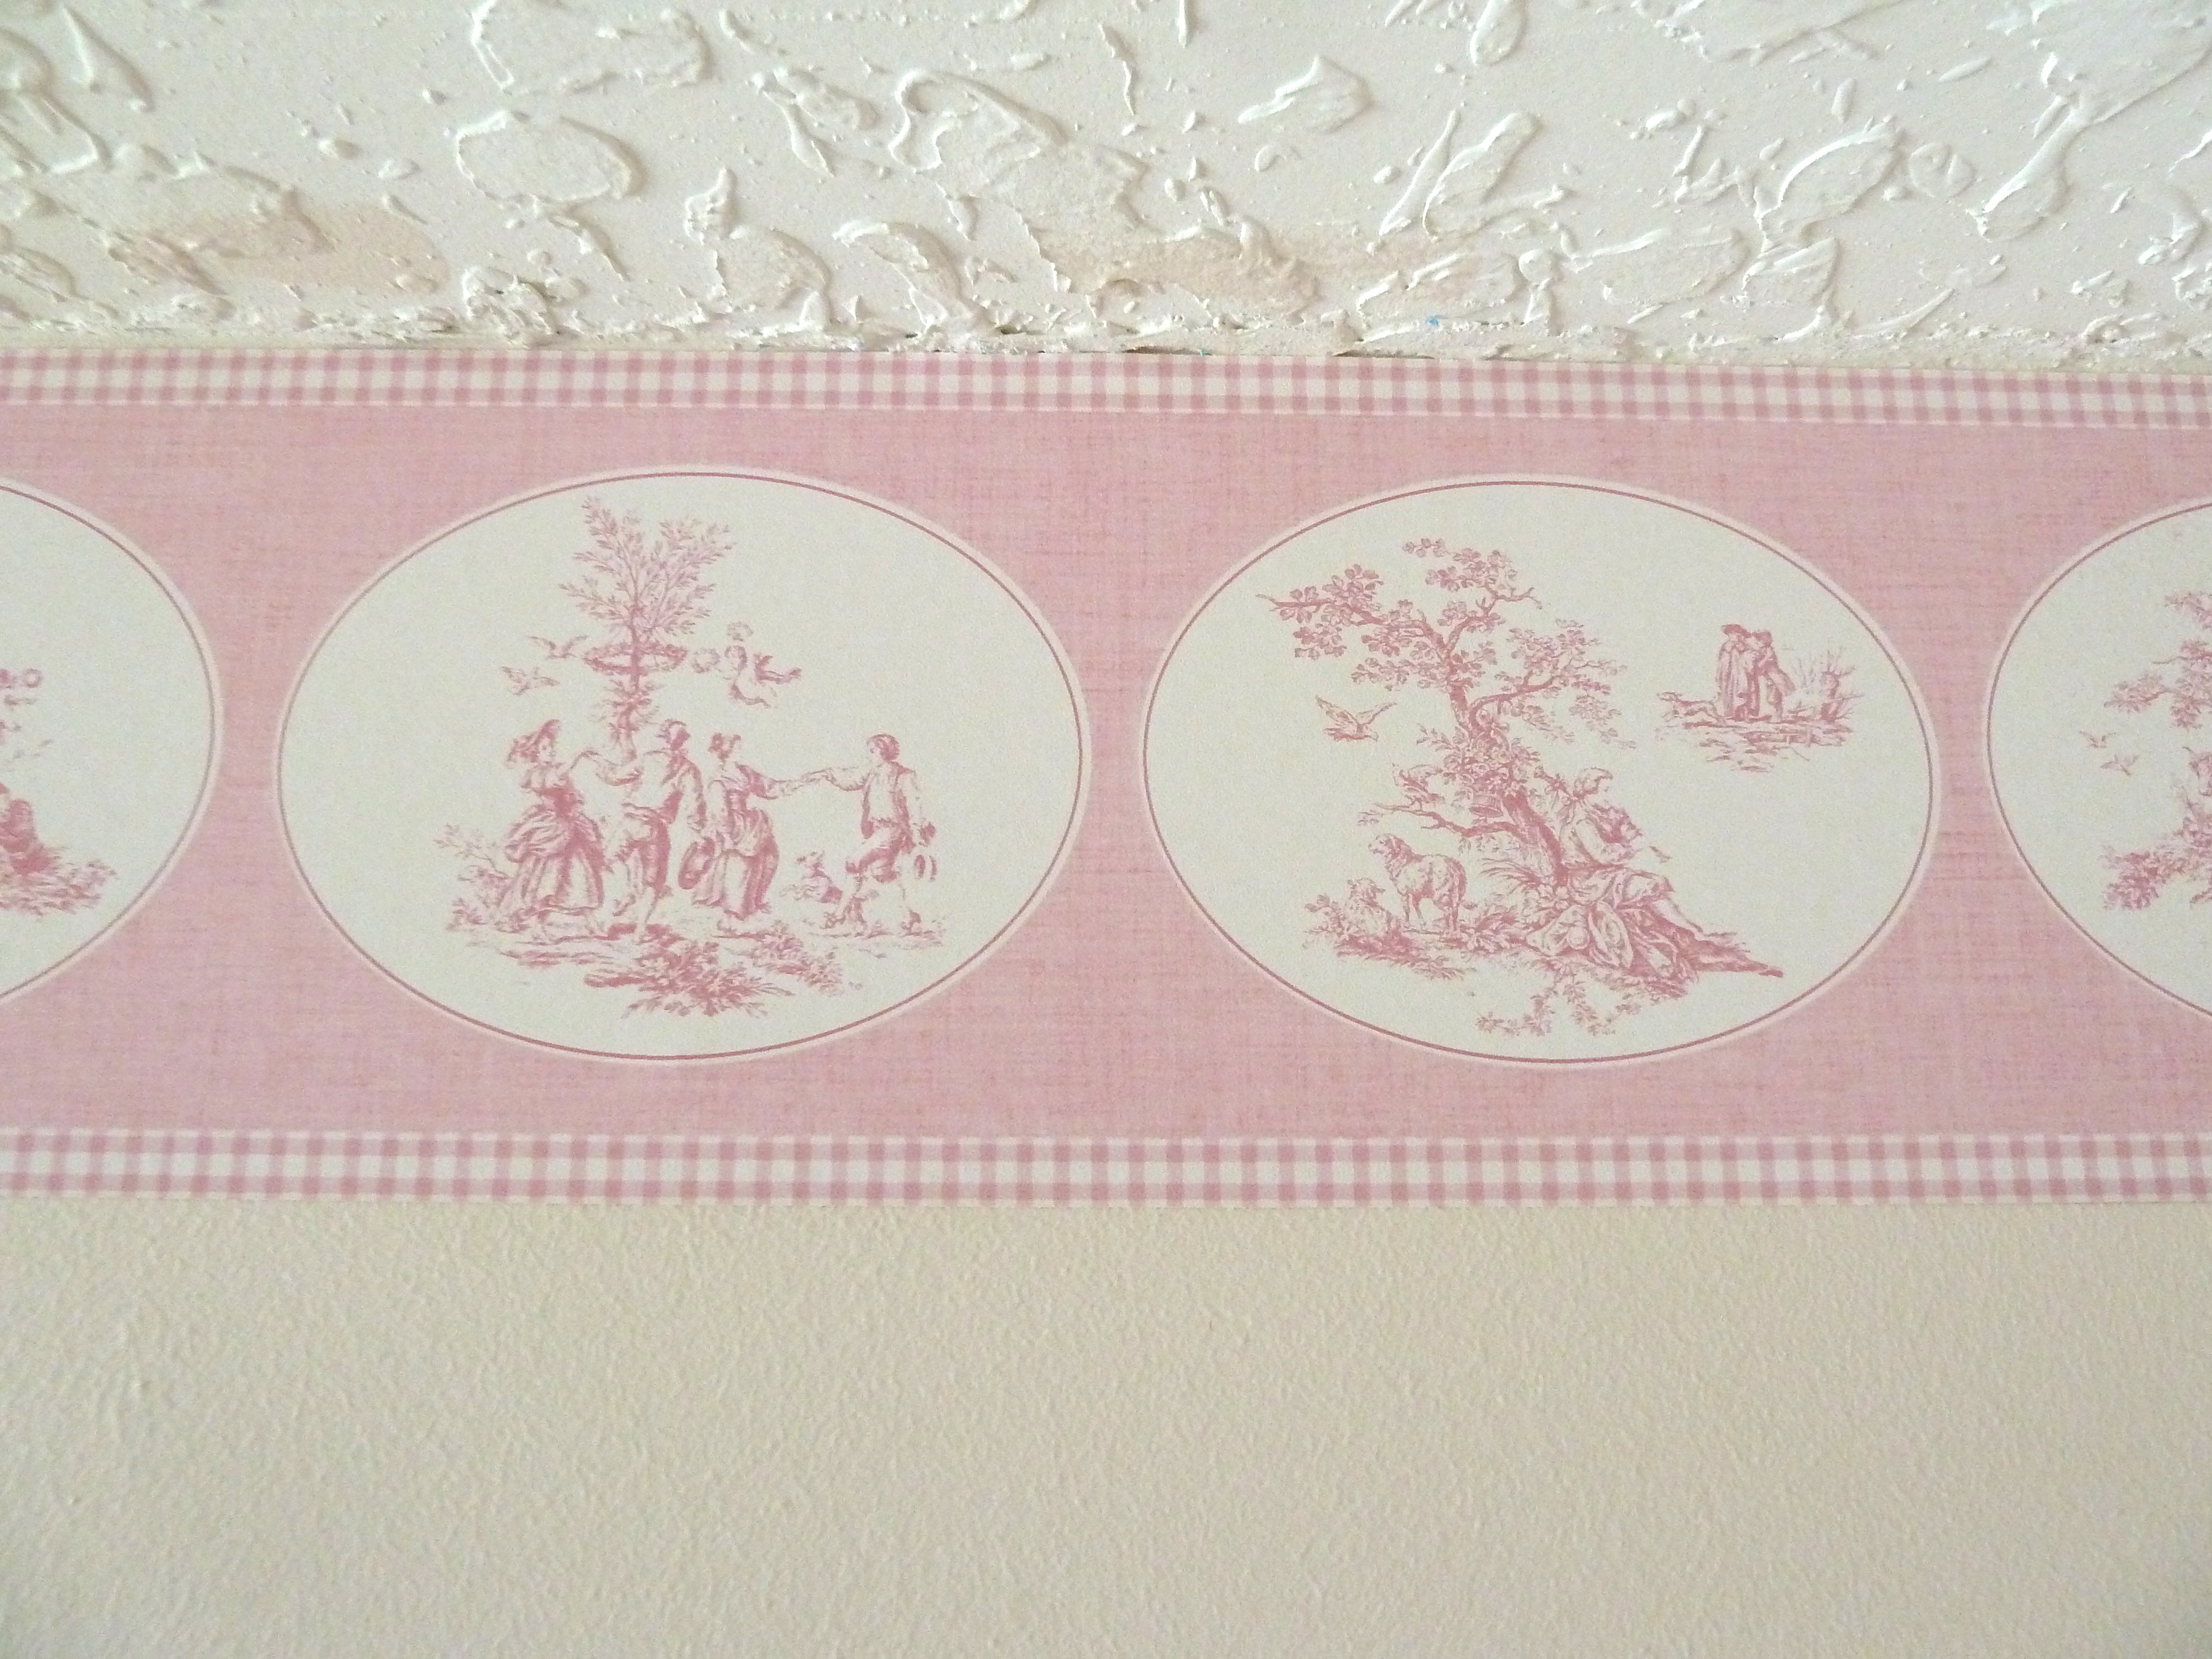
You don’t know any dancing people from the 1800’s? I will share mine with you then…

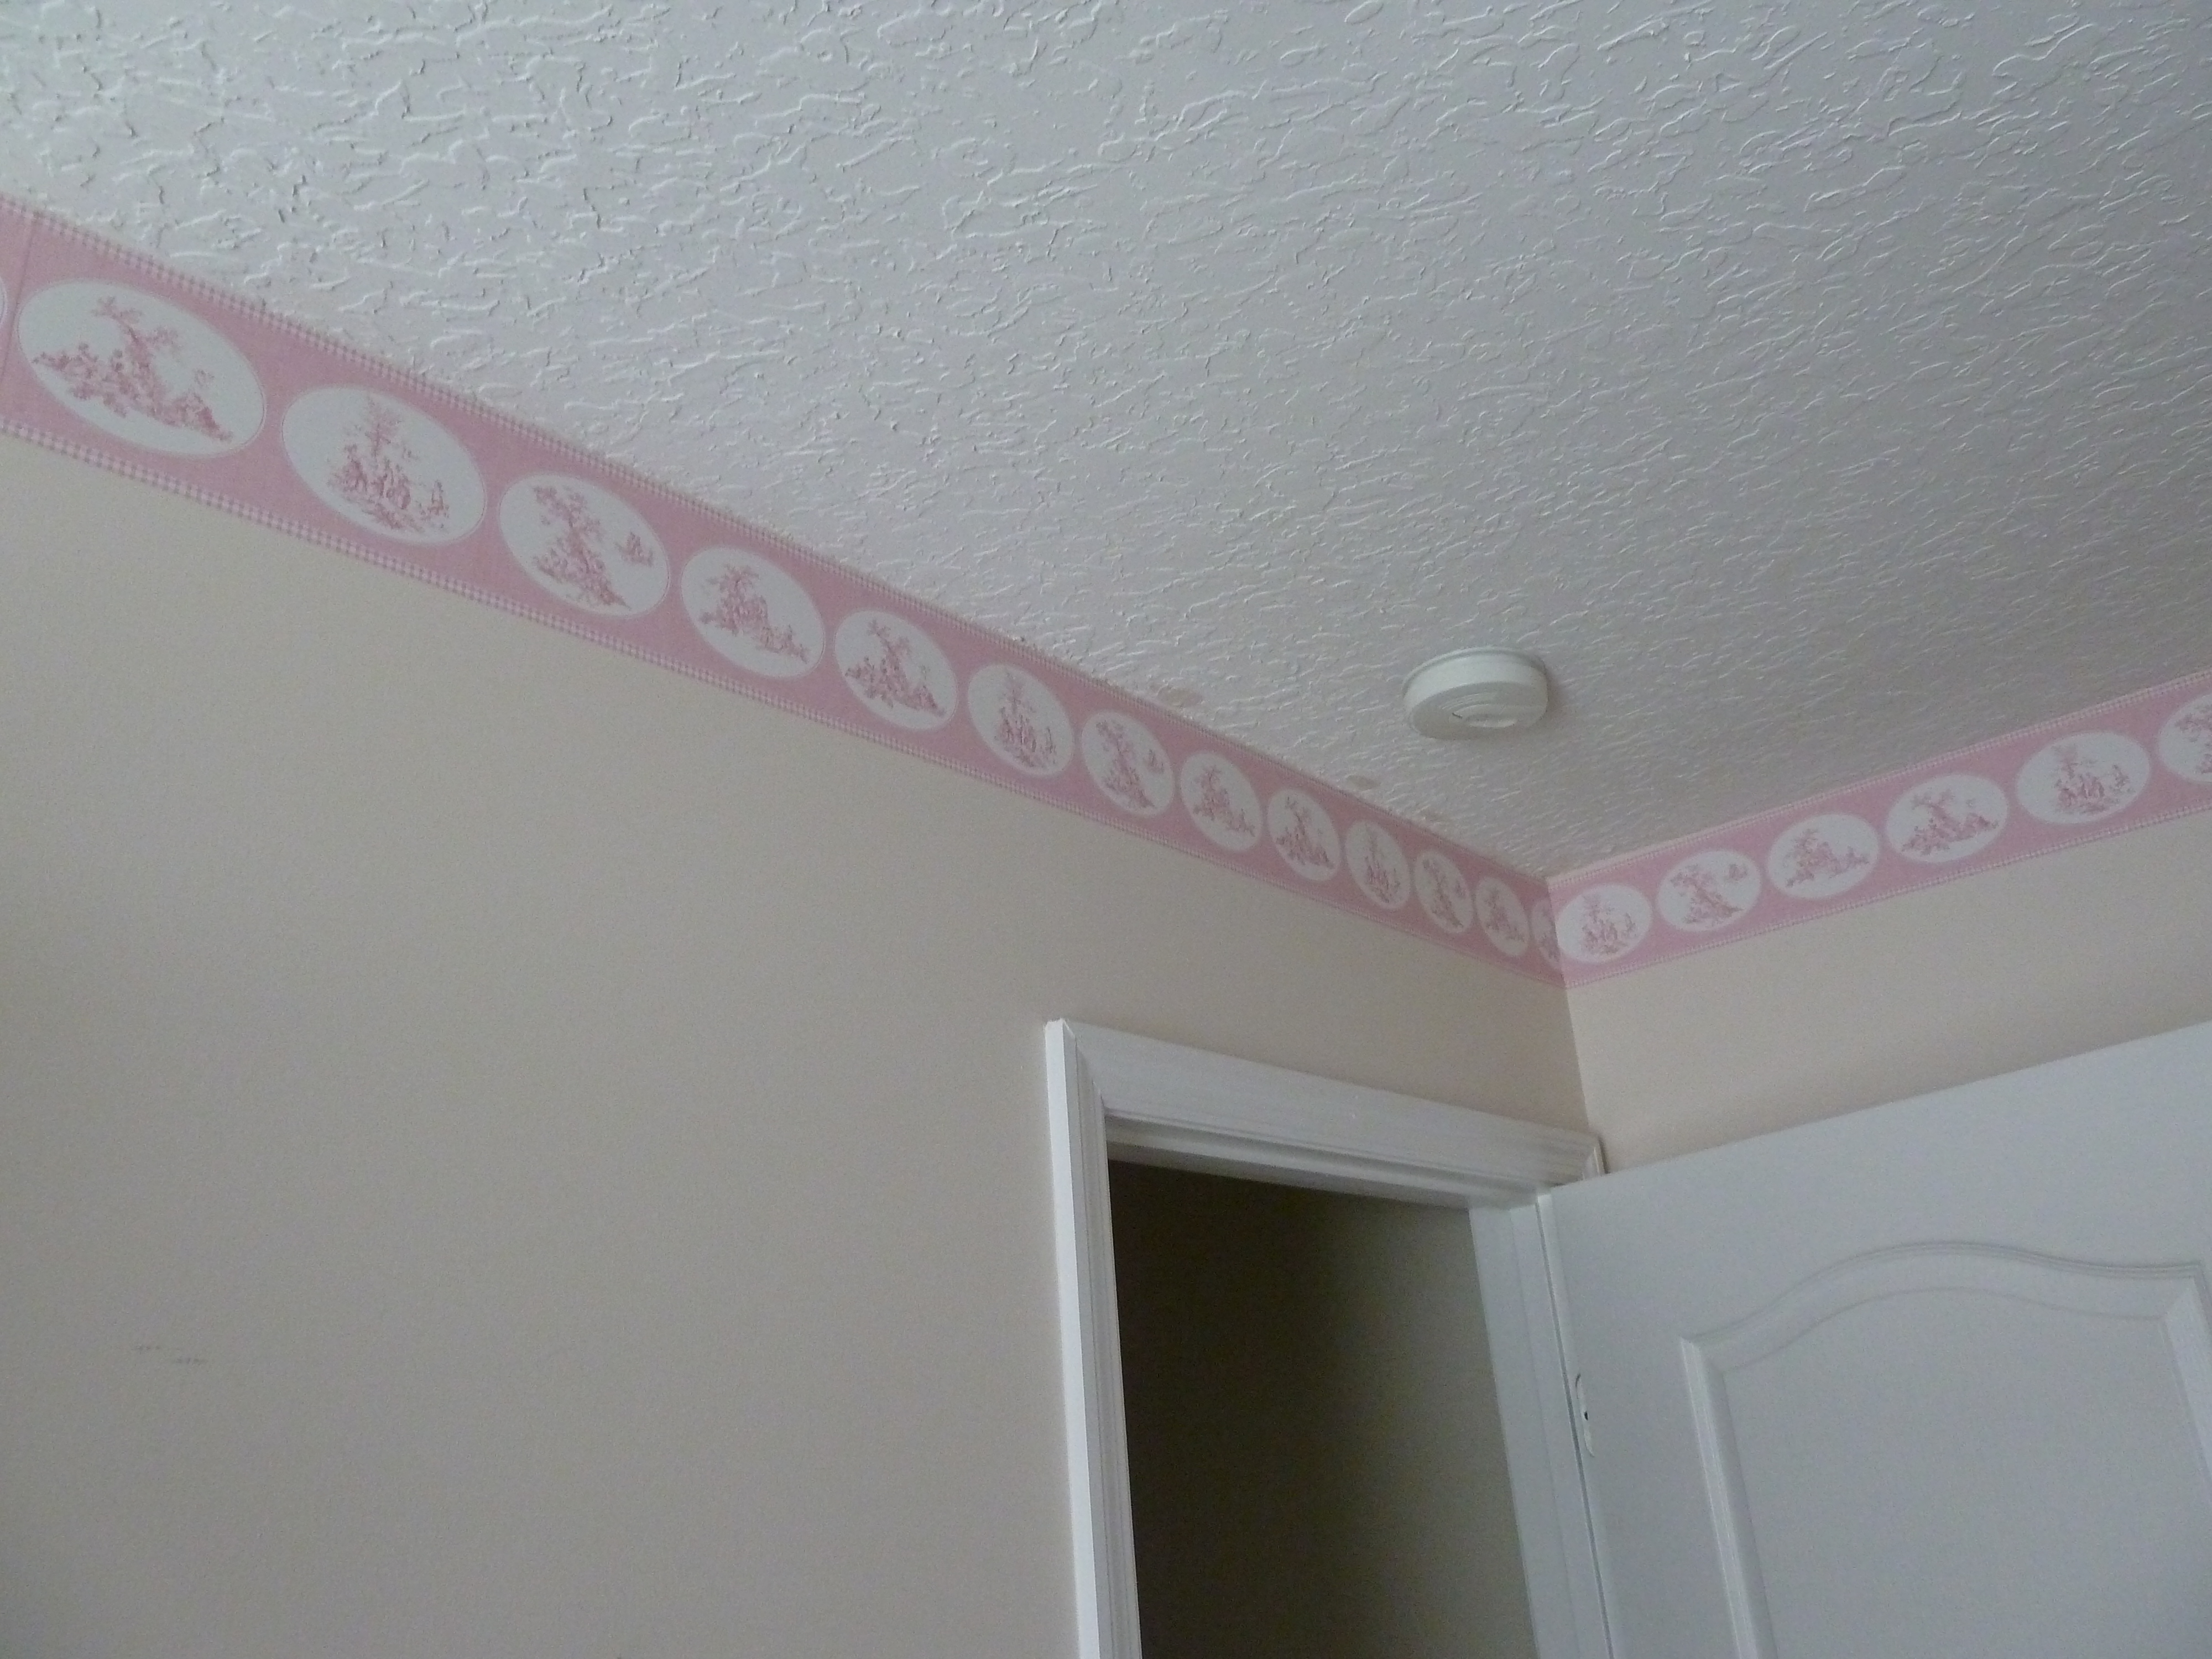
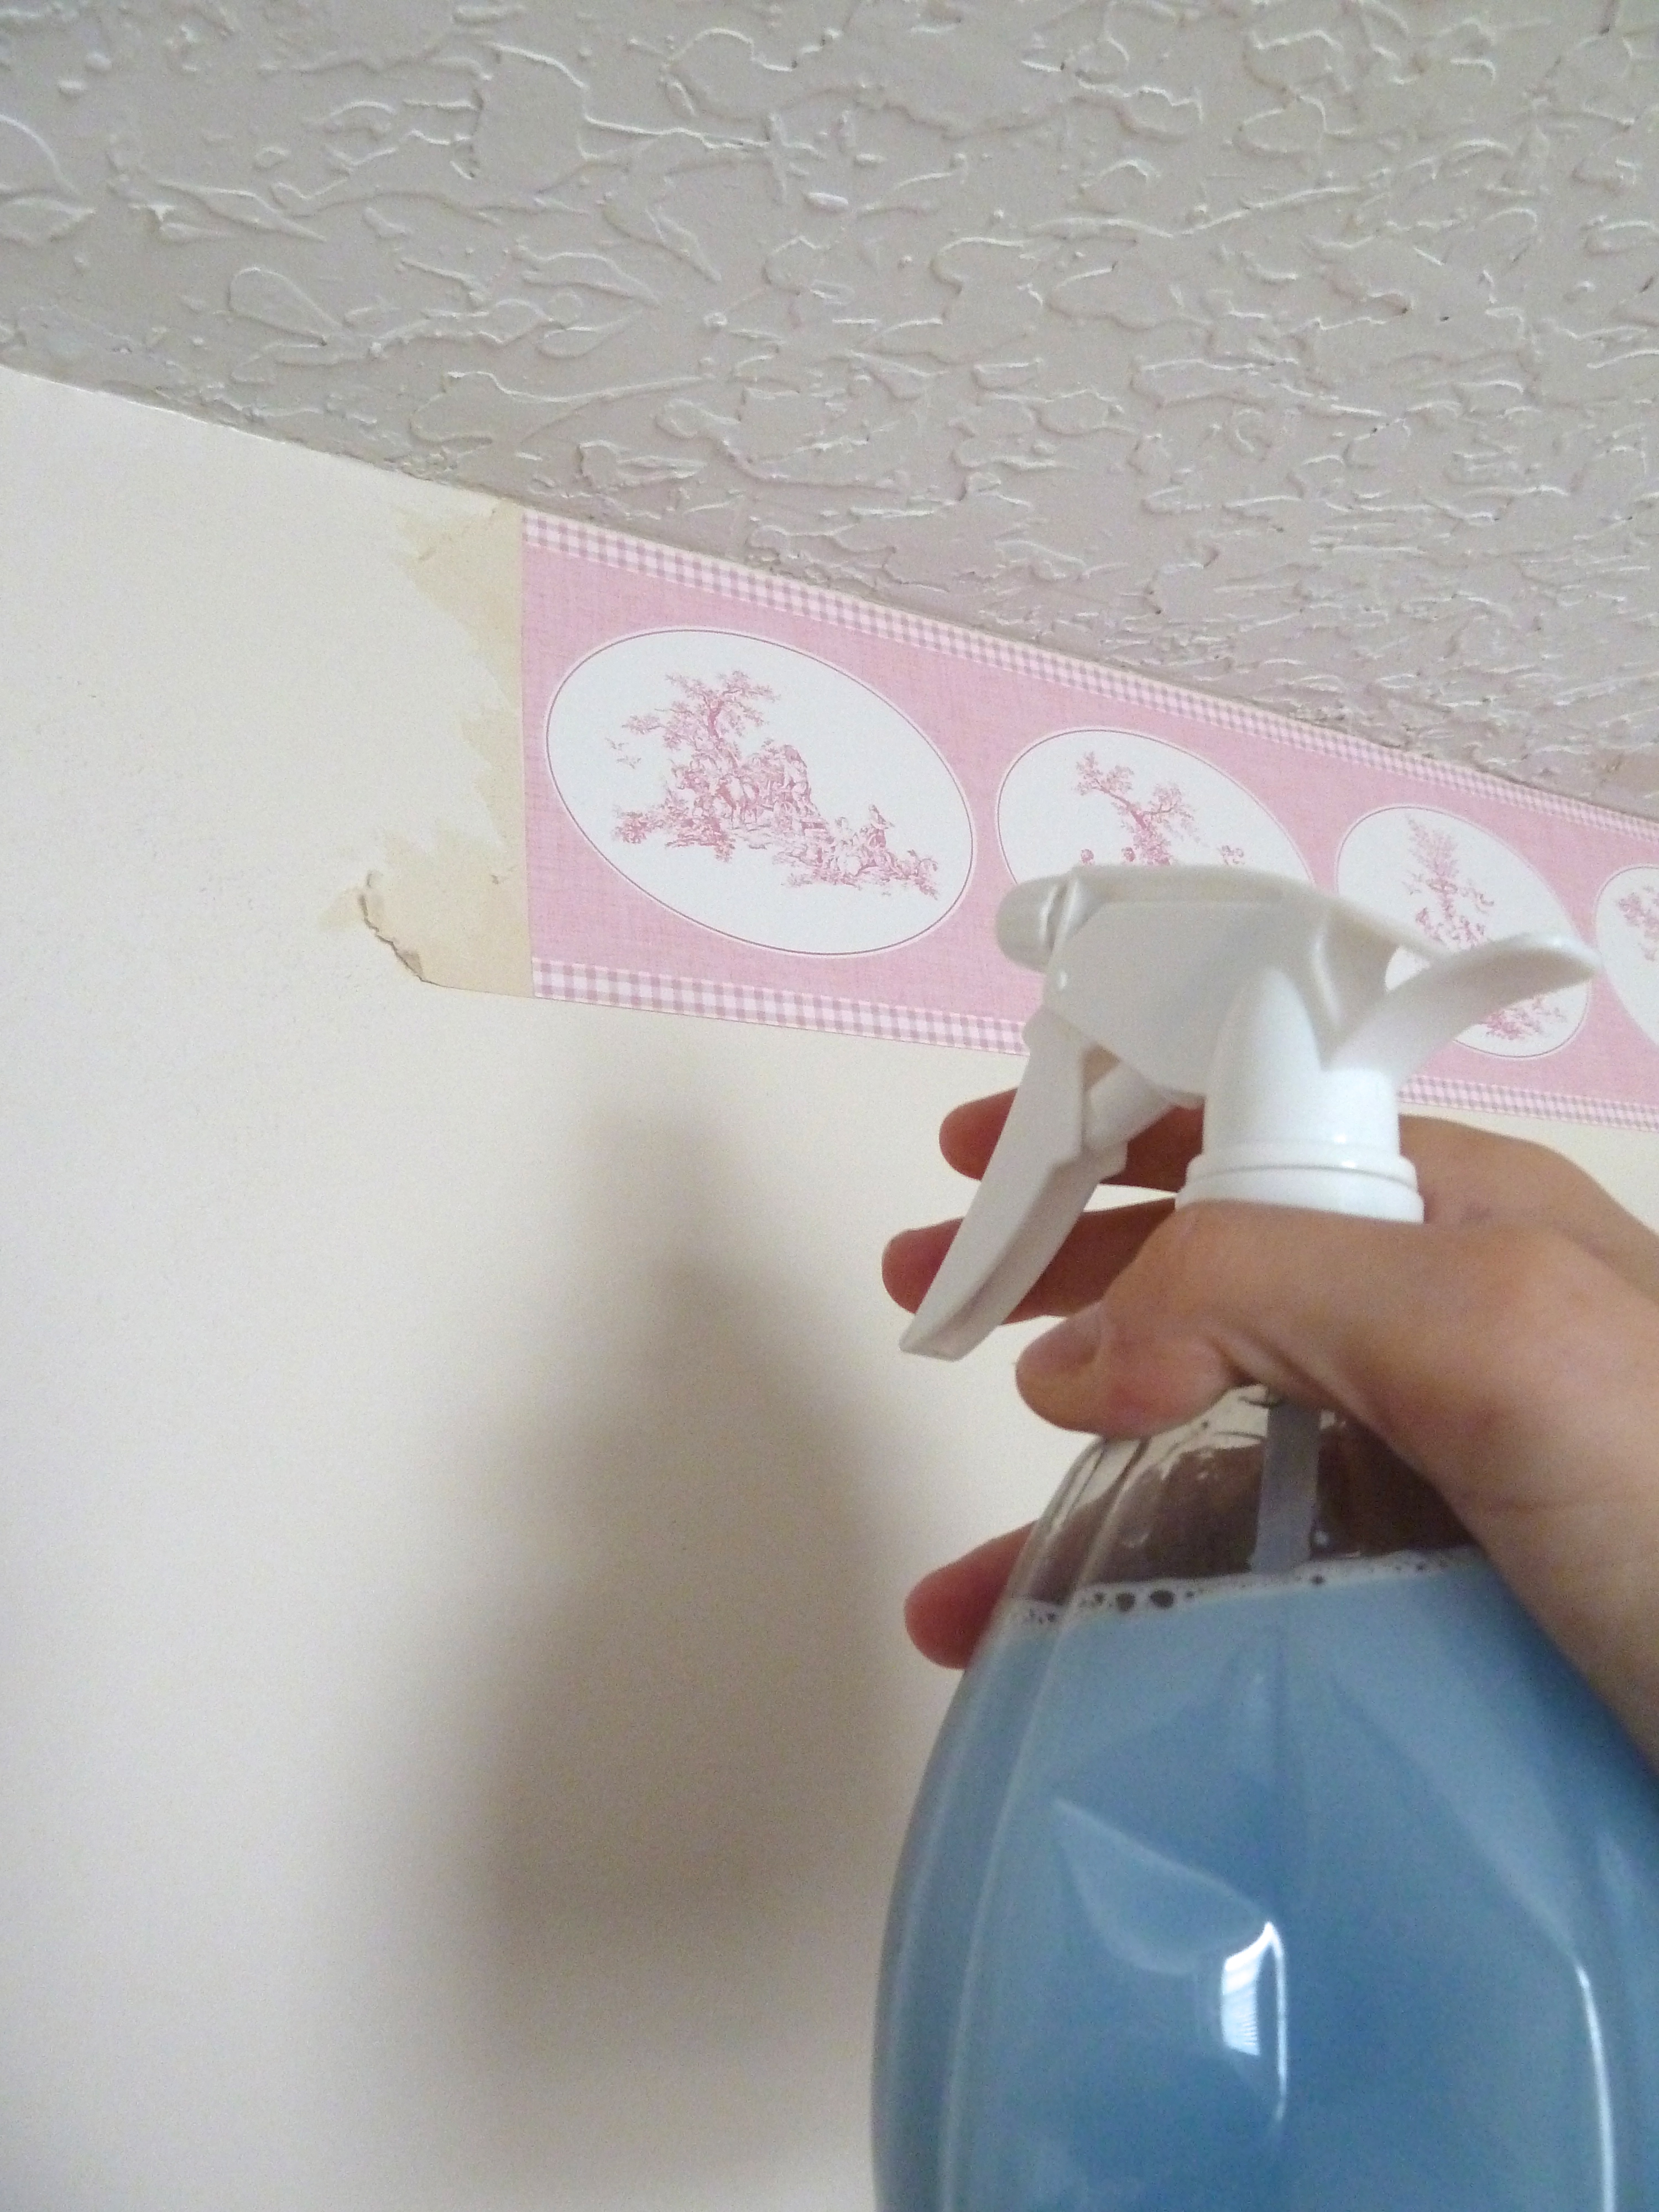
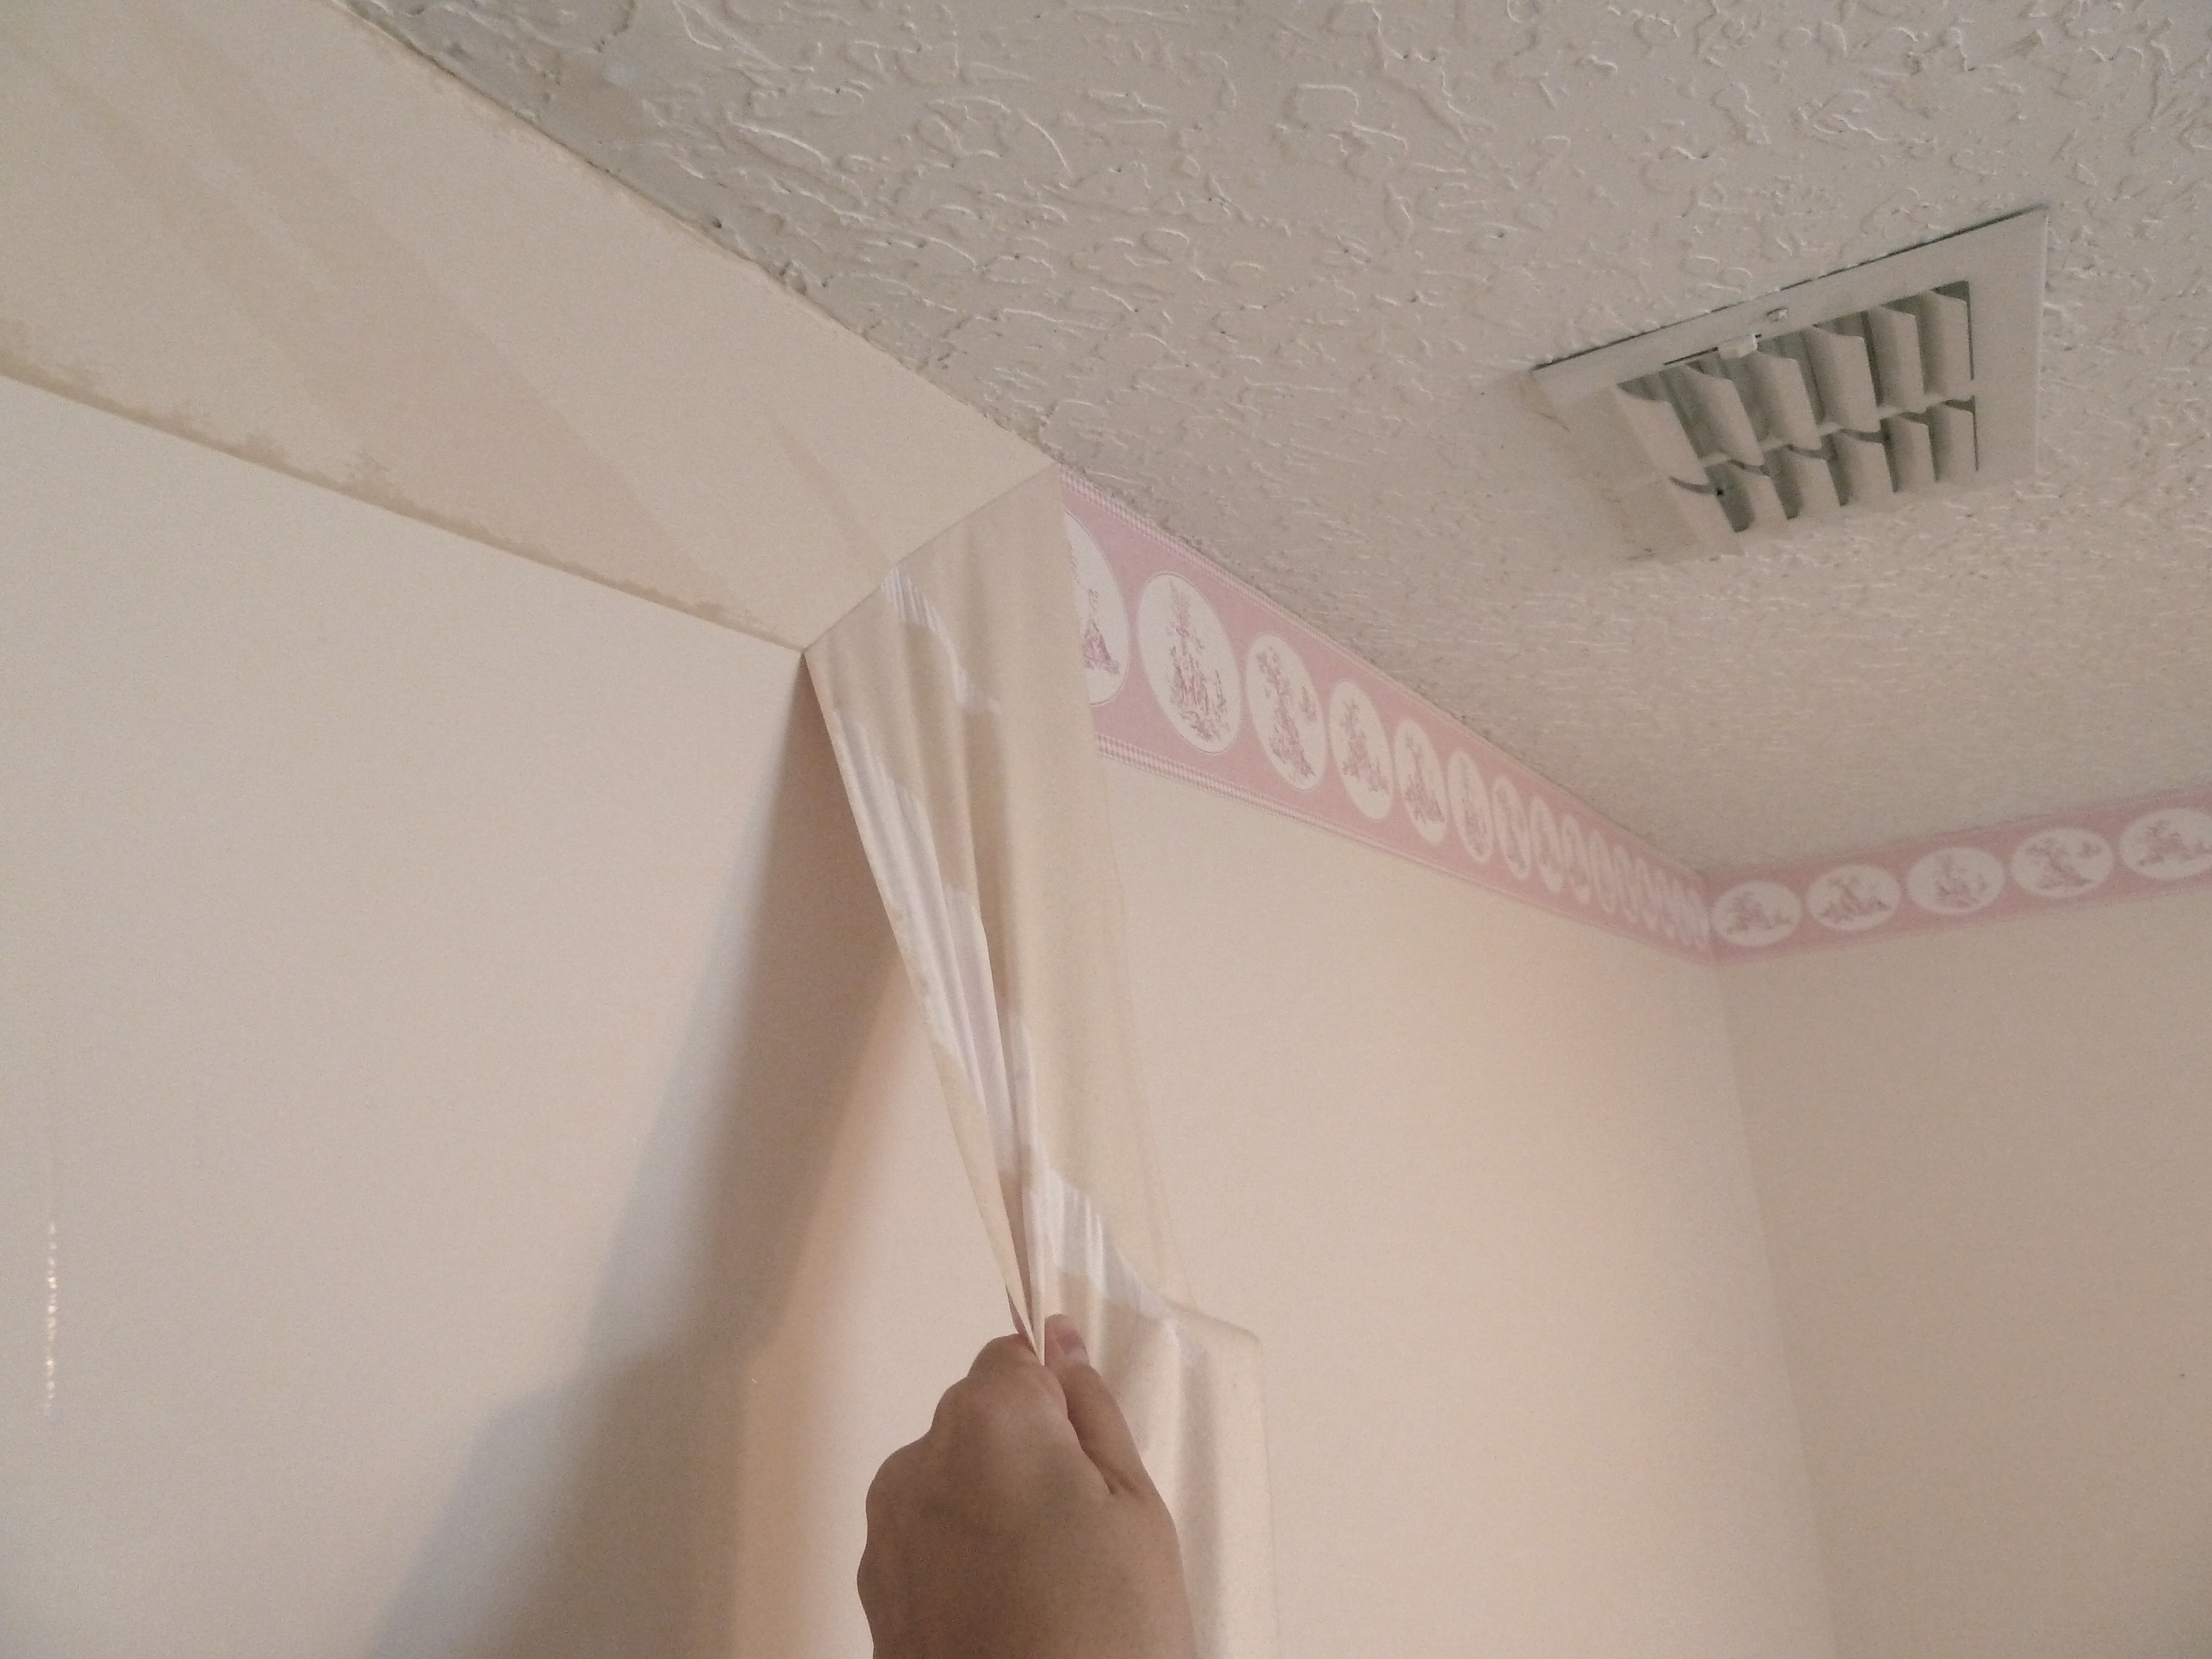
All in pink as well, with plaid trim to boot! Look at them with their carefree dancing, looks like a blast. In case you are wondering this is the border that our guest room was sporting.


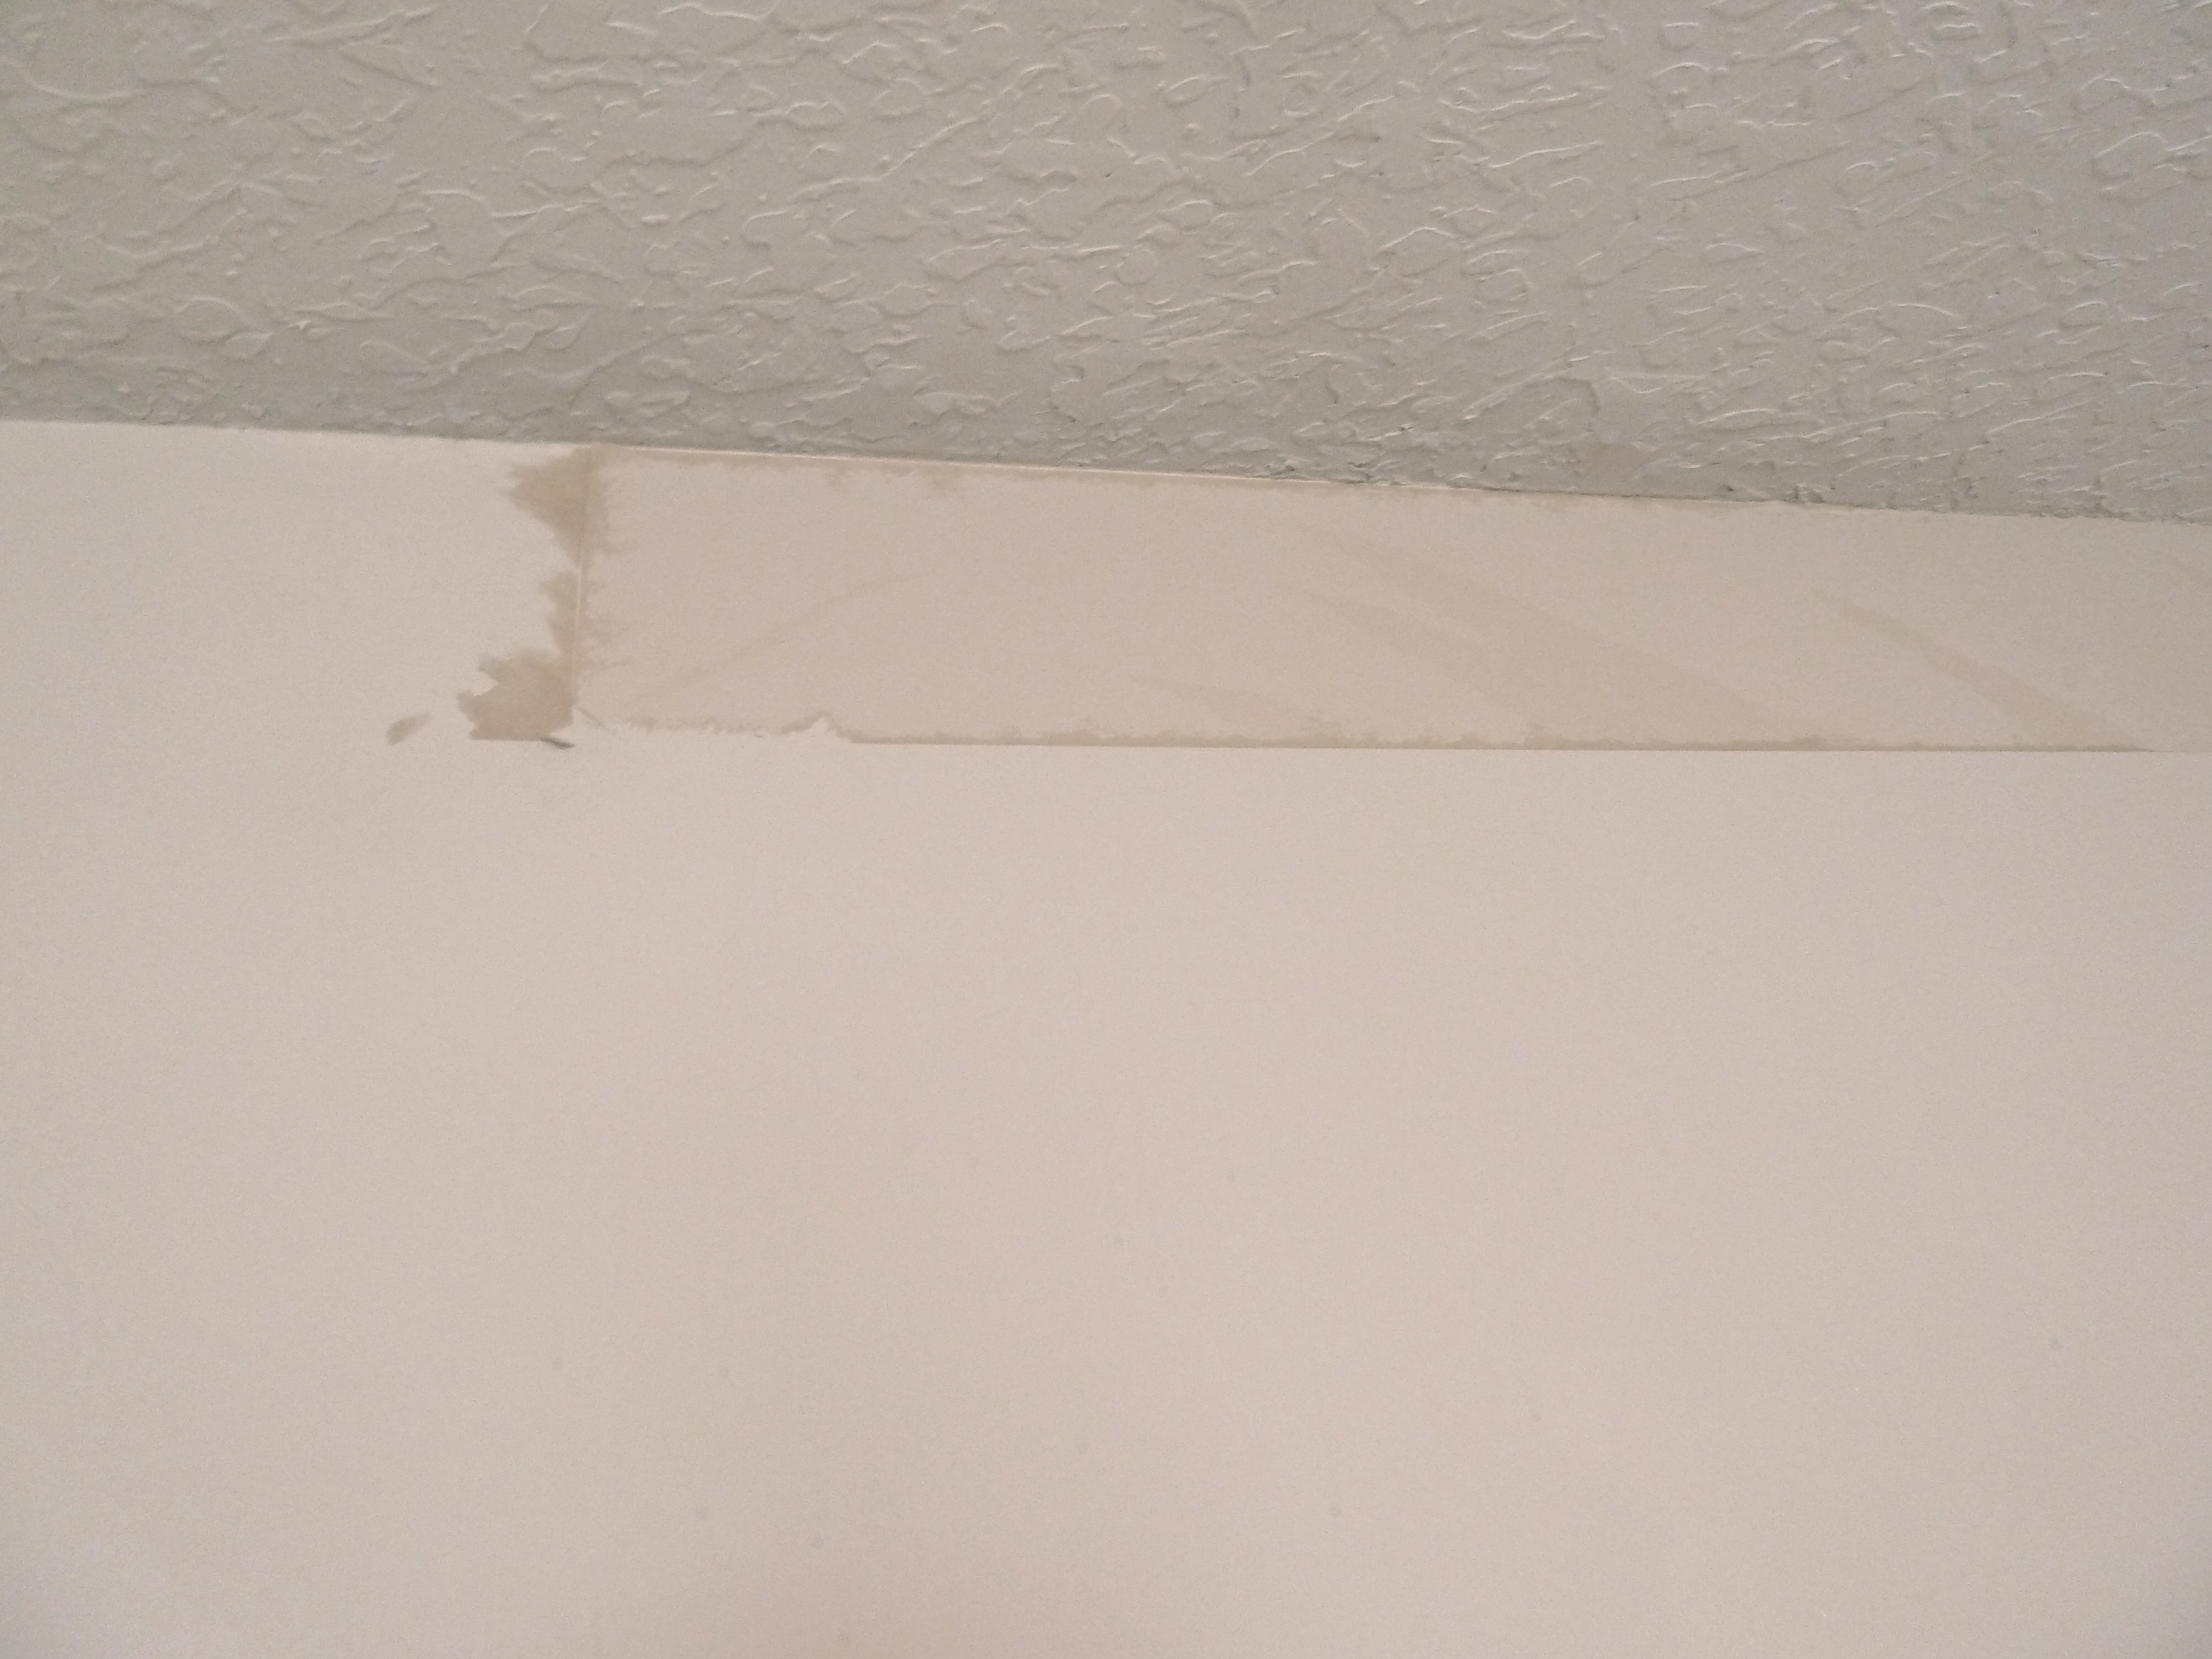
You didn’t know that their were dancing people on that border did you? Lets get one more close up…

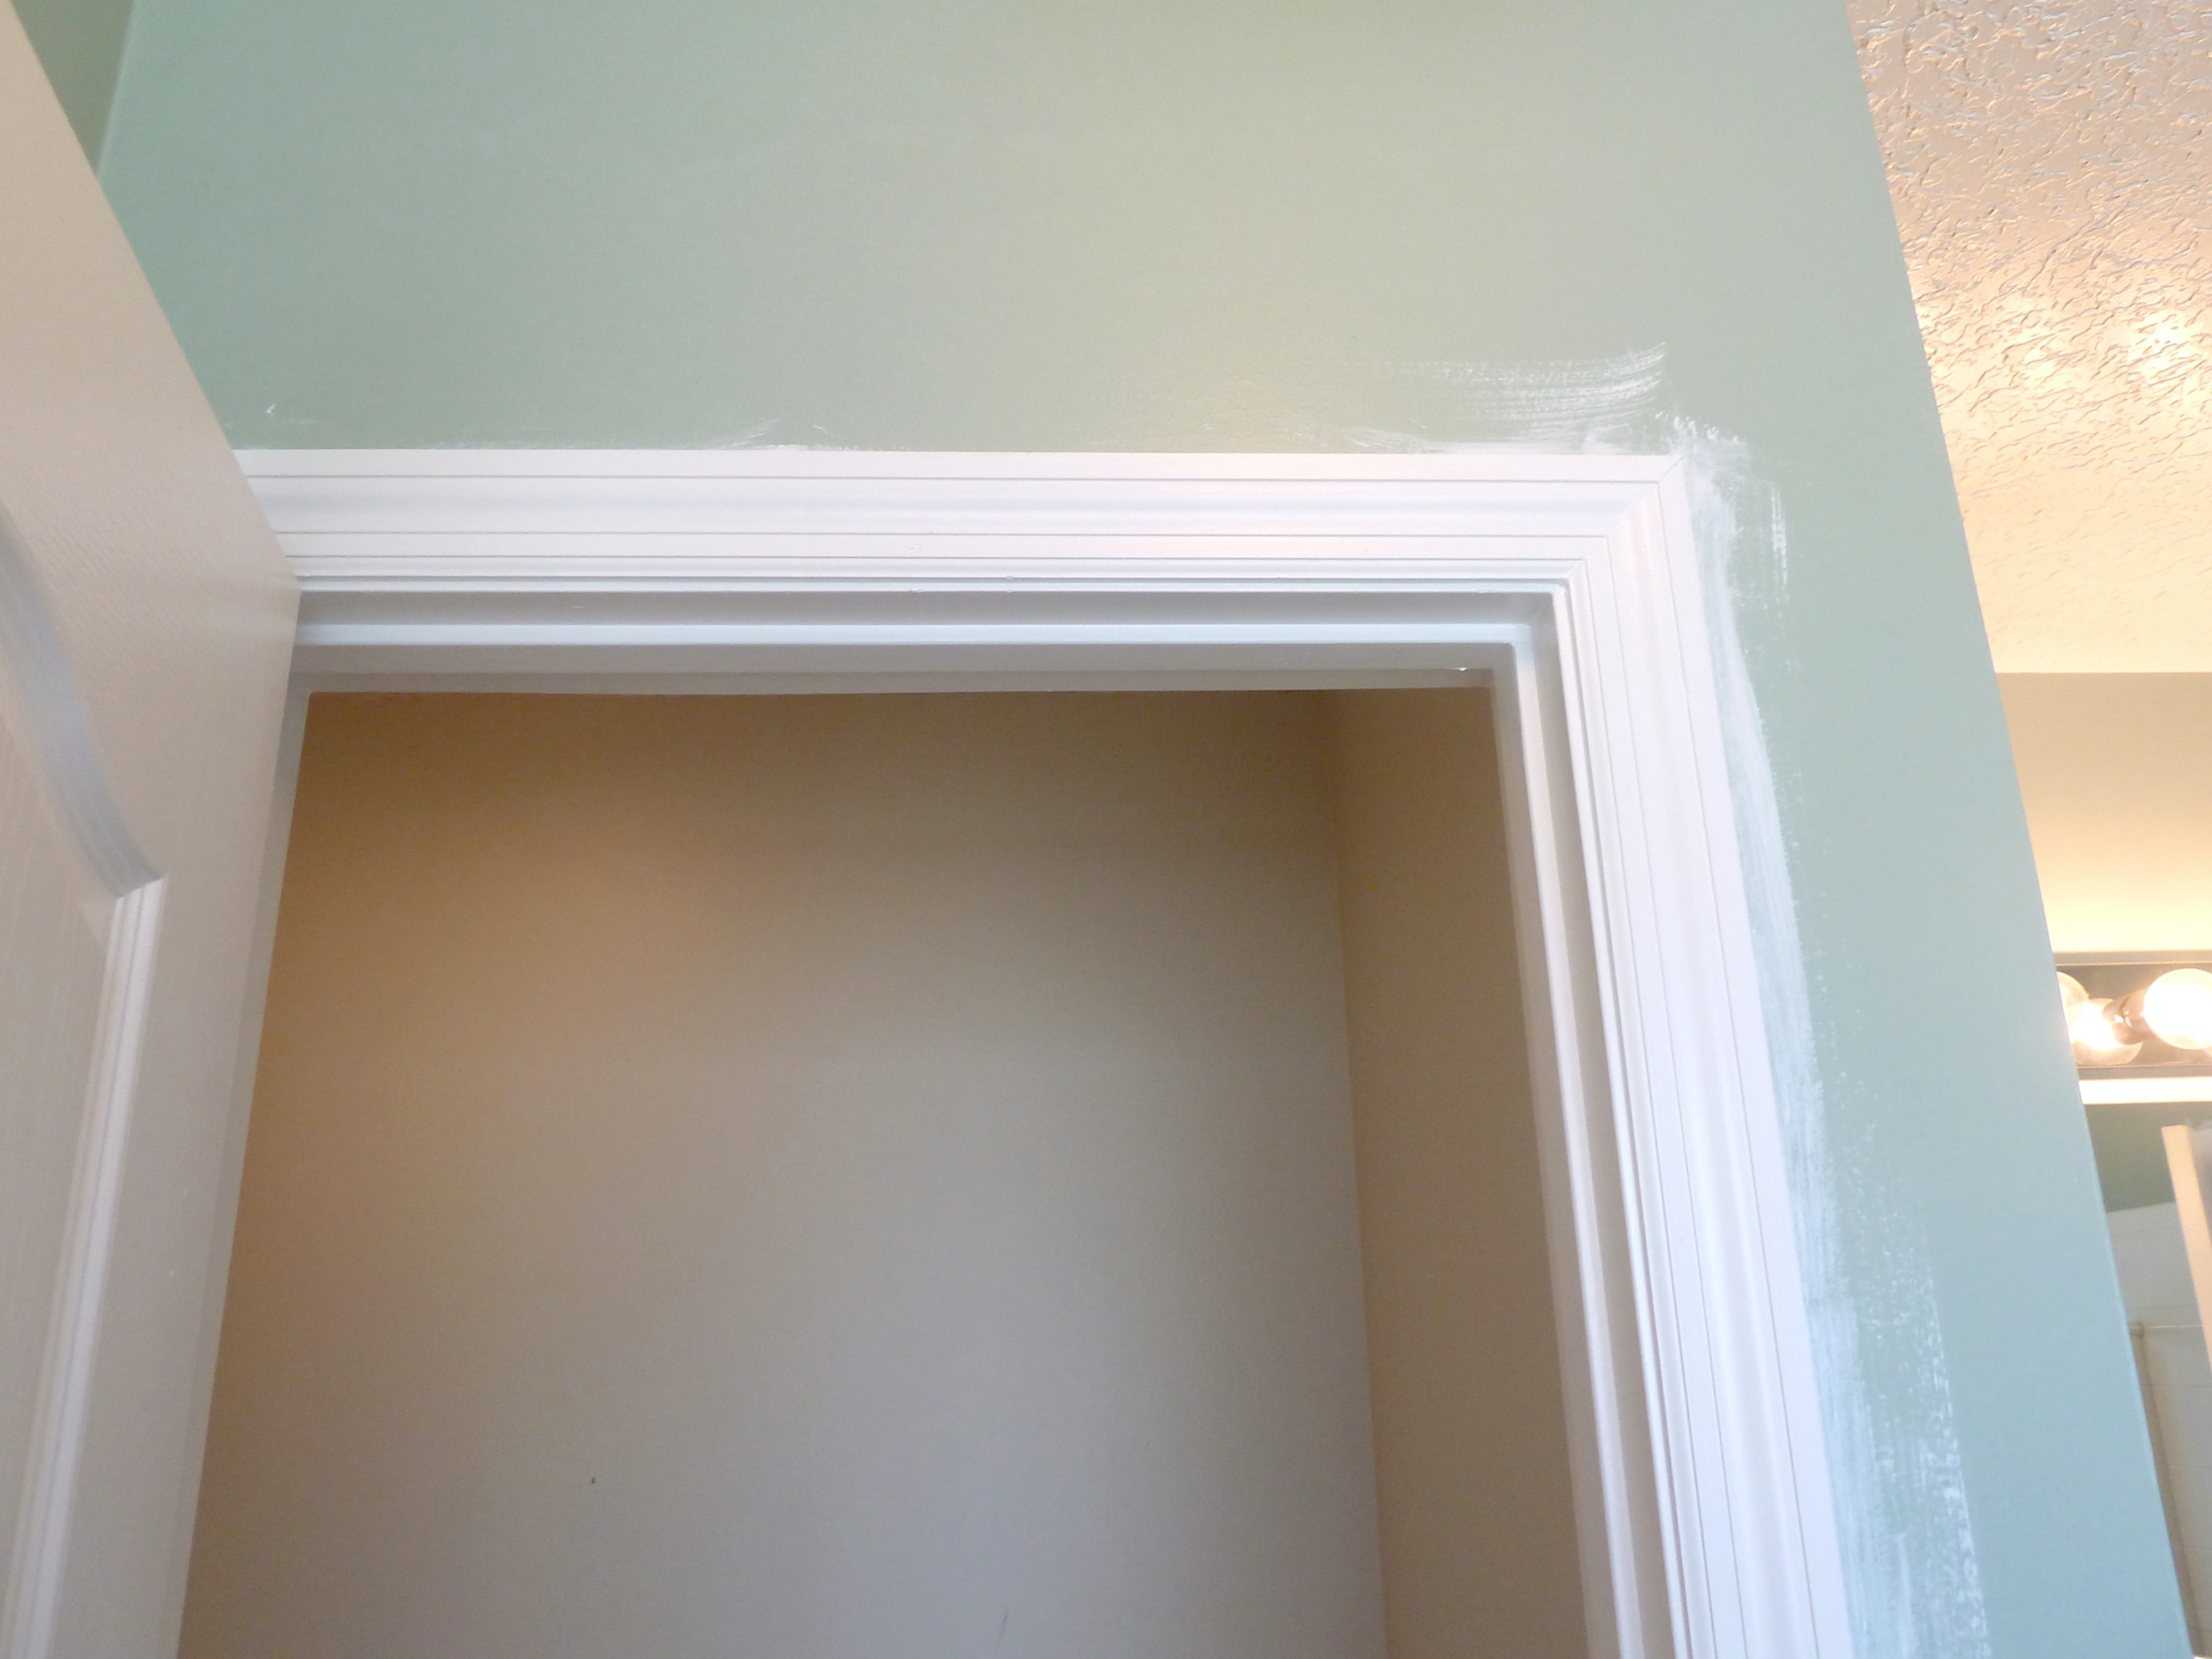
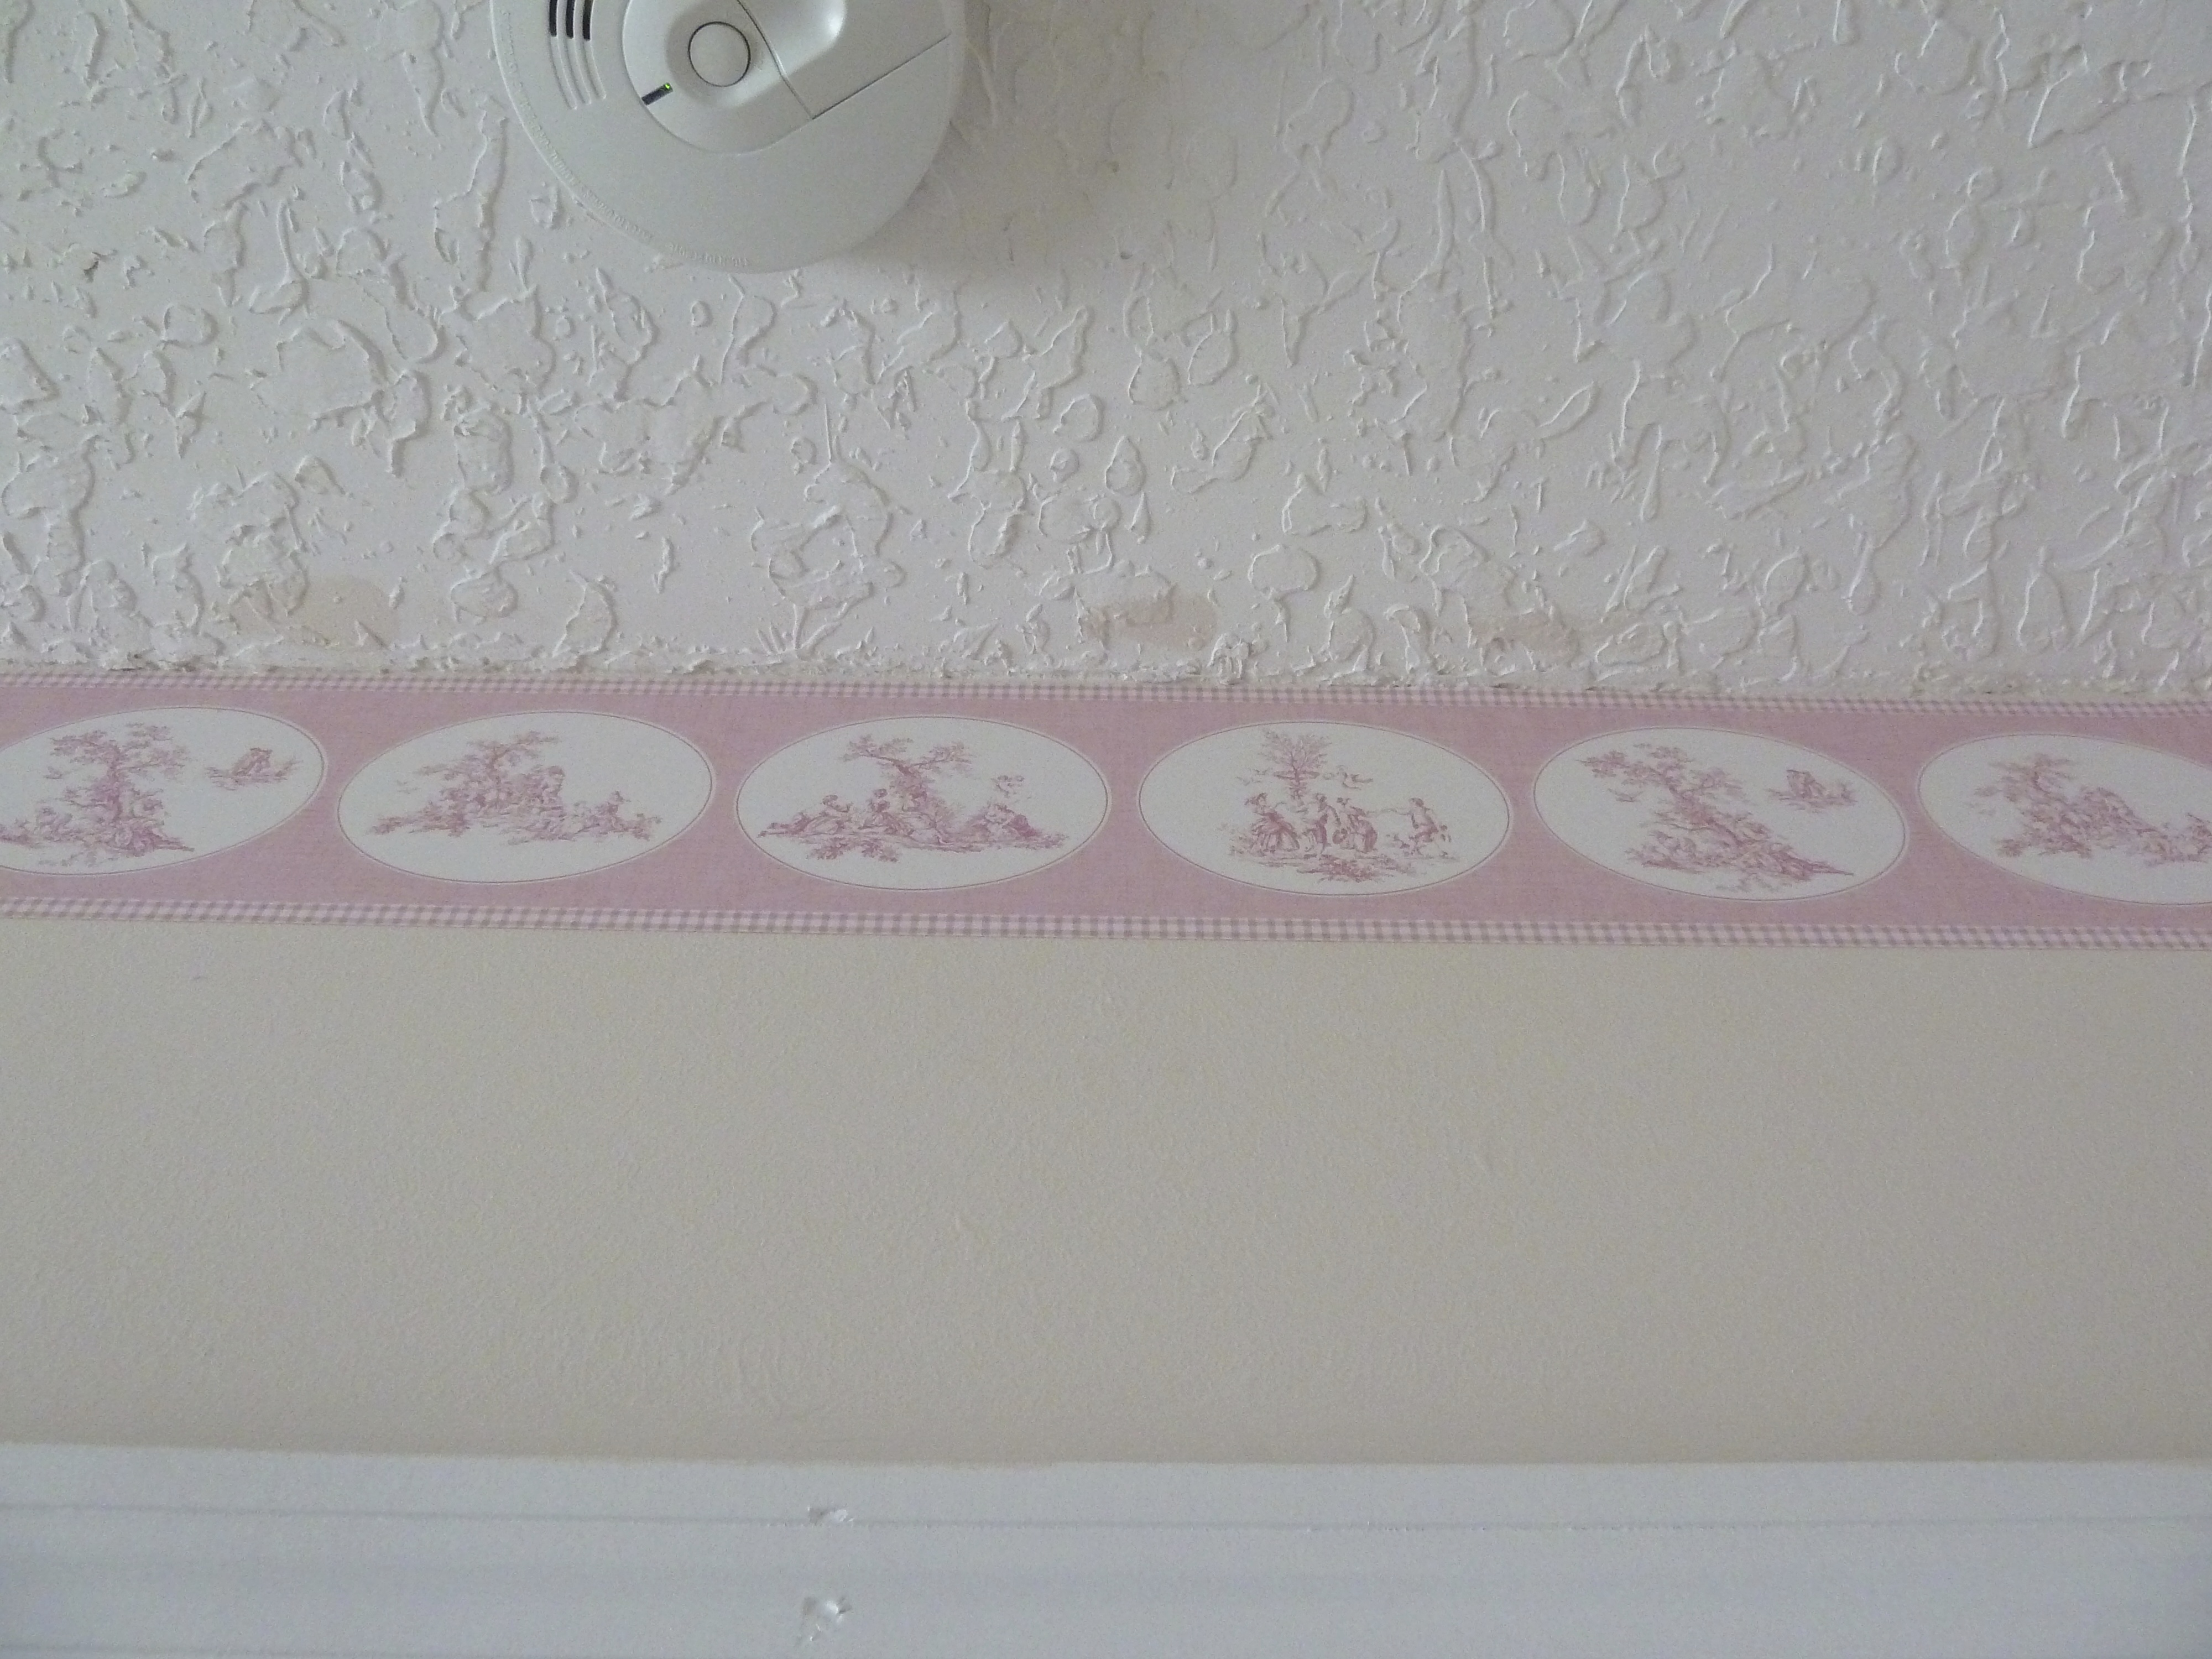
The previous paint job is great as well, they didn’t get any of the wall color on the ceiling.
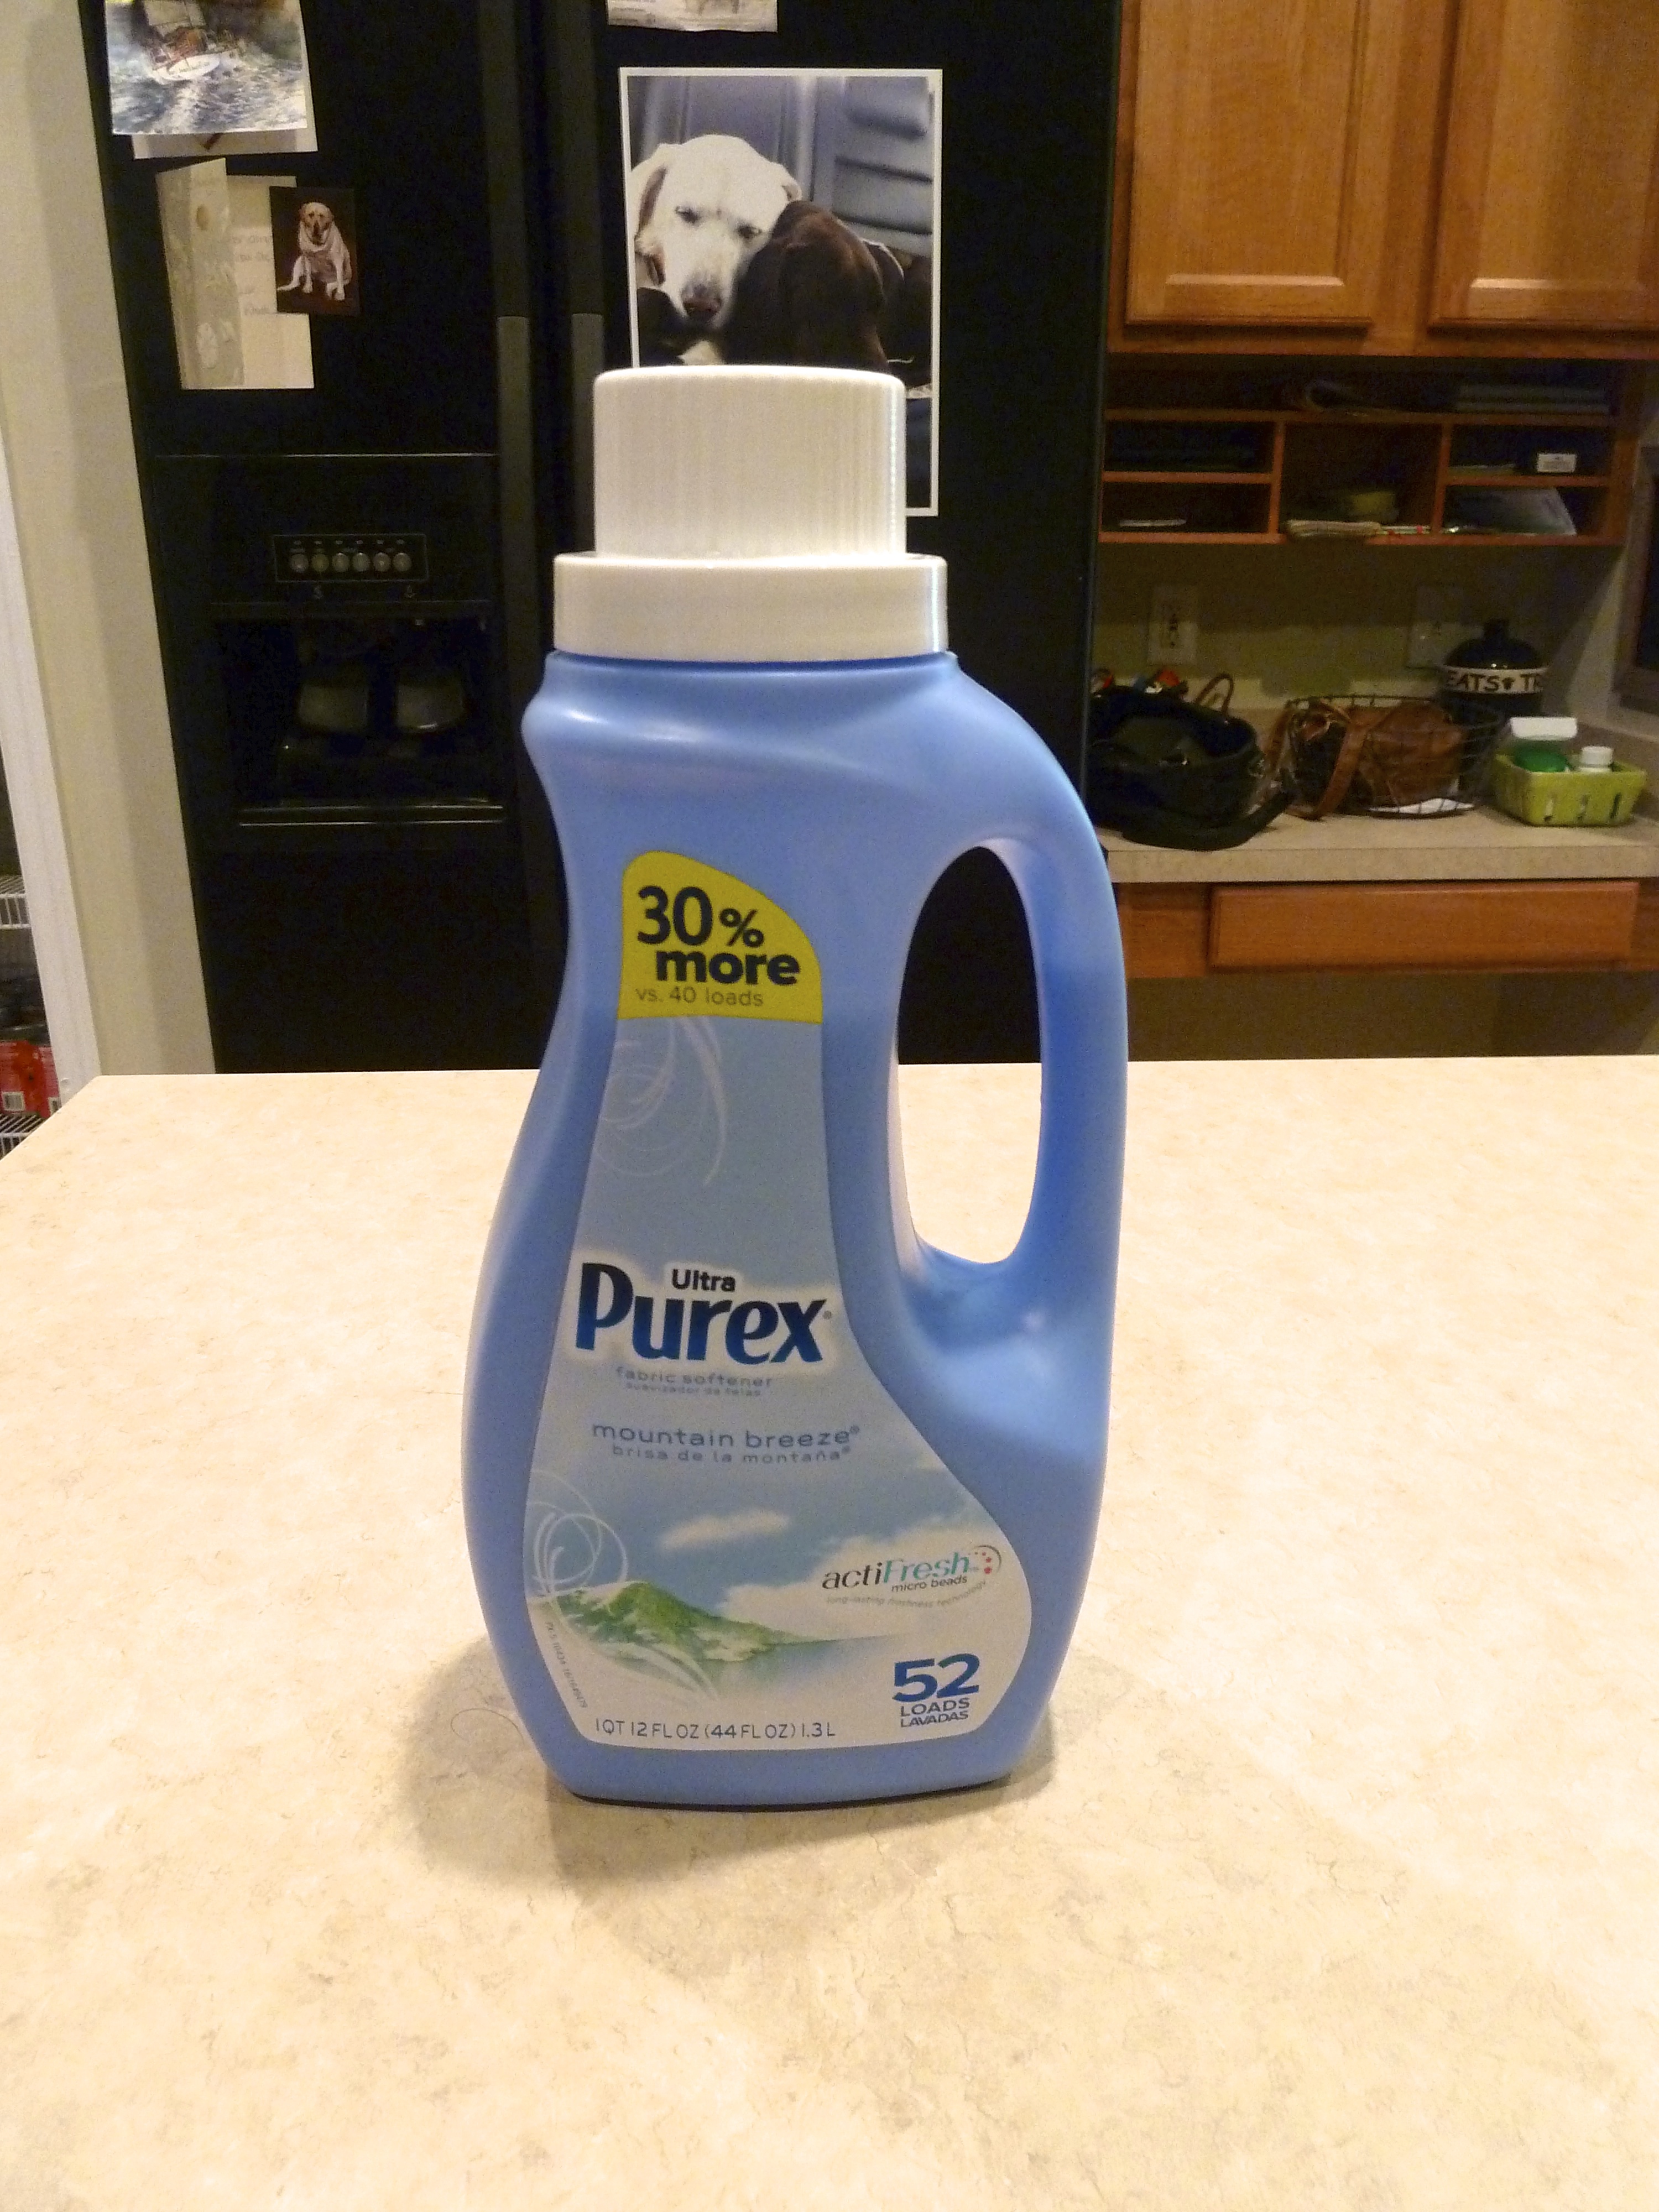
I decided my first step in improving this room would be to remove this border. First things first, I had to select what method I was going to use to remove this wallpaper border. My mom had told me that my sister had used liquid fabric softener diluted with warm water. I had never heard of this before, but I had both of these things on hand, figured I should give it a shot. Also, I would like to add that my sister purchased a home with wallpaper on every surface and has successfully removed all of it and lived to tell the story. I figured it might be a good idea to take her advice. So, I got my supplies ready…

and

Pretty complicated stuff I’m working with here.
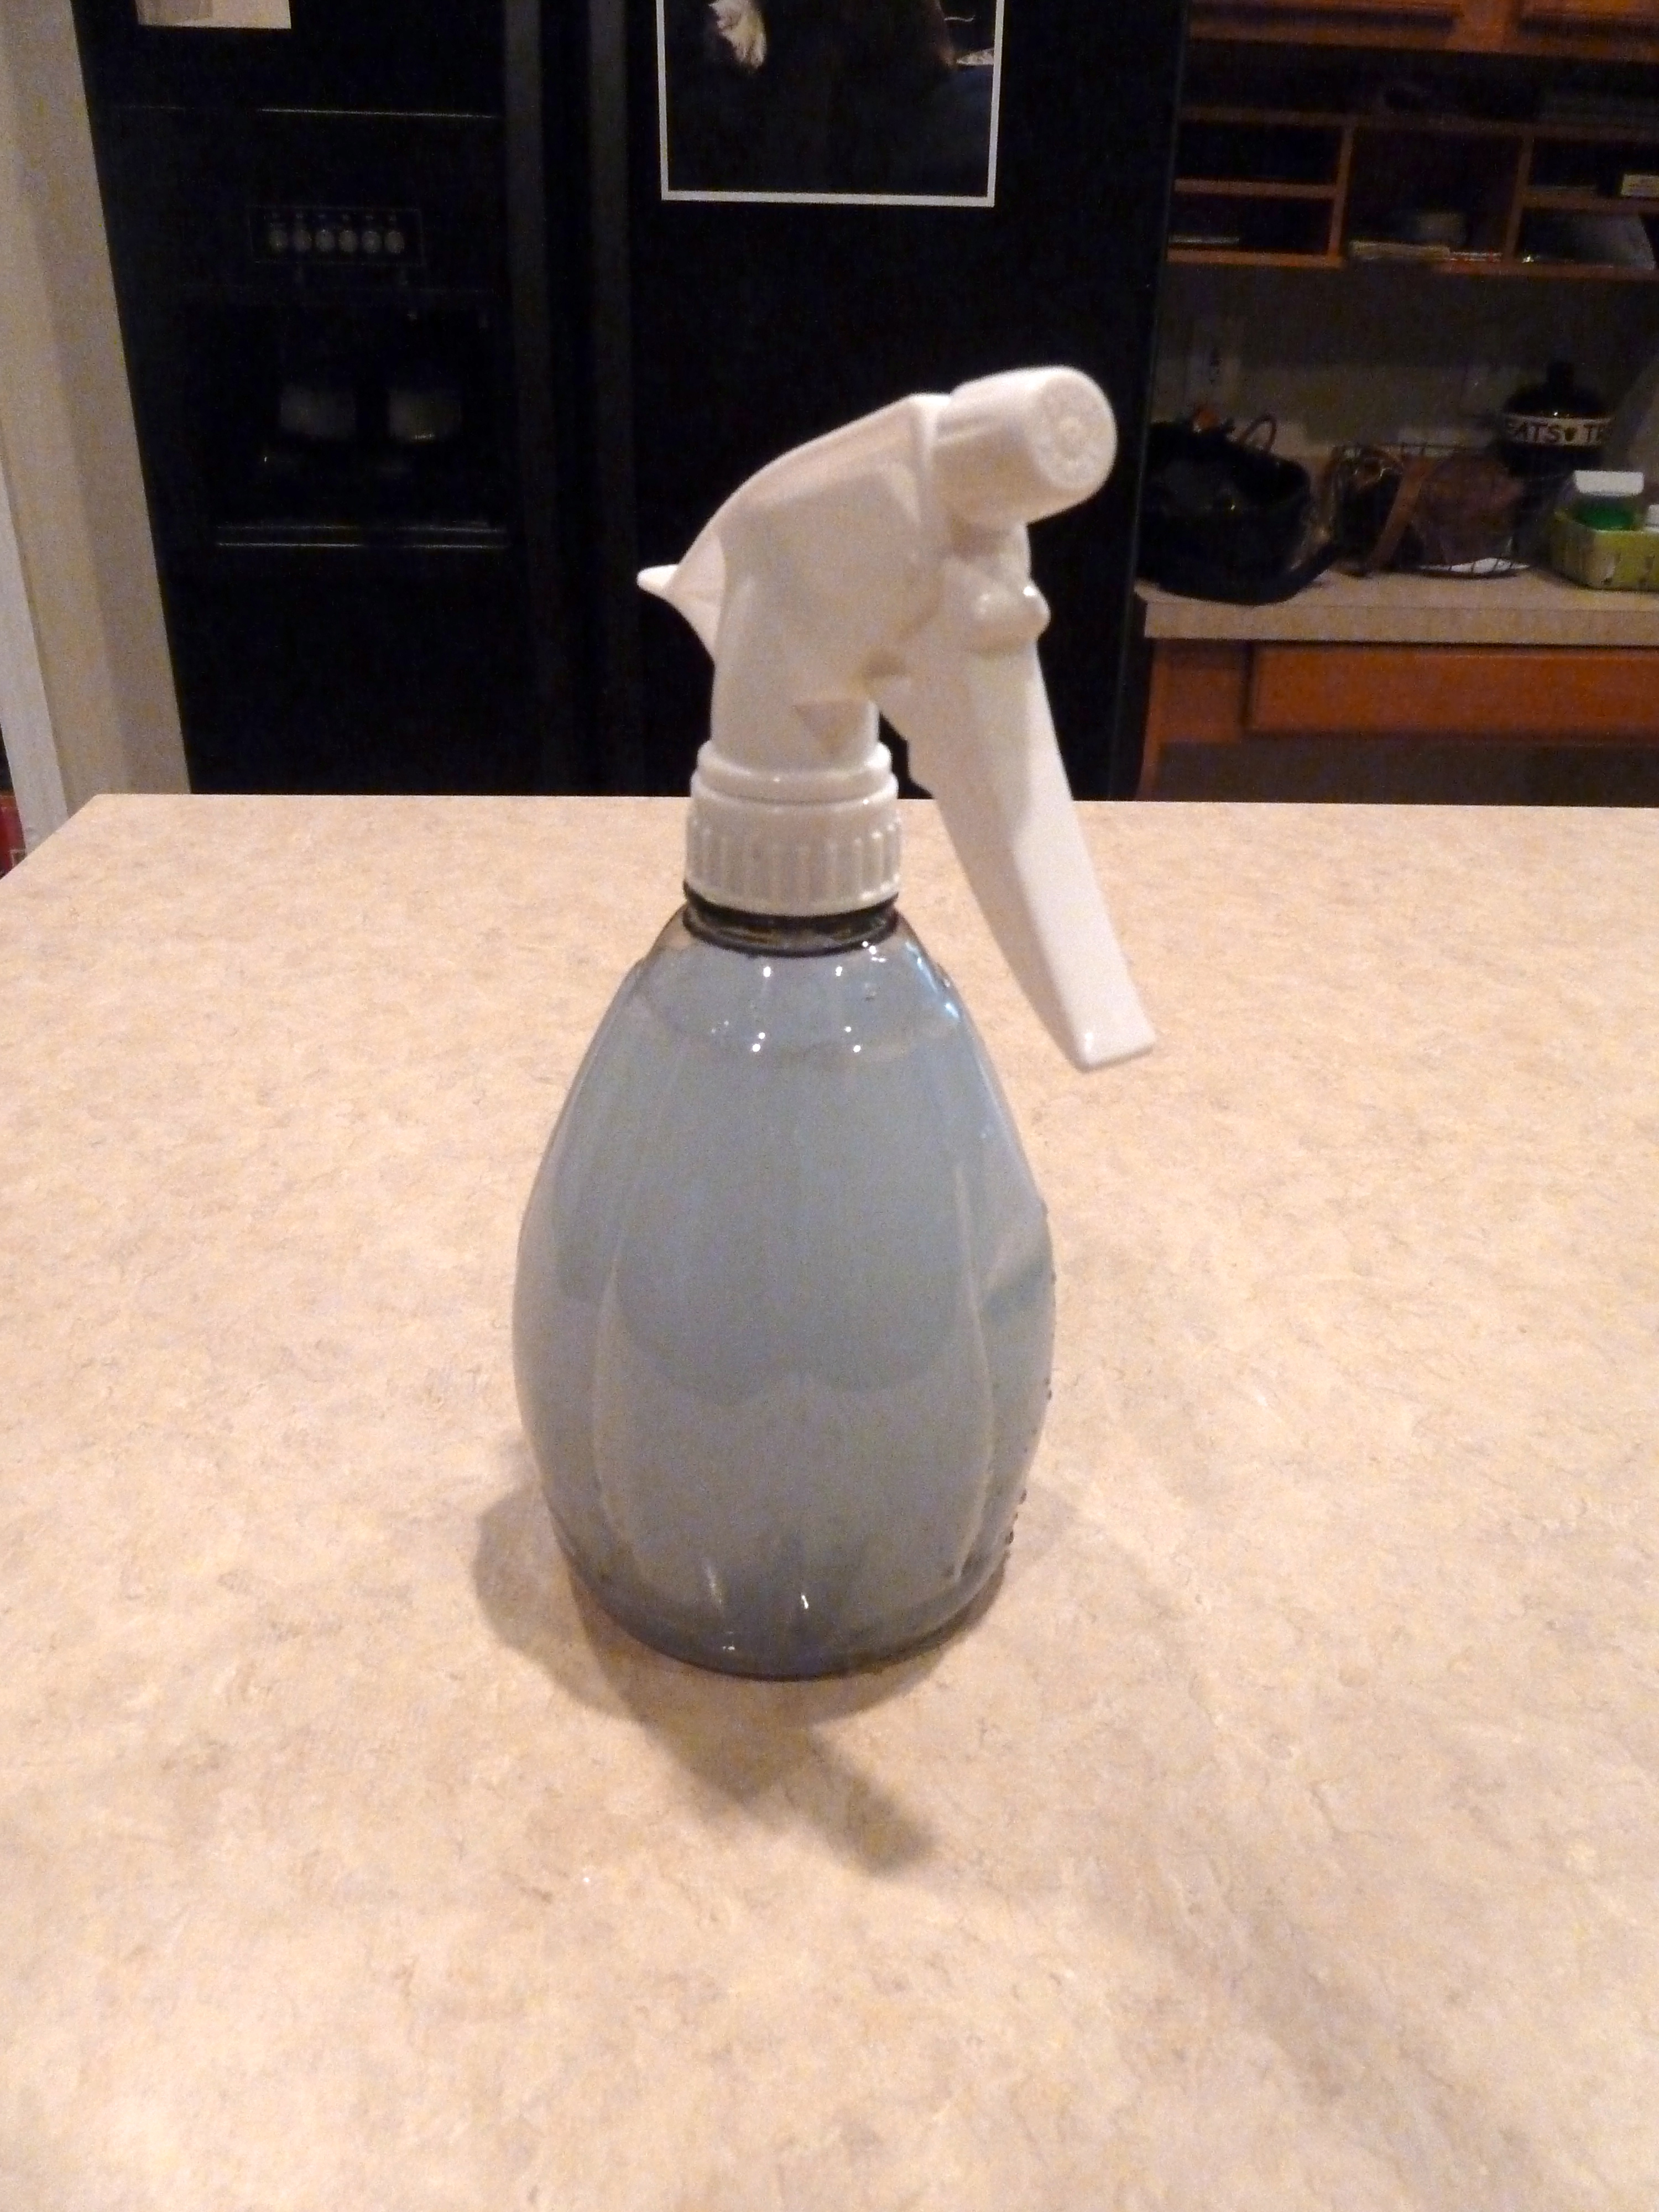
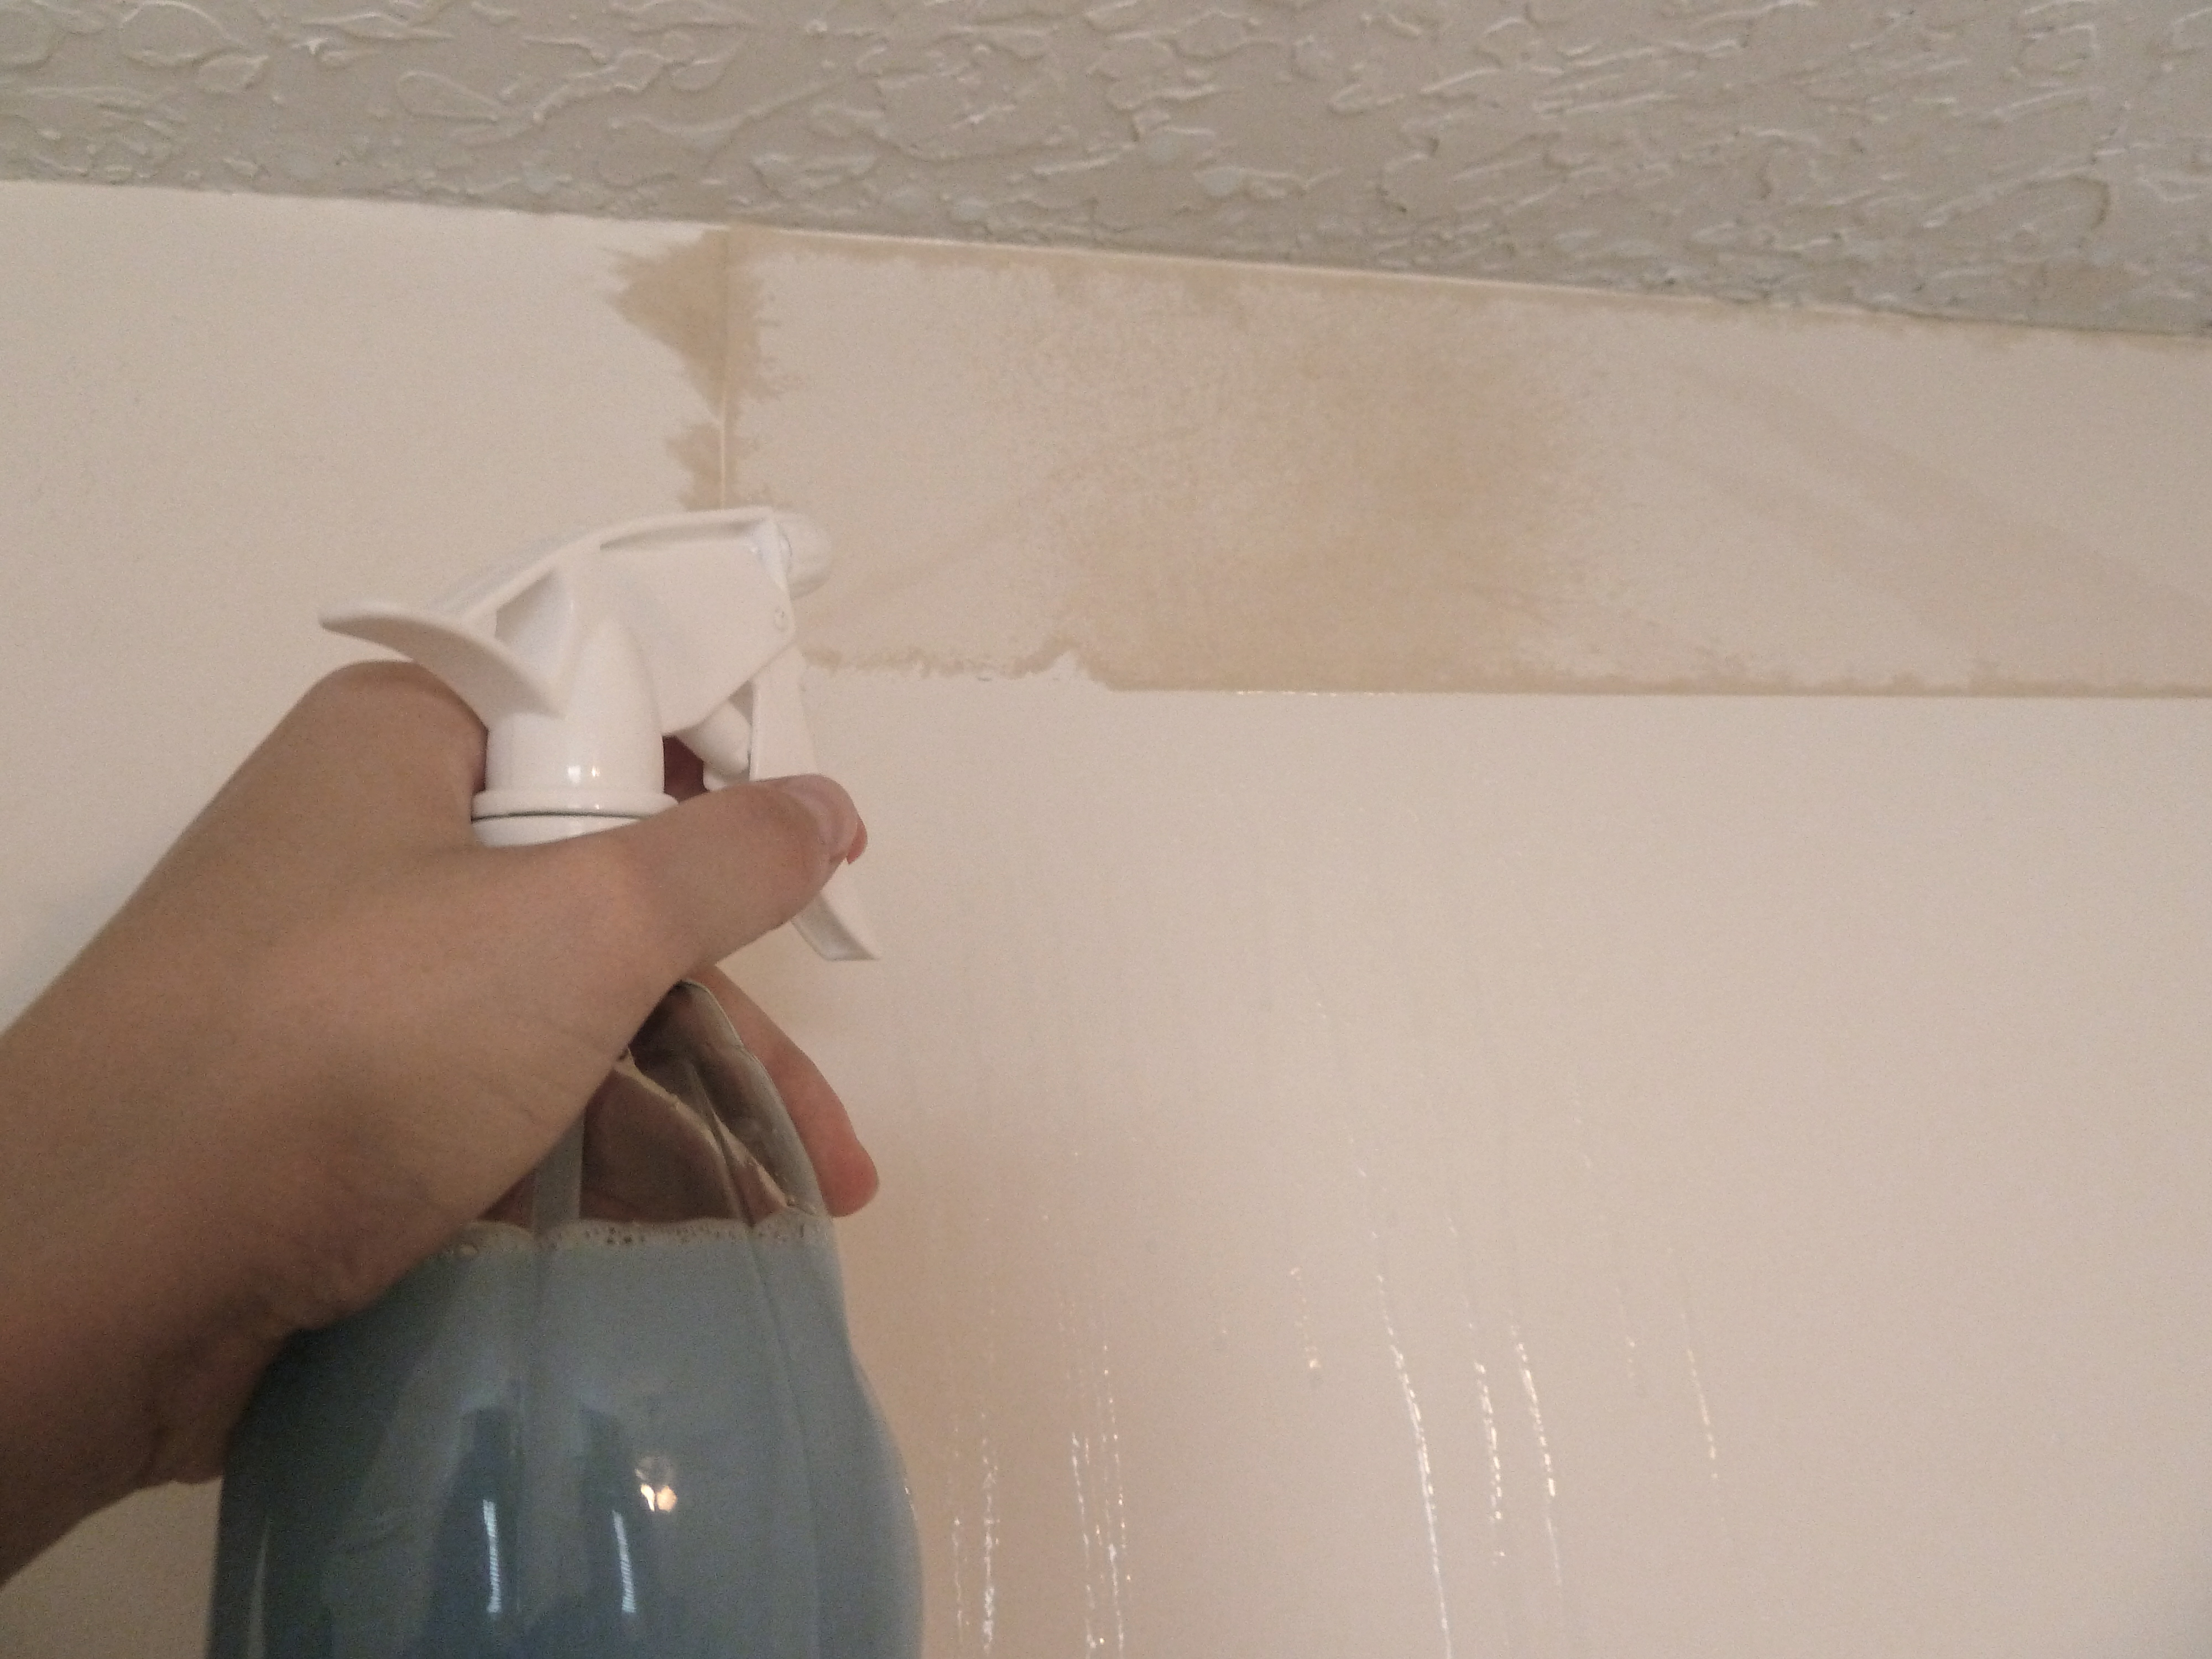
I just added approximately one part liquid fabric softener to 6 parts hot water and came up with this….

Wallpapers worst nightmare!
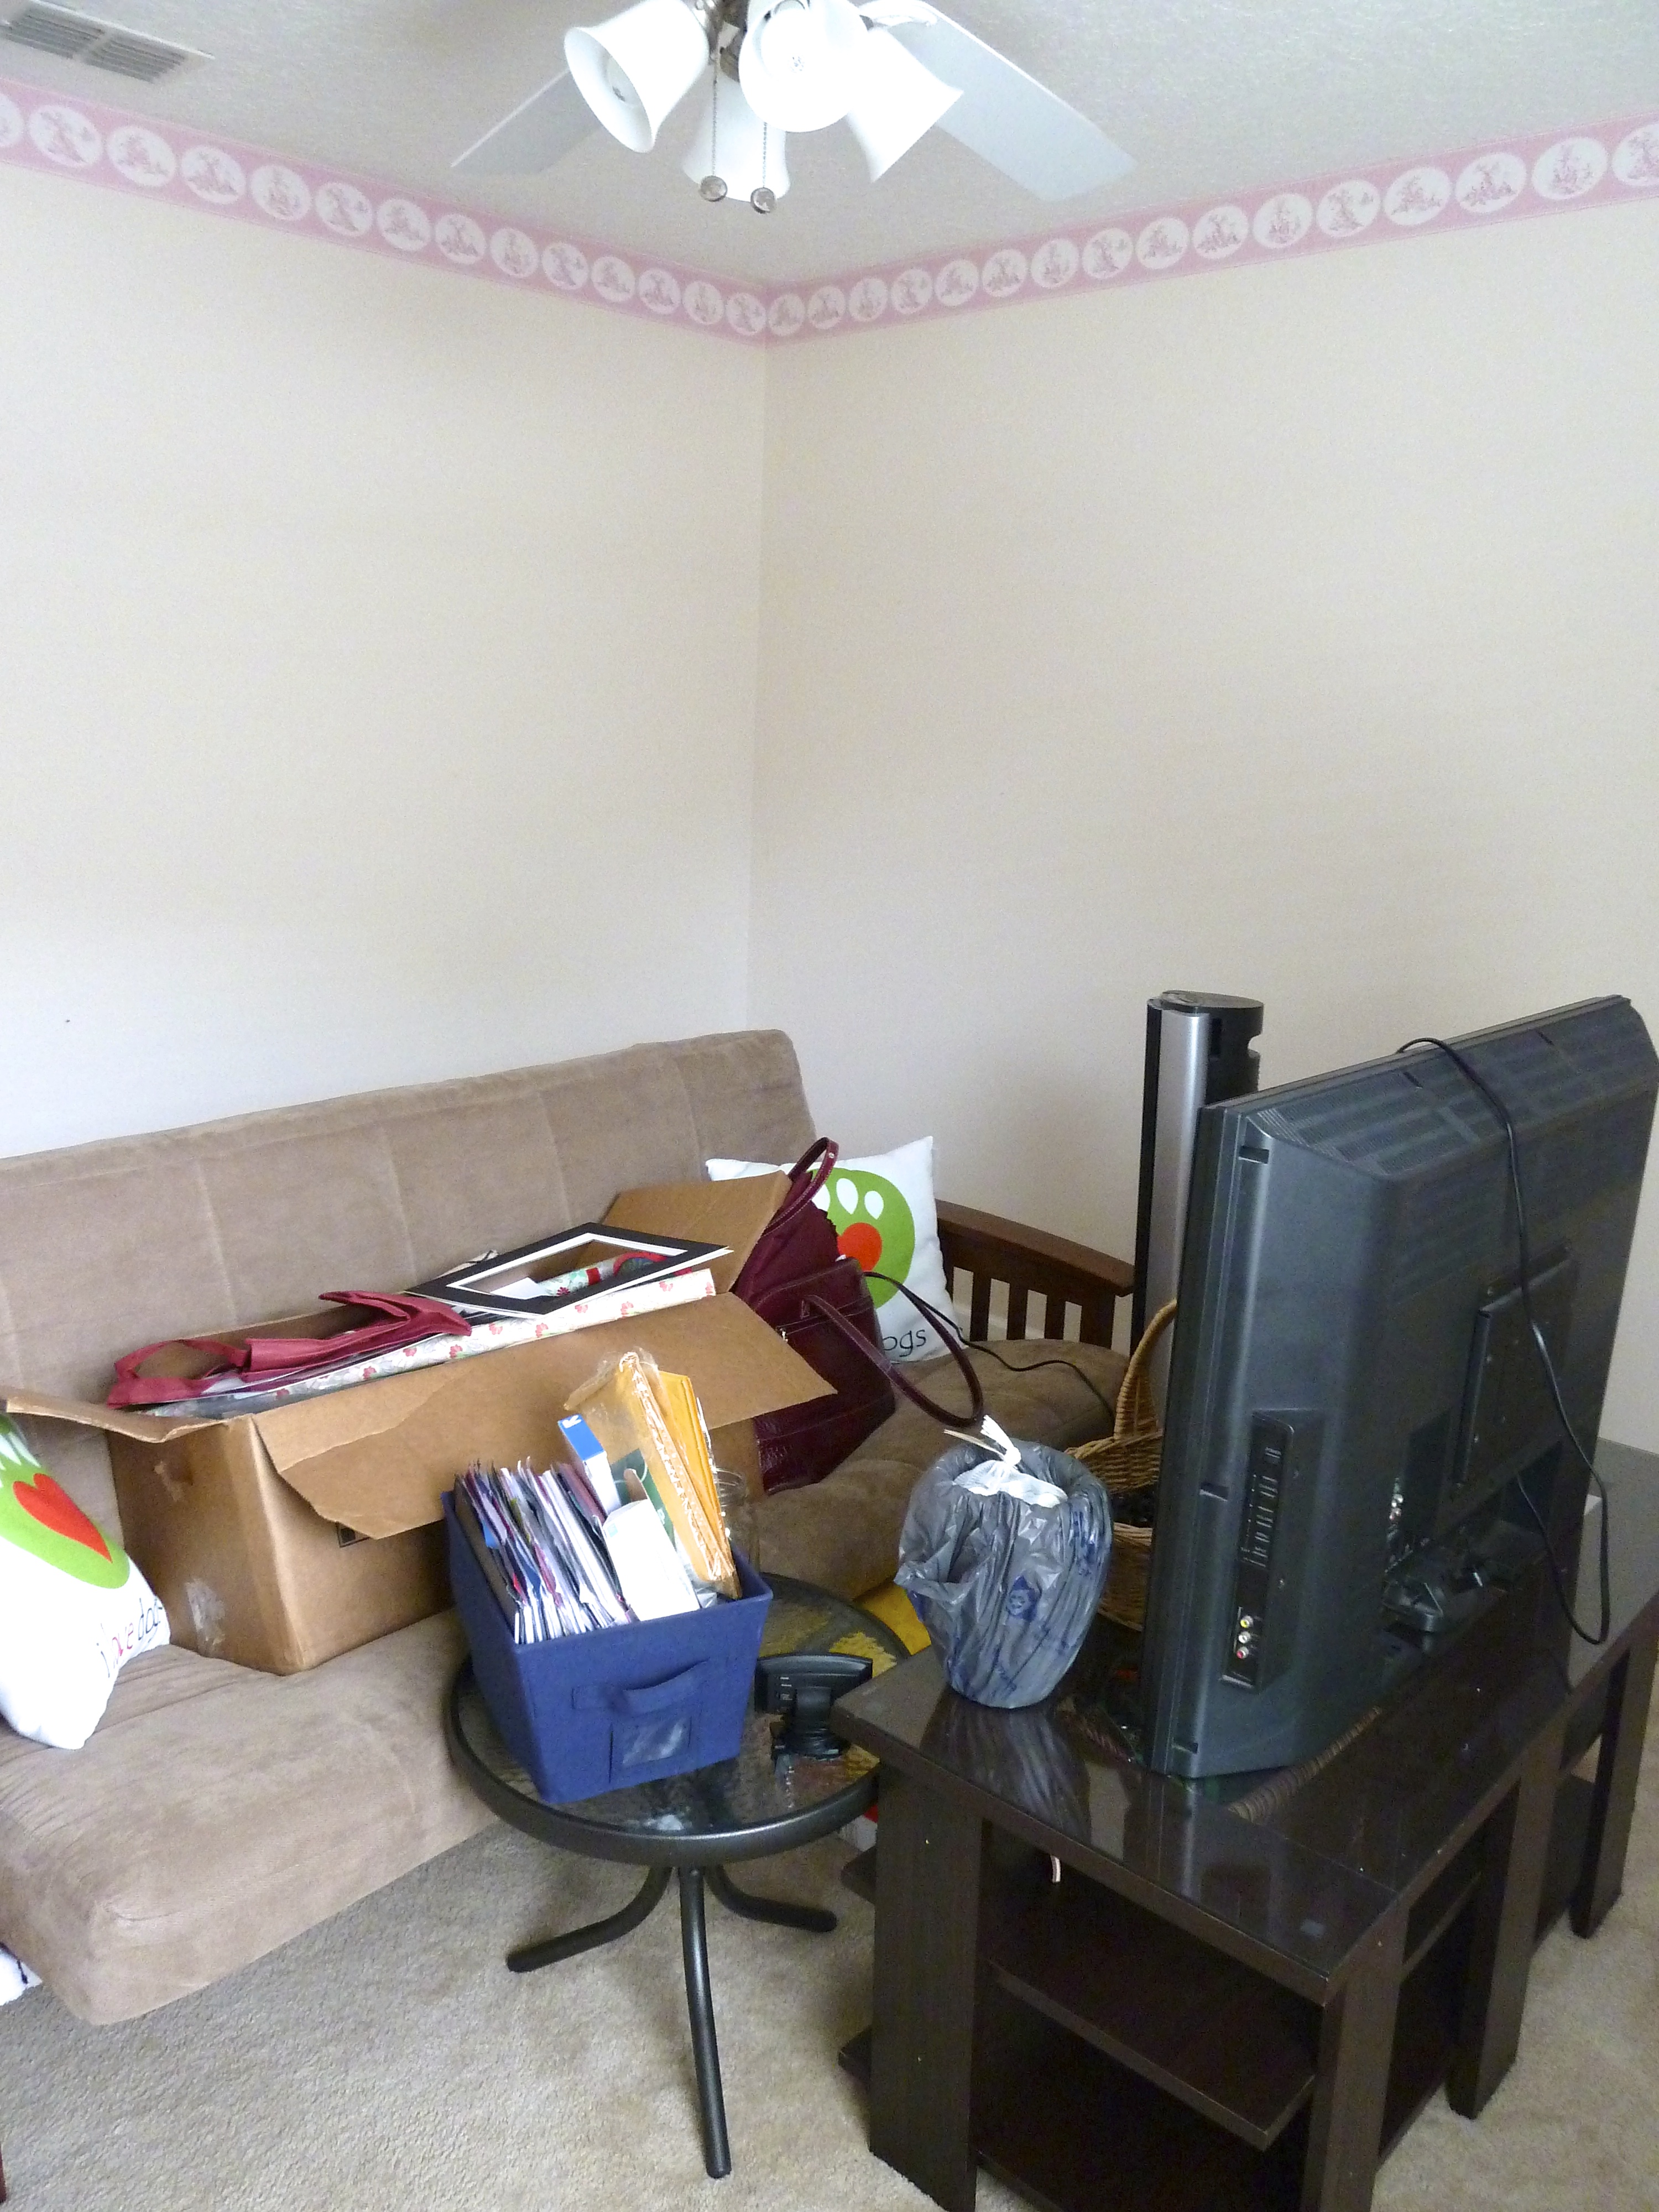
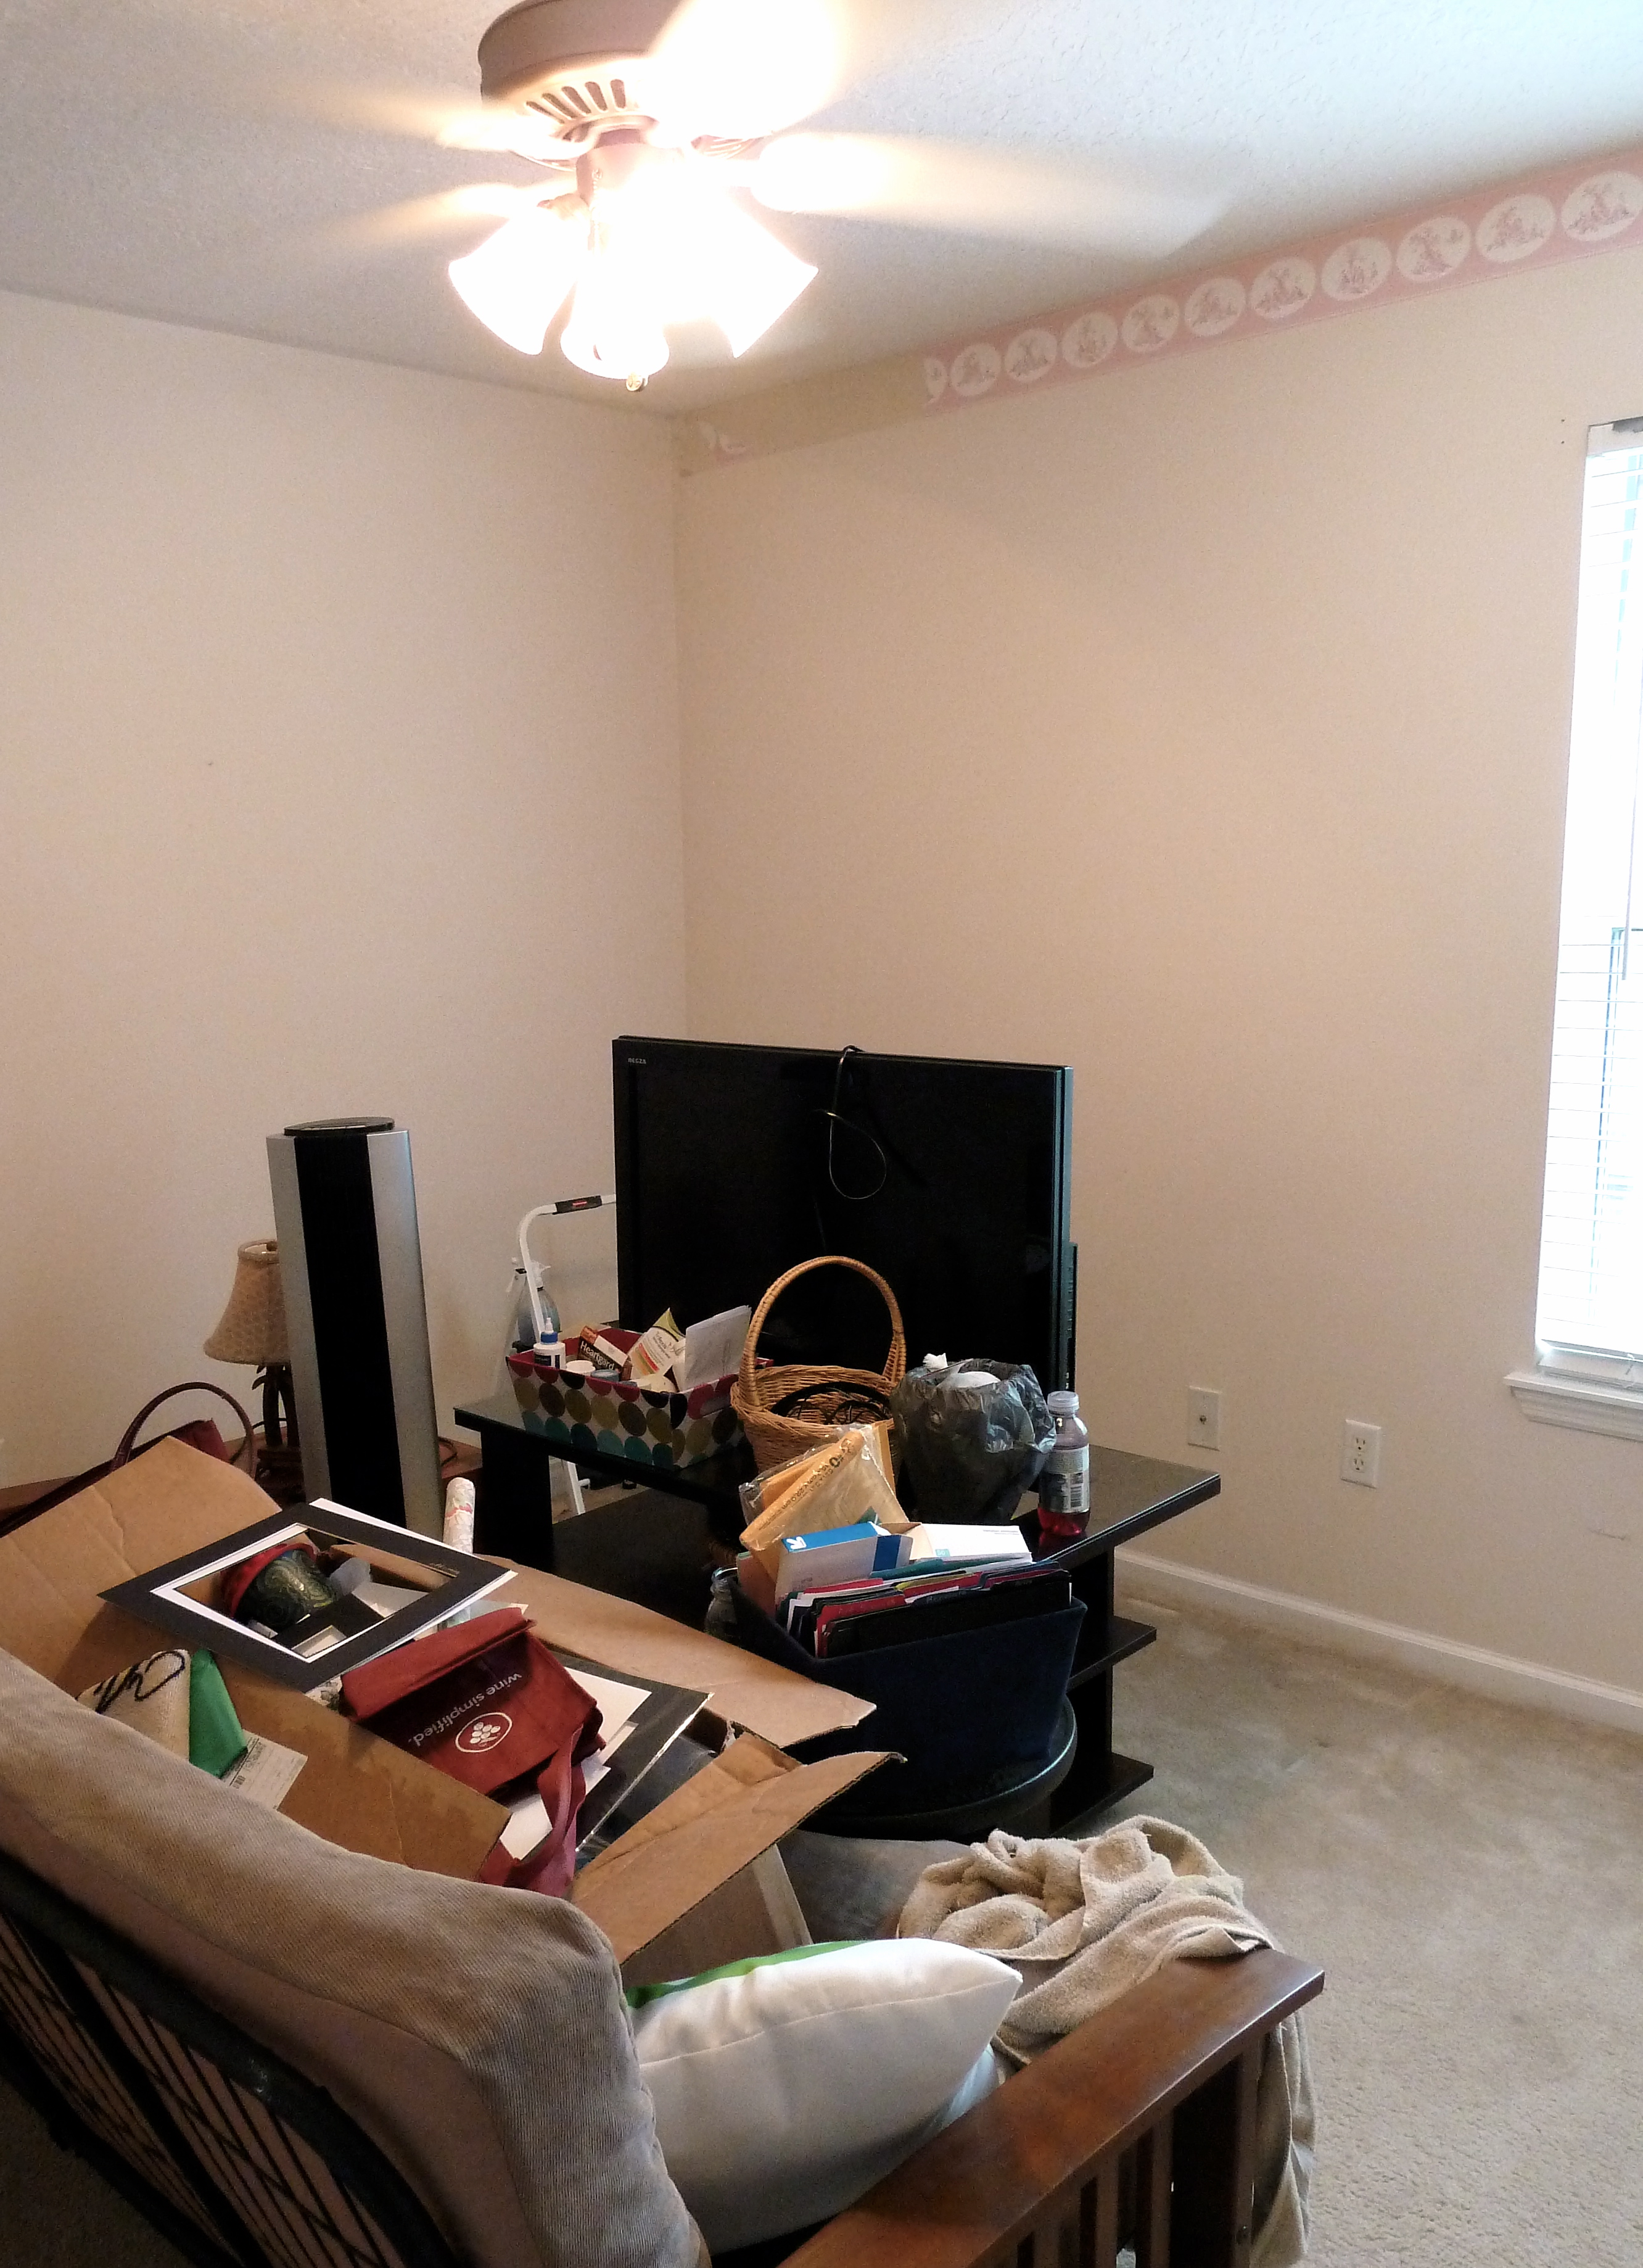
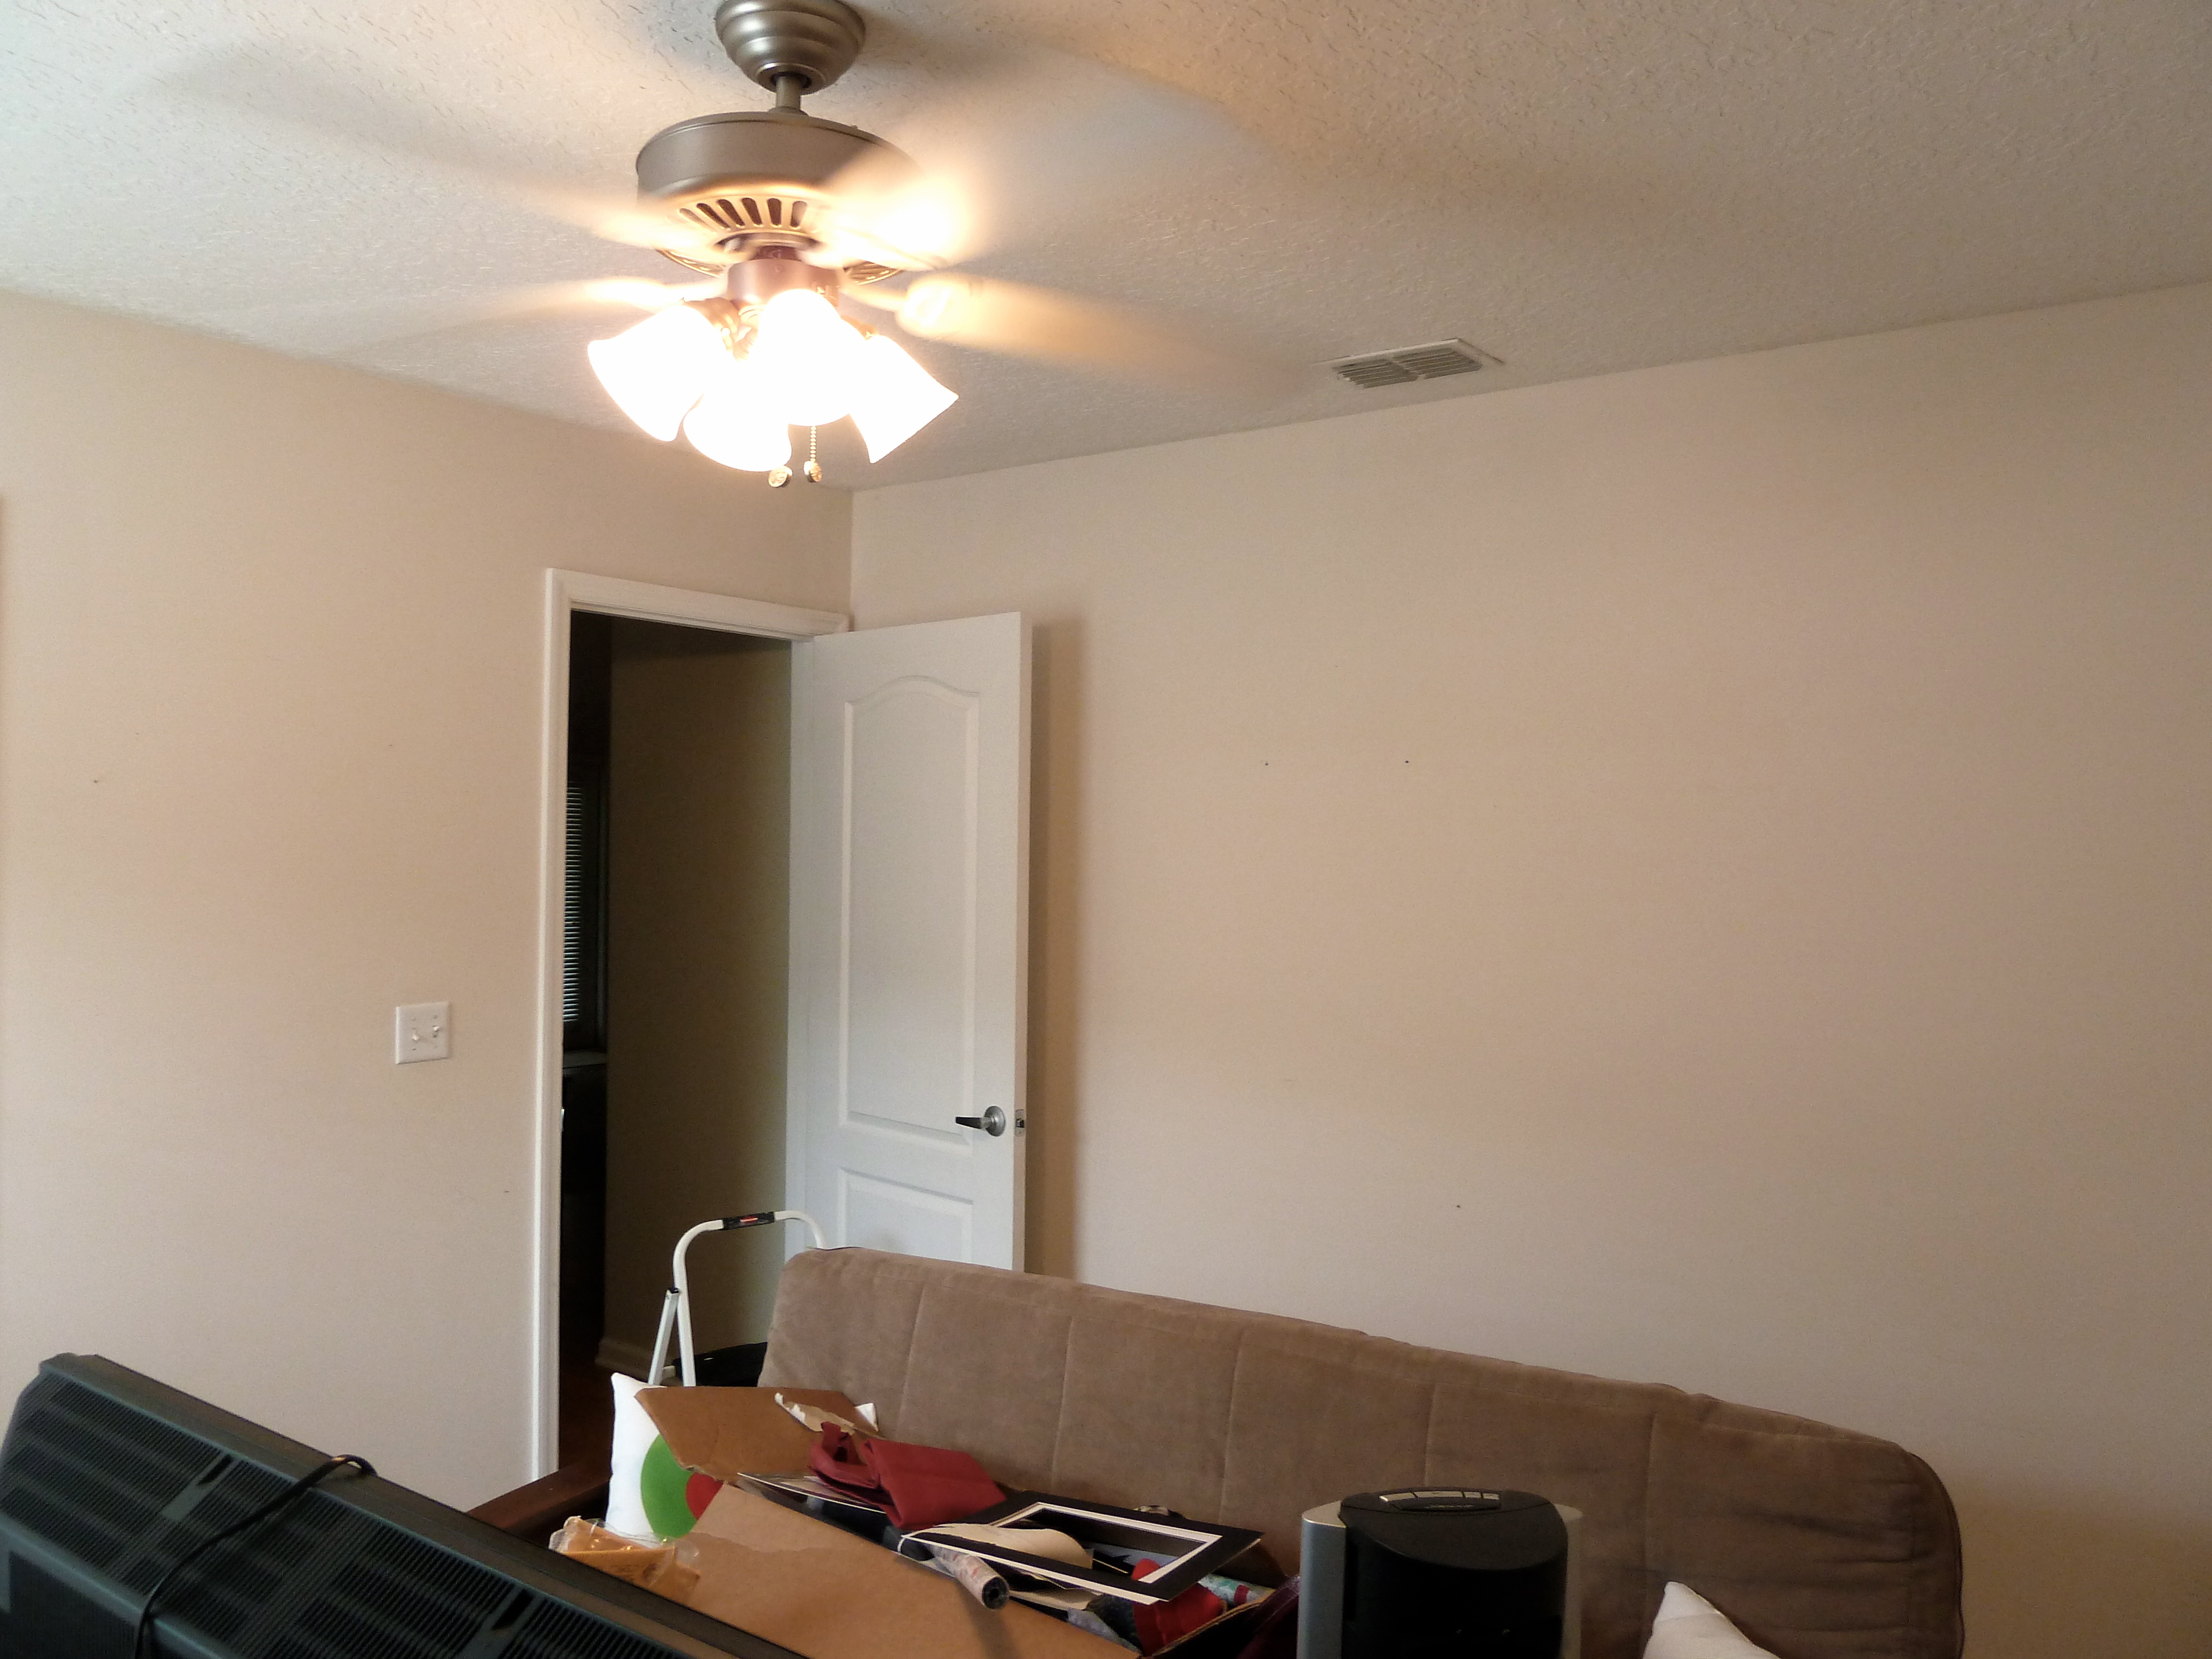
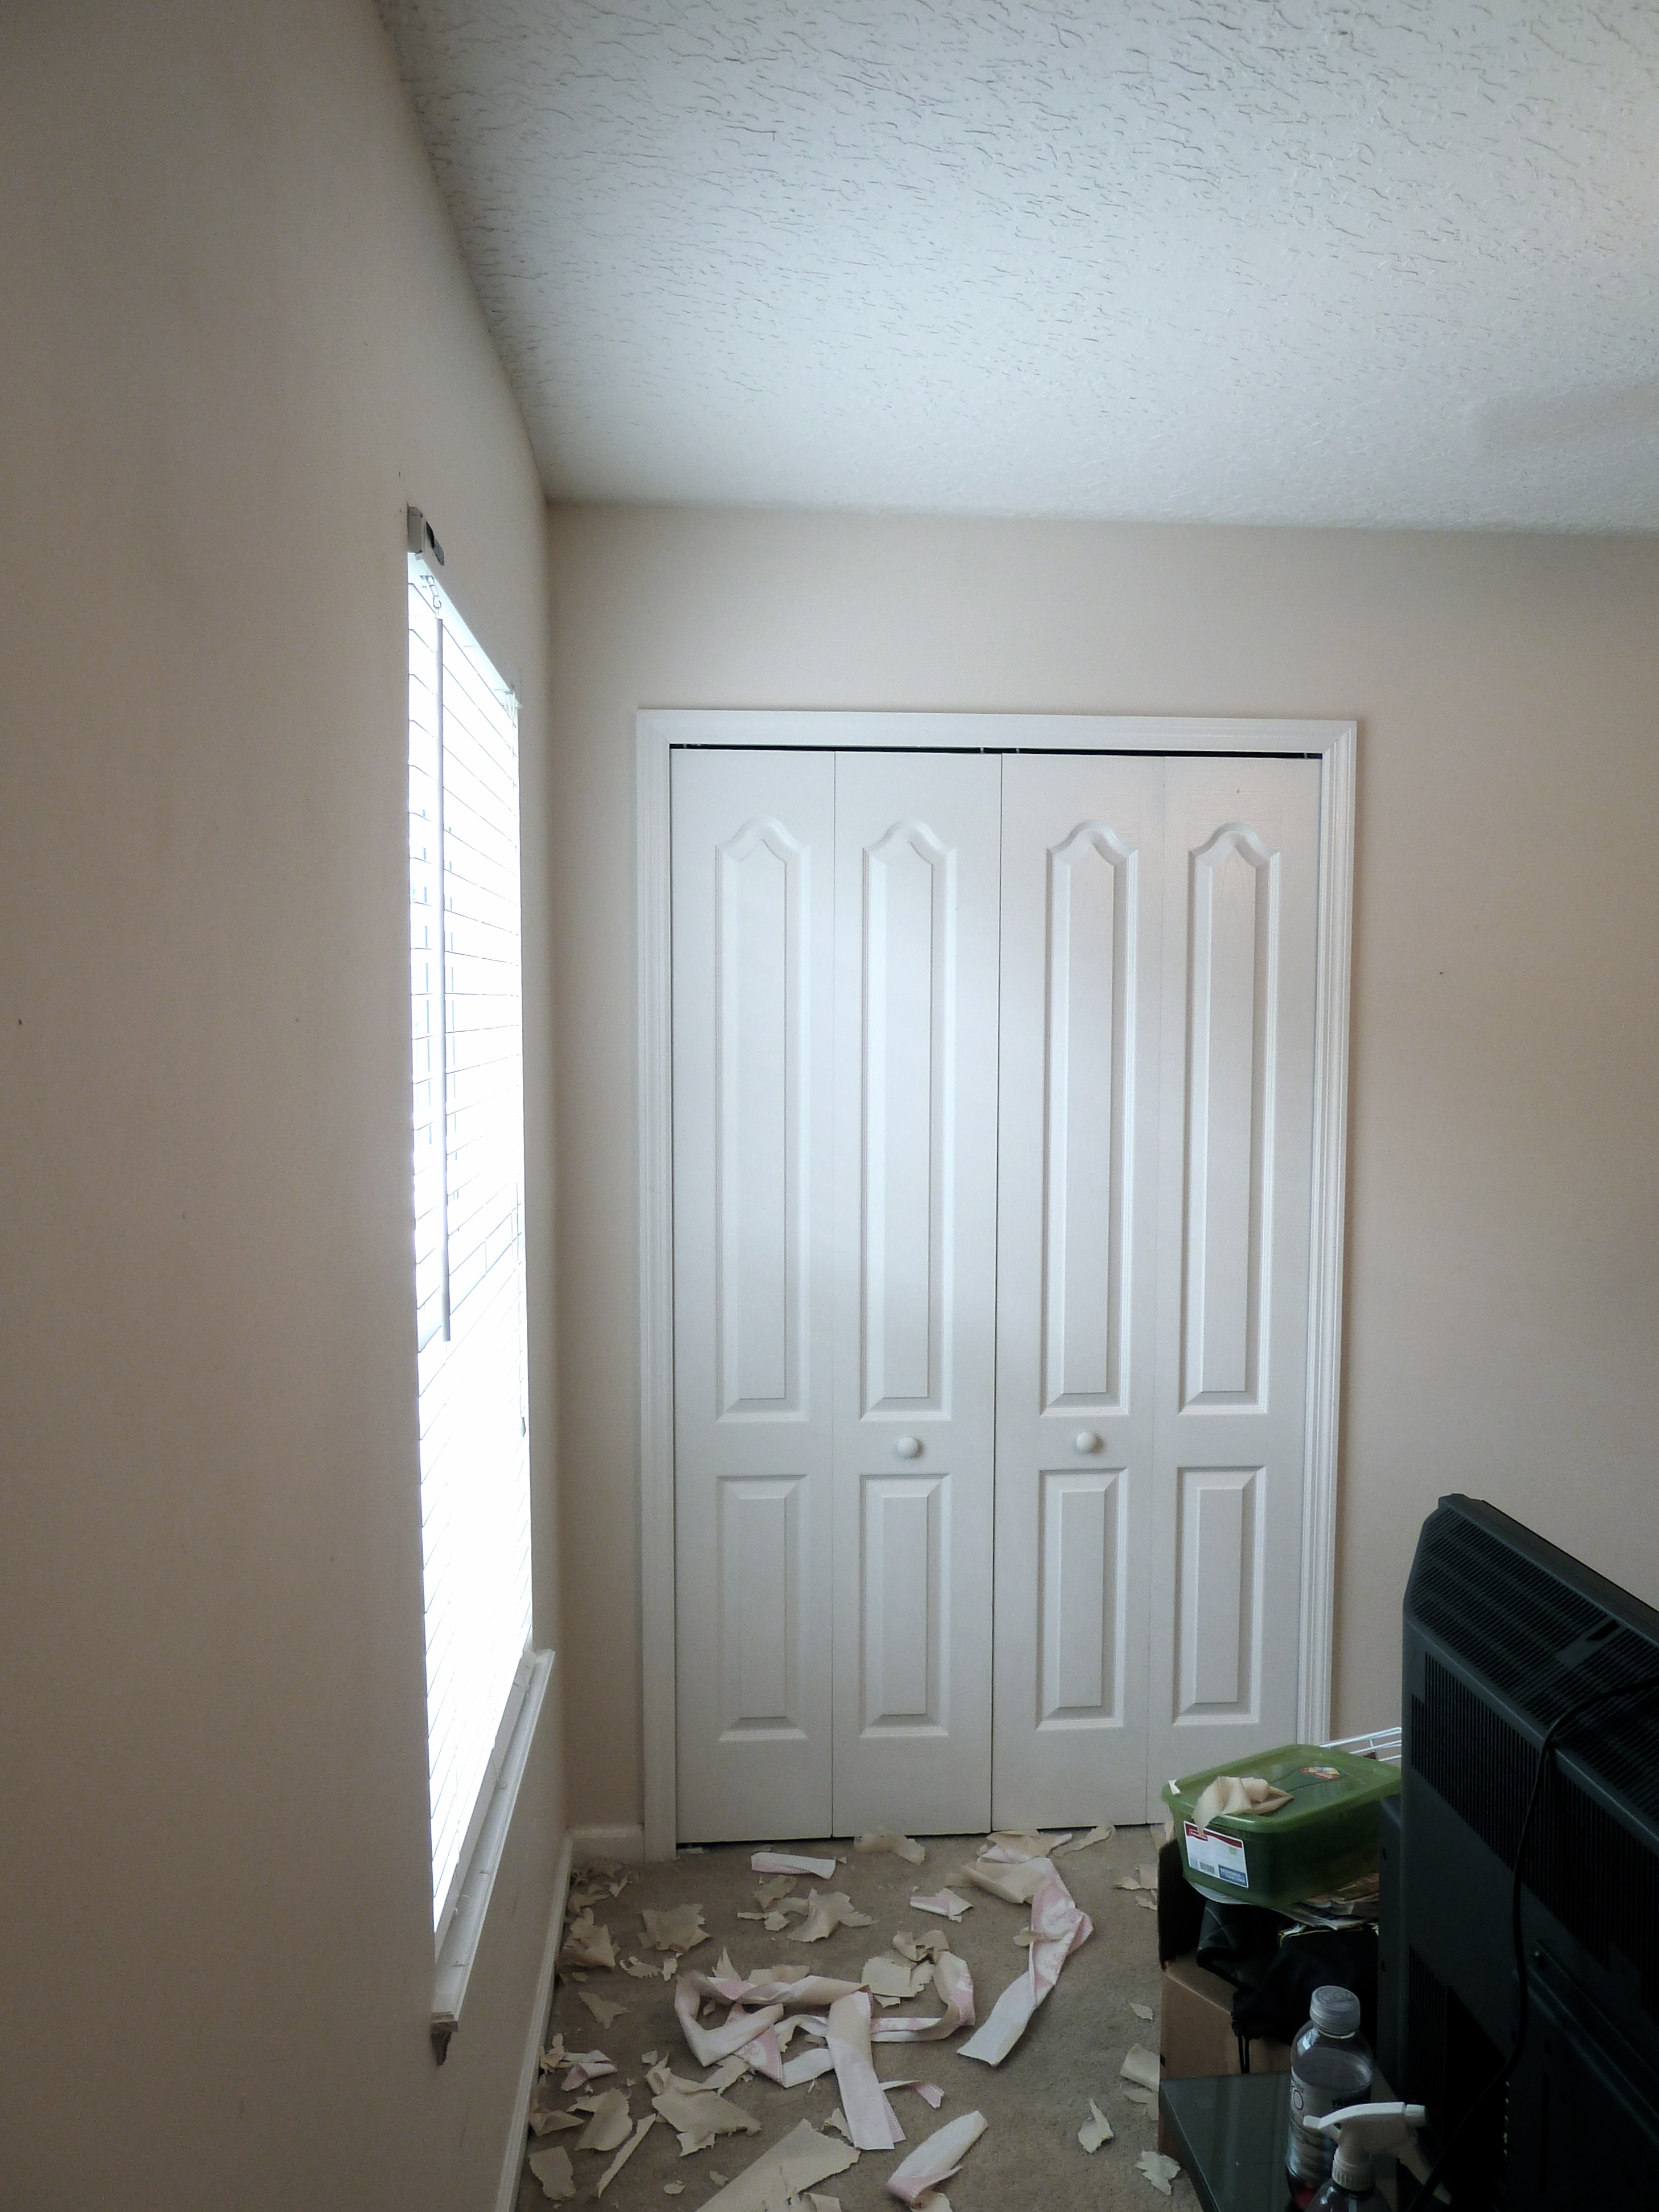
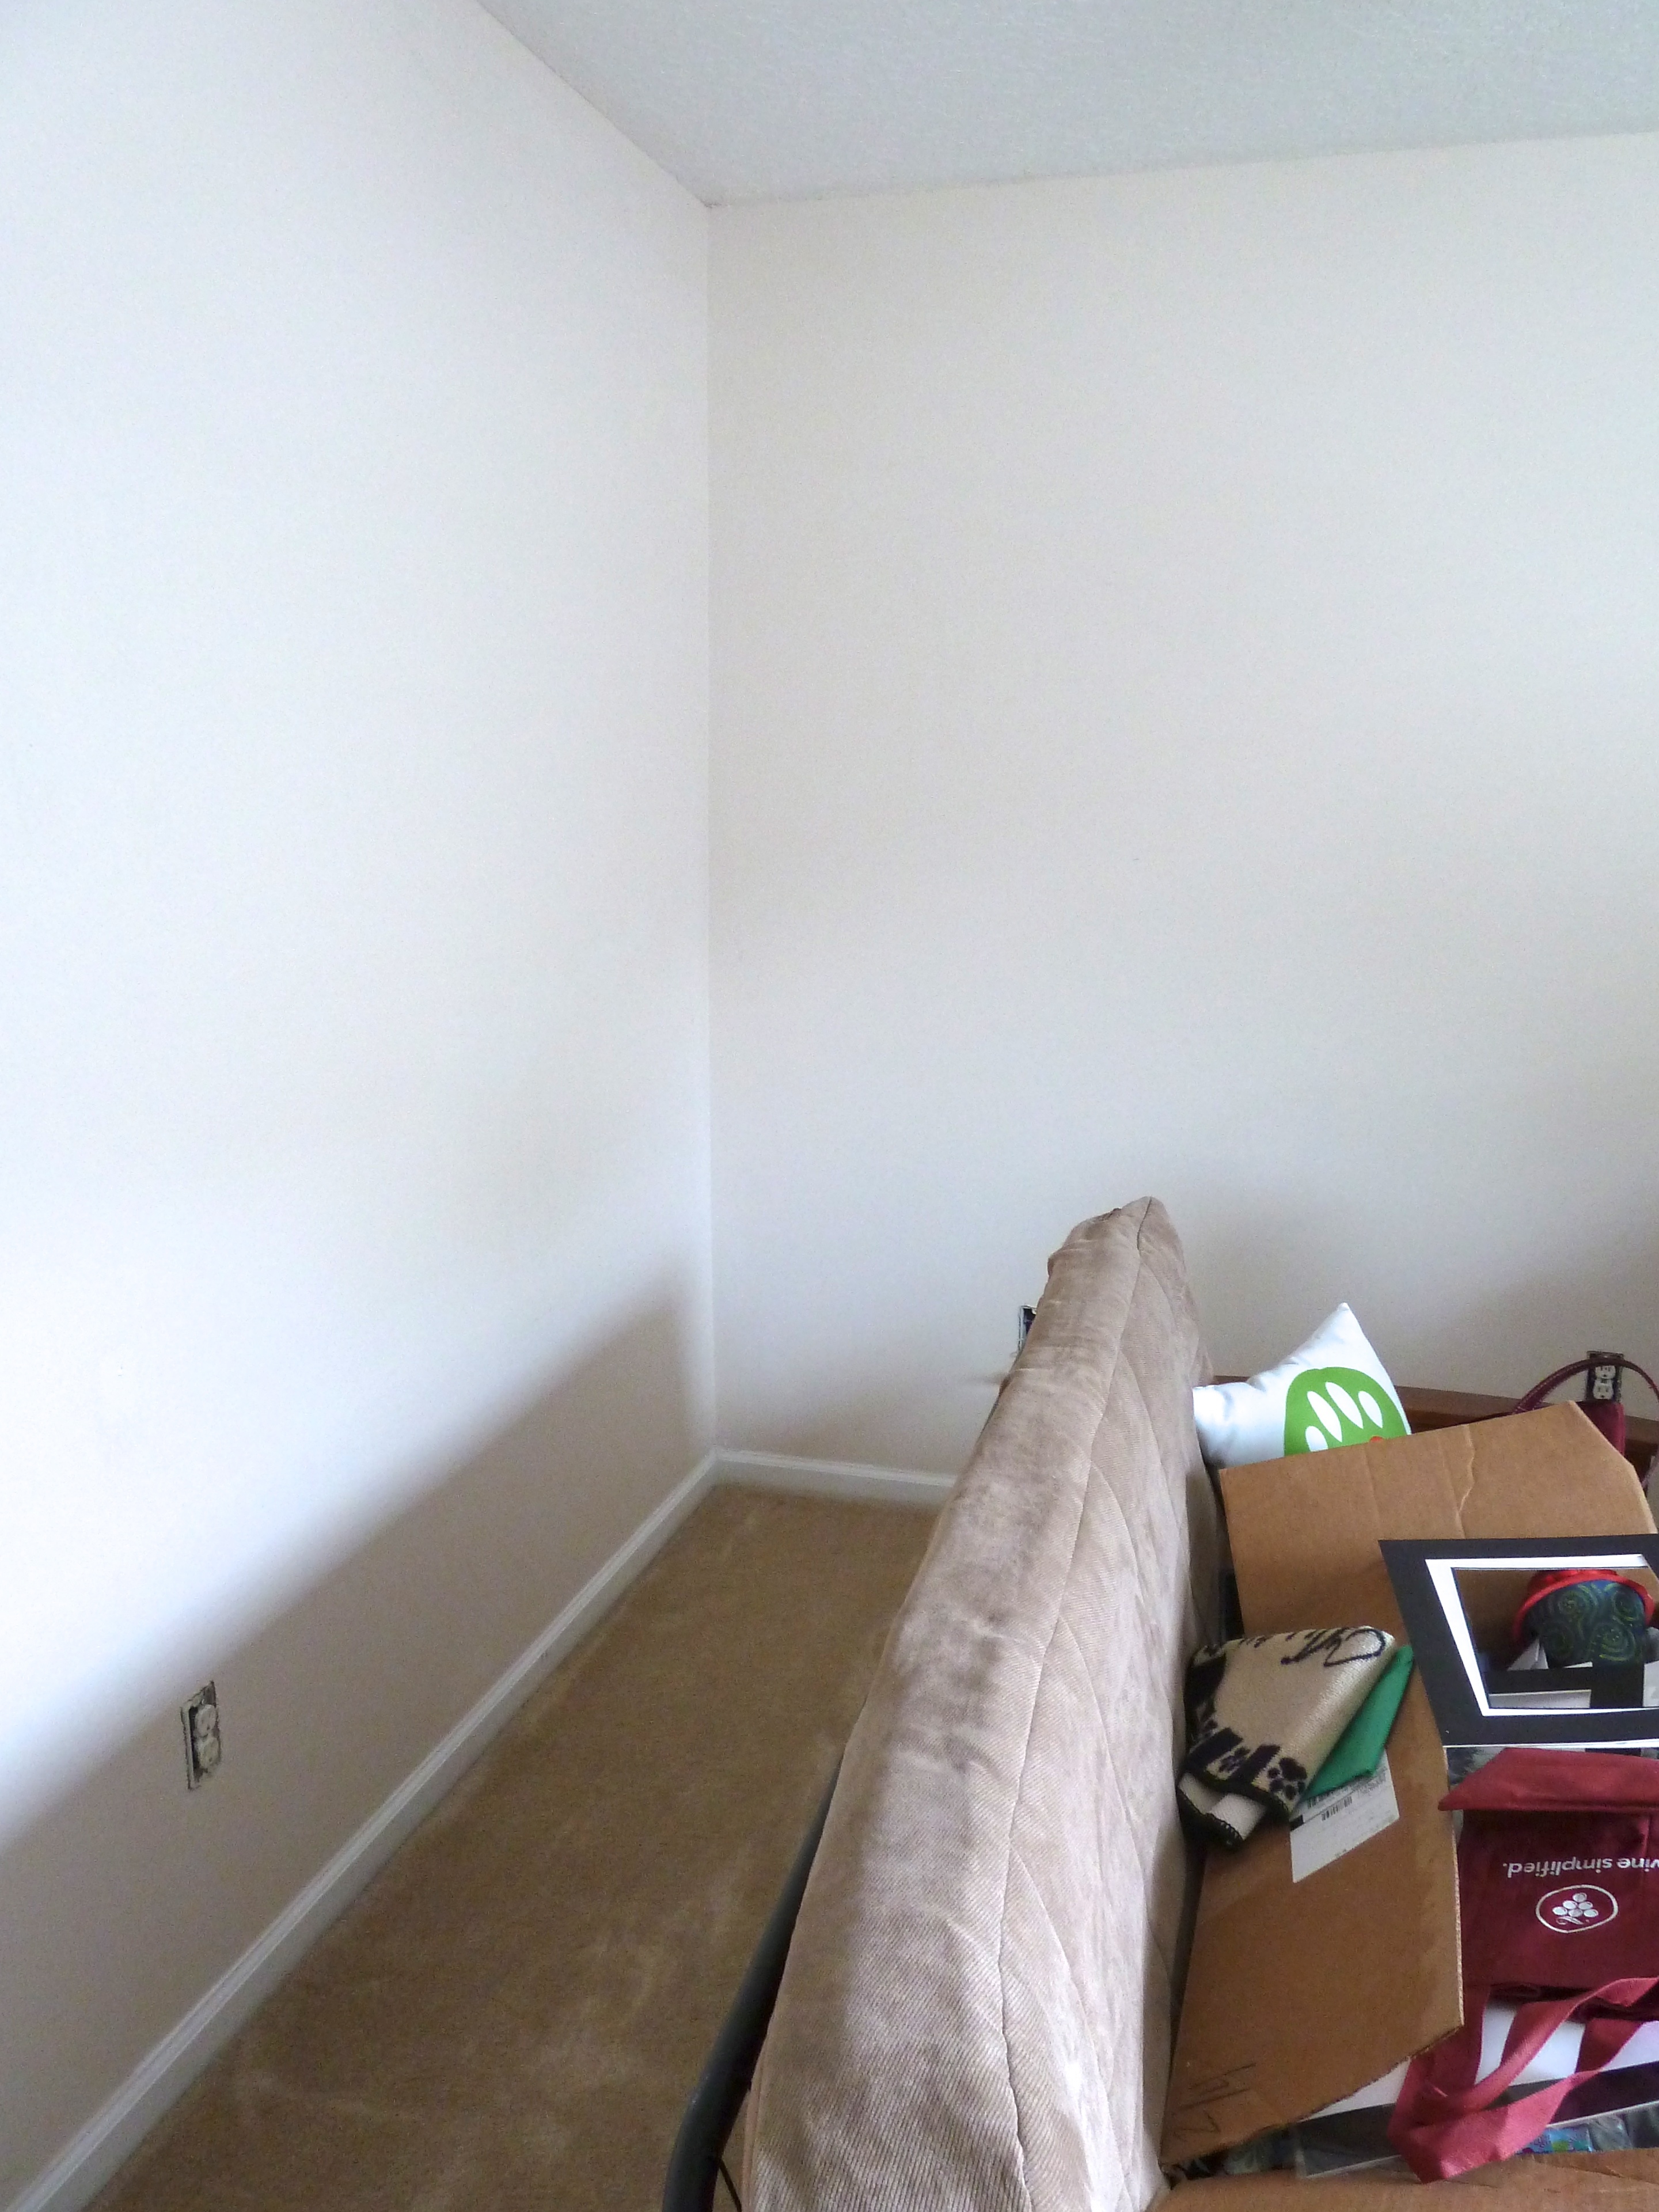
First I moved all of our junk/furniture to the middle of the room. This room is currently being used as an extra storage/junk room. I then grabbed my step ladder and got to it.

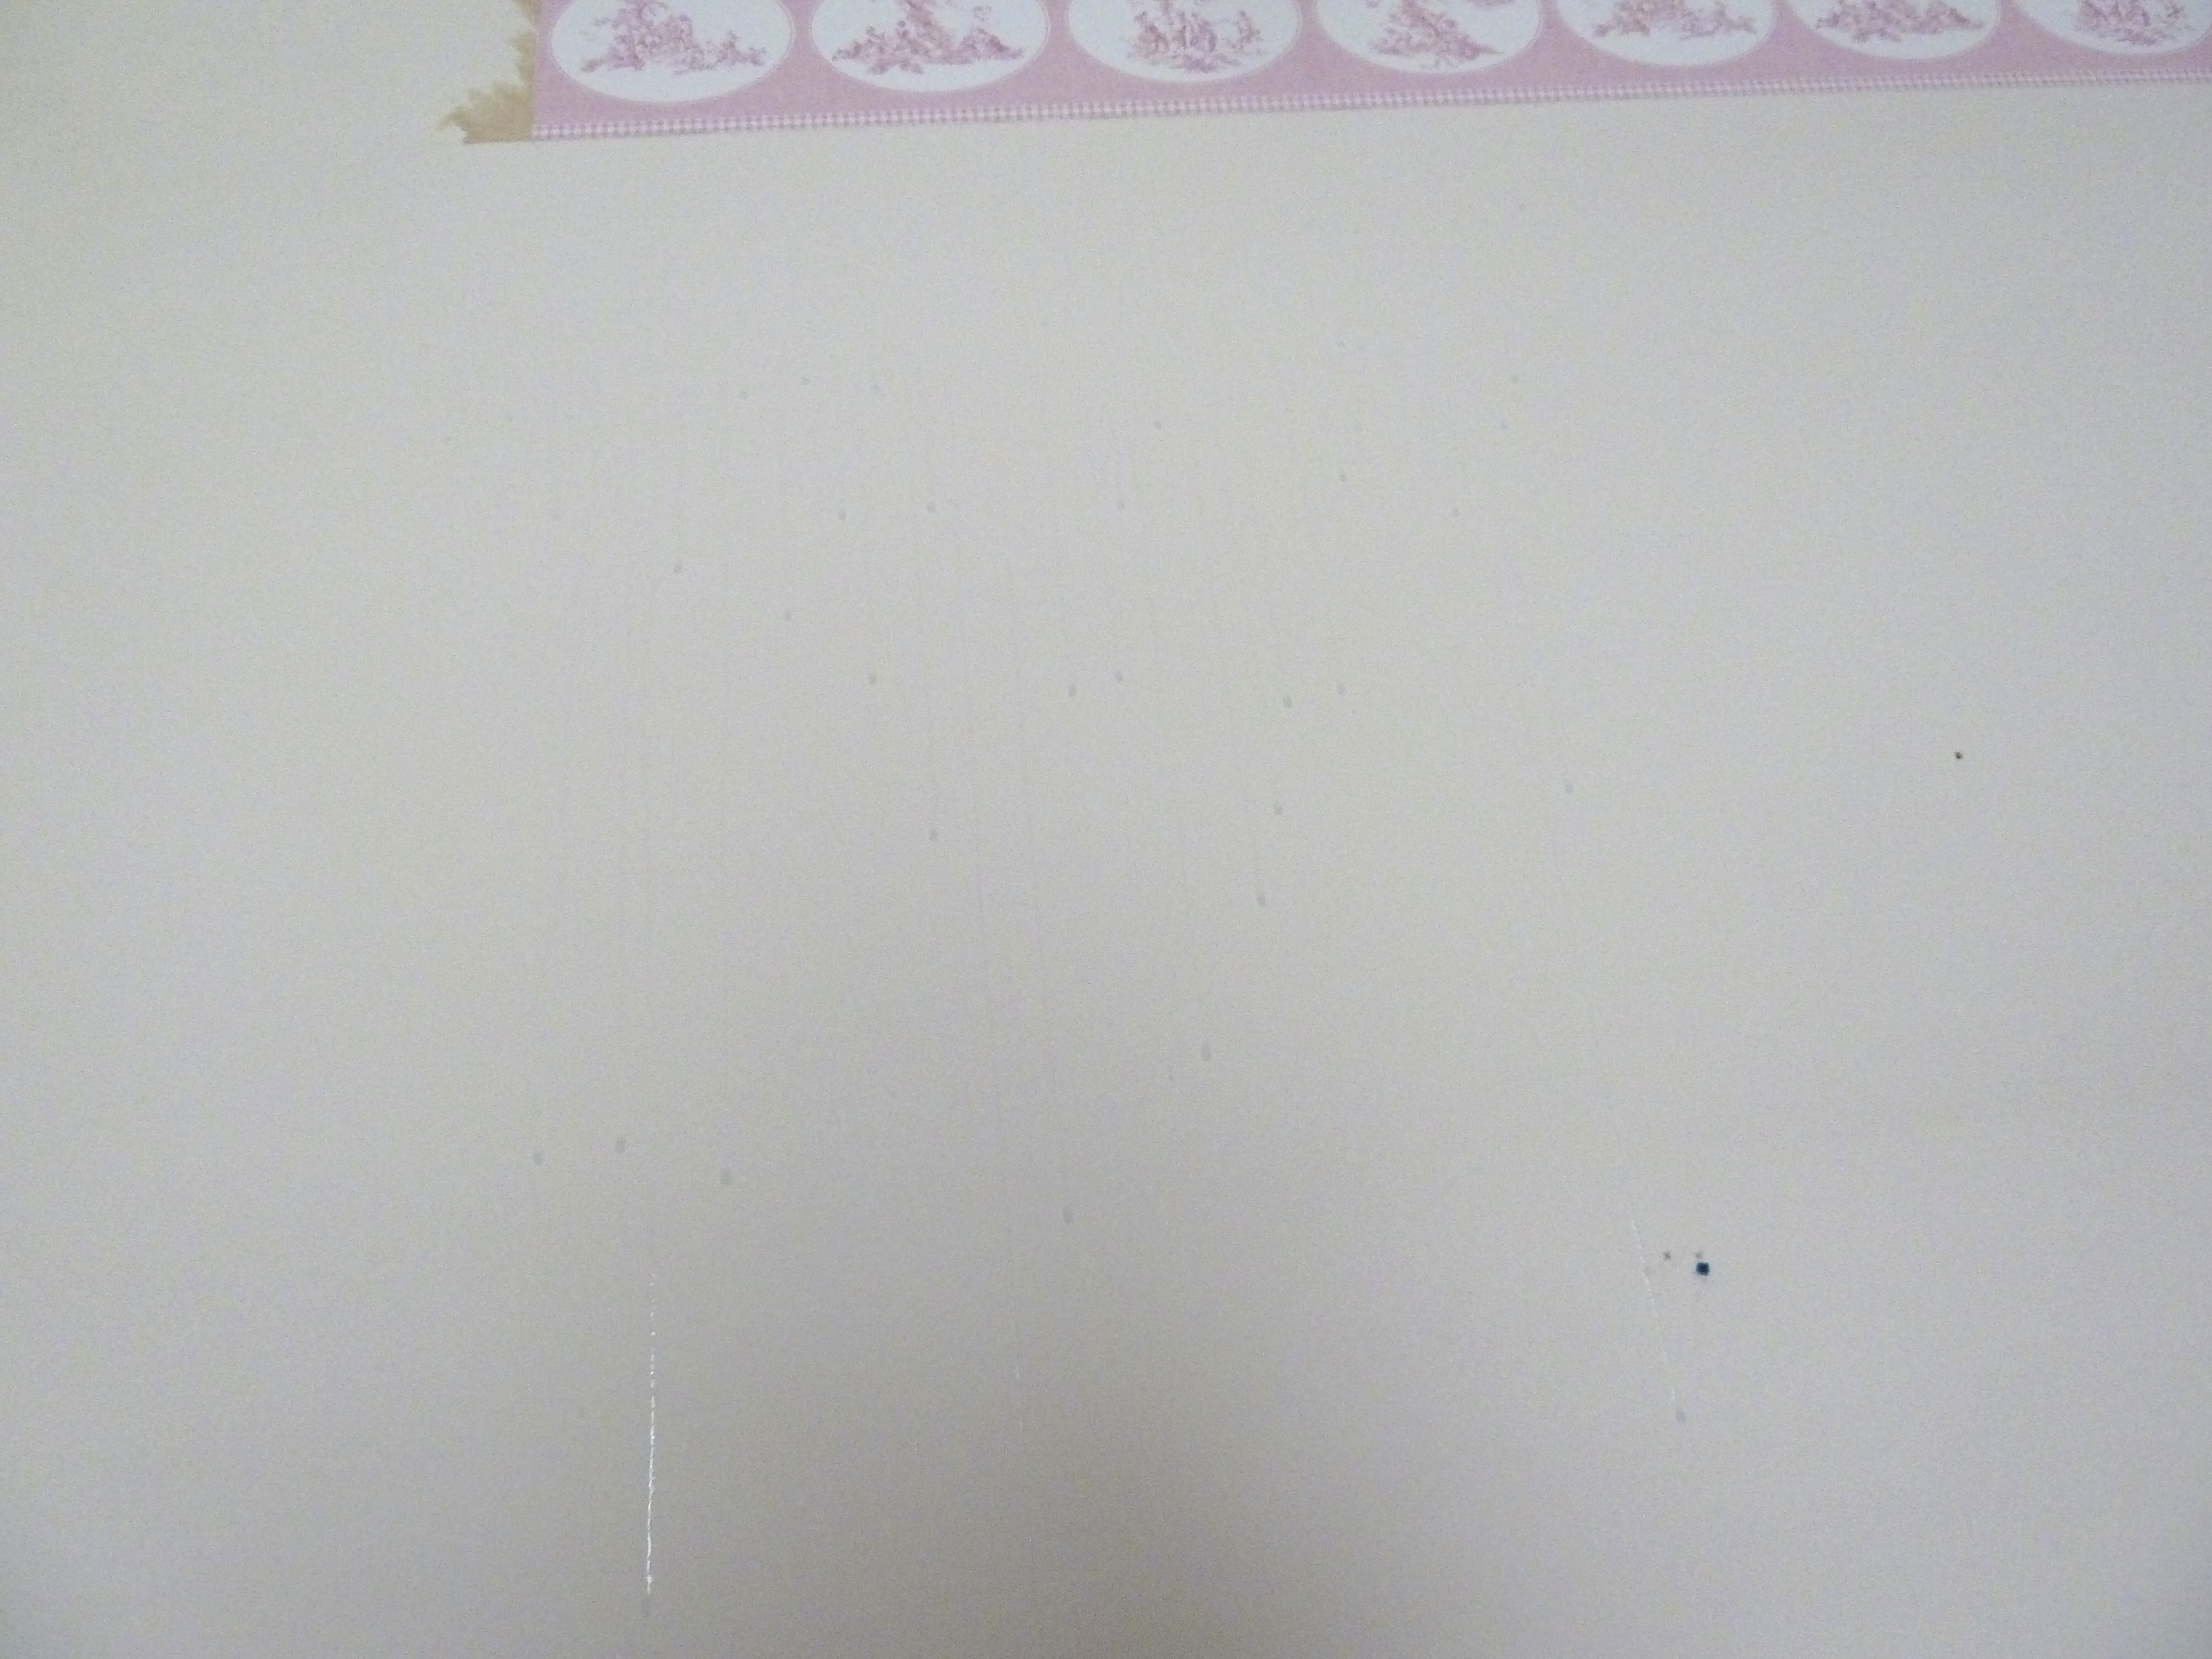
I just sprayed the concoction directly on the border and let it sit for a minute. In the meantime I was wiping away all of the drippage. which you can sort of see in the unclear photo below:

I grabbed a towel immediately and kept it with me the rest of the time to clean up the dripping of my fabric softener and water concoction.
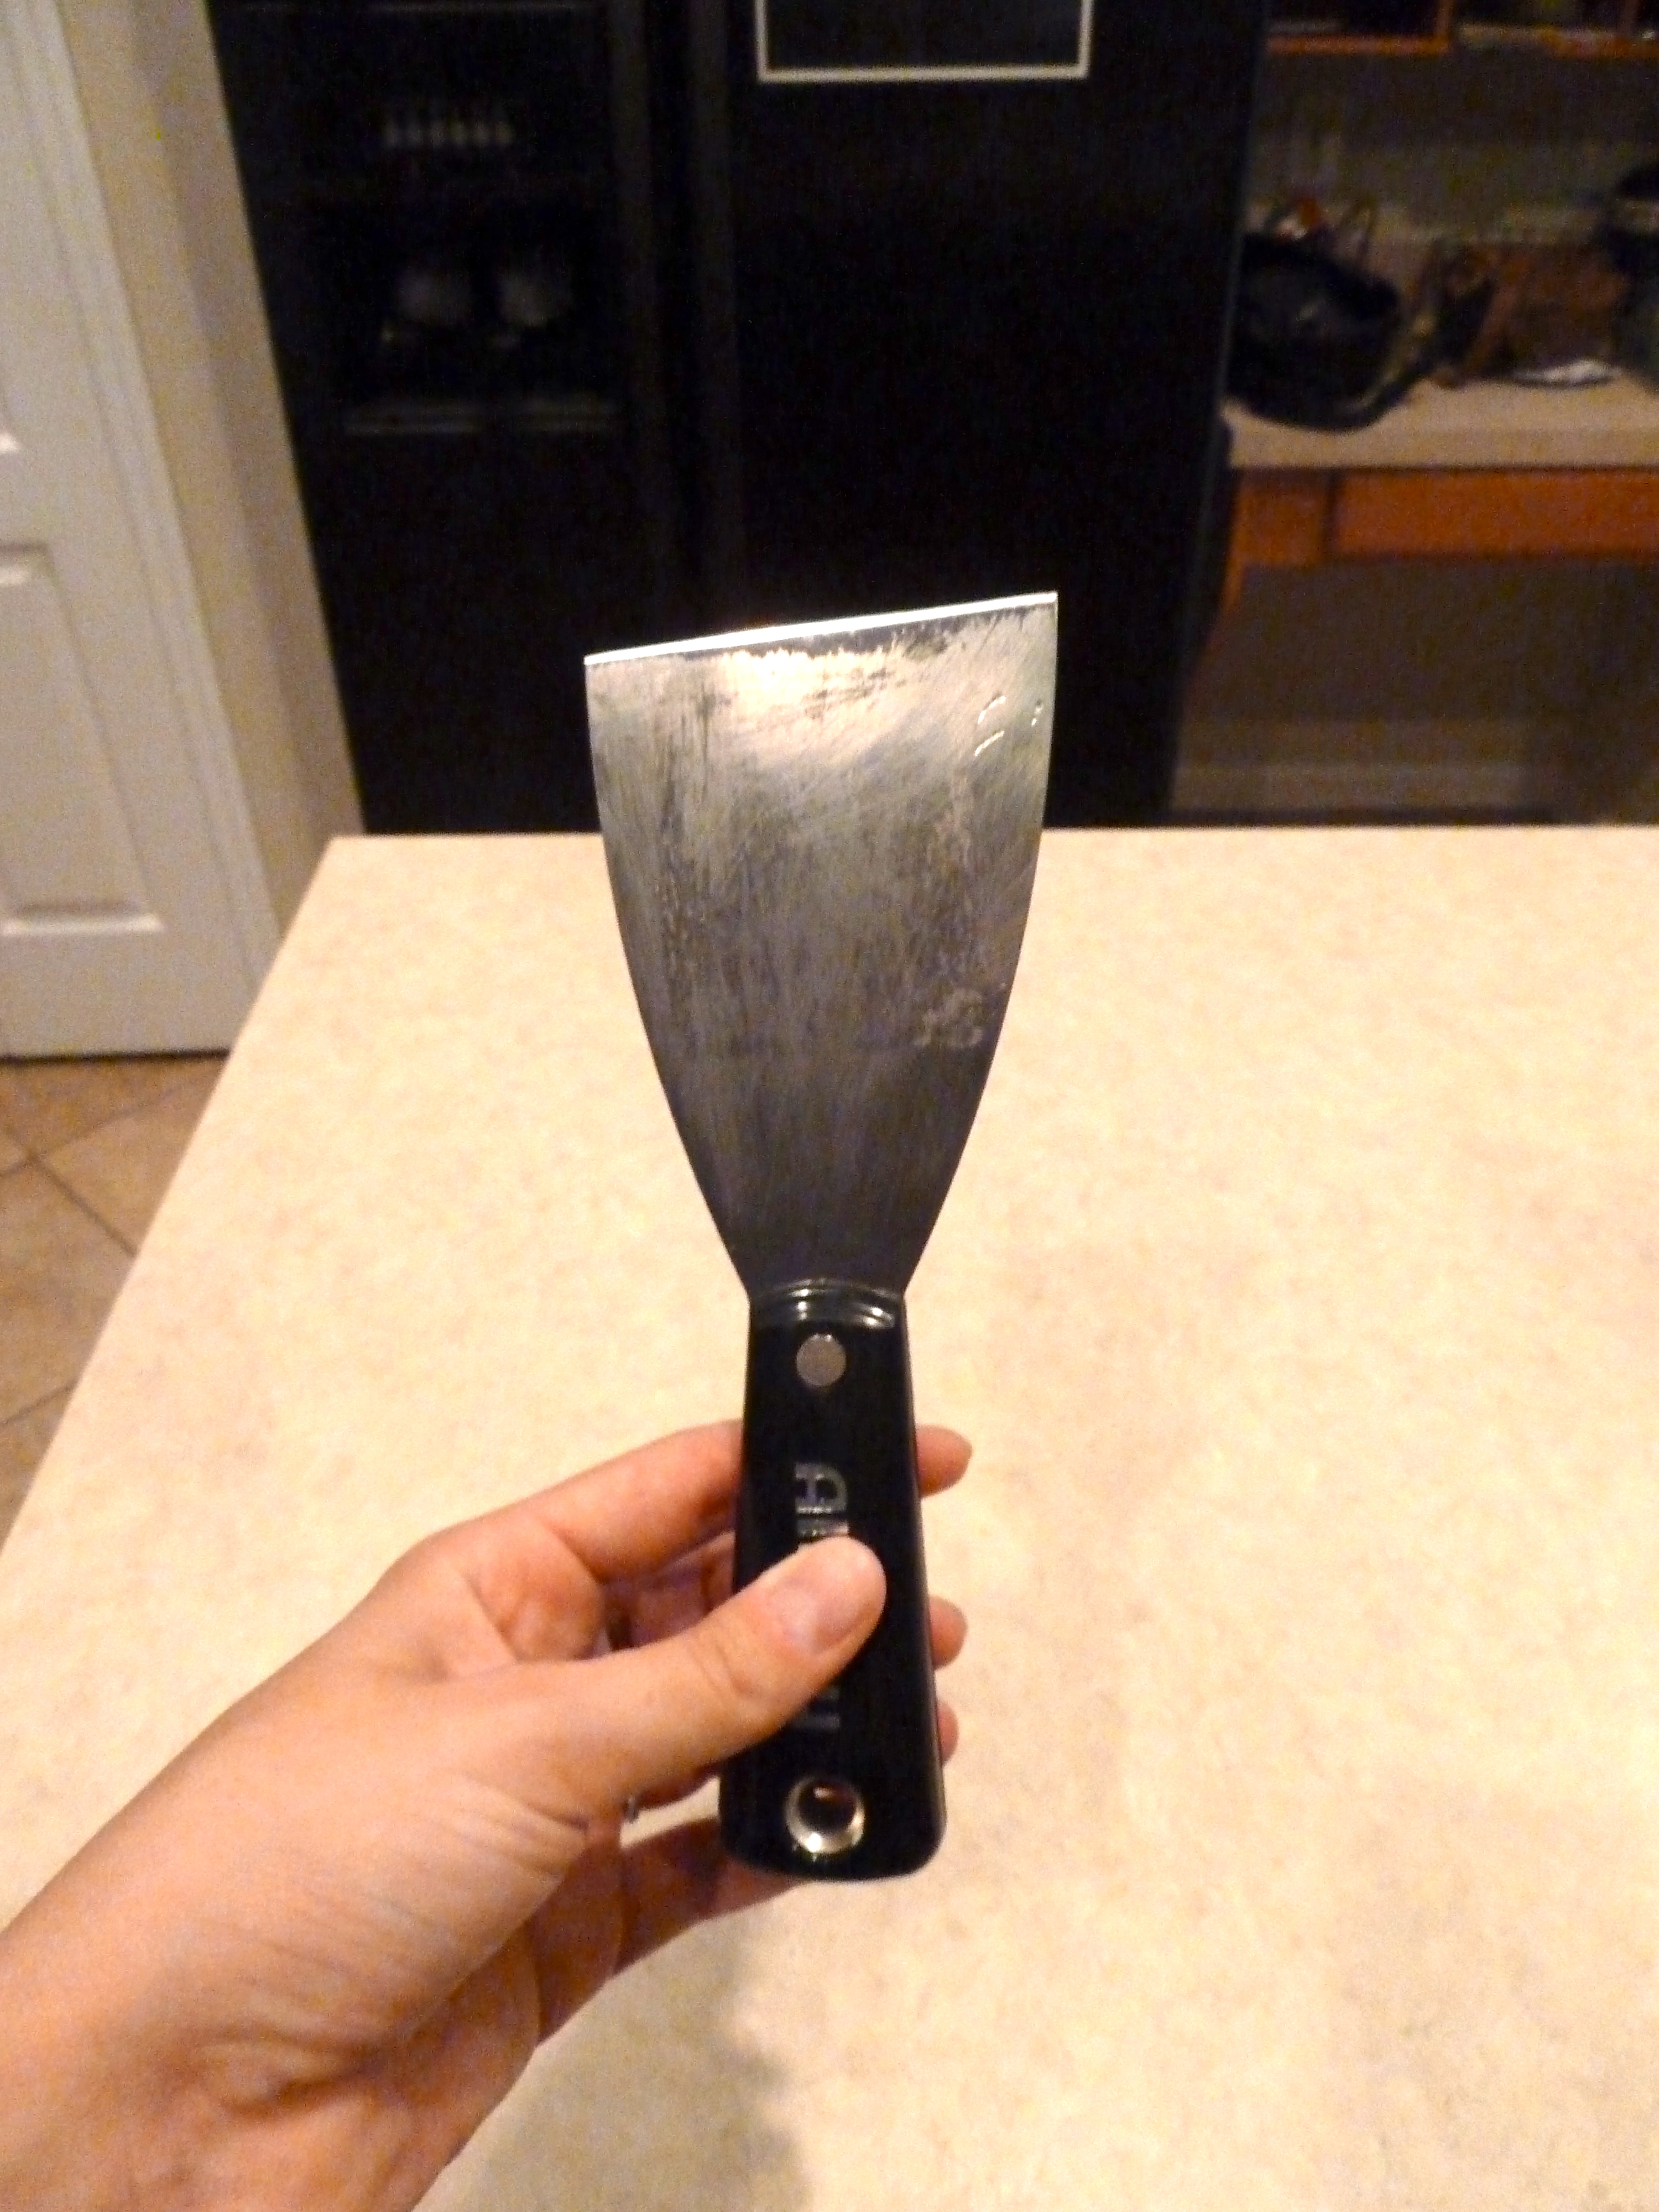
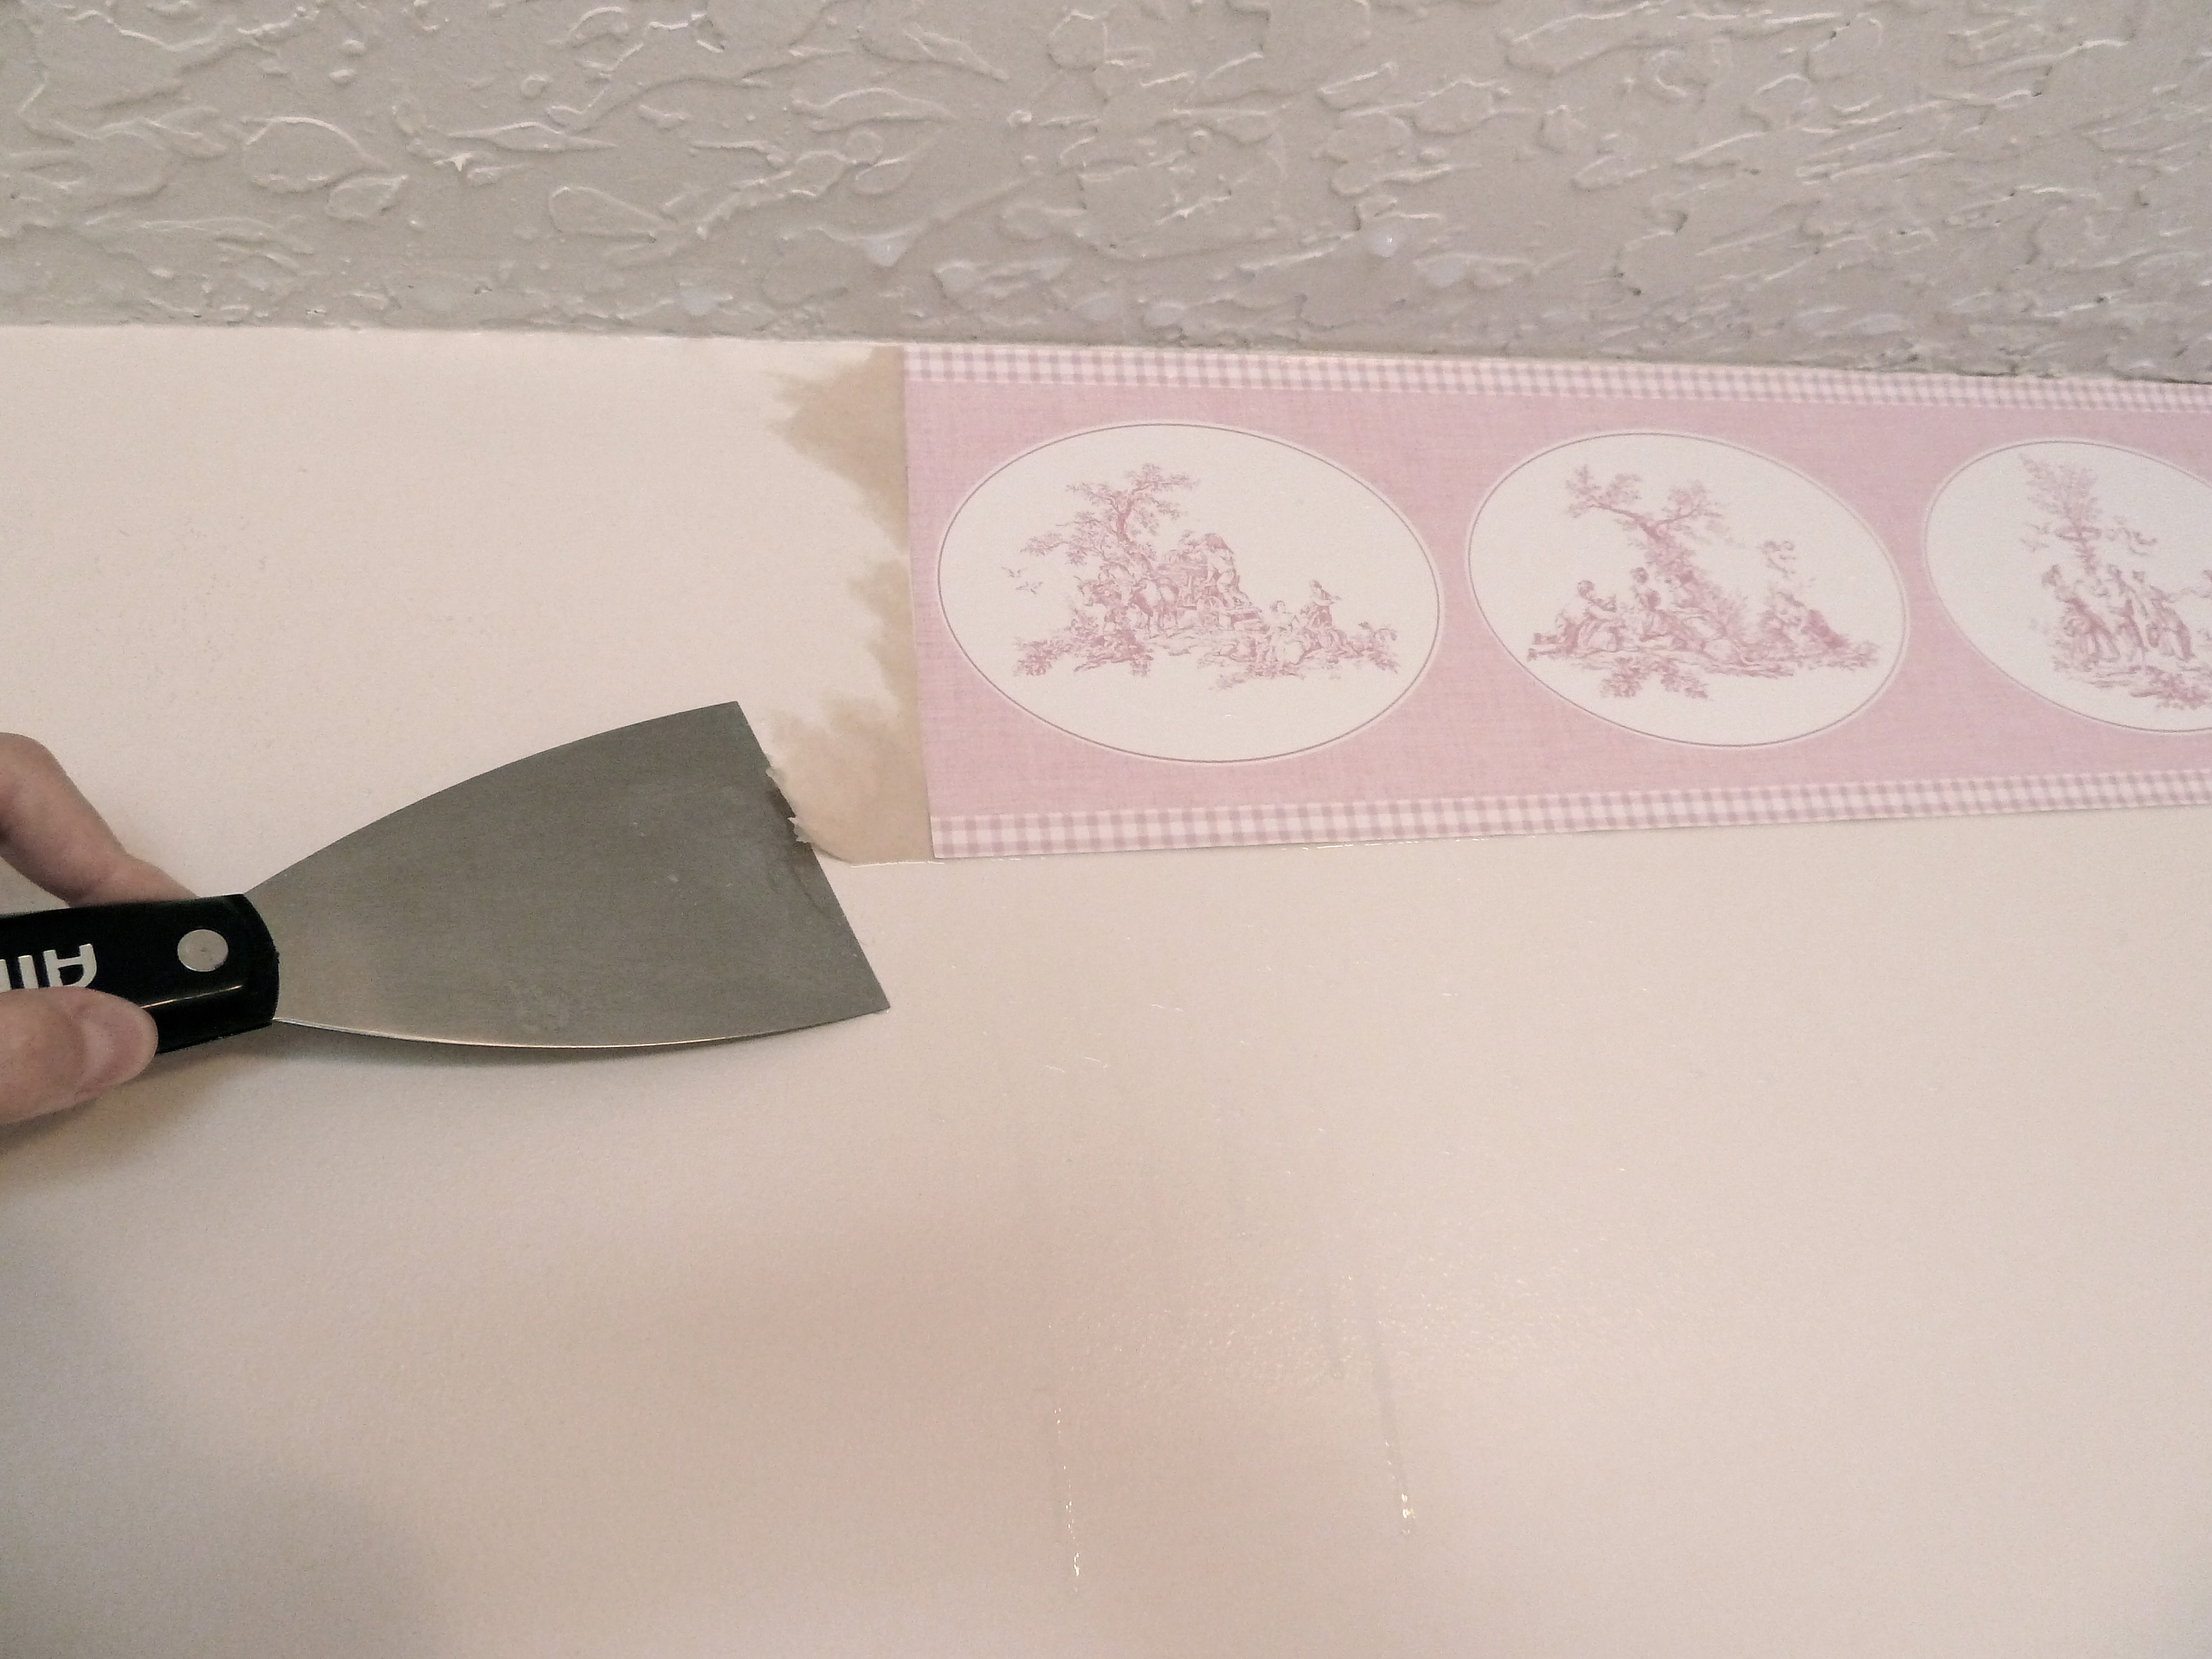
From there I started peeling the border back with my metal putty knife.

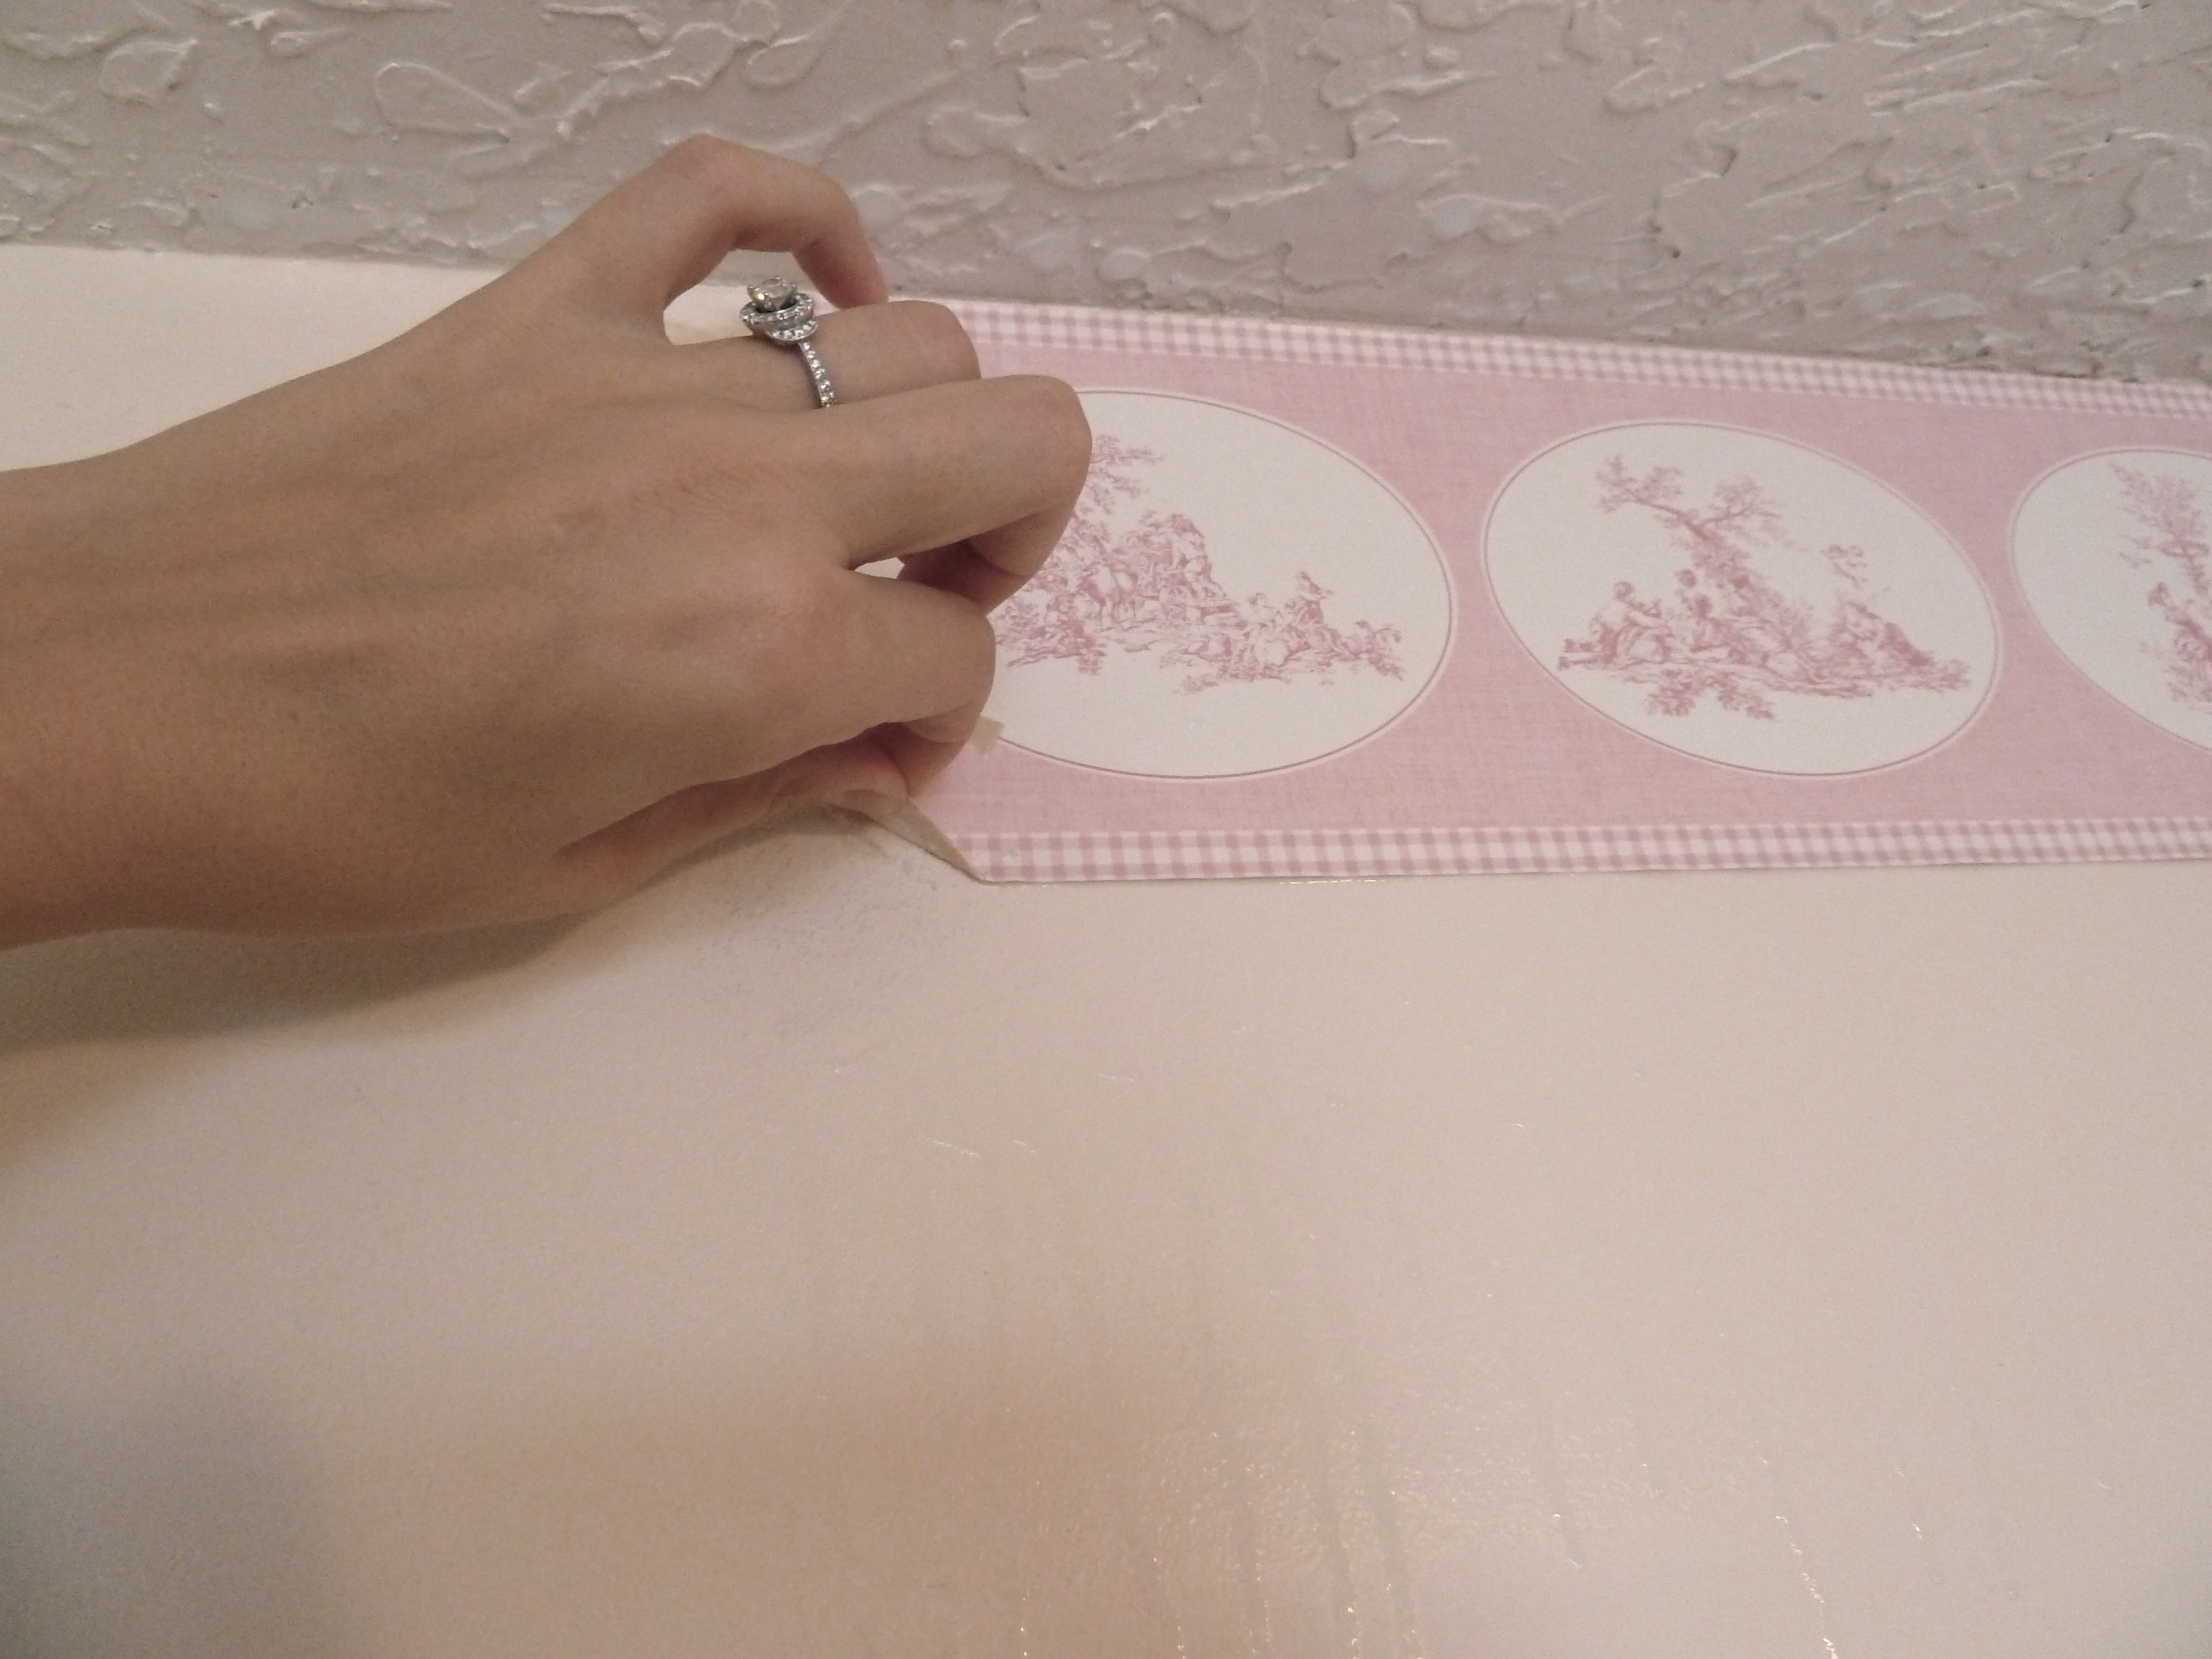
Like so. Once I got a good corner up I just used my hands to pull the paper away from the wall.

Most times this is what would happen…

The top layer of the wallpaper would pull away easily but the glue and second papery layer still remained on the wall.

So I went back and sprayed the second layer of paper, which seemed to soak up the fabric softener mix a lot better.

This time around I was able to peel up an edge and pull the paper right off. A few peices usually stuck on the wall but I just used the putty knife to scrape those right off. I continued with this method peeling the first layer and going back to get the remaining paper backing in my second attempt. After about a half an hour I was well on my way and had a good pace going.

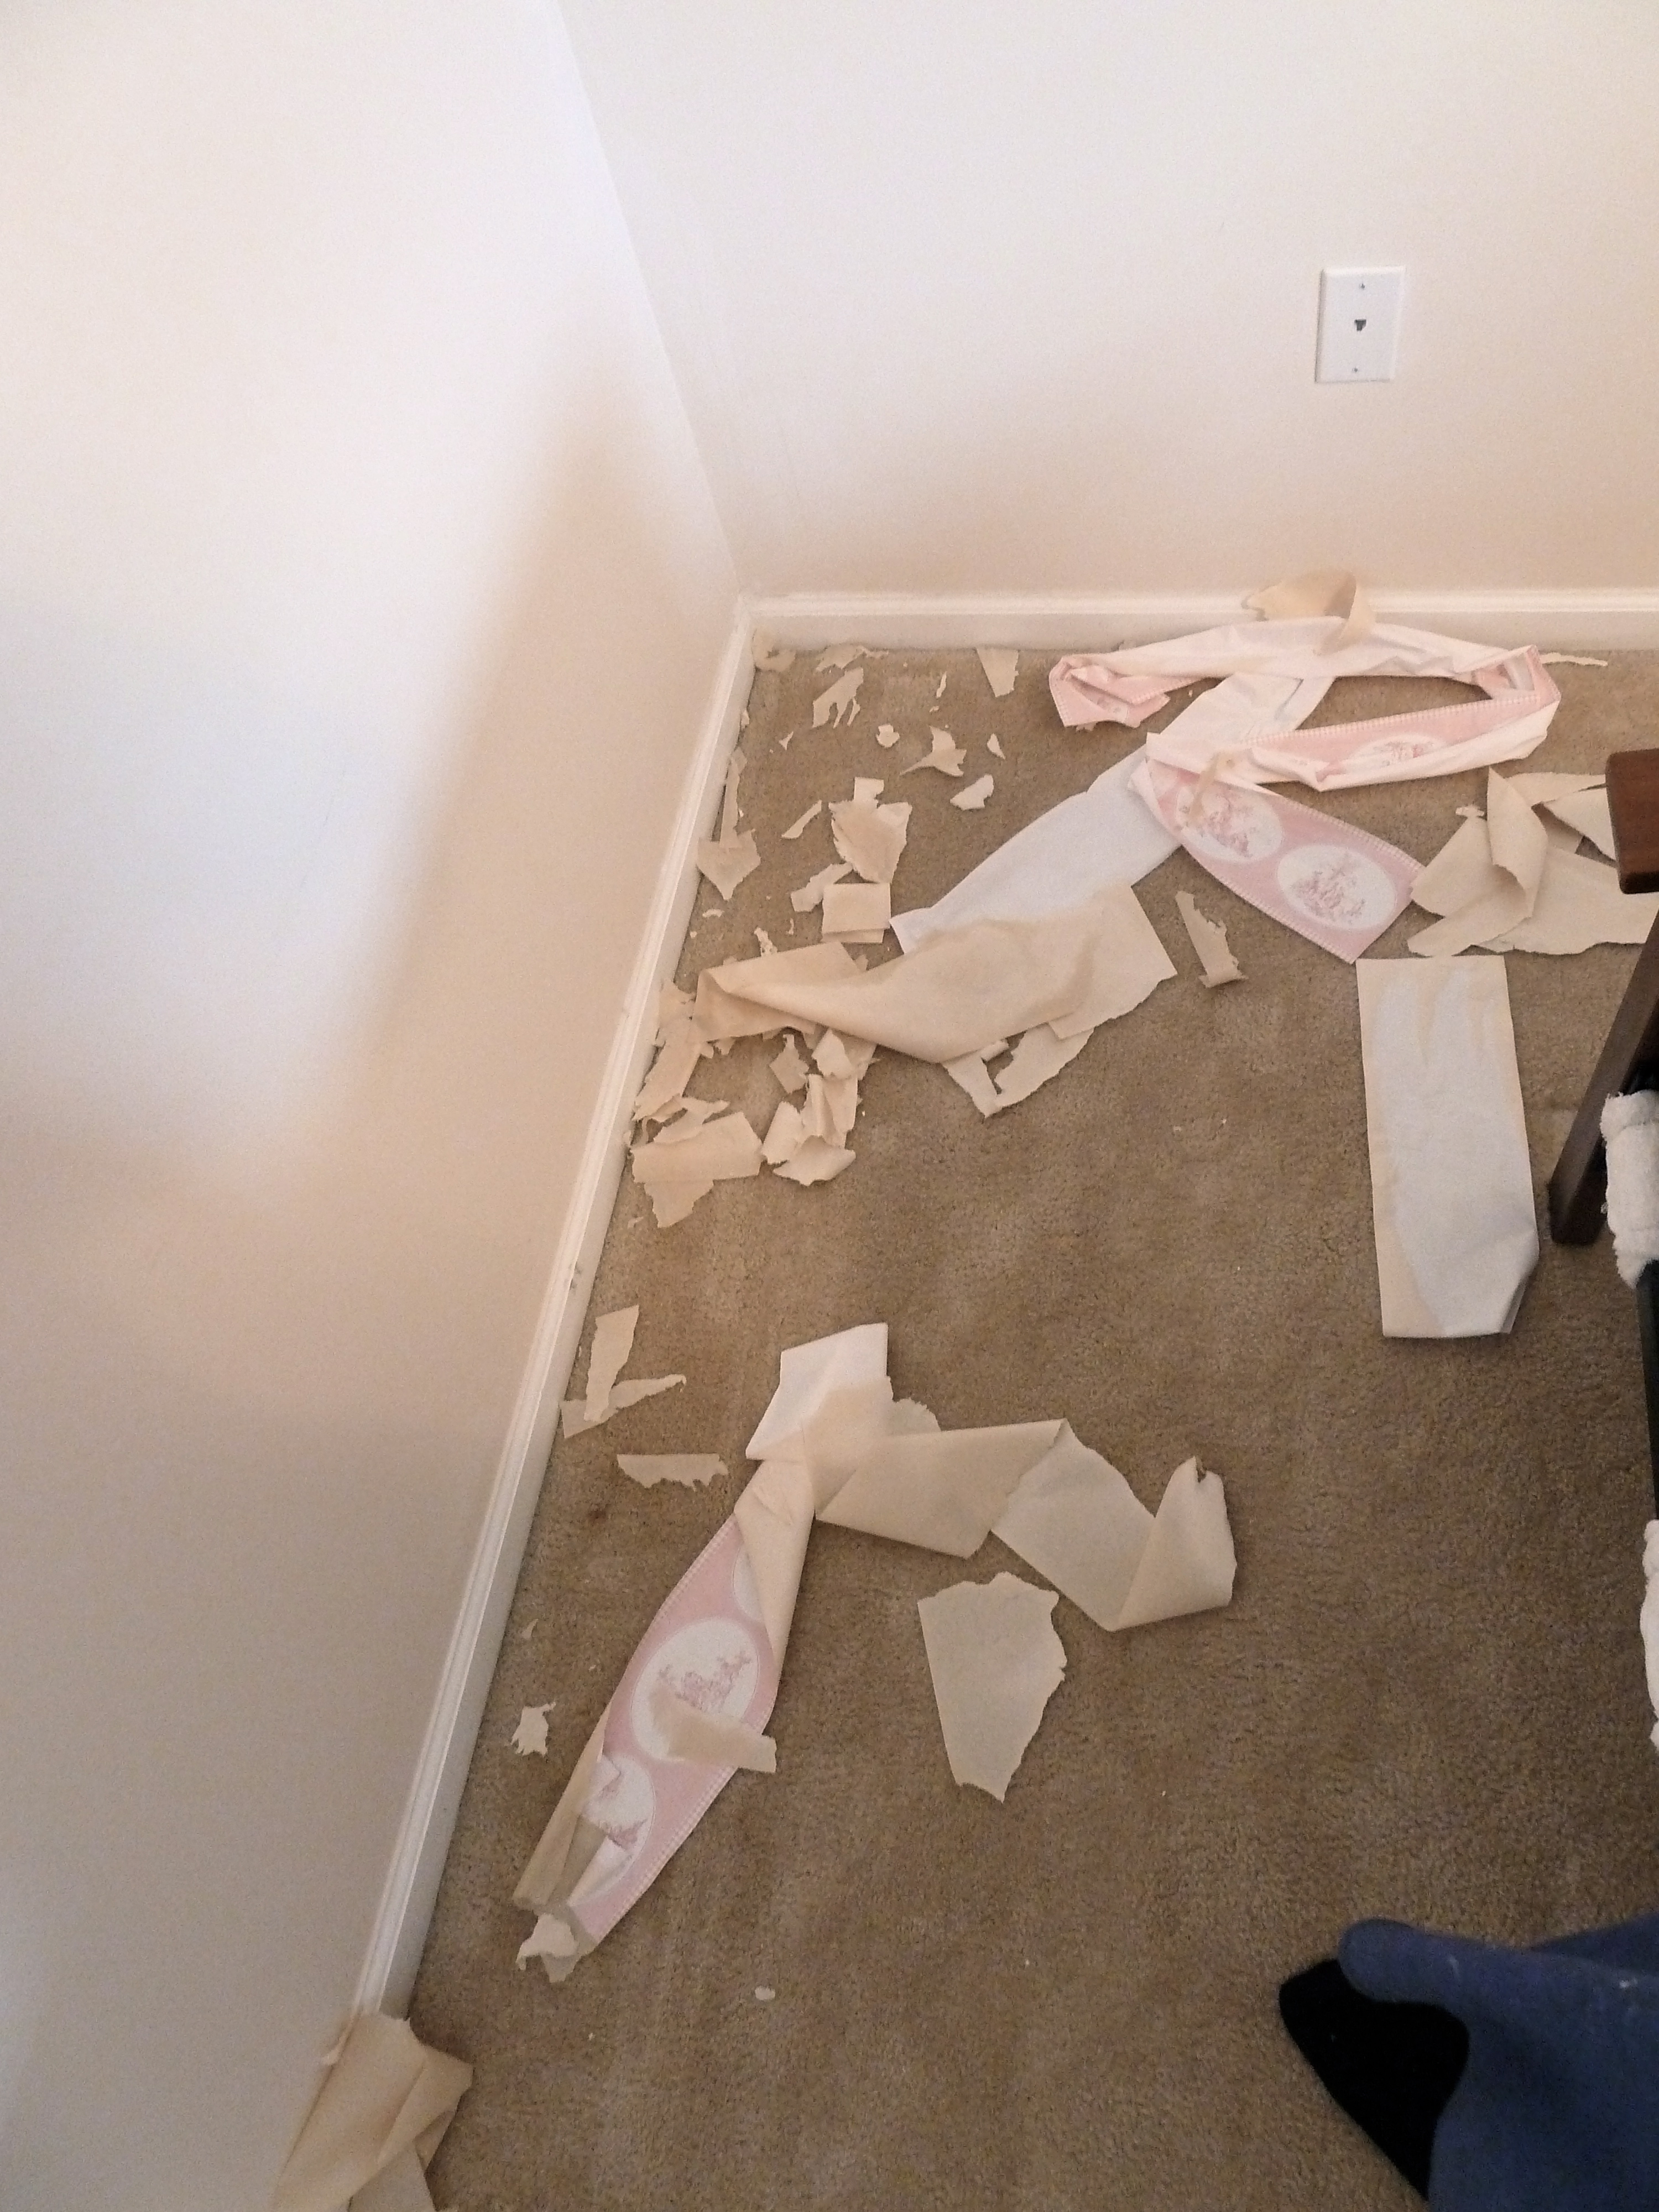
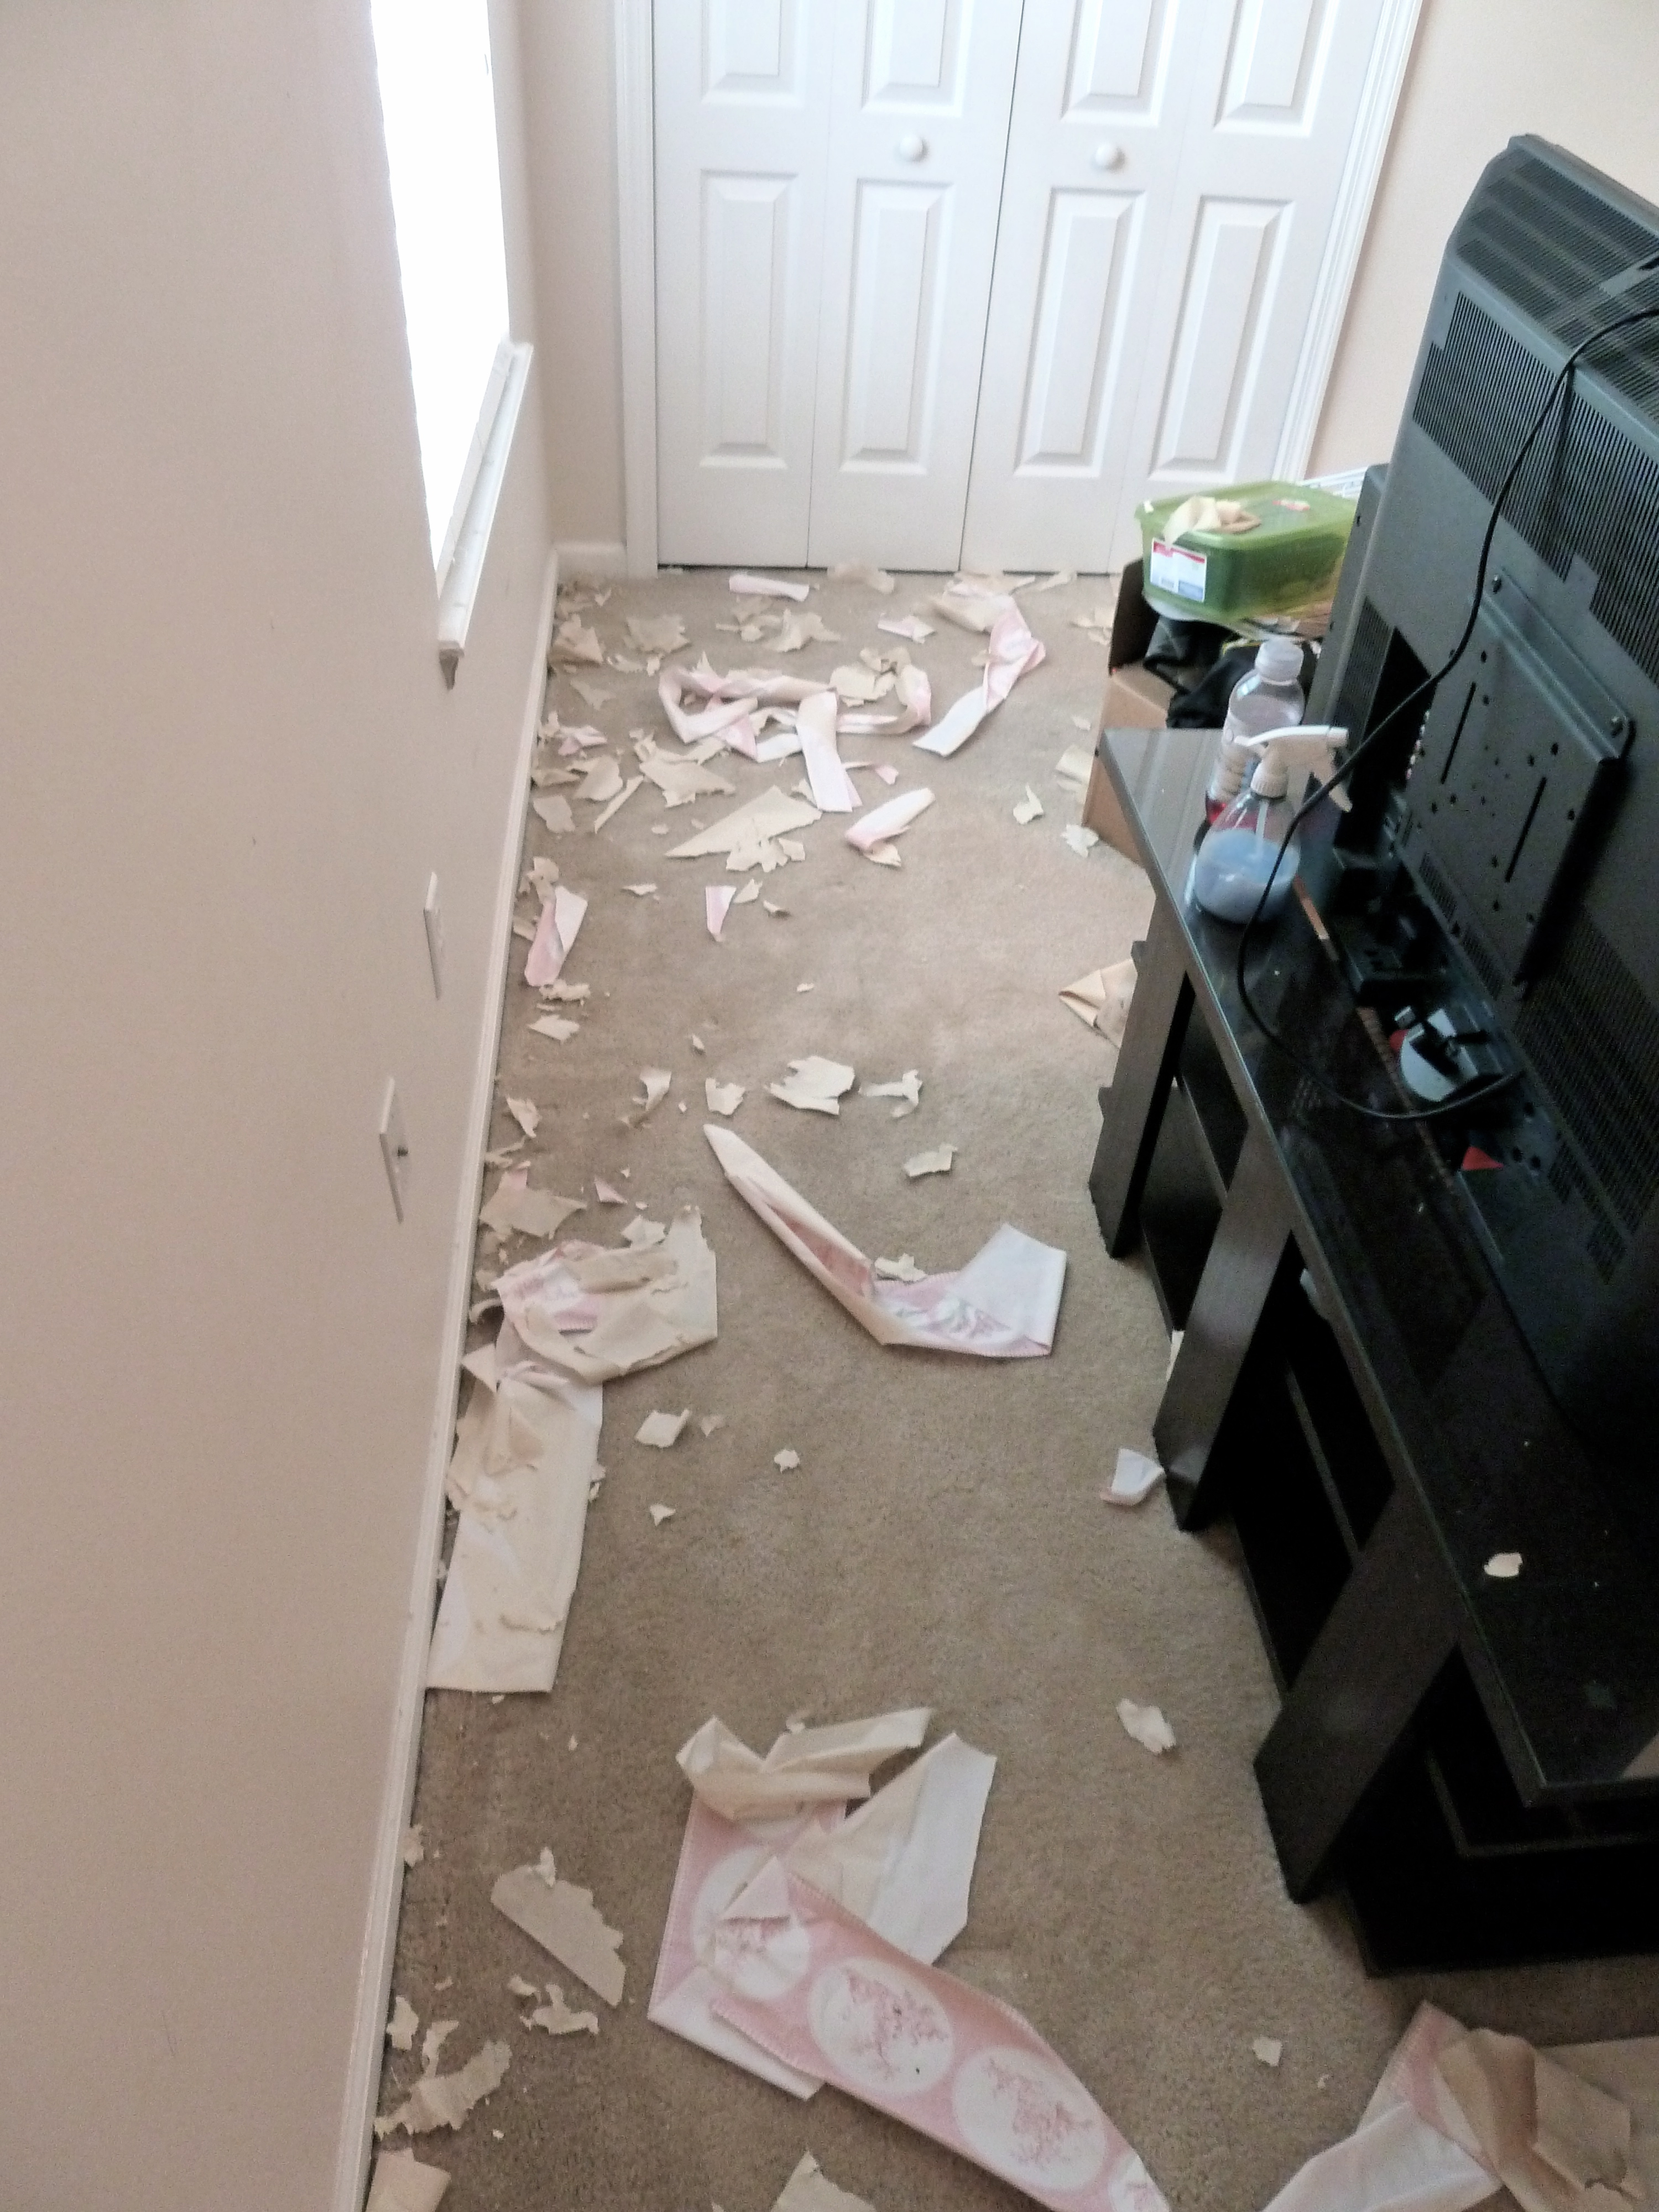
And I was also leaving a pretty decent mess in my tracks…

After about an hour and a half total I was left with this…


And this mess to clean…

From there, I went to town cleaning up the shredded wallpaper that was everywhere. I also cleaned the walls and all of the trim and then removed all of the switch plates and old nails from the walls.


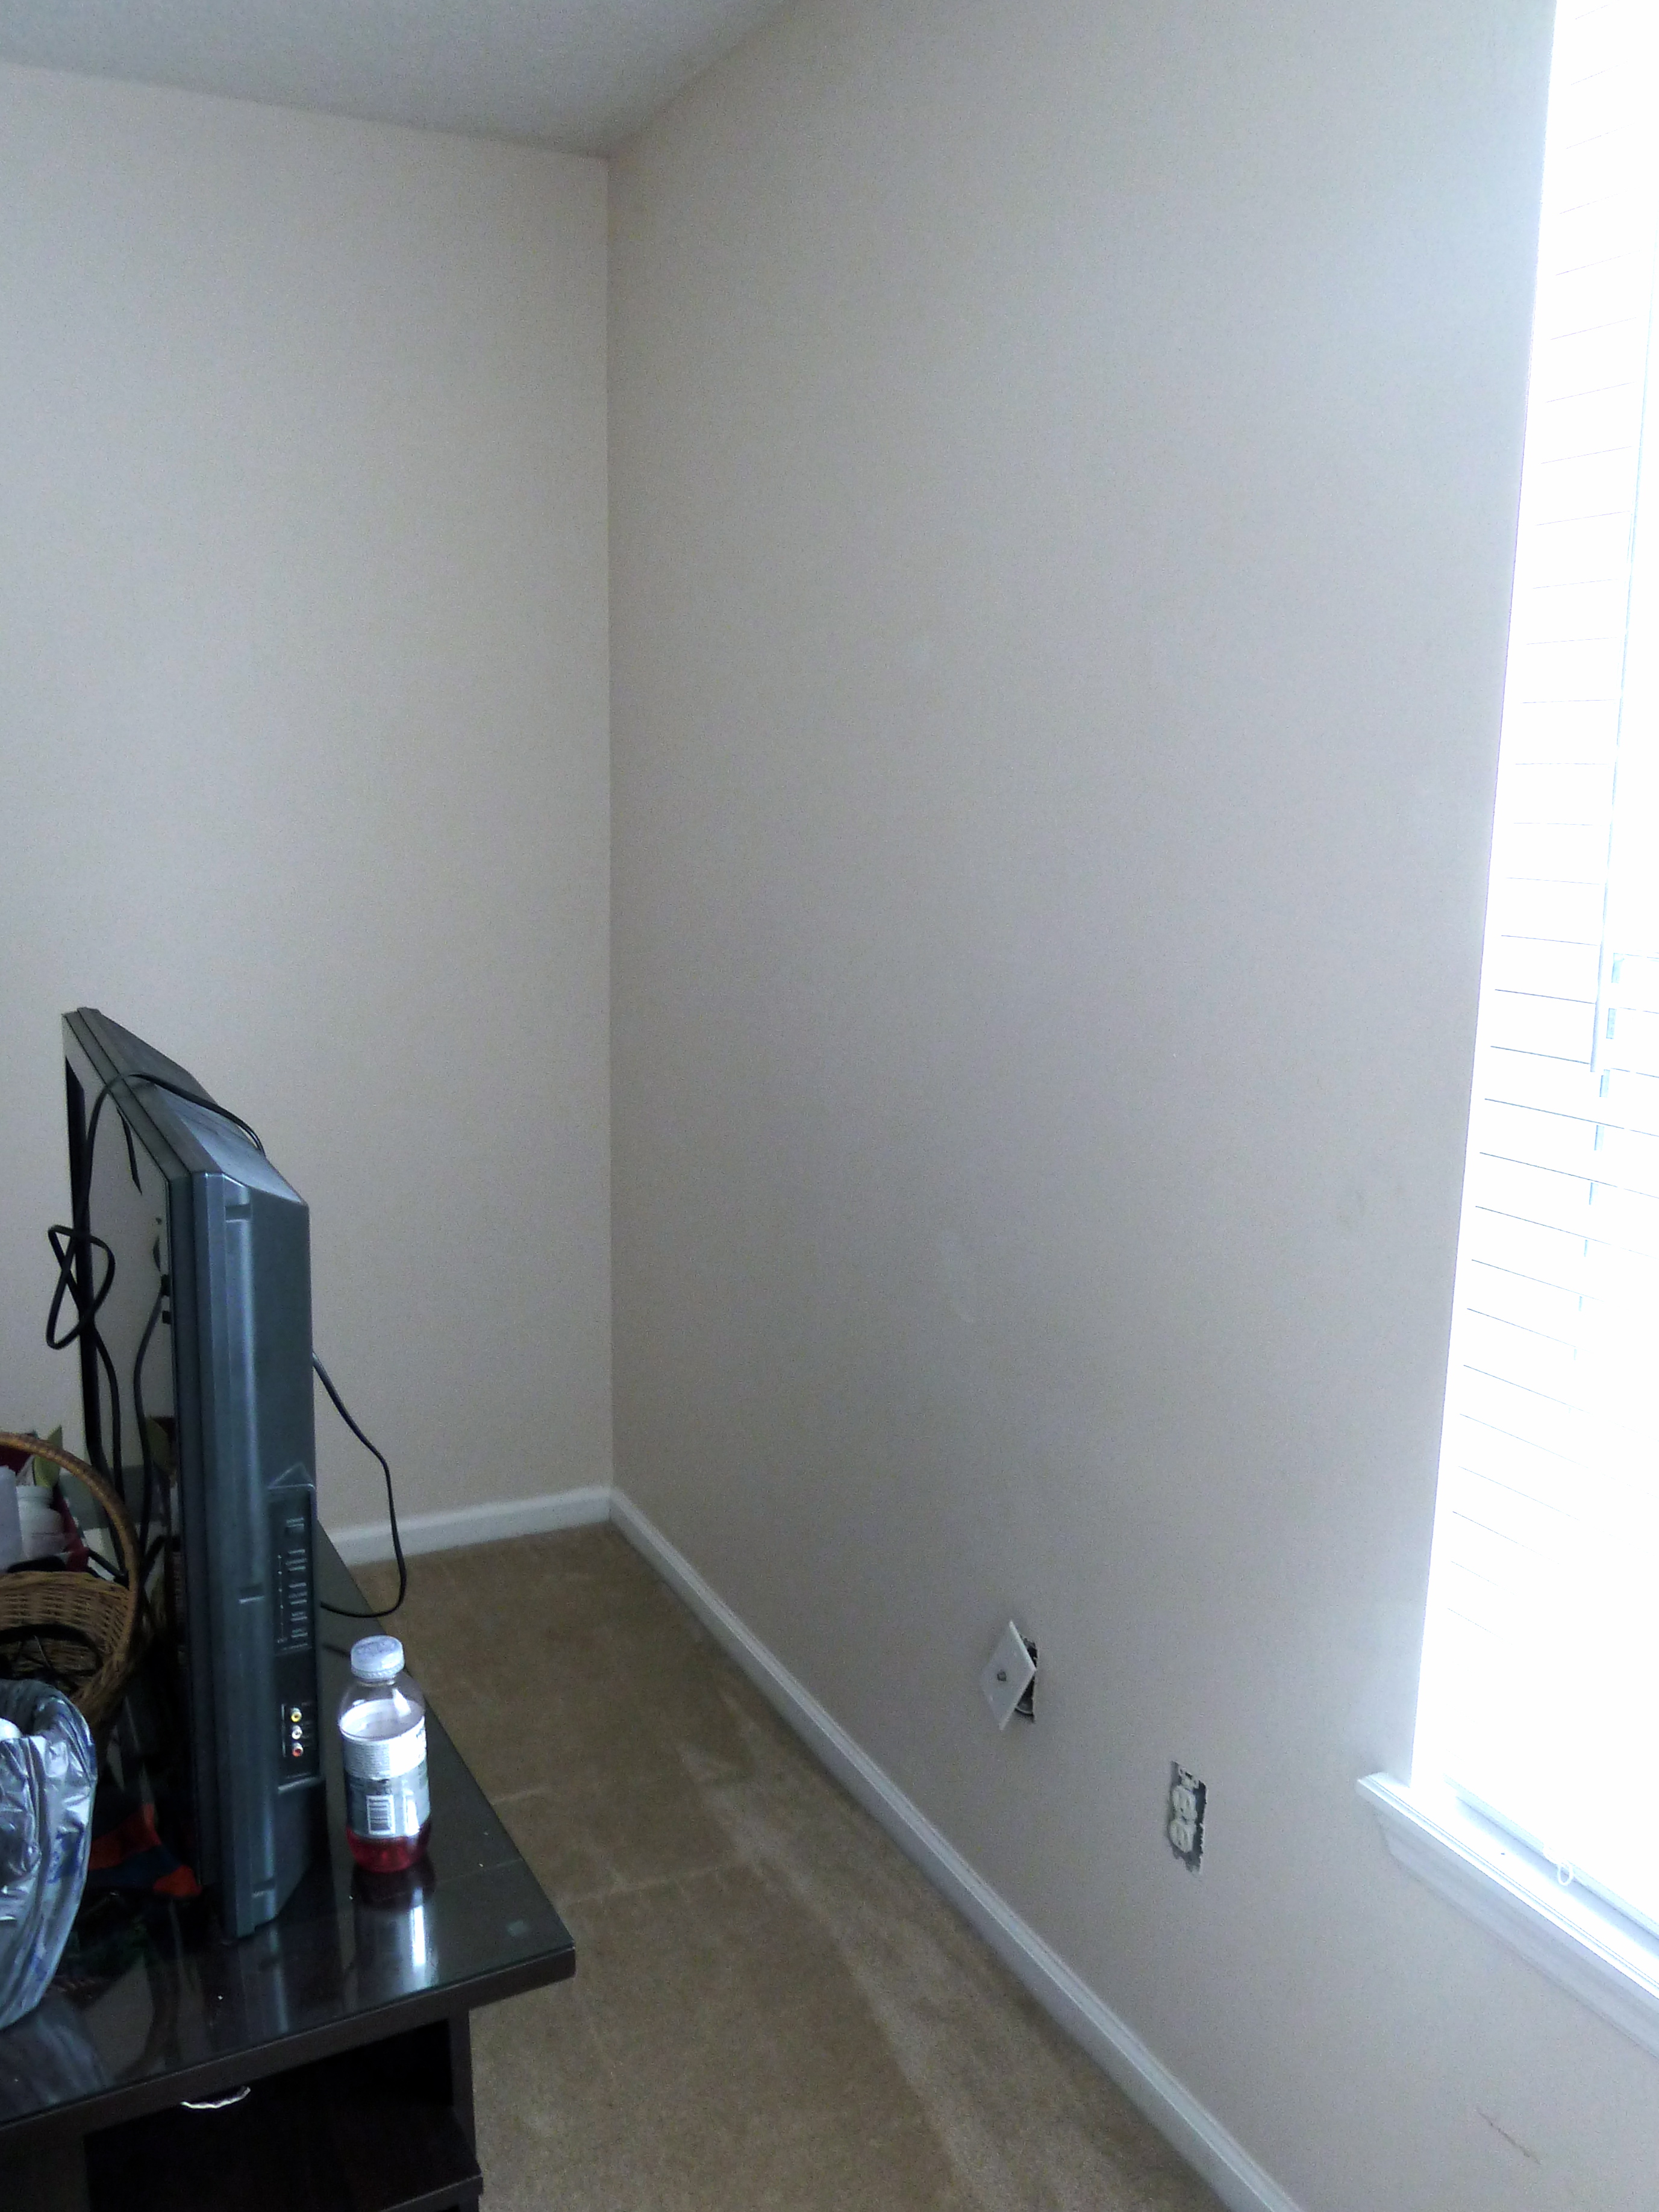
I now have a blank slate and I am ready to start painting! Wahoo I am on my way to my own art/office/storage room! Would you like a list of to dos? Okay fine!
To do:
Remove border.Clean walls and trim.- Paint trim and walls.
- Update outlets and light switch.
- Make window treatment.
- Make shelves for walls.
- Get new desk.
- Figure out a storage system for all of my art/craft supplies.
- Organize all of the art/craft supplies.
- Add decorations!
- Enjoy my new room!
There you have it, a new to do list to accomplish.