Wall Sprucing

Since we changed out the carpet in our front rooms, I have been itching to make some other changes.

First, we received this bench as a wedding present, and it just so happens to live in the office now…

target slatted bench

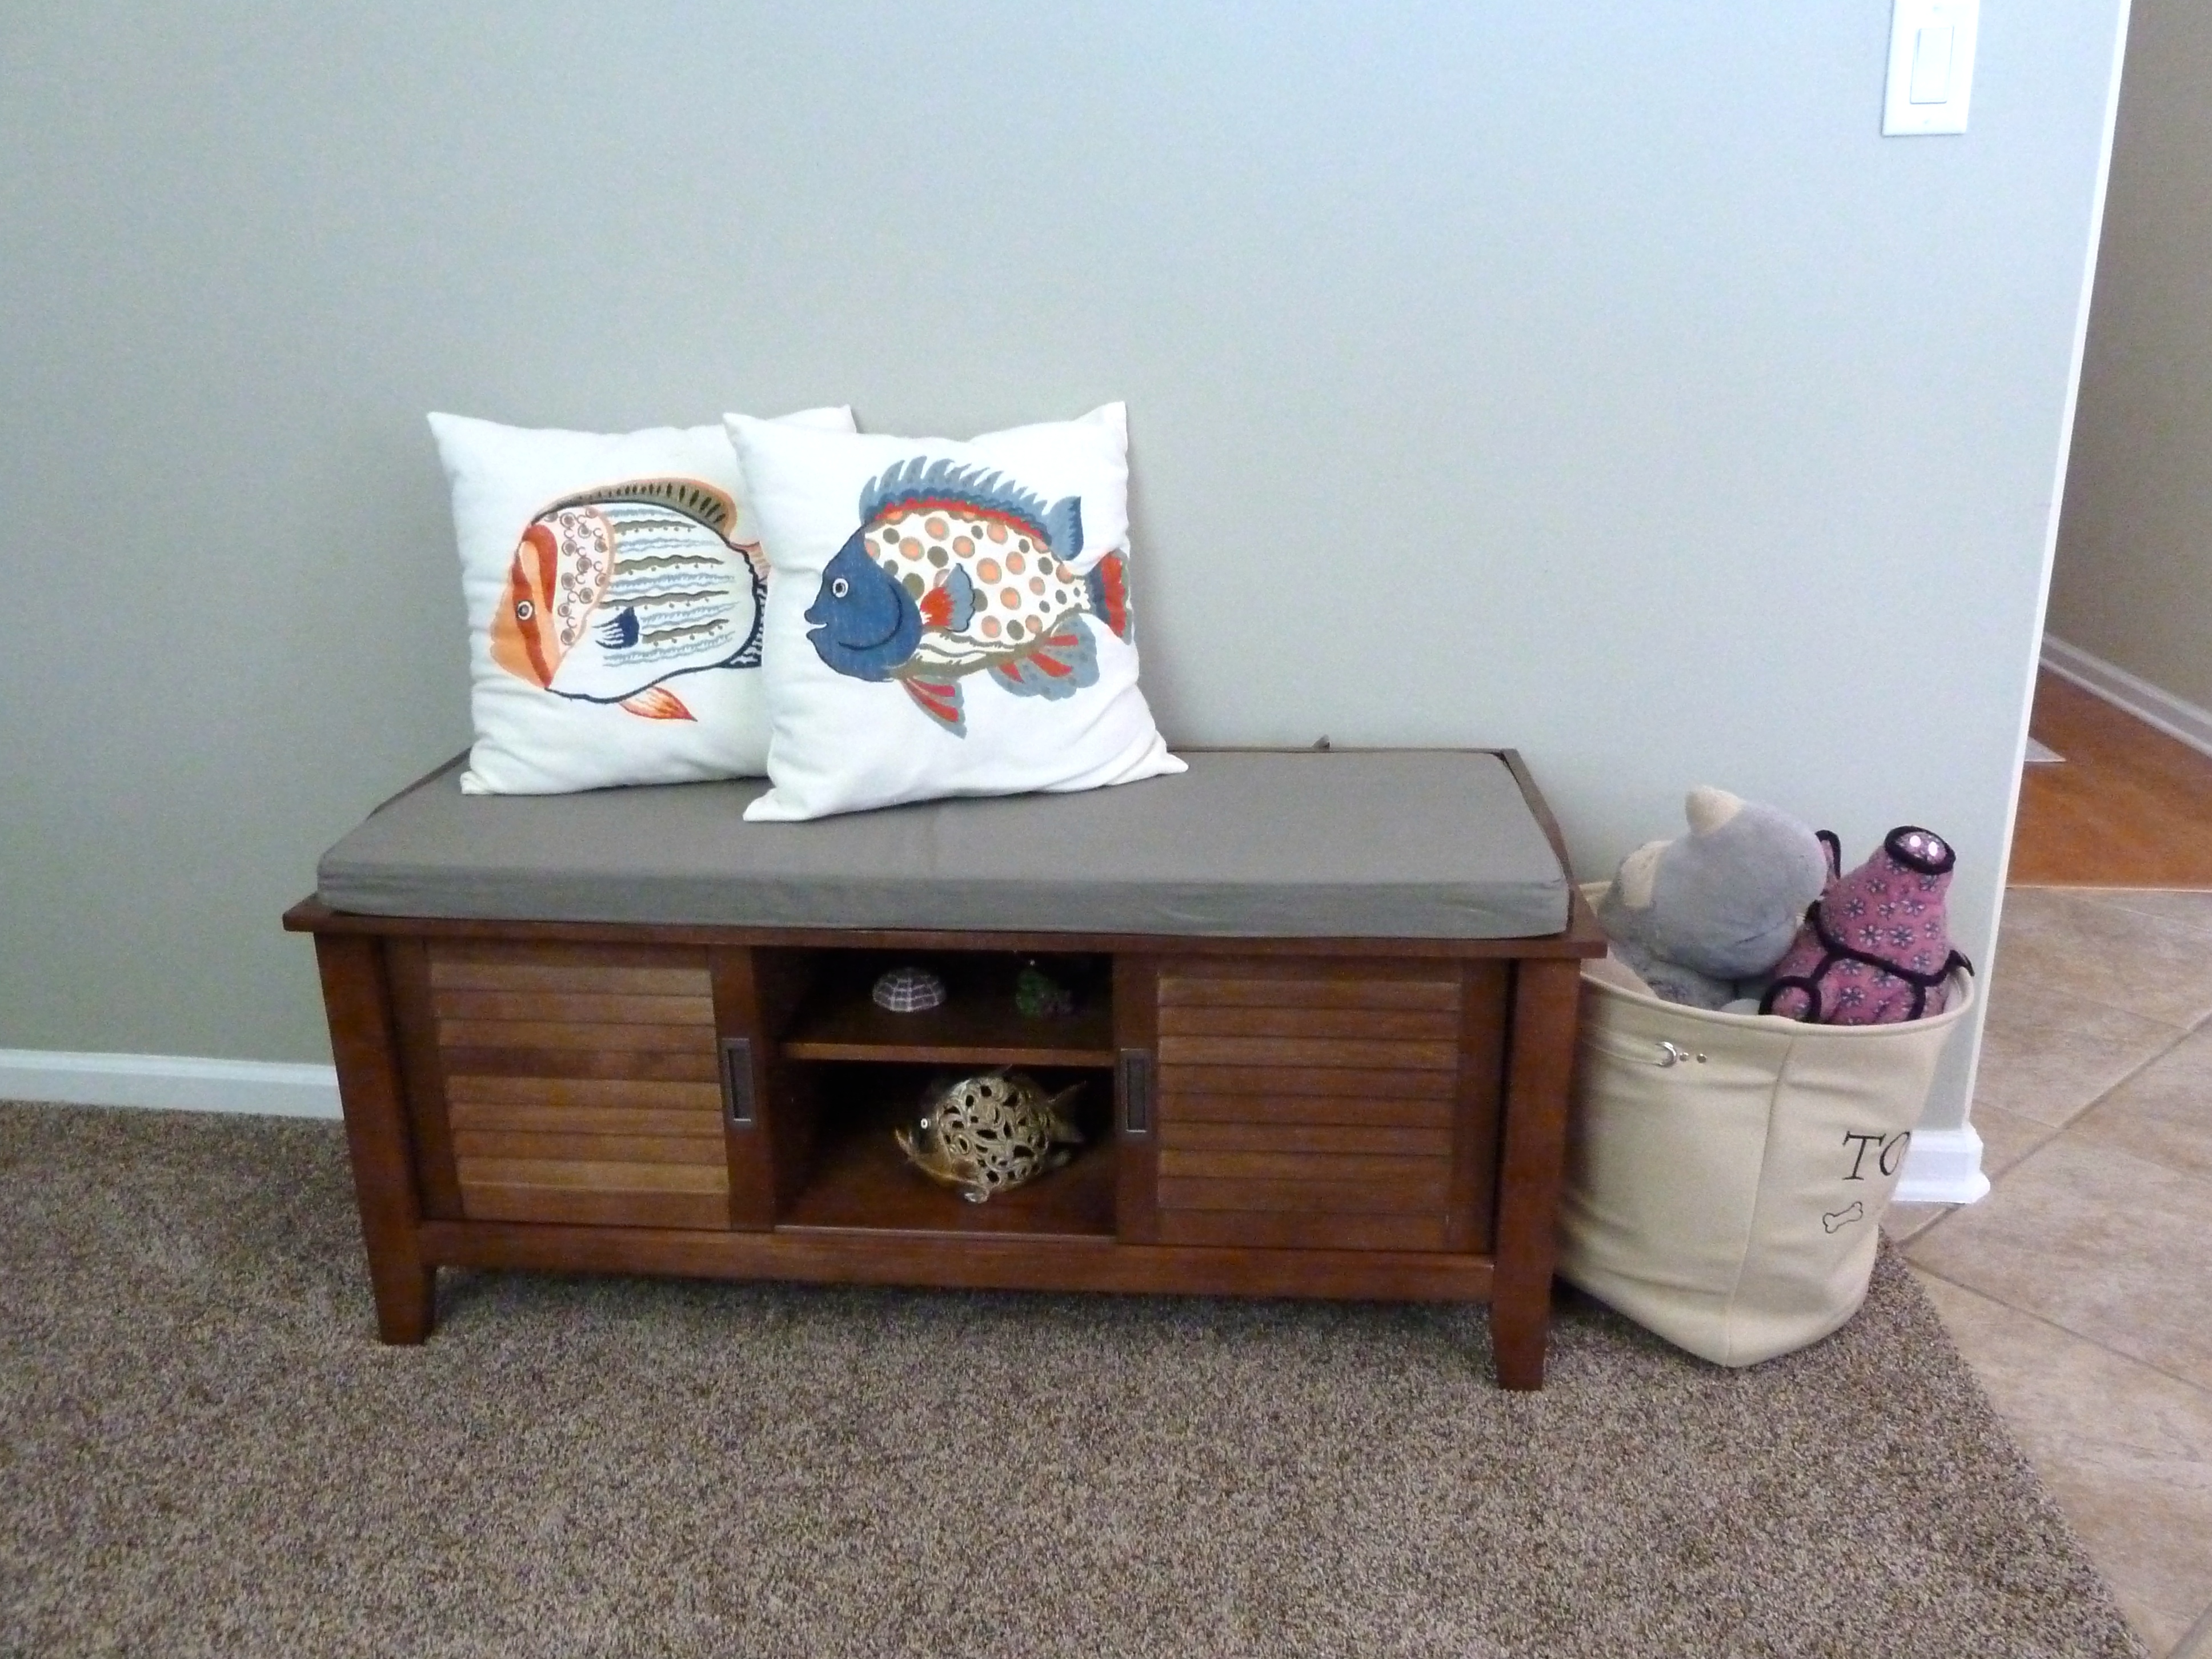
It was on my registry at Target, it is the Threshold Storage Bench with Slatted Doors.  I think it goes well in this room, plus now you can take a seat if you wanna put your shoes on(even though we put our shoes on at the side door, we’ll just have to pretend that’s what we use it for).  I added a ceramic fish I already had to the shelf and also a couple fish pillows on top. What can I say? I like fish!

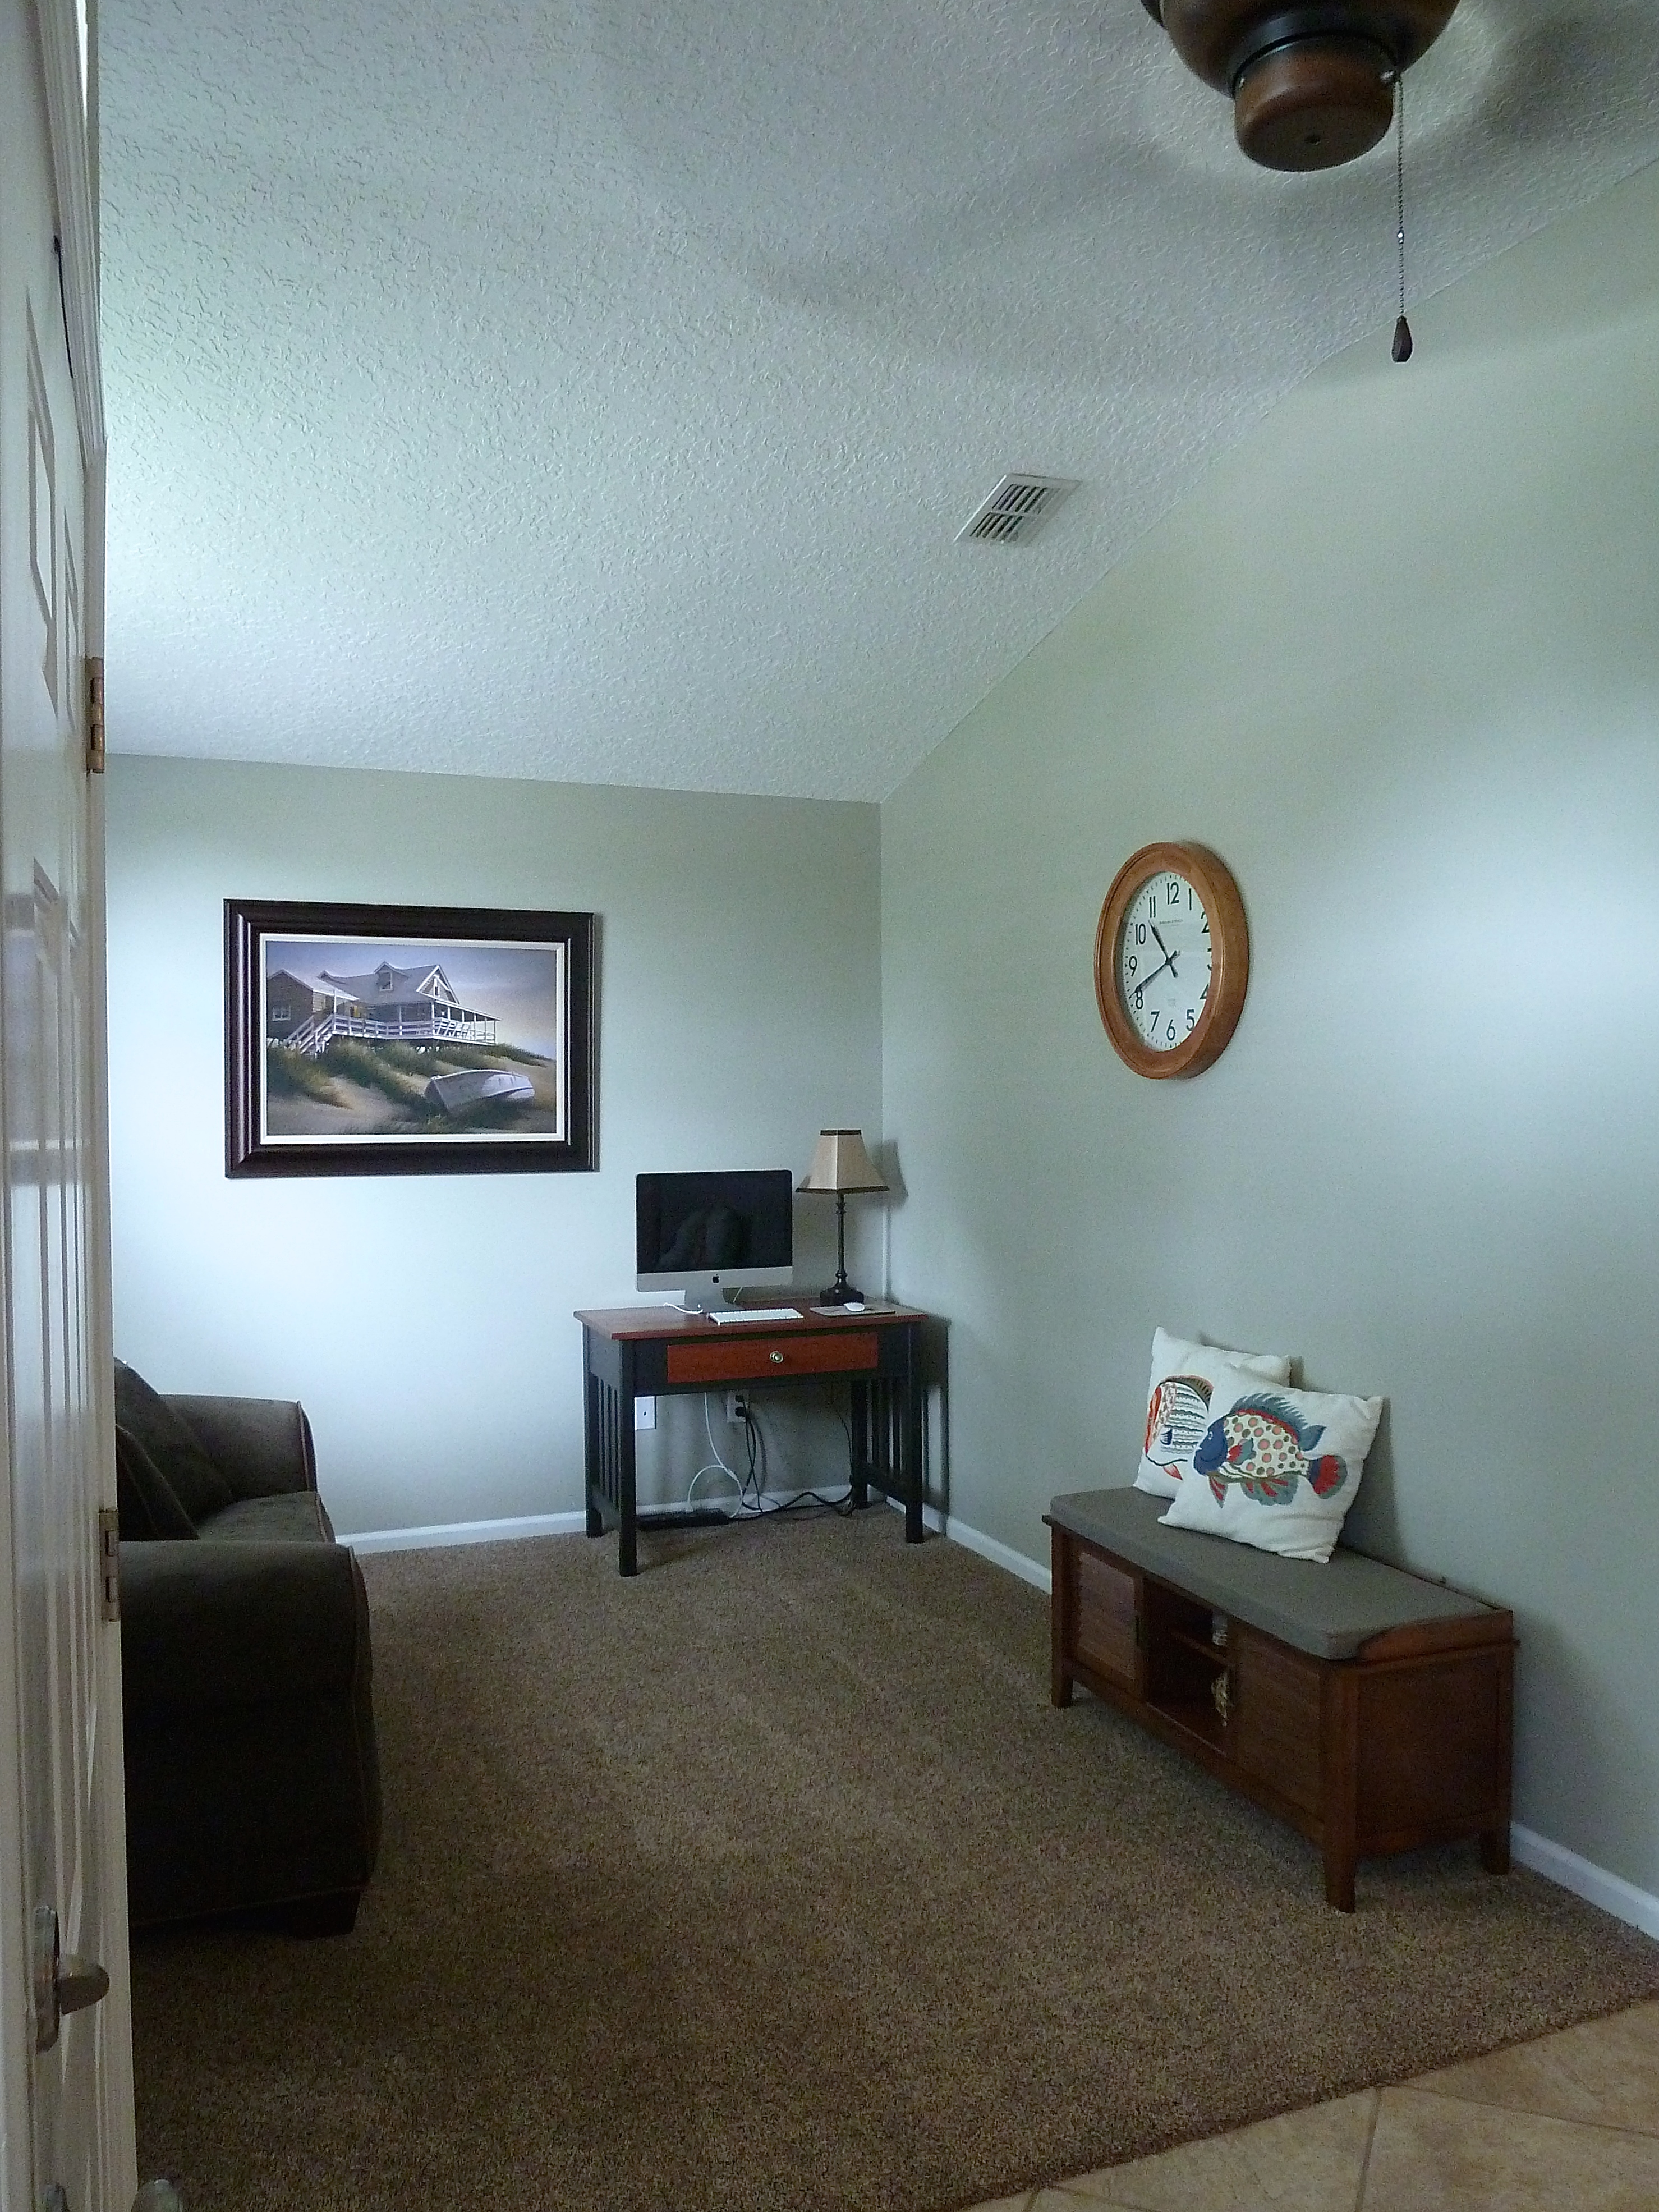
Next change was the current wall decor.  I wasn’t digging that we had black frames in these rooms with a wood desk, wood table and now a wood bench.  So, I replace the existing black frames with some new wood ones.

concert ticket art

signed hockey art

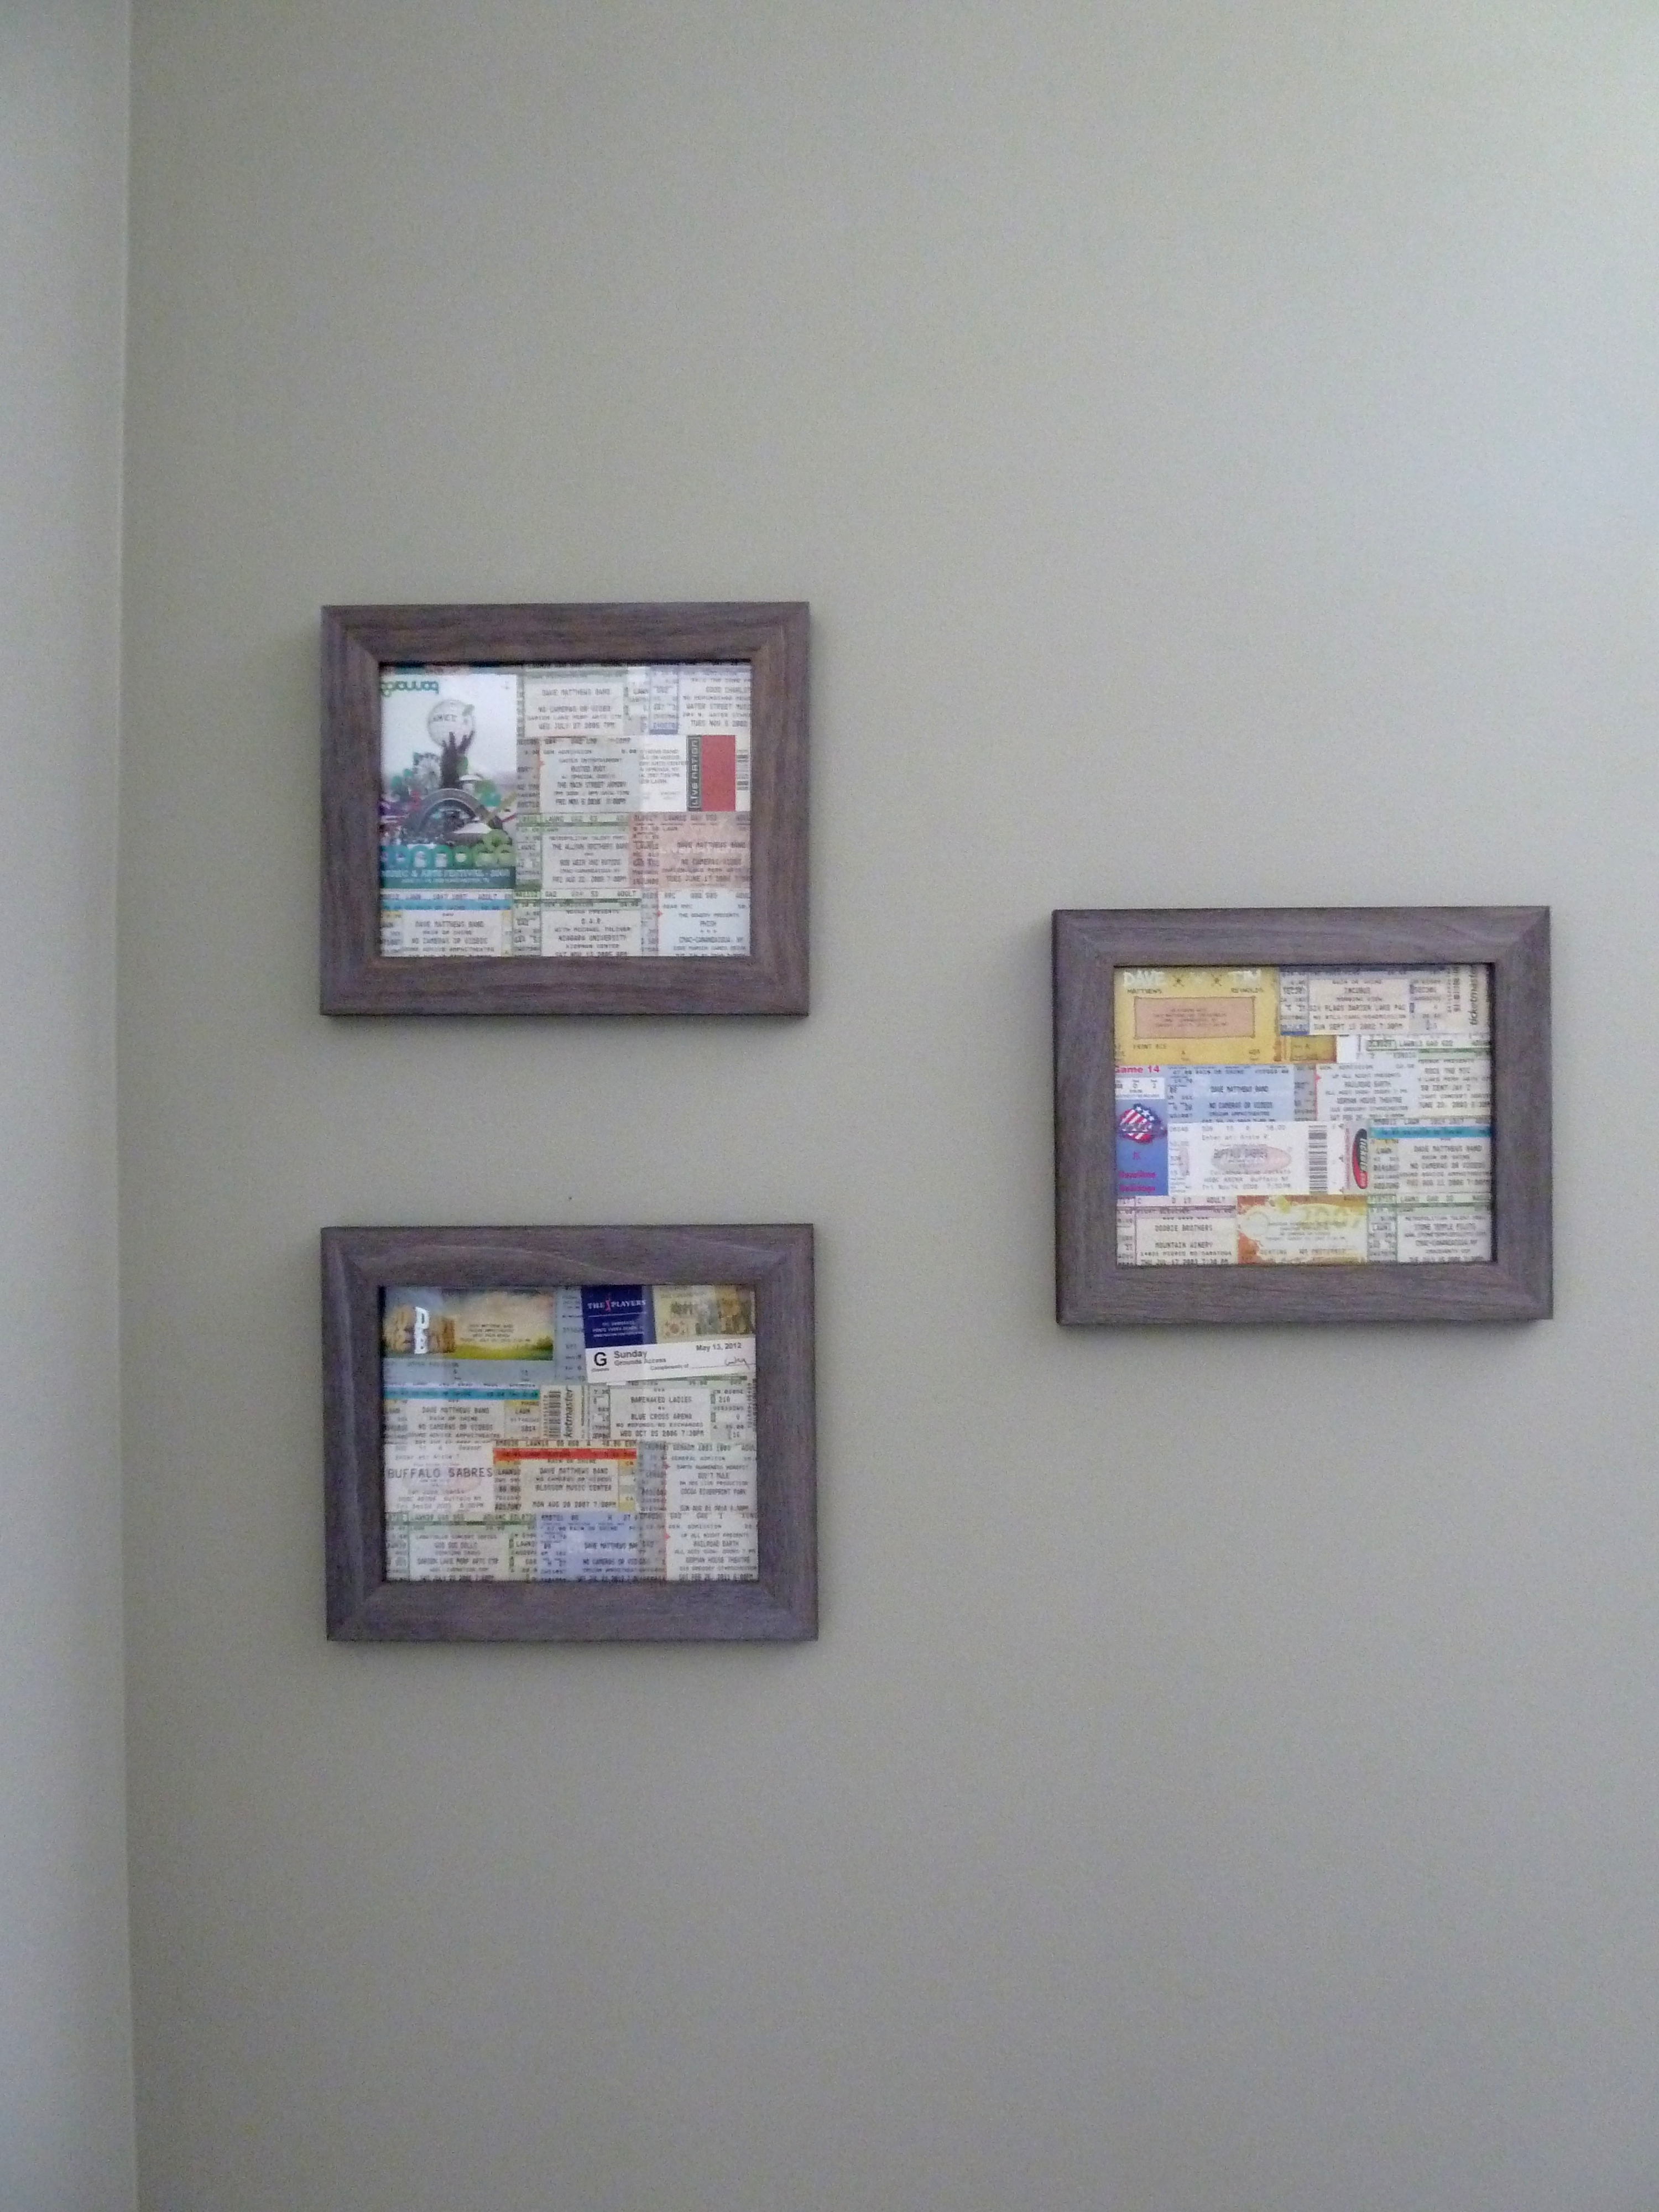
I kept Justin’s signed hockey picture and our concert ticket collages, but I did swap the walls they were hanging on.

green walls

Sorry about this dark photo, hard to get a good picture from this angle.   Since the concert collages were no longer hanging over the desk, we had a bare wall to fill.  Thankfully I recently received some bed bath and beyond gift cards and I found this guy on their website…

beach house wall art

It was on sale for $49 and I had a 20% off coupon making this bad boy only $39 and free shipping to boot.

living room office

And above you can also catch a glimpse of our new wall clock that was another wedding gift.

large wood wall clock

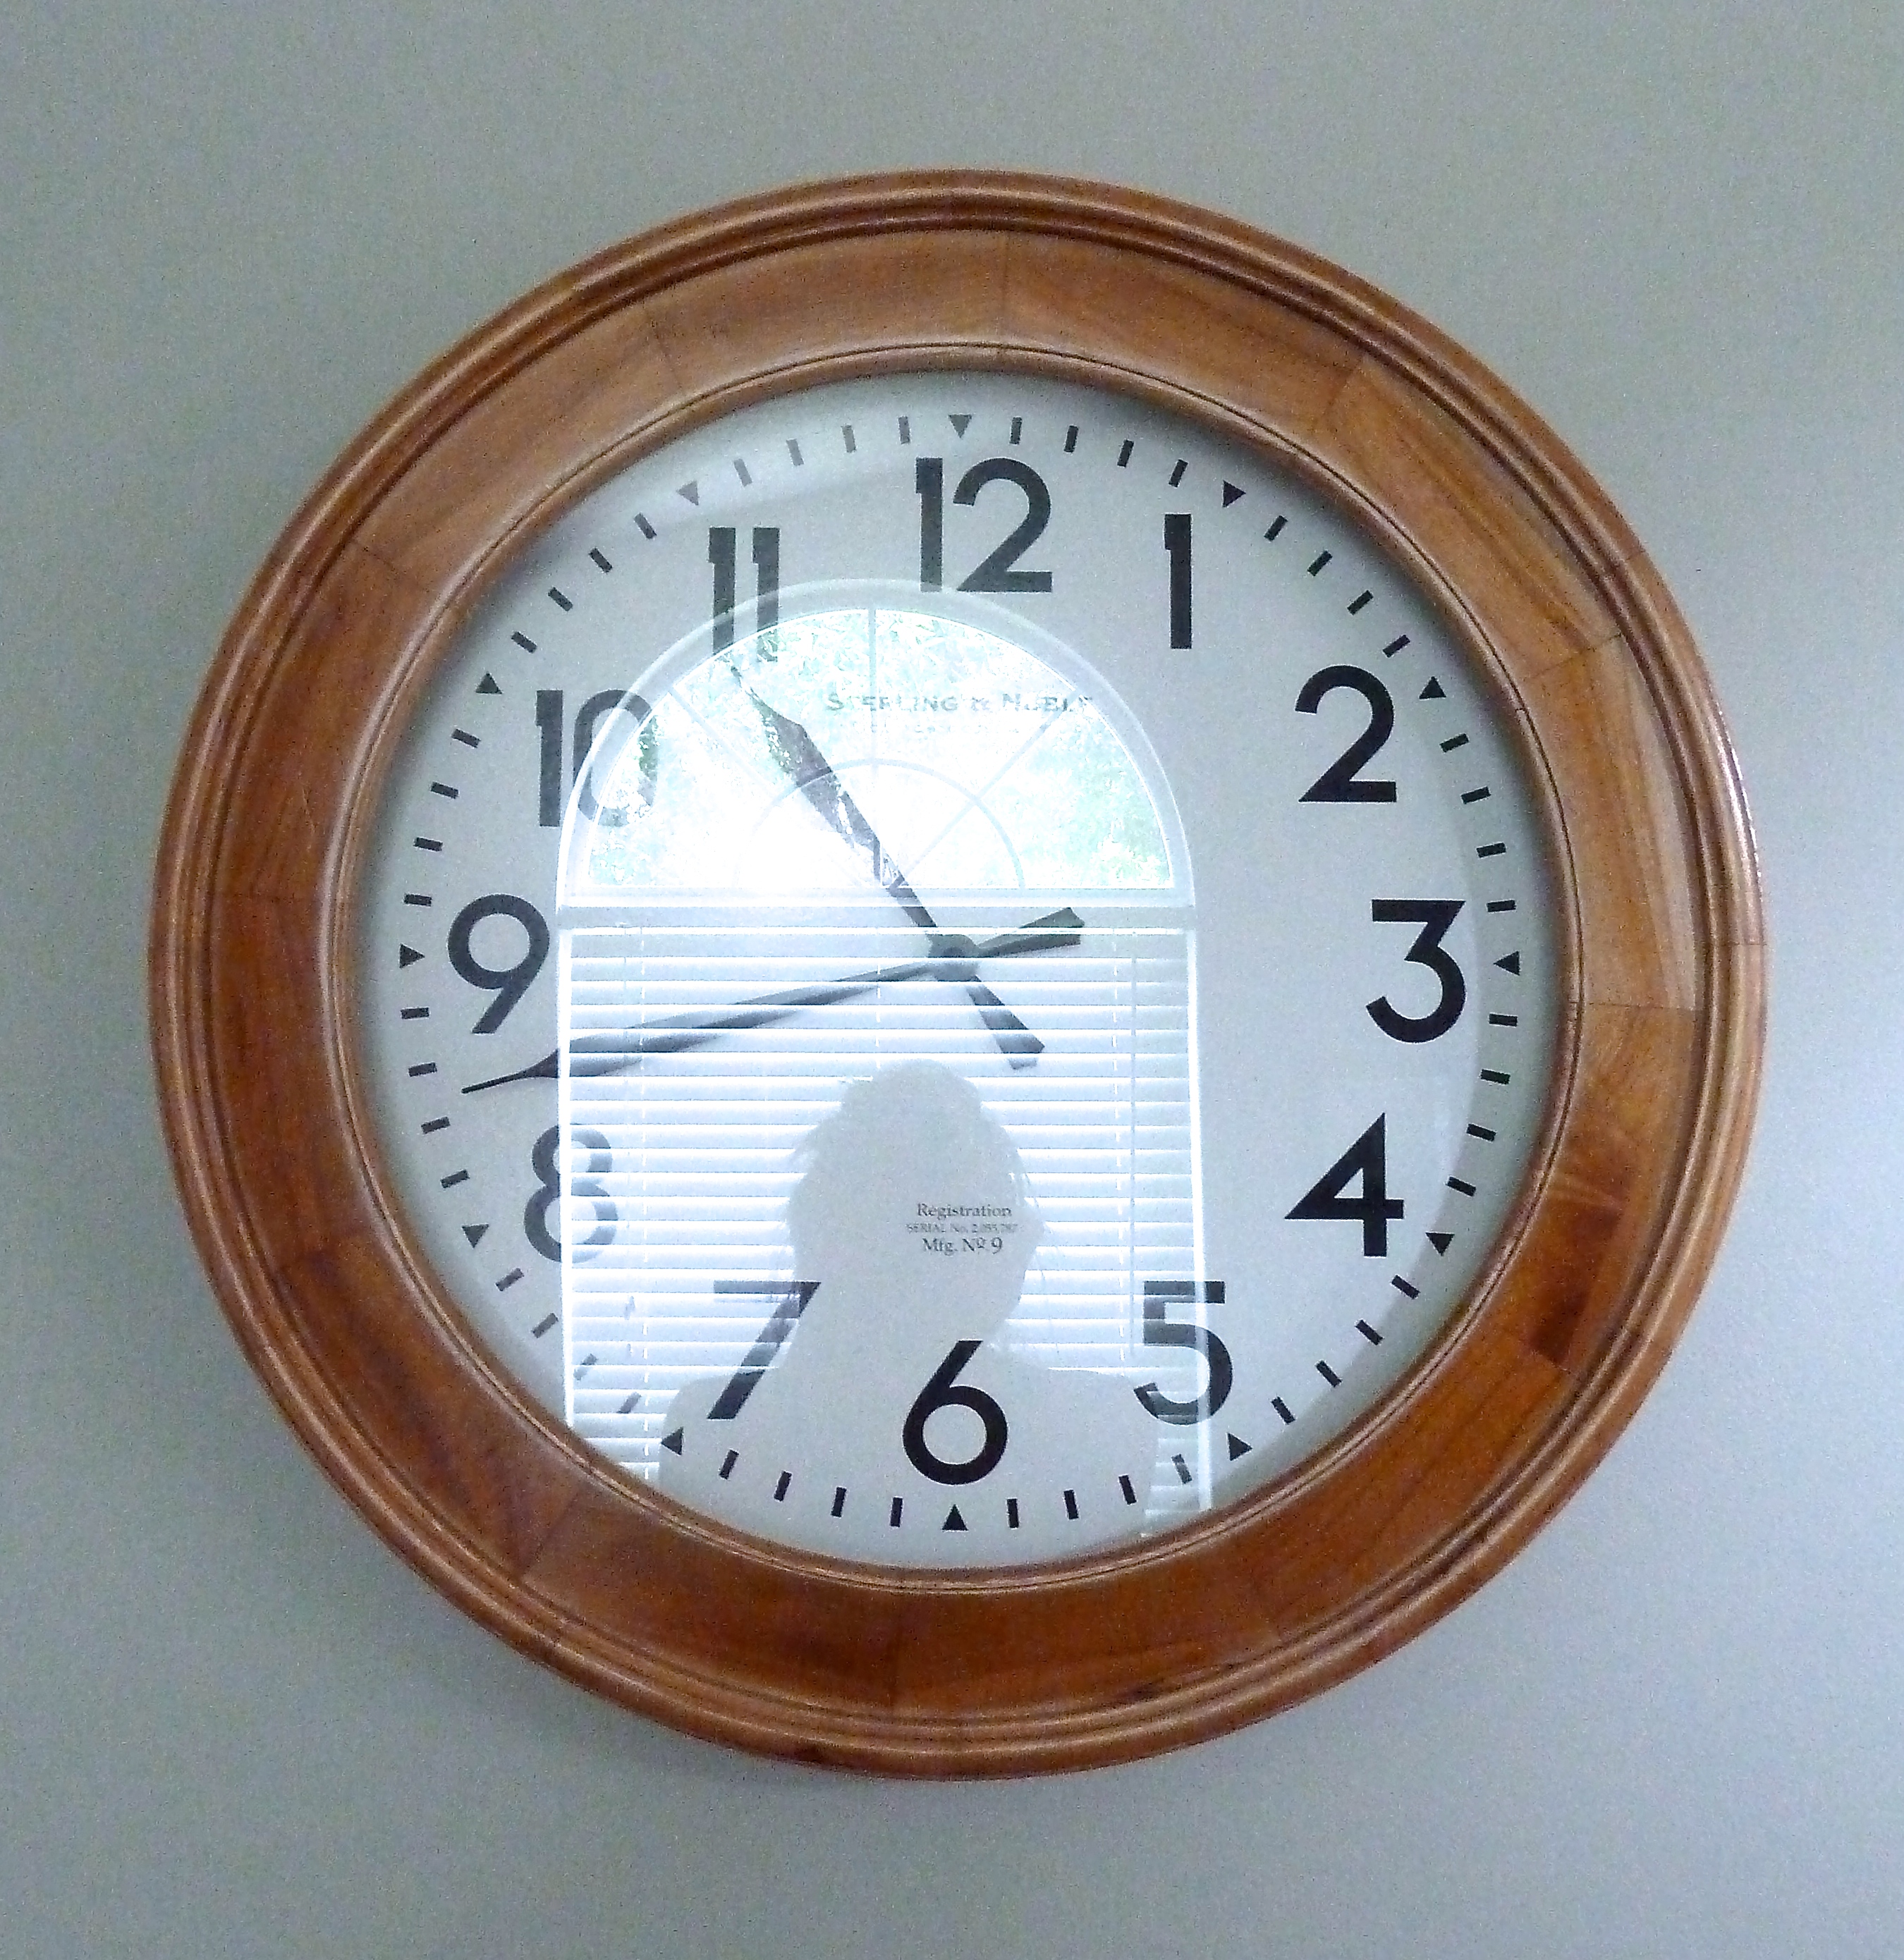
In case you’re wondering it’s the Threshold Casual Wood Wall Clock from Target, which was also on my registry.

I’m pretty stoker about how much homier these rooms are becoming.

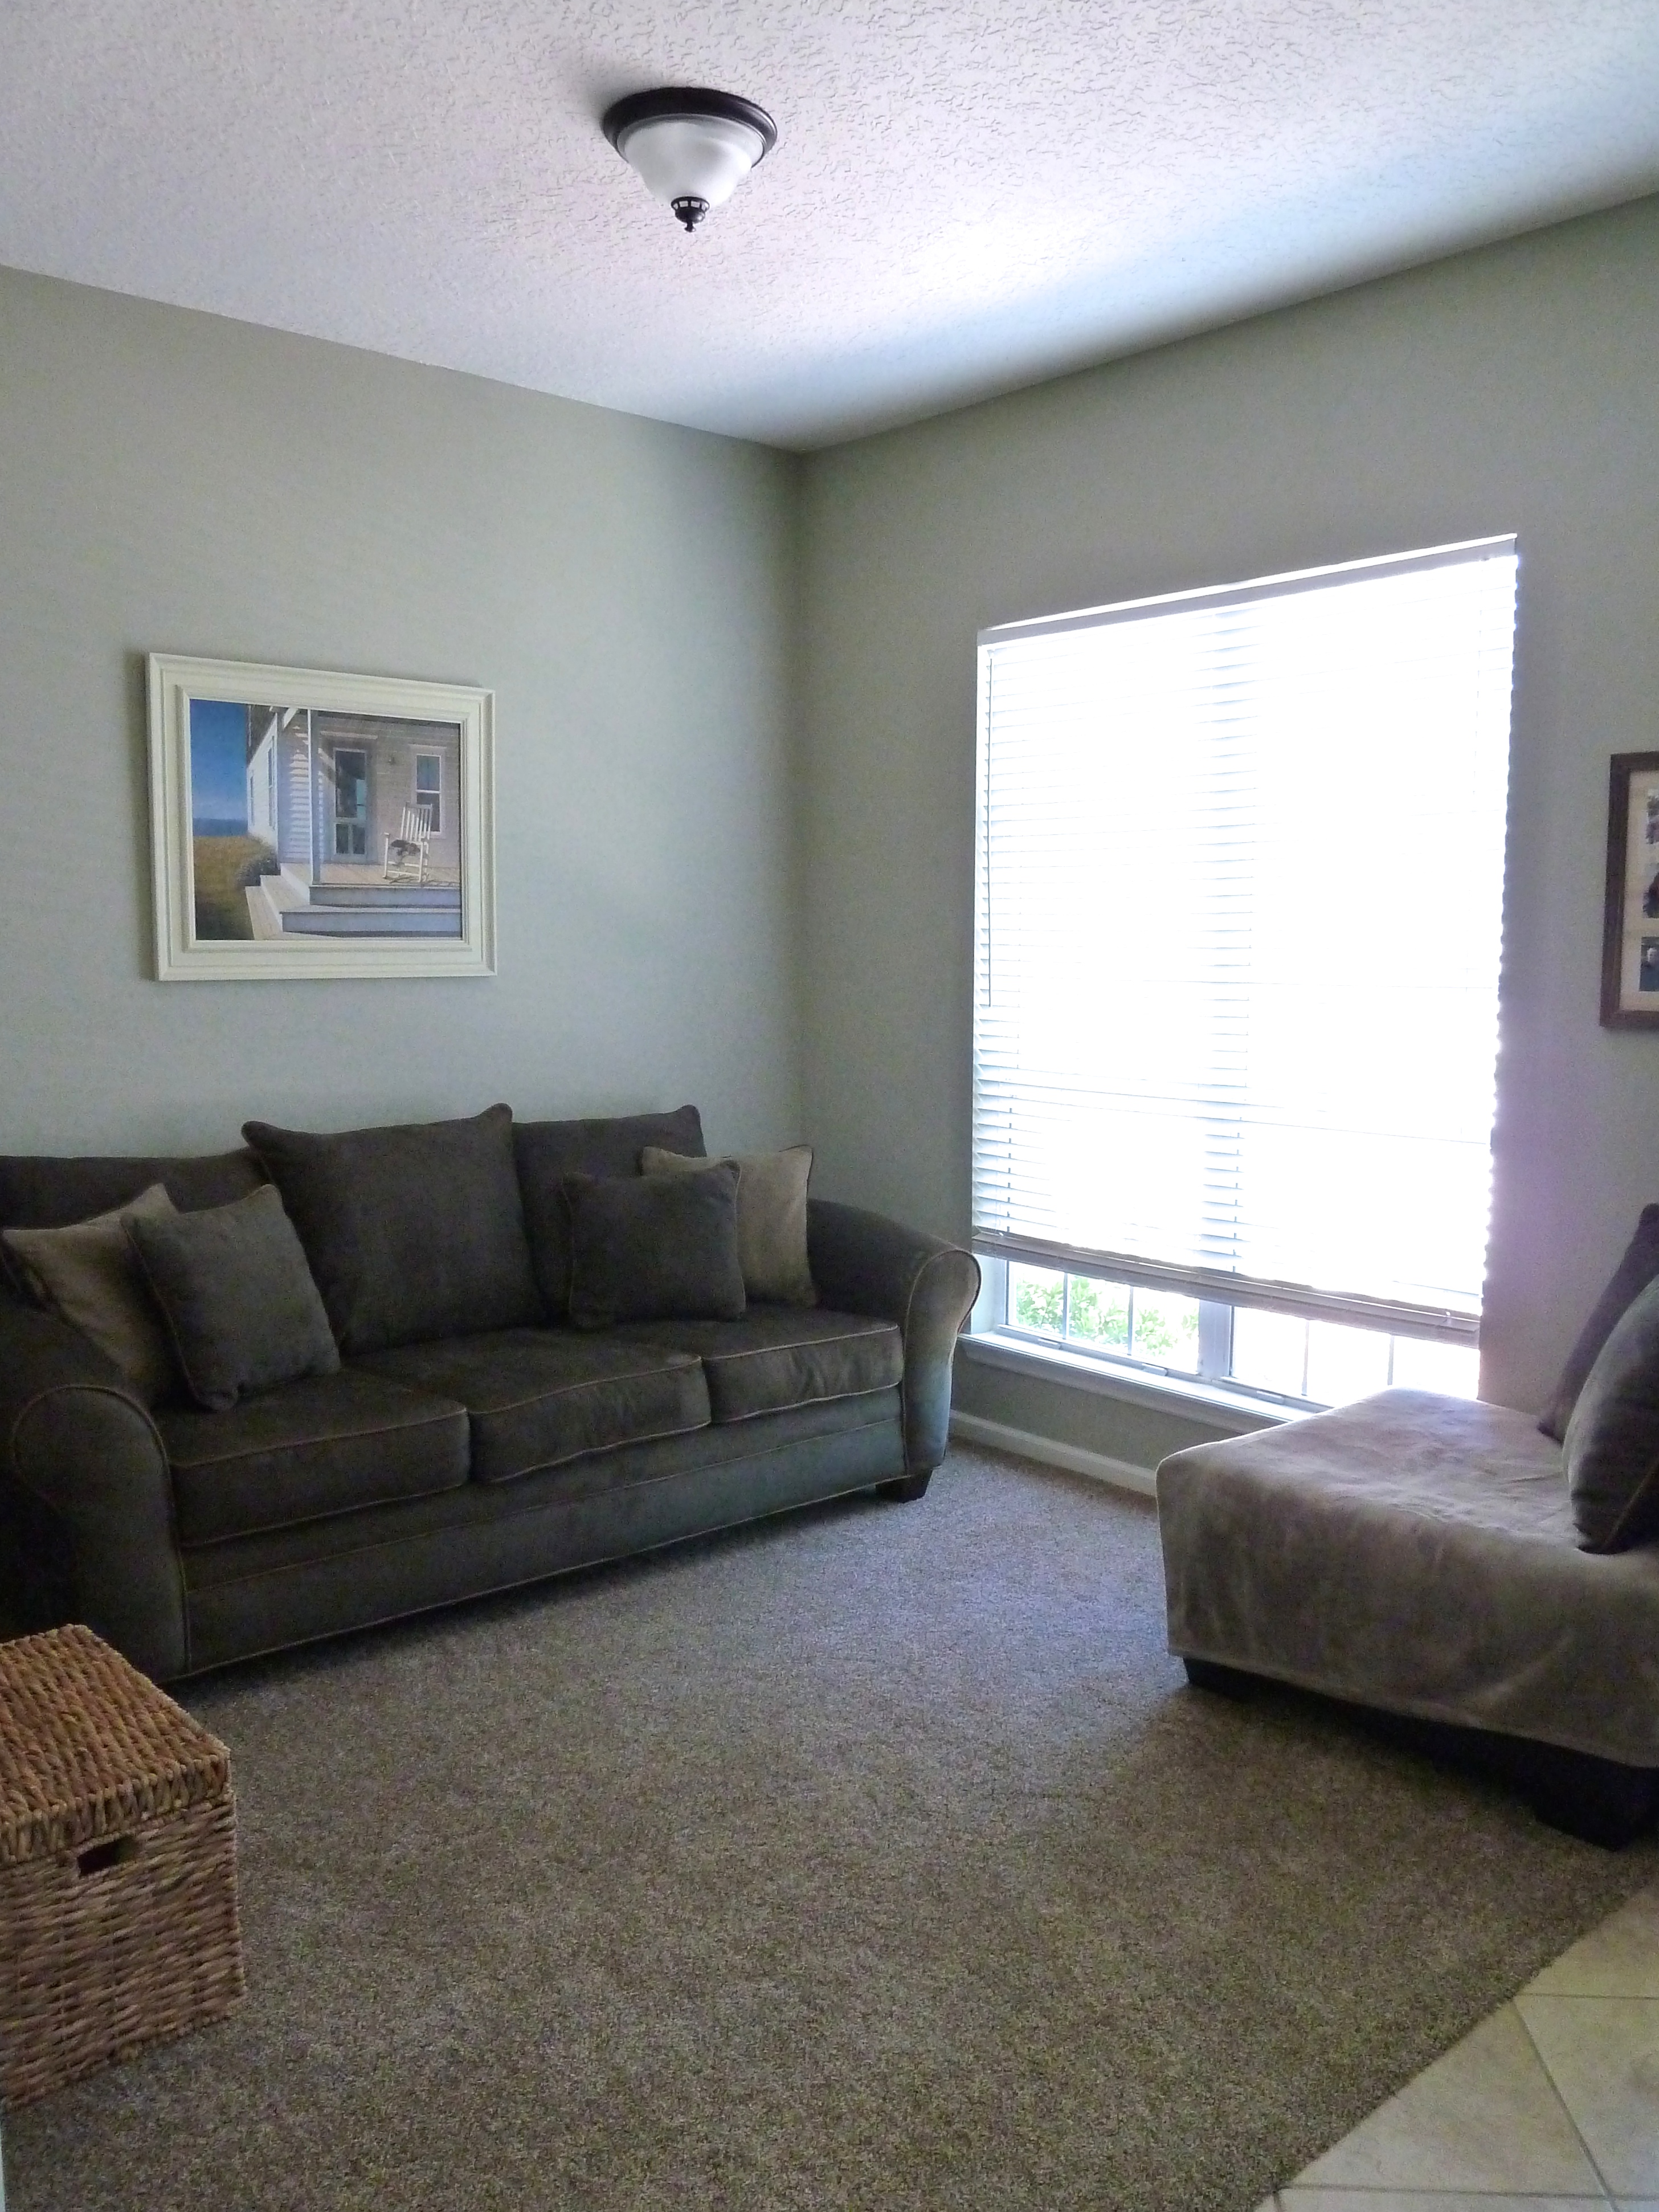
Straight across from this room is our “second living room”, which was previously a dining room.  This room was also in need of some wall sprucing, so I decided to direct my attention that way as well.  I just so happened to come across a great deal on some frames at Michaels and picked up, oh you know, 6 of them!  Don’t judge me, it was a great deal, they are all matted 11×14 frames for $10 each.  I added some watercolor beachy prints to them and Justin helped me hang them…

sea shell art

I am pretty pumped about these, this may be my fav wall I have spruced to date.  Oh, and that little sail boat up top is a bridal shower gift from my friend Lindsey.  I totally dig it, and I may be feeling a sail boat collection coming in the near future.

I got one last frame from Michael’s that was also on clearance that matched these…

displaying photos

It was also $10.

This guy is now hung to the right of the window in this room.

light green walls green couch

I am now happy when I walk in the house past these rooms, as oppose to the blah-ness we once had.

Shall I share some before and afters?

On the day we moved in….

office before renovations

and now…

green living room

large walk clock

And once again on move in day…

dining room before

and now…

green and tan living room

wall art

You dig it?

Just need some curtains and I might call these rooms done.


Tiling the Patio!

I came home from work on Friday and saw this on my way through the garage…

098

Woo Hoo! Tile.  I made it in the house and Justin was just laying the first piece…

101

They are 18 inch tiles, they are called roman stone noche. He laid a layer of thinset tile adhesive with a notched trowel, then laid the tiles directly on top.  He used tile spacers(the little orange things) to make sure the tiles were all the same distance apart. He also used this bad boy(wet saw)…

099

..to cut any tiles when needed.  As he laid the tiles he made sure they were all level and straight.

photo(144)

He finished one row of the tile on Friday night, apparently he had some ants in his pants. Saturday morning bright and early he got right back to work.

119

I unfortunately was not any help to Justin, if anything I just got in the way when taking photos. I did offer to help though!

121

He did so great.

122

`Once they were all down it already looked like a whole new patio.  I can’t believe what a difference it makes.

125

All that was left was grout.  So bright and early Sunday Justin was back out there.

128

He started by using a grout float to push the grout in between the tiles.  He made his way across the entire floor pushing the grout into the seems.  At the same time he was using a wet sponge to wipe away the excess grout that remained on the tiles.

131

As he moved down to the other end of the patio, the previous tiles started to dry and look like this…

130

They were all turning a dusty white, showing all the still remaining grout.  He had to go back a few more times and clean the tile over and over until there was only grout in between the tiles and not on top.  He also went back through another time with vinegar to clean the tile.  This is what the end result is…

144

YAYAYAY!

142

Love Love Love!

160

After we admired it for a while and let everything dry we brought all the patio furniture back out.

158

161

One more view…

163

I am obsessed.  The tile floor just makes it feel more like a room instead of a patio.  List update?

Patio to do list:

  1. screen patio. 
  2. replace fan.
  3. texture drywall.
  4. paint patio and doors.
  5. tile and grout floor.
  6. find patio furniture.
  7. enjoy!

Oh no you are not seeing things, everything is crossed off! I would like to eventually get something to hang on the bare wall and I am sure there will be other updates.  Justin still needs to finish the tile next to the house with some sort of trim, but for the most part this room is done!

Texturizing the patio walls

Since Justin and Kent finished up the screen for the patio, the wall that they took the siding off ended up looking like this…

049

The next step was to texturize that wall so we could begin painting.  So Kent stopped by and gave a quick lesson on how to texturize the wall and he dropped off a few cans of this…

020

This stuff is awesome.  Basically it sprays out as a foam like plaster.  It sprays on kind of bubbly like an “orange peel” texture.  We wanted it a little less bubbly so after spraying it on I used a putty knife to flatten out a bit.

013

There I am in action.  I used a piece of cardboard to block the screen and ceiling when spraying close to those areas.

014

Once I finished you could still see the green outdoor drywall, but it was mostly covered in the texture spray.  Here is a close up.

018

Perfect for an outdoor wall! It is a messy process though!

031

AH!