My sisters birthday just passed, so I figured I would share one of the things that I made for her. Since she has already opened it and ruining the surprise is no longer a risk I can share with all of you! I decided to make her a unique mug. I have previously made mugs for Justin and myself that turned out pretty good, so now Jessica will have one too! I started with a plain white mug…

I then got out some stickers I already had on hand…

Just your everyday alphabet stickers. Next up I just plopped a J and an A right on the side of the mug…

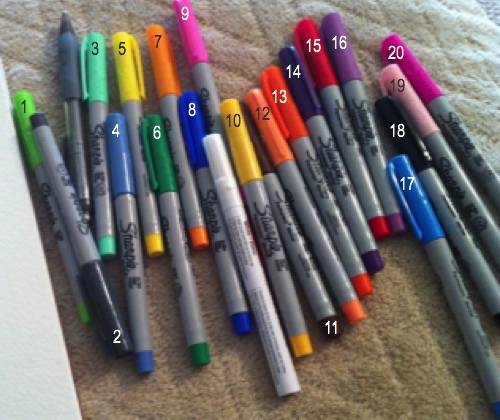
I chose the J and A because Jessica’s favorite work is “Ja.” Just kidding those are her initials. I am so funny. I decided to go with lower case letters because I thought the the uppercase would be boring. I then got out my trusty sharpie marker…

I went with a good old navy blue color. Jess isn’t really a girly girl, much like myself, so I thought a blue would work well. Next up I just started throwing dots all over the place around the stickers…

I ended up with this. I tried to make it so the spacing between the dots got further apart as I moved away from the stickers. Once I was satisfied and thought there were enough dots, I just peeled away the stickers. It is not perfect, the ink bled through the stickers in a few spots here and there. I also threw some dots on the back of the mug so it wasn’t so bare back there…

I then went back with a Q tip and some alcohol and removed any ink that bled through the stickers.

I thought it then looked much better. So I washed the mug by hand to get any excess alcohol off the surface. Then I put the mug in the oven right on the rack. I then turned my oven up to 500 degrees. It’s important to put the mug in first so it heats up with the oven. If you put the mug in after the oven is already preheated, the mug will most likely crack from the quick change in temperature. I left the mug to bake for about 30 minutes. After that I shut the oven off and left the mug in until the oven cooled(for the same reason as previously mentioned). Once the oven was totally cooled down I took the mug out and gave it another good cleaning. I then had this…

Looks the same, just now it can be washed(by hand) and the marker should not fade. Woo hoo! Hope you like it Jess.