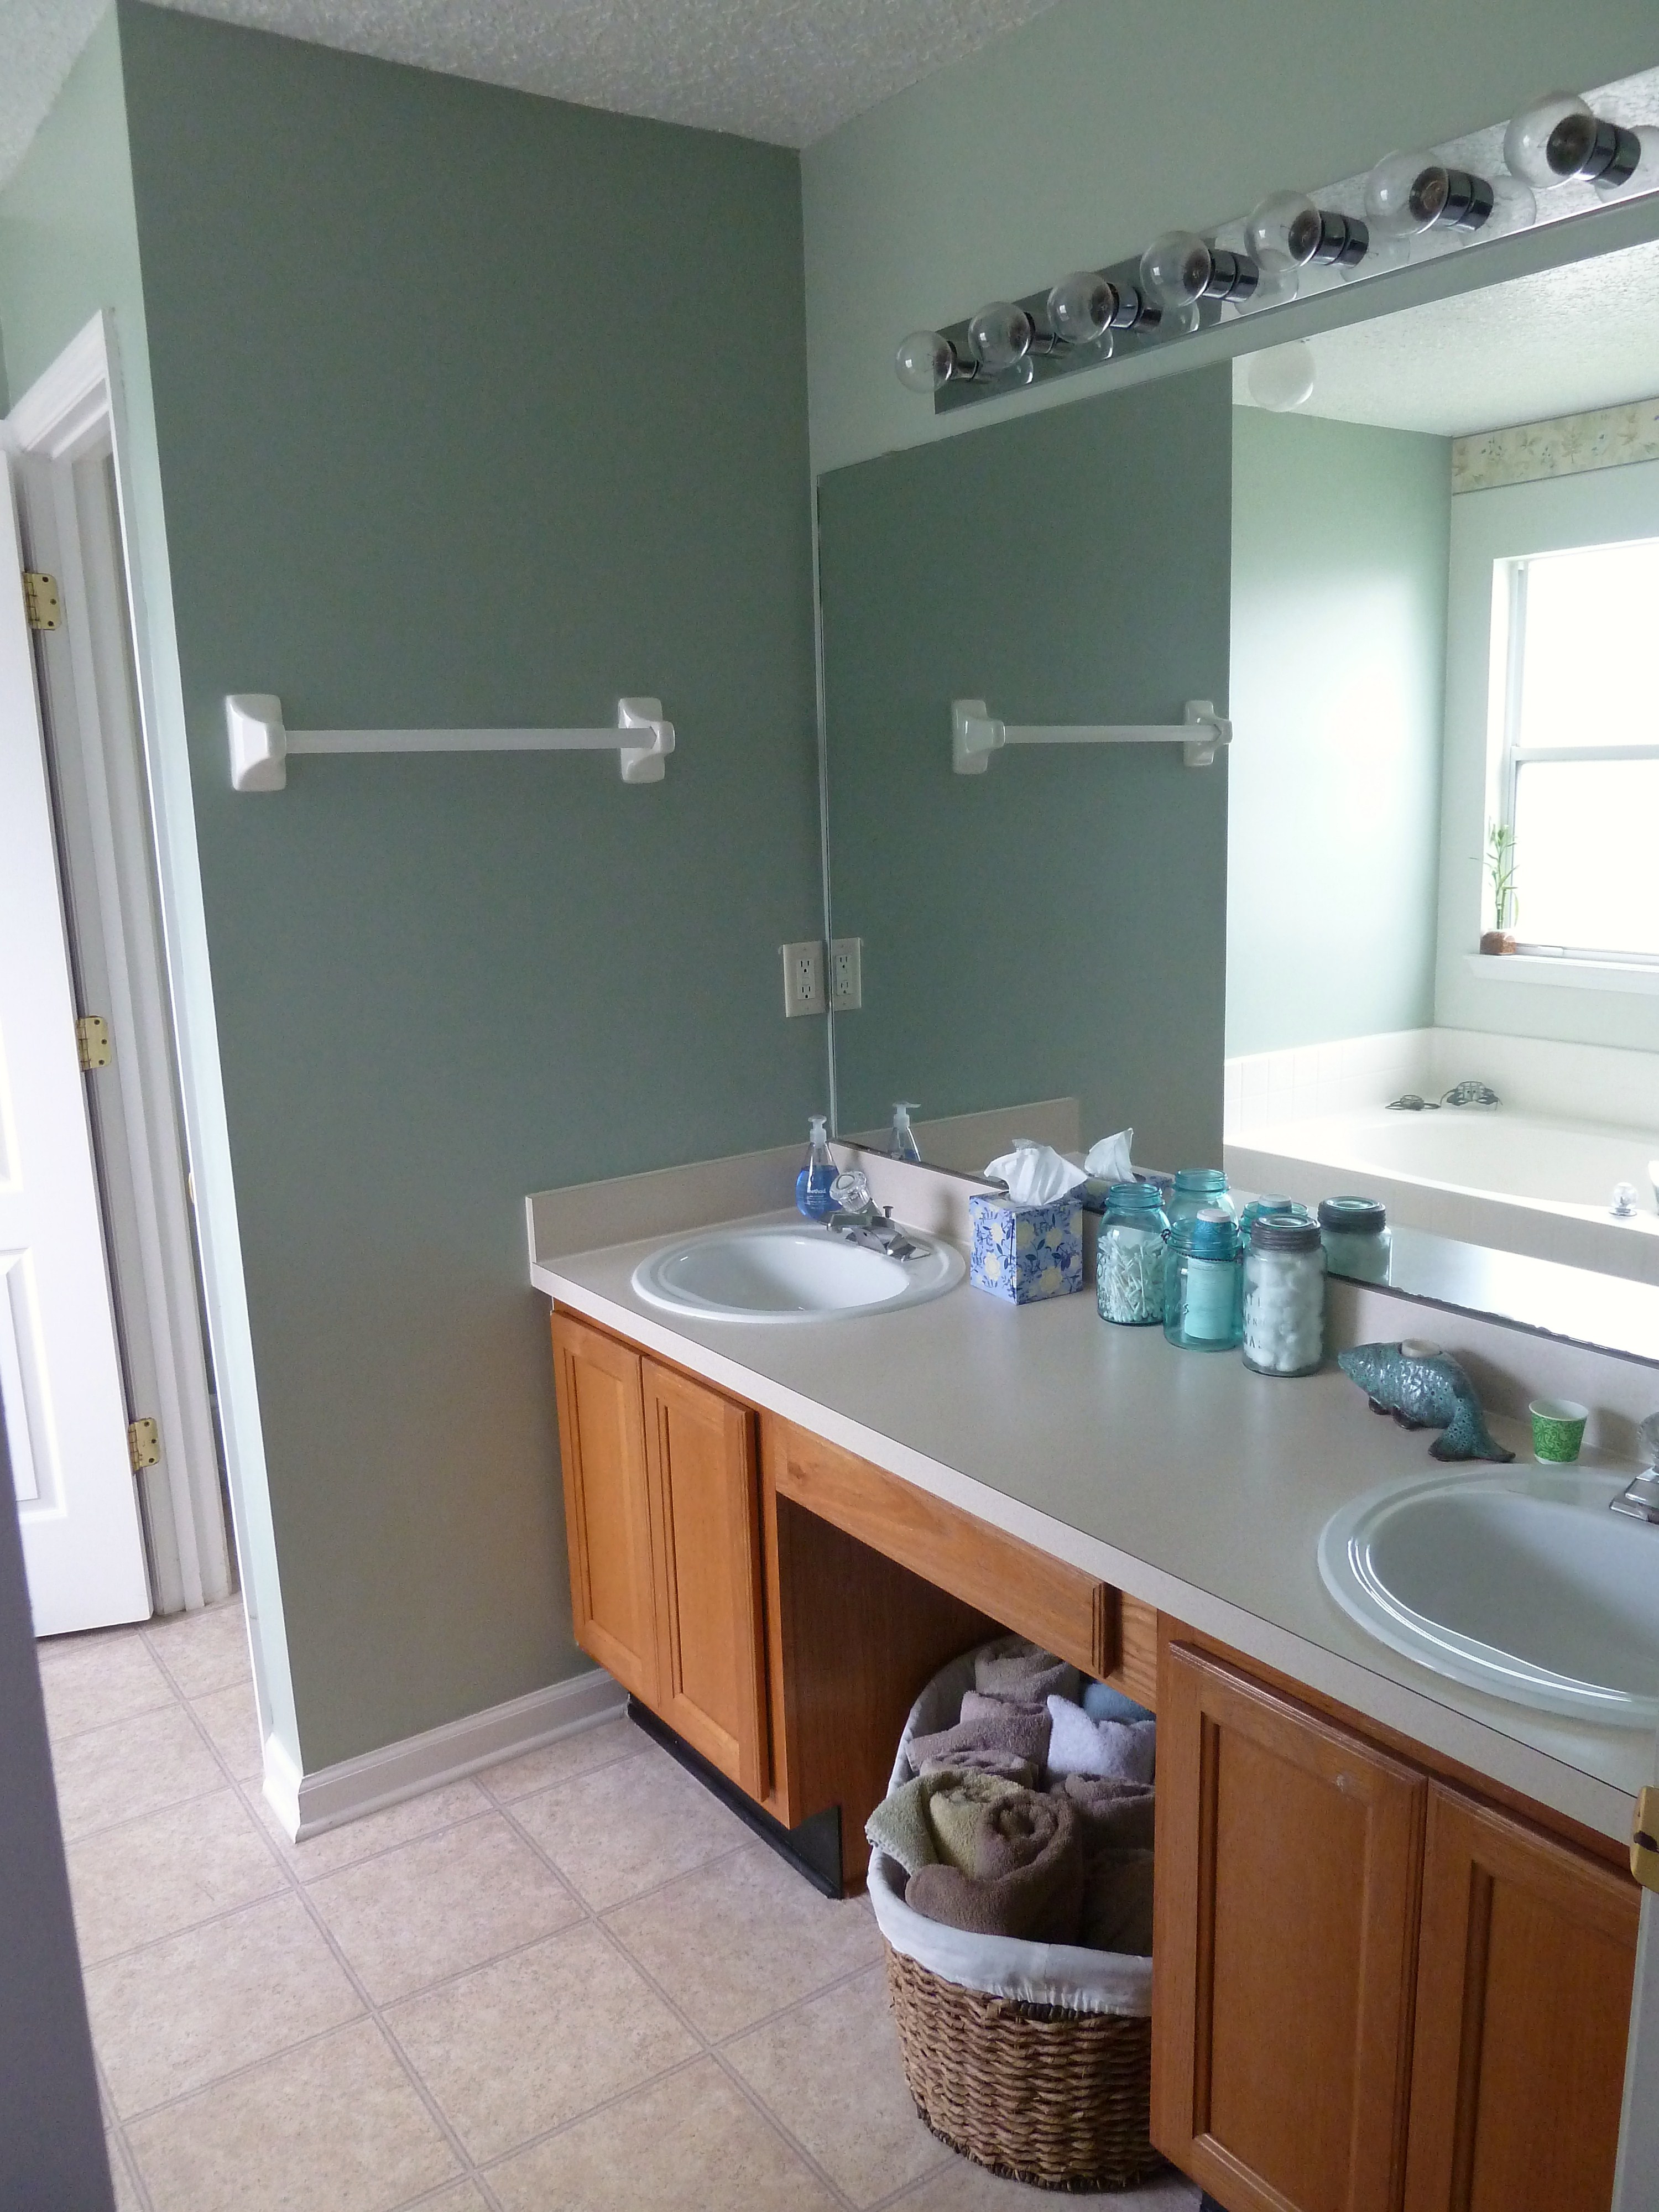
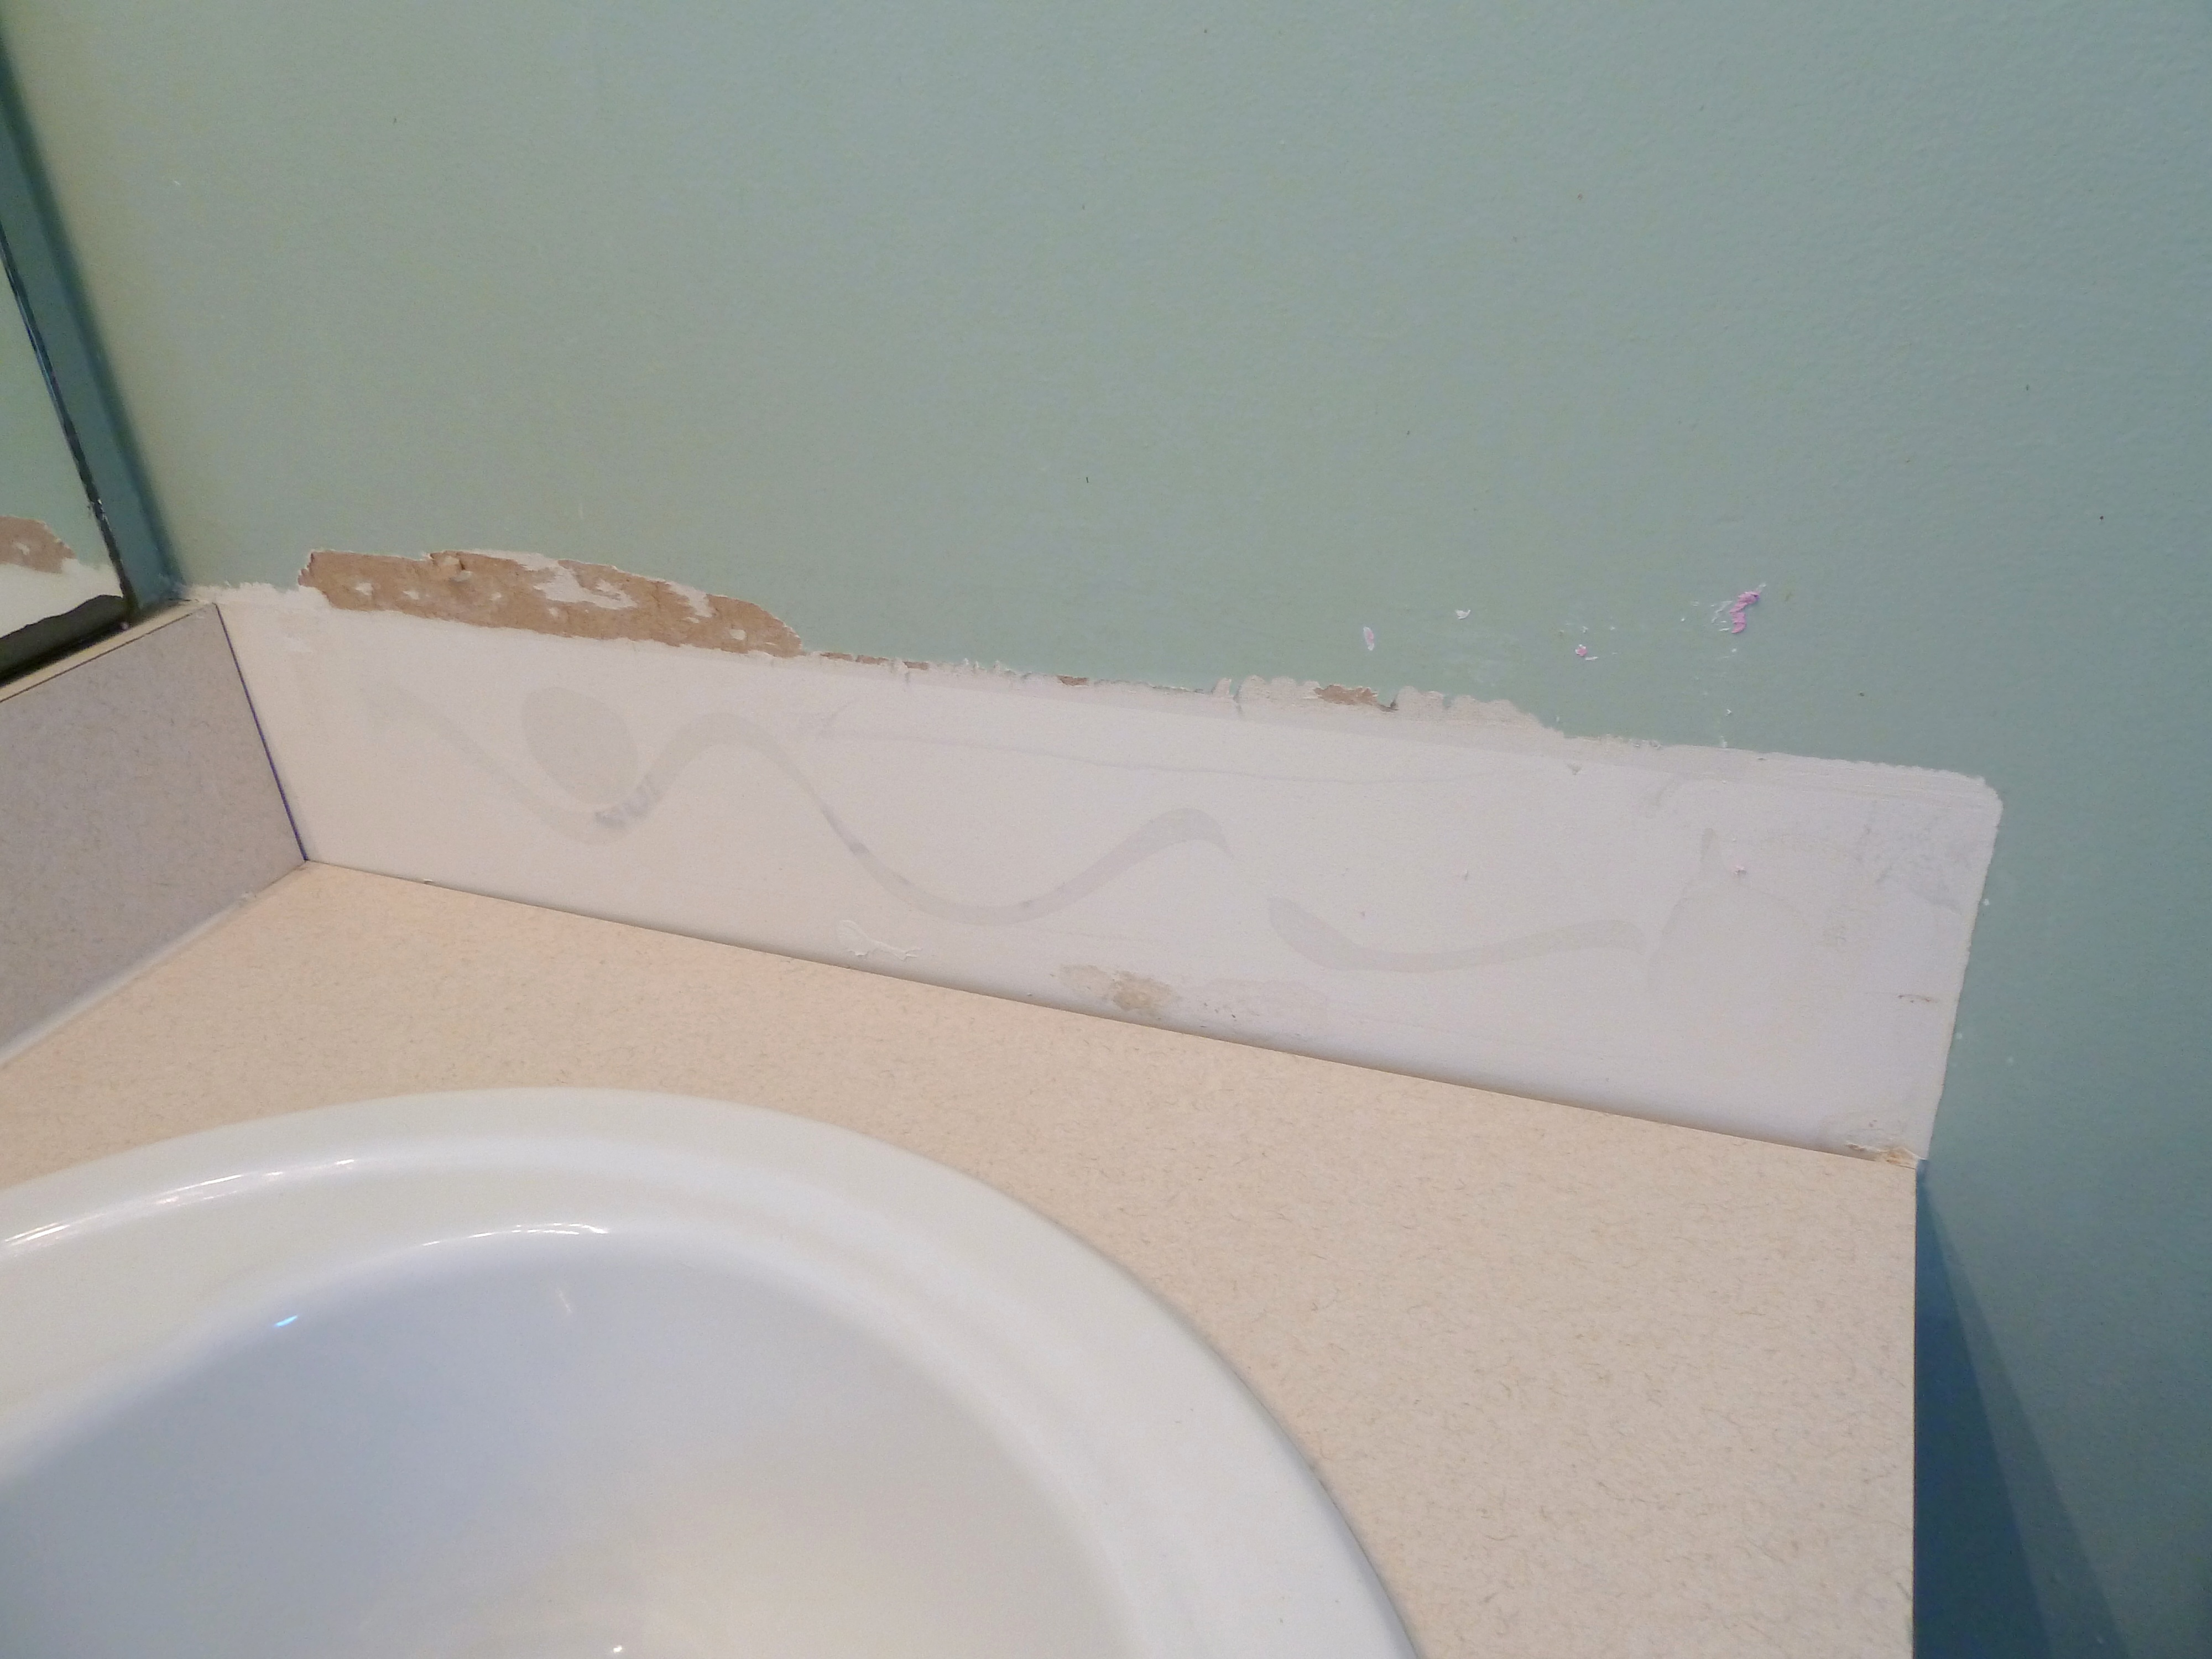
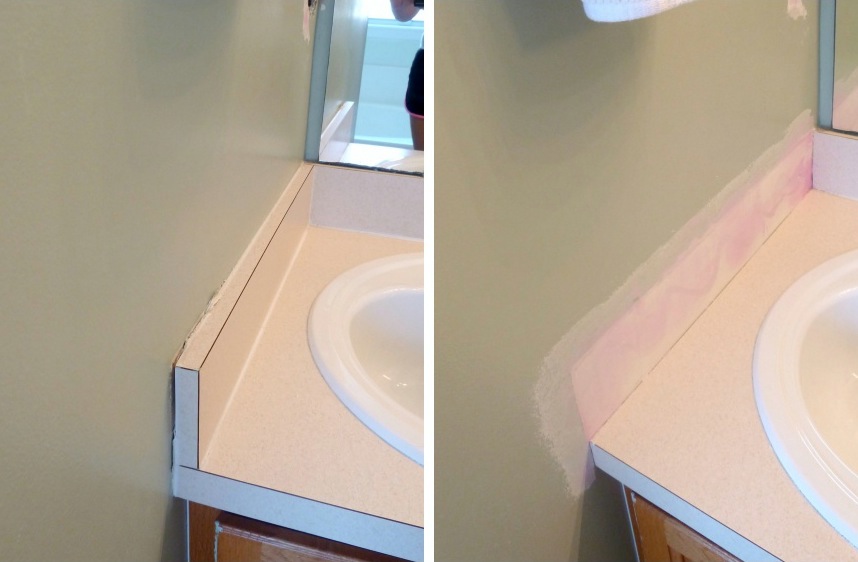
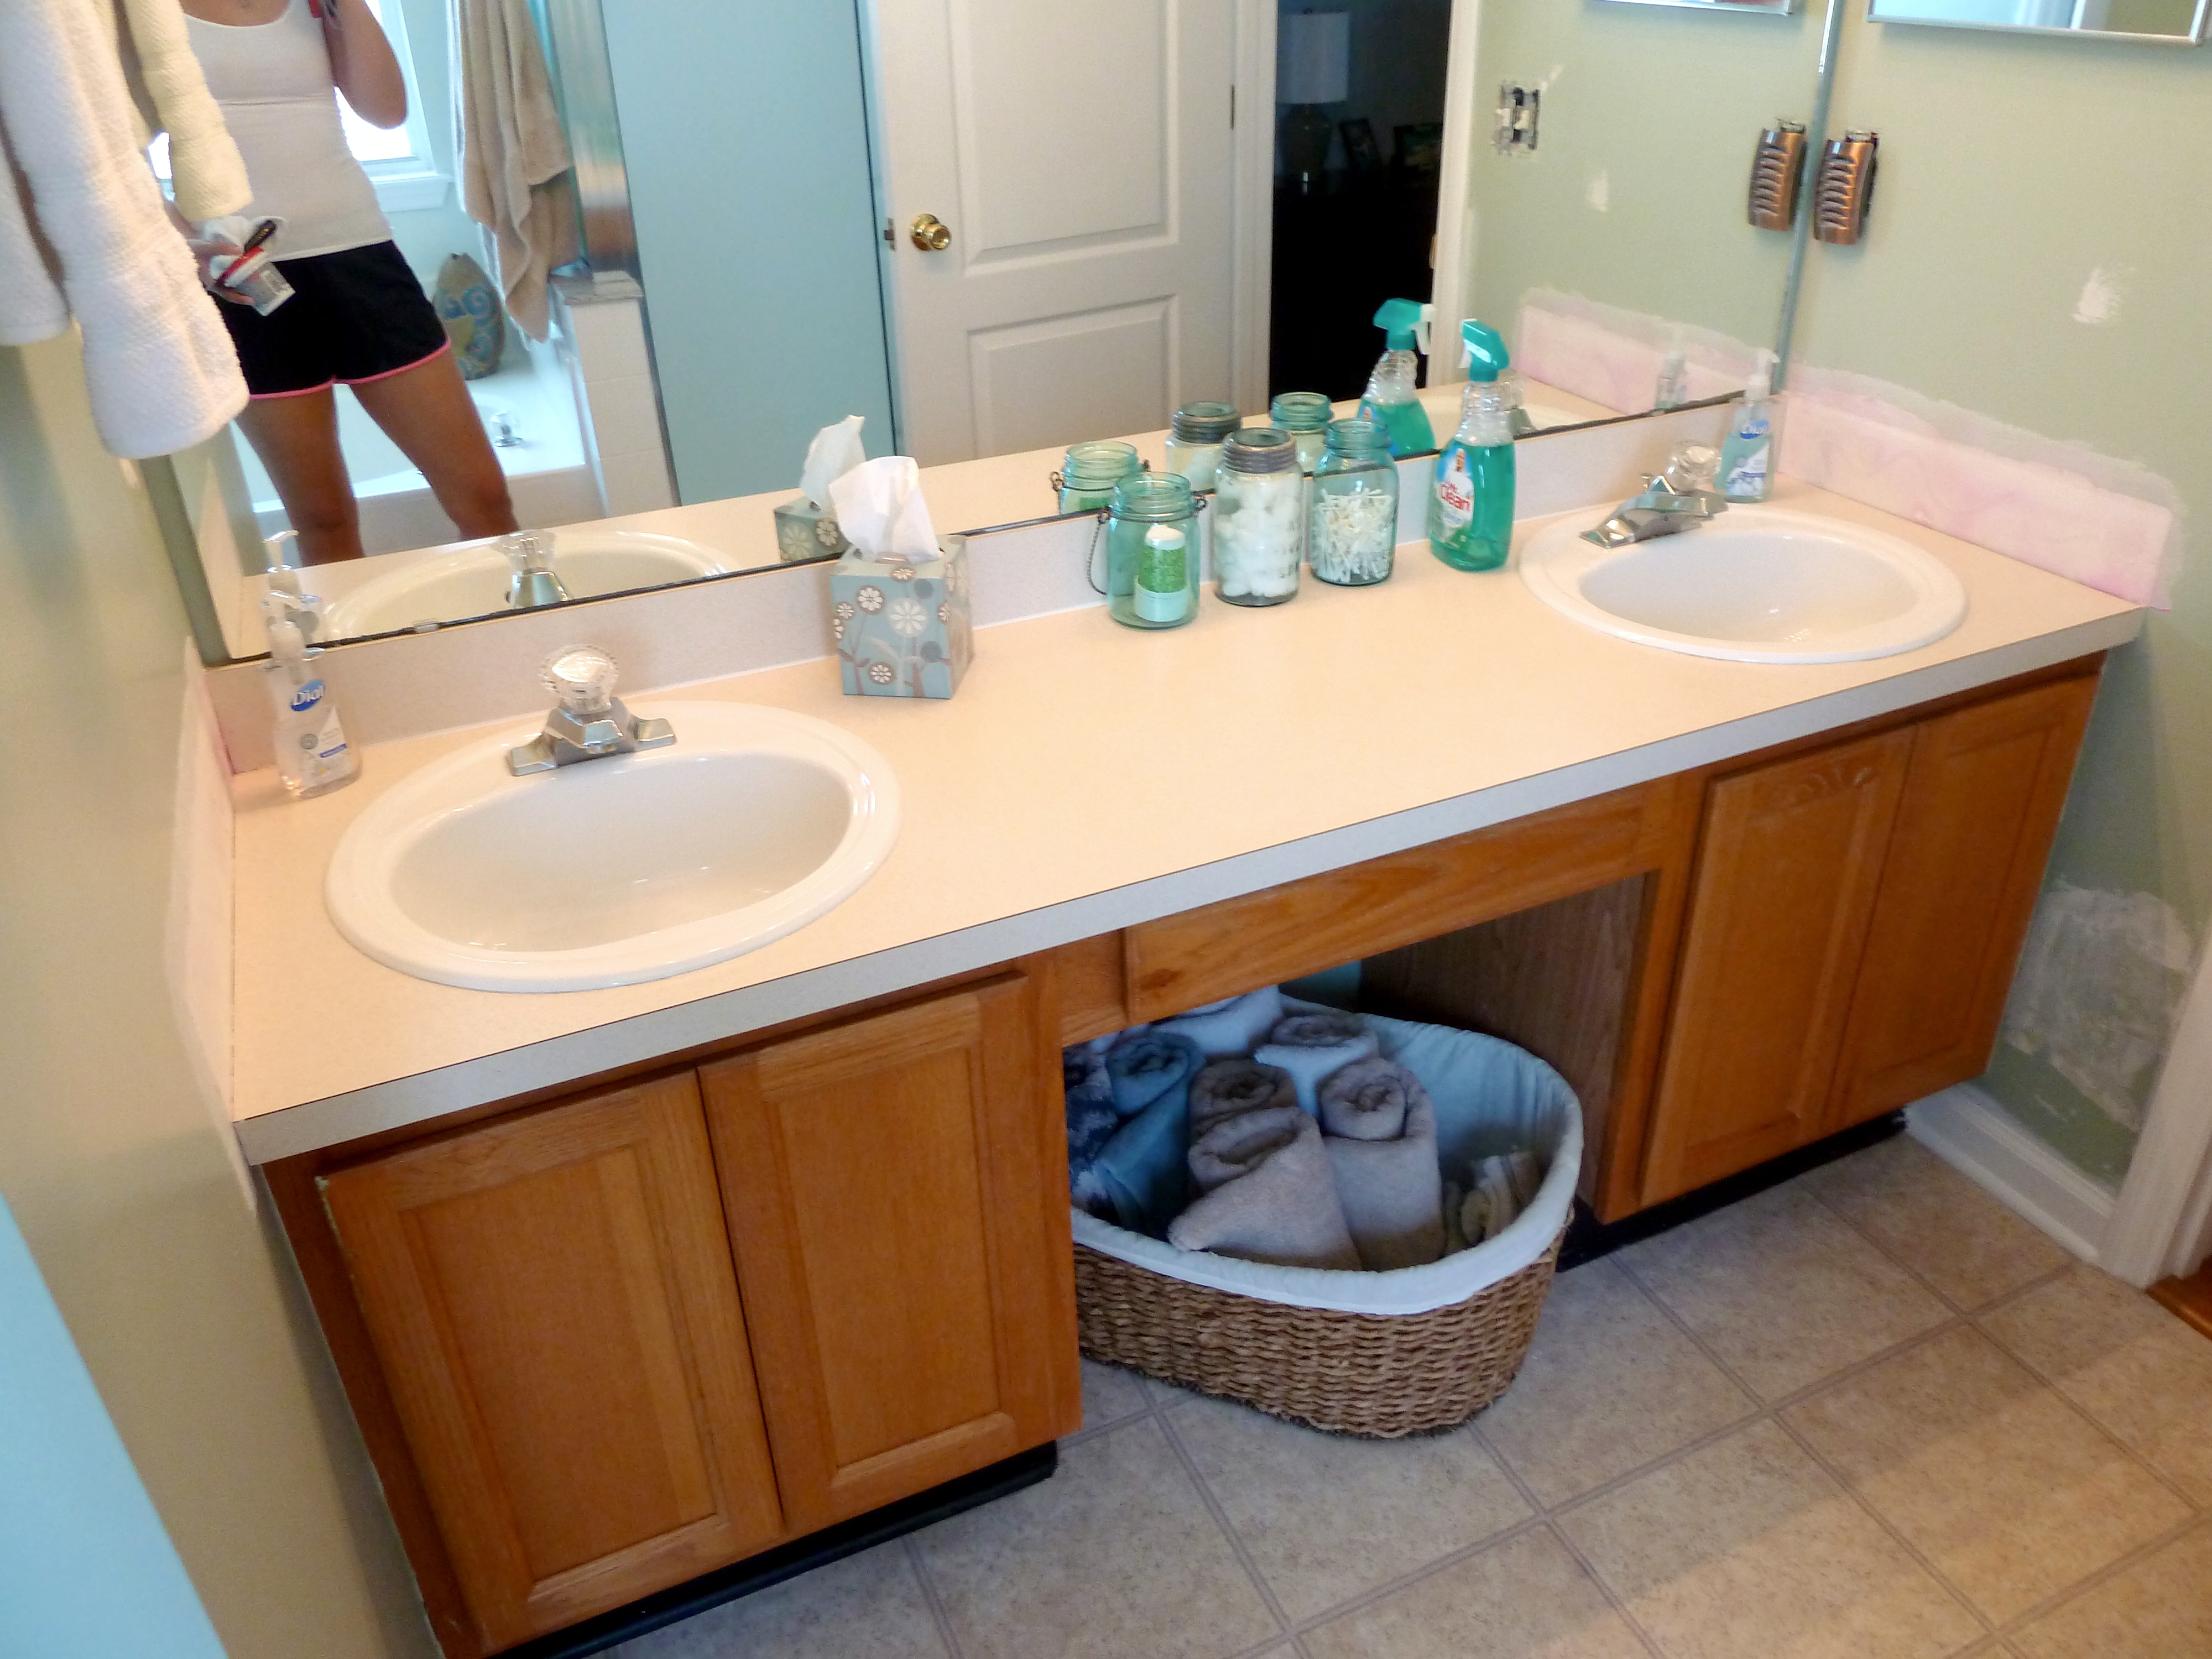
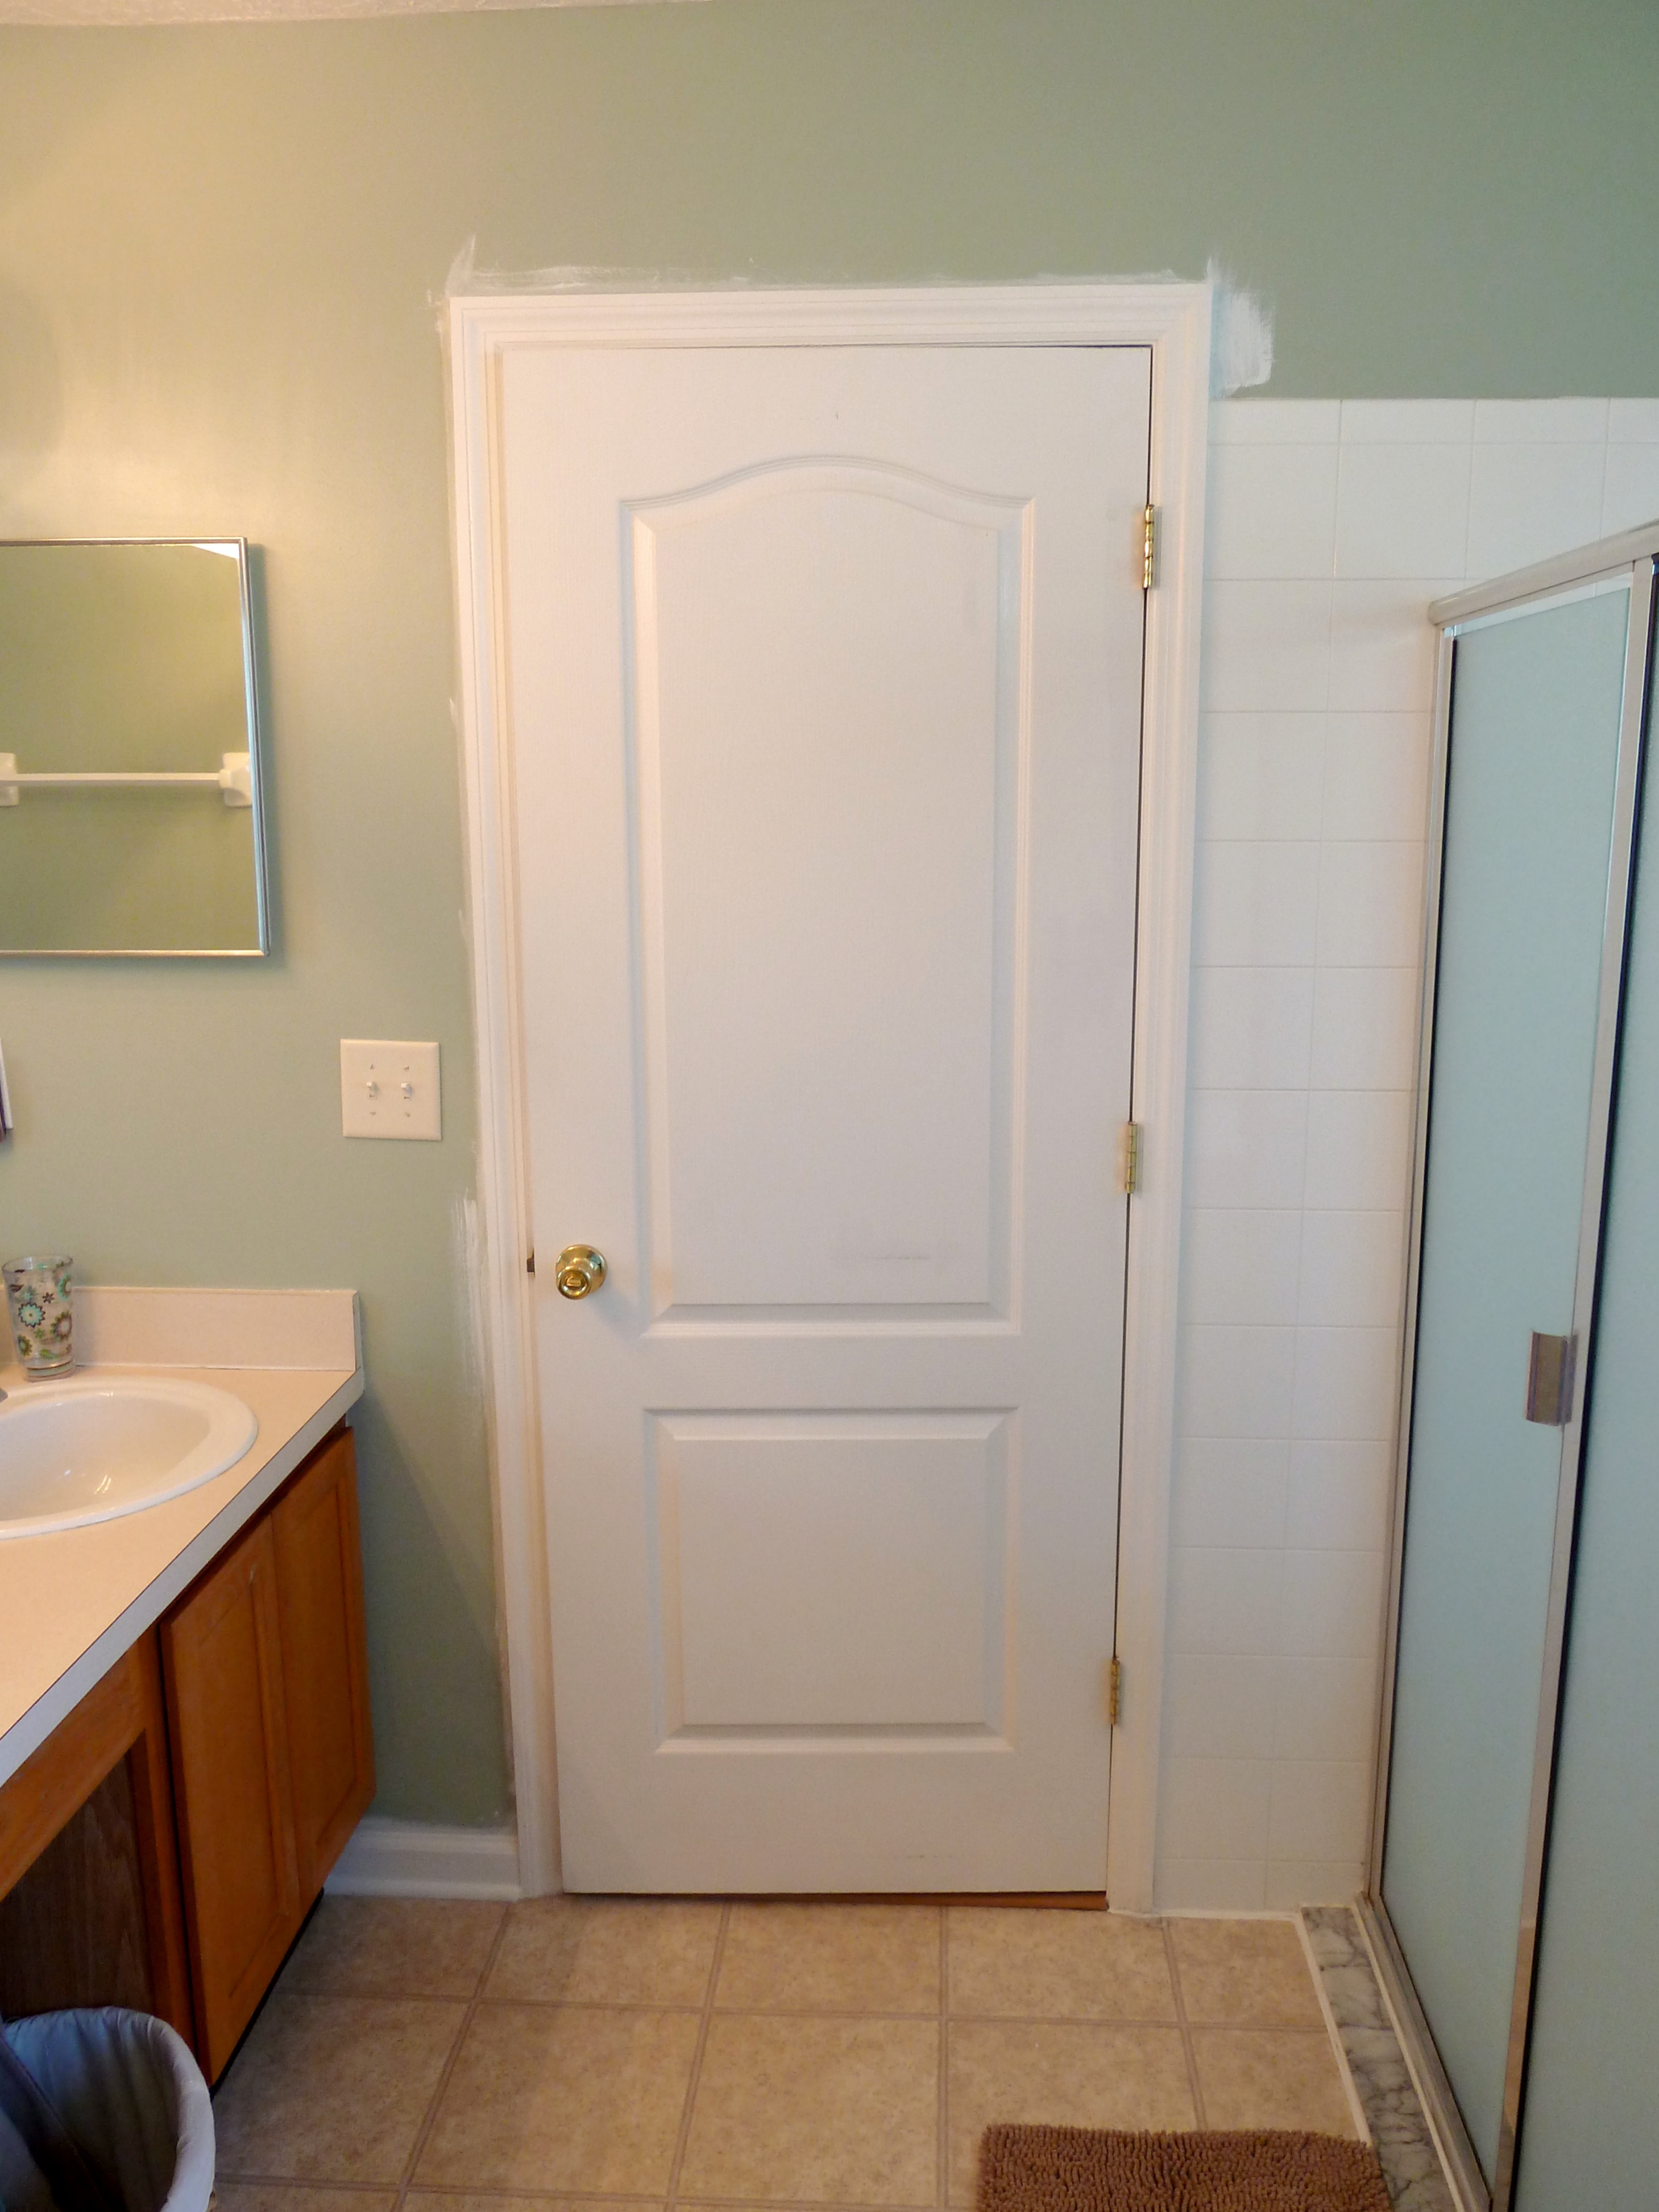
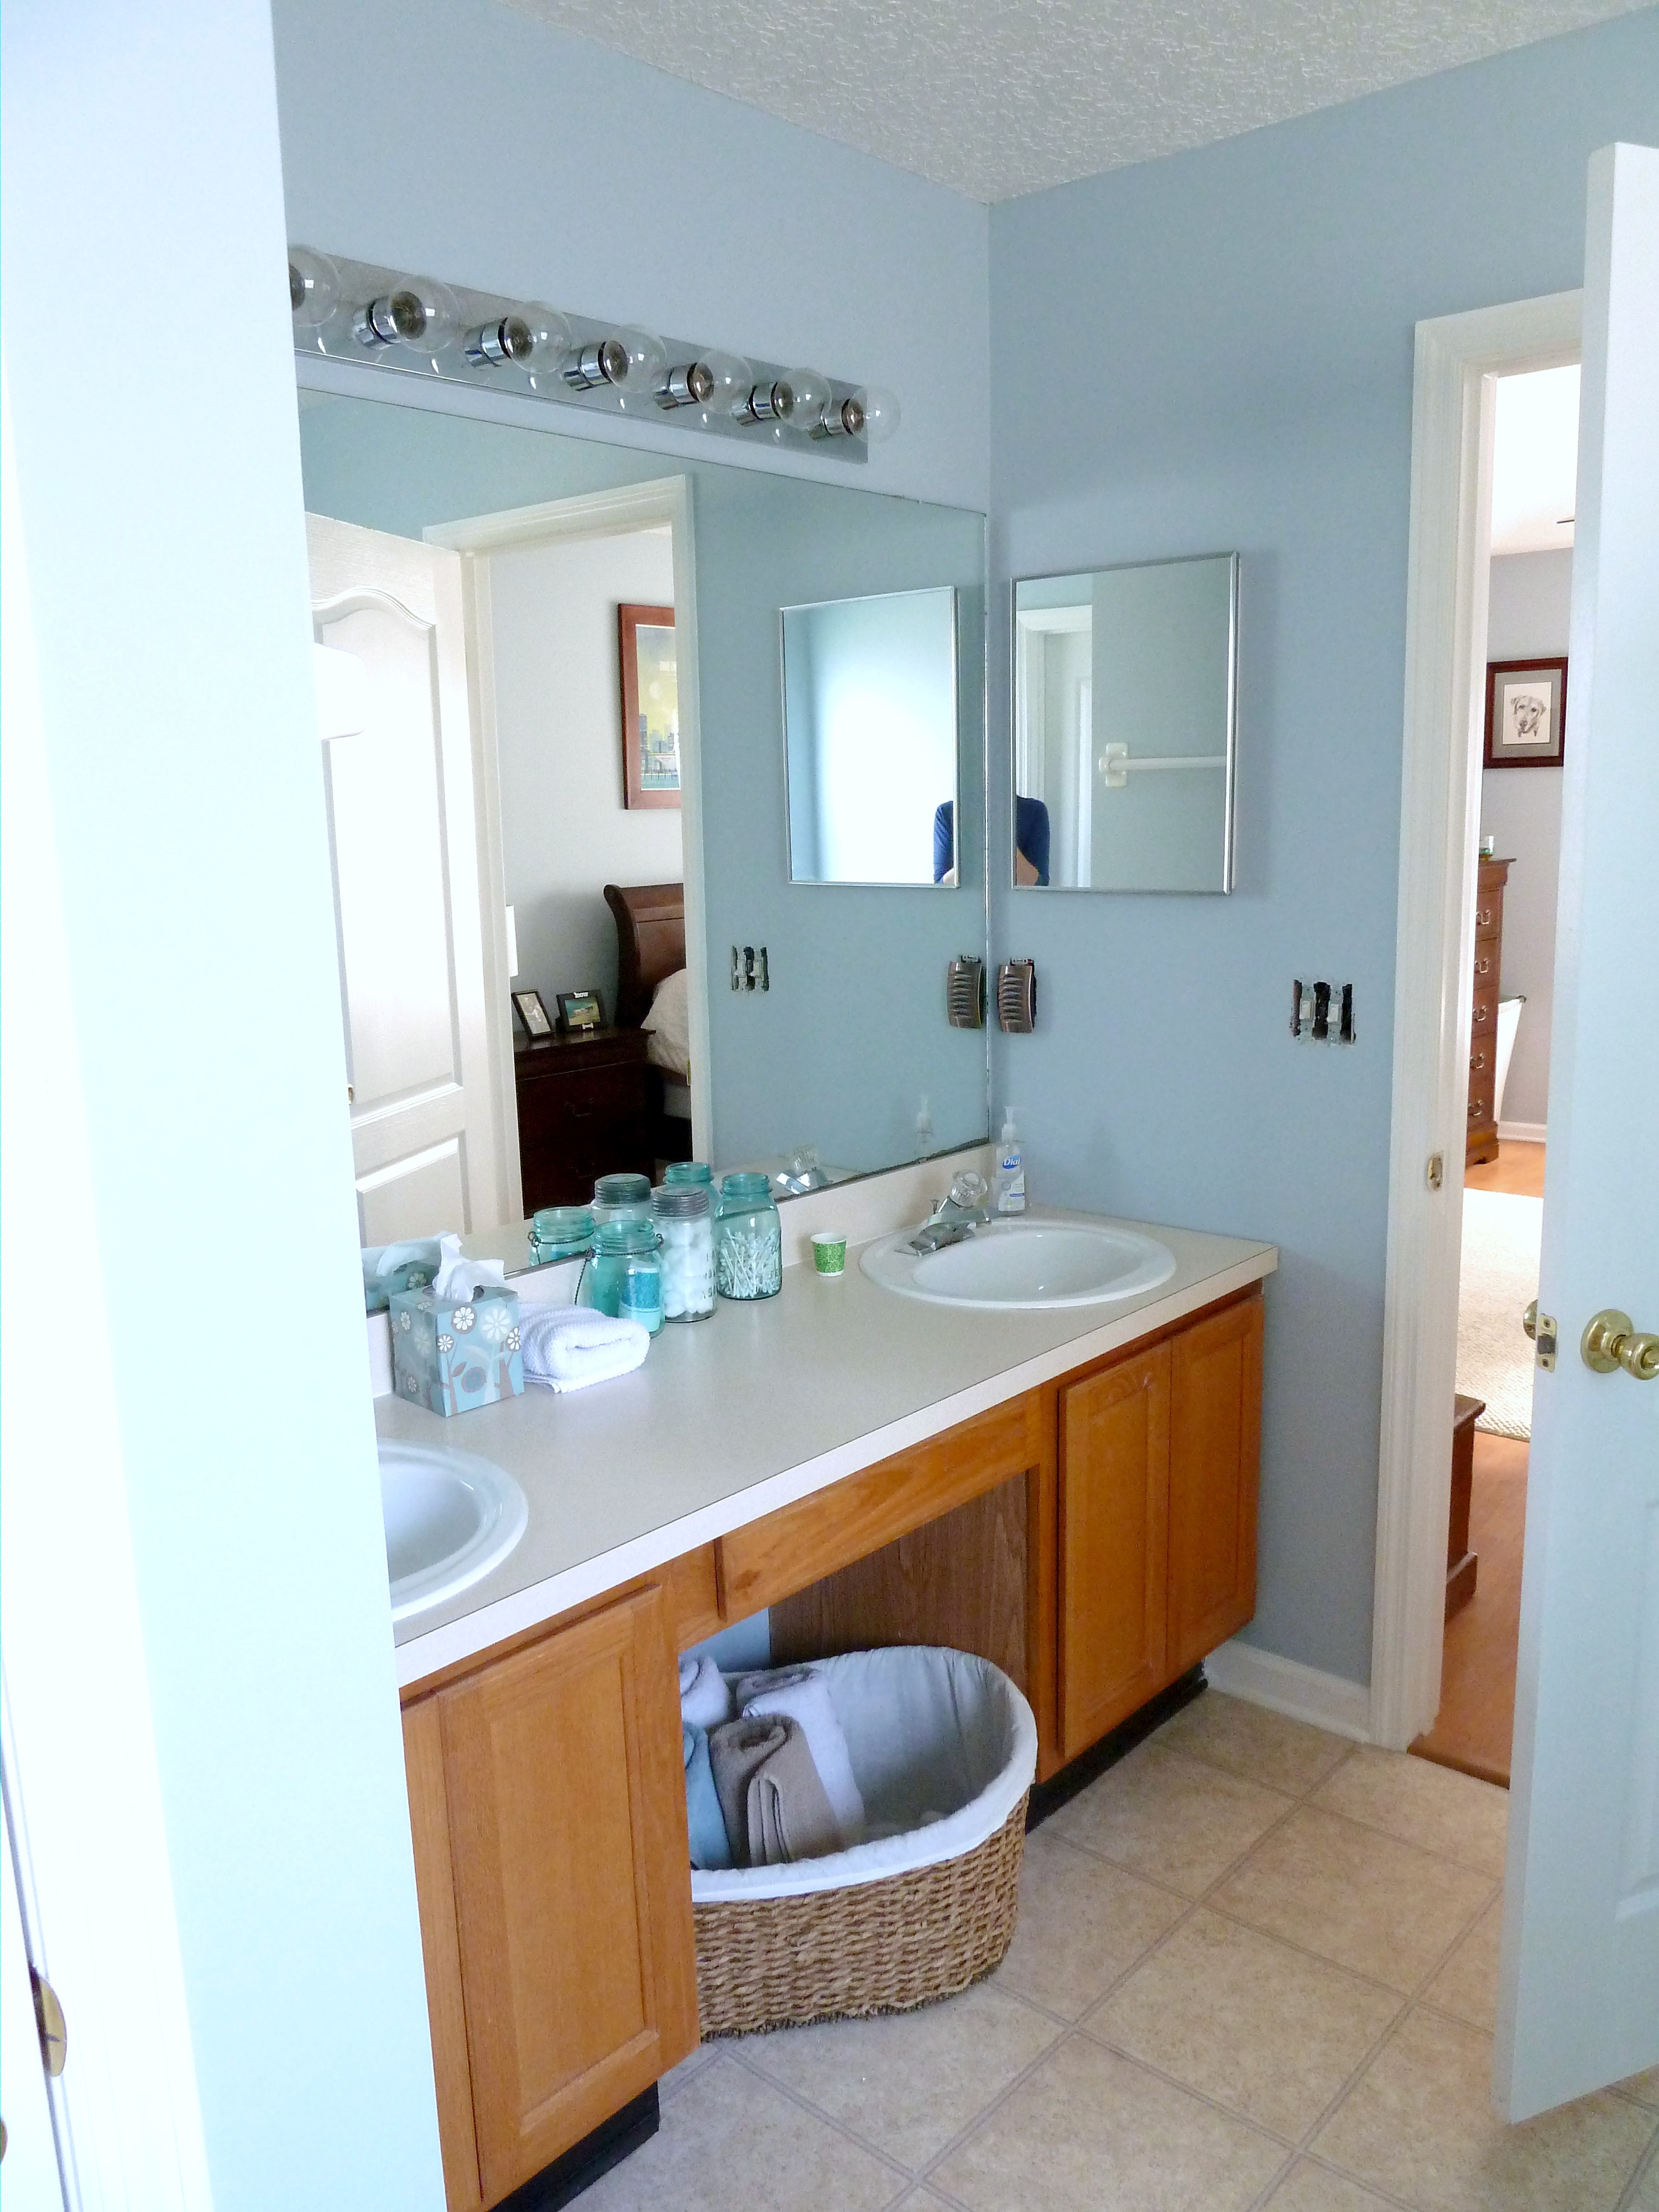
As you know I have been making some changes to our master bathroom. I decided that it was time to do something about these…

I am not a fan of these 90’s style maple cabinets. I know we are going to eventually get some sort of free standing double sink vanity that we are in love with, but why can’t we like this one a little more in the meantime? Amiright? I have also been dying to give painting cabinets a shot. I have never dabbled in this type of DIY project and I don’t think I am going to get a better opportunity. Before I could get started I went to my good friend pinterest and asked her to find me some info on painting bathroom cabinets(yes I consider pinterest a girl). From there I found this blog, I chose this one because she goes into detail on the steps she took to make her cabinets have professional looking results. Also she was taking her cabinets from a similar maple wood tone to white, which was also my goal. Here is the list I went to Lowes with: 1. sanding wedge 2. deglosser or liquid sander 3. spray primer 4. white paint 5. foam roller. This is what I came home with 1. sanding wedge 2. liquid primer 3. white paint 4. foam roller. Do you see that I didn’t pick up the deglosser and my spray primer became regular liquid primer? Well the guy at the paint counter at Lowes told me that if I rolled Zinsser Bulls Eye Primer on my cabinets first I can skip the deglossing step. I was skeptical, but Lowes employees rarely steer me in the wrong direction, so I took his advice and skipped deglossing. Once I got home I needed to take apart my cabinets…

I unscrewed all of the doors from the hinges, then took the hinges off the cabinet frames…
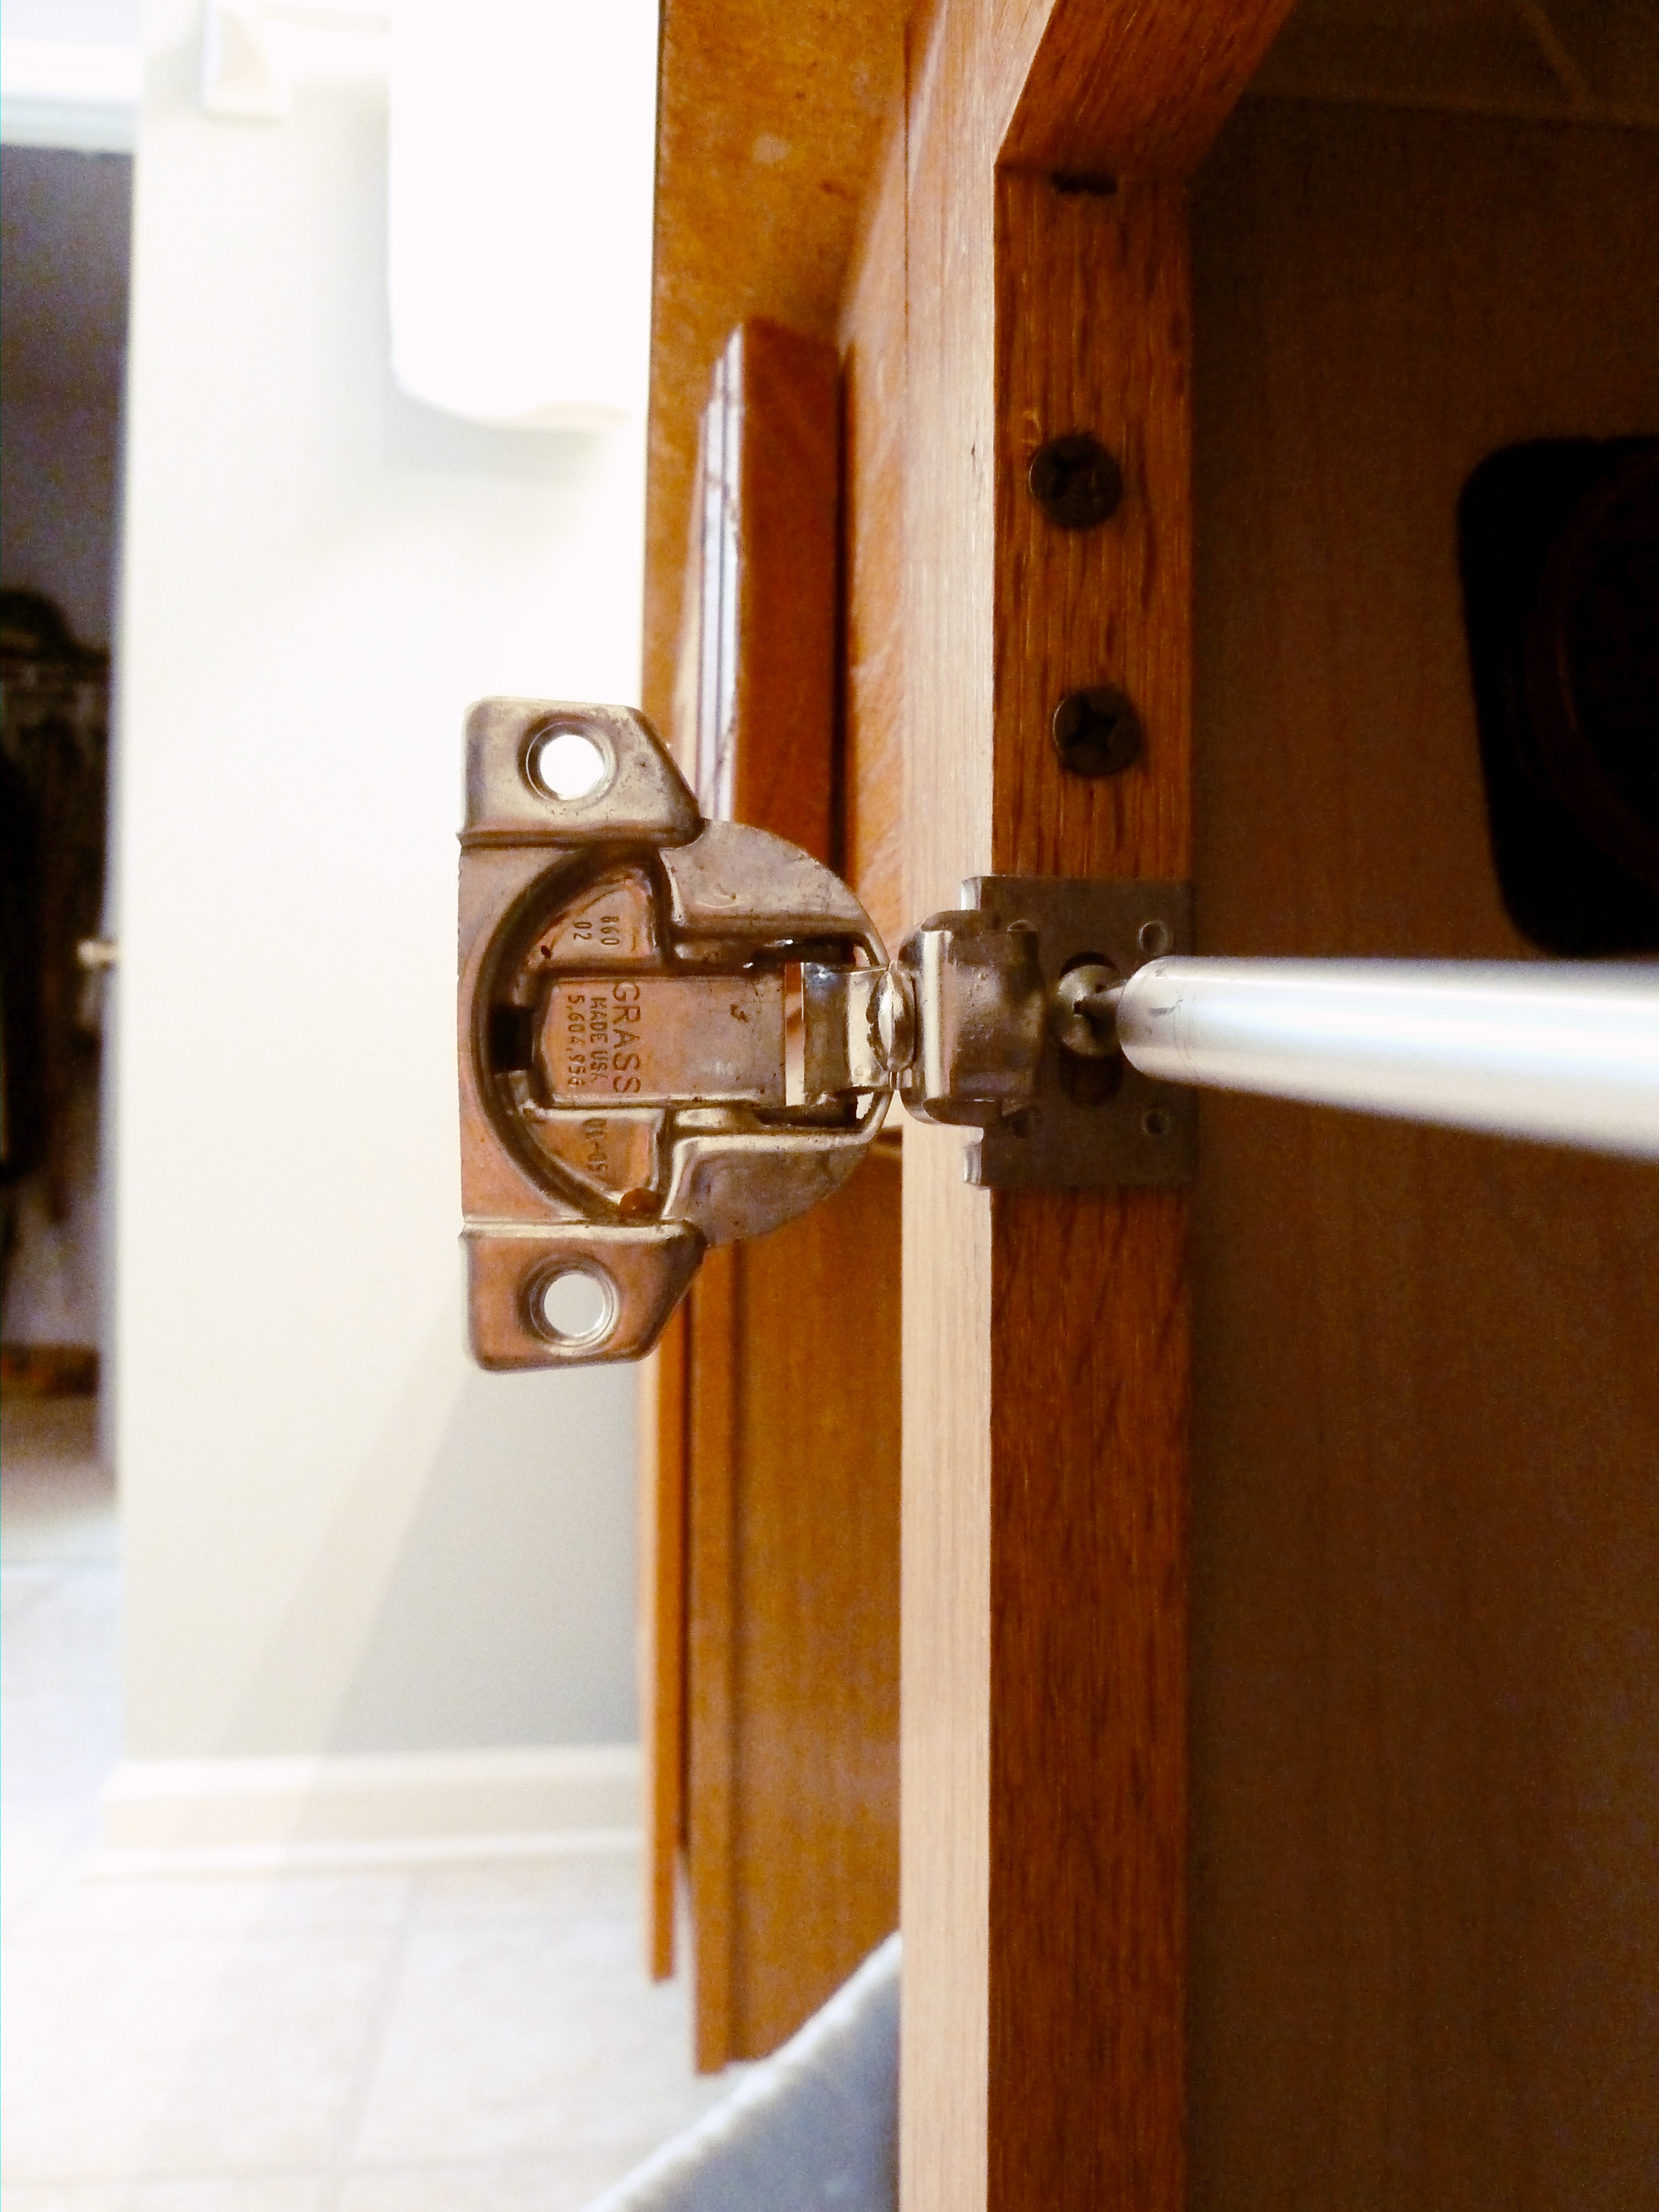
I put all of the hinges and screws in a baggie and set it aside for when I needed to reassemble the cabinets, didn’t wanna lose any of those suckers. Then I was left with this…


It was now time to get to sanding. I used a medium grit sanding wedge…

I sanded all sides of the doors including the edges, then I sanded all of the cabinet framing. I then wiped everything down with a wet cloth to get all of the sanding debri off. This would be where the deglosser or liquid primer would have come into play if I had decided to take that step. This is what I was left with after sanding…
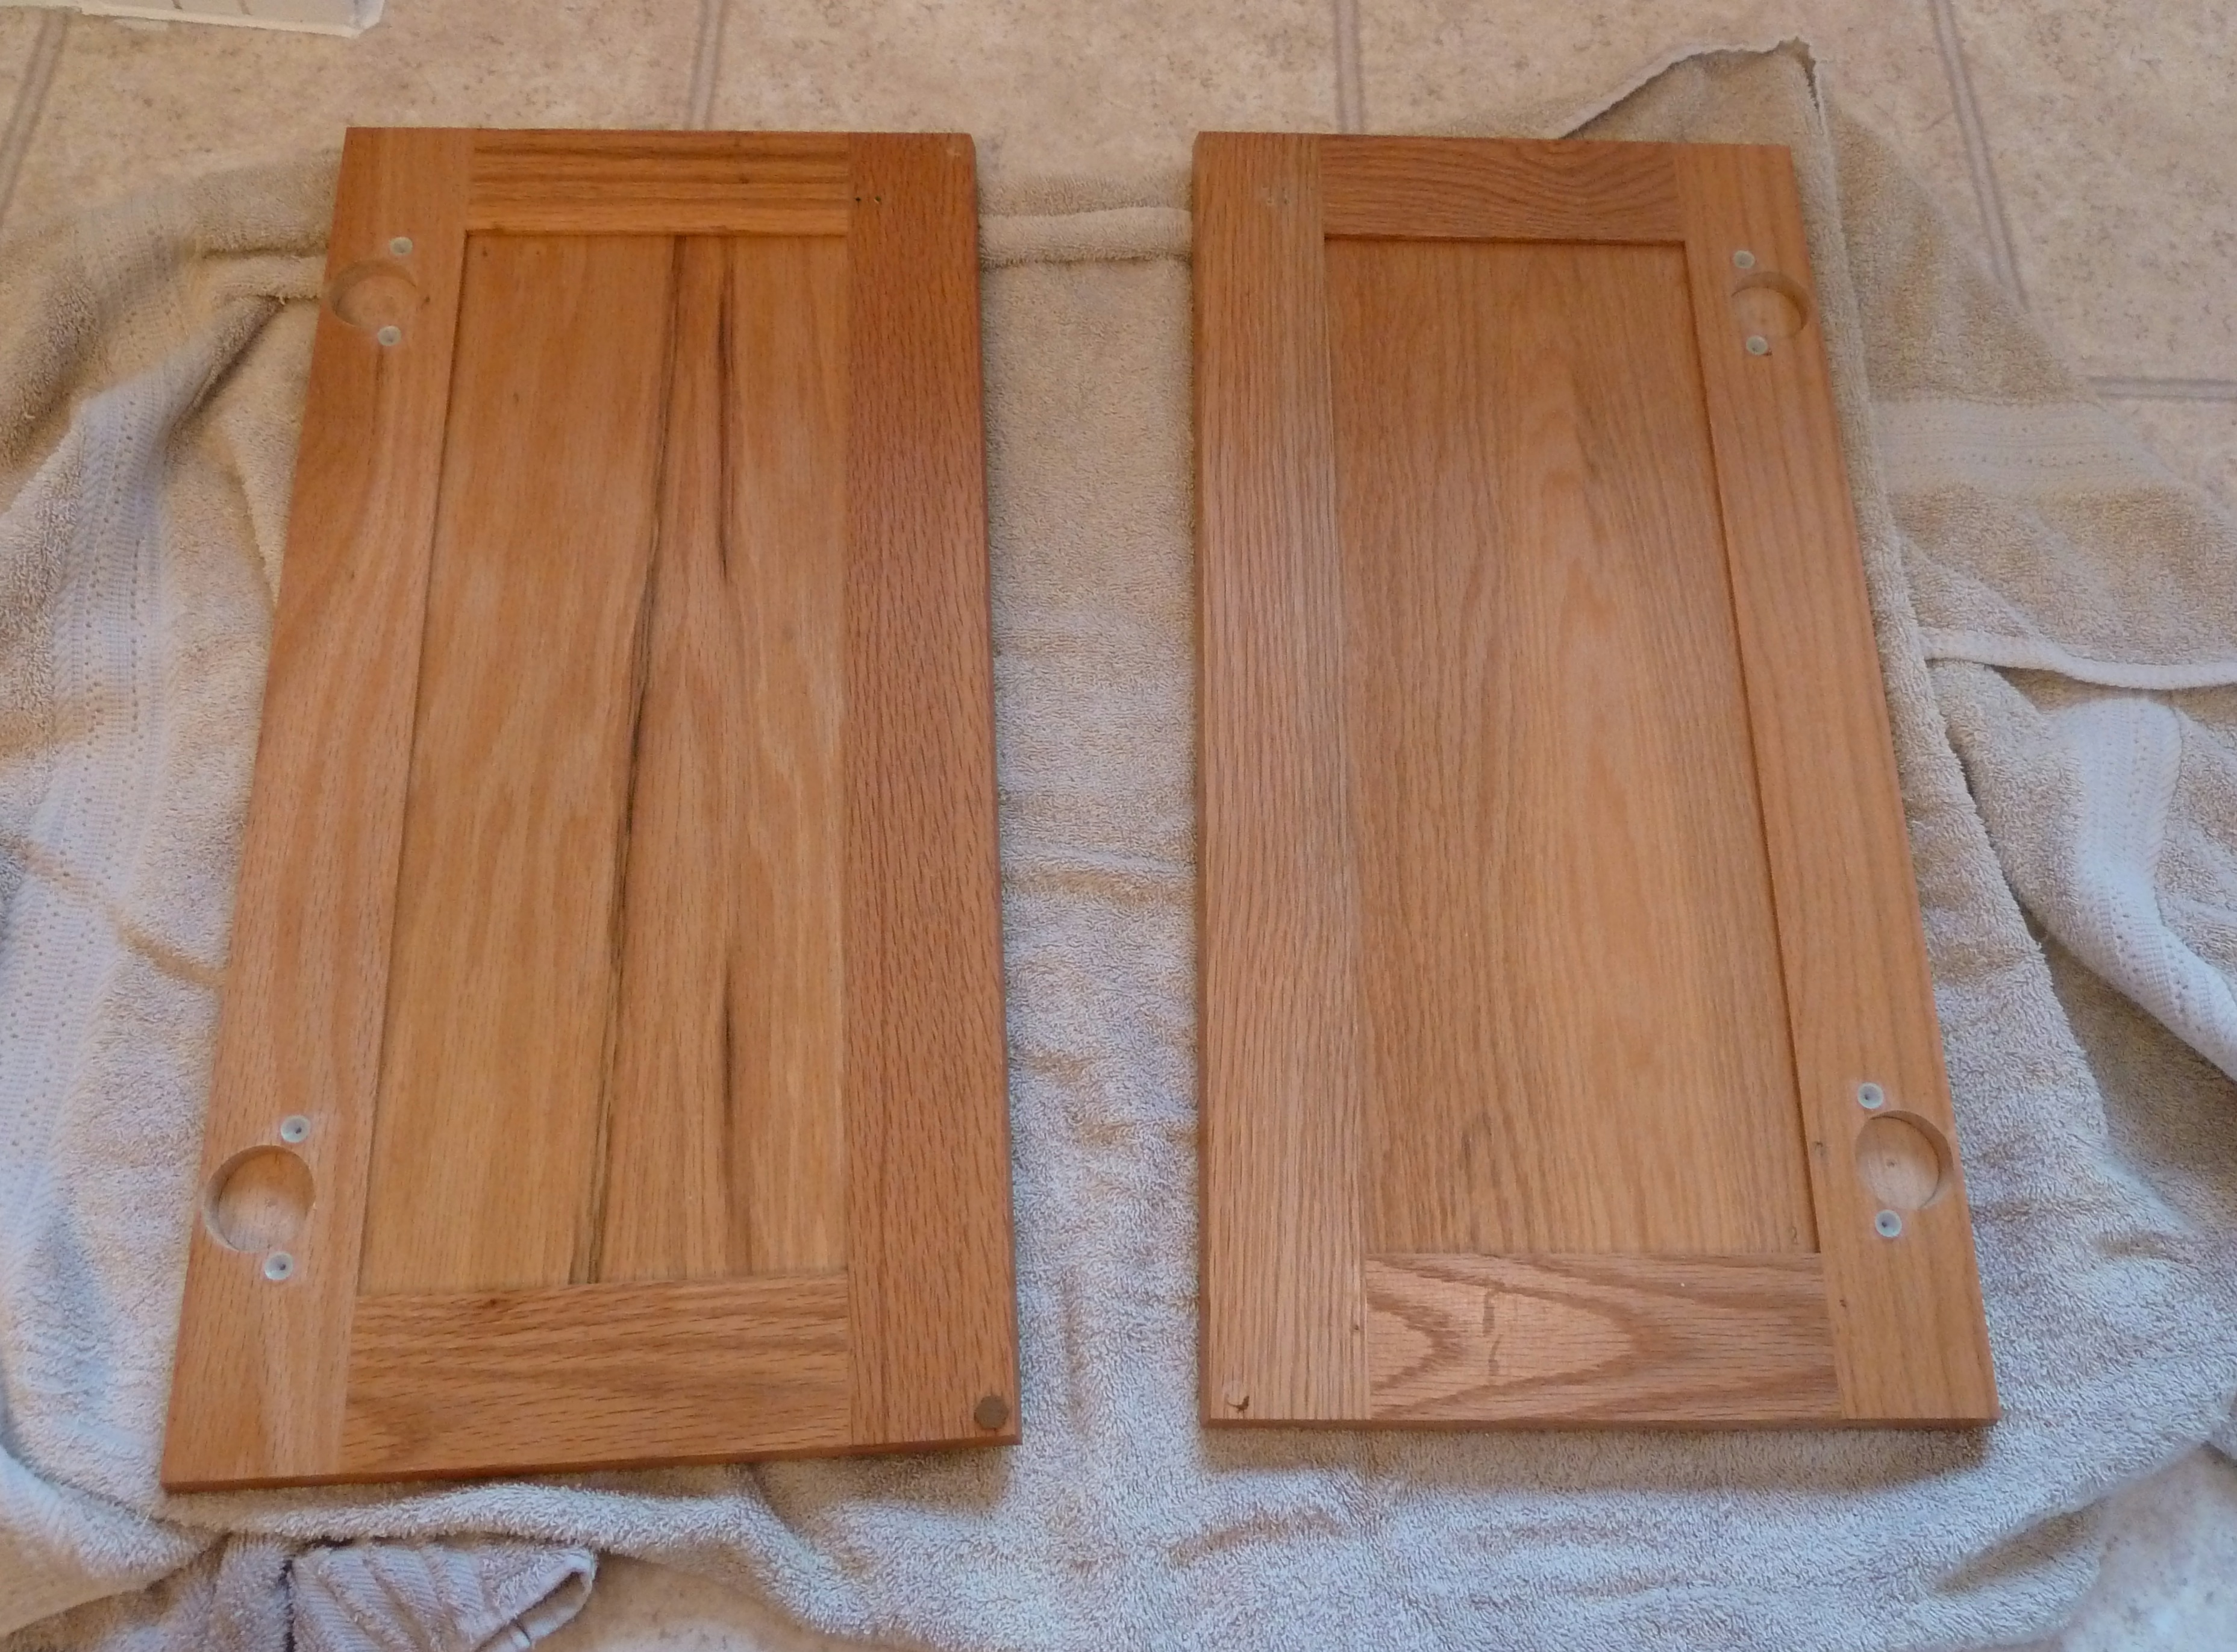
I know it looks the same to me too, just a little less shiny.
Then came priming, here is the Zinsser Bulls Eye Primer, which is basically like gold according to man behind the paint counter….
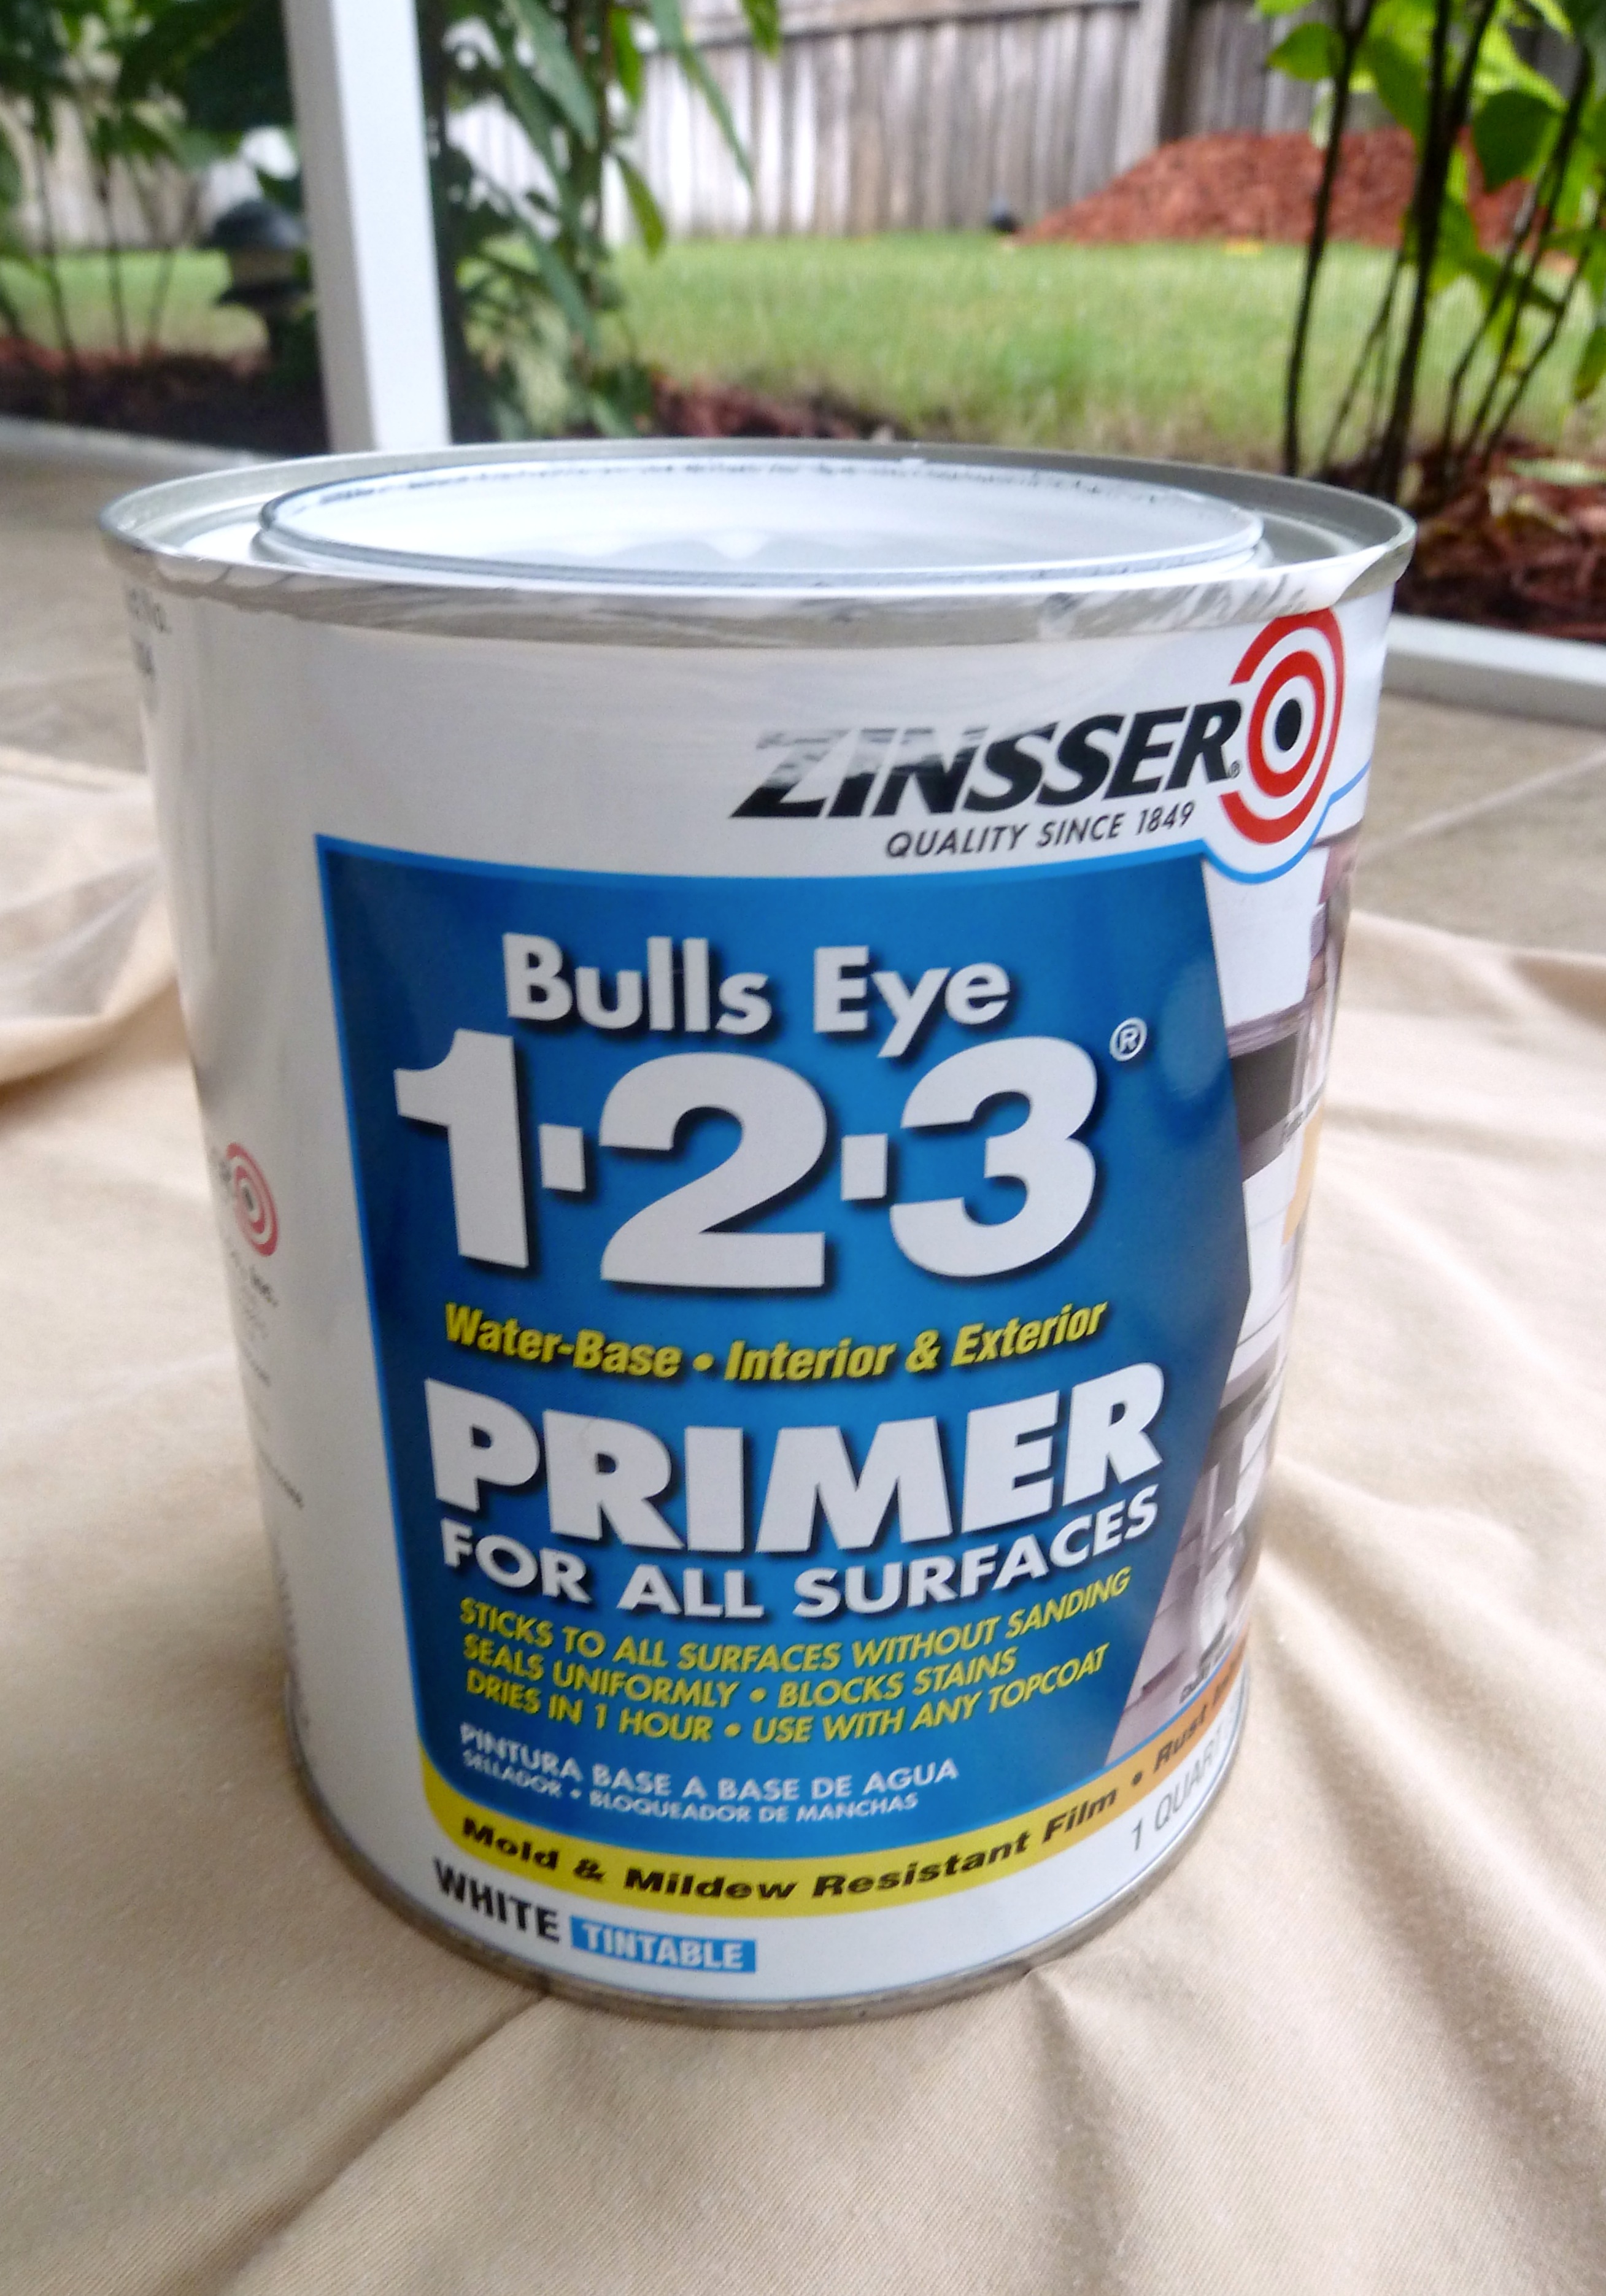
Looks like gold huh? This is also when I grabbed all of my cabinet doors and brought them out to the patio, didn’t wanna let the fumes suffocate my little Charlie bean and Zack man!
I first used a 2 inch paint brush to brush the inside crease on my cabinet doors, then I rolled the remaining area with a foam roller…

The foam roller can’t get into all of the small creases on the cabinet doors, so I have to use the brush for those areas. But I prefer the foam roller because it leaves a more even coat with less streaking that a brush would leave. (You know I am all about painting, so of course I need to give you my preference of painting tools.) I painted the back of the cabinets first, I did this so once I had painted both sides, the front of the doors would be able to dry over night facing upward. Just in case some tackiness is still occurring when I flip them to paint the front, any possible problem areas will be on the back of the doors. Here is the complete coat of primer on the doors…
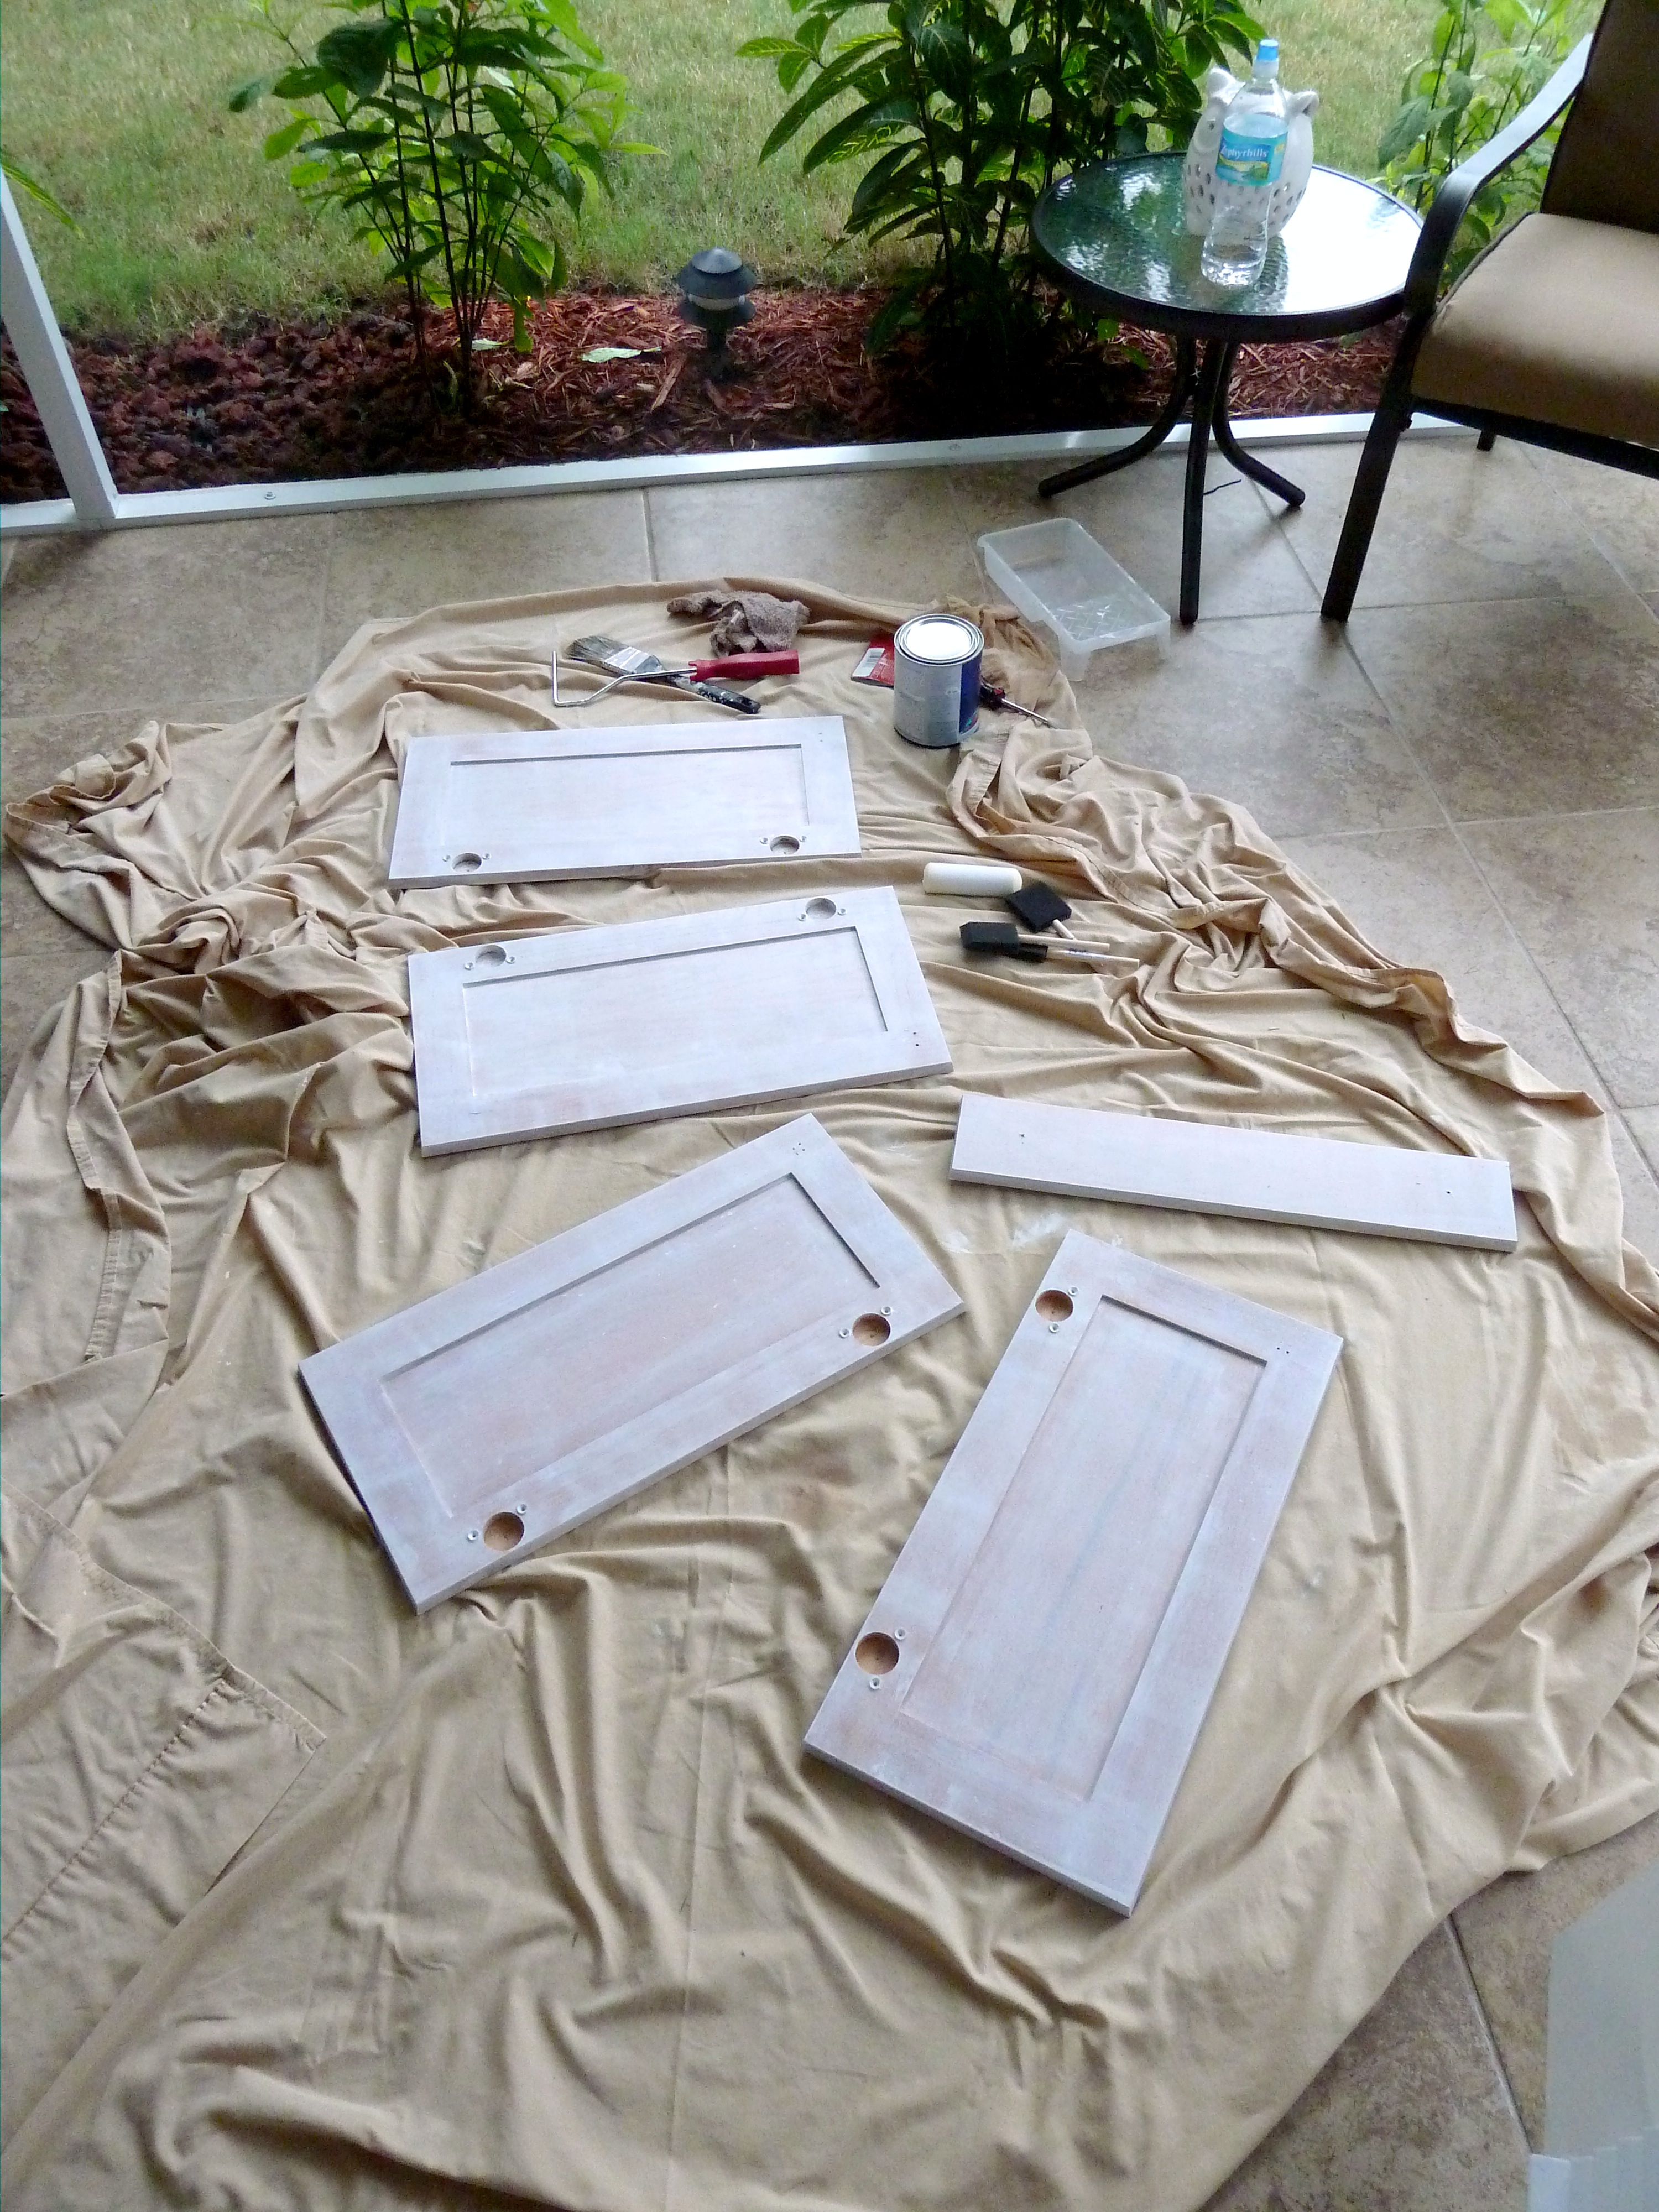
That long skinny board is the front of the single drawer we have in the bathroom. Next up I headed inside to put a coat of primer on the cabinet frames, unfortunately this has to be done indoors considering it’s attached to the walls, darn.

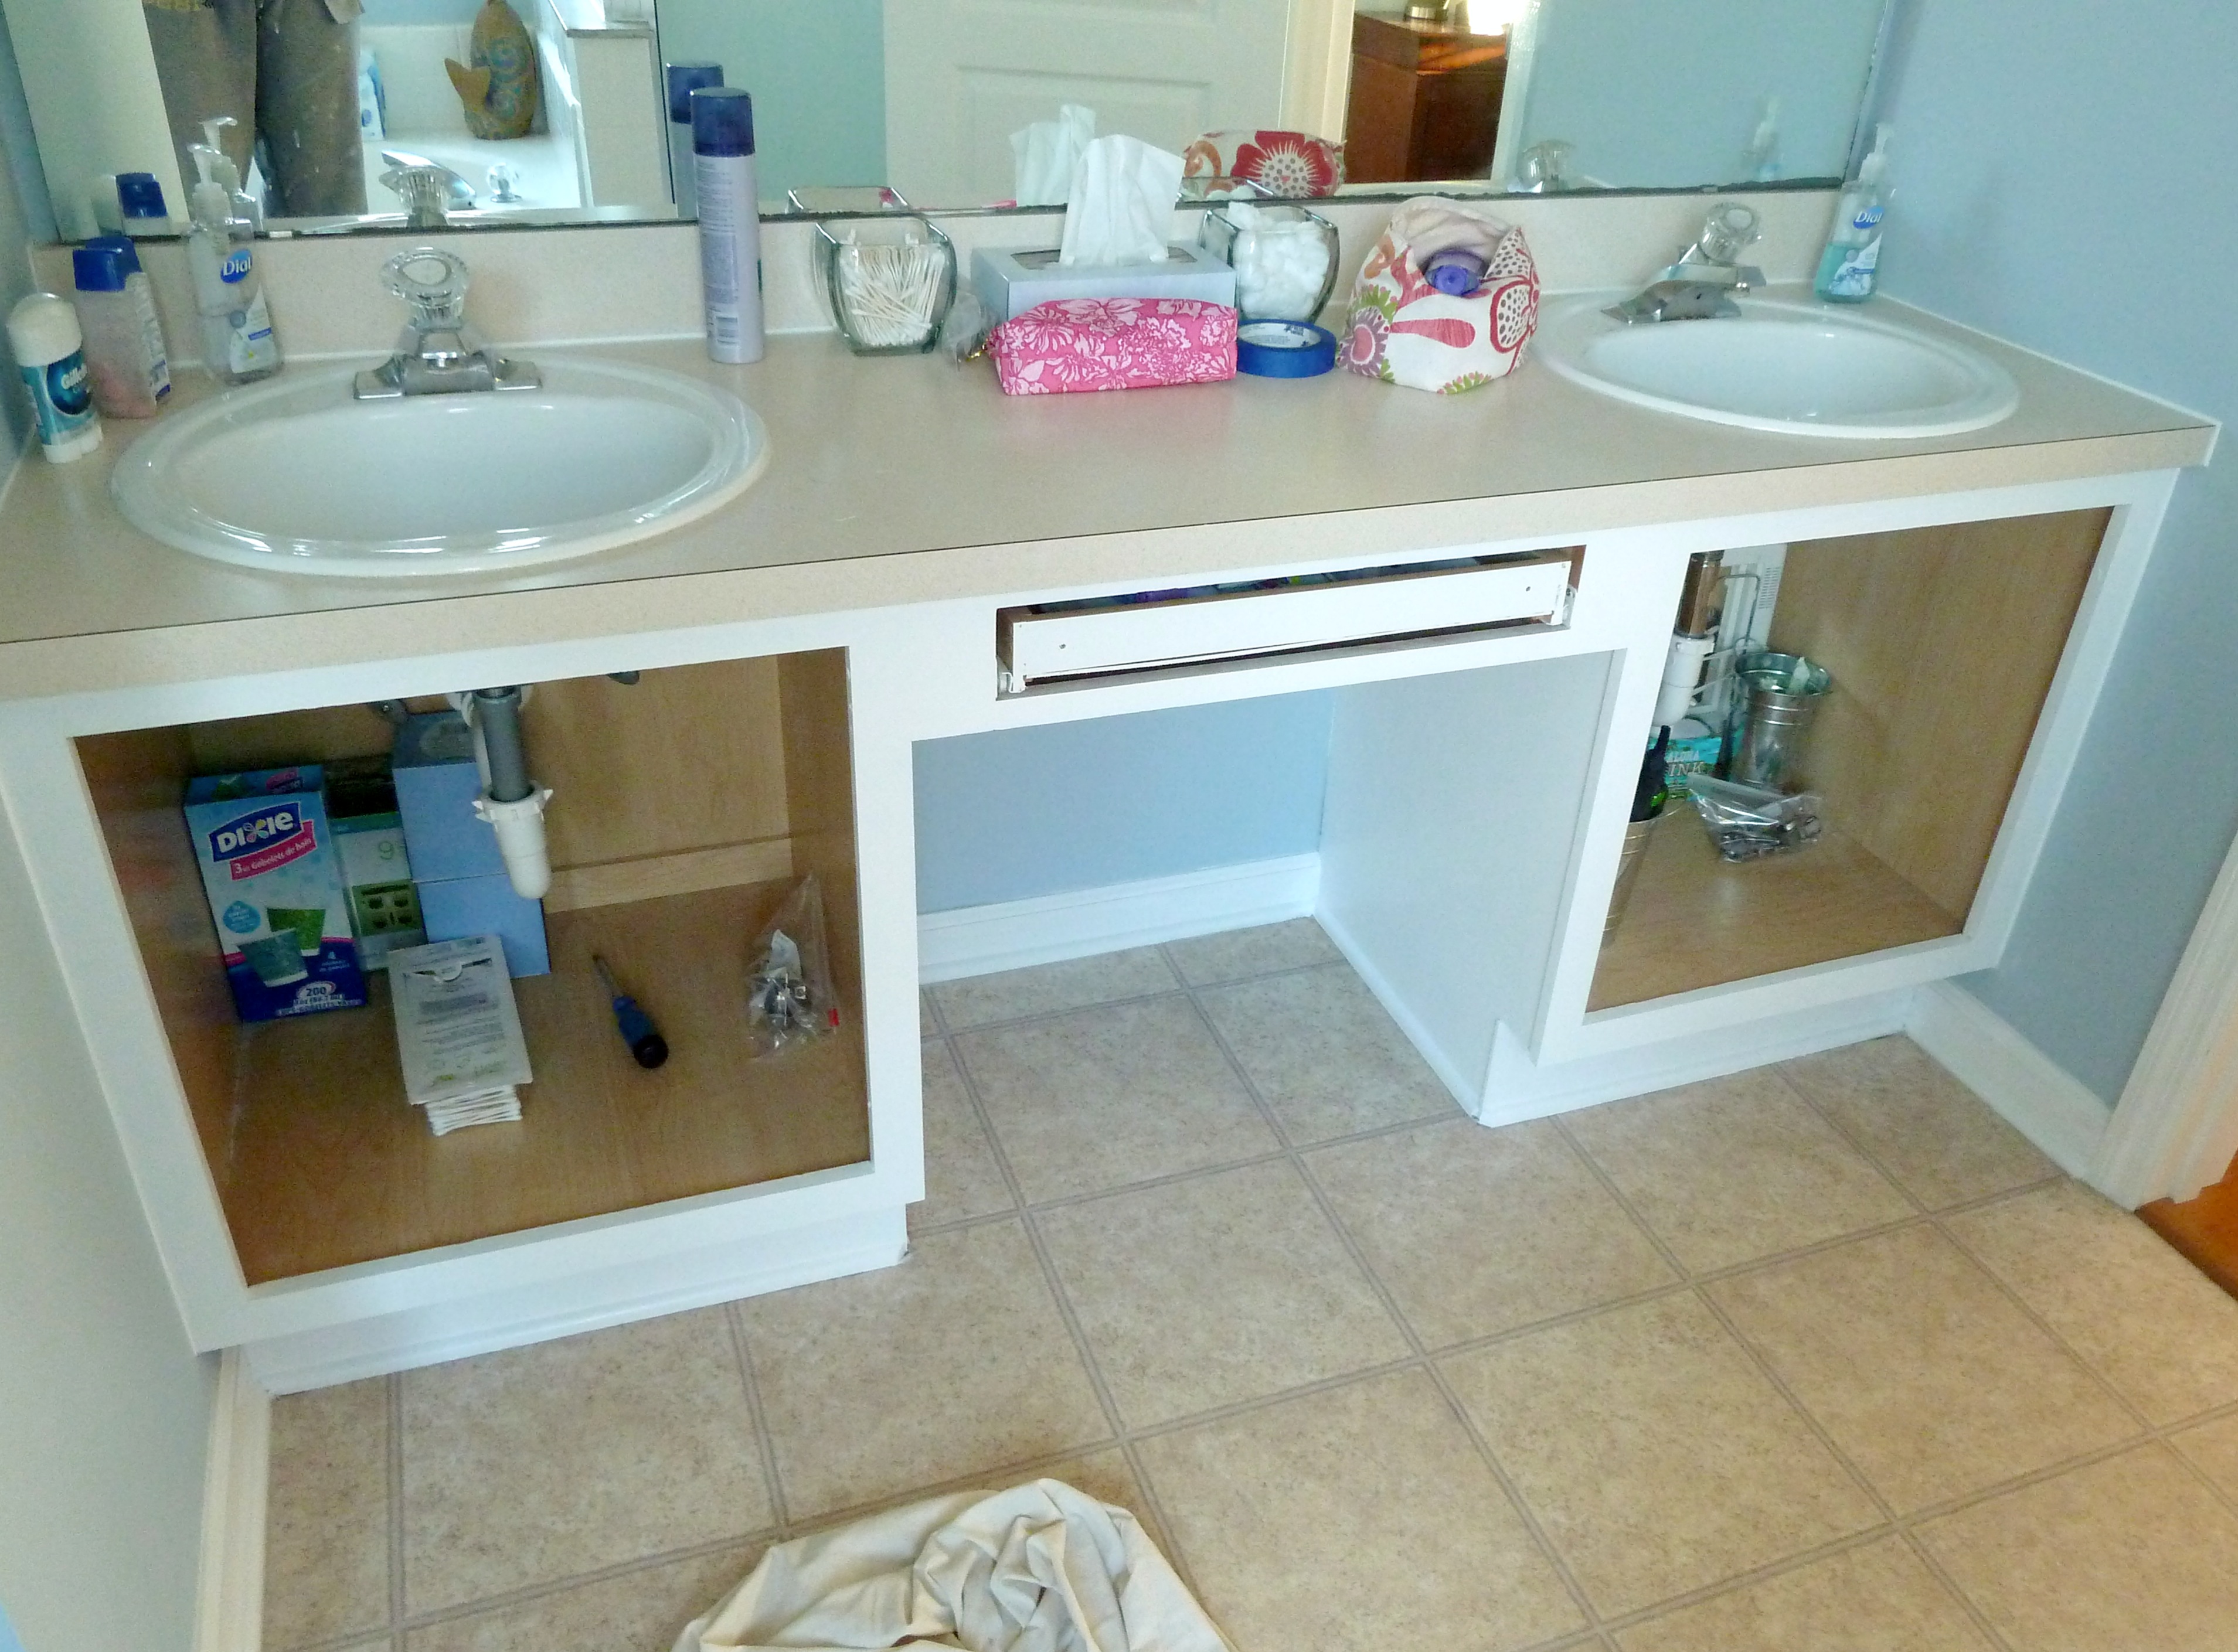
As you can see before I primed the cabinets I taped off the walls and floor where it meets the cabinets. I let this dry for about 4 hours(the can recommended 2, better safe than sorry right?). Then it was time for the paint…

I went with Valspar Signature in Ultra White. I painted this on the exact same way as the primer. Here is after the second coat…

I had to do one coat of primer and 3 coats of paint in total. It took me about 3 days to finish since I really wanted to let each coat dry thoroughly, I really didn’t want to deal with any chipping issues. Once everything was completely dry it was time to put it all back together!

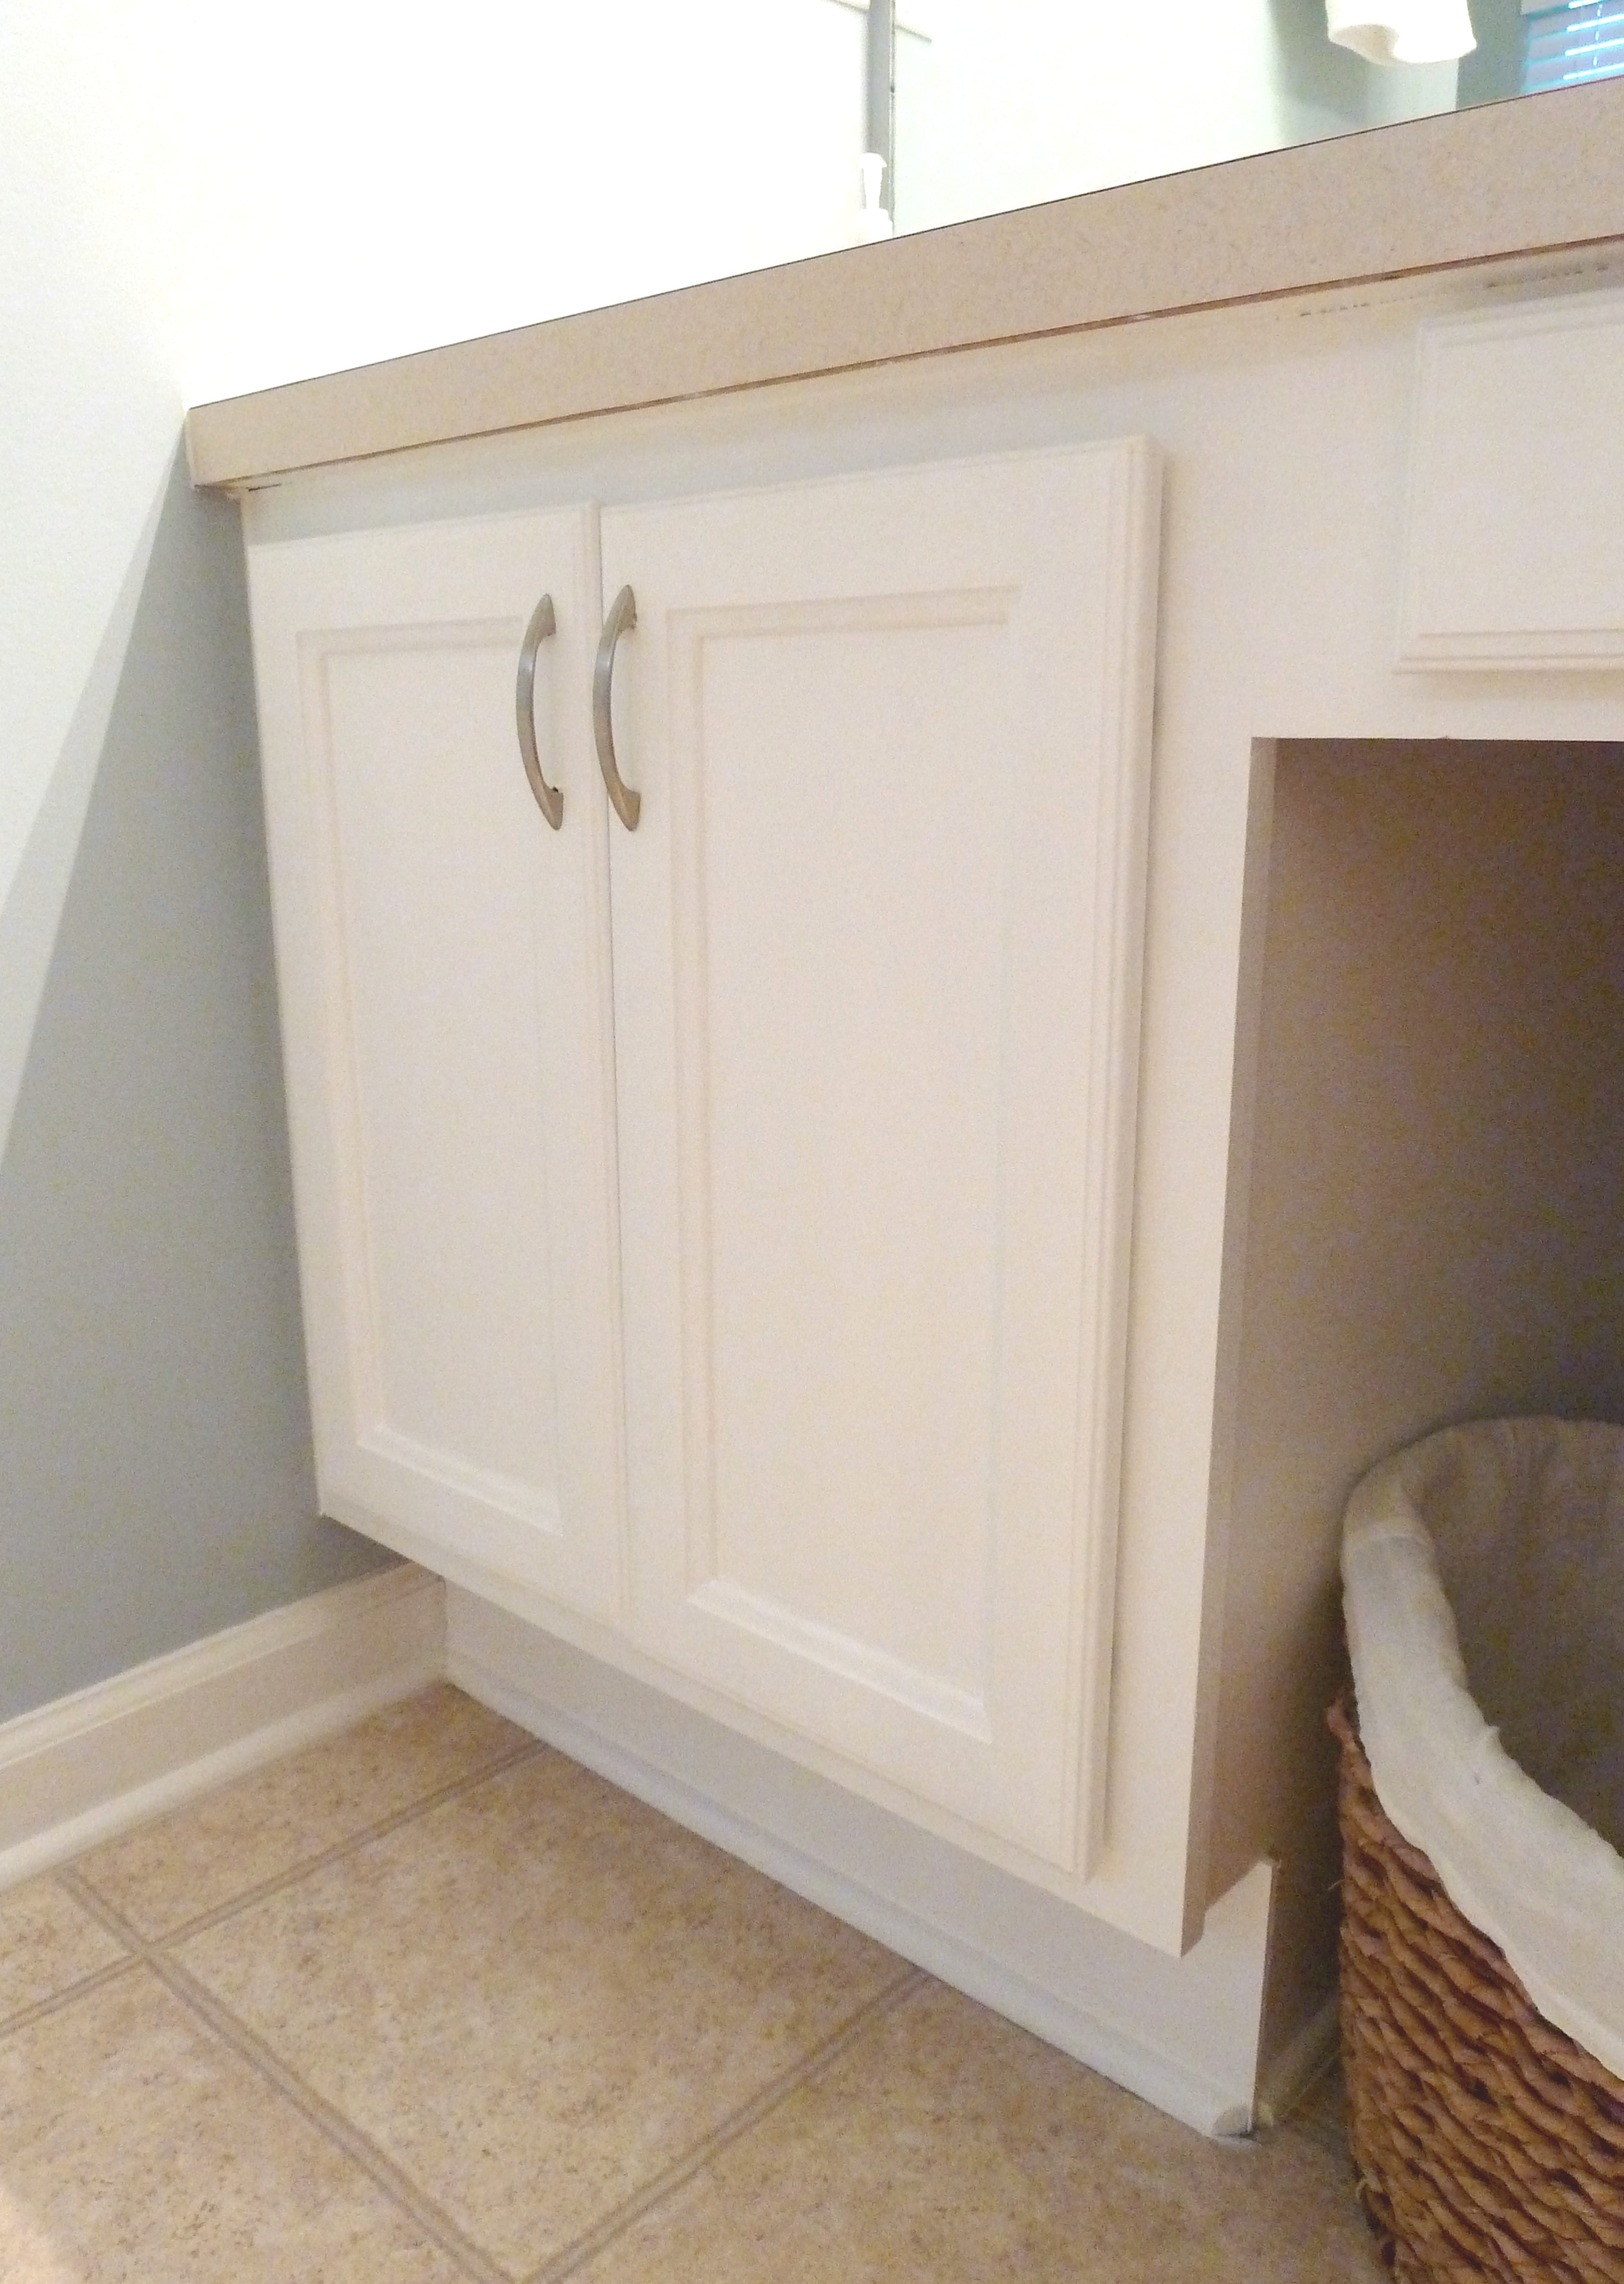
I think I did a bang up job and these cabinets are now a little easier on the eyes. Oh and in case your wondering about the inside…

That’s all painted too.
I also picked up some new hardware from Lowes while I was there and I attached those to the cabinets after measuring where each should go. Want some before and afters? Okay!
Before:
and now…

Before…

yes, the cabinets had black kick boards.
and now…
Before:
and now…

Before:

and now…


I’m pretty jazzed about the outcome. I think it was a success. It makes the whole bathroom feel different, the shade of blue on the walls even feels like it has changed a shade or two. I am thinking some darker decorations may help balance the lightness in here. As for painting cabinets, it is quite the job but I think it is worth it in the end. The only suggestion I have for a project like this is to wait a day in between each coat of paint and give it another day or two before reattaching the doors to the frame. Do you have any preferences?