Bridal Shower

My friend, Krissi, just got married! Woo to the hoo!

She asked me to be one of her bridesmaids, and I was thrilled.  All of the other bridesmaids live up North, in New York, and they threw her bridal shower and bachelorette shindigs up there.  Since, I am down here with Krissi in good ol’ Florida, I wanted to throw her a party to celebrate with her southern friends.  Don’t be fooled though, we don’t have many friends down here.  We pretty much hang with just each other.  Anywho, I wanted to throw a bridal/bachelorette/girls night/Krissi day for my lovely friend.

Here’s what went down…

I knew I wanted to hang balloons upside down from the ceiling, because I have seen many cool examples on Pinterest.  Here is what I came up with…balloons hung from ceilingI bought clear-ish balloons and filled them with pink confetti glitter, then hung them from the ceiling with pink ribbon. glitter filled balloonsI’ll give you a quick fun fact about Krissi, she is a health nut, and she was even more so because of her upcoming wedding. So, I made some cupcakes, which were the weight watchers recipe for red velvet.  I threw some colorful sprinkles on top, since I was going for a colorful “sprinkles” theme. bridal shower cupcakesI, also, framed a couple of my favorite photos of her and her hubby to be, Sean.shower cupcakesI made another good ol’ mimosa bar, because a Krissi party isn’t a Krissi party without mimosas.bridal shower mimosasI had other bevs for the non-mimosa drinkers as well. party drinksPlus, these amazing straws…funny strawsI picked the dog faced straw for my drink, who woulda thought?sprinkle partyTo continue with the “sprinkle” theme I found these awesome polka dot baskets and serving trays at Michaels.pink bridal showersprinkle pretzels 
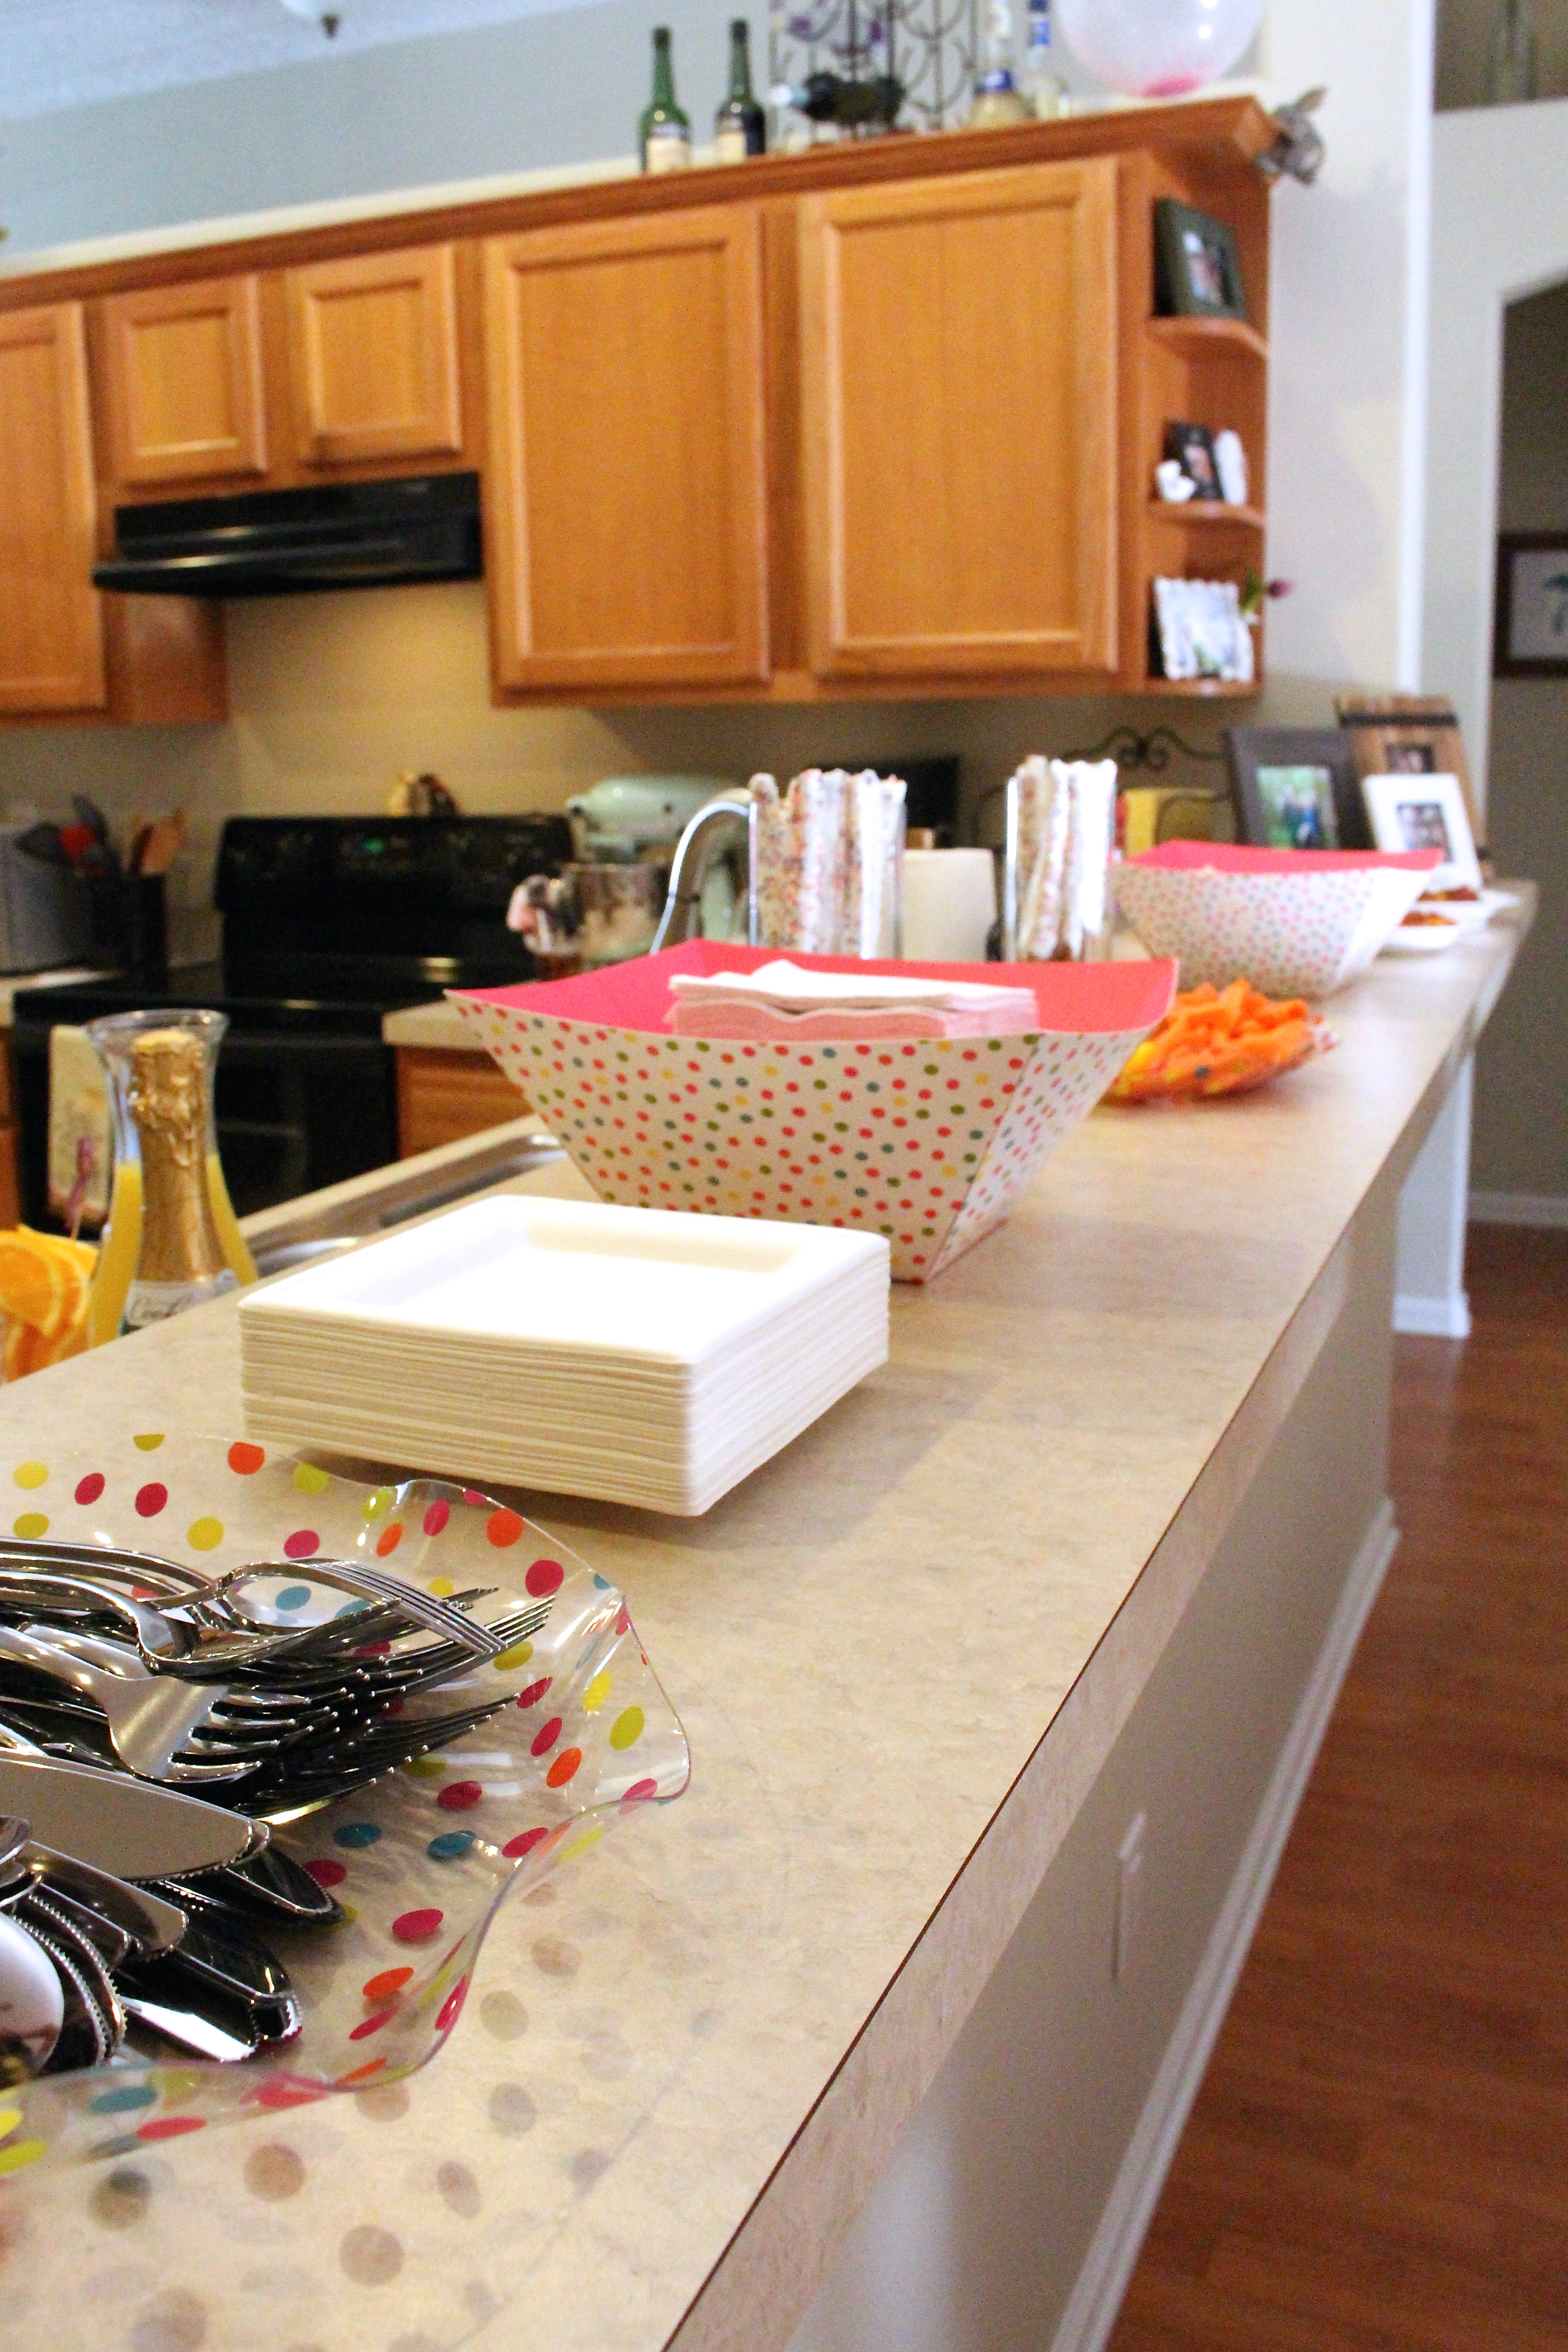
I made white chocolate and sprinkle covered pretzels and popcorn.  I could eat that popcorn for every meal for the rest of my life.  Seriously, melt some white chocolate and pour it over some popcorn, you will not be disappointed,IMG_0961
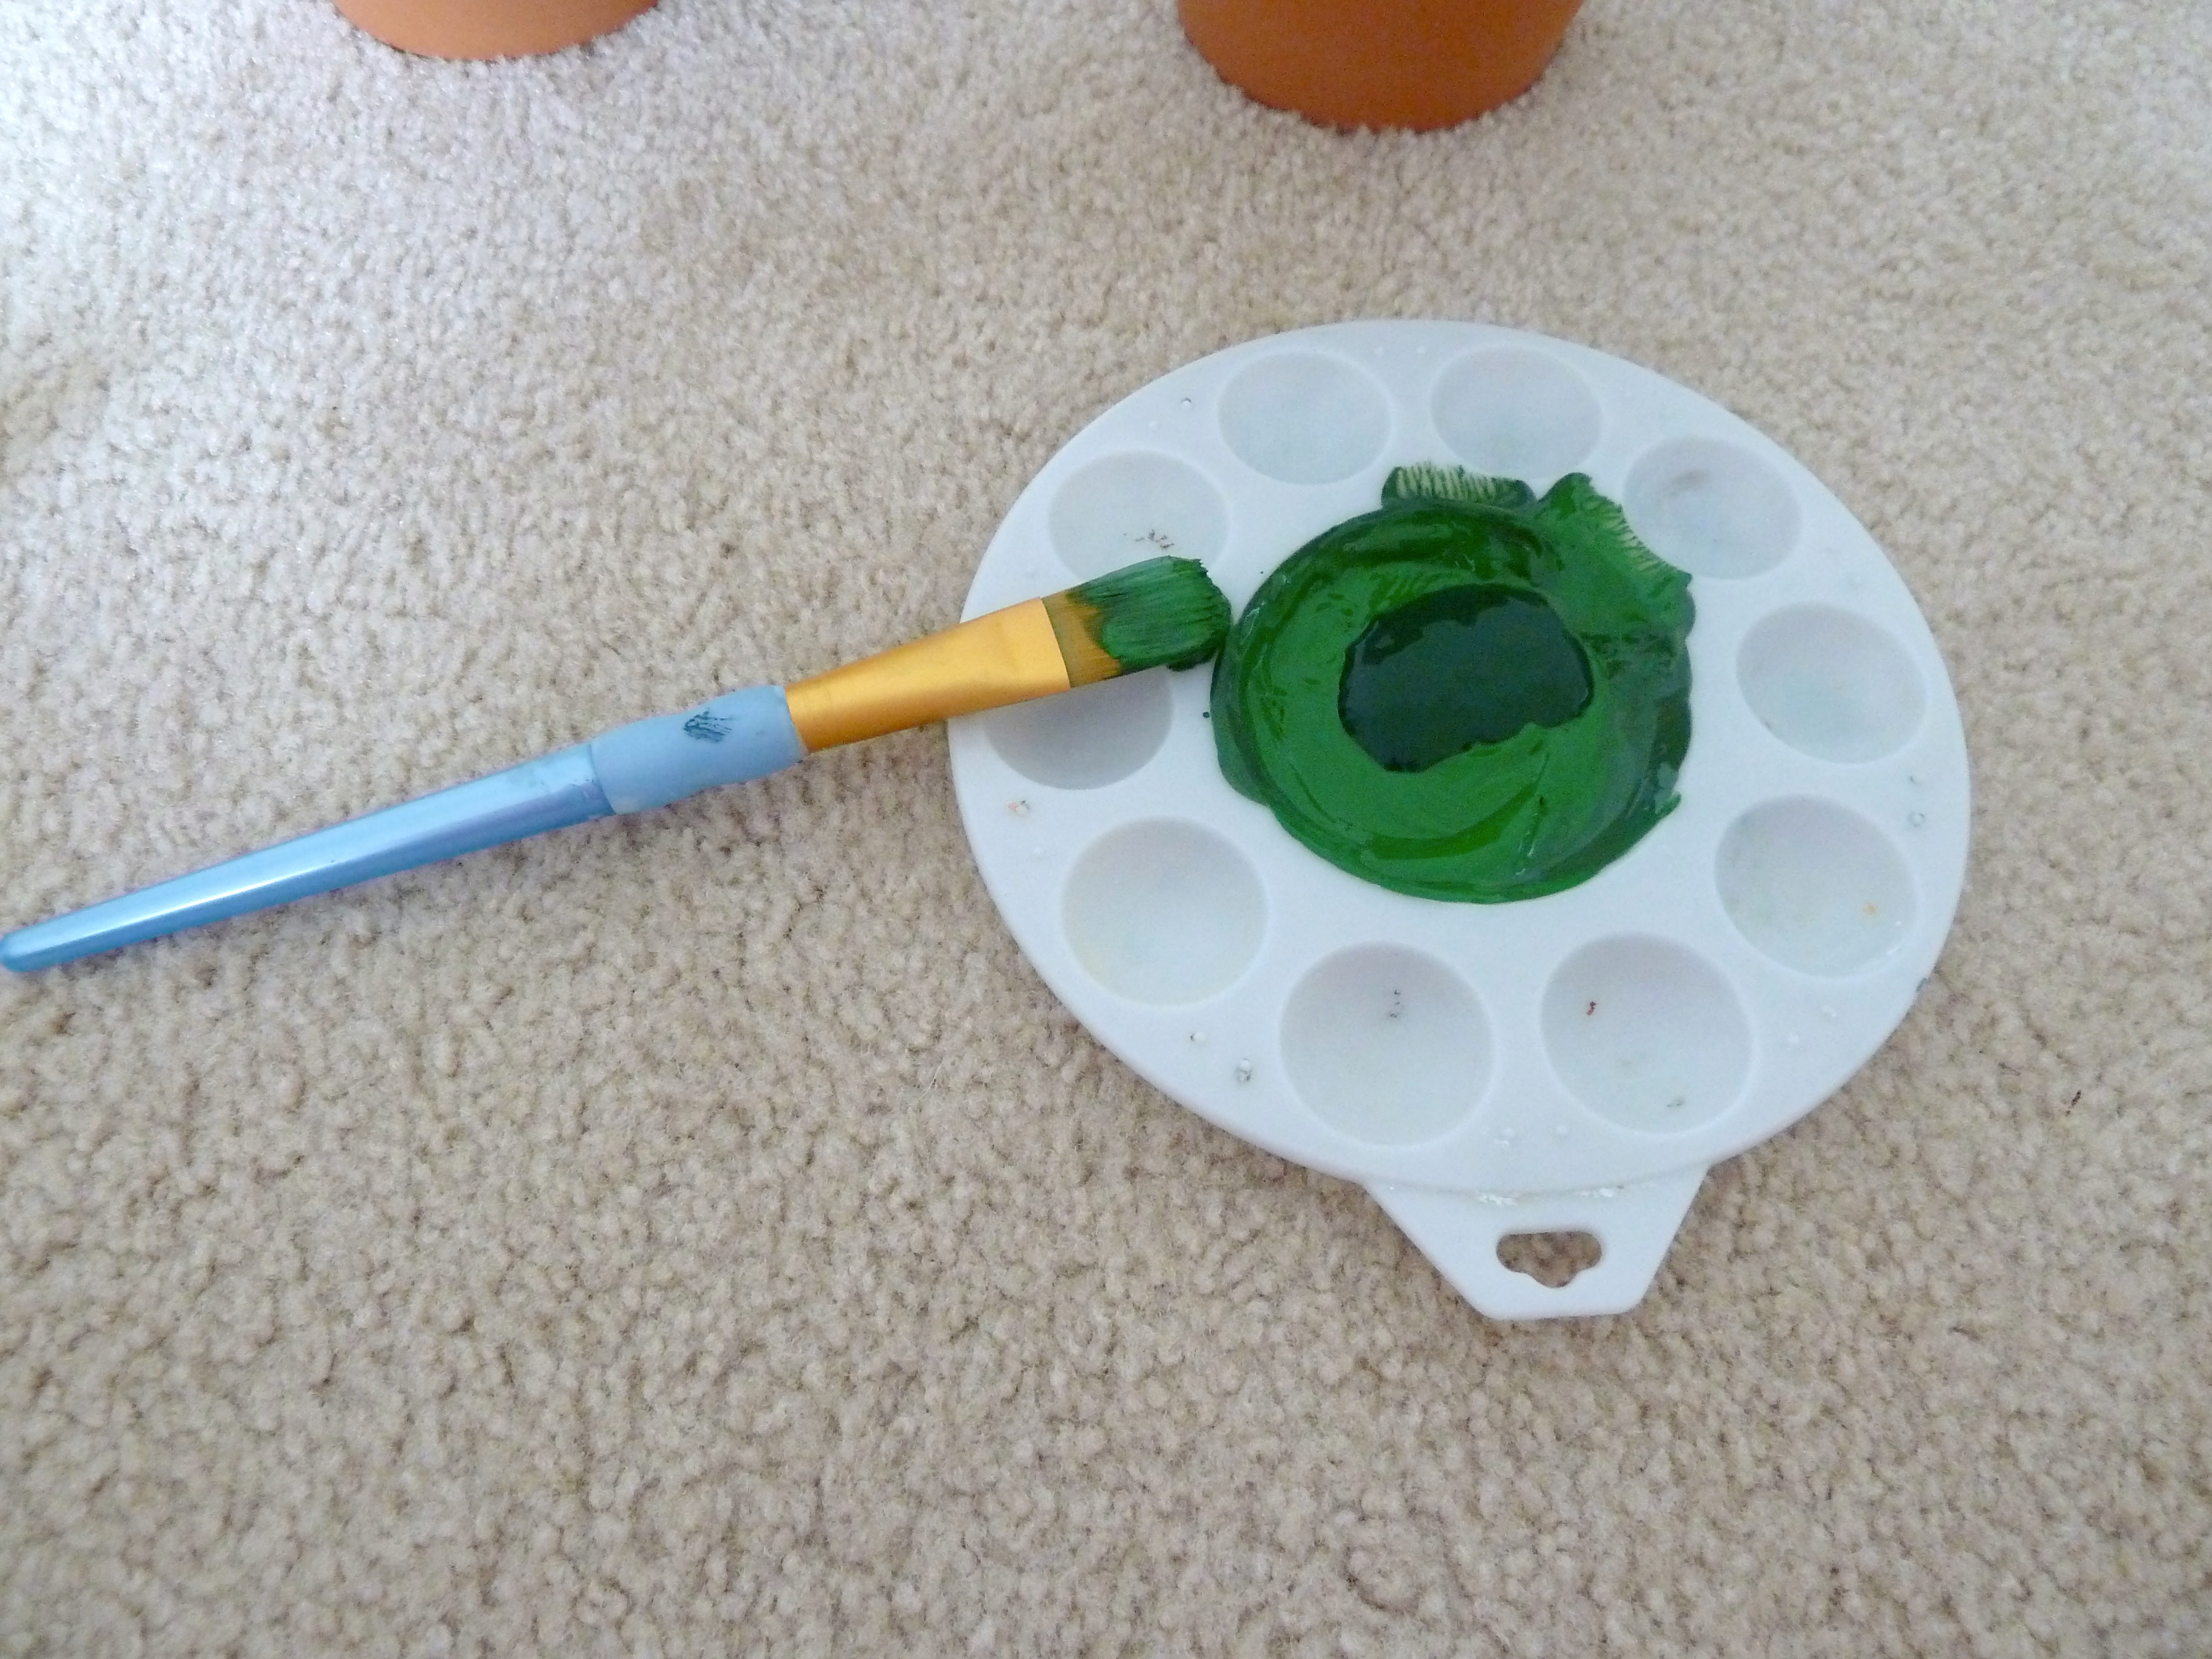
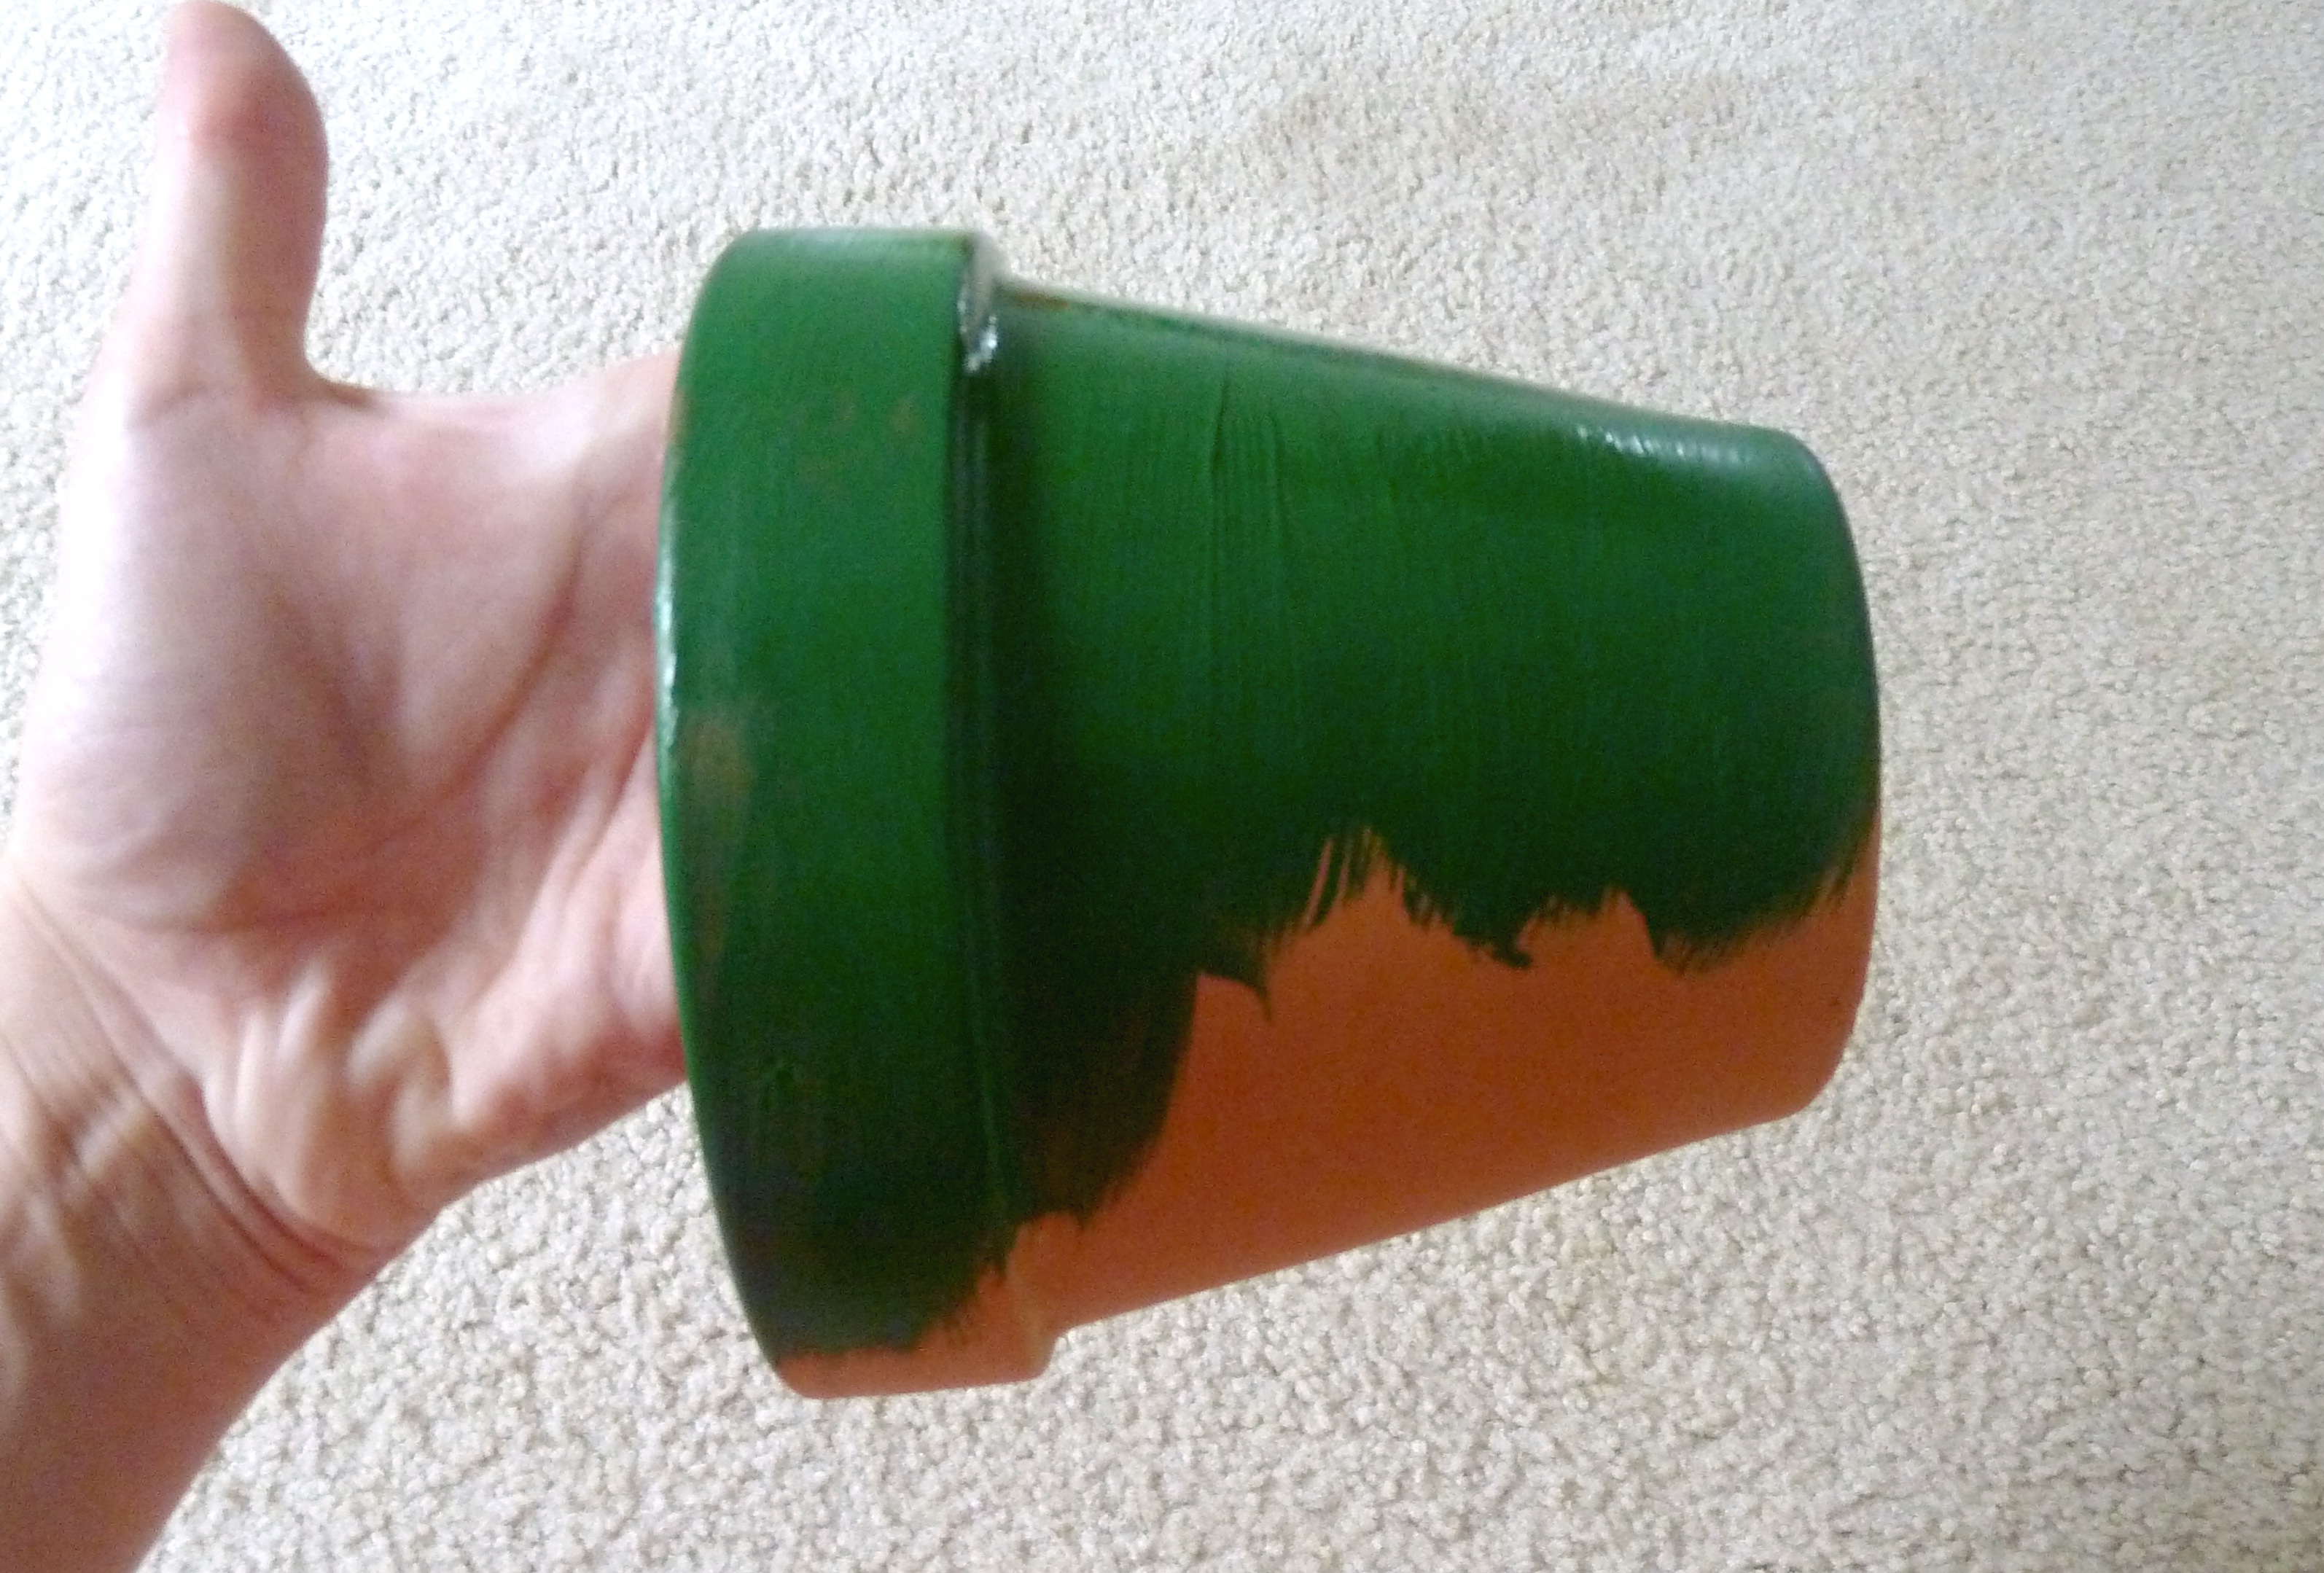
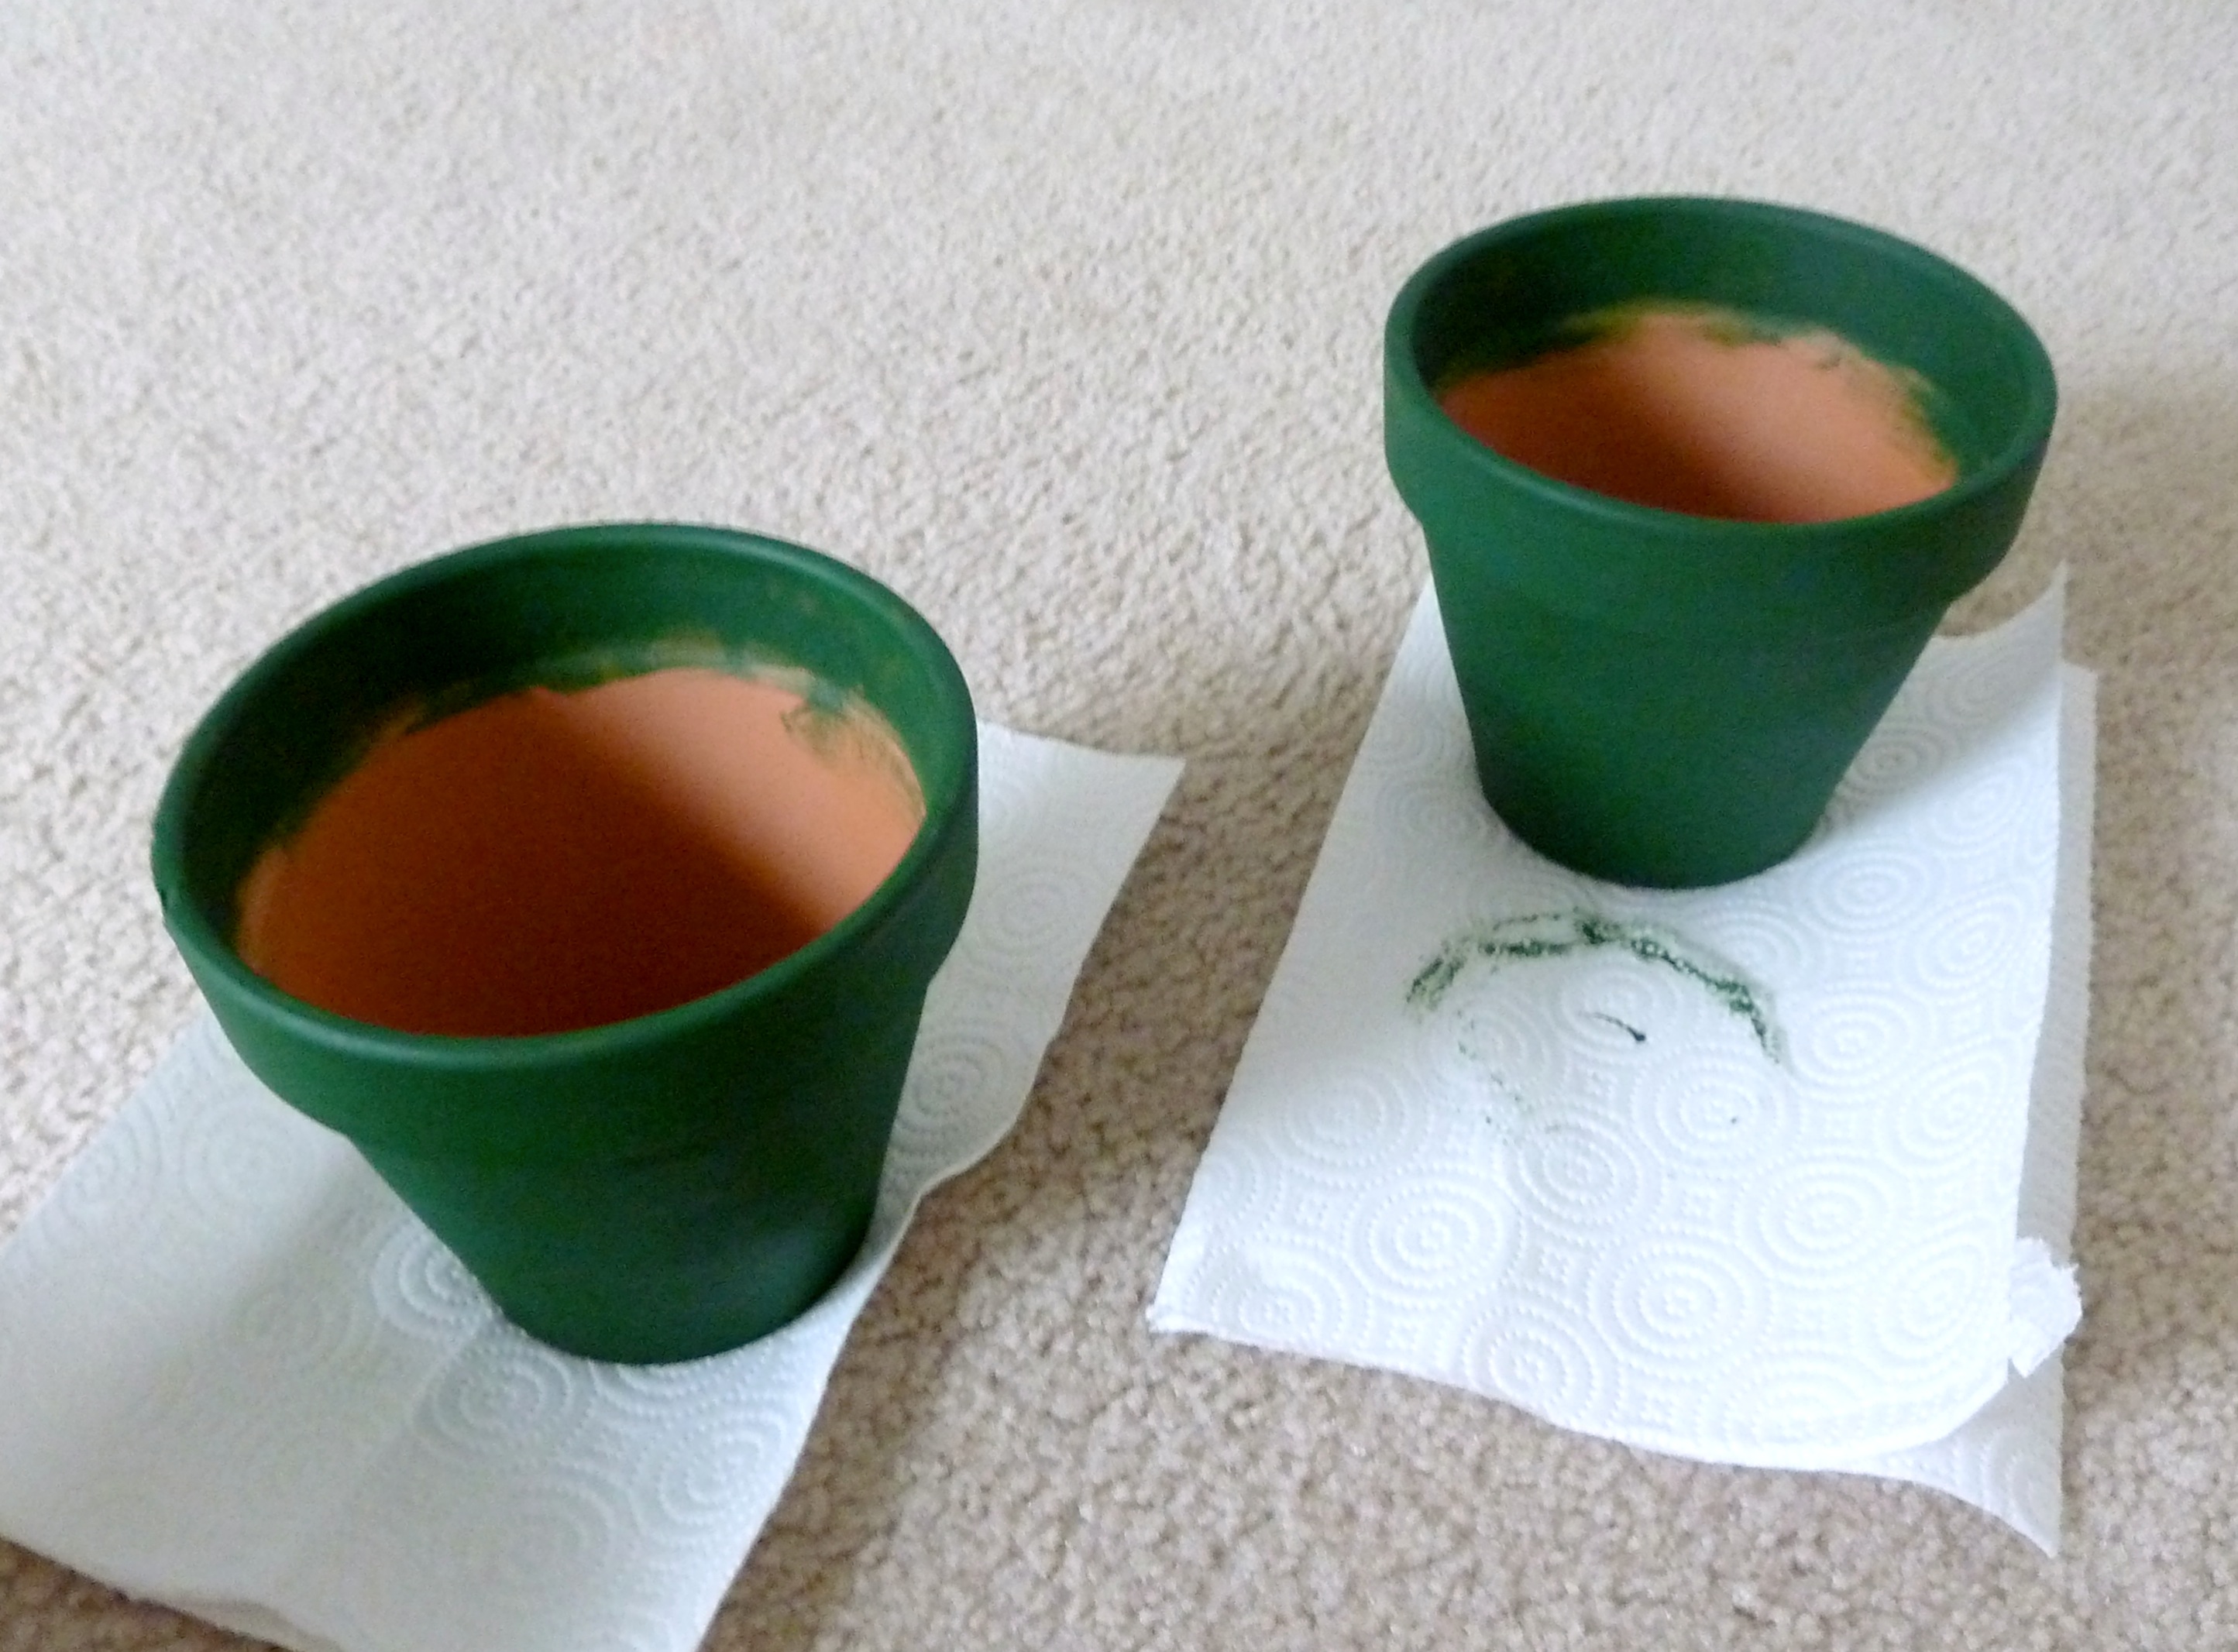
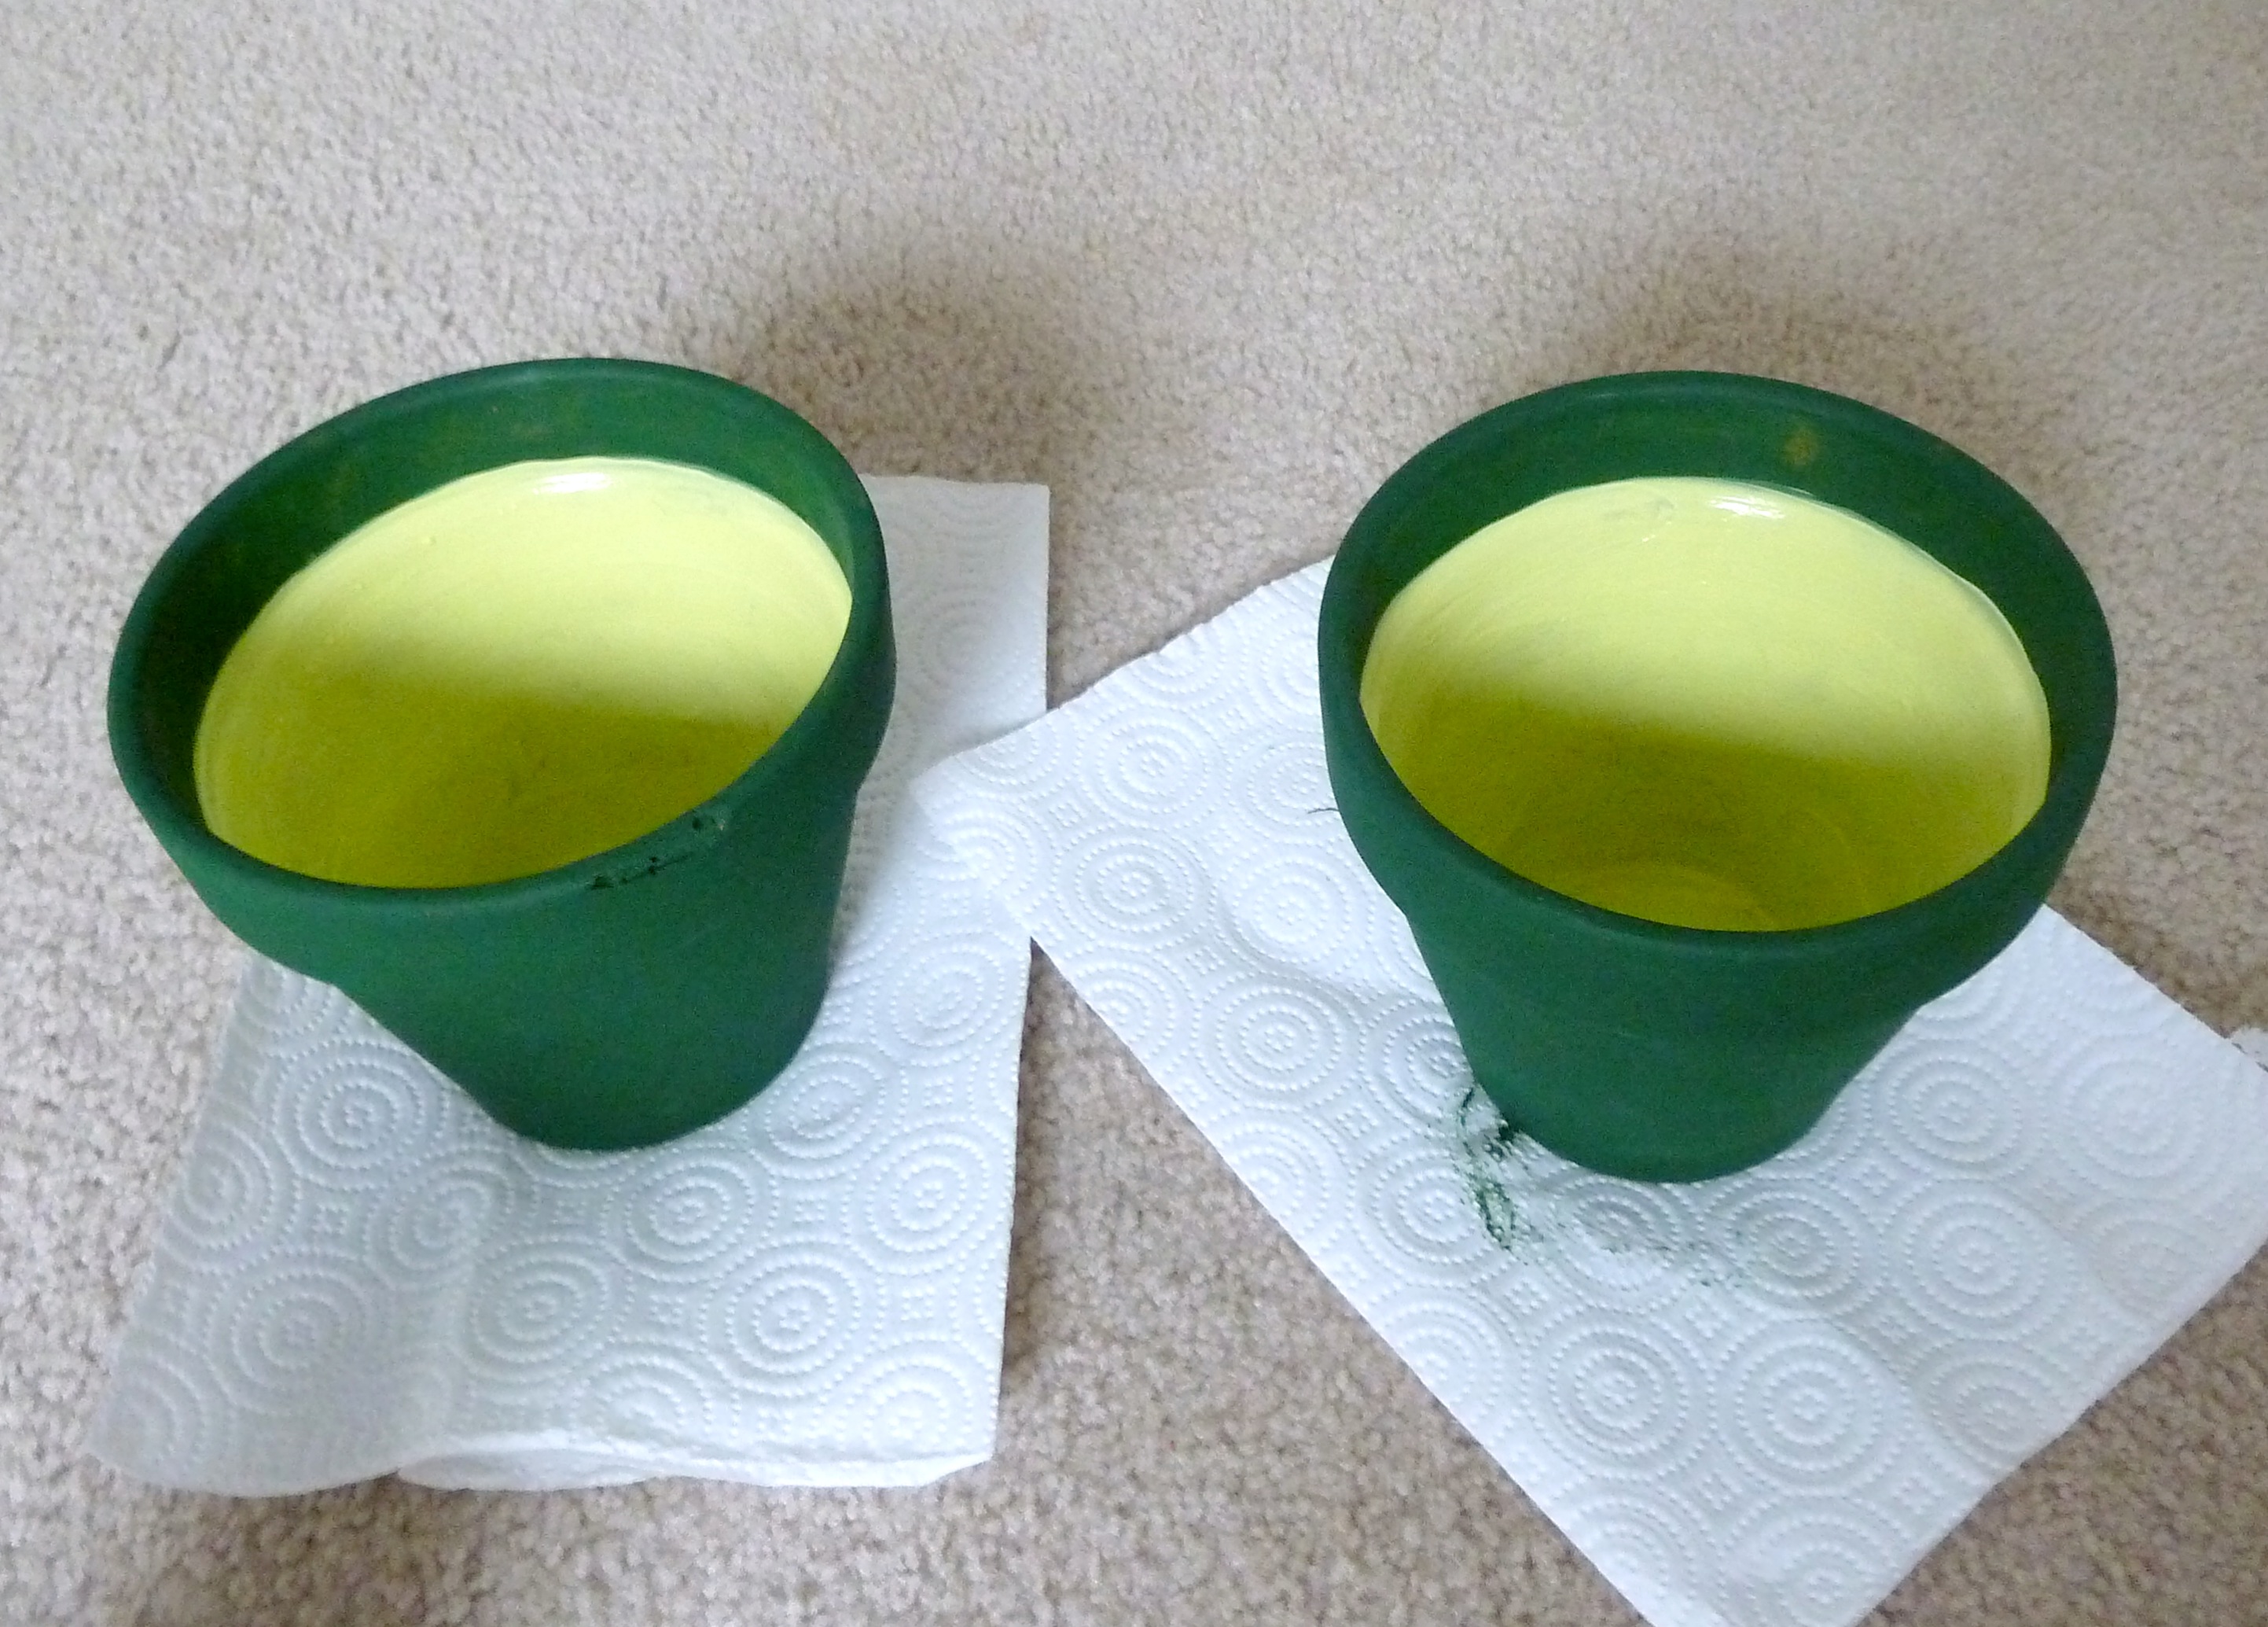
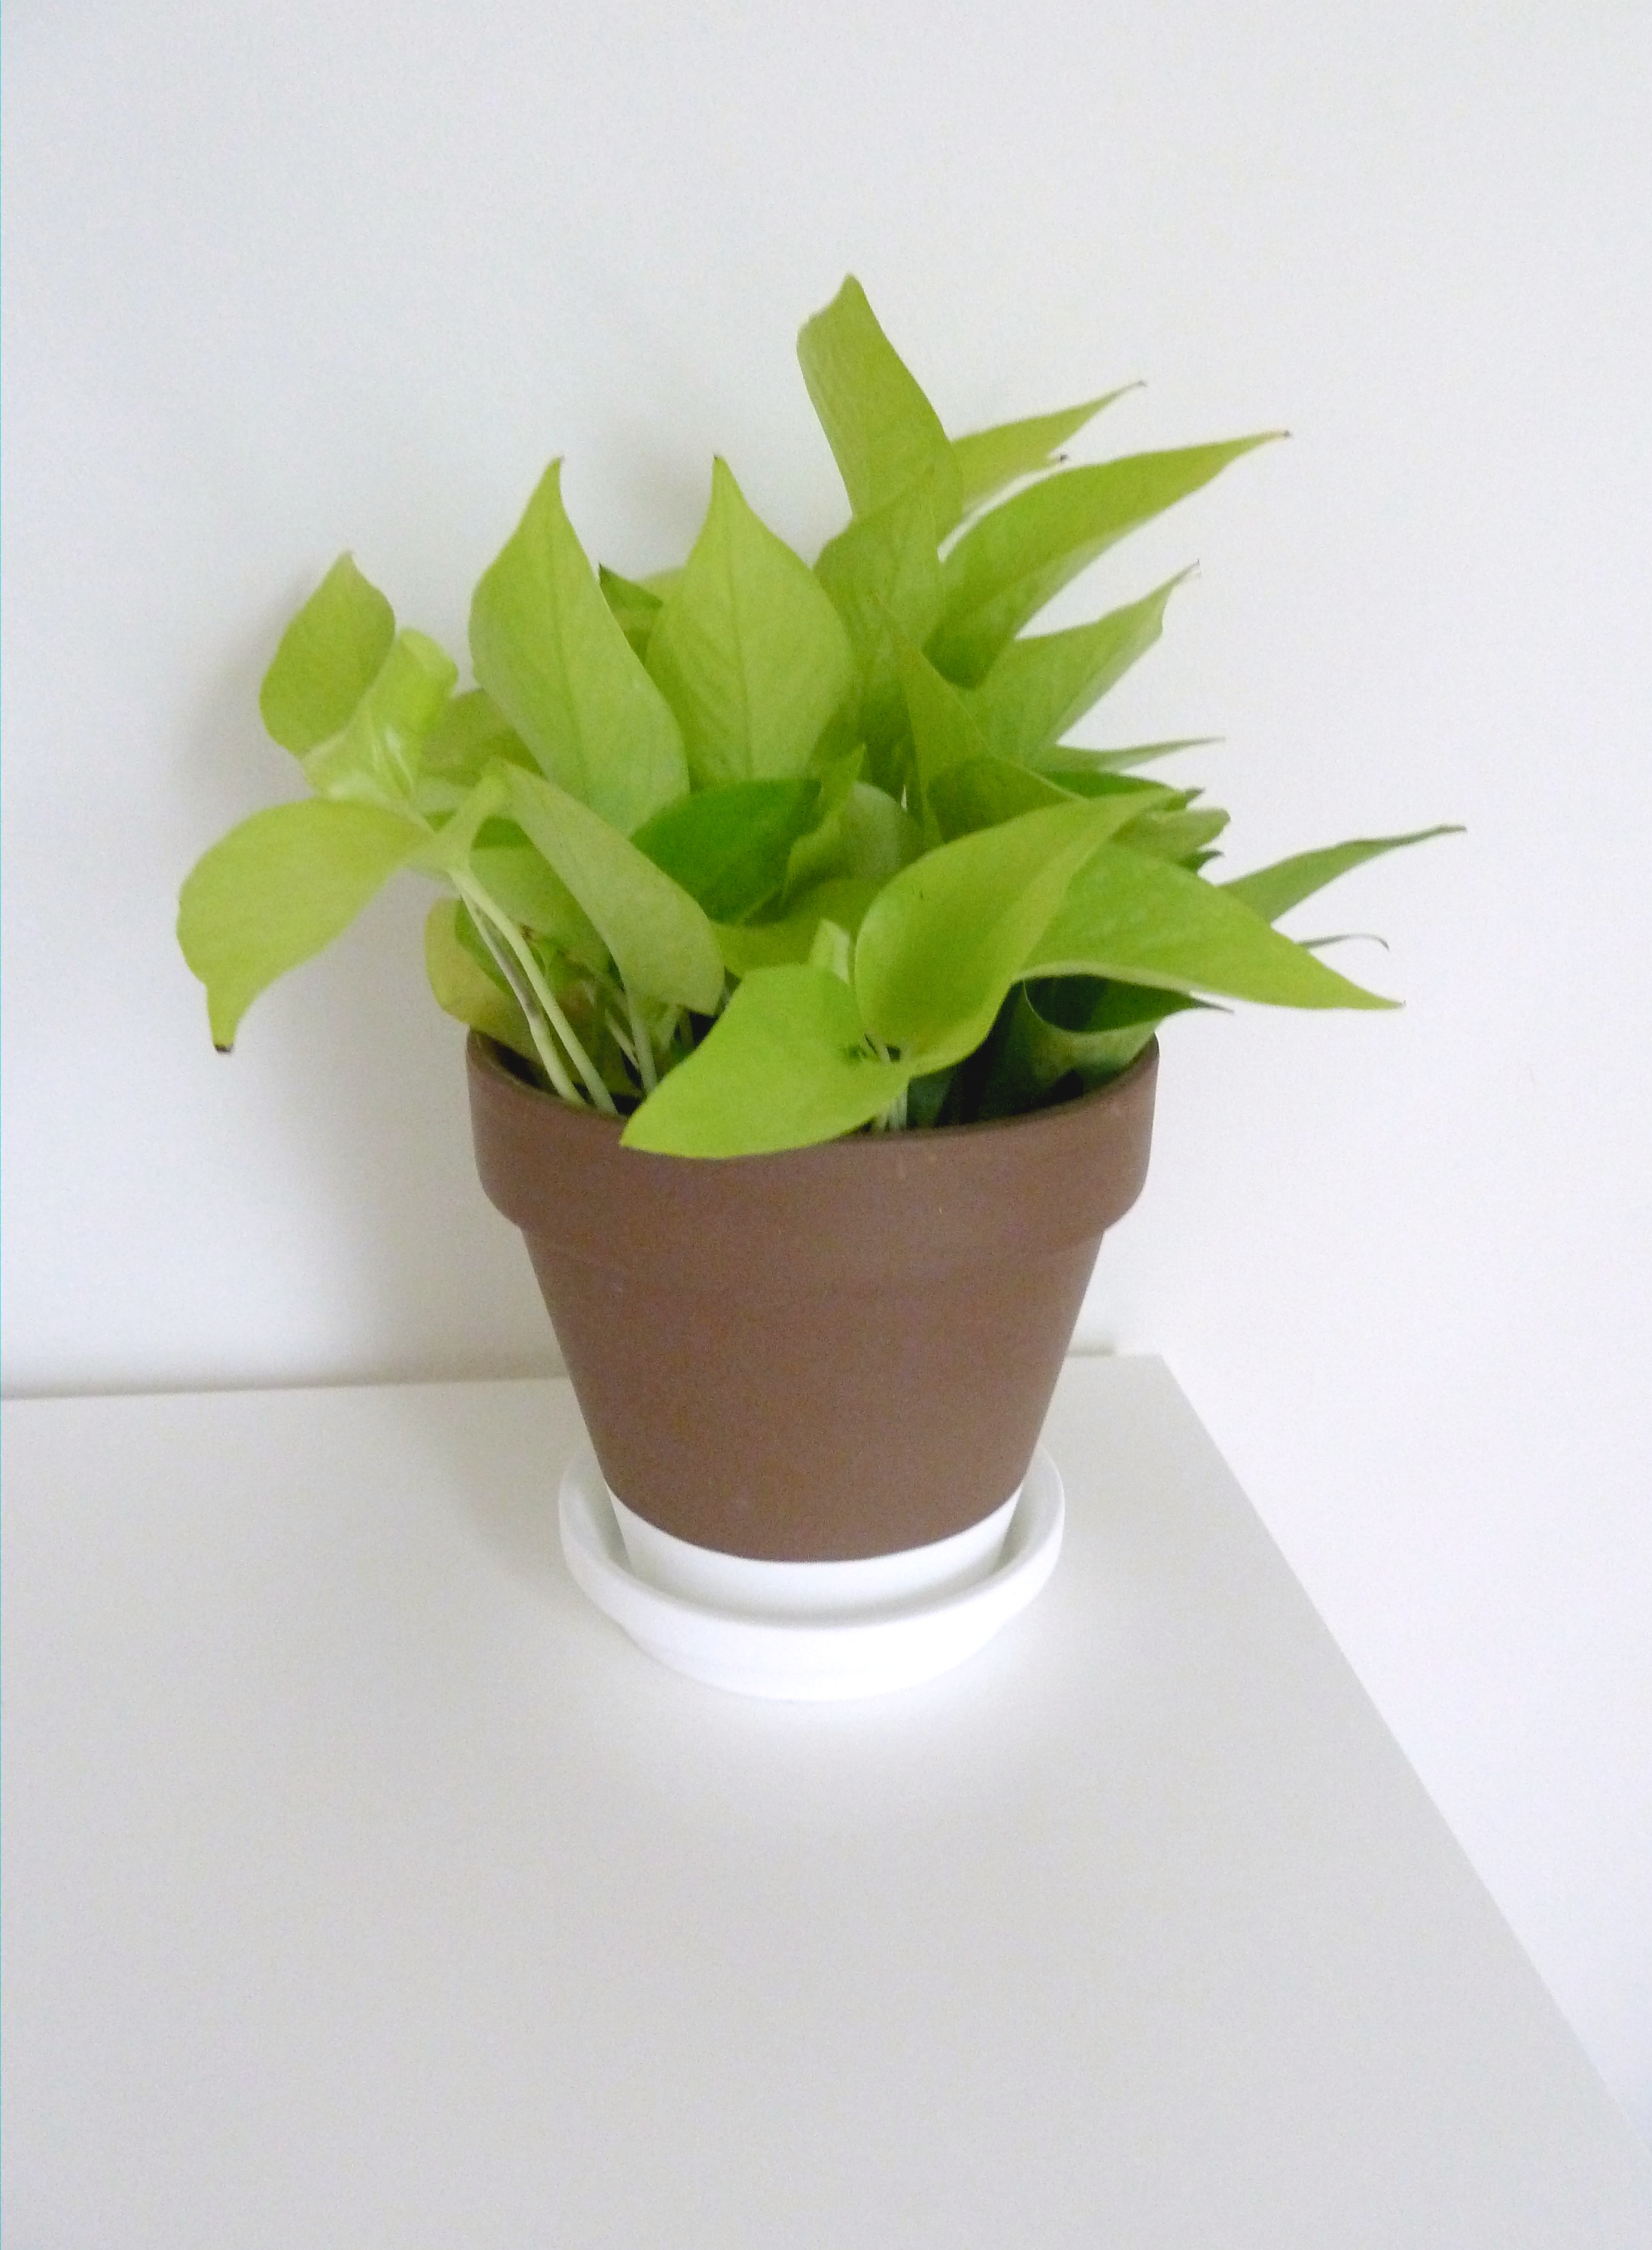
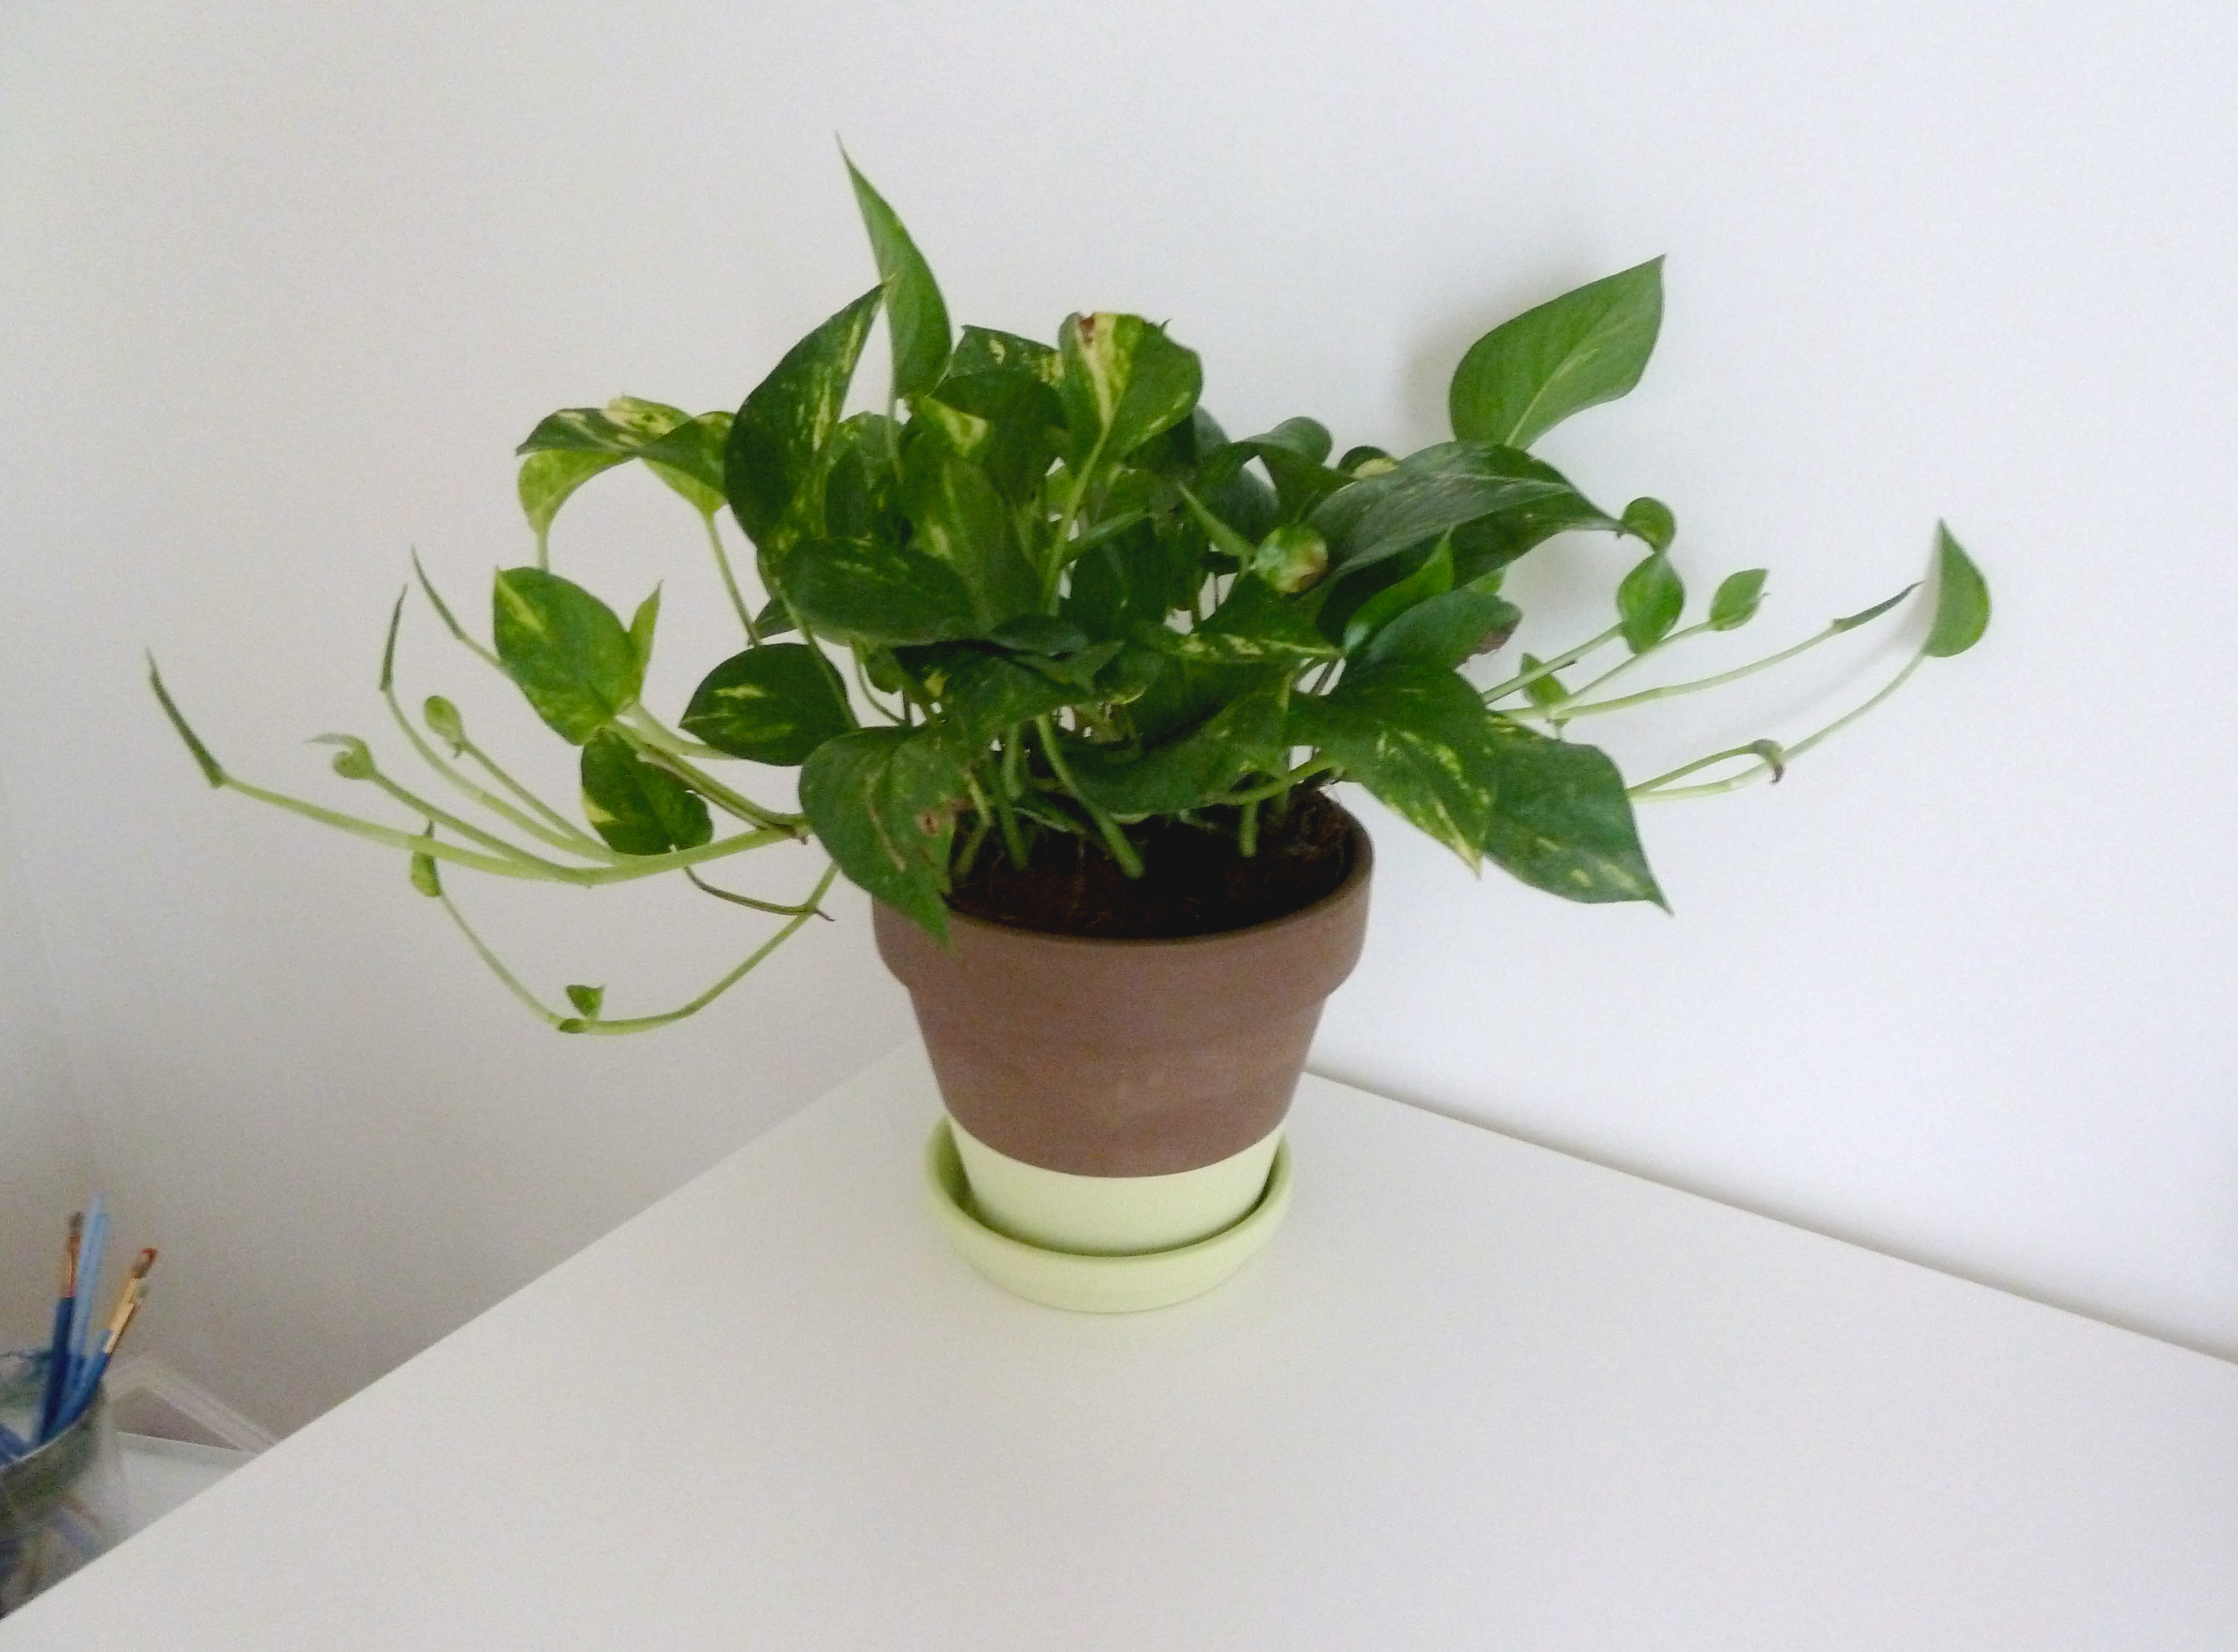
For favors, I did these cute little succulents in mini pots.  The big guy was for the guest of honor, of course. succulent favorspatio party lanterns
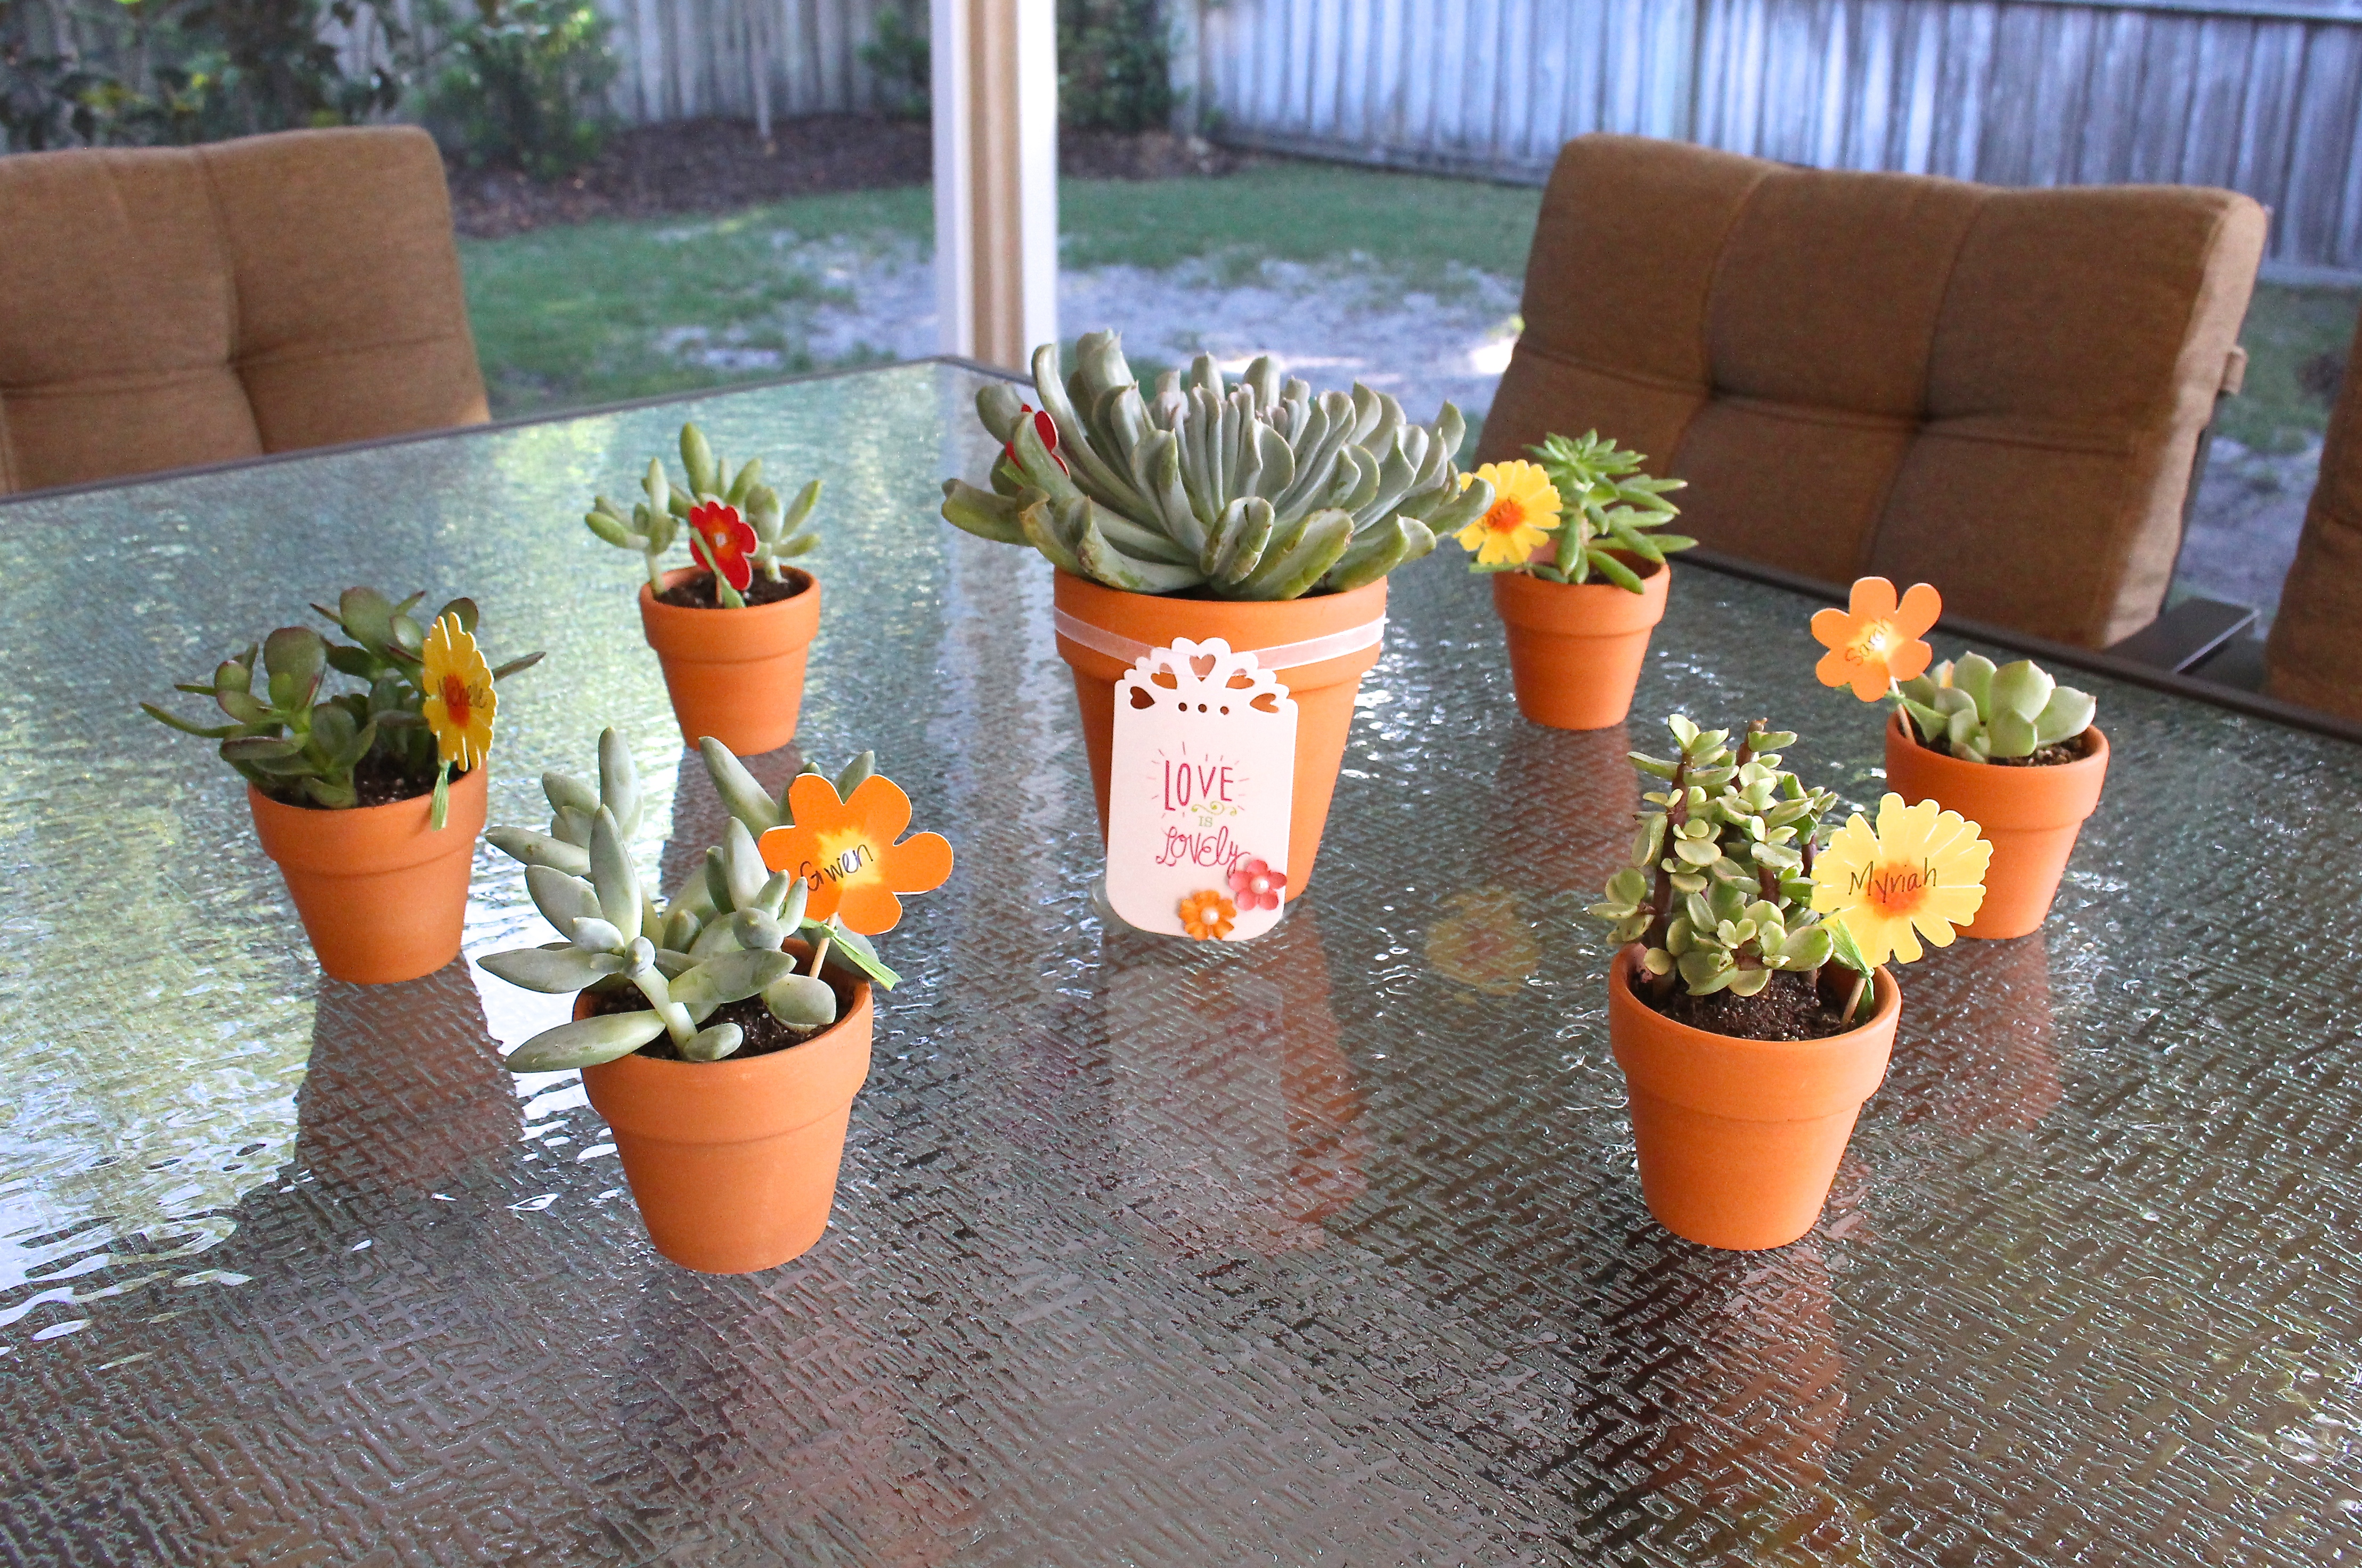
I found these little pink lanterns, that light up, at the dollar store. Sorry for being a bad blogger because I didn’t get a picture of them lit up at night, but it was really cool. pink lanternsKrissi was pretty pumped about the jello shots…IMG_1000 IMG_1010Of course, we got her some goodies for the celebration. I drew her pup, Oliver, and also got her a couple things on her registry.   IMG_1014She, also, received some mula and even some pesos for her honeymoon in Mexico! IMG_1026Just look how excited Charlie was about the pesos! IMG_6738And, look how thrilled he was to be smooshed by me!

We had a blast, and we will miss our Krissi so much when she moves back to NY.  Love you Krissi!

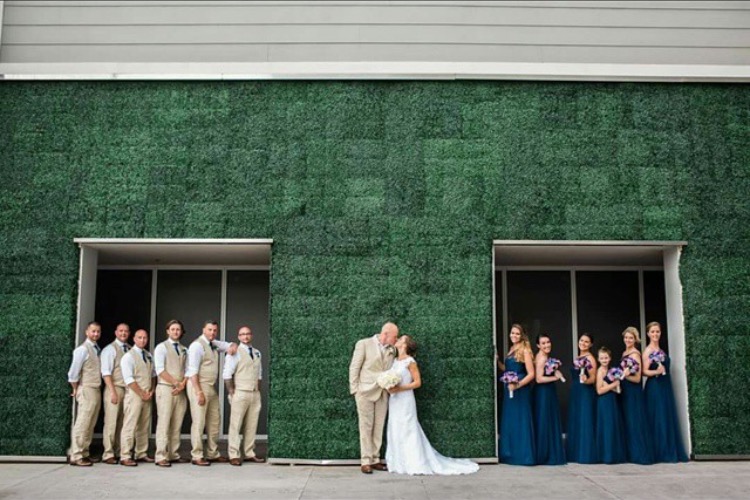
Here are some photos from her fabulous wedding…photo 1 photo 2 photo 3


Campin

A few weeks back, we went camping at Santos Campground in Ocala, FL.  We headed down on a Thursday and stayed through the weekend, leaving early Sunday morning.

IMG_3804We met Justin’s family there, they had arrived a day earlier.  We set up camp and immediately went hiking.IMG_0858IMG_3864Santos Campground has, both, hiking and bike trails.  We hiked in the morning with the dogs, and biked in the afternoon(without the dogs).IMG_1069IMG_1024IMG_1083It really is a beautiful place to camp and explore.img_1104IMG_1025Char was the protector of our site…IMG_3809
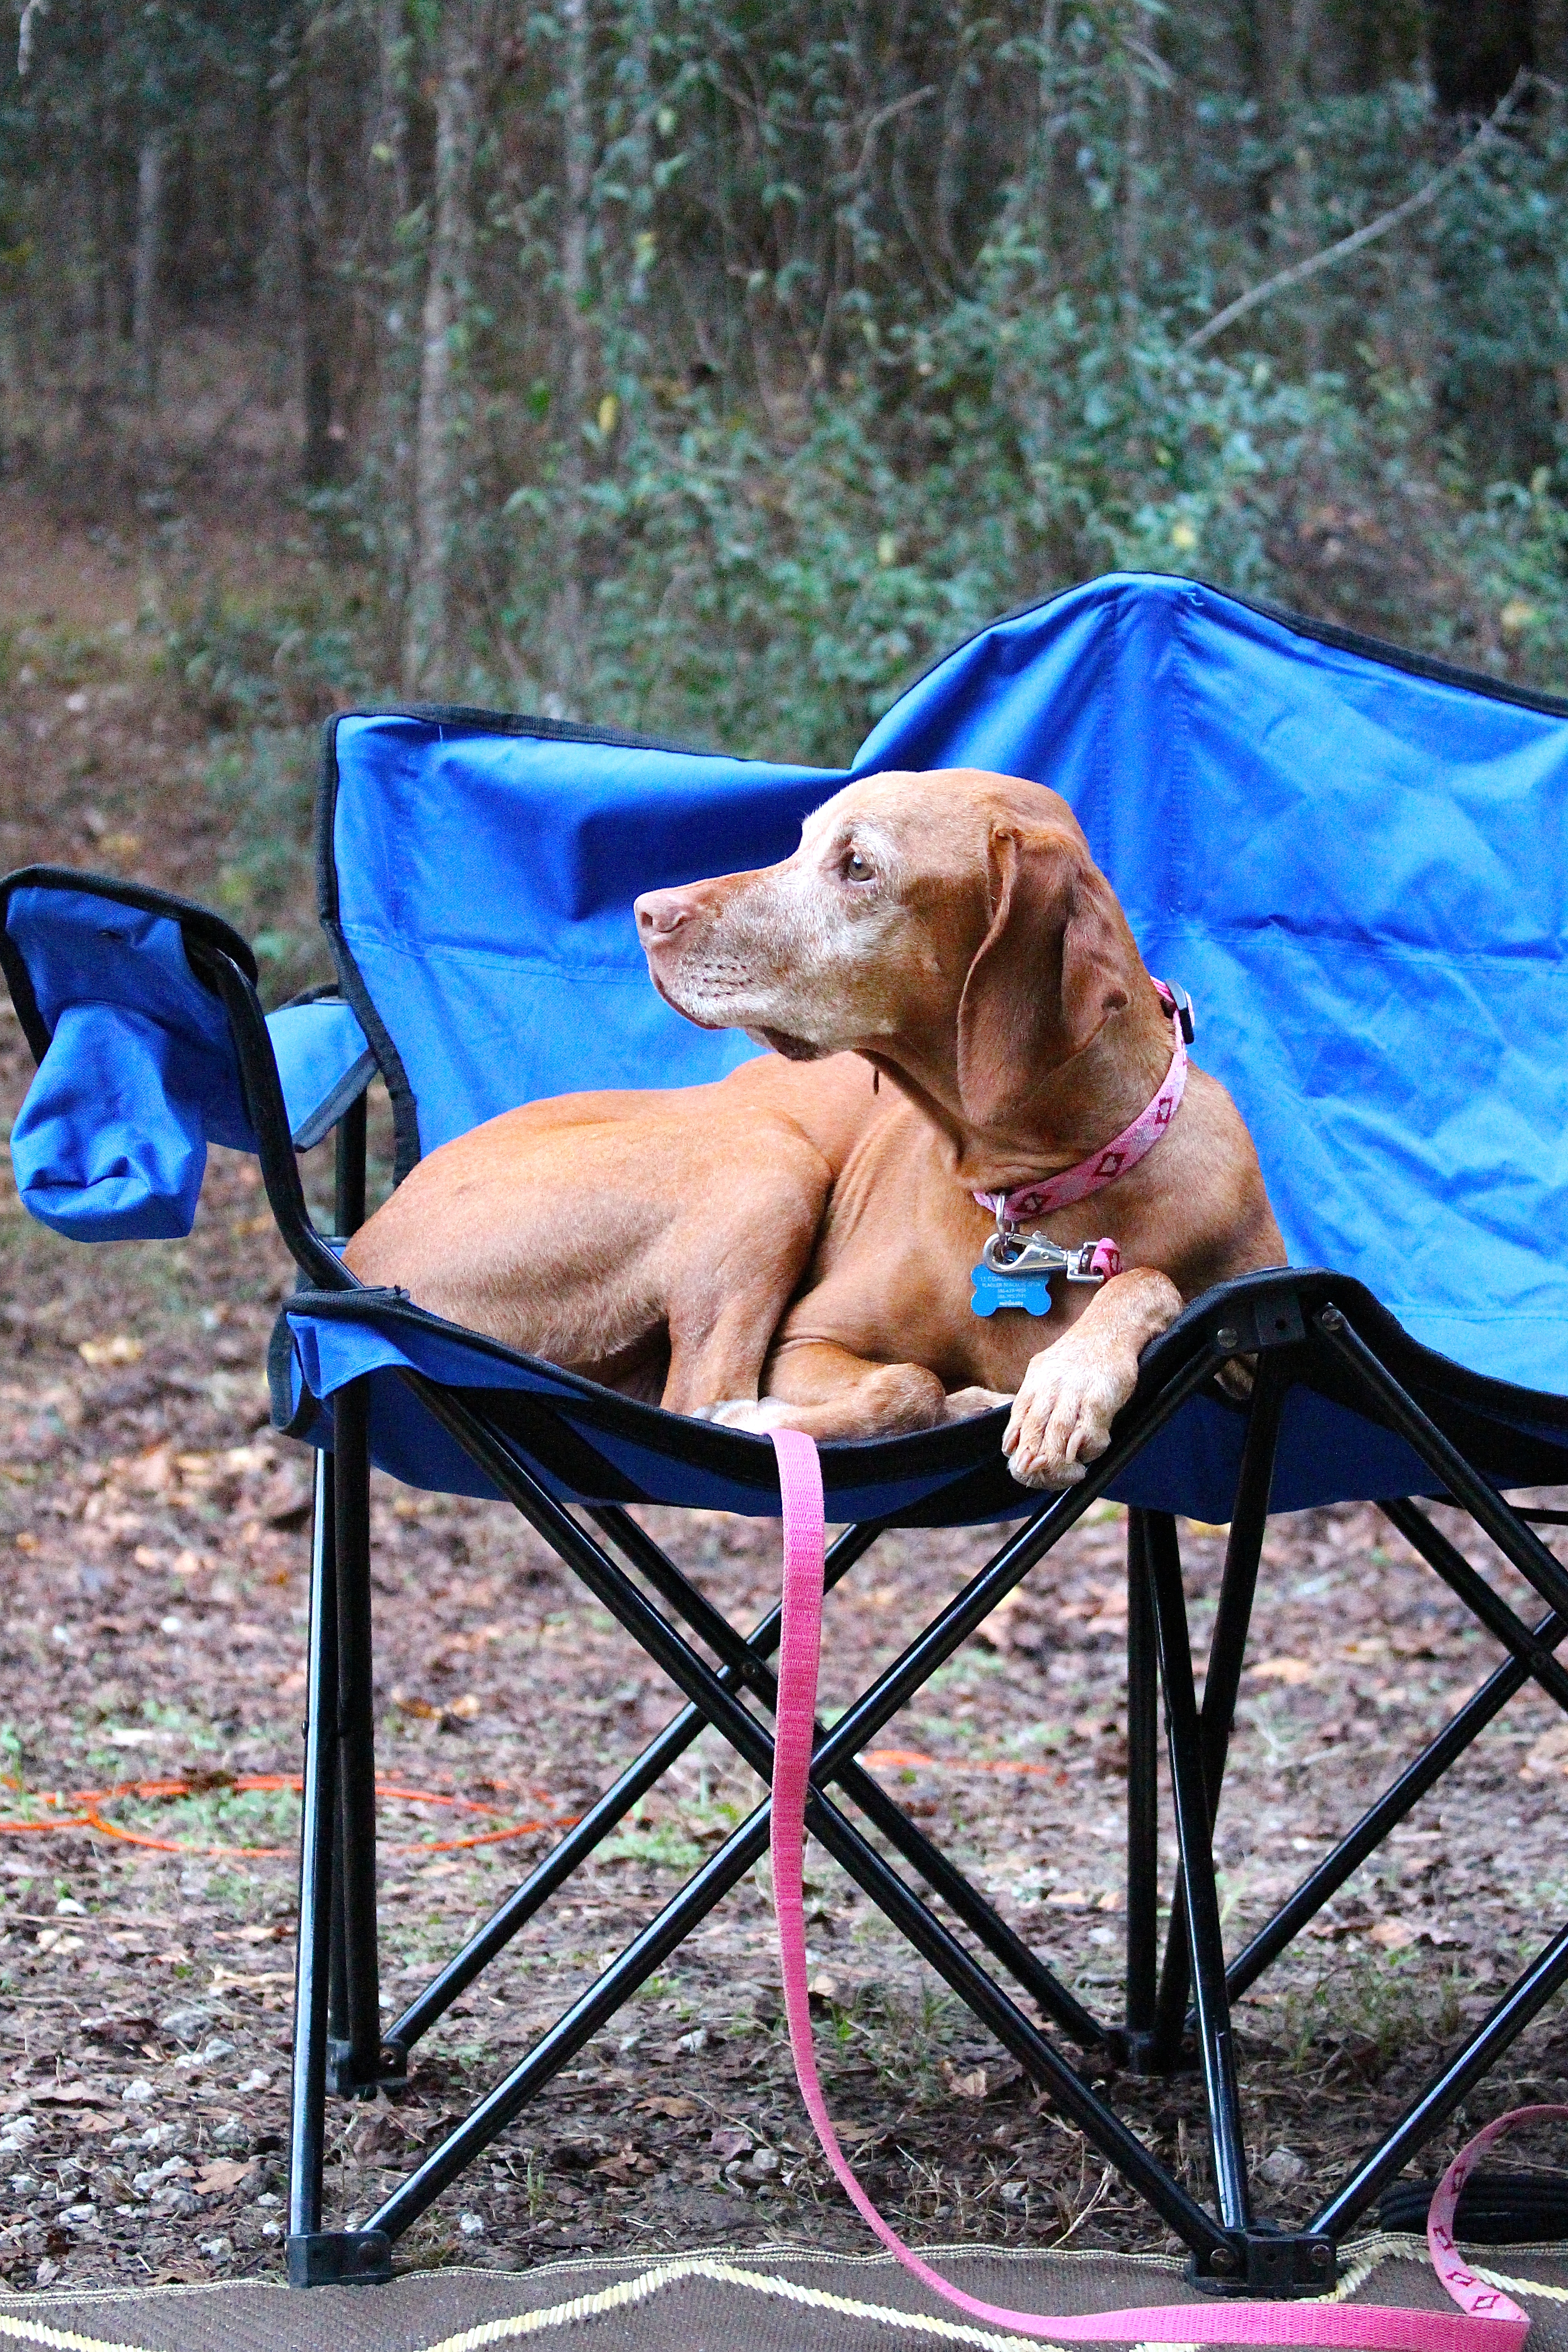
…But really, I think he enjoyed watching our fellow campers.
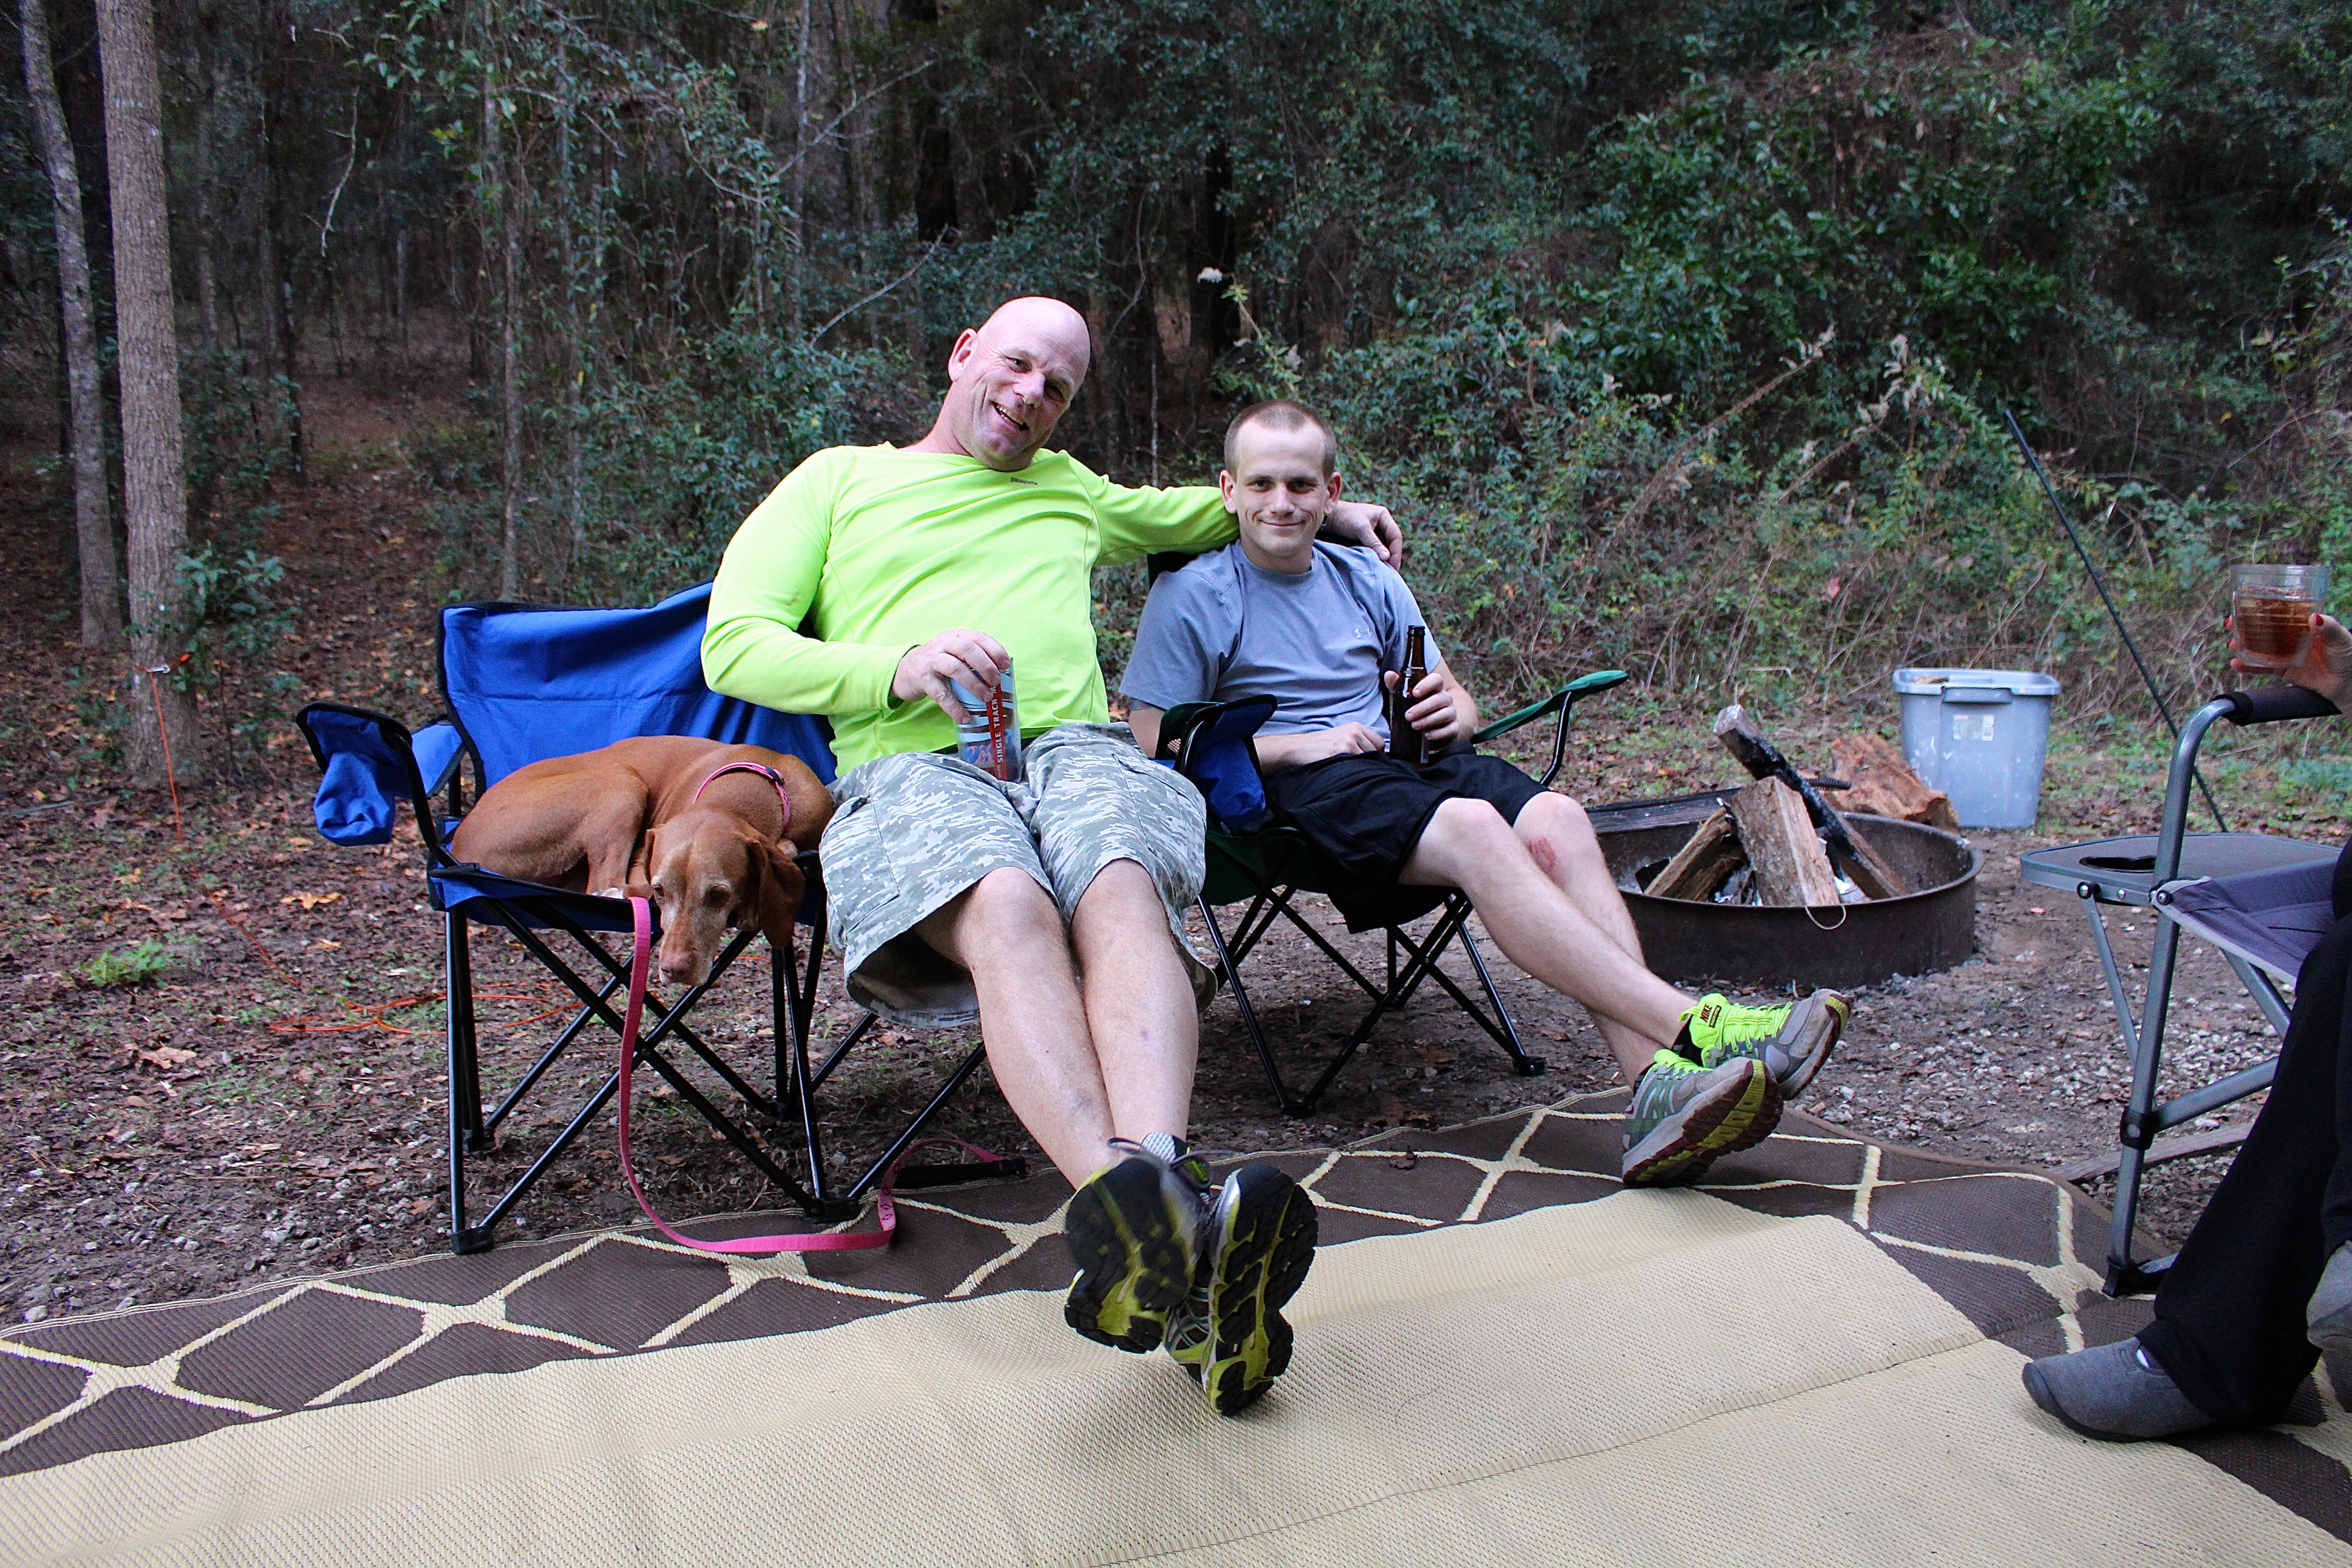
At night, we had dinner and hung out by the campfire.

IMG_1114IMG_1110IMG_1117I took a lot of photos on this trip, so bear with me.IMG_1240IMG_1277IMG_1233IMG_1293IMG_1274IMG_1290IMG_1283And, of course, the only biking photo we got…IMG_3892

So, if you’re ever in Florida and looking for a place to camp.  Check out Santos Campground, we totally dig it.

Crates Crates and More Crates

Remember all of those crates that were scattered throughout my wedding?  Like here…wedding cratesAnd, here…crate decorationsvintage wedding decorationsAnd, a little more crate action here…crate decorationsLet’s just say, I wasn’t having a shortage of crates.  My dilemma was if I should sell them, or find a use for them.  Guess what?  I couldn’t bear to part with them.  So, they now live here…         decorating with cratesAnd, here…decorating with crates
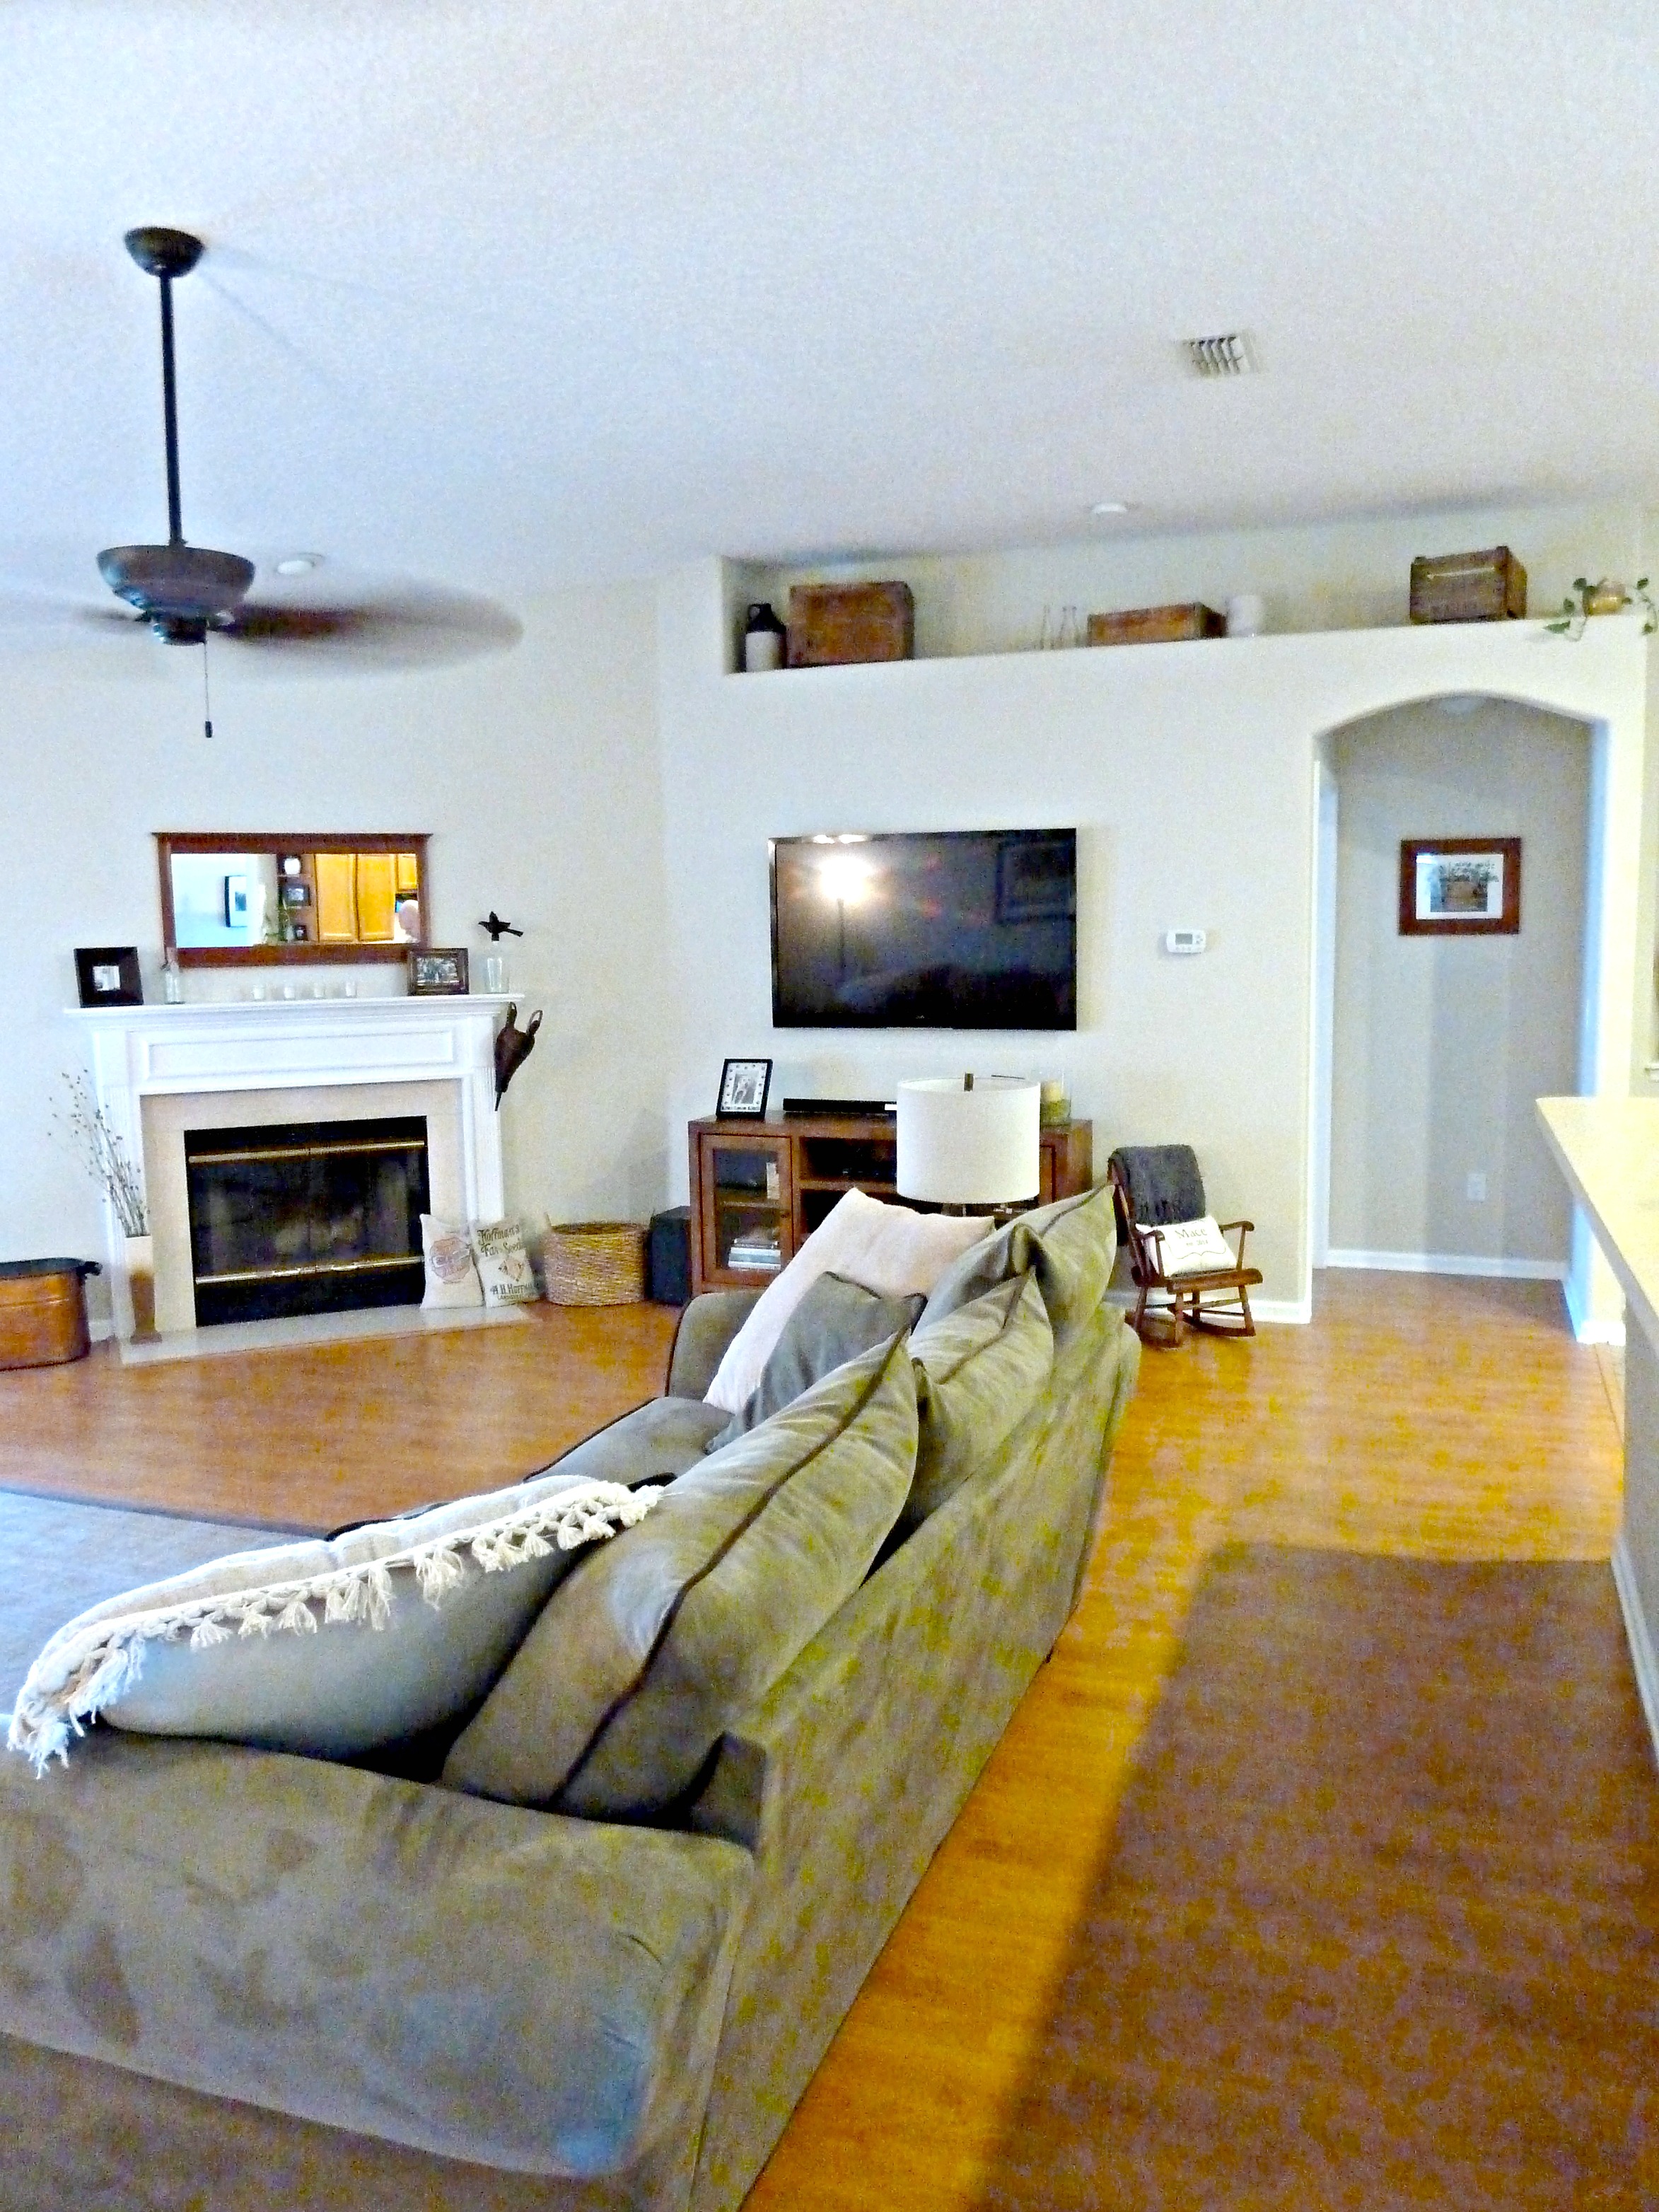
Hanging out in those crazy tall nooks in our living room.

I set up 3 crates on each side of the room, to balance things out.crate decoratingThen, I plopped in some other nickity nack things, mostly antiques, and called it a day.crates decorating with antiques
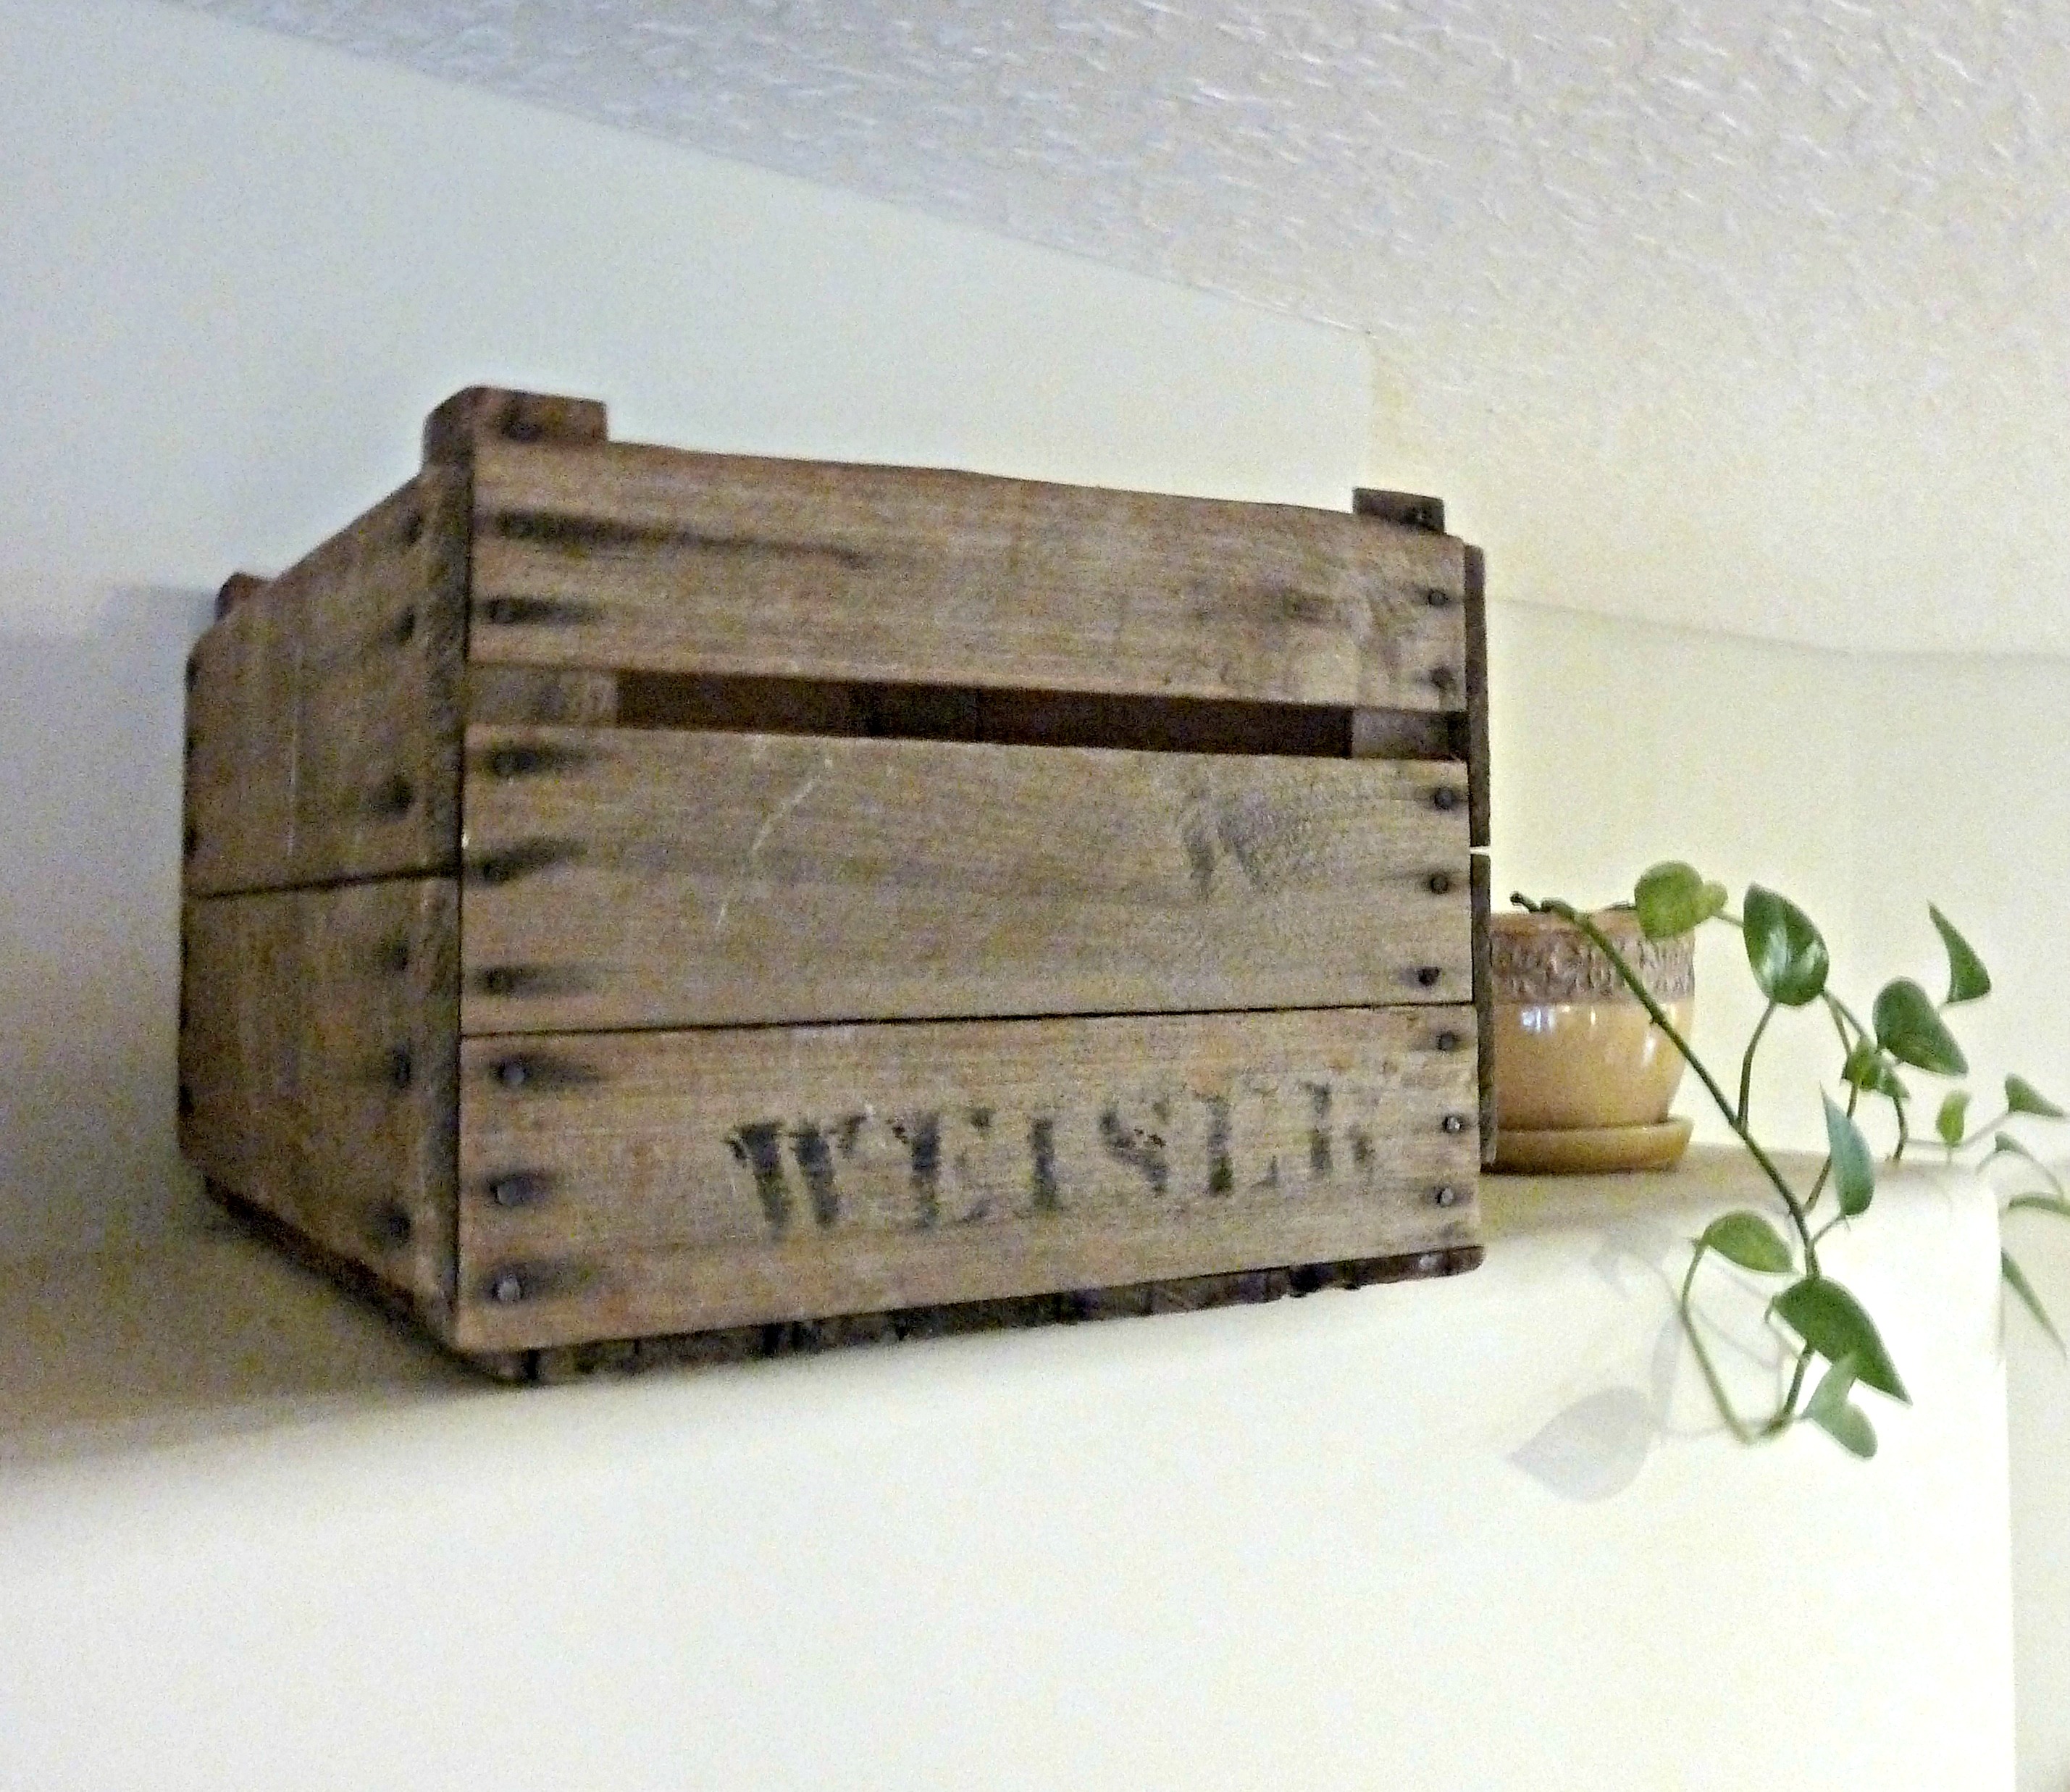
I used some antique milk bottles and antique crocks.  milk bottles and crateAnd, our “M” book from anthropologie. P1110961 P1110984So, that’s where all of the crates went, and our pesky nooks are finally filled!living room with cratesgreen living roomliving room

Living Plants, they’re really alive!

I know, you’re shocked.  I have managed to keep some plants alive! Even with this black thumb thing I have going on.

Now, let me tell you about these easy/almost no maintenance plants. When summer came around (yes summer, this post has waiting to be written for too long) I thought it would be nice to bring some color to our back yard.  I thought about getting some flowers and putting them in the gardens in the back, but Justin was currently working on those gardens.  So, I thought my best bet would be to get some pots and fill them with flowers instead.

Once I was set on potted plants, I picked up two large pots at Lowes.  Also, I picked up some potting soil. Once I got home, I just plopped the soil right into the pots. Like so…

Outdoor planters

Large outdoor planters

While at Lowes, I also grabbed some flowers…

Planting outdoor pots

Aren’t they pretty?  From there, I figured out an arrangement for the flowers that I liked.  It wasn’t too complicated, considering both pots got the same exact flowers.

Arranging flowersI then popped them all out of the containers they came in, and planted them right into my new bigger pots, adding more soil as I went.

Spring FlowersI love them, we needed some color out back and I think this is a start.

Large outdoor potsWhile I was doing my planting flowers thing, Justin was hard at work making new gardens and re-mulching.  He’s such an overachiever.

Before I explain this new garden bed, I figured I should show you what this part of the yard used to look like.  The photo below is last year, right after we had irrigation installed and our yard re-sodded.

laying sodEven after the irrigation was installed, we still have some water hanging out in this corner from time to time.  Justin figured we should just add a garden bed, that way we don’t have to deal with this muddy corner.

new bottle brush treesAs you can see, the grass was still coming back to life at this point, also Justin had just aerated the yard.

potocarpusHe planted 6 podocarpus plants…

potocarpus plantAnd two small bottle brush trees…

P1100331While he was at it, he decided to re-mulch all of the garden beds in the back to match the new brown mulch we had used in the front.  Here is what our gardens were looking like post winter…

plantless gardenNot looking so hot (once again, please don’t judge our poor grass, it was having a rough time coming back after winter).

Here are things after Justin mulched…

tall magnolia trees

planting palm tree

mulching backyard

corner gardenSee how the grass is coming back now?  Woot woot!

And here is where my new planters live…

backyardOh ya, while I was at it I planted these little succulents.  They hang out in the patio.Planting succulentsThese guys are so easy to take care of, they require very little water and lots of light.  I think even I can manage to keep them alive, fingers crossed.

And just because Justin likes to make me look bad, he also planted a new garden in the front on the side of the house…


P1110123I’ll leave you with what our front is looking like nowadays…

P1110102

Thanks for checking out this super late post!

Garden Party

Can you believe we have been in our house for a year now?  Me neither!  I mention this because we have replanted our front gardens and I can not believe this is our second time planting them!  Crazy stuff I would say.  Here is what we managed to come up with last year…

tan house blue door

The only survivors are the two gardenia plants in the corners and the sago palm, which has no leaves in this photo.  So, as you can imagine we had a lot of space to work with since most of our plants didn’t make it through the cold weather.  We decided to go a different route with our plant choices this year and also our mulch.  That is actually where this all began because Justin jumped the gun and ordered a boat load of mulch and had it delivered to our house…

mulch delivery

Justin started by removing most of the red mulch that was left from last year…

removing mulch

removing mulch from garden

Poor guy always gets the hard work!

Once he added the new mulch(we decided to change it up to brown), we had this…

front gardens with brown mulch

Awesome new mulch… no plants.  That’s where I come in to this story.  We picked up some plants at Lowes…

plants from lowes

Then I planted my little heart out.

orange red leafy tree

Justin did help out and planted two of these guys next to the front door.  They are small croton trees.

We also got some gerber daisies, petunias, lilies, a couple more podocarpus and some grasses.  Here is the set up I planned out before digging…

how to arrange plants in garden before planting

laying out plants before planting

It was Justin approved, so it was time to dig.  Here are the results…

garden with brown mulch orange flowers

You dig it?  I do.

I also wanted to mention that I got a new garden flag.  I am officially that cool because I have multiple garden flags.

photo

Yup, it’s a tree flag and the leaves look like the world.  Pretty sweet right?

photo(3)

And here are some before and afters because I’m really into those.

picisto-20140417105552-834945

picisto-20140417105704-456309

These two gardens were pretty bare before, so the update was much needed.

picisto-20140417105511-205602

And then one more of last year and then this year…

picisto-20140418111505-780134

Sorry about the clarity of the photo on the left, it was hard to catch a good time of day to get this photo.  But I had to show that our flowers have bloomed and the sago now has some new palms!  Yay for us!


Taking it out back

Justin took advantage of this cool Florida weekend and did some work outdoors. Since this weekend didn’t make it over 90 degrees, we were happy to be outside doing some quick updates.

If you can remember the side of our yard was looking like this…

yy9999

Well, Justin thought it would be a good idea to add some more plants in this area. He was thinking that if we added some more taller plants we wouldn’t have to look at the air conditioner from the patio. So he headed to Lowe’s and came back with some supplies to make a small garden under this side window.

d2

At this point he had already removed the sod and laid down the gardening fabric that we use when adding new garden beds. Want a closer look? Okay…

d3

As for what plants he chose, he purchased 4 Podocarpus…

d4

Also 4 Aztec Grass.

d5

And 2 Super Blue Liriope.

d6

He went right to it once we decided what the best placement was for each plant.

dd1

As you can see we decided on 3 Podocarpus in front of the AC unit and the last one in the corner. The other grasses were just spread out in between, apparently they are ground cover so we are sort of worried that they may grow out of control. I guess we will just have to wait and see. Once he had everything in the ground and the new mulch spread this is what we were left with…

dd4

And this is the view from our patio…

dd99

We are pretty pumped about our new little garden, fingers crossed that those Podocarpus grow a bit more so we see even less of the AC unit. Here’s one more look…

dd6

Painting More Pots

Since I now had my new fancy rolling cart I was storing my sharpie markers in some terracotta pots that I just happened to have laying around….

mm999

I wasn’t diggin all of the random crazy colors going on in the room, so I figured painting these pots would tone things down a bit.  I seemed to be leaning towards more neutral/natural colors in this room so I decided to go with a dark green that would match my newly purchased trash can…

01

I got this guy at JoAnn Fabrics for $3 in their clearance section, plus I had a gift card.  No money outta my pocket!

So I dumped my markers out and wiped down the pots with a rag…

o2

As you can see they are the usual rust color that you see on most terracotta pots.  I grabbed some green paints that I thought should make the color I was going for…

o3

o4

I got to mixing until I had a color that was comparable to the color on my trash can.  From there I just started painting…

o5

I didn’t paint the inside completely because I had a different plan for that part…

o9

I thought it would be fun to put a neon yellowish-green inside the pots.  So I mixed up another color and started painting the interior of the pots…

o999

I was definitely loving the bright pop of color!  I then waited for the pots to dry then threw my sharpies back in…

oo2

Oooo la la! I love that the neon green sneaks through in between the markers.

While I was at it I grabbed a couple terracotta plates from the store to put under my plants that were currently living in my office.  They were much needed since when I watered them they leaked a bit on the desk.  They have been currently sitting with paper towel under them.  I decided it was time to fix the issue.  So while I had all of my paints out I just painted the plates to match the pots they would go under…

ooo3

ooo4

Yay! No more leaking.  Here is the office now…

oo3

Landscaping Phase #3

Last I showed you our backyard was looking pretty good…

y7

y4

Look at all that pretty green grass.

Anywho, there were a few more things Justin wanted to accomplish out here since the new drainage and landscaping were finished.  A few of the solar lights we had previously installed were broken.  So, Justin purchased some new outdoor lights for the garden beds back here.  He decided to go with regular electric lights.  He moved the remaining solar lights that were still trucking along to the front yard.  He purchased the new lights from lowes.  Once he got home he started installing them…

y999

Since the sod was freshly laid, Justin was able to run the cords from one garden to another right under the top layer….

y999999

y9999

While he was burying the new cords he came across this little guy…

y99999

He was just sleeping under the mulch and Justin dug up his bedding!  So he buried the cord and then buried him under the mulch again.  We saw him later the same night once the sun went down, we’re all friends now.  Once Justin had finished installing all the lighting he added new mulch to all of the garden beds…

yy4

Charlie also helped…

yy3

This guy showed up too…

yy

Isn’t he handsome?  Love these little lizards.

After hanging out with the lizard I got some photos of the freshly finished backyard…

yy99999

And you know I can’t help but give you some before, middle and after photos…

yyyy

Check out how much the plants by the patio have grown!

yyyy1

yyyy2

I don’t have a before photo from this angle, but here is the mid way point and after…

yyyy4

We also got to see the new lights in action that night…

yyy5

Aren’t they pretty?

yyy8

yyy4

Char man also hung out to check out the lighting…

yyy9

It was already past Zack’s bed time.

We are thrilled with our backyard now.  We may have some other ideas for the the fence and possibly another little garden. For now we are just happy to sit on the porch and enjoy the unflooded yard!  It’s a far cry from this…

photo(12)

Don’t you think?  PS the drainage works.   Here is a photo I took immediately after a down pour…

photo5

BOOM! Do you see a drainage issue?  I think not!

Landscaping Phase #2

Last I showed you our backyard was lookin like this…

l5

l8

I had told you about the installation of the new drainage and the removal of the hedges.  We were left with a yard o’ dirt.  Then I came home the other day and I walked outside to this…

y1

Ahhh! New magnolias and sod!  I can’t explain our excitement.  Let me show you around…

y2

y3

Take it all in people!

y6

This grass is soft, like the grass we had in NY.  It is awesome to have something that is pleasant to walk on barefoot!

y7

As I mentioned before we used Horizon Landscaping and they did an amazing job!

y8

They were actually still working when I got home around 7pm.  They did such an amazing job, and they even stuck around to tell me how we should be taking care of the new trees and sod.  They were such polite guys and we are really impressed with their work!

y4

We love that we still have lots of space in the yard with the new trees, yet they still block the neighbors in the back.  We will soon have some other updates back here, stay tuned!

Oh and of course some before and afters…

picisto-20130825192329-590653_Fotor

picisto-20130825191915-281659_Fotor

Lanscaping Phase #1

It has all begun. Brian from Horizon Landscaping chose a couple companies to complete some of the backyard projects that need to be finished before he gets going on the landscaping.  So last week, during the hottest week this year we had four guys out in our yard digging up trees and also digging trenches for the new irrigation.  I swear the heat index was like 110 degrees, poor guys.  They were here for about 7 hours and this is what we are left with…

l4

They basically removed all of the hedges including all of their roots.  Also they added the much needed irrigation, including three drains that will remove the water from our backyard and let it drain out to the sewage system at the street.

l1

Here is drain #1.

l2

Here is #2 that Char man is checking out.

l7

and #3.

Our yard is basically a big dirt pit right now, nothing pretty to look at.  It has to get a little worse before it gets better though!

l5

Our yard does seems a lot bigger now without all of the hedges.

l8

This is where the new magnolia trees will go.  We don’t necessarily want something so big in the yard, but we want the privacy from the neighbors, so the magnolias will be perfect.

l9

l999

We can’t wait for Brian to come out on Tuesday to plant the new trees and re-sod the yard.  We also are thinking about putting a garden in one of the corners back here and giving the fence a face lift.  Don’t worry we will keep you updated!