Who Doesn’t Like a Good Pillow

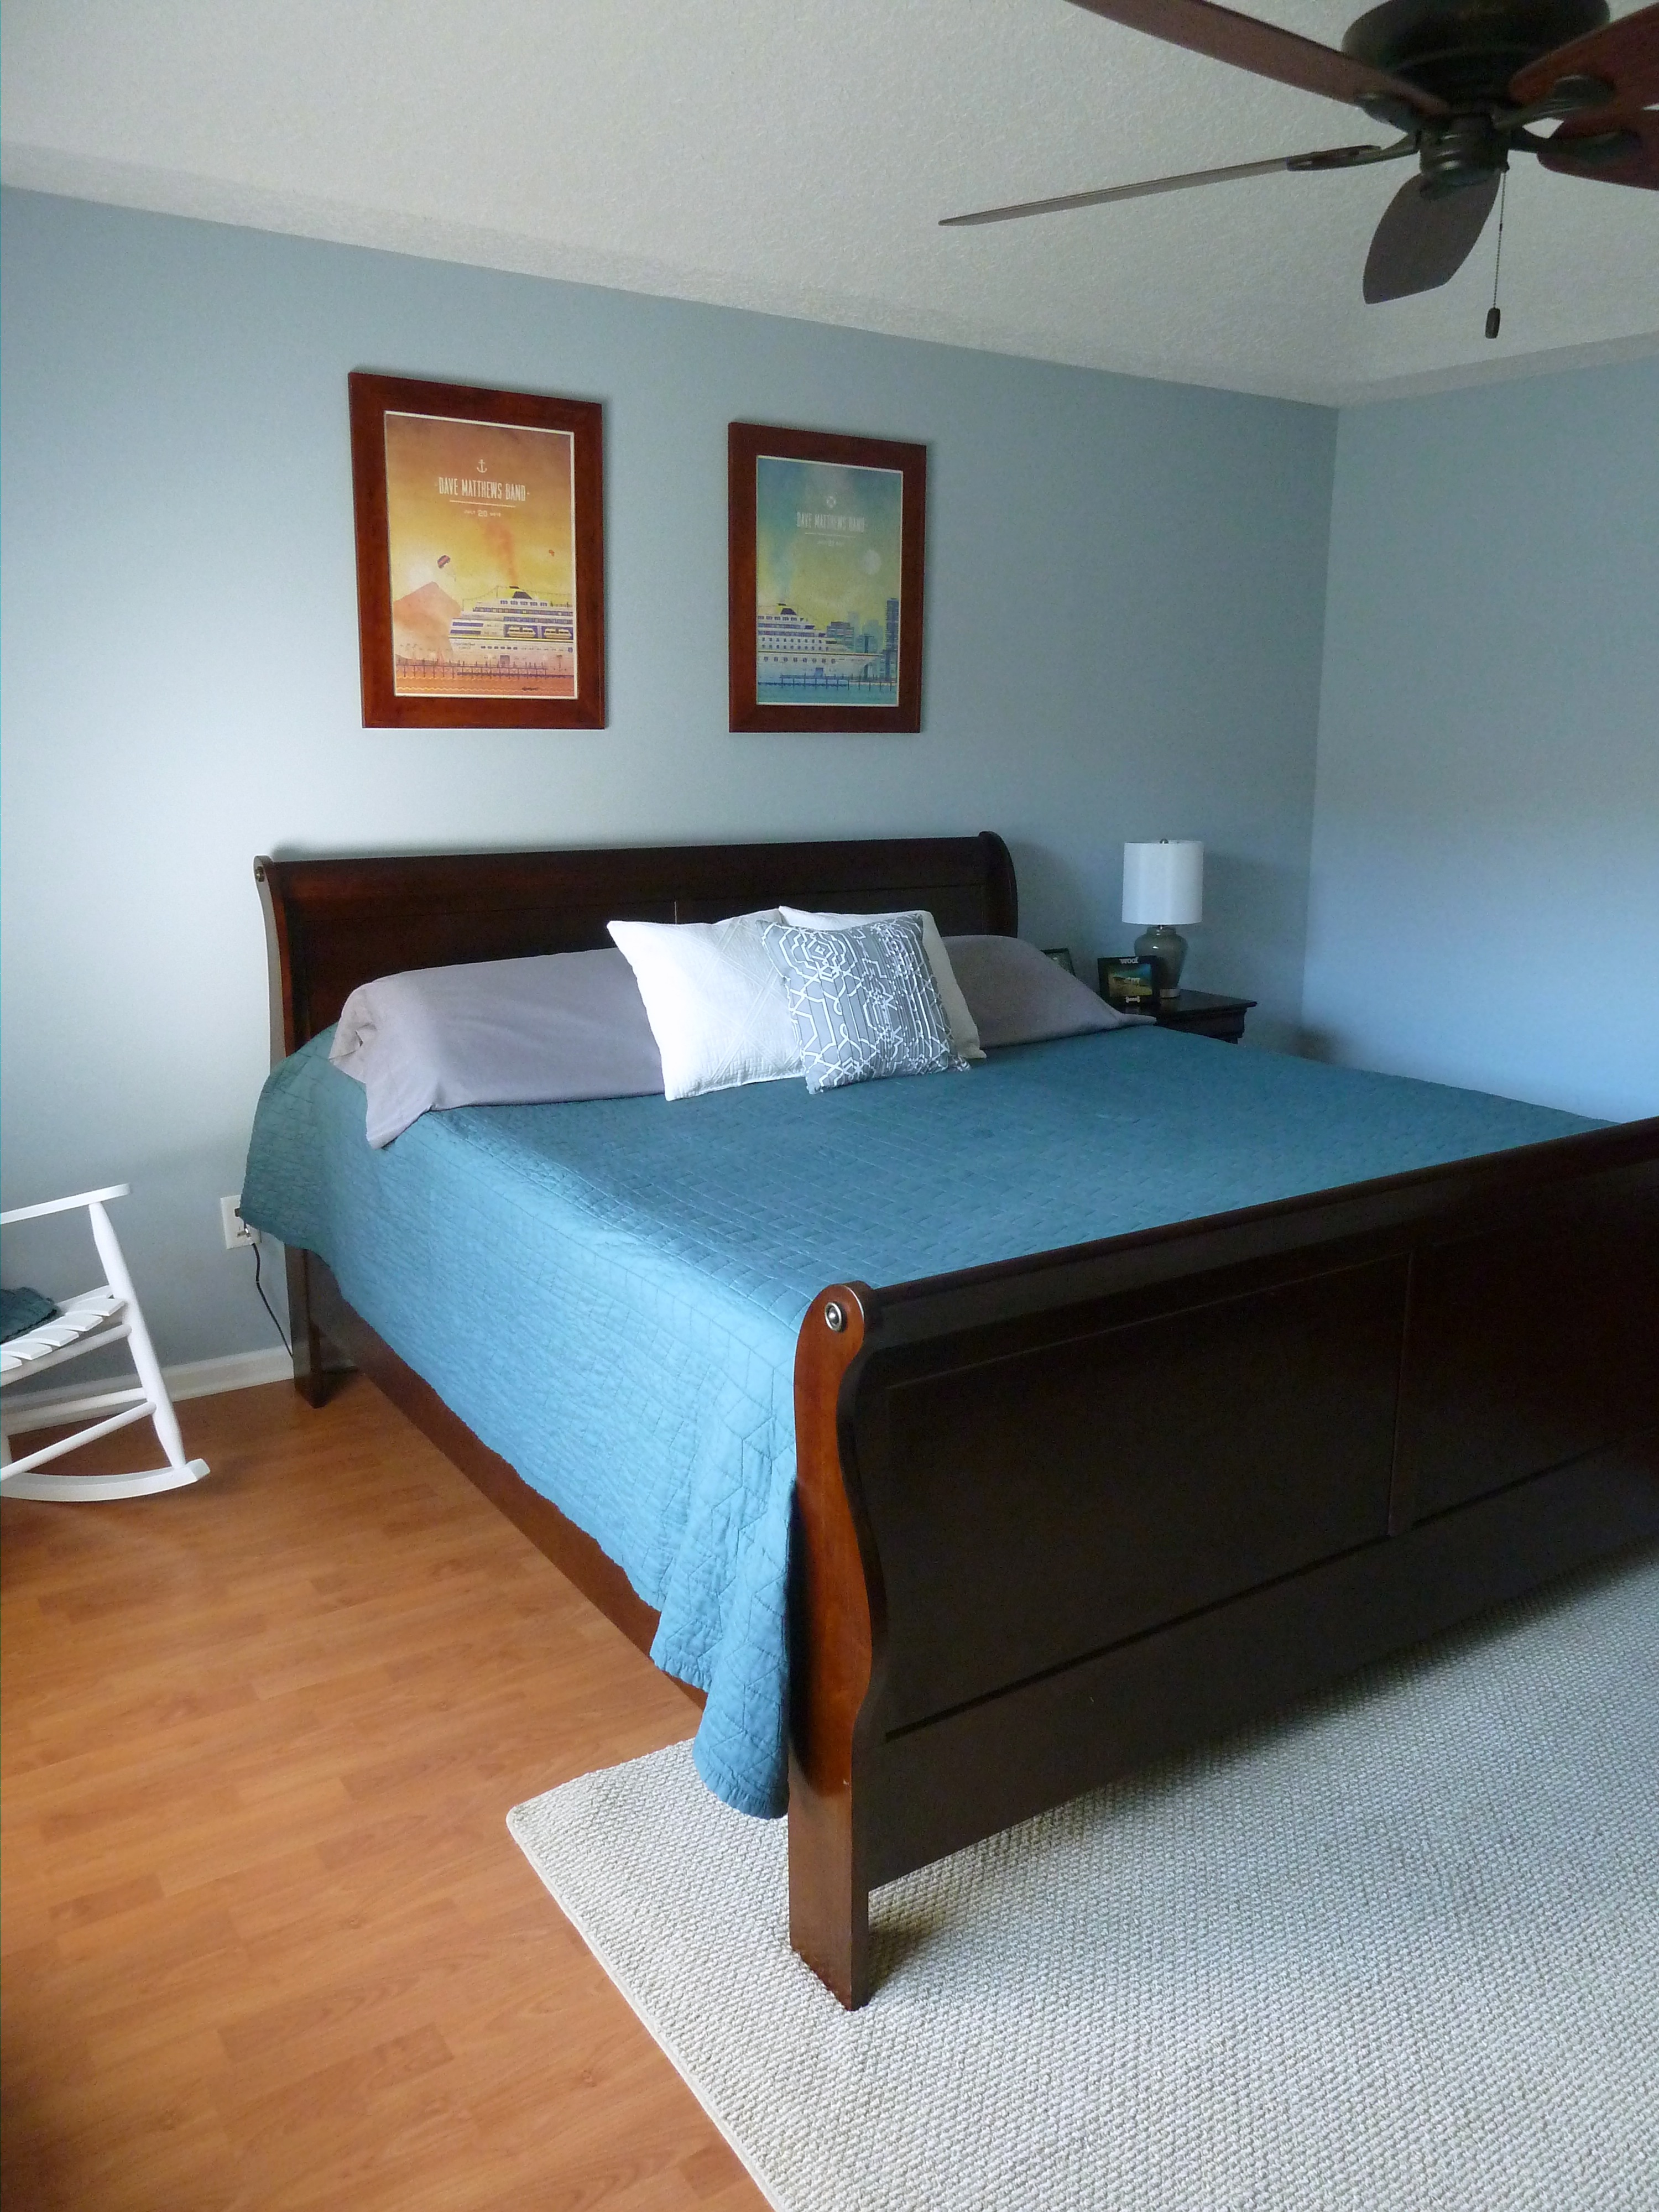
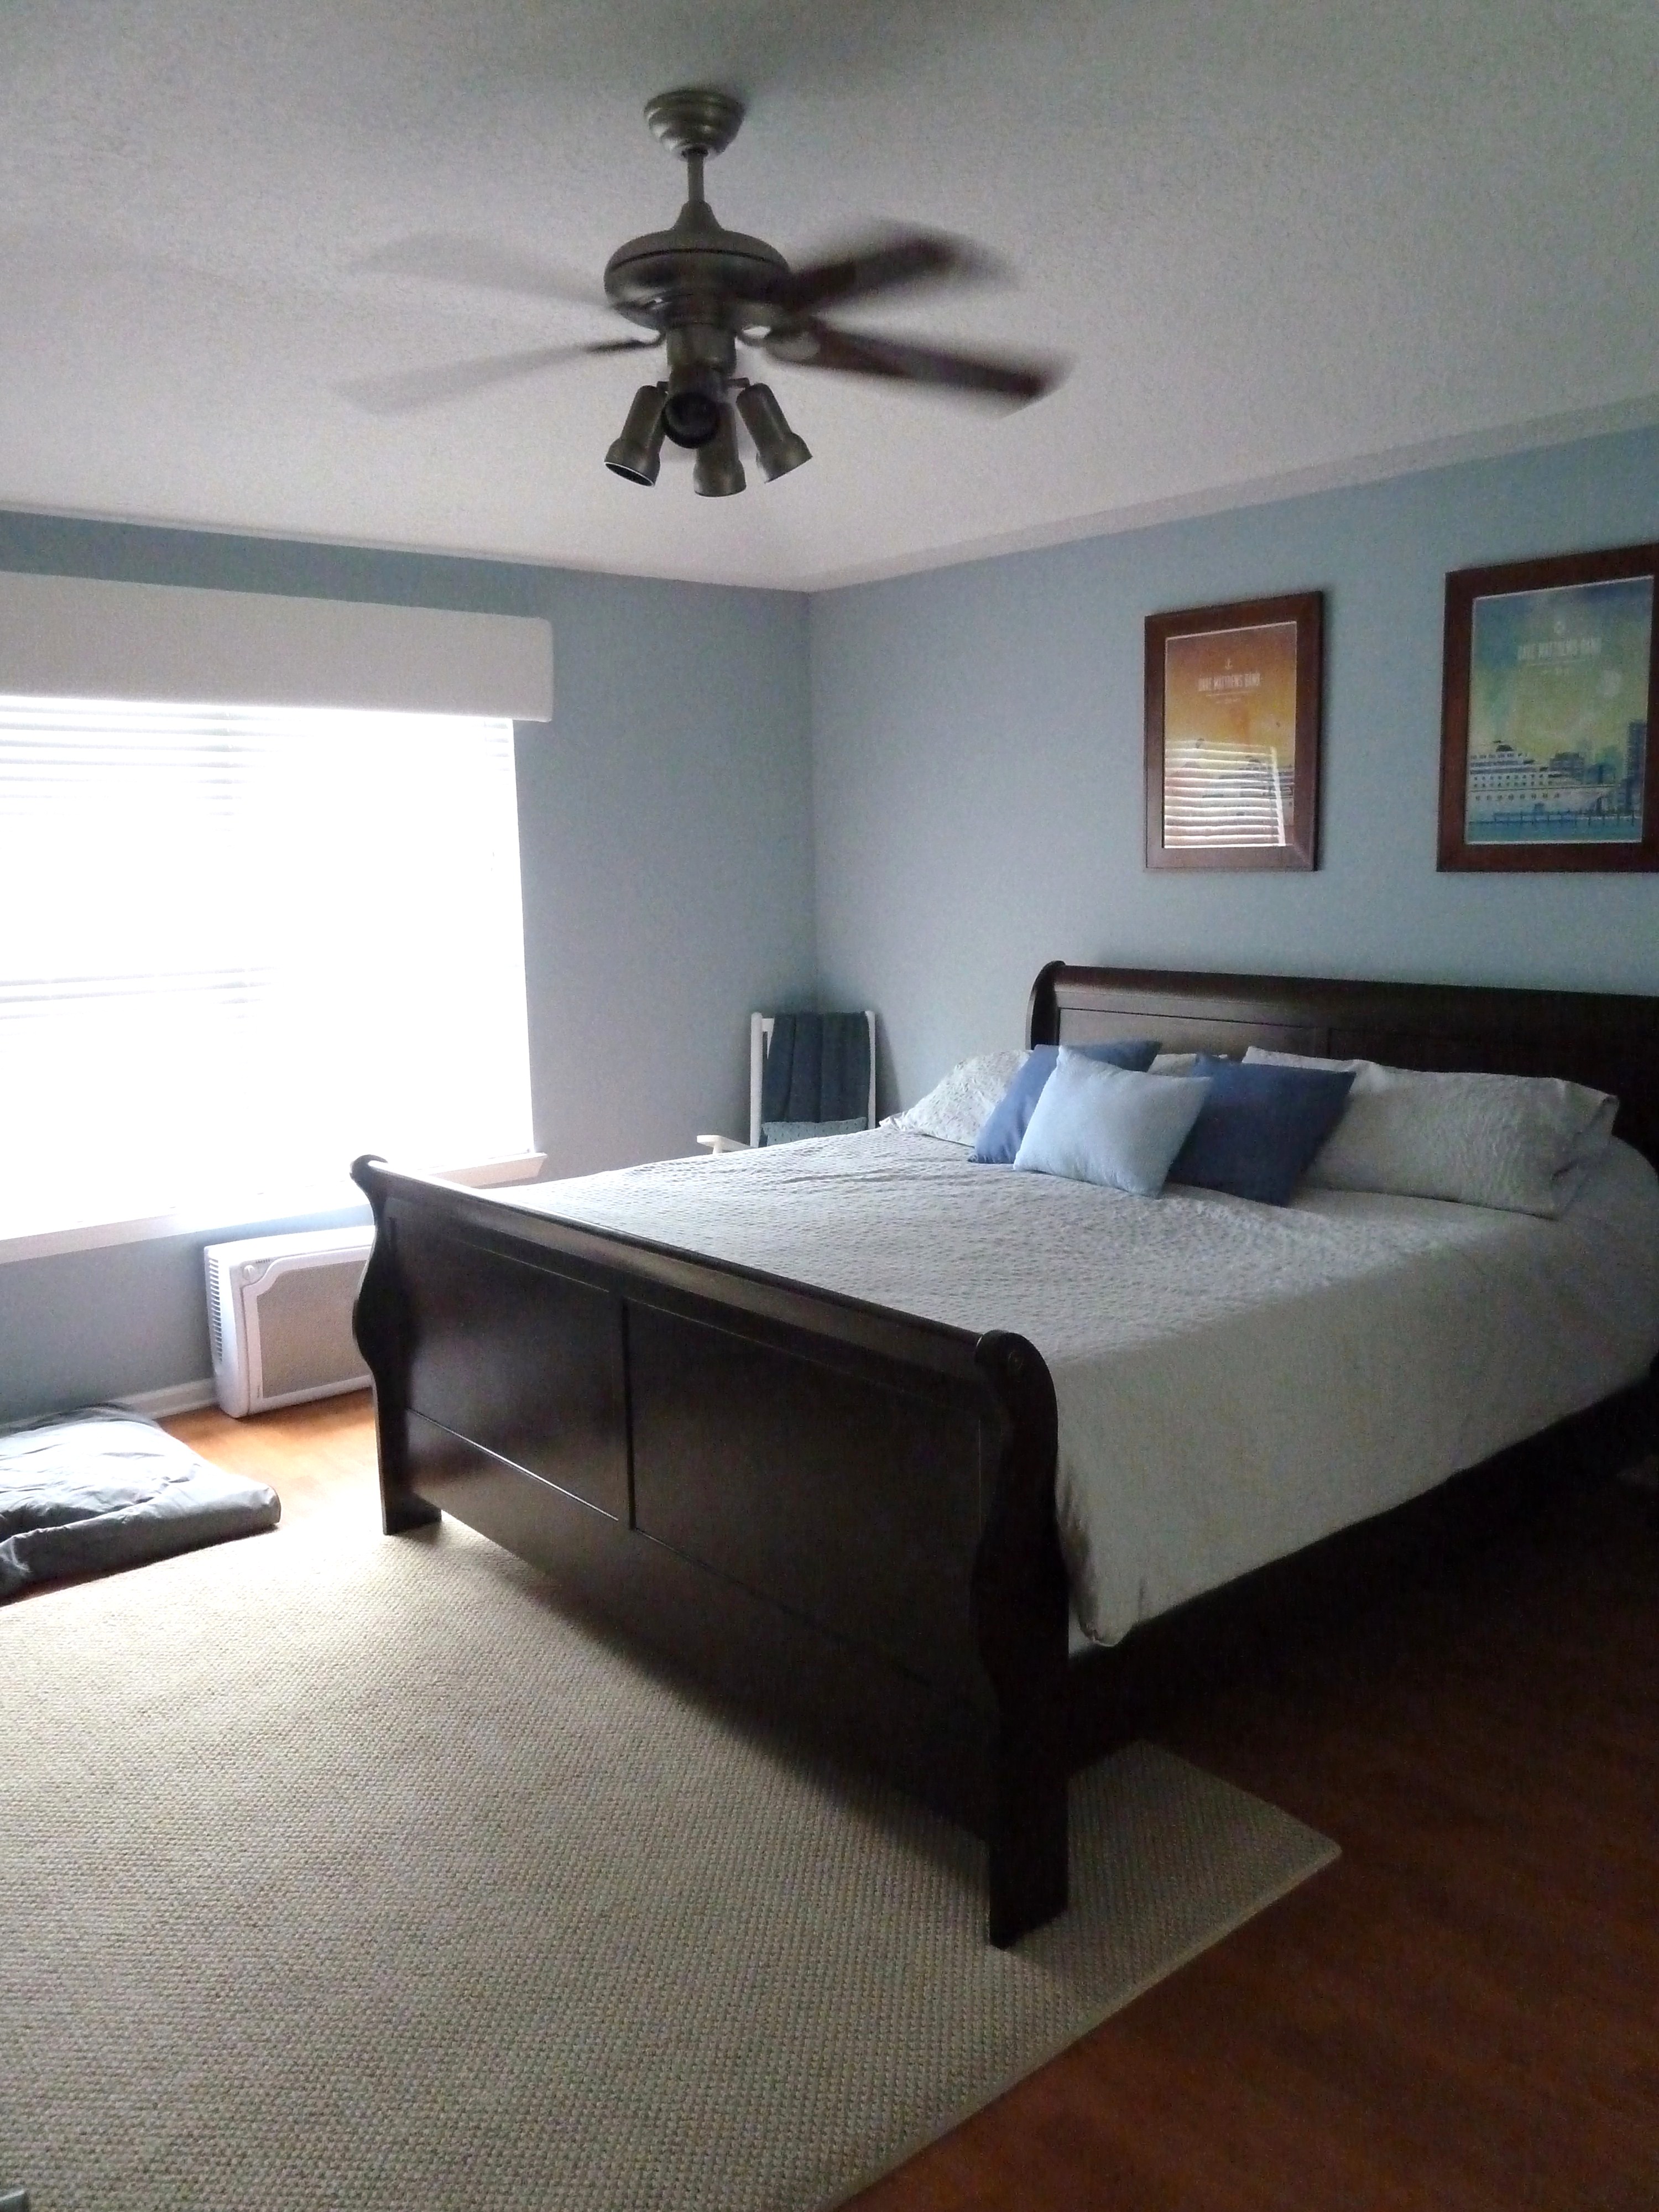
Last I showed you our bedroom was looking like this…

blue quilt

We had purchased some new bedding that we fell for at Target and just to keep you all posted it is super comfy and working out great, it’s even char man approved.

chocolate lab in bed

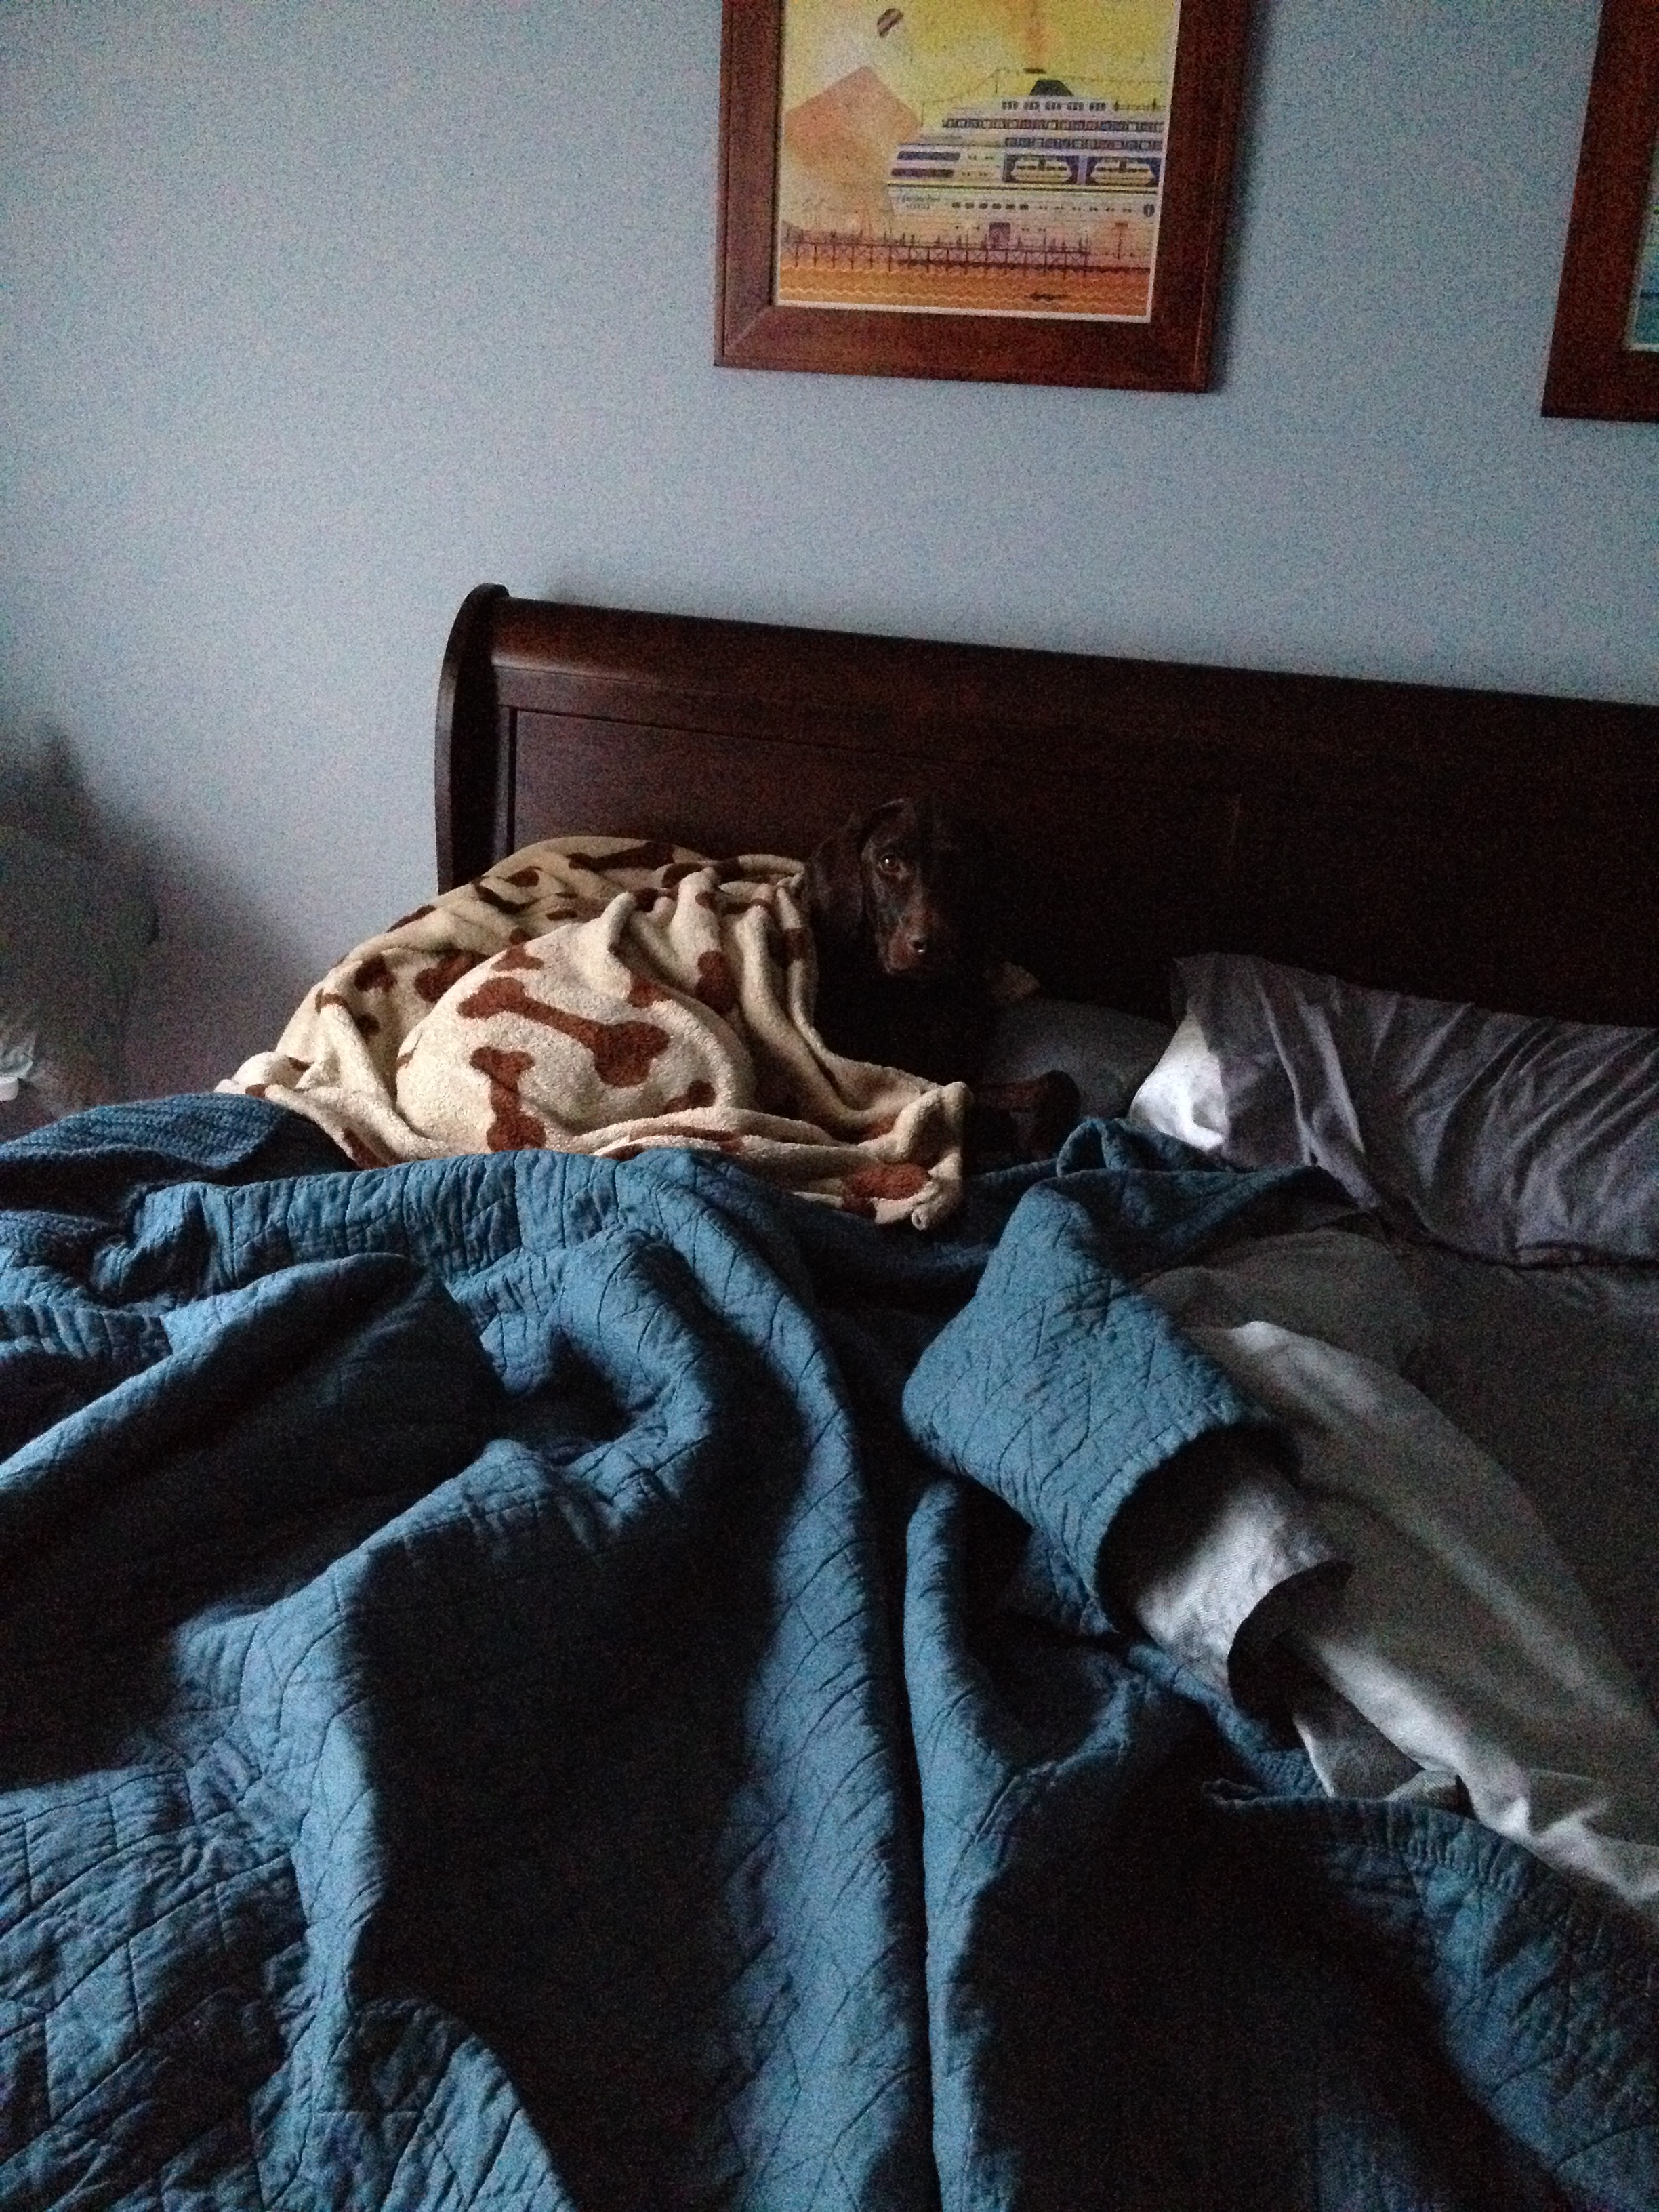
How cute is he?  Anyway, this bed was much in need of some pillows to beef it up a bit.  So, I got to hang out with my sewing machine for a little bit.  I decided to just cover the old pillows that were on this bed previously…

blue bedroom with gray bedding

I’m talking about those three blue guys on the bed.  Here’s what I did…

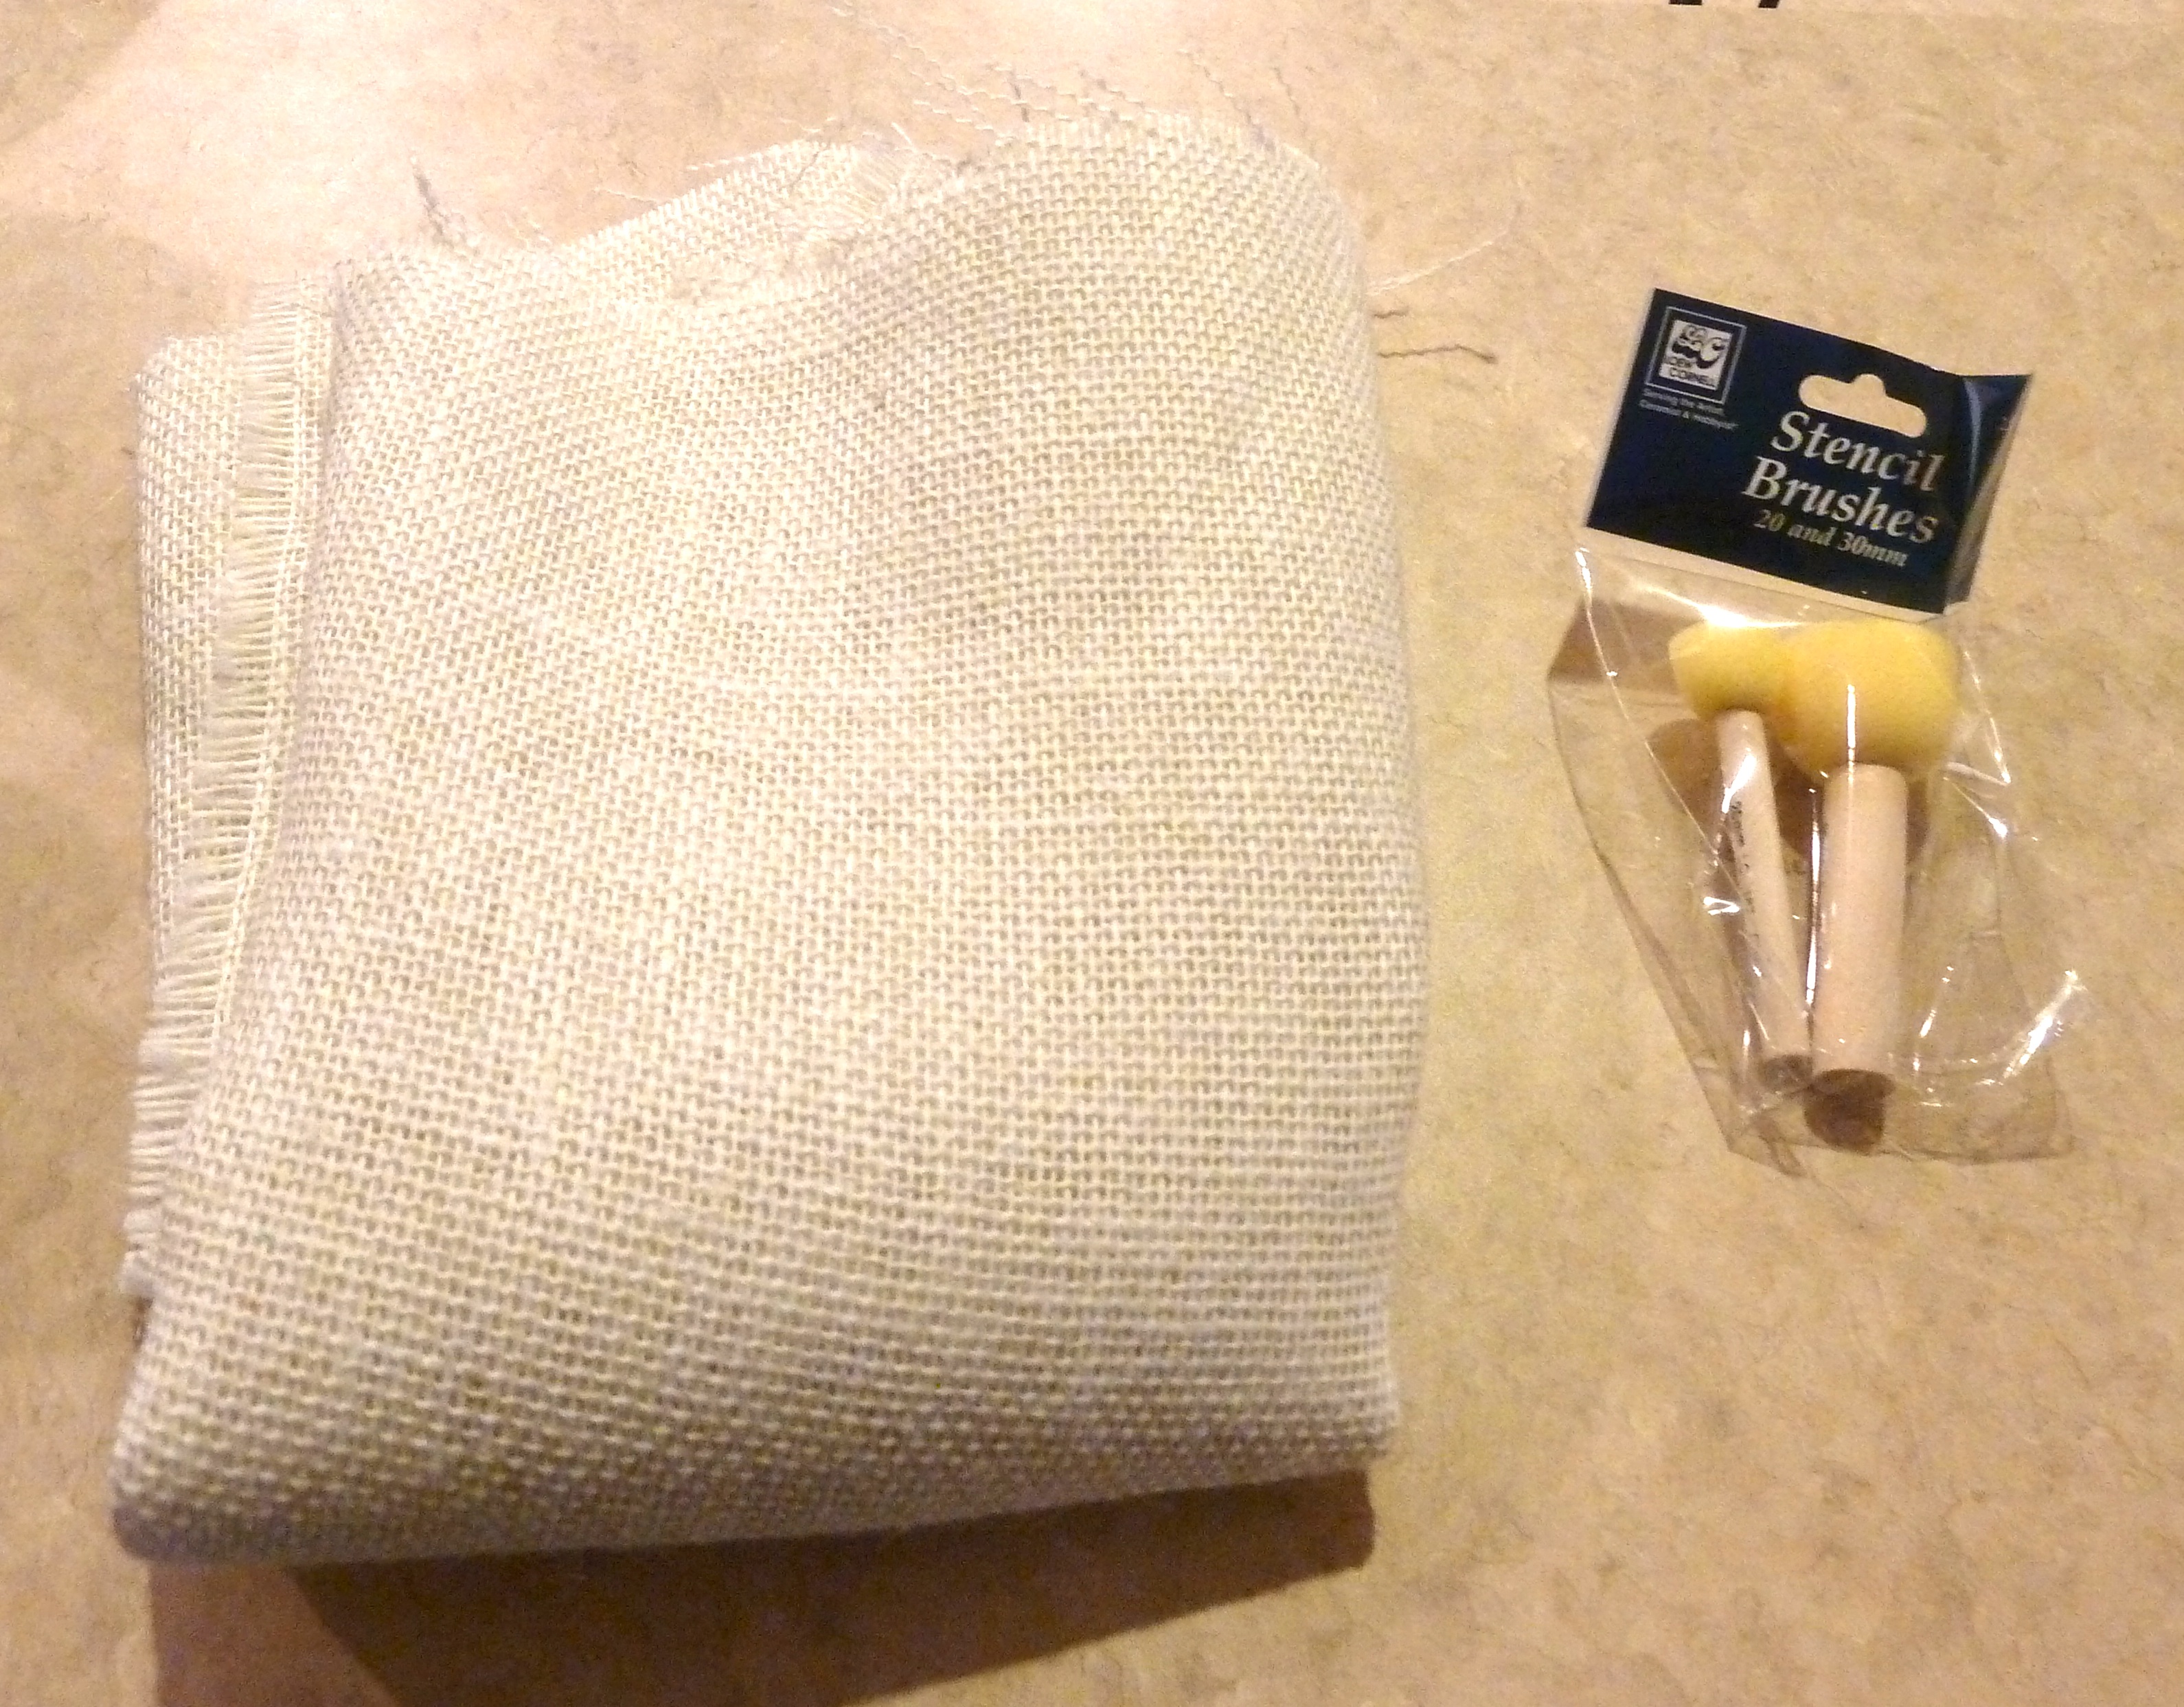
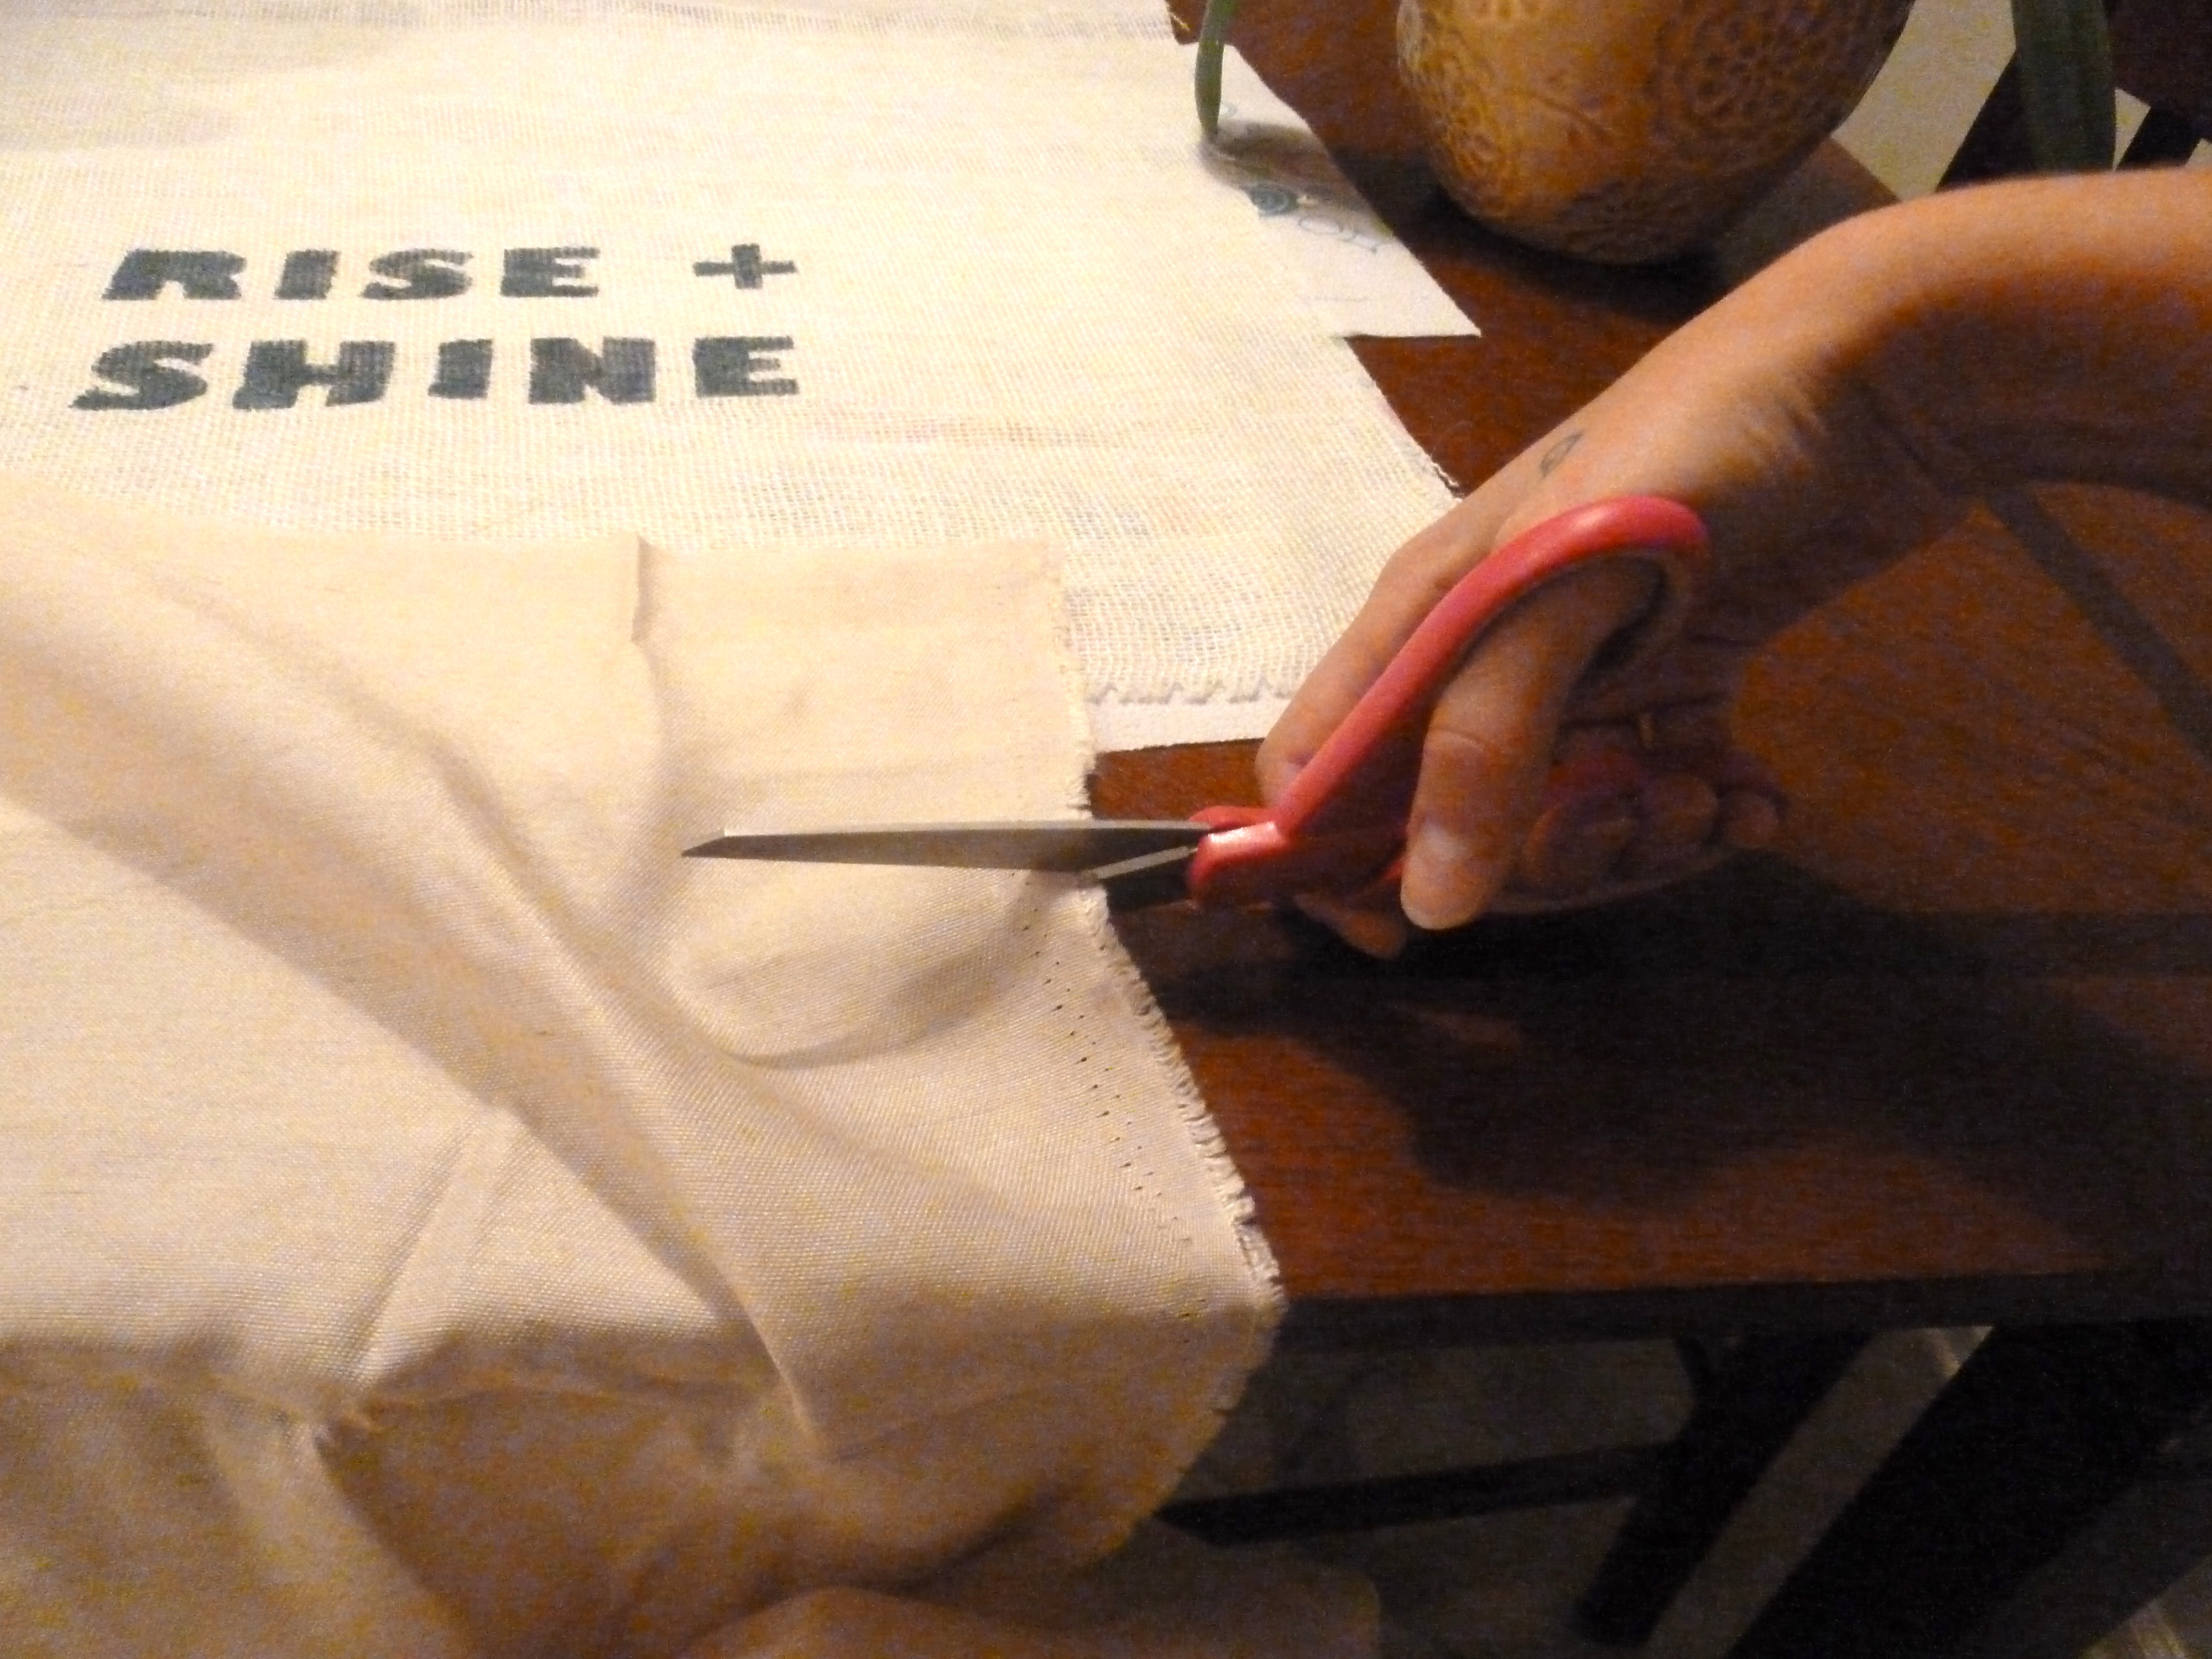
I started by taking some scissor and slicing those old covers that I had previously made right off(yes I am recovering previously covered pillows, no waste here).  Once I had my old pillows ready to be recovered I needed to decide on what fabric I wanted to use.  I thought that I definitely needed to go with a lighter color since the bedding is pretty dark.  I thought white would be nice and I just so happened to already own the perfect fabric for the job.

white detailed fabric

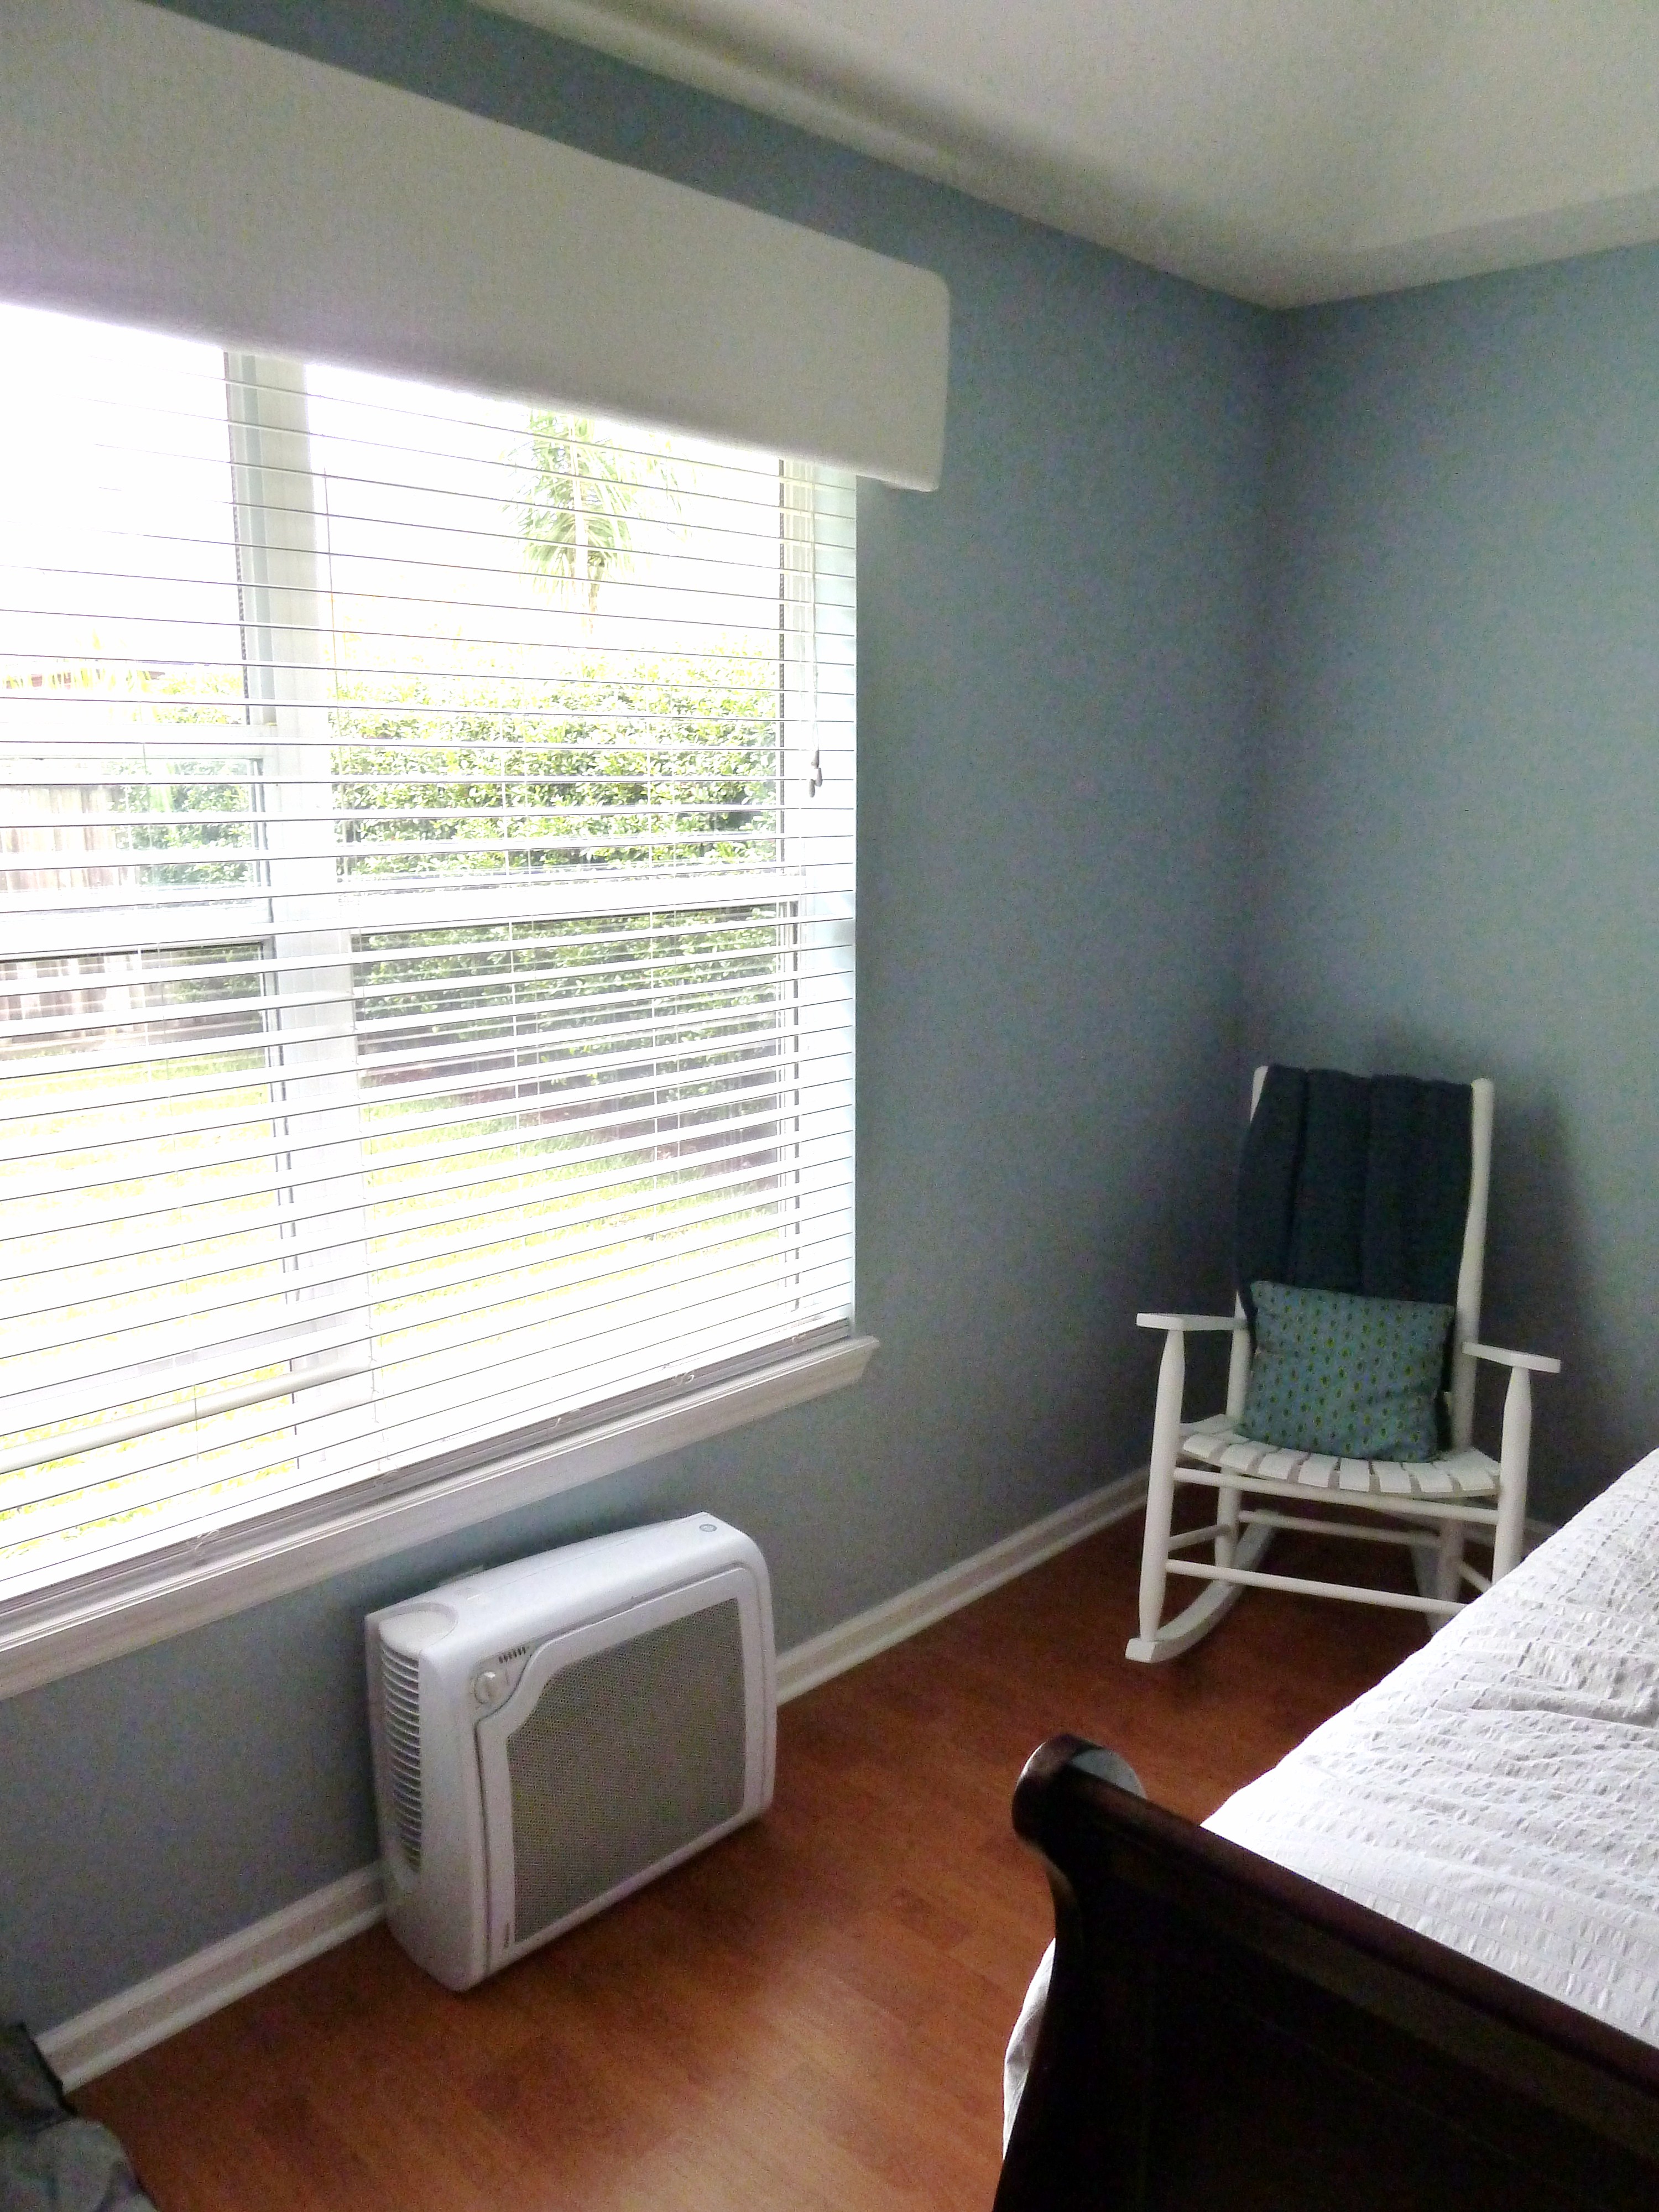
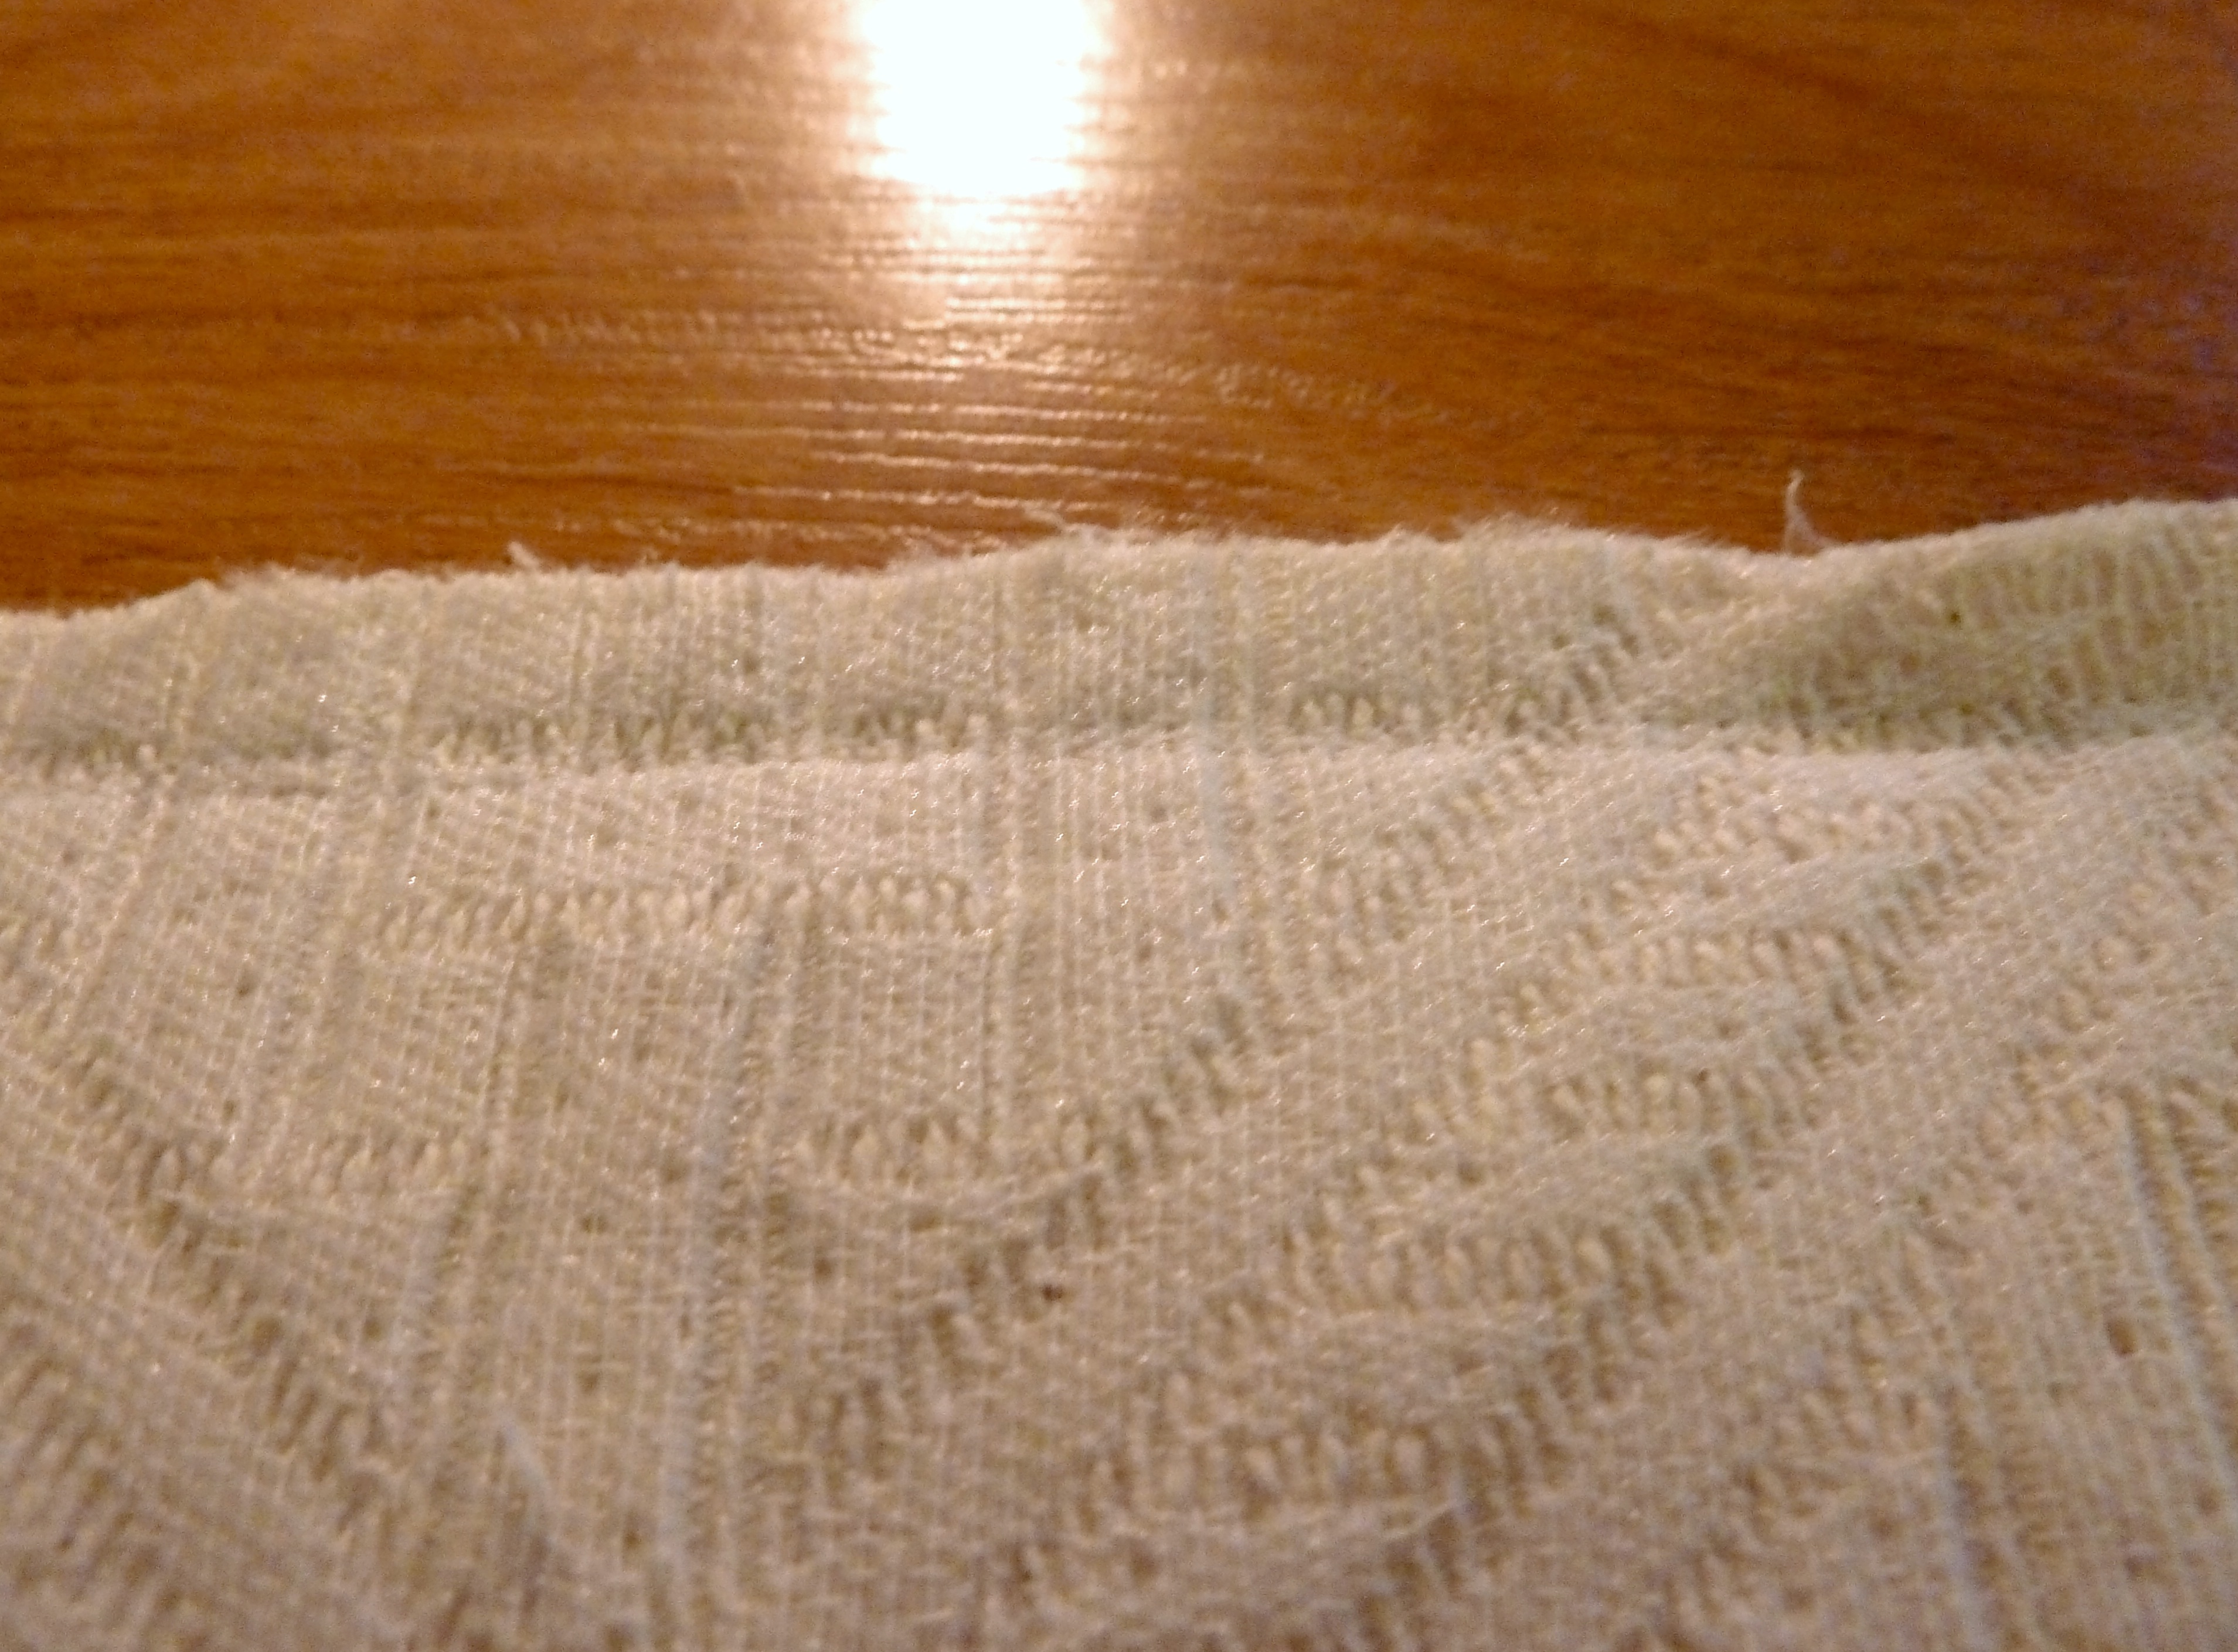
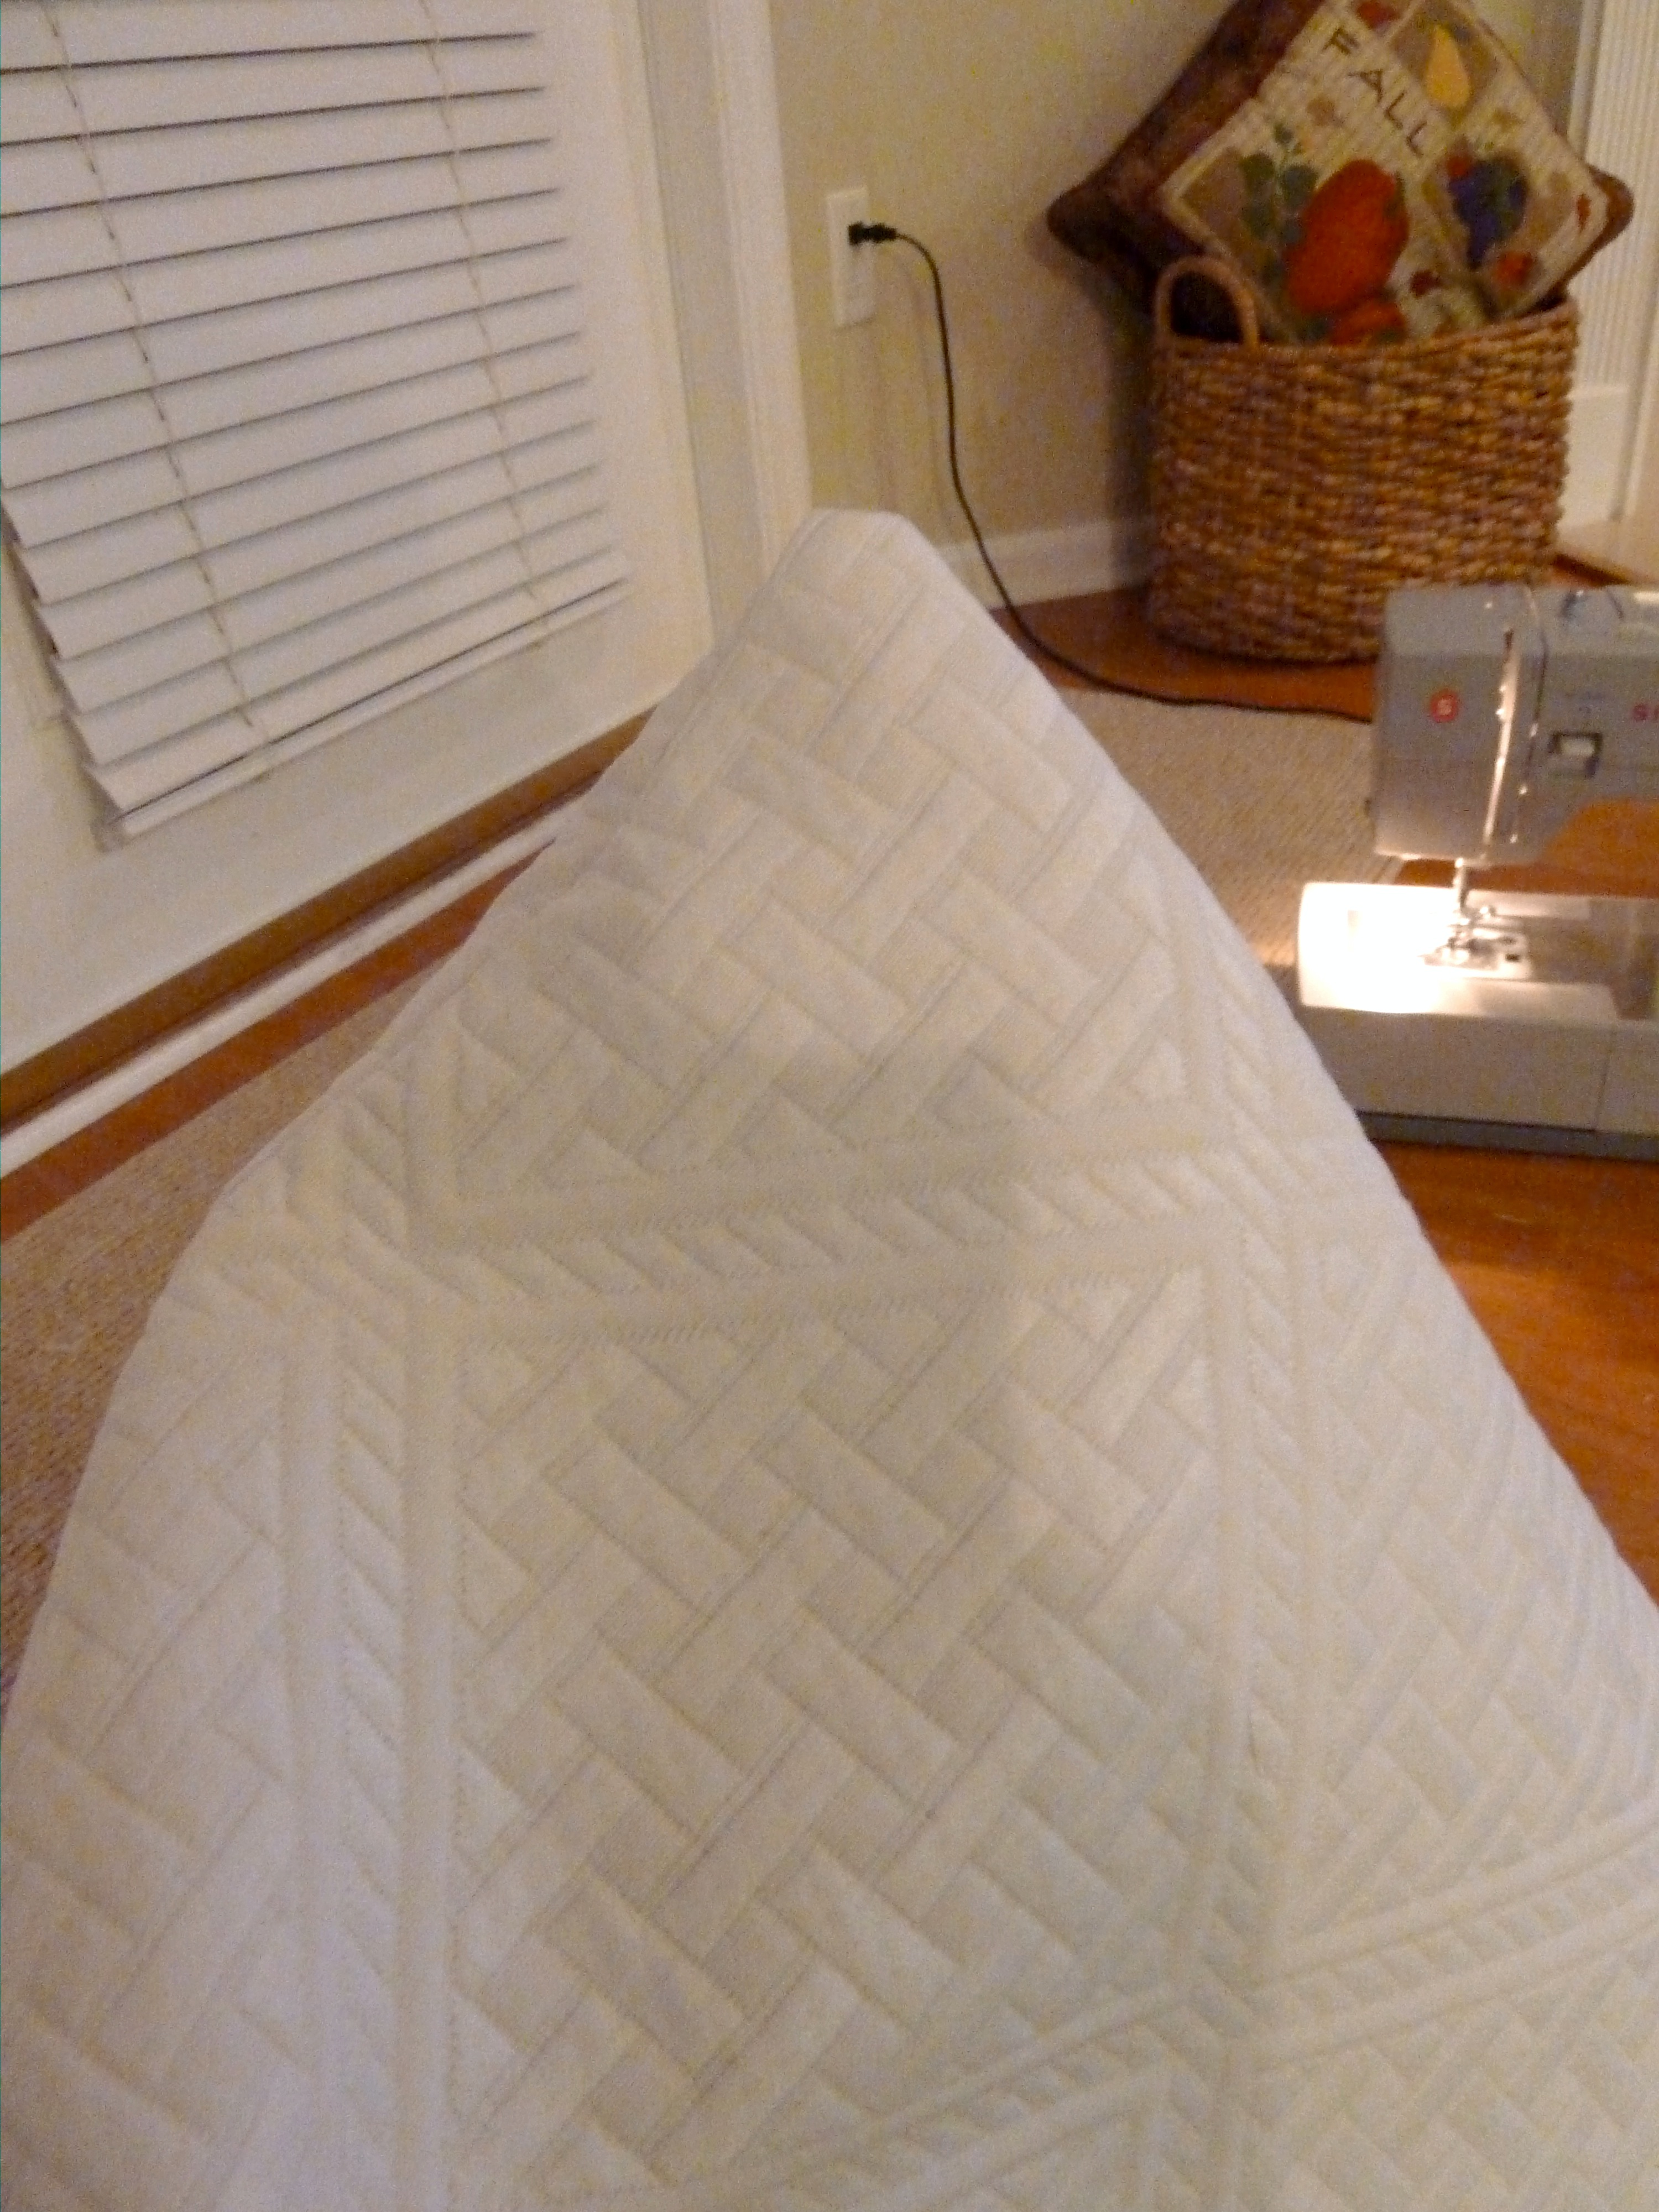
It’s the white fabric that I used on the cornice in our room

how to make cornice

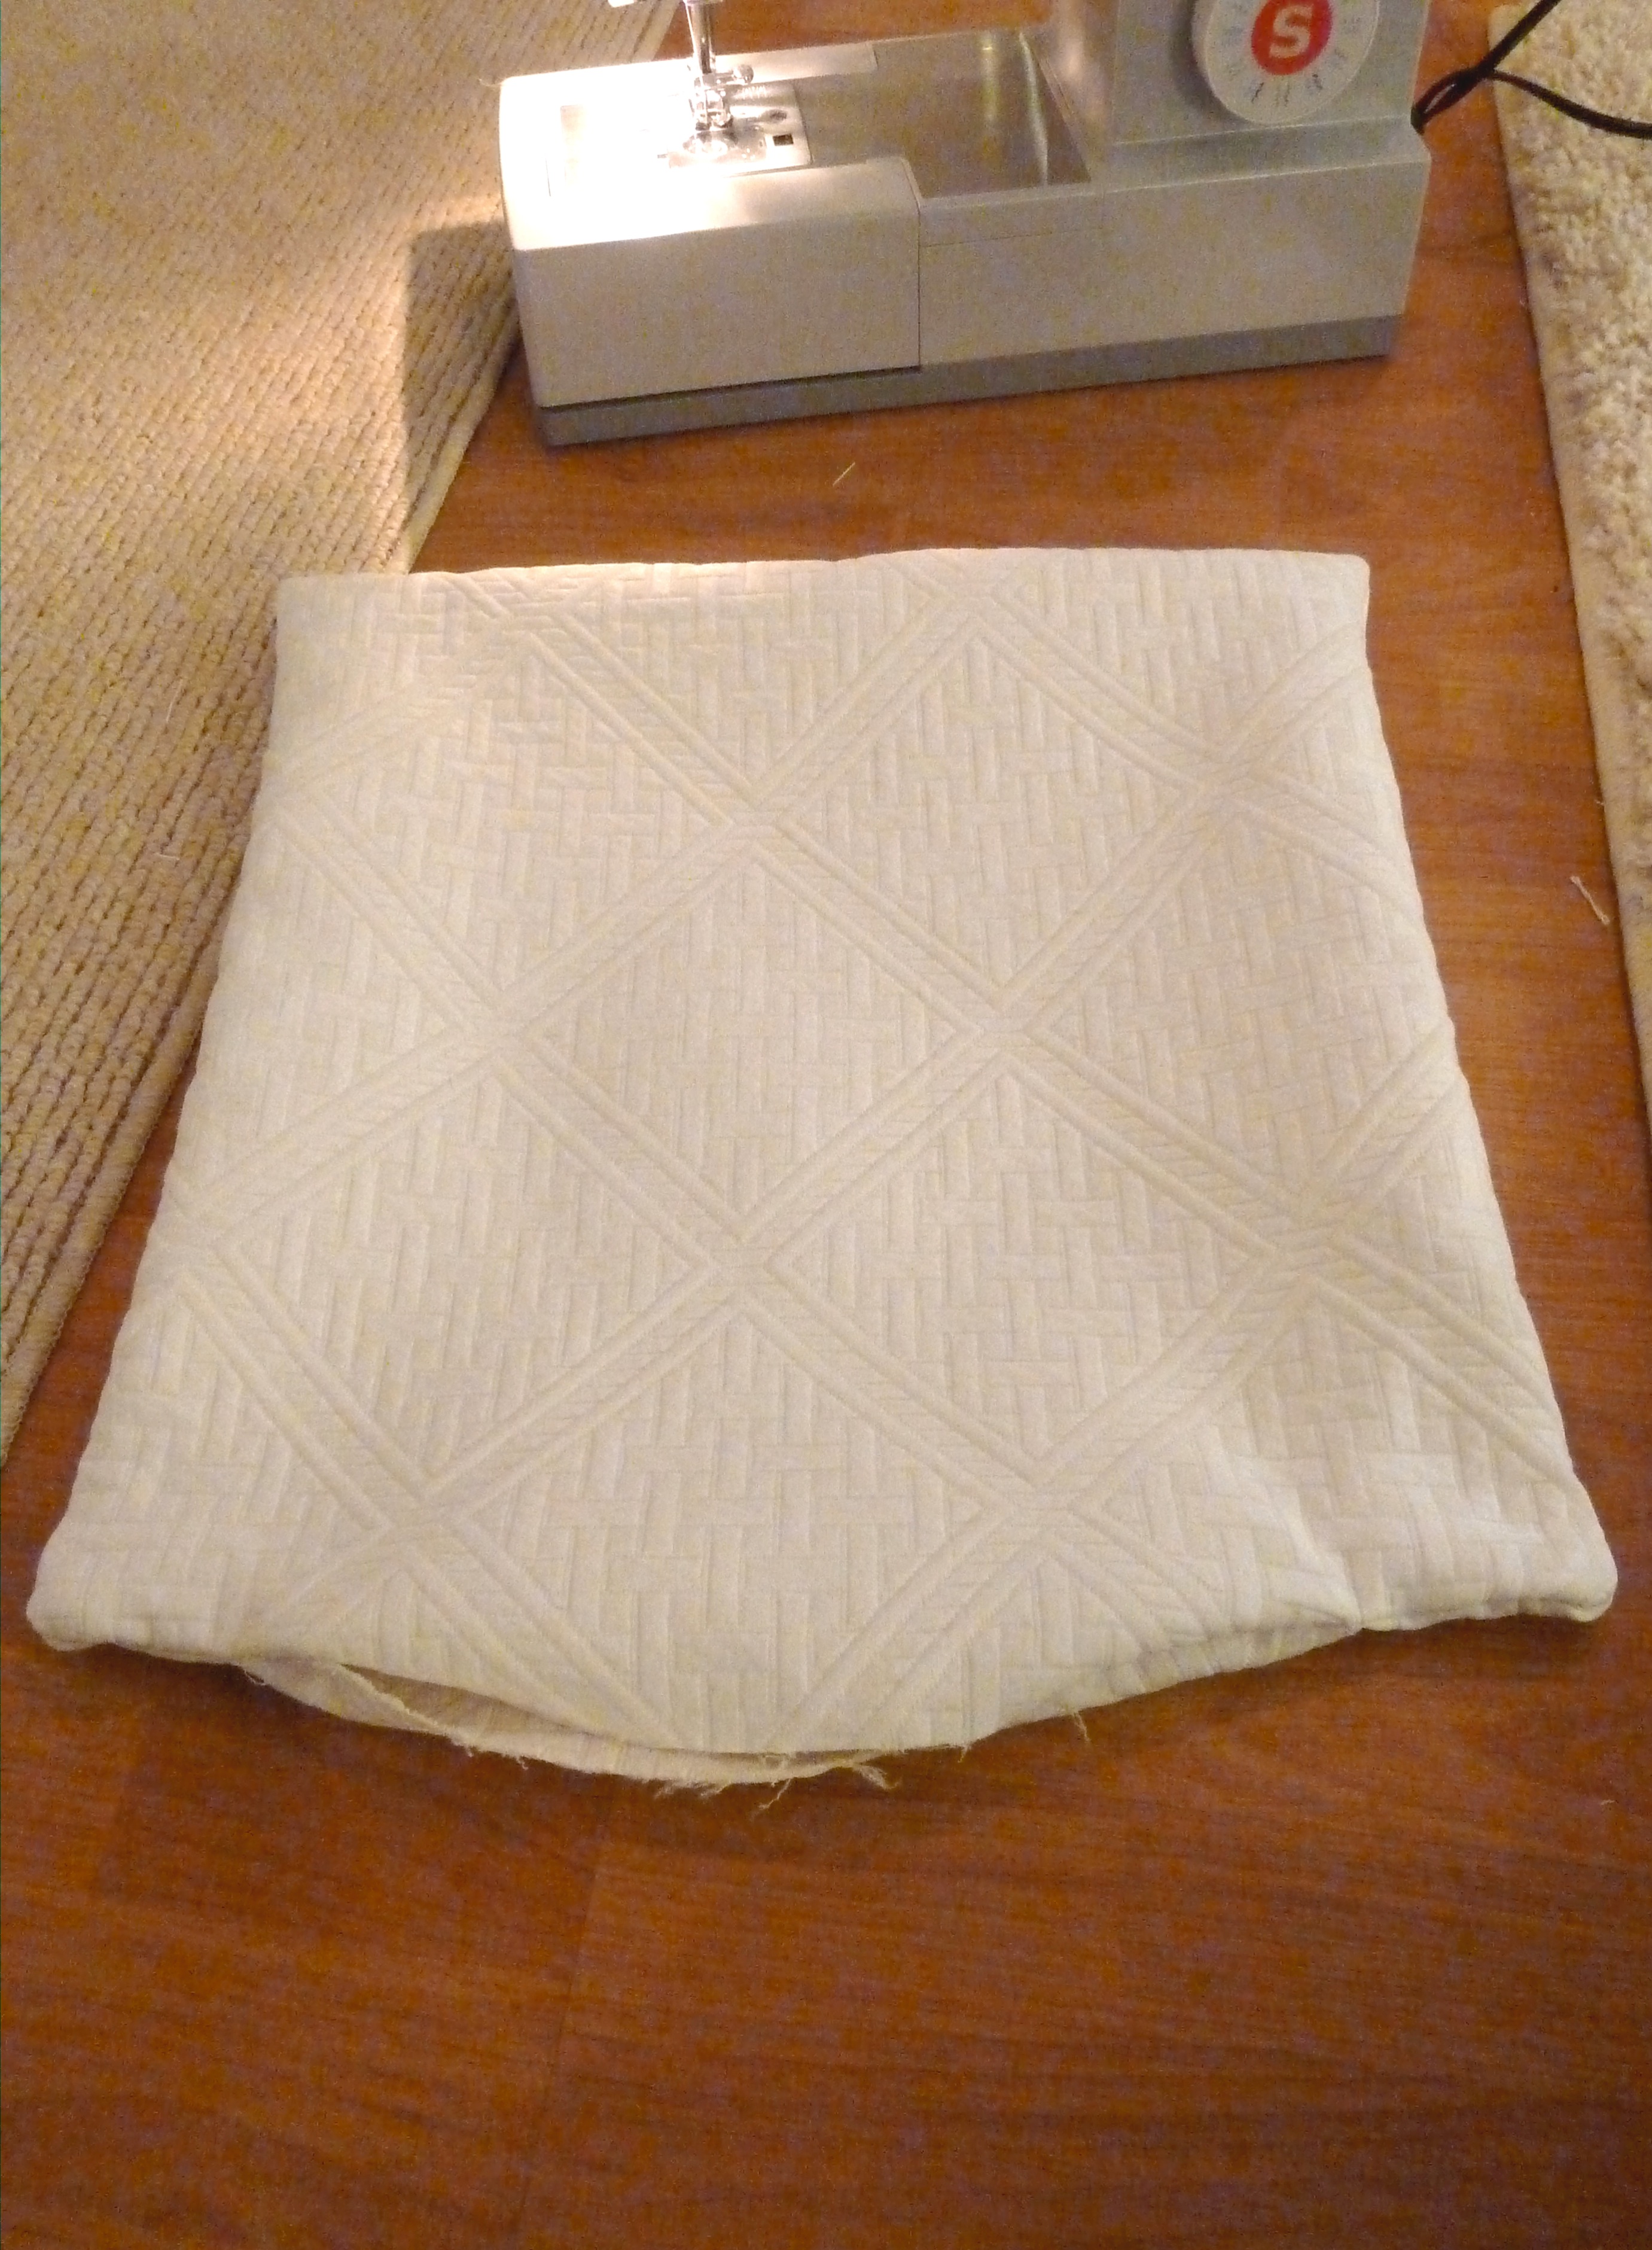
Once I had decided on the fabric I cut it about an inch wider than the pillow’s length on each of the four sides.  I had to cut four squares, one front and one back piece for each pillow…

how to cover a pillow

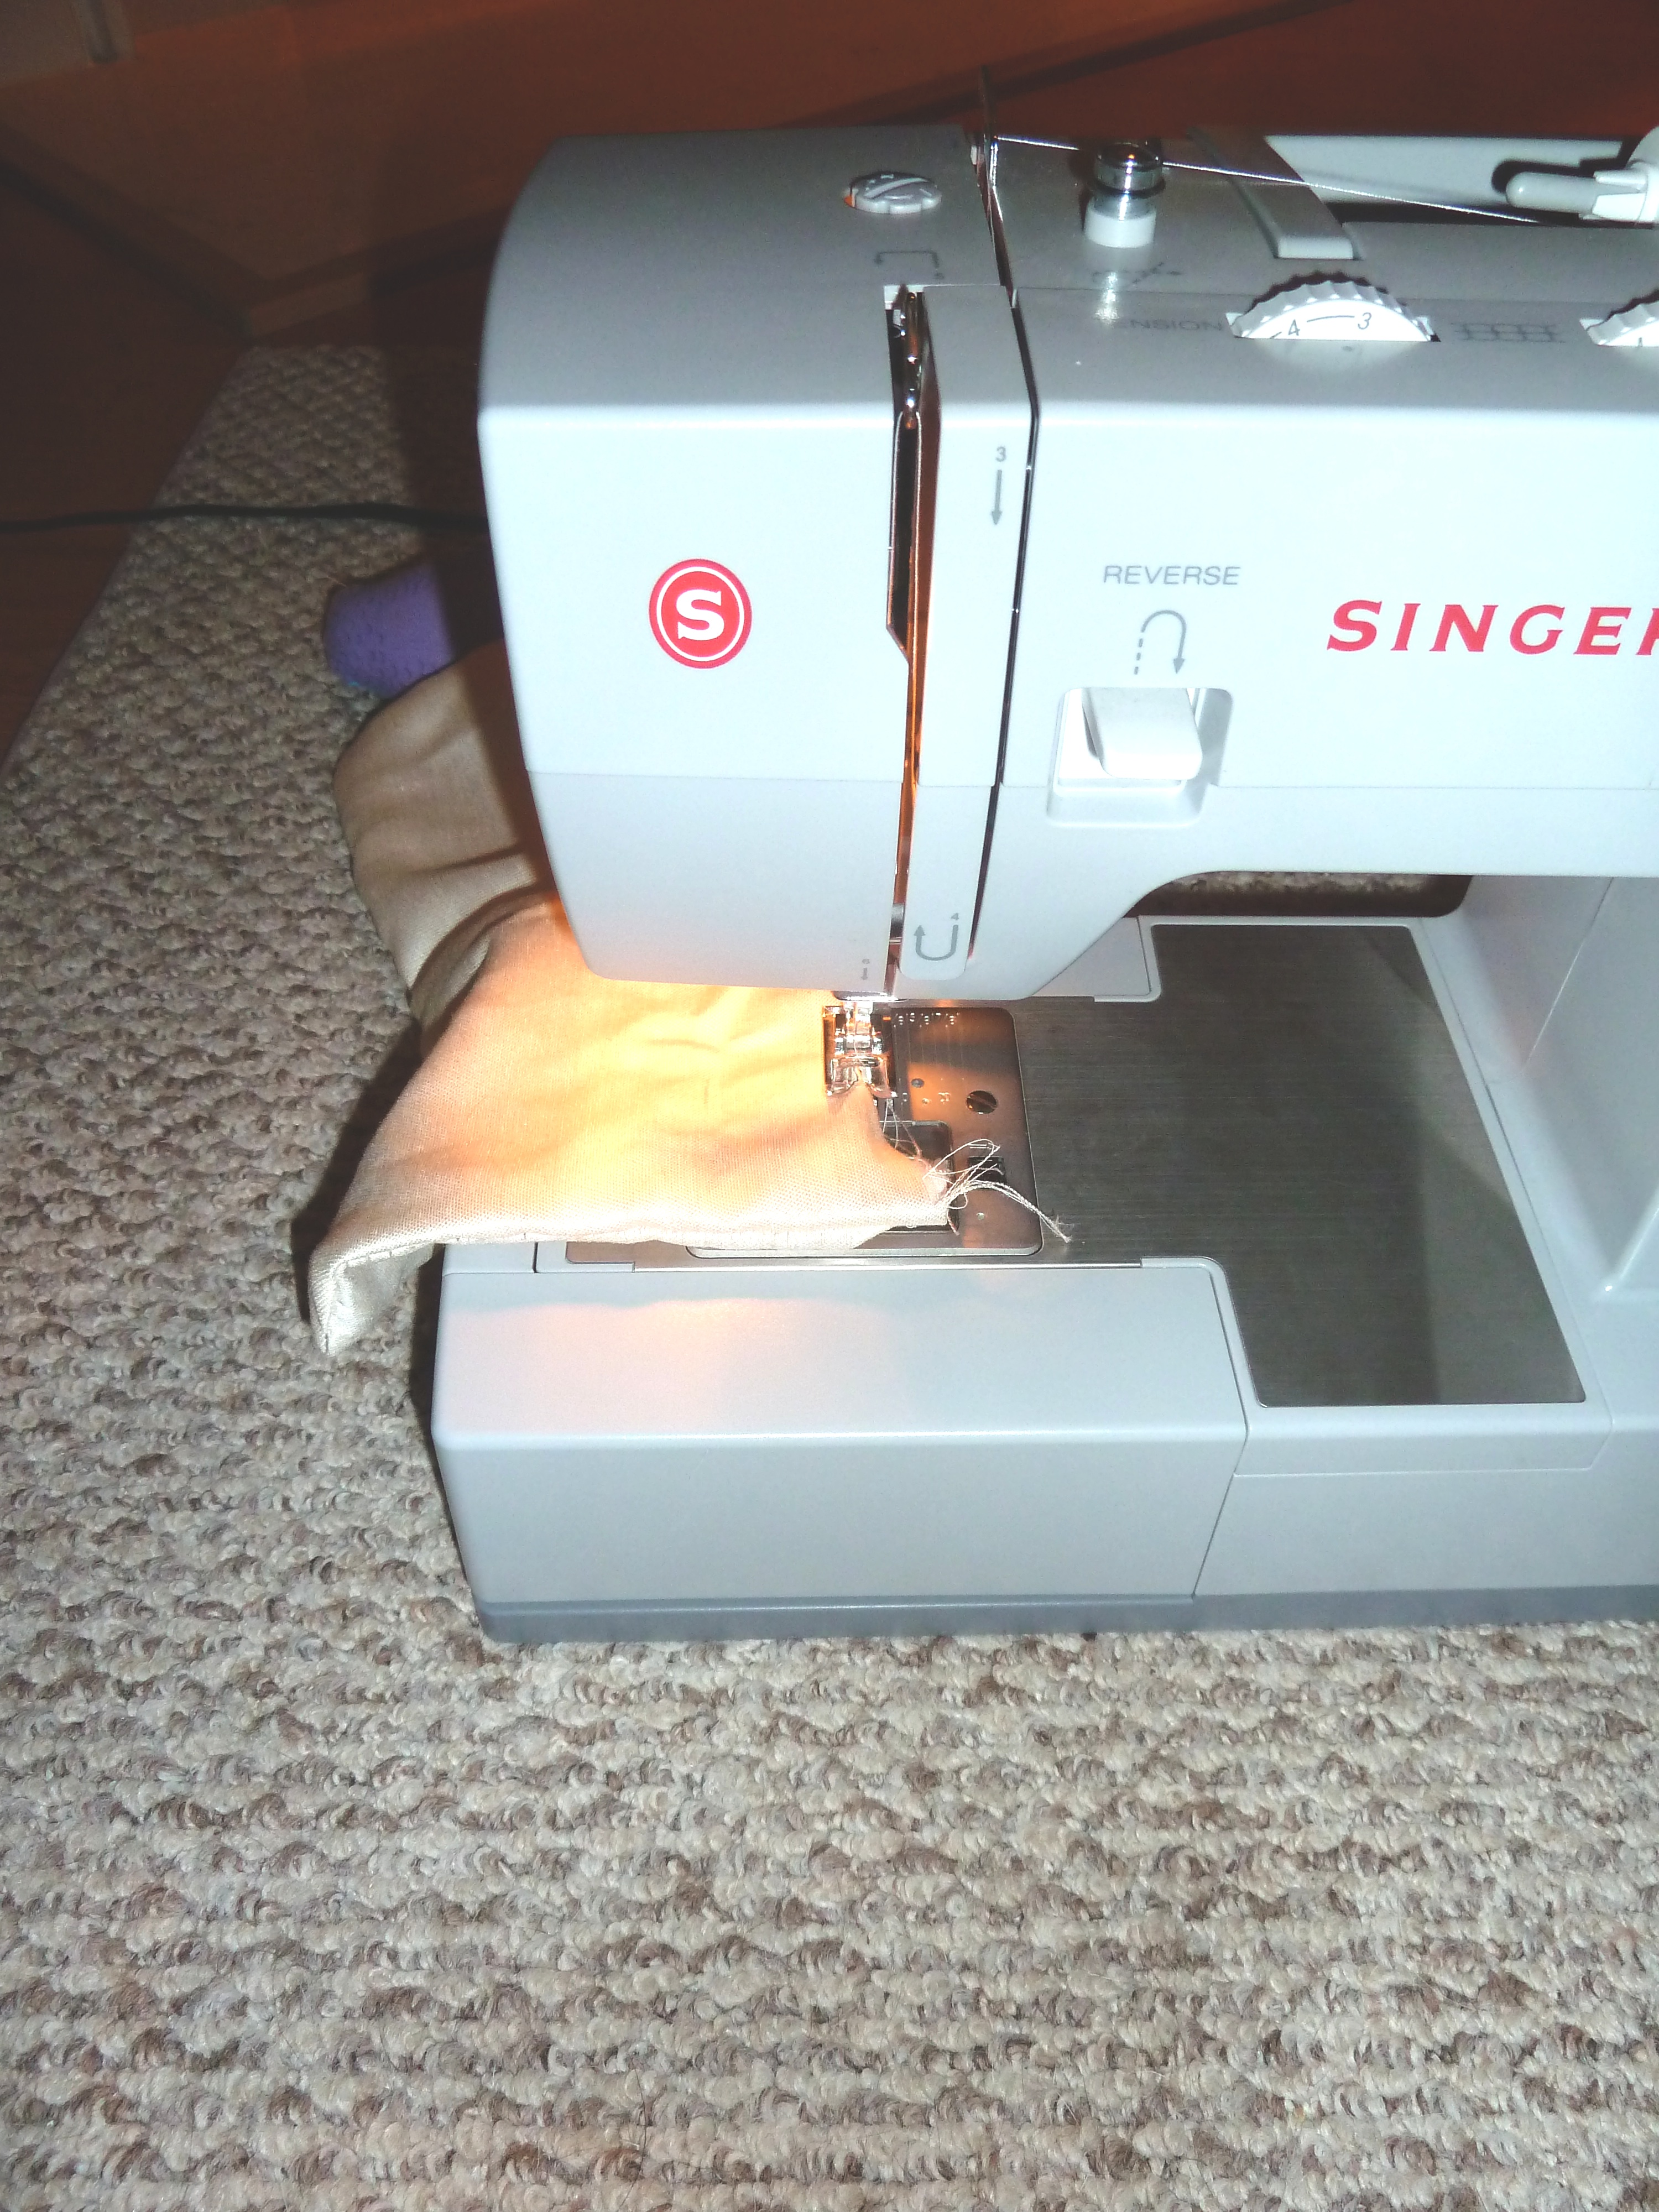
Look at those snazzy squares.  From there I sewed three sides of the fabric together back side of the fabric facing outward…

nnnn8

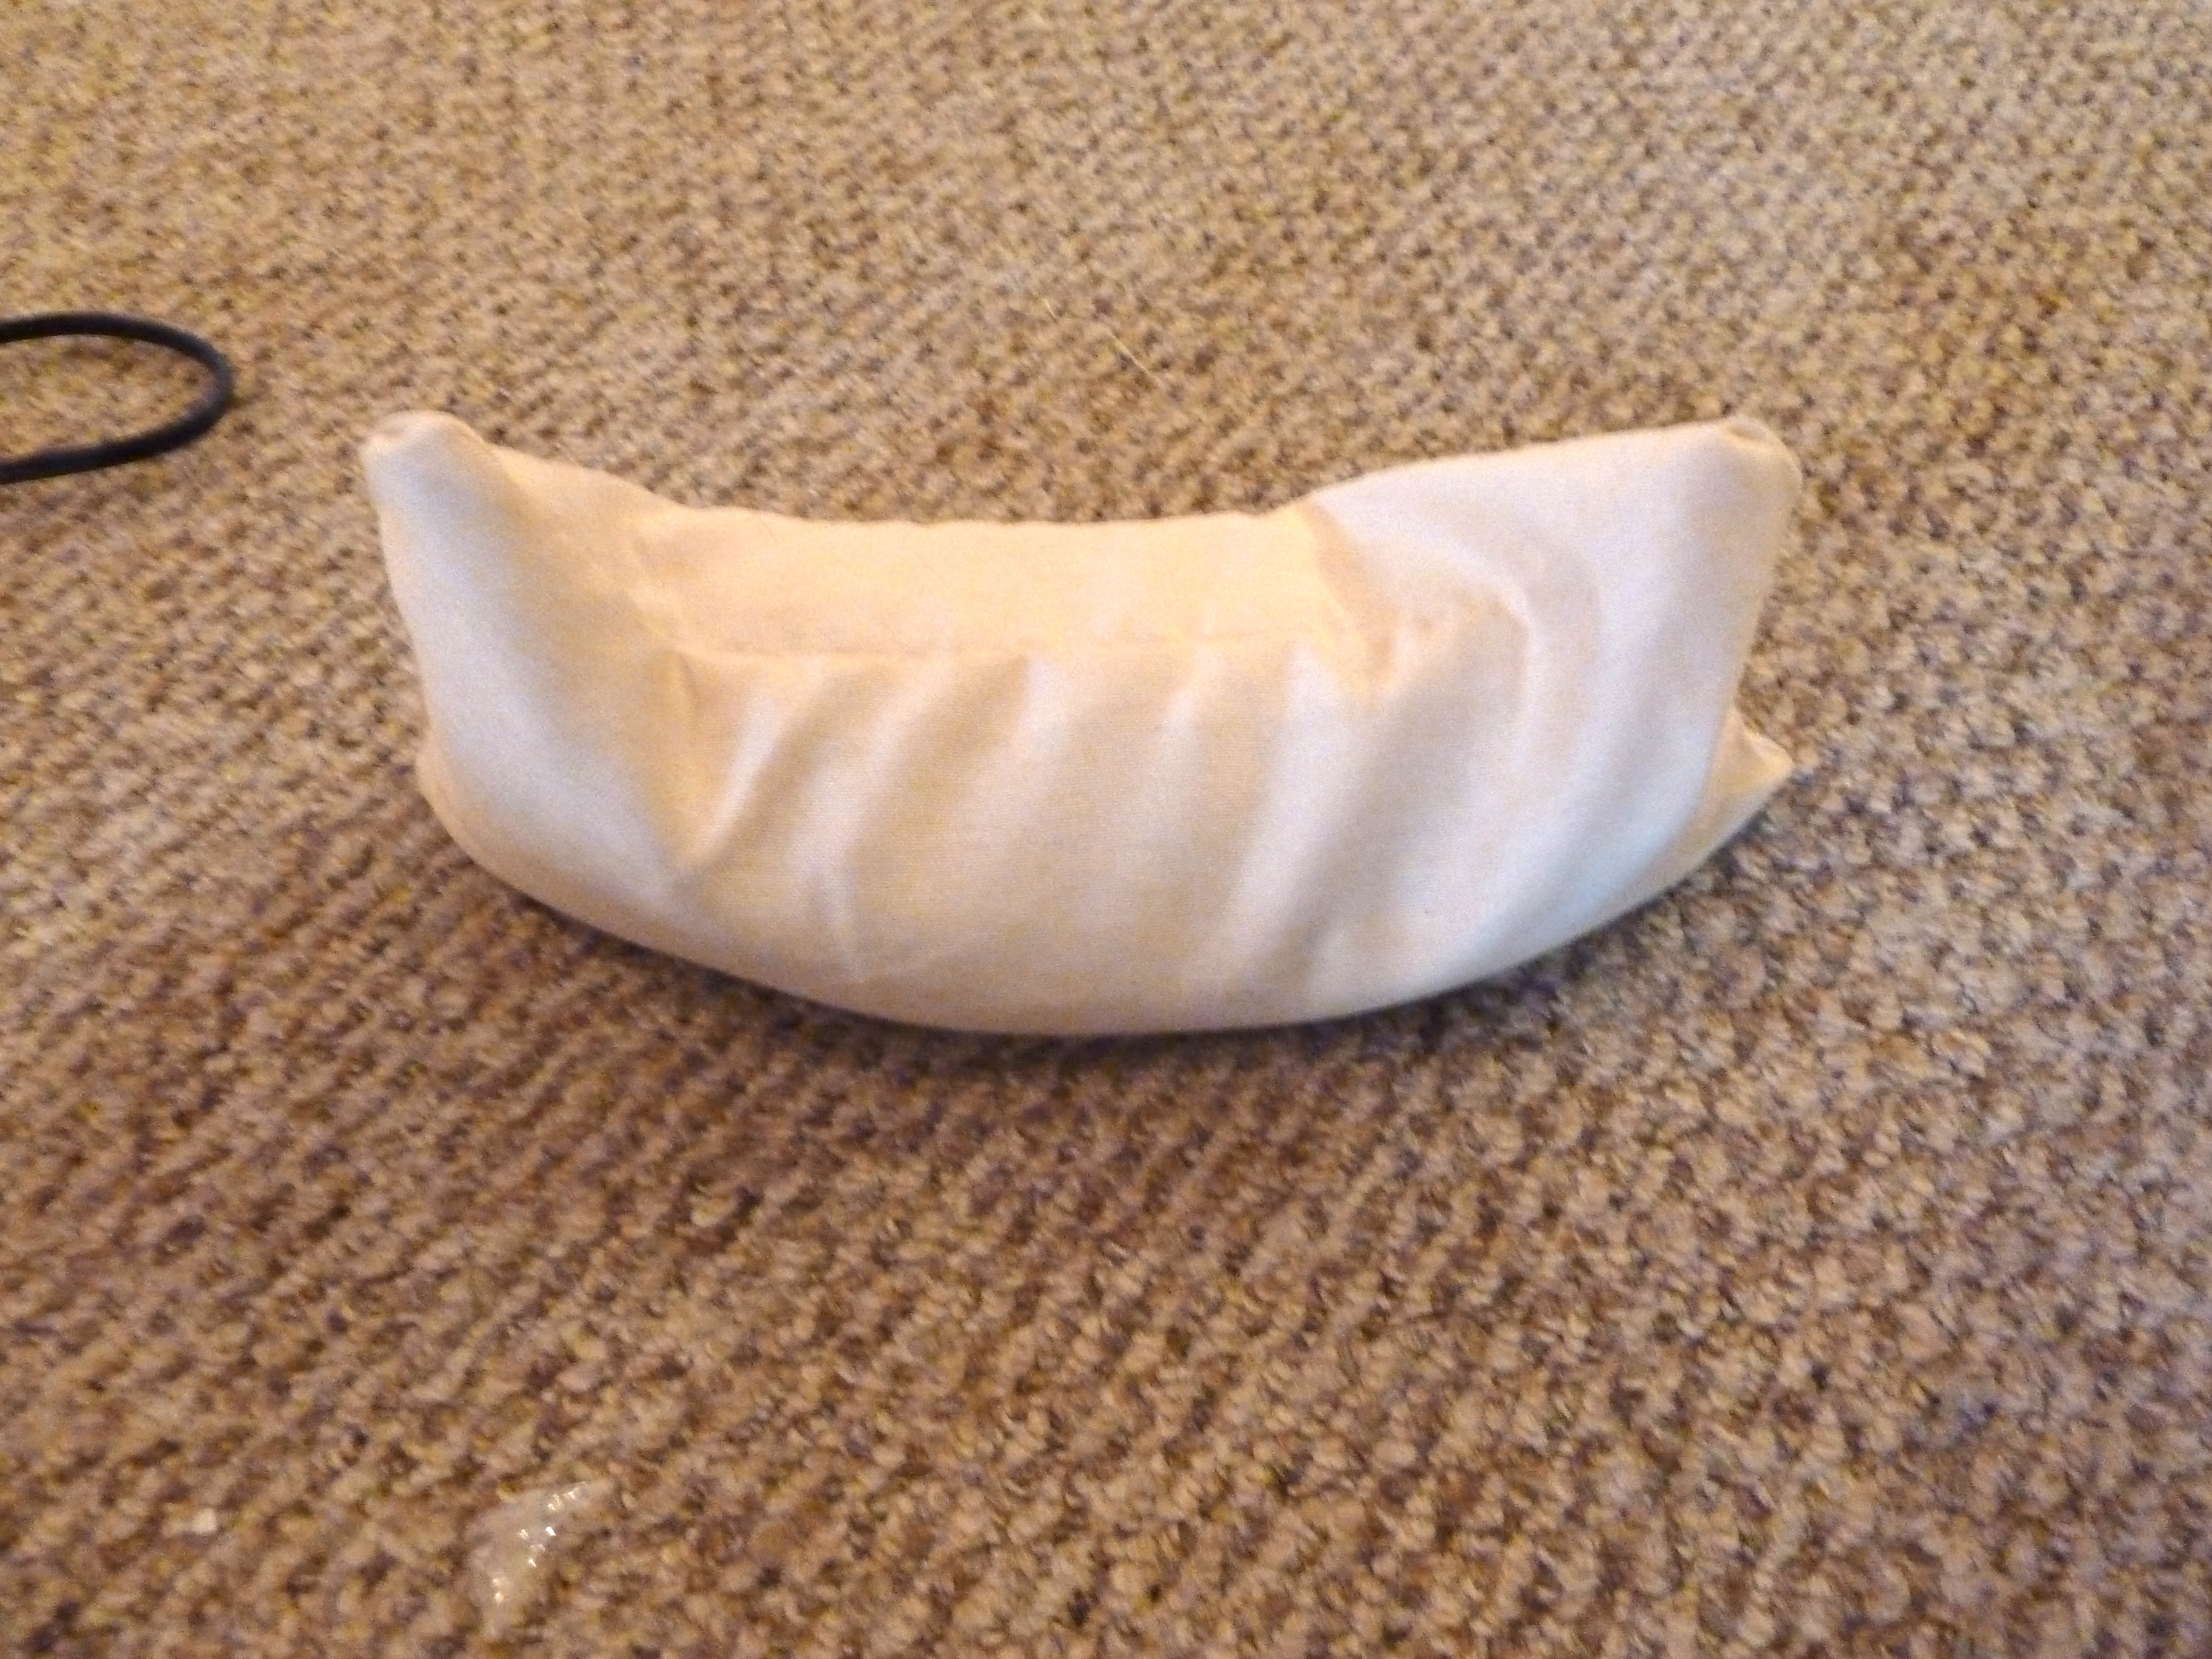
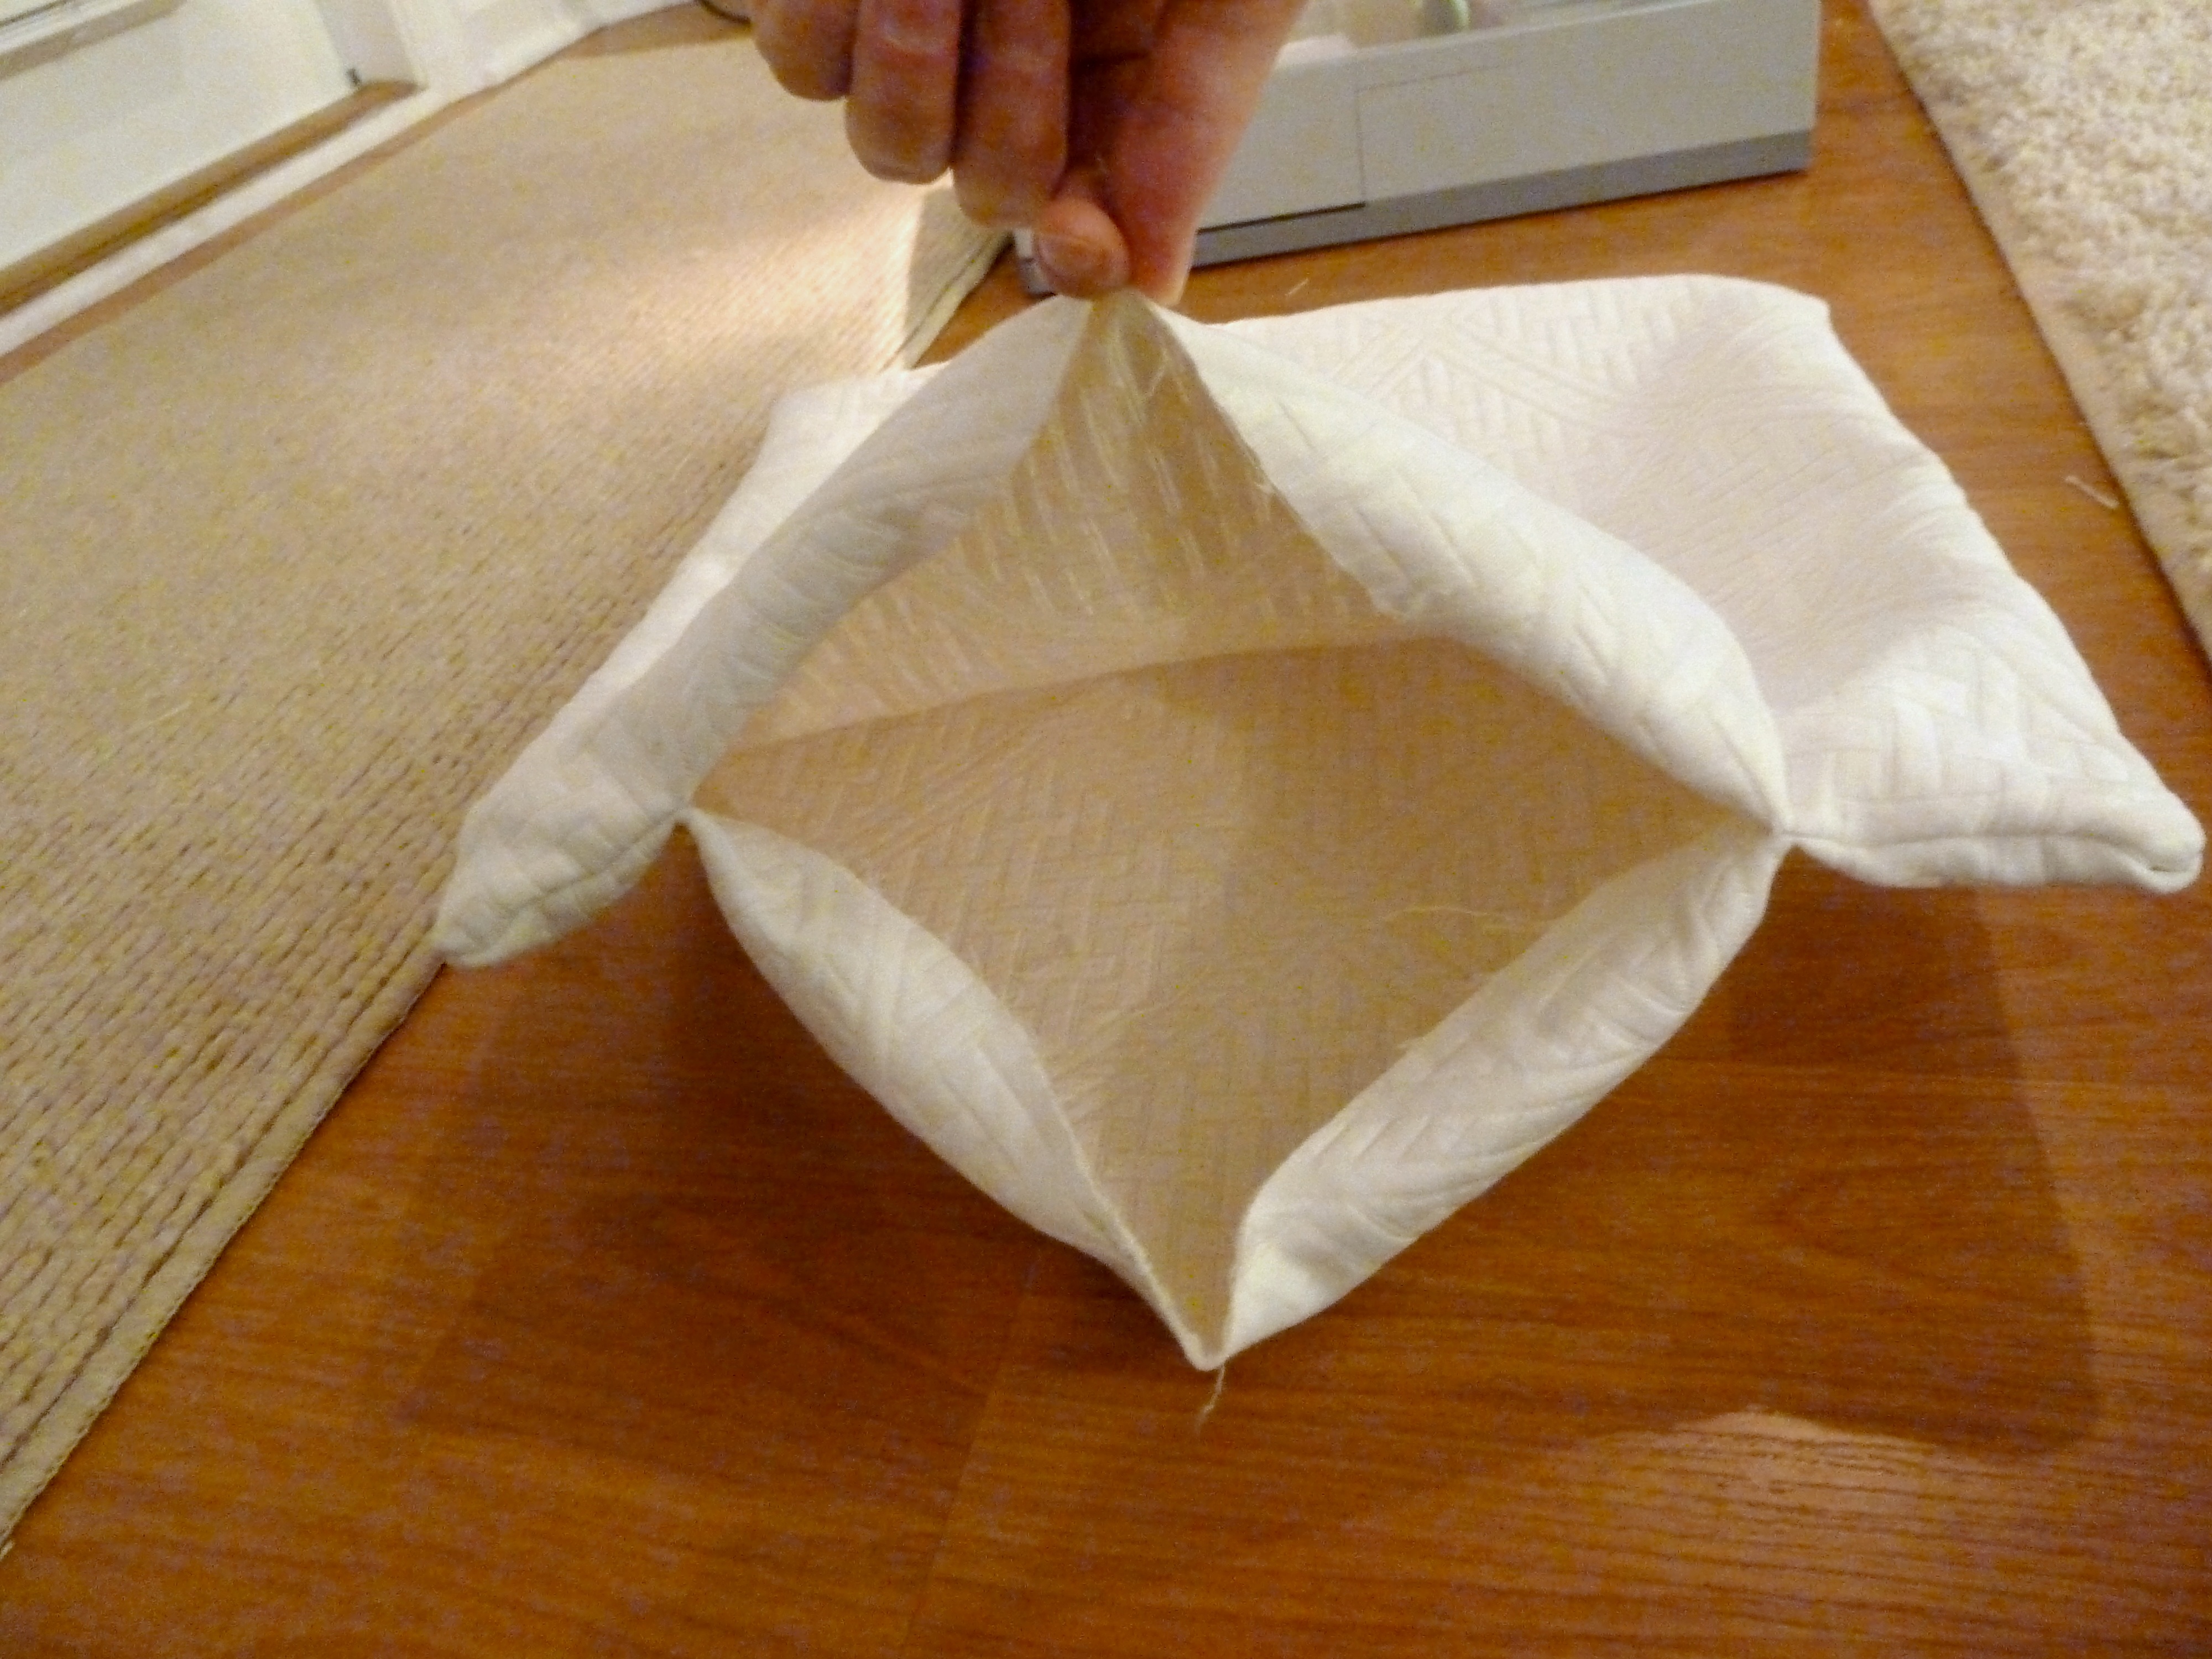
For the last side that was left open, I sewed a small portion of this side shut. I sewed inward from the corners leaving a small gap open in the center. This probably makes no sense, hopefully this picture will help…

how to cover a pillow

See how the top and the bottom are sewed about an inch and a half inward?  Then I flipped it inside out.

how to cover a pillow

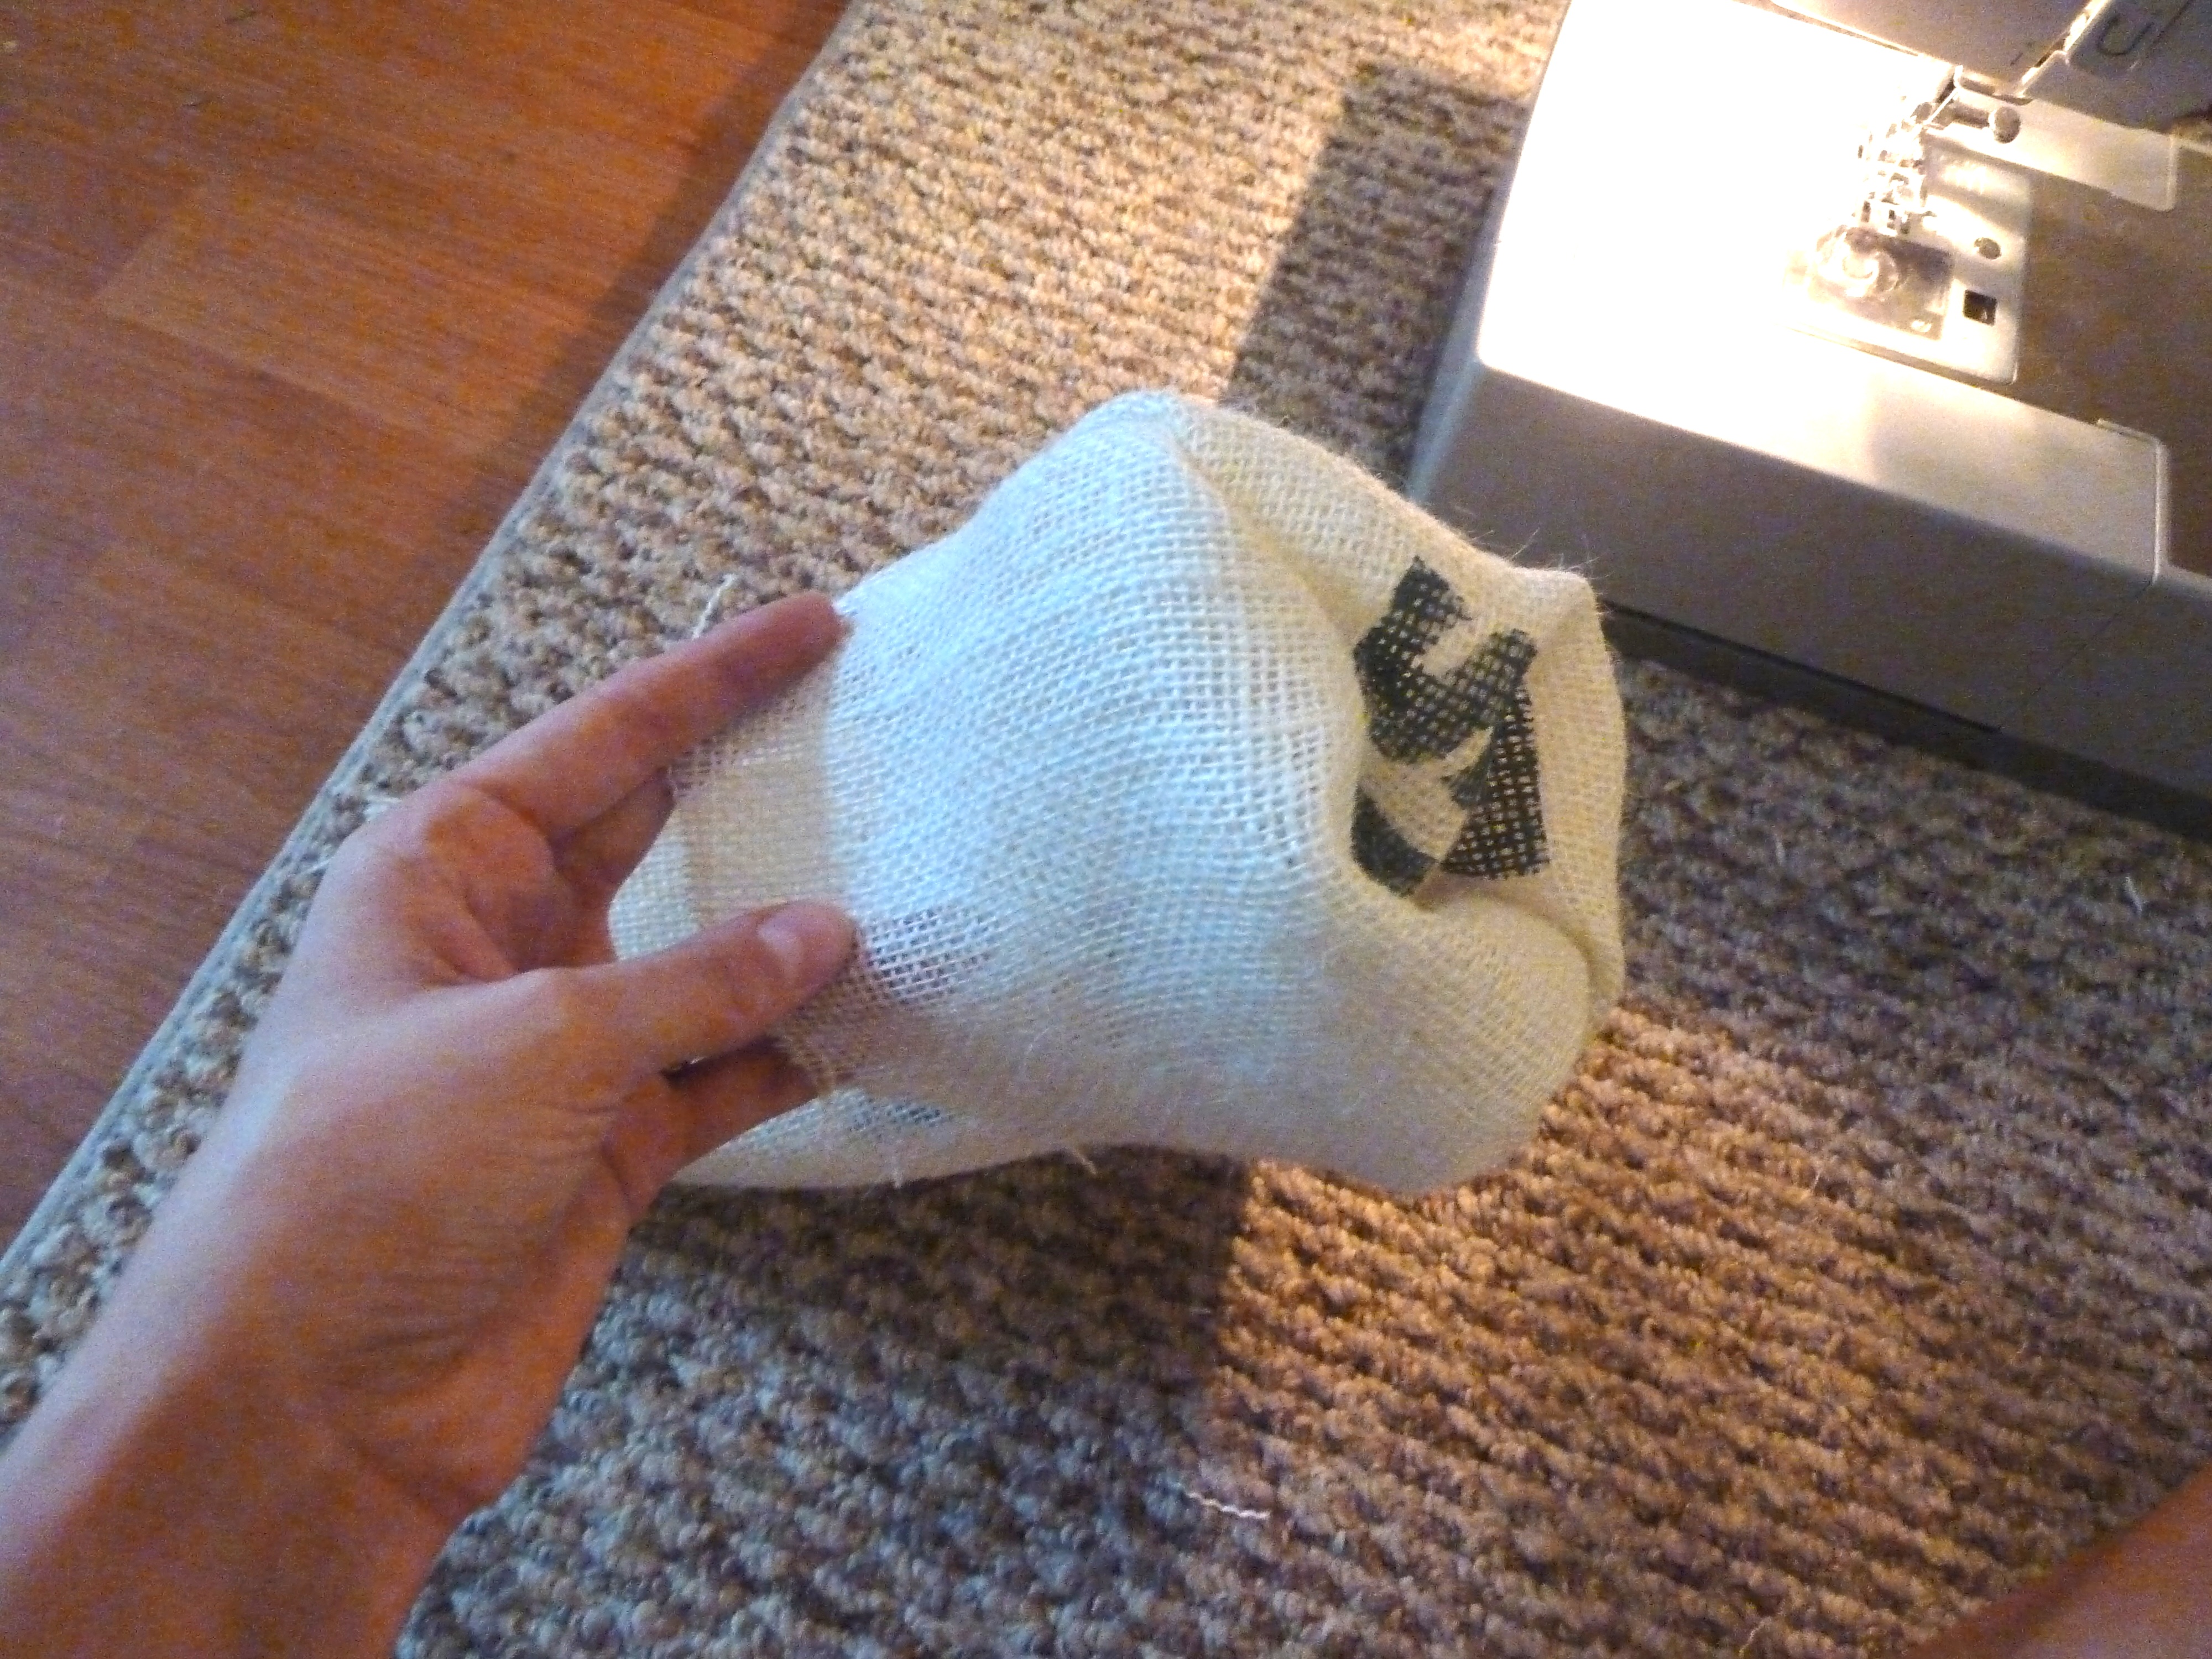
I had to make sure I pushed the corners out completely, they got stuck slightly because it is a thicker fabric.

how to cover a pillow

how to cover a pillow

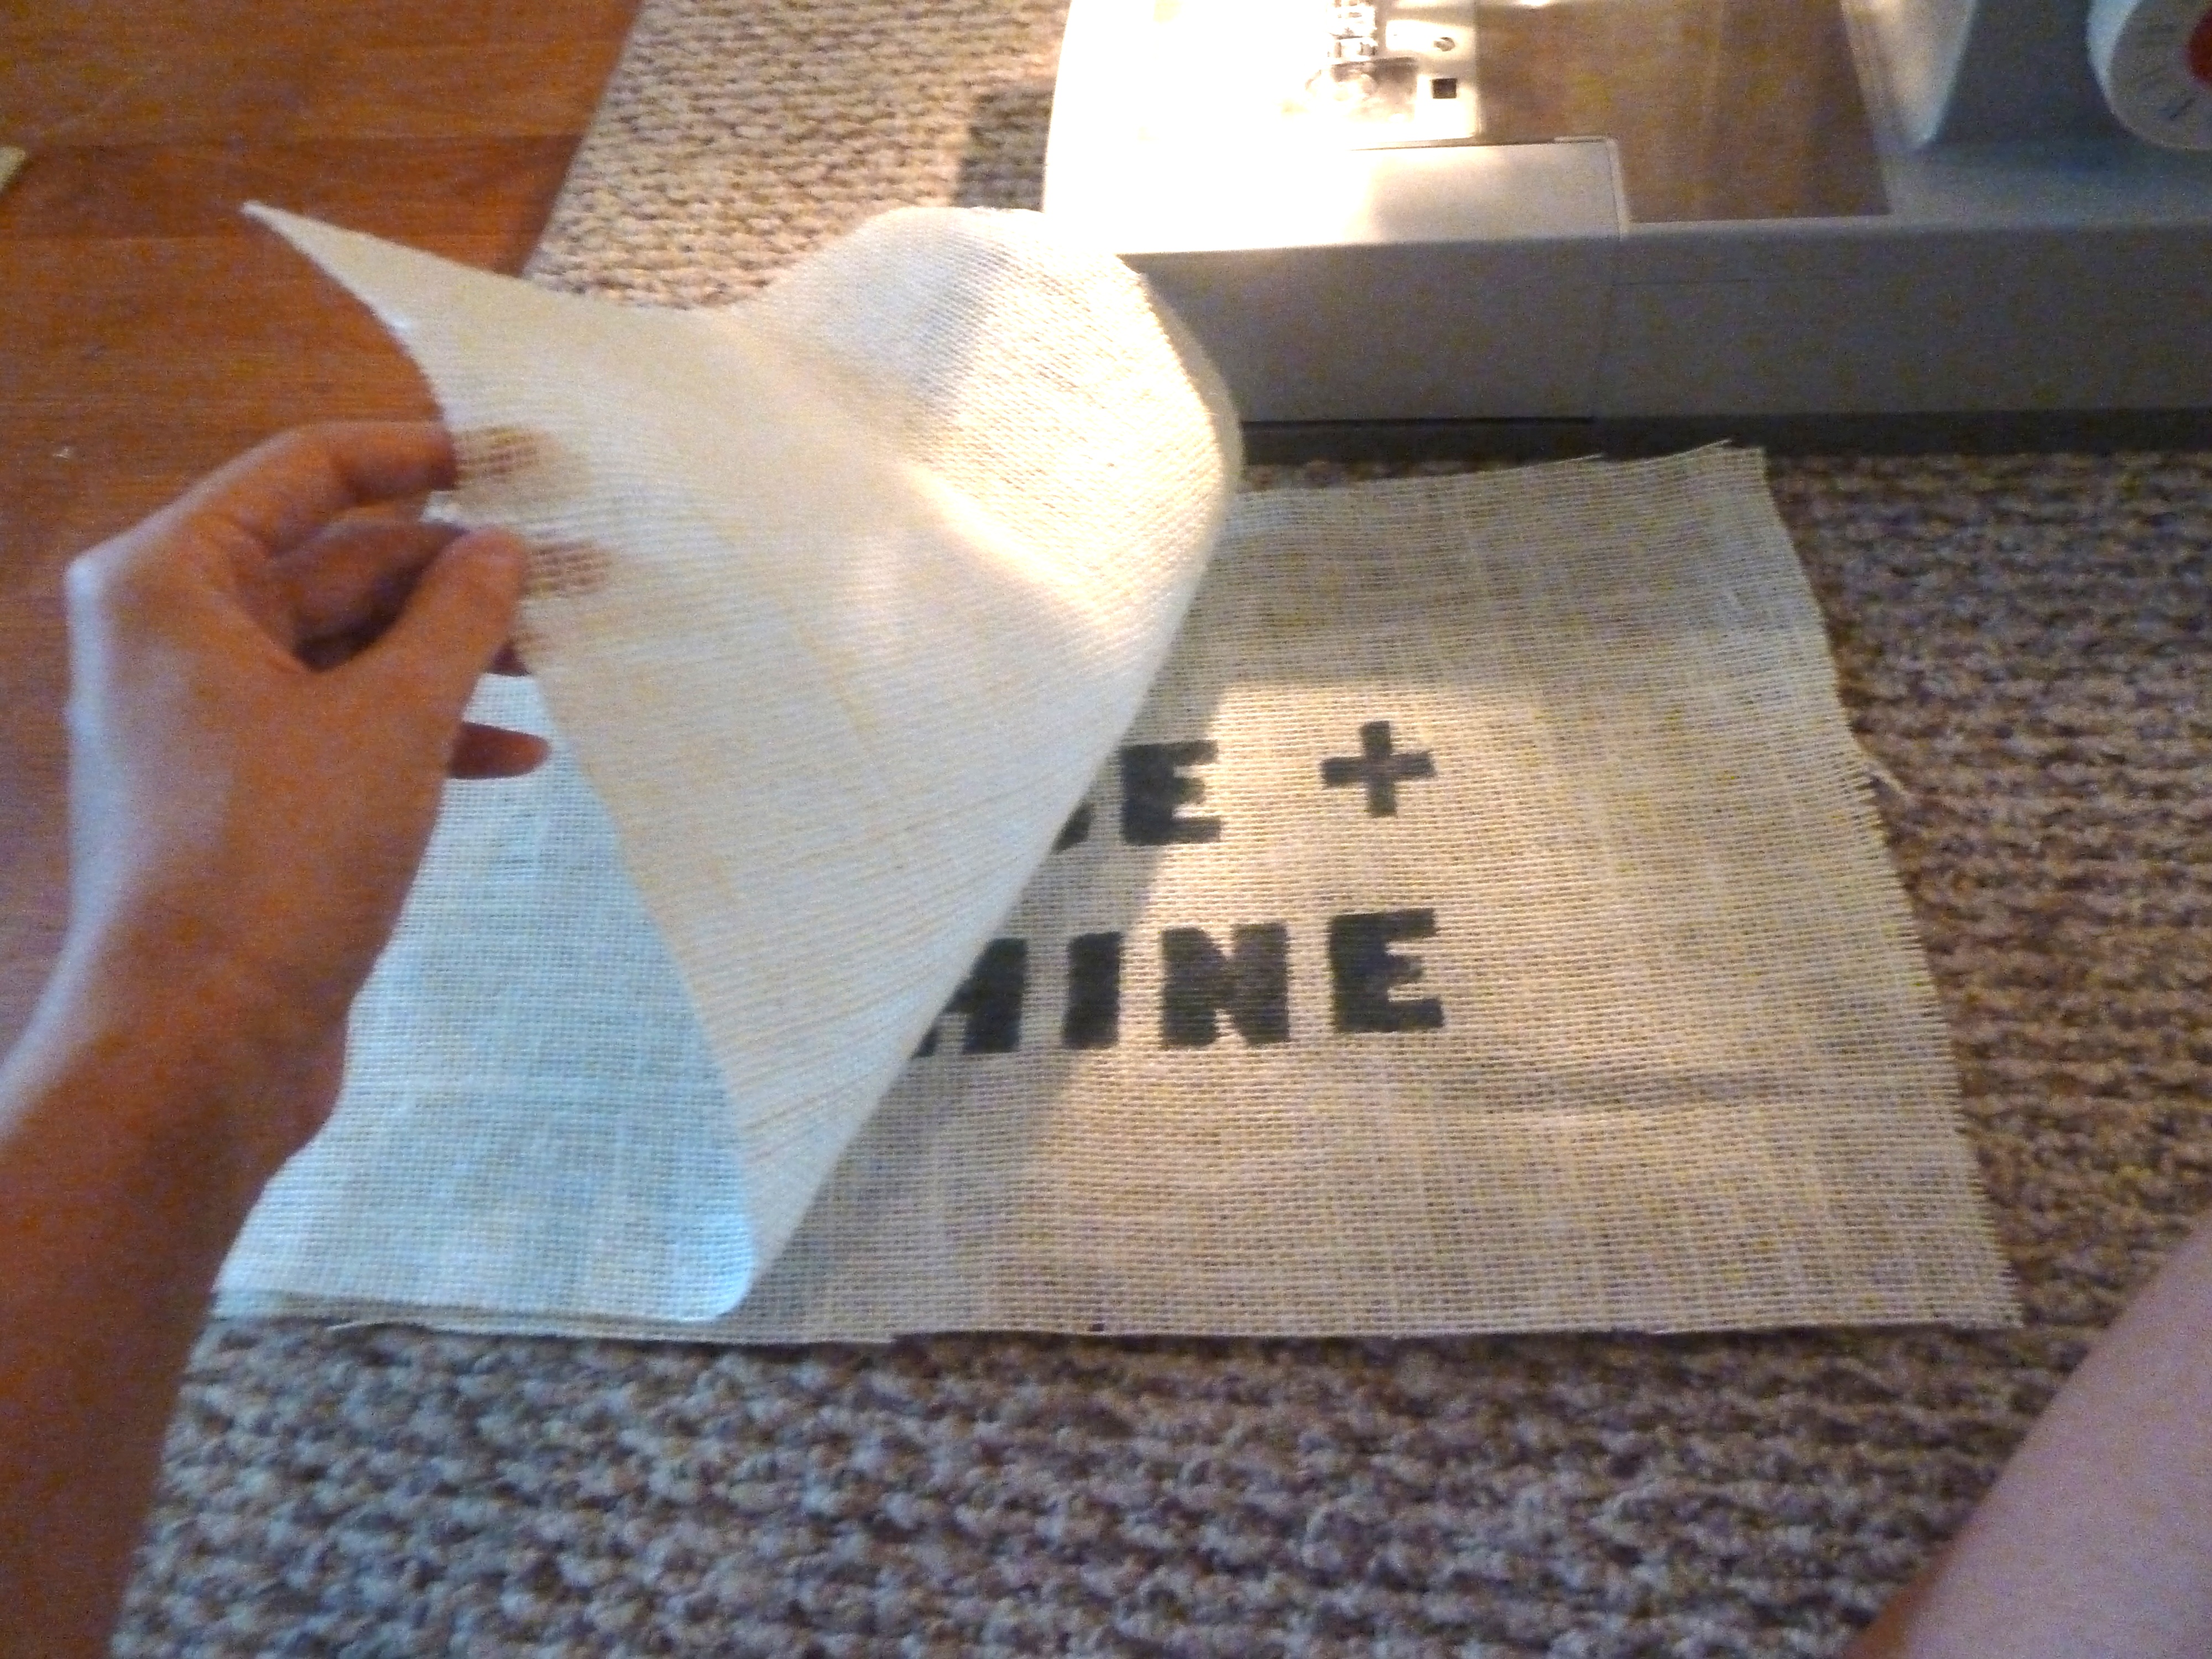
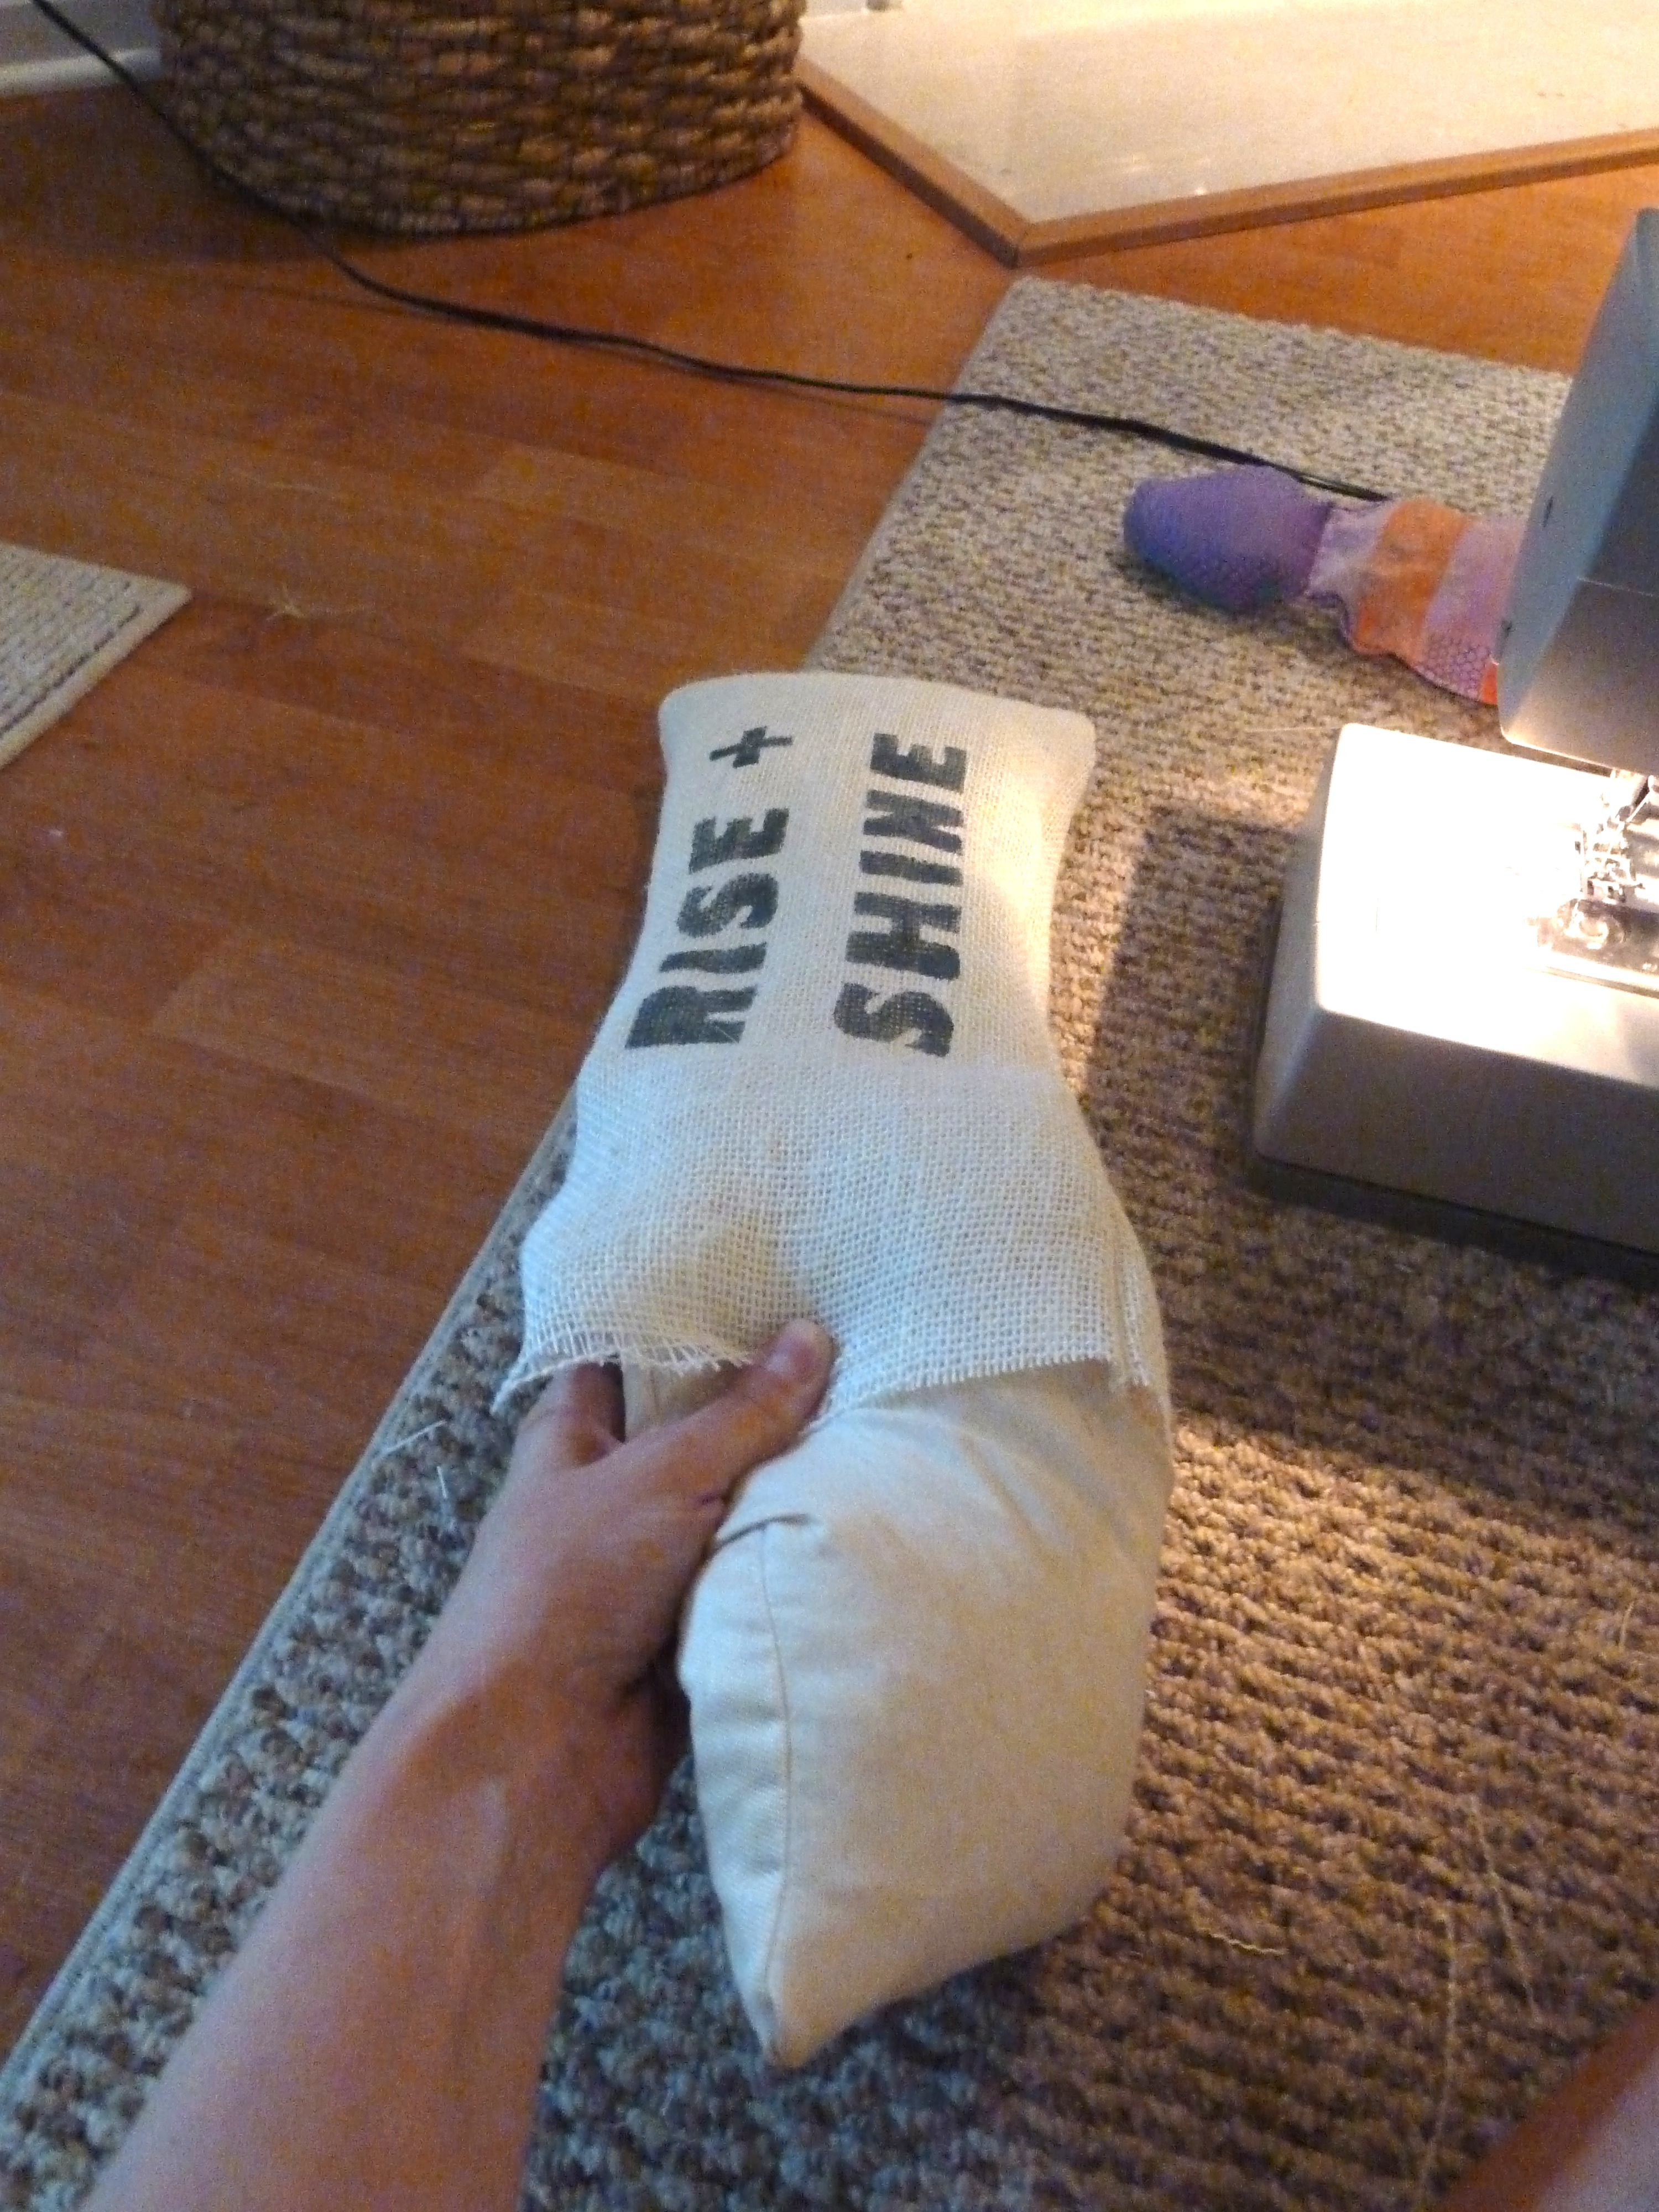
From there I just shoved the pillow inside.

how to cover a pillow

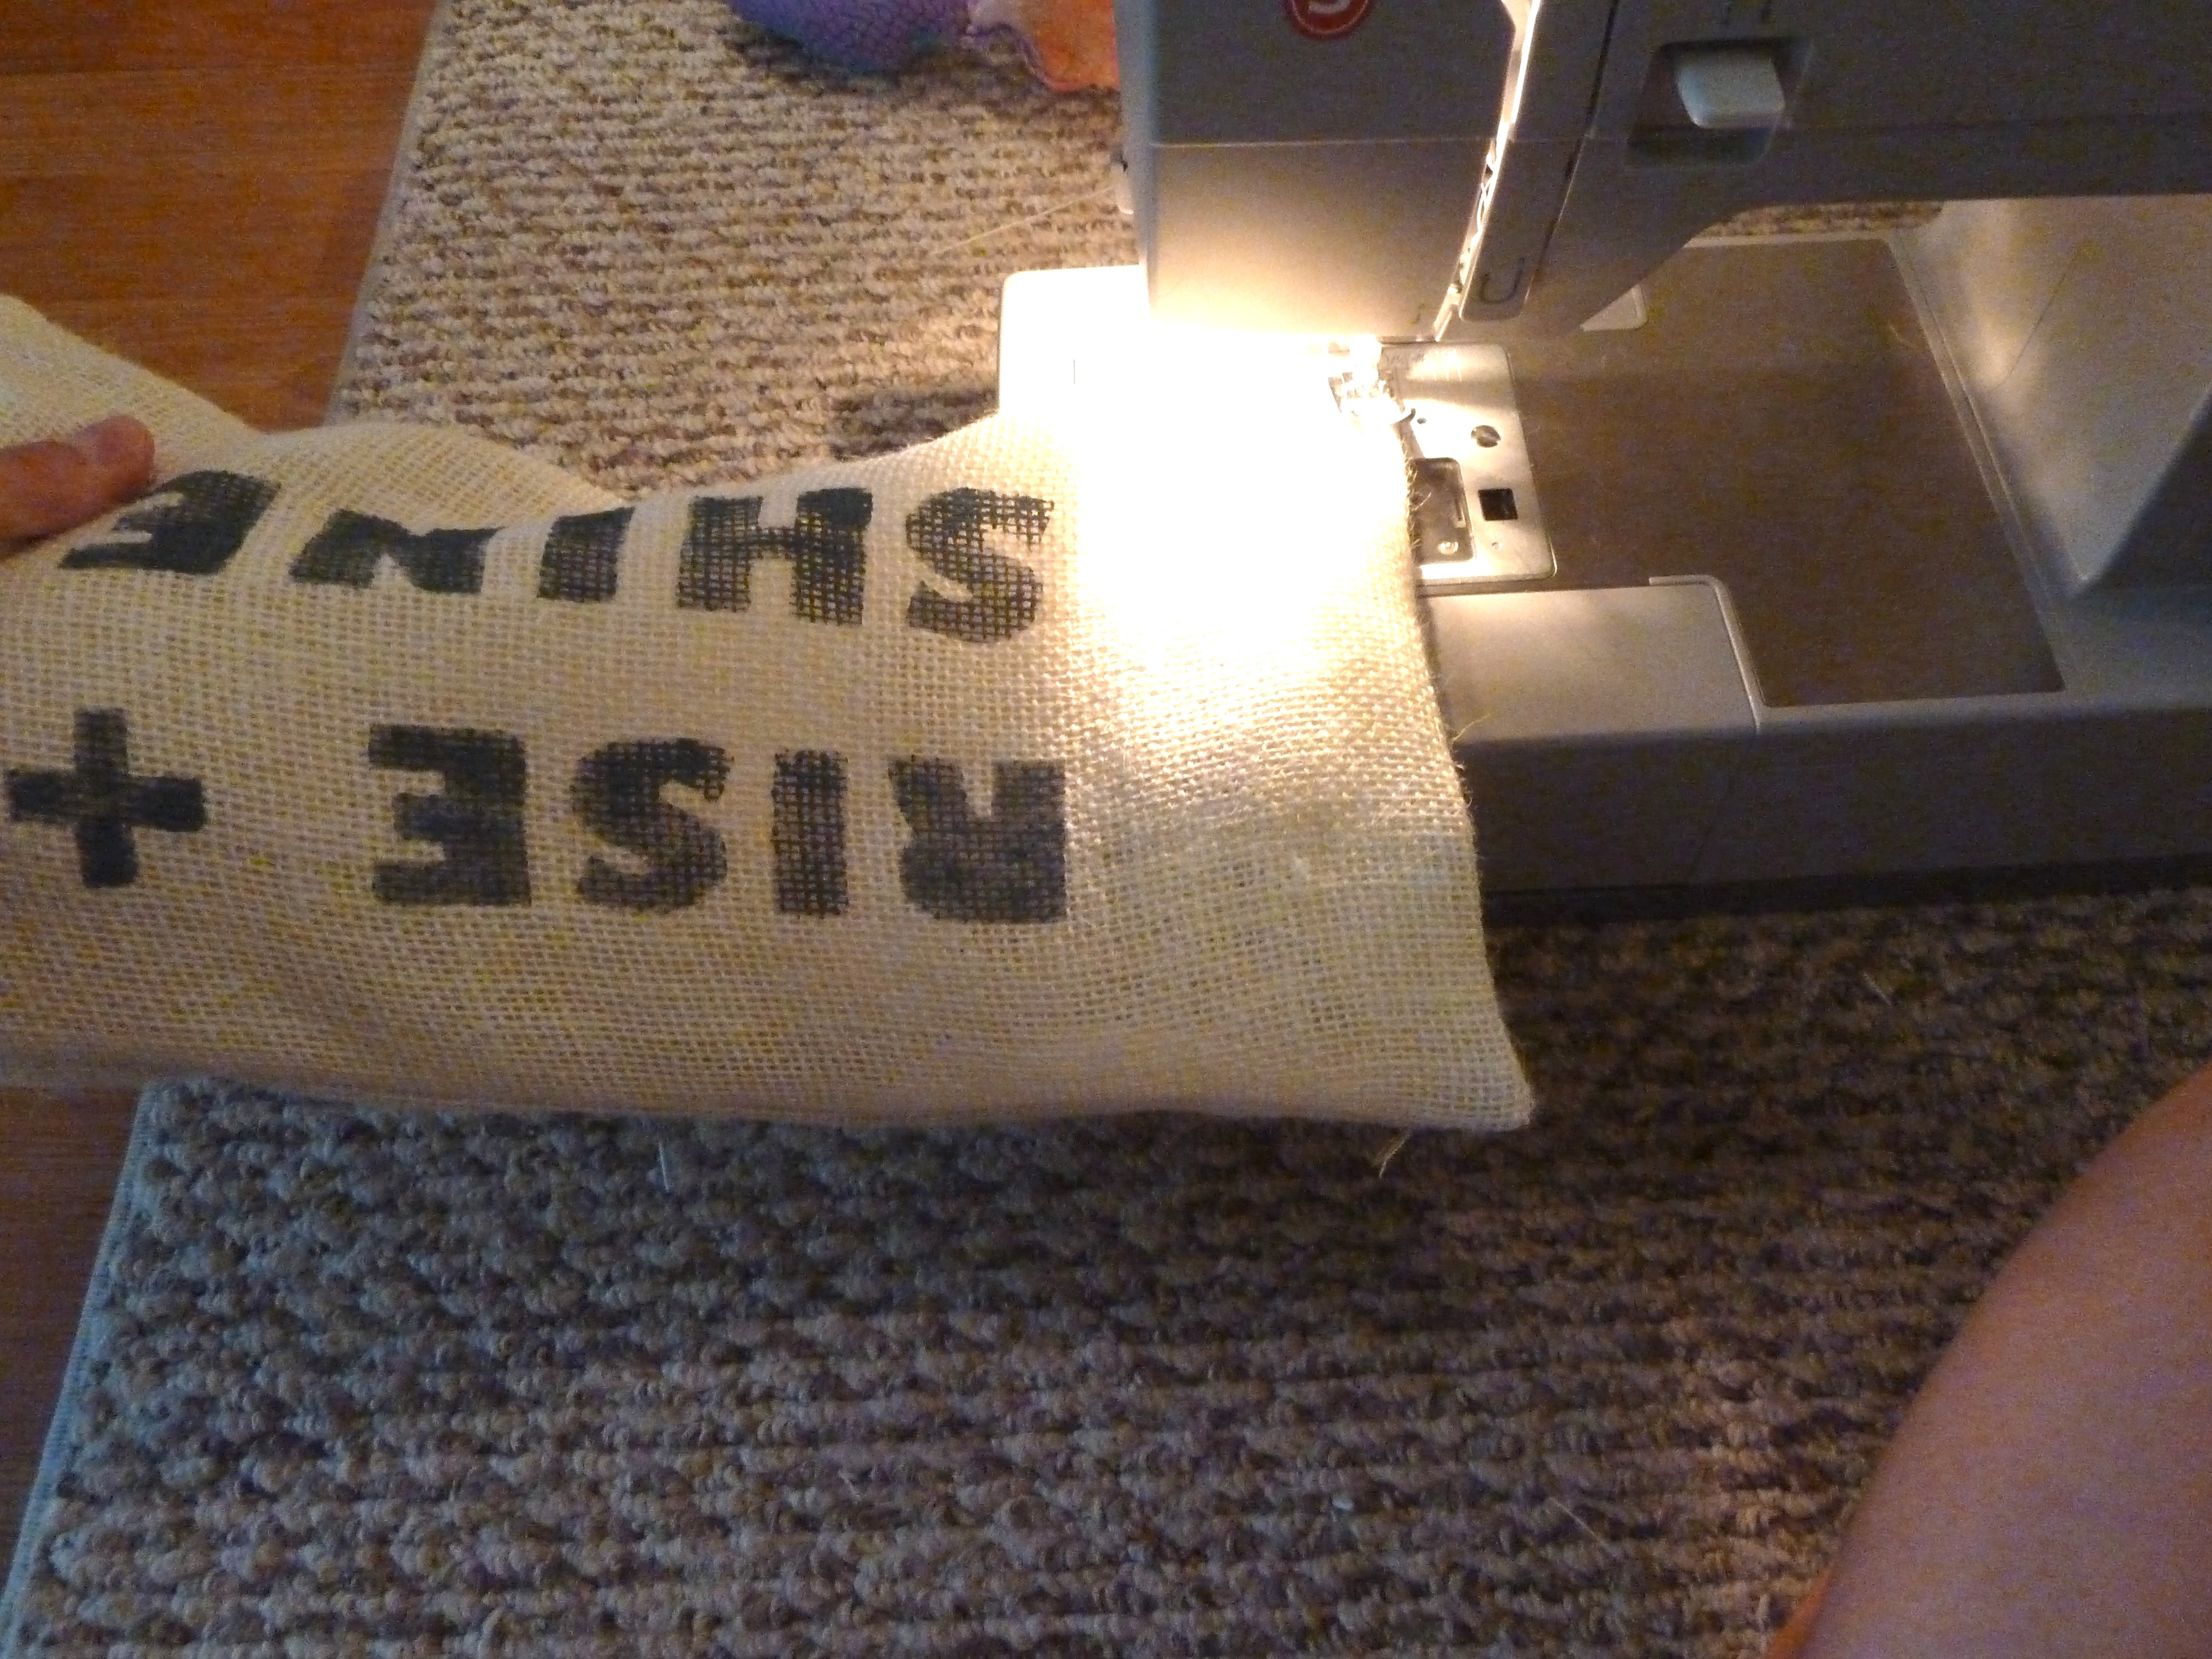
Once the pillow was inside I flipped the extra fabric around the hole inside as well.   Then I just needed to sew that sucker up.  I made sure the folds were even and I used the sewing machine to sew the last side shut.
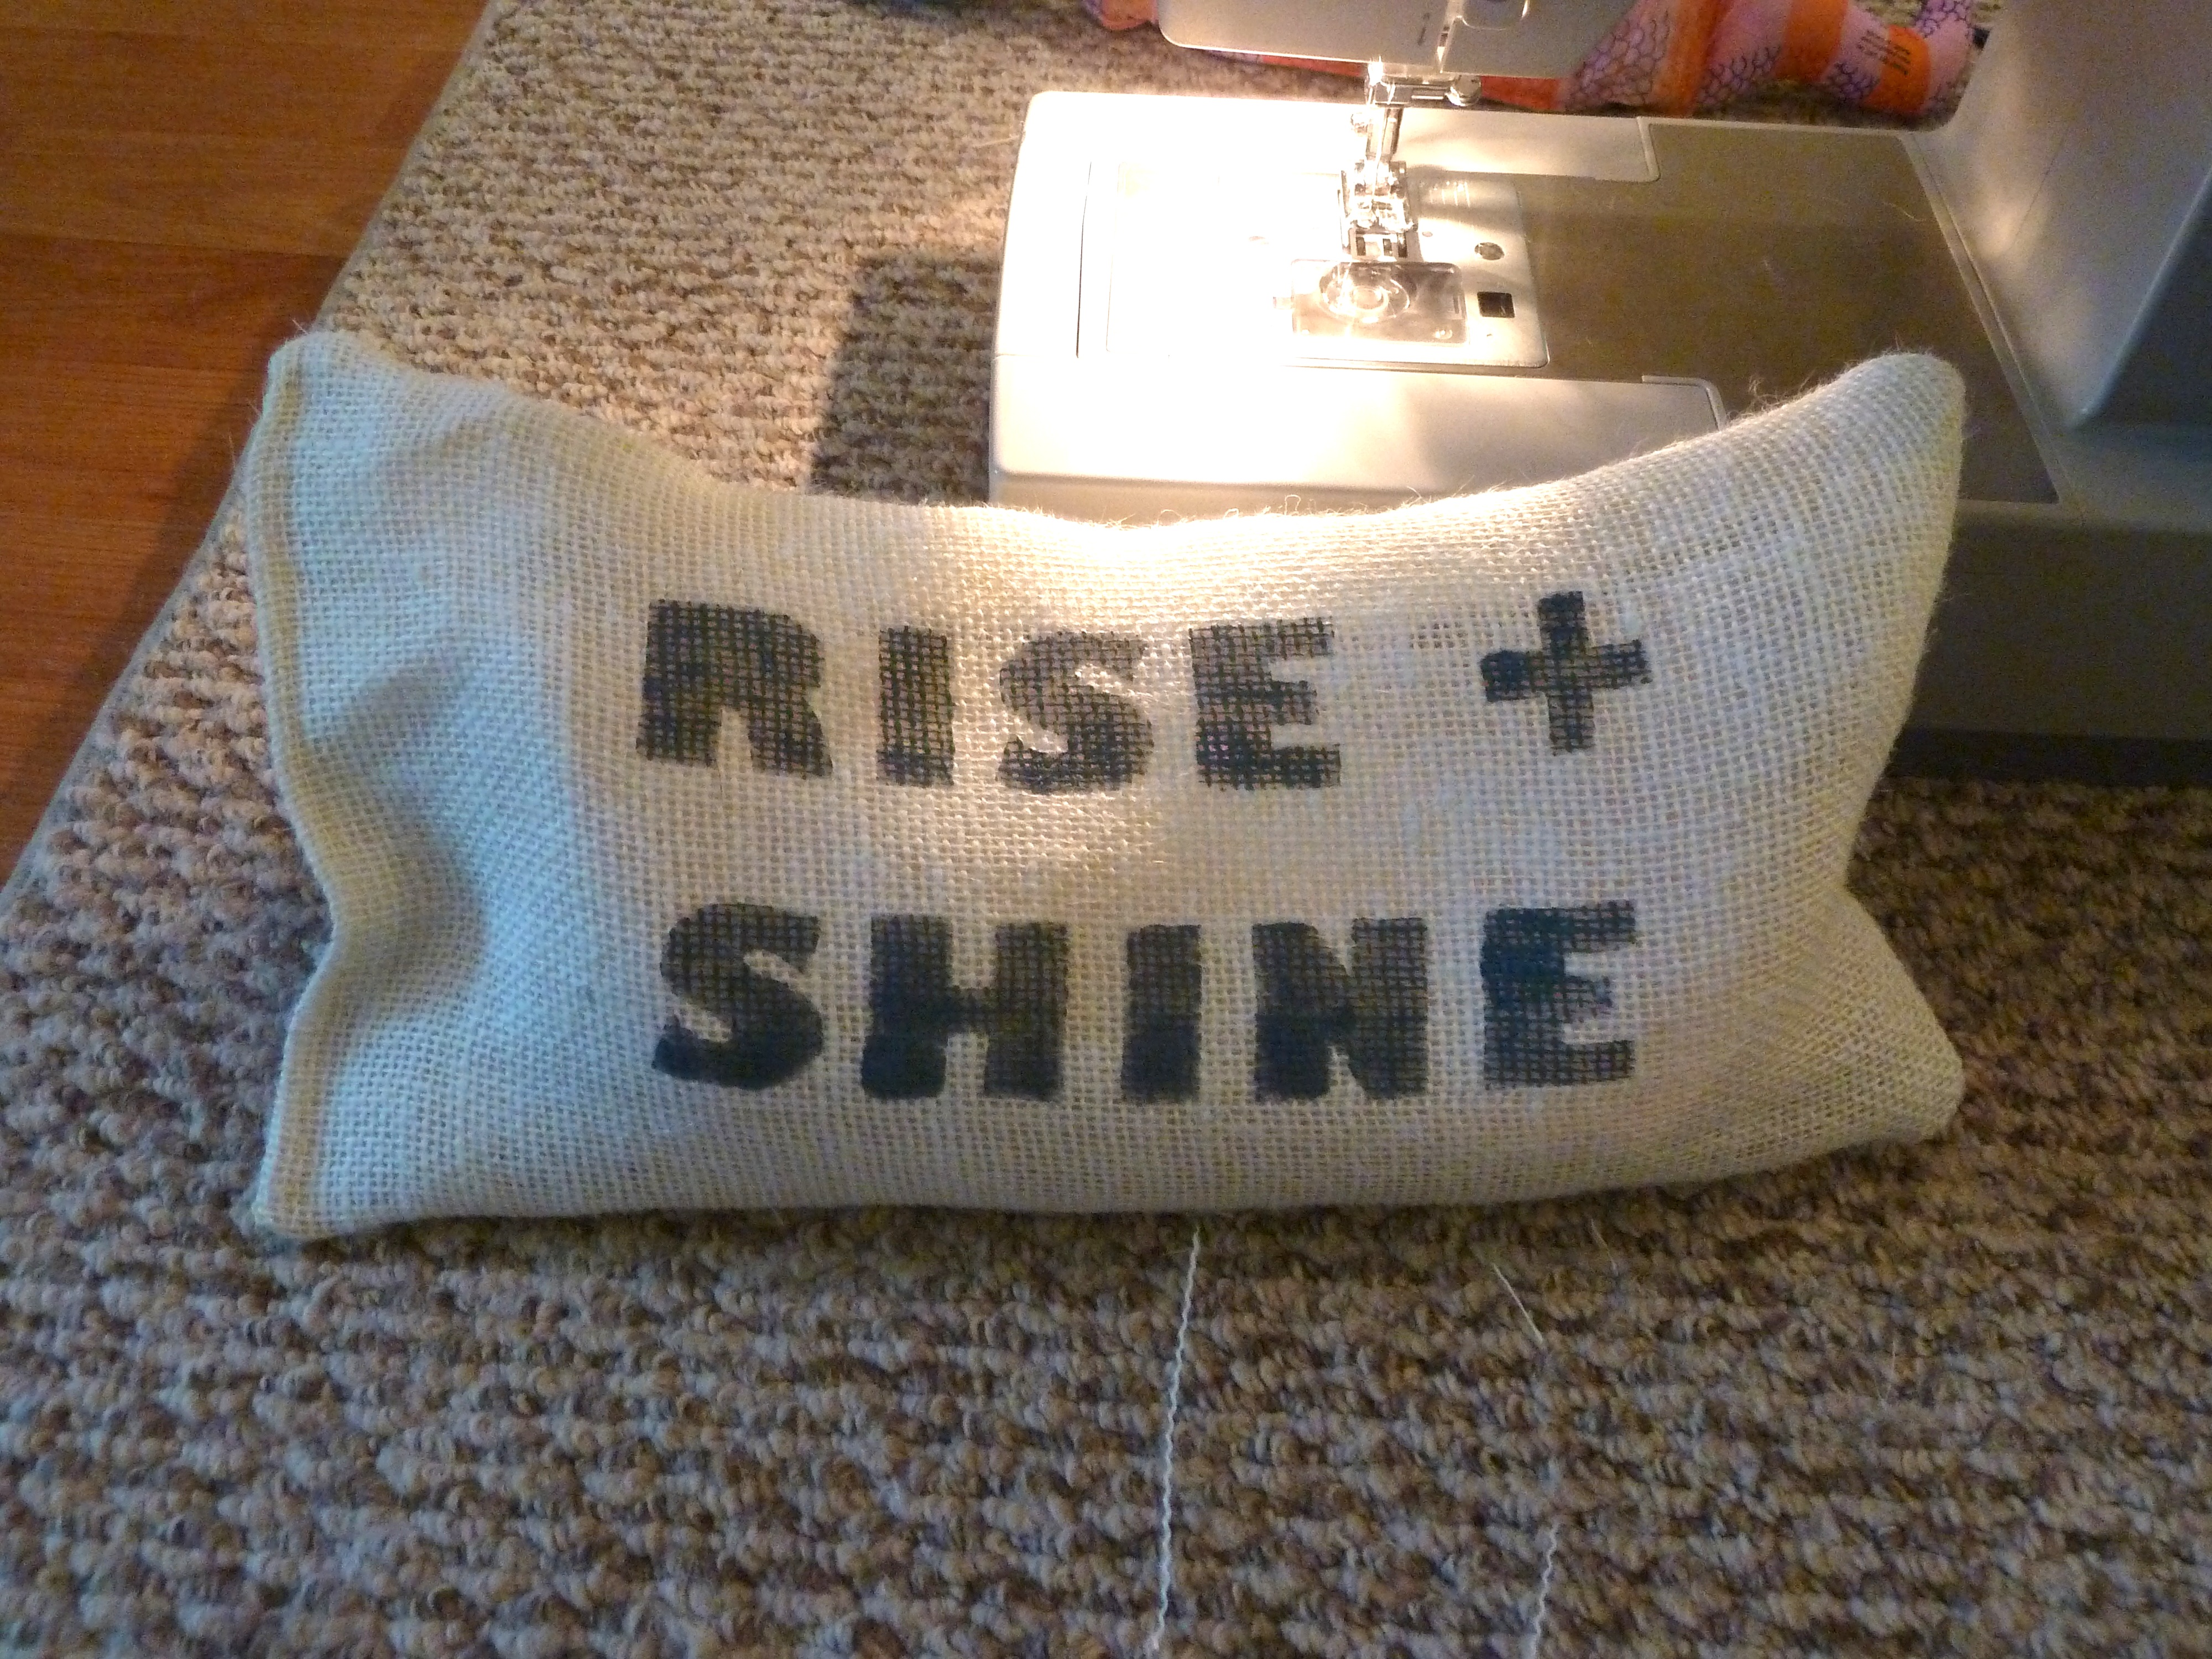
how to cover a pillow

how to cover a pillow

See what I mean?

Then I just did that all over again for the second pillow.  And now I have this…

how to make pillow covers

how to make pillow covers

It was still a little too plain for me, so I picked up this guy at the Dillard’s clearance center for $2.  Yes, $2!

q2

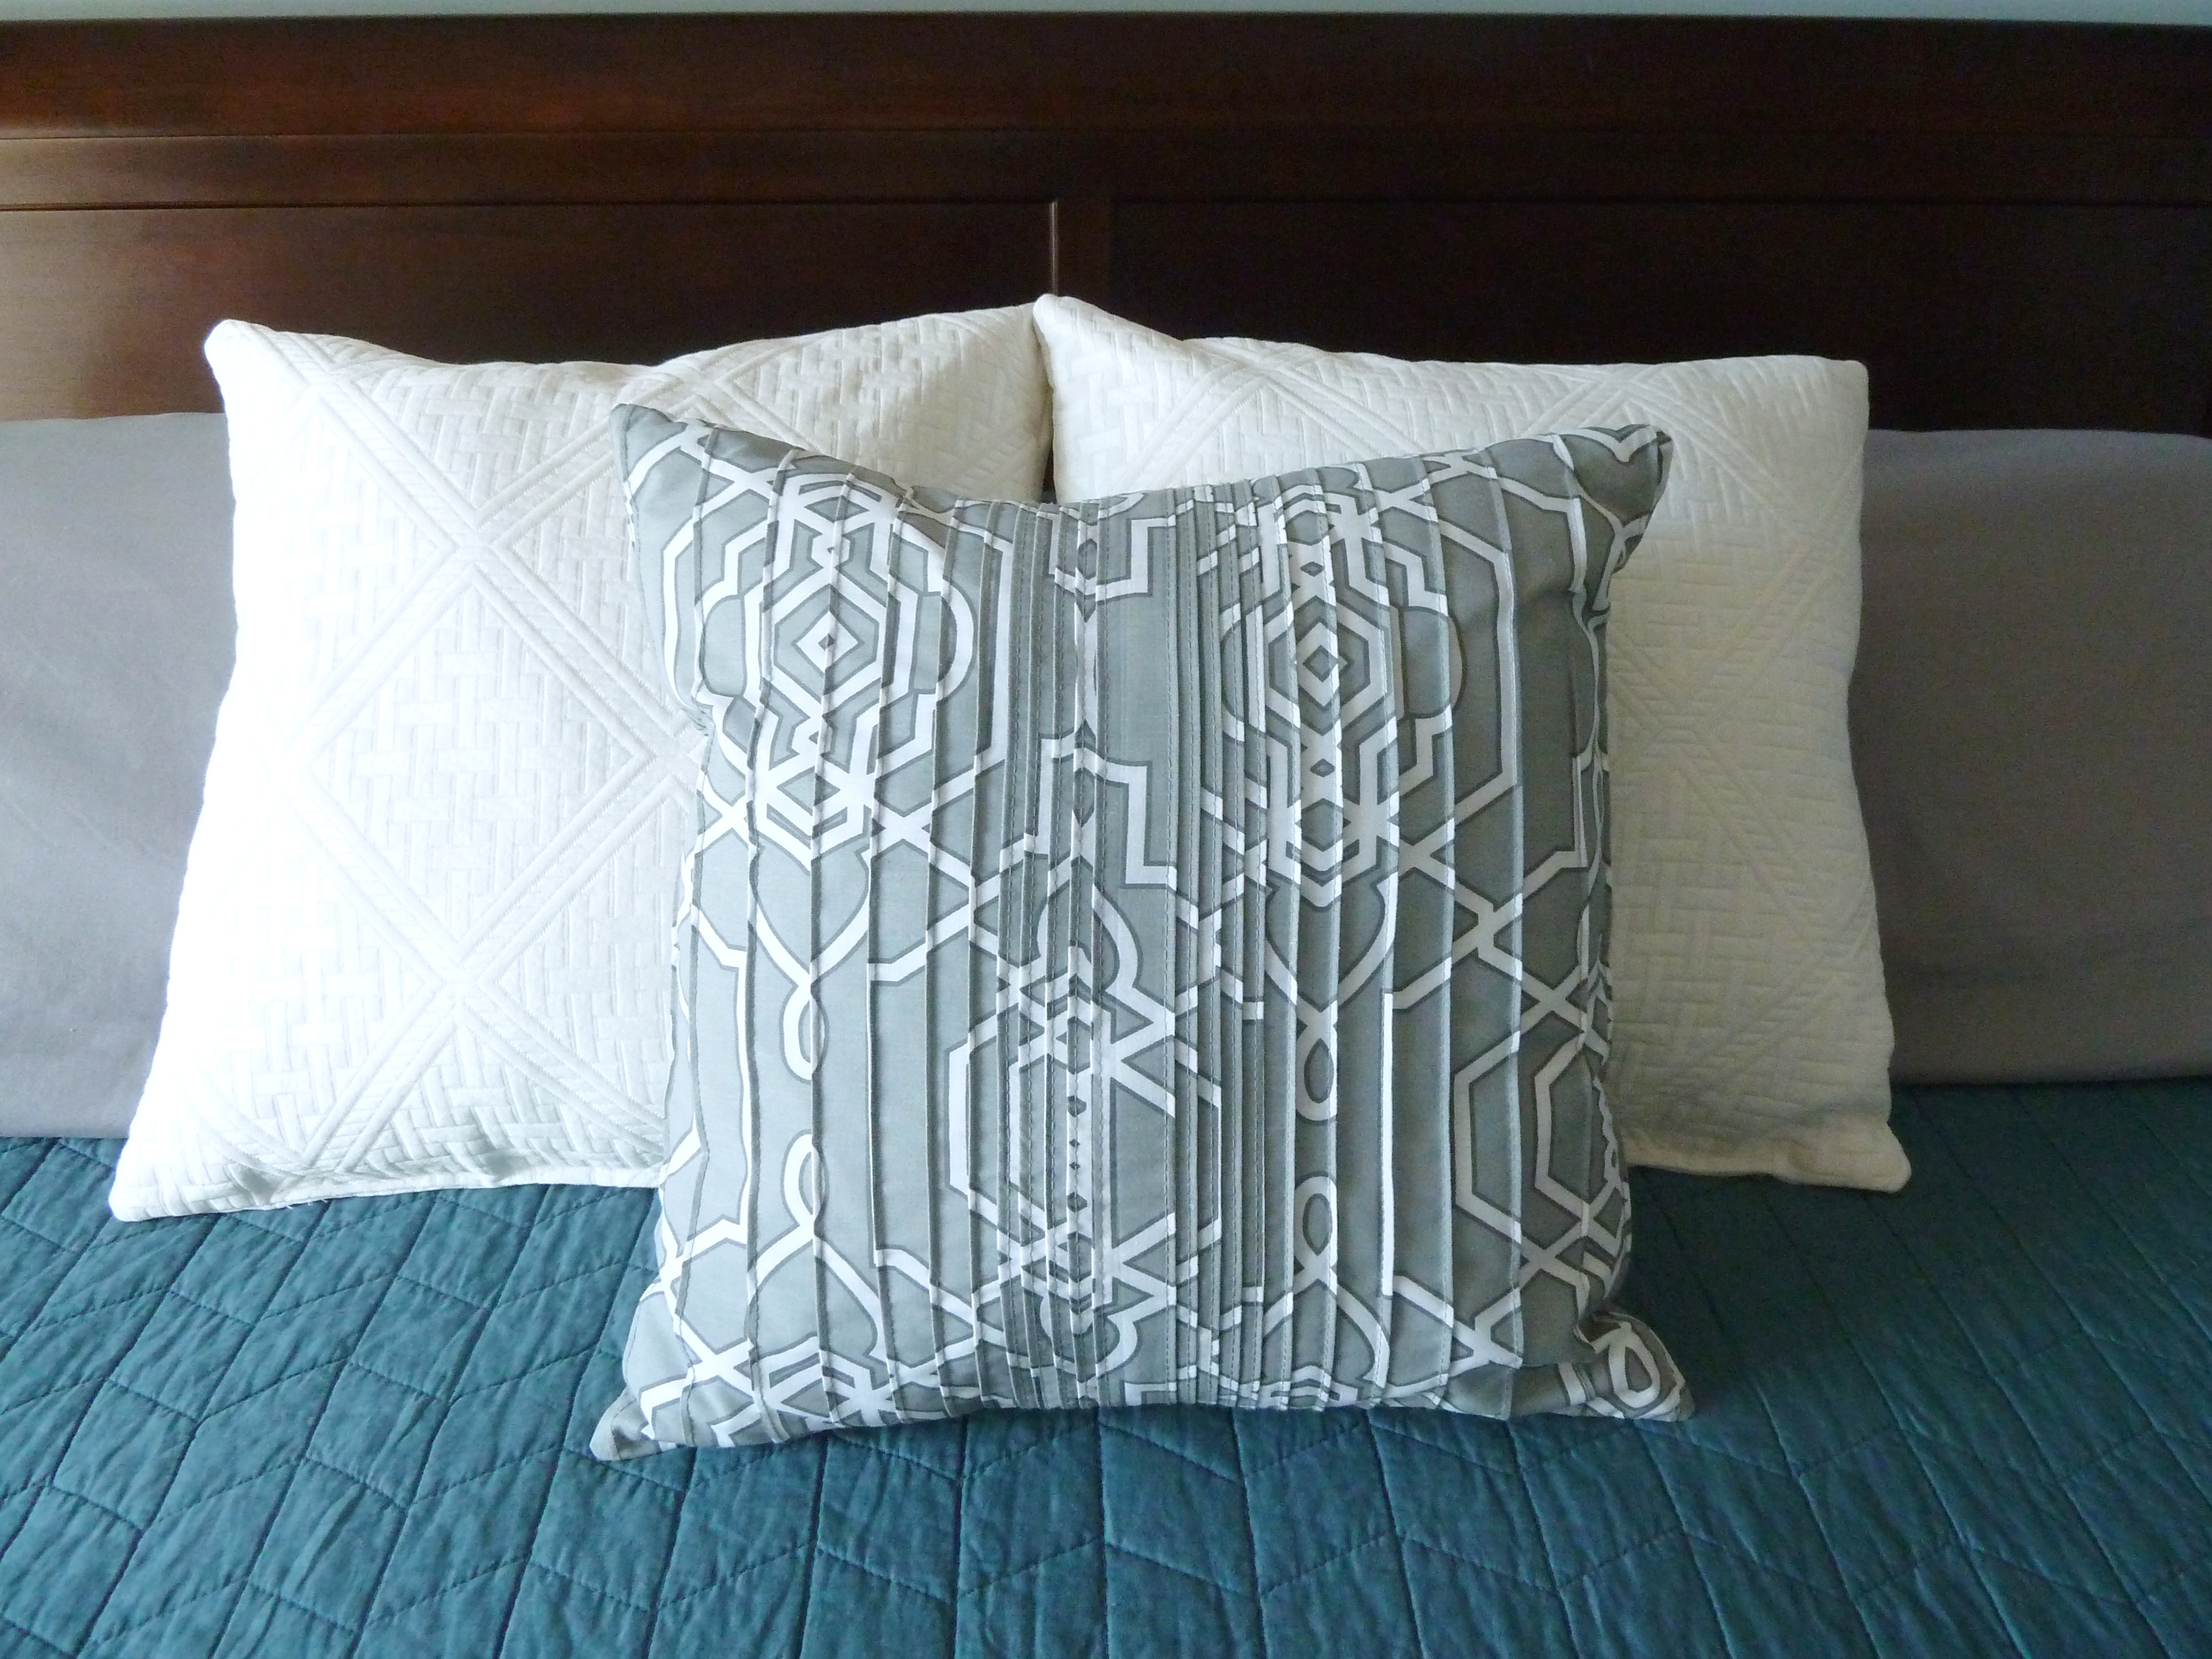
Perfect combination of gray and white right?  I am pleased with this pillow, makes me love our new bedding!

q1

q3

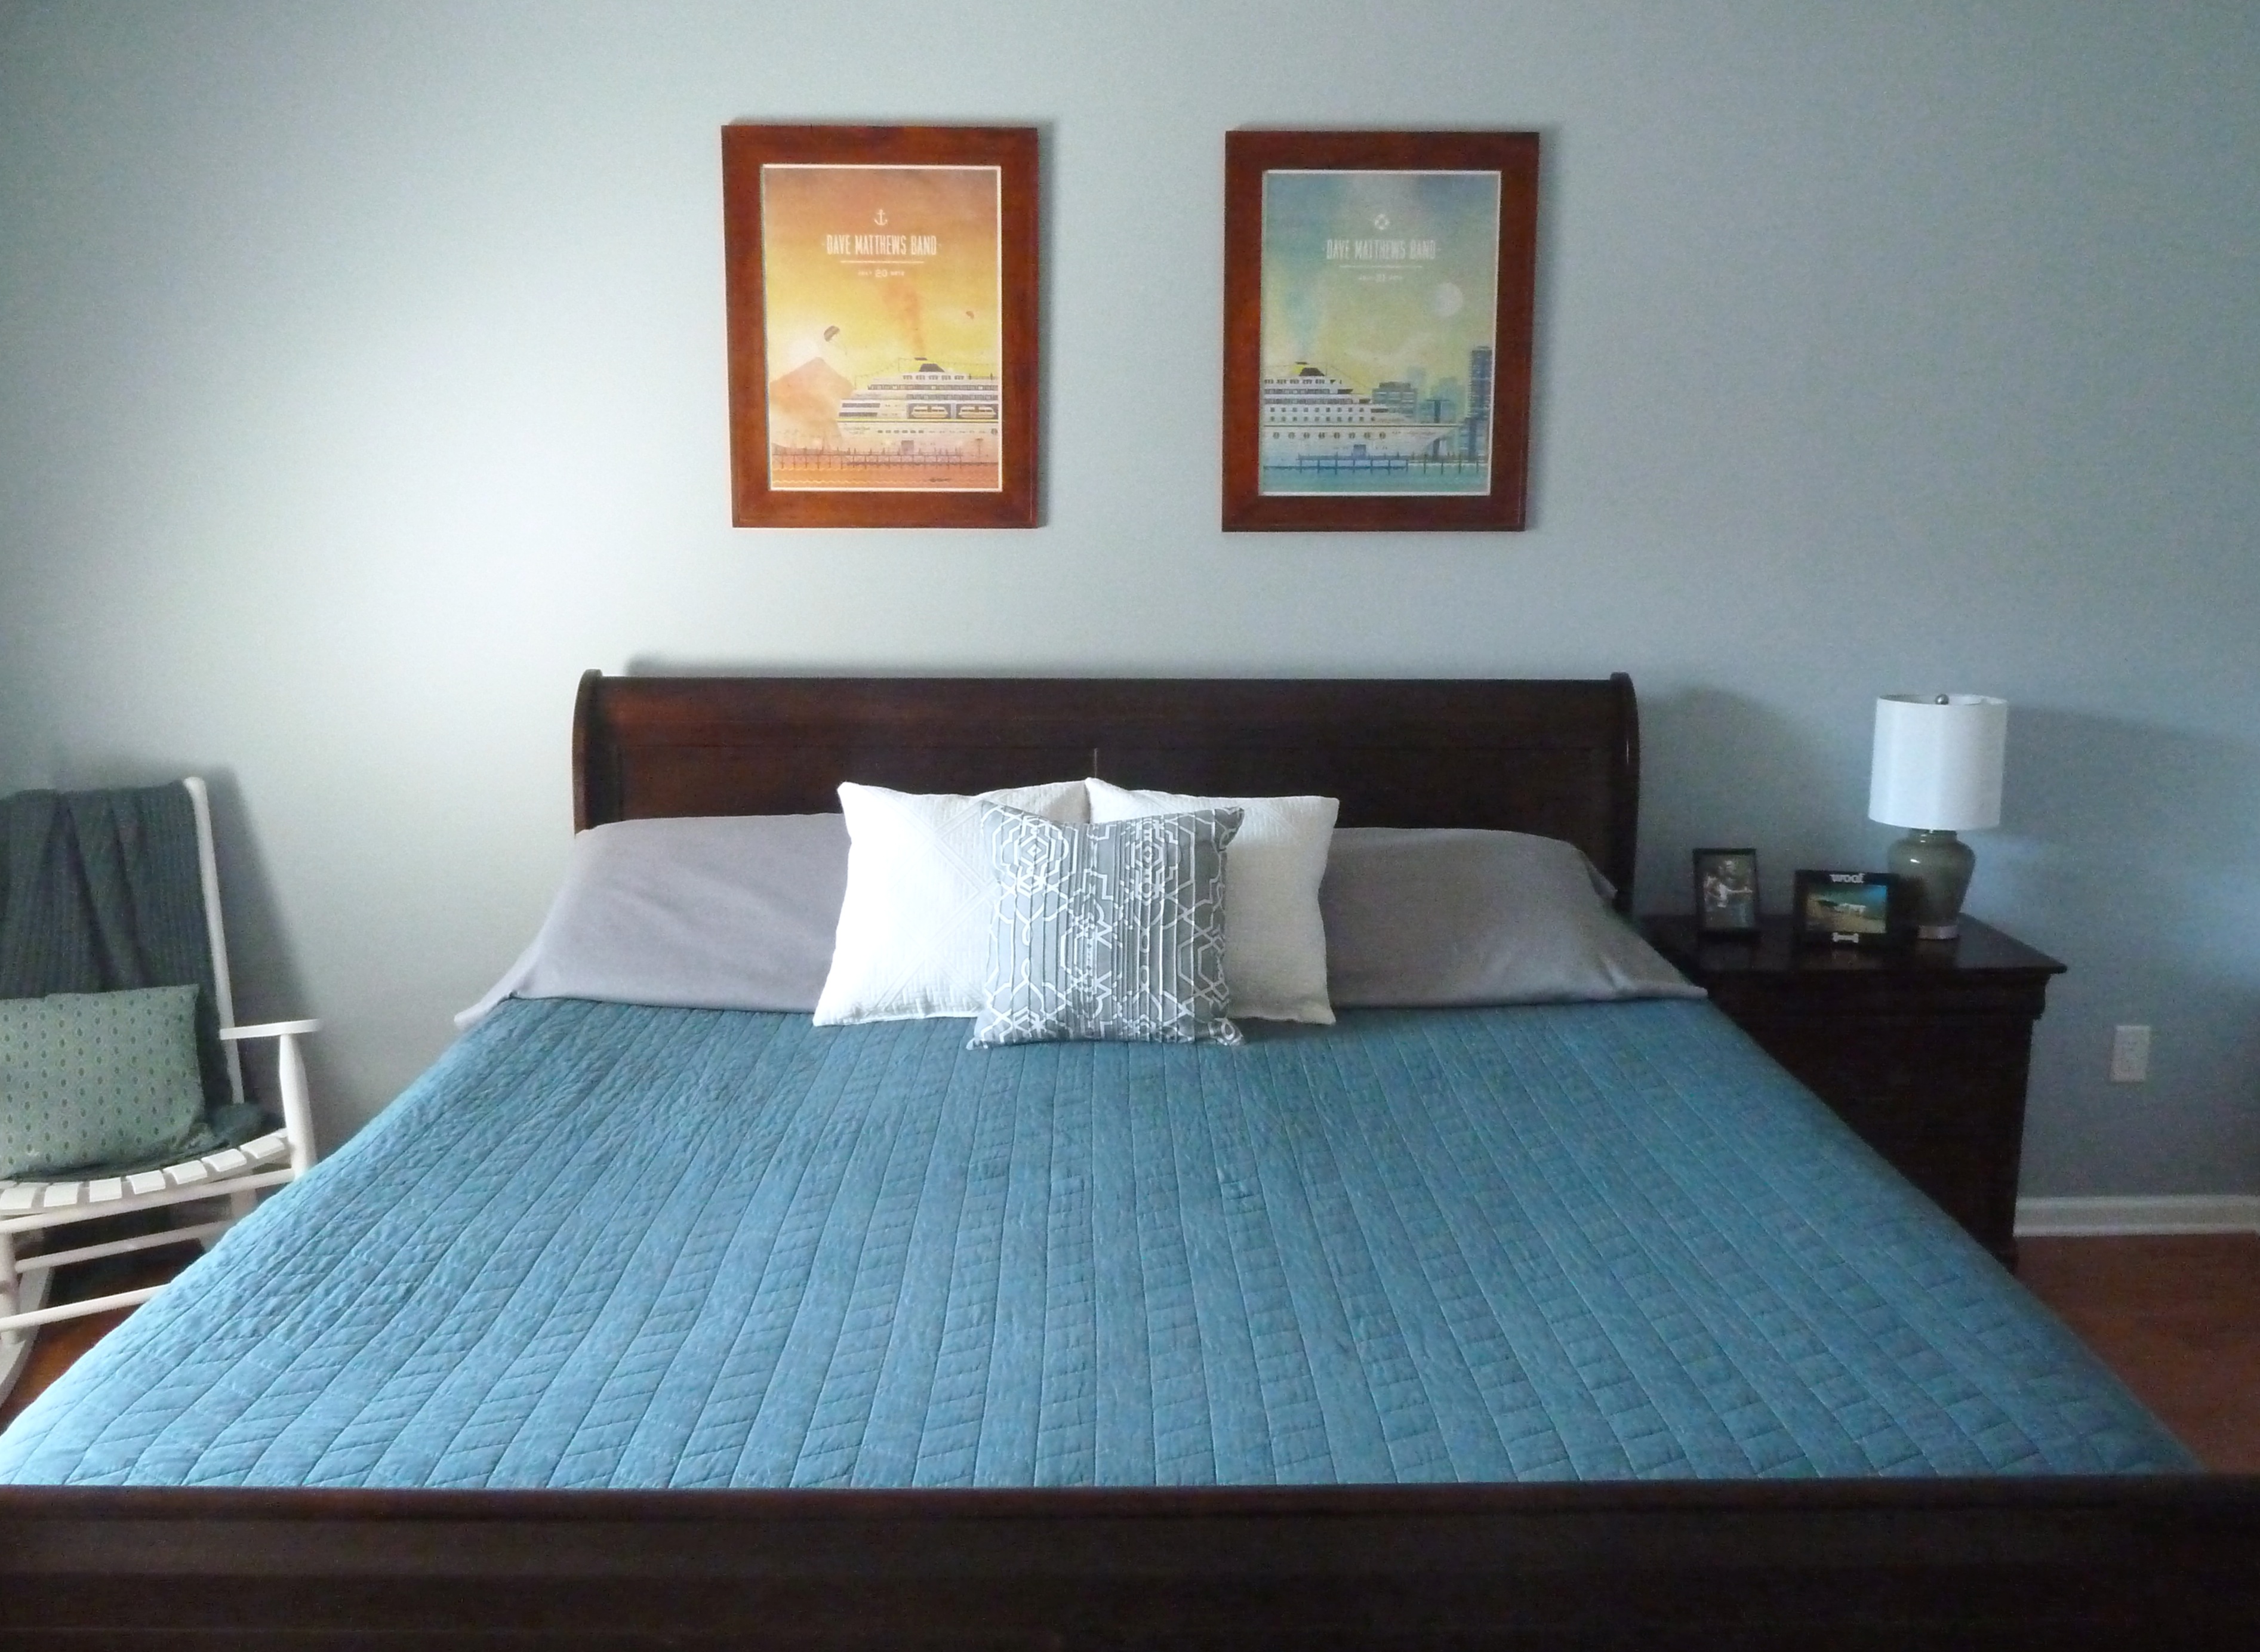
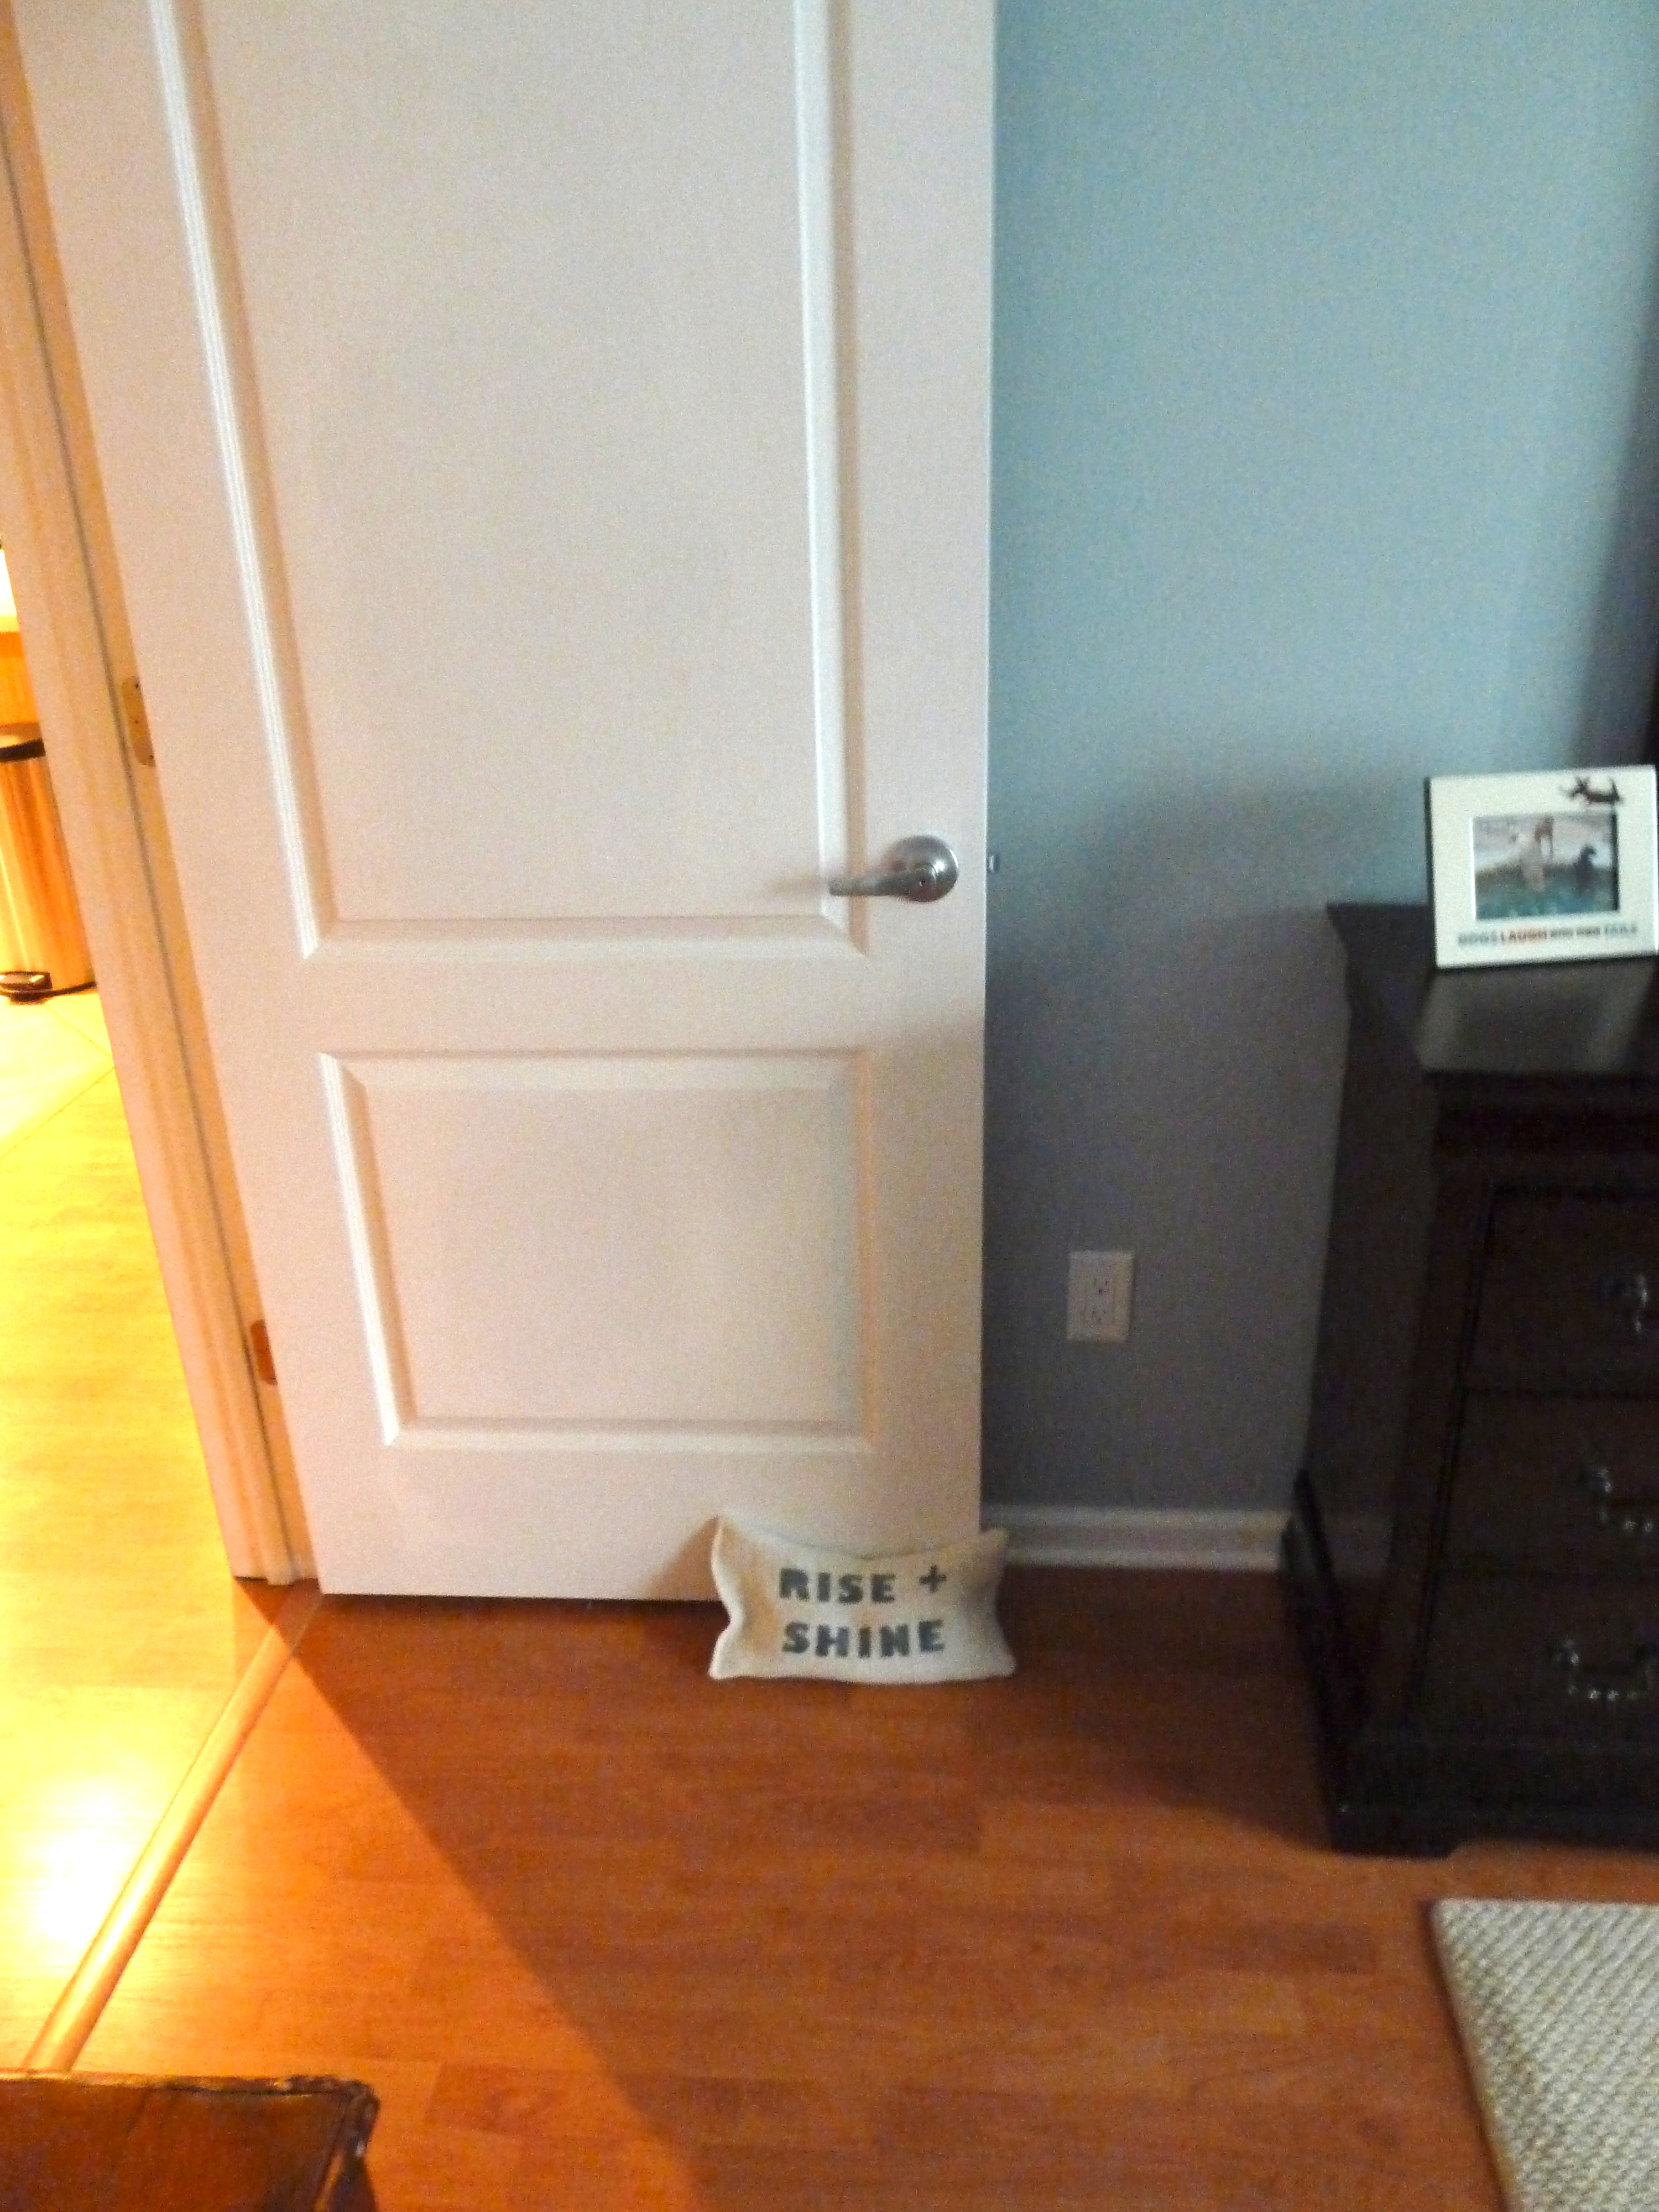
I think I will eventually buy a couple shams or possibly make them, but for now our gray pillow cases will do.  So here is our bedroom now.

q4

q6

She’s Mad Crafty Yo!

I was checking out etsy the other day as usual, wishing I was had butt loads of money so I could buy everything my heart desires.  Seriously, I can’t get over how talented some etsy sellers are.  I love me some etsy! Anywho, I stumbled across this by this seller

il_570xN.235056233

and this by this seller

il_570xN.424731585_loe0

and this by this seller

il_570xN.253692565

It seems I’m really digging the burlap type pillows with awesome quotes.  I love the first one Live by the sun Love by the moon.  And the last one that looks like the whale was stenciled on.  I thought about purchasing the last one because it is actually a door stop and I think it is a really unique way to prop open your door shyaa!  I also have a rule that if I can make something myself for cheaper than it is being sold, then I should try to make it before buying it.  I decided that even though this doorstop is only $15($10 for doorstop + $5 for shipping), I think I can make it myself for cheaper.  It seemed pretty simple so I went for it.  First I purchased some burlap from JoAnne Fabrics…

P1070072

While I was there I also picked up a couple stencil brushes.  The burlap was $2.30 for 1/2 a yard and $.99 for the stencil brushes.  I had a coupon and my total came to $2 and some change, I also had a gift card so it ended up taking no mulah from my pocket woo hoo!

Next I picked up some rice from Walmart for a couple dollars.  I will use the rice as filler and for weight to hold the door back. Everything else I used I already owned, so total cost for myself was around $2! Score!

Here’s how I did it…

I first had to decide what I wanted on my doorstop, I knew I wanted a quote and I knew it was going to be holding our bedroom door open.  I decided to go with “rise and shine”.  I figured it would be one of the first things we see in the morning, anything to make me a little happier to be getting outta bed is welcome in my book! I started by making a template on the computer that would be my stencil…

P1070069

Here it is all ready to go.  Next I cut all the lettering out…

P1070070

Look at me go!

P1070071

Here’s the finished product, now I have my stencil.  Next I got my paint out.

P1070077

I decided to go with a grayish blue color for the lettering, who woulda thought?

P1070084

I came up with this color.  I used a paper plate for mixing, I love easy clean up!

P1070081

I then decided on the placement of my stencil.

P1070085

Next I just filled in the letters with my stencil brush.  I just used a blotting motion until all of the letters were filled.

P1070089

Here it is once the stencil was removed.  While that dried I worked on my next step.

P1070091

Since the burlap has small holes in the fabric, I needed to make an interior pouch to put the rice in.  I didn’t want rice slipping out all over my floor every time we moved it. So I found a similar color fabric and cut out a couple pieces about a half inch larger on each side than I wanted the actual doorstop to be.

P1070093

Next I got out my sewing machine(yup I have one of those). I started sewing the interior fabric inside out leaving one side open, then turned the pouch outside in(is that how you would say it?). I then poured in the rice filling the pouch up approximately 3/4 of the way. Then I sewed up the open end.

P1070096

This was what I was left with, a white pouch filled with rice! Fancy!

P1070099

I then cut the burlap with the stenciling about an inch larger on each side than i want the doorstop to be.  From there I placed the two pieces of burlap together stencil facing inward. Next I sewed up all of the sides but one leaving one end open again.

P1070101

Once the three sides were sewn up, I flipped the pouch outside in? again.

P1070105

Then I plopped the rice filled pouch in the open side.

P1070106

From there I tucked in the unfinished end and sewed it up and I was left with this…

P1070108

A pretty sweet doorstop that makes me feel better about getting outta bed in the morning.  Here it is in it’s new home…

P1070110

one more…

P1070113

Saved myself some money and I have a new way to keep our bedroom door open! Yahoo! Thanks for the inspiration etsy.