Remember my RSVPs? These guys…
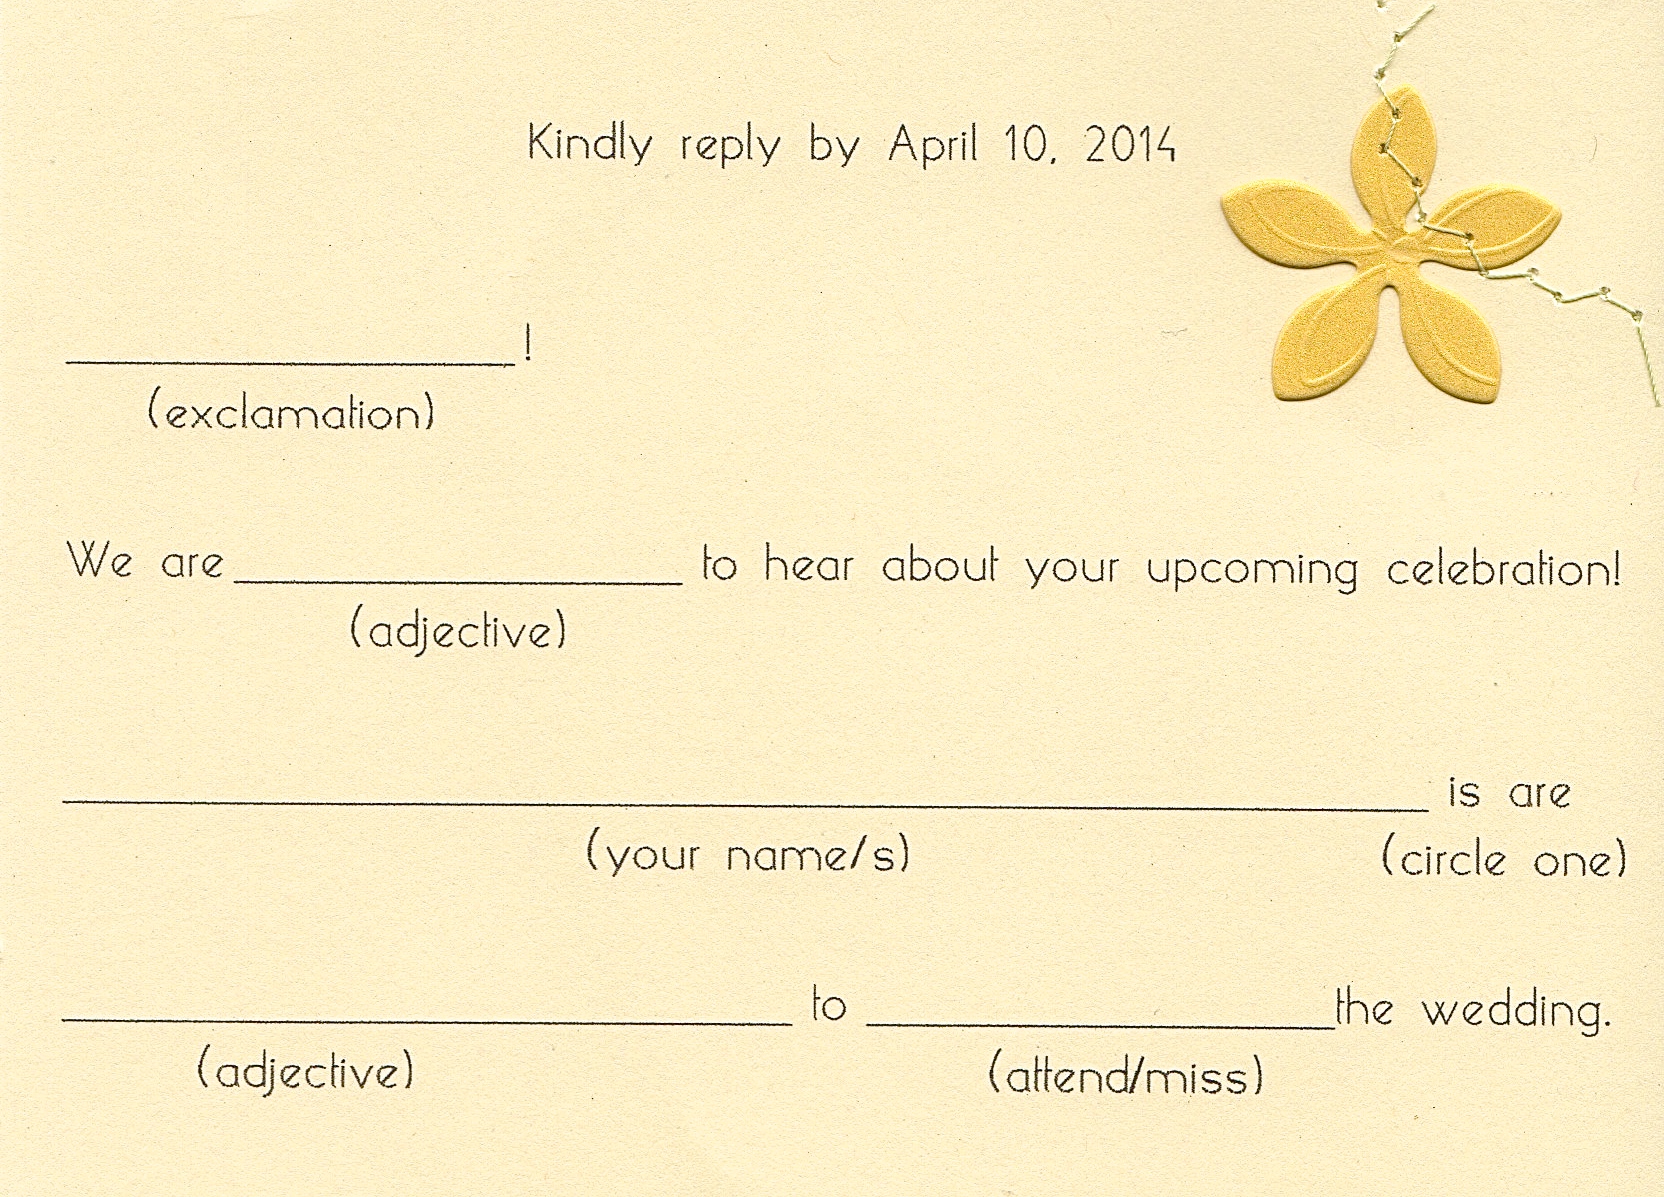 Well, I had a plan for them all along. I knew we would receive some pretty entertaining responses, and I wanted to share them with our wedding guests. I also thought it would be fun to give out some awards(I guess that’s what I will call them) to some of the more memorial responses.
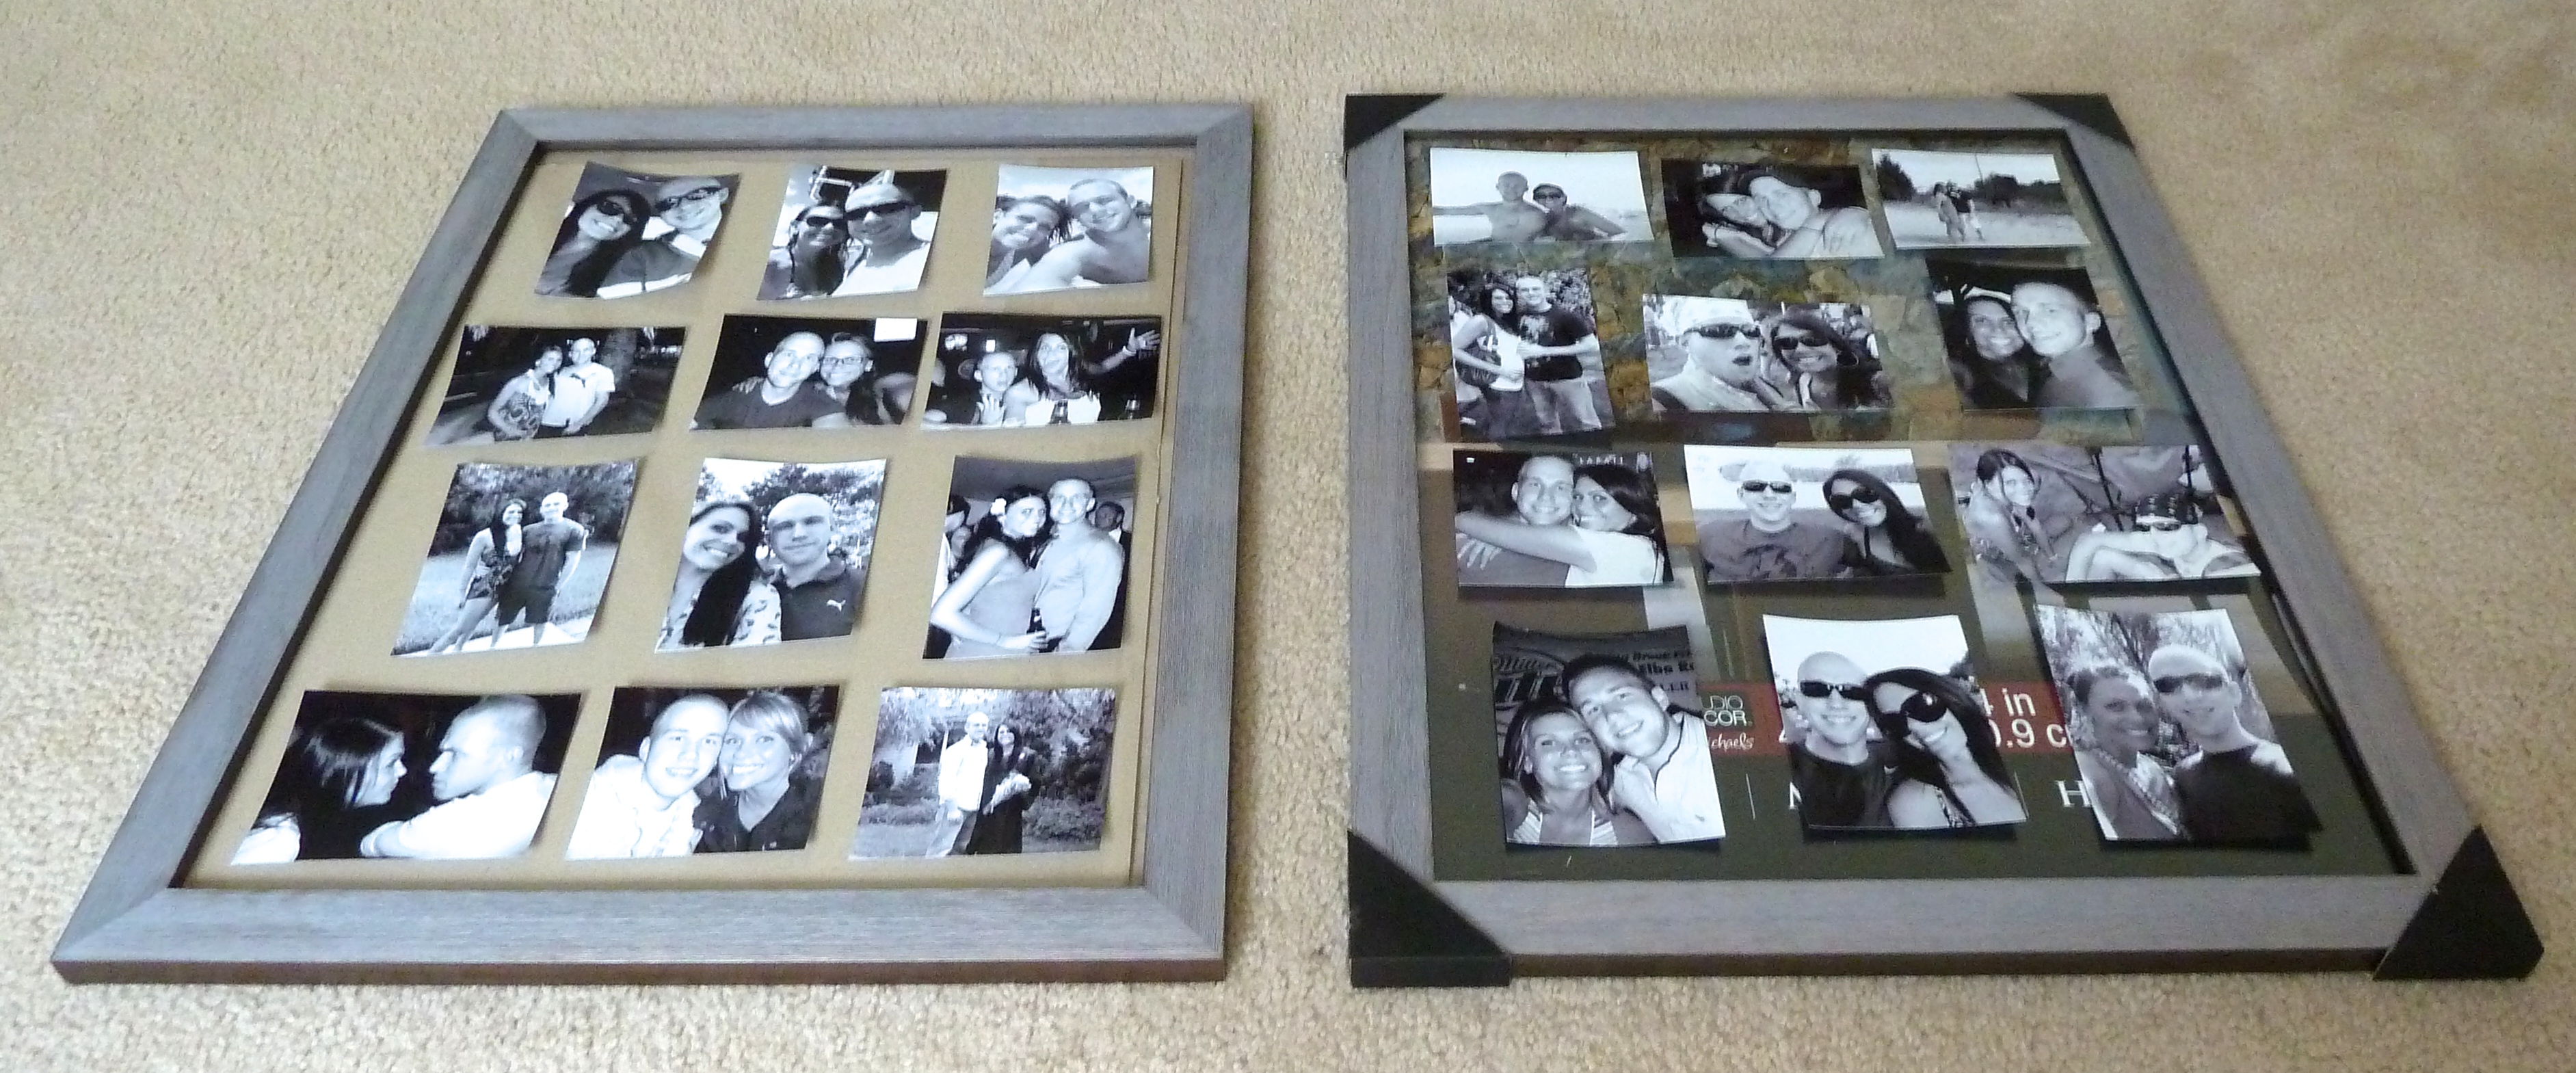
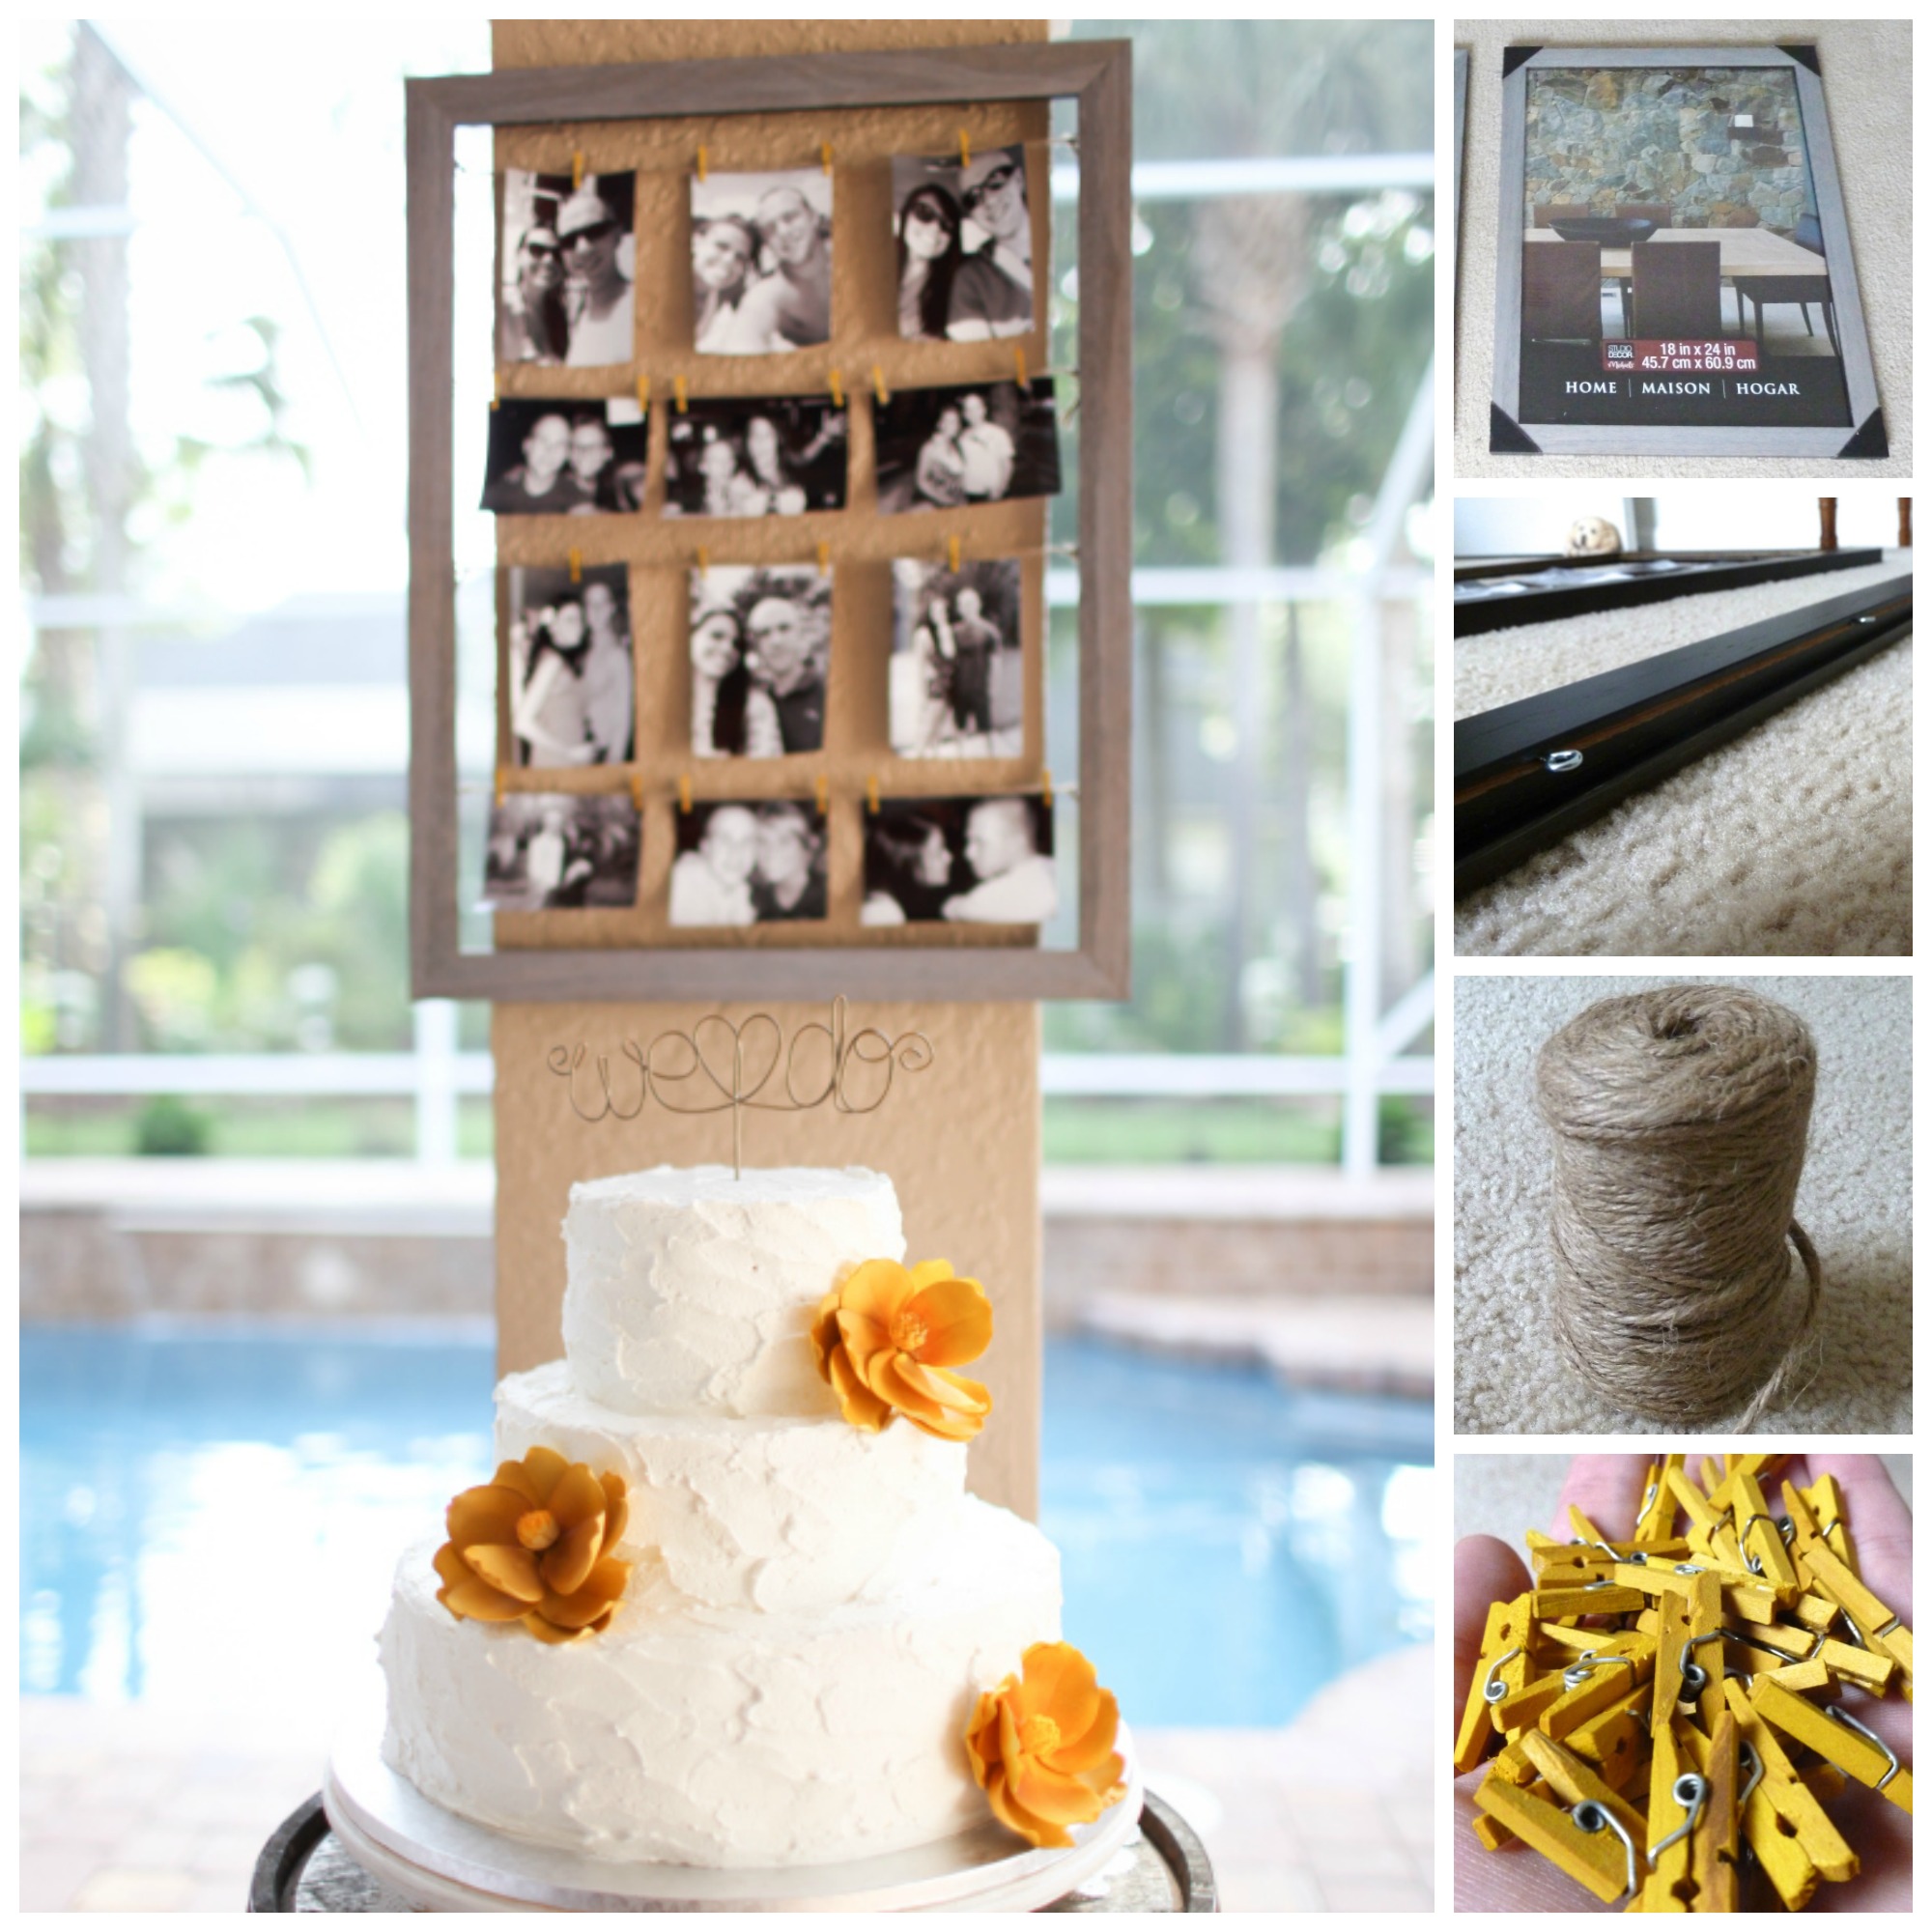
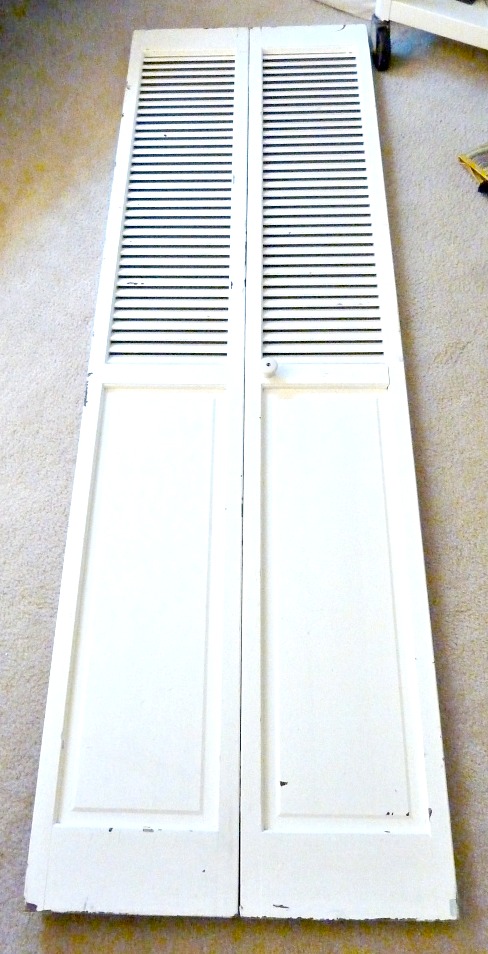
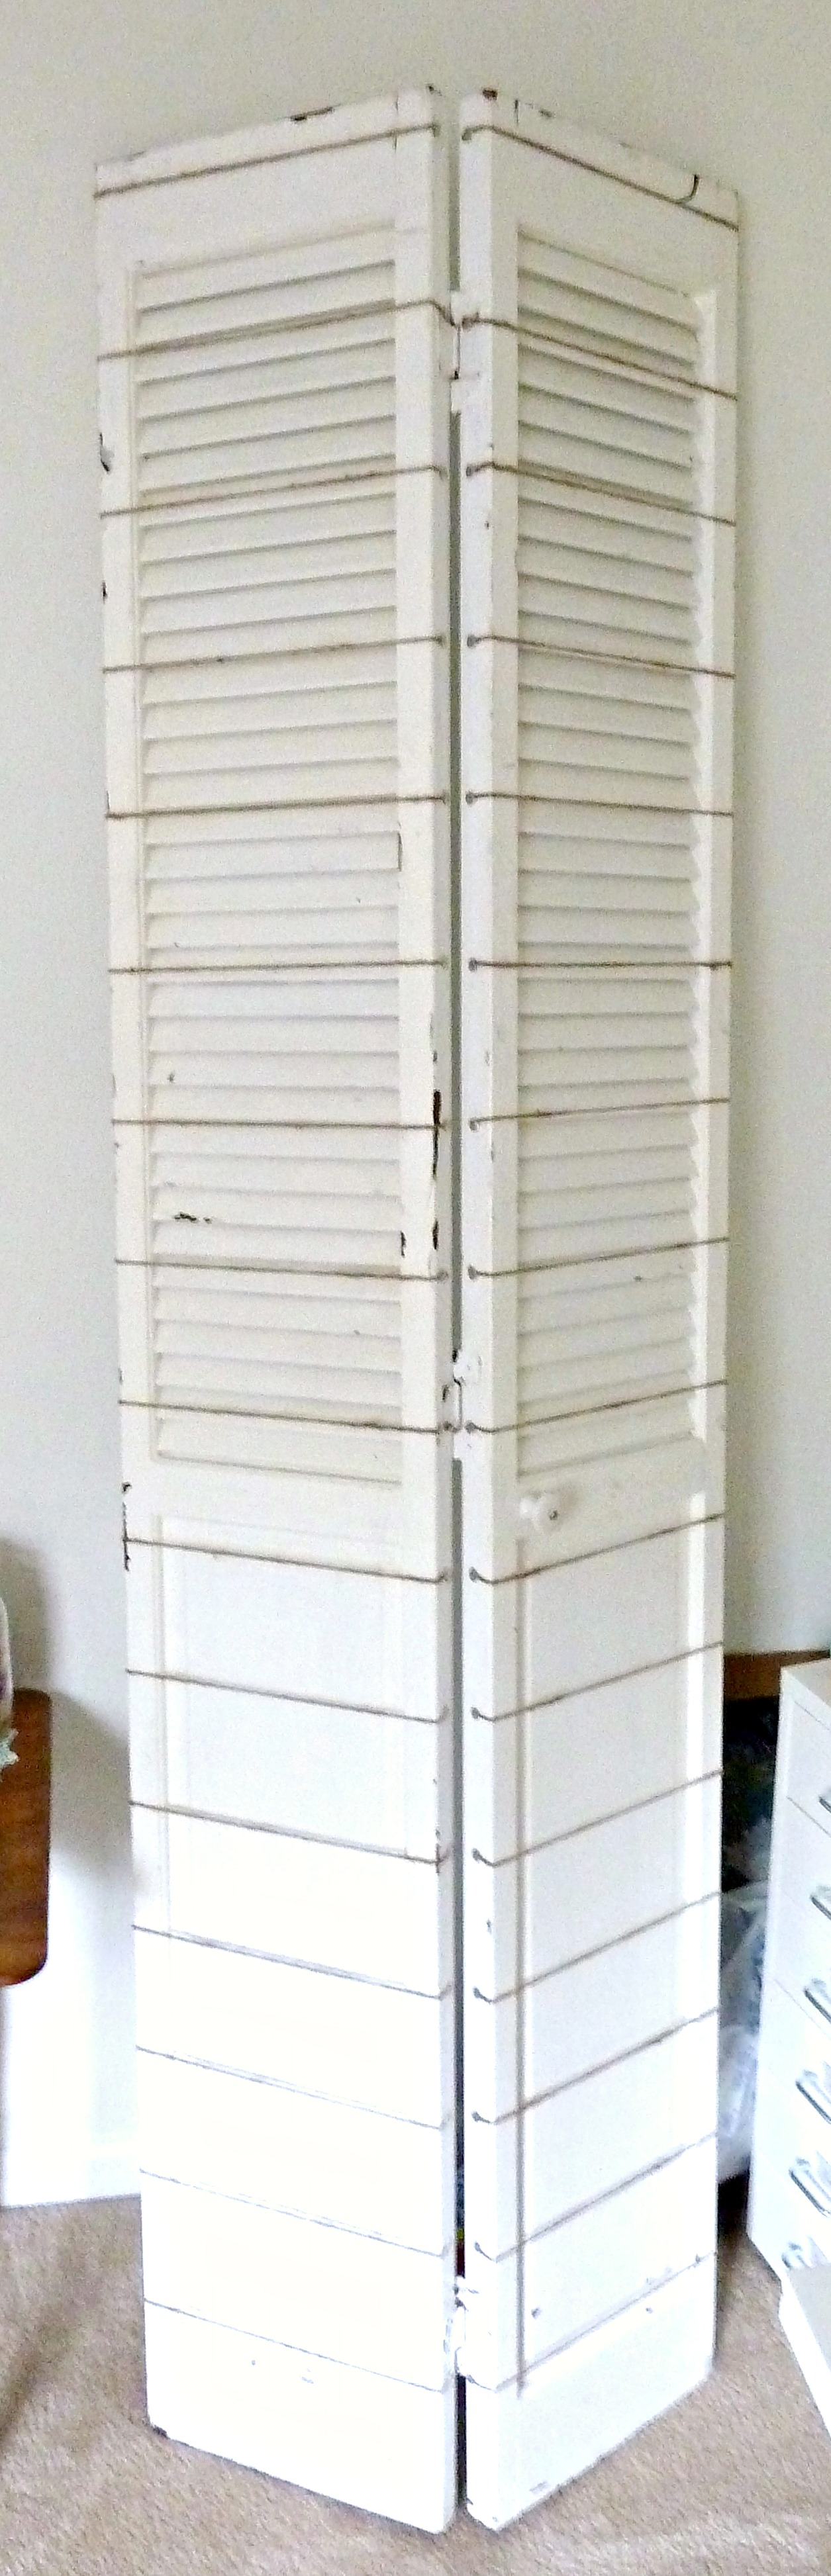
My first step was to decide how I would display all 70-something RSVPs we received. I came across this old shutter door at The Antique Market and thought it would be perfect.
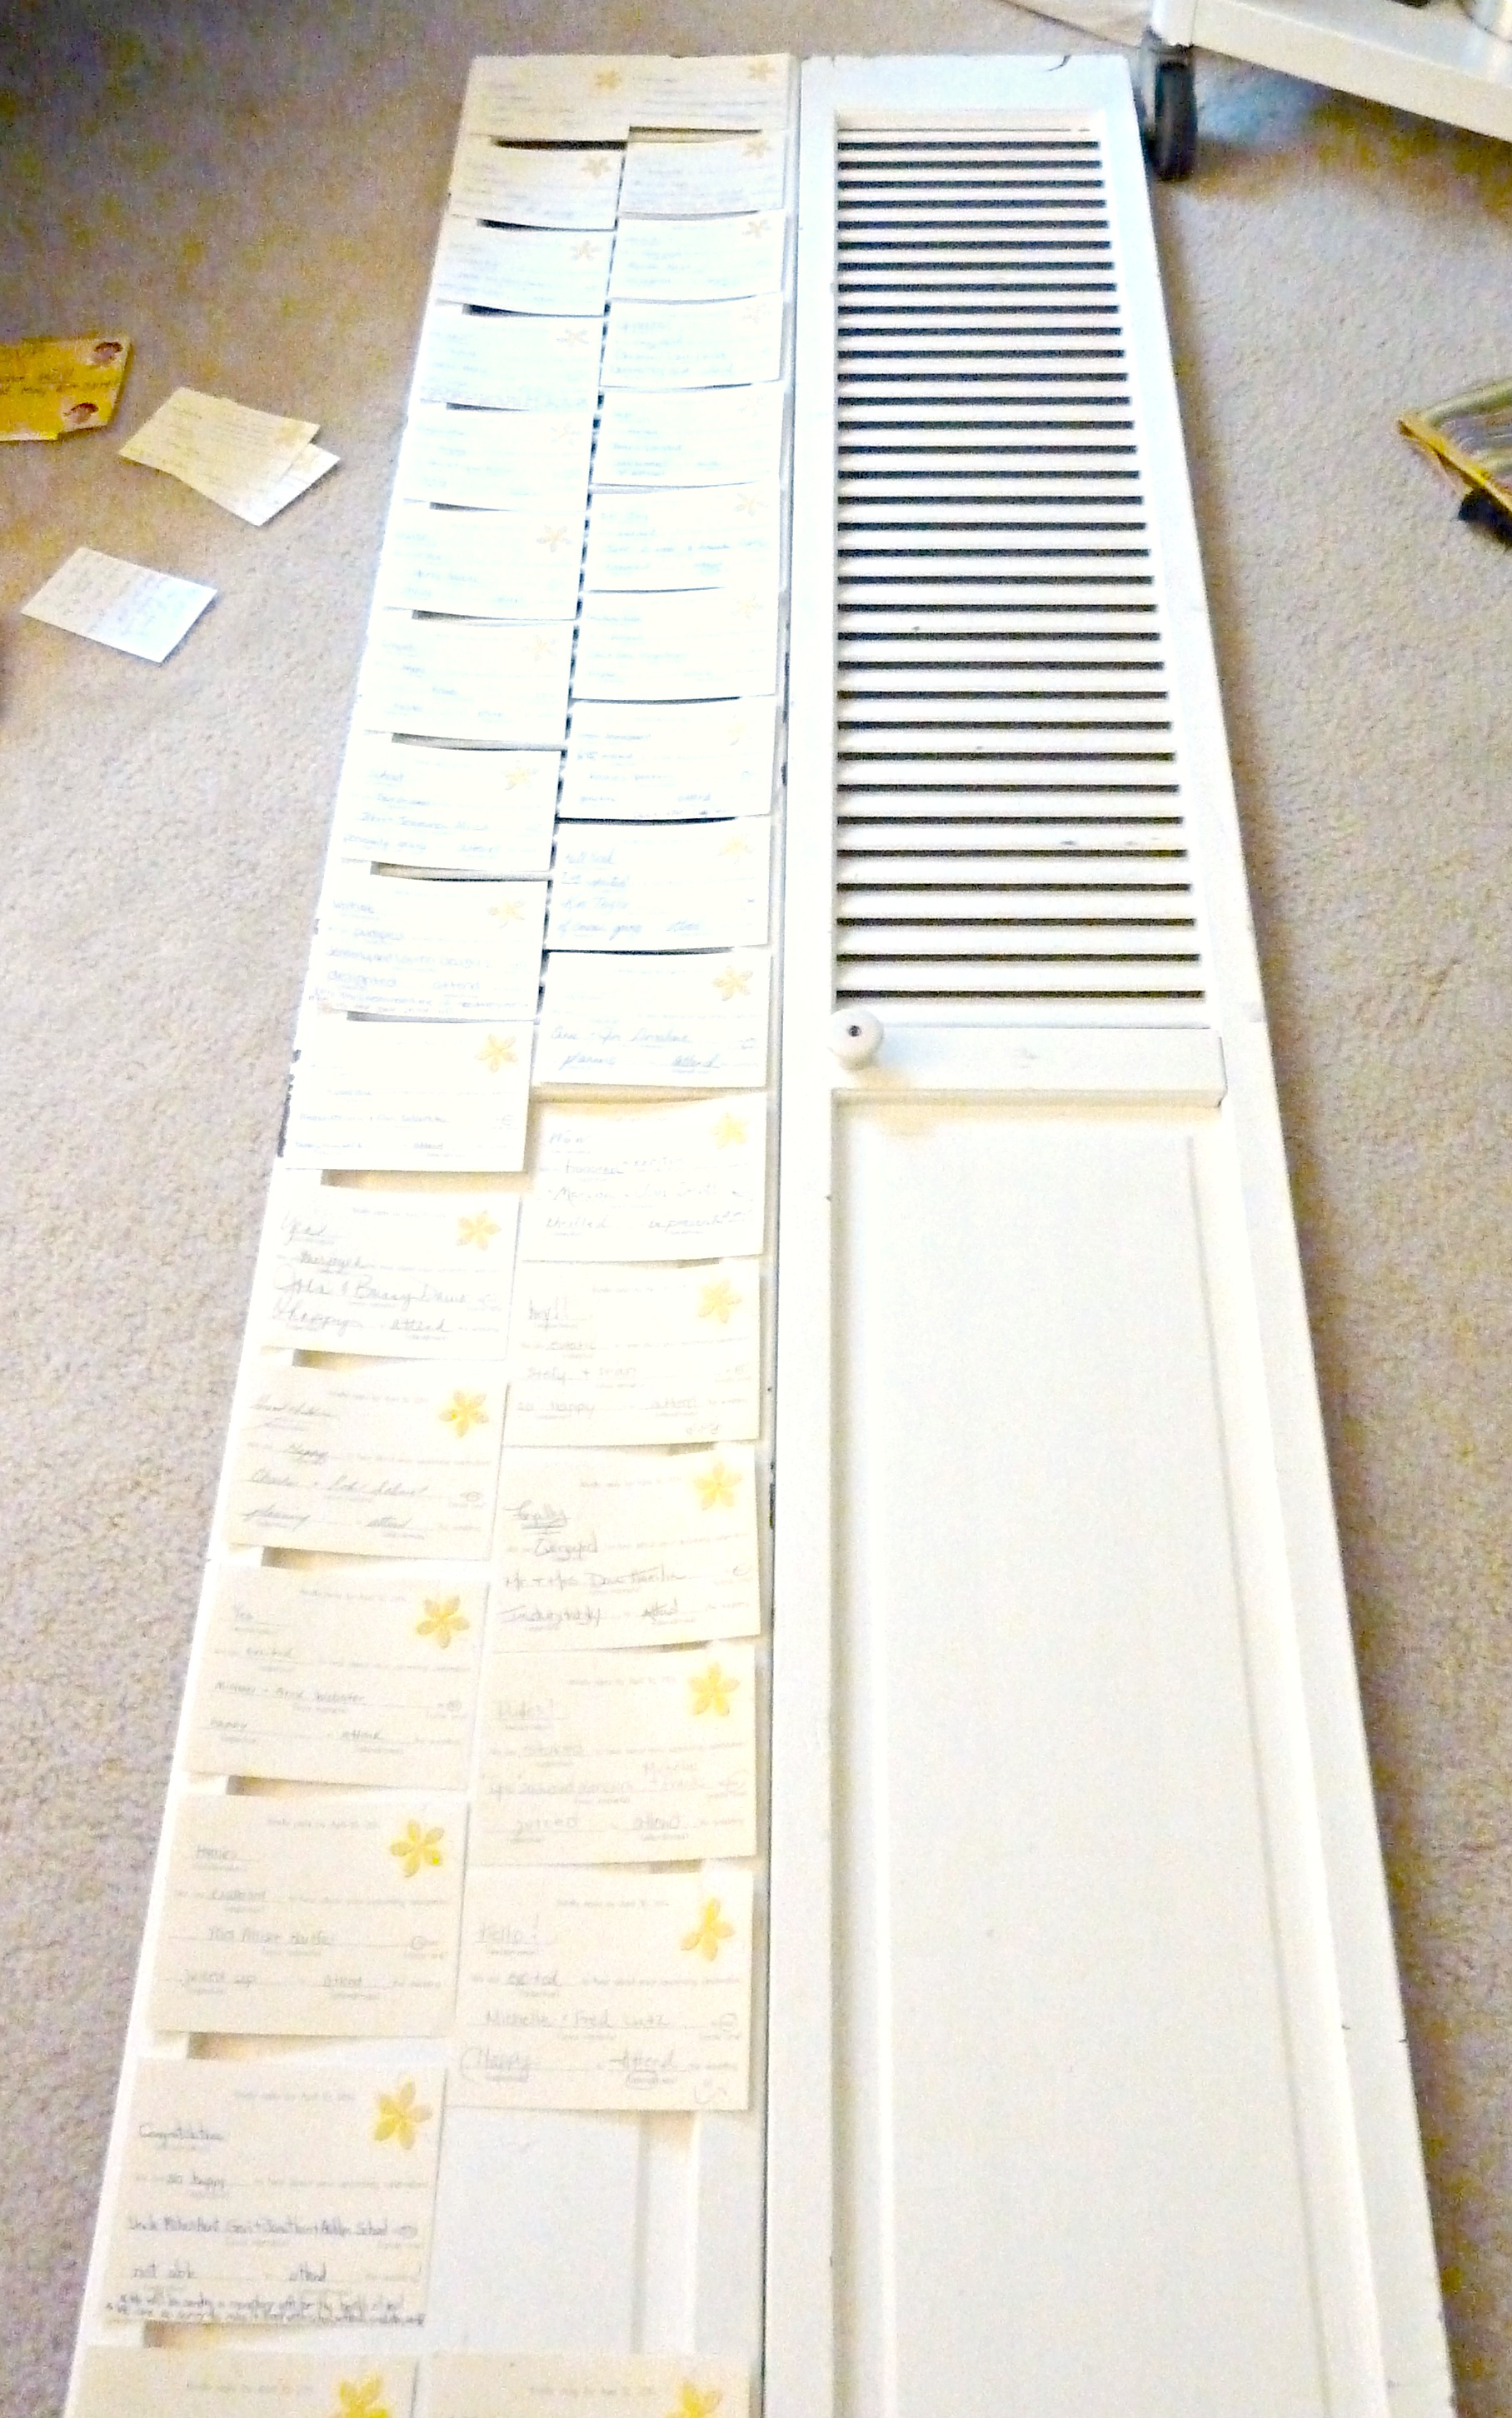
 From there, I had to figure out how I would attach all of these little cards. I first laid them out on the shutter doors to see how they fit. I thought I was going to have some space to spare, but they all fit pretty snug on the doors. Phew, that was a close one!
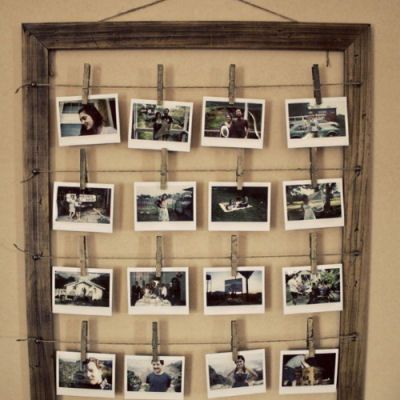
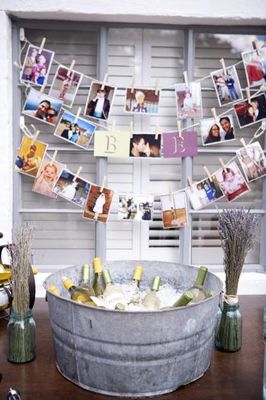
 Now, to attach them. I liked the idea of using clothes pins with twine again. So, that was the plan. I had some left over twine from my photo display, and I picked up some generic tacks at Target to secure the twine with.
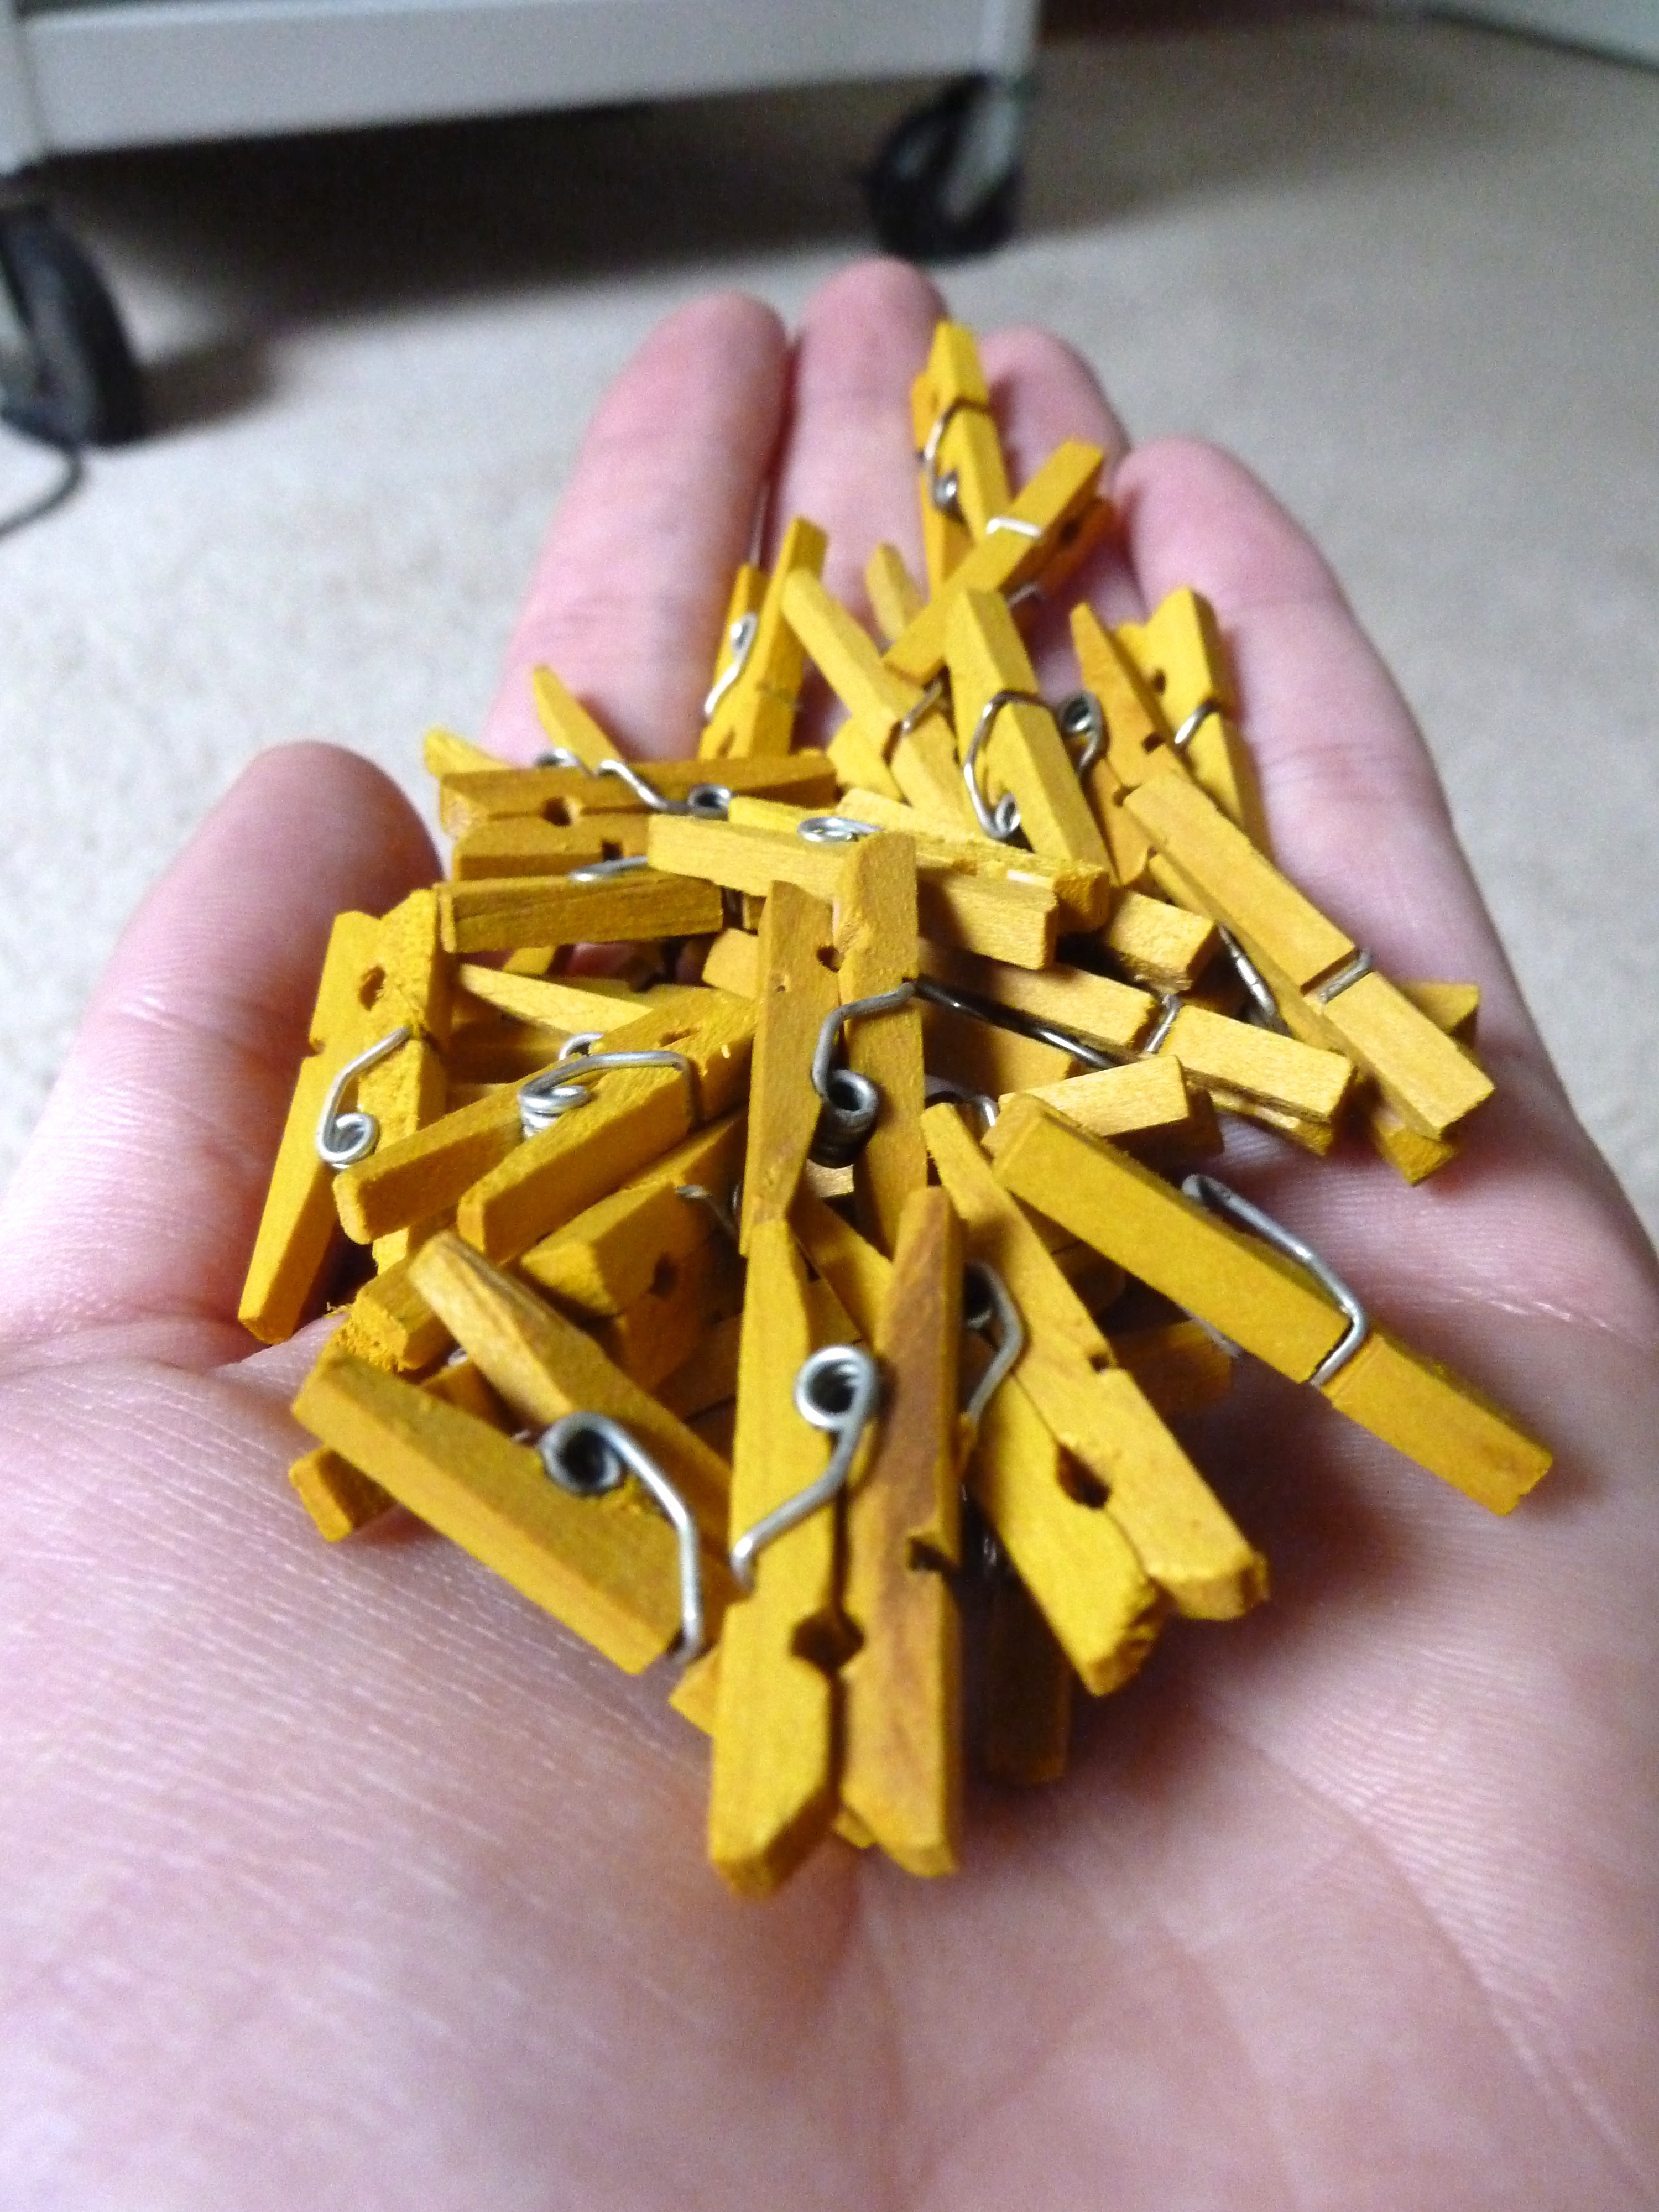
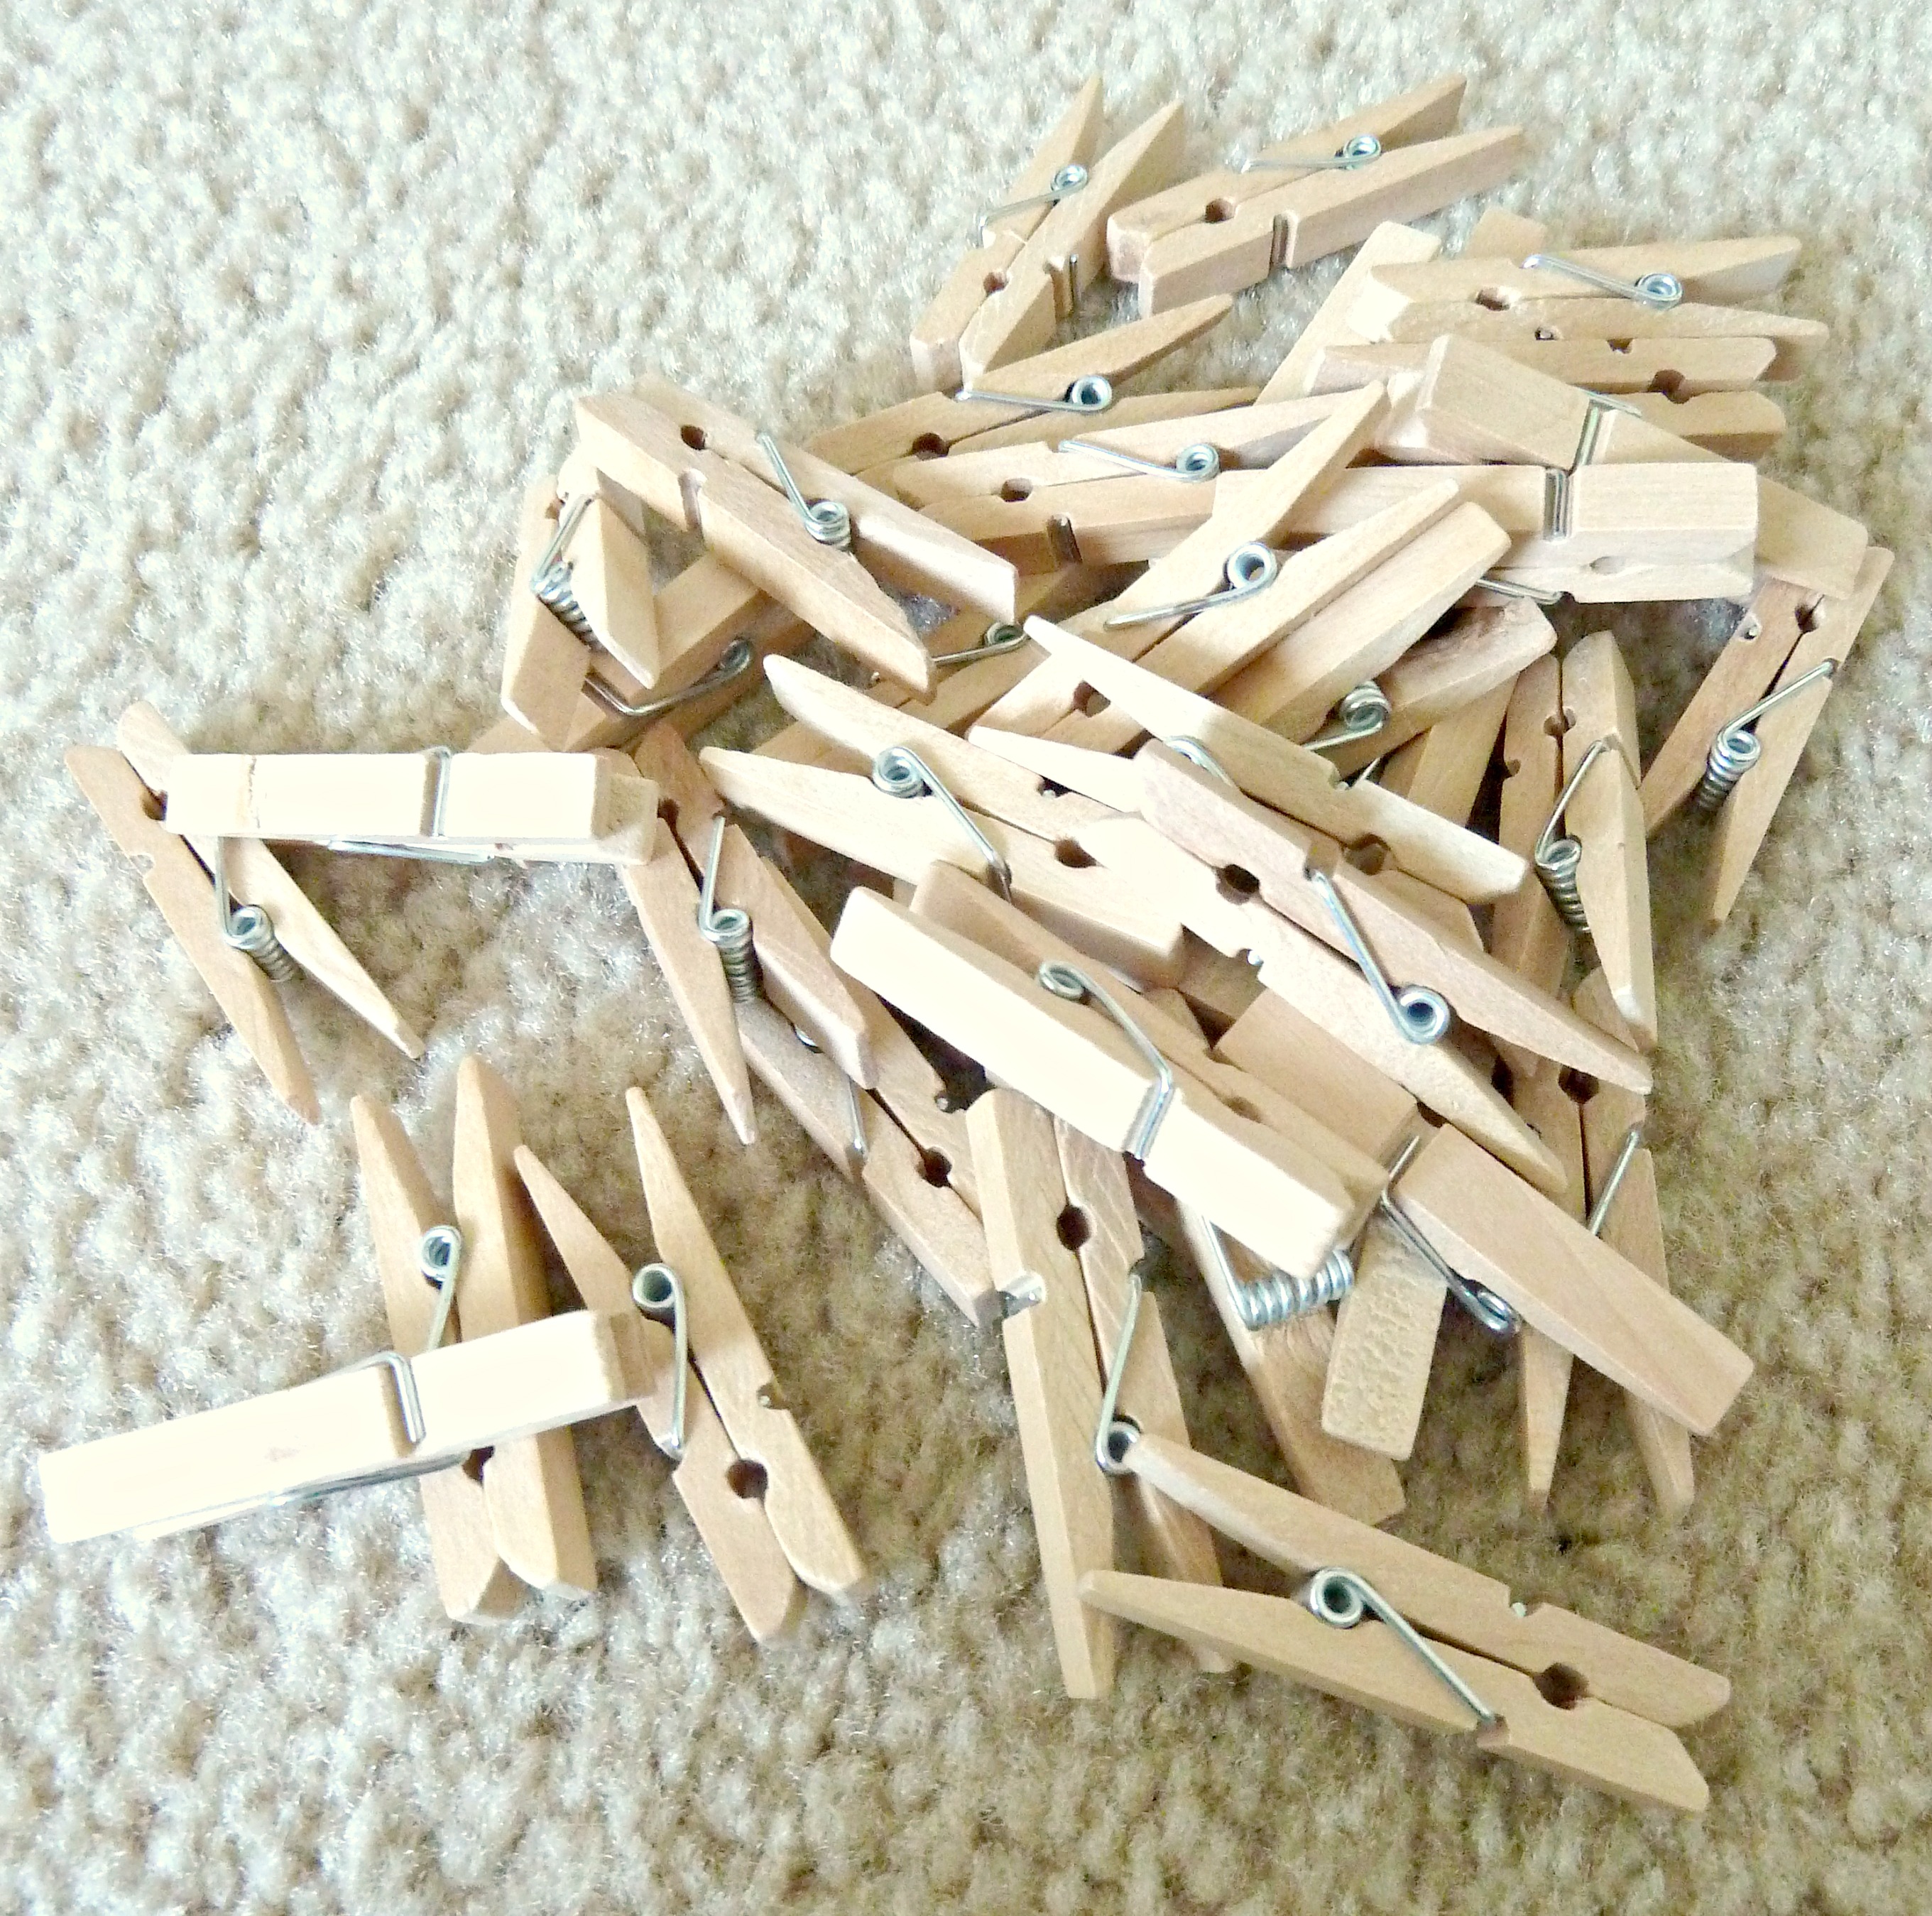
 I also ordered some mini clothespins from Amazon.
 After I laid out all of the cards where I wanted them, I measured where the twine would need to be secured. I believe it ended up being every 4 1/2 inches. See below? The pink marks were where I would attach the twine.
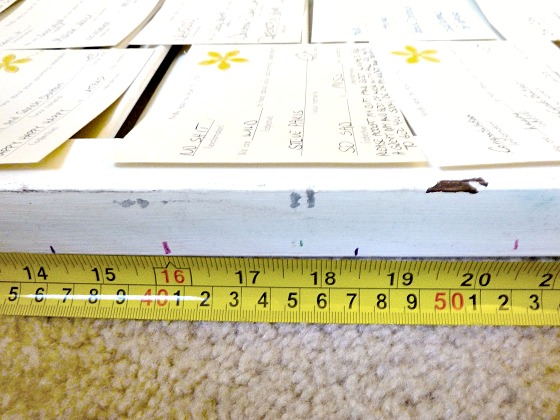 Once I figured out the rows needed to be 4 1/2 inches apart, I just continued my marks down each edge of the shutter doors, making a mark every 4 1/2 inches.
From there, I cut my twine. I needed 32 pieces total, 16 for each shutter door. I just laid the twine across the door and cut them the width of the door plus approximately 1 inches extra on each side, enough so I could pull the twine over the edge to be attached.
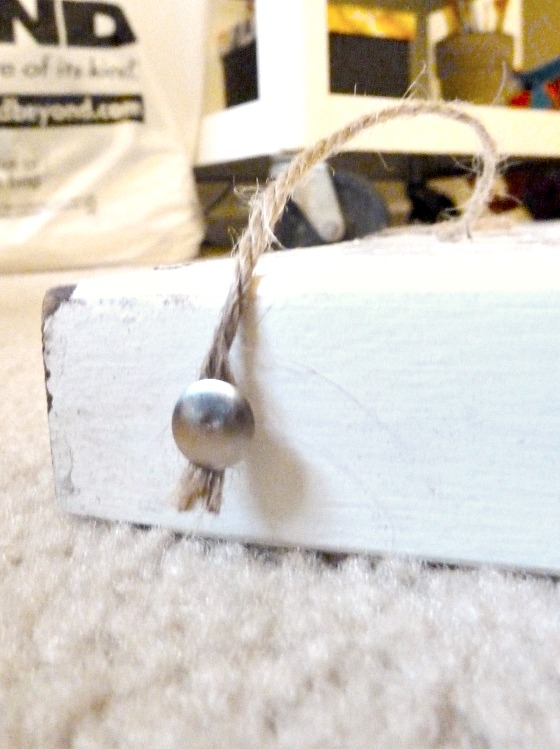 Then I tied a small knot on both ends of each piece of twine. I put a tack through the knot on one end and pushed it into the edge of the door at my top pink mark.
 I used a hammer to tap the tack the rest of the way into the shutter.
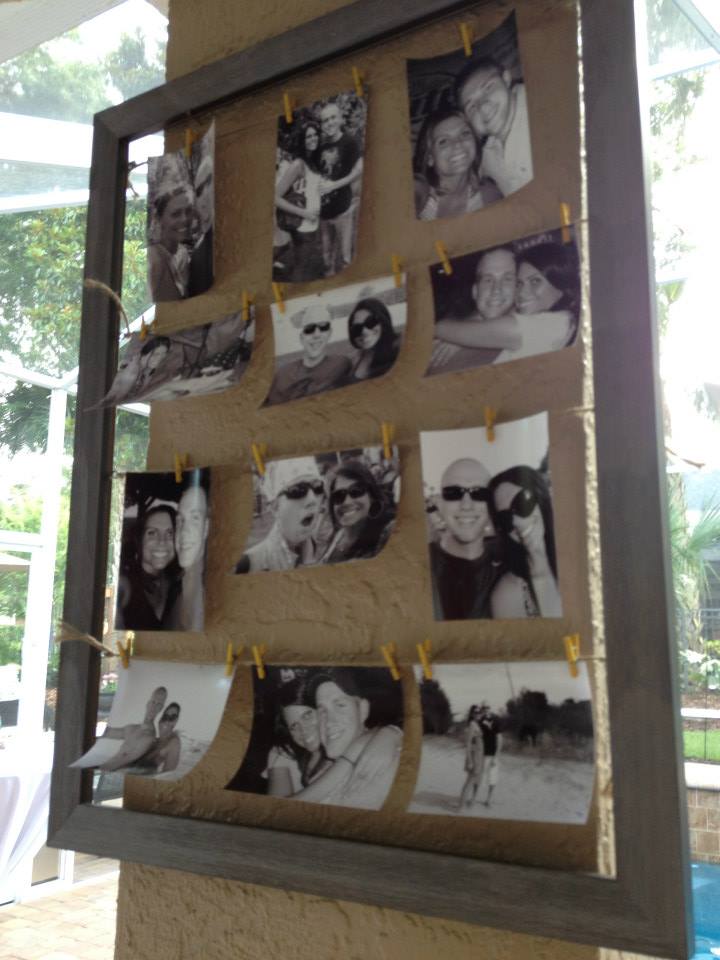
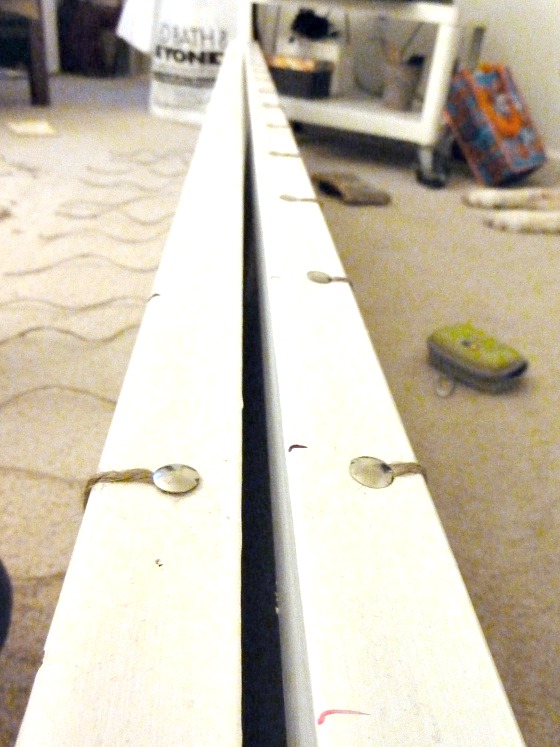
I continued this process down the the entire edge of the shutter door, and I this is my result…
 Plus a very handsome yellow lab.
From there, I just pulled the twine straight across the front of the door and secured it the same way on the opposite edge. I did not measure and make marks on this edge of the door though. I just eyed out the twine to be sure it was straight, and secured it on the opposite side.
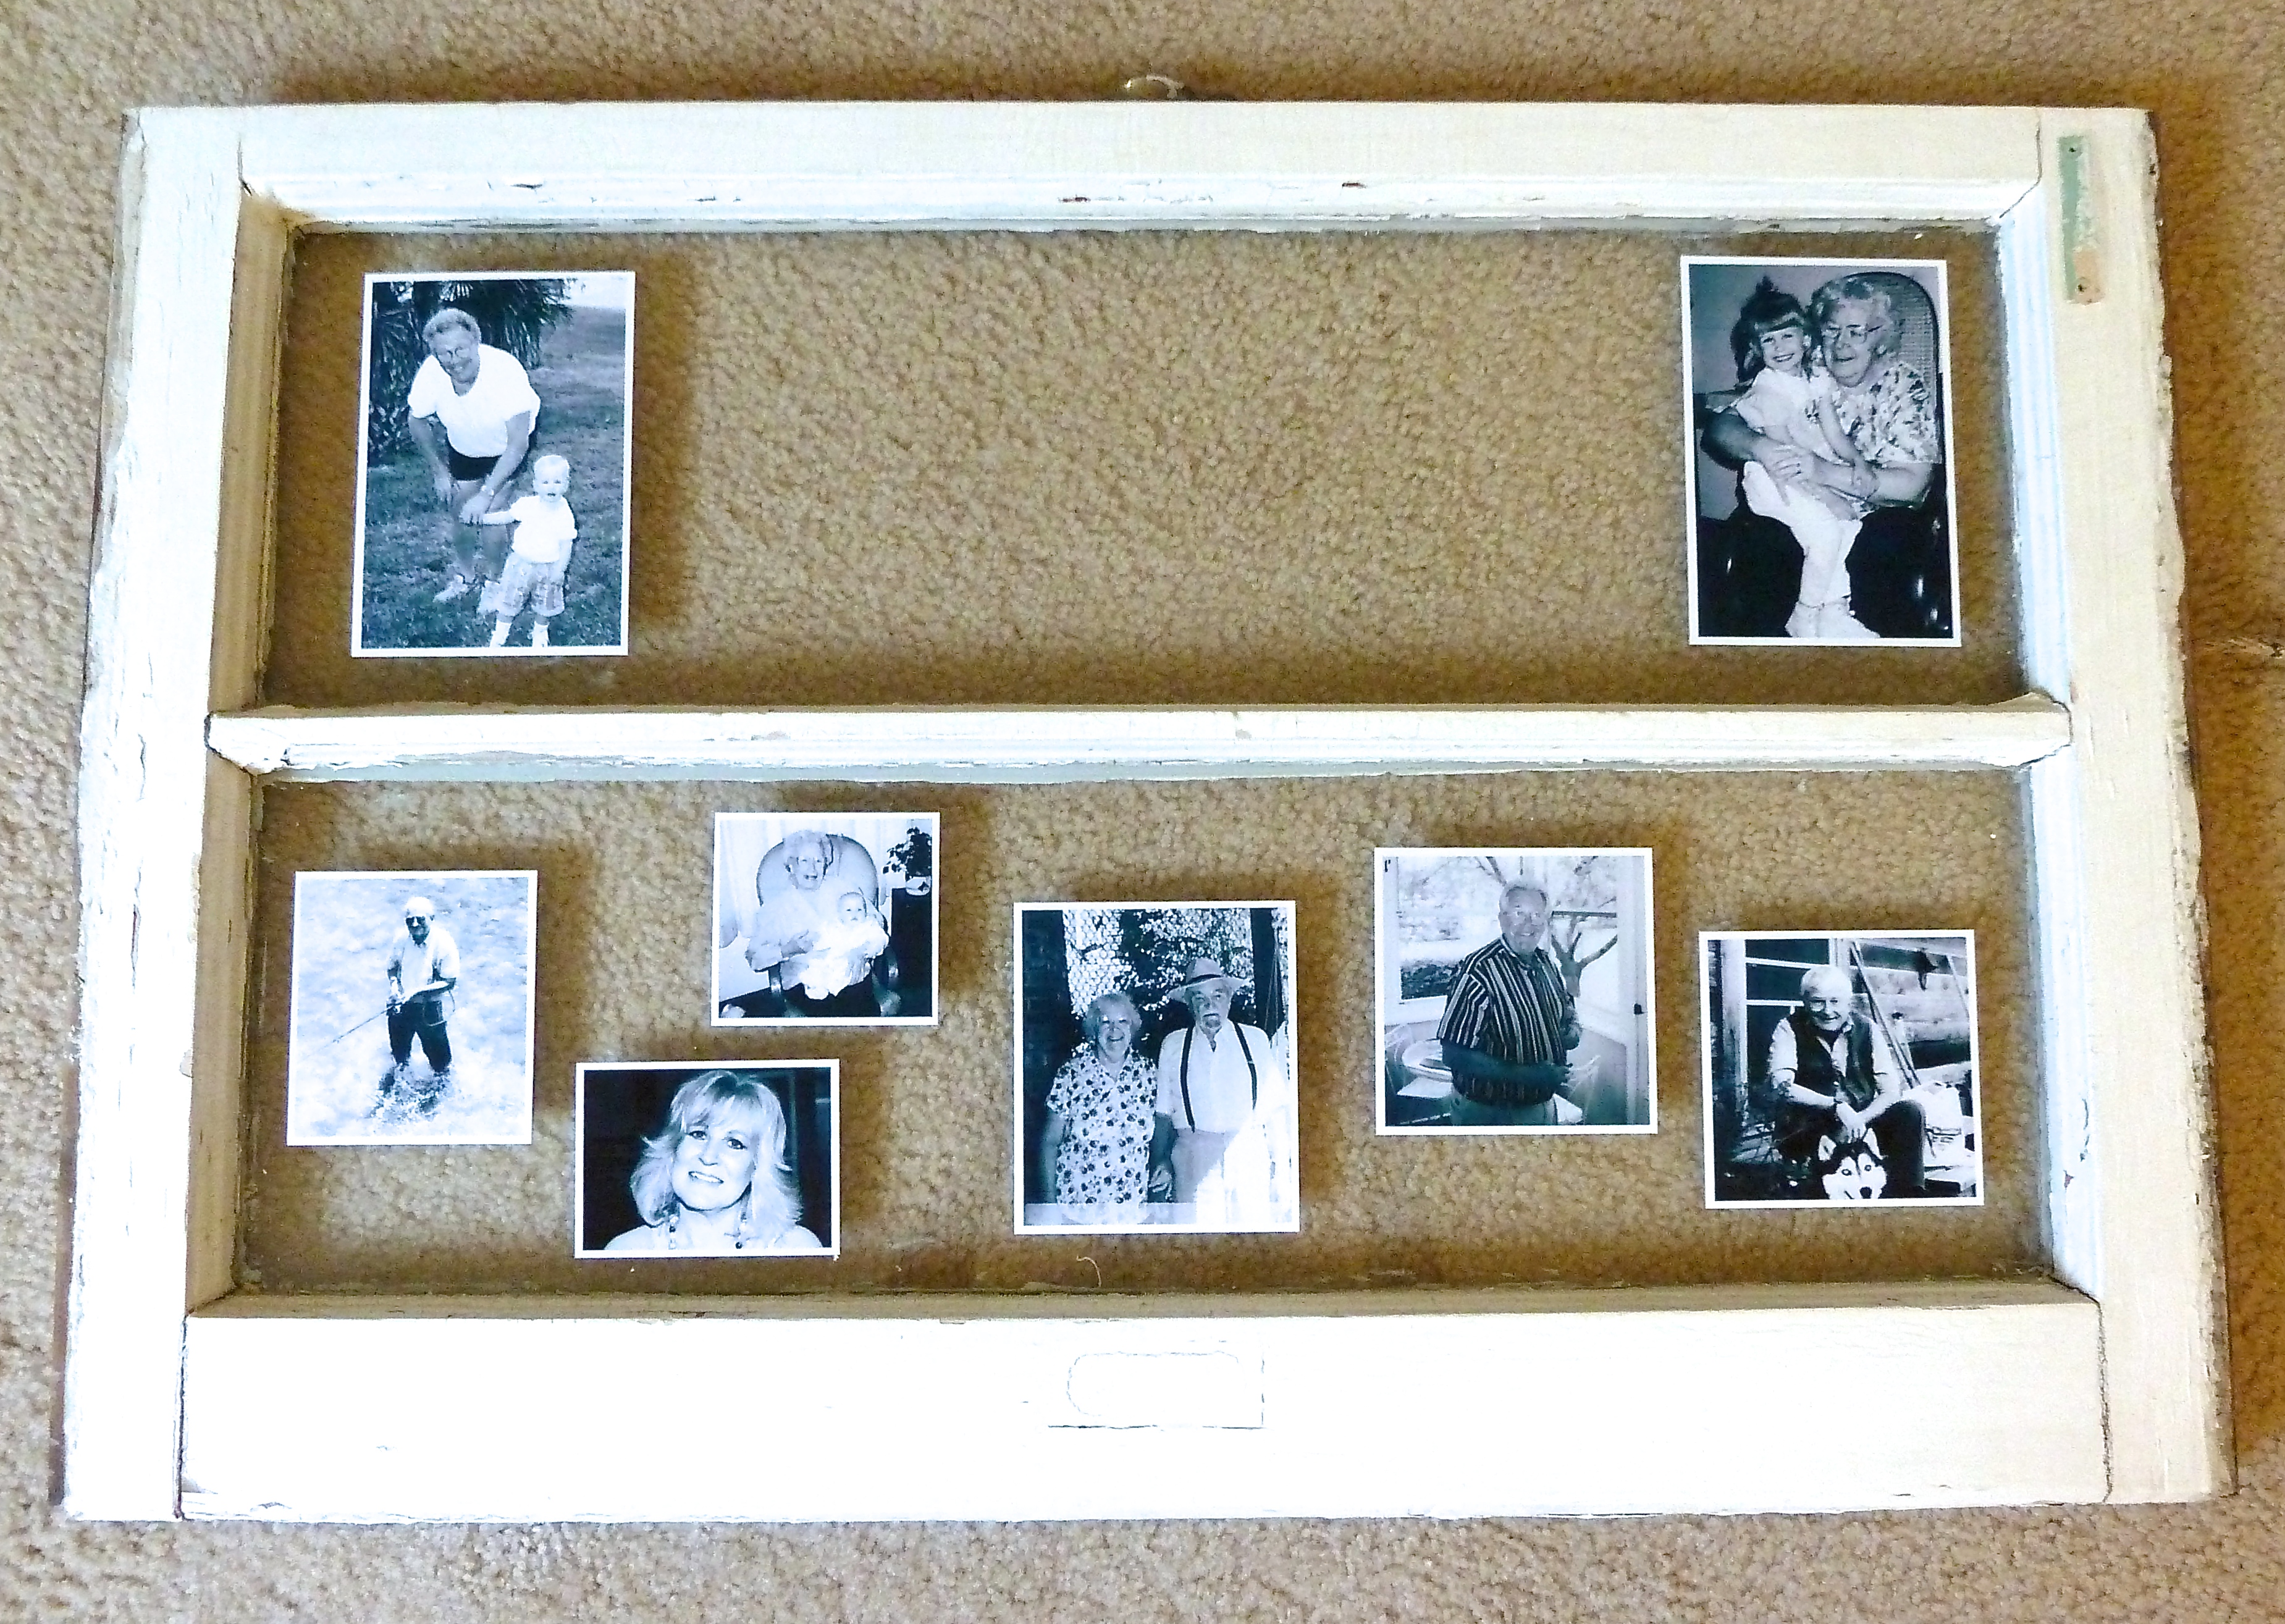
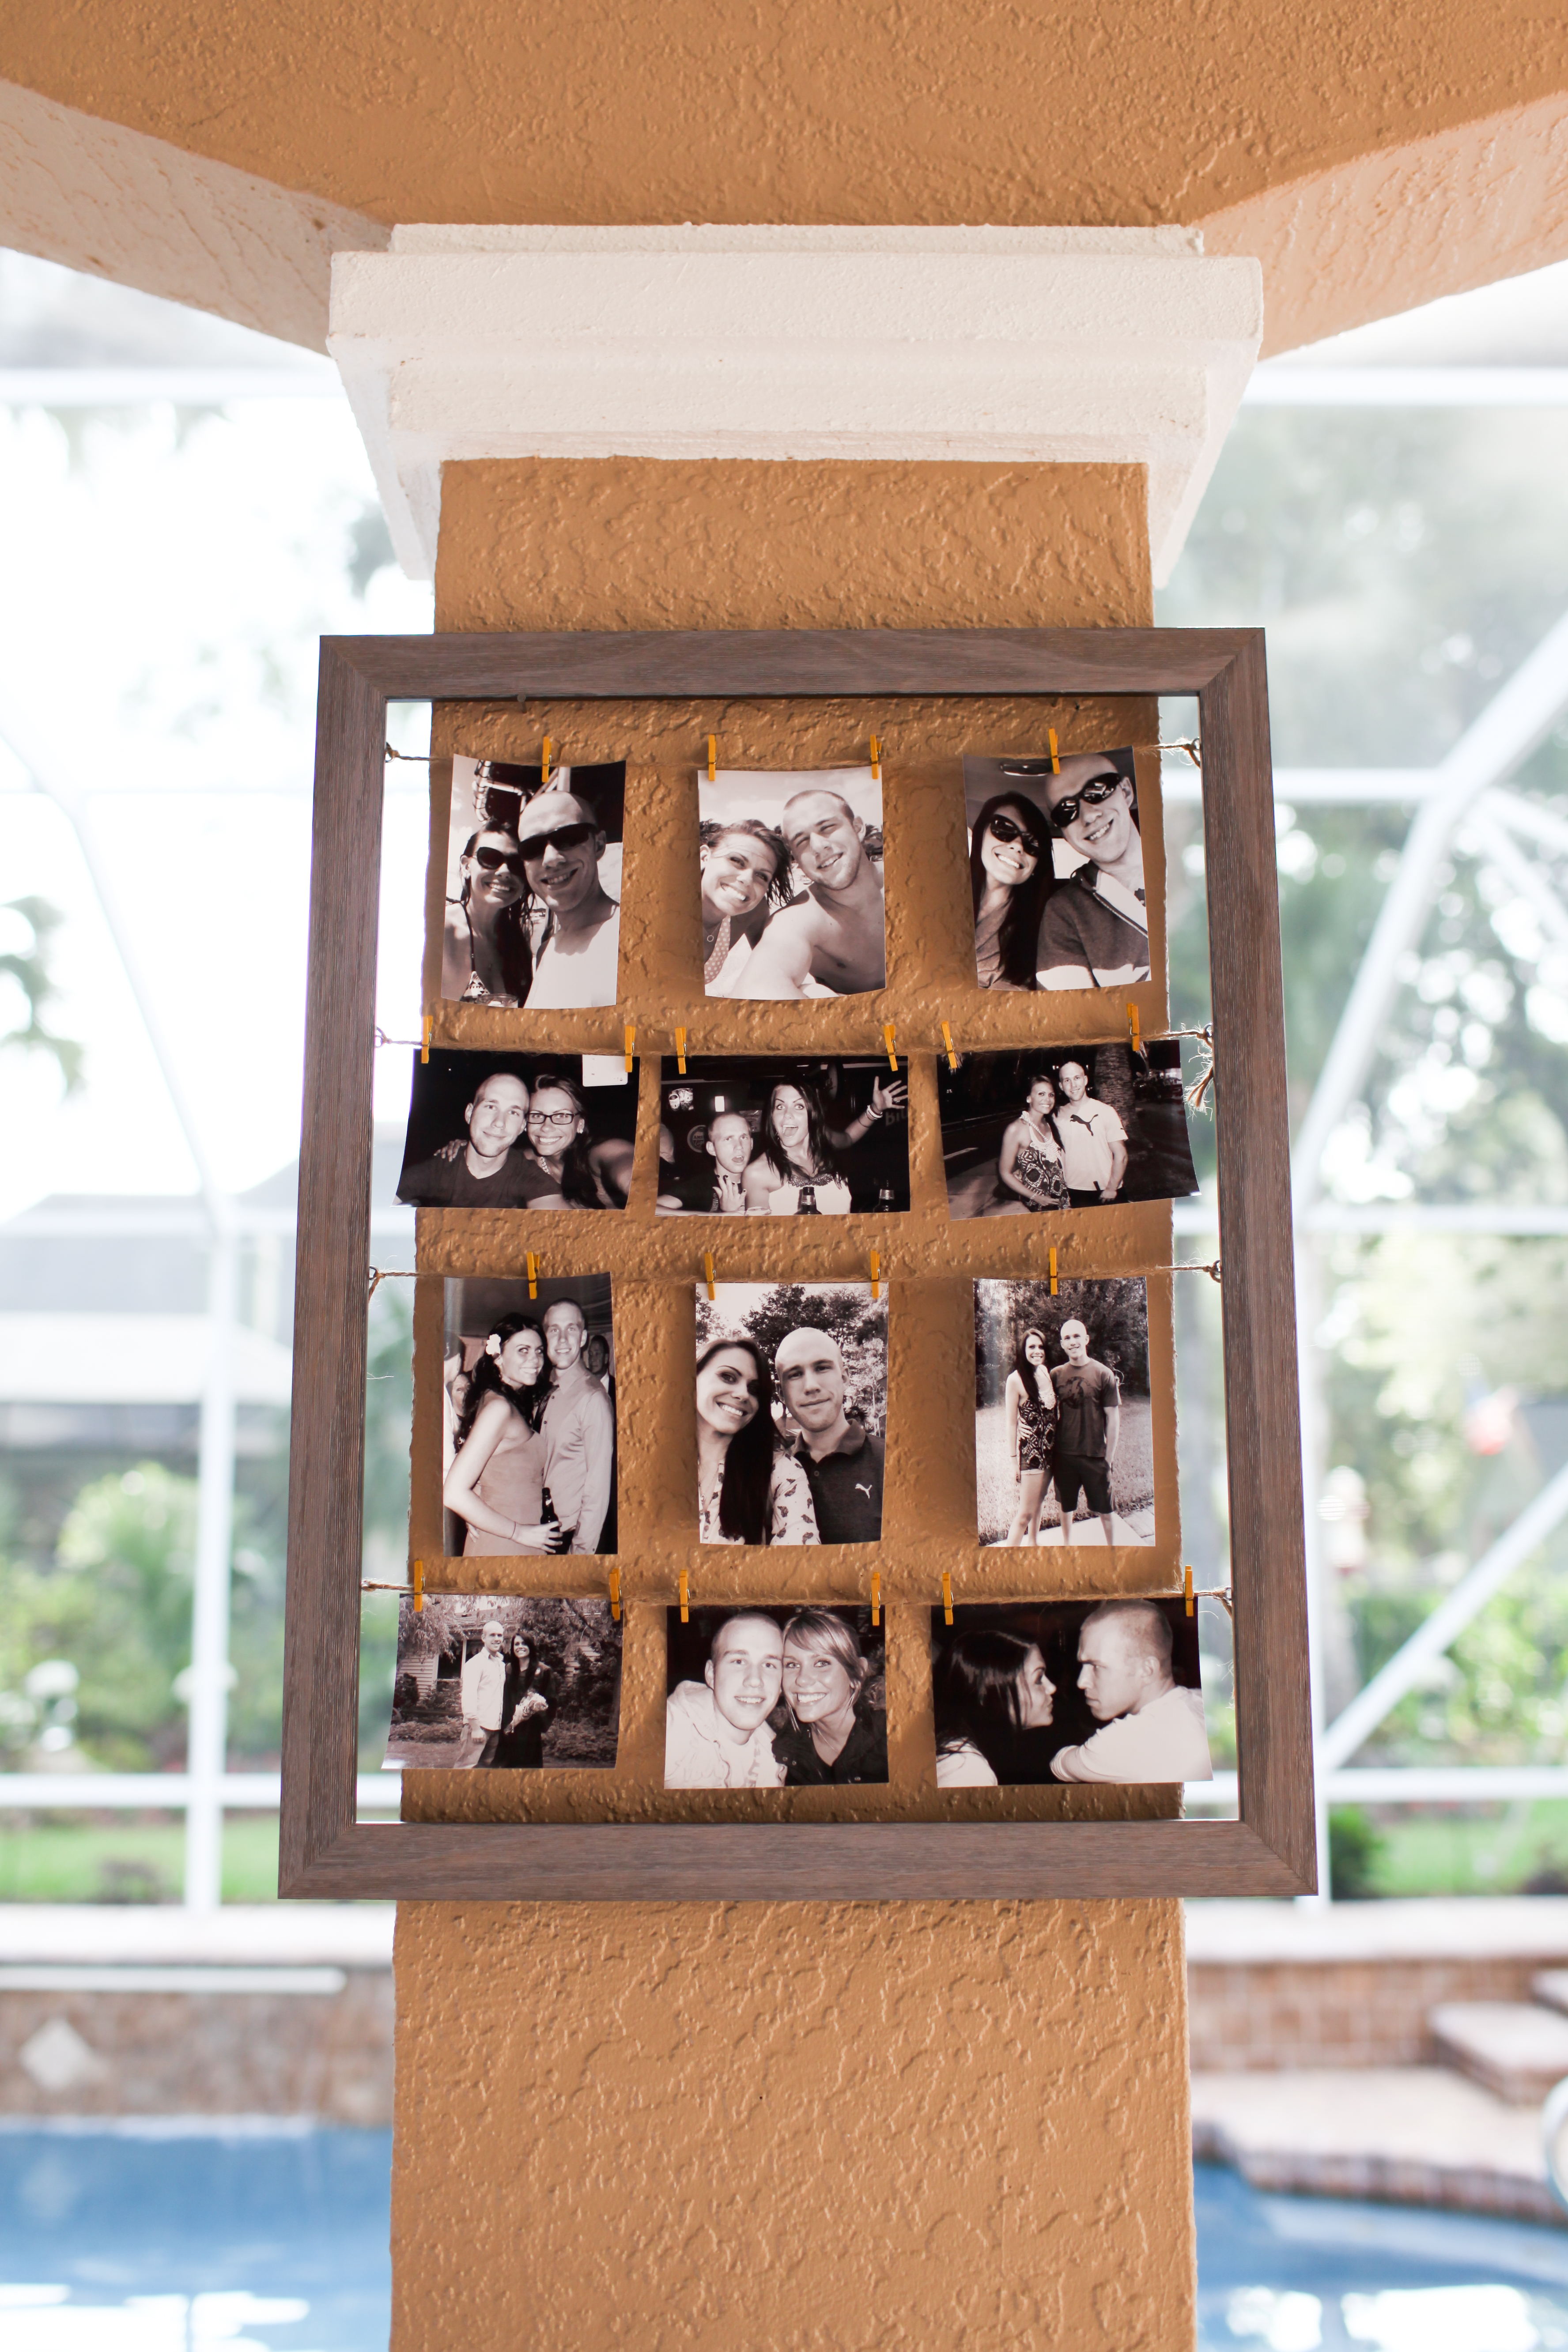
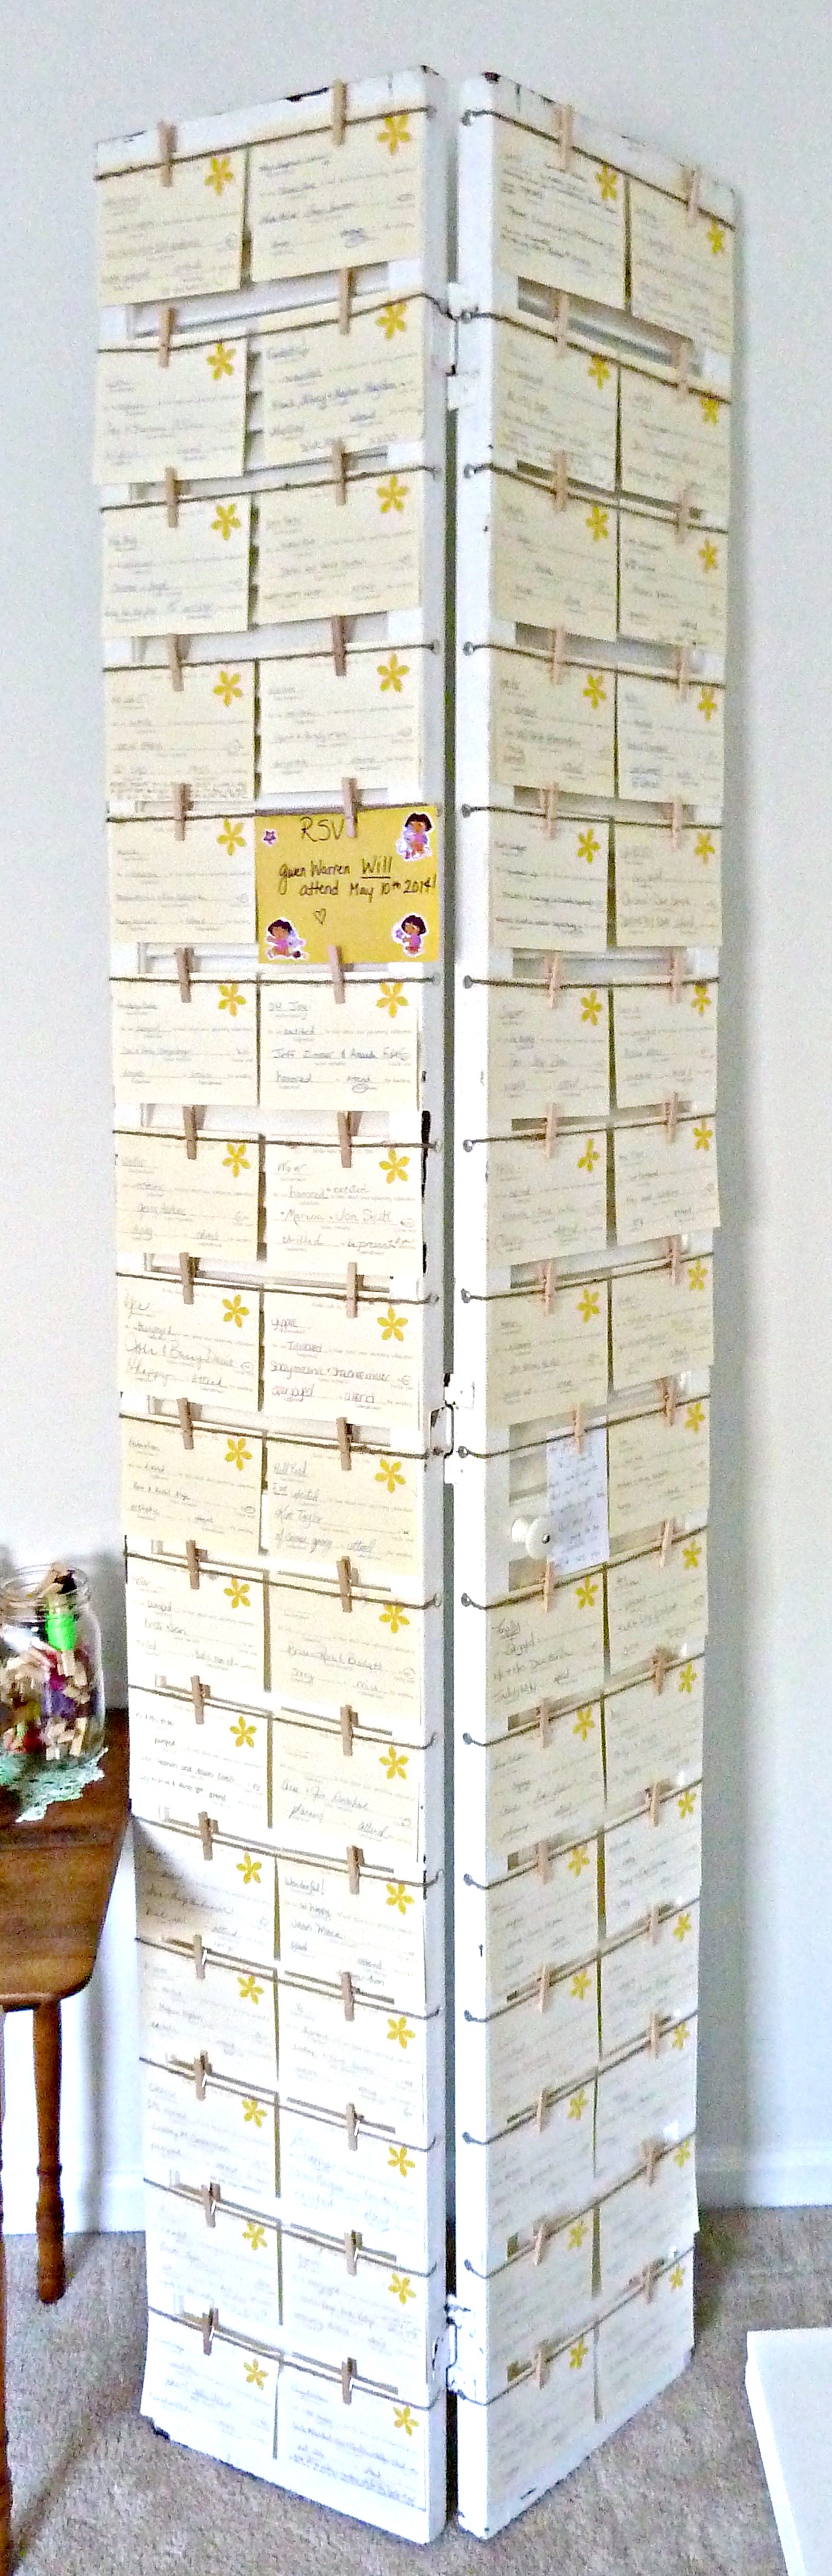
 Once I finished both shutter doors I had this…
 Here is a close up, so you can see my handy work…
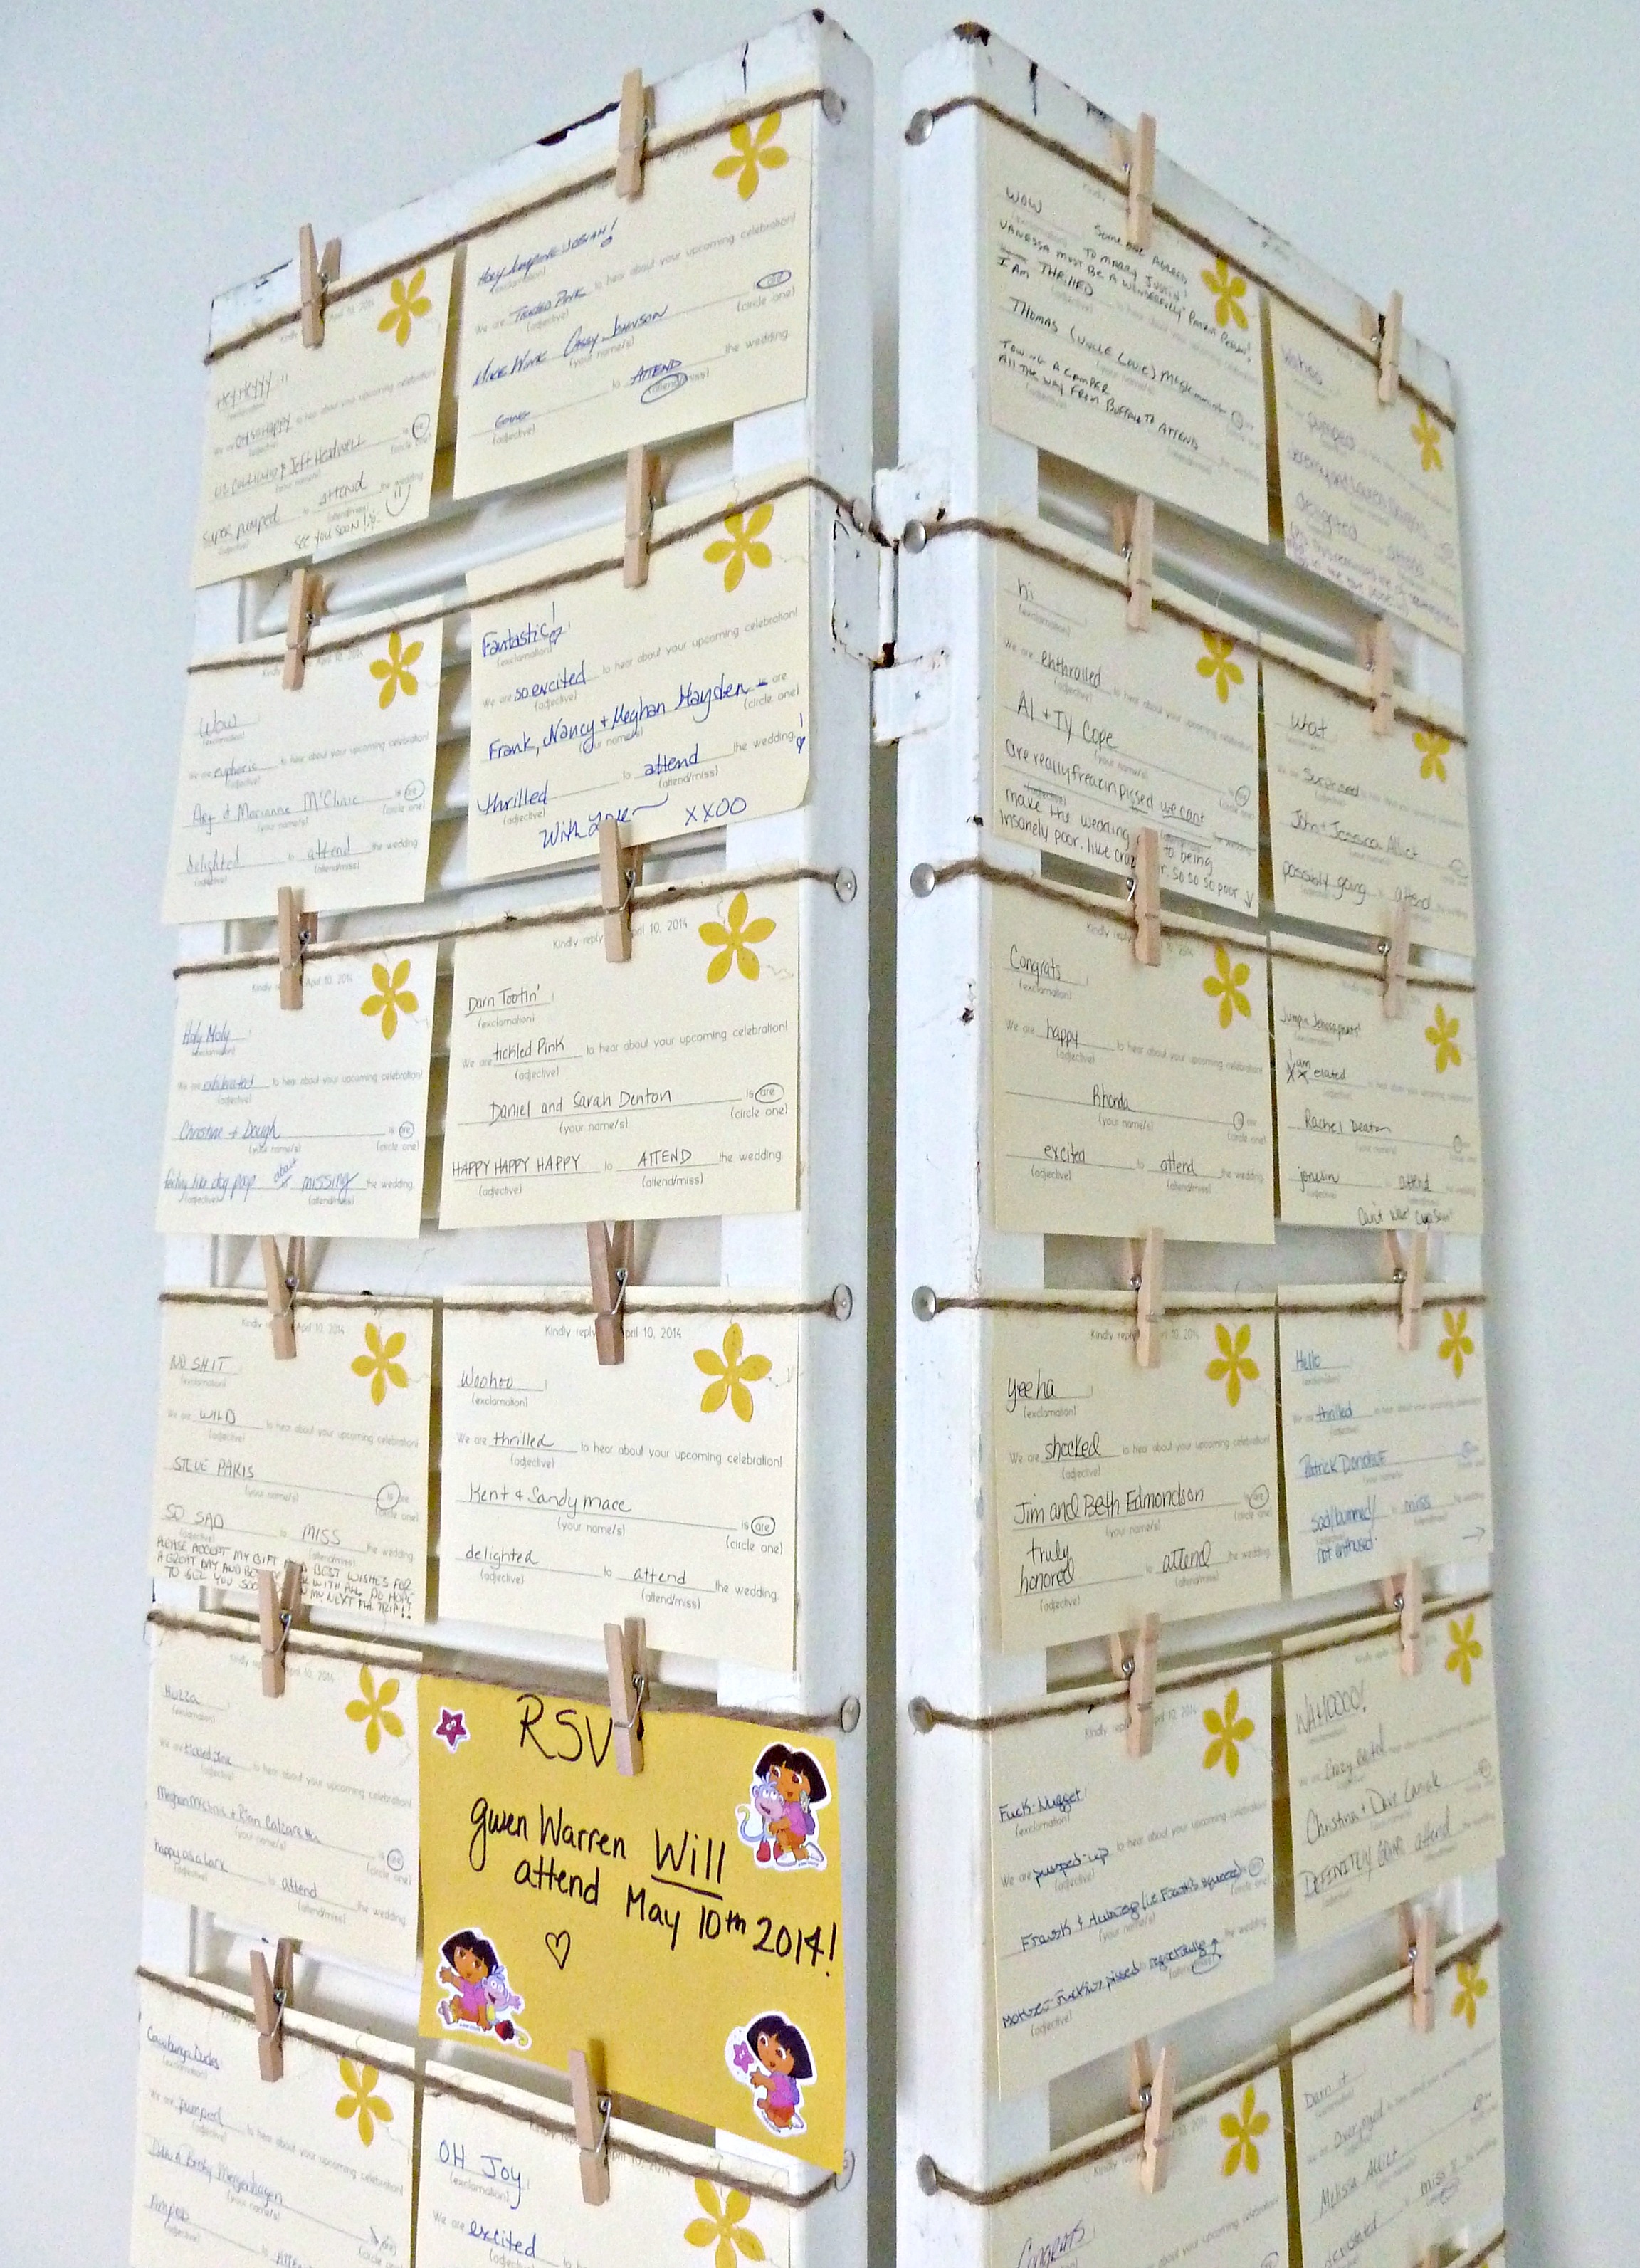
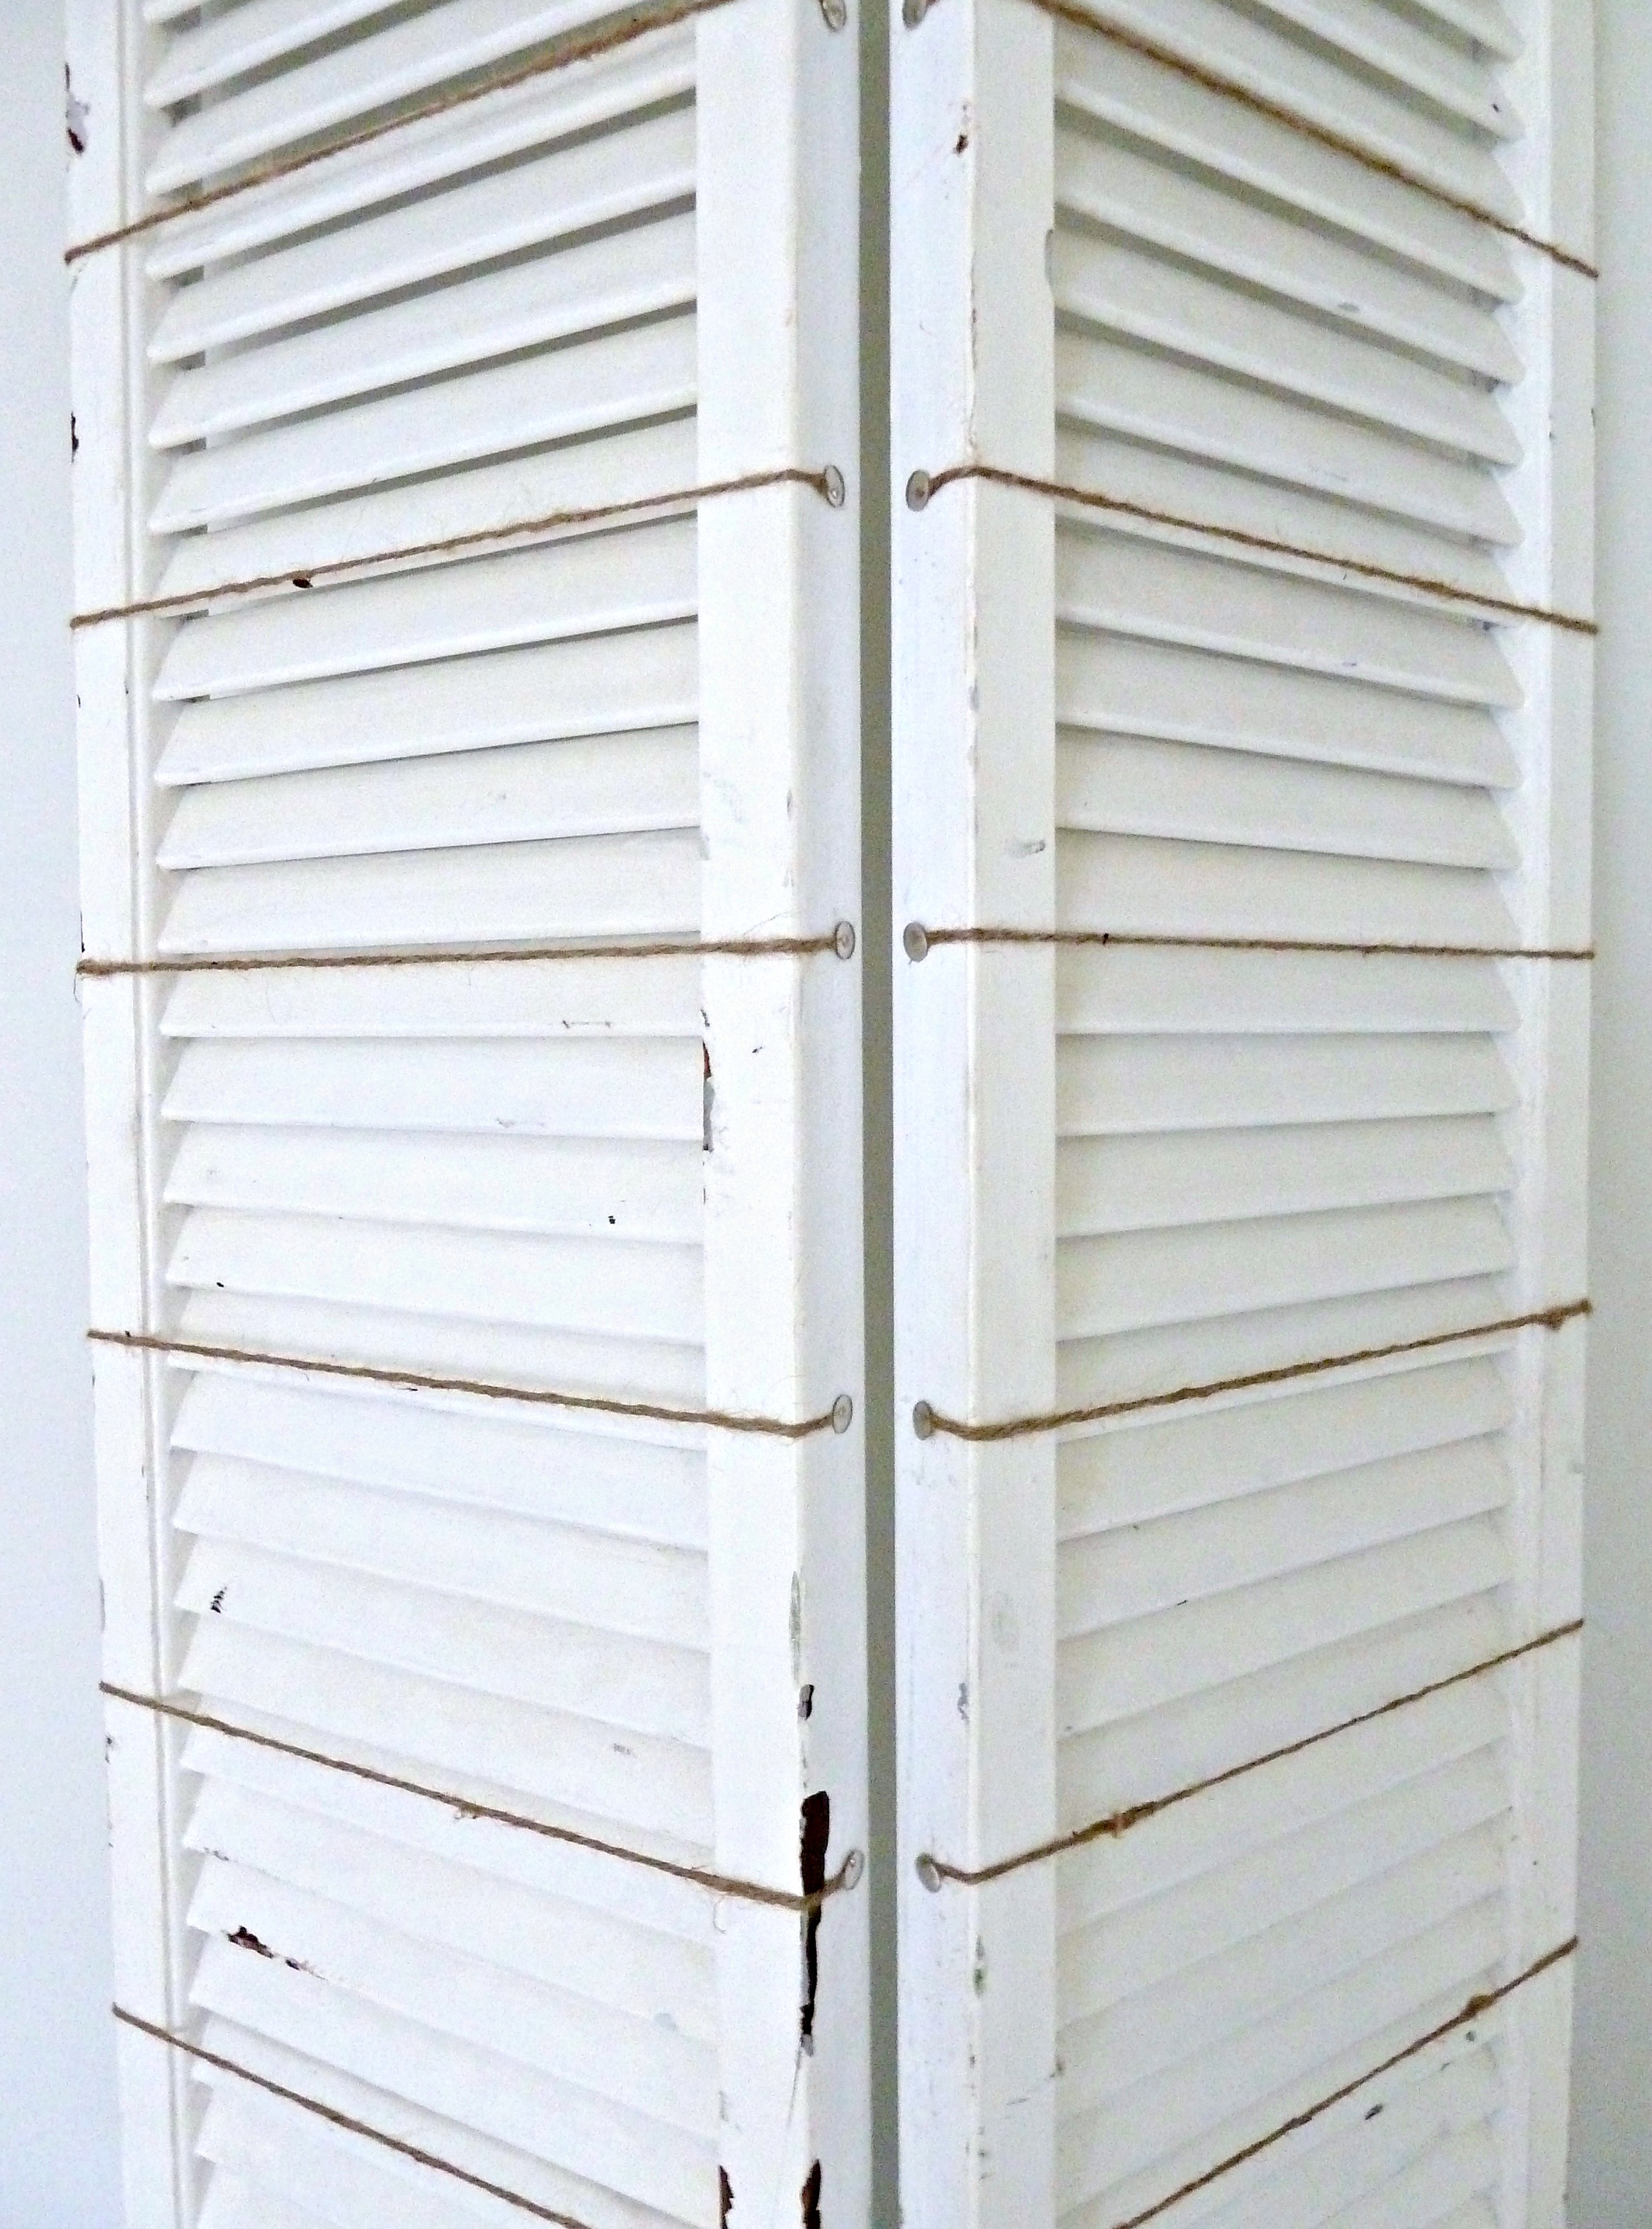 From there it was time to attach all of the RSVPs. I added them in no particular order, just put them up at random. I attached each card with one clothespin, which seemed to be enough to hold them in place. Here they are all secured and ready to go…
 And again, a close up…
 Now, for the “awards”. Justin and I went through all of the responses and picked a few that stood out to us, all for different reasons.
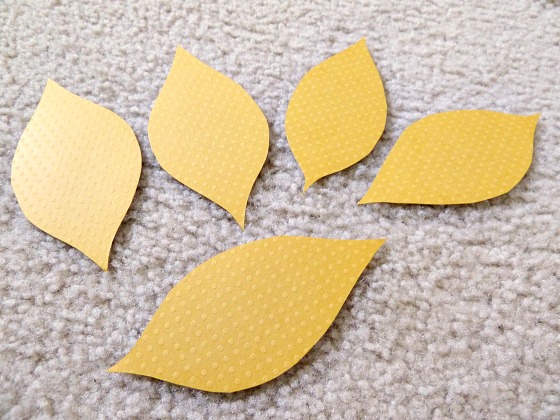
Once we had chosen 5 responses that we wanted to give special mention to, I had to decide how I wanted to label them. I thought using some kind of tag to hang next to them would work. So, I picked up some yellow paper from Michaels.
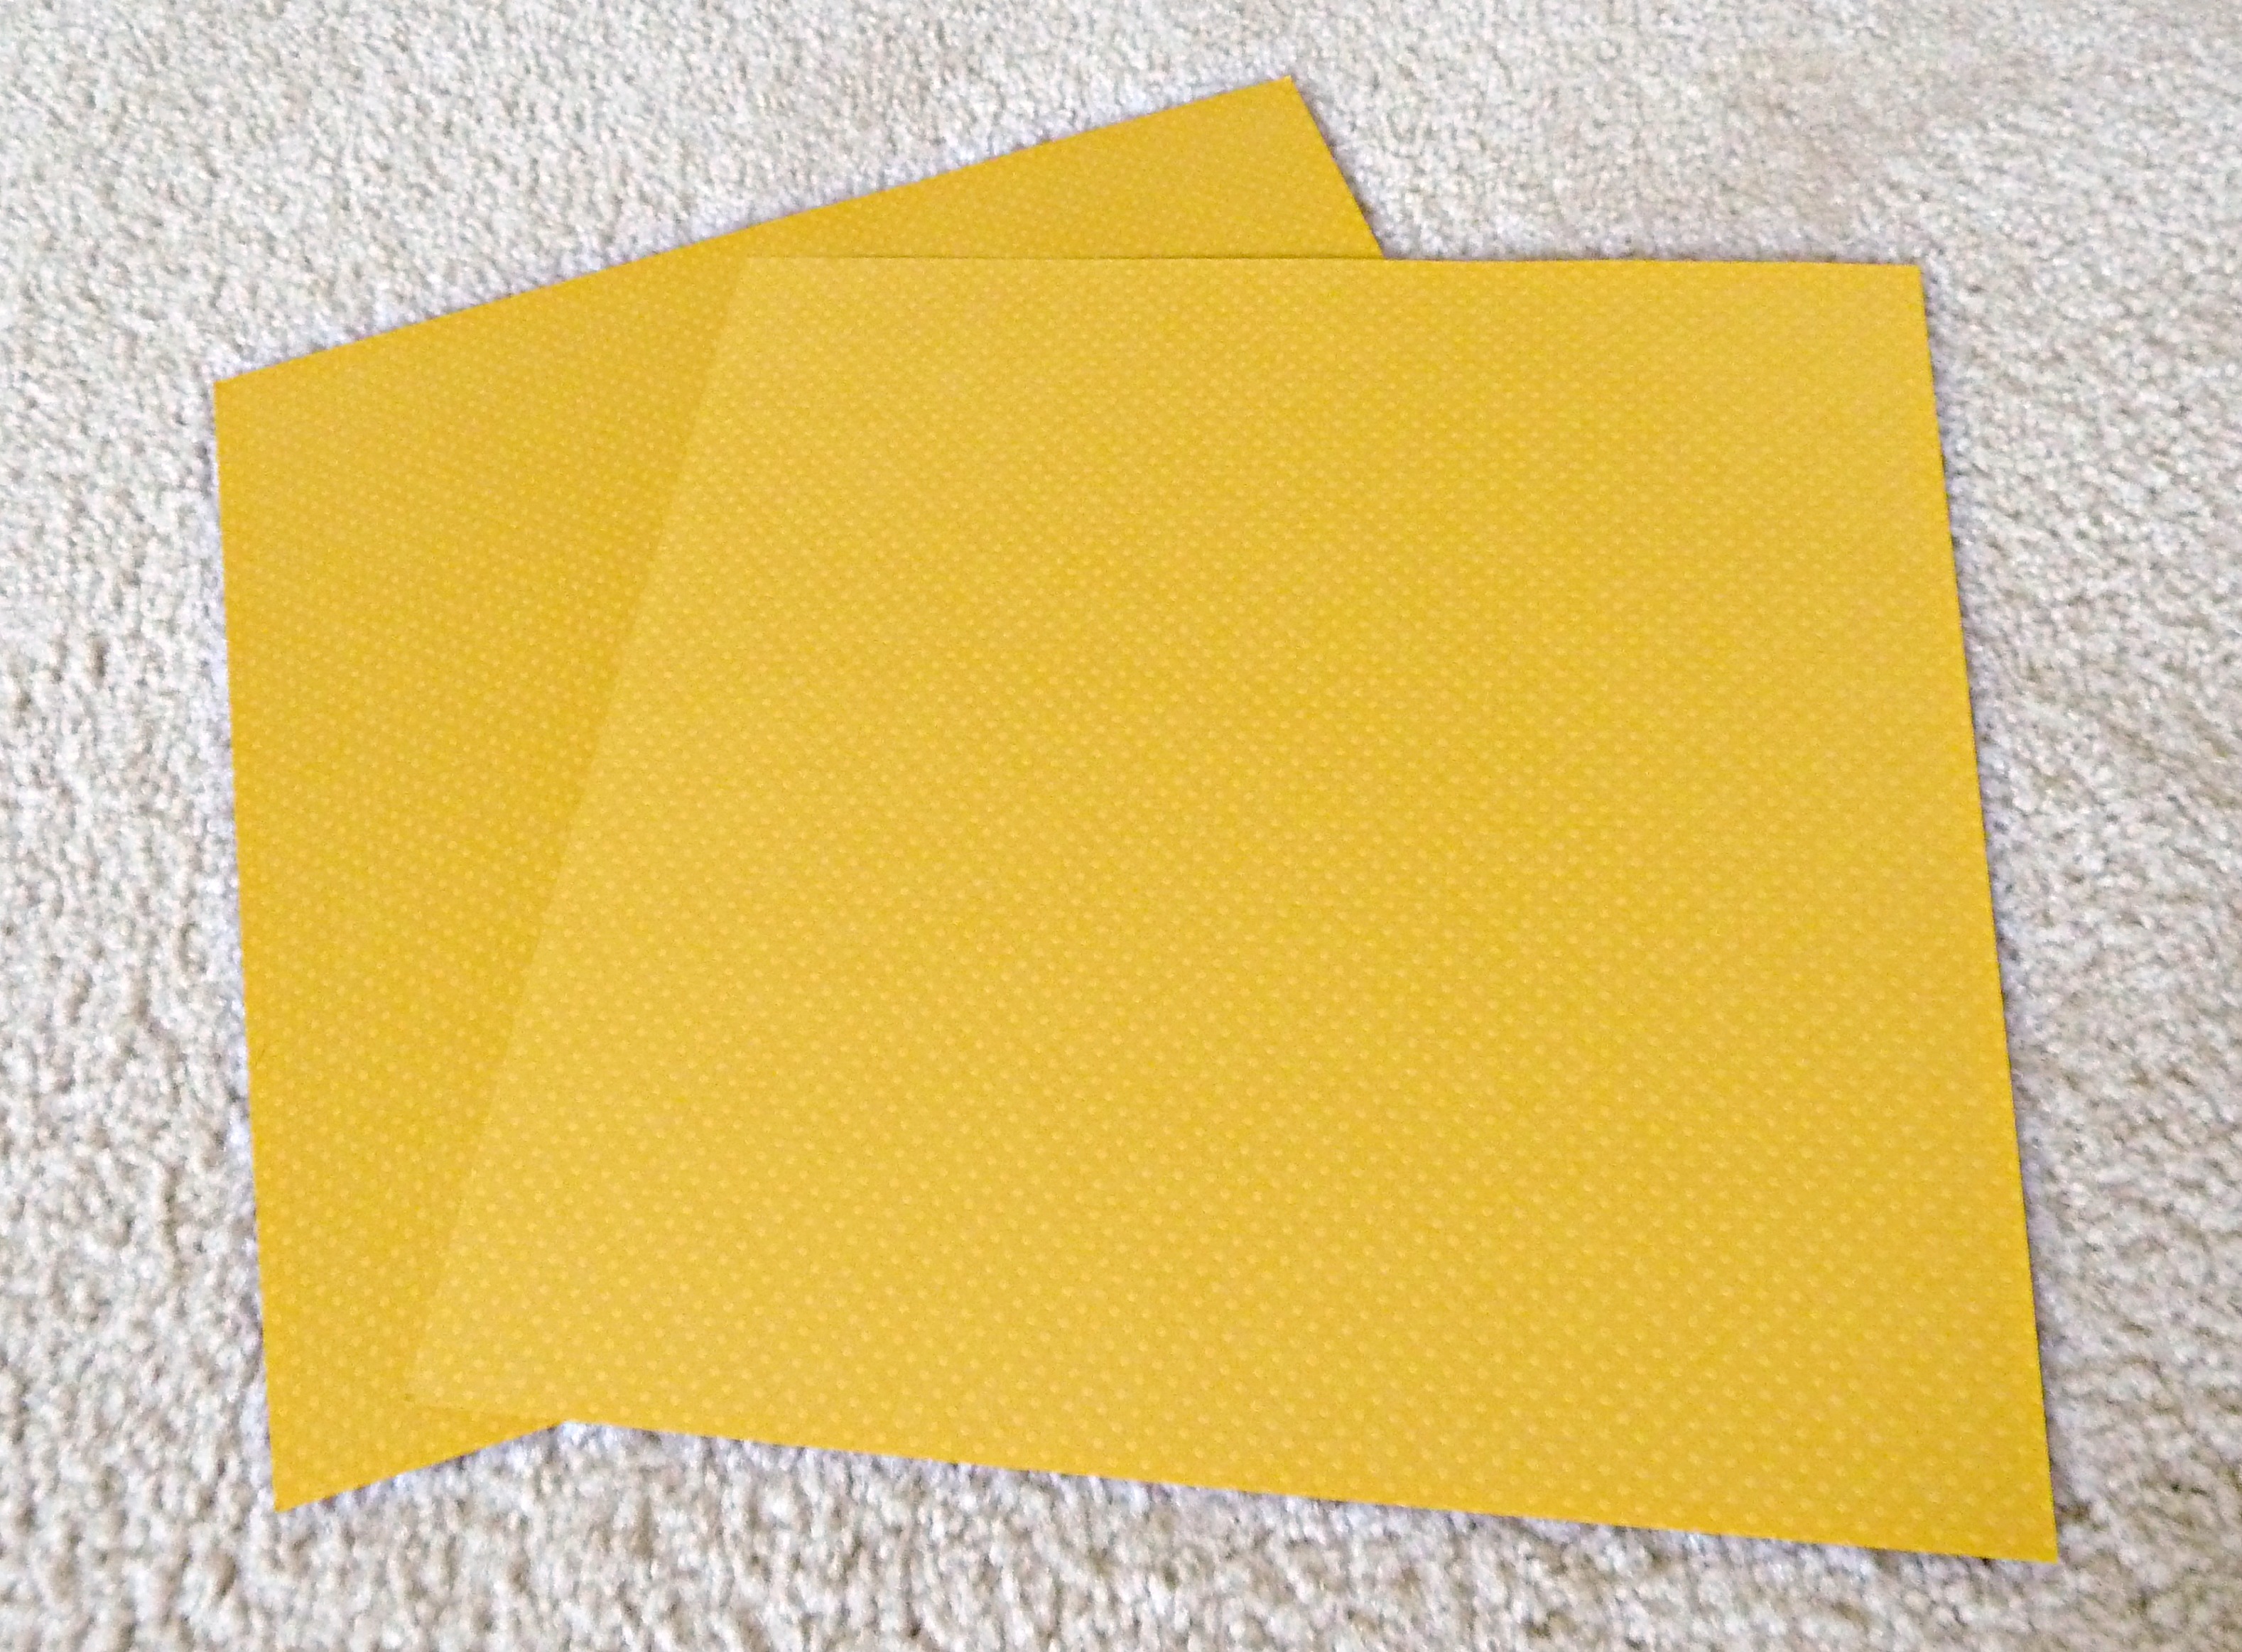 I thought it would be cool to cut them into leaf-like shaped tags…
 Now that I had my tags covered, I can share who our stand outs were.
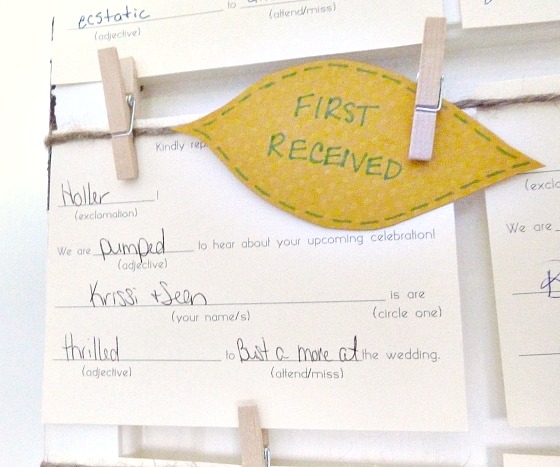
First up, our ‘first received’ RSVP…
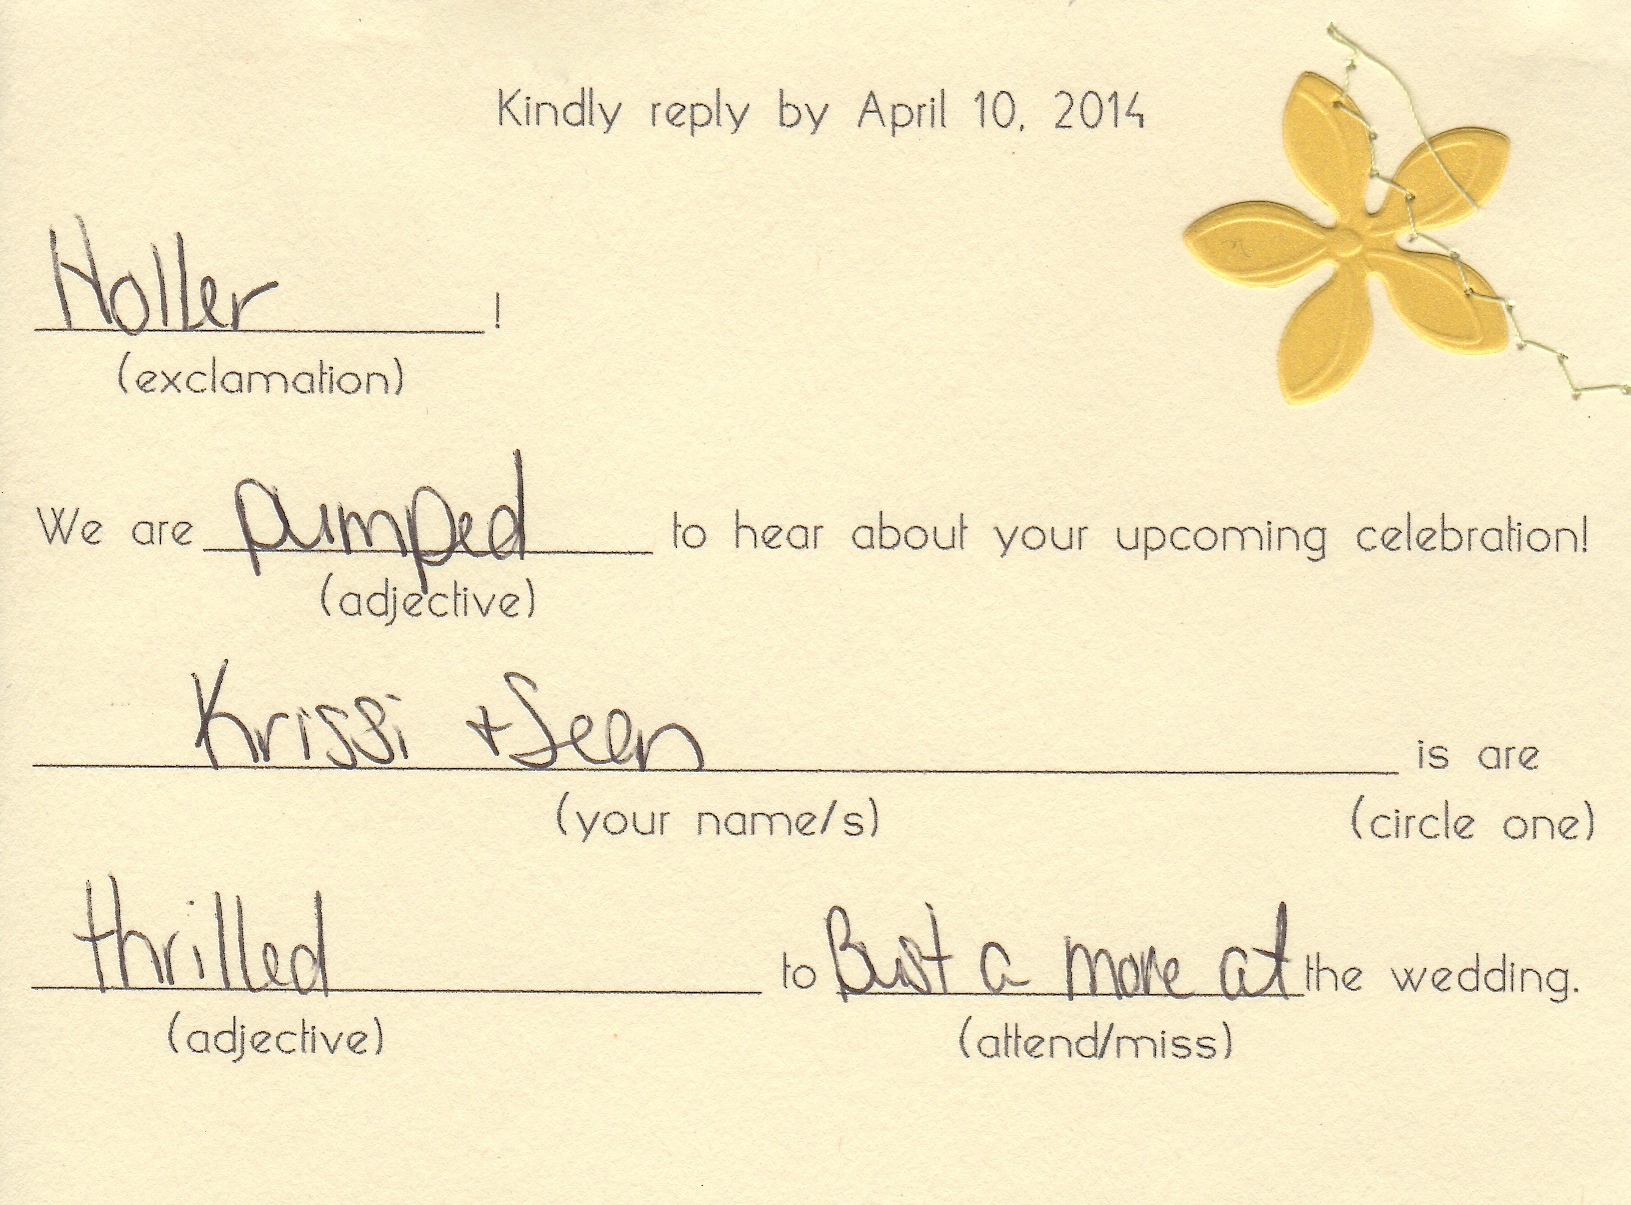 Our friends Krissi and Sean were the first to get their RSVP to us, so of course they need to be noticed.
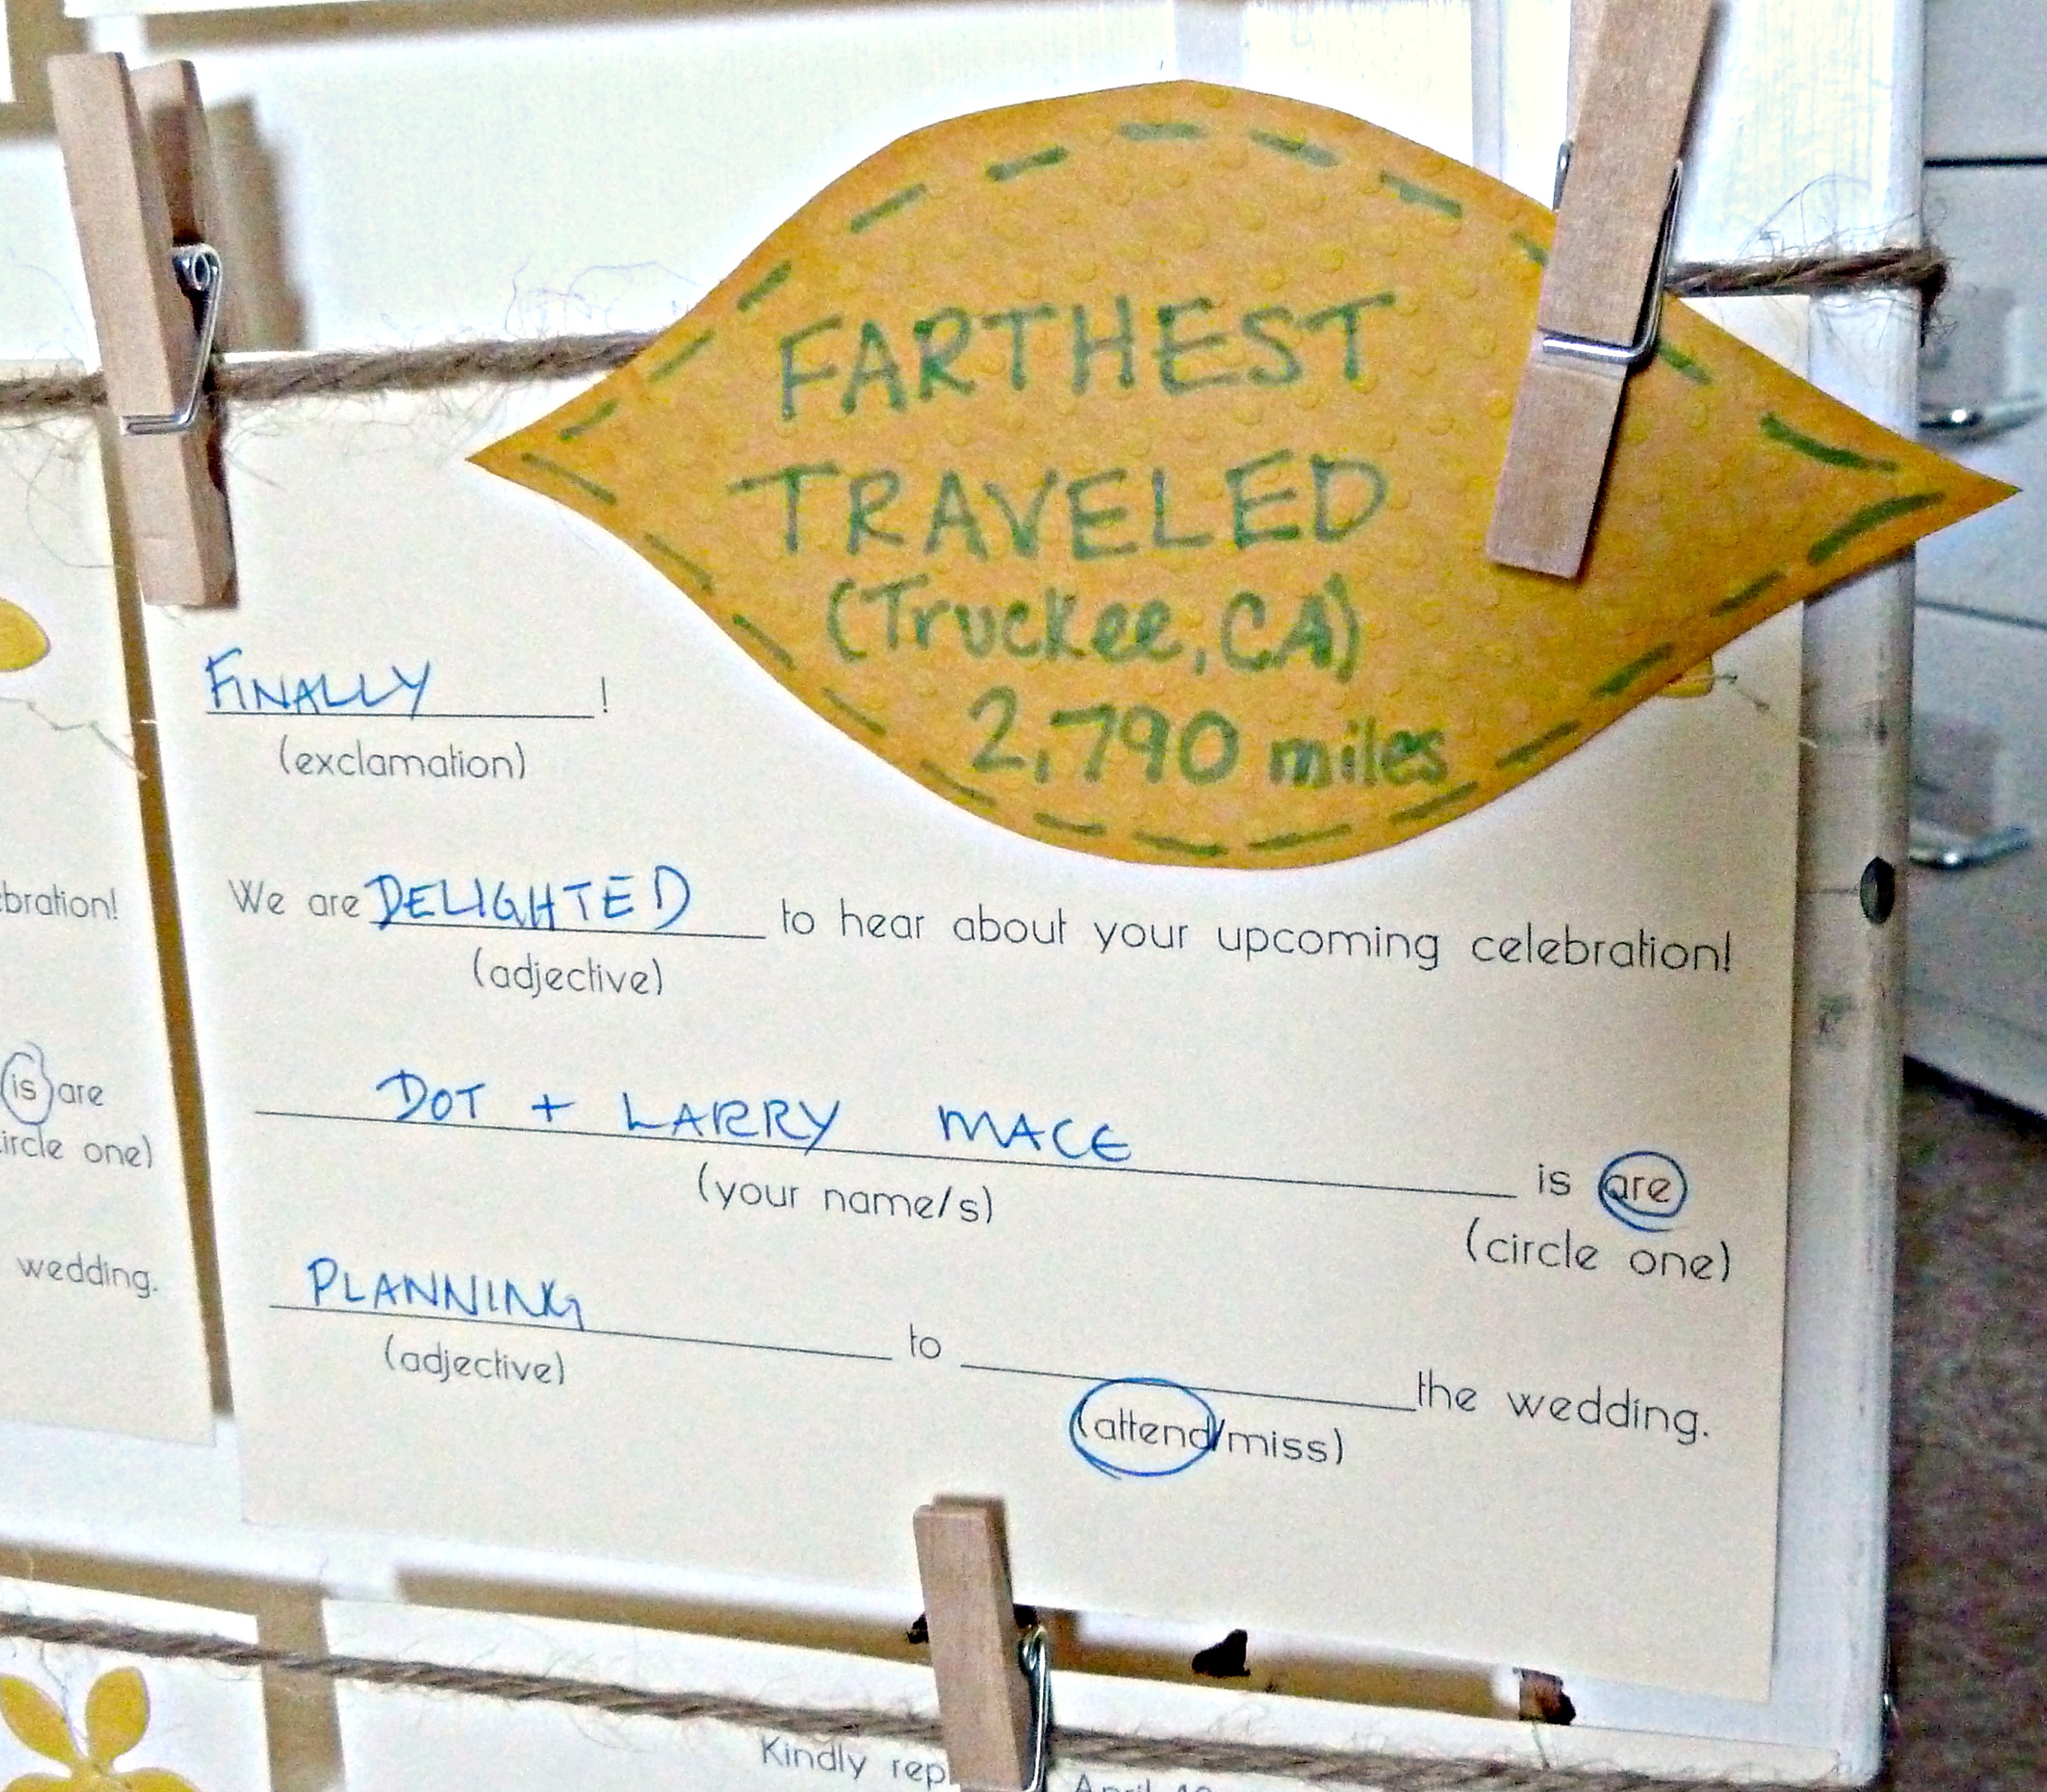
 Next up, we thought we would like to make mention of the guests that will be ‘traveling furthest’ to attend the wedding…
 Justin’s Aunt Dot and Uncle Larry traveled furthest, 2,790 miles, from Truckee, CA.
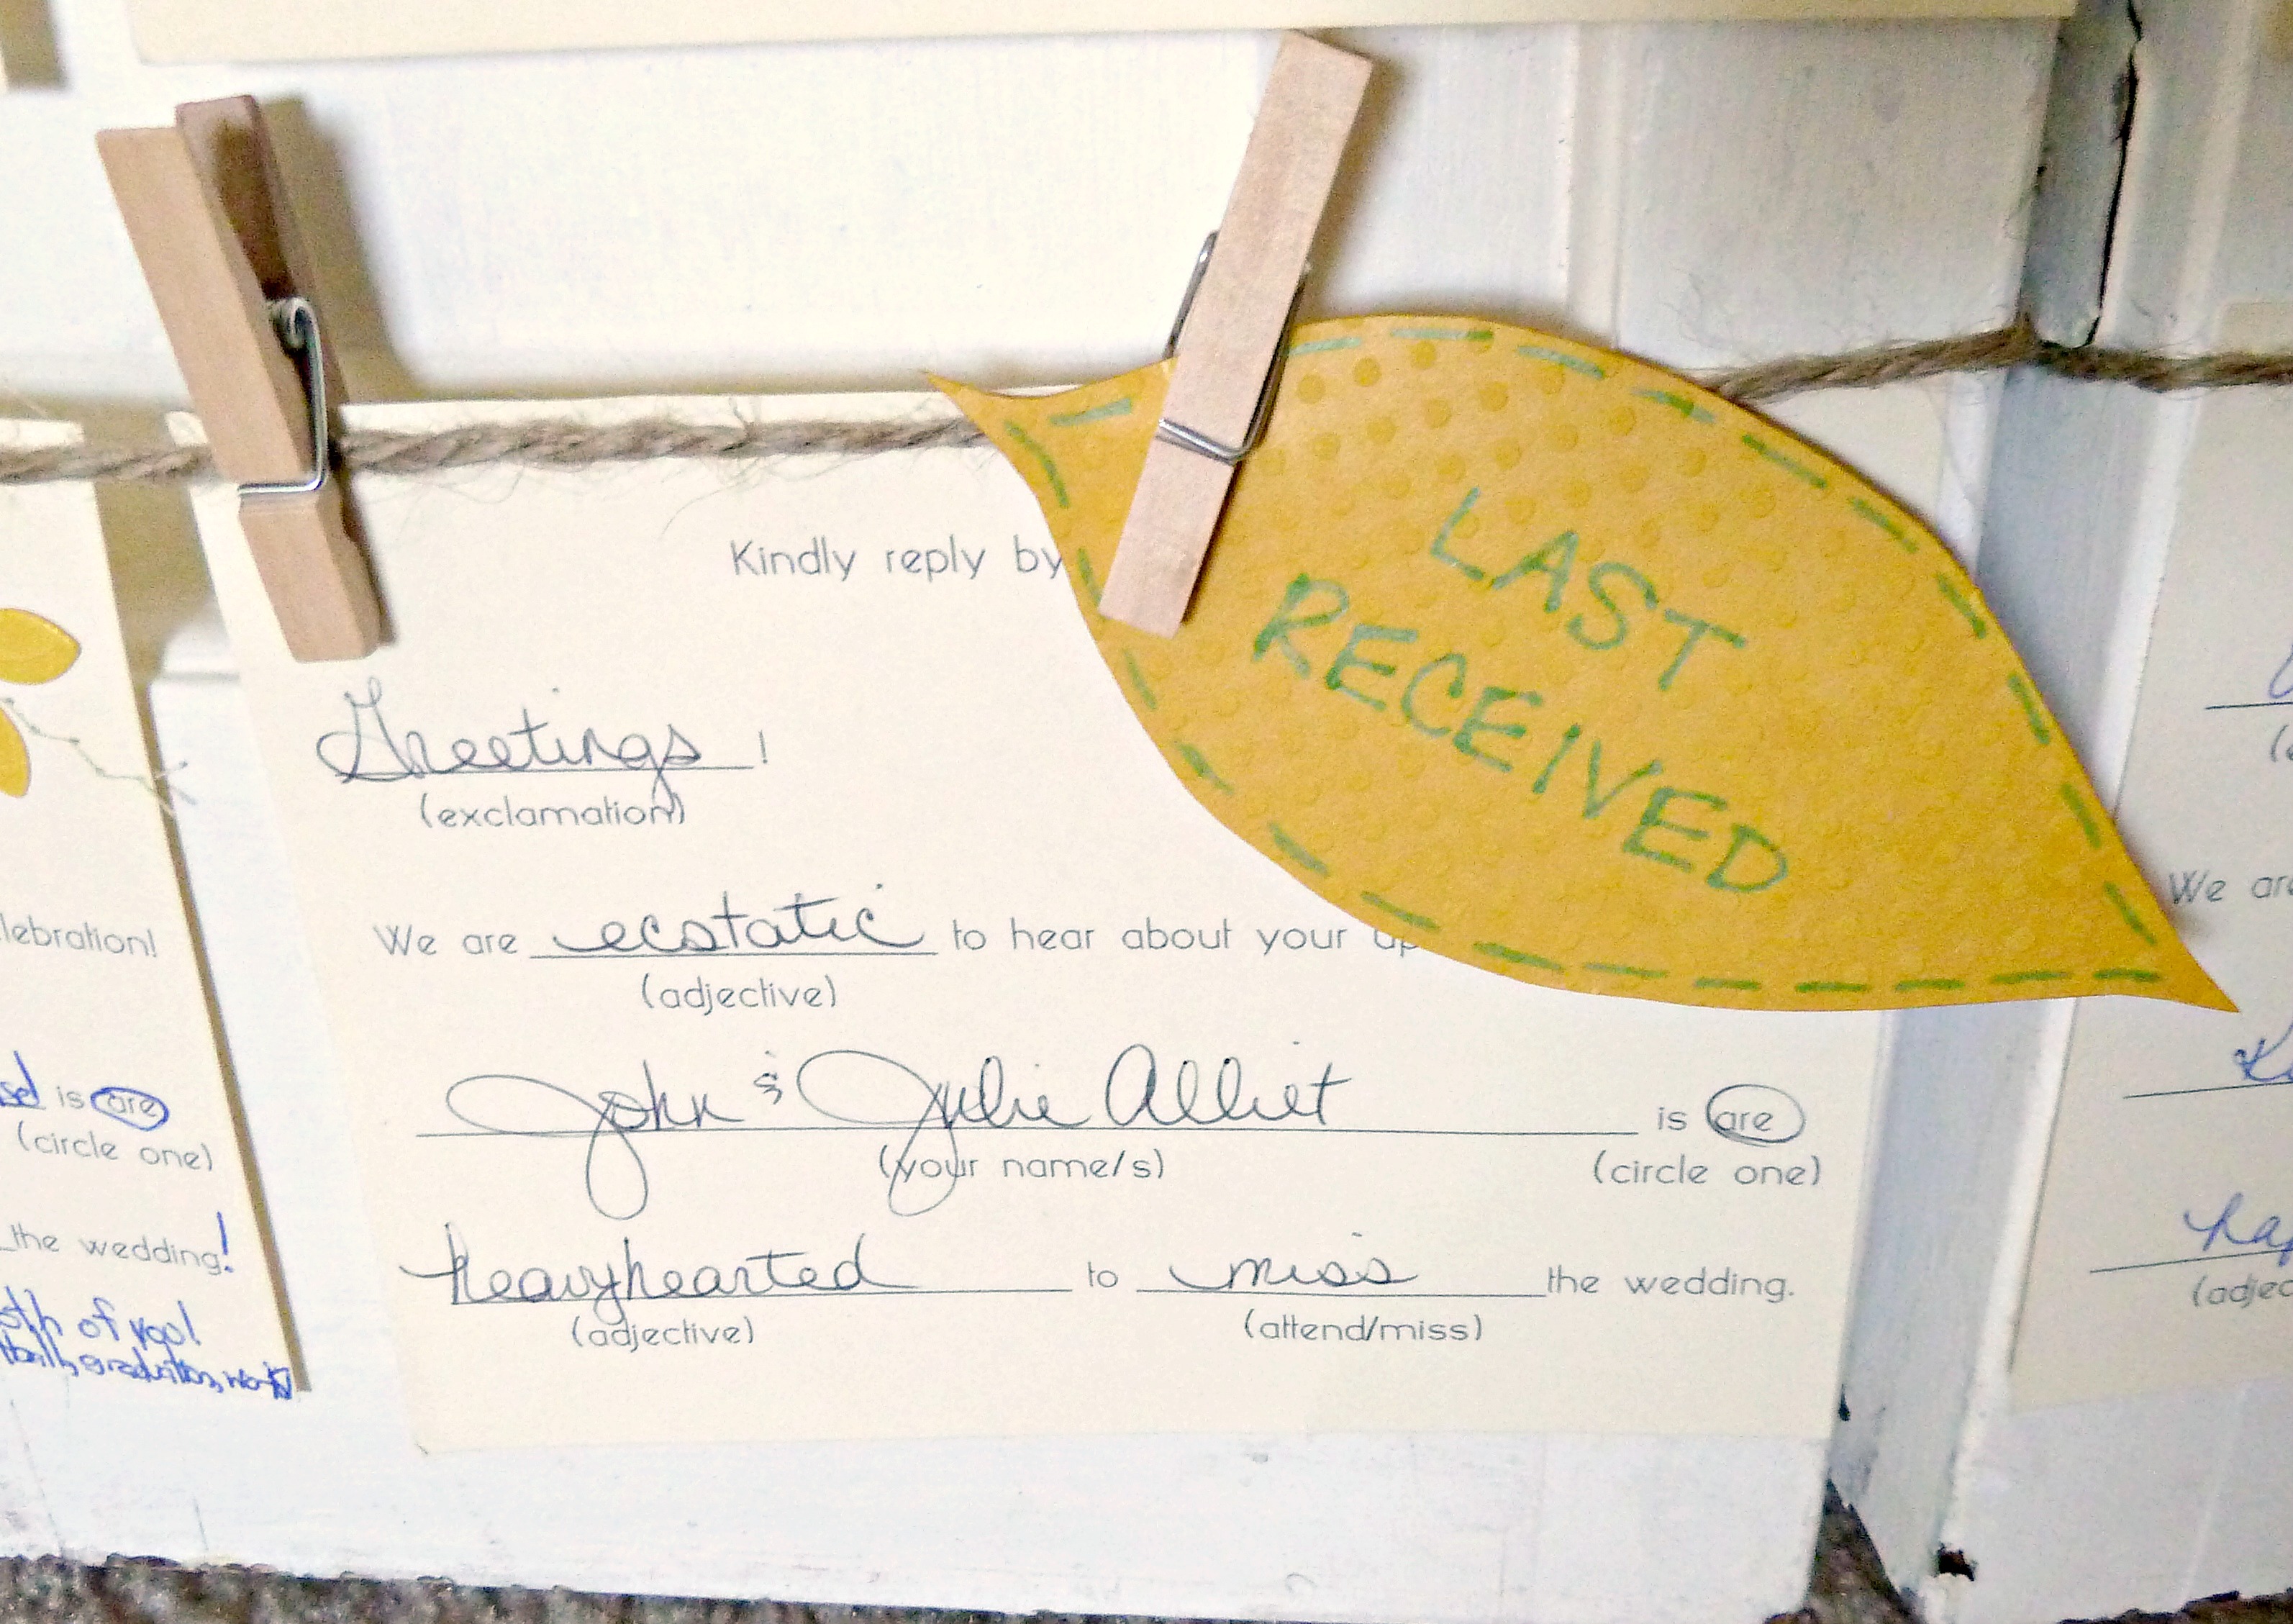
 And since we had mentioned our first received I thought we should also mention our ‘last received’…
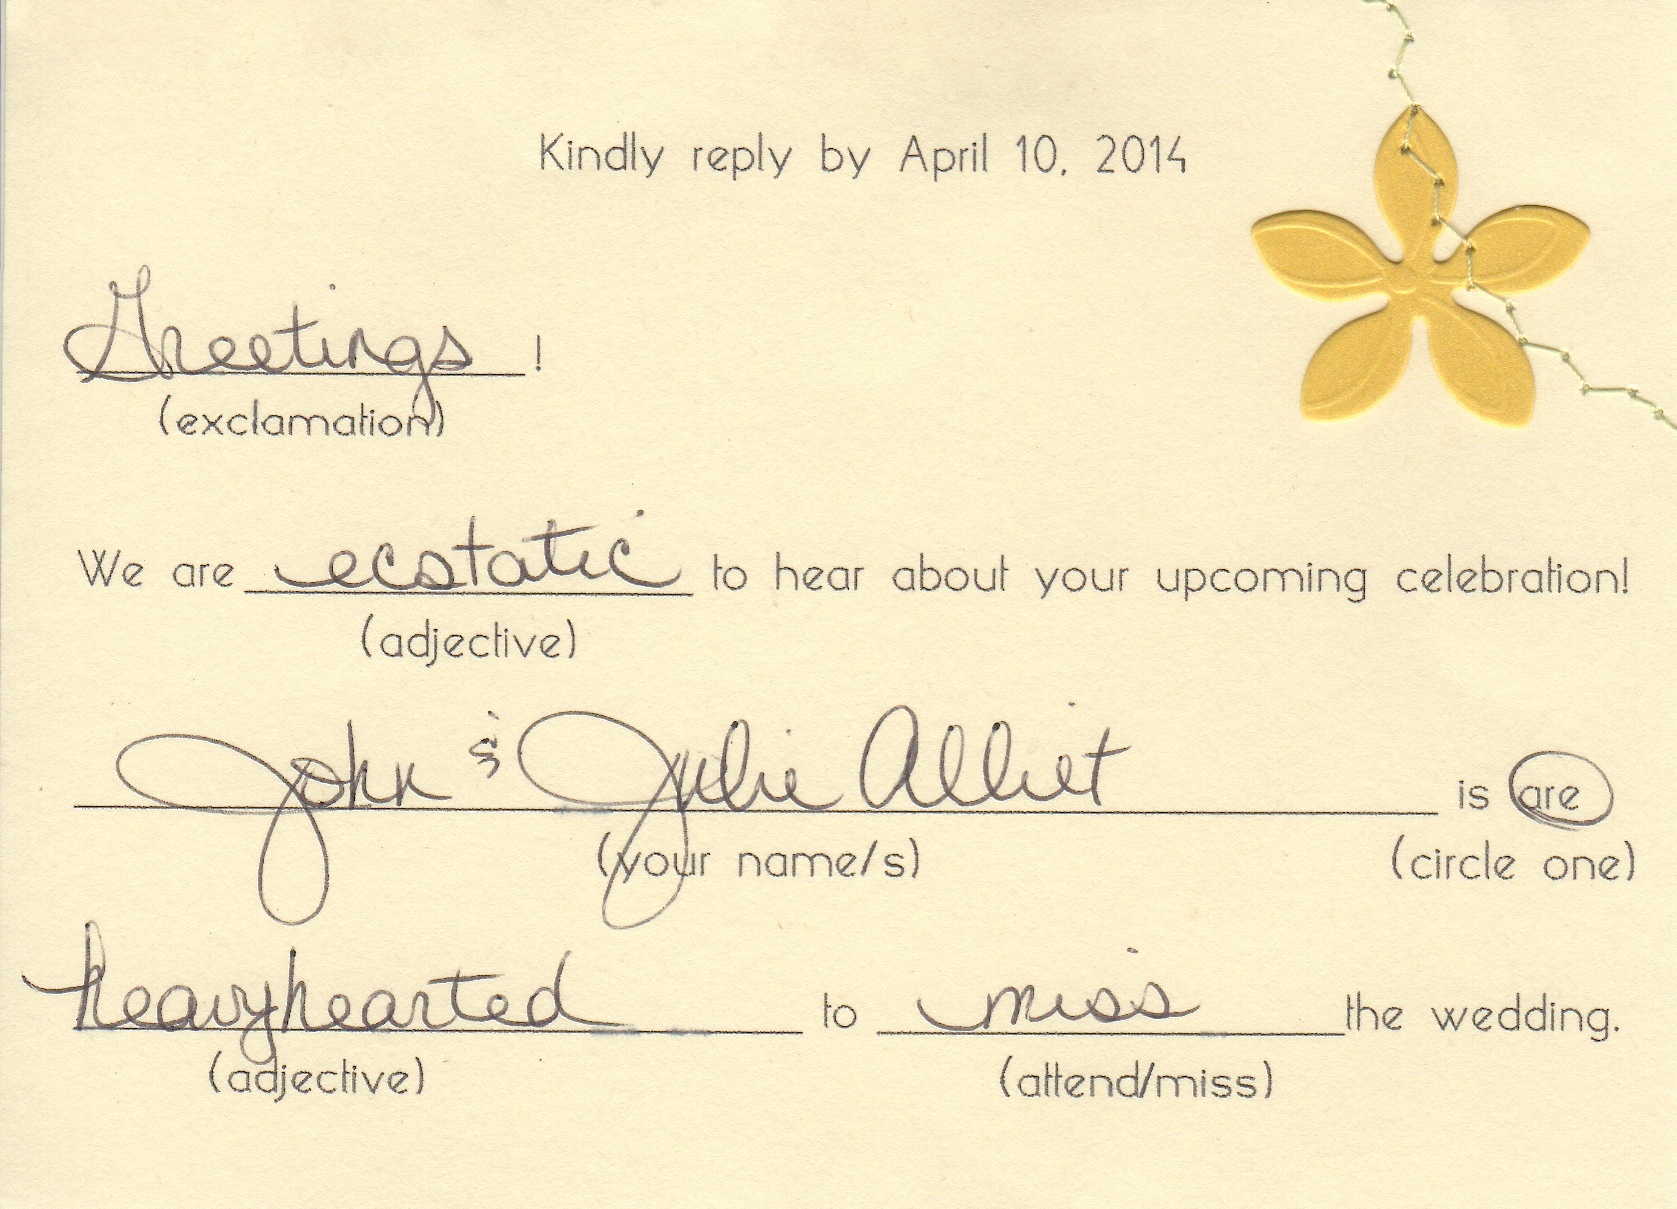 Sorry John and Julie!
 Then we thought we would make mention of the RSVP that made us laugh the most, the ‘funniest’…
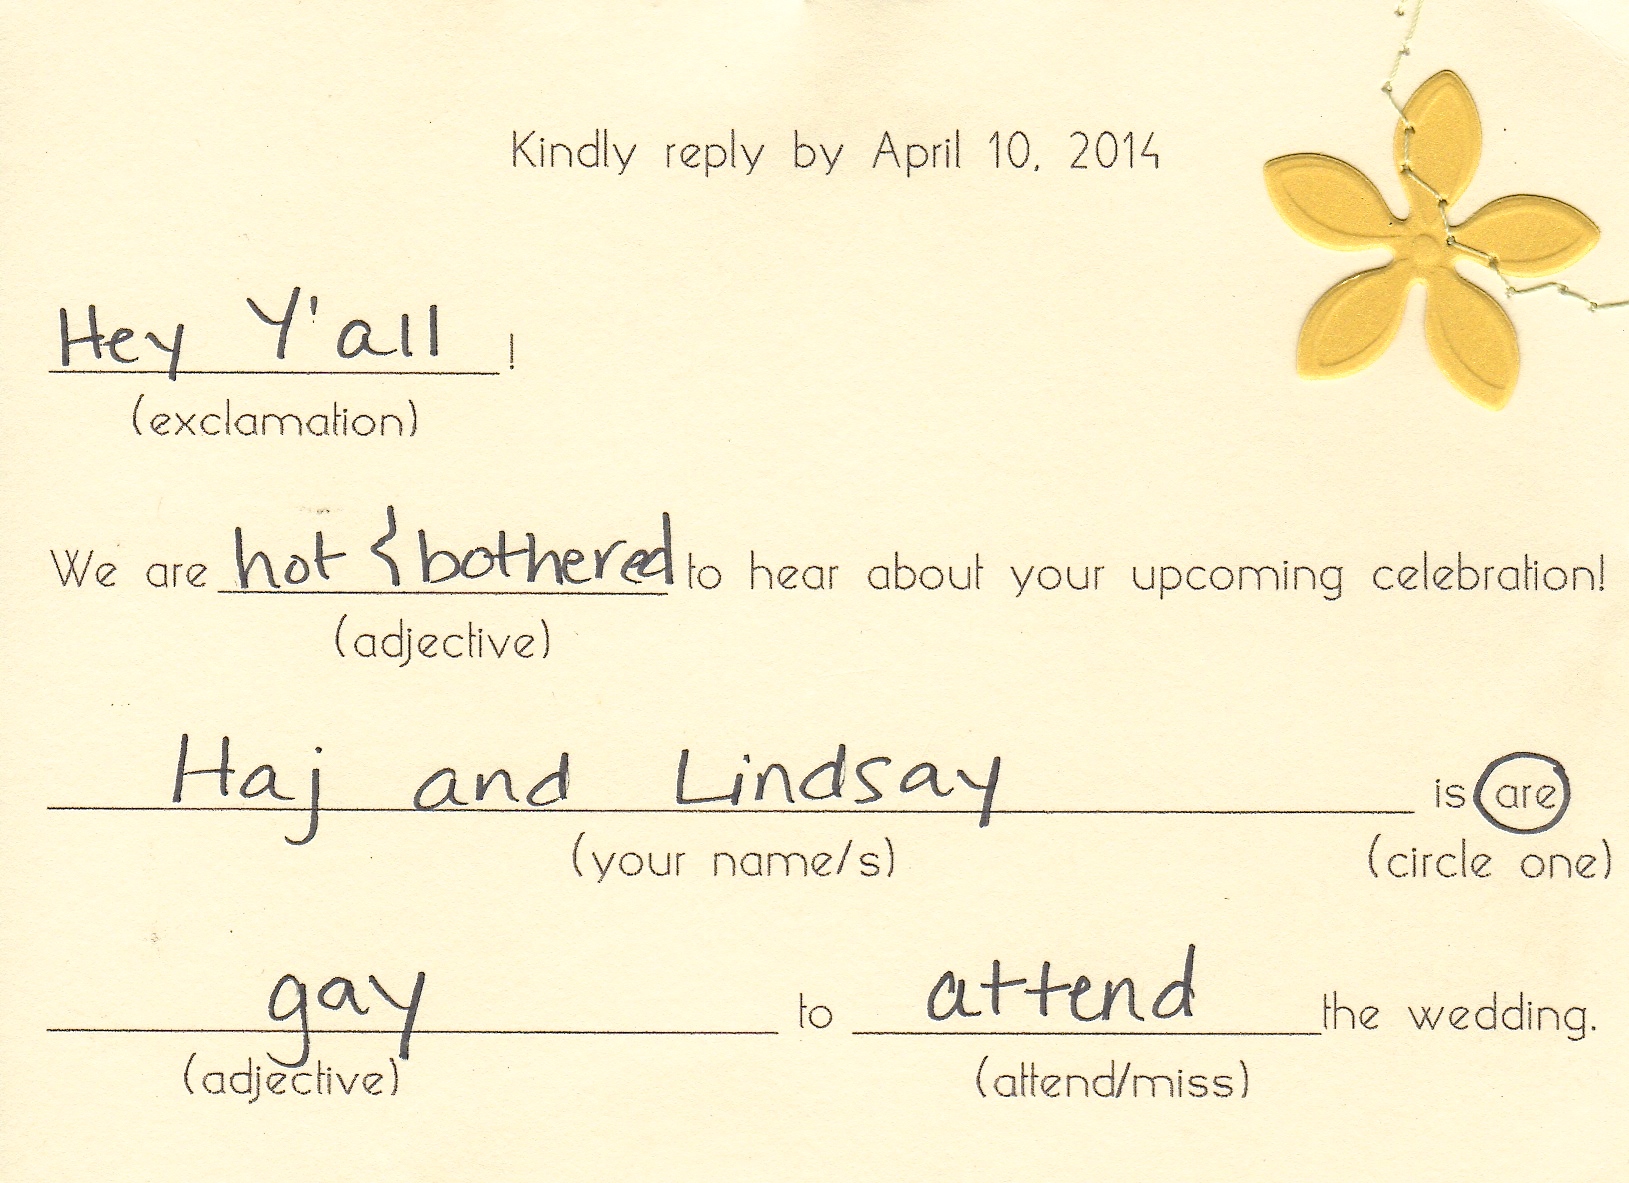 I think the fact that Lindsay and Haj were hot and bothered to see us get married was awesome, but Lindsay’s school picture put this one over the top for us.
  And lastly, we chose ‘our favorite’…
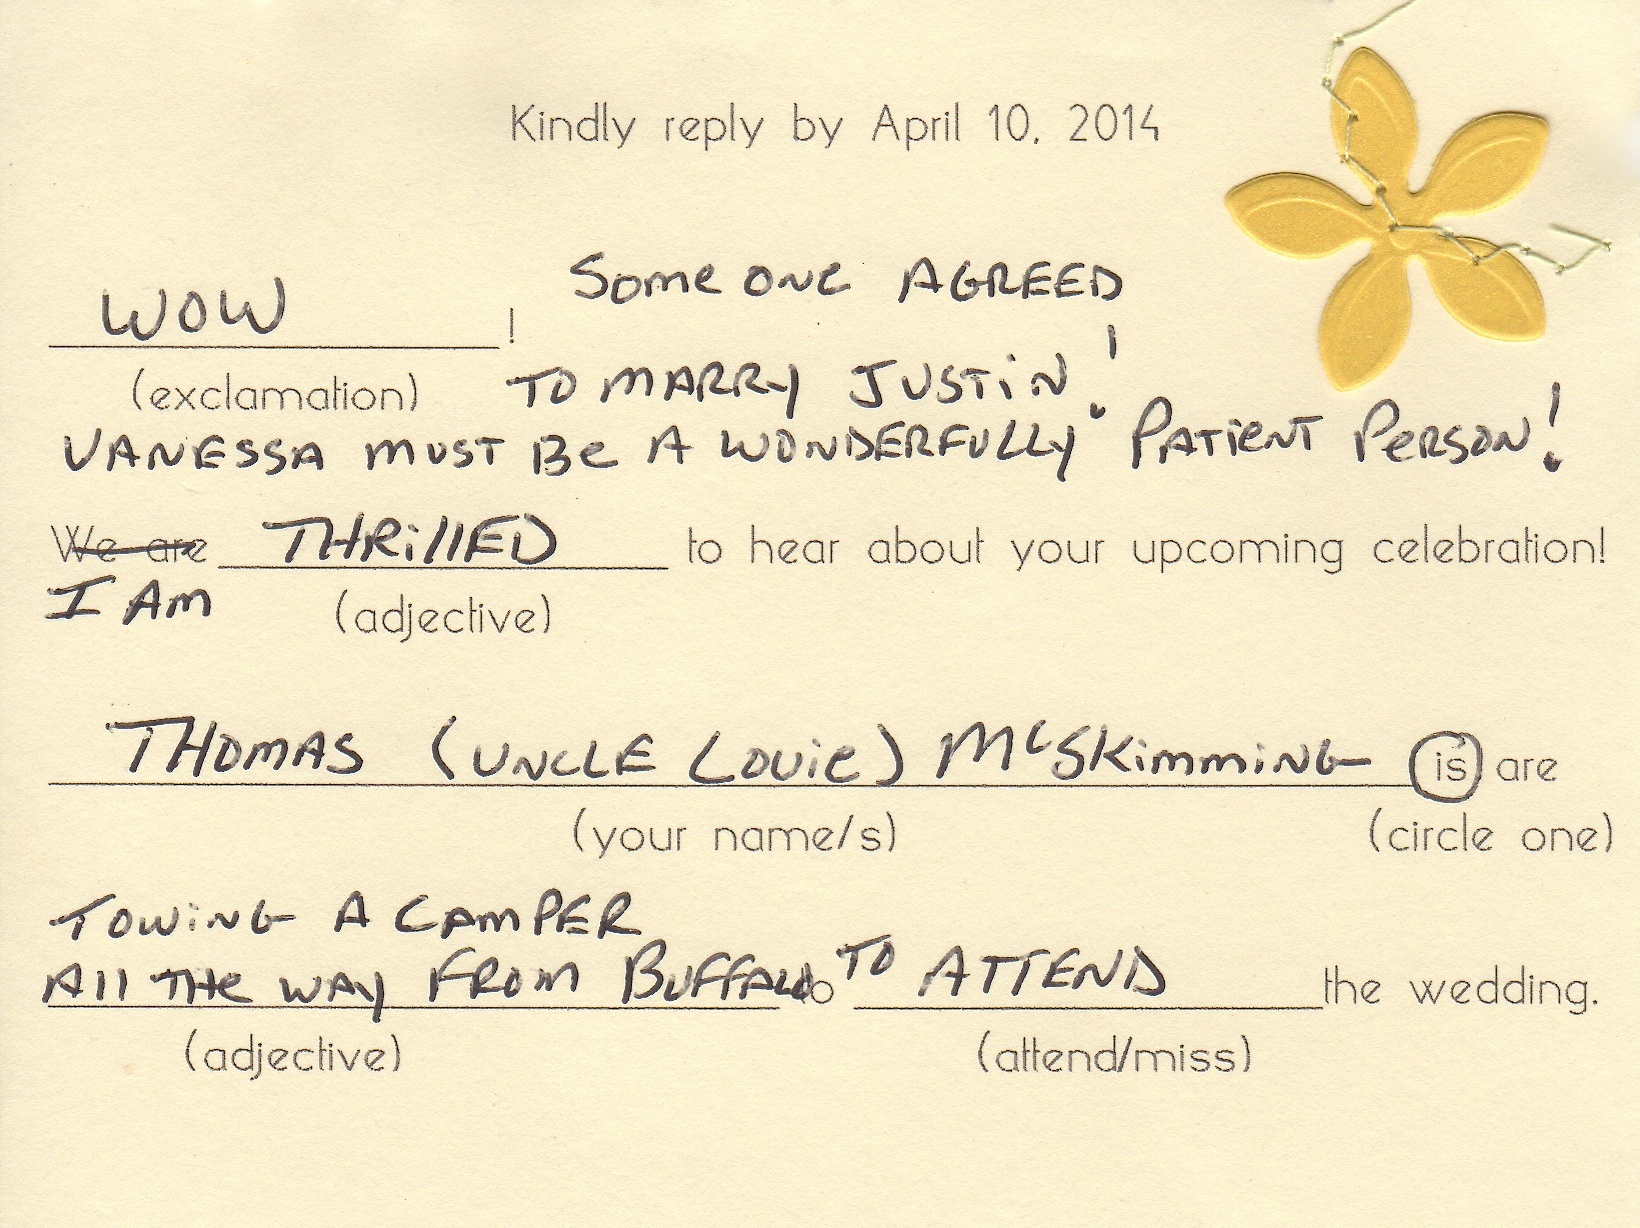 Justin’s Uncle Louie had this one spot on and we loved it!
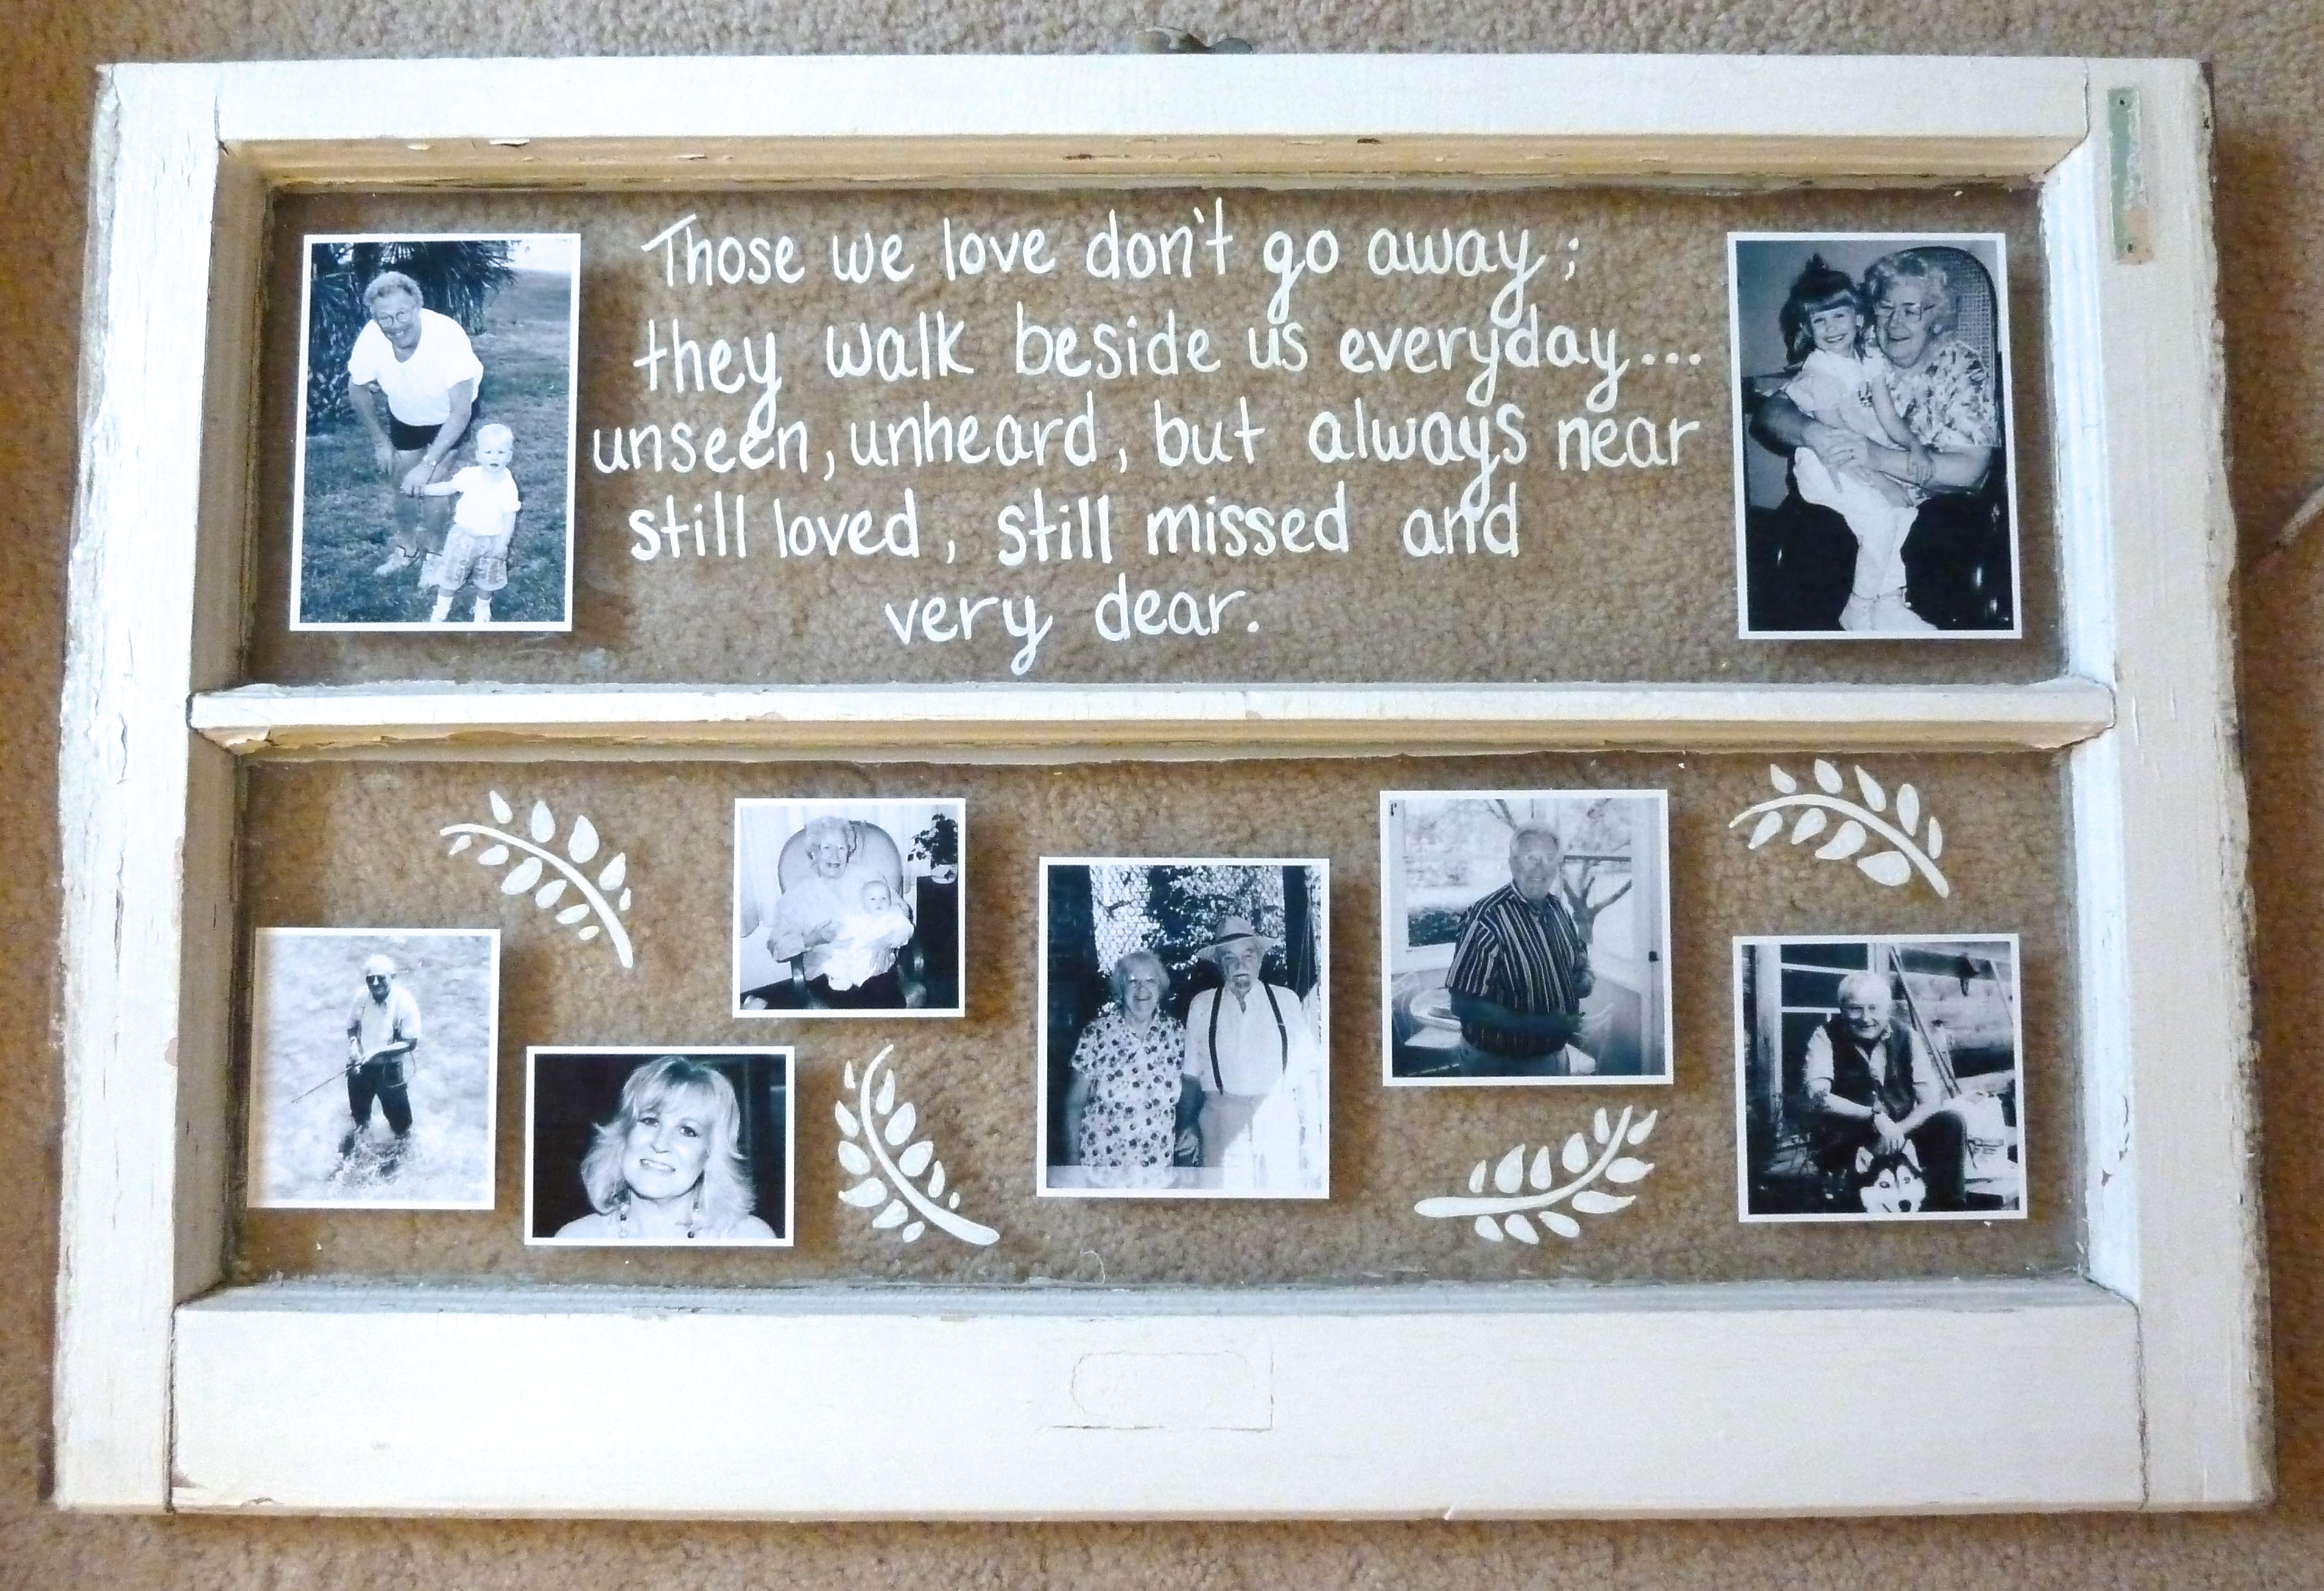
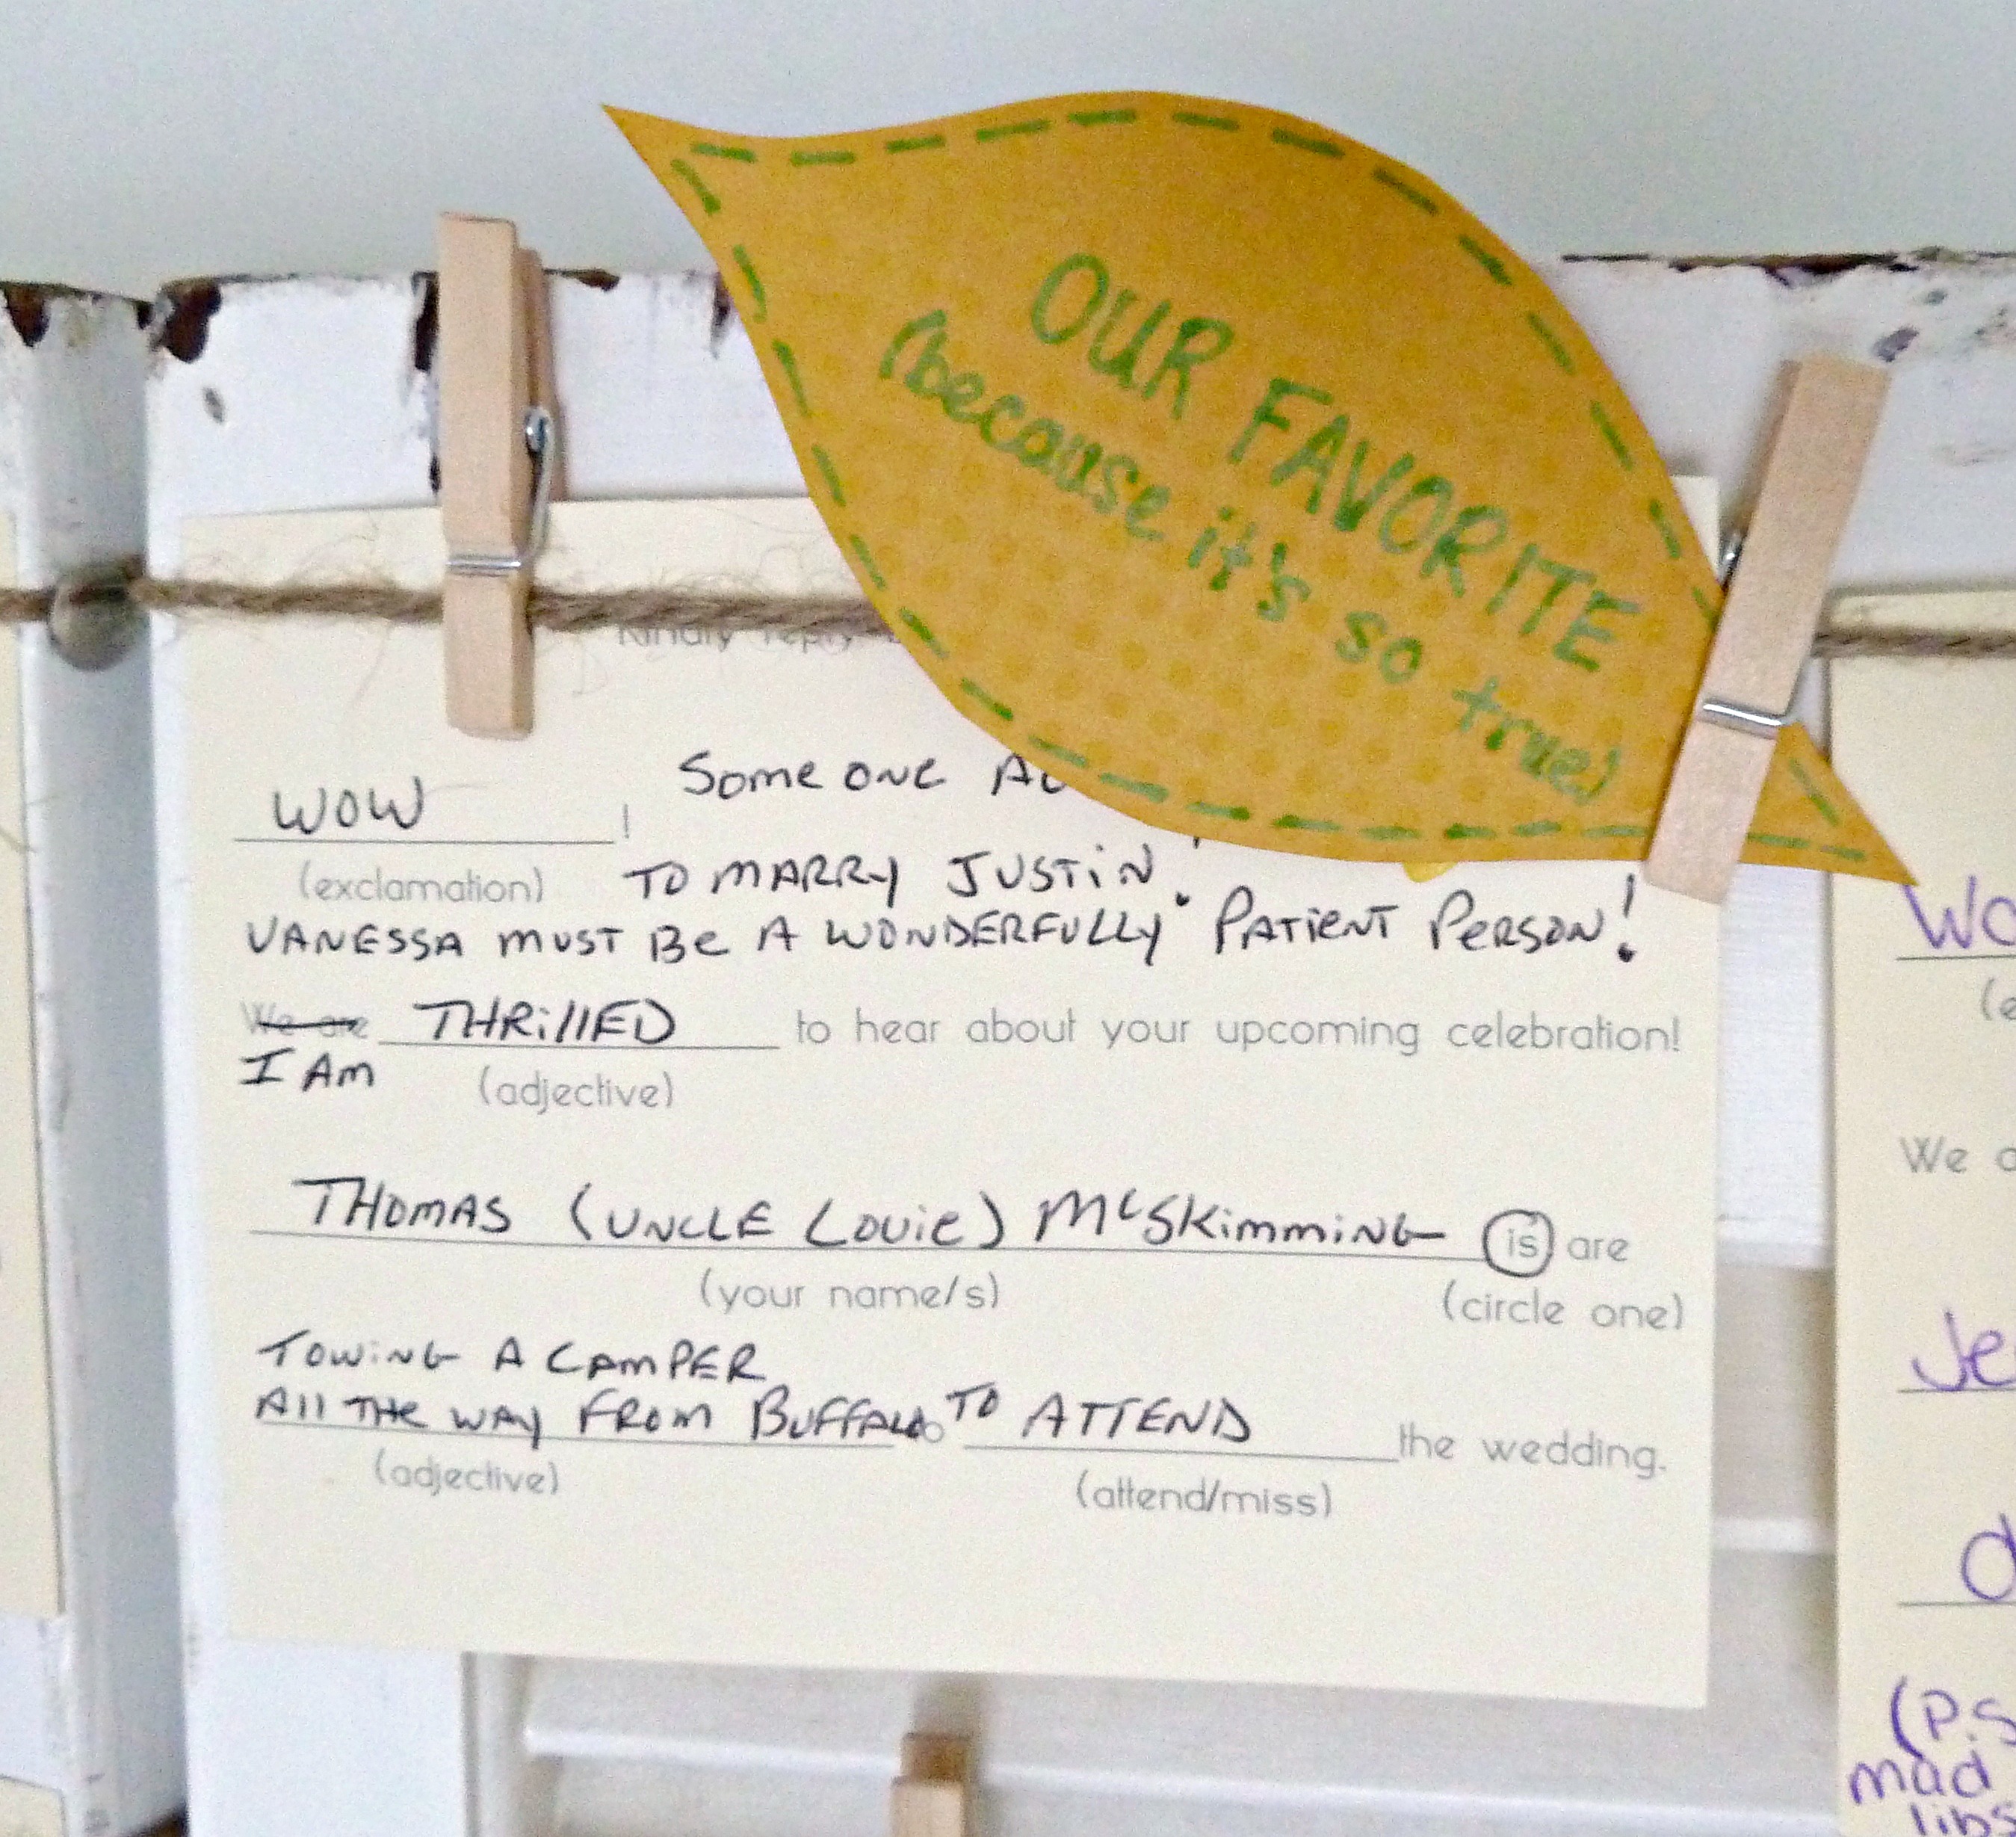 And here is everything completed…
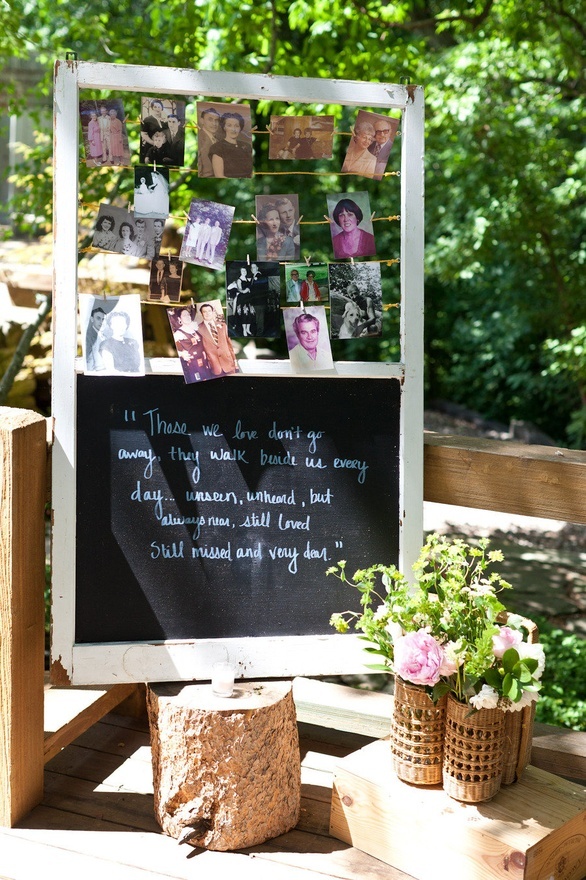
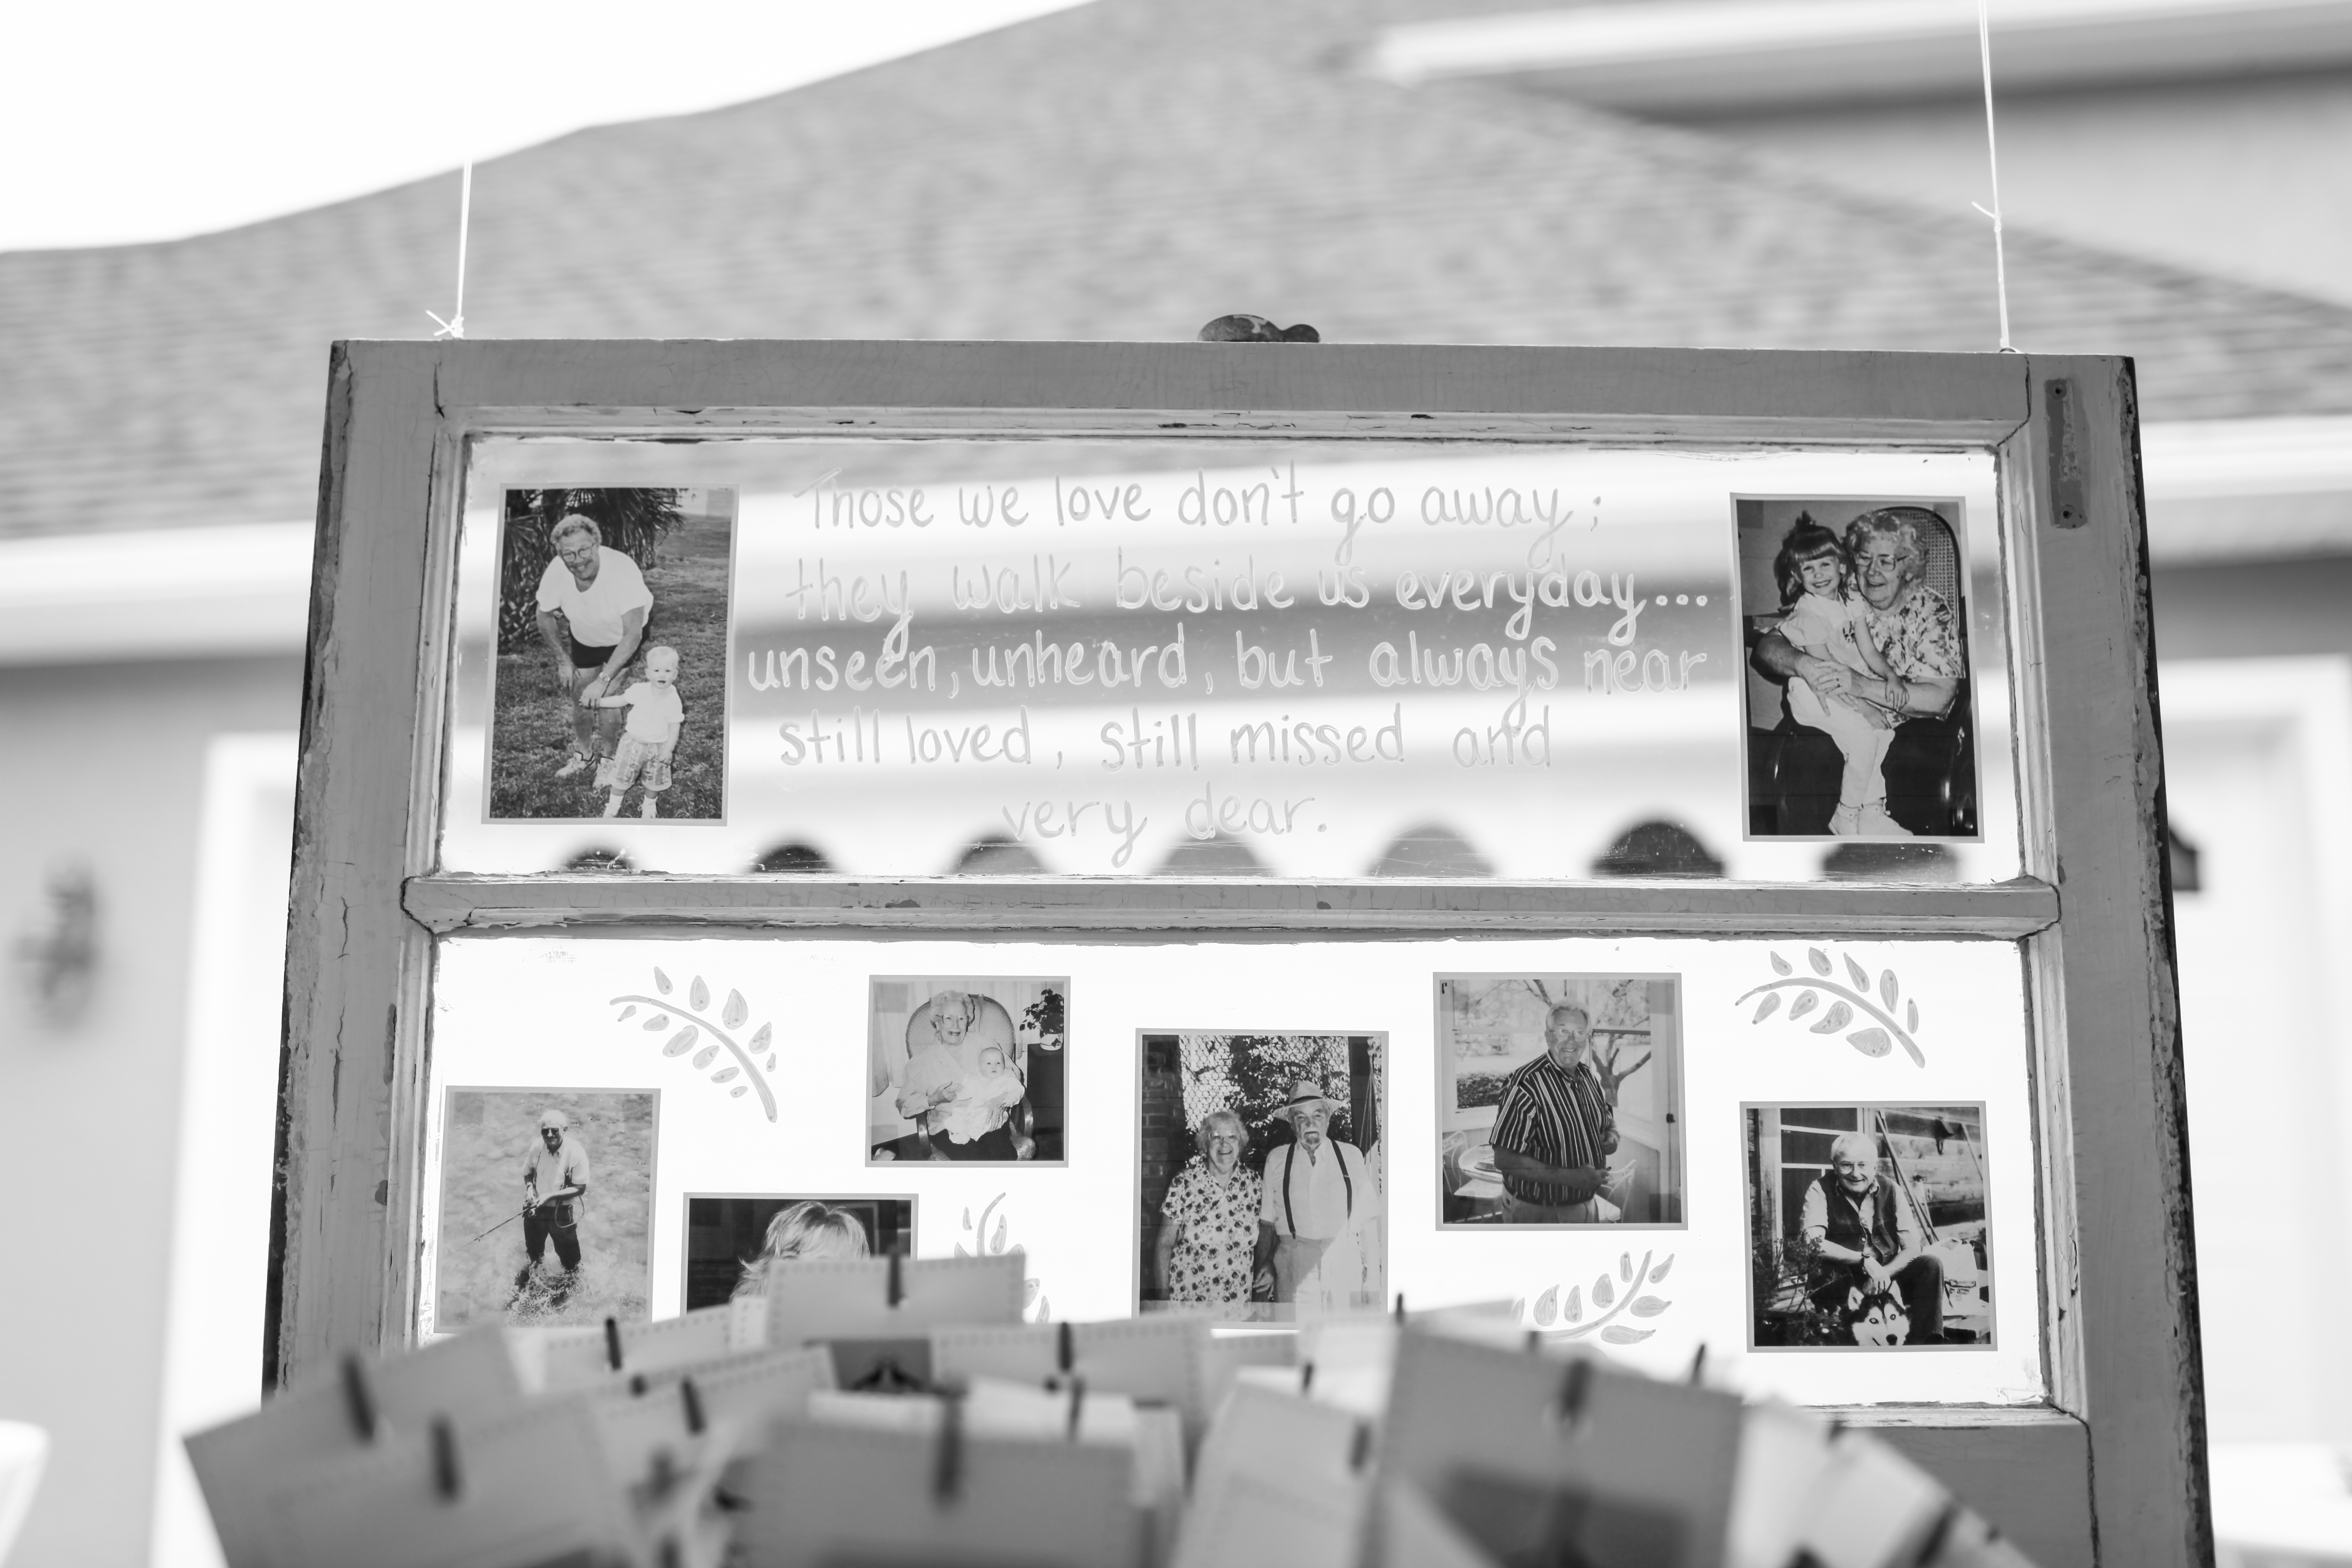
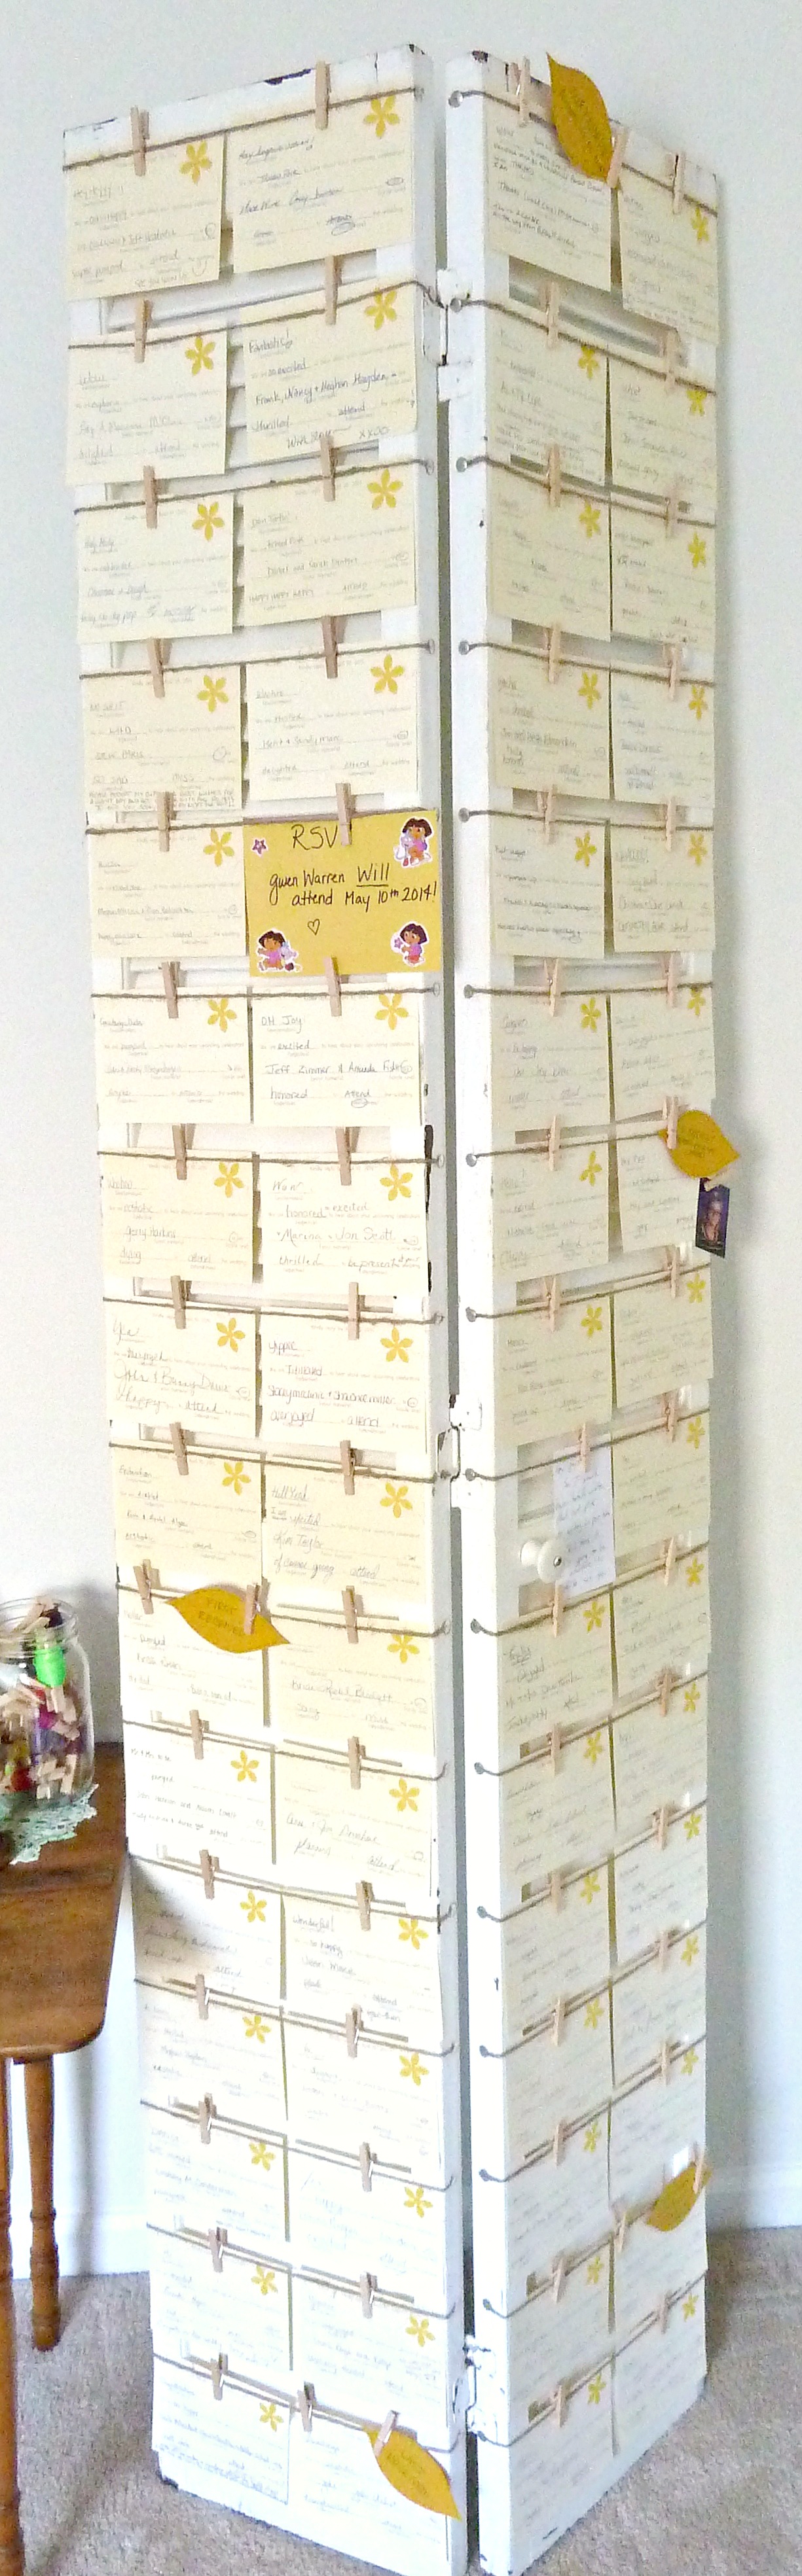 There you have it! Our RSVP display. And here it is at the wedding…