I knew I wanted to have photos of Justin and I, throughout our relationship, displayed at the wedding. But, before I started pasting photos of our faces to poster board, I hopped on Pinterest(yet again), to find some better options. Here are a couple examples that I dig…
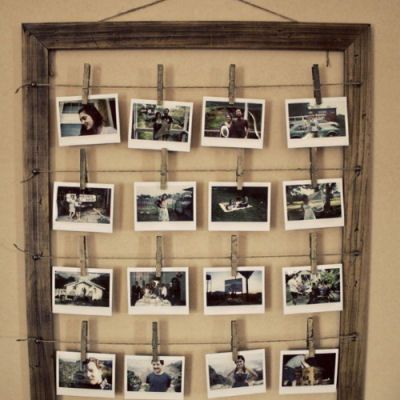
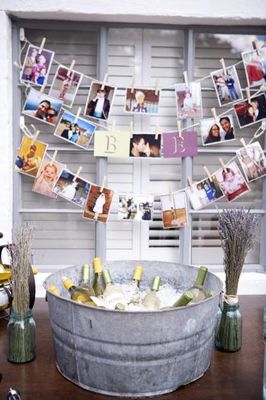
I thought both of these were easy enough. The second option had a downfall though. I wasn’t sure how windy it would be the day of the wedding, and I didn’t want photos of Justin and I flying all over Florida. So, I thought I would try to create something resembling the first example.
I found a couple 16 x 20 frames at Michaels that I thought would work.
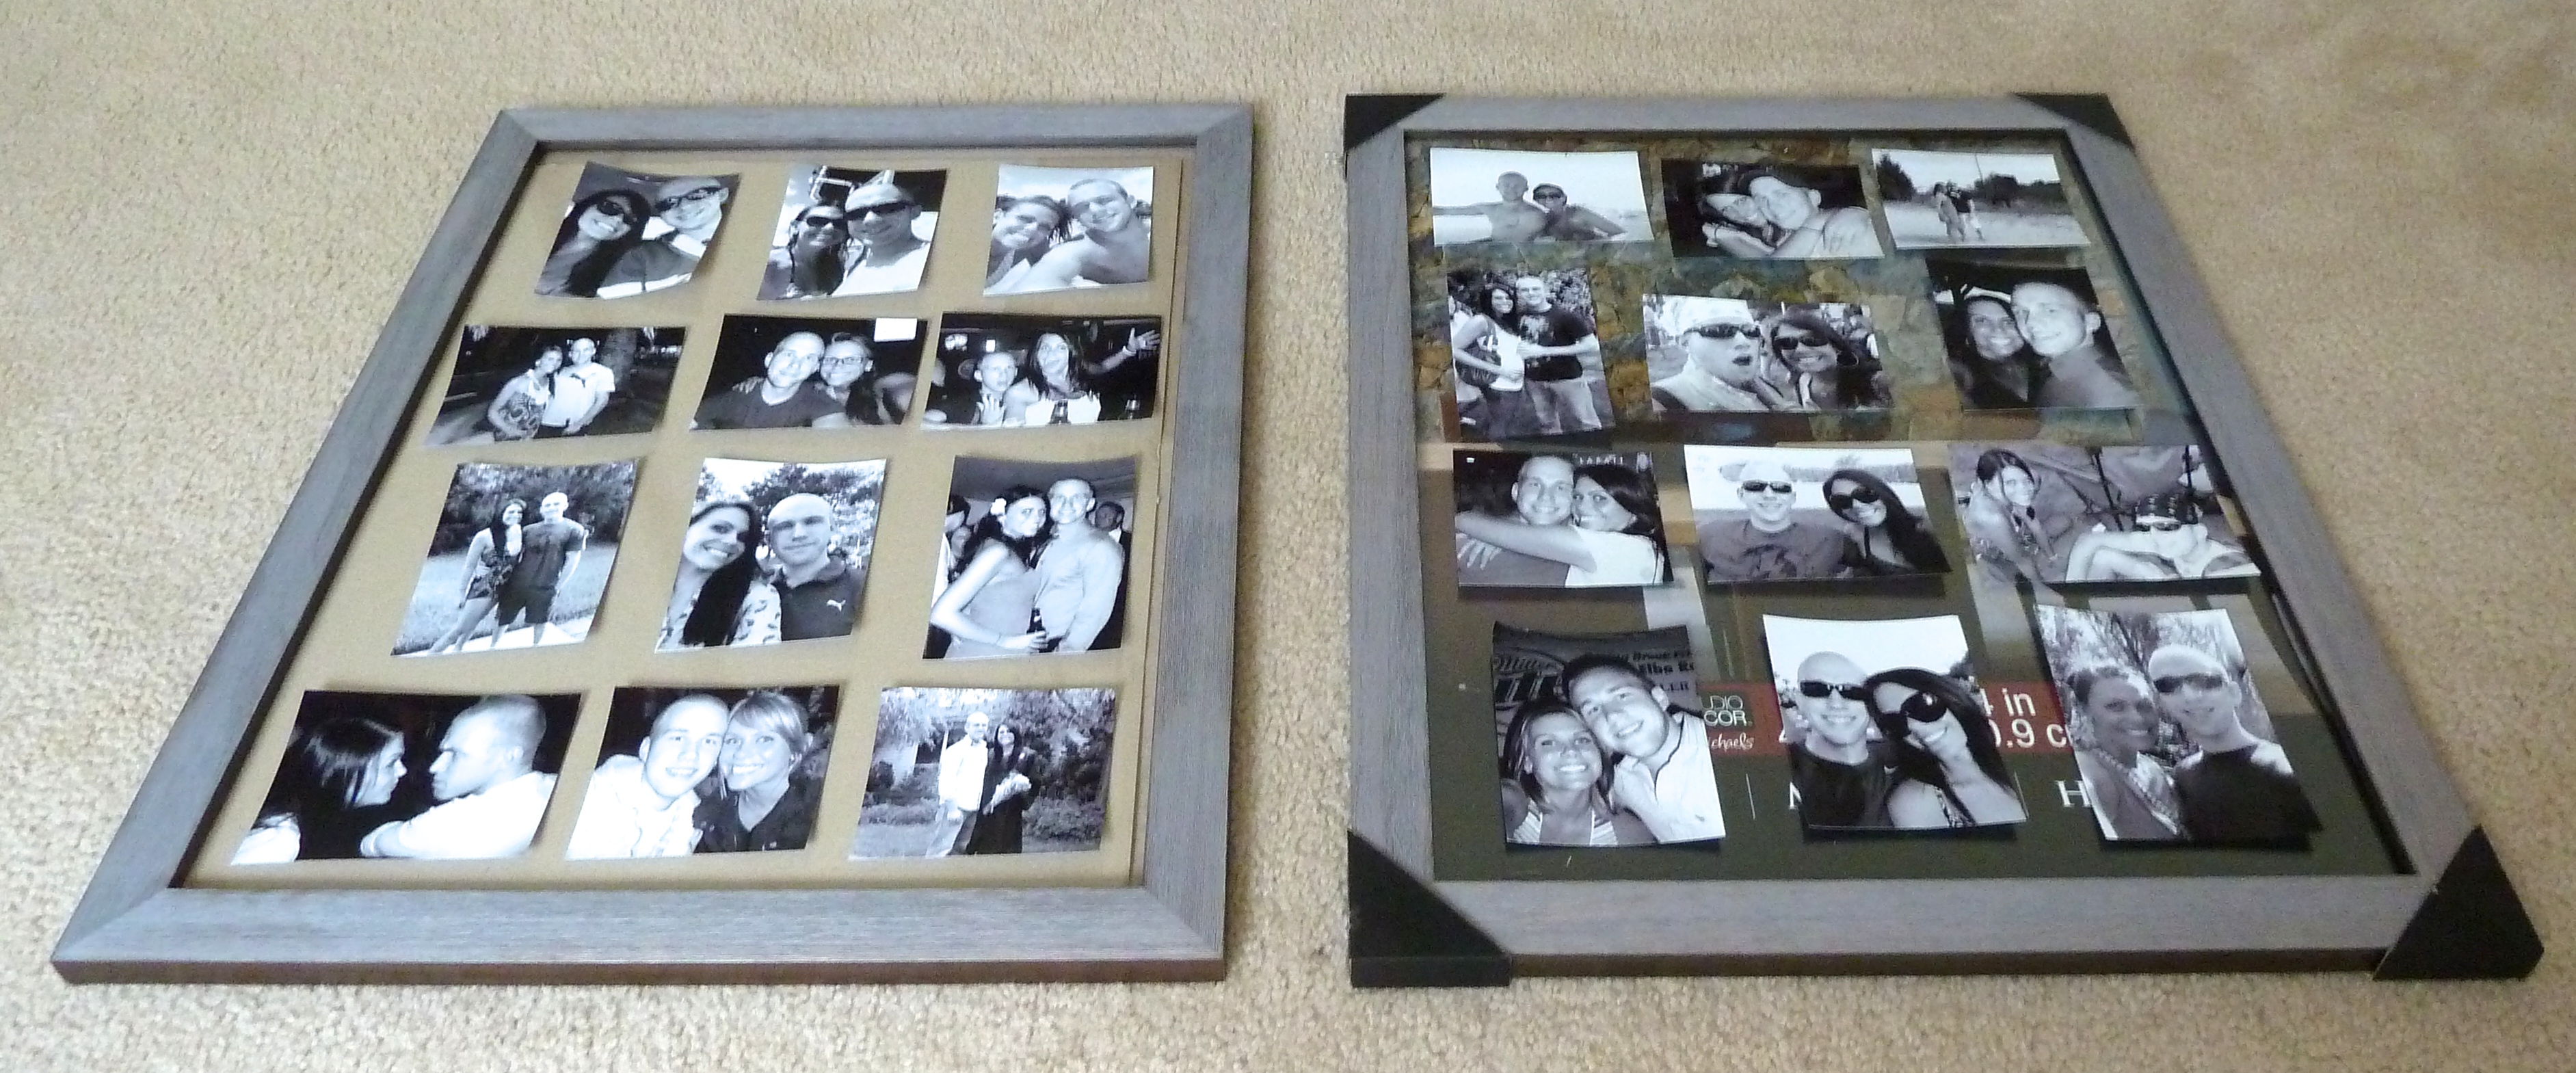 My first step was to remove the glass and backing from the frames, since I wanted the photos to hang freely.
I wrapped the two glass panes between the backing that I removed from frames. I then, taped them up to store safely. I plan to use these frames in our home after the wedding. No need to waste these perfectly good frames.
Charlie was also very helpful in this process…
Now that I had empty frames, I had to go digging for photos. I found a bunch of my favorite 4×6 photos of Justin and I, and I scanned and reprinted them in black and white. I contemplated using color, but I like the vintage feel of black and white. That is what we are going for, right? I then, laid them out on the ground inside the frames. I decided to use 24 of the photos, it seemed to be a good fit.

While at Michaels, I picked up 3 packages of screw eyes as well.
I thought these would be perfect to attach to the inside edge of the frame. Then, I would be able to string twine through the screw eye opening and tie it in place. That would make it possible for me to hang photos from the twine with clothespins. It will make more sense soon, promise.
I wanted to put the screw eyes parallel to the top of the photos I had laid out.

I just eyed out the location on the right side of the frame, and screwed the screw eyes in.

I wanted the twine to hang straight, so I needed the screw eyes to be in the same exact location on the left side of the frame. In order to make sure they were in the same location, I measured the placement I had put them in on the right side.
Once I had my measurements, I was able to attach the screw eyes to the left side of the frame according to the measurements of the screw eyes on the right. I hope that makes sense.
From there, it was time to attach my twine. I picked this roll up from Michaels…
I started with the right side and tied the twine as tight as I could to the screw eyes. Then, I stretched the twine across to the left side, pulling it pretty tightly. I didn’t want my photos to sag at all once I attached them to the twine.
Here is one frame all twined up.
Everything was looking a little too gray for me. I thought it might be good to add some color to all of this gray-ness. So, I purchased these guys from a shop called ThePaperSandbox on etsy…
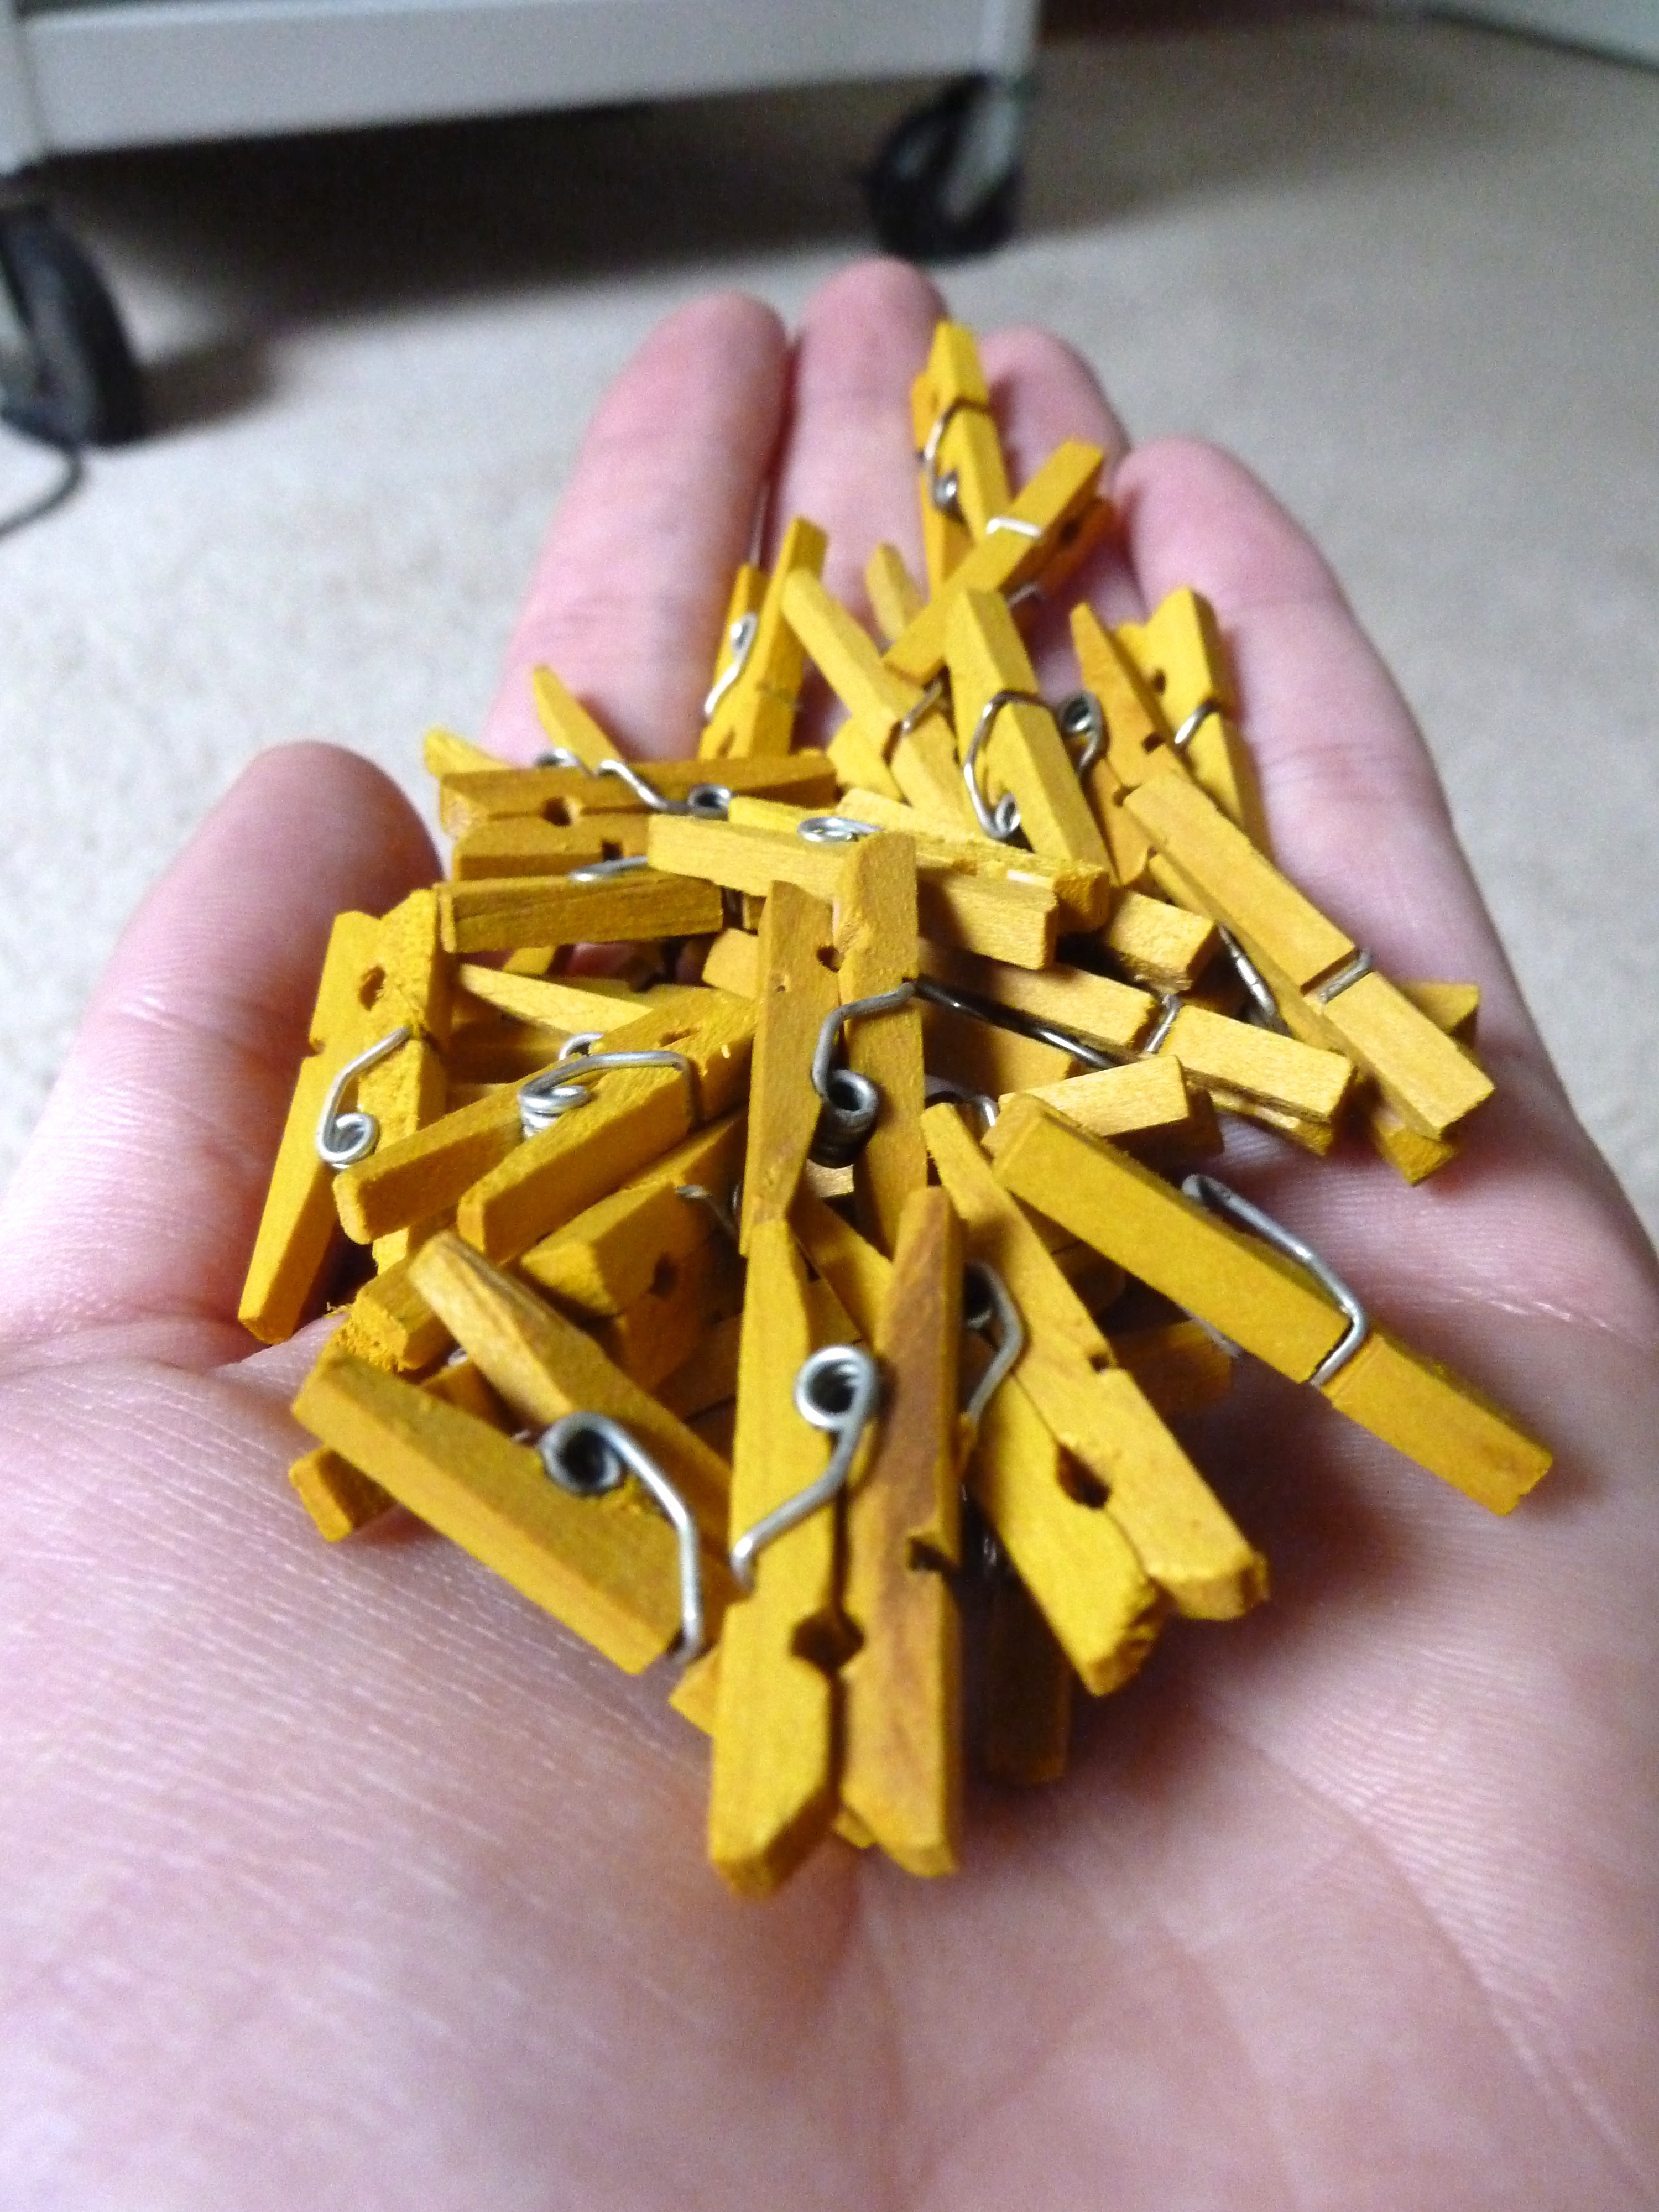
They are mini clothespins, I chose a mustard yellow color, thought this would liven things up a bit.
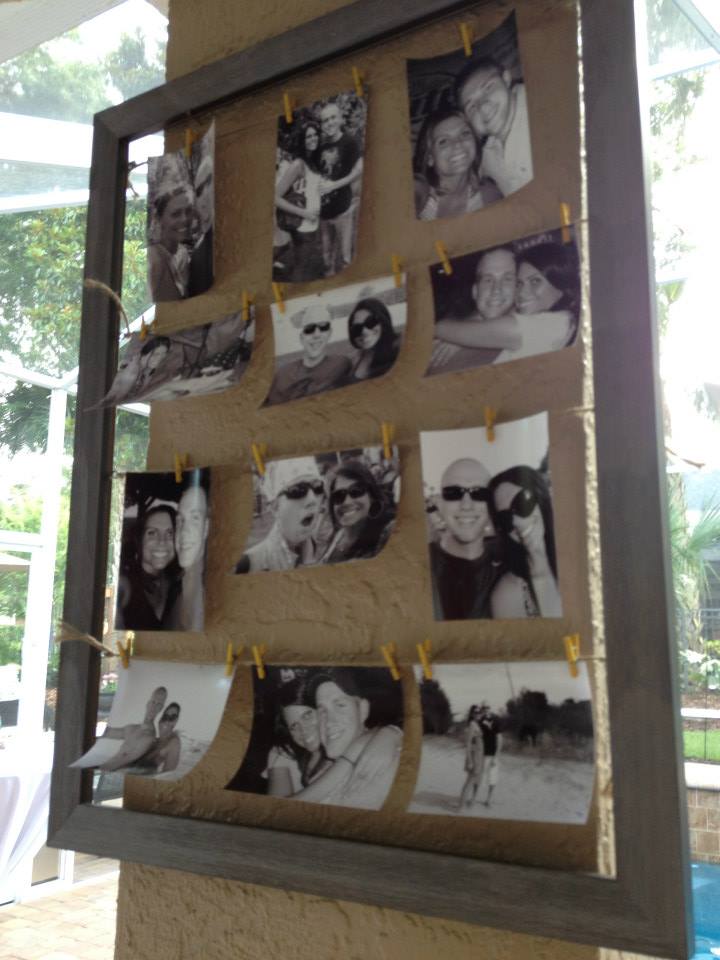
Then, I just started hanging the photos up where I had originally laid them out.
Before adding all of the pictures I stood the frame upright to see if the weight of the photos made the twine sag at all. Luckily, it held up just fine.
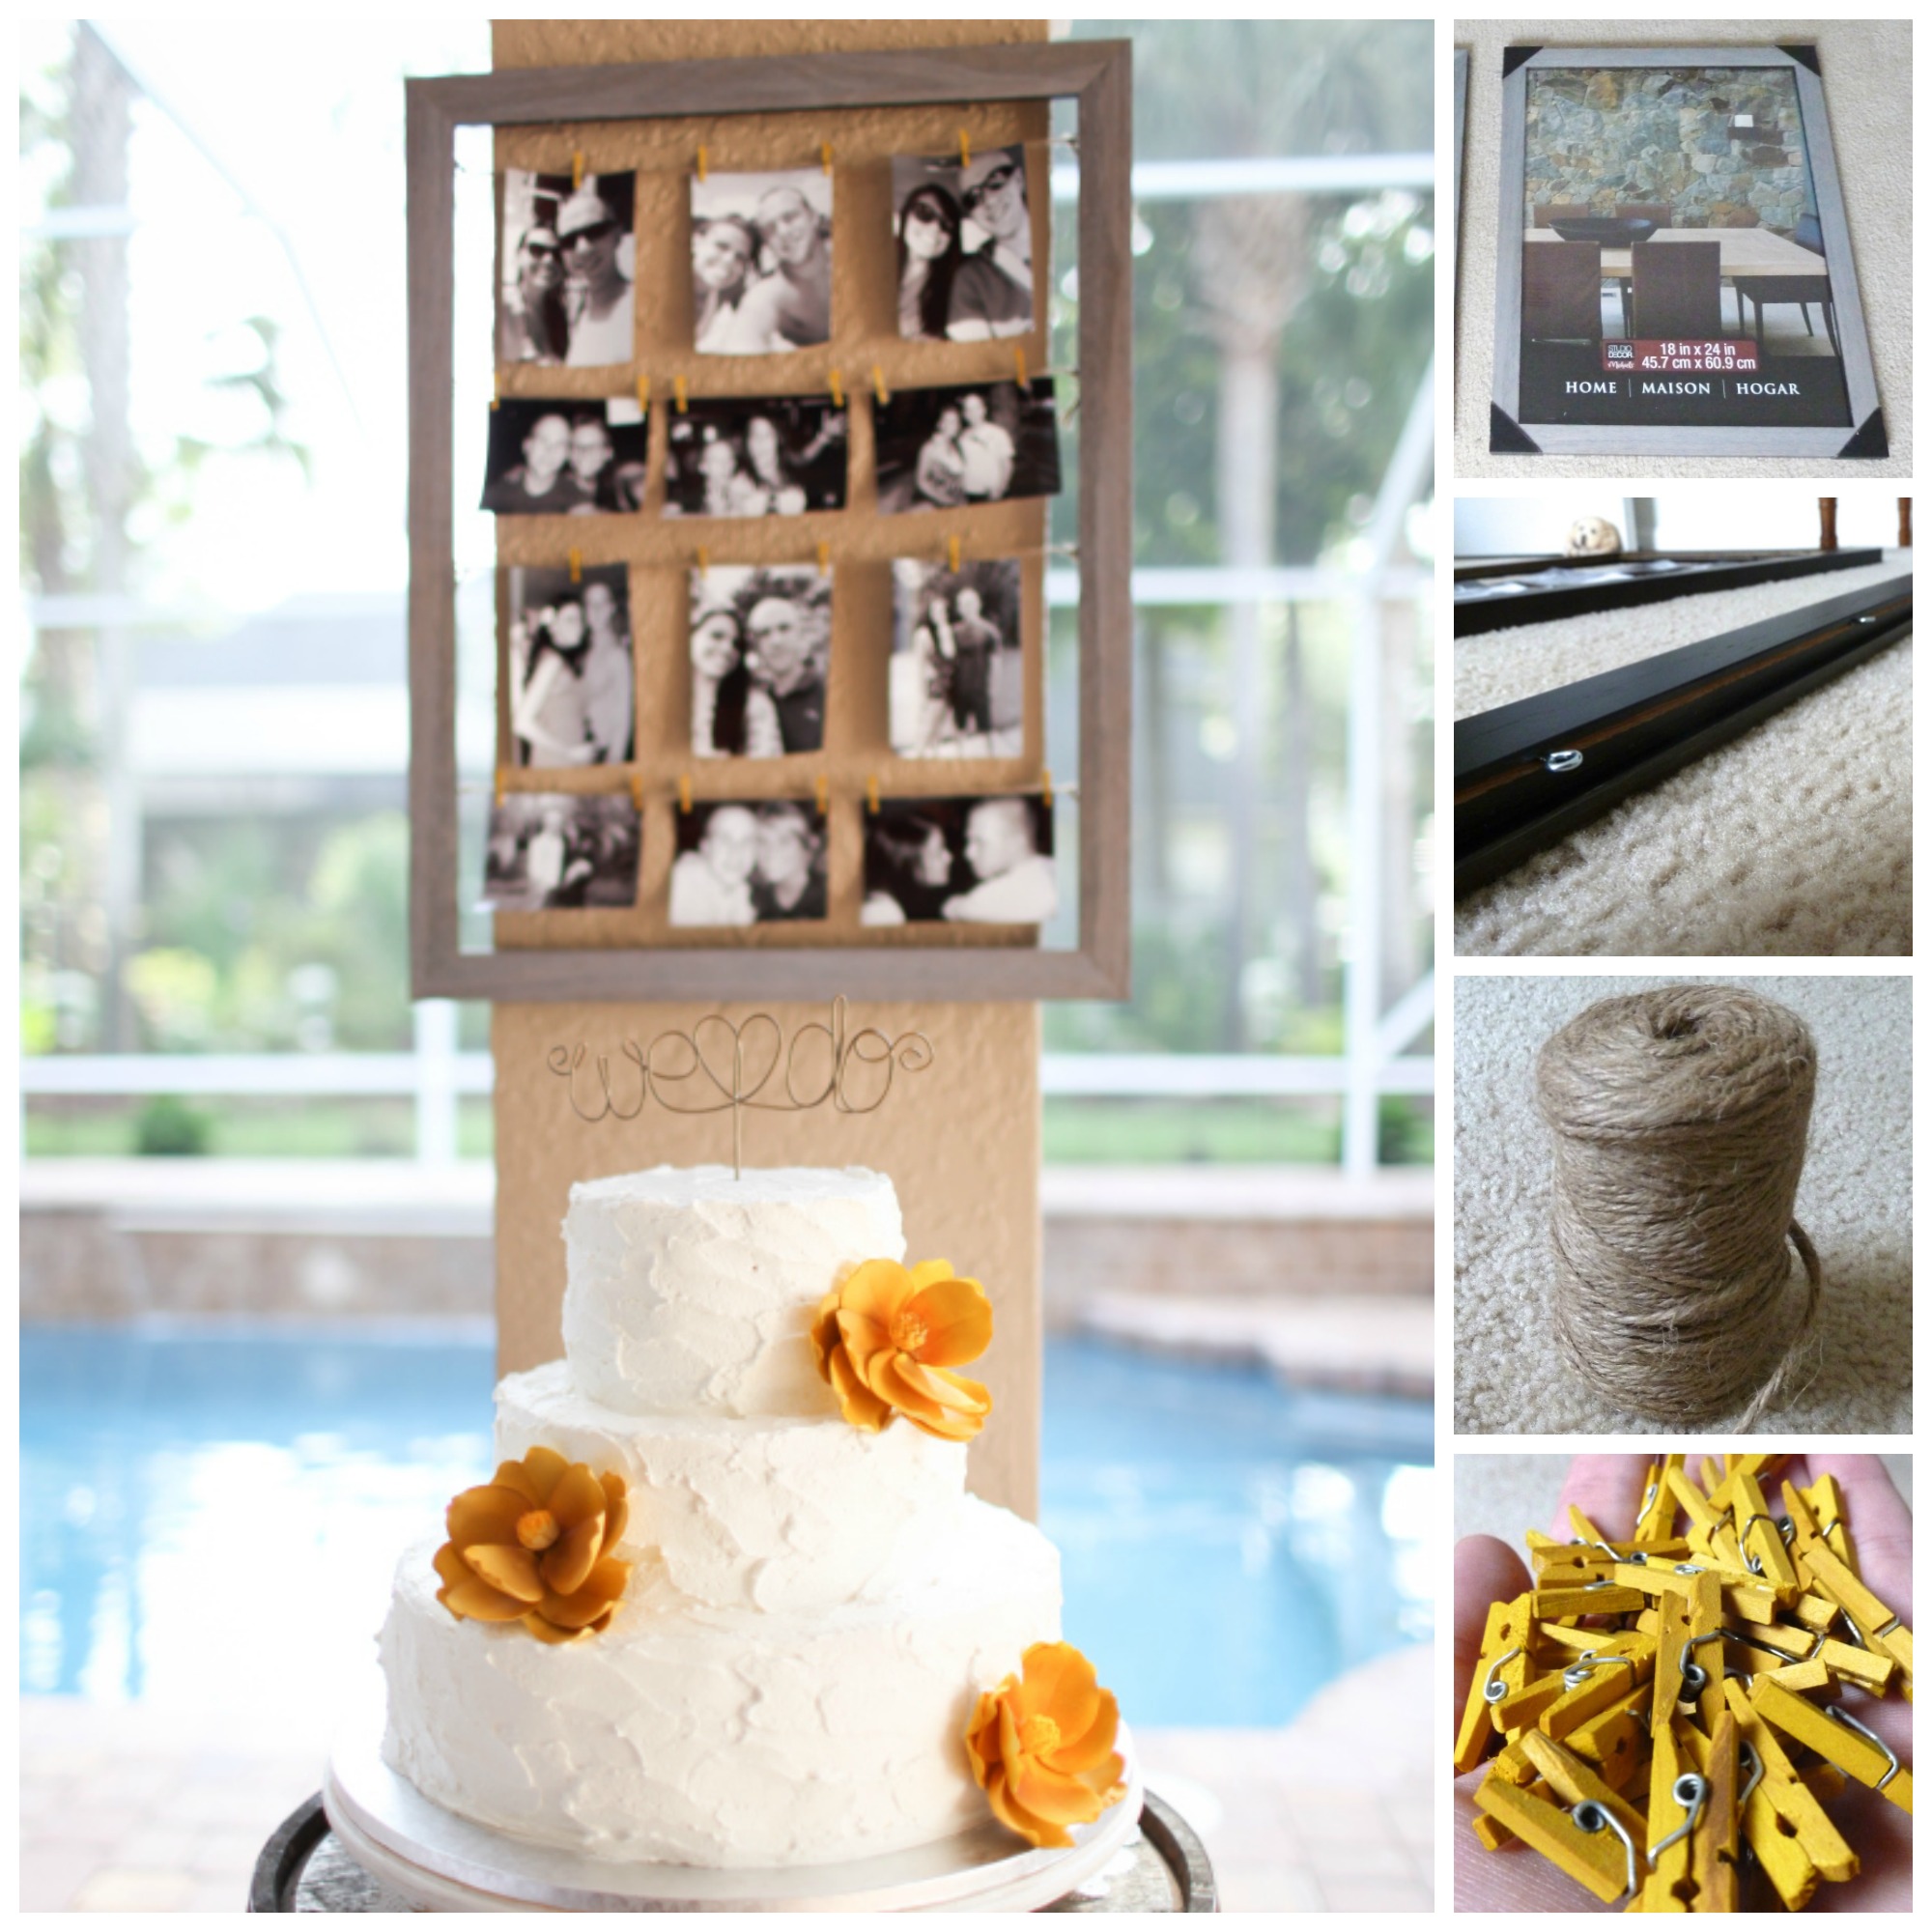
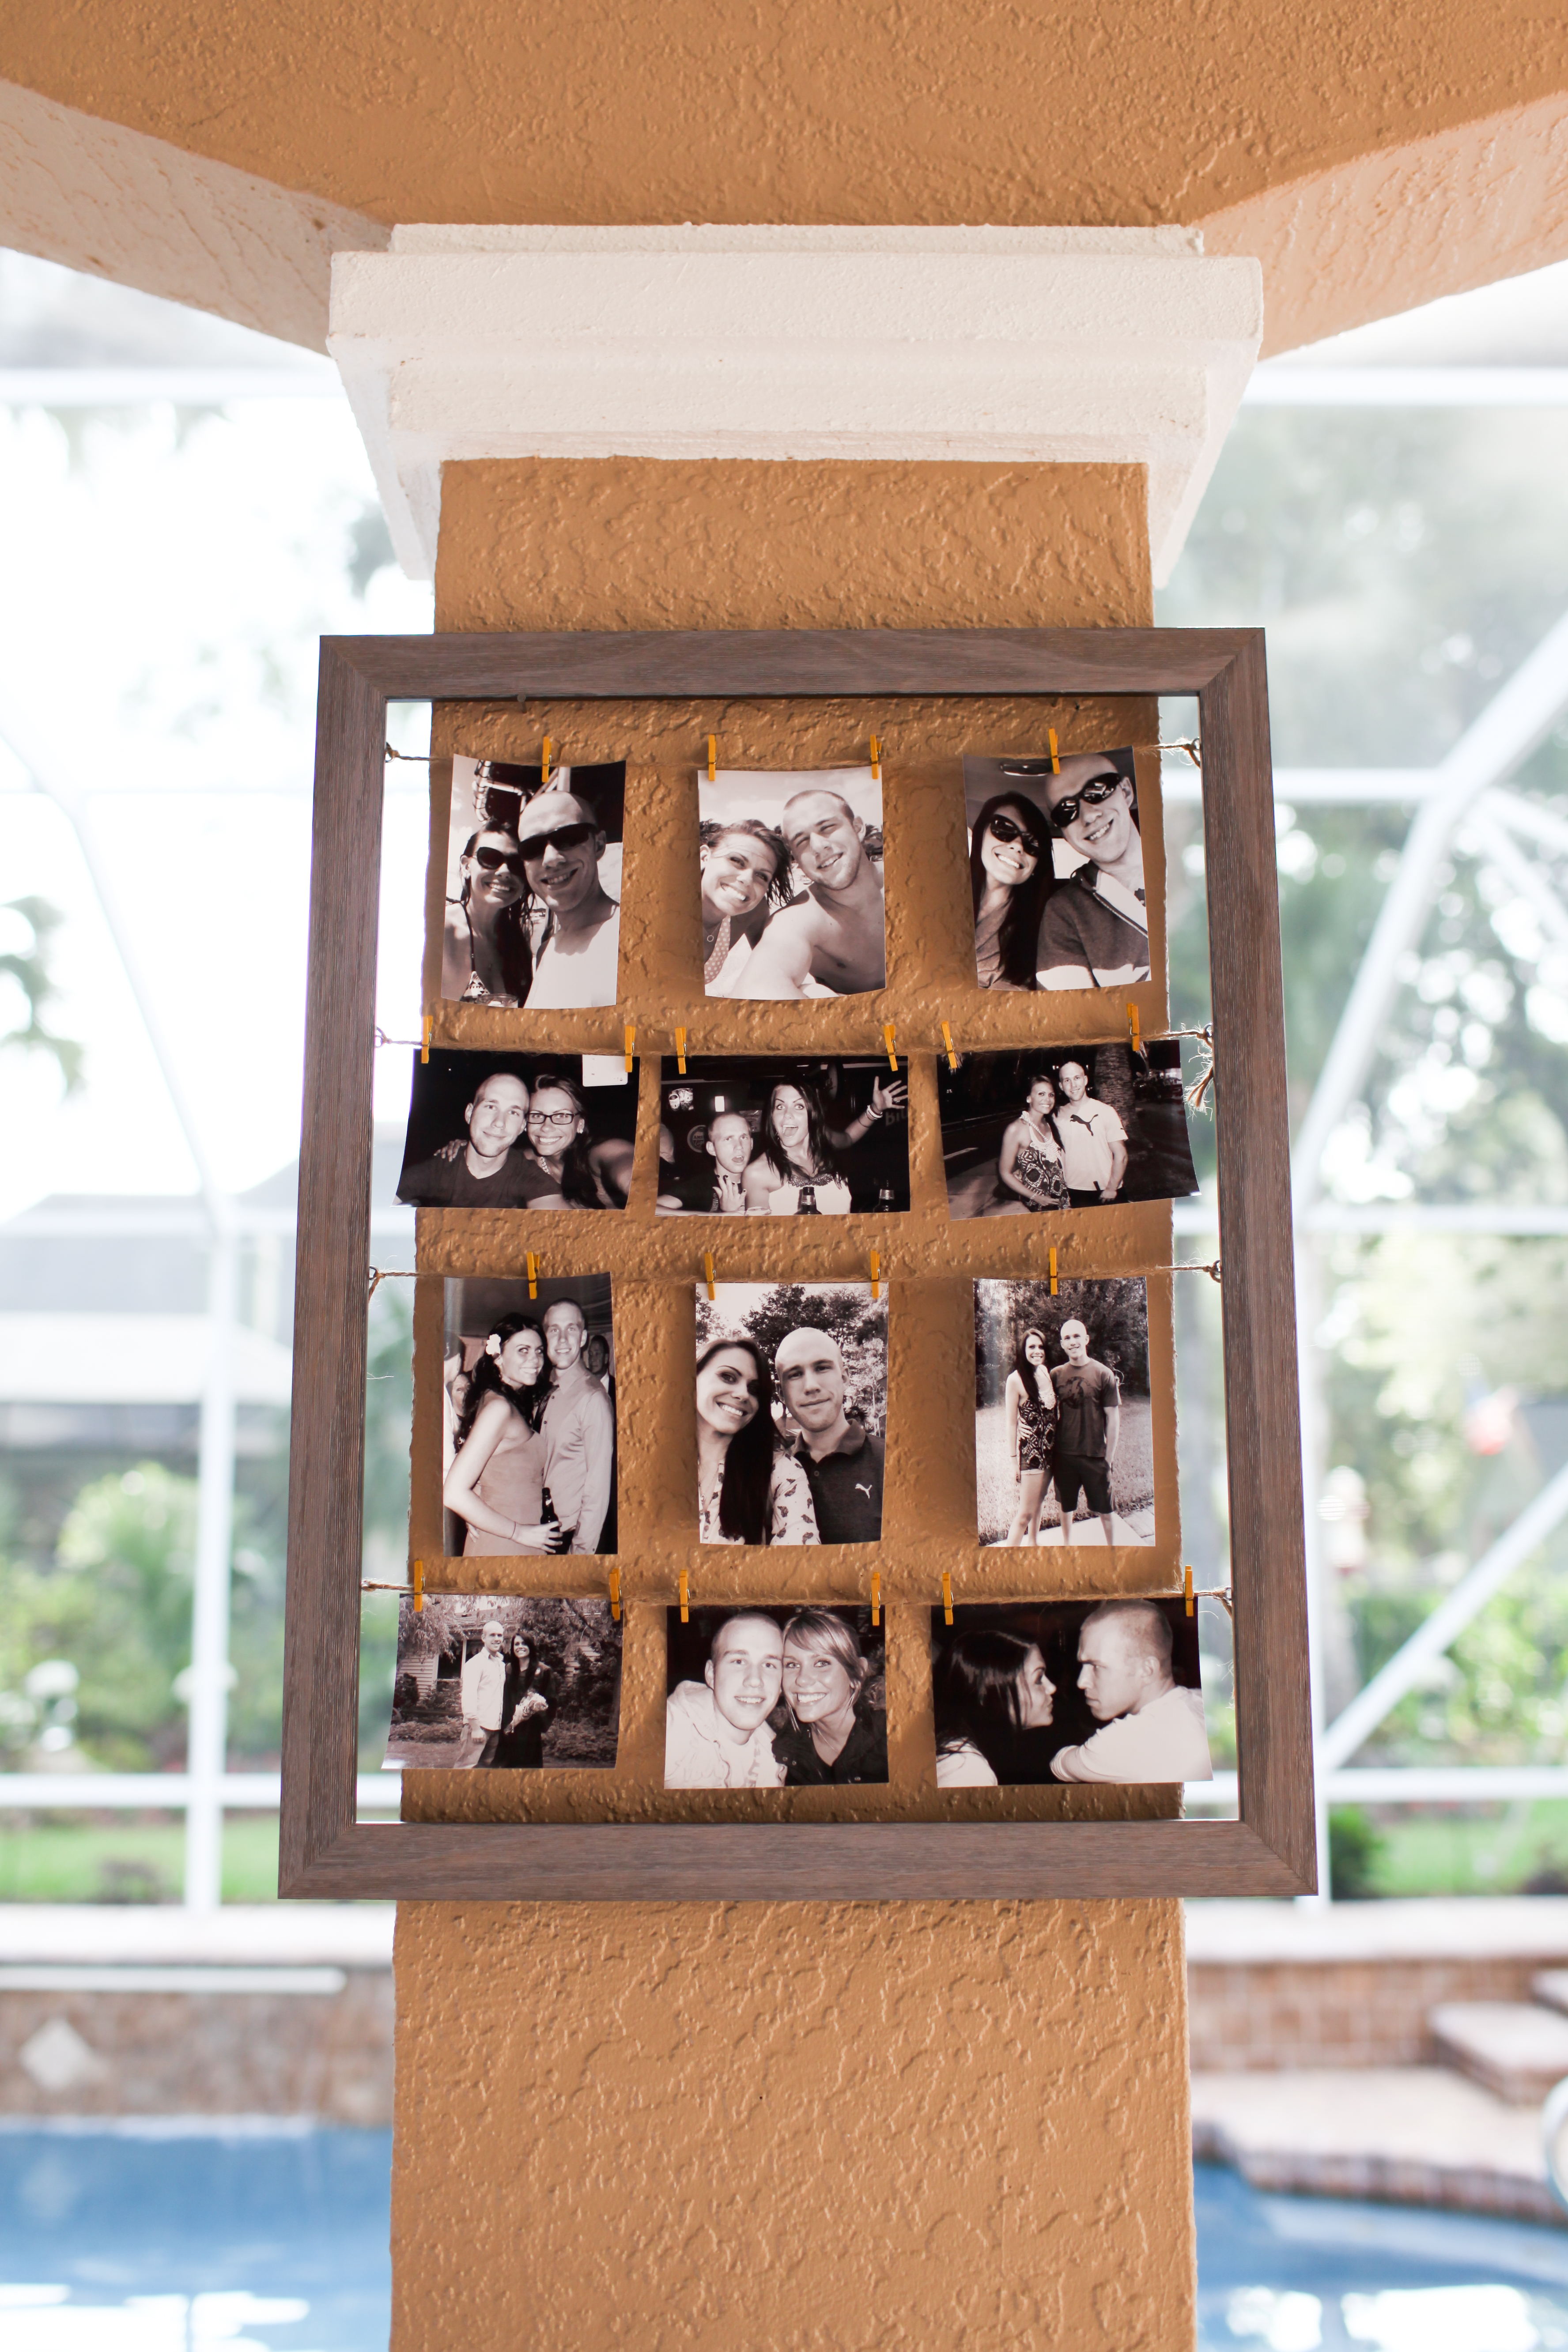
I completed both frames, and here’s what I had…
We posted them on two columns at the reception.
The columns were helpful with blocking any potential wind issues.
Oh, and here is a peek of our pretty cake as well…
Hope you enjoyed looking at our faces! Thanks for reading!