Painting the Master Bathroom

As you know I have prepped our master bathroom for paint. Now that it is all set to go, I got right to it. I decided to go with Lighthouse Shadows by Valspar, it is the color of our master bedroom. I had a bunch left over from painting our room, so I thought that would be a good choice. Since we will eventually be demoing this entire room, I didn’t want to purchase new paint. Here is what I started with…

056

Here is what we have now…

aa7

I love that it makes the bathroom feel like a continuation of our bedroom now…

aa2

aa1

I unfortunately did not get any photos of the painting process, but I do have some before and afters!

picisto-20130915195048-659890_Fotor

picisto-20130915195243-851282_Fotor

picisto-20130915195519-414100_Fotor

I also put a fresh coat of white paint on all the doors…

picisto-20130915195720-813552_Fotor

We still have big plans for this bathroom, but for now it feels a lot cleaner in here. I still need to do some more caulking and I would like to hang some art and change a couple other things. Thanks for reading folks!

Master Bath Changes

I am on a kick with the master bath right now.  I just feel the need to make some changes, so that’s just what I am doing.  Last I showed you I had taken down the wallpaper border and left the room looking like this…

P1080087_Fotor

No more border! Yahoo!  Next up I thought it might be nice to put some fresh paint on the walls.  I just can’t get enough painting apparently.  Before I started there were a few things I needed to do to prep the room.  Here is the sink area in the bath…

056

See the counter splash guard?  Well, I hate it.  There is one on each side, yay! I decided they had to go, but first here’s a close up…

a99

They were both semi-peeling away from the wall already, so removing them was pretty simple.  I just took my spackling knife and pried the piece away from the wall.  I had to cut some of the caulk as I went, but it pretty much just popped right out.

a99999

As you can see some of the drywall peeled up, nothing a little spackle can’t take care of, amiright?  So I got right to spackling…

a9999

I use Dap DryDex spackle from Lowes, it goes on pink and dries white.  That way you know when it is okay to start sanding.

picisto-20130915192302-183835_Fotor

I think it looks better already!a999999

From there I spackled all of the holes in the walls from the previous owners art.  Then I sanded everything down really well.  I also re-painted all of the trim in a white semi-gloss.

a3

a4

Now this room is all ready for a good coat of paint on the walls.

a6

If you check out the picture above, you can see that this room is two different shades of teal.  I am pretty pumped to change the color and make it all one solid color.  I’ll let you know how it goes!

Painting More Pots

Since I now had my new fancy rolling cart I was storing my sharpie markers in some terracotta pots that I just happened to have laying around….

mm999

I wasn’t diggin all of the random crazy colors going on in the room, so I figured painting these pots would tone things down a bit.  I seemed to be leaning towards more neutral/natural colors in this room so I decided to go with a dark green that would match my newly purchased trash can…

01

I got this guy at JoAnn Fabrics for $3 in their clearance section, plus I had a gift card.  No money outta my pocket!

So I dumped my markers out and wiped down the pots with a rag…

o2

As you can see they are the usual rust color that you see on most terracotta pots.  I grabbed some green paints that I thought should make the color I was going for…

o3

o4

I got to mixing until I had a color that was comparable to the color on my trash can.  From there I just started painting…

o5

I didn’t paint the inside completely because I had a different plan for that part…

o9

I thought it would be fun to put a neon yellowish-green inside the pots.  So I mixed up another color and started painting the interior of the pots…

o999

I was definitely loving the bright pop of color!  I then waited for the pots to dry then threw my sharpies back in…

oo2

Oooo la la! I love that the neon green sneaks through in between the markers.

While I was at it I grabbed a couple terracotta plates from the store to put under my plants that were currently living in my office.  They were much needed since when I watered them they leaked a bit on the desk.  They have been currently sitting with paper towel under them.  I decided it was time to fix the issue.  So while I had all of my paints out I just painted the plates to match the pots they would go under…

ooo3

ooo4

Yay! No more leaking.  Here is the office now…

oo3

Who doesn’t love a good pot?

I picked up a couple terracotta pots from walmart the other day. I didn’t get a before picture but they looked something like this…

047625127828lg

They are not the normal rust color that you see most clay pots in.  This is a brown.  I got them for somewhere around $3 each, pretty cheap.  I had previously seen painted clay pots on pinterest like this…

images

and this…

pots3

I thought these looked pretty killer, so I had to make some for my office.  I decided on these colors…

p1

White and light green. PS I already owned these paints. So this project was a total of $6. Woot Woot!

Once I had chosen my colors I just got to painting…

p3

I wanted to leave part of the pot unpainted because I really liked the brown clay they already had going on.

p5

Here is the white guy all finished.  I painted the perimeter of each pot at different heights because I wanted them to each be unique.

Here they are finished…

p6

Since I now had my sick pots, I needed something to put in them.  I headed to lowes and picked up this guy…

p8

This is called a pothos, I do not know much about it except it is neon green and requires low light, aka I love him. I also got this guy…

p9

This one is the pothos friend, but he is called golden pothos. I liked them because they are both viney leafy plants, but they are not exactly the same.  Here they are in their new home…

p99

and

p999

I love how they pop out amongst all the white in here.

p9999

It’s not a big change, but it makes me happy to have some life in here.

I Sweat Paint

I spent my weekend painting…. everything in the second guest bedroom.  Last I shared the guestroom was looking something like this…

P1070406

It was still looking not so pretty in pink.  It was time to finally put some fresh paint on these walls and trim. I started with the trim as usual and used good old white in a gloss finish.  I know I had planned on using a shade of light purplish grayish, with possibly even a hint of pink for the walls, but I changed my mind.  I guess I am not as decisive as I thought.  Most of the office inspiration photos I am digging right now look like these…

office 1

office 3

office 2

and my favorite…

office

I guess I am kinda into a neutral office at this point.  I was thinking if I put a purple color on the wall that I would hate it.  So I decided to go with something more along the lines of the whitish, tanish in these photos.  I ended up using Paramount White by Valspar.  I started edging in as usual…

P1070557_Fotor

Charlie helped…

P1070554_Fotor

Next I rolled the color on the rest of the walls…

P1070598_Fotor

P1070602_Fotor

I know it looks pretty white, but I promise it is not!

Once I was done with all of the walls the ceiling was really looking pretty rough.  Once I took the border down and lightened the walls the ceiling was looking so dingy and all the paint mistakes were really sticking out.

P1070605_FotorI definitely wasn’t planning to paint the ceiling, but I felt like I needed to now. I am a virgin to painting ceilings, I knew I was in for a treat. So I headed back to lowes and got some of this…

P1070613_Fotor

It is Valspar flat ceiling paint that goes on purple, but dries white.  My mom told me about this paint and said that it helps to keep track of where you have already painted.  I also picked up one of these…

P1070616_Fotor

Since our ceilings are pretty textured I needed a better roller that would soak up more paint and get into all of the crazy crevices.

I then cleared the room out and made sure I covered everything with tarps, I know splattering is a big issue when painting a ceiling.

P1070614_Fotor

I also had Justin remove the fan and vent from the ceiling.

The purple in the paint really did help out when applying the paint. Here is what the paint looks like when I opened the can…

P1070633_Fotor

I really needed to give it a good stir before I started.

I used my usual method of edging first and rolling second.

P1070621_Fotor

I really didn’t think painting the ceiling would make too much of a difference and then I looked at the dried edging that I had just painted…

P1070626_Fotor

Look at that!

P1070628_Fotor

Is that not a crazy difference or what?  I guess I didn’t know just how dingy the ceiling was.

From there it was time to start rolling.  When I went to look for my roller someone had stolen it…

P1070623_Fotor

He’s such a little thief.

P1070625_Fotor

Once I got my roller back I went to town…

P1070634_Fotor

See the purple-ness?

P1070638_Fotor

This was quite the job, it really took a toll on my neck and I also had splattered paint all over my face, thank goodness for hats and glasses. Here is my room now, with every surface freshly painted.

P1070639_Fotor

The ceiling still has a purple hue to it in this photo because it wasn’t quite dry yet.  Can’t wait to get going on other updates in here!

We Miss Our Toilet

Since demolishing the guest bathroom, we realized how much we miss having an extra bathroom.  Considering our other bathroom is off of our master bedroom and the guest one is off of the living room, we tend to use the guest one more.  So this weekend we were in power mode to get the this bathroom renovation on its way and better yet get our second toilet back! Hurrah!

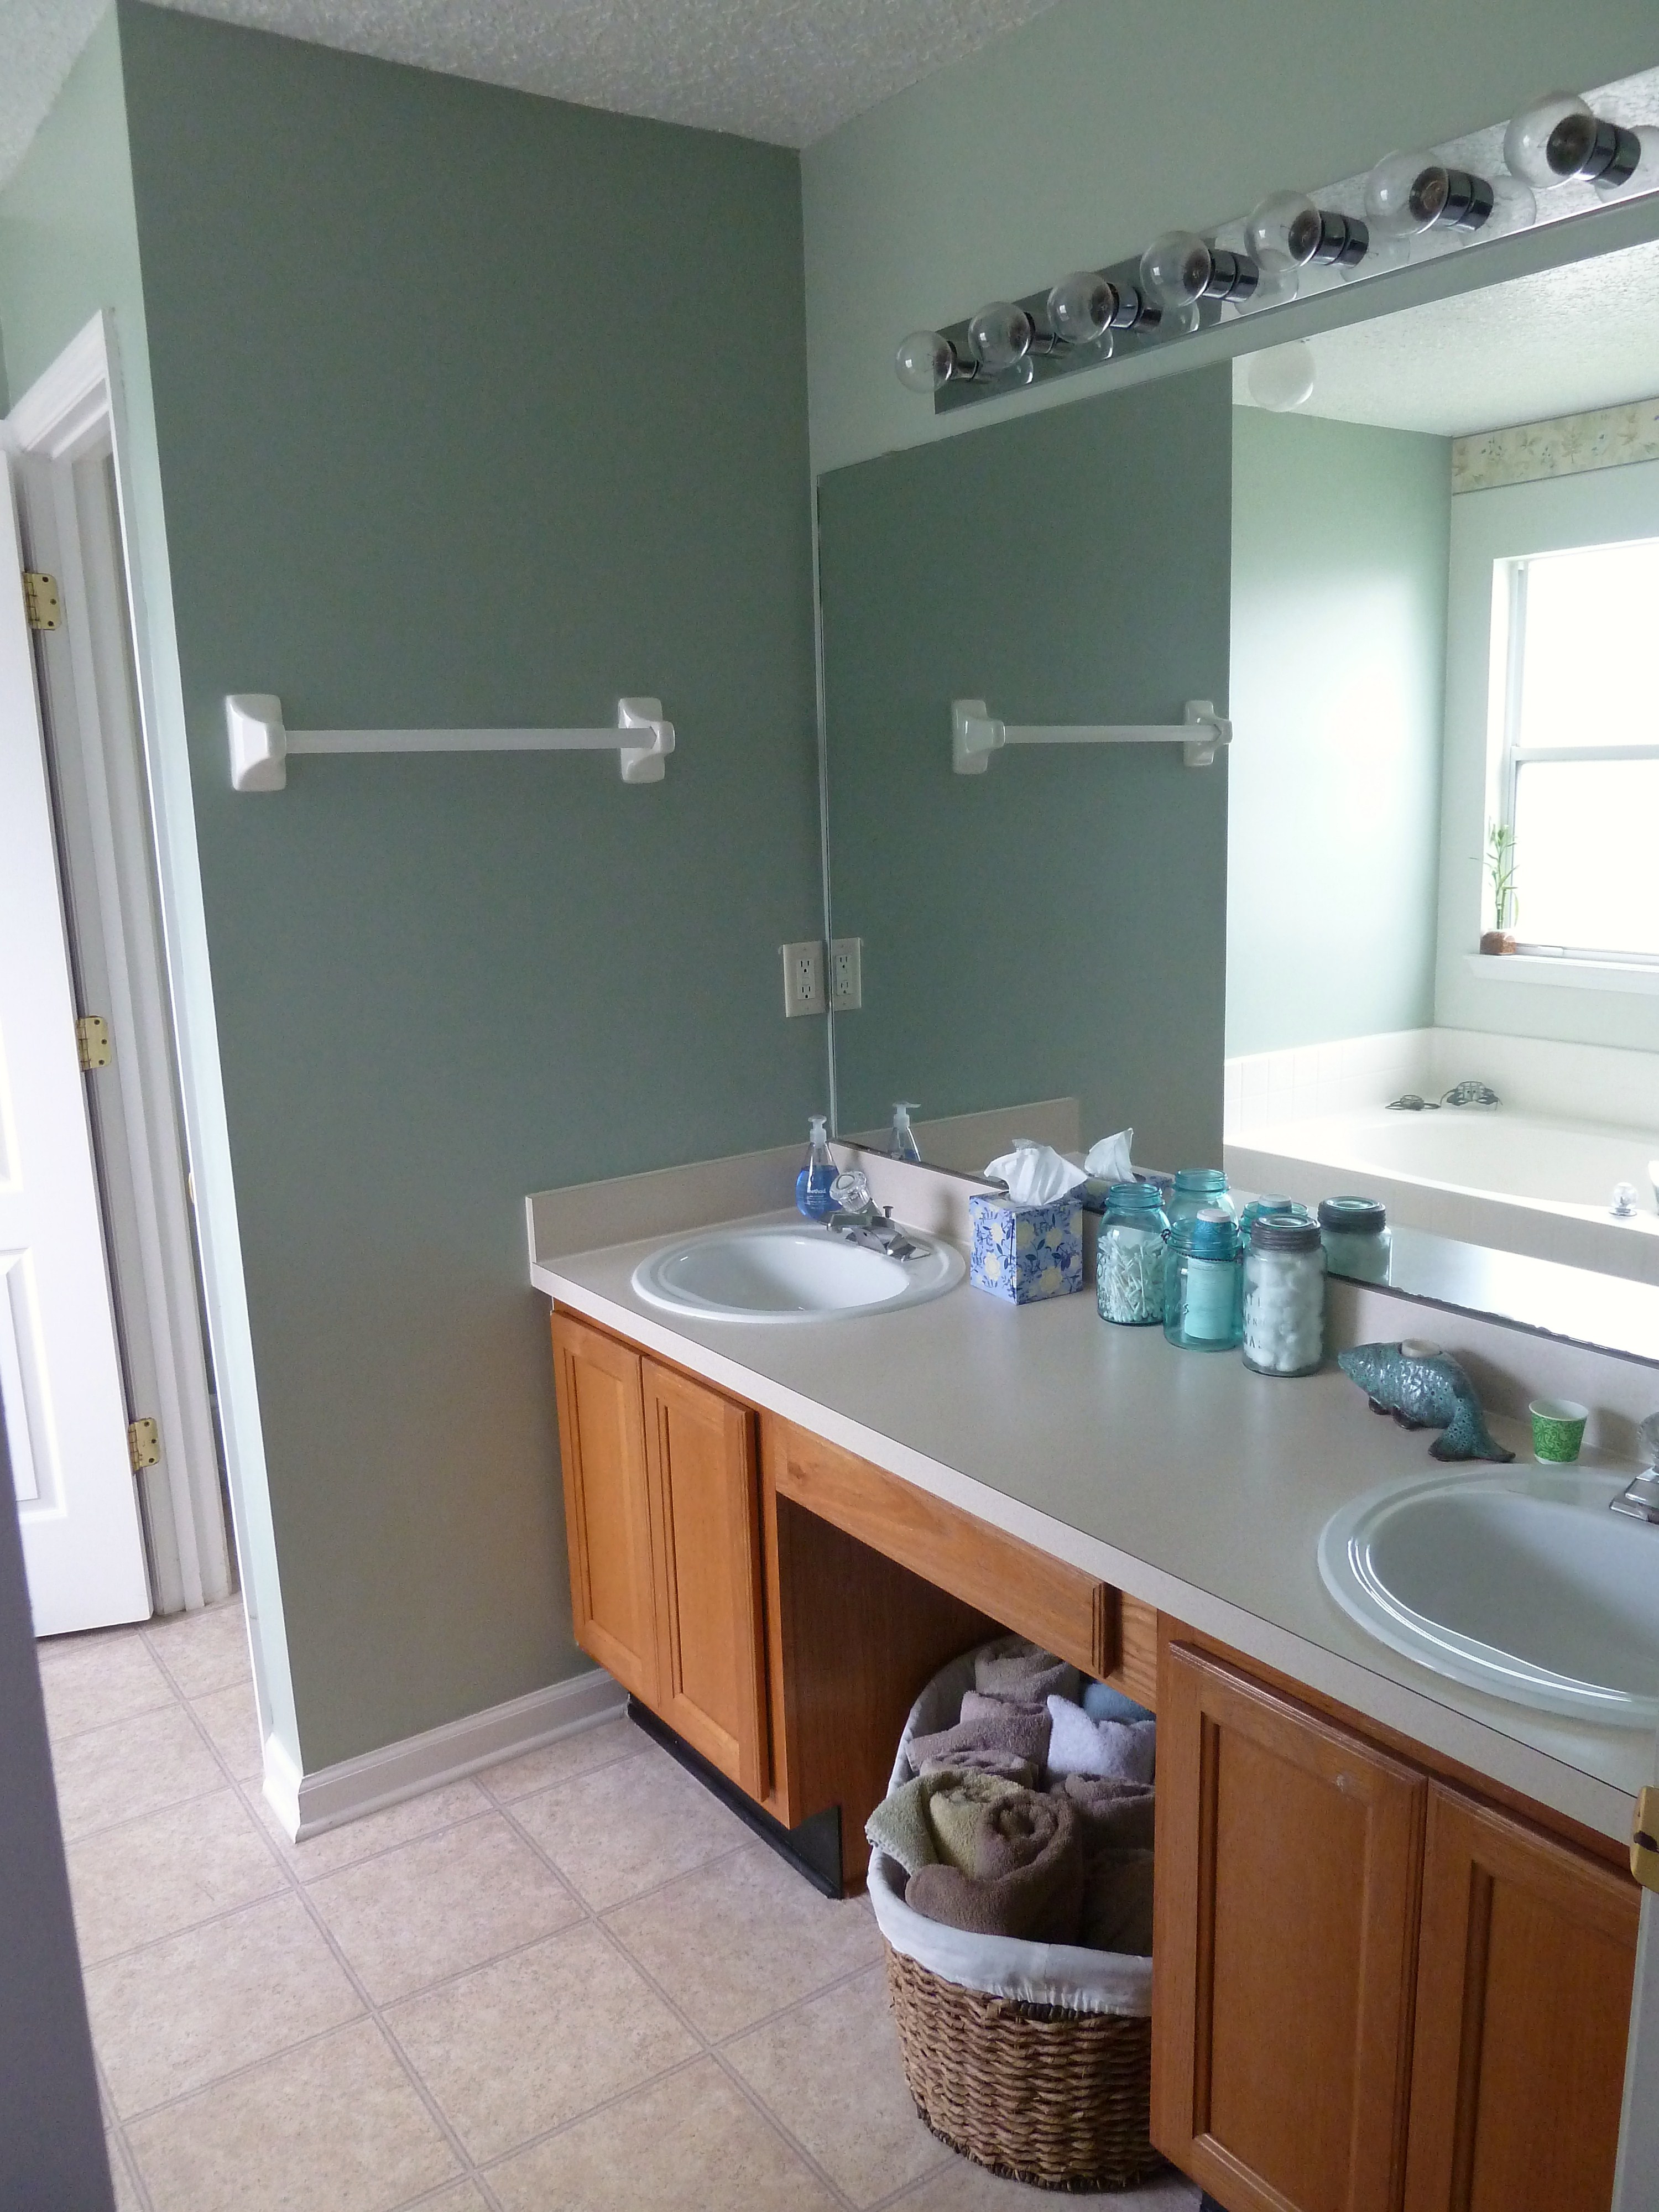
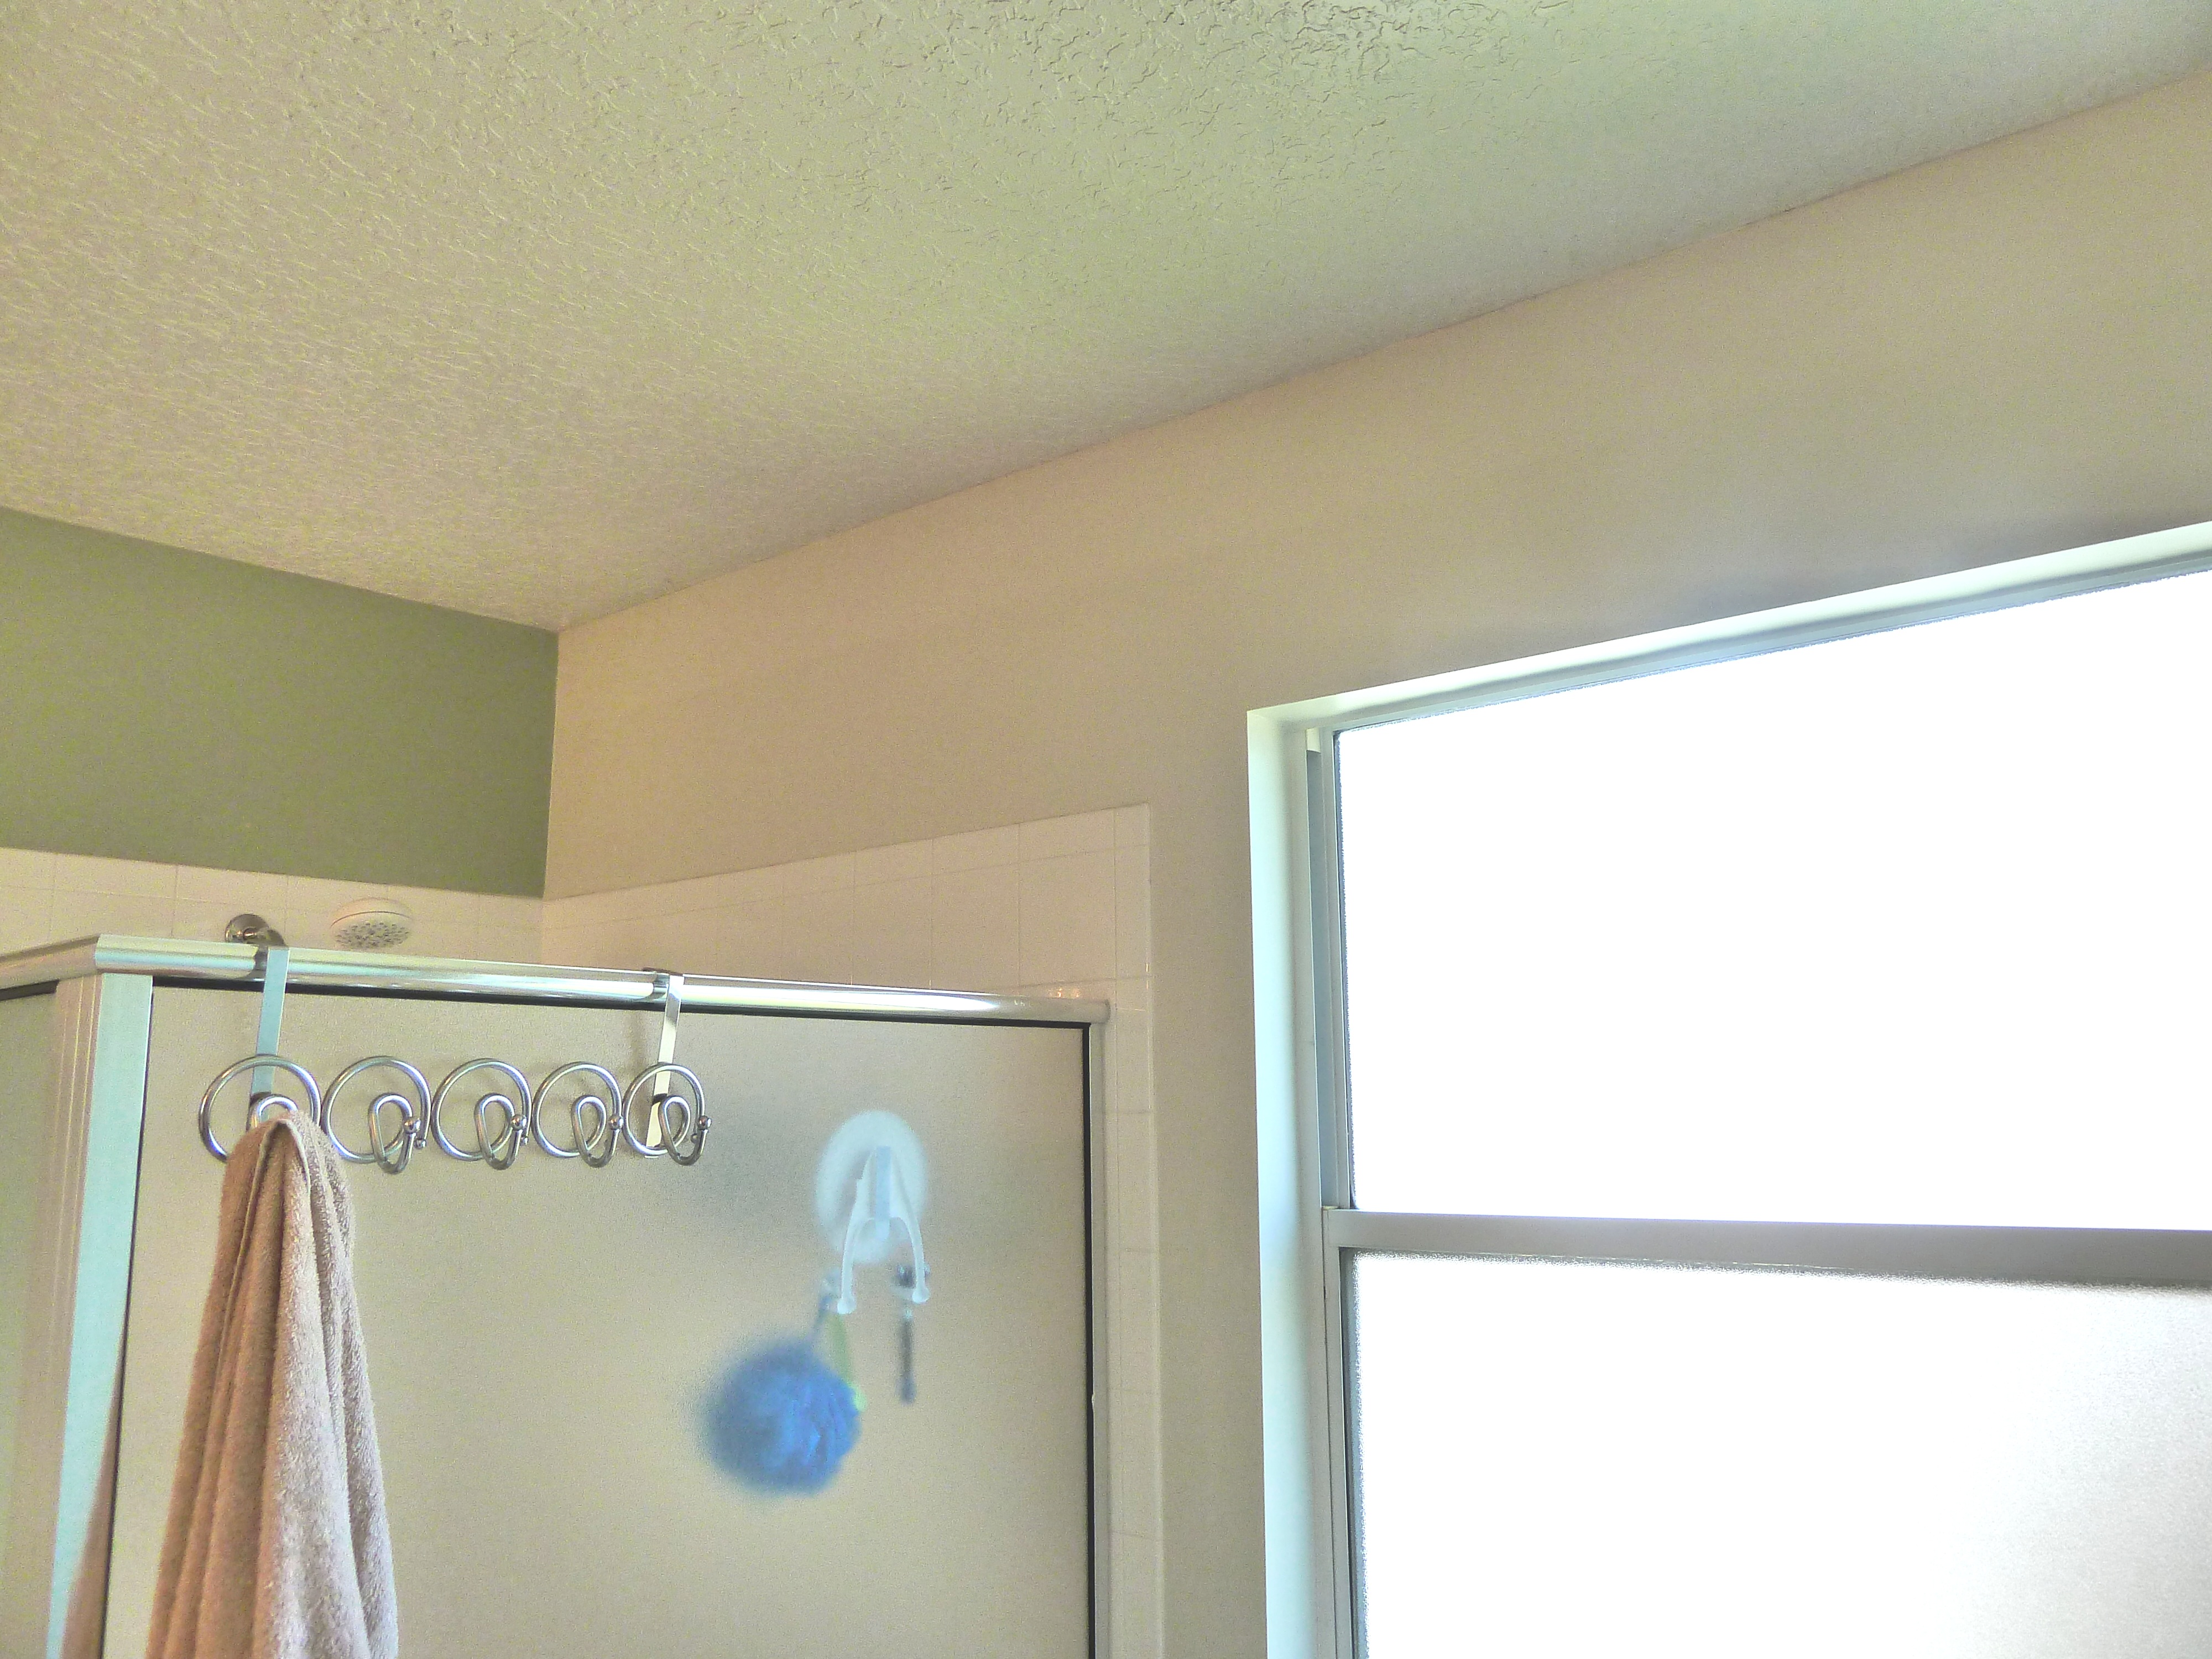
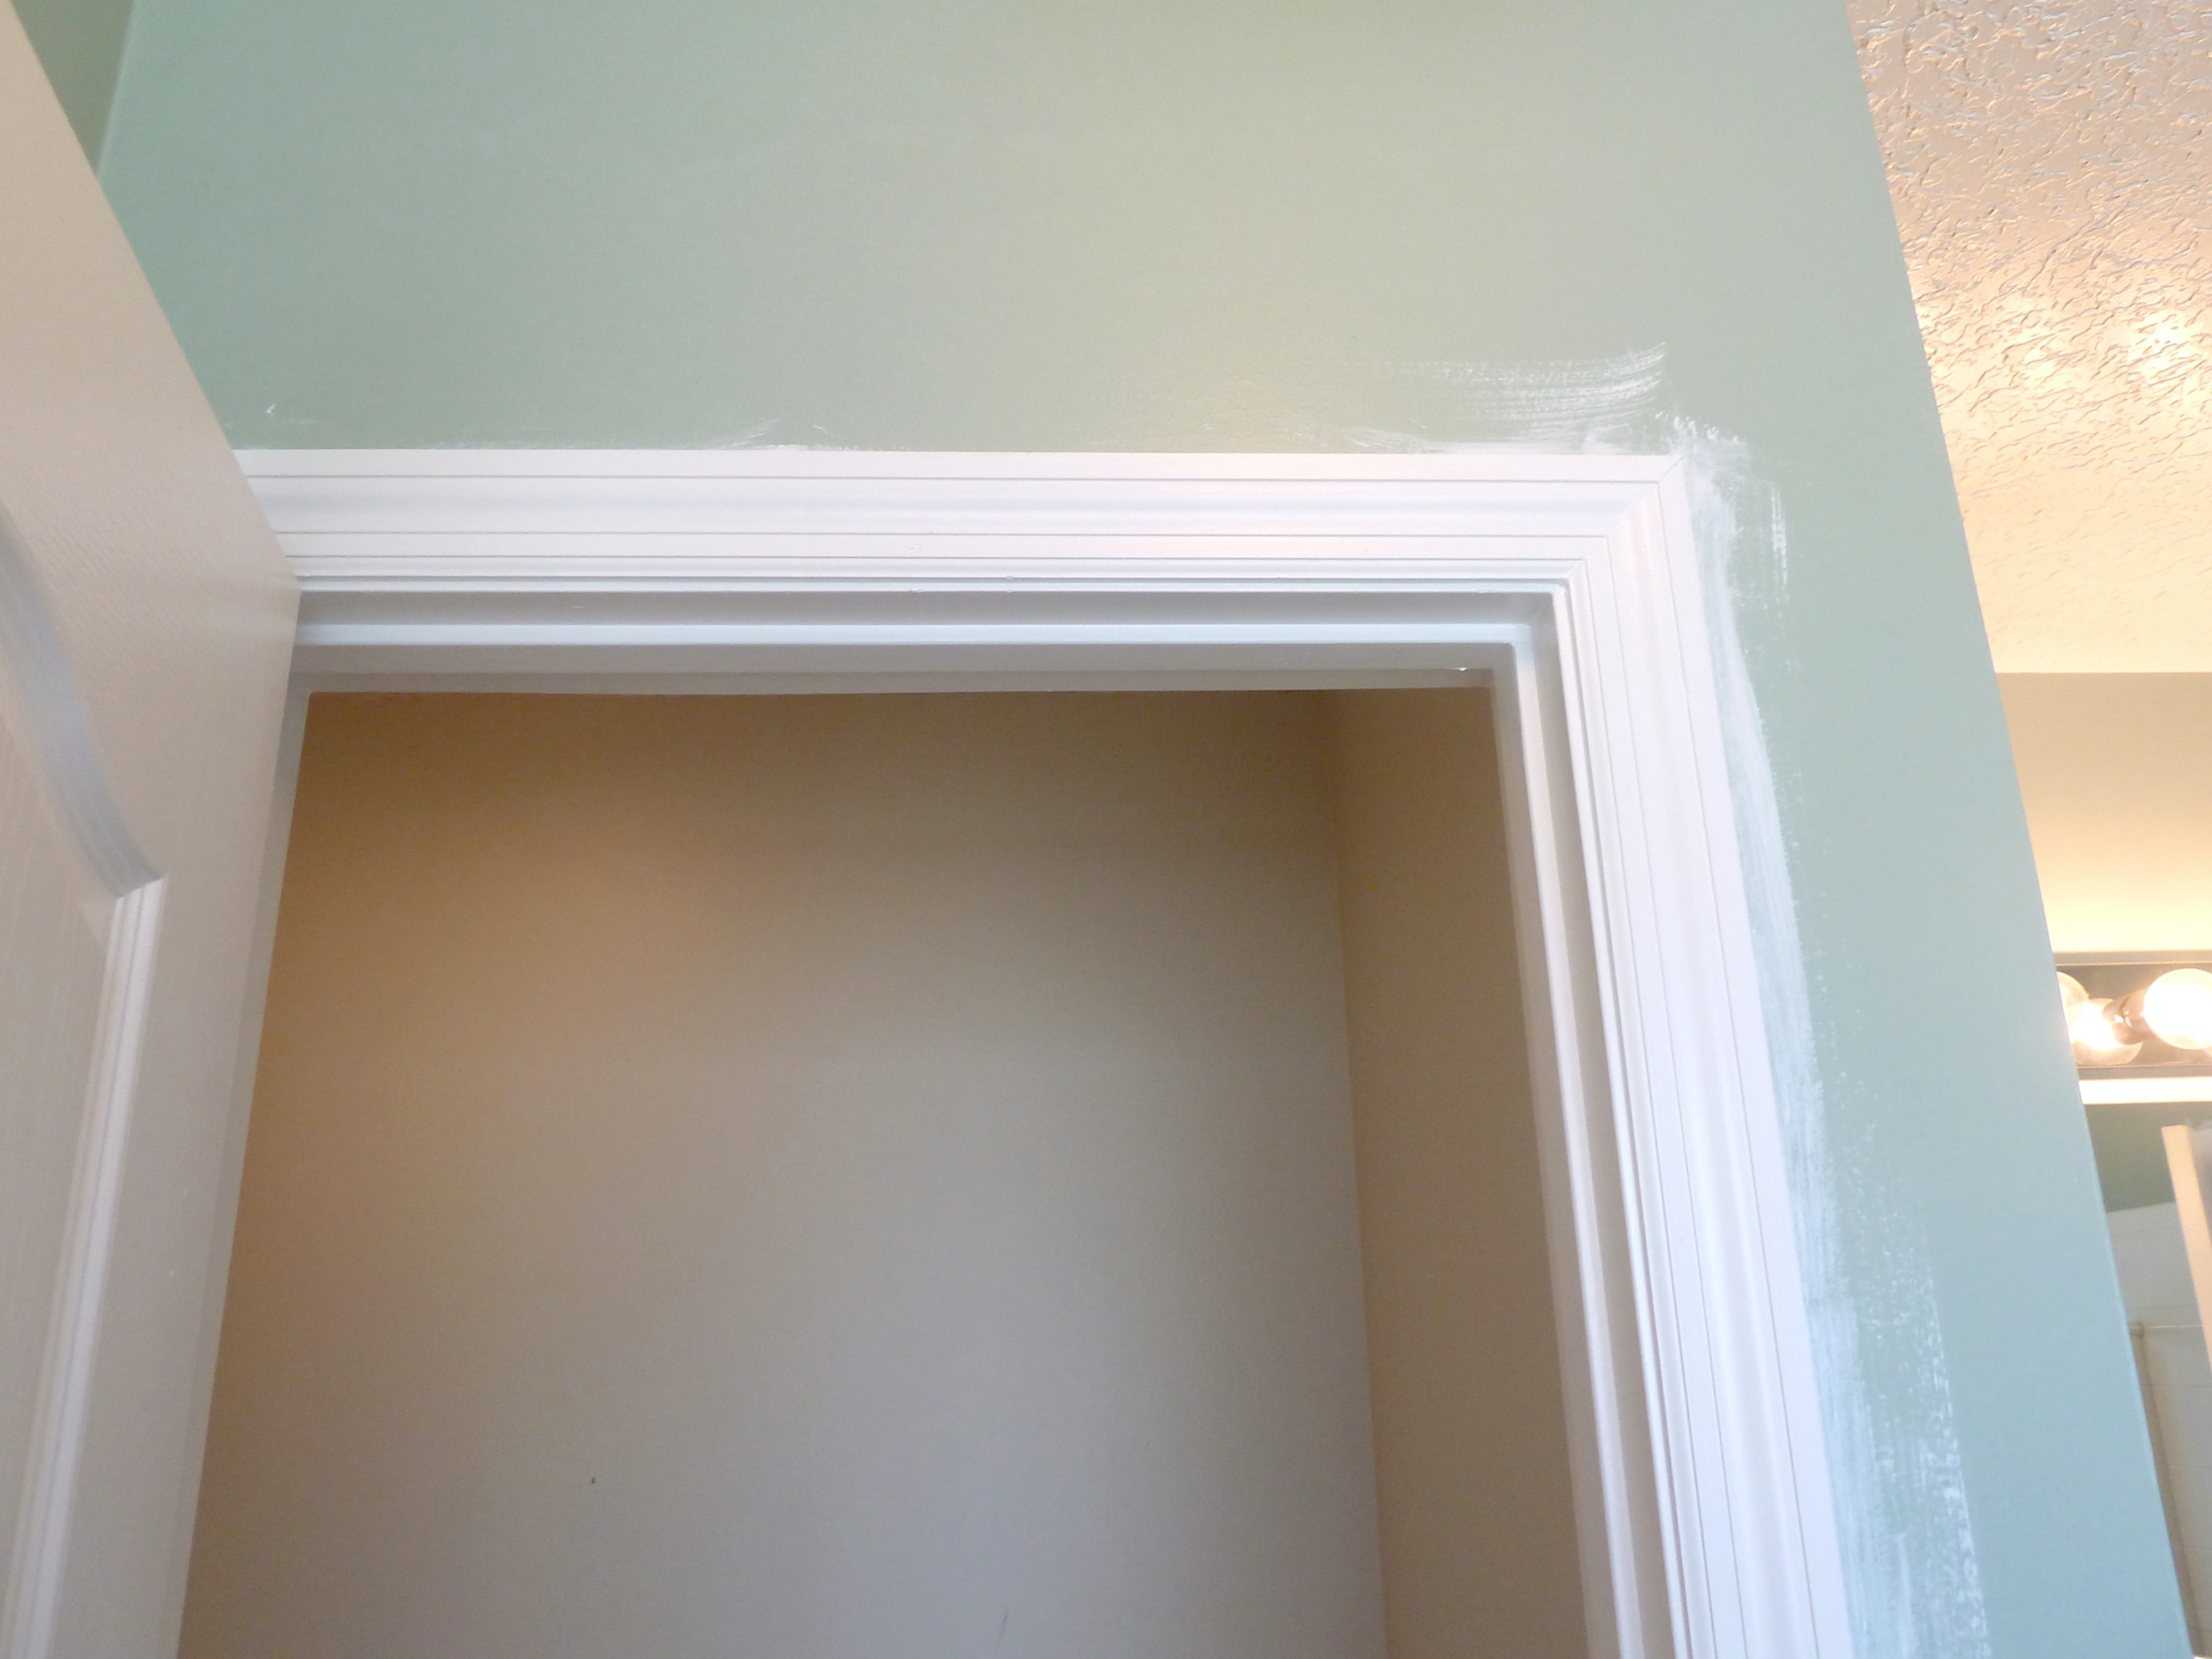
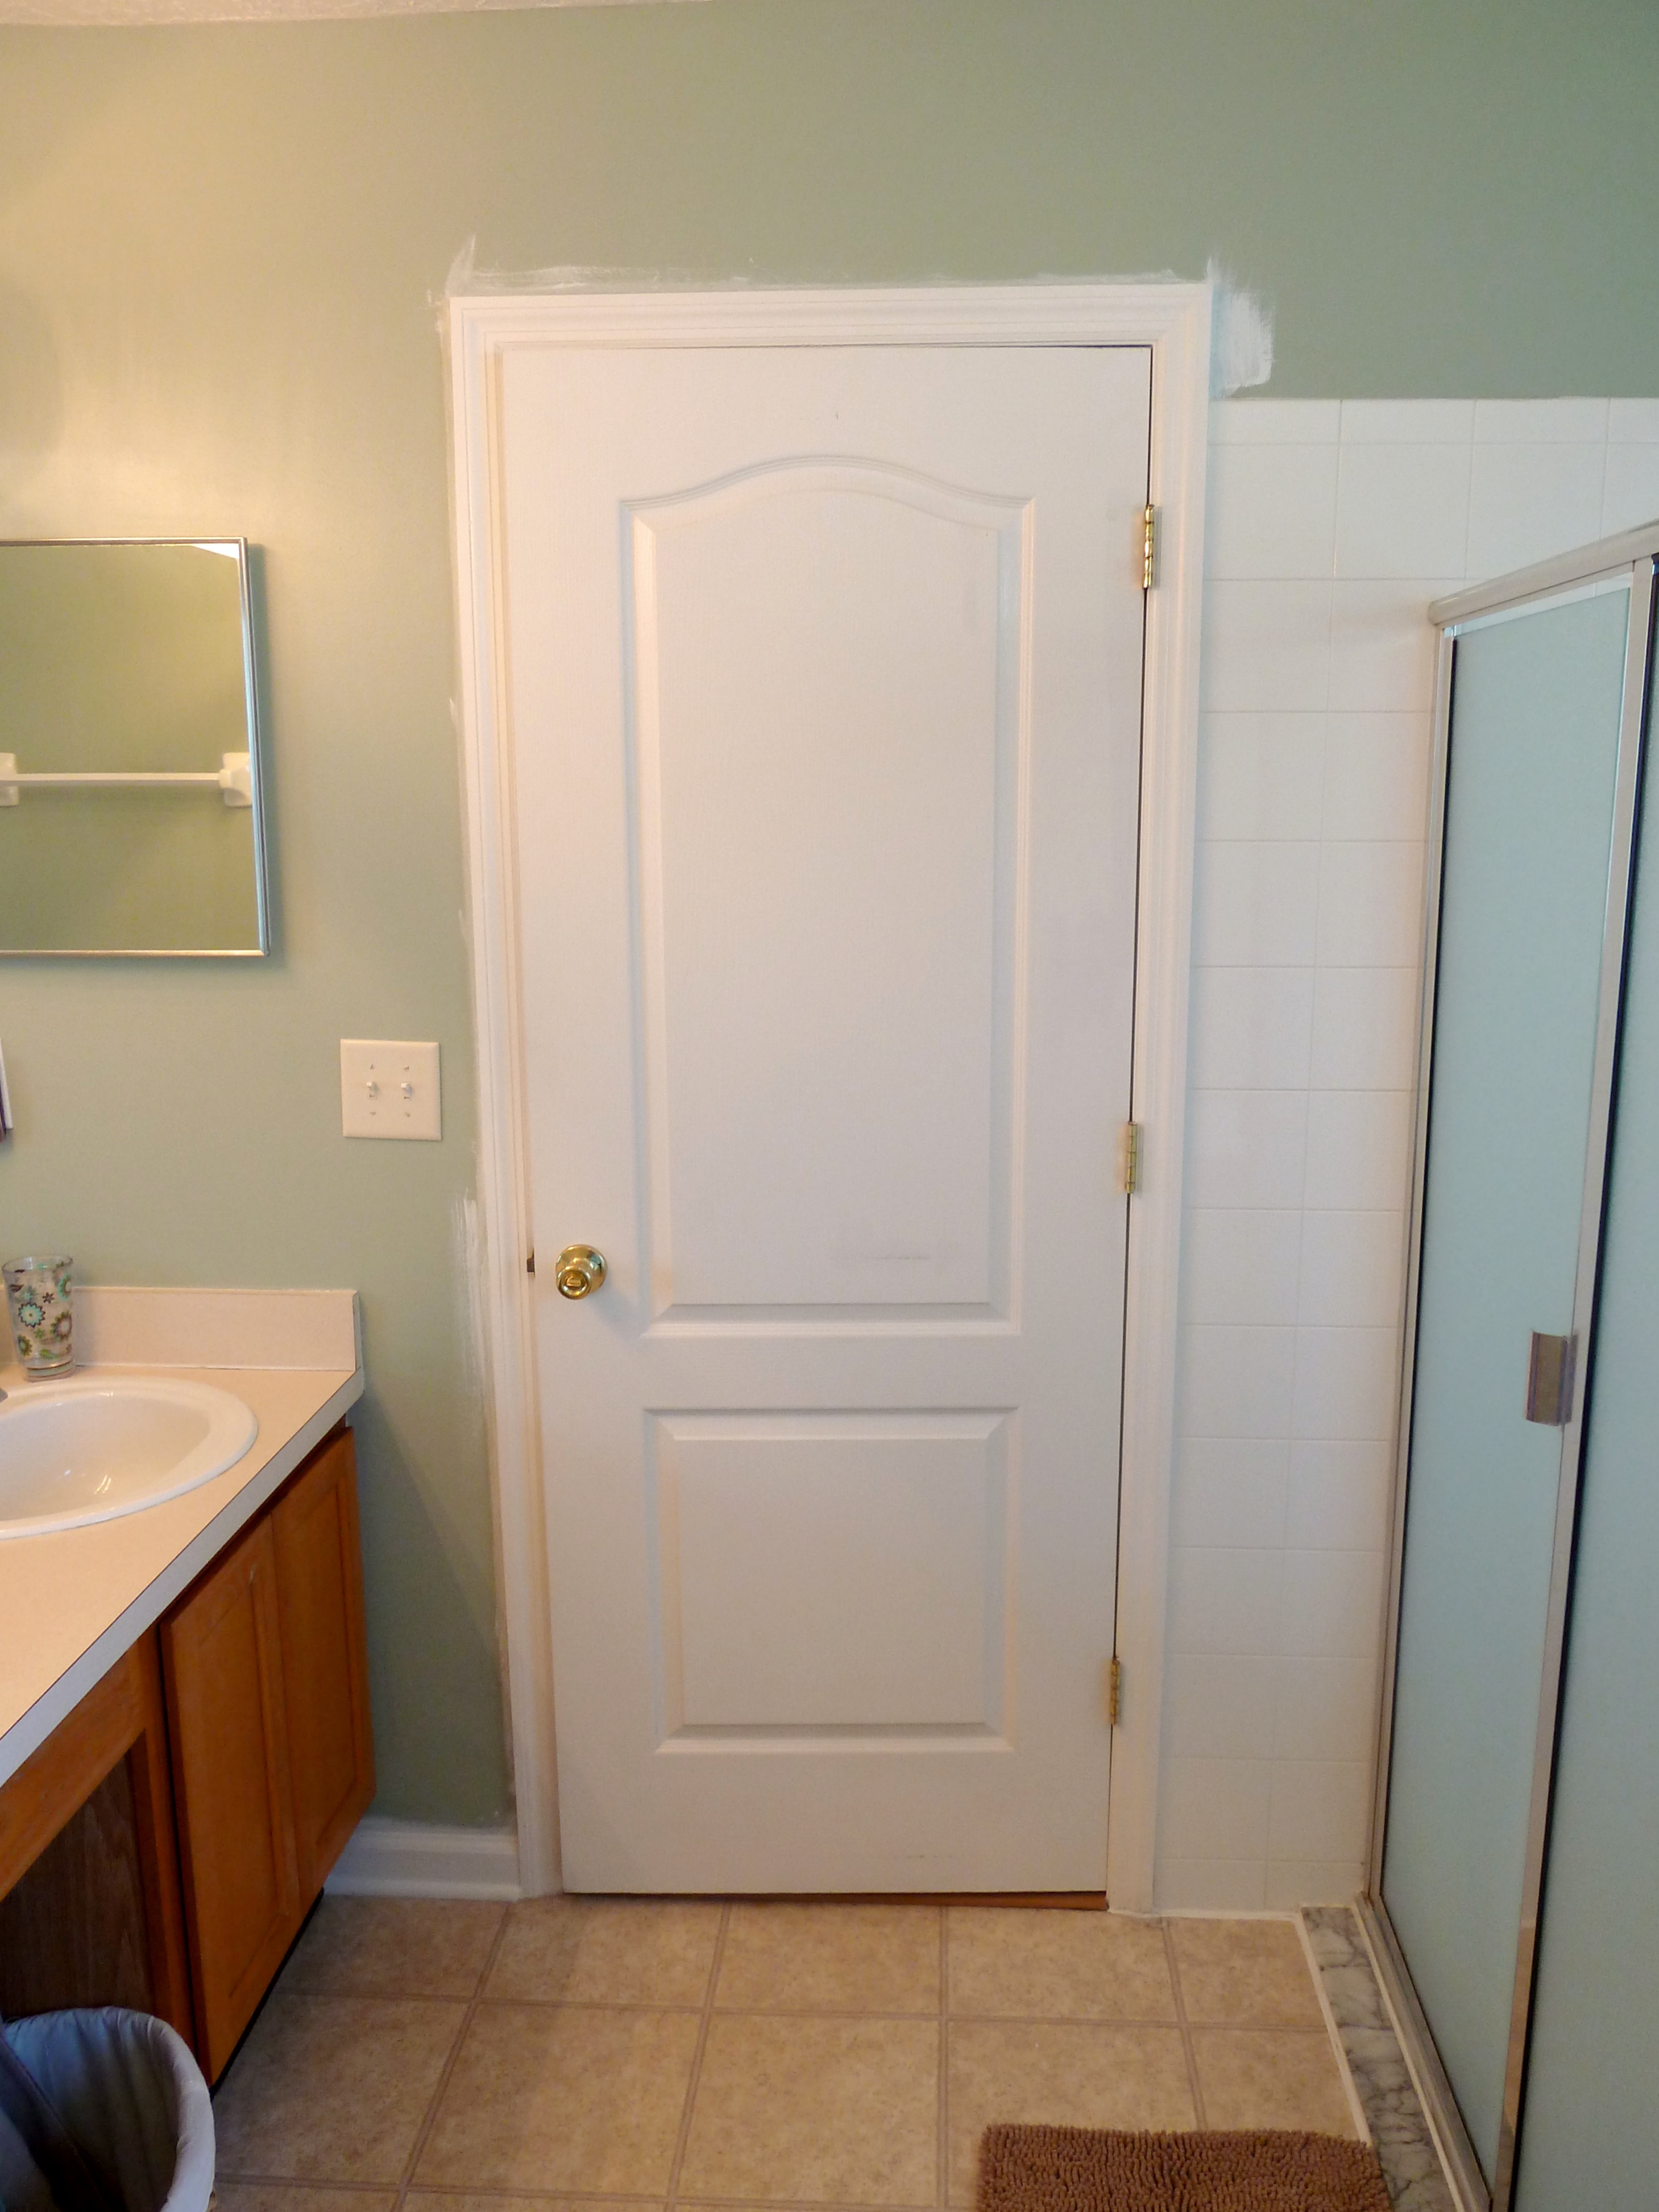
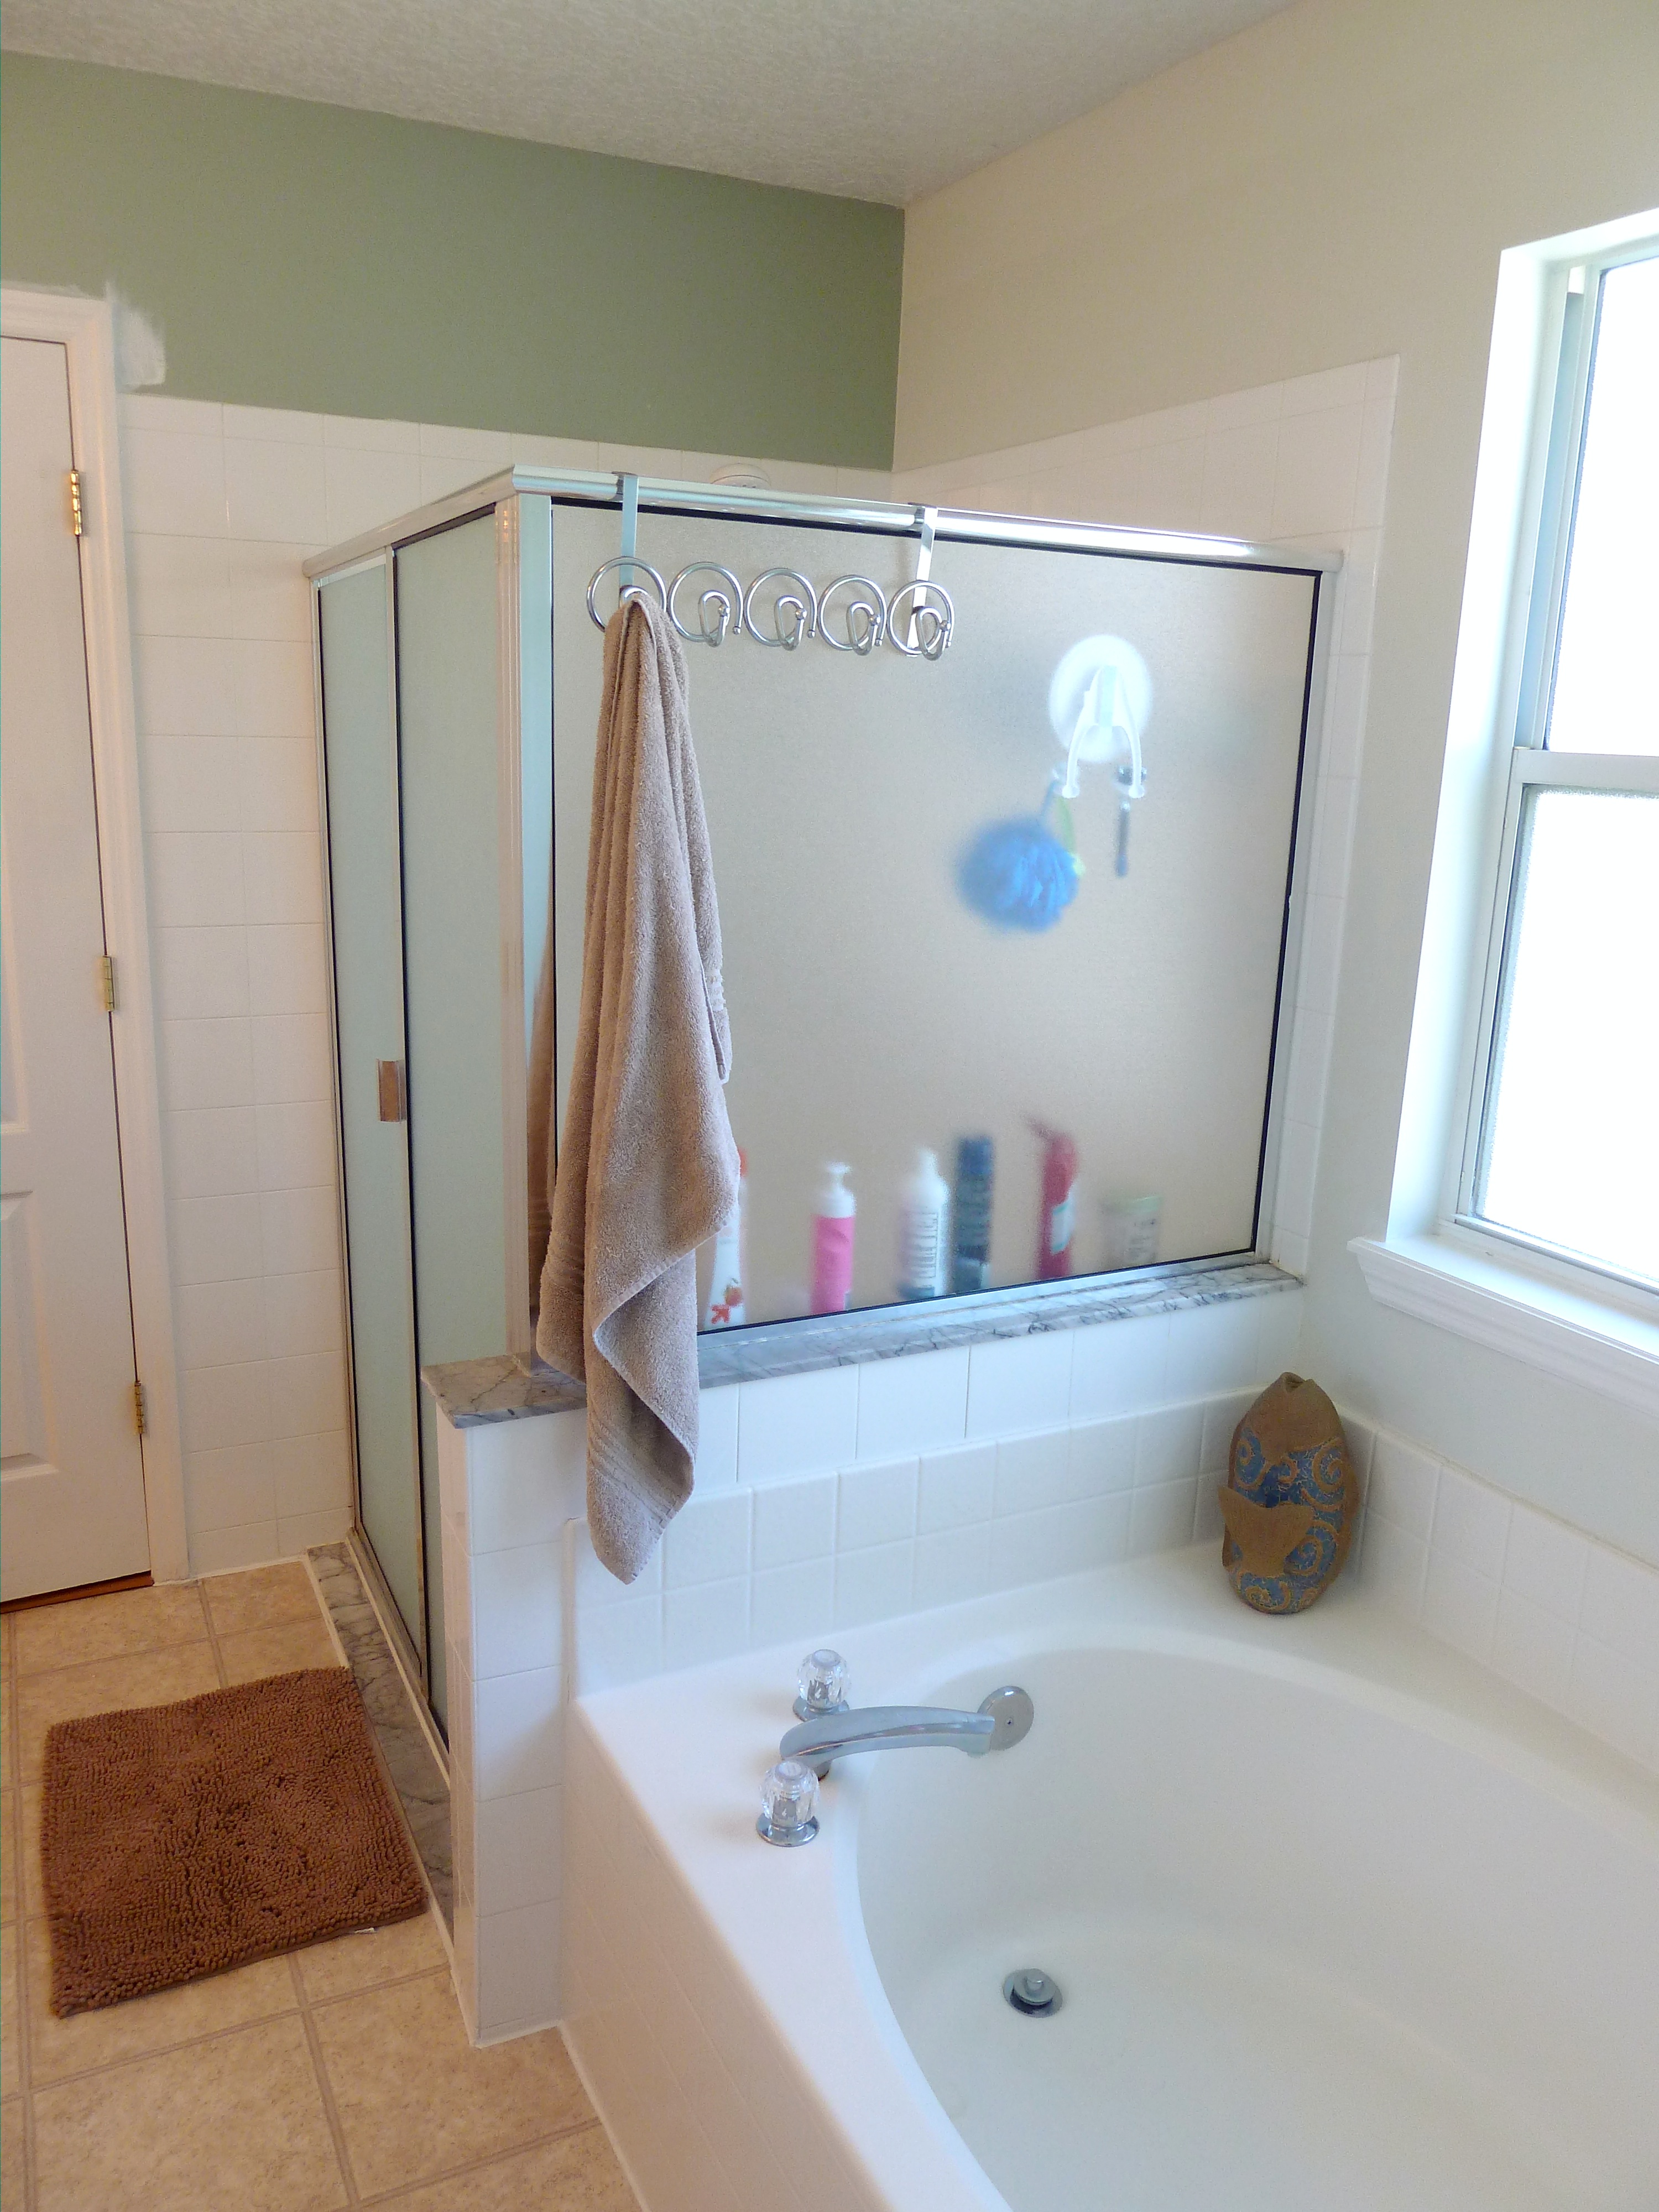
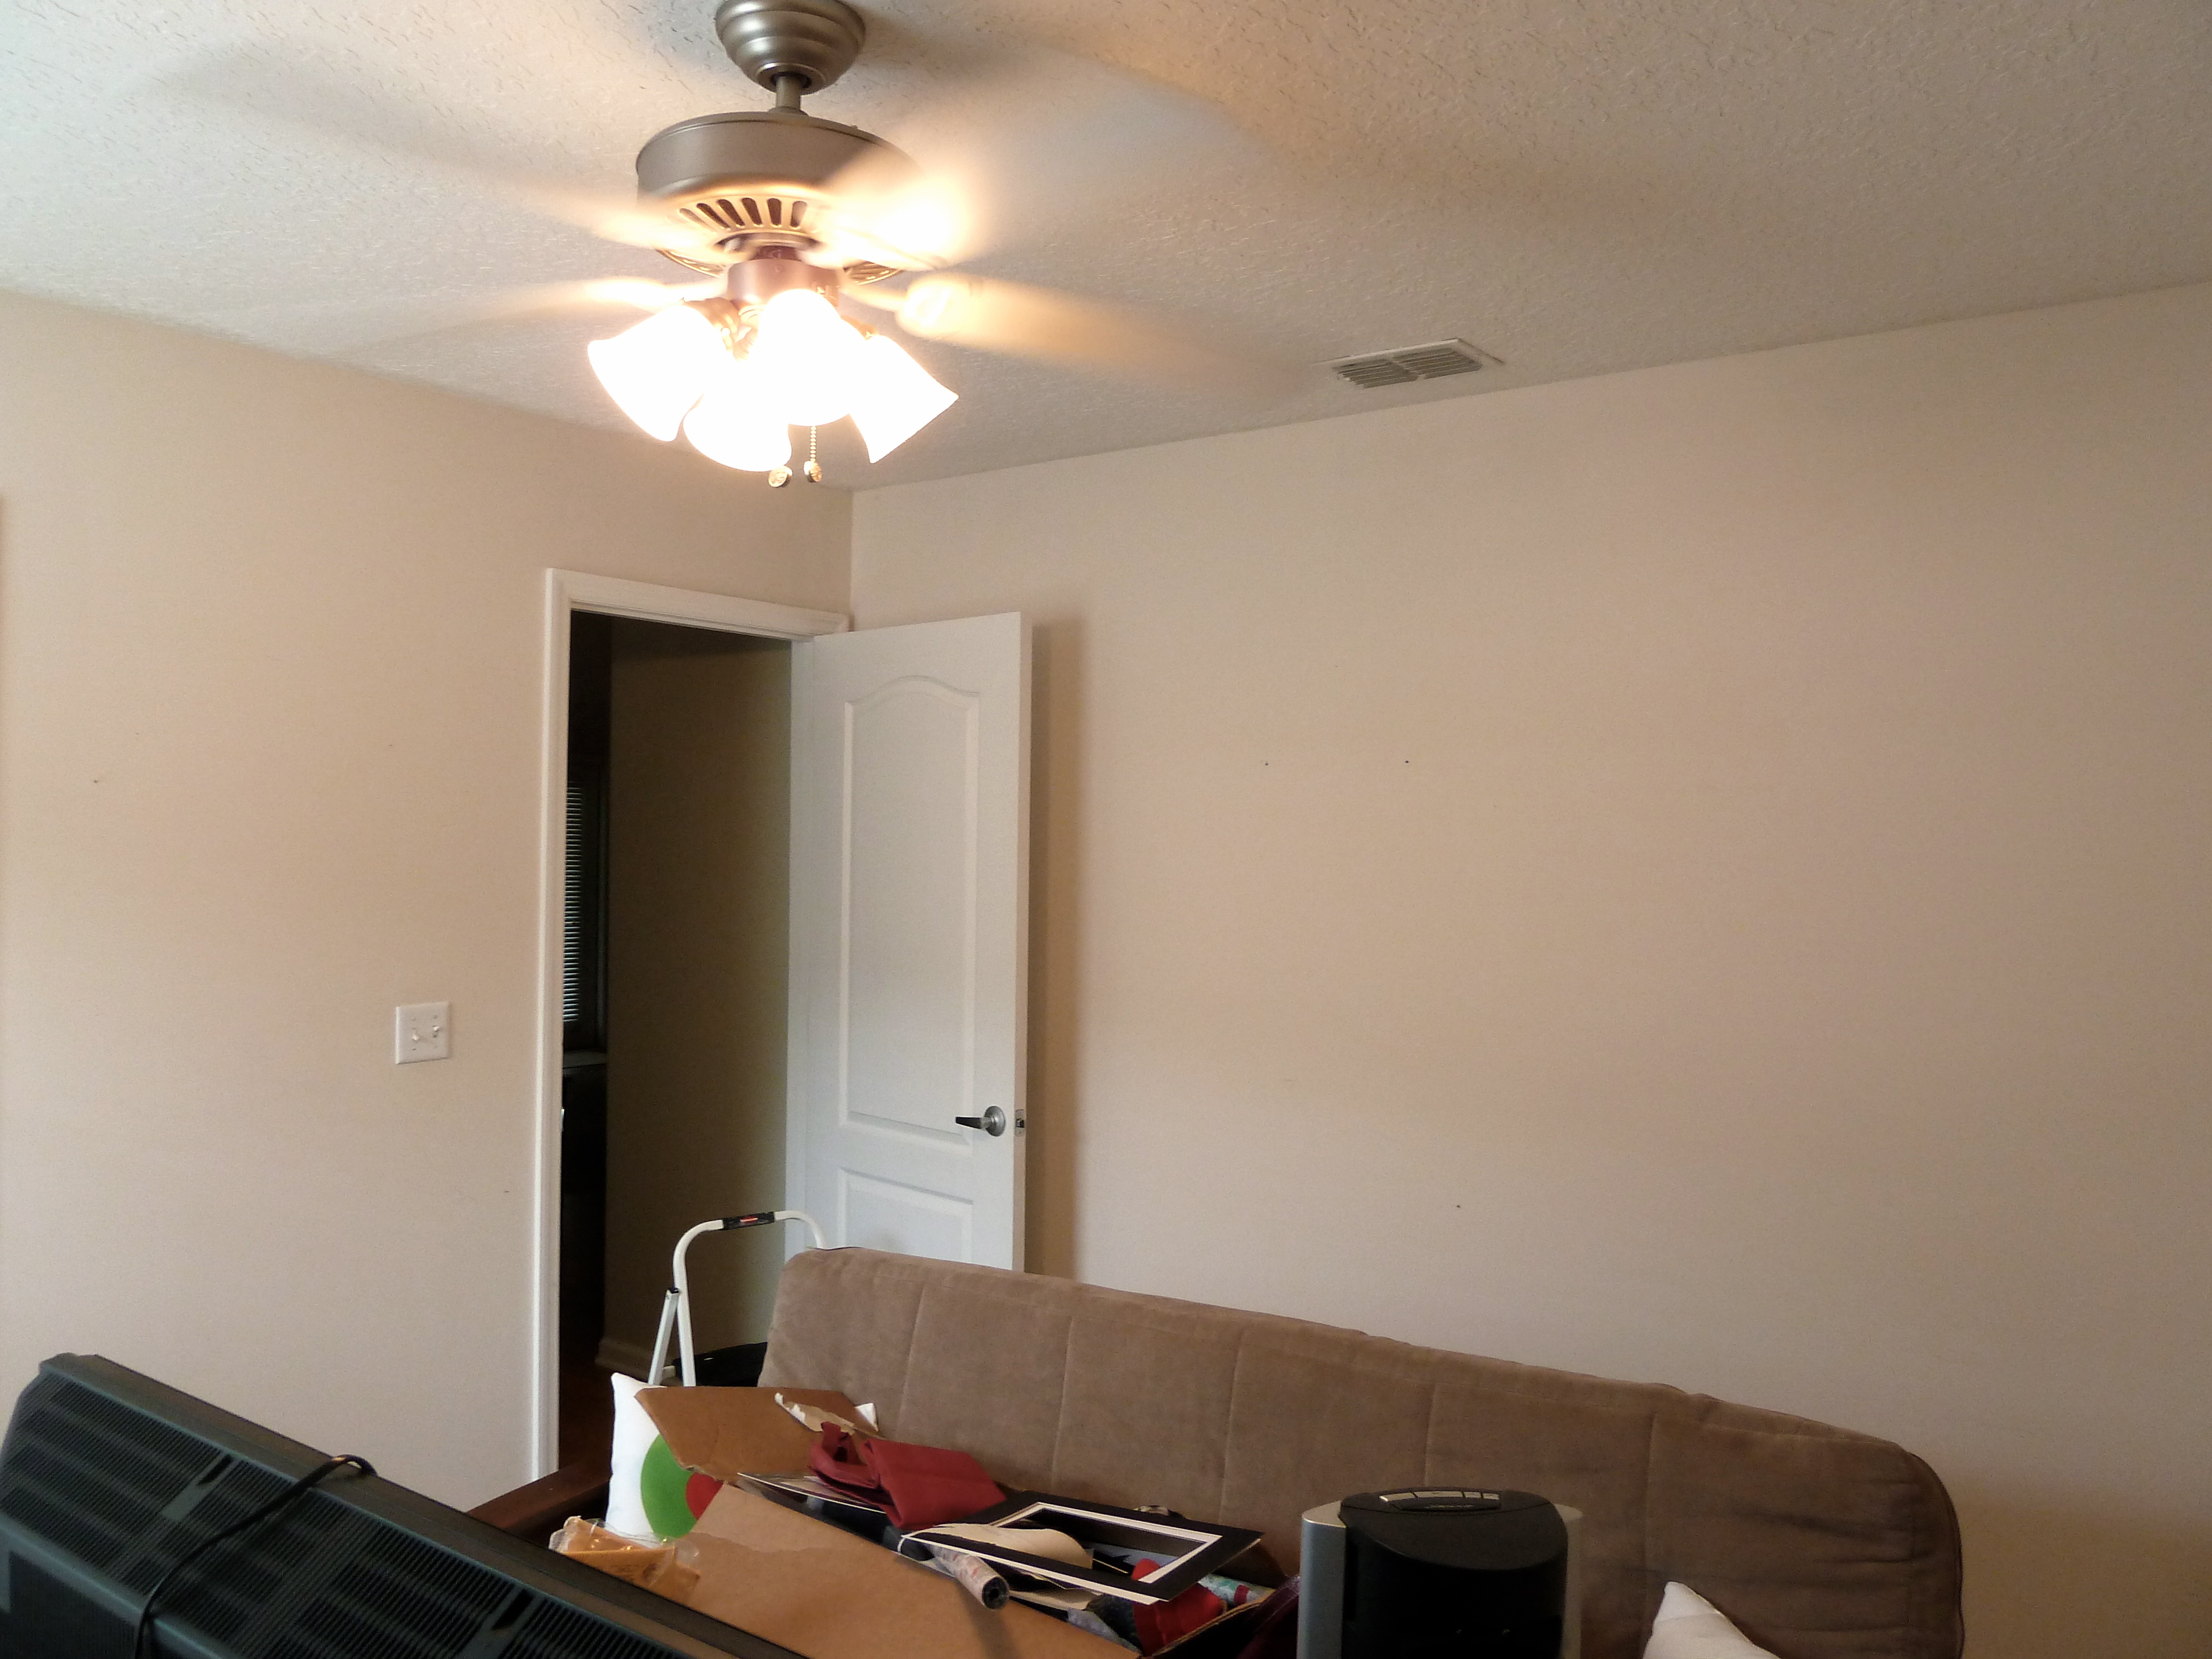
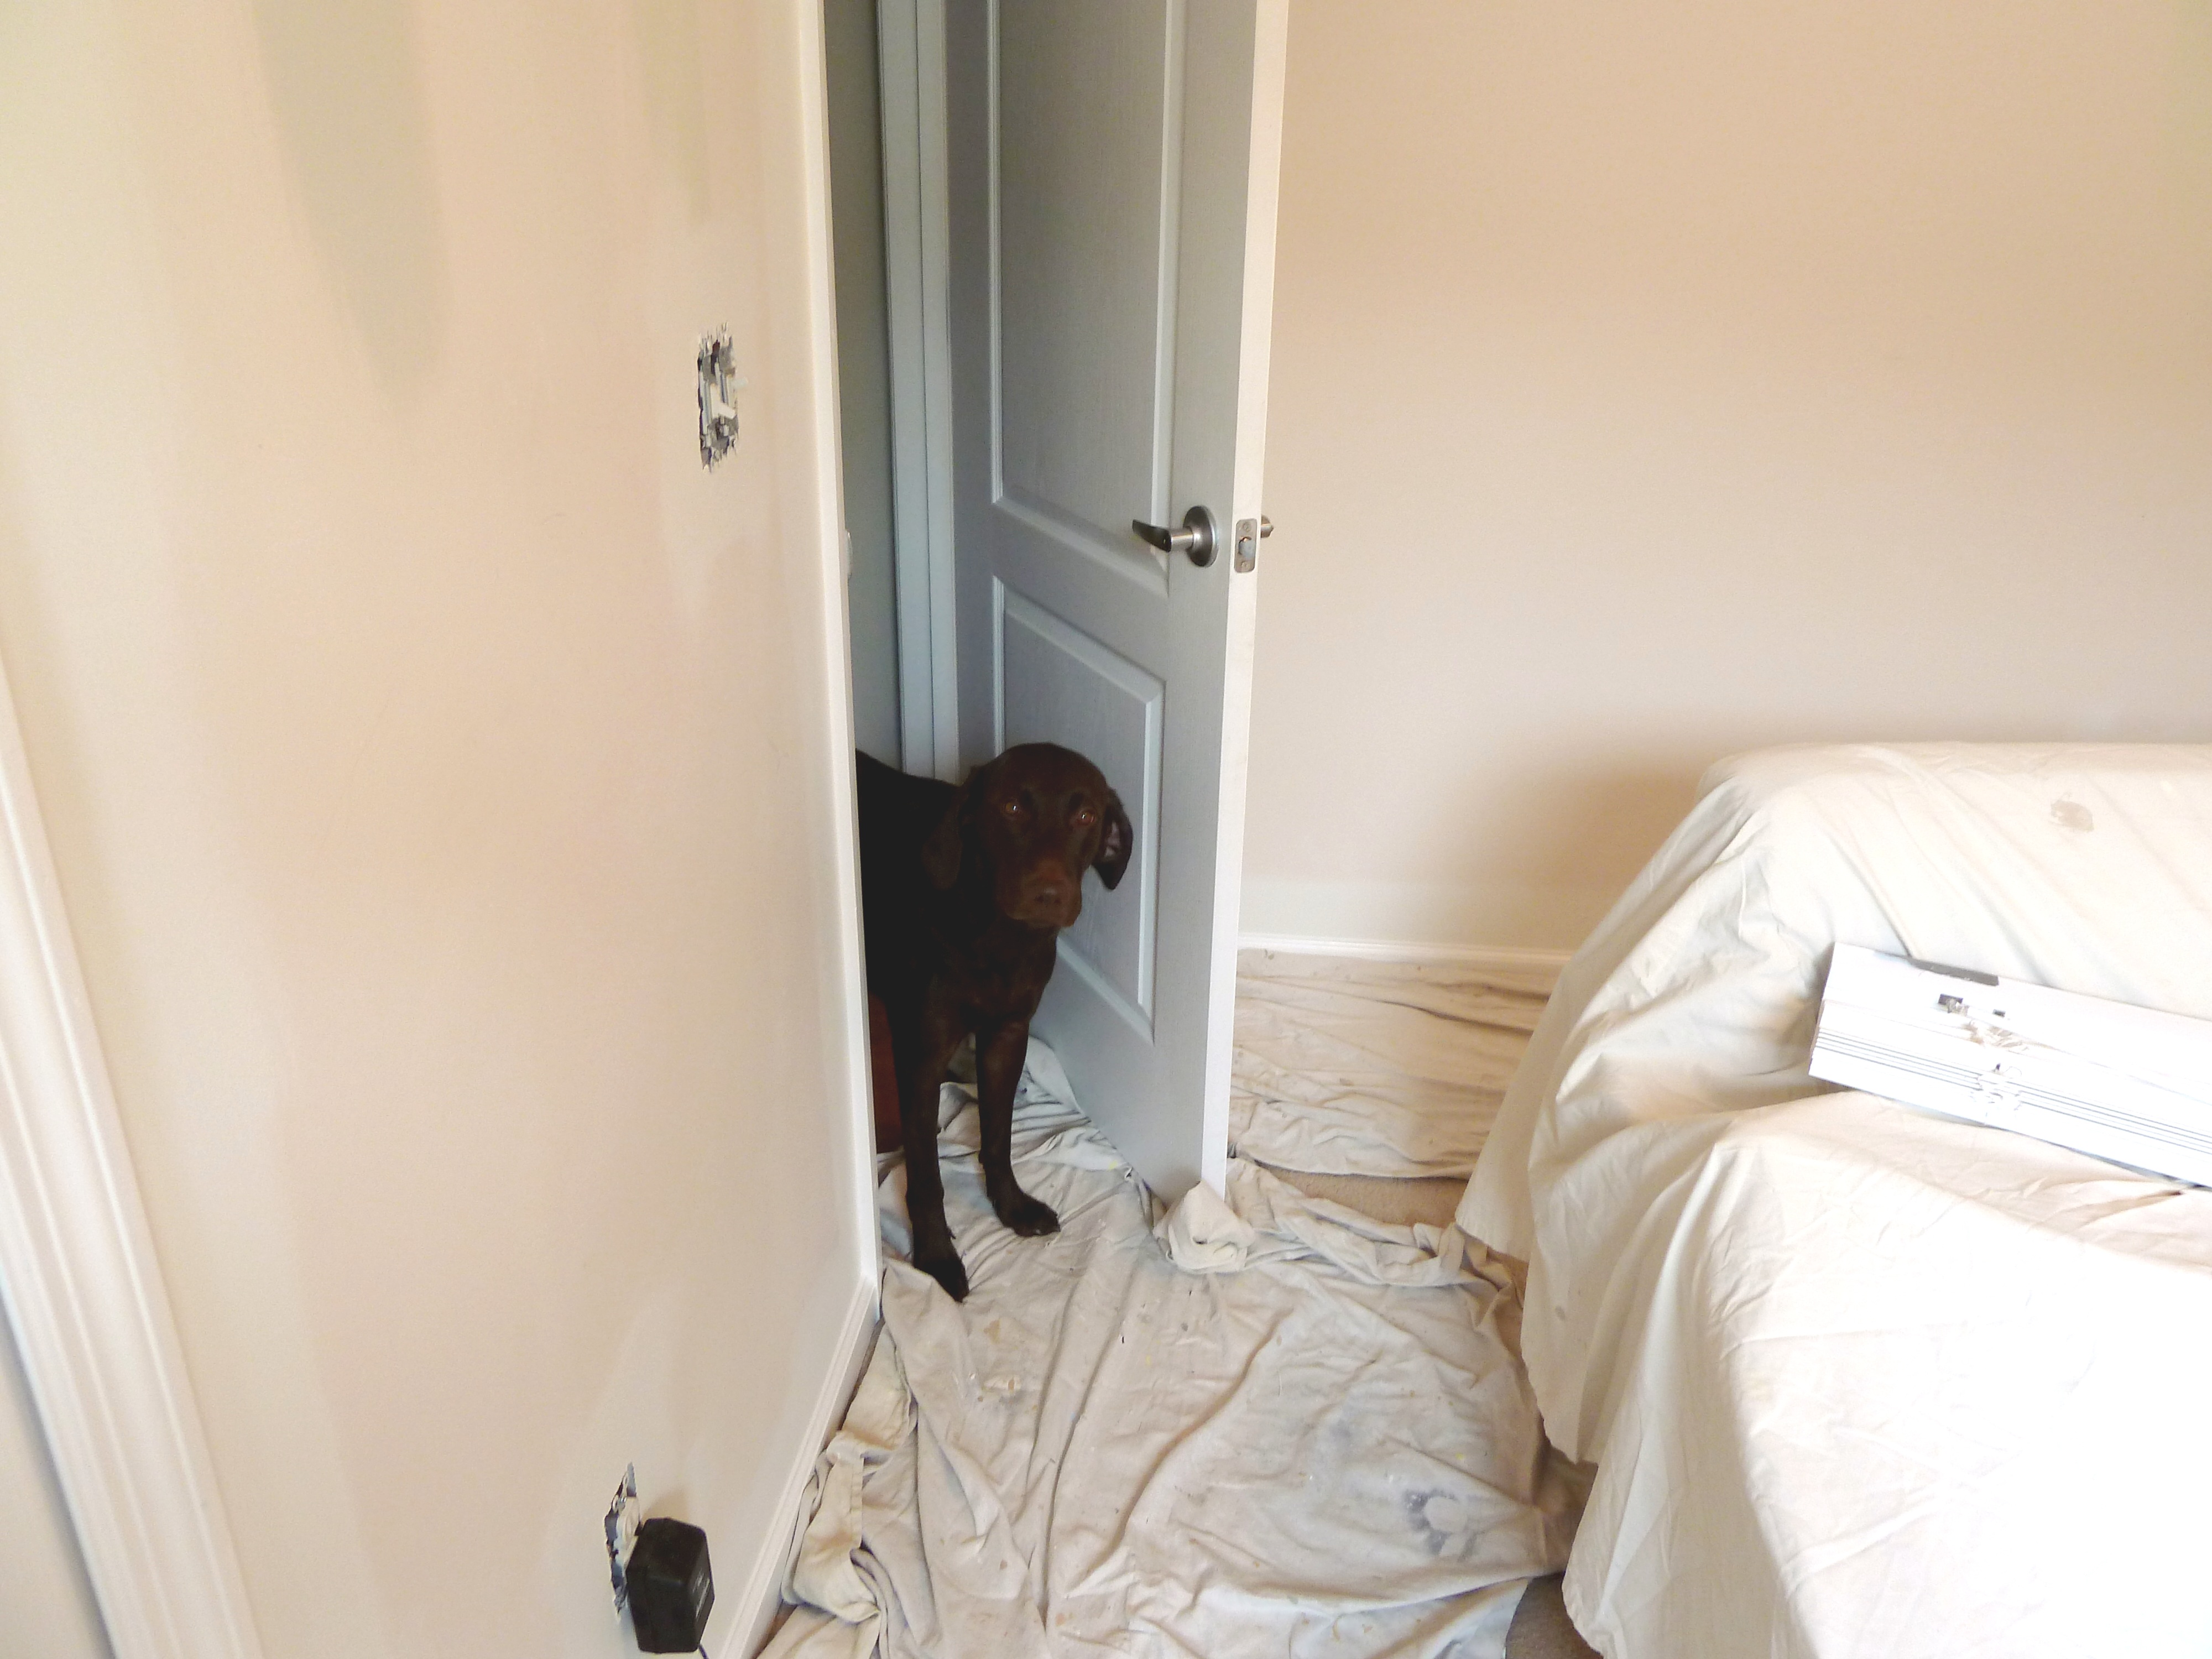
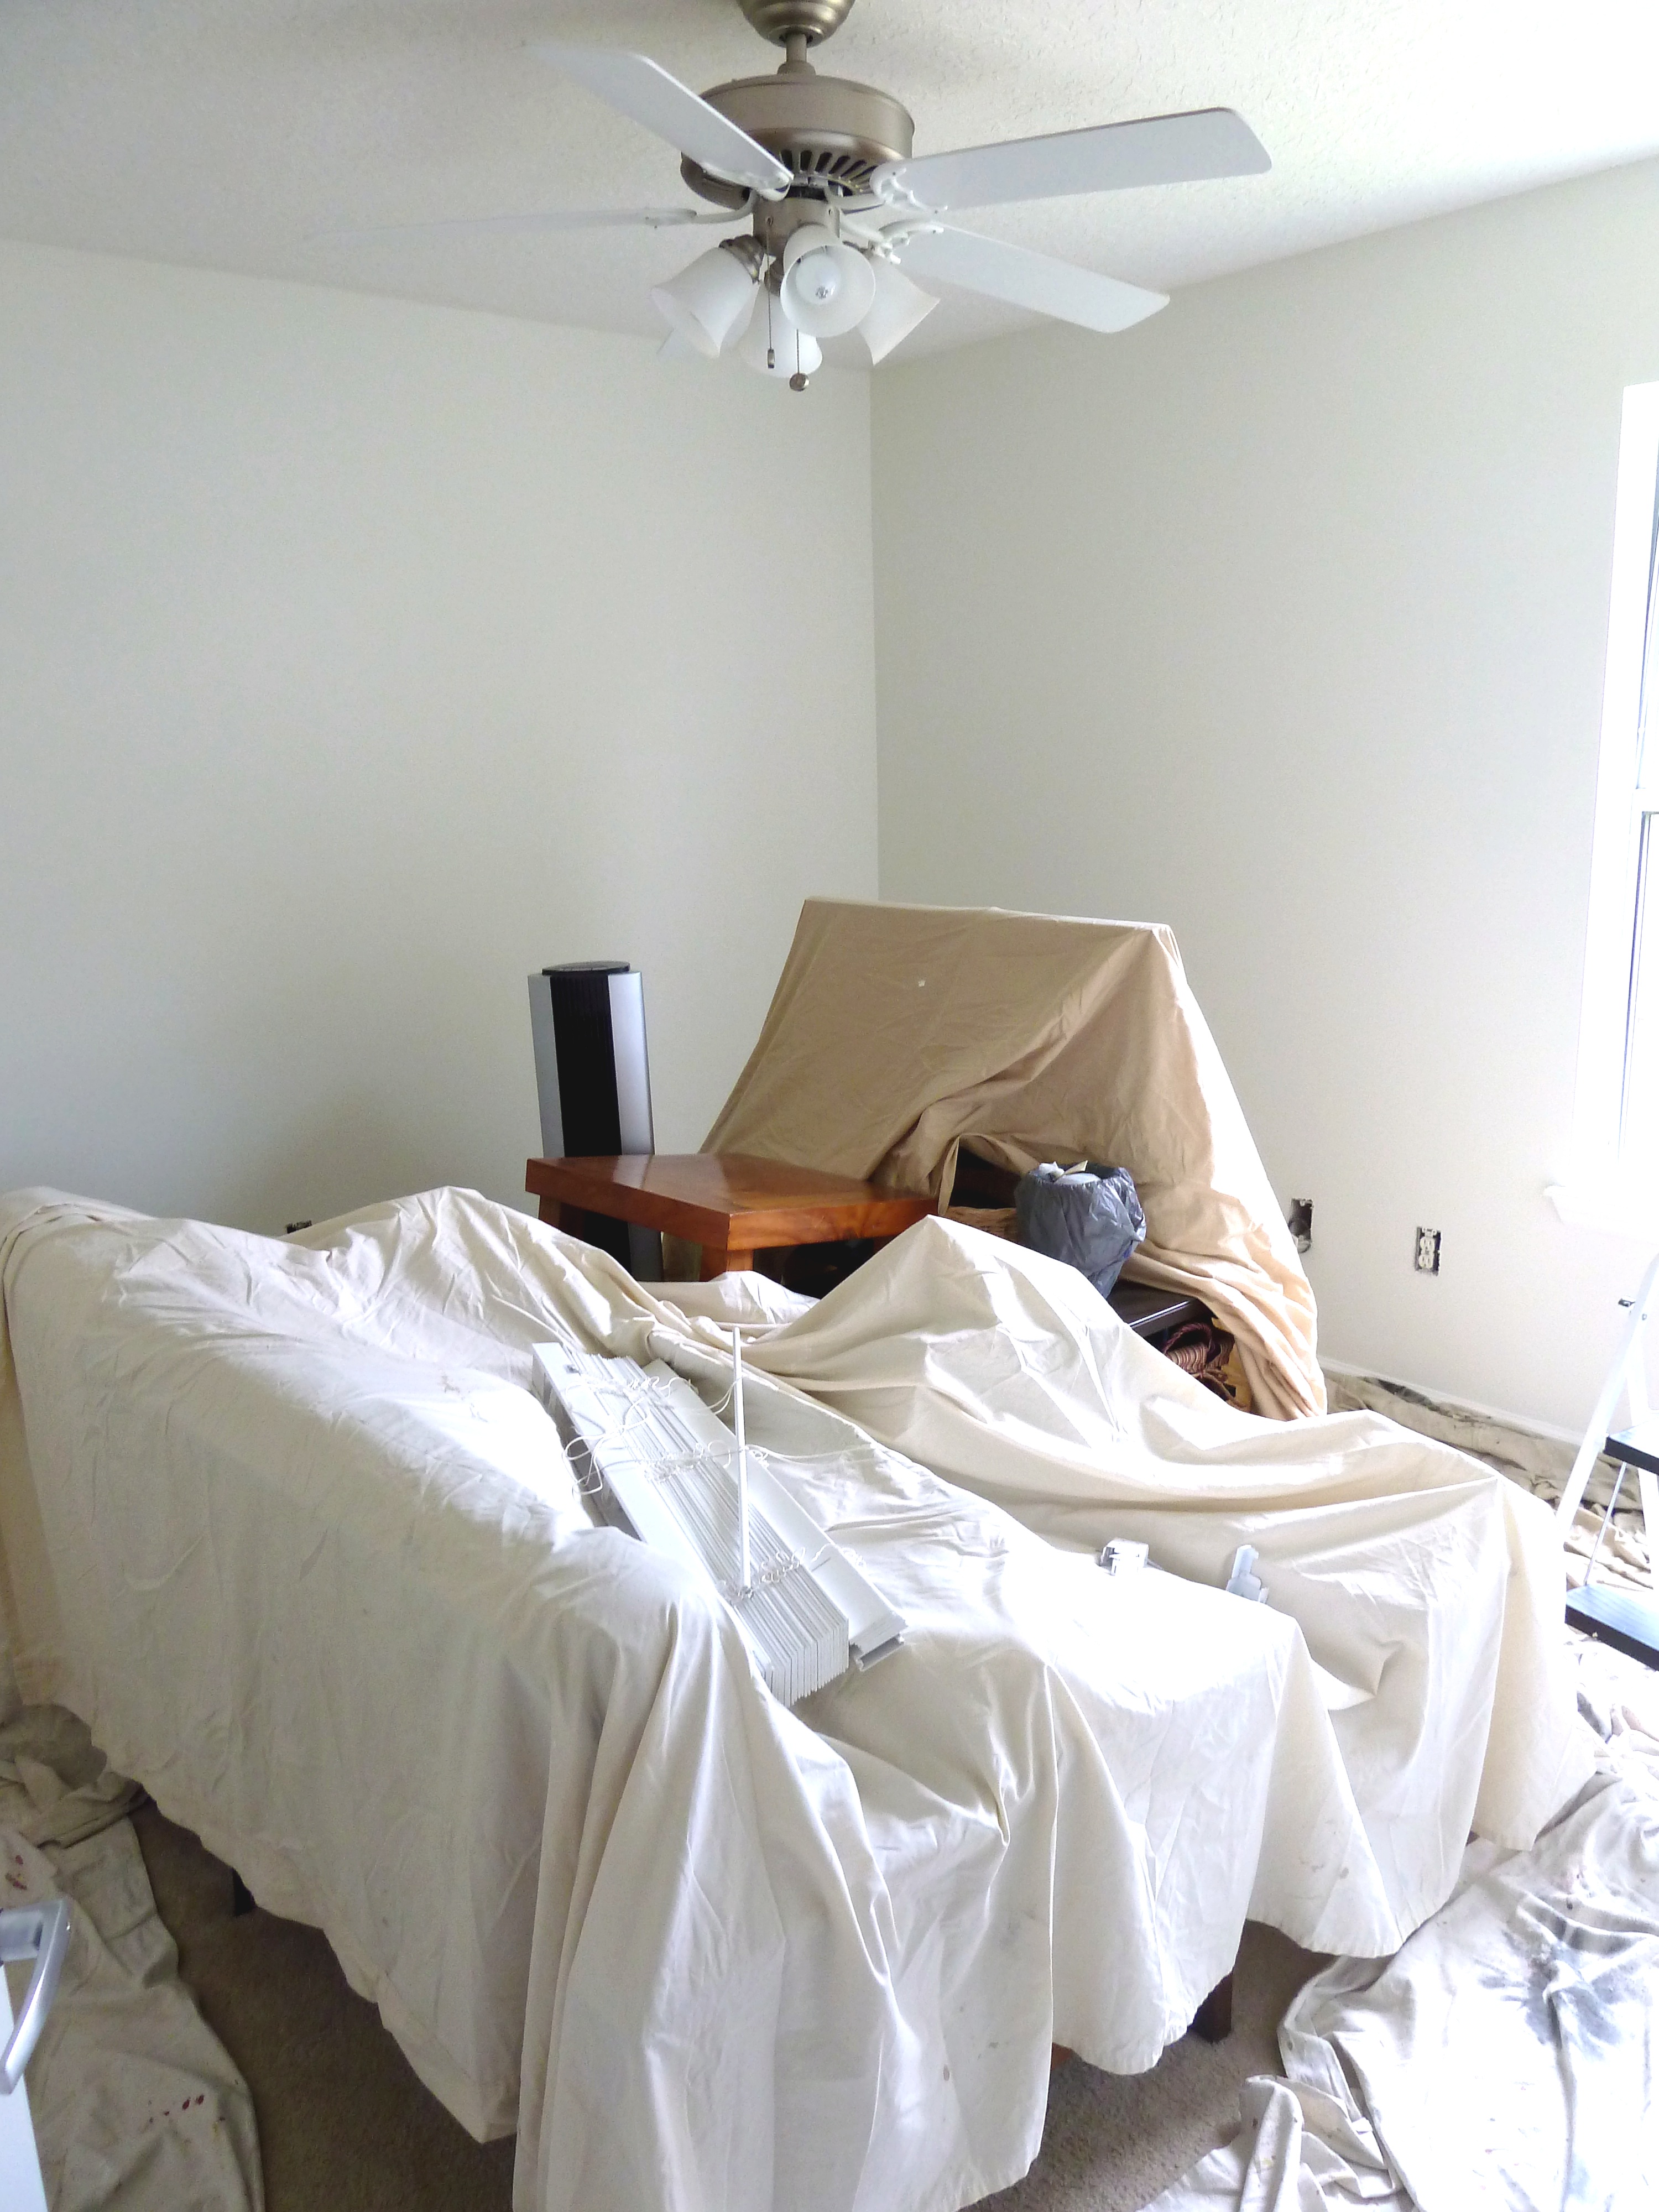
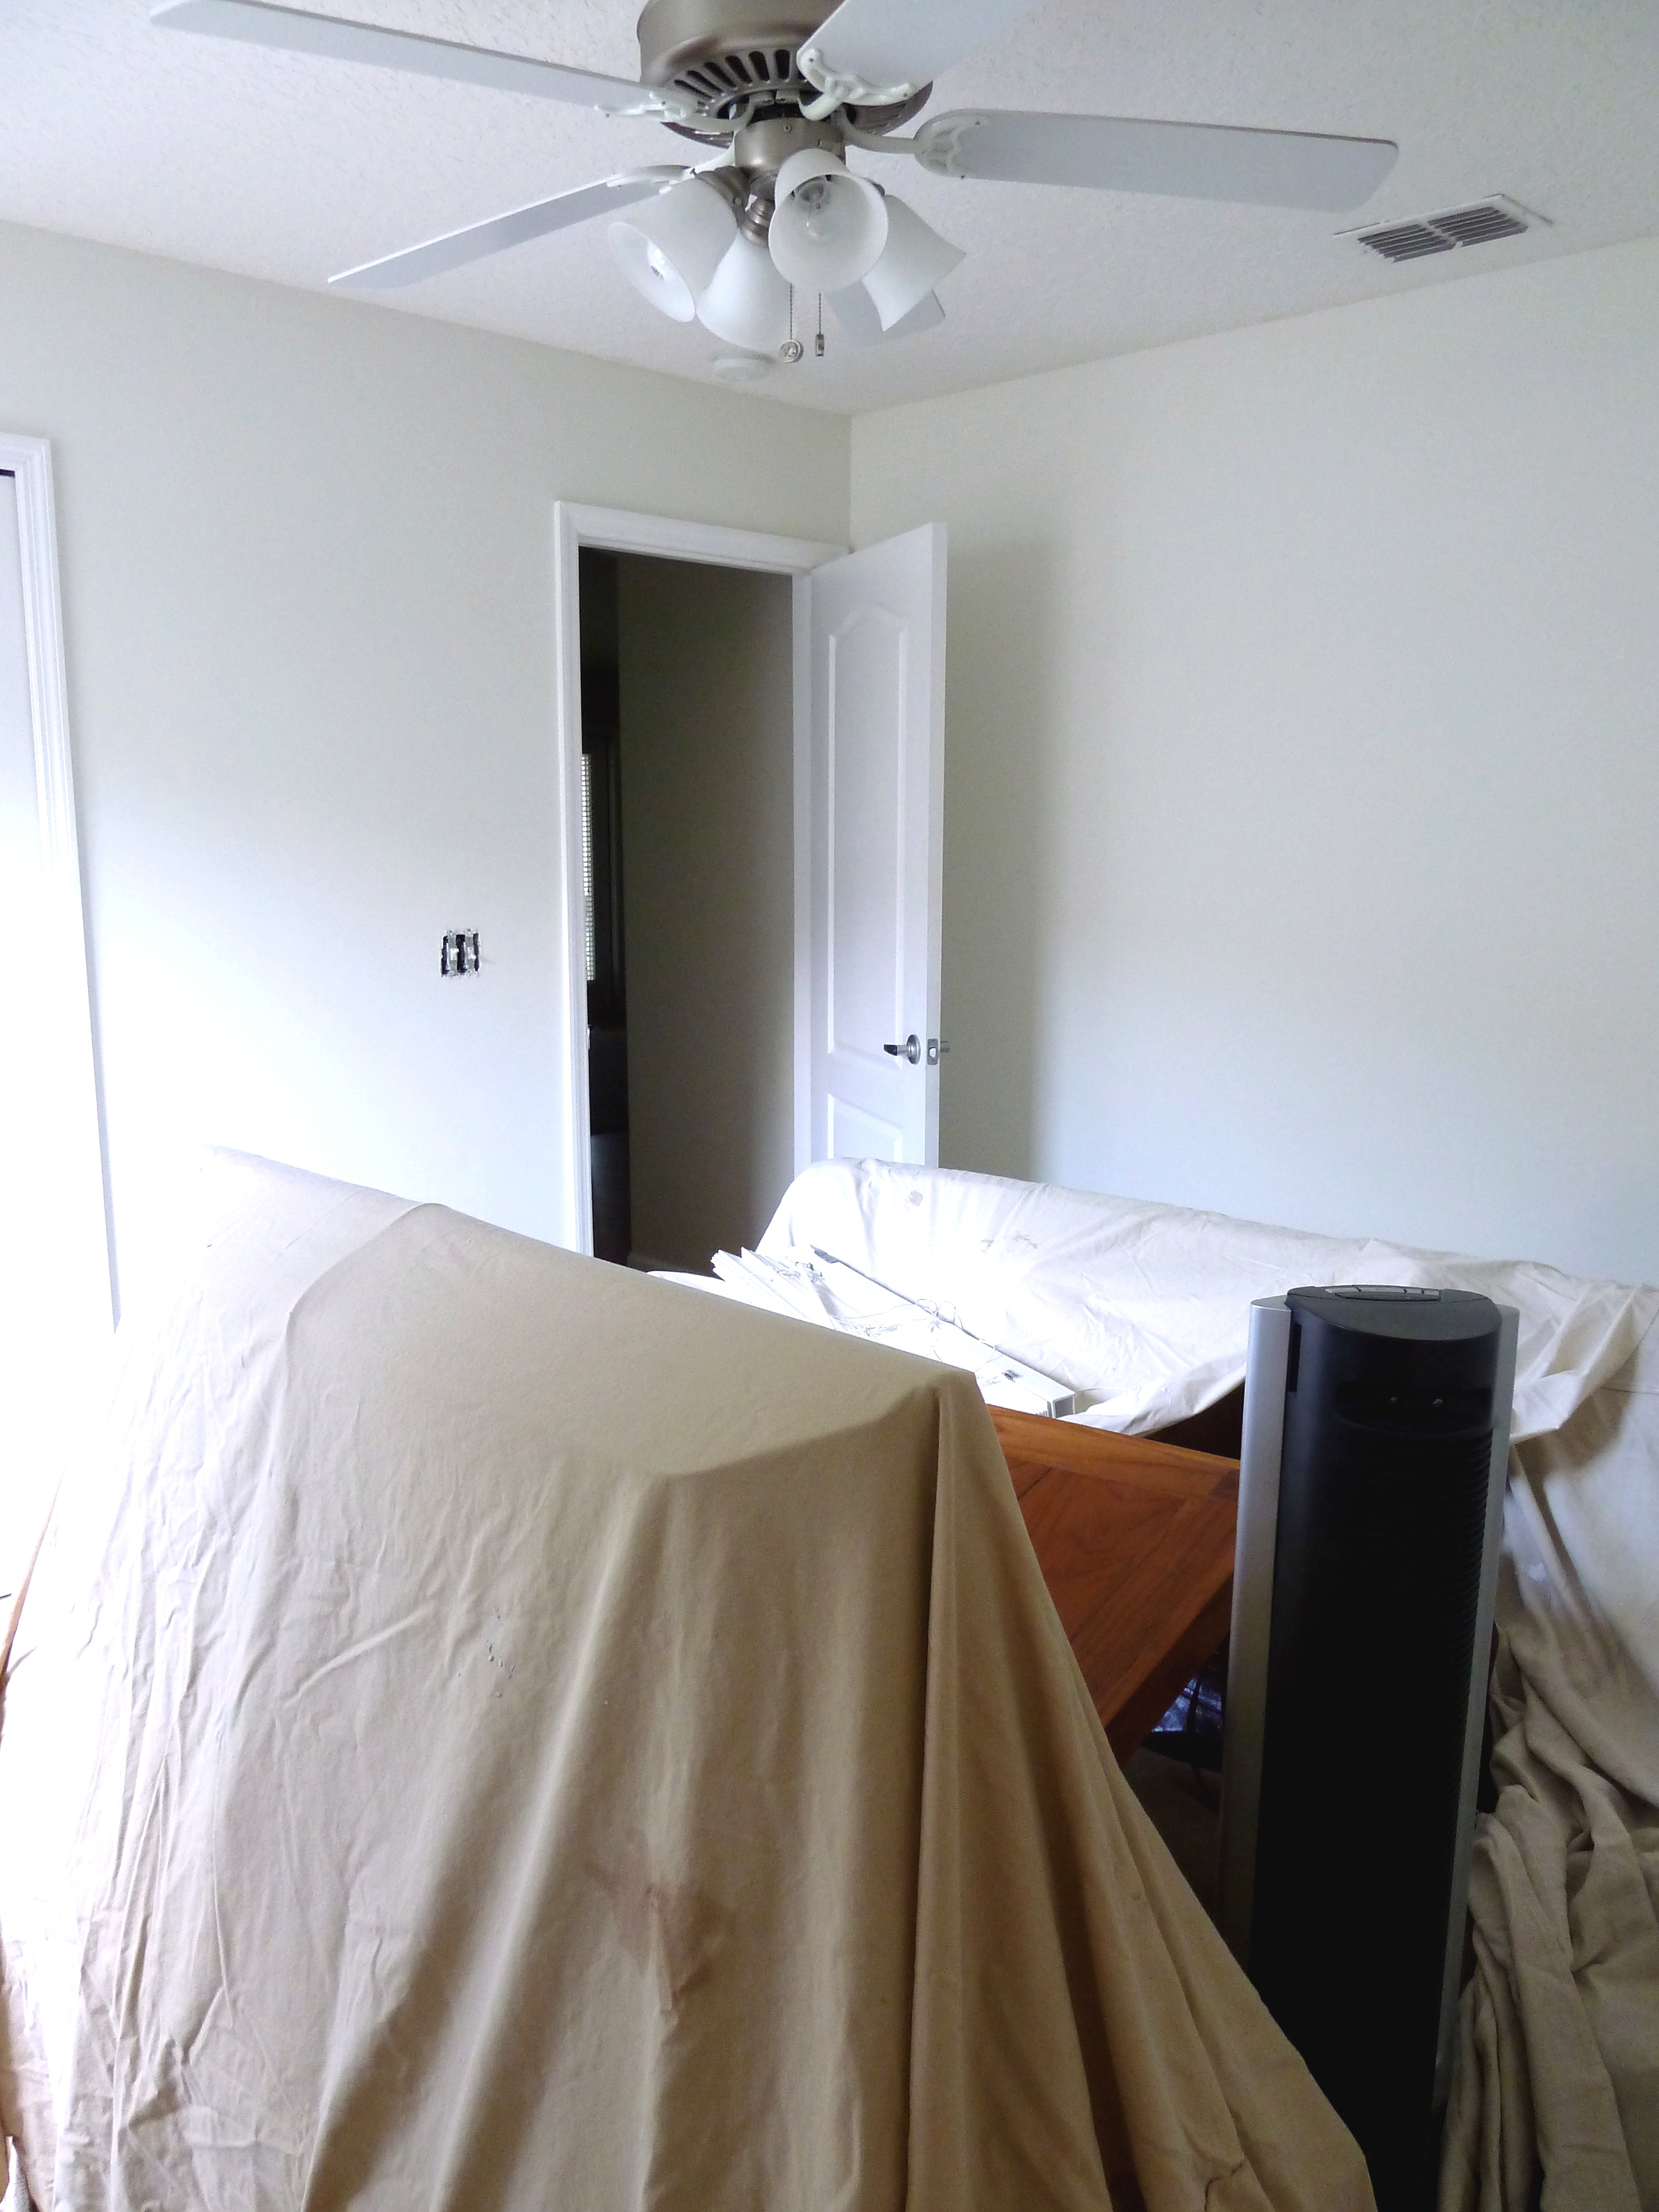
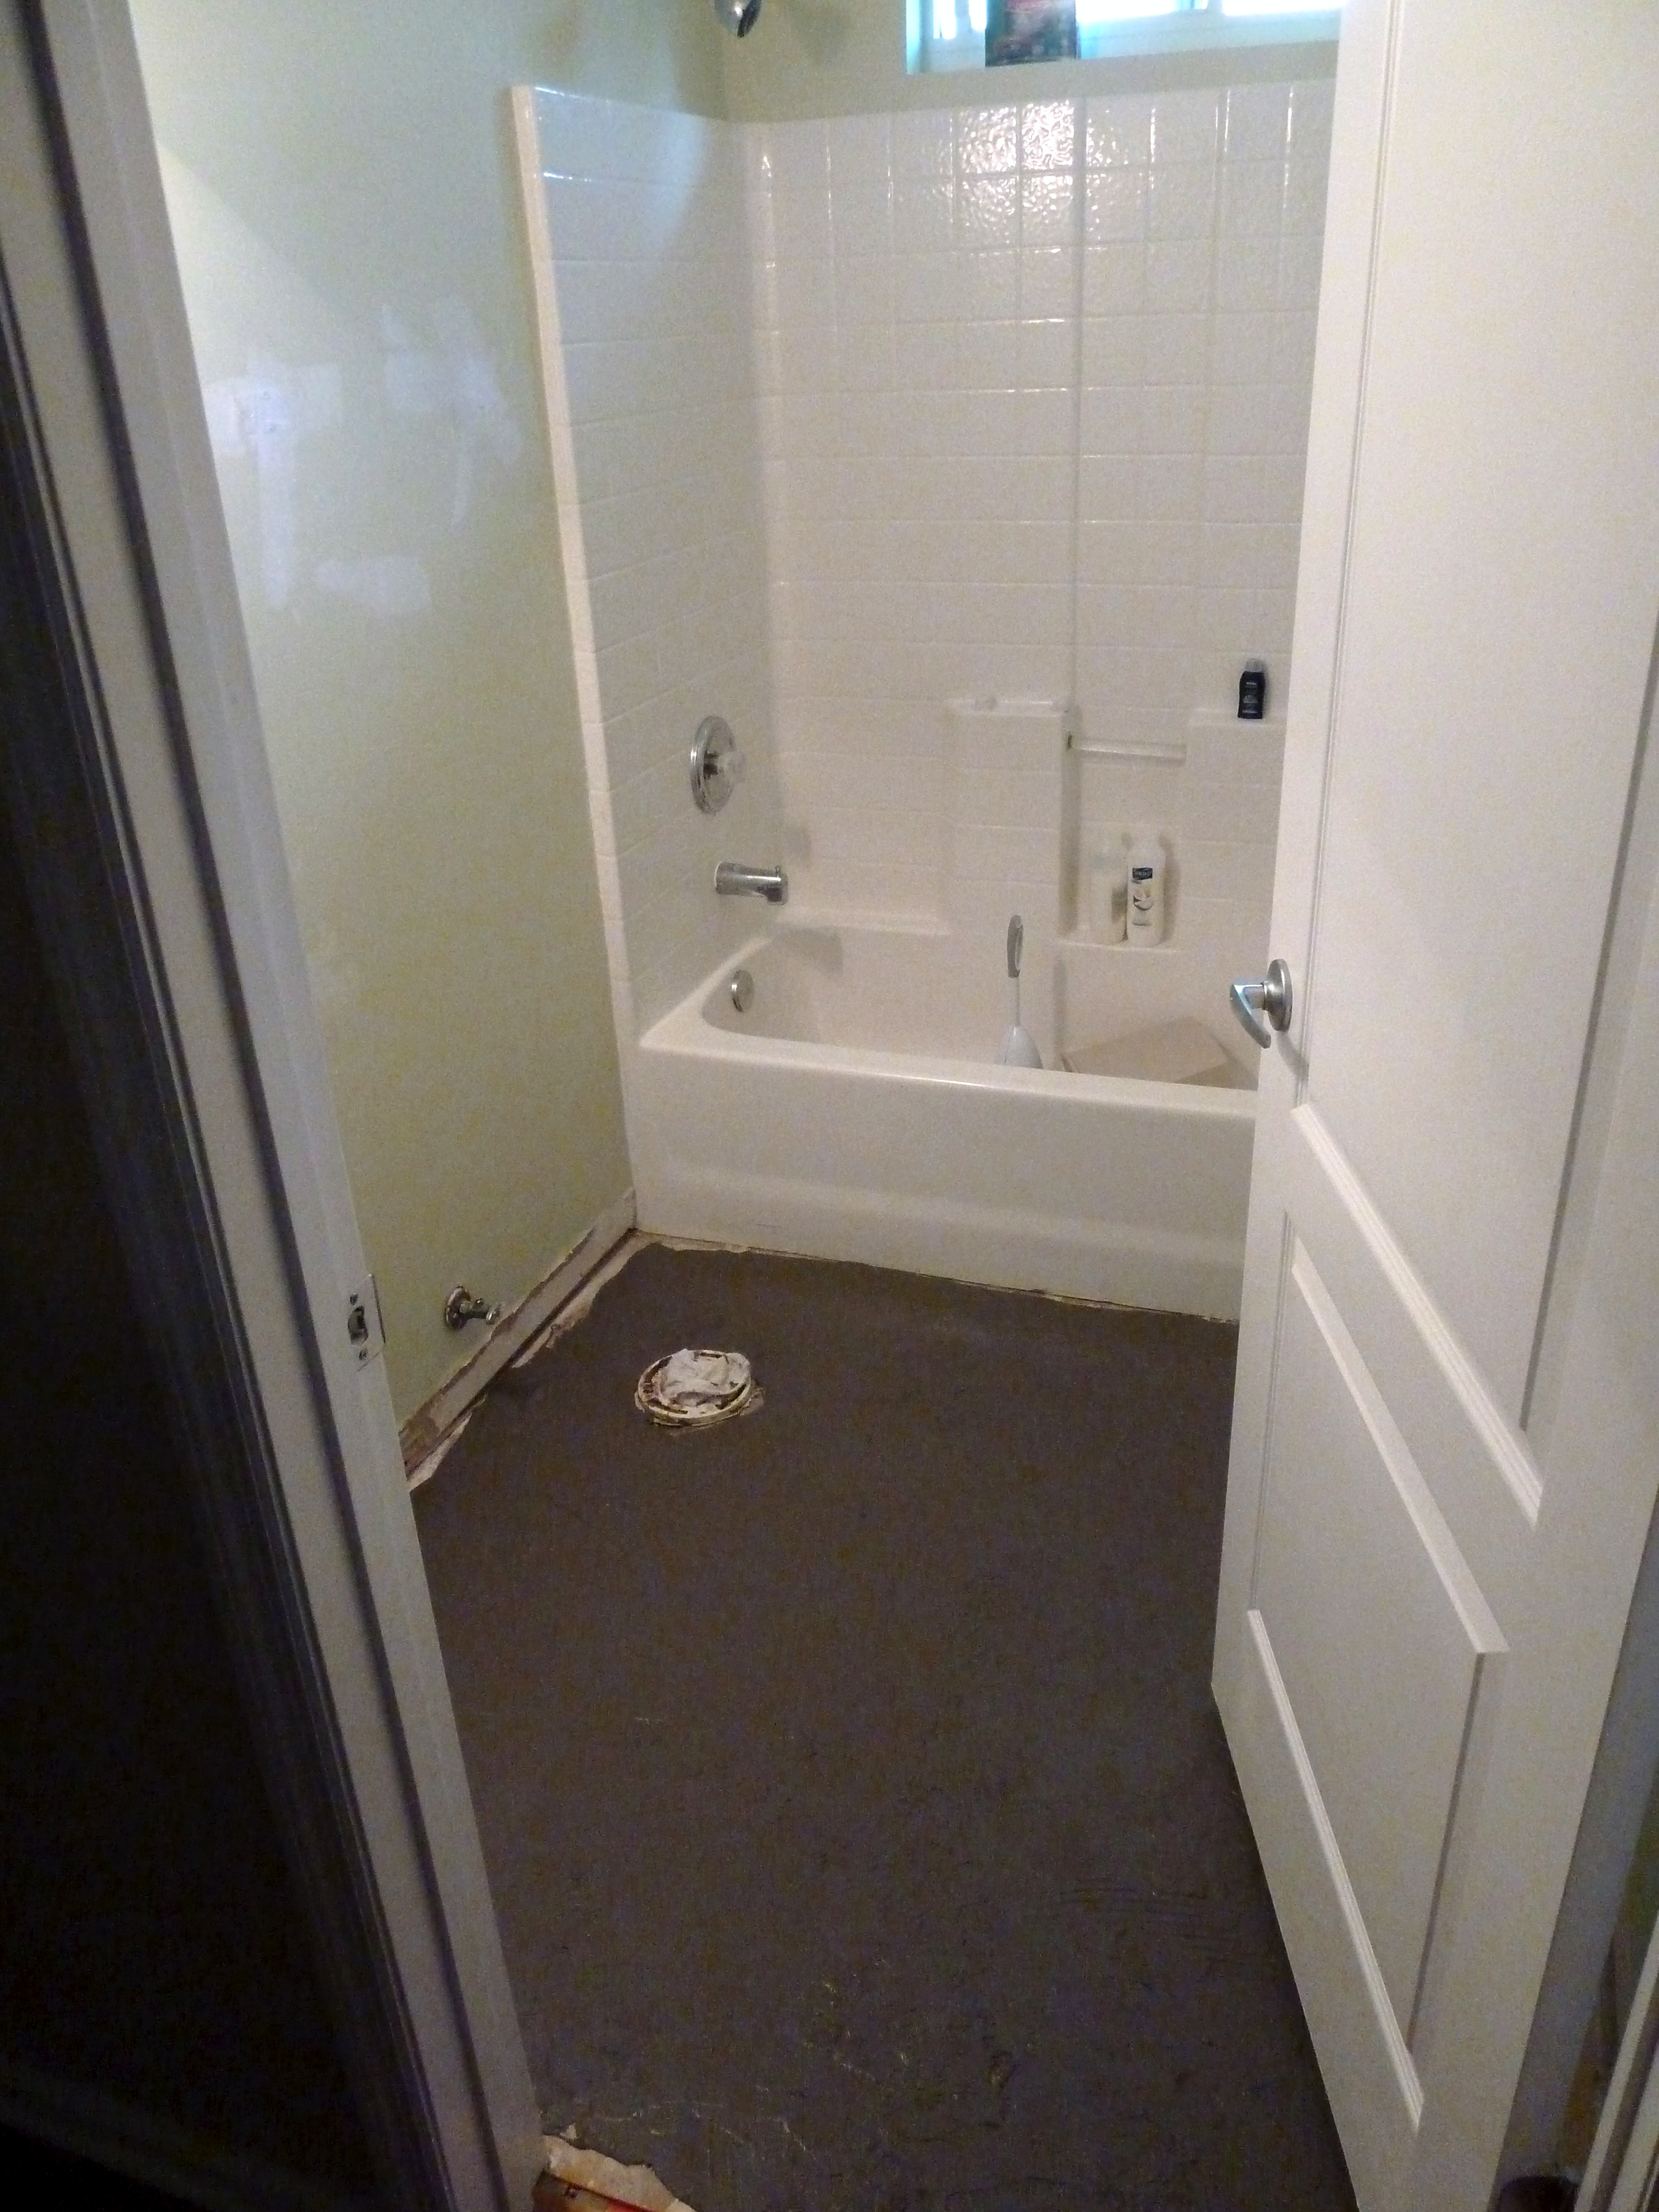
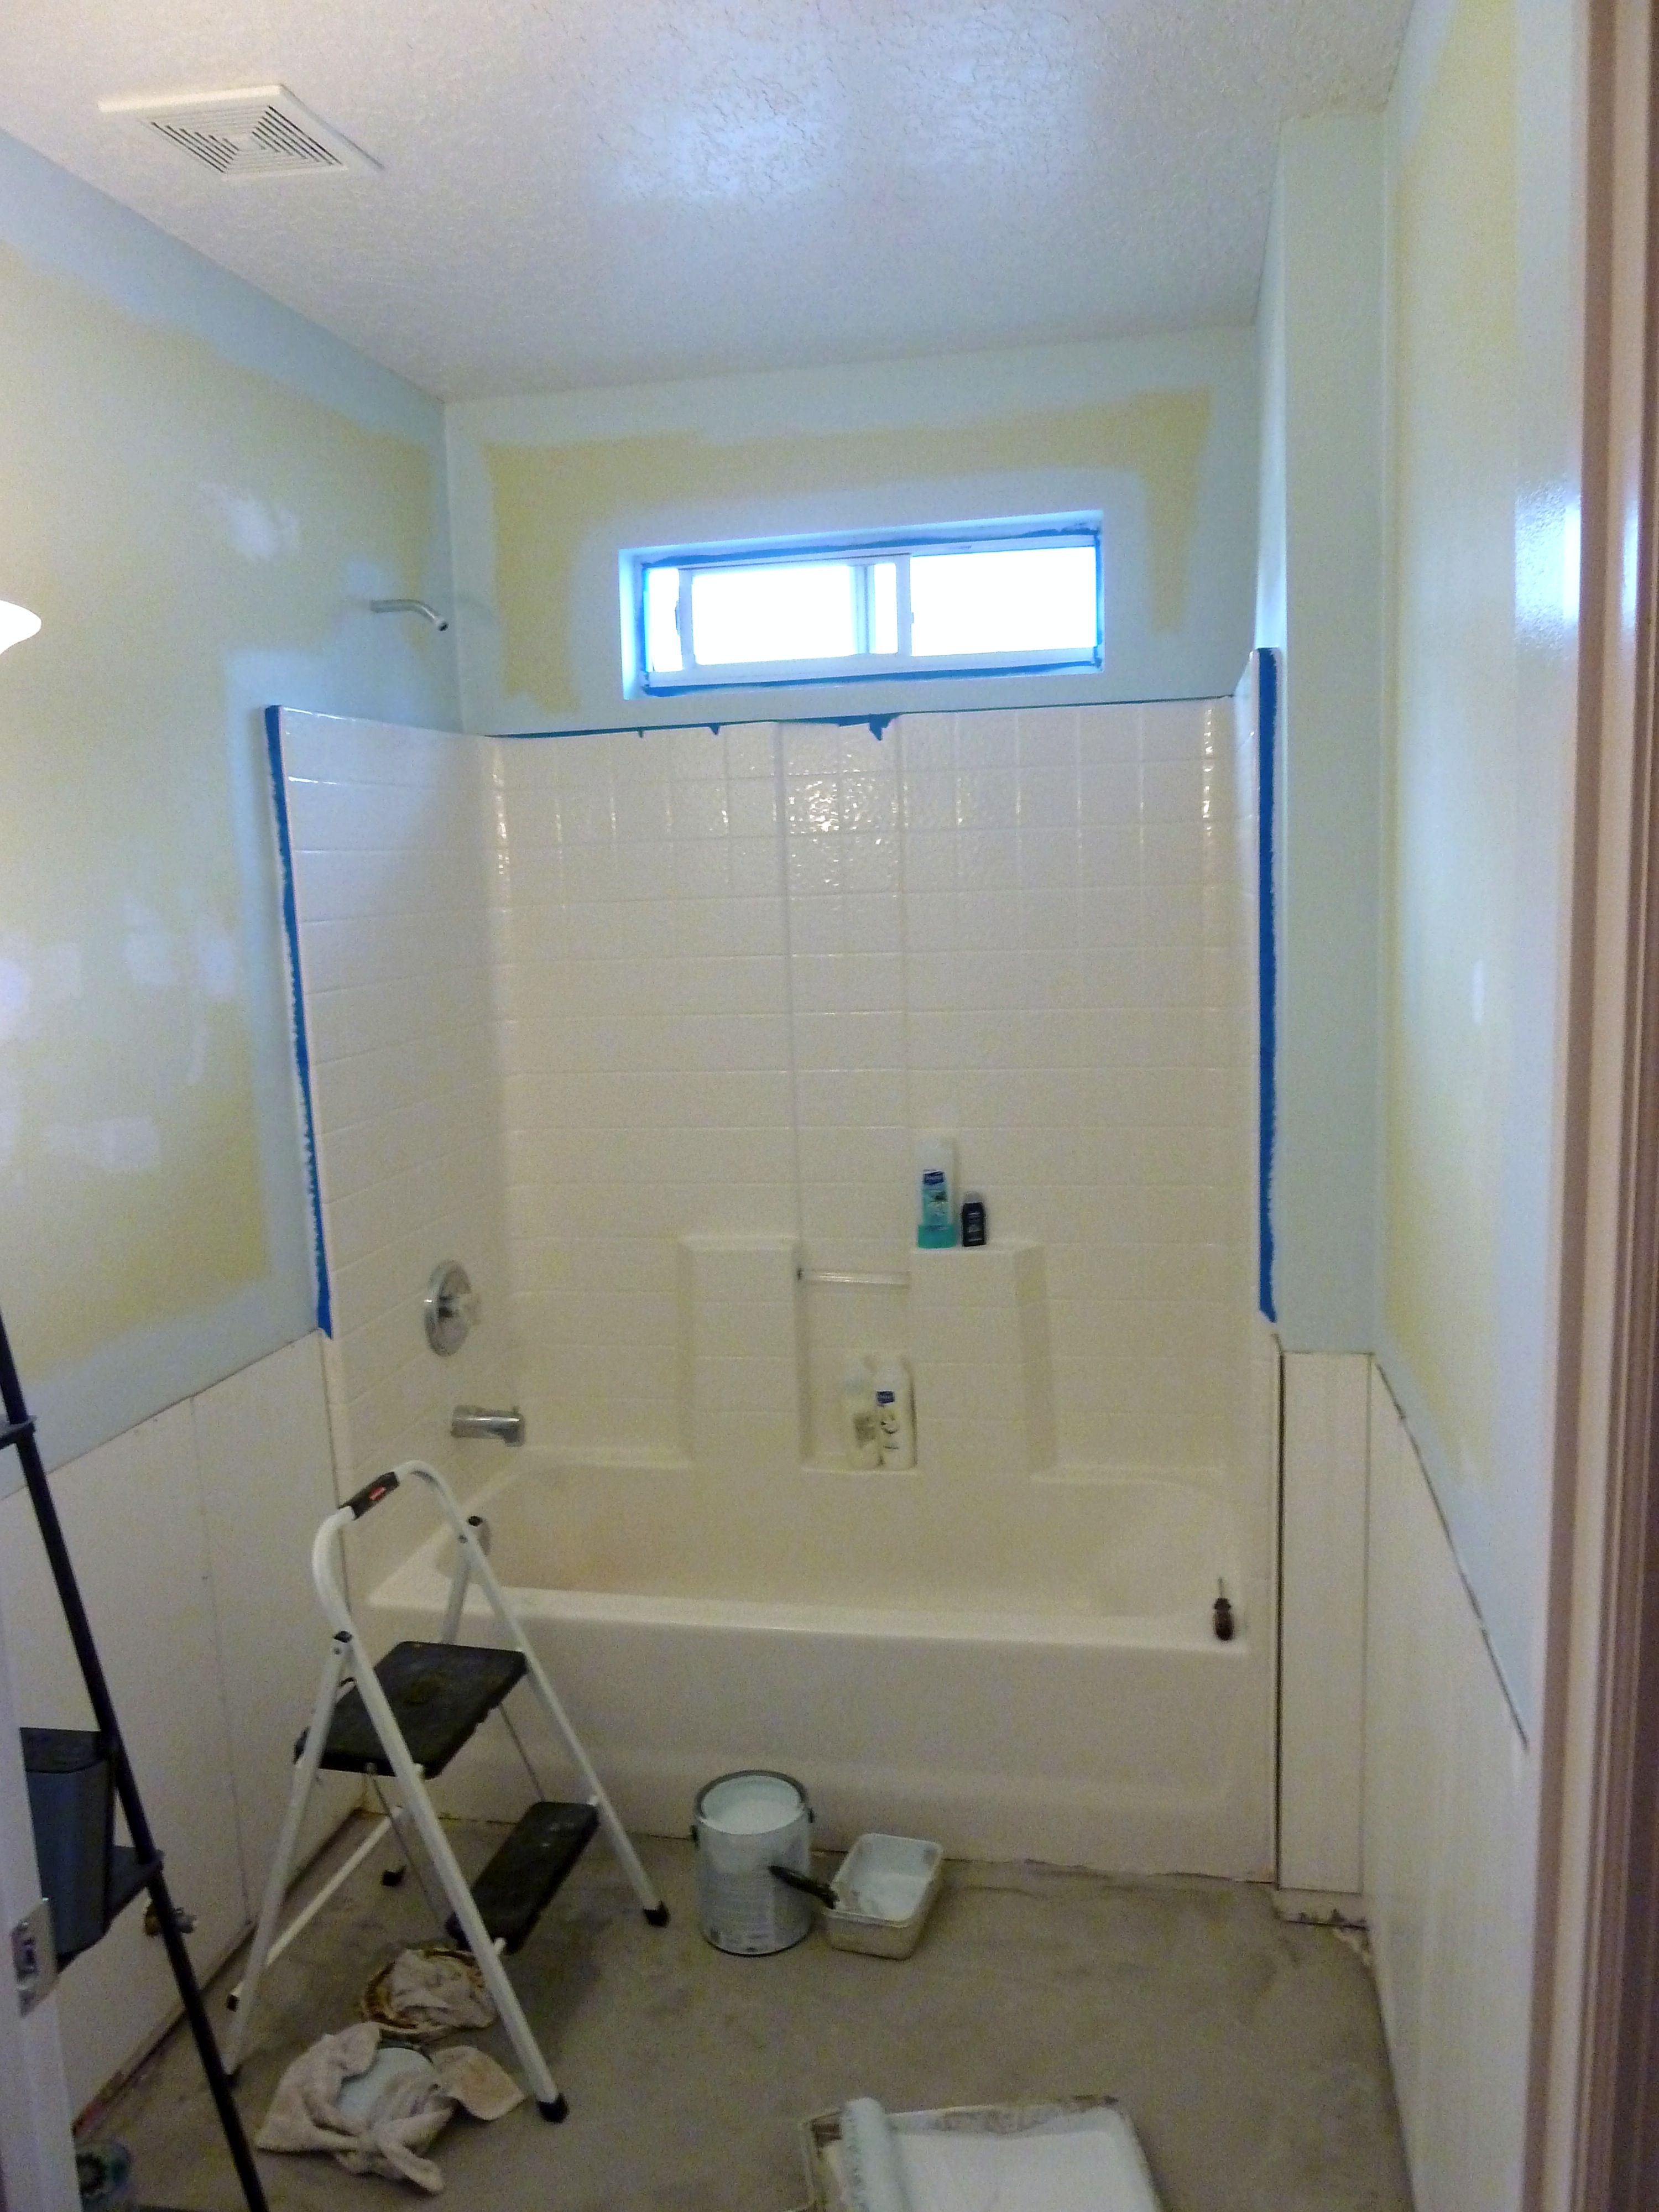
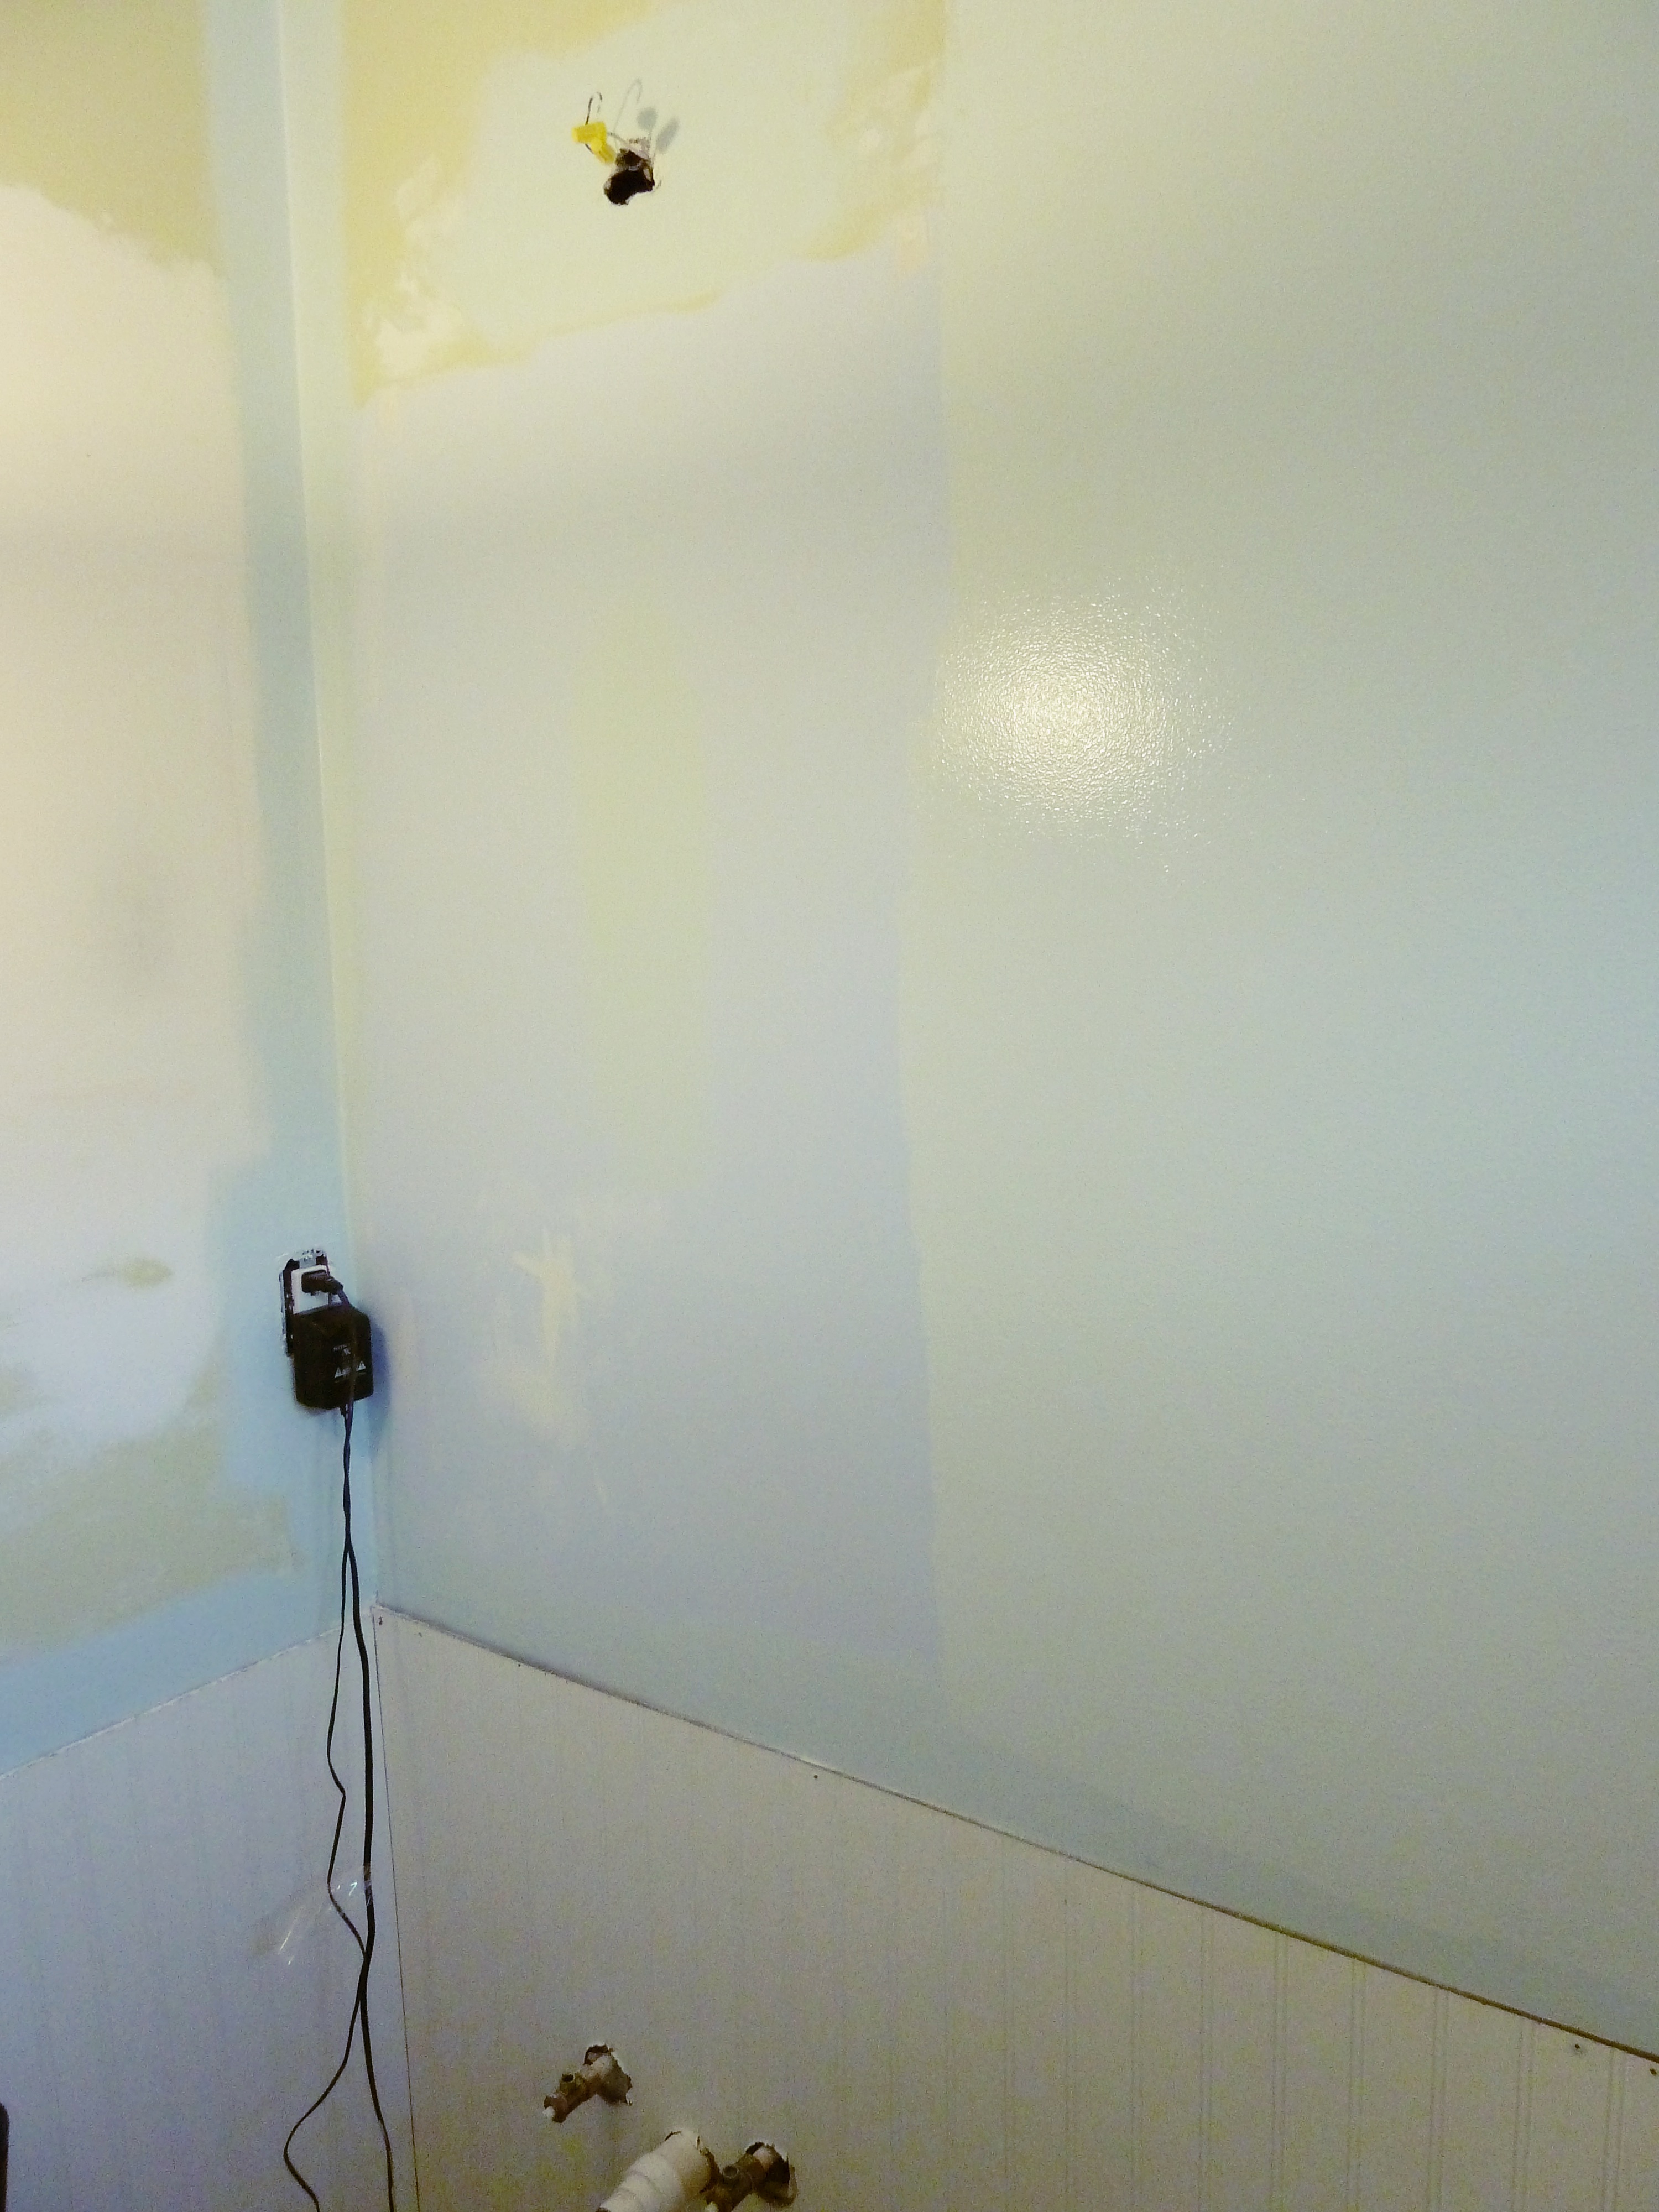
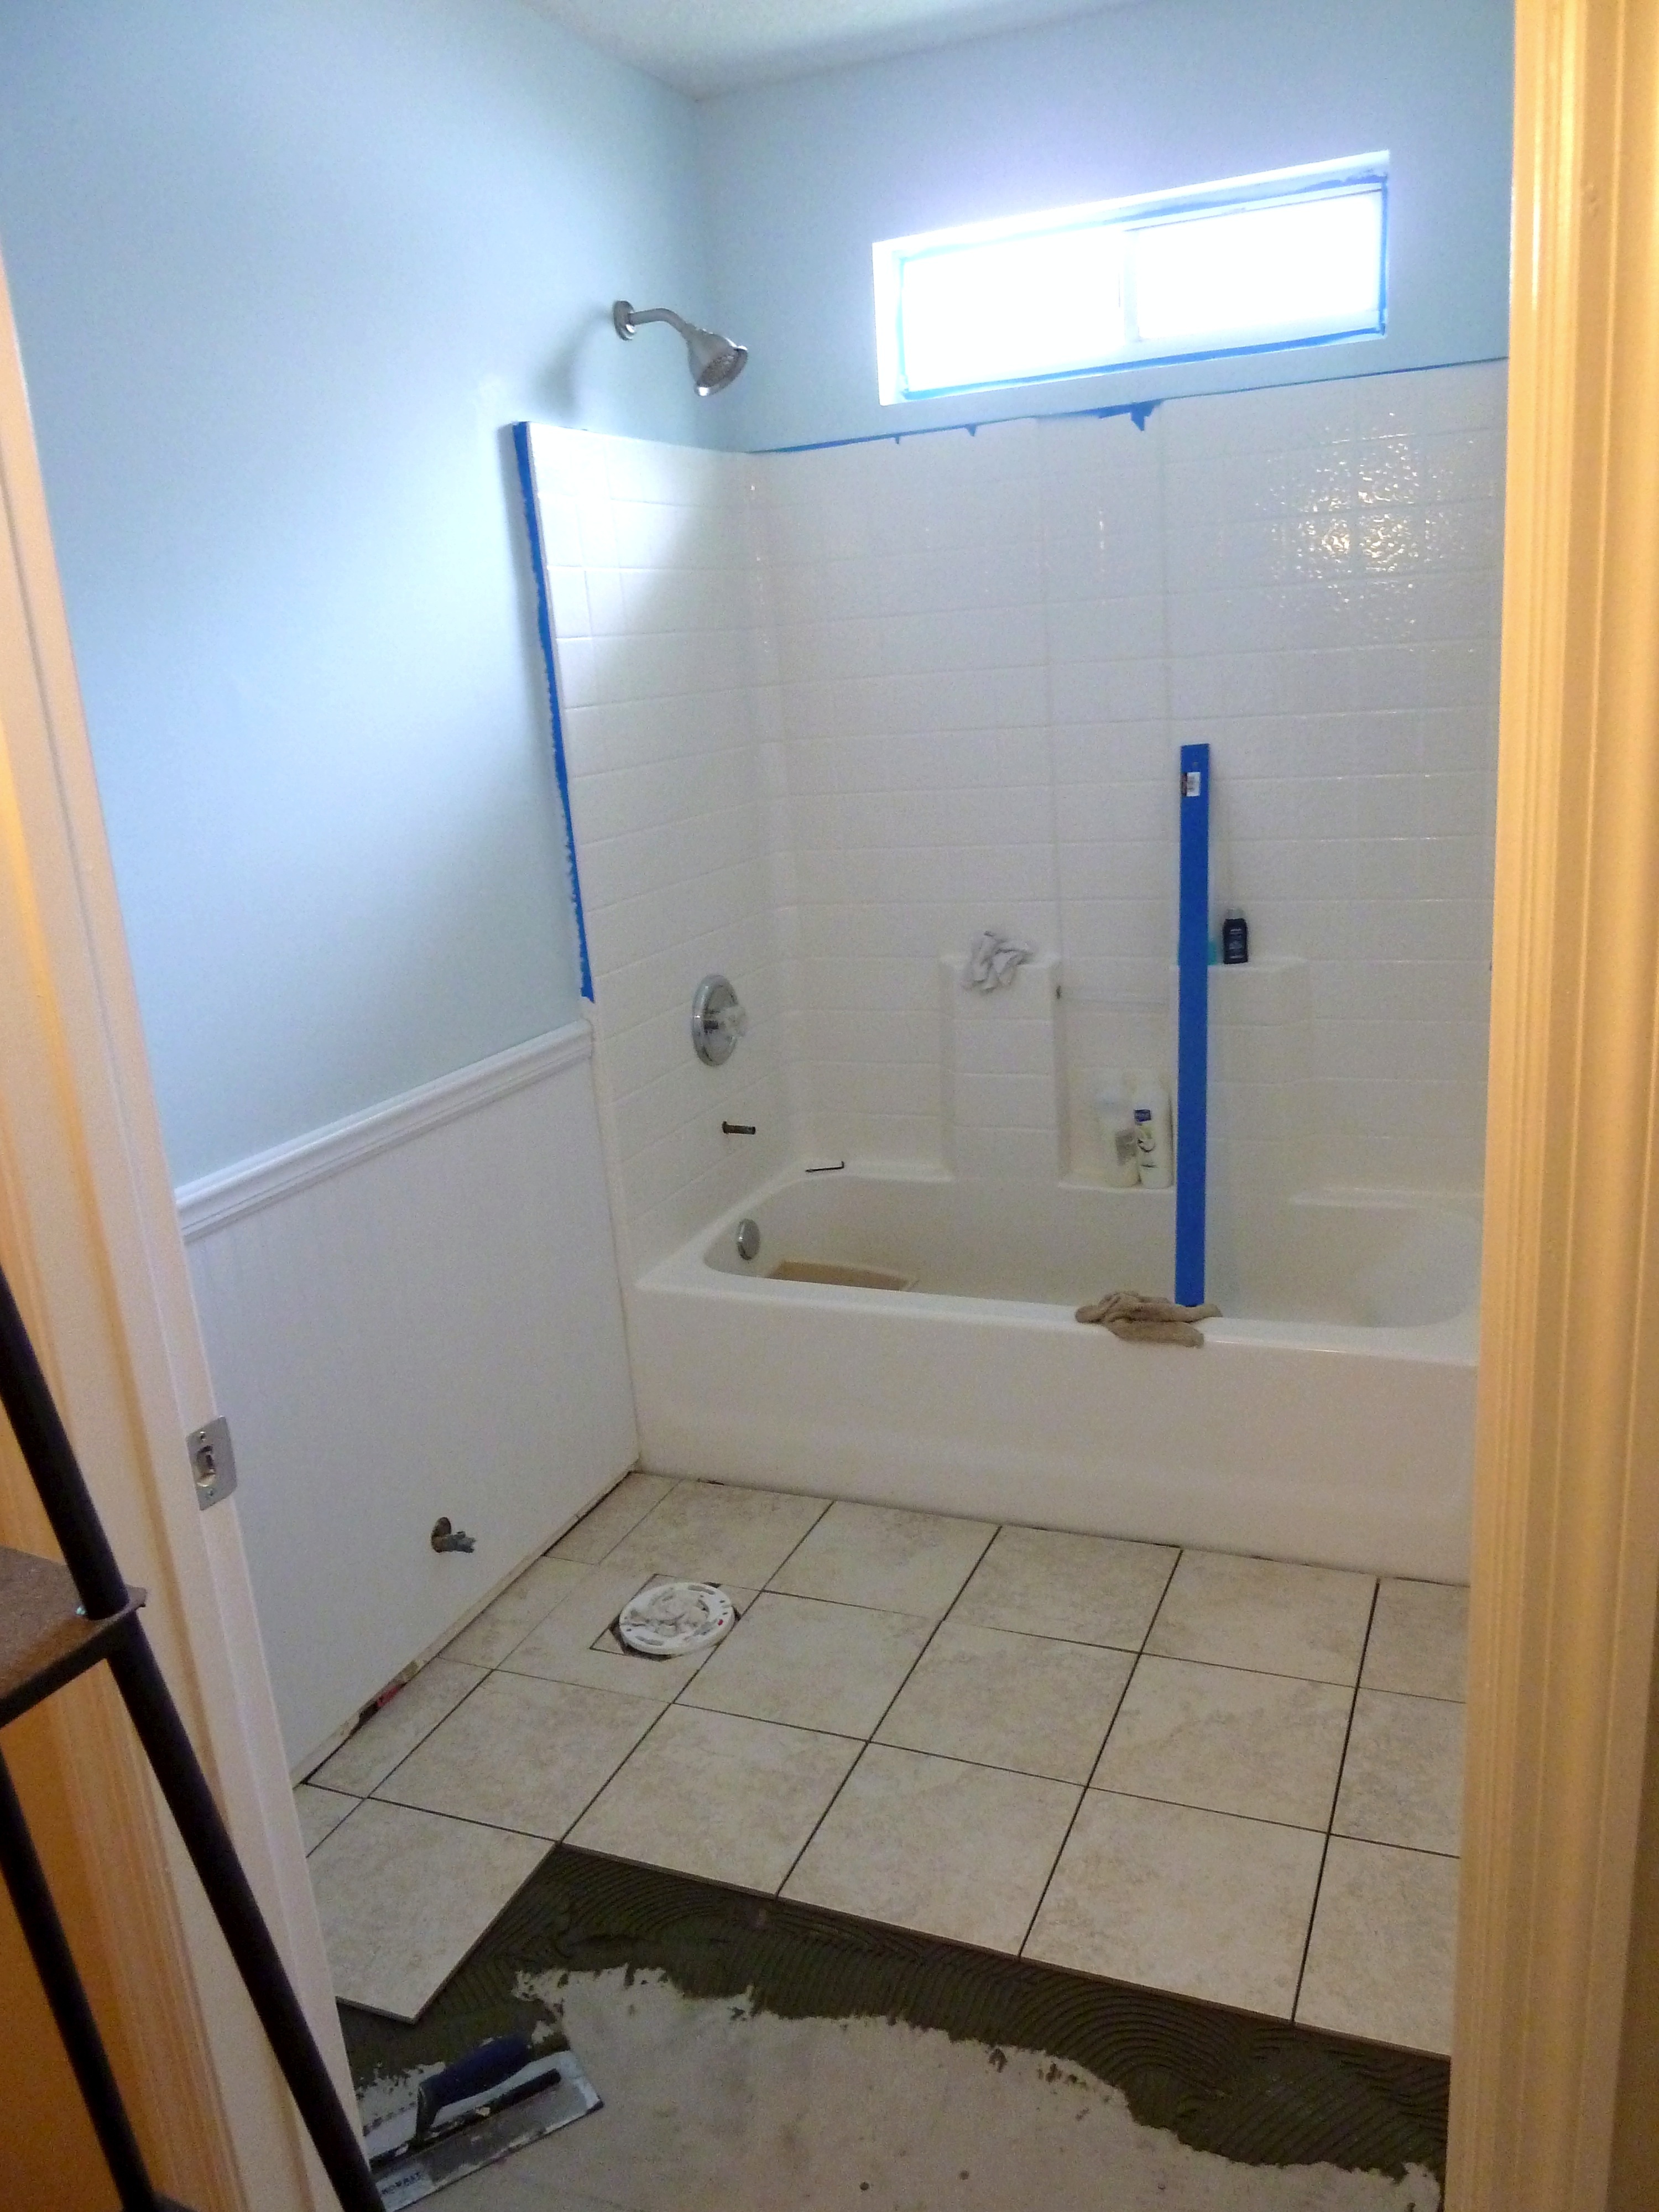
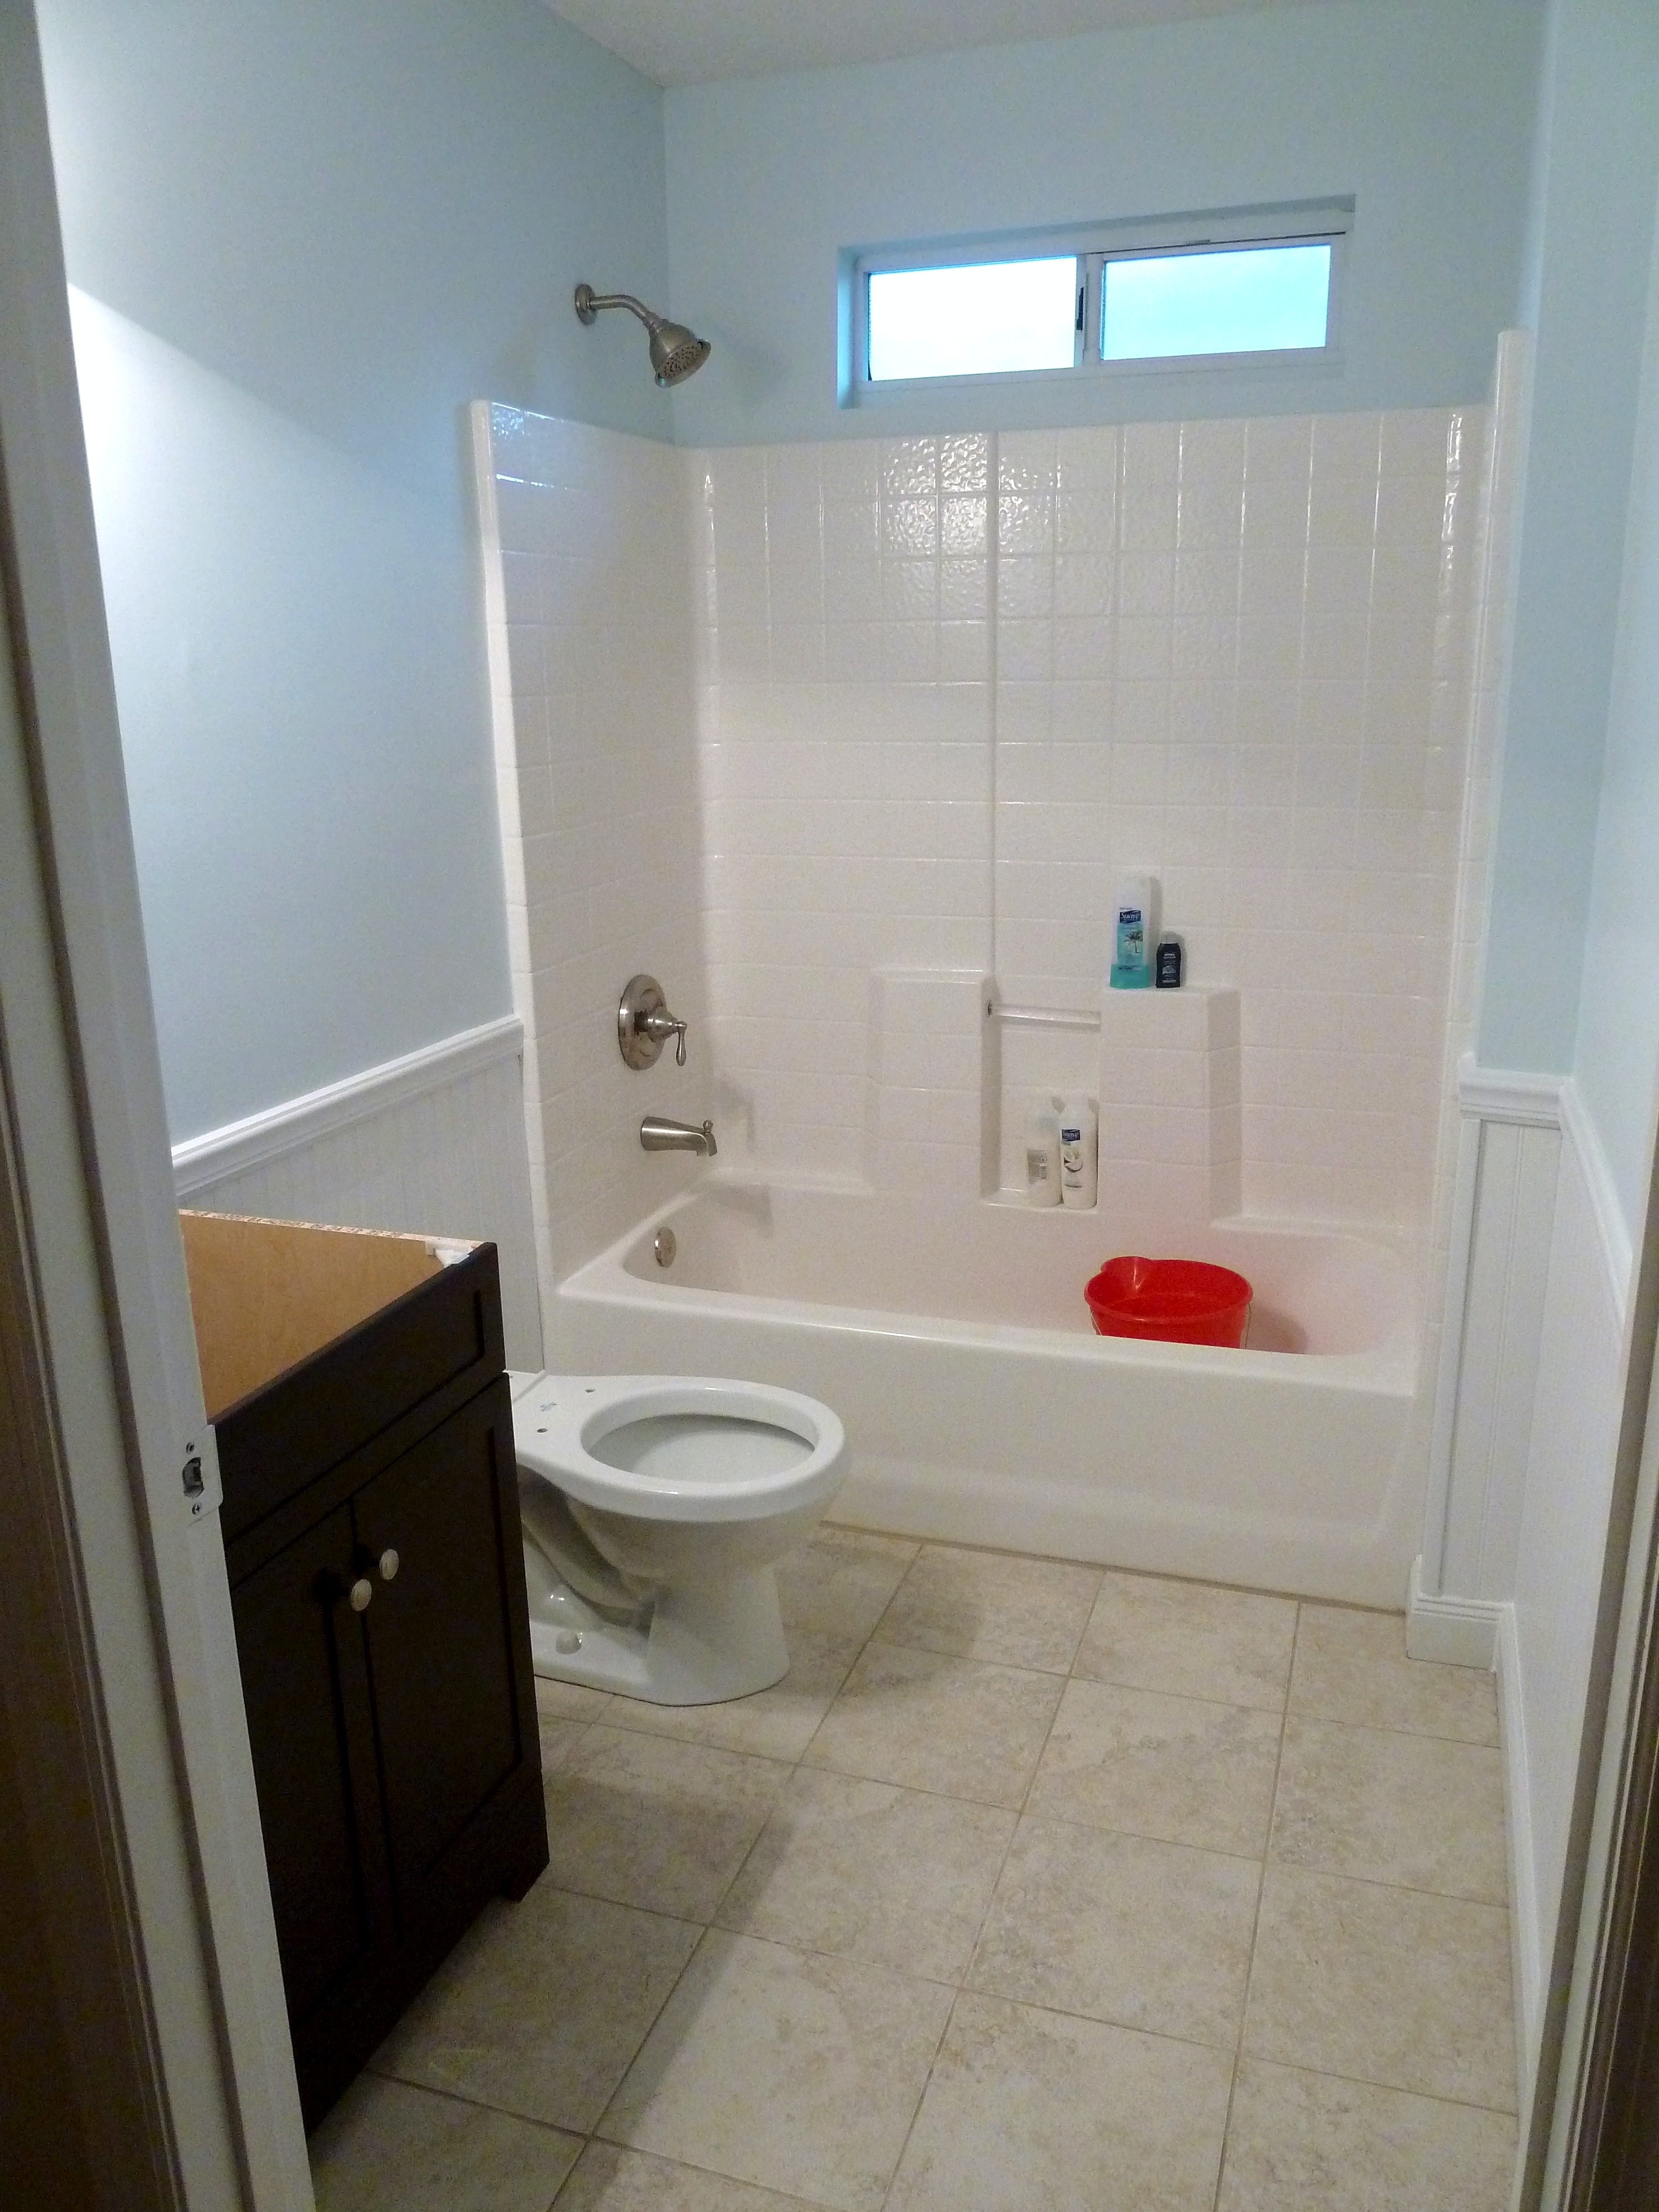
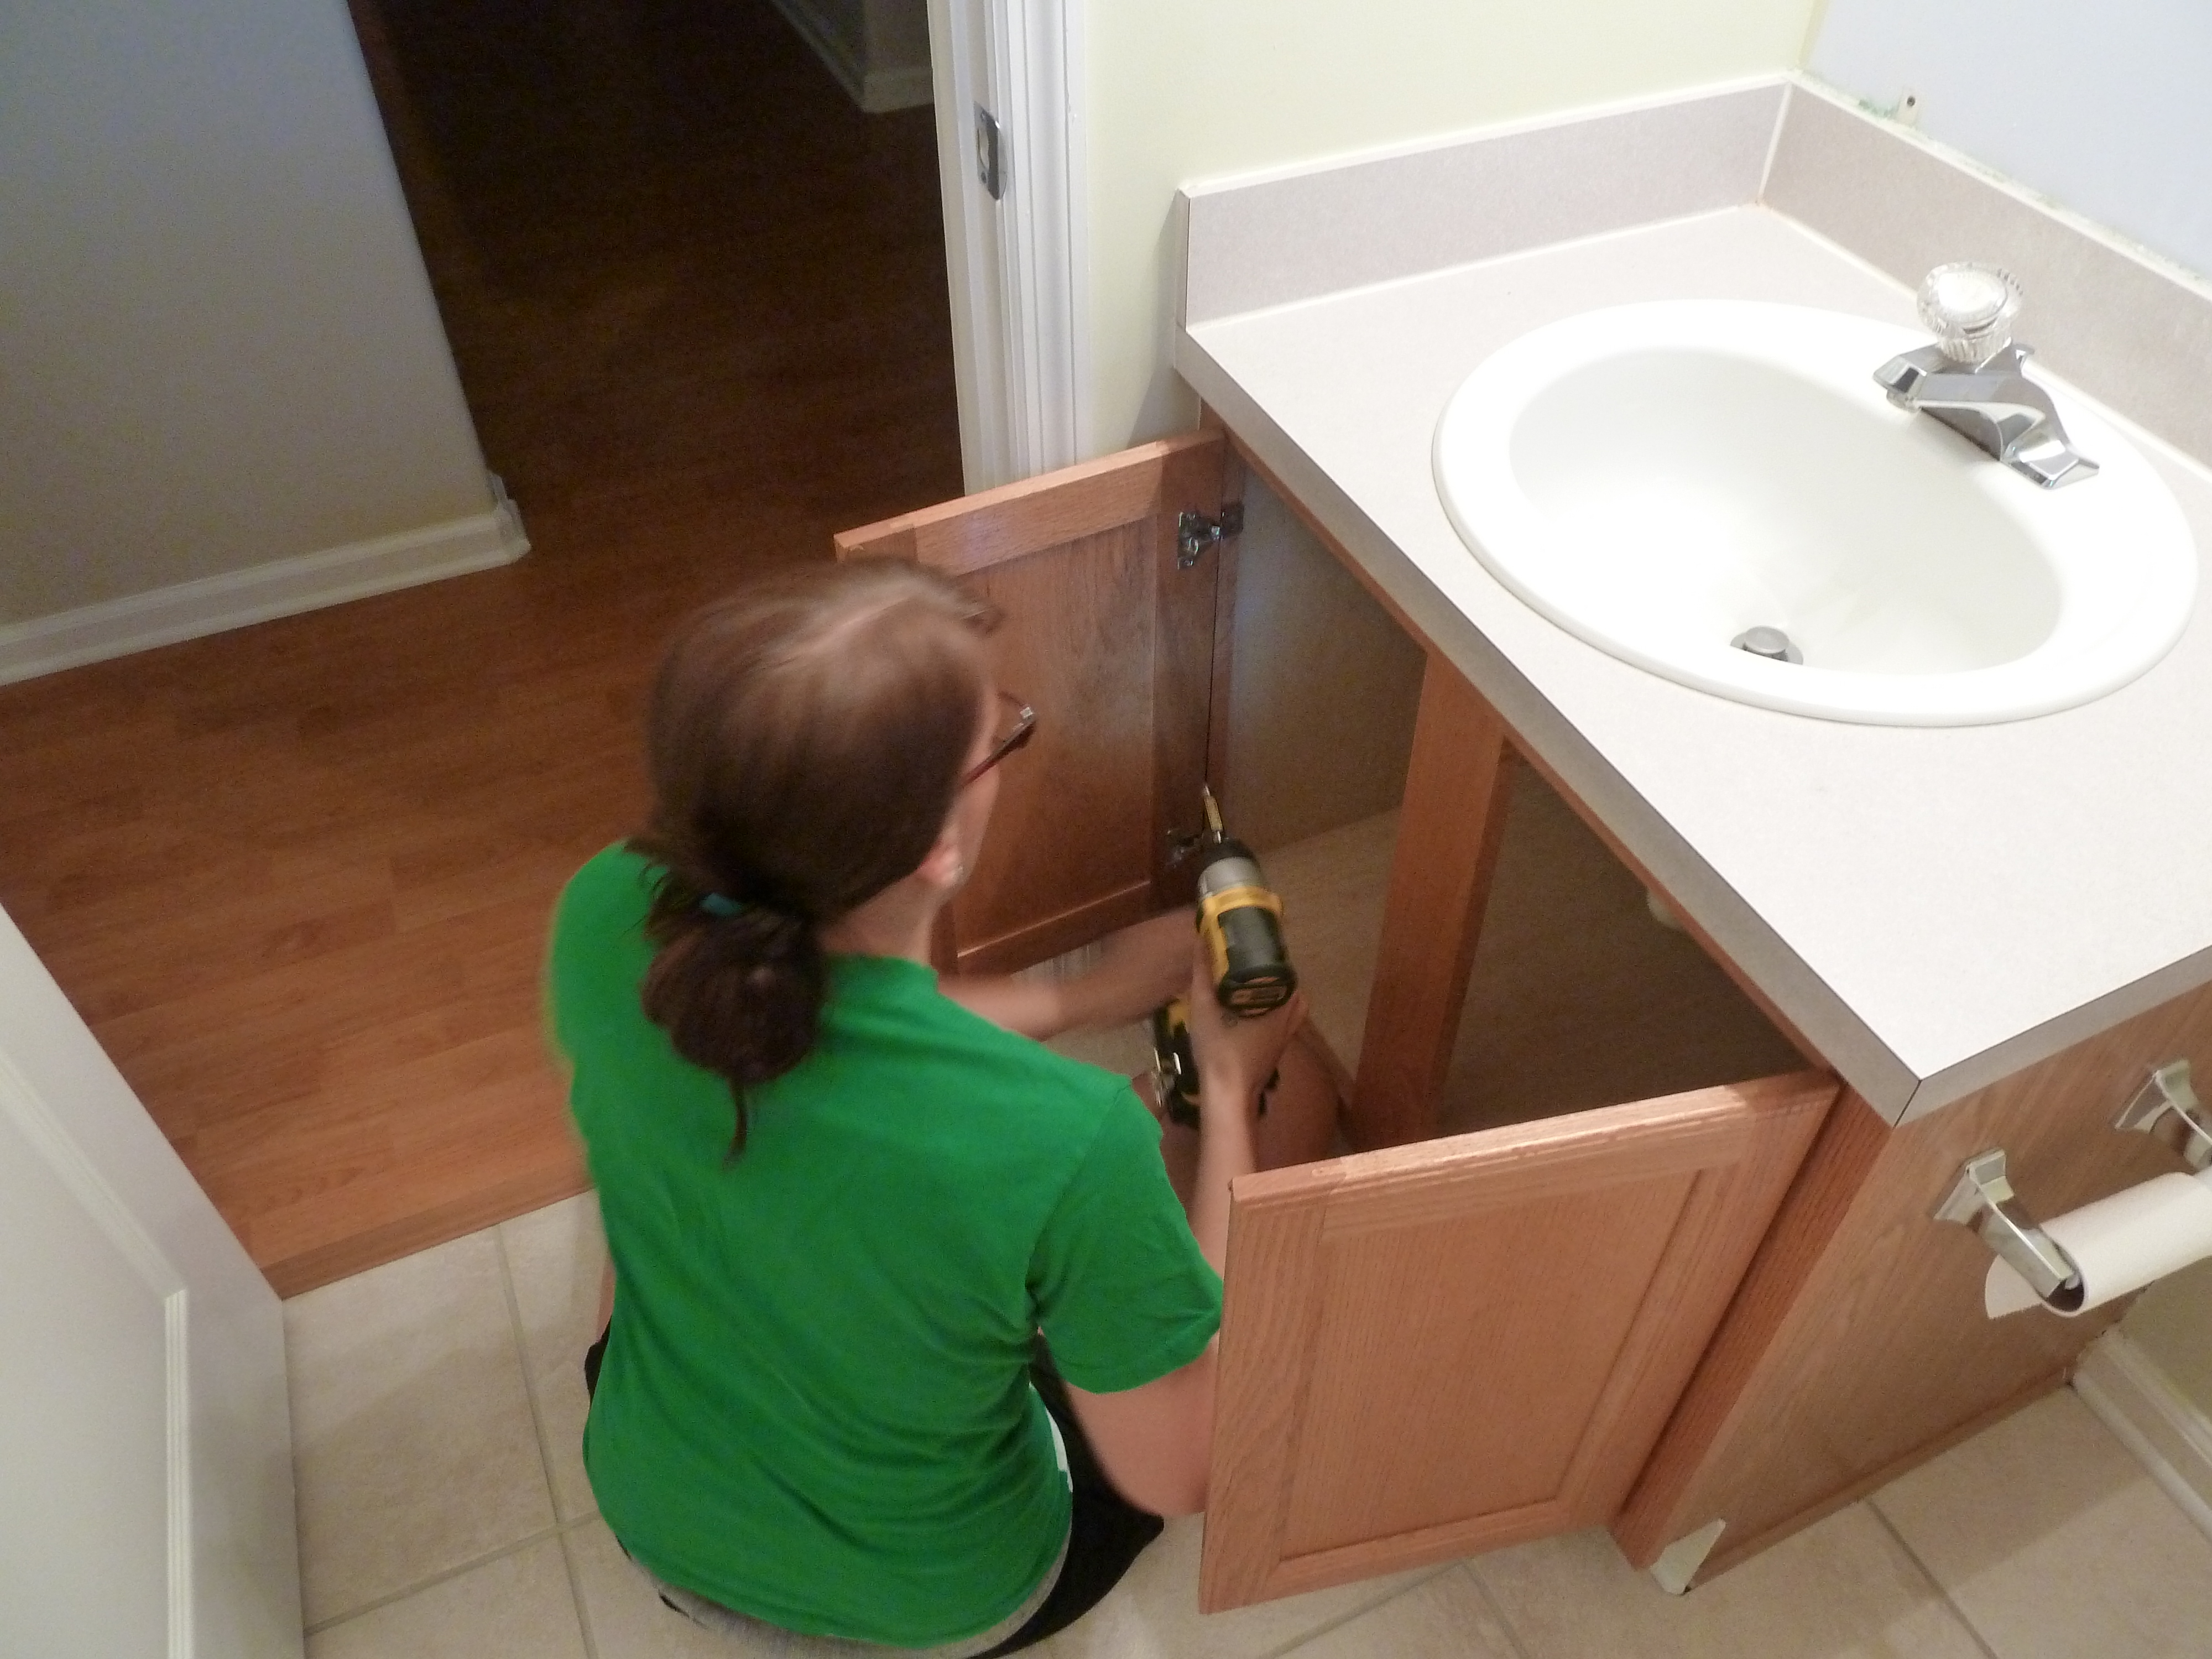
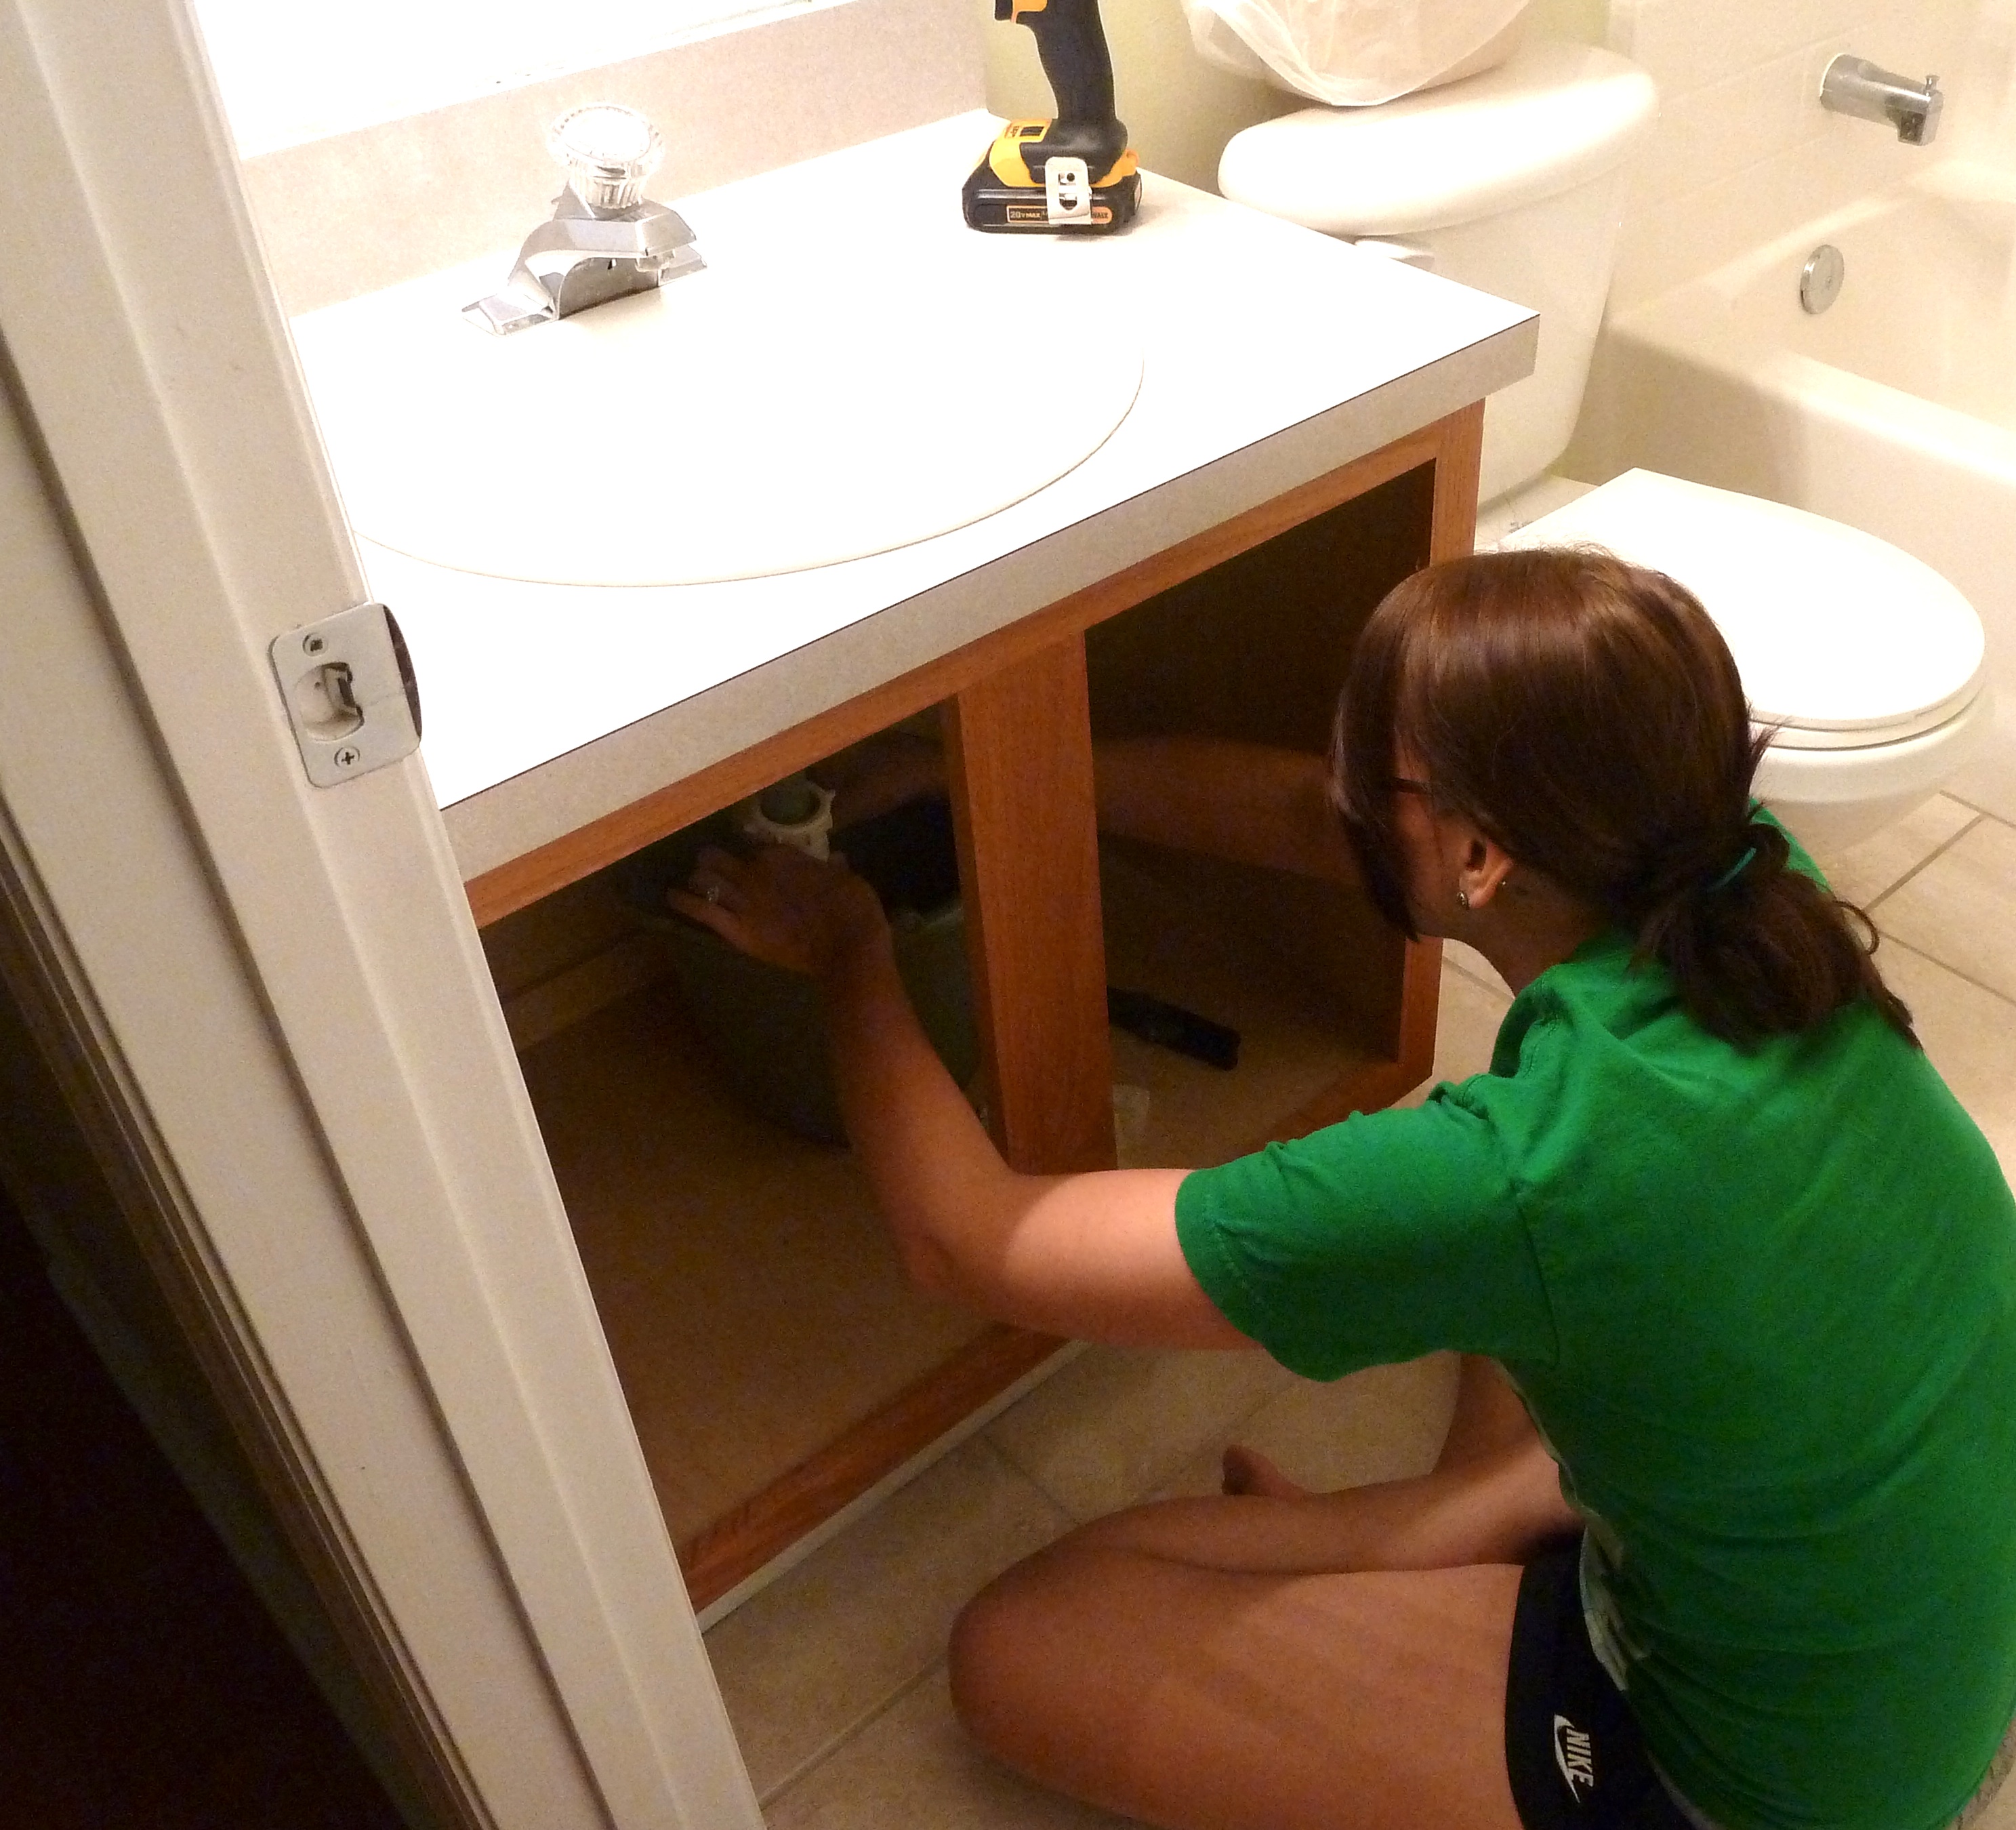
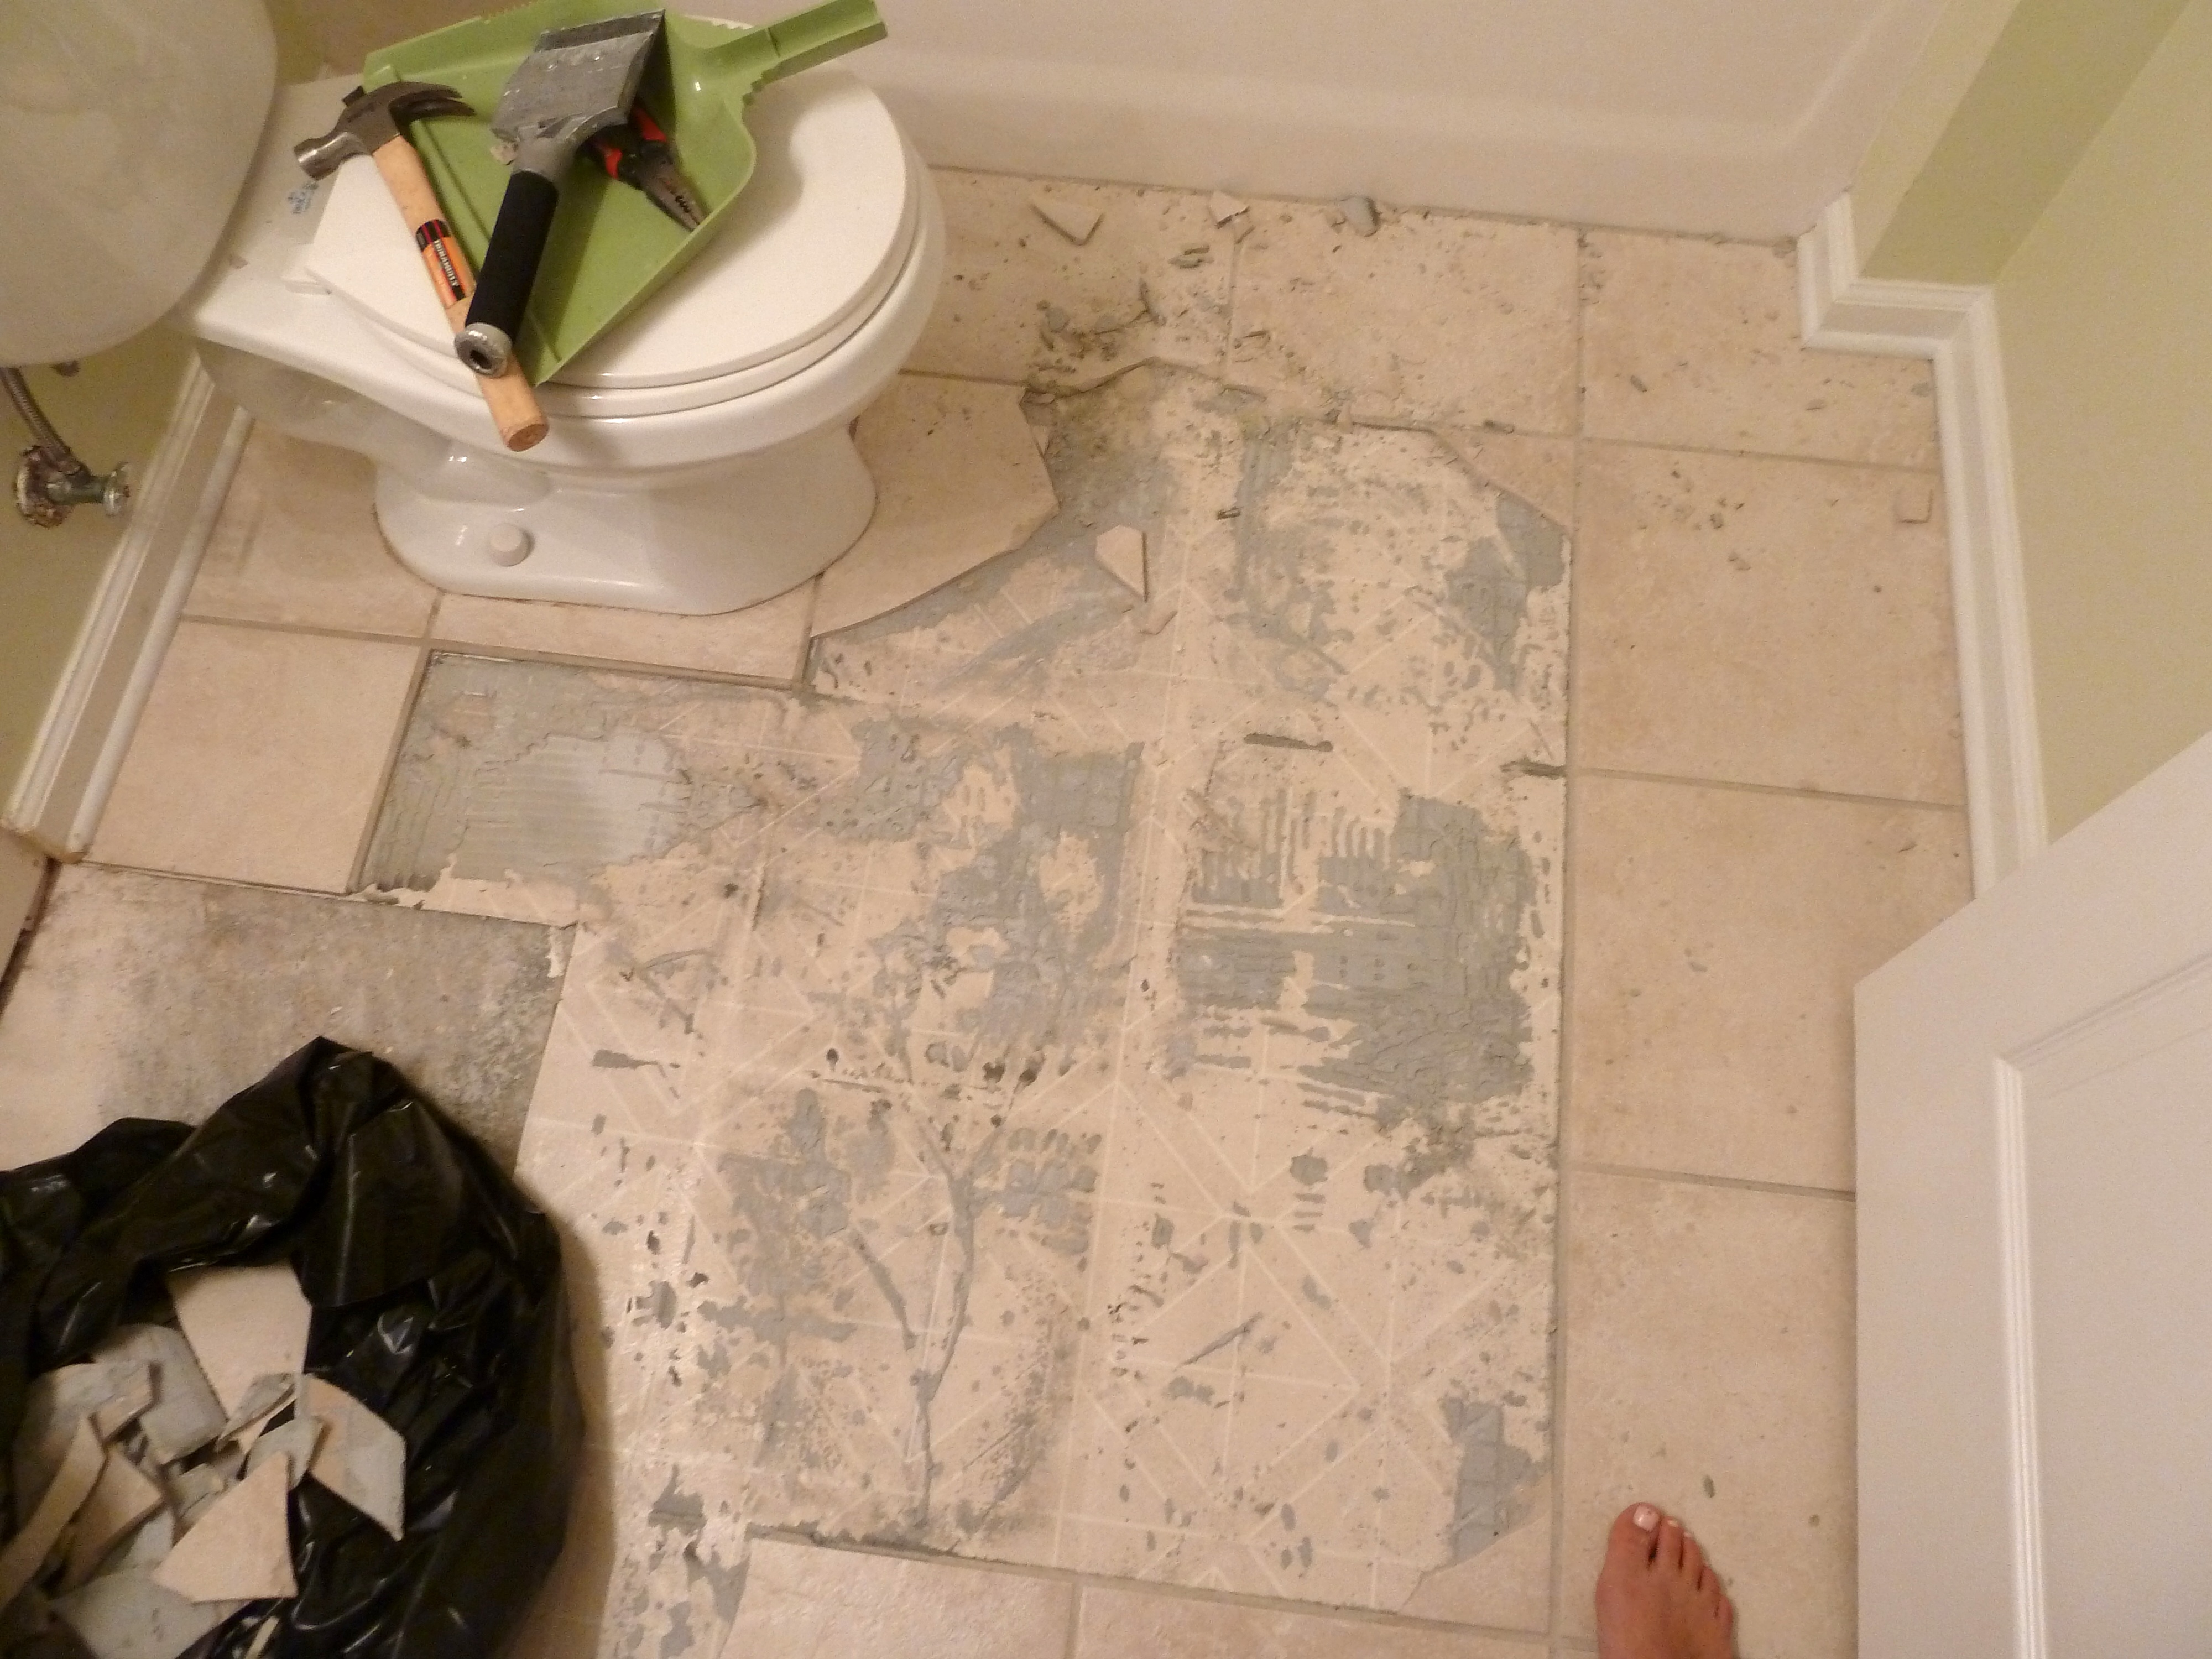
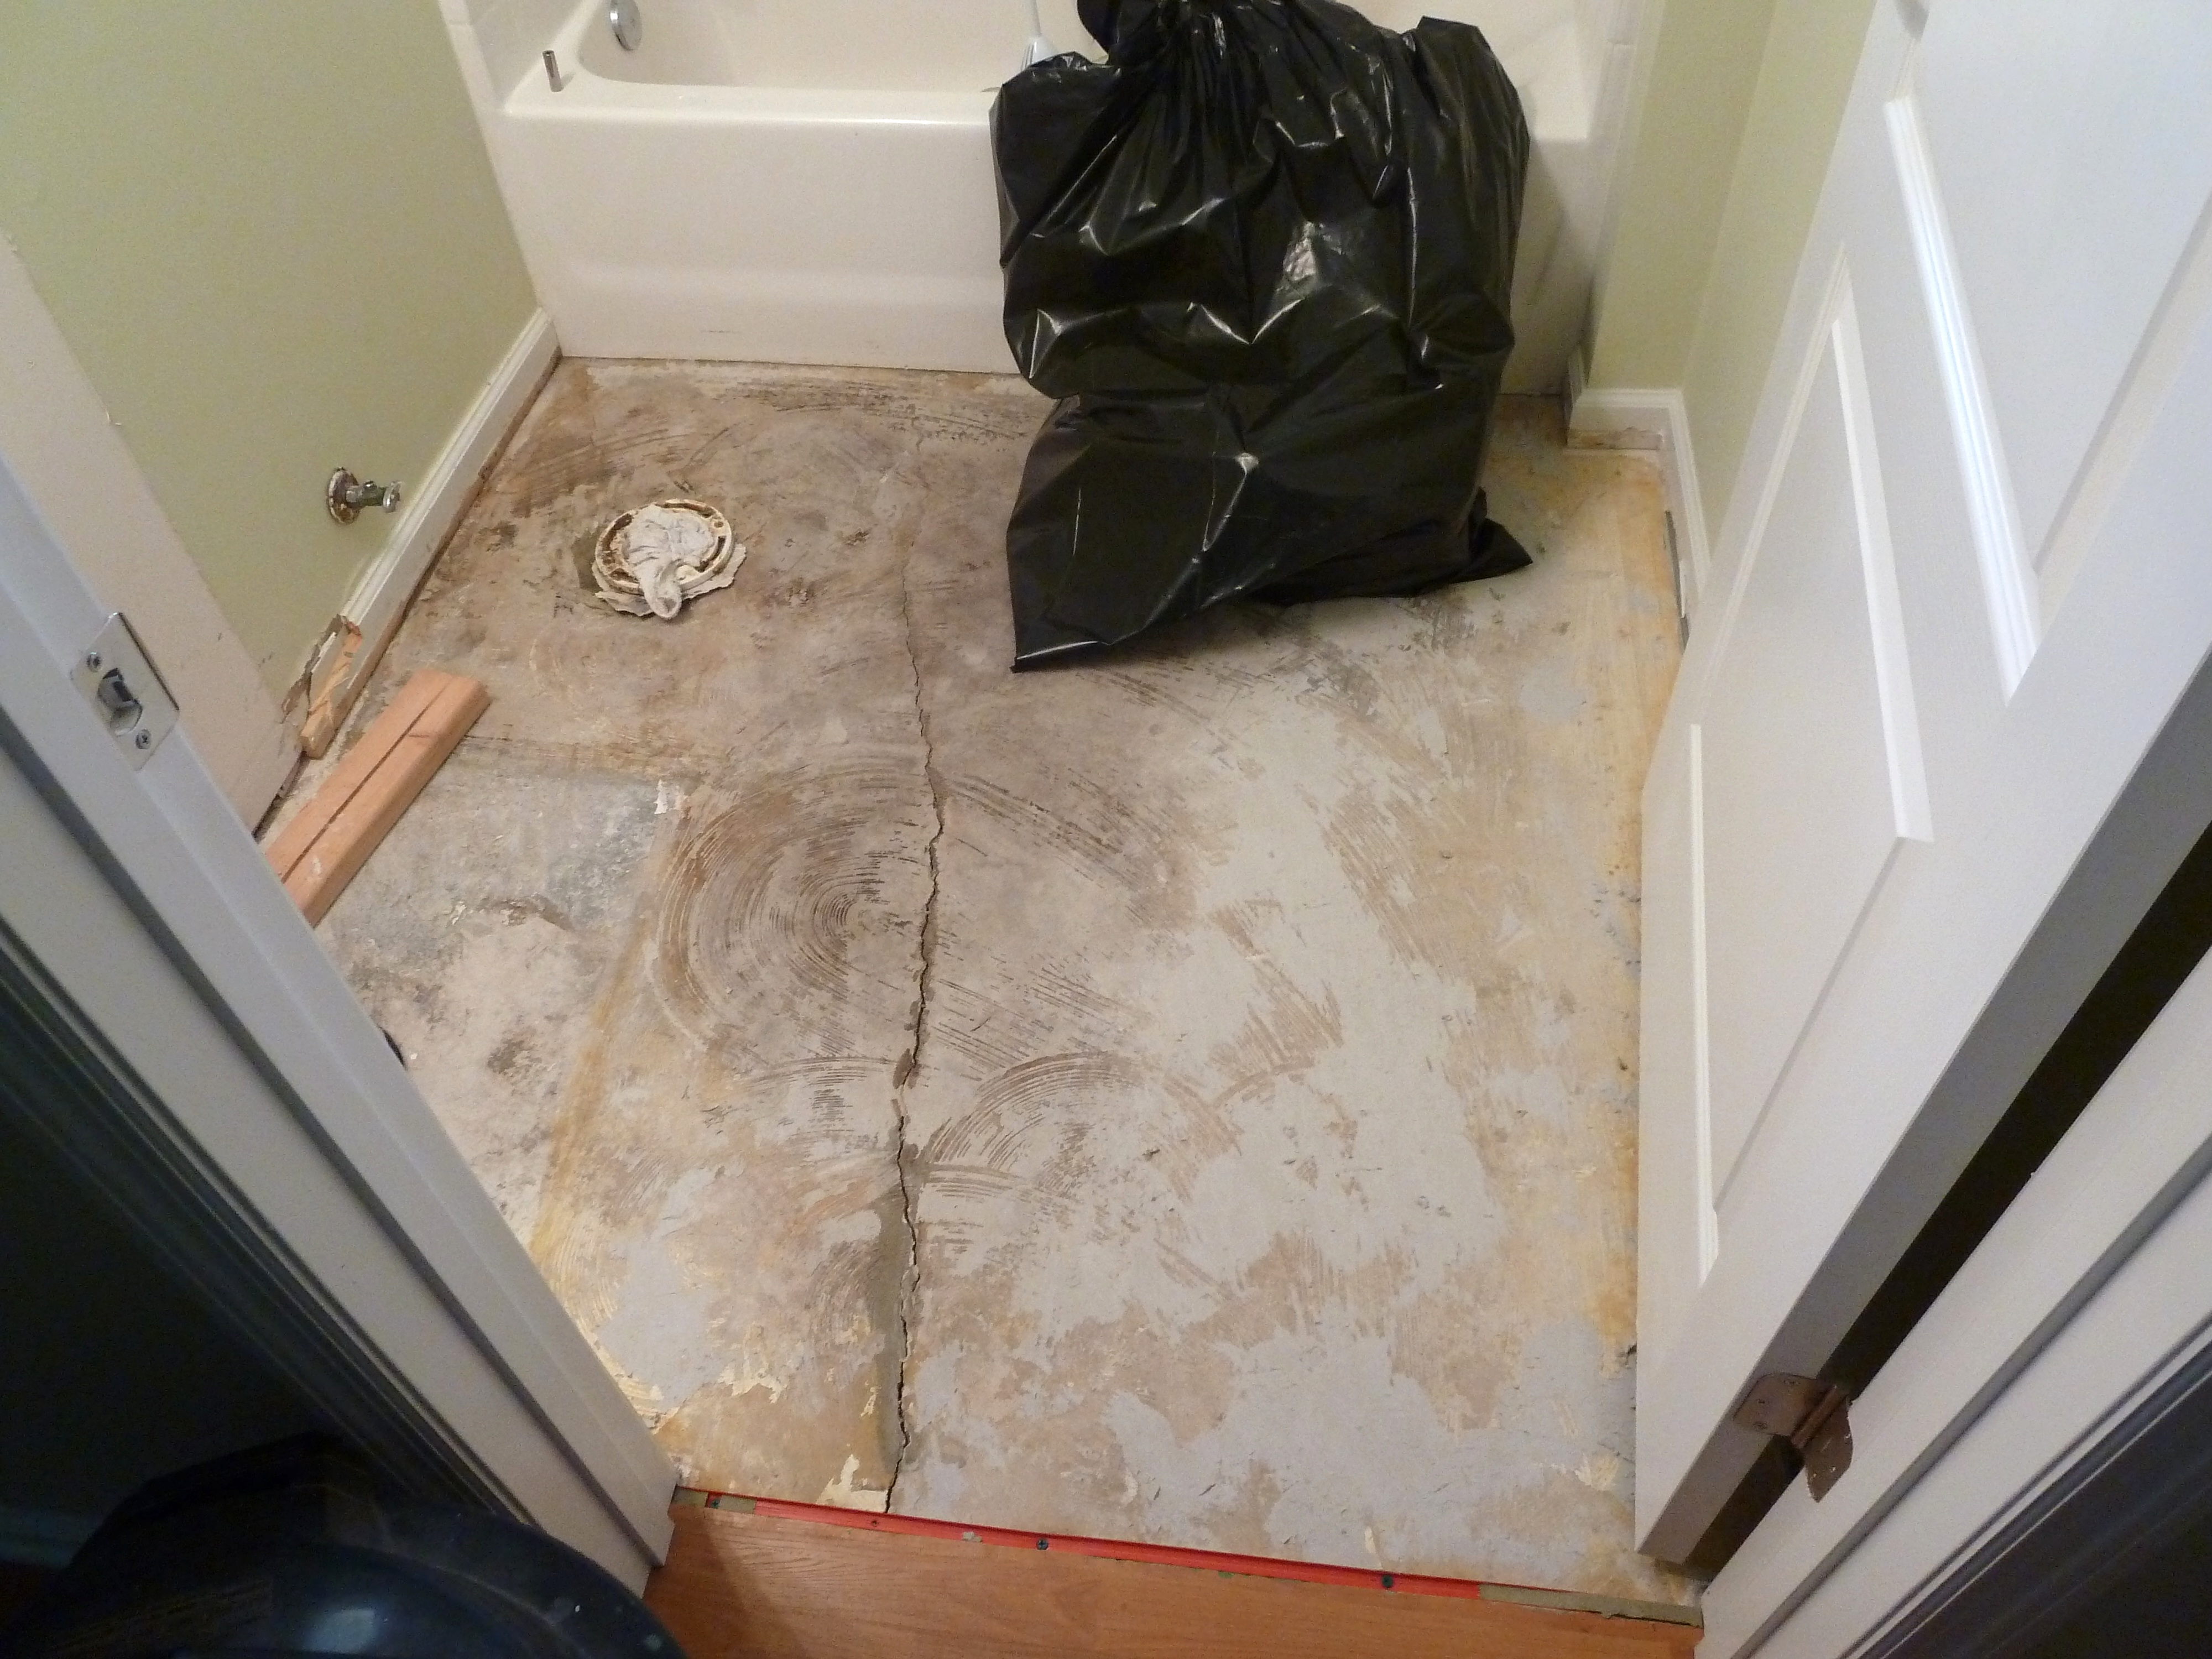
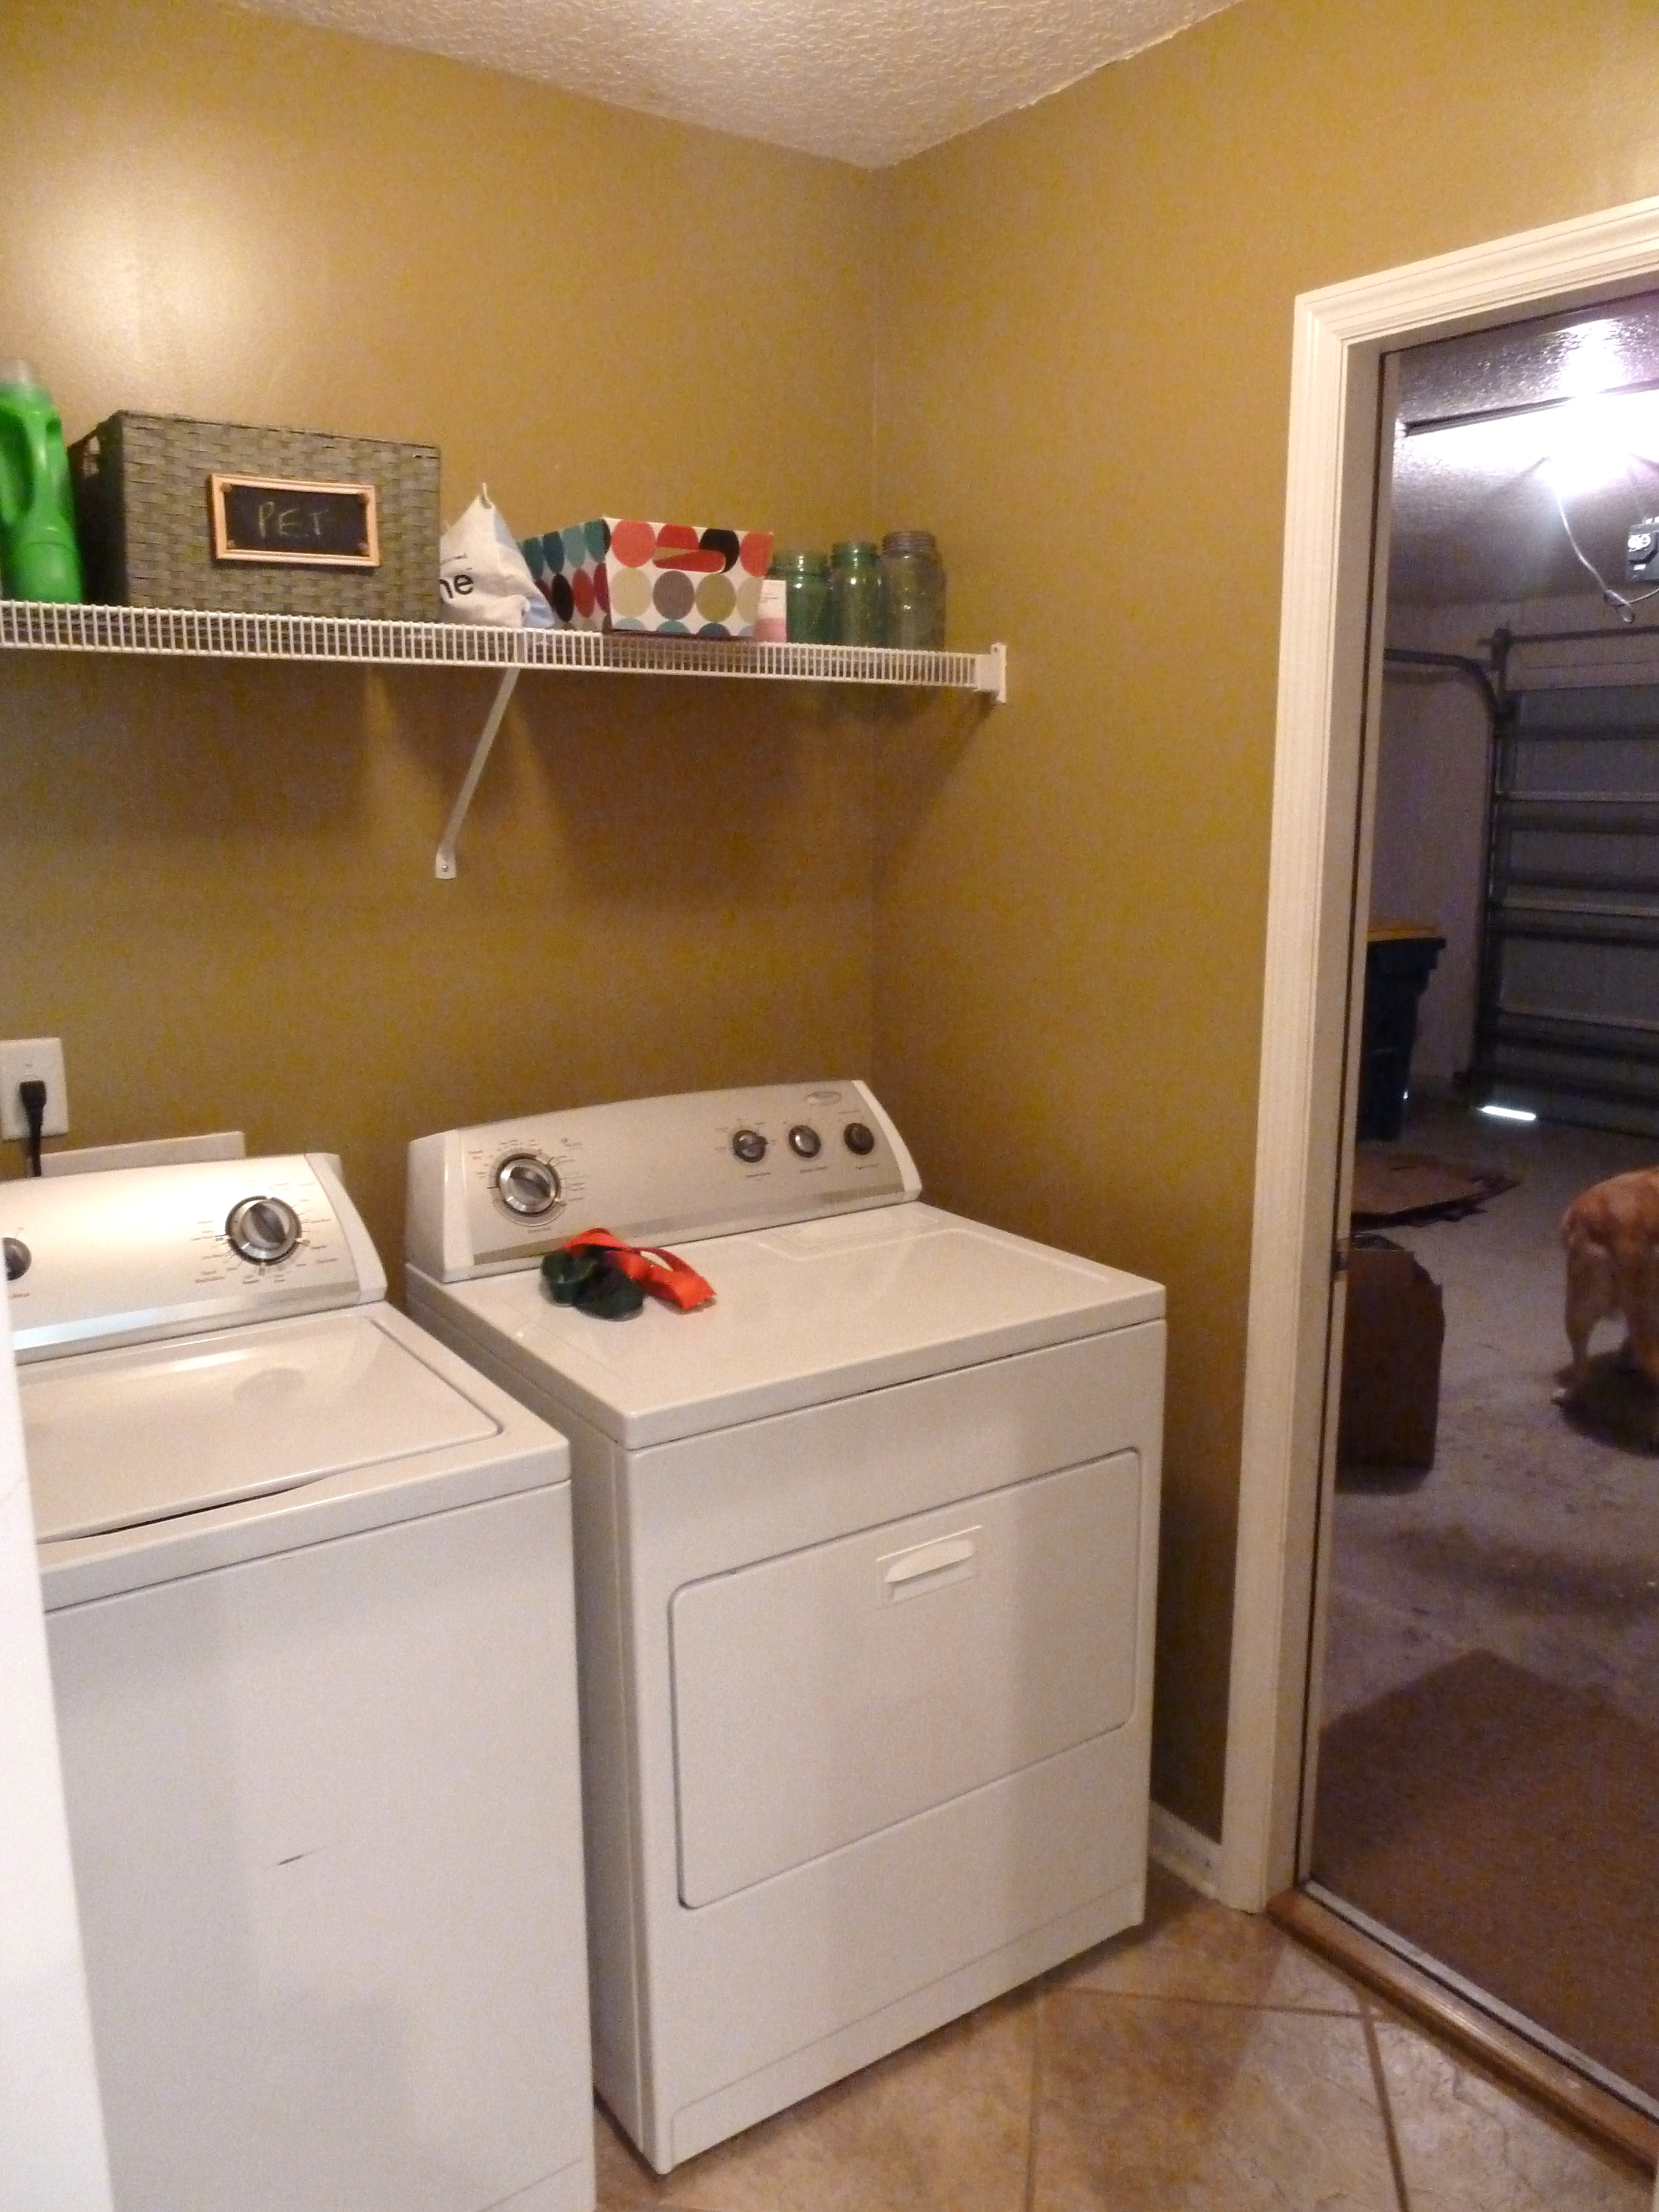
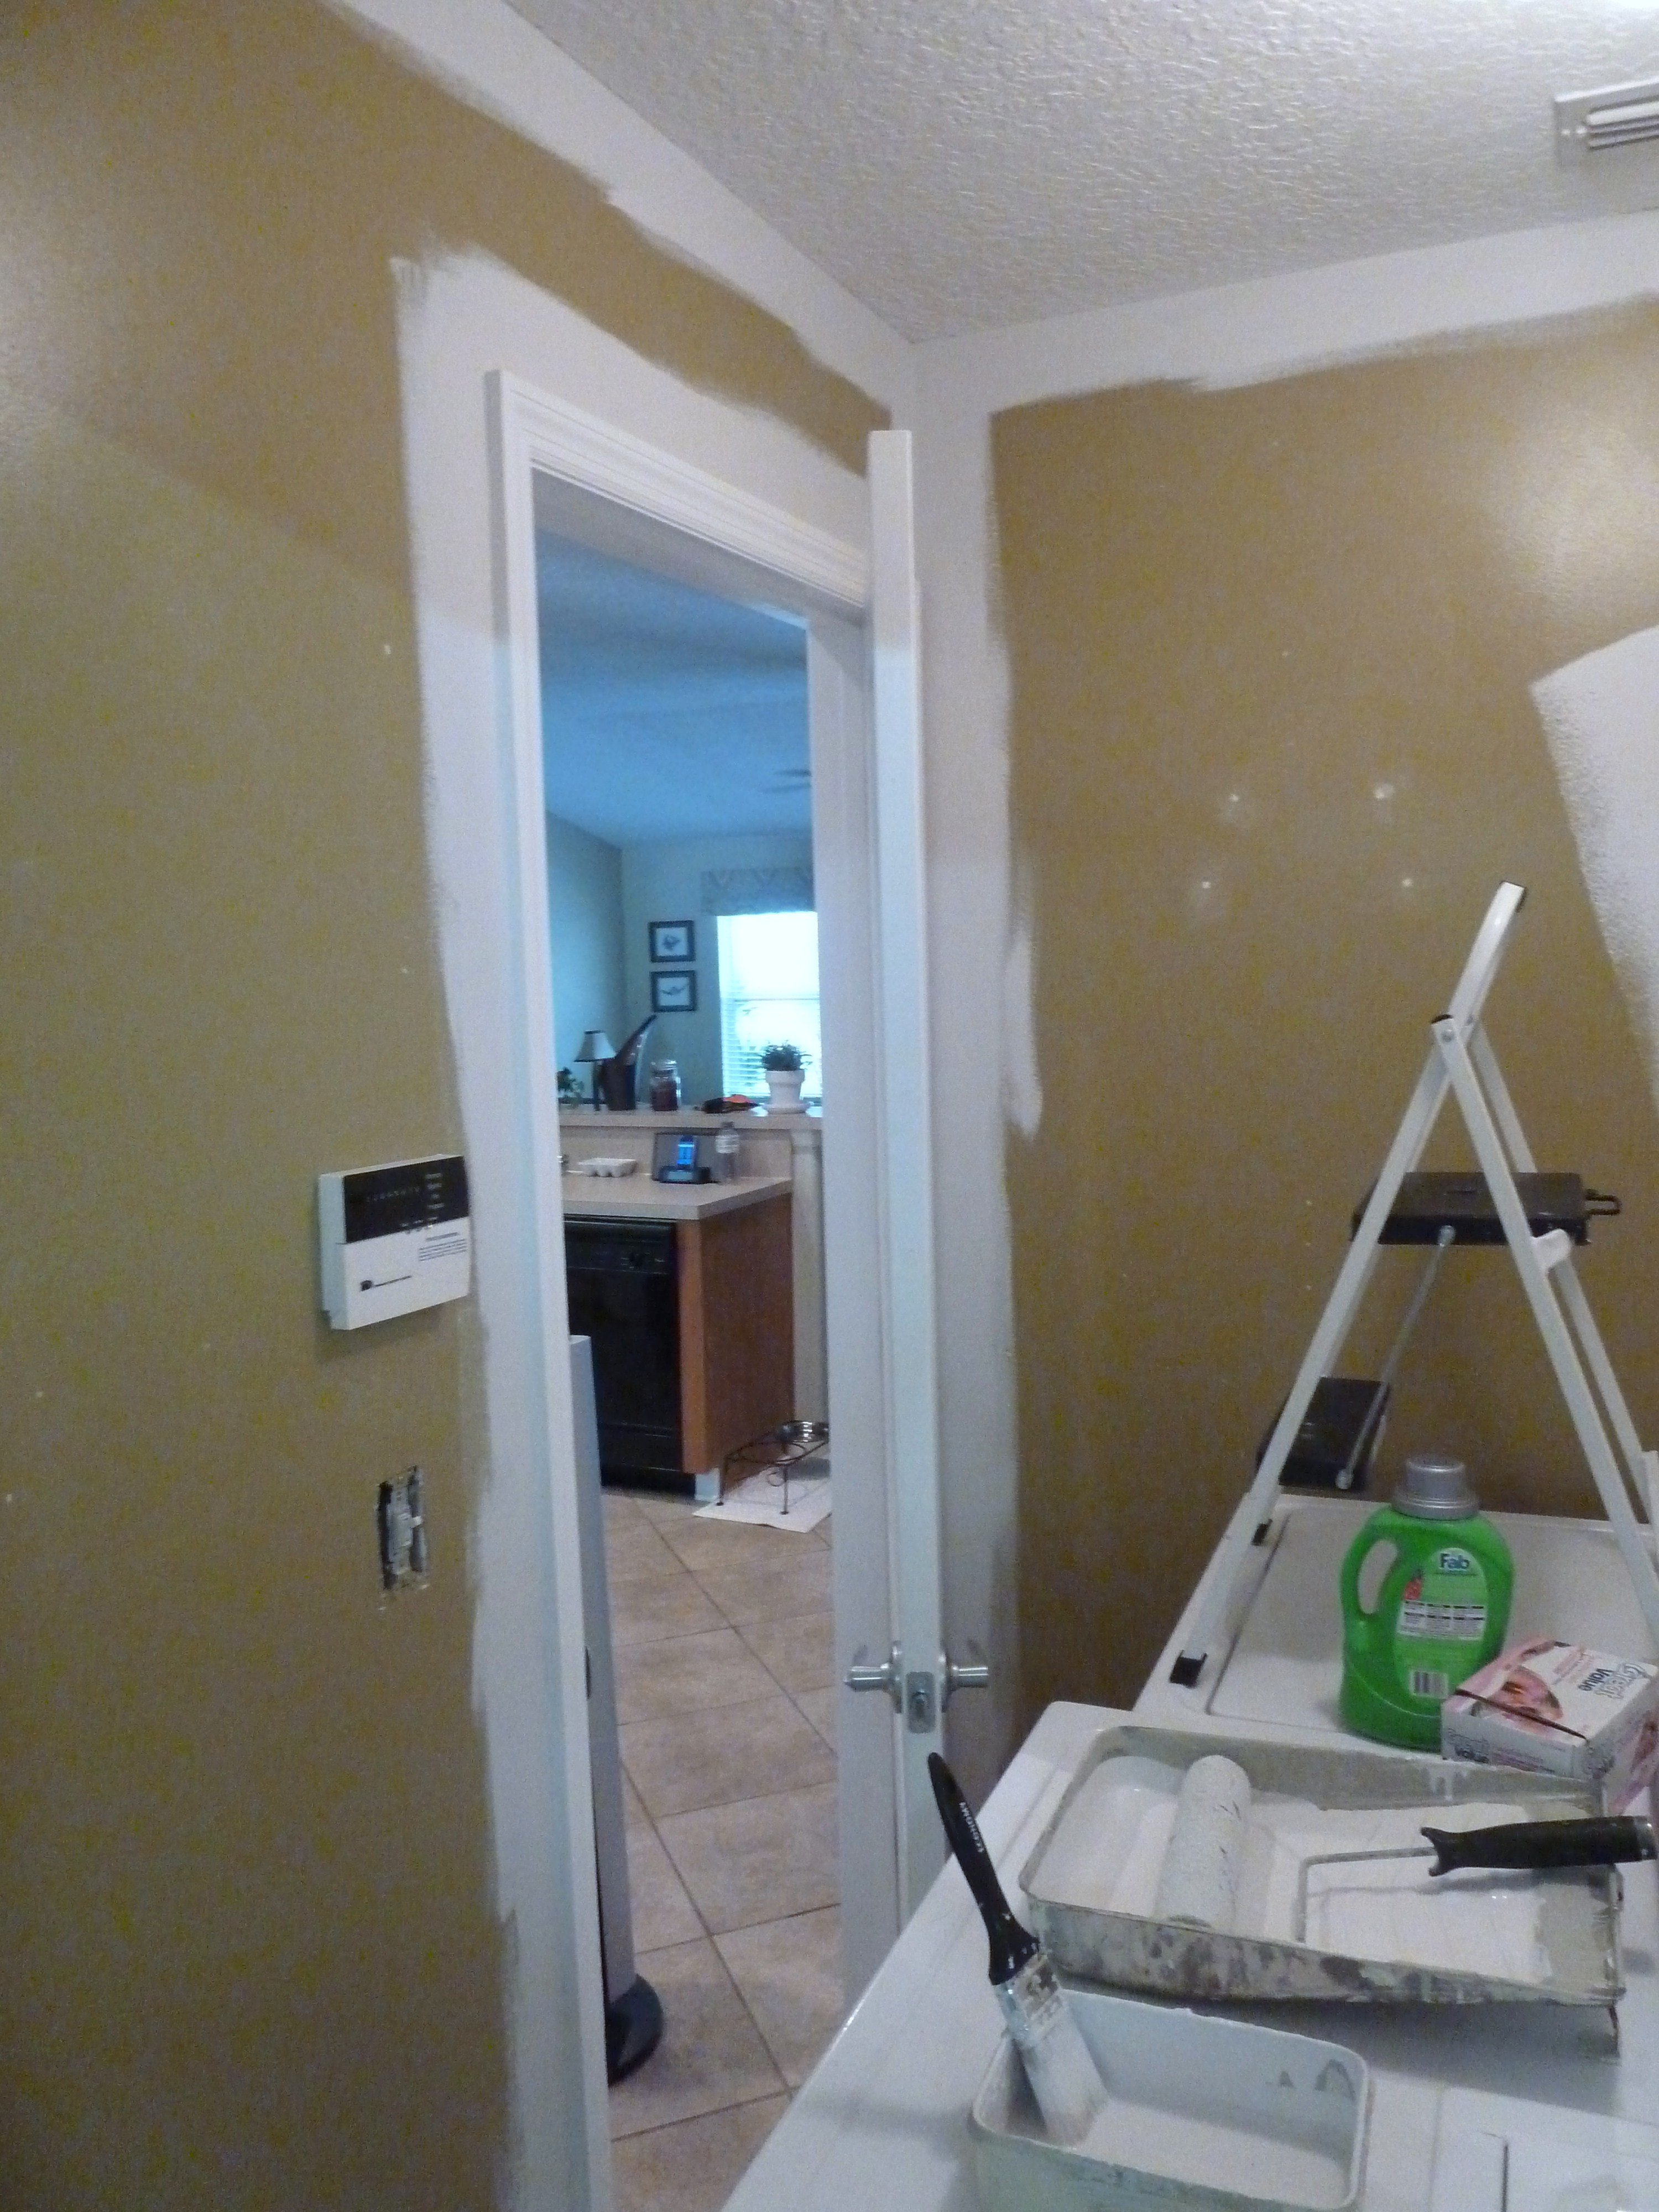
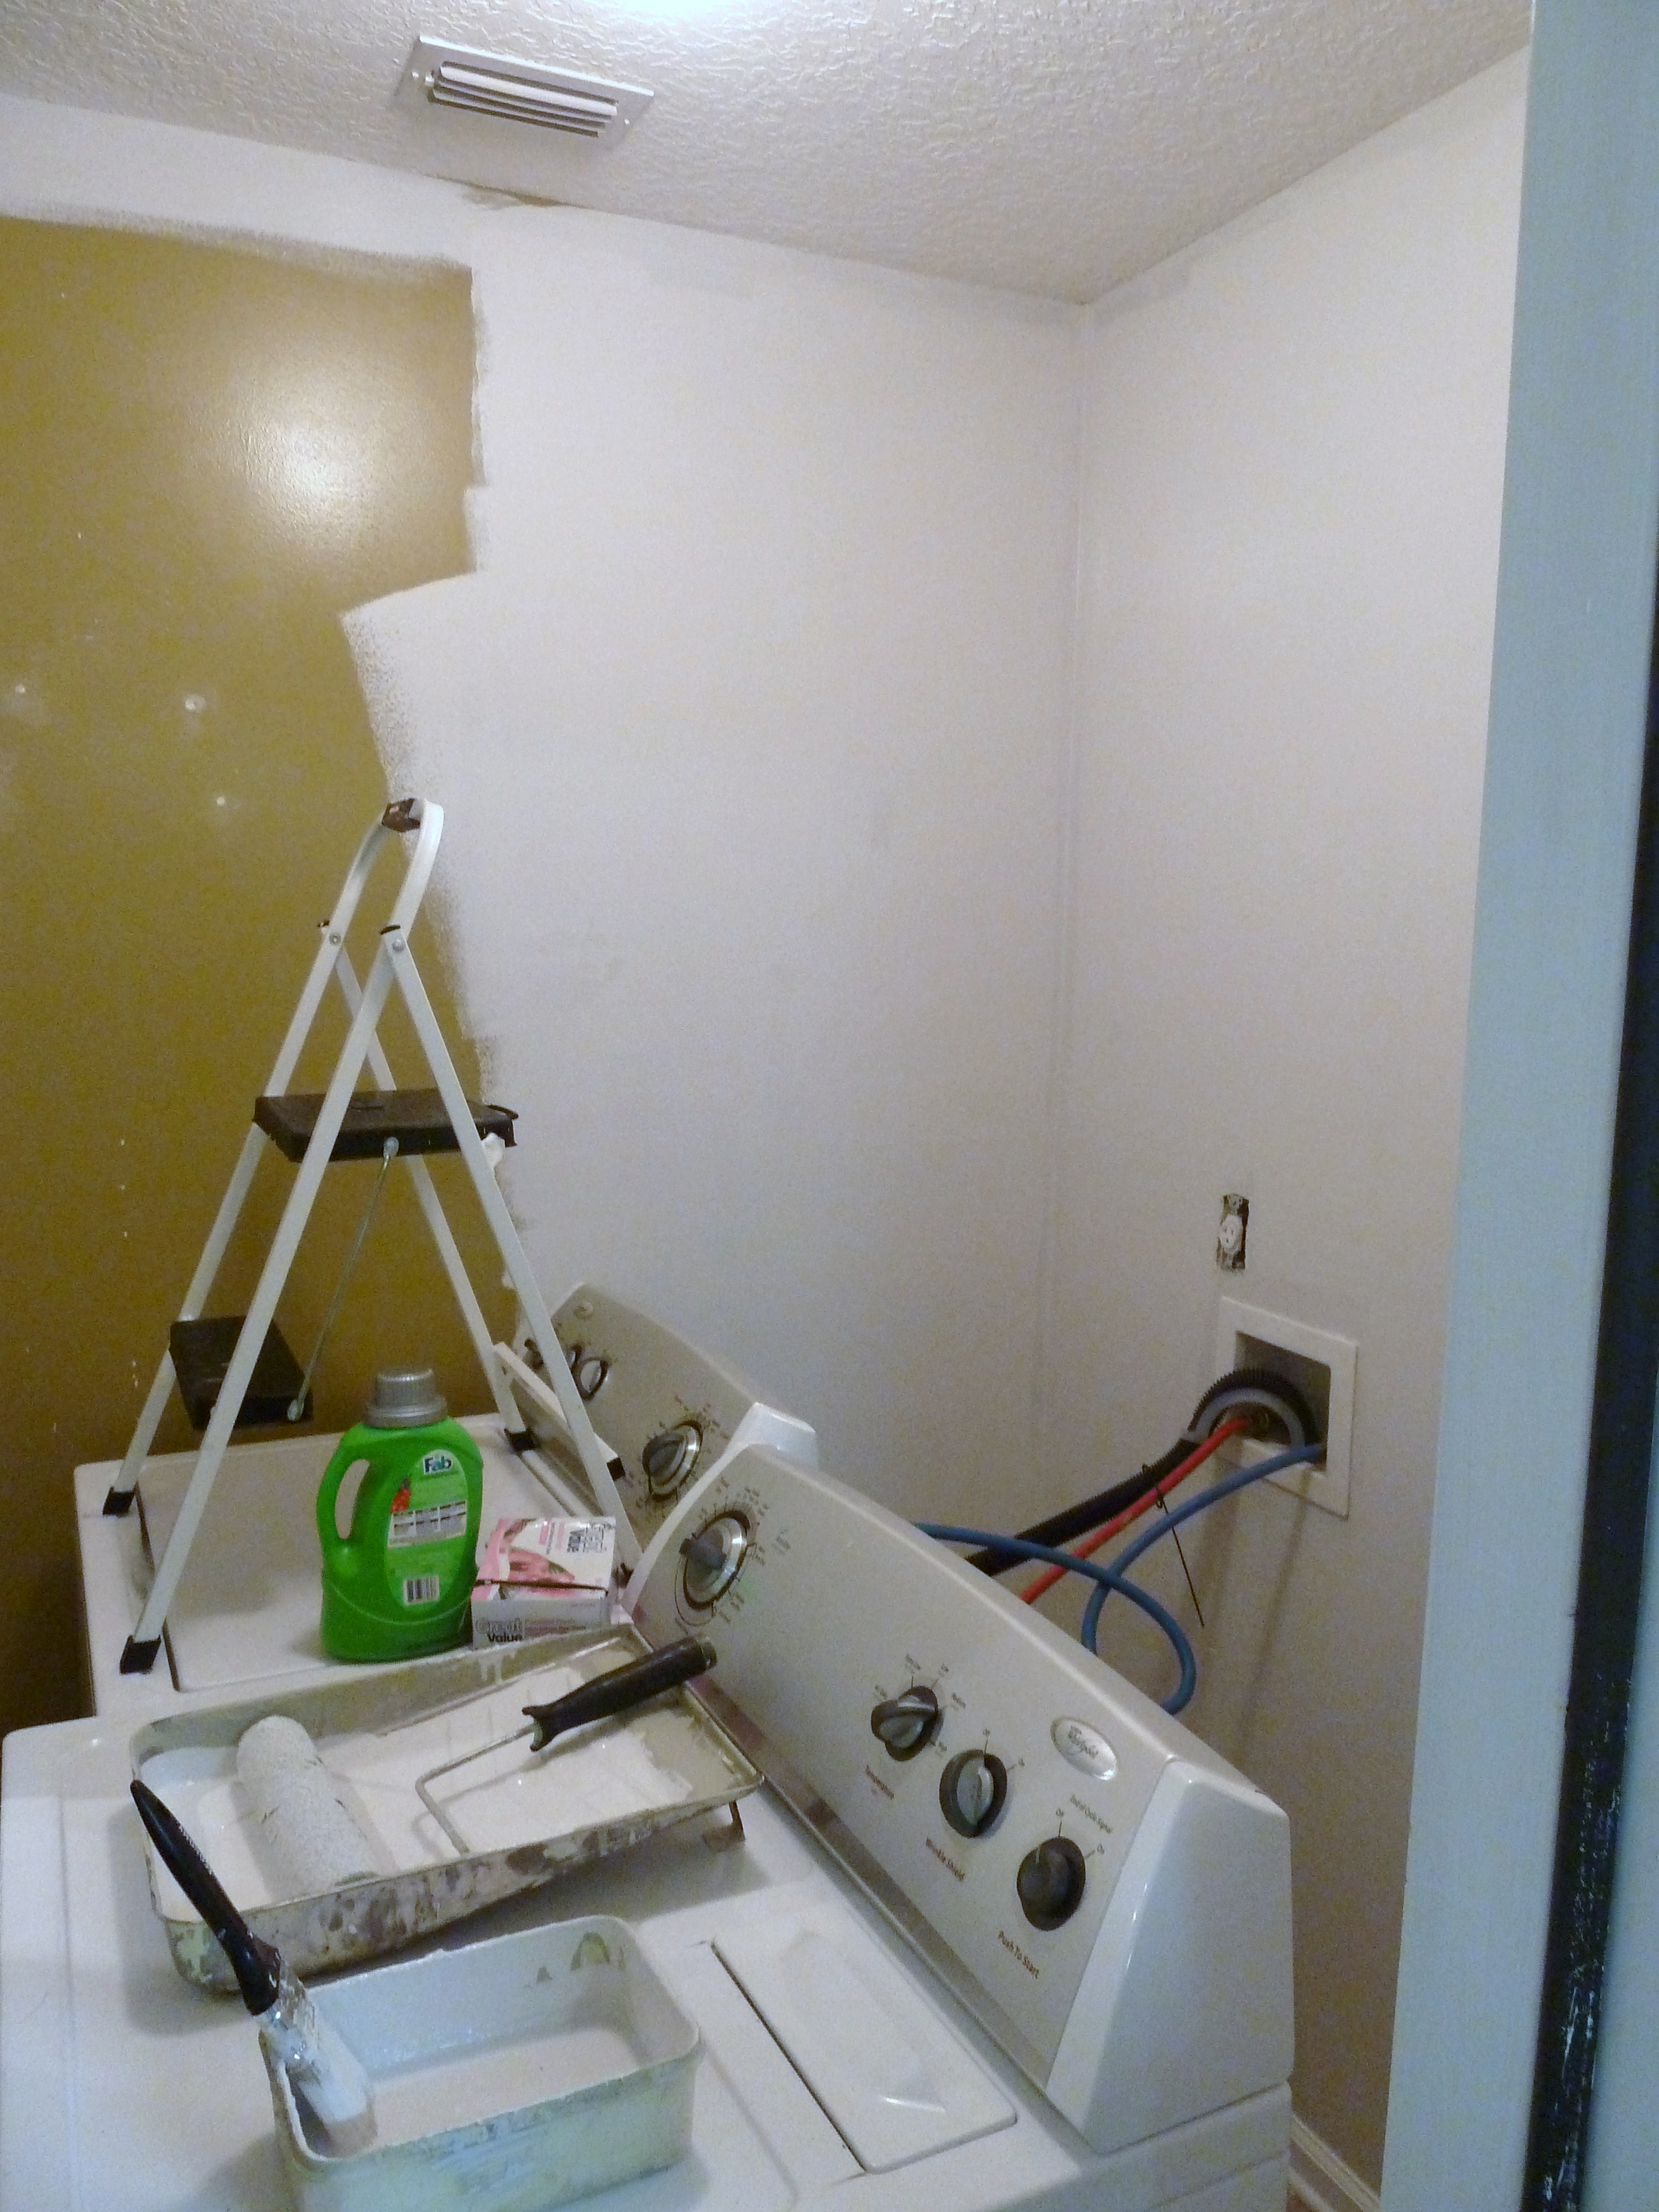
Last weekend we ended our project with the bathroom looking like this…

P1060991_Fotor

Yikes! that is one scary looking bathroom. We had quite the work to get done before we had a working toilet in here. We had a few things we wanted to incorporate in the bathroom.

Here’s another handy list of our to do’s for this bath:

  1. Patch and sand all walls.
  2. Paint walls.
  3. Add wainscoting and chair rail to walls.
  4. Paint wainscoting, chair rail and trim.
  5. Tile and grout floor.
  6. REINSTALL TOILET.
  7. Install new faucets and shower head in bathtub.
  8. Install new light fixture.
  9. Install vanity.
  10. Install mirror.
  11. Install towel bar.
  12. Decorate! 🙂

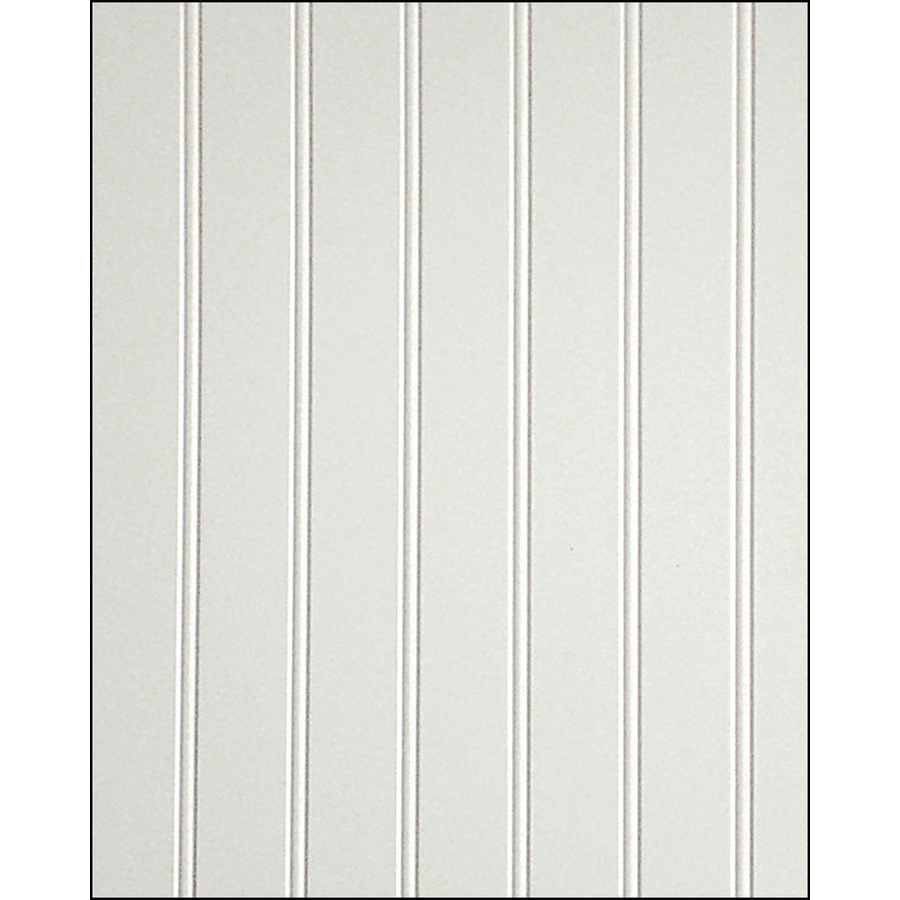
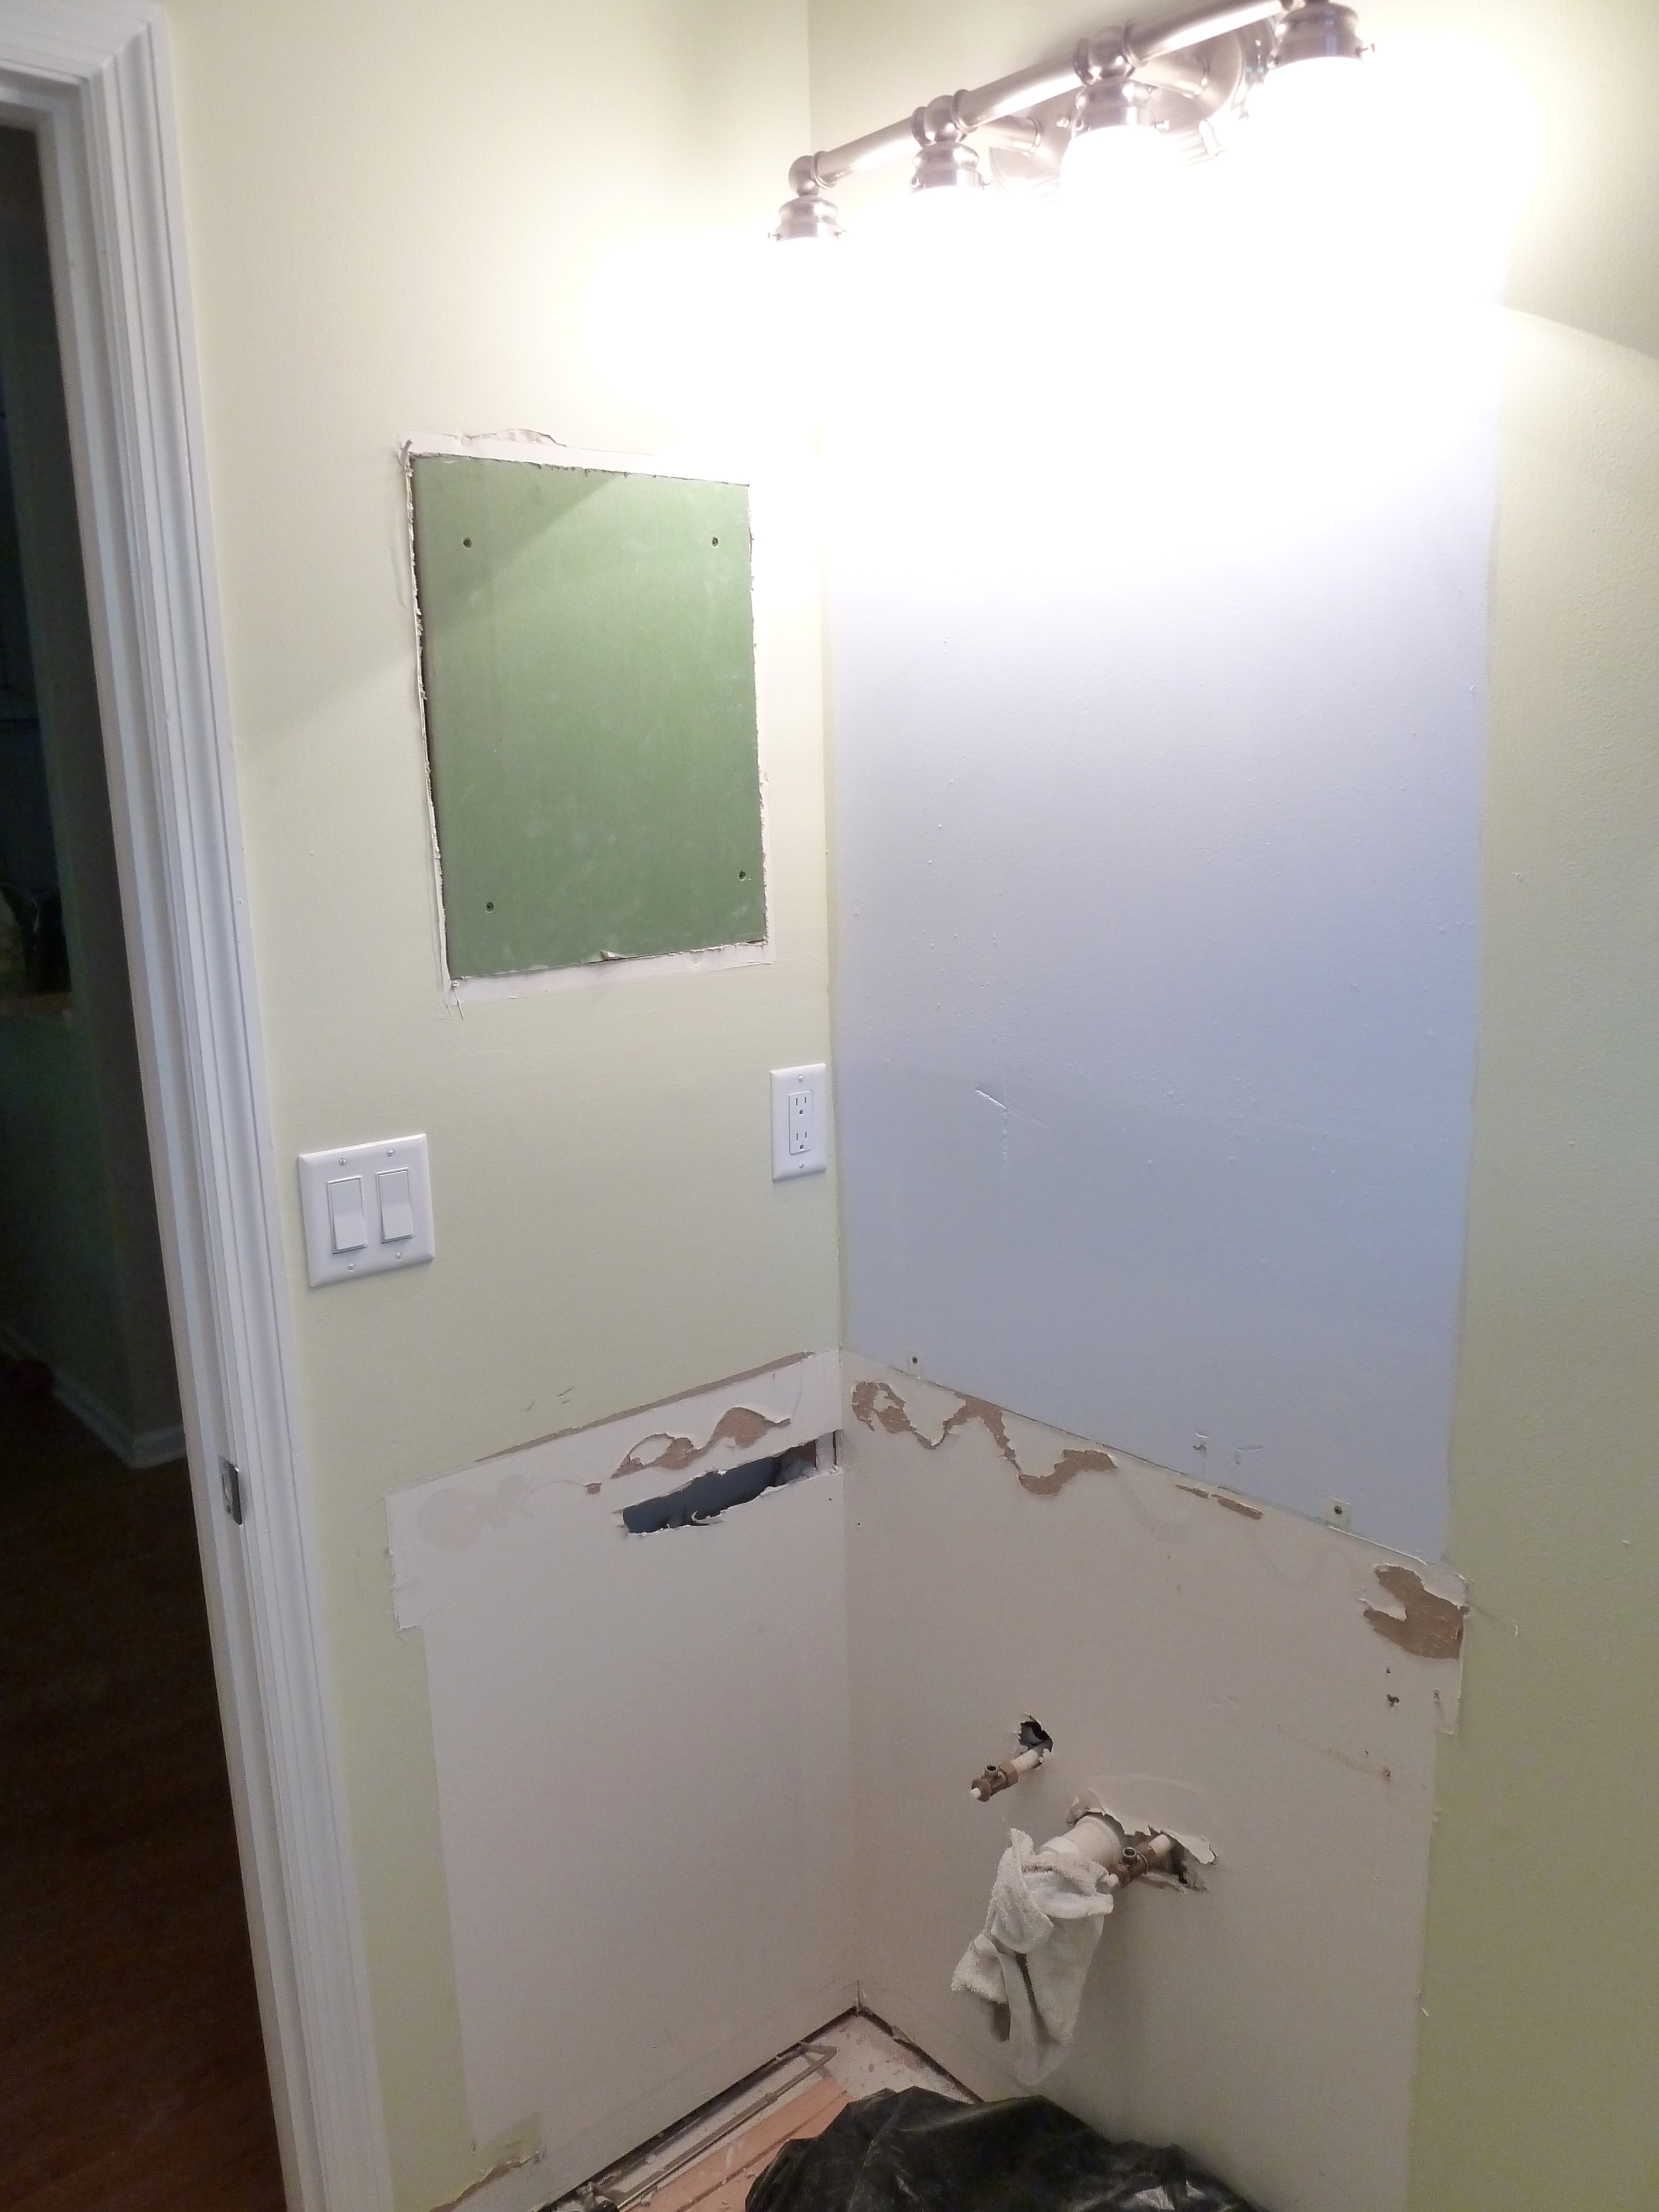
We had a lot to accomplish before we had a working bathroom again, so we got right to work.  Justin started with installing the wainscoting.  He purchased full sheets of it from Lowe’s(of course).

765096139019

It is pretty affordable at about $10 a sheet which are 4 feet wide.  We didn’t need very much since this bathroom is pretty small.  The sheets come in a preprimed white coating, which was nice for me considering I’m the painter in this family.  Less coats of paint! suh-weet!

P1070012_Fotor

P1070013_Fotor

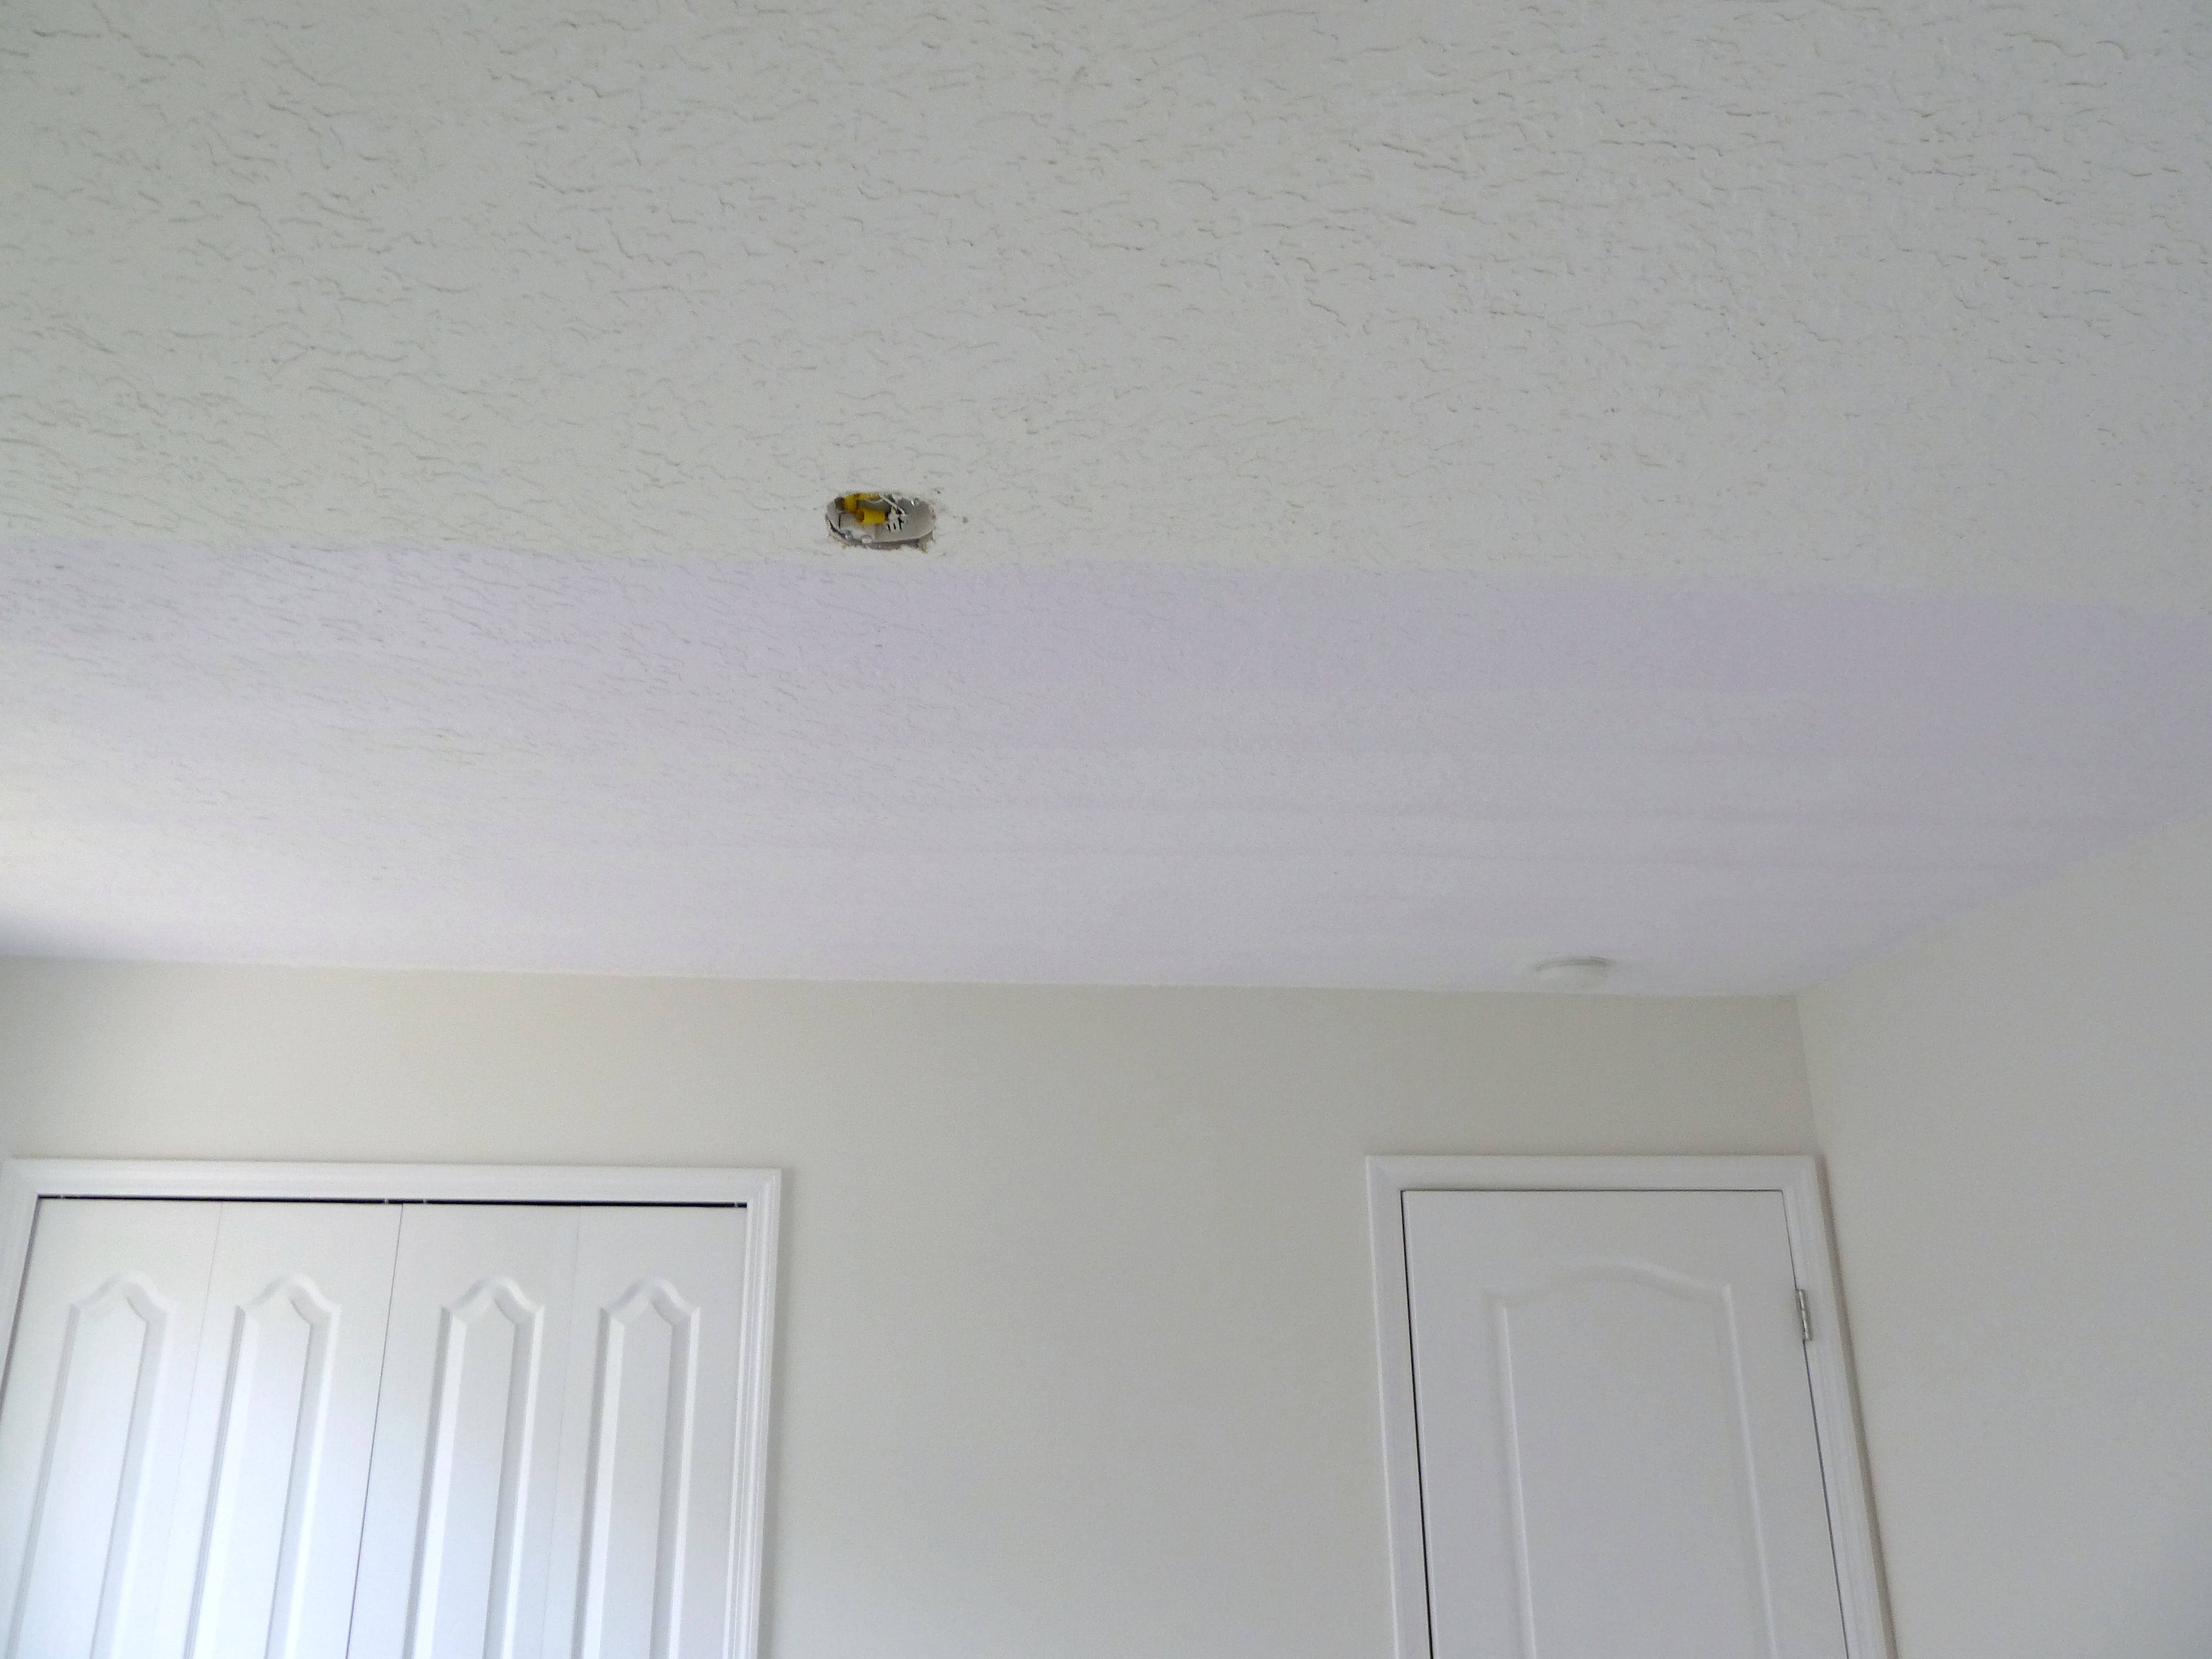
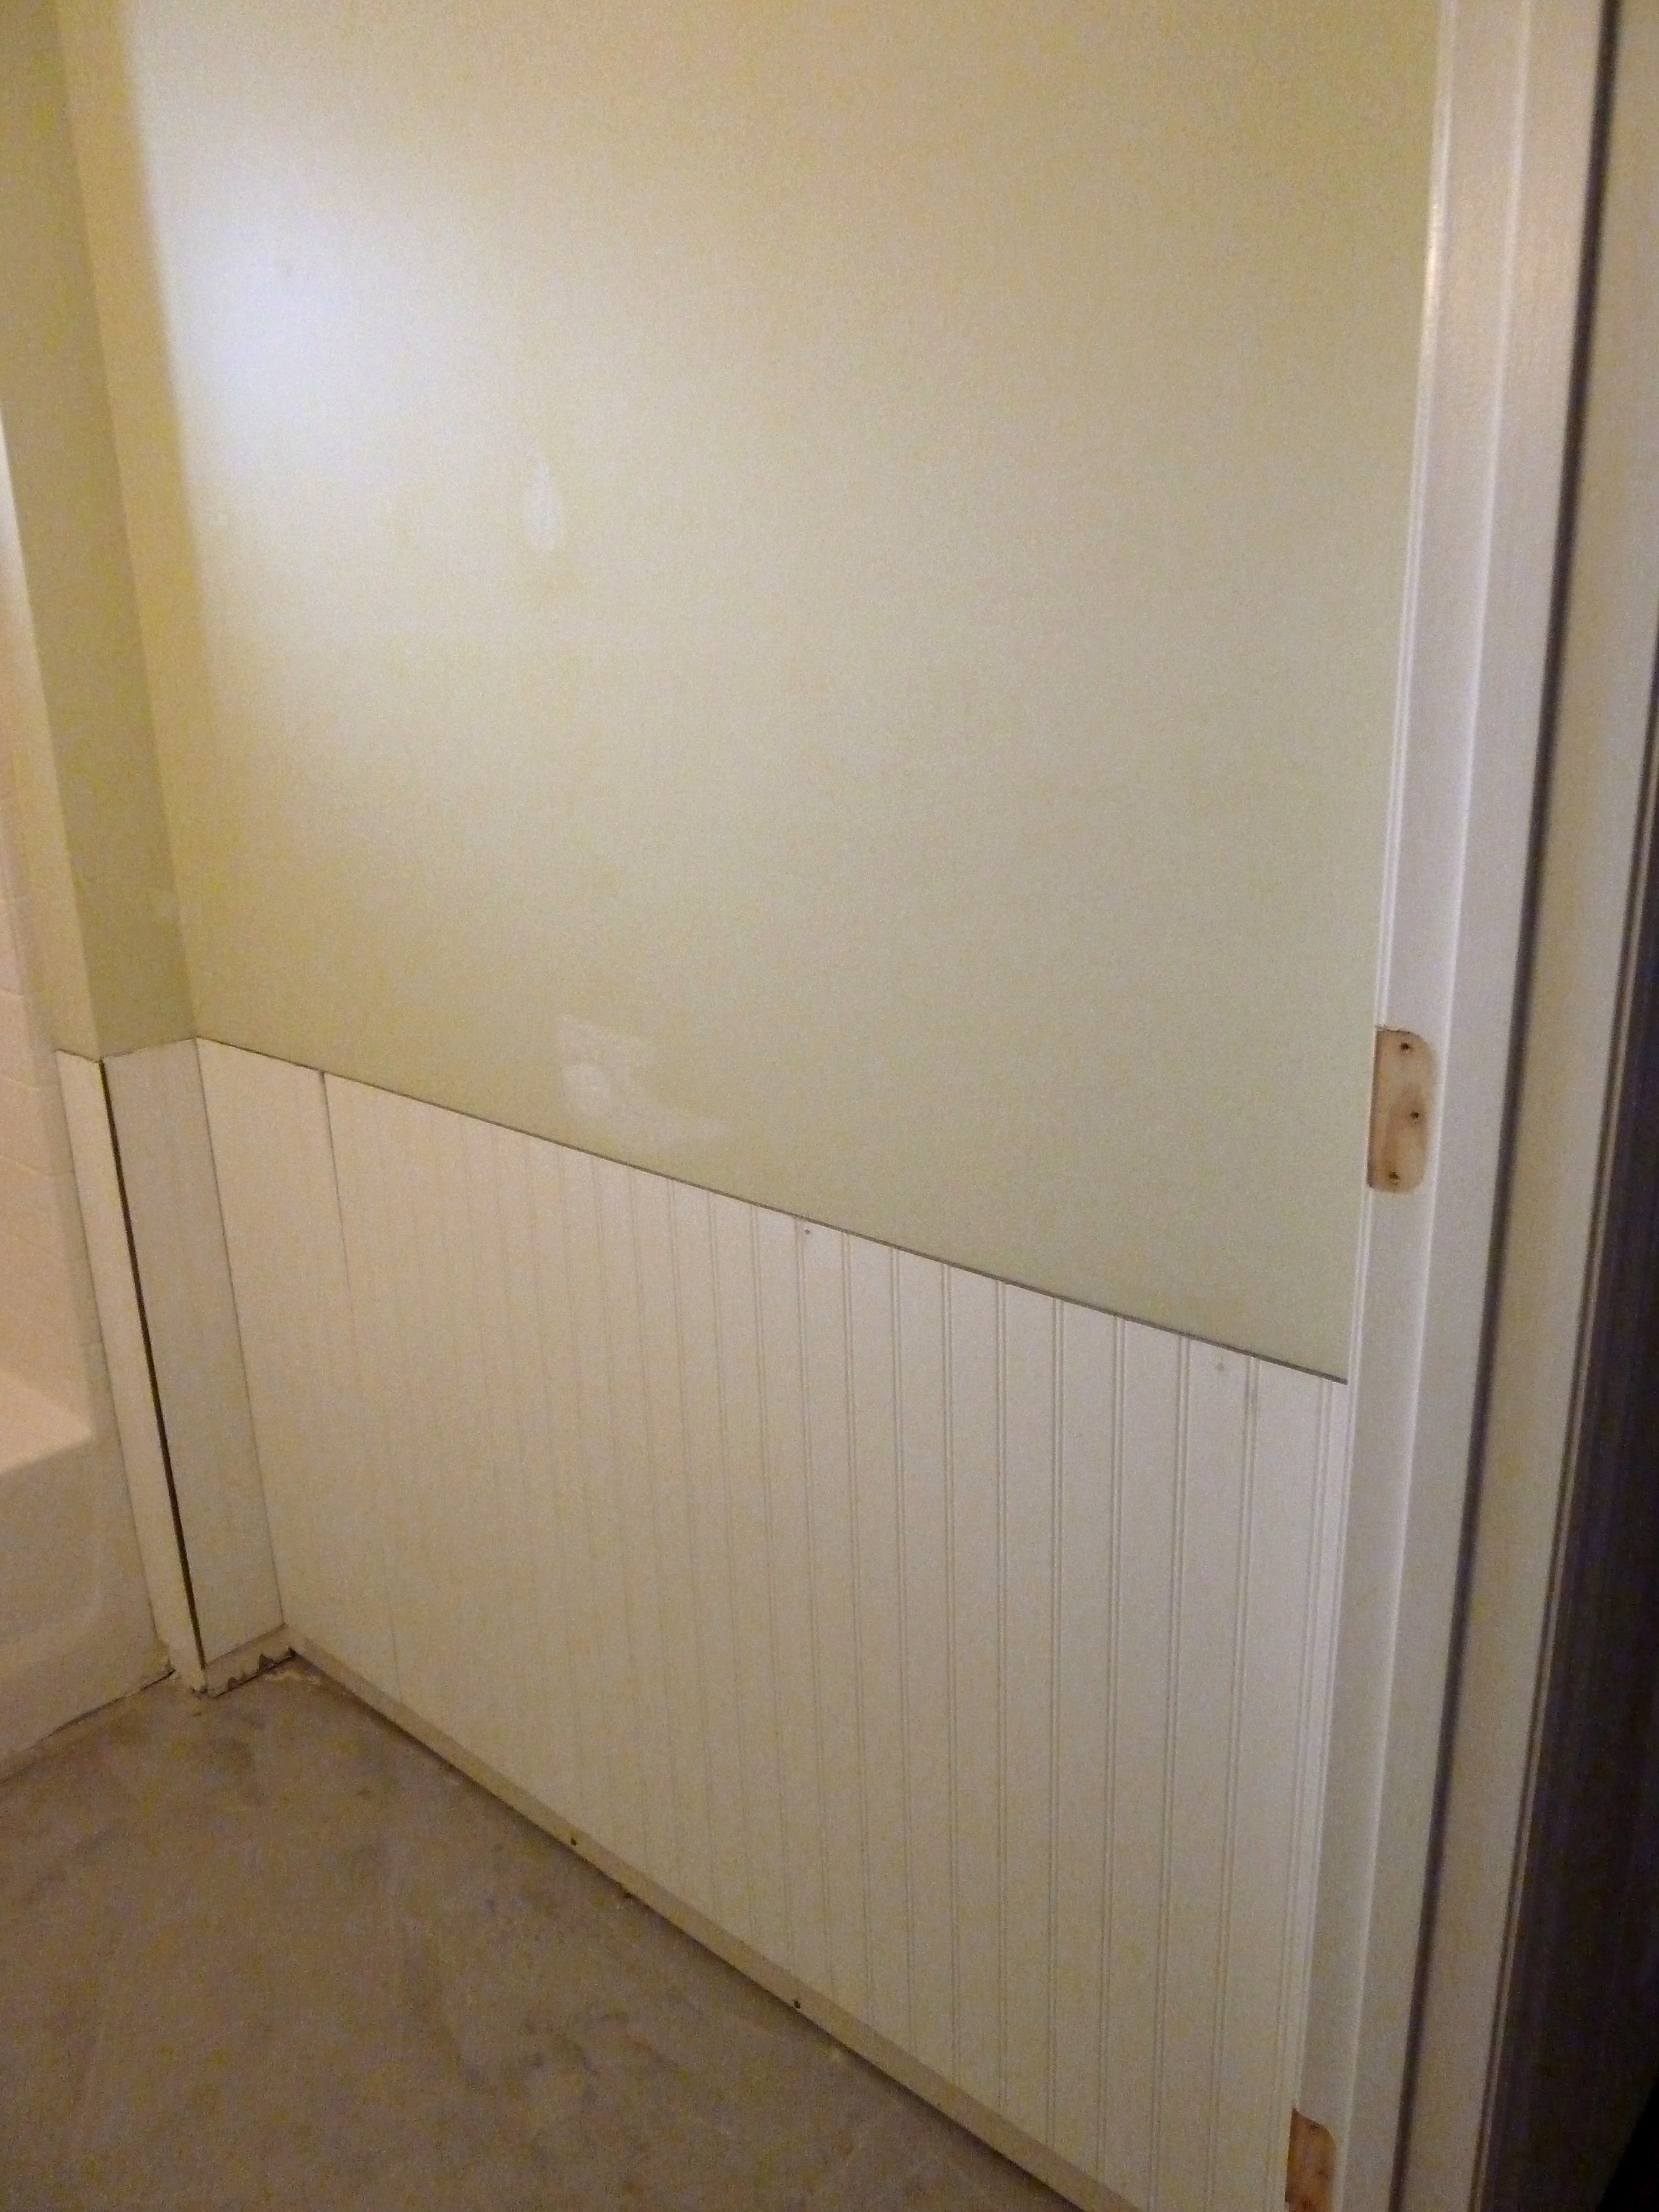
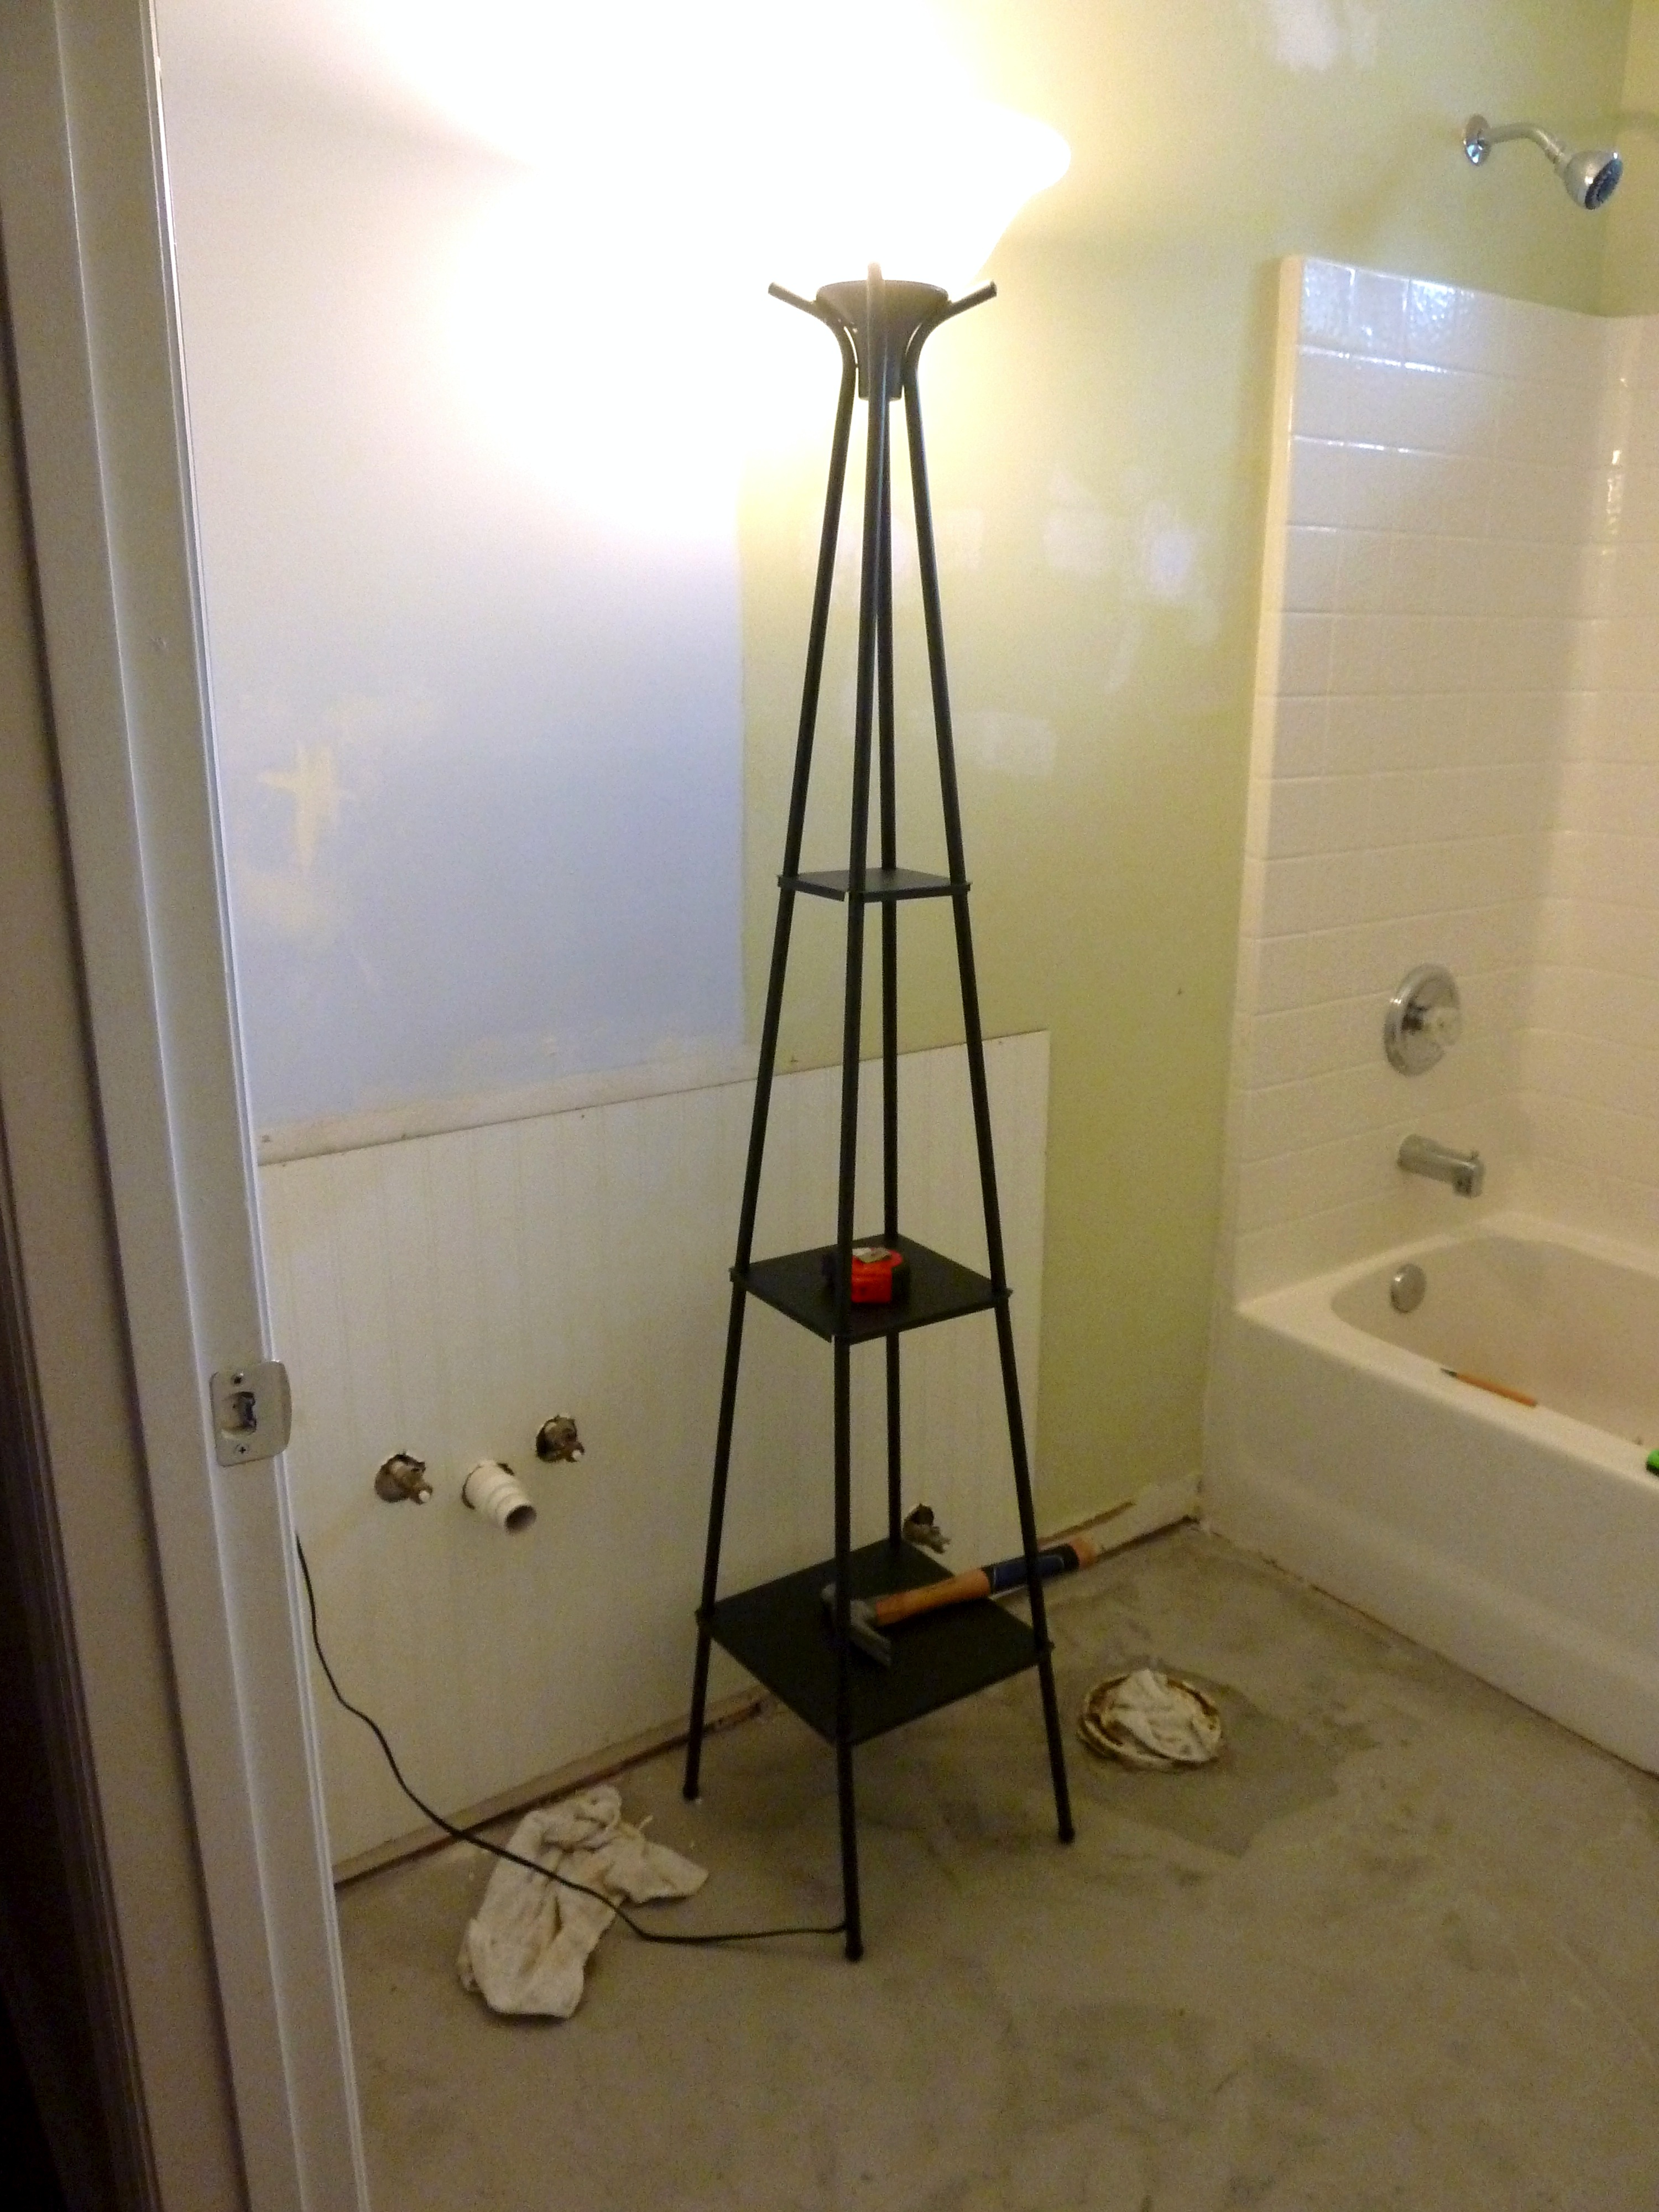
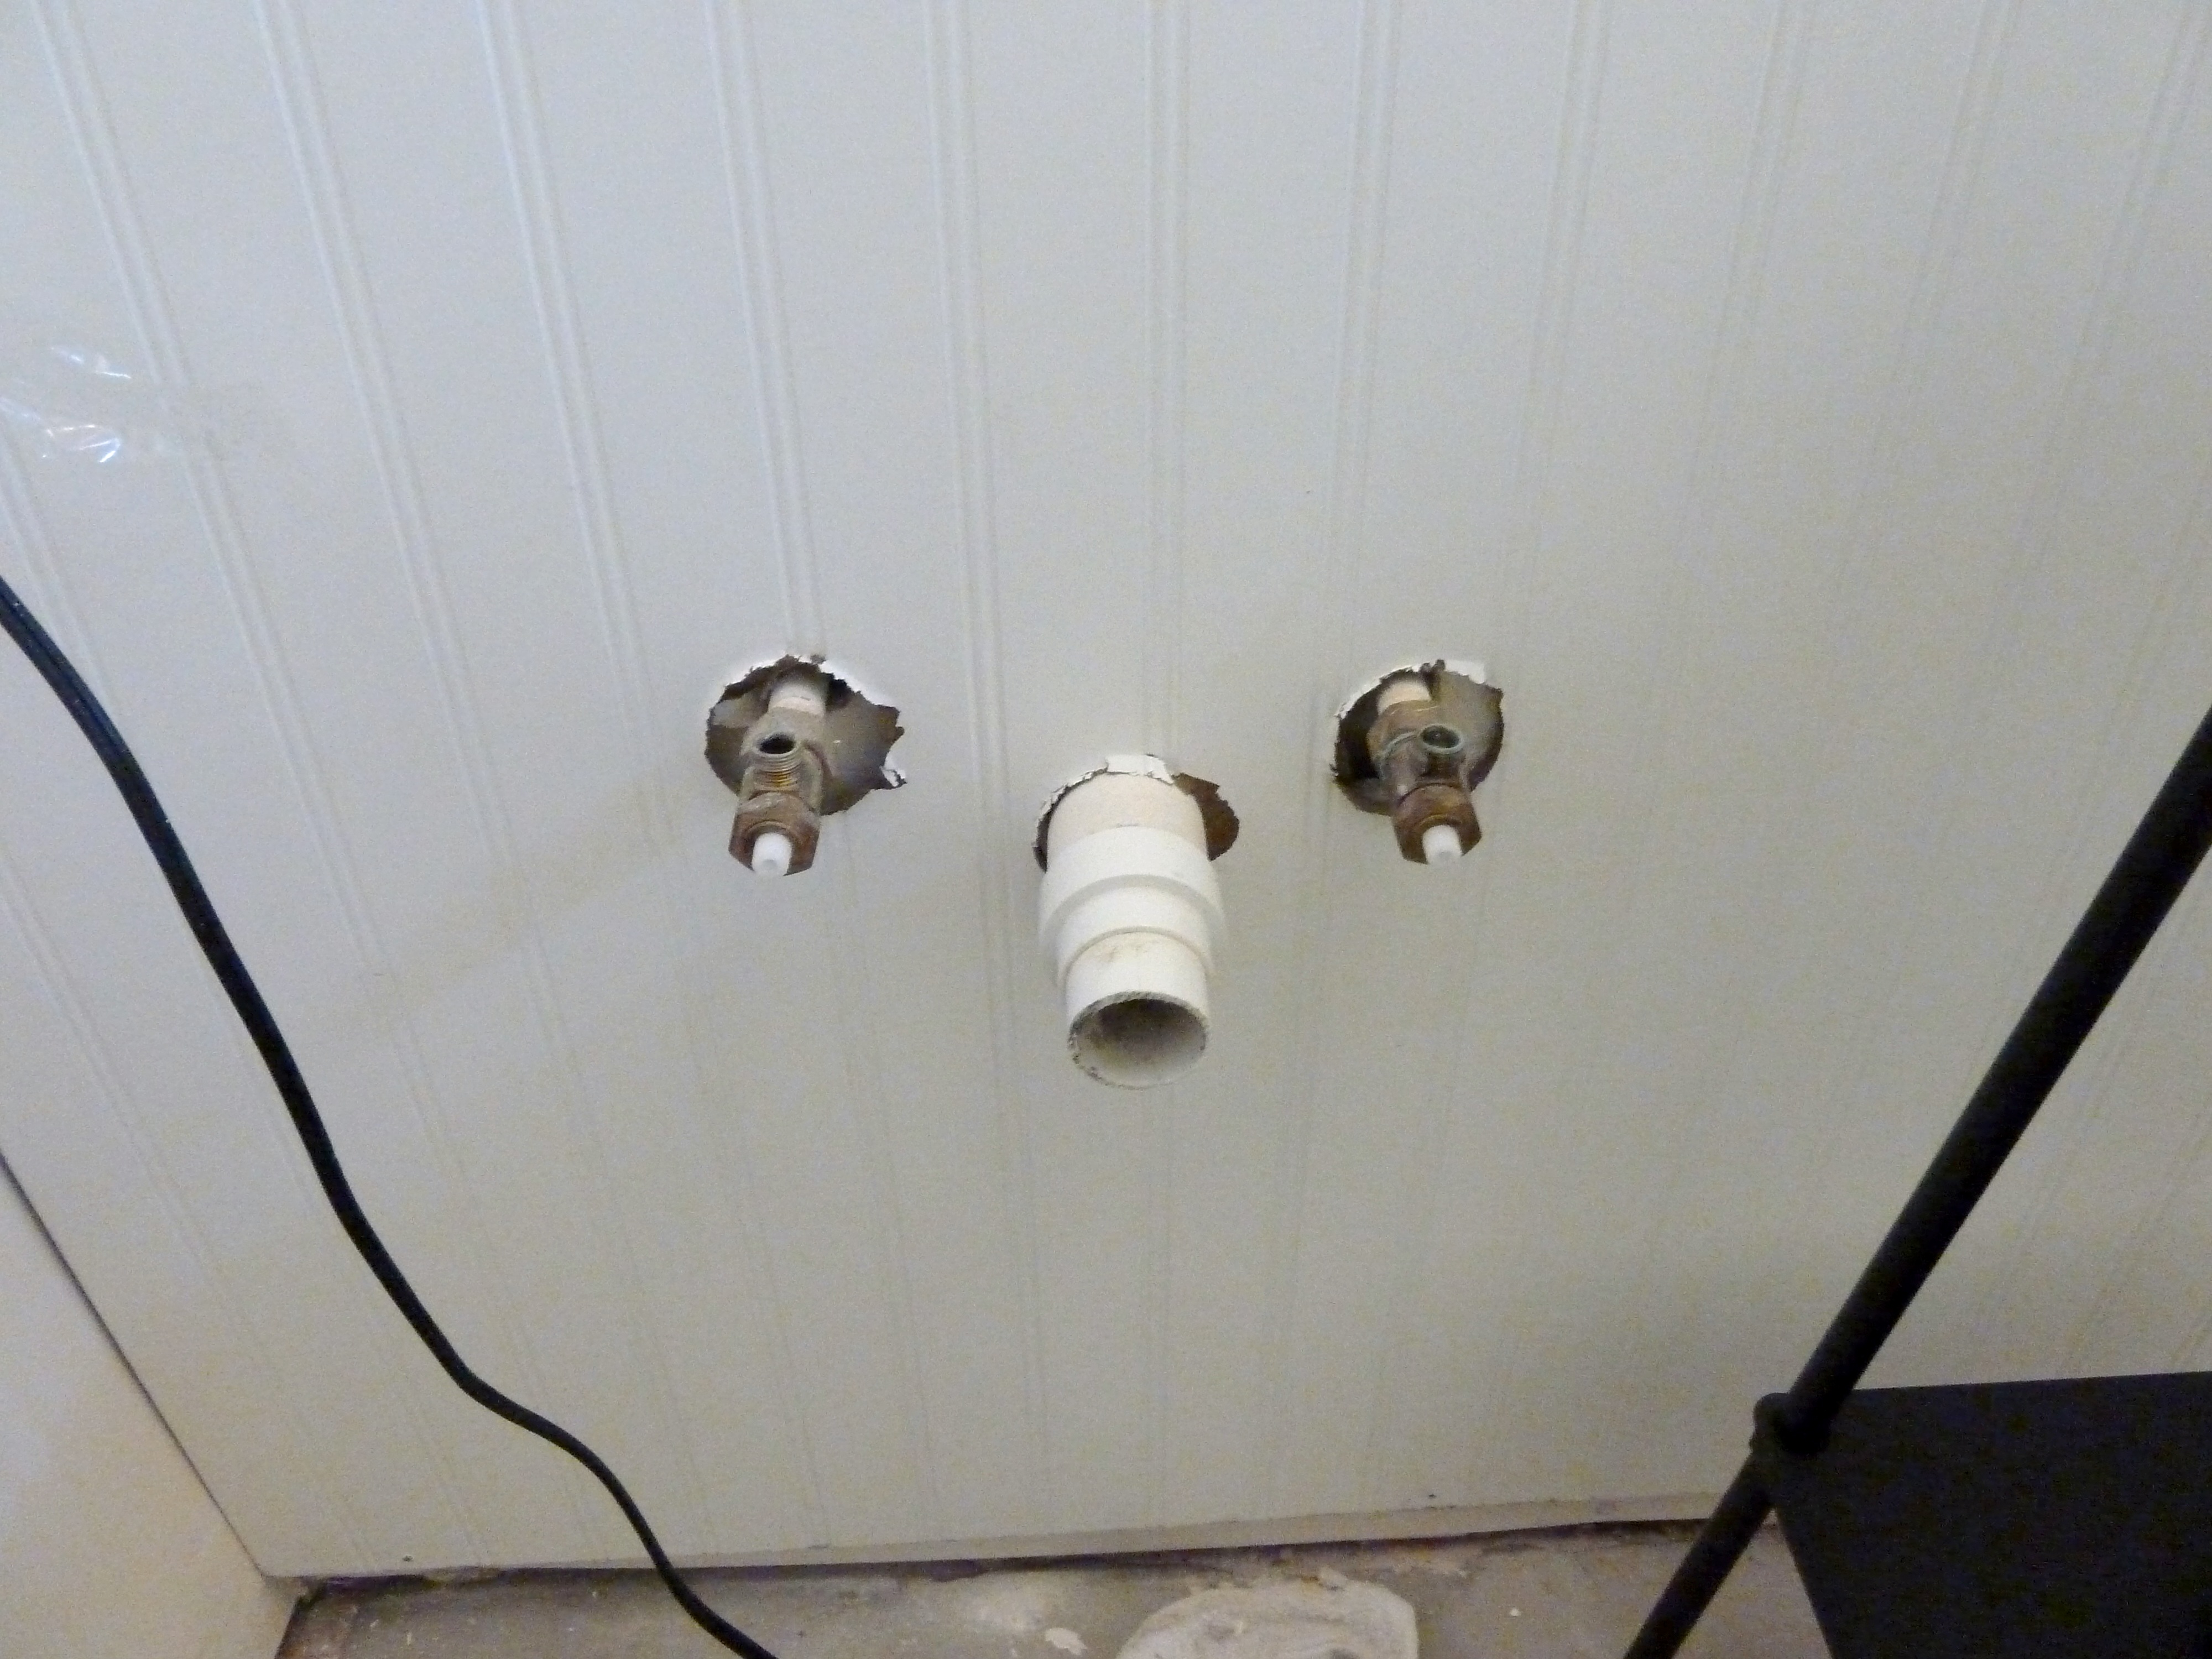
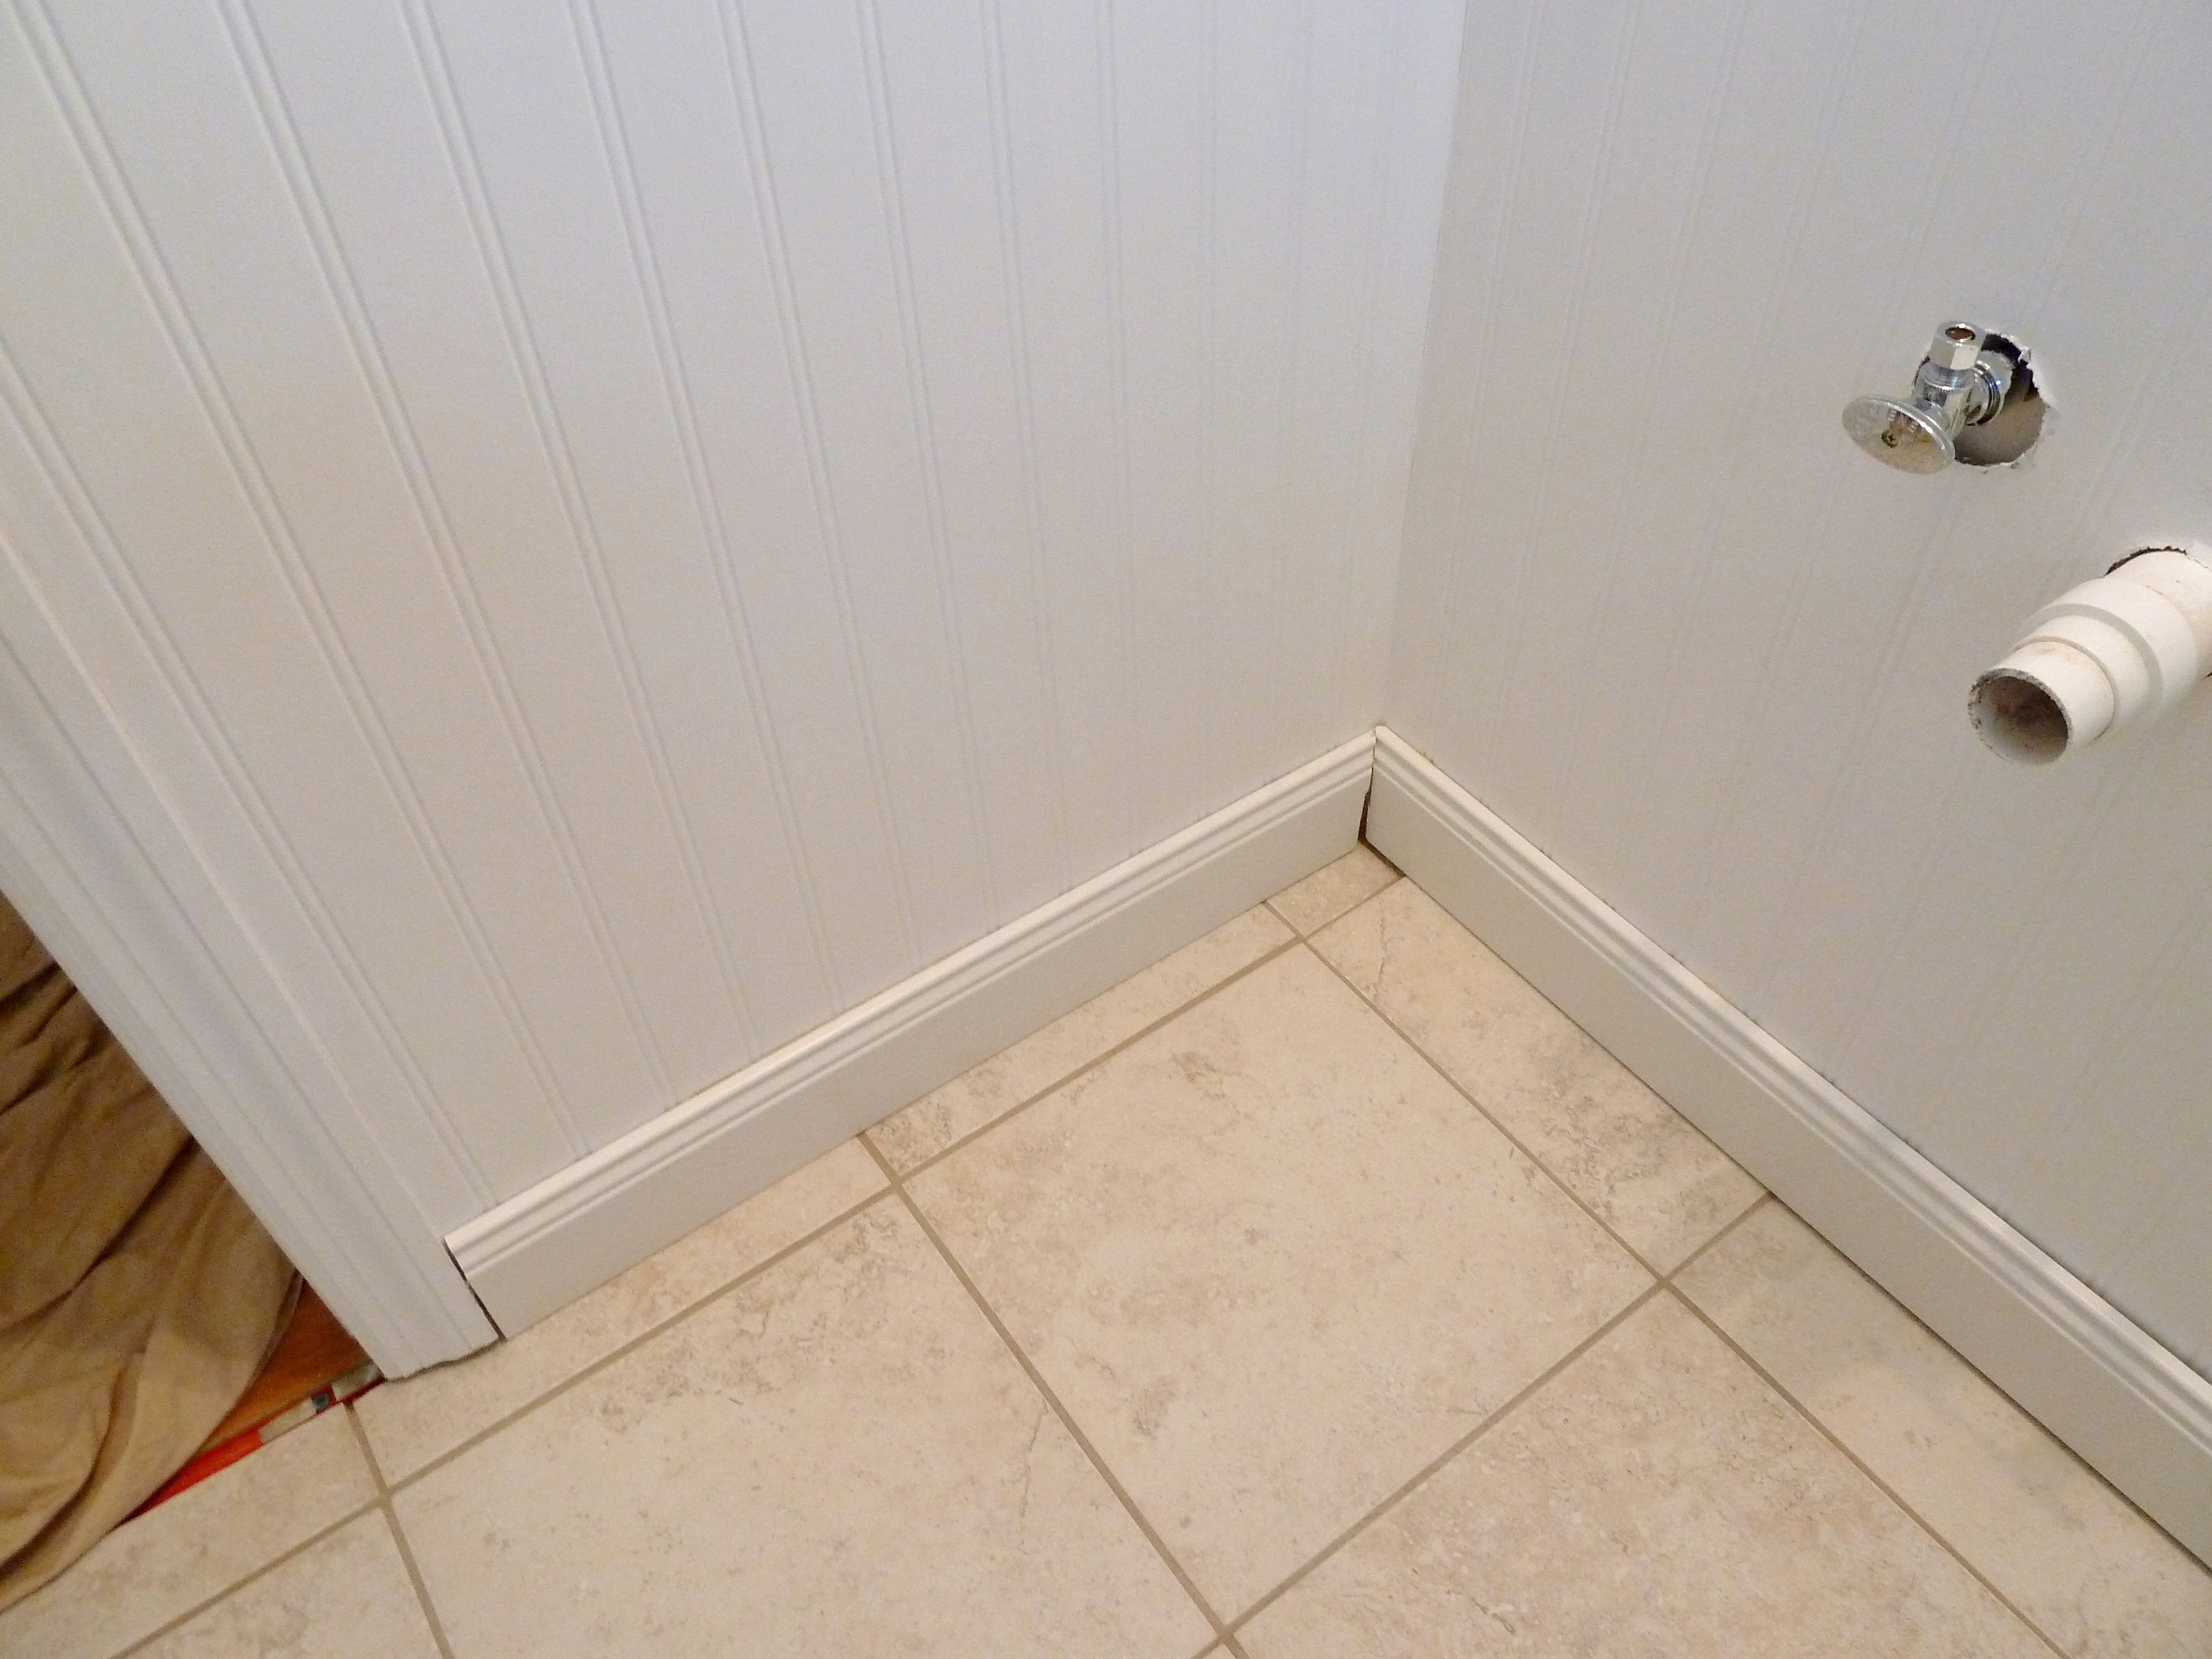
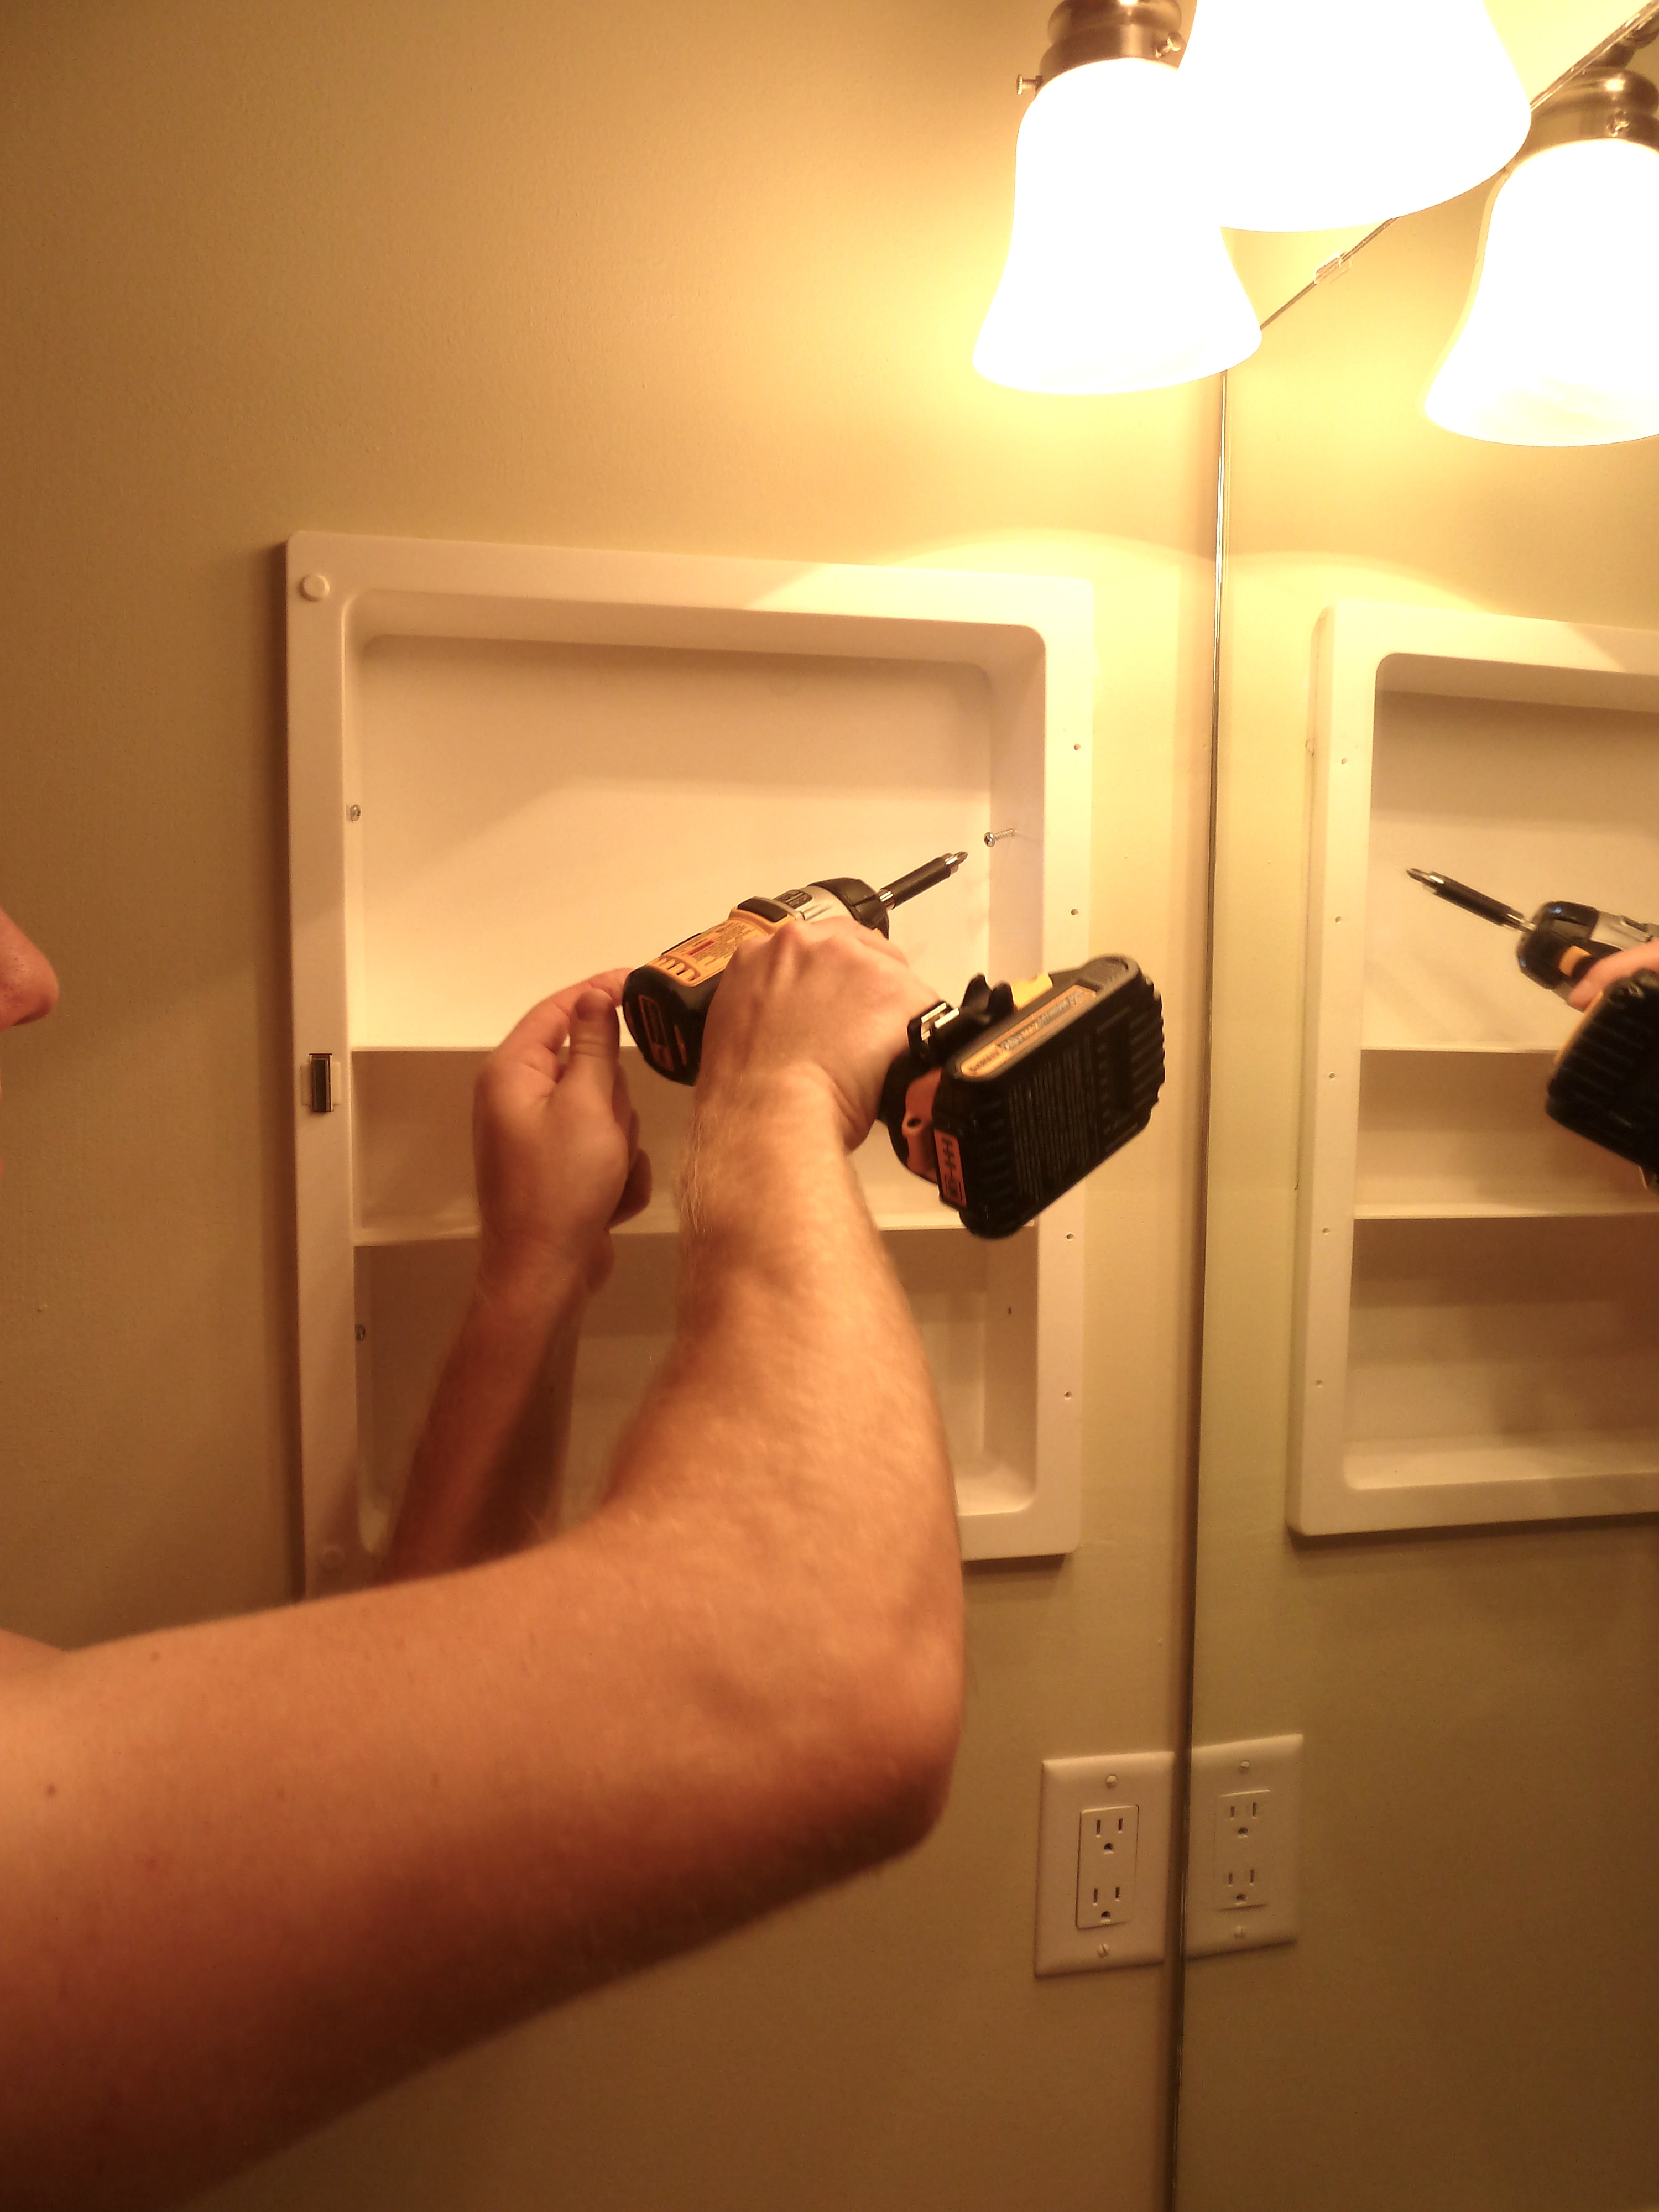
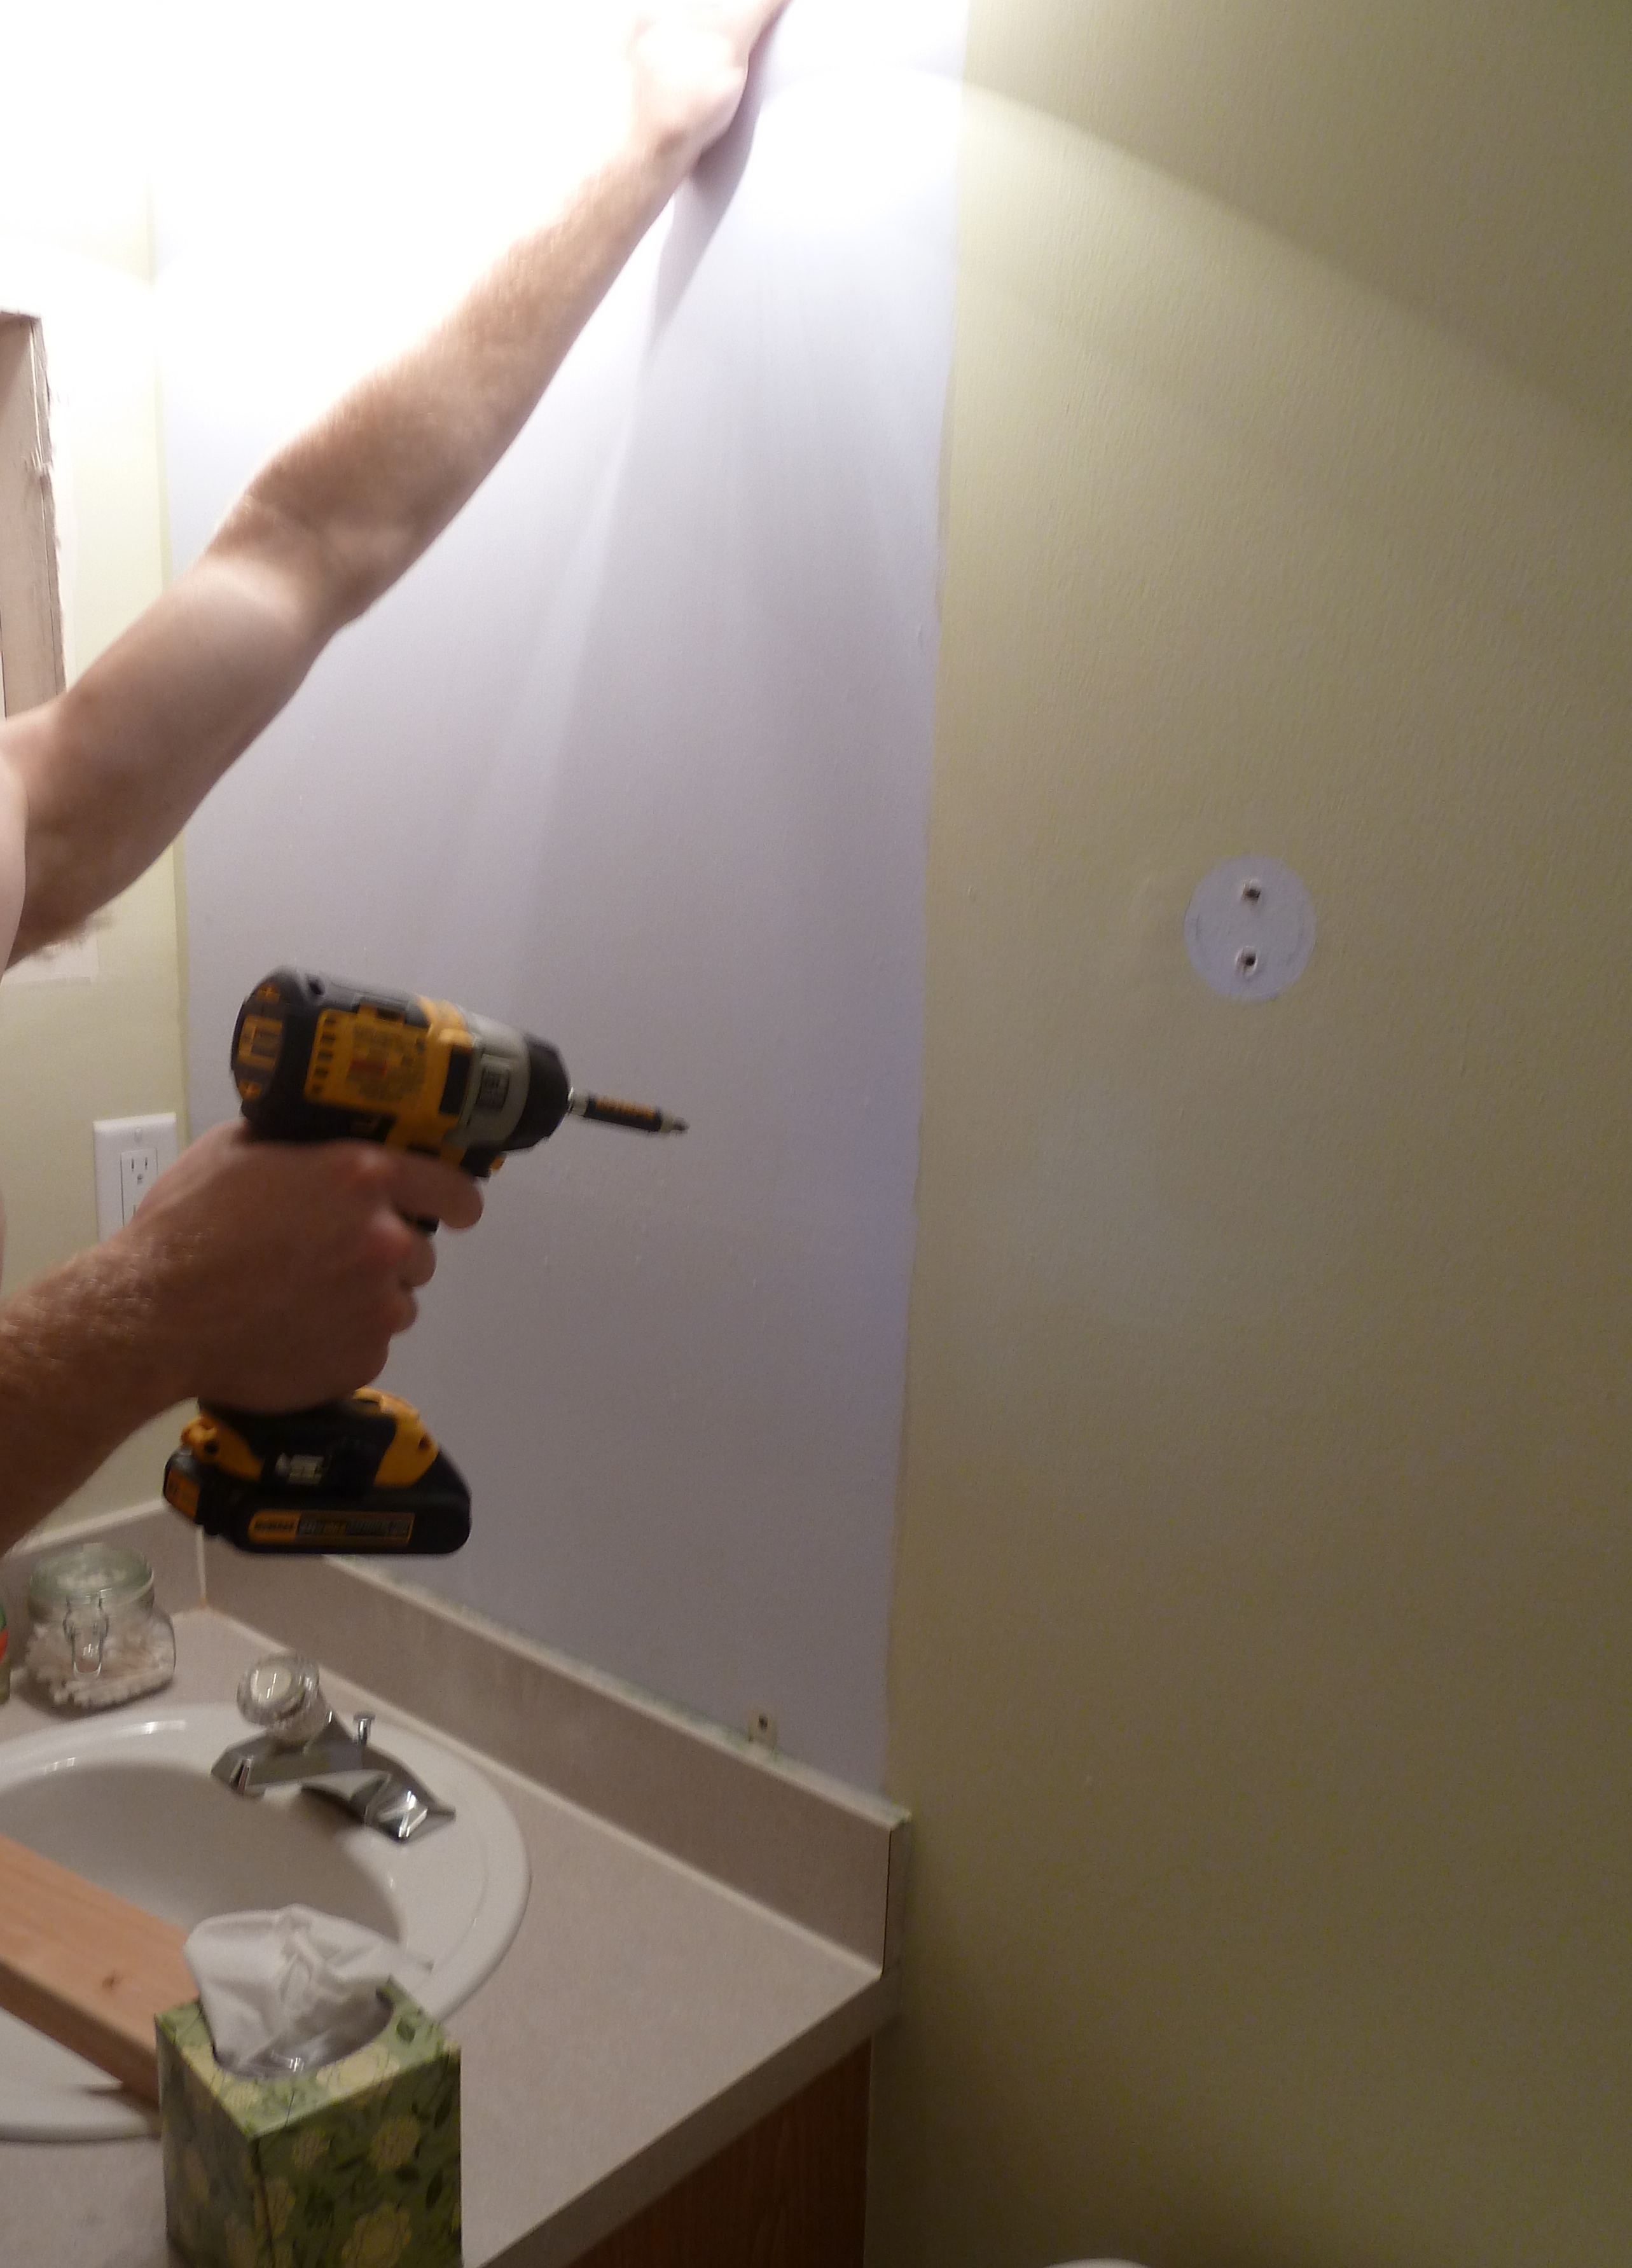
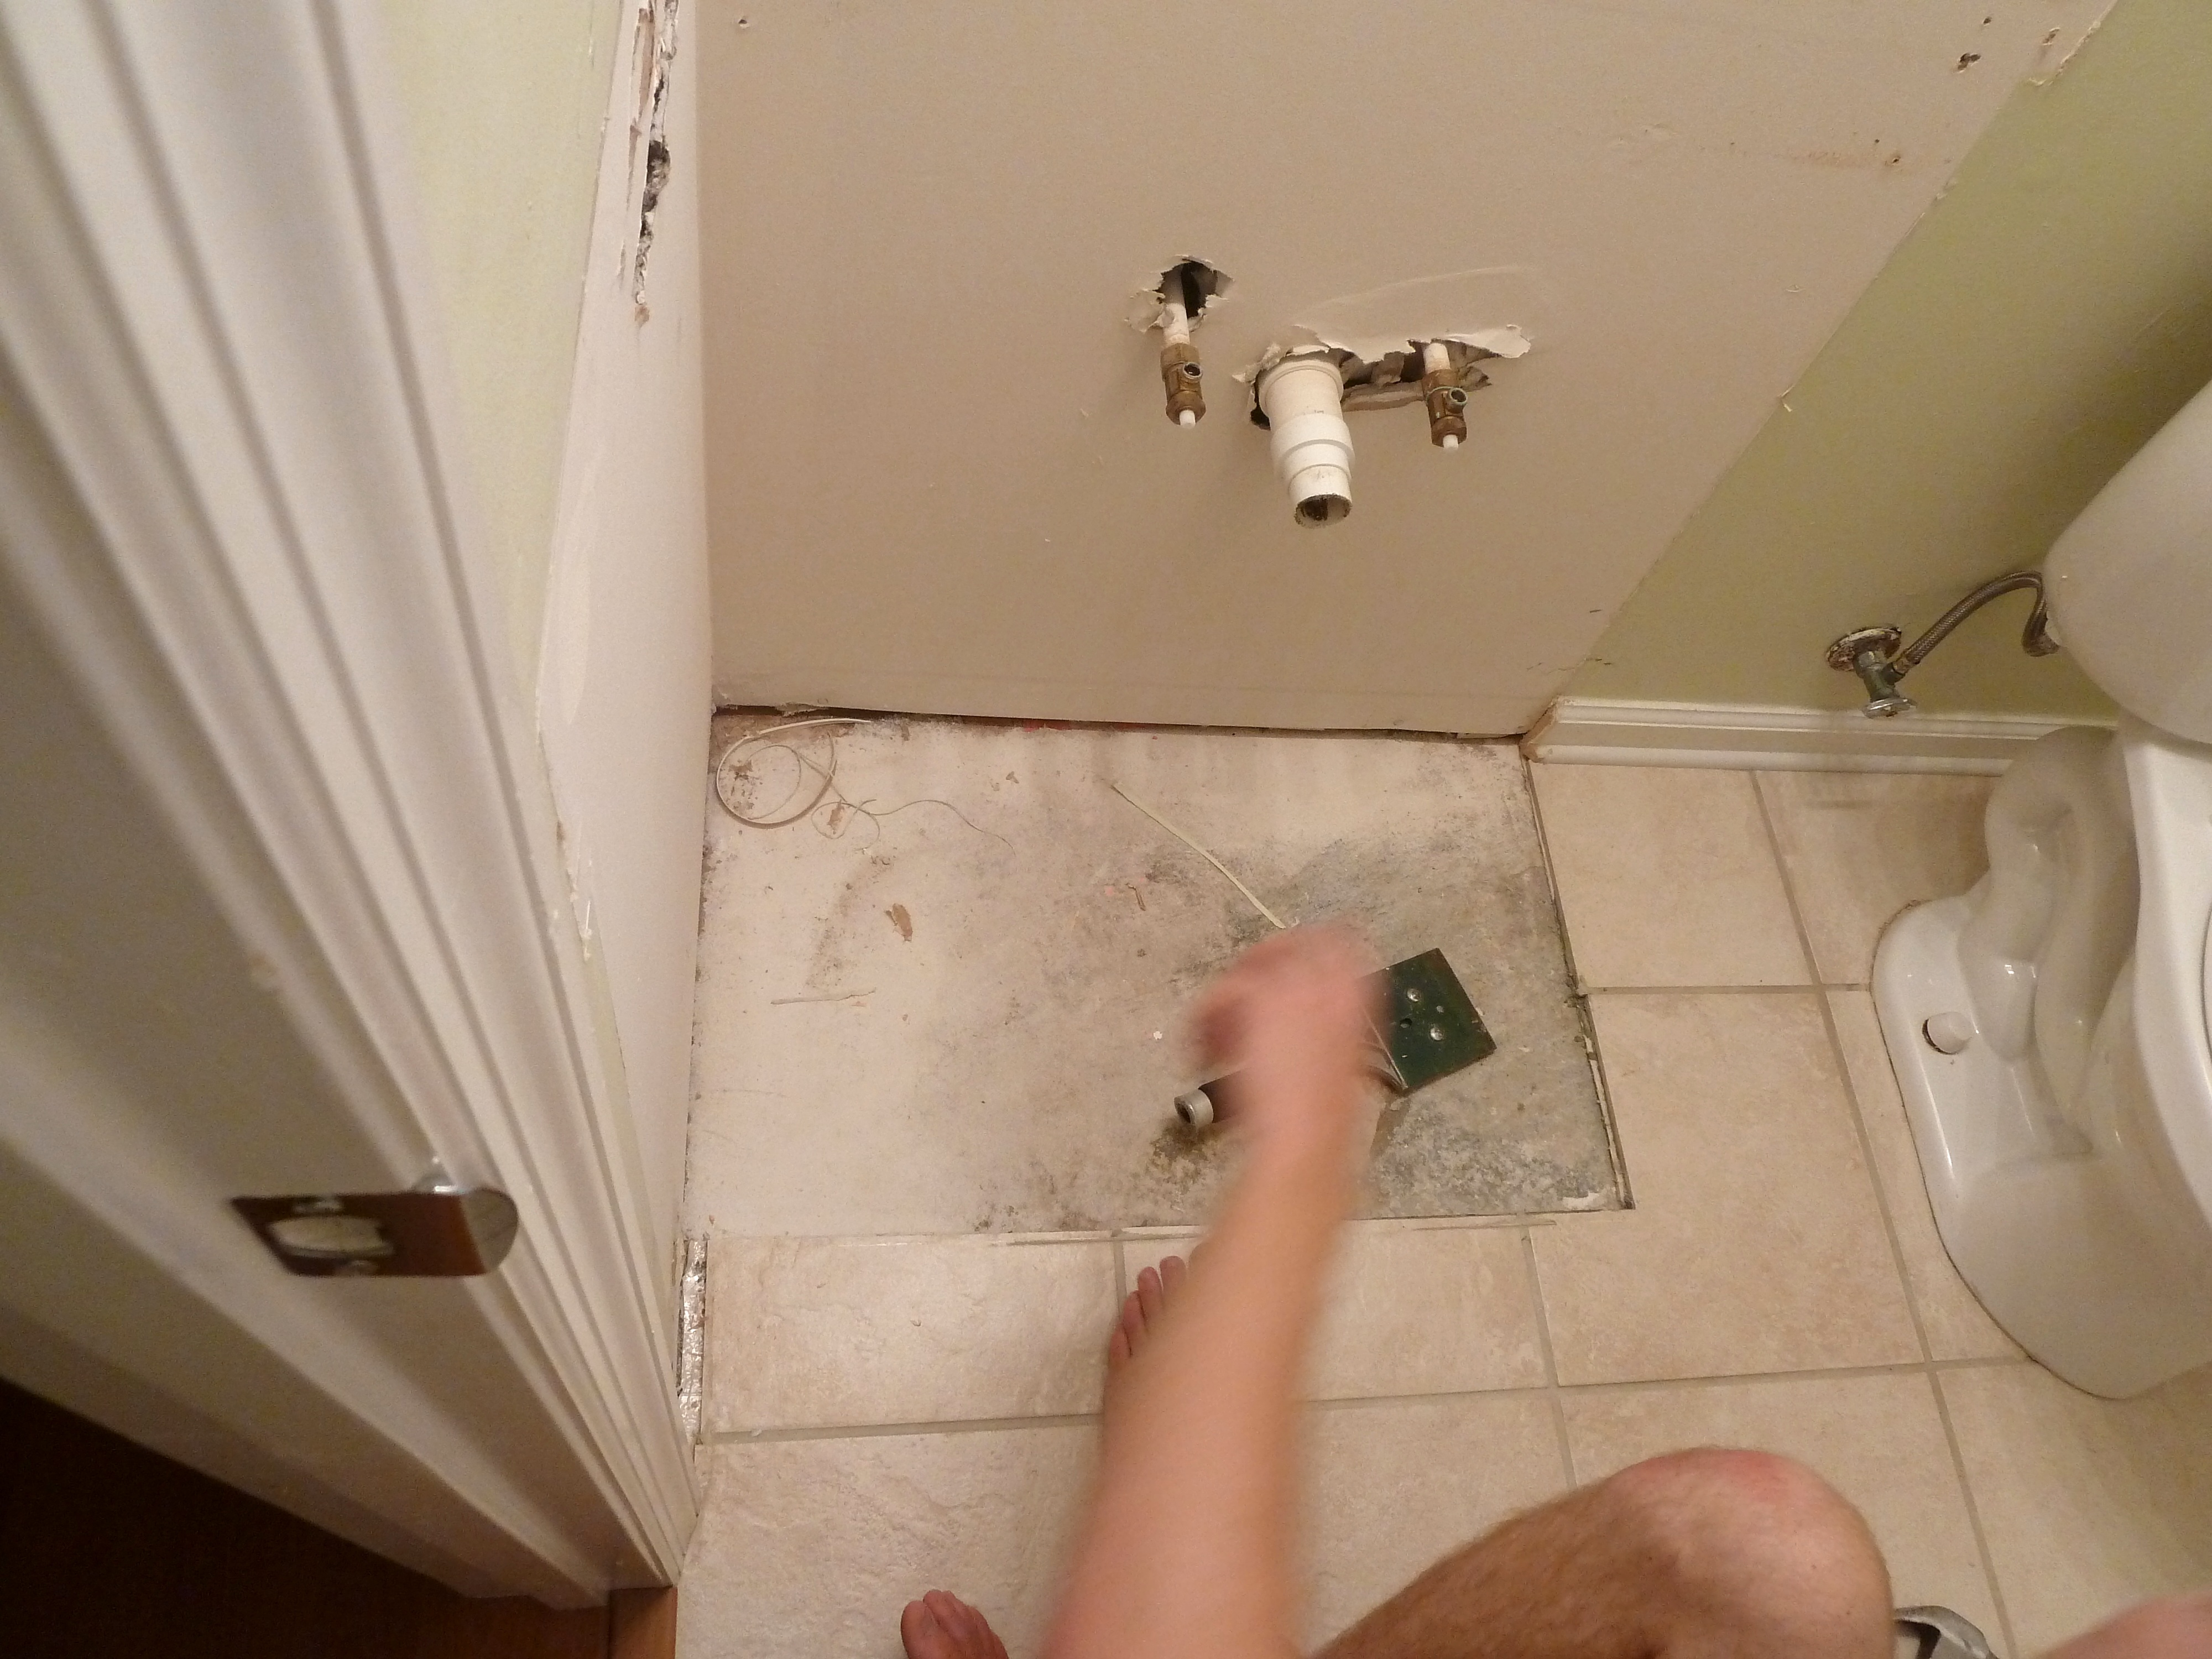
Justin had the wainscoting installed in no time! He did have to make a few holes for the plumbing as you can see.

P1070014_Fotor

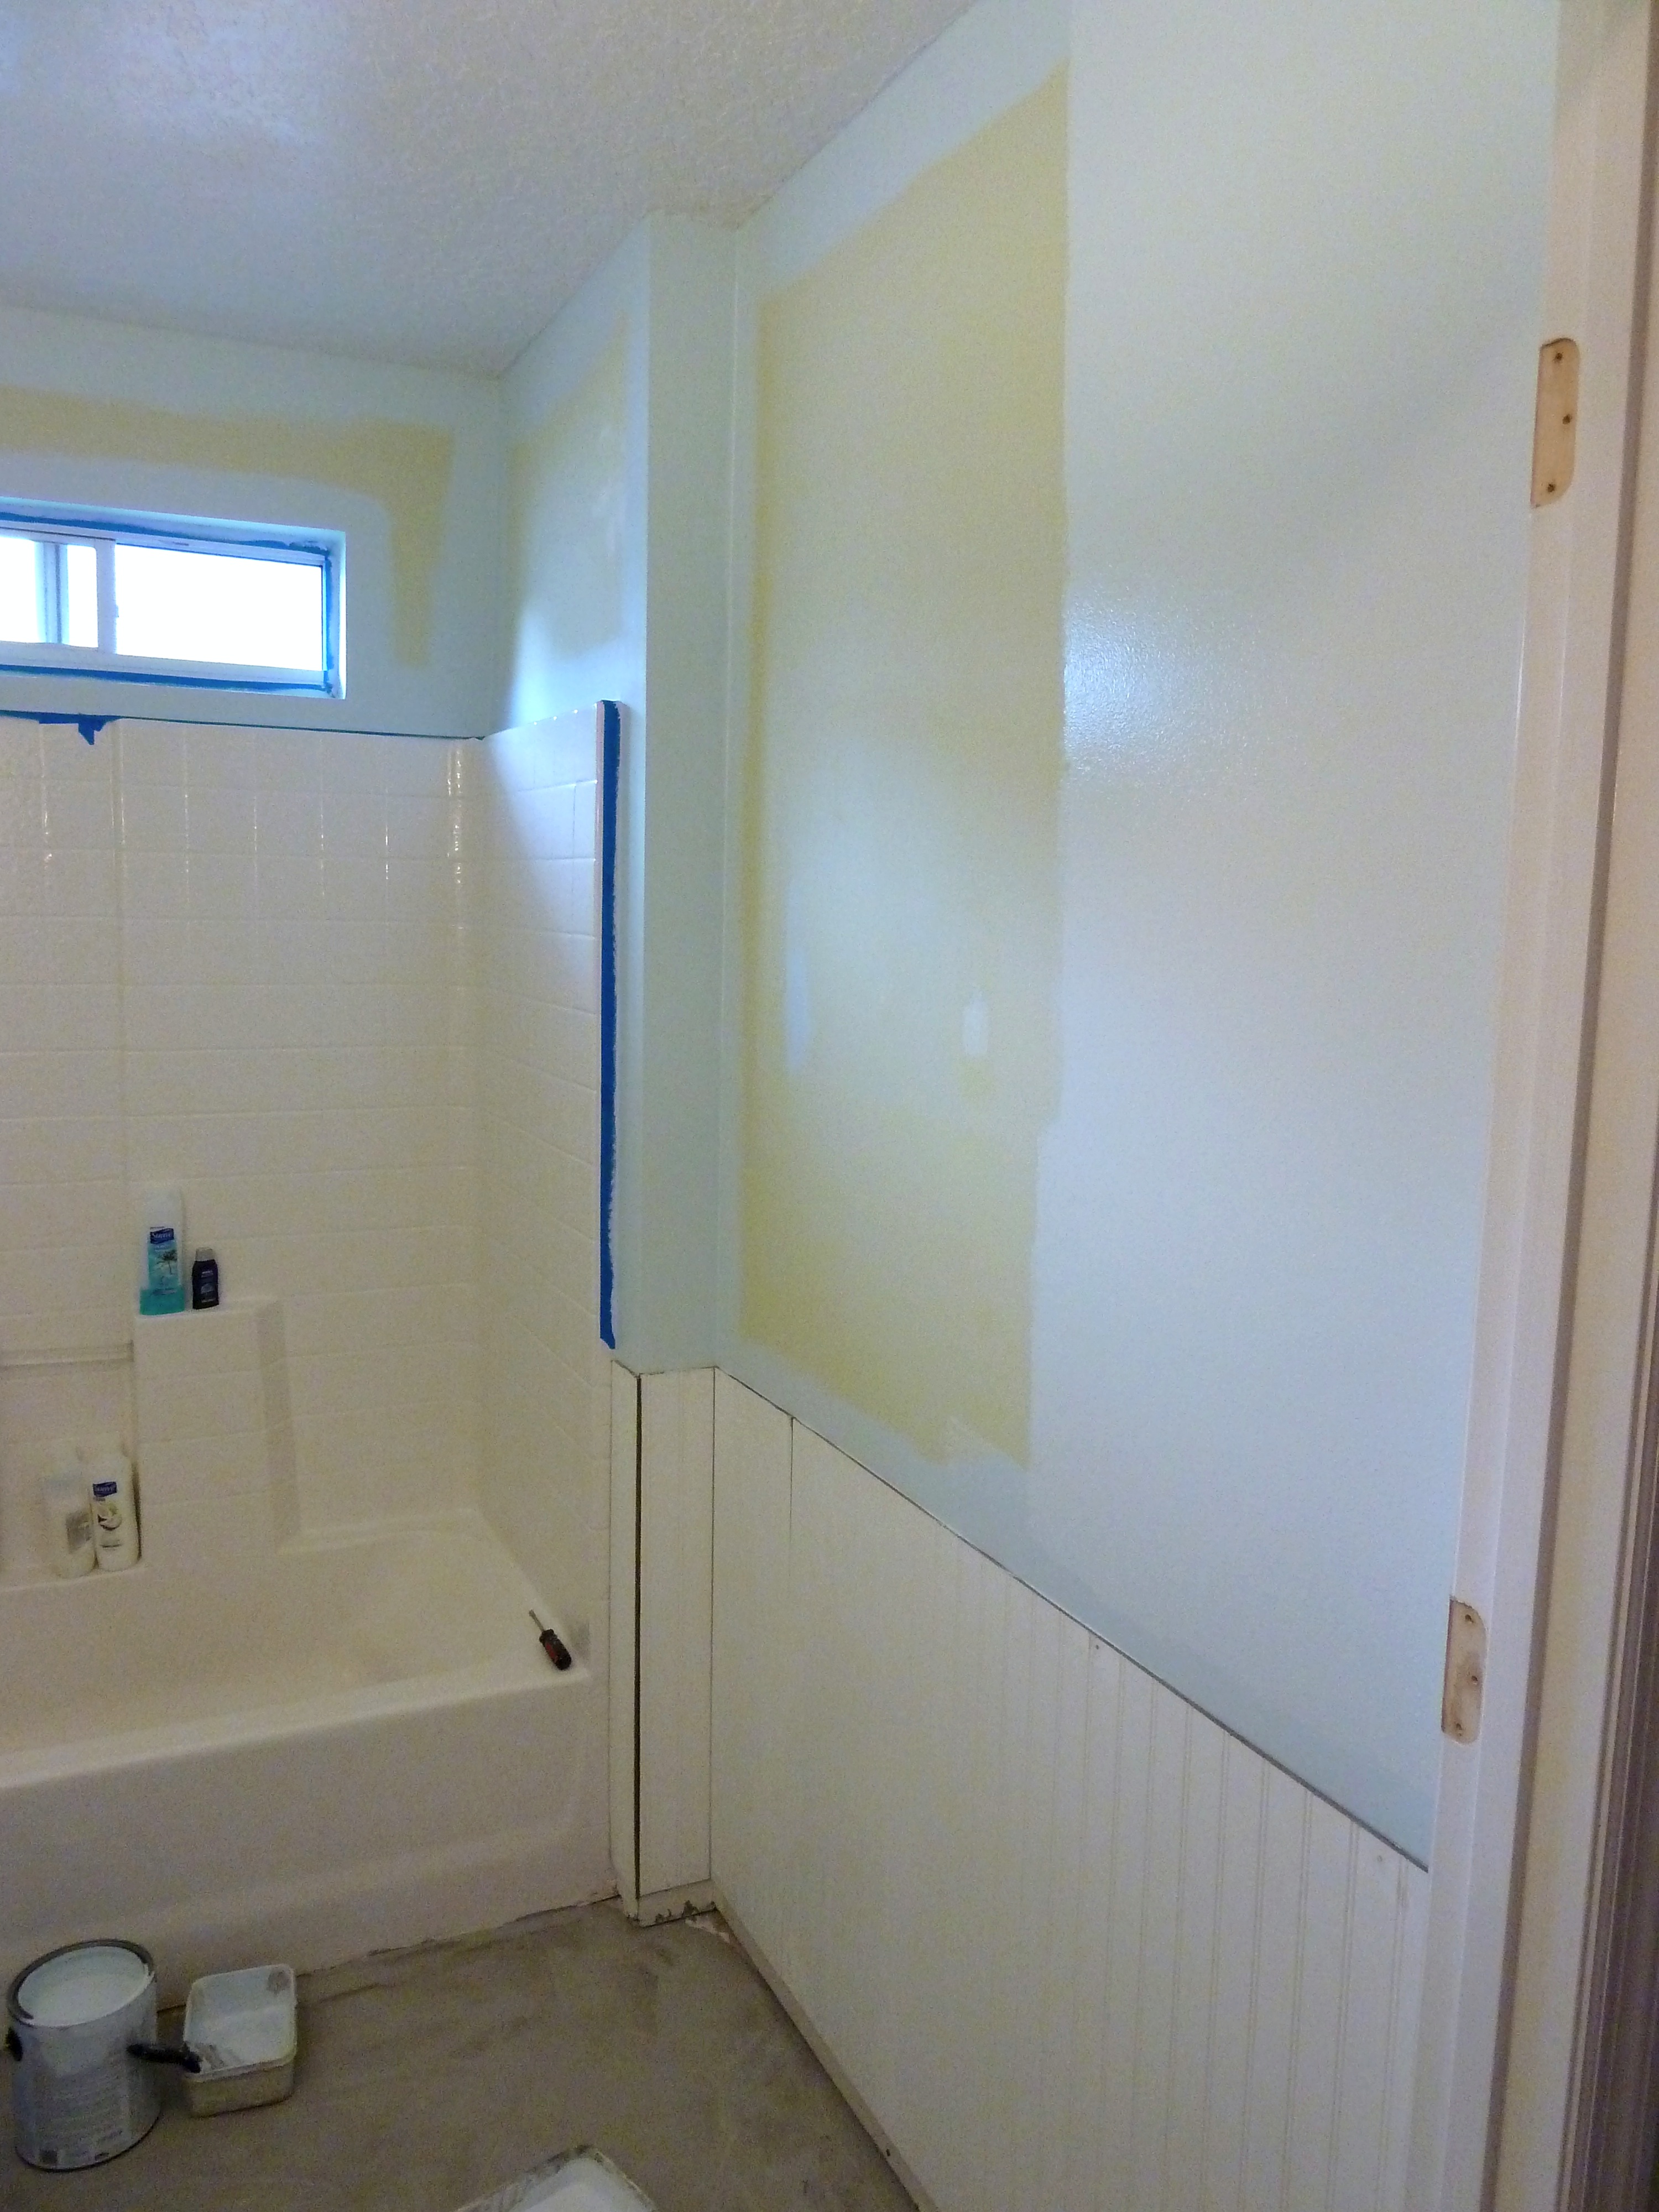
We figured this would be the best time to do all of the painting considering the flooring was unfinished and I didn’t have to edge in to close to the wainscoting because the chair rail would be covering the seem. I also didn’t have to use any drop cloths, considering we weren’t too worried about maintaining the look of our concrete floor we currently had going on.

P1070016_Fotor

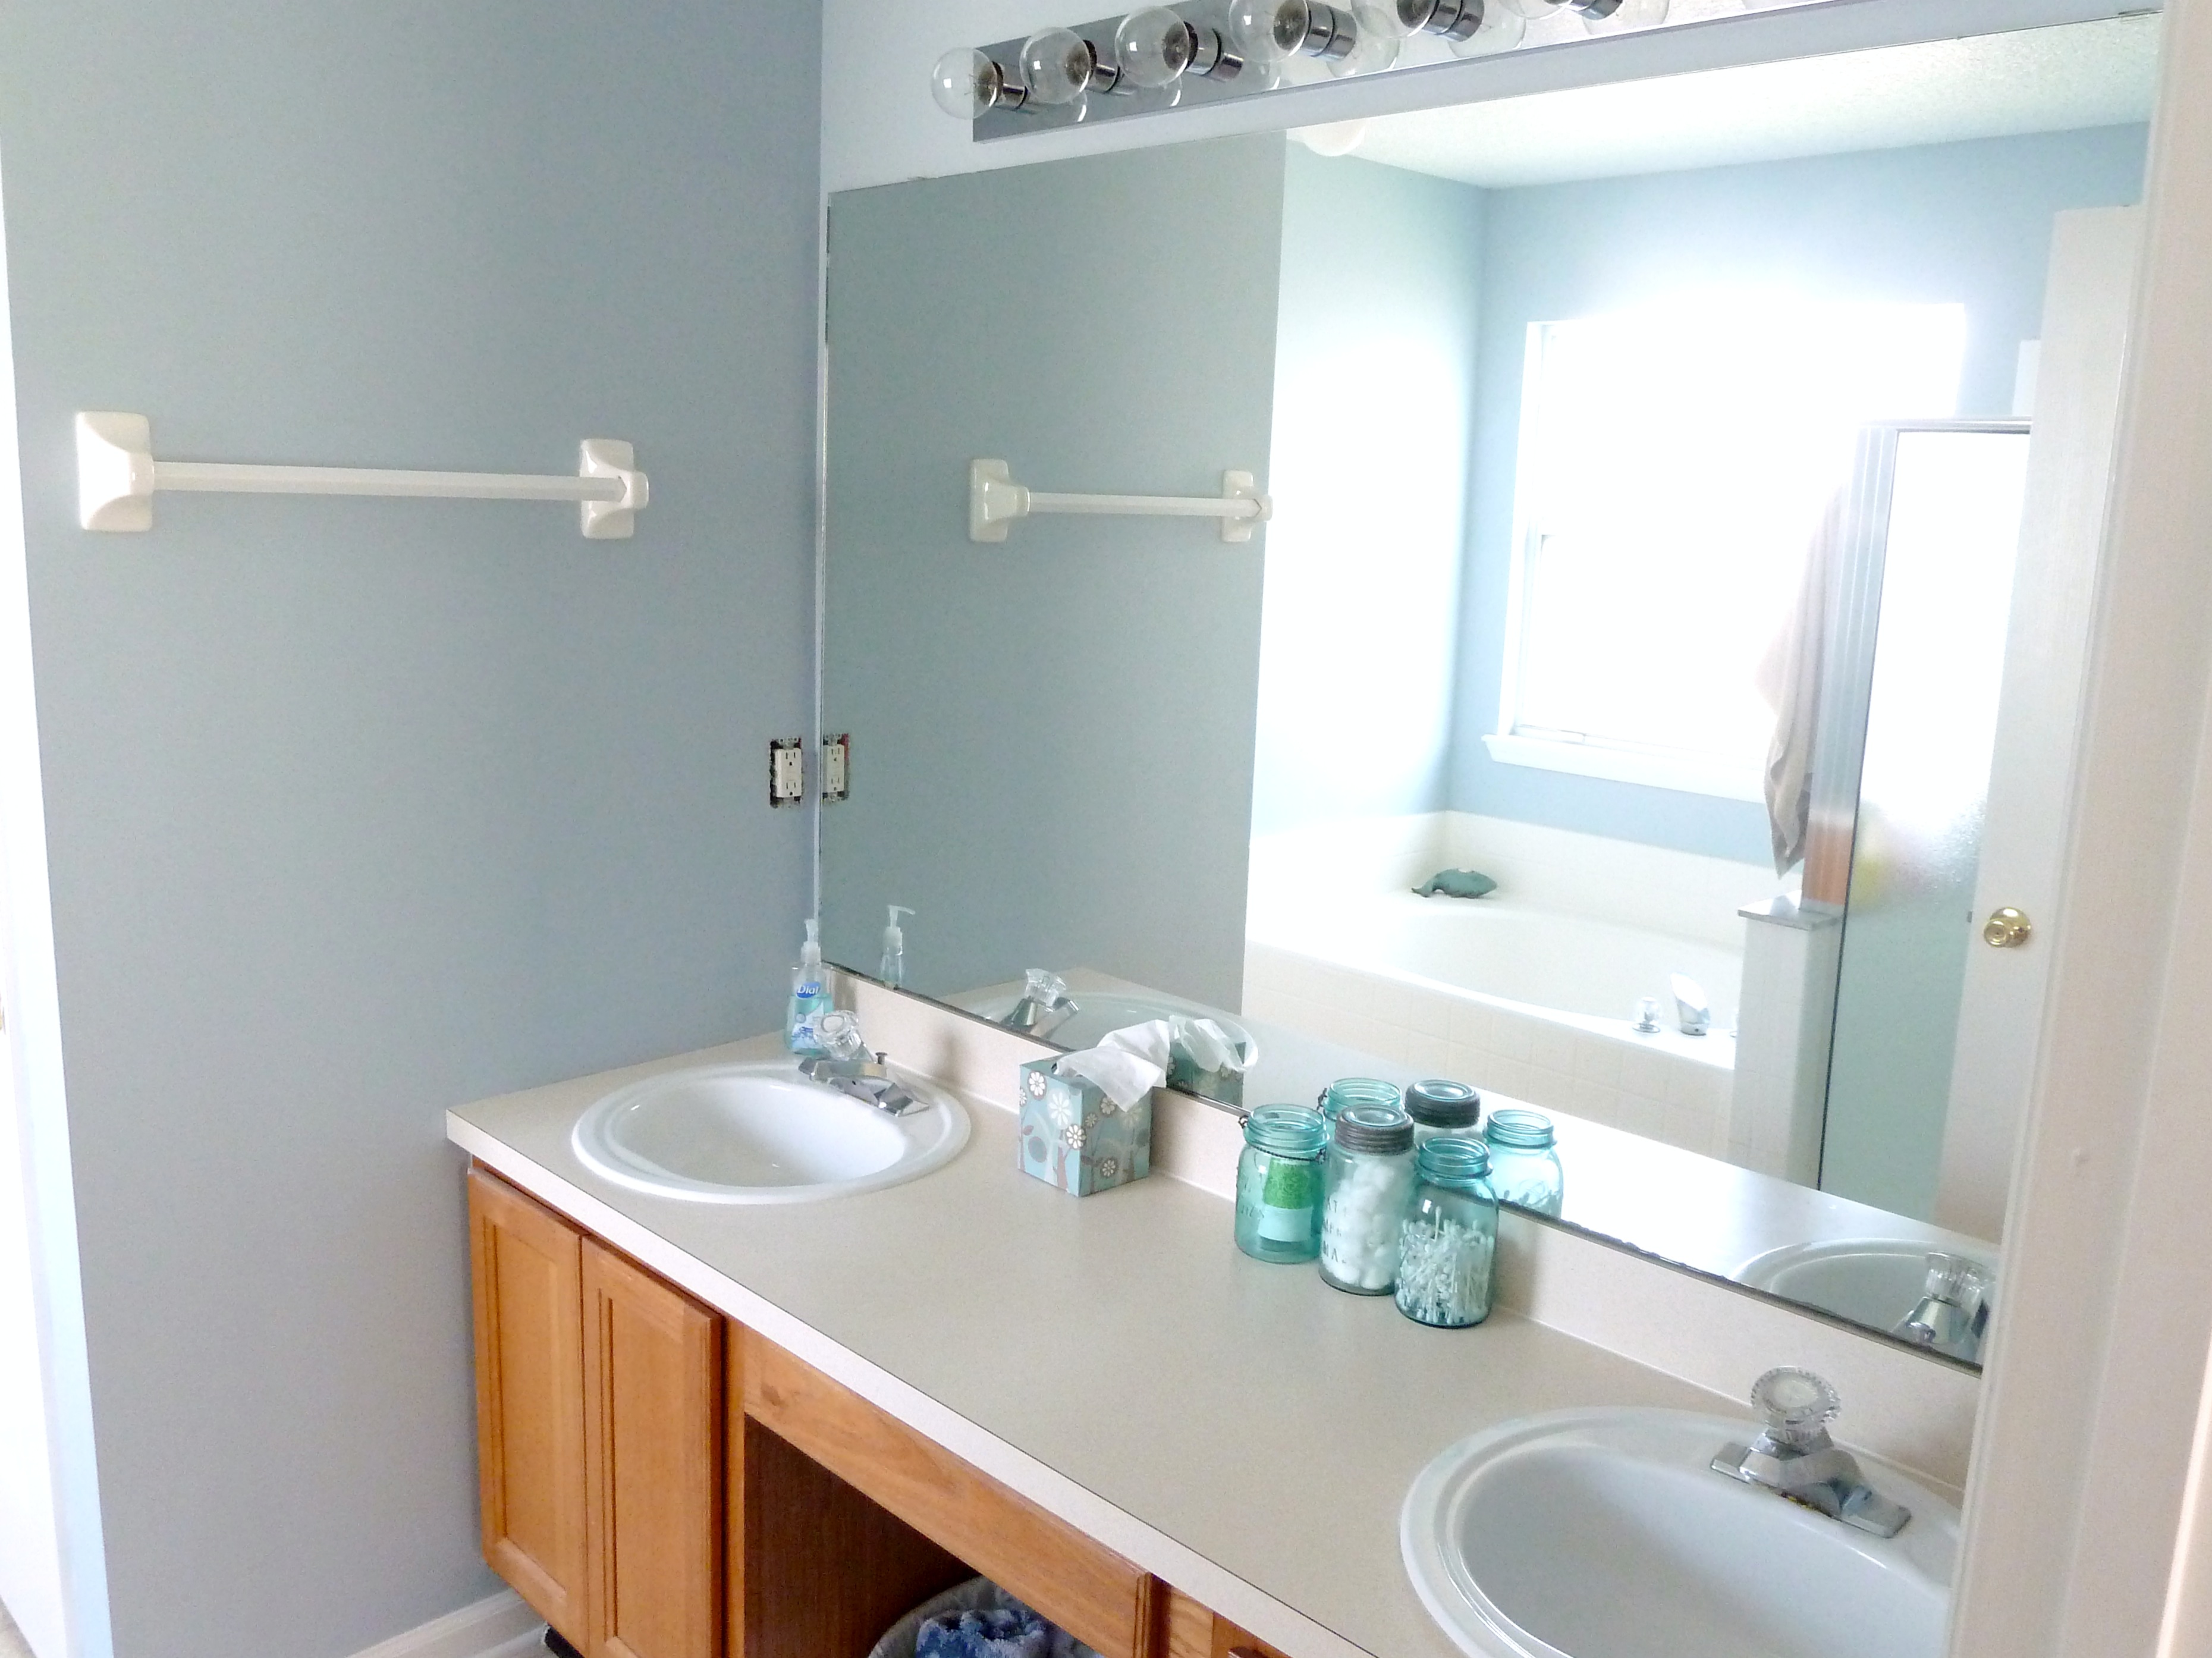
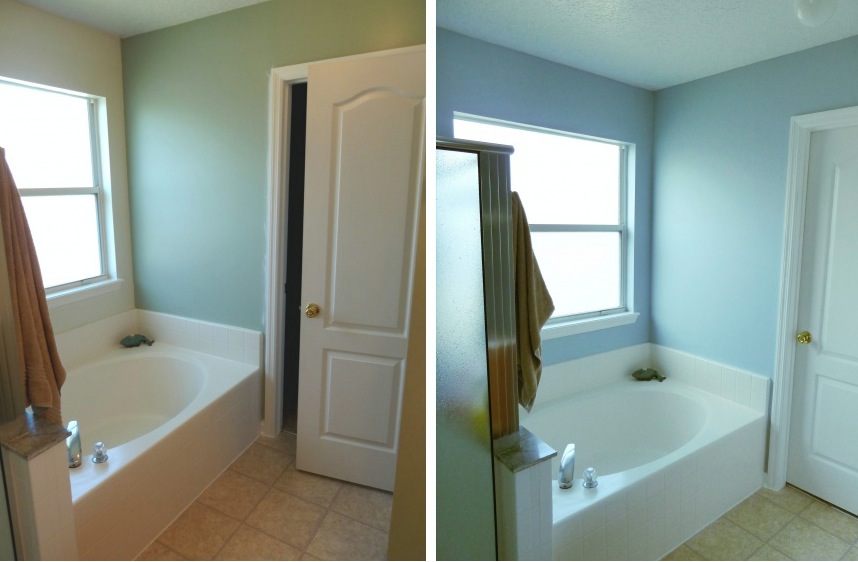
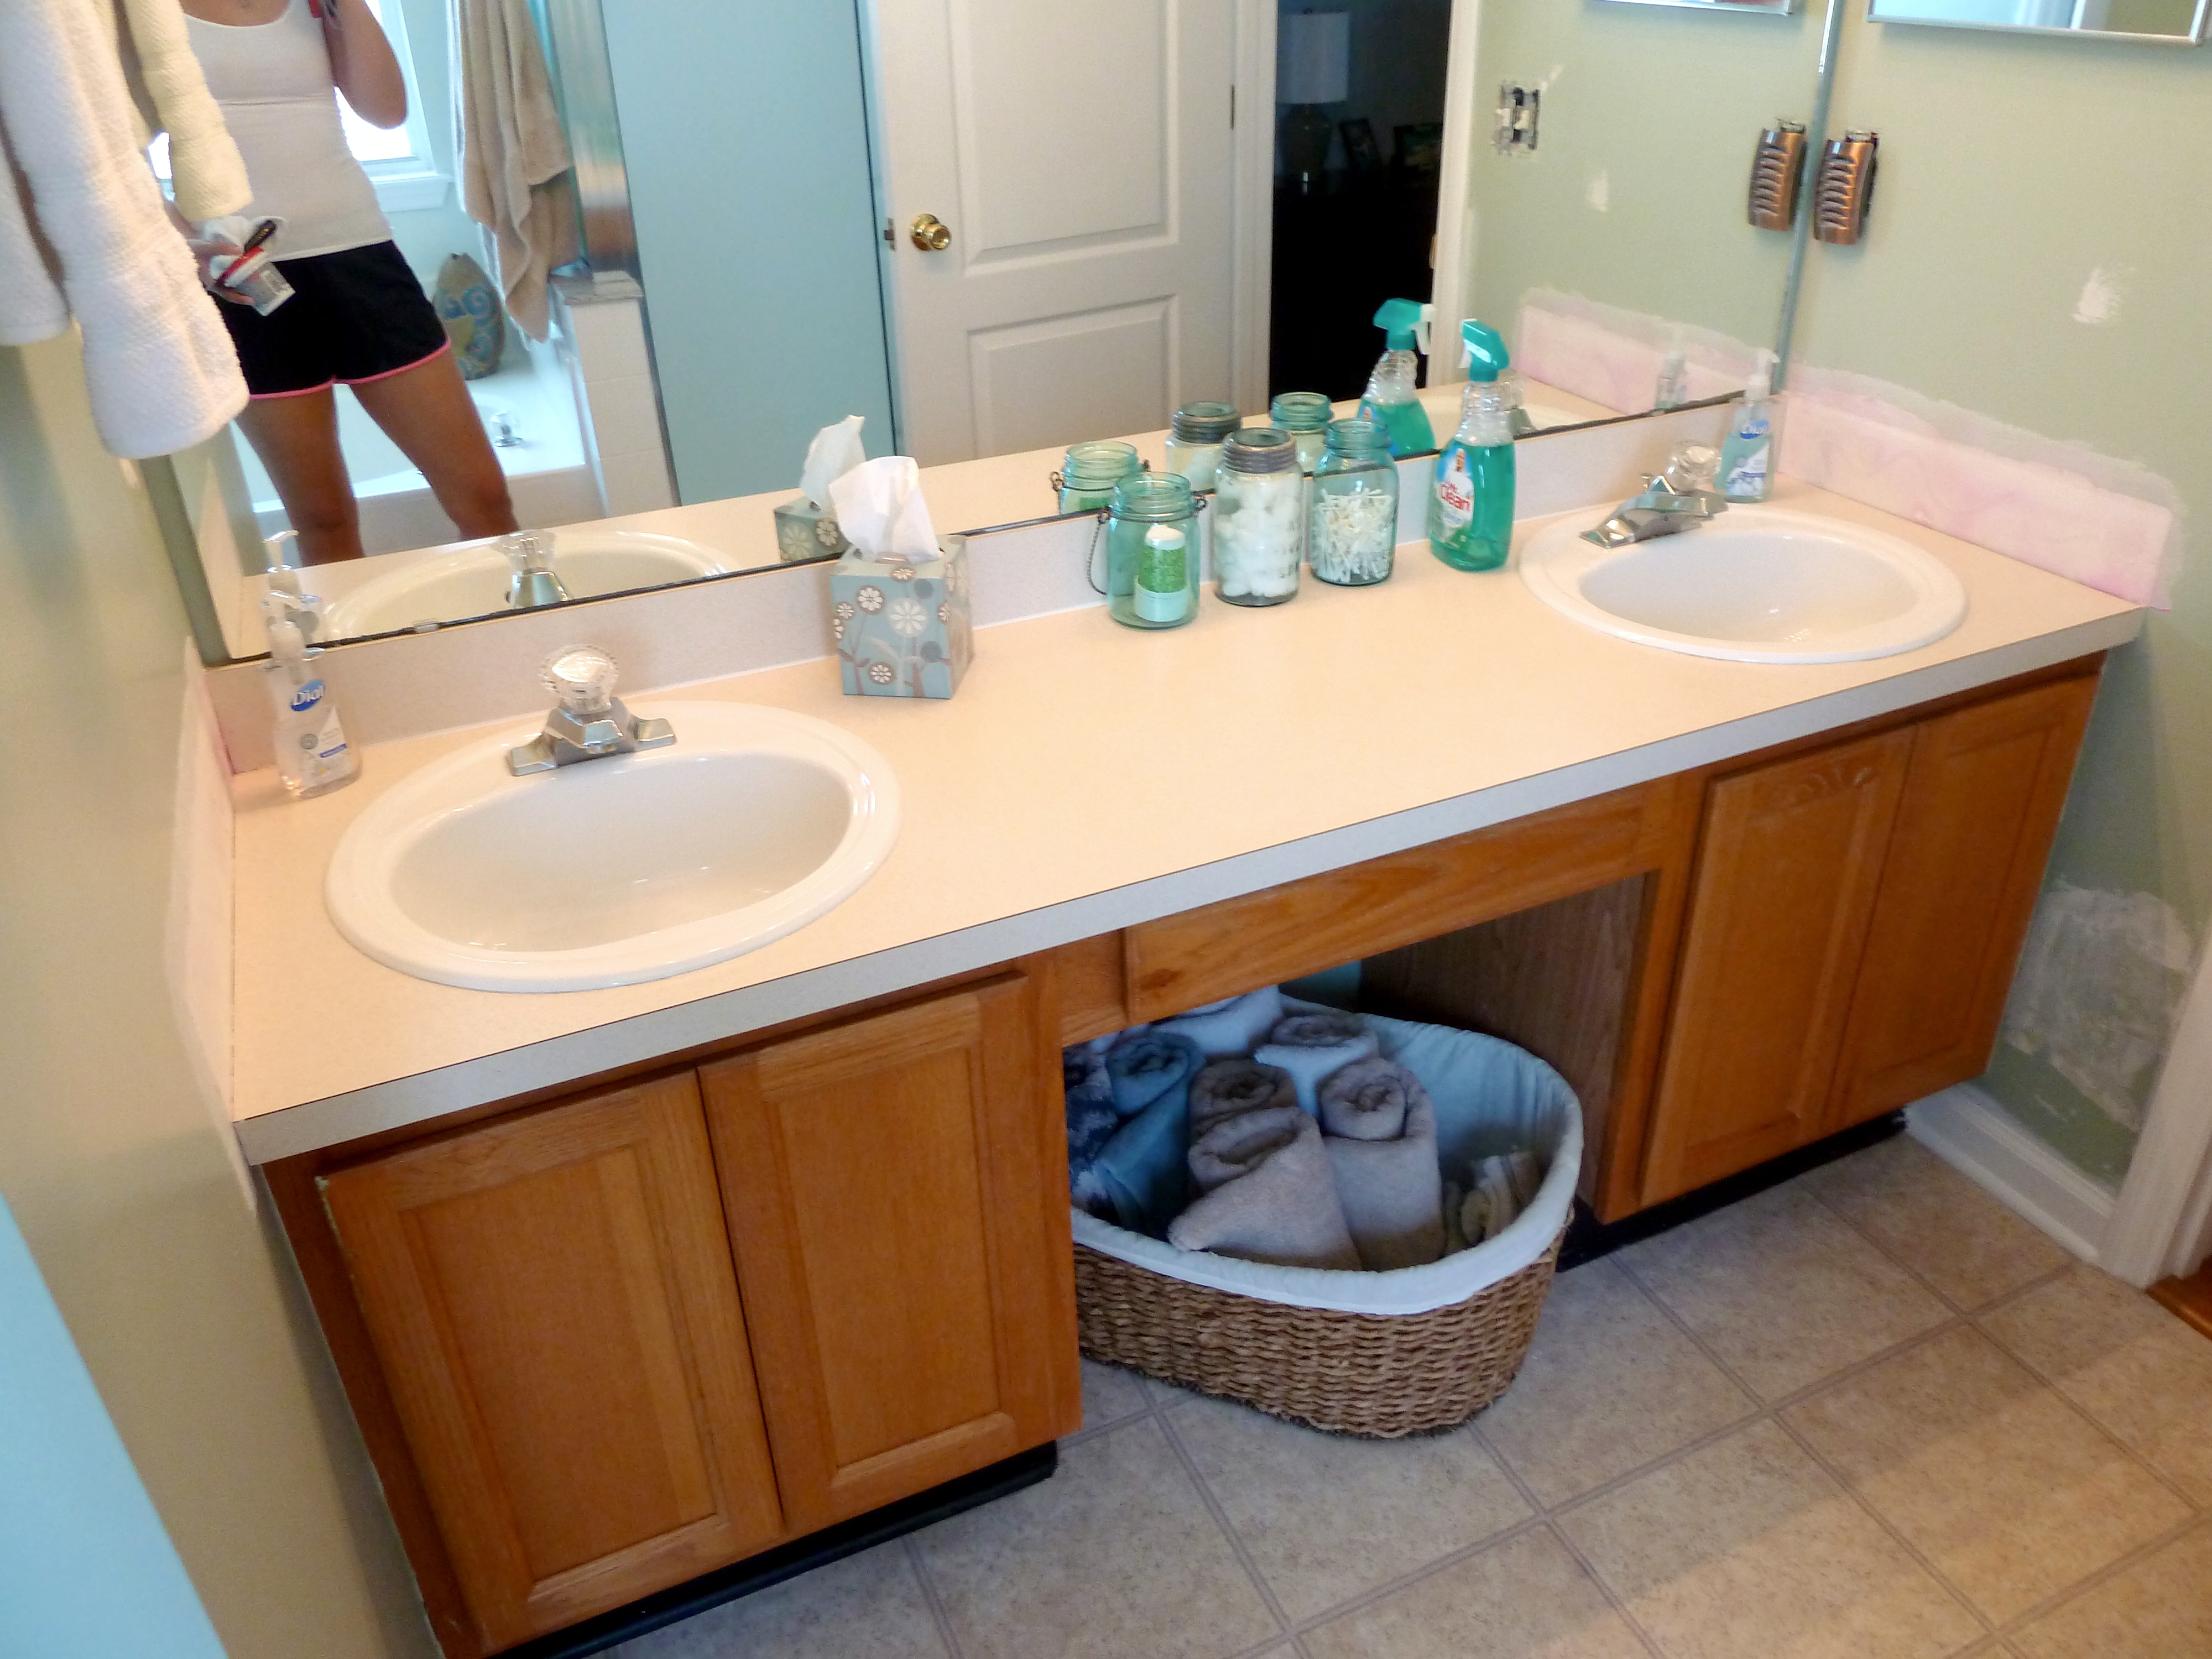
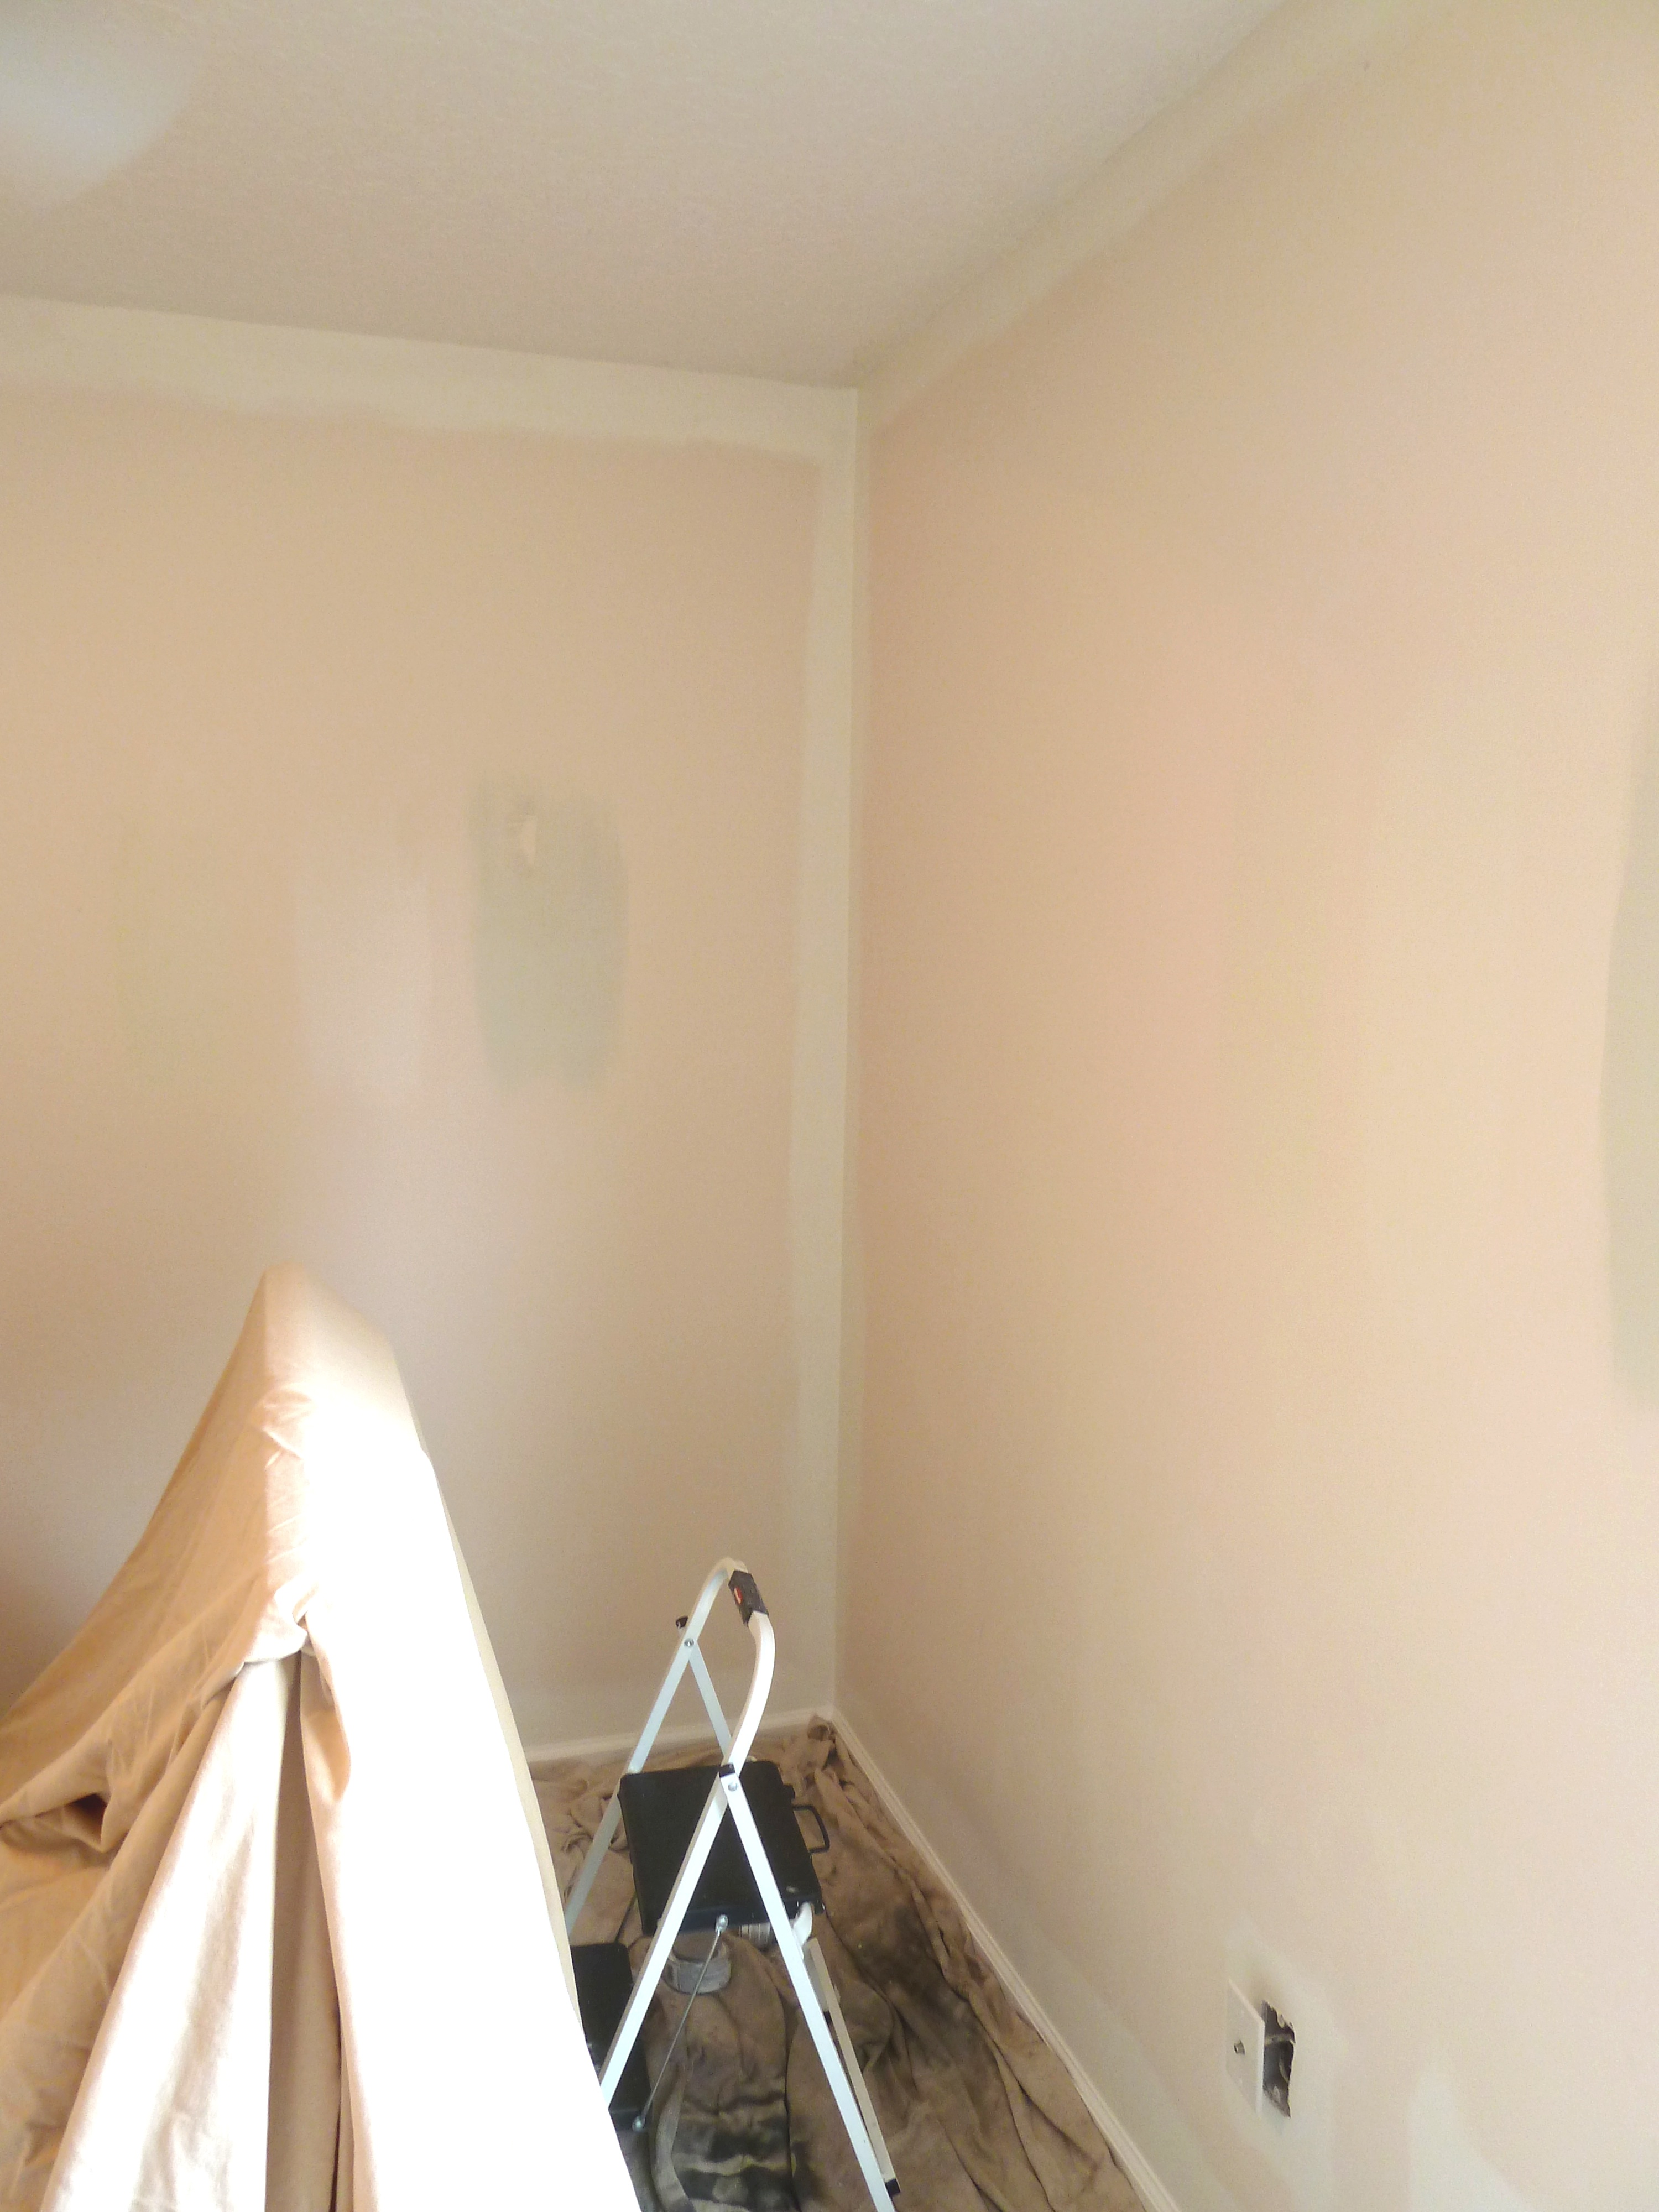
I got everything taped off and I was ready to paint! Oh ya I forgot to mention my paint color choice.  I am going with blue, shocker right?  The color is sweet slumber by Valspar.  It is a super duper light blue color, which you can see below…

P1070017_Fotor

I went my usual painting route by doing all of my edging in first then rolling.  This room is crazy quick to paint, piece of cake!

P1070019_Fotor

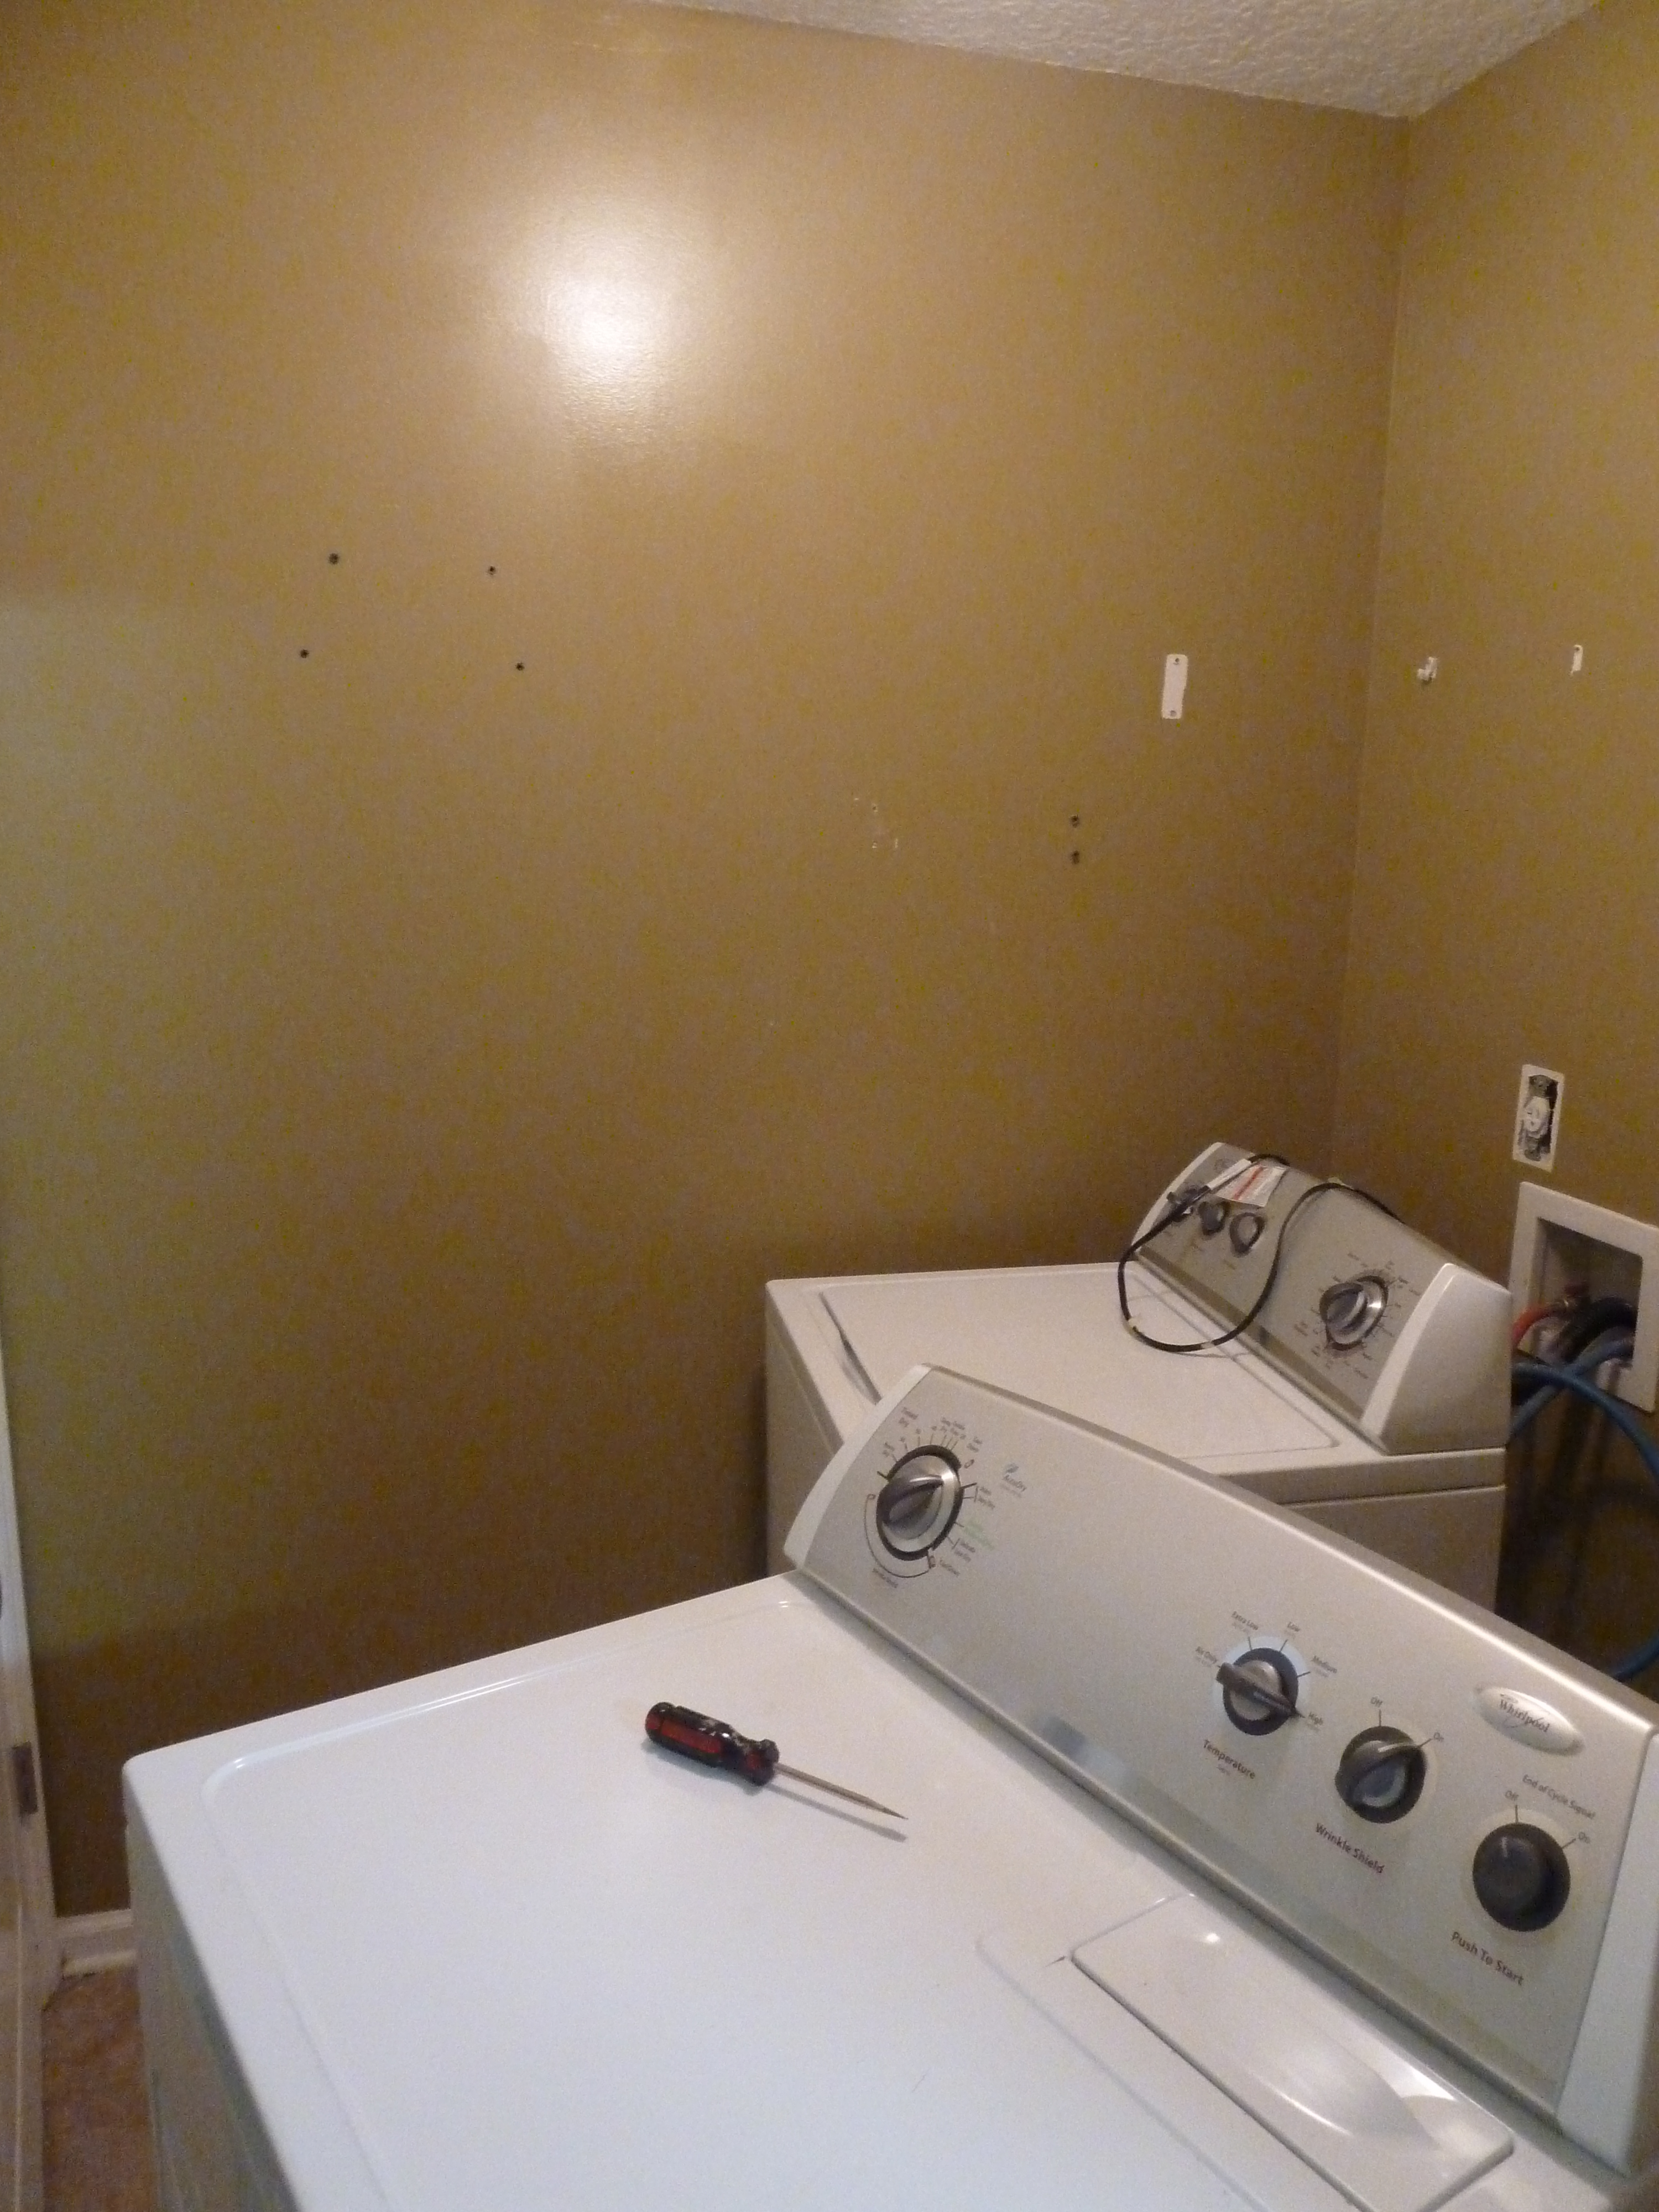
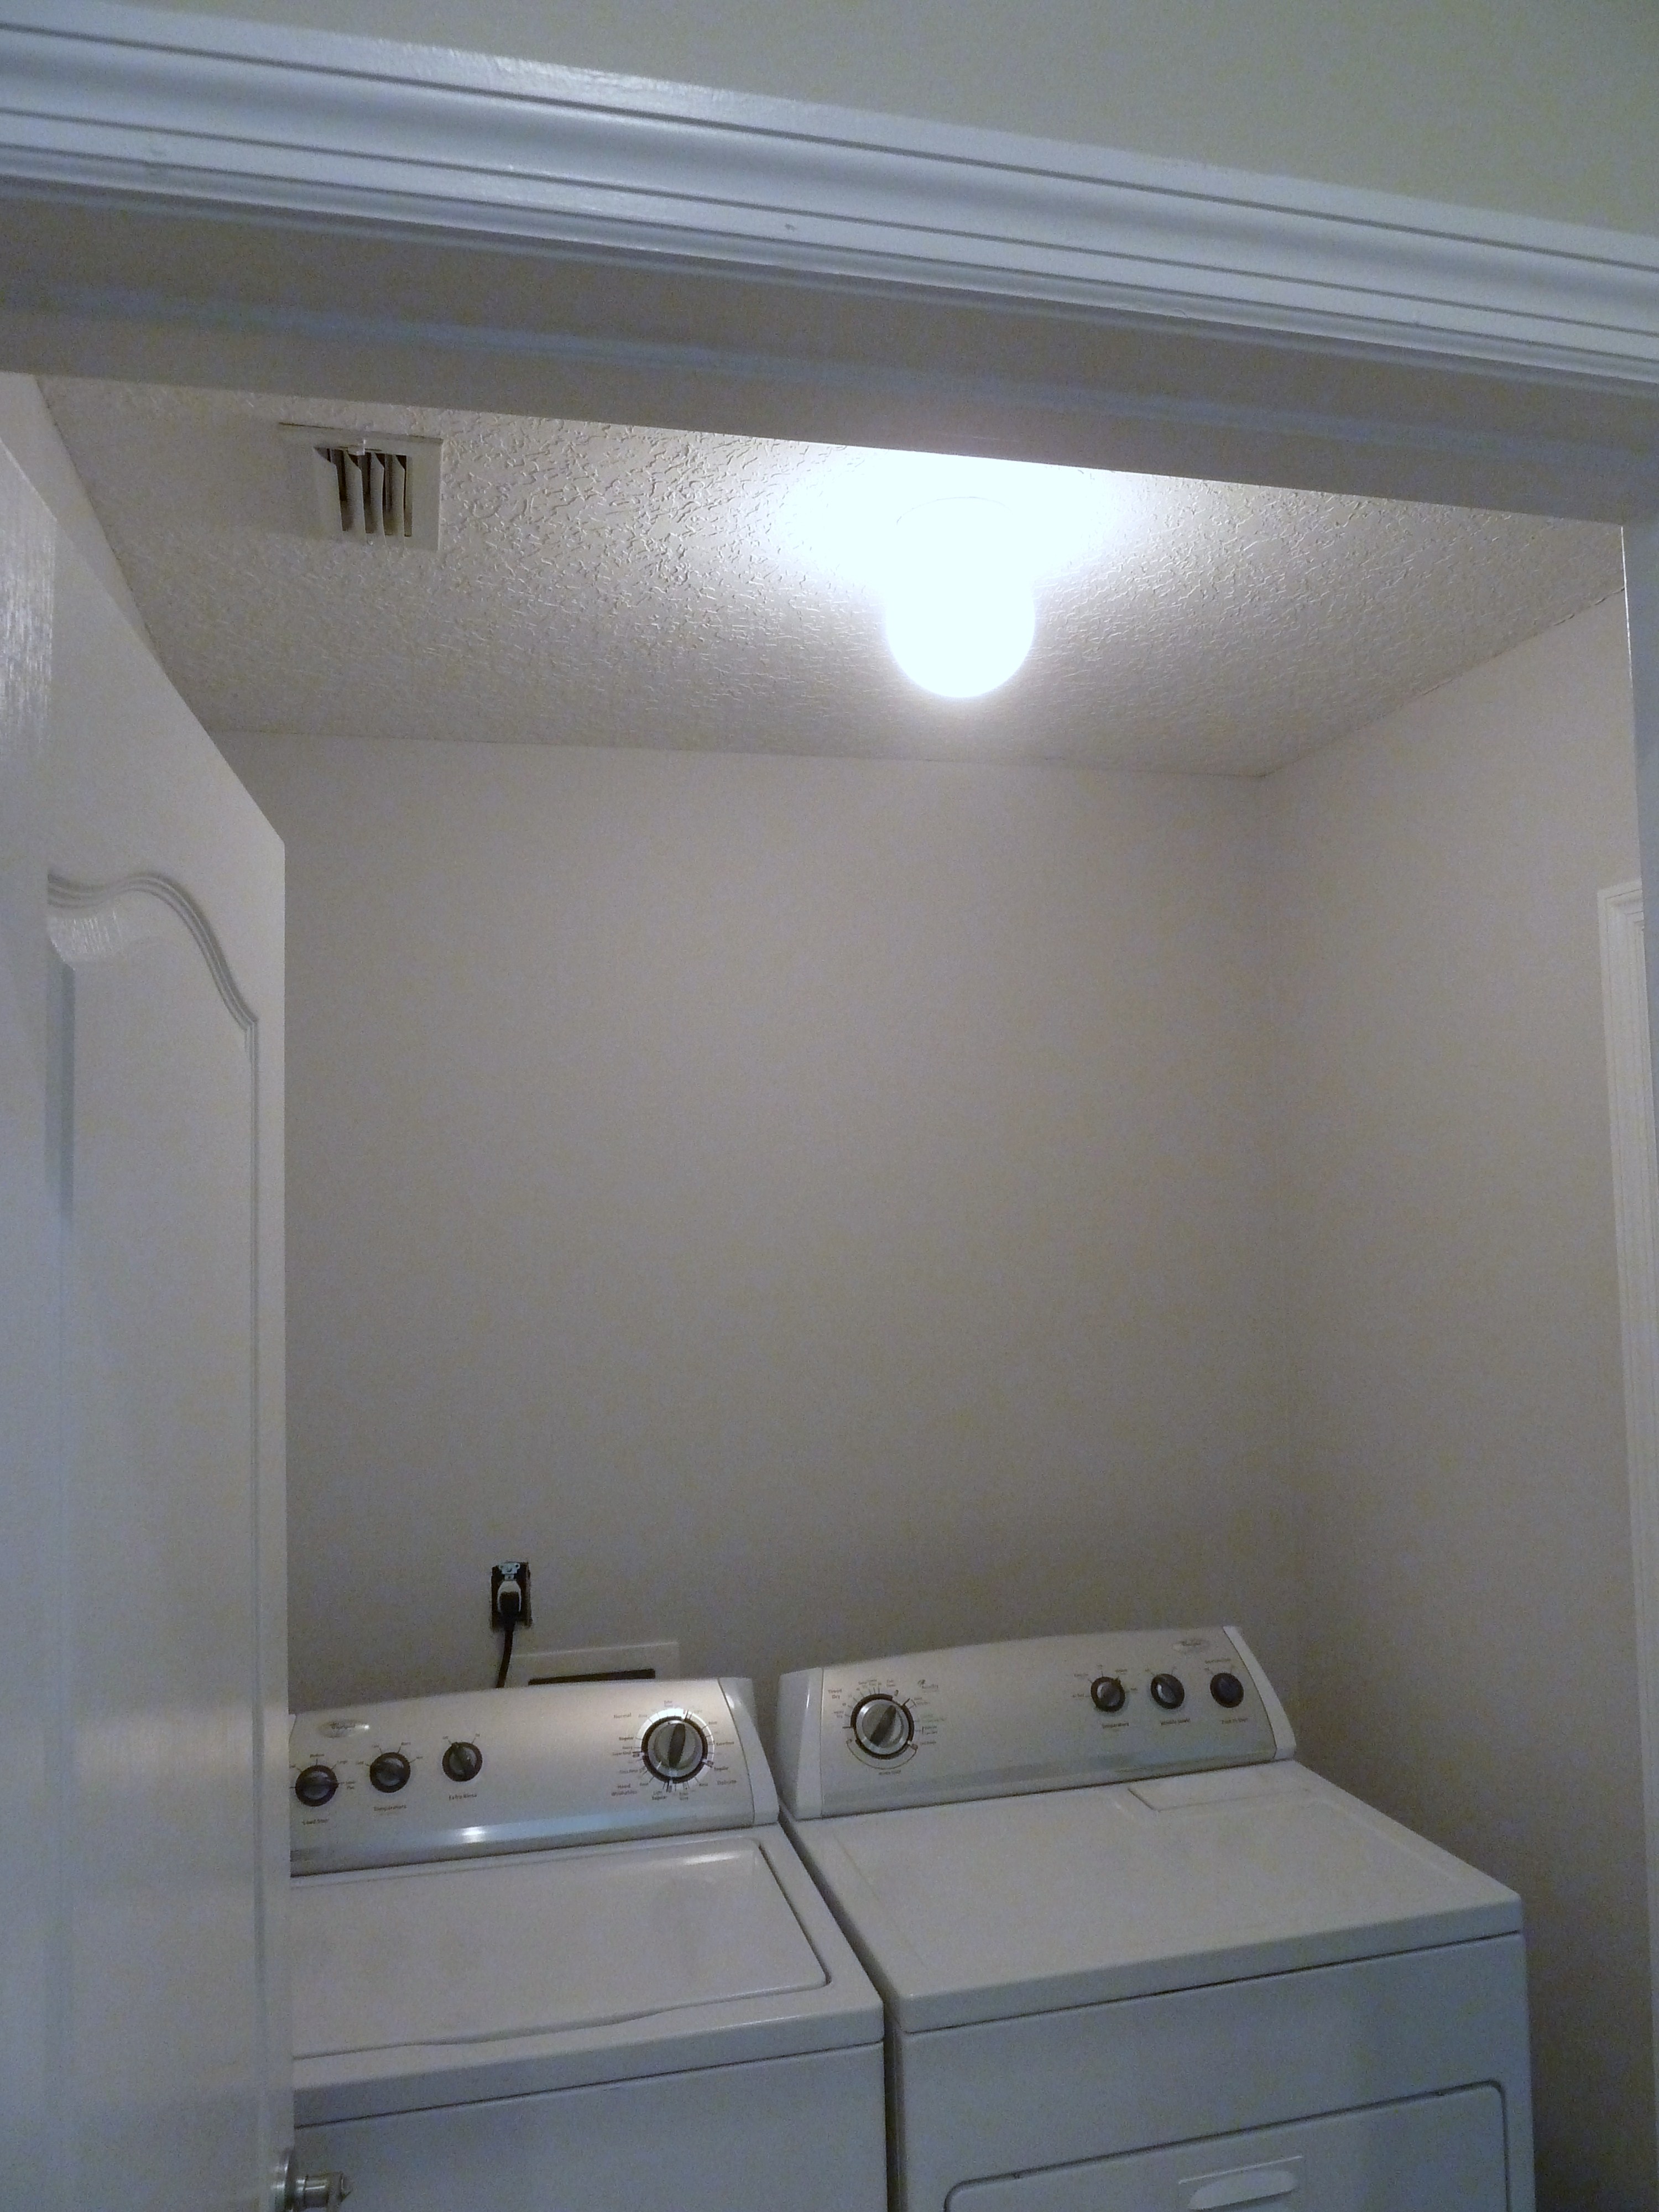
I love the color, it’s really light so I hope it will brighten up this room quite a bit and make it feel a bit bigger.  My plan to go really light with the laundry room worked out well, so I am hoping the same will work in here!

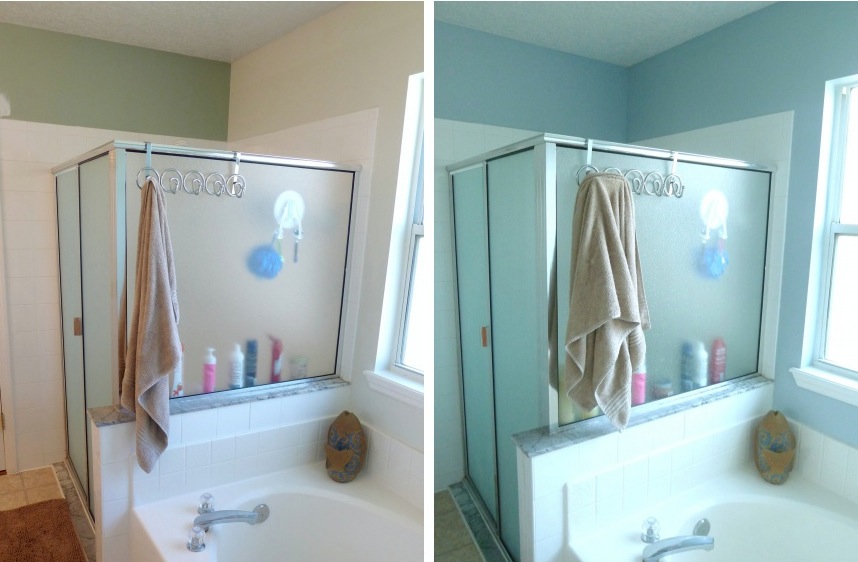
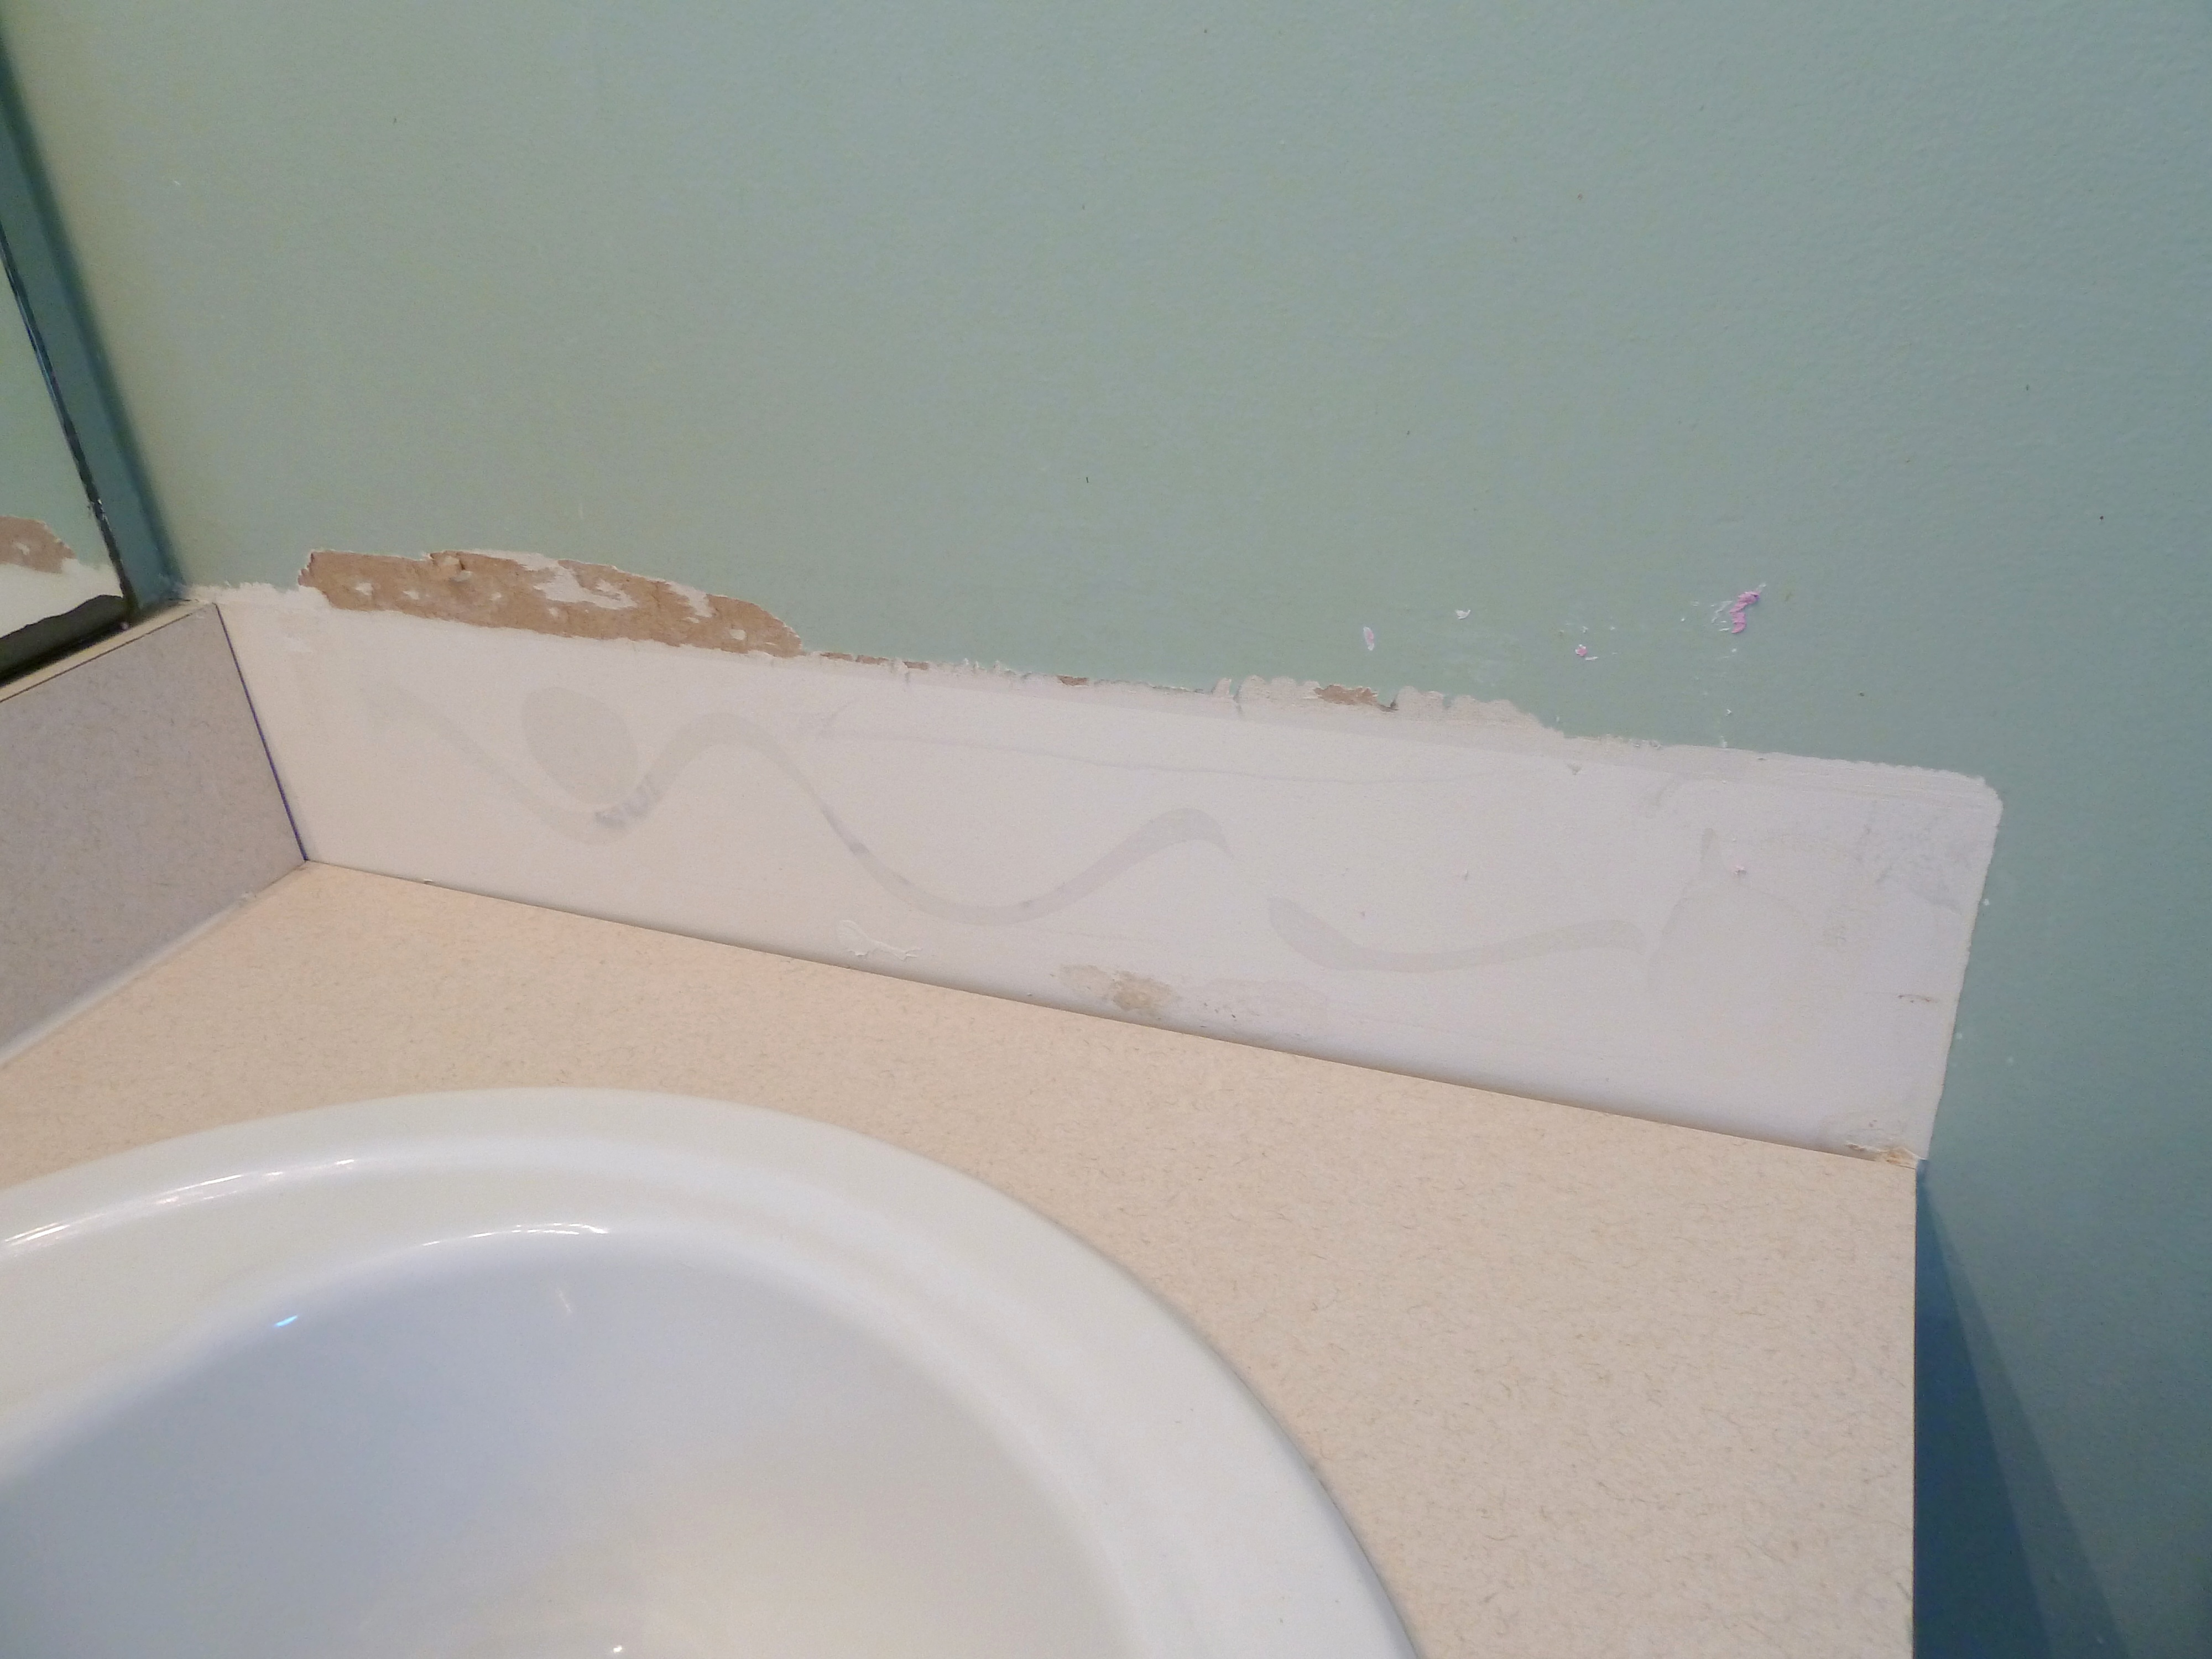
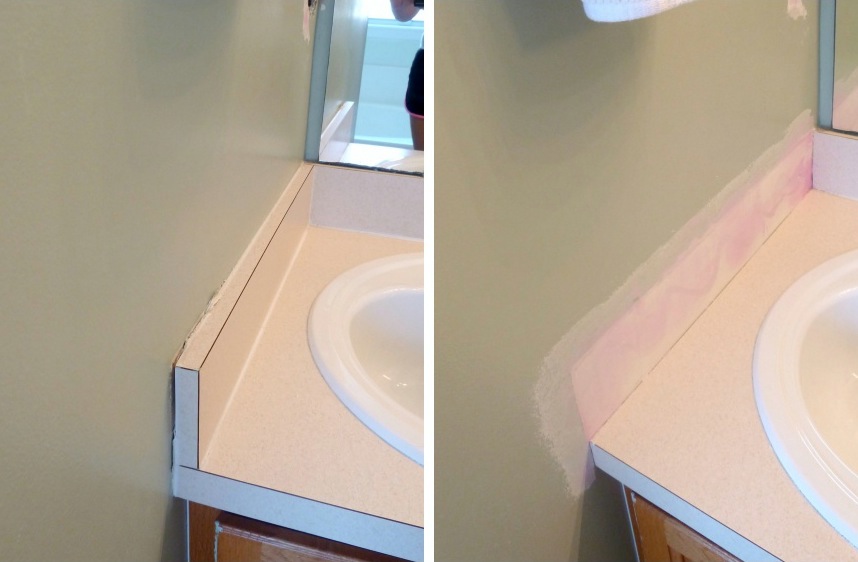
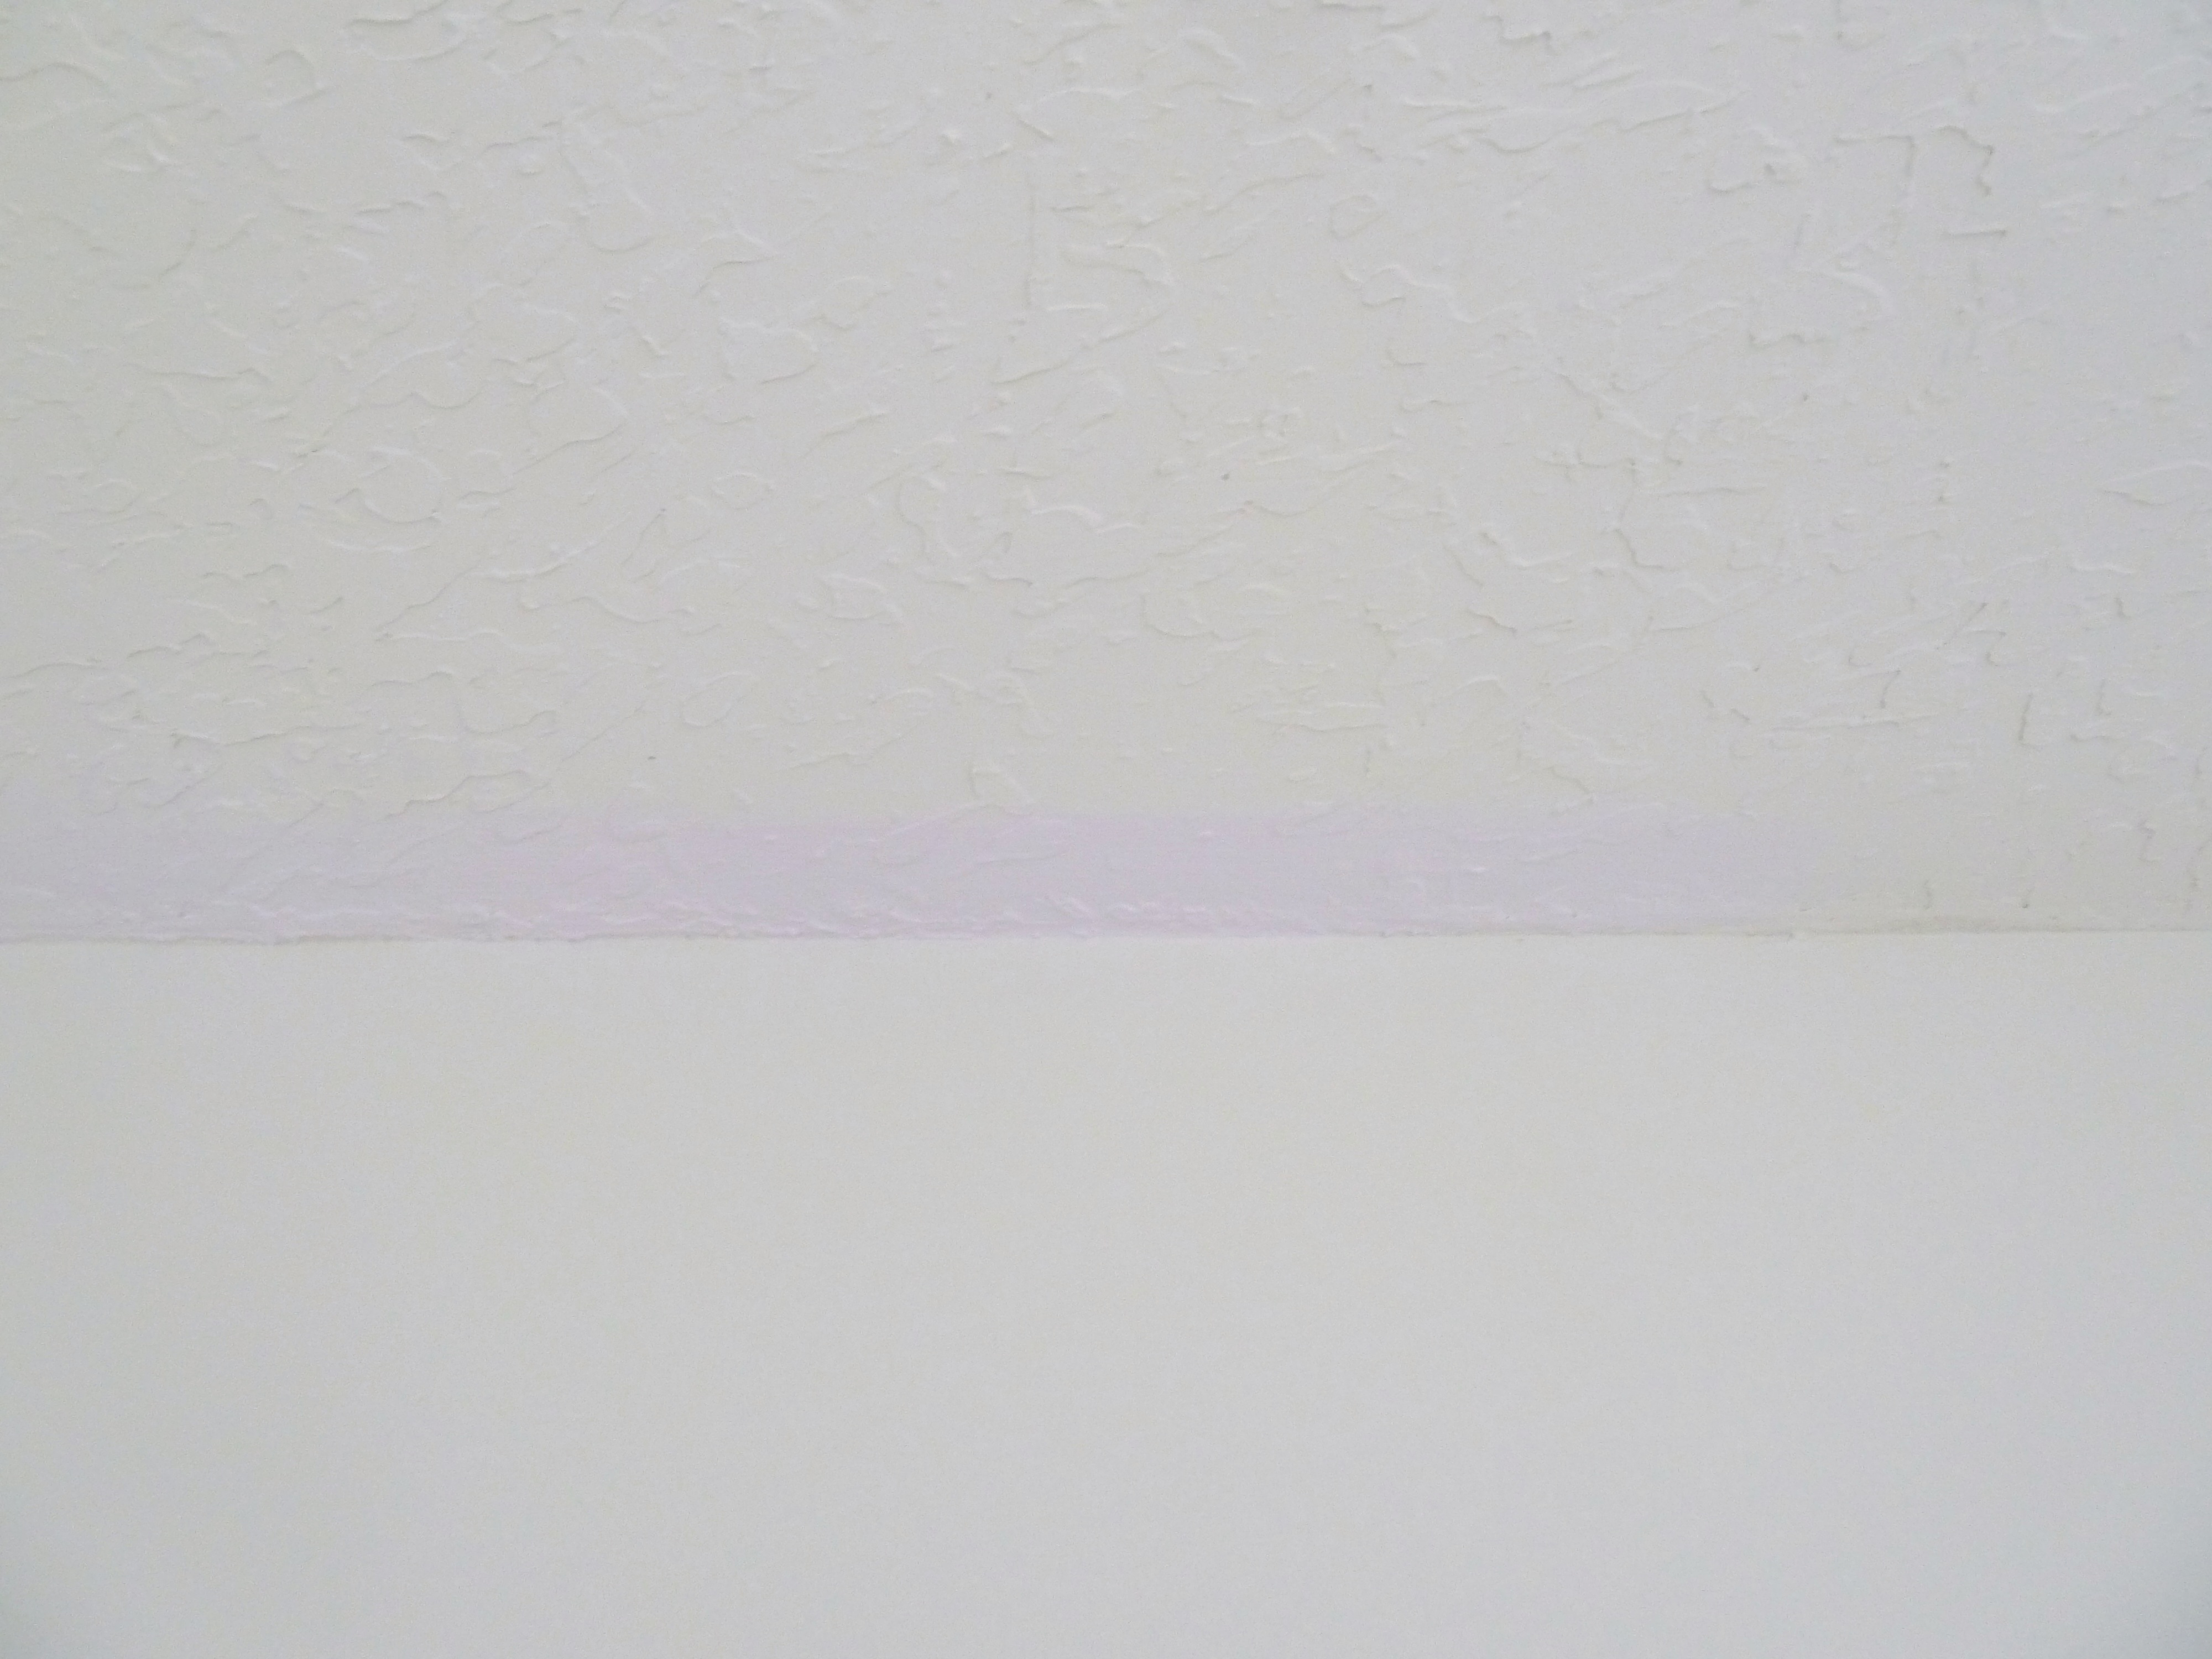
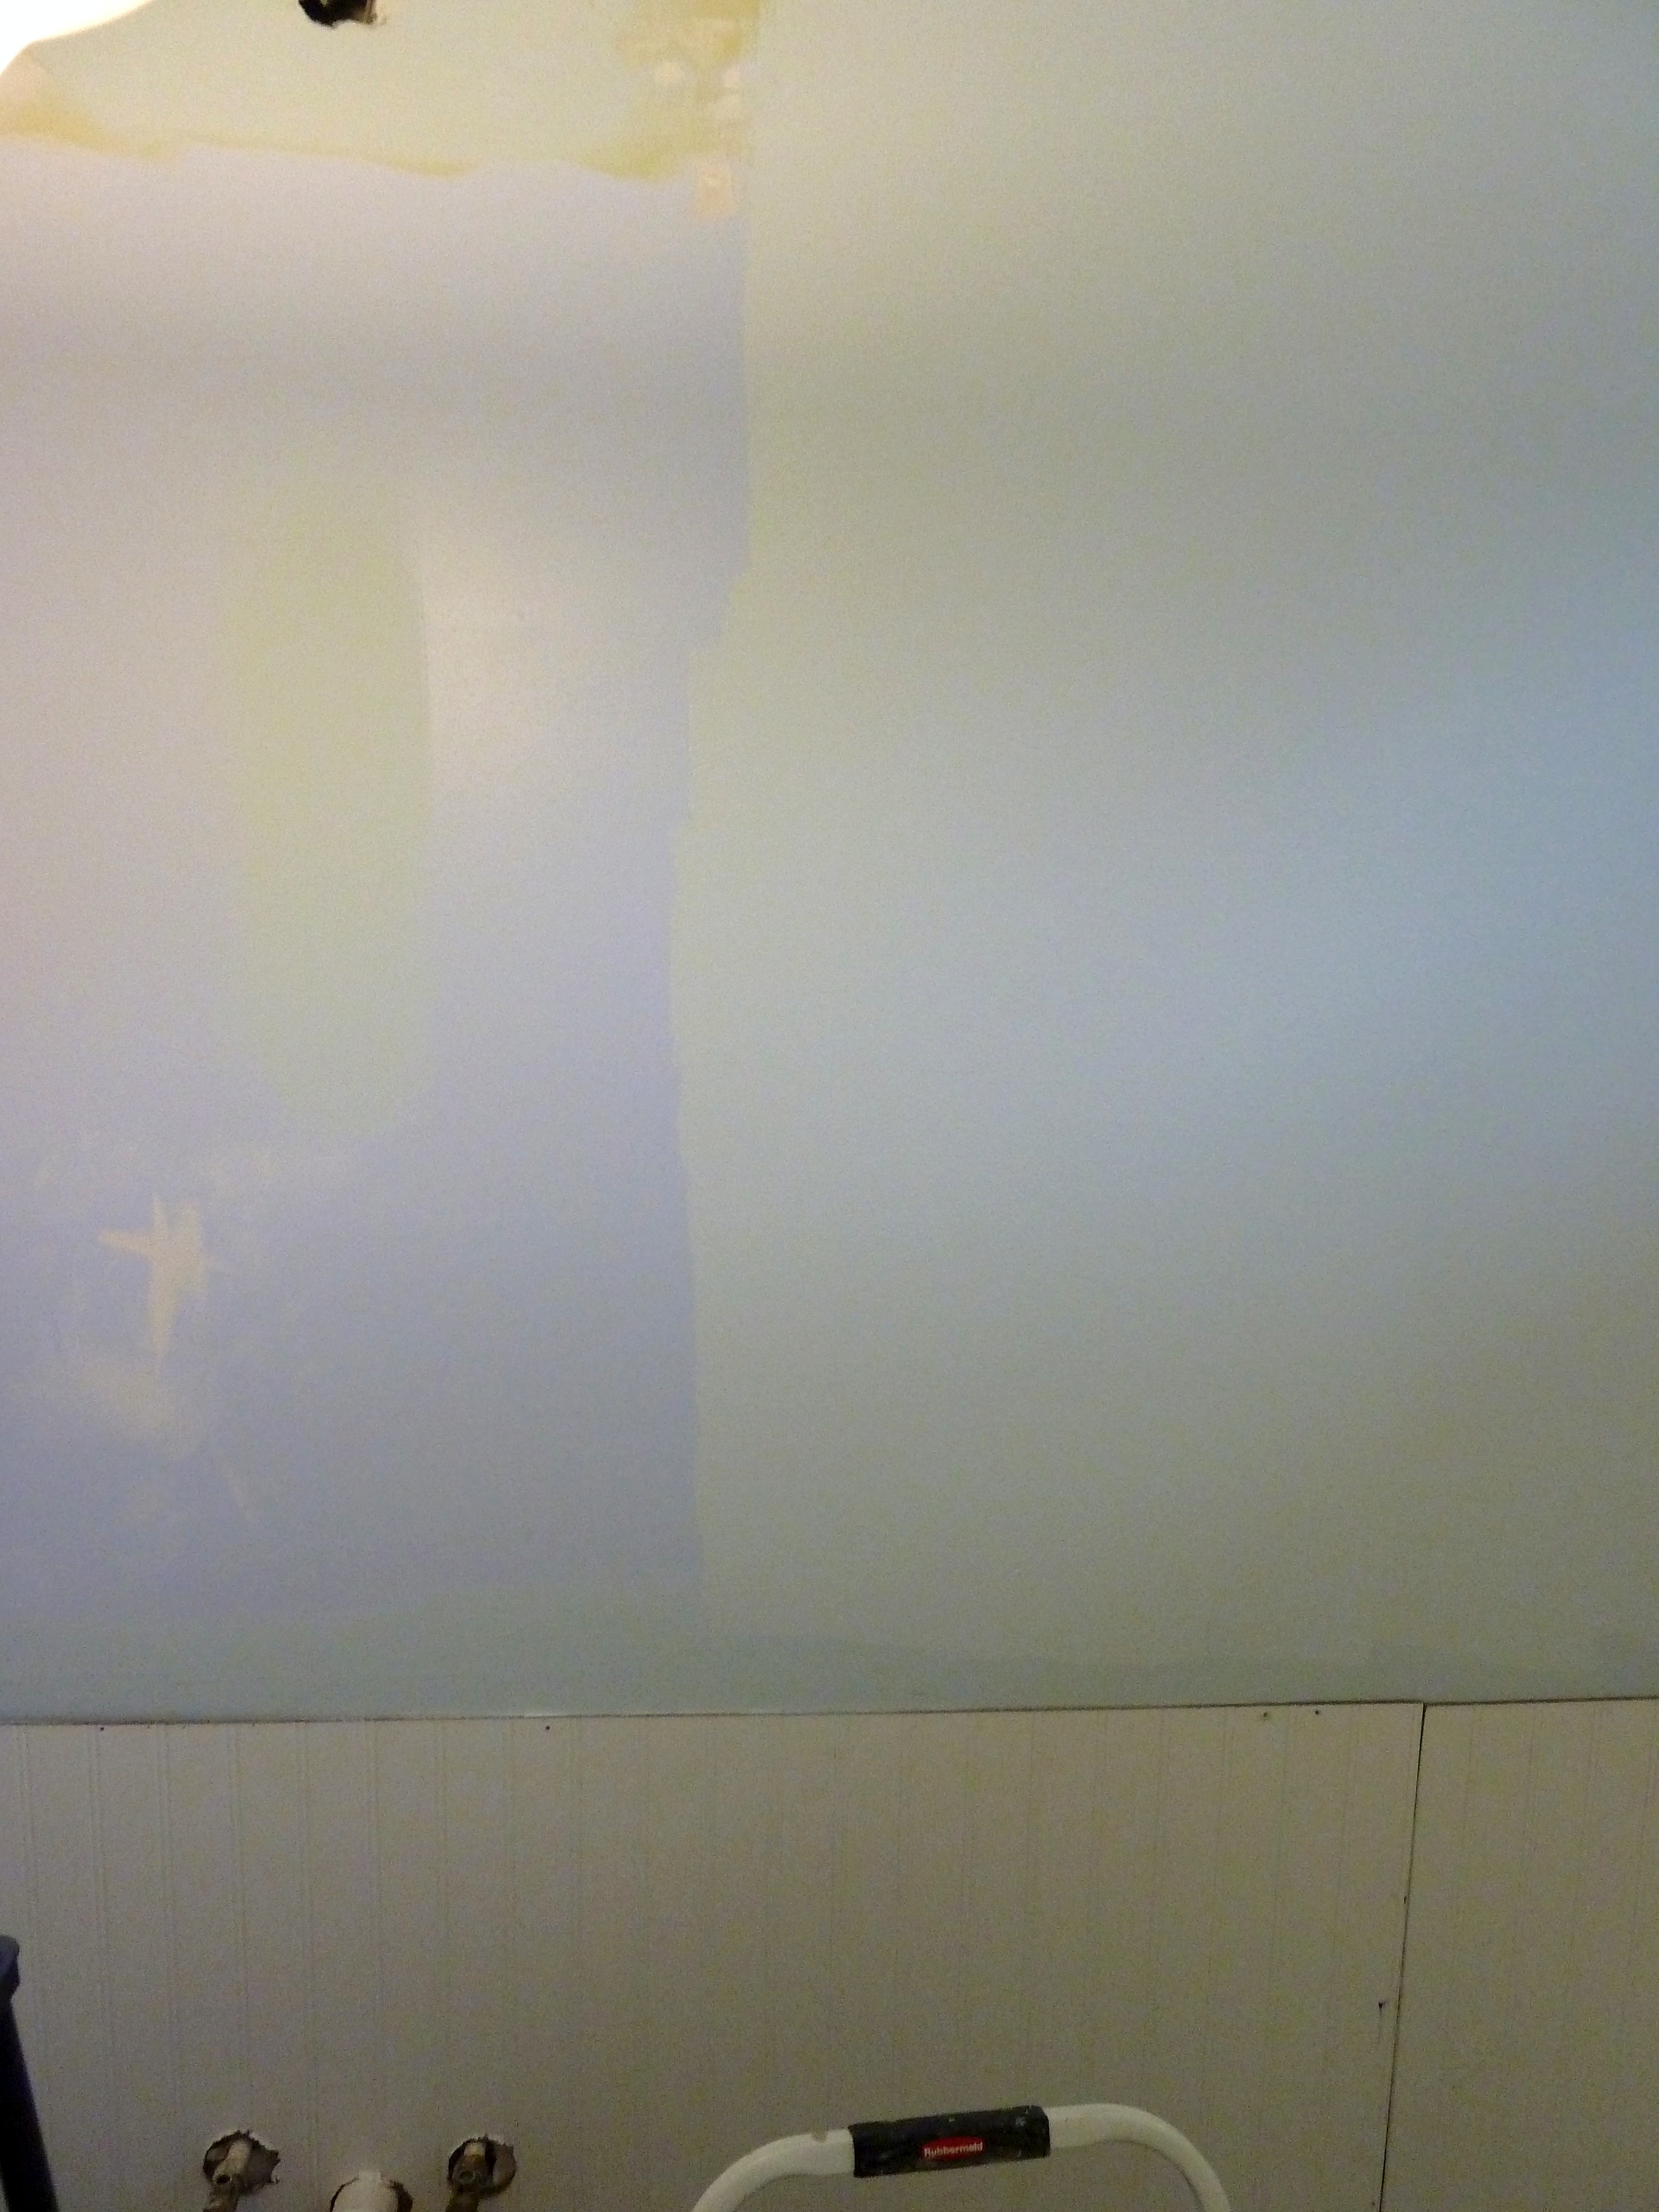
Once we had the mirror down, we were able to see the original purplish-blue color that the bathroom was when we moved in.  The color we went with this time was more blue, than the more purple color they had chosen and our color is also lighter…

P1070029_Fotor

The new color is on the right and the old color that was under the mirror is on the left. Either color I think is better than the greenish yellow I painted the room, that you can slightly see on the top of this photo.

P1070030_Fotor I also think the wainscoting is going to help to make this bathroom feel a lot lighter.

P1070032_Fotor

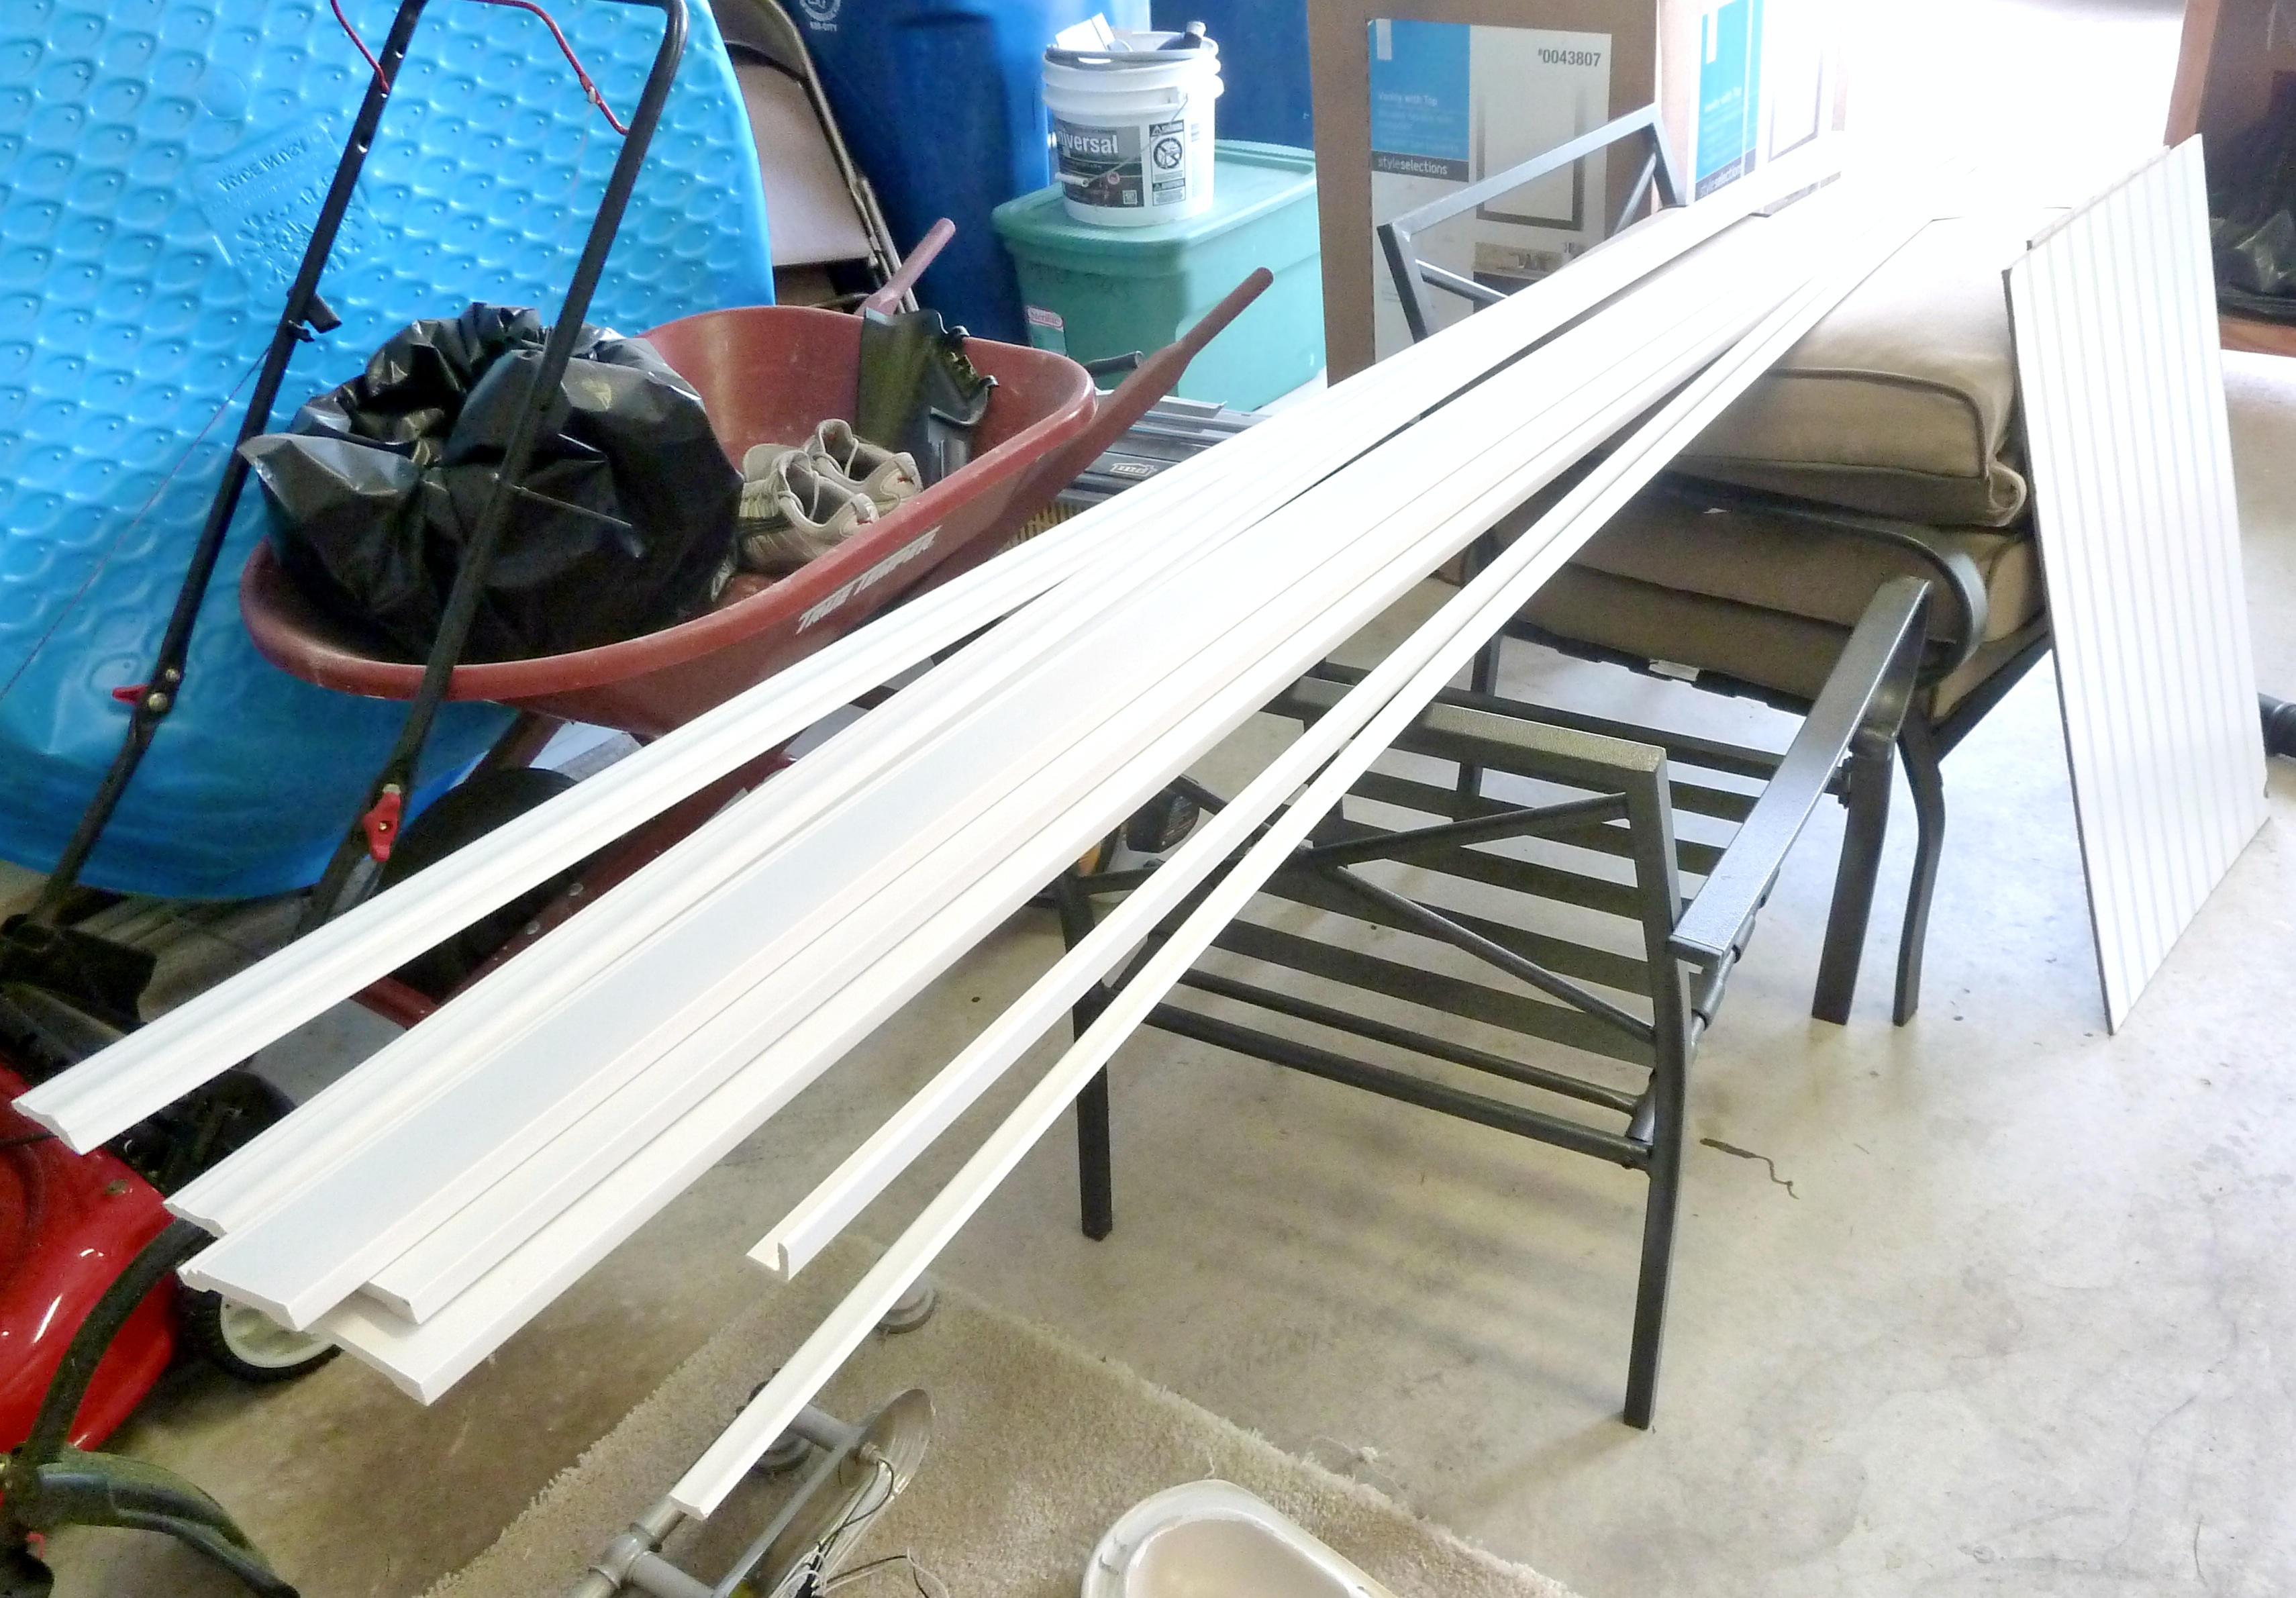
Here is all of the chair railing and trim that Justin purchased.  All of these pieces were also pre-primed in white, more great news for me!

P1070033_Fotor

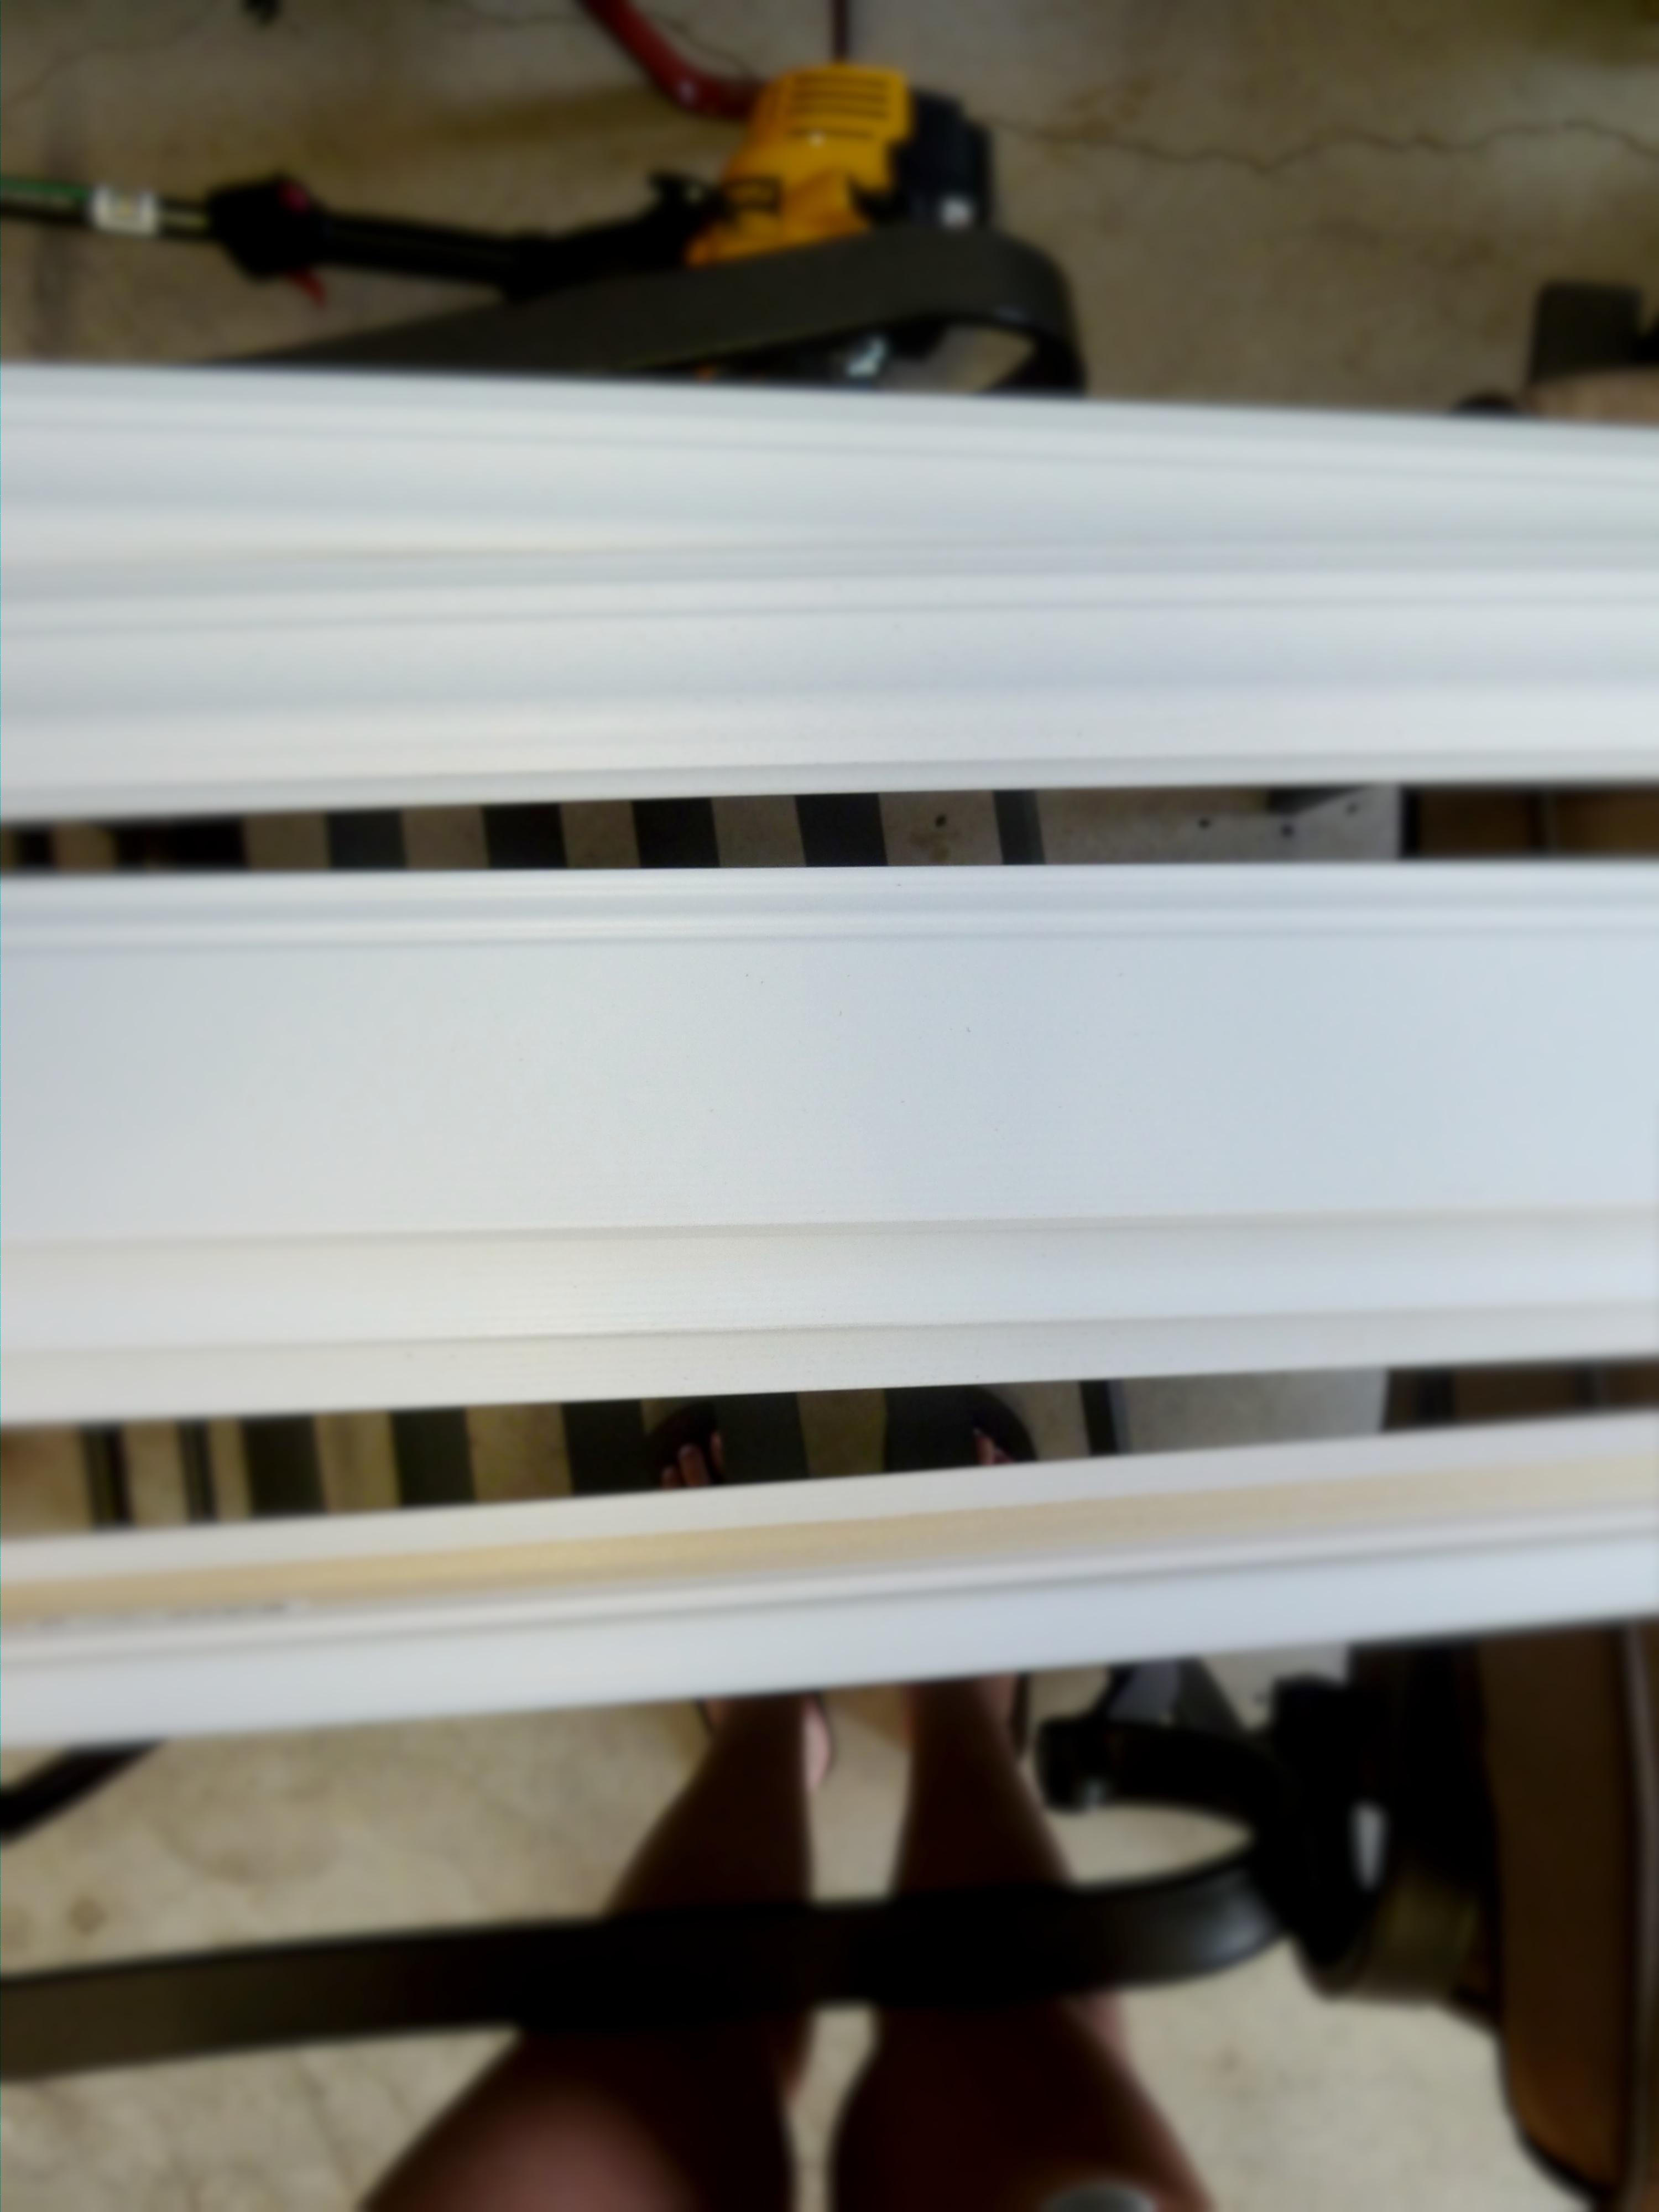
Ah, beautiful untouched trim!

P1070035_Fotor

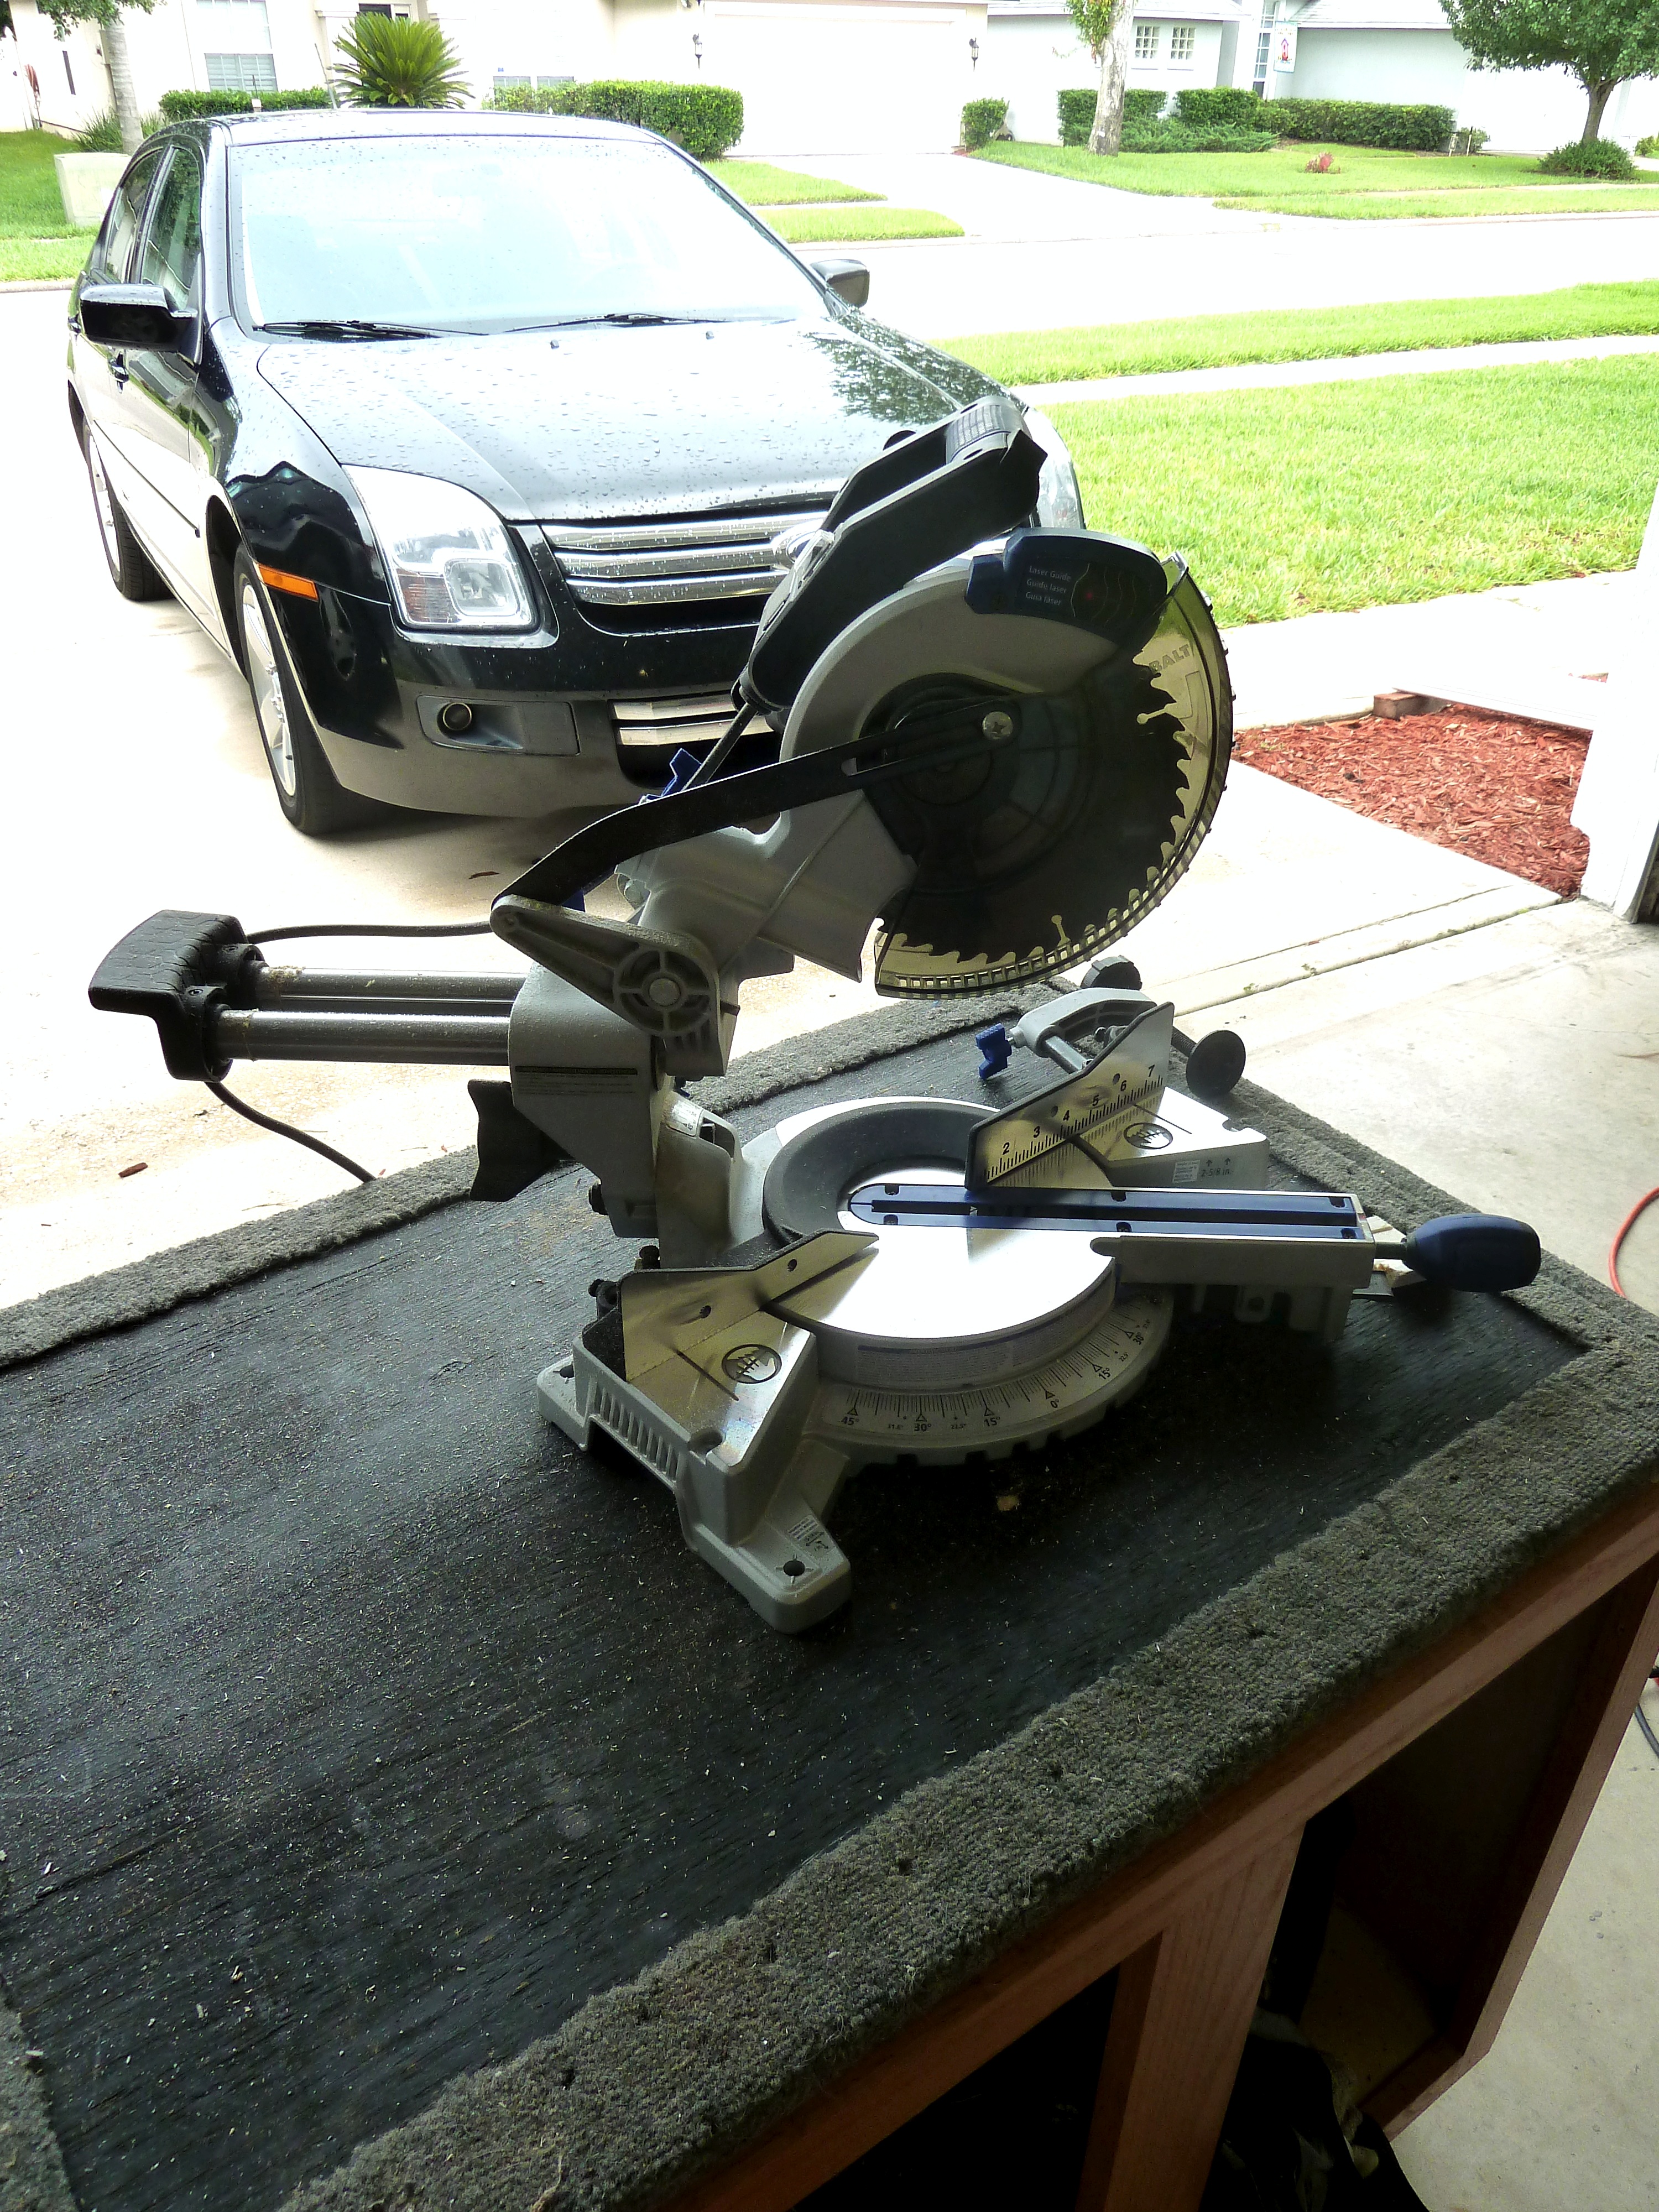
Justin used this guy to cut all of the trim and chair railing on 45 degree angles.  He had a blast doing this, seemed like a very time consuming job.

P1070040_Fotor

Here is the first wall with the chair rail installed.  I was so excited to see it go up, looks great already!
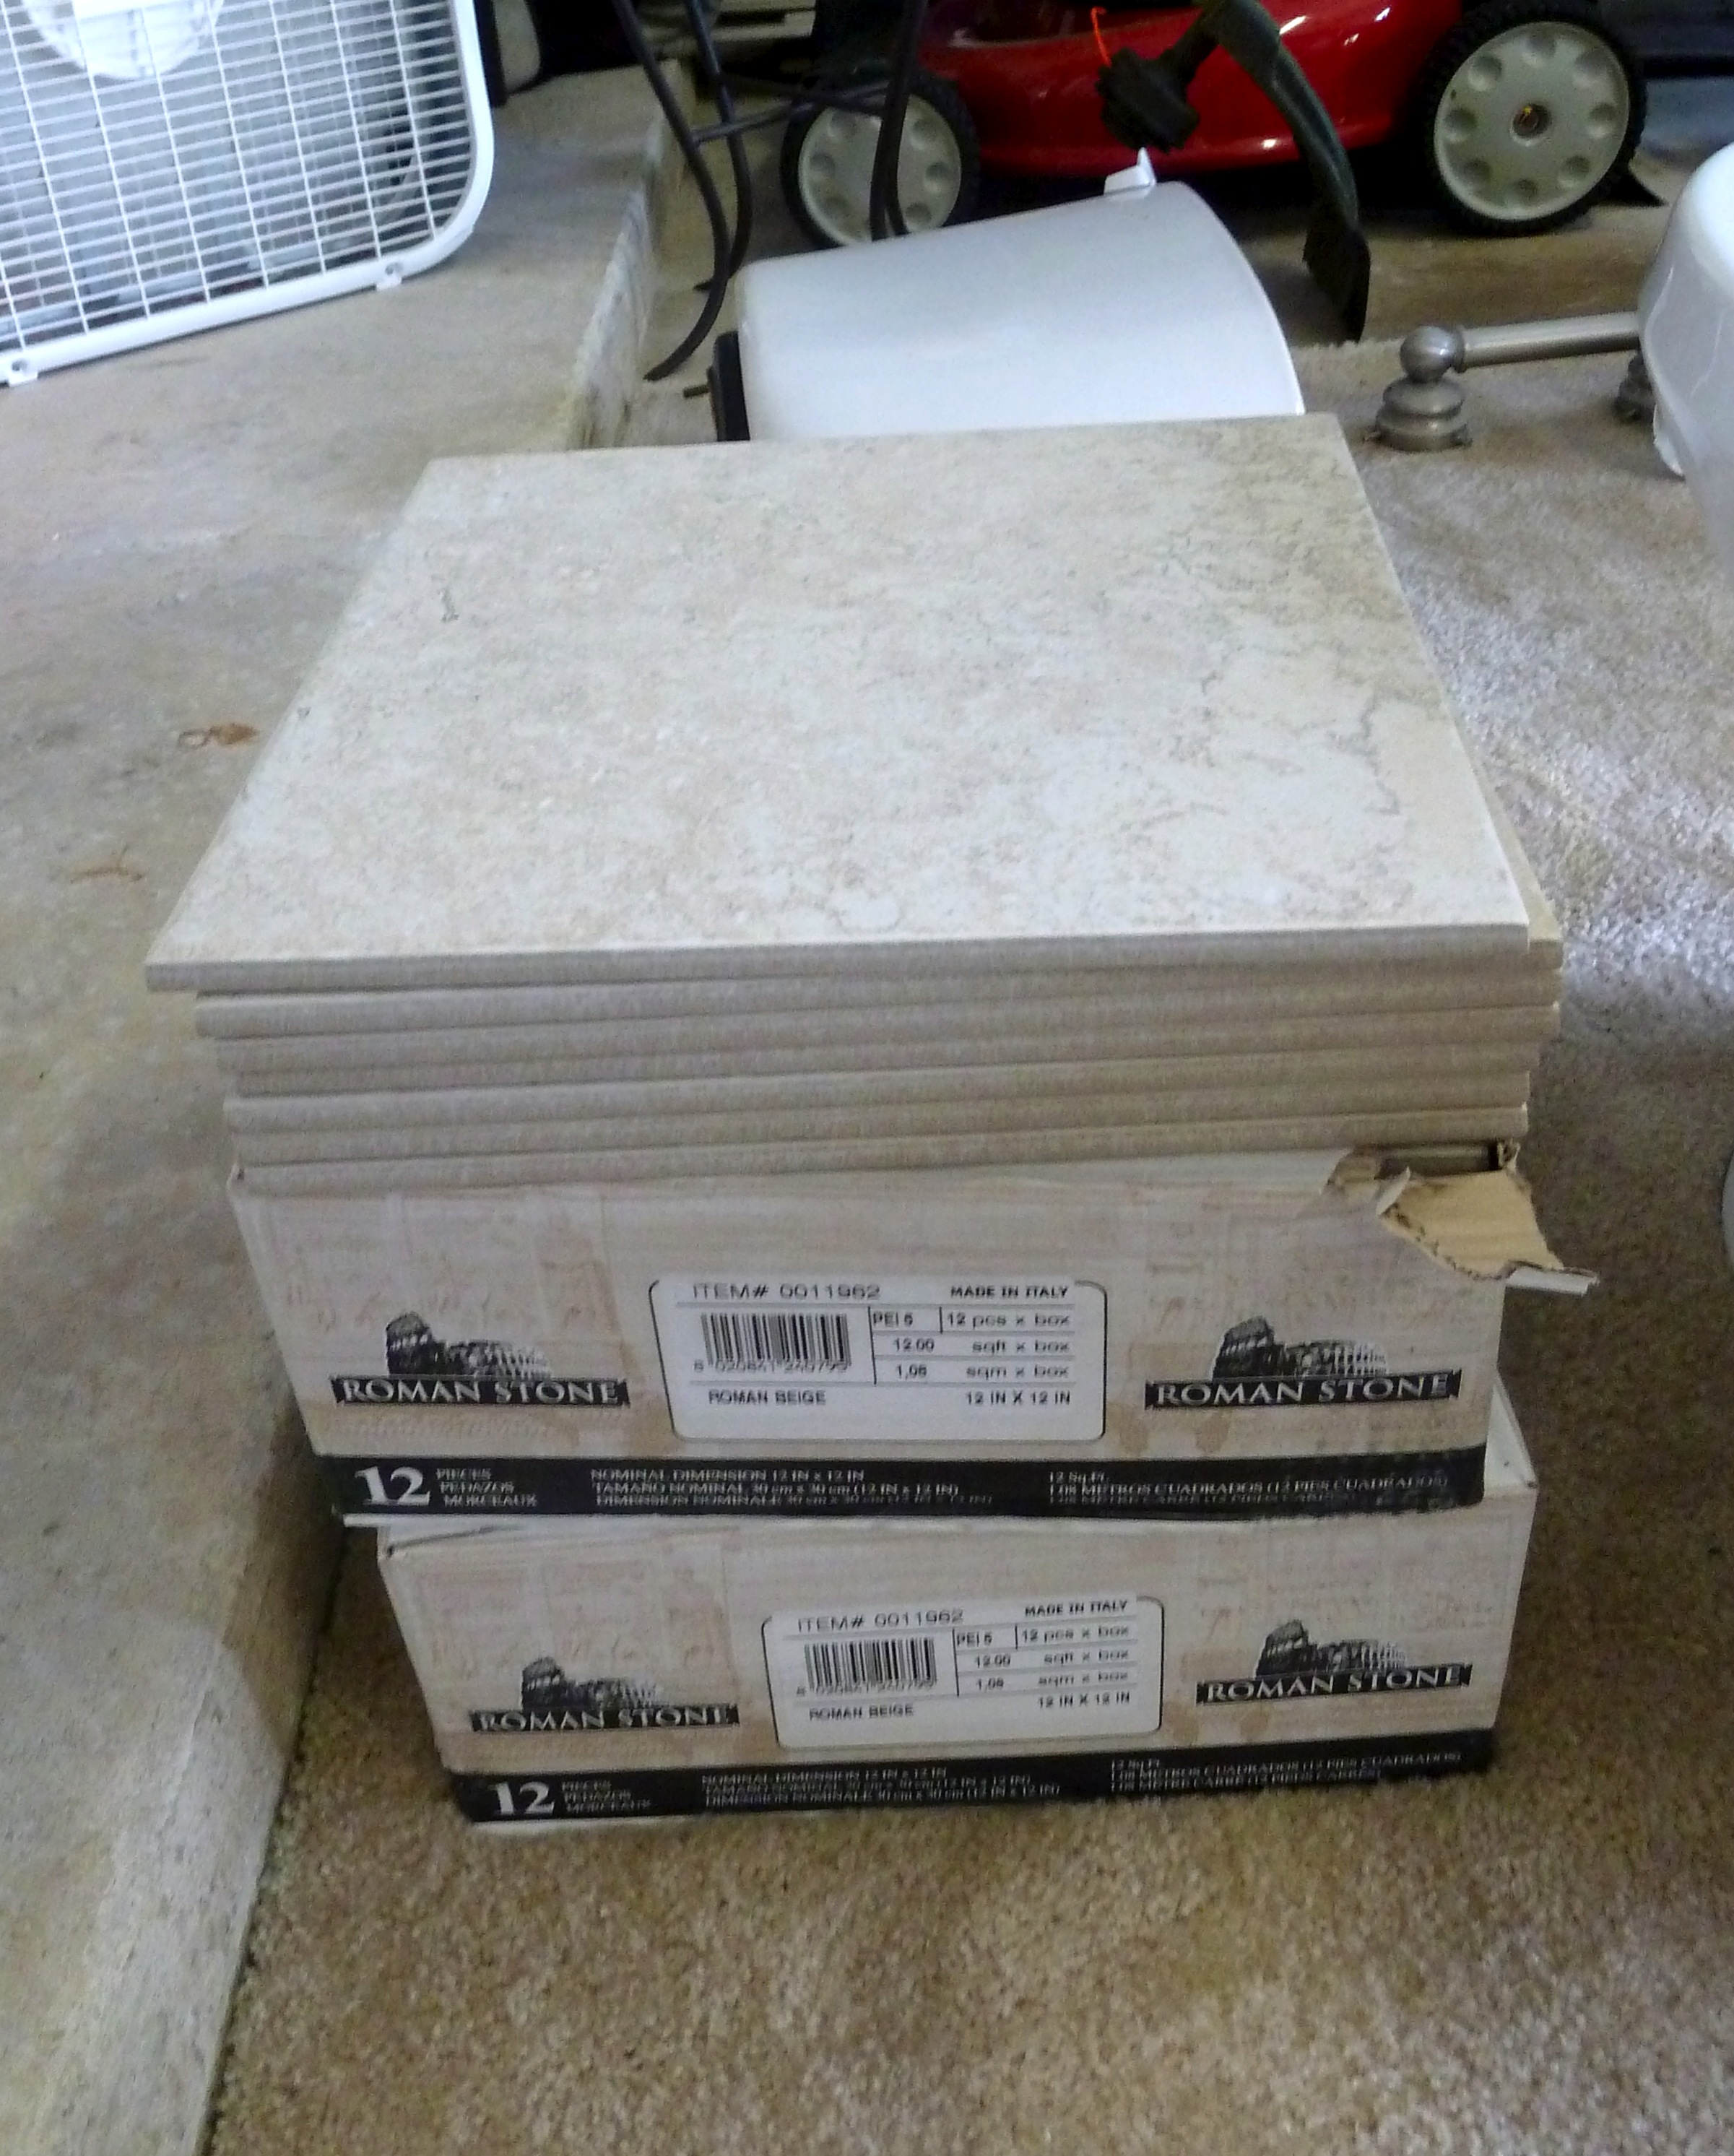
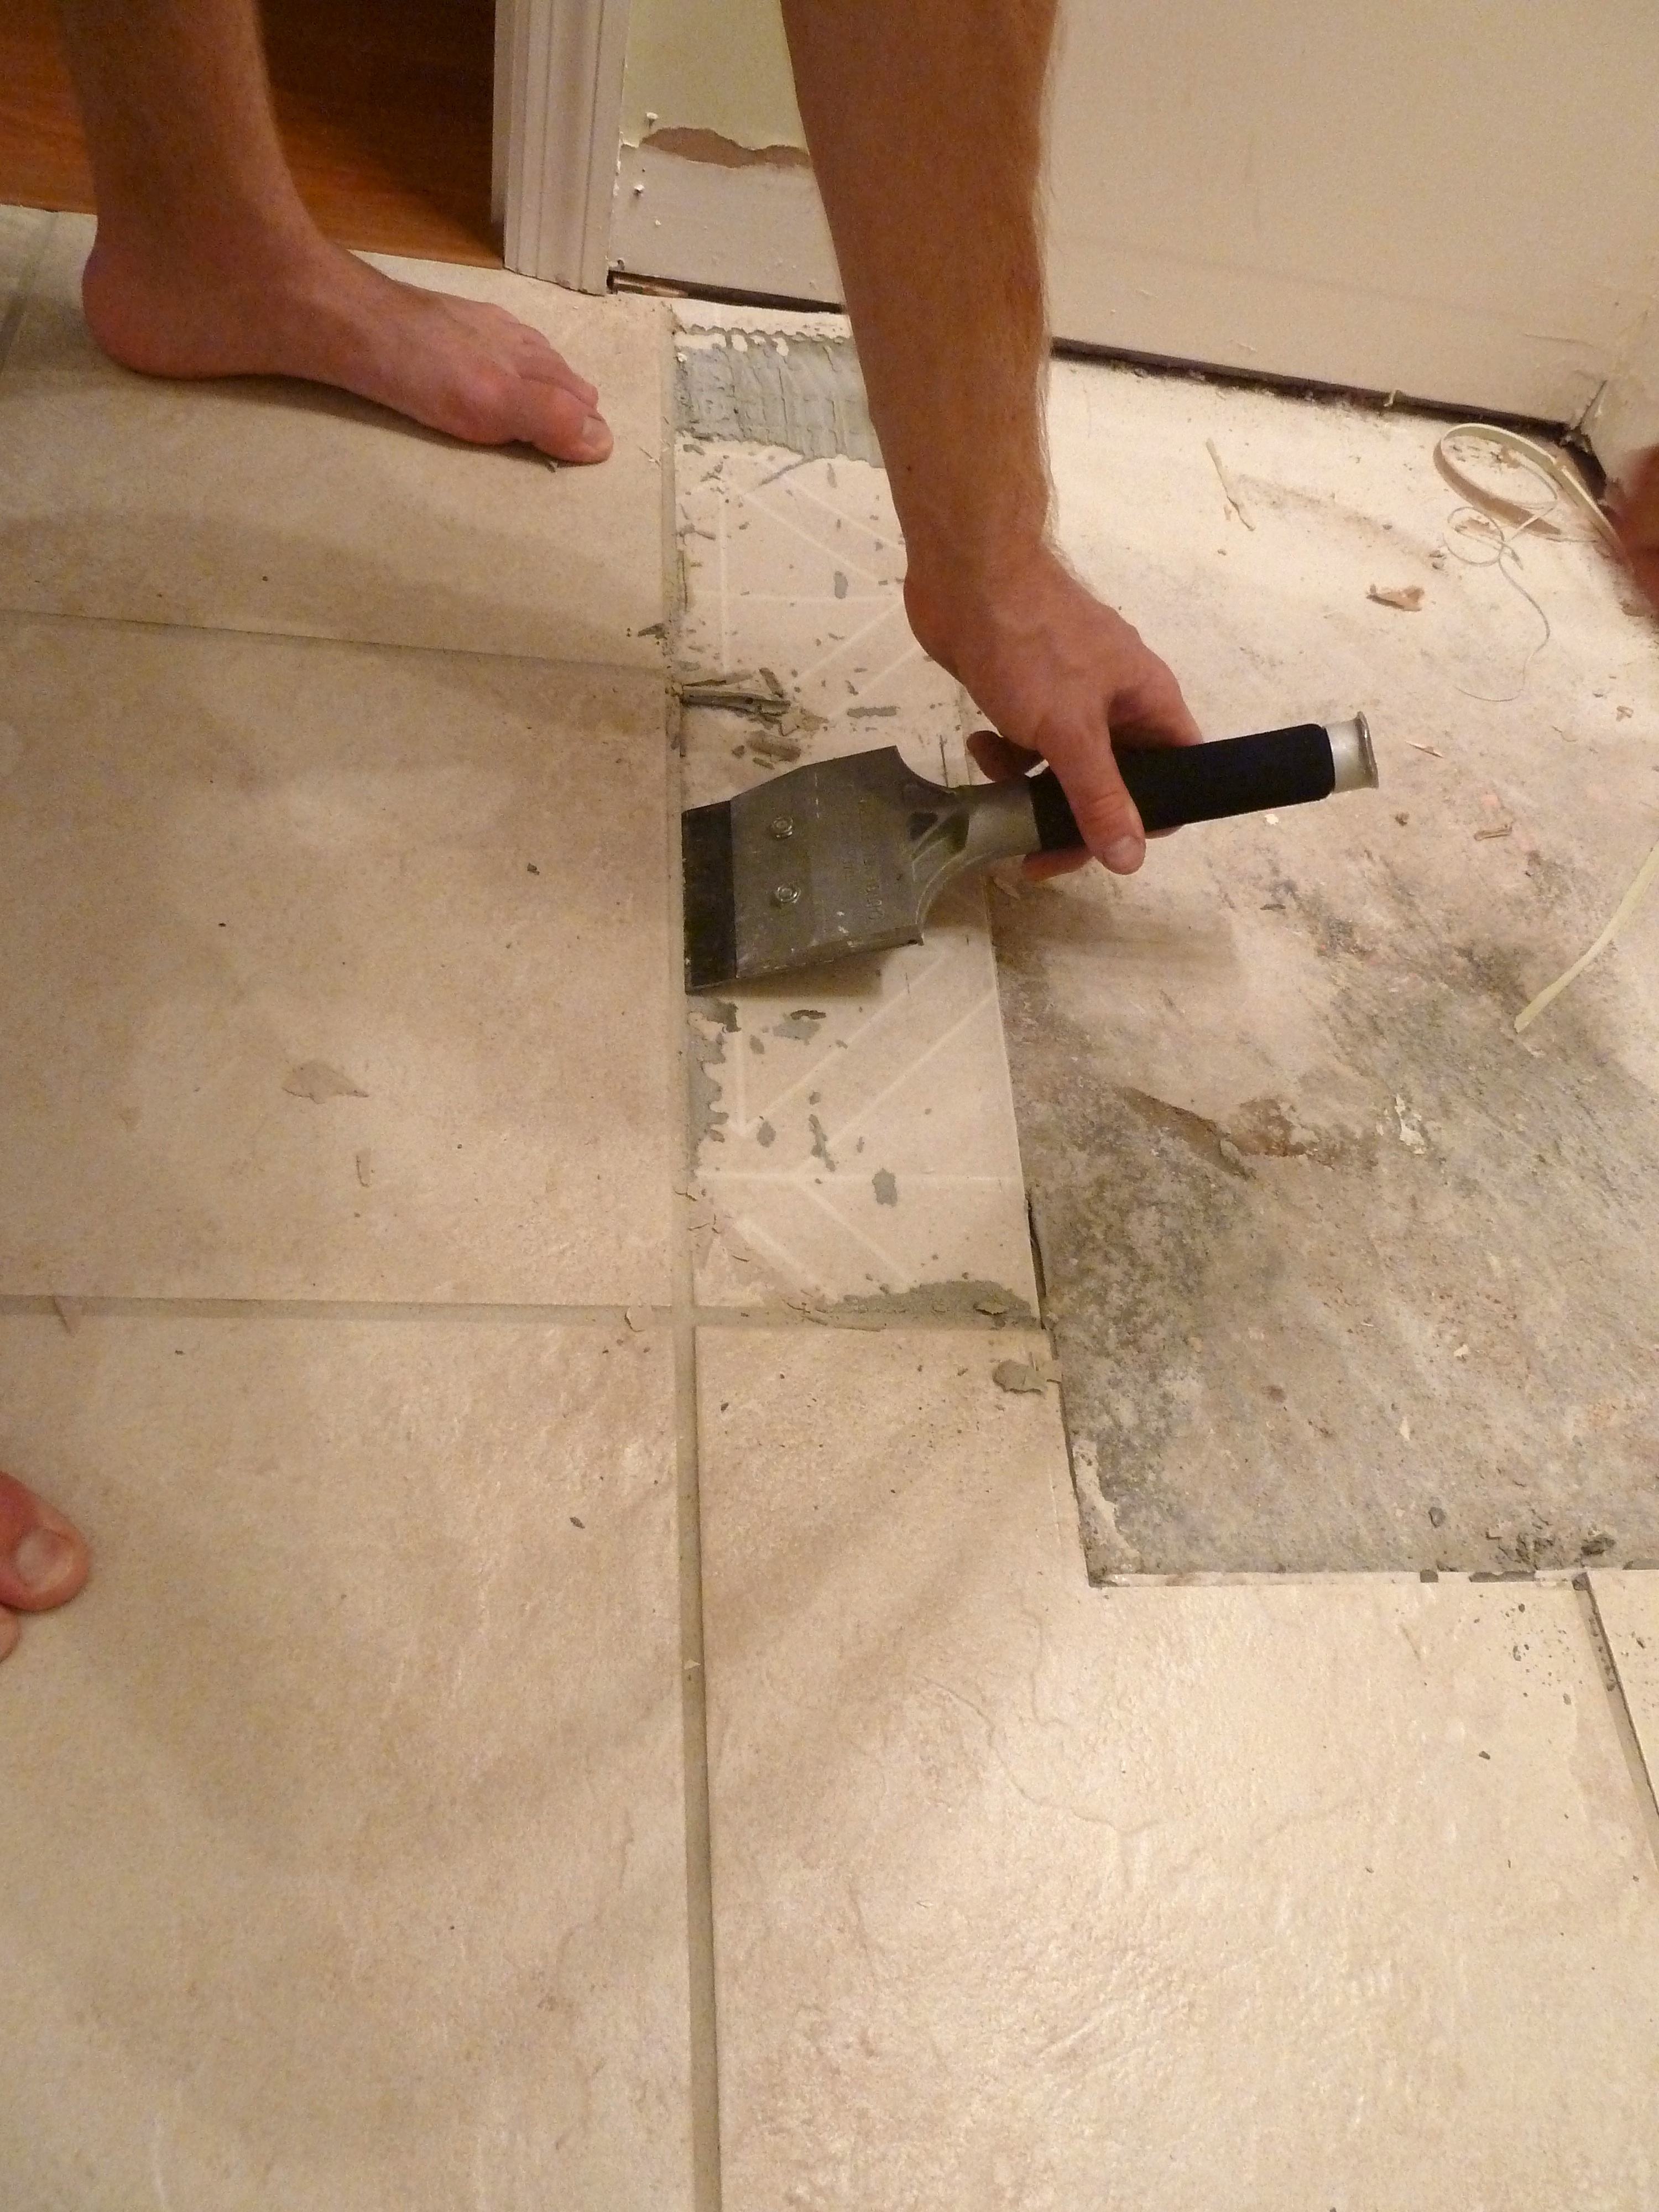
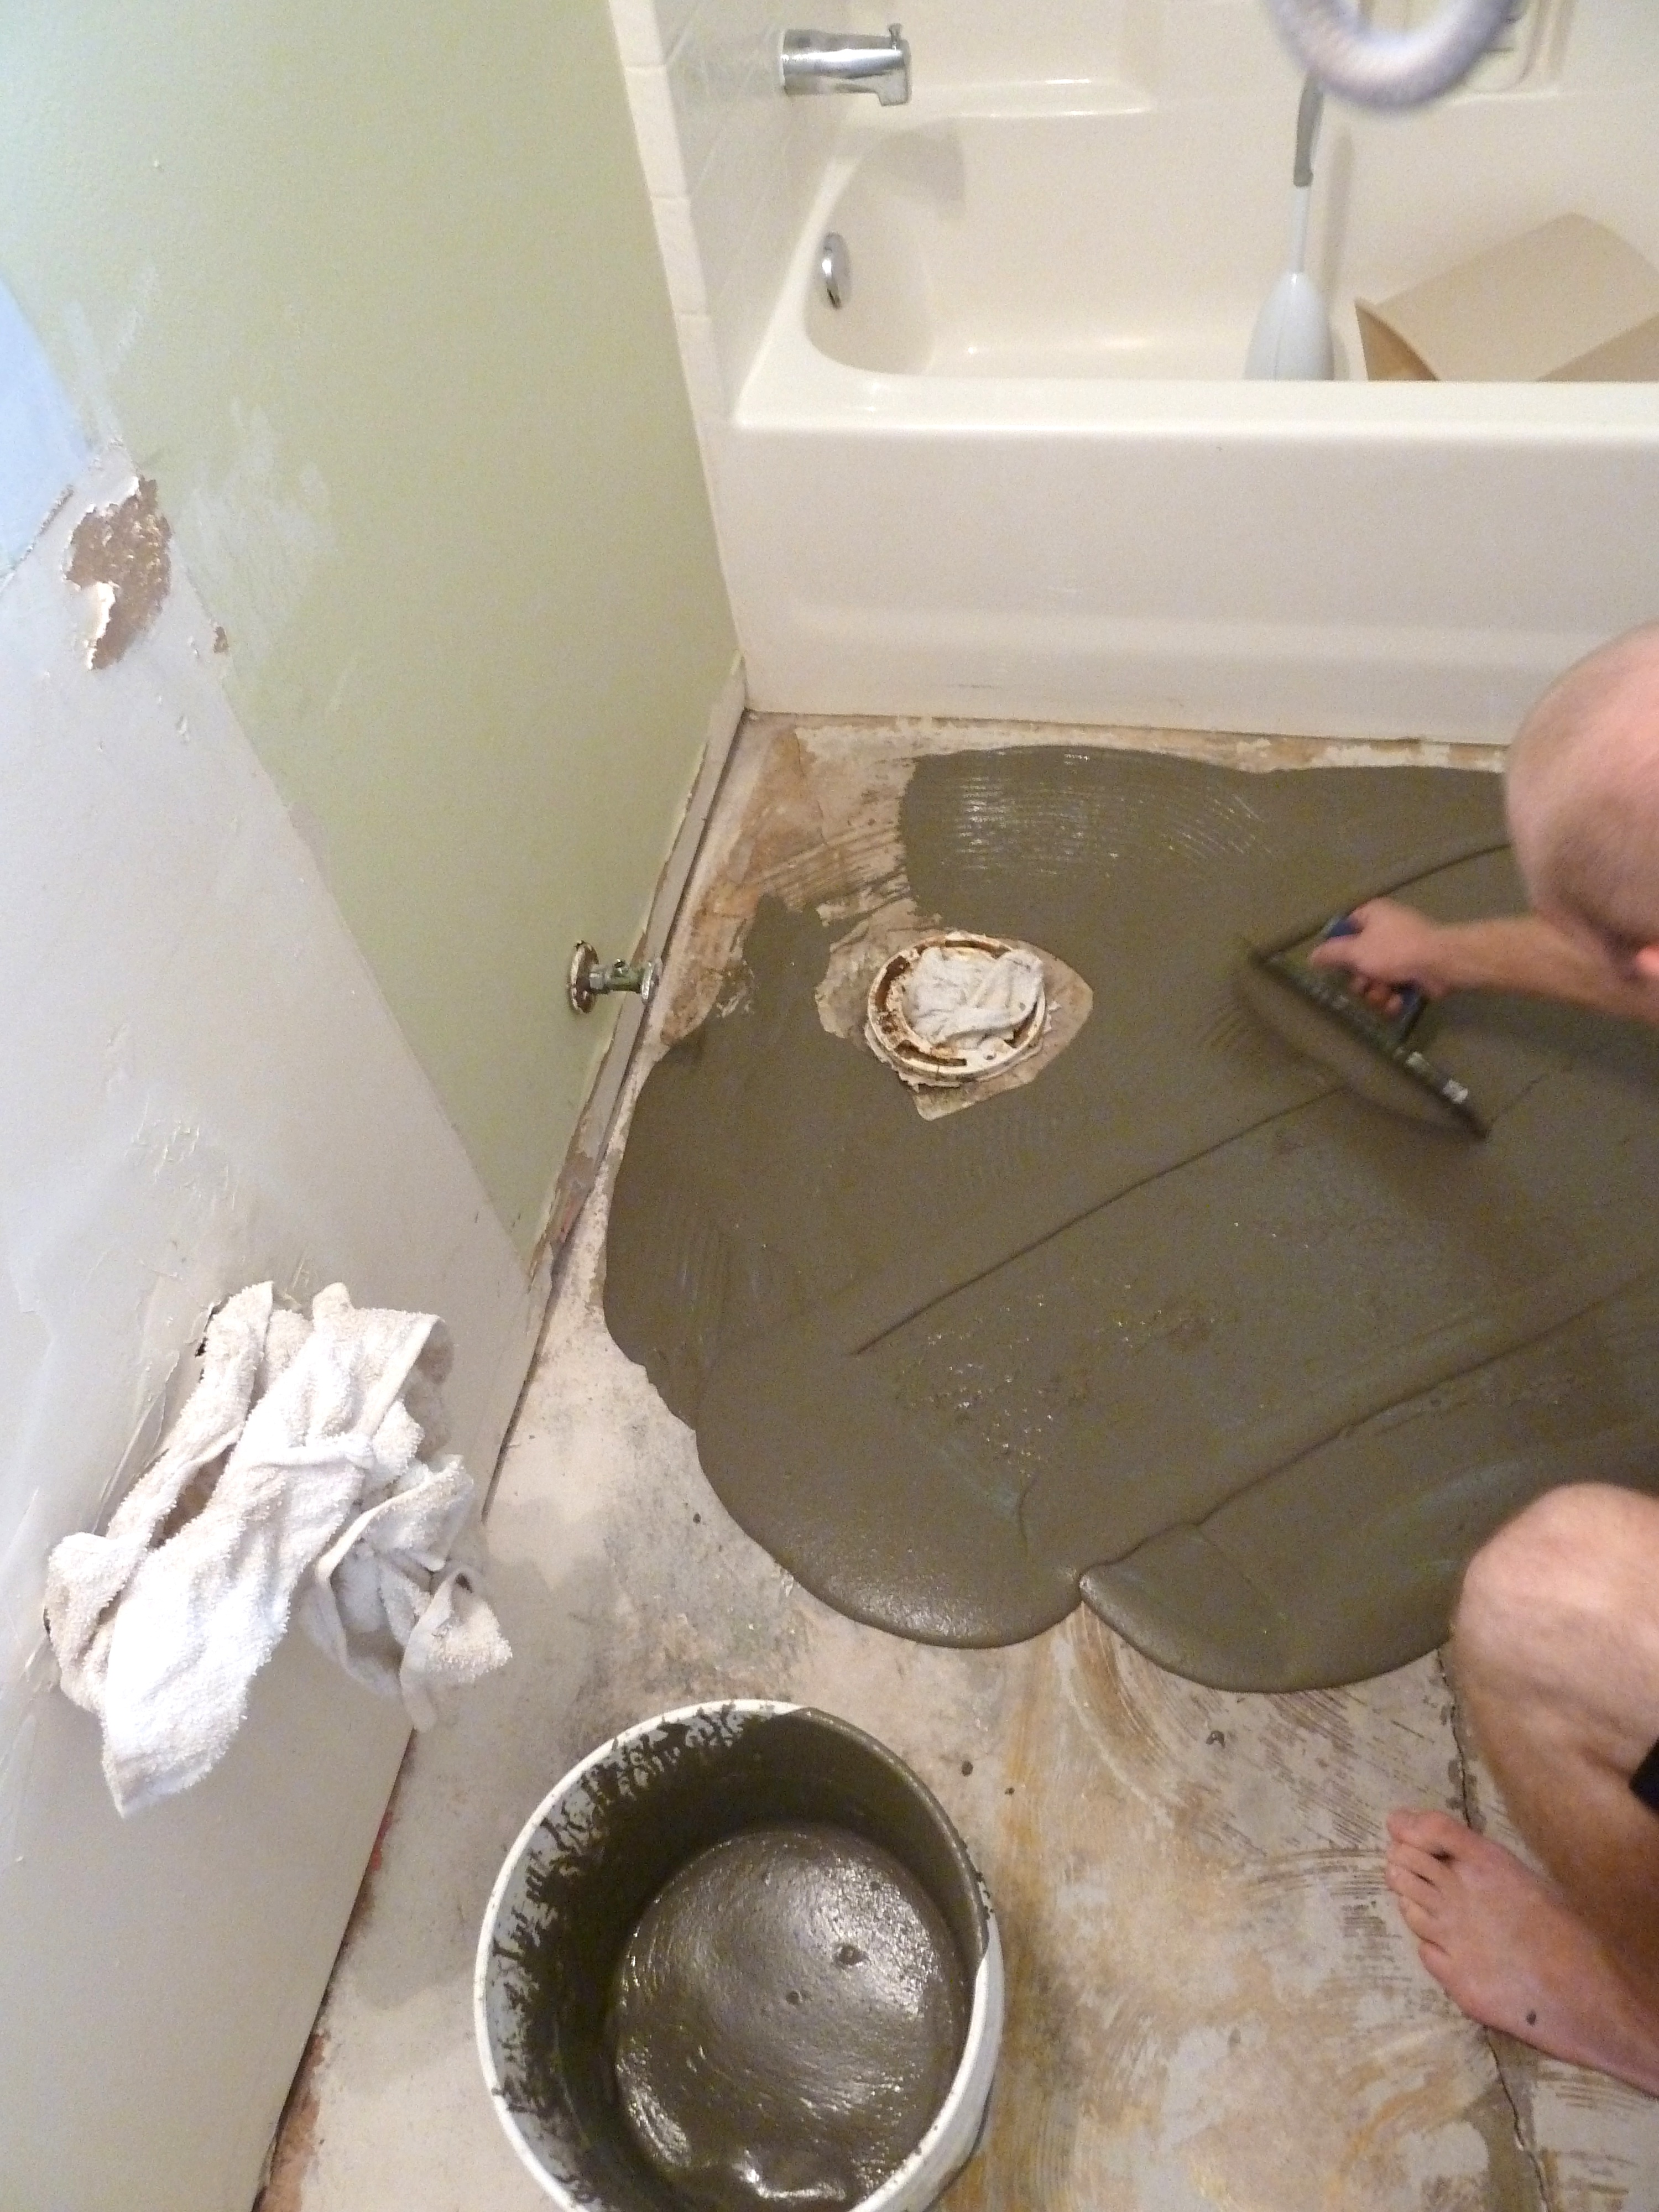
Next up was tiling.

P1070038_Fotor

We used the same Roman Stone tile that we used on the patio, but in a lighter shade.

P1070043_Fotor

Justin had to lay the tile before installing the trim, since the trim would lay on top of the tile.  He used the same method as he did when tiling the patio.

P1070047_Fotor

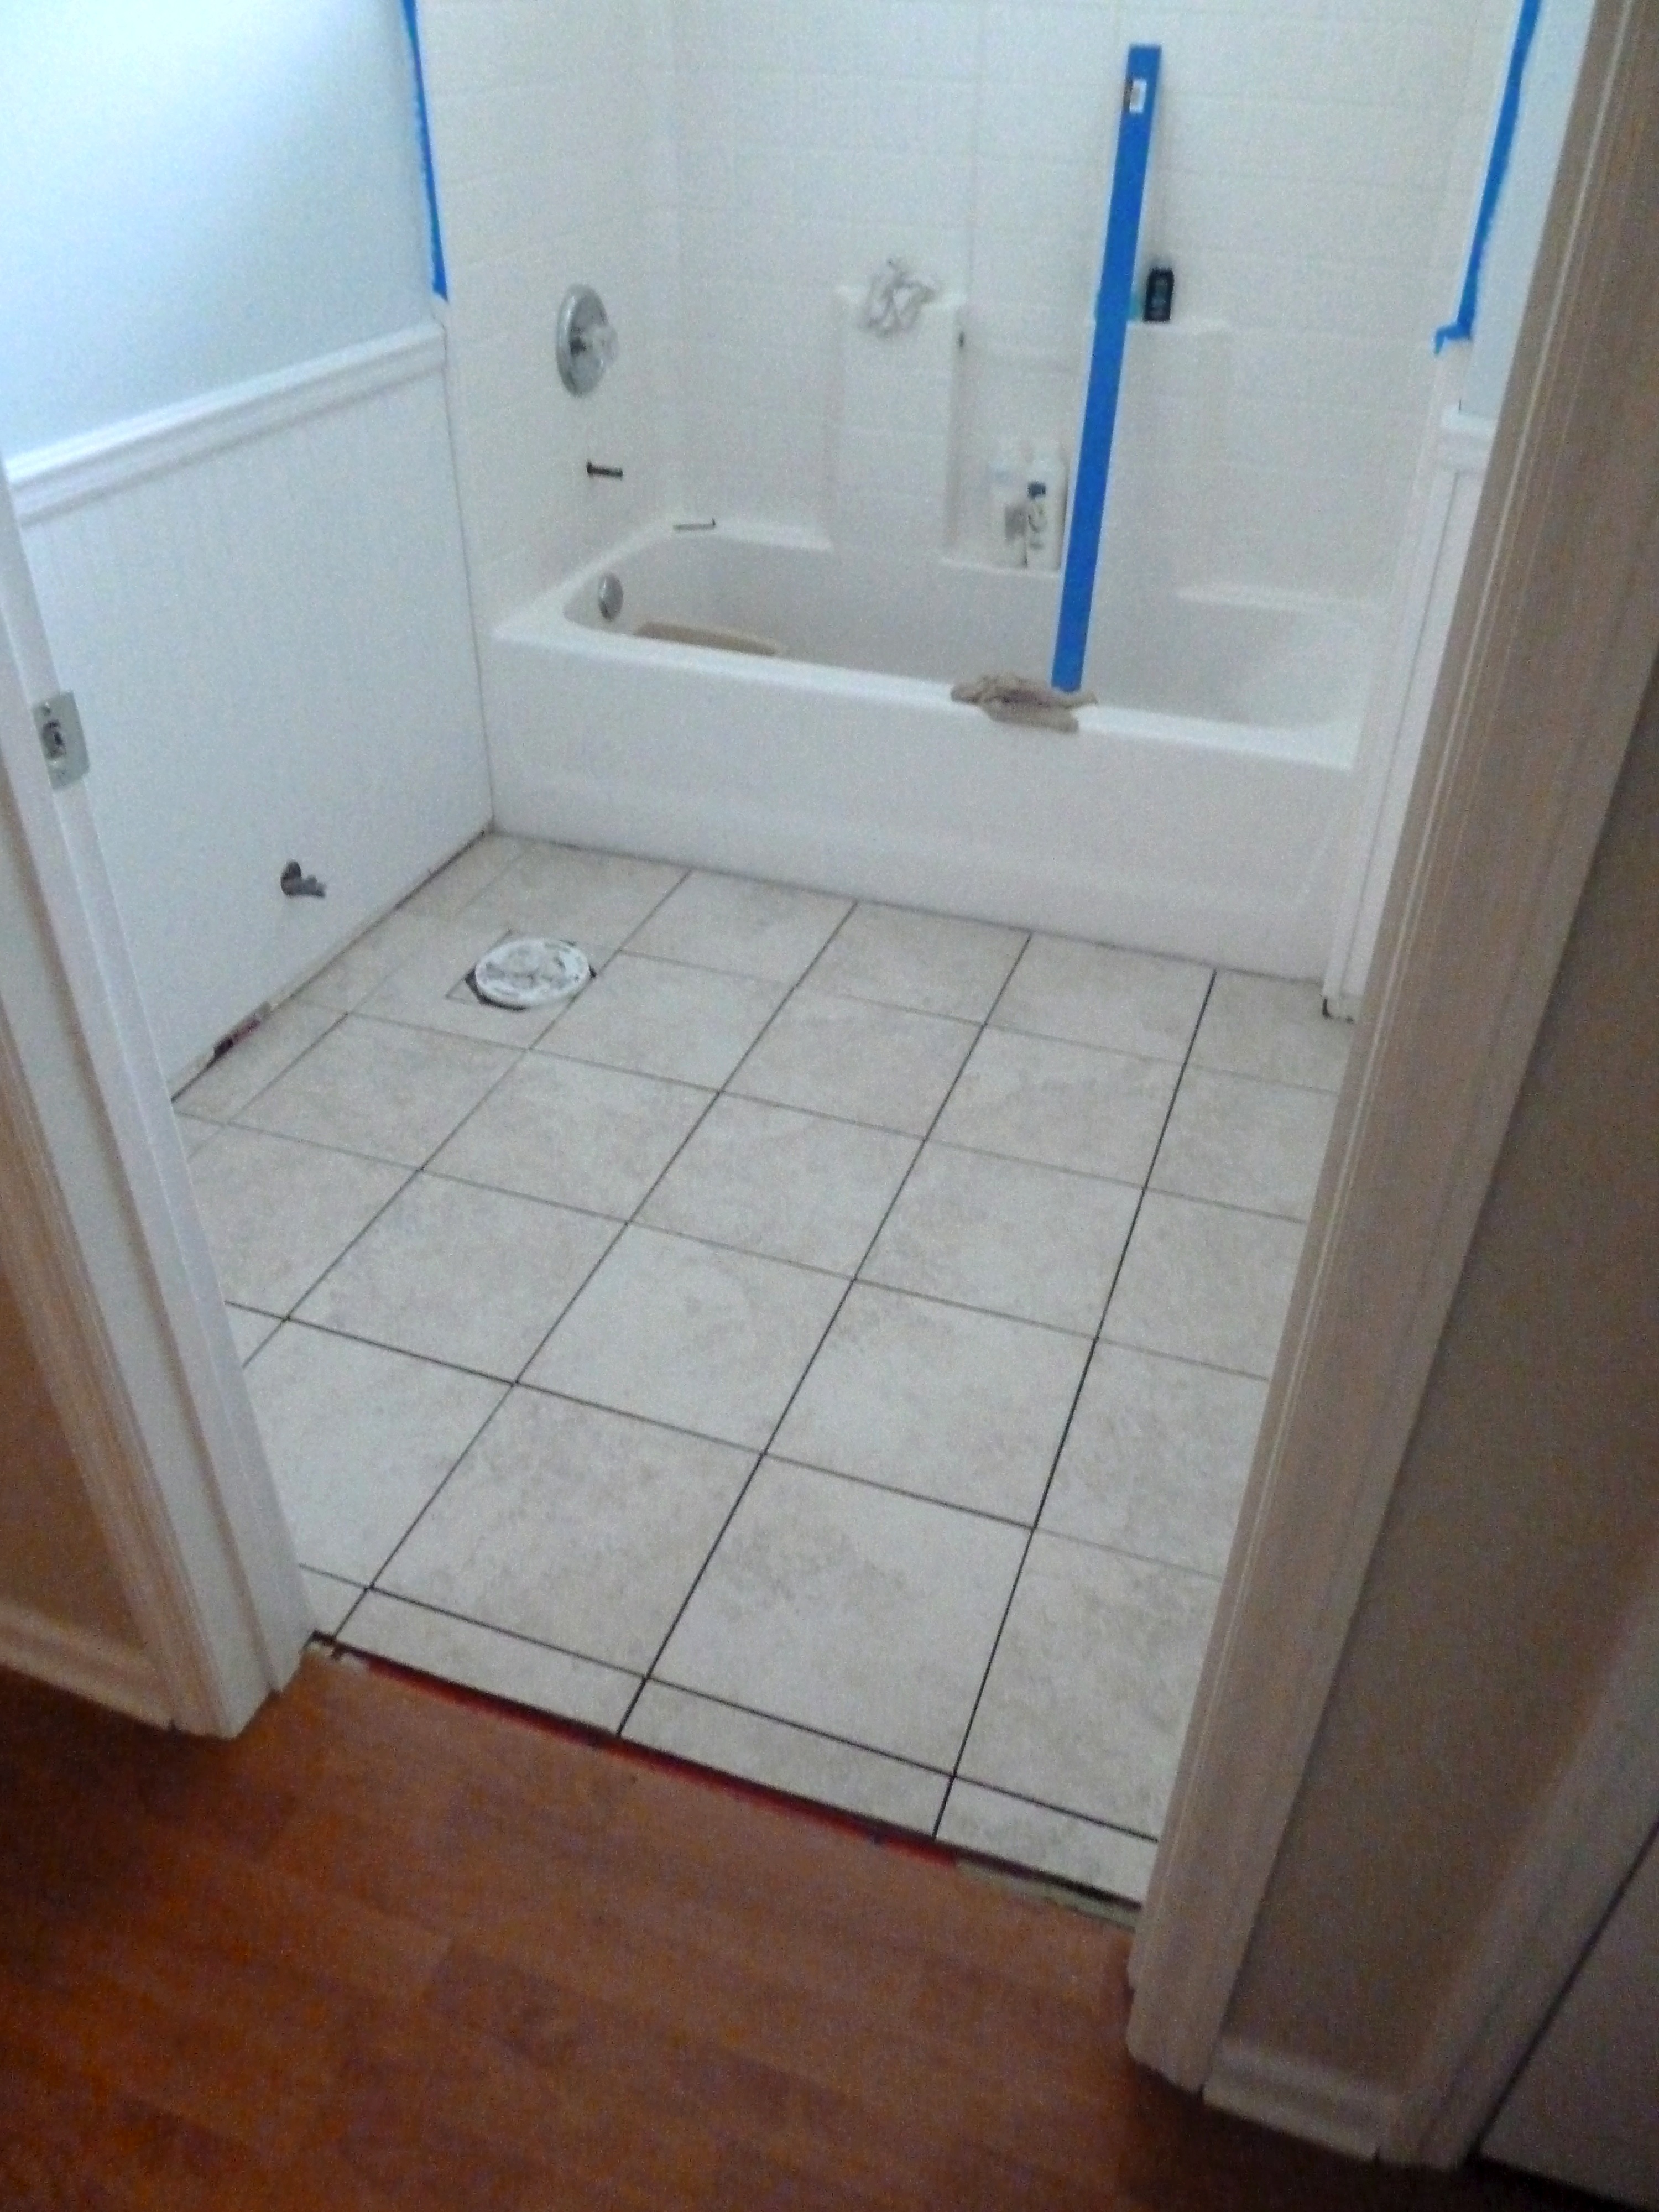
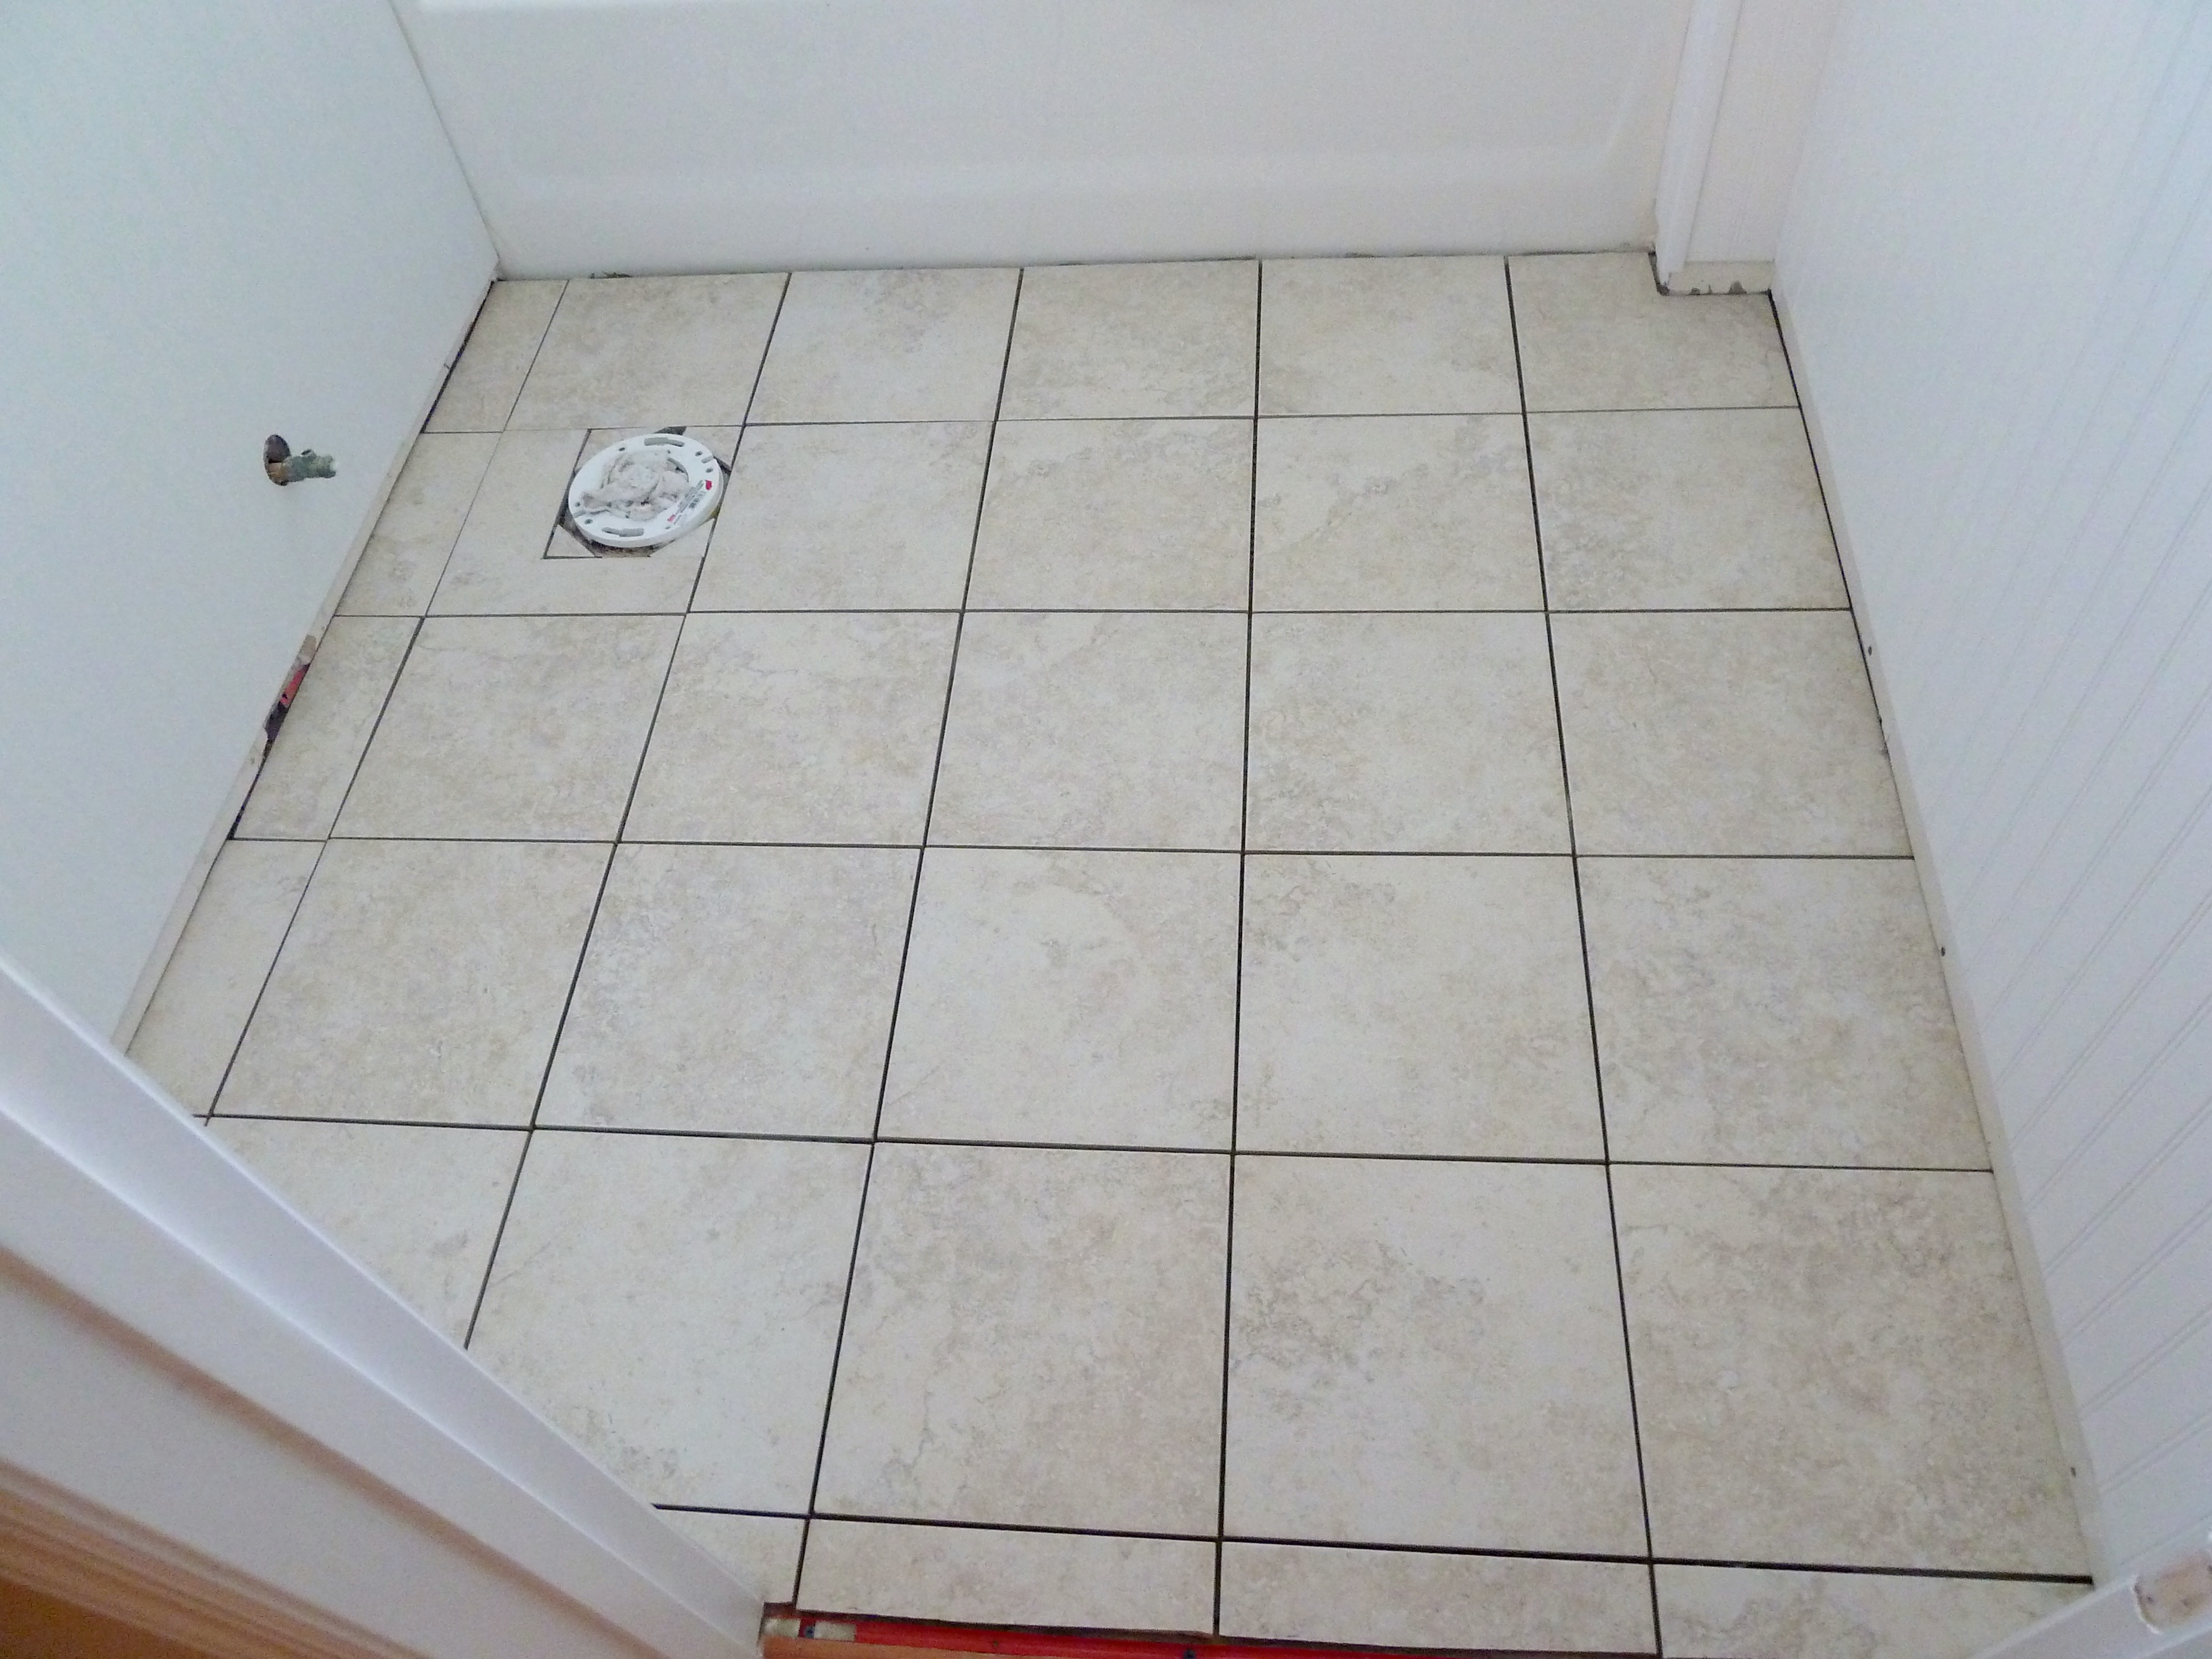
Here is the finished product.

P1070049_Fotor

I swear he did this so quick and it looks great.  I think he has tiling down, put that one on your resume Justin!

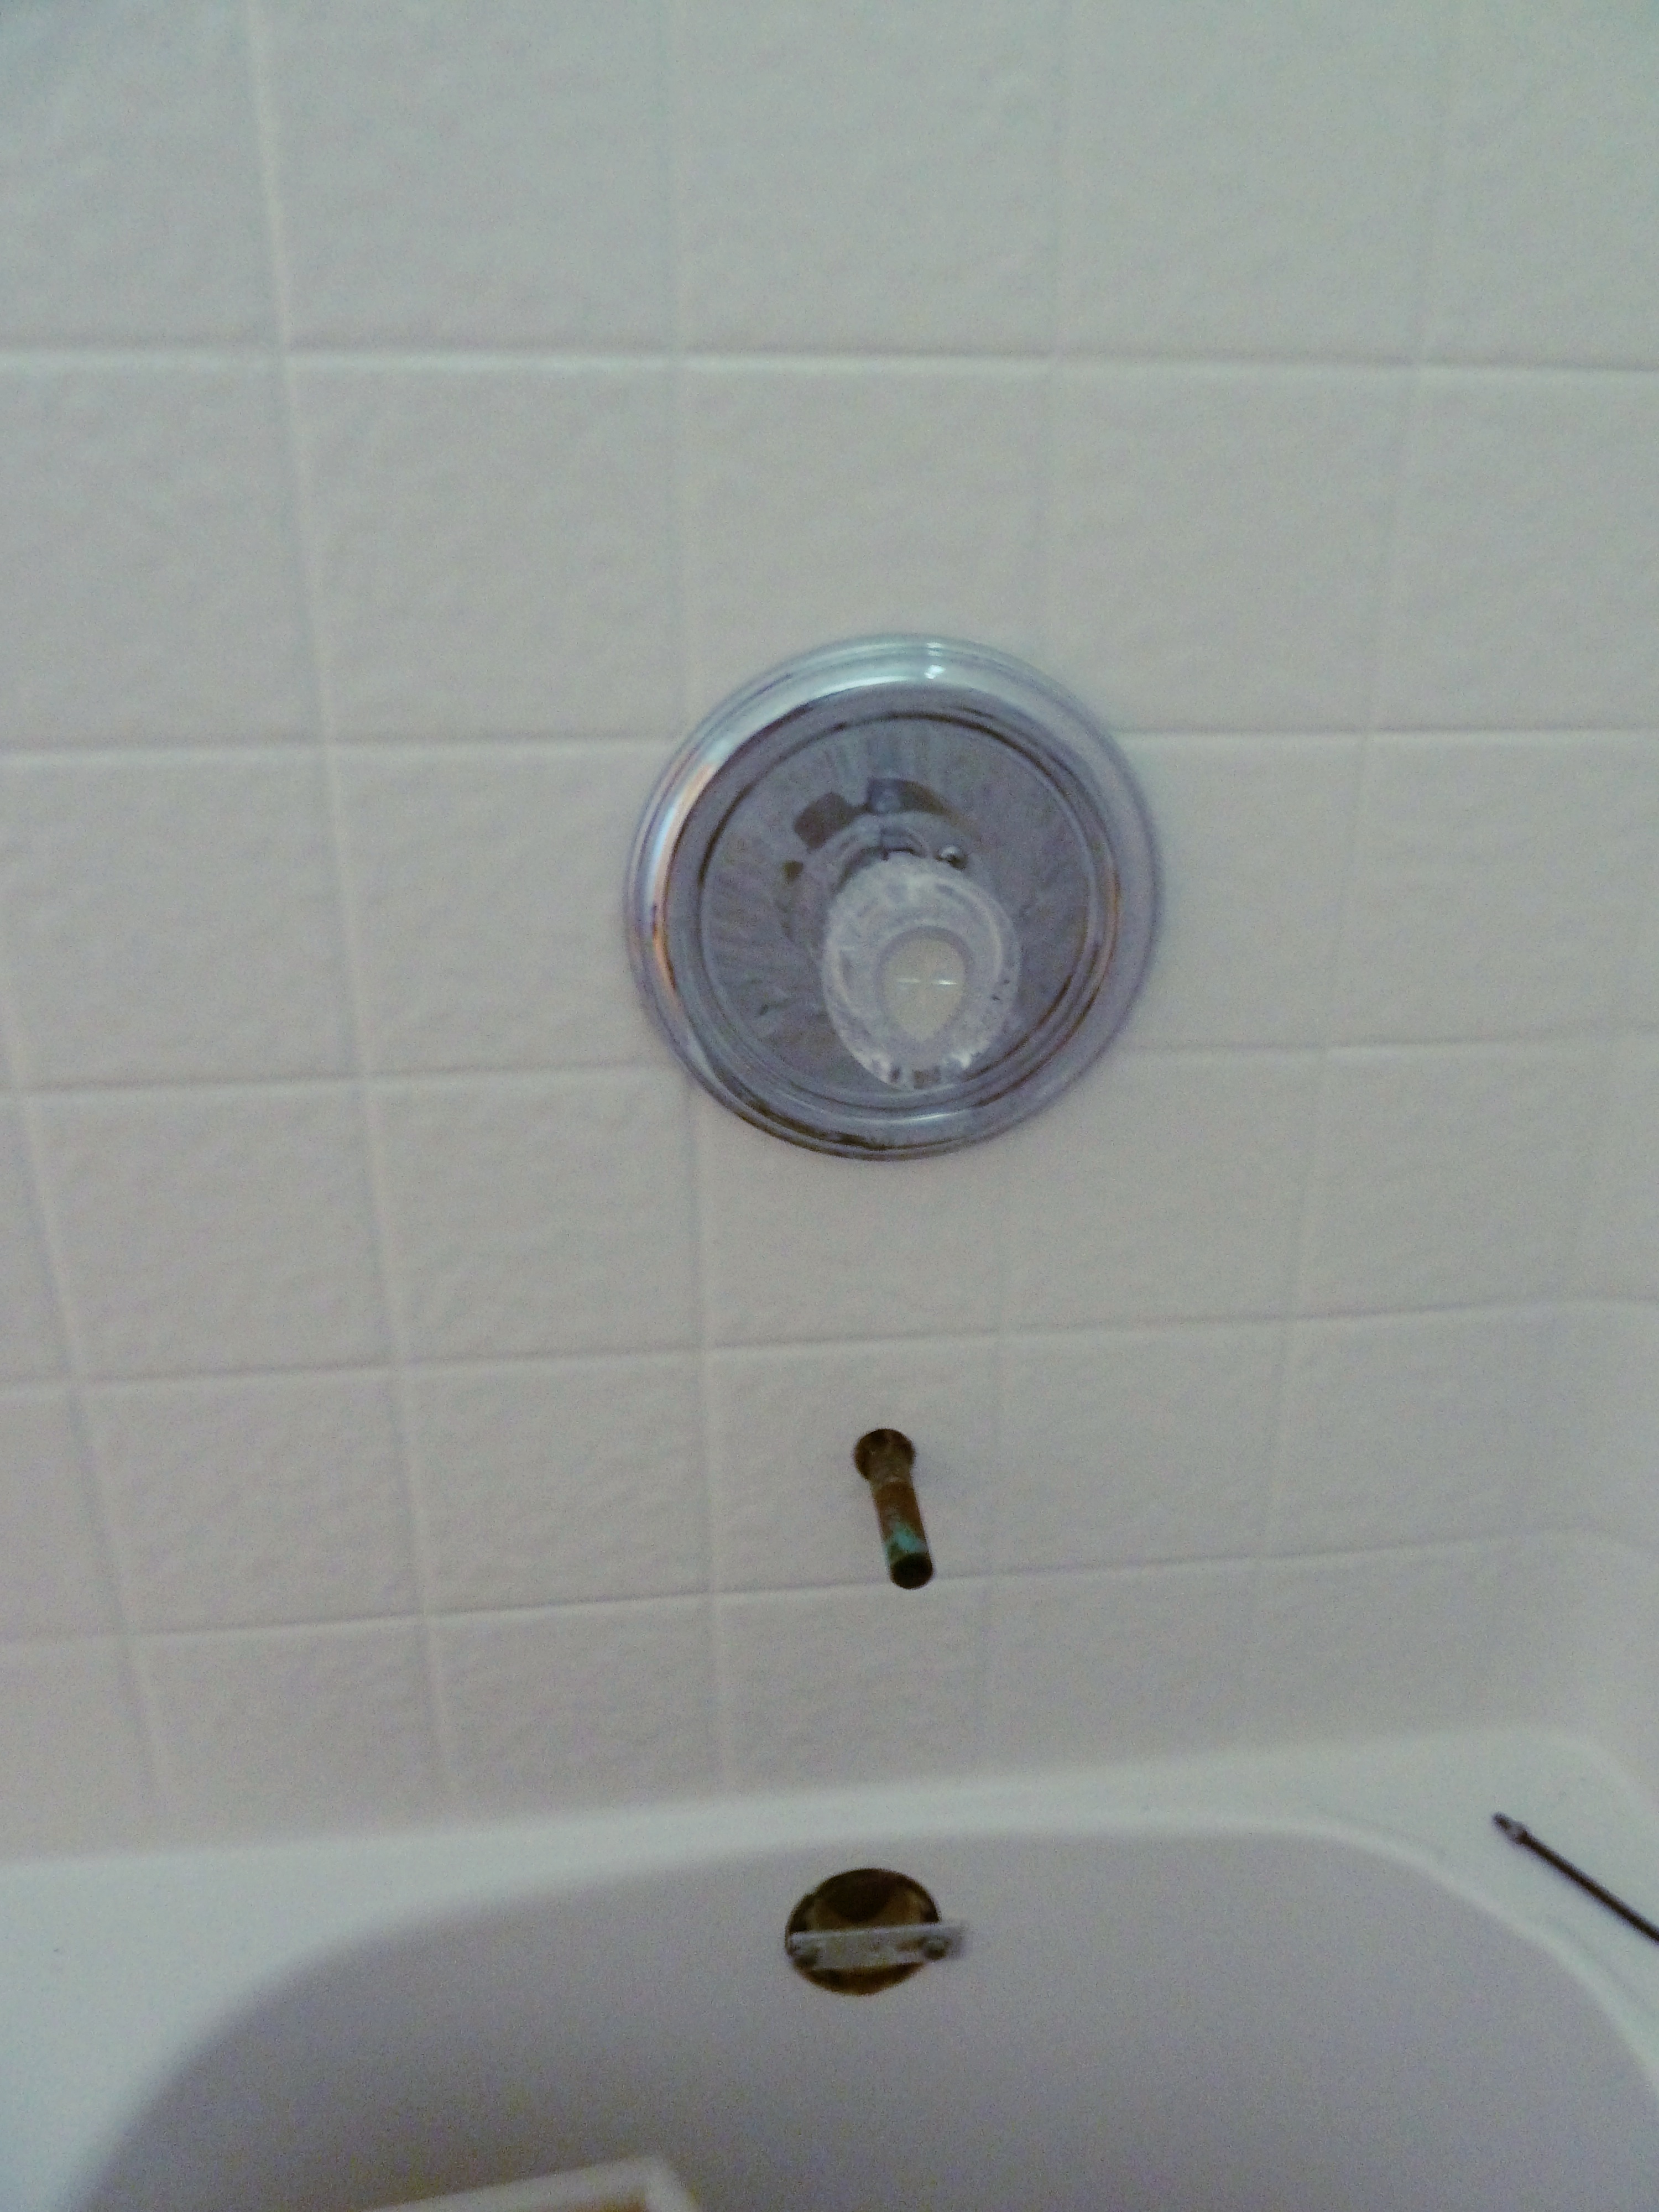
Once the tile was dry Justin started changing out the faucets in the tub.  We didn’t want the polished nickel look that we currently had, we wanted to change everything out to brushed nickel.

P1070052_Fotor

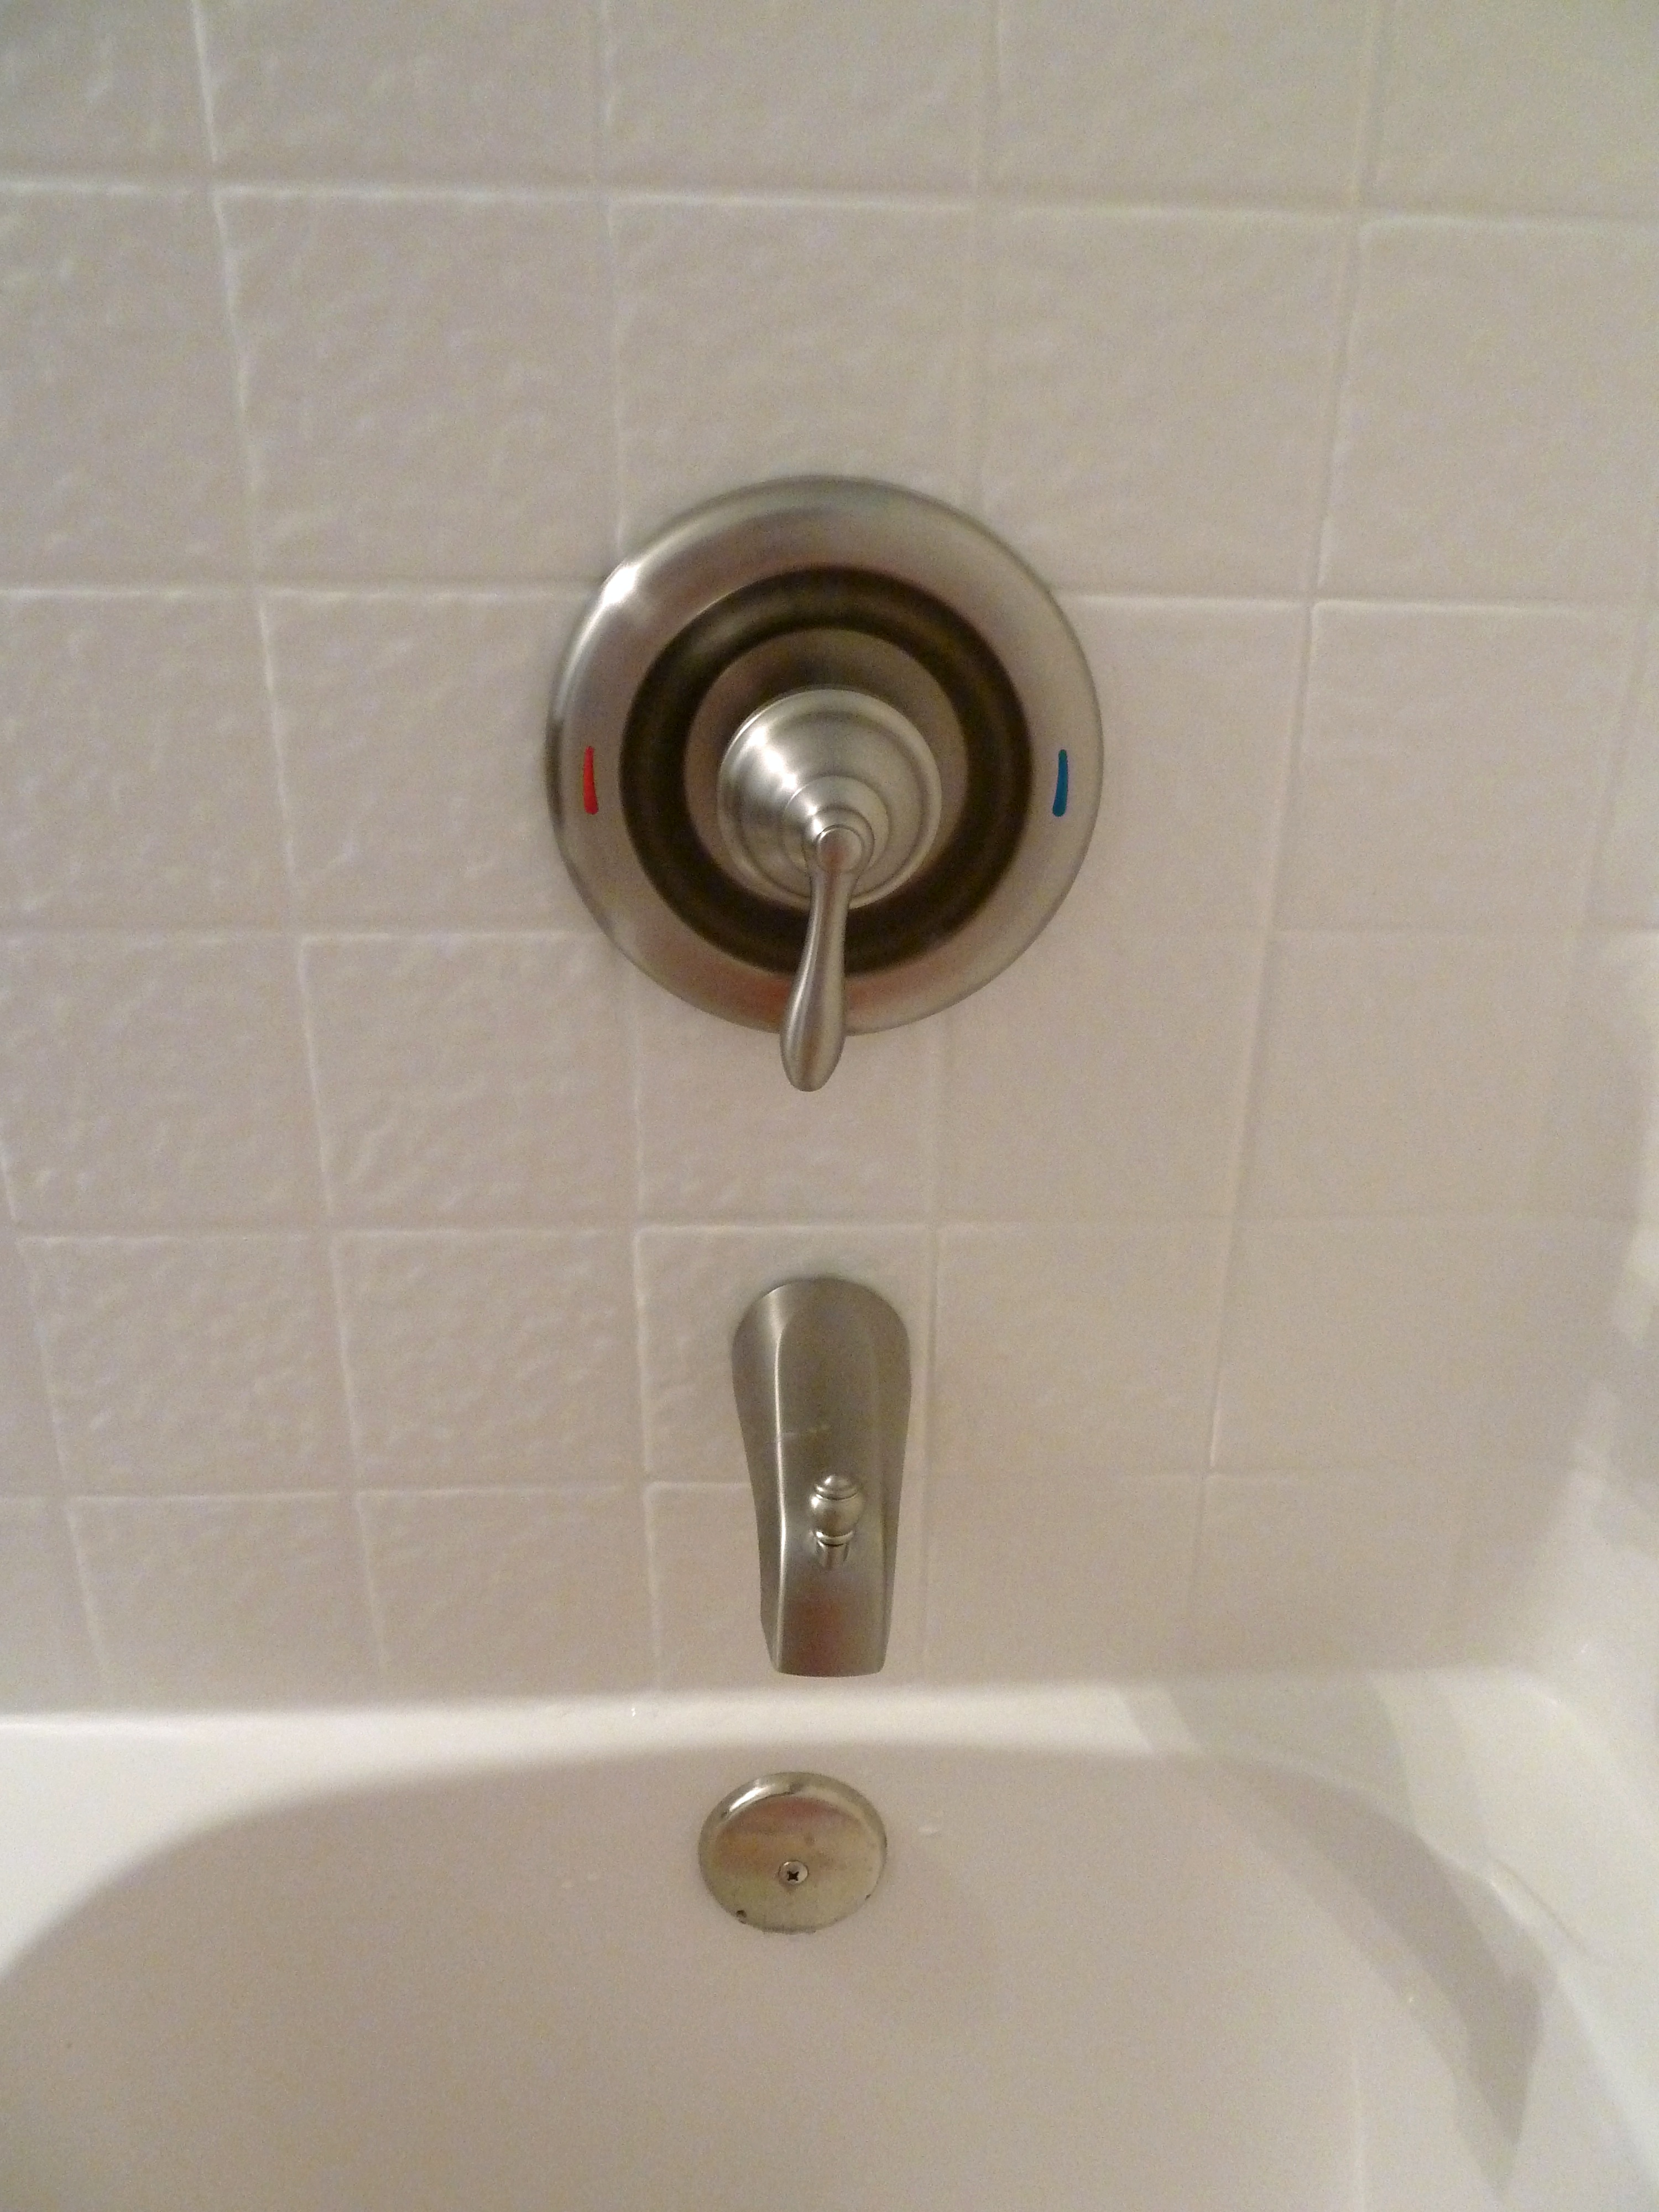
I know what you are thinking… why would we get rid of such a modern faucet?  Here is the new faucet…

P1070118_Fotor

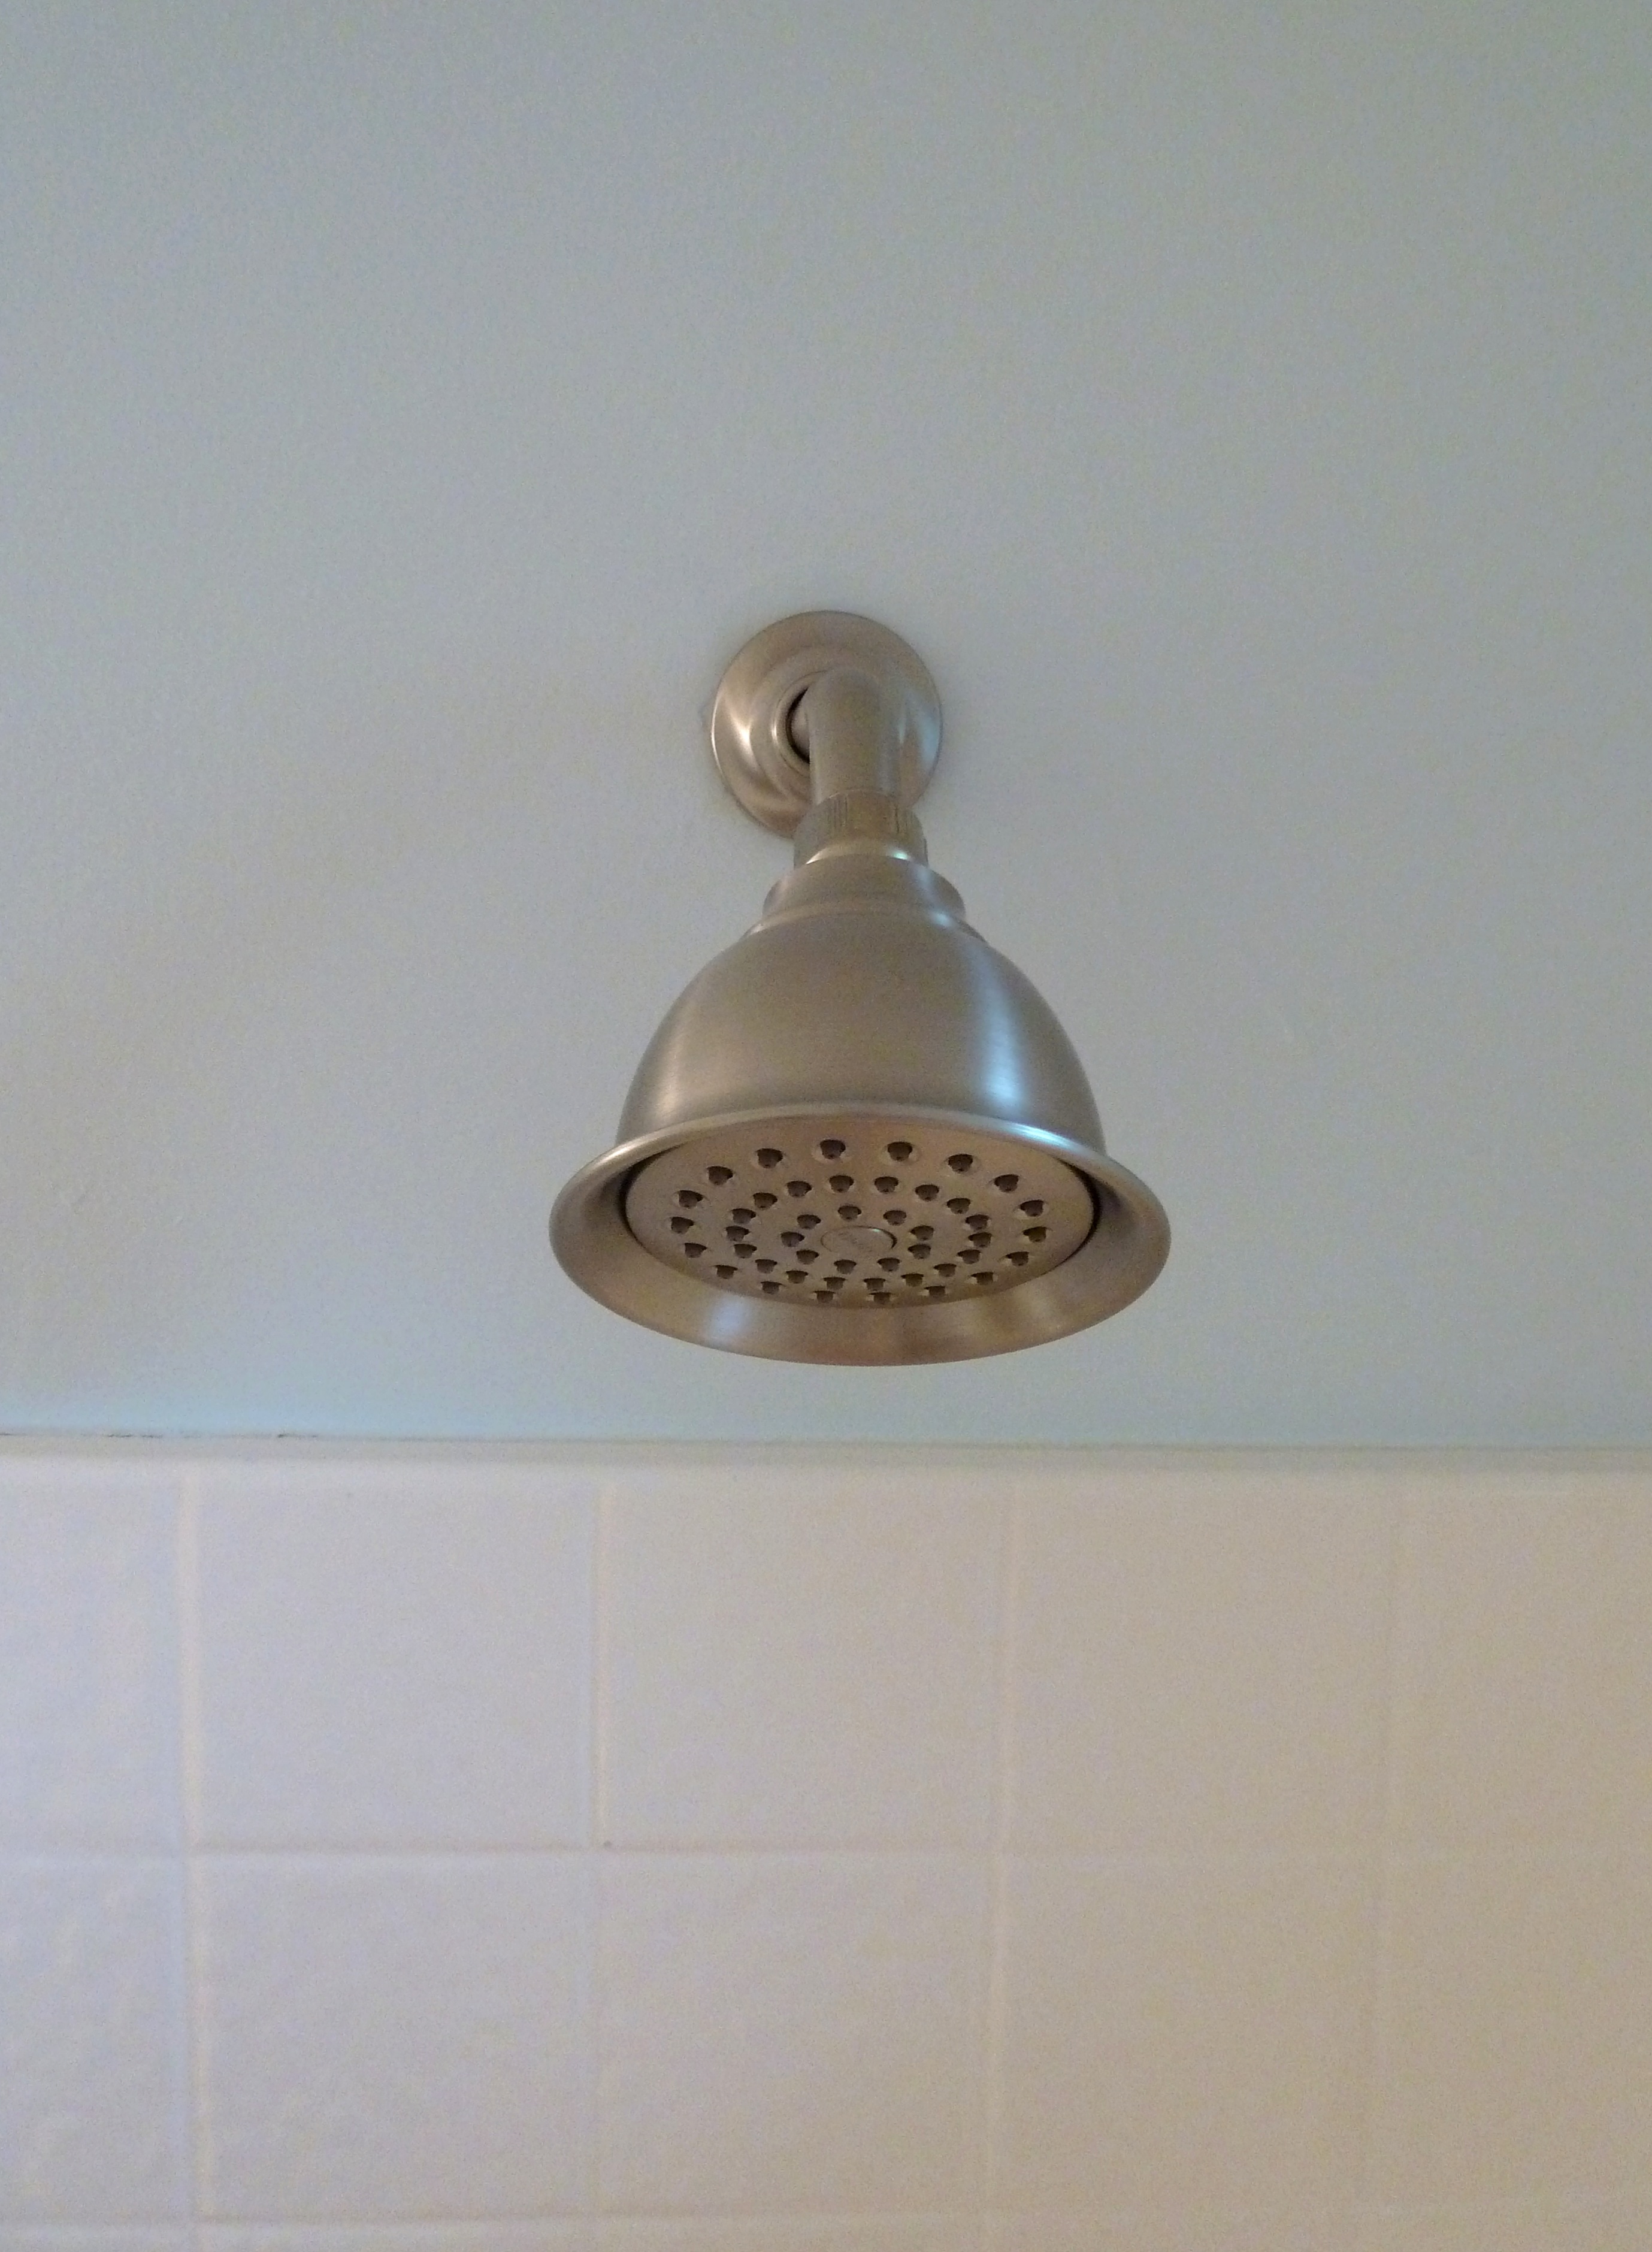
It is Moen brand from Lowe’s.  We also replaced the shower head.  Unfortunately I didn’t get a before photo of the old shower head, Justin is just to quick for me.  Sorry folks.  Here is the new one though…

P1070119_Fotor

It’s huge! I might be showering in the guest bathroom from now on!  From there we called it a night and the next morning I woke up to this…

P1070066_Fotor

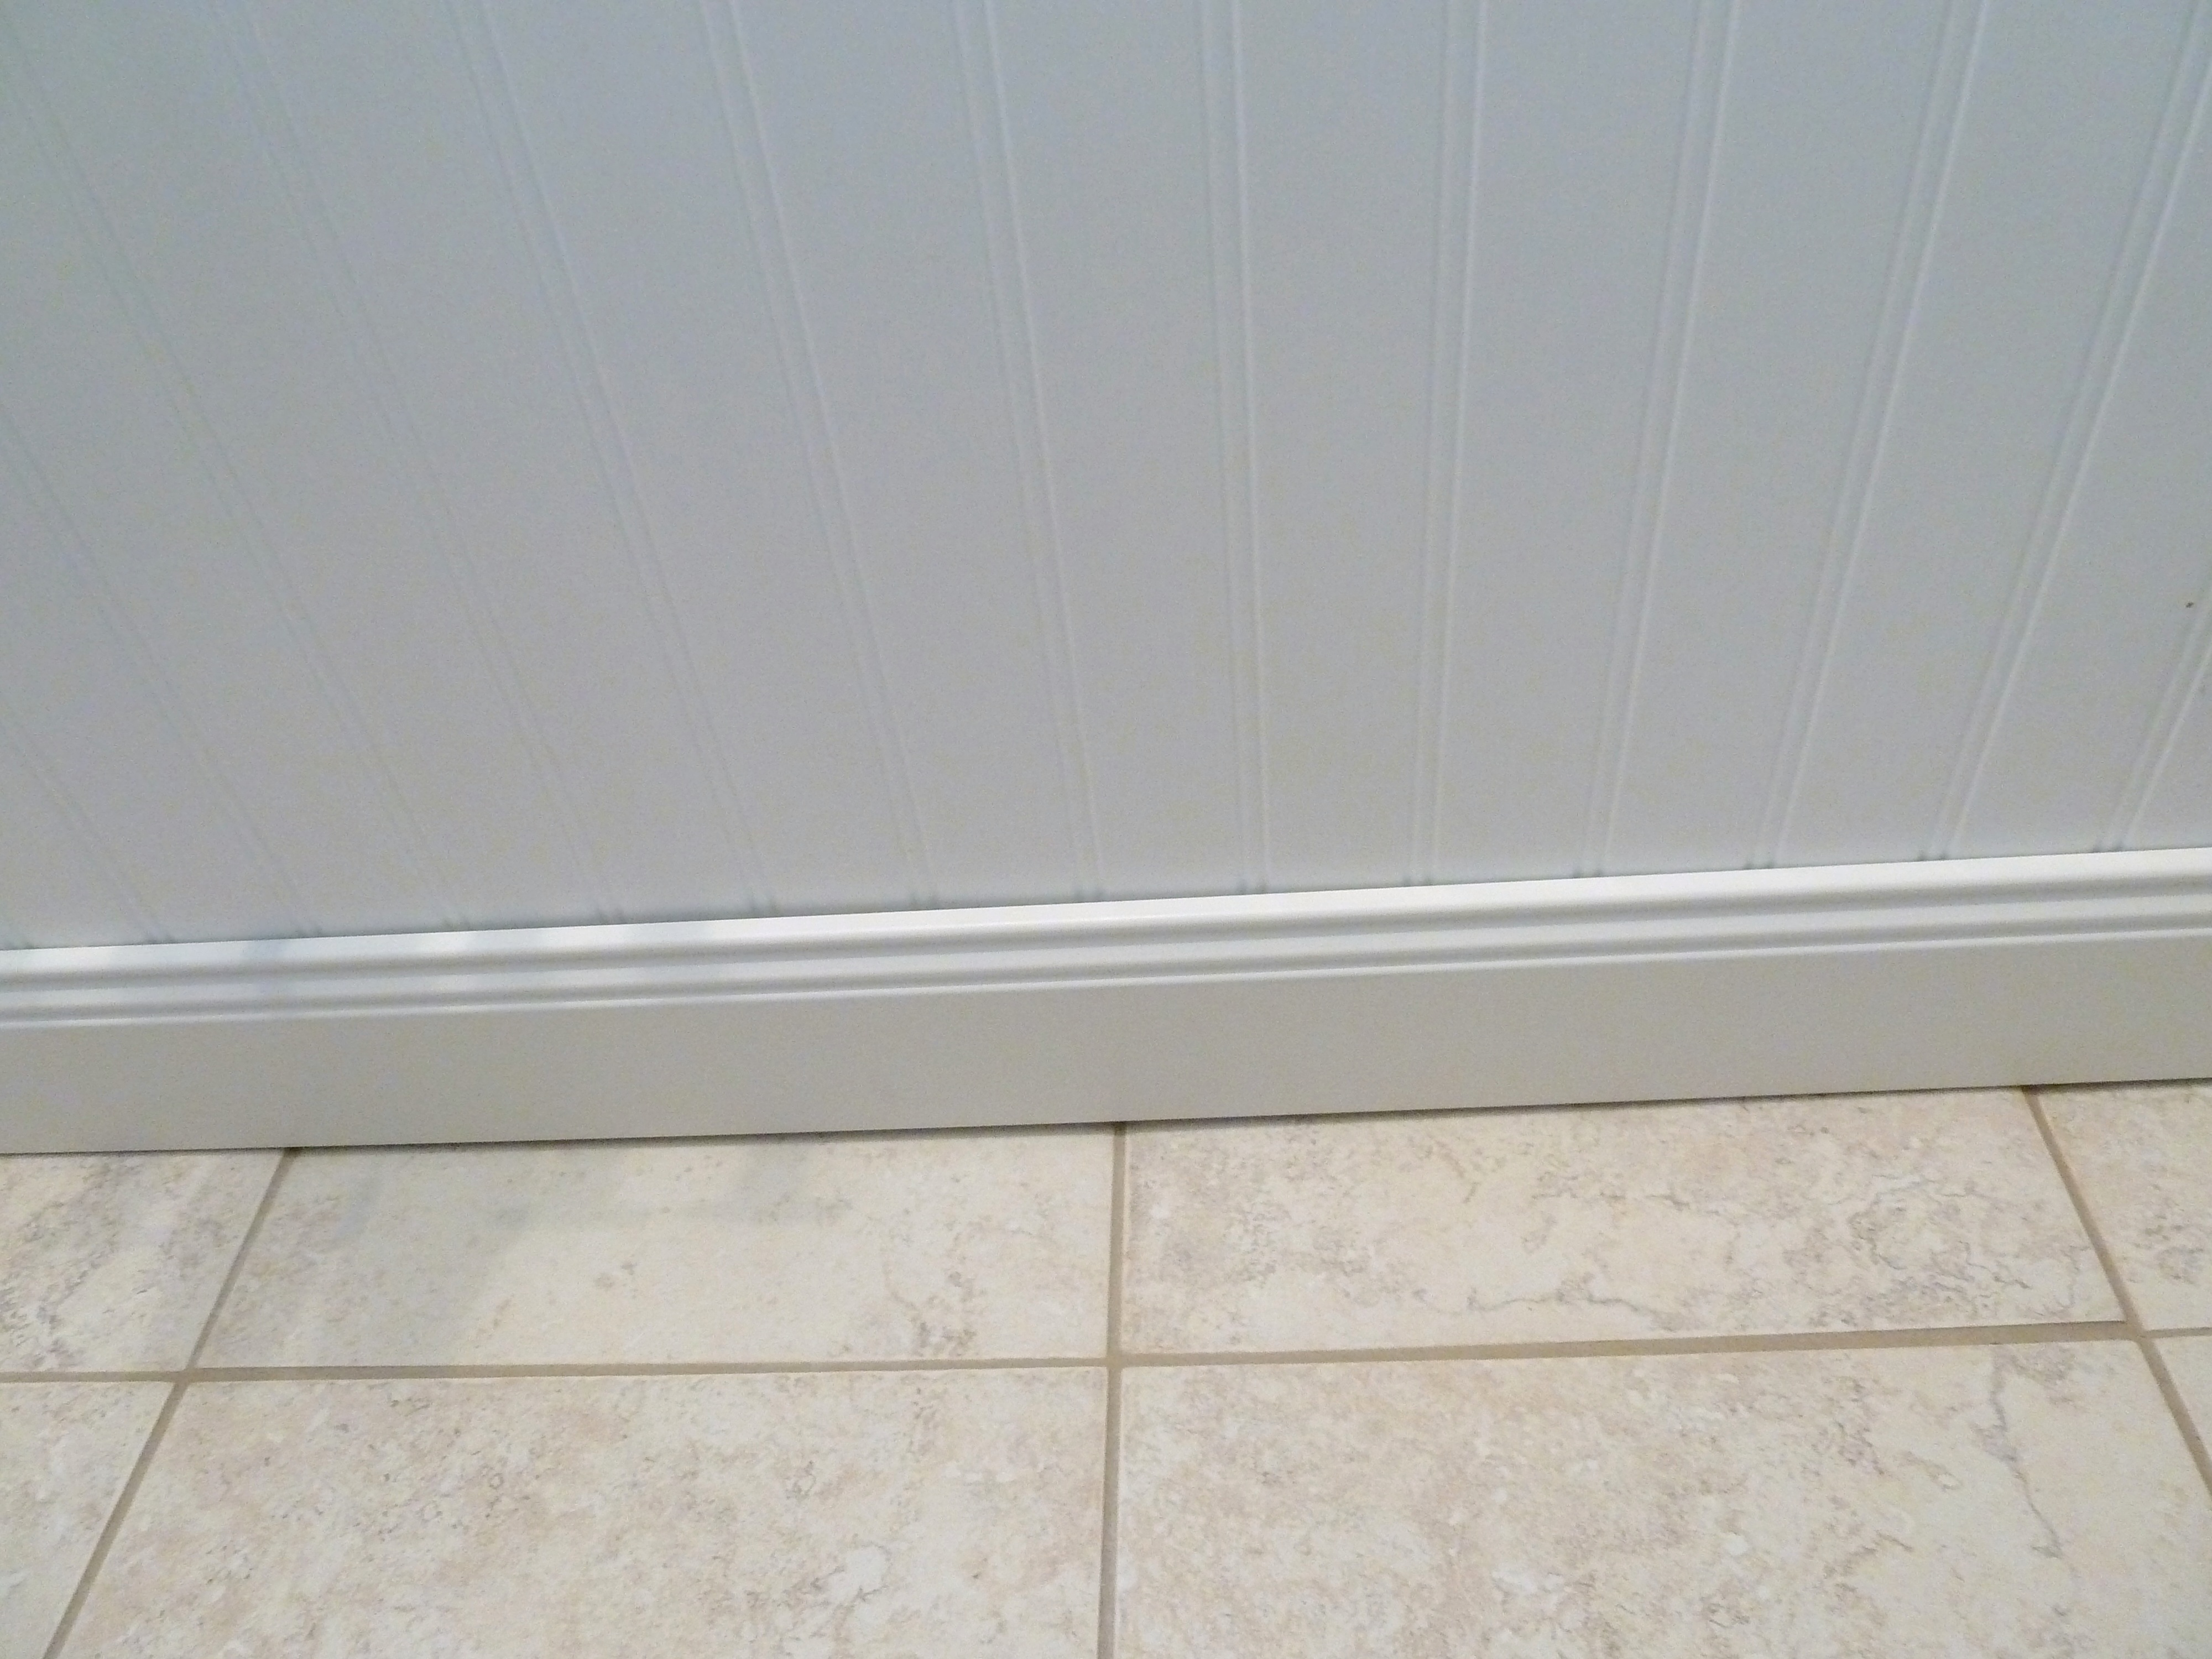
BOOM a grouted floor and half installed toilet.  I swear Justin doesn’t sleep, he thinks 5am is a good time to wake up on weekends! Crazy man!  He was even already started on installing the trim as you can see!

P1070067_Fotor

P1070068_Fotor

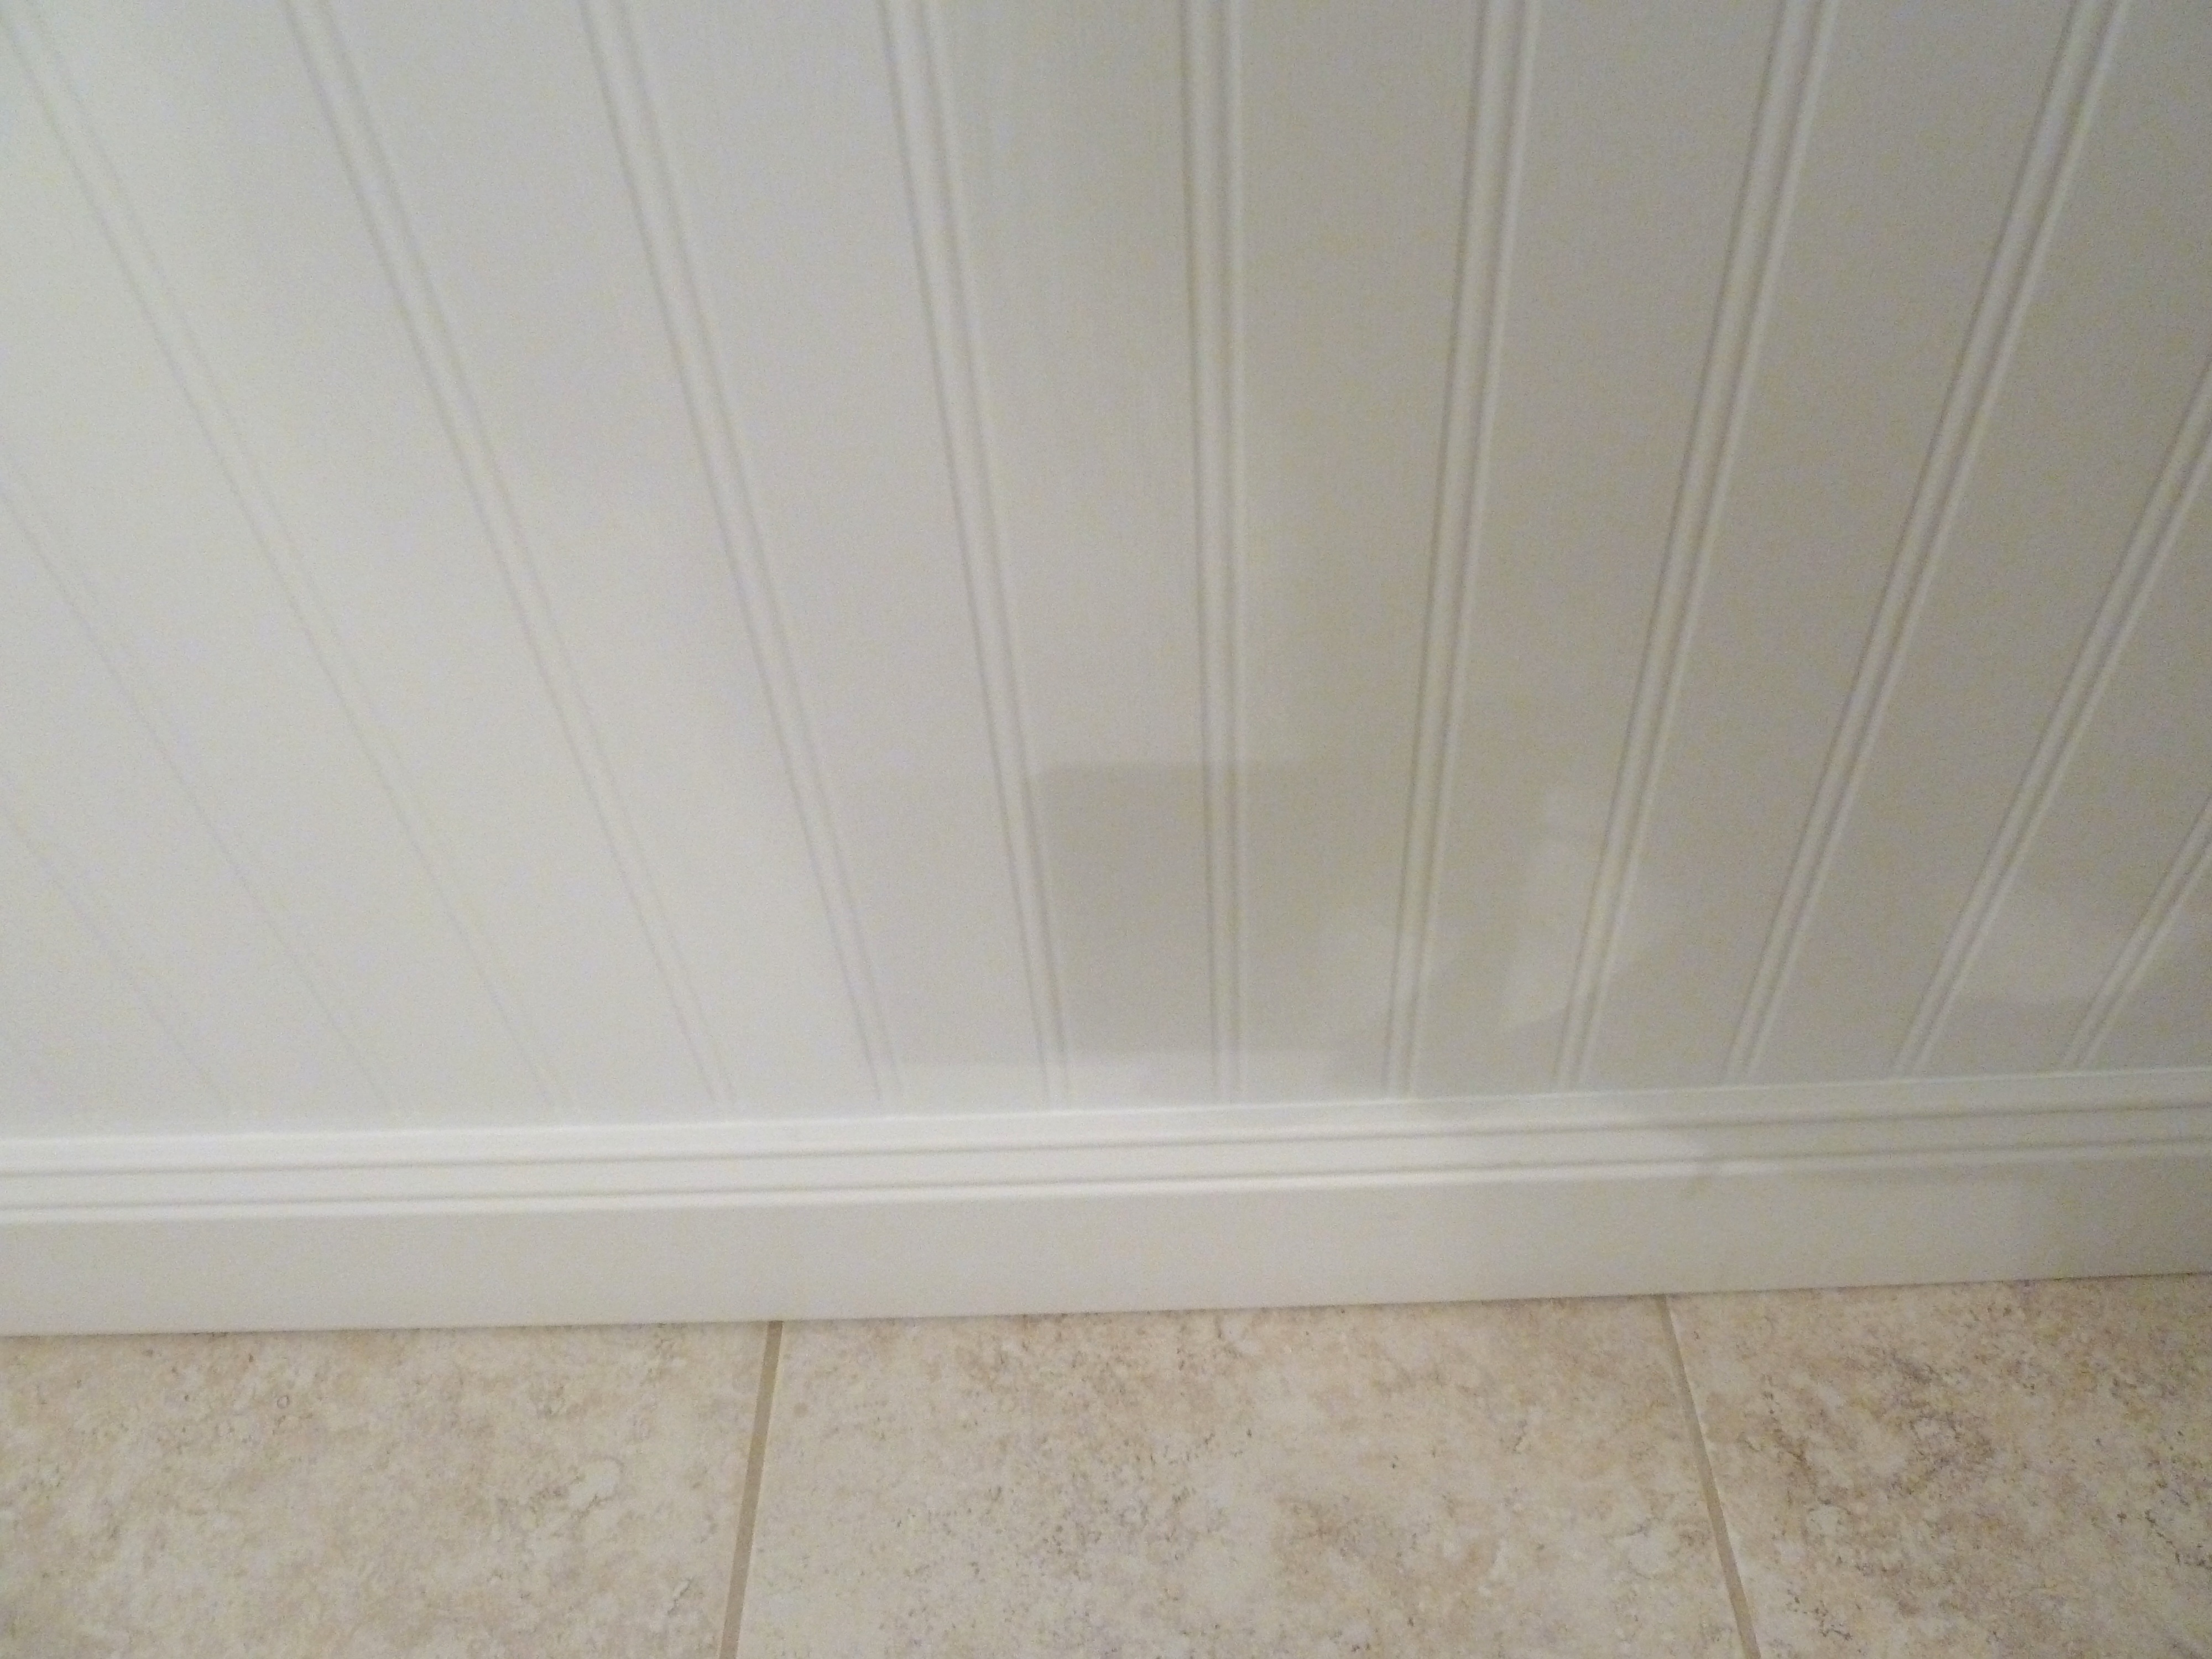
Looking pretty good!  From there he caulked all of the chair rail and trim.

P1070114_Fotor

Caulking trim just finishes it off so nicely!

P1070115_Fotor

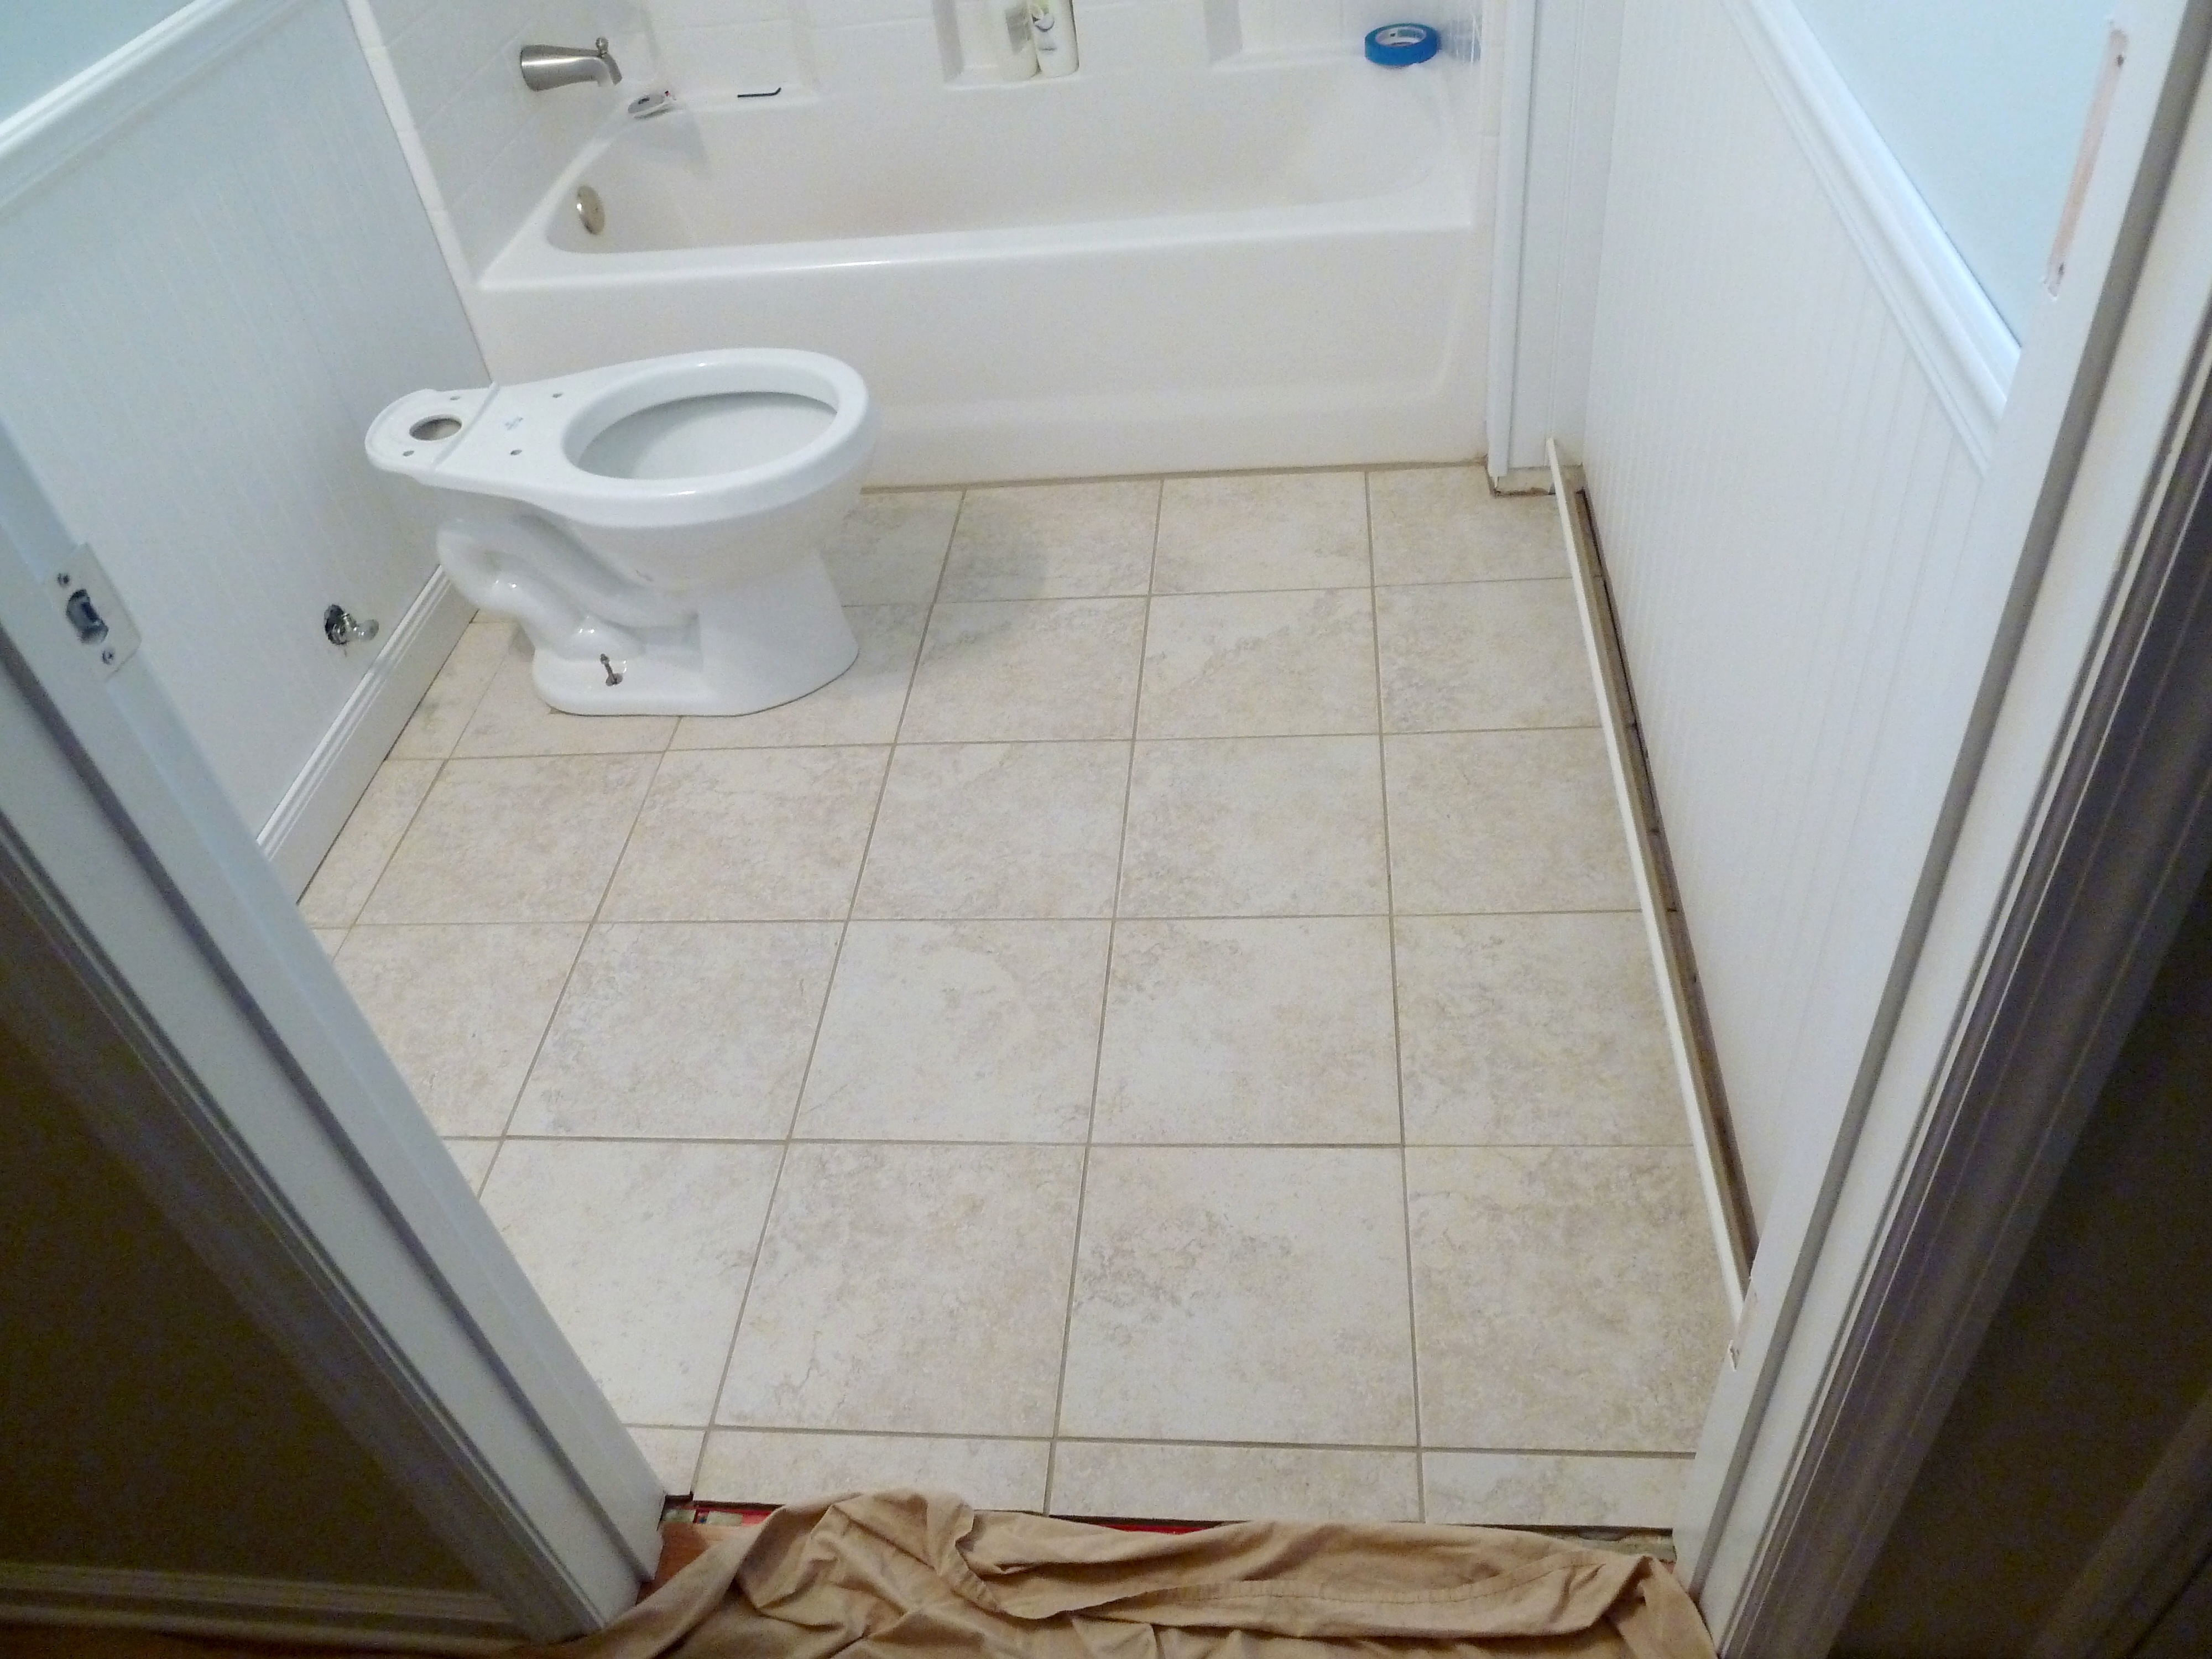
From there Justin finished installing the toilet and even brought in the vanity.

P1070121_Fotor

So this is where two days of hard work got us.  I would say it was a job well done because we have a working toilet again!! Yahoo! Would you like a list update? Okay fine!

  1. Patch and sand all walls.
  2. Paint walls.
  3. Add wainscoting and chair rail to walls.
  4. Paint wainscoting, chair rail and trim.
  5. Tile and grout floor. 
  6. REINSTALL TOILET.
  7. Install new faucets and shower head in bathtub.
  8. Install new light fixture.
  9. Install vanity.
  10. Install mirror.
  11. Install towel bar.
  12. Decorate! 🙂

She’s Mad Crafty Yo!

I was checking out etsy the other day as usual, wishing I was had butt loads of money so I could buy everything my heart desires.  Seriously, I can’t get over how talented some etsy sellers are.  I love me some etsy! Anywho, I stumbled across this by this seller

il_570xN.235056233

and this by this seller

il_570xN.424731585_loe0

and this by this seller

il_570xN.253692565

It seems I’m really digging the burlap type pillows with awesome quotes.  I love the first one Live by the sun Love by the moon.  And the last one that looks like the whale was stenciled on.  I thought about purchasing the last one because it is actually a door stop and I think it is a really unique way to prop open your door shyaa!  I also have a rule that if I can make something myself for cheaper than it is being sold, then I should try to make it before buying it.  I decided that even though this doorstop is only $15($10 for doorstop + $5 for shipping), I think I can make it myself for cheaper.  It seemed pretty simple so I went for it.  First I purchased some burlap from JoAnne Fabrics…

P1070072

While I was there I also picked up a couple stencil brushes.  The burlap was $2.30 for 1/2 a yard and $.99 for the stencil brushes.  I had a coupon and my total came to $2 and some change, I also had a gift card so it ended up taking no mulah from my pocket woo hoo!

Next I picked up some rice from Walmart for a couple dollars.  I will use the rice as filler and for weight to hold the door back. Everything else I used I already owned, so total cost for myself was around $2! Score!

Here’s how I did it…

I first had to decide what I wanted on my doorstop, I knew I wanted a quote and I knew it was going to be holding our bedroom door open.  I decided to go with “rise and shine”.  I figured it would be one of the first things we see in the morning, anything to make me a little happier to be getting outta bed is welcome in my book! I started by making a template on the computer that would be my stencil…

P1070069

Here it is all ready to go.  Next I cut all the lettering out…

P1070070

Look at me go!

P1070071

Here’s the finished product, now I have my stencil.  Next I got my paint out.

P1070077

I decided to go with a grayish blue color for the lettering, who woulda thought?

P1070084

I came up with this color.  I used a paper plate for mixing, I love easy clean up!

P1070081

I then decided on the placement of my stencil.

P1070085

Next I just filled in the letters with my stencil brush.  I just used a blotting motion until all of the letters were filled.

P1070089

Here it is once the stencil was removed.  While that dried I worked on my next step.

P1070091

Since the burlap has small holes in the fabric, I needed to make an interior pouch to put the rice in.  I didn’t want rice slipping out all over my floor every time we moved it. So I found a similar color fabric and cut out a couple pieces about a half inch larger on each side than I wanted the actual doorstop to be.

P1070093

Next I got out my sewing machine(yup I have one of those). I started sewing the interior fabric inside out leaving one side open, then turned the pouch outside in(is that how you would say it?). I then poured in the rice filling the pouch up approximately 3/4 of the way. Then I sewed up the open end.

P1070096

This was what I was left with, a white pouch filled with rice! Fancy!

P1070099

I then cut the burlap with the stenciling about an inch larger on each side than i want the doorstop to be.  From there I placed the two pieces of burlap together stencil facing inward. Next I sewed up all of the sides but one leaving one end open again.

P1070101

Once the three sides were sewn up, I flipped the pouch outside in? again.

P1070105

Then I plopped the rice filled pouch in the open side.

P1070106

From there I tucked in the unfinished end and sewed it up and I was left with this…

P1070108

A pretty sweet doorstop that makes me feel better about getting outta bed in the morning.  Here it is in it’s new home…

P1070110

one more…

P1070113

Saved myself some money and I have a new way to keep our bedroom door open! Yahoo! Thanks for the inspiration etsy.

House Floor Plan and Paint Colors

I found this pretty cool website that allows you to make a floor plan of your own house.  I could have spent hours on there adding all of my furniture and belongings, you can even view the finished product in 3D.  I thought it would be cool to share this floor plan with you, so it makes it easier to understand the set up we have going on.  Here is what I came up with…

resource_export_1372624088850

It’s kind of hard to read all of those tiny words, if you click the photo it will enlarge it slightly.  Here is the 3D version….

resource_export_1372633268940

and if you spin the house around…

resource_export_1372633242555The last 3D version is with the front of the house facing forward, in case your confused.  I love that I was able to add the flooring, paint colors and even appliances.  You can go all out and add furniture and decorations, but I didn’t really wanna take it that far.  Try out this website, I’m pretty sure you’ll get addicted too.

I also wanted to share where we’re at with paint colors in our house.  I have noticed that we tend to lean towards cooler colors, like grays and blues.  The only rooms we have not painted are the master bathroom and the first guest room(the one closest to the front of the house).  Here goes nothing.

Living Room – Milestone by Valspar

Kitchen – Milestone by Valspar

Master Bedroom – Lighthouse Shadows by Valspar

Laundry Room – Tibetan Mist by Valspar

Guest Bathroom – Sweet Slumber by Valspar

Guest Bedroom #2 – Bay Waves by Valspar

Dining Room – Lyndhurst Castle Sand by Valspar

Office – Lyndhurst Castle Sand by Valspar

I love some of these names, like sweet slumber and lighthouse shadows.  Although Valspar has tricked me with their color exchange guarantee, we still use their paint products.  This is because 1. we lovvve Lowe’s and 2. they cover well and turn out looking great.

Hey what can I say?  I love painting!

Change In Plans

I decided this weekend would be a good time to re-paint the guest bath.  So I headed to homegoods and target to find a new shower curtain to start.  I wanted to get a new shower curtain first, so I could pull a color from pattern for the paint.  I ended up having success and headed to Lowes to get a color that would match.  I made it home and showed Justin all of my finds.  Next thing I knew he was talking about removing the medicine cabinet before I painted because we really hate it.  I agreed and let him pull it out of the wall.

P1060900

Here she is, so we can all say our last goodbyes.

P1060905

Justin immediately started removing the cabinet when I said yes.  I figure I would start painting the other half of the bathroom while he patches the whole in the wall where the cabinet was.

P1060913

I also requested that we take down the exisitng towel bar and move it to the other wall.  I wanted to move the bar because where it currently was located I wasn’t able to hang a full towel.  I figured if we moved it to the opposite wall I could hang some kind of art above the toilet.  So the towel bar came down too.

P1060911

I thought we were done from there and I could begin painting. Well, I was wrong and Justin had another idea, he wanted to remove the mirror.  I did hate the mirror and I thought that would also be an easy fix so we took that down too.

P1060915

Once the mirror was down we could see all the gross grime that was left in the crevices where it was.

P1060921

Grrrross. Justin then said, while were at it we might as well remove the vanity since its old and we don’t love it either.  You can probably guess that I agreed and we started removing that as well.

P1060918

We started by removing the doors first.

P1060920

Justin then shut off the water and we started removing the plumbing below the vanity.

P1060923

I was lucky enough to get the job of removing the pipes and letting the old water and hair fall on me, not to mention the fabulous smell that comes with it.

P1060924

From there we removed the vanity top and the sink, turns out the sink was plastic, who woulda thought! Once the vanity top was off we saw this…

P1060927

A big hole in the drywall, not a good thing the discover.  We were now worried that there was no dry wall behind the vanity at all.  There was no turning back at this point so we trucked on.

P1060931

It took some prying and shimmying, but we got the whole vanity out and we were happy to find drywall!  Turns out it was just a small hole on the left side. Phew!

At this point we decided we had no choice but to remove the tile as well since there was no tile under the vanity and the new vanity we were imagining was a free standing one.

P1060932

So we started prying tiles out to find that the previous owners of this home tiled right over the original linoleum. Woo hoo one more thing to remove!

P1060942

We removed the tile by using a mason chisel and hammer.  We tapped the chisel under the tile, more like slammed the chisel under the tile and then pried them up.

P1060933

This job was not quick, we pried them up in pieces until every tile was gone.

P1060935

Also this job is kinda dangerous.  Justin and I were bleeding on our hands and arms and I even was bleeding from my forehead.  Little shards of ceramic tile pop up when you chisel them out. Fun stuff! From here we called it a night considering it was 8pm.

Bright and early I went to town removing the rest of the tile while Justin was prepping the wall to repair the hole from the medicine cabinet.  This time I was prepared though!

P1060941

Yes, Justin got me a safety mask and yes I am wearing the same shirt.

Justin also removed the toilet so I could get the tiles that were under the edges of it.  So once I finished removing the tile and ripping up the remaining linoleum it looked like this…

P1060954

Do you notice anything on the floor in this photo? Possibly a crack in the foundation?

P1060956

Oh hi crack! At this point we were thinking this project just got really expensive, so we called Justin’s dad.  Turns out it is perfectly normal for the foundation to settle and to get cracks in some areas. Man were we relieved!

While I finished up Justin had already installed the drywall to fill the hole in the wall.

P1060946

Finally making some progress!

From there Justin’s dad told us we should probably pour down some cement underlayment, so we are sure the floor is level when we lay the new tile.  So off I went to Lowes and picked up a bag of this…

093994178527

Once I got home Justin mixed up a batch of the cement and started pouring it in.

P1060975

At this point we need to wait for the underlayment to settle and dry for 24 hours and then we can start laying tile and working on other projects in the room! Man this project got big fast!

Painting the laundry room

Next on my list to paint was the laundry room.  I wanted to brighten up the room and try to make it feel bigger.  This is what I have to work with…

375

376

Lovely color.  The semi gloss olive green has to go!  It makes the room feel so dark and dirty.  Not to mention that the last paint job was not done that well, there are dried drip spots everywhere.  I know it’s just a laundry room, but come on people!

First I took down the shelving and all the hardware that held it up.

113

This took a while, there was a lot of stuff hanging on the walls in this room.

114

From there I spackled all the holes.

121

122

Just love this beautiful color, it’s like the perfect shade of vomit.  After sanding everything down, I cleaned the walls and trim really good with pinesol multi-surface.  From there I gave all of the trim a good coat of semi gloss white interior paint.

126

I also gave the doors a fresh coat of white paint as well.

128

And I was set to go…

I decided to go with a very light gray color, I thought it would be perfect to brighten everything up.

003

As usual I did all of the edging first.

005

Once I was done with the edging I started rolling.  It was already so much brighter!

006

This was probably the most challenging room to paint yet.  It is small in there, especially with the washer and dryer not going anywhere.  I moved the washer and dryer back and forth to get from wall to wall.  It was a pain, but I think it came out well.

012

Much better!

024