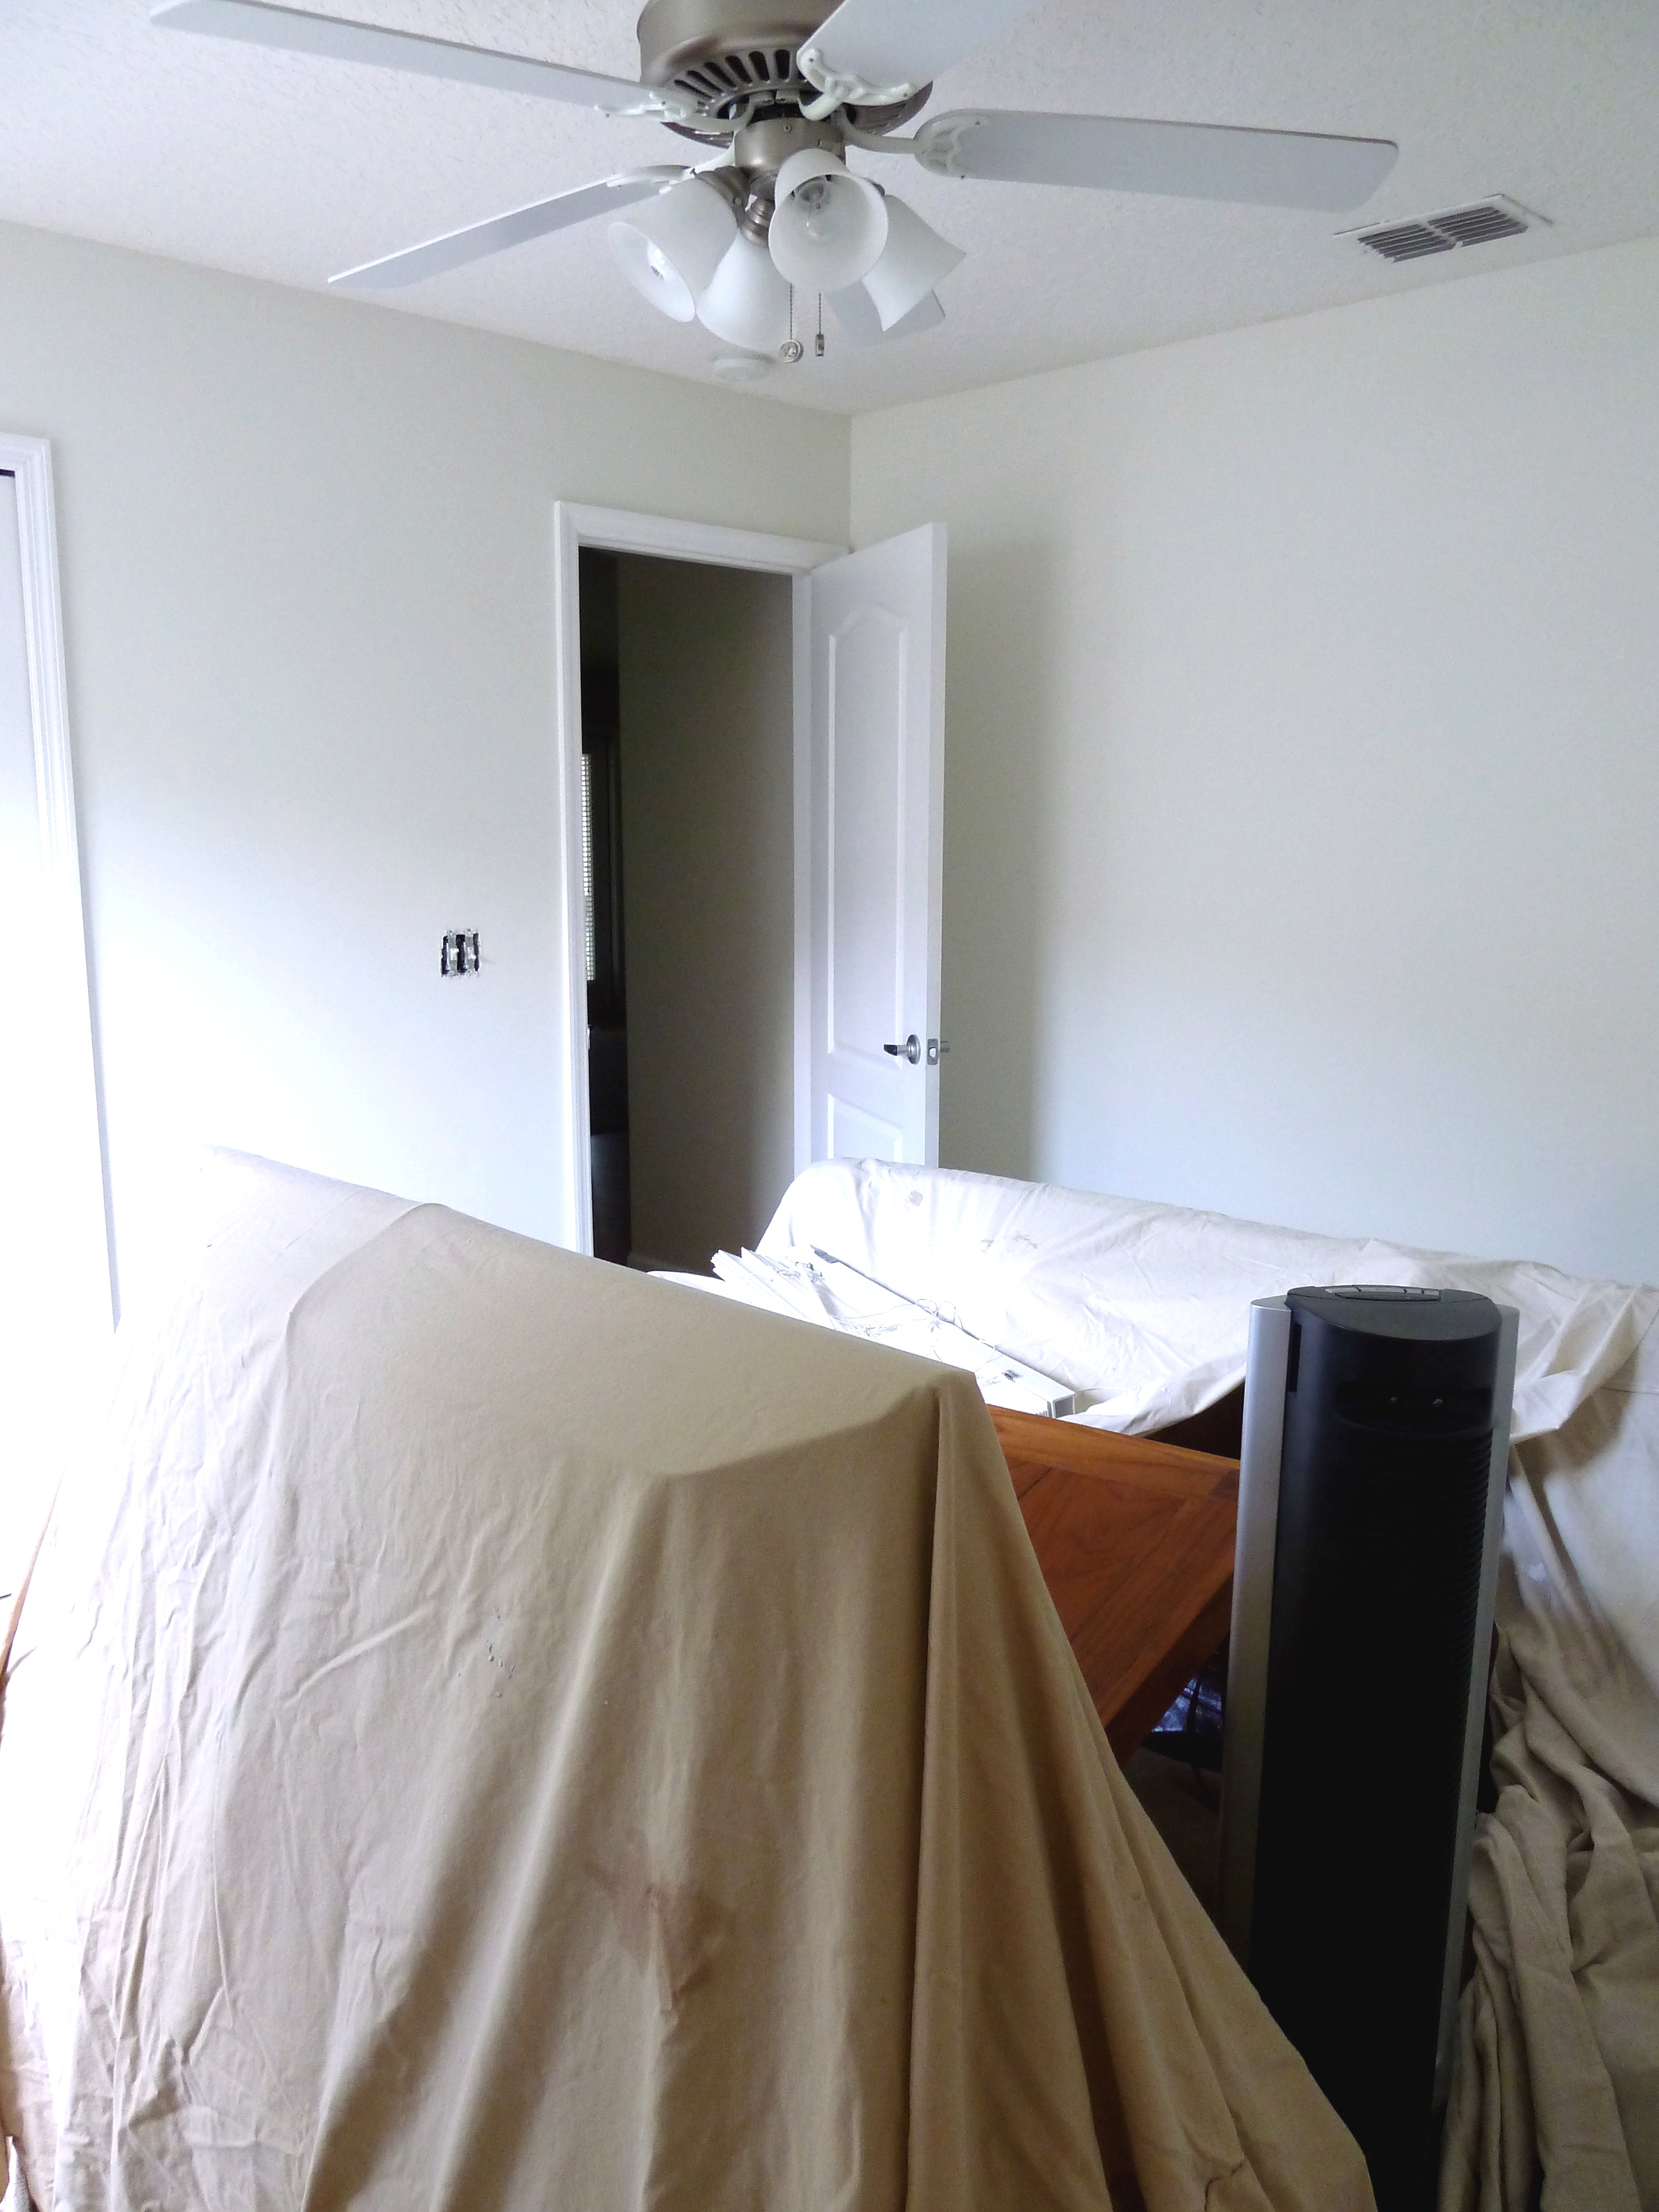
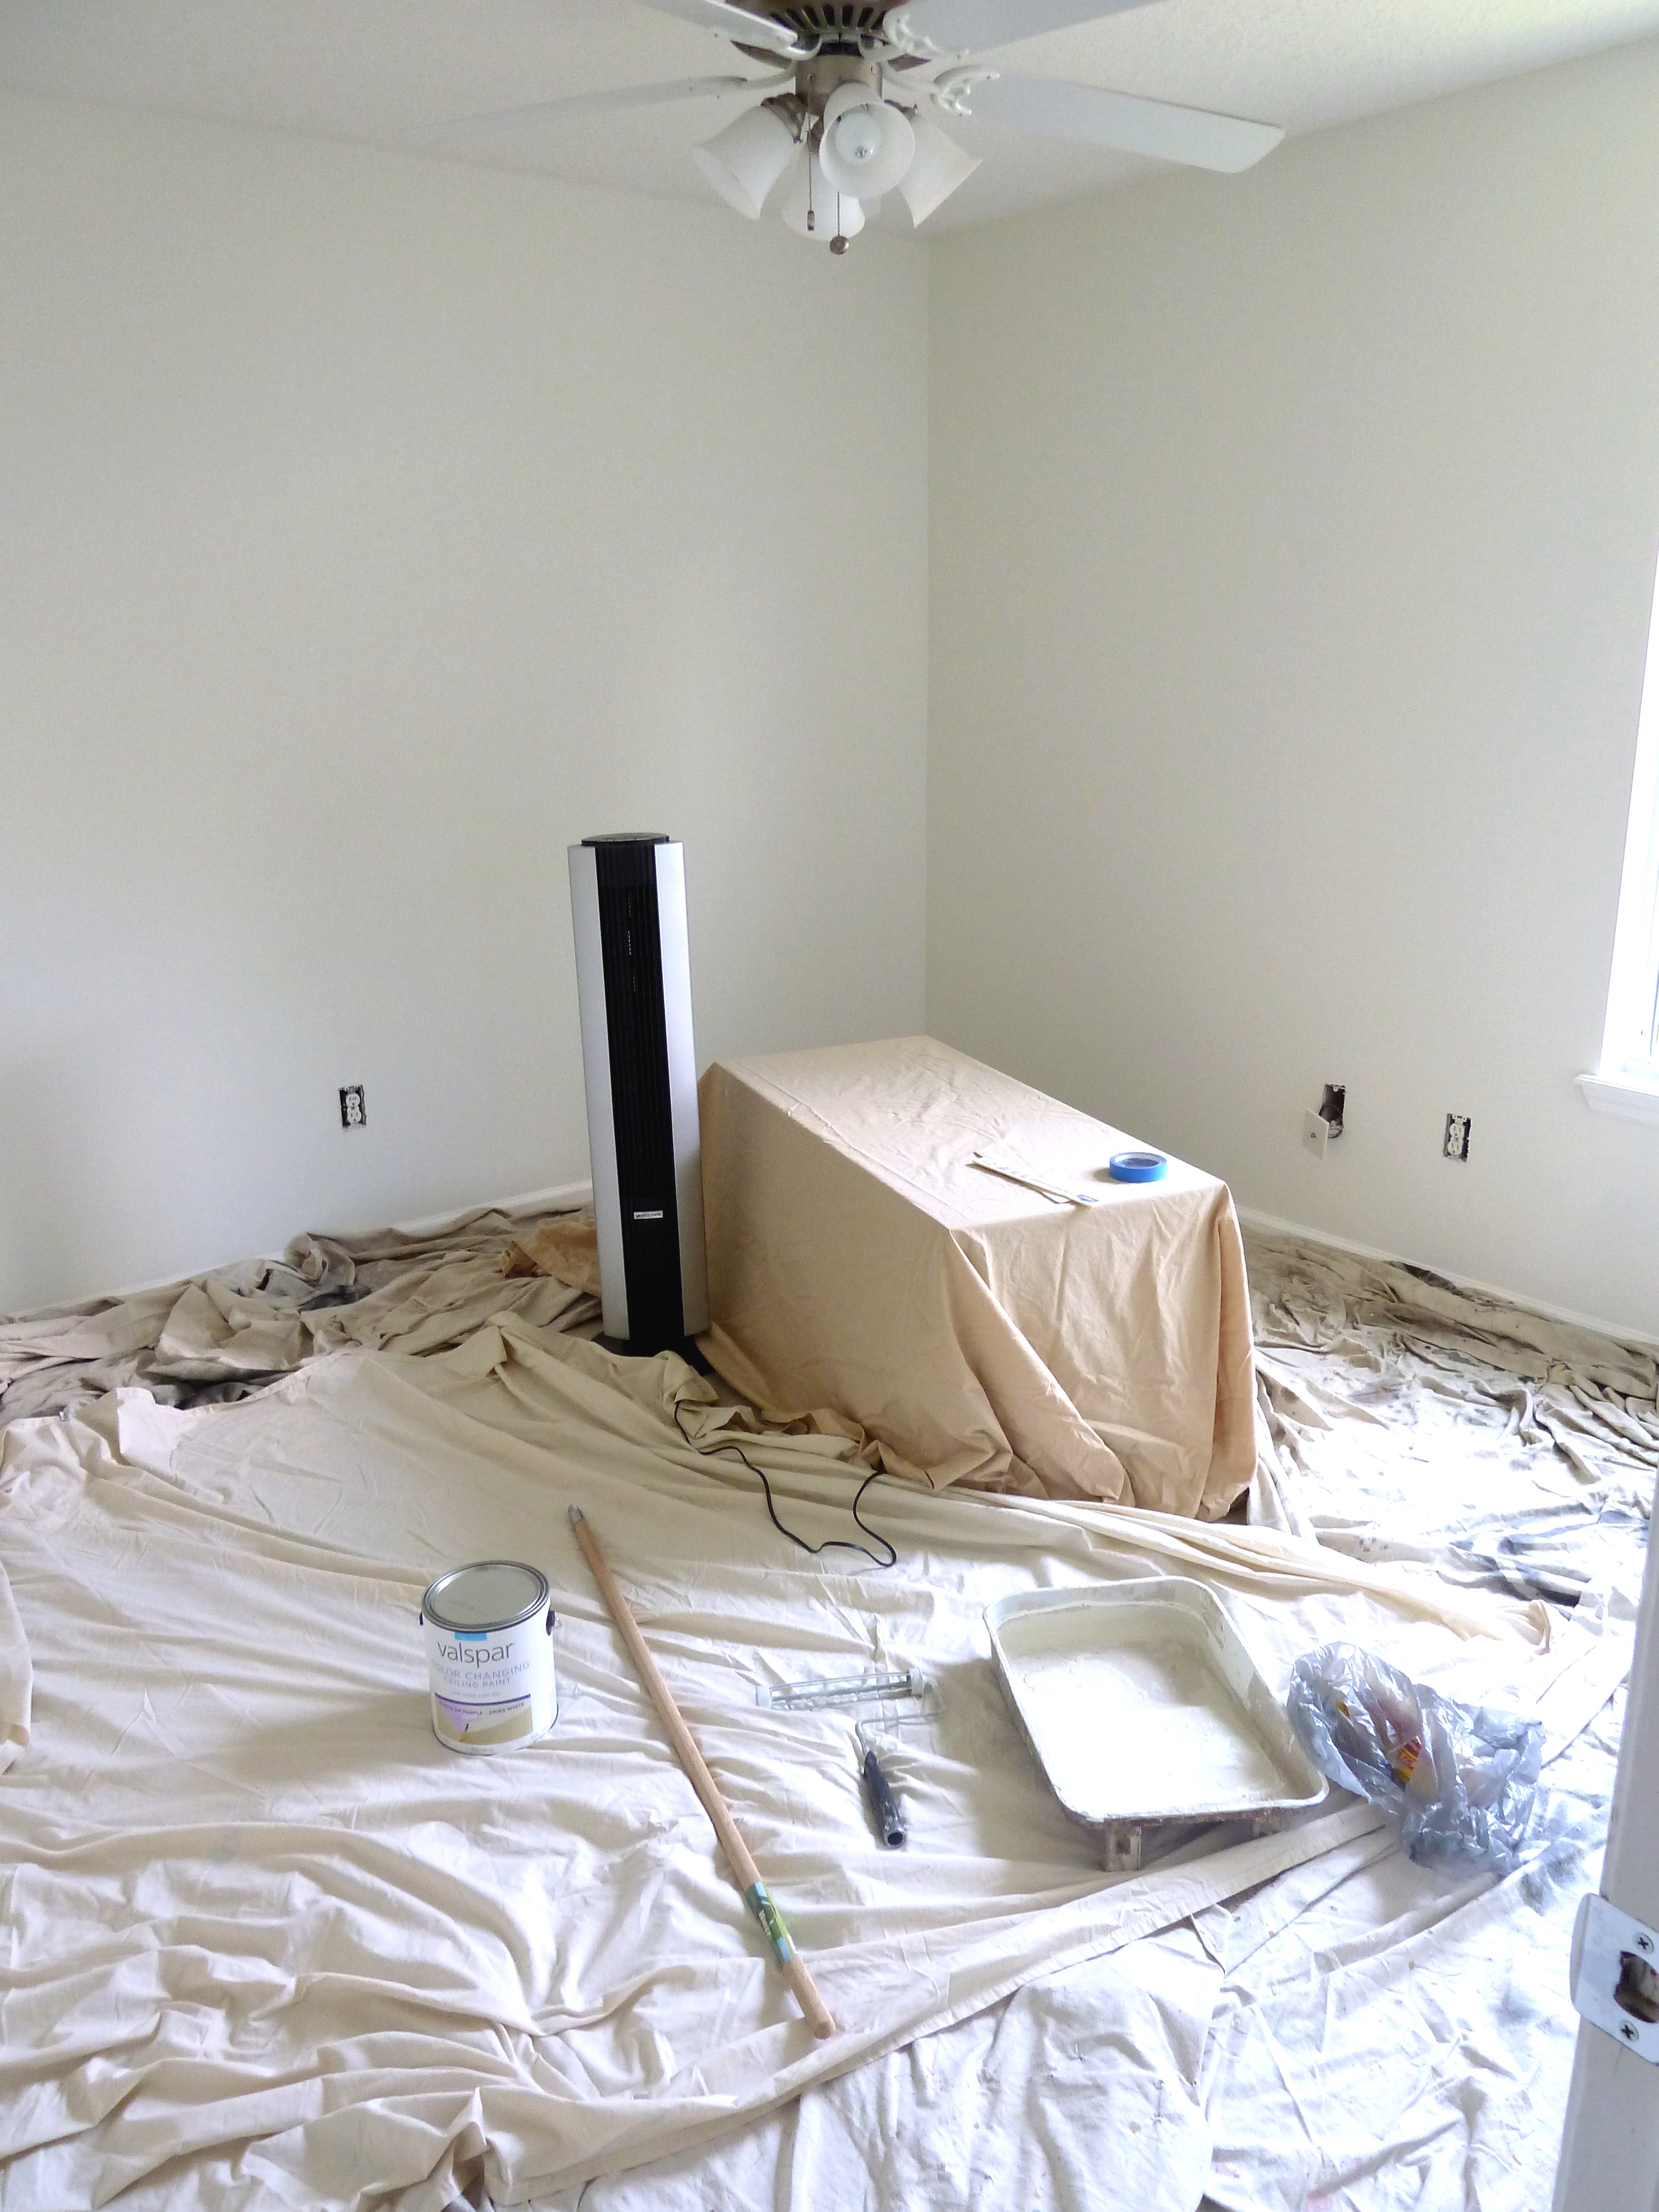
I spent my weekend painting…. everything in the second guest bedroom. Last I shared the guestroom was looking something like this…
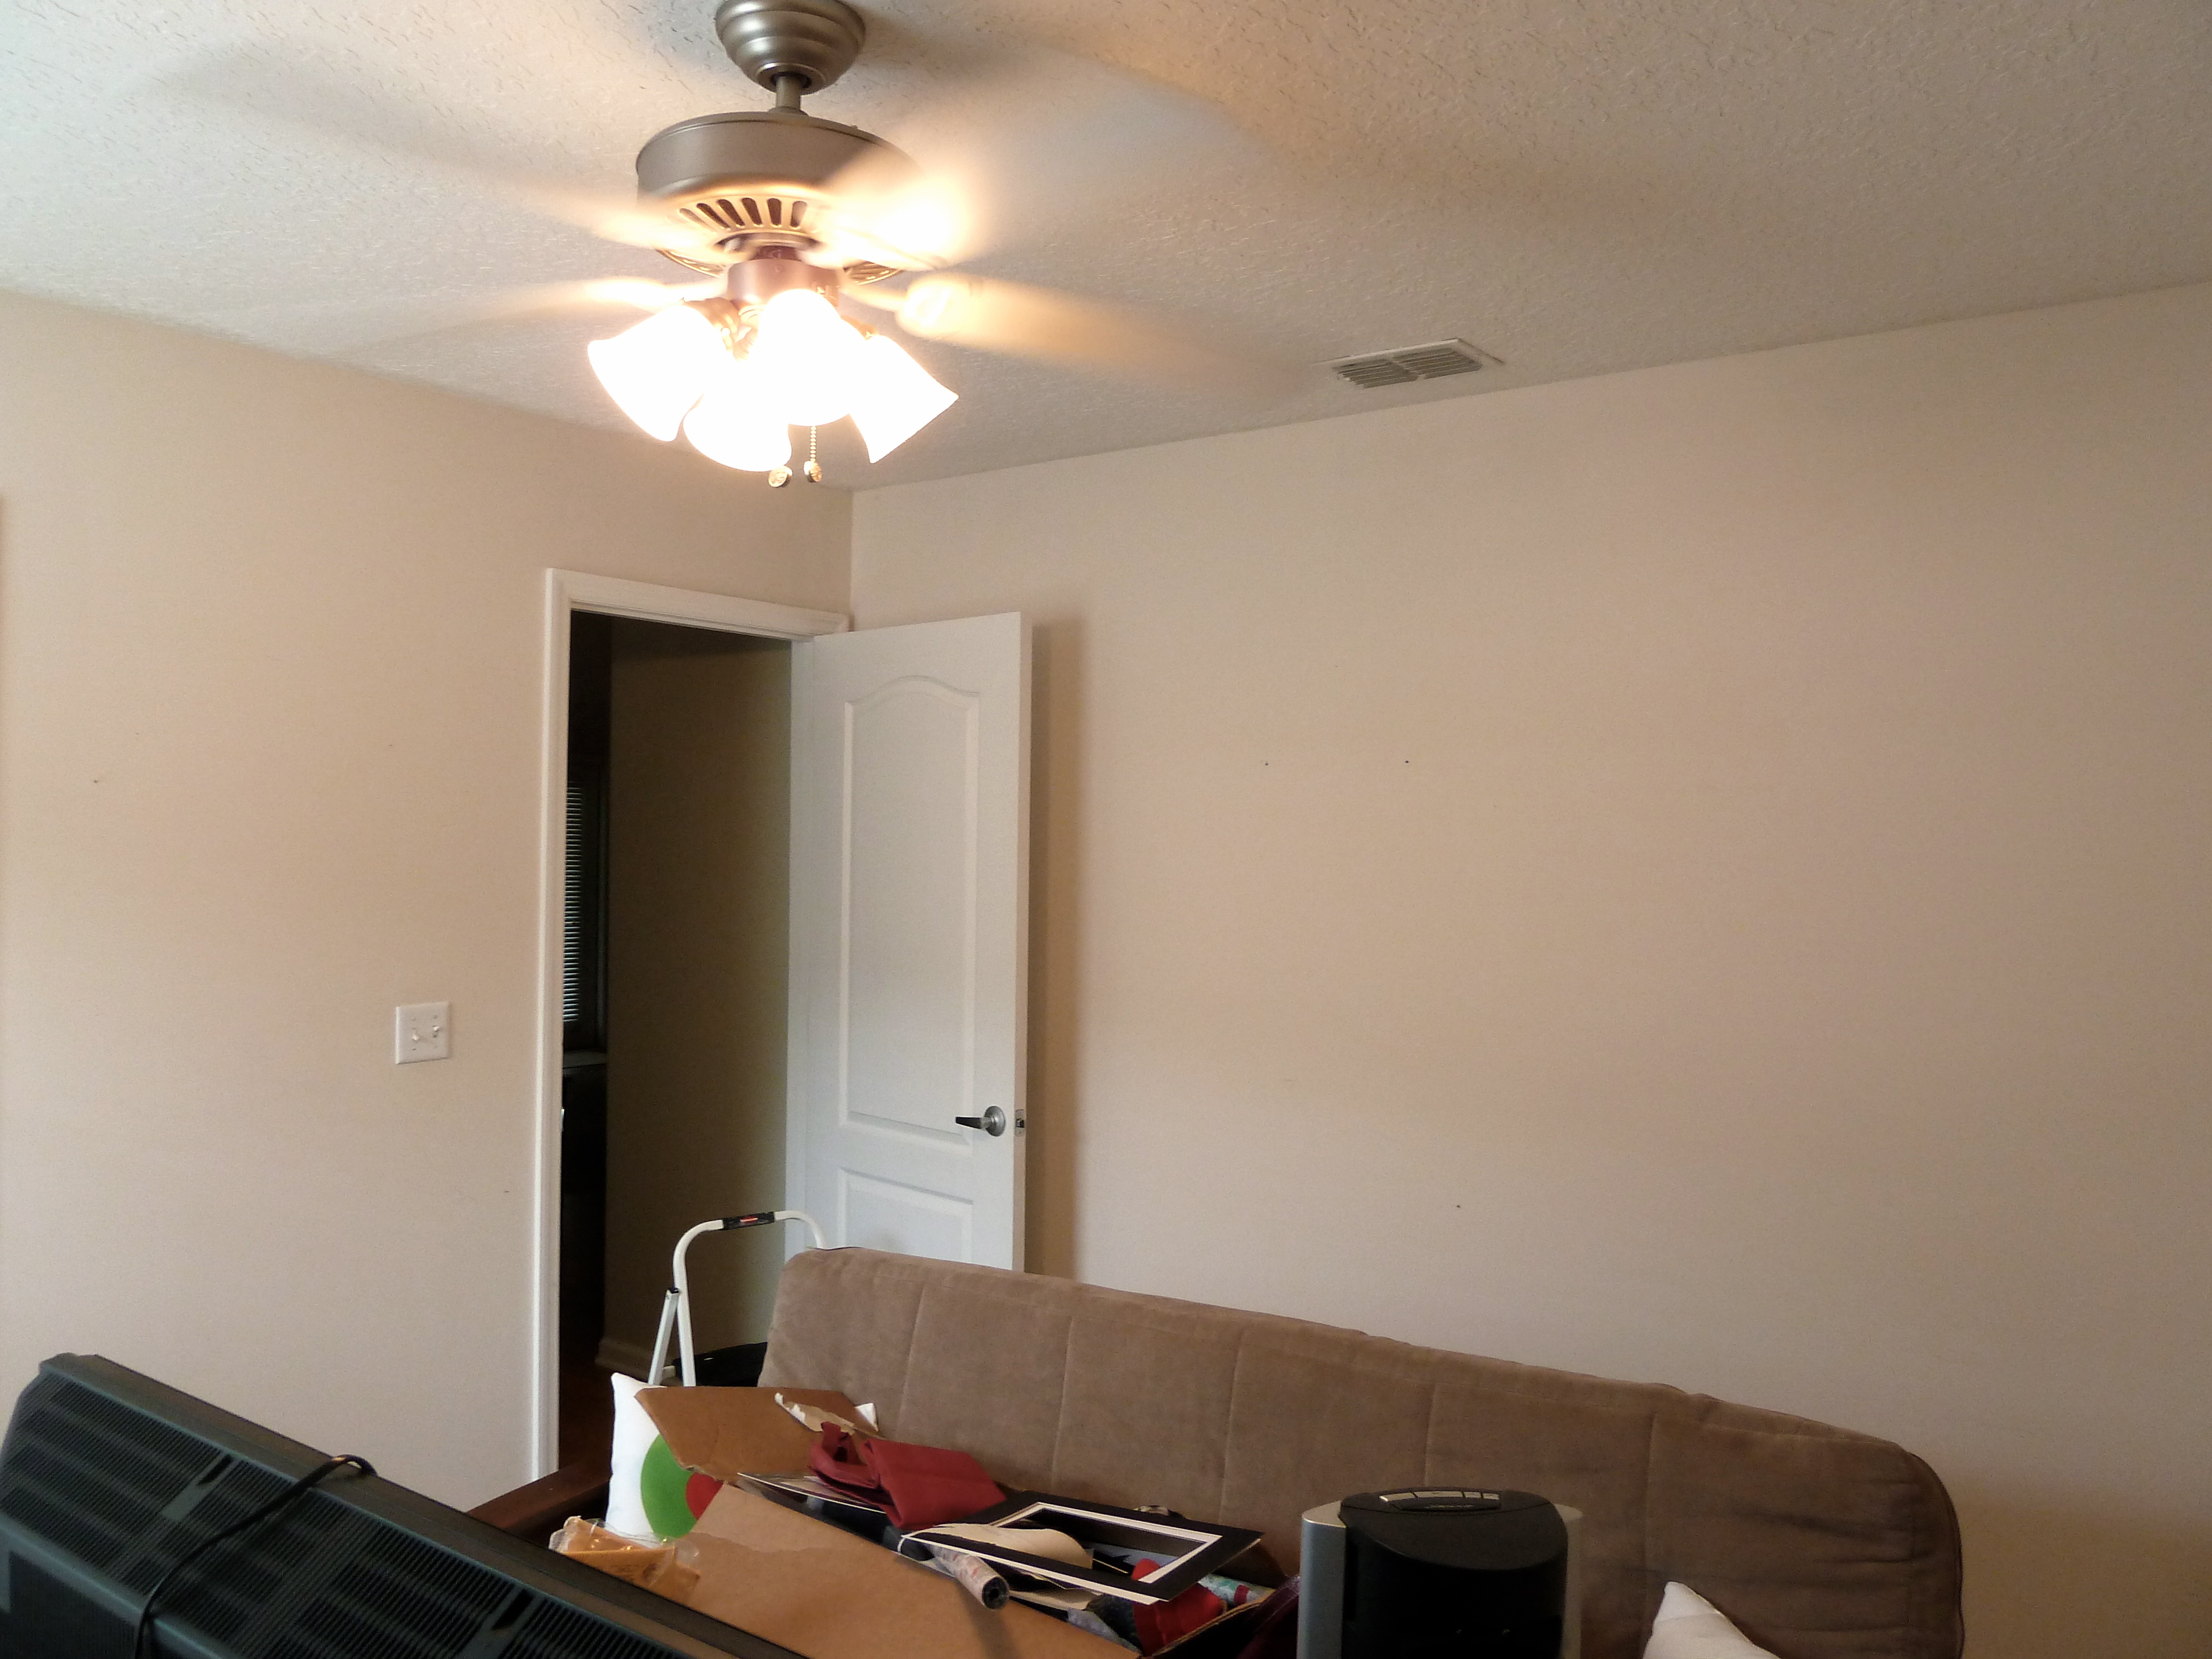
It was still looking not so pretty in pink. It was time to finally put some fresh paint on these walls and trim. I started with the trim as usual and used good old white in a gloss finish. I know I had planned on using a shade of light purplish grayish, with possibly even a hint of pink for the walls, but I changed my mind. I guess I am not as decisive as I thought. Most of the office inspiration photos I am digging right now look like these…
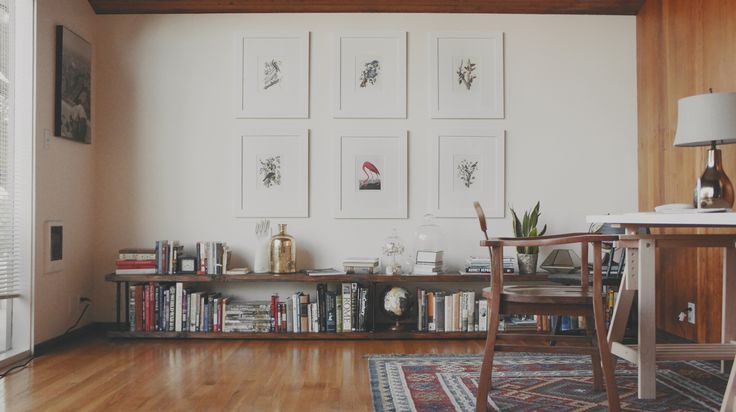

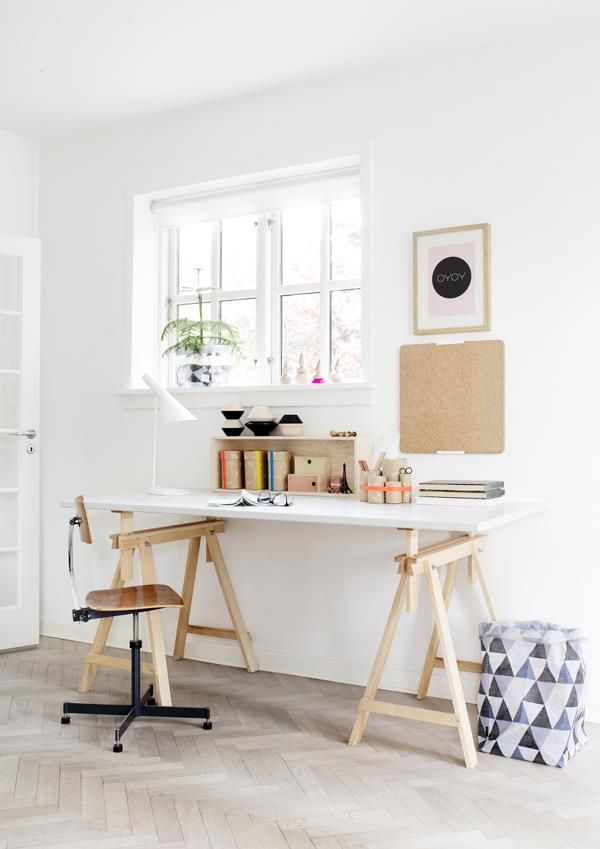
and my favorite…

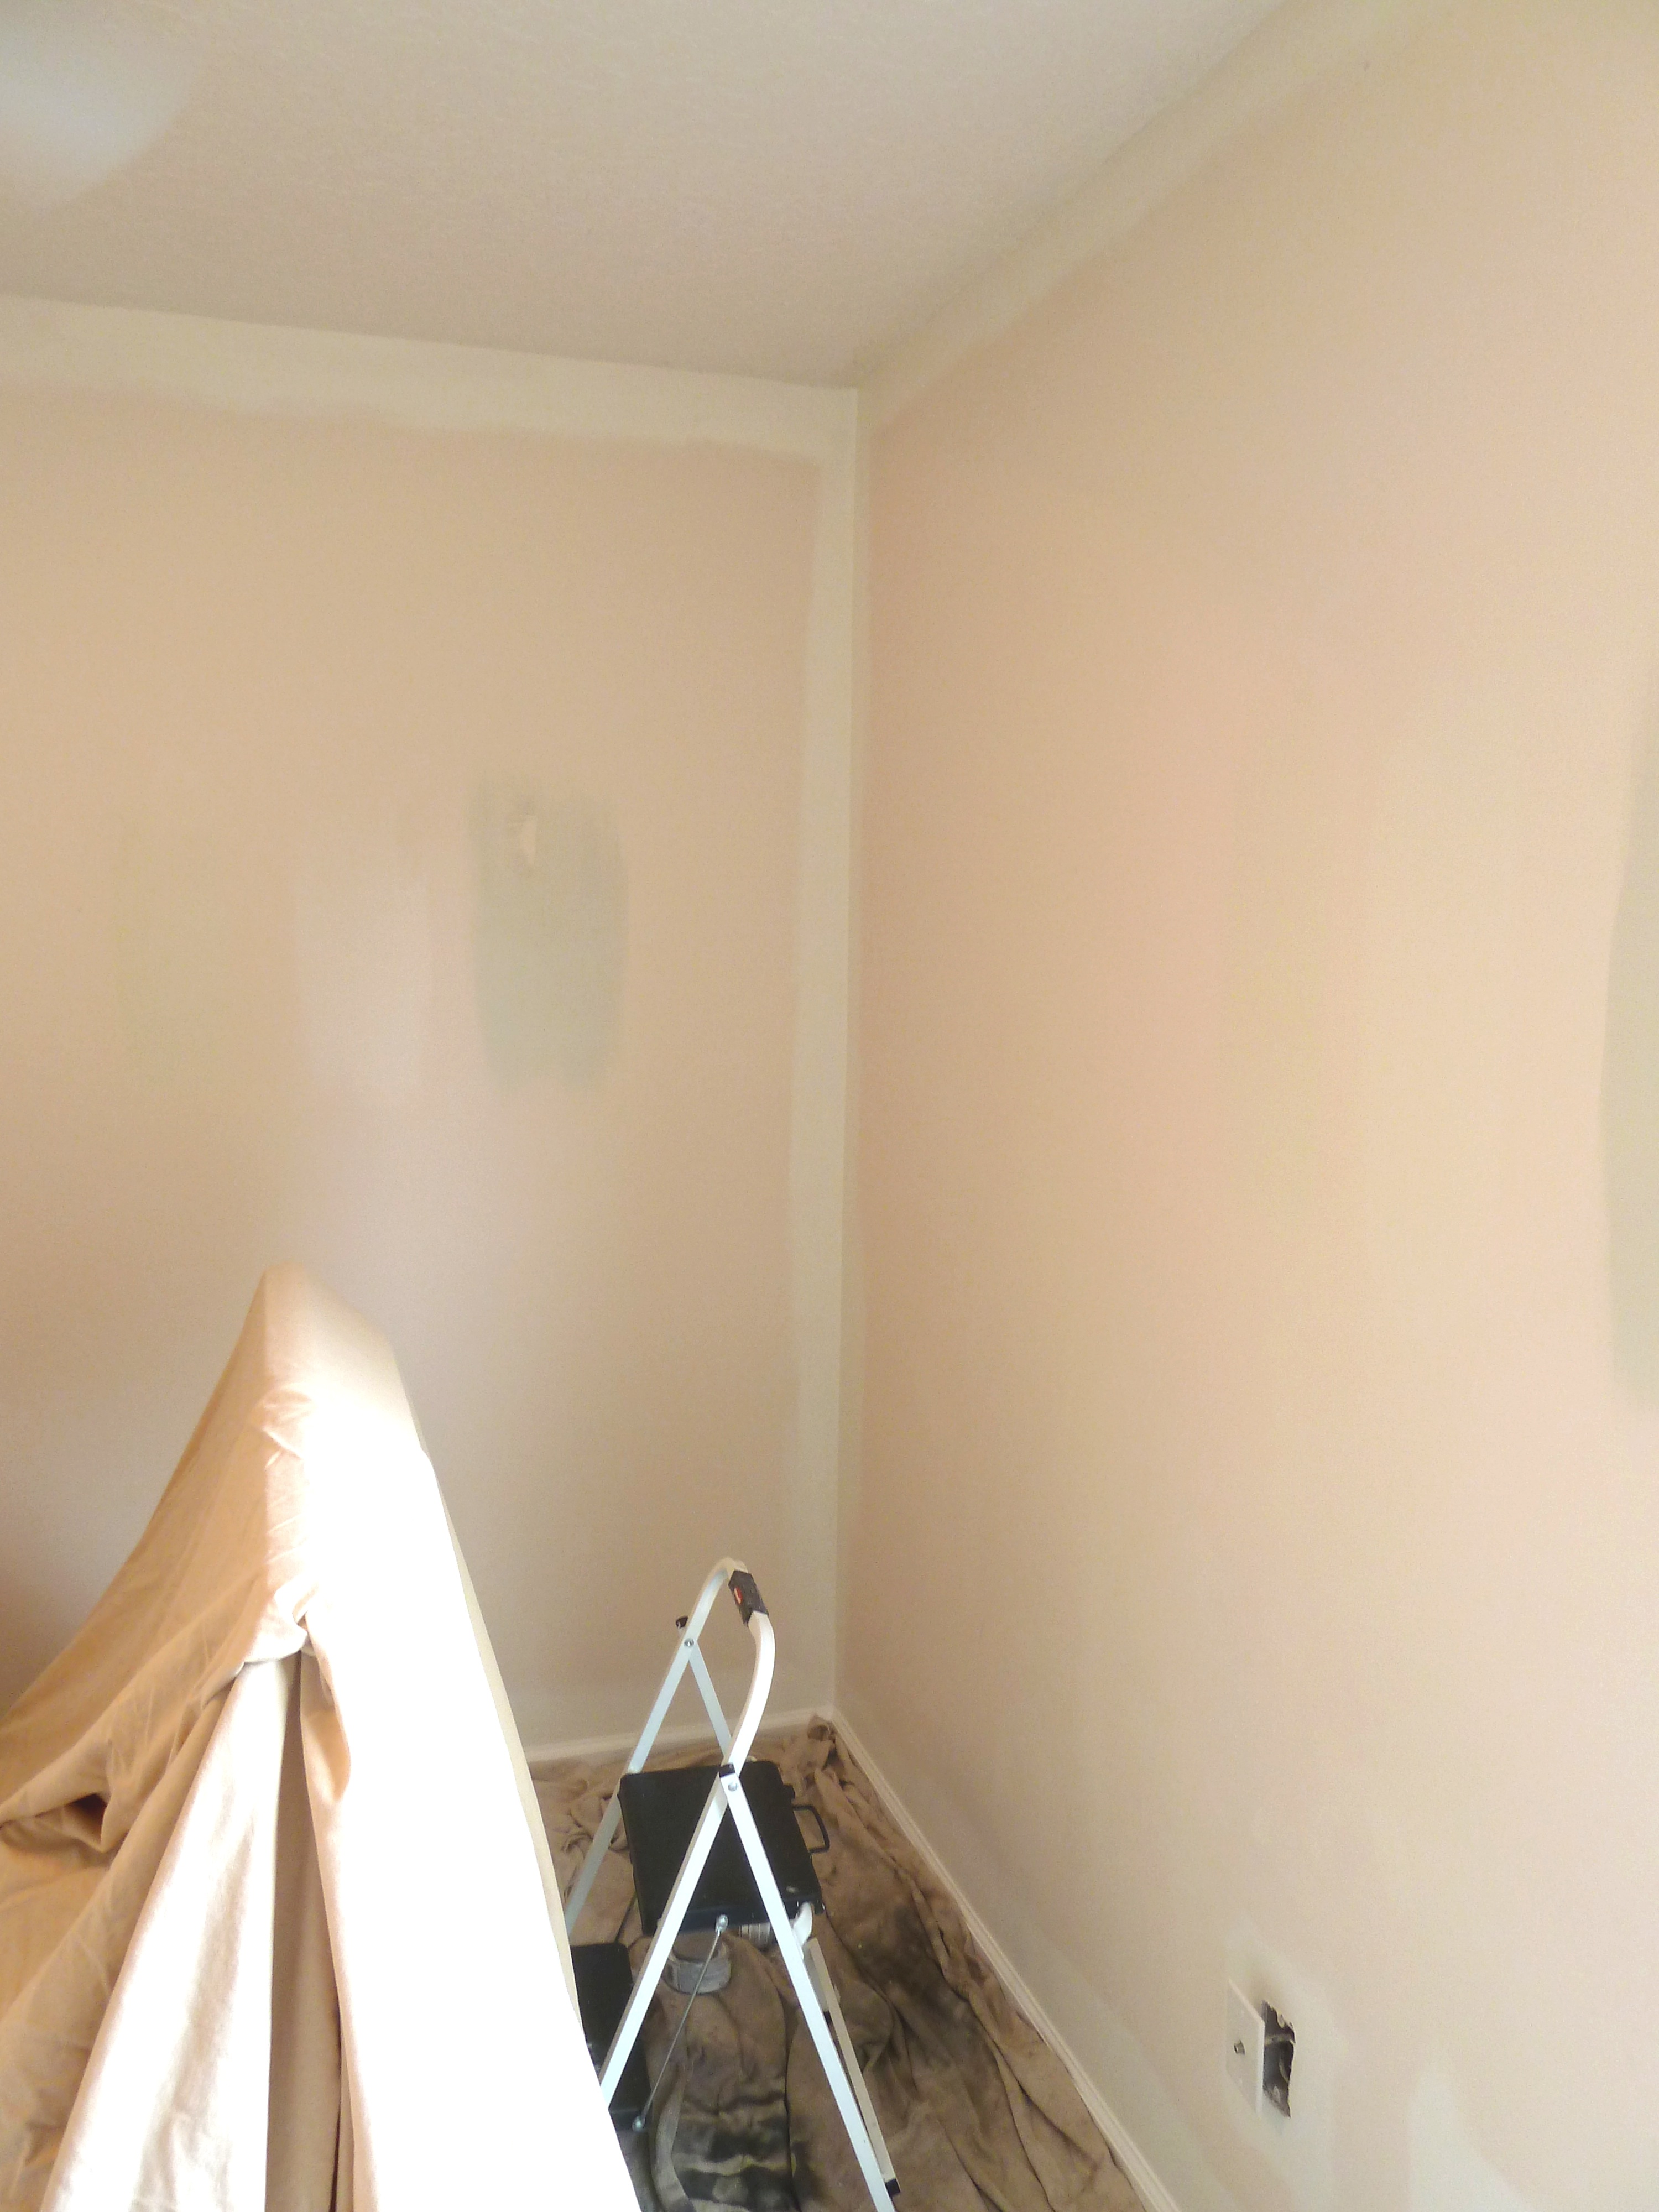
I guess I am kinda into a neutral office at this point. I was thinking if I put a purple color on the wall that I would hate it. So I decided to go with something more along the lines of the whitish, tanish in these photos. I ended up using Paramount White by Valspar. I started edging in as usual…
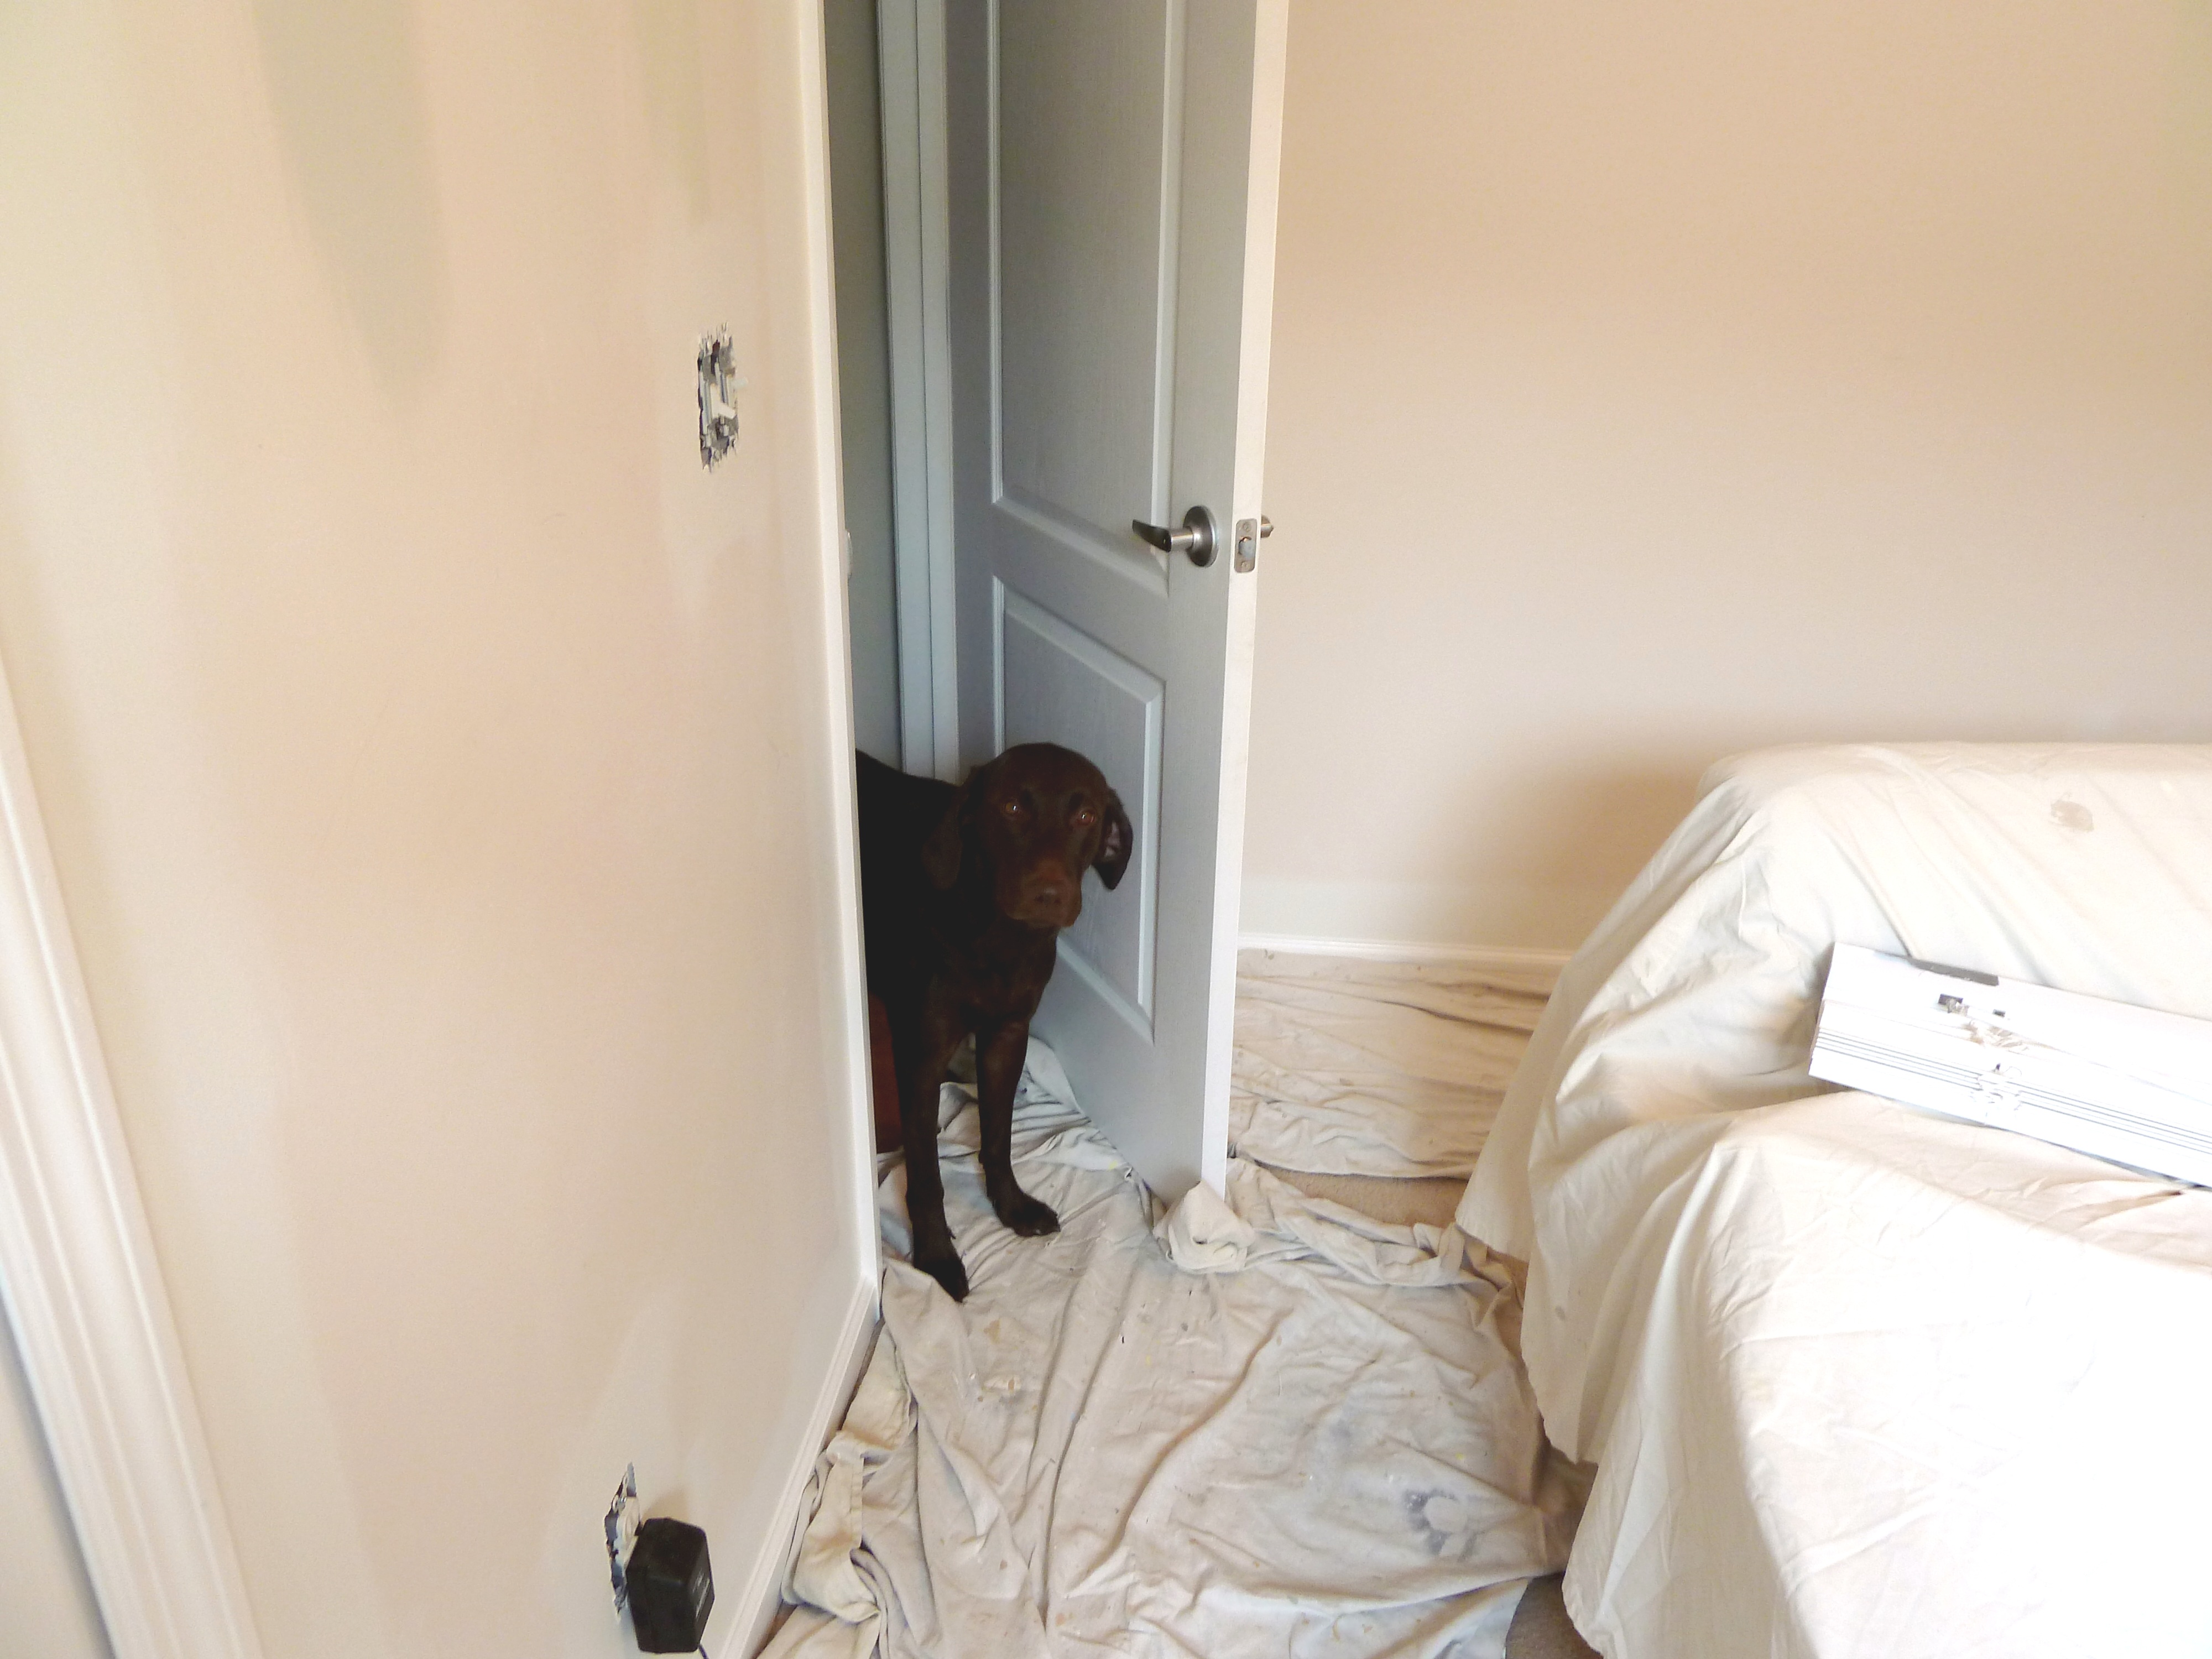
Charlie helped…
Next I rolled the color on the rest of the walls…
I know it looks pretty white, but I promise it is not!
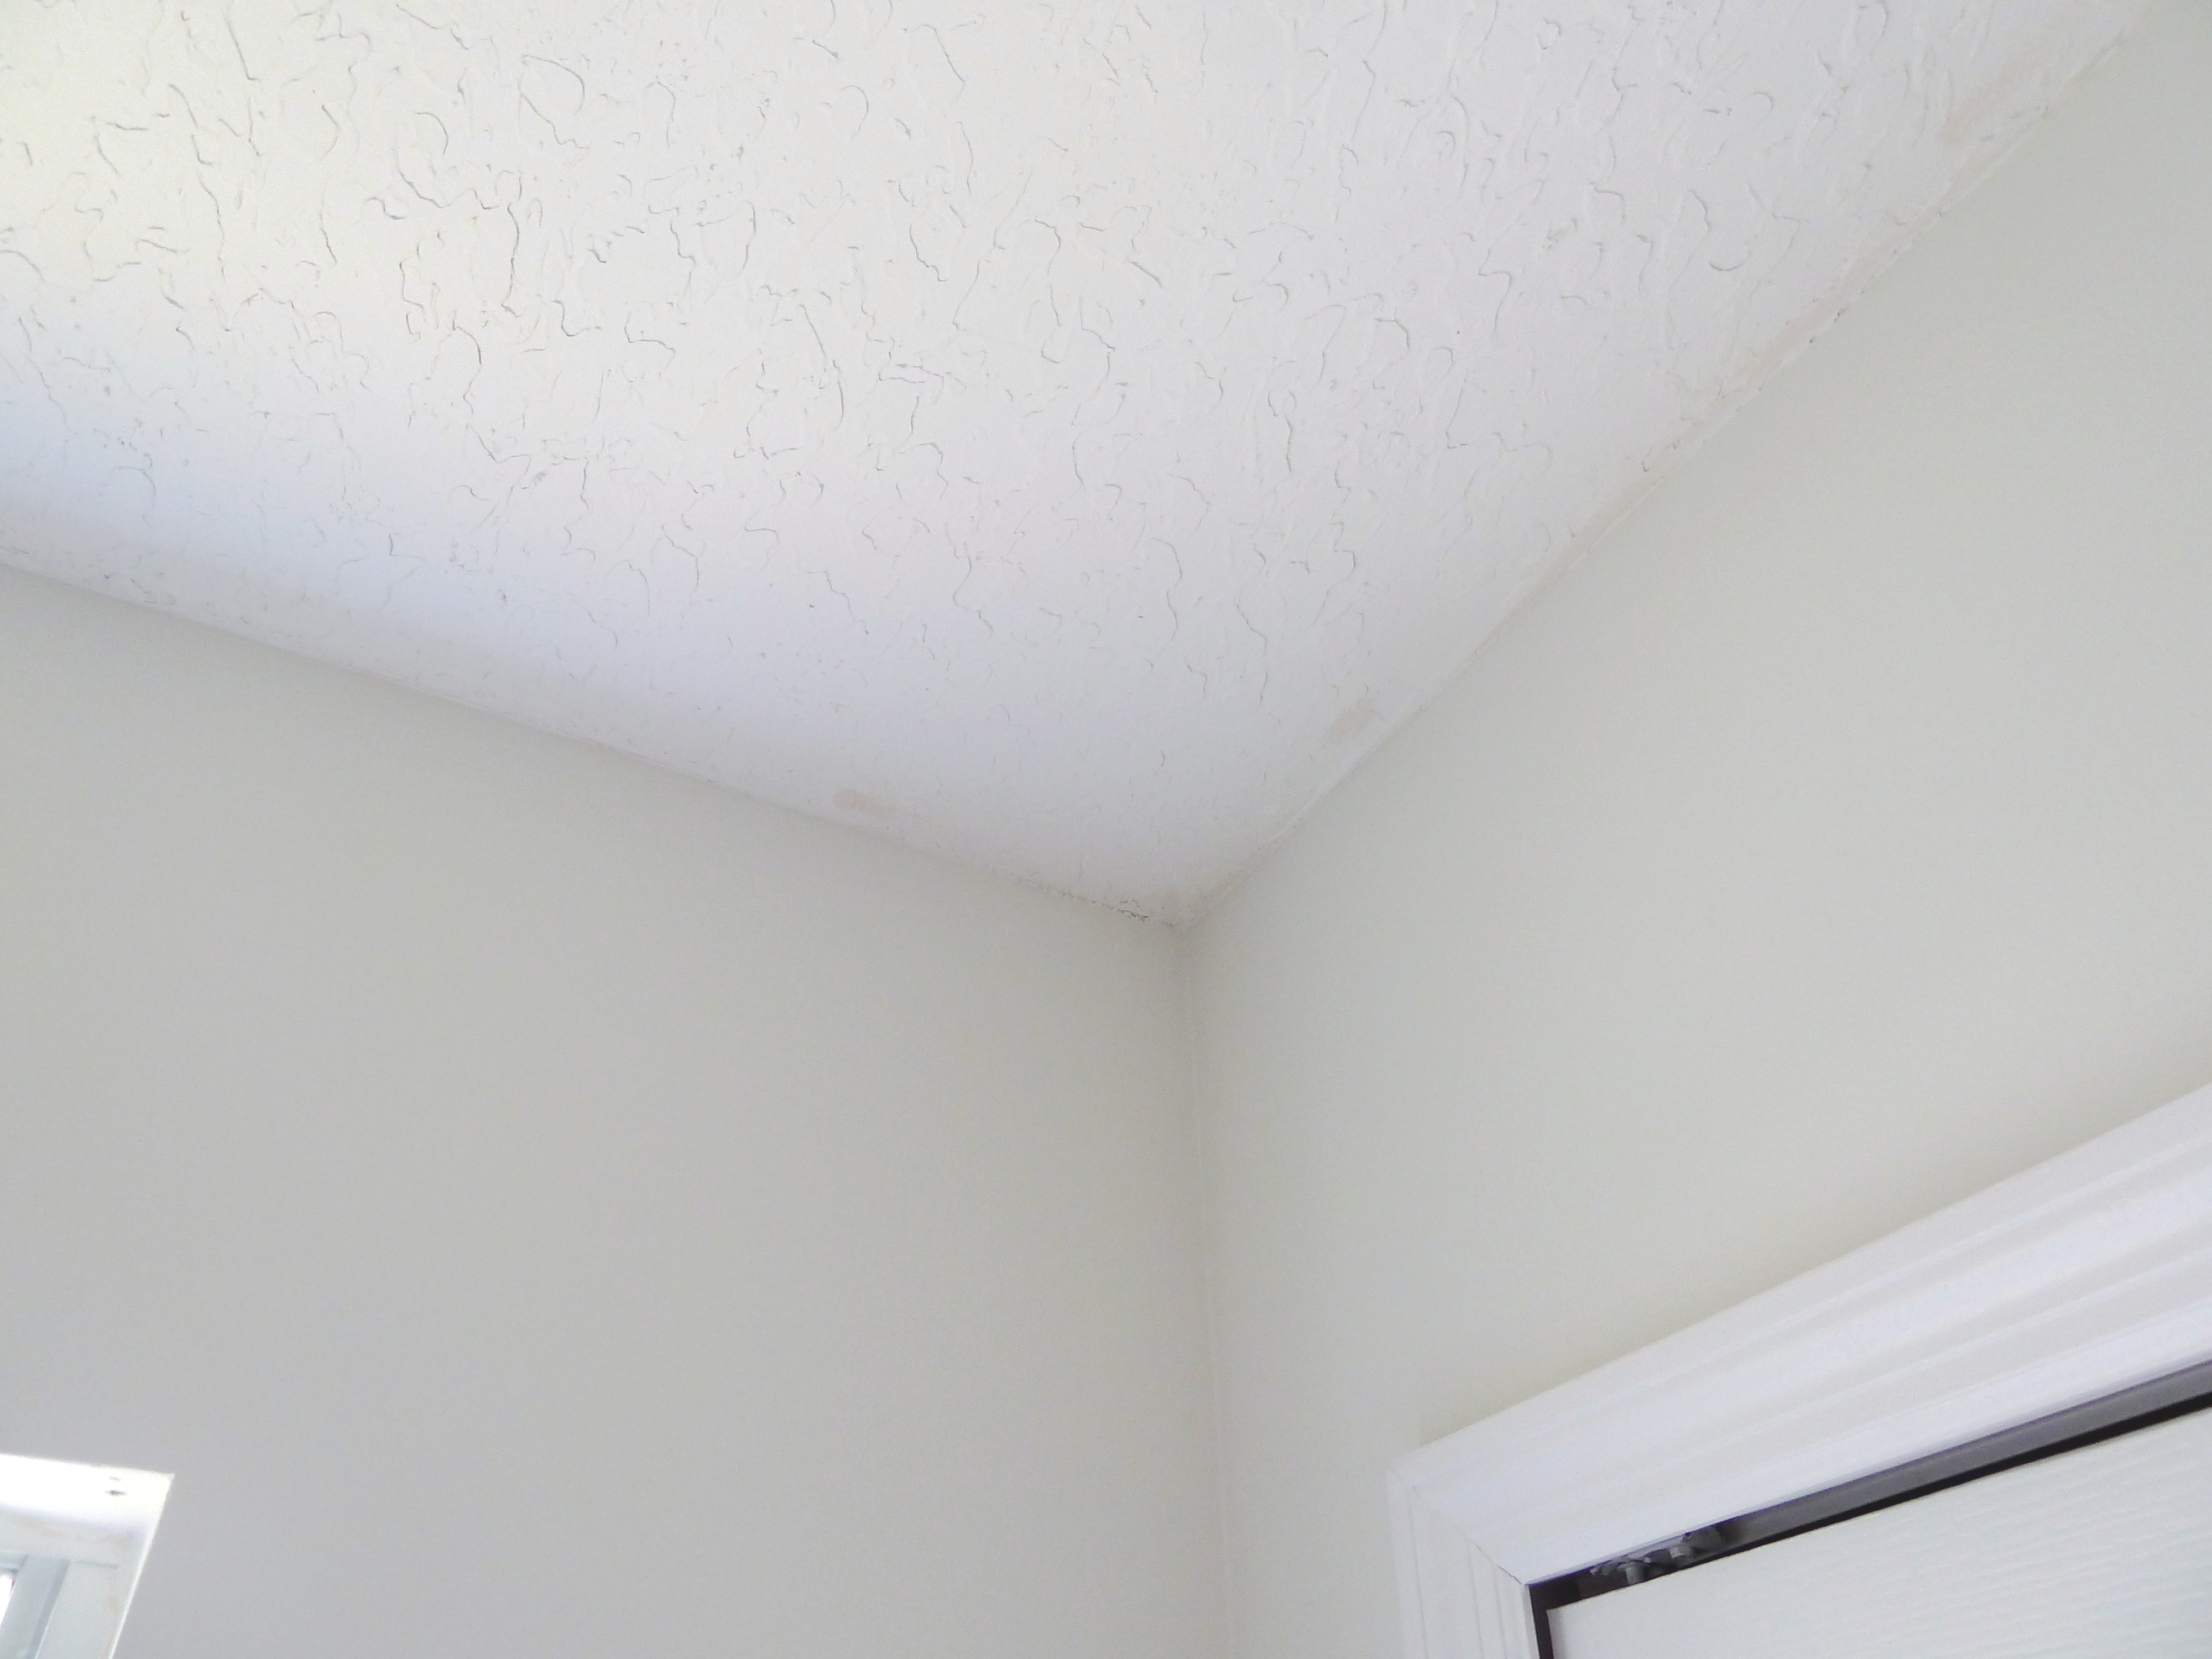
Once I was done with all of the walls the ceiling was really looking pretty rough. Once I took the border down and lightened the walls the ceiling was looking so dingy and all the paint mistakes were really sticking out.
 I definitely wasn’t planning to paint the ceiling, but I felt like I needed to now. I am a virgin to painting ceilings, I knew I was in for a treat. So I headed back to lowes and got some of this…
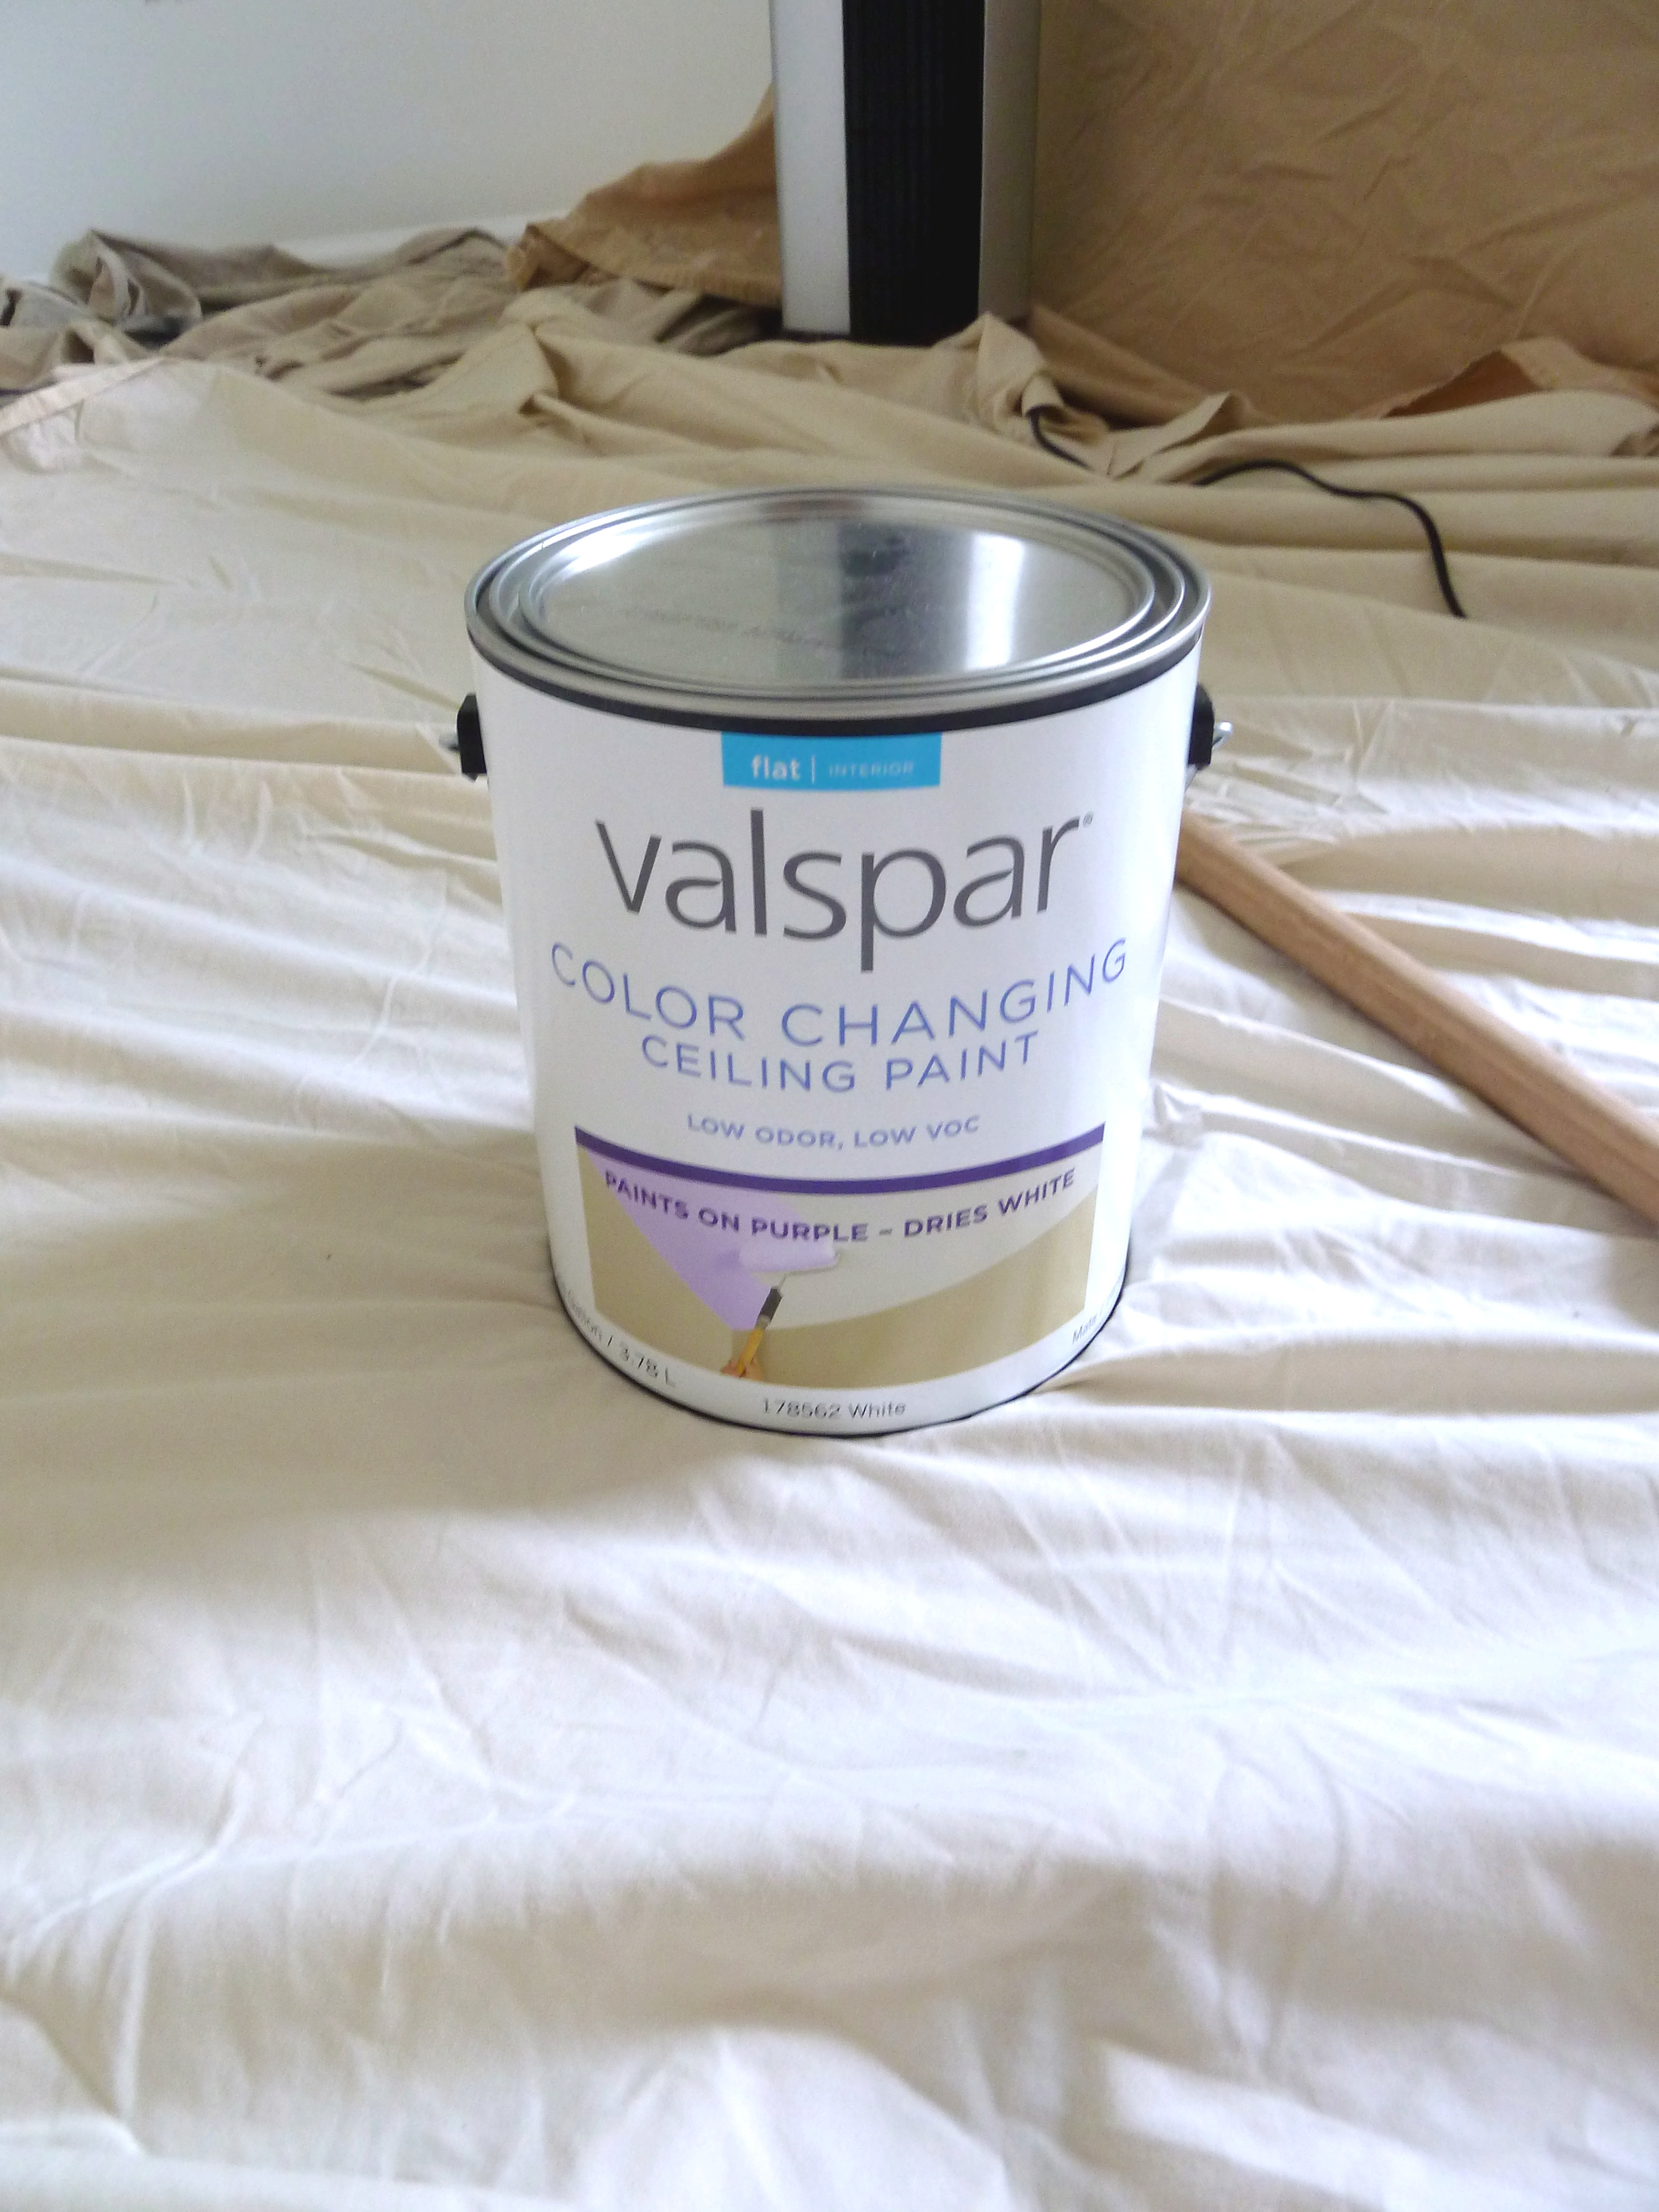
It is Valspar flat ceiling paint that goes on purple, but dries white. My mom told me about this paint and said that it helps to keep track of where you have already painted. I also picked up one of these…
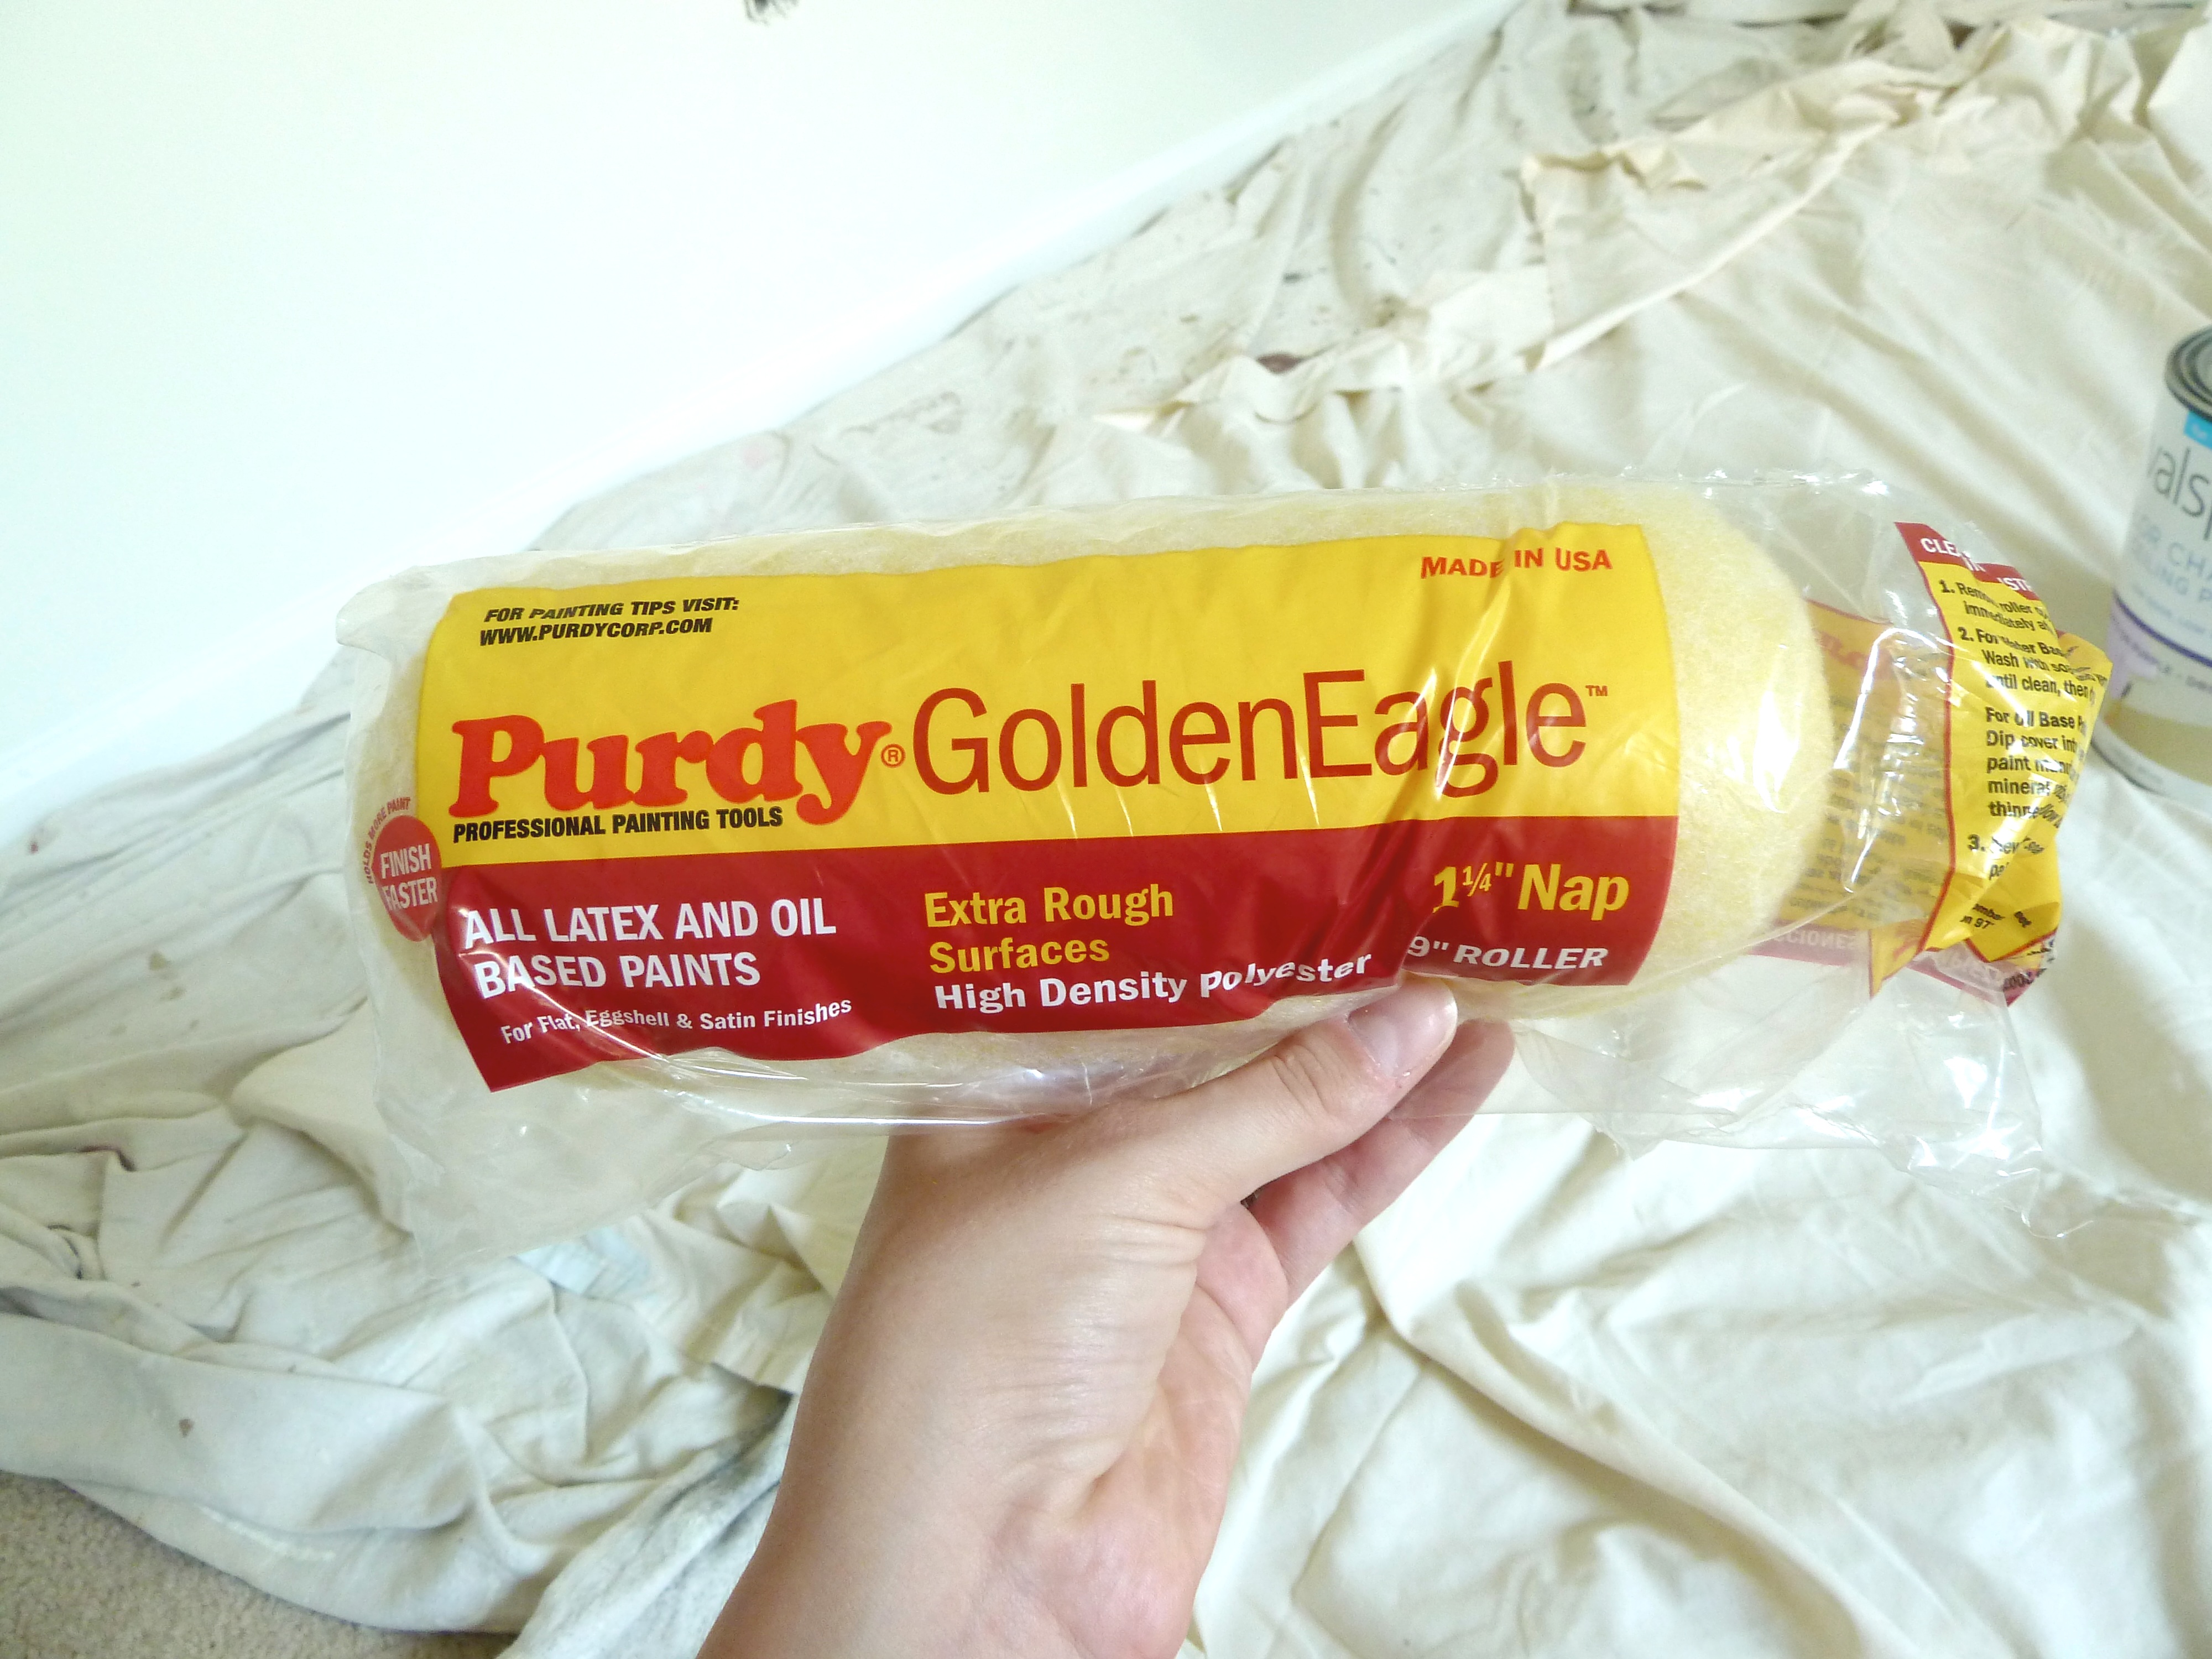
Since our ceilings are pretty textured I needed a better roller that would soak up more paint and get into all of the crazy crevices.
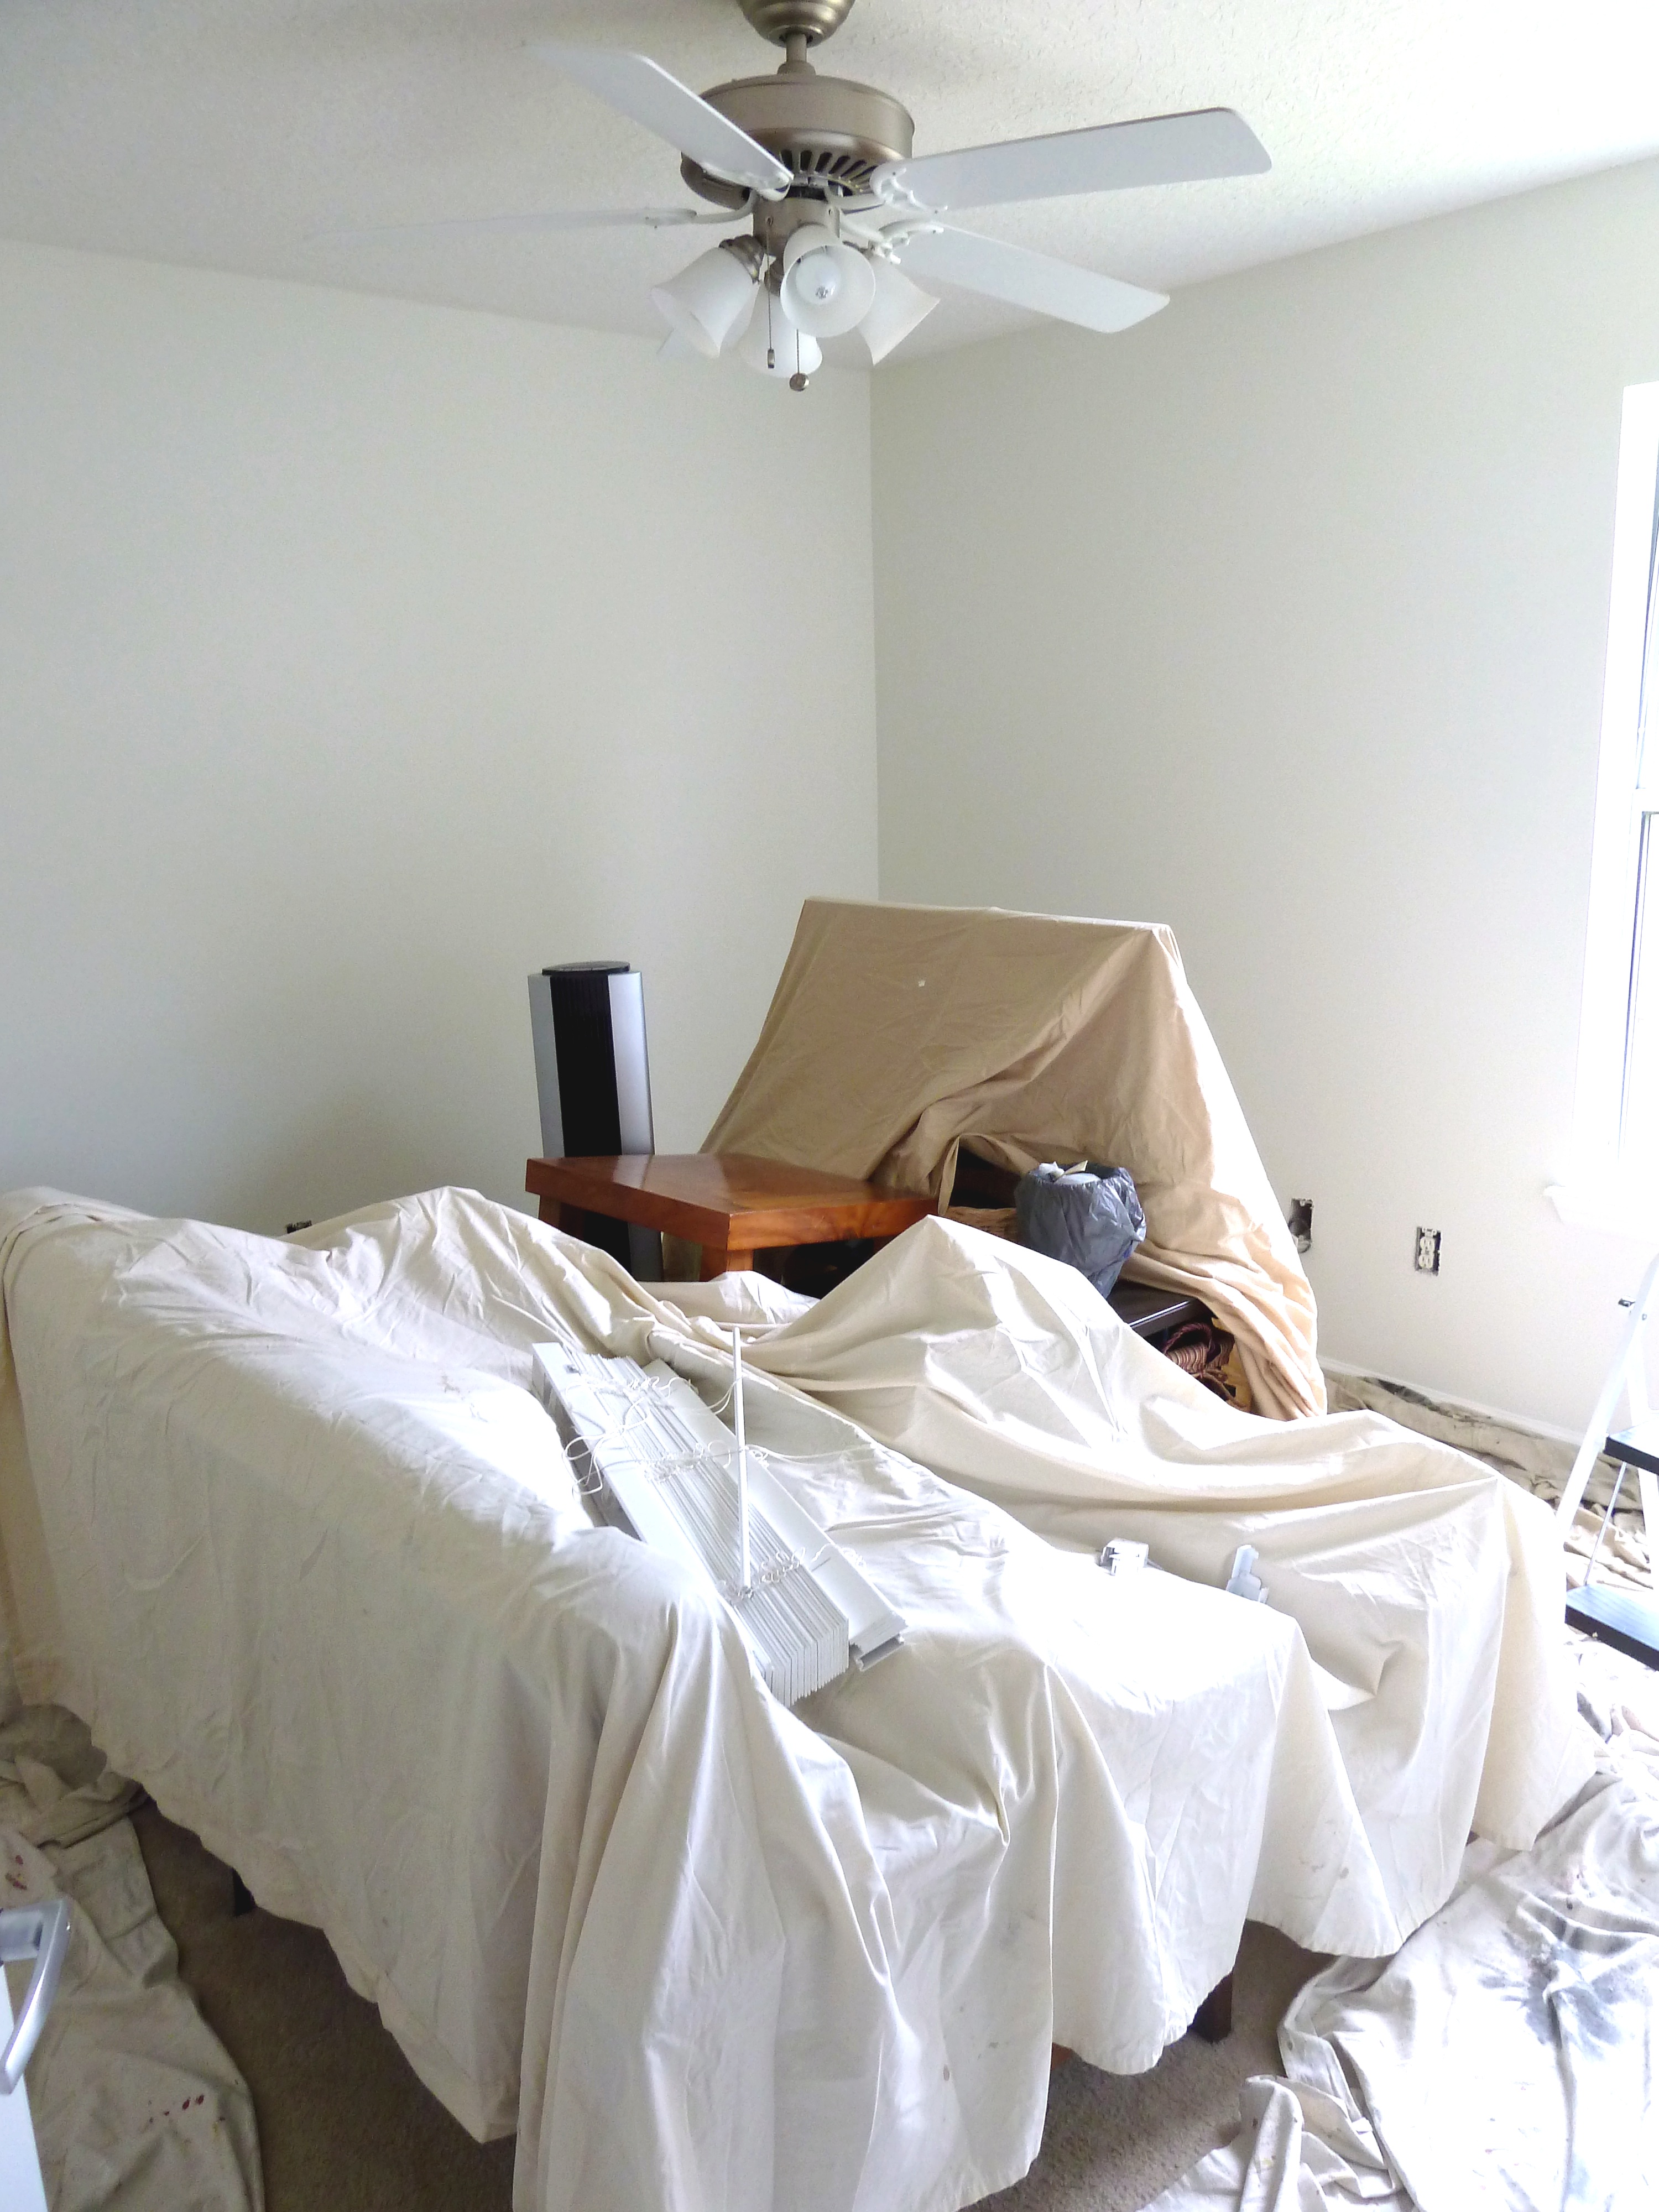
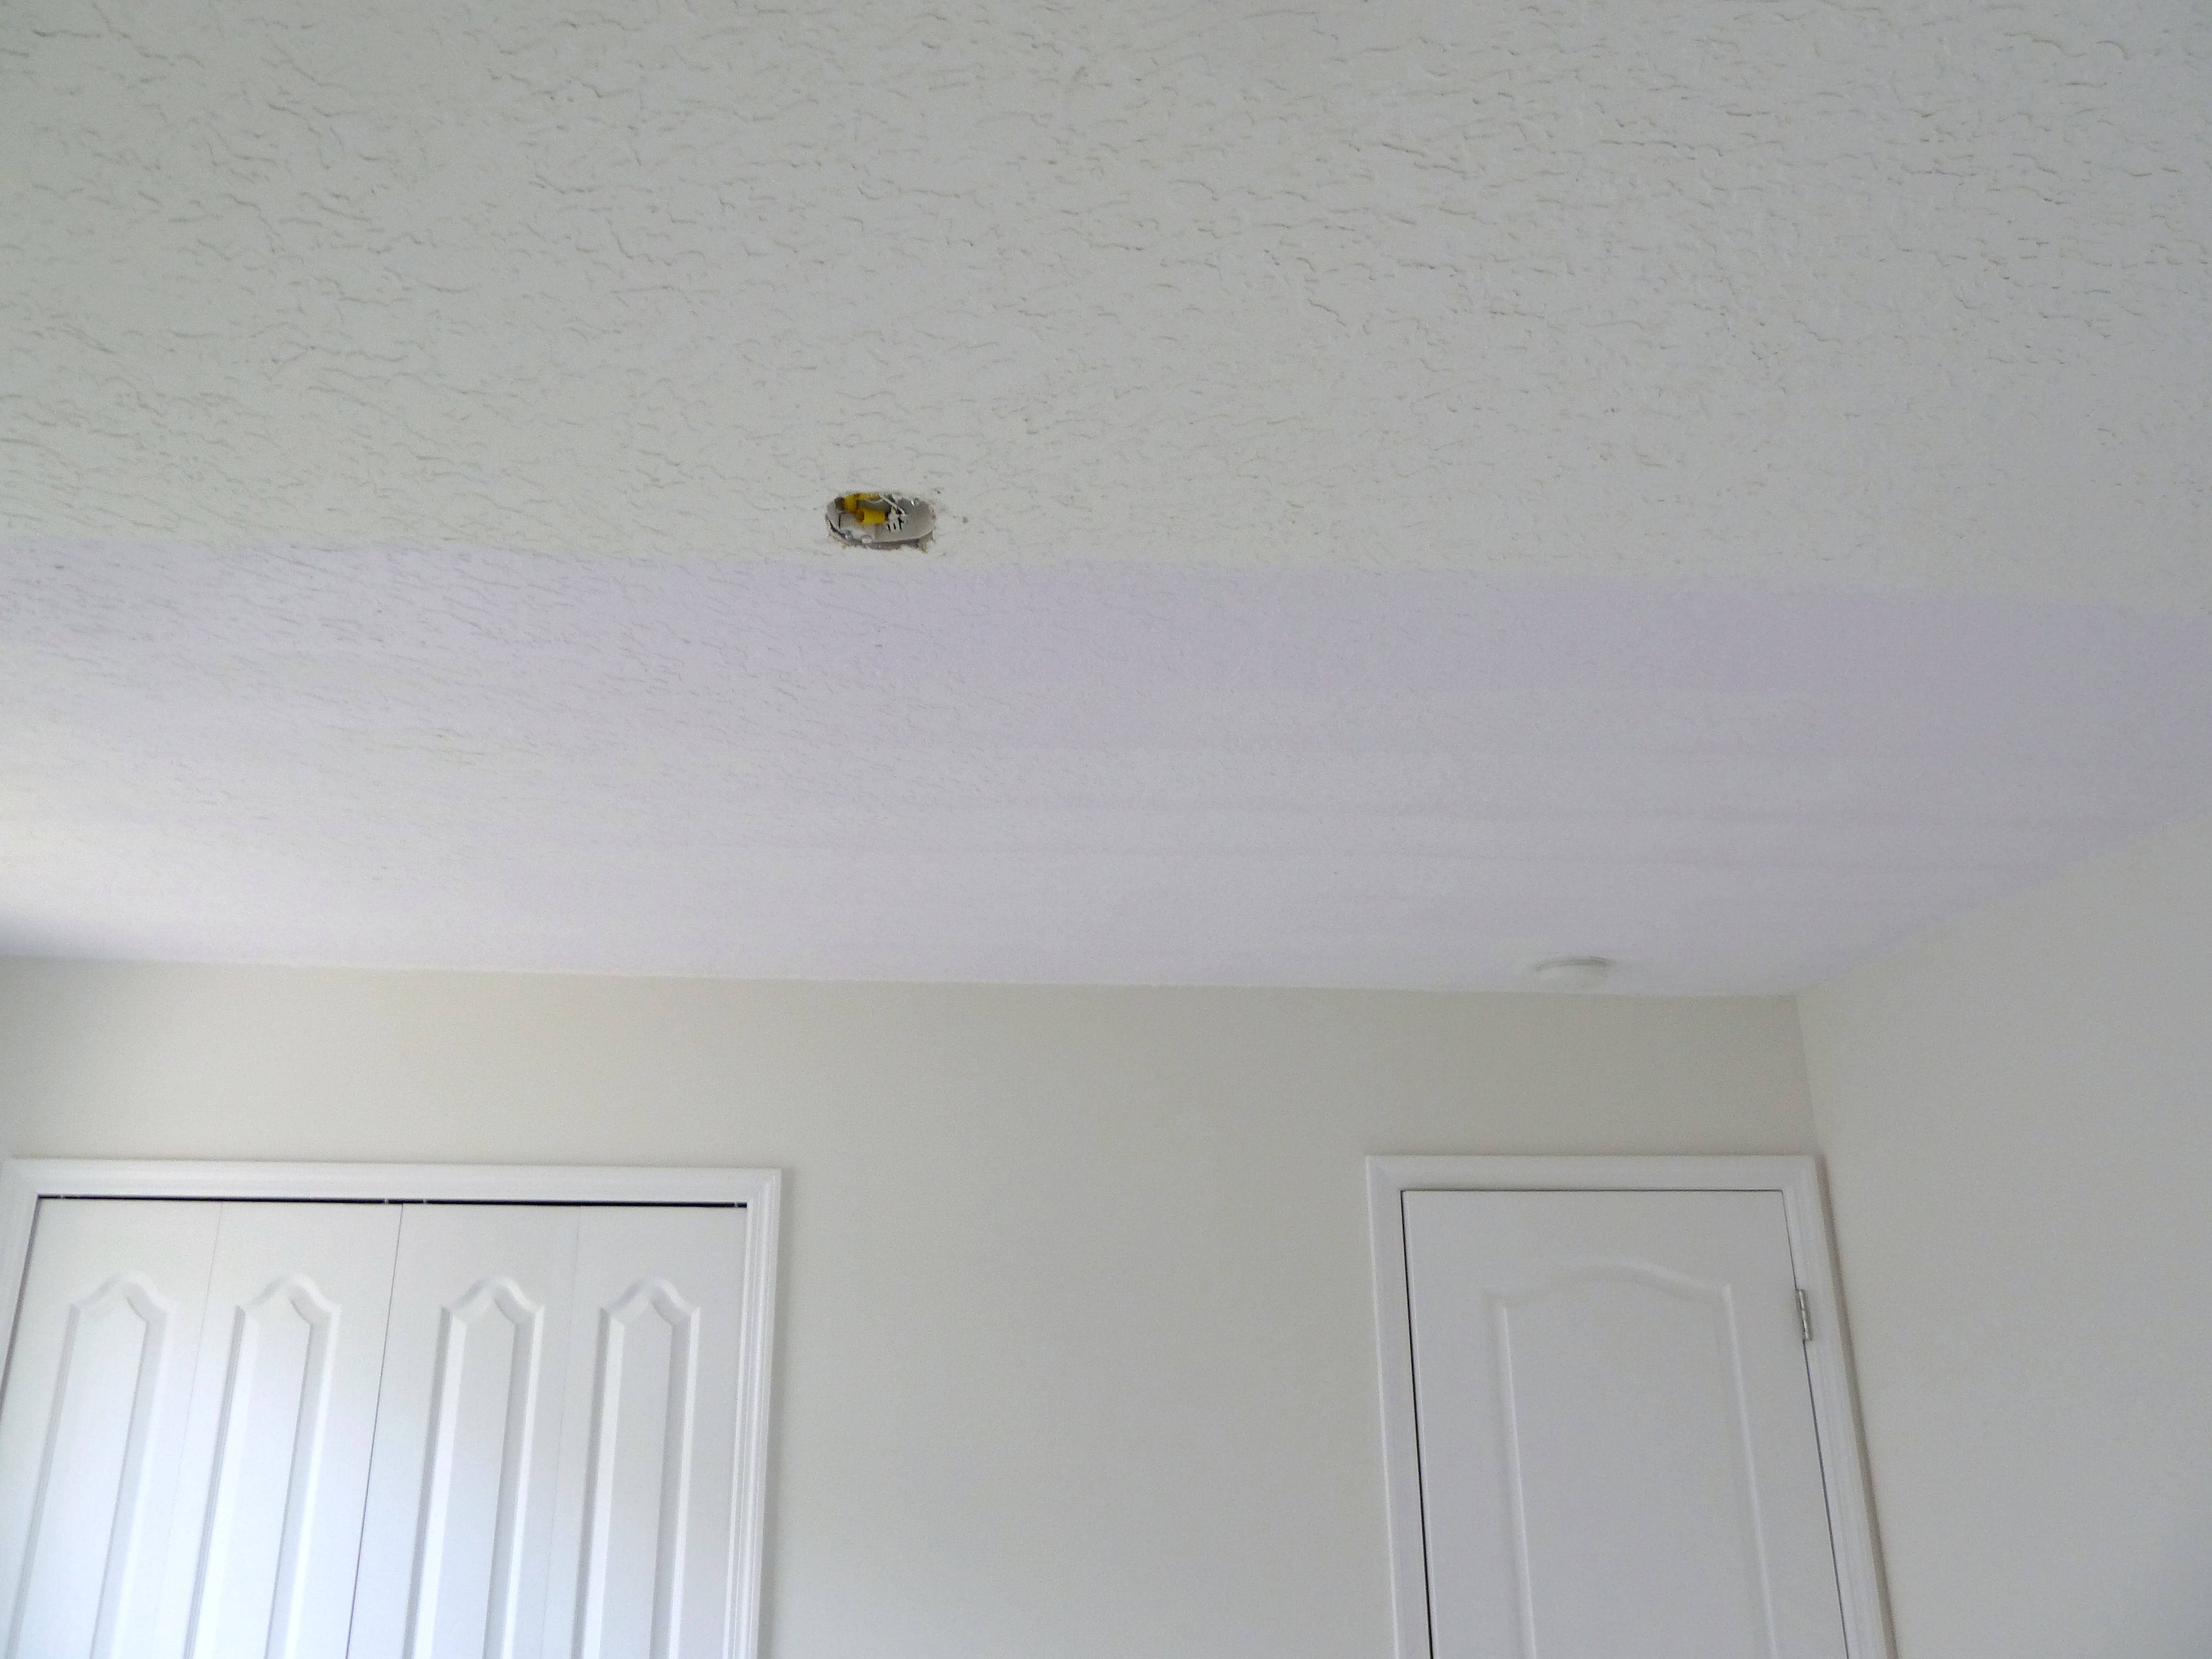
I then cleared the room out and made sure I covered everything with tarps, I know splattering is a big issue when painting a ceiling.
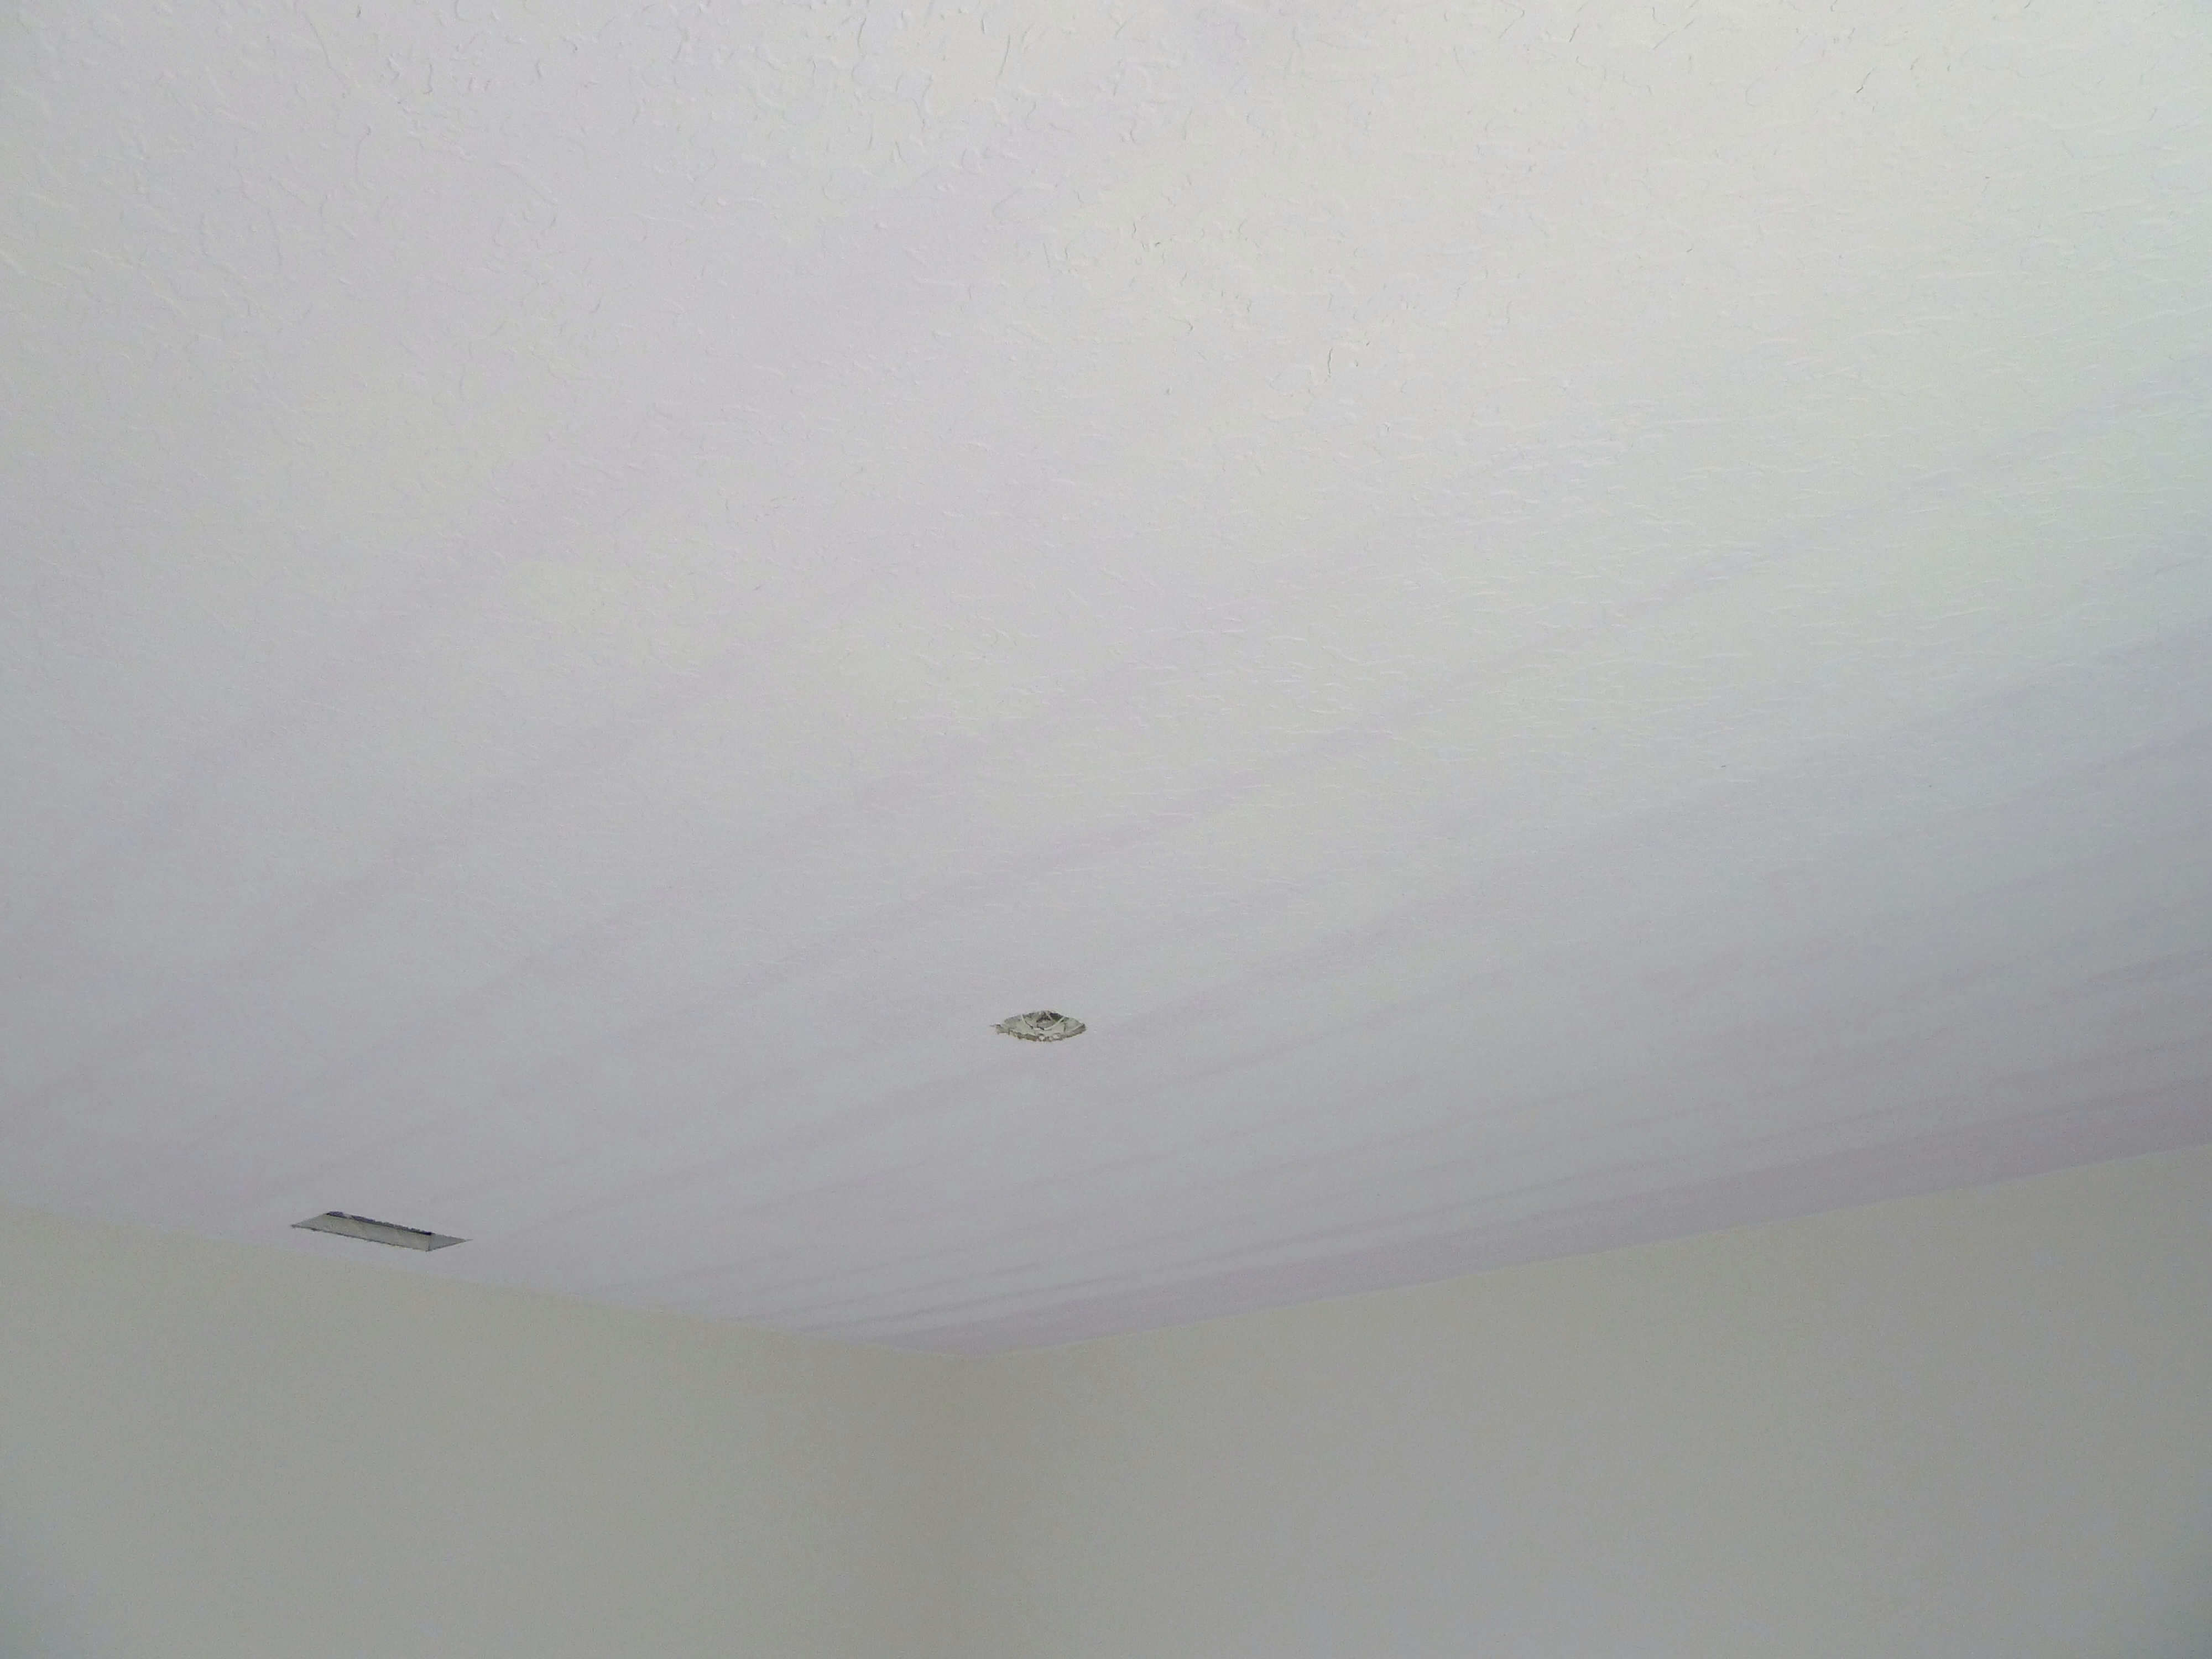
I also had Justin remove the fan and vent from the ceiling.
The purple in the paint really did help out when applying the paint. Here is what the paint looks like when I opened the can…
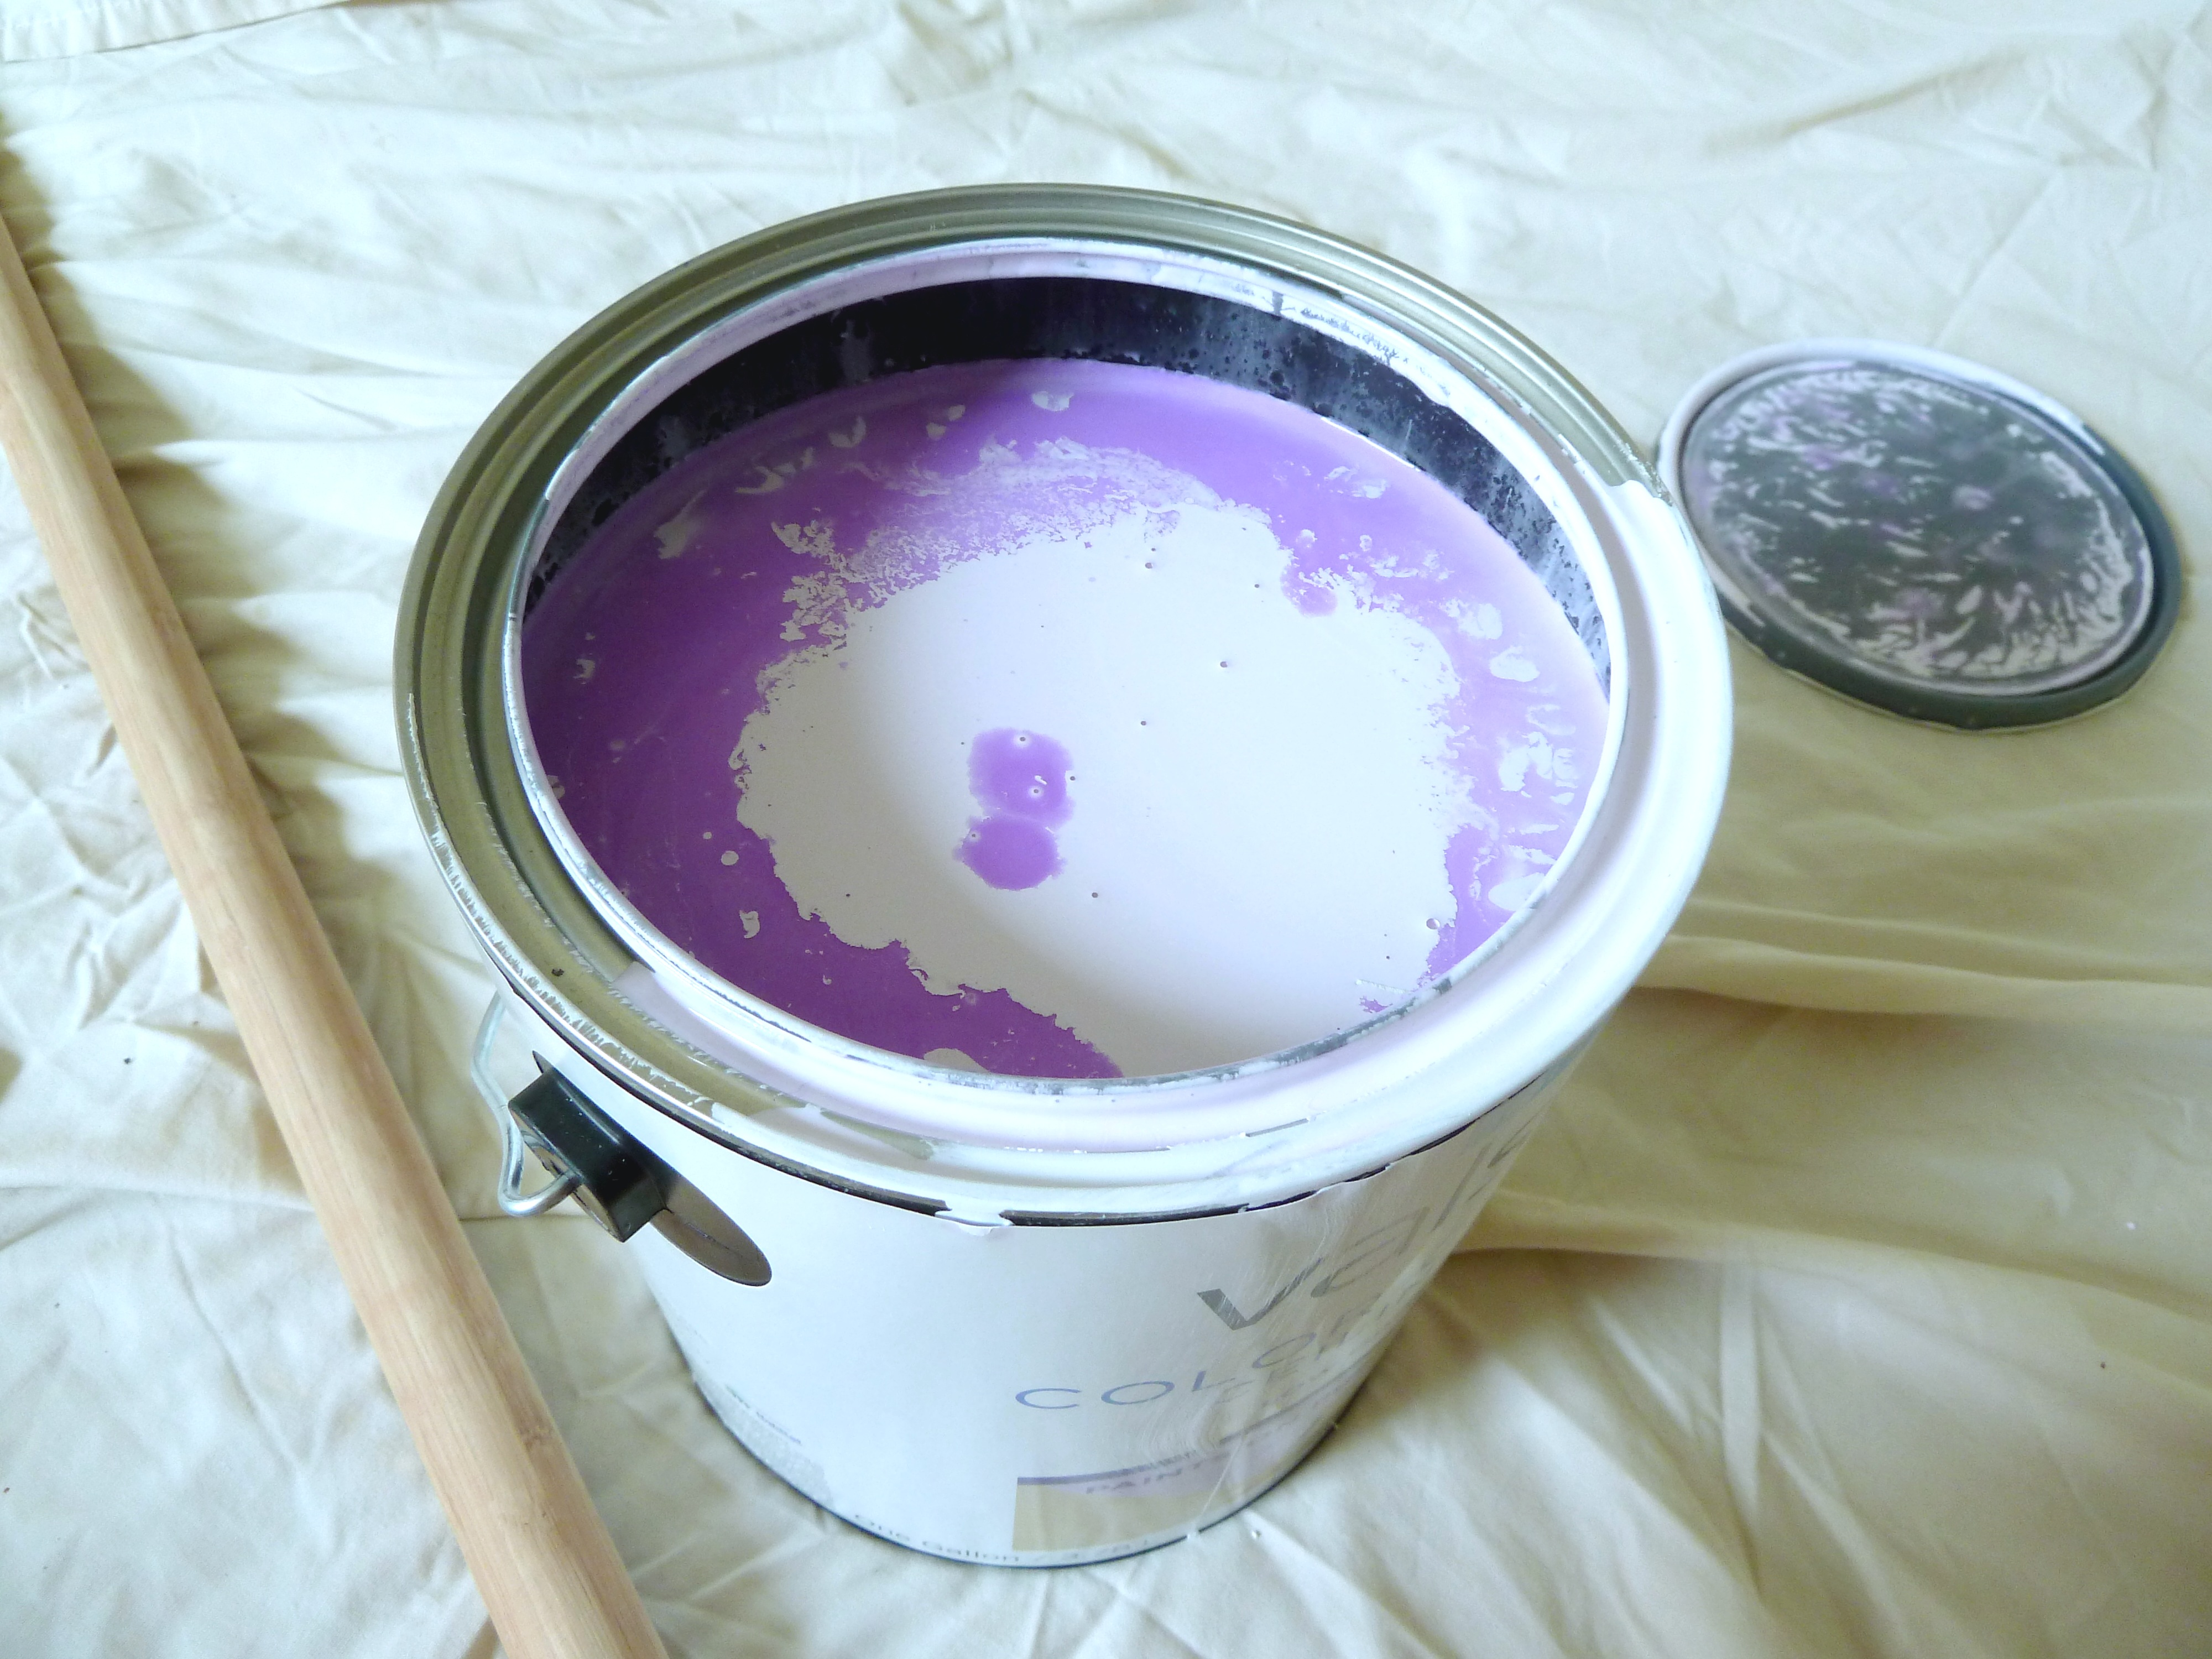
I really needed to give it a good stir before I started.
I used my usual method of edging first and rolling second.
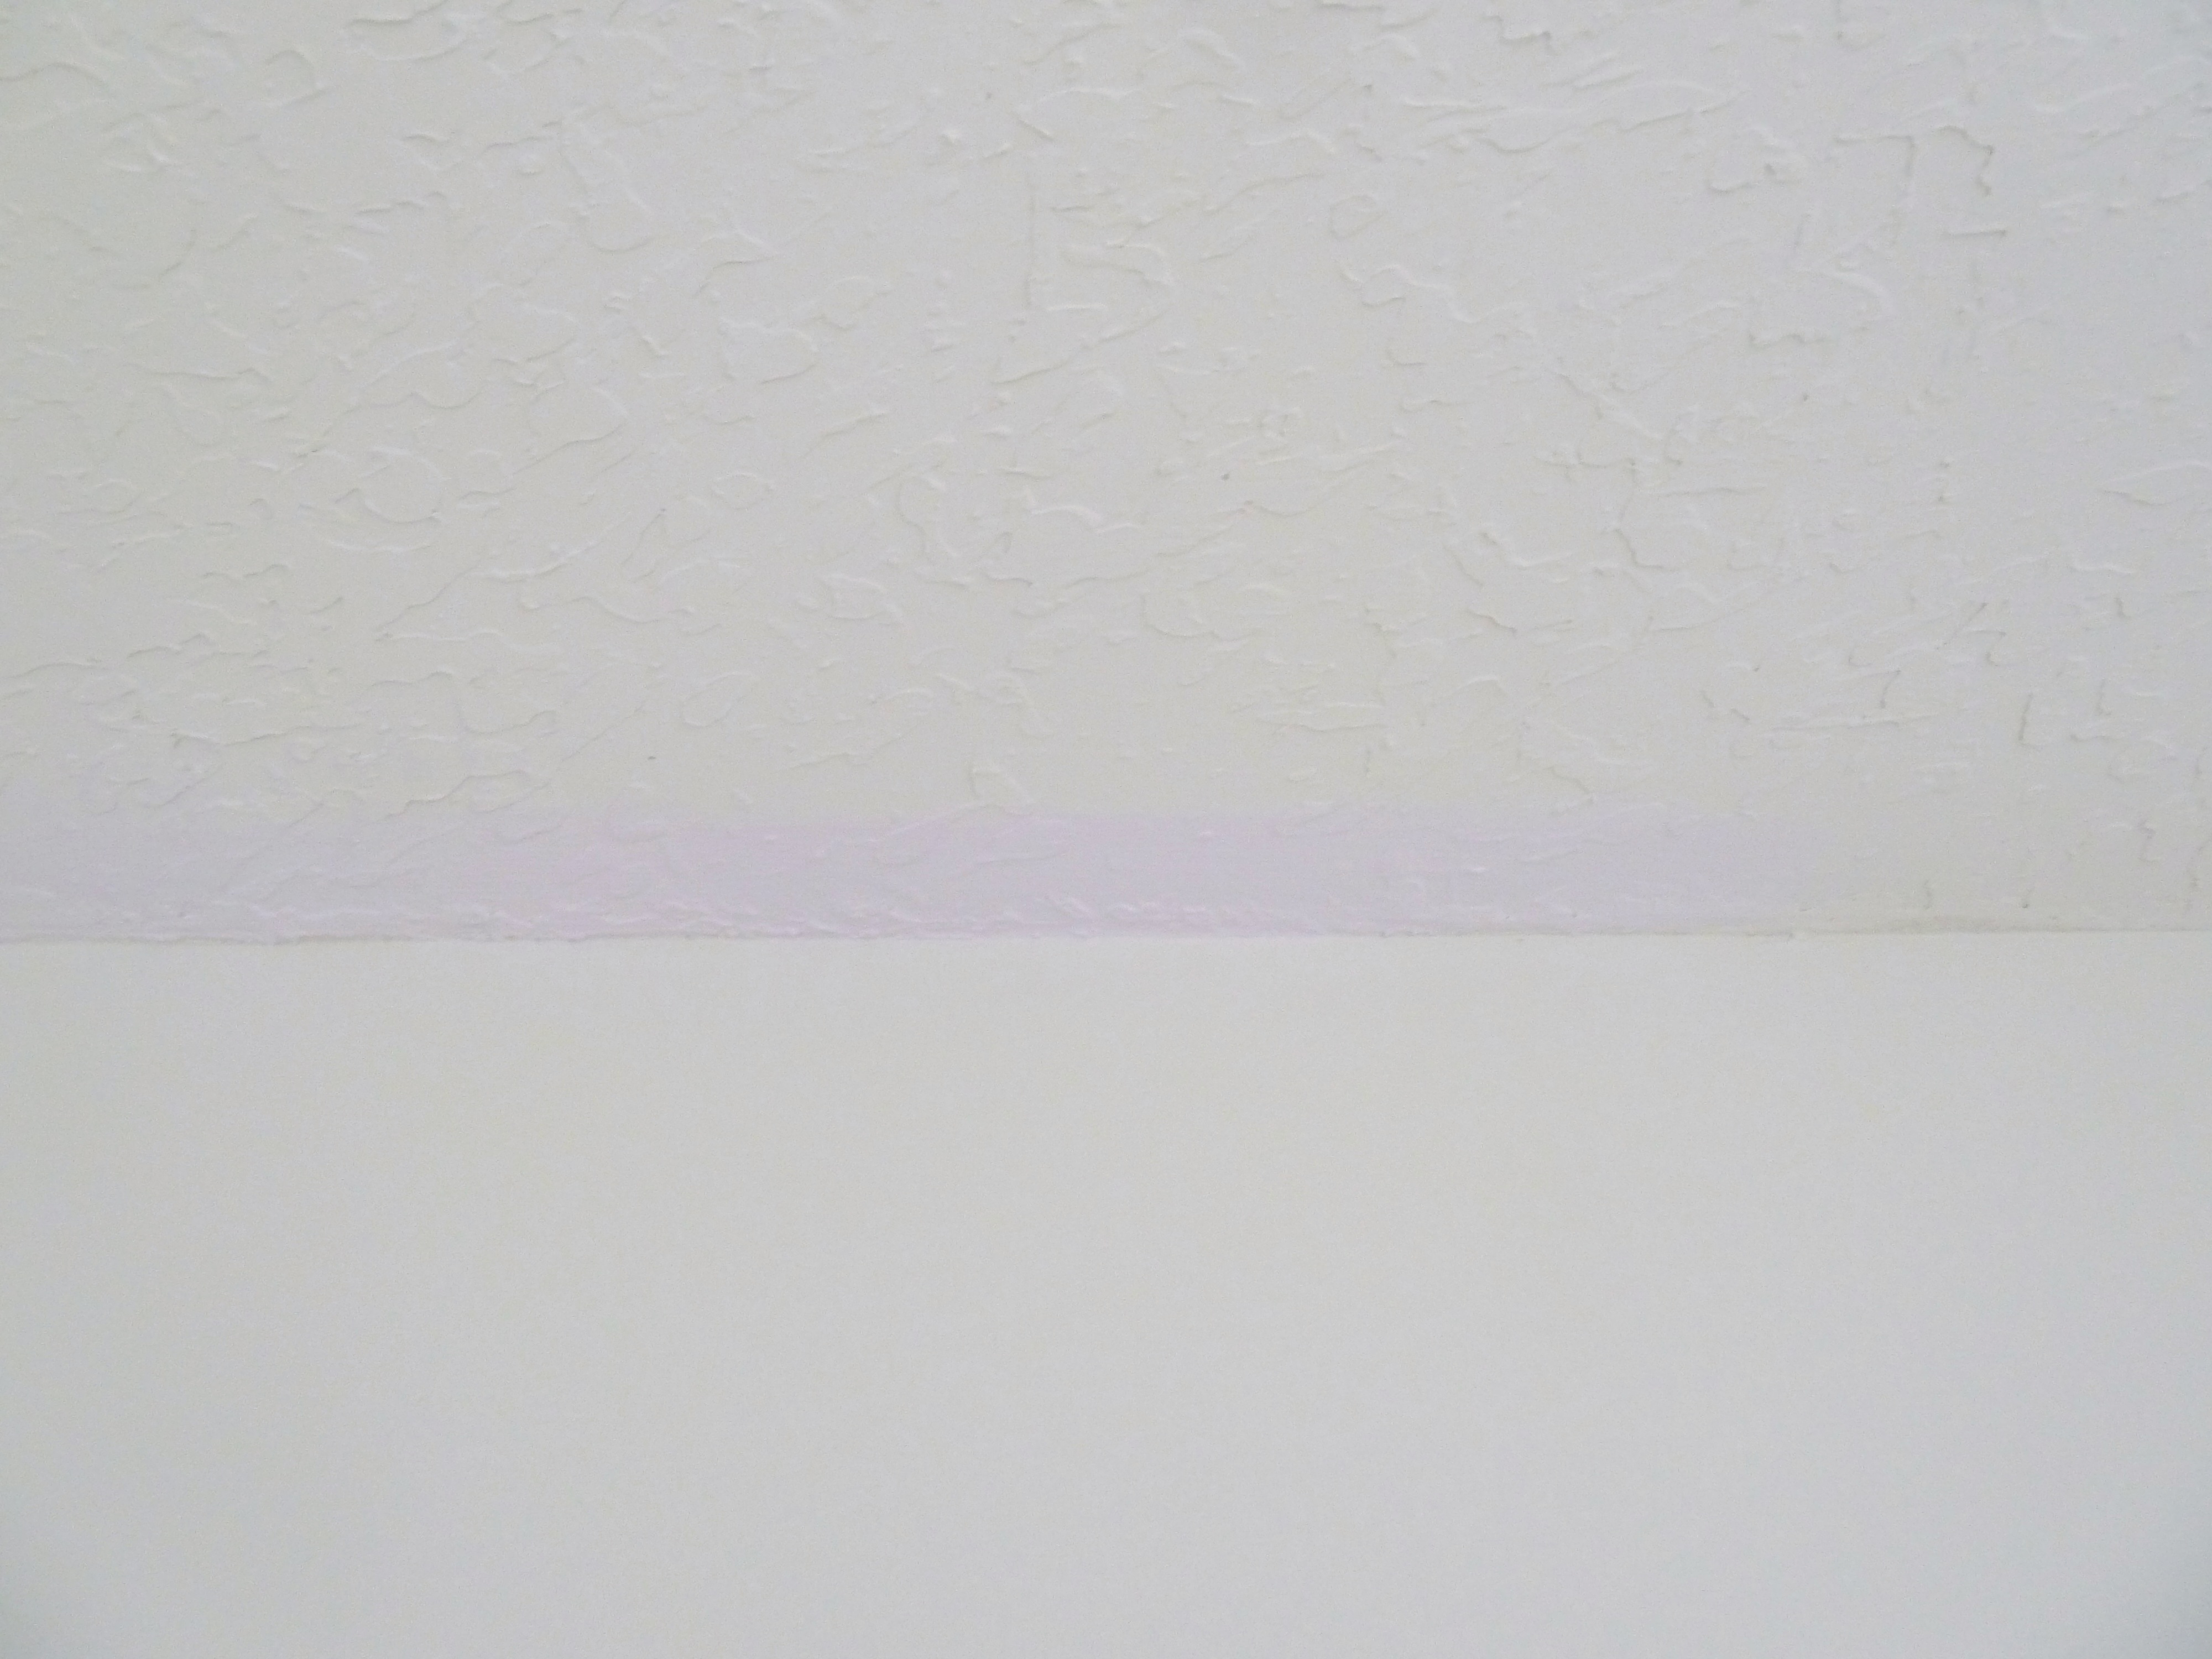
I really didn’t think painting the ceiling would make too much of a difference and then I looked at the dried edging that I had just painted…
Look at that!
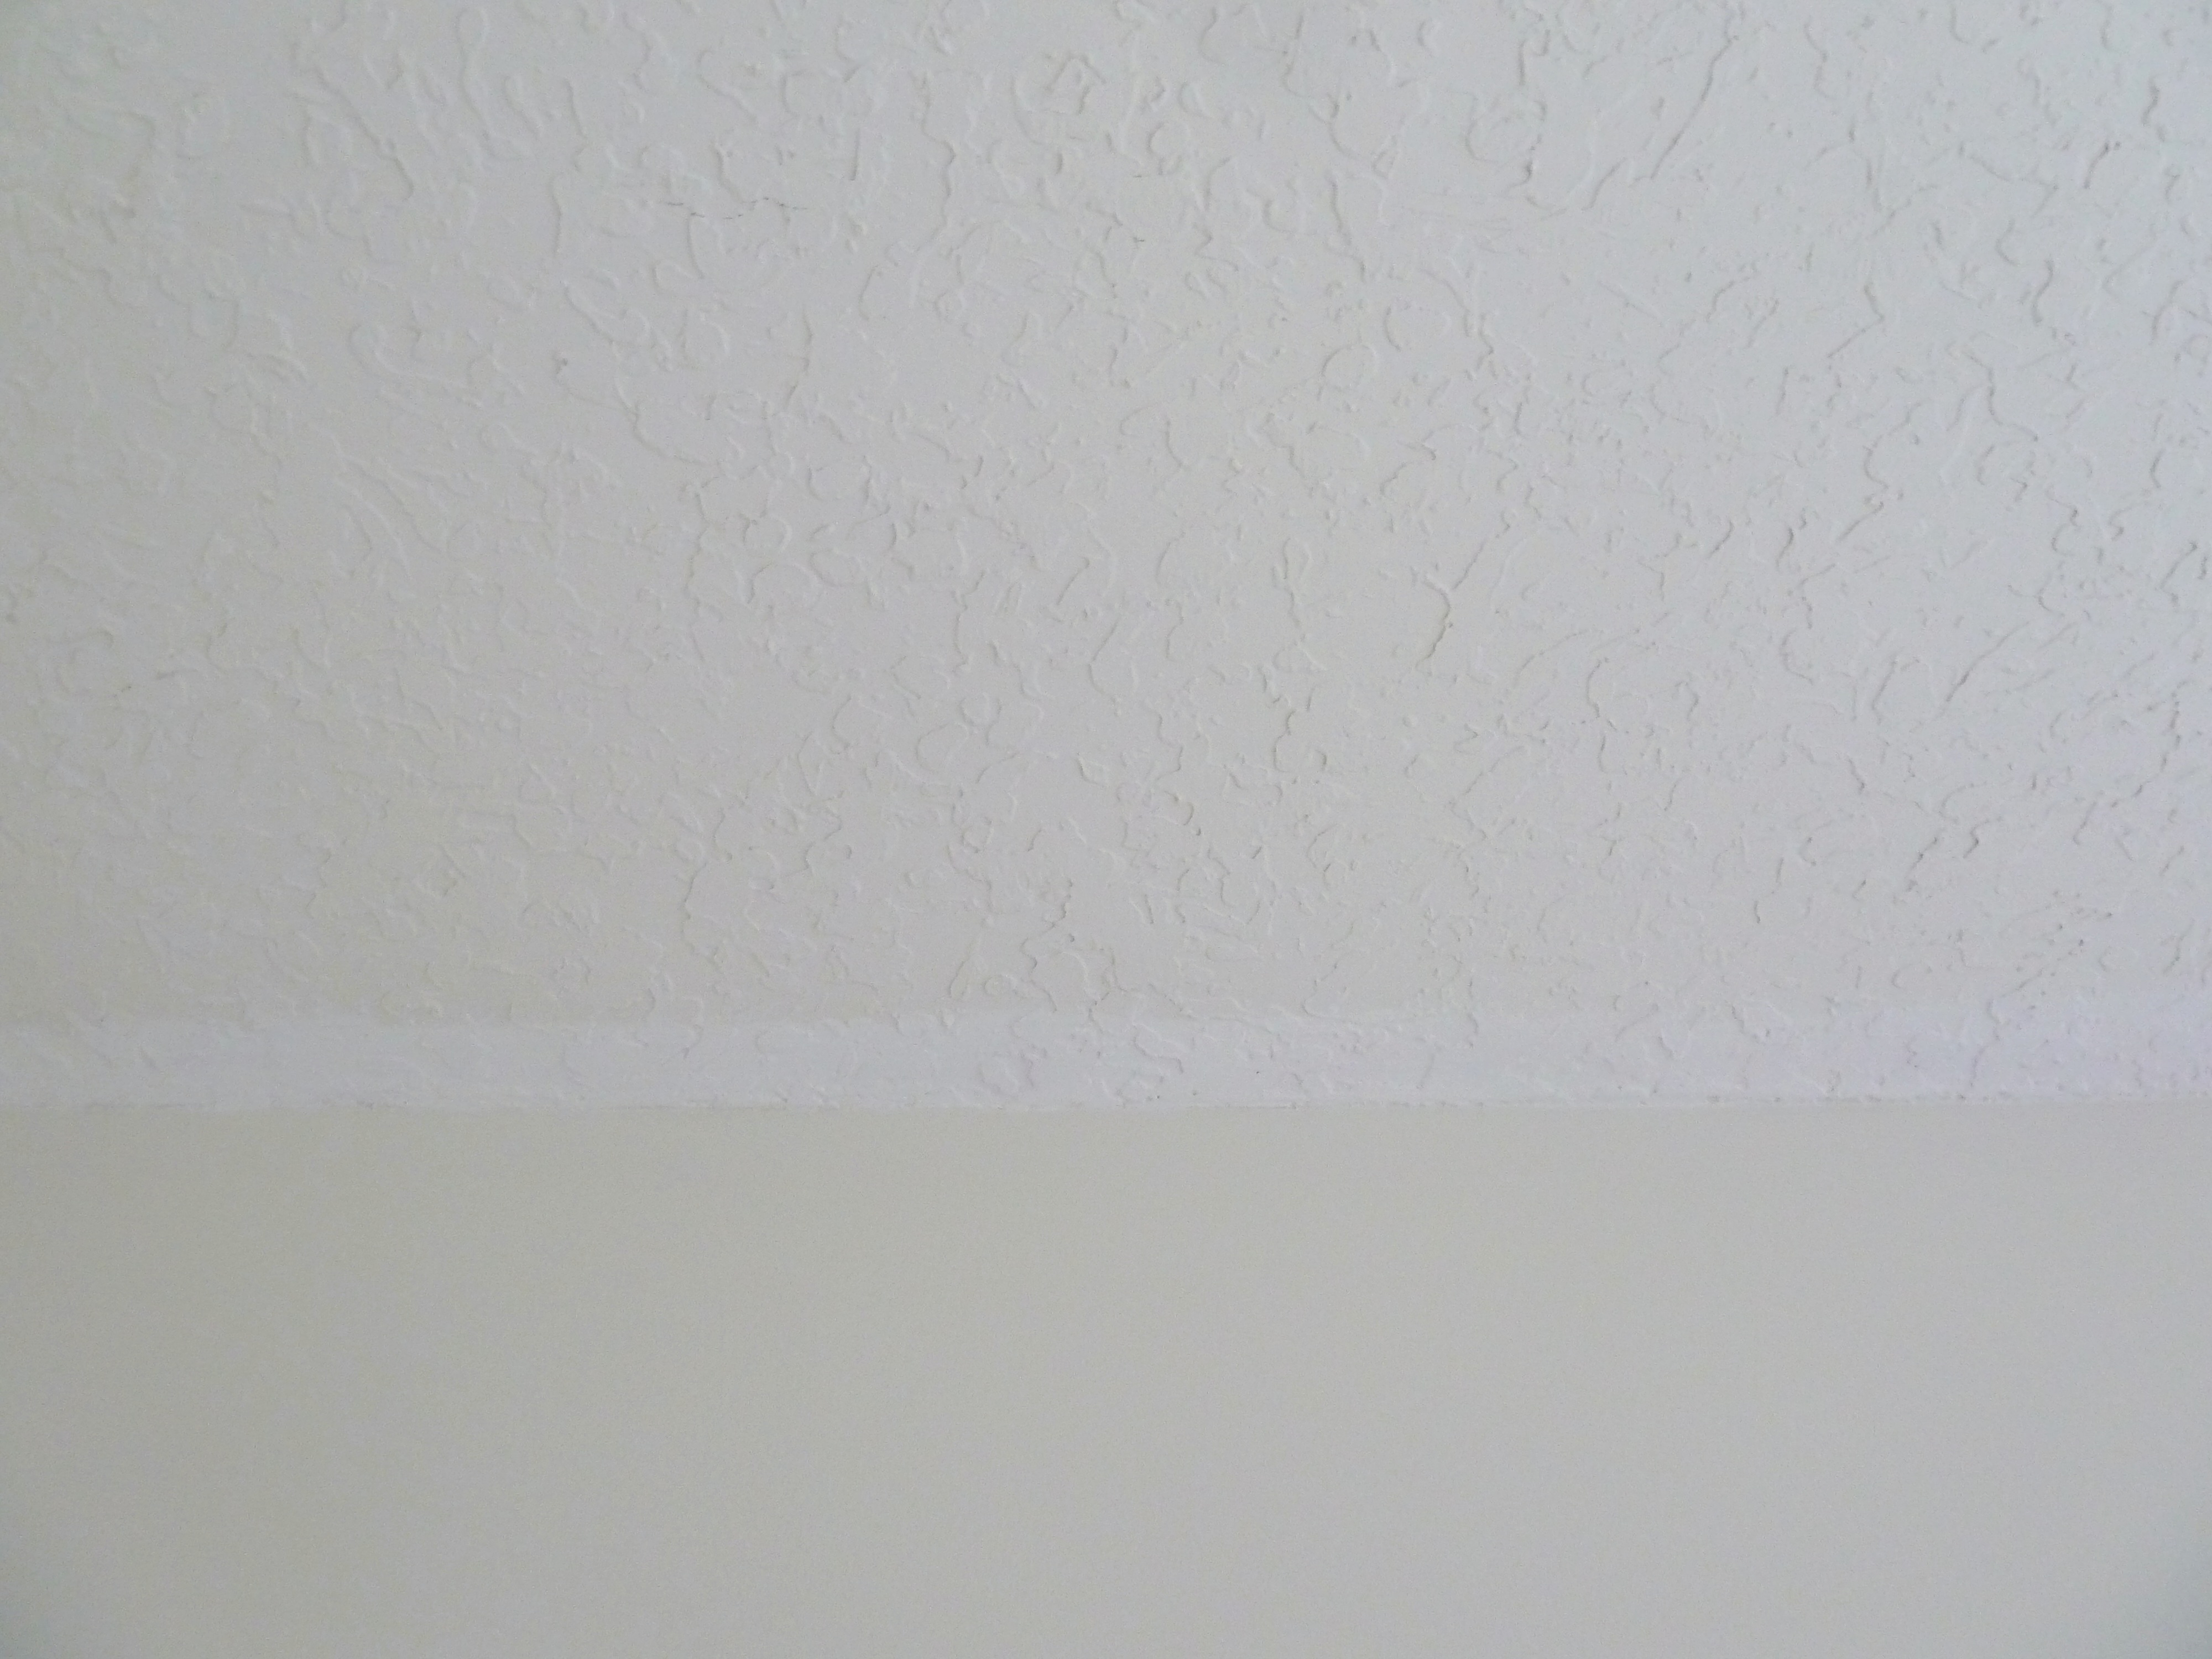
Is that not a crazy difference or what? I guess I didn’t know just how dingy the ceiling was.
From there it was time to start rolling. When I went to look for my roller someone had stolen it…
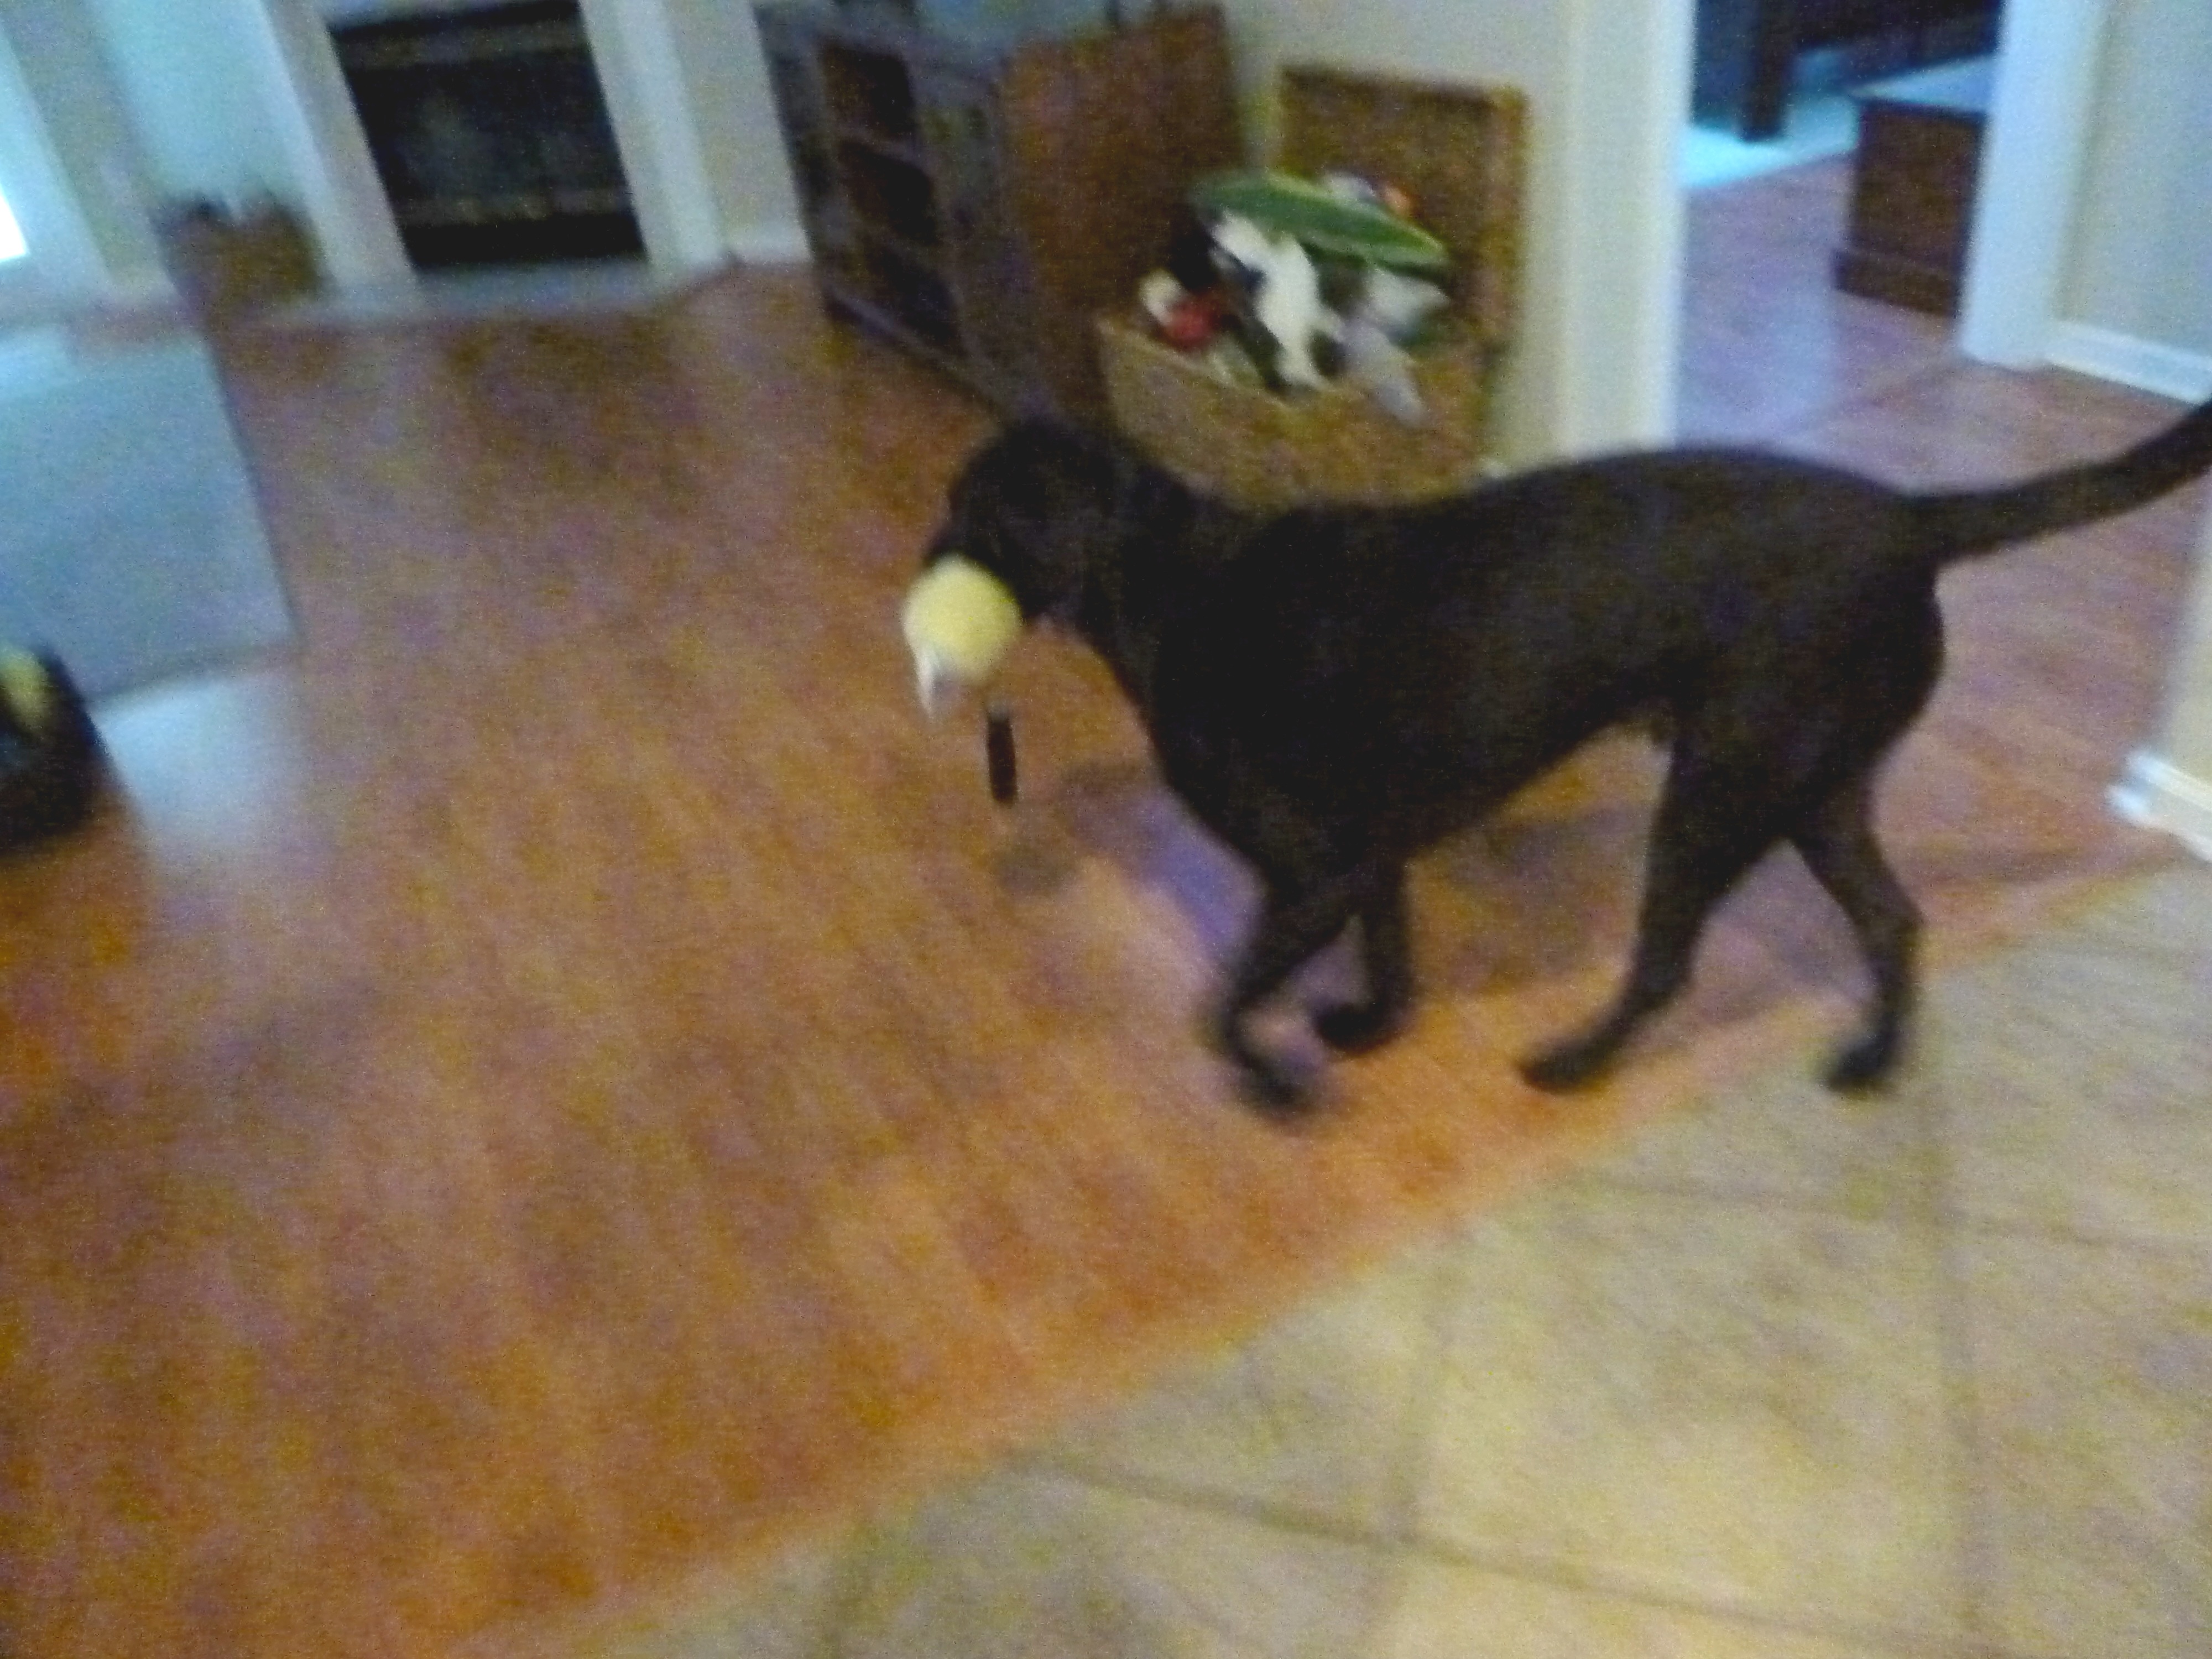
He’s such a little thief.
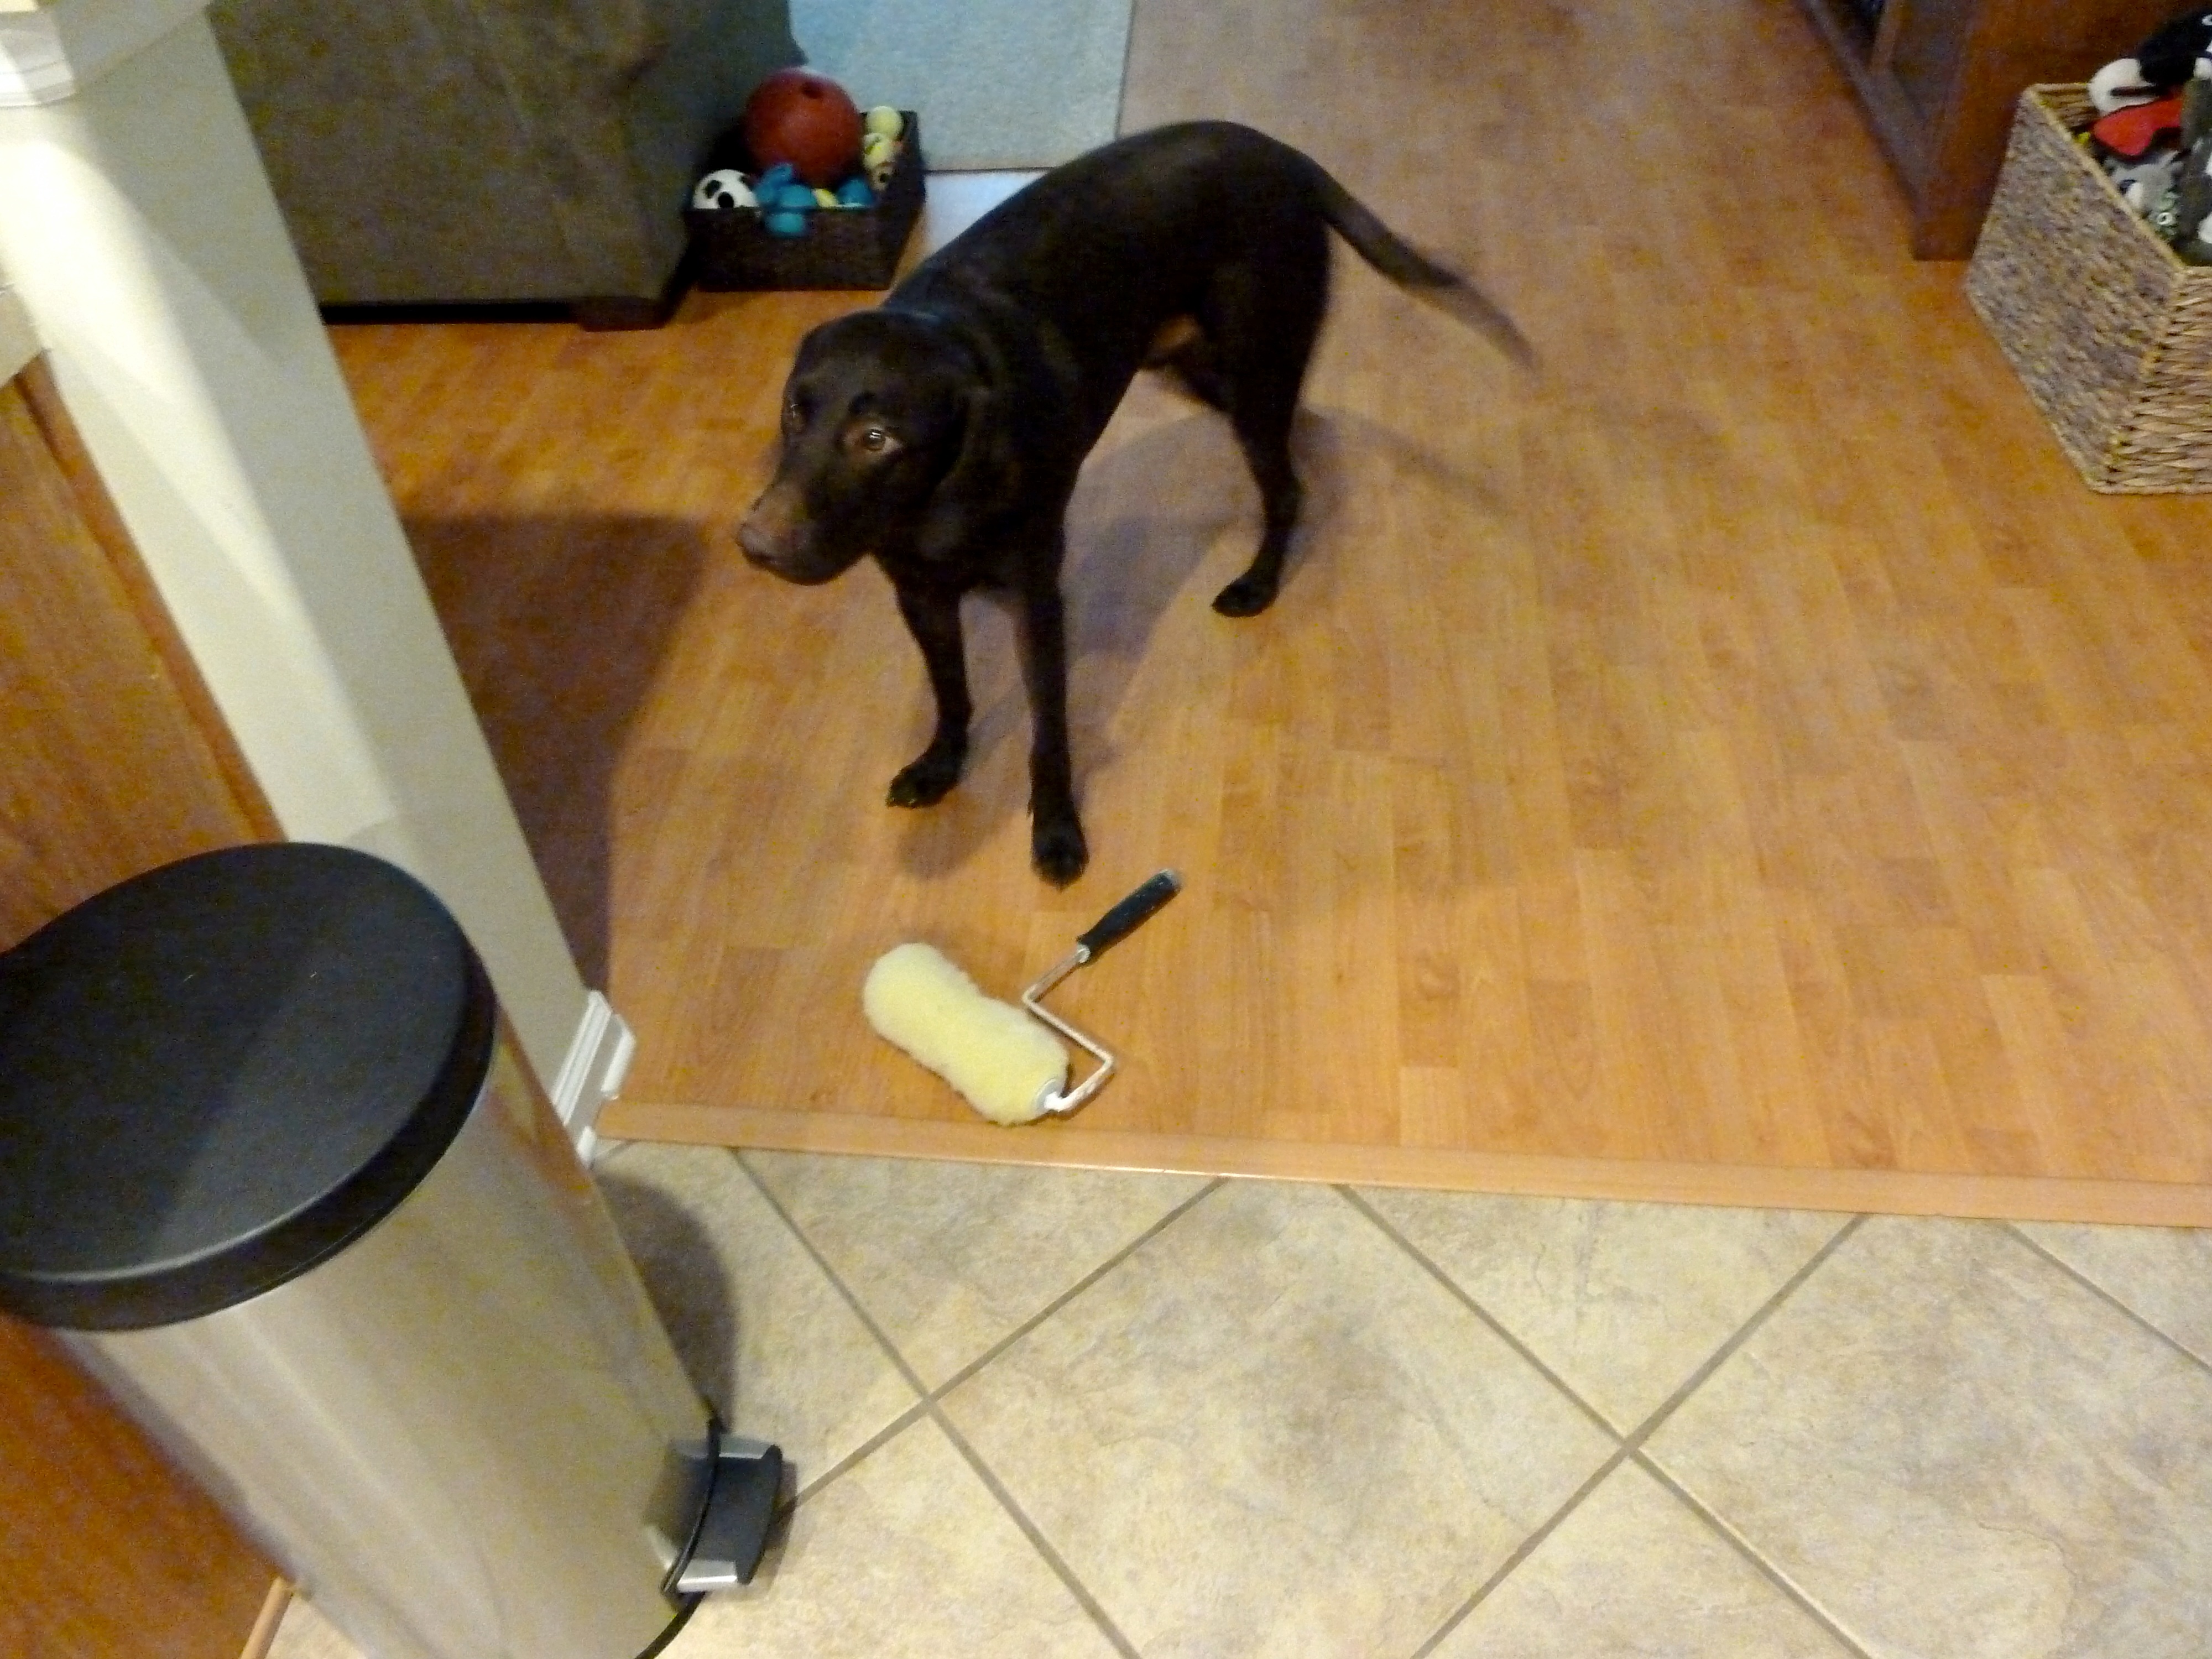
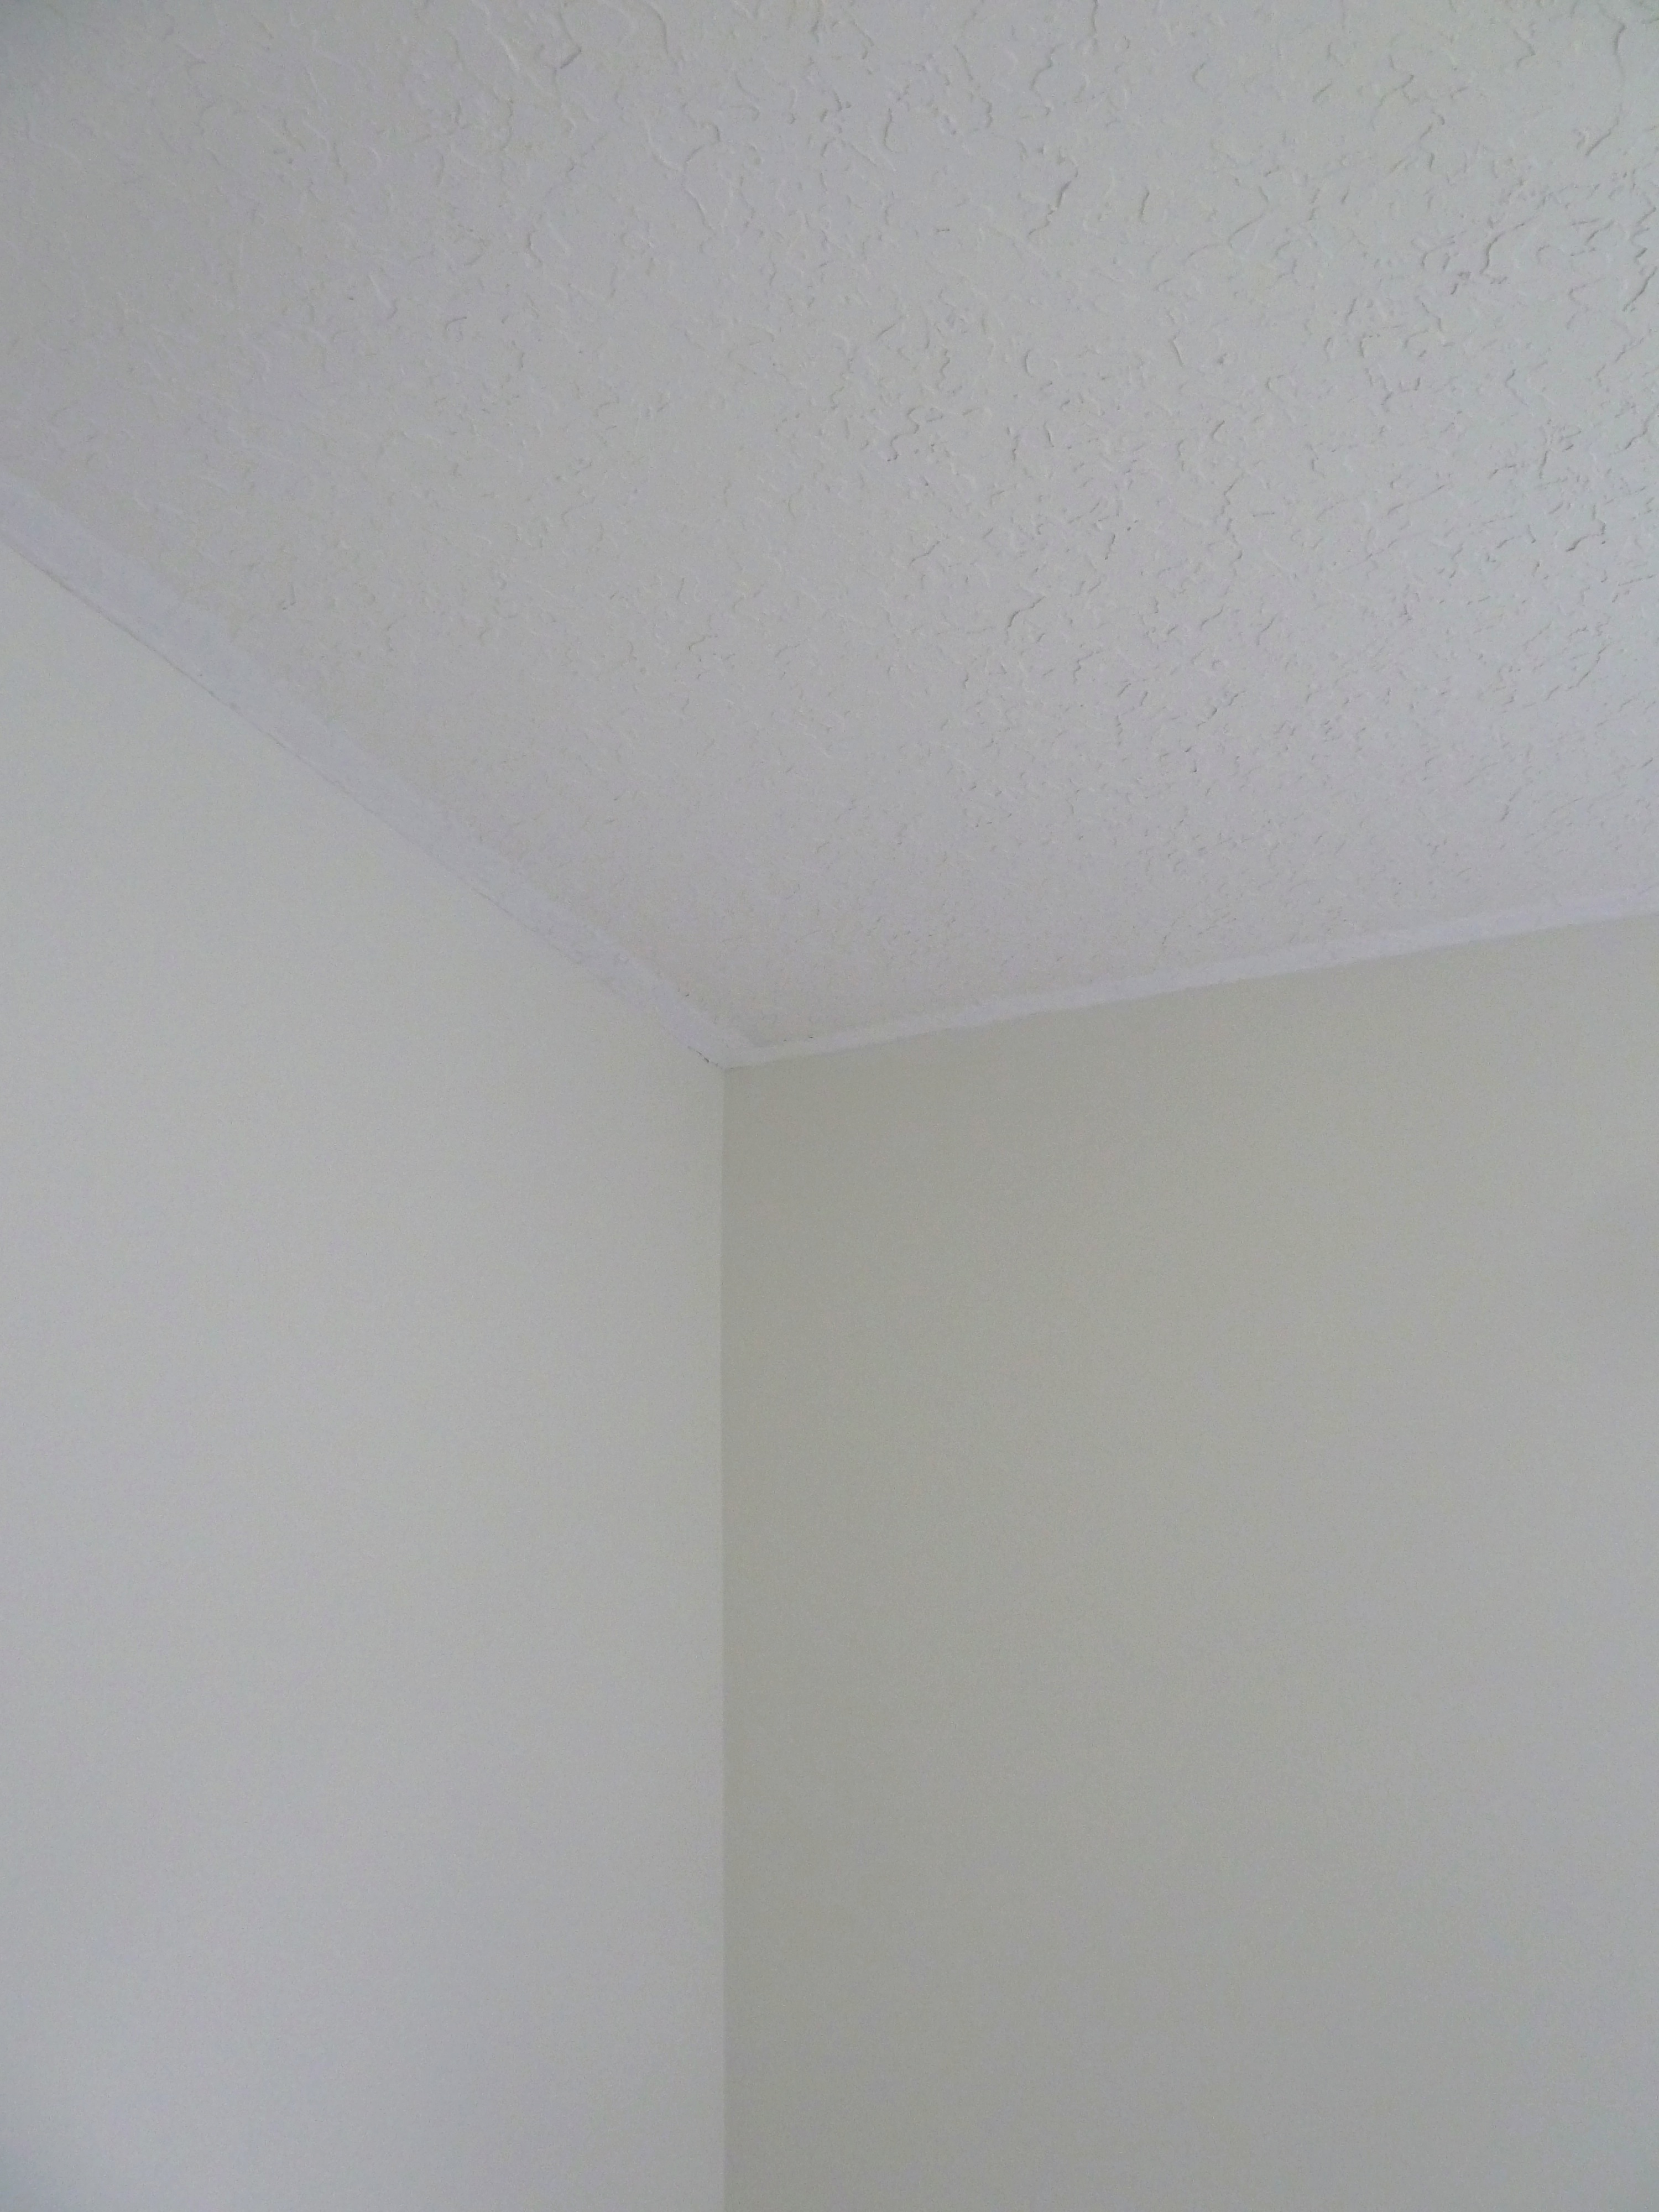
Once I got my roller back I went to town…
See the purple-ness?
This was quite the job, it really took a toll on my neck and I also had splattered paint all over my face, thank goodness for hats and glasses. Here is my room now, with every surface freshly painted.
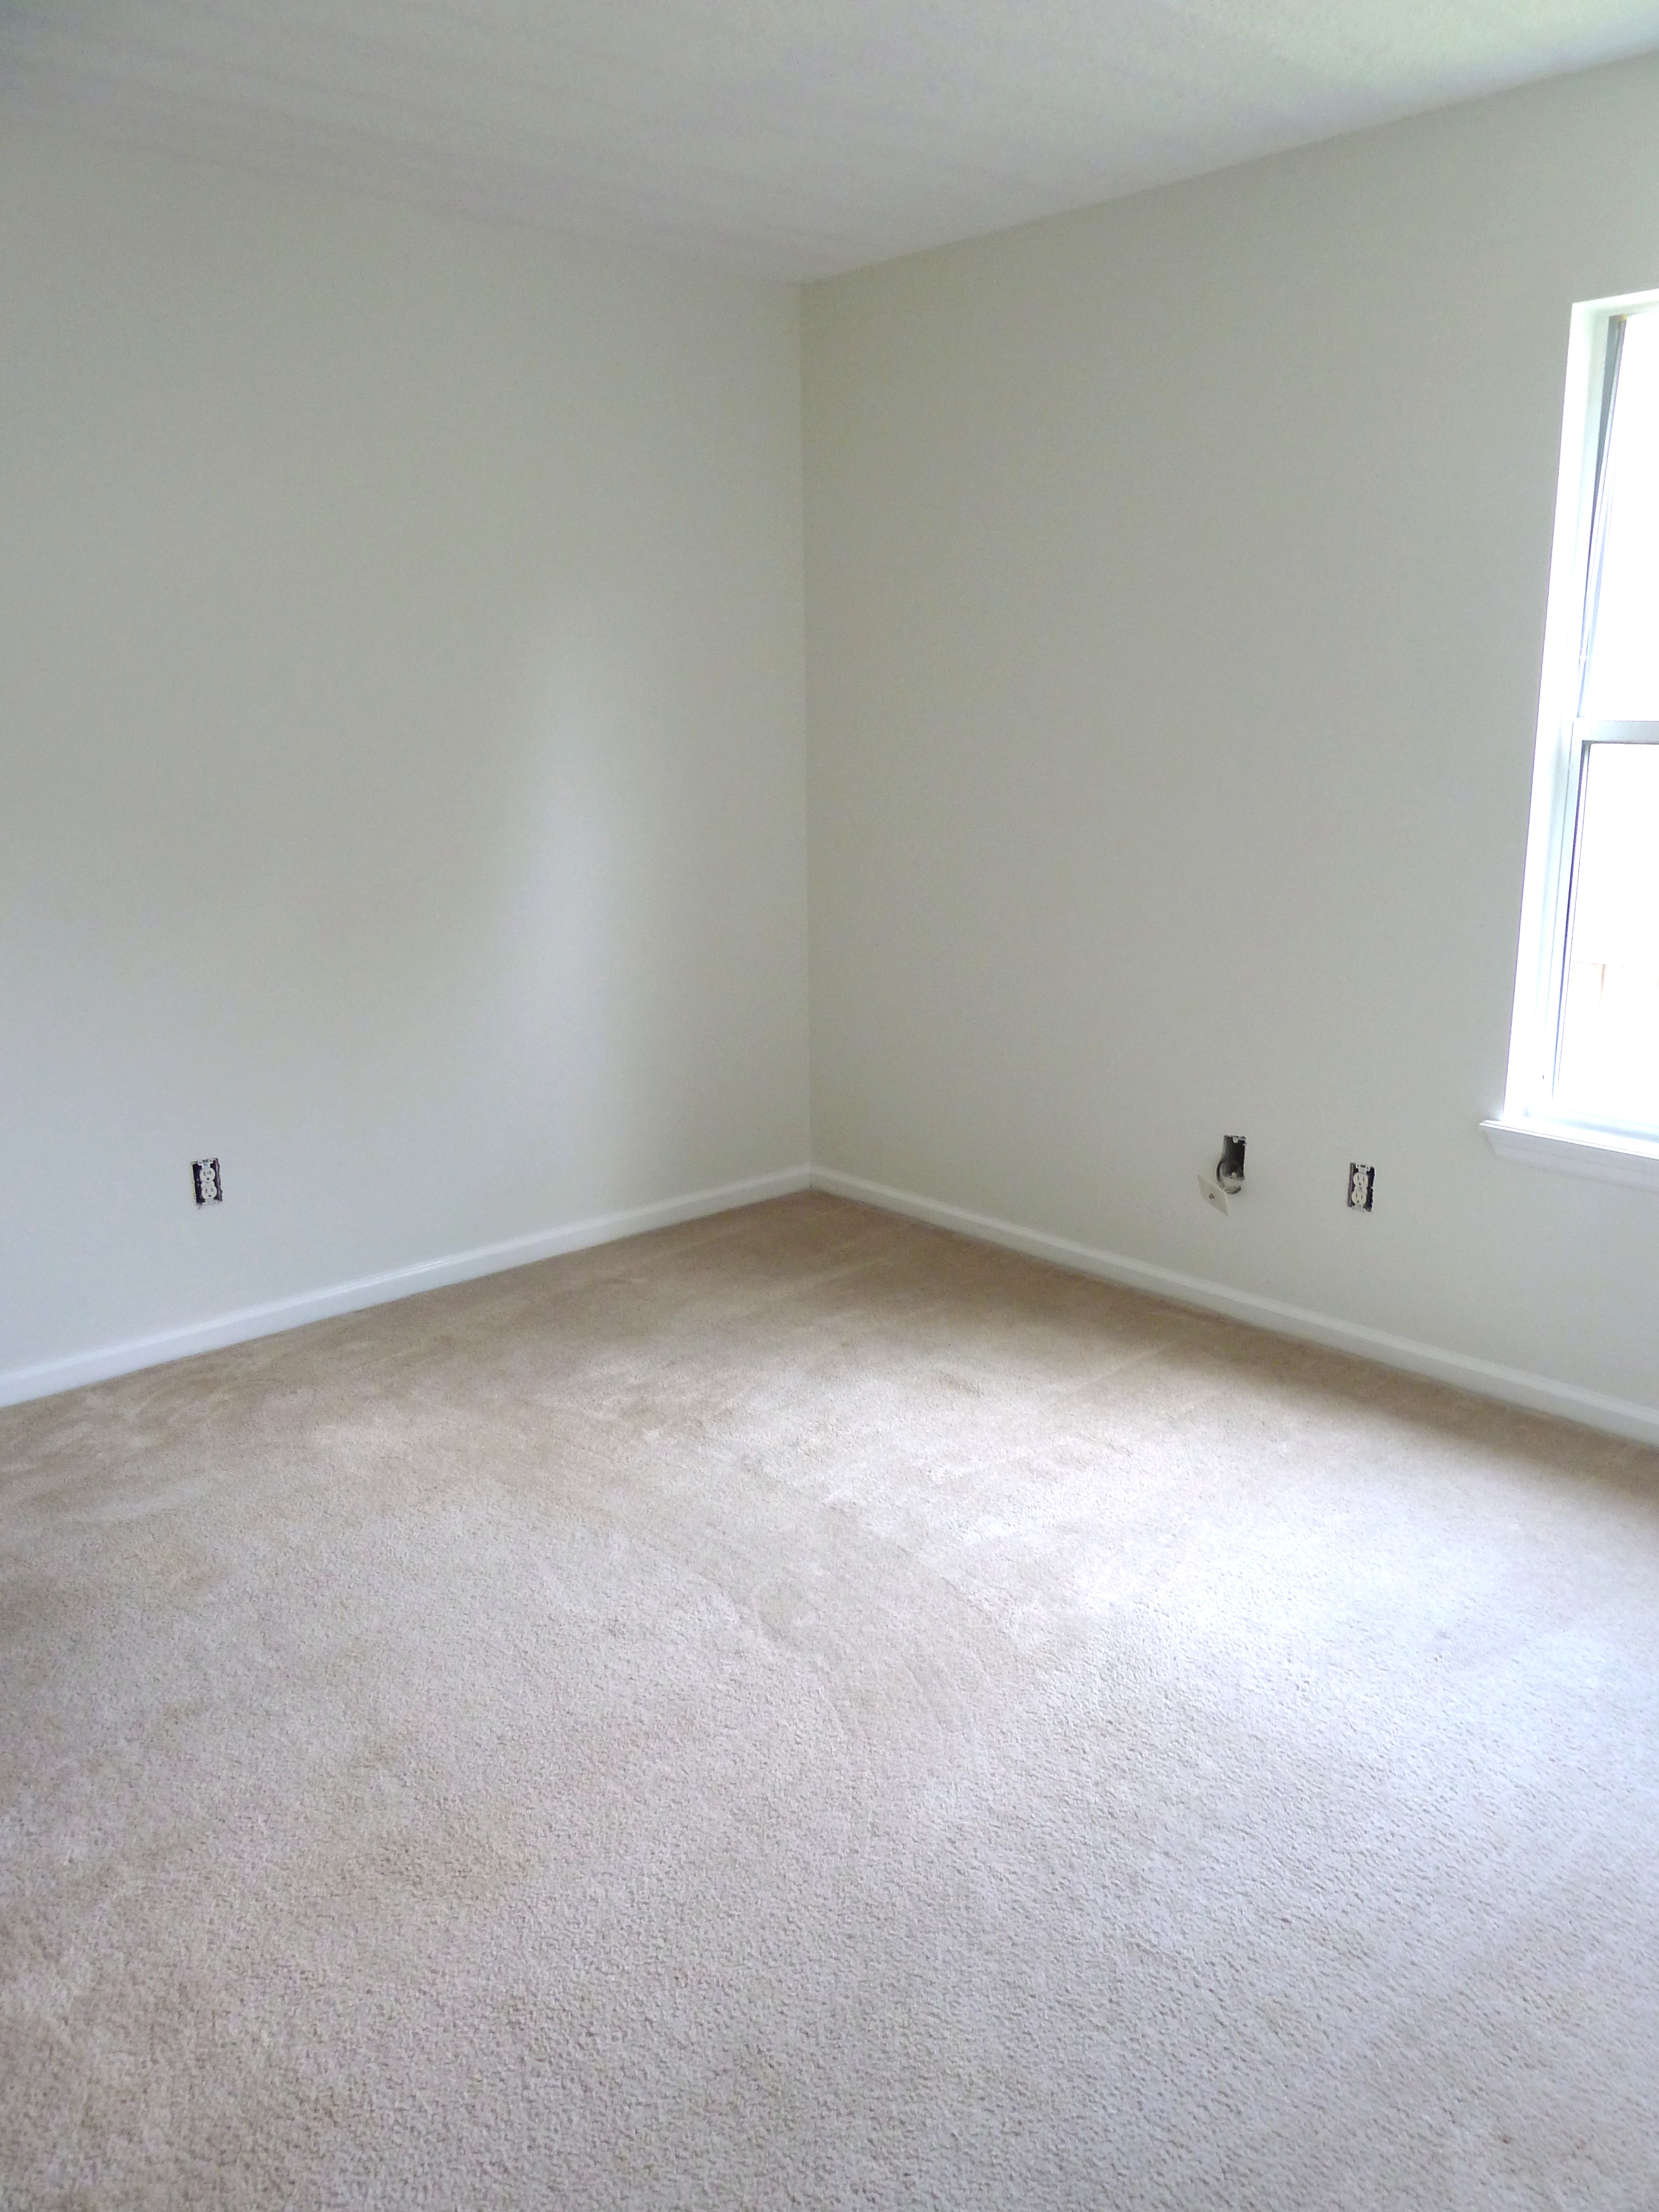
The ceiling still has a purple hue to it in this photo because it wasn’t quite dry yet. Can’t wait to get going on other updates in here!