Painting the Master Bathroom

As you know I have prepped our master bathroom for paint. Now that it is all set to go, I got right to it. I decided to go with Lighthouse Shadows by Valspar, it is the color of our master bedroom. I had a bunch left over from painting our room, so I thought that would be a good choice. Since we will eventually be demoing this entire room, I didn’t want to purchase new paint. Here is what I started with…

056

Here is what we have now…

aa7

I love that it makes the bathroom feel like a continuation of our bedroom now…

aa2

aa1

I unfortunately did not get any photos of the painting process, but I do have some before and afters!

picisto-20130915195048-659890_Fotor

picisto-20130915195243-851282_Fotor

picisto-20130915195519-414100_Fotor

I also put a fresh coat of white paint on all the doors…

picisto-20130915195720-813552_Fotor

We still have big plans for this bathroom, but for now it feels a lot cleaner in here. I still need to do some more caulking and I would like to hang some art and change a couple other things. Thanks for reading folks!

Master Bath Changes

I am on a kick with the master bath right now.  I just feel the need to make some changes, so that’s just what I am doing.  Last I showed you I had taken down the wallpaper border and left the room looking like this…

P1080087_Fotor

No more border! Yahoo!  Next up I thought it might be nice to put some fresh paint on the walls.  I just can’t get enough painting apparently.  Before I started there were a few things I needed to do to prep the room.  Here is the sink area in the bath…

056

See the counter splash guard?  Well, I hate it.  There is one on each side, yay! I decided they had to go, but first here’s a close up…

a99

They were both semi-peeling away from the wall already, so removing them was pretty simple.  I just took my spackling knife and pried the piece away from the wall.  I had to cut some of the caulk as I went, but it pretty much just popped right out.

a99999

As you can see some of the drywall peeled up, nothing a little spackle can’t take care of, amiright?  So I got right to spackling…

a9999

I use Dap DryDex spackle from Lowes, it goes on pink and dries white.  That way you know when it is okay to start sanding.

picisto-20130915192302-183835_Fotor

I think it looks better already!a999999

From there I spackled all of the holes in the walls from the previous owners art.  Then I sanded everything down really well.  I also re-painted all of the trim in a white semi-gloss.

a3

a4

Now this room is all ready for a good coat of paint on the walls.

a6

If you check out the picture above, you can see that this room is two different shades of teal.  I am pretty pumped to change the color and make it all one solid color.  I’ll let you know how it goes!

86 Wallpaper

As I have previously mentioned our master bathroom is not my favorite place in our house. I have already removed all of the old caulk in and around the shower and tub and put fresh caulk down, which helped a bit.

picisto-20130908171349-414180_Fotor

Eventually we would like to demo this bathroom and start fresh, but since that is a ways off I needed to make some changes now. I started with removing the beautiful border. Here it is before…

P1080063_Fotor

Pretty nice huh?

P1080065_Fotor

Fortunately it is just on this one wall. Here is a close up so you can take in the lovely flowers…

P1080066_Fotor

So, I got out my tools I needed…

P1080070_Fotor

I decided to go with the same hot water/liquid fabric softener concoction that I used when removing the border in the guest room. It seemed to do the trick the first time, so stick with what works right?

P1080072_Fotor

This time I started to peel the border before spraying my fabric softener mix on it.

P1080073_Fotor

The border was already peeling up from the wall before I even touched it. I am assuming this is from all the moisture and steam from years of showering in here. I wasn’t complaining though, made my life a ton easier…

P1080076_Fotor

I just started pulling and was left with this…

P1080077_Fotor

Yup, the top layer all peeled down in one piece, wahoo!

P1080081_Fotor

From there I did my spray and peel thing until I had this…

P1080082_Fotor

This took a total of about 15 minutes. I was pumped, since the last room took me more than an hour. I think it looks much better…

picisto-20130908173108-986301_Fotor

picisto-20130908173313-924160_Fotor

What What! No more wallpaper borders in this house!

Lets Give Them Something to Caulk About

Yup, I just hacked a Bonnie Raitt song to named my caulking post.  I know I’m cool, you don’t have to tell me.

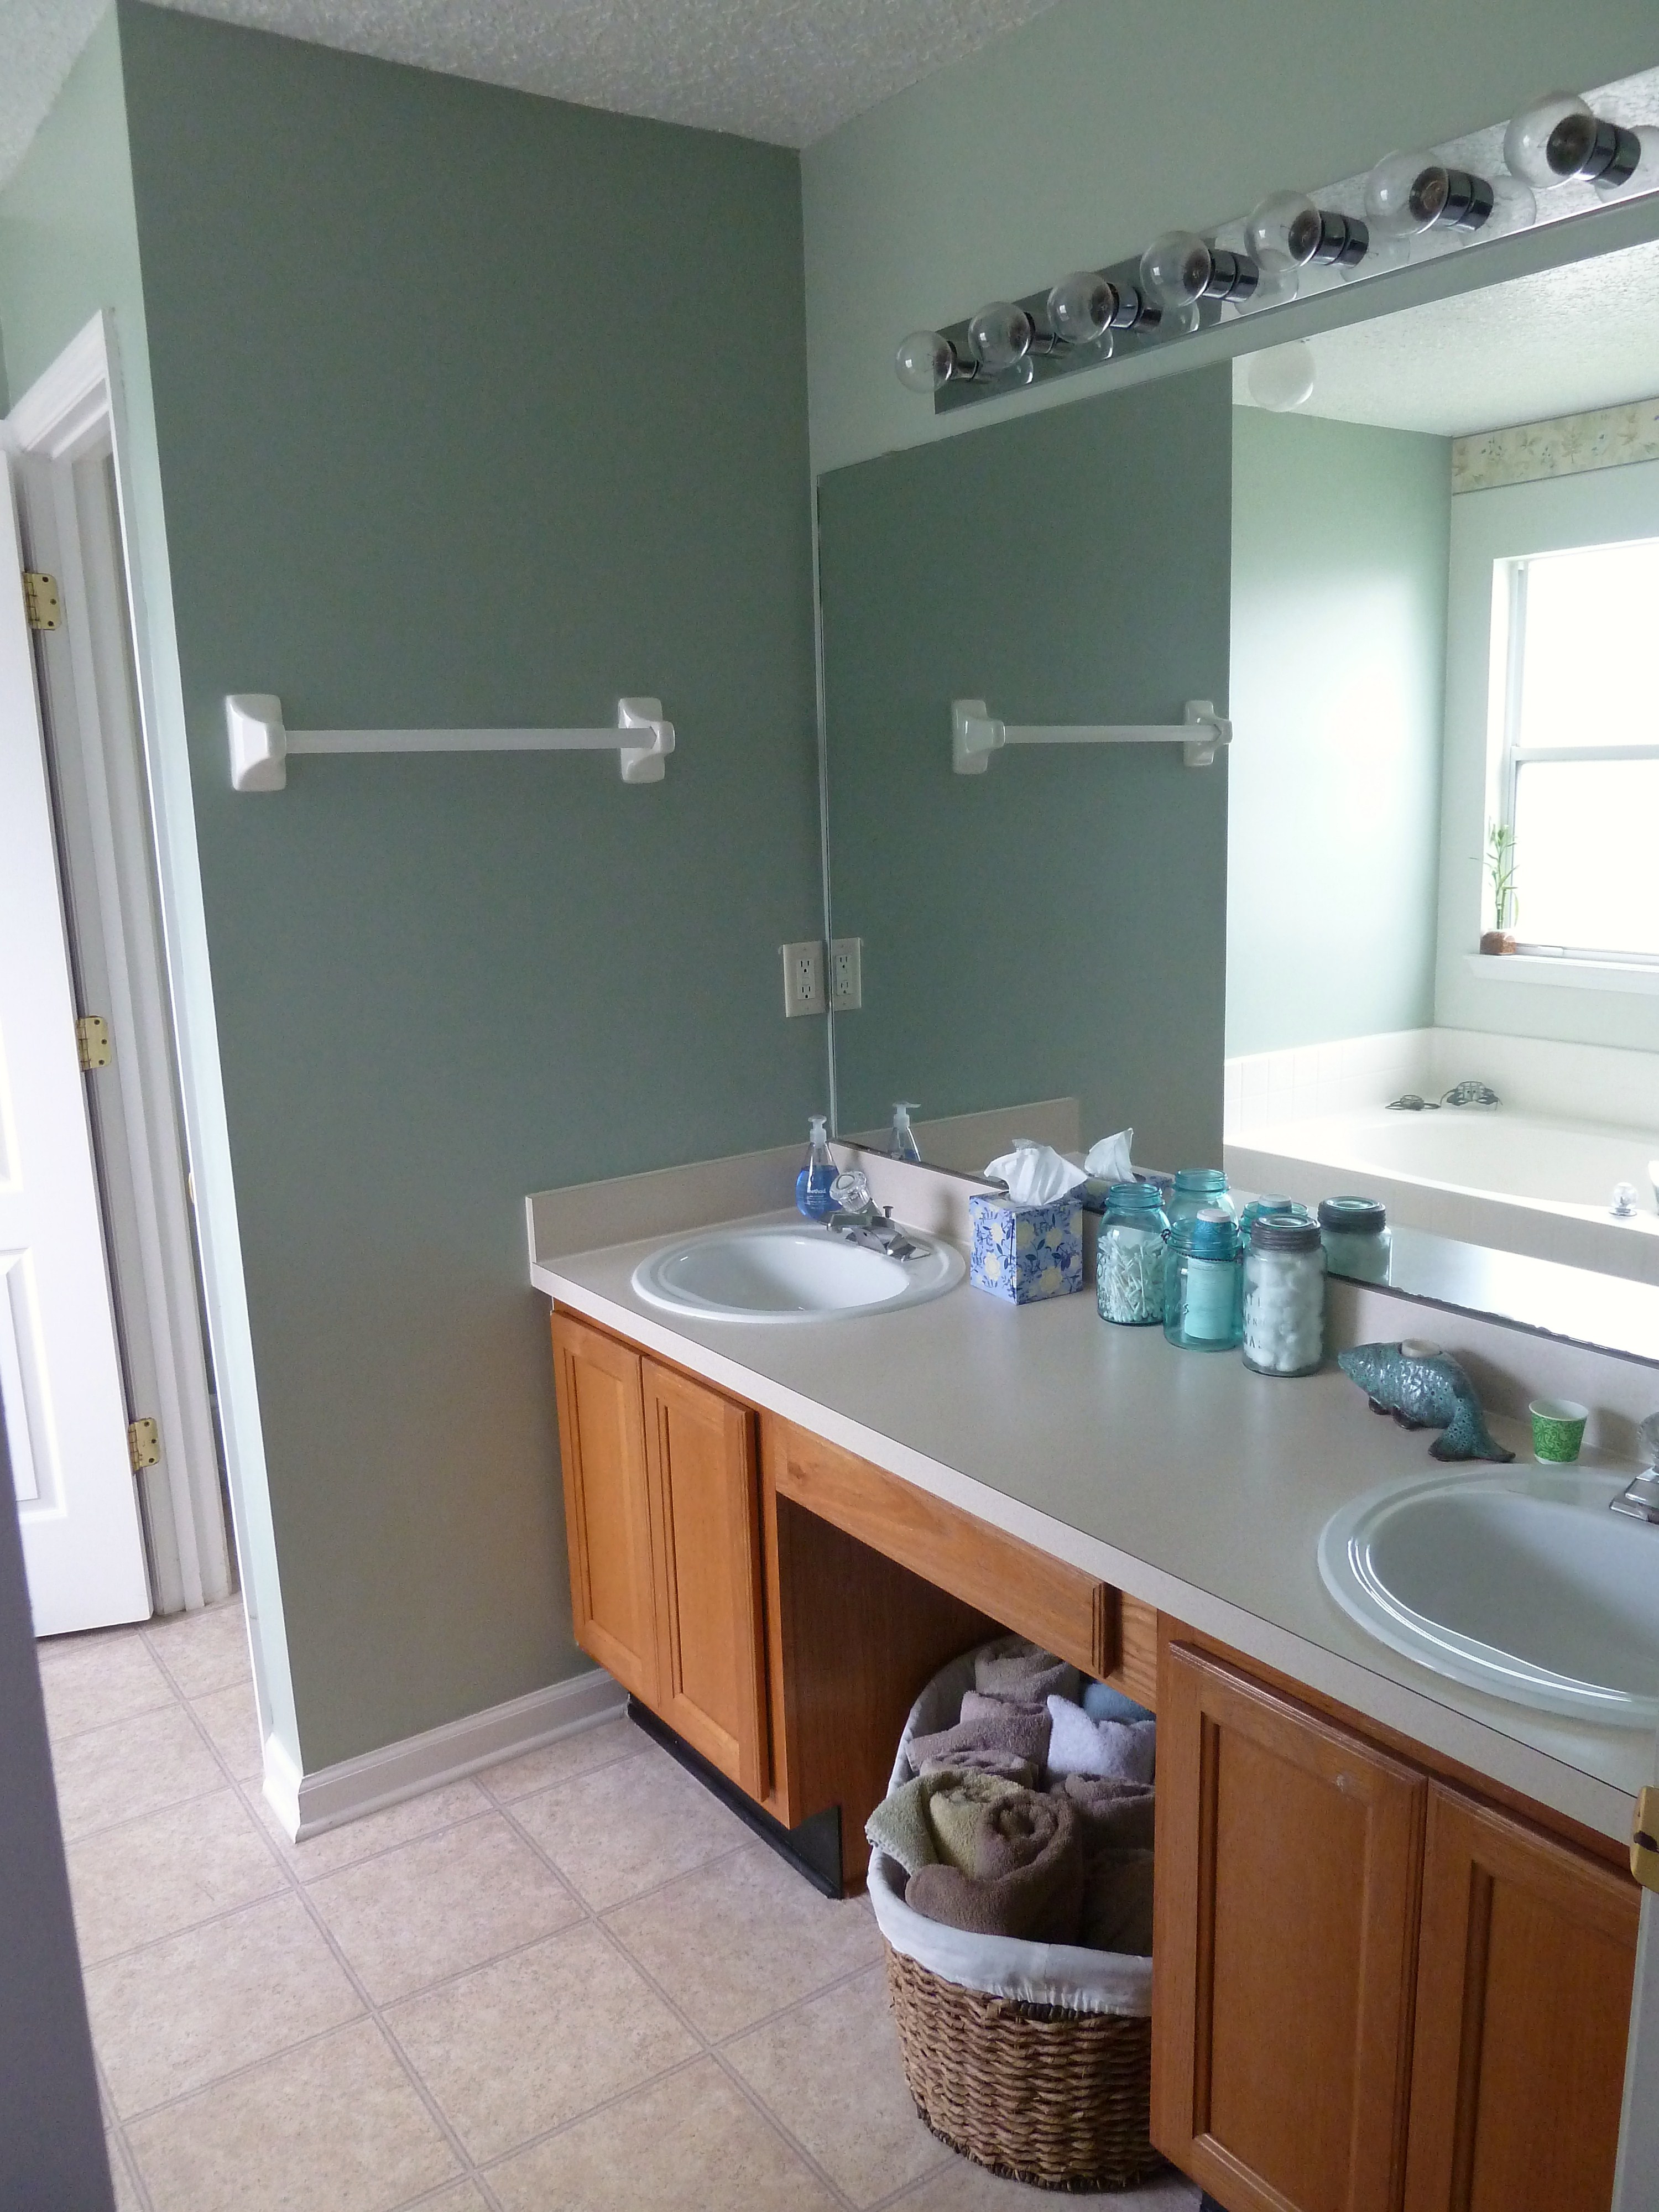
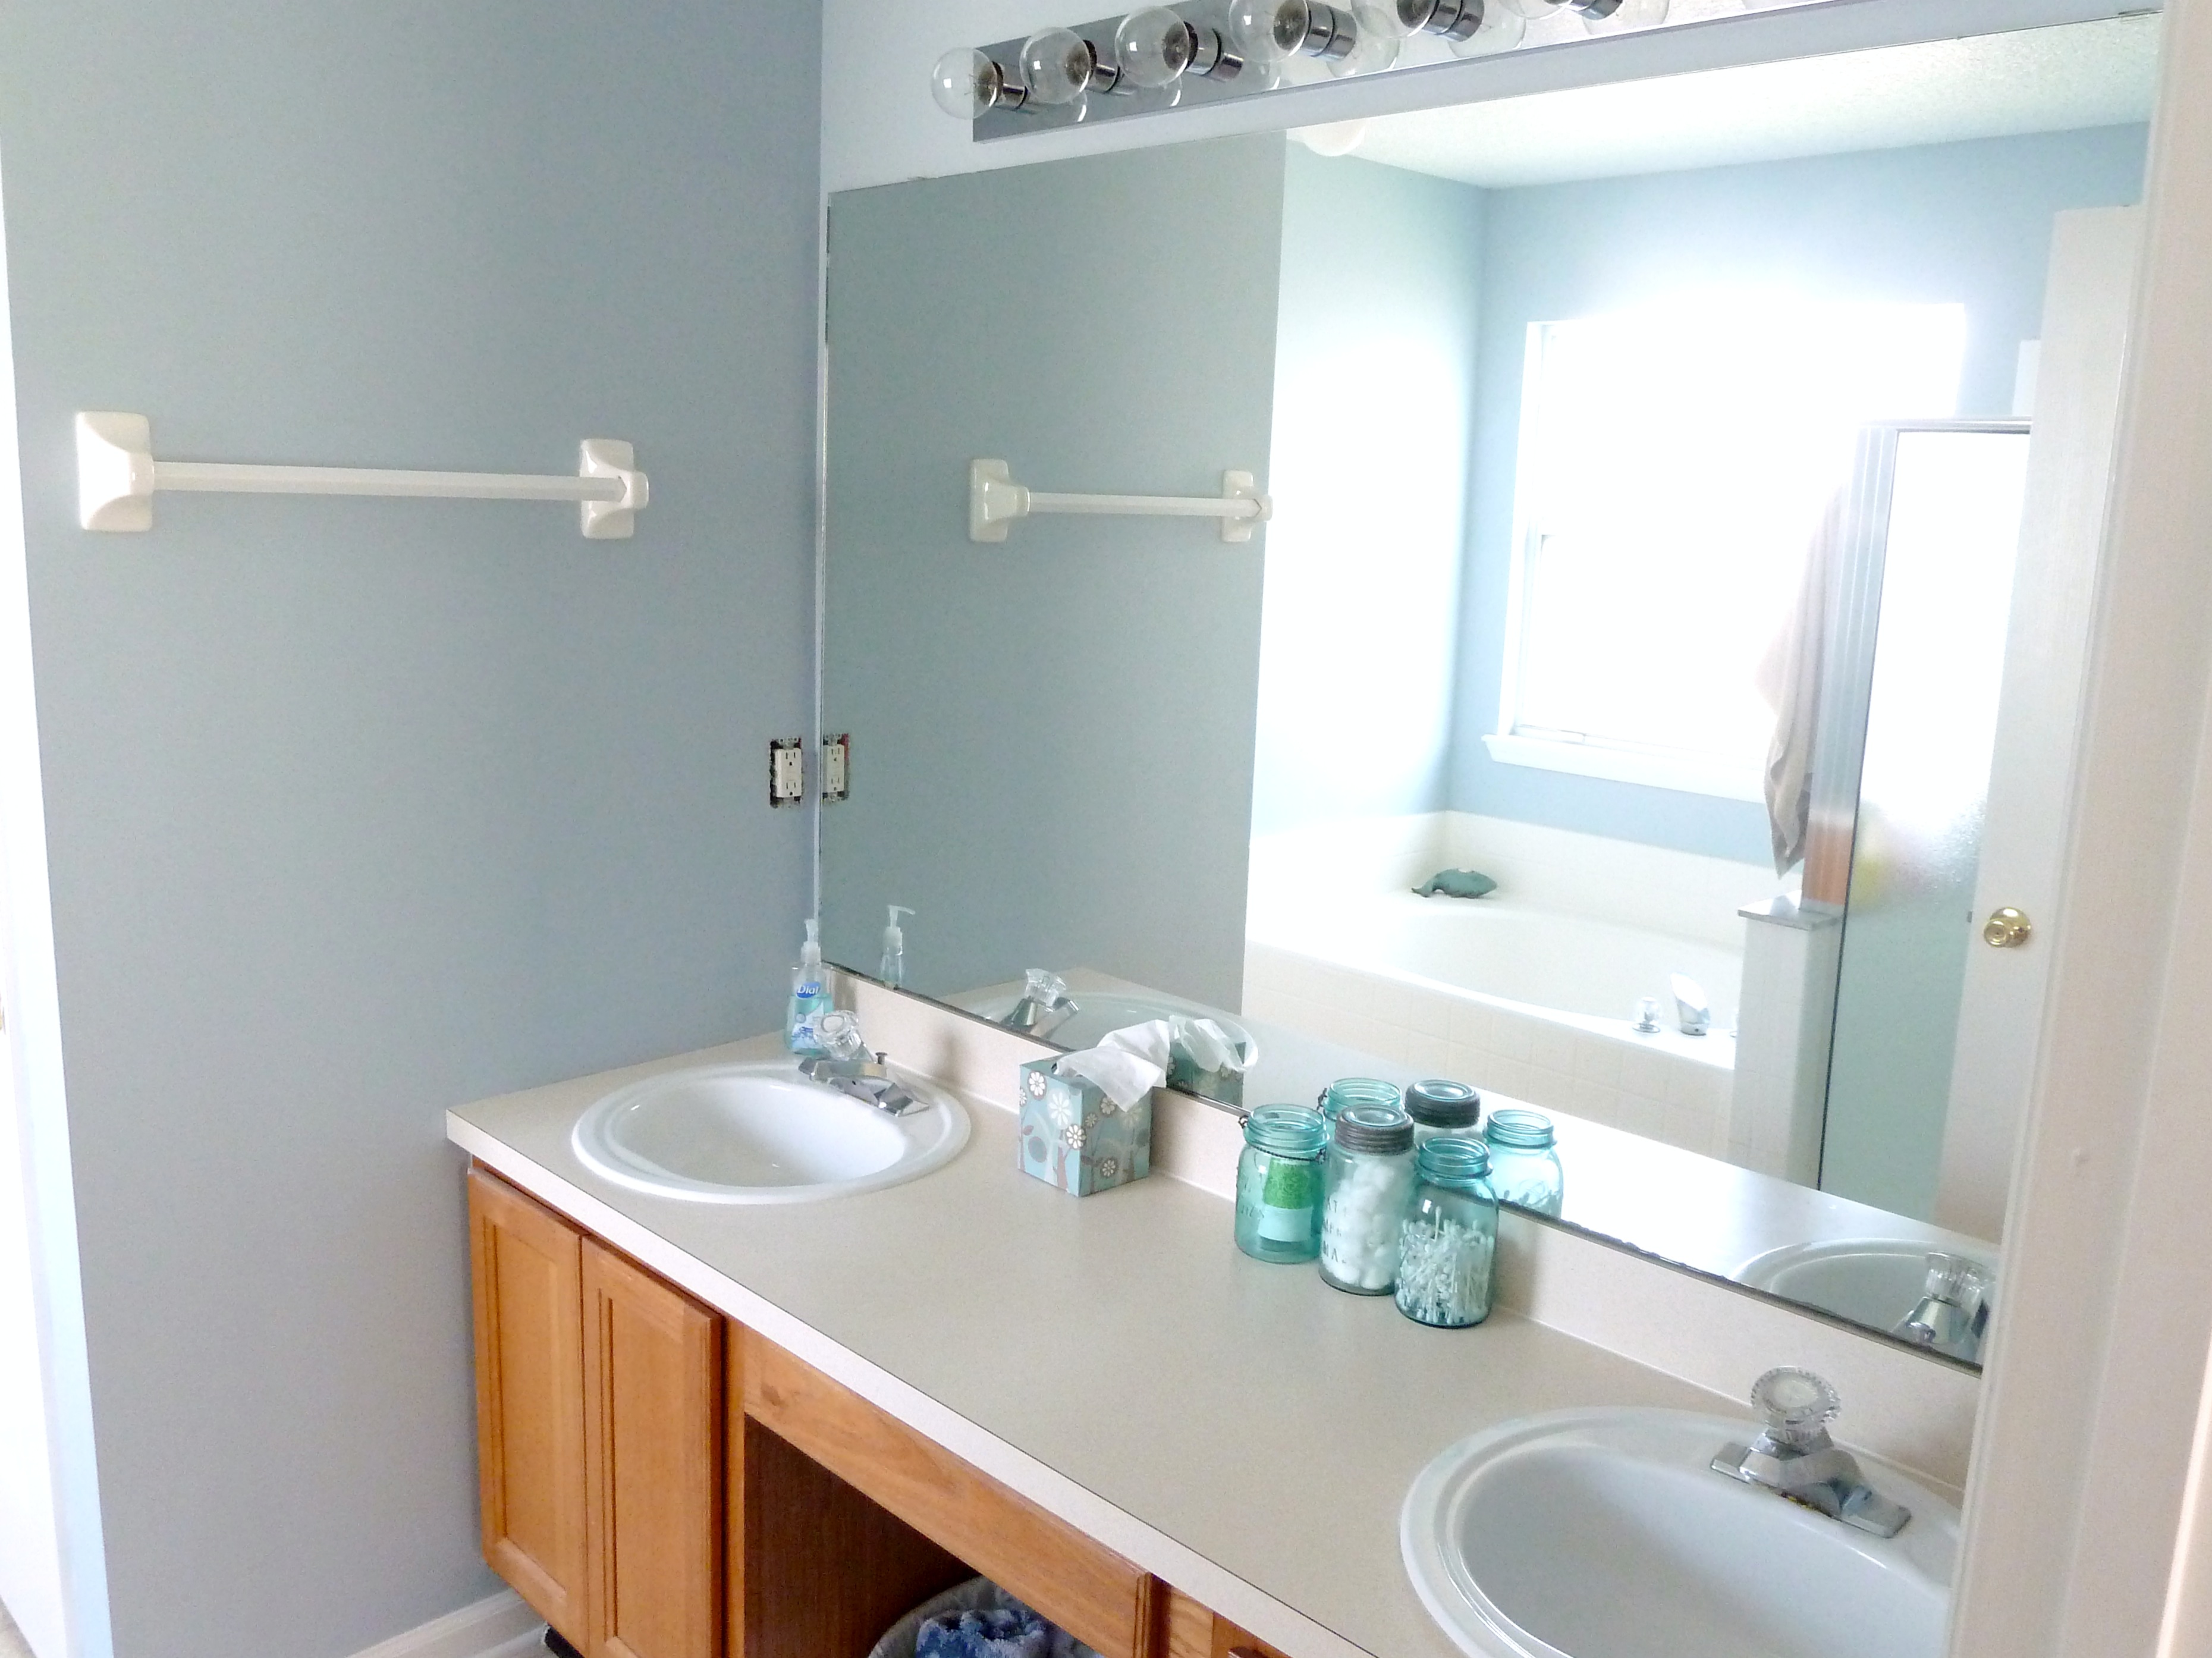
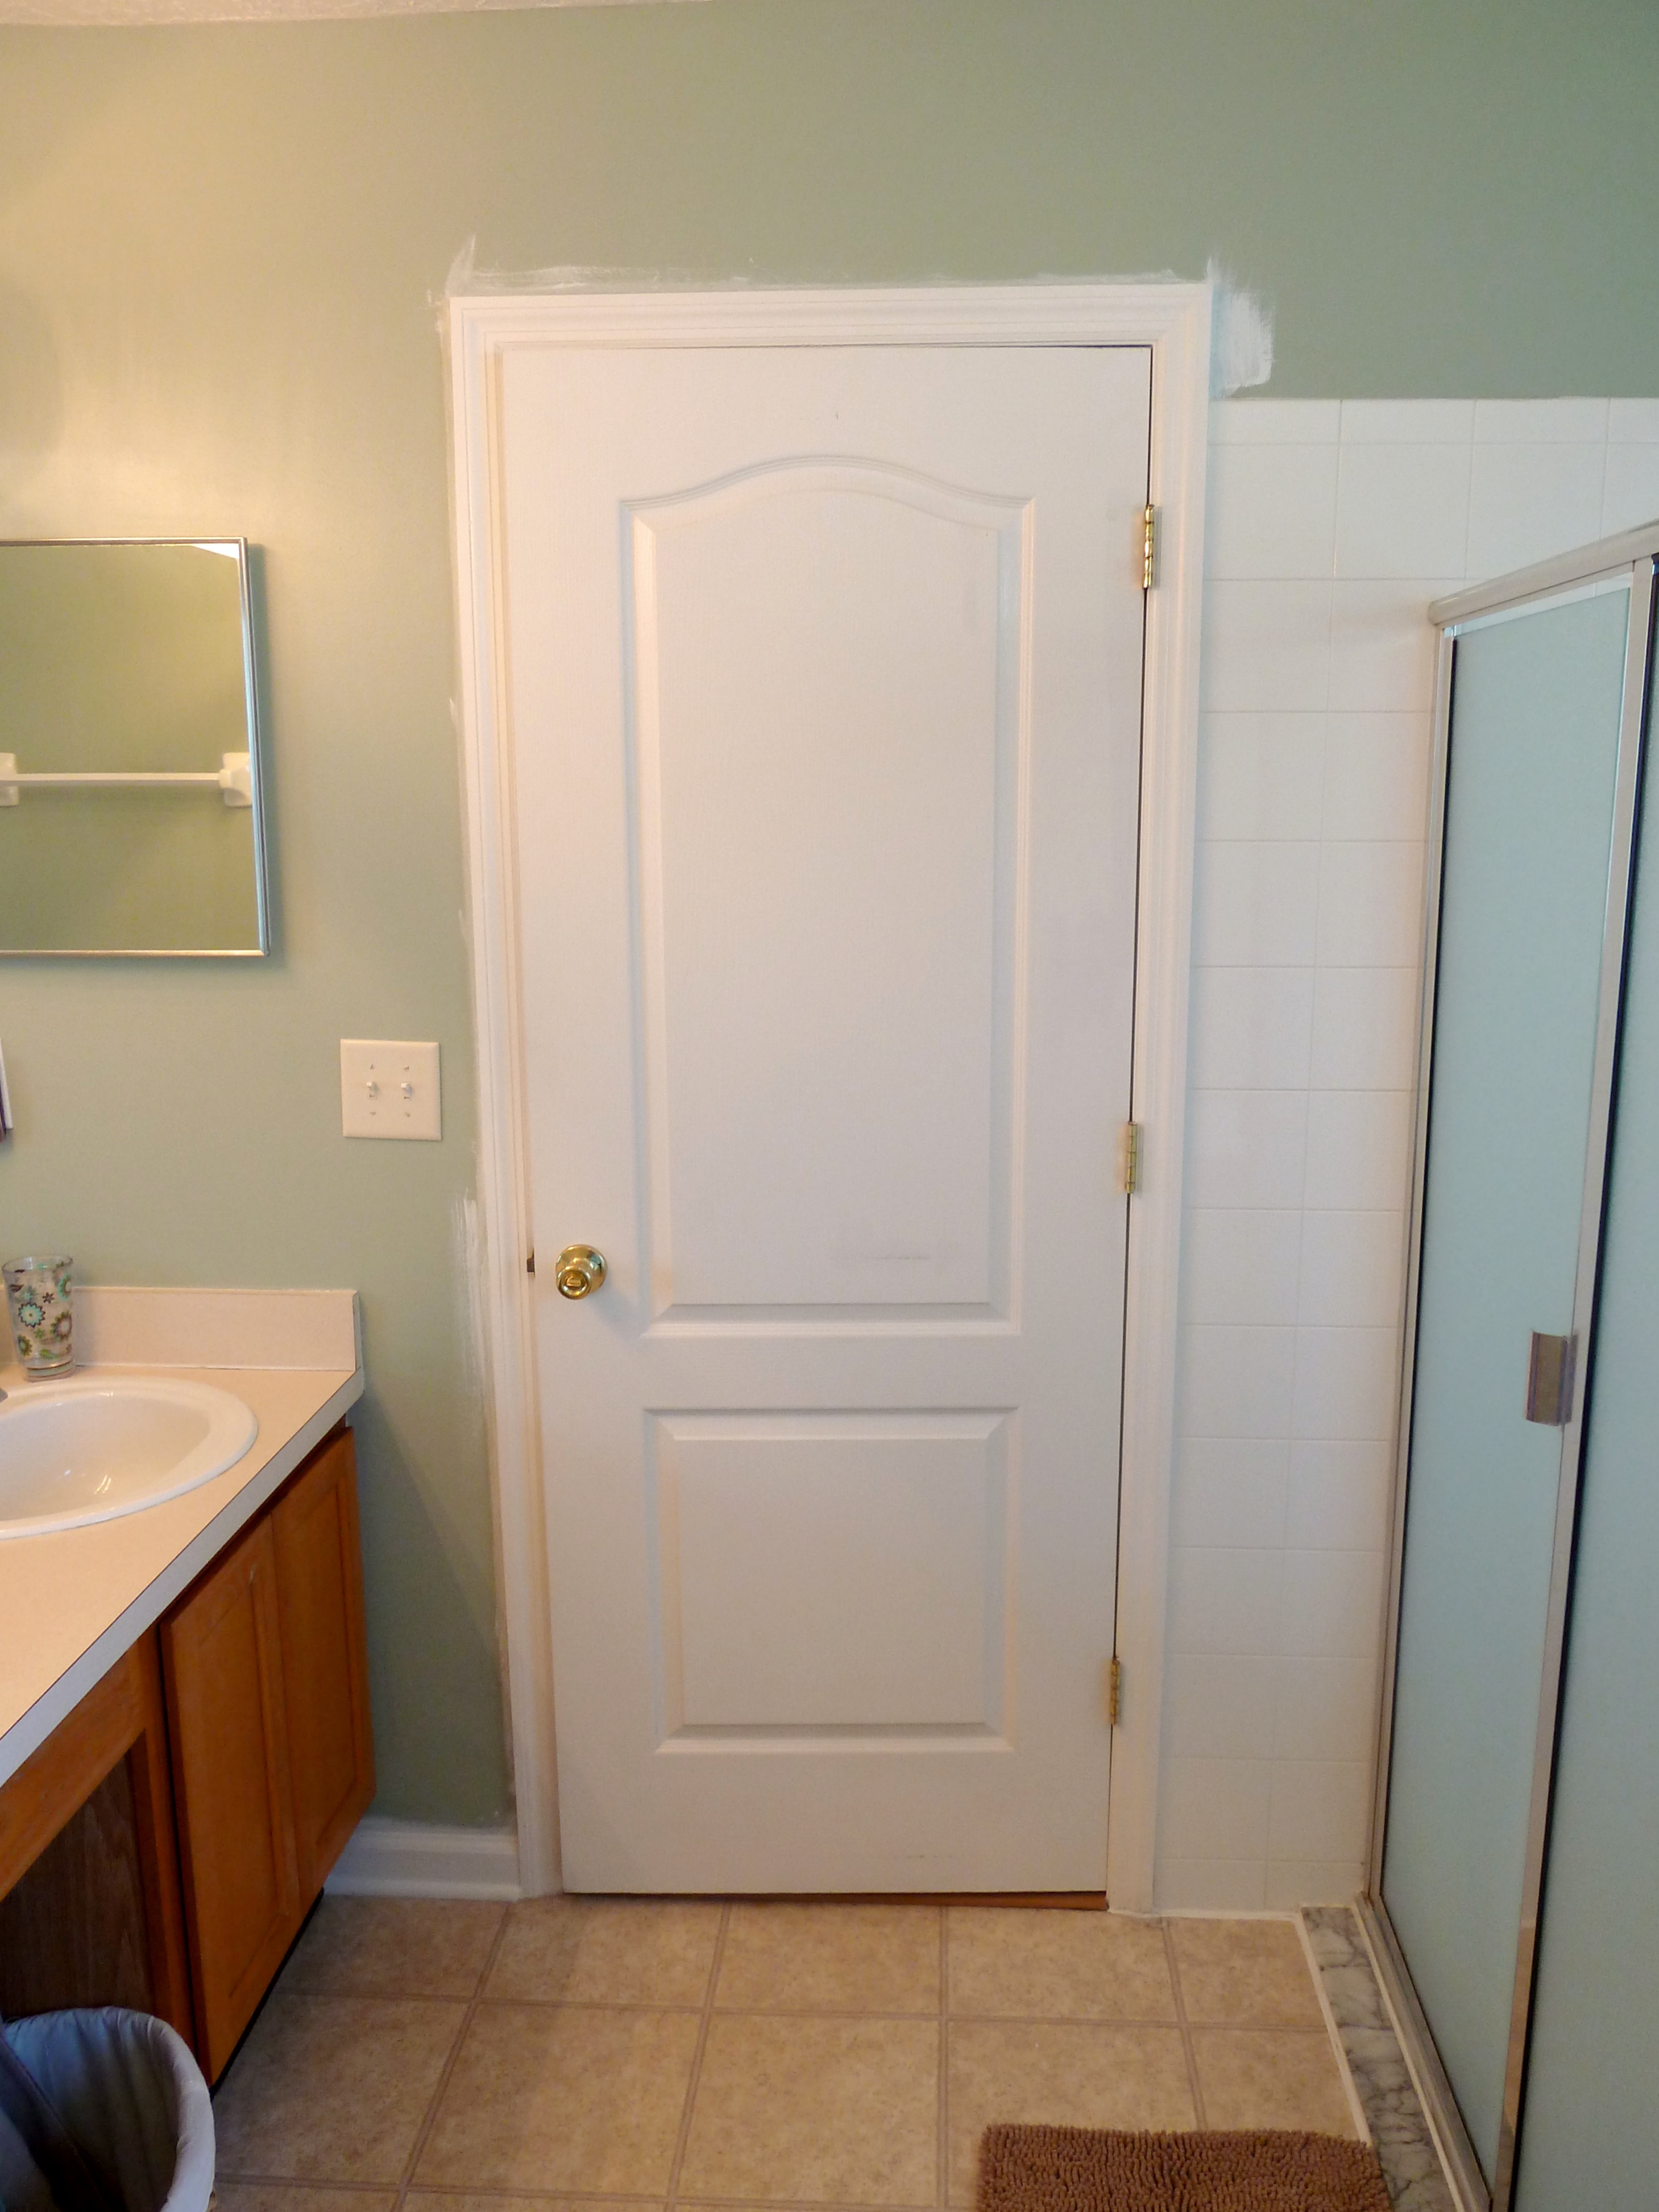
Our master bathroom has been grossing me out since the day we moved in.  I had to do something about it, at least to make it feel a little cleaner.  Please don’t think we are dirty from these photos, I scrub this bathroom once a week.  Let me show you what I am talking about.  I should warn you if you do not like disgusting bathroom things you should skip this post completely.

P1070705_Fotor

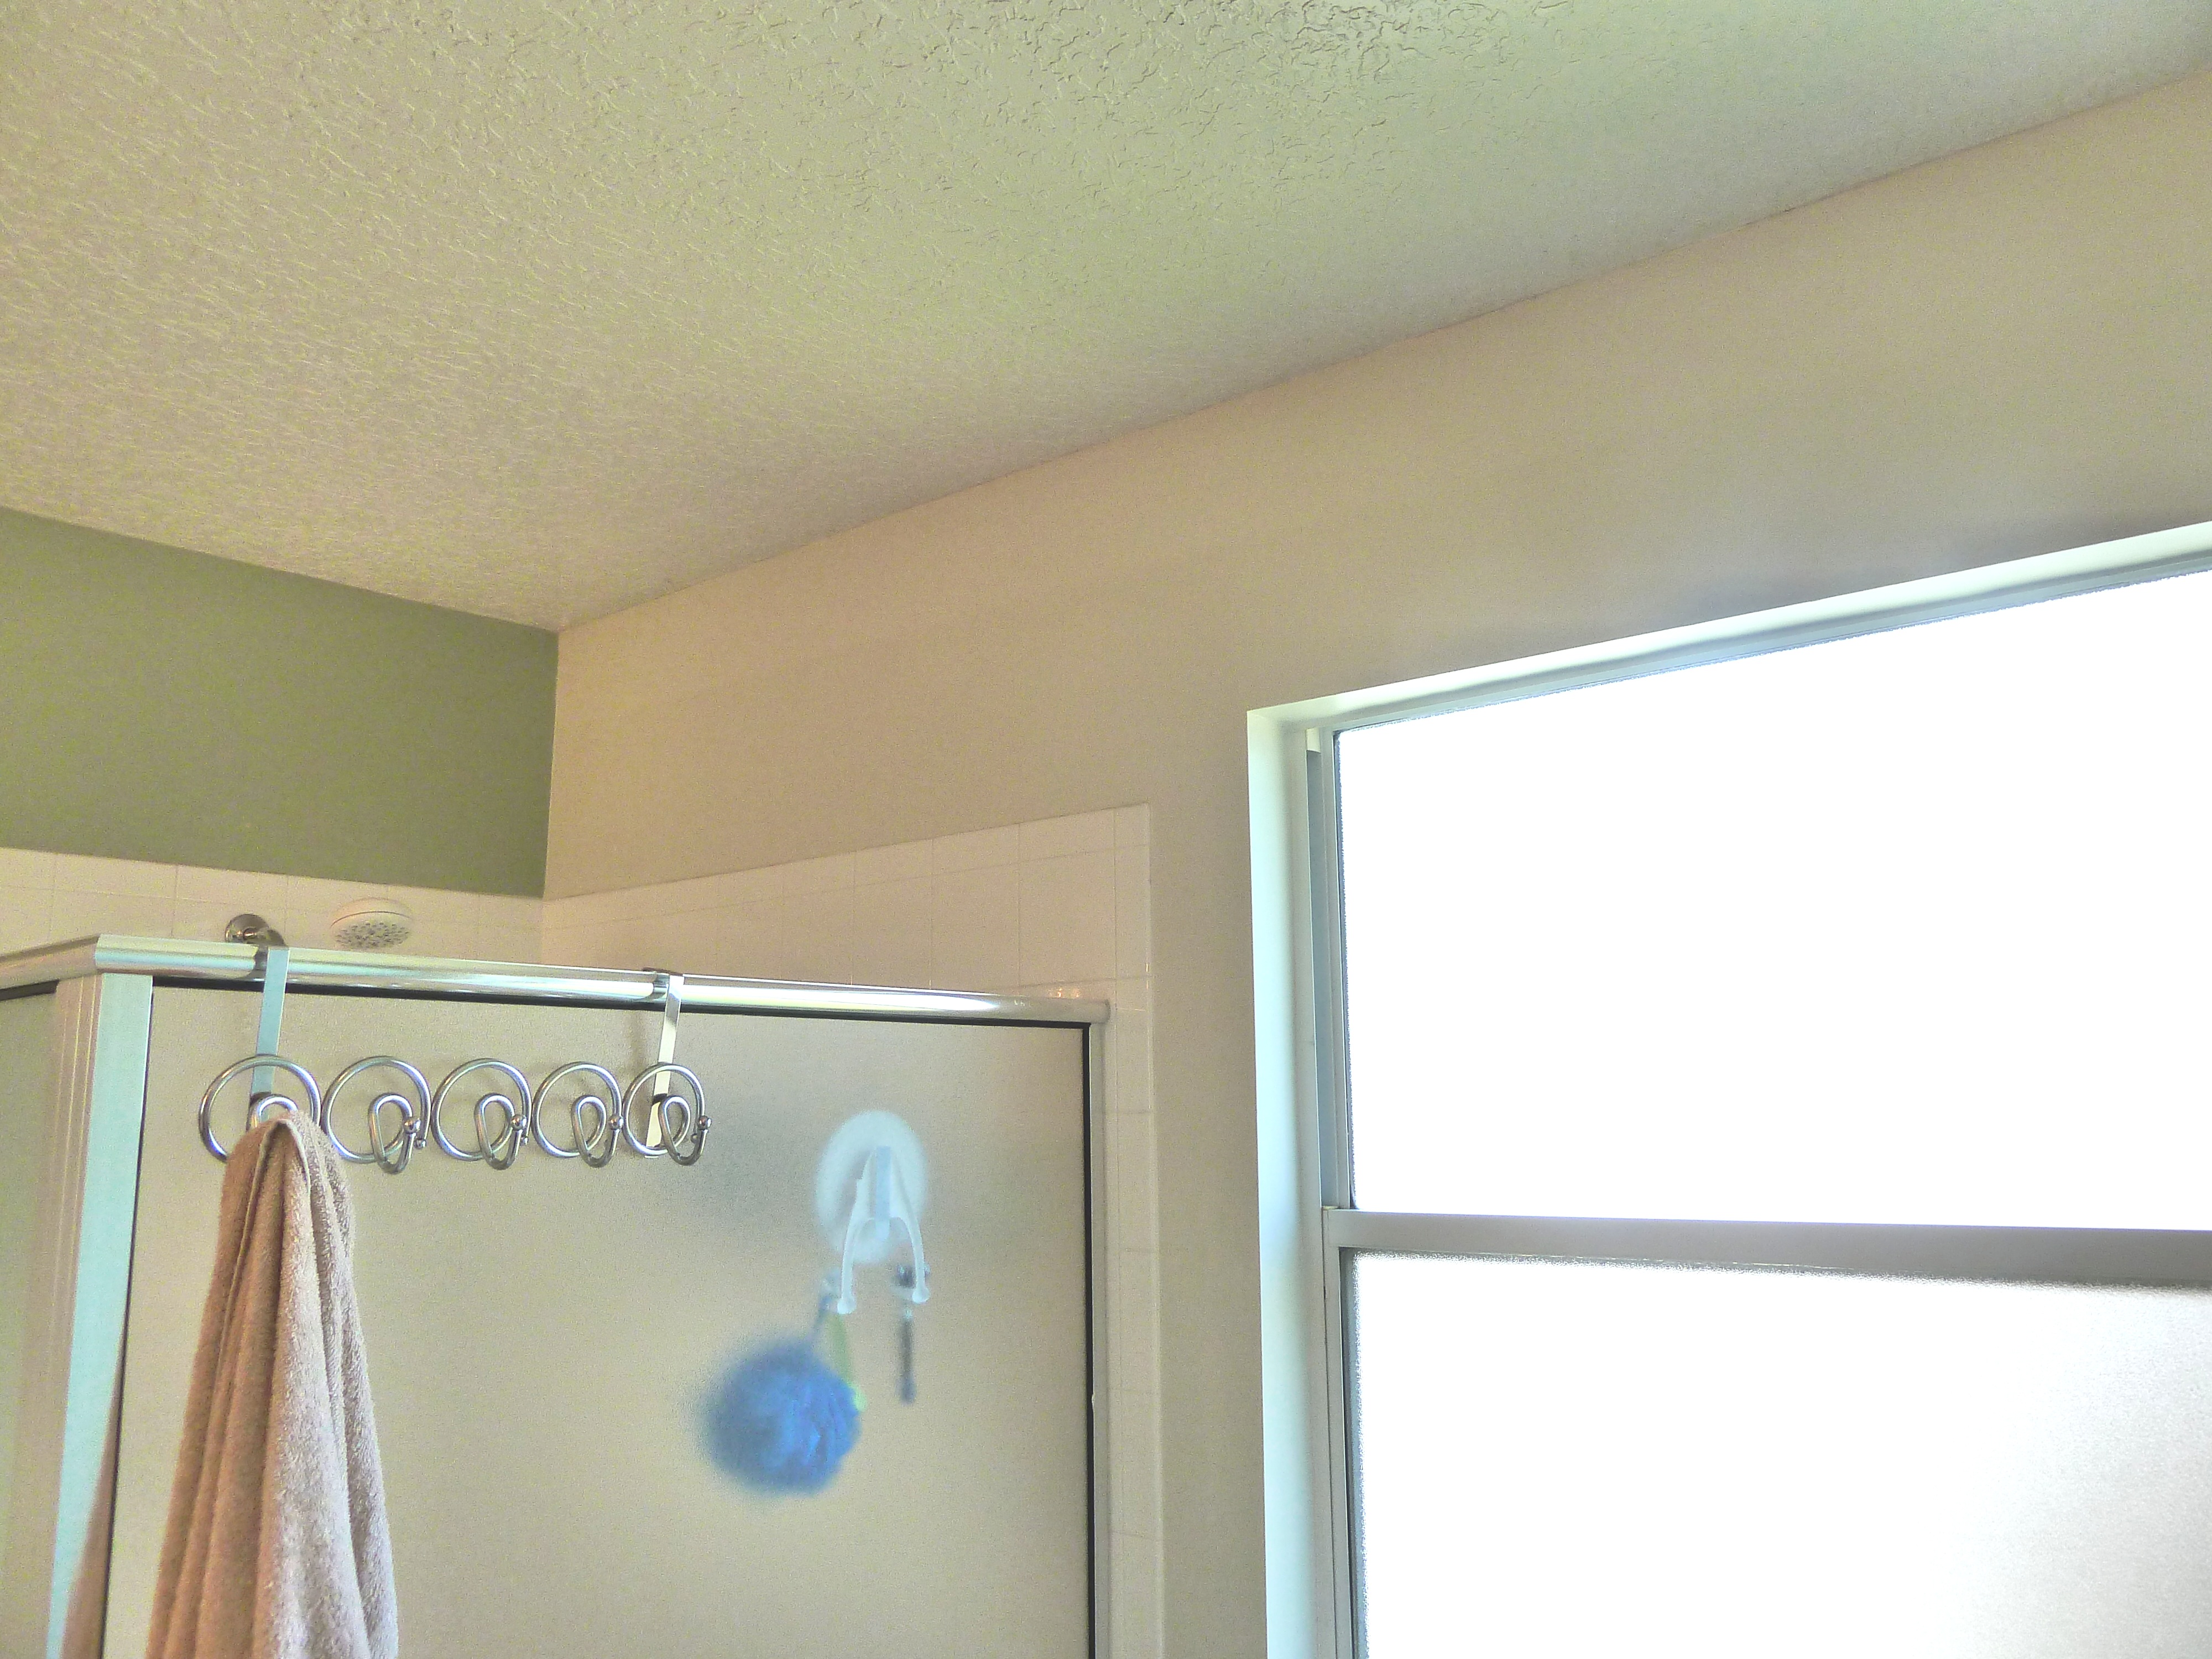
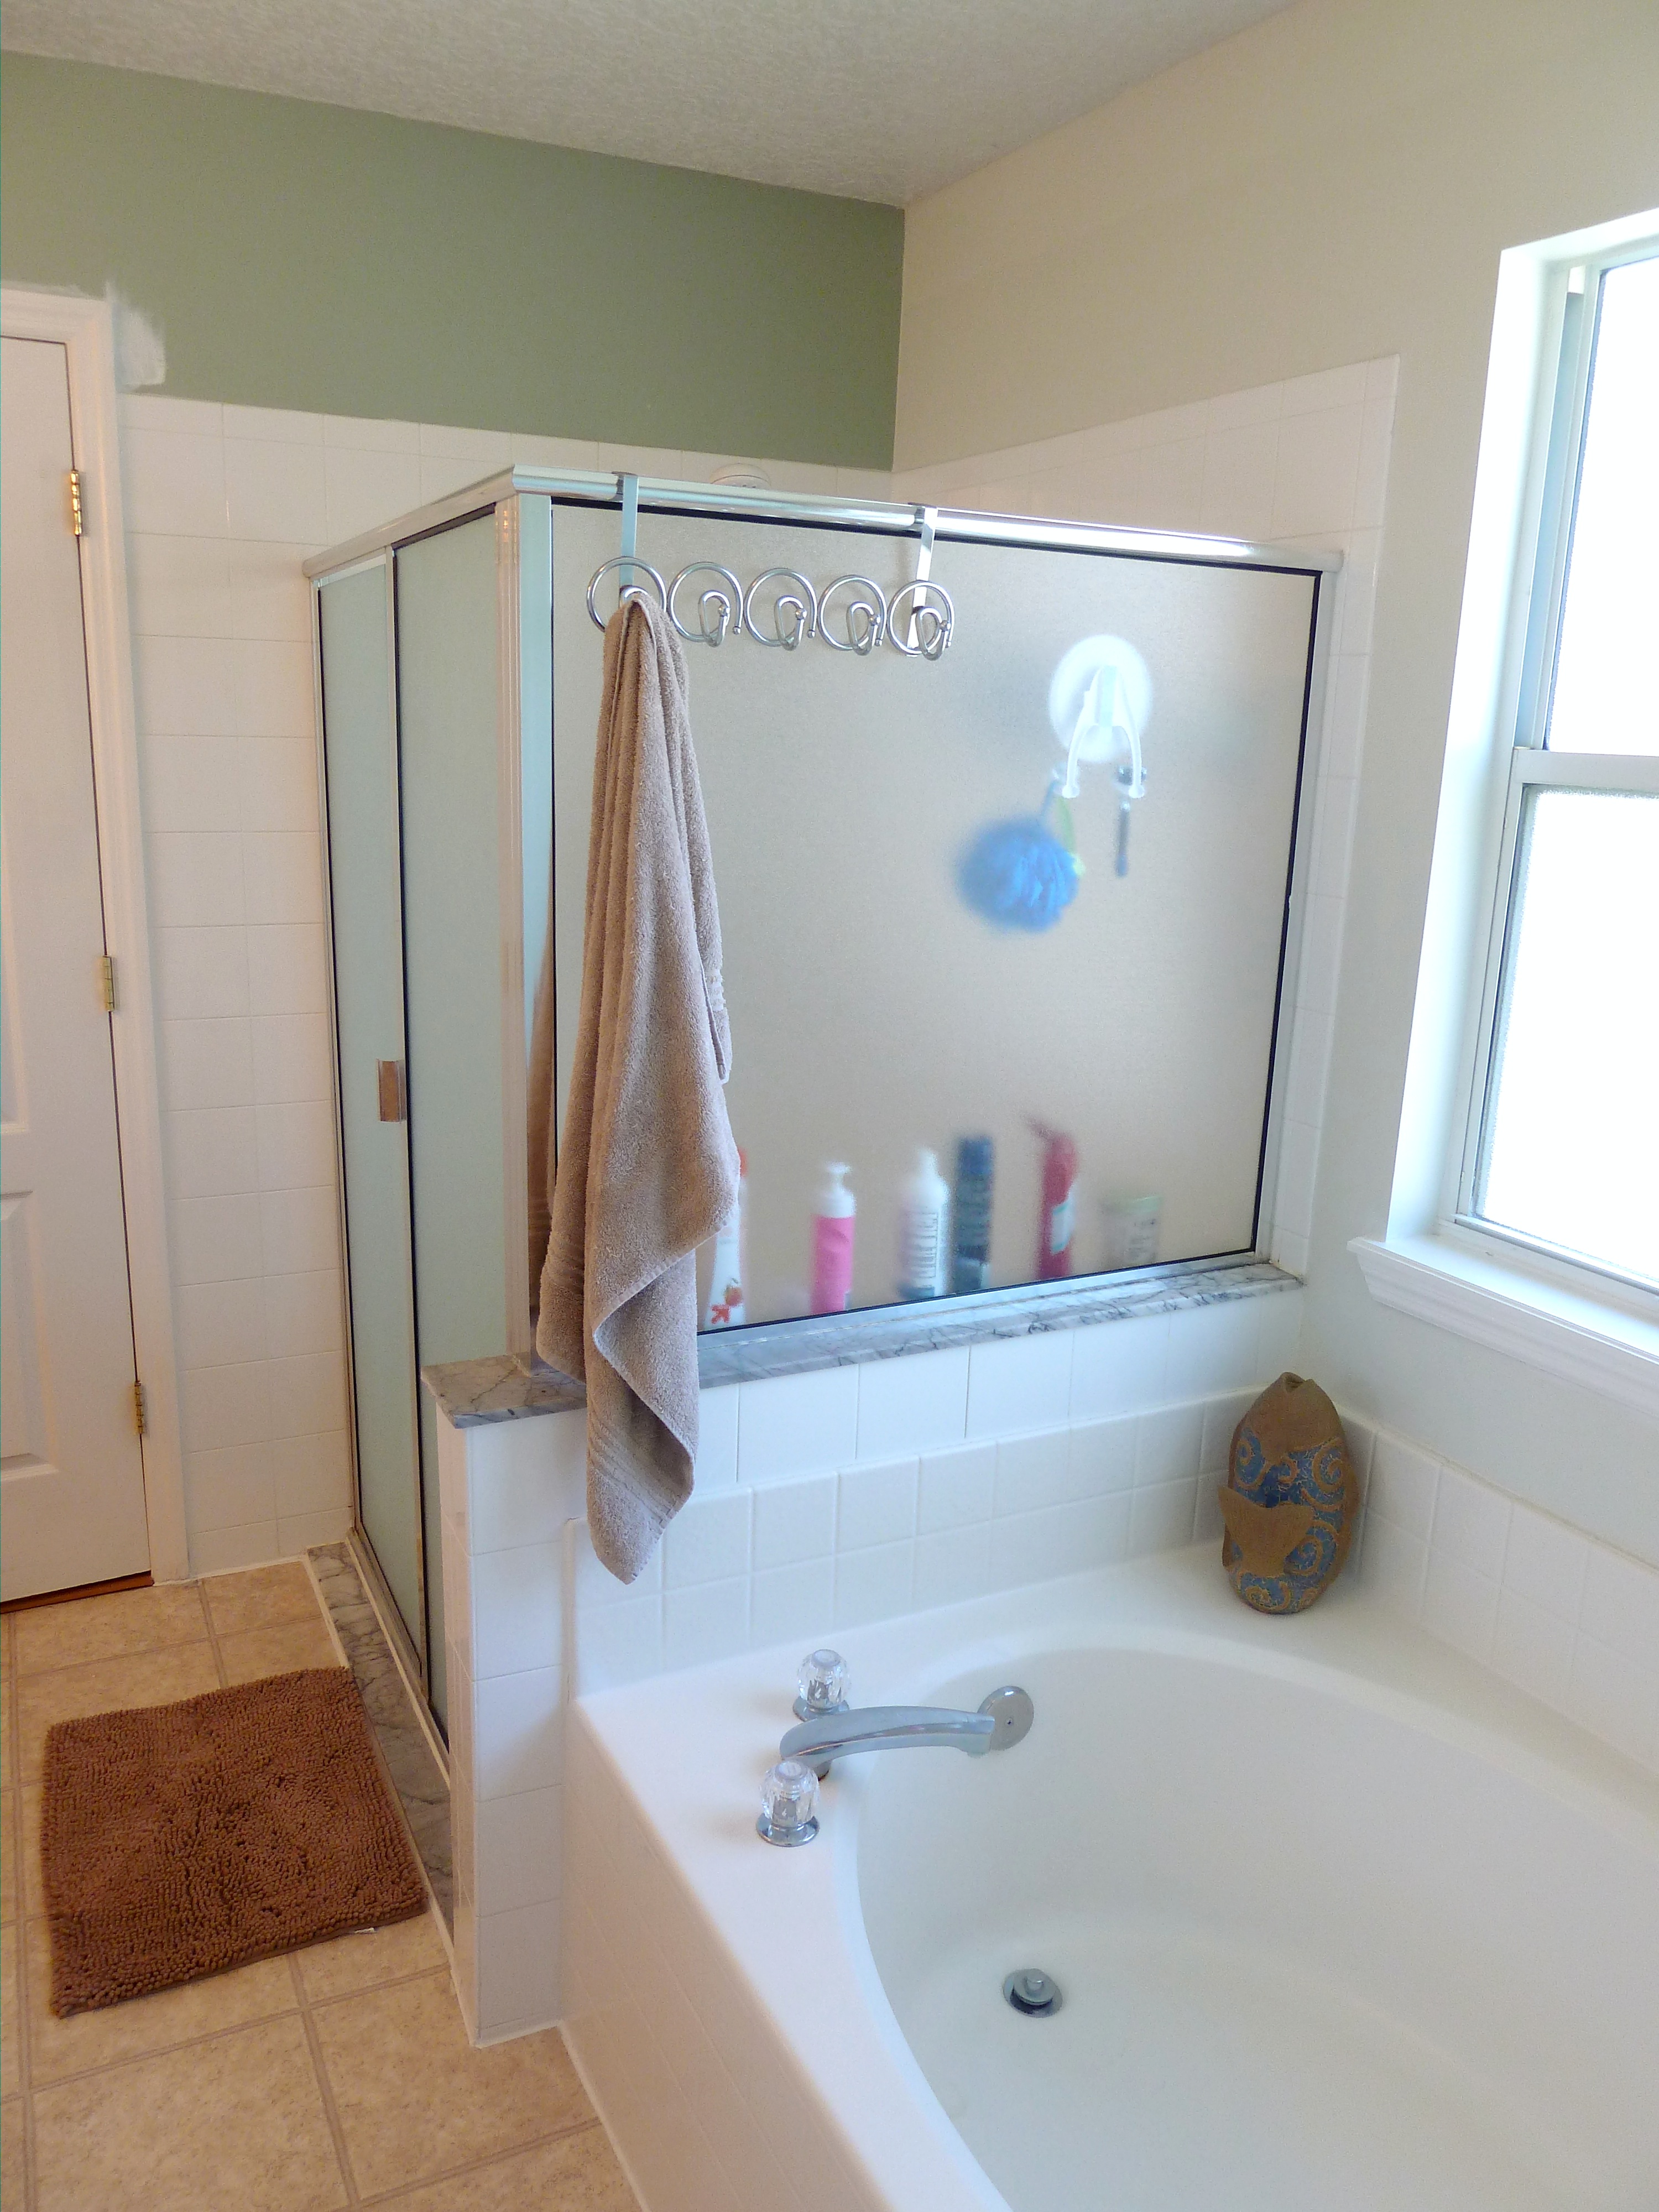
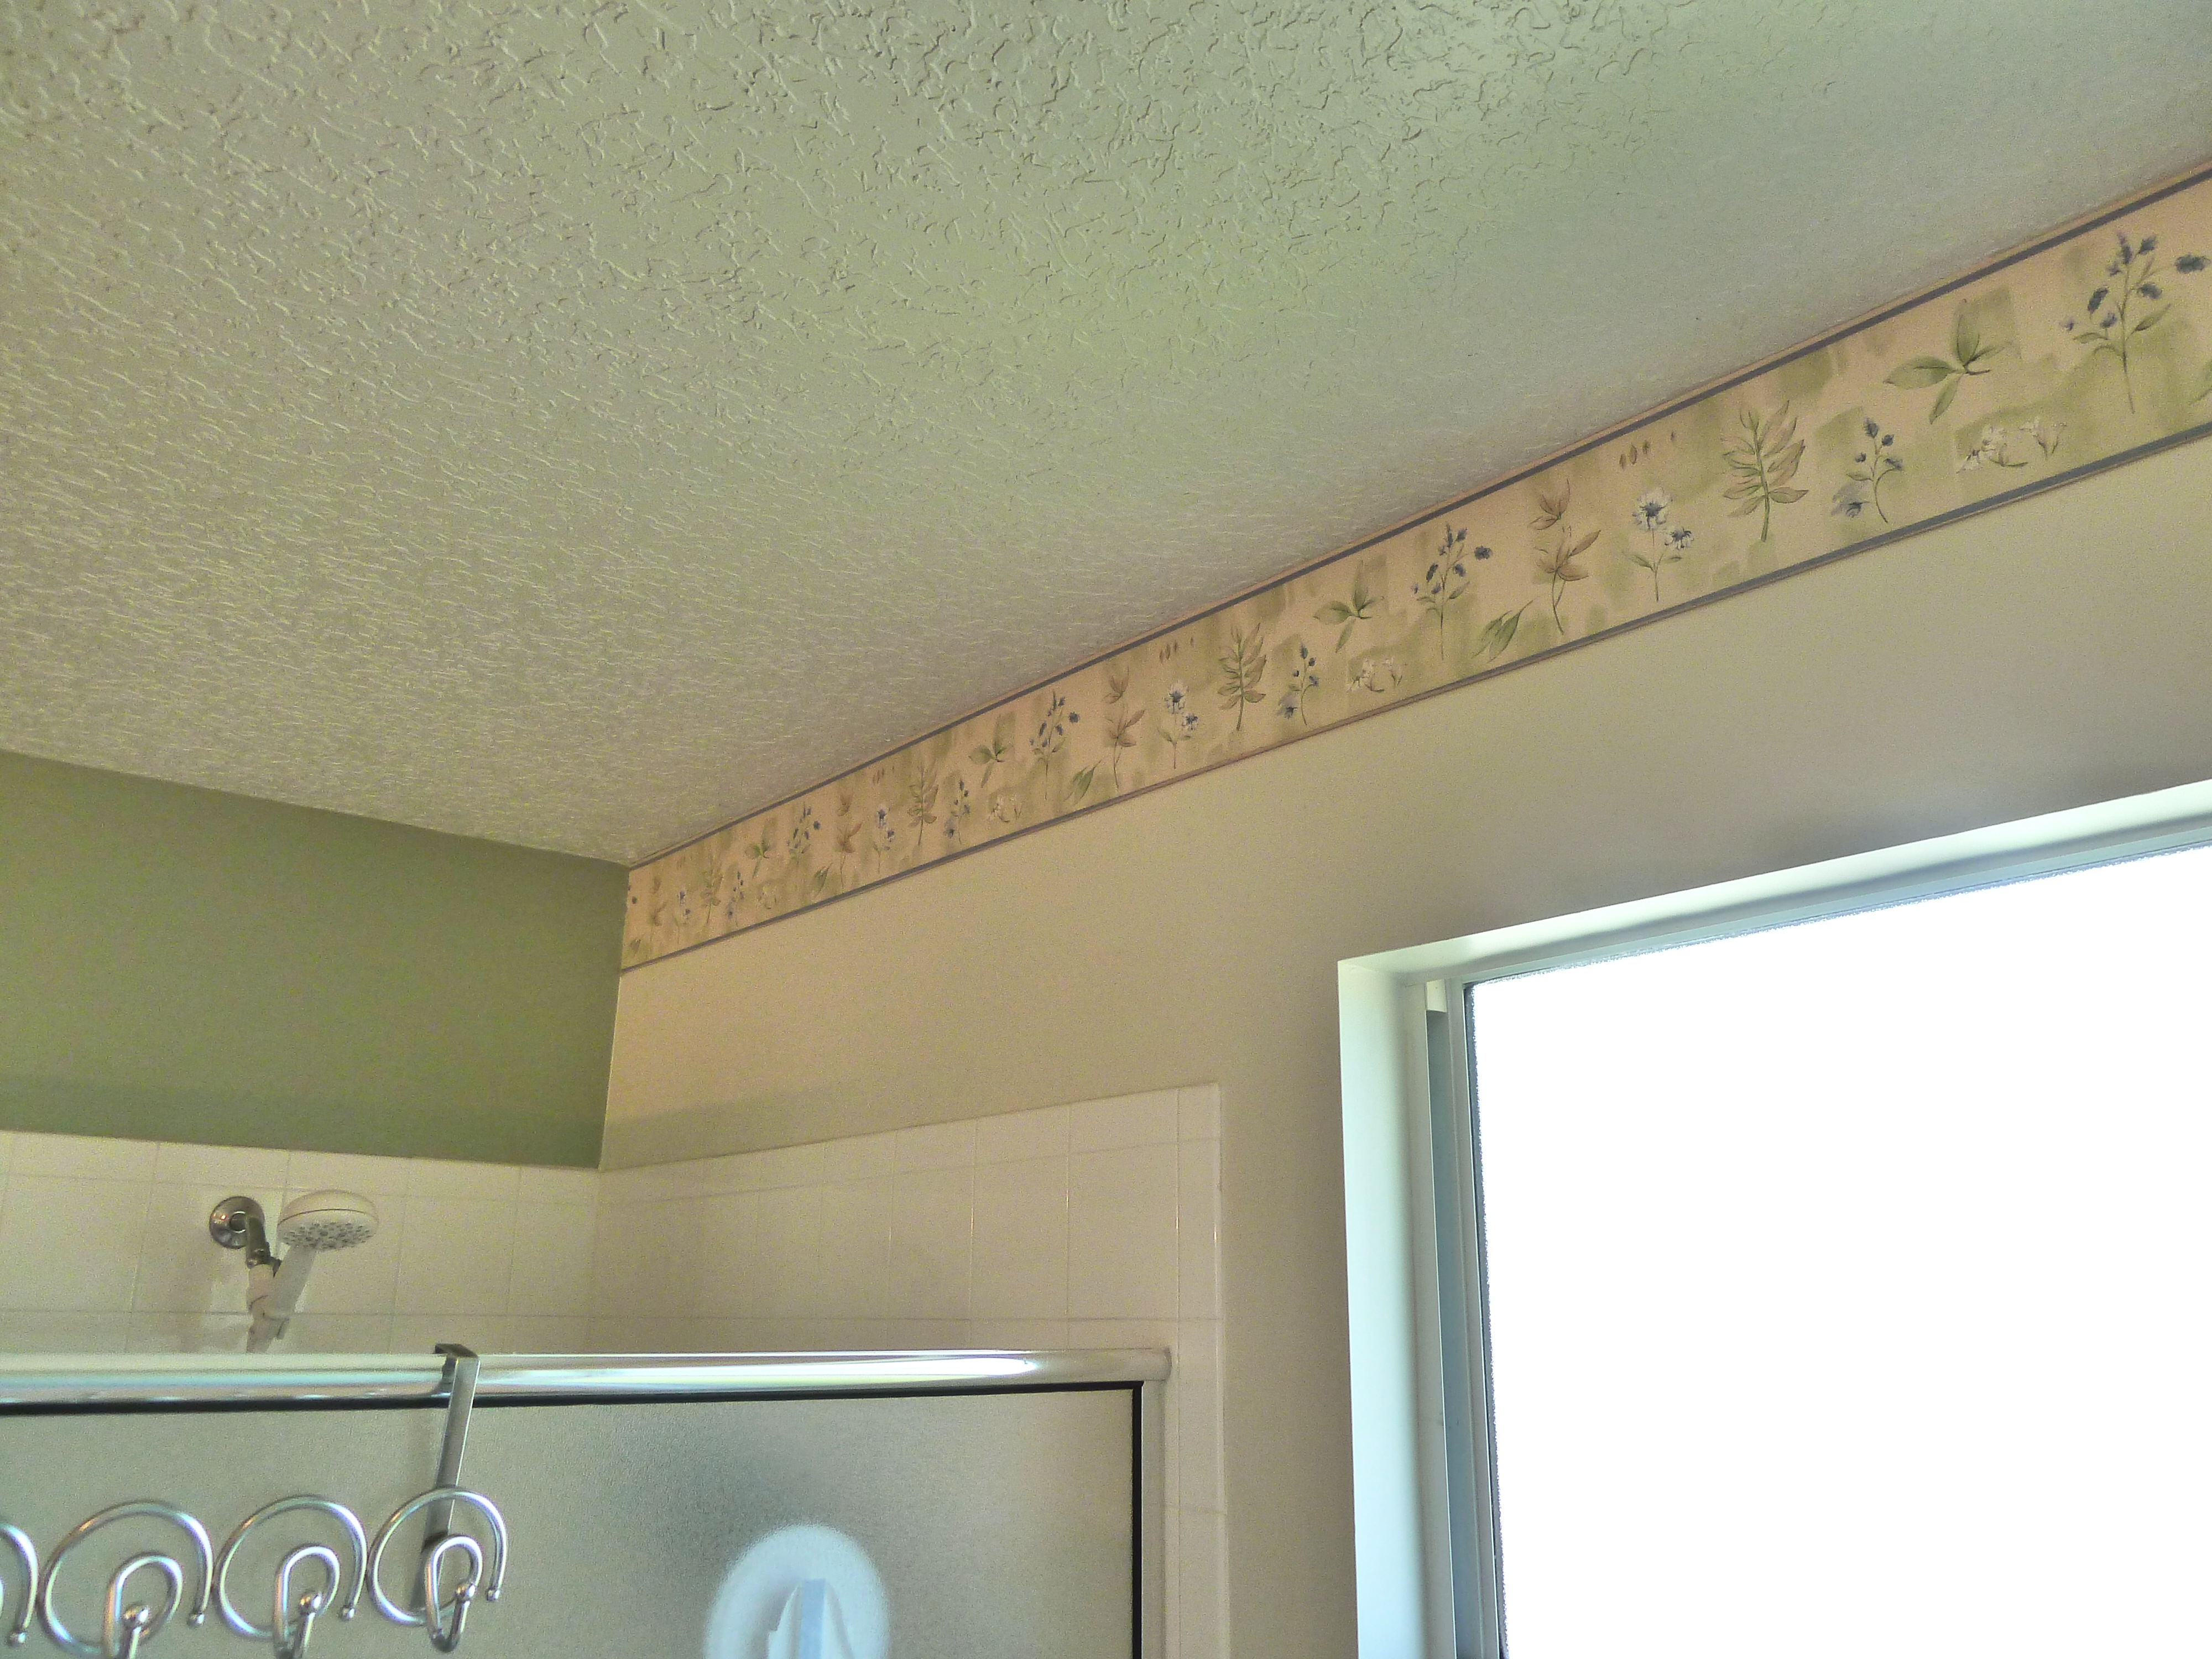
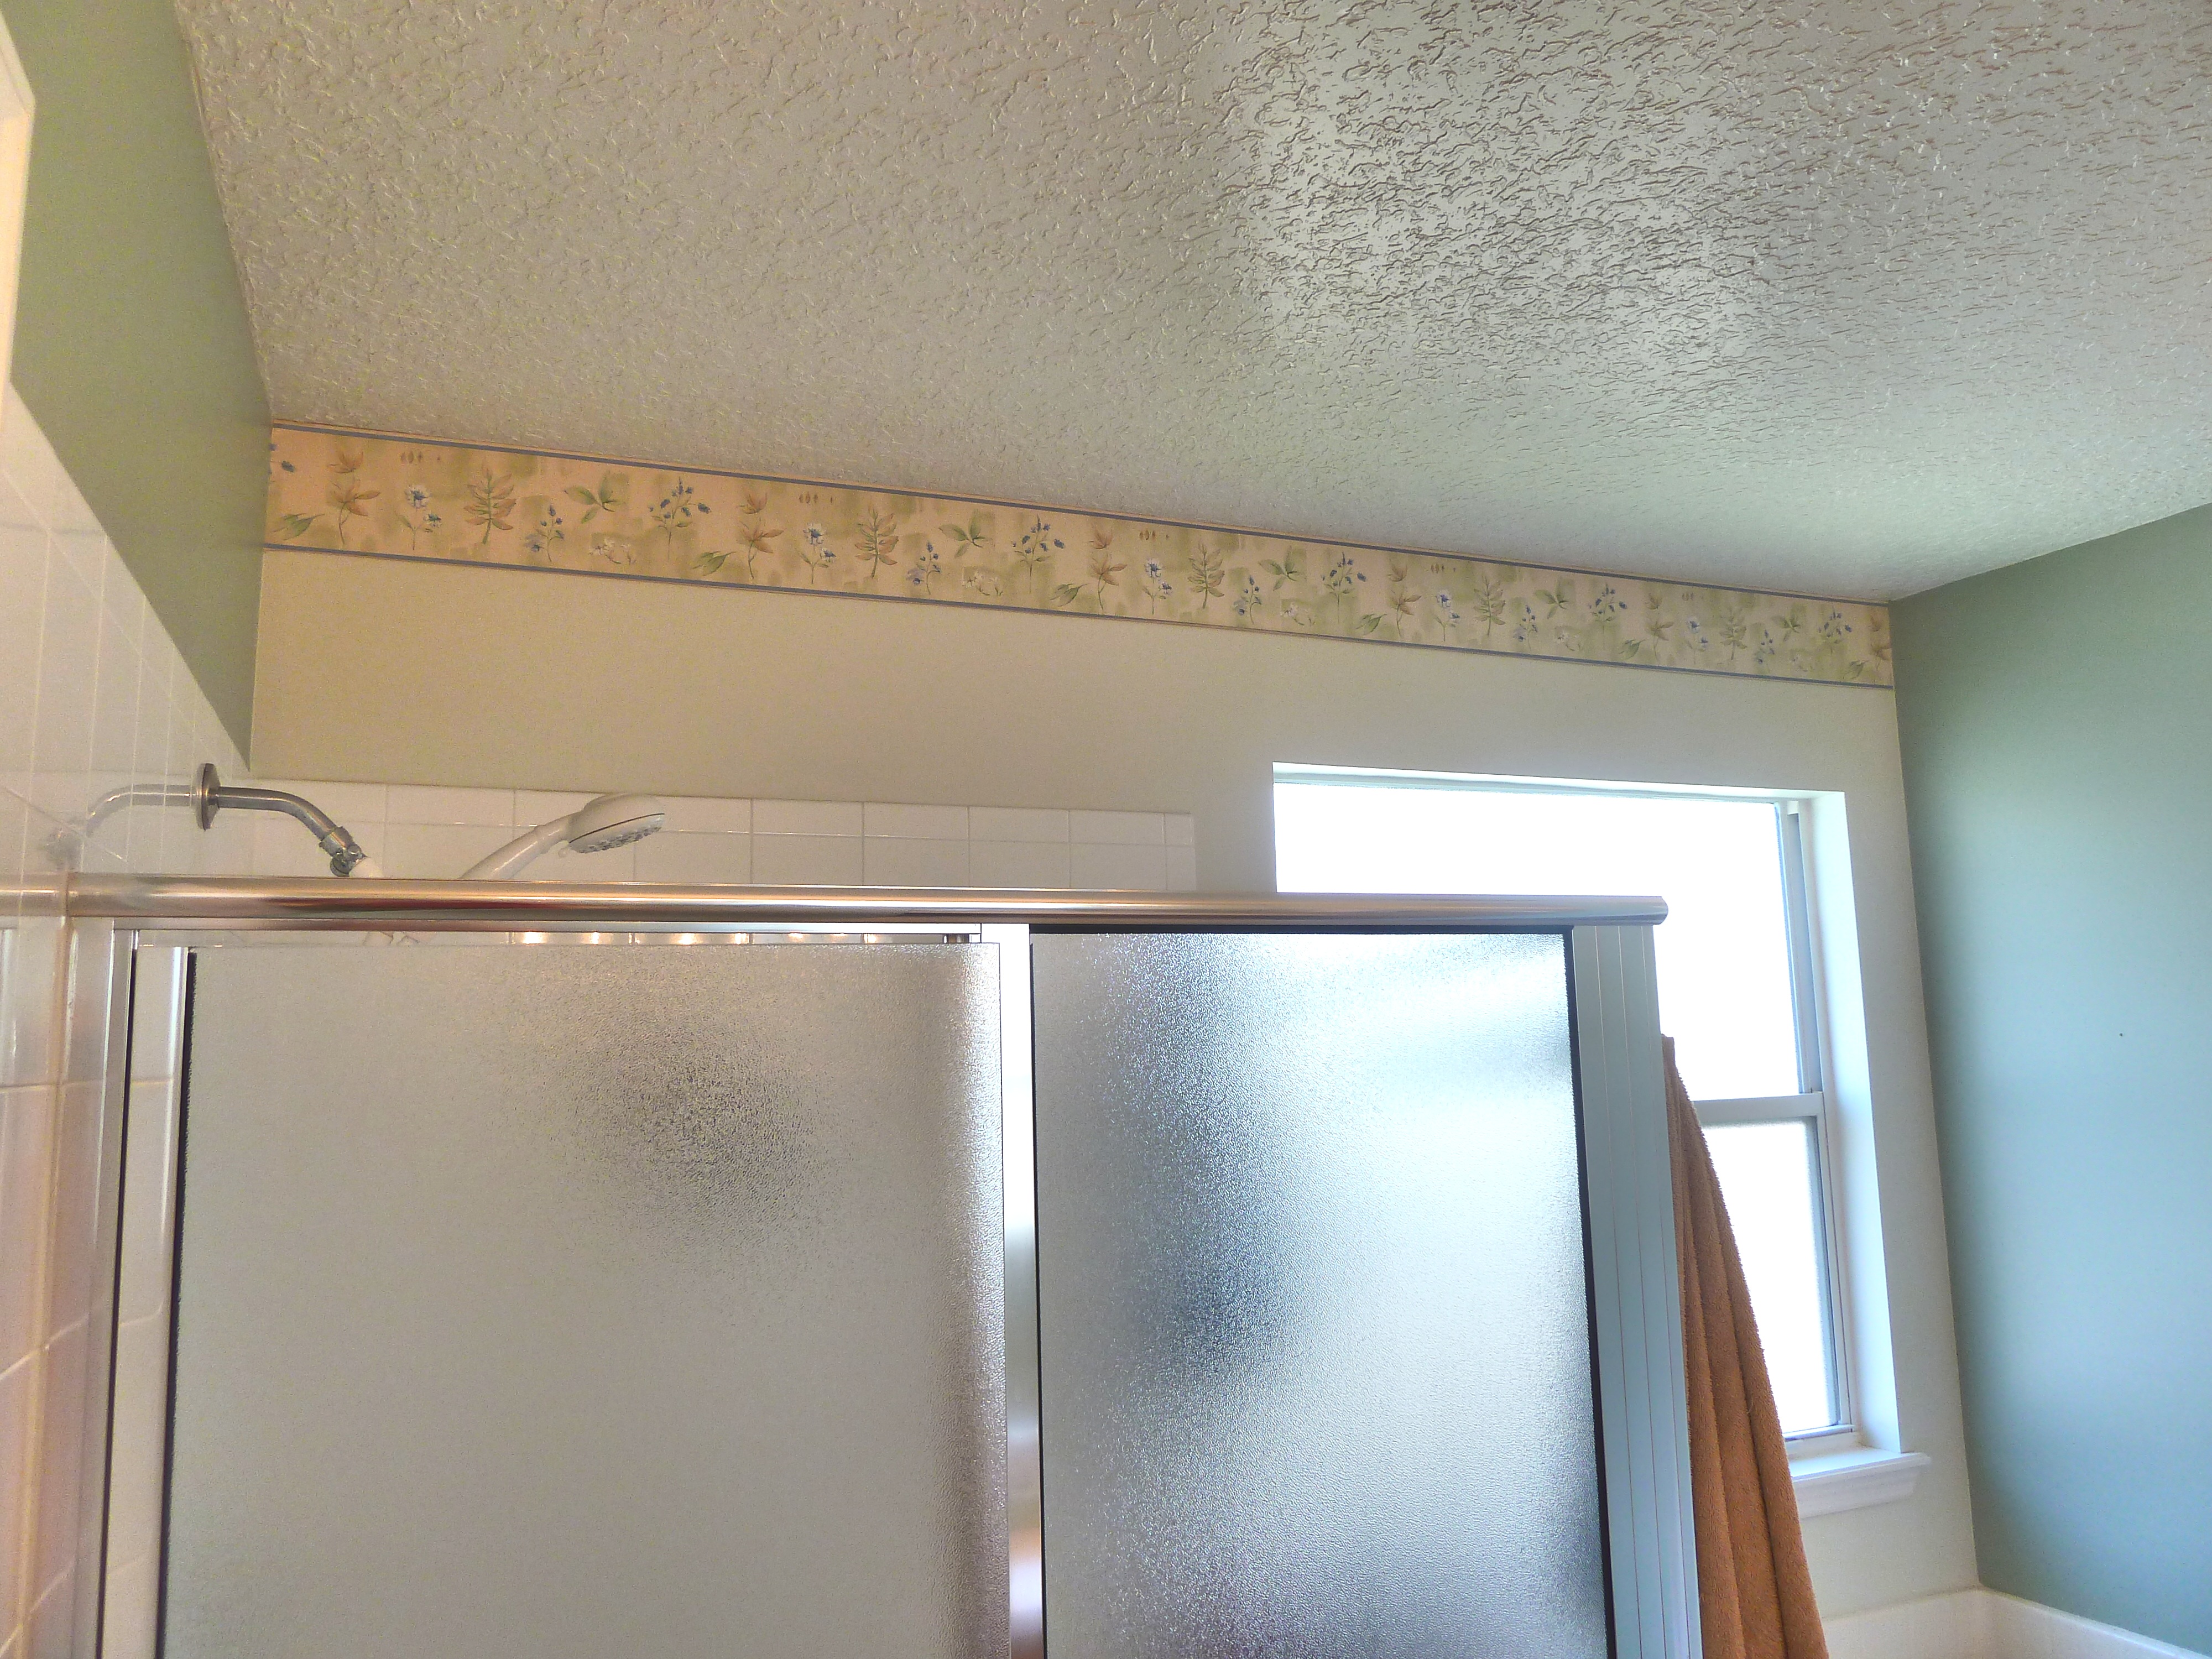
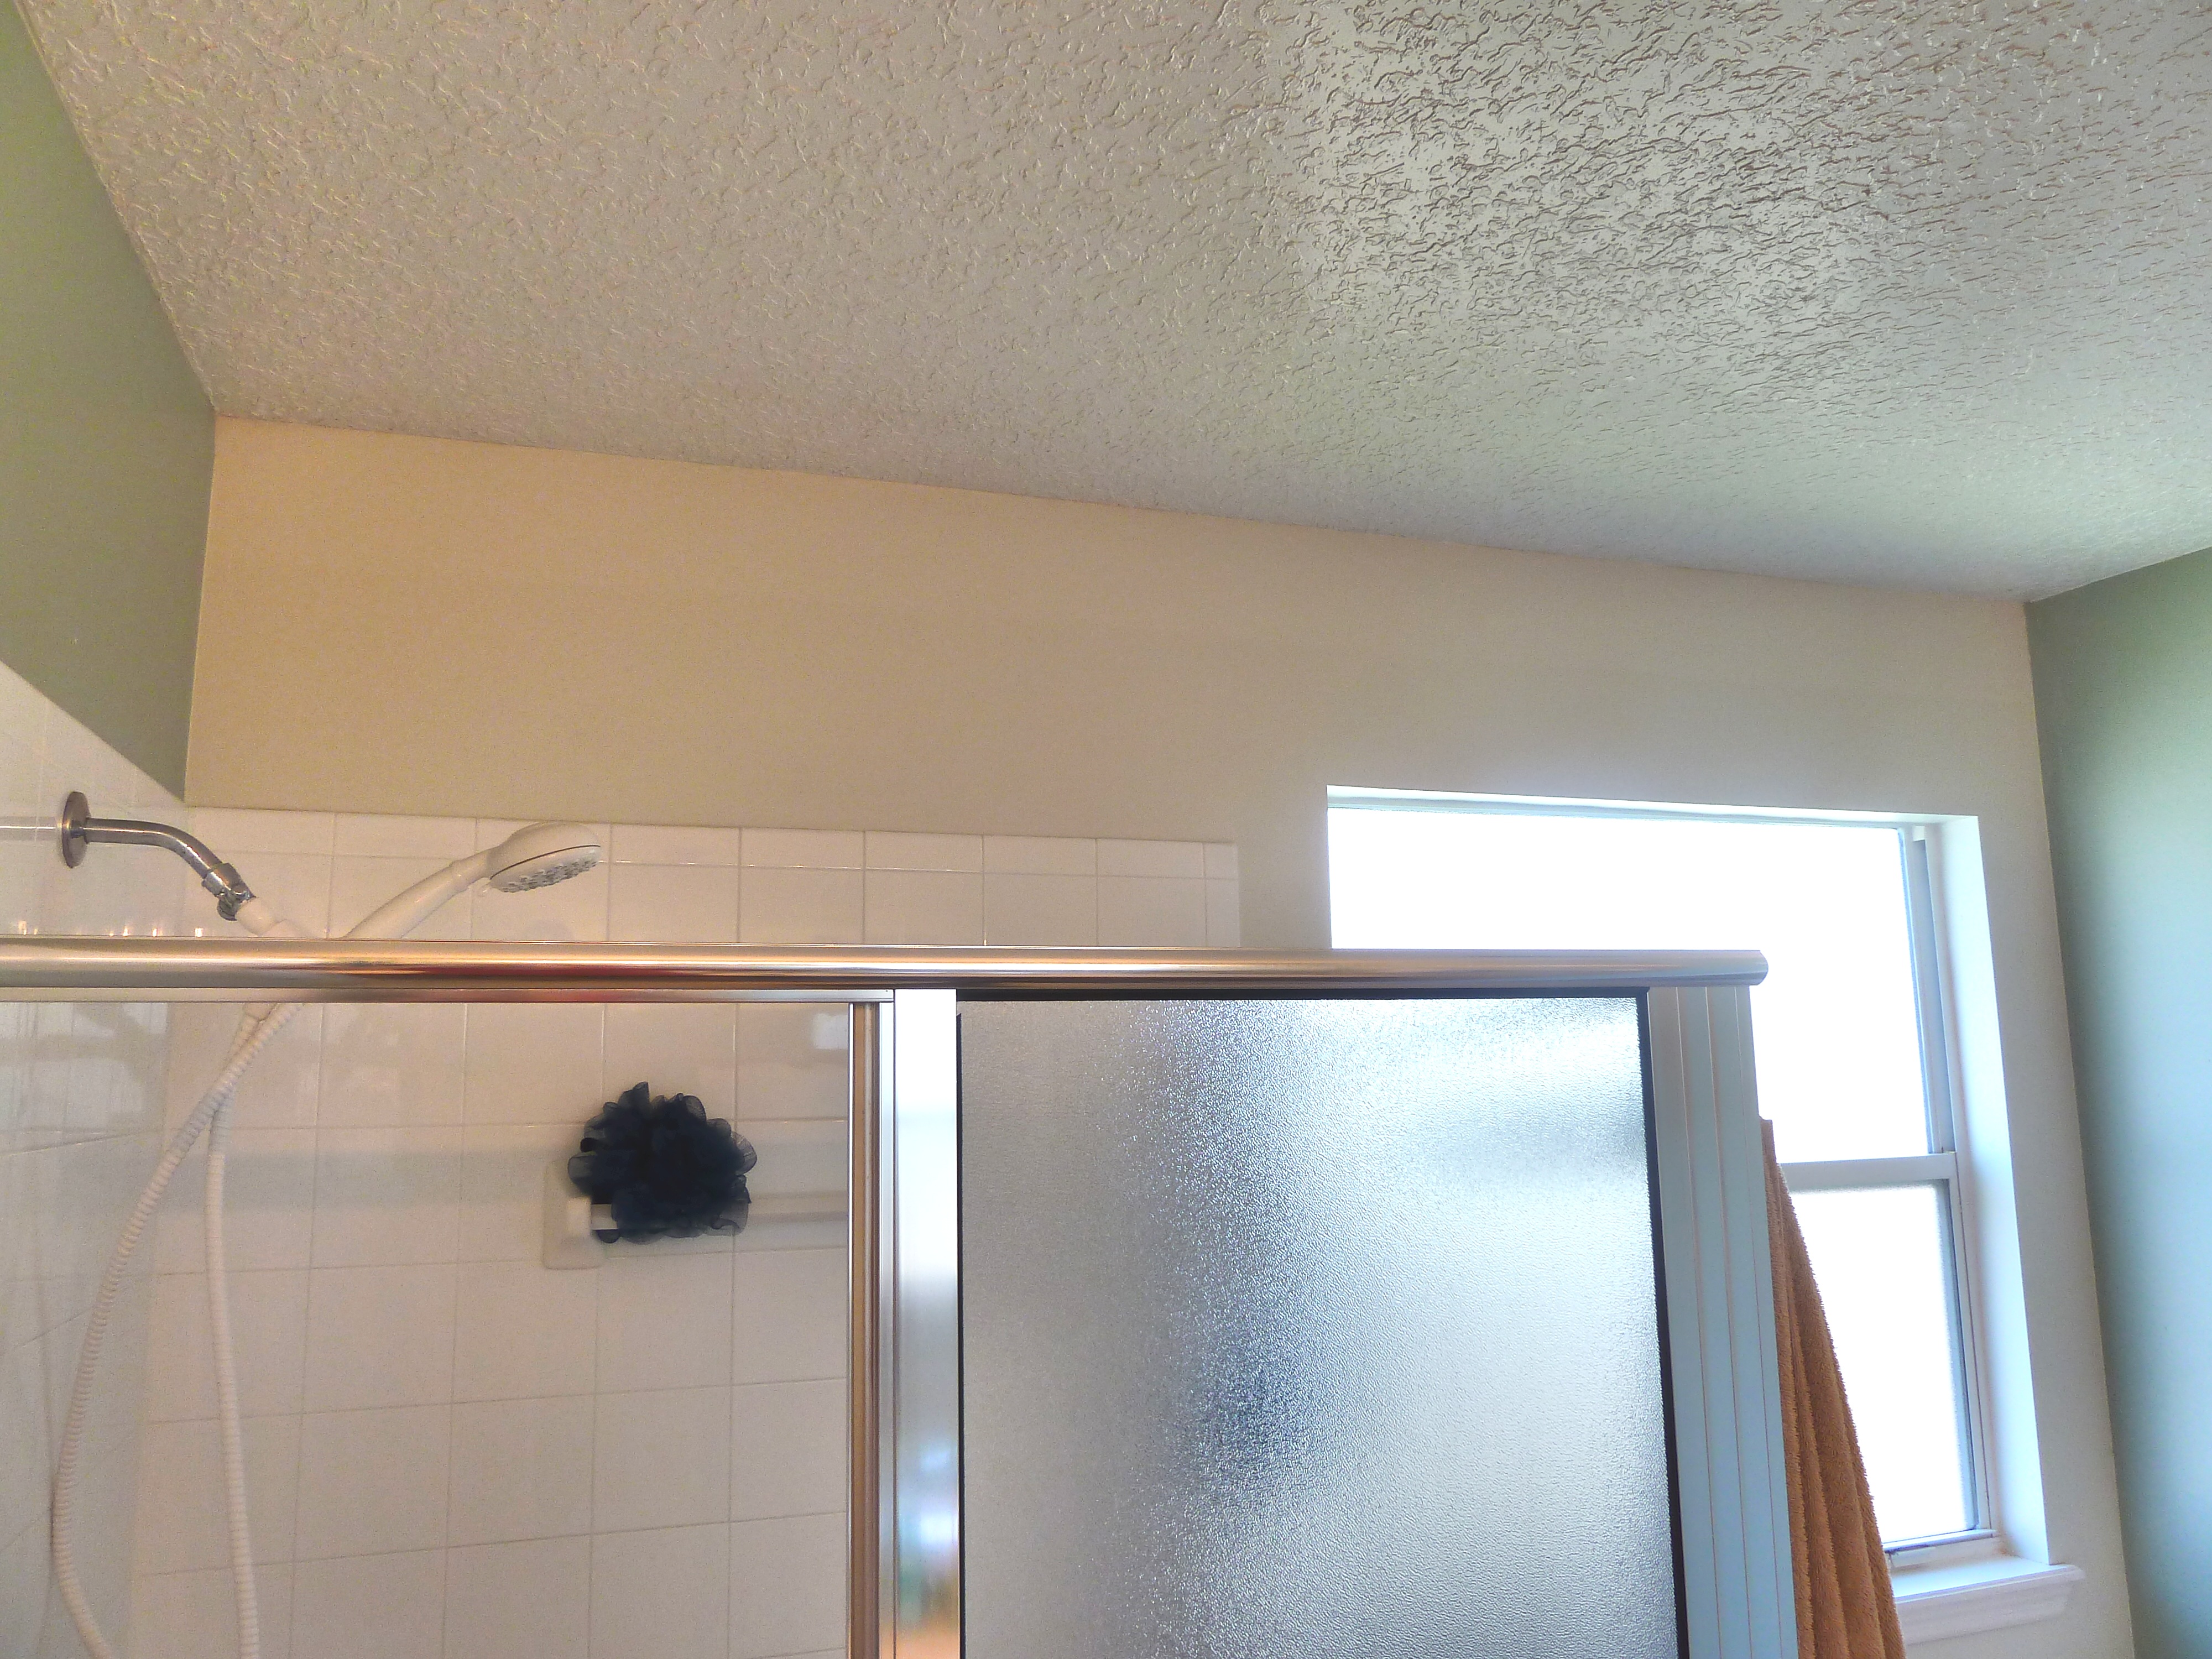
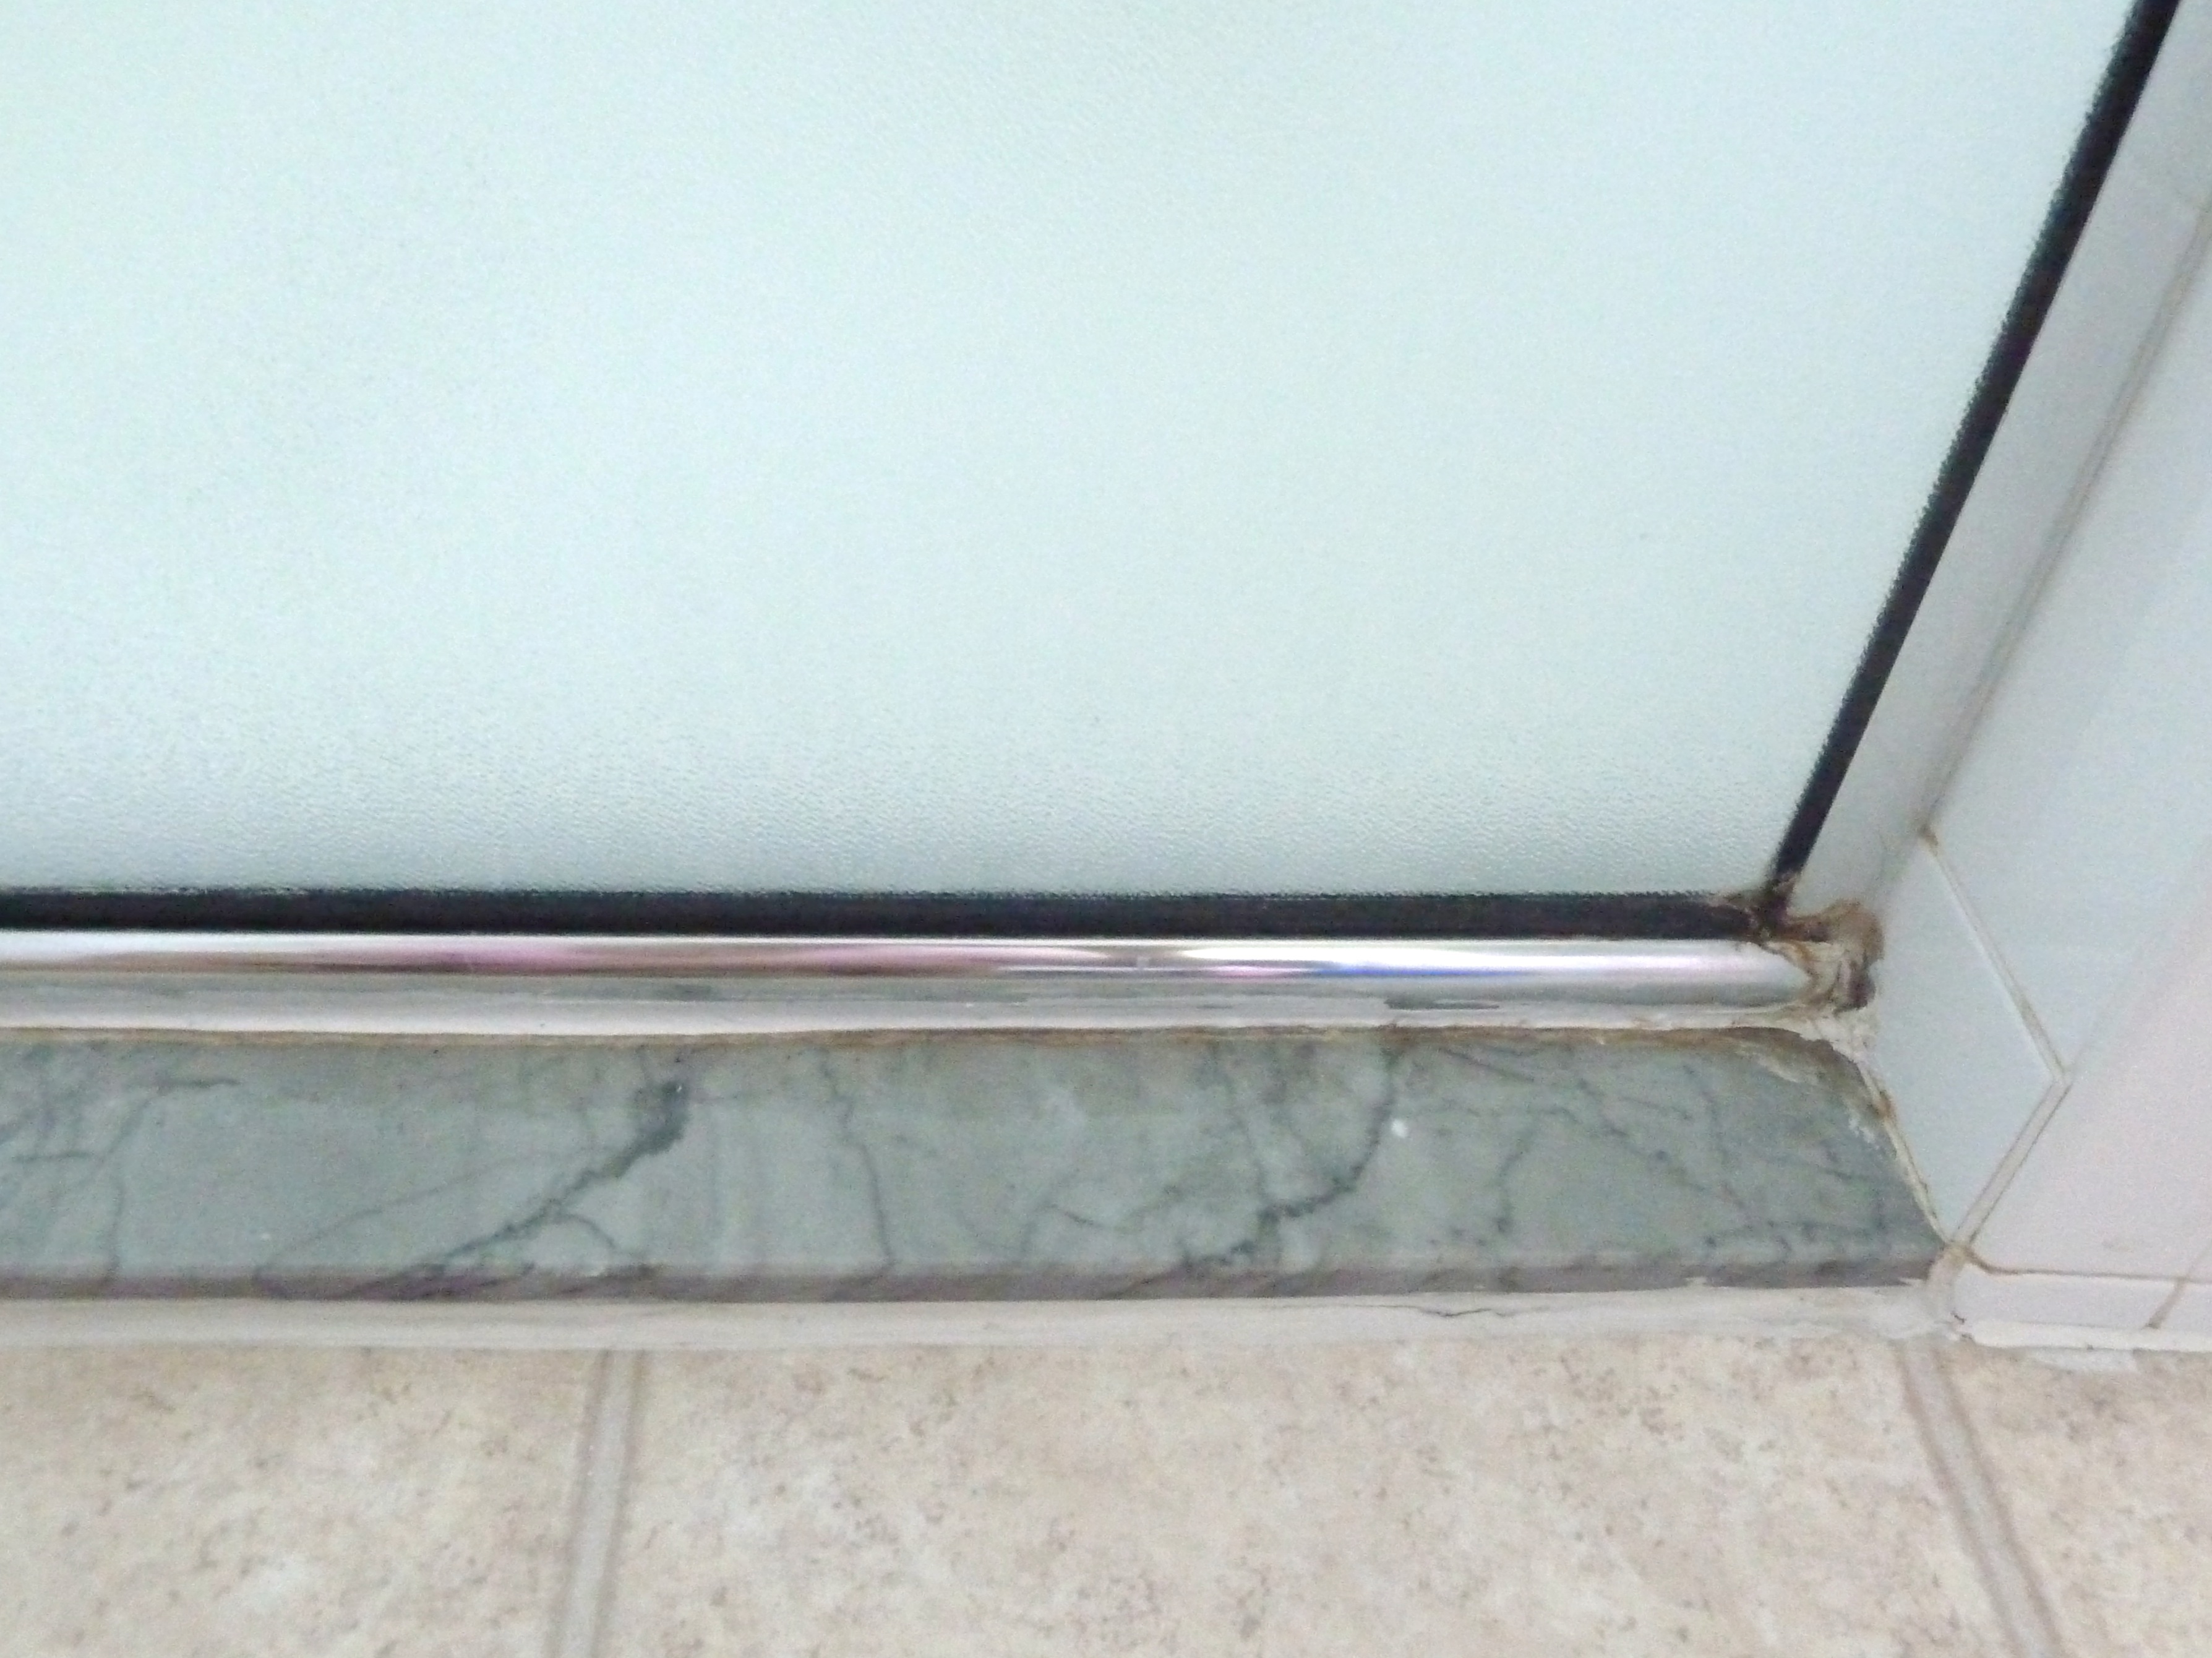
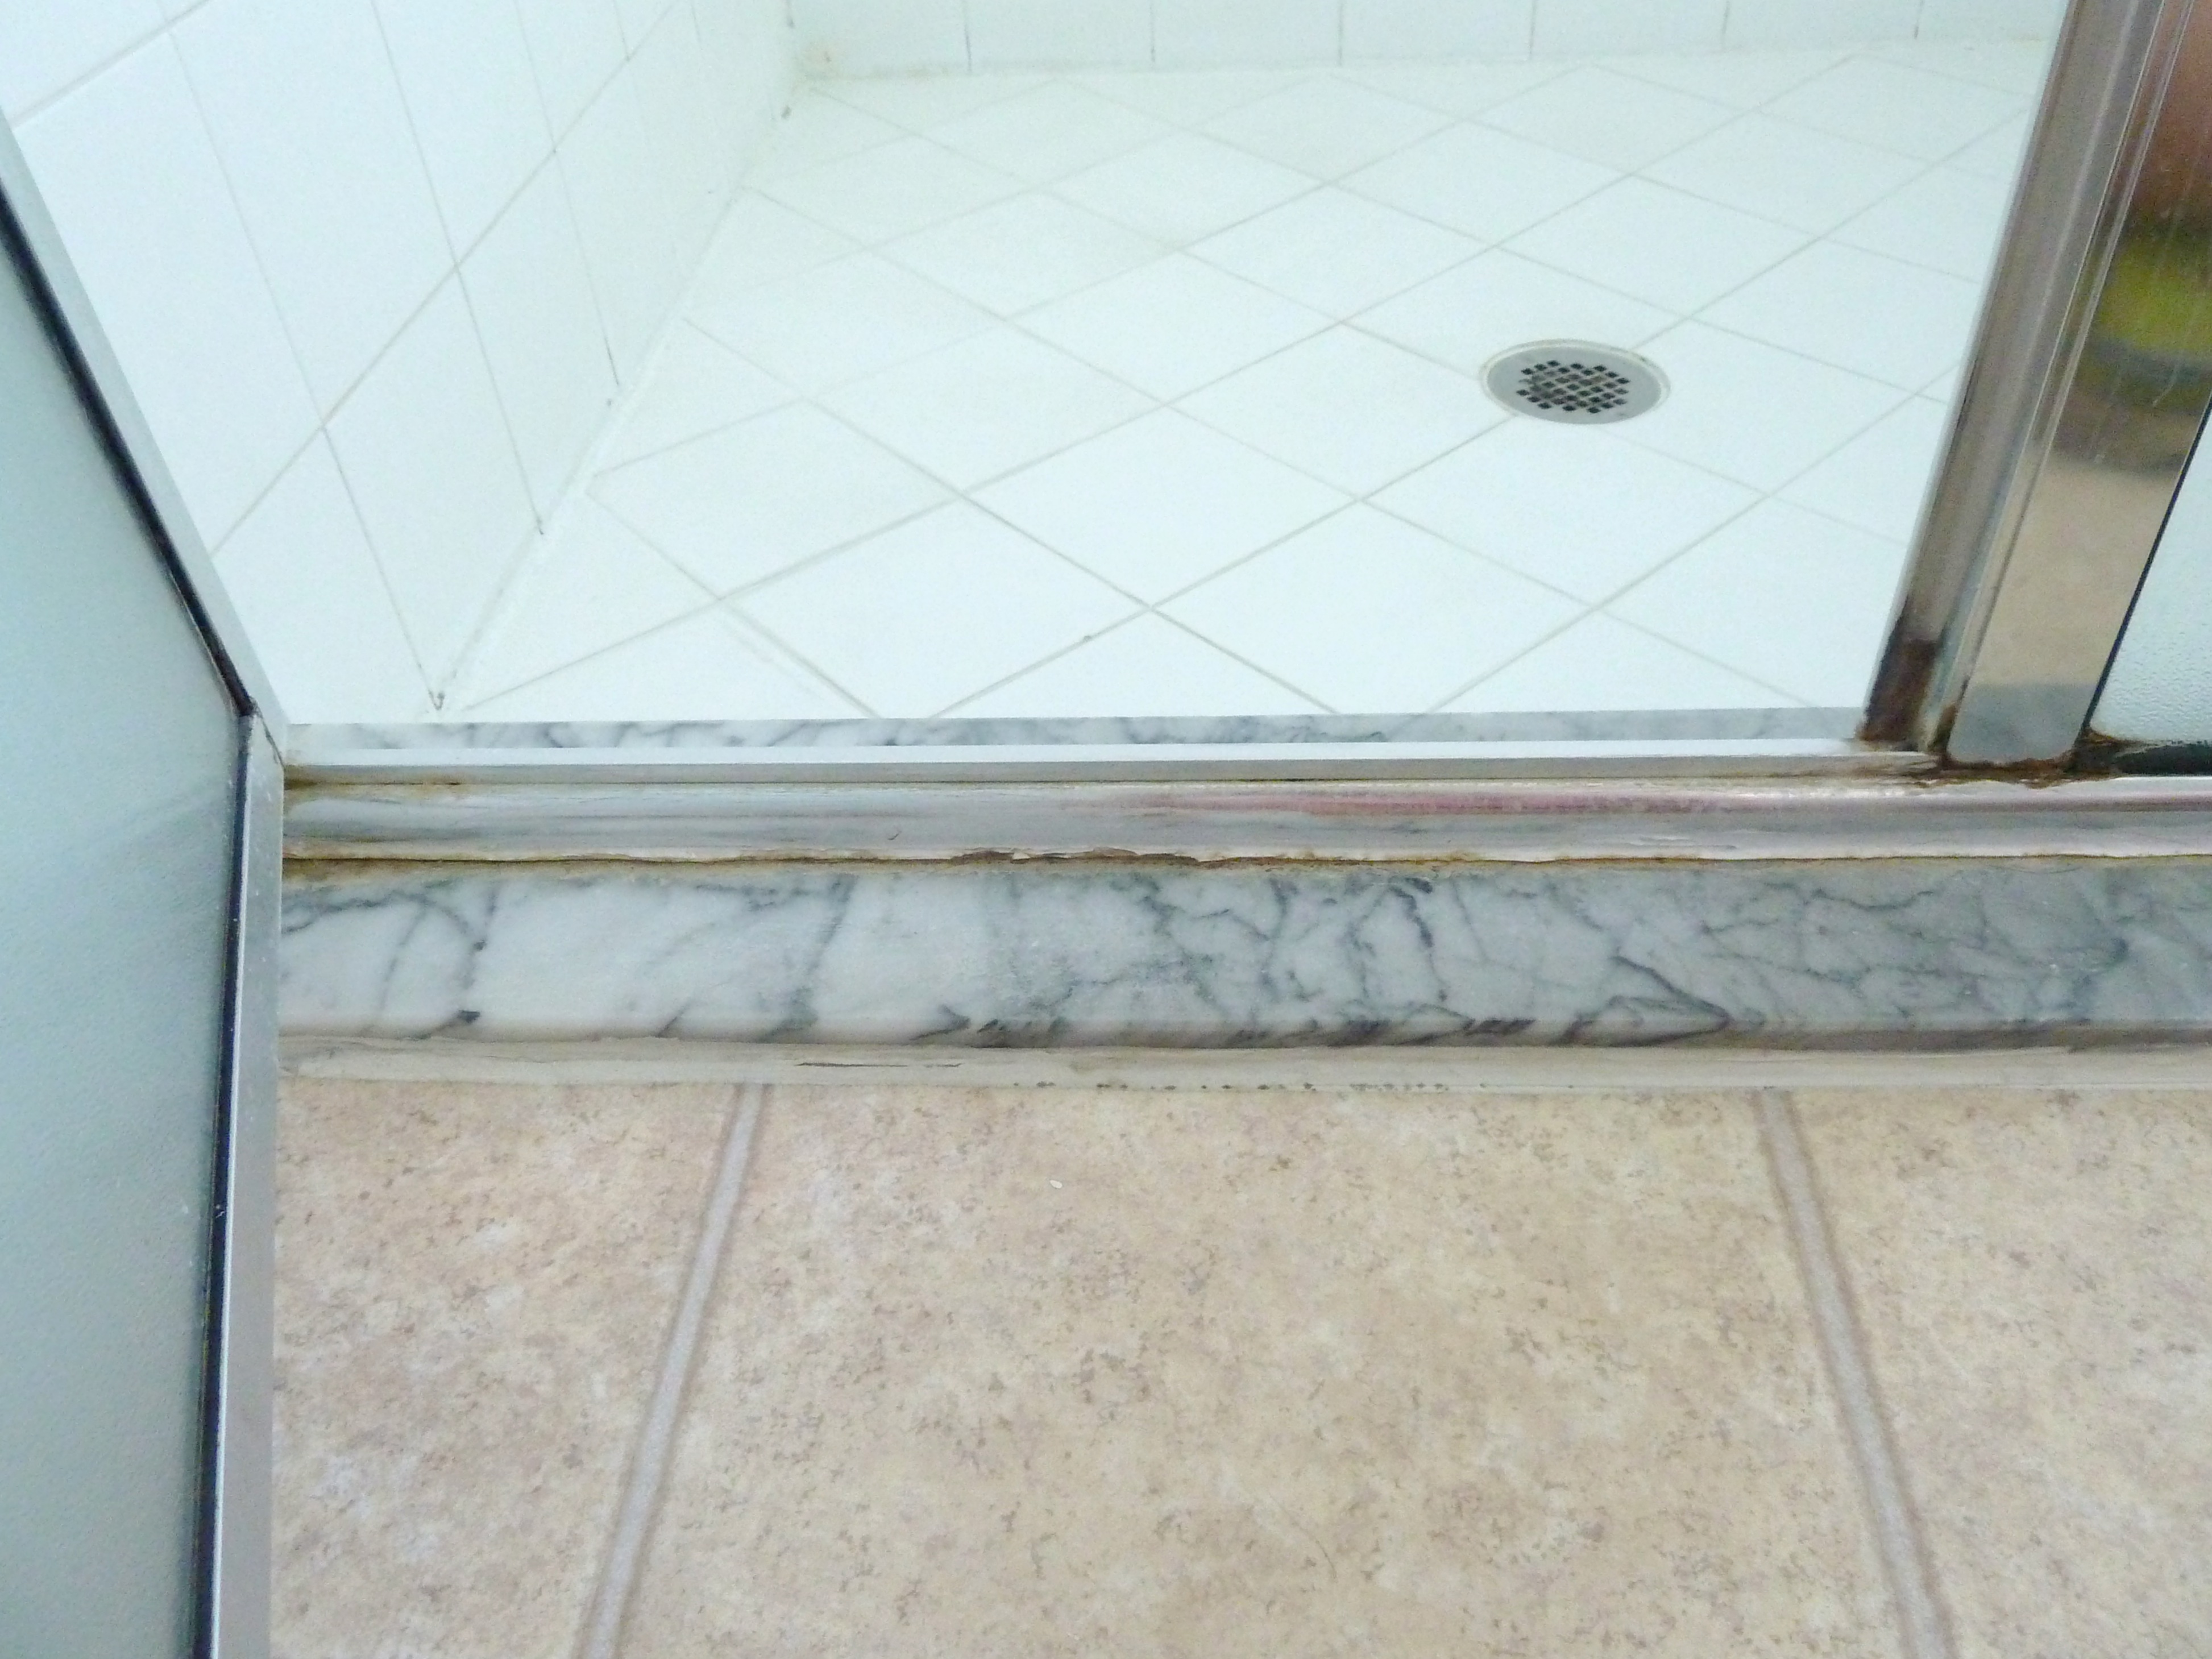
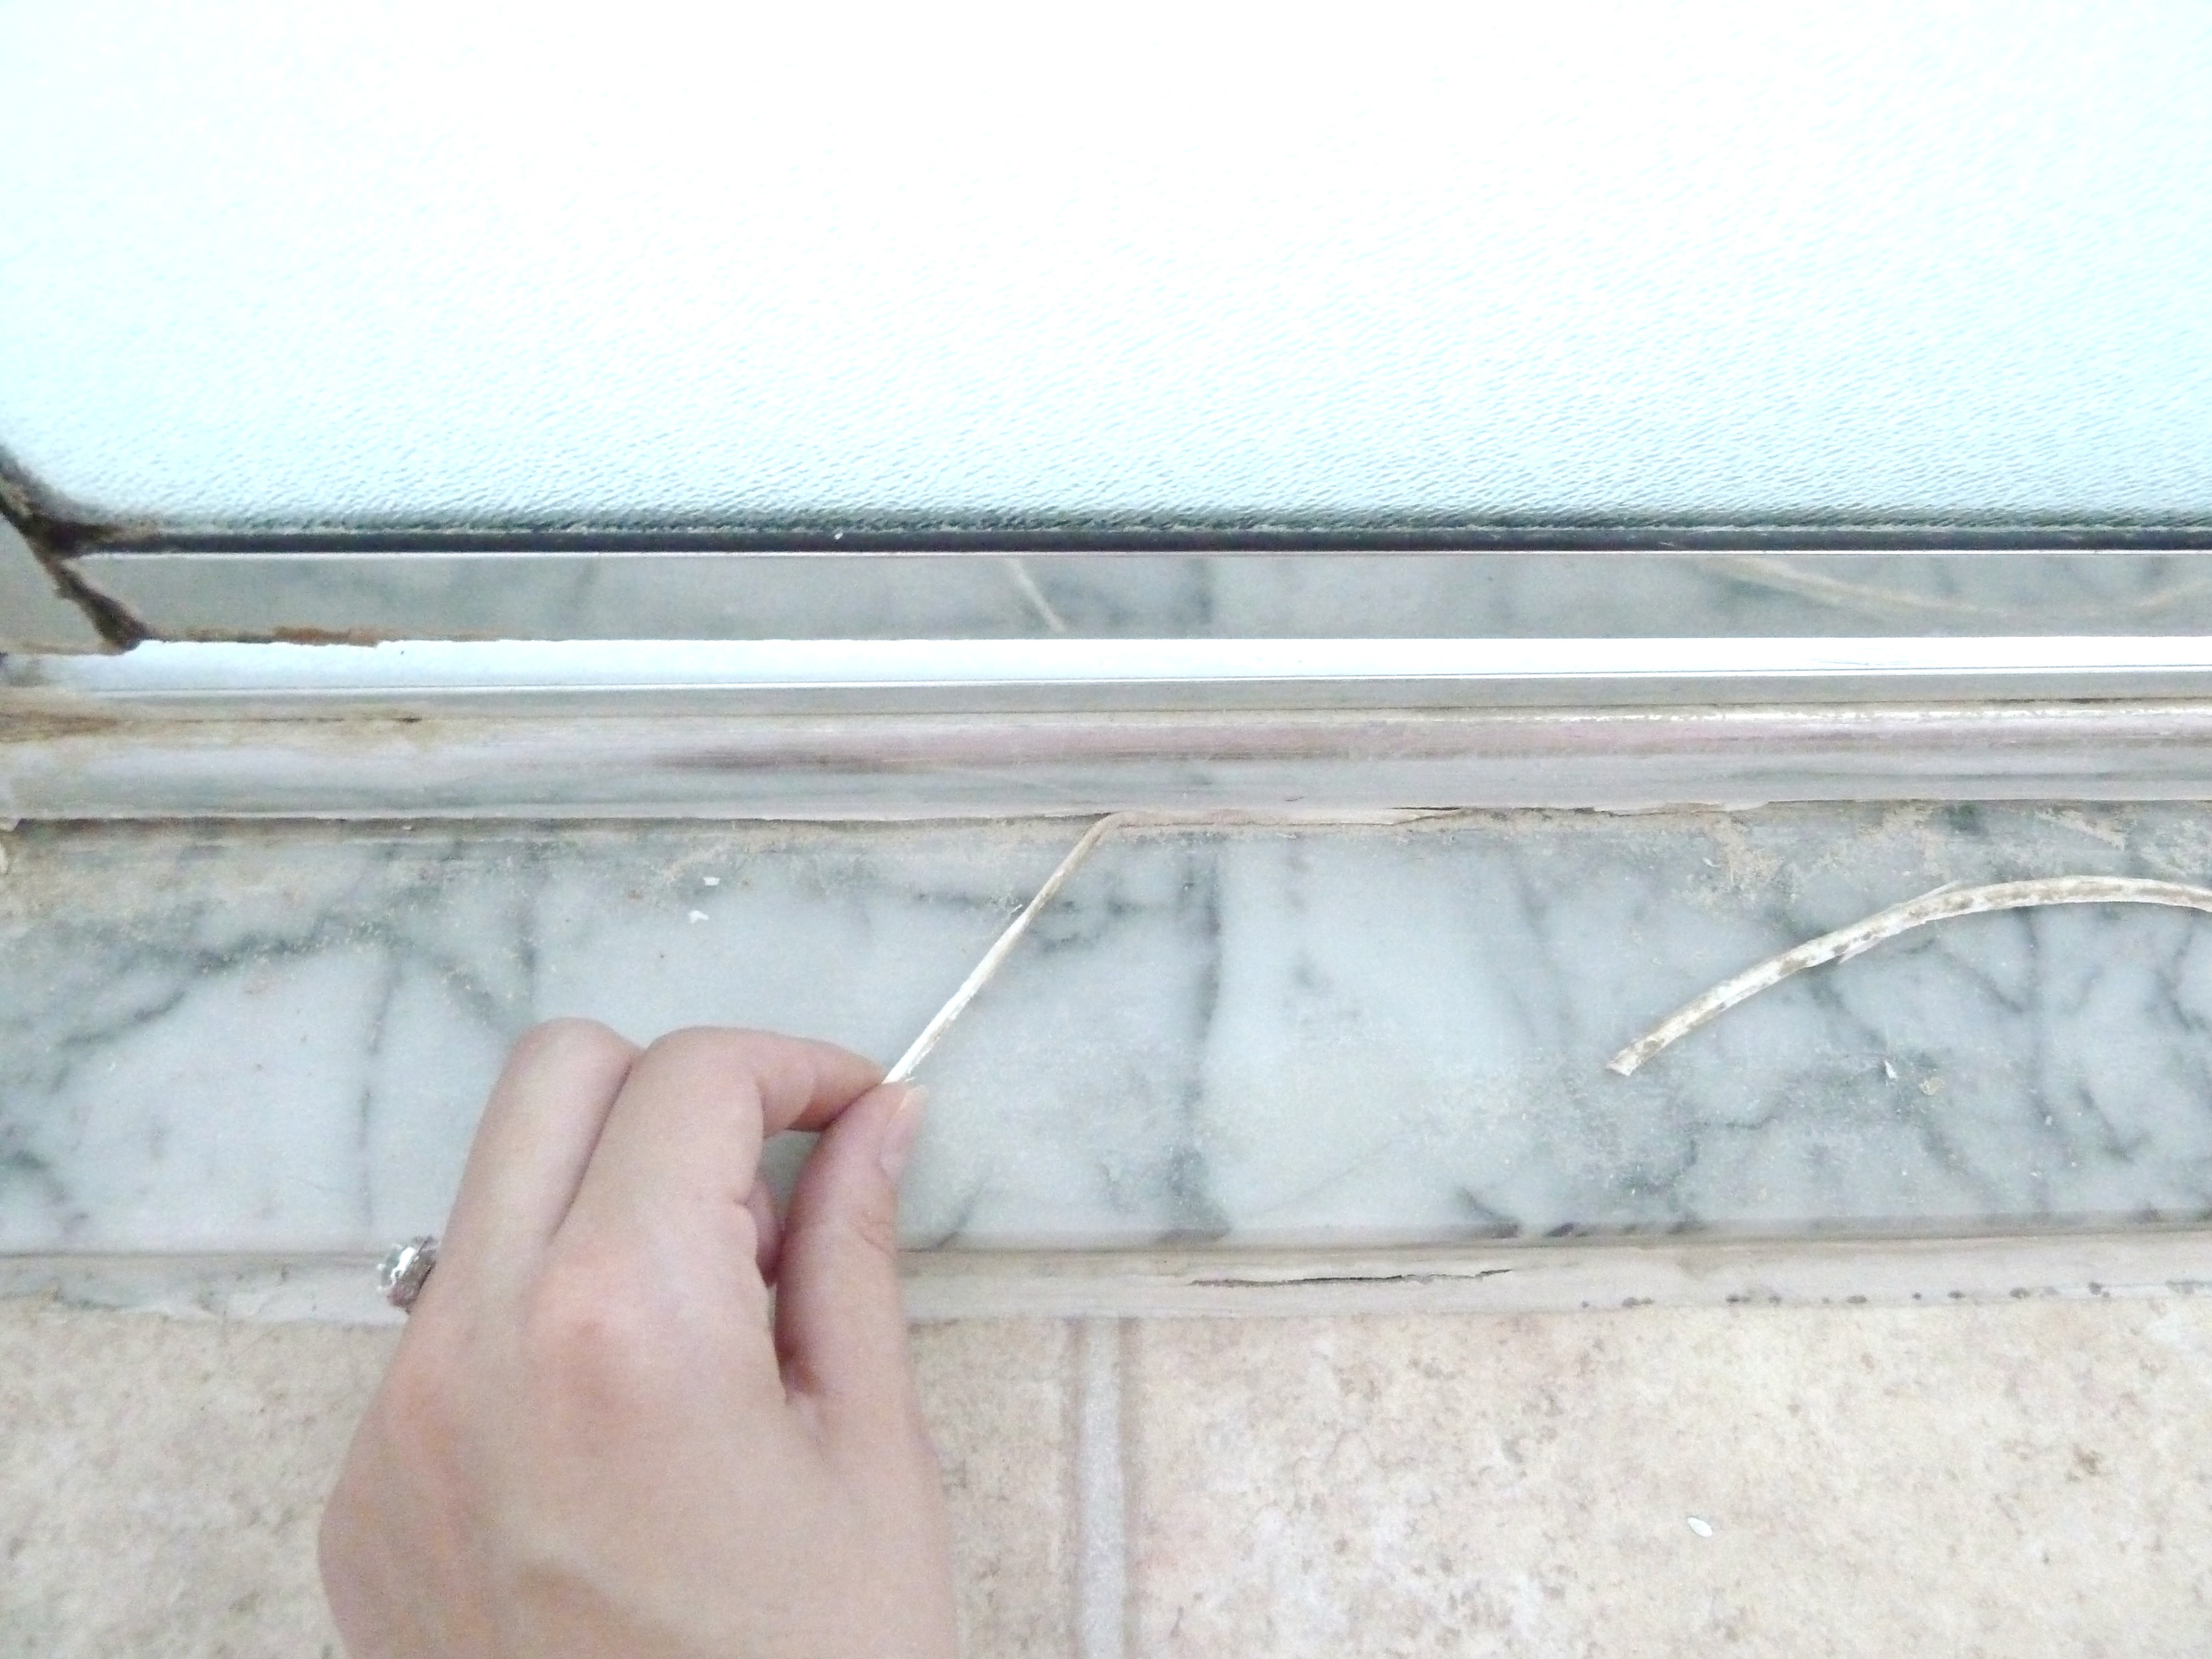
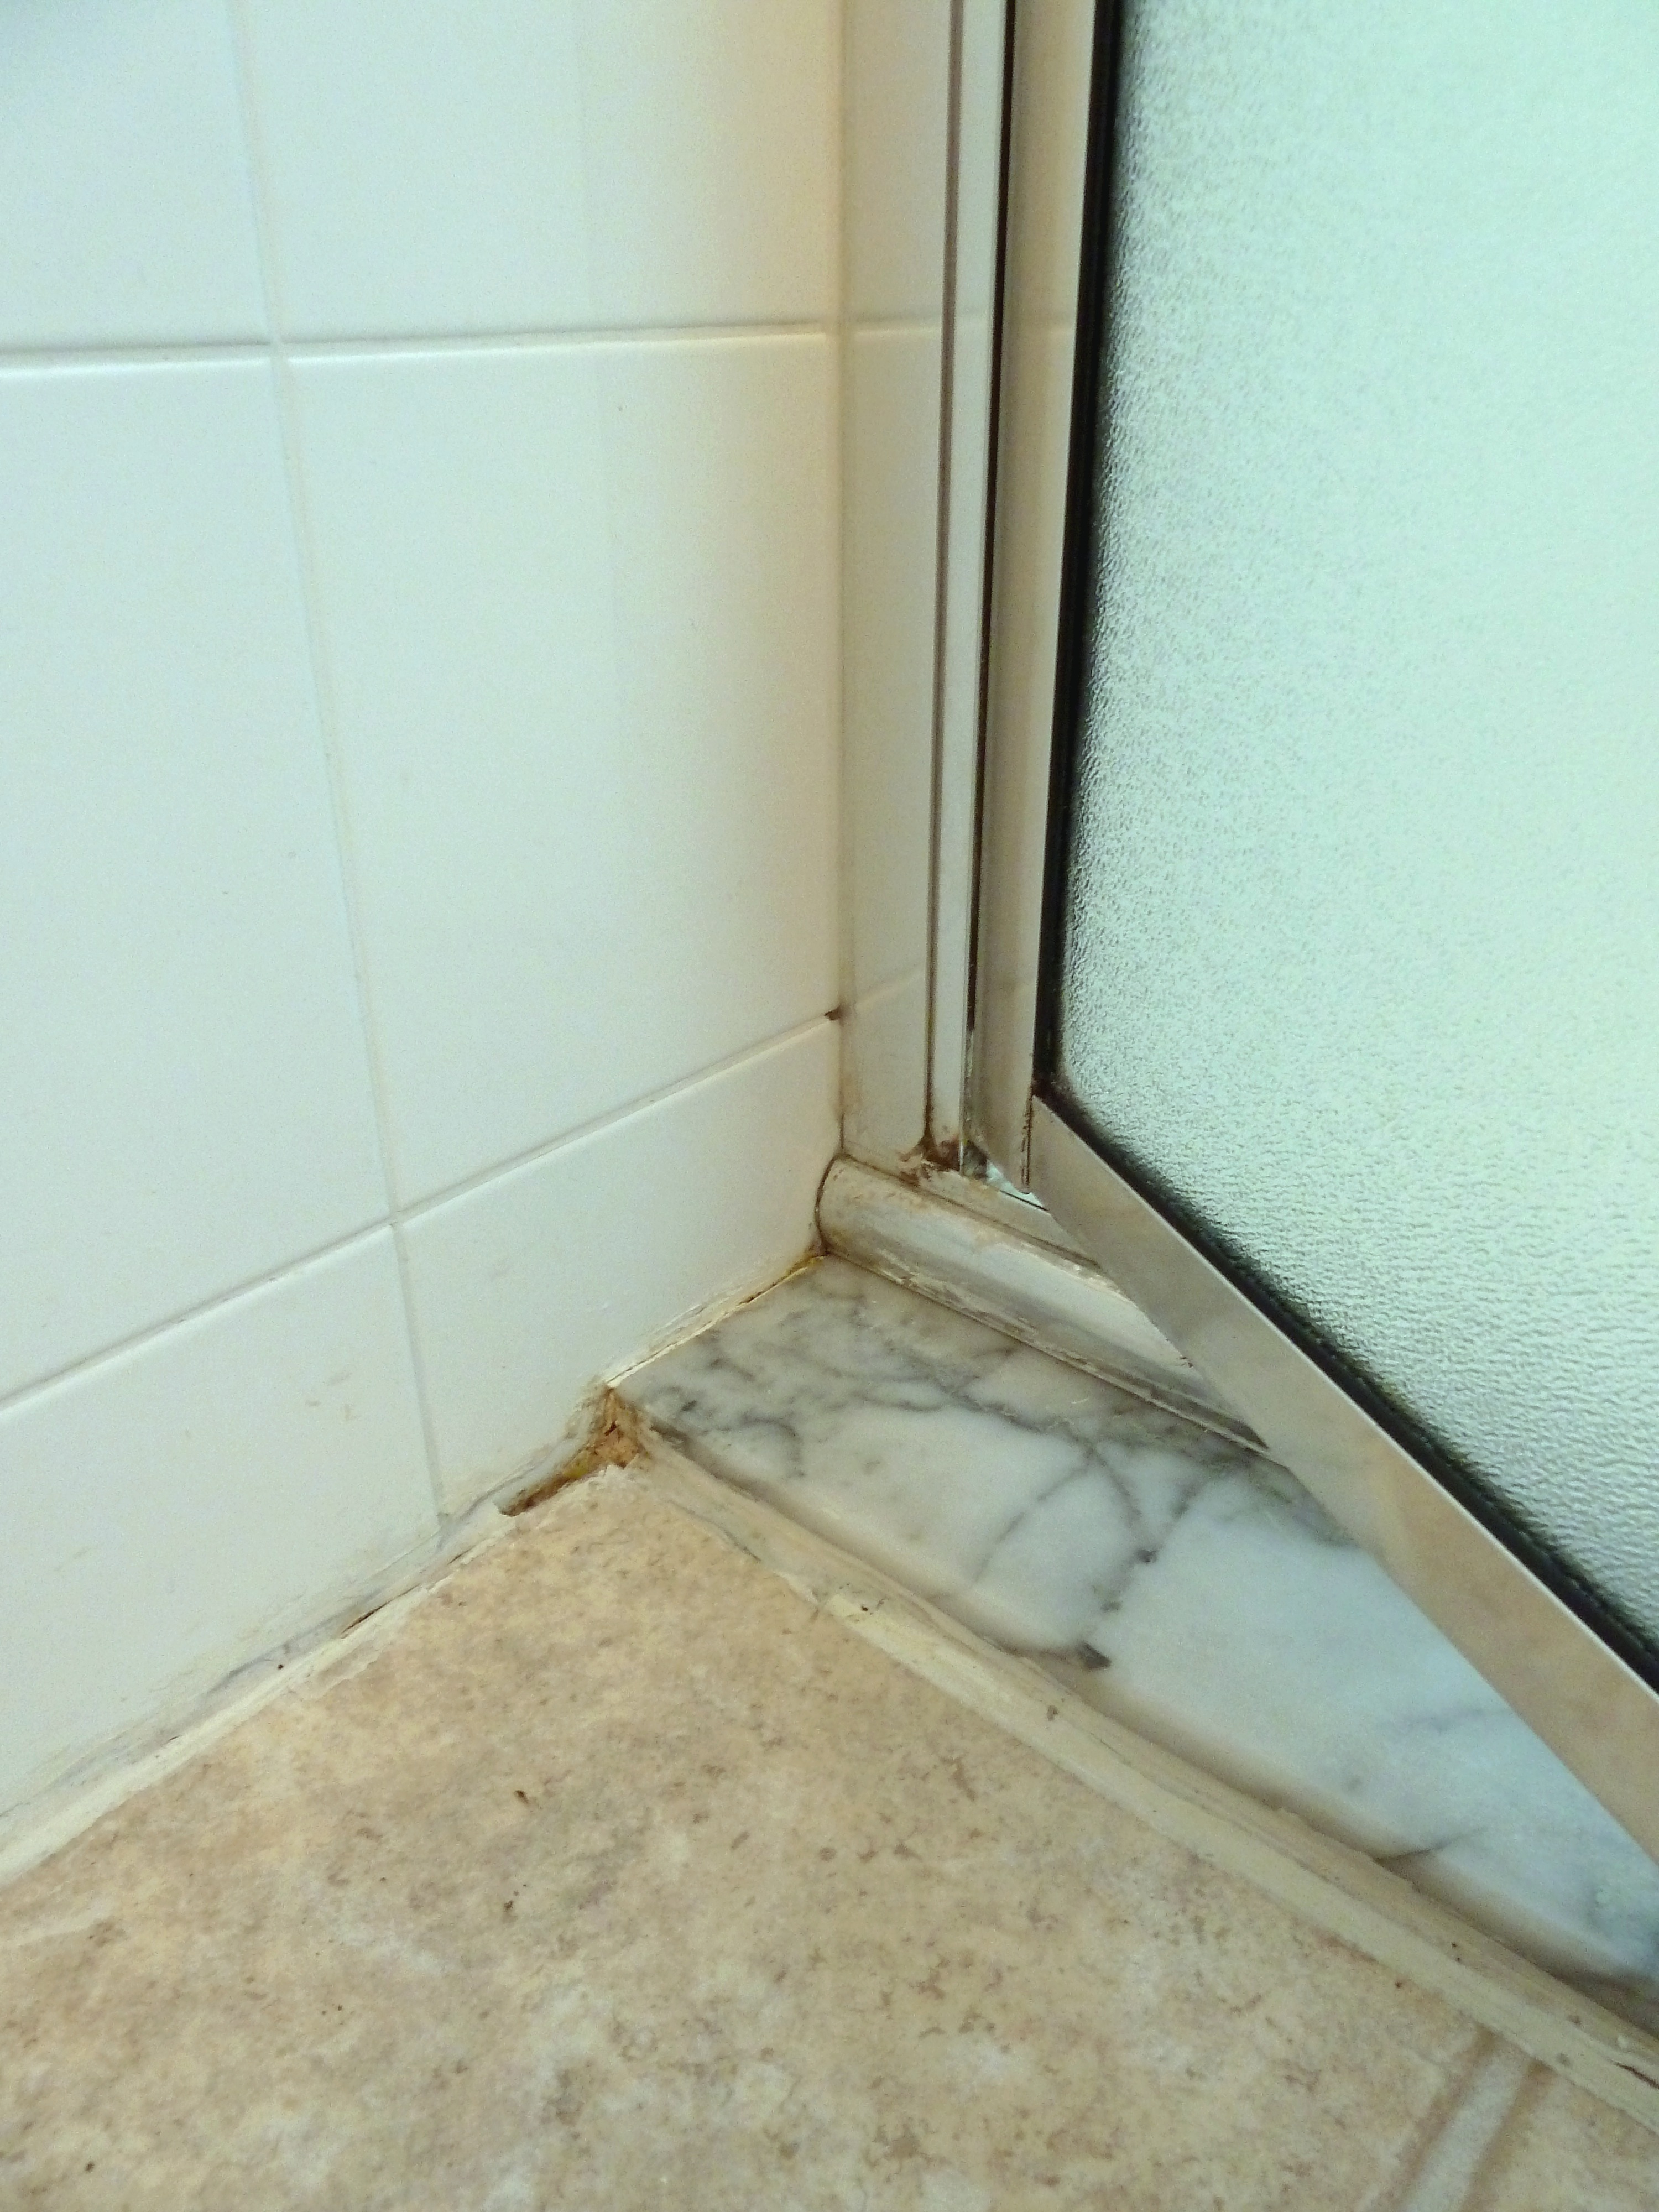
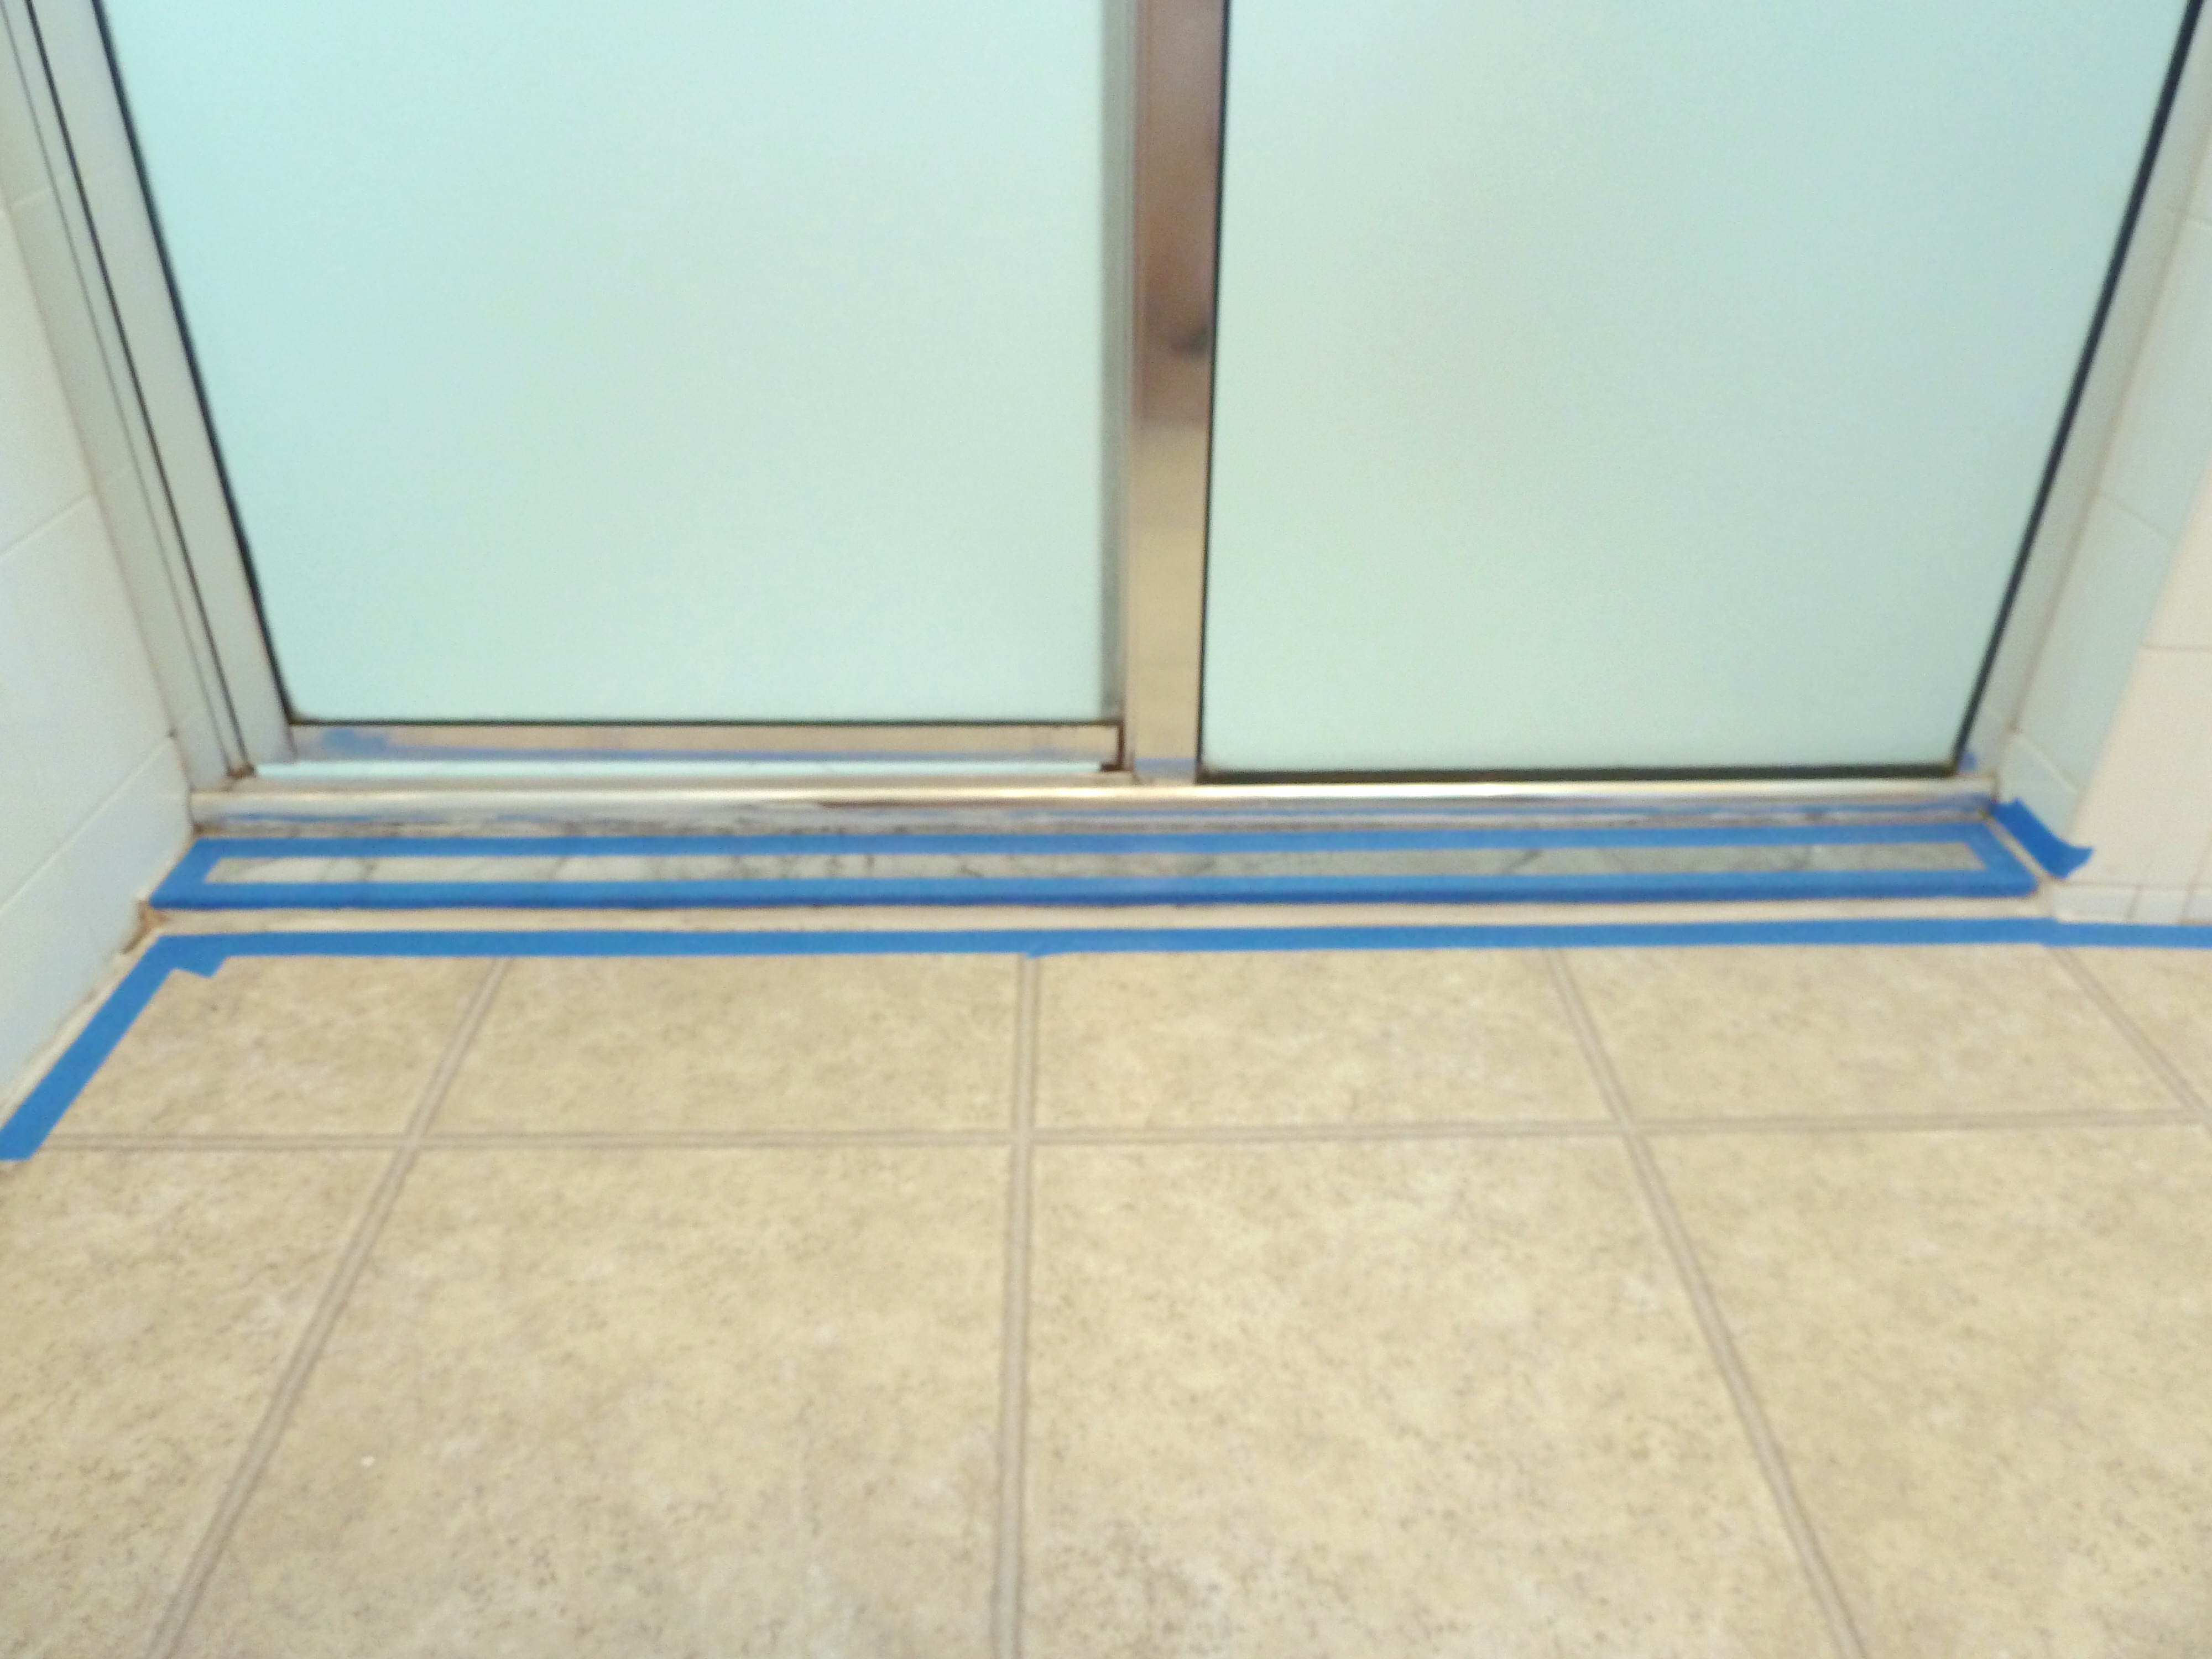
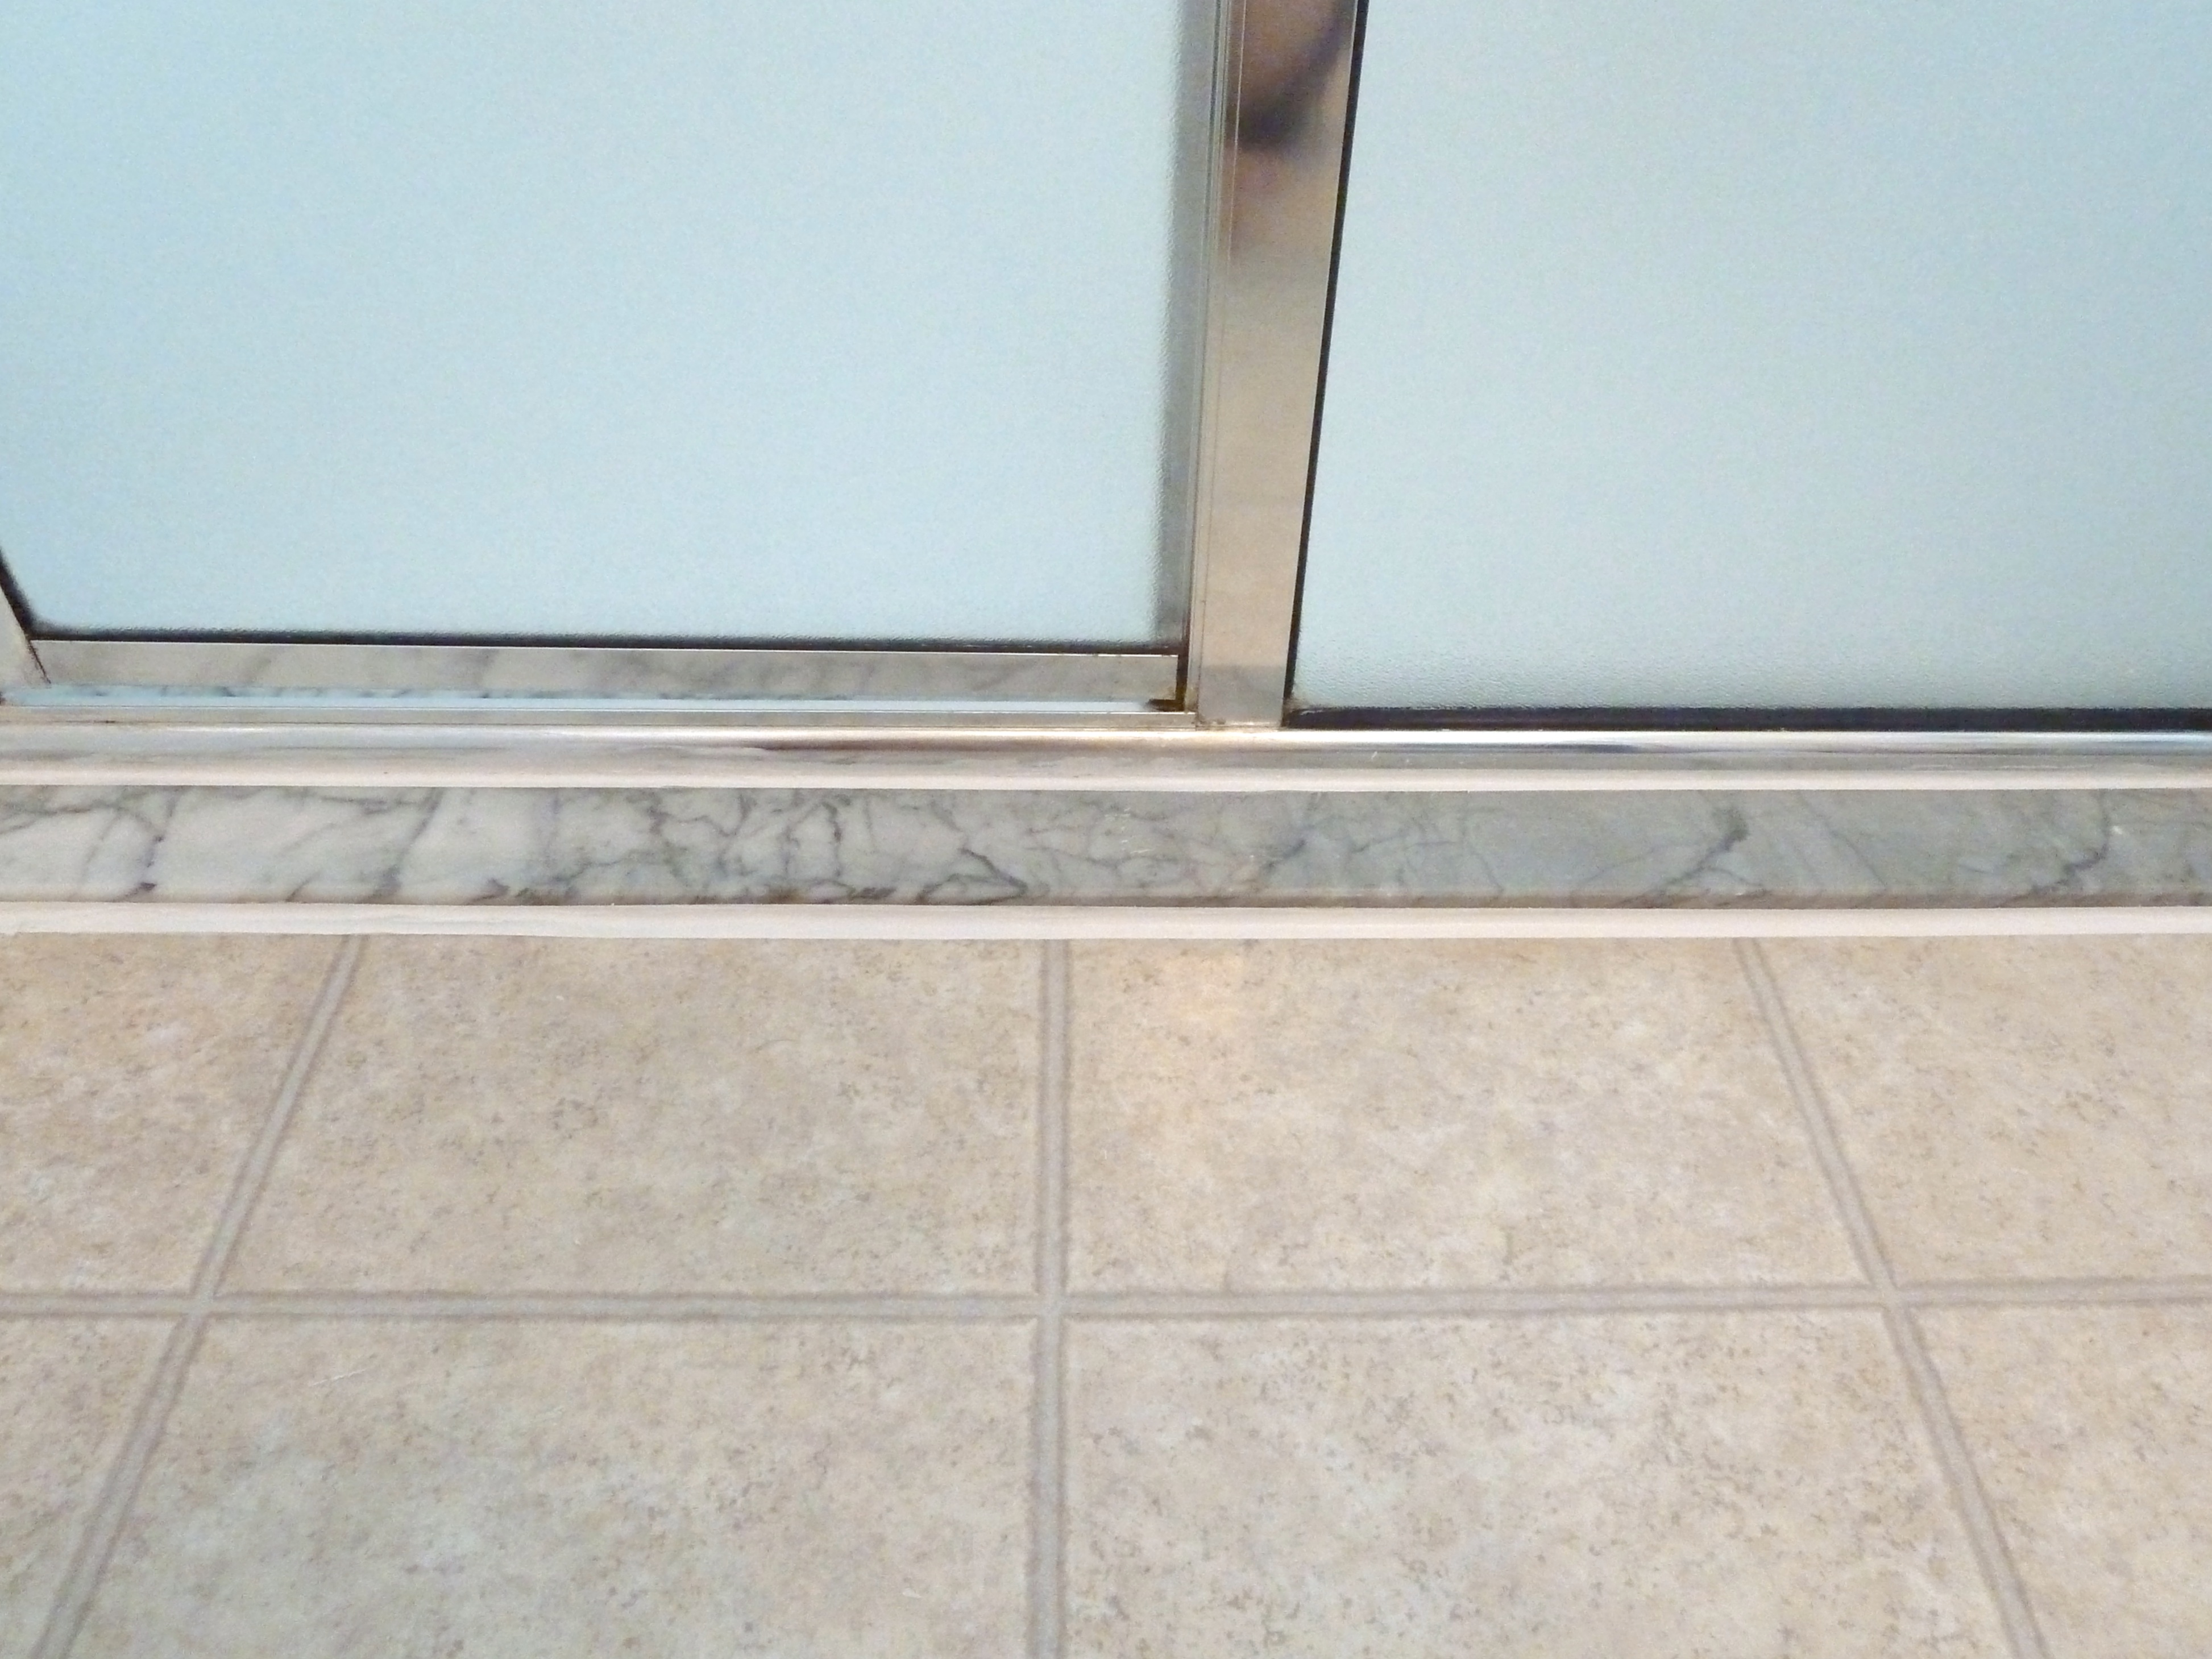
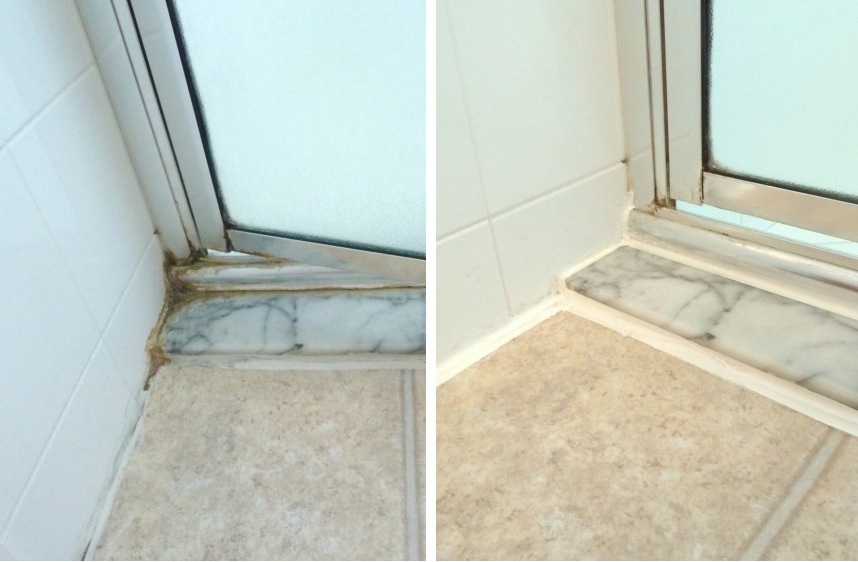
This is our gross entrance to our shower.

P1070707_Fotor

YUUCCKK!

P1070706_Fotor

All of the old caulk is dirty and the shower is rusting pretty bad.

P1070708_Fotor

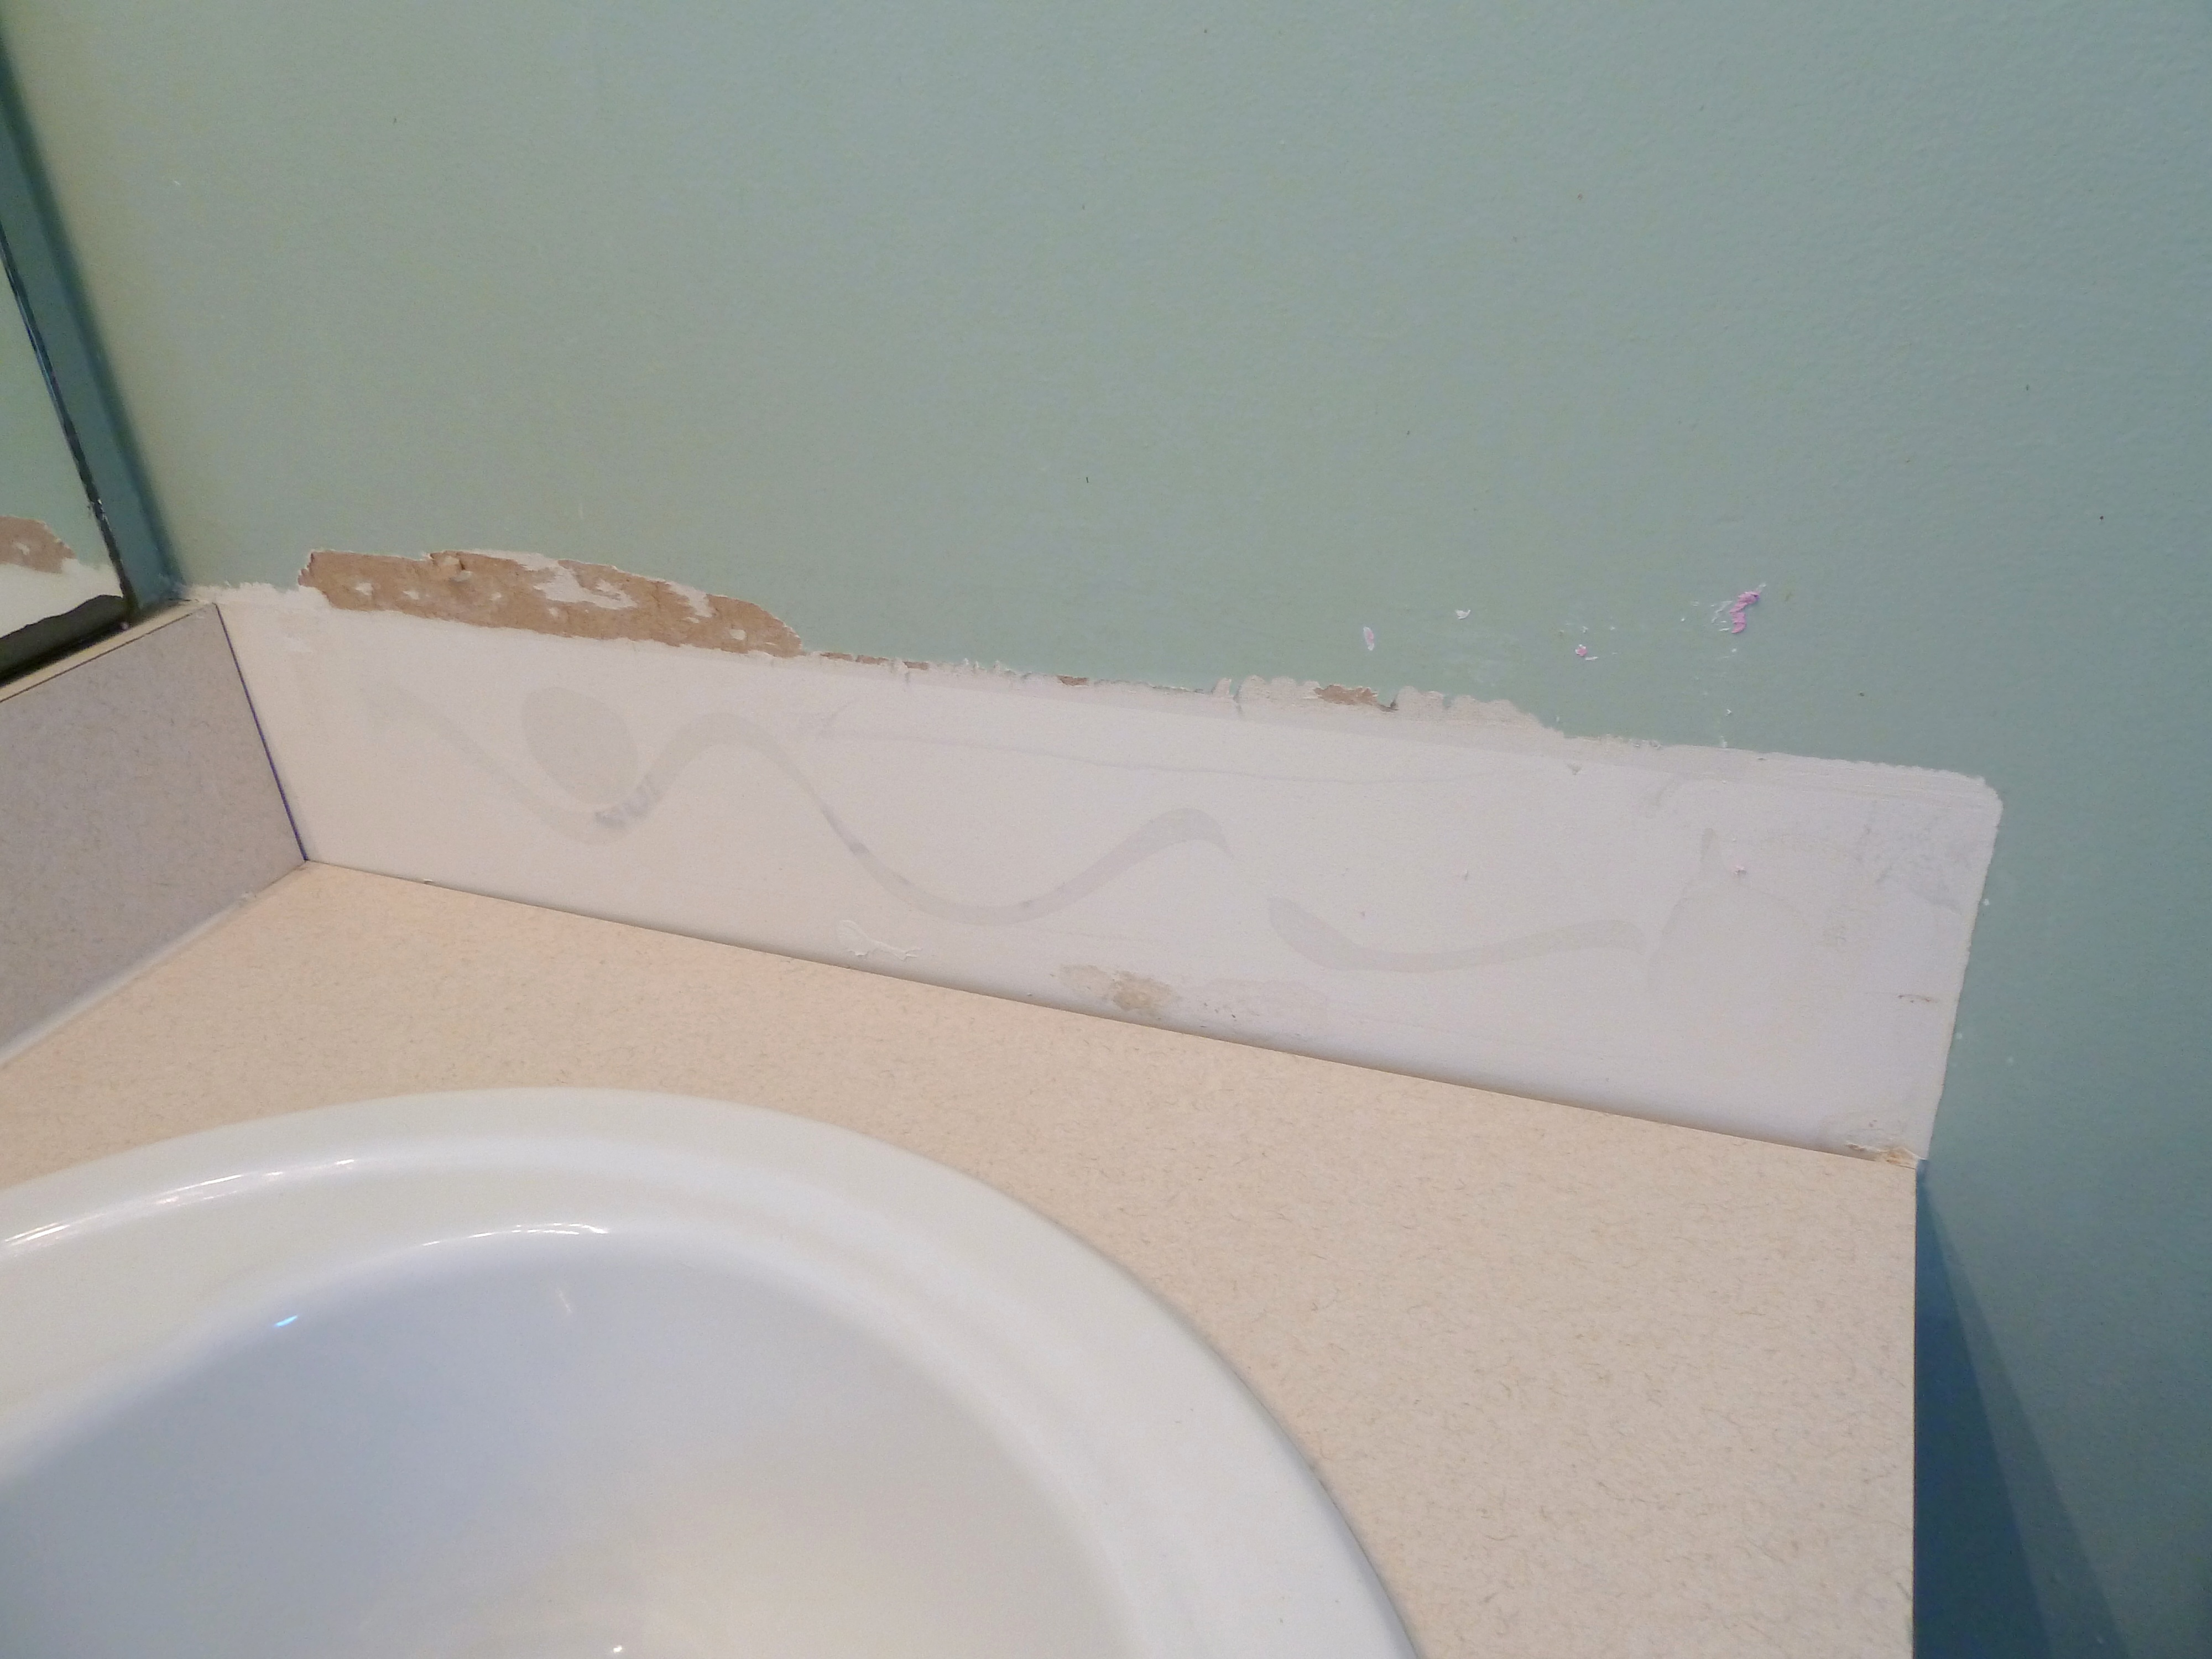
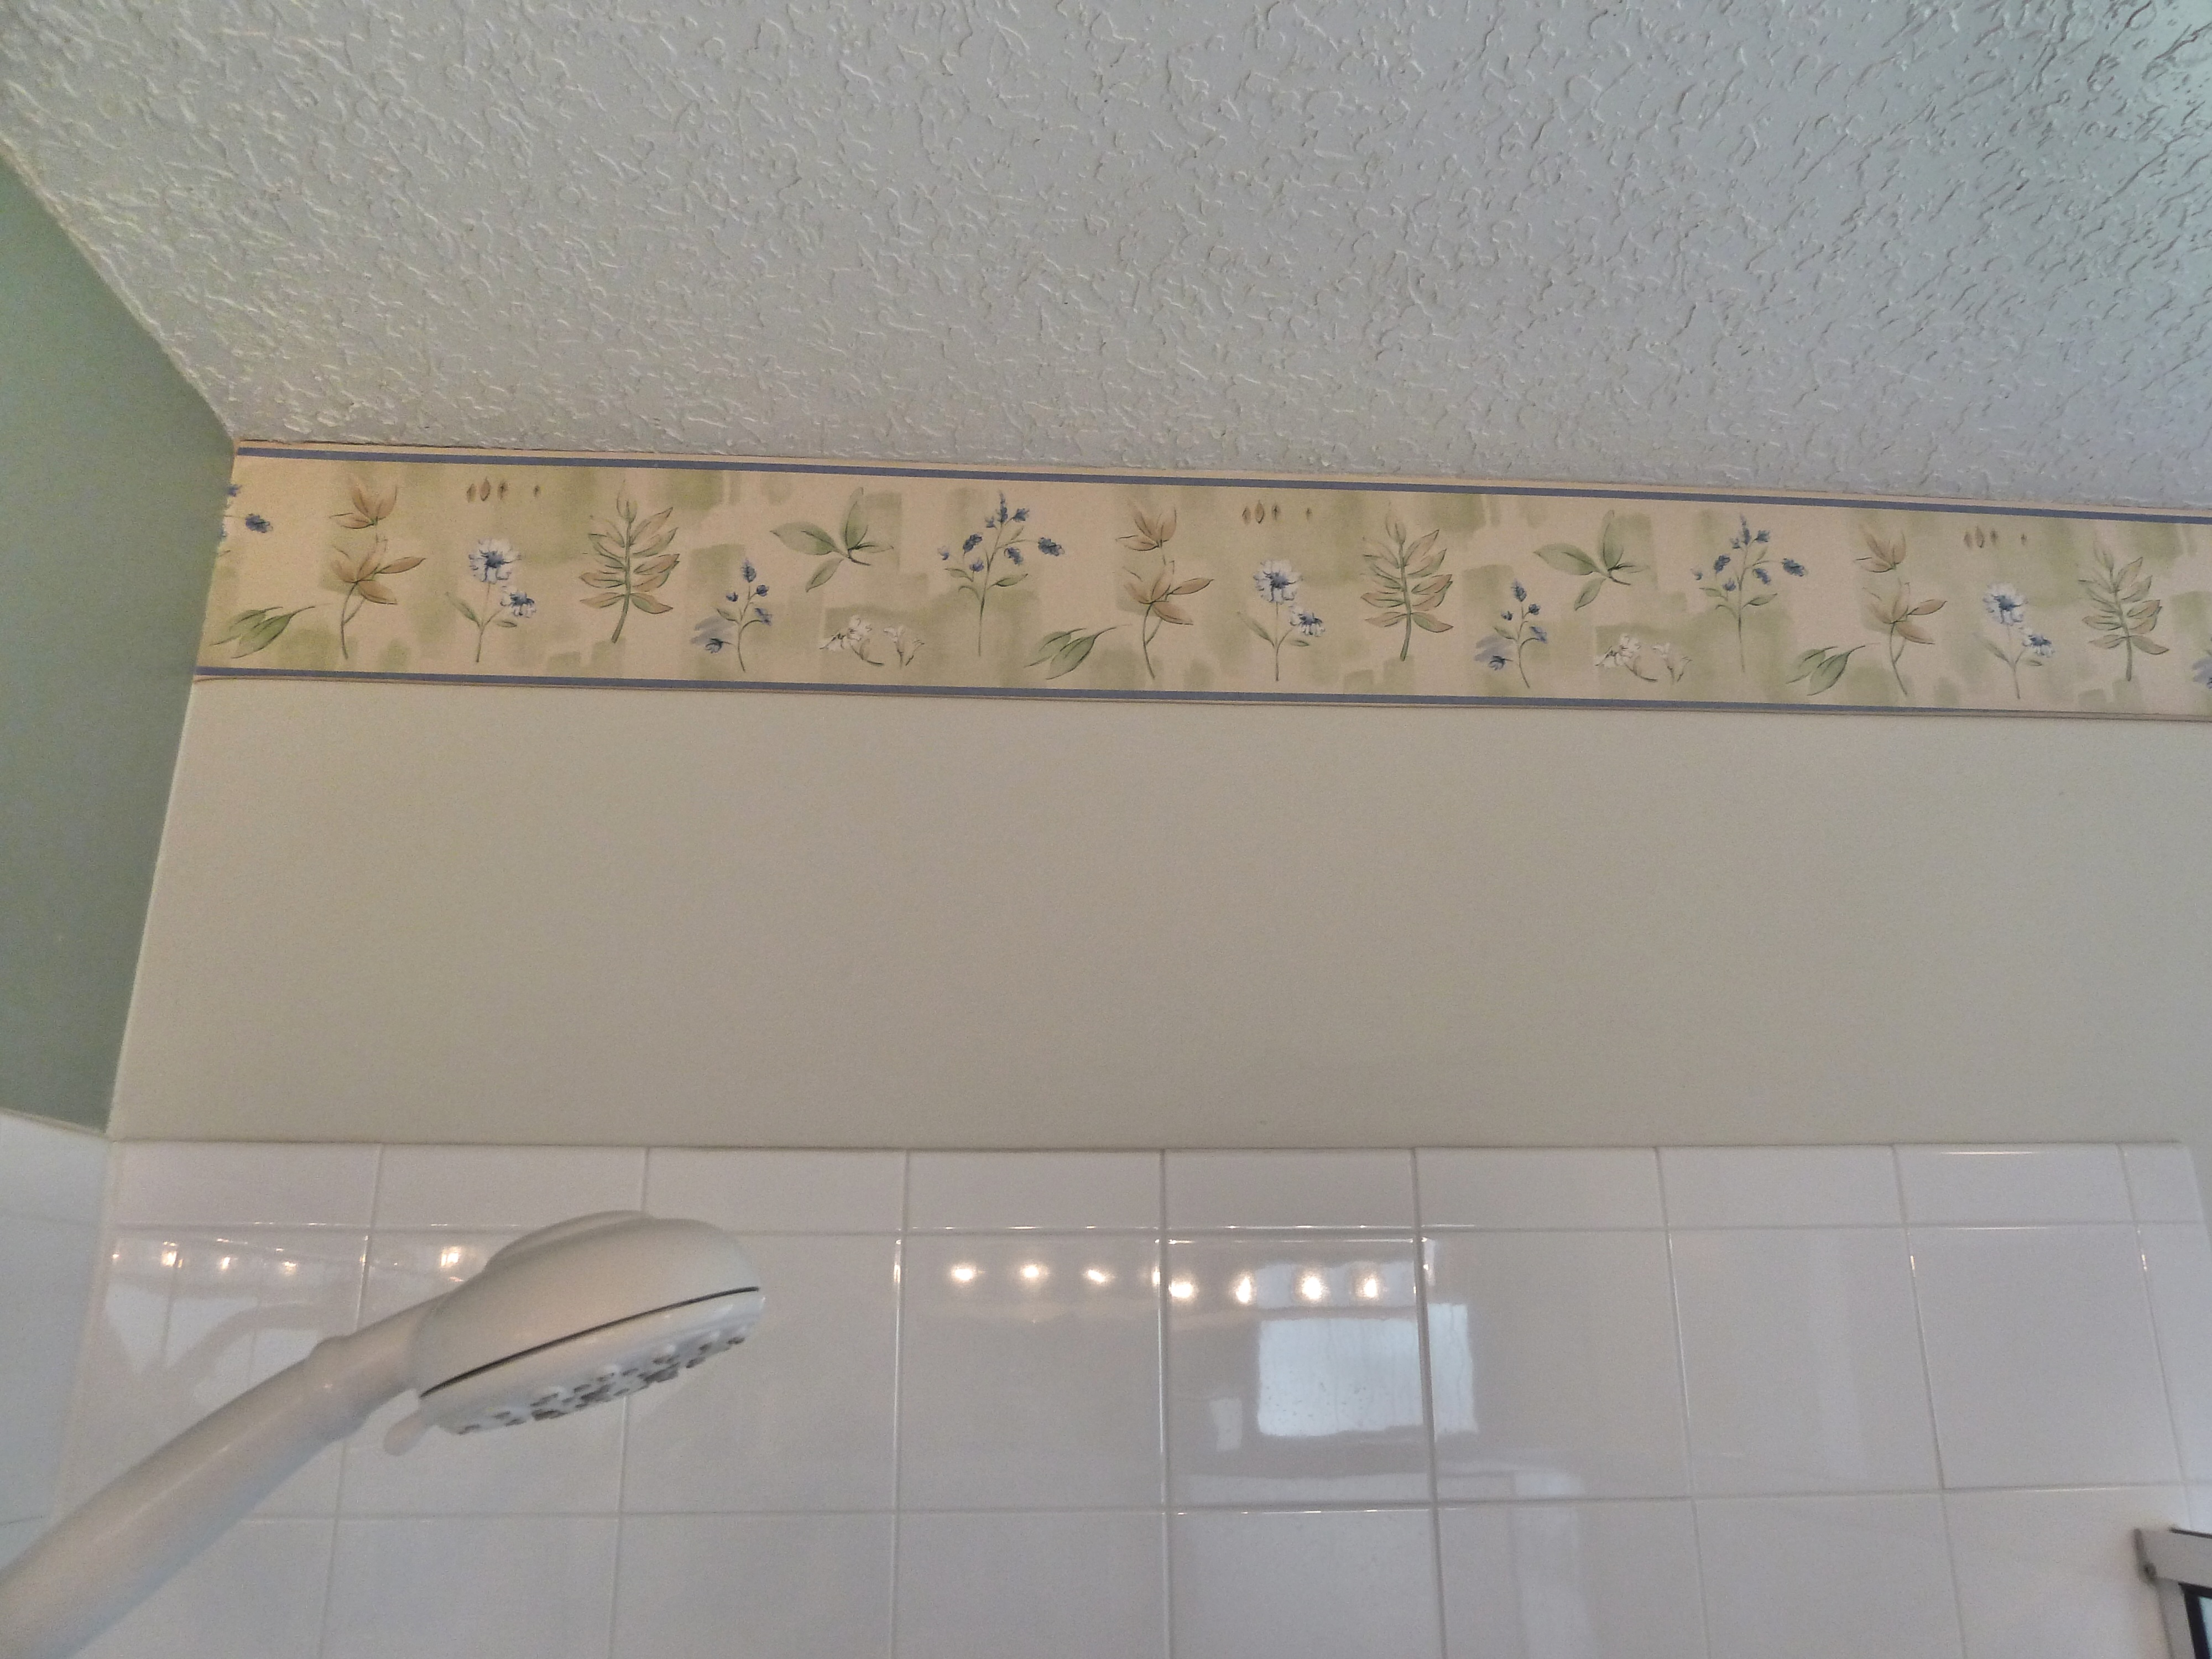
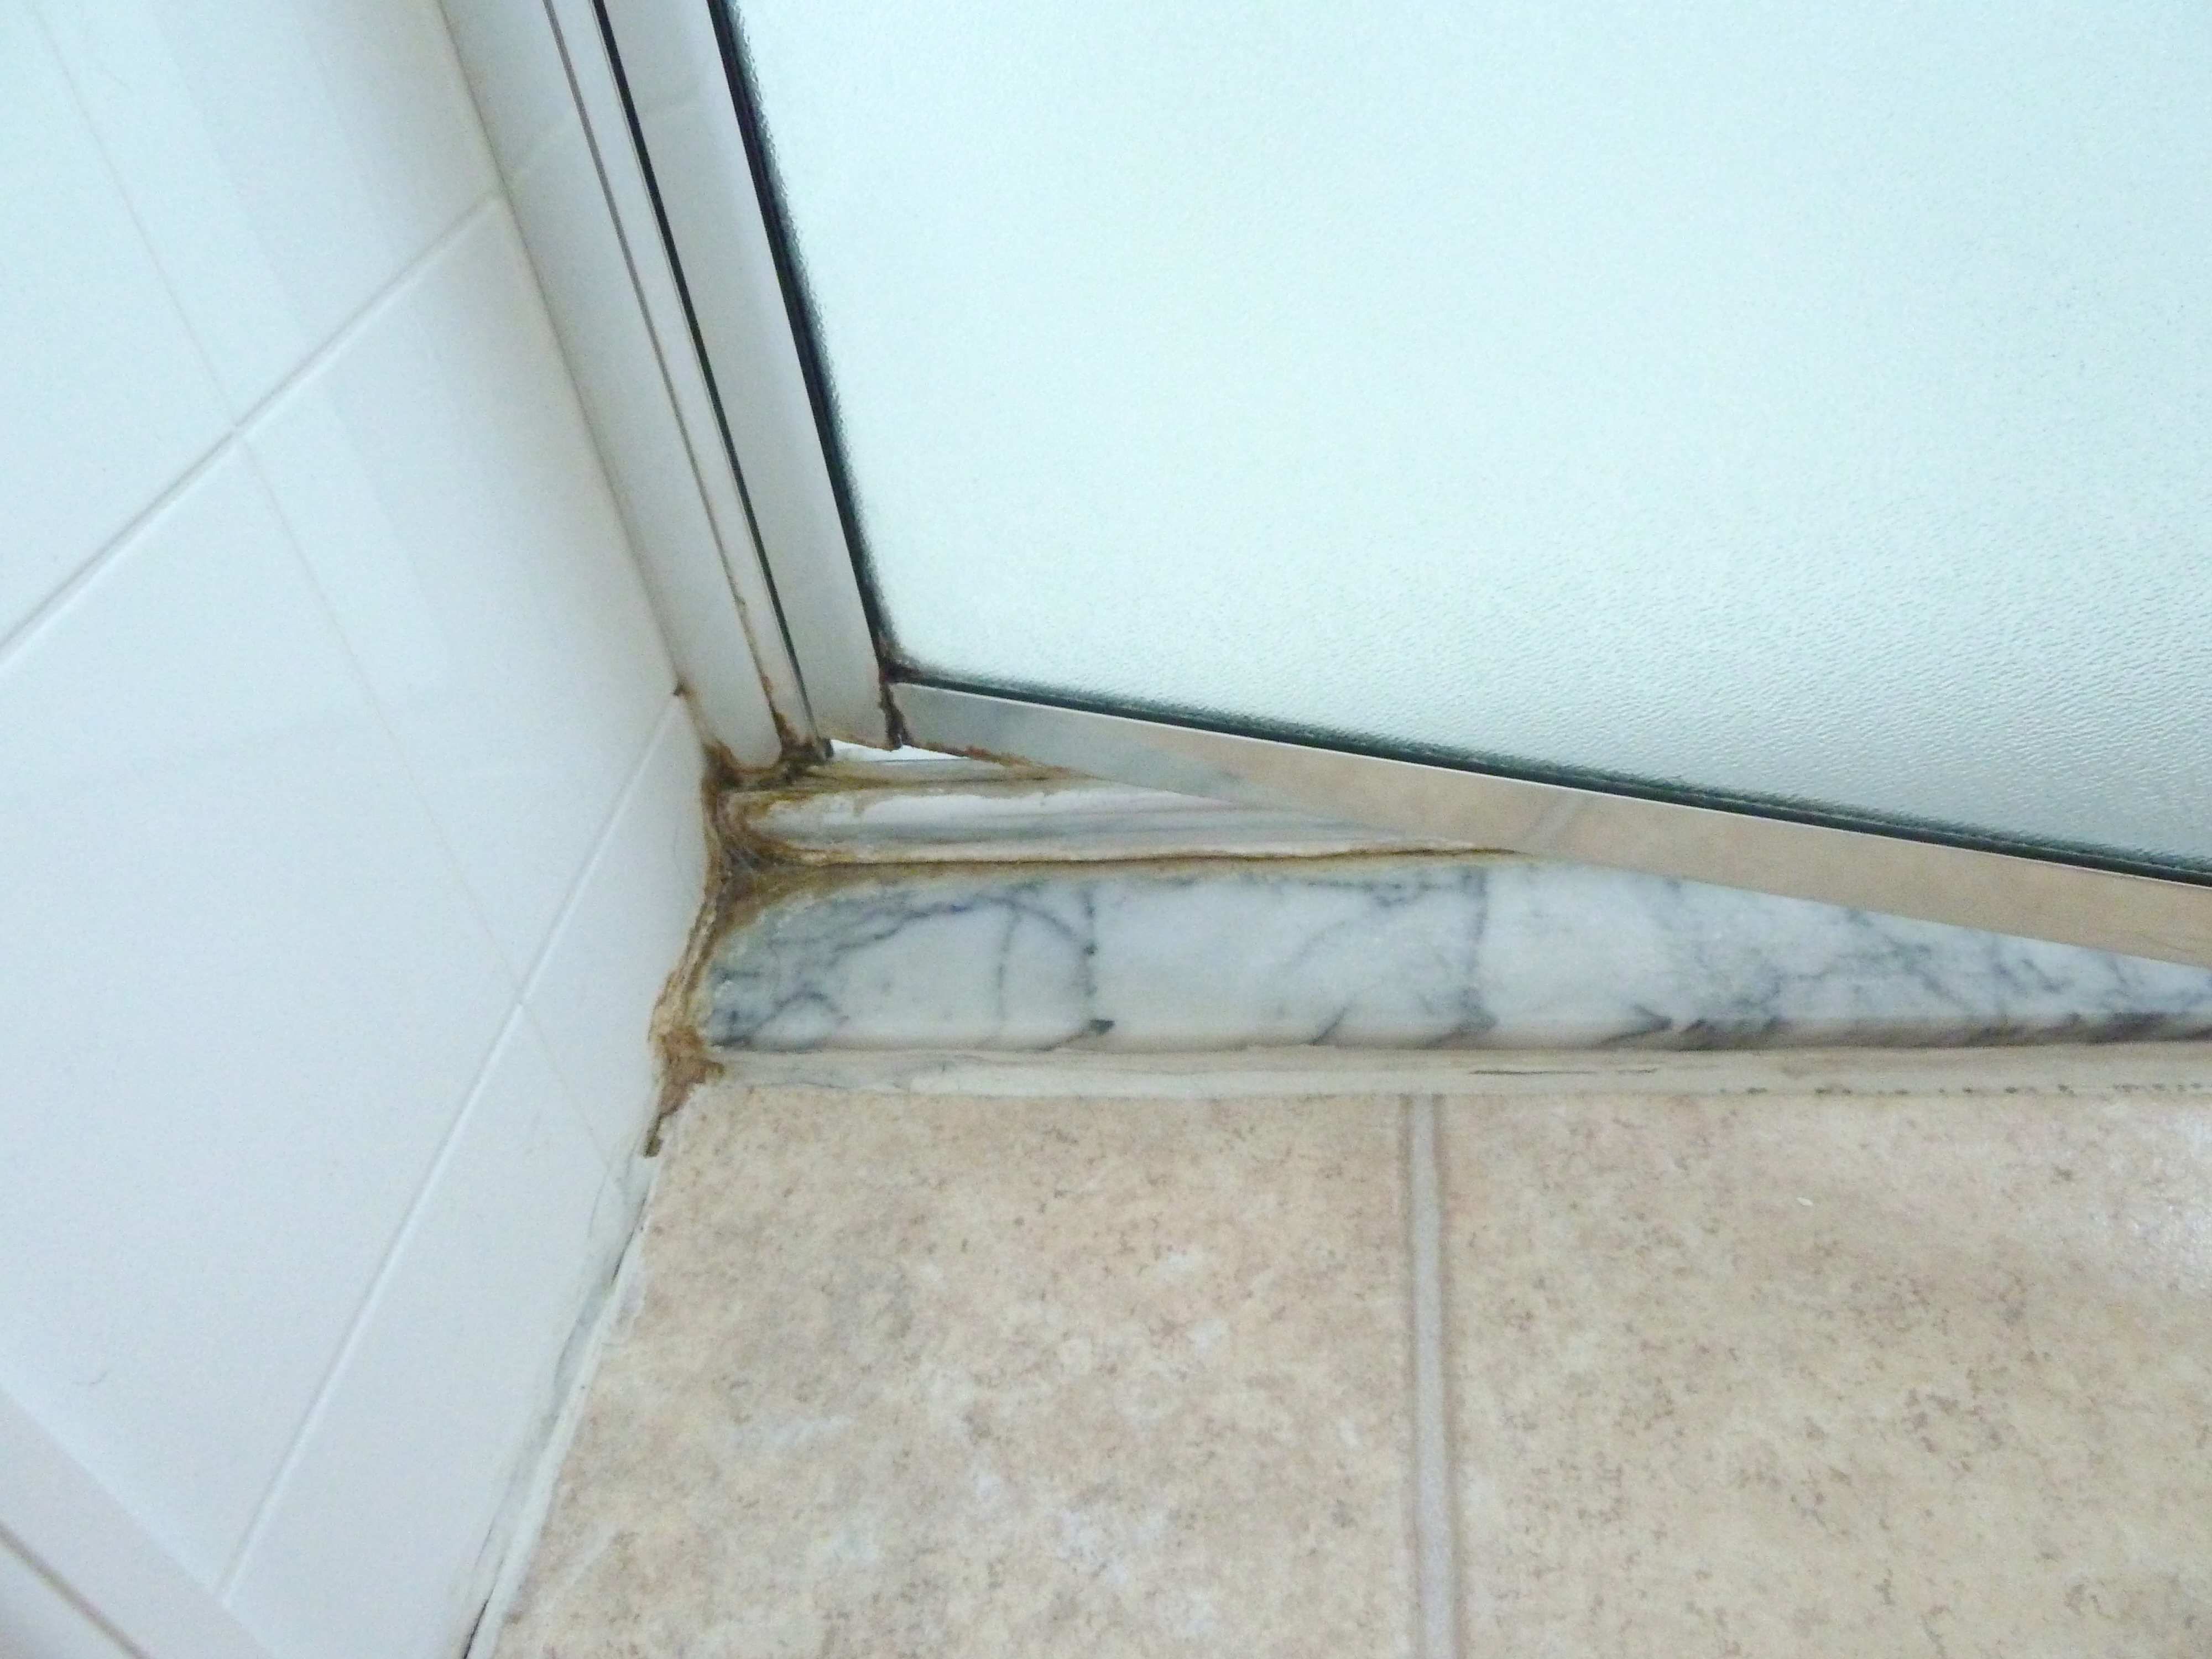
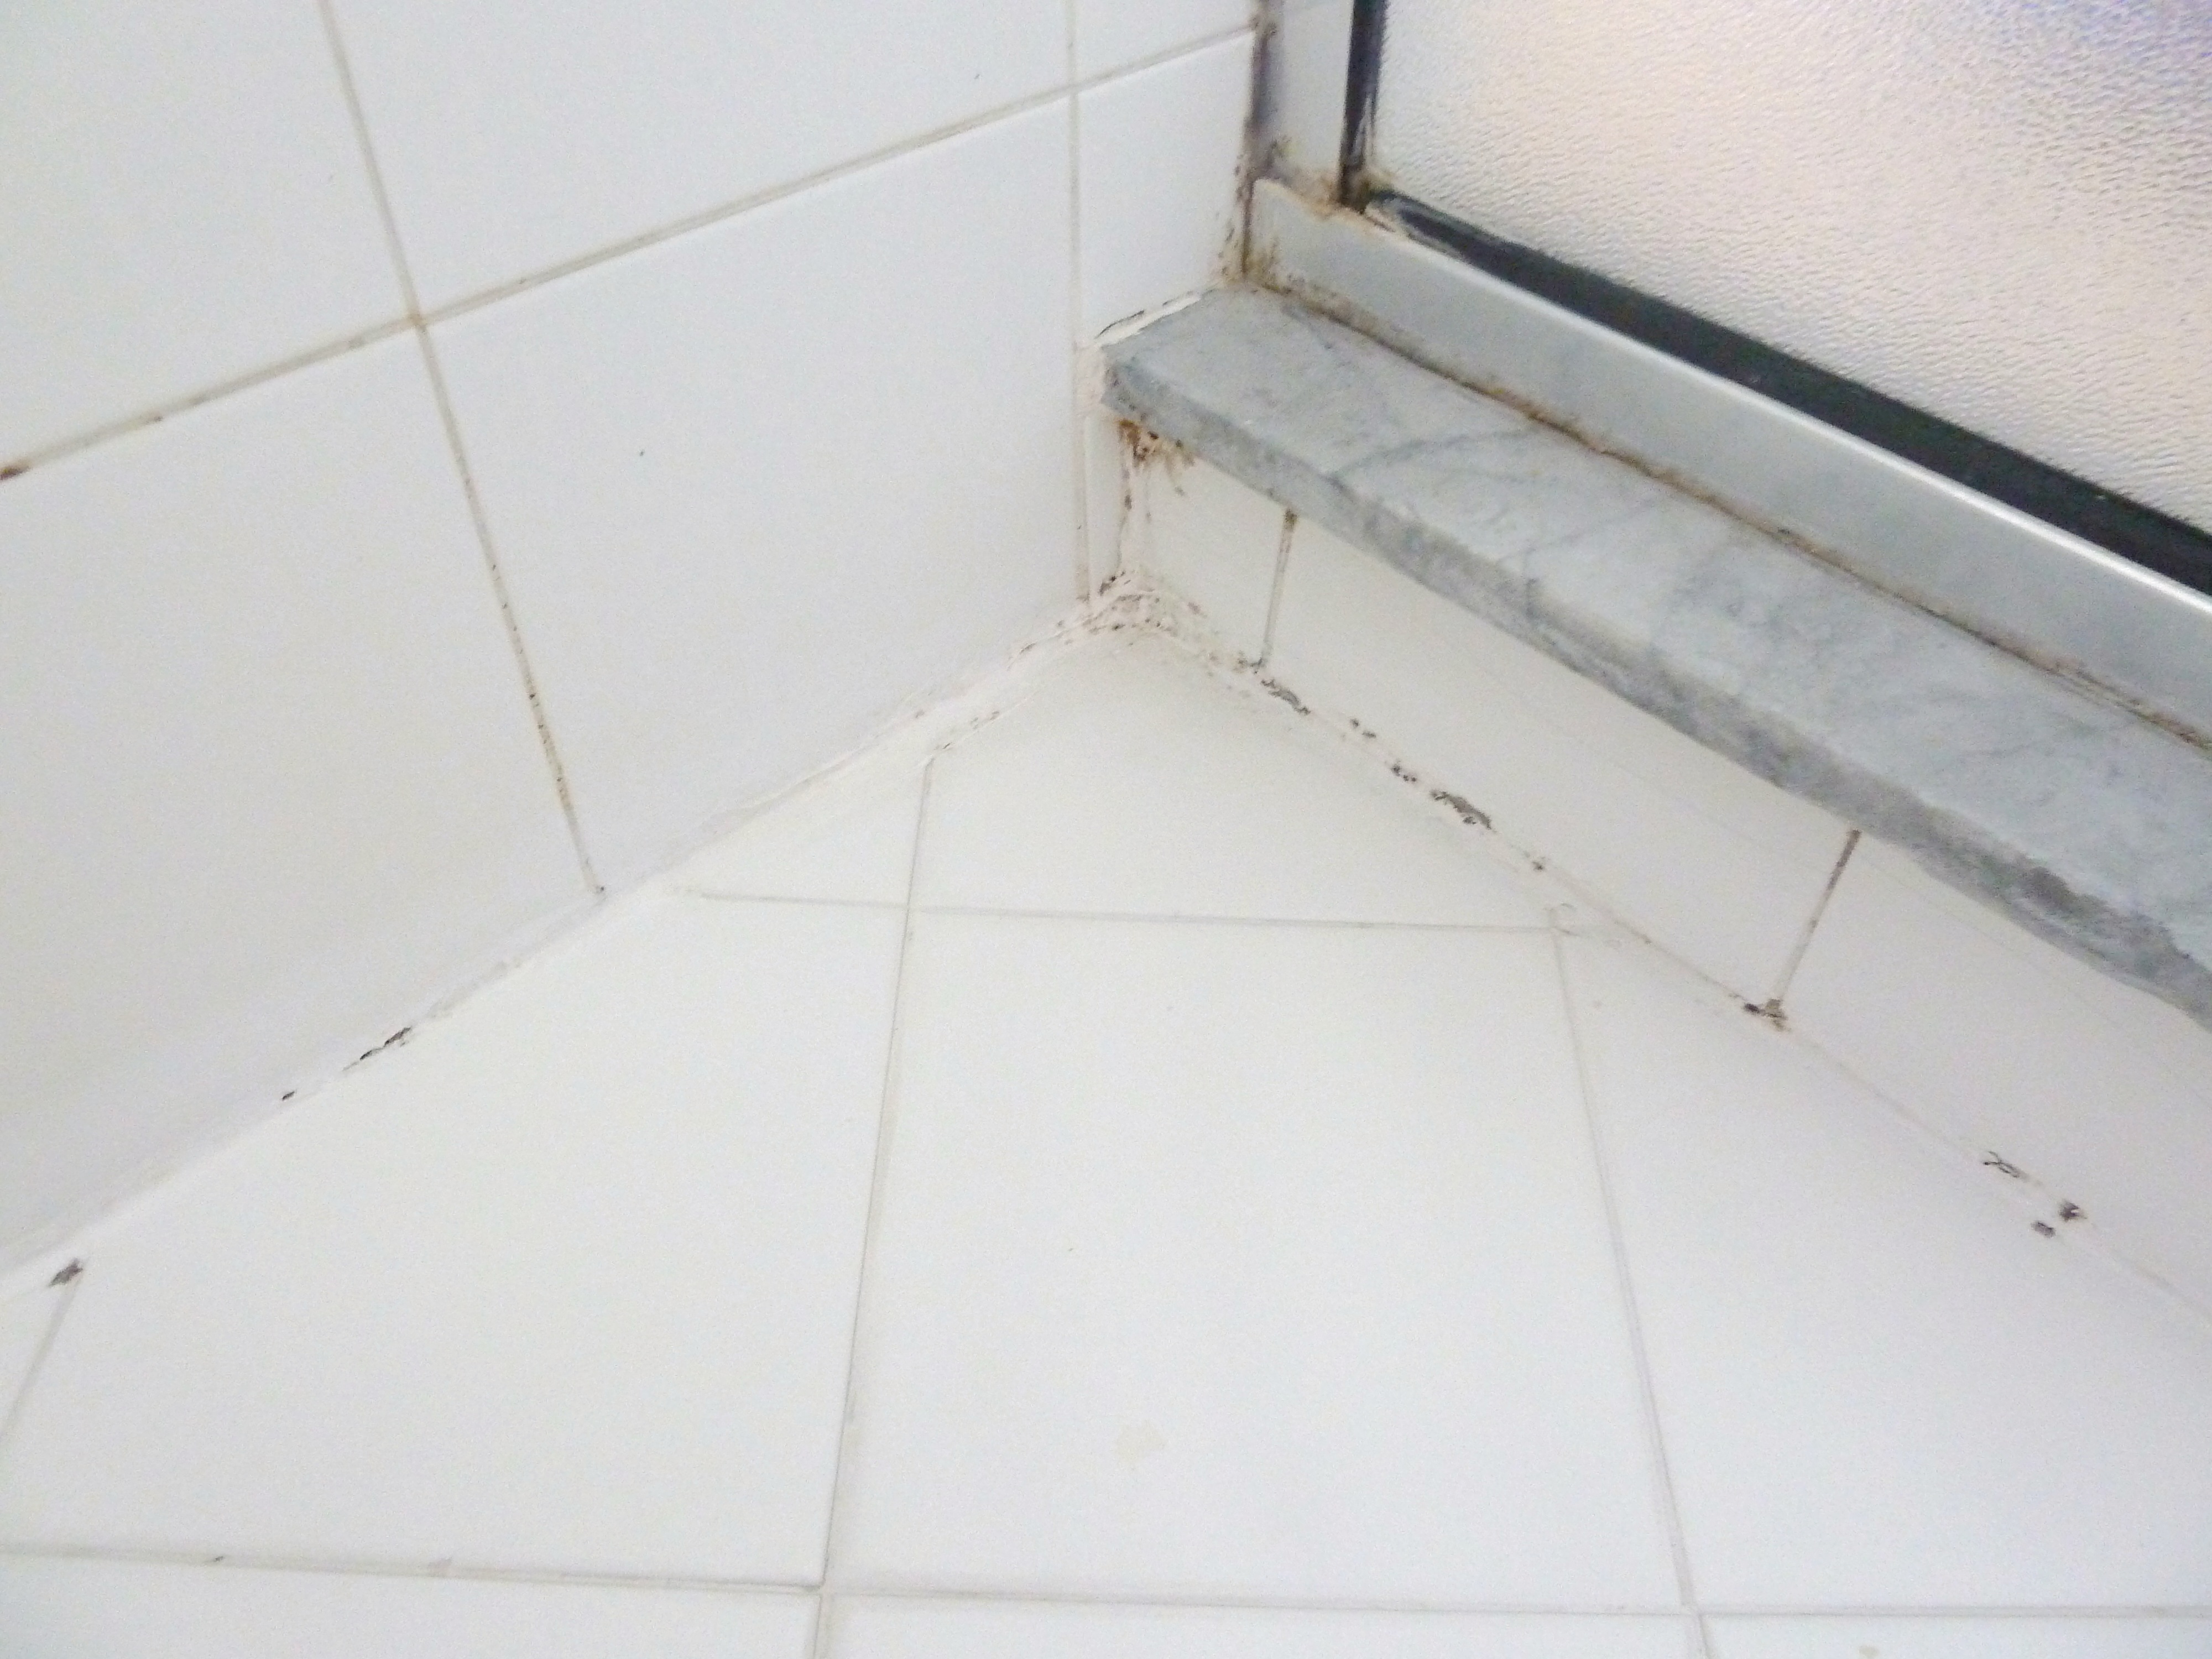
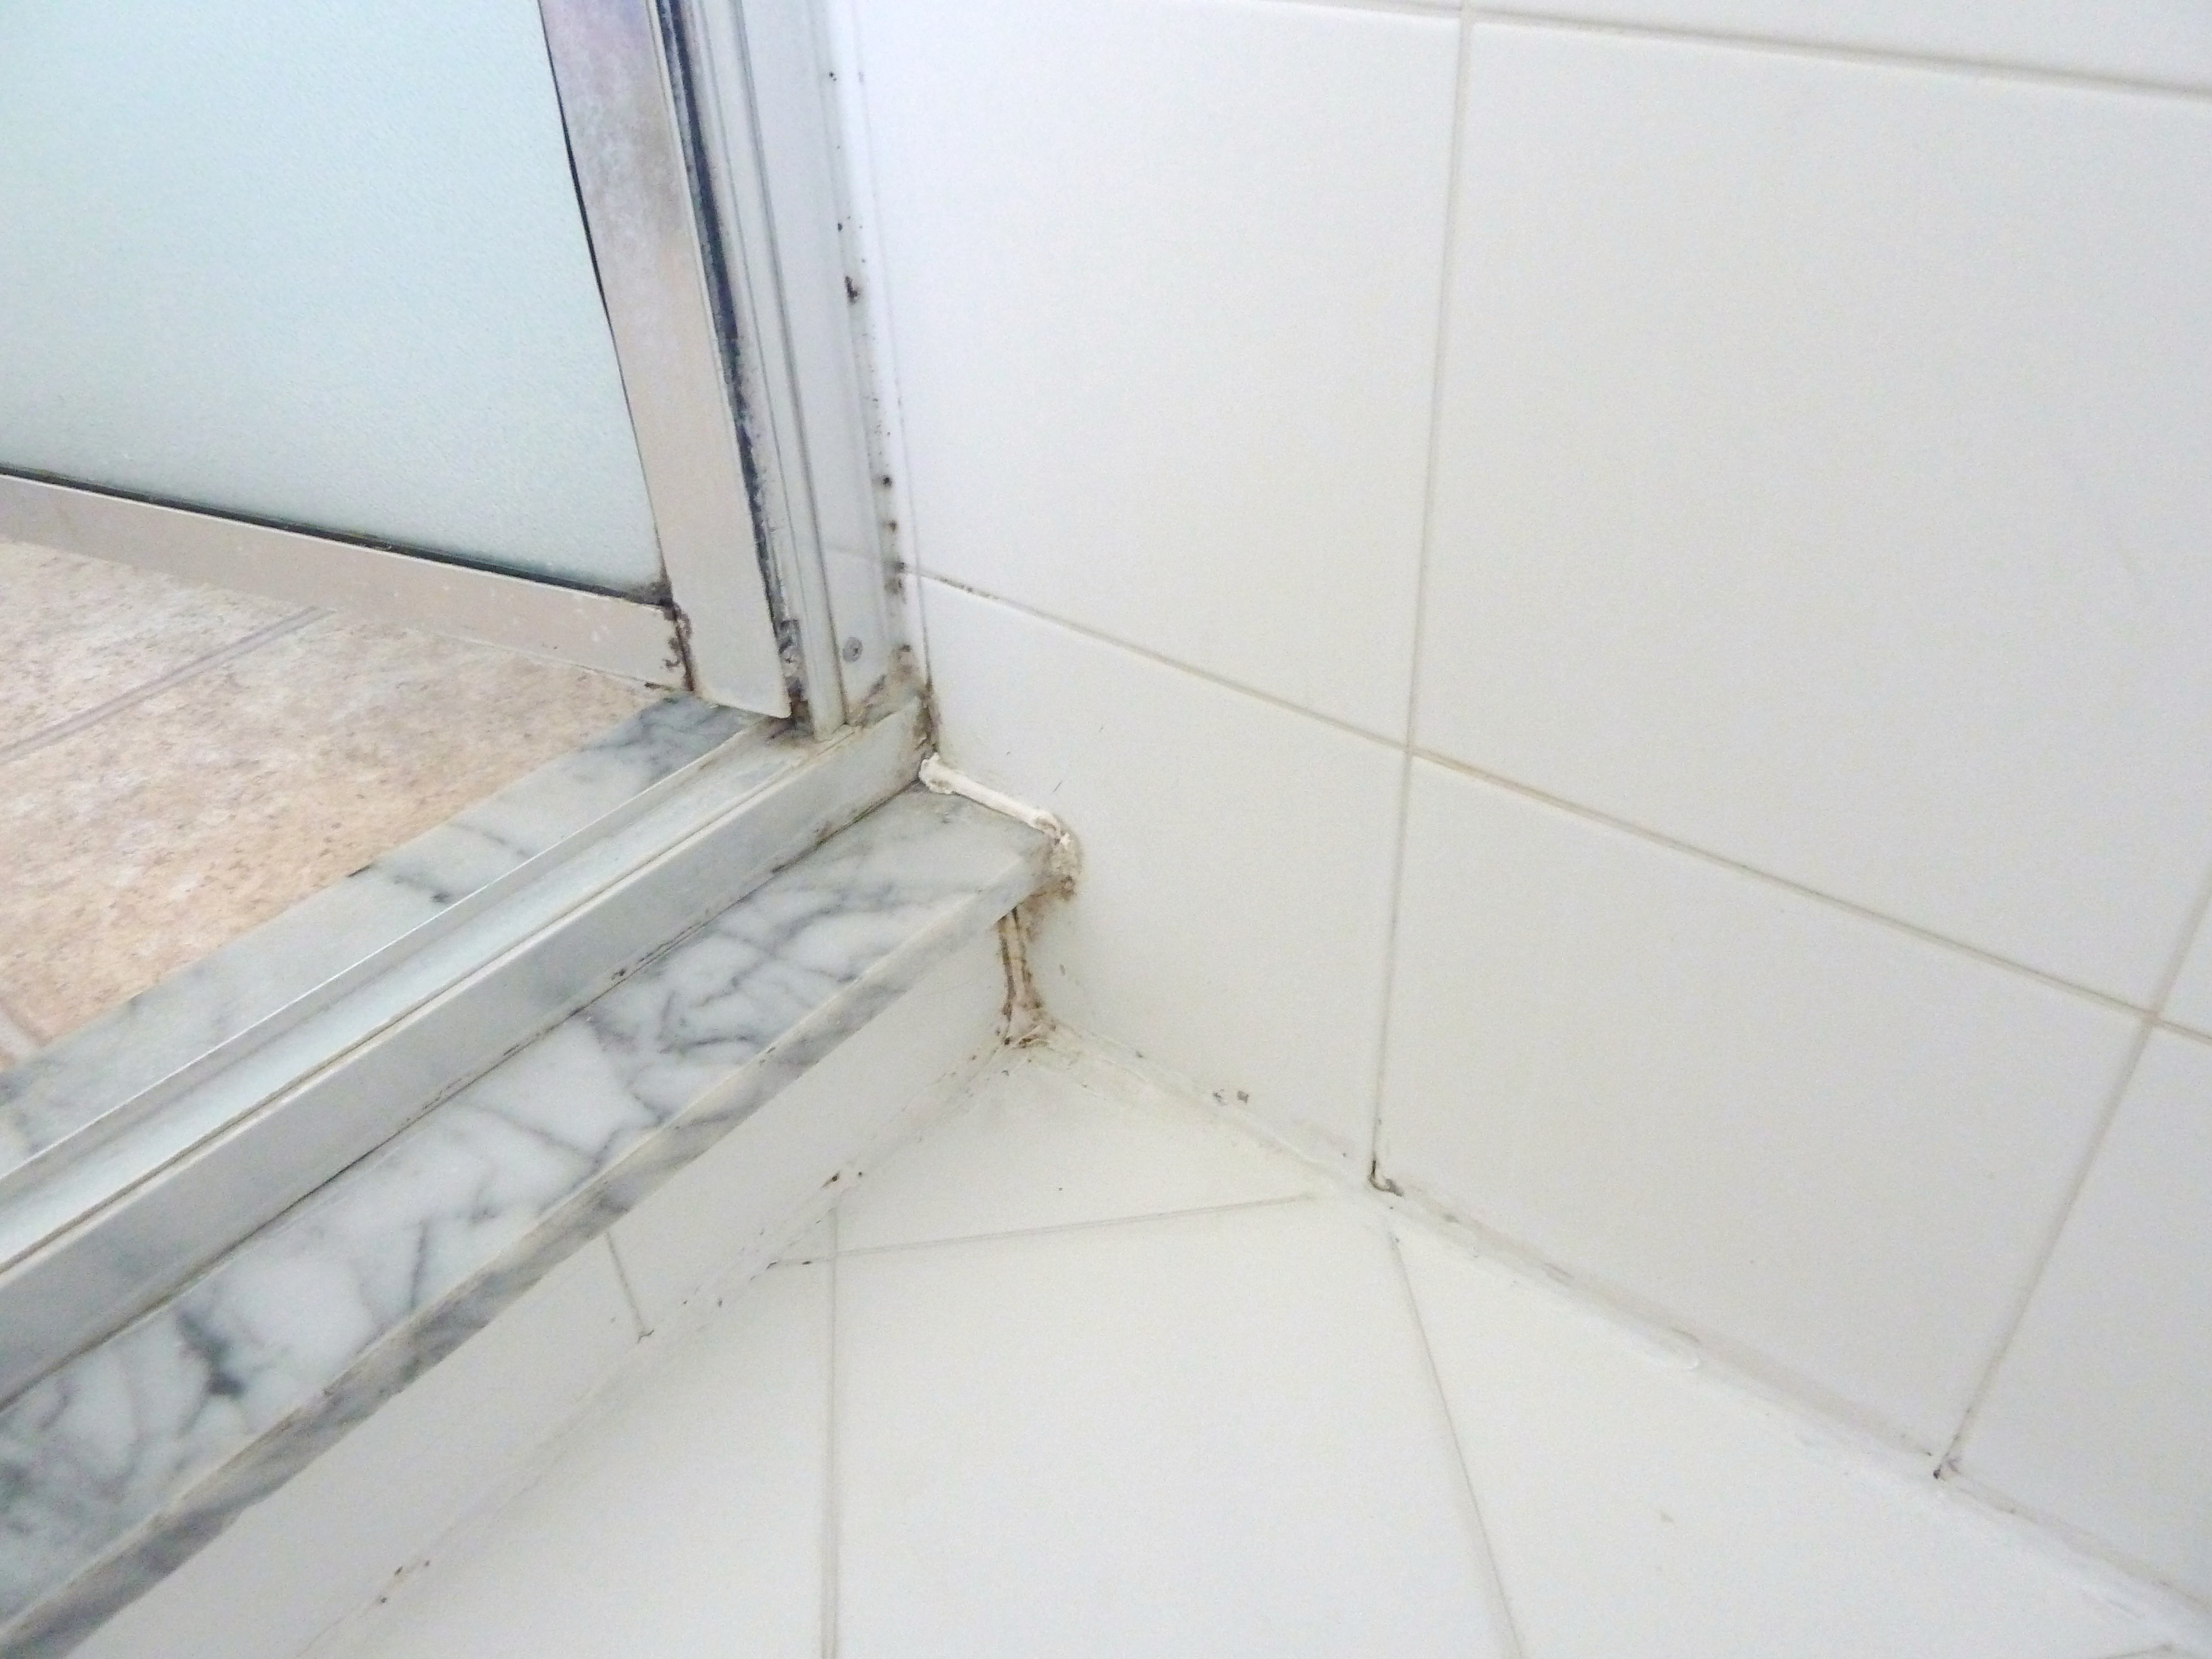
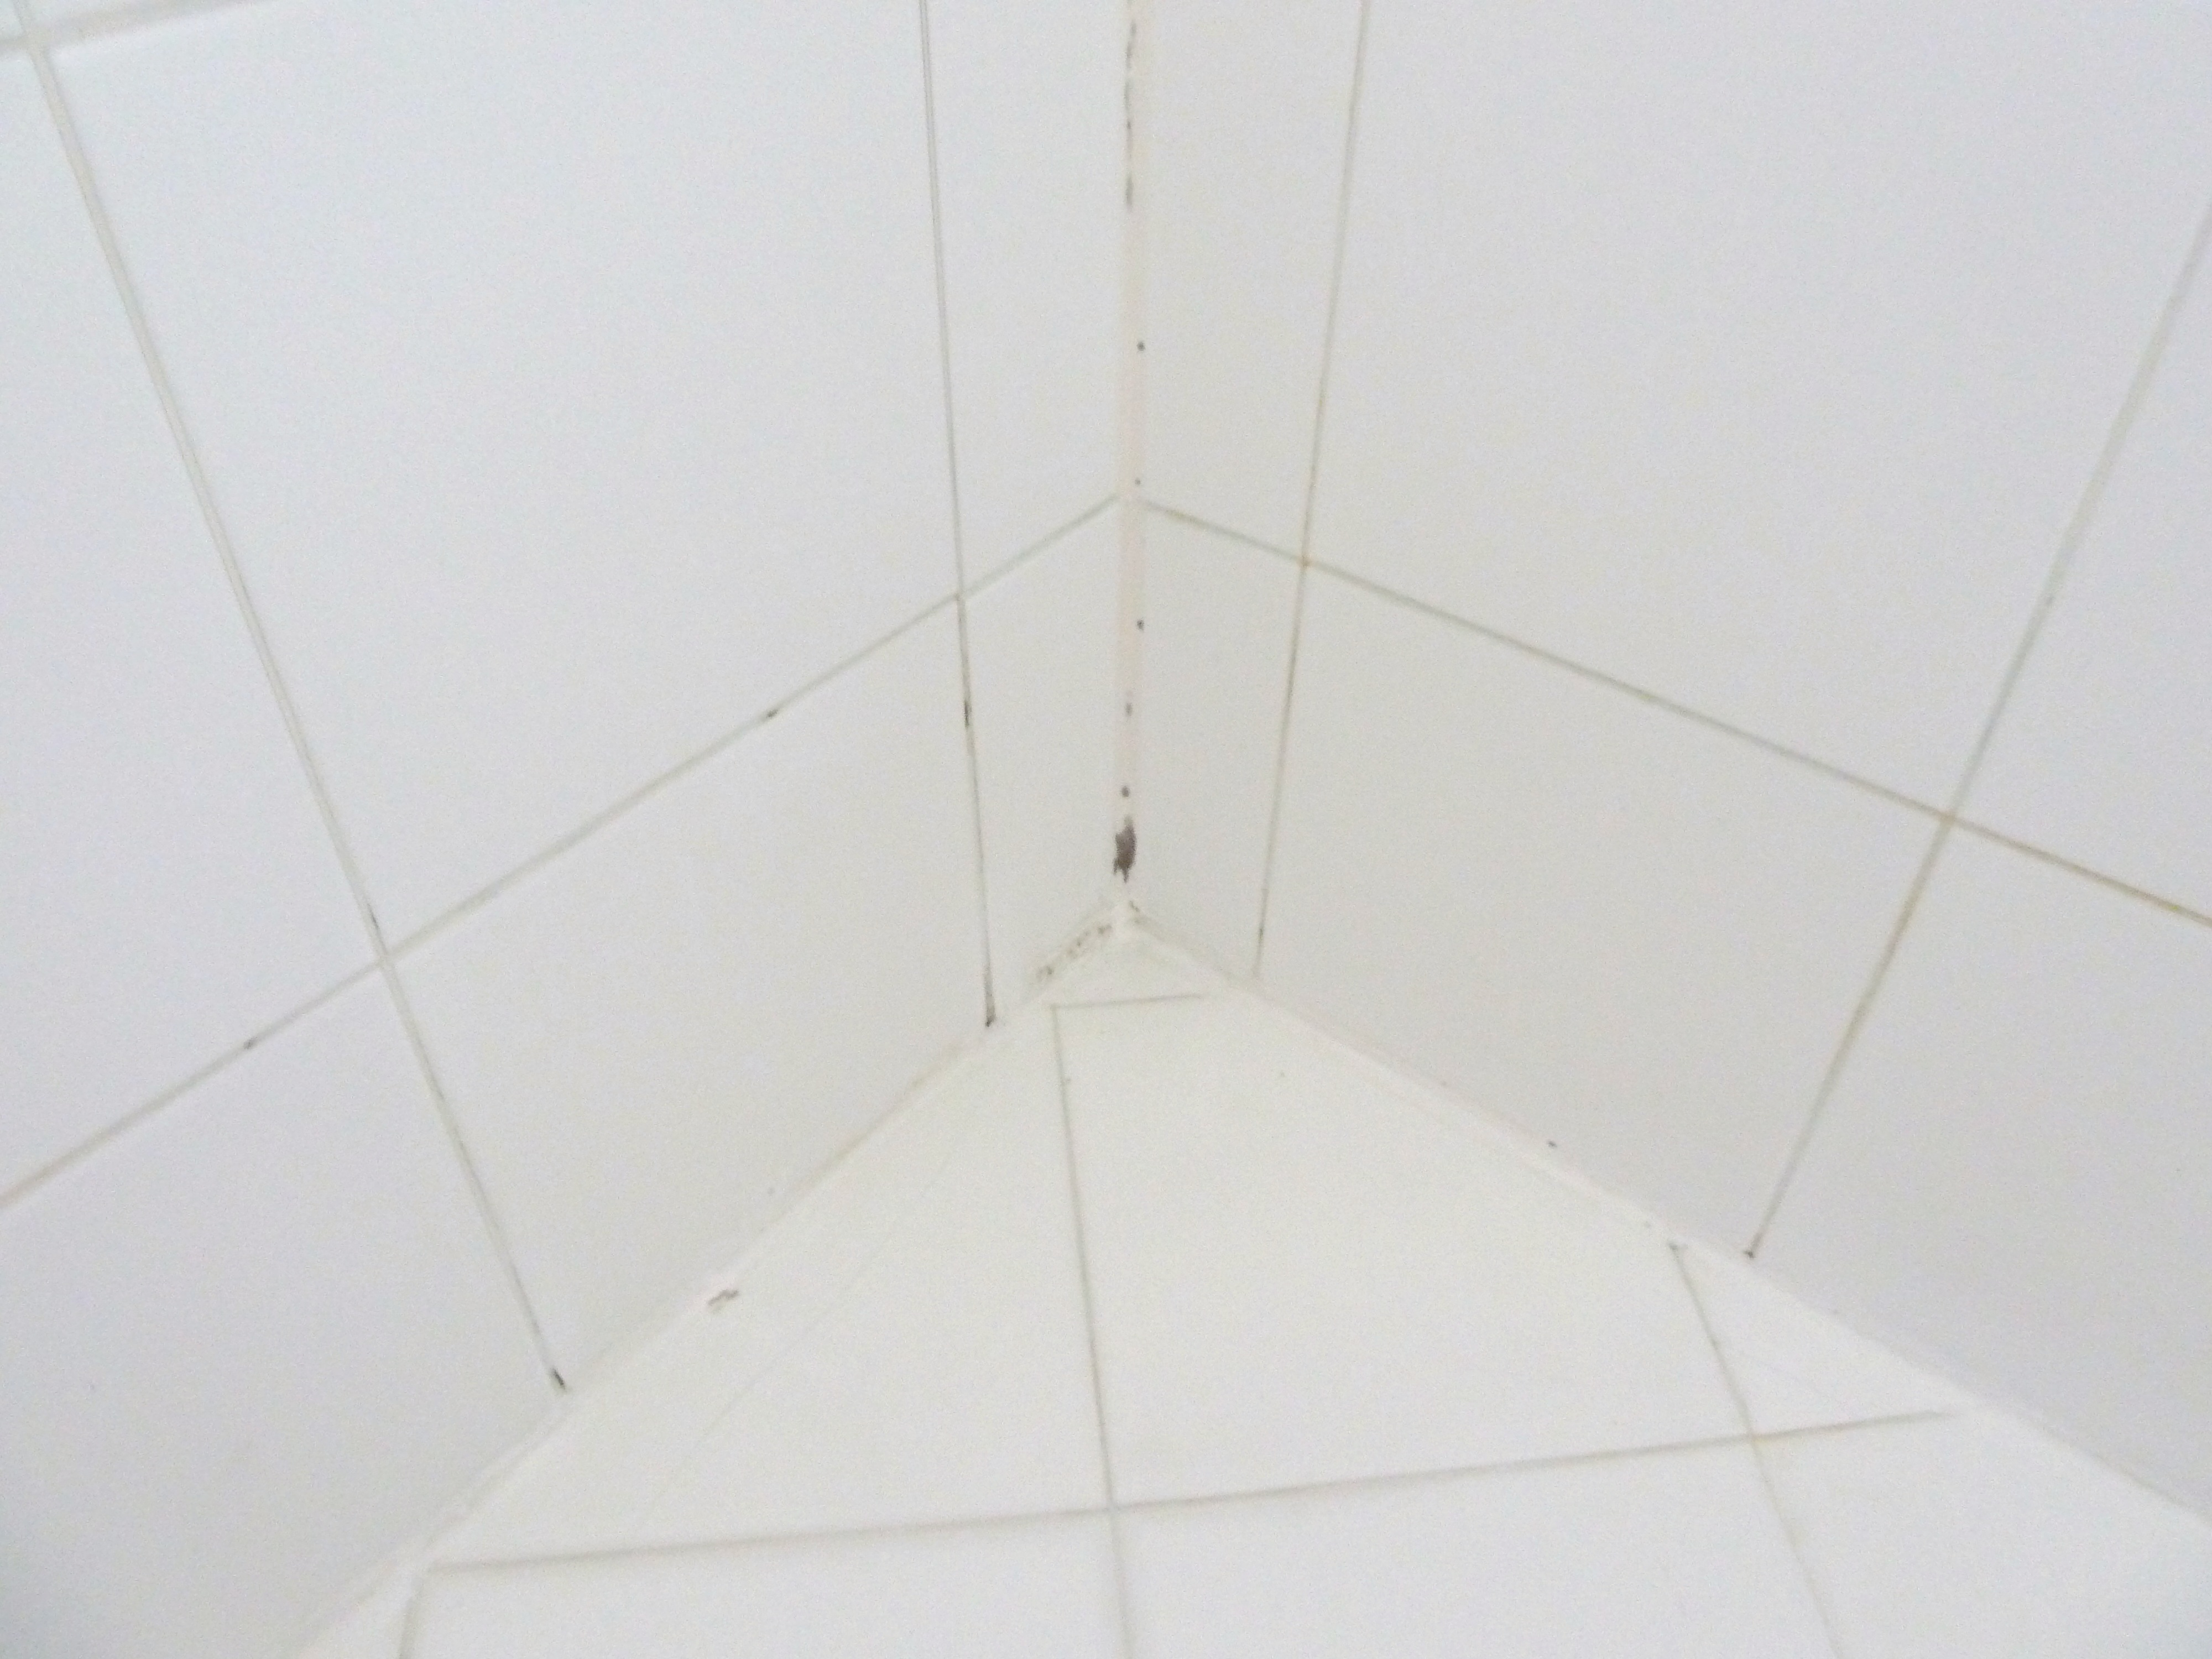
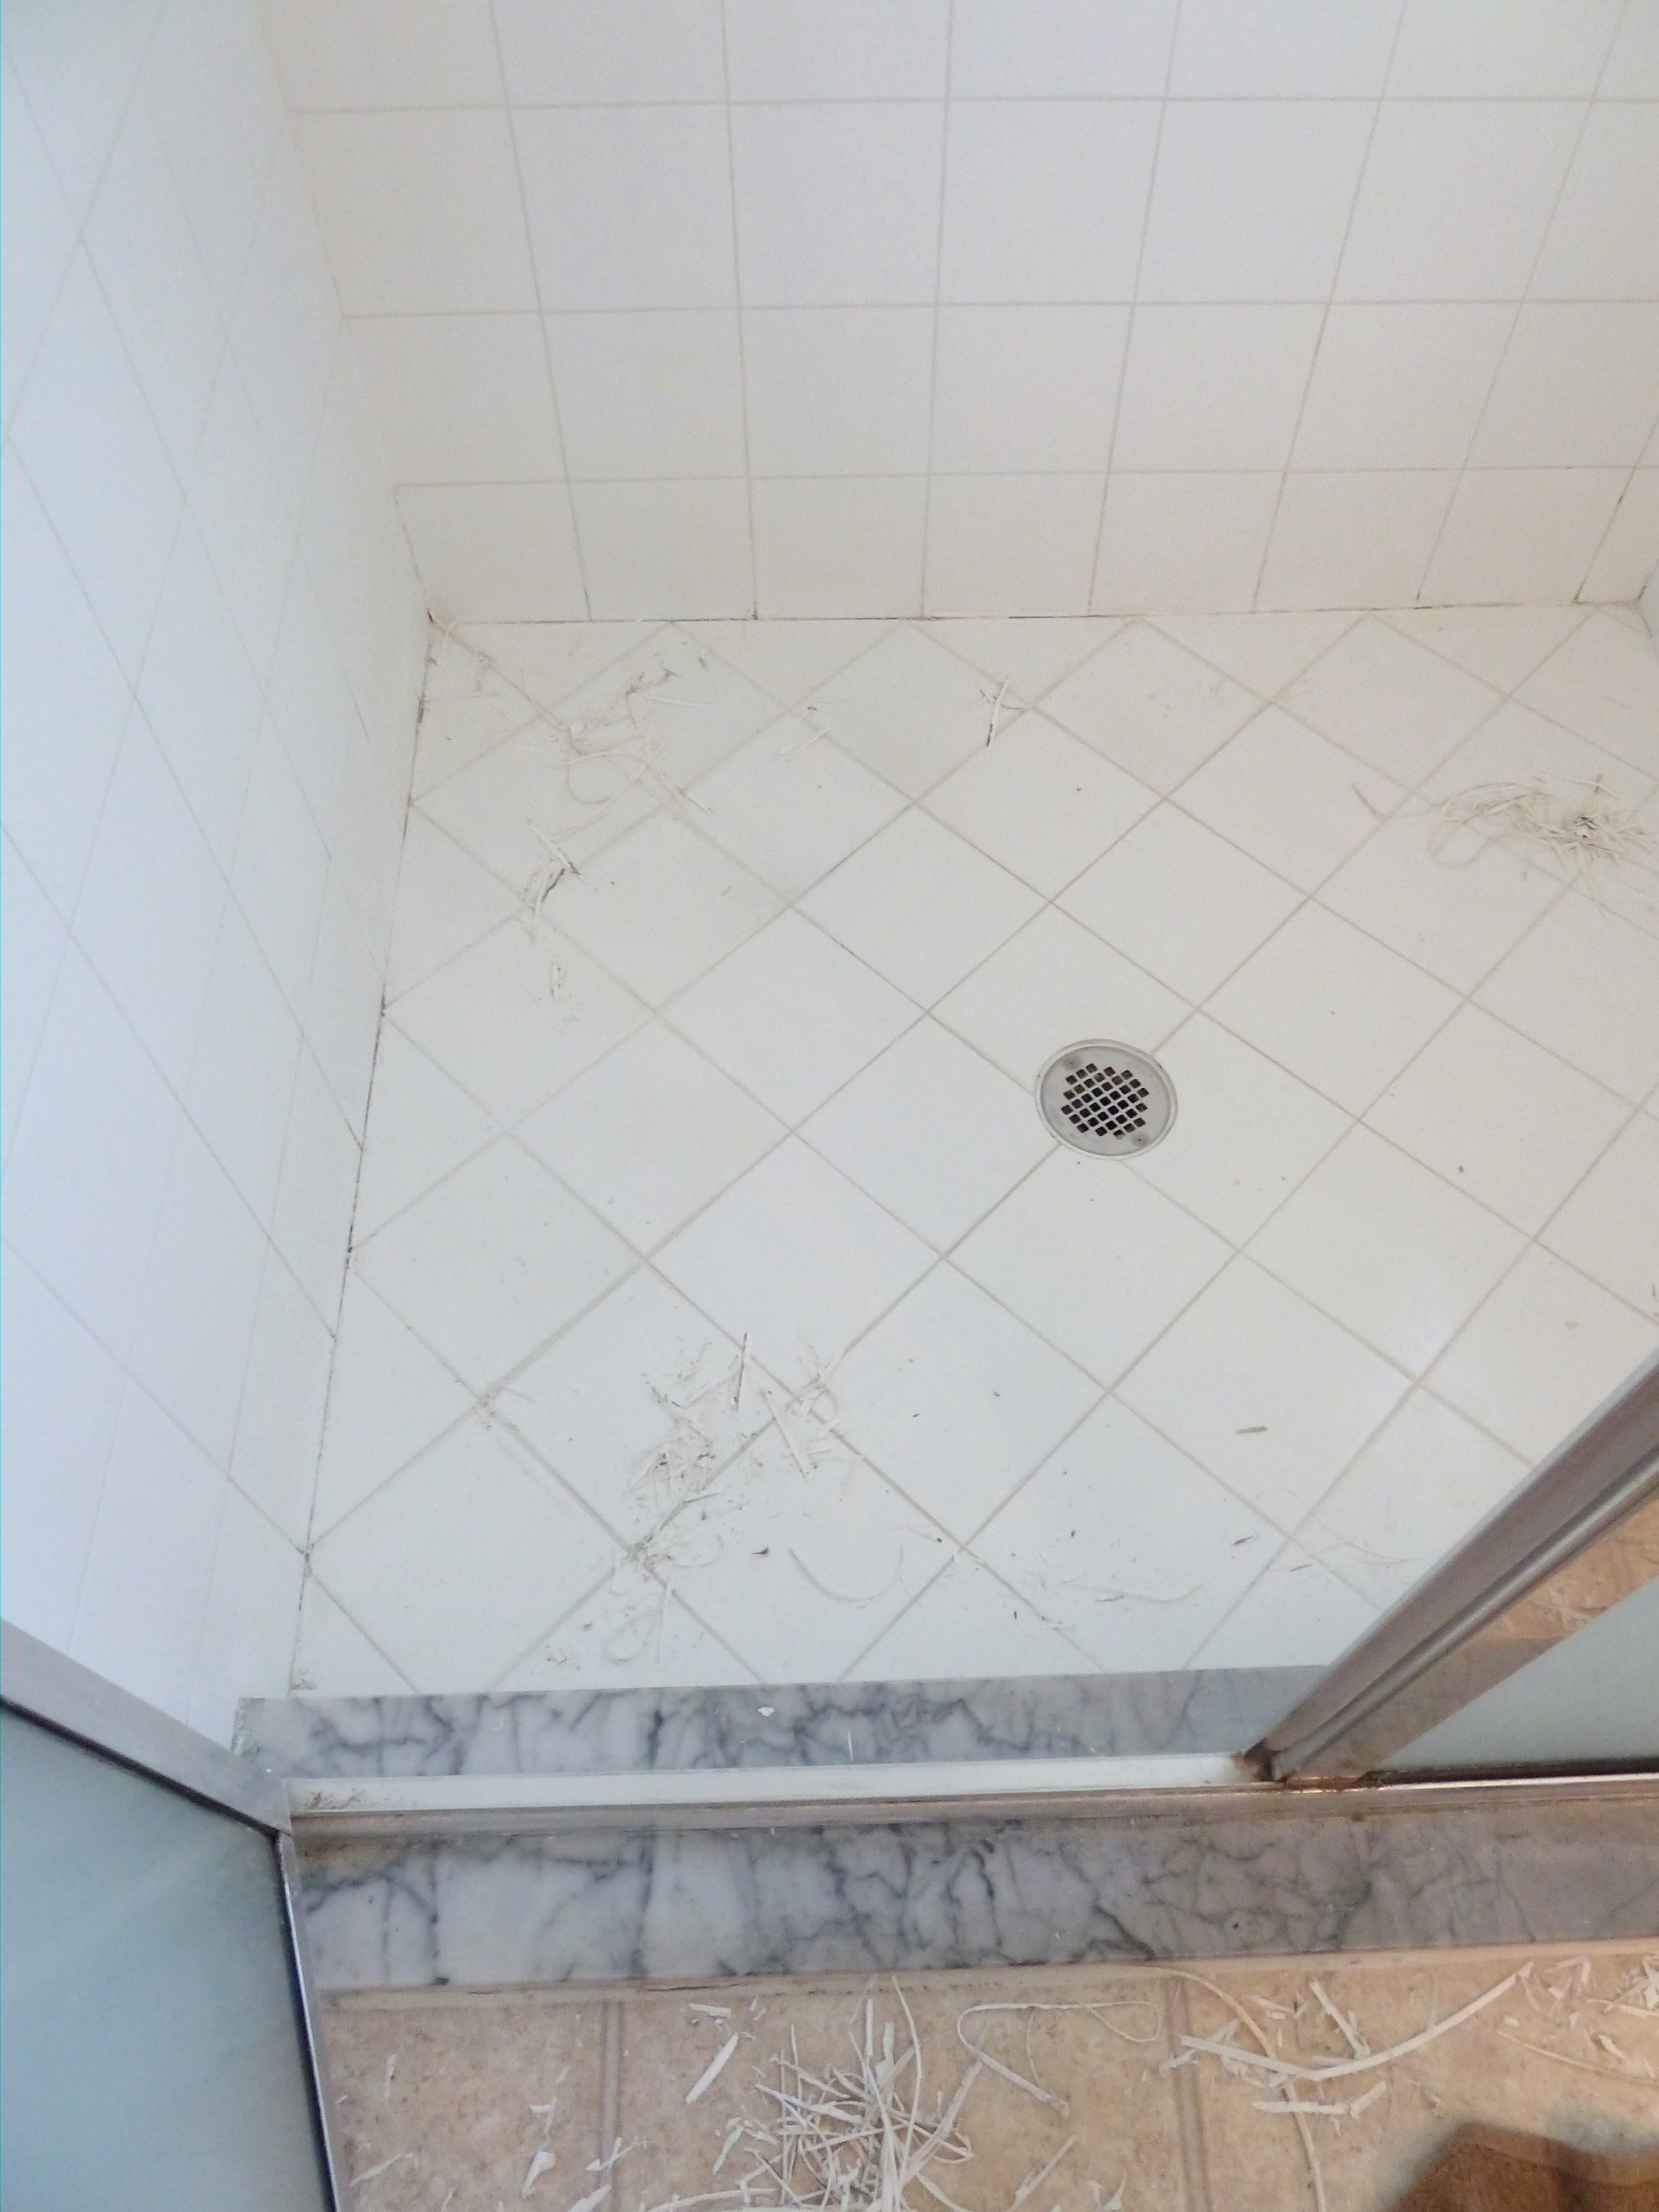
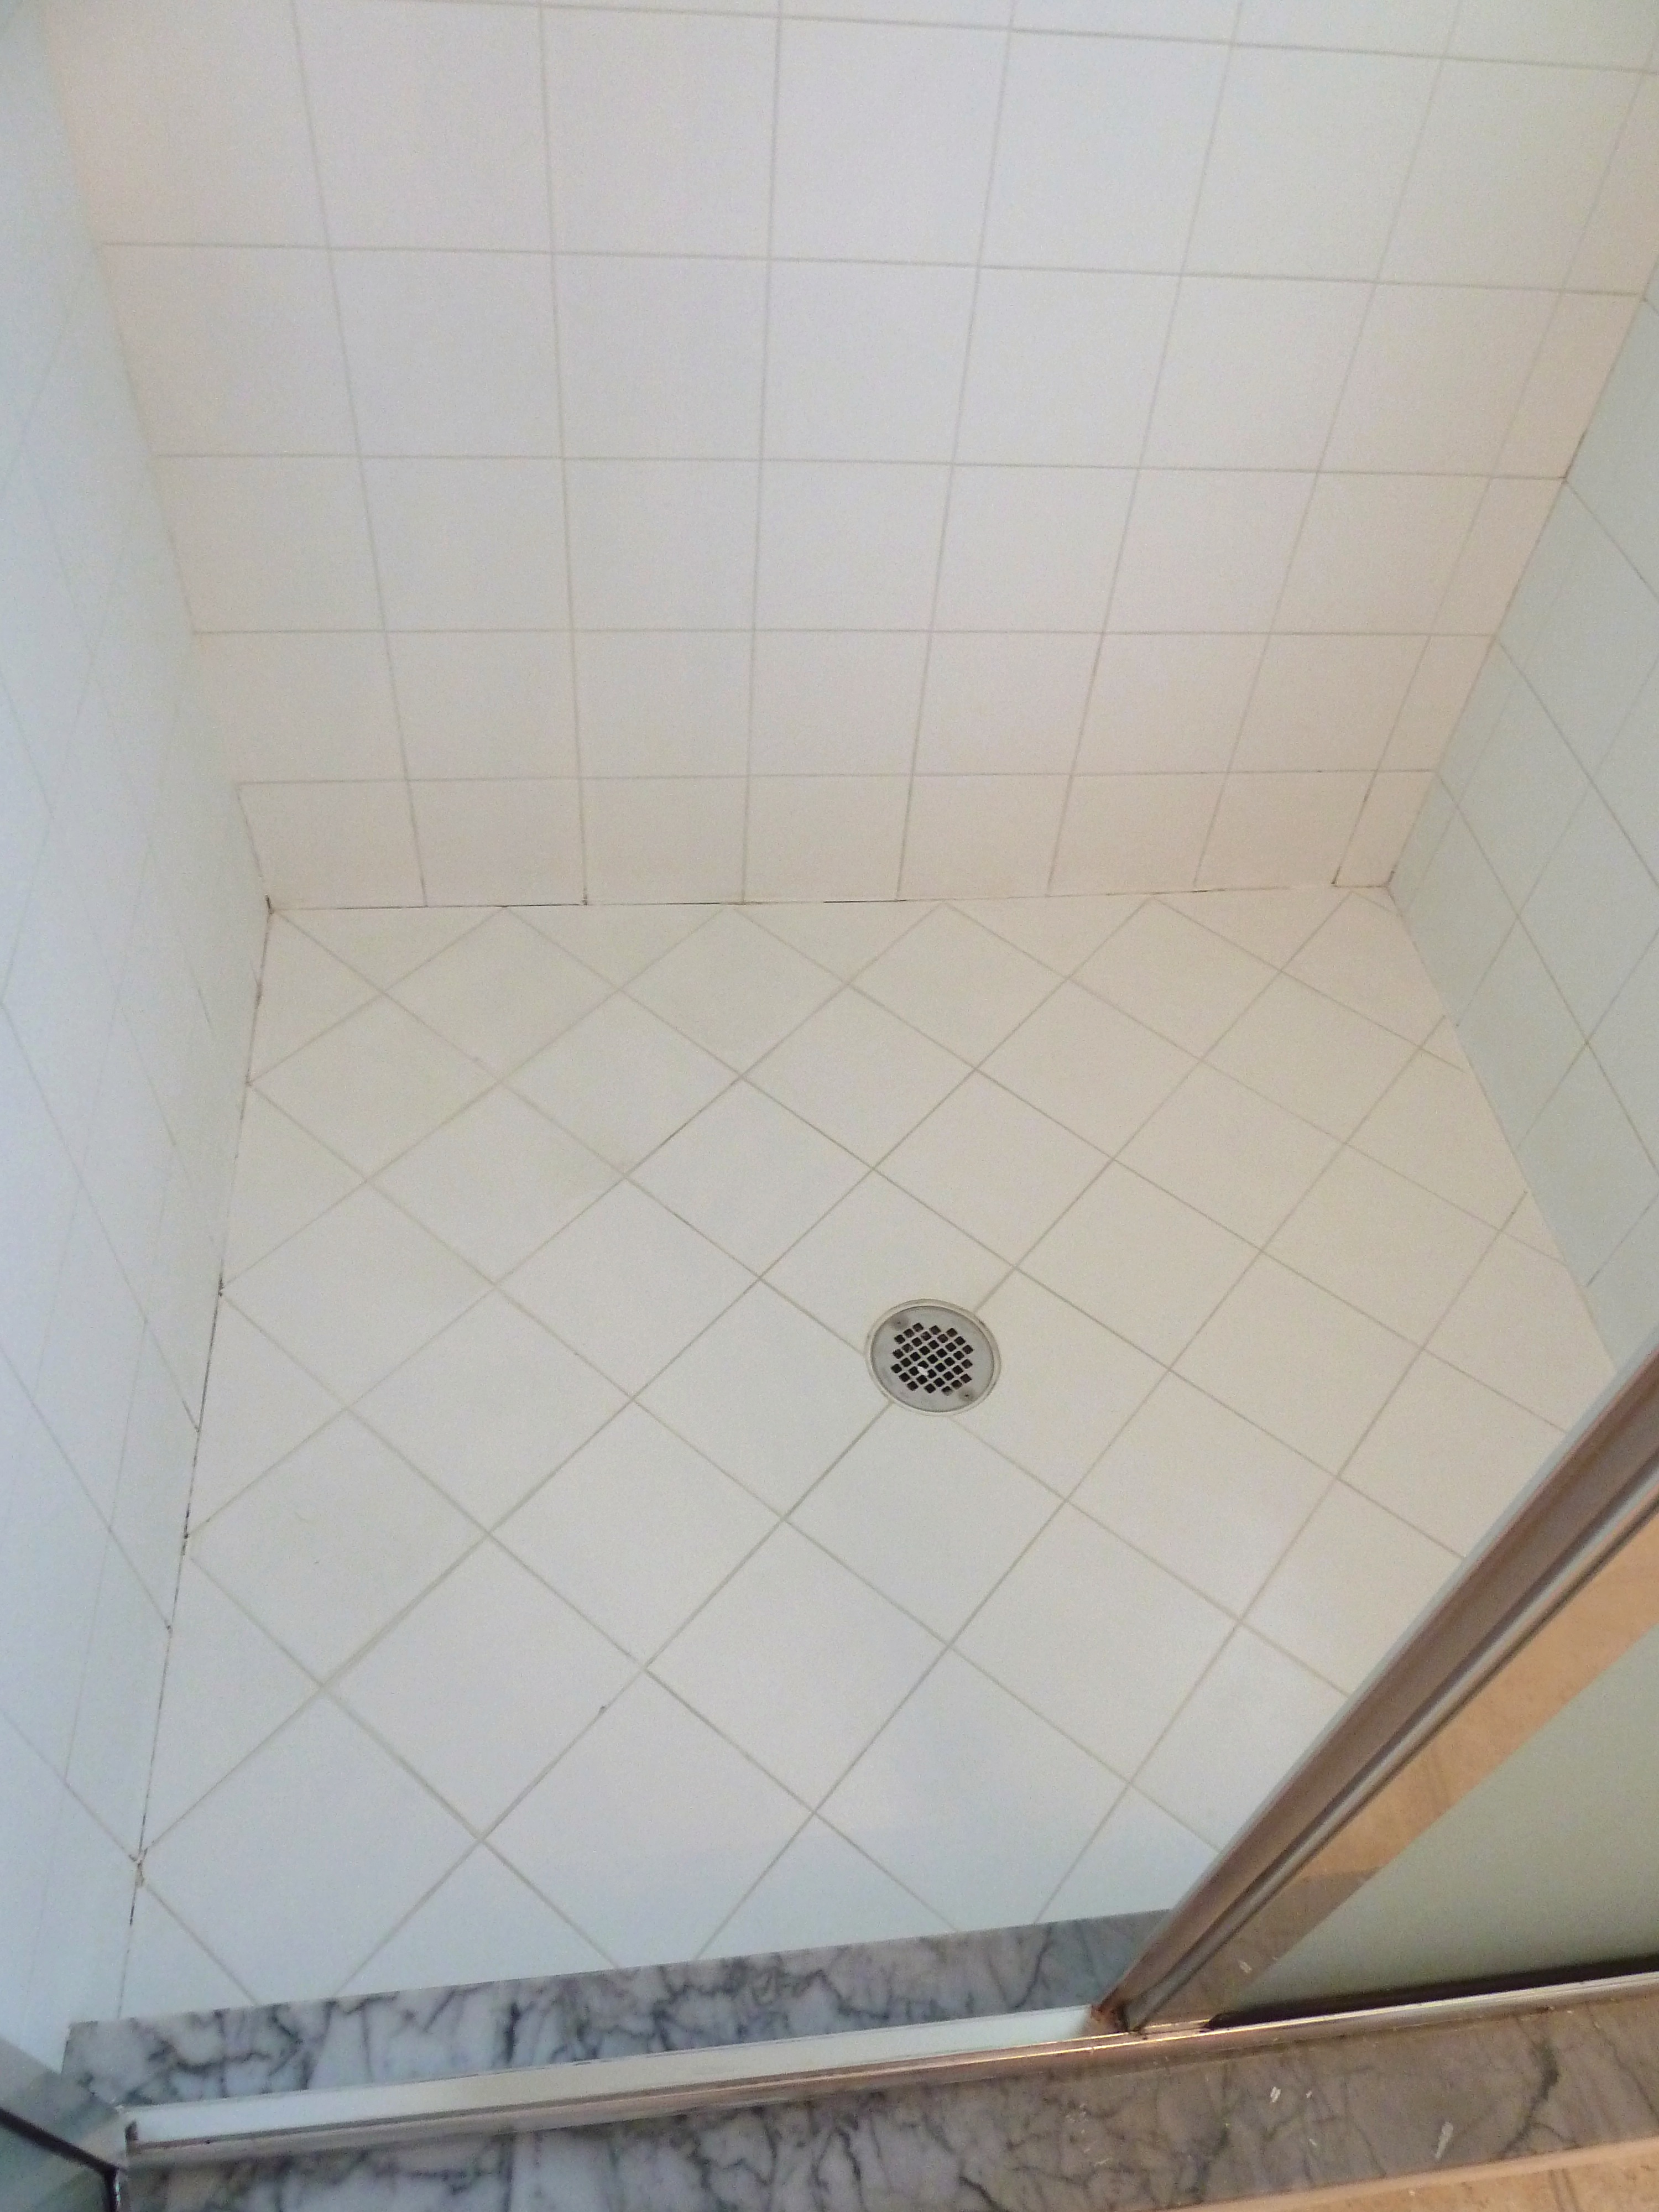
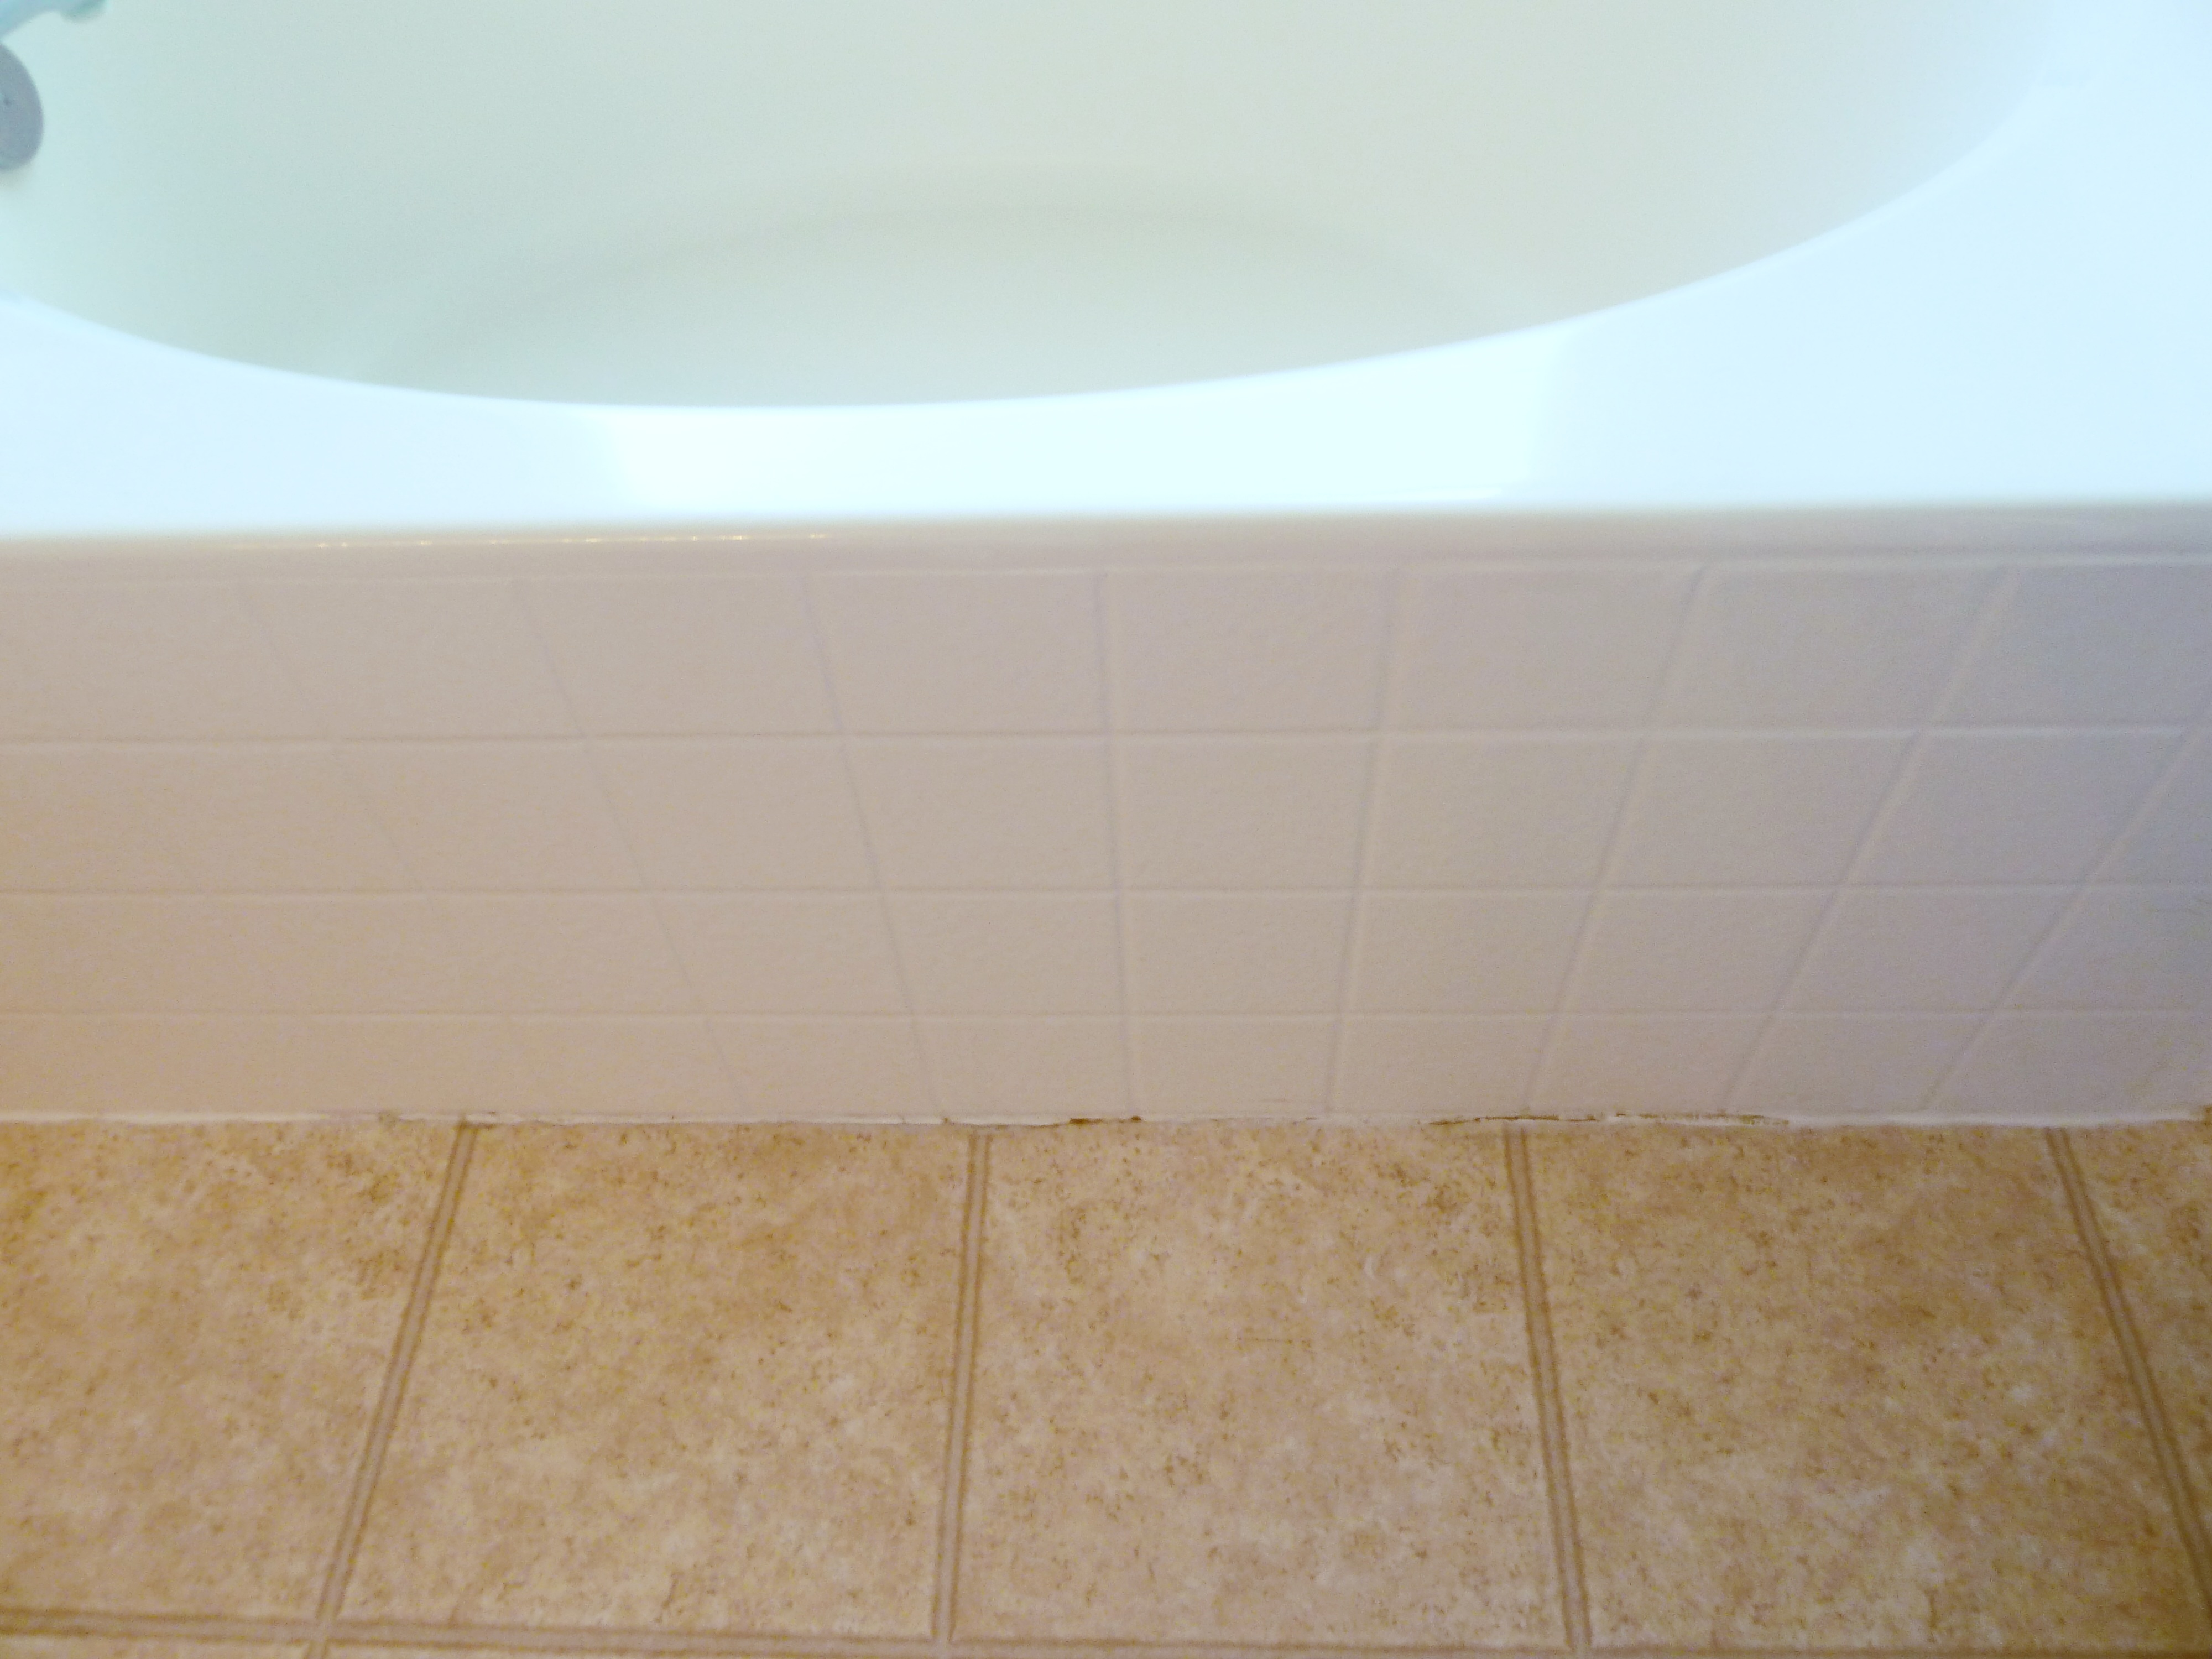
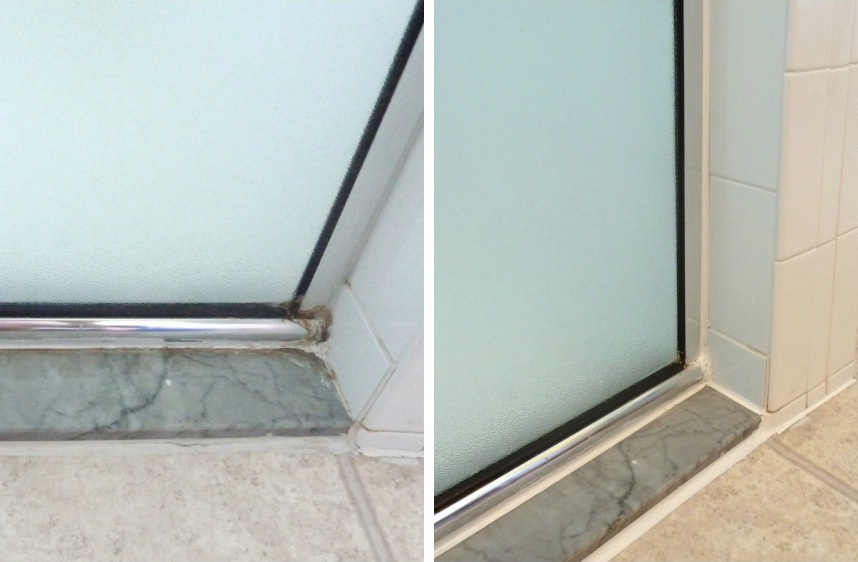
And the inside doesn’t look any better.

P1070713_Fotor

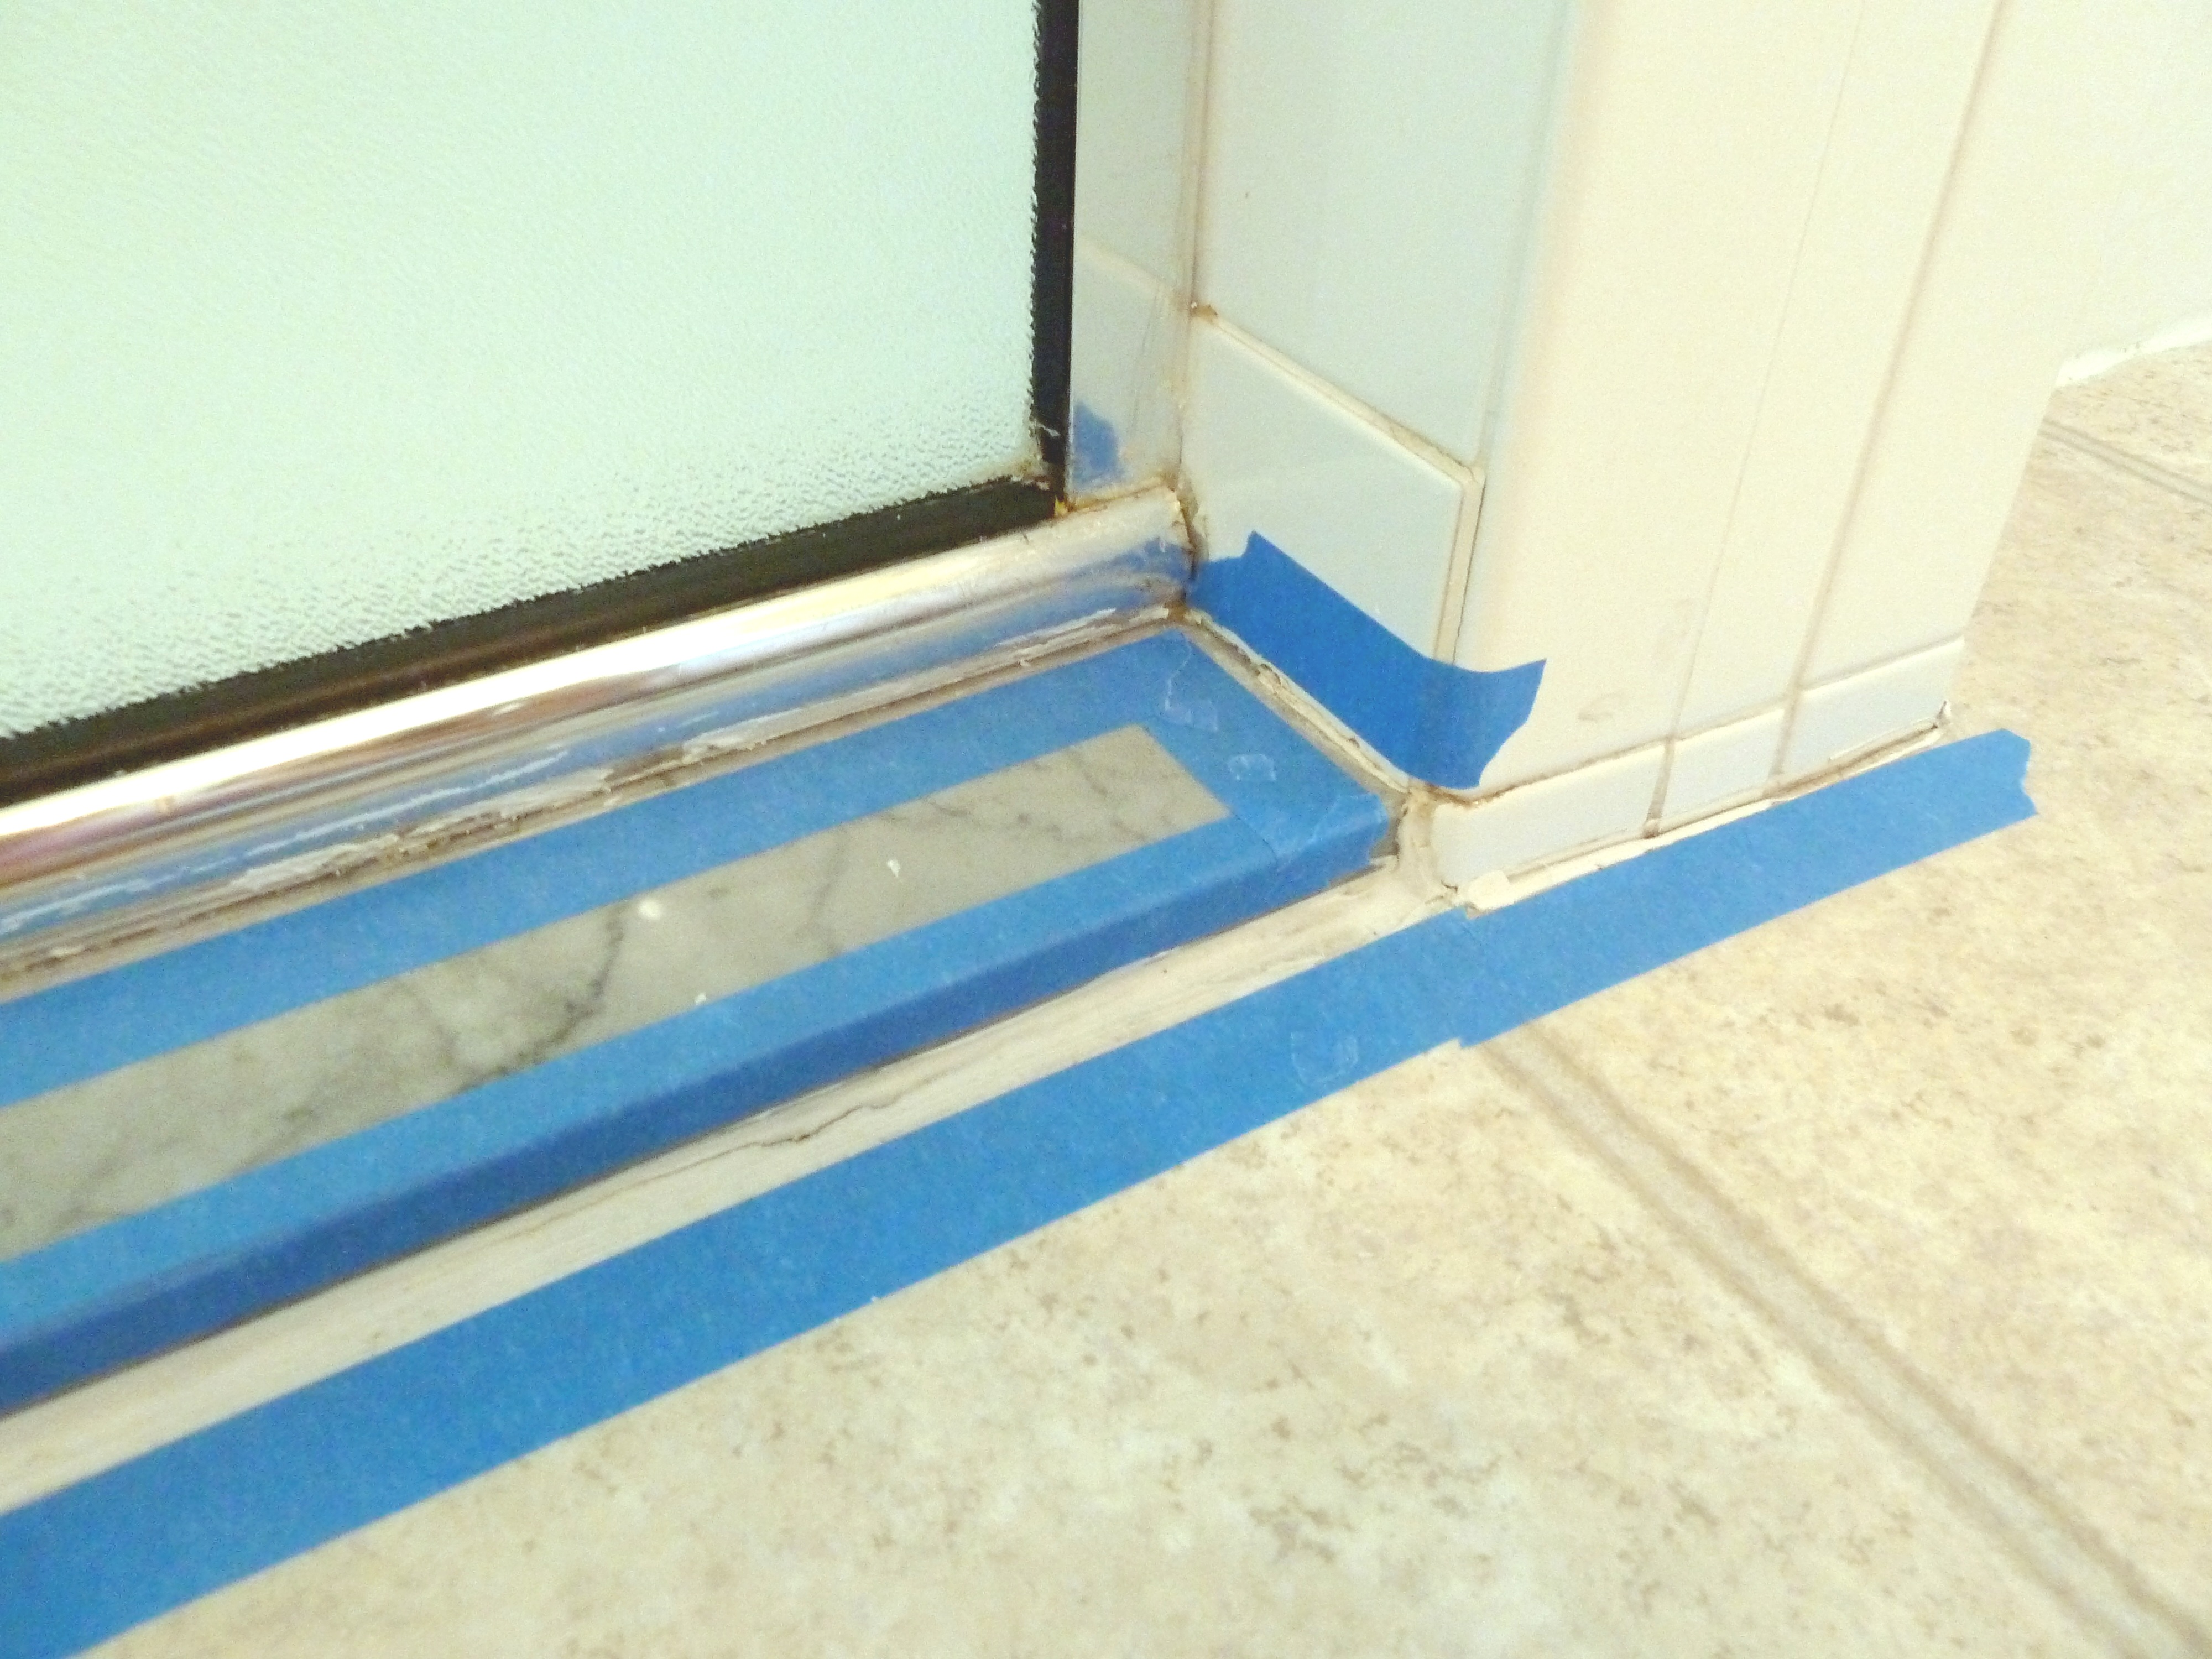
The corners seem to be the worst areas.

P1070709_Fotor

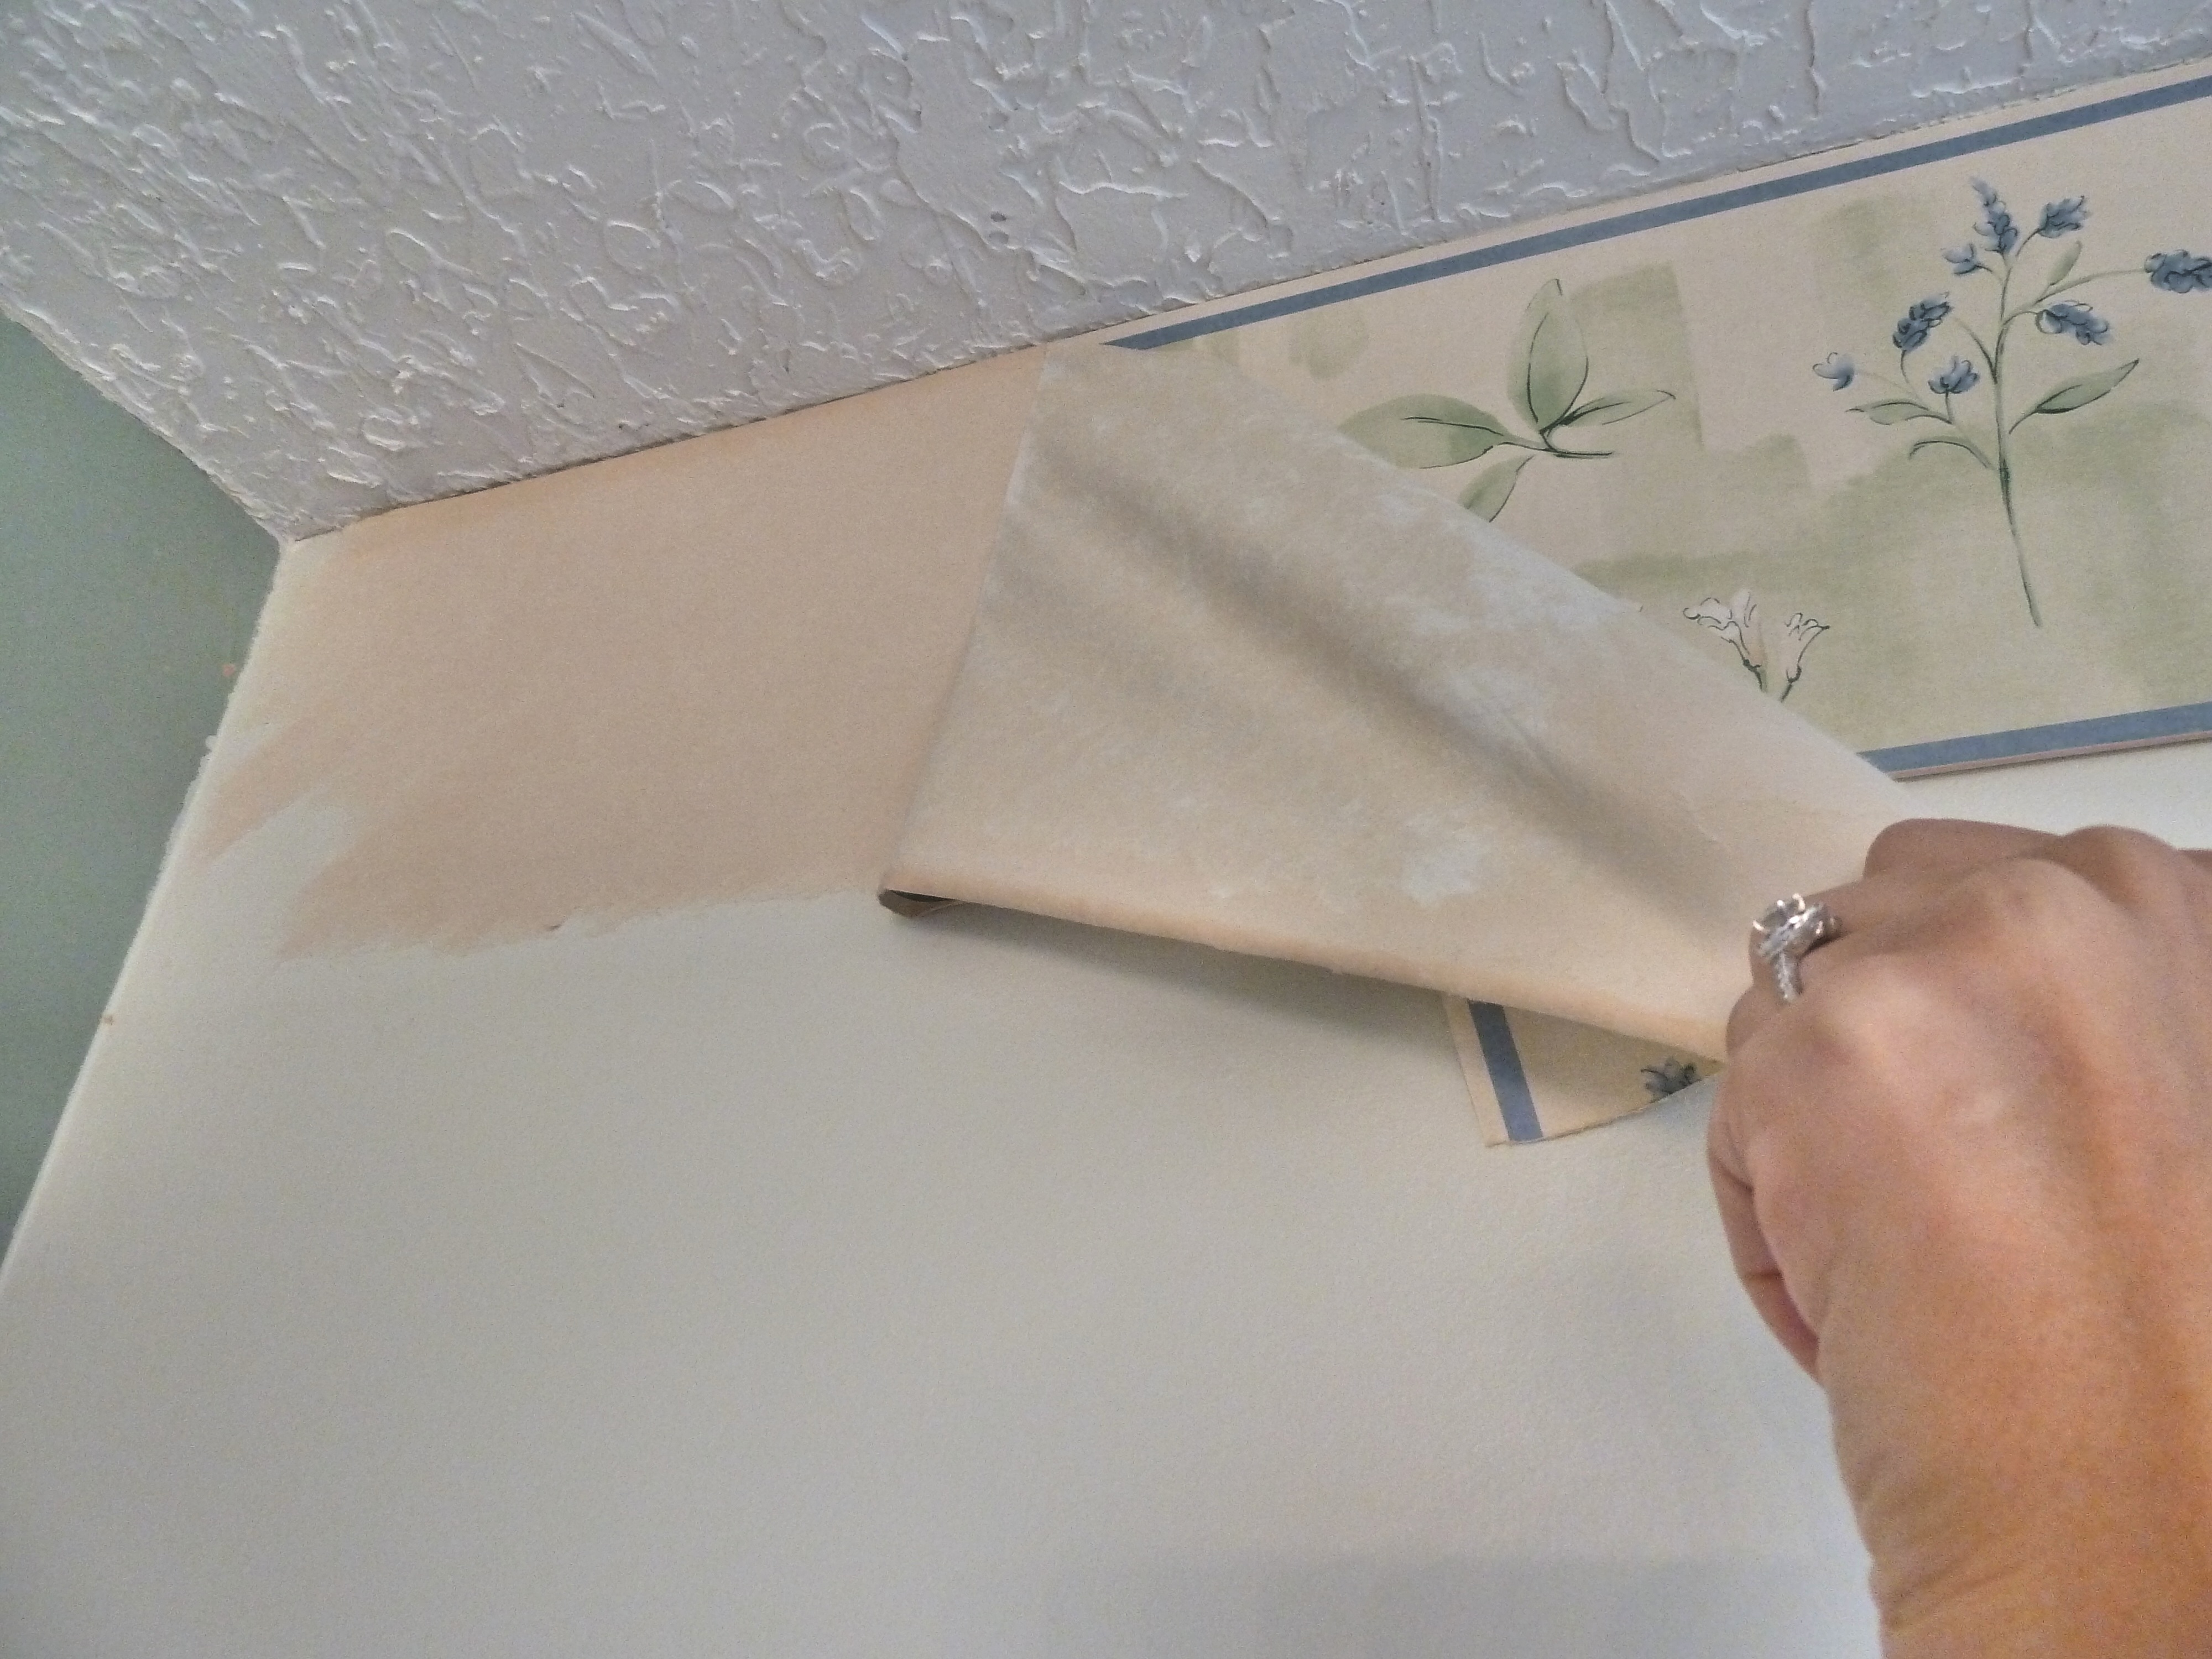
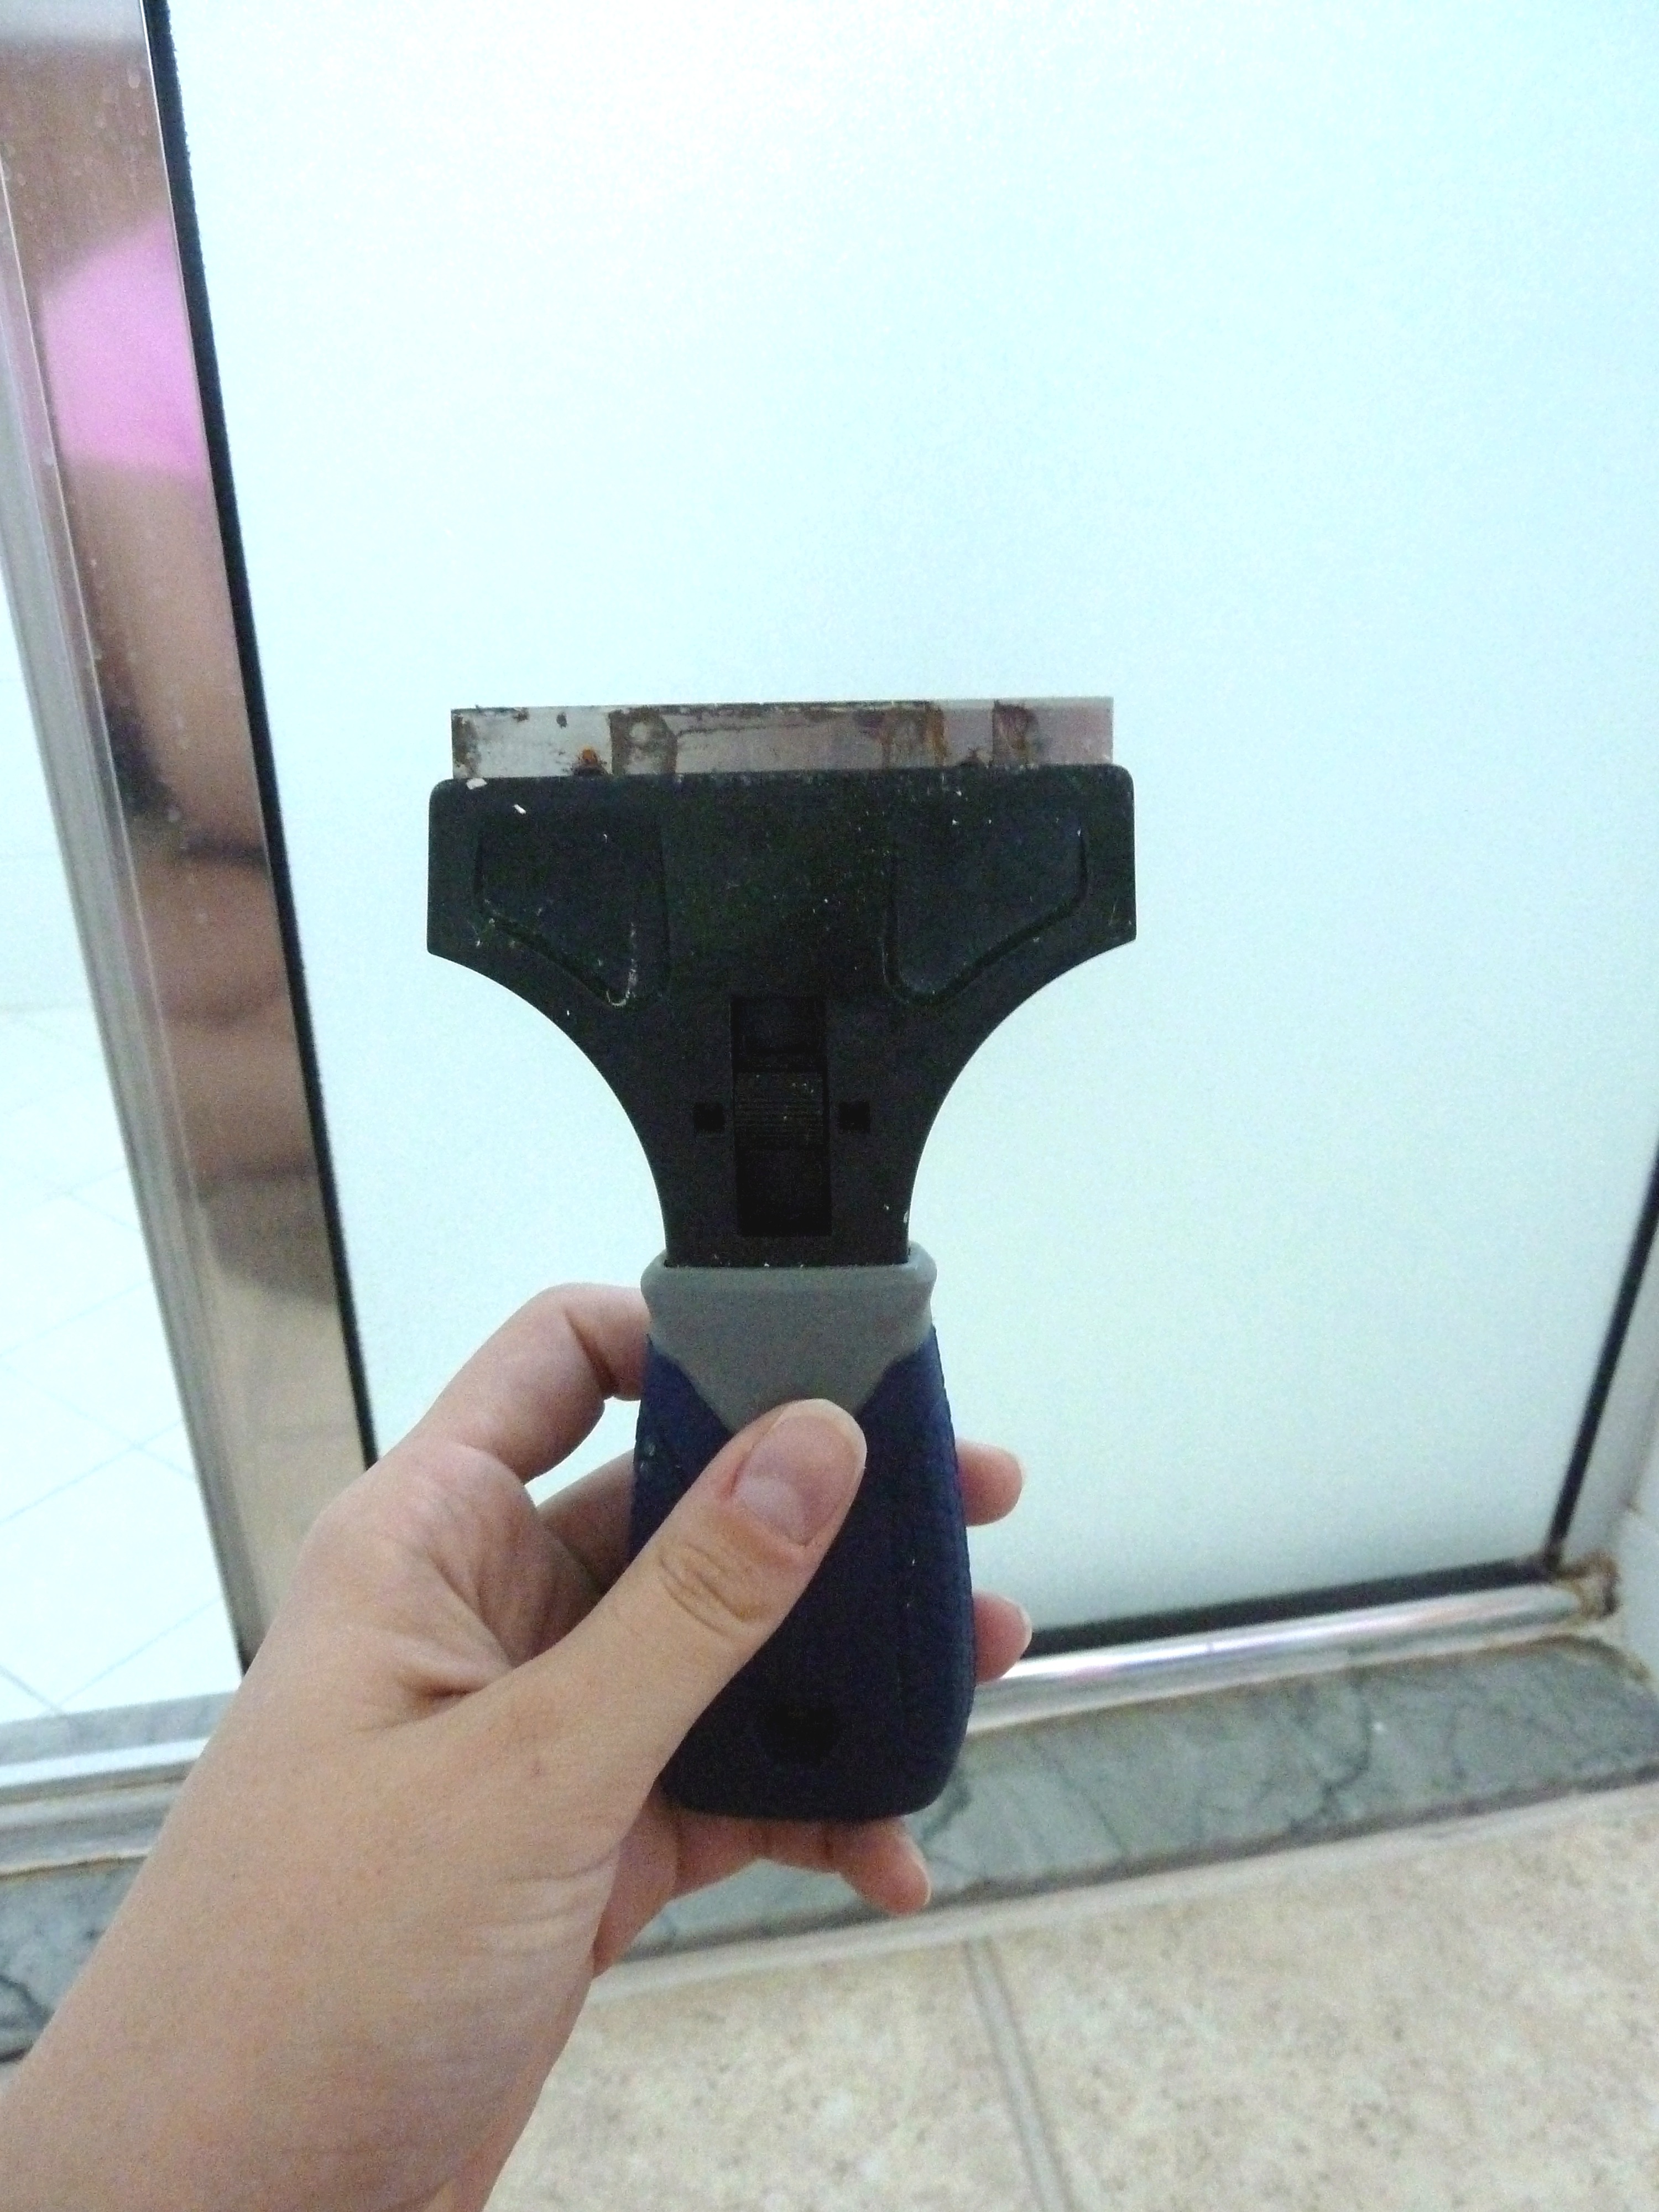
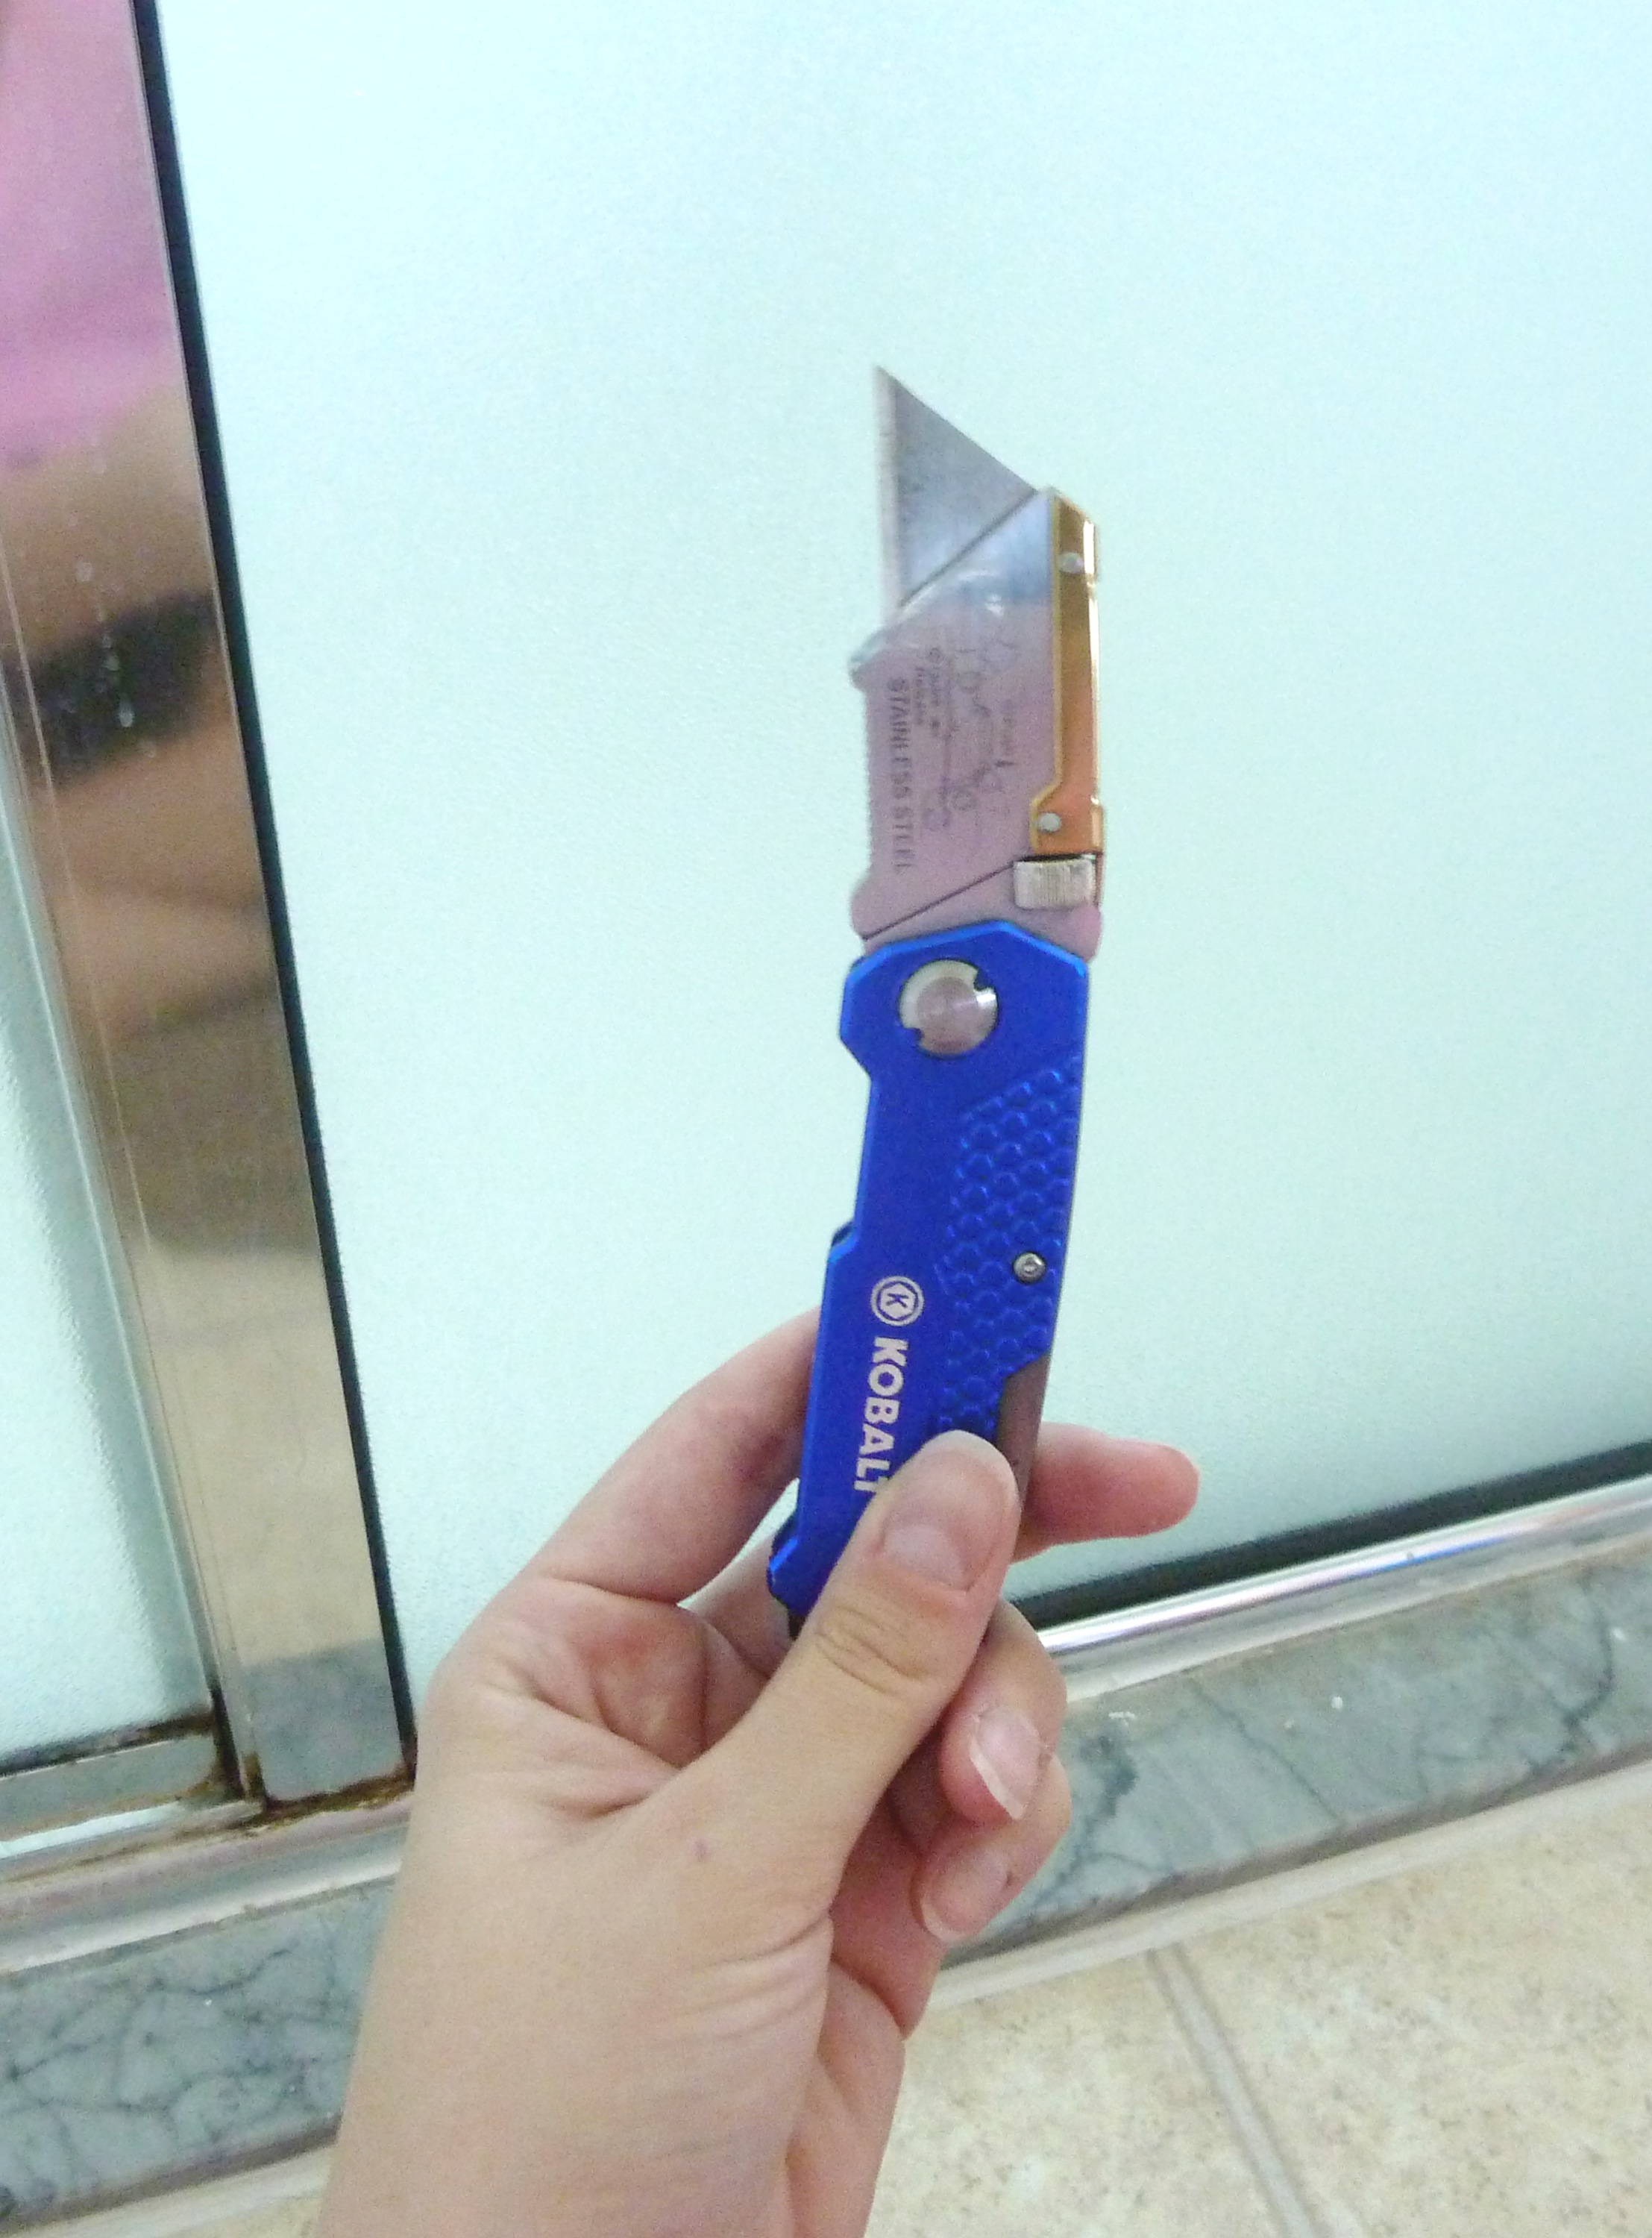
Eventually we will most likely redo this entire bathroom, which would include removing the tile and shower surround.  Since that project is down the line I needed to do something to make this shower feel cleaner.  So I got out our razor blade and box cutter and started removing the old disgusting caulk.

P1070704_Fotor

P1070722_Fotor

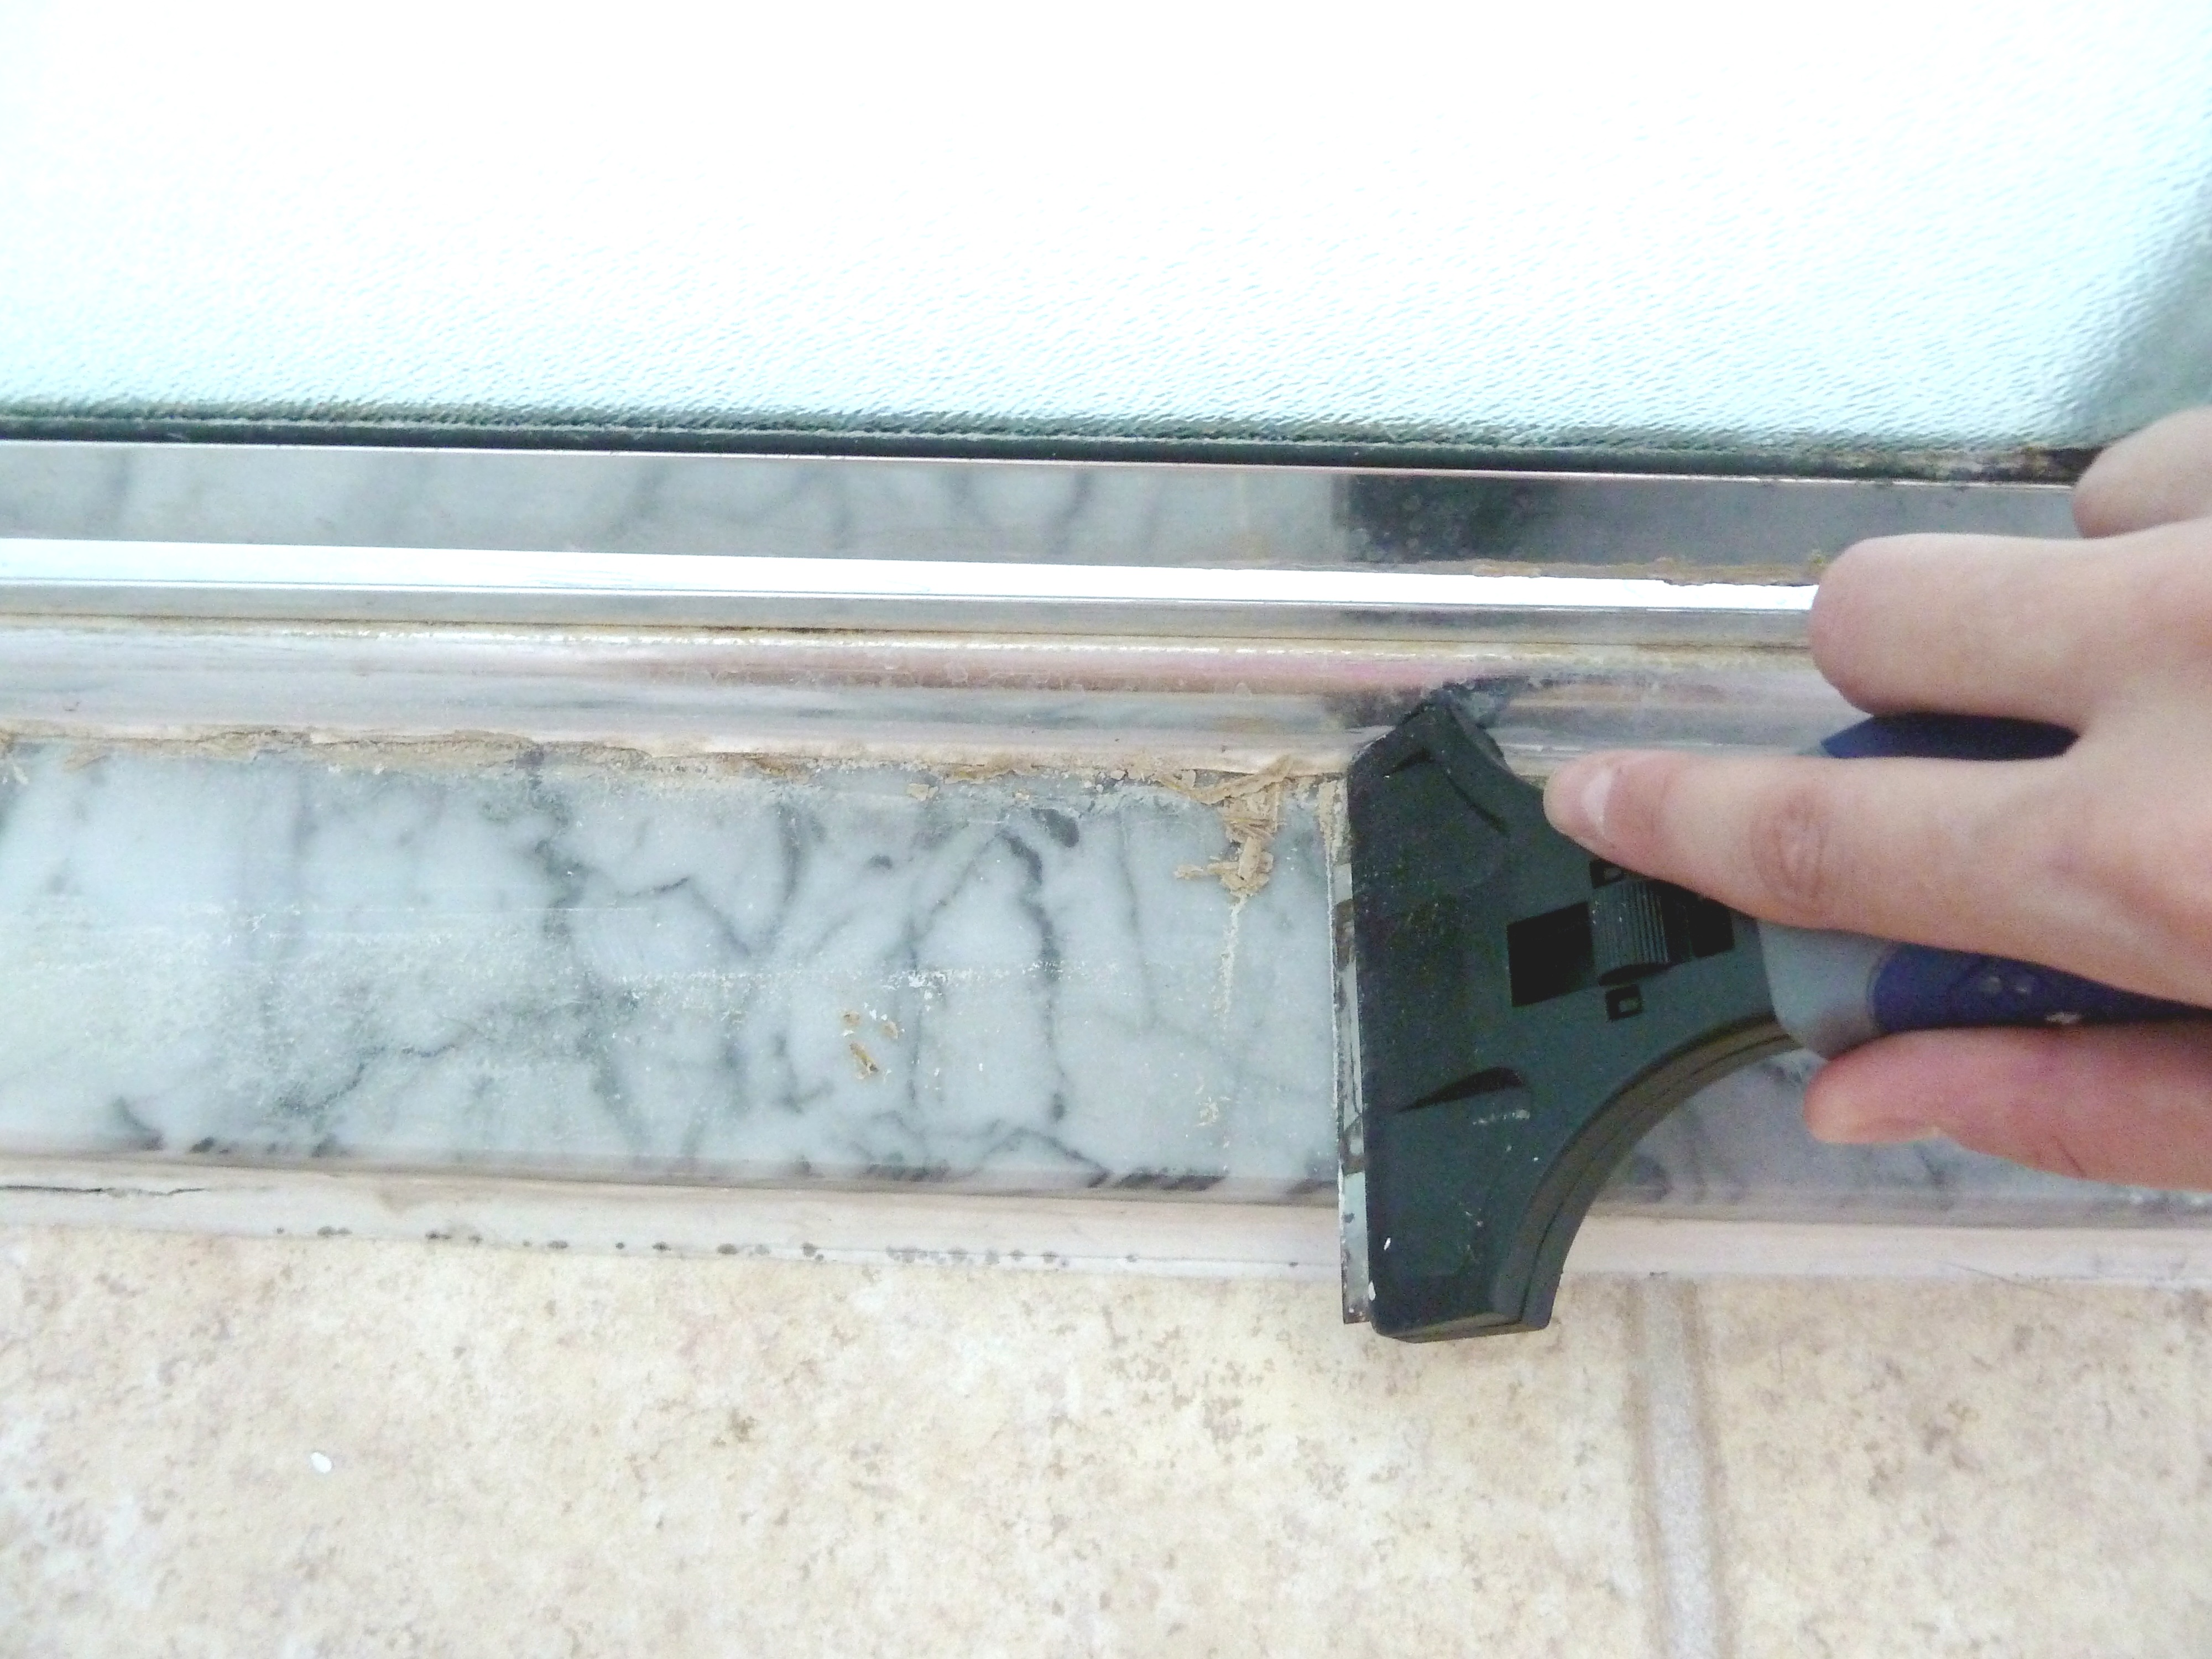
I first started scraping what I could off the ledge.

P1070720_Fotor

This got off some of the hard water and dirt but did not remove the caulk.

P1070724_Fotor

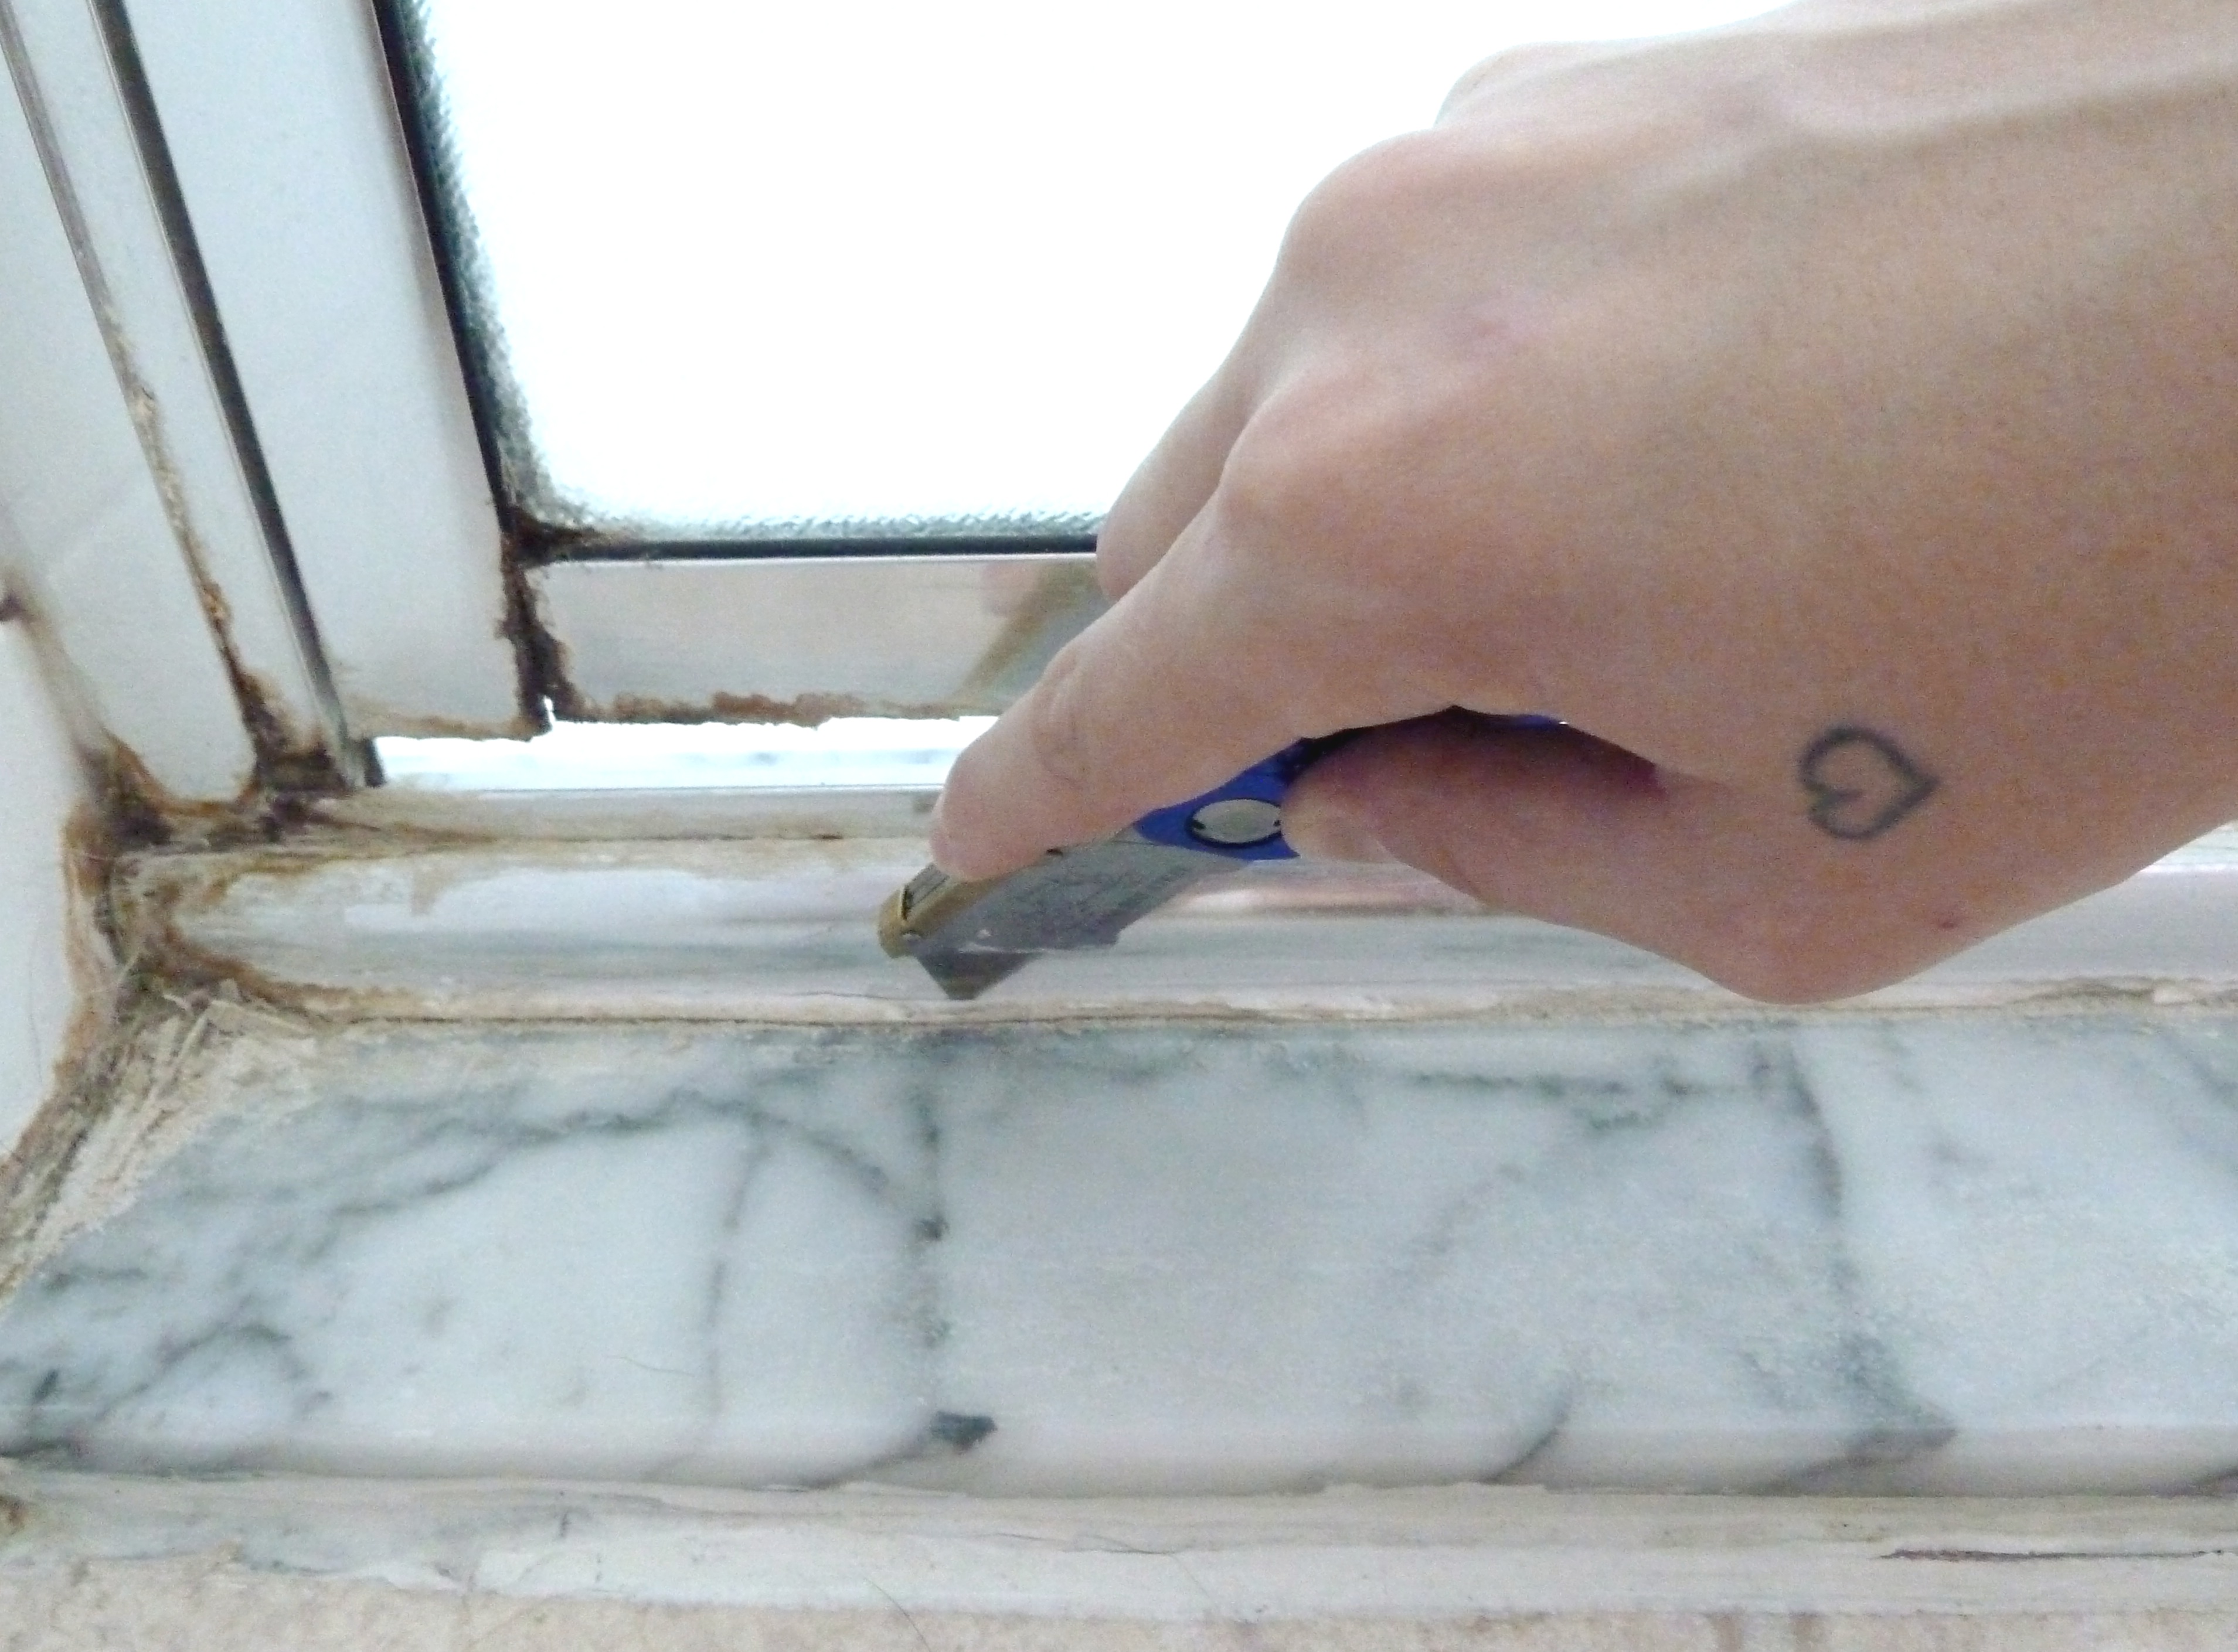
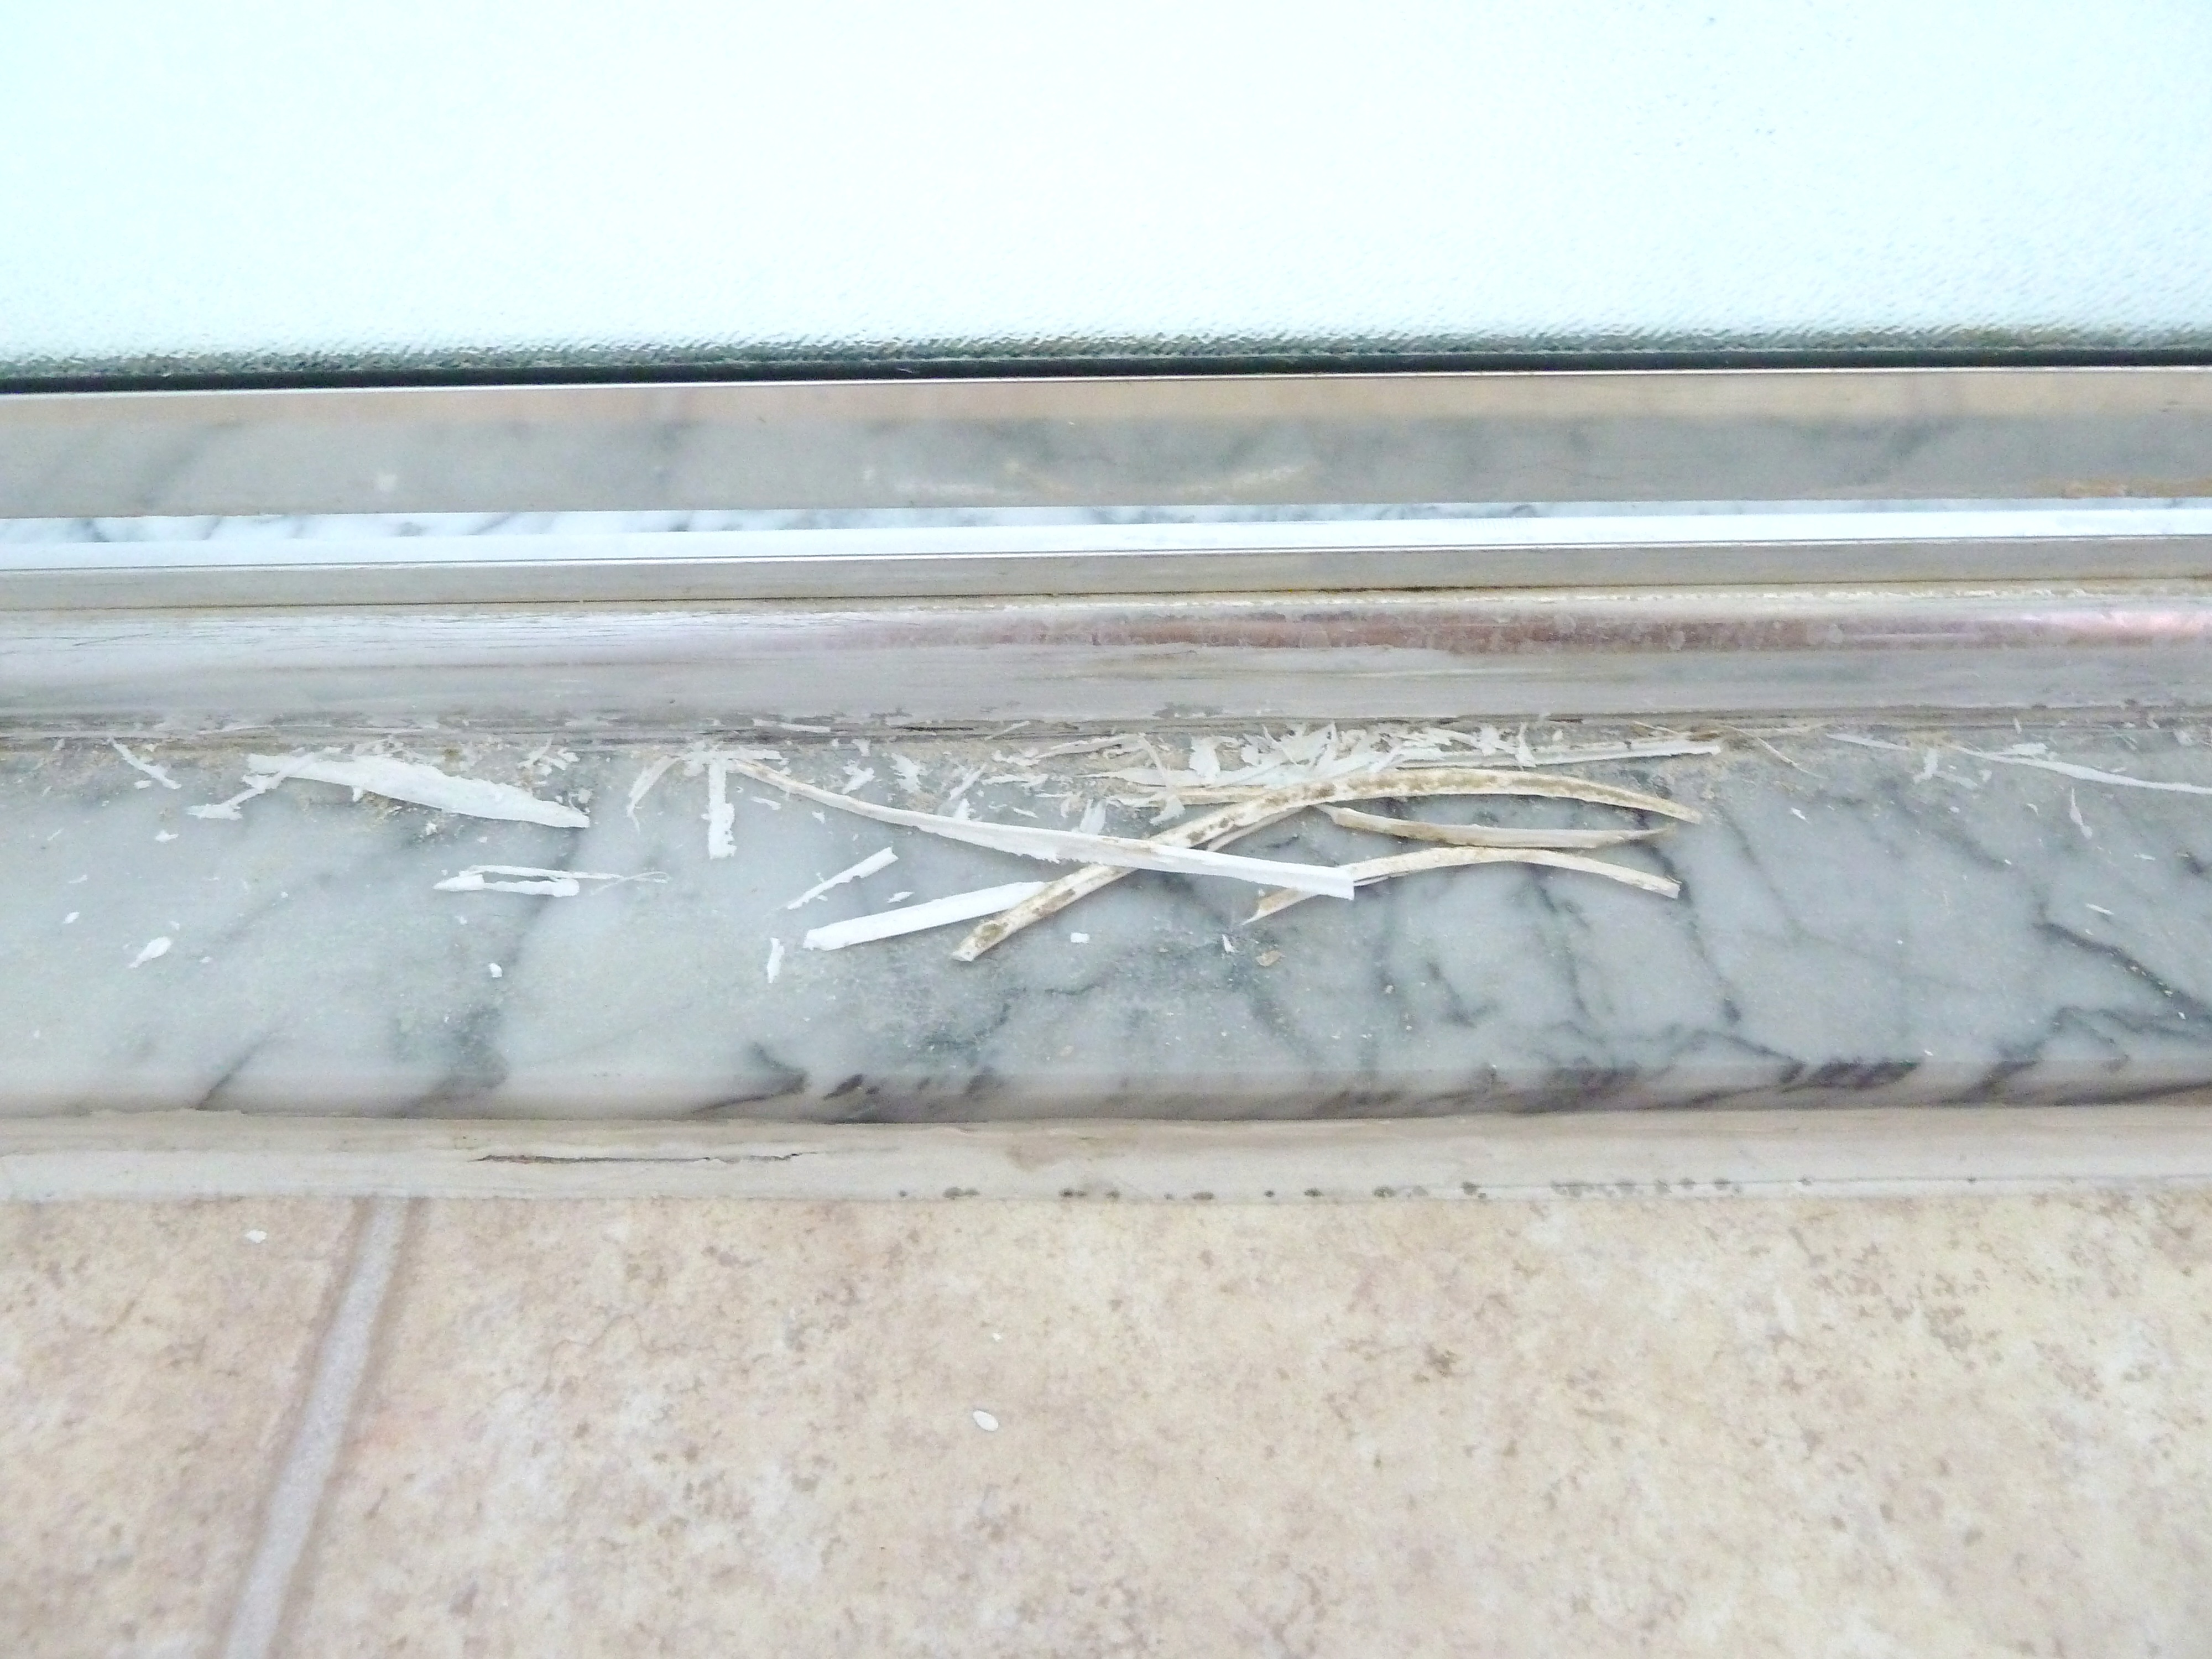
I used the box cutter to slice into the existing caulk, I went back a couple times until some pieces started to come loose like this…

P1070726_Fotor

I started peeling the caulk away by hand, and then went back with the box cutter scraping any remaining caulk until I got as much as I could.

P1070728_Fotor

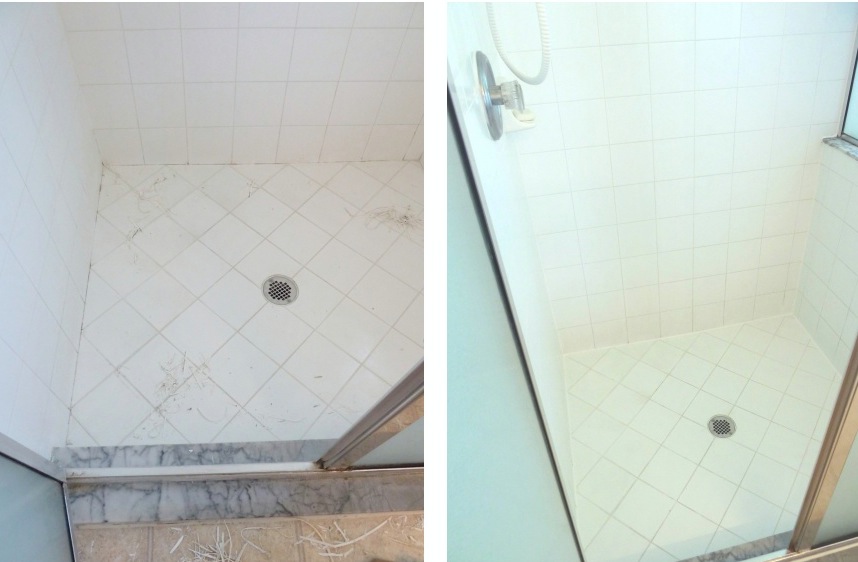
Next I hopped in the shower and starting removing the caulk in there the same way.

P1070735_Fotor

Inside the shower I did have to use the razor blade a bit to get any caulk that was stuck on the tile.

P1070738_Fotor

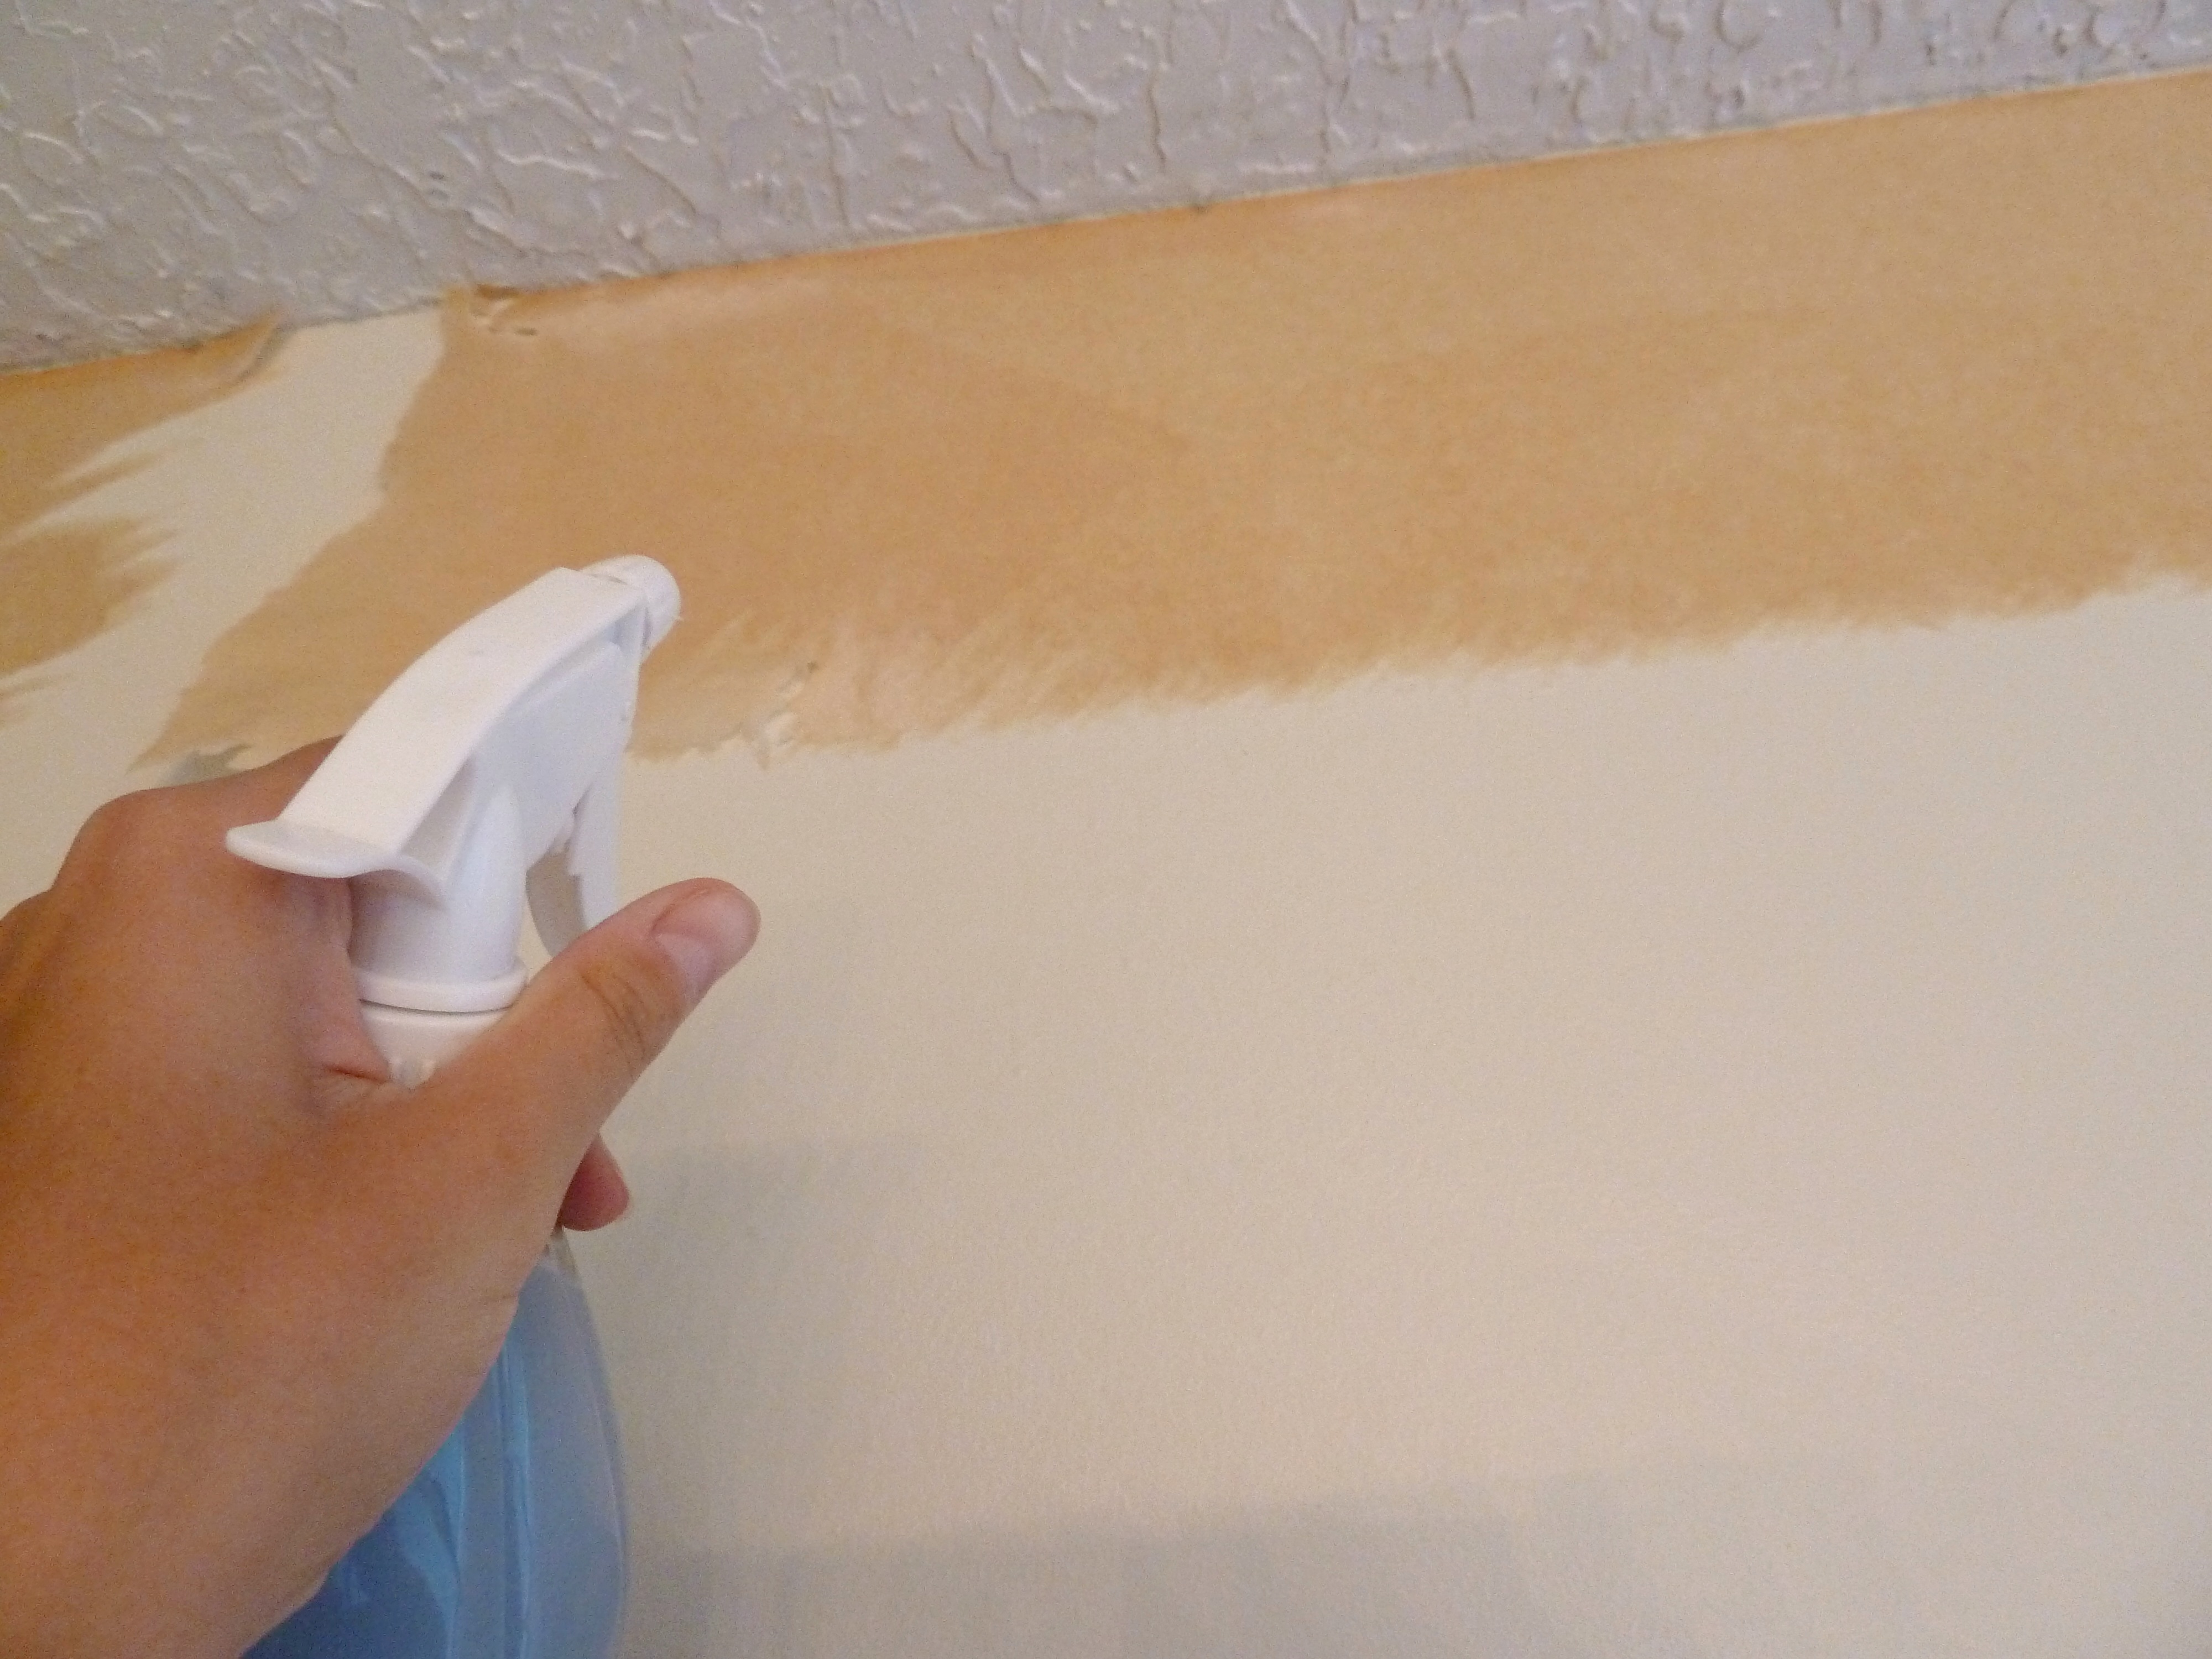
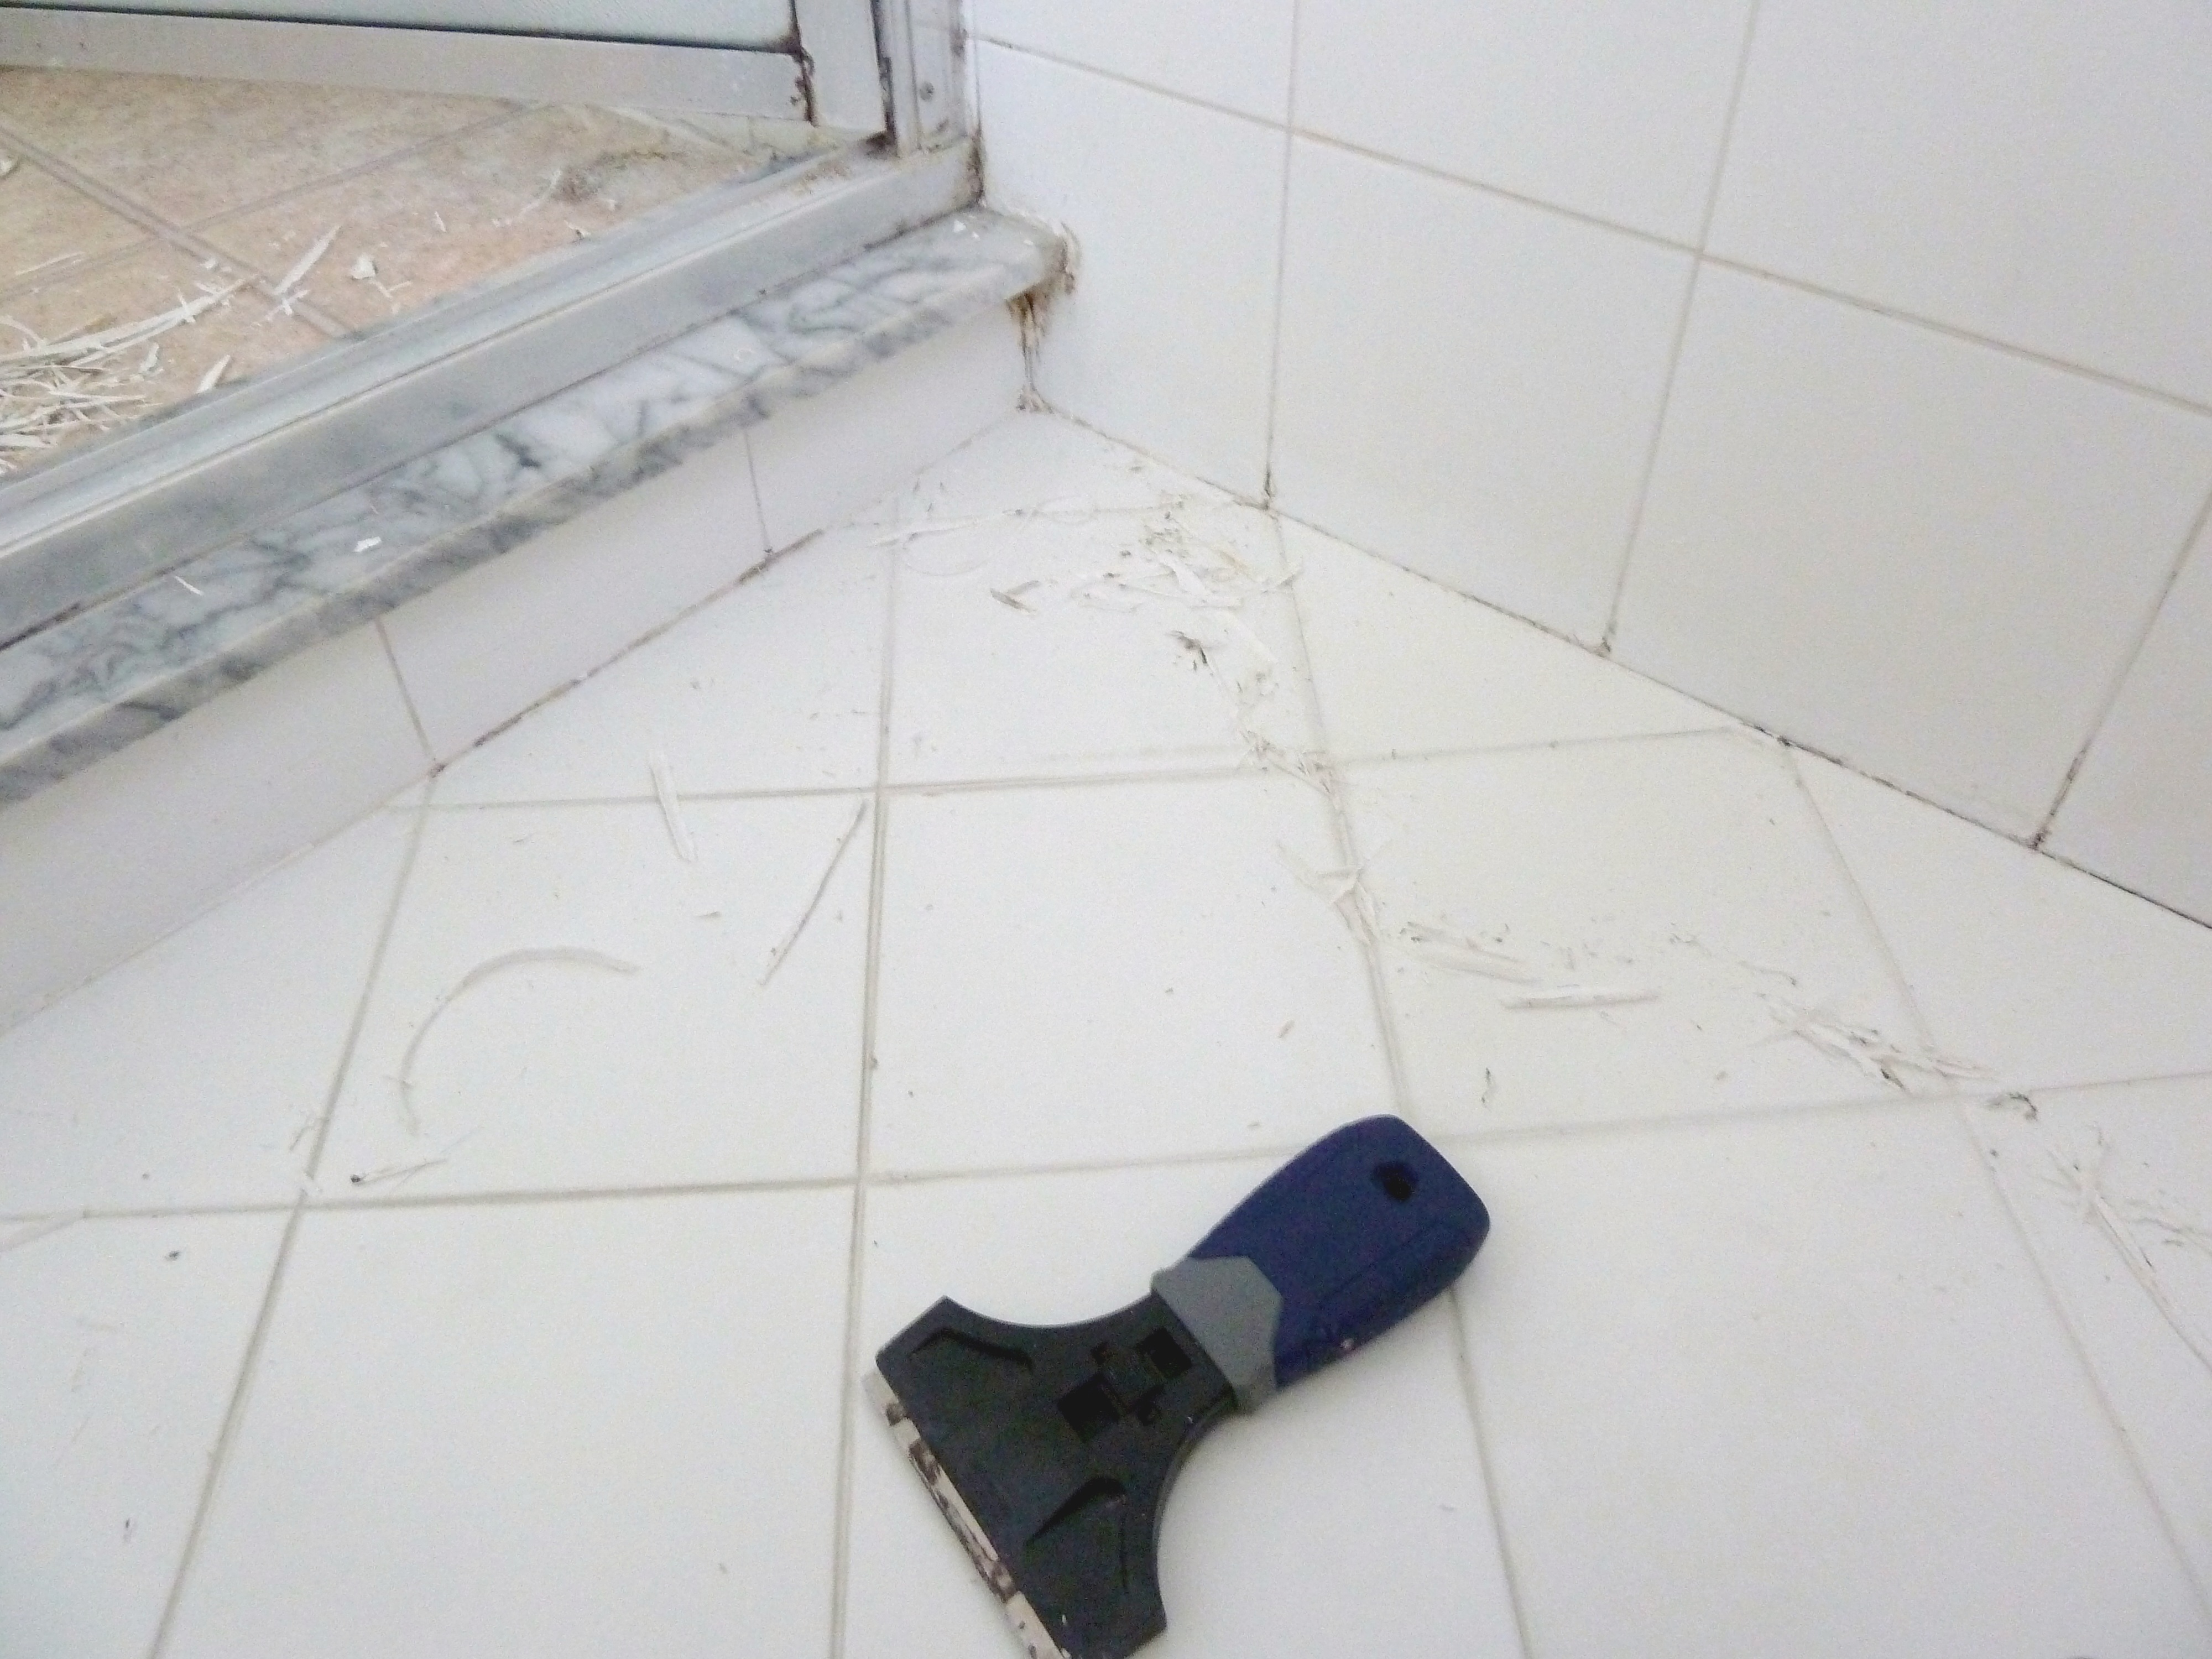
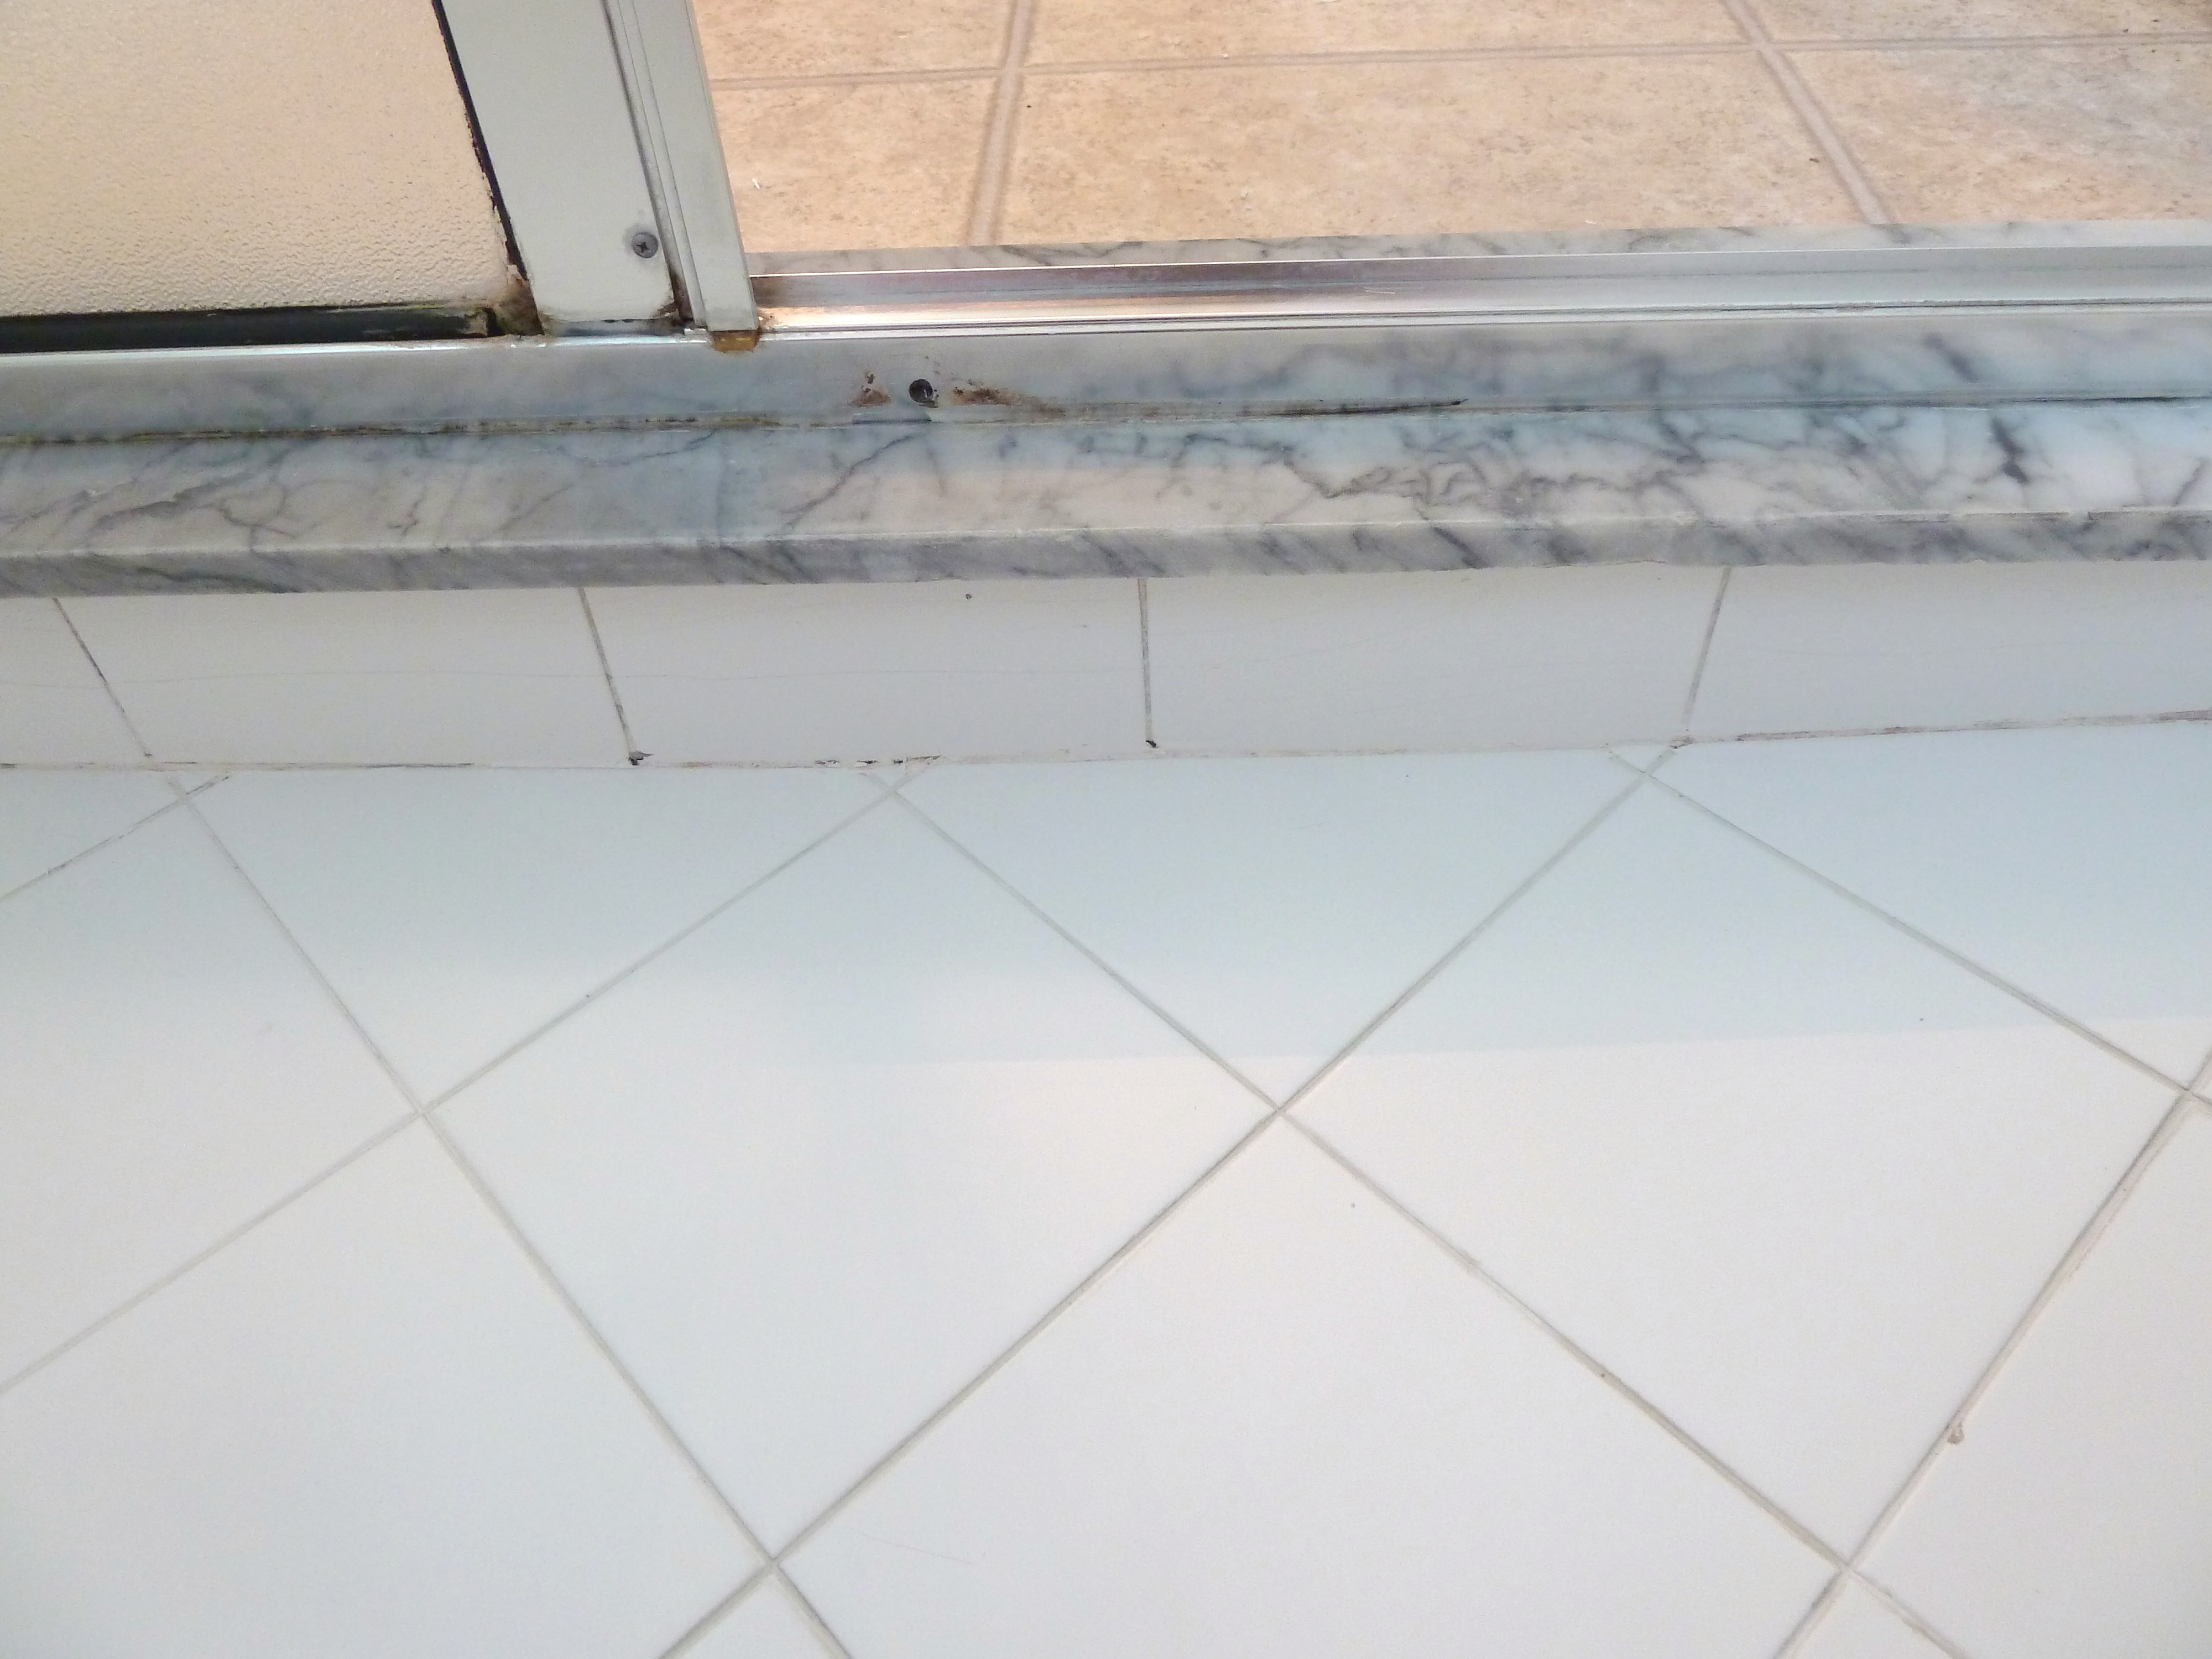
I then cleaned up all of the caulk pieces that I had removed with the vacuum, then scrubbed everything with CLR spray.  This helped remove any hard water or rust that I couldn’t get off with my normal tile cleaner.

P1070747_Fotor

P1070752_Fotor

P1070749_Fotor

I wasn’t able to get all of the rust stains, but it was already looking a ton better.

P1070760_Fotor

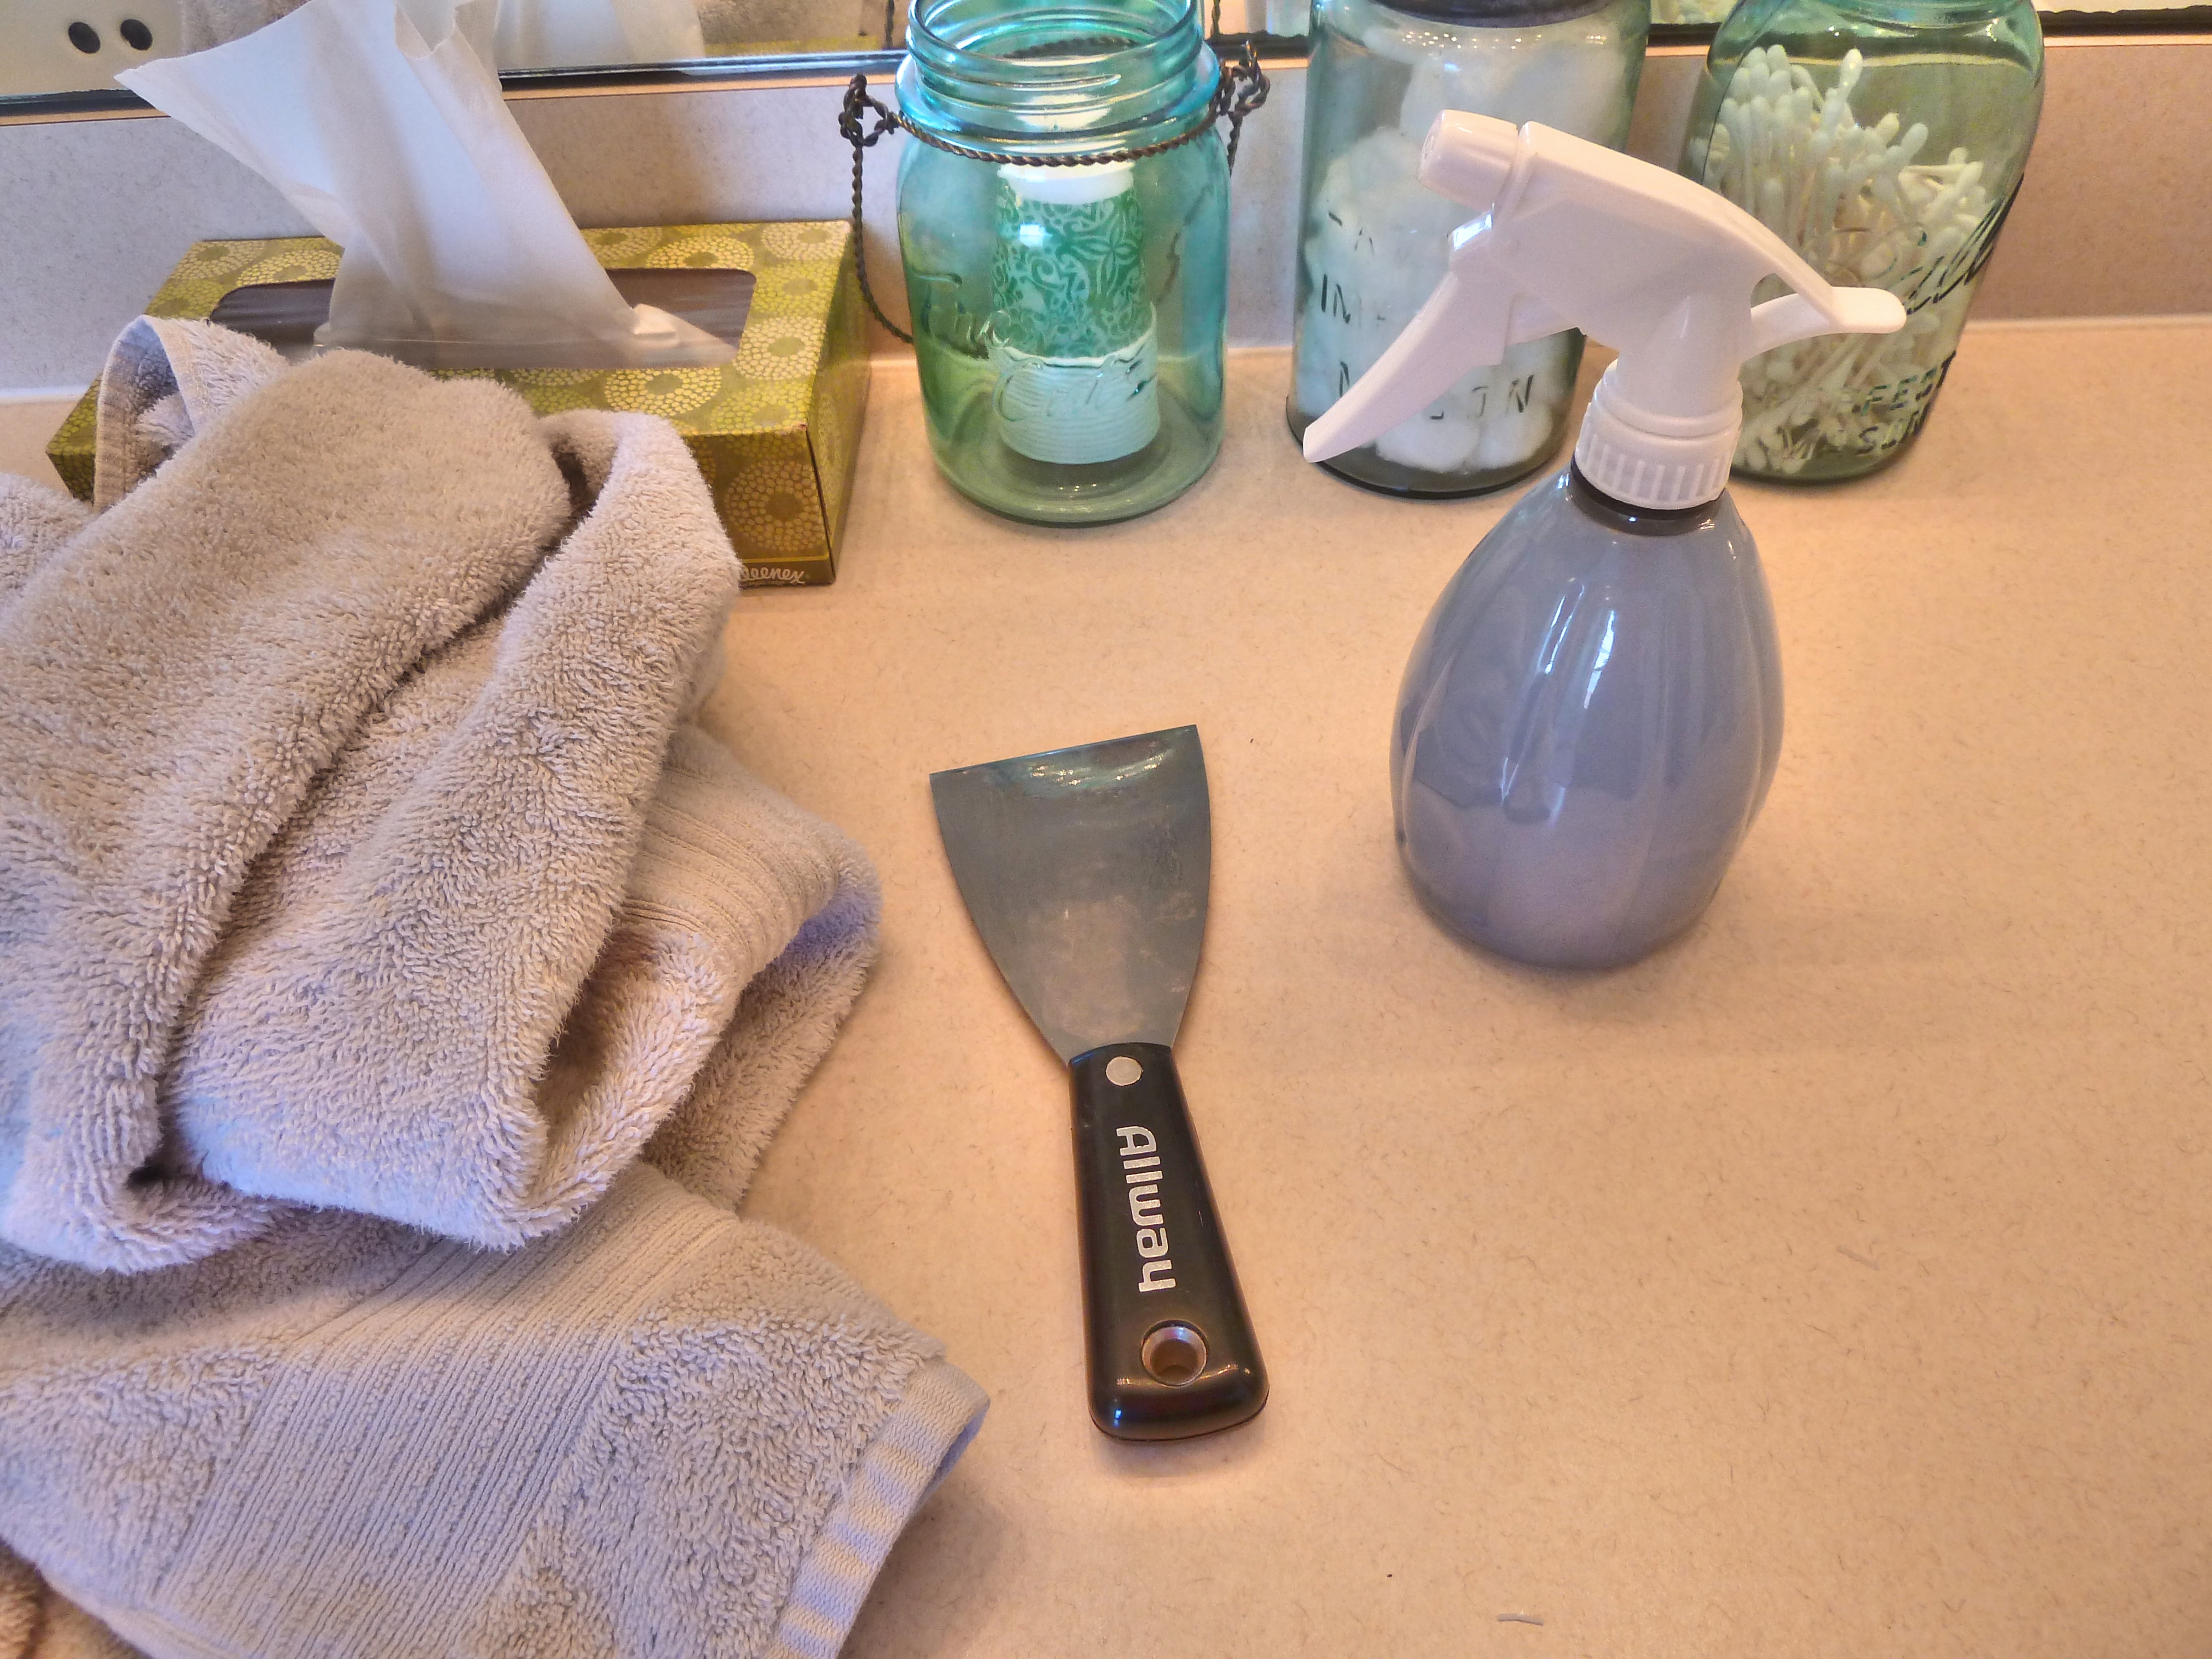
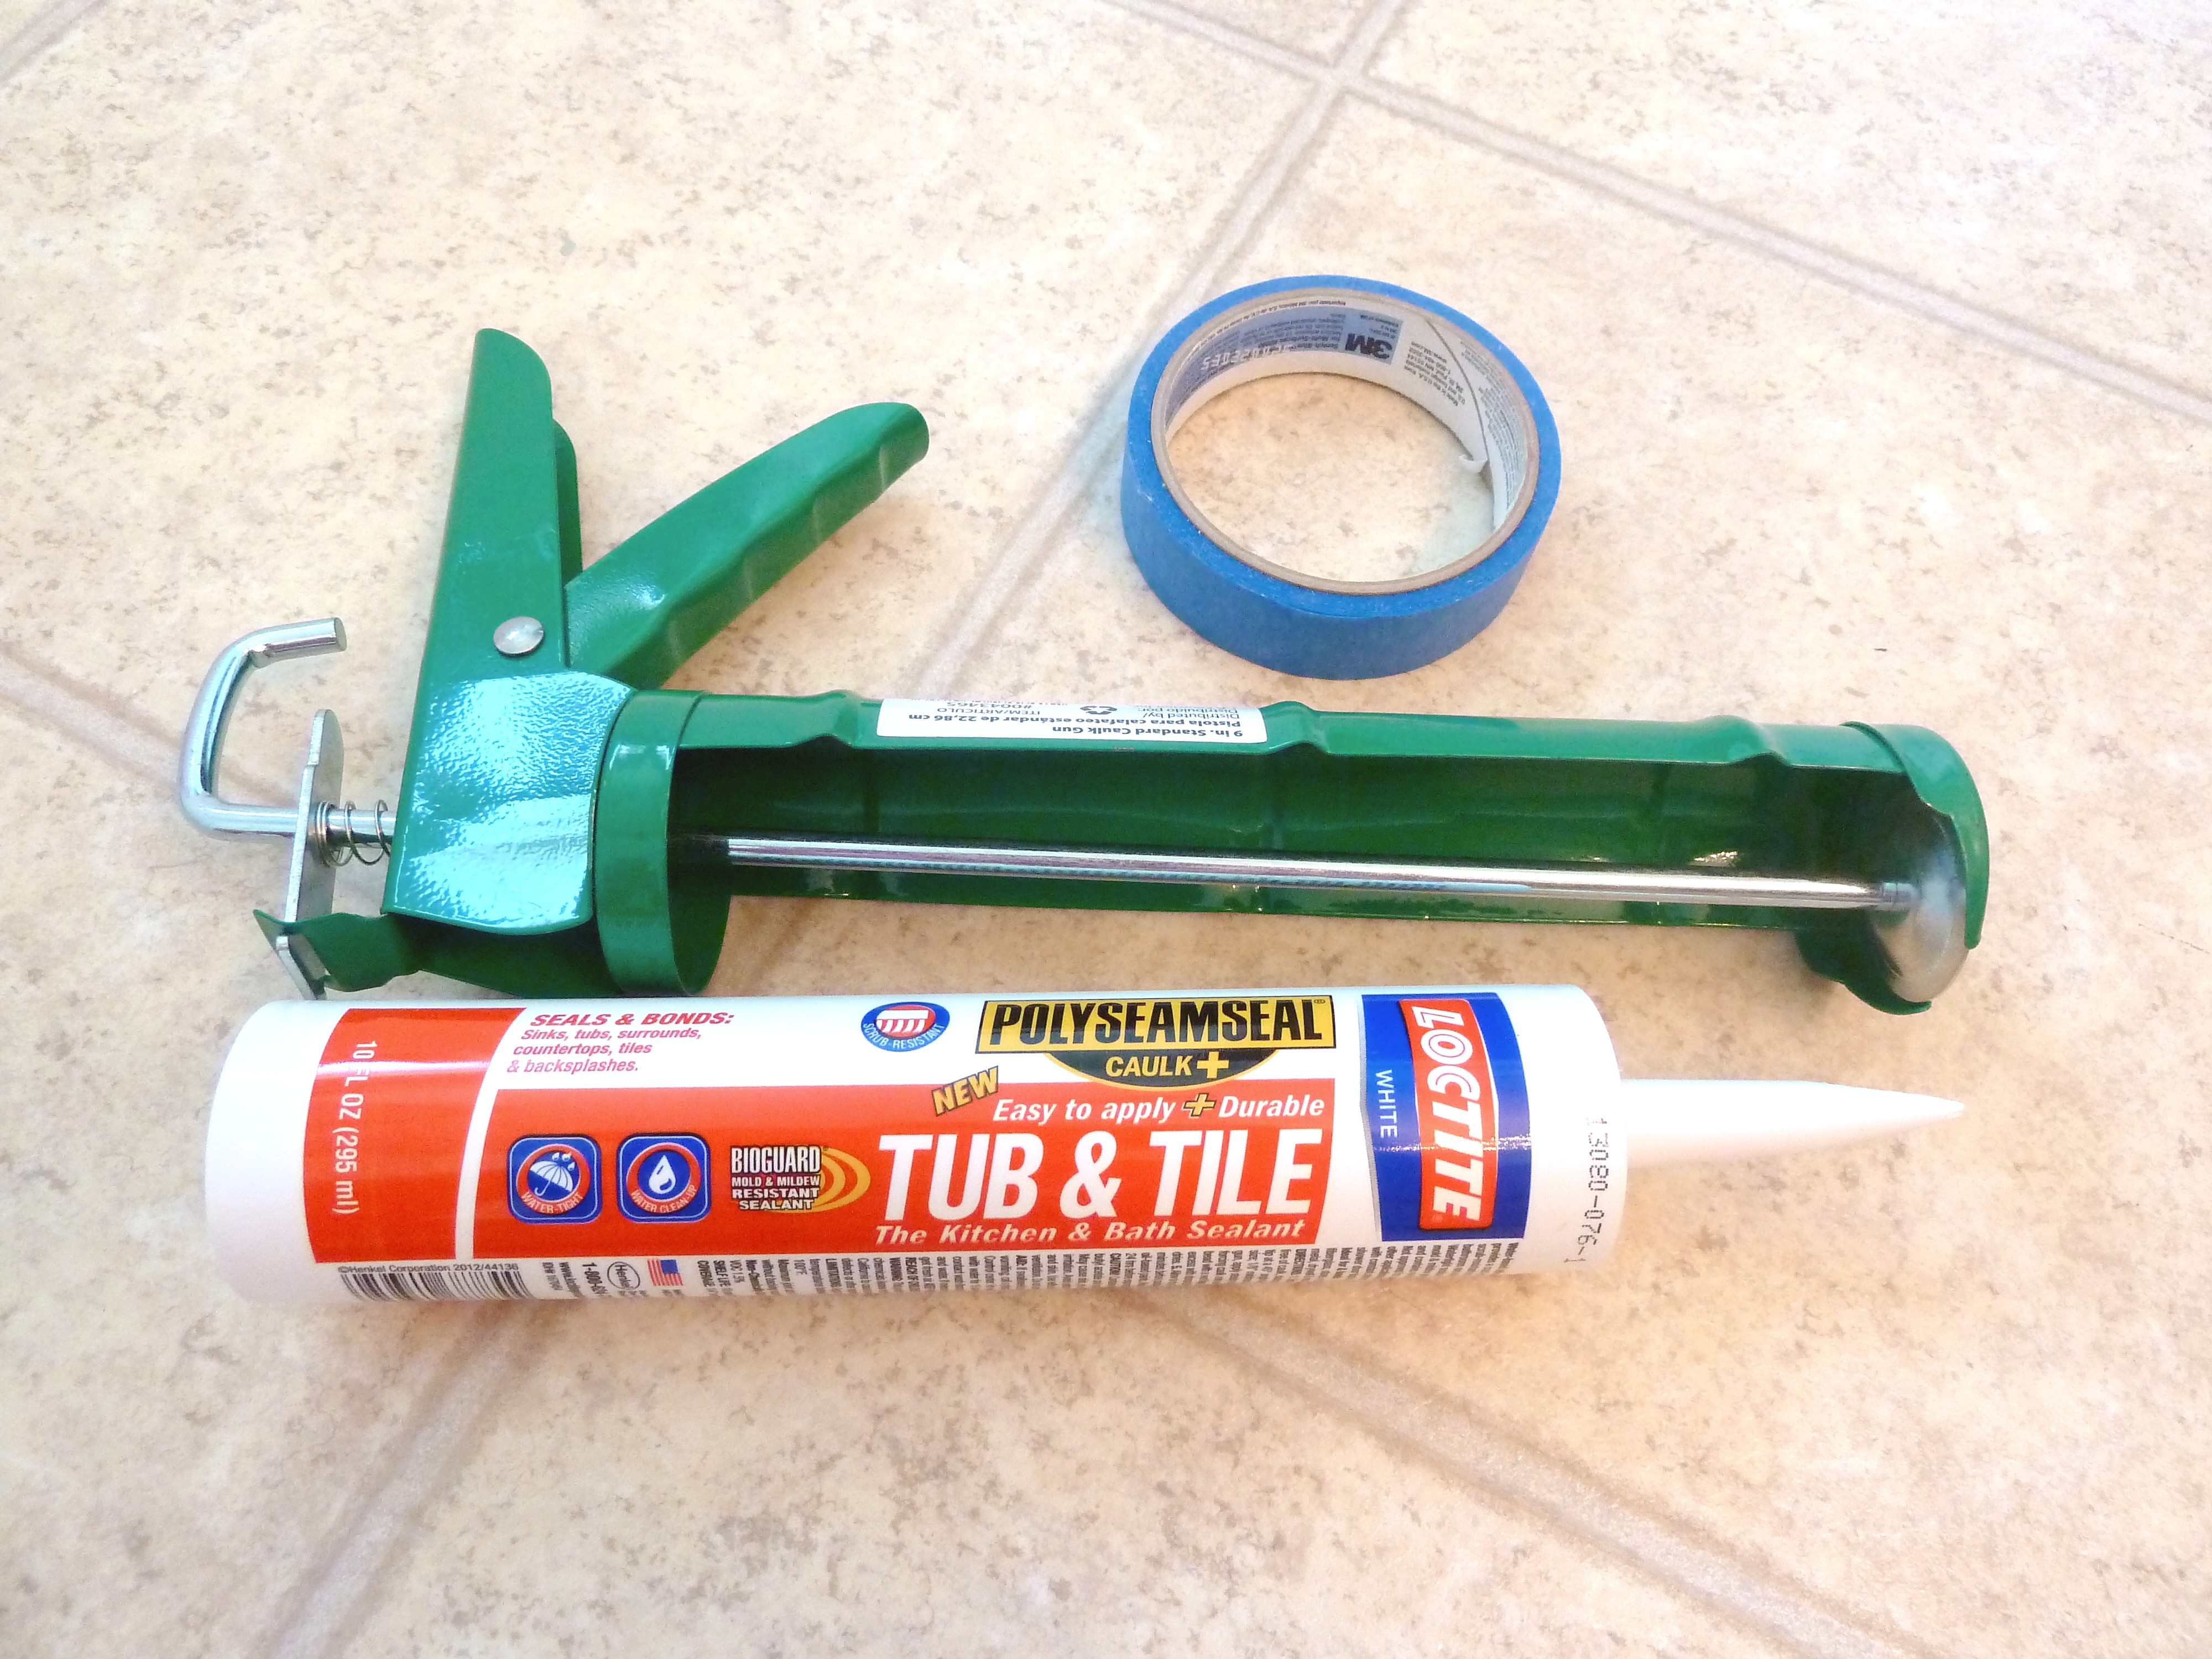
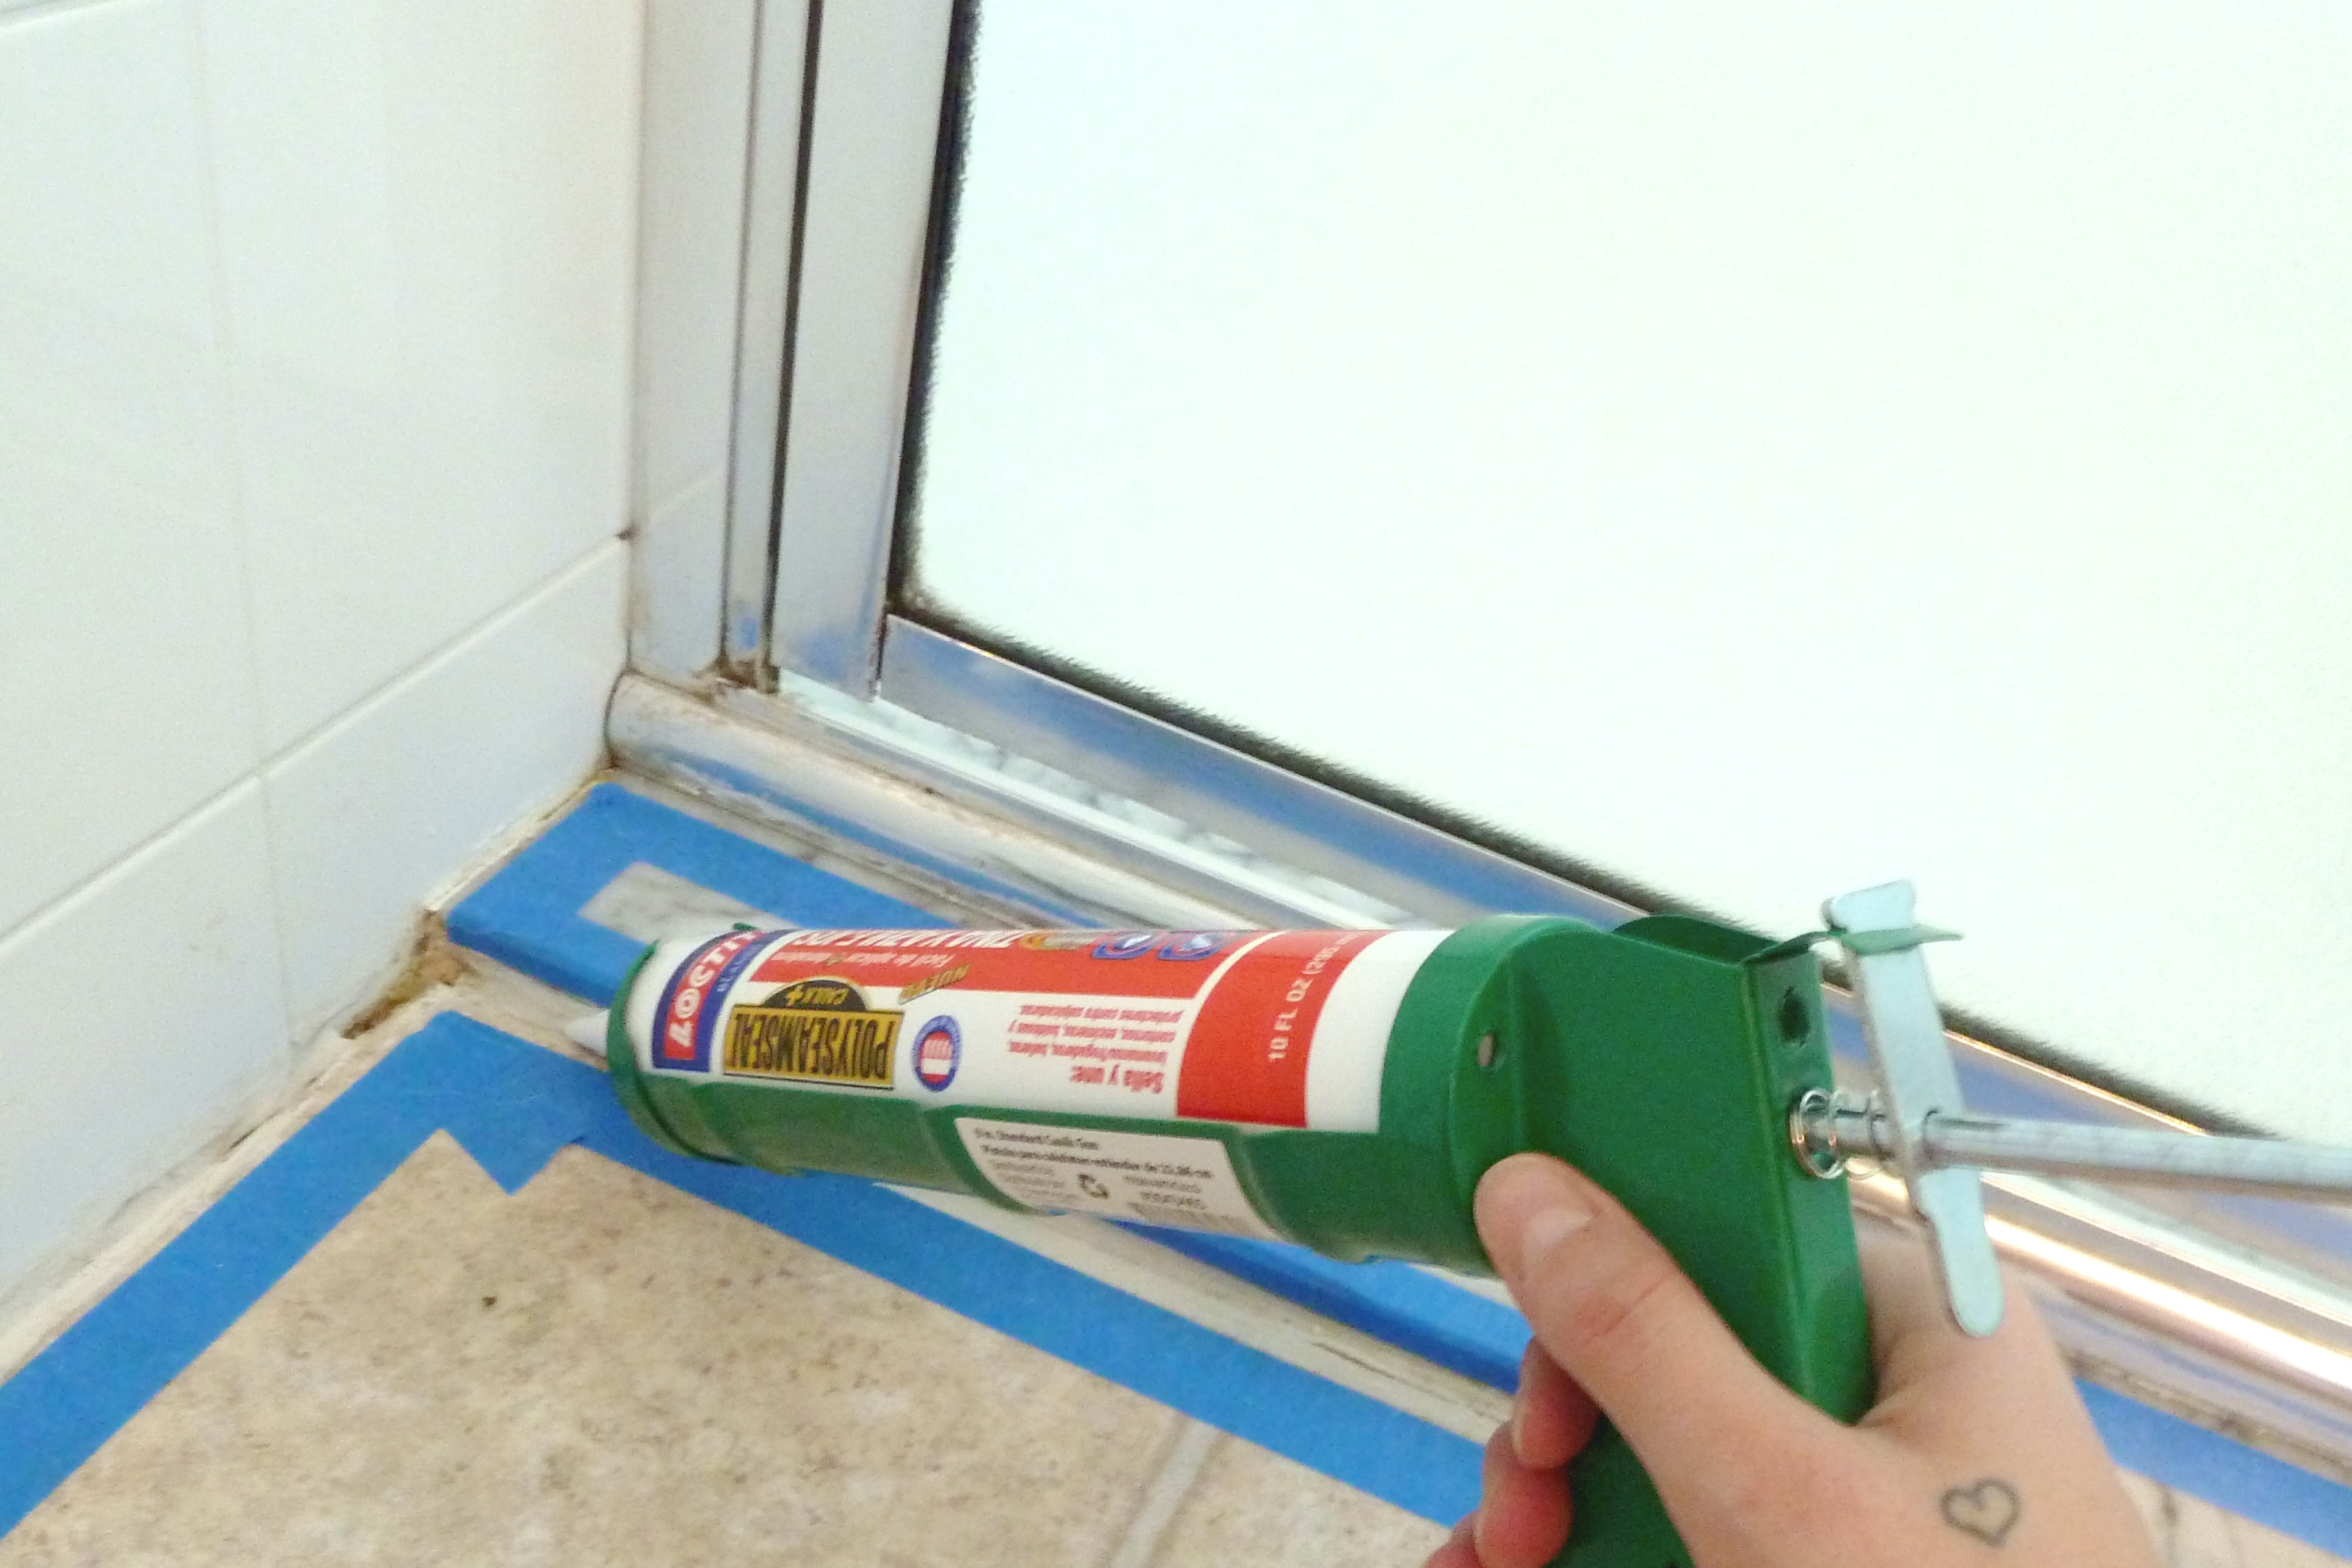
From there I grabbed my caulking tools.

P1070767_Fotor

A tube of caulk, a caulk gun and a roll of painters tape.

P1070768_Fotor

I wanted straight lines on the ledge of the shower, so I used the painters tape to mark off where the caulk would go.  I didn’t use the tape inside the shower since the tile is white, I didn’t think the caulk would be as easily seen.

P1070769_Fotor

I then just snipped the end off of my tube of caulk and place it in the caulk gun.  From there I just started applying the caulk in between the taped off areas in a thin bead.

P1070772_Fotor

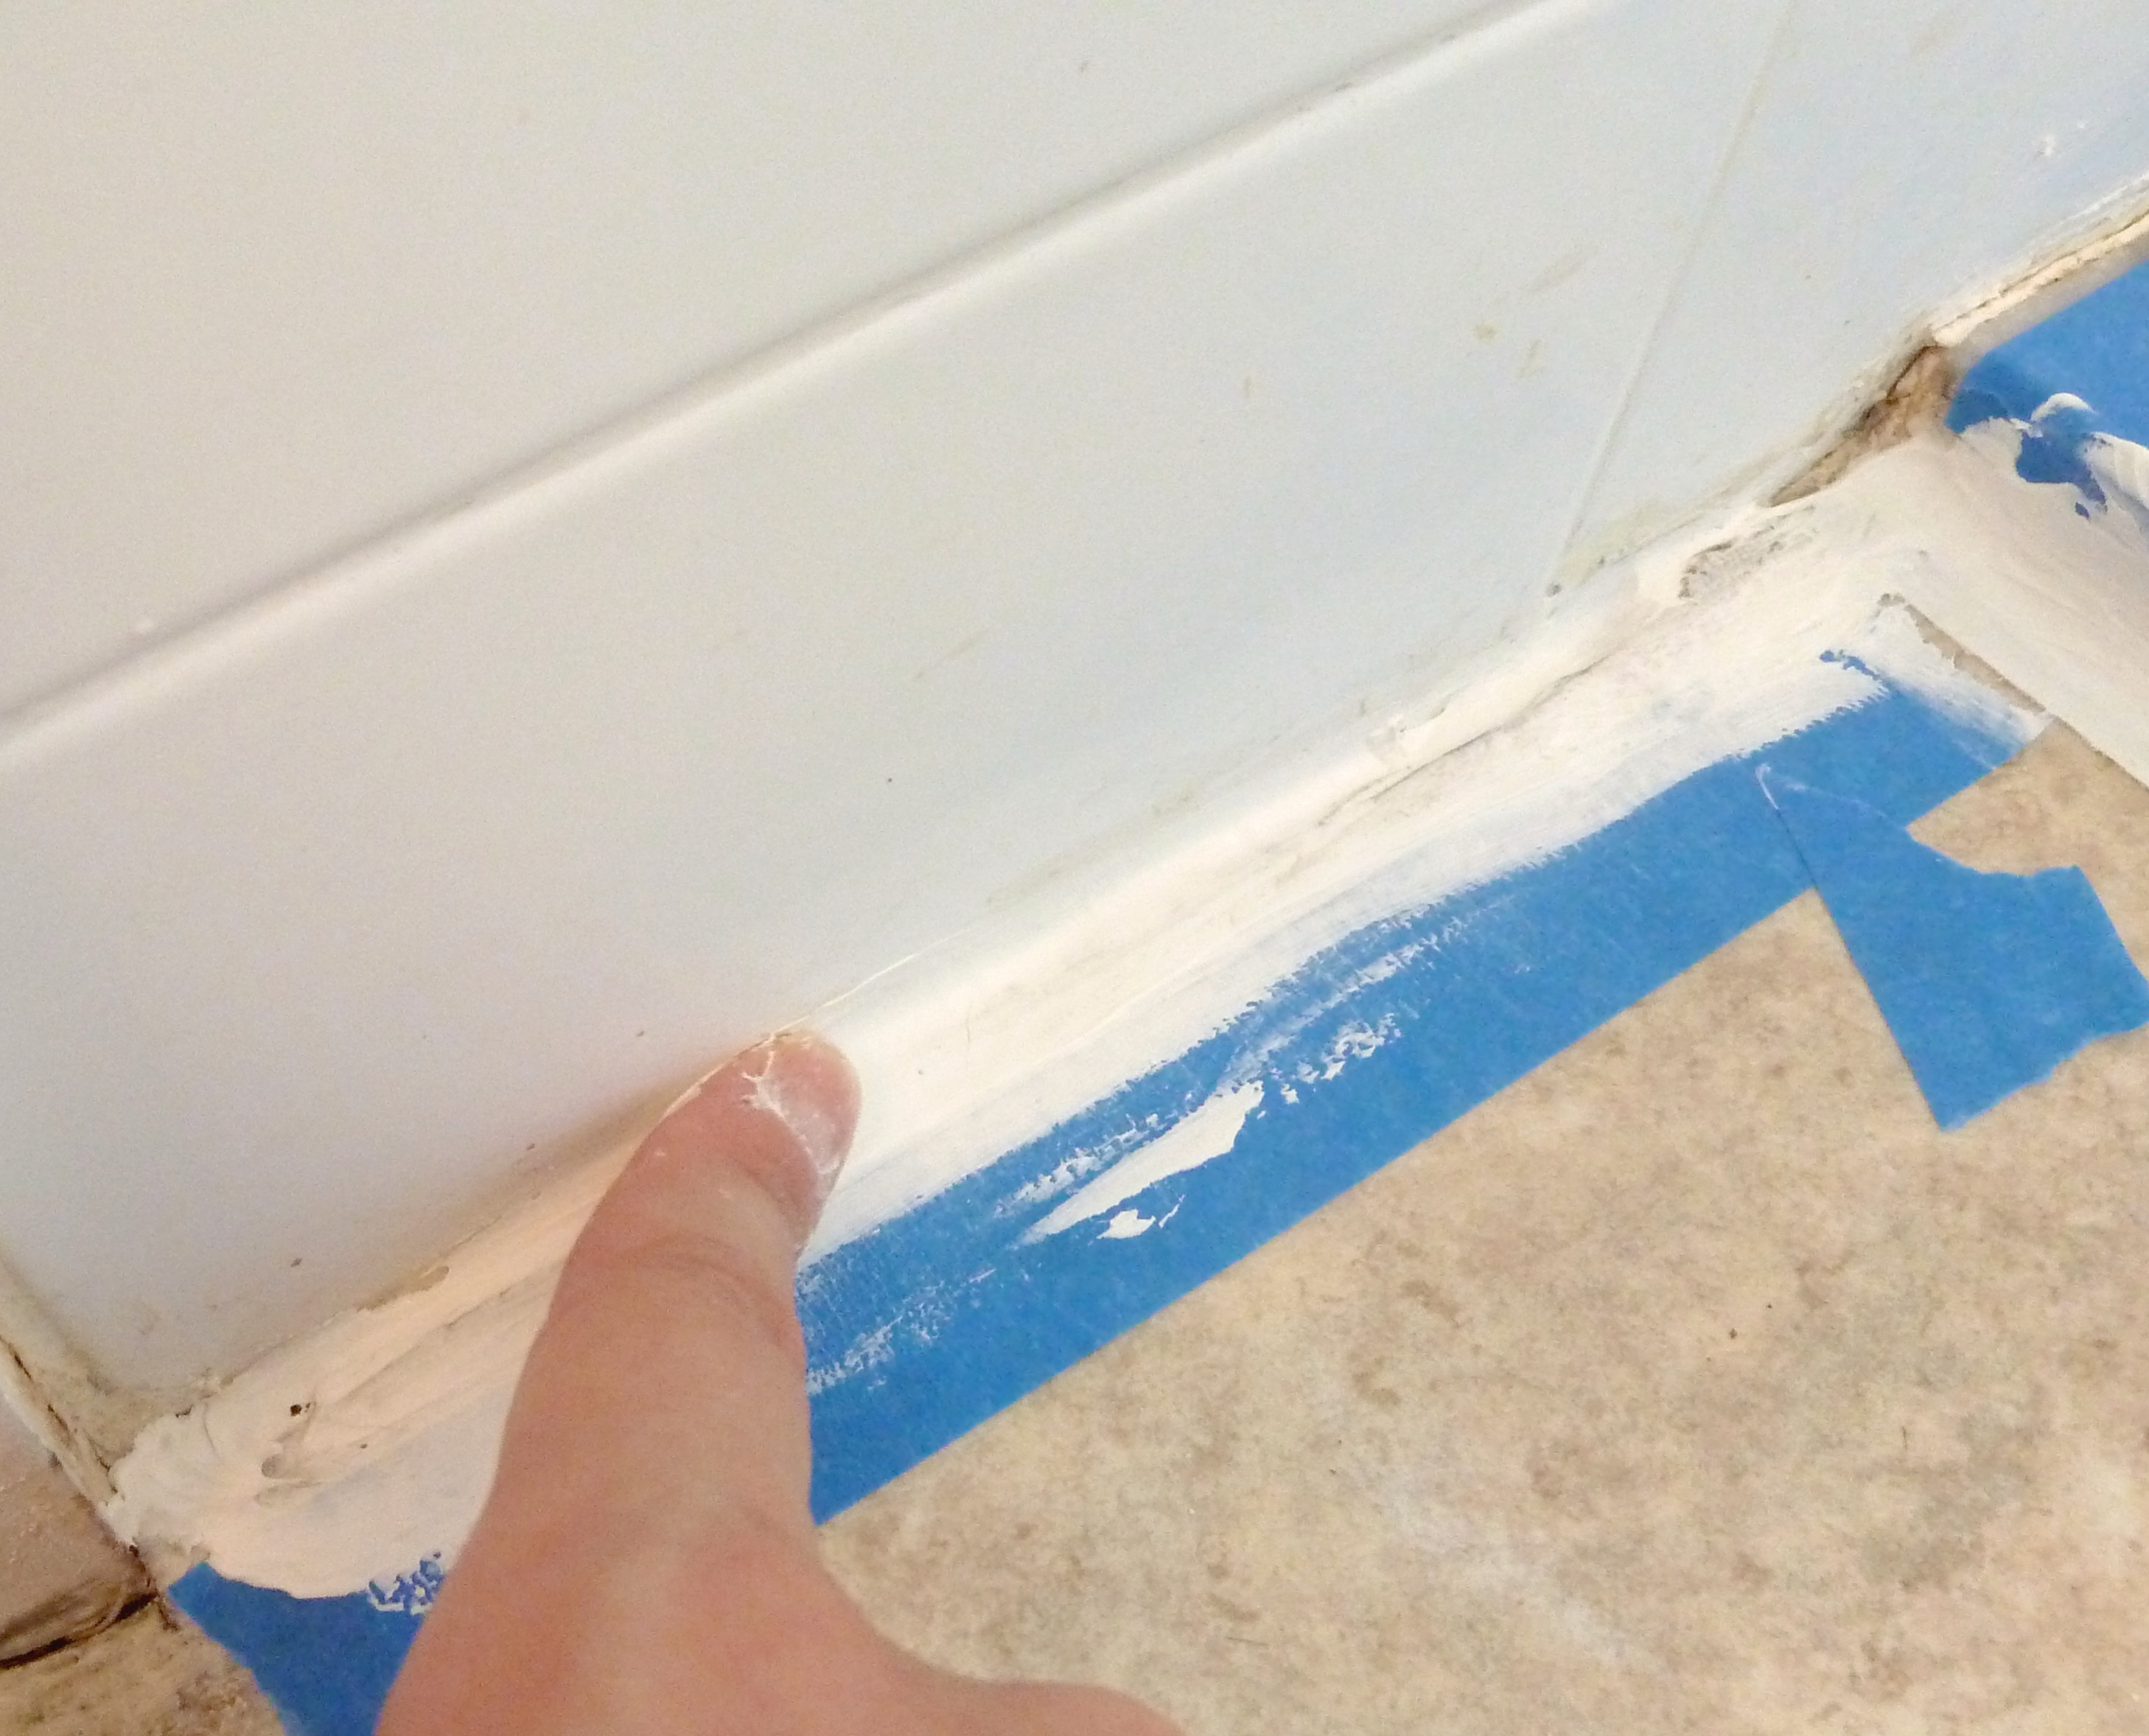
Once I had the caulk down I used my finger to smooth it out into the crevice.

P1070778_Fotor

Once I had finished I peeled the tape away immediately.  I didn’t want it to dry, then peel it, because I wasn’t sure if the dried caulk would peel away with it.

P1070779_Fotor

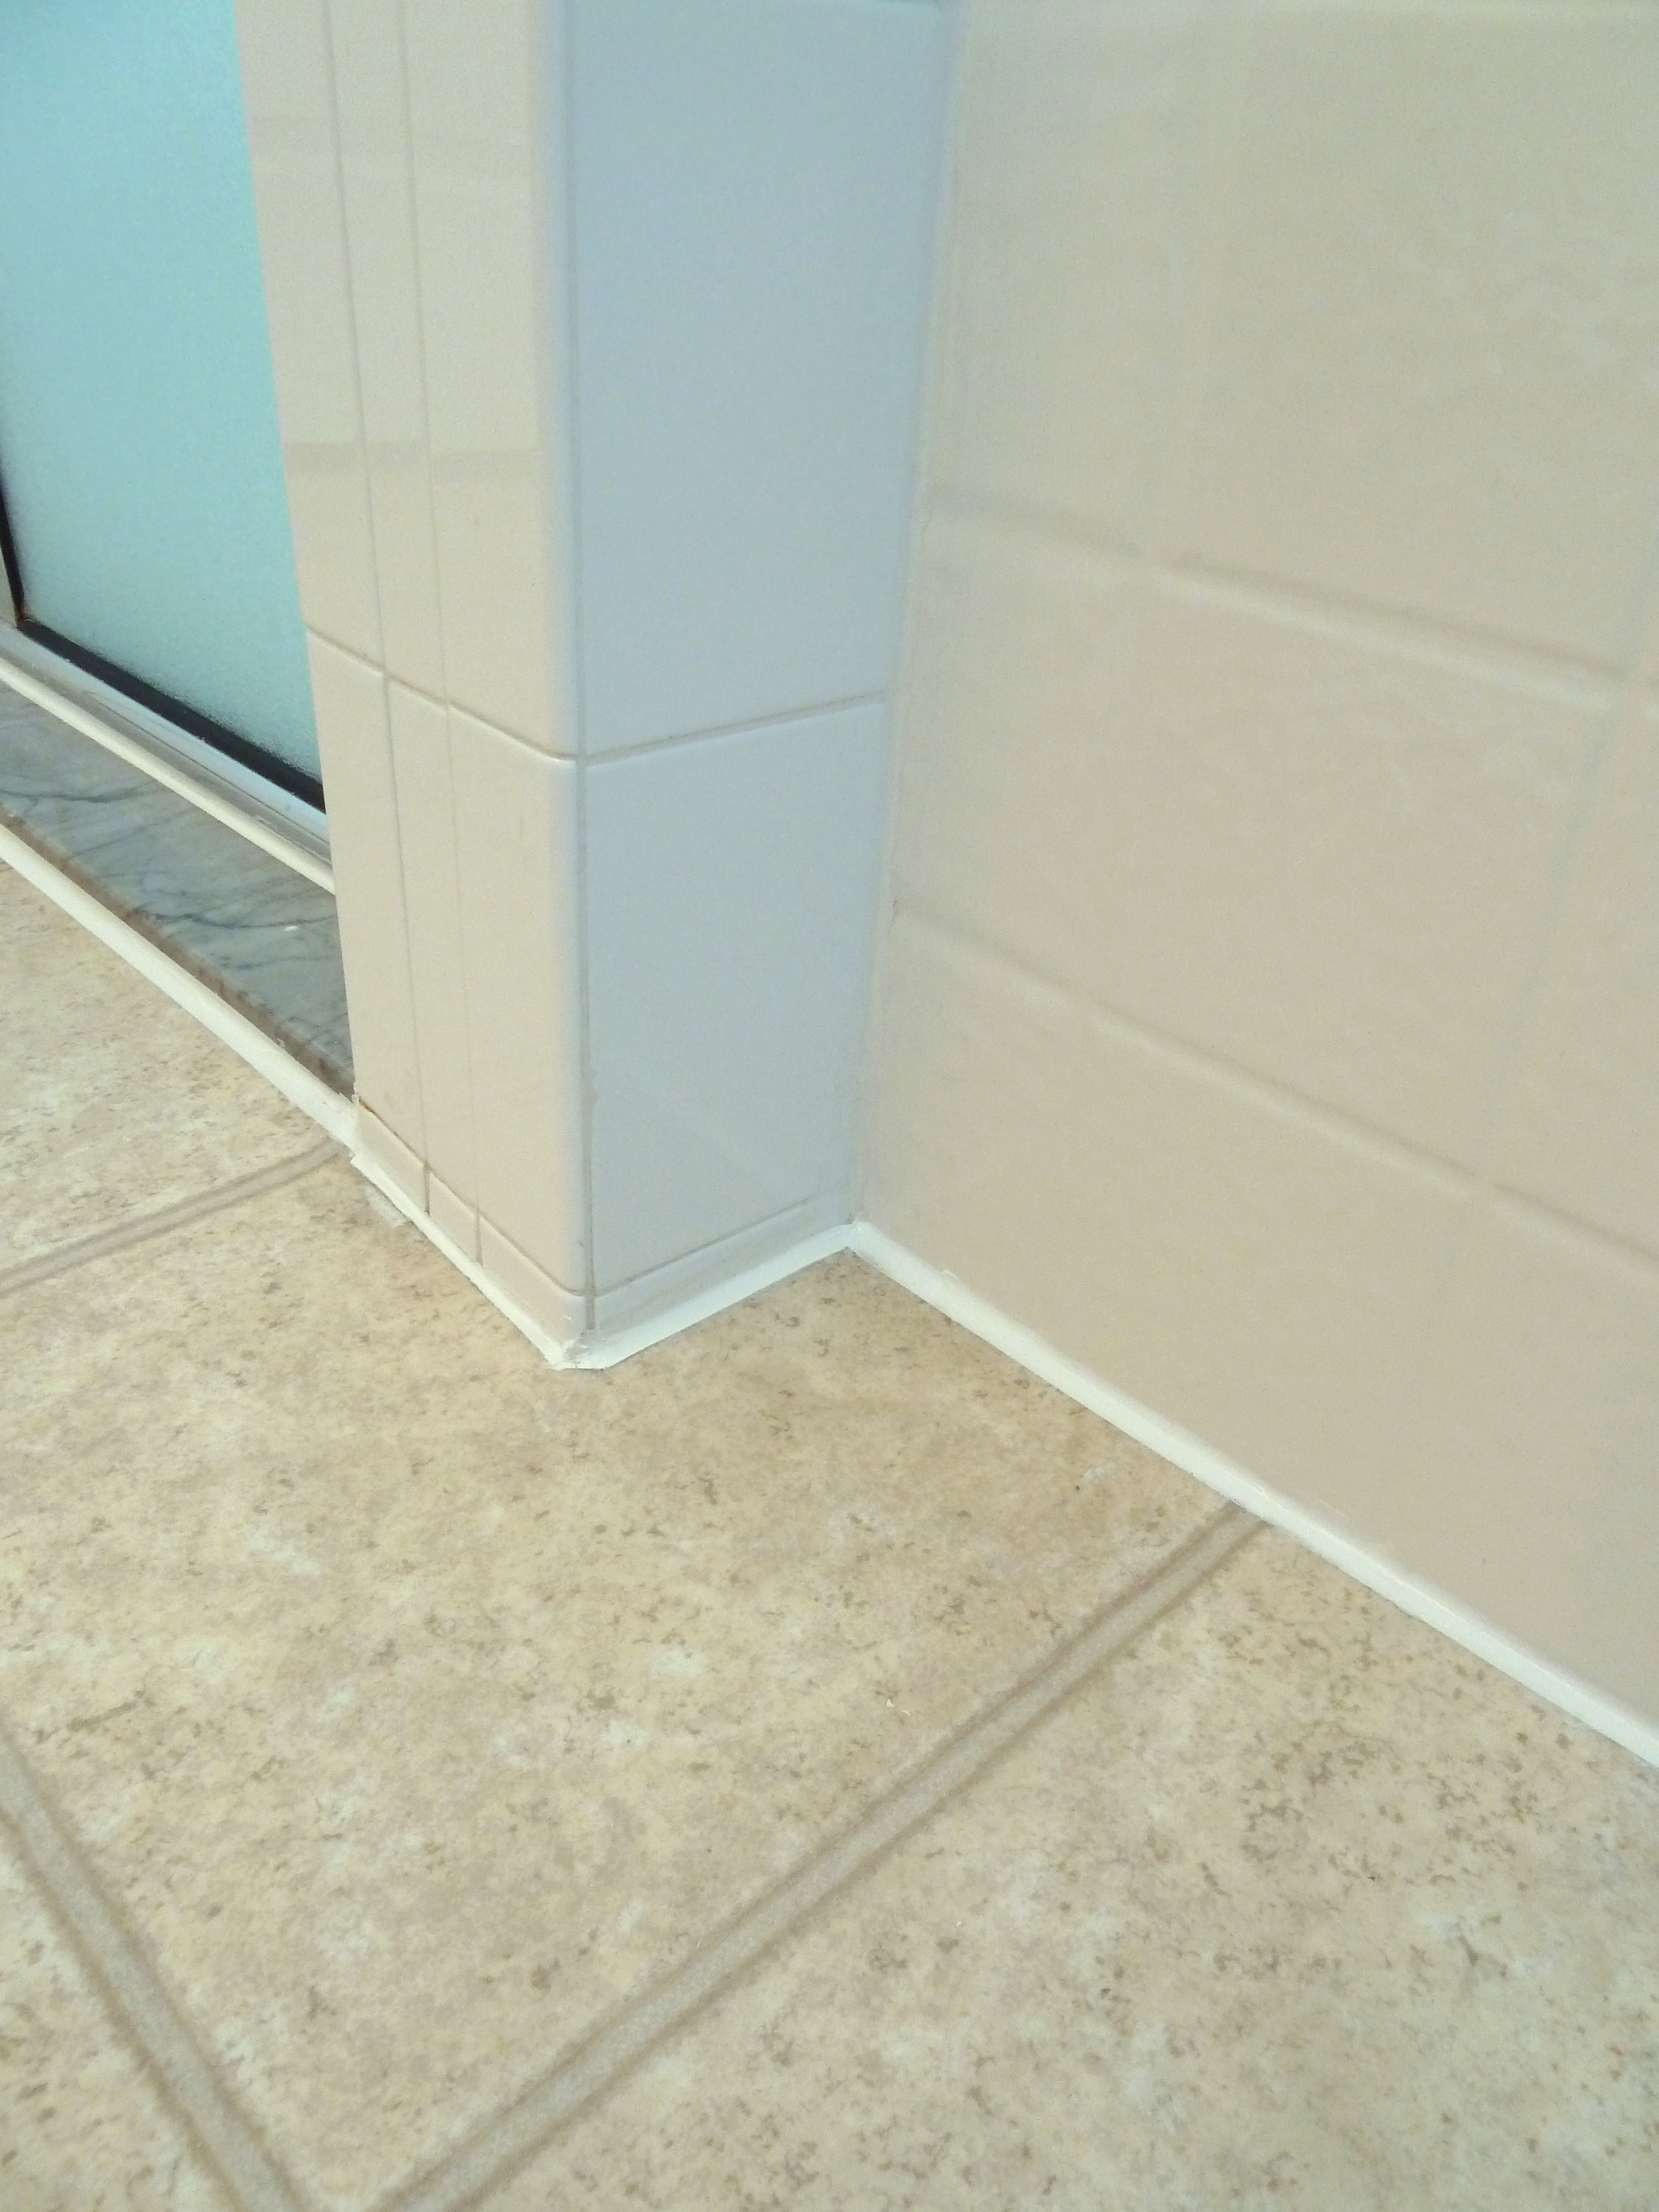
Ah! Look at those clean lines.

P1070744_Fotor

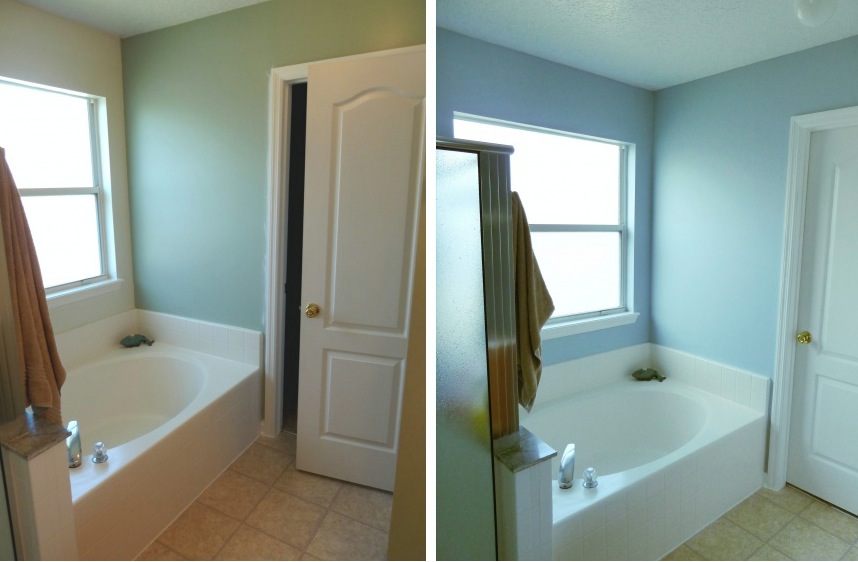
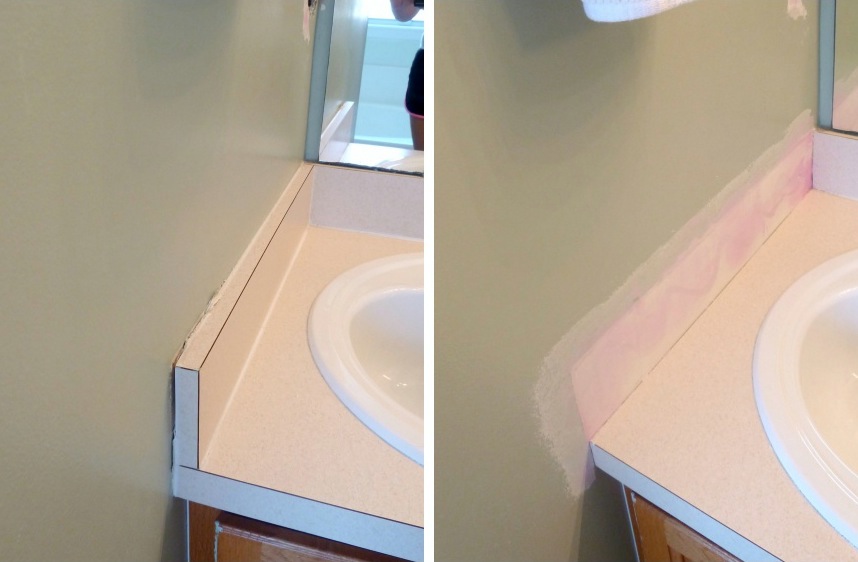
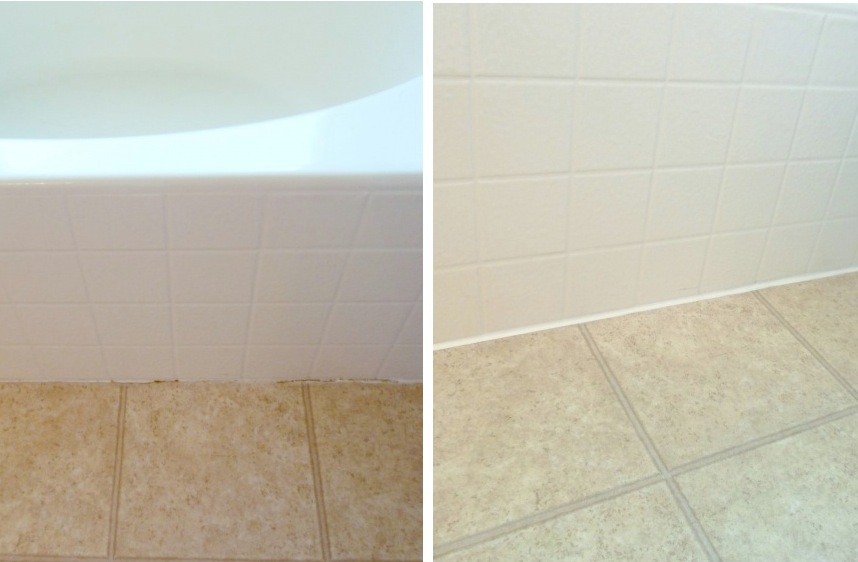
While I was at it I decided to caulk next to the tub as well.  I didn’t remove the old caulk from here because it was holding down our beautiful linoleum flooring that I didn’t want to damage with the razor. (In case you don’t get my sarcasm, I hate the linoleum, it will be the first thing to go).

P1070787_Fotor

P1070788_Fotor

Looks so much cleaner.

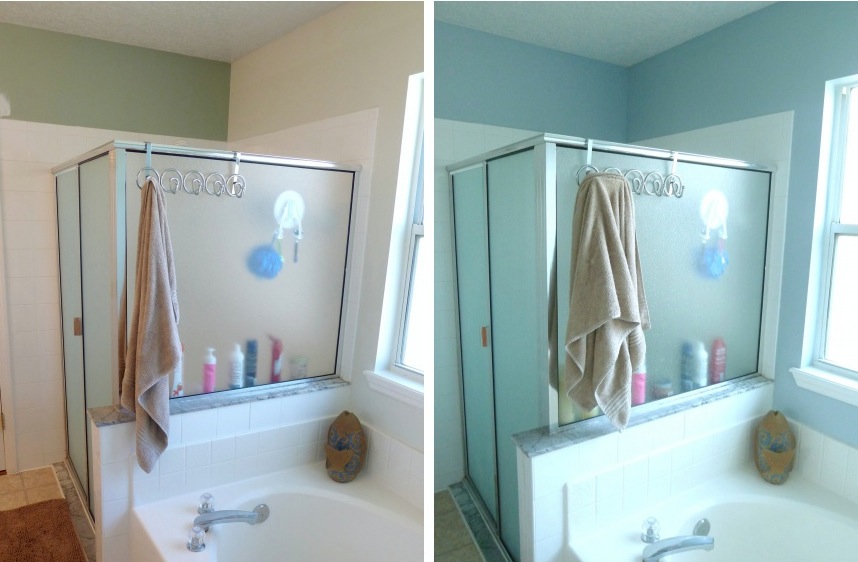
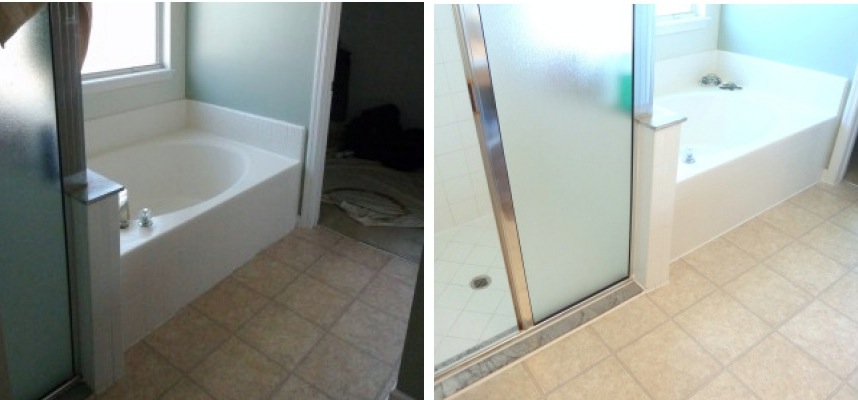
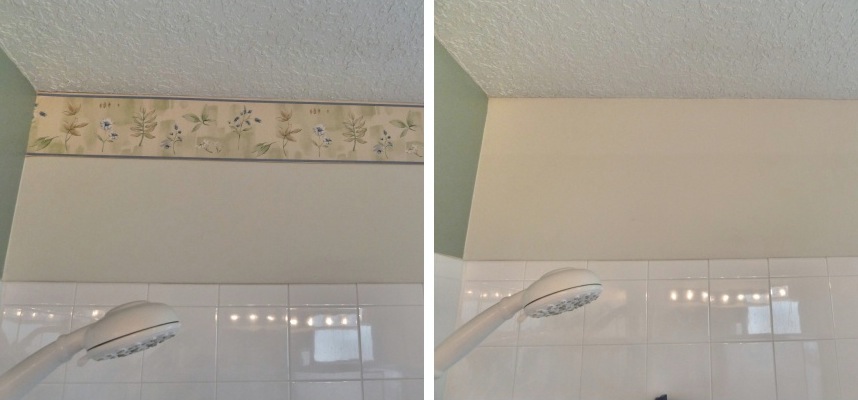
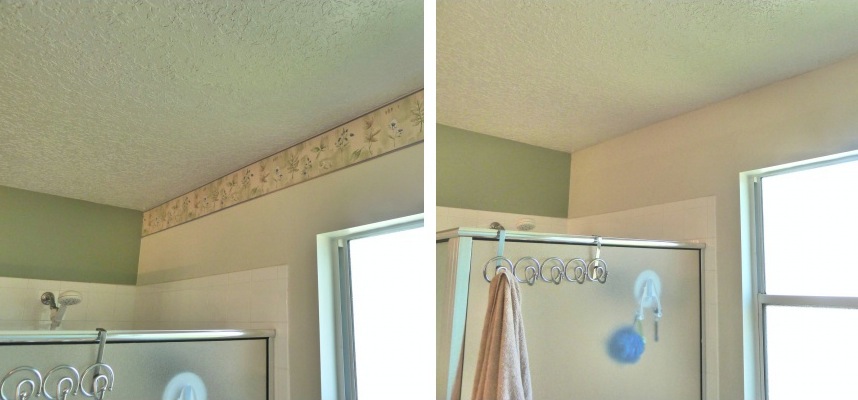
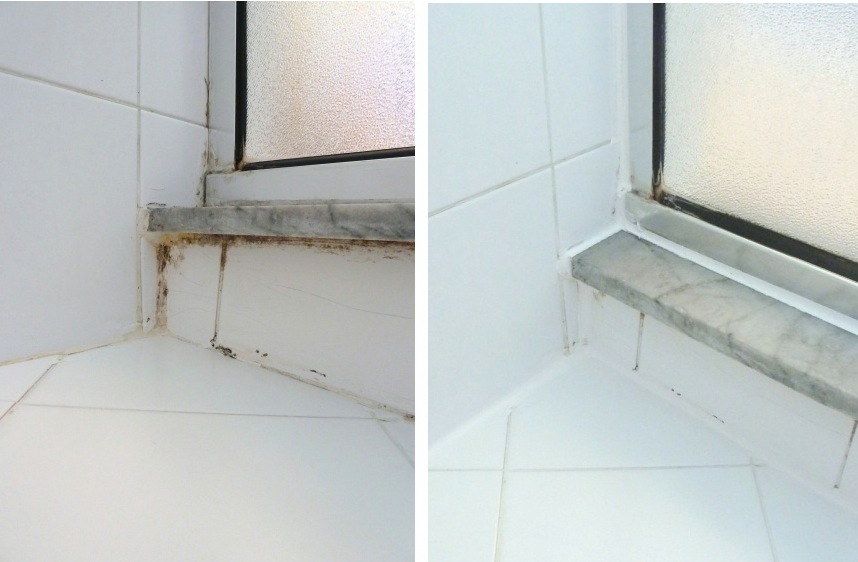
I then caulked the inside of the shower the same way.  Here are some before and afters…

picisto-20130811141703-778909_Fotor

picisto-20130811142016-471885_Fotor

picisto-20130811142400-978973_Fotor

picisto-20130811142712-983314_Fotor

picisto-20130811142953-902097_Fotor

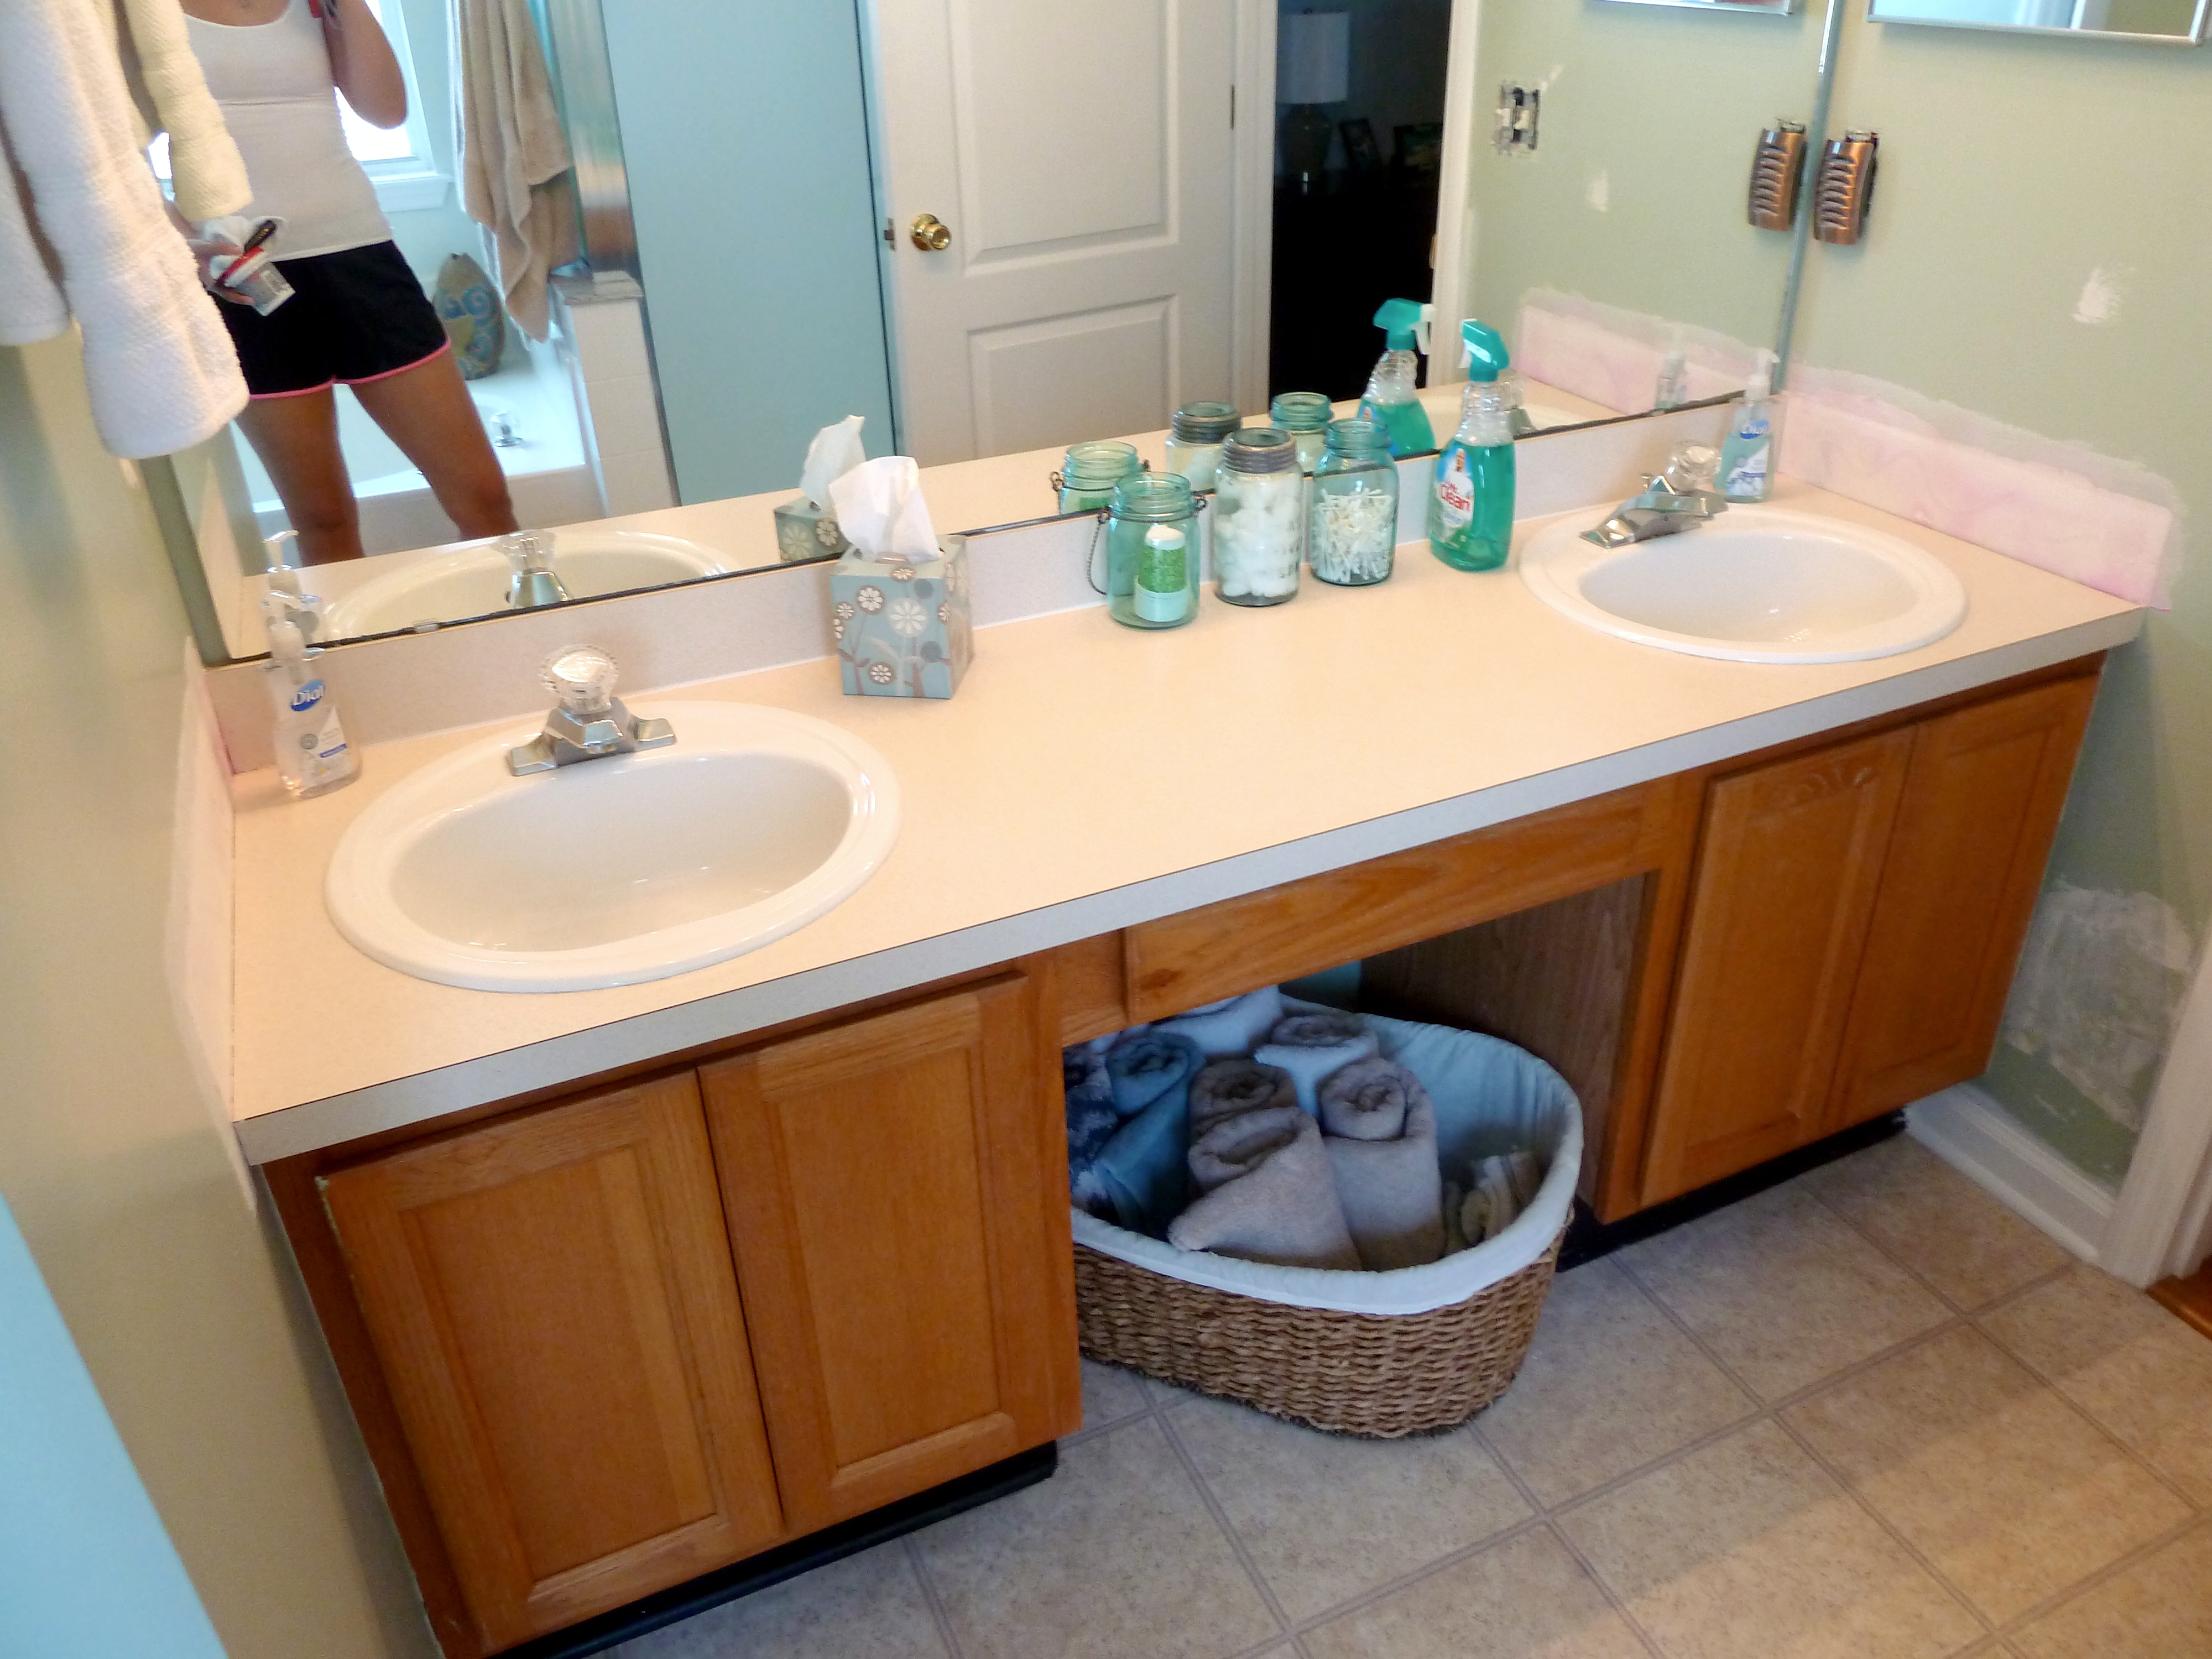
Yay for new caulk right?  Does that not make you want to go caulk your bathroom or kitchen or everything?  I now love caulk.  Here is the whole bathroom with fresh caulk…

P1070806_Fotor

I love little projects that make a big difference.   I know it’s not perfect, but it makes me feel better about showering in here.  Woo hoo!