DIY Infinity Scarf

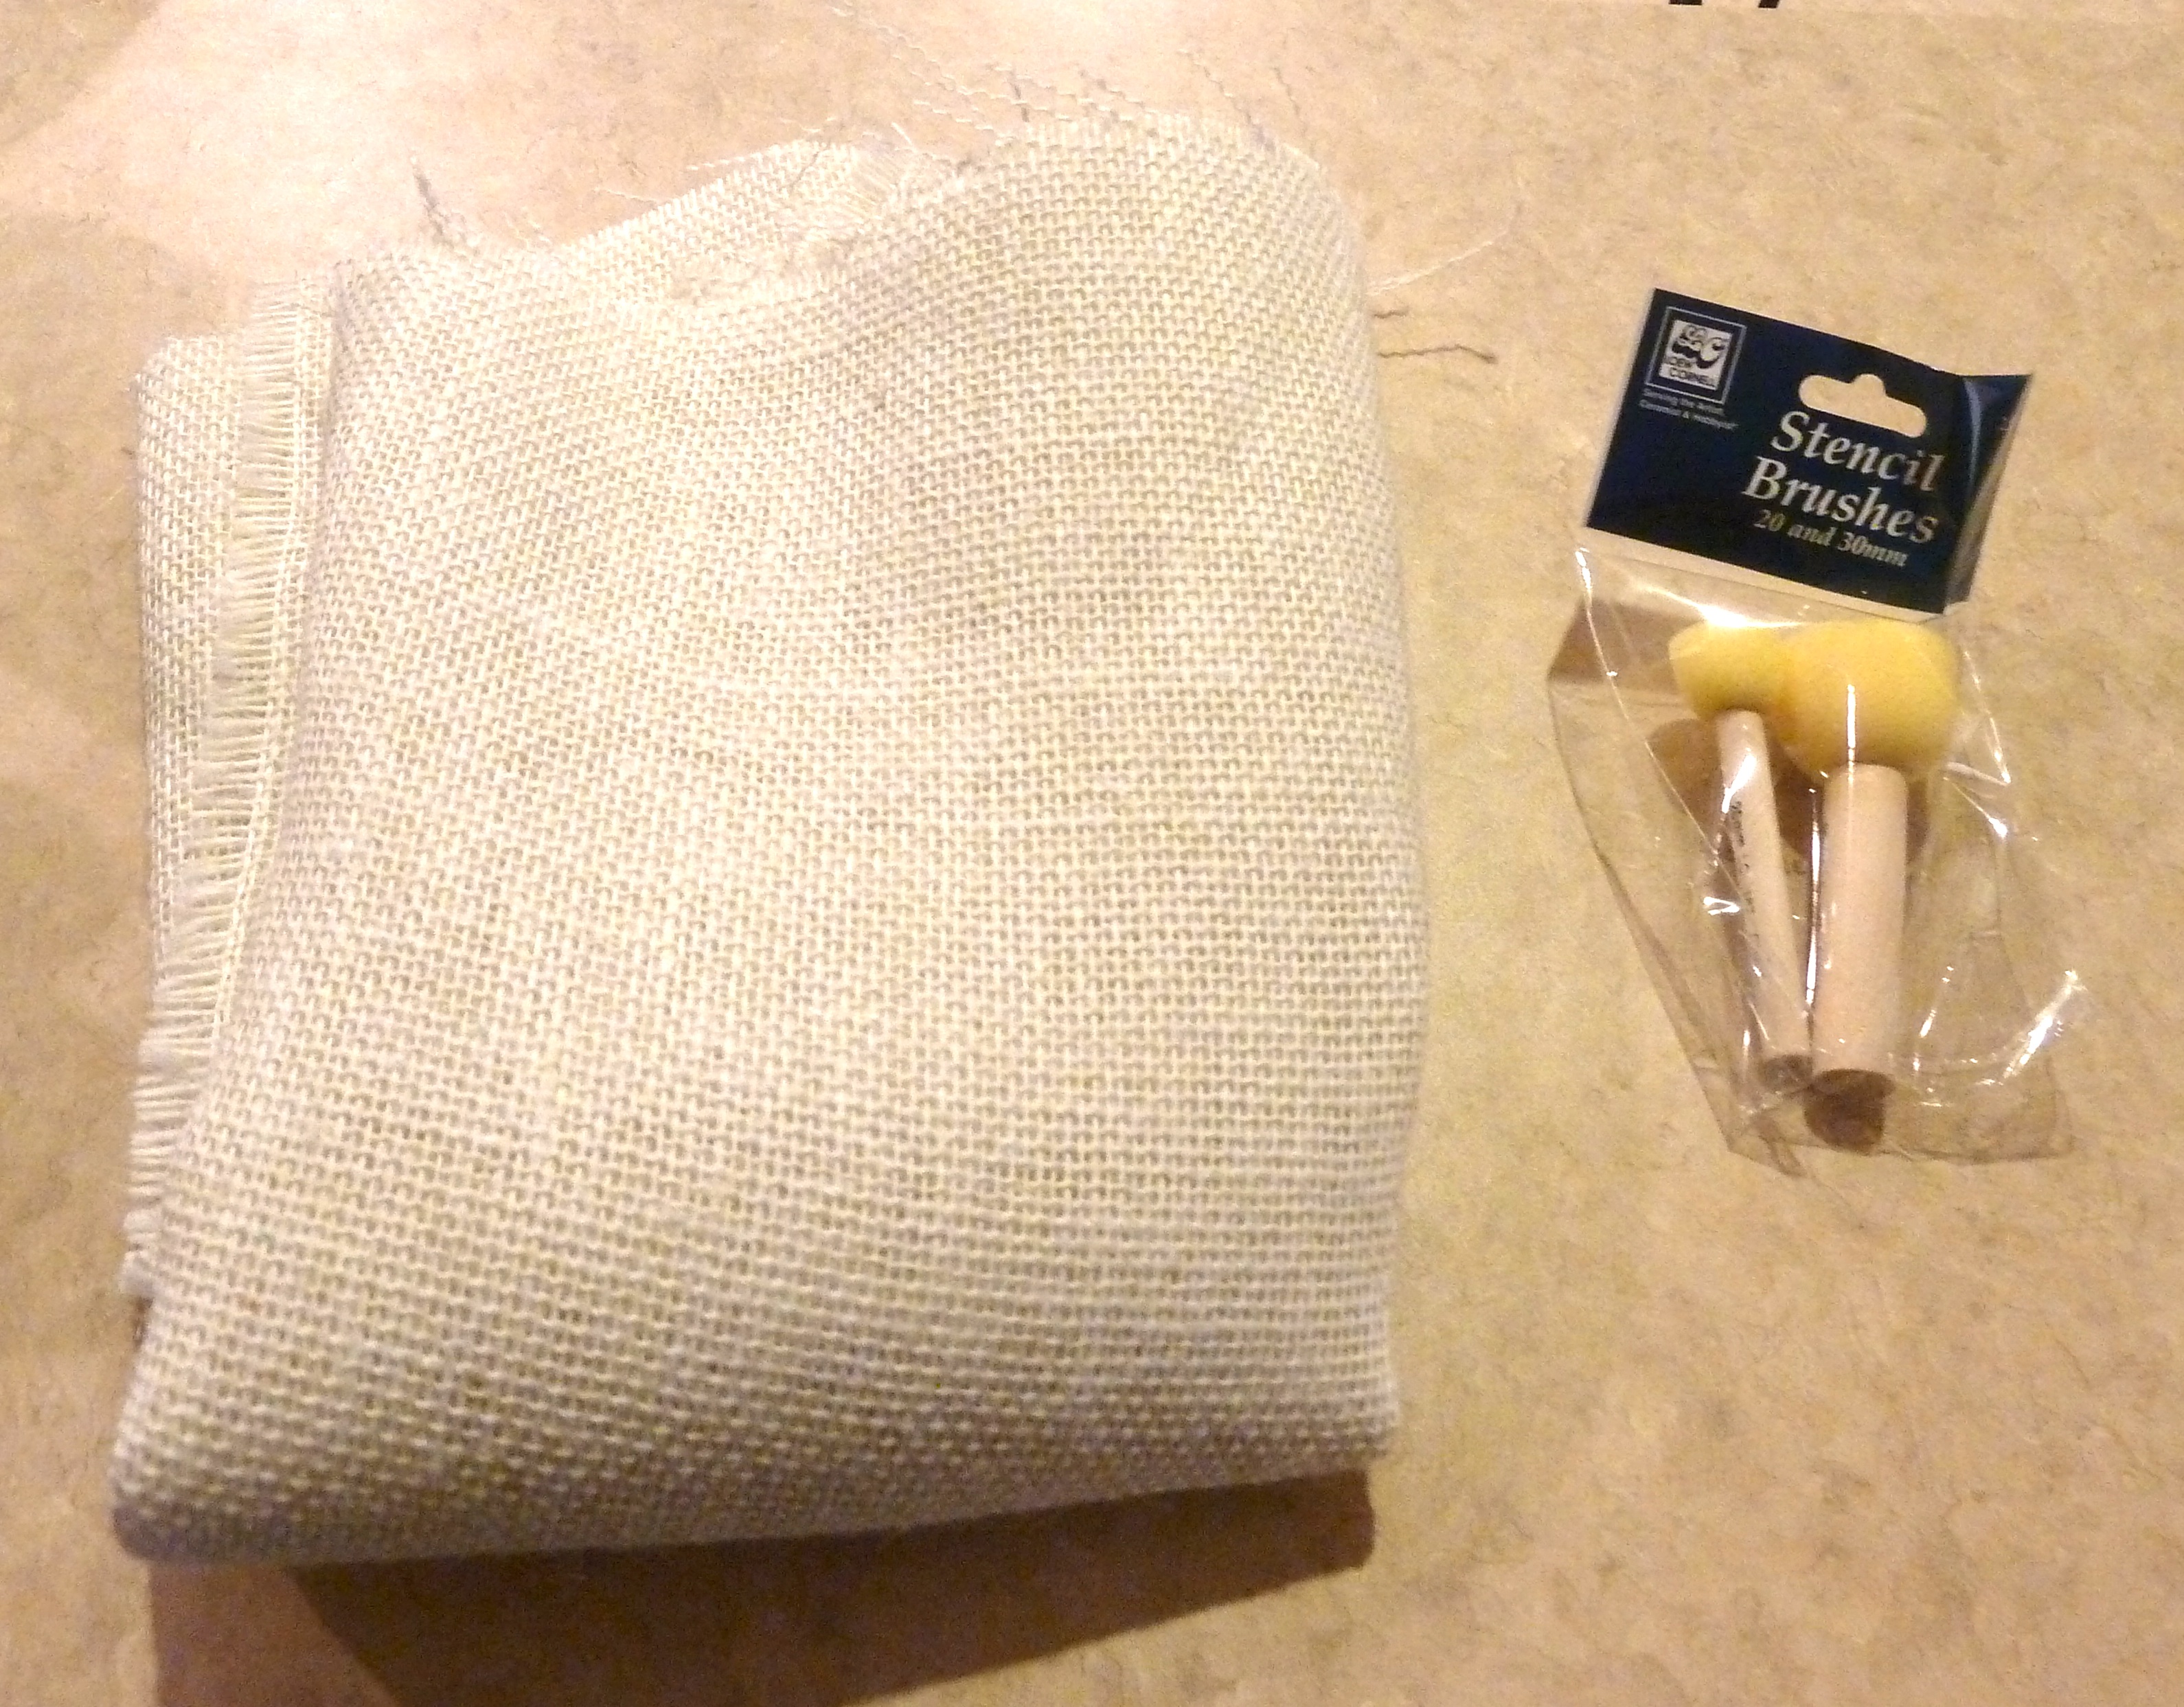
I totally dig a good infinity scarf, I especially love a chunky one.  I have a few of my own, and I inspected their construction.  They seemed simple enough, I figured I’d give making one a try.  It turned out pretty well, so I decided I would share how I did it.  Here’s all you’ll need:DIY Infinity Scarf

  • About 2 yards of fabric, preferably light weight(1-3oz.).  Something double-knit or jersey would work well.
  • Thread in a similar color to the chosen fabric.
  • Scissors.
  • Sewing Pins.
  • Sewing Machine.

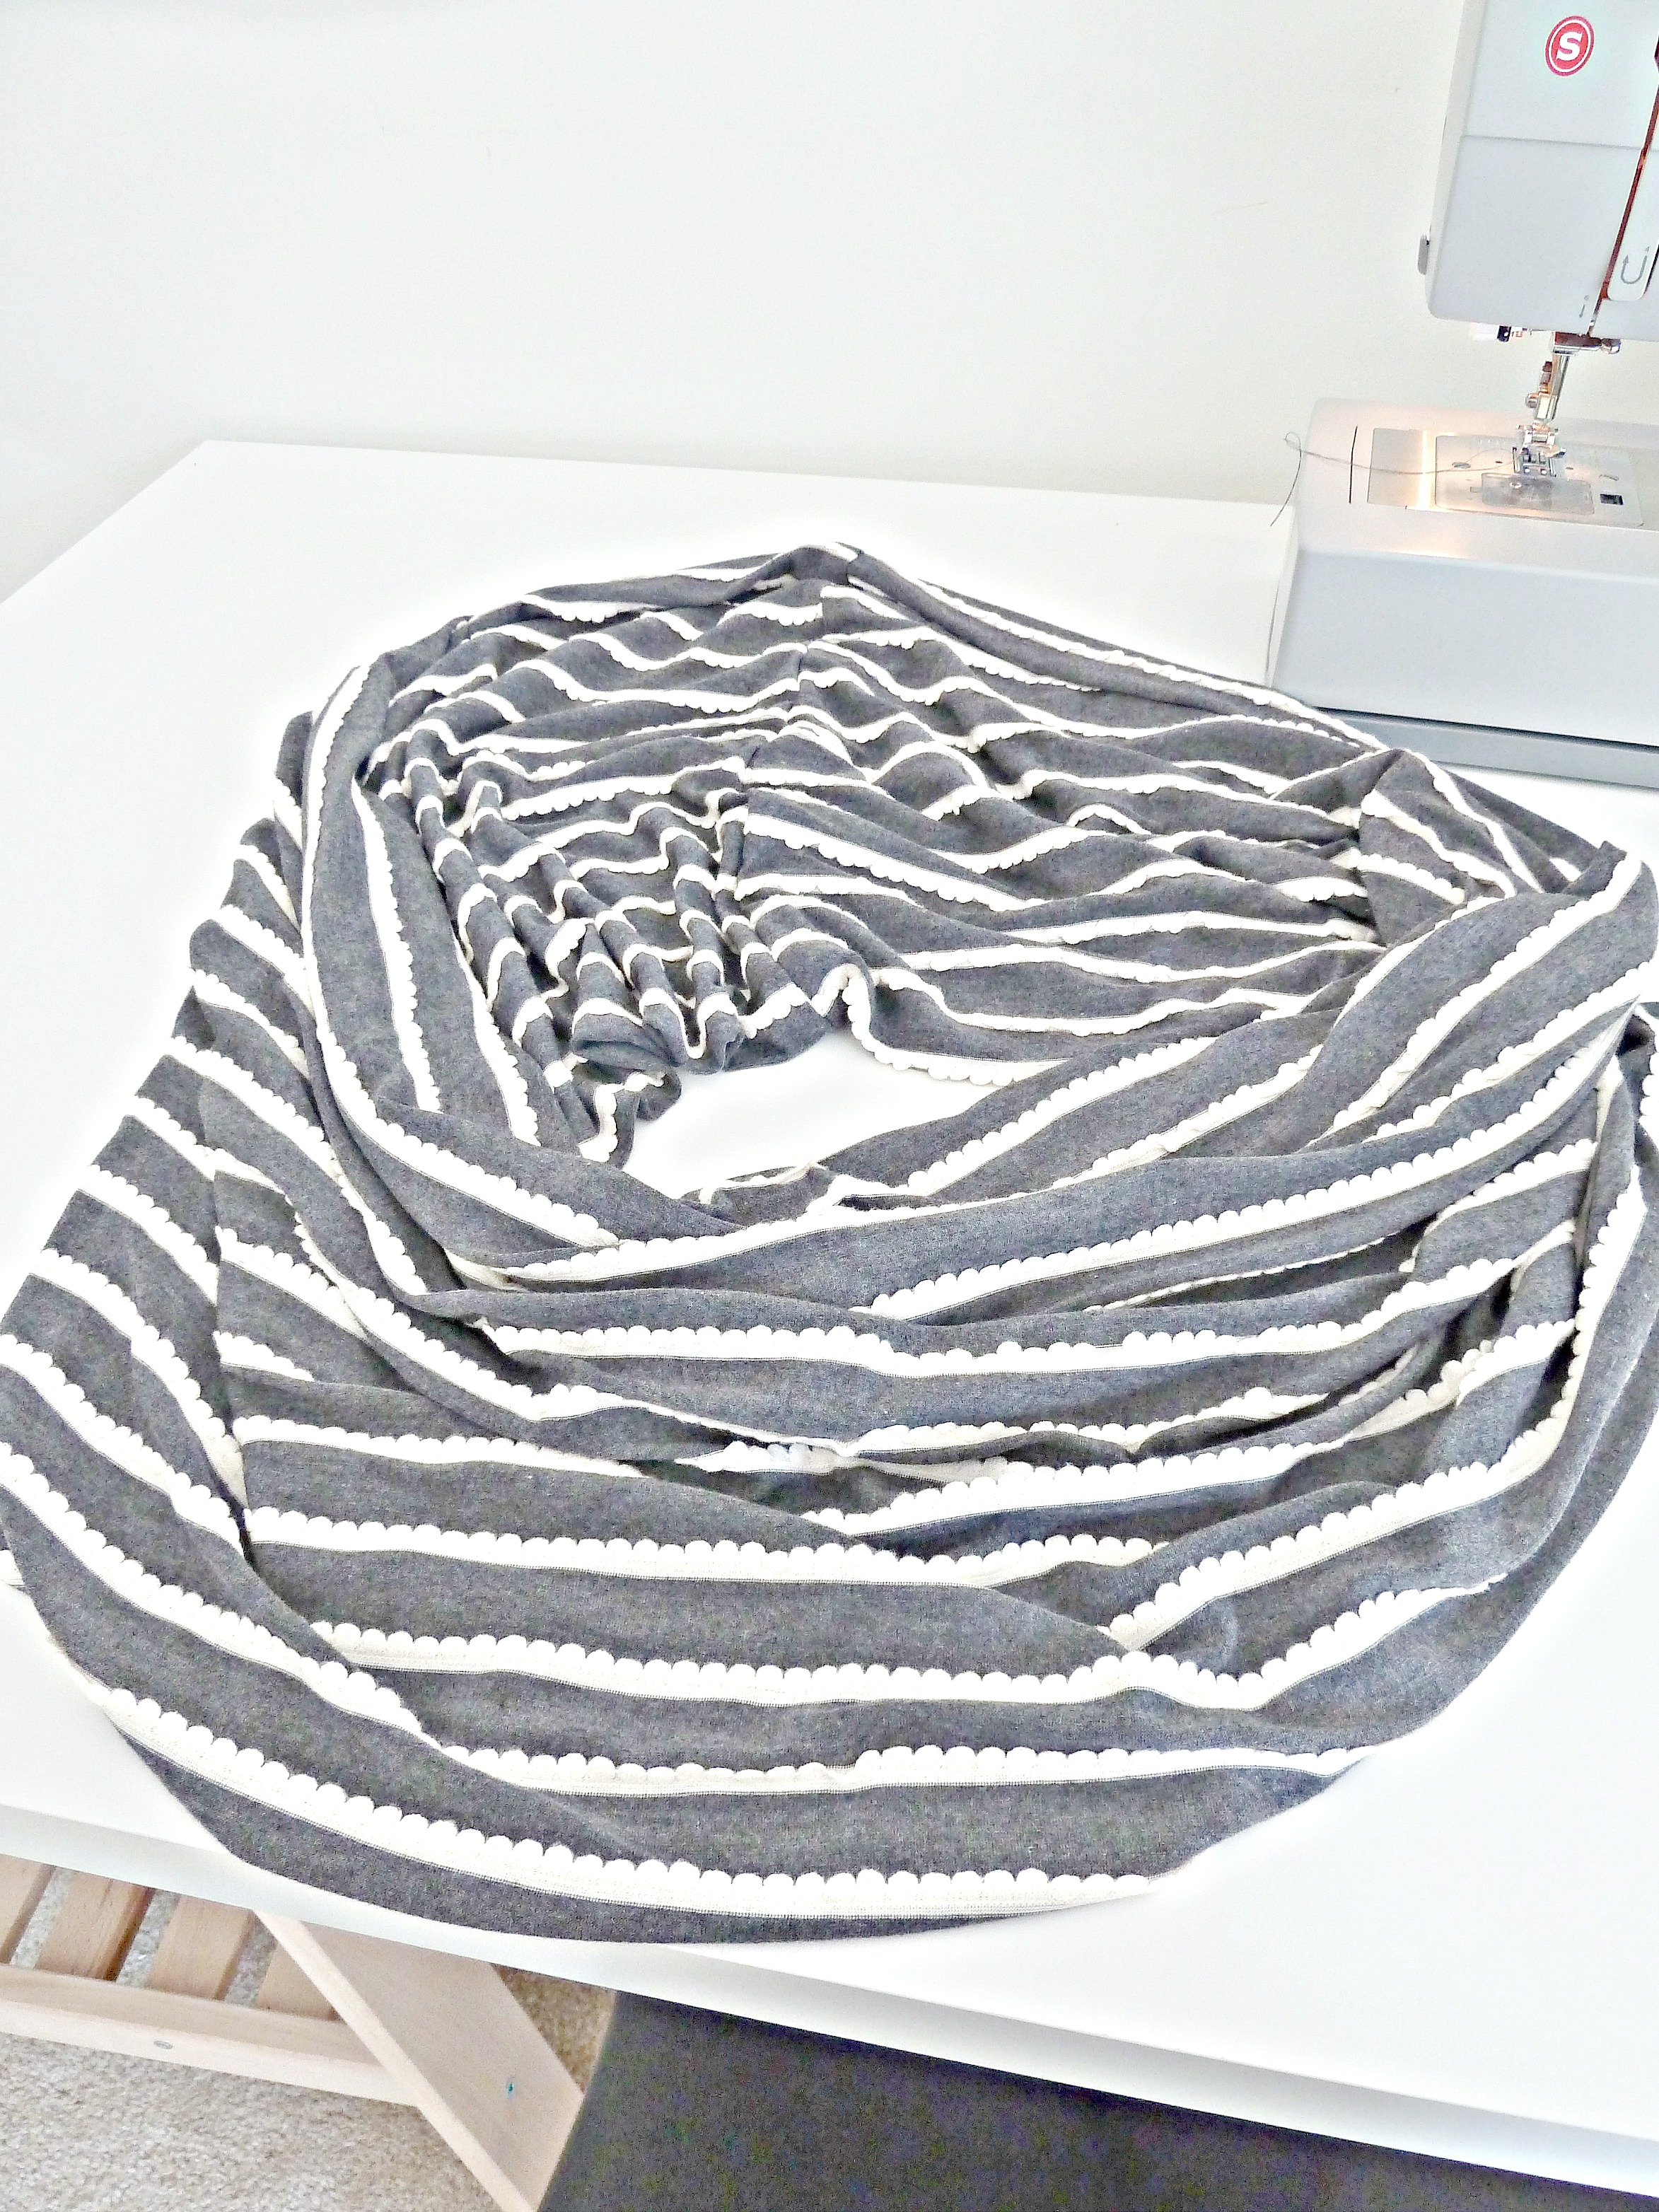
The fabric I chose is a gray, light-weight jersey material with little white scalloped stripes throughout.small-ruffles-on-fabricI used a gray thread that I had on hand that just so happened to match my fabric perfectly. Huzzah!gray threadTo start, I laid the 2 yards of fabric out on my desktop…fabric1Then, I just folded the whole piece of fabric in half, longways(like a hot dog).  I folded it so the scalloped side of the fabric was facing inward.  So, in other terms the fabric was now inside out.infinity-scarf-diyI, then, pinned the open edges together, making it one long tube of fabric…pinning-fabric
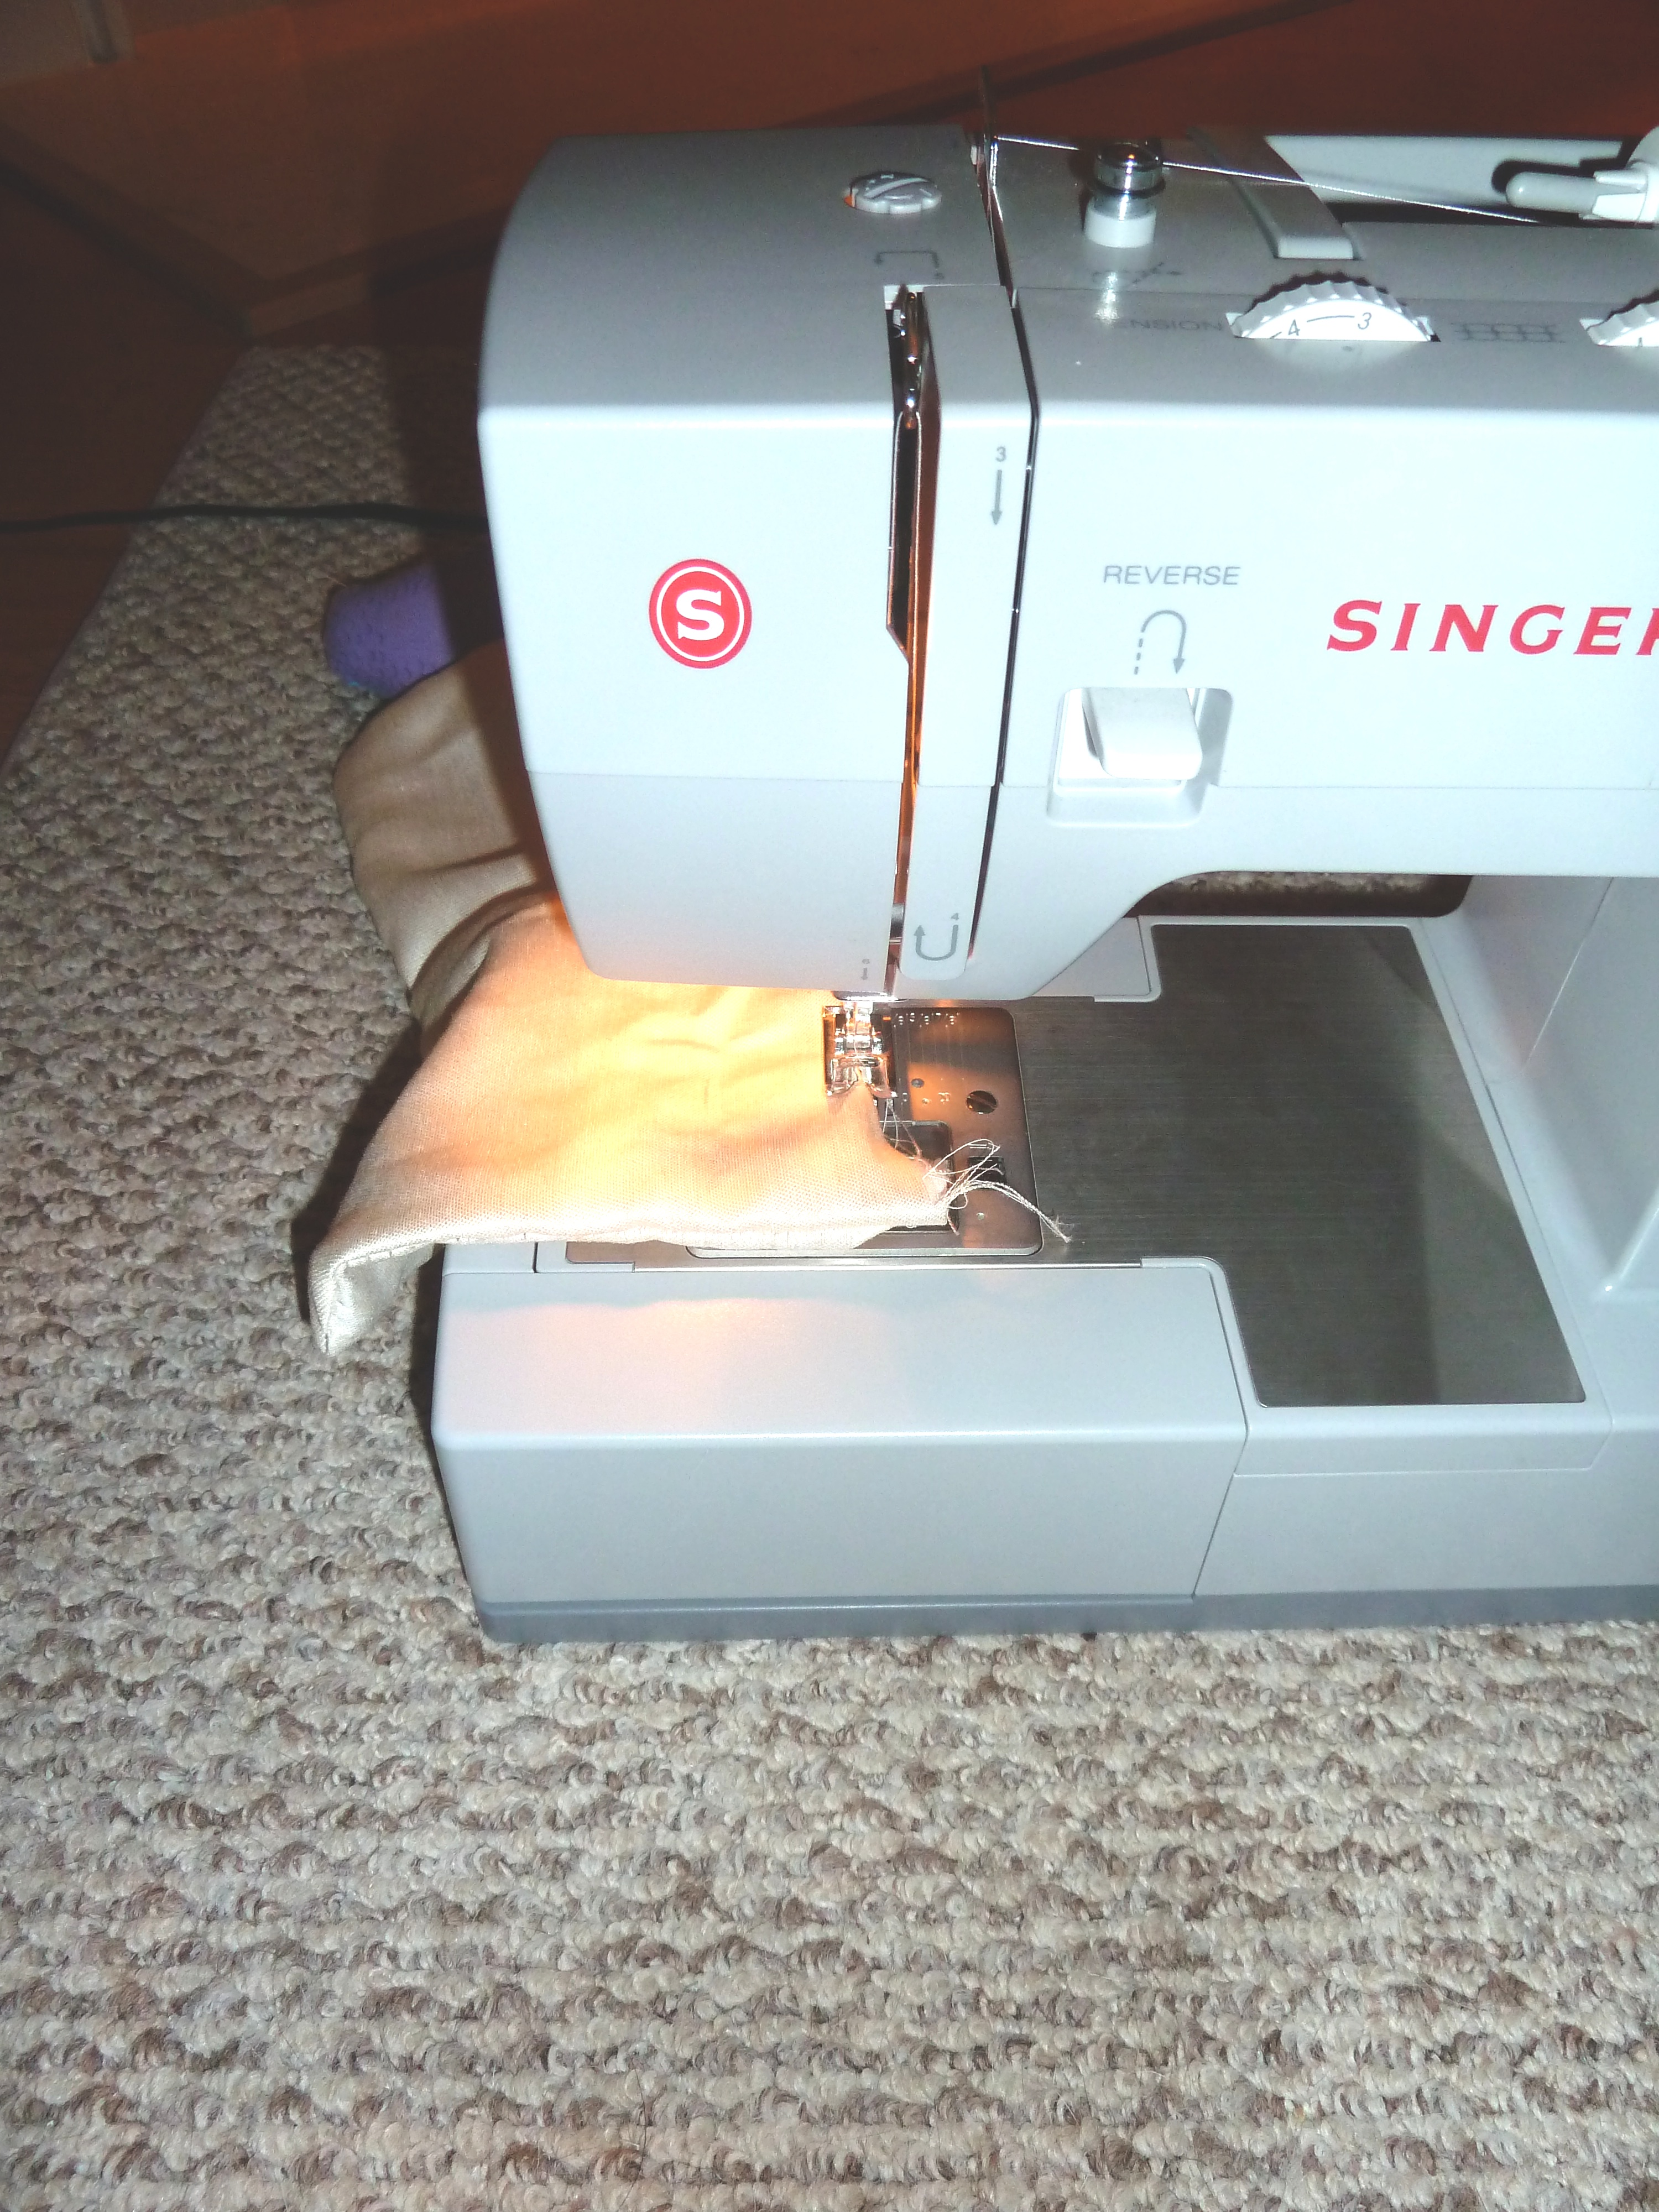
From there, I just sewed the pinned edges together…sewing-straightI love when fabric has stripes, then I can use the stripes as a guide for sewing the fabric straight.

Once I had the whole edge sewn together, I cut away any excess fabric outside of my stitch.  This step isn’t necessary I just didn’t want a bulky seem.cutting-excess-fabric1From there, I stitched right over the same stitch one more time, just so I had a nice strong seam.double-stitch
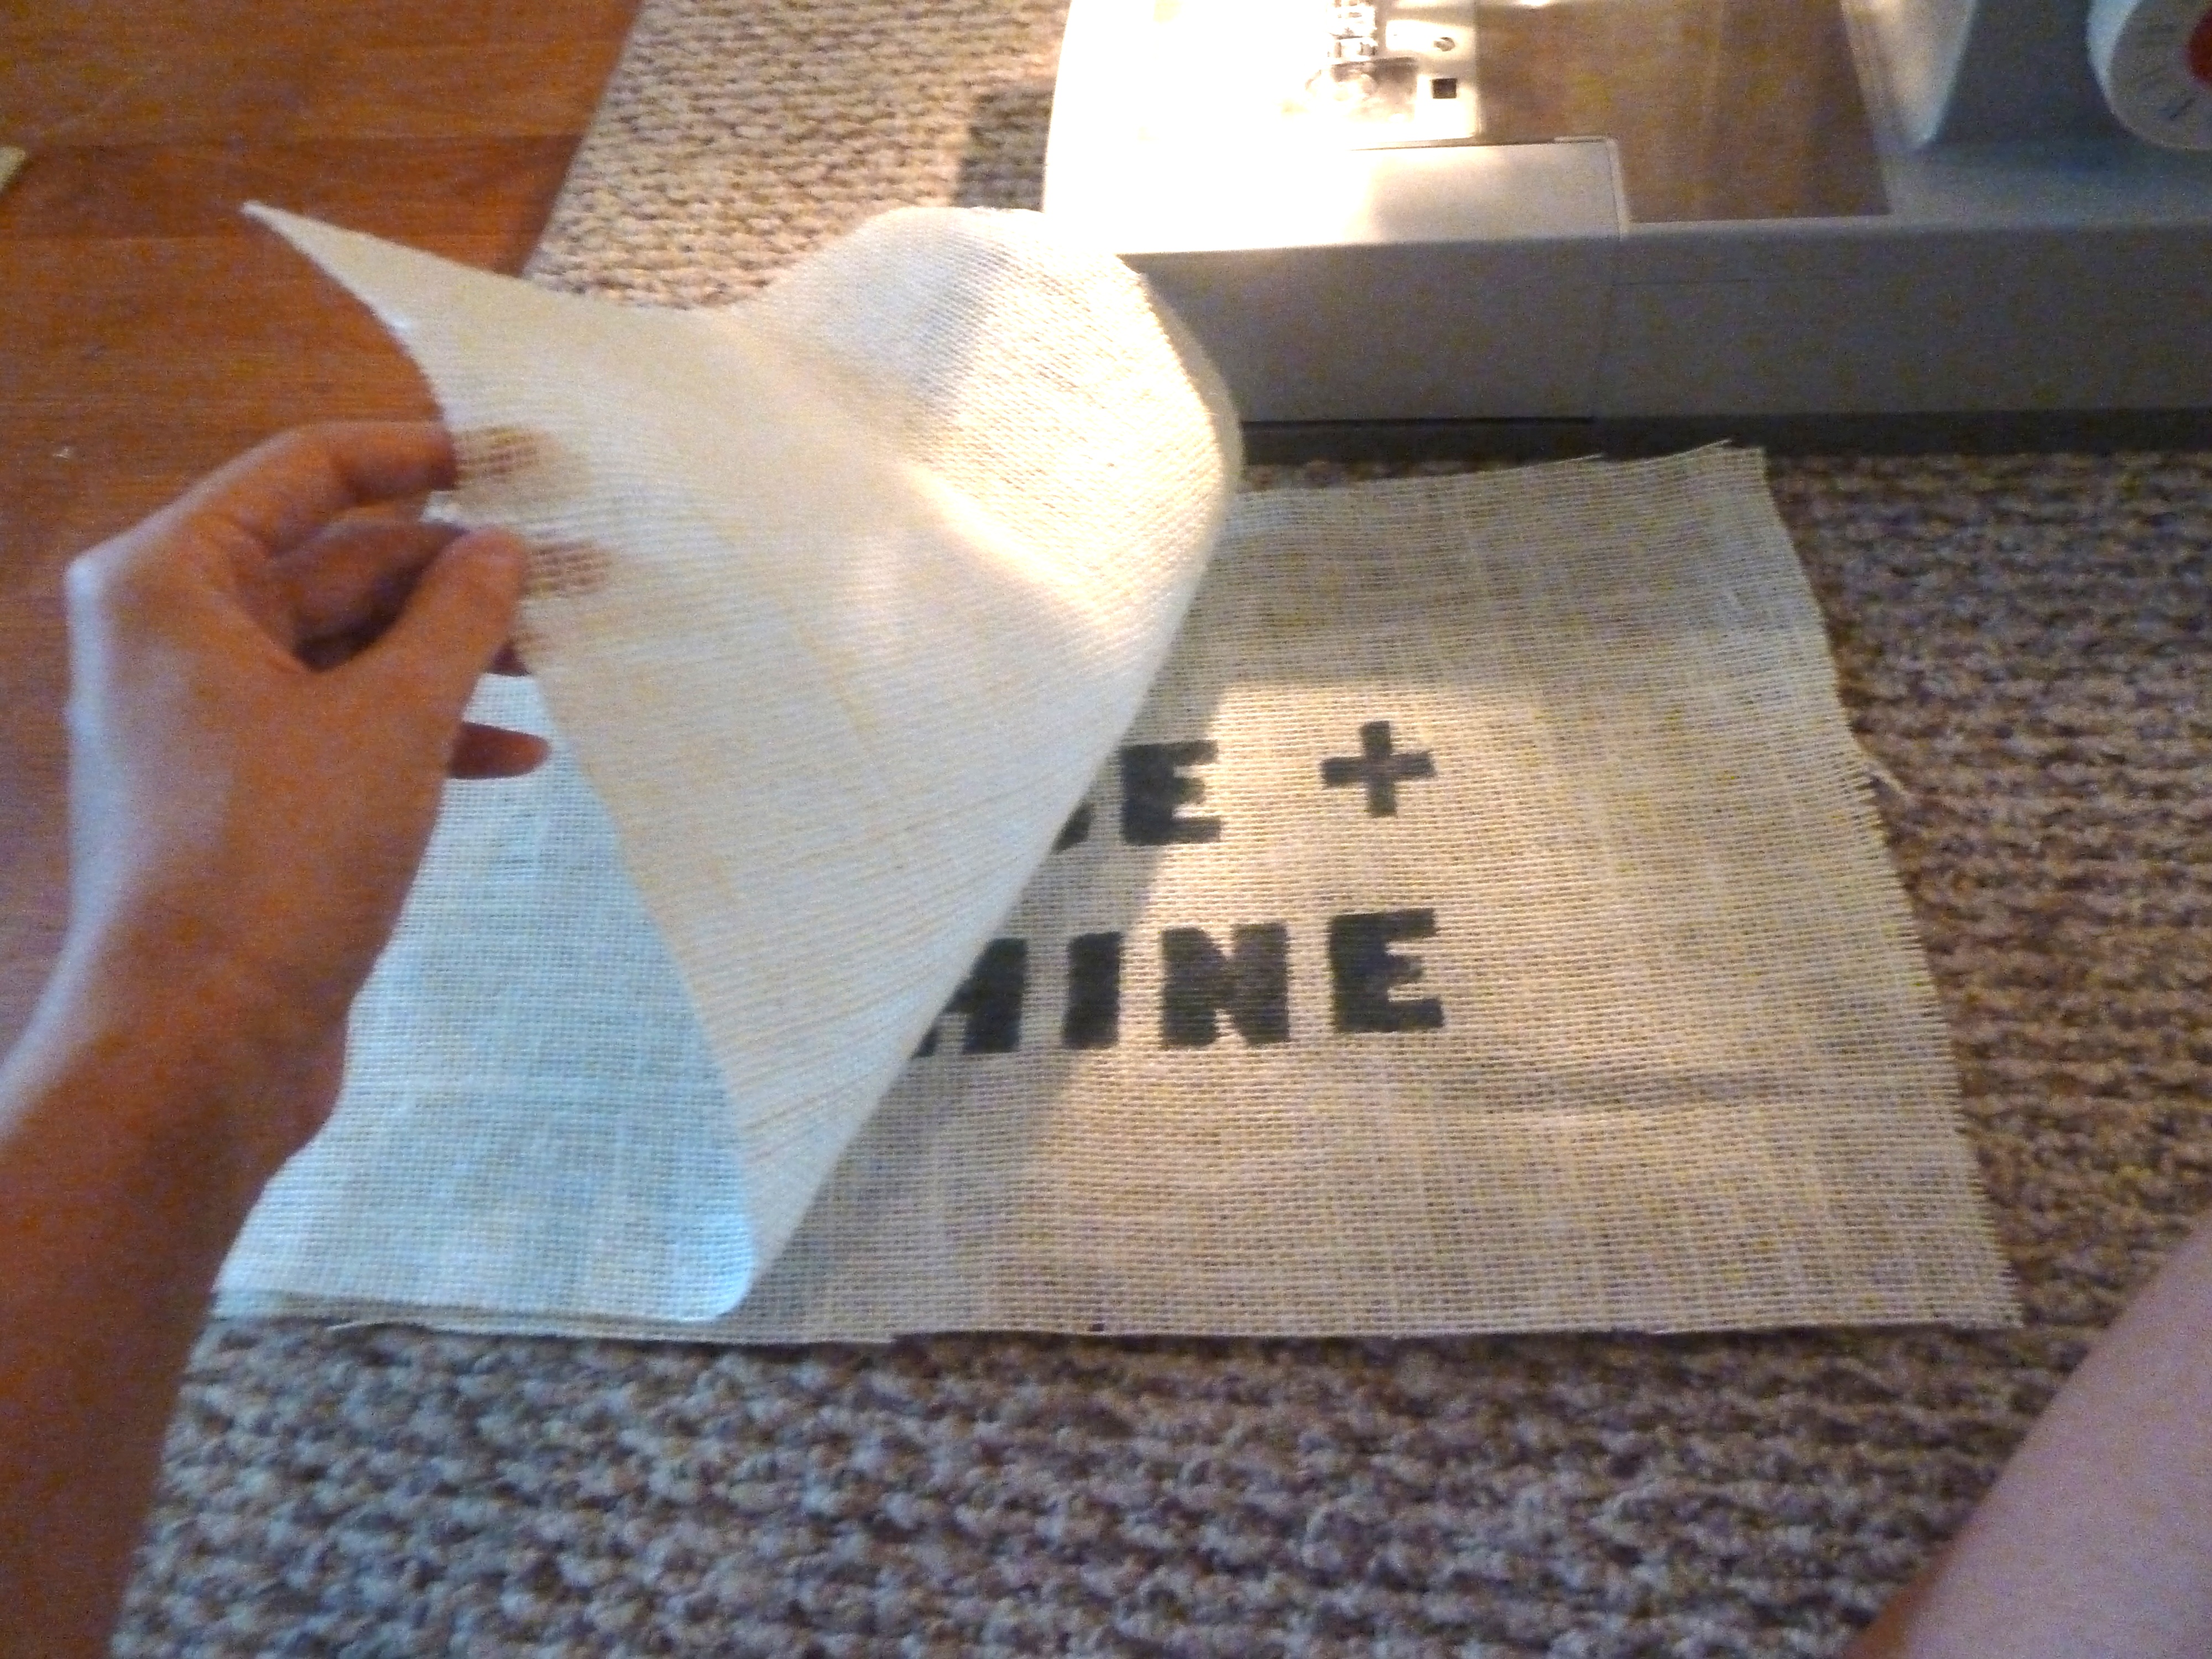
Then, I turned the fabric inside out, making the scalloped side facing outward.  From there, I folded the fabric in half again.  I folded from right to left, this time like a hamburger (I like food).gray-fabricNow, the tricky part.  I  had four layers of fabric at this point.  The right side of my pile were all open edges.  I grabbed the two center layers and pinned them together…sewing
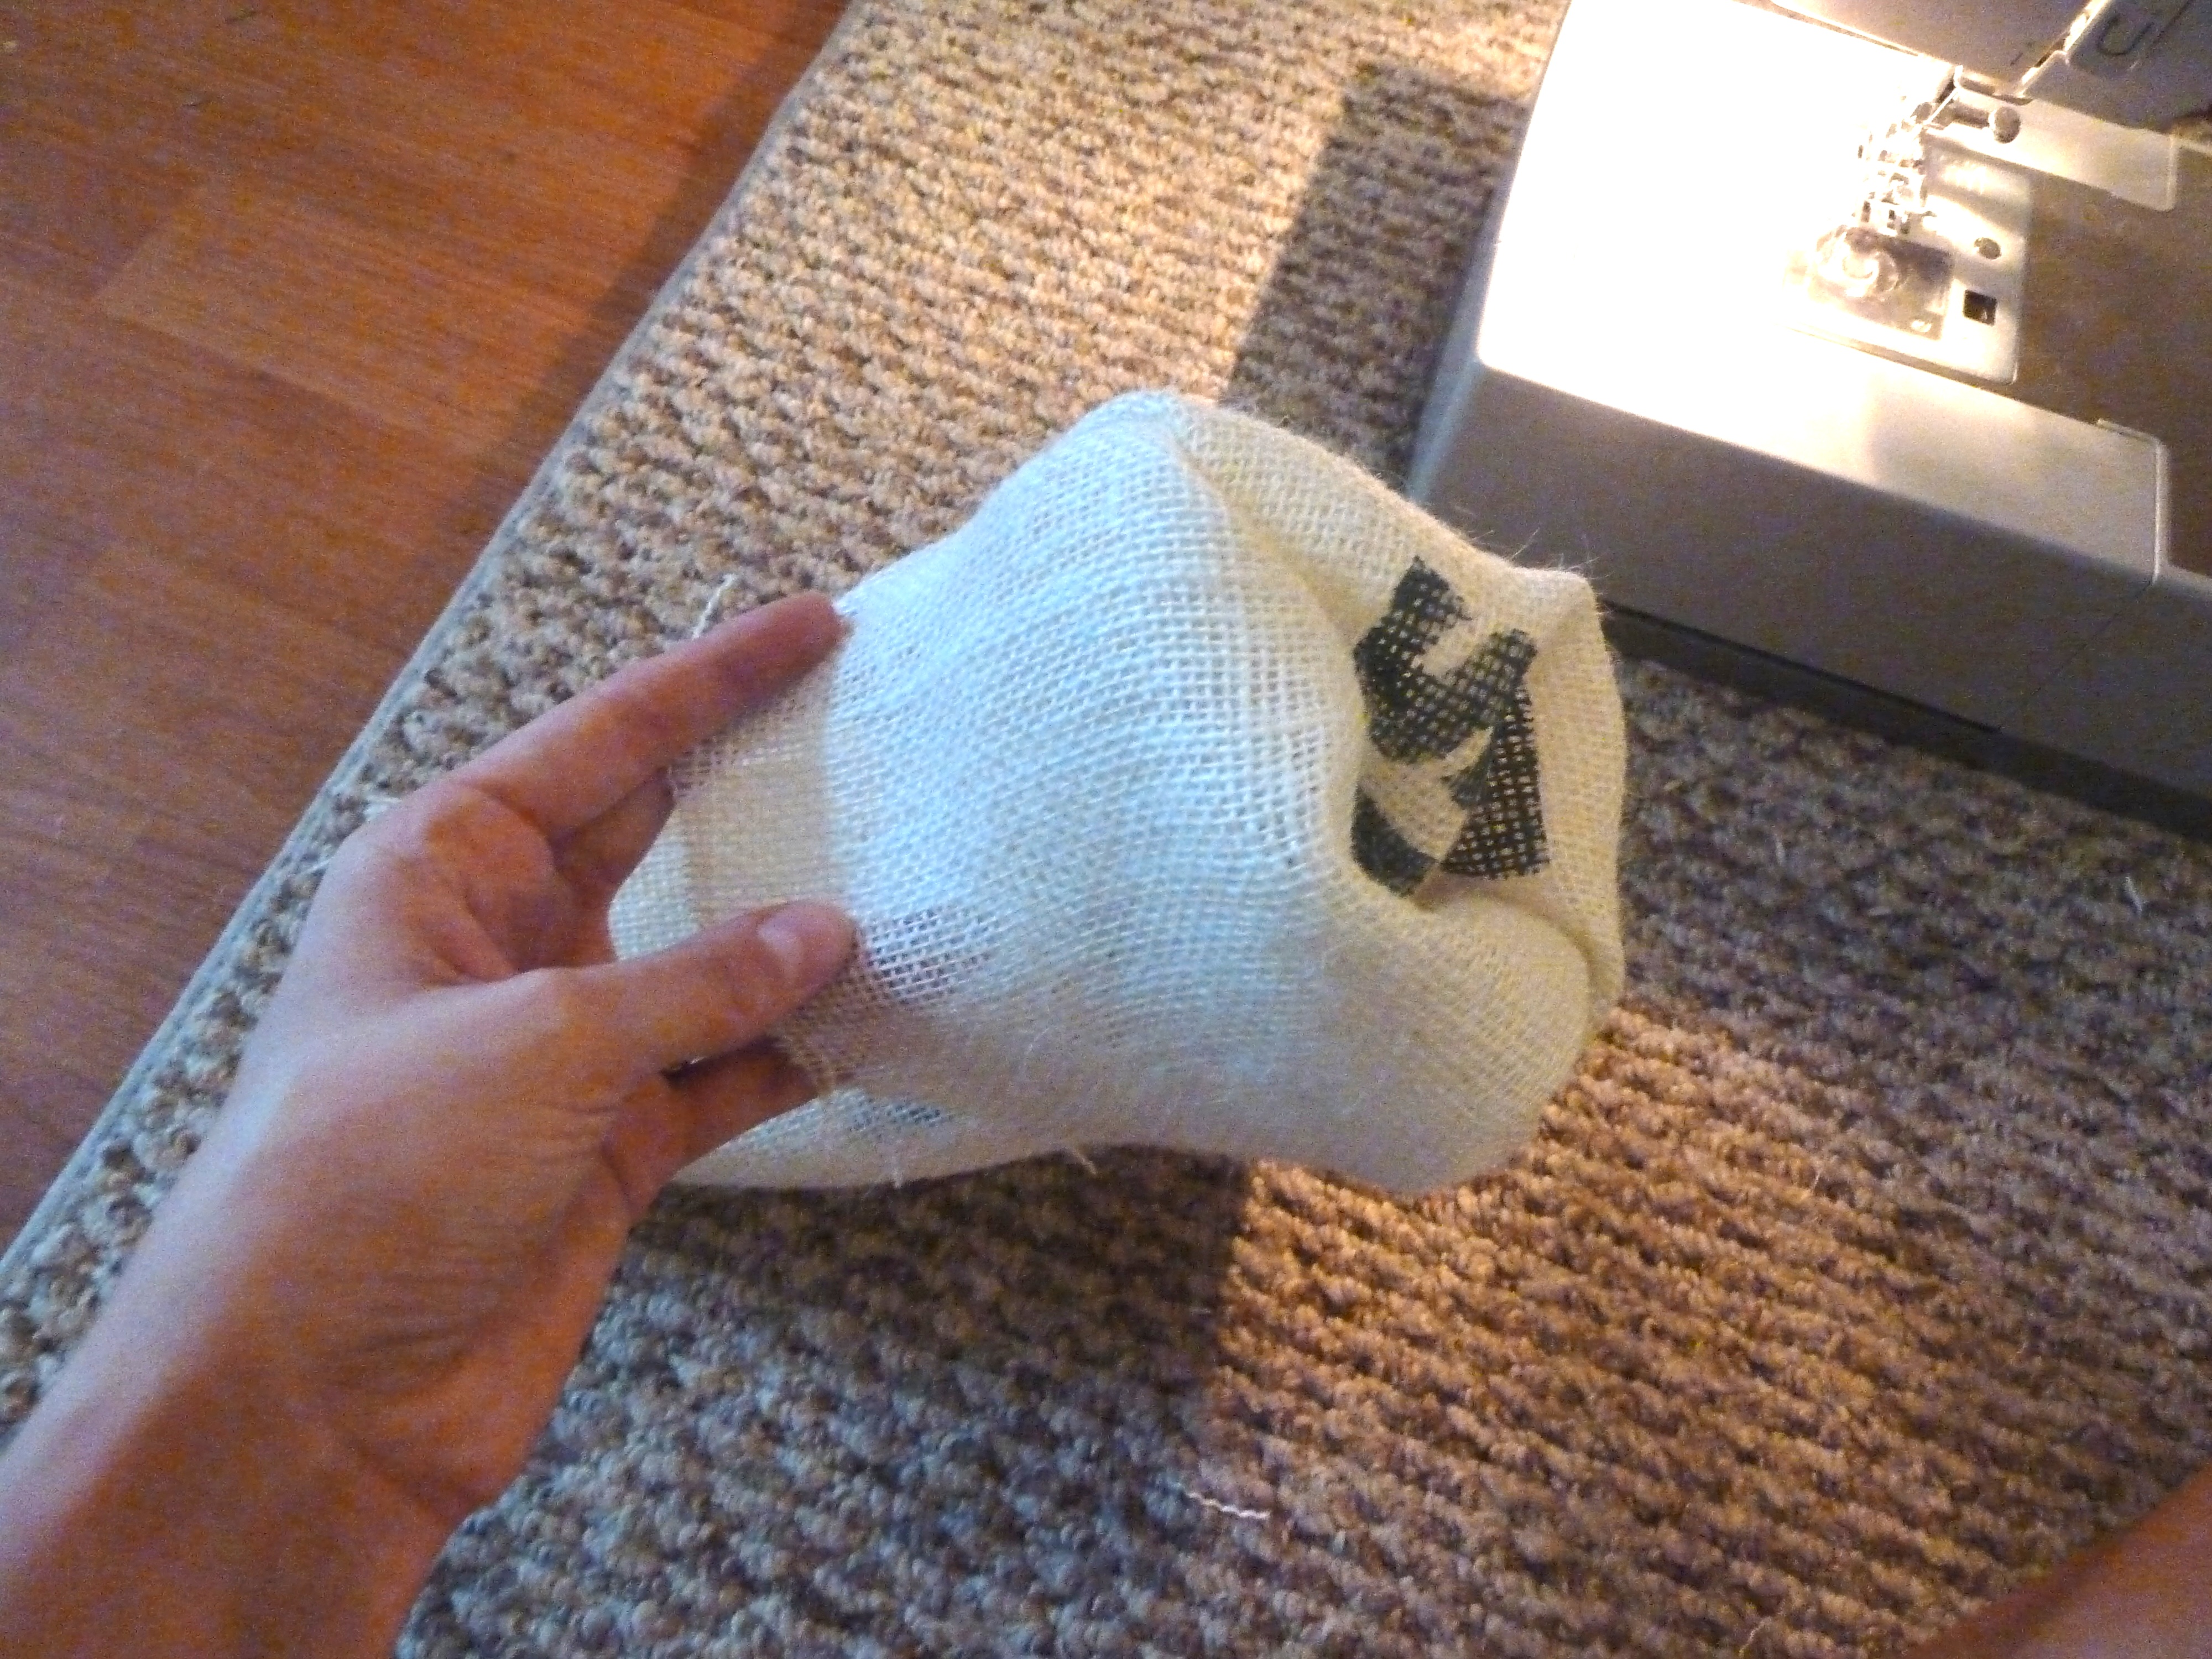
I pinned the good side(scalloped side) to good side(scalloped side), this will end up being the inside of the infinity scarf.  I pinned the entire edge which came right back around to where I started pinning.  Hope that makes sense.  I, then, sewed this edge, leaving only a small opening…sewing-holeSee the scalloped side hanging out in there?  Well, I just started pulling the fabric out of this hole until I had the whole scarf turned inside out.   I was almost done at this point, just needed to sew that hole up.  So, I just turned the edges of the hole inward and pinned the seam together…sewing-small-hole
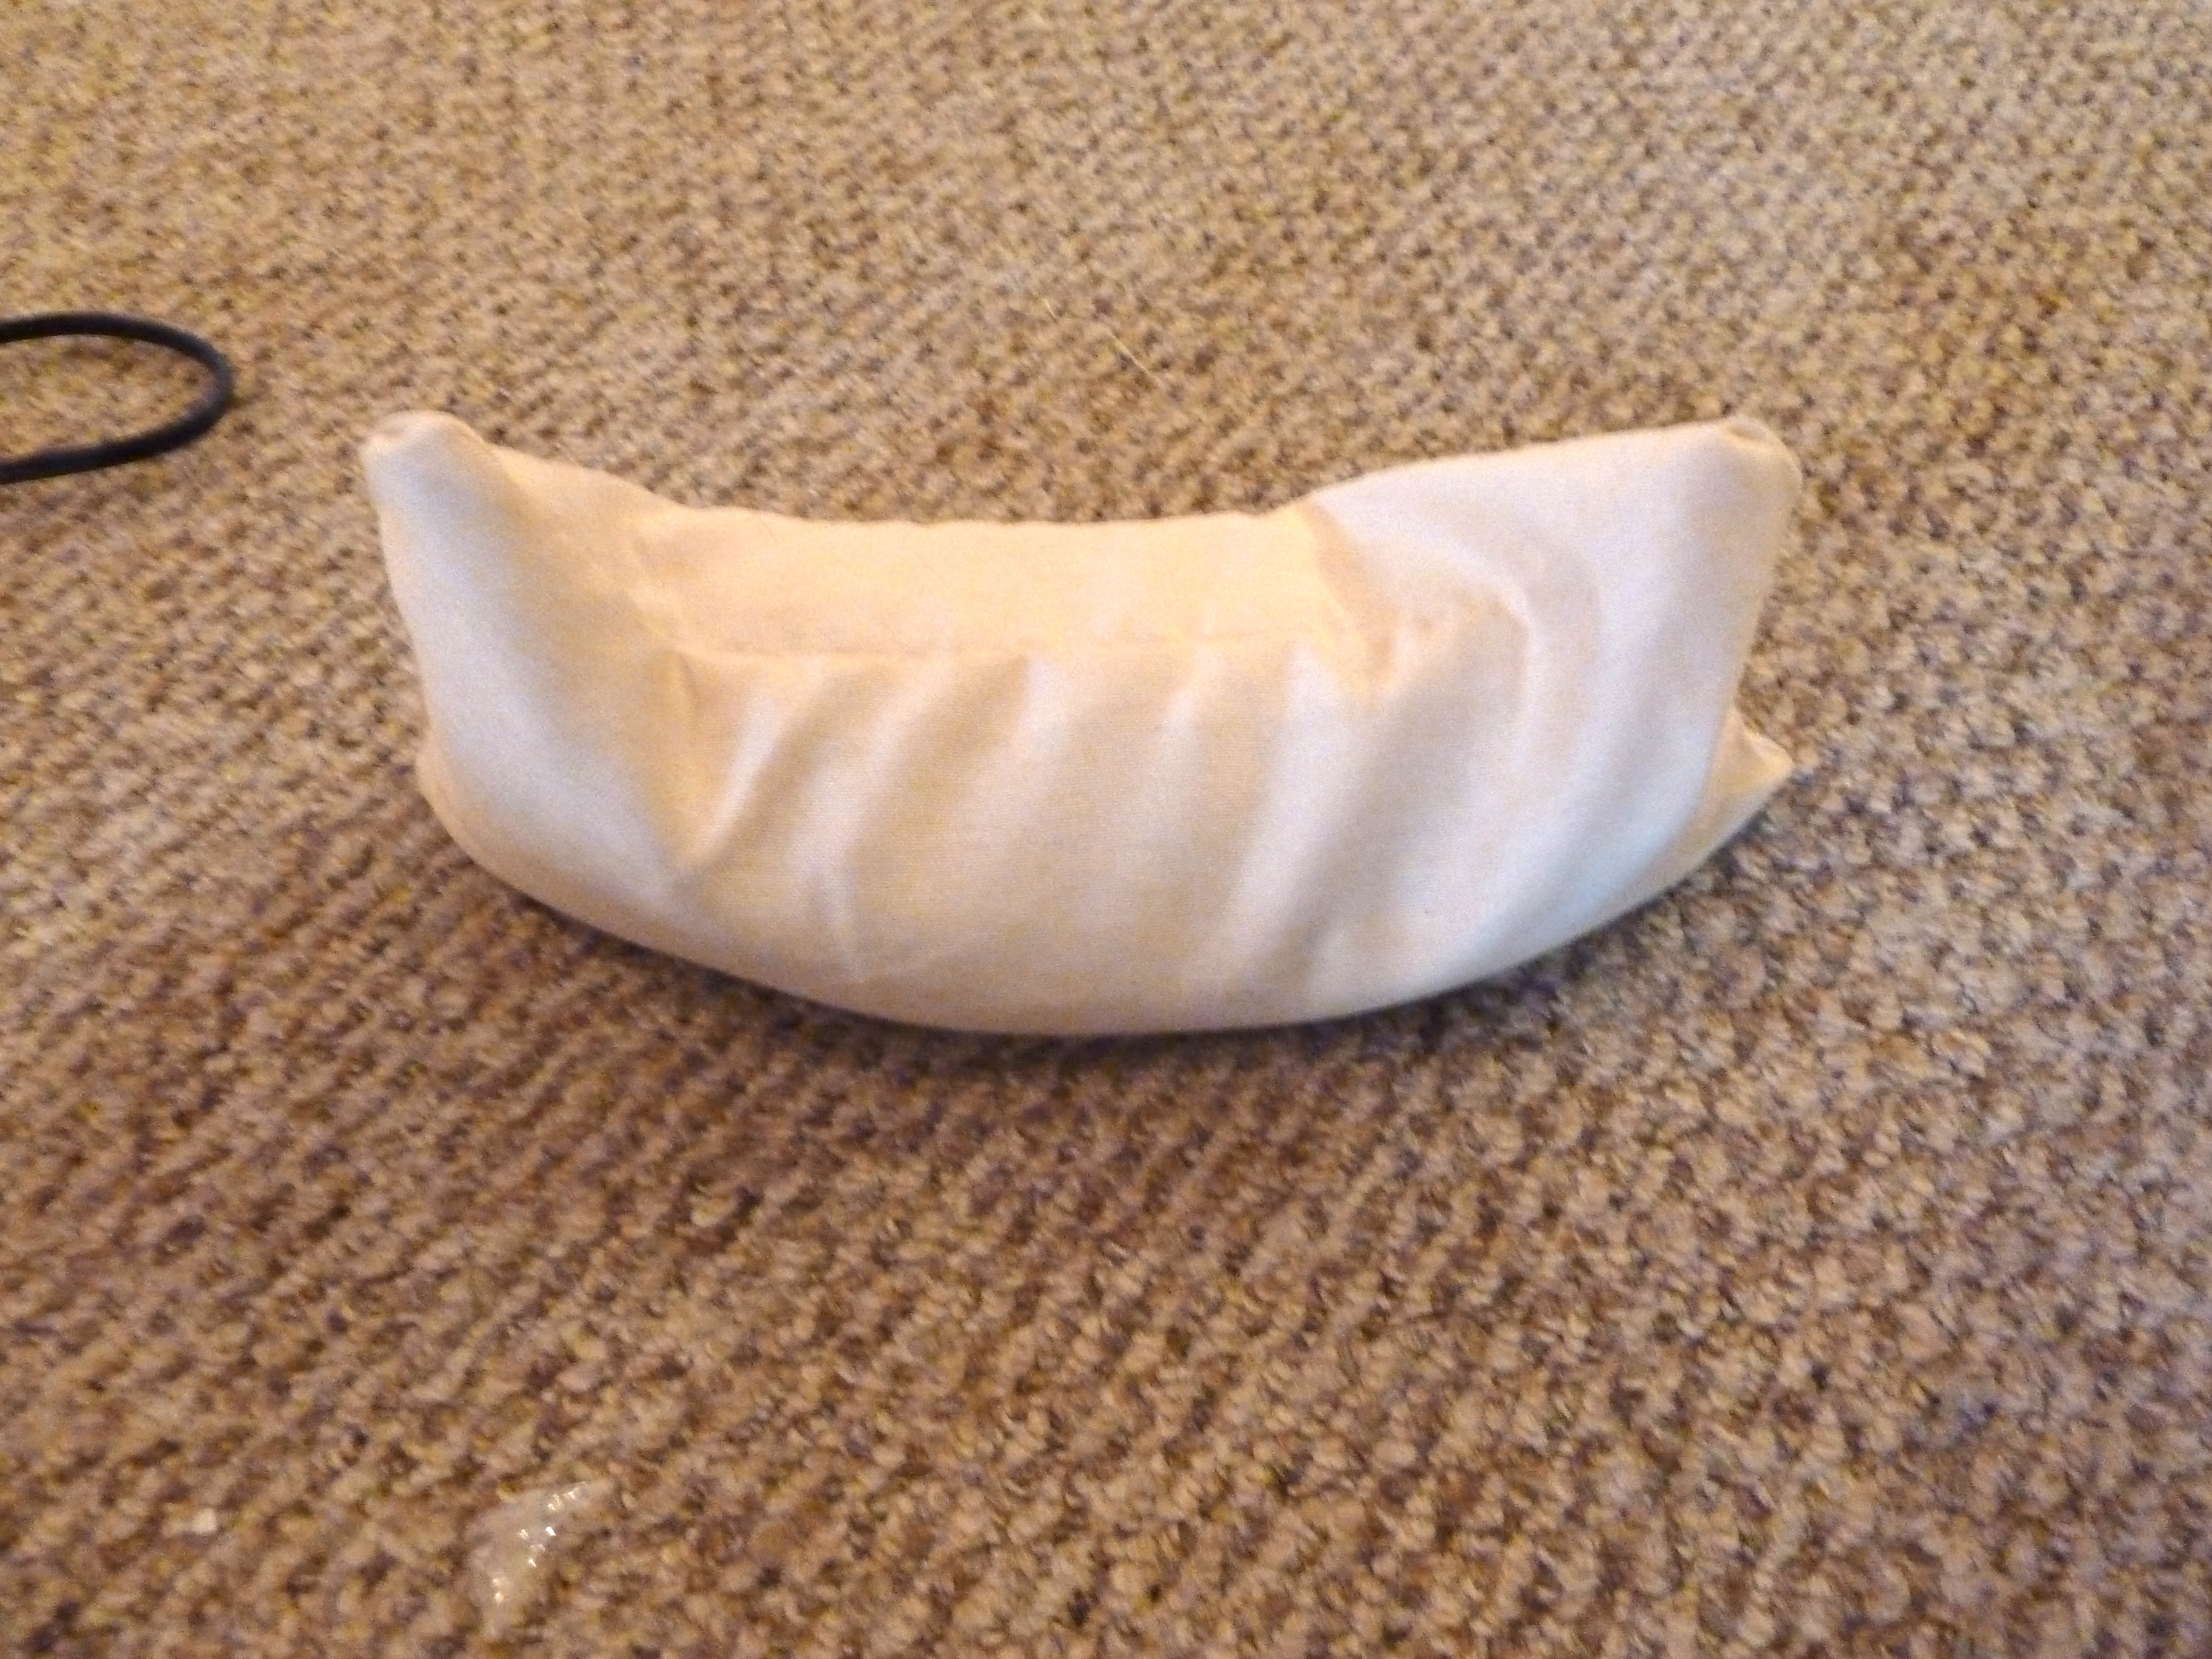
I sewed that seam up, and I had this…sewing-hemsewing-seemAnd there you have it!  A new homemade infinity scarf…infinity scarf DIYThis was actually a gift for my sister, and she didn’t even believe I made it at first.  See Jess?  I did make it!  Hope you enjoy it!making-infinity-scarf


Homemade Cleaning Products

So, a while back, when I was going about my dusting business, I was cleaning and ran out of my wood duster (Pledge).  Well, this was an issue, because I was not about to go out just to get wood duster, and I was not going to skip dusting my house.  So, I figured hey I’ll ask Google what to do, which is pretty much my answer for everything.  And what do you know, I found all sorts of recipes for homemade dusting spray.  I mixed up a batch of an option, that I had all of the ingredients for, and got back to my dusting business.  Guess what?  I liked the new dusting spray better than Pledge.

I know you’re on the edge of your seat right now, this is pretty intense stuff.  I decided that once my other store bought cleaning products ran out, I would find recipes for homemade cleaners for those as well.

If you don’t know where I am going with this, I’ll help you out… I’m going to tell you all about my new cleaning supplies and give you their recipes.

Before you get jazzed about making your own cleaners, you’ll need some spray bottles.  I got a couple different types.

P1110529I found both of these options at Target.  The few above were $1.50 each in the gardening section and the 3 below were $3 each in the cleaning supplies area.  P1110533Now that we have the spray bottles covered, we can start getting crazy with some recipes.


Let’s start with good ol’ glass cleaner, which is my substitute for my old go to, Windex.

Glass Cleaner

Ingredients:

  1. 1 cup water (I used distilled, since our tap water is pretty hard)
  2. 1/4 cup white vinegar
  3. 2-3 drops dish soap
  4. Spray bottleglass-cleaner-homemadeDirections:
  • Pour all ingredients into spray bottle.
  • Shake.

Congratulations, you have made glass cleaner!  I use this spray for all of my windows and mirrors, works just as well as Windex.  I made 3 batches, one for each bathroom and one for the kitchen/rest of the house.  Since one of my spray bottles was a bit larger, I just doubled the recipe.


Multi-Purpose Spray

Ingredients:

  1. 1 cup water (I used distilled)
  2. 1 cup white vinegar
  3. 10 drops essential oils
  4. Spray bottlehomemade-multi-purpose-spray

Directions:

  • Pour all ingredients into spray bottle.
  • Shake.

You’re simply amazing, because you just created an all natural multi-purpose spray! For the essential oils, I used eucalyptus, because I had some on hand. Most recipes I found used lemon oil.  Any essential oil will work, so use whatcha got.  I use this spray for almost anything: kitchen counters, fridge shelves, my desk (which is not wood), the sink or spills on the floor.  Pretty much anything, hence the name multi-purpose.


 Dusting Spray

Ingredients:

  1. 1 cup water (distilled for me)
  2. 1 cup white vinegar
  3. 1 tbsp olive oil
  4. Spray bottlehomemade-dusting-spray

Directions:

  • Pour all ingredients in spray bottle.
  • Shake.

Huzzah!  Another one down.  The olive oil kinda catches you off guard with this one, but it makes sense. It gives it the oily consistency that attracts the dust.  I use this on all of my wood surfaces.


 Bathroom Cleaner

Ingredients:

  1. 1 1/2 cup water (distilled, if you prefer)
  2. 1 cup white vinegar
  3. 1/4 cup lemon juice
  4. 1 tbsp dish soap
  5. 2 tsp baking soda
  6. Spray bottlehomemade-bathroom-cleaner

Directions:

  • Add baking soda to spray bottle FIRST.
  • Next, add vinegar to spray bottle slowly.  Let things fizzle out if needed.
  • Once bubbles have subsided, add water.
  • Add lemon juice and dish soap last.

This seems to be the trickiest concoction of the bunch.  You might want to use a larger spray bottle. I found that since my bottle was smaller, it overflowed when I added the vinegar.  You’ll want to mix this one over a sink, just in case.  I made 2 batches, one for each of my bathrooms.  I use it for my bathroom counters and my tub.


 Shower Cleaner

Ingredients:

  1. Approximately 1/4 cup dish soap
  2. Approximately 1/4 cup white vinegar
  3. Refillable dish scrubberhomemade-shower-cleaner

Directions:

  • Fill wand half with vinegar and half with the dish soap.
  • Shake her up.shower cleaner diy

This one is ridiculously convenient.  I just wet my shower walls down and then scrub away.  It works just as well, if not better, than my old cleaner (aka Scrubbing Bubbles).


Now that you have a plethora of homemade cleaning products, you’re going to want to label them.  You don’t want to be spraying that bathroom cleaner on your wood surfaces, not that you wouldn’t be able to tell the difference.  For my labeling pleasure, I used washy tape and a sharpie marker.  Easy peasy.

labeling with washi tape

What do you know?  Those are some fancy labeled bottles!

The clear spray bottles live in my kitchen…

household cleaners diy

And for the bathroom, my more colorful trio…    bathroom cleaners diy

I think the best part about all of this is how much cheaper these options are.  They last much longer and if you haven’t noticed, they mostly consist of water (free) and vinegar (cheap).

Oh yea, they also can’t harm my Charlie Bean, if he decides to take a taste of the kitchen counter or toilet bowl, whatever floats his doggy boat.

diy-cleaners

Try these!  You won’t be disappointed.

ART GIVEAWAY

Hi everyone!  Today I am pumped to try out my first attempt at a giveaway on the blog!  Let’s see how this goes.

A while back I posted about how I created some feather art for my laundry room.  I got so many compliments on these pieces that I decided someone should have a couple feathers of their own! Here are the two that I created for my laundry room…

P1060986

P1070005

I think they are pretty sweet! I hope you all enjoy them as much as I do!  And if you do… you could have a couple of your very own!

Here’s how it works.  If you would like to be entered into the giveaway I want you to comment on this post.  In your comment please write: “ENTER ME” and then tell me where you would like to put this art in your home!  For example:

– ENTER ME, I would hang these in my laundry room!

If you do these two things I will enter you in the giveaway.  I will be using random.org to choose the winner, so there will be no bias here! I will enter anyone who comments before Friday 7/19/13 at 7am! If you are chosen as the winner you will get a choice of two colors for your new art.  These are the colors I can use to create your own custom feathers…

sharpies

If you are chosen for this giveaway you will be receiving two feather prints which I will make by hand.  I will just need to know the colors you would like.  Both feathers can be the same color or you can choose two different colors for each feather.  I will just need to know which colors you would like, just give me the number that is assigned in the photo above to the color(s) you like.

Good Luck everyone!

She’s Mad Crafty Yo!

I was checking out etsy the other day as usual, wishing I was had butt loads of money so I could buy everything my heart desires.  Seriously, I can’t get over how talented some etsy sellers are.  I love me some etsy! Anywho, I stumbled across this by this seller

il_570xN.235056233

and this by this seller

il_570xN.424731585_loe0

and this by this seller

il_570xN.253692565

It seems I’m really digging the burlap type pillows with awesome quotes.  I love the first one Live by the sun Love by the moon.  And the last one that looks like the whale was stenciled on.  I thought about purchasing the last one because it is actually a door stop and I think it is a really unique way to prop open your door shyaa!  I also have a rule that if I can make something myself for cheaper than it is being sold, then I should try to make it before buying it.  I decided that even though this doorstop is only $15($10 for doorstop + $5 for shipping), I think I can make it myself for cheaper.  It seemed pretty simple so I went for it.  First I purchased some burlap from JoAnne Fabrics…

P1070072

While I was there I also picked up a couple stencil brushes.  The burlap was $2.30 for 1/2 a yard and $.99 for the stencil brushes.  I had a coupon and my total came to $2 and some change, I also had a gift card so it ended up taking no mulah from my pocket woo hoo!

Next I picked up some rice from Walmart for a couple dollars.  I will use the rice as filler and for weight to hold the door back. Everything else I used I already owned, so total cost for myself was around $2! Score!

Here’s how I did it…

I first had to decide what I wanted on my doorstop, I knew I wanted a quote and I knew it was going to be holding our bedroom door open.  I decided to go with “rise and shine”.  I figured it would be one of the first things we see in the morning, anything to make me a little happier to be getting outta bed is welcome in my book! I started by making a template on the computer that would be my stencil…

P1070069

Here it is all ready to go.  Next I cut all the lettering out…

P1070070

Look at me go!

P1070071

Here’s the finished product, now I have my stencil.  Next I got my paint out.

P1070077

I decided to go with a grayish blue color for the lettering, who woulda thought?

P1070084

I came up with this color.  I used a paper plate for mixing, I love easy clean up!

P1070081

I then decided on the placement of my stencil.

P1070085

Next I just filled in the letters with my stencil brush.  I just used a blotting motion until all of the letters were filled.

P1070089

Here it is once the stencil was removed.  While that dried I worked on my next step.

P1070091

Since the burlap has small holes in the fabric, I needed to make an interior pouch to put the rice in.  I didn’t want rice slipping out all over my floor every time we moved it. So I found a similar color fabric and cut out a couple pieces about a half inch larger on each side than I wanted the actual doorstop to be.

P1070093

Next I got out my sewing machine(yup I have one of those). I started sewing the interior fabric inside out leaving one side open, then turned the pouch outside in(is that how you would say it?). I then poured in the rice filling the pouch up approximately 3/4 of the way. Then I sewed up the open end.

P1070096

This was what I was left with, a white pouch filled with rice! Fancy!

P1070099

I then cut the burlap with the stenciling about an inch larger on each side than i want the doorstop to be.  From there I placed the two pieces of burlap together stencil facing inward. Next I sewed up all of the sides but one leaving one end open again.

P1070101

Once the three sides were sewn up, I flipped the pouch outside in? again.

P1070105

Then I plopped the rice filled pouch in the open side.

P1070106

From there I tucked in the unfinished end and sewed it up and I was left with this…

P1070108

A pretty sweet doorstop that makes me feel better about getting outta bed in the morning.  Here it is in it’s new home…

P1070110

one more…

P1070113

Saved myself some money and I have a new way to keep our bedroom door open! Yahoo! Thanks for the inspiration etsy.