Garden Party

Can you believe we have been in our house for a year now?  Me neither!  I mention this because we have replanted our front gardens and I can not believe this is our second time planting them!  Crazy stuff I would say.  Here is what we managed to come up with last year…

tan house blue door

The only survivors are the two gardenia plants in the corners and the sago palm, which has no leaves in this photo.  So, as you can imagine we had a lot of space to work with since most of our plants didn’t make it through the cold weather.  We decided to go a different route with our plant choices this year and also our mulch.  That is actually where this all began because Justin jumped the gun and ordered a boat load of mulch and had it delivered to our house…

mulch delivery

Justin started by removing most of the red mulch that was left from last year…

removing mulch

removing mulch from garden

Poor guy always gets the hard work!

Once he added the new mulch(we decided to change it up to brown), we had this…

front gardens with brown mulch

Awesome new mulch… no plants.  That’s where I come in to this story.  We picked up some plants at Lowes…

plants from lowes

Then I planted my little heart out.

orange red leafy tree

Justin did help out and planted two of these guys next to the front door.  They are small croton trees.

We also got some gerber daisies, petunias, lilies, a couple more podocarpus and some grasses.  Here is the set up I planned out before digging…

how to arrange plants in garden before planting

laying out plants before planting

It was Justin approved, so it was time to dig.  Here are the results…

garden with brown mulch orange flowers

You dig it?  I do.

I also wanted to mention that I got a new garden flag.  I am officially that cool because I have multiple garden flags.

photo

Yup, it’s a tree flag and the leaves look like the world.  Pretty sweet right?

photo(3)

And here are some before and afters because I’m really into those.

picisto-20140417105552-834945

picisto-20140417105704-456309

These two gardens were pretty bare before, so the update was much needed.

picisto-20140417105511-205602

And then one more of last year and then this year…

picisto-20140418111505-780134

Sorry about the clarity of the photo on the left, it was hard to catch a good time of day to get this photo.  But I had to show that our flowers have bloomed and the sago now has some new palms!  Yay for us!


So Fresh and So Clean Clean

Thanks Outkast, for creating that song that is.  Because our house now feels so fresh and so clean clean.  Why you ask?  Well that would be because we got new carpet installed!

We currently have carpeting in both of the front rooms in our house aka the office and the use to be dining room(now second living room) and both guest rooms.  They have all seen better days, but the front two rooms seem to have taken more abuse.  The culprit of the abuse would be the previous owners cat.  I know grrross.  This change was something that probably should have happened a while ago.  We rarely even spend time in these two rooms, but when you sit on the floor or get close to the floor you get a nice cat urine smell.  I know it’s one of my fav smells too, but I had to part with it.

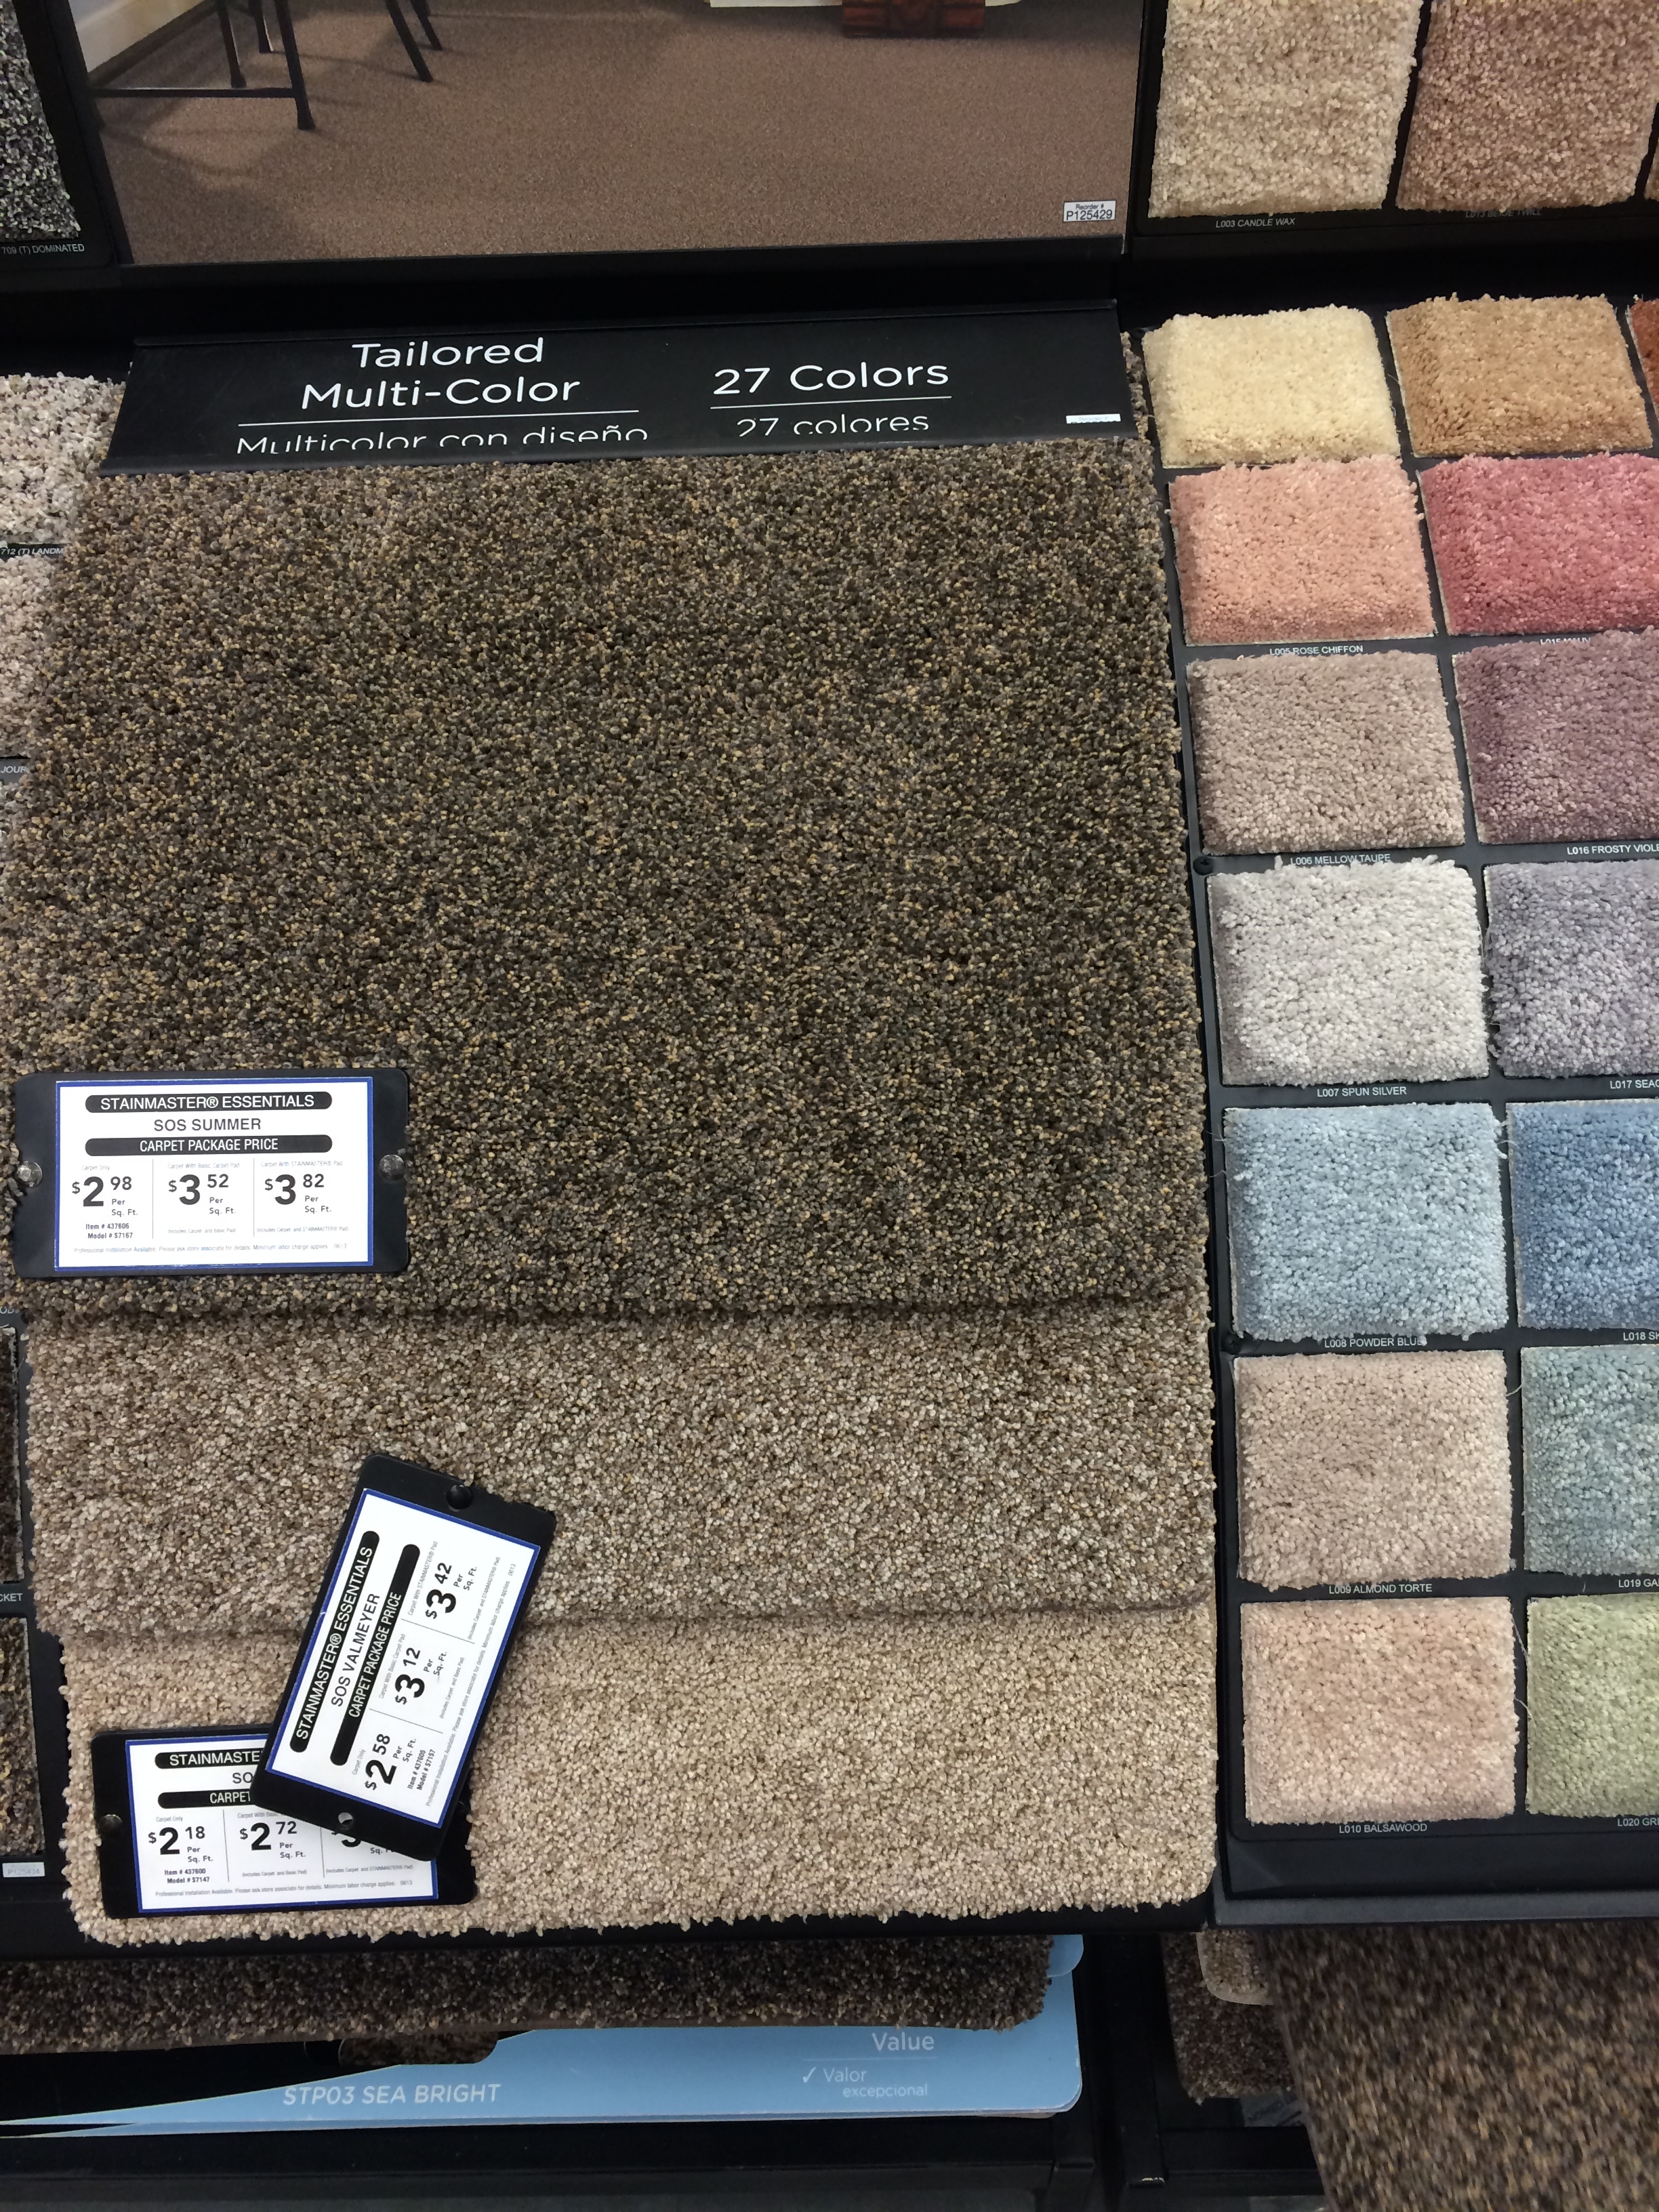
Before we started ripping carpet up, we thought it might be best to head over to Lowes and check out some options.  After talking with the flooring associate we decided to go with a Stainmaster carpet.

IMG_7127

We narrowed it down to one of these three.  My vote was for the top choice and we actually took a sample piece home to place in the room and let it simmer with us.  Well it simmered and we thought it might be a bit too dark, so we ended up going with the one in the middle.

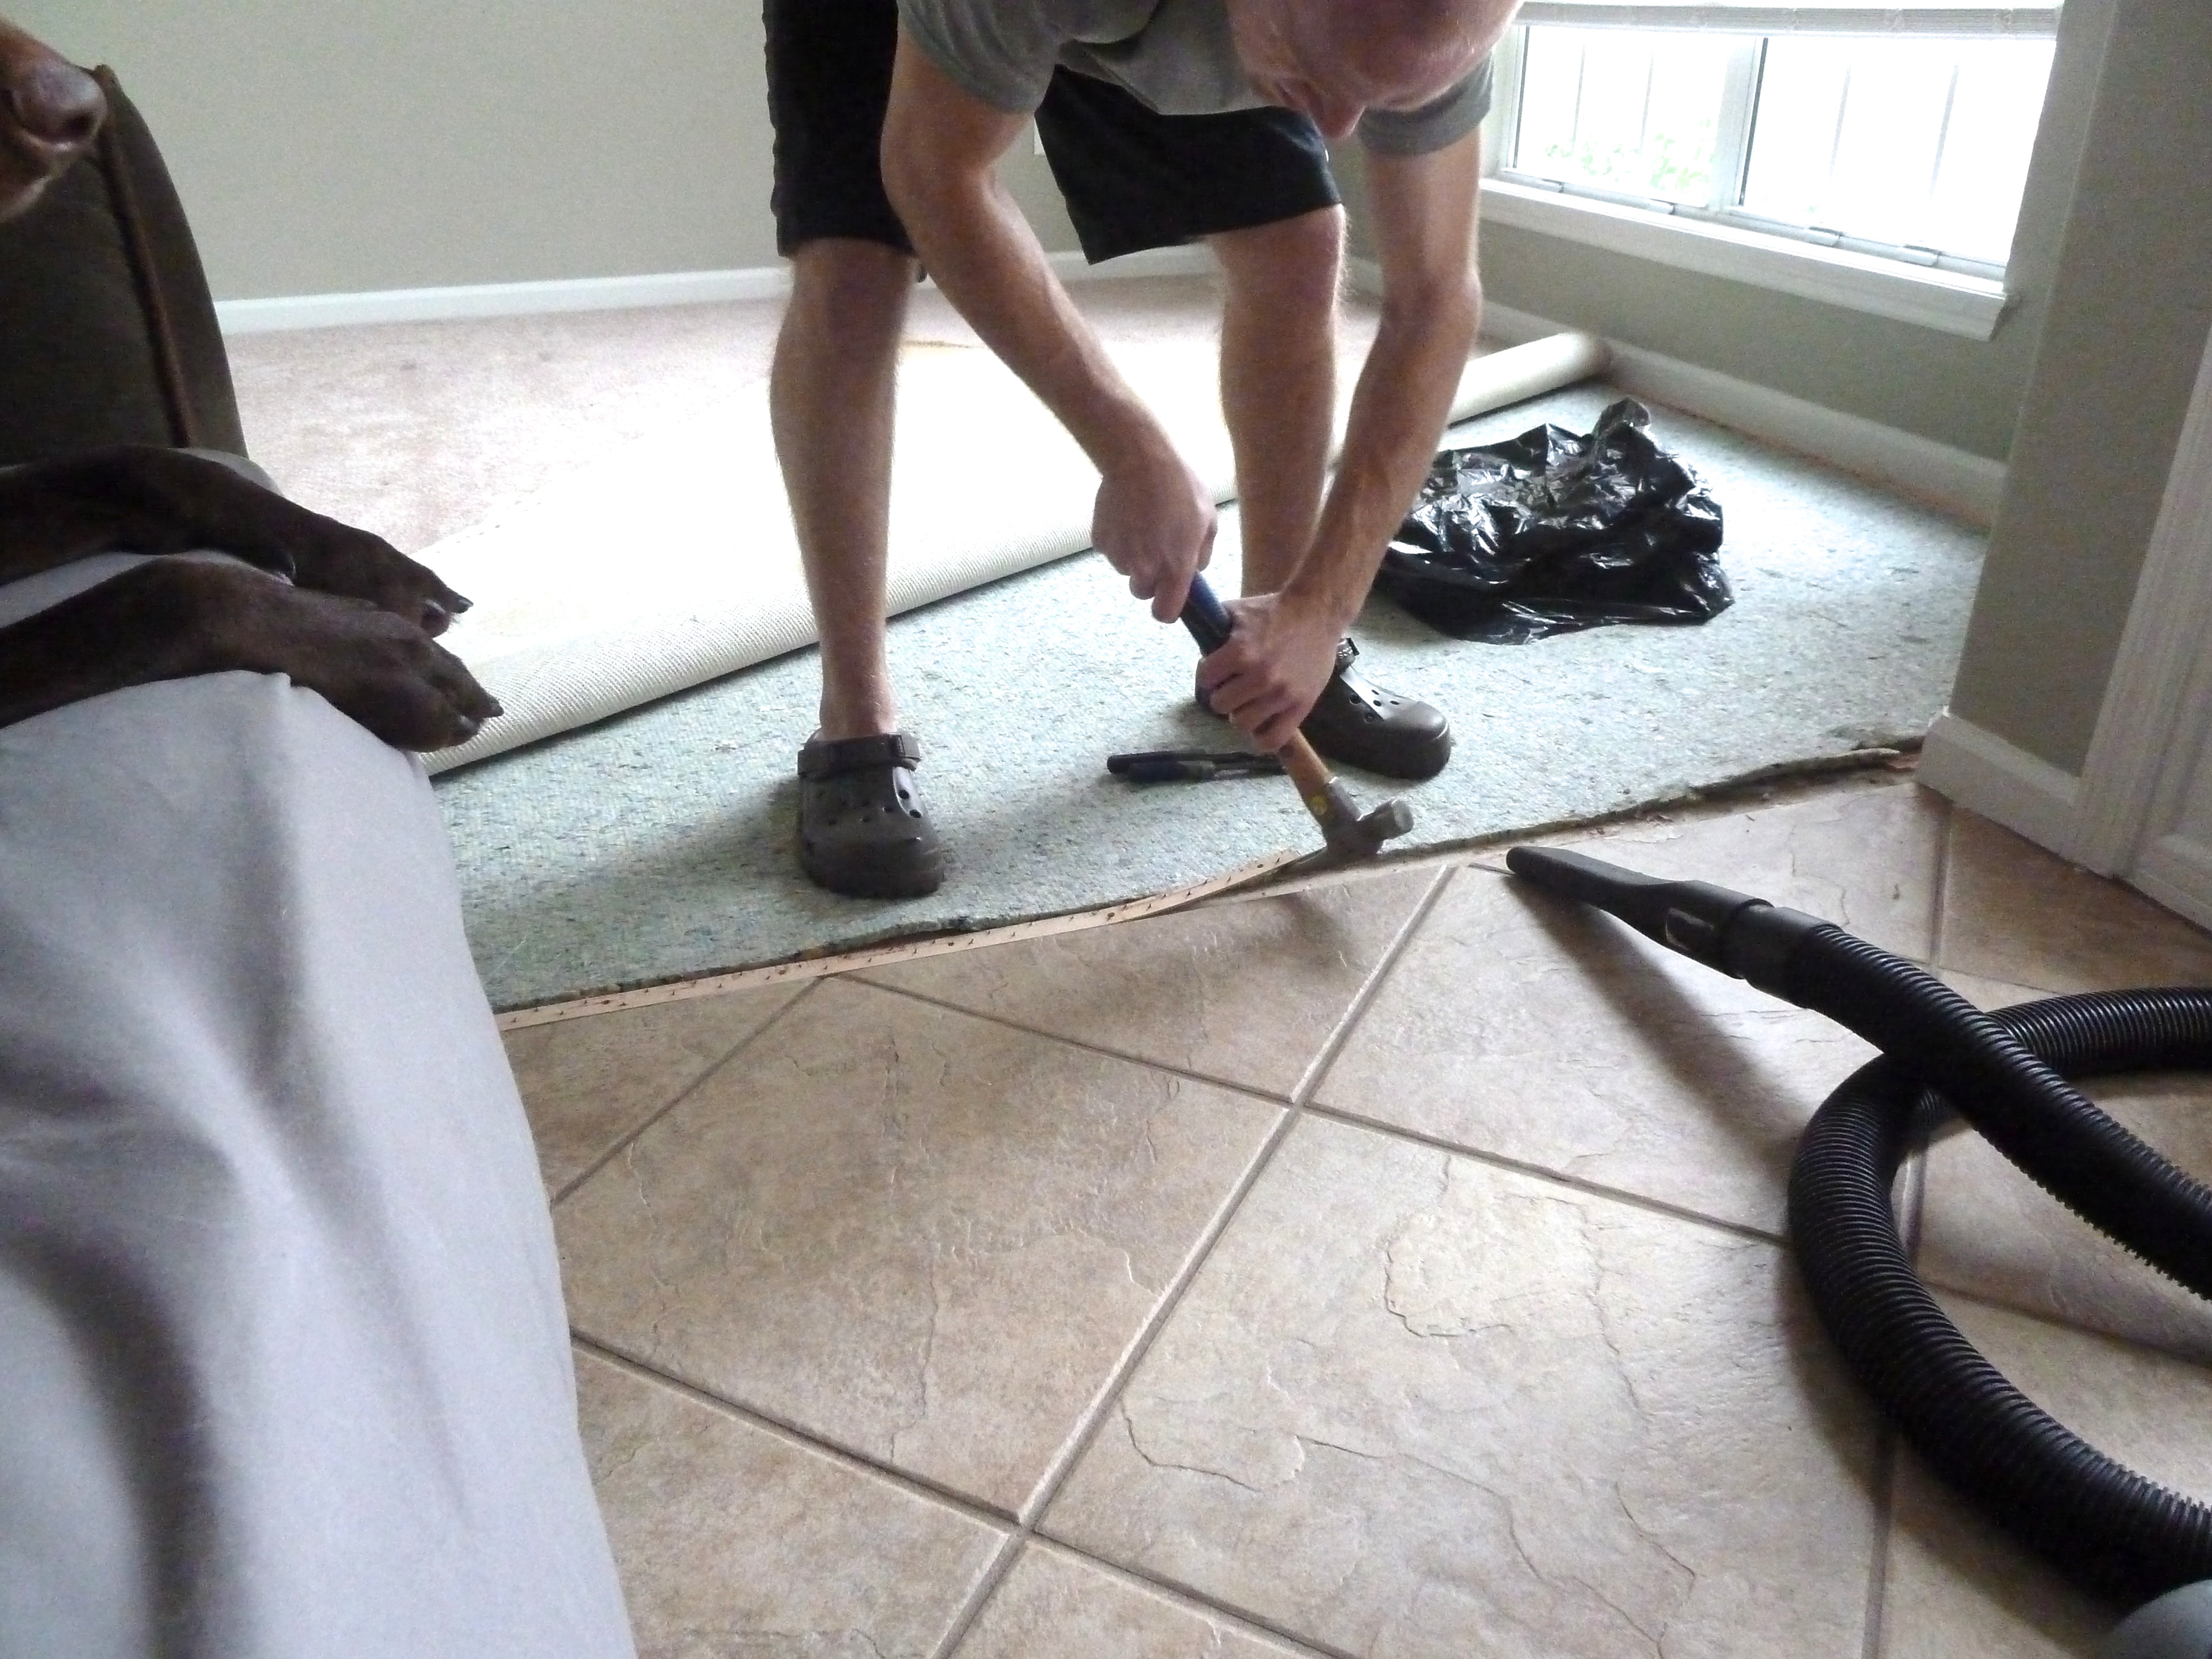
We knew it would be about a week before the installation could be done, but Justin had had enough of the cat pee carpet and decided to tear it up.  We also figured this way we could get the concrete below nice and clean before the installation happened.  Otherwise, we would be running around trying to clean while the installers wait on us. So, Justin went to town pulling up the old carpet….

How to remove old carpet

stained carpet removal

Take a look at that right corner.  Pretty grotie right?

Remove carpet

The carpet and pad were held down by some glue and tack strips.  You can usually leave the tack strip in place and reuse them with the new carpet, but we decided ours needed to come up.

Removing carpeting

See that corner that looks damp?  Ya, apparently that is just stained with urine.  I’ll vomit now.

Removing carpet and pad

Once the carpet was up, he worked on the padding underneath.  Most of it came right up, but a few spots took a little extra effort.

removing old carpet

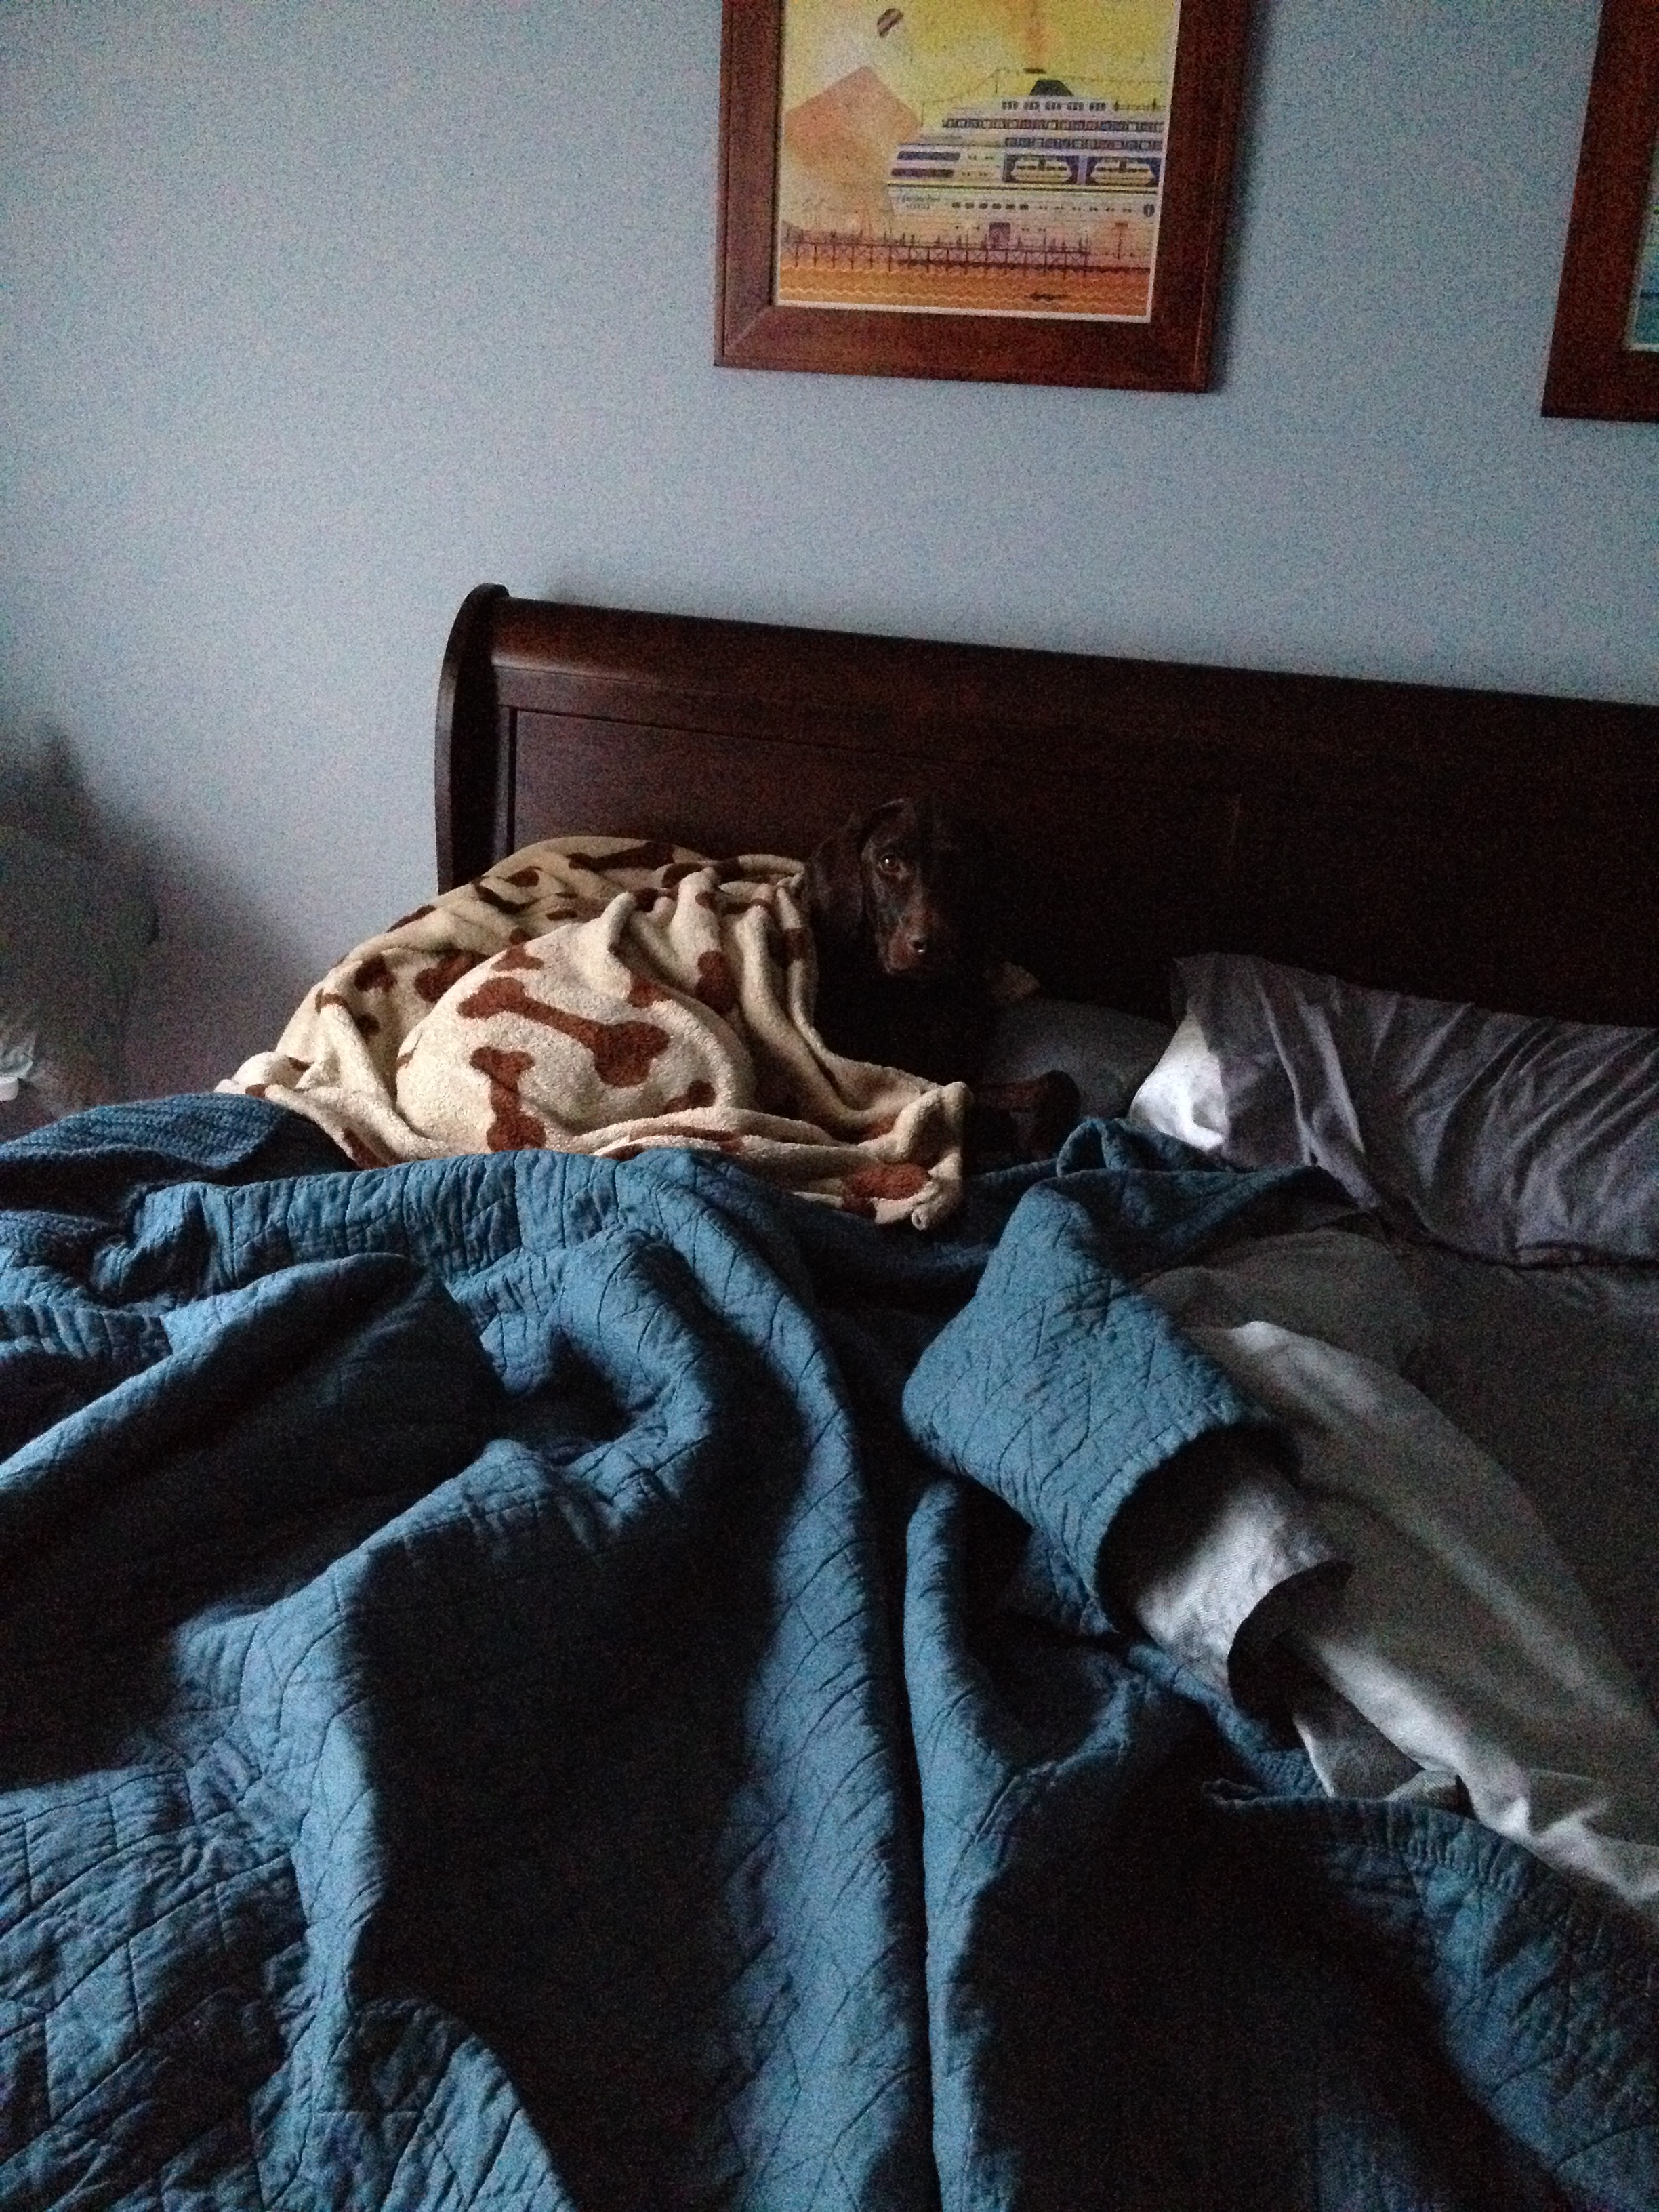
Char man supervised of course…

Charlie

He looks just as thrilled as I am sure you are at this post.  Interesting stuff.

Once the carpet and padding were gone fo’ good there was still a faint urine smell.  Ugh!! Yuck.  We did what we normally do and googled our hearts out till Justin found that hydrogen peroxide might do the trick.  Once the floor was scrubbed with hydrogen peroxide, bleach and vinegar you could STILL smell it!  So our last resort was to seal the floor with an oil based sealant.  Justin picked some up at Lowe’s and rolled it on the floor in all the corners.  After two coats the smell is finally gone.  Thank goodness.  I apparently didn’t get any shots of this sealing action, but it pretty much looked like he was rolling white paint onto the concrete floor.  Also exciting stuff.

Since the smell was gone for good, we just had to wait for the installers to come so we could enjoy our new carpet, what what!  We would have considered doing the installation ourselves, but Lowe’s offered free installation if we were purchasing stainmaster carpeting and what-do-you-know that’s just what we had ordered.  We figured leave the job to the professionals since it’s free, amiright?

New carpet installation

The installer was a one man show and he was quick!  He came and went in an instant and was super nice to boot.

New carpeting

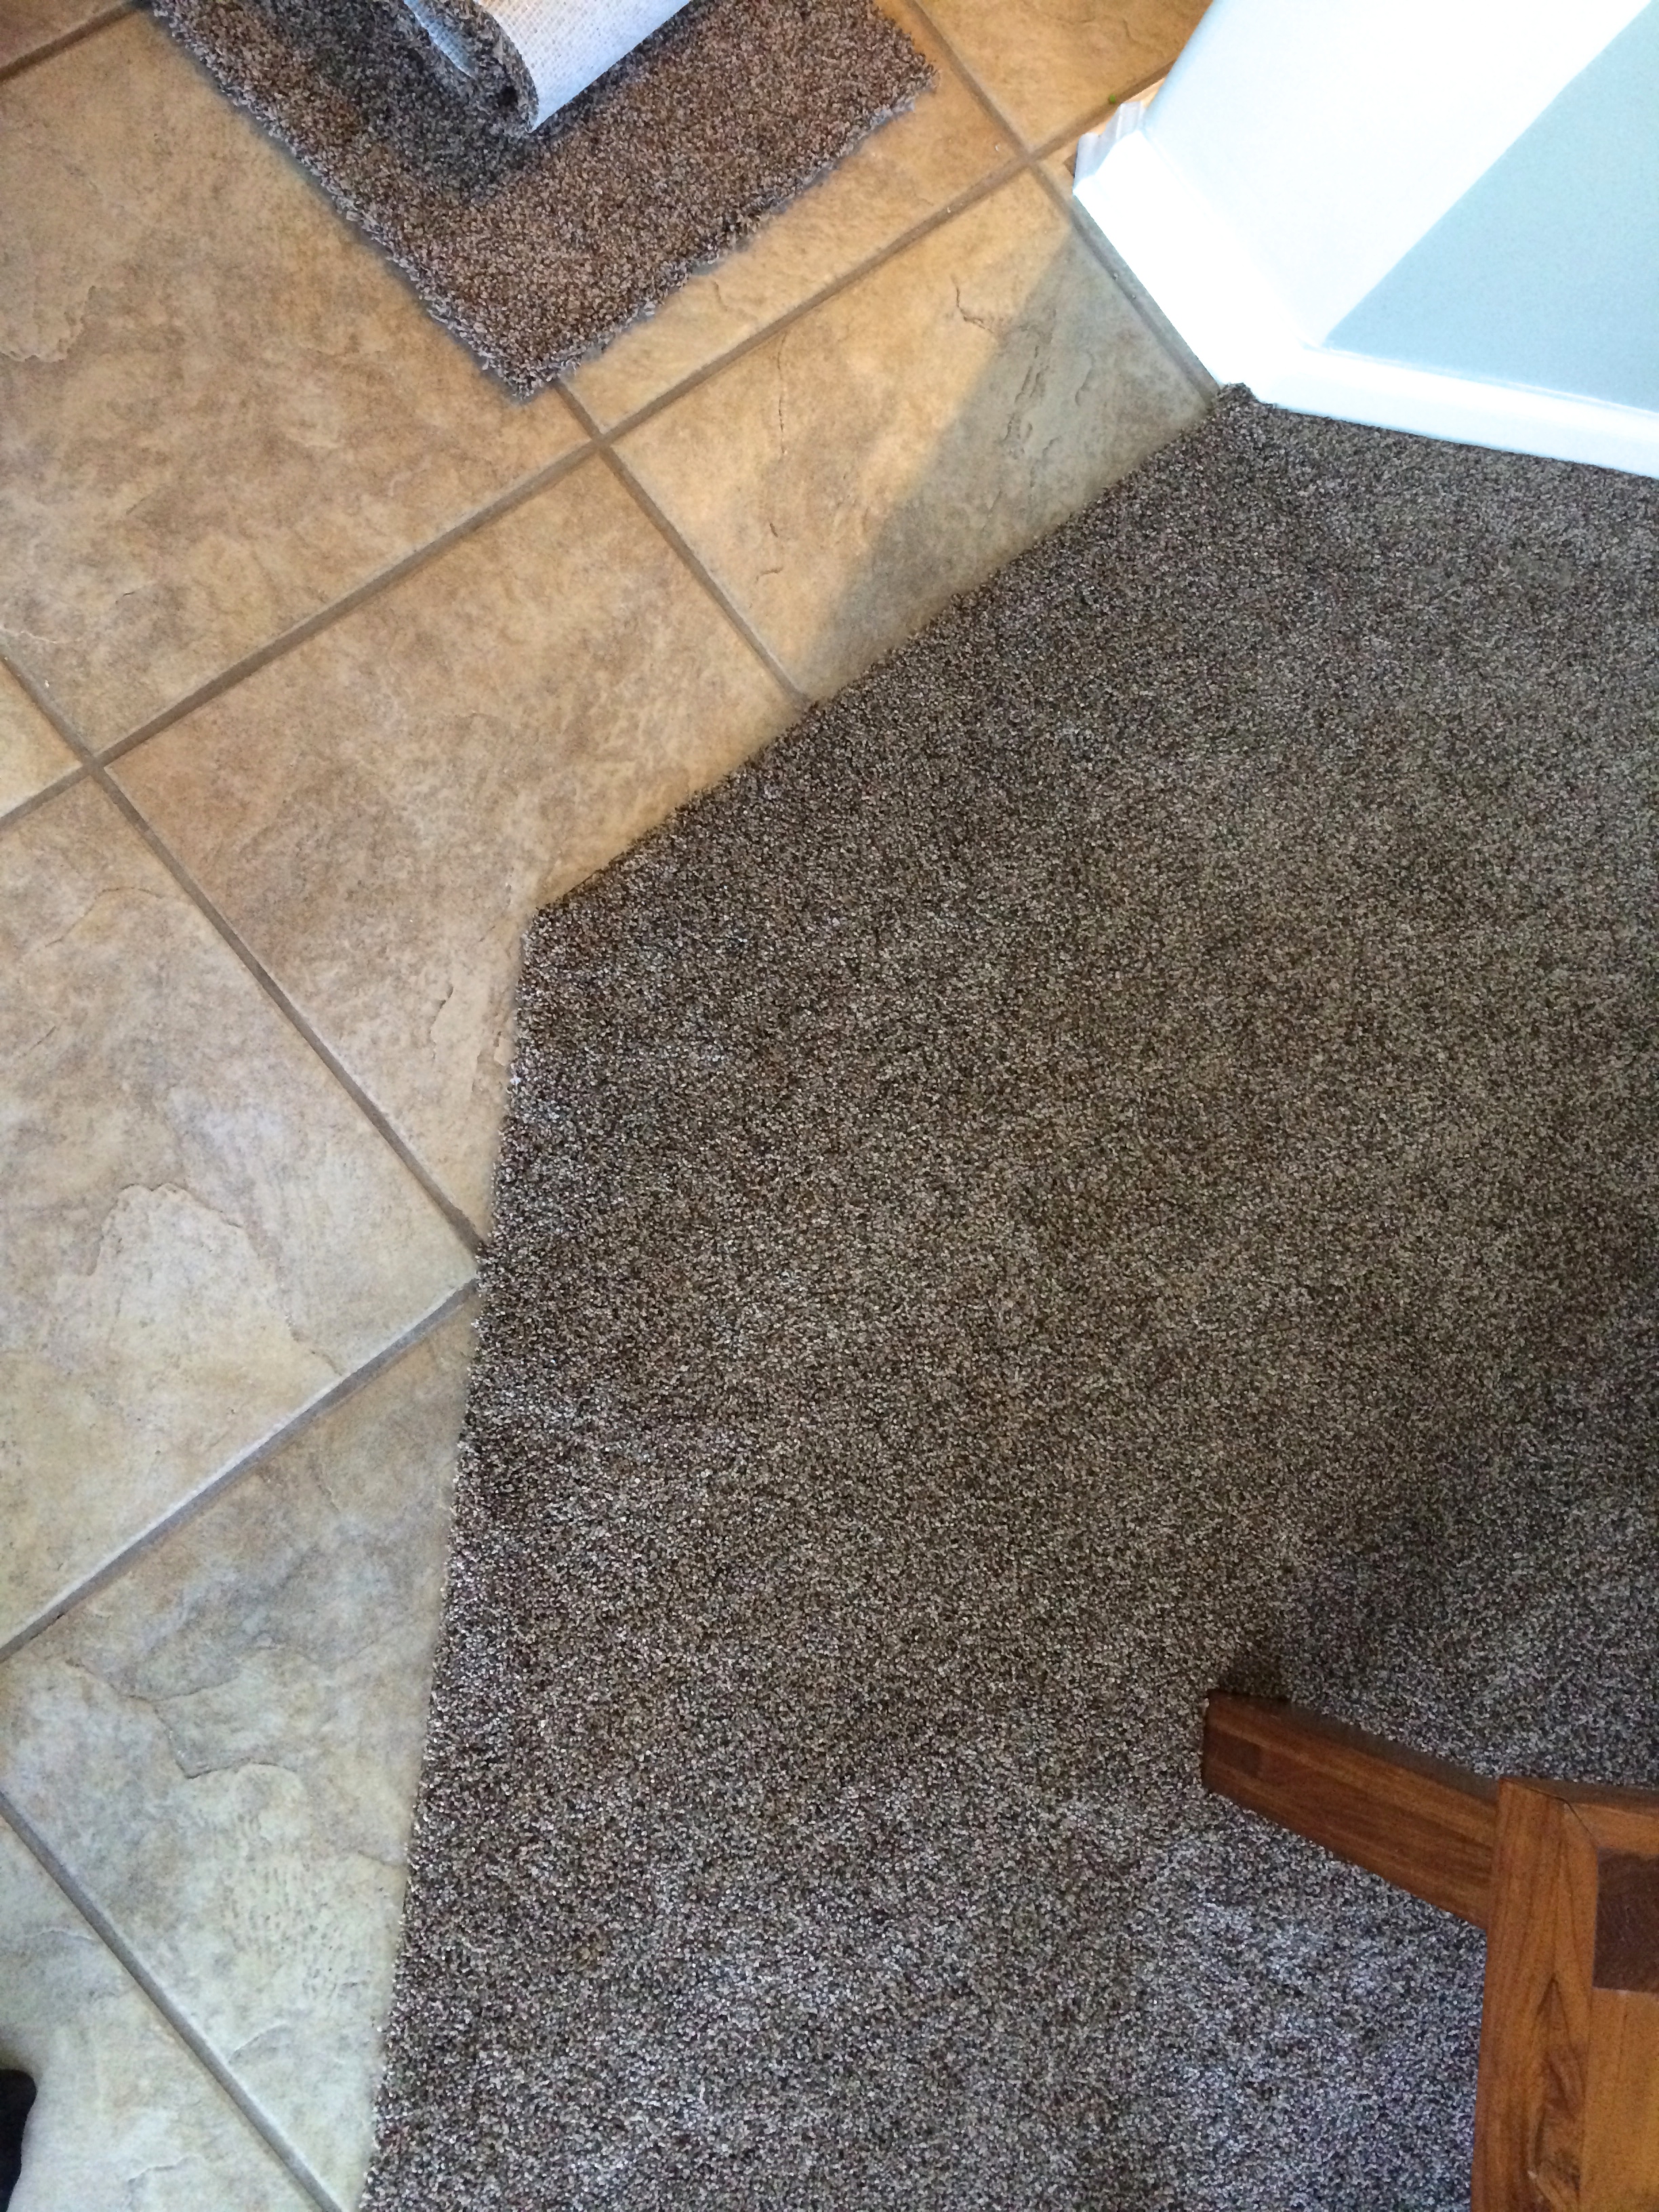
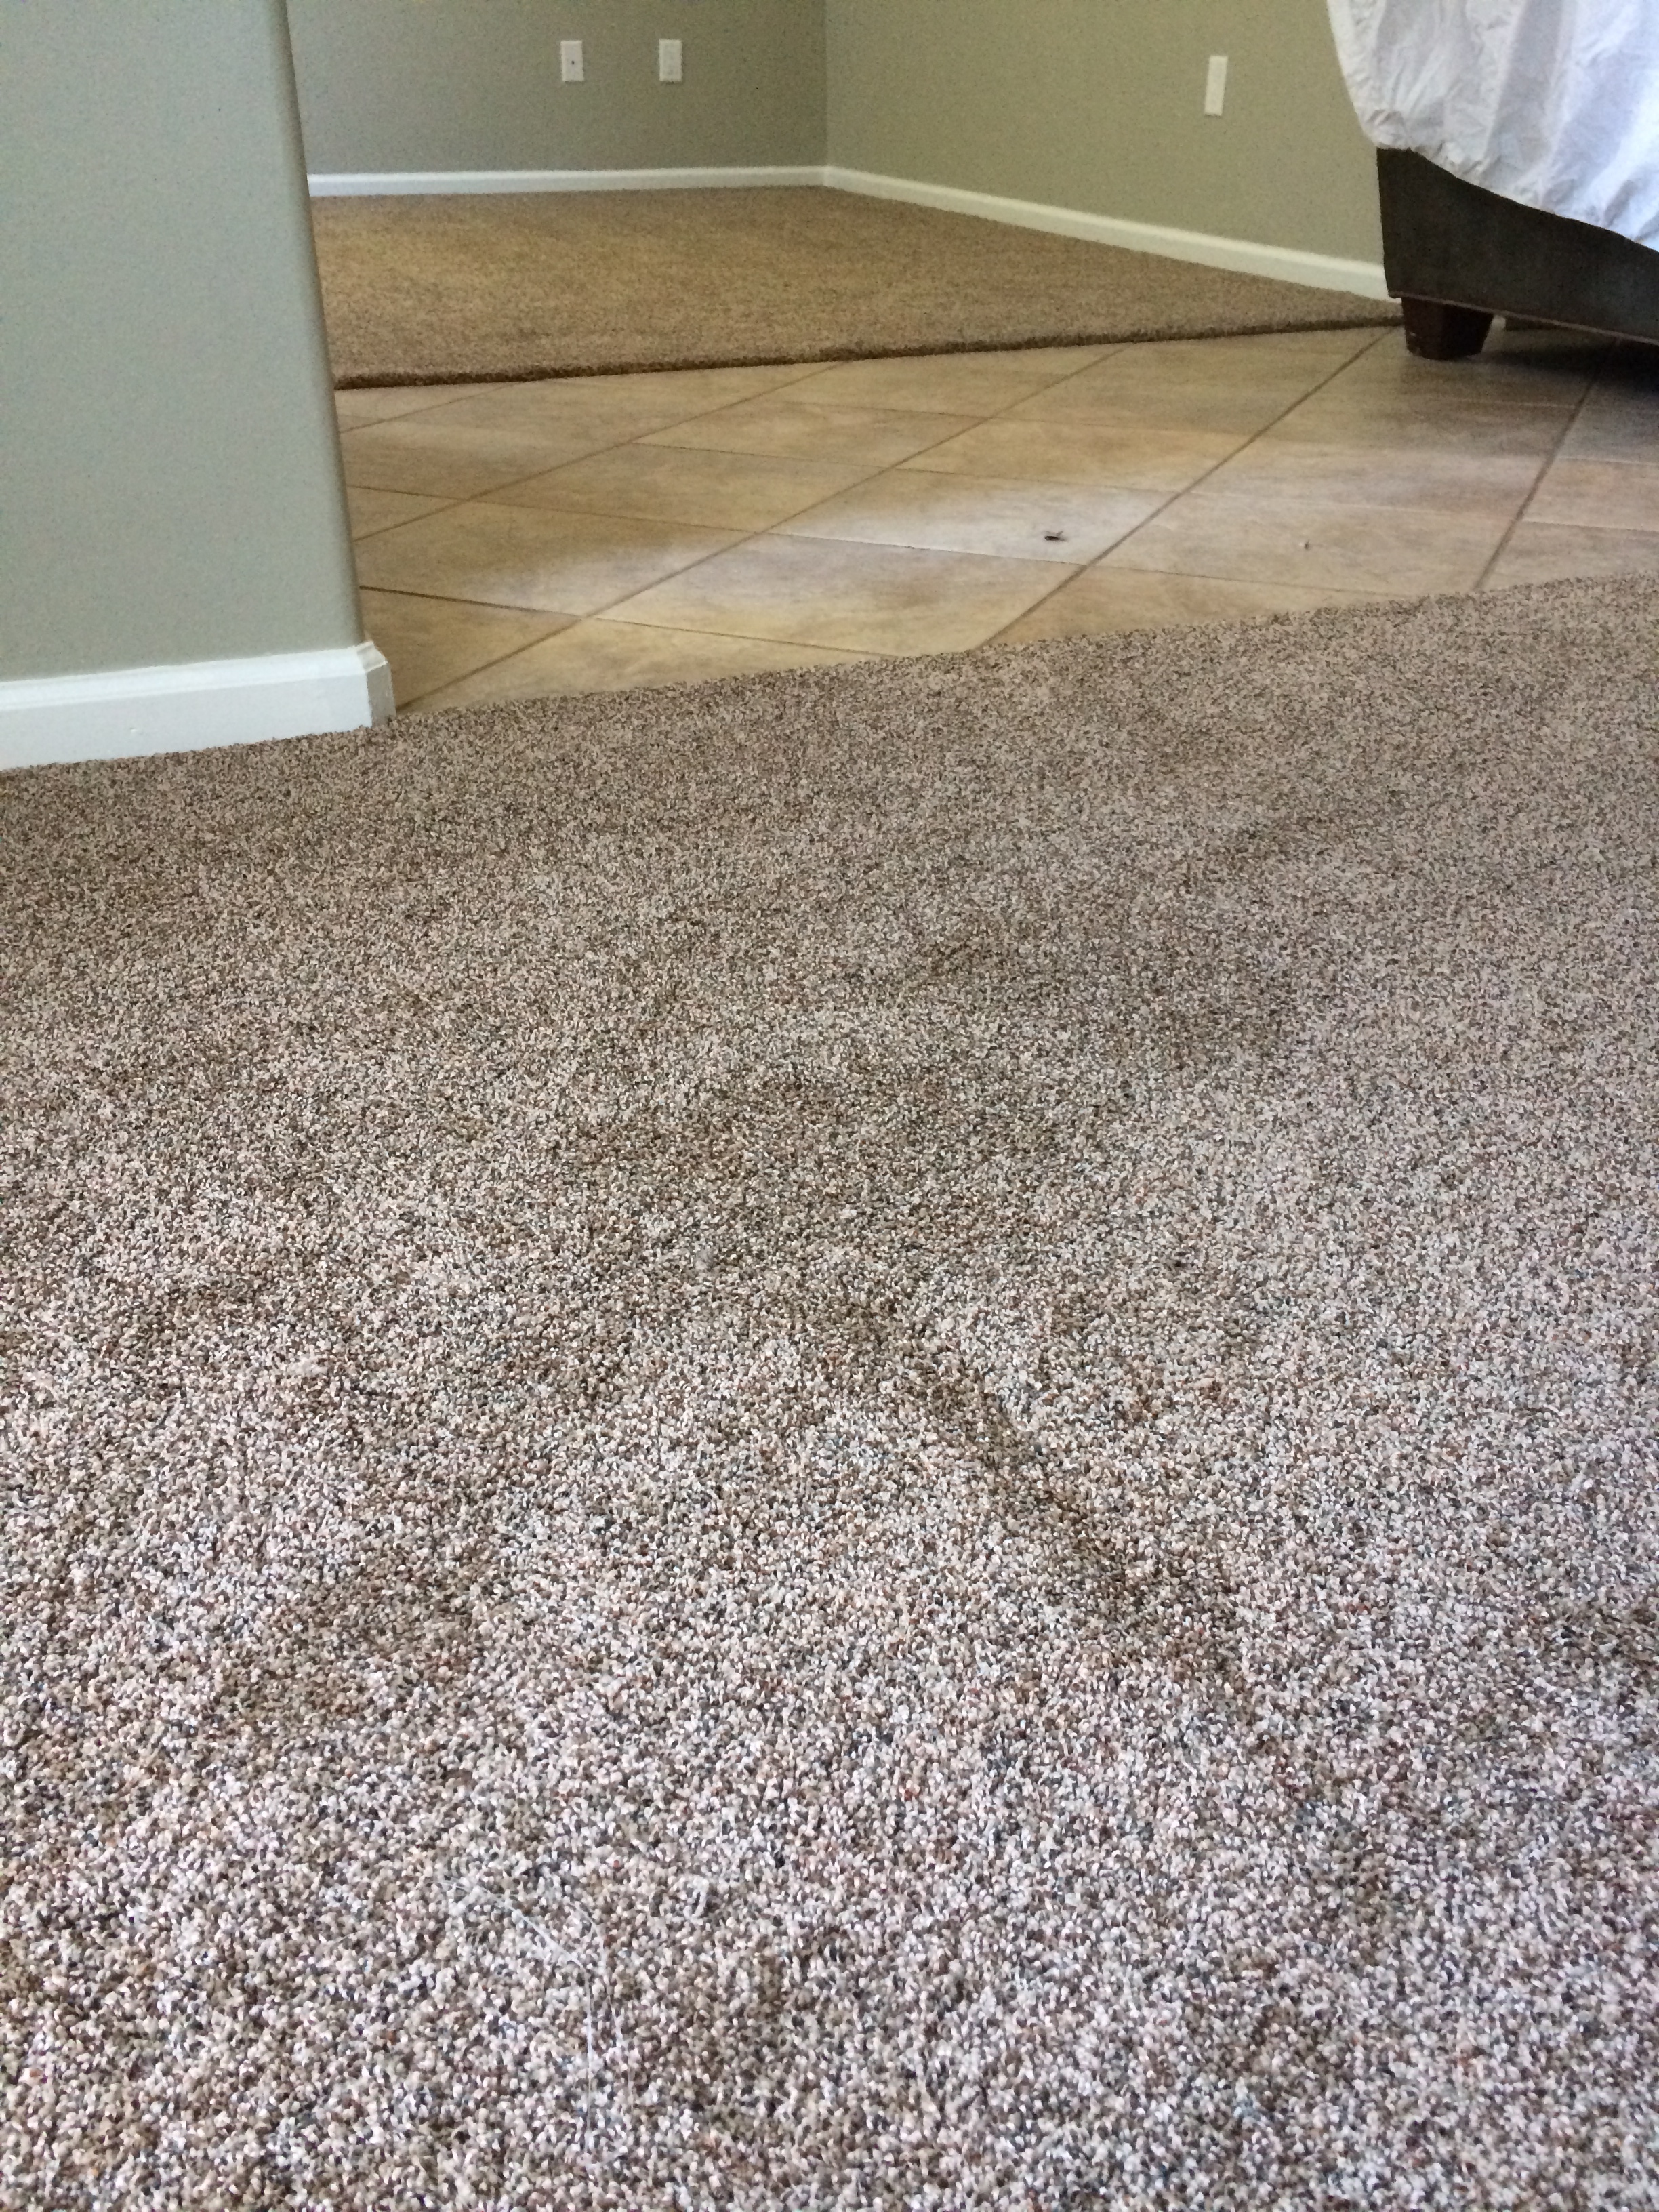
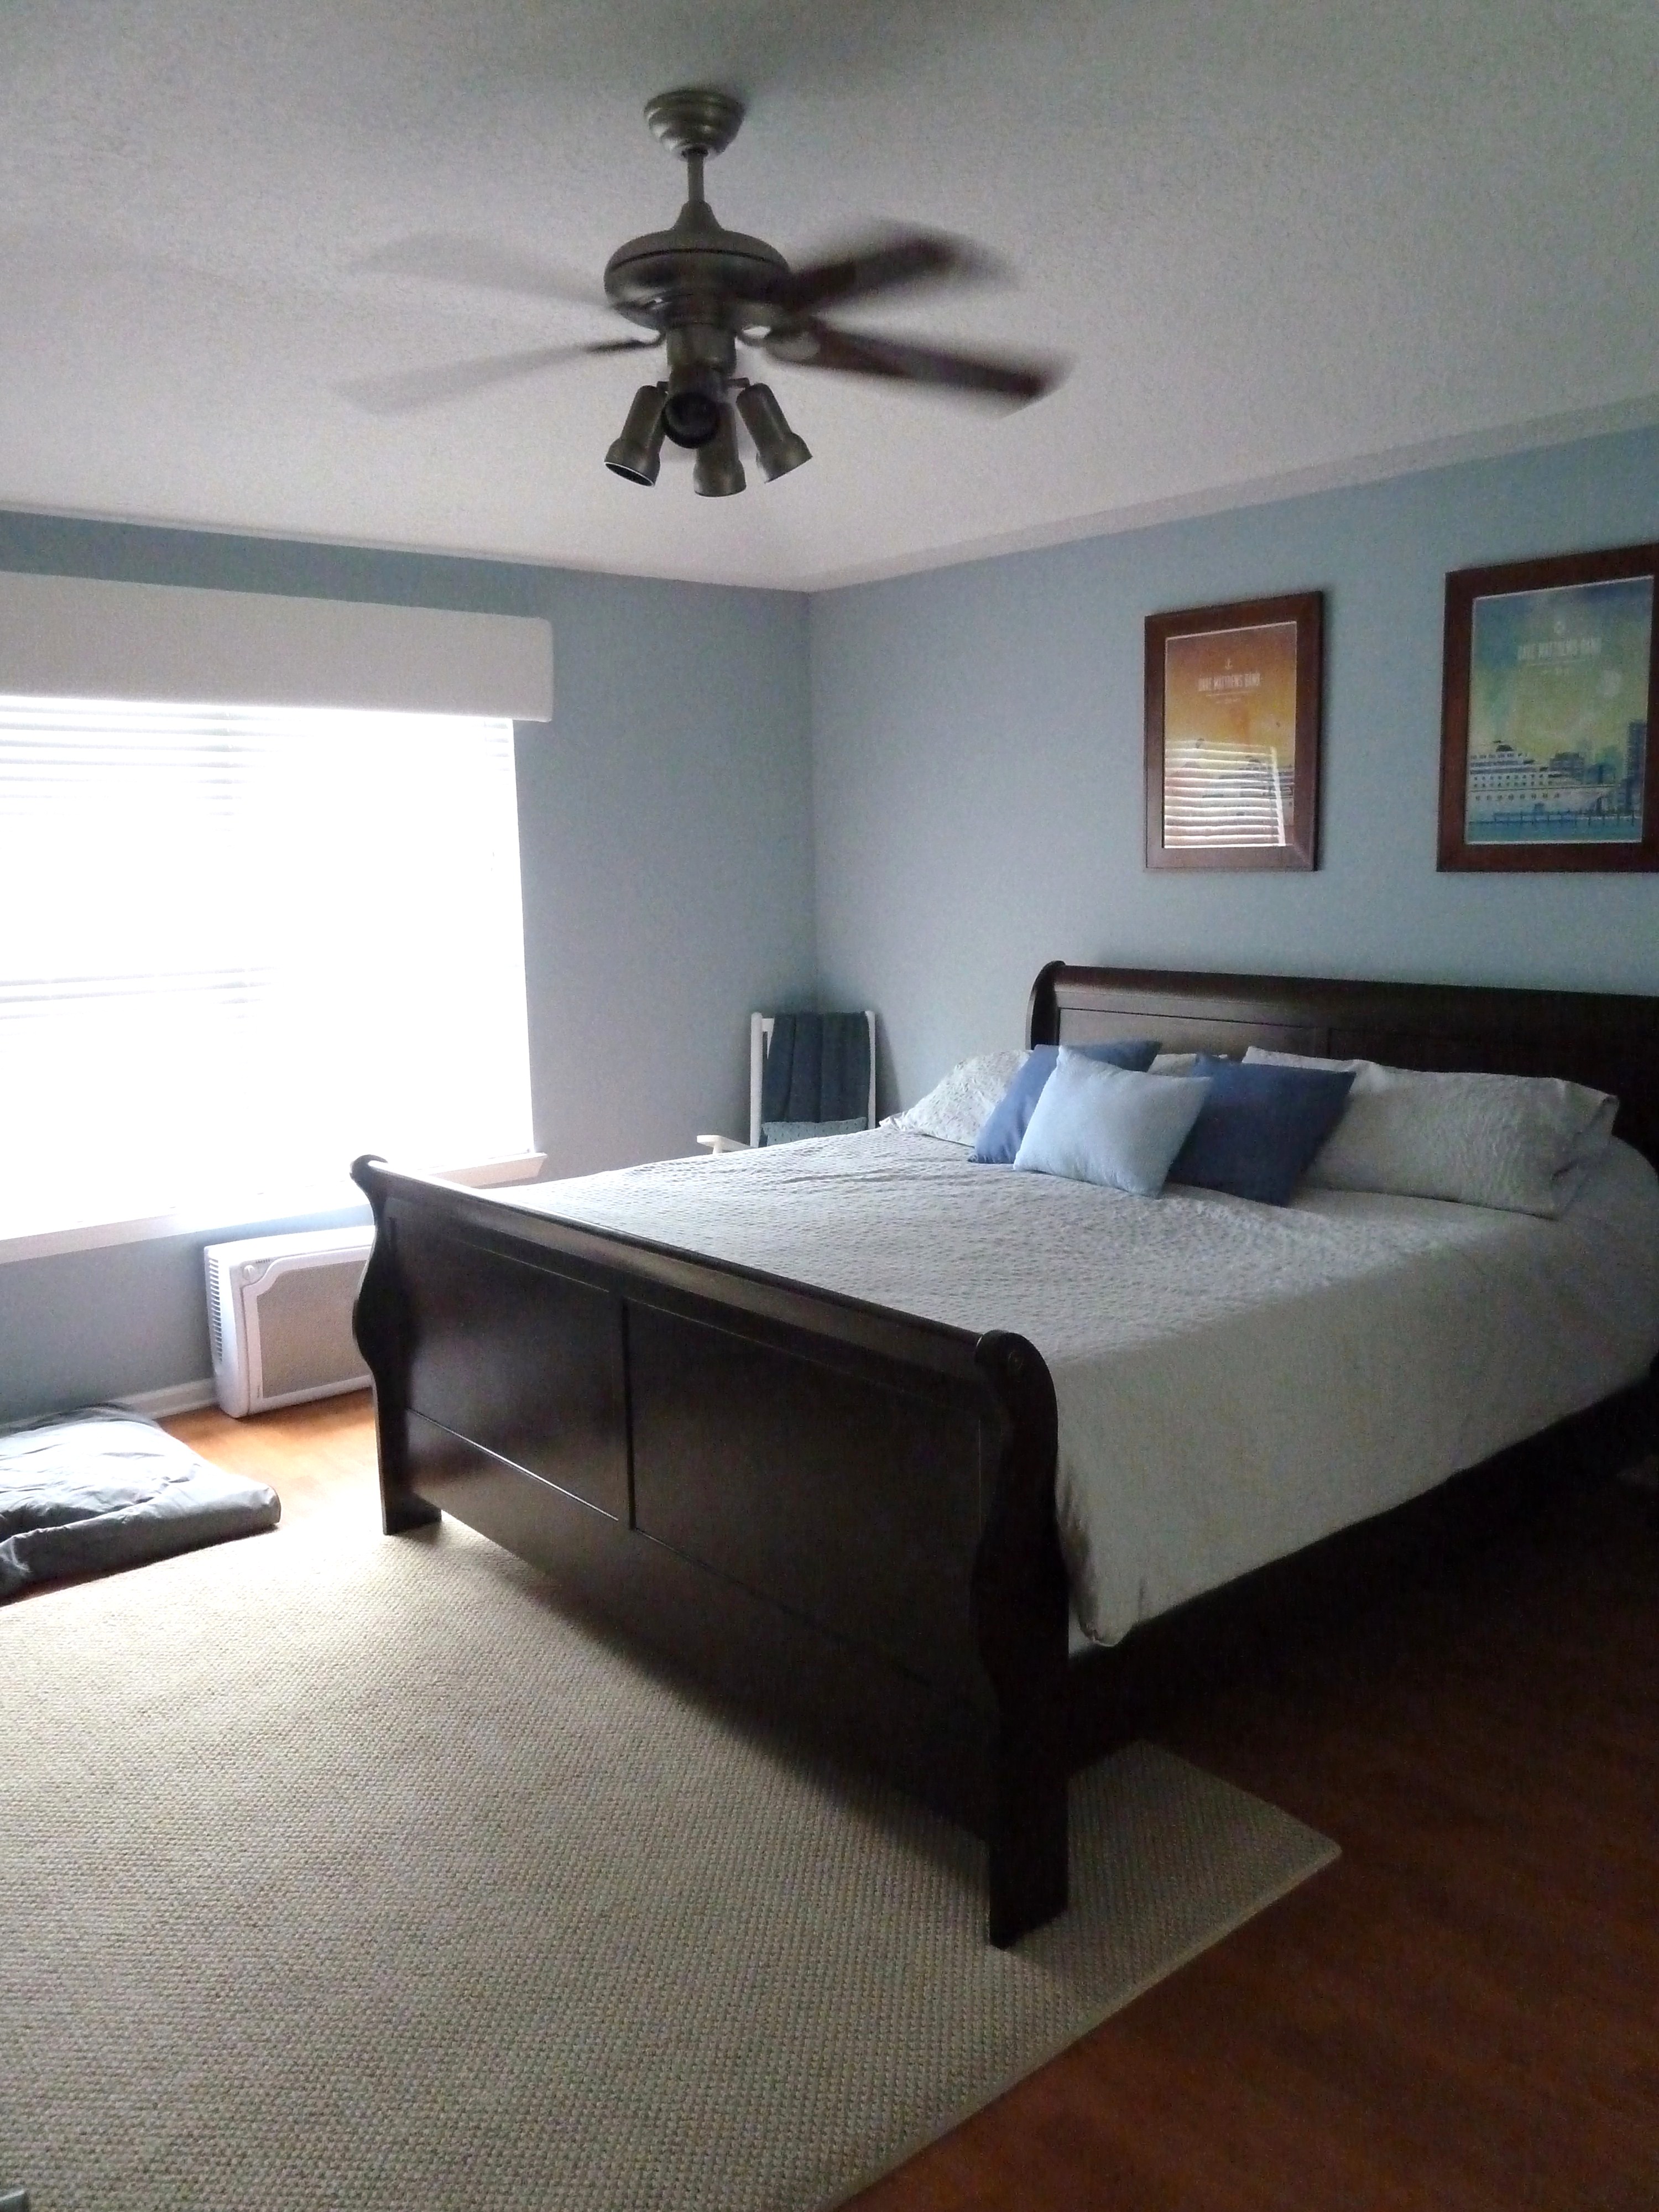
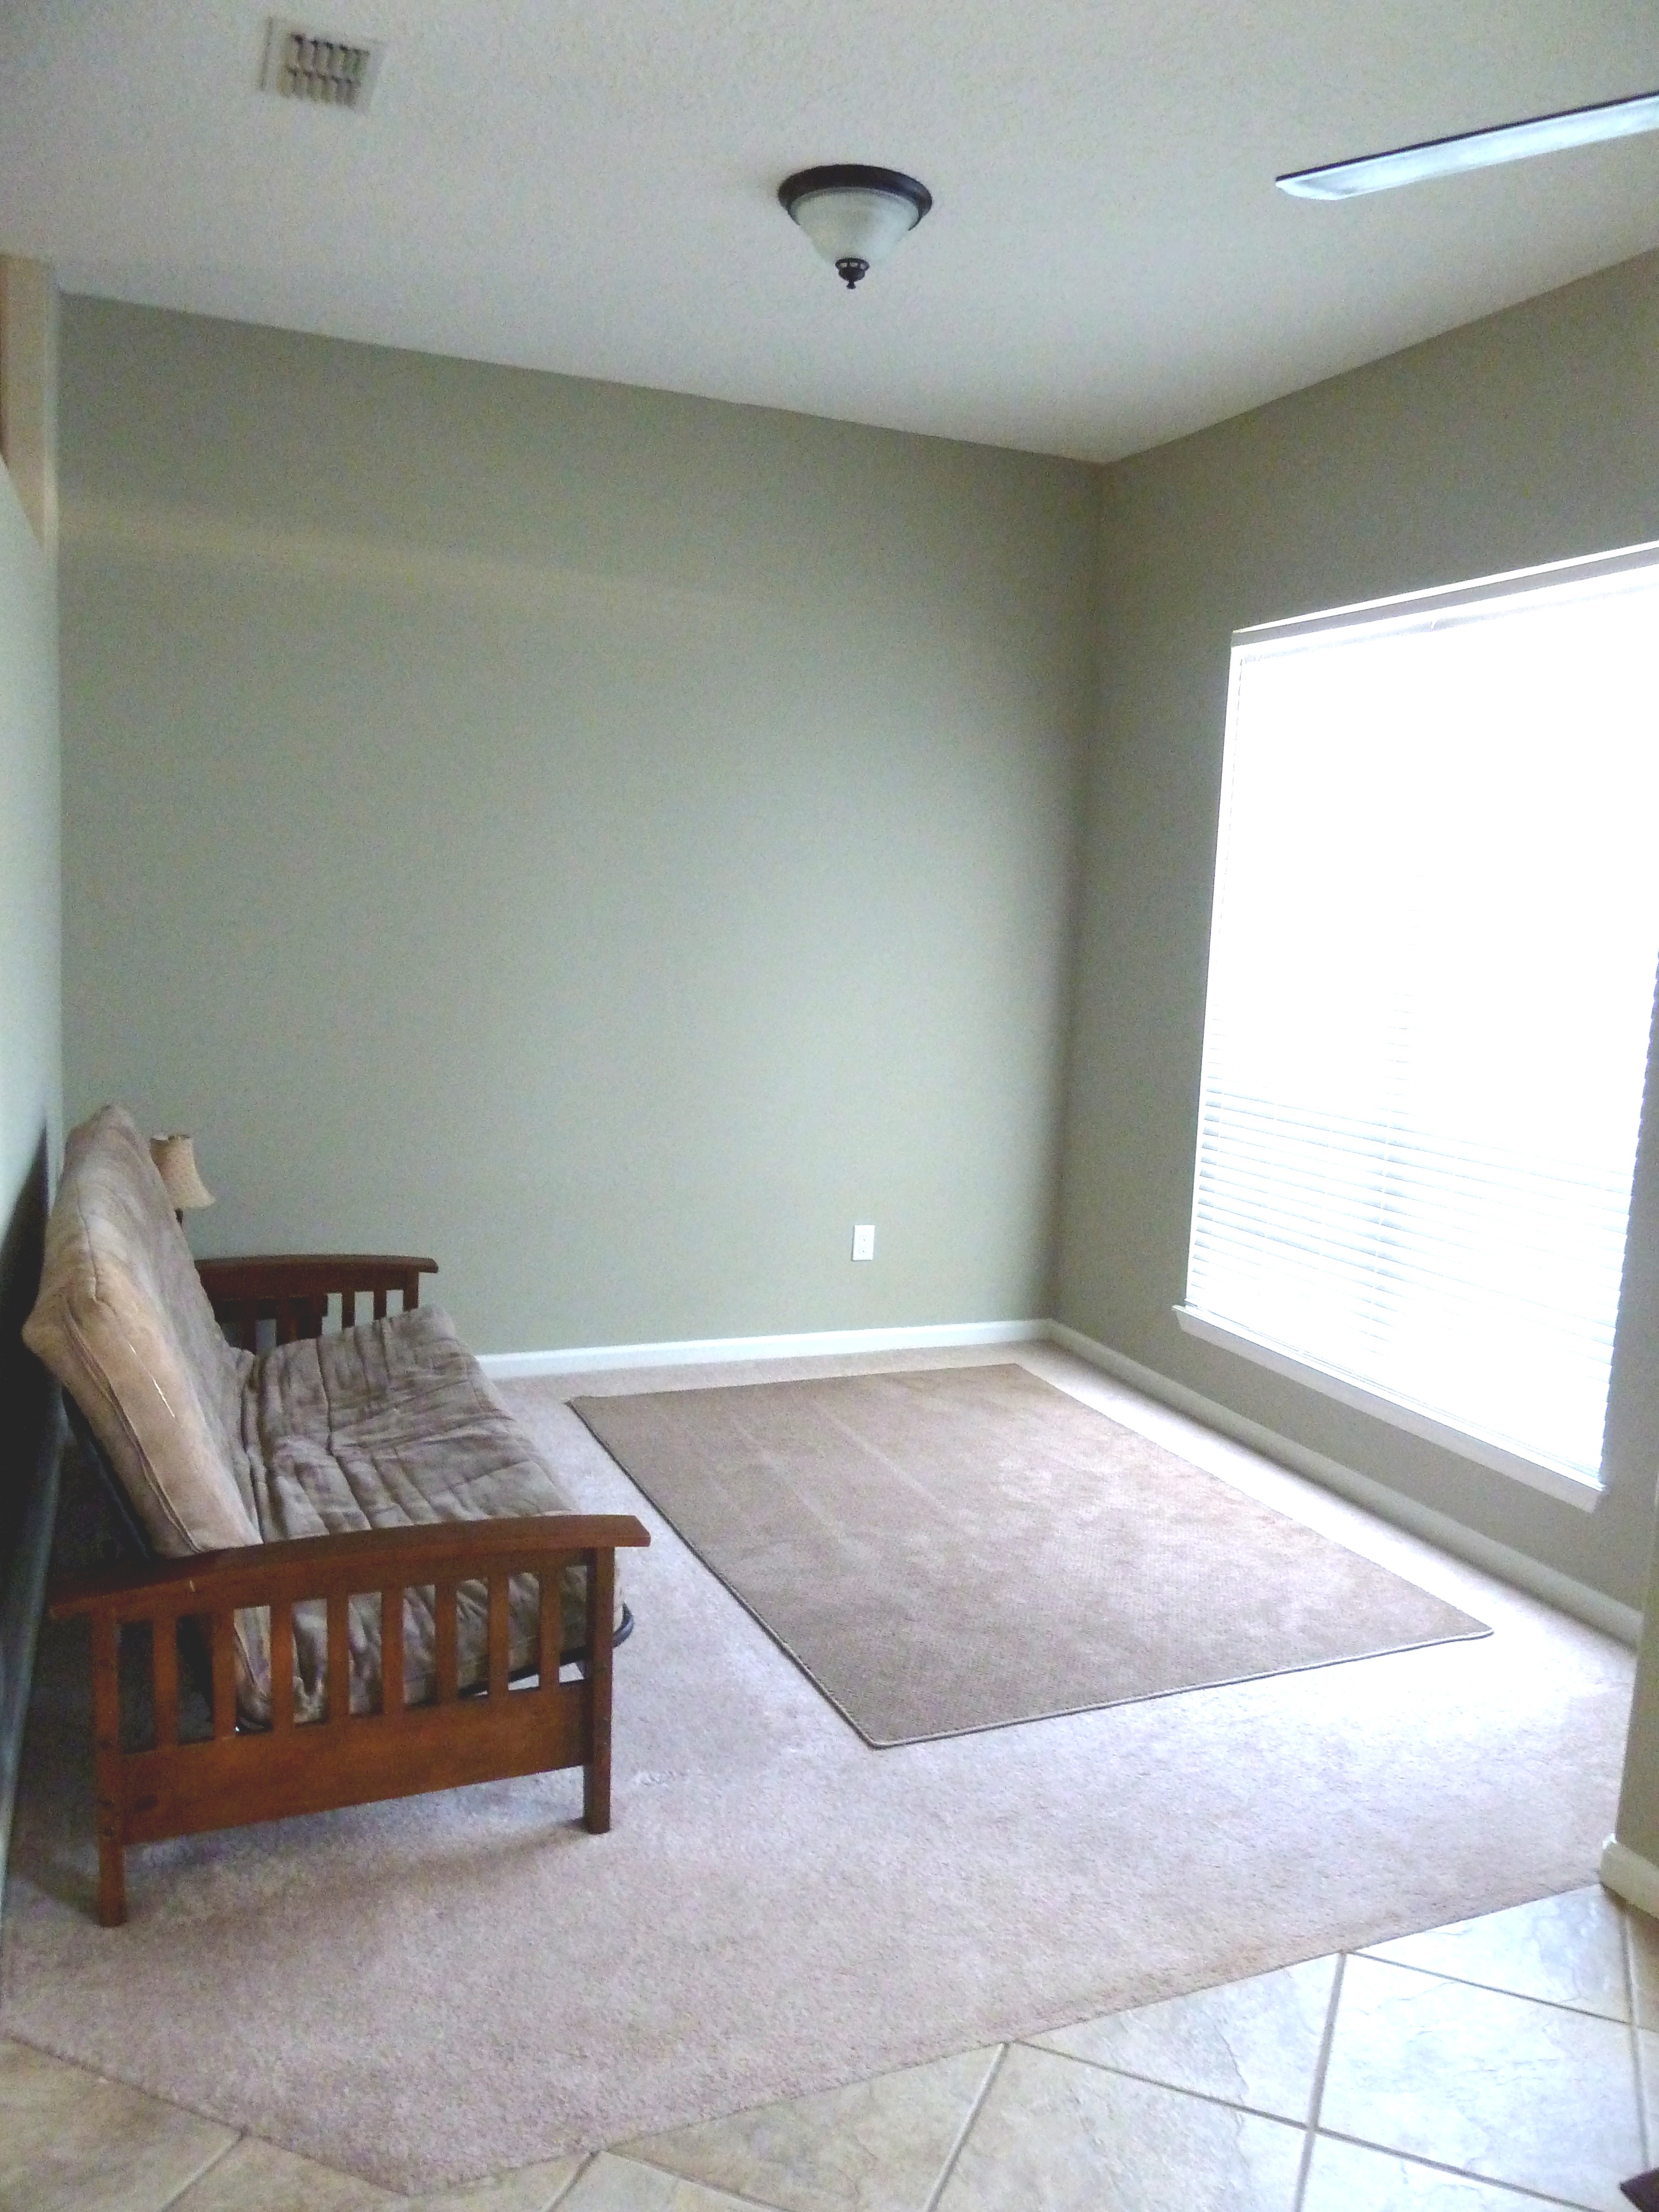
Look at that fresh carpeting, I wish you could feel it under your feet!  So nice and comfy.  We decided to go with a tucking method next to the tile.  This way we didn’t have any seam covering, like the metal or wood ones that you see in some homes.

New carpet

Lowes New carpet

I can’t even tell you how happy I am that we did not go with the darker color.  This carpet is pretty dark itself and I think I would have hated our original choice.  Dodged a bullet there!

Installing new carpet

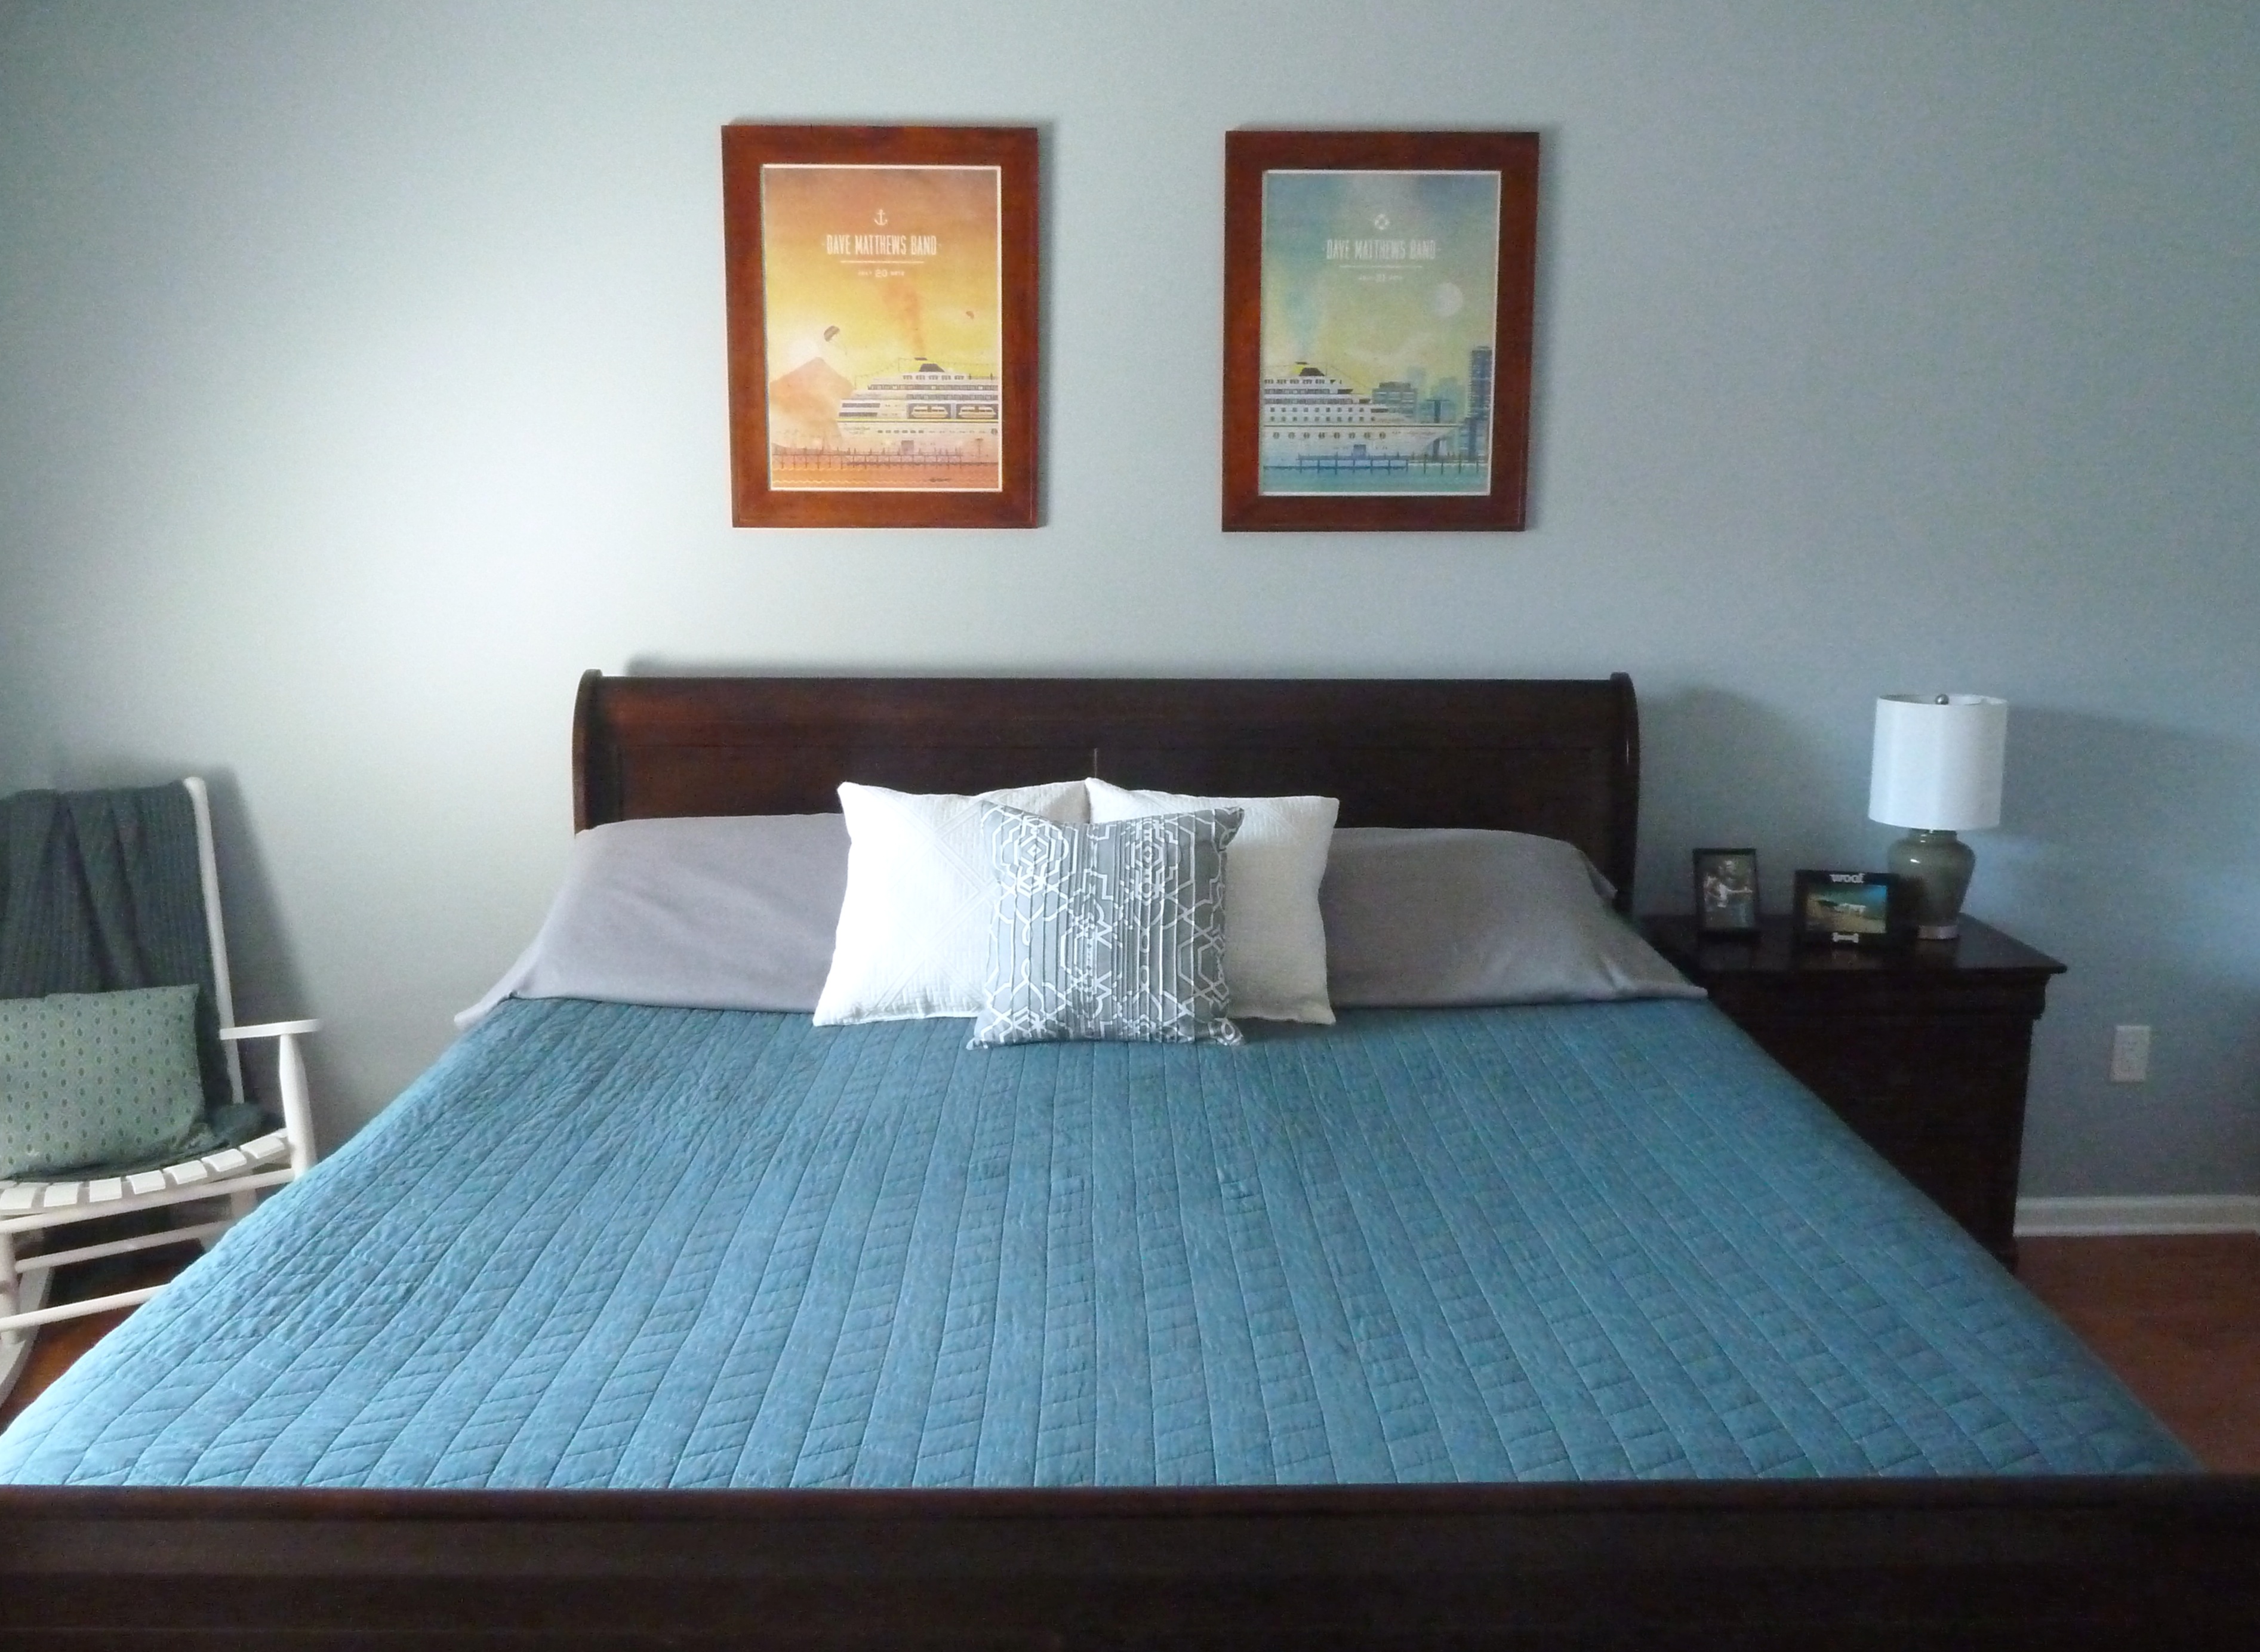
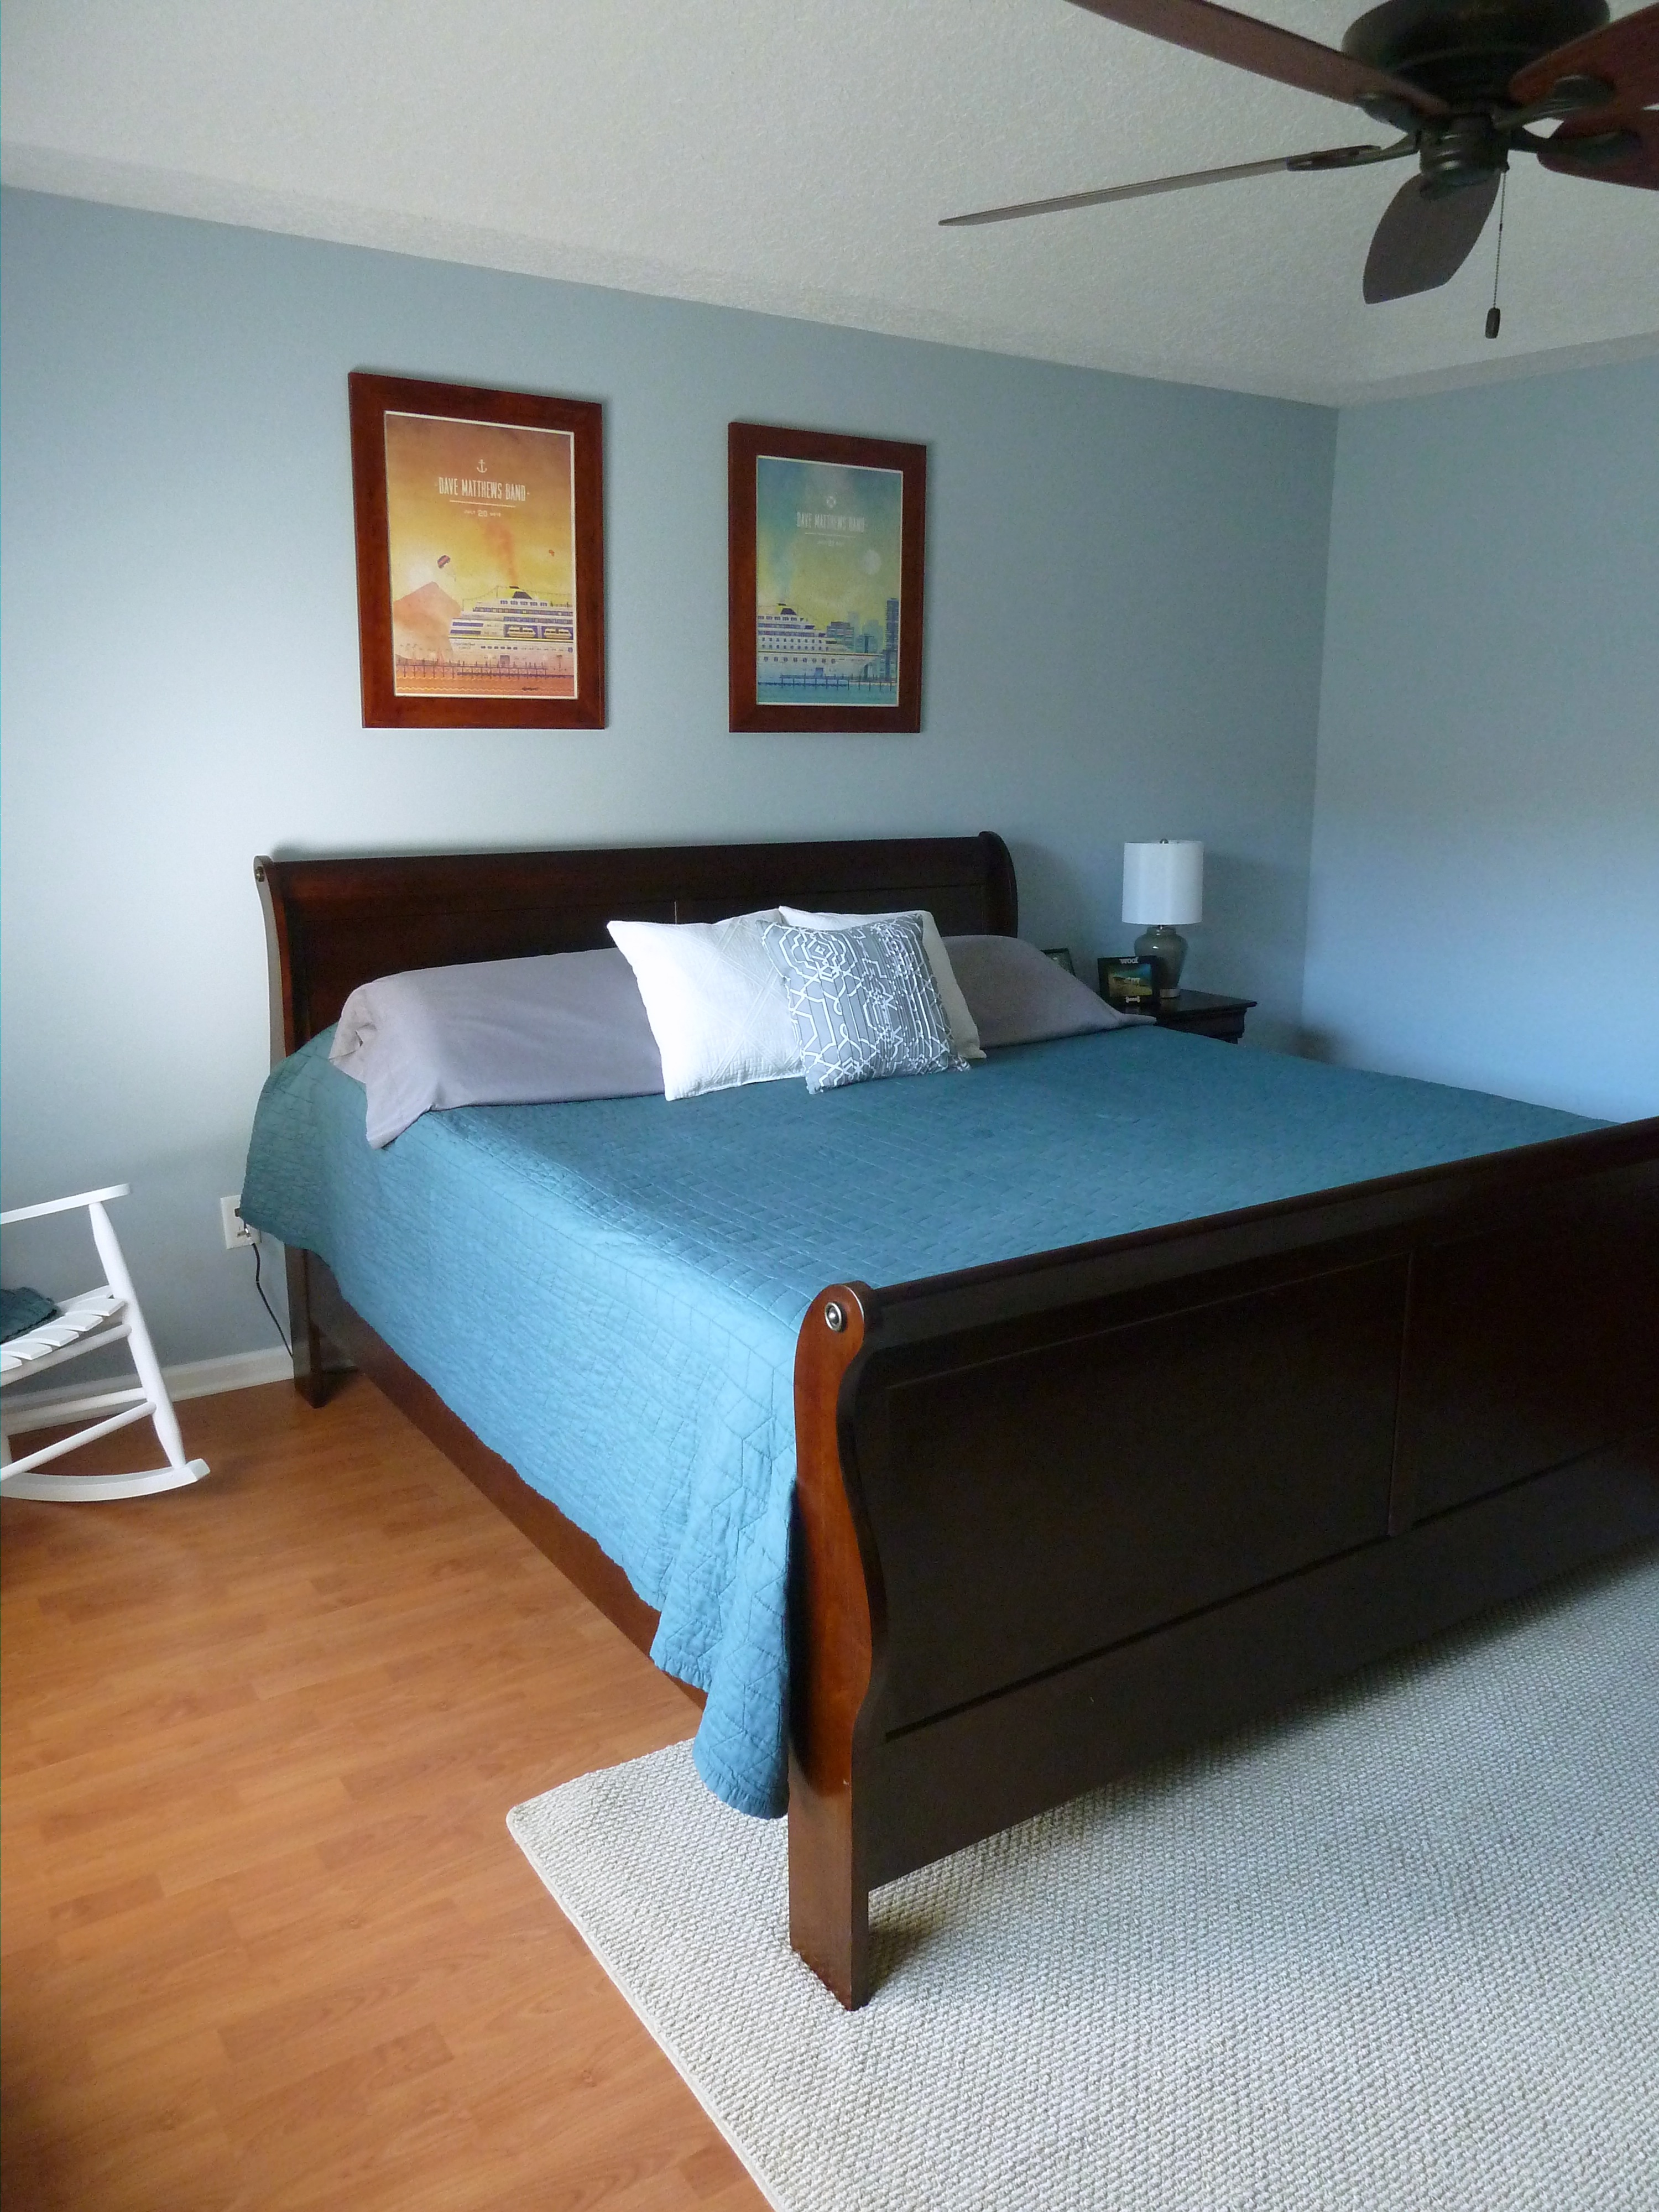
It looks very different in a lot of these photos due to the lighting situation(it’s not the best room for photos.)  The photo above is probably the best representation of the true color.

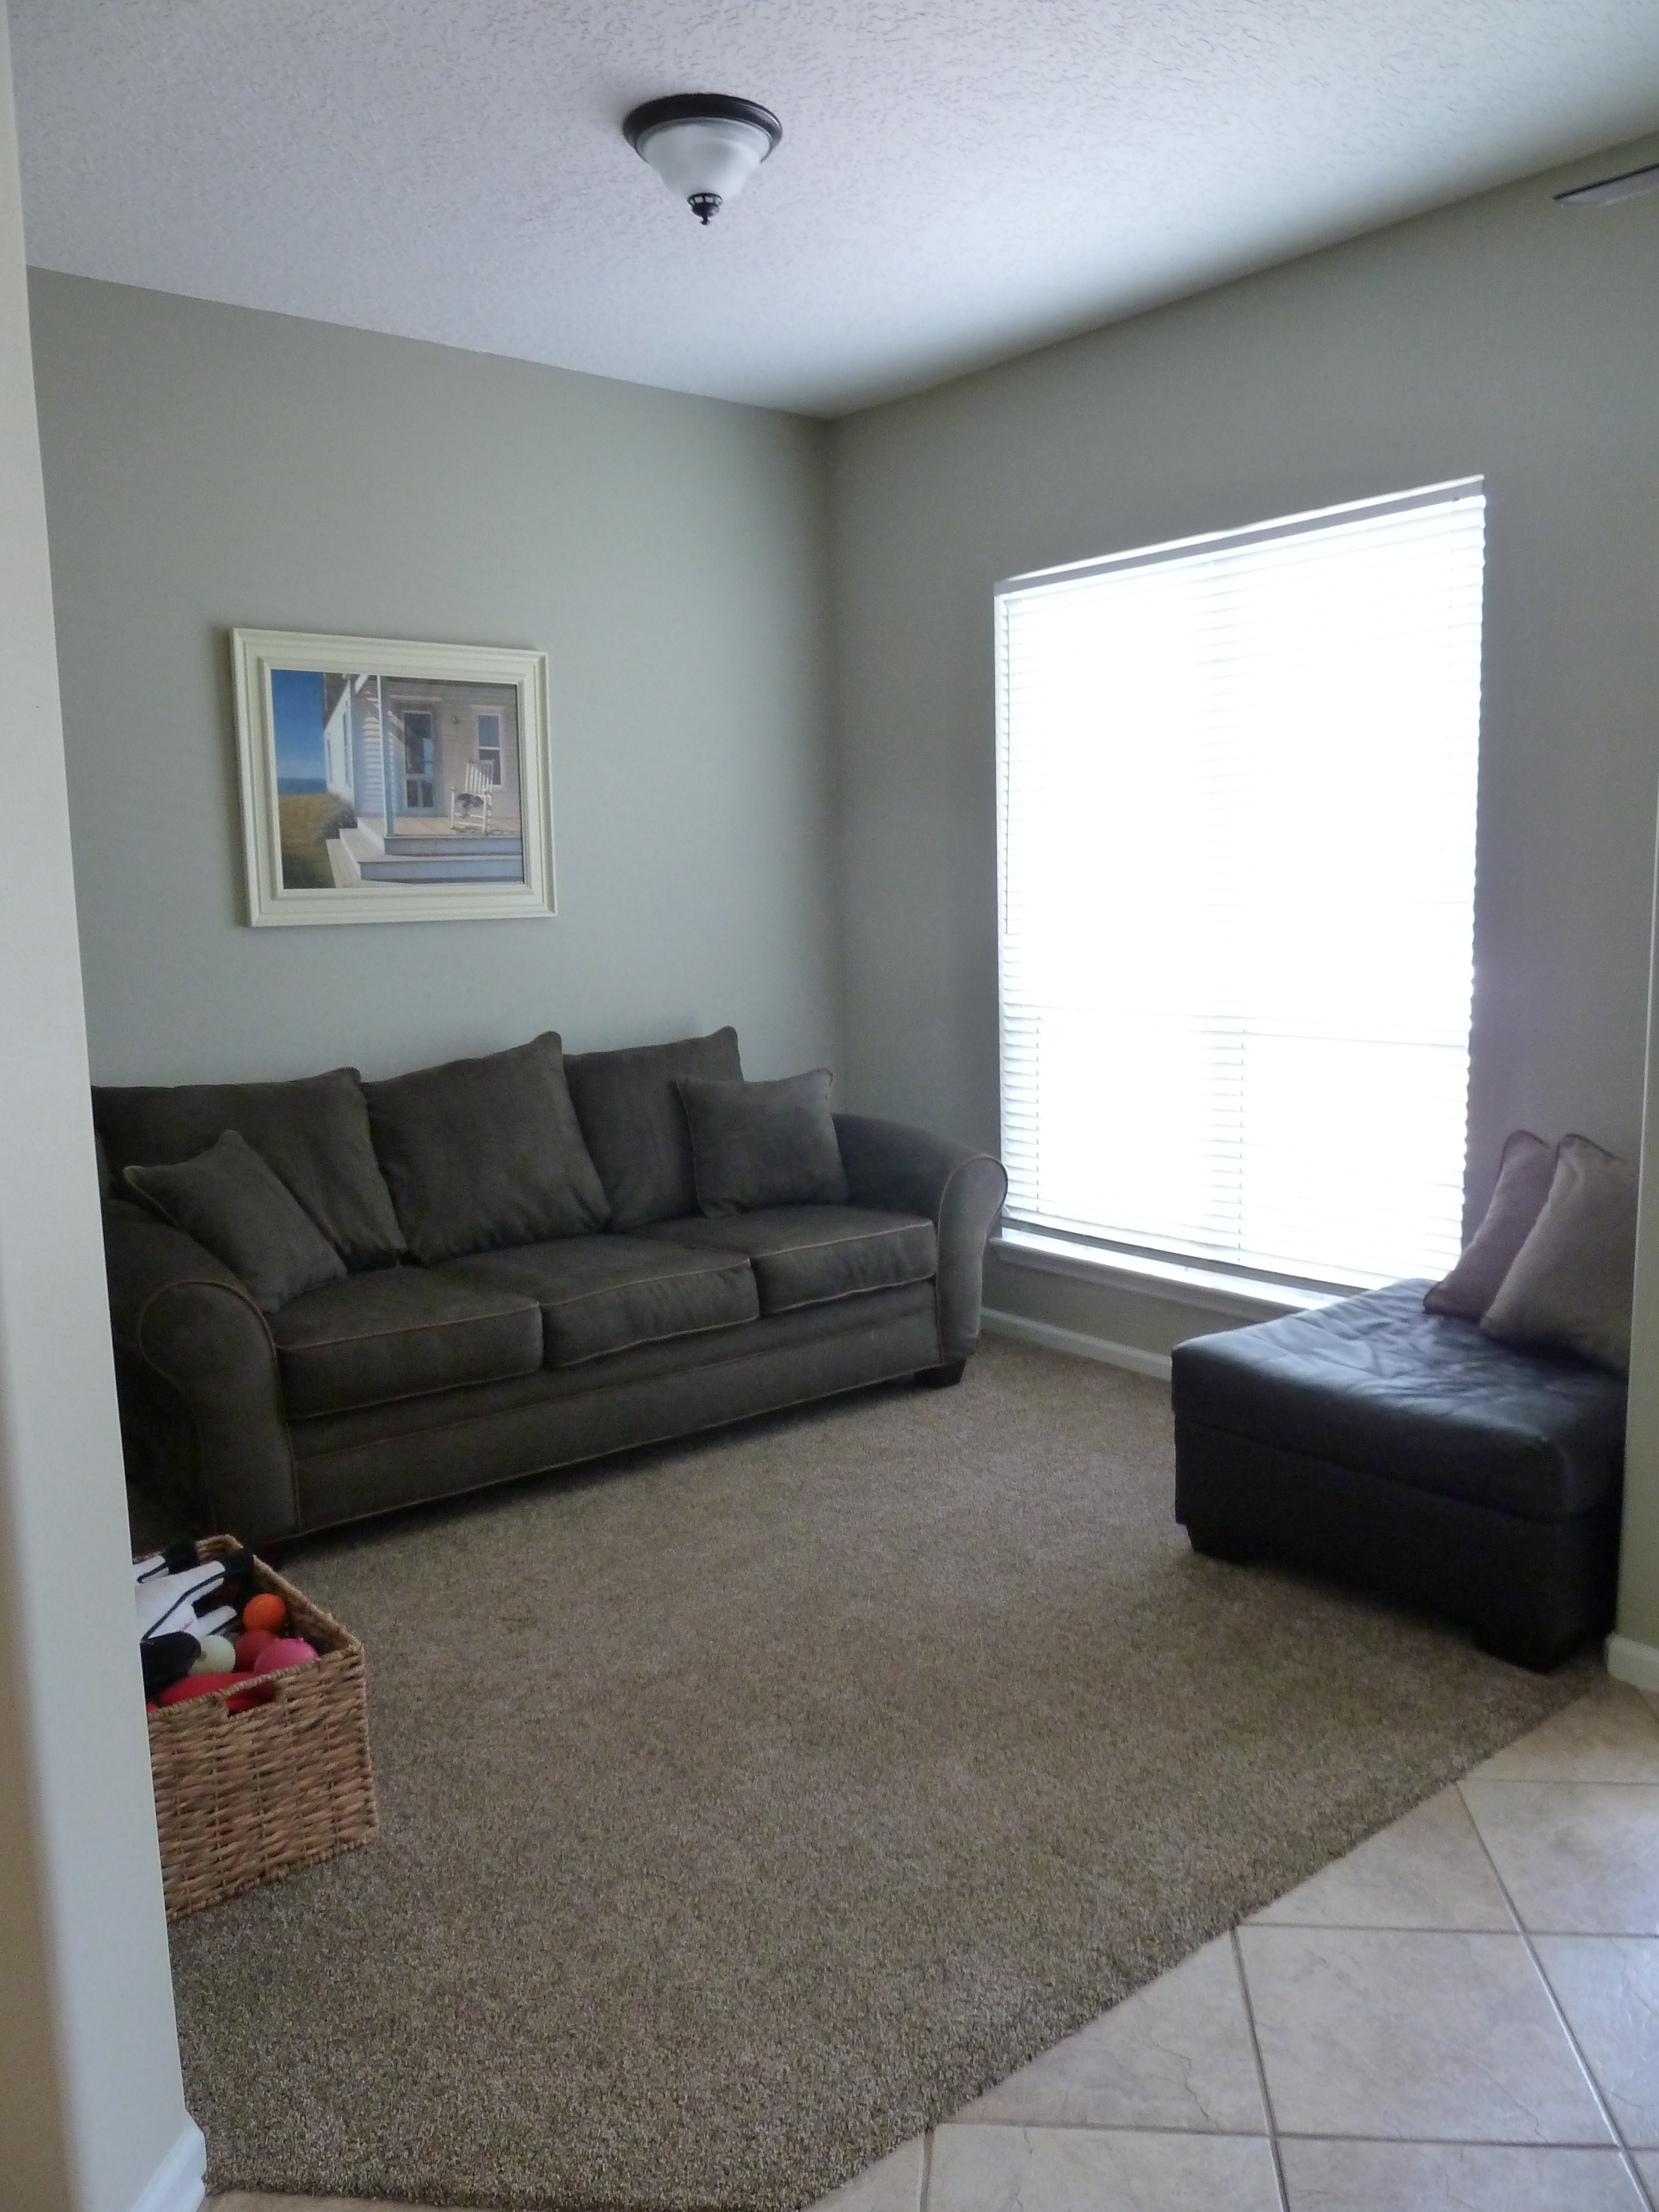
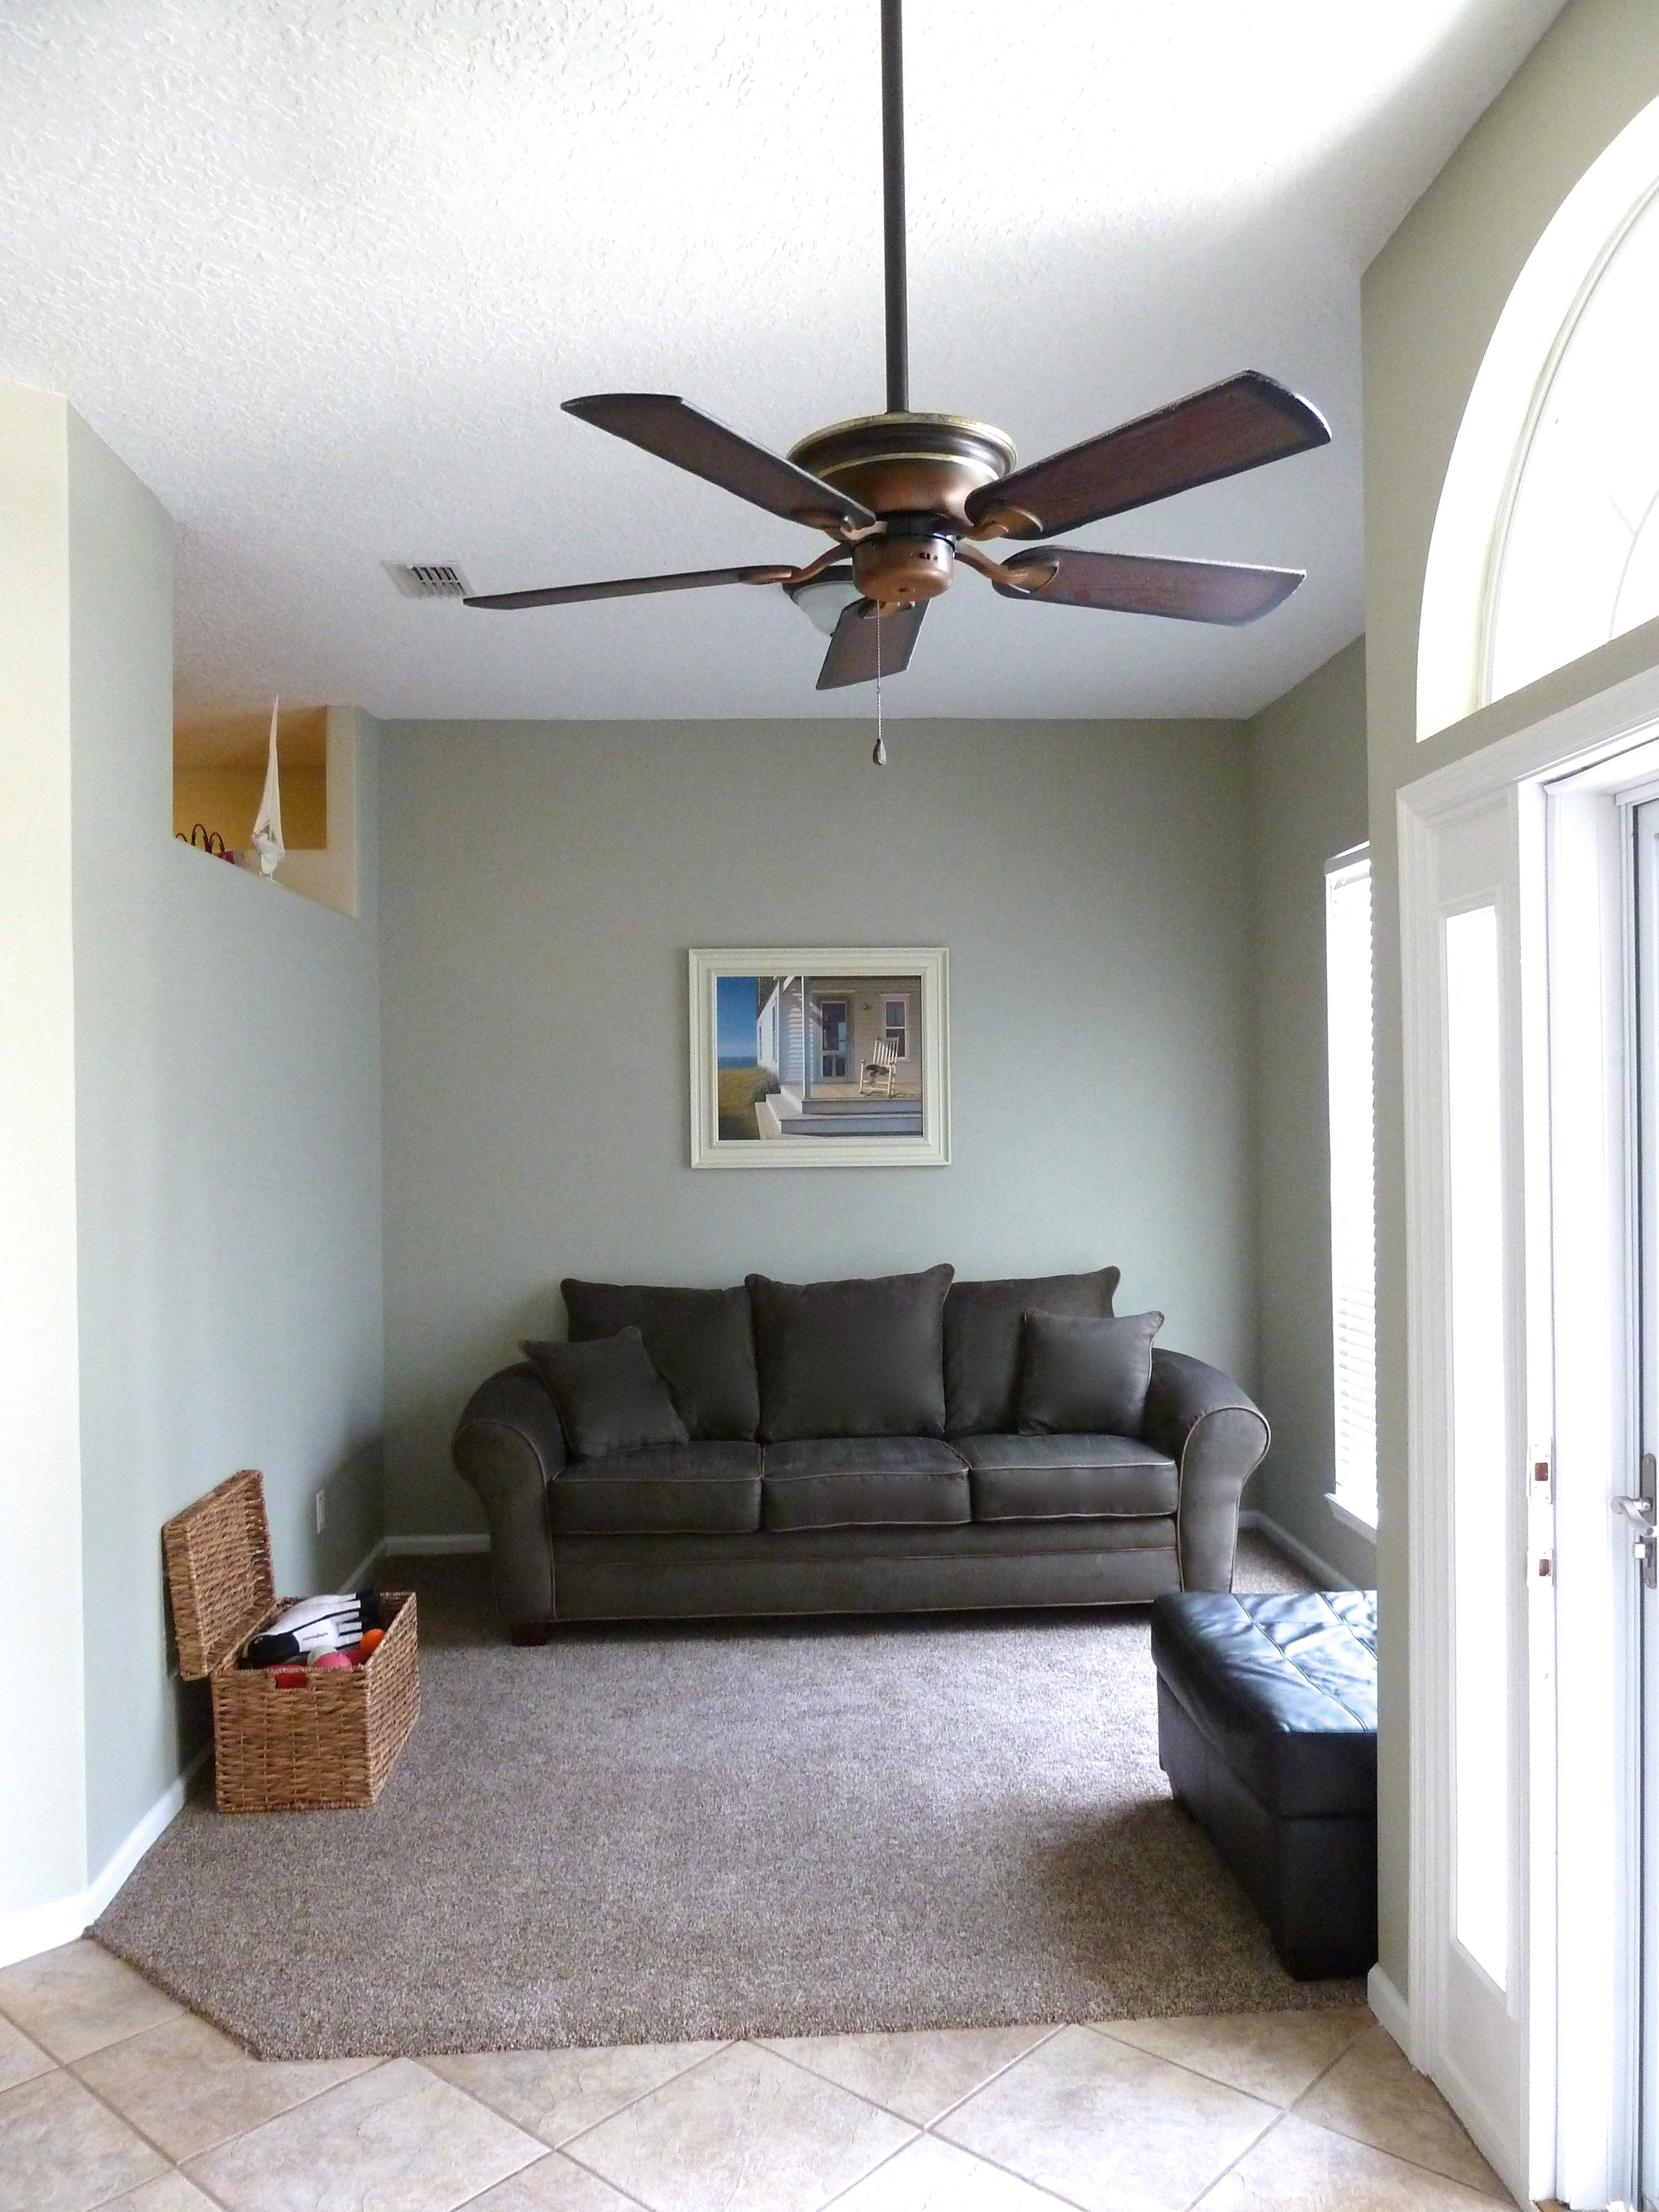
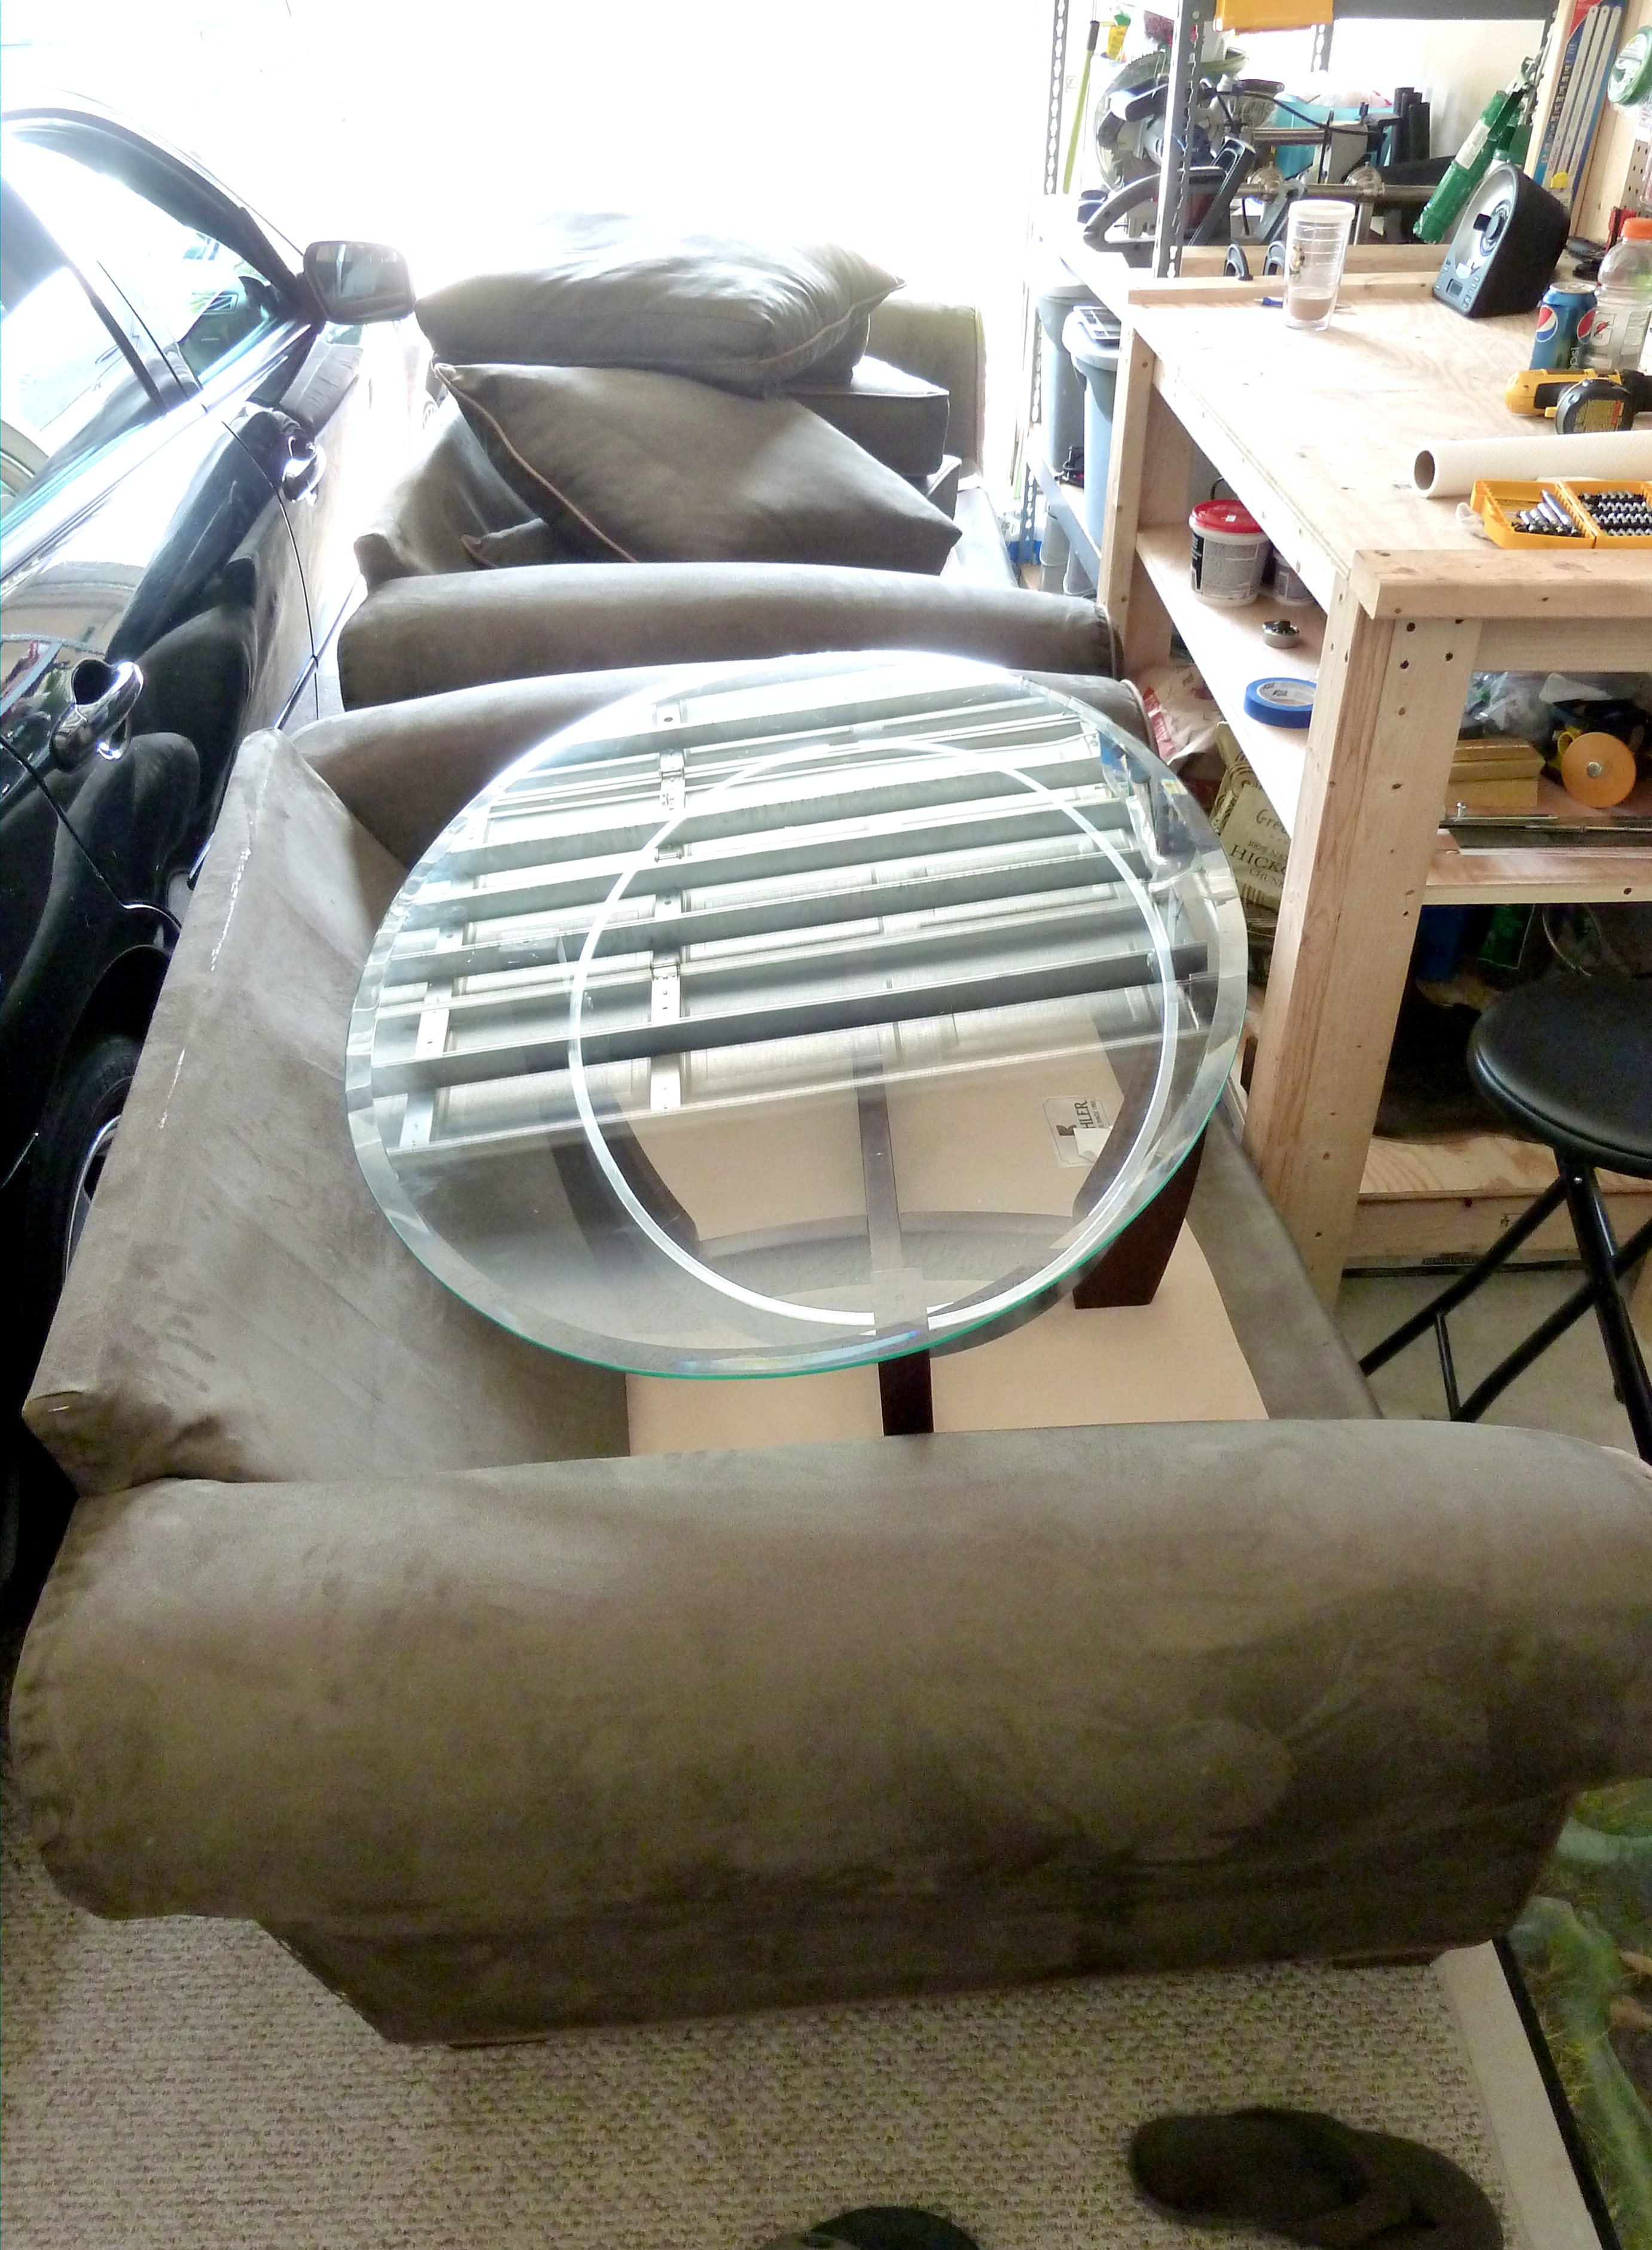
When we put our furniture back we decided to go with a different arrangement.  We felt a little cramped with our previous set up, this somehow makes it feel more open.

new brown carpet

You may have also noticed that the art that used to be above our living room couch is now hanging out here.  I thought it popped a bit more on the green walls, it use to blend so much with the walls in the living room…

tan living room high ceilings

See how much the frame blended right into the paint color?  I think it’s much happier out here…

sage green walls

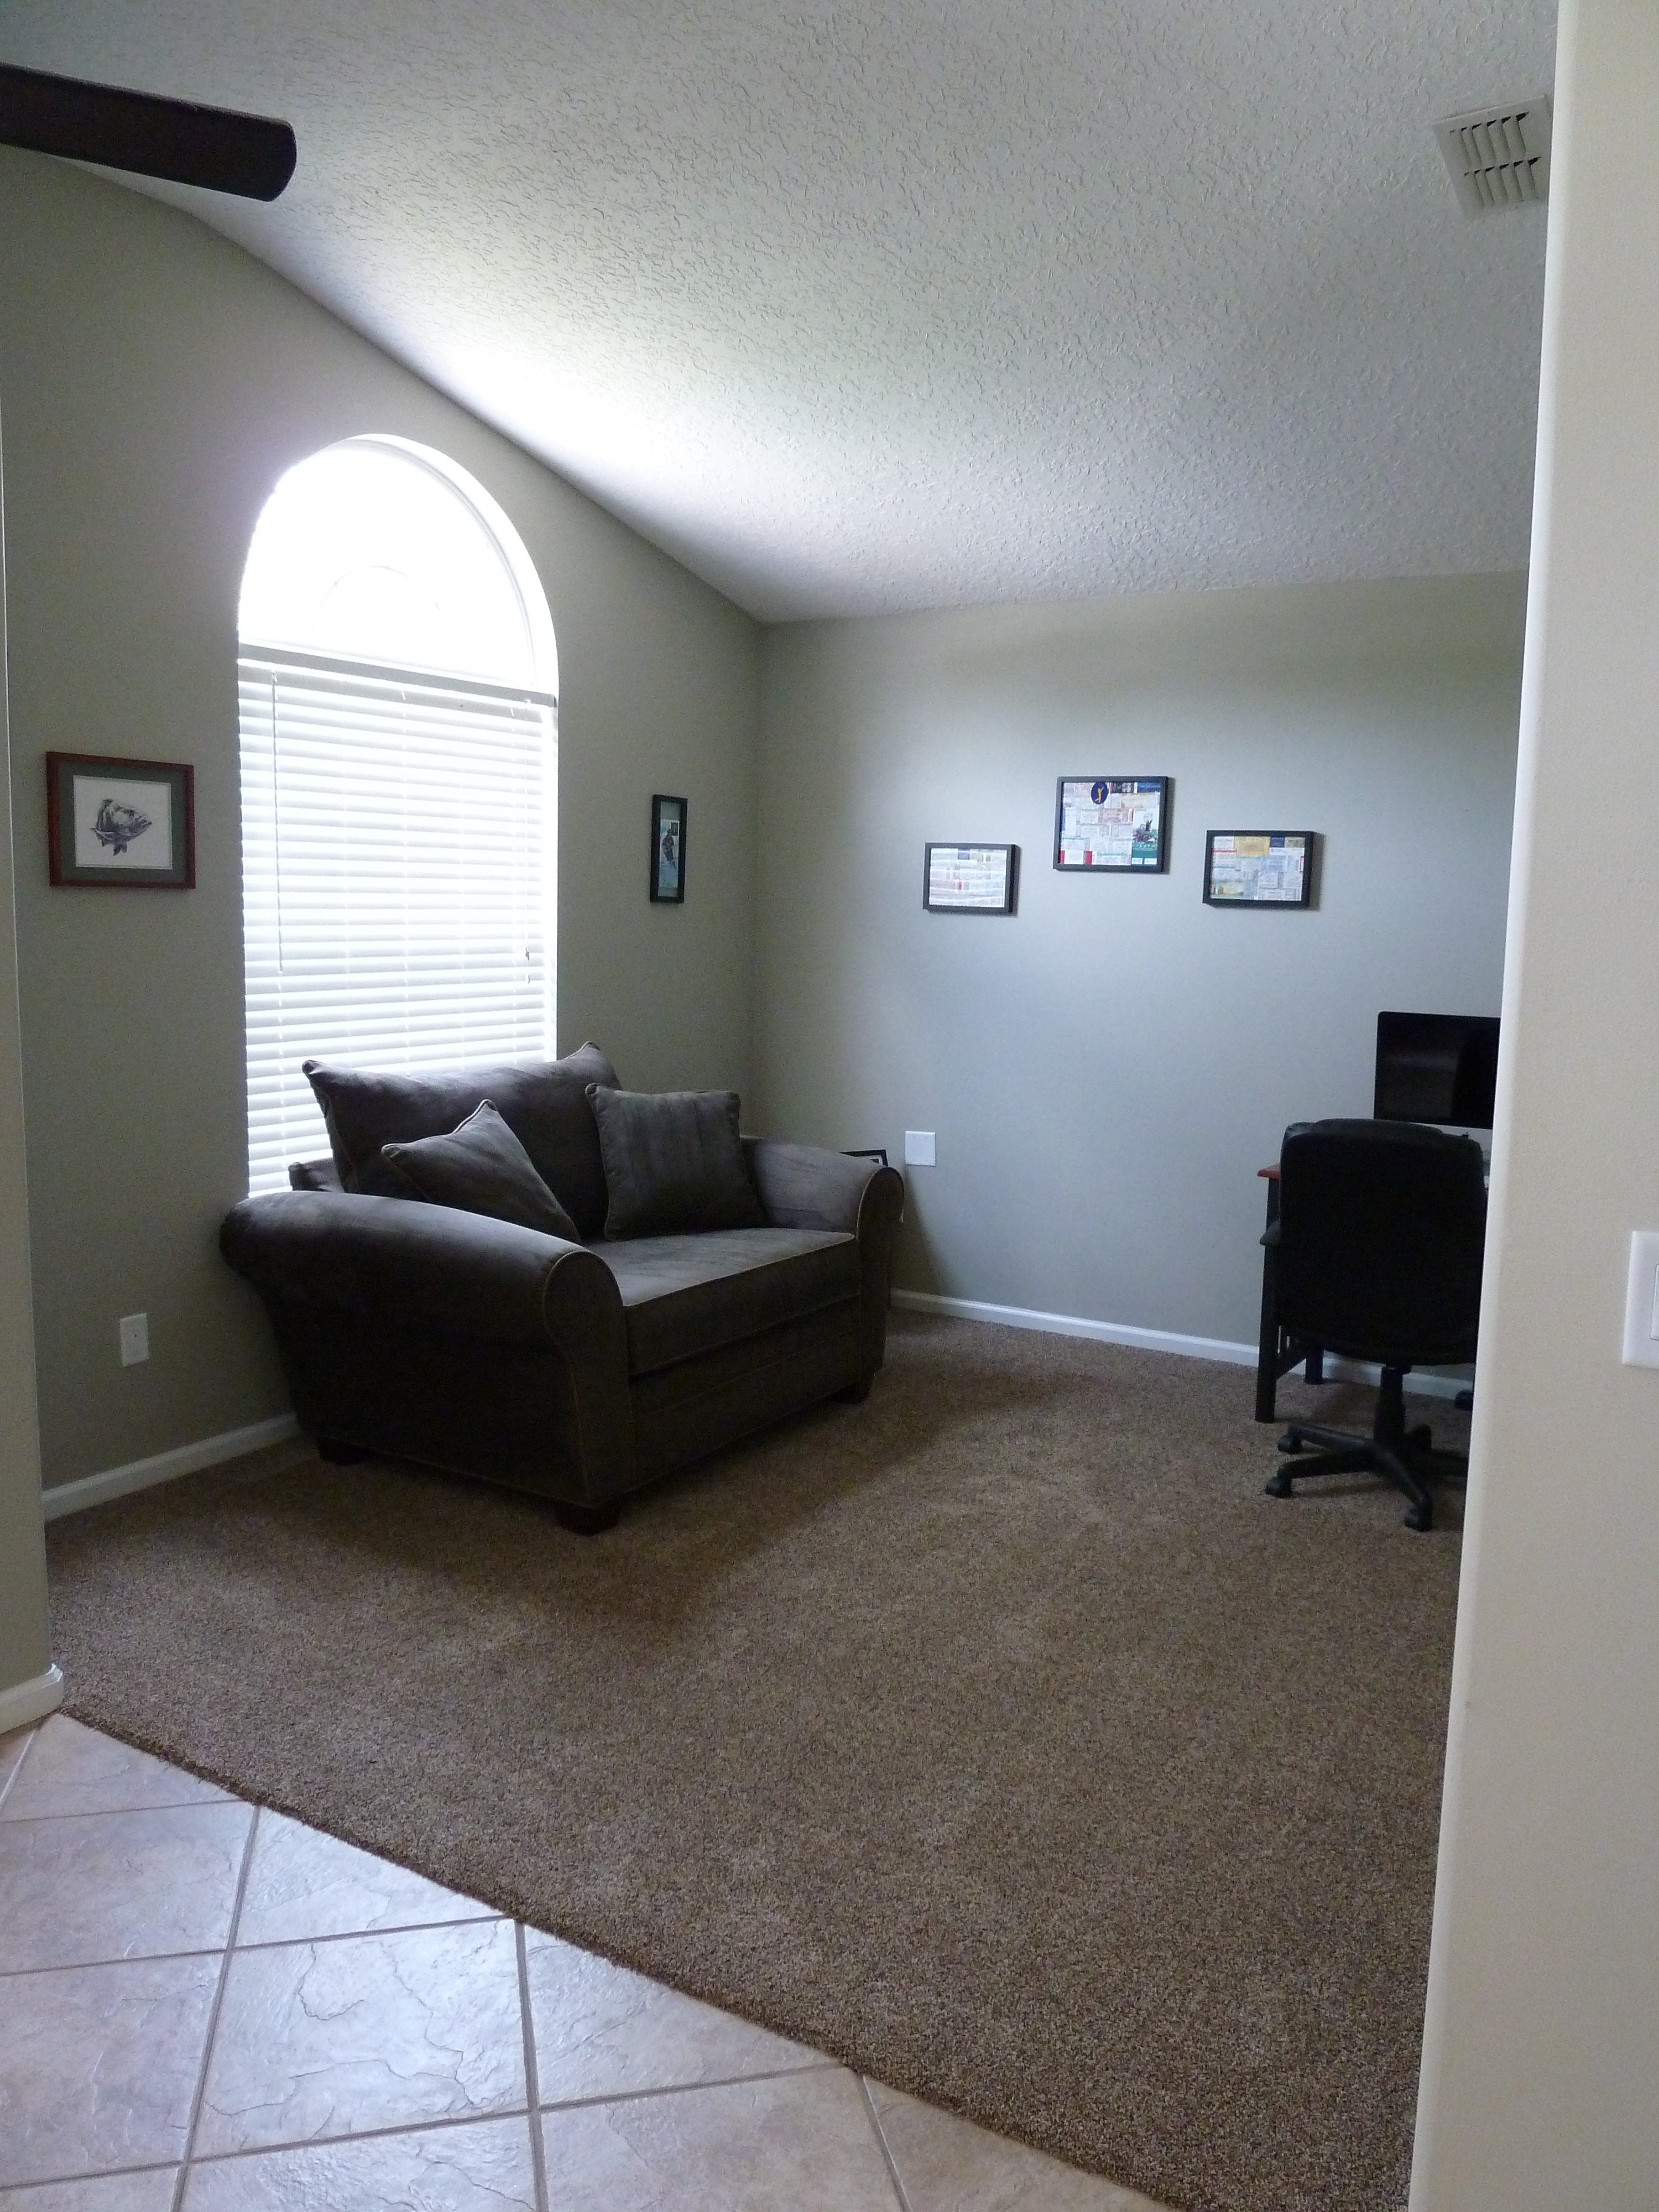
I think we are a far cry from what we started with…

office before renovations

P1100338

dining room before

new brown carpet

Don’t you?


Renninger’s

I recently went to Renninger’s Antique Center with Justin’s mom, Sandy.  Sandy had heard this place was great for finding antiques so we had to check it out.  It’s located in Mt. Dora, FL, so it was a bit of a trek for us, but well worth it.  Just look at this aerial view…

renningers_aerial

I rented a helicopter just to get this shot, I’m big time now.  JK I googled Renninger’s and stole this photo.  Anywho, this place goes on and on.  They have row after row of indoor and outdoor booths.

stofshp8x6-400x294

Let me show you some of the things we found.

n4

Here is one of the outdoor booths.  As you can see it’s stacked floor to ceiling, so it was a true scavenger hunt.

n5

I thought these antique cigar boxes were pretty cool.  I could imagine using one for extra storage on a desk.

n6

I fell for this wine barrel being used as a table, it even had corks under the glass.

n7

And how about this antique thread box?  Wanted to take this home, but for $275 I wasn’t really feeling it.

n8

This lamp was pretty sweet with the shade being made completely of branches.  Not very practical as a shade, but still very cool.

n9

We also saw a couple of these antique fans that I was really digging.

n99

And I love me some sailboats, I really have a thing for nautical accessories lately.  I would love to have something like this in one of our many niches in our home.

n999

Sandy and I both loved this dough bowl, we thought it looked very pretty holding all of this holiday decor.

n9999

Here is another lamp that caught my eye, it also leans on the nautical side.

n99999

This desk was also beautiful and in great condition.

n999999

This pedal car was pretty sweet and I really wanted the butcher block it sat on!  Look at that chunk of wood!

n99999999

This guy was calling my name.  This shop had all sorts of handmade furniture.  They used a mixture of industrial parts combined with rustic barn wood and the combination of those two things produce some pretty fabulous furniture.  I fell in love with every piece in this shop.

n999999999

This antique set of drawers would be perfect in an art studio, all of those little drawers would be amazing for storage.

n9999999999

And here are a million milk bottles!

nn1

How about some antique ceramics?  Oh yes, they had those as well.

Don’t worry I’ll be back to let you know what I got on this trip.  I’m thinking Renninger’s will most likely see me again in the future.

Who Doesn’t Like a Good Pillow

Last I showed you our bedroom was looking like this…

blue quilt

We had purchased some new bedding that we fell for at Target and just to keep you all posted it is super comfy and working out great, it’s even char man approved.

chocolate lab in bed

How cute is he?  Anyway, this bed was much in need of some pillows to beef it up a bit.  So, I got to hang out with my sewing machine for a little bit.  I decided to just cover the old pillows that were on this bed previously…

blue bedroom with gray bedding

I’m talking about those three blue guys on the bed.  Here’s what I did…

I started by taking some scissor and slicing those old covers that I had previously made right off(yes I am recovering previously covered pillows, no waste here).  Once I had my old pillows ready to be recovered I needed to decide on what fabric I wanted to use.  I thought that I definitely needed to go with a lighter color since the bedding is pretty dark.  I thought white would be nice and I just so happened to already own the perfect fabric for the job.

white detailed fabric

It’s the white fabric that I used on the cornice in our room

how to make cornice

Once I had decided on the fabric I cut it about an inch wider than the pillow’s length on each of the four sides.  I had to cut four squares, one front and one back piece for each pillow…

how to cover a pillow

Look at those snazzy squares.  From there I sewed three sides of the fabric together back side of the fabric facing outward…

nnnn8

For the last side that was left open, I sewed a small portion of this side shut. I sewed inward from the corners leaving a small gap open in the center. This probably makes no sense, hopefully this picture will help…

how to cover a pillow

See how the top and the bottom are sewed about an inch and a half inward?  Then I flipped it inside out.

how to cover a pillow

I had to make sure I pushed the corners out completely, they got stuck slightly because it is a thicker fabric.

how to cover a pillow

how to cover a pillow

From there I just shoved the pillow inside.

how to cover a pillow

Once the pillow was inside I flipped the extra fabric around the hole inside as well.   Then I just needed to sew that sucker up.  I made sure the folds were even and I used the sewing machine to sew the last side shut.

how to cover a pillow

how to cover a pillow

See what I mean?

Then I just did that all over again for the second pillow.  And now I have this…

how to make pillow covers

how to make pillow covers

It was still a little too plain for me, so I picked up this guy at the Dillard’s clearance center for $2.  Yes, $2!

q2

Perfect combination of gray and white right?  I am pleased with this pillow, makes me love our new bedding!

q1

q3

I think I will eventually buy a couple shams or possibly make them, but for now our gray pillow cases will do.  So here is our bedroom now.

q4

q6

How About Some More Couches? Say What?

Justin and I were not in the market for more couches necessarily, but these fell in our lap.  Our friends Krissi and Sean happened to be getting a new sectional for their home and were looking to sell their like new(I mean really really well taken care of) furniture.  They have no pets, do not smoke and are super clean, couldn’t ask for better hand me down friends!  When Krissi told me she was looking to sell her couches I threw the idea out to Justin to purchase them and he was in.  Guess what… they are the same exact couches we have in our living room, but a few shades darker!  I know we are super reckless and gutsy buying the same exact furniture we already own!  But, go with what you know works right?  We know that these couches have been holding up well with two dogs and they are comfortable!  I know what you are thinking though… Why do we need additional couches?  Well remember these two sparse rooms?

063

and

P1070826_Fotor

Ya, haven’t seen these two in a while right?   Probably because this is the only furniture they have contained since we moved in.  That futon is primarily used by the dogs!  This is where we pictured the new couches living.  So we borrowed a truck and hauled those suckers home.

jjj1

That’s everything stacked up in the garage.  Did I not mention that this purchase also came with a leather ottoman, a coffee table and 6 throw pillows!  Yup, our friends are awesome.  Here are the couches…

jjj5

jjj9

Here are the ones we have in our living room for comparison…

photo(20)

Same thing different color.

After we moved things around about 10 times to see how we could arrange this furniture we came up with this set up…

jjj8

jjj7

Originally we were planning to put both couches in the room without the desk, but they are a little too big to fit both in one room.  Fortunately these two rooms kind of act as one since they are open to each other and are painted the same color.  We didn’t use the coffee table because it felt a little too cramped, we put the ottoman in the corner of the other room so it can be pulled out whenever we want to use it. For now it seems to be Charlie’s hang out spot when we’re not home.  Eventually I think we will mount a TV in the first room(without the desk).  We also badly need some art or decorations in here.

jjj999

jjj4

These rooms feel like they now have a purpose.  I also think those windows are asking for curtains, that’s now something that is on my list.  And in case you’re wondering where the futon ended up…

jjj99999

Back to my art room!

jjj9999

I think we’re doing pretty good on the furniture front, I think it’s time to start getting some art on these bare walls now.

Living Room Changes

While I was away in NY Justin decided to make some changes.  For a while Justin has been saying that he wanted to remove the light from the ceiling fan in our living room, I however objected to this idea.  I thought this was insane considering once the sun went down we do not have lighting in this room besides two small end table lights.  I loved having the overhead light to use when drawing or cleaning.  Here is this light I am speaking of…

P1070590_Fotor

And here is what I came home to…

gg99

Clearly Justin ignored my requests.  You win some you lose some I guess.  So no more light! He did however also purchase this…

g99999

Another taller light for the room.  This at least does give me some more light when needed, I guess he did consider my difference in opinion.  He also made one more change in this room while I was away.  And this change I was thrilled about….

g2

Do you know what it is?

g999

THE RUG!  He bought this amazing shag rug that I am in love with!  He said he purchased it for around $130, that is amazing for such a large rug.

g7

Don’t you wanna just dive into that fluffiness?

g9

And if your wondering where the old rug went…

gggggg

It now lives happily in the garage.

Here is what we had before just to refresh your memory…

b7

and now…

g2

g9999

As you can also see there was also some furniture rearranging.

I’m loving these changes.  So I gotta give Justin props! Thanks for getting bored while I was away Just!

Bringing it out Front

We are very happy with the front yard and the way it is shaping up lately, there were a couple things that needed some love though. We were really wanting to get a yard edger to straighten up the yard next to the side walk and also the pathway up to the front door. So Justin picked up this guy at Lowe’s….

dd3

dd2

I think we all know by now that I love a good clean line, so I was pretty pumped to see this thing work. Justin edged everywhere, but I just got shots of the front pathway before and after so here it is…

dd7

and now…

dd9999

It’s subtle in this area, but next to the driveway and the side walk is a huge improvement. As you may be able to tell from these two photos Justin also got the power washer out and cleaned the side walk and driveway up a bit. While he was at it he power washed the fence too. Take a look at this…

ddd7

Such a difference! Here is the edge of our fence next to the neighbors non power washed fence…

ddd8

How crazy is that? The fence cleaned up so much.

I figured while we were out front I would show you how well my mandevilla is doing…

c1

and here is the hibiscus

c2

Still looking good right?

Landscaping Phase #3

Last I showed you our backyard was looking pretty good…

y7

y4

Look at all that pretty green grass.

Anywho, there were a few more things Justin wanted to accomplish out here since the new drainage and landscaping were finished.  A few of the solar lights we had previously installed were broken.  So, Justin purchased some new outdoor lights for the garden beds back here.  He decided to go with regular electric lights.  He moved the remaining solar lights that were still trucking along to the front yard.  He purchased the new lights from lowes.  Once he got home he started installing them…

y999

Since the sod was freshly laid, Justin was able to run the cords from one garden to another right under the top layer….

y999999

y9999

While he was burying the new cords he came across this little guy…

y99999

He was just sleeping under the mulch and Justin dug up his bedding!  So he buried the cord and then buried him under the mulch again.  We saw him later the same night once the sun went down, we’re all friends now.  Once Justin had finished installing all the lighting he added new mulch to all of the garden beds…

yy4

Charlie also helped…

yy3

This guy showed up too…

yy

Isn’t he handsome?  Love these little lizards.

After hanging out with the lizard I got some photos of the freshly finished backyard…

yy99999

And you know I can’t help but give you some before, middle and after photos…

yyyy

Check out how much the plants by the patio have grown!

yyyy1

yyyy2

I don’t have a before photo from this angle, but here is the mid way point and after…

yyyy4

We also got to see the new lights in action that night…

yyy5

Aren’t they pretty?

yyy8

yyy4

Char man also hung out to check out the lighting…

yyy9

It was already past Zack’s bed time.

We are thrilled with our backyard now.  We may have some other ideas for the the fence and possibly another little garden. For now we are just happy to sit on the porch and enjoy the unflooded yard!  It’s a far cry from this…

photo(12)

Don’t you think?  PS the drainage works.   Here is a photo I took immediately after a down pour…

photo5

BOOM! Do you see a drainage issue?  I think not!

Who doesn’t love a good pot?

I picked up a couple terracotta pots from walmart the other day. I didn’t get a before picture but they looked something like this…

047625127828lg

They are not the normal rust color that you see most clay pots in.  This is a brown.  I got them for somewhere around $3 each, pretty cheap.  I had previously seen painted clay pots on pinterest like this…

images

and this…

pots3

I thought these looked pretty killer, so I had to make some for my office.  I decided on these colors…

p1

White and light green. PS I already owned these paints. So this project was a total of $6. Woot Woot!

Once I had chosen my colors I just got to painting…

p3

I wanted to leave part of the pot unpainted because I really liked the brown clay they already had going on.

p5

Here is the white guy all finished.  I painted the perimeter of each pot at different heights because I wanted them to each be unique.

Here they are finished…

p6

Since I now had my sick pots, I needed something to put in them.  I headed to lowes and picked up this guy…

p8

This is called a pothos, I do not know much about it except it is neon green and requires low light, aka I love him. I also got this guy…

p9

This one is the pothos friend, but he is called golden pothos. I liked them because they are both viney leafy plants, but they are not exactly the same.  Here they are in their new home…

p99

and

p999

I love how they pop out amongst all the white in here.

p9999

It’s not a big change, but it makes me happy to have some life in here.

Fan-tastic updates

We have many ceiling fans throughout this house(yes you are now realizing how lame the title of this post is!).  We have replaced the fan in the patio and also the fan in the front hall.  We still have 4 others in the house, including the one in the living room, which looks like this…

P1070463_Fotor

Here is a close up…

P1070465_Fotor

It’s really not horrible looking, but Justin wasn’t diggin it.

P1070500_Fotor

So he took it down.

P1070517_Fotor

Much uglier on the floor right? We thought so.

Justin wanted something bigger, that would get more airflow in the room.  I thought it was a decent idea, so he went off to Lowe’s and came back with this…

P1070494_Fotor

Pretty huh?  It’s 60 inches wide! Huge fan, I think it’s fantastic!

P1070505_Fotor

Charlie loves to help.

P1070510_Fotor

Here’s the new fan up, no light yet just blades.

P1070521_Fotor

Don’t you just love it?

The other thing about this new fan that you may have noticed is that it’s quite a bit lower than the previous fan was.  Justin bought a 24 inch down rod.  This makes the fan closer to us and also seems to help with the airflow in the room.  Plus we like the way it looks…

P1070588_Fotor

One more…

P1070590_Fotor

And here is a before and after…

picisto-20130804211351-419462_Fotor

Justin liked the fan with the new downrod so much that he purchased another for the fan by the front door.

P1070558_Fotor

He used the same 24 inch rod as the living room fan.

P1070580_Fotor

And here is a before and after…

picisto-20130804212041-666186_Fotor

Good idea Justin.