It’s Beginning to Look a Lot Like Christmas!

Well, not quite like Christmas down here in FL.  But in our house, yes it is starting to look like Christmas.   I didn’t go too crazy, but I do seem to accumulate more stuff as the years go by. So without further ado, it’s time to get our Christmas decorating on.  As you know we already have the tree…

live decorated xmas tree

Look at that happy little tree.  You know I can’t stop there!  The rest of the house needed a little Christmas love as well.  What better place to start then the mantel…

christmas mantel DIY

First up, the stockings!

christmas stocking on mantel

My mom sent these last year filled with all sorts of things for Justin and I(yes, we still get our stockings filled!).  These two became my new favorite stockings, so last years have been retired.   I also picked up a couple little reindeer from Hobby Lobby to hang out on this good ol’ mantel…

christmas mantel

It also got a bunch of candles and a cute little Christmas tree.  And did you notice that awesome new pillow hanging out in the basket?

monogramed christmas pillow

My aunt Kim sent this sweet monogrammed little pillow to us for Christmas.  Don’t you just love it?  Thanks Kim!

I also grabbed my glass hurricane that I used to decorate for Thanksgiving…

Fall decorations 3

And I used that sucker to decorate for Christmas too !  Versatility rocks yo!

DIY christmas home decor

This time I used a white pillar candle and just strung some red beaded garland around it.  I just threw it together and yup, love it…

xmas home decor

Some more reindeer joined the hurricane on the console.

christmas home decor

And a snowman to boot!

Next up I headed to the kitchen and plopped down our Christmas table settings that Justin’s mom picked up for us last year.  Along with a cute little centerpiece that we got to take home from Justin’s Work Christmas party this year! Love it!

xmas table decor

And do you see those berries in the background niche?  Oh yes I stole that idea from my Thanksgiving decor as well, remember these?

Fall Decorating

Well they got filled with beans this time, and I picked up some sticks with berries attached from Hobby Lobby and came up with this…

christmas home decor DIY

I dig it.

christmas table decor

I also added a gingerbread man…

xmas home decor gingerbread man

And snowman soap dispenser, gotta have one of those…

christmas snowman soap dispenser

Here’s some more Christmas decor and our massive Christmas card collection, yes that’s all of them!

xmas home decor

I made these pine cones a couple years back, just picked them up outside and spray painted them white and red.

christmas home decor DIY pinecones

Holdiday plates?  got those too.  And a handsome yellow lab.

christmas home decor

And of course some santa napkins…

santa humor napkins

Lastly we headed outside to get festive.  Justin tackled the front yard…

photo 3

Aren’t those globe lights in the tree just dreamy?

outdoor xmas lights on oak tree

I think it’s my favorite part!  We got them from Lowe’s if you’re interested.

christmas light supples

And last but not least, the palm tree on our back patio received a make over…

christmas lights potted tree

There you have it, our house for the holidays.  Hope you all have a rockin Christmas!
christmas photo

Happy Fall Y’all

I seriously just typed y’all, I don’t even say that word.  Florida may be rubbing off on me afterall.  Anyway, Halloween is over and it’s time to plan for the next holiday aka Thanksgiving.  Can’t wait to stuff my face and hang with family, but in the meantime I figured I would throw some fall decorations up to get us pumped up for the upcoming festivities! First off I packed up all of the Halloween decorations, except a few pumpkins that will stay to help celebrate Thanksgiving.  Once I had everything packed away I headed out to the store to get some supplies for some decorations I was thinking about putting together.  I stopped at JoAnne Fabrics and Hobby Lobby and came home with this…

k7

Yup, got a butt load of stuff.  Everything was on sale though, I’m not that crazy, I spent about $25 for everything here.  I got the branchy thing with yellow looking berries from Hobby Lobby for $3 and it ended up here…

k8

To be honest this may hang out here year round.  I am really diggin the way that it helps fills out this little nook area.  Here’s a view from the other side…

k9

I heart it.  I wasn’t finished there, oh no.  I still had a couple other quick crafty projects up my sleeve, oh yes.

k99

I previously had this glass cylinder from Justin’s work Christmas party, believe it or not.  They always have nice little centerpieces and they let every couple take one home each year.  This guy was filled with pine cones and ornaments last year.  I have seen them at craft stores for around $5 though if you’re interested in picking one up.  I also grabbed a cylinder candle from Target, that was on clearance for $4.

k9999

Lastly, I picked up some beans. Yes, beans.

k999

Navy beans in particular, never heard of them.  I just liked them because they were white.  You can probably see where I am going with this idea now…

k99999

I poured some of the beans in the glass cylinder and then plopped the candle right on top.  I shimmied it around until it was level and centered then poured in the remaining beans.

k999999

I really wanted to try to stick with a white/tan theme for Thanksgiving this year, so I went with the white navy beans.  You could also use split peas or kidney beans or even acorns.  Anything your heart desires I guess!  Here is where this one ended up…

kkkkk7

kkk3

On the TV console.  I had one last project in mind, here are my supplies…

k9999999

See the wheat looking stuff?  I picked that up at Hobby Lobby for $3 also, the ribbon and mason jars I already owned.  I started by splitting up the wheat bunch into smaller pieces.  The bunch was held together by wire, so I had to use our wire cutters to do so.

k99999999

I was left with this…

k999999999

All of those little extended pieces are wire, I tossed this guy right in the trash.  Next I plopped a few of the bunches into a clear mason jar.

kk1

I thought this was looking pretty good, but I didn’t care for the way the bottom of the bunches looked unfinished in the clear jar.  I then grabbed a bag of white rice we had in our pantry and just poured some right into the jar…

kk2

Much better!

kk3

I also added a burlap bow on each…

kk5

Fancy, huh?  These two went to live on the mantle…

kk99999999

I also put a couple creamish colored frames and a few votive candles up there as well. This project cost me $3 total because I had everything on hand except the wheat bunch. If you had to purchase everything to replicate these I would say it would run you about $10. Not bad for a quick decoration project.

kkk1

I also purchased a little fall pillow that ended up in the patio…

kkkkk999

And I had to get one more pumpkin!

kkkkk5

And you know I have fall napkins!

kkkkk6

Lastly, I bought a crazy scarecrow guy that ended up on the kitchen ledge along with an acorn dish filled with candy.

kkk4

Do you decorate for fall?  Do tell!!!

Save the Date

Warning, this is long!

When planning our upcoming wedding I had to decide what kind of save the date I wanted to send out(amongst the many other choices we need to make).  Since I love diying things and saving a buck, I decided to make my own save the dates. Who woulda guessed, right?

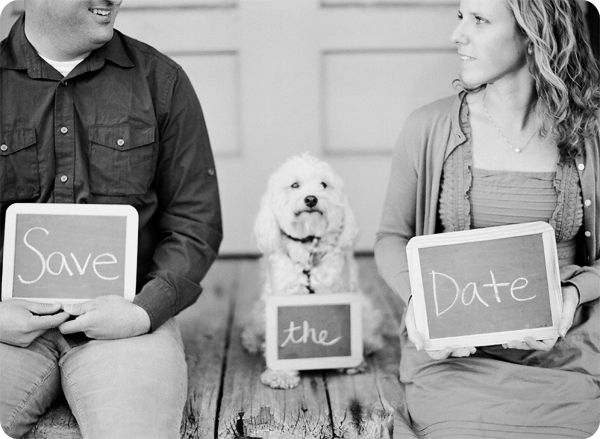
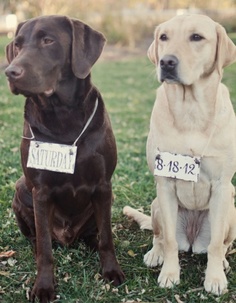
I first scoured pinterest and came up with a few examples that I liked.  Here’s the first…

std

I love a few things about this one. First, I like that you can’t quite see there faces and they are semi cut off.  Second, I love me some chalkboards and lastly, there is a dog, need I say more?  Did you know I like dogs?  Here is the second save the date I was diggin…

std3

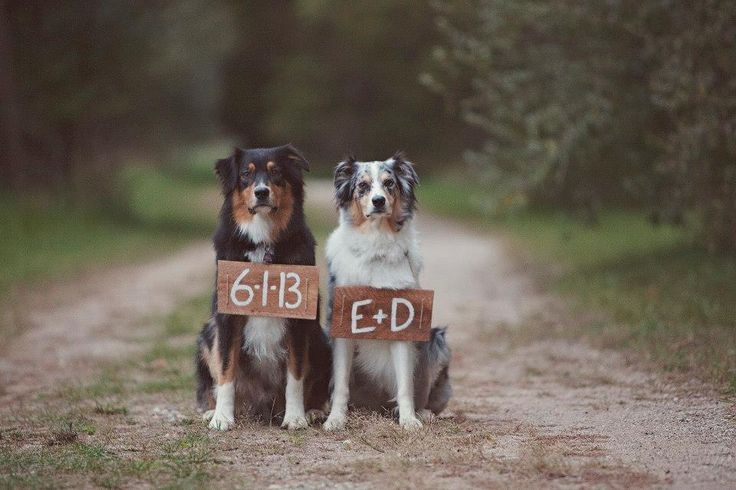
Come on people, how could I not love this?  Labs, chocolate and yellow! And the third that inspired me…

std4

Look at these two, so serious!

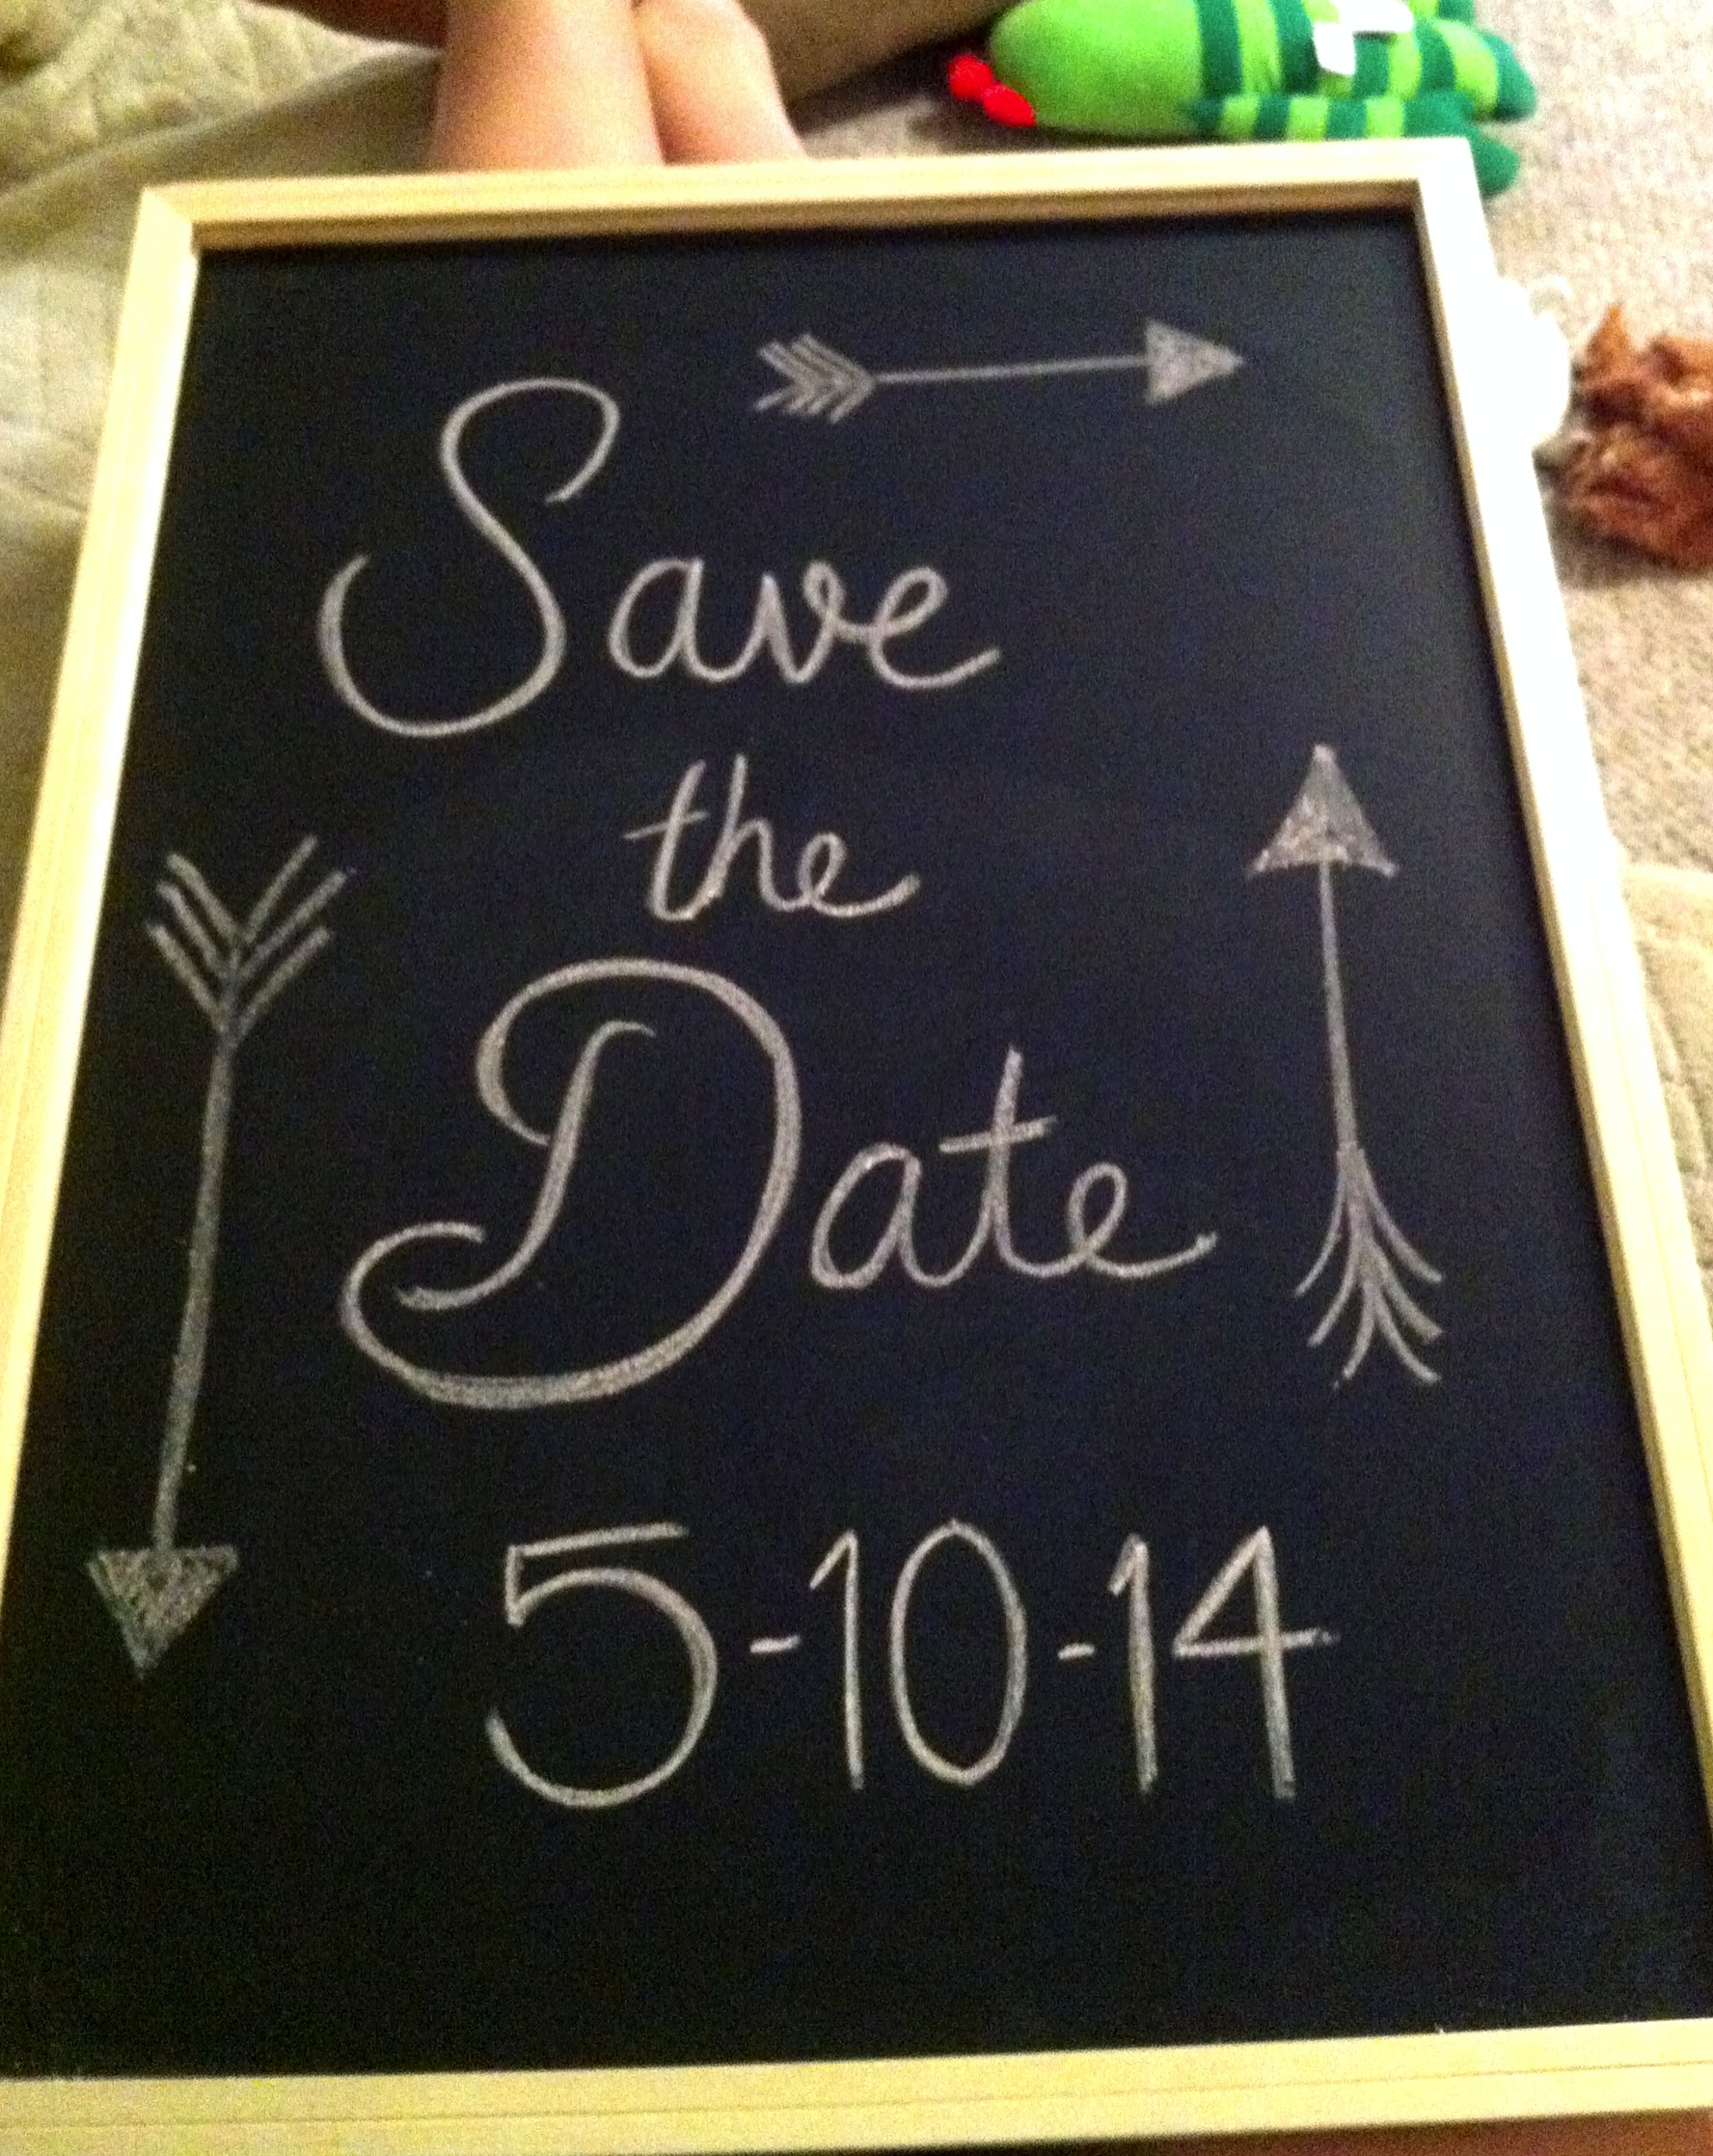
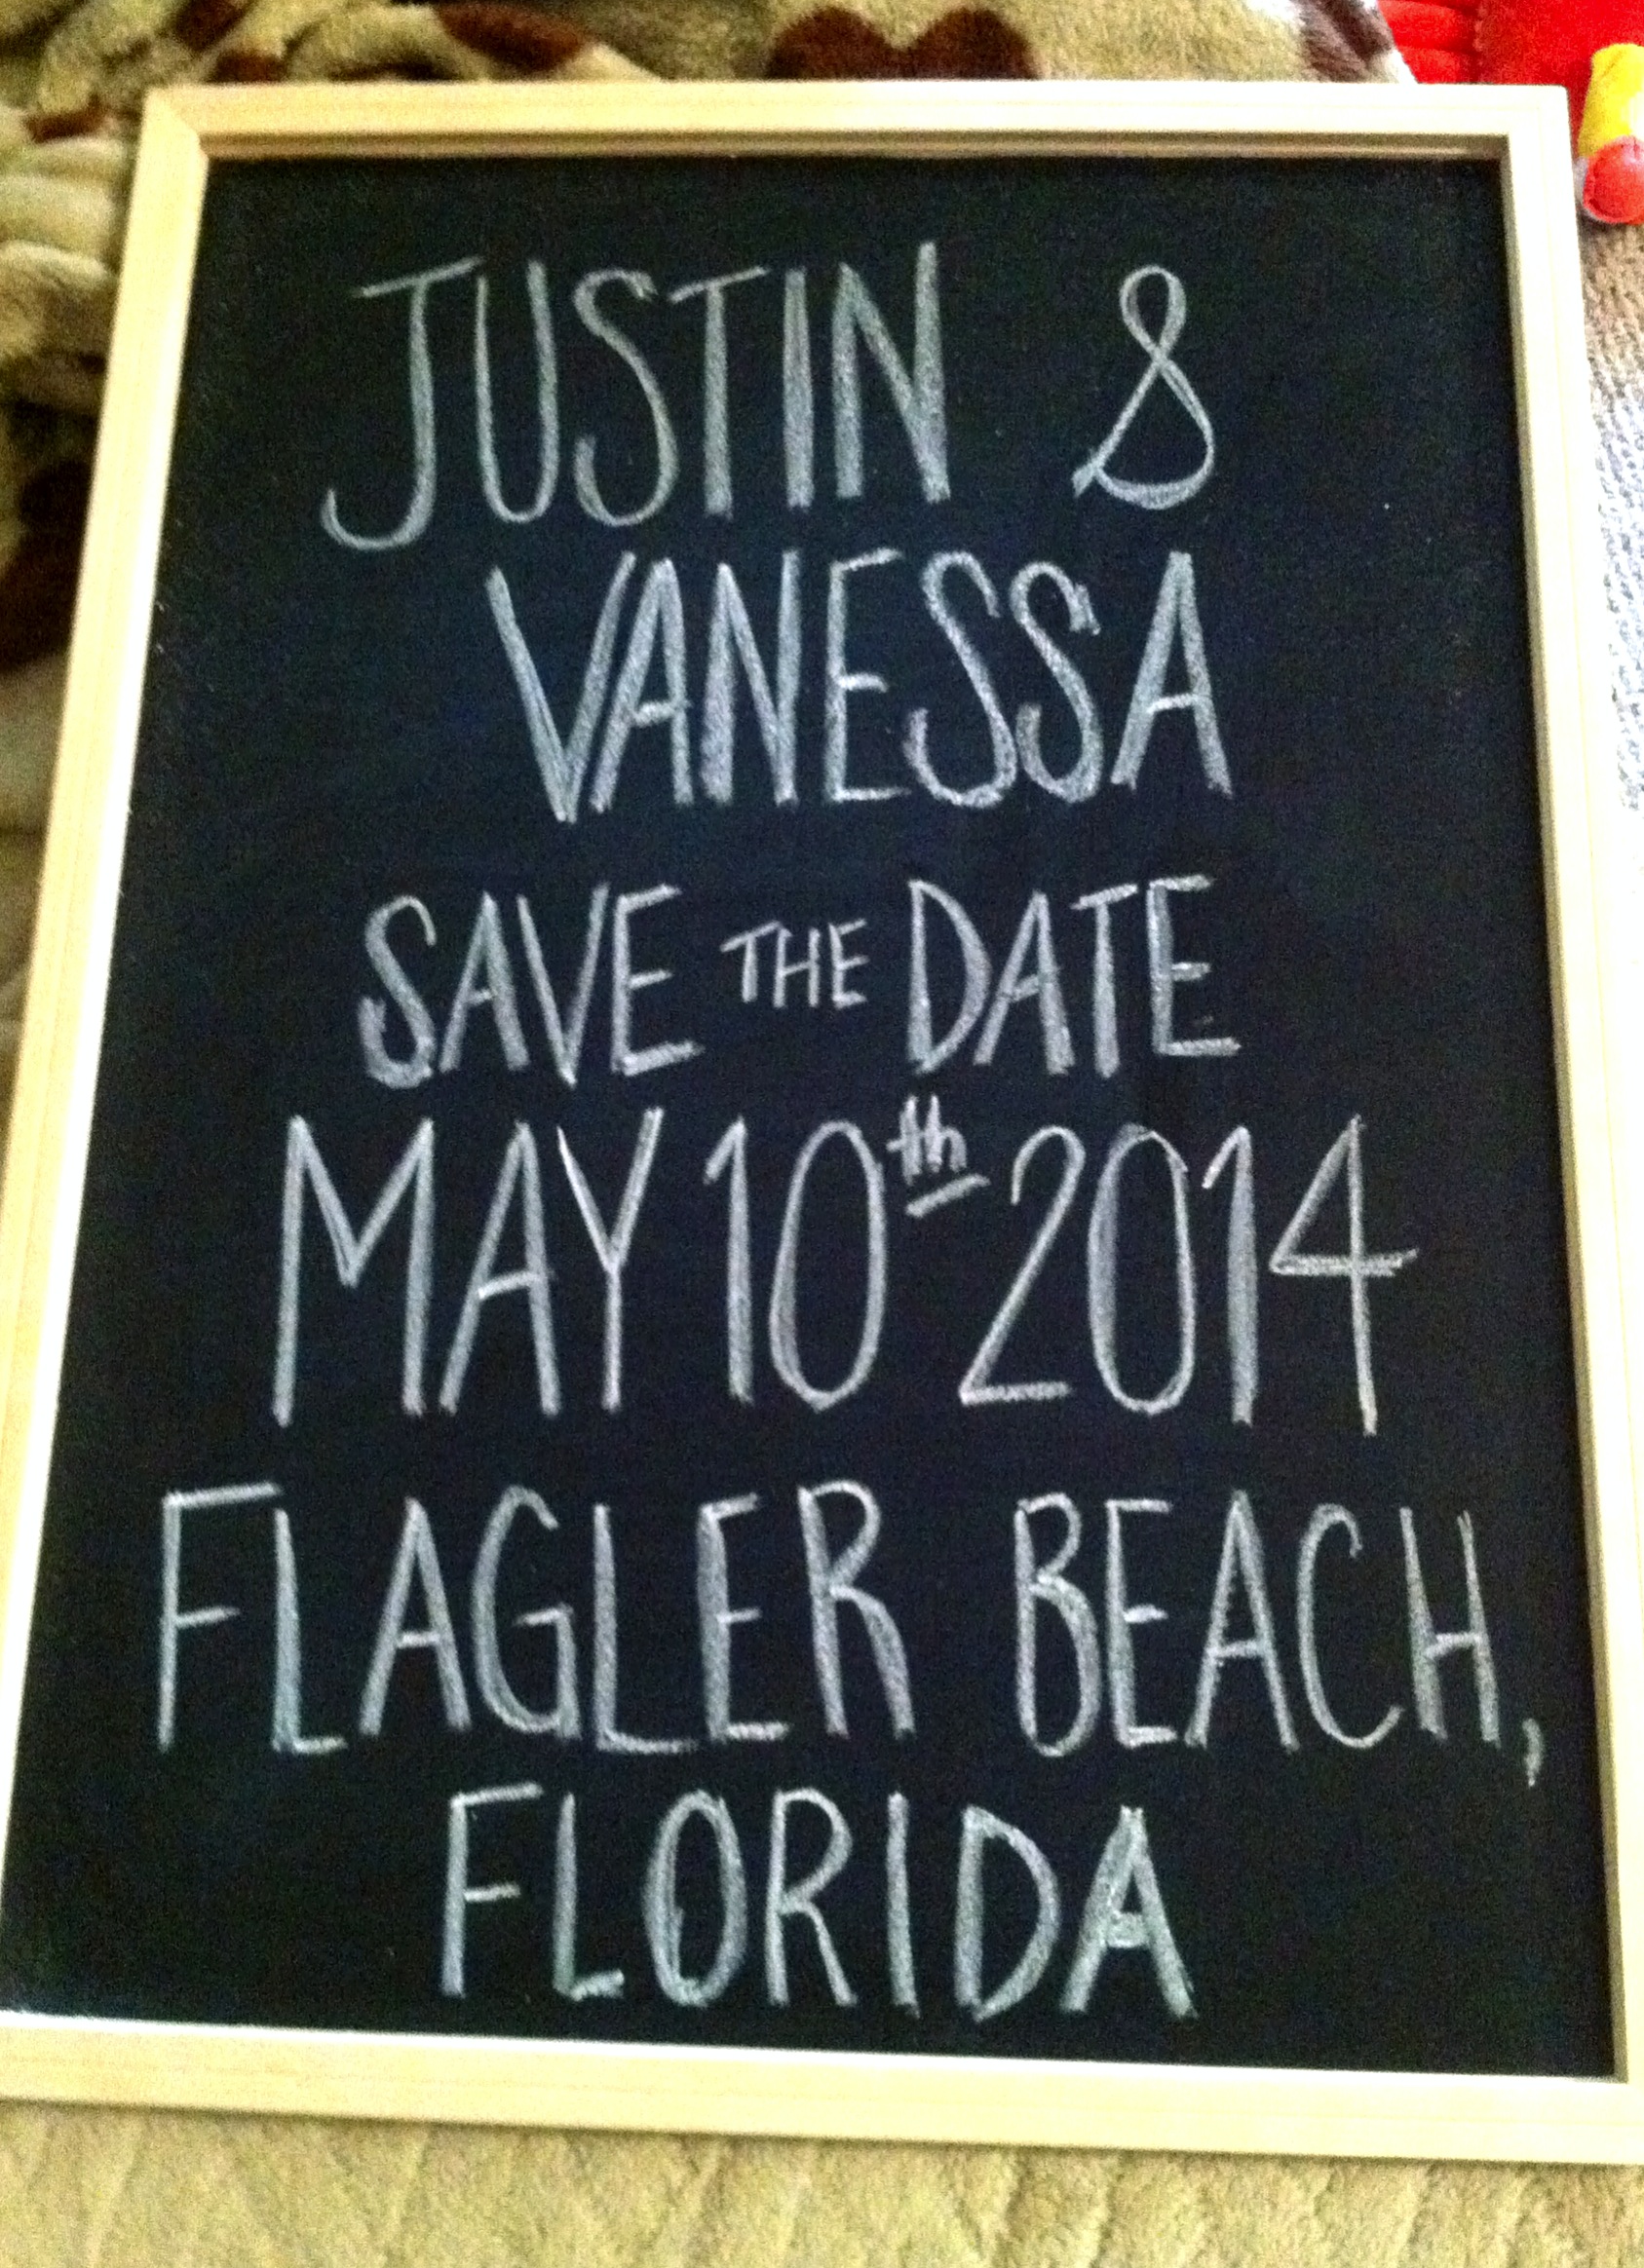
So as you can tell I was planning to make this a dog photo shoot.  Have you seen my dogs? They might as well be models!  I had a few additional things I had to decide on.  I was stuck between using chalkboards or painted wooden signs, I wanted something simple that just says “save the date, May 10, 2014”.  I ended up going with chalkboards, but I wasn’t able to find anything I really liked that was small enough or light enough to hang on our crazy dogs necks.  Also I could just picture Charlie chewing the chalkboards off of himself and Zack.  I came across a pretty sweet deal for a decent sized chalkboard at Hobby Lobby.  It was a good size and at $6 it was mine!  My first step was to get the wording on the board.  I started working on it and came up with a few options…
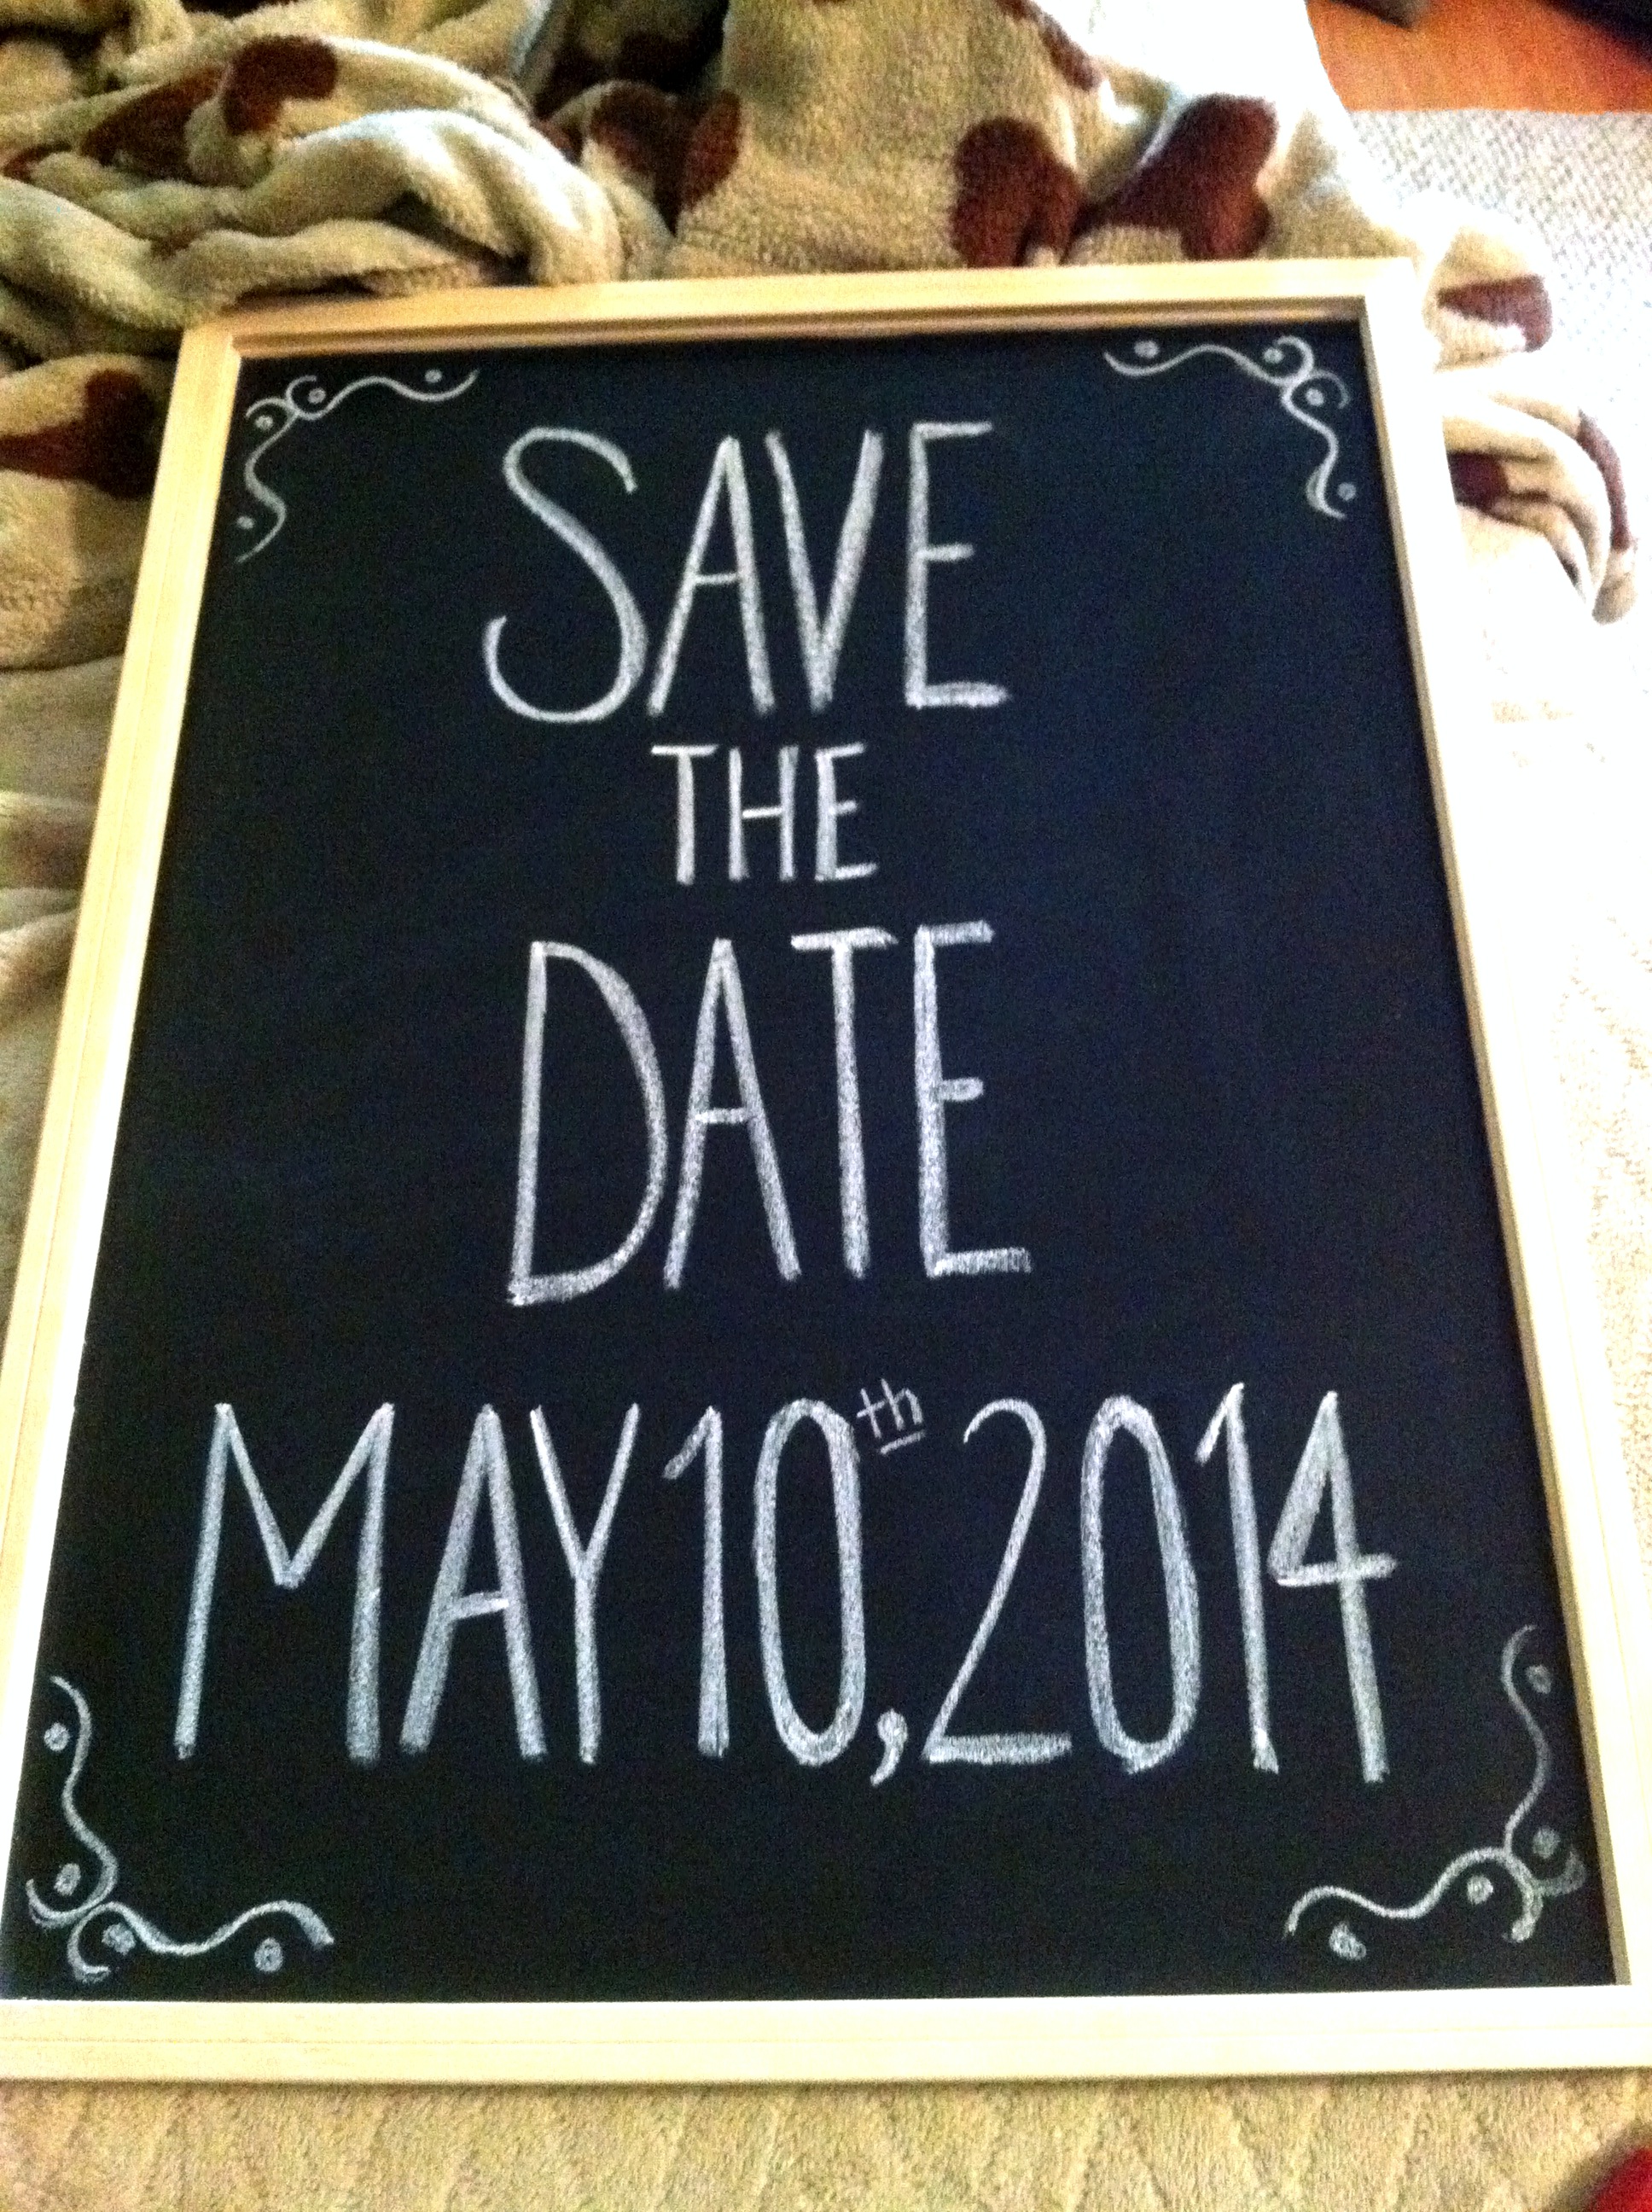
photo(18)_Fotor

Next up…

photo(21)_Fotor

Justin and I decided this was the better choice.  I even tried adding a bit more information in this style…

photo(19)_Fotor

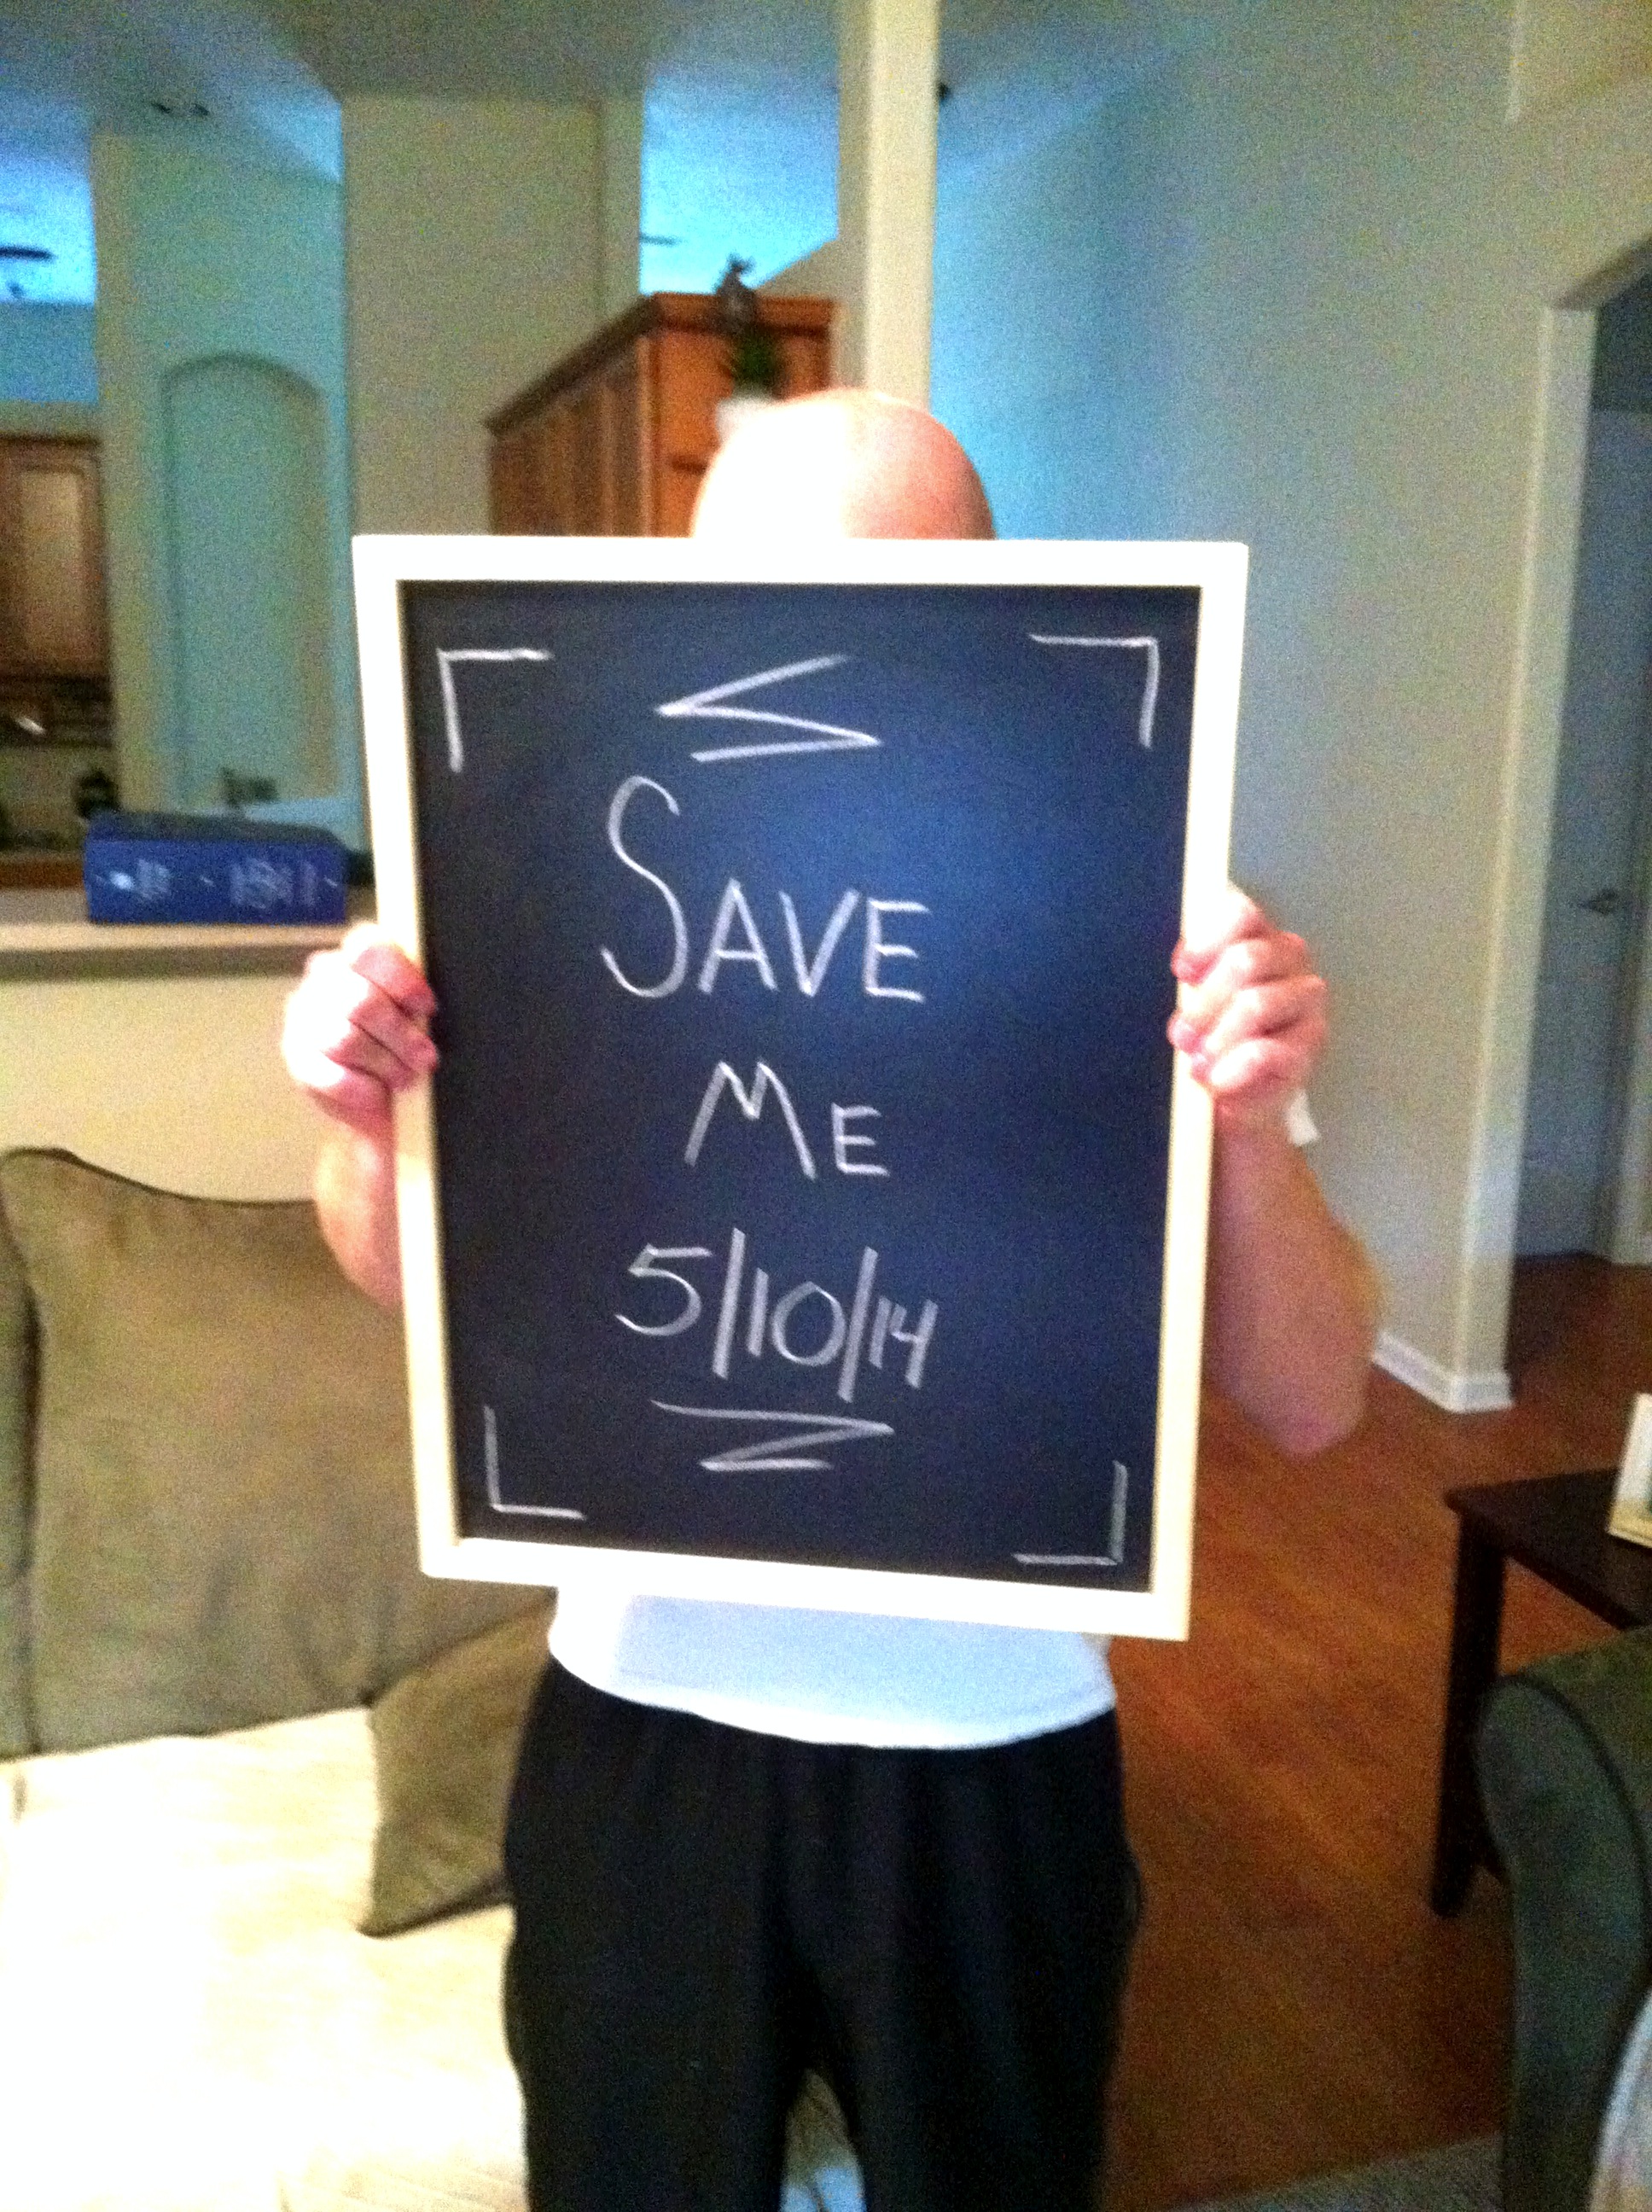
We thought this was just a little too cluttered.  Justin even made his own…

photo(20)_Fotor

Isn’t he sweet? He thinks he’s so funny.

Now that we had this big chalkboard we needed to figure out how we were going to use it.  Sandy told me she had a cute little antique chair that we could set the chalkboard on, then we could have the dogs sit next to it.  This sounded like a much better plan.  It was going to be hard enough to get the dogs to stay still, let alone wear a sign!

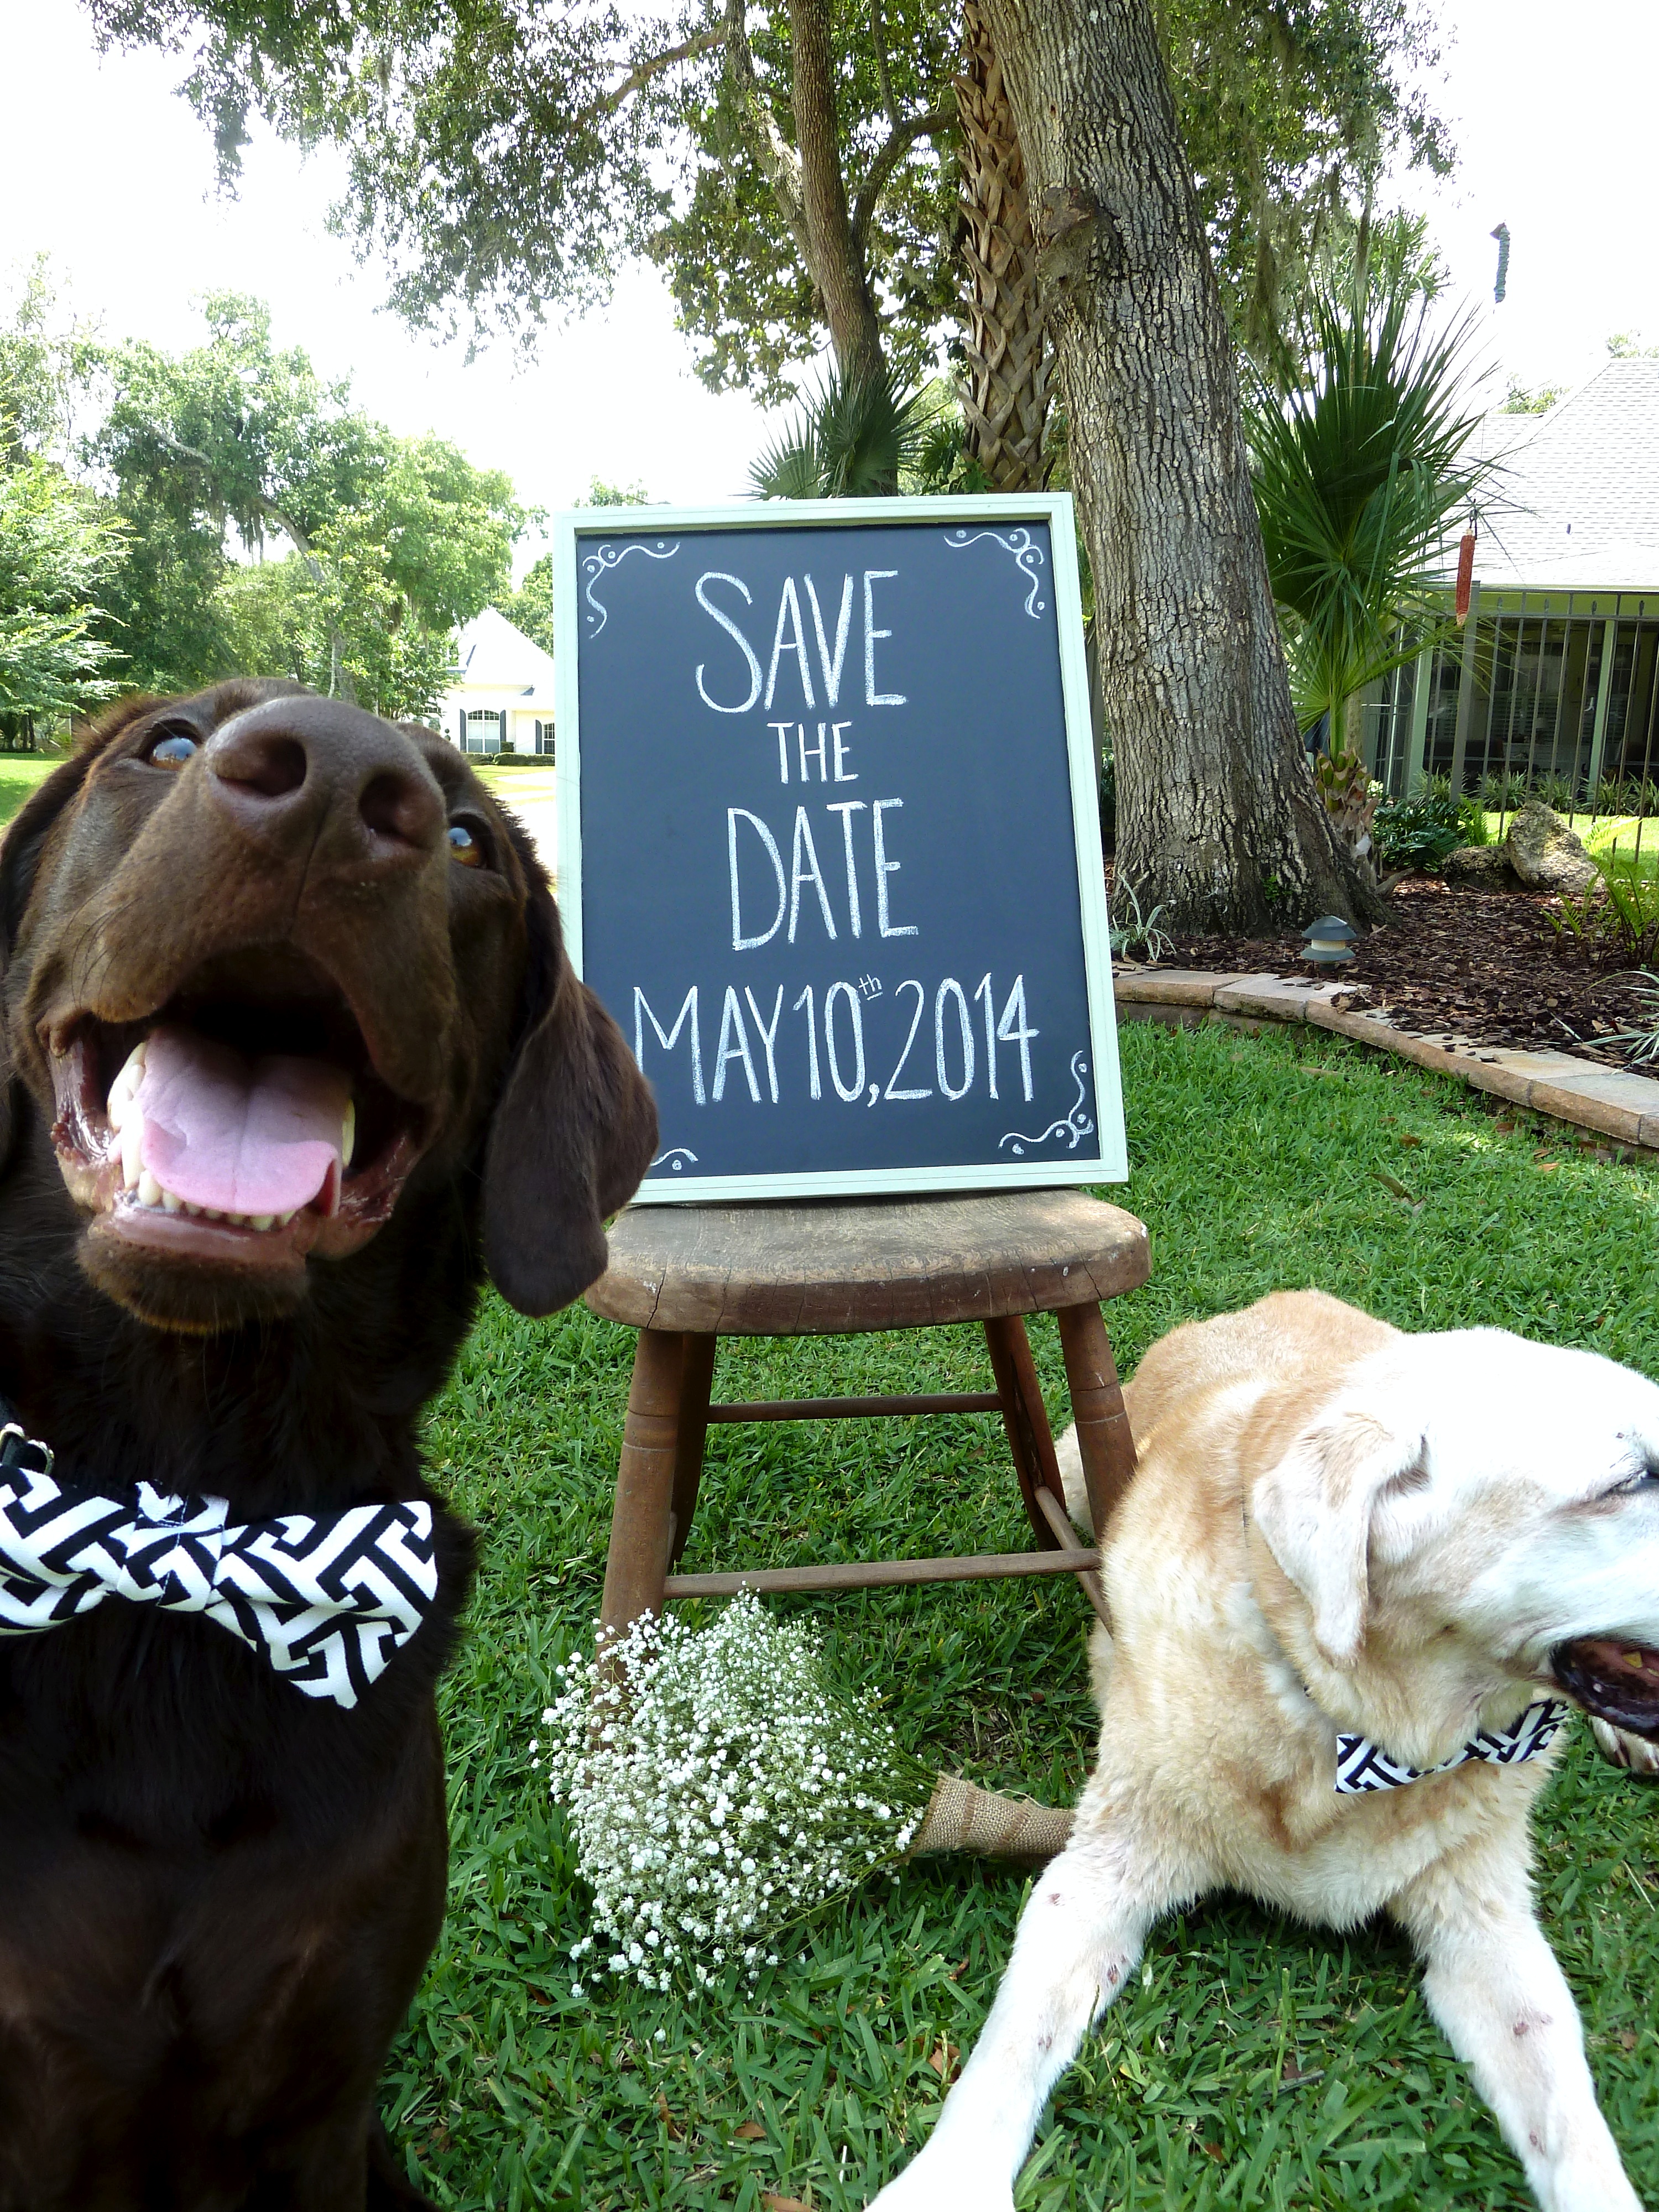
We decided to take the photos at Justin’s parents since they have a nice big yard with plenty of options for backgrounds.  Also we had Justin’s brother Alex take the photos, thought that would be a good plan considering he studied film in college.  Here are some of the shots that we got…

s4

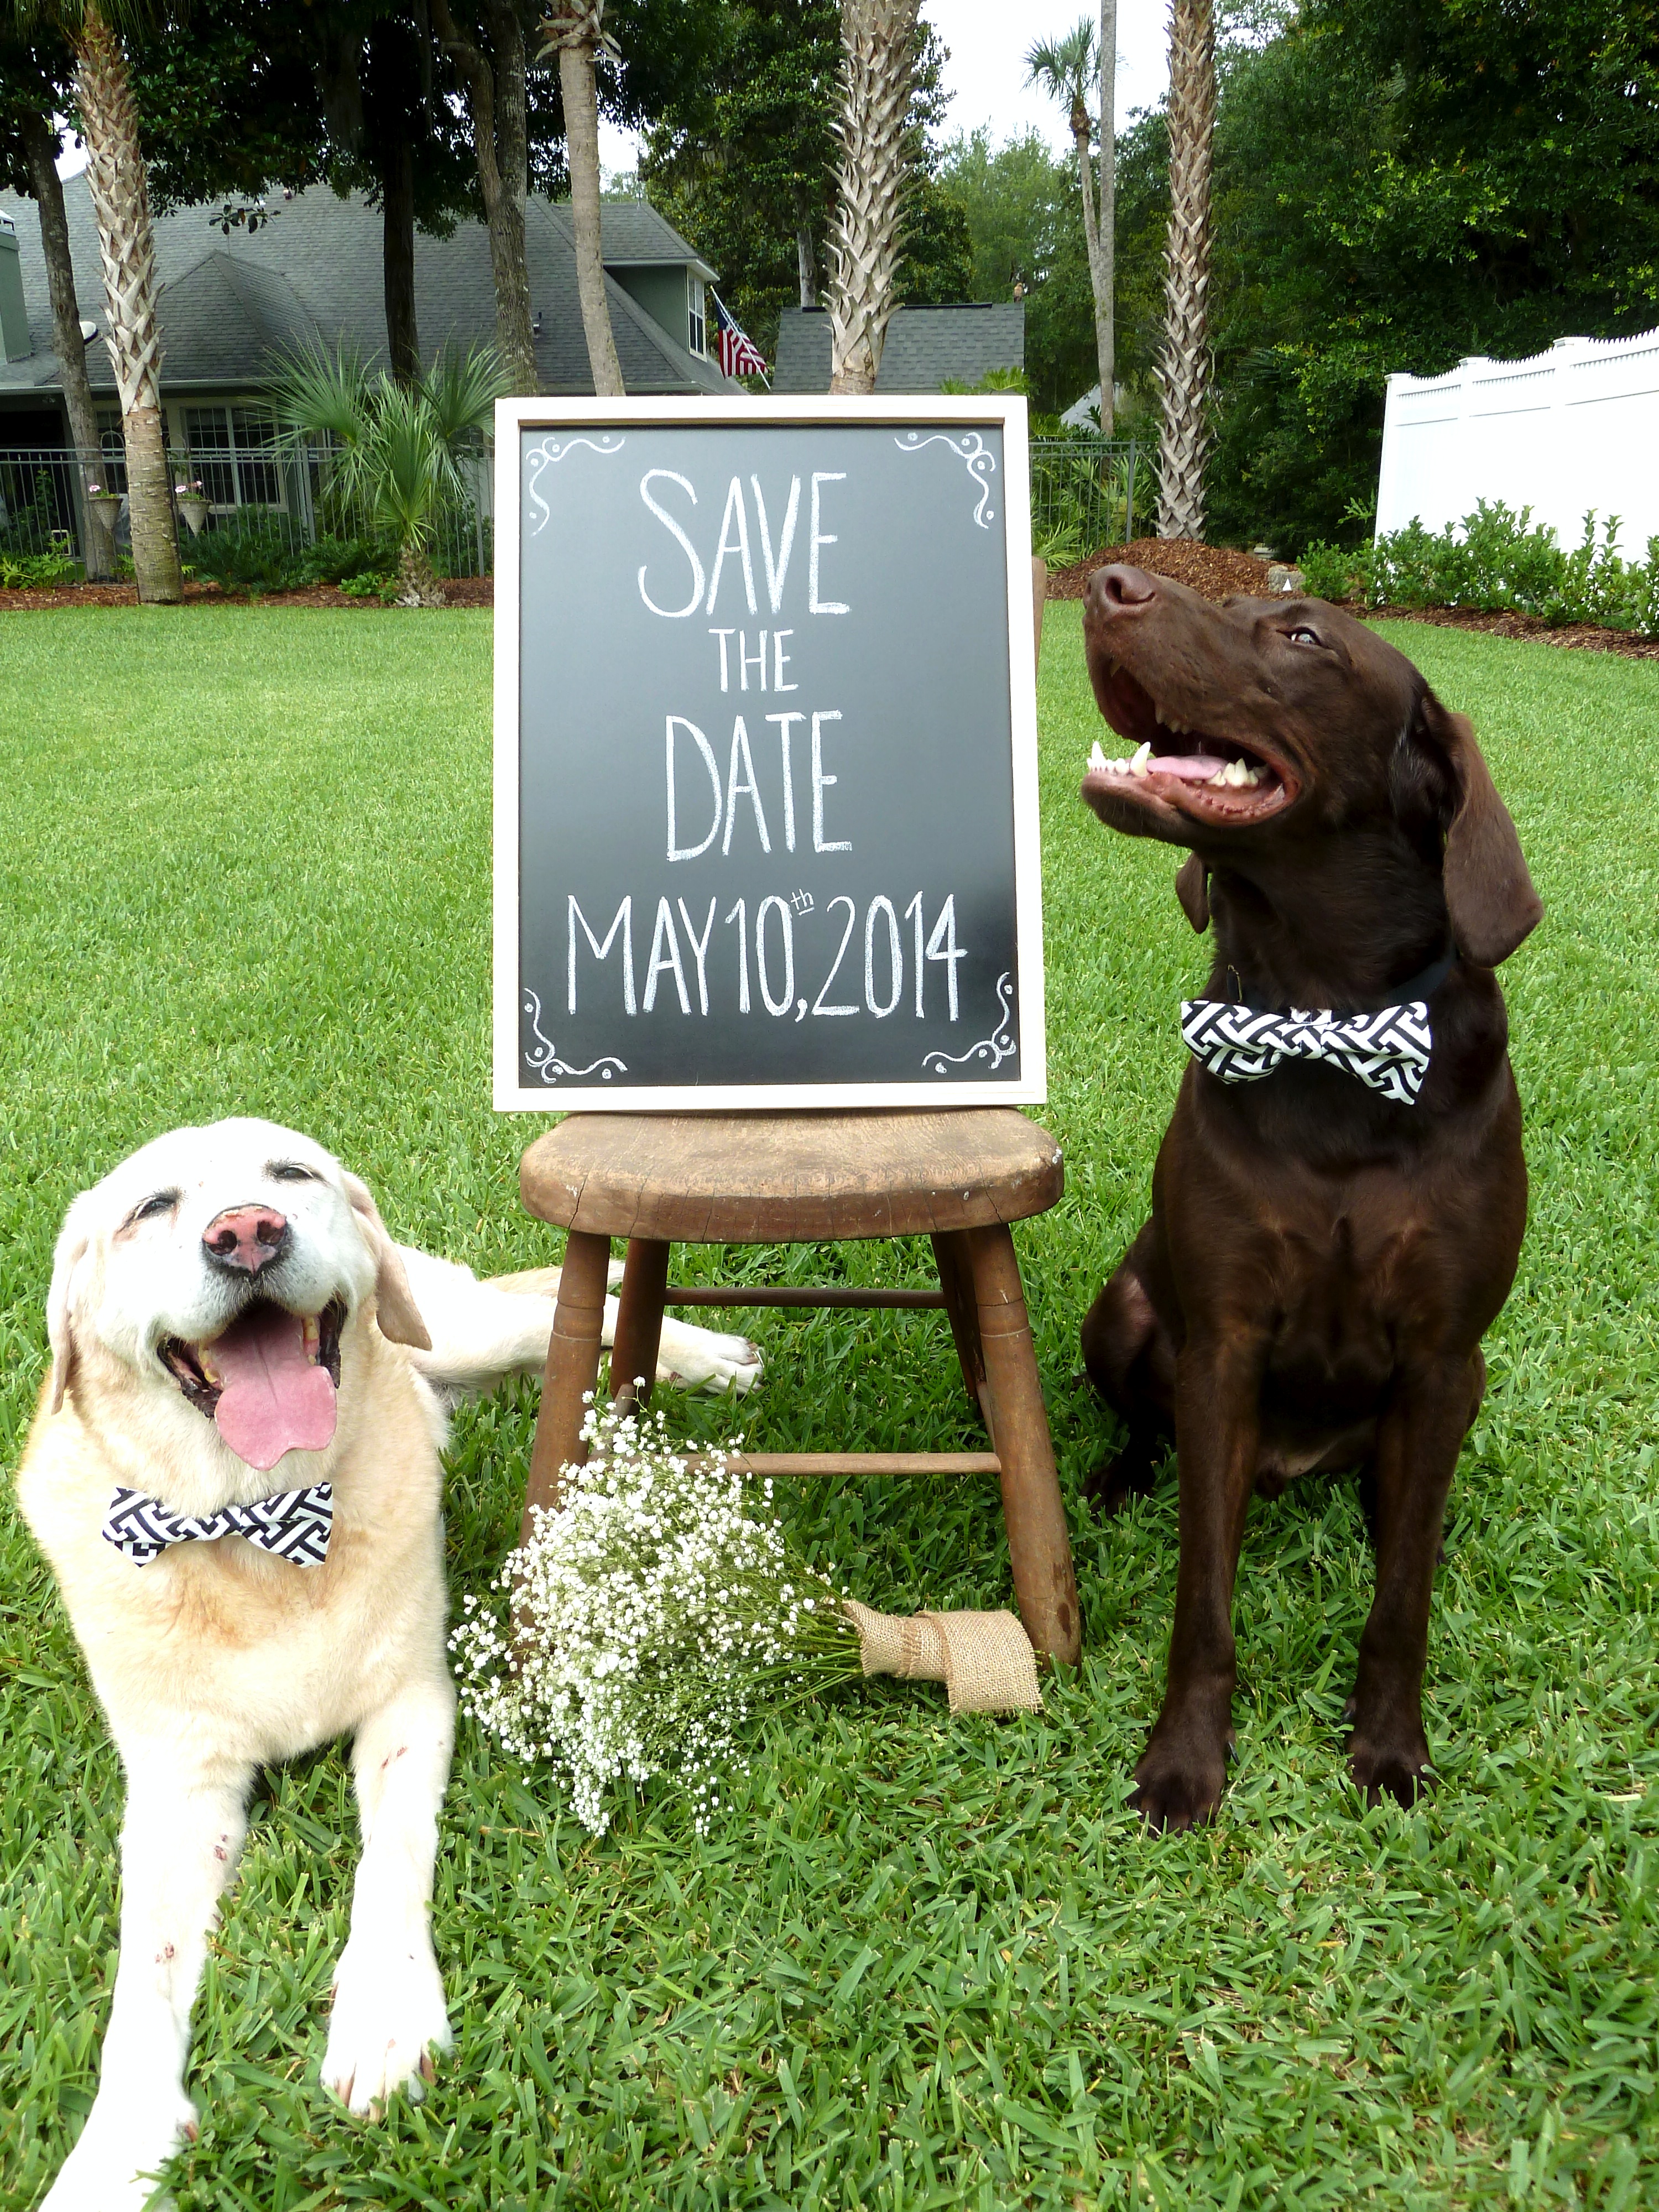
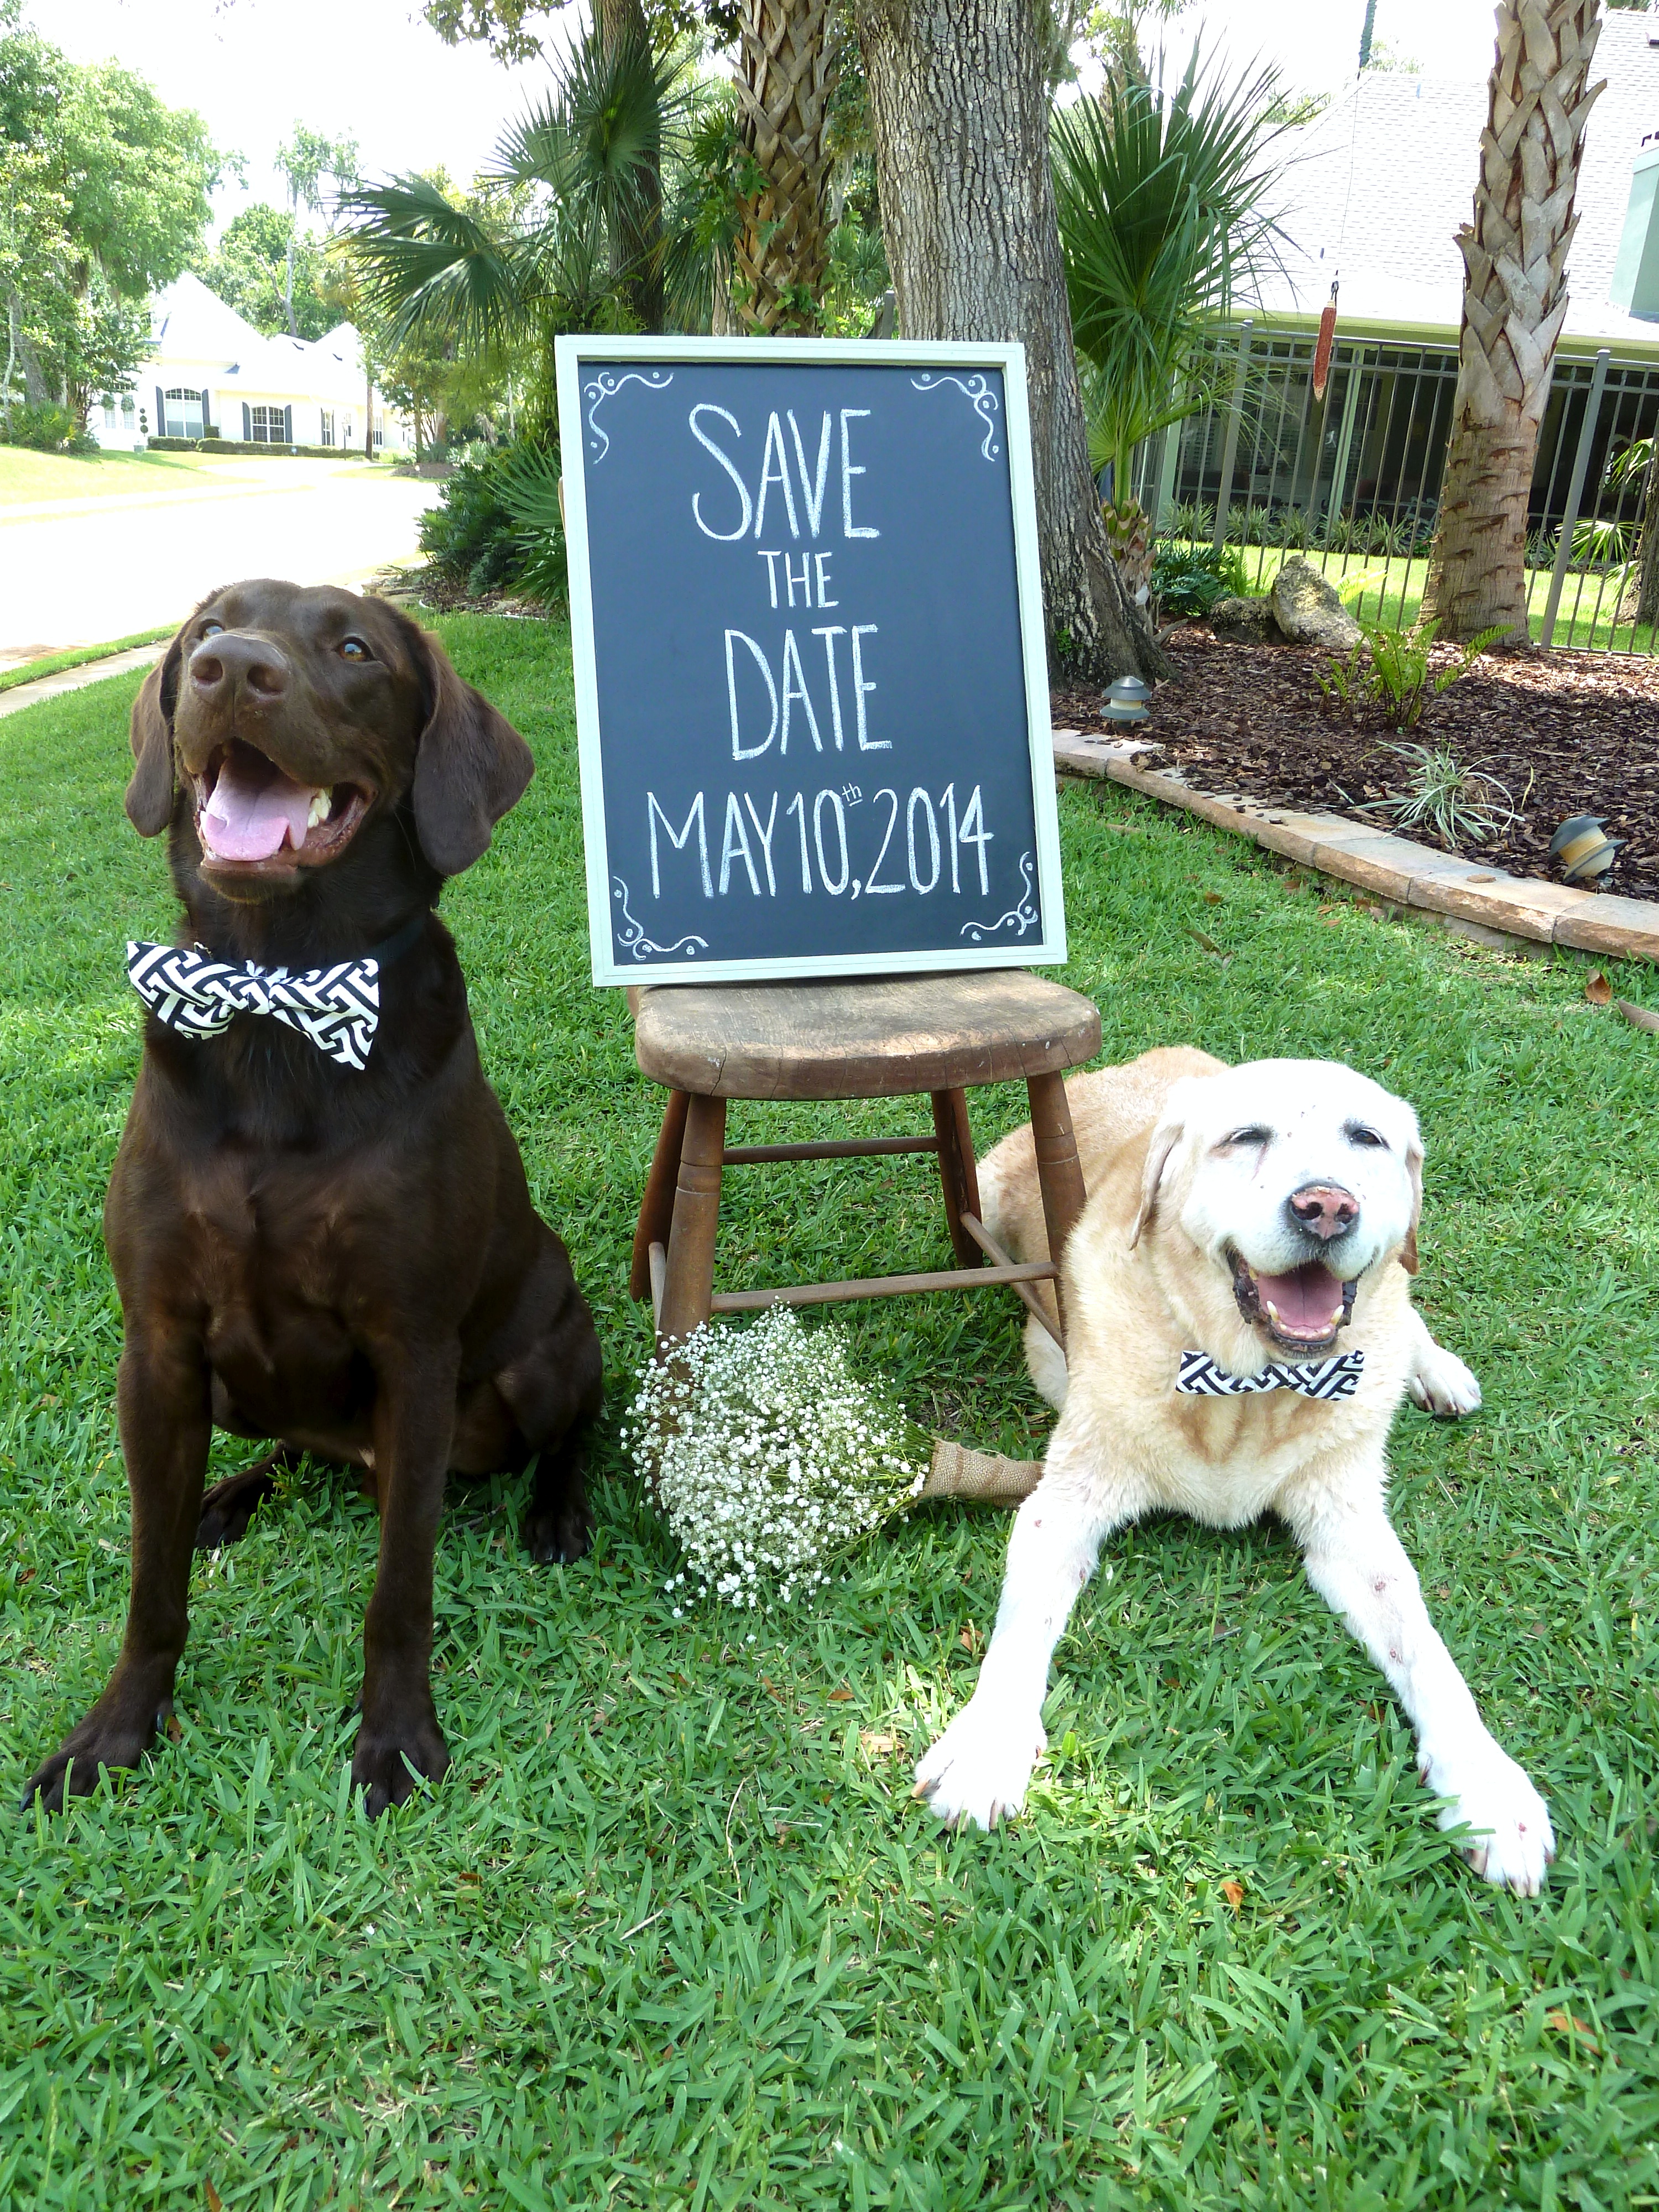
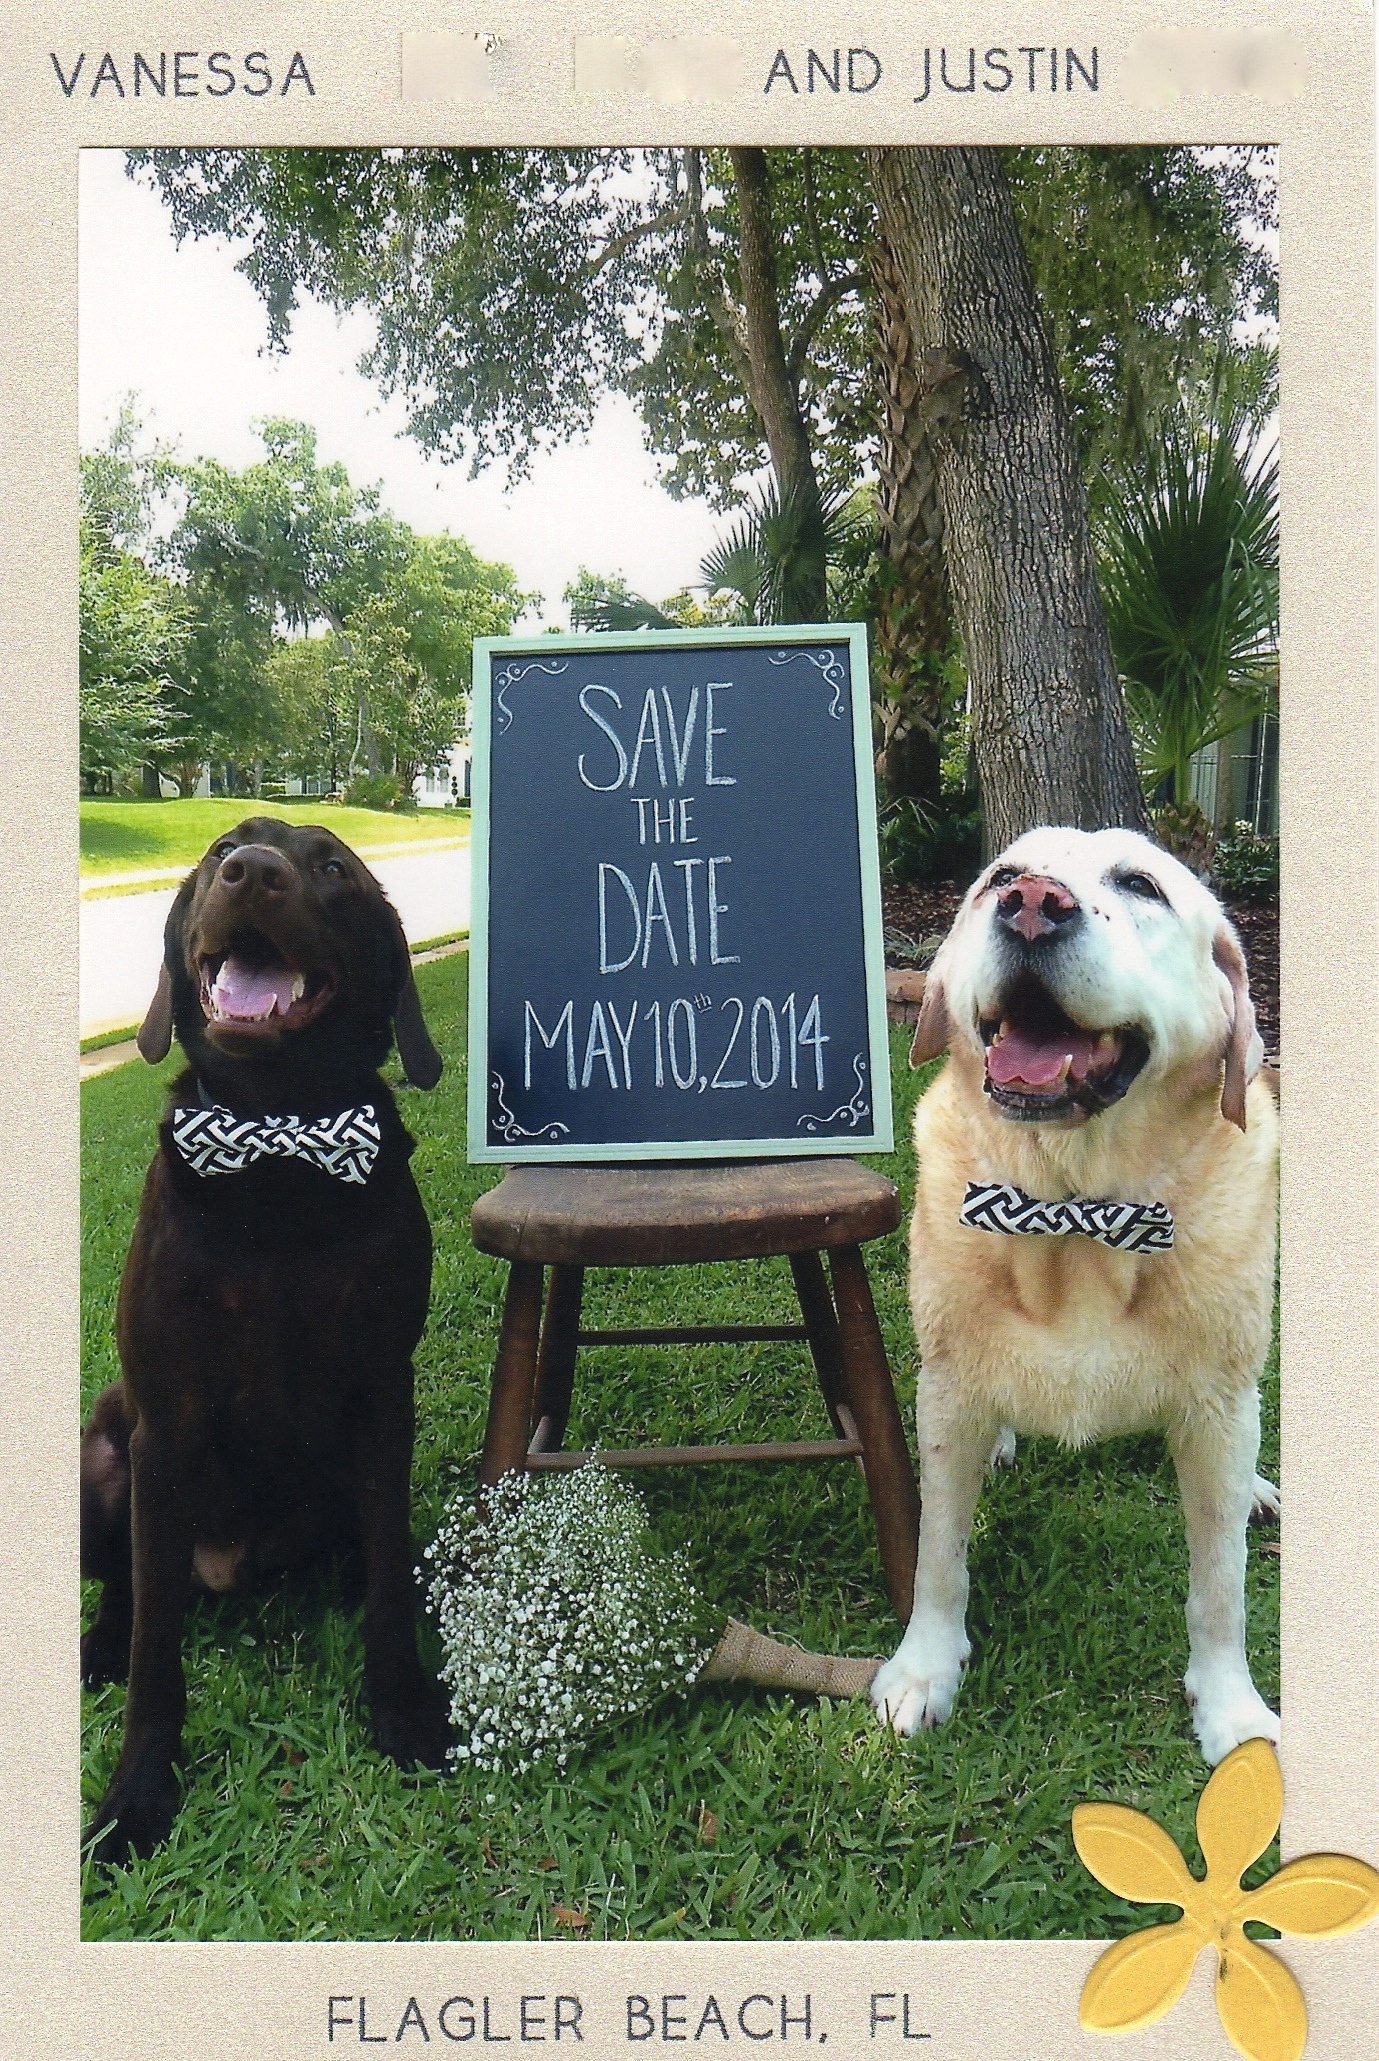
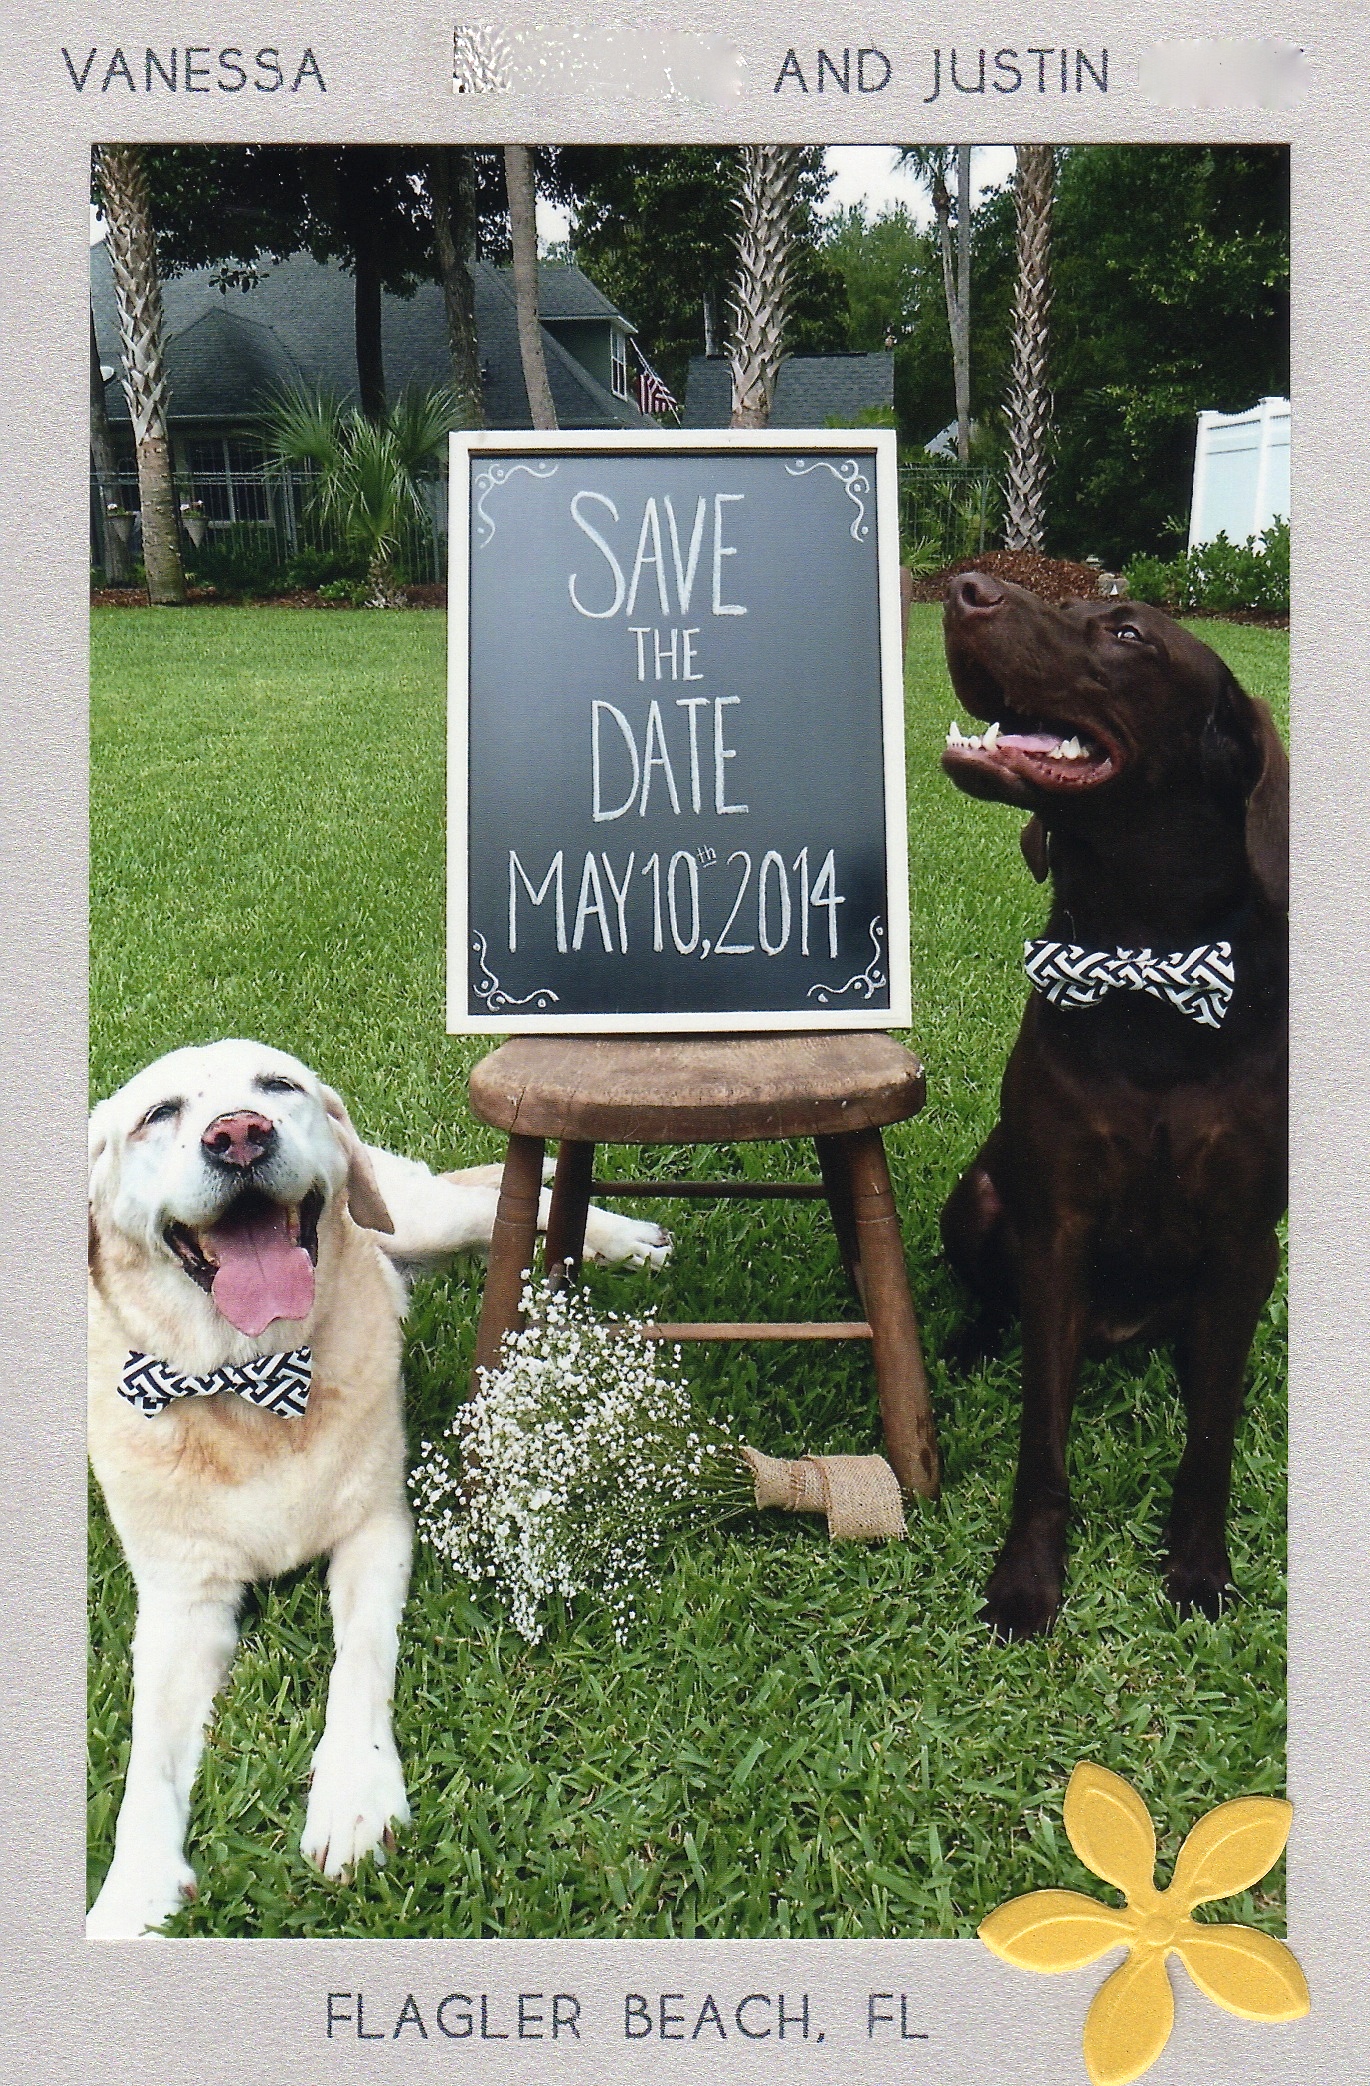
Here is one of our picks, Char looks like he’s reading the sign.

s5

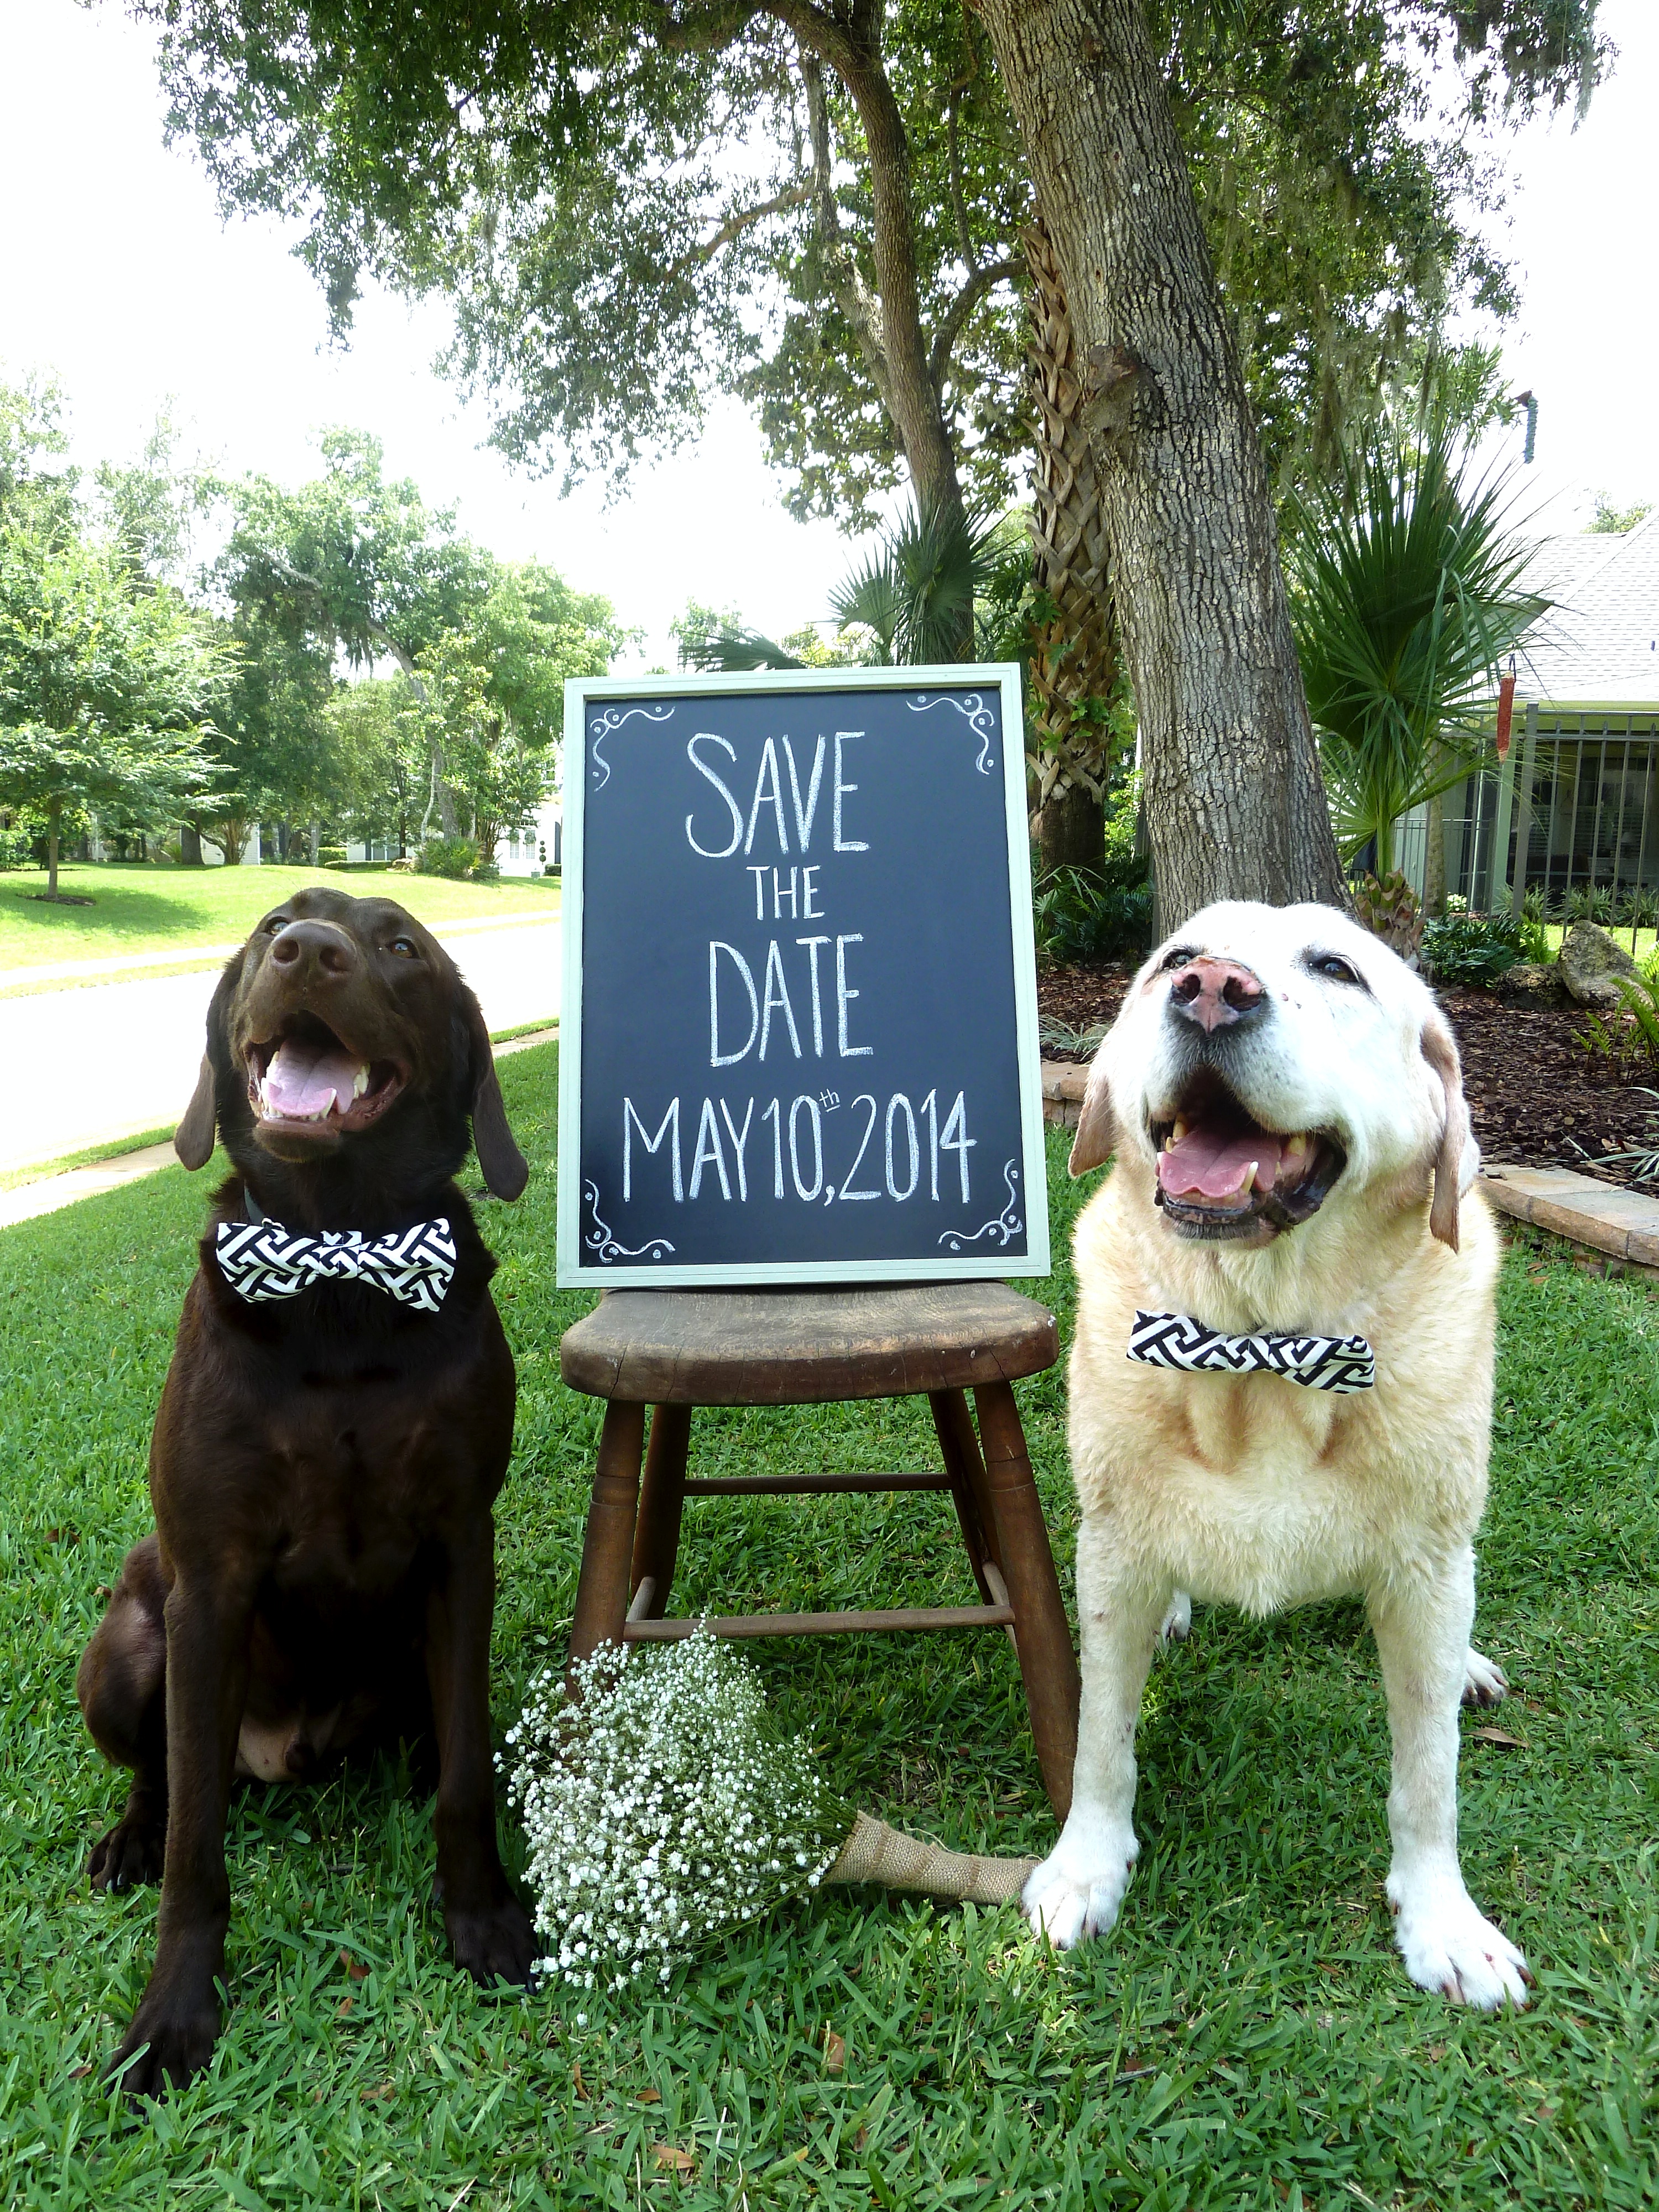
Here is another one we chose, they are both actually looking in the same direction, major accomplishment.

s6

We loved this one because Charlie looks so handsome and proper!

s7

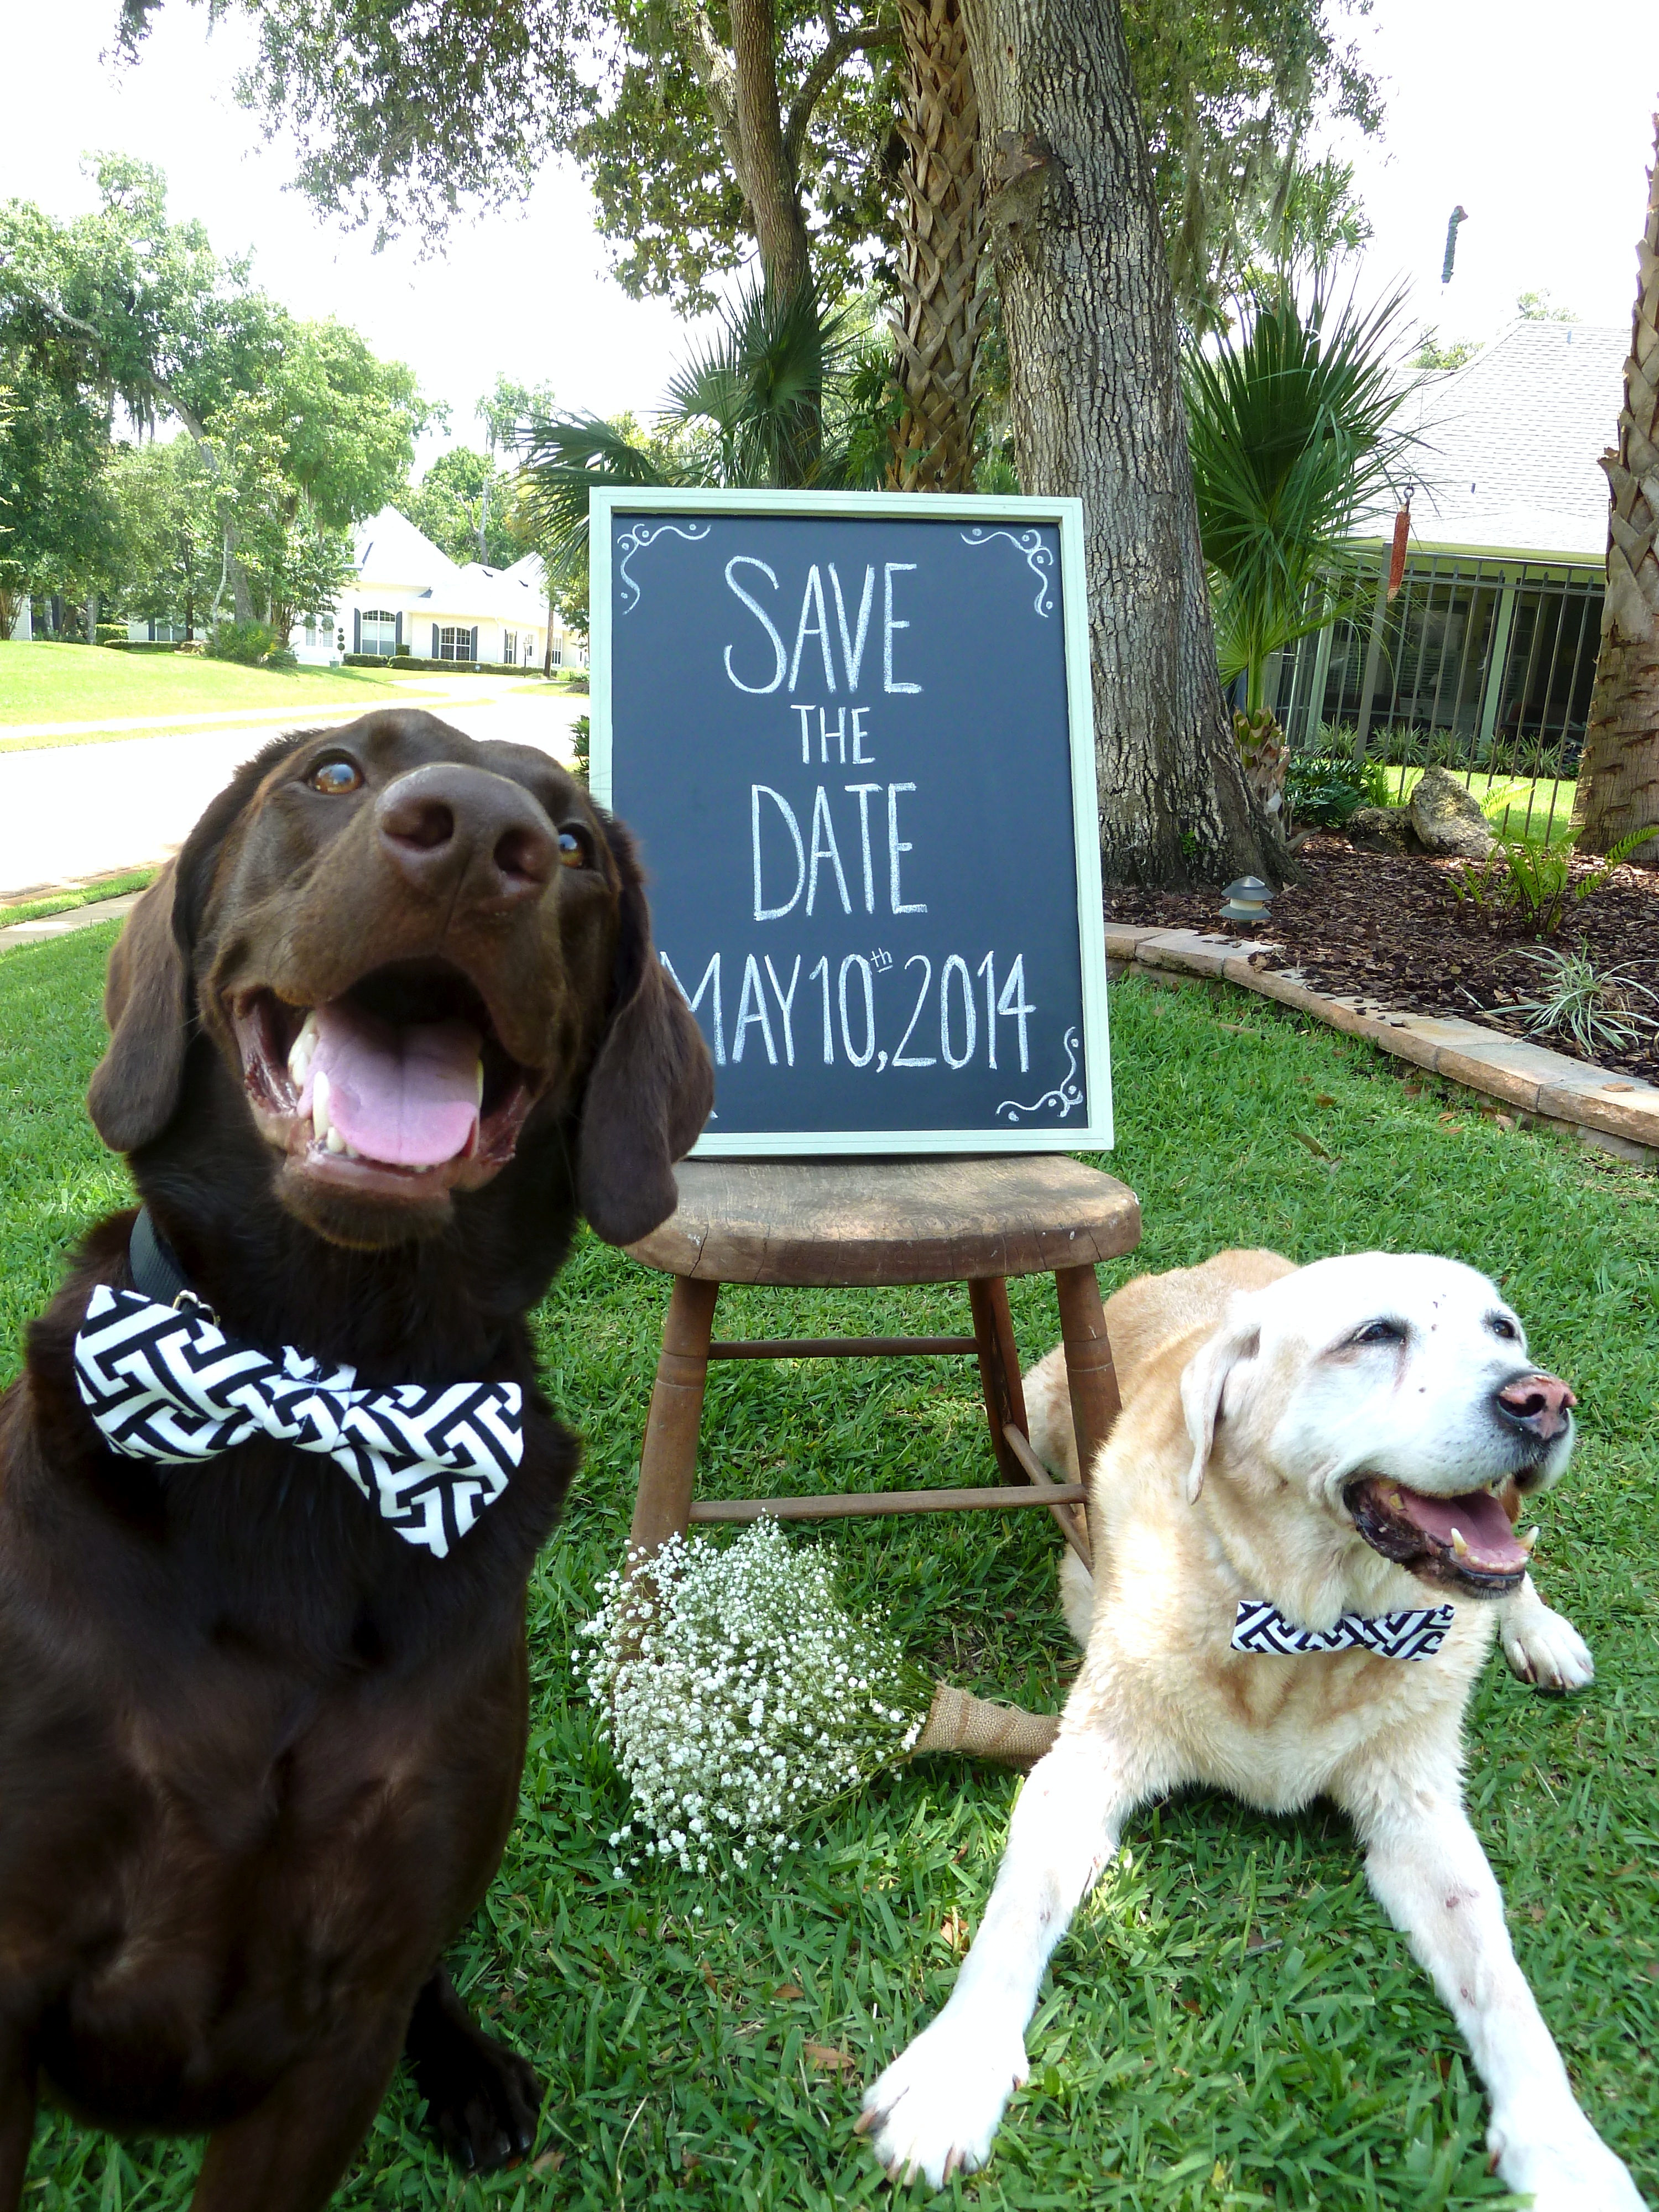
This was an accident, but I am so glad Alex got this shot.  We love how close Charlie got to camera and still you can see the sign and Zack.  It’s almost like he’s saying “Please Come!”.

Alex took approximately 50 pictures.  I couldn’t decide between these four above, how could I pick just one?  So I decided to use all of them and let my guests all get different pictures.  It was not an easy shoot though, here are some of the not so great shots…

s1

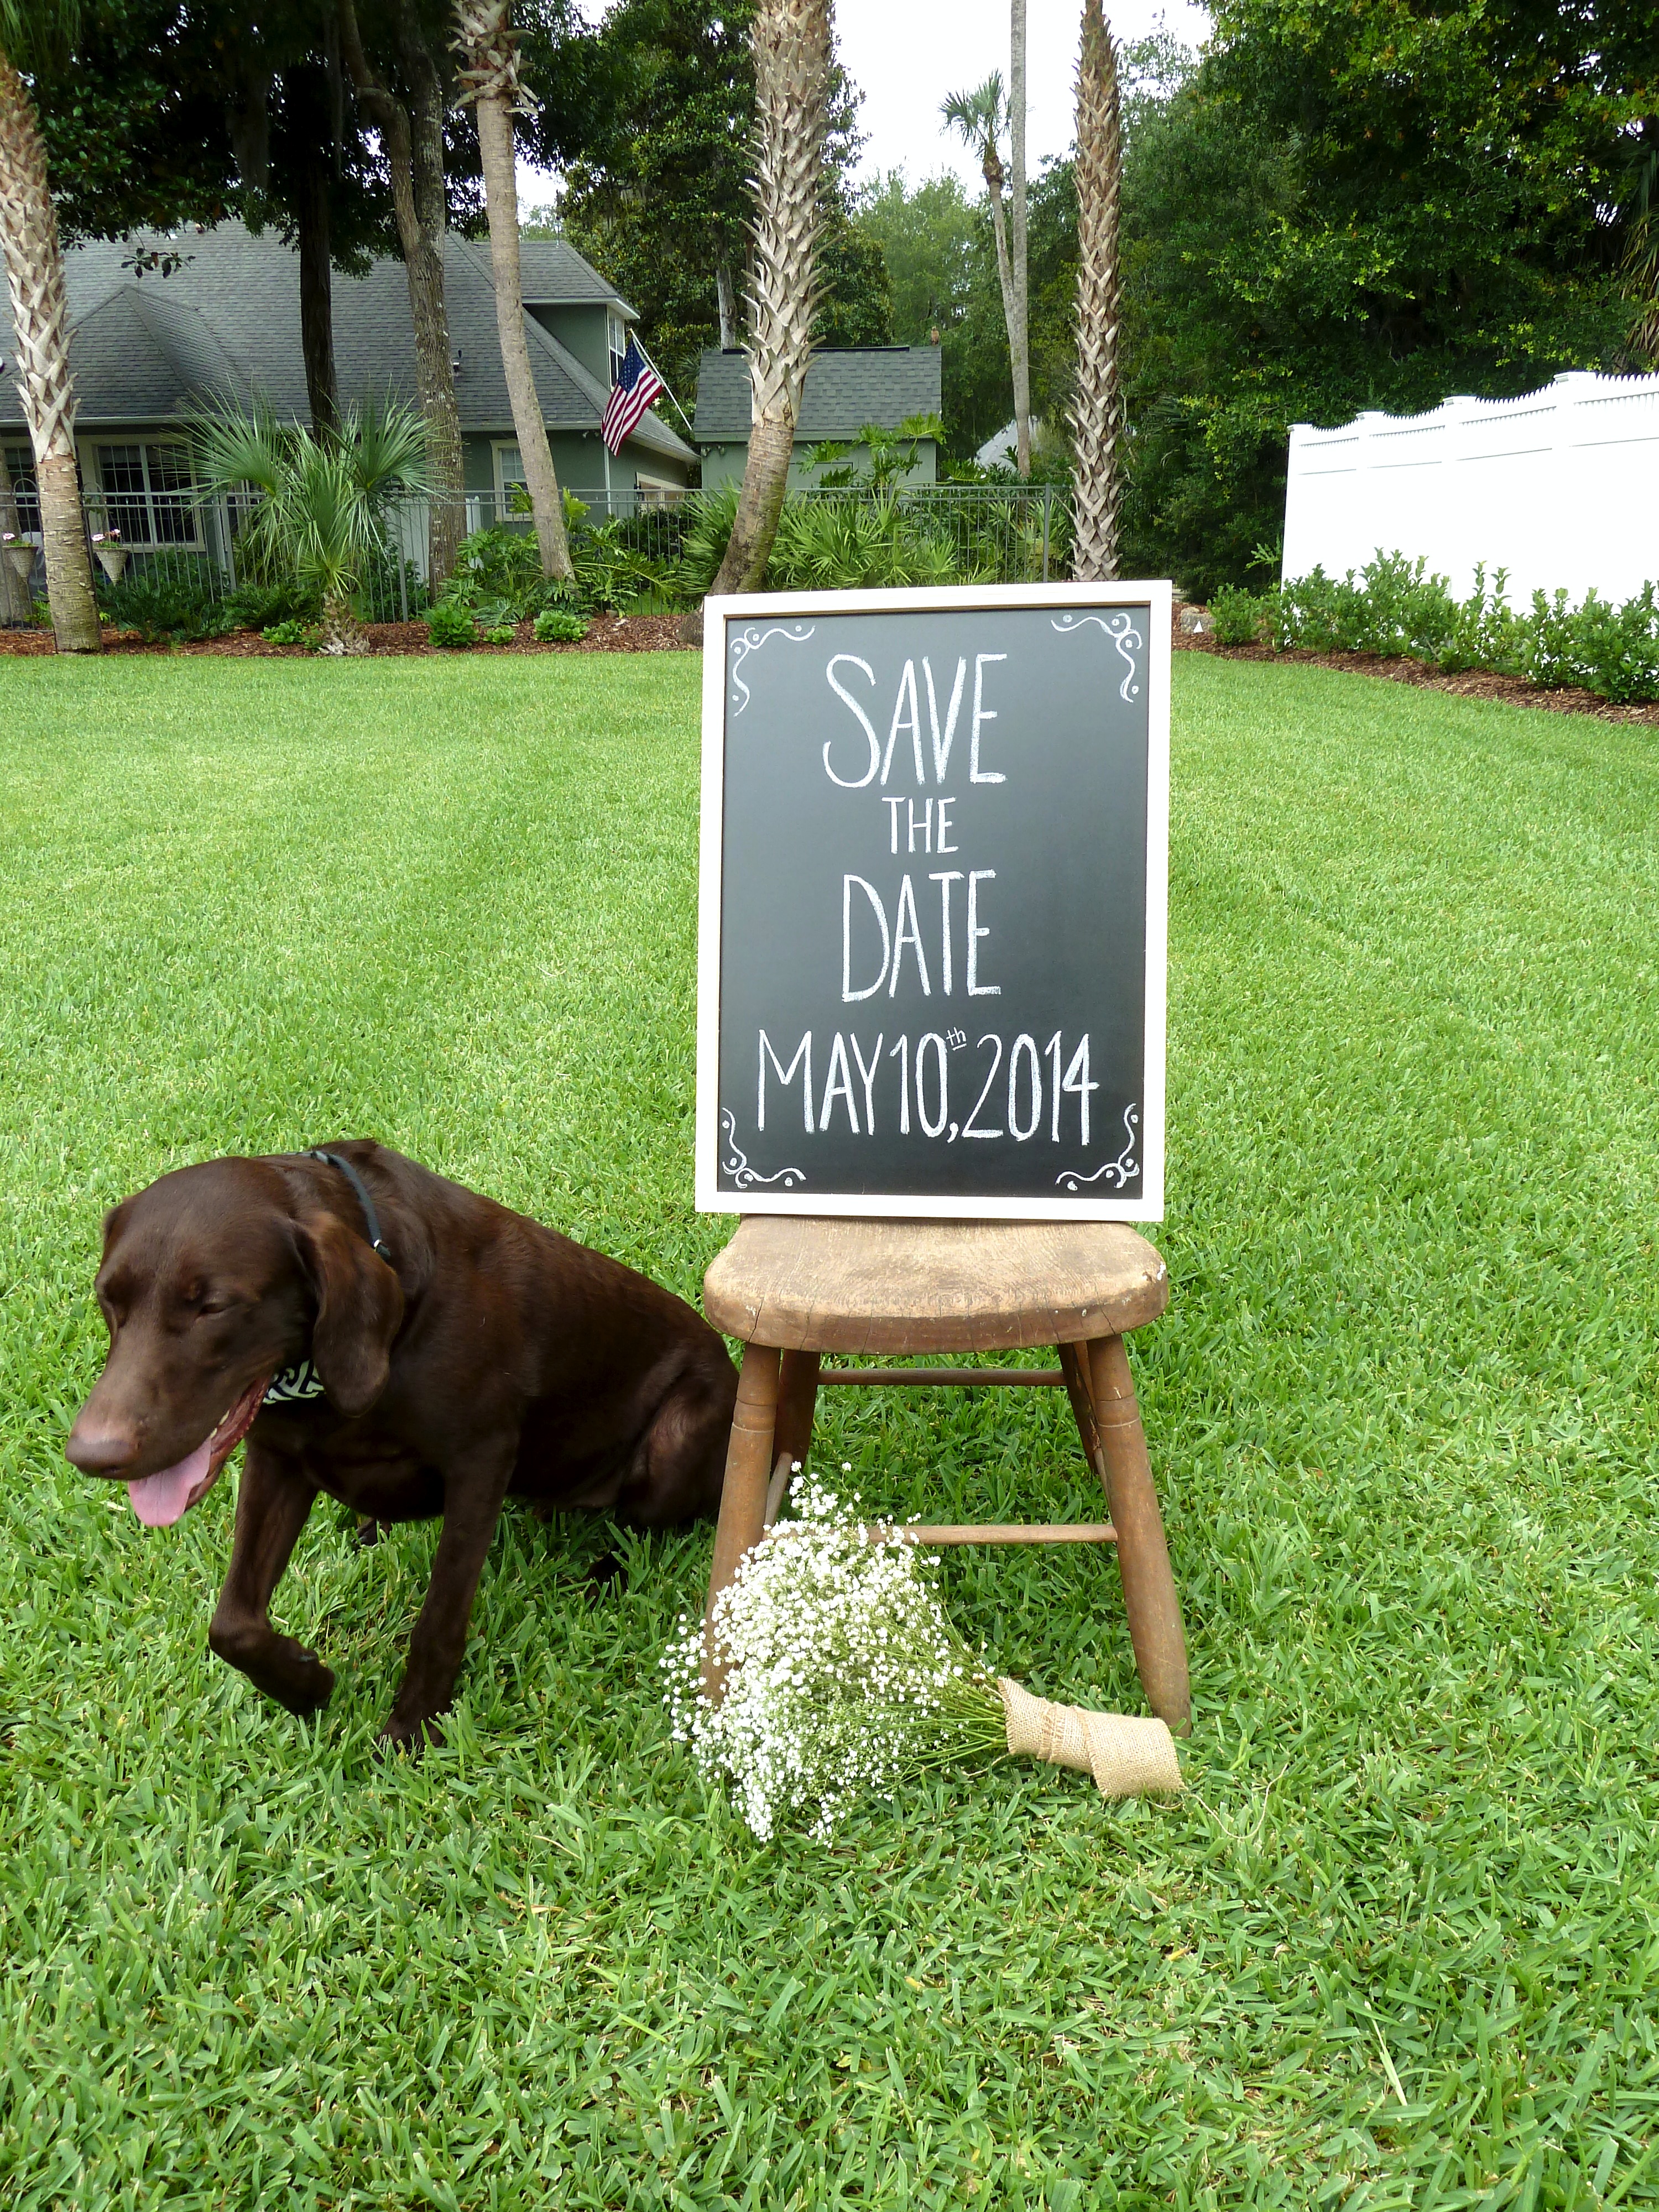
Looks like we had lost a dog and were about to lose another.

s3

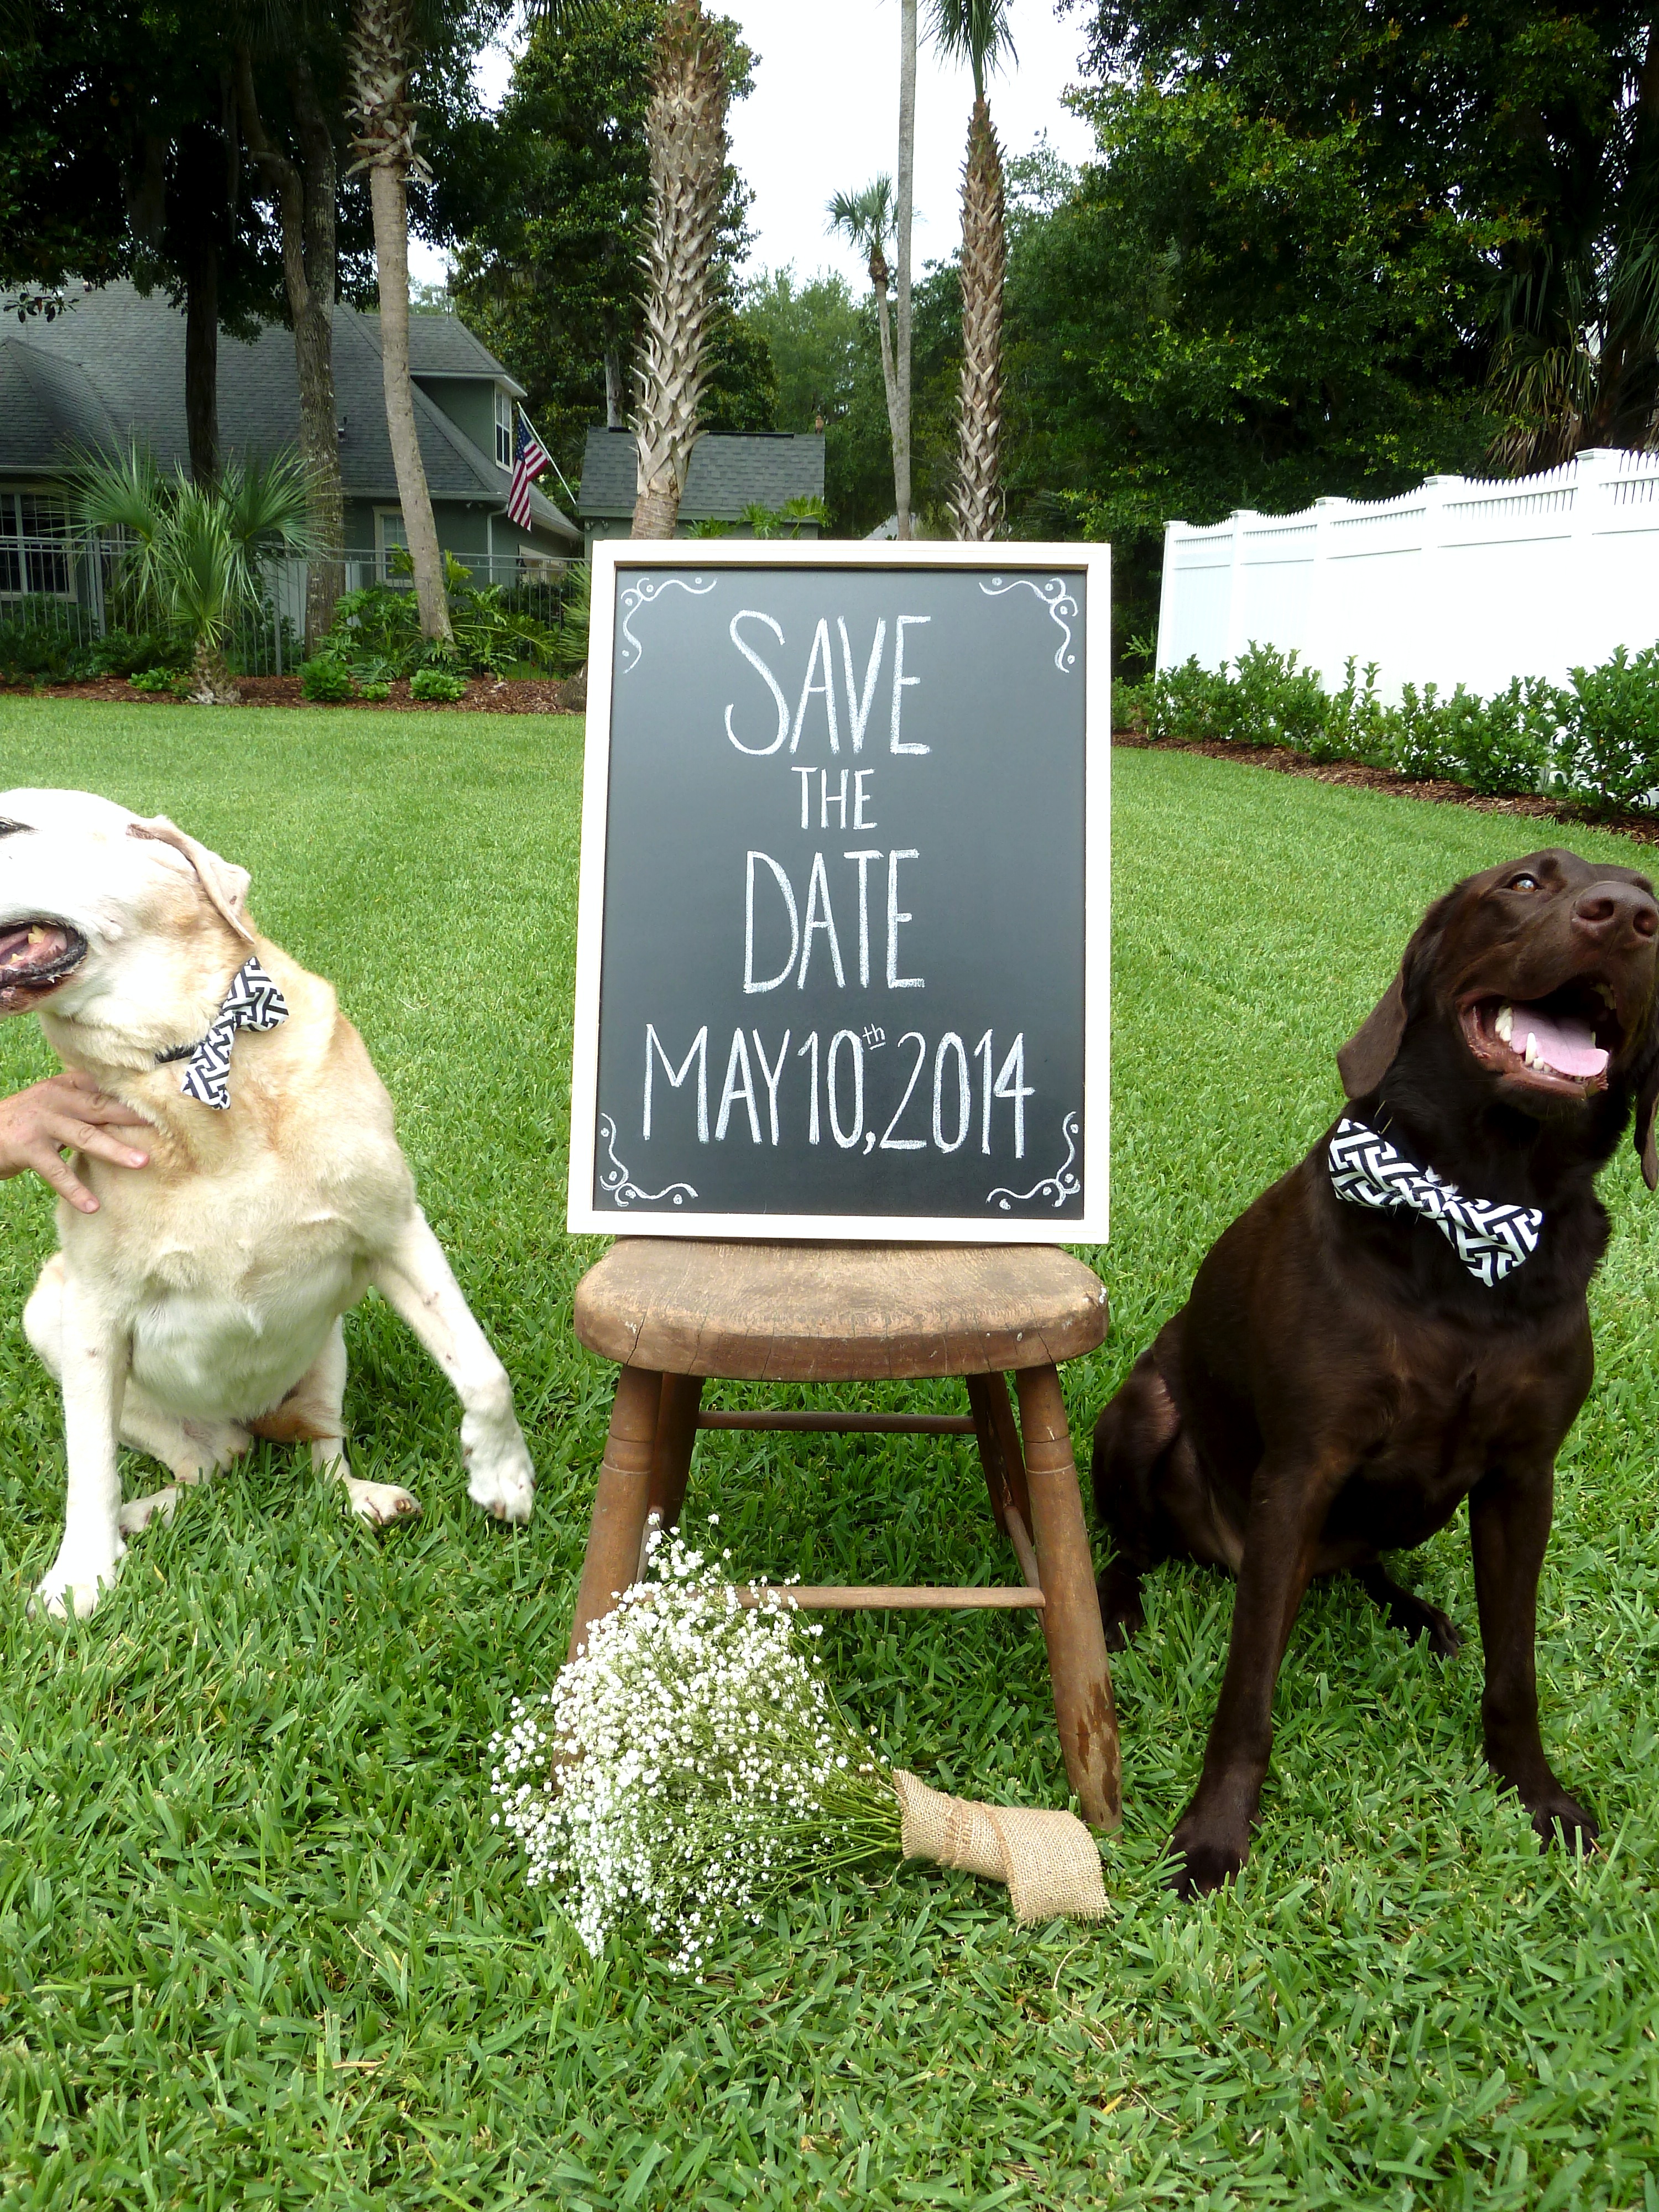
Hey, there’s a hand! Zack refuses to sit, he kept walking around.  We had so much trouble keeping him in place. Char is such a ham, he just works for the camera!

s8

Then here’s another close up of Char man, but Zack is partially cut out so I couldn’t use it!

I also hand made those bow ties, I am pretty crafty folks! Sandy got the babies breath and burlap that I threw together also.  I think these pictures turned out great.  From here I just had to put all 78 of them together.

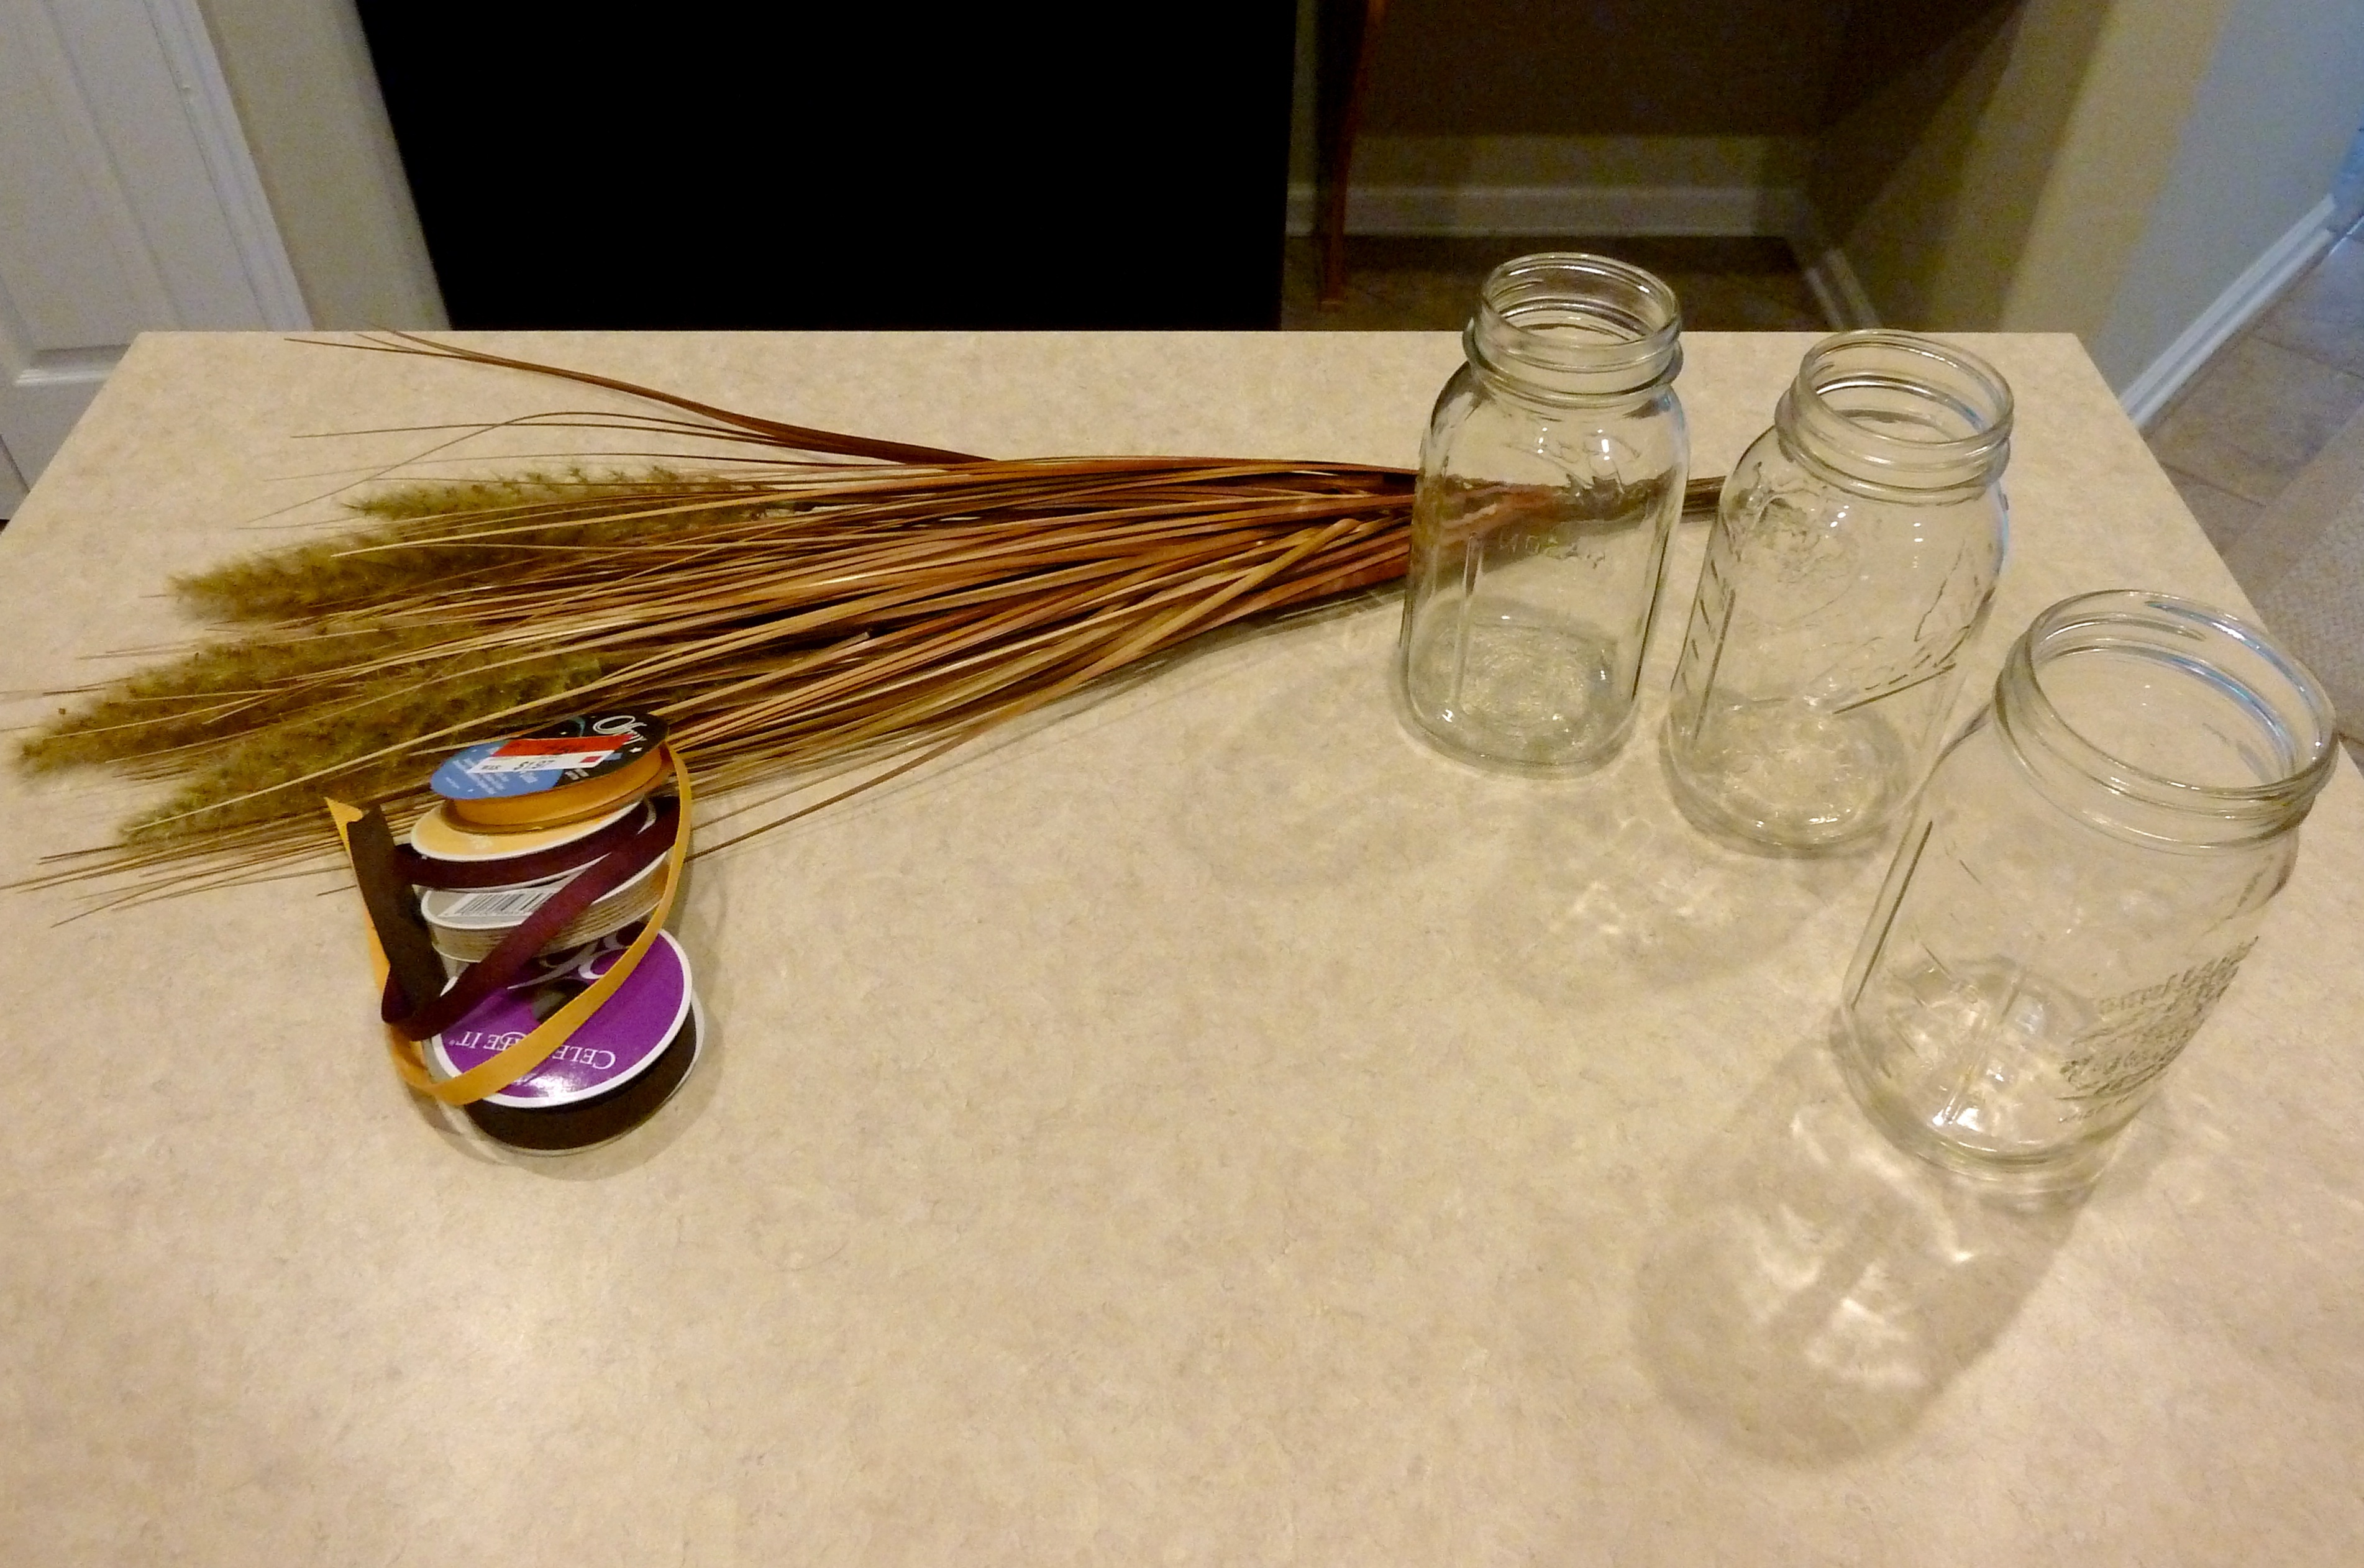
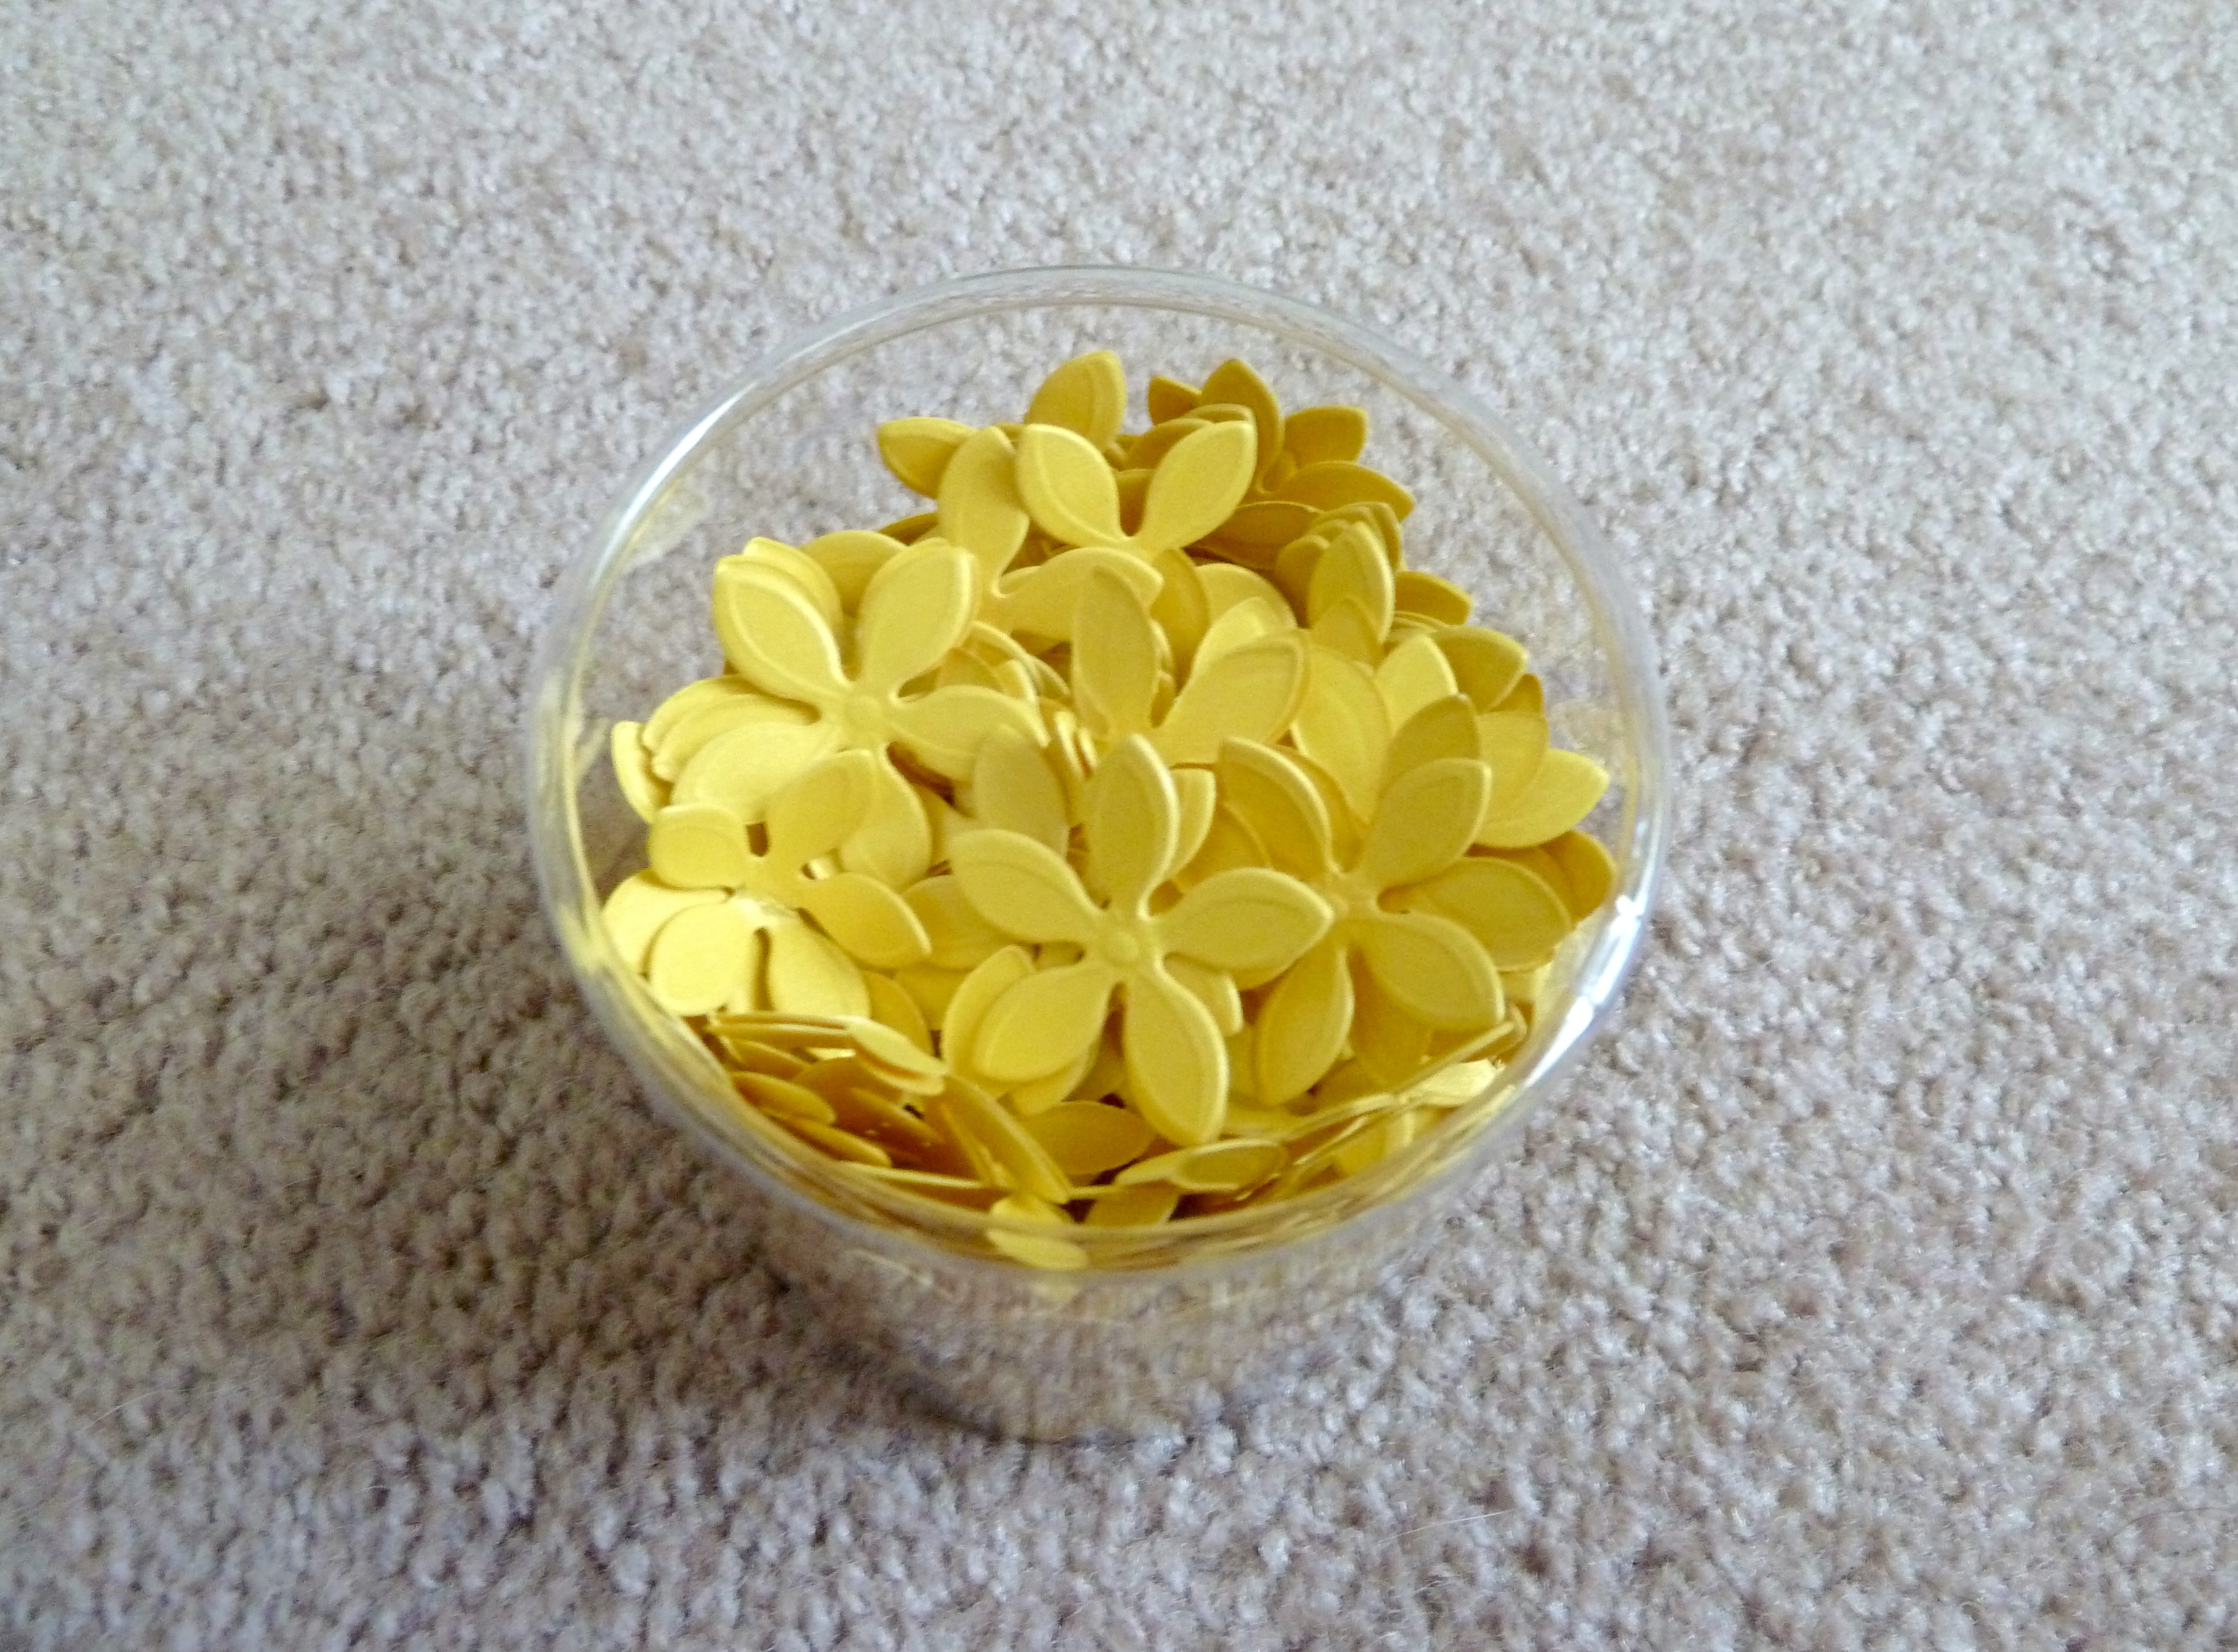
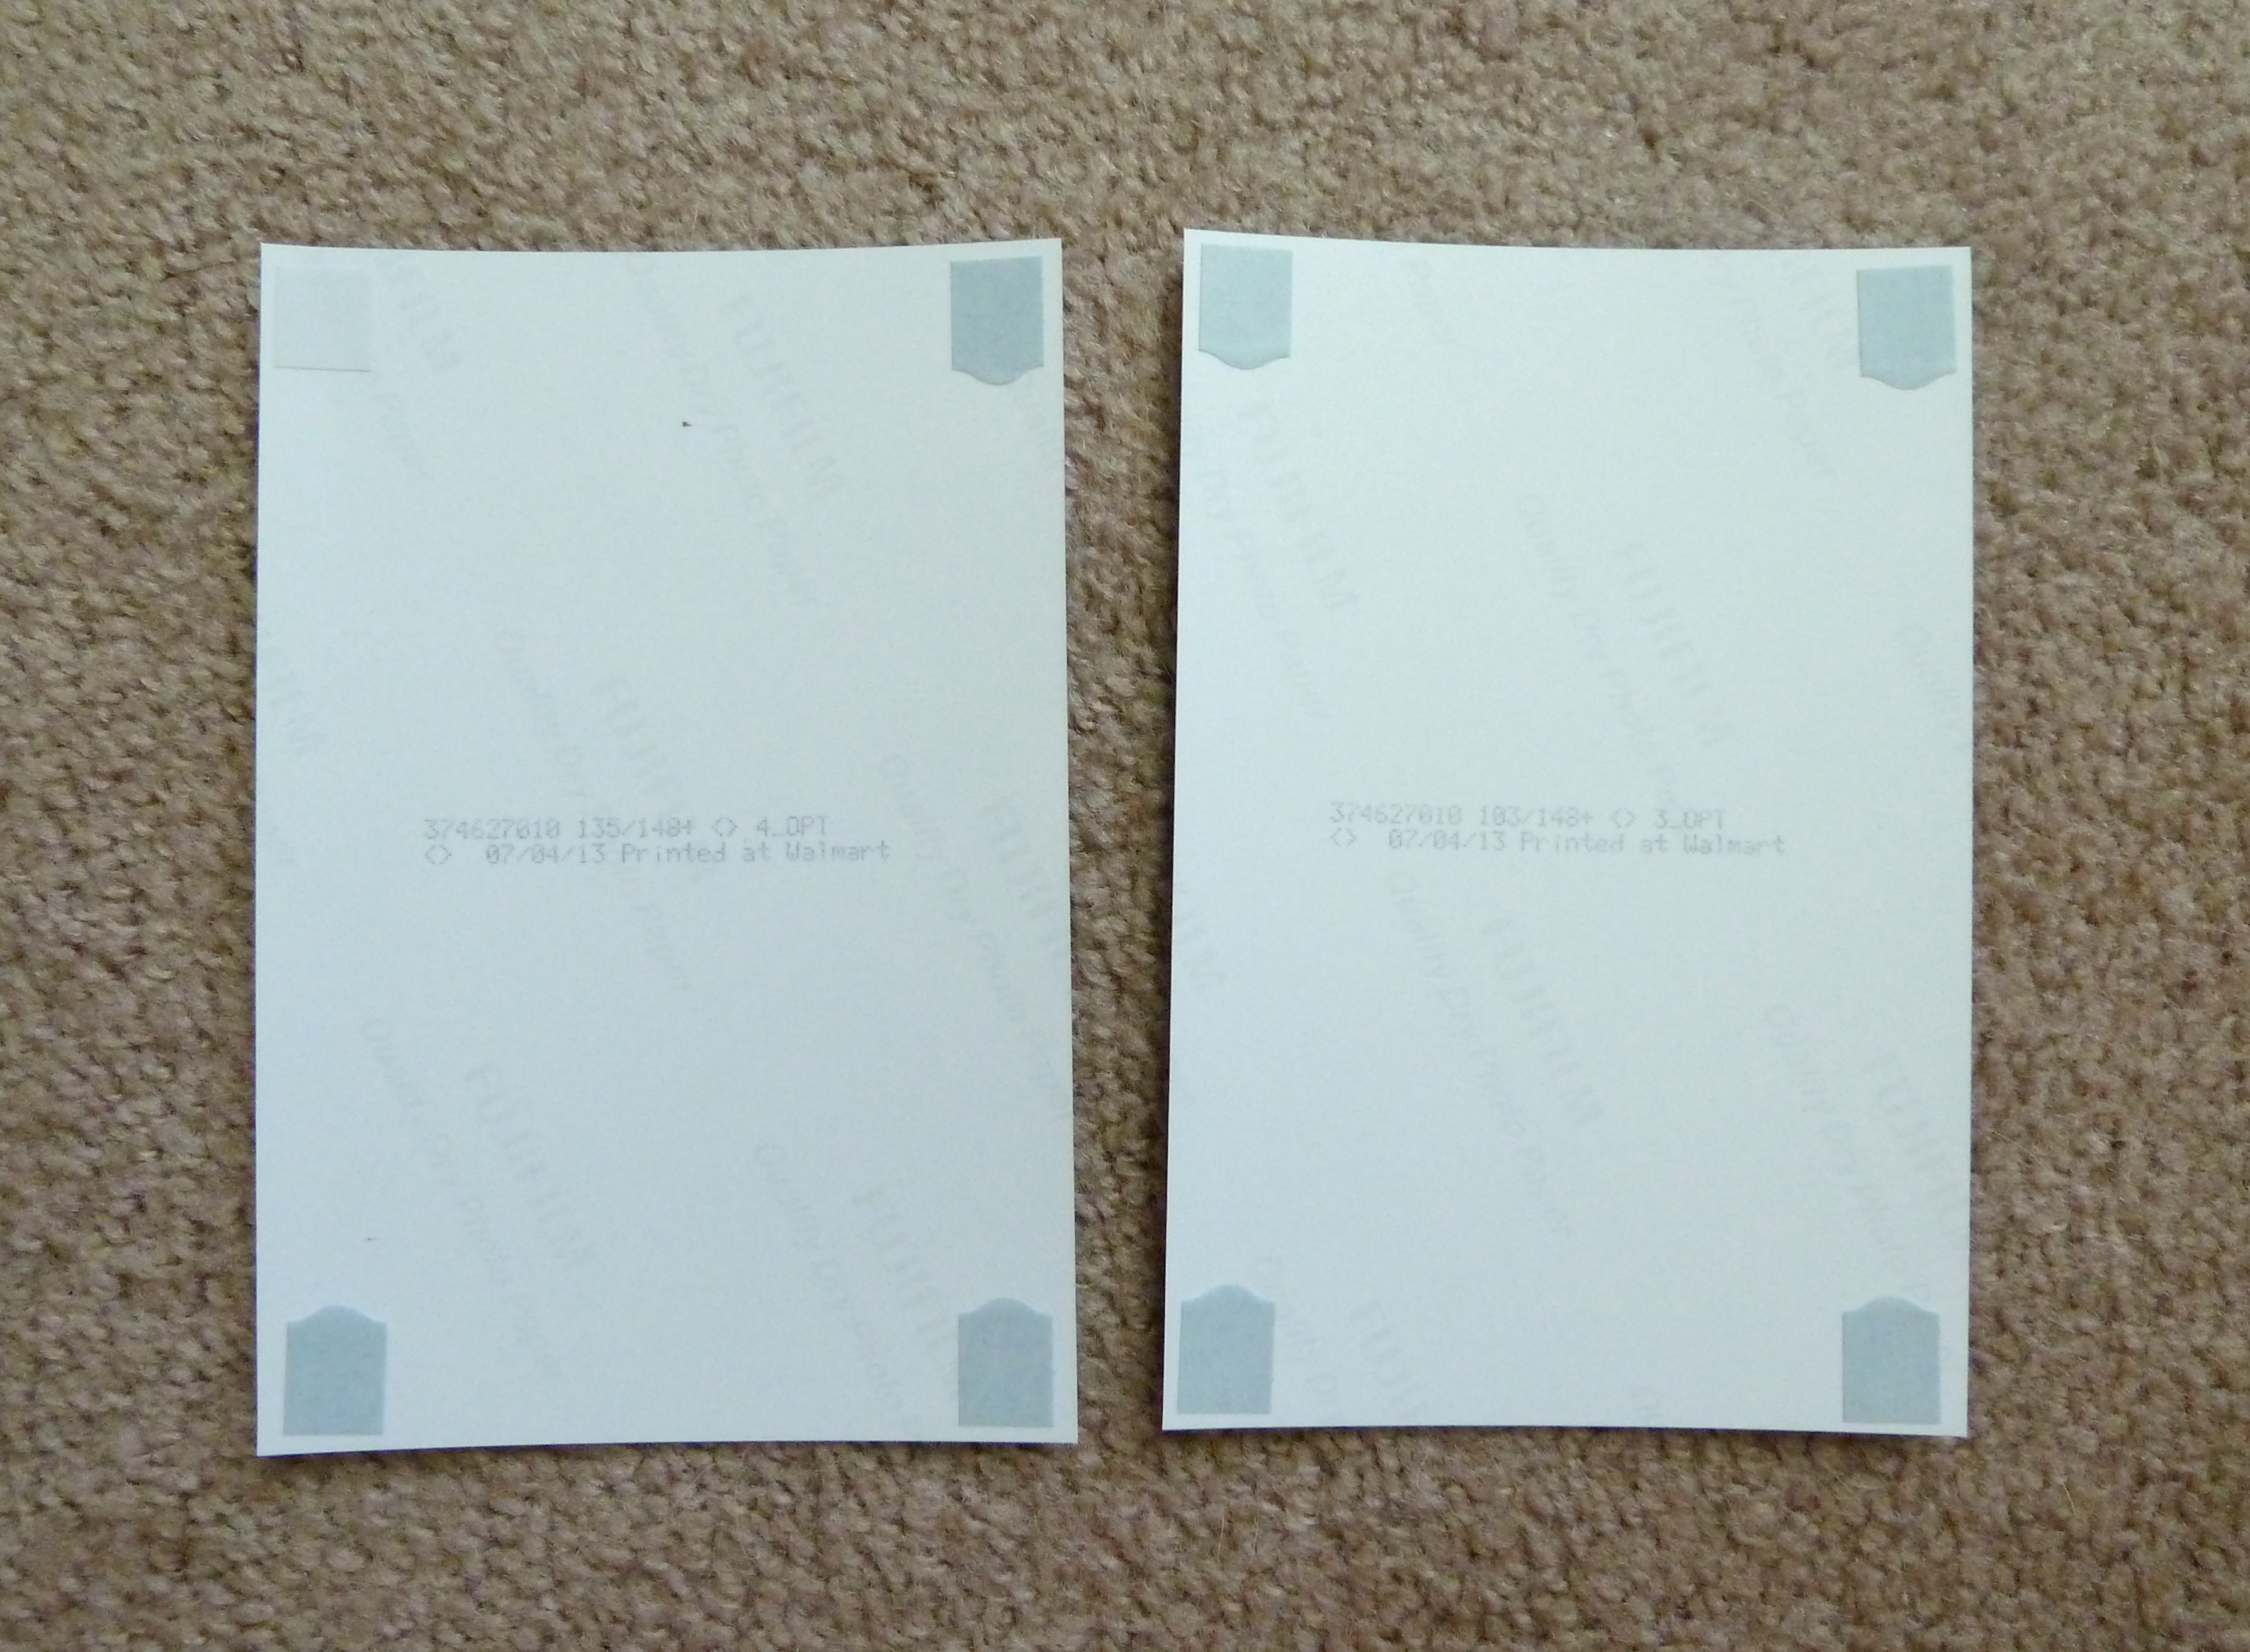
After having my photos printed all in 4×6, I headed out to the store to get some supplies.  I came home with this…

t1

t2

These are actually confetti flowers that I purchased from Michaels for $3.50 and it came with a ton so it was quite a deal.  I thought I could use them on each save the date as a little add on so it’s not just a picture.

t3

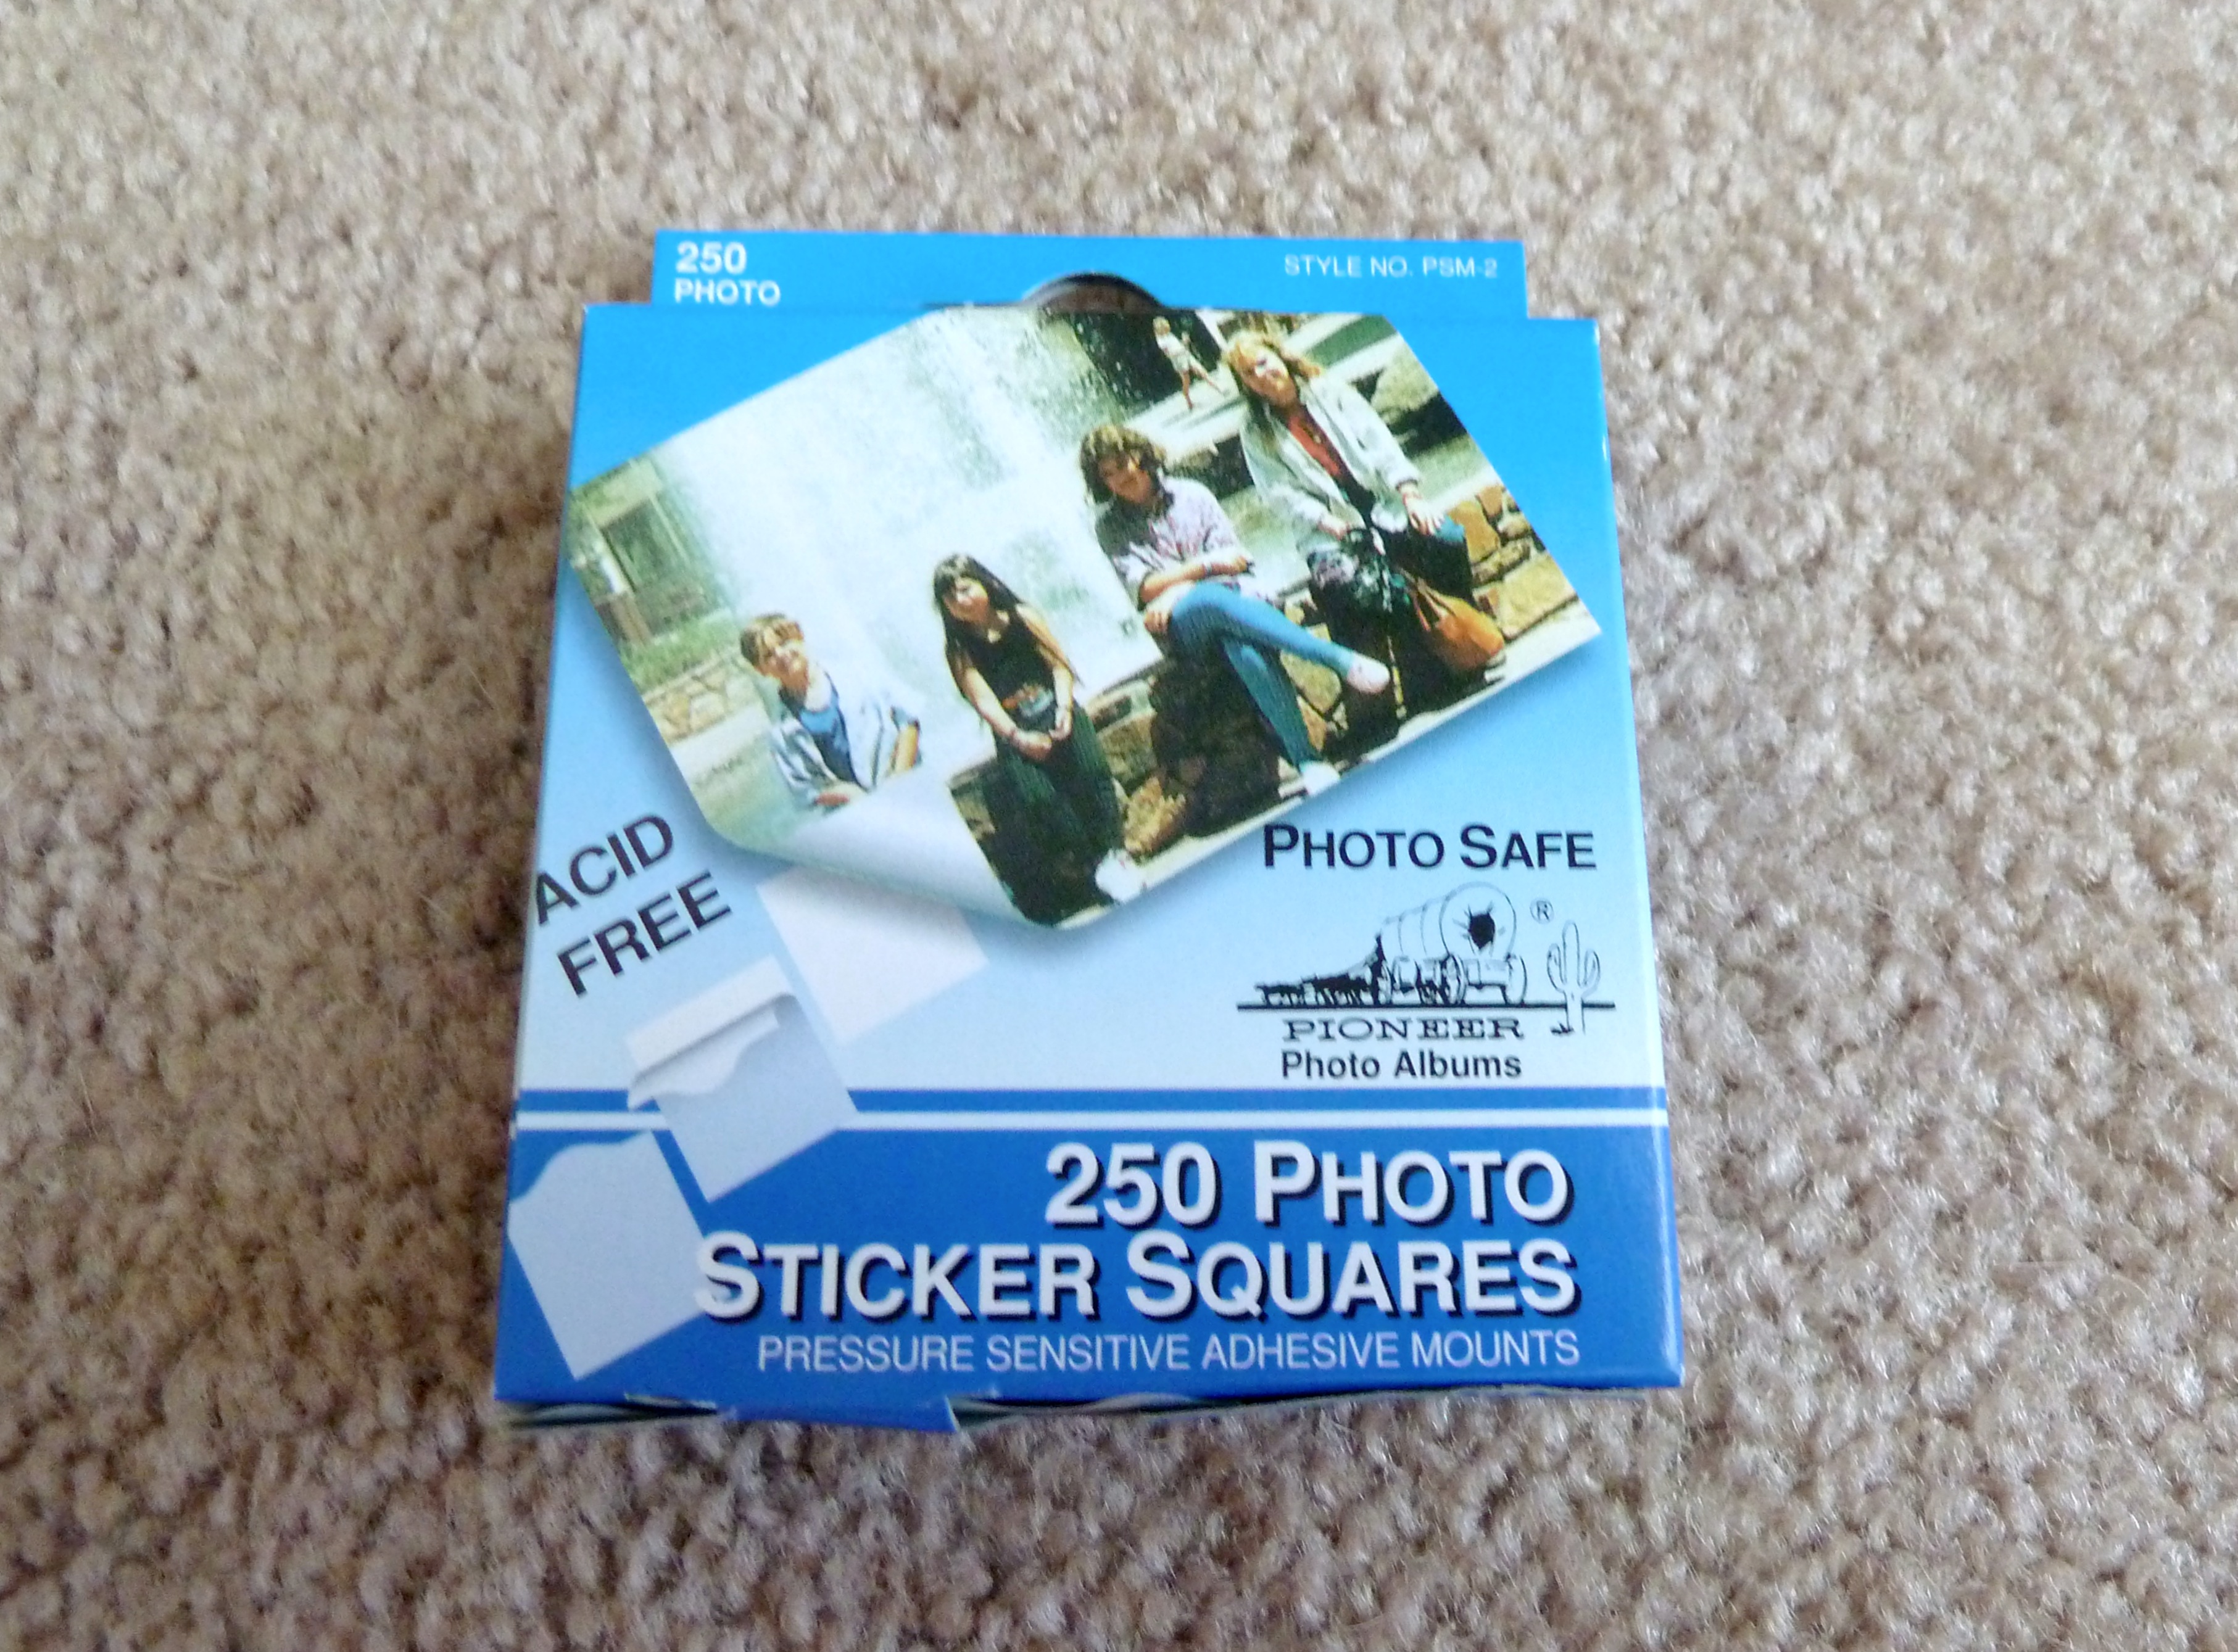
I also picked up a few of these to attach the photos with, they are photo safe, so the photos wont yellow.  I assume that all of my recipients will keep this photo for life, don’t worry guys your photos are safe! At least I know my mom will keep this photo forever!

t4

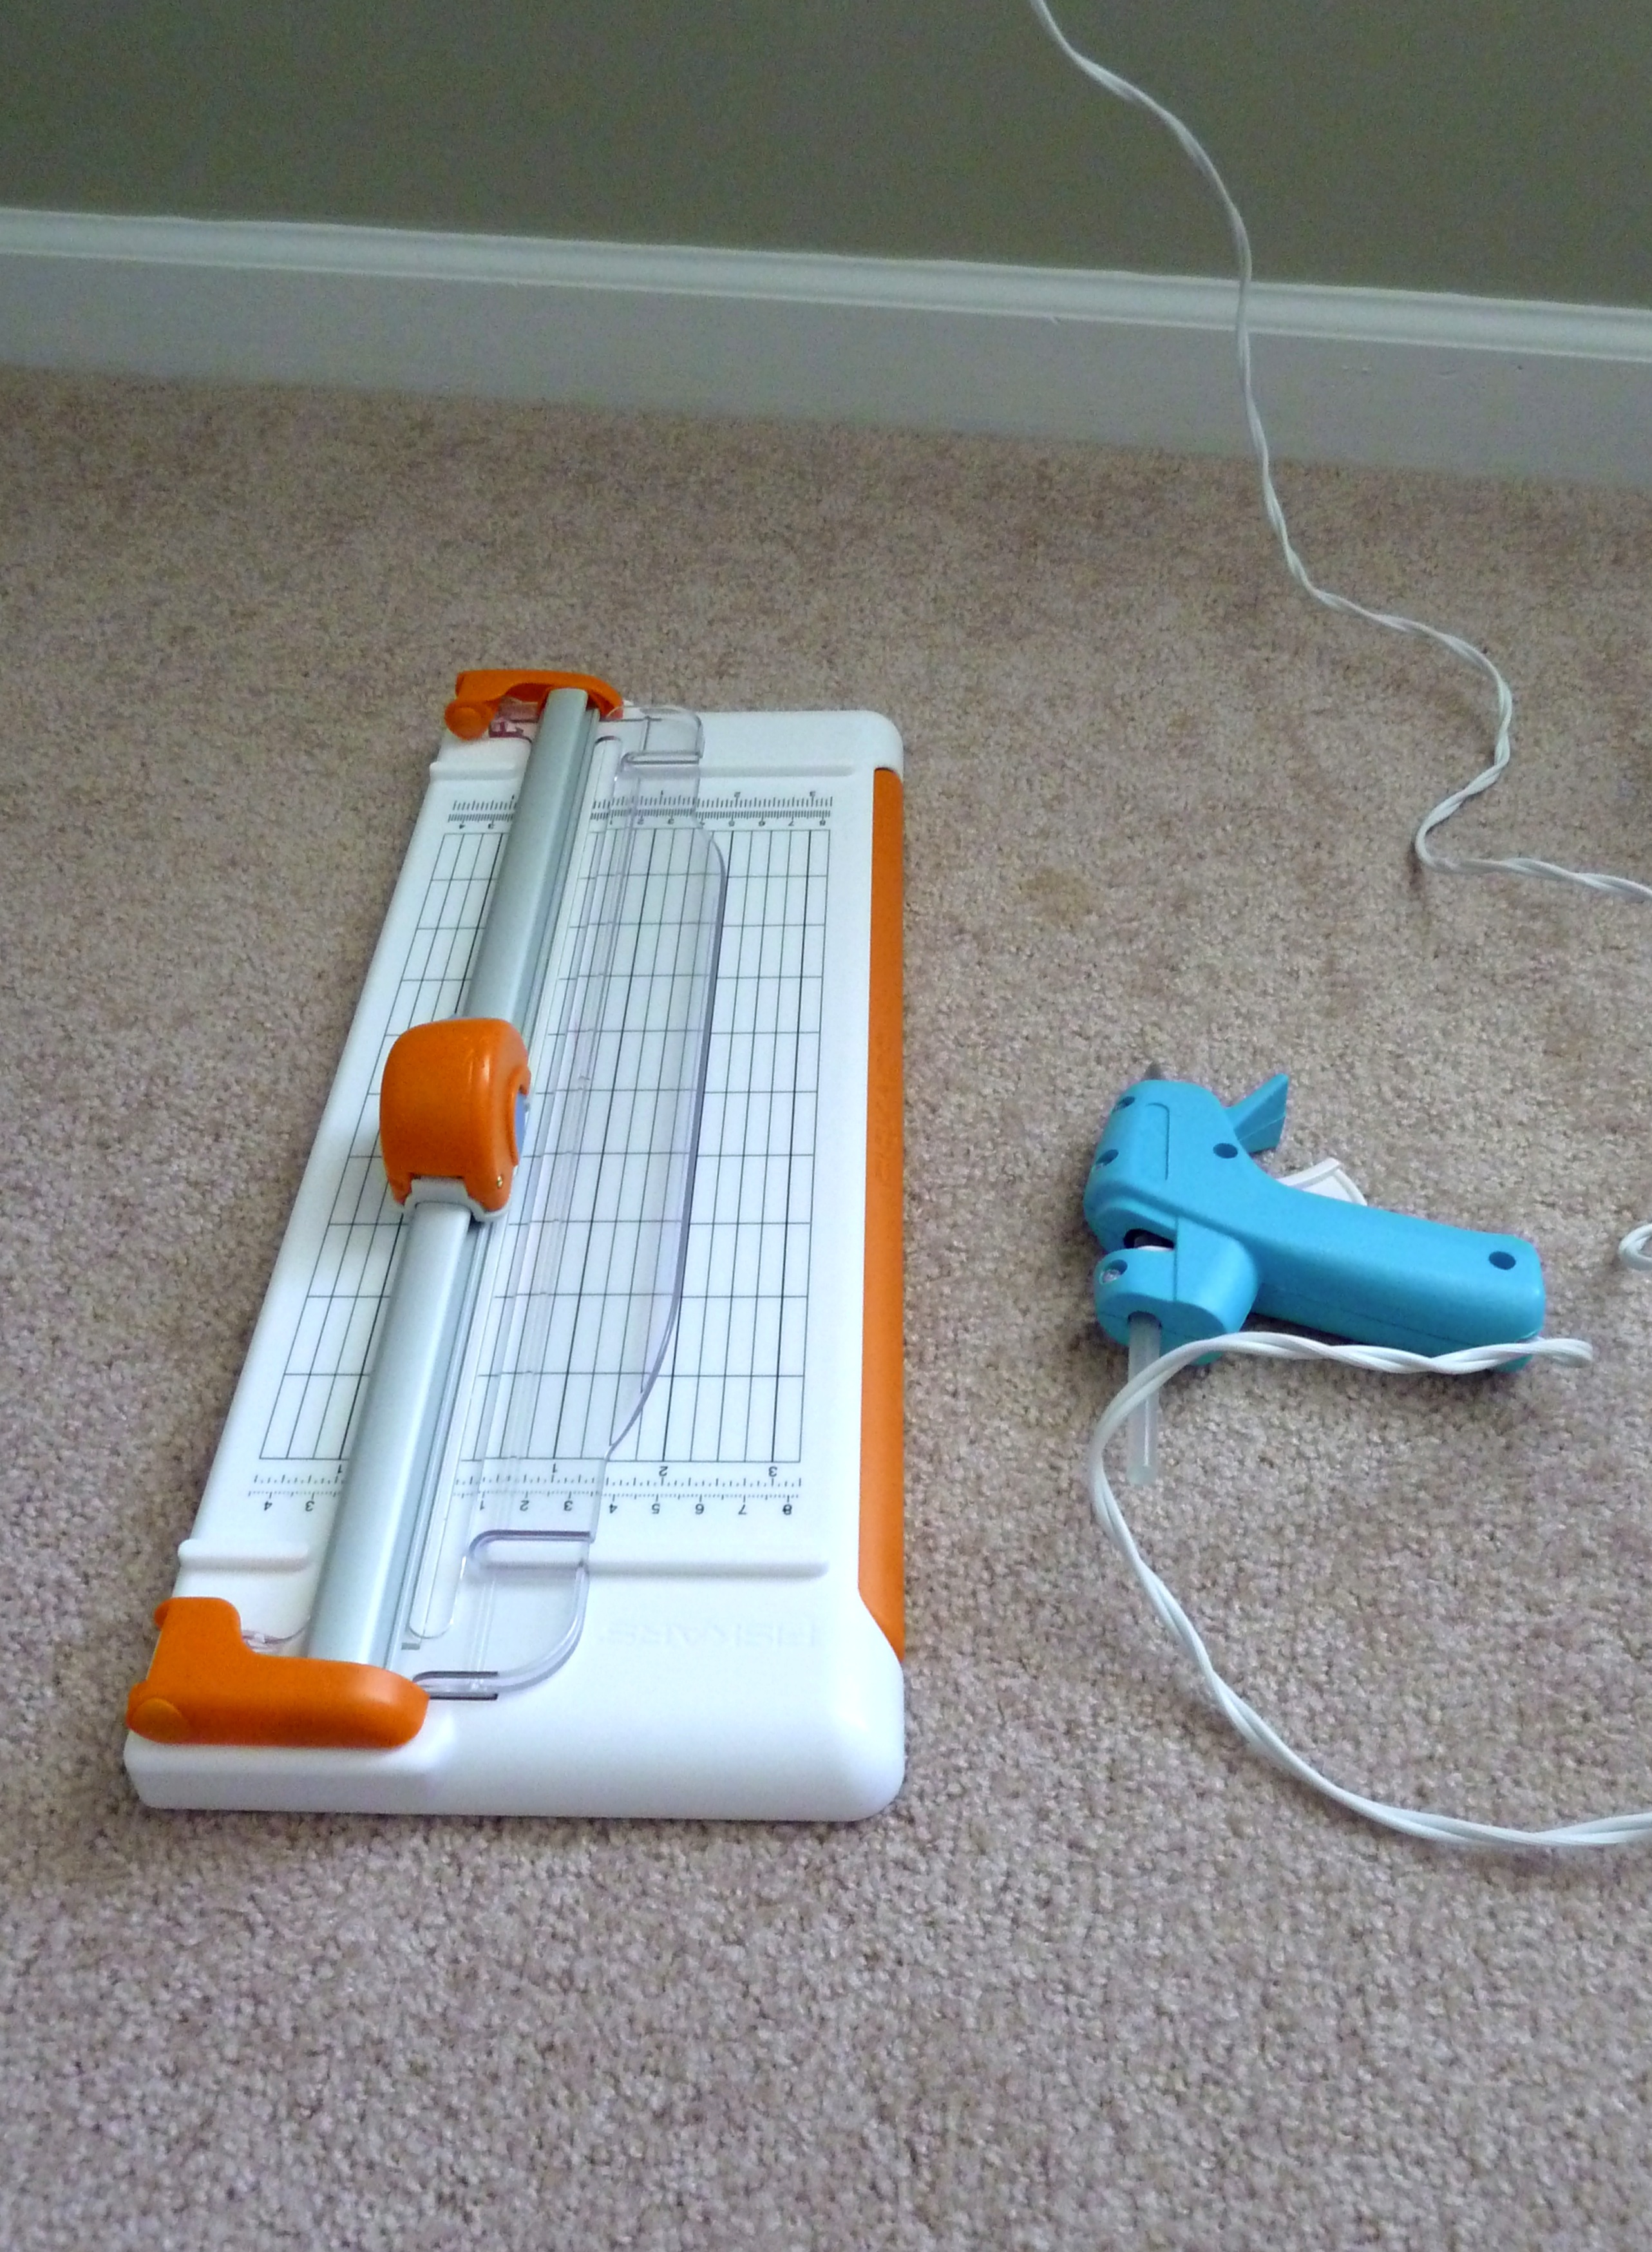
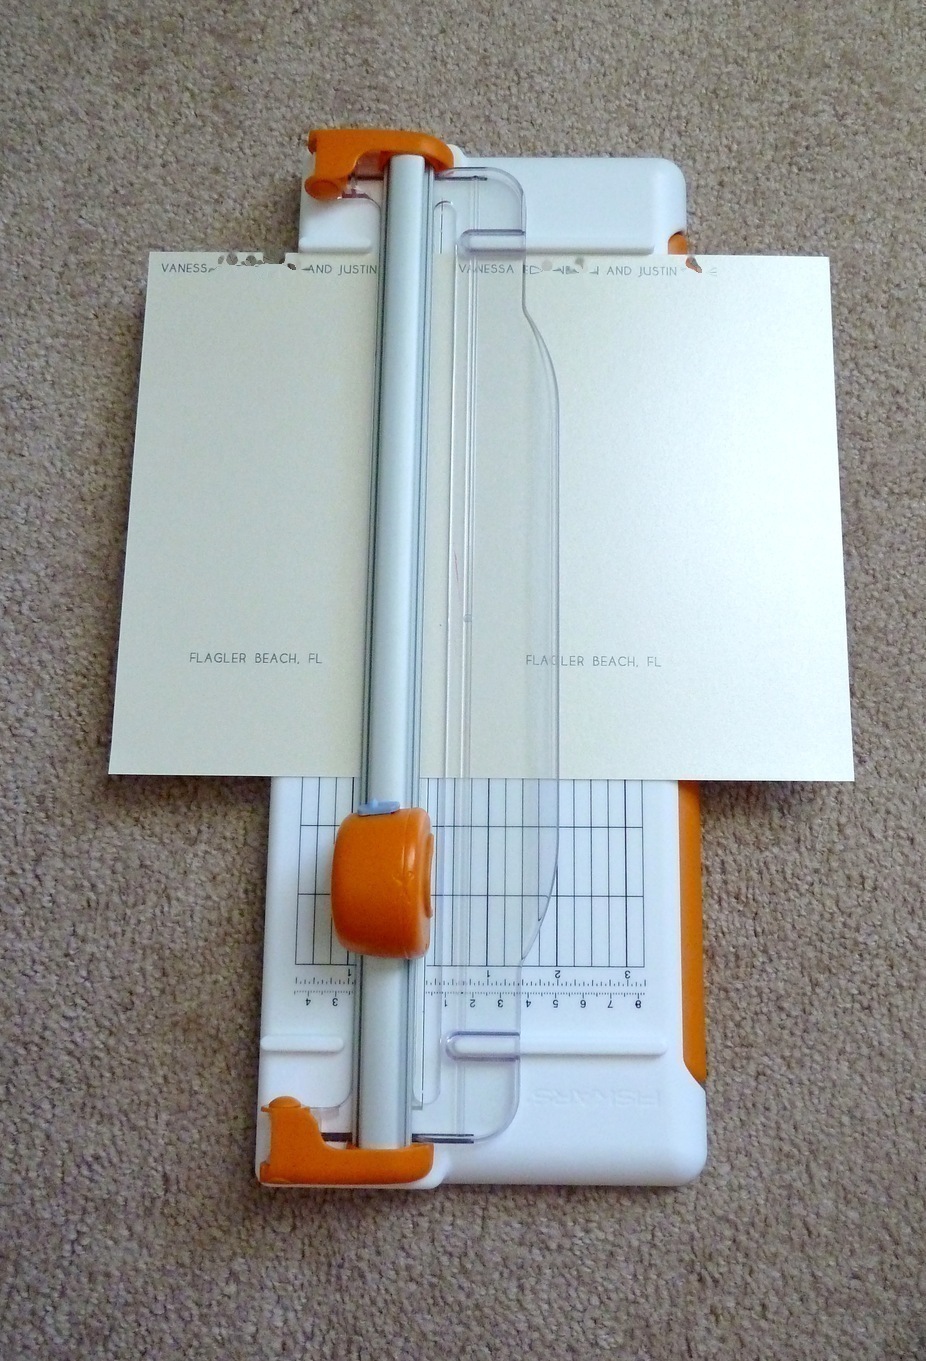
I also used my trusty paper cutter and of course my hot glue gun.

imageedit_68_7933608766

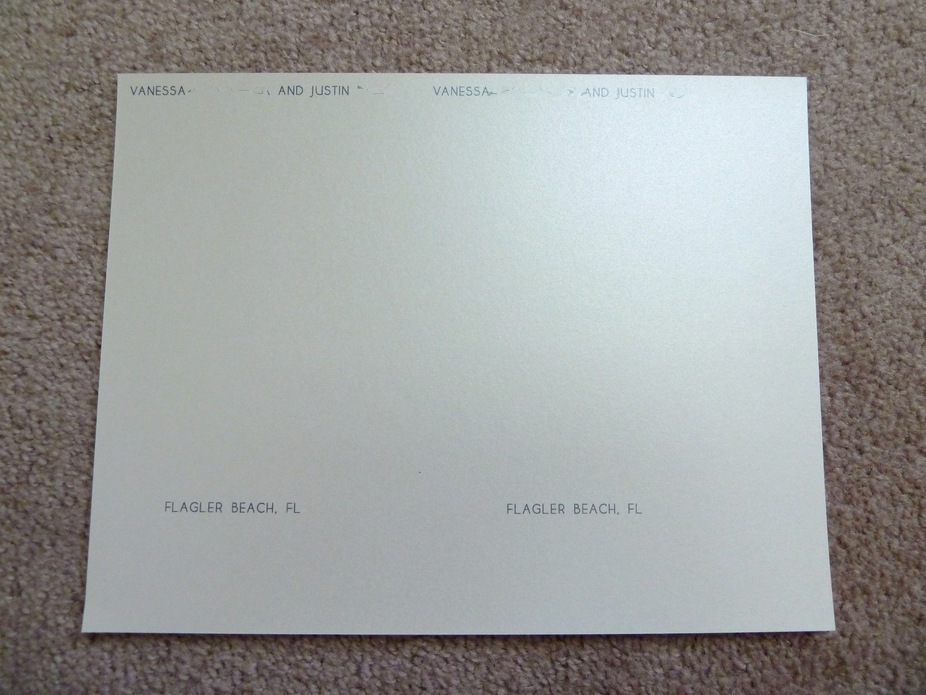
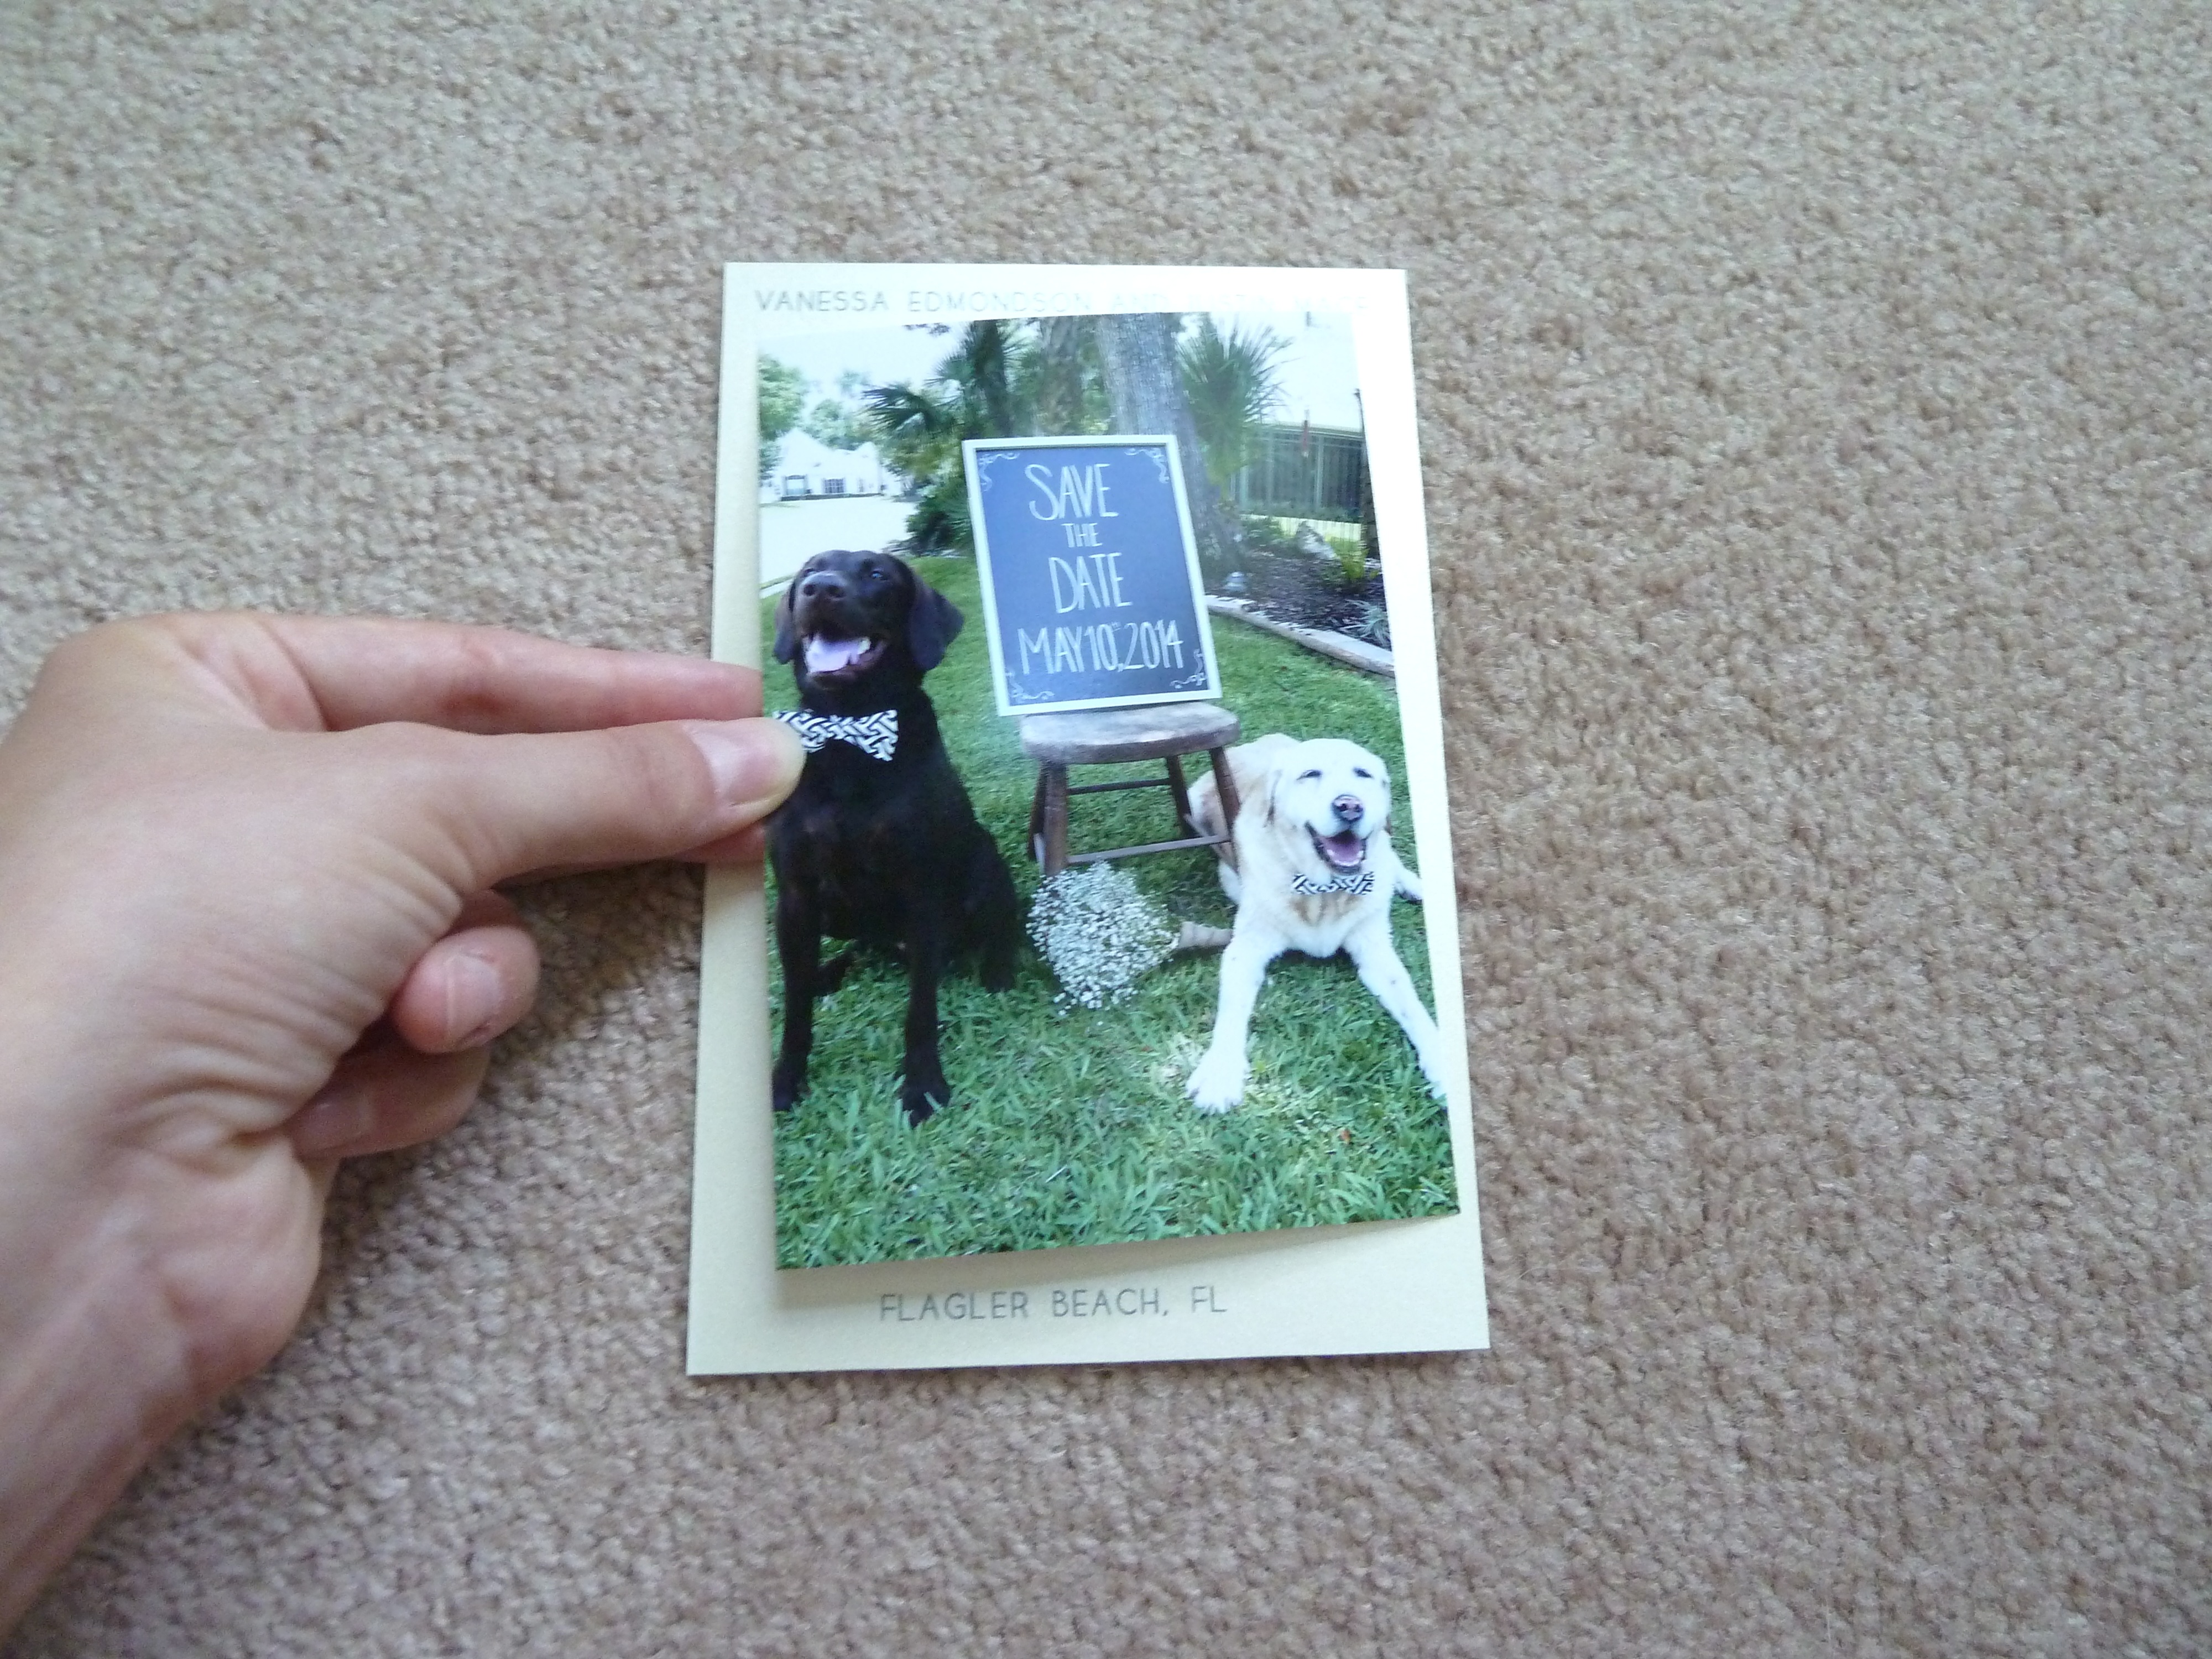
I also purchased this pretty shimmery ivory paper.  I created a document on our computer that would print two 5×7 cards on one piece of the shimmery cardstock.  That way I could just cut each piece and waste less of this great paper.  I went with 5×7 for the size so the 4×6 photo fit and left a bit of a border. If you can’t read it, on the top it says Vanessa and Justin, on the bottom Flagler Beach, FL. The font I used is called Yellow Peas, that I downloaded.

imageedit_38_5730057407

This is where the paper cutter comes in to the picture.

imageedit_26_4555074453

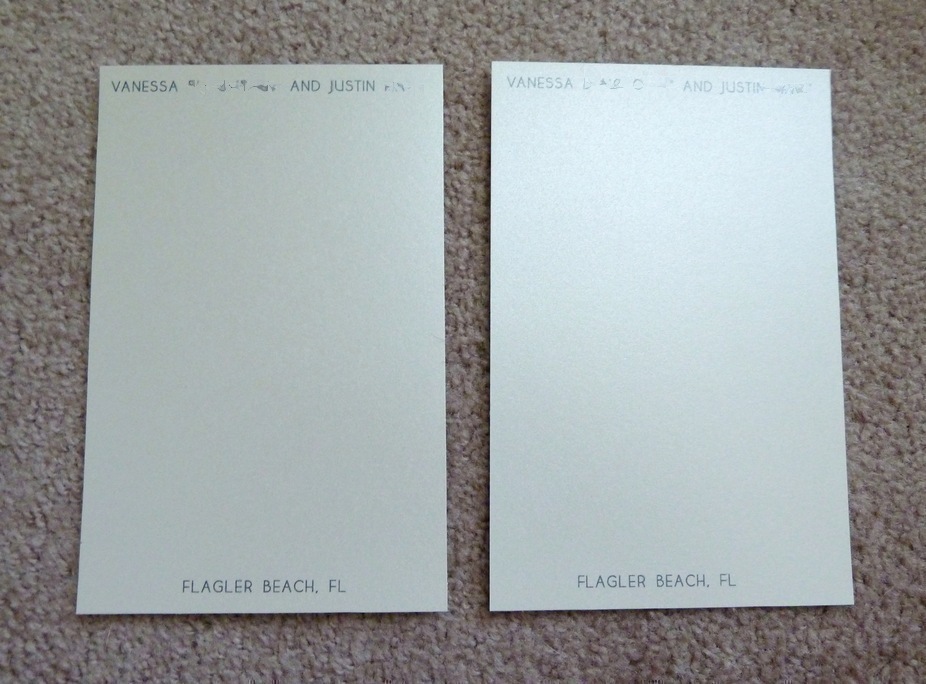
This is what I ended up with.

t99

From there I added the sticky tabs to the back of the photos in each corner.  They come with a blue peel off backing, as you can see I already peeled the one in the top left hand corner of the first photo.

t999

I then centered the photo on the paper and plopped the photo down in place.

t99999

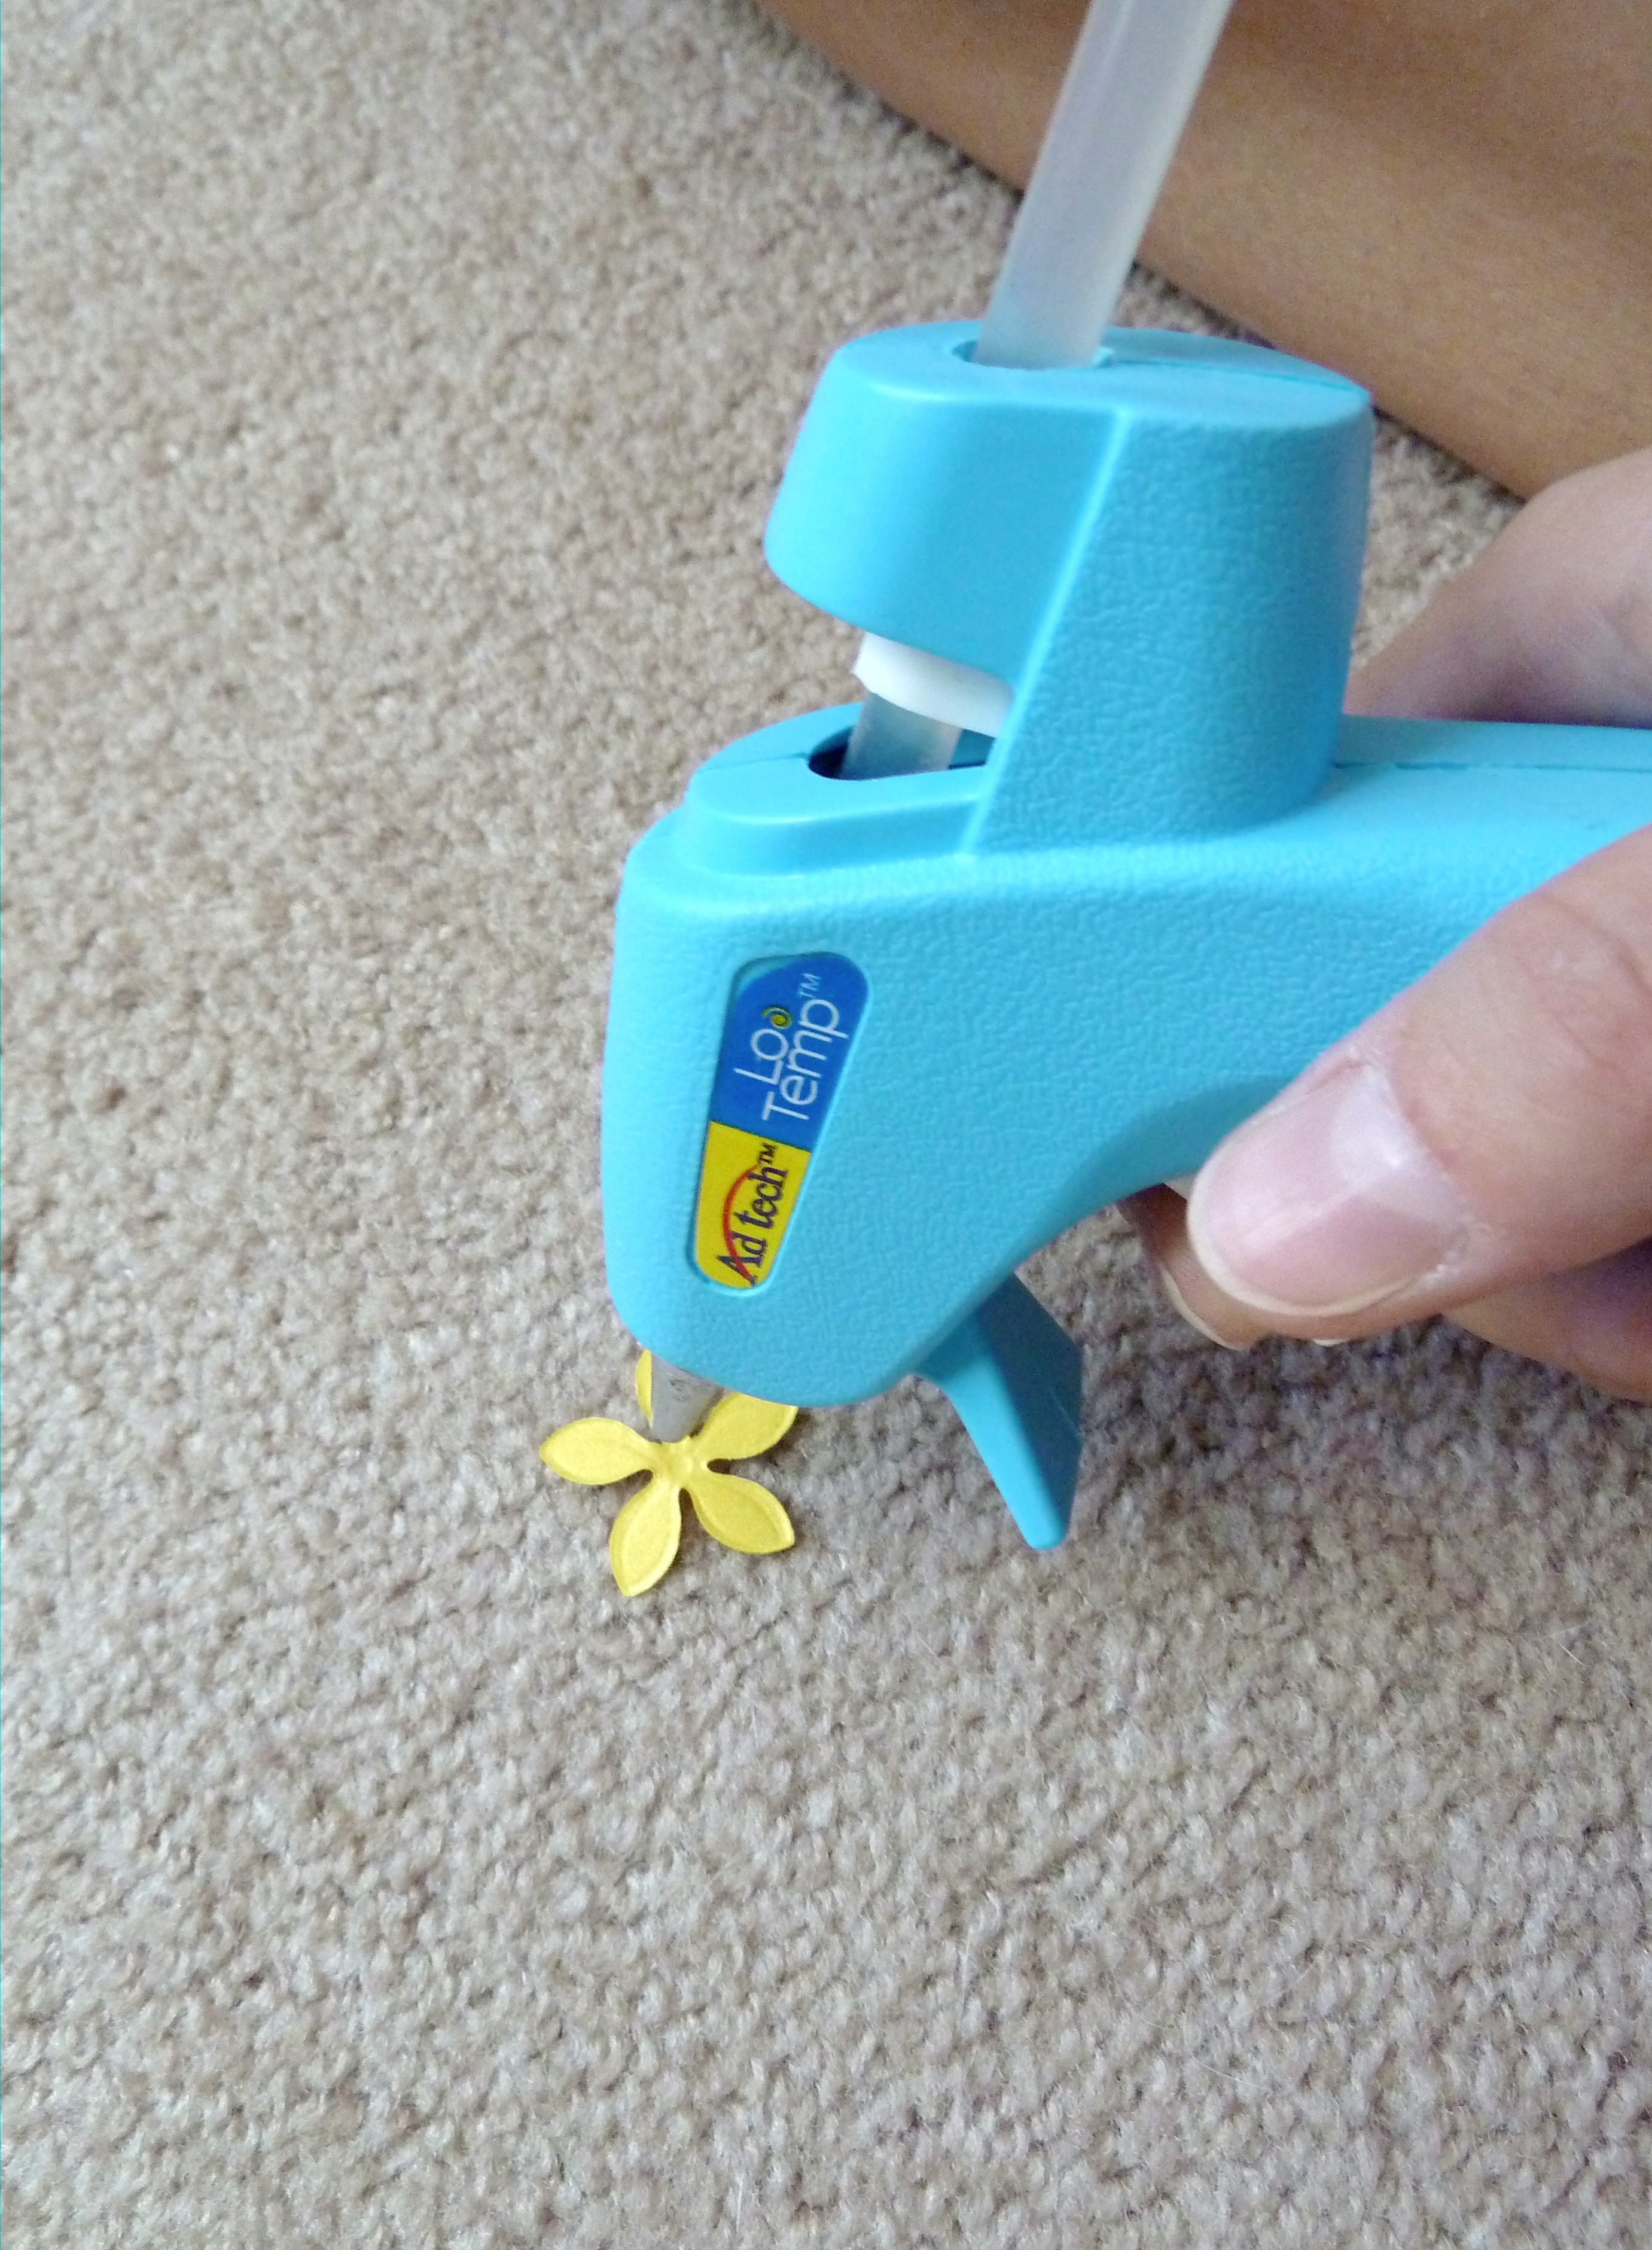
I then placed a small dab of glue on the back of one of the confetti flowers and put one on each save the date.

Voila!

chalkboard save the date

diy save the date

dog save the date

save the date

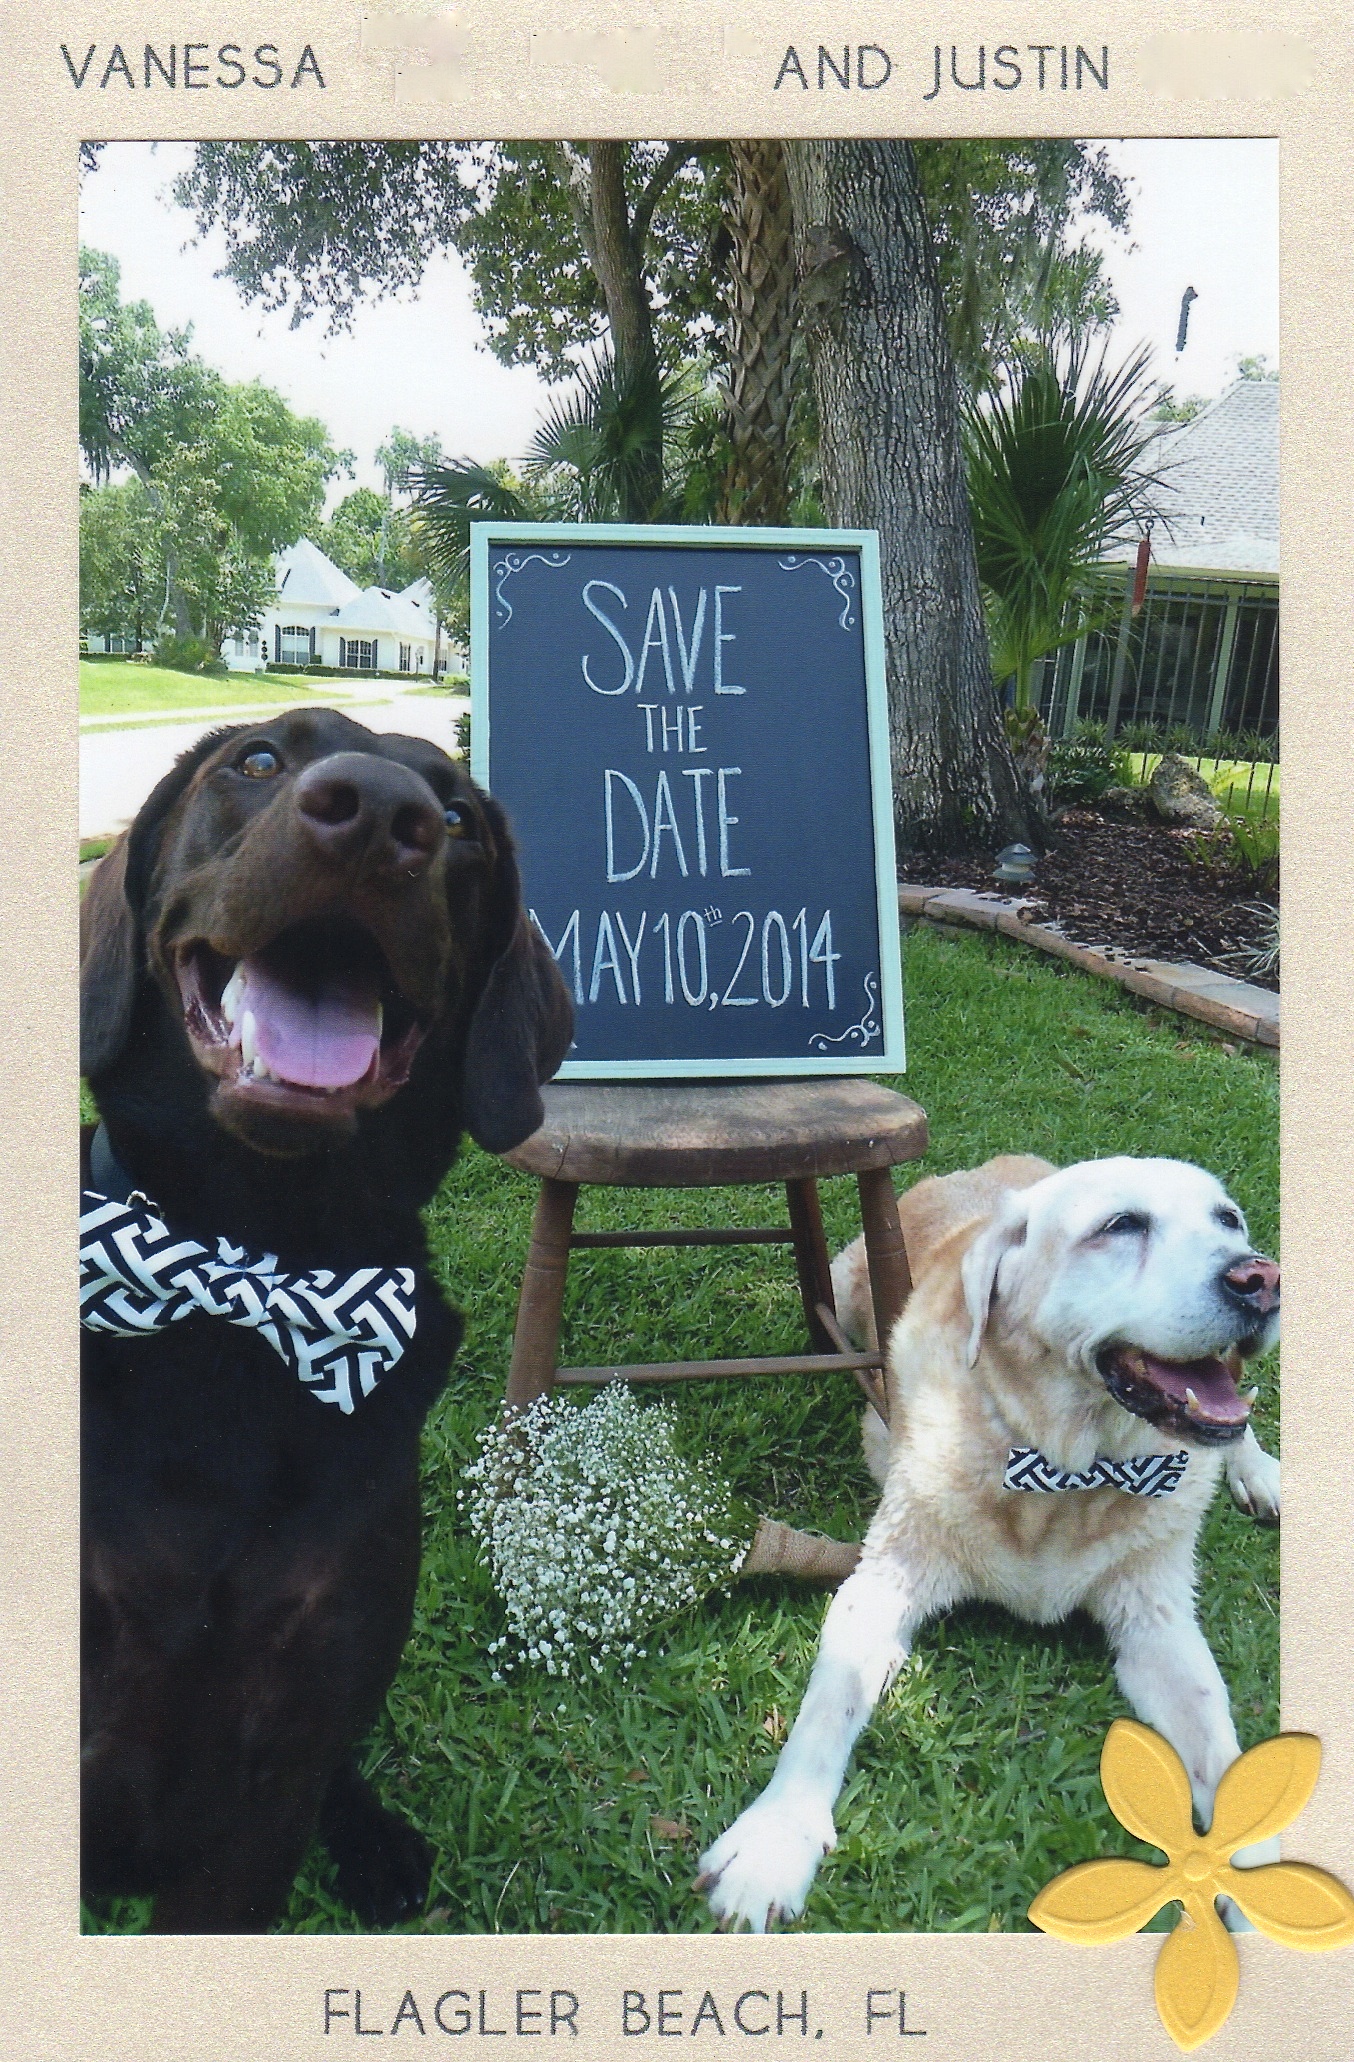
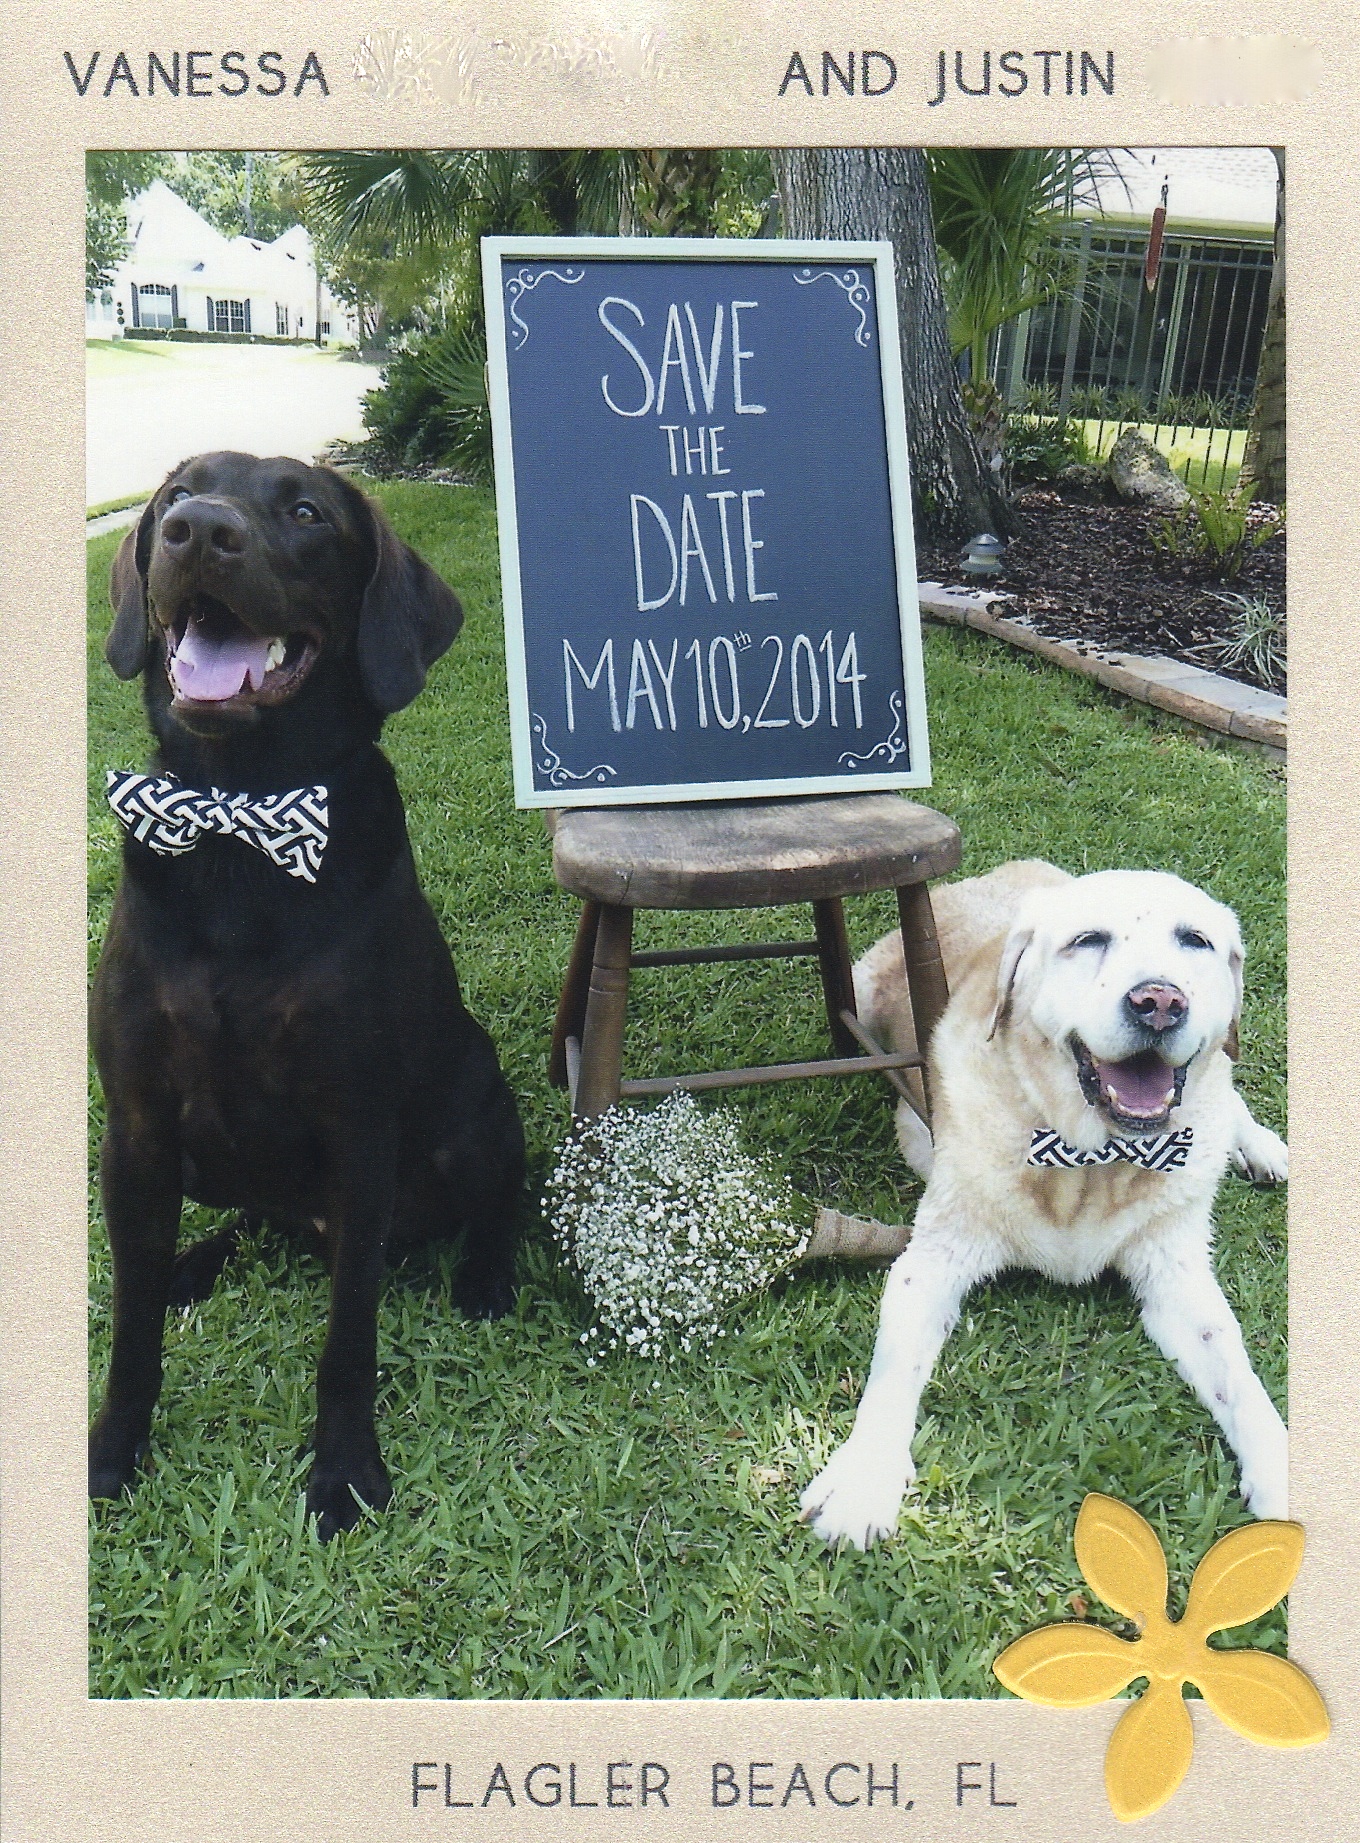
Here are the finished products.

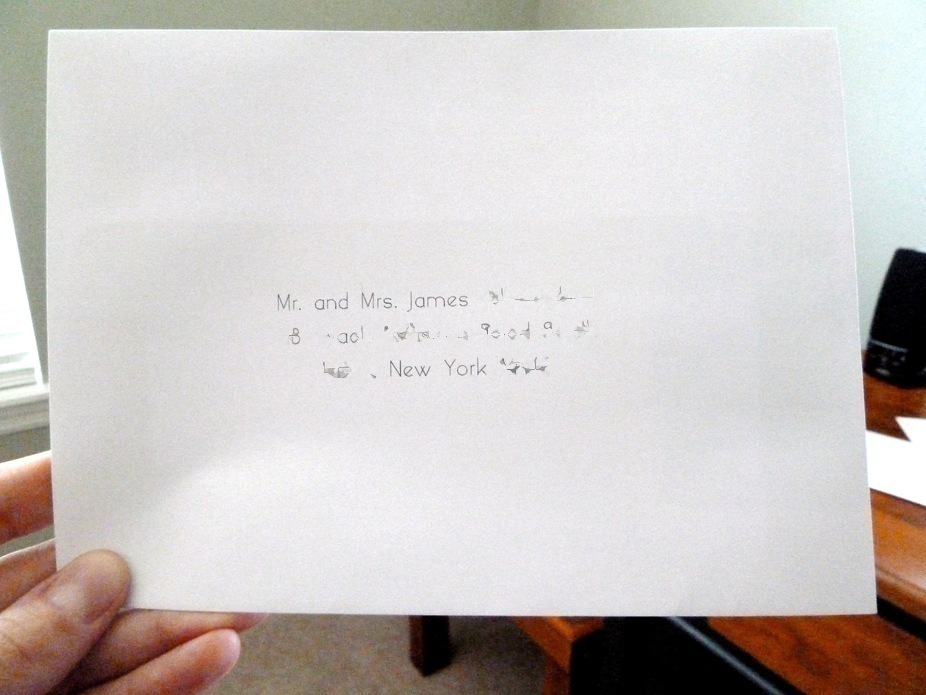
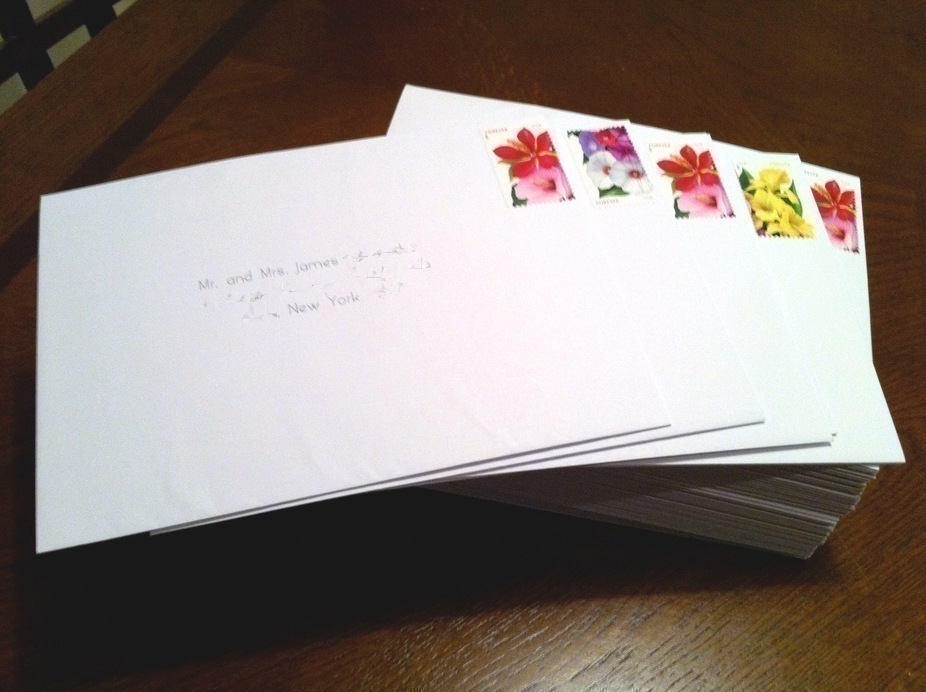
As for envelopes, I went with plain white.  I also used the same font that I used for the save the dates to print each guests name and address on each envelope.

imageedit_132_3077184479

I used a blurring tool as you can see, not really sure if I should display my guests addresses here!

imageedit_161_6745442185

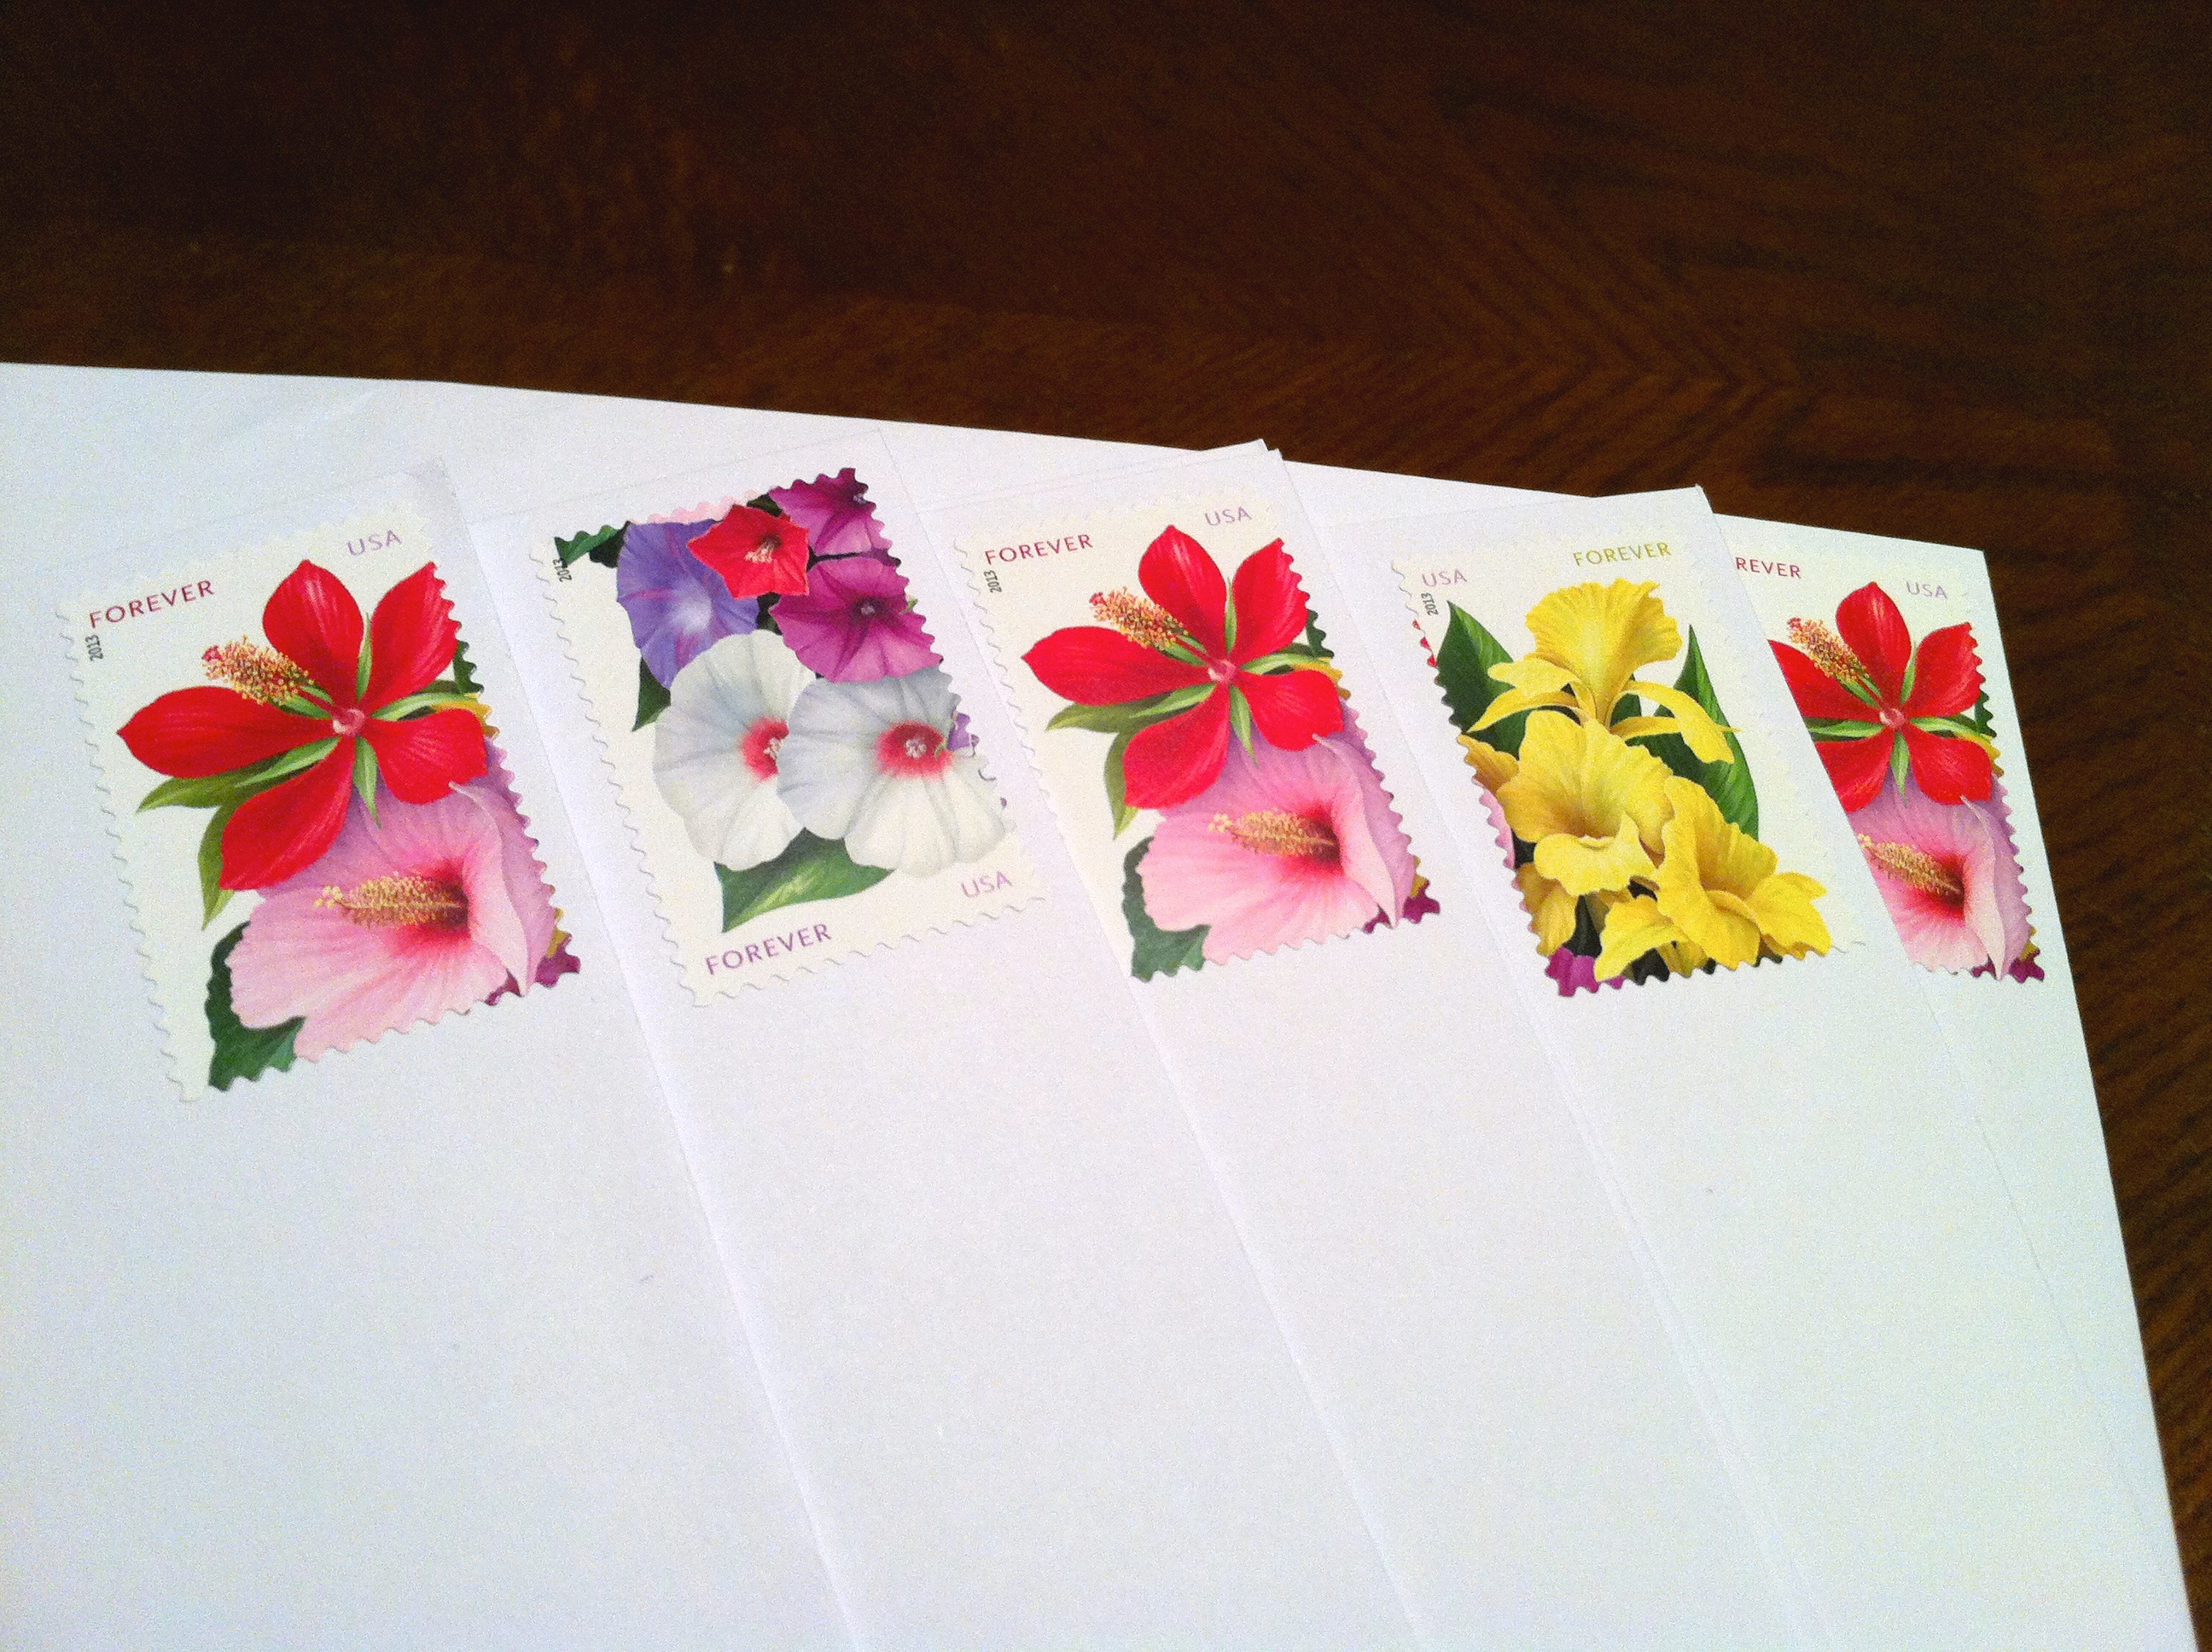
I used these pretty stamps. I love all of the wild Floridian flowers on them!

tt999999

So those are my save the dates! I love the responses from people as they get them! I also love when people realize that there are different photos out there when they go to another friends house and see a different one!

Making Some Cornices

While Kent and Justin tackled installing the screen for the patio, Sandy and I did a project of our own.  We made a couple cornices to give my windows some character.  The plan was to make and install a cornice for the master bedroom.  We went to a fabric store in Jacksonville called Calico Corners.  We have been there before and they have a wide variety of nice fabric.  I had previously stopped at Joann Fabrics and Hobby Lobby to find something that I thought would work well in the bedroom, but had no luck.  Originally we were looking for something in the blue or gray range with a pattern.  They really did not have anything that caught my eye in either of those colors.  The other option I knew I had would be white, since I had a few white items in the room as well(rocking chair, trim and white ceramic dog.)  So we headed over to the white fabric section and found this…

photo(84)

It’s a pure white fabric with a little textured pattern.  I love it, it is very thick and will cover well.  Also I think the indentation of the textured pattern makes it look like it has some gray hues to it.  It matched well with the swatch I brought of my paint color and the pillow sham I also brought for comparison.  So we purchased 3 yards and were on our way.  For this project Sandy had previously purchased the wood from Lowe’s.  The wood piece was 8 foot long and about 12 inches tall.  Kent cut the wood and added end caps to the ends, where it would eventually attach to the walls.  Which left us with something like this…

003

From there we added a layer of foam that we got from Joann Fabrics.  We attached the foam layer by pulling it tightly around the edges of the wood and stapling it in place.

006

Once the foam layer was in place it looked like this…

008

From there we added the fabric pretty much the same way as the foam.  This time we tried not to pull the fabric too tight because we didn’t want to have indentations where the staples were holding it in place(if that makes any sense.)

photo(65)

photo(67)

Once we had the whole cornice covered in fabric, we set it aside to be hung later.  For that part we would need Kent or Justin’s help and they were still hard at work.  So we decided to head back out and make one more cornice for the living room.  We went to Joann Fabrics to see if they had a fabric that might work well.  That is where I found this fabric…

005

Which I love! I think I love it a little more every time I look at it.  It is light tan with a darker tan in some crazy tribal-ish pattern.  So once again we got everything home and assembled this cornice the same way as the first.

Once Kent and Justin were done with the patio they helped us hang the living room cornice.  It is attached to the wall with an L bracket.

018

See what I mean?

016

And here is all assembled and hung. I love it! Makes me wanna do a little dance.

Justin and I then hung the other cornice this morning…

053

These pictures are horribly dark, the light from the window makes it close to impossible to get a good picture.

061

I am so happy with the way they turned out.  The windows were good before but now they feel finished.