Whale, whale, whale, what do we have here?

Whales have invaded our home and I’m loving it!  I’m not losing it, I just got the art I ordered for the bathroom. What do you think it looks like…

walrus

Yup… a walrus flossing his teeth! Don’t you love it?  I think it will add a touch of humor to our newly finished guest bathroom.  I also got this…

beaver

A beaver brushing his teeth!

JUST KIDDING:) haha.  I do think these are pretty sweet, for possibly a child’s bath maybe.  But back to business, our new art has to do with whales! Yes, hence the crazy title.  Here is what I got…

P1070288_Fotor

Aren’t they Ah-mazing?  I fell in love with them a while ago when I came across them on etsy.  They are both prints of watercolors done by an artist named Michelle Morin who is from Dover, NH.  Her stuff is so unique.  Her shop is called unitedthread, check it out guys. She even included a cute little hand written note with the shipment.

P1070304_Fotor

Let’s take a closer look at her stunning whales…
P1070294_Fotor

more?

P1070295_Fotor

I have had my eye on these whales for a while, but I didn’t have a spot for them until now! Once they came in the mail I couldn’t wait to get them up on the wall.  So I went out to Michael’s to find the perfect frames for them.

P1070285_Fotor

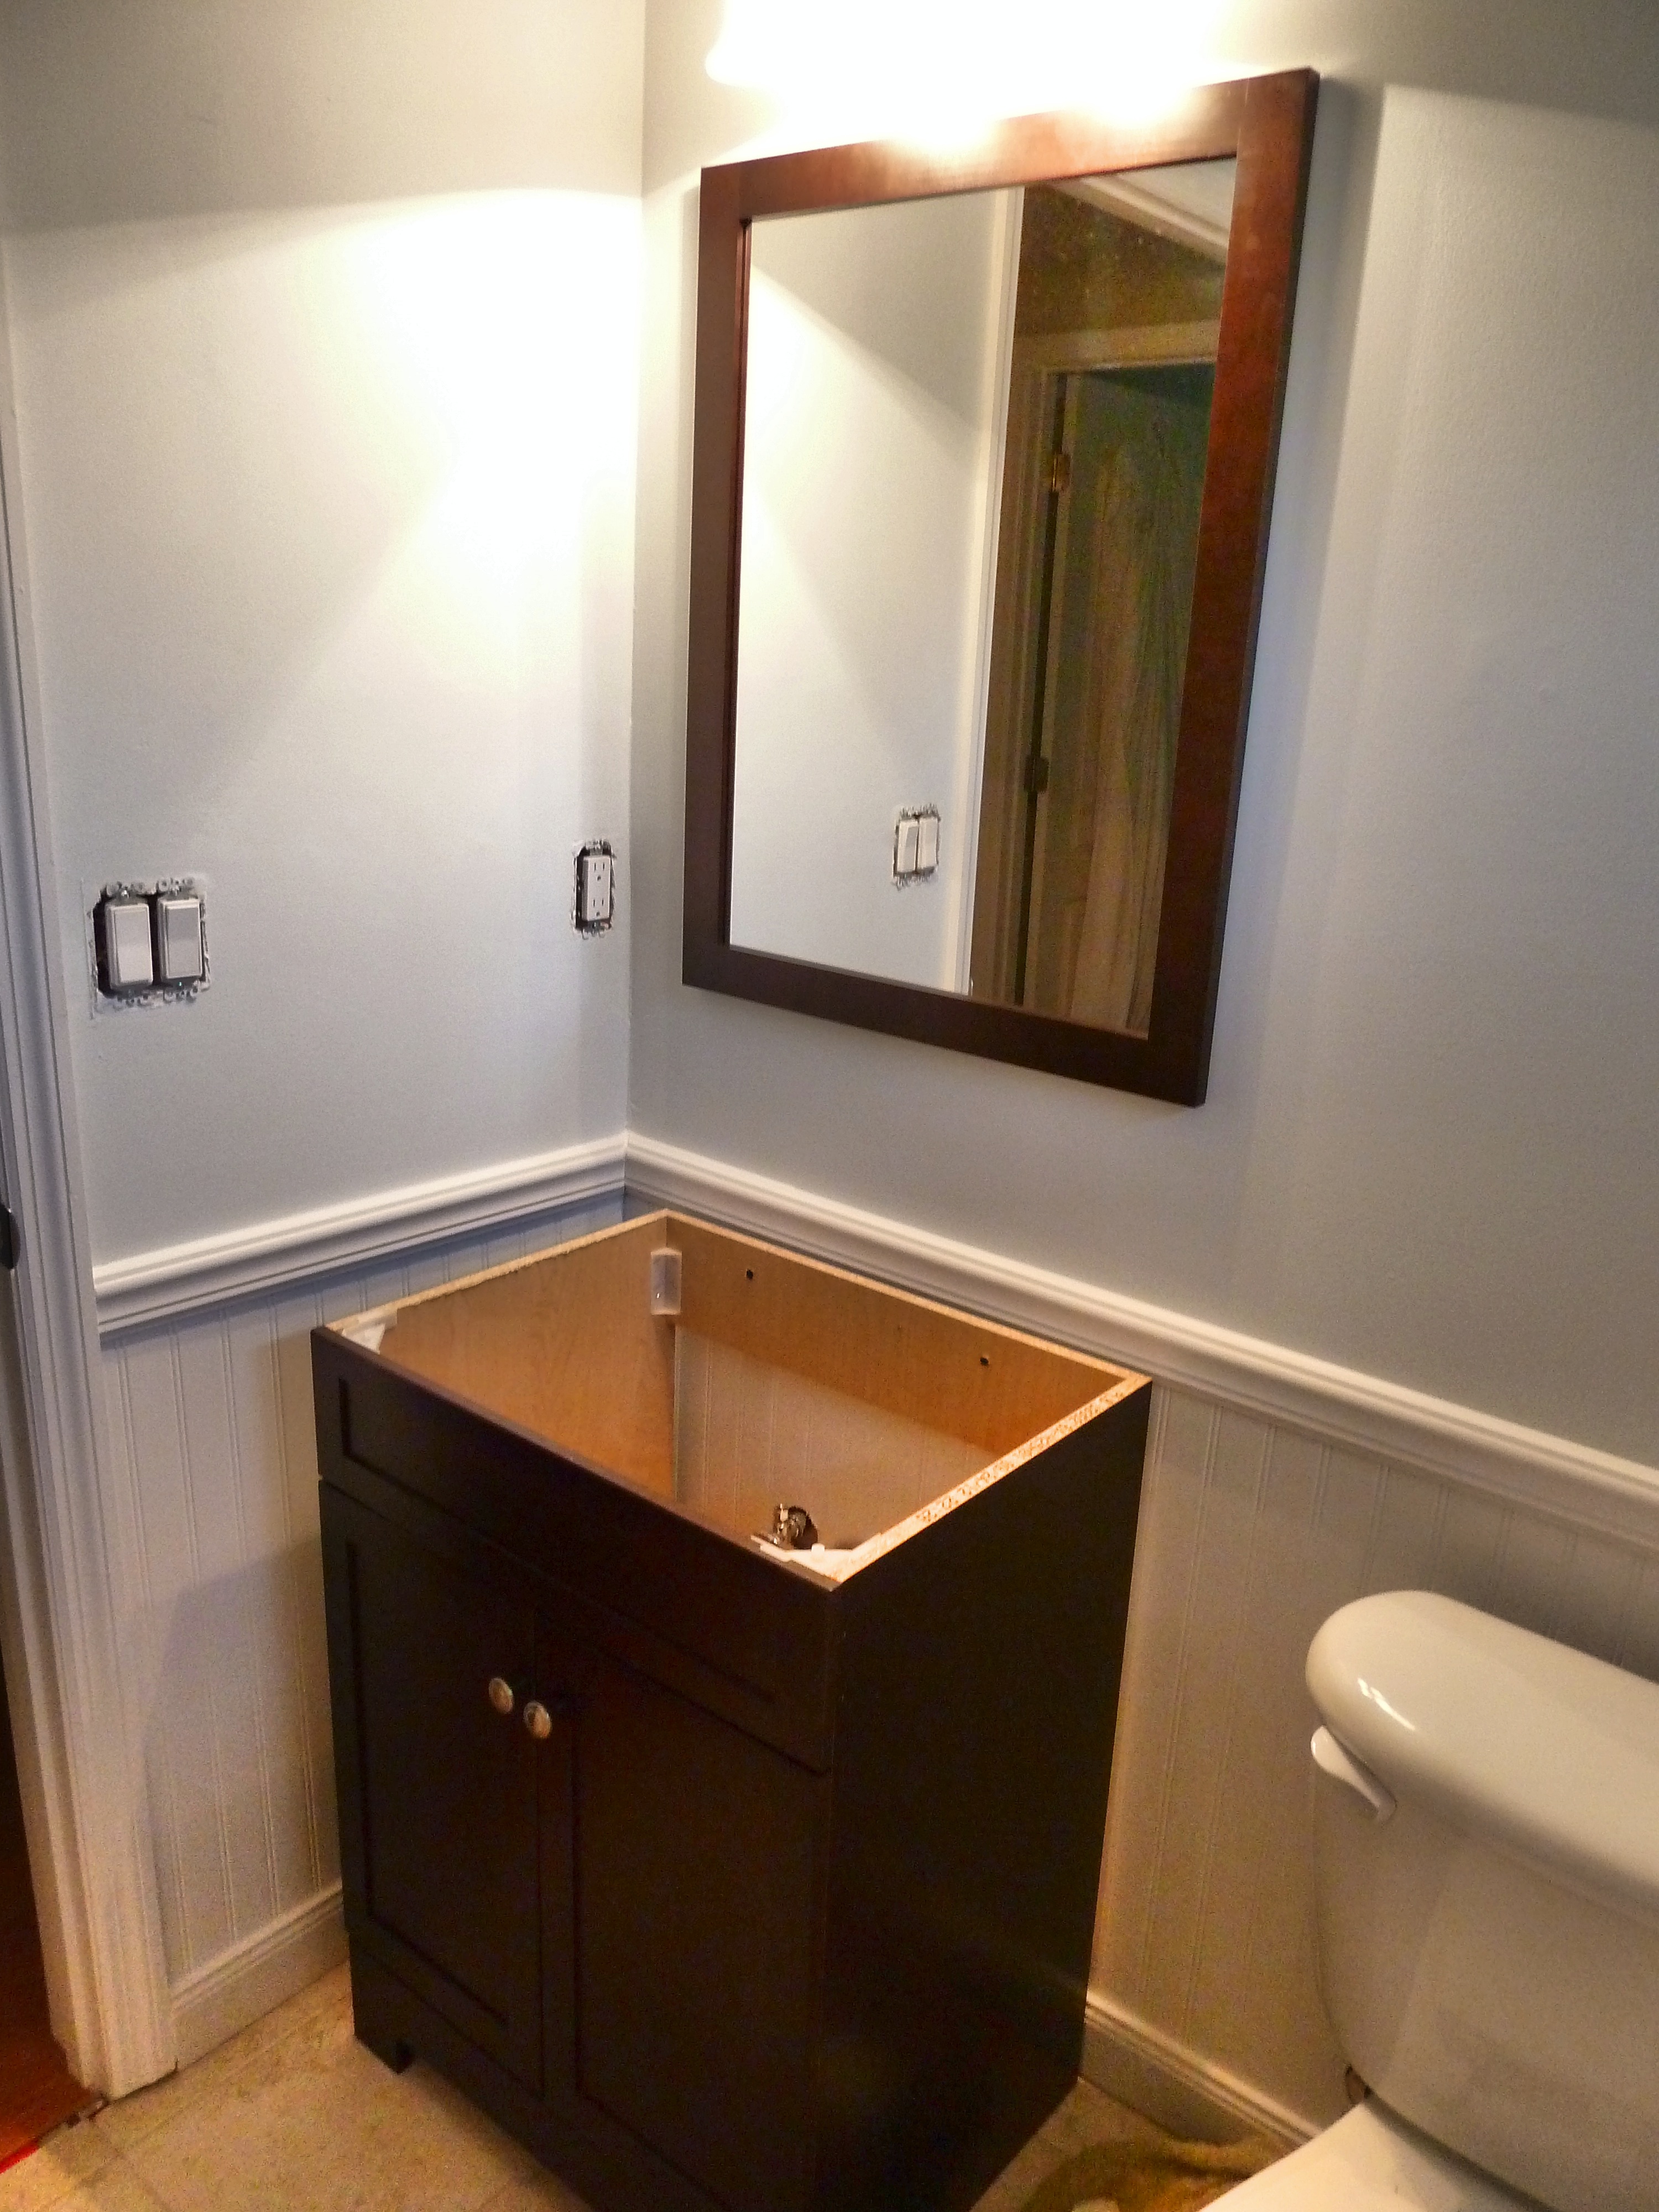
I came home with these guys!  They fortunately match the vanity and mirror perfectly, apparently I have superb guessing when it comes to matching wood tones.  They were both on sale for 40% off, the smaller of the two was originally $19.99, which brought it to $12 on sale.  The larger was originally $39.99, which made it $24 on sale.  Woo hoo for a good sale, right?  They both came with a double mat, which gives it a little shadow action going on.  I find it is actually usually cheaper to purchase a pre-matted frame than to buy the frame and mat separately.  I then cleaned the glass good with Windex and popped my new art in them!

P1070306_Fotor

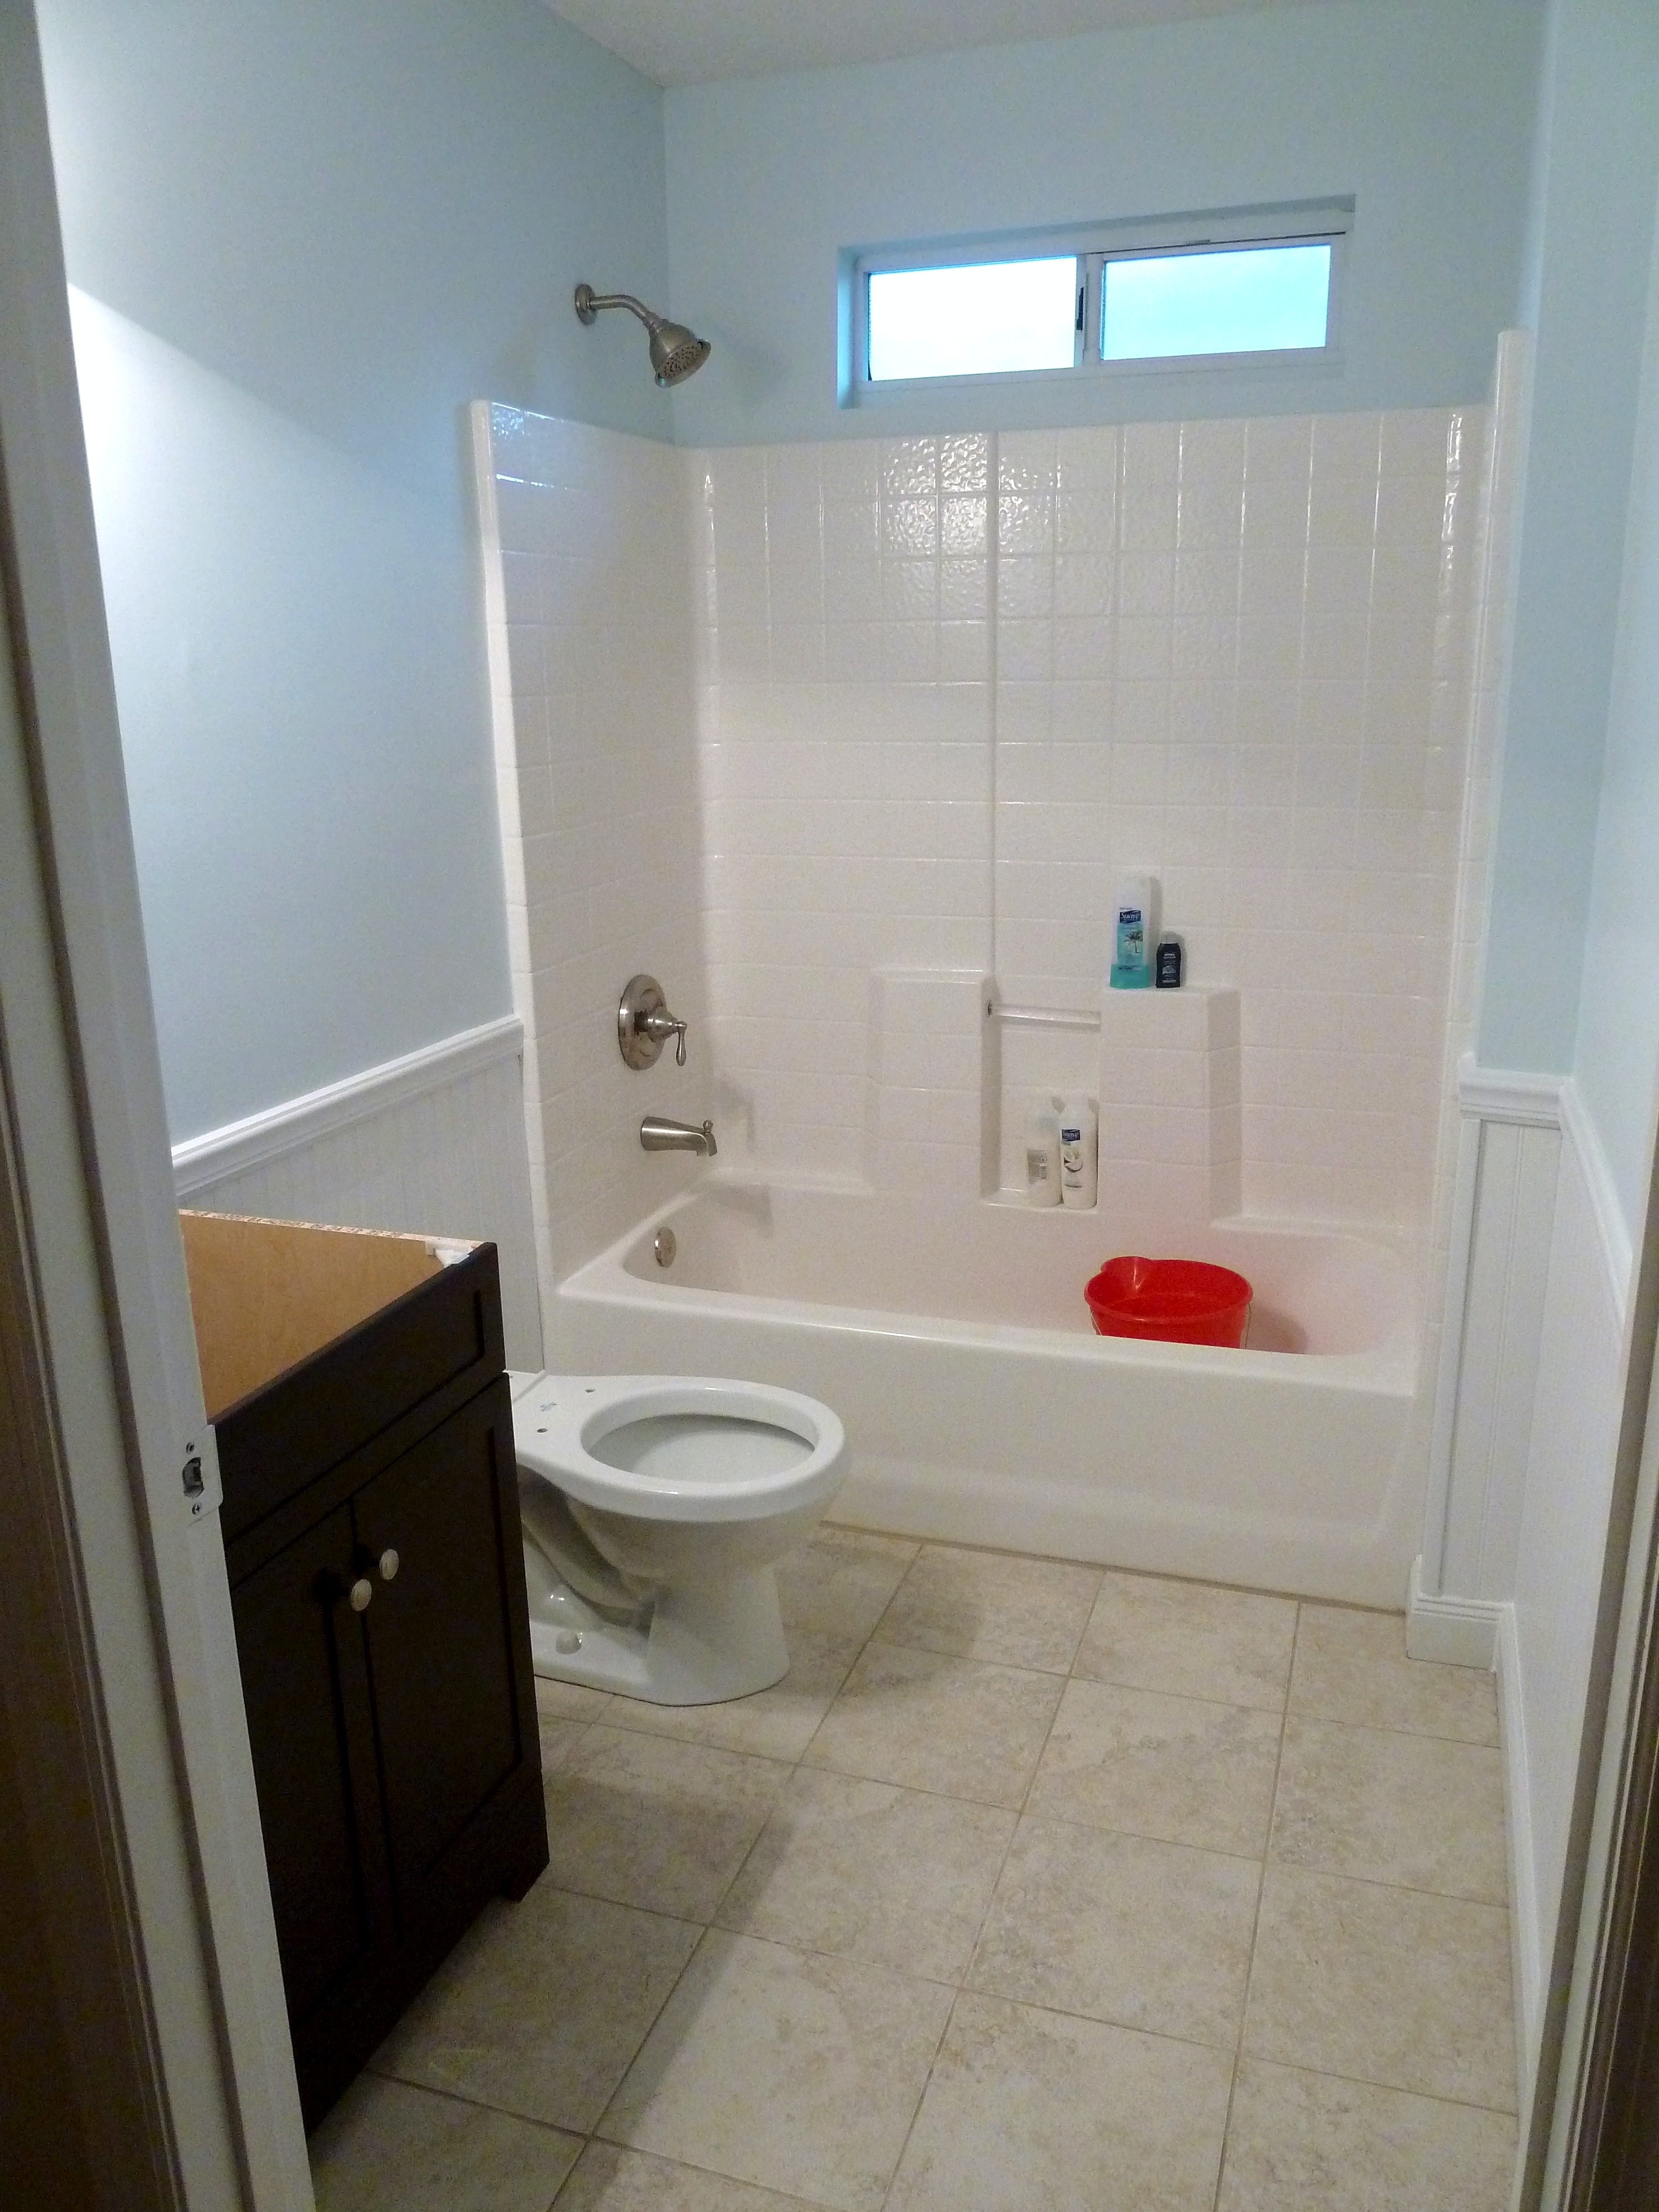
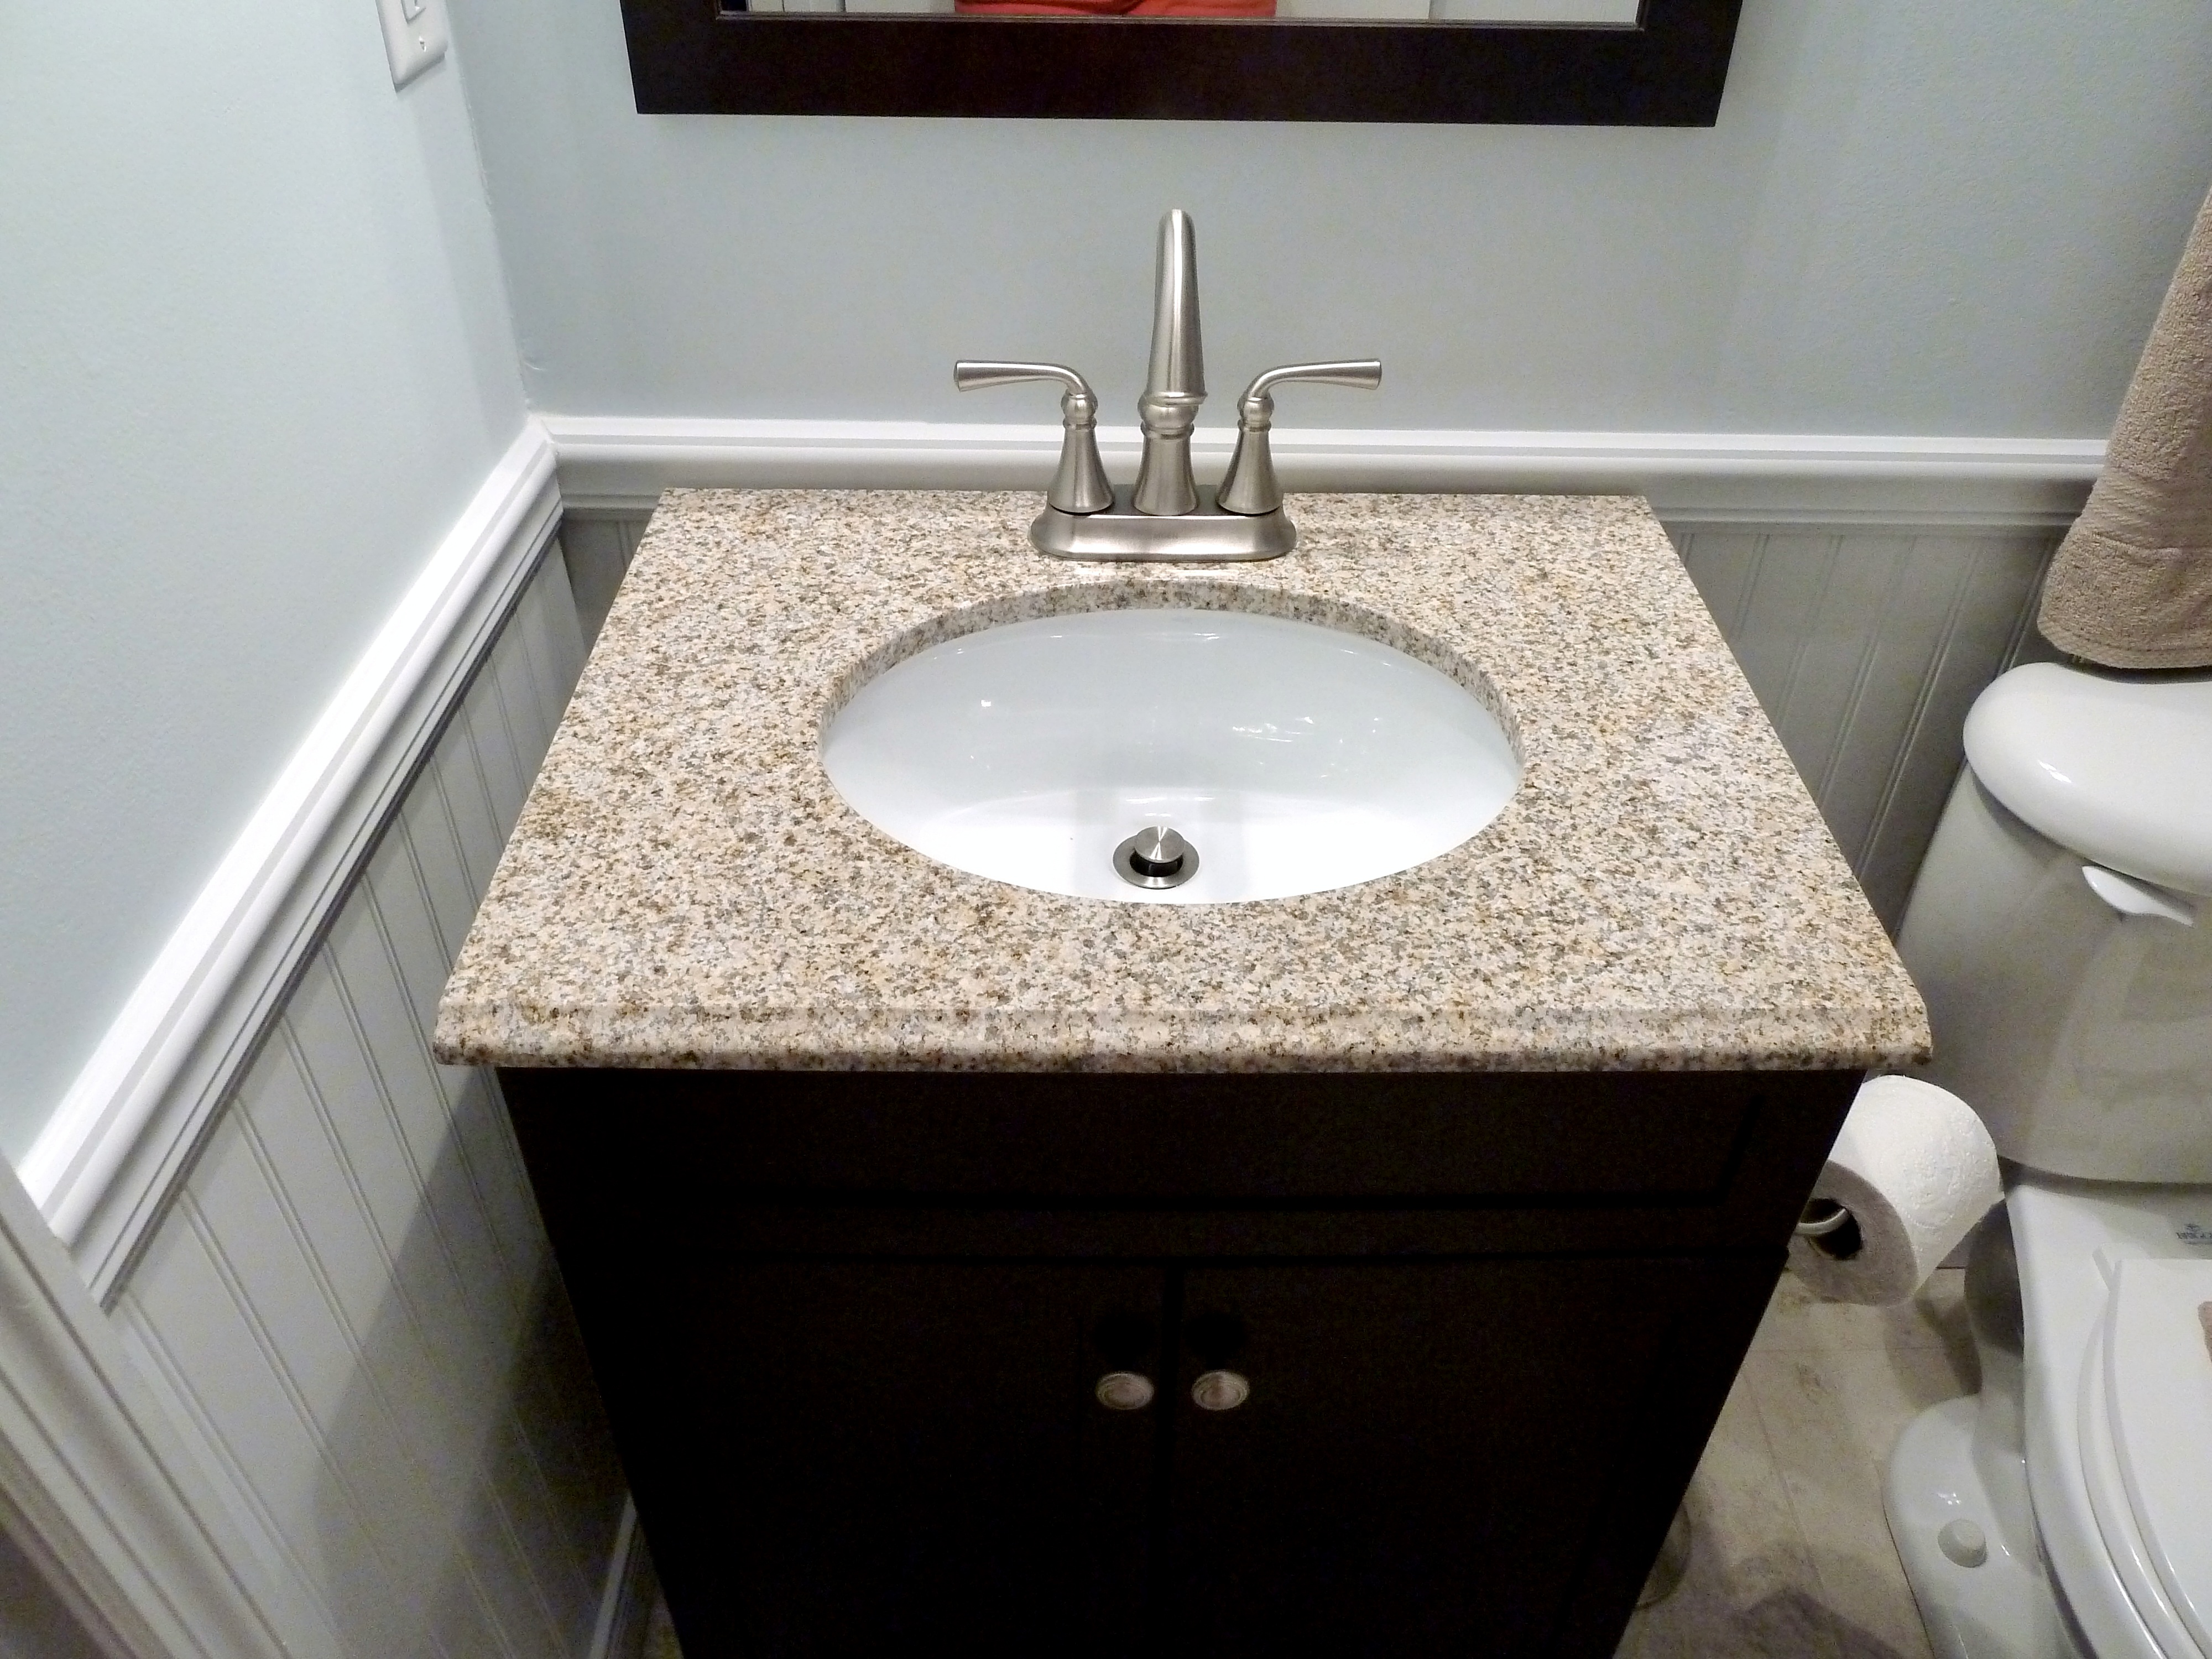
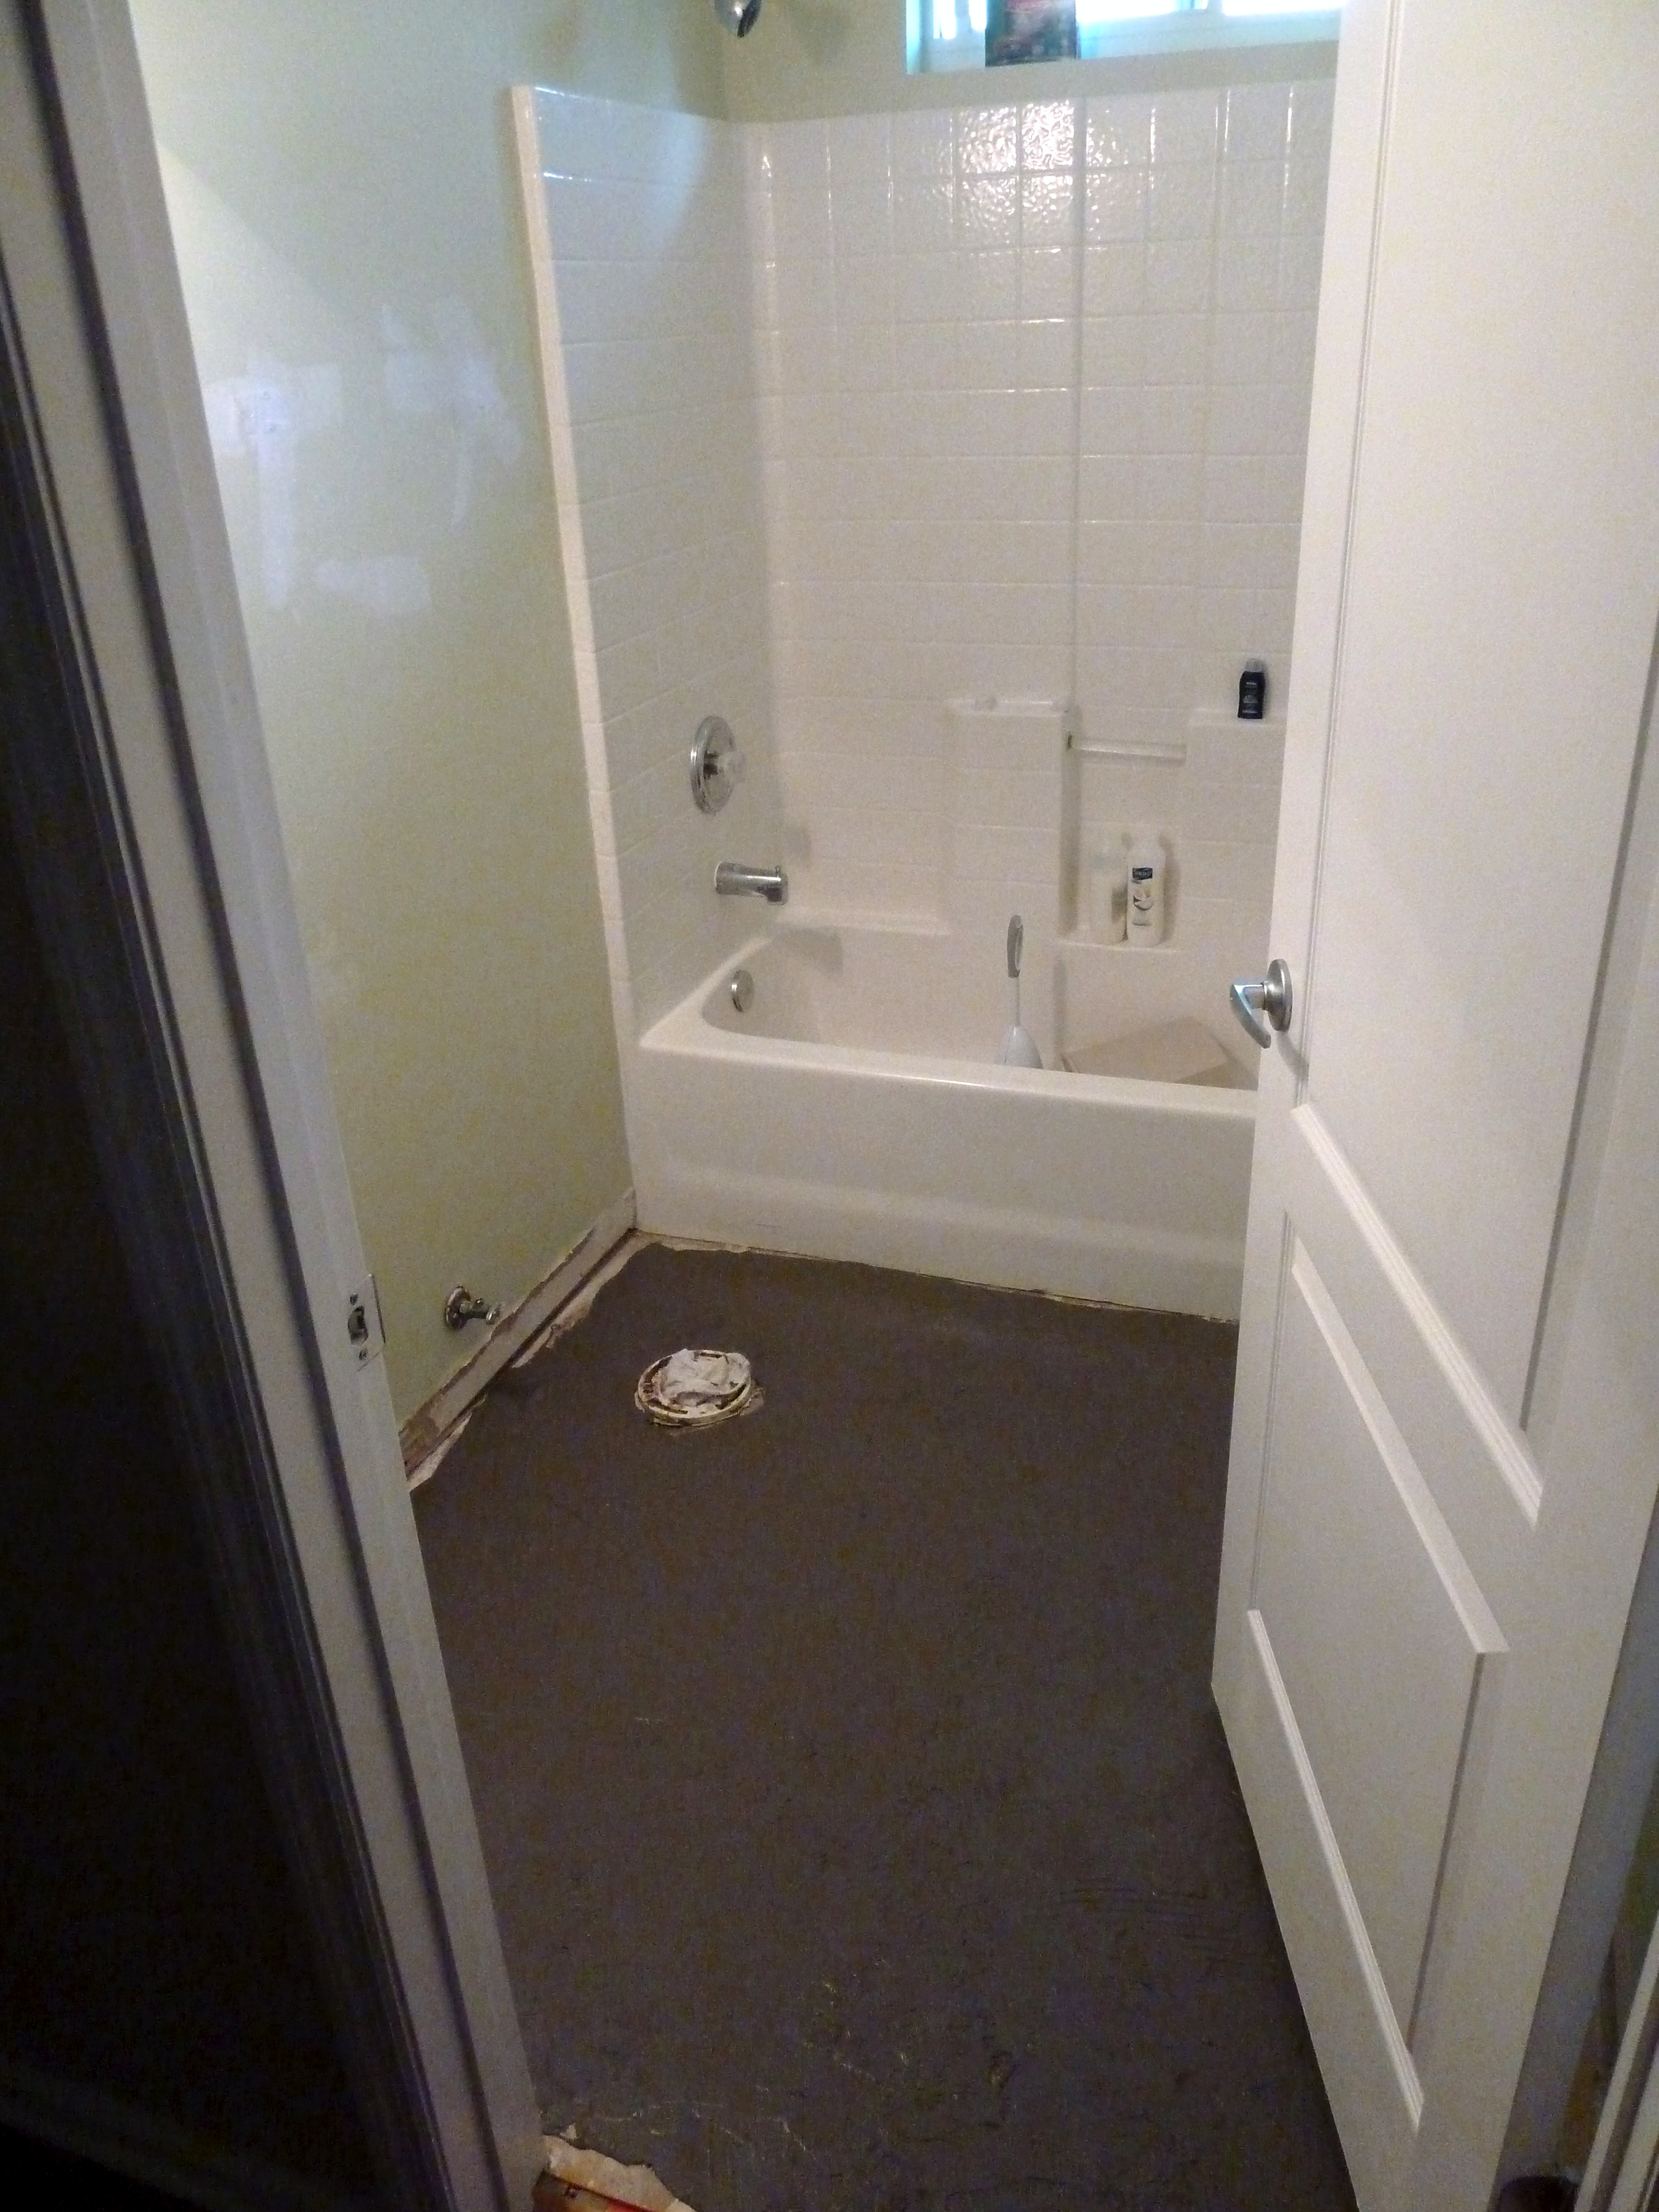
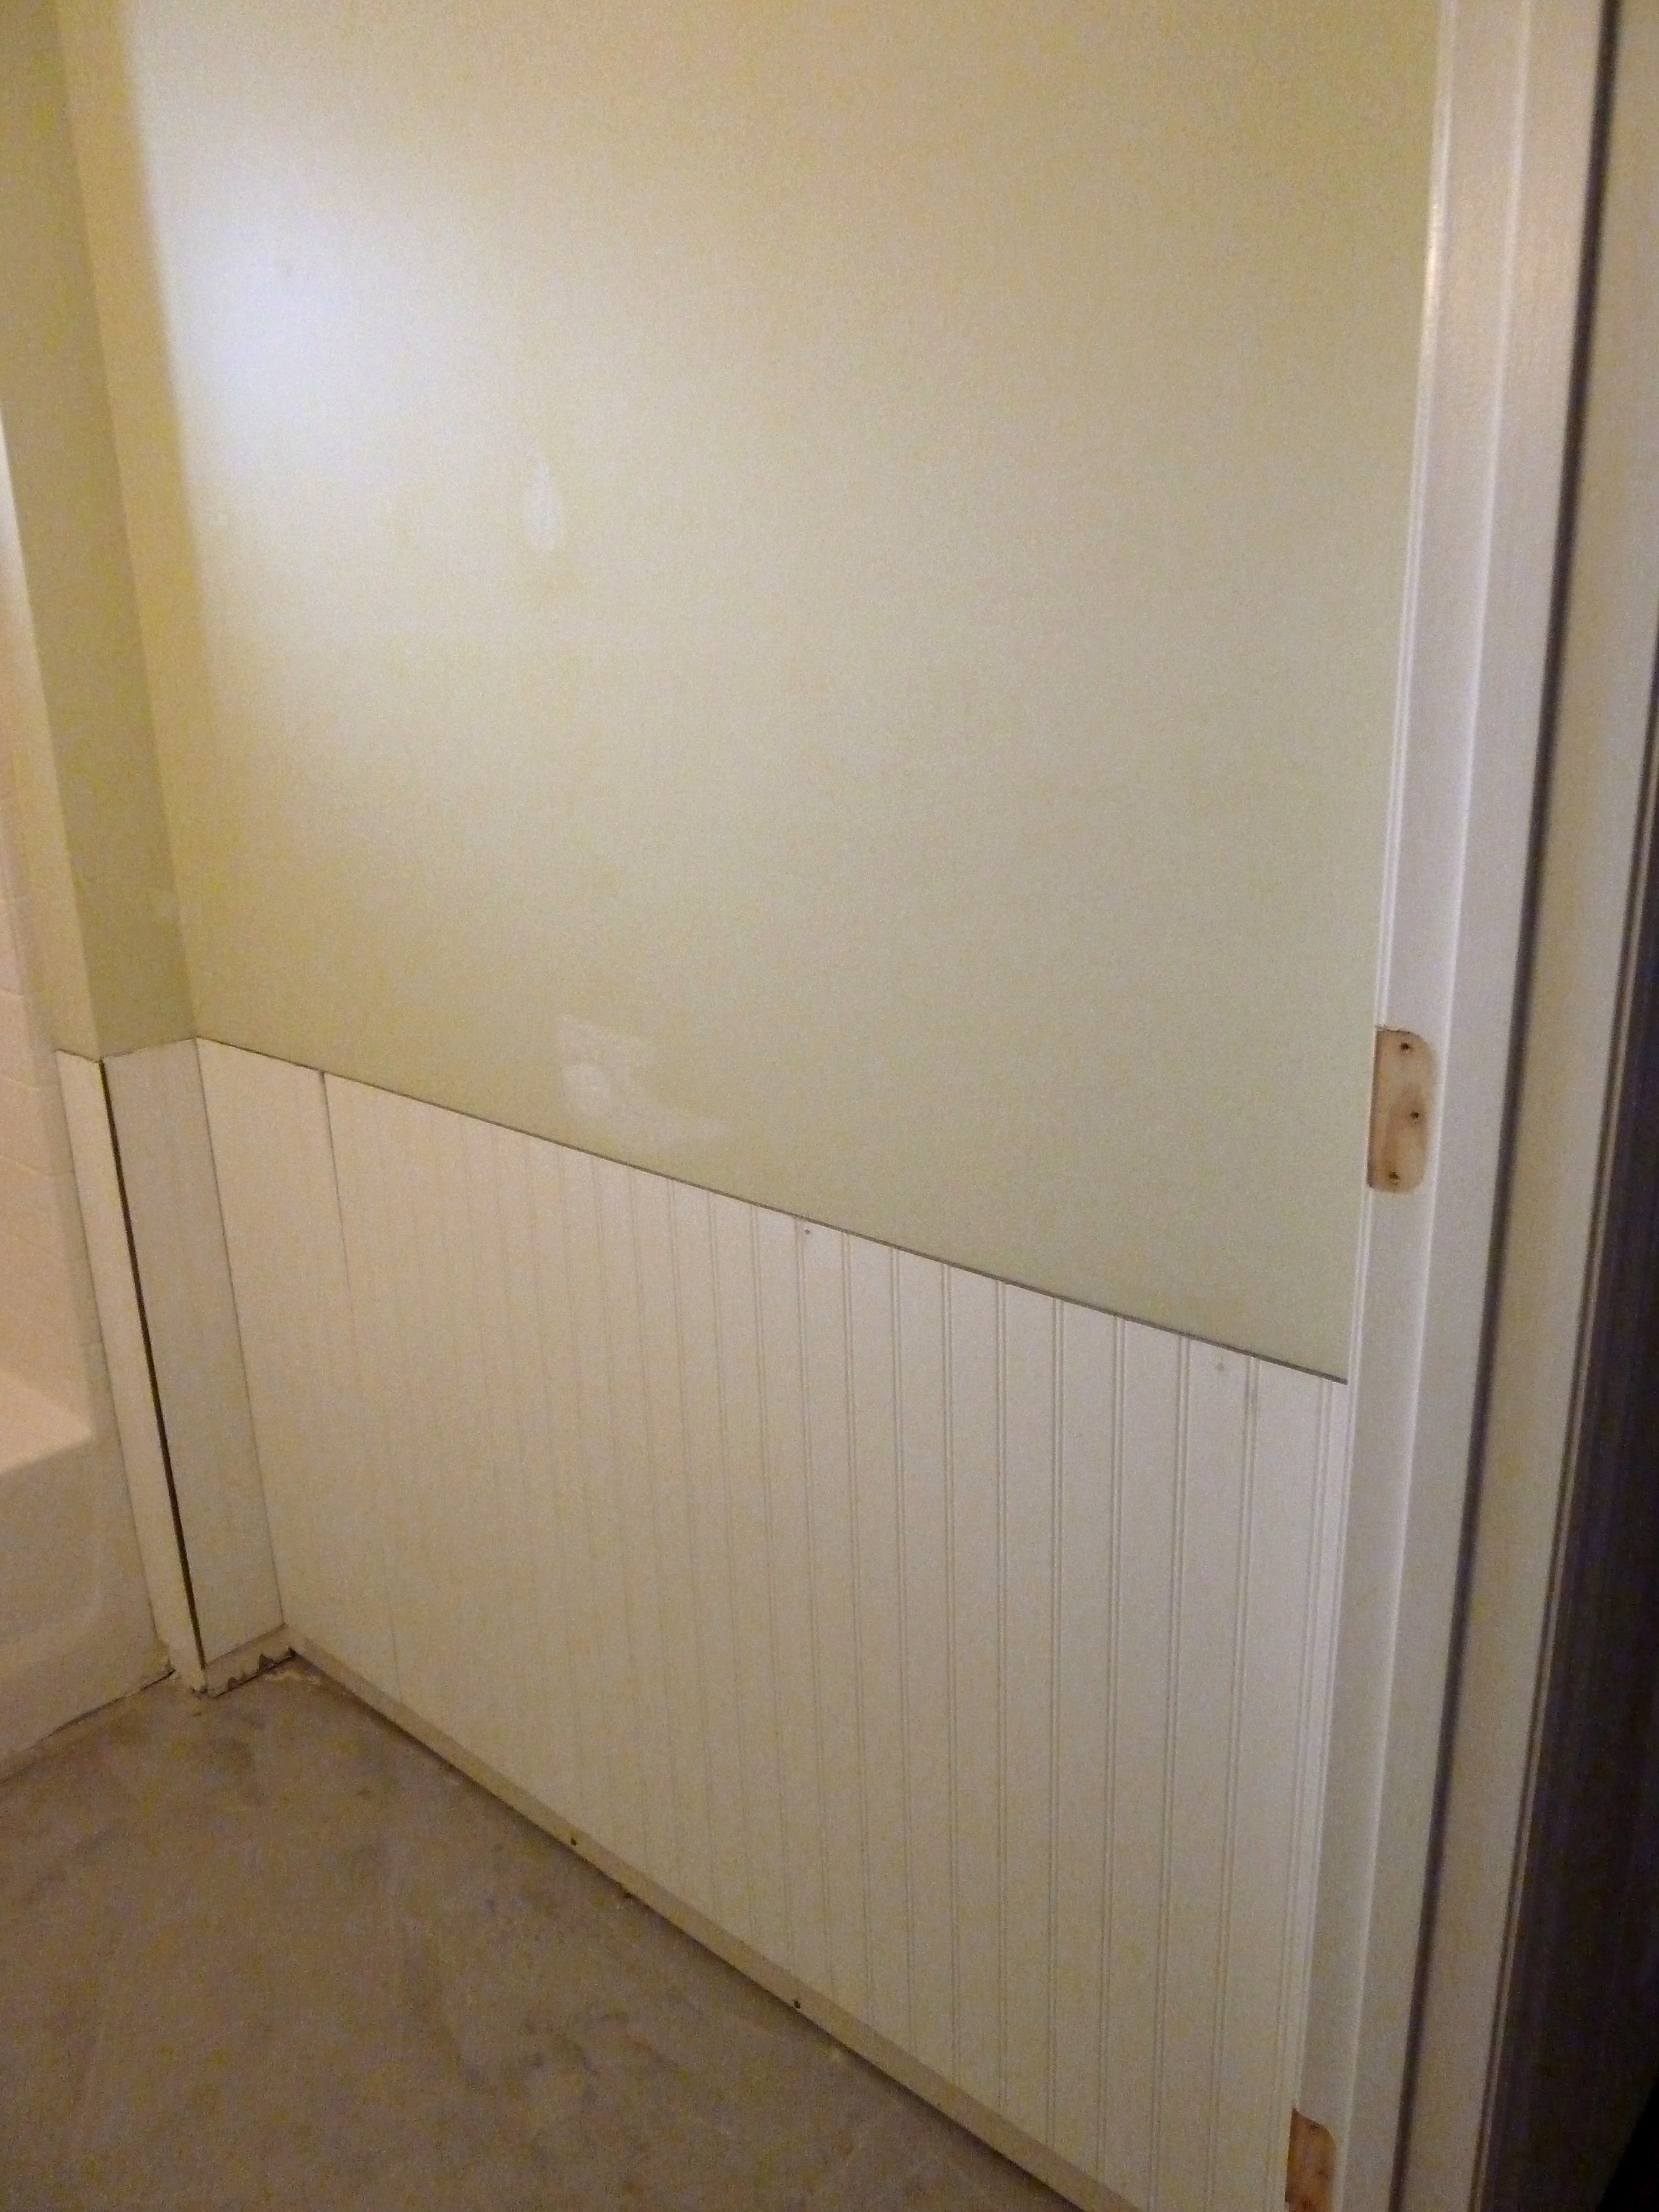
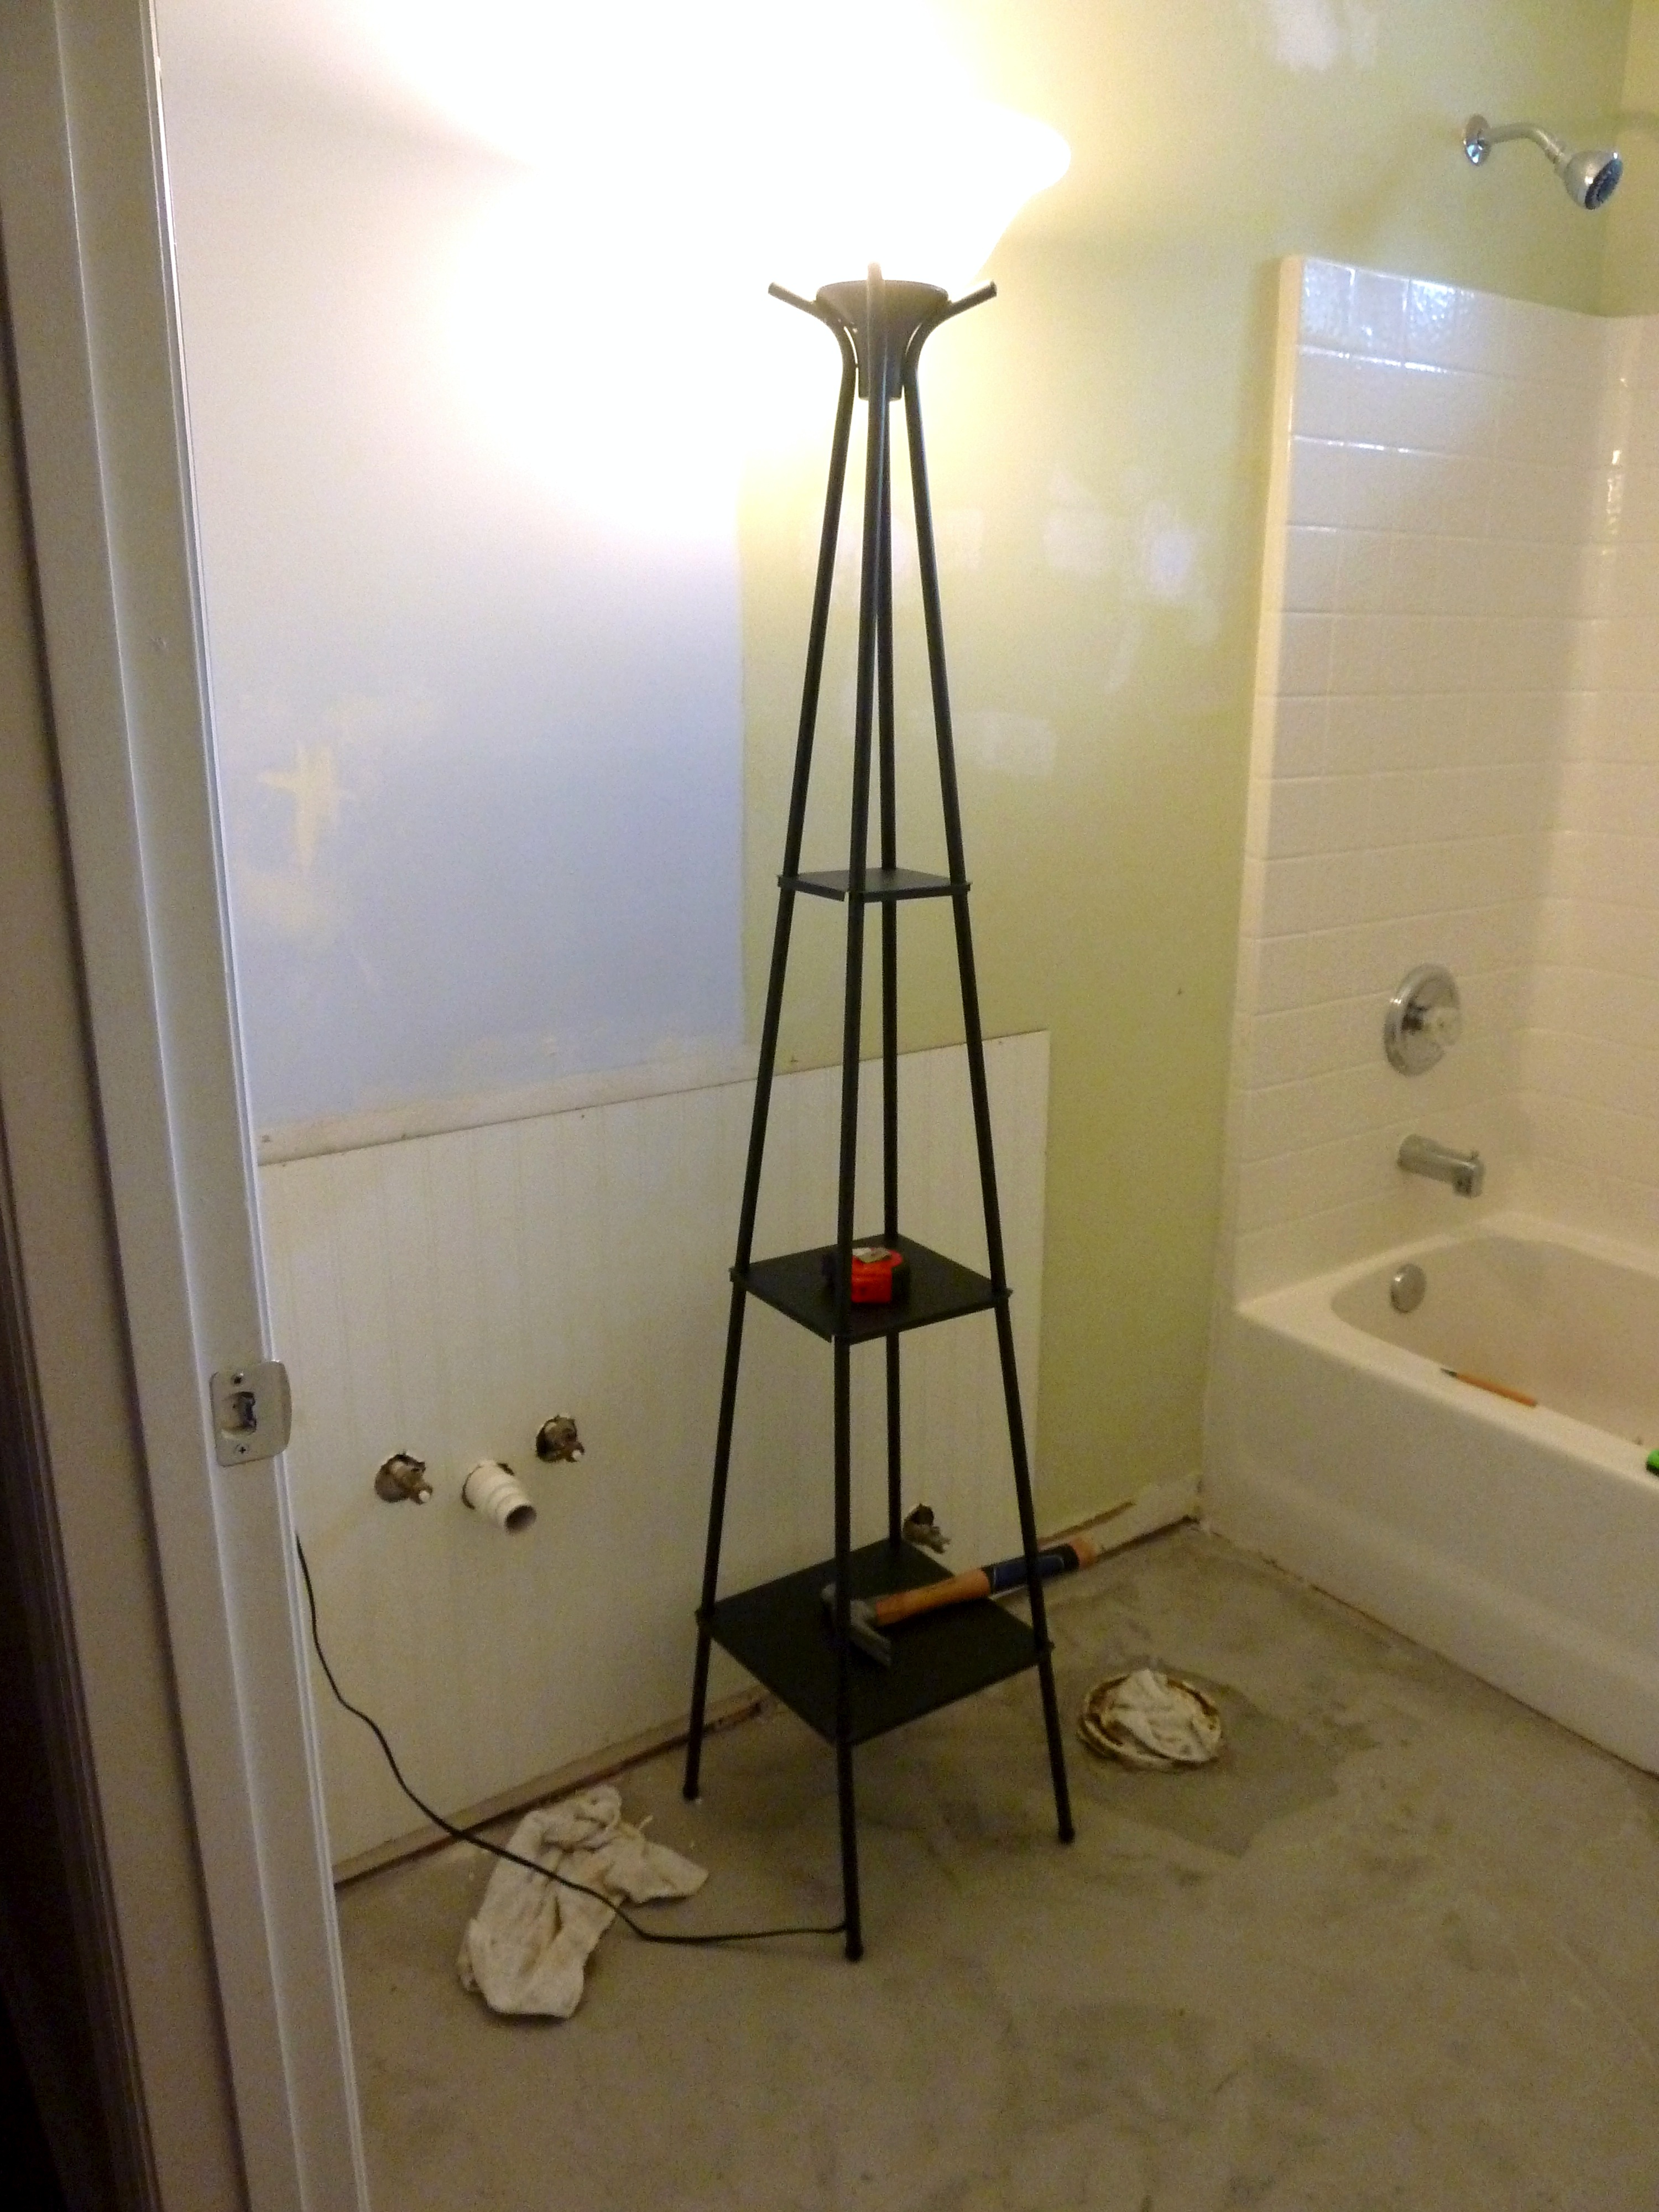
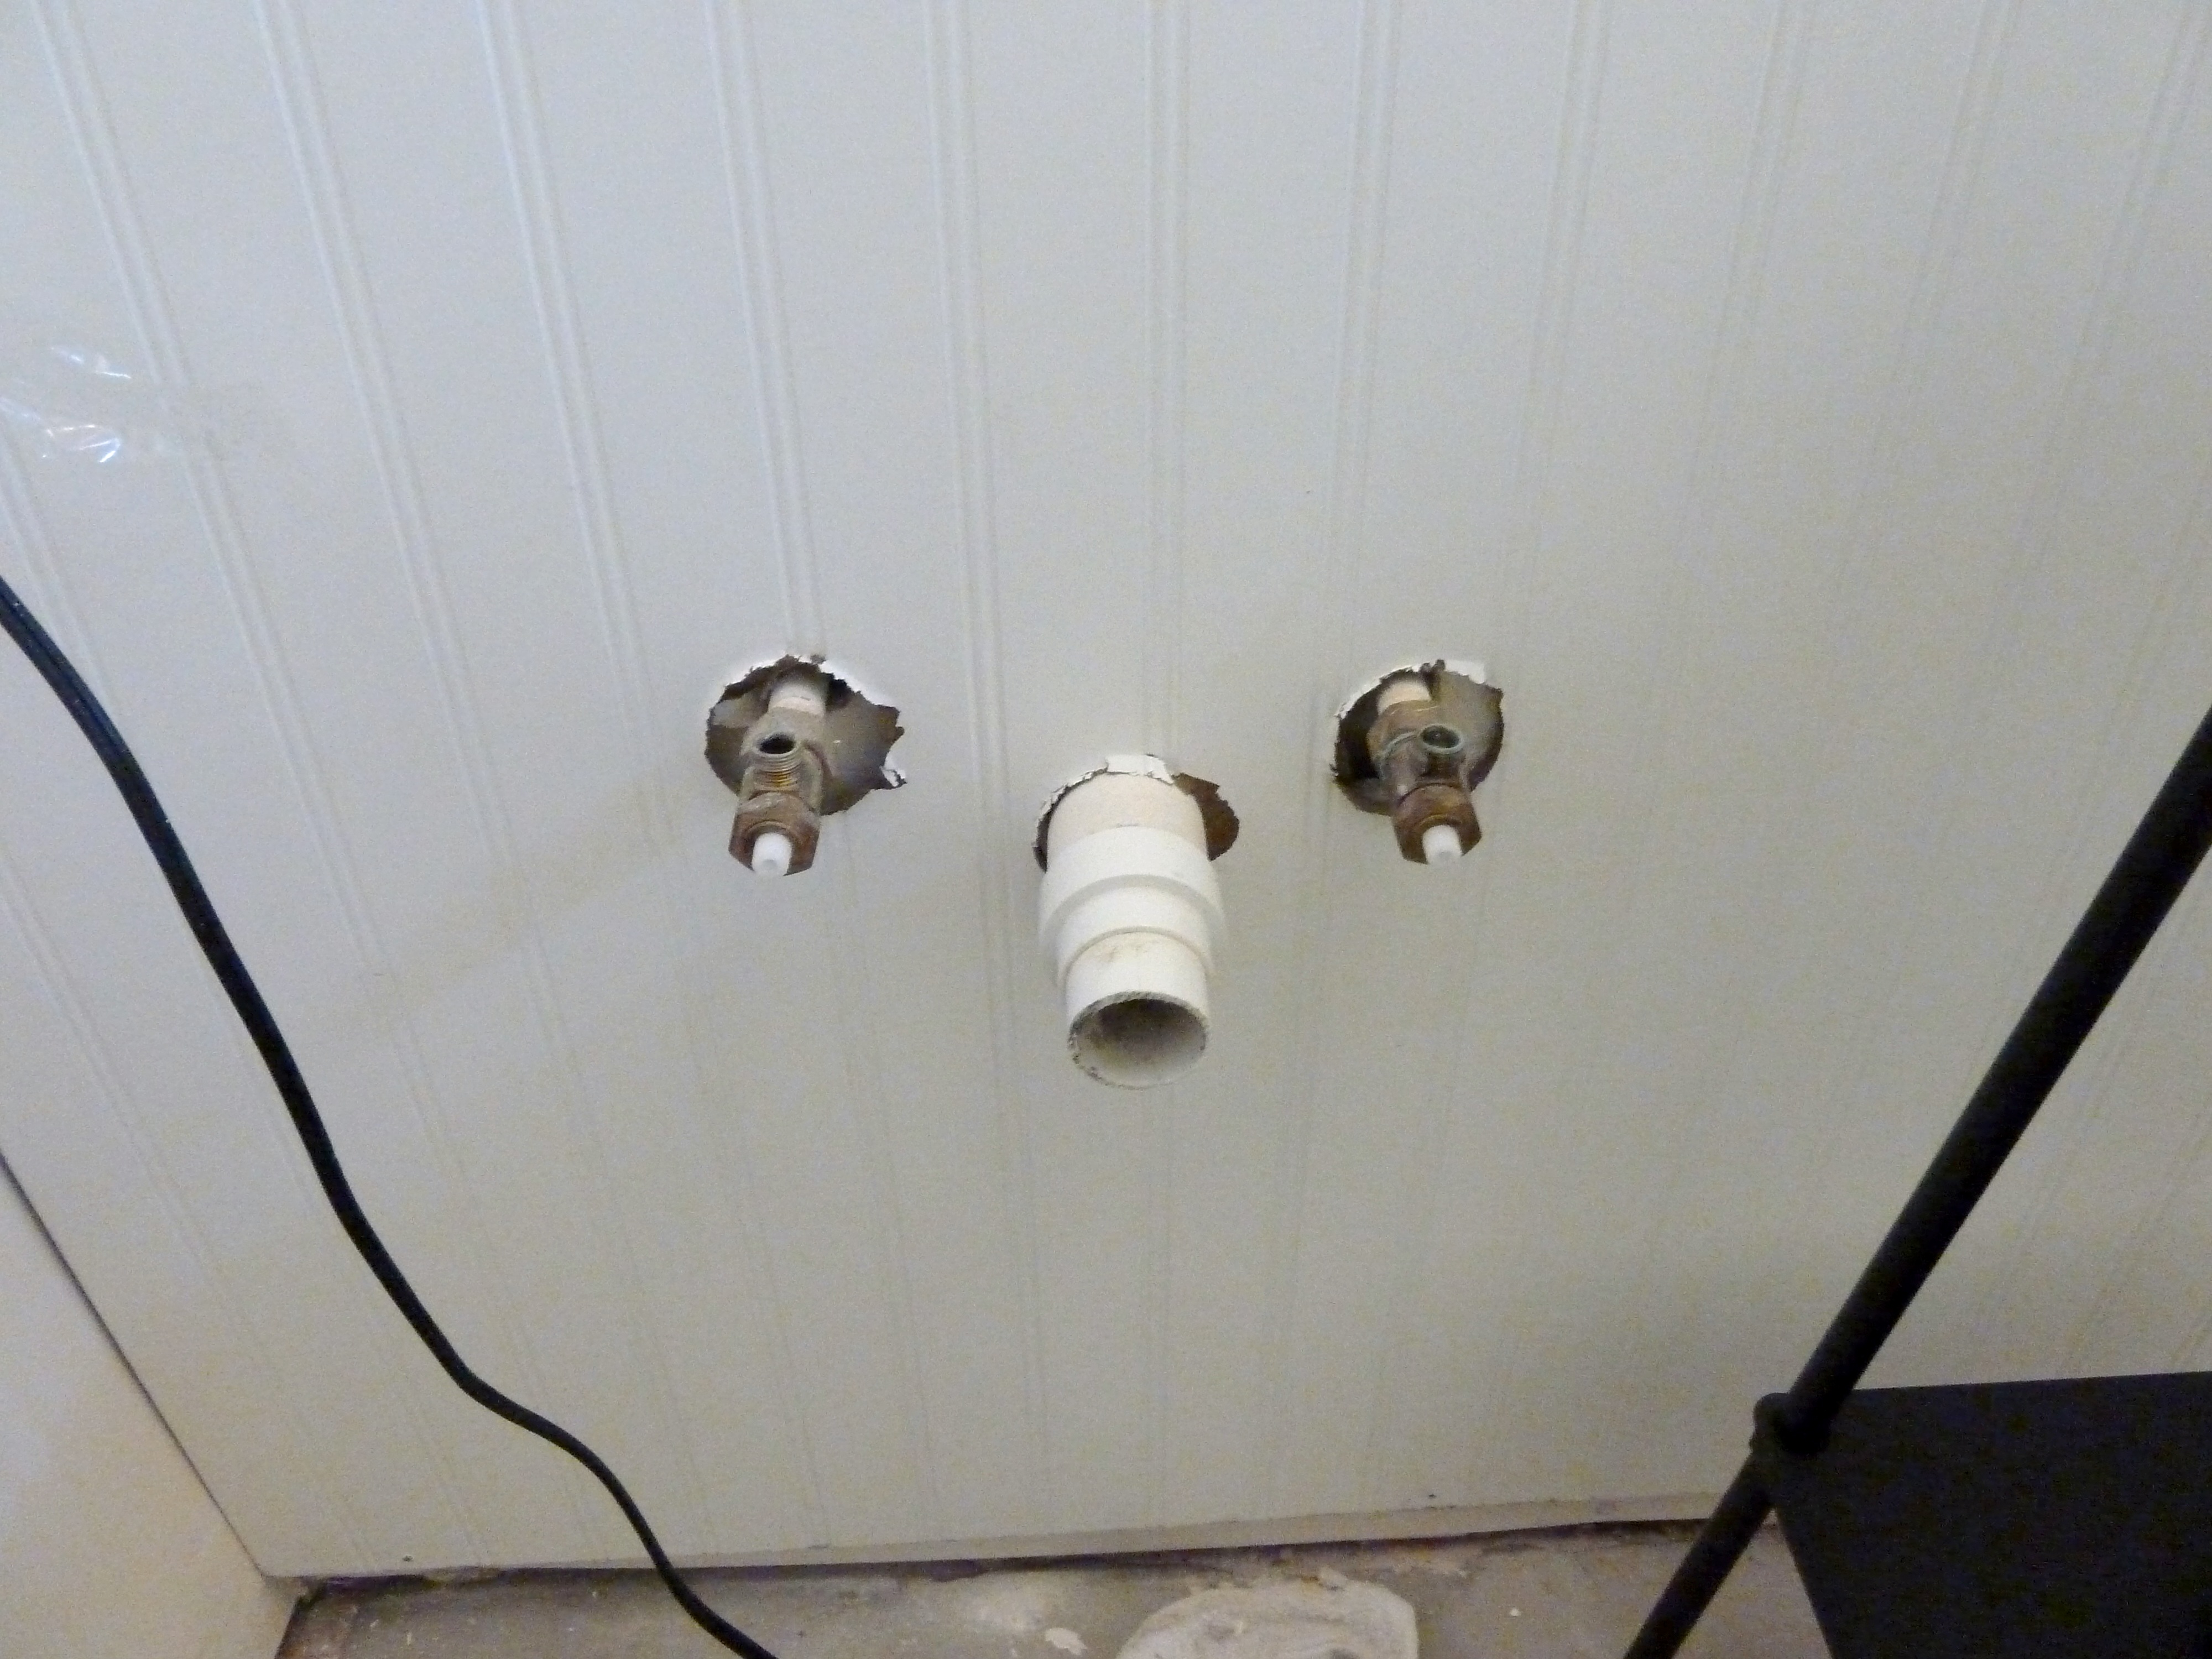
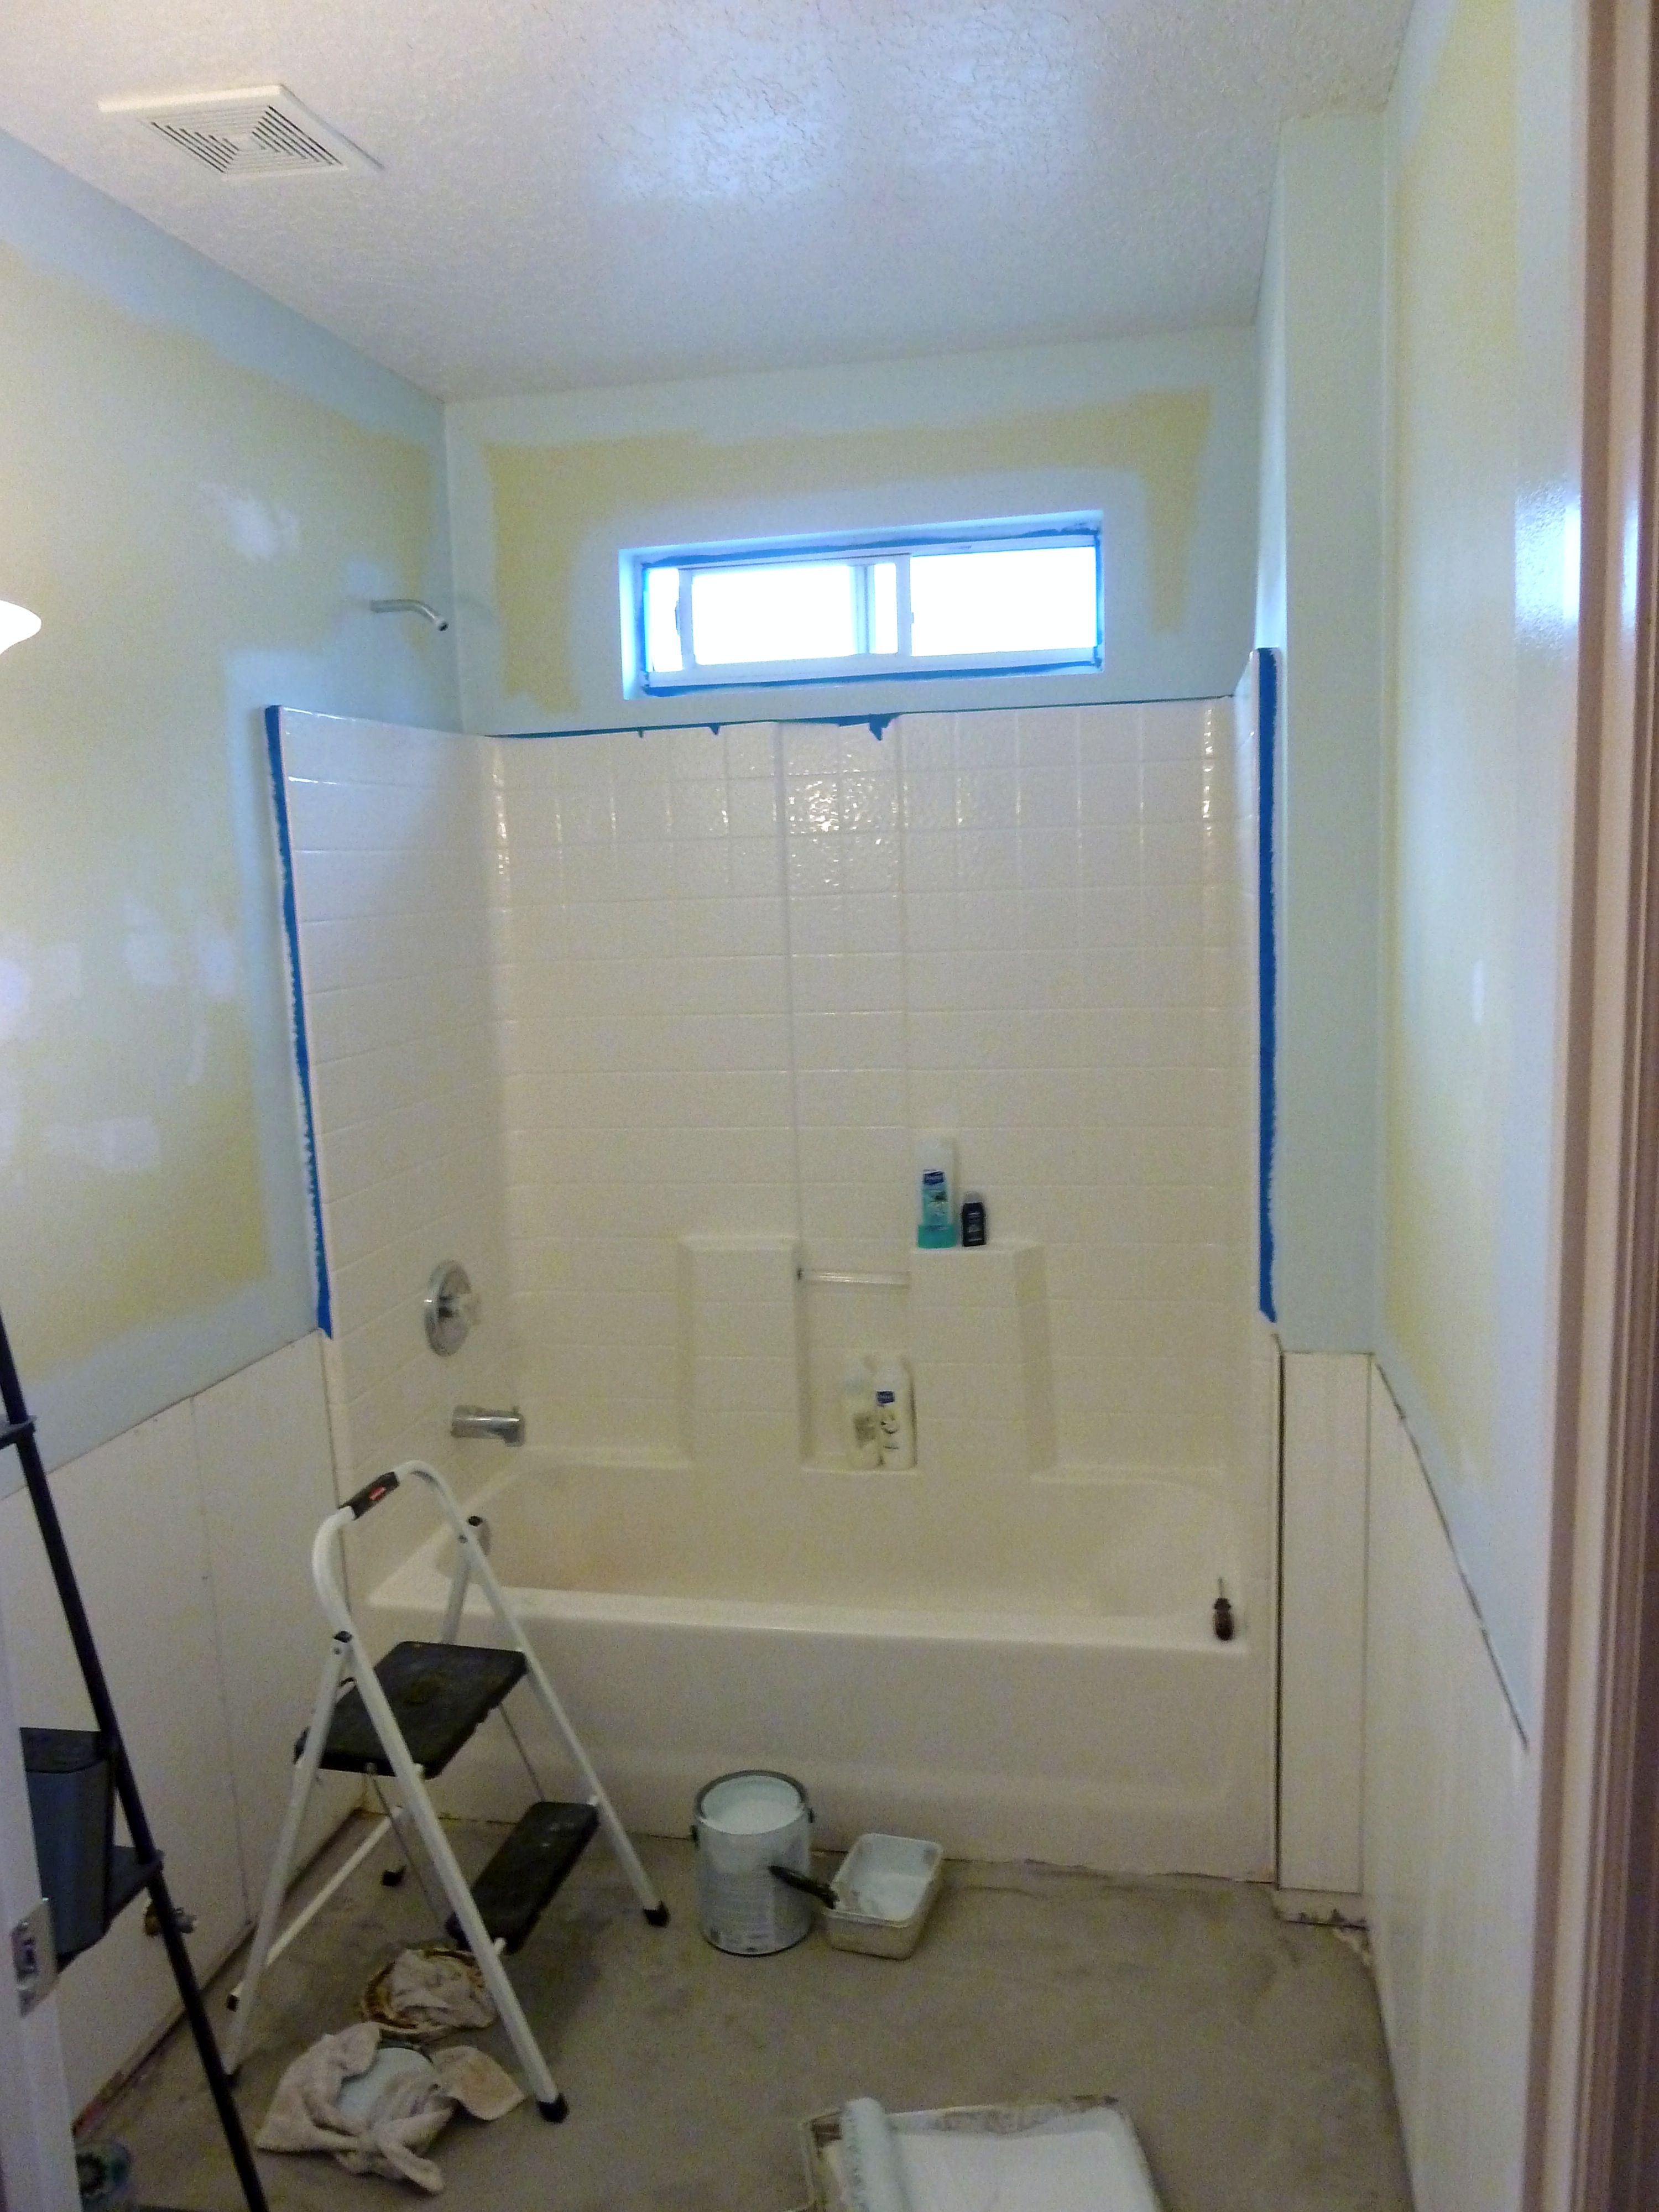
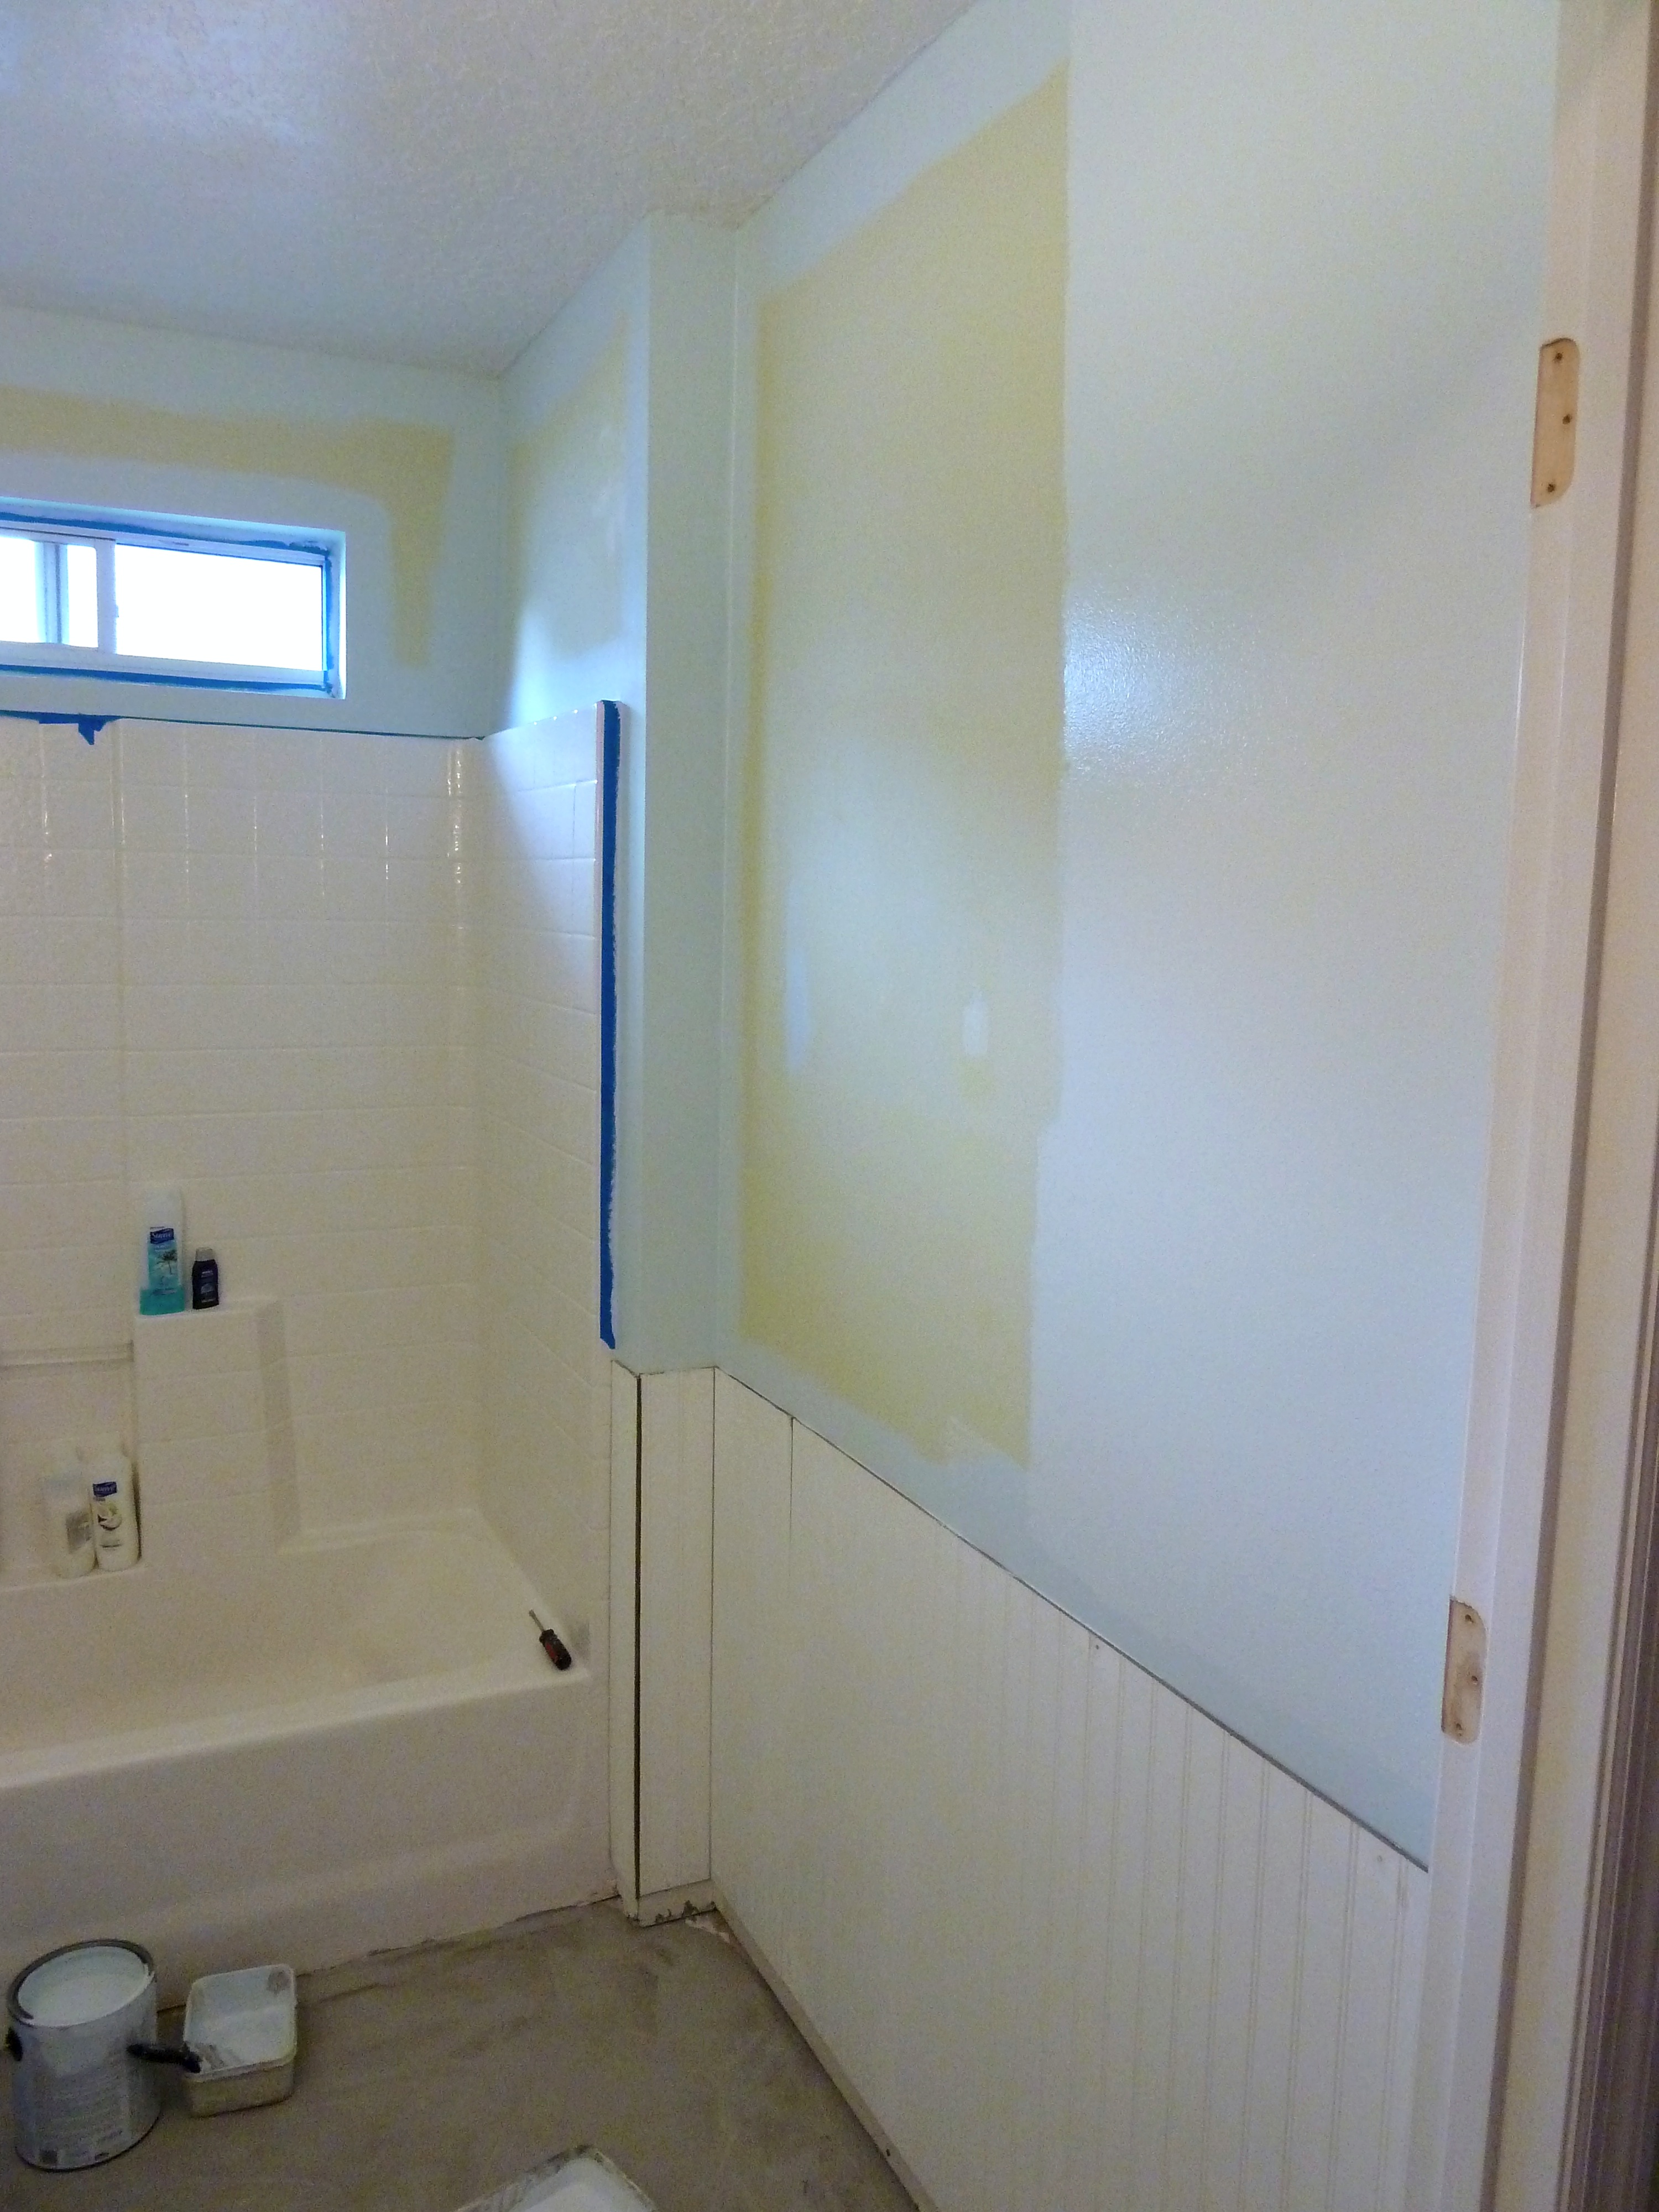
Do they make you happy?  Because they make me happy.  I wanted to get them on the wall immediately, but when Justin went to hang them we noticed the wall closest to the sink was not looking too hot.  It is where we removed the medicine cabinet and the wall was still not completely smooth.

P1070314_Fotor

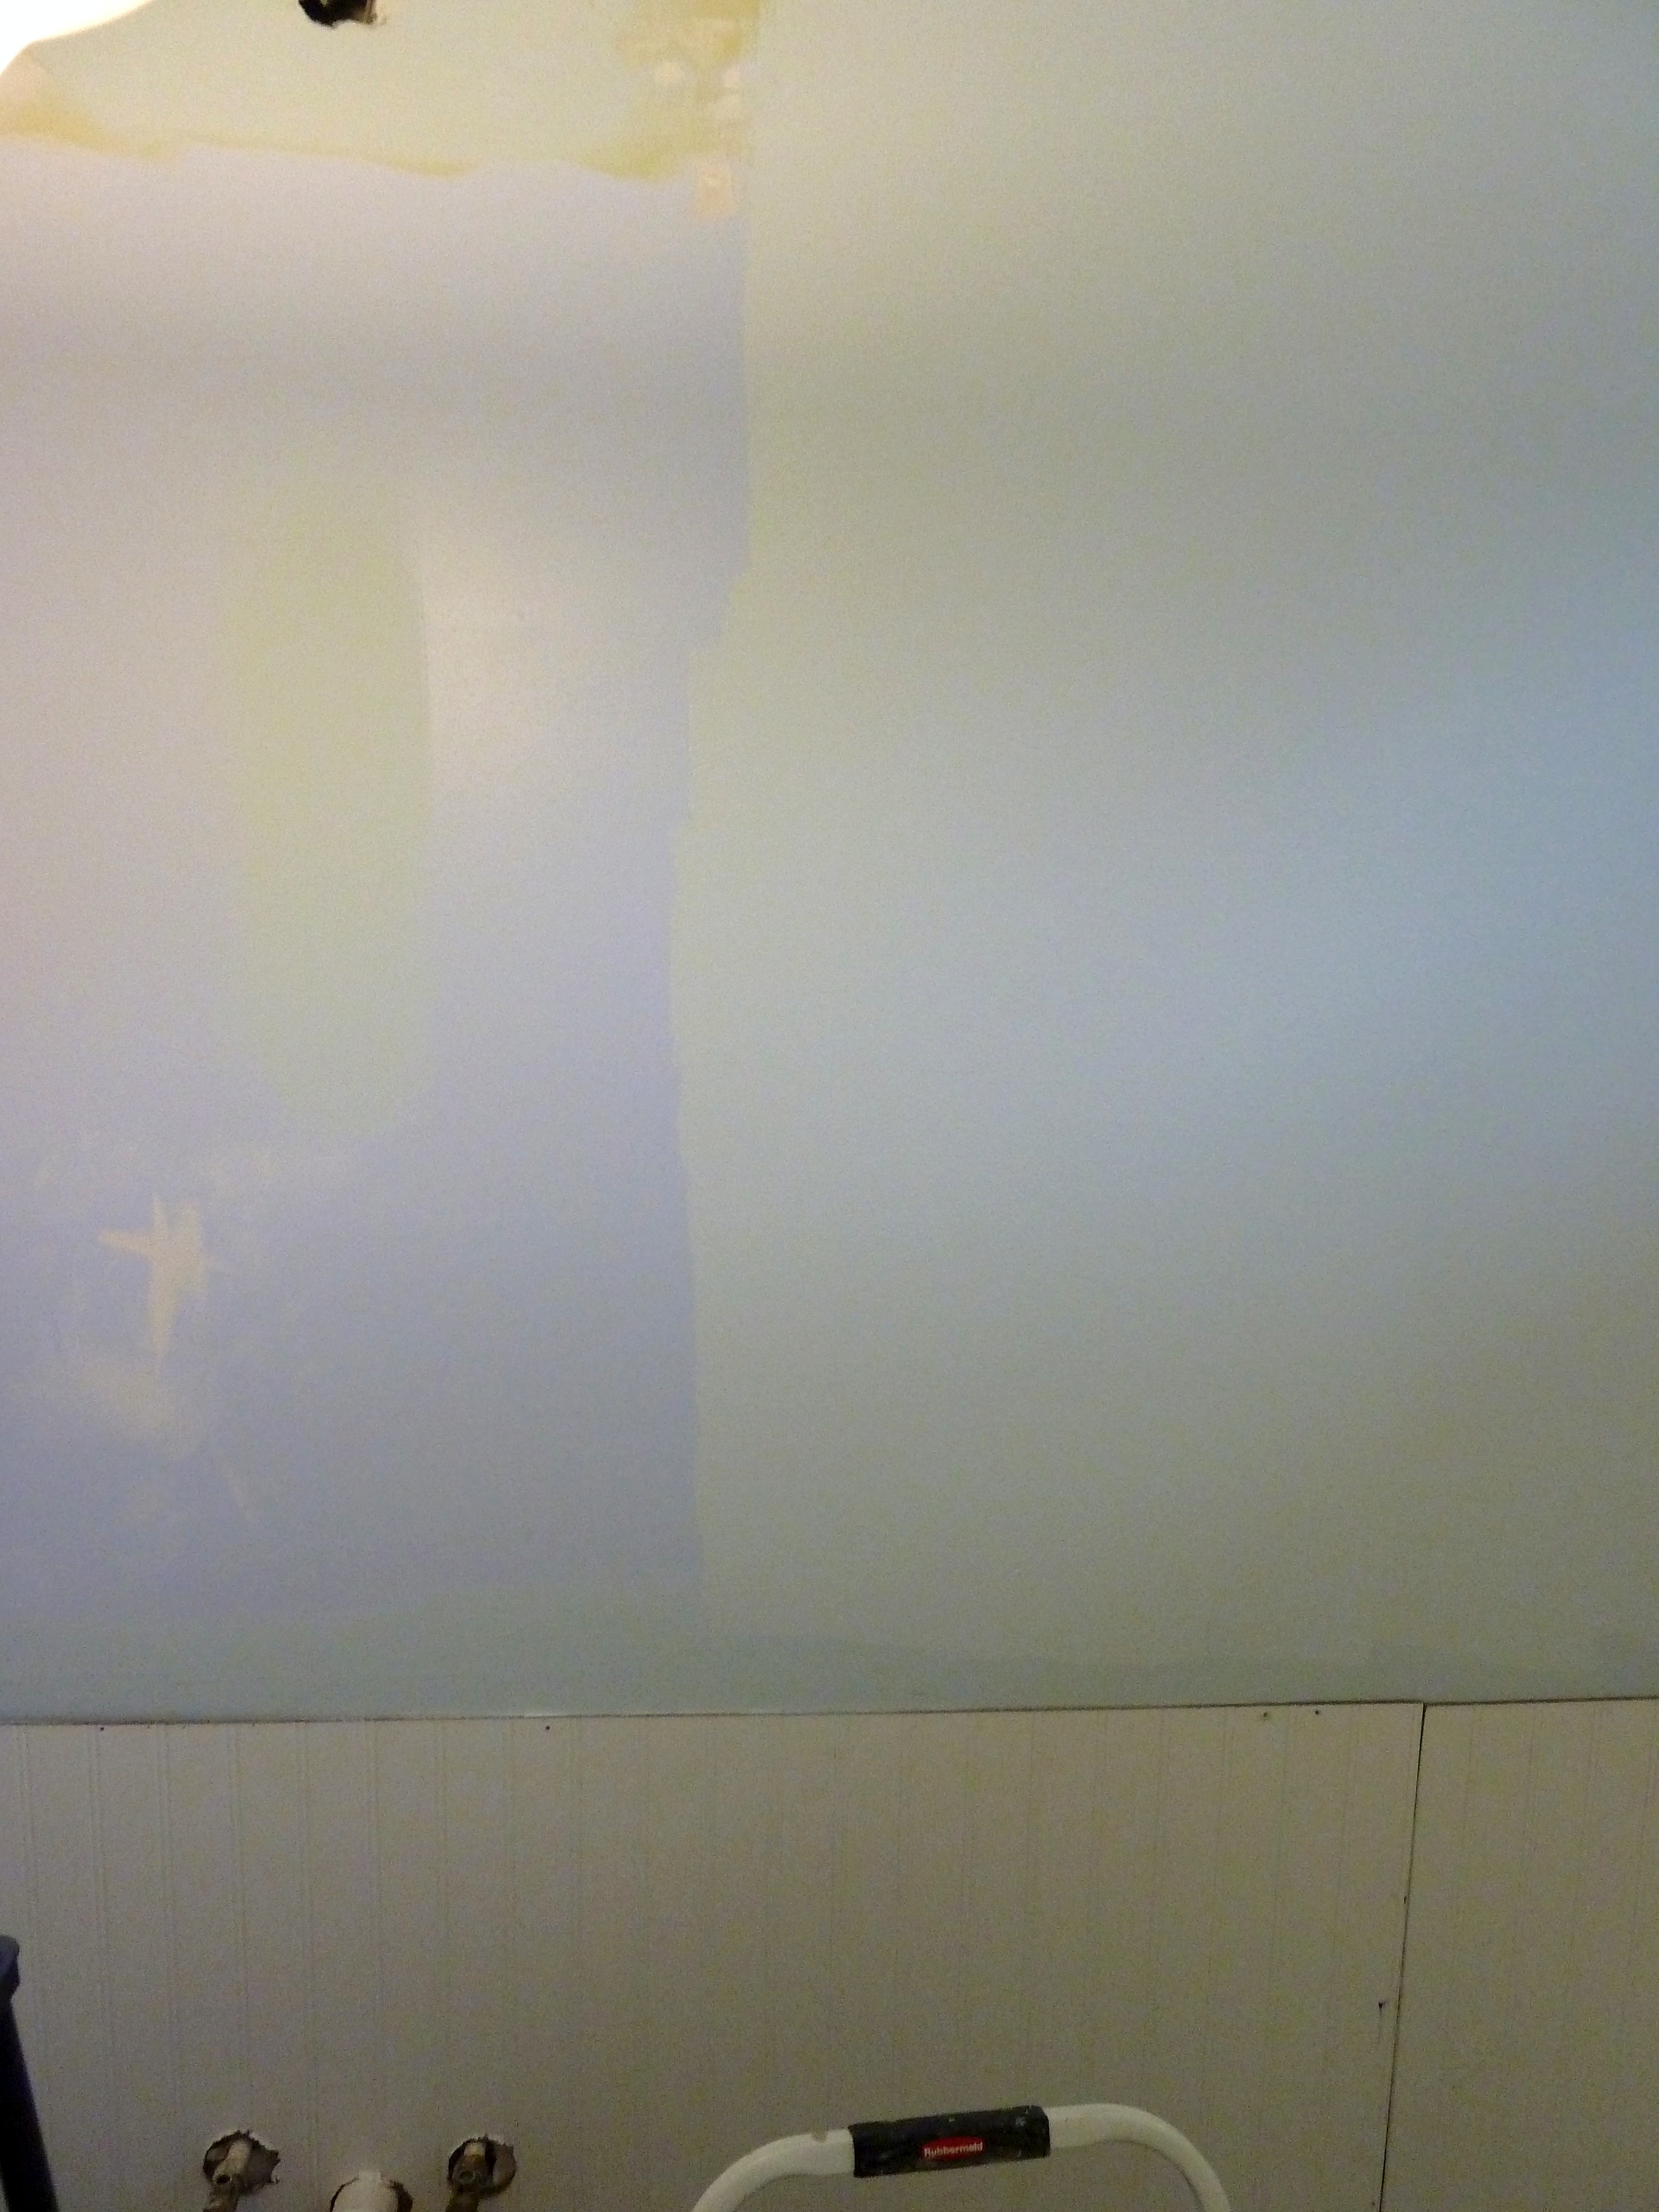
So I got out the spackle and putty knife and went to town.  Once it dried I sanded it down again really well.  I did this a few times until I thought it was looking pretty smooth.

P1070316_Fotor

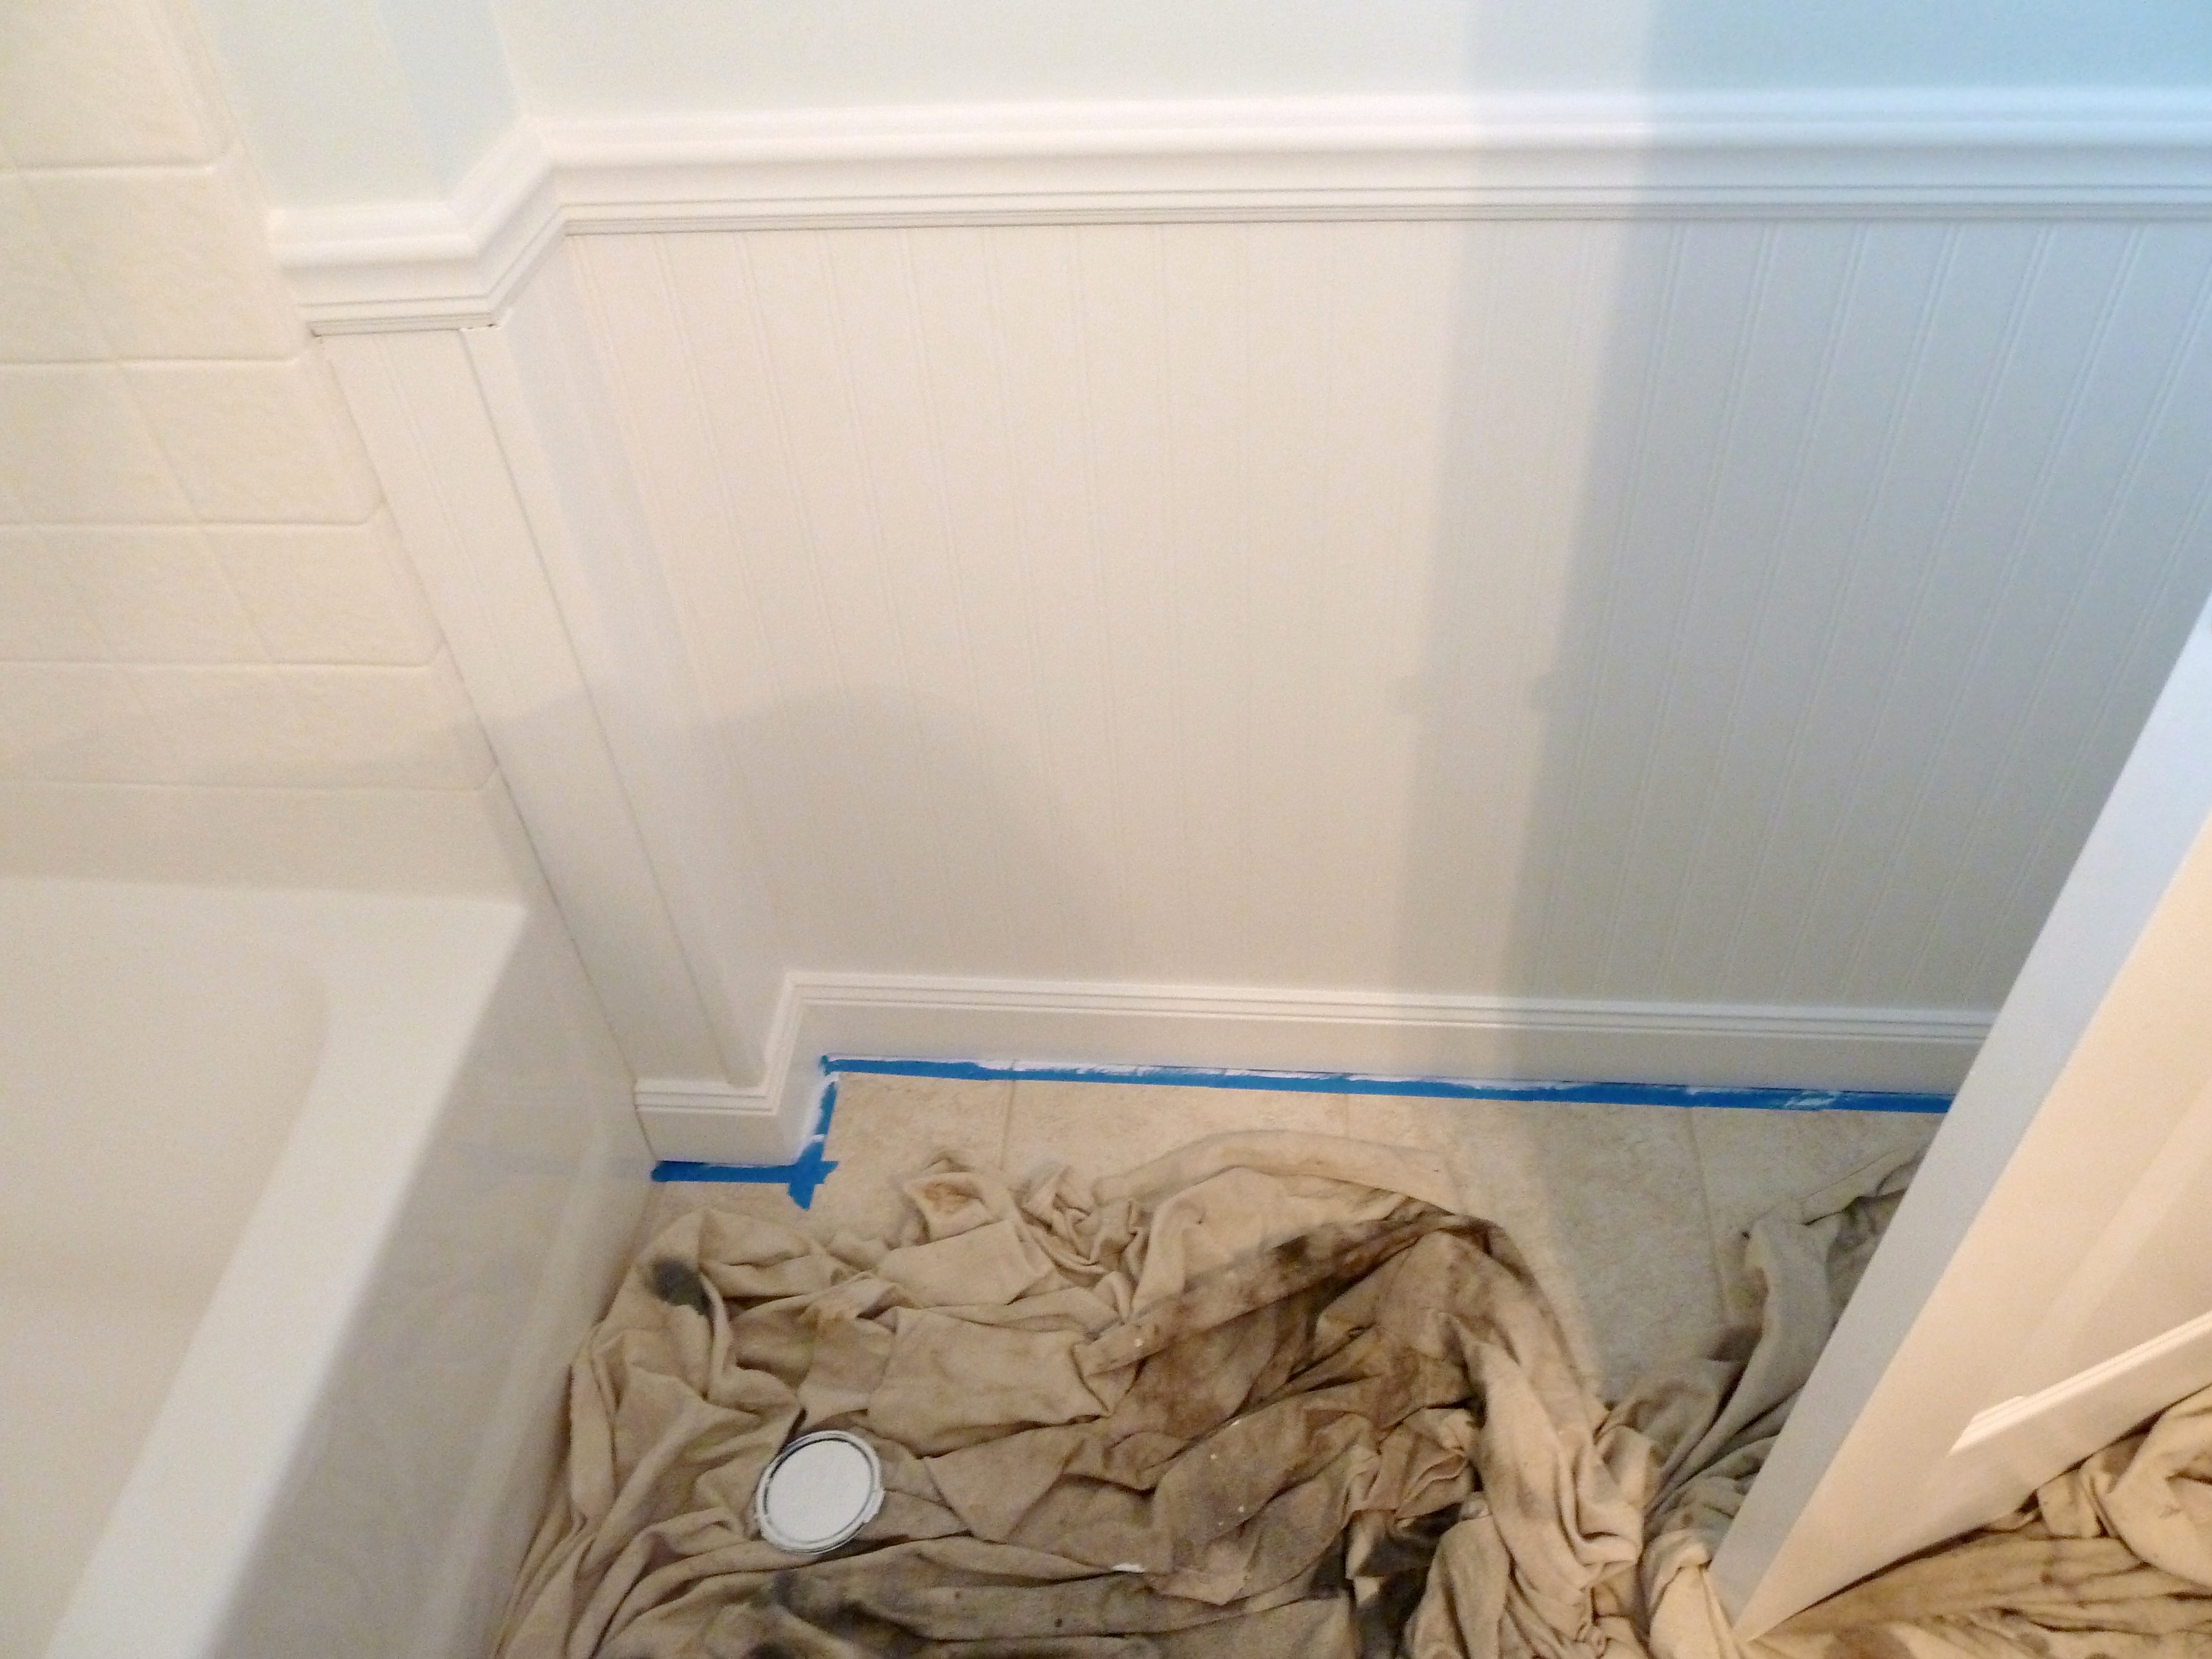
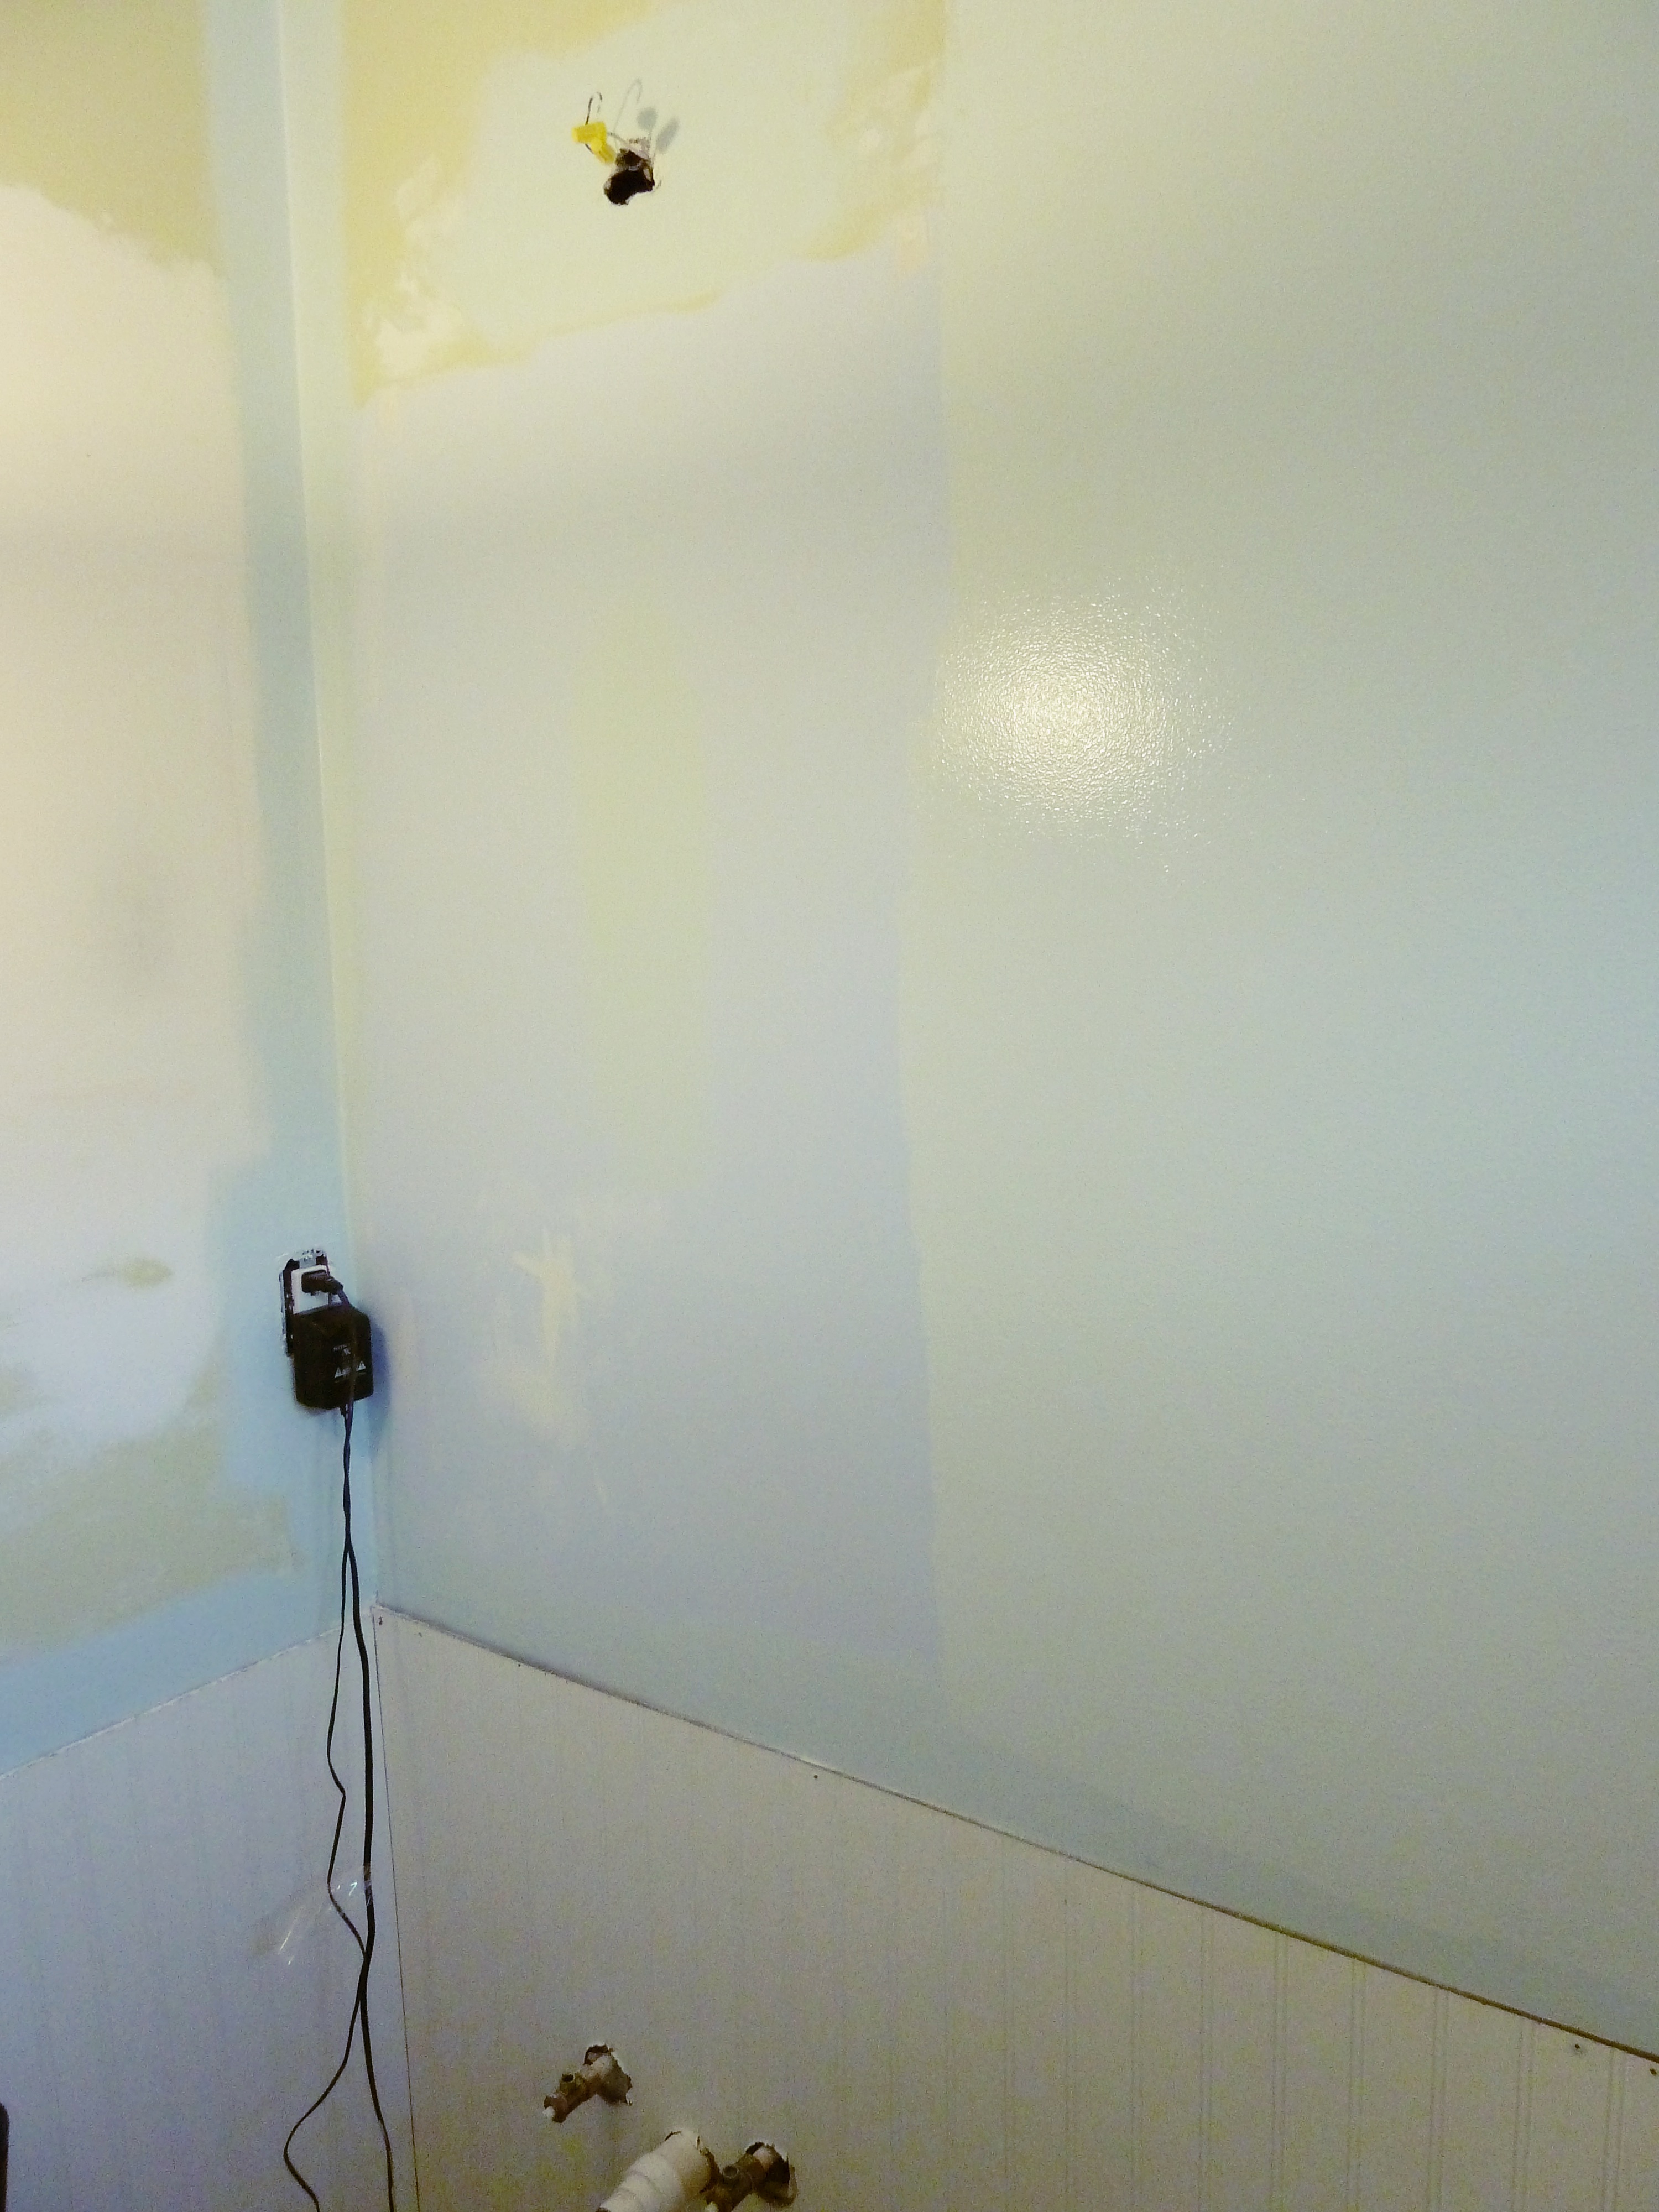
While I was at it I noticed the wall surrounding the light also wasn’t looking too hot, so I worked on that area as well. The people who lived here before us just painted around the wall light without taking it down, when we took it down the wall that was surrounding it was raised a little more than the rest of the wall because of the additional coats of paint.  I guess I didn’t get that spot good enough when sanding the first time around.

P1070315_Fotor

After I felt confident with my sanding I got the paint out and touched up both areas.  Once it dried it was looking much better and it was time to hang some art!

P1070318_Fotor

One whale up!

P1070321_Fotor

How about 6 more?

P1070323_Fotor

I love these stacked whales.

P1070334_Fotor

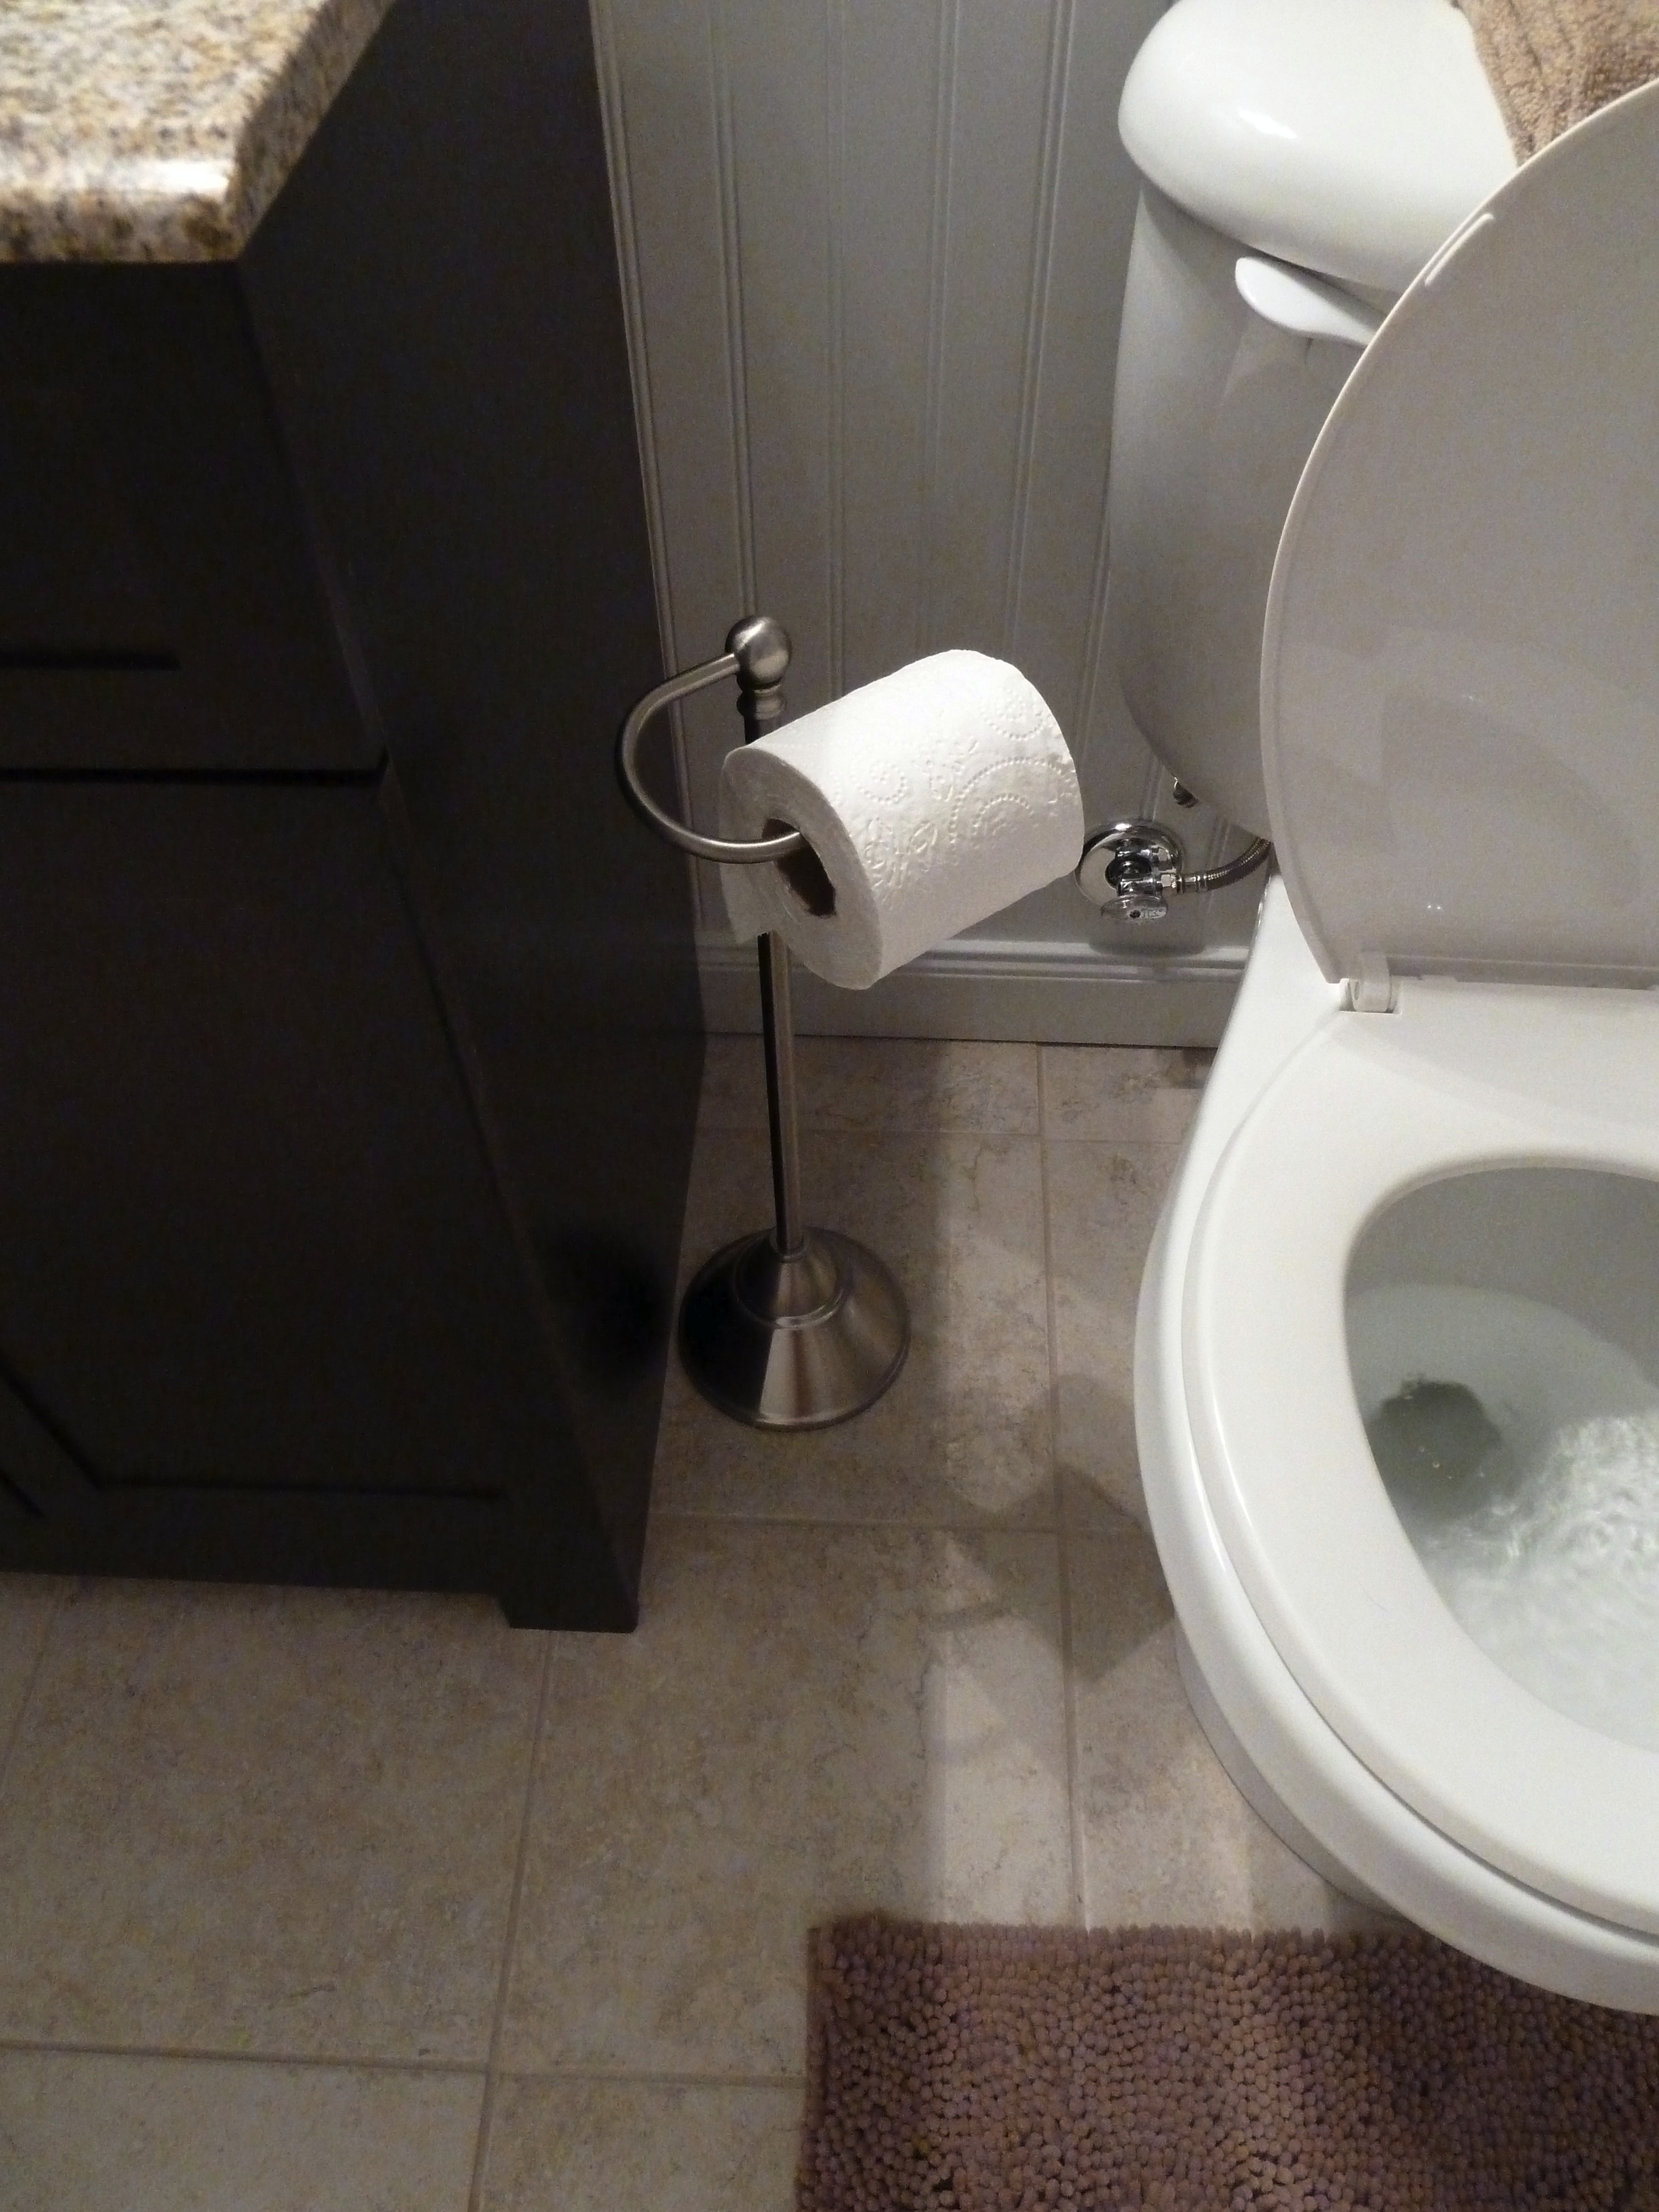
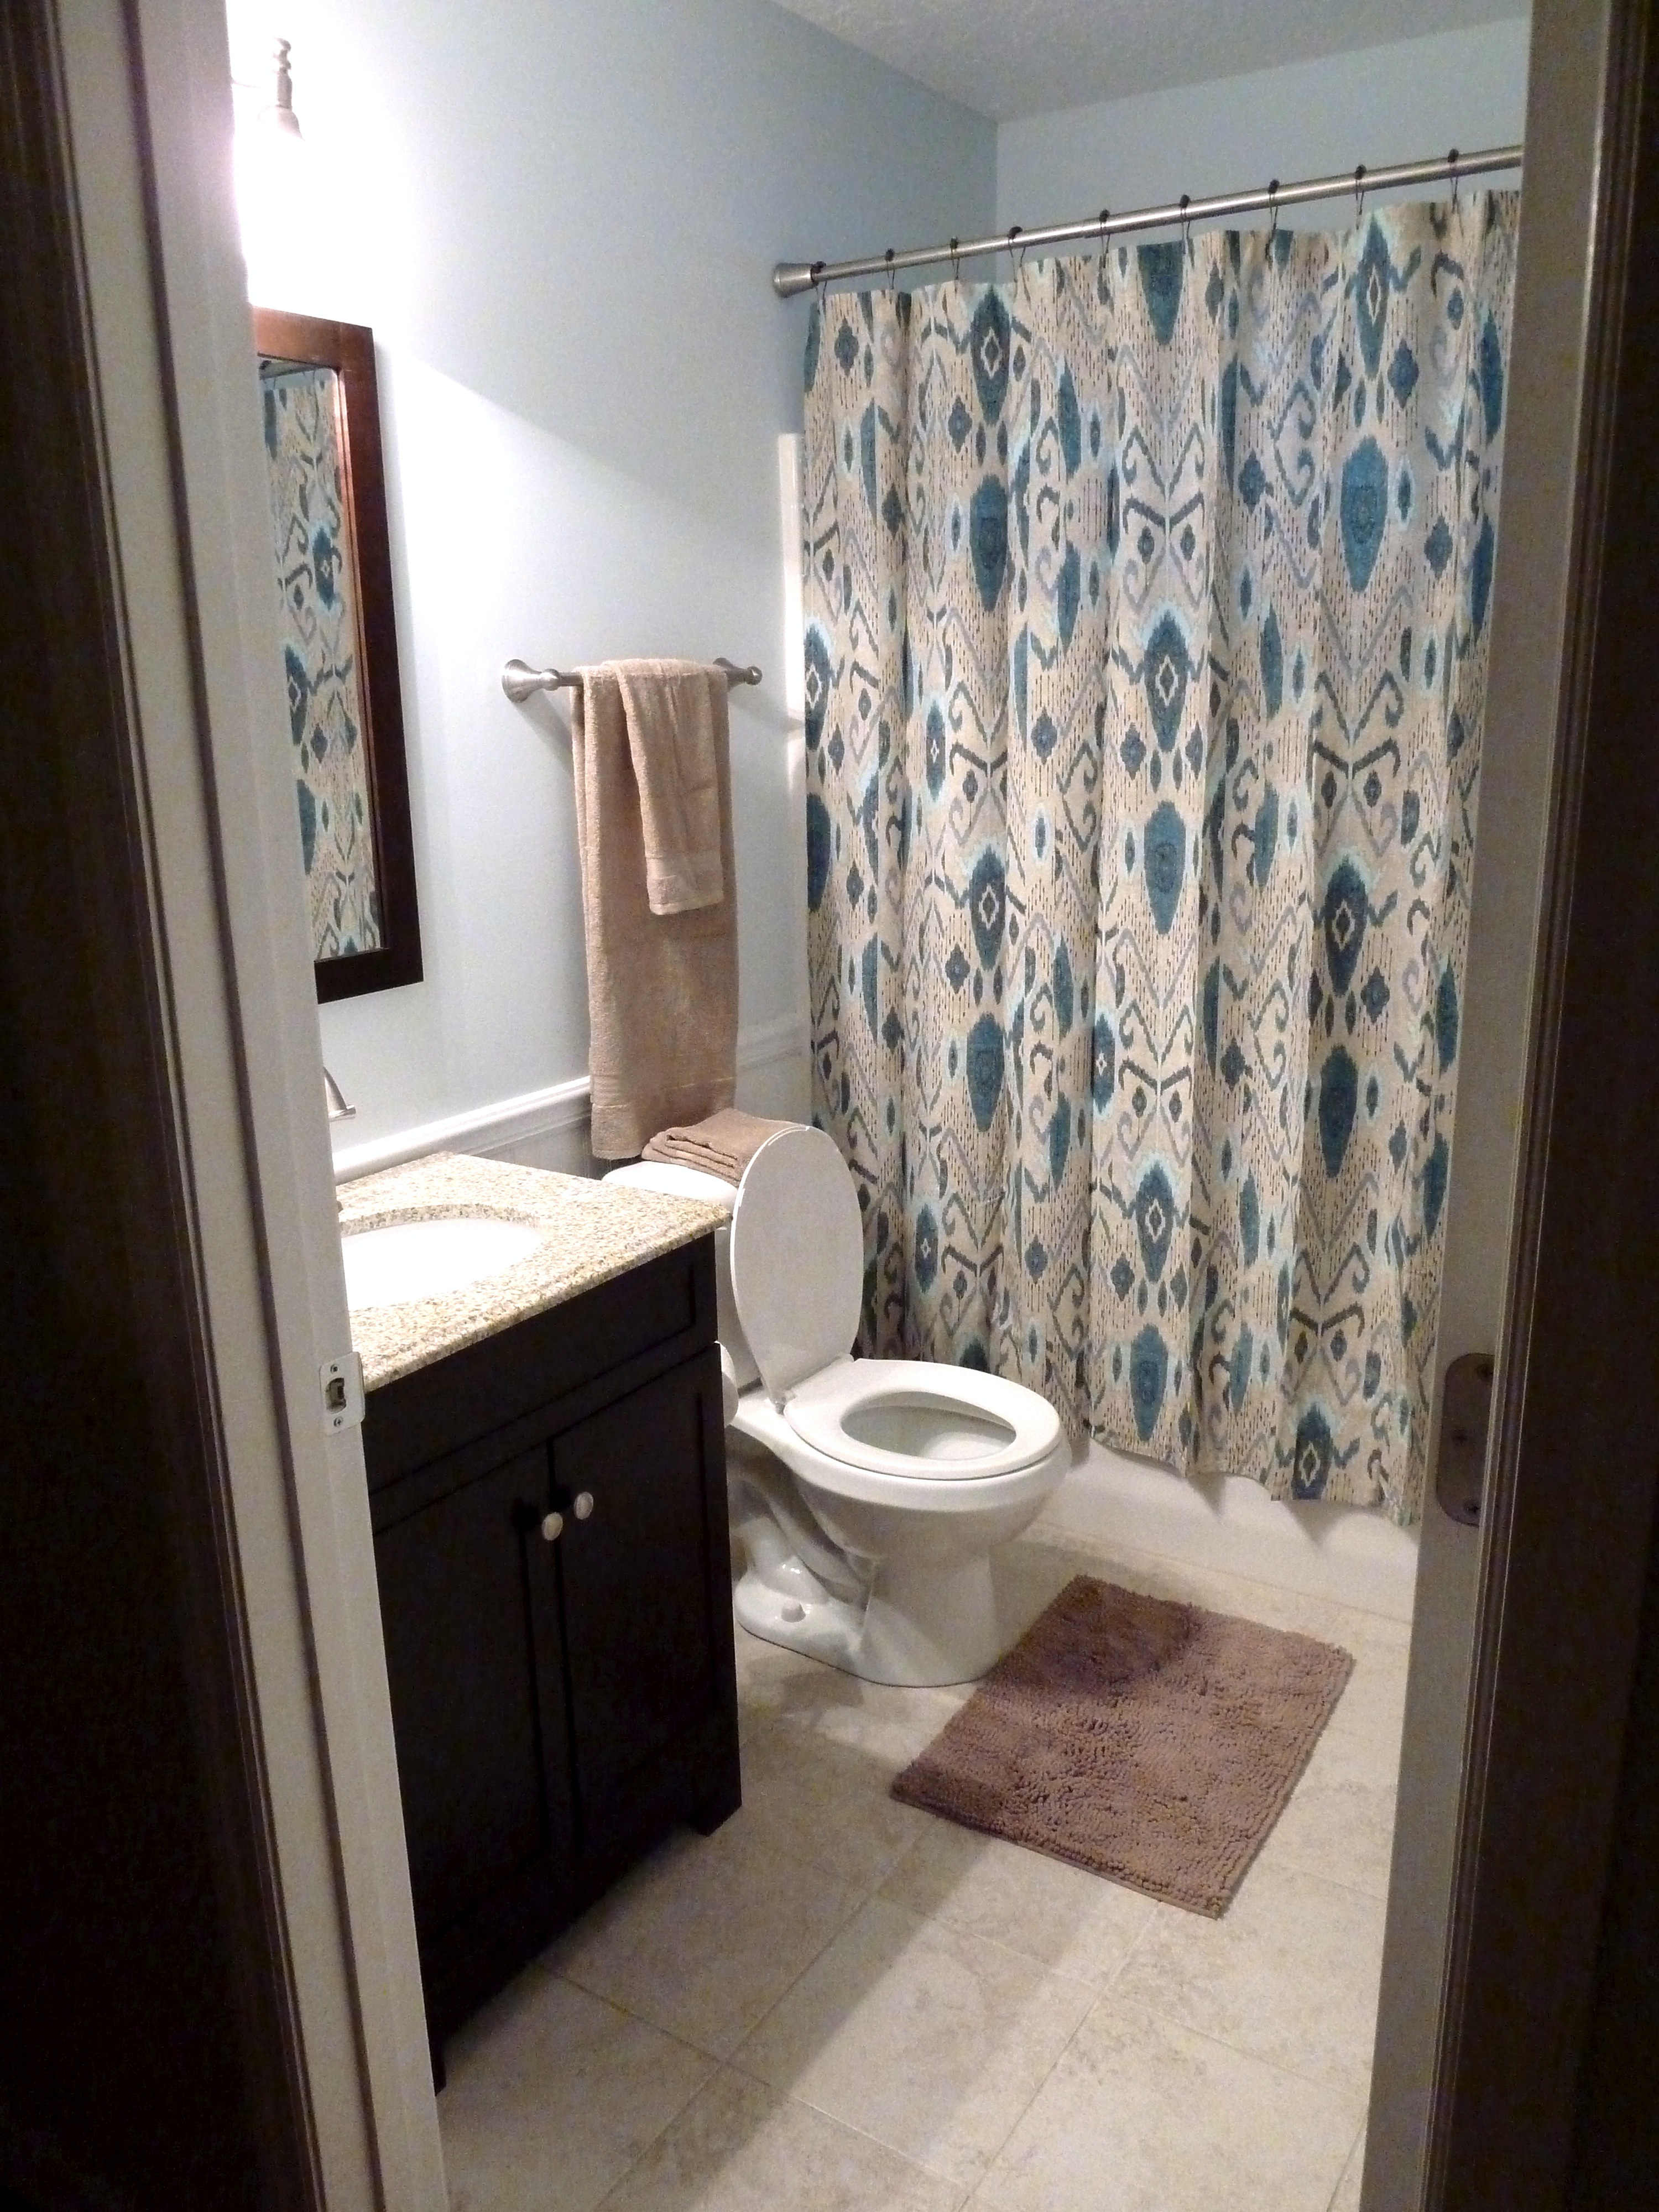
Here they are peaking around the door, sneaky little whales.

P1070335_Fotor

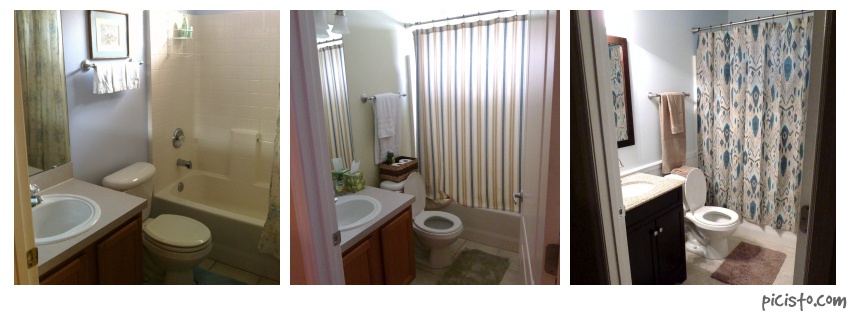
I love this bathroom now.  I am so glad Justin convinced me to demo it. I find myself stopping by the guest bathroom just to take a peak at our new art:)

Oh, hey new bathroom!

A little delayed, but I hope you all had a fabulous 4th of July!  We sure had a great long holiday weekend, we accomplished a lot!  We also got to relax and get together with friends.  I would say it was a successful little break.

Now lets get back to this bathroom! Last we left off it looked something like this…

P1070121_Fotor

We were well on our way to a new bathroom, but still had a few things on our list to finish up.  First up Justin installed the new mirror, which was also purchased from Lowe’s.  The mirror was the match to our new vanity…

They are both Style Selections Longshire Brand in Espresso finish.

P1070146_Fotor

Here they are all installed and hung! Much better than that 90’s vanity we had going on before. The next thing we wanted to tackle in here was the sink, having a toilet is great but let me tell you… it’s even nicer when you have a sink! So Justin got right to it.

P1070131_Fotor

Look at that beautiful new sink!

P1070147_Fotor

It’s even nicer when it’s on a vanity and hooked to plumbing!

P1070172_Fotor

This sink isn’t just for show… it works! Justin really is becoming quite handy.

P1070173_Fotor

There’s our new mirror and a little glimpse of the new light.

Next up I had to finish painting the trim and give the wainscoting one last coat.

P1070154_Fotor

Here it is all nice and white…

P1070176_Fotor

From here we were done with the painting and installing and it was just time to put this bathroom back together.

P1070179_Fotor

Our last toilet paper holder was attached to our vanity.  We really didn’t want to have it hanging off the vanity this time and the wall behind it was a little to far of a reach.  So, I picked up this guy at homegoods, it was only $14 and matched all of the faucets and the light fixture.  Which I unfortunately did not get any good photos of.  It is also from Lowe’s…

Just picture this guy on our wall above the mirror.

I also finally got to put up the shower curtain that started this whole bathroom renovation…

P1070180_Fotor

Sorry about the weird angle, it’s a small bathroom.  I bought this shower curtain at Target for $19. I love anything in an ikat pattern!  I also purchased that bath mat from homegoods for $12.  Here is the bathroom pretty much finished…

P1070181_Fotor

I still have to add some decorations and I already have some things brewing in my mind! Here is our updated list…

  1. Patch and sand all walls.
  2. Paint walls.
  3. Add wainscoting and chair rail to walls.
  4. Paint wainscoting, chair rail and trim.
  5. Tile and grout floor. 
  6. REINSTALL TOILET.
  7. Install new faucets and shower head in bathtub.
  8. Install new light fixture.
  9. Install vanity.
  10. Install mirror.
  11. Install towel bar.
  12. Decorate! :)

Last thing I want to show you is a before and after…

picisto-20130707191637-617509

Click the photo! It gets bigger!

The first photo is before we moved in, the second is once we moved in and I painted the walls green.  The last photo is now!  Woo hoo!

We Miss Our Toilet

Since demolishing the guest bathroom, we realized how much we miss having an extra bathroom.  Considering our other bathroom is off of our master bedroom and the guest one is off of the living room, we tend to use the guest one more.  So this weekend we were in power mode to get the this bathroom renovation on its way and better yet get our second toilet back! Hurrah!

Last weekend we ended our project with the bathroom looking like this…

P1060991_Fotor

Yikes! that is one scary looking bathroom. We had quite the work to get done before we had a working toilet in here. We had a few things we wanted to incorporate in the bathroom.

Here’s another handy list of our to do’s for this bath:

  1. Patch and sand all walls.
  2. Paint walls.
  3. Add wainscoting and chair rail to walls.
  4. Paint wainscoting, chair rail and trim.
  5. Tile and grout floor.
  6. REINSTALL TOILET.
  7. Install new faucets and shower head in bathtub.
  8. Install new light fixture.
  9. Install vanity.
  10. Install mirror.
  11. Install towel bar.
  12. Decorate! 🙂

We had a lot to accomplish before we had a working bathroom again, so we got right to work.  Justin started with installing the wainscoting.  He purchased full sheets of it from Lowe’s(of course).

765096139019

It is pretty affordable at about $10 a sheet which are 4 feet wide.  We didn’t need very much since this bathroom is pretty small.  The sheets come in a preprimed white coating, which was nice for me considering I’m the painter in this family.  Less coats of paint! suh-weet!

P1070012_Fotor

P1070013_Fotor

Justin had the wainscoting installed in no time! He did have to make a few holes for the plumbing as you can see.

P1070014_Fotor

We figured this would be the best time to do all of the painting considering the flooring was unfinished and I didn’t have to edge in to close to the wainscoting because the chair rail would be covering the seem. I also didn’t have to use any drop cloths, considering we weren’t too worried about maintaining the look of our concrete floor we currently had going on.

P1070016_Fotor

I got everything taped off and I was ready to paint! Oh ya I forgot to mention my paint color choice.  I am going with blue, shocker right?  The color is sweet slumber by Valspar.  It is a super duper light blue color, which you can see below…

P1070017_Fotor

I went my usual painting route by doing all of my edging in first then rolling.  This room is crazy quick to paint, piece of cake!

P1070019_Fotor

I love the color, it’s really light so I hope it will brighten up this room quite a bit and make it feel a bit bigger.  My plan to go really light with the laundry room worked out well, so I am hoping the same will work in here!

Once we had the mirror down, we were able to see the original purplish-blue color that the bathroom was when we moved in.  The color we went with this time was more blue, than the more purple color they had chosen and our color is also lighter…

P1070029_Fotor

The new color is on the right and the old color that was under the mirror is on the left. Either color I think is better than the greenish yellow I painted the room, that you can slightly see on the top of this photo.

P1070030_Fotor I also think the wainscoting is going to help to make this bathroom feel a lot lighter.

P1070032_Fotor

Here is all of the chair railing and trim that Justin purchased.  All of these pieces were also pre-primed in white, more great news for me!

P1070033_Fotor

Ah, beautiful untouched trim!

P1070035_Fotor

Justin used this guy to cut all of the trim and chair railing on 45 degree angles.  He had a blast doing this, seemed like a very time consuming job.

P1070040_Fotor

Here is the first wall with the chair rail installed.  I was so excited to see it go up, looks great already!

Next up was tiling.

P1070038_Fotor

We used the same Roman Stone tile that we used on the patio, but in a lighter shade.

P1070043_Fotor

Justin had to lay the tile before installing the trim, since the trim would lay on top of the tile.  He used the same method as he did when tiling the patio.

P1070047_Fotor

Here is the finished product.

P1070049_Fotor

I swear he did this so quick and it looks great.  I think he has tiling down, put that one on your resume Justin!

Once the tile was dry Justin started changing out the faucets in the tub.  We didn’t want the polished nickel look that we currently had, we wanted to change everything out to brushed nickel.

P1070052_Fotor

I know what you are thinking… why would we get rid of such a modern faucet?  Here is the new faucet…

P1070118_Fotor

It is Moen brand from Lowe’s.  We also replaced the shower head.  Unfortunately I didn’t get a before photo of the old shower head, Justin is just to quick for me.  Sorry folks.  Here is the new one though…

P1070119_Fotor

It’s huge! I might be showering in the guest bathroom from now on!  From there we called it a night and the next morning I woke up to this…

P1070066_Fotor

BOOM a grouted floor and half installed toilet.  I swear Justin doesn’t sleep, he thinks 5am is a good time to wake up on weekends! Crazy man!  He was even already started on installing the trim as you can see!

P1070067_Fotor

P1070068_Fotor

Looking pretty good!  From there he caulked all of the chair rail and trim.

P1070114_Fotor

Caulking trim just finishes it off so nicely!

P1070115_Fotor

From there Justin finished installing the toilet and even brought in the vanity.

P1070121_Fotor

So this is where two days of hard work got us.  I would say it was a job well done because we have a working toilet again!! Yahoo! Would you like a list update? Okay fine!

  1. Patch and sand all walls.
  2. Paint walls.
  3. Add wainscoting and chair rail to walls.
  4. Paint wainscoting, chair rail and trim.
  5. Tile and grout floor. 
  6. REINSTALL TOILET.
  7. Install new faucets and shower head in bathtub.
  8. Install new light fixture.
  9. Install vanity.
  10. Install mirror.
  11. Install towel bar.
  12. Decorate! 🙂

House Floor Plan and Paint Colors

I found this pretty cool website that allows you to make a floor plan of your own house.  I could have spent hours on there adding all of my furniture and belongings, you can even view the finished product in 3D.  I thought it would be cool to share this floor plan with you, so it makes it easier to understand the set up we have going on.  Here is what I came up with…

resource_export_1372624088850

It’s kind of hard to read all of those tiny words, if you click the photo it will enlarge it slightly.  Here is the 3D version….

resource_export_1372633268940

and if you spin the house around…

resource_export_1372633242555The last 3D version is with the front of the house facing forward, in case your confused.  I love that I was able to add the flooring, paint colors and even appliances.  You can go all out and add furniture and decorations, but I didn’t really wanna take it that far.  Try out this website, I’m pretty sure you’ll get addicted too.

I also wanted to share where we’re at with paint colors in our house.  I have noticed that we tend to lean towards cooler colors, like grays and blues.  The only rooms we have not painted are the master bathroom and the first guest room(the one closest to the front of the house).  Here goes nothing.

Living Room – Milestone by Valspar

Kitchen – Milestone by Valspar

Master Bedroom – Lighthouse Shadows by Valspar

Laundry Room – Tibetan Mist by Valspar

Guest Bathroom – Sweet Slumber by Valspar

Guest Bedroom #2 – Bay Waves by Valspar

Dining Room – Lyndhurst Castle Sand by Valspar

Office – Lyndhurst Castle Sand by Valspar

I love some of these names, like sweet slumber and lighthouse shadows.  Although Valspar has tricked me with their color exchange guarantee, we still use their paint products.  This is because 1. we lovvve Lowe’s and 2. they cover well and turn out looking great.

Hey what can I say?  I love painting!

Painting the Guest Bath

I haven’t had enough painting just yet, I had the urge to paint something else last weekend.  That something ended up being the guest bathroom, which started off looking like this…

365

and

366

I really didn’t mind the color at all, but I had already painted our master bedroom blue and the guest room is now a gray with a hint of blue.  I think I need to throw some more shades in the mix.  I decided to go with my favorite color, green!  I stopped at Lowe’s and grabbed a gallon of a color that I thought would work well.  I came home and went to work.  As I got going just a few swipes in, I realized how close the color I chose was to the color in living room.  It was more of a light tan with a hint of green.  I was so disappointed that I didn’t get samples and try them out first like I usually do.  Unfortunately, I did not take a picture of this color on the walls, I know I suck(sorry).  I definitely didn’t want to use this color, I wanted something different.  So, off to Lowe’s I went.  I tried to return the paint to get another gallon, but the lady at customer service told me since the paint was already tinted I was unable to return it.  I don’t know if you have seen the commercials with the two chameleons that decide the Valspar color they chose to paint there chameleon home just wasn’t quite right.  They then discuss that Lowe’s will allow you to return the paint no questions asked if your not happy with the color. WELL, it’s not as easy as they make it seem.  Apparently you have to buy the color that you like better, then paint one half of a wall the first color you purchased and the other half of the wall the new color you would rather have.  Then you take a photo and mail it to Valspar corporate with the receipt and THEN they will reimburse you.  It really seemed like a hassle and not my cup of tea to go through painting the wall and taking pictures and mailing them in.  Fortunately the girl at the counter also gave me the wrong type of paint.  I basically wanted the paint that came in the white Valspar gallon and she gave me the blue.  Really not that big of a deal, but I let the lady know that and she said since I received the wrong type of paint they could refund the amount.  Anyway,  I chose another color and brought it home and painted our little guest bathroom.  To be honest I’m not totally sold on this color either.

007

It looks very yellow in these photos but it is actually green.

006

I would however like something a little greener and maybe bolder.  This is just kind of boring.  I will live with it for the time being and maybe try to dress it up with some art or decorations(who knows.)  I am not sure at this point.

014

Hey who’s that? And those are some fancy work clothes!

009

Welp, there it is.  The room that I am unsure about still.  It will do for the time being I suppose.  I’ll tell ya what though, it feels a lot cleaner with a fresh coat of paint.

P.S. Justin likes the color, so that’s a bonus.