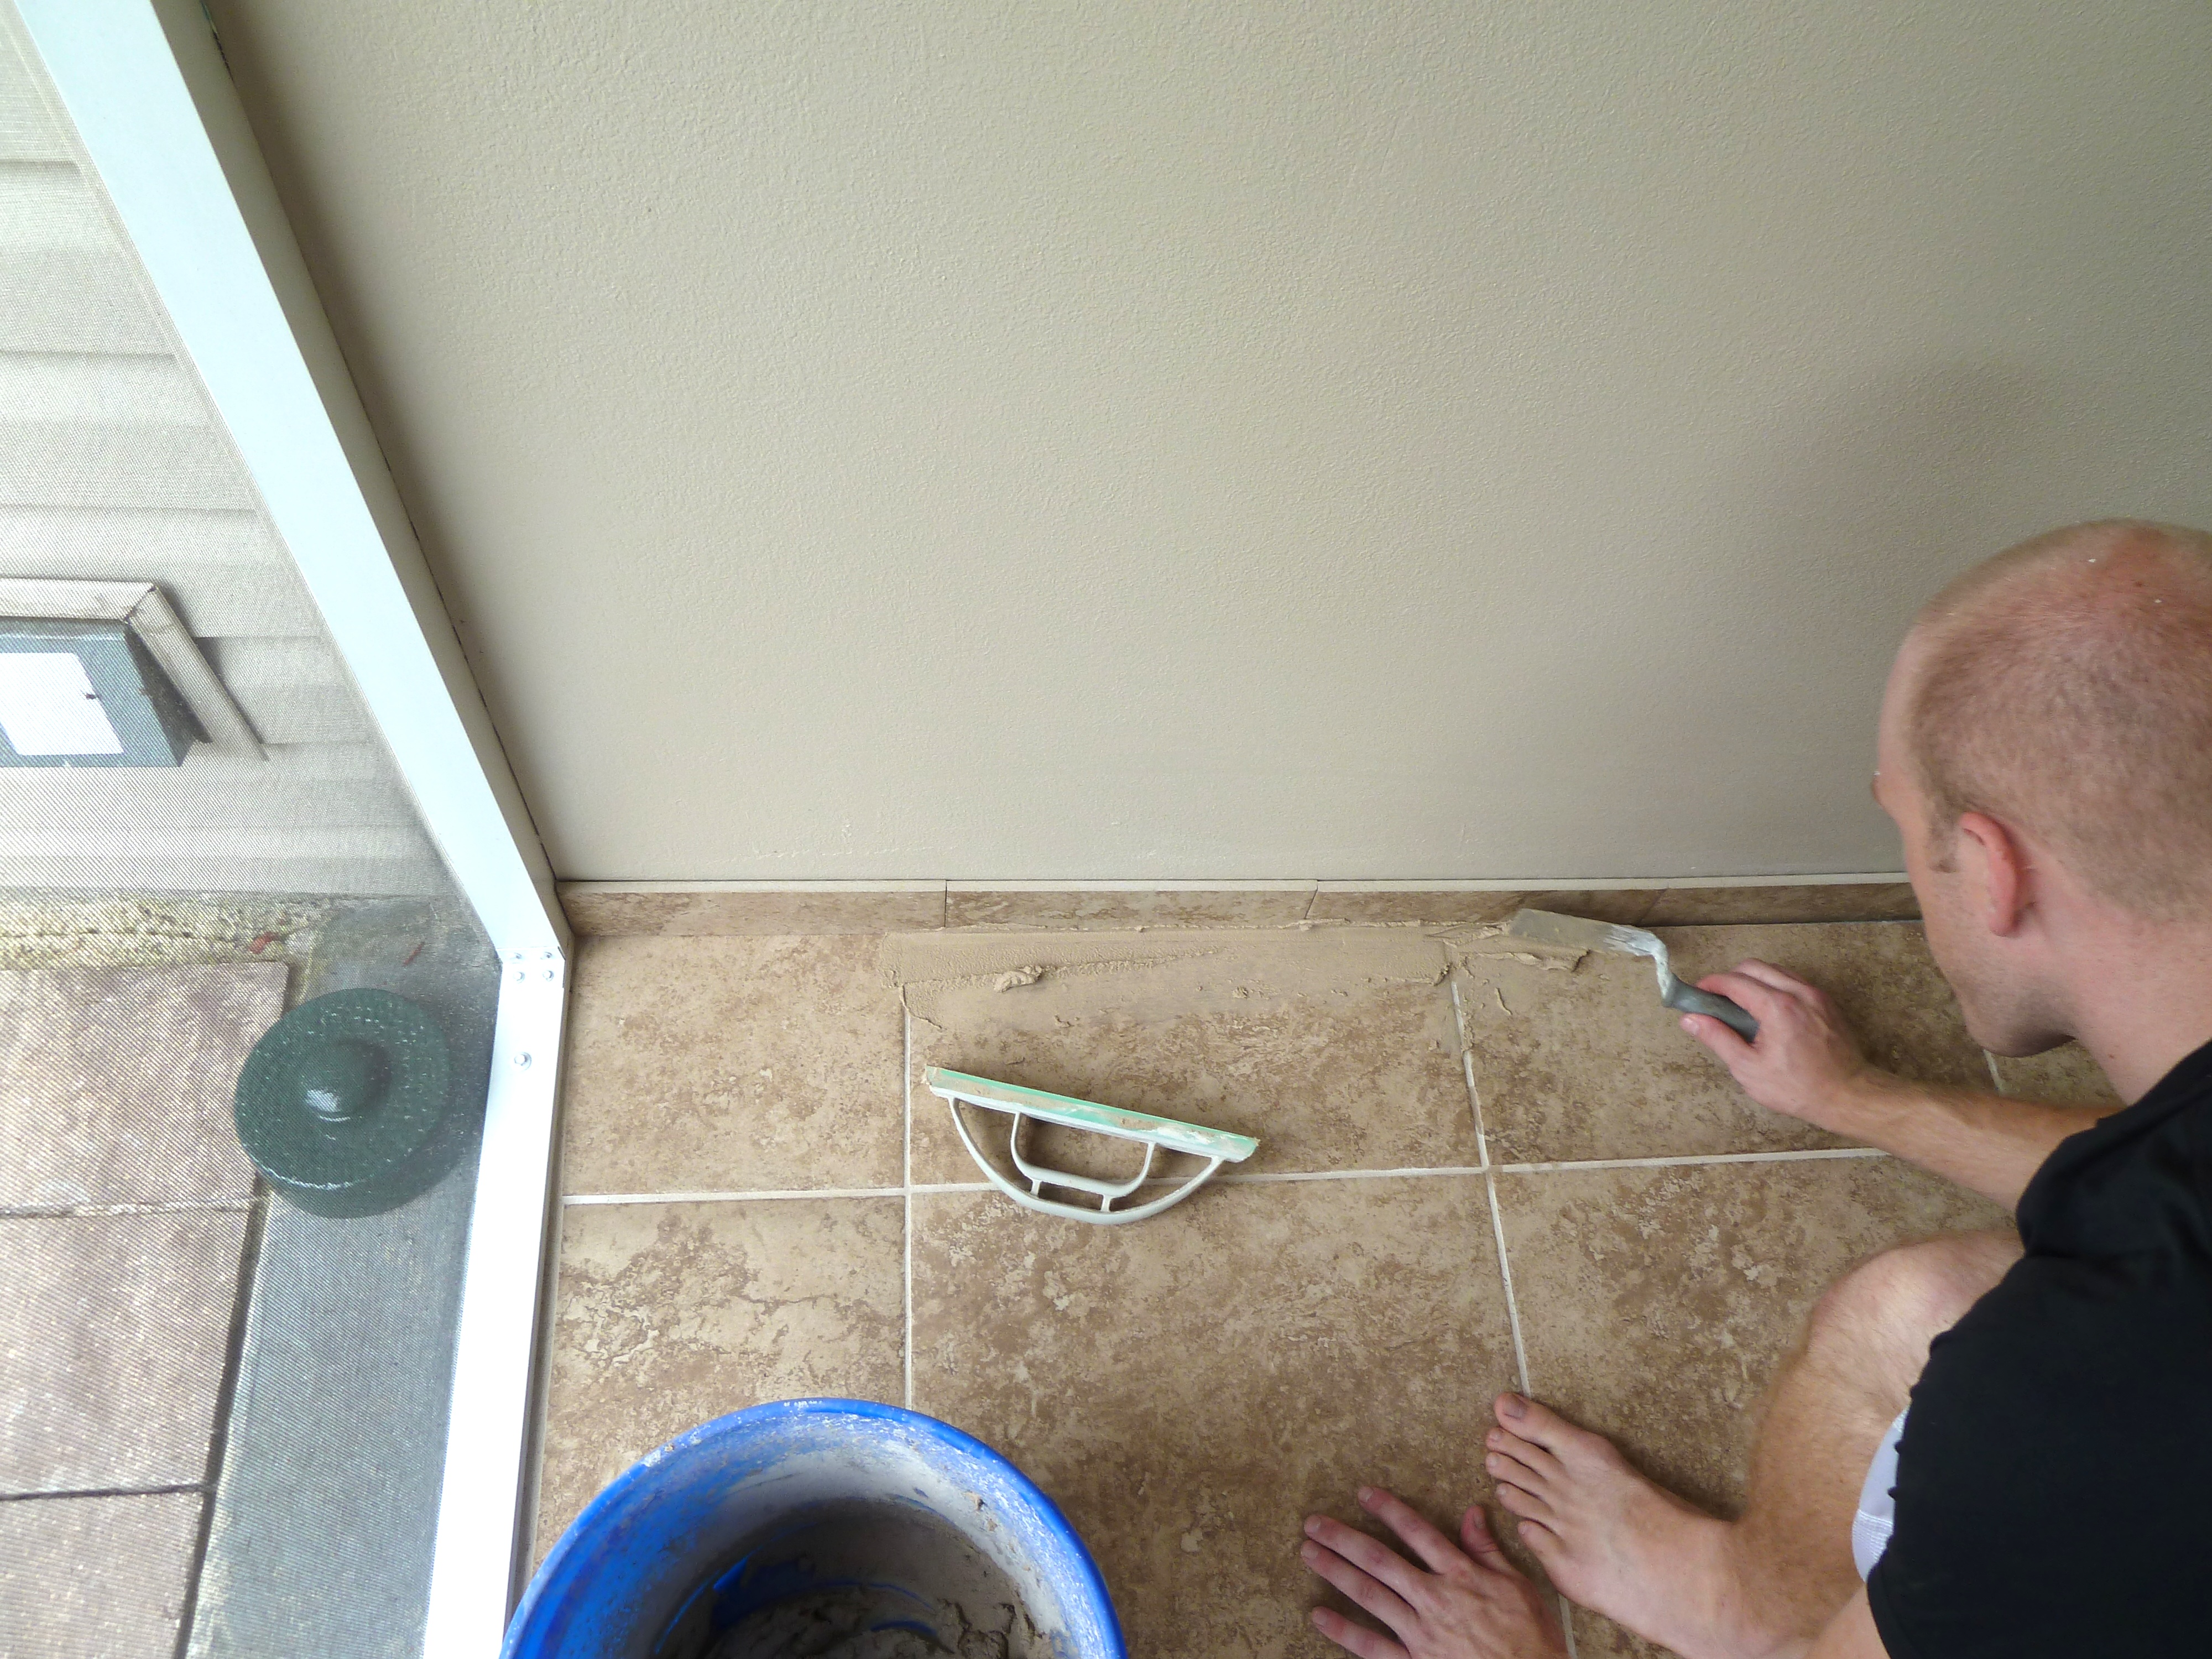
I know that all of our to dos were crossed off on our last patio post, but there were a couple things that still needed finishing. Since laying the tile, there was still a gap that needs finishing between the tile and the back wall of the house. You could still see some of the grout and the tiles are also not perfectly flush with the house.

See how the tile is not even and you can still see the unfinished floor below? Well, that’s what we needed to fix. So Justin went to Lowe’s and picked up a pack of bullnose tile in the same color of the tile he laid on the floor. Bullnoses tile are short wide tiles with a finished top edge that are used for trim when tiling.

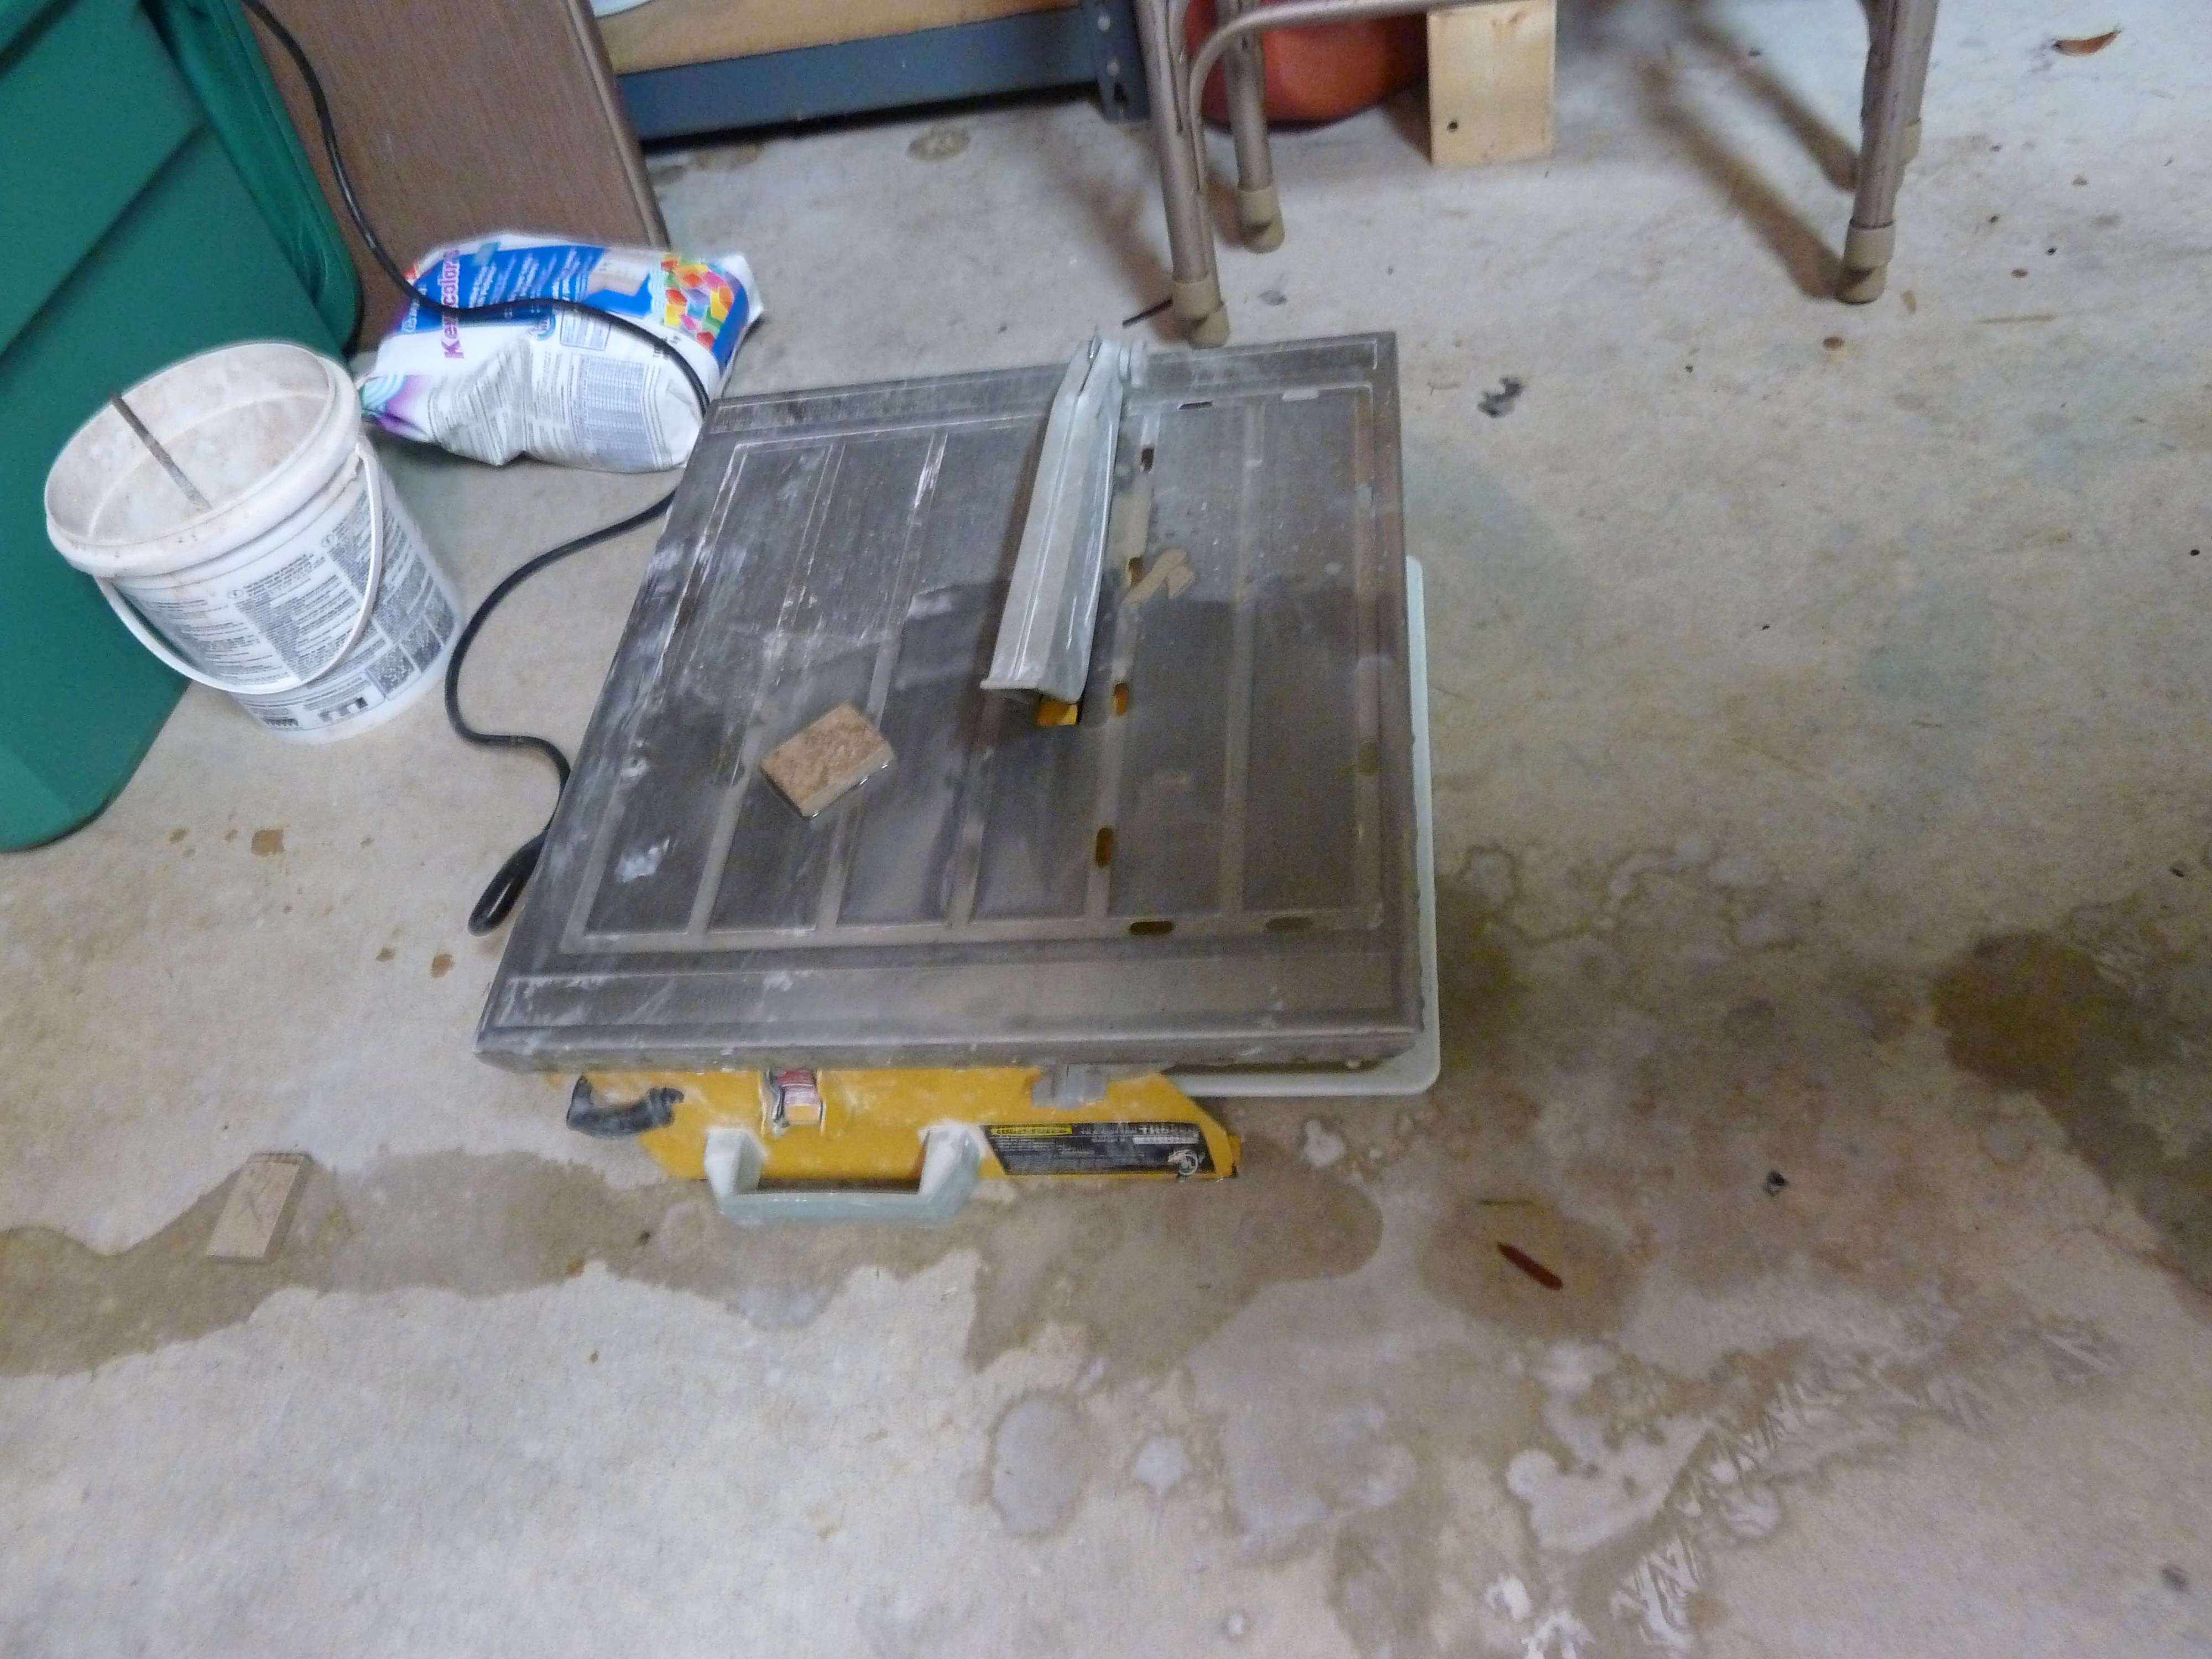
Basically he started laying the tile against the wall using the same method as he did when tiling the floor.
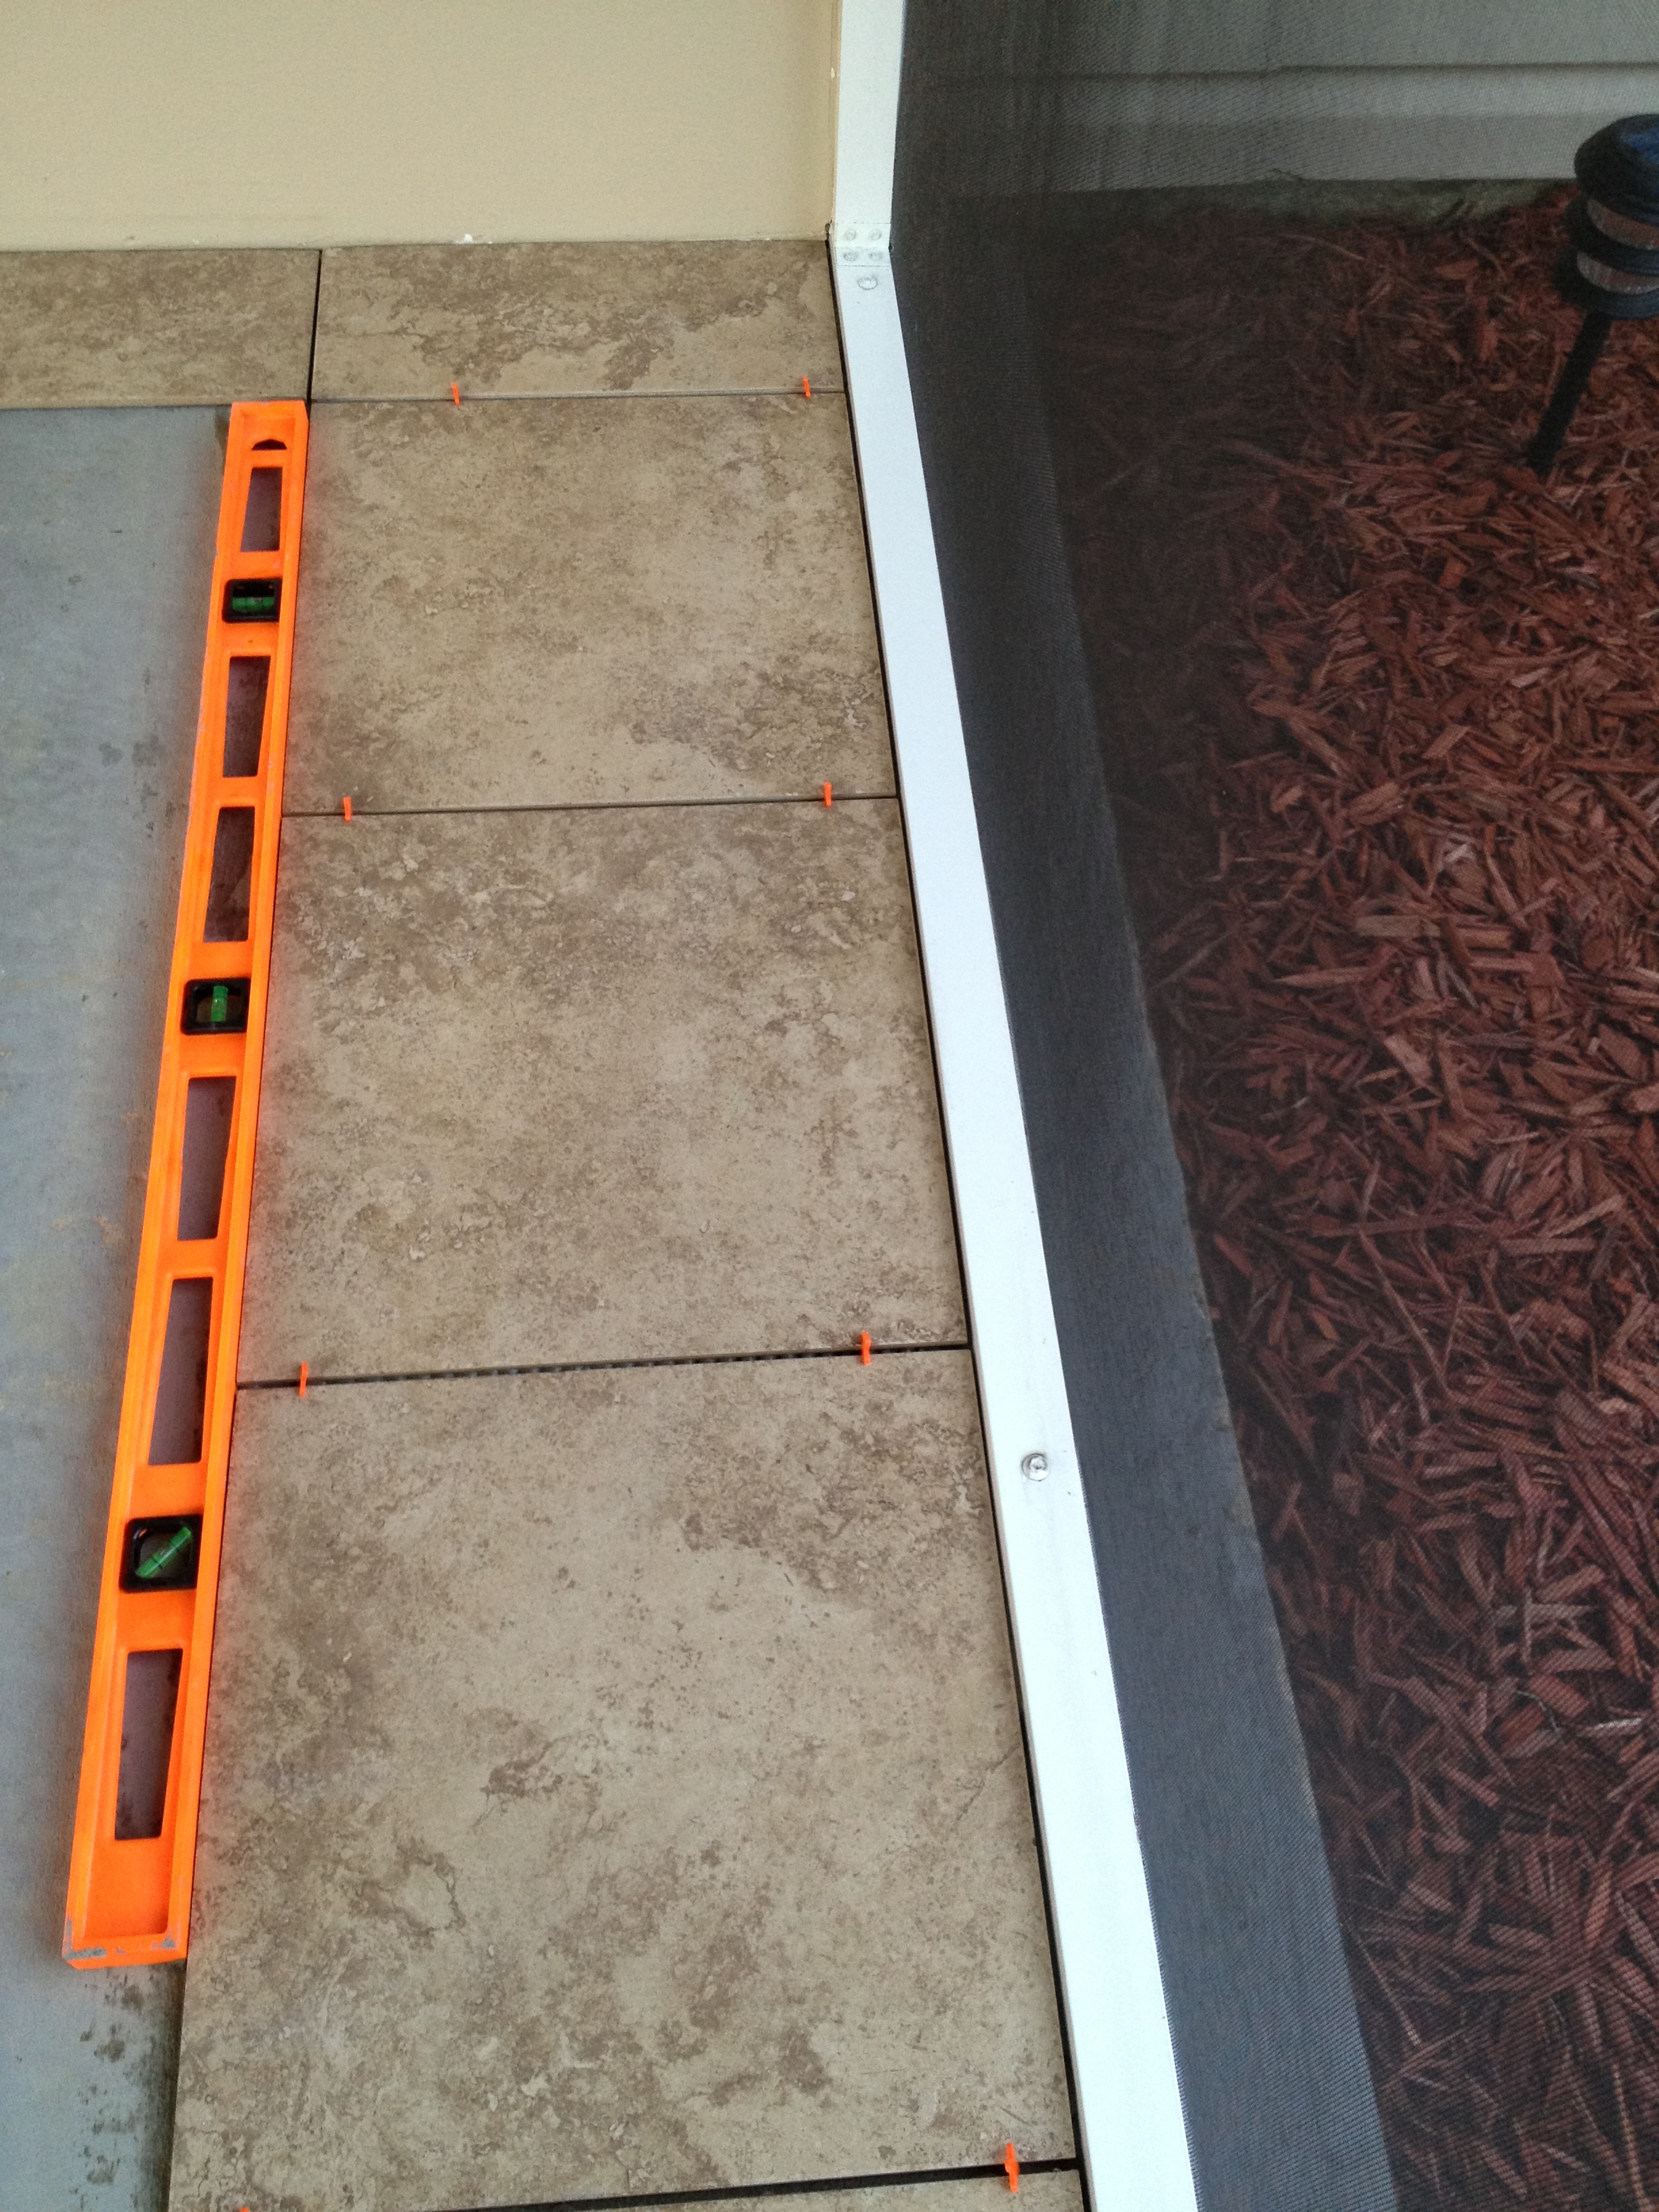
He then used small pieces of wood as wedges to be sure all of the tiles were level so they create a straight line on the wall.
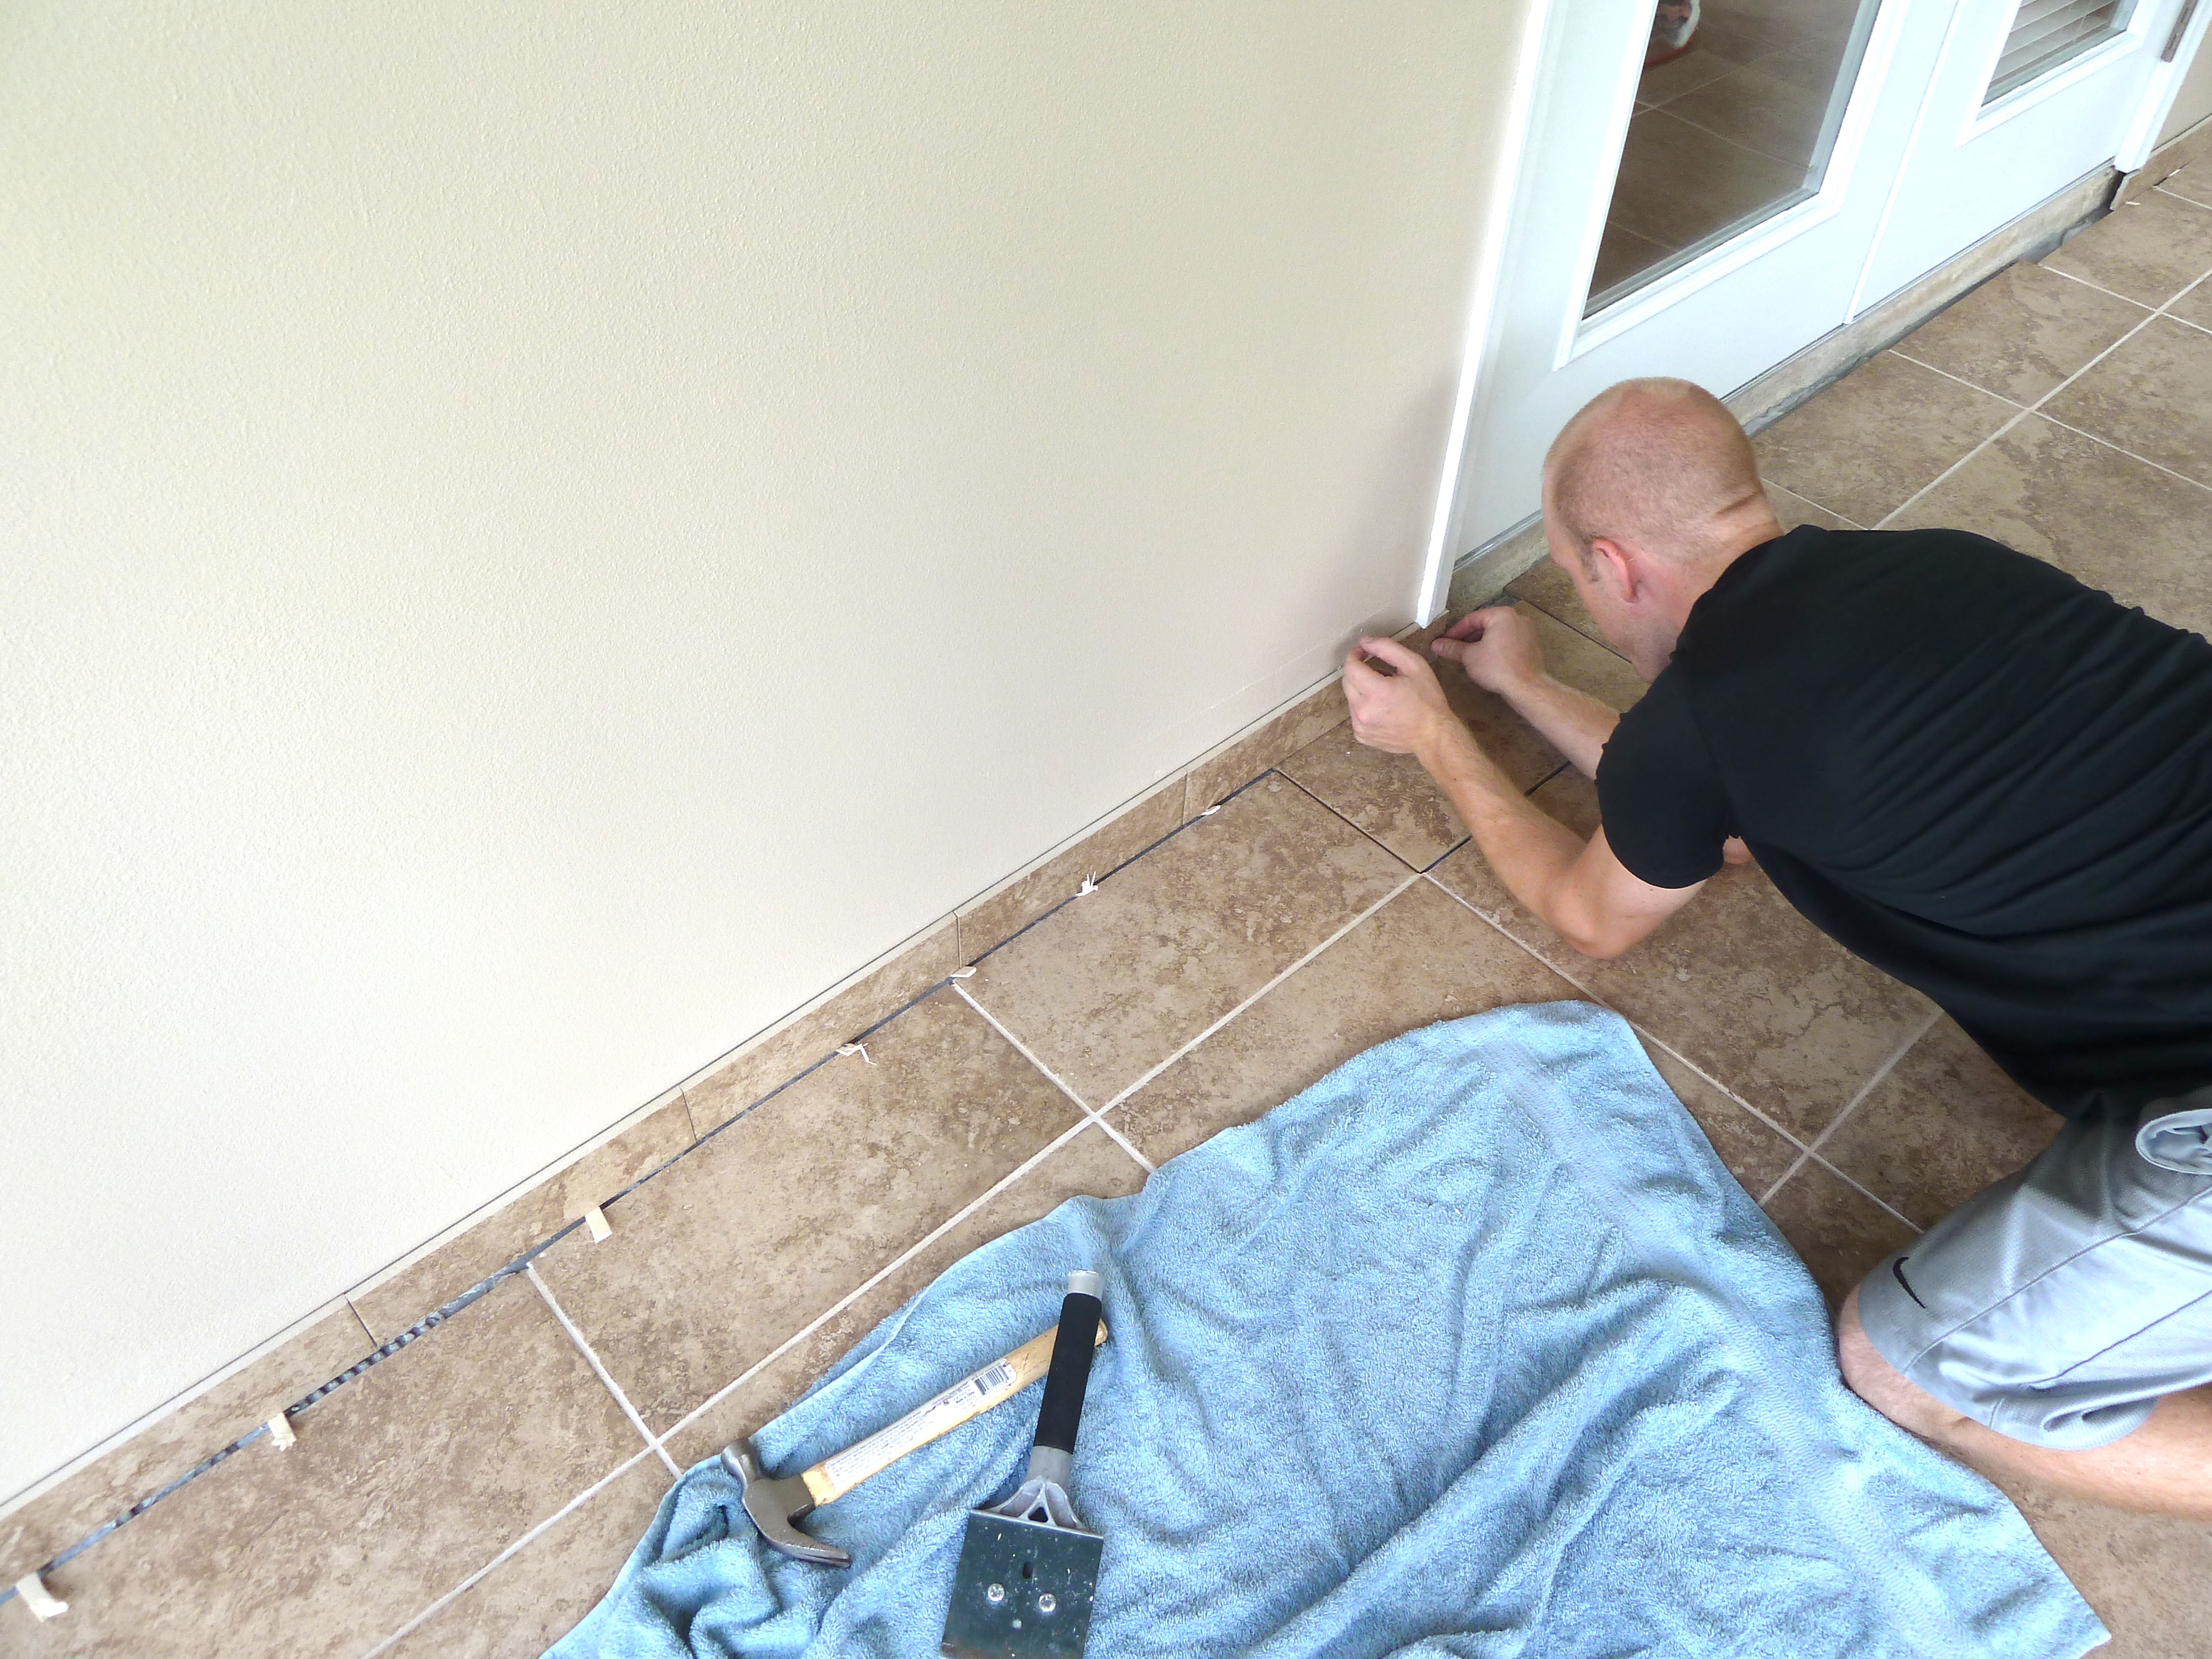
Next he grouted the in between the bullnose tile and also along the seem on the floor next to the new tile trim.

Here he is again hard at work…
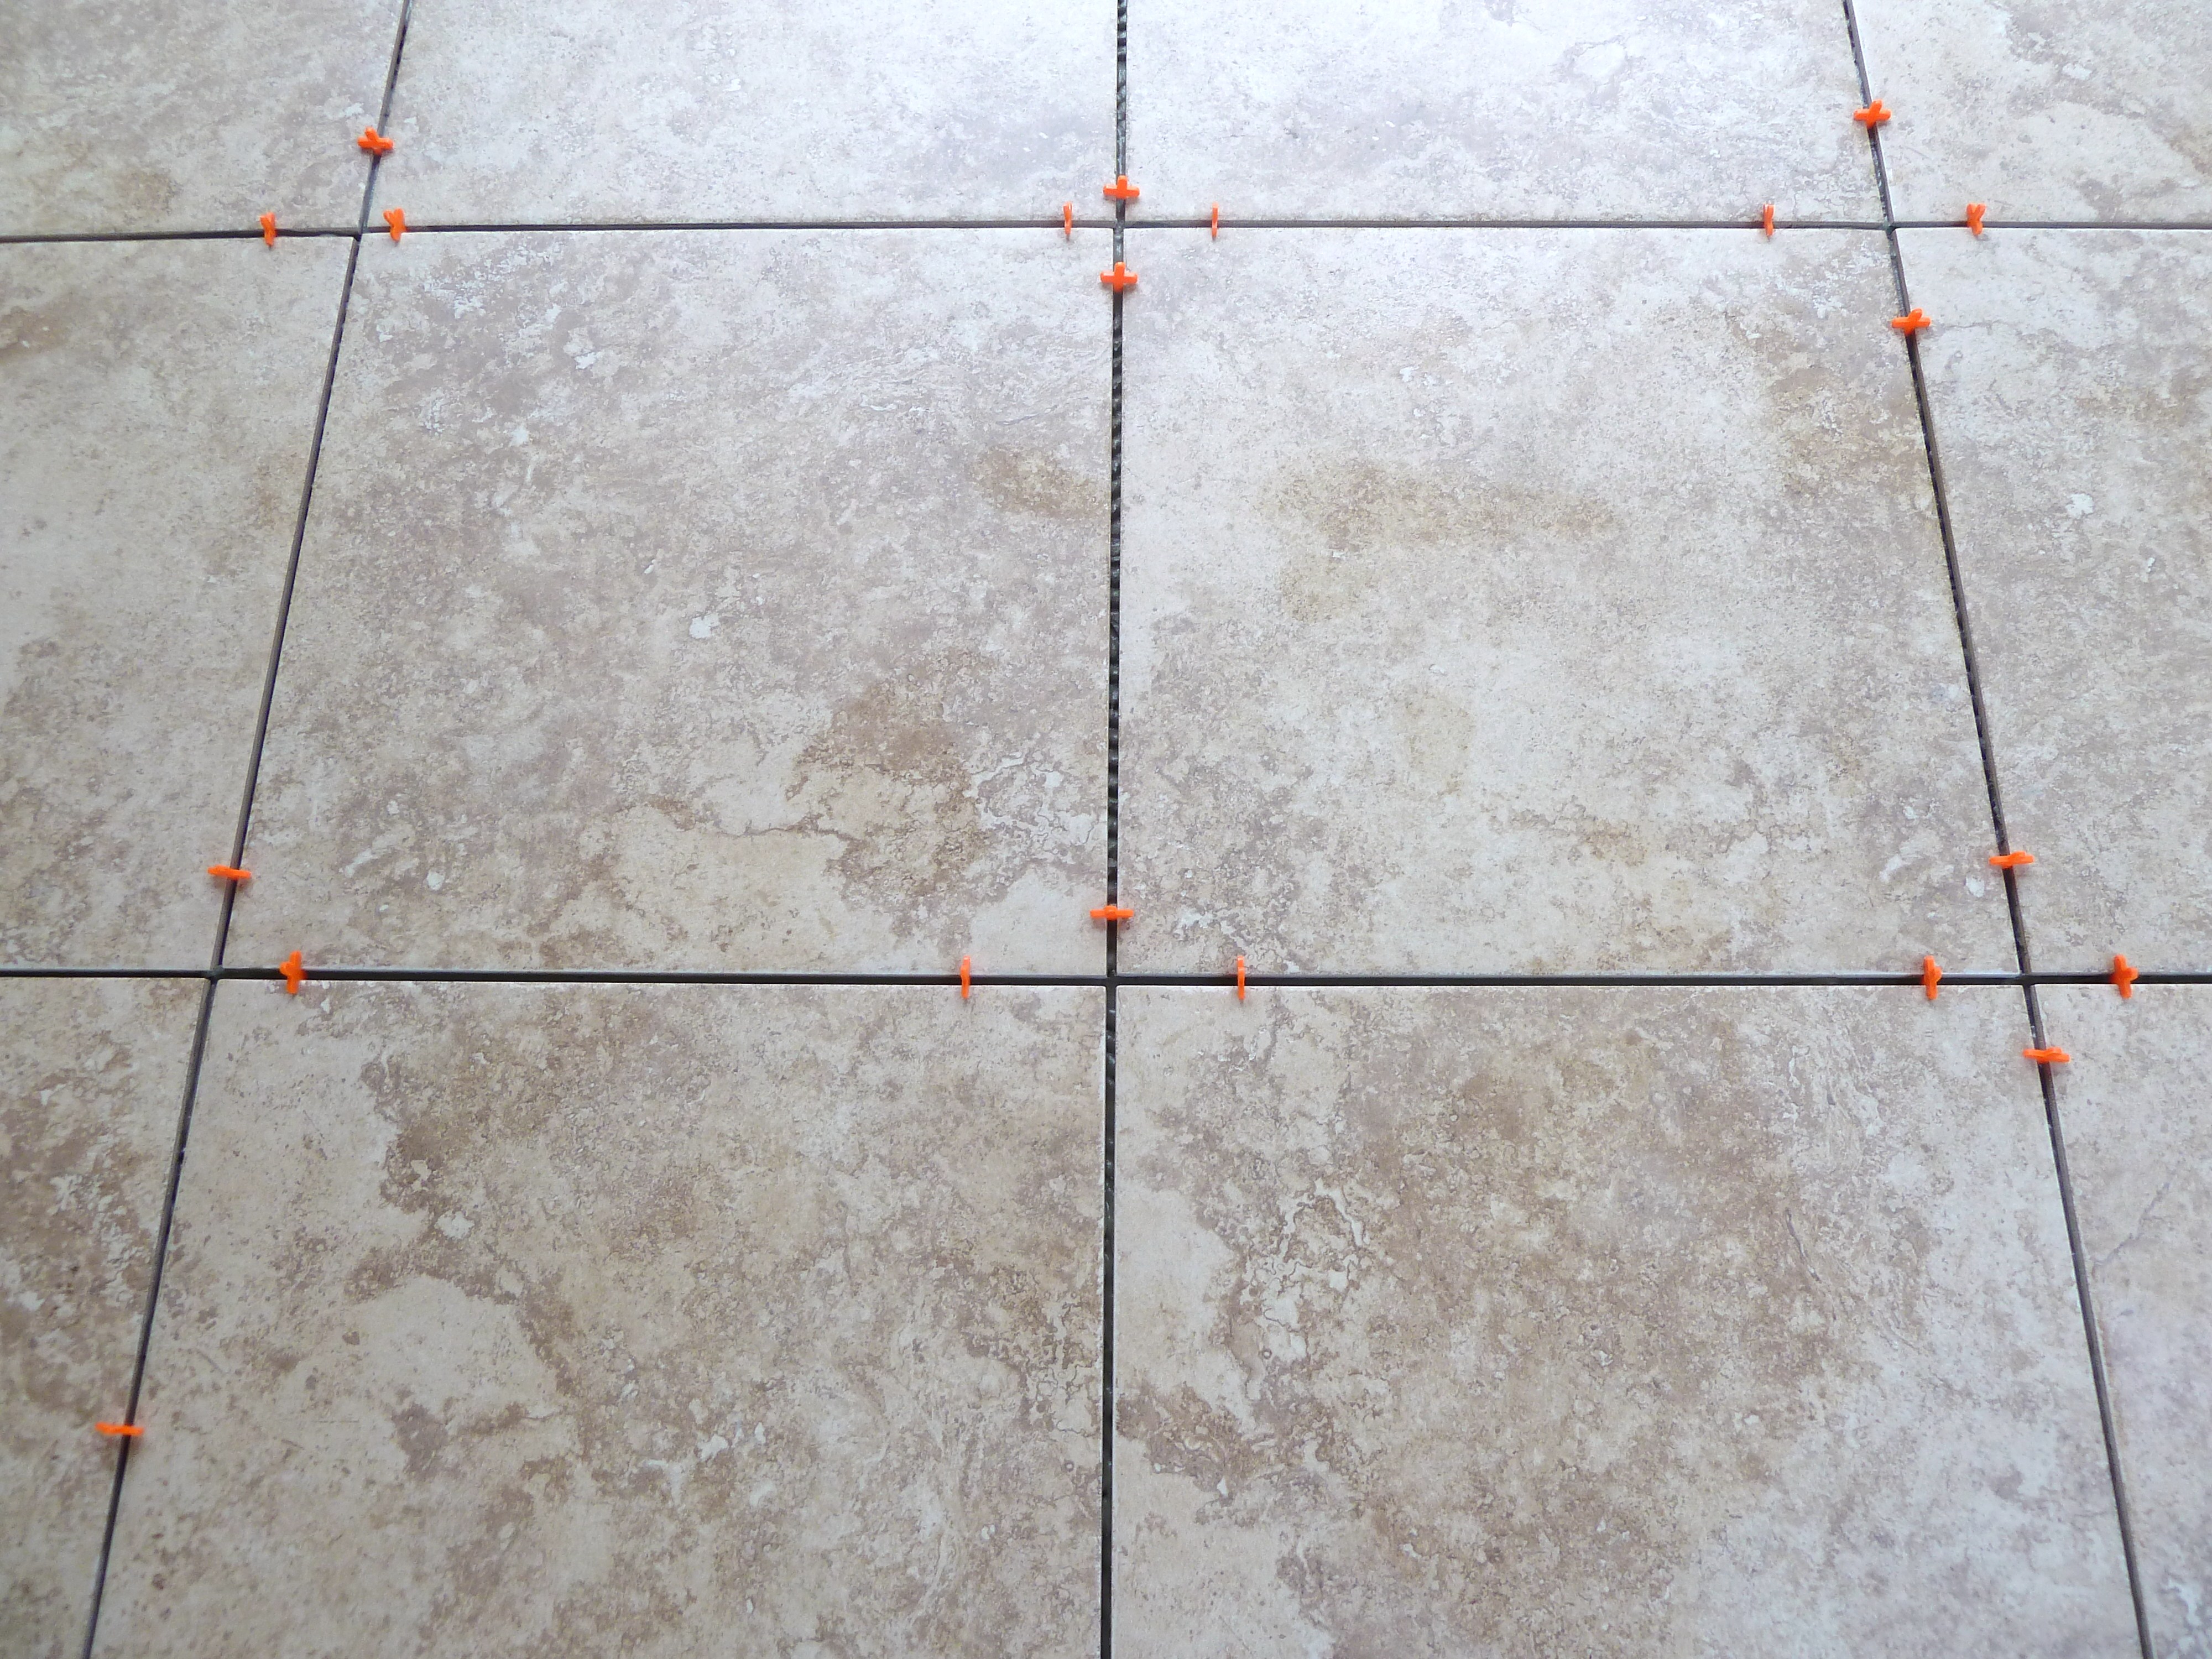
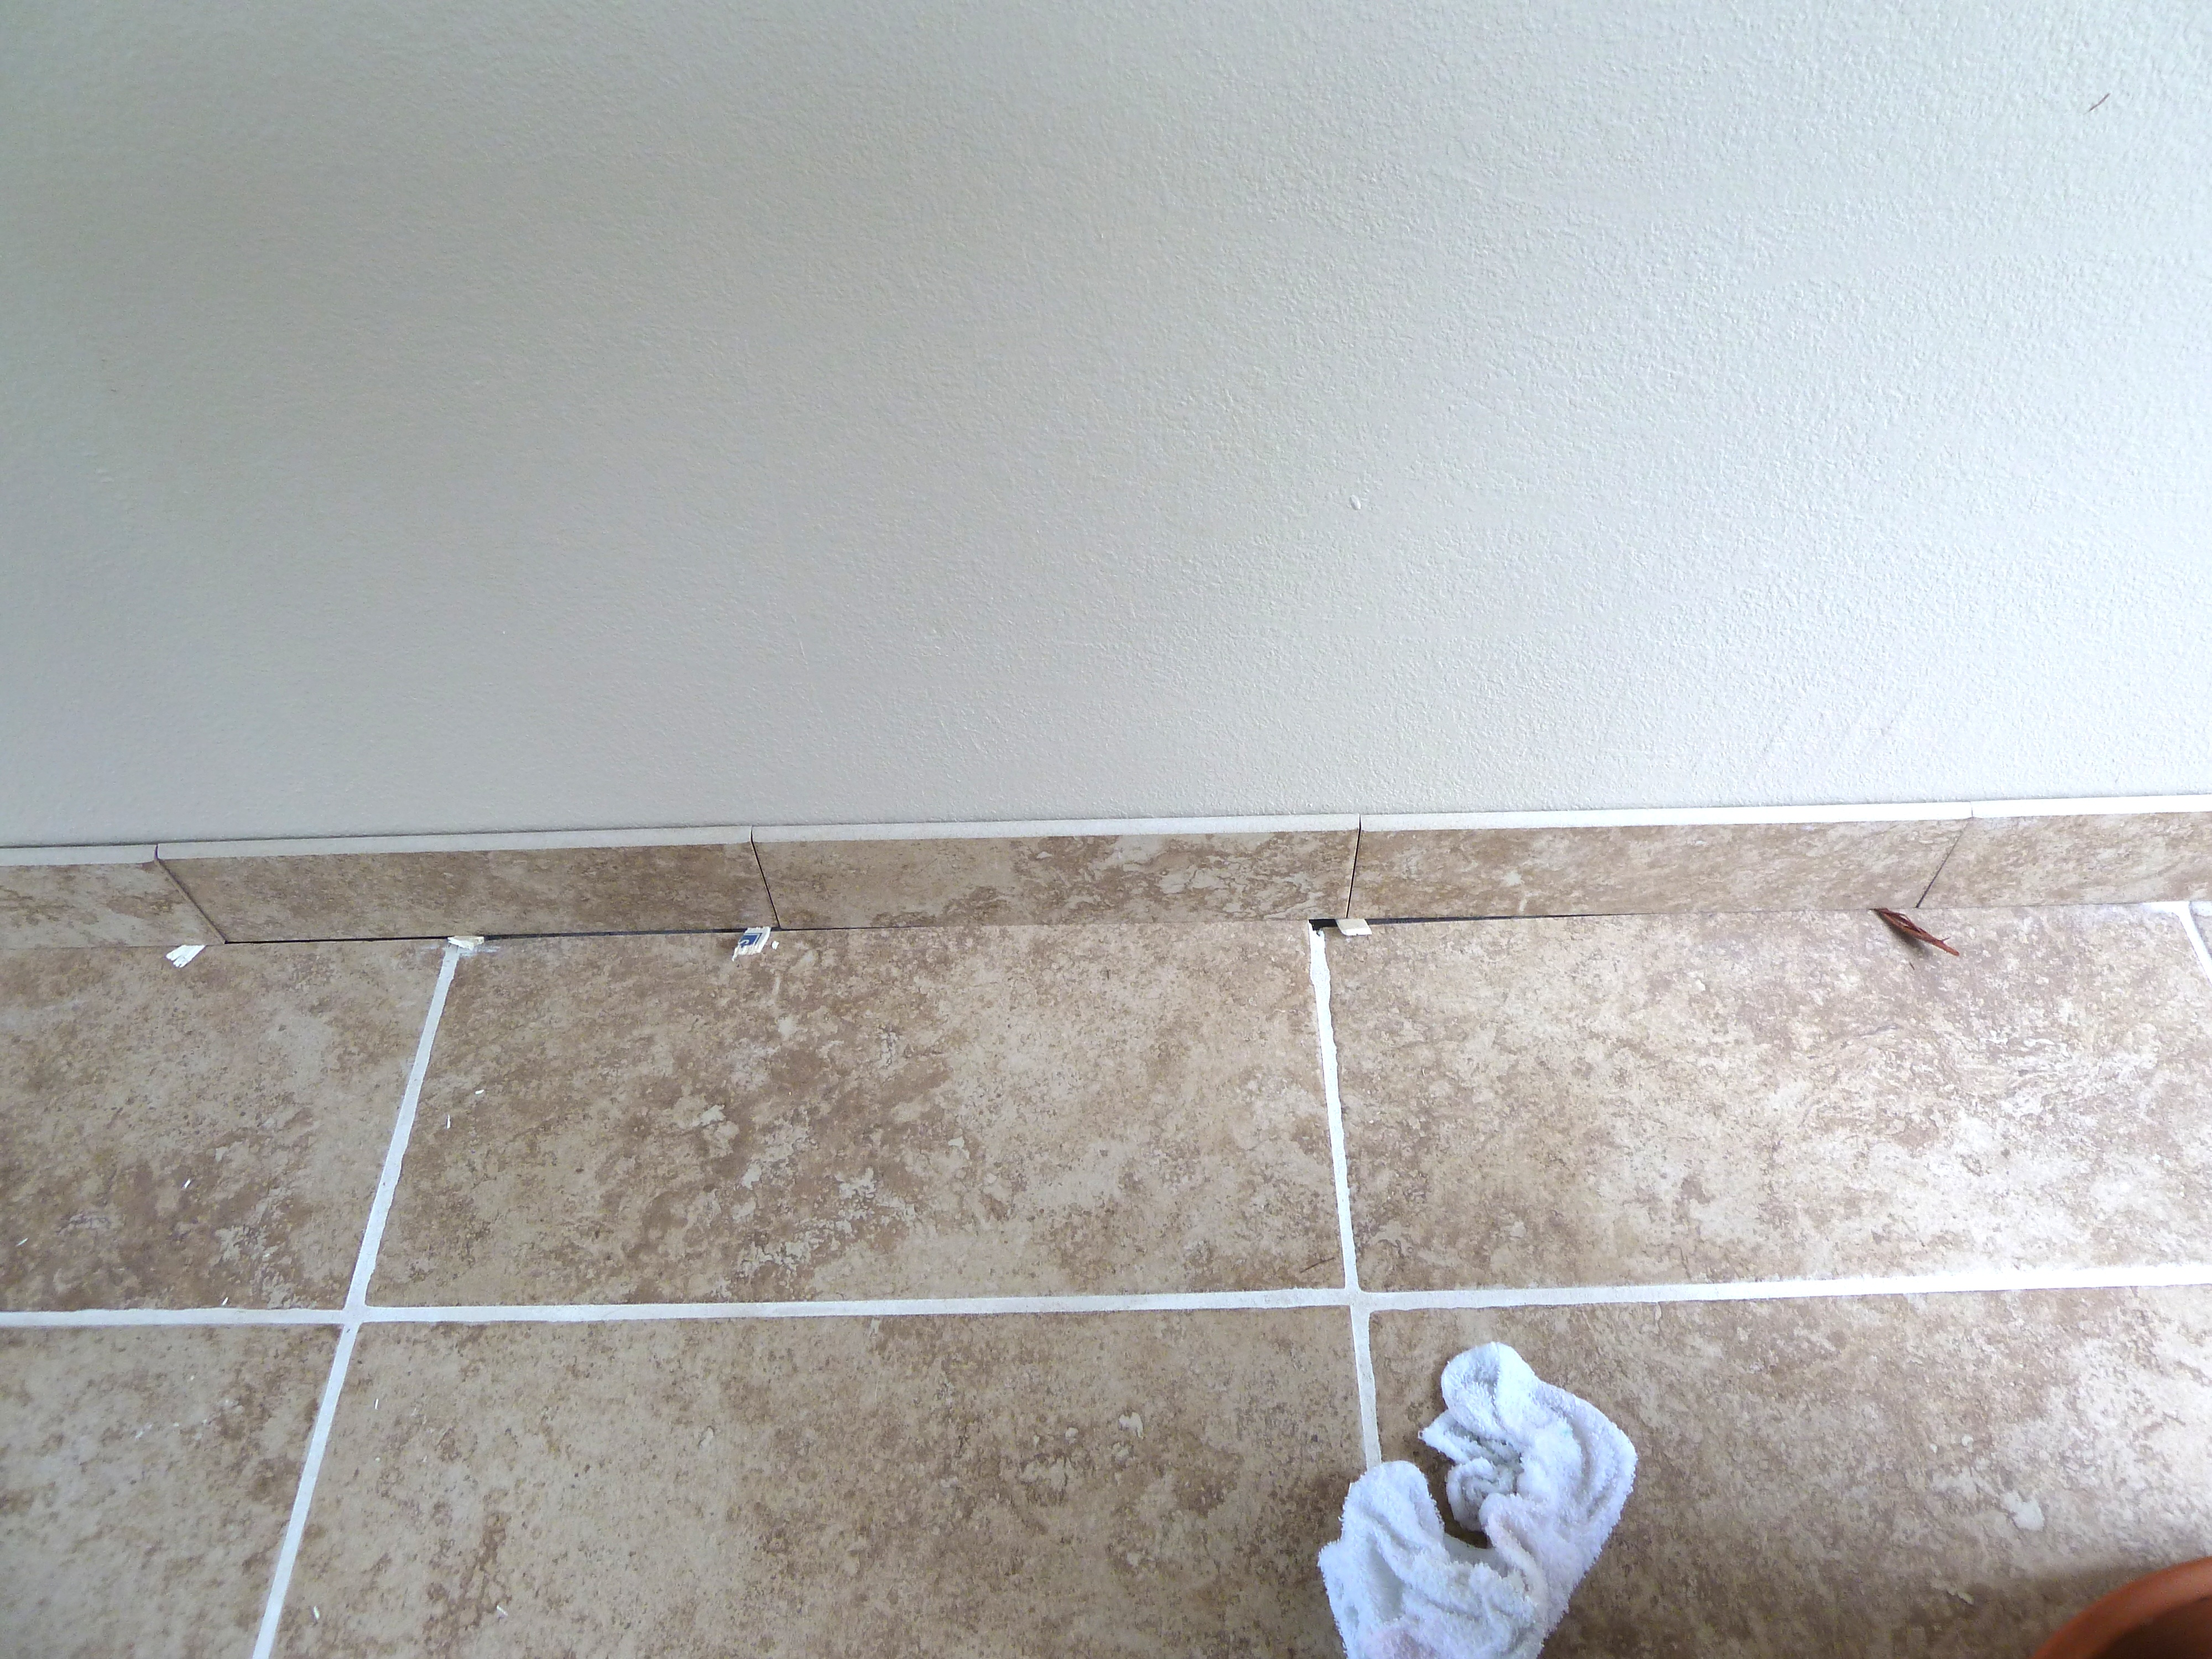
Once the grout was all finished and cleaned up it looked something like this…

and a close up…

Lastly Justin caulked the seem between the bullnose tile and the wall.

Here it is all caulked and cleaned…

The caulk really makes it look finished.
Here is the area underneath the doors that also needed some work…

The issue with this area is that we couldn’t use the bullnose tile, it didn’t fit in between the door and the flooring. Justin decided to get a piece of wood and paint it white and place it under the door. It was a pretty deep crevice that needed to be filled so wood seemed to be the best choice.
 Here it is installed.

Justin isn’t sold on it just yet, but I think it looks perfectly fine.
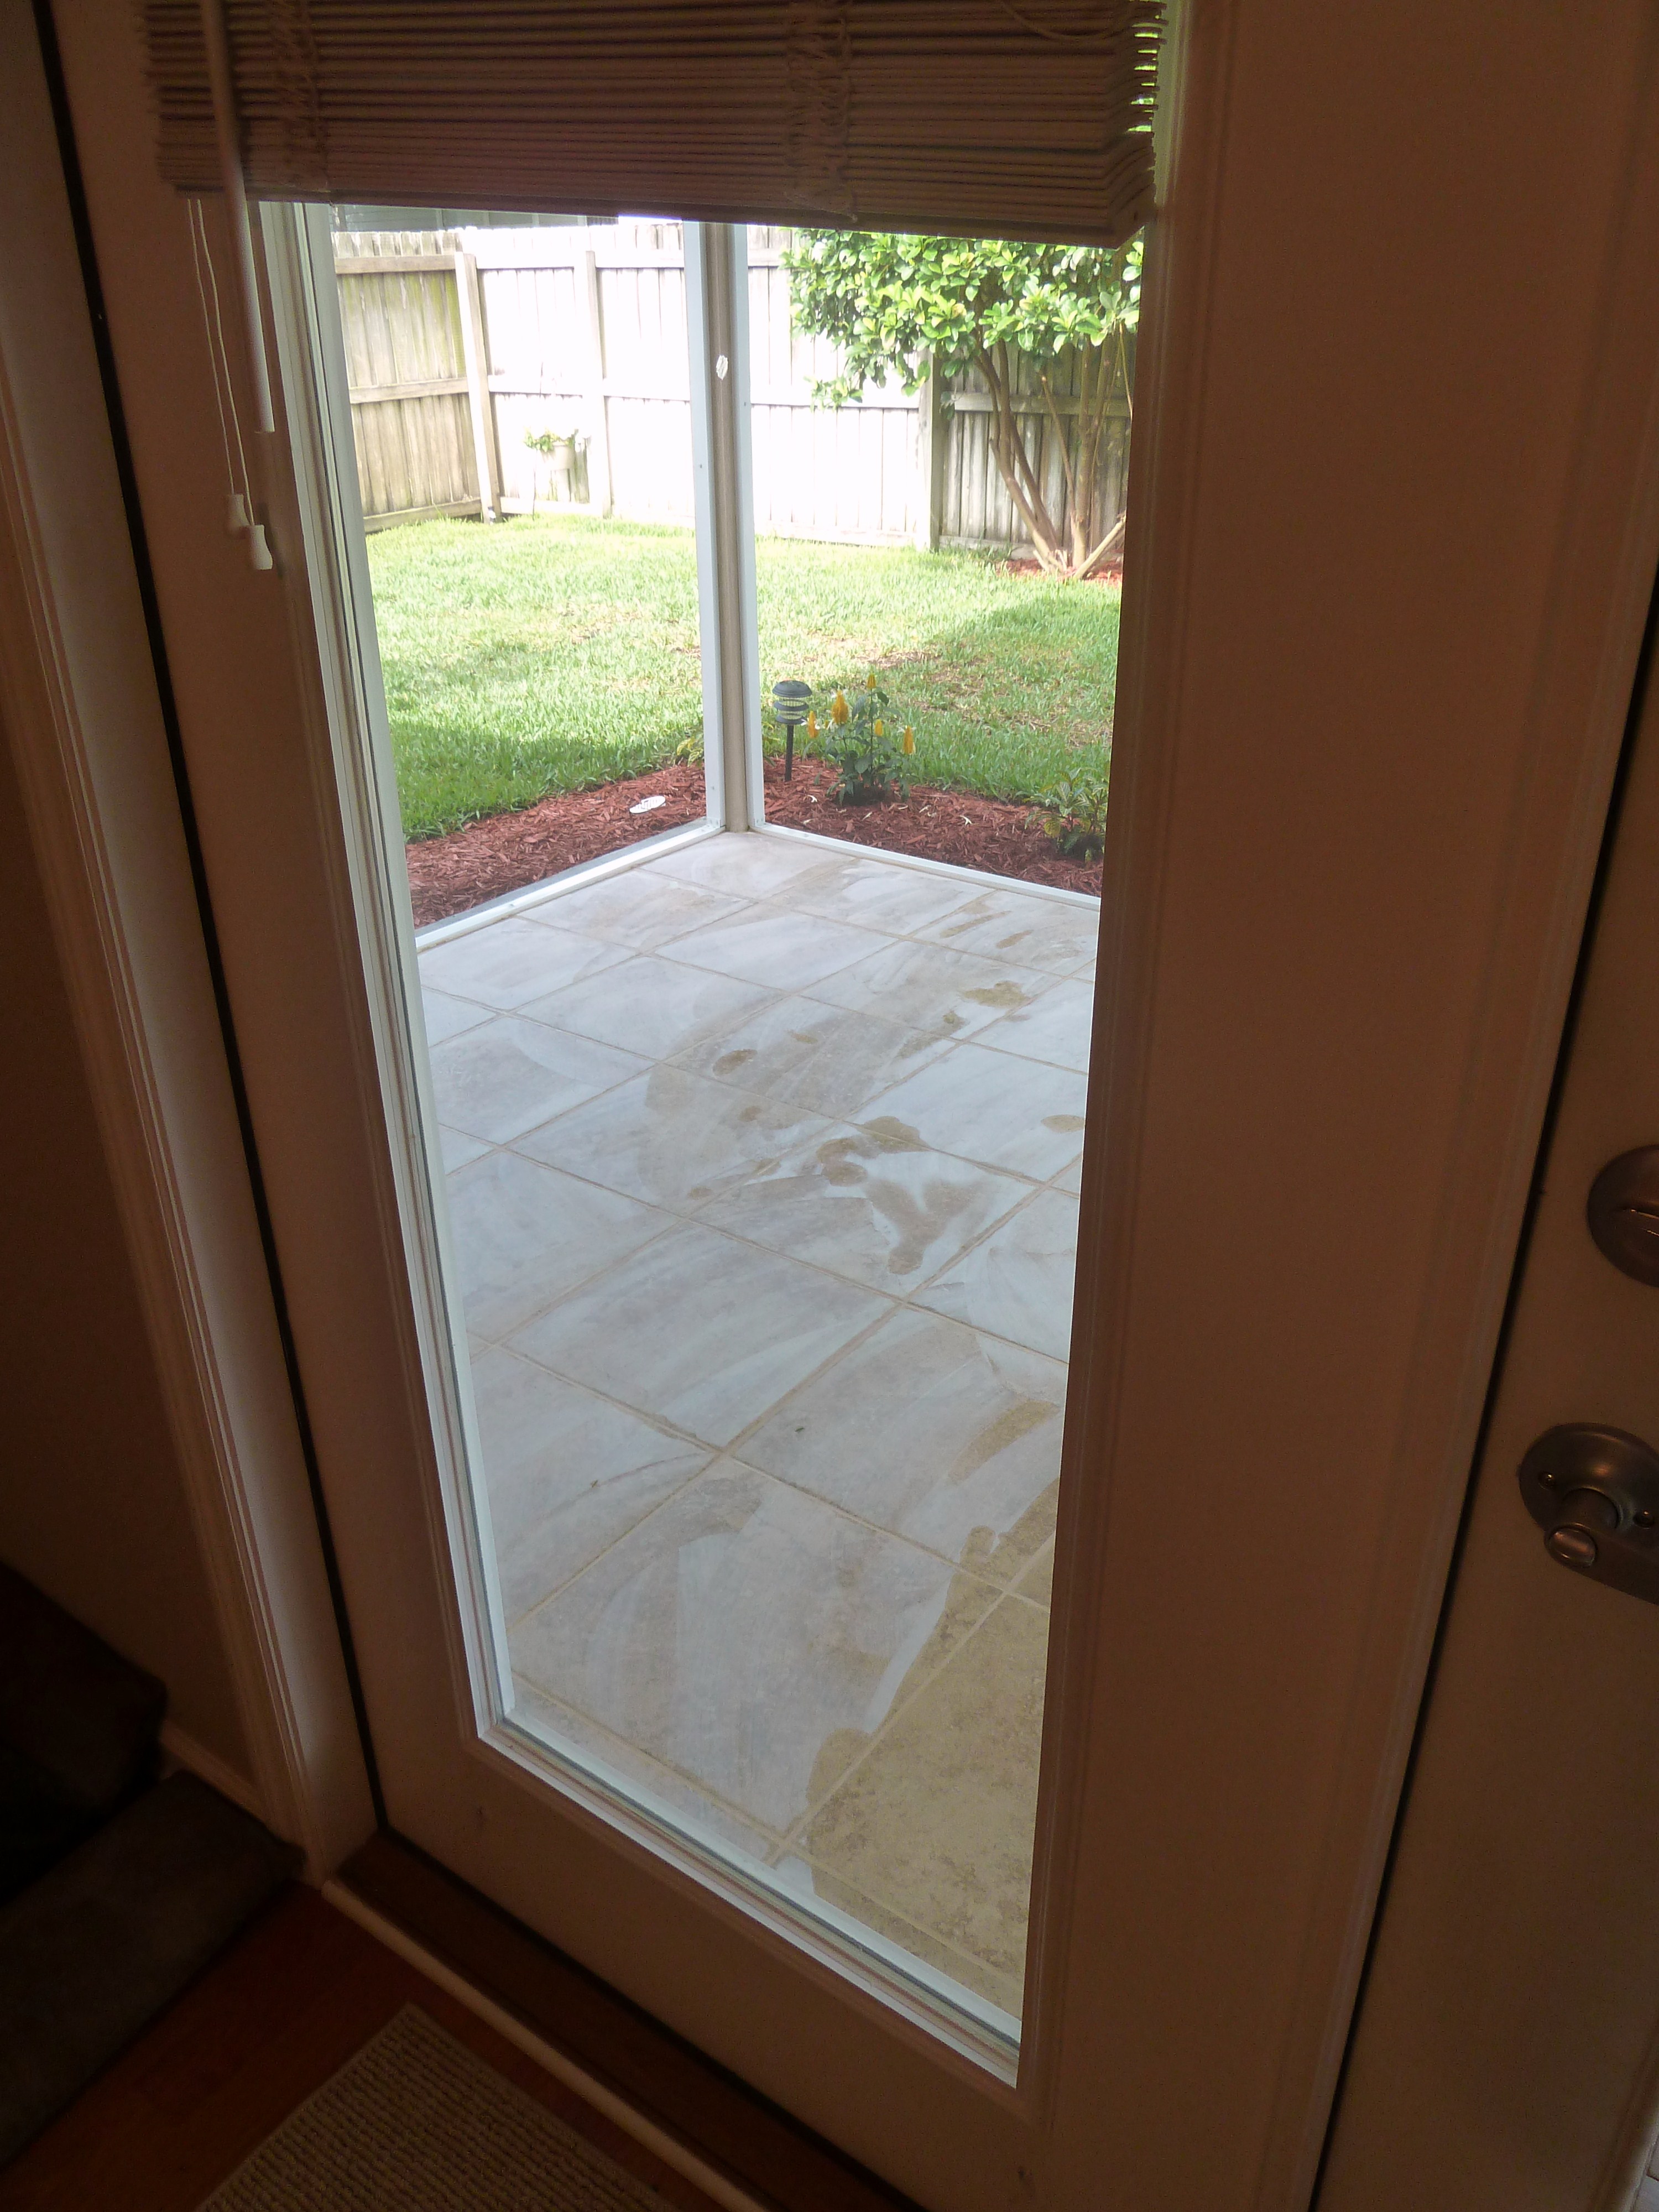
The last thing we needed to finish up in the patio was the window.
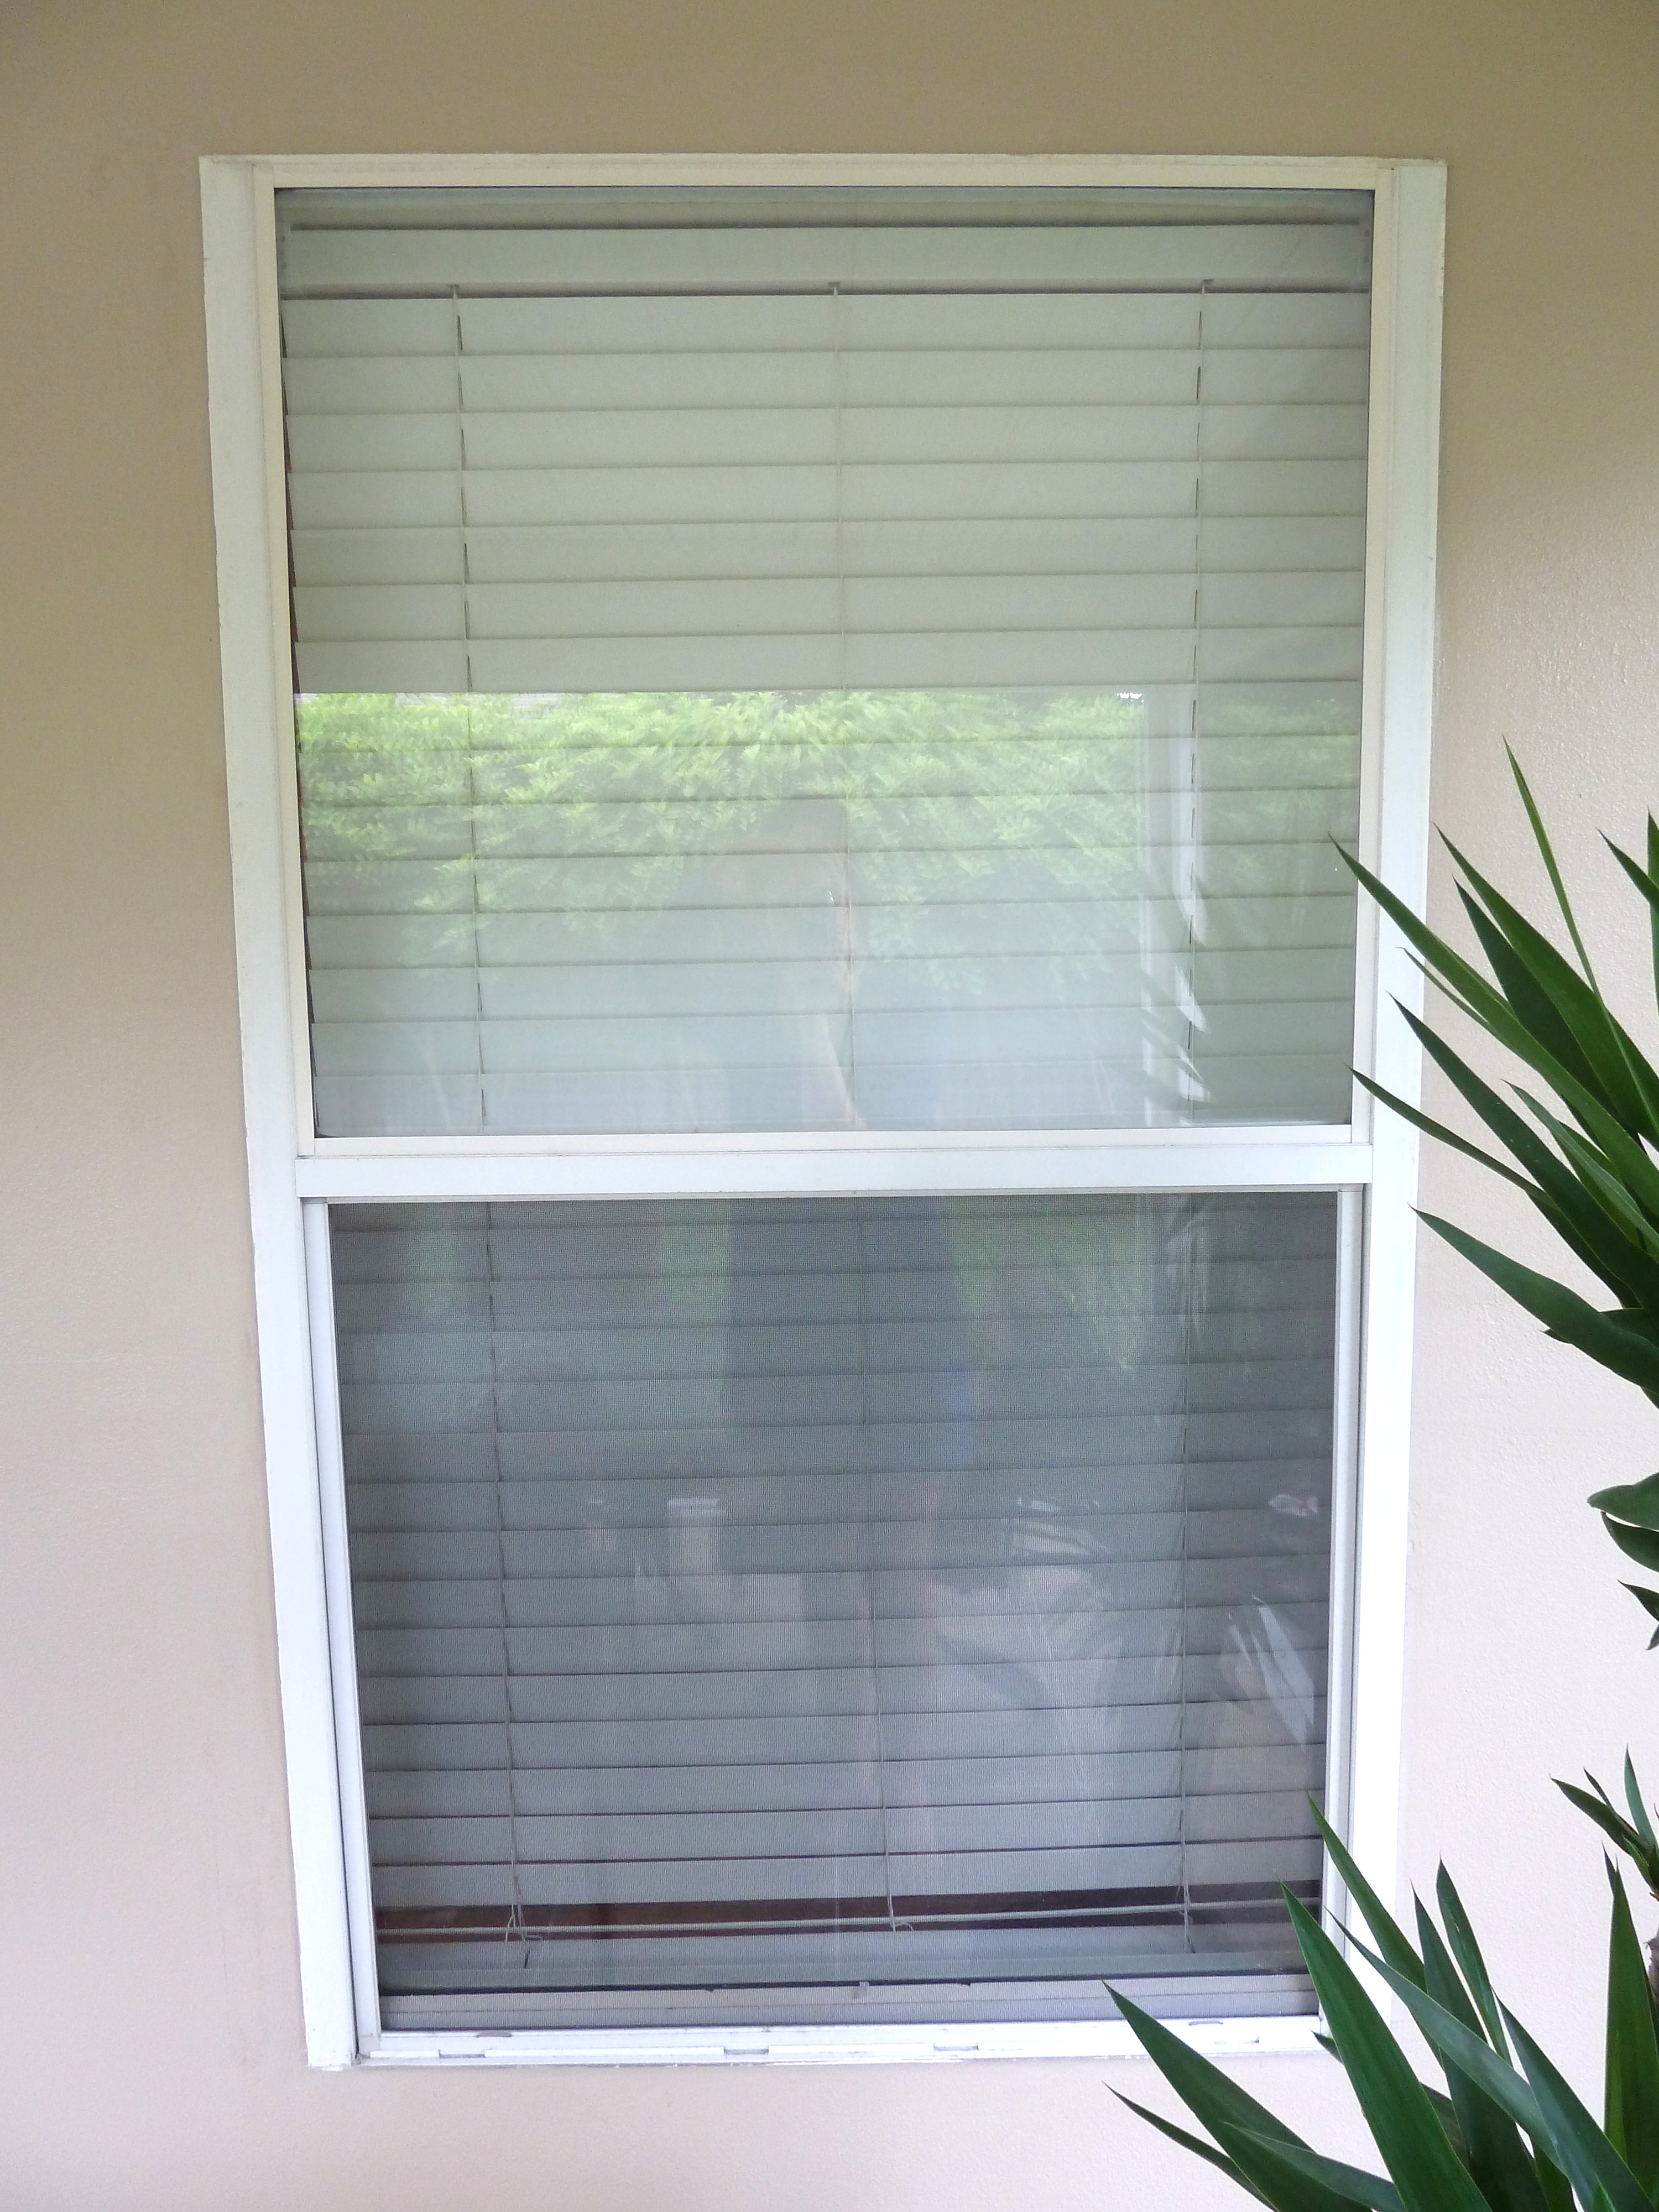
When we moved in there was siding on the back of the house and the window had a siding type trim around it. Now since we removed the siding the window is bare.

It just needed some kind of trim to finish it off. The trim around the doors are average size, so we needed some kind of trim that wasn’t to thick, something that would look comparable to the existing trim. Justin picked up some thin trim that is made specifically for an outdoor area so it doesn’t rot.
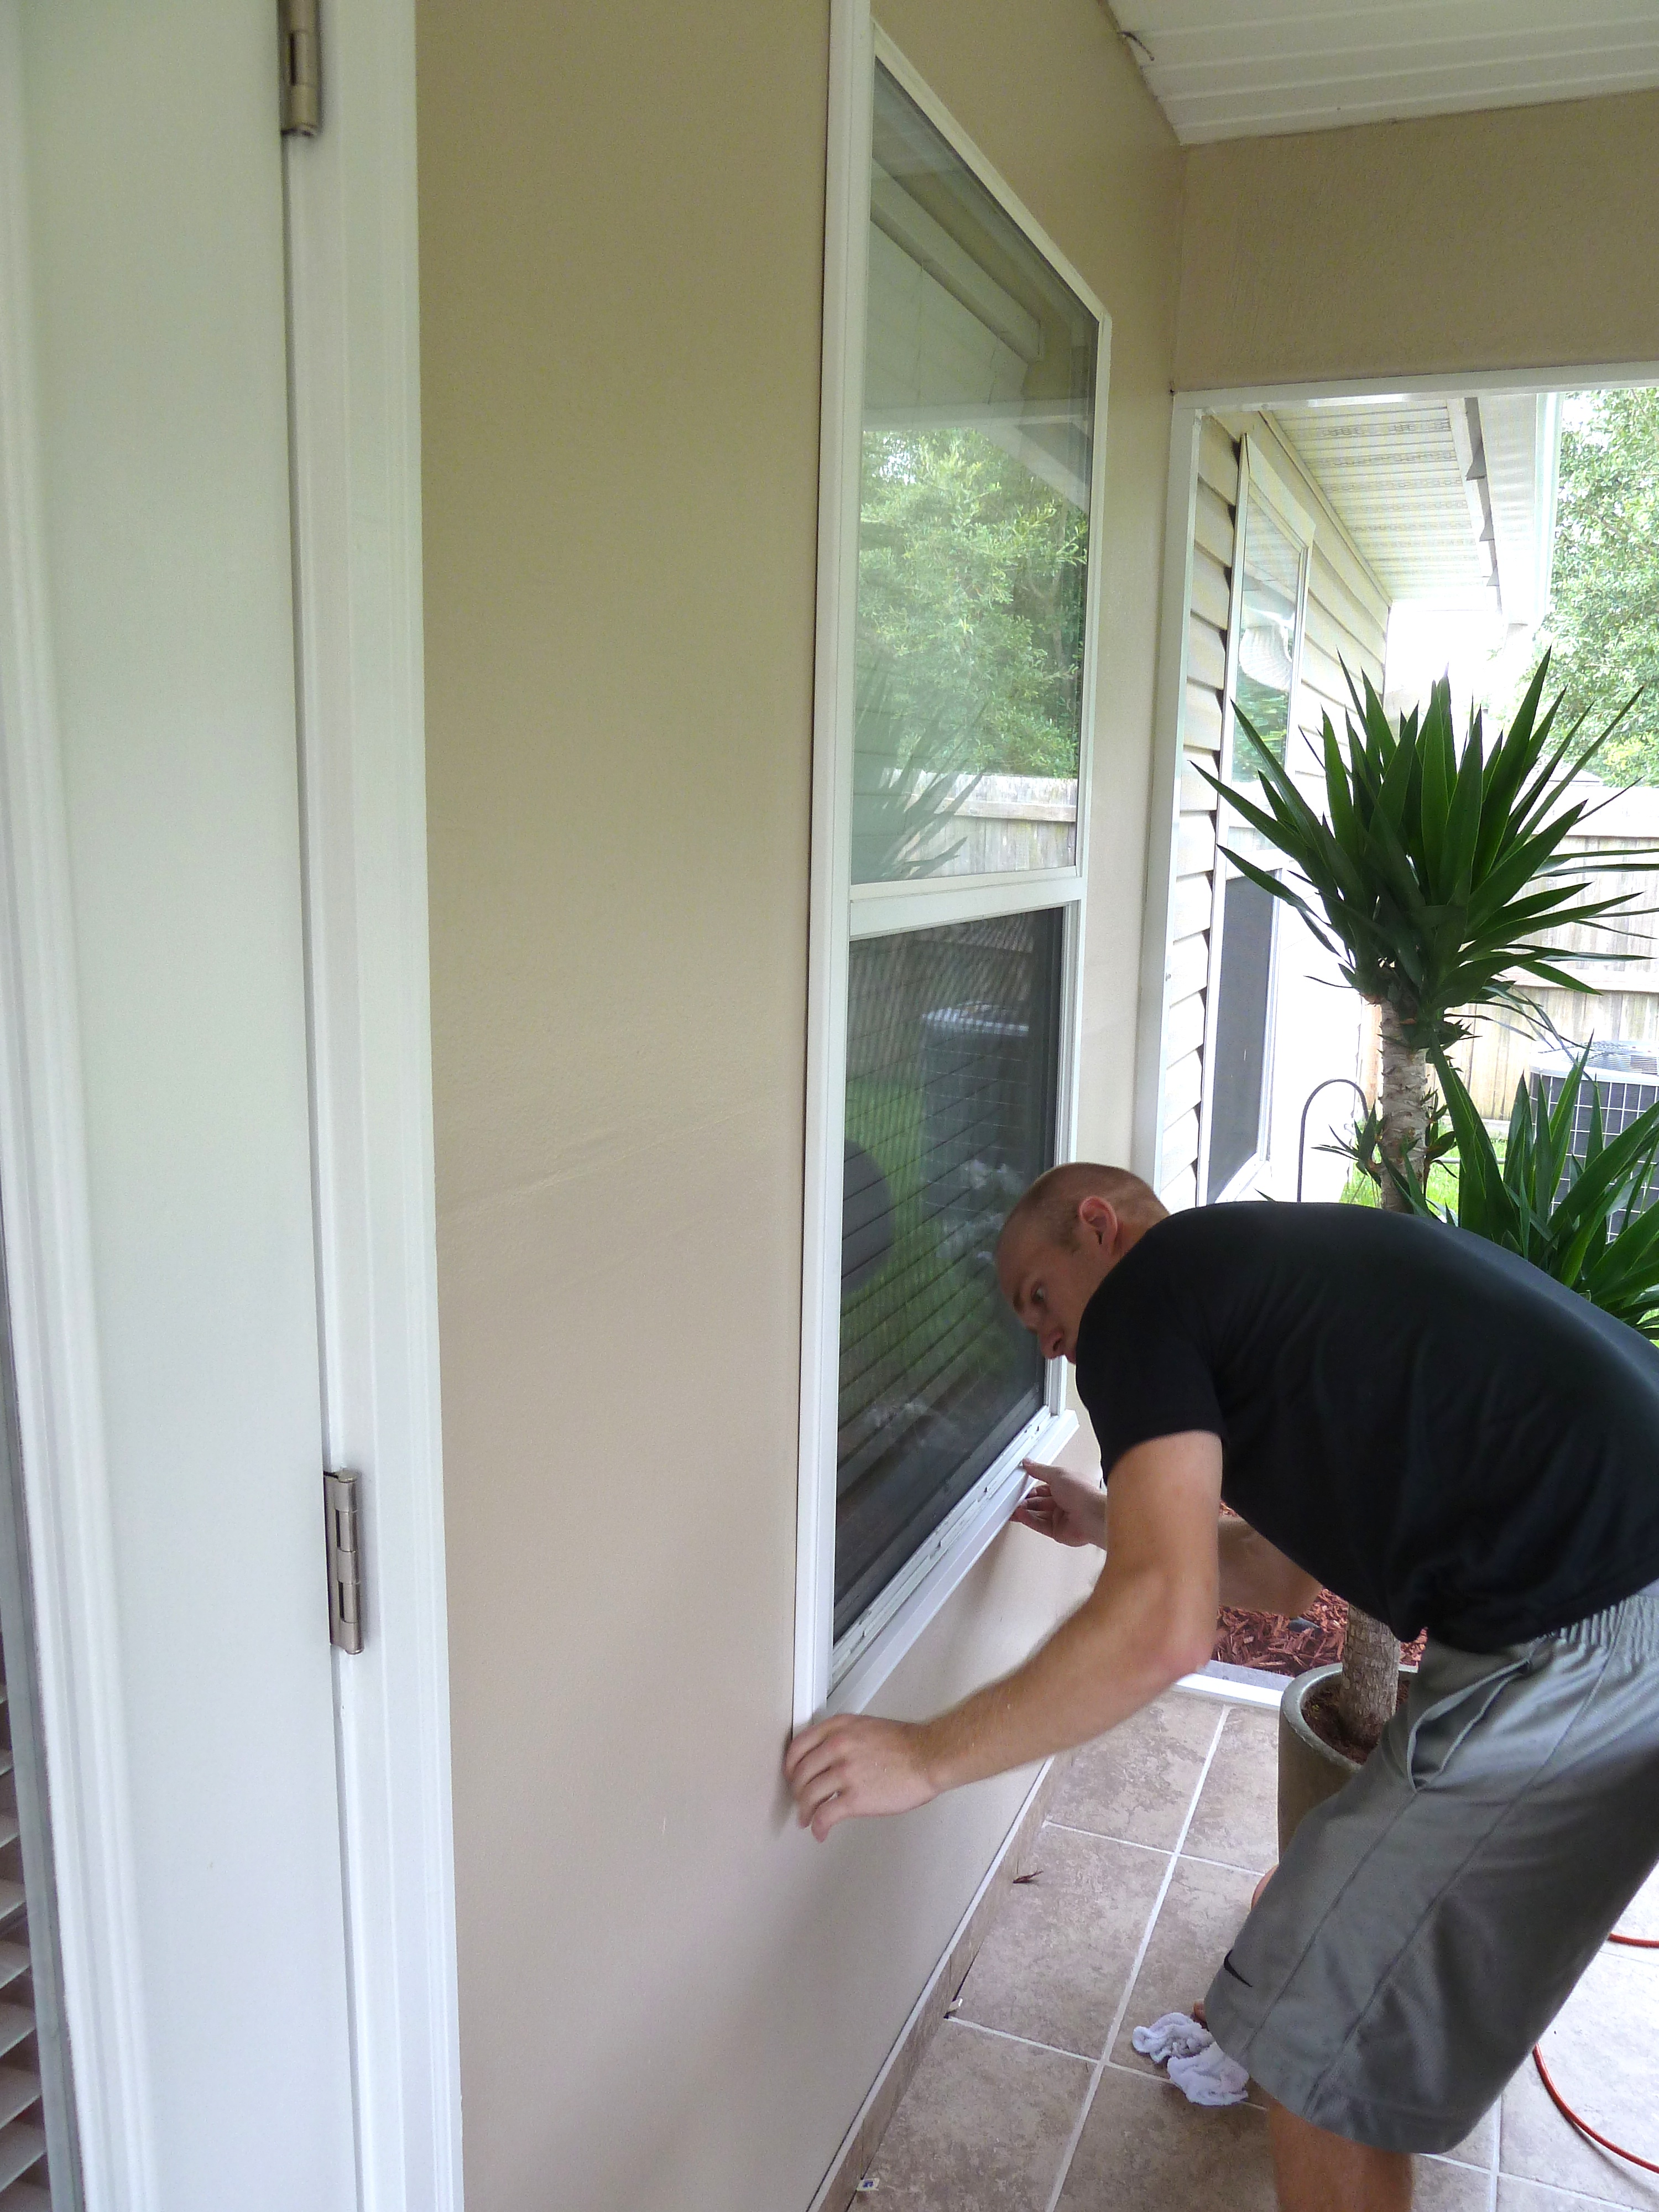
He then cut it to length and installed it around the window, apparently cutting those 45 degree angles isn’t very fun. Here’s a close up.

Here it is finished…
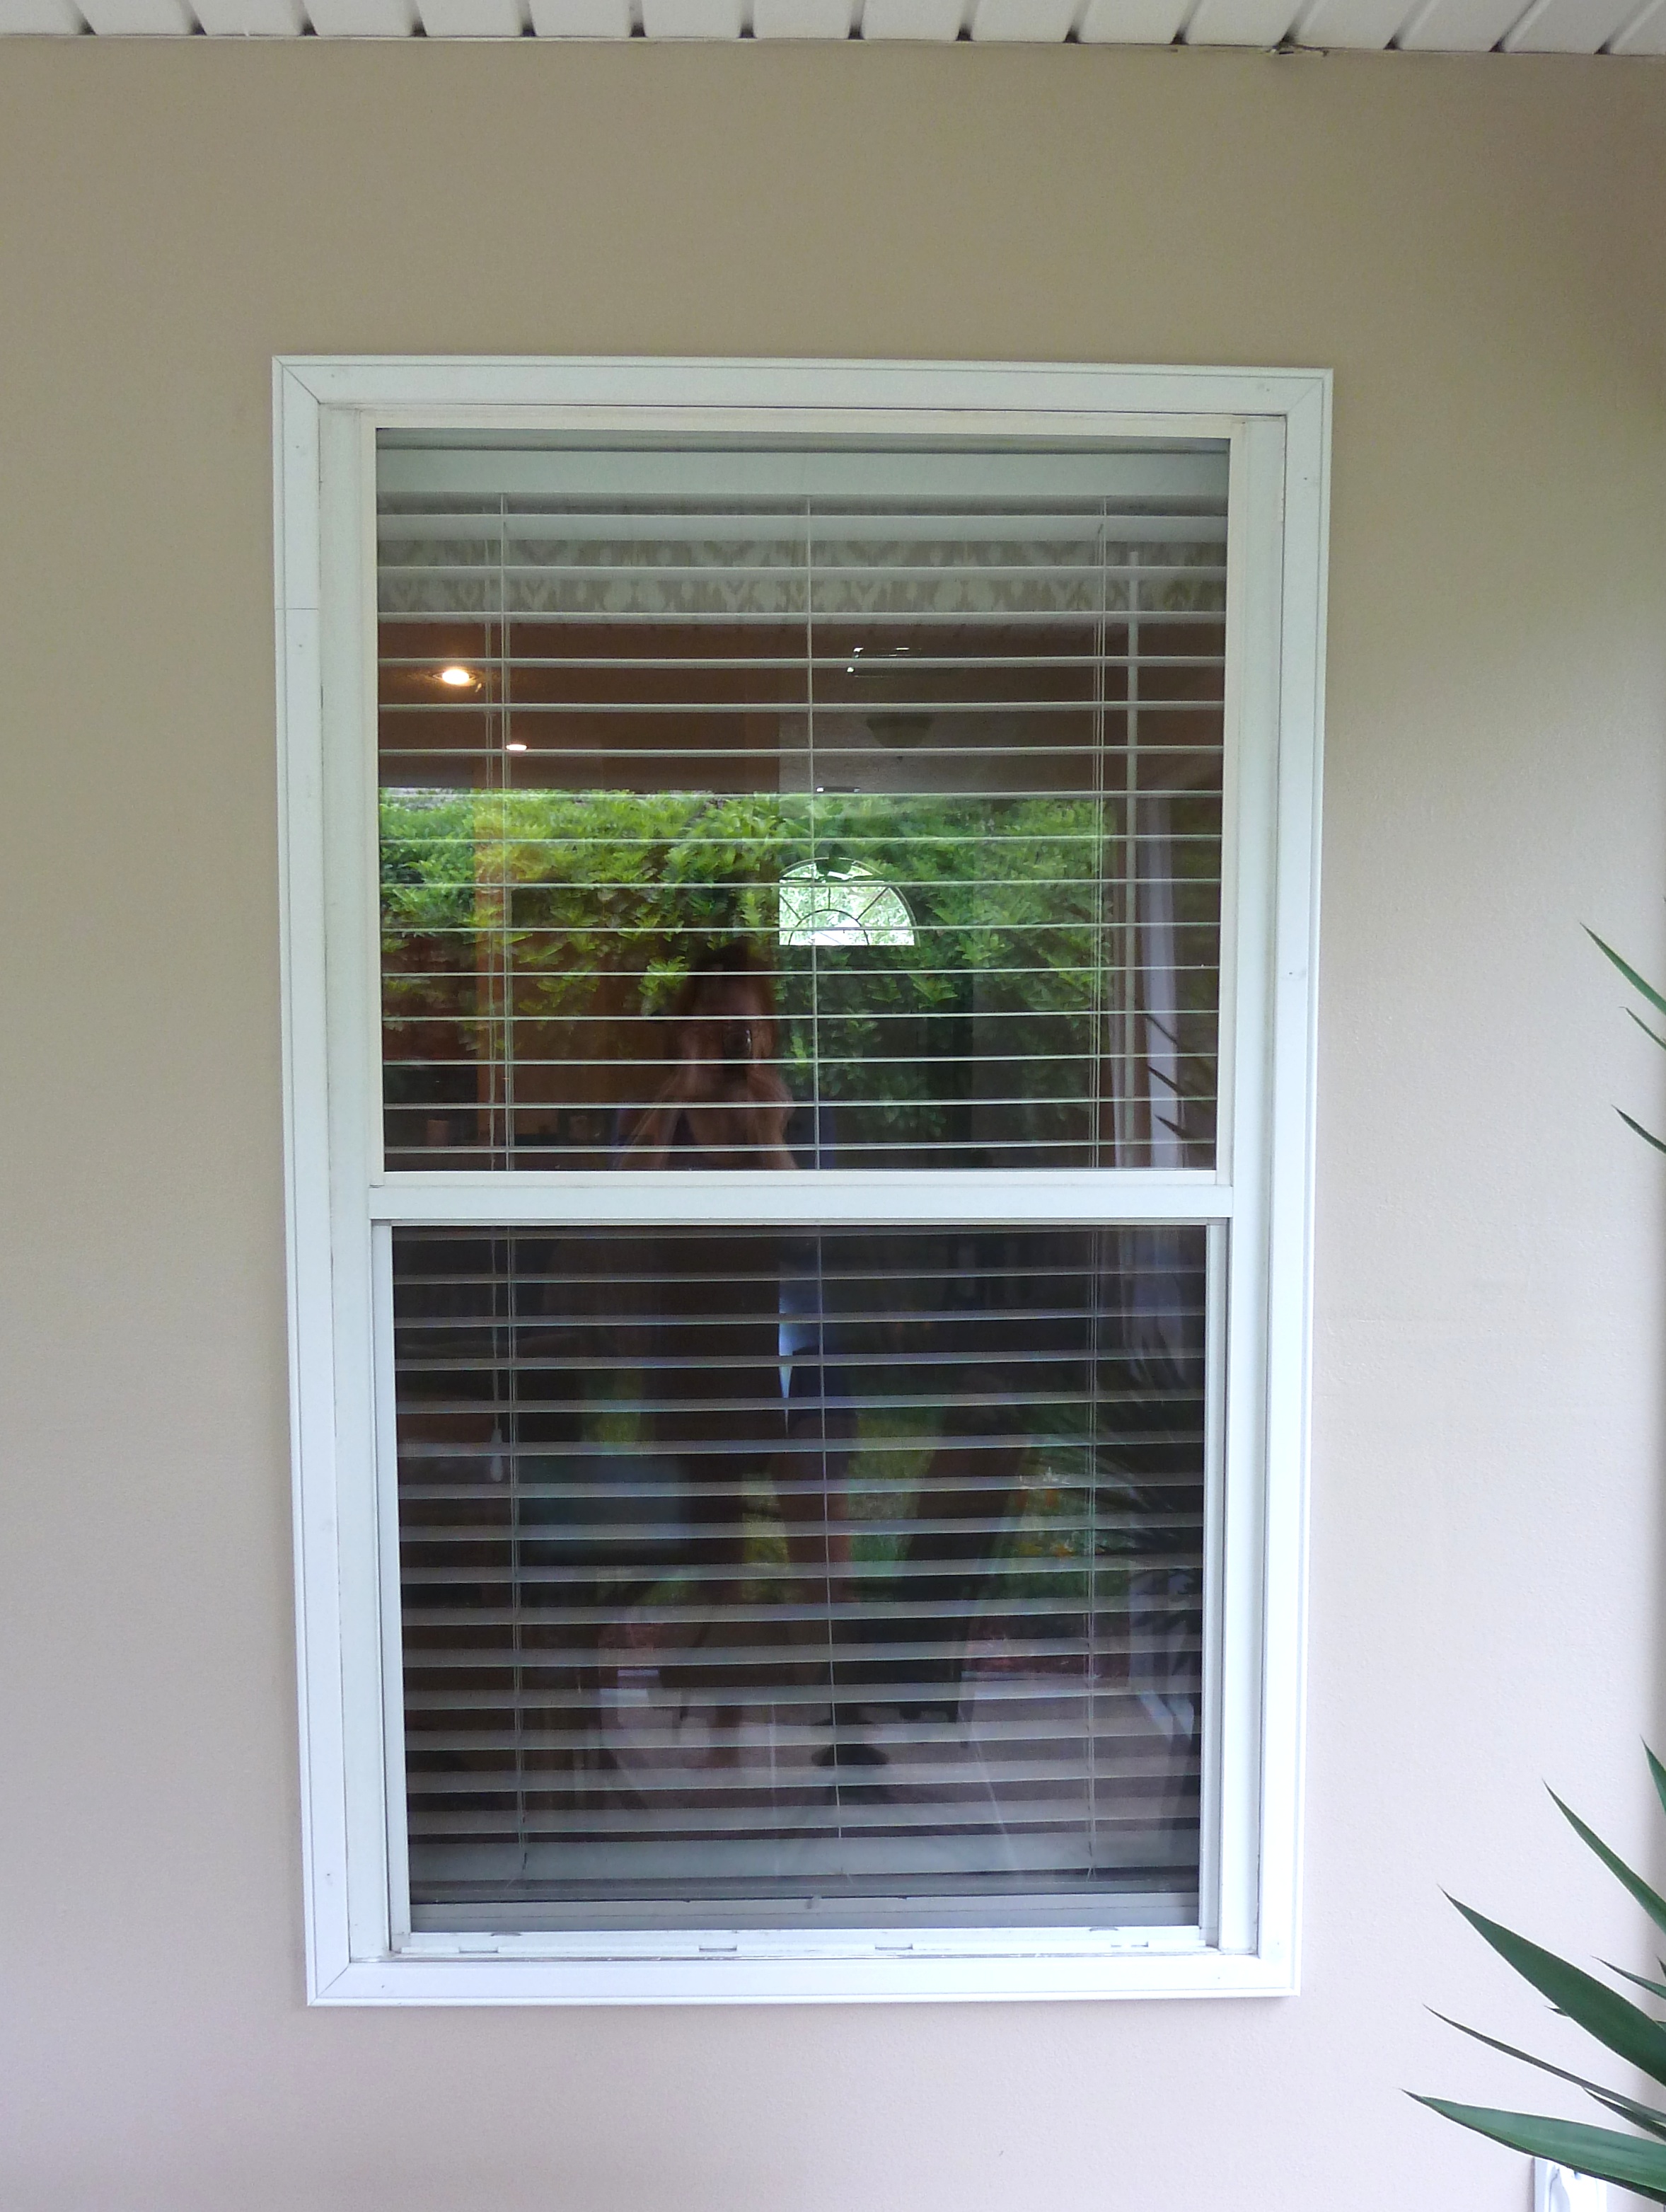
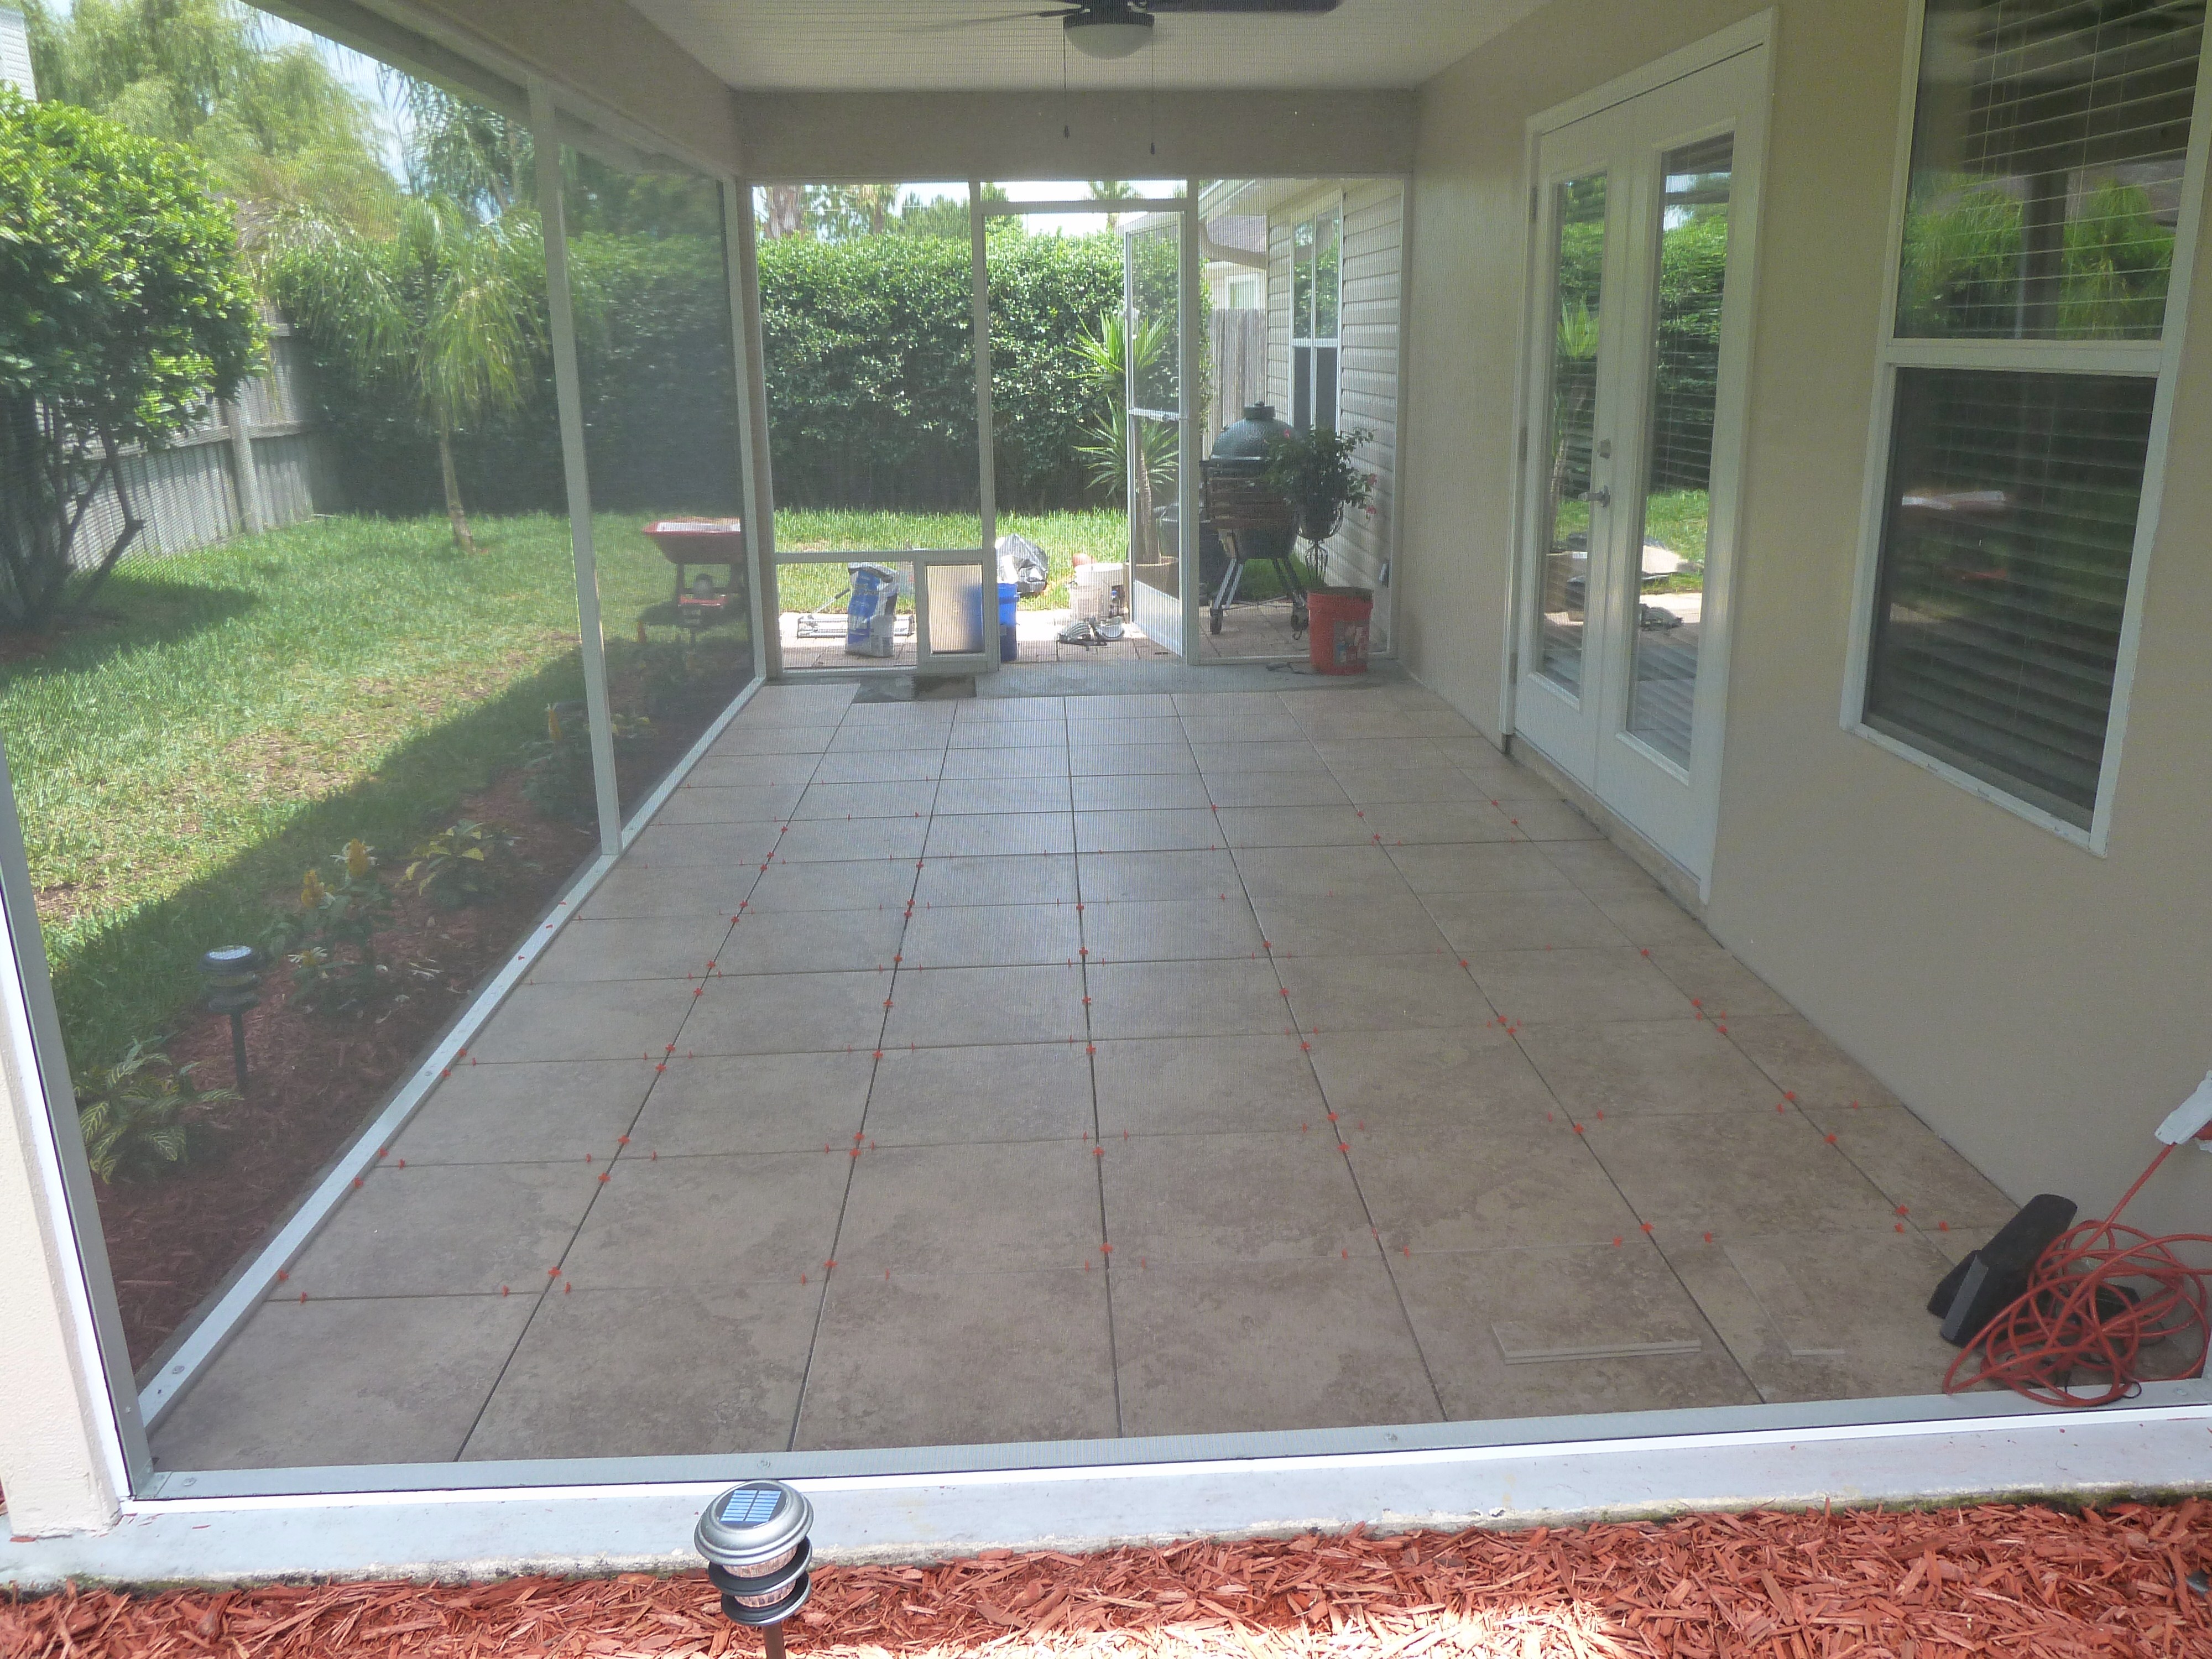
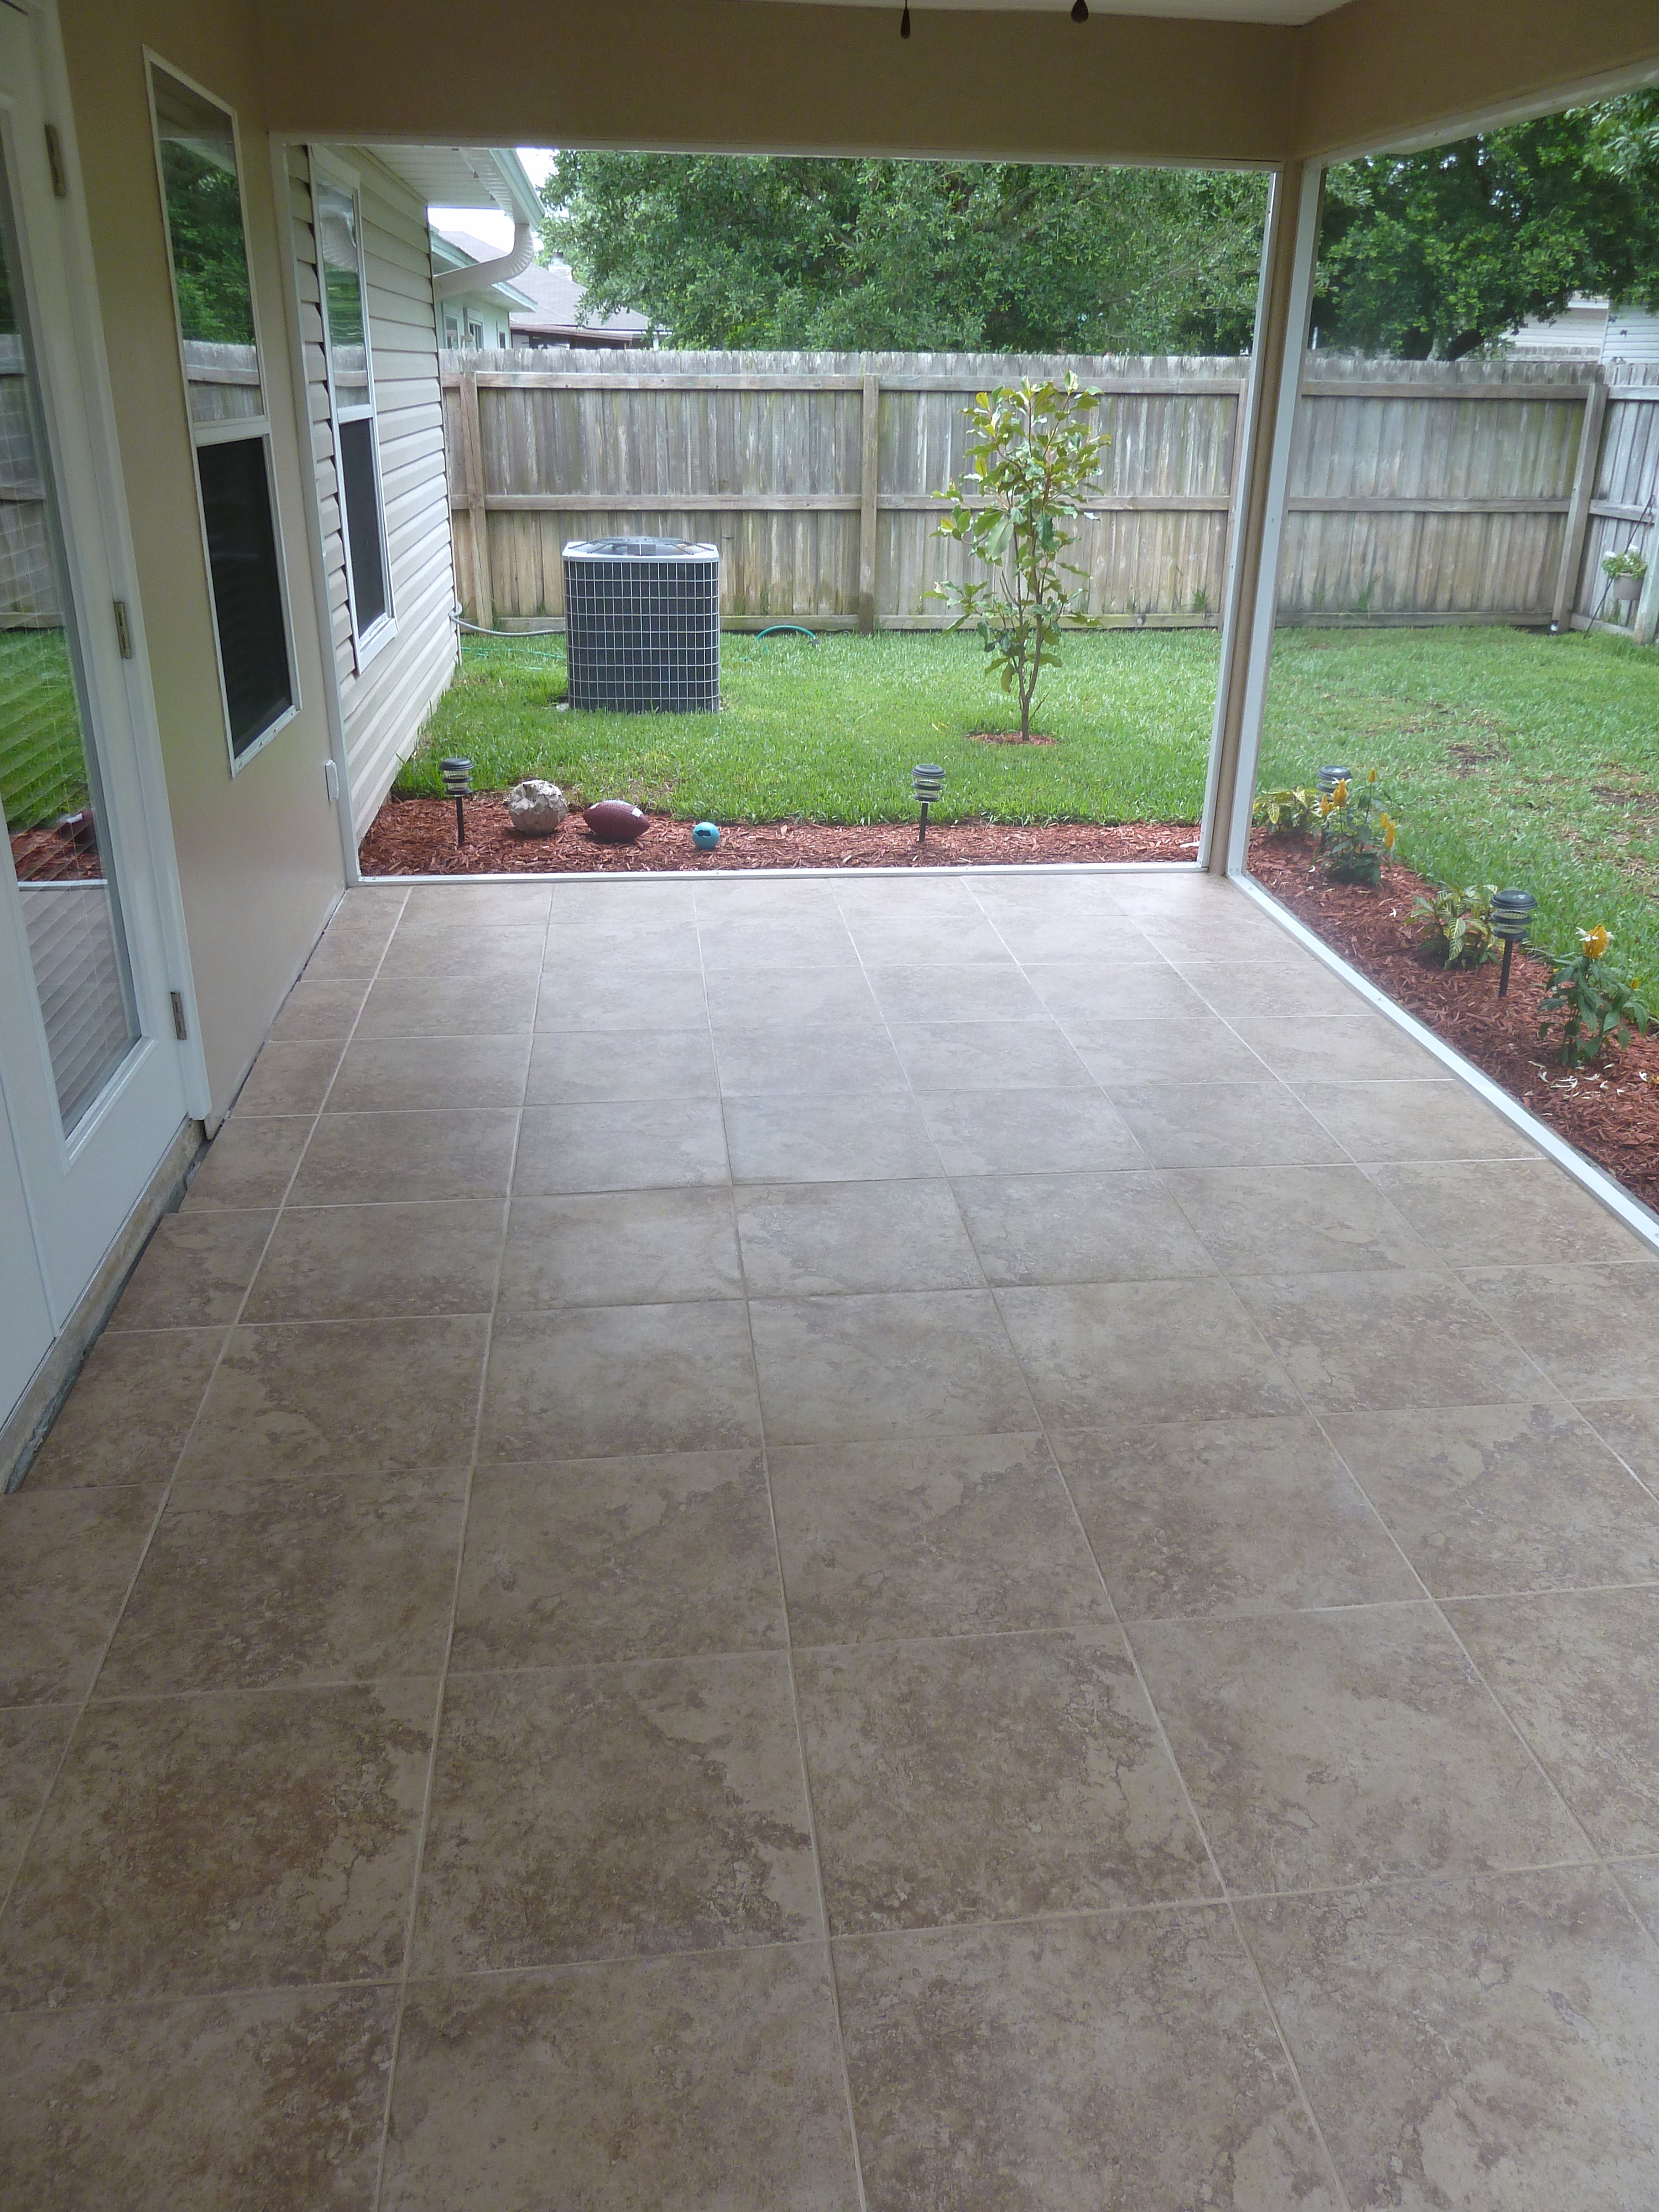
So let’s back it up and show you the end results of everything…

Oh snap, I think we have a finished patio!
 Once again thanks for checking out our progress! Hope you enjoy.