I decided this weekend would be a good time to re-paint the guest bath. So I headed to homegoods and target to find a new shower curtain to start. I wanted to get a new shower curtain first, so I could pull a color from pattern for the paint. I ended up having success and headed to Lowes to get a color that would match. I made it home and showed Justin all of my finds. Next thing I knew he was talking about removing the medicine cabinet before I painted because we really hate it. I agreed and let him pull it out of the wall.

Here she is, so we can all say our last goodbyes.

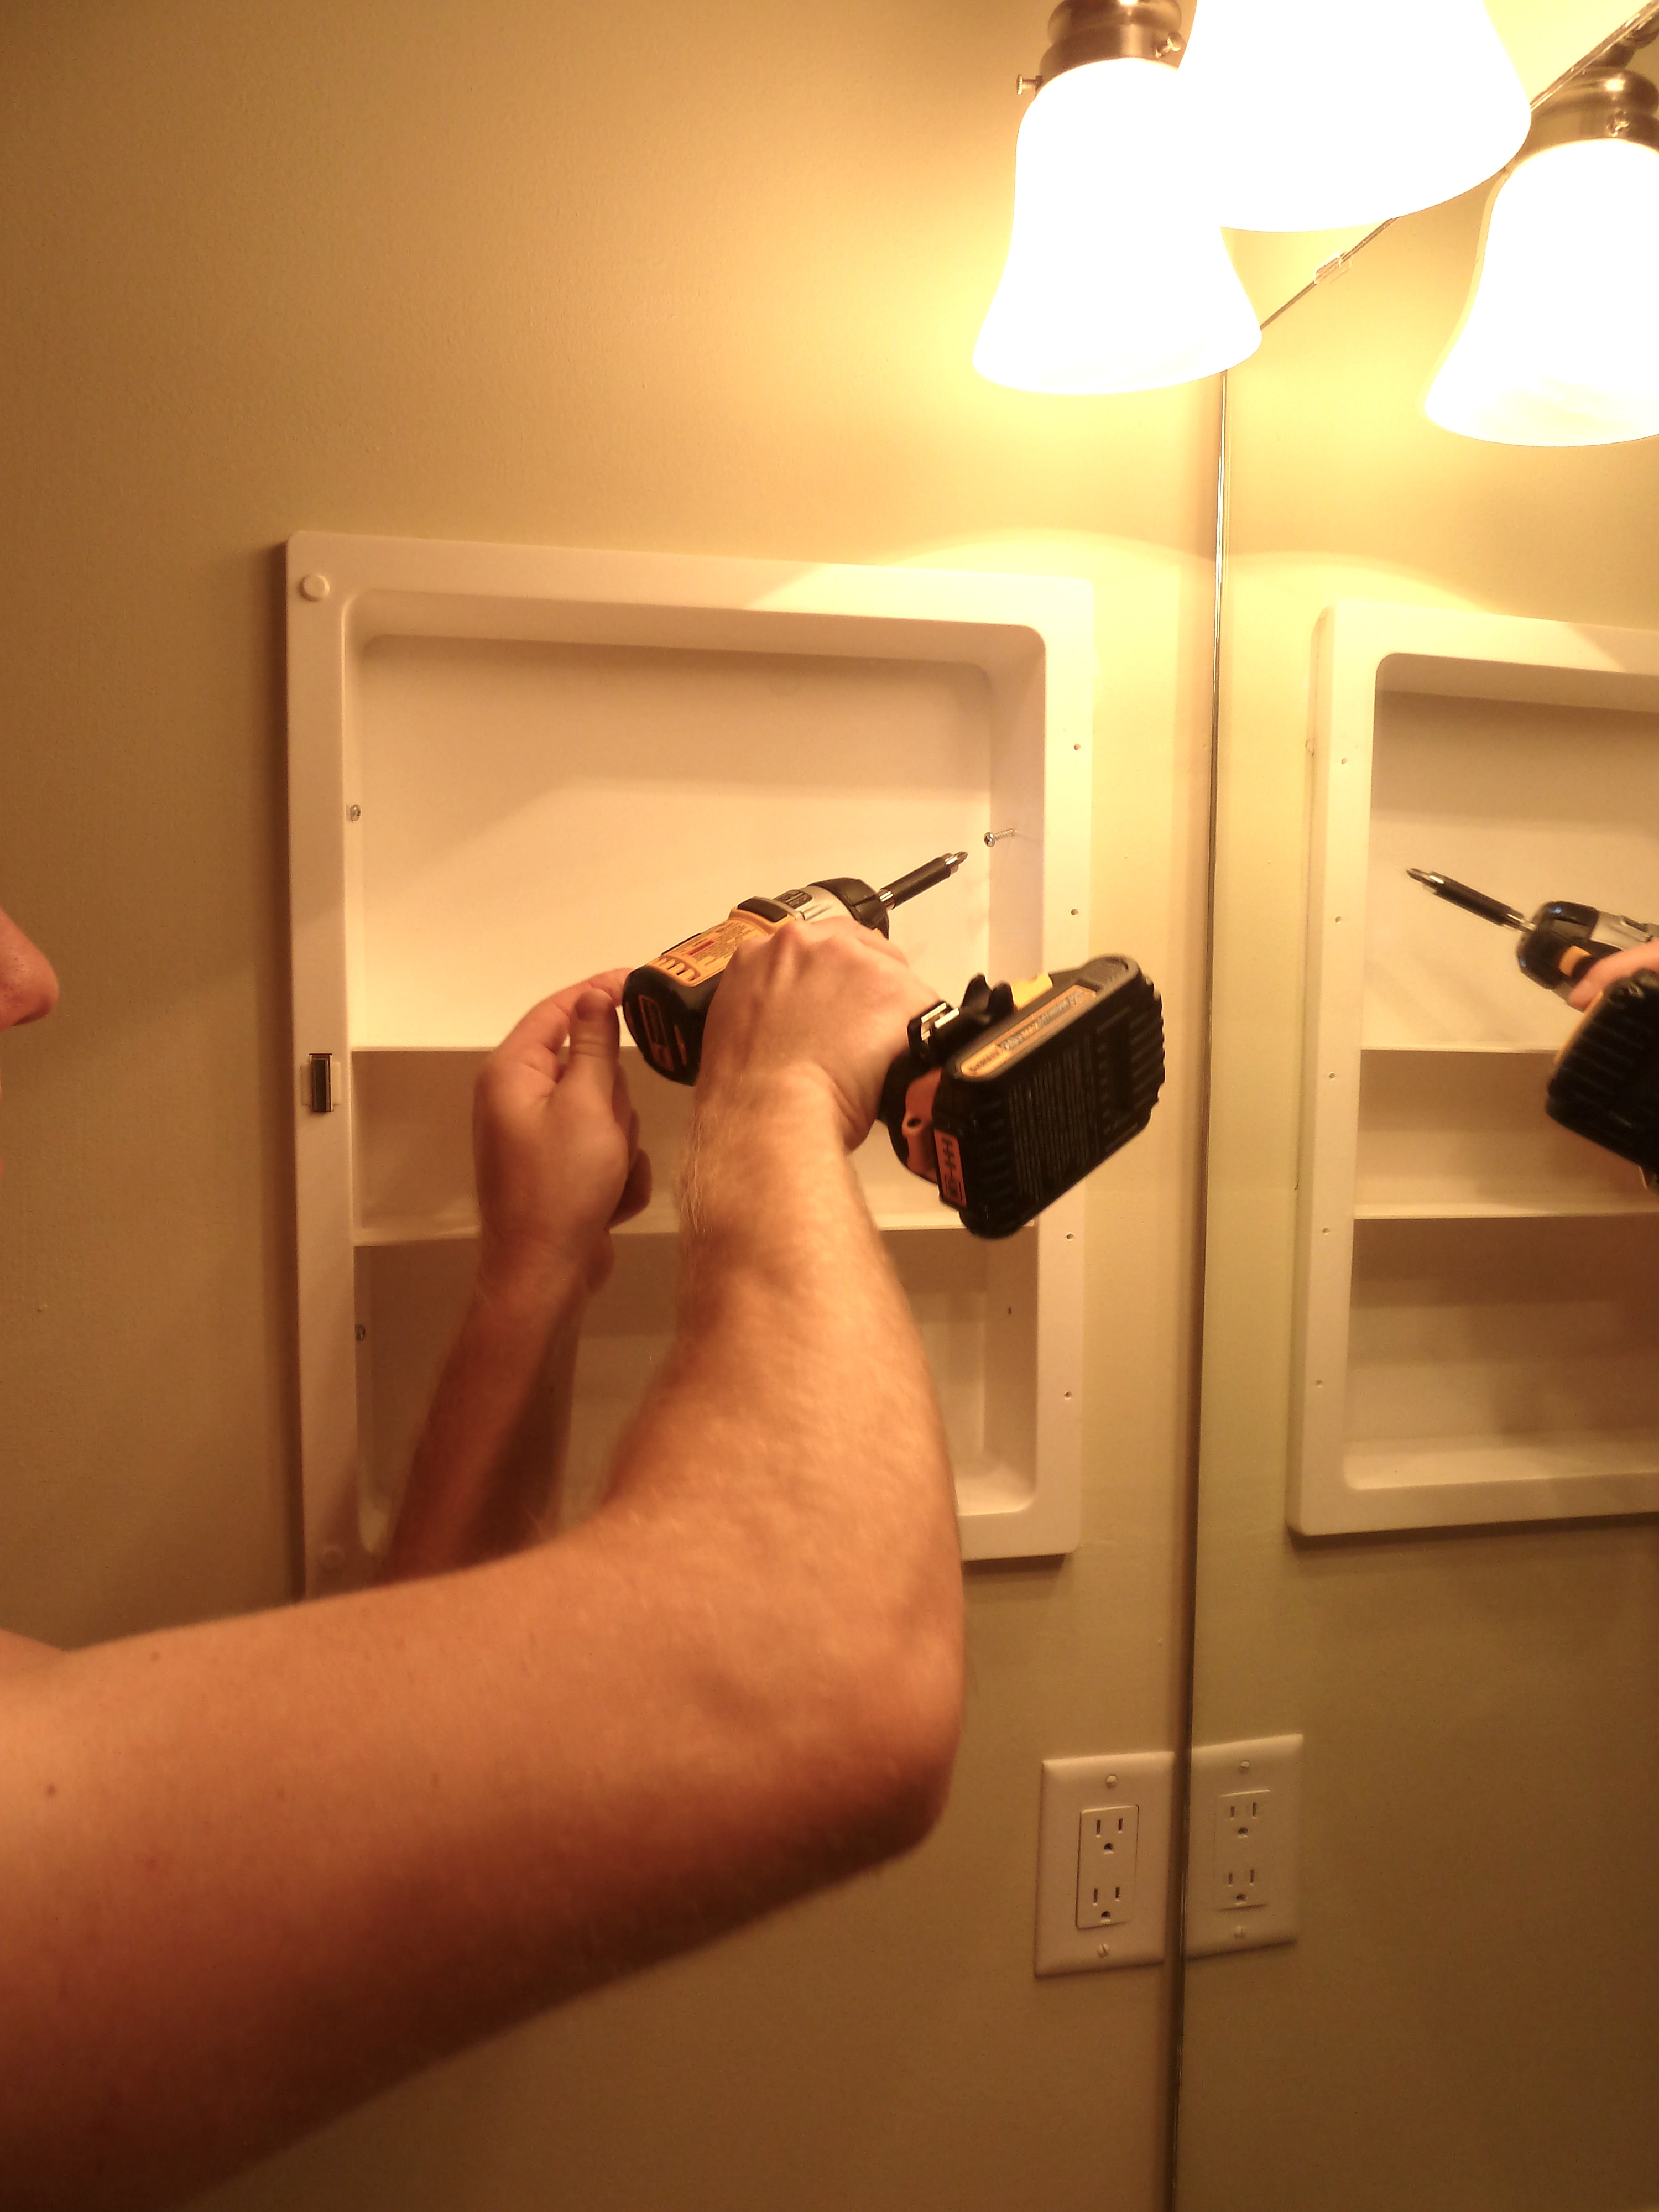
Justin immediately started removing the cabinet when I said yes. I figure I would start painting the other half of the bathroom while he patches the whole in the wall where the cabinet was.

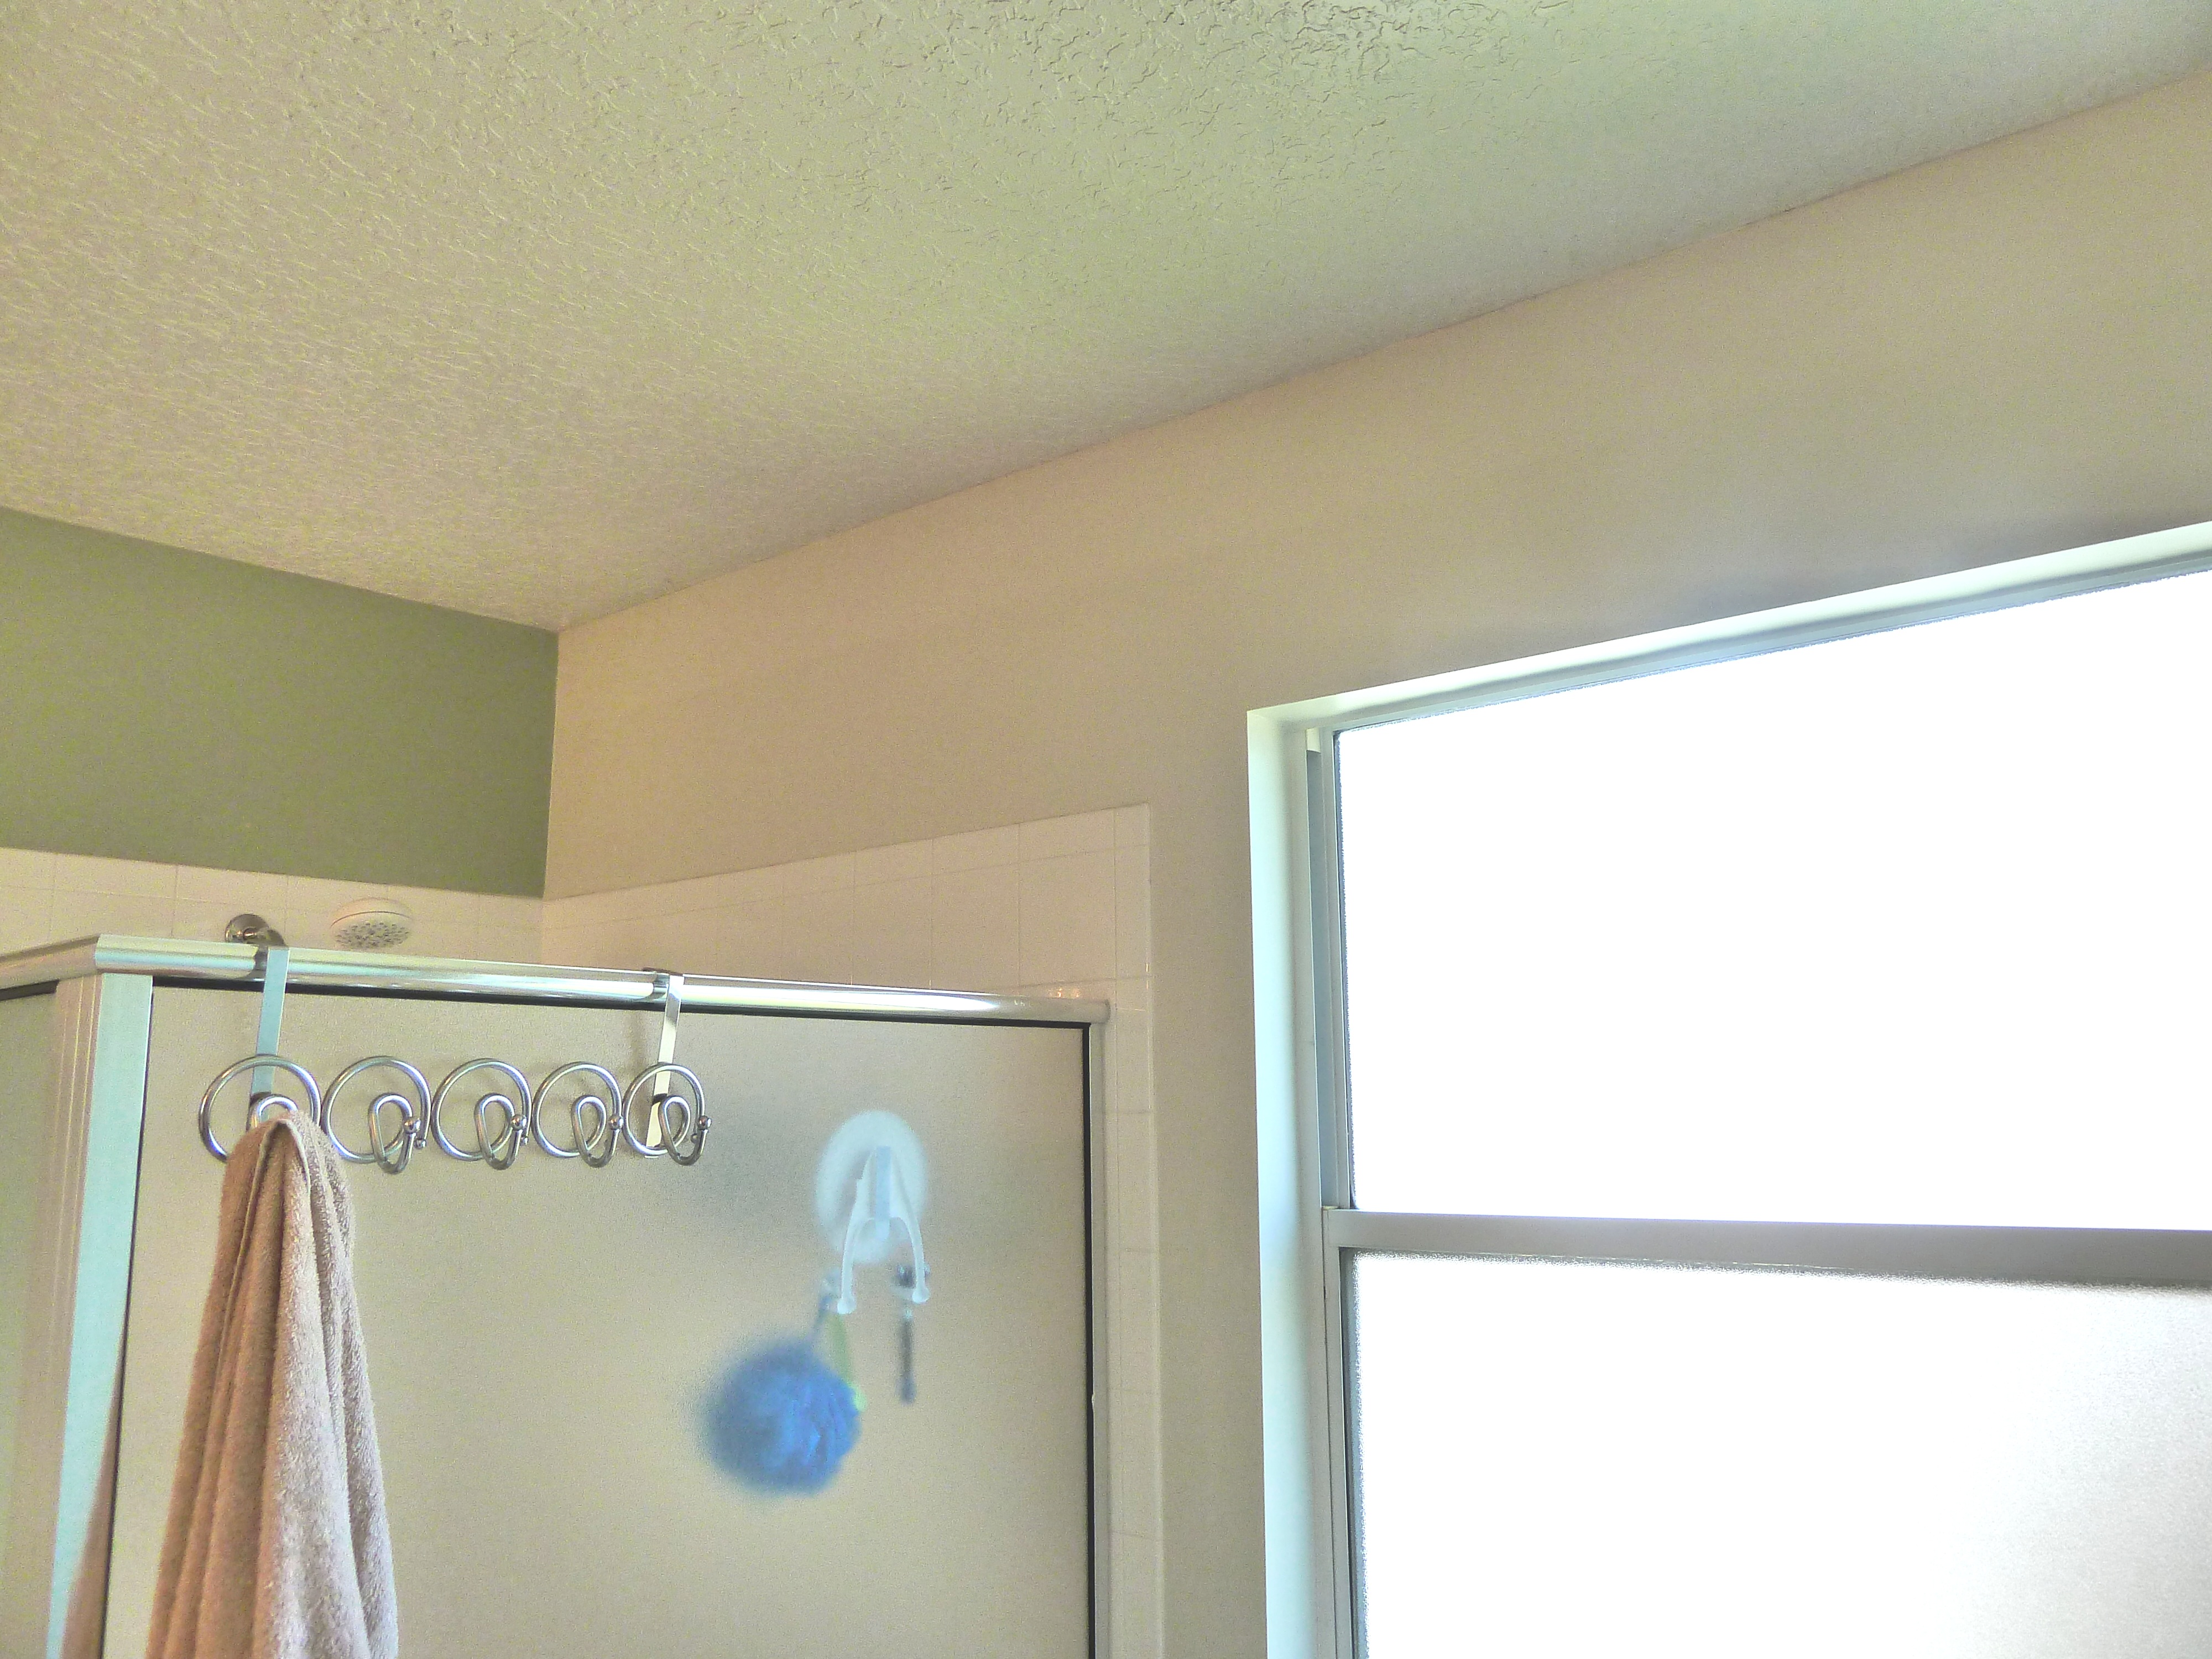
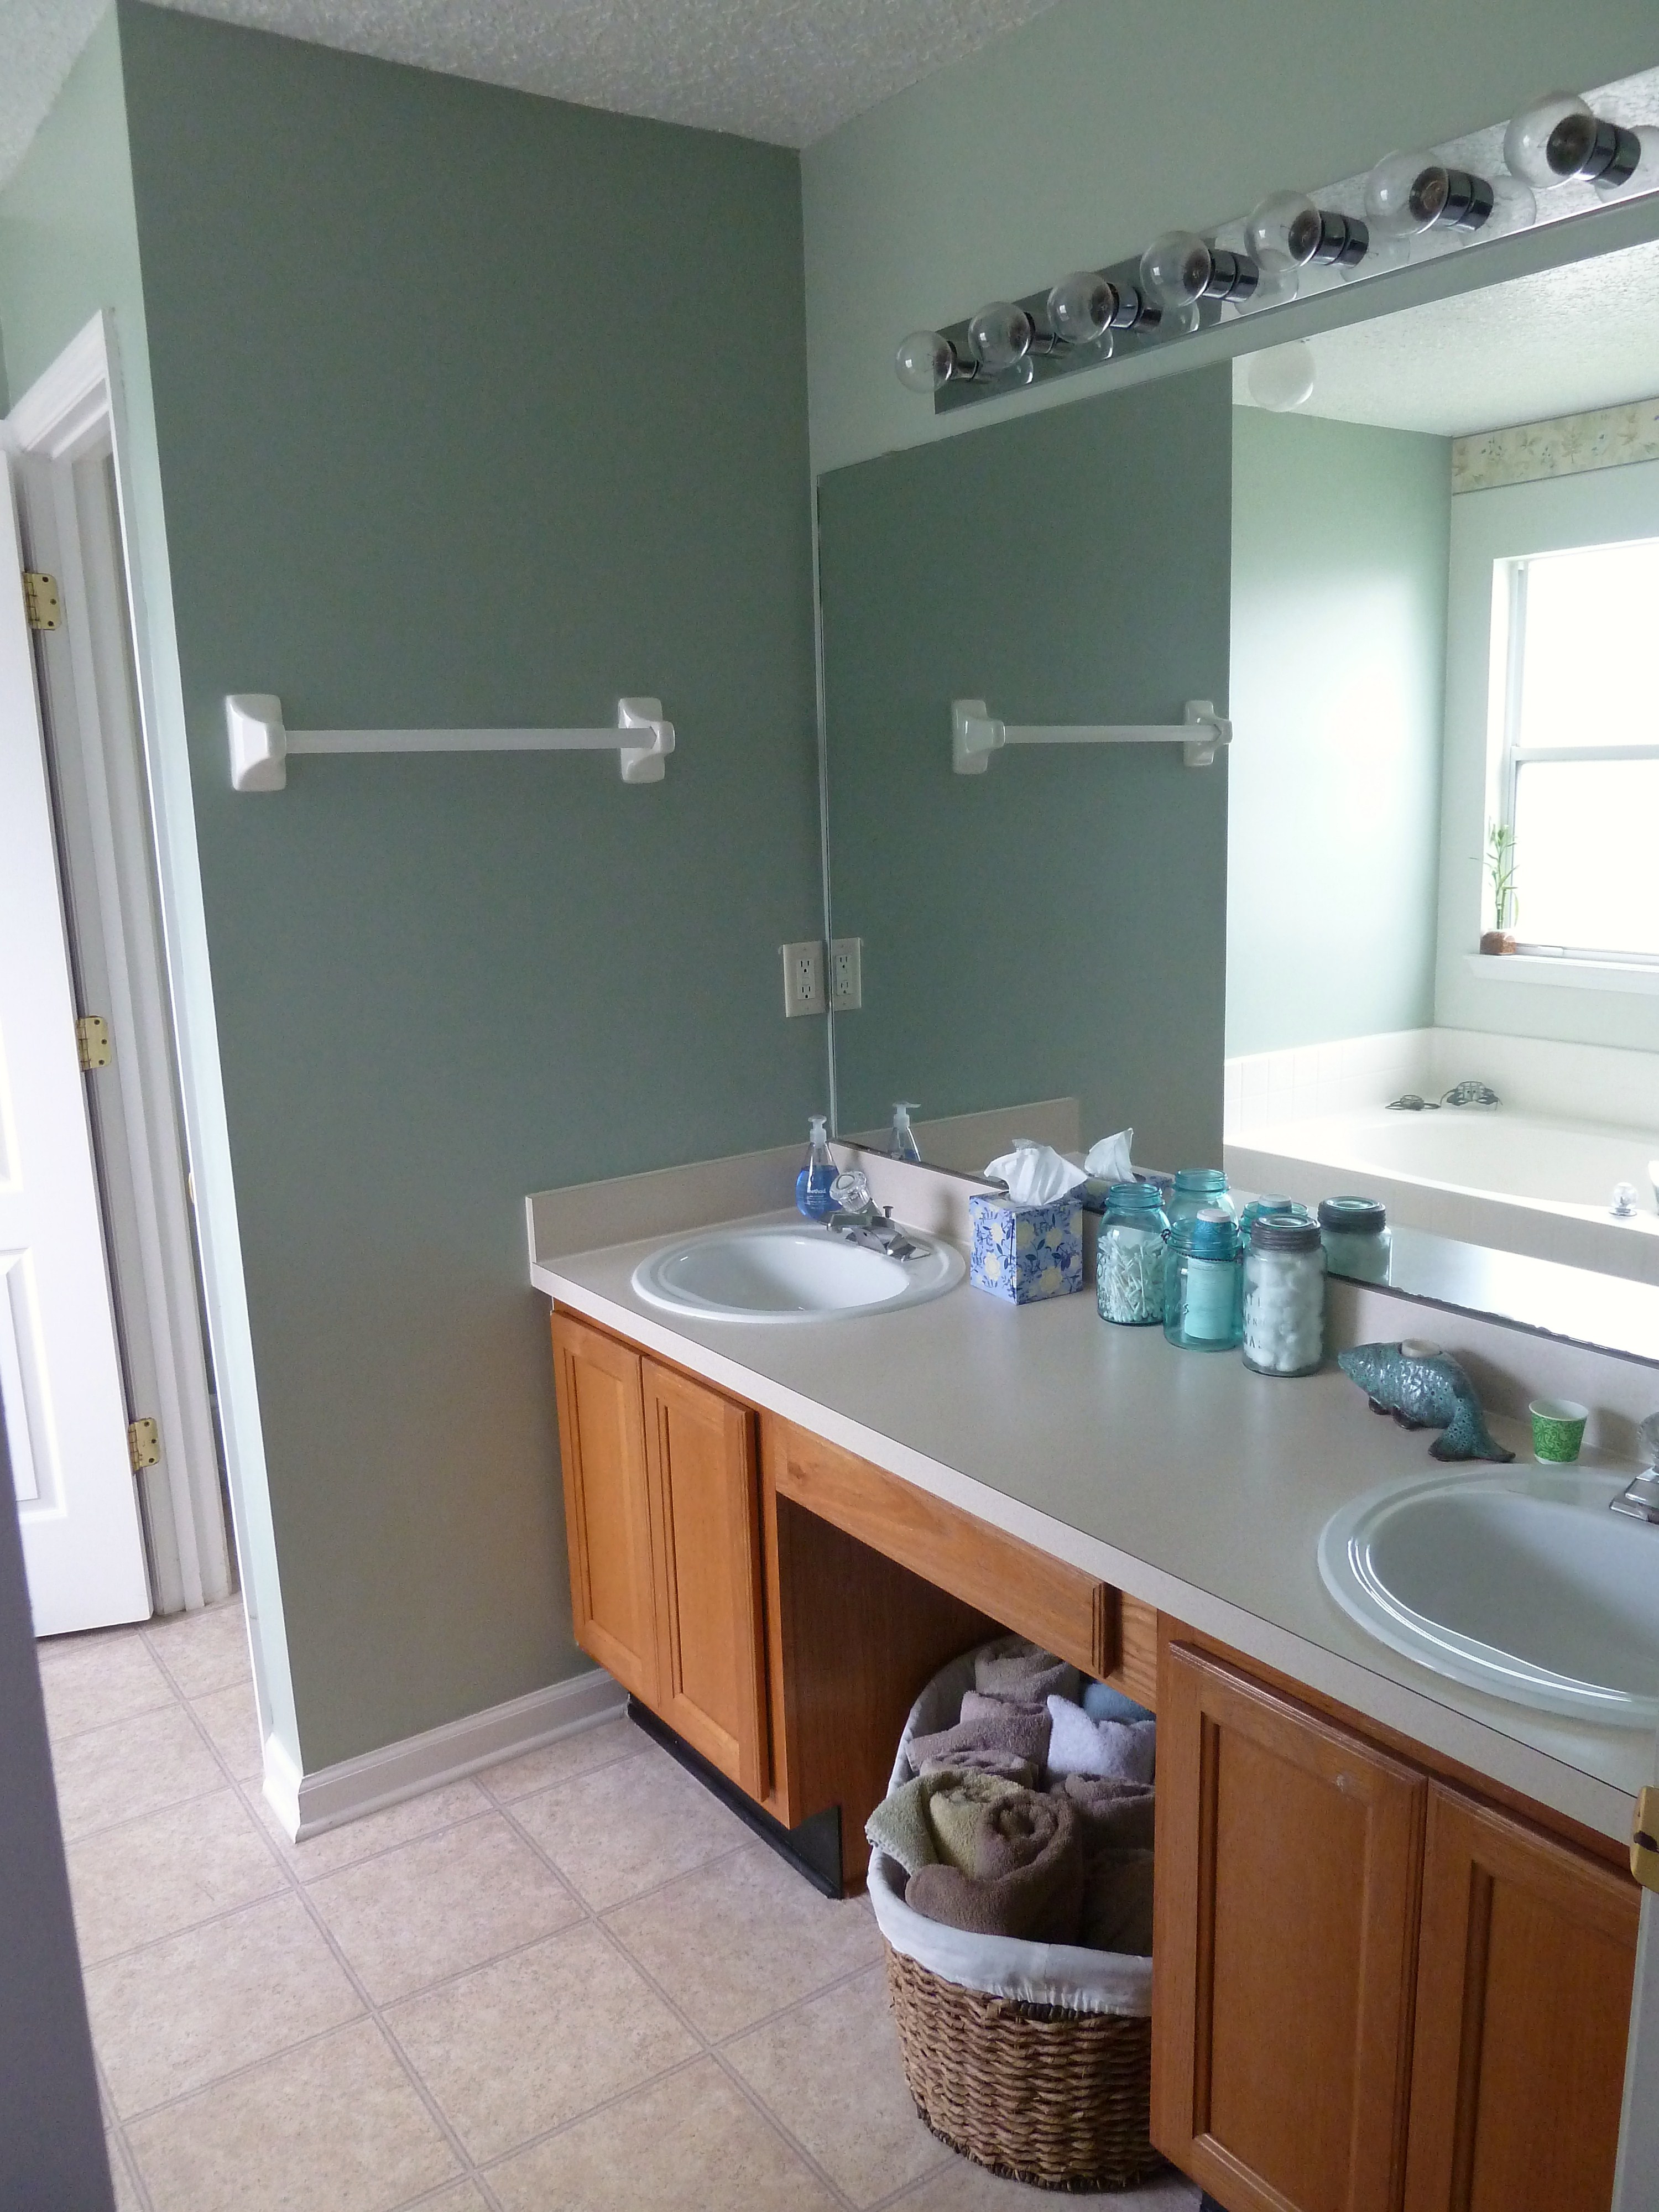
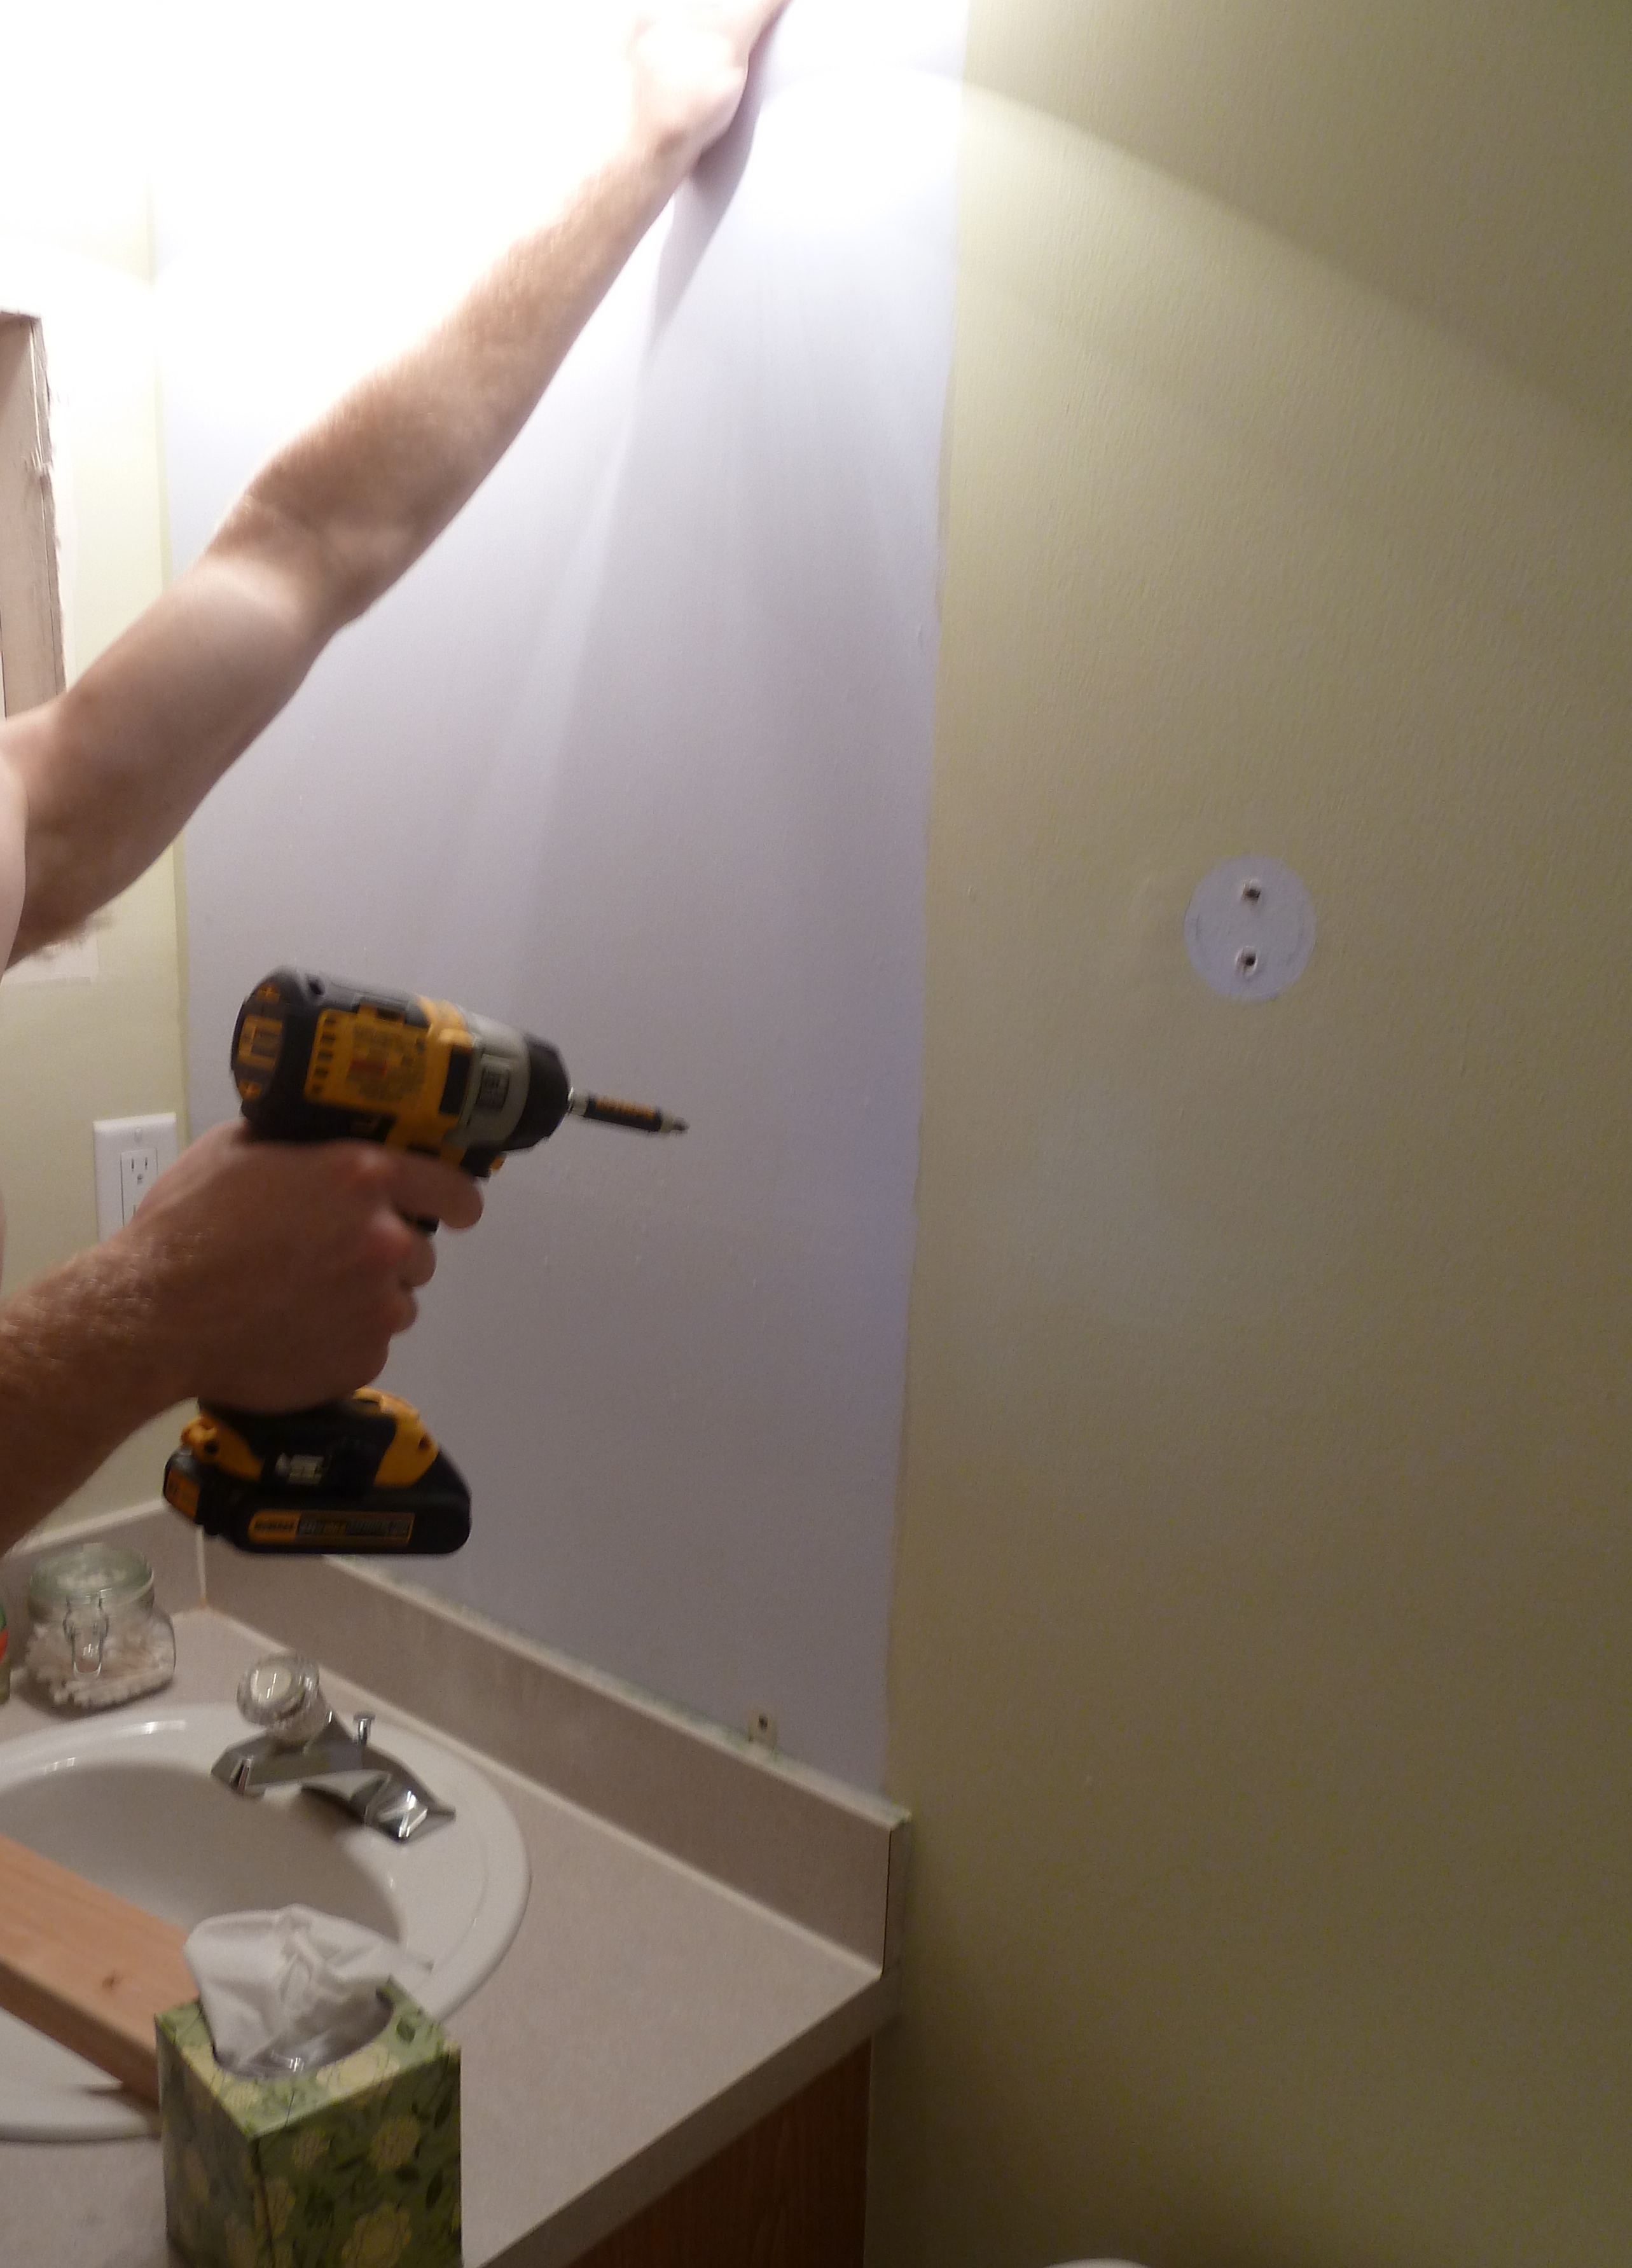
I also requested that we take down the exisitng towel bar and move it to the other wall. I wanted to move the bar because where it currently was located I wasn’t able to hang a full towel. I figured if we moved it to the opposite wall I could hang some kind of art above the toilet. So the towel bar came down too.

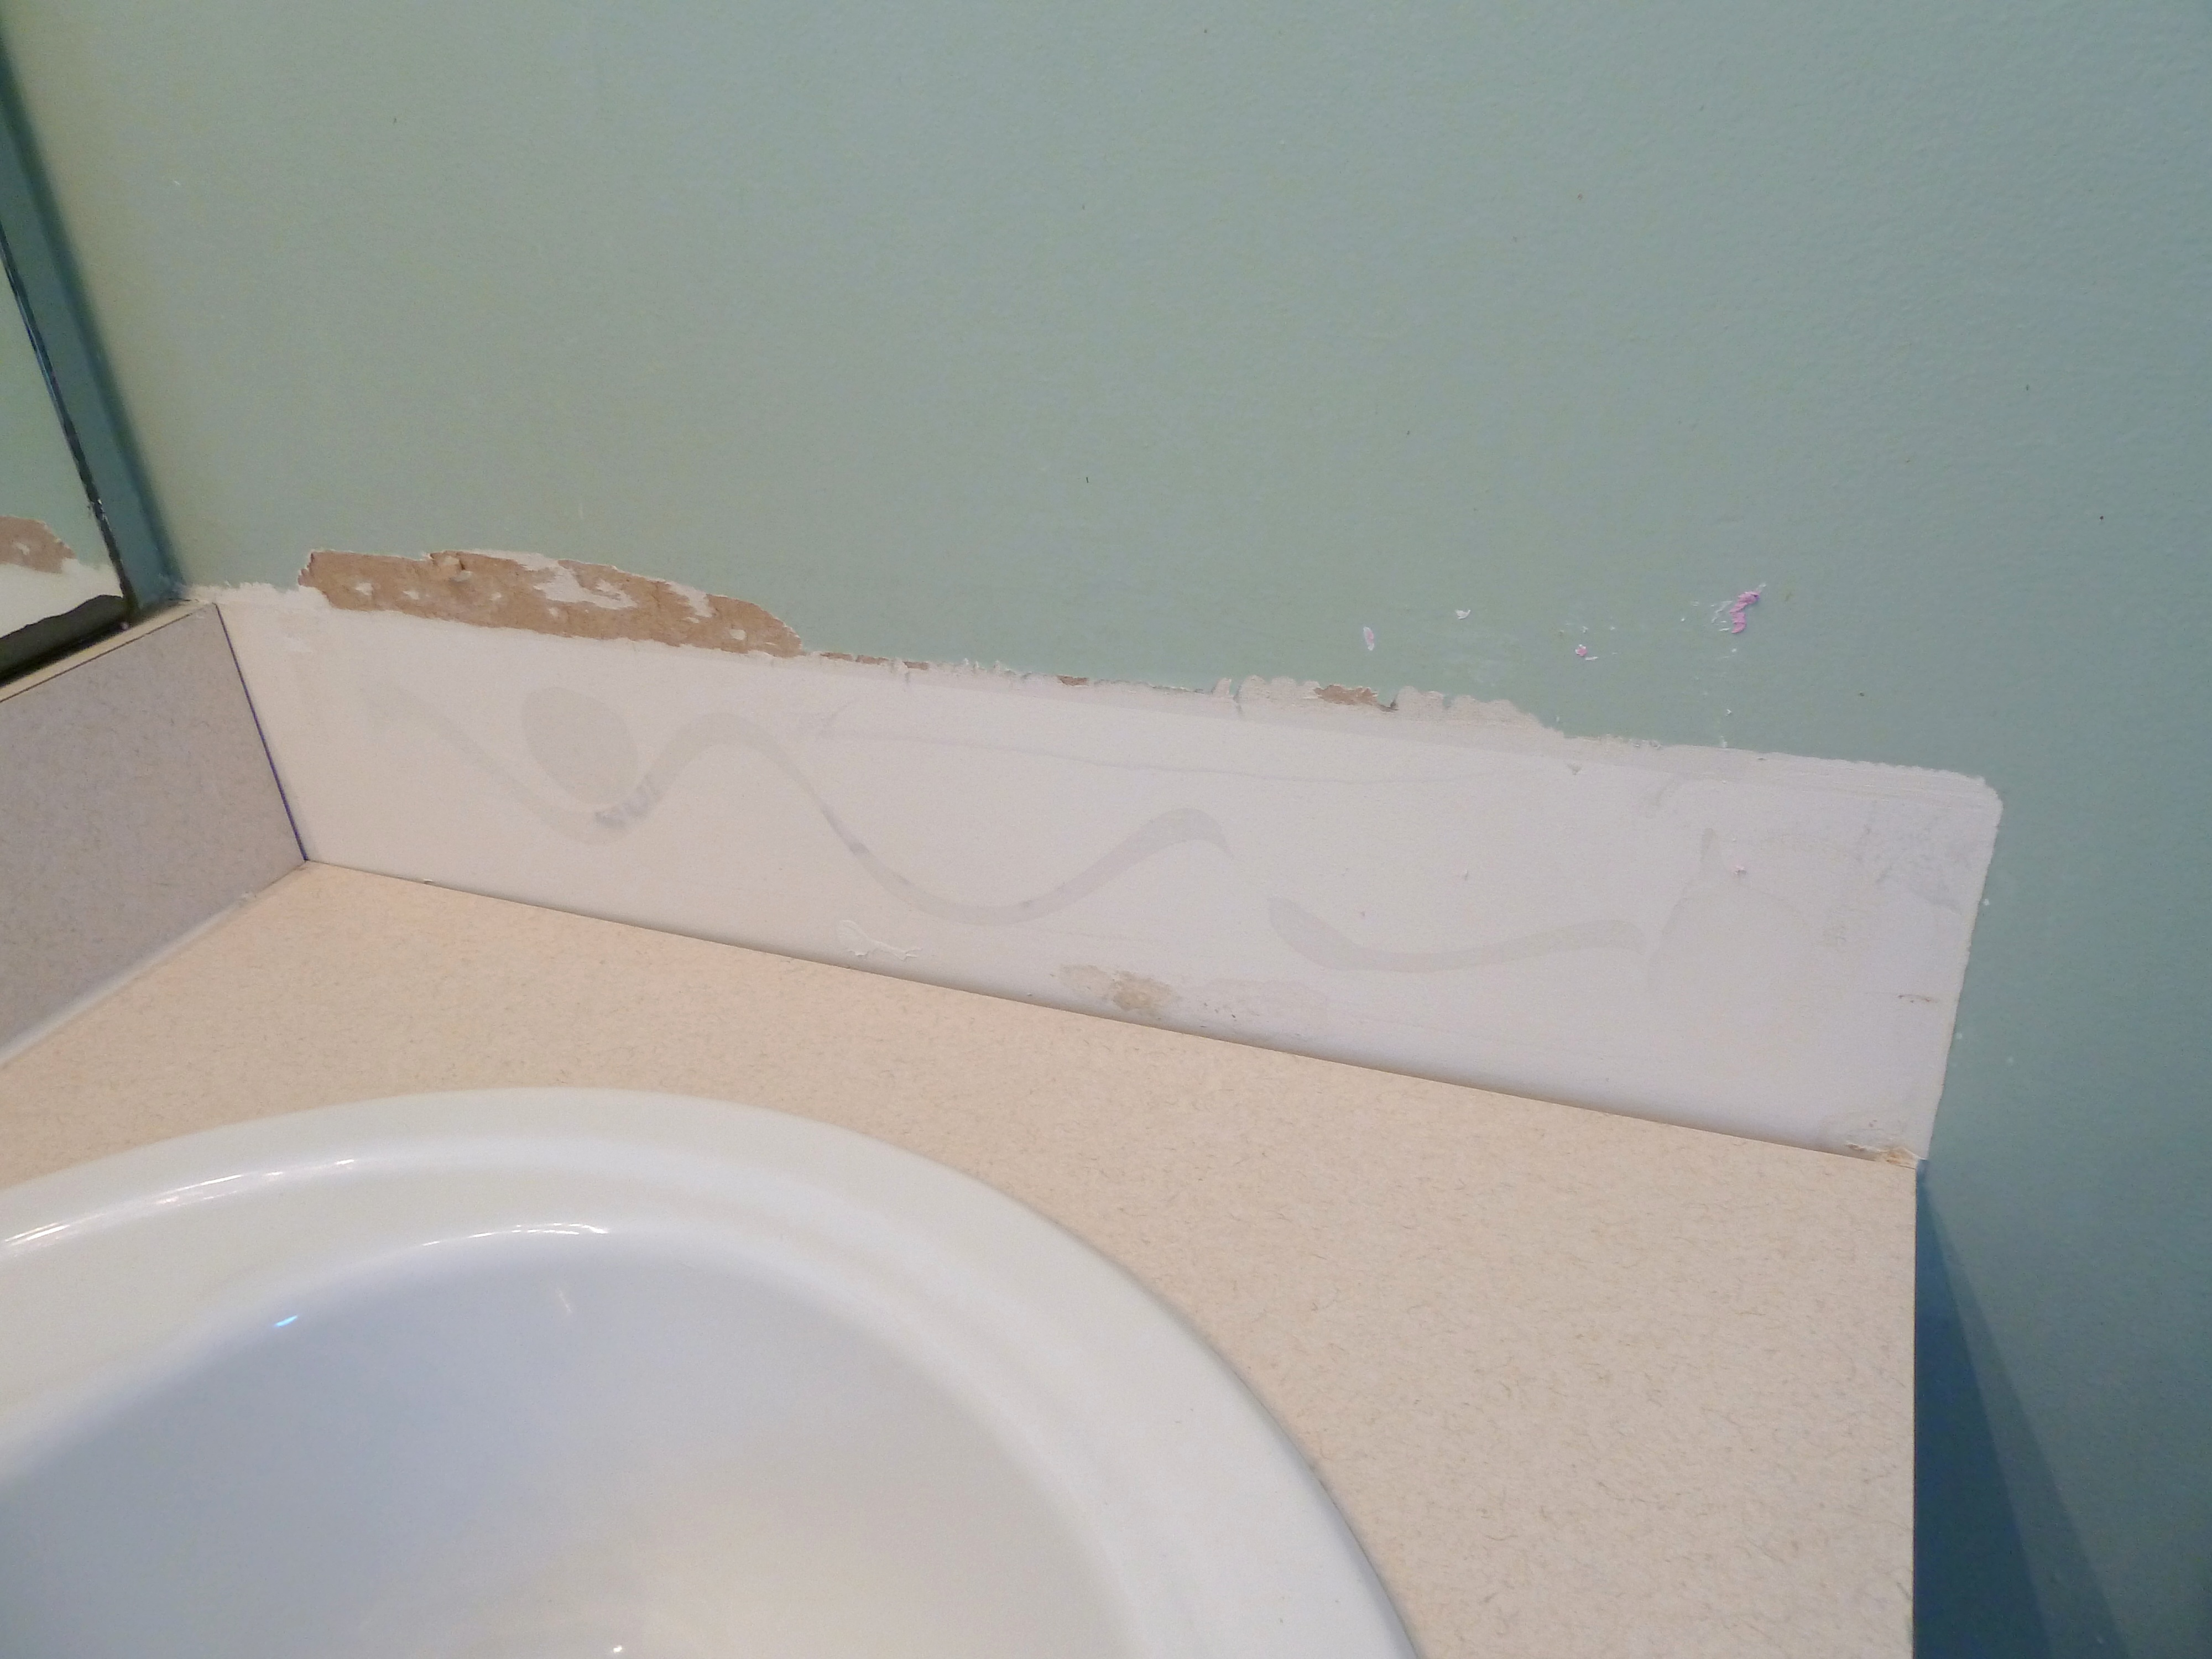
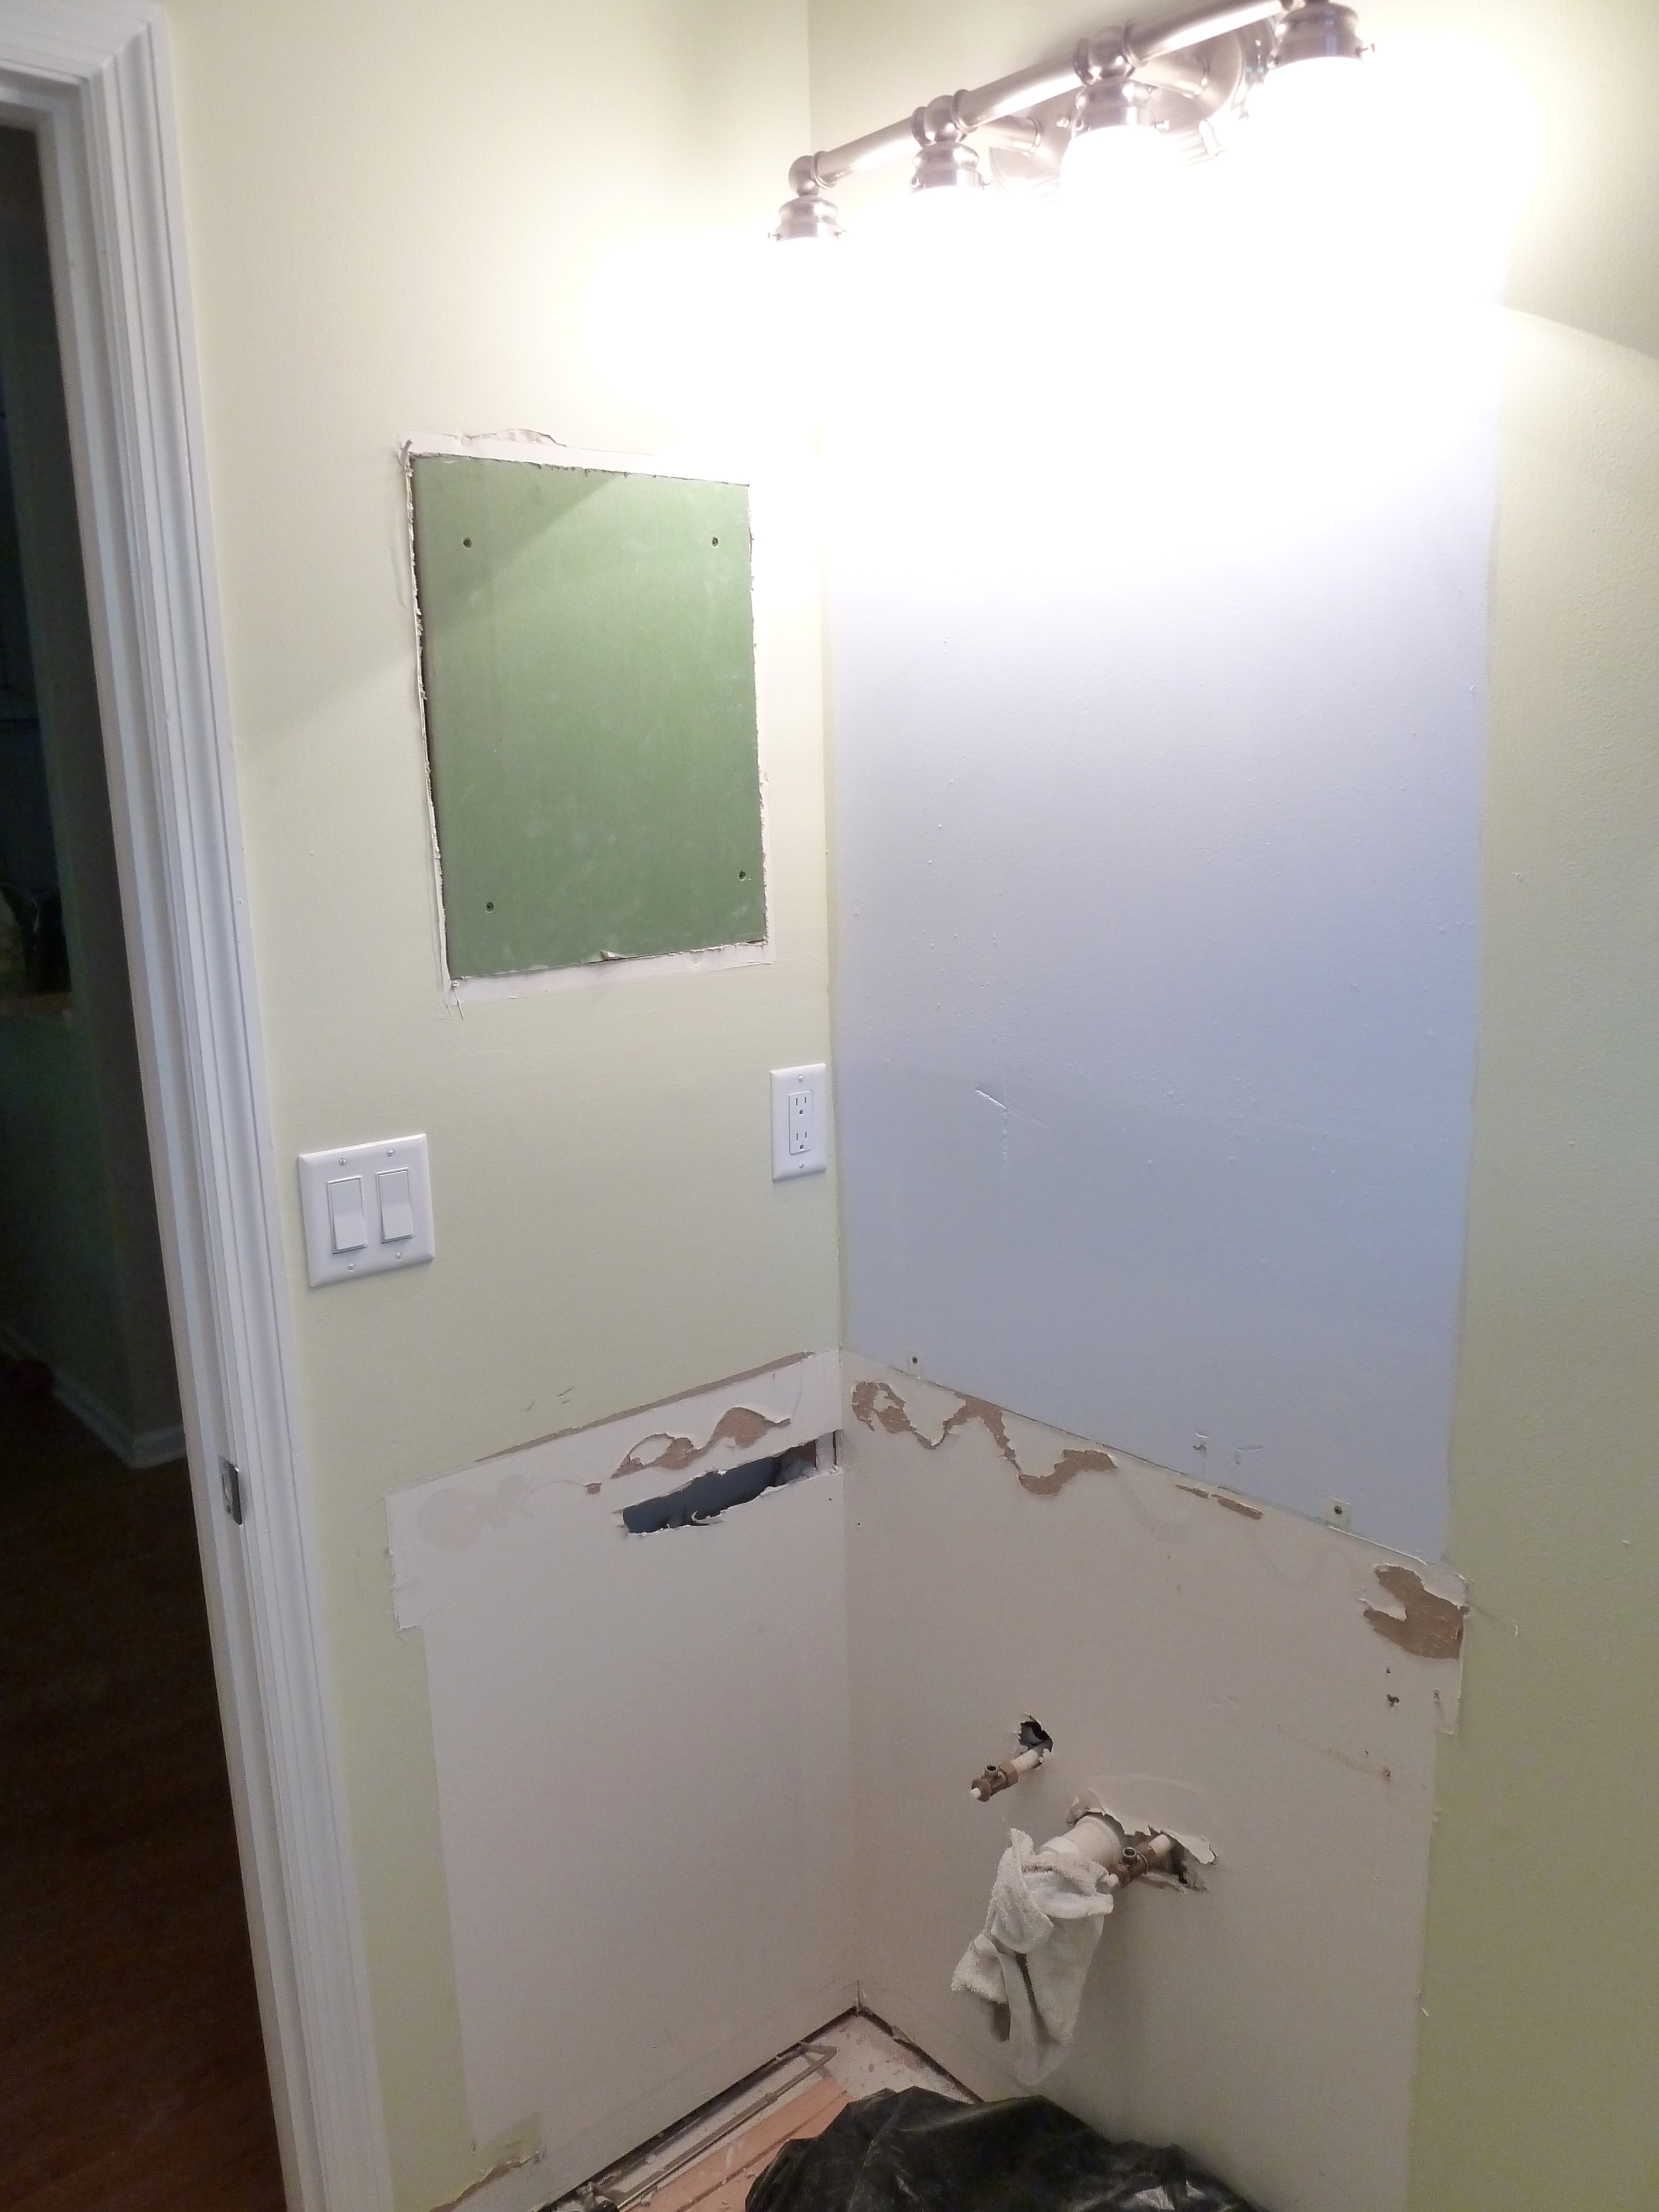
I thought we were done from there and I could begin painting. Well, I was wrong and Justin had another idea, he wanted to remove the mirror. I did hate the mirror and I thought that would also be an easy fix so we took that down too.

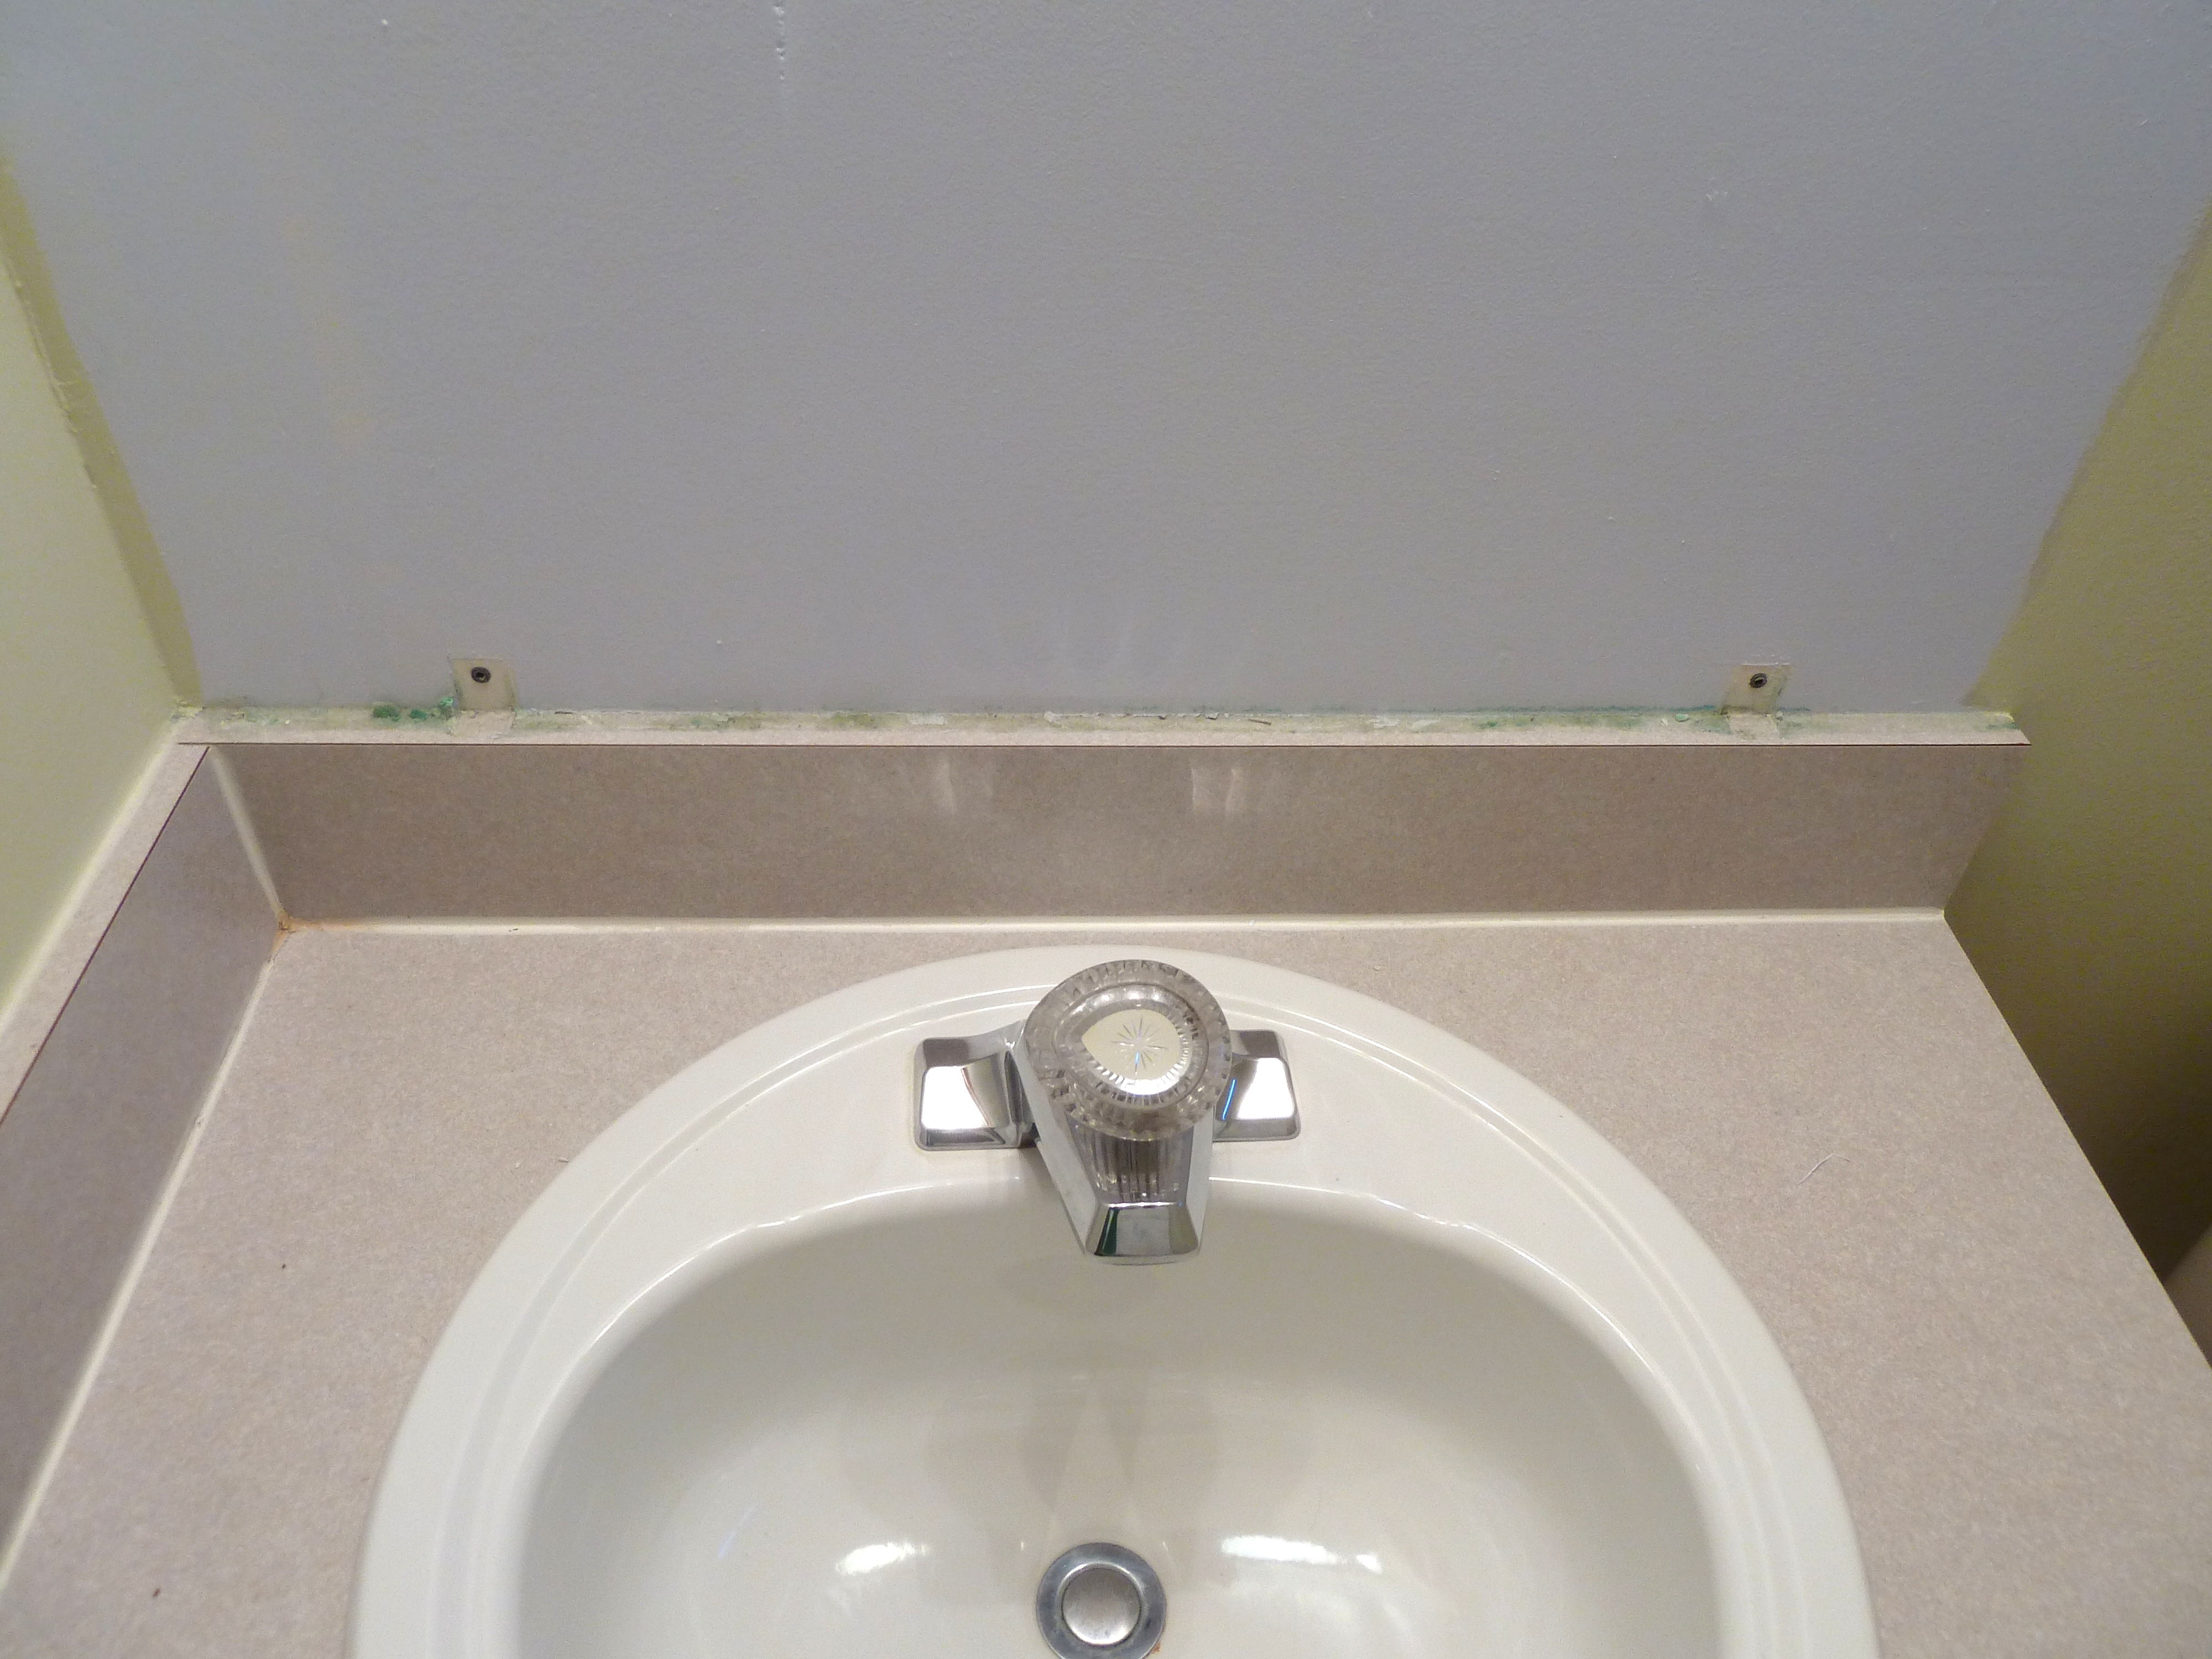
Once the mirror was down we could see all the gross grime that was left in the crevices where it was.

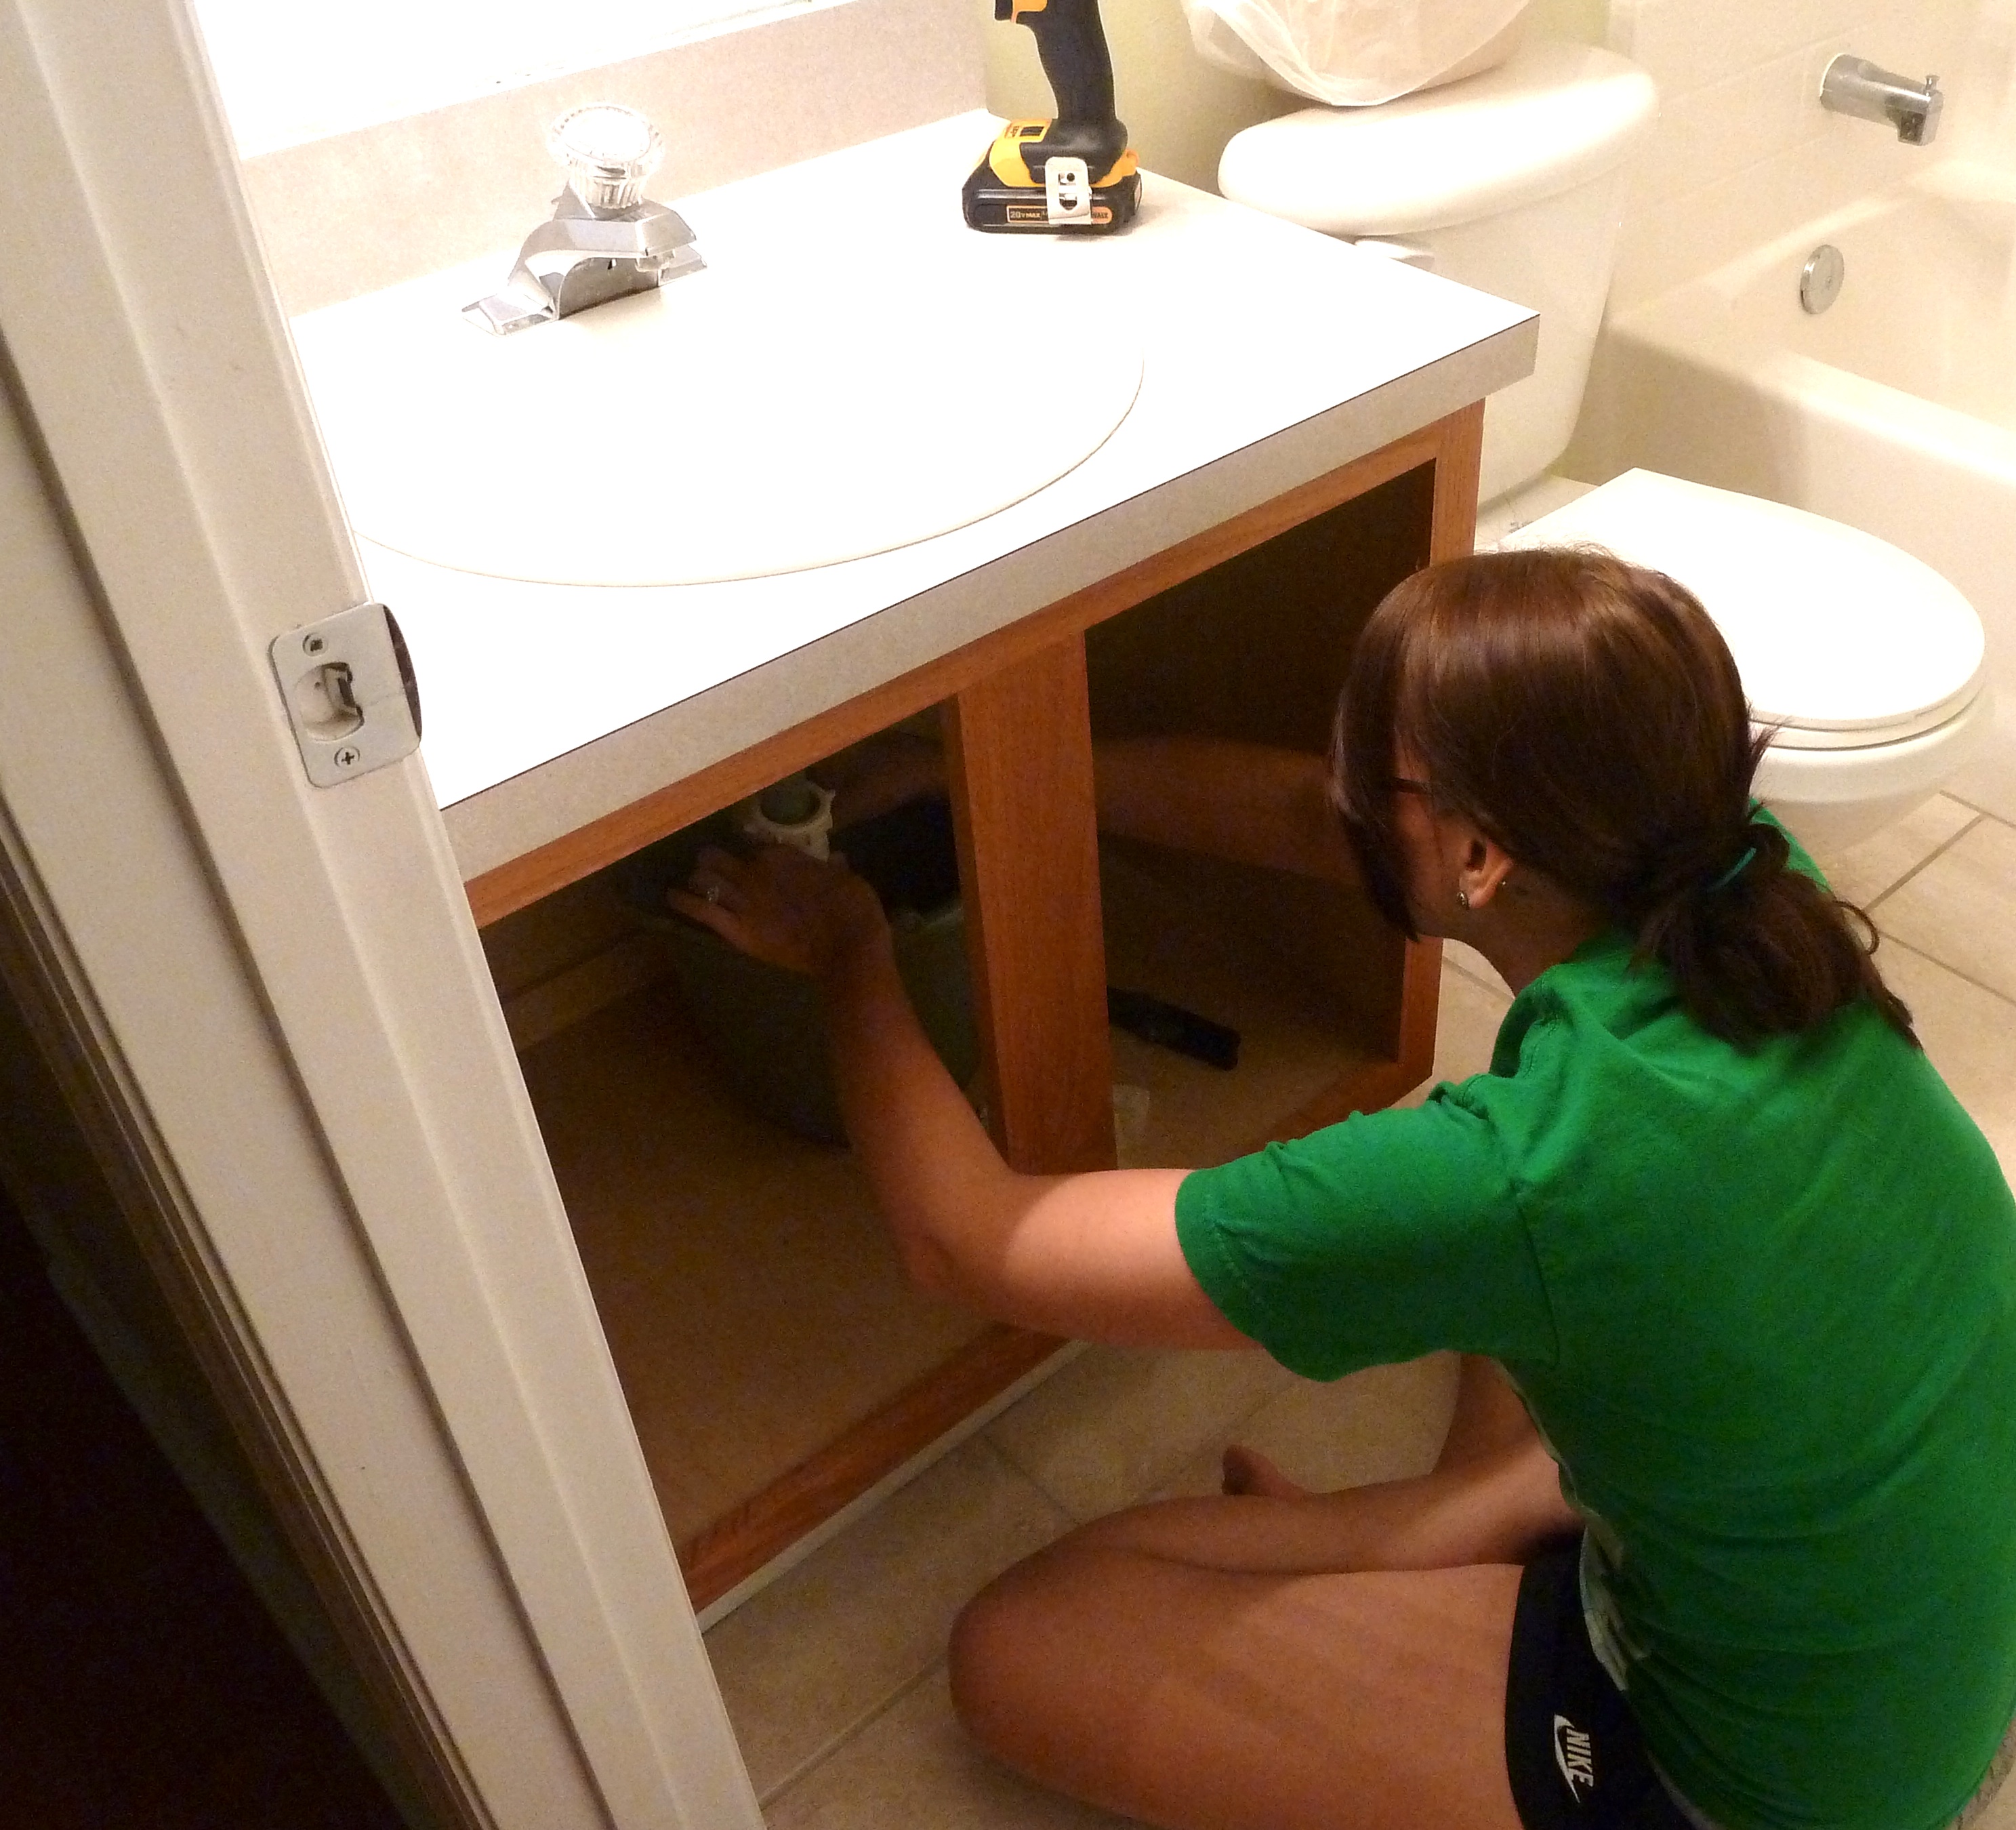
Grrrross. Justin then said, while were at it we might as well remove the vanity since its old and we don’t love it either. You can probably guess that I agreed and we started removing that as well.

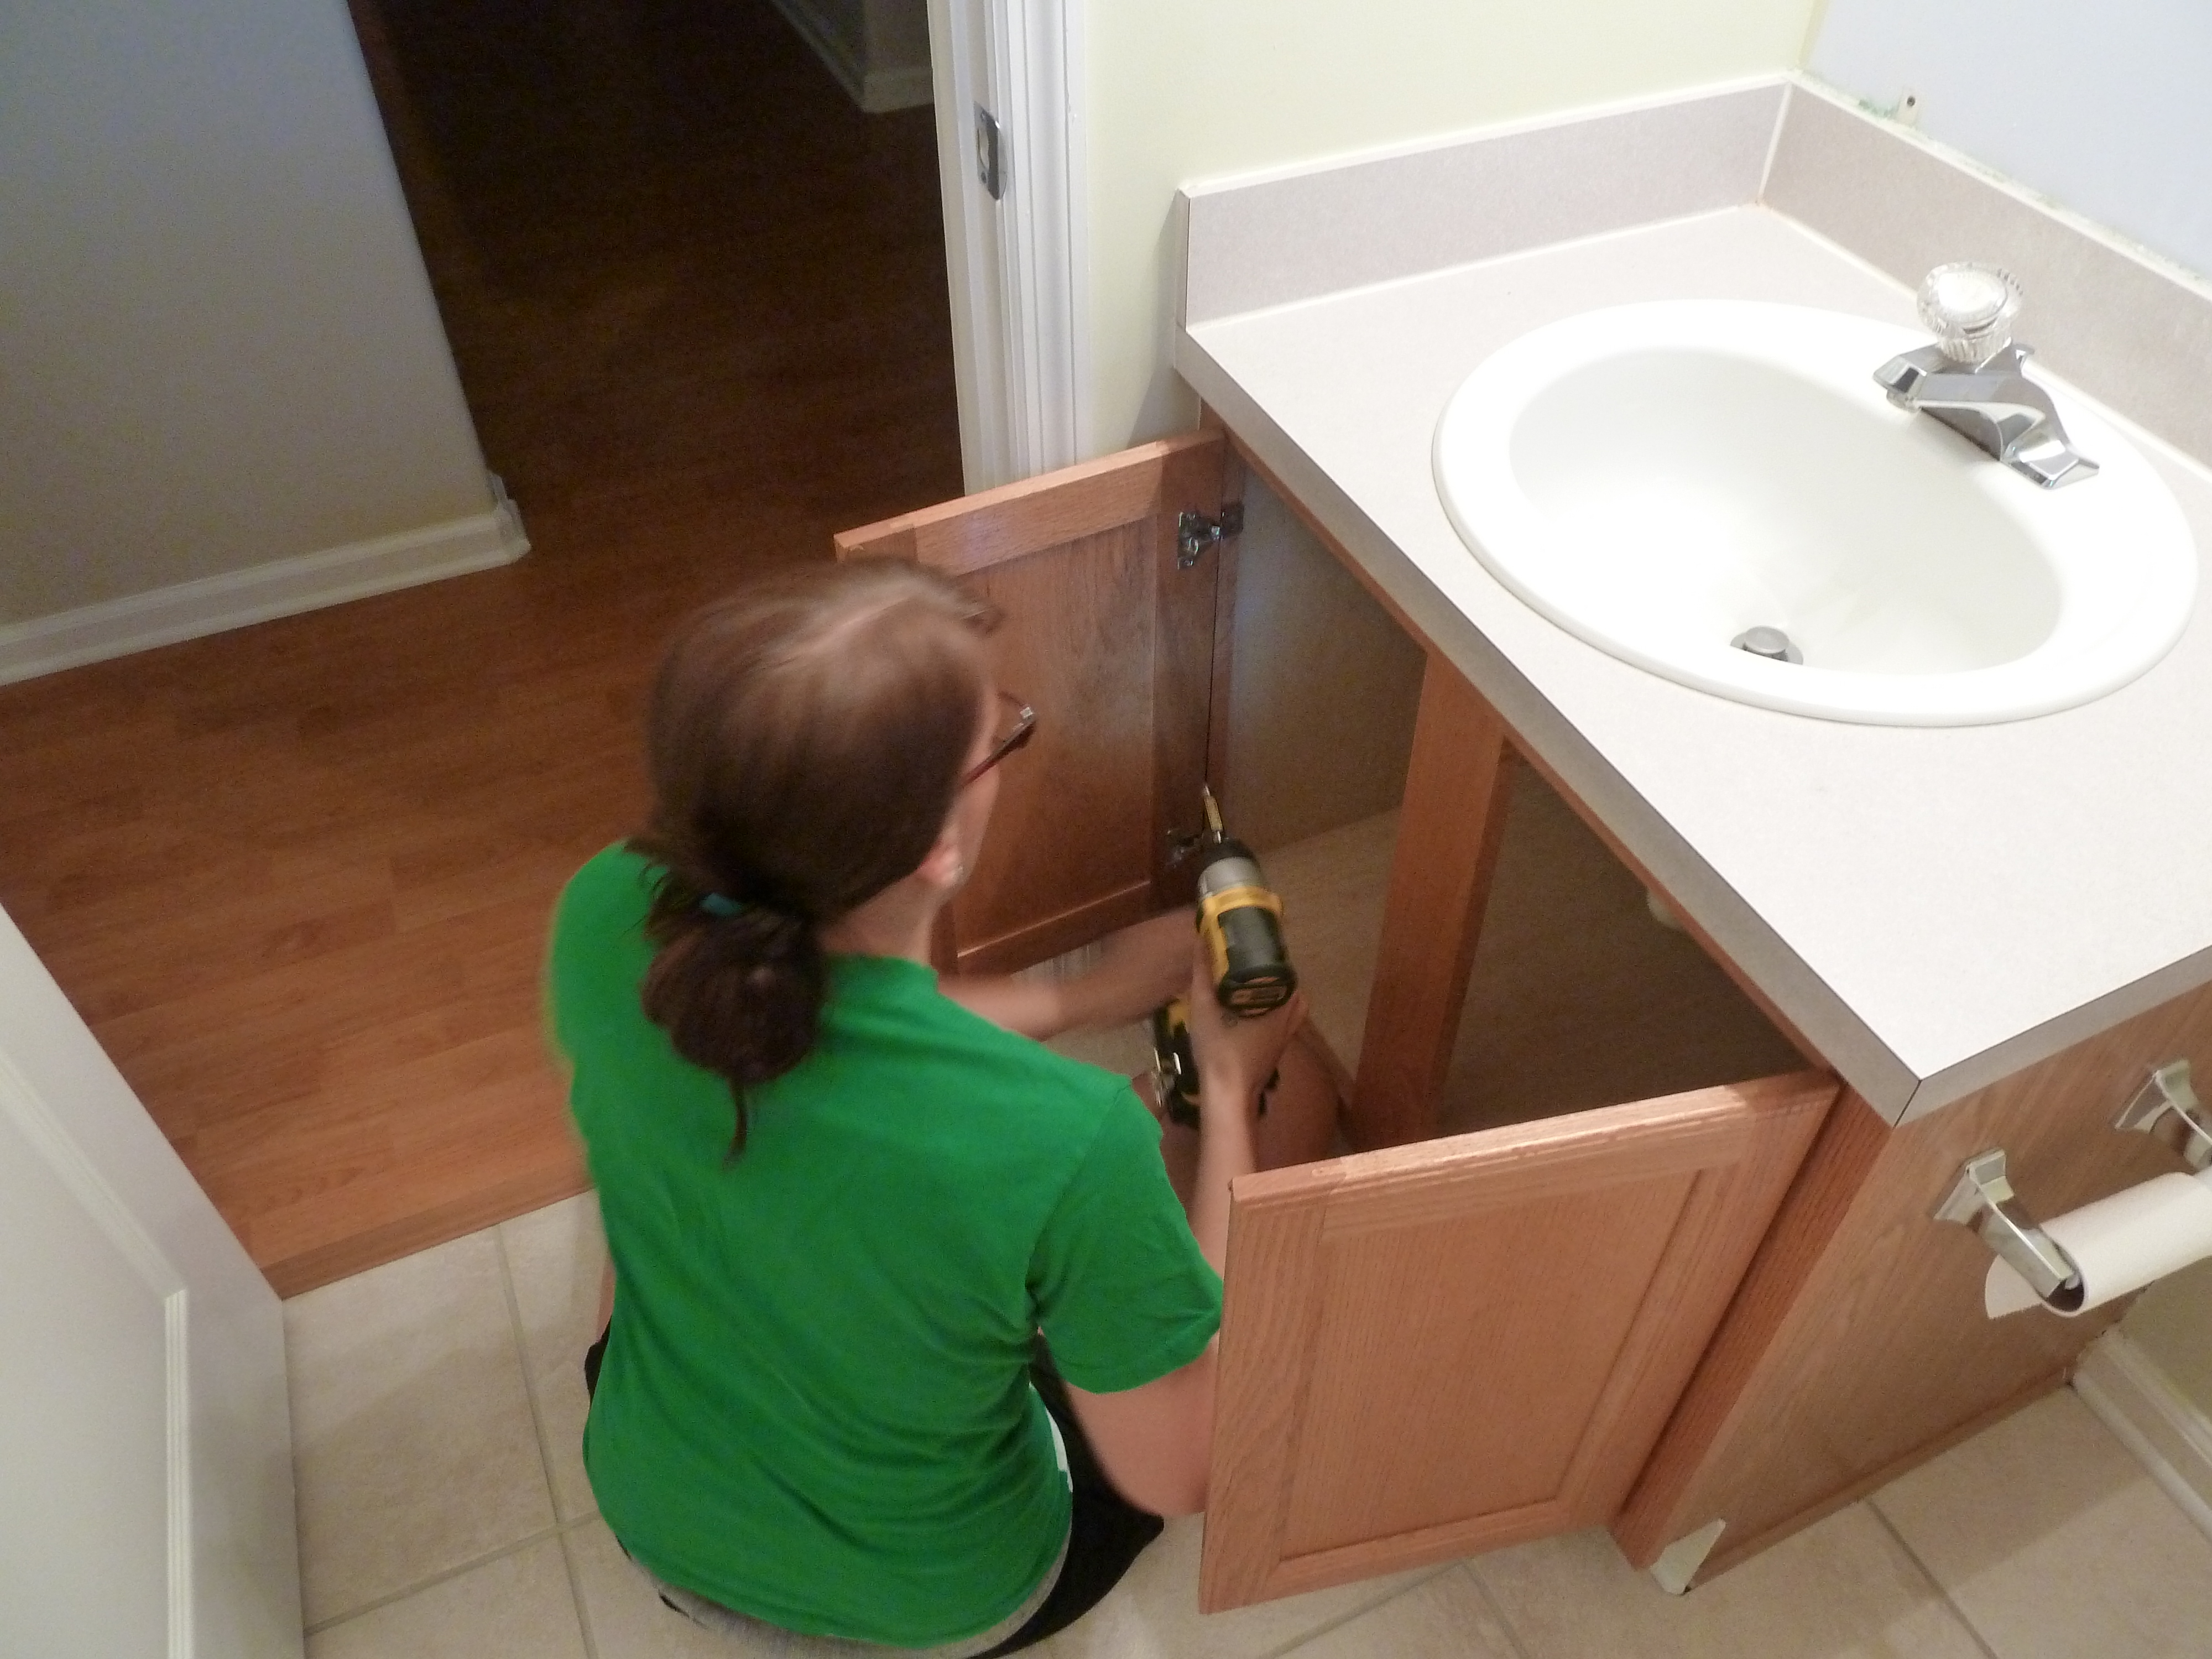
We started by removing the doors first.

Justin then shut off the water and we started removing the plumbing below the vanity.

I was lucky enough to get the job of removing the pipes and letting the old water and hair fall on me, not to mention the fabulous smell that comes with it.

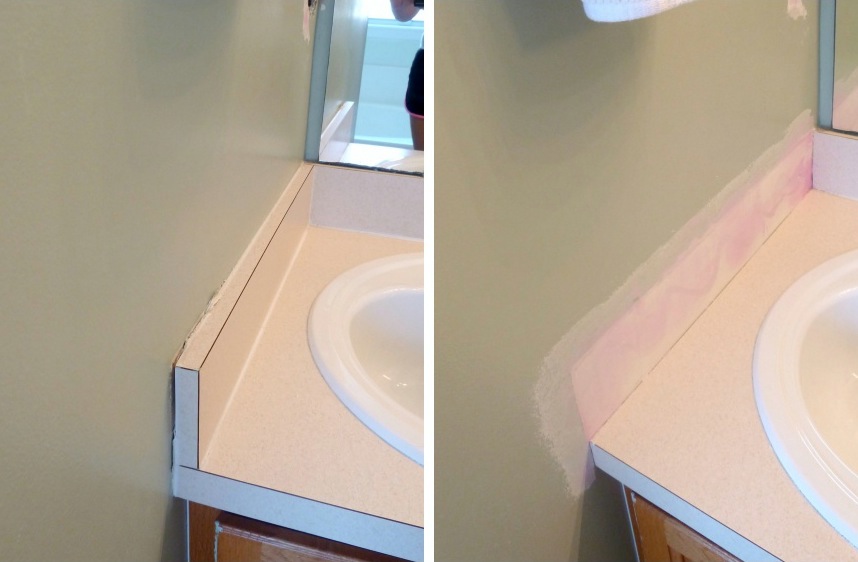
From there we removed the vanity top and the sink, turns out the sink was plastic, who woulda thought! Once the vanity top was off we saw this…

A big hole in the drywall, not a good thing the discover. We were now worried that there was no dry wall behind the vanity at all. There was no turning back at this point so we trucked on.

It took some prying and shimmying, but we got the whole vanity out and we were happy to find drywall! Turns out it was just a small hole on the left side. Phew!
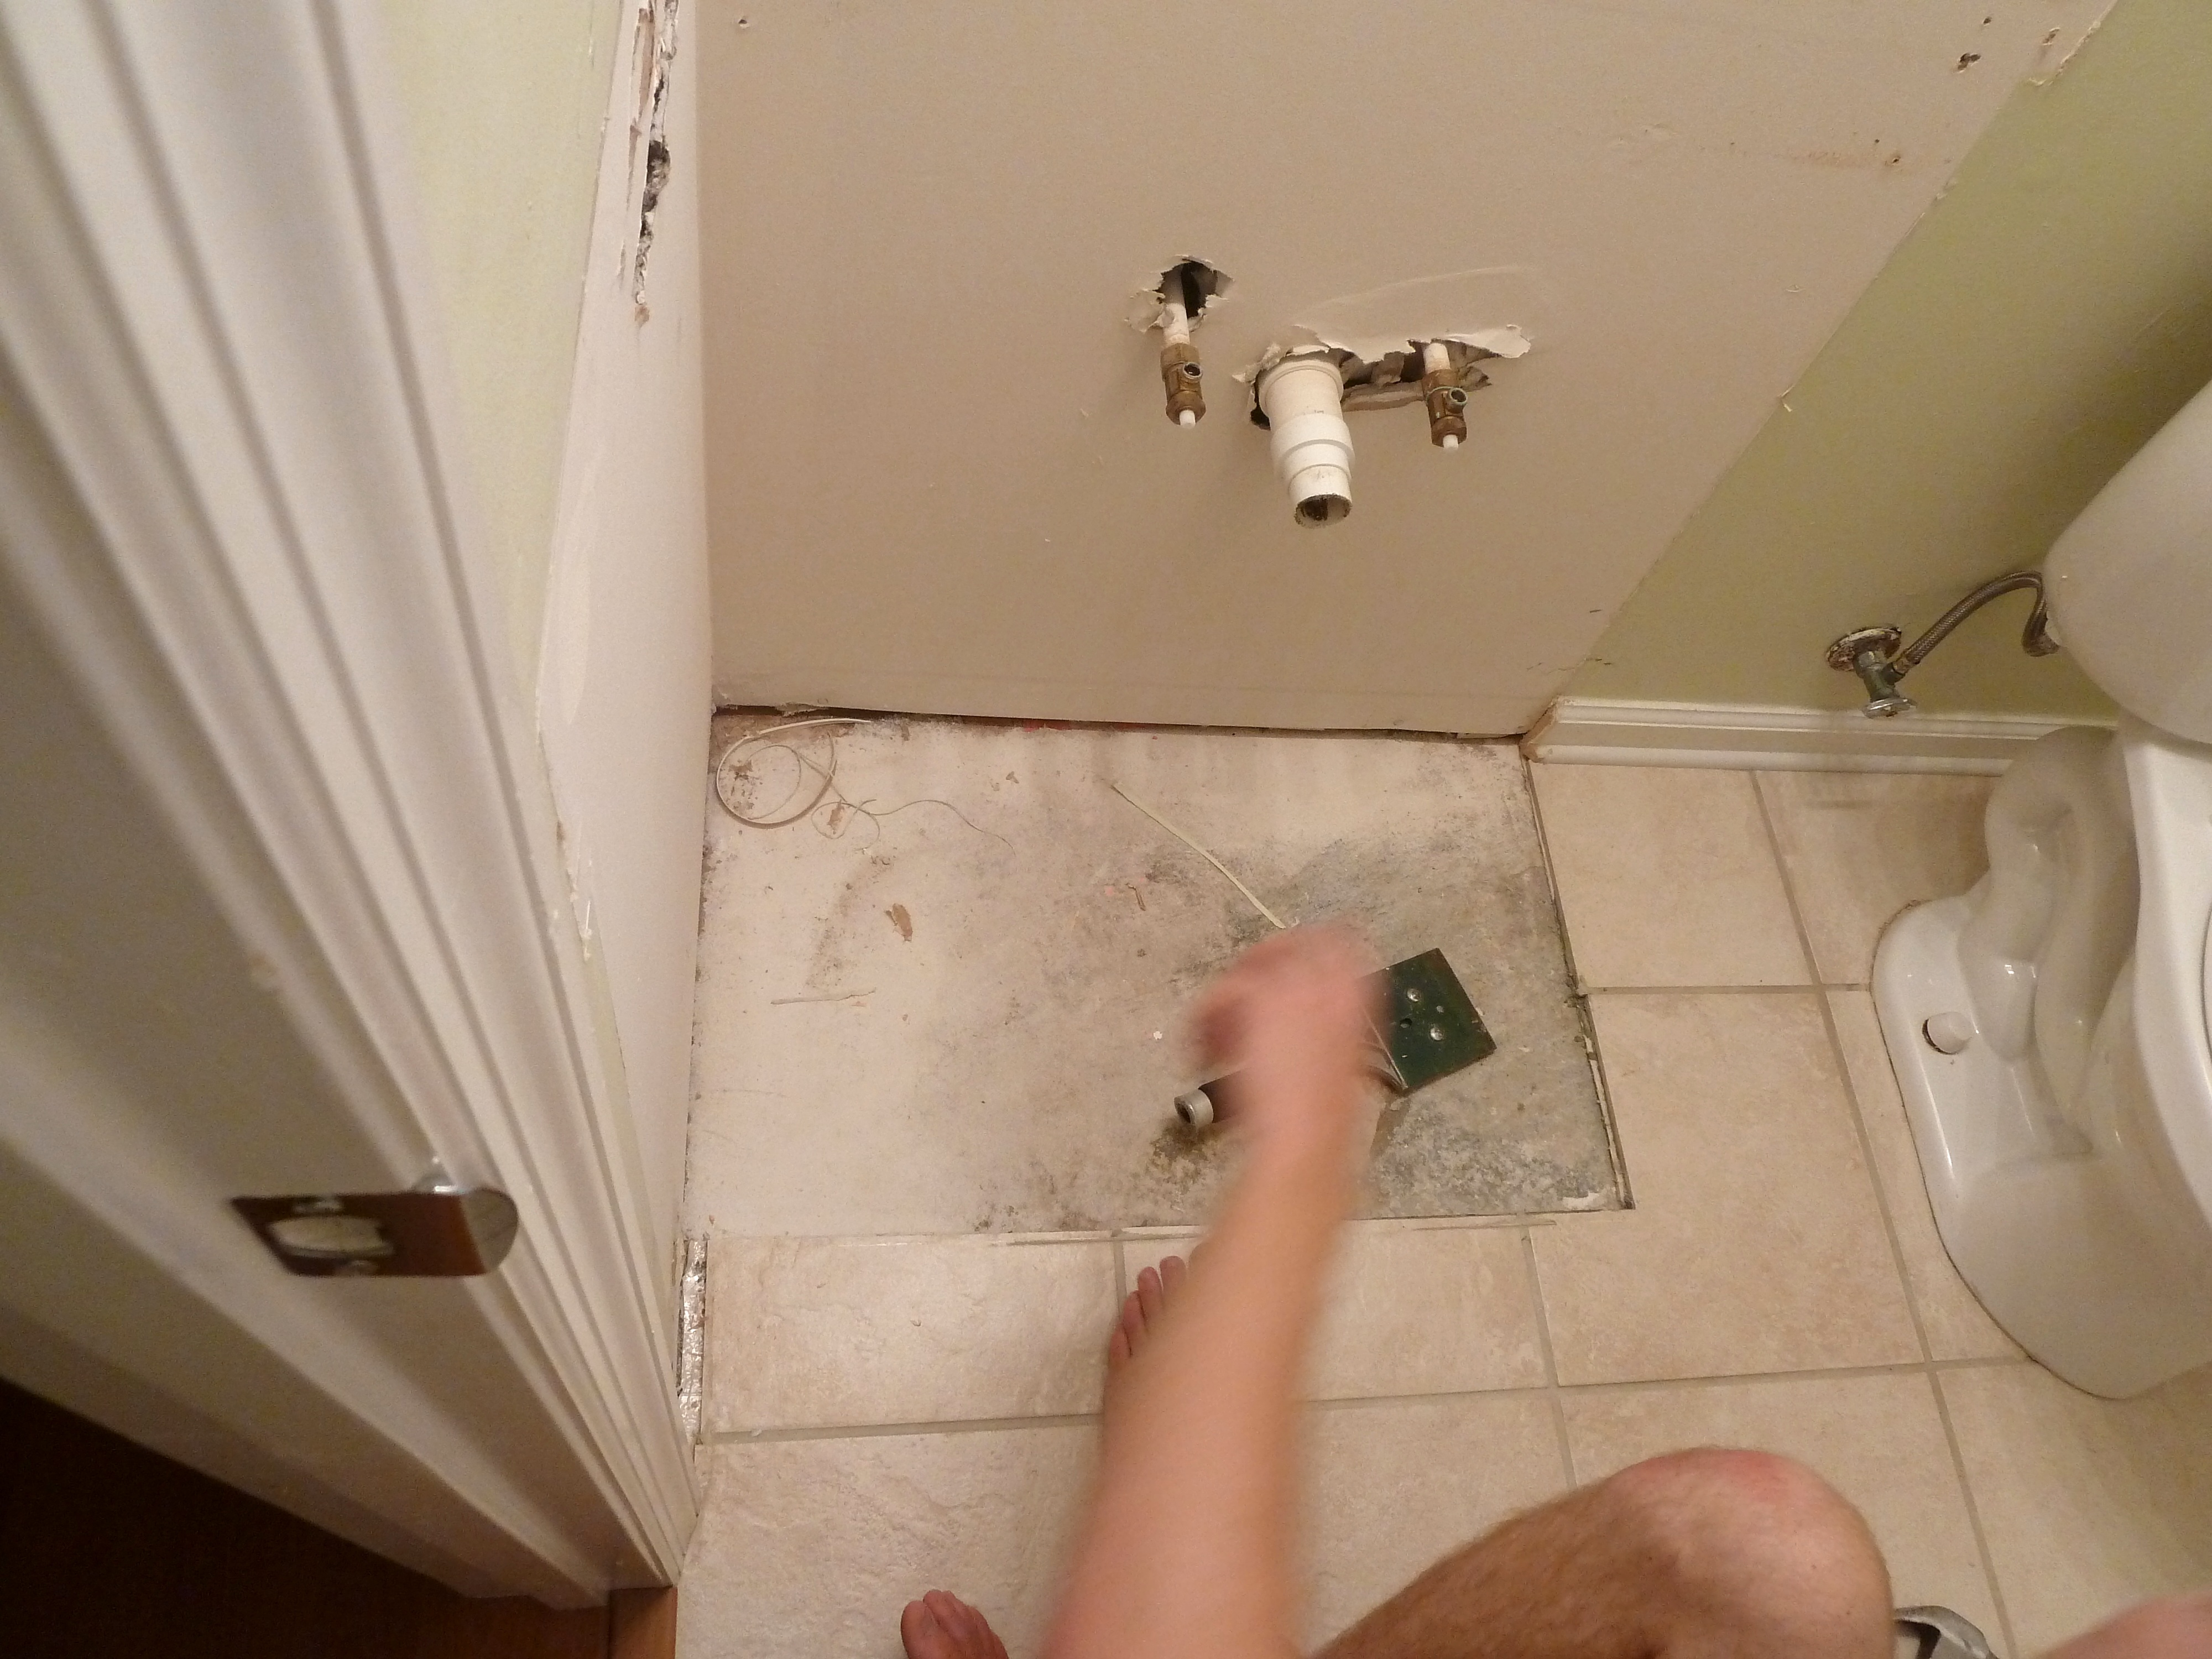
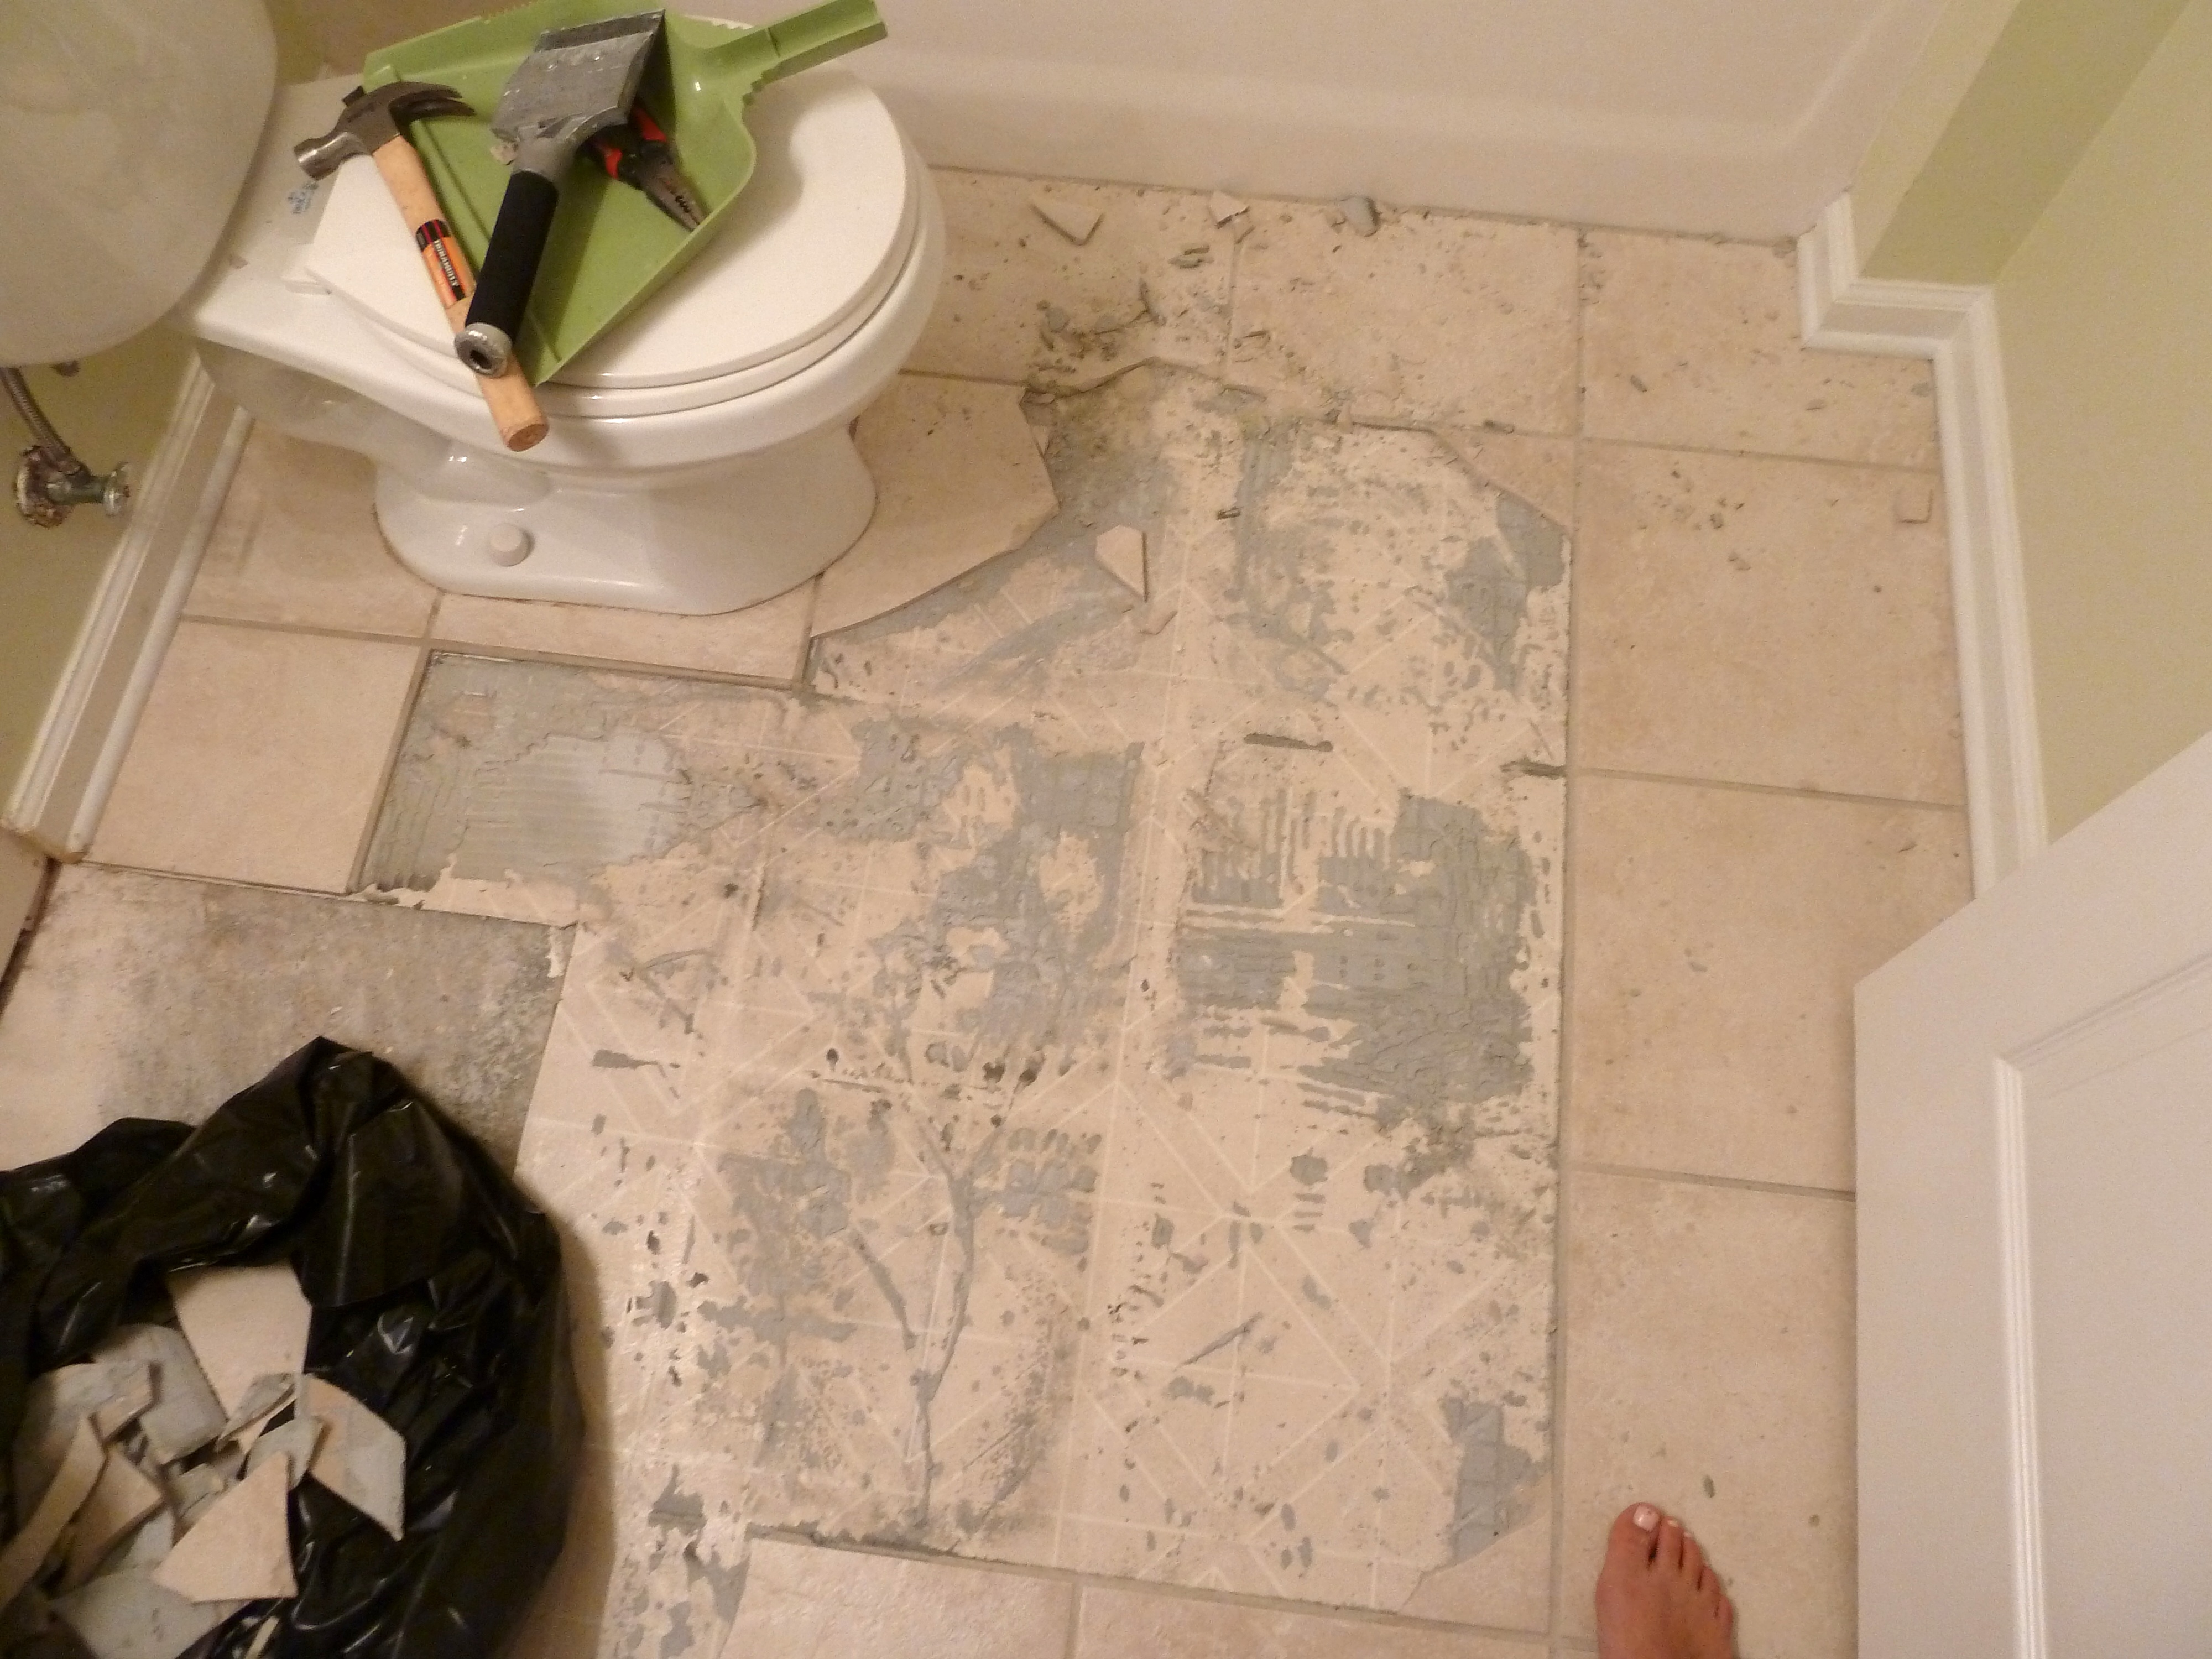
At this point we decided we had no choice but to remove the tile as well since there was no tile under the vanity and the new vanity we were imagining was a free standing one.

So we started prying tiles out to find that the previous owners of this home tiled right over the original linoleum. Woo hoo one more thing to remove!

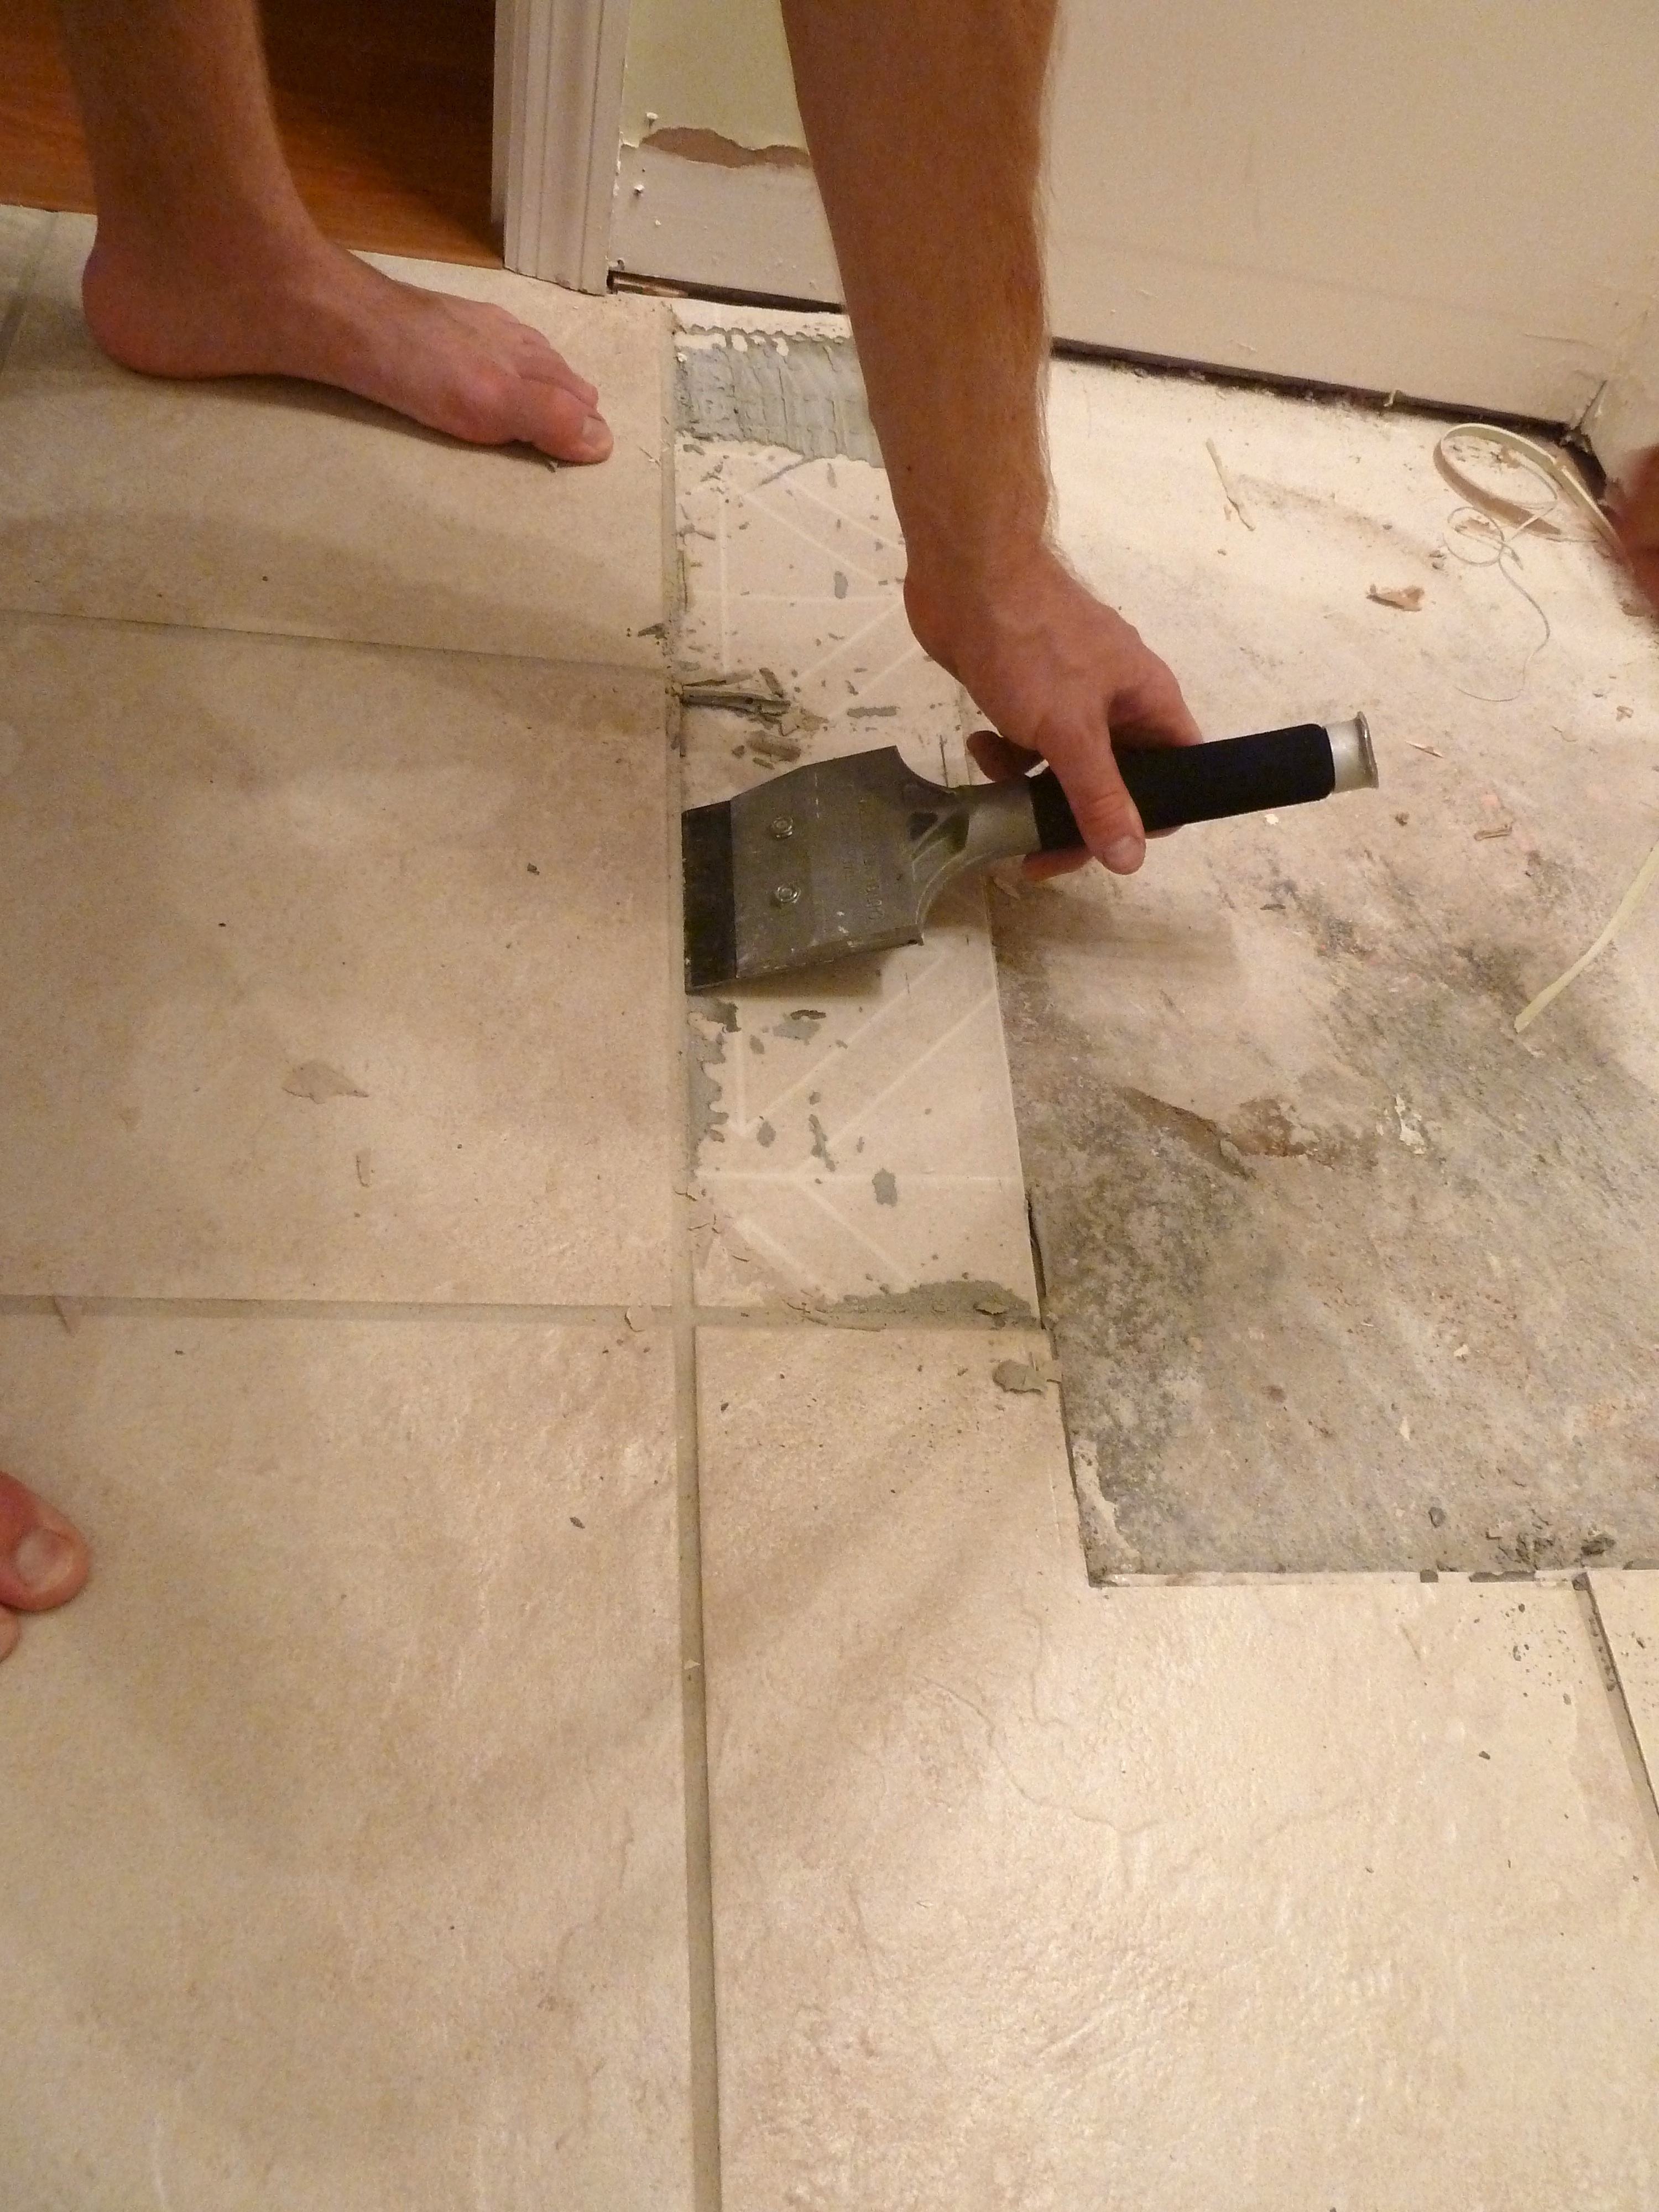
We removed the tile by using a mason chisel and hammer. We tapped the chisel under the tile, more like slammed the chisel under the tile and then pried them up.

This job was not quick, we pried them up in pieces until every tile was gone.

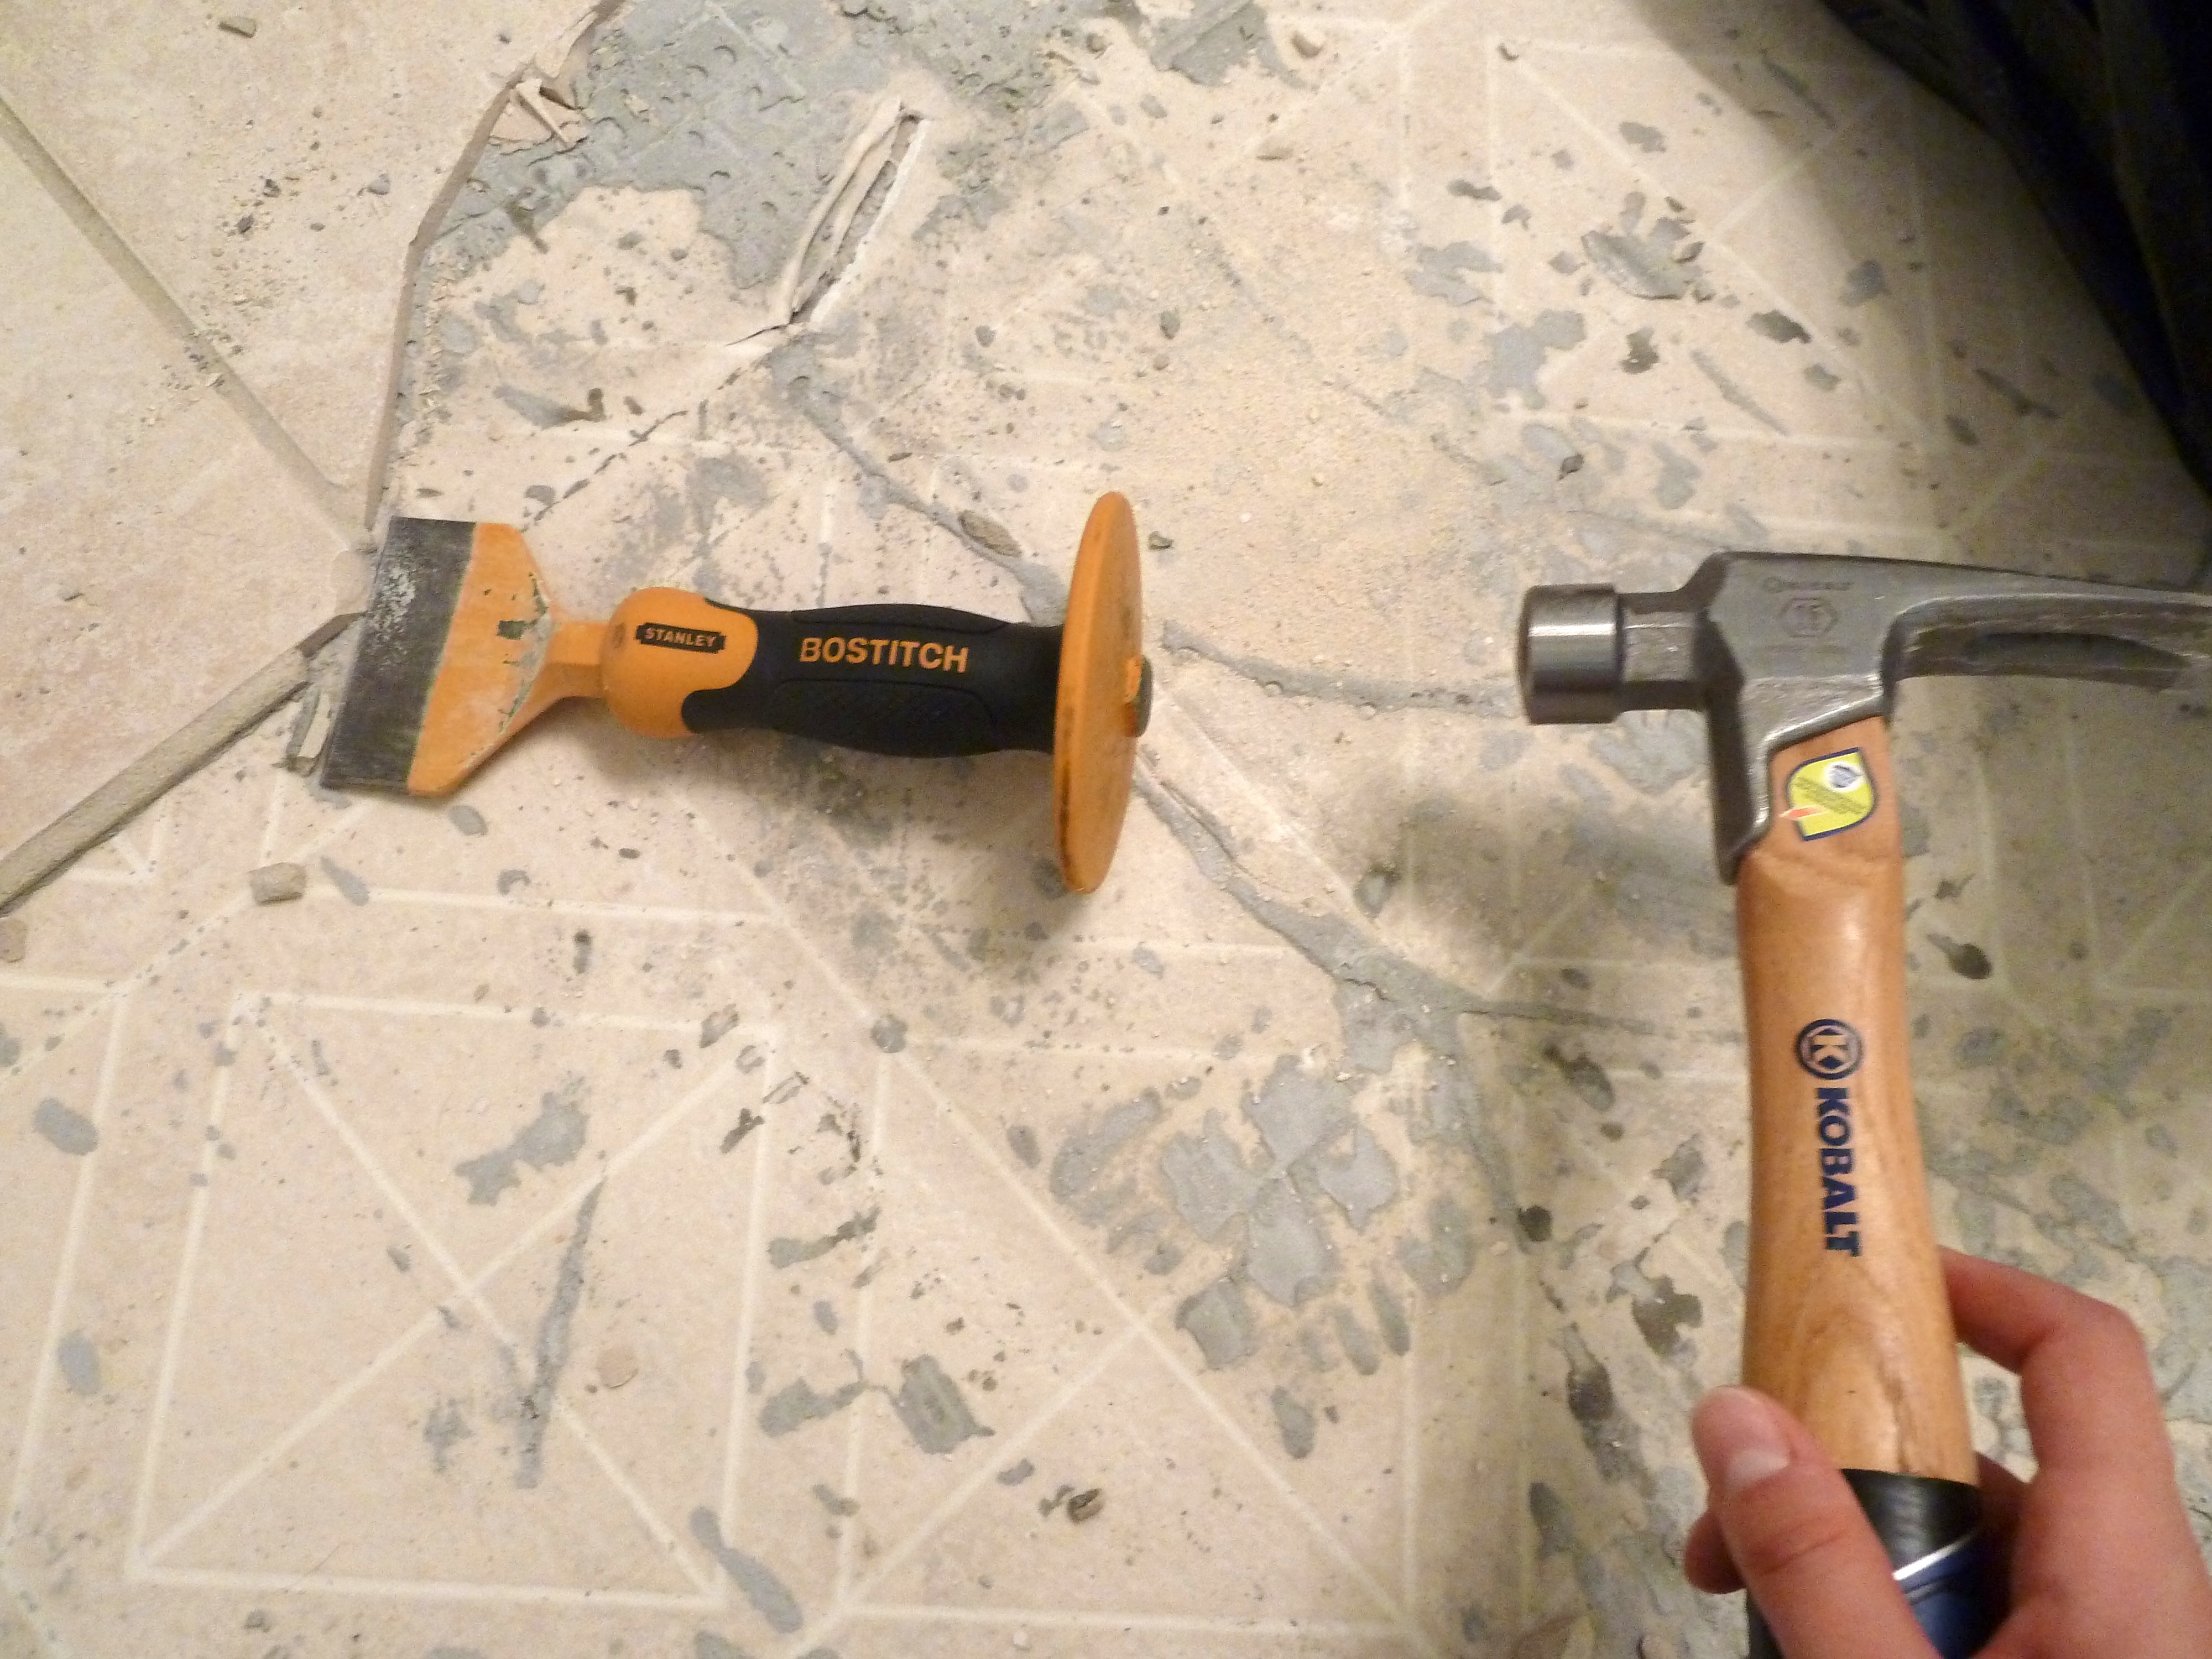
Also this job is kinda dangerous. Justin and I were bleeding on our hands and arms and I even was bleeding from my forehead. Little shards of ceramic tile pop up when you chisel them out. Fun stuff! From here we called it a night considering it was 8pm.
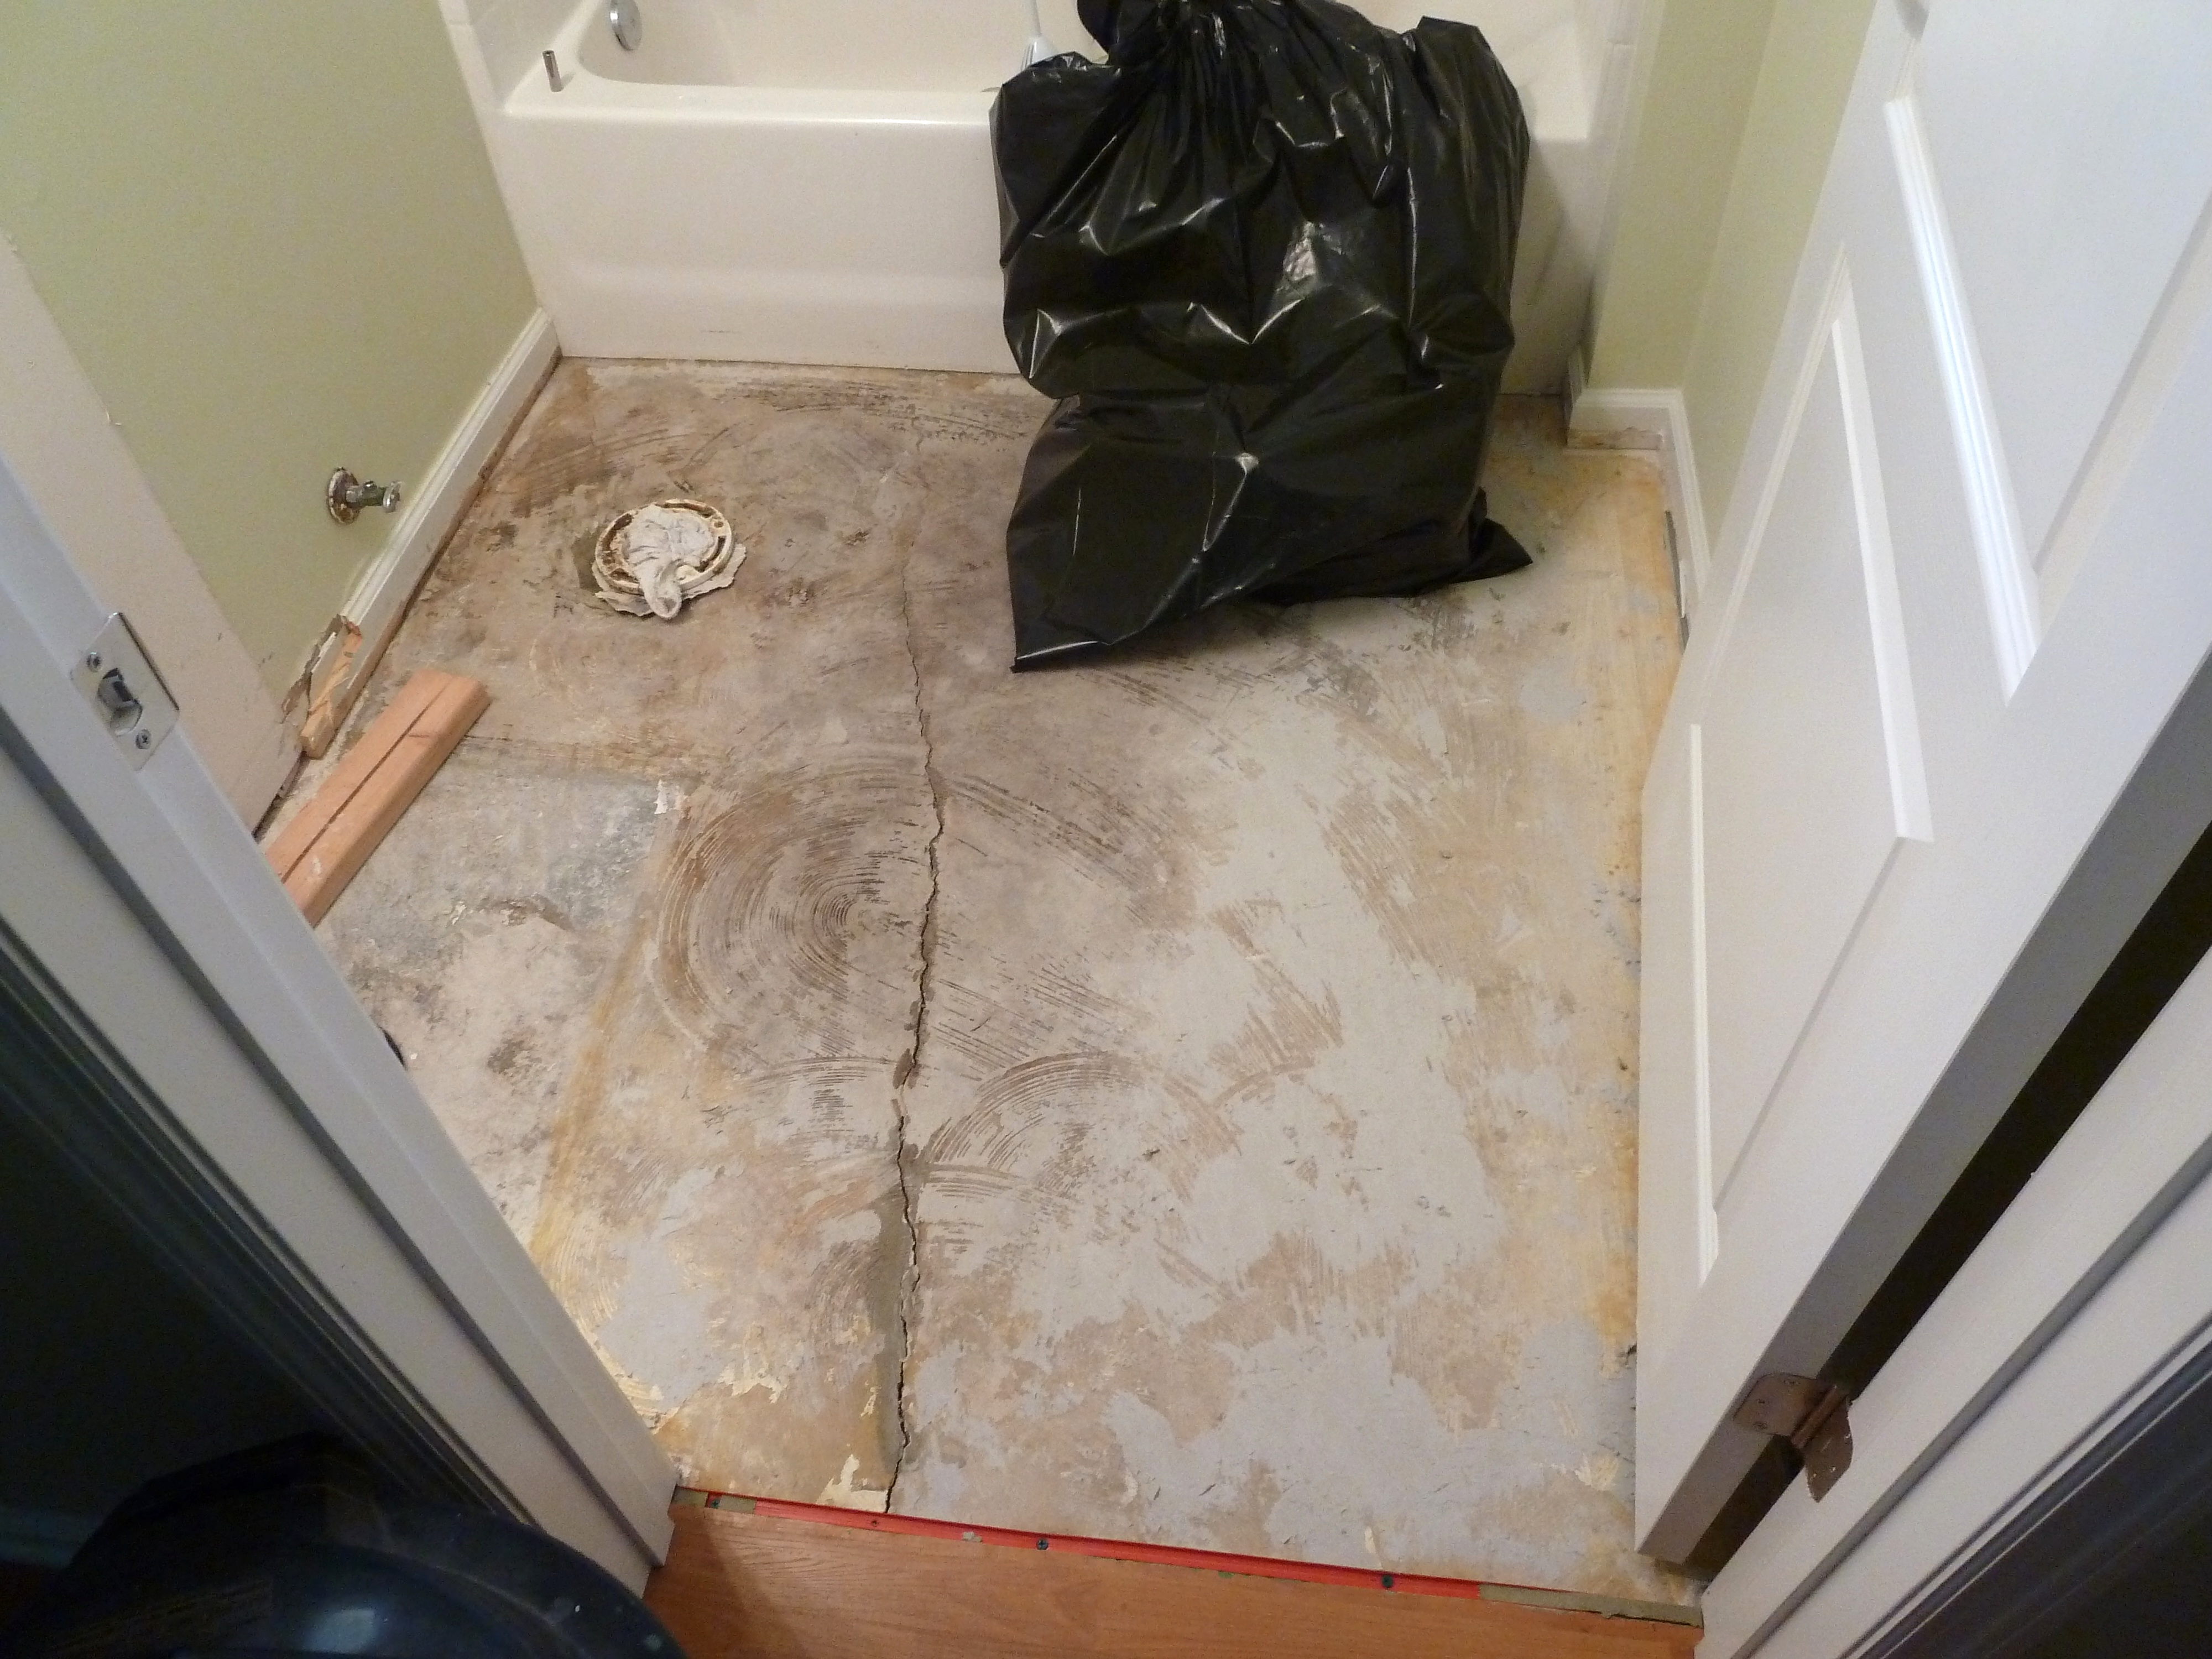
Bright and early I went to town removing the rest of the tile while Justin was prepping the wall to repair the hole from the medicine cabinet. This time I was prepared though!

Yes, Justin got me a safety mask and yes I am wearing the same shirt.
Justin also removed the toilet so I could get the tiles that were under the edges of it. So once I finished removing the tile and ripping up the remaining linoleum it looked like this…

Do you notice anything on the floor in this photo? Possibly a crack in the foundation?

Oh hi crack! At this point we were thinking this project just got really expensive, so we called Justin’s dad. Turns out it is perfectly normal for the foundation to settle and to get cracks in some areas. Man were we relieved!
While I finished up Justin had already installed the drywall to fill the hole in the wall.

Finally making some progress!
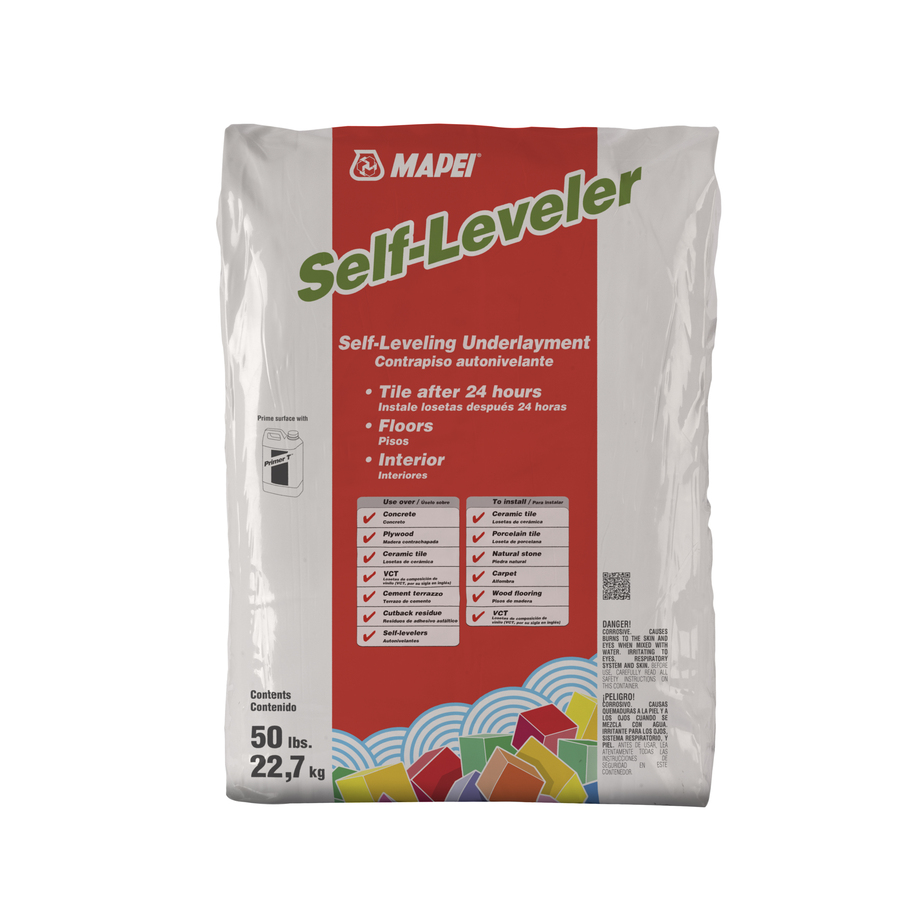
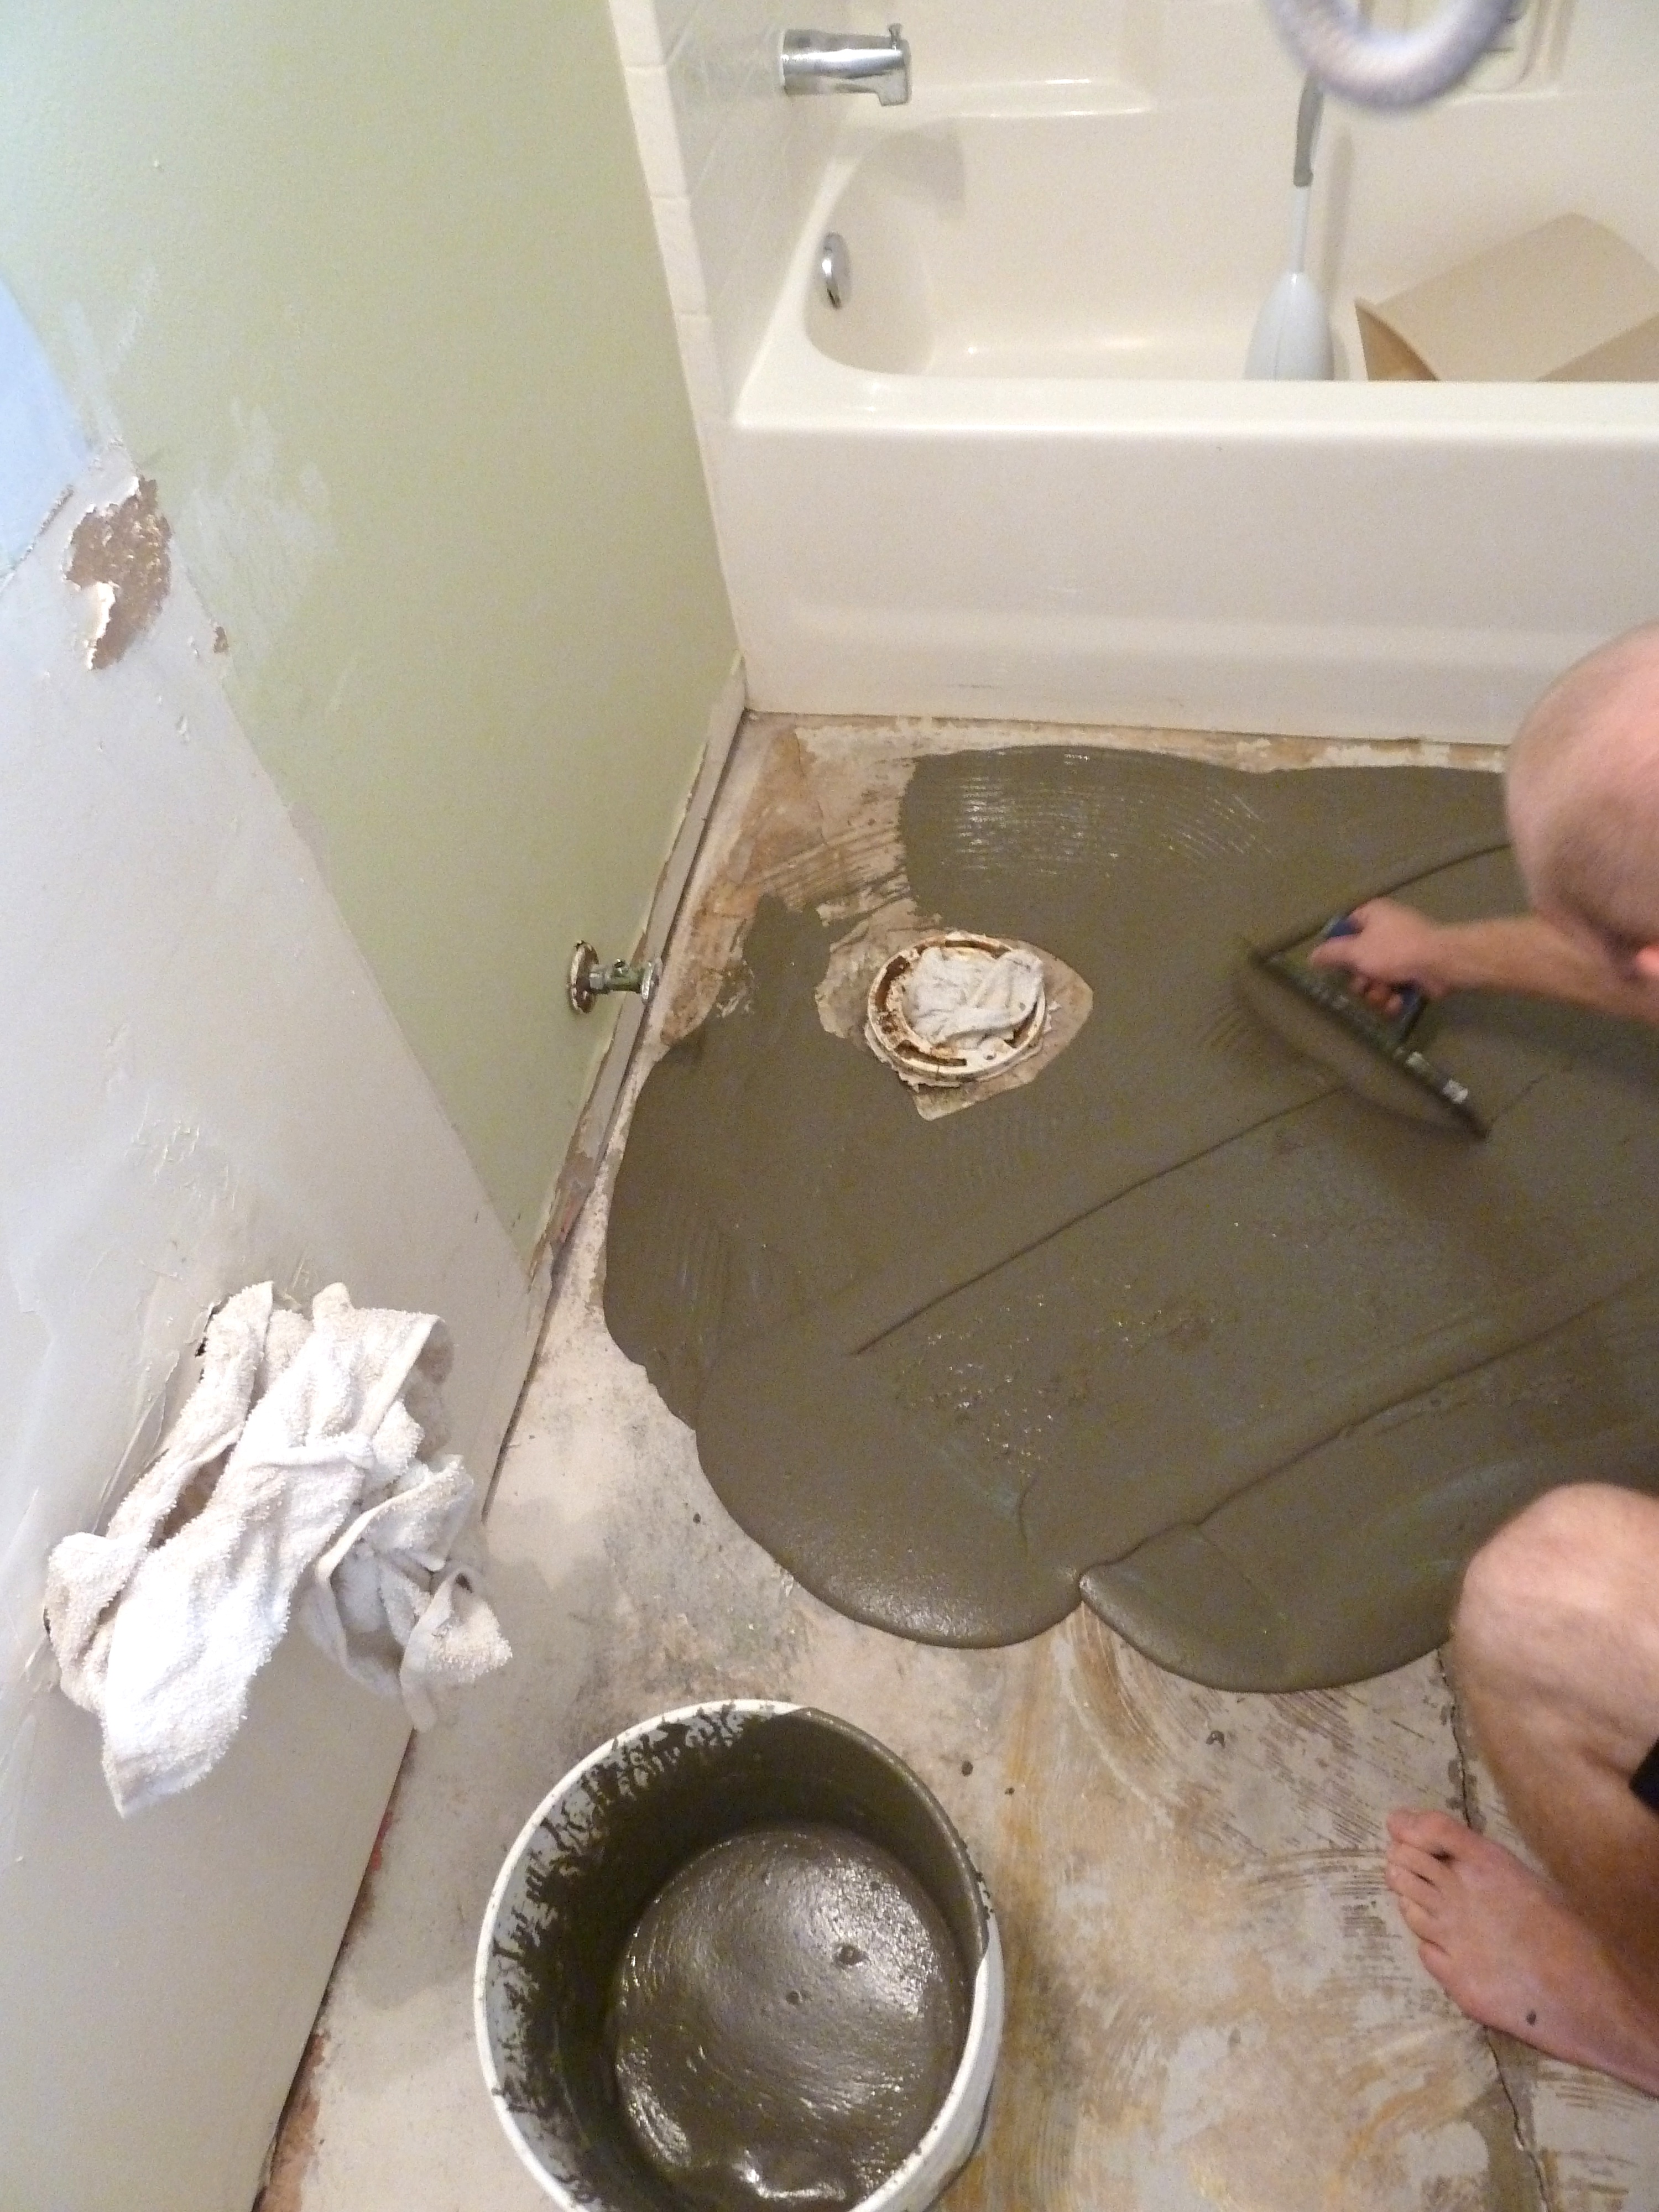
From there Justin’s dad told us we should probably pour down some cement underlayment, so we are sure the floor is level when we lay the new tile. So off I went to Lowes and picked up a bag of this…

Once I got home Justin mixed up a batch of the cement and started pouring it in.

At this point we need to wait for the underlayment to settle and dry for 24 hours and then we can start laying tile and working on other projects in the room! Man this project got big fast!