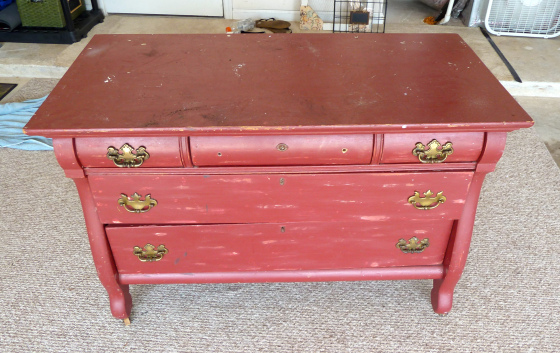
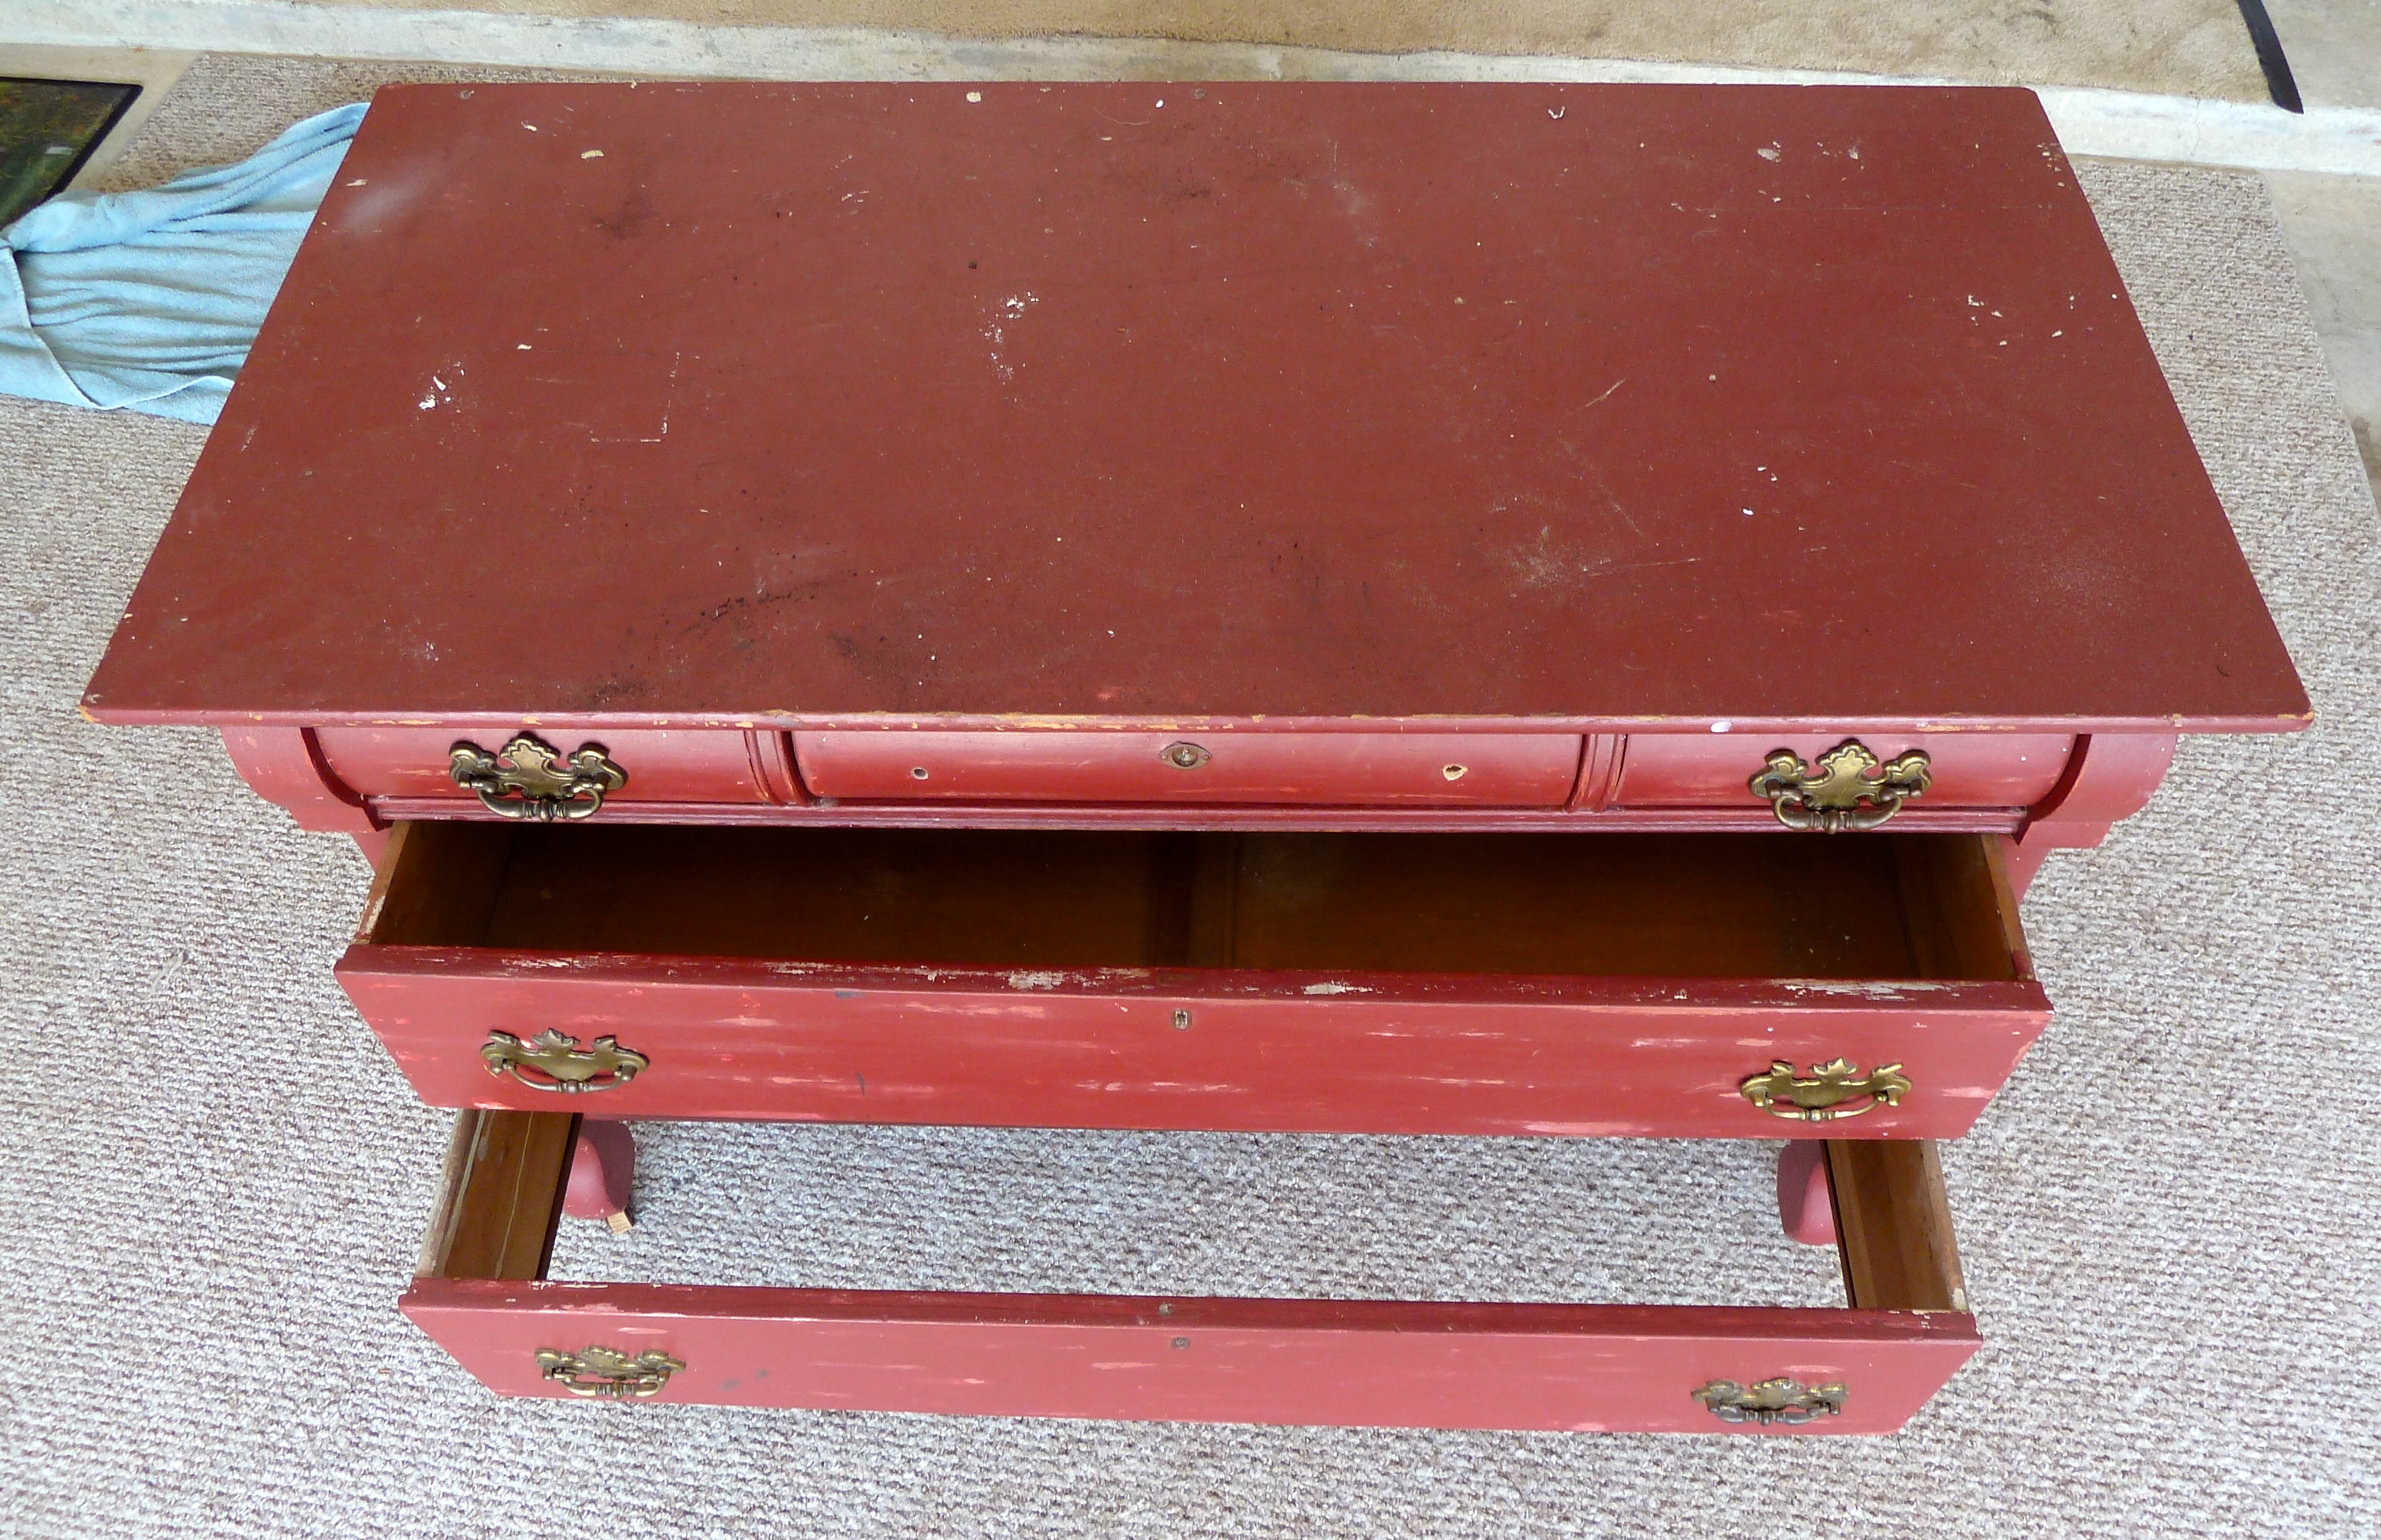
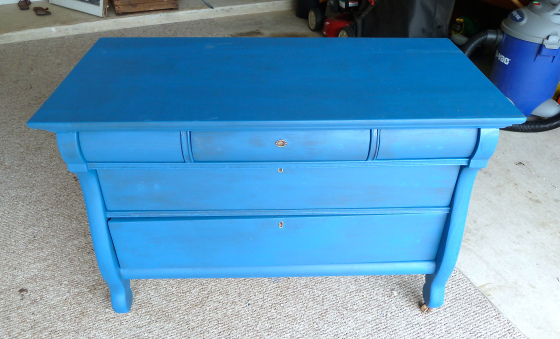
If you have been following my blog for a while, you know that I love me a good antique dresser. If you’re new to my blog… Well, I love antique dressers! Now, that we are all caught up, let me tell you about my most recent find. This beaut was another Craigslist treasure. That Craig and his crazy list sure have a some hidden gems. I got this tall antique dresser from good old Craig for $40. Sure, it needed some work, but the $40 was money well spent. Here’s a side view, just in case you didn’t get enough of the lovely dull yellow paint…
 I went a different route this time, then the last dresser I tackled. Instead of sanding the many old layers of paint off this old girl, I decided to use a paint stripper. I have never used a stripper before, so I was pumped to give it a try. I did some googling to find out which stripping agent had the best results. It seemed that most DIYers out there are loving Citristrip Stripping Gel. I had my winner, I picked up this bottle of Citristrip at Home Depot for $11.98.
  I have heard some harsh things around the interweb about paint stripping agents. Apparently, they can have some pretty rank smells, and be damaging to many materials, including skin. This stuff was rated highly because it has a nice orange scent and it is safe enough to use indoors. And, although, I had the option to work inside, I still chose to take this project out to the garage (thank goodness, it was a filthy job). I, also, used a good pair of gloves because this stuff will still harm your skin.
Before I went to town slathering Citristrip everywhere, I removed all of the knobs and gave it a good wipe down, including inside of the drawers. Then, I just used an old paint brush to brush the Citrstrip on every painted surface of the dresser. It took me about 30 minutes to cover all of the surfaces.
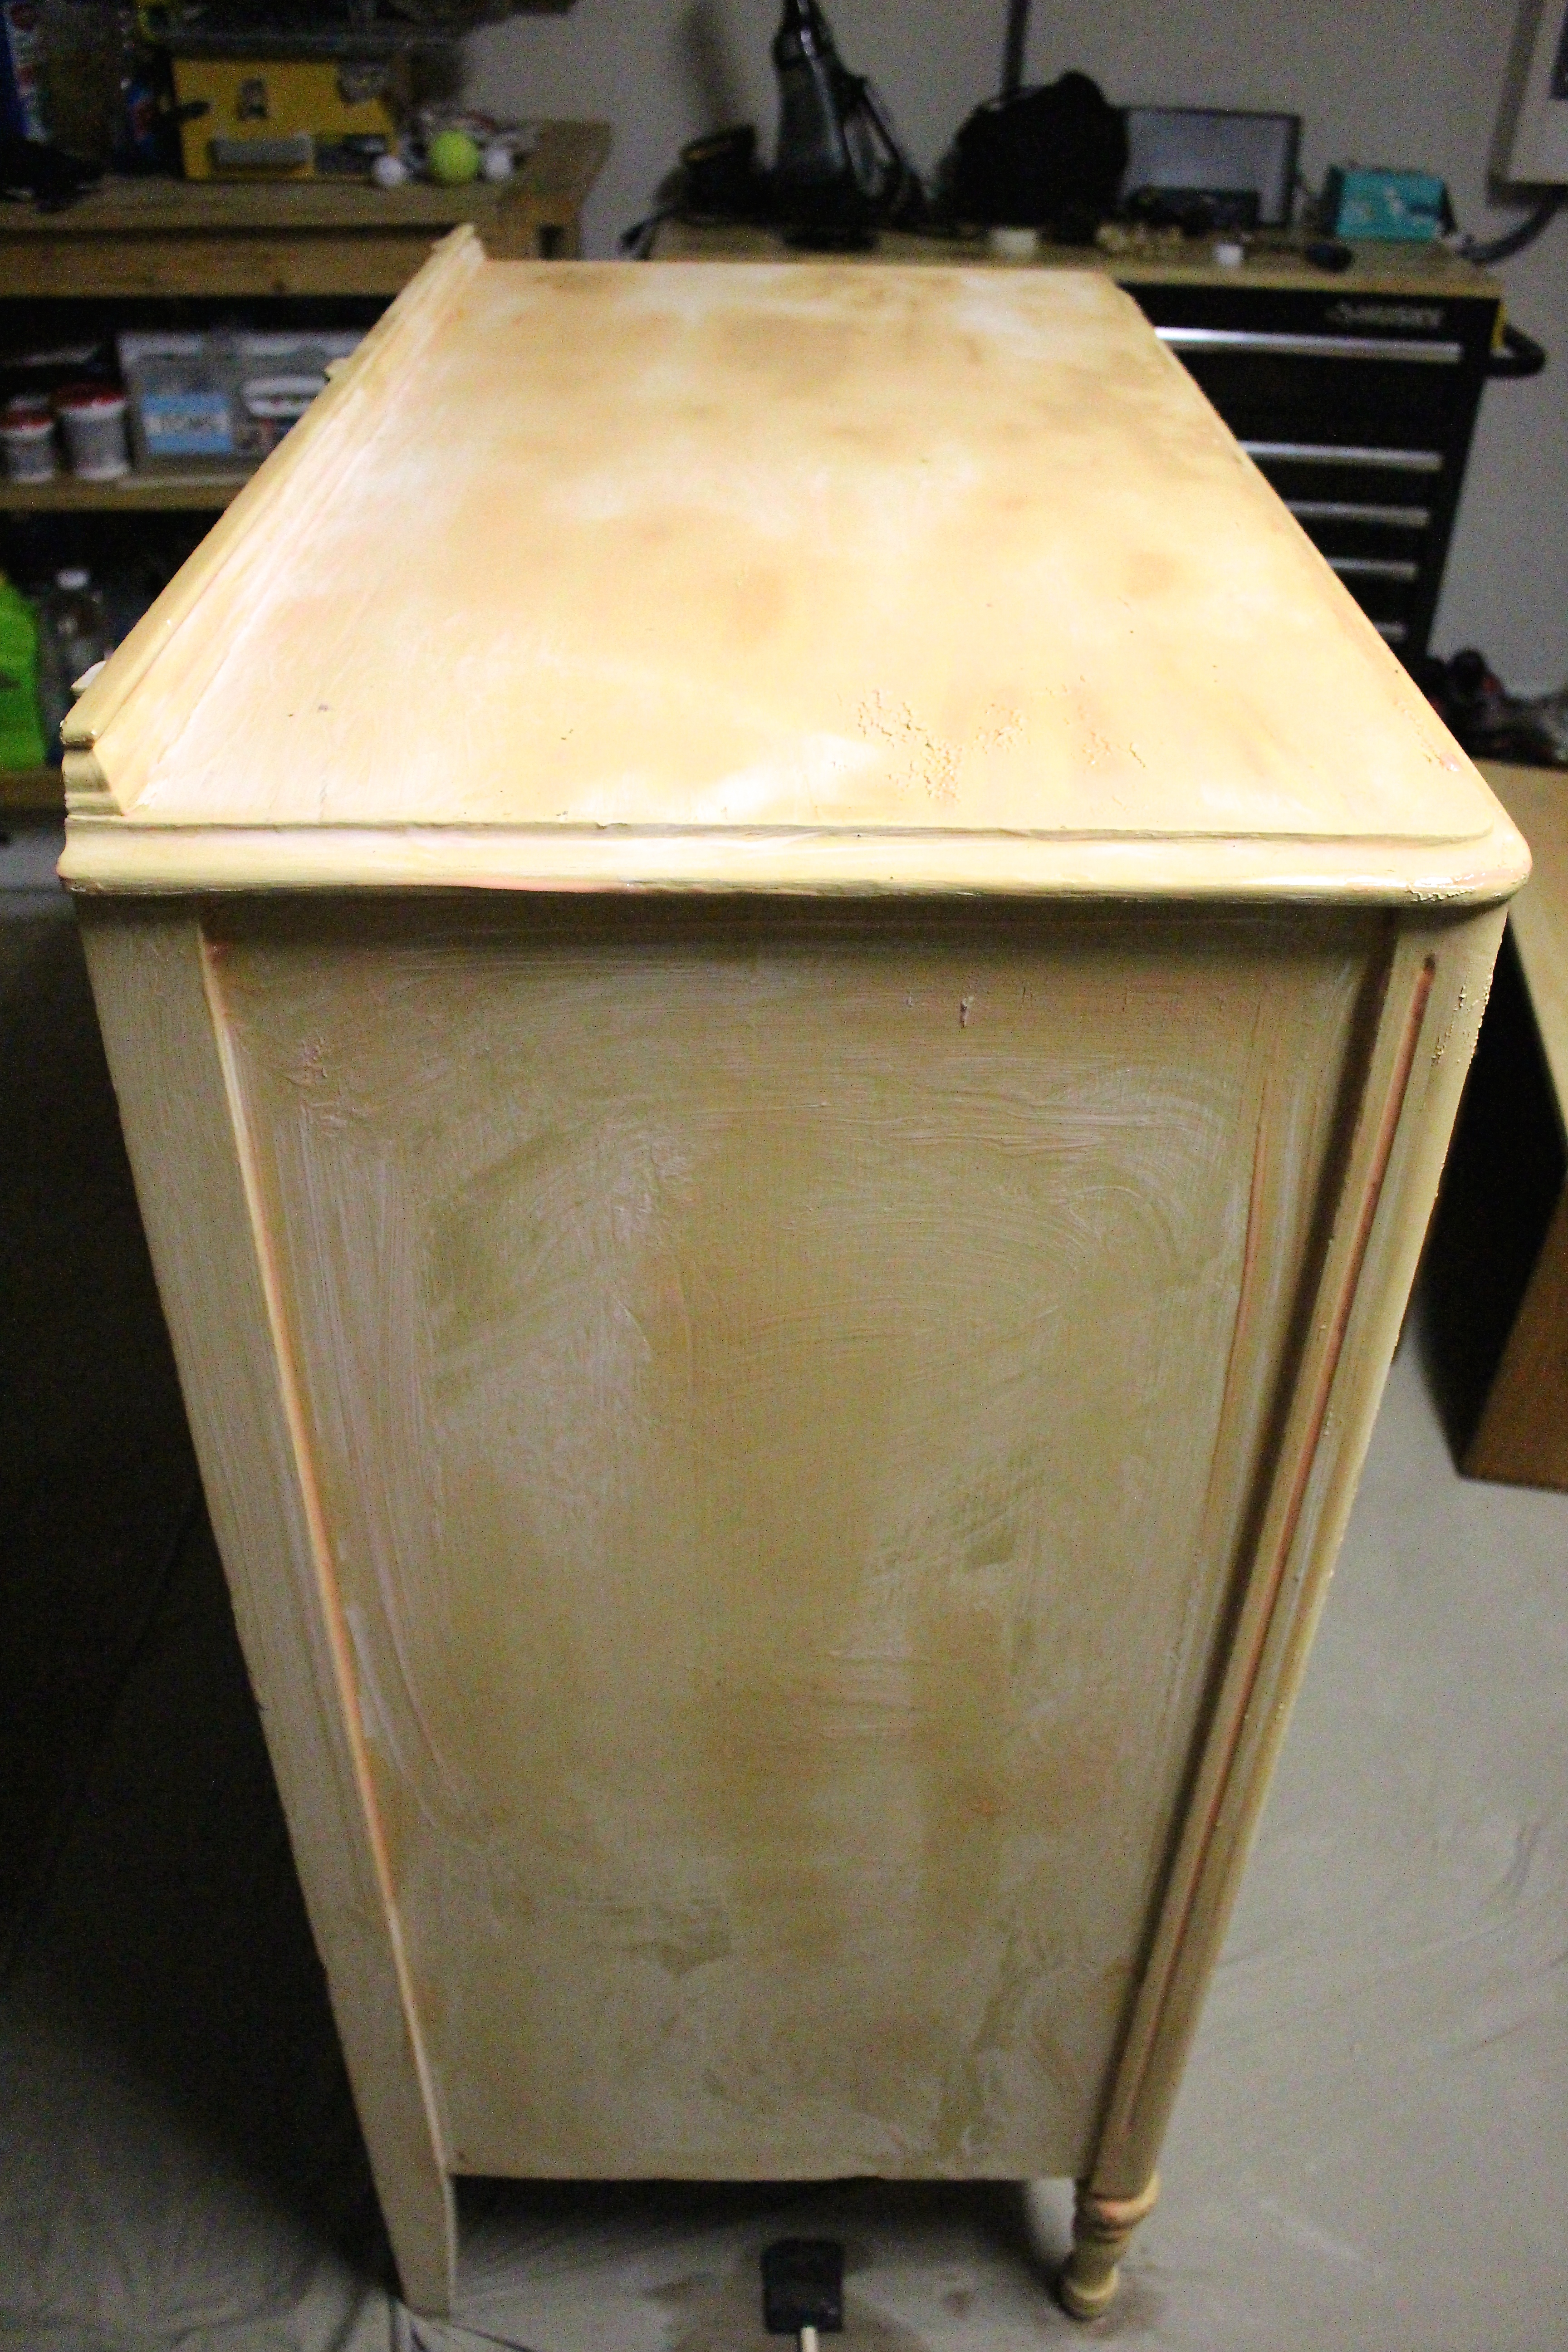
 After 15 minutes or so, the paint began to do this…
 See all that rippling and bubbling? Typically, this is not considered a good look for a dresser but, I was happy to see it. This meant it was working, and faster than I expected.
From there, I just used a metal spackle tool to scrape the paint off of the dresser. Here is what it was looking like after I had scraped all of the surfaces…
 It took about an hour of scraping to get it to this stage.

 Pretty good. Don’t you think? But, still not good enough. There was still some paint and a layer of lacquer left. So, I did another round of stripping. All the same steps again. And, I had this…

 Do you see that top center drawer? Ya those are flowers. Pretty inlaid fowers that were covered up by paint. Oh people. Why do you paint over things like this?
 I think it’s a pretty detail, so I was thrilled to find it.
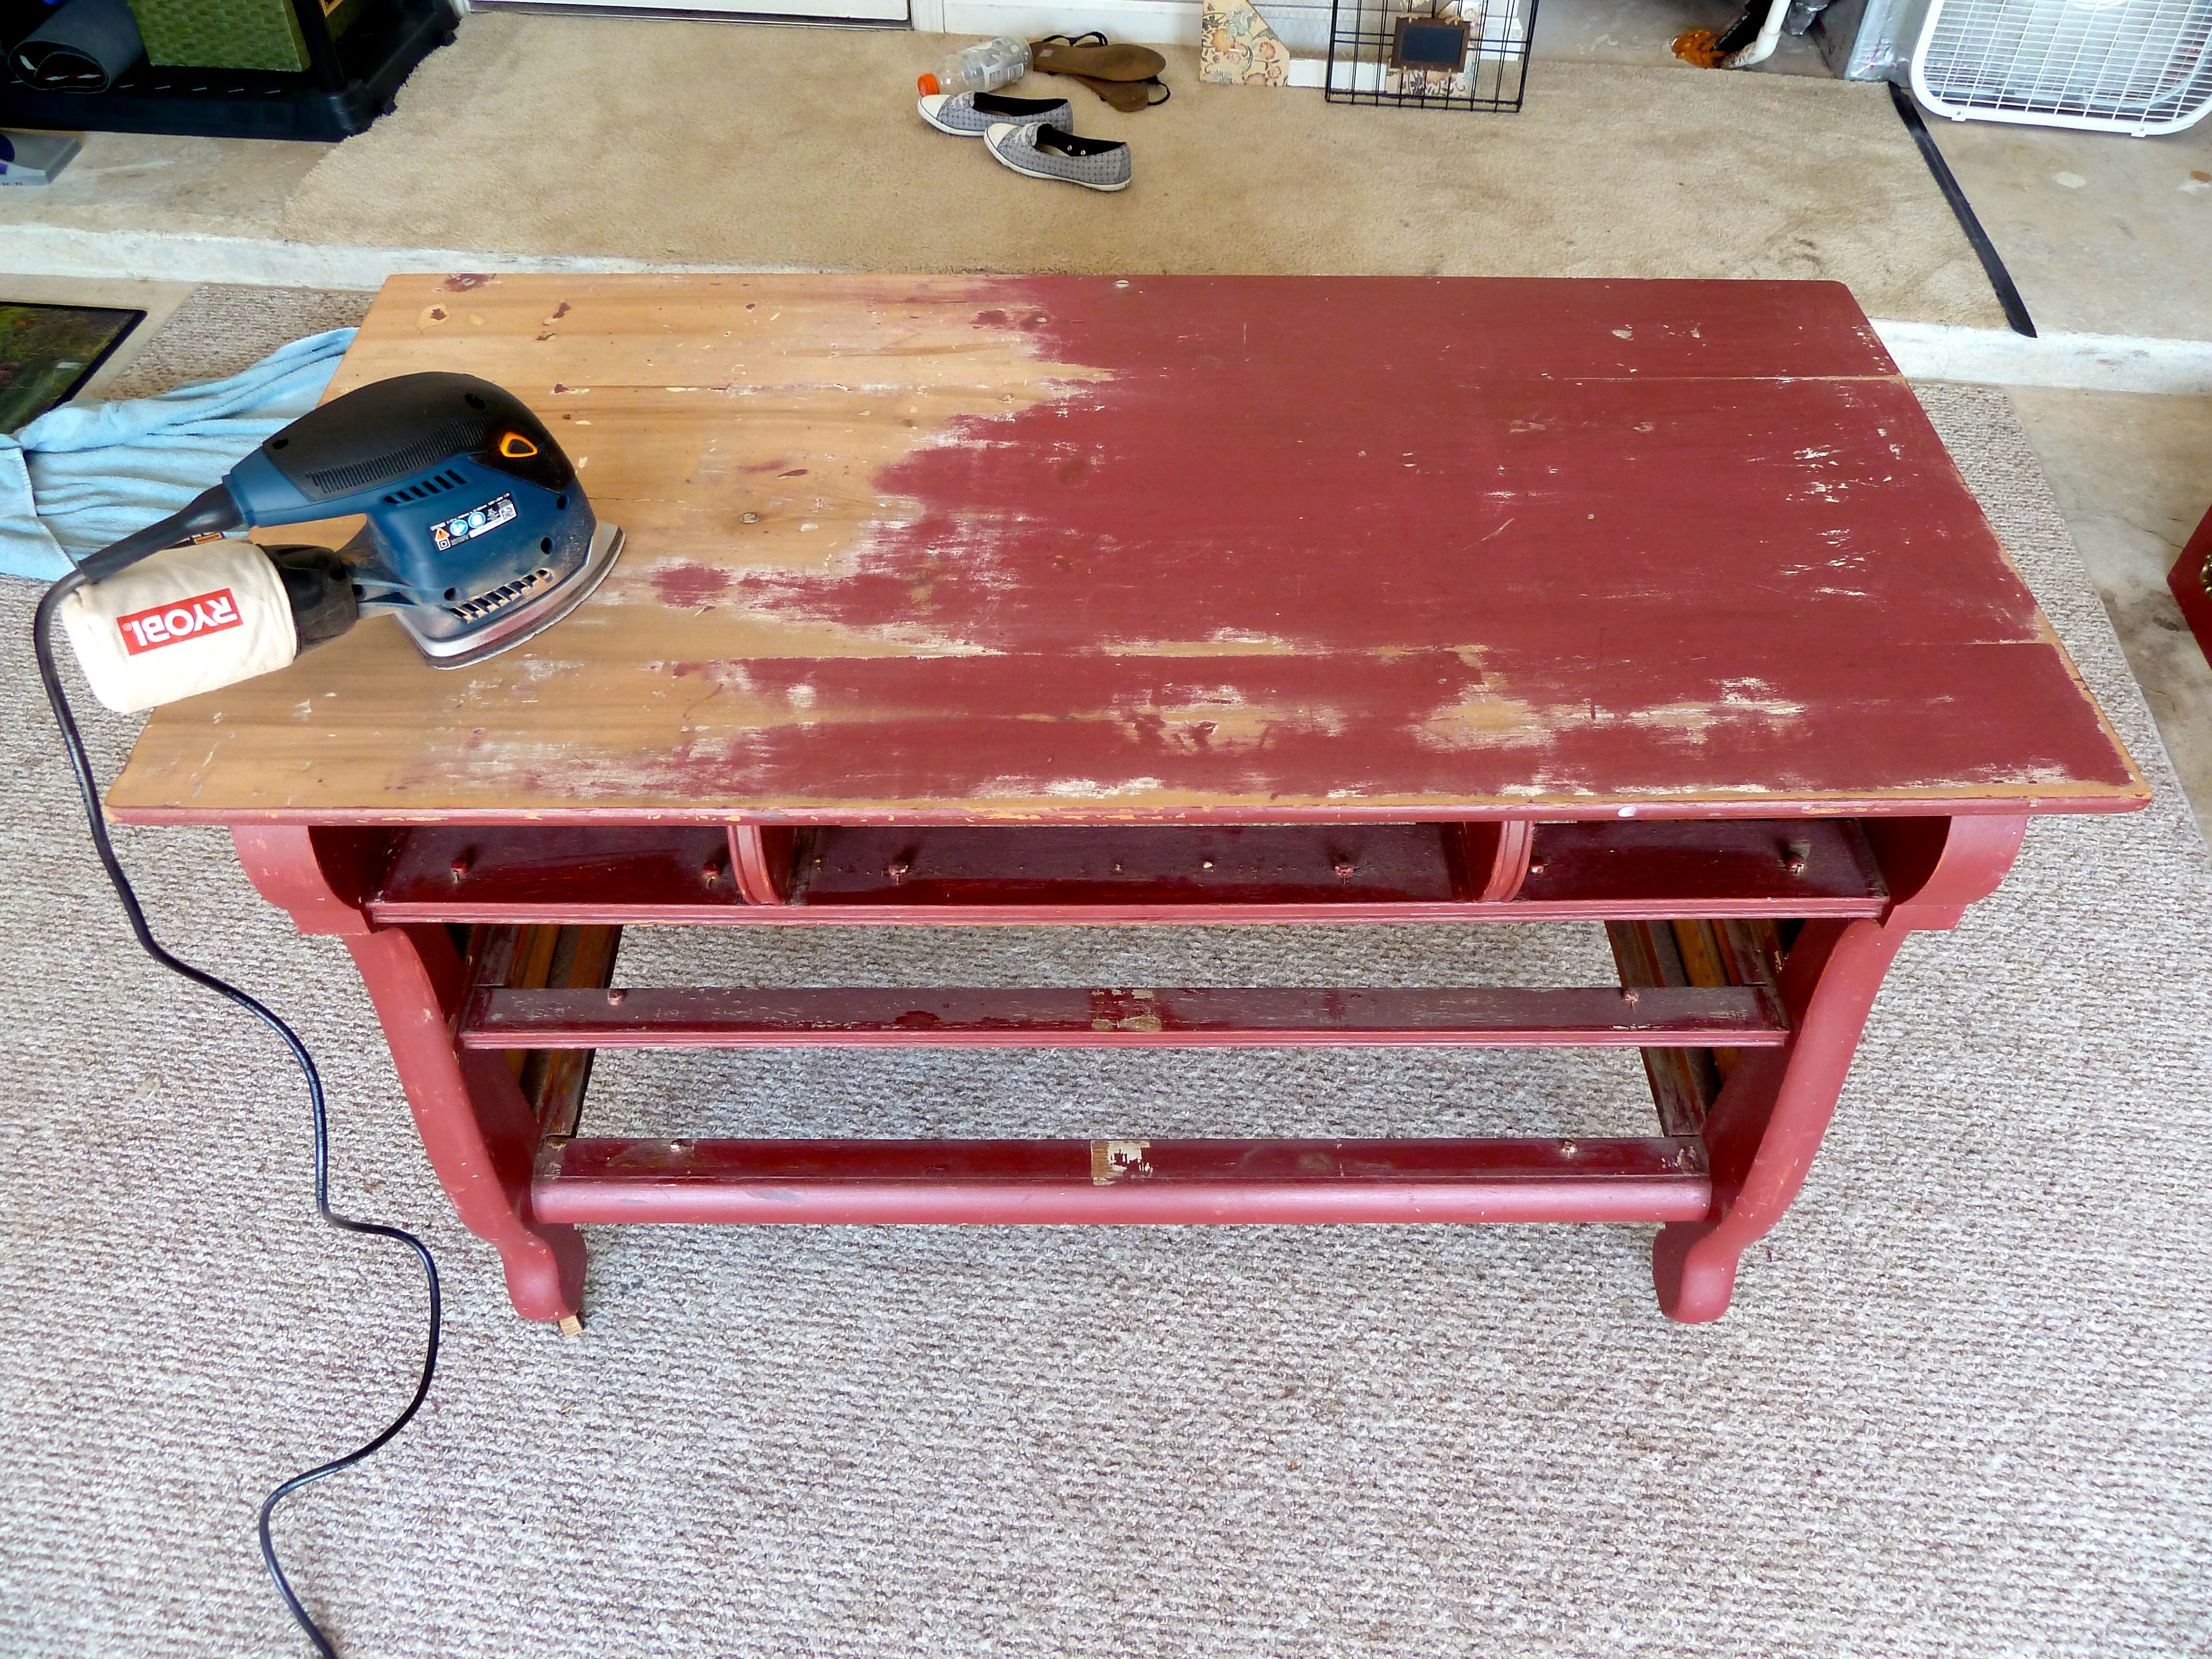
From there, I just grabbed my palm sander and gave everything a good sanding, twice.


 I, then, stained the all surfaces with the same Minwax stain in English Chestnut that I used on the last dresser. And, I had this…
 I know! You are totally doing this right now…
 I get it. I do. I was doing the same thing.
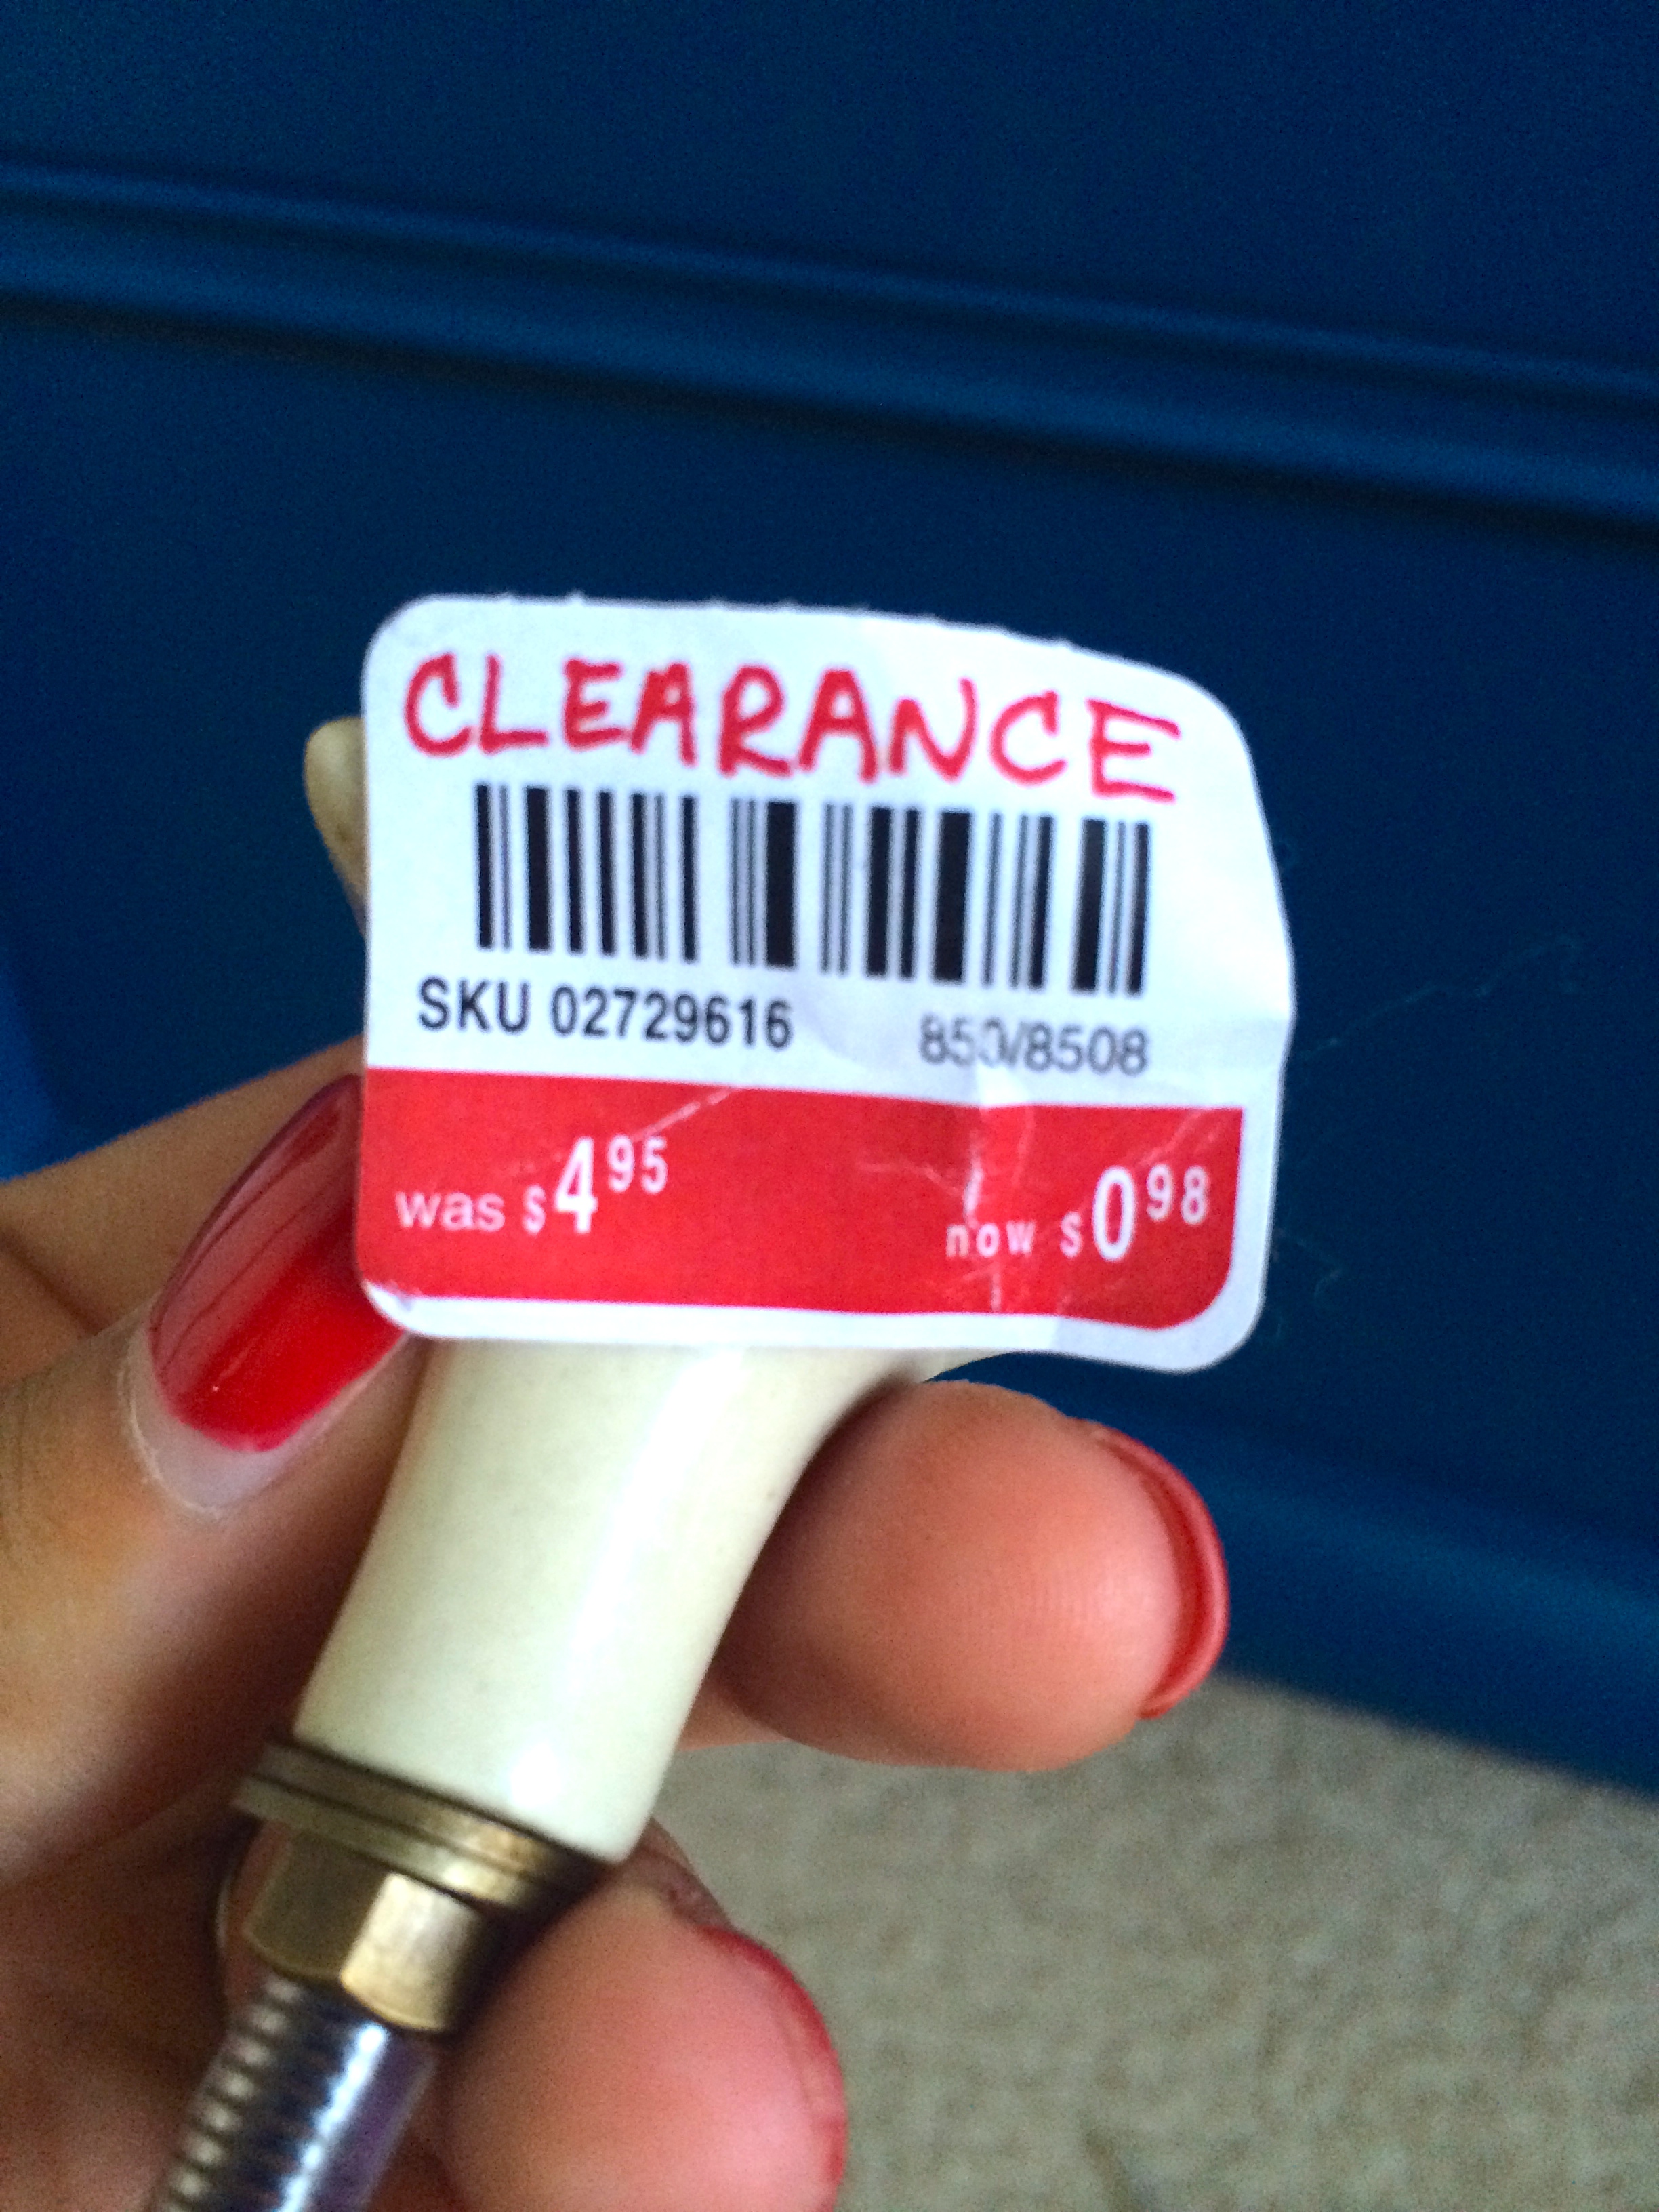
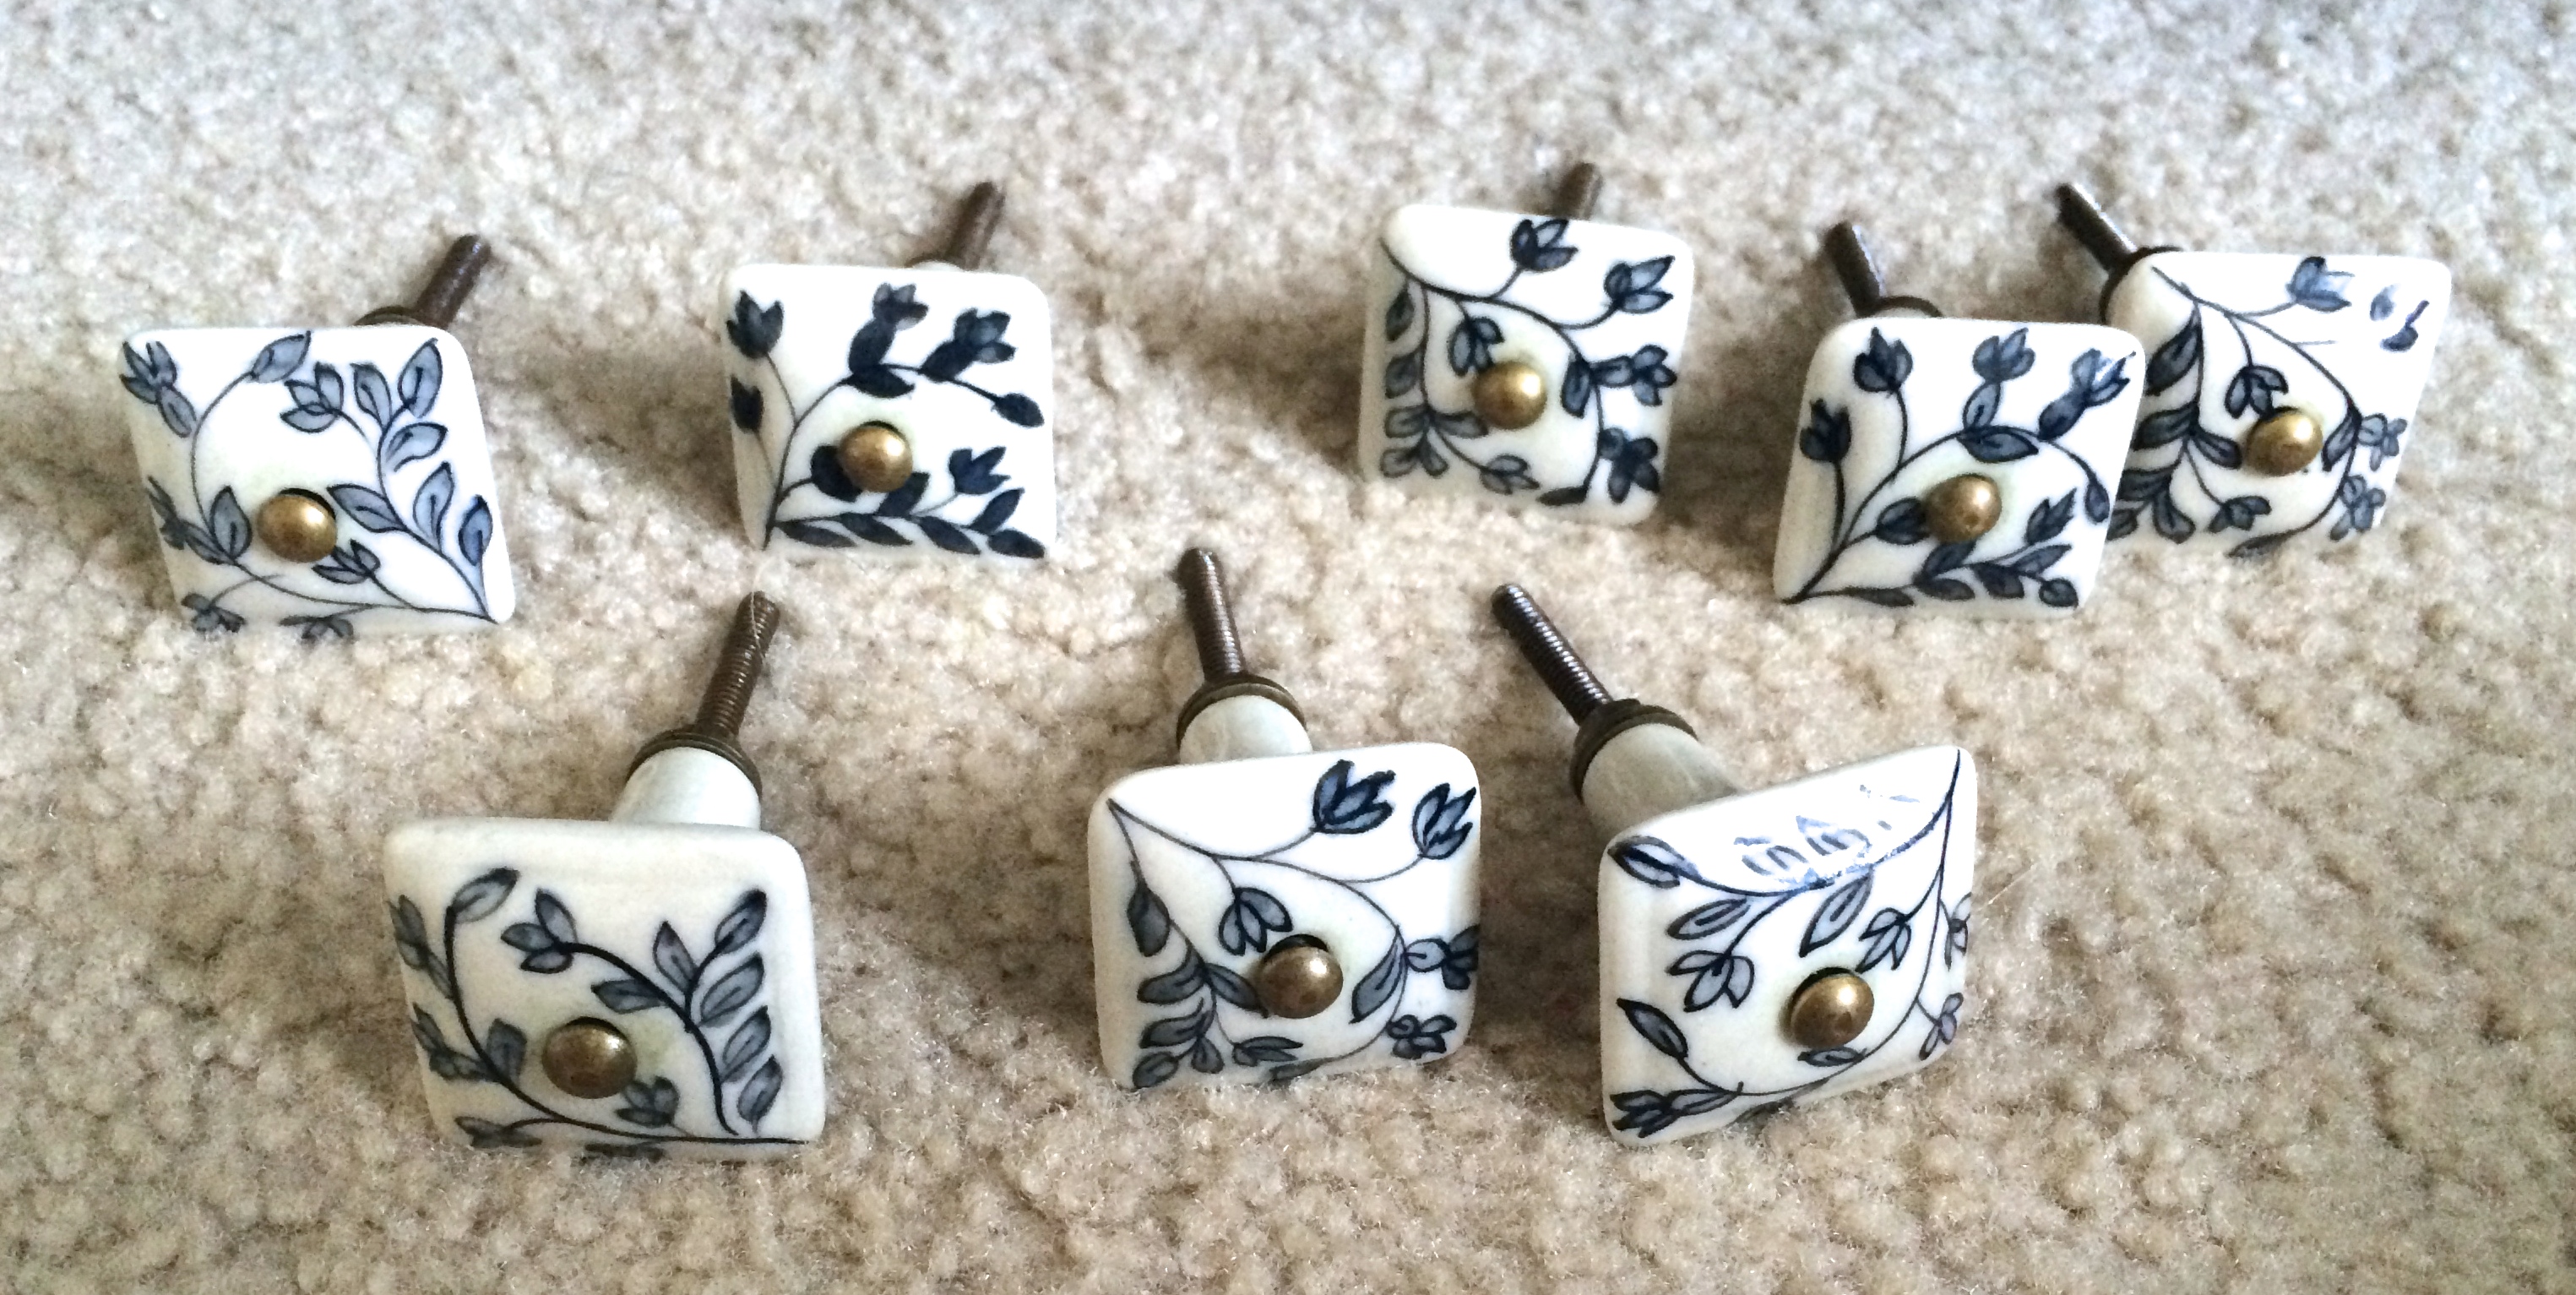
I definitely wanted everything to stay as nice as it was turning out. So, it was time to seal this puppy. I used Minwax’s Water Based Polycrylic Protective Finish. I ordered a quart off of amazon for $16 and some change (free shipping of course, thank you Amazon Prime!). I, also, bought a new higher quality paint brush, just to avoid any paint strokes. When applying, I made sure to brush the sealer on in very thin coats. I did two coats, some people suggest three, but since this piece wouldn’t get too much action, I figured two would be fine. If I were working on an end table or coffee table I would probably go with three coats, since they would more likely have more traffic on their surfaces. I let everything dry for a day, then added the knobs I had picked out. I needed ten knobs! TEN! That’s a lot of knobs, and at the usual $5 a pop I was looking at $50, just on knobs! Even though that would only bring the total cost of this dresser to about $100, I wasn’t digging that price. So, being a cheapskate at heart, I googled around for some other options. I knew I wanted them to be white and something that would look okay with the antique look of this dresser. I came across these guys on Amazon (have I mentioned I love Amazon?)…
 And, at $22 for all 10, I was sold!
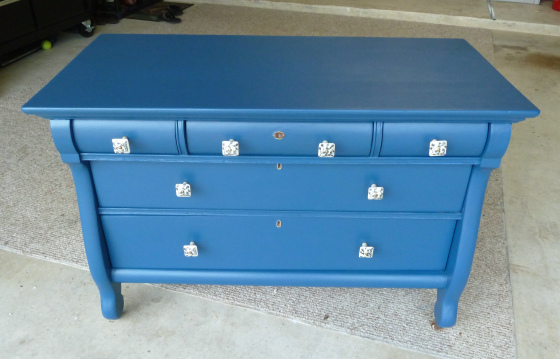
Last step, I just put all of the knobs in place and VOILA!!…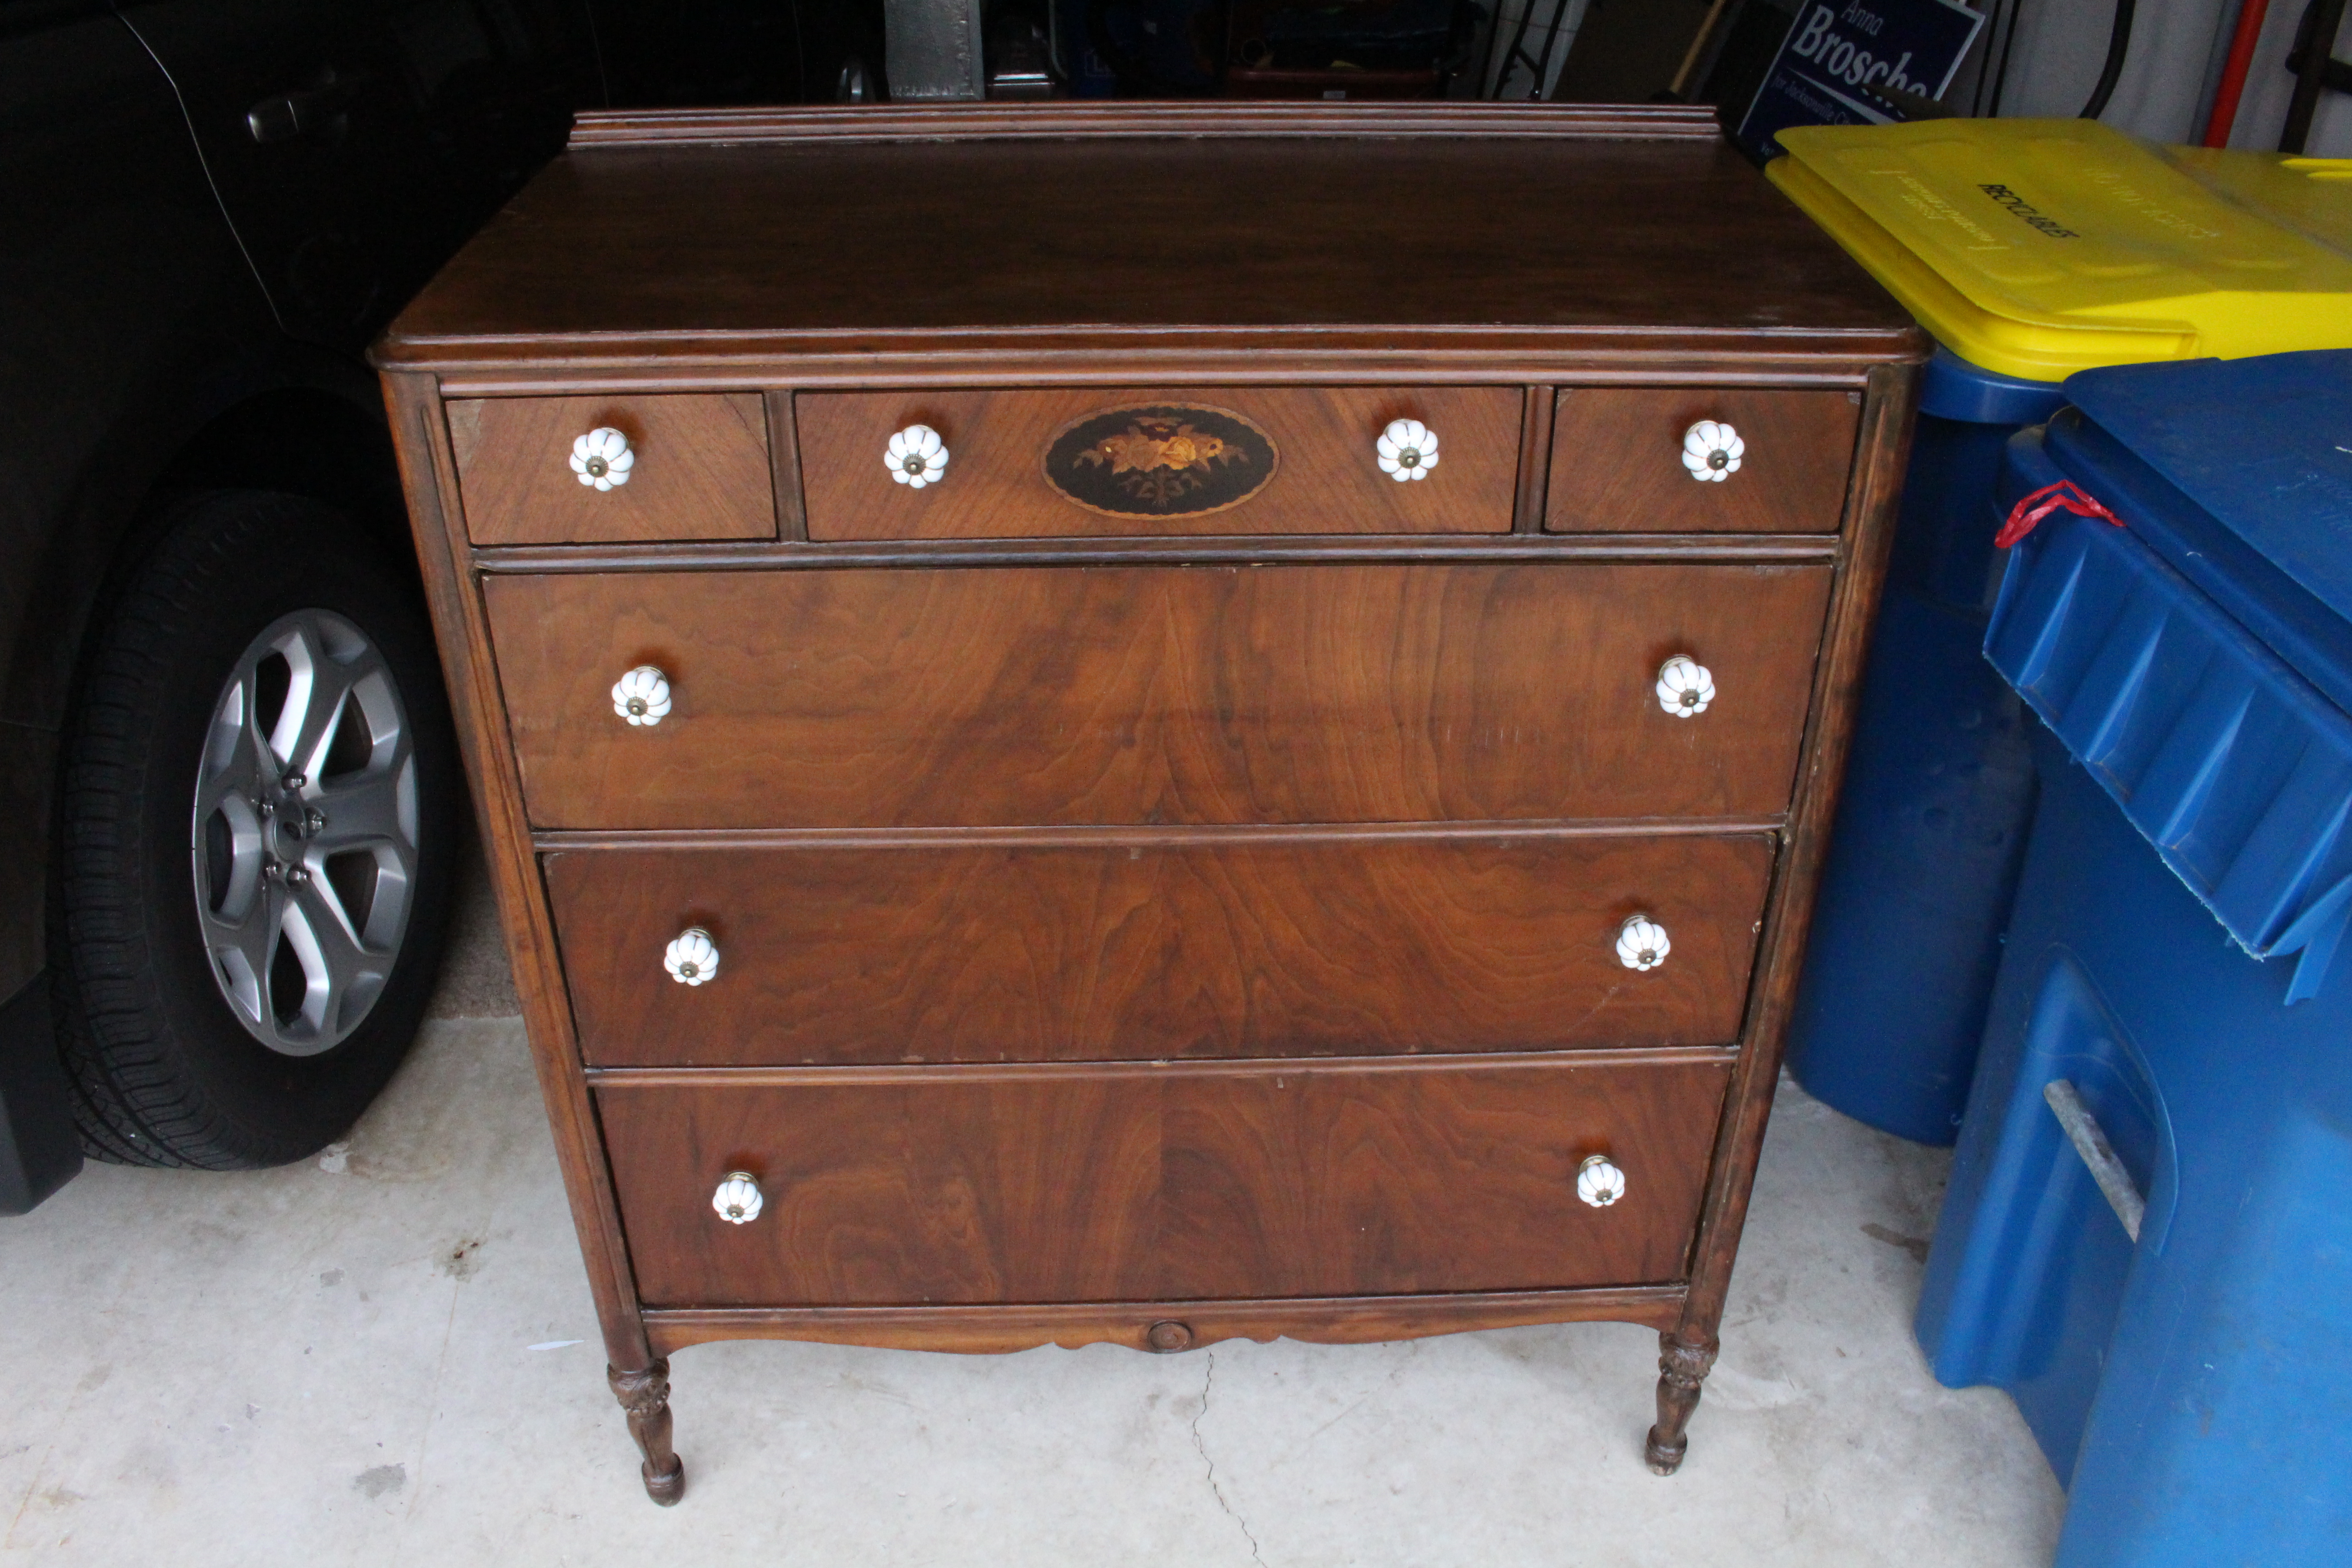
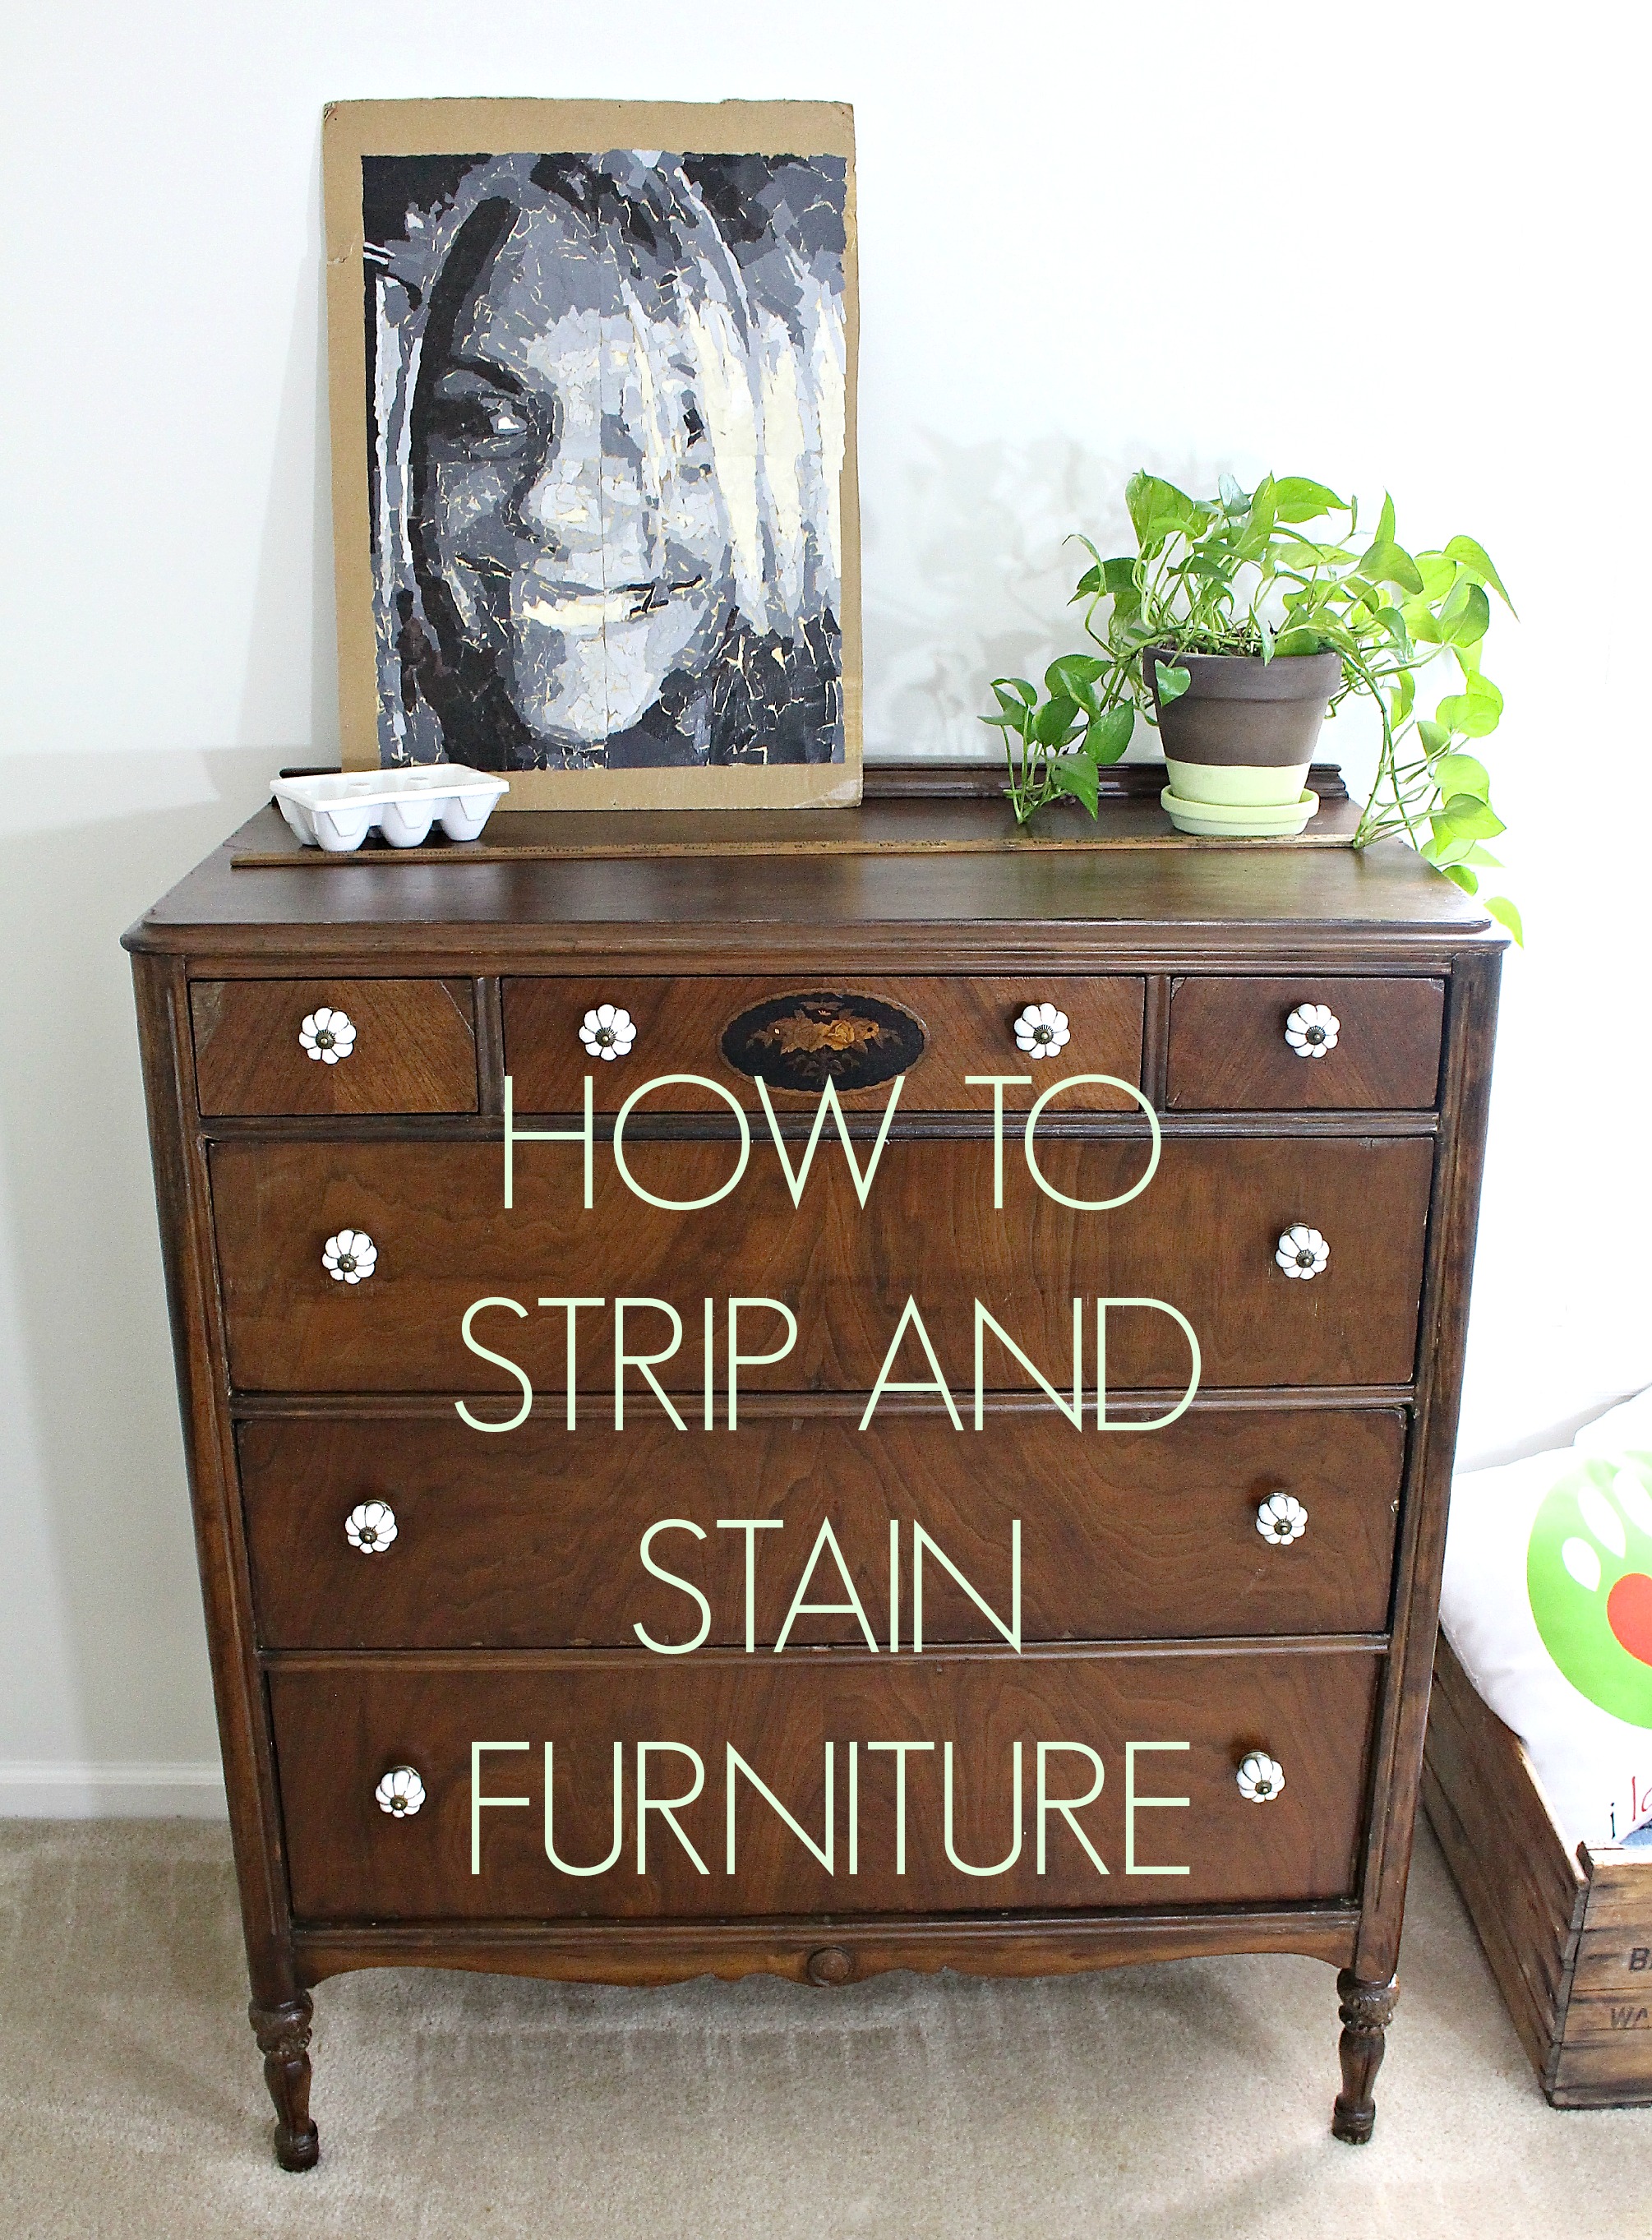
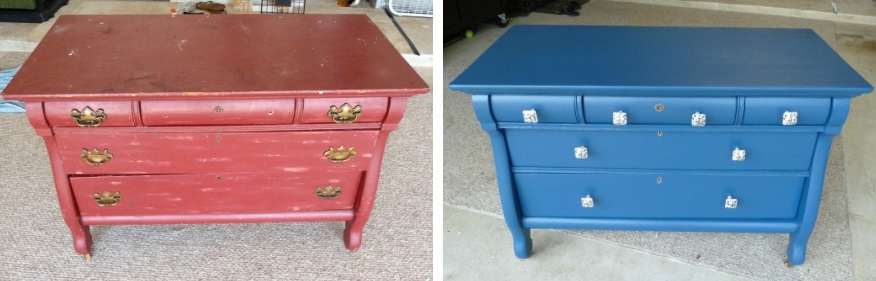
 The stain and polyacrylic really made a huge difference. I am stoked about how it turned out.
  And, in case you are wondering where this old girl is going to live.
 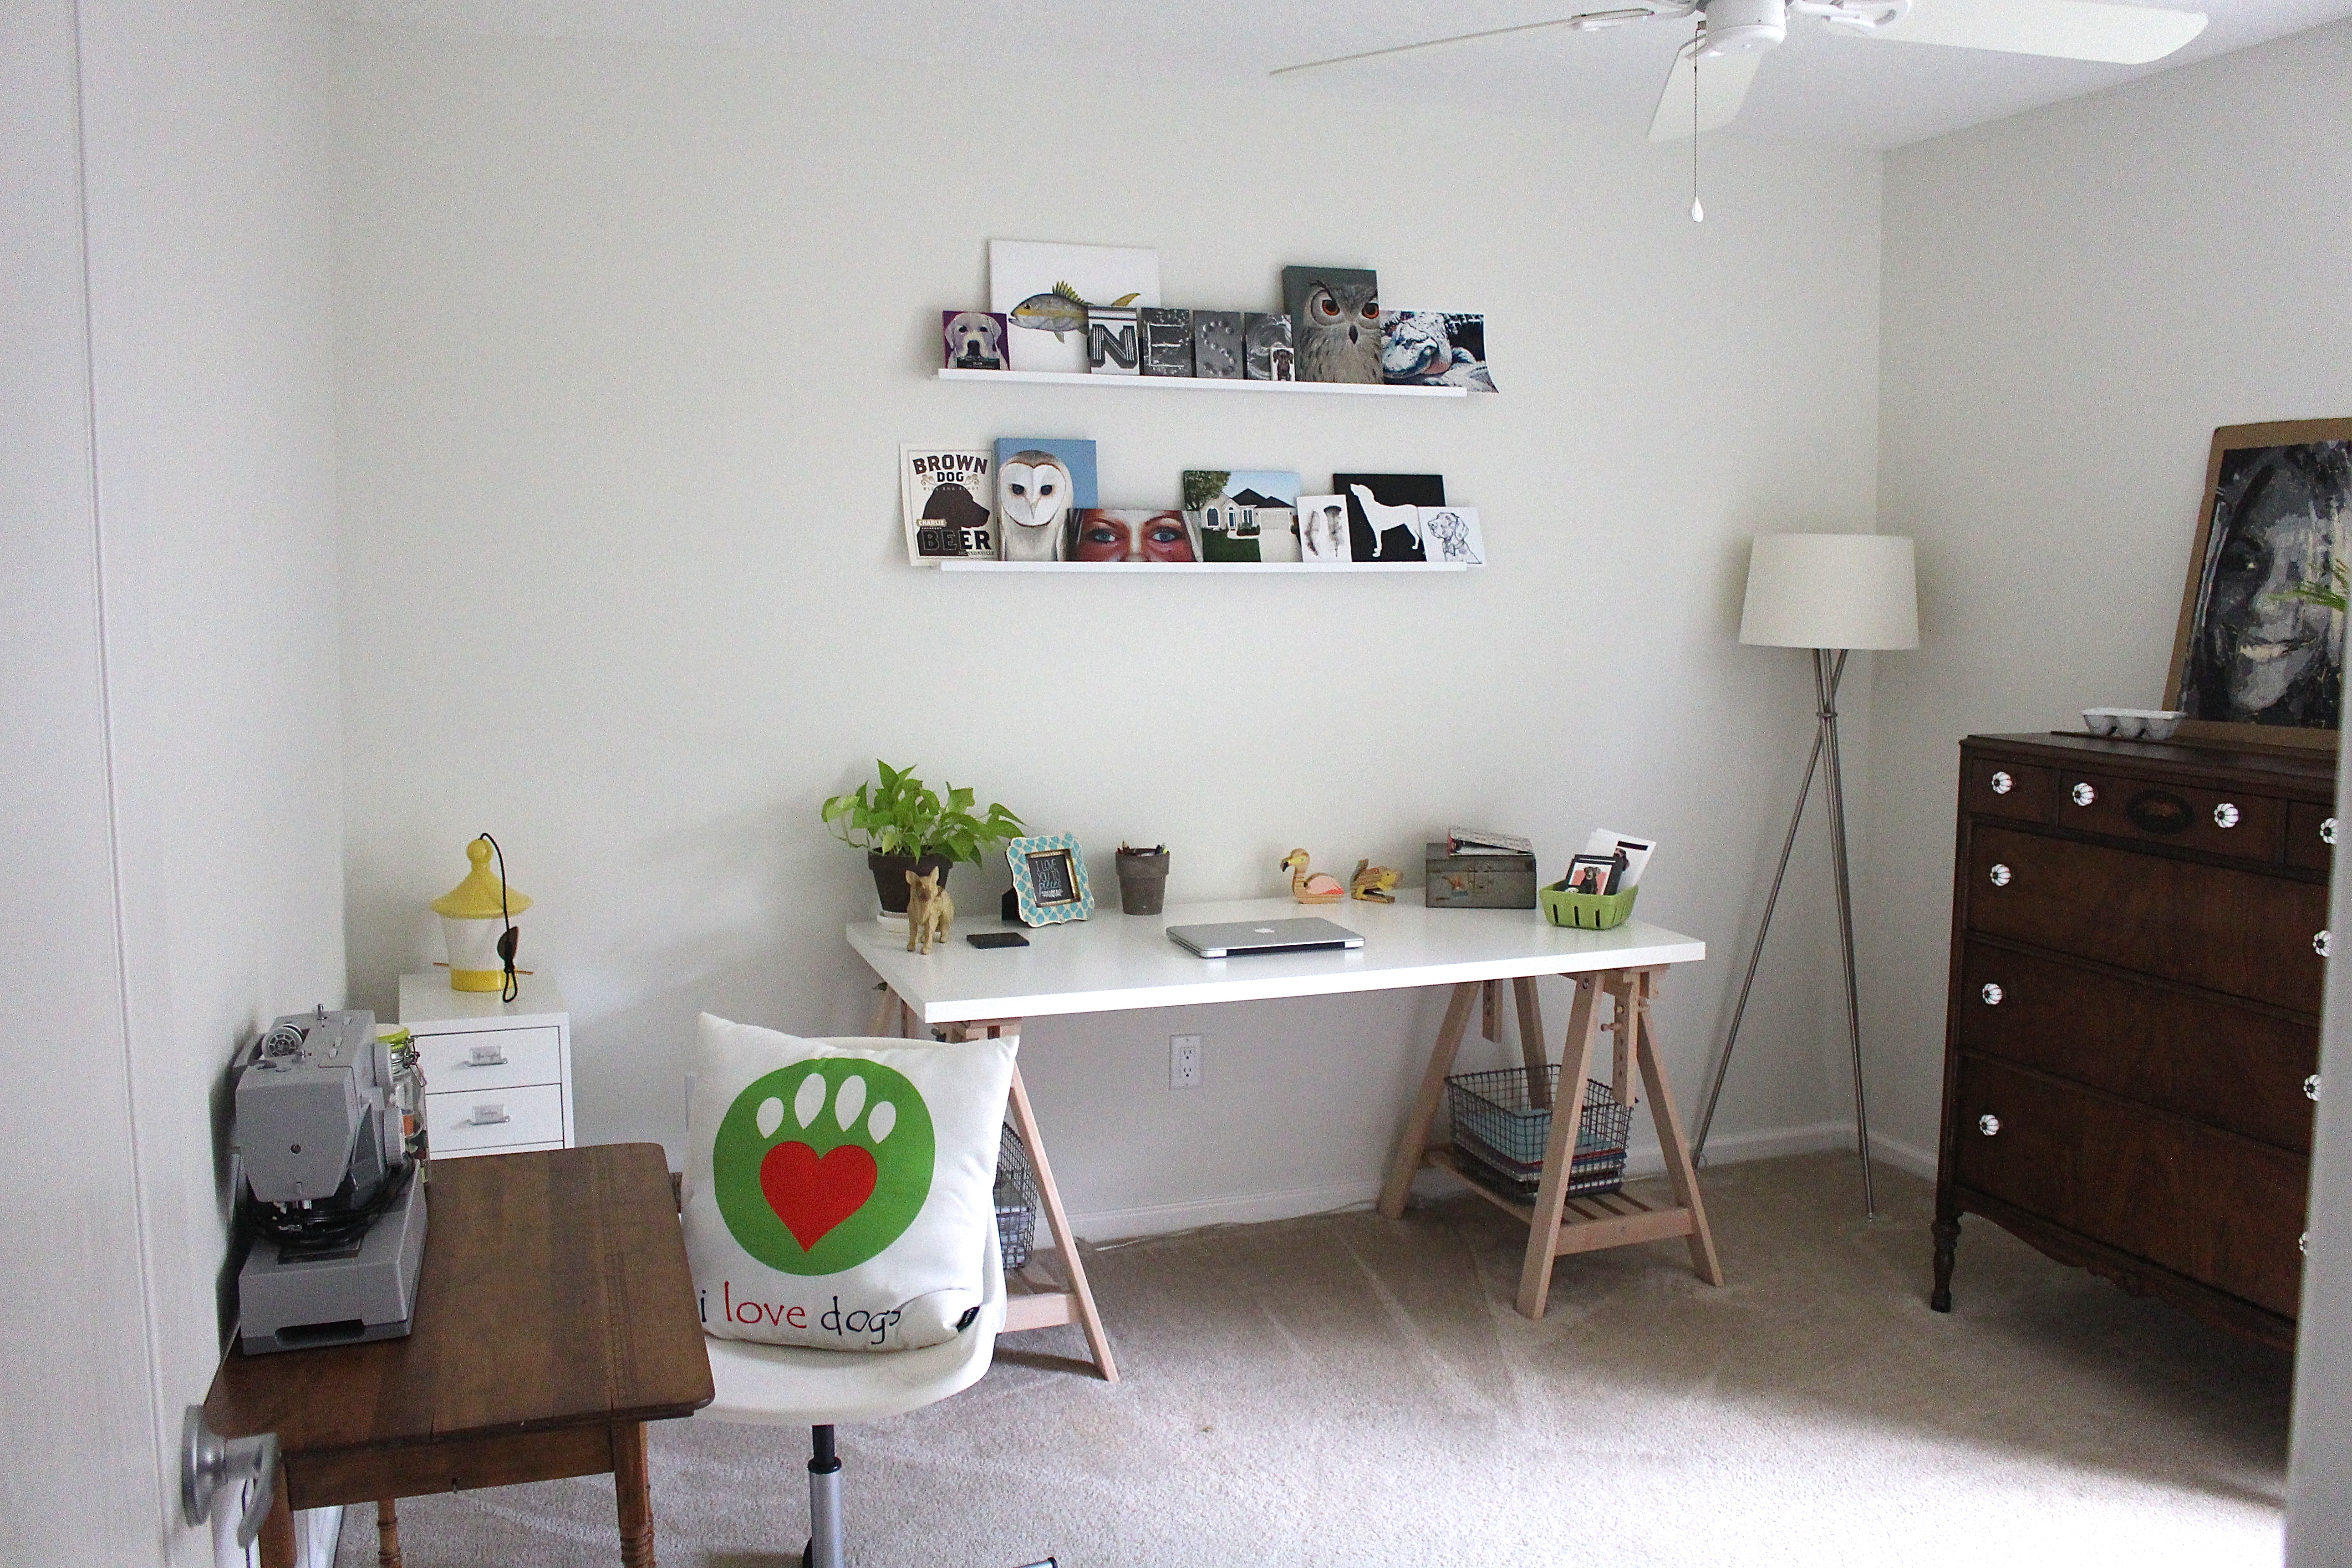 I am happy to tell you it landed in my art/craft/office/extra guest room. See it? Hanging out over there on the far right wall? We tossed the old futon that was living on that wall and put the dresser in it’s place. I was needing more storage in here and what better than this dresser?

 I totally dig it and am so excited to have these big drawers for added storage.
  For fun here is slideshow of the process…
Have your ever refinished an old piece of furniture? What were your methods? Any suggestions for future projects? Do tell!