We have been in our home for three months now! Already! I have no regrets whatsoever with this house, I love every nook and crannie of it. If we had settled on one of the other homes we were considering buying I don’t believe I would be as happy with our choice. So Woot Woot! Three months in and we have no buyers remorse!
That being said, I think we have made enough updates in this house that it would be an appropriate time to give you all a whole house tour, complete with before and after photos(my fav).
I decided to go ahead and include photos of the very first day I laid eyes on this house(the photos are from my phone and they aren’t too clear, sorry!), also I will include photos of the house the day we moved in and lastly photos of our progress! I will also explain what we have done in each area of the home to date and what we would like to do down the road. So hold on to your hats cause here it comes.
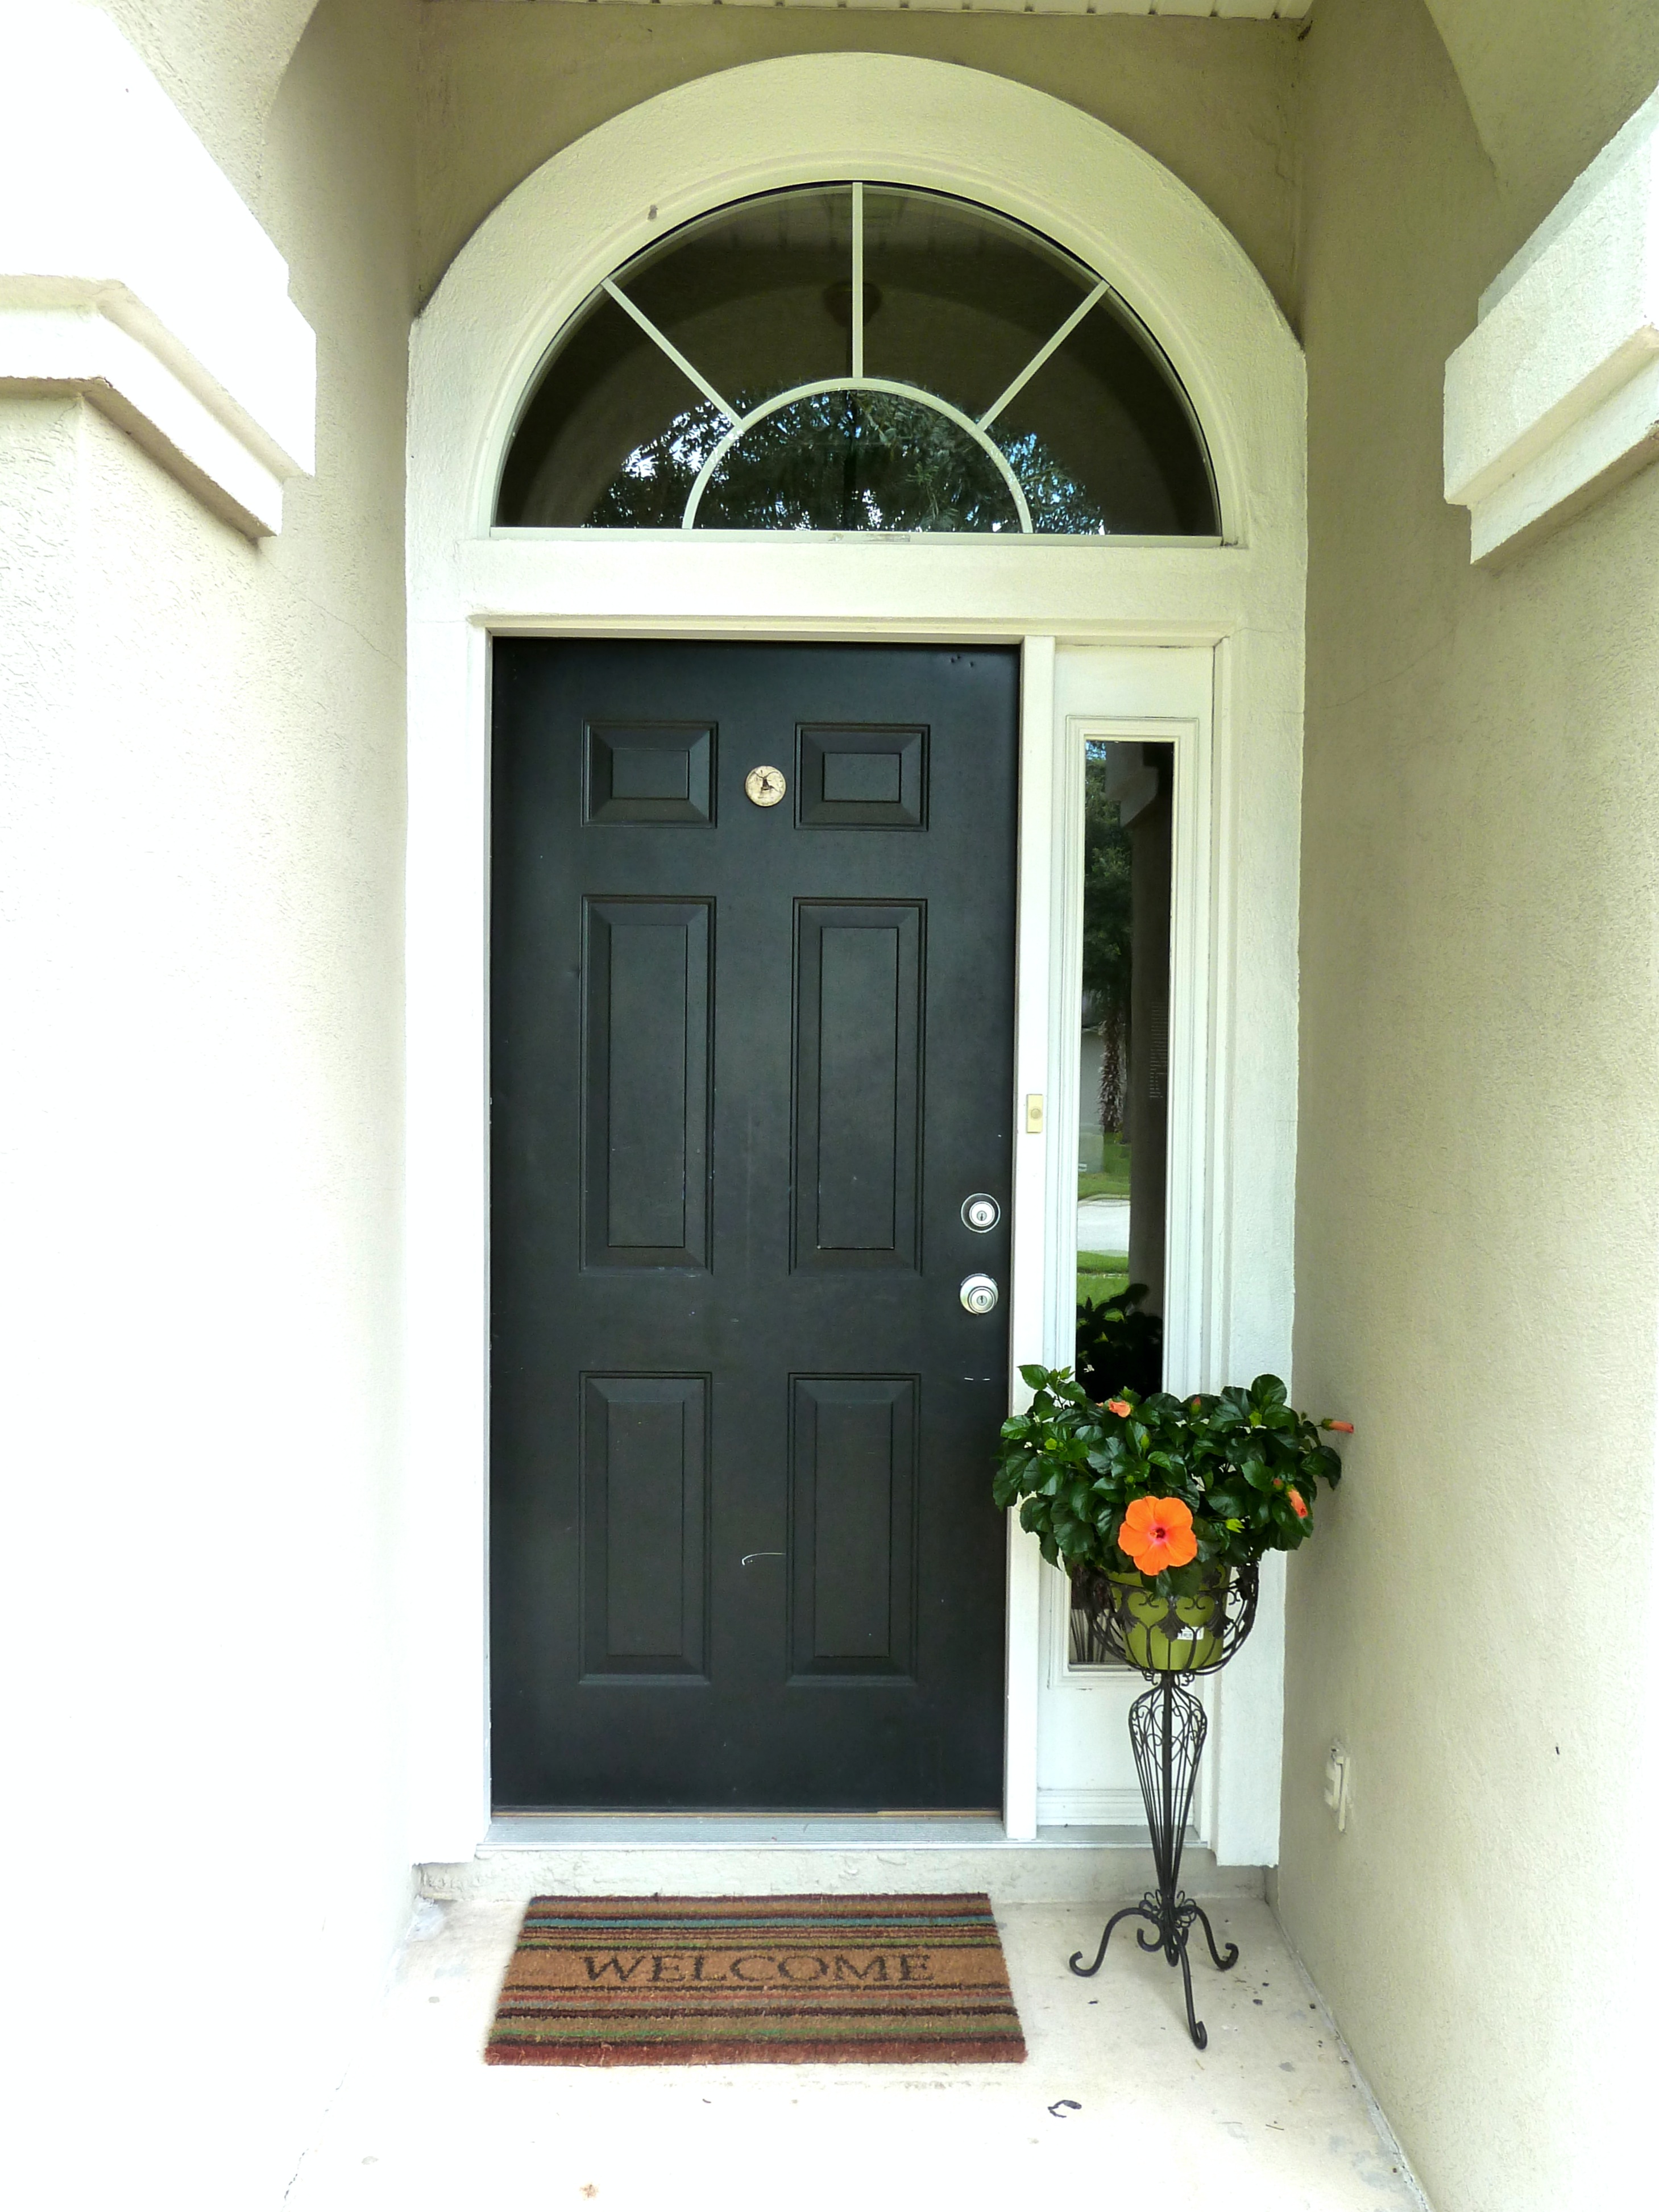
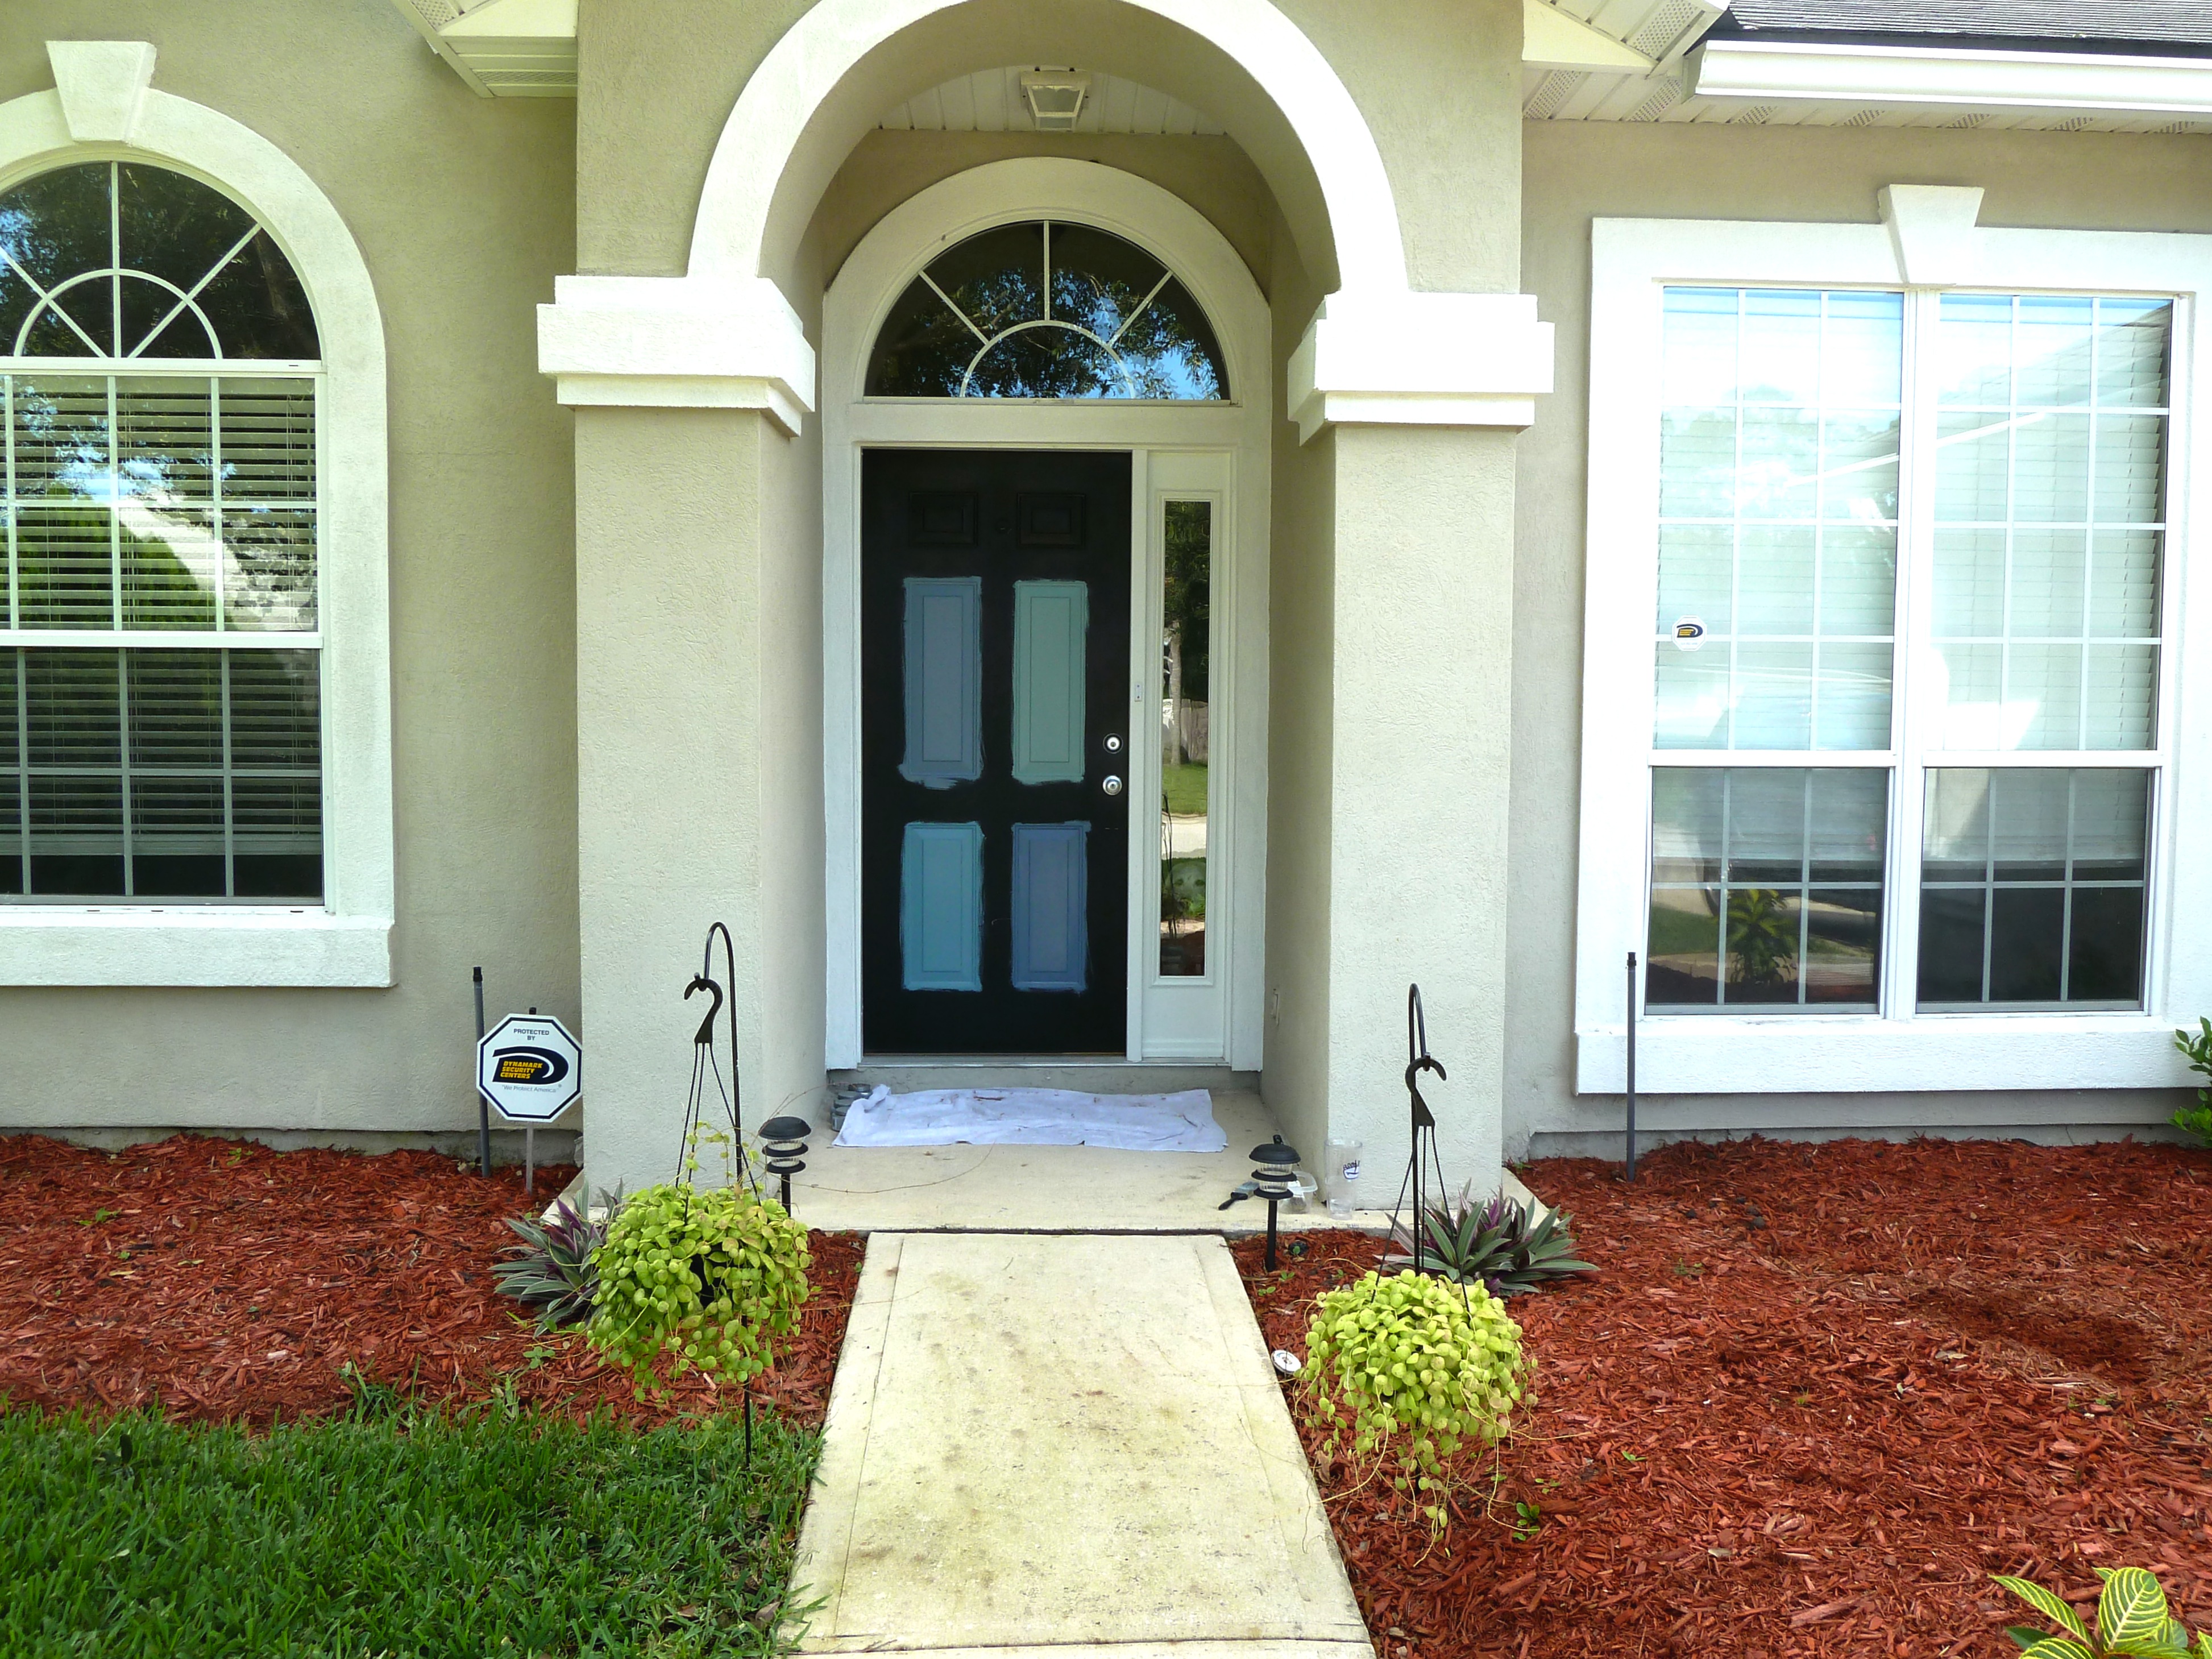
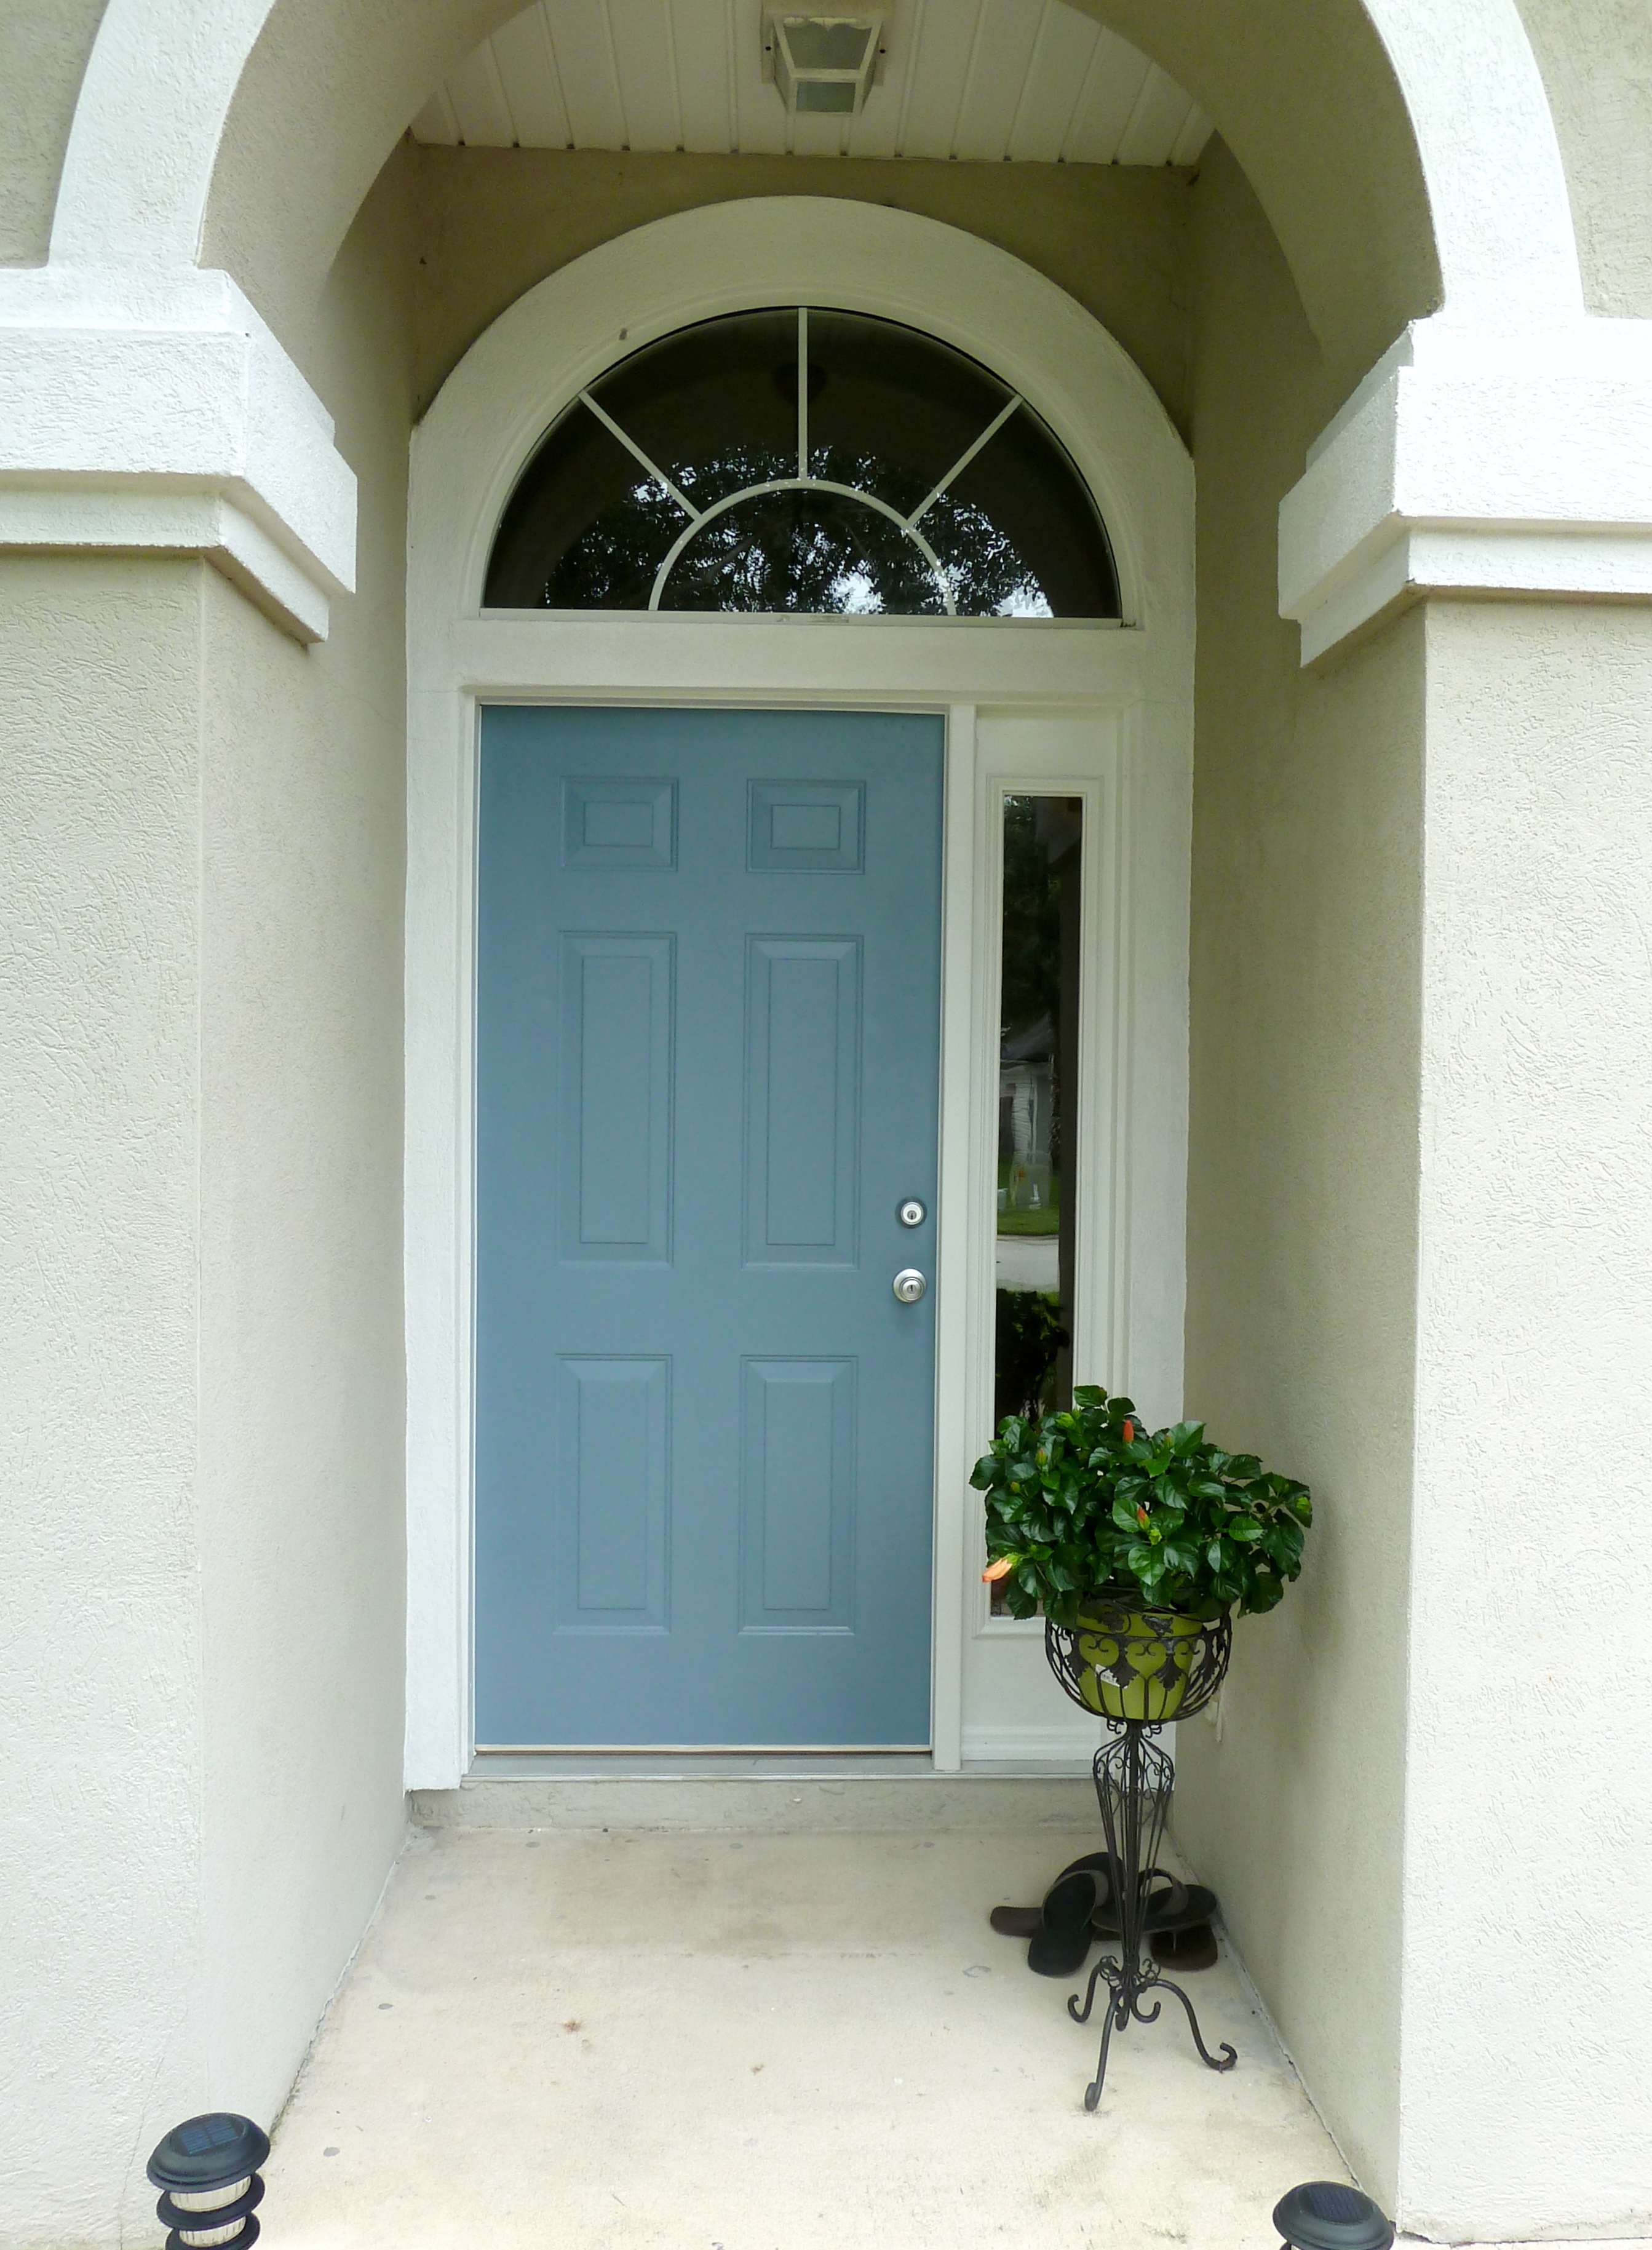
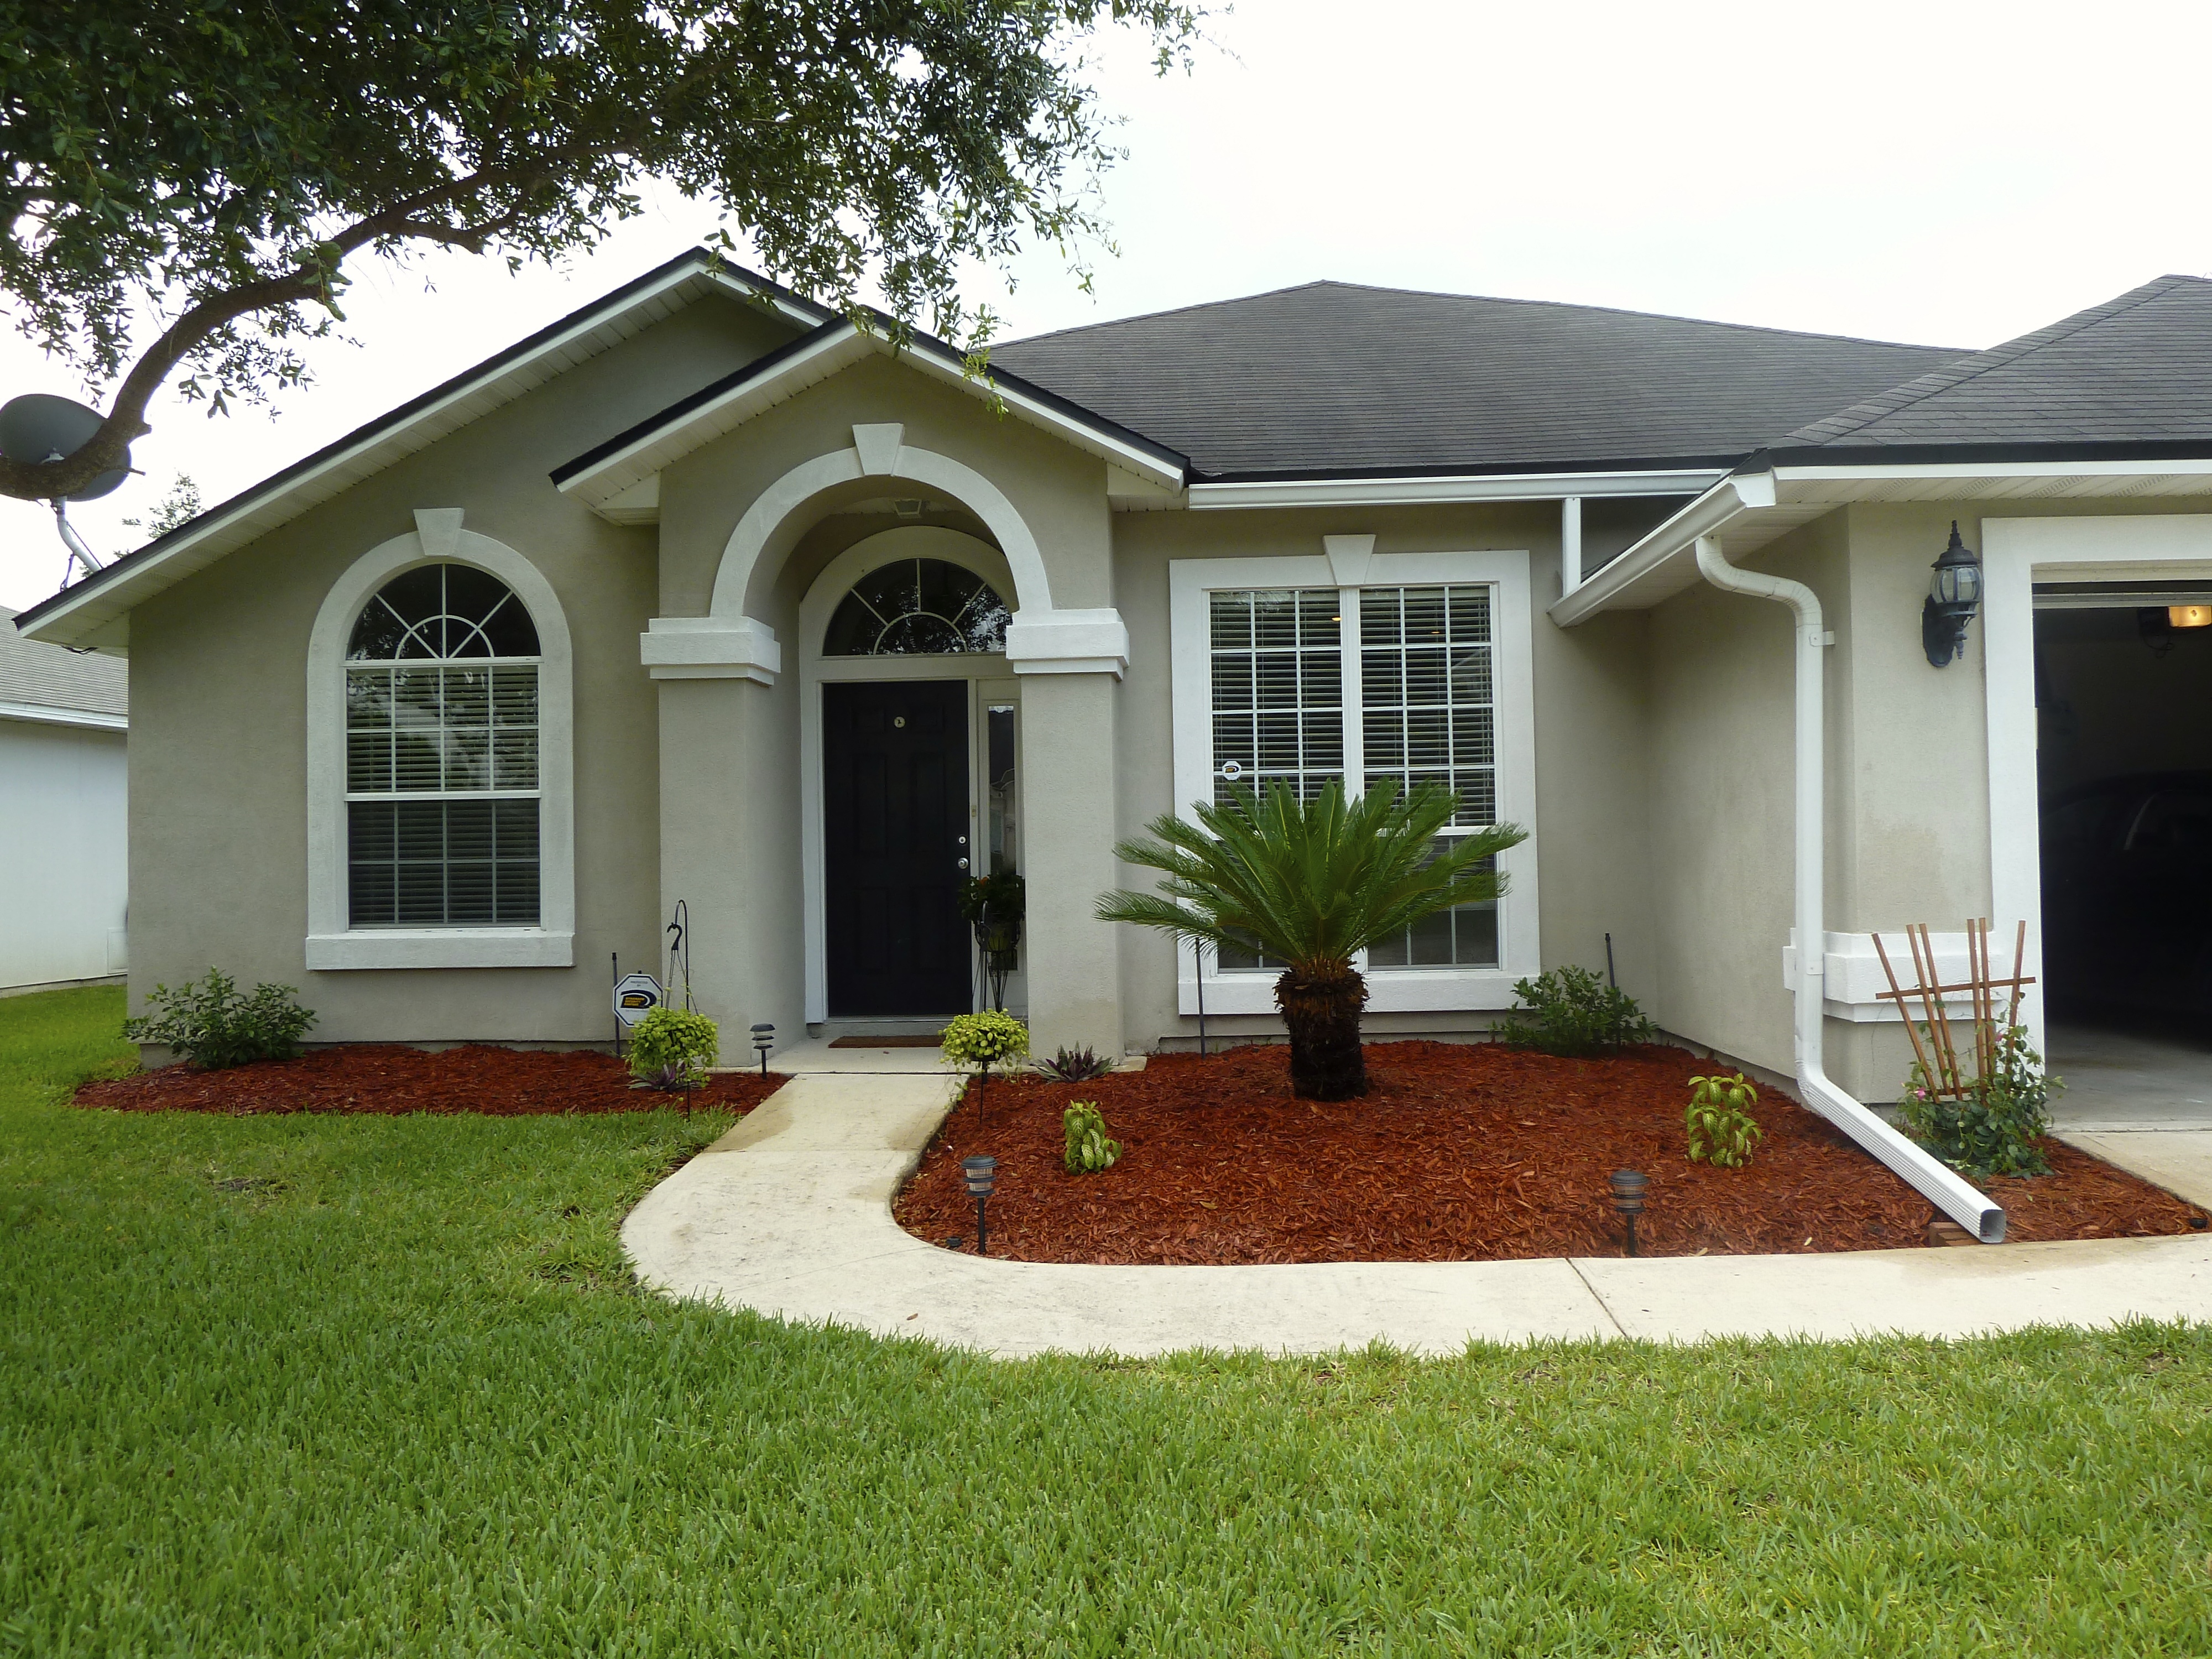
Front Yard:
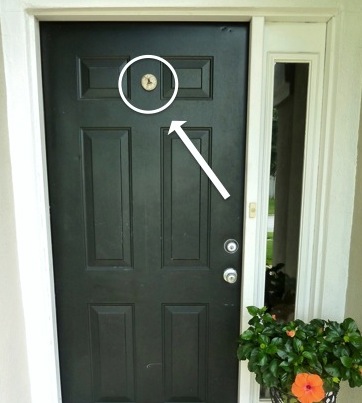
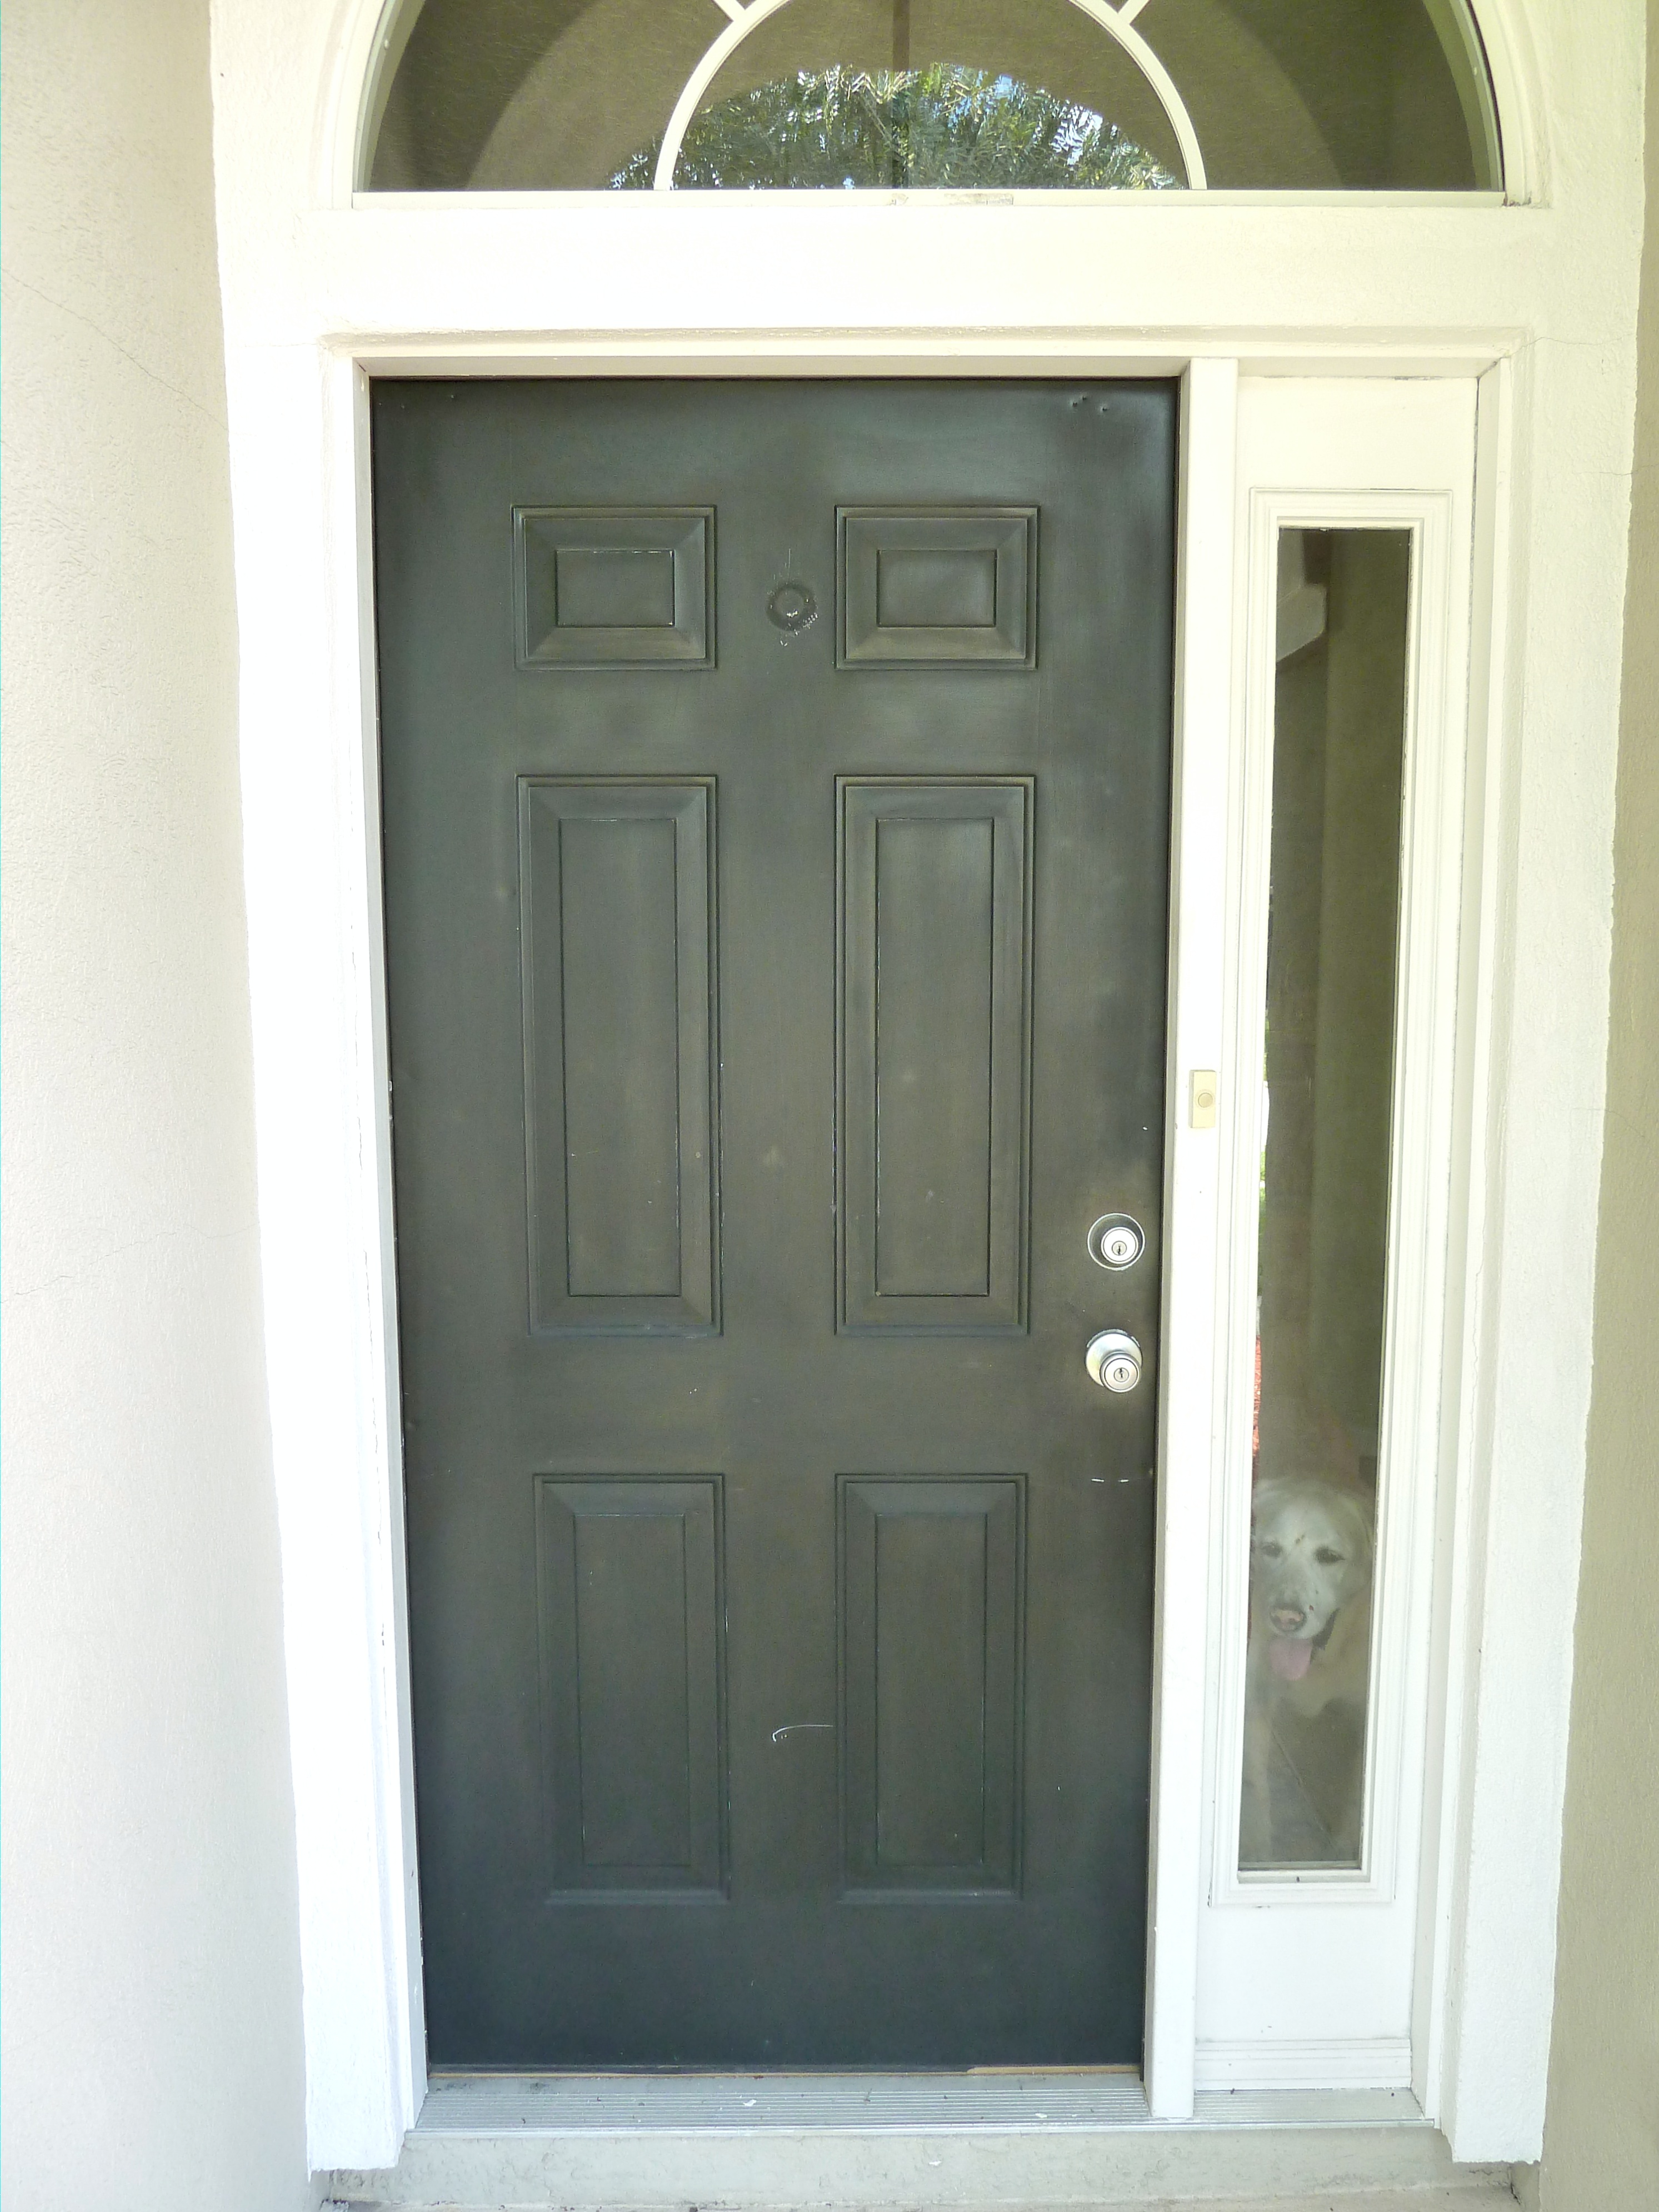
Here she is! The first time I laid eyes on her, it was love at first sight.

And here she is today, this photo is a bit closer. I did not get a photo of the front yard on moving day though! poop!

What we have done:
- Removed dying sago palm on the left side of the garage door.
- Removed holly bushes, stumps and all.
- Dug out all remaining plants.
- Removed all garden rocks and pavers around gardens.
- Trimmed back remaining sago palms.
- Added in new red mulch.
- Added solar lights.
- Power washed house and driveway.
What we still want to accomplish:
- Add more plants/flowers to the gardens.
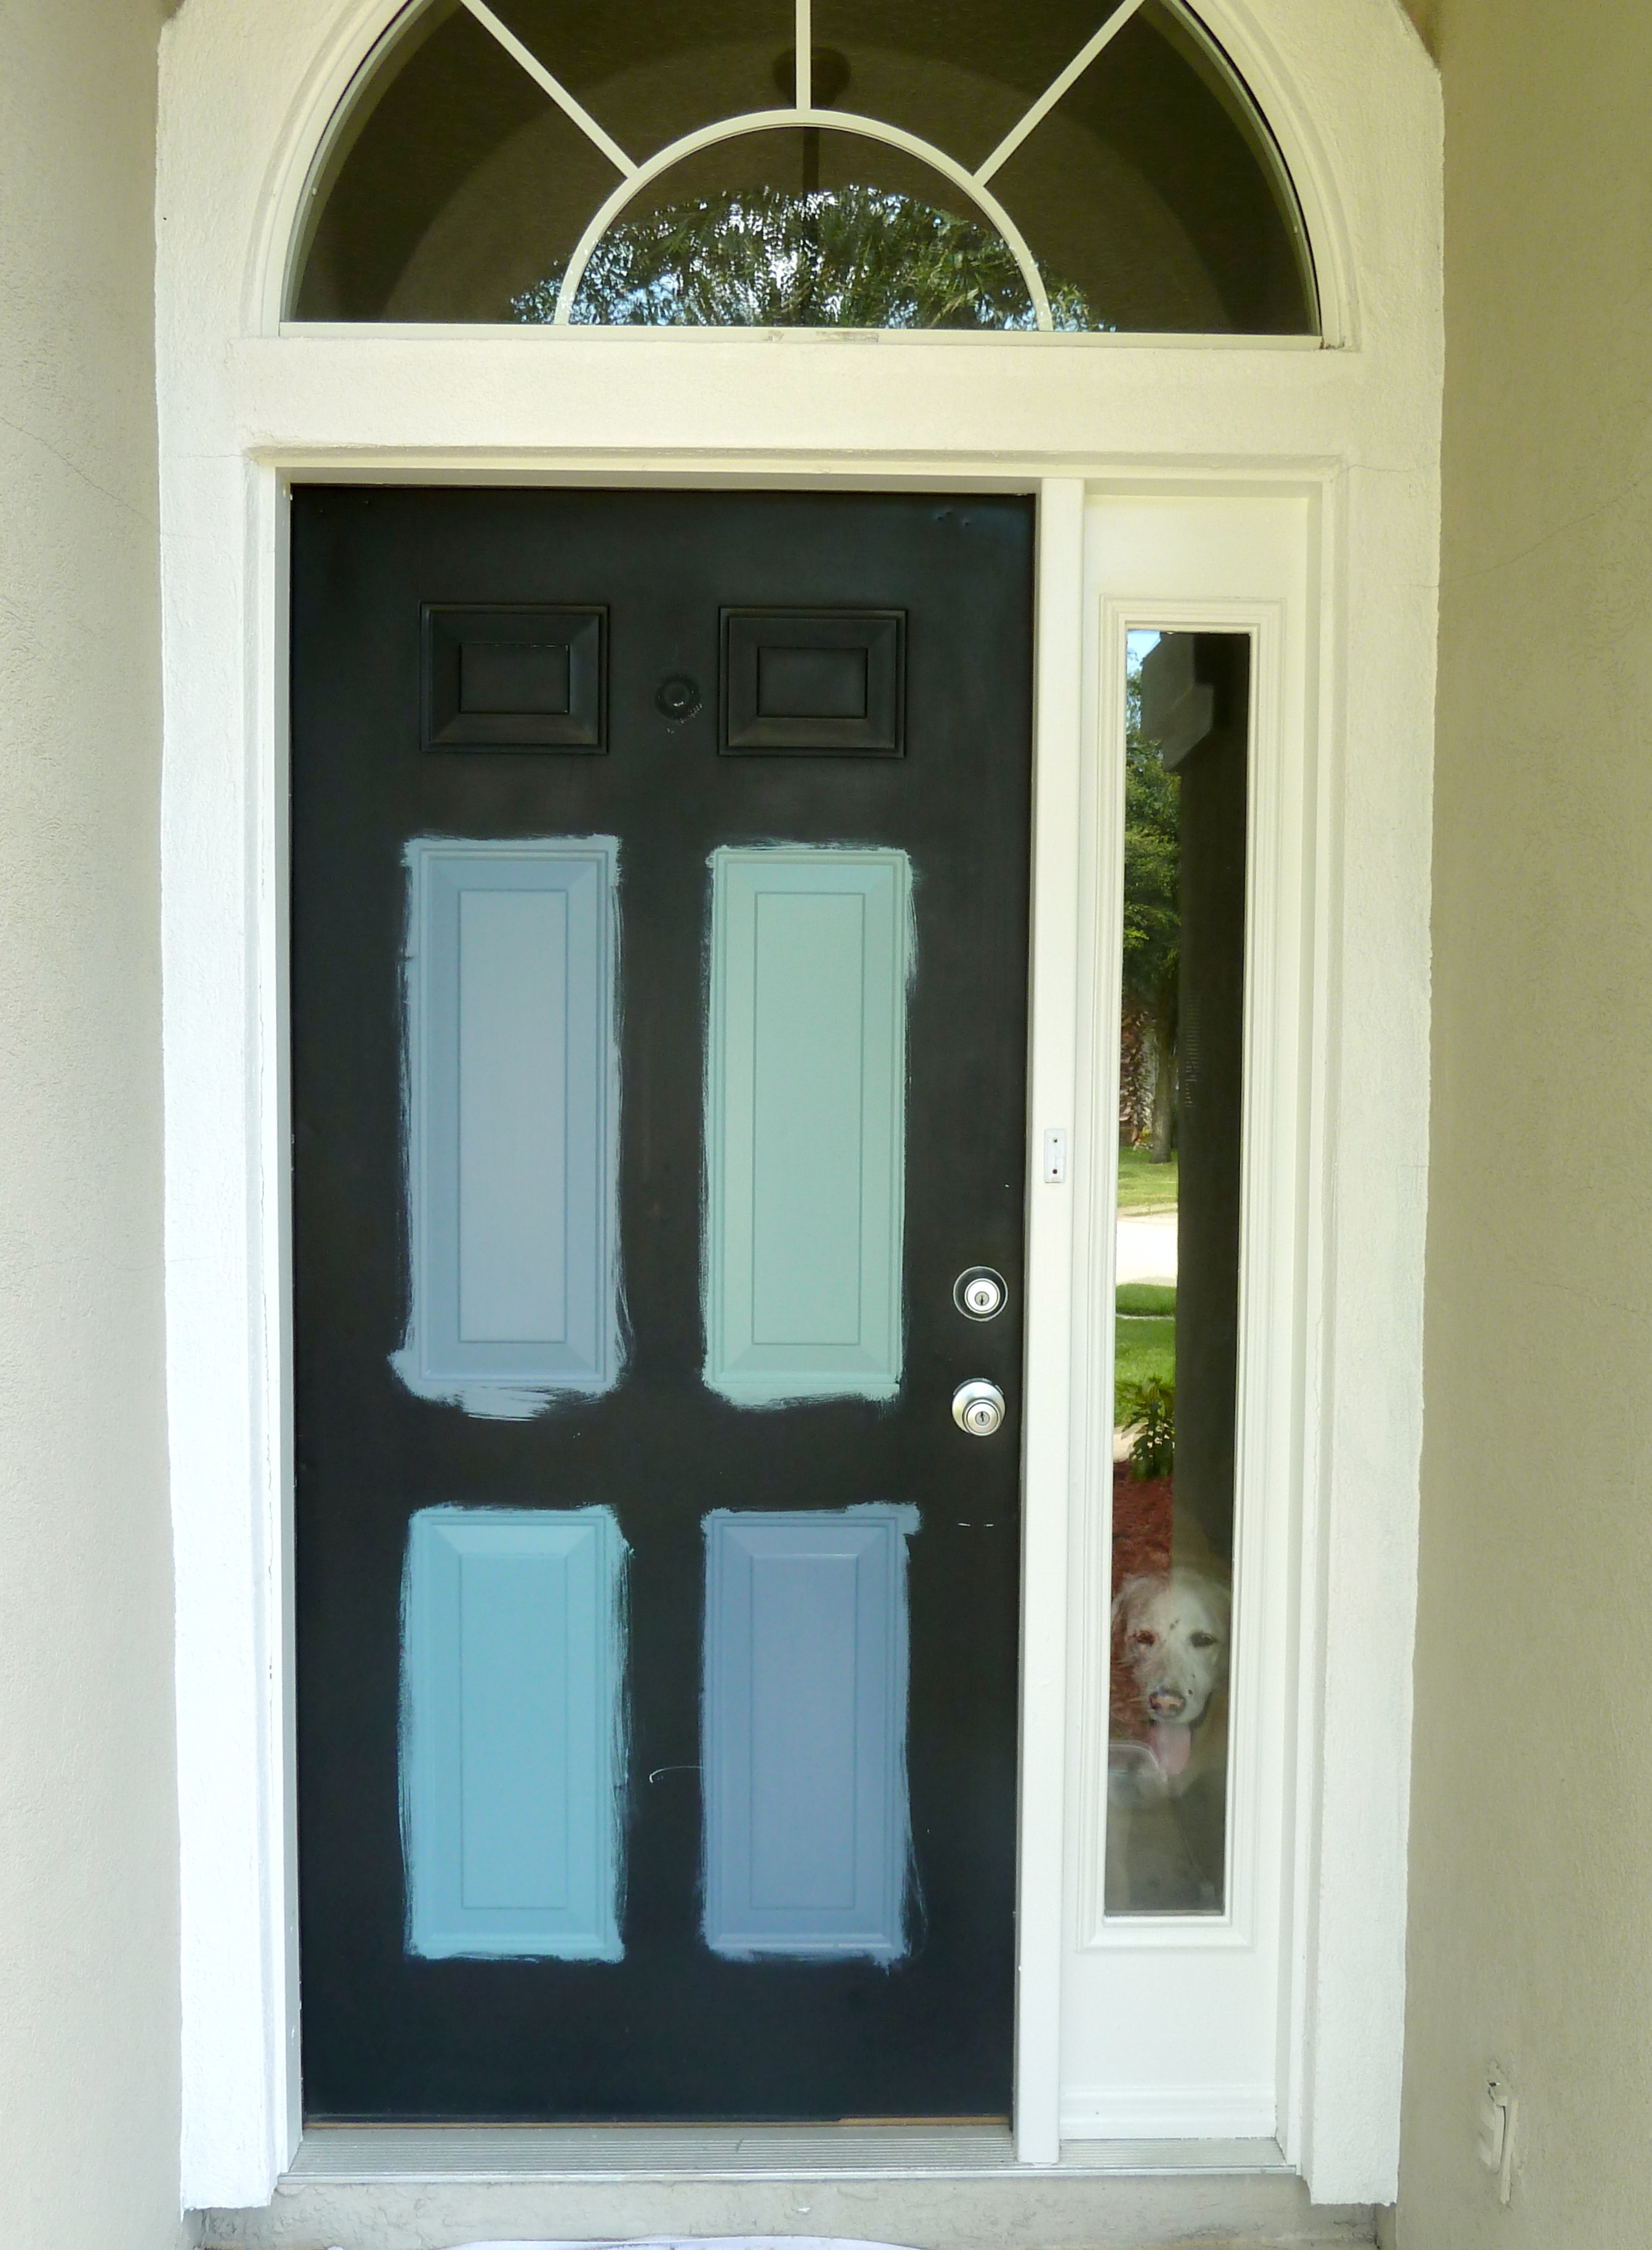
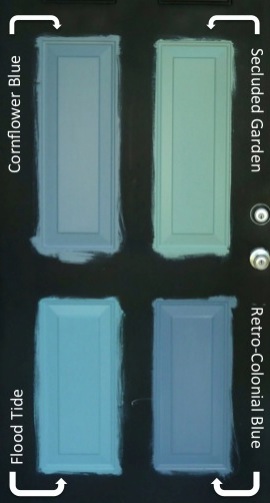
- Paint front door.
- Get new house numbers.
So far were off to a good start with the front yard. I am sure this to do list will expand. Next up…
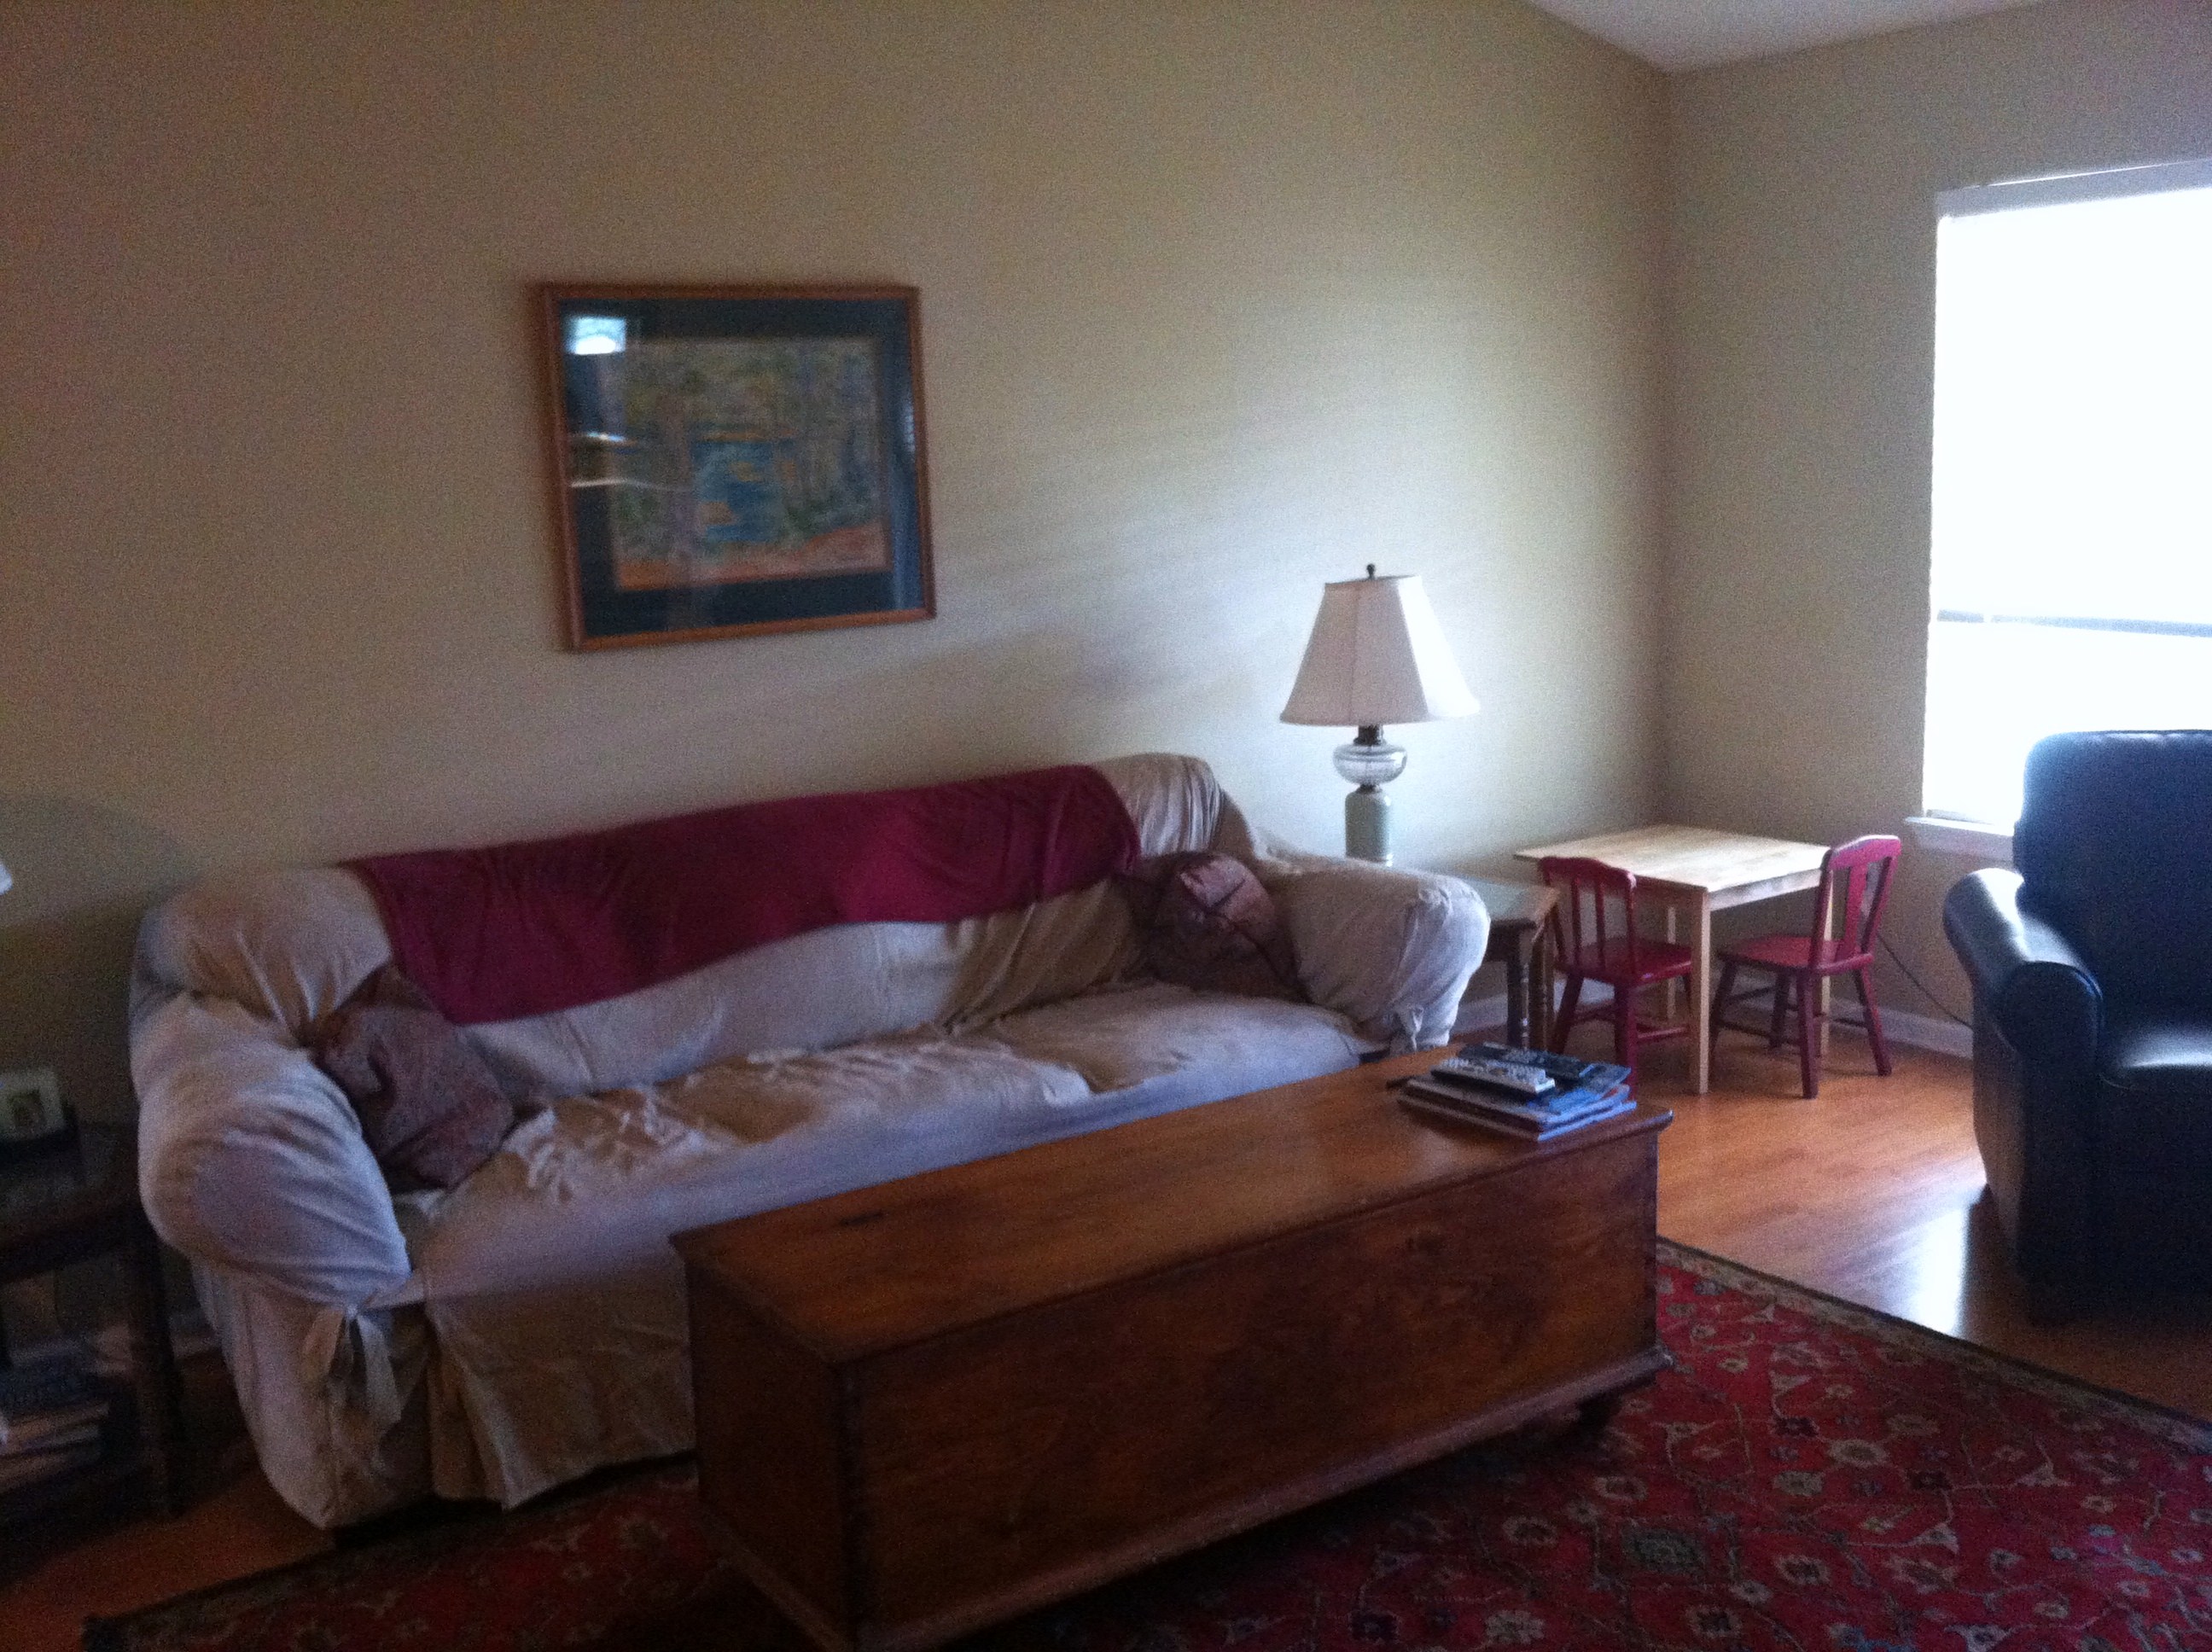
Dining Room:
This is the first time I saw the dining room at my walk through with our realtor…
 Here is moving in day…
 and today…

What we have done:
- Prepped and painted the walls and trim.
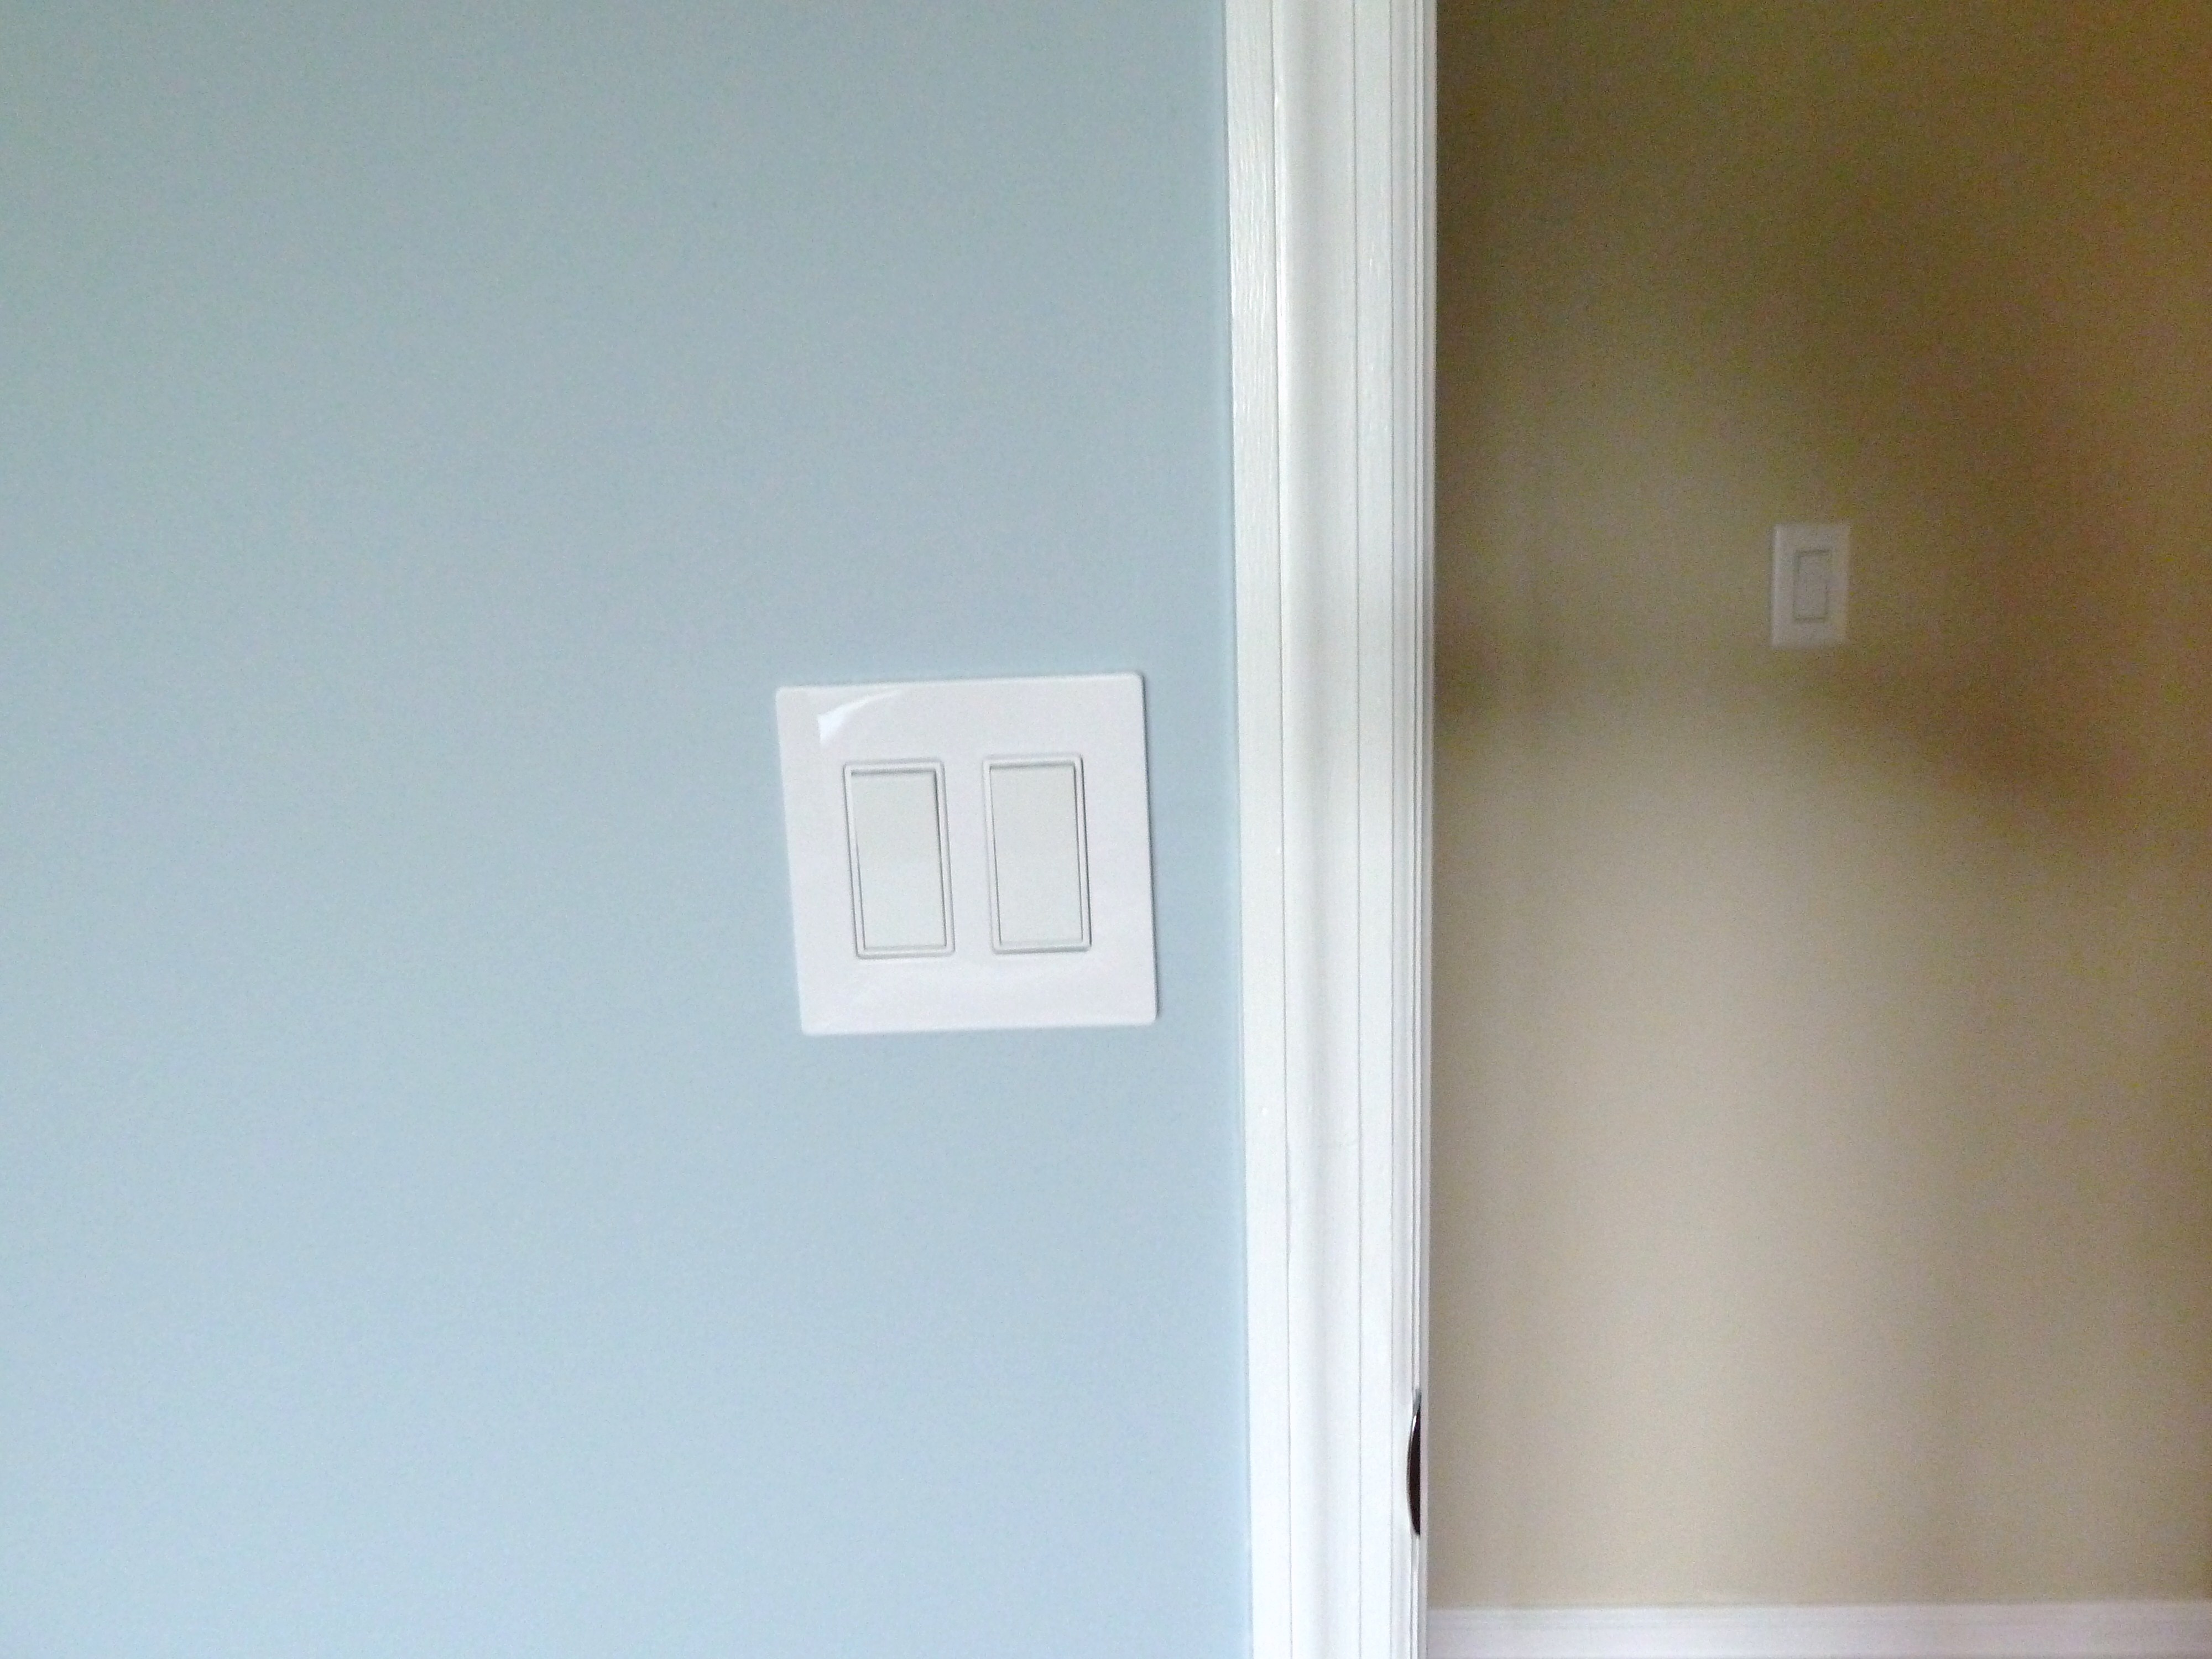
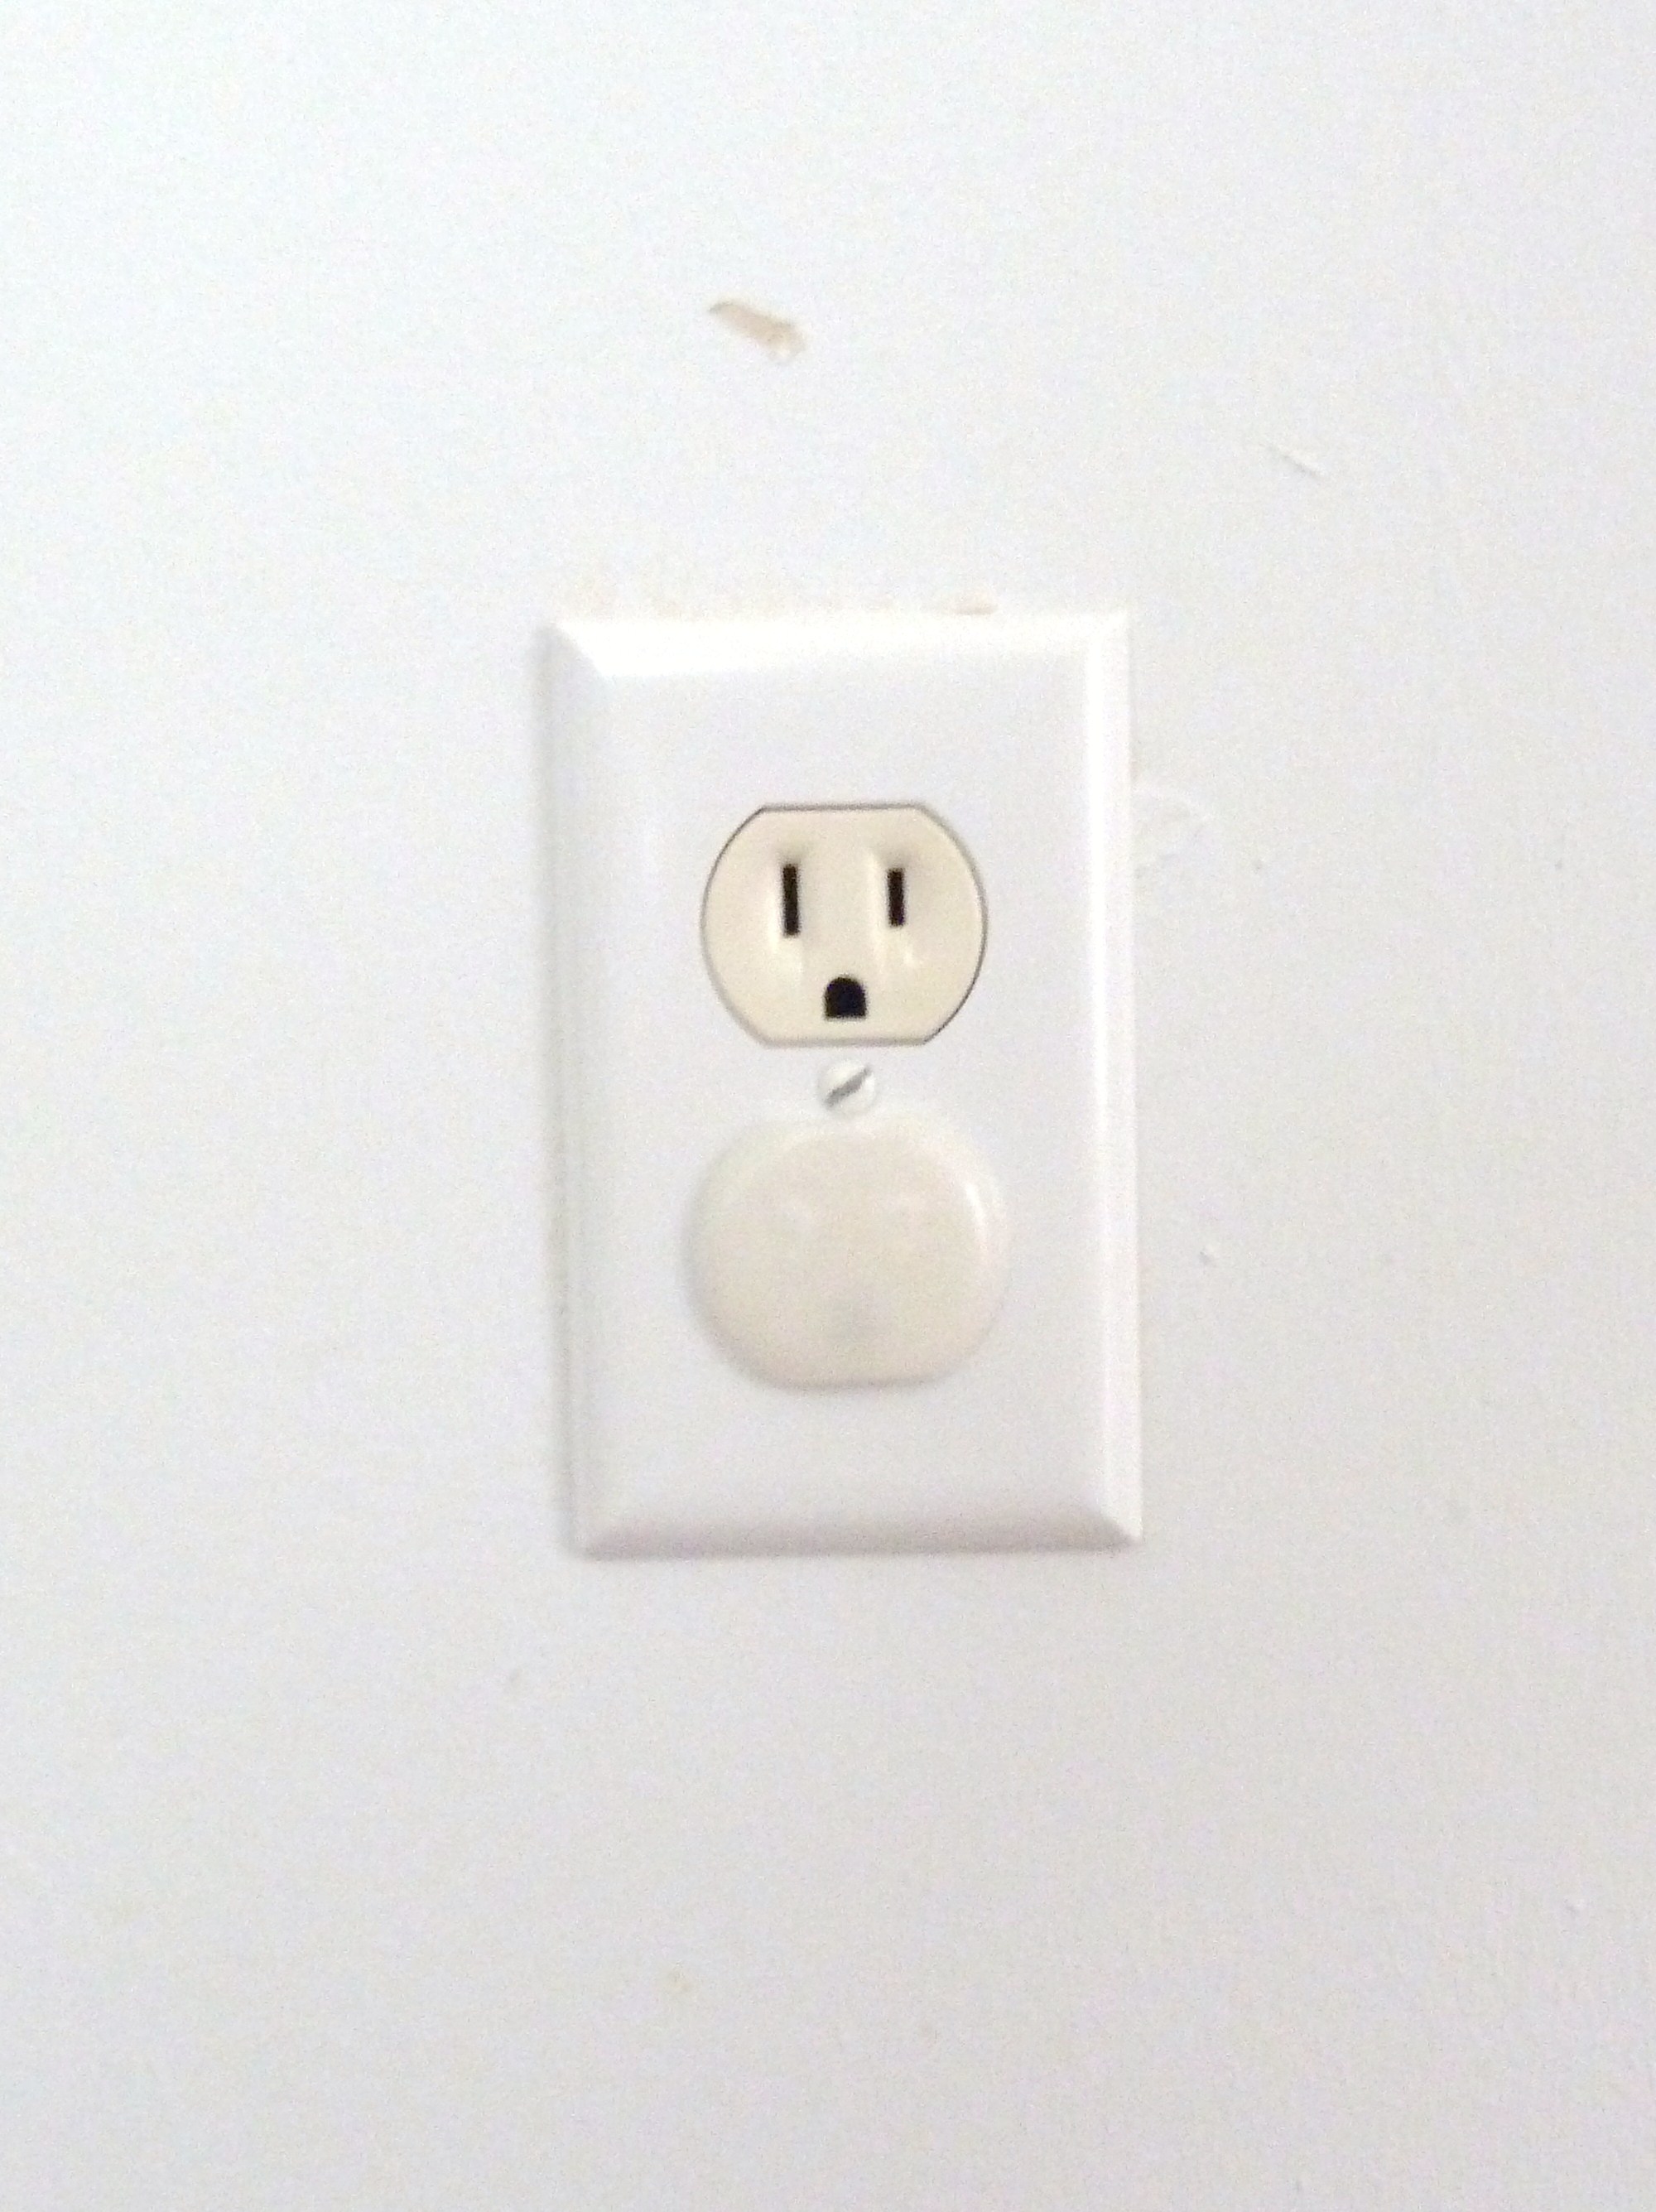
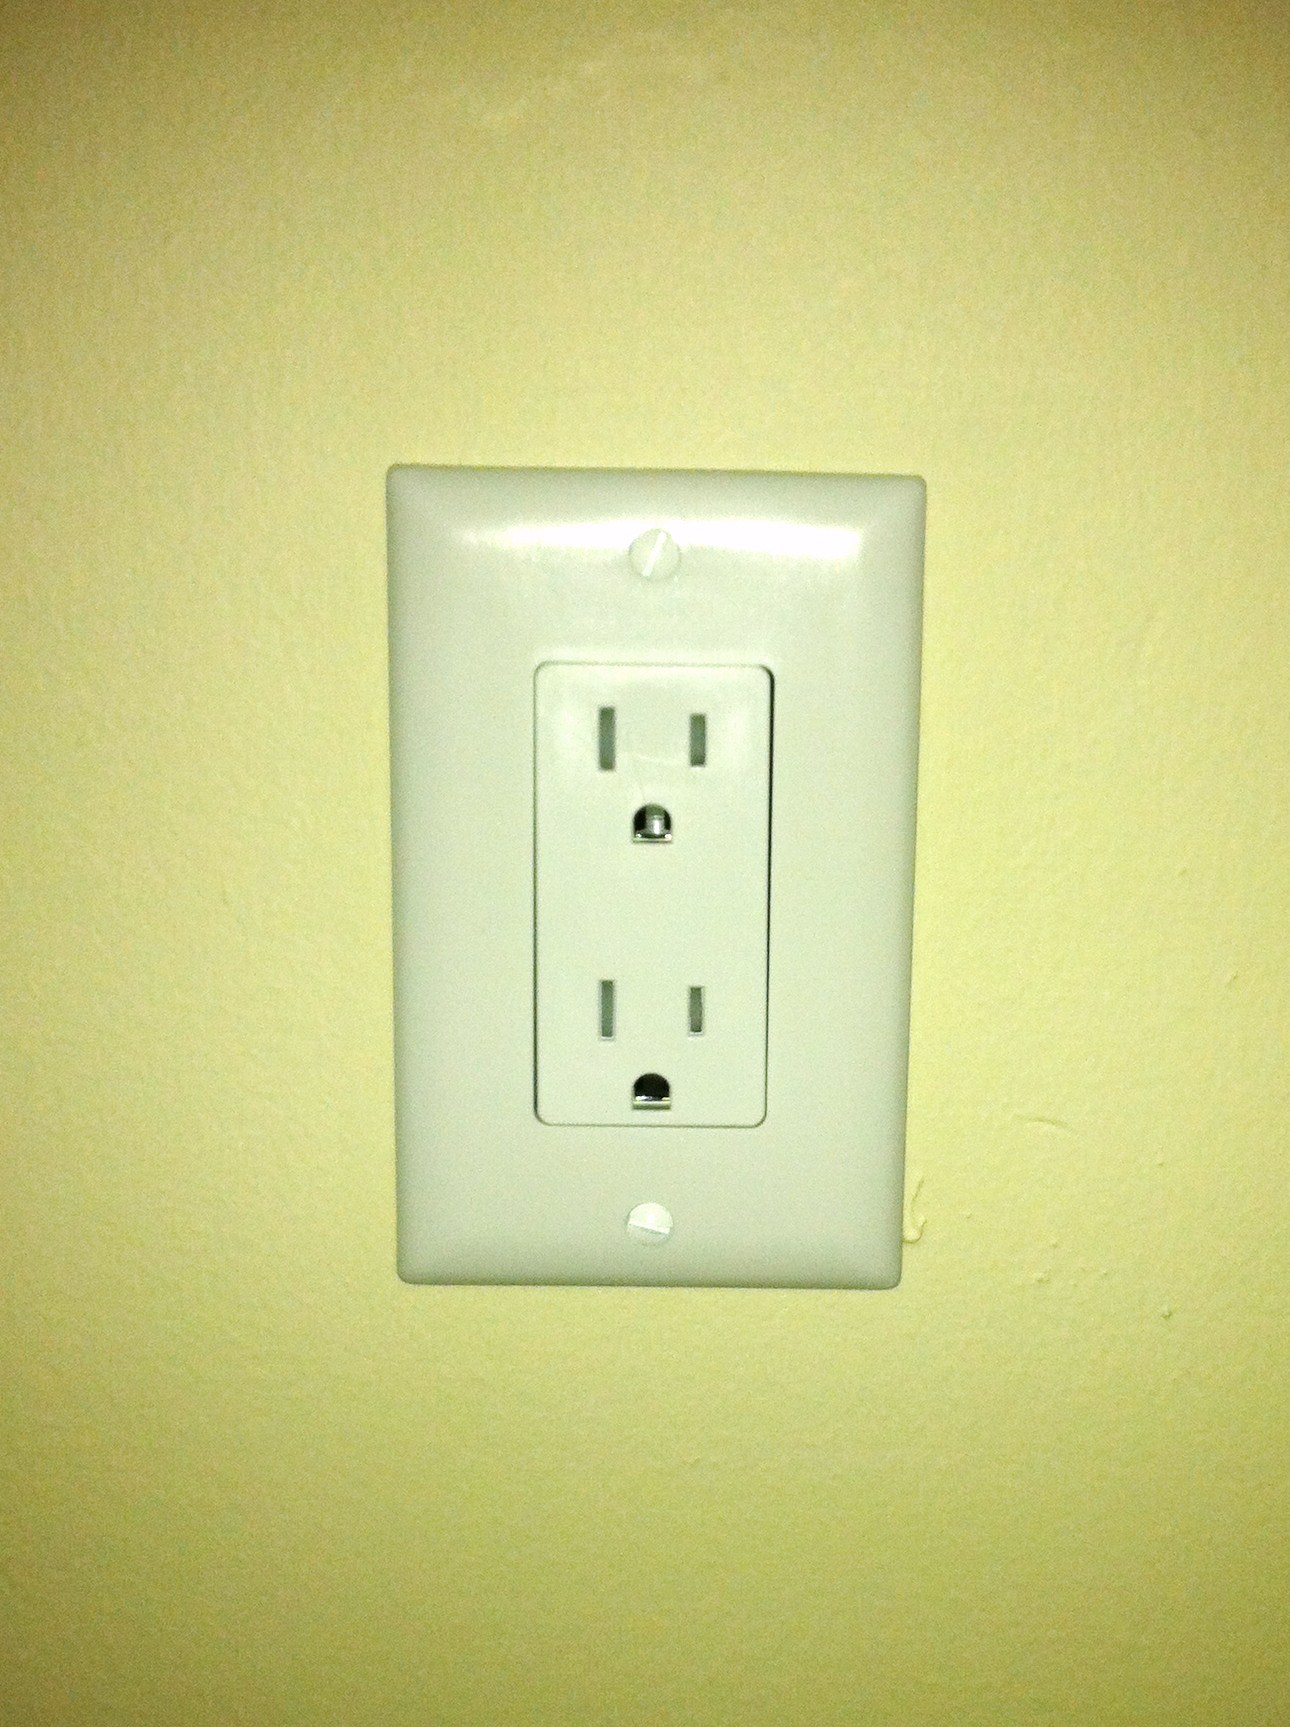
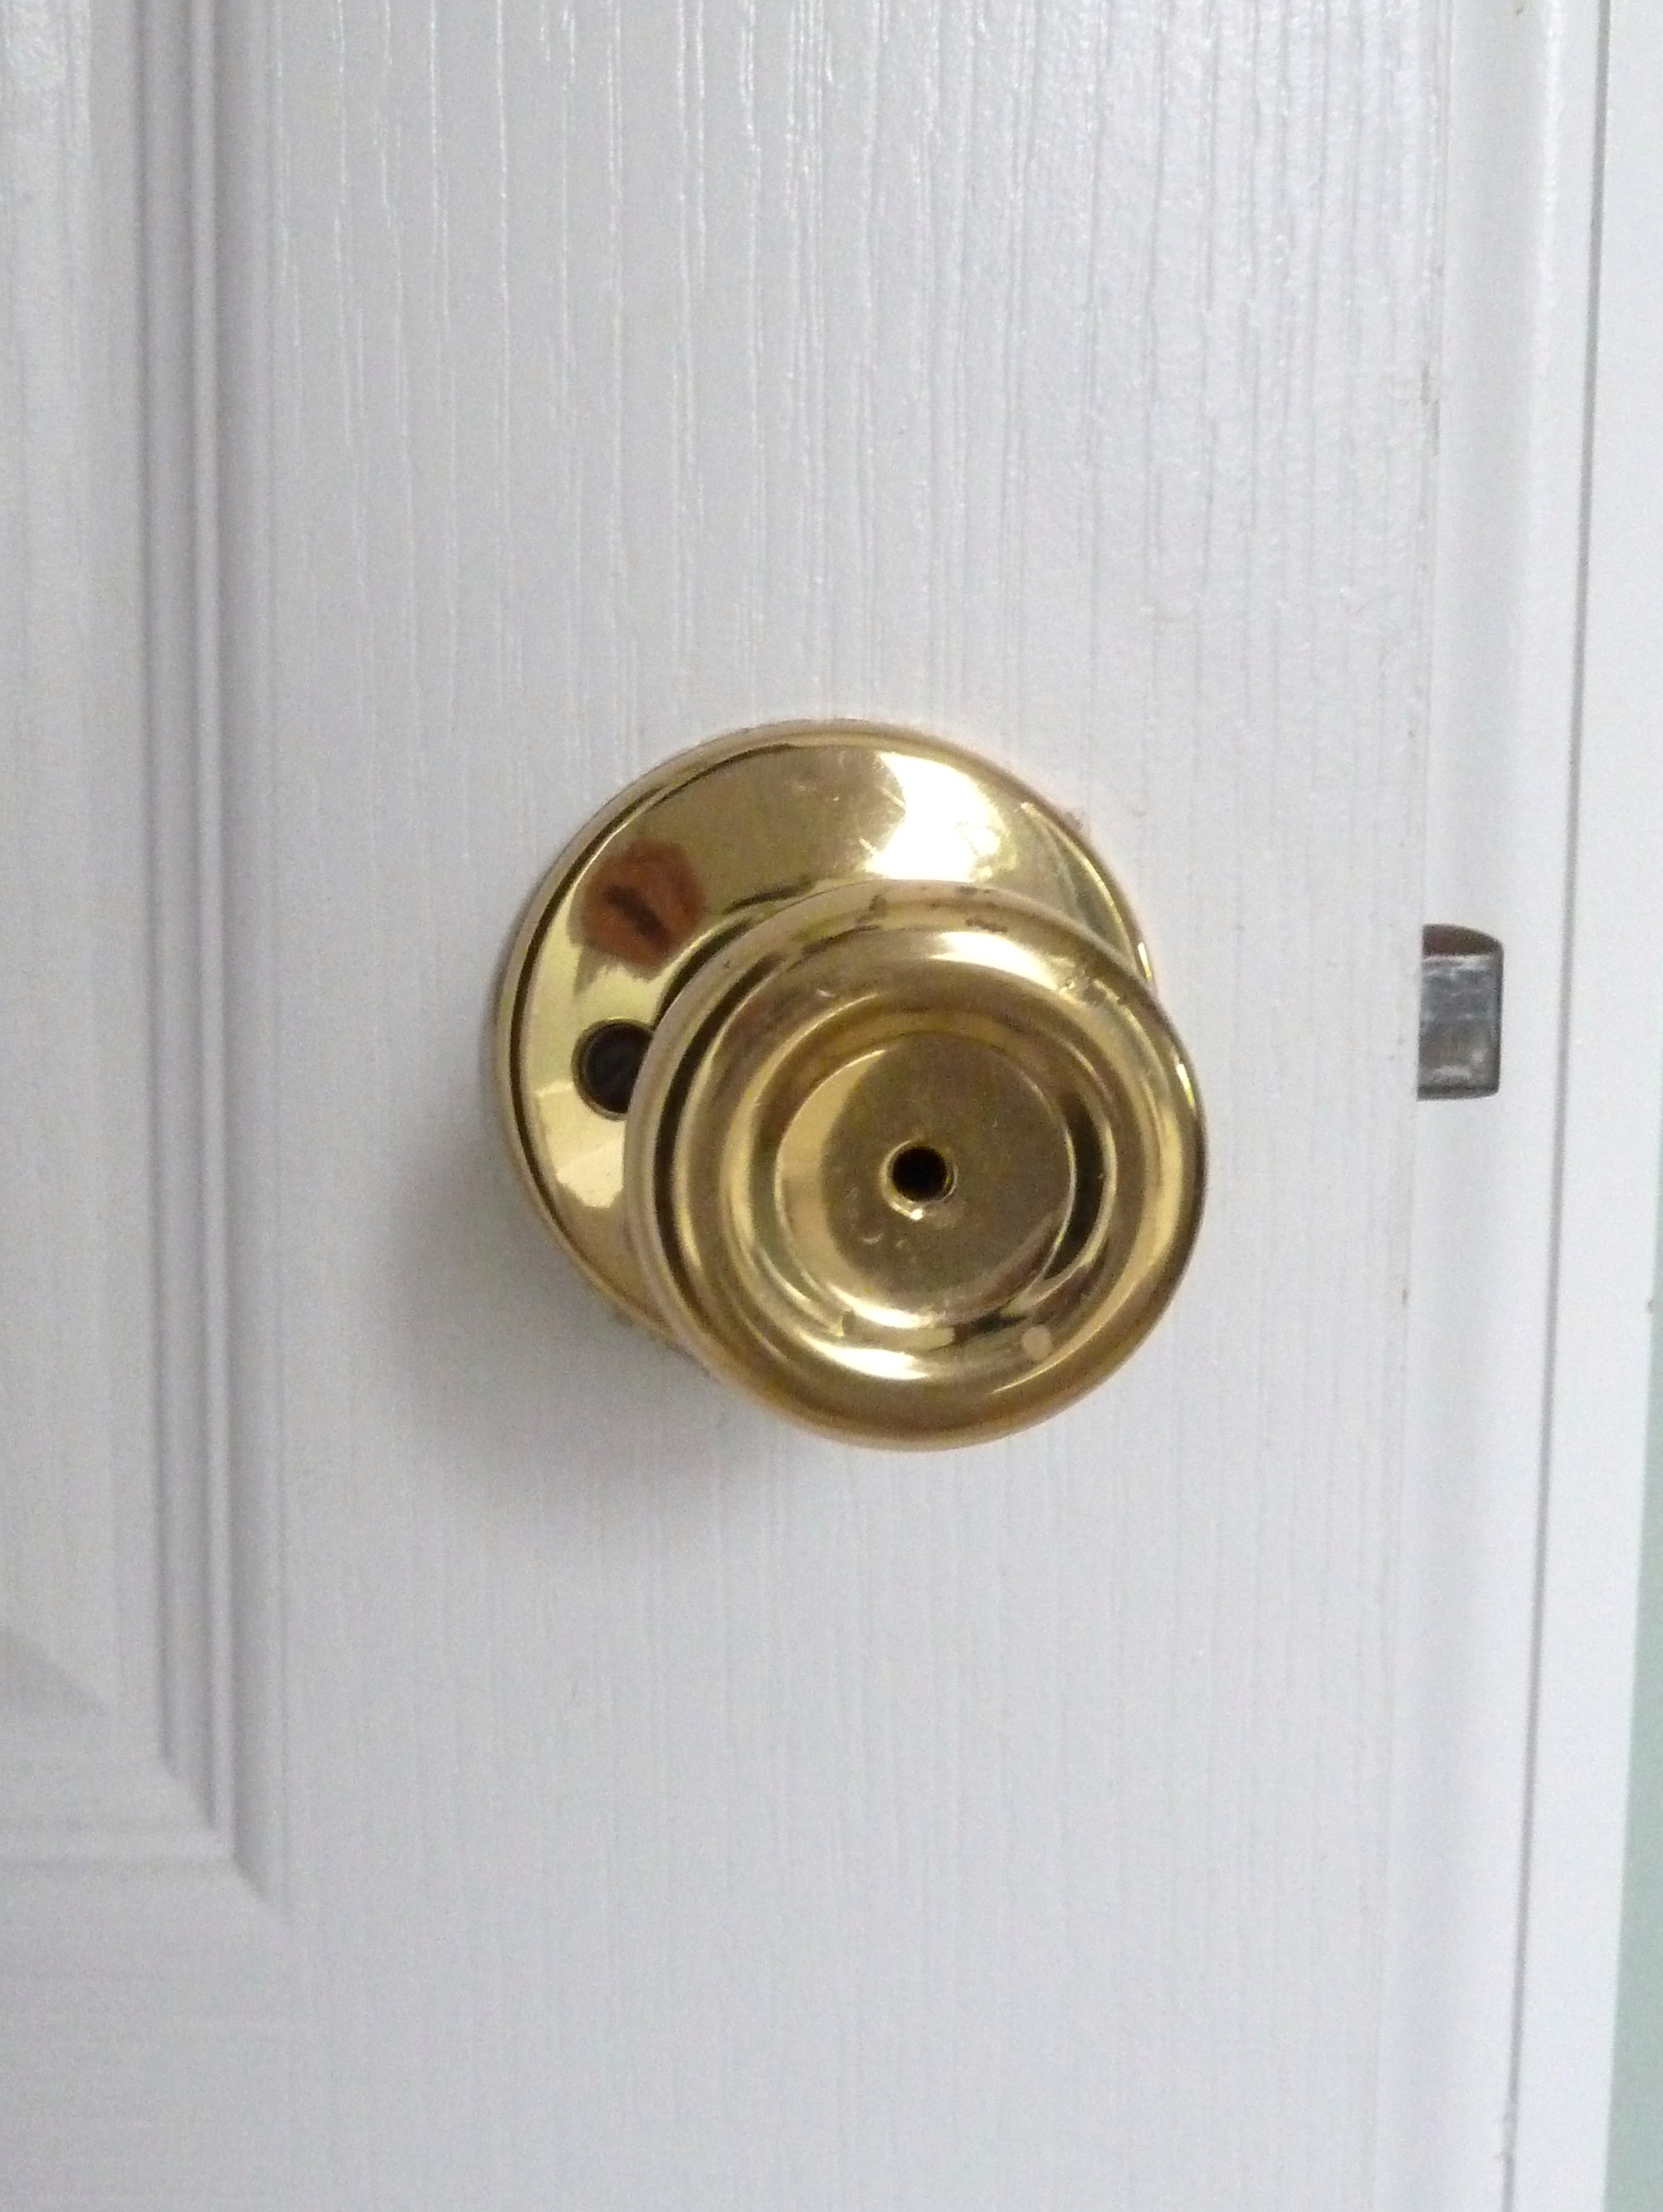
- Changed outlet covers, door handles and hinges.
- Steam cleaned the carpet.
- Removed the chandelier and installed new light fixture.
What we still want to accomplish:
- Get rid of old couch.
- Remove carpet, replace with new carpet.
- Get furniture.
- Find art for walls.
- Add window treatments.
We are still unsure what we would like this room to be, we do not necessarily need a dining room. We already have our table in our little eating nook in the kitchen and we now have the new patio set. We are contemplating another living/sitting area. We are not really formal type of people, so a formal dining or living room isn’t really for us. We still have a long way to go in here.
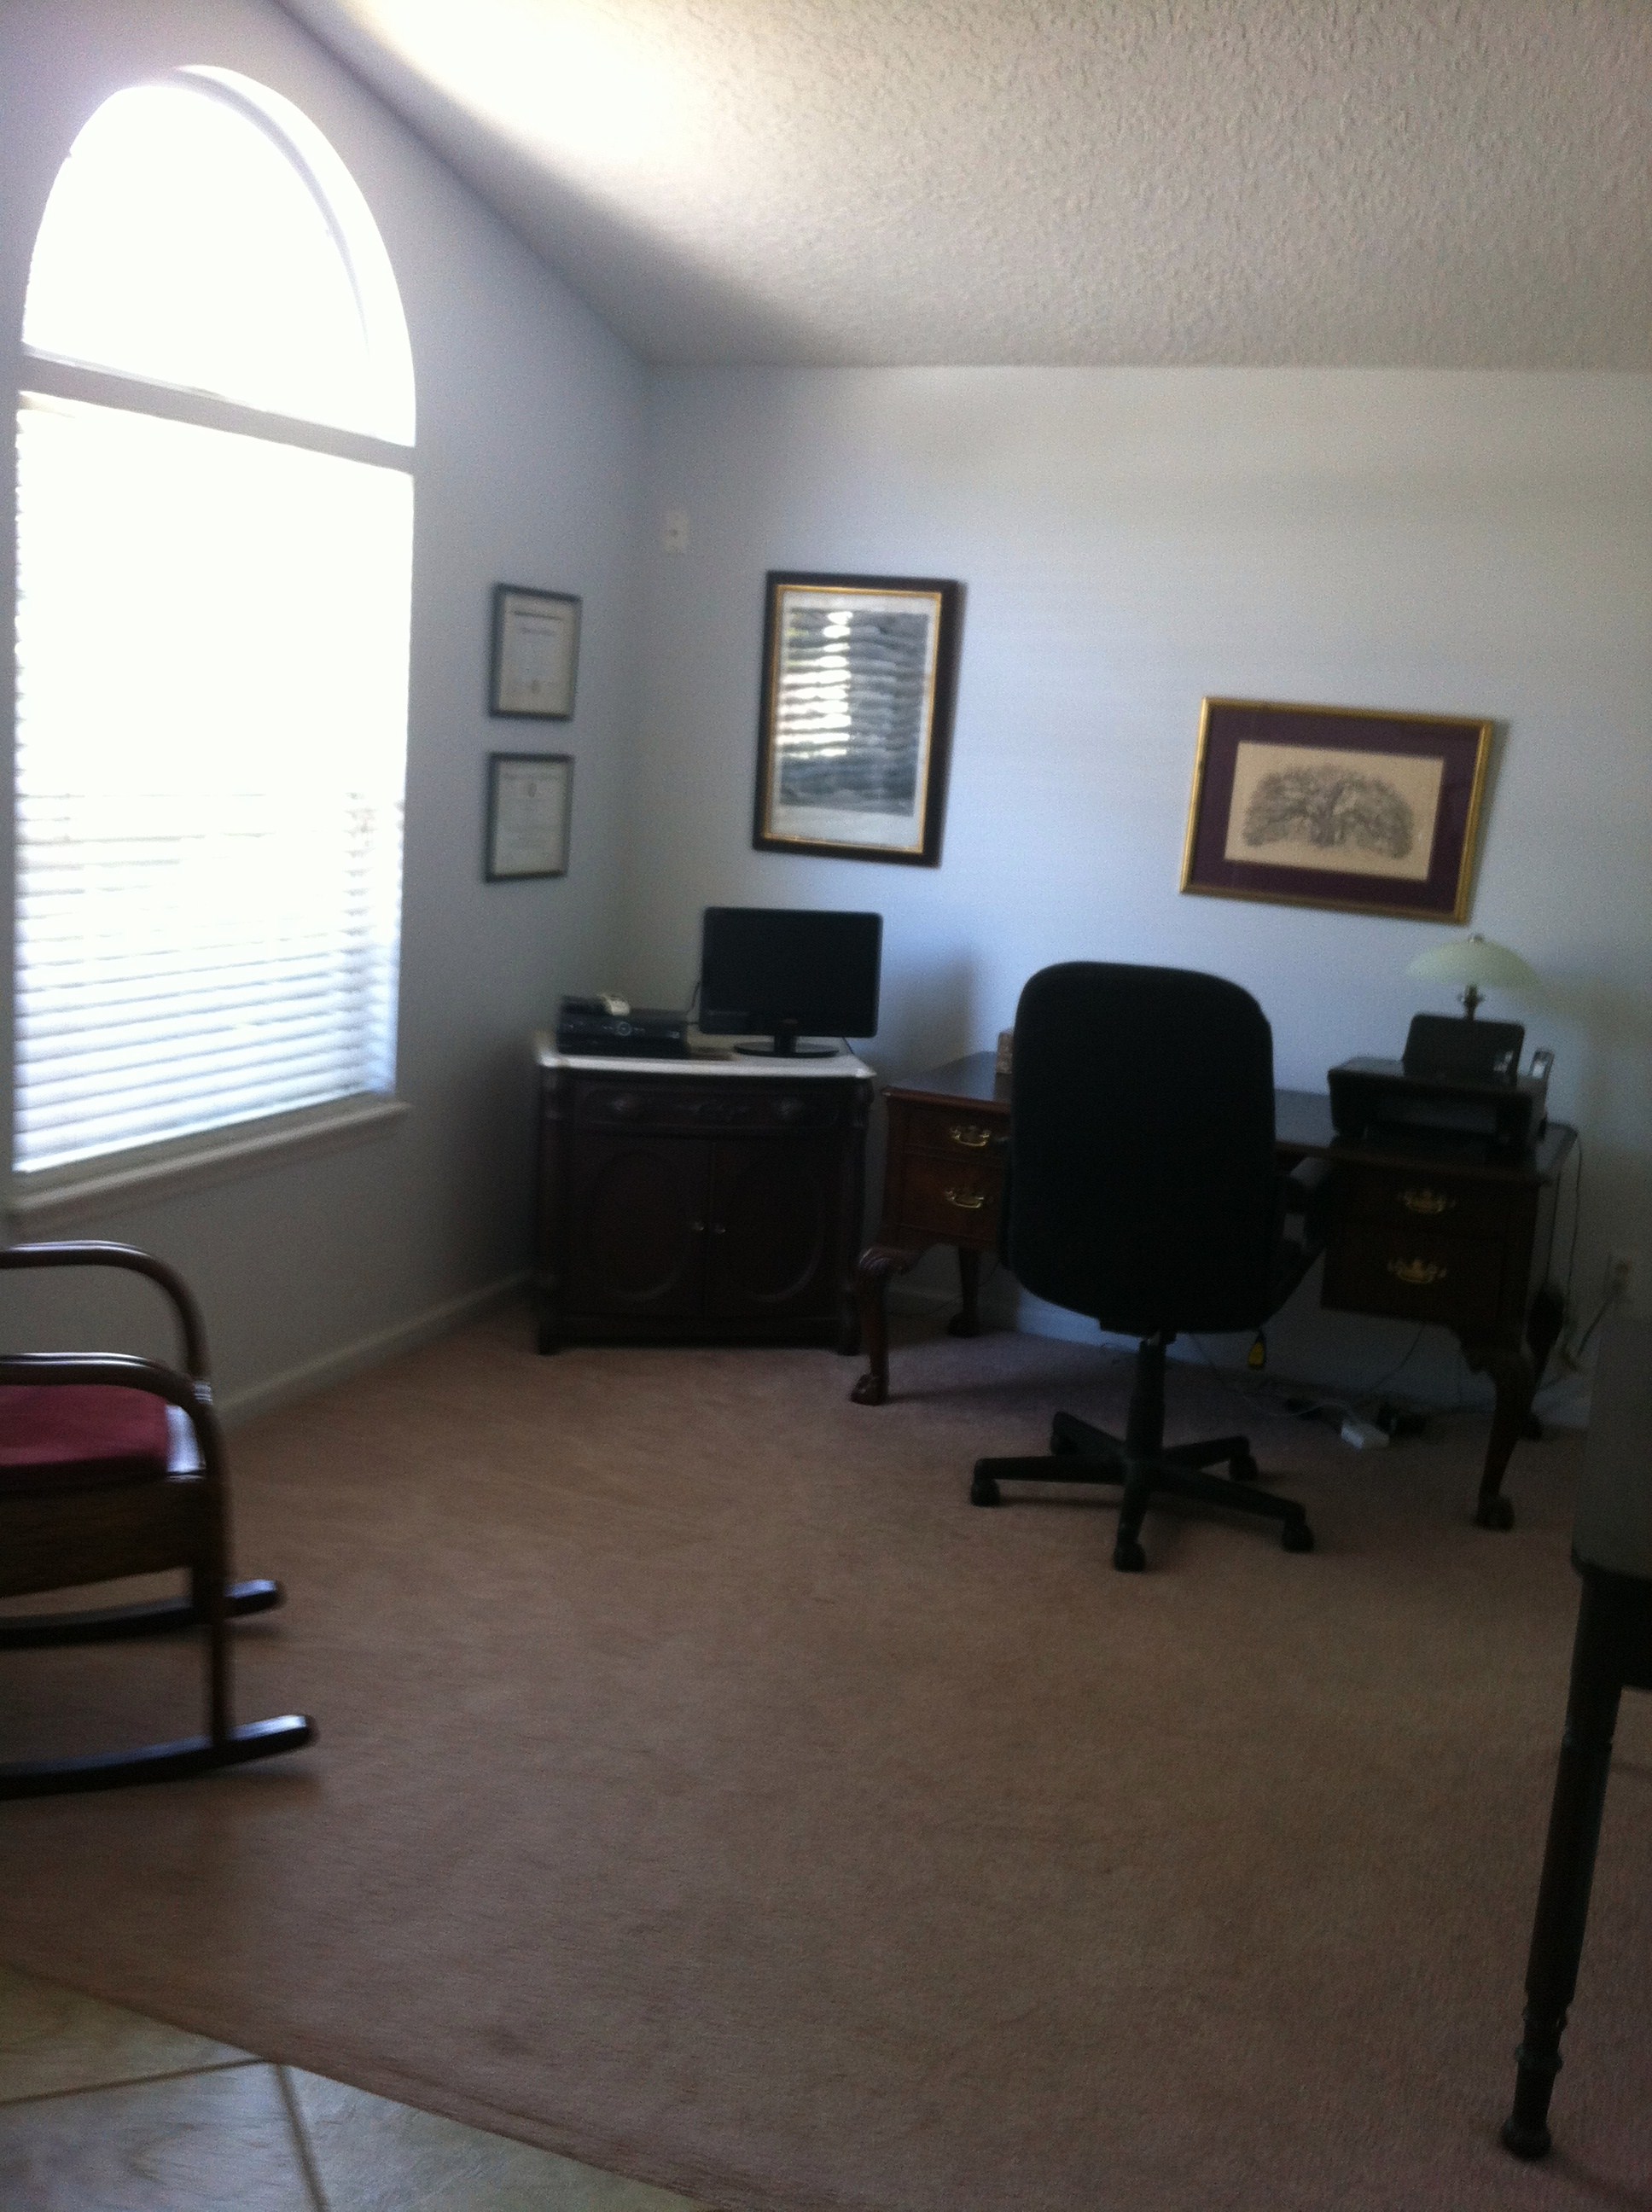
Office:
First day I saw it…

Then on moving day…

And then here it is today…

What we have done:
- Prepped and painted the walls and trim.
- Changed outlet covers, door handles and hinges.
- Steam cleaned the carpet.
- Added our desk, printer table and lamp.
- Added some wall art.
What we still want to accomplish:
- Remove carpet, replace with new carpet.
- Add walls and french doors to close off the room.
- Get new corner desk.
- Get book shelf or hutch for storage.
- Add window treatments.
Still plenty to accomplish.
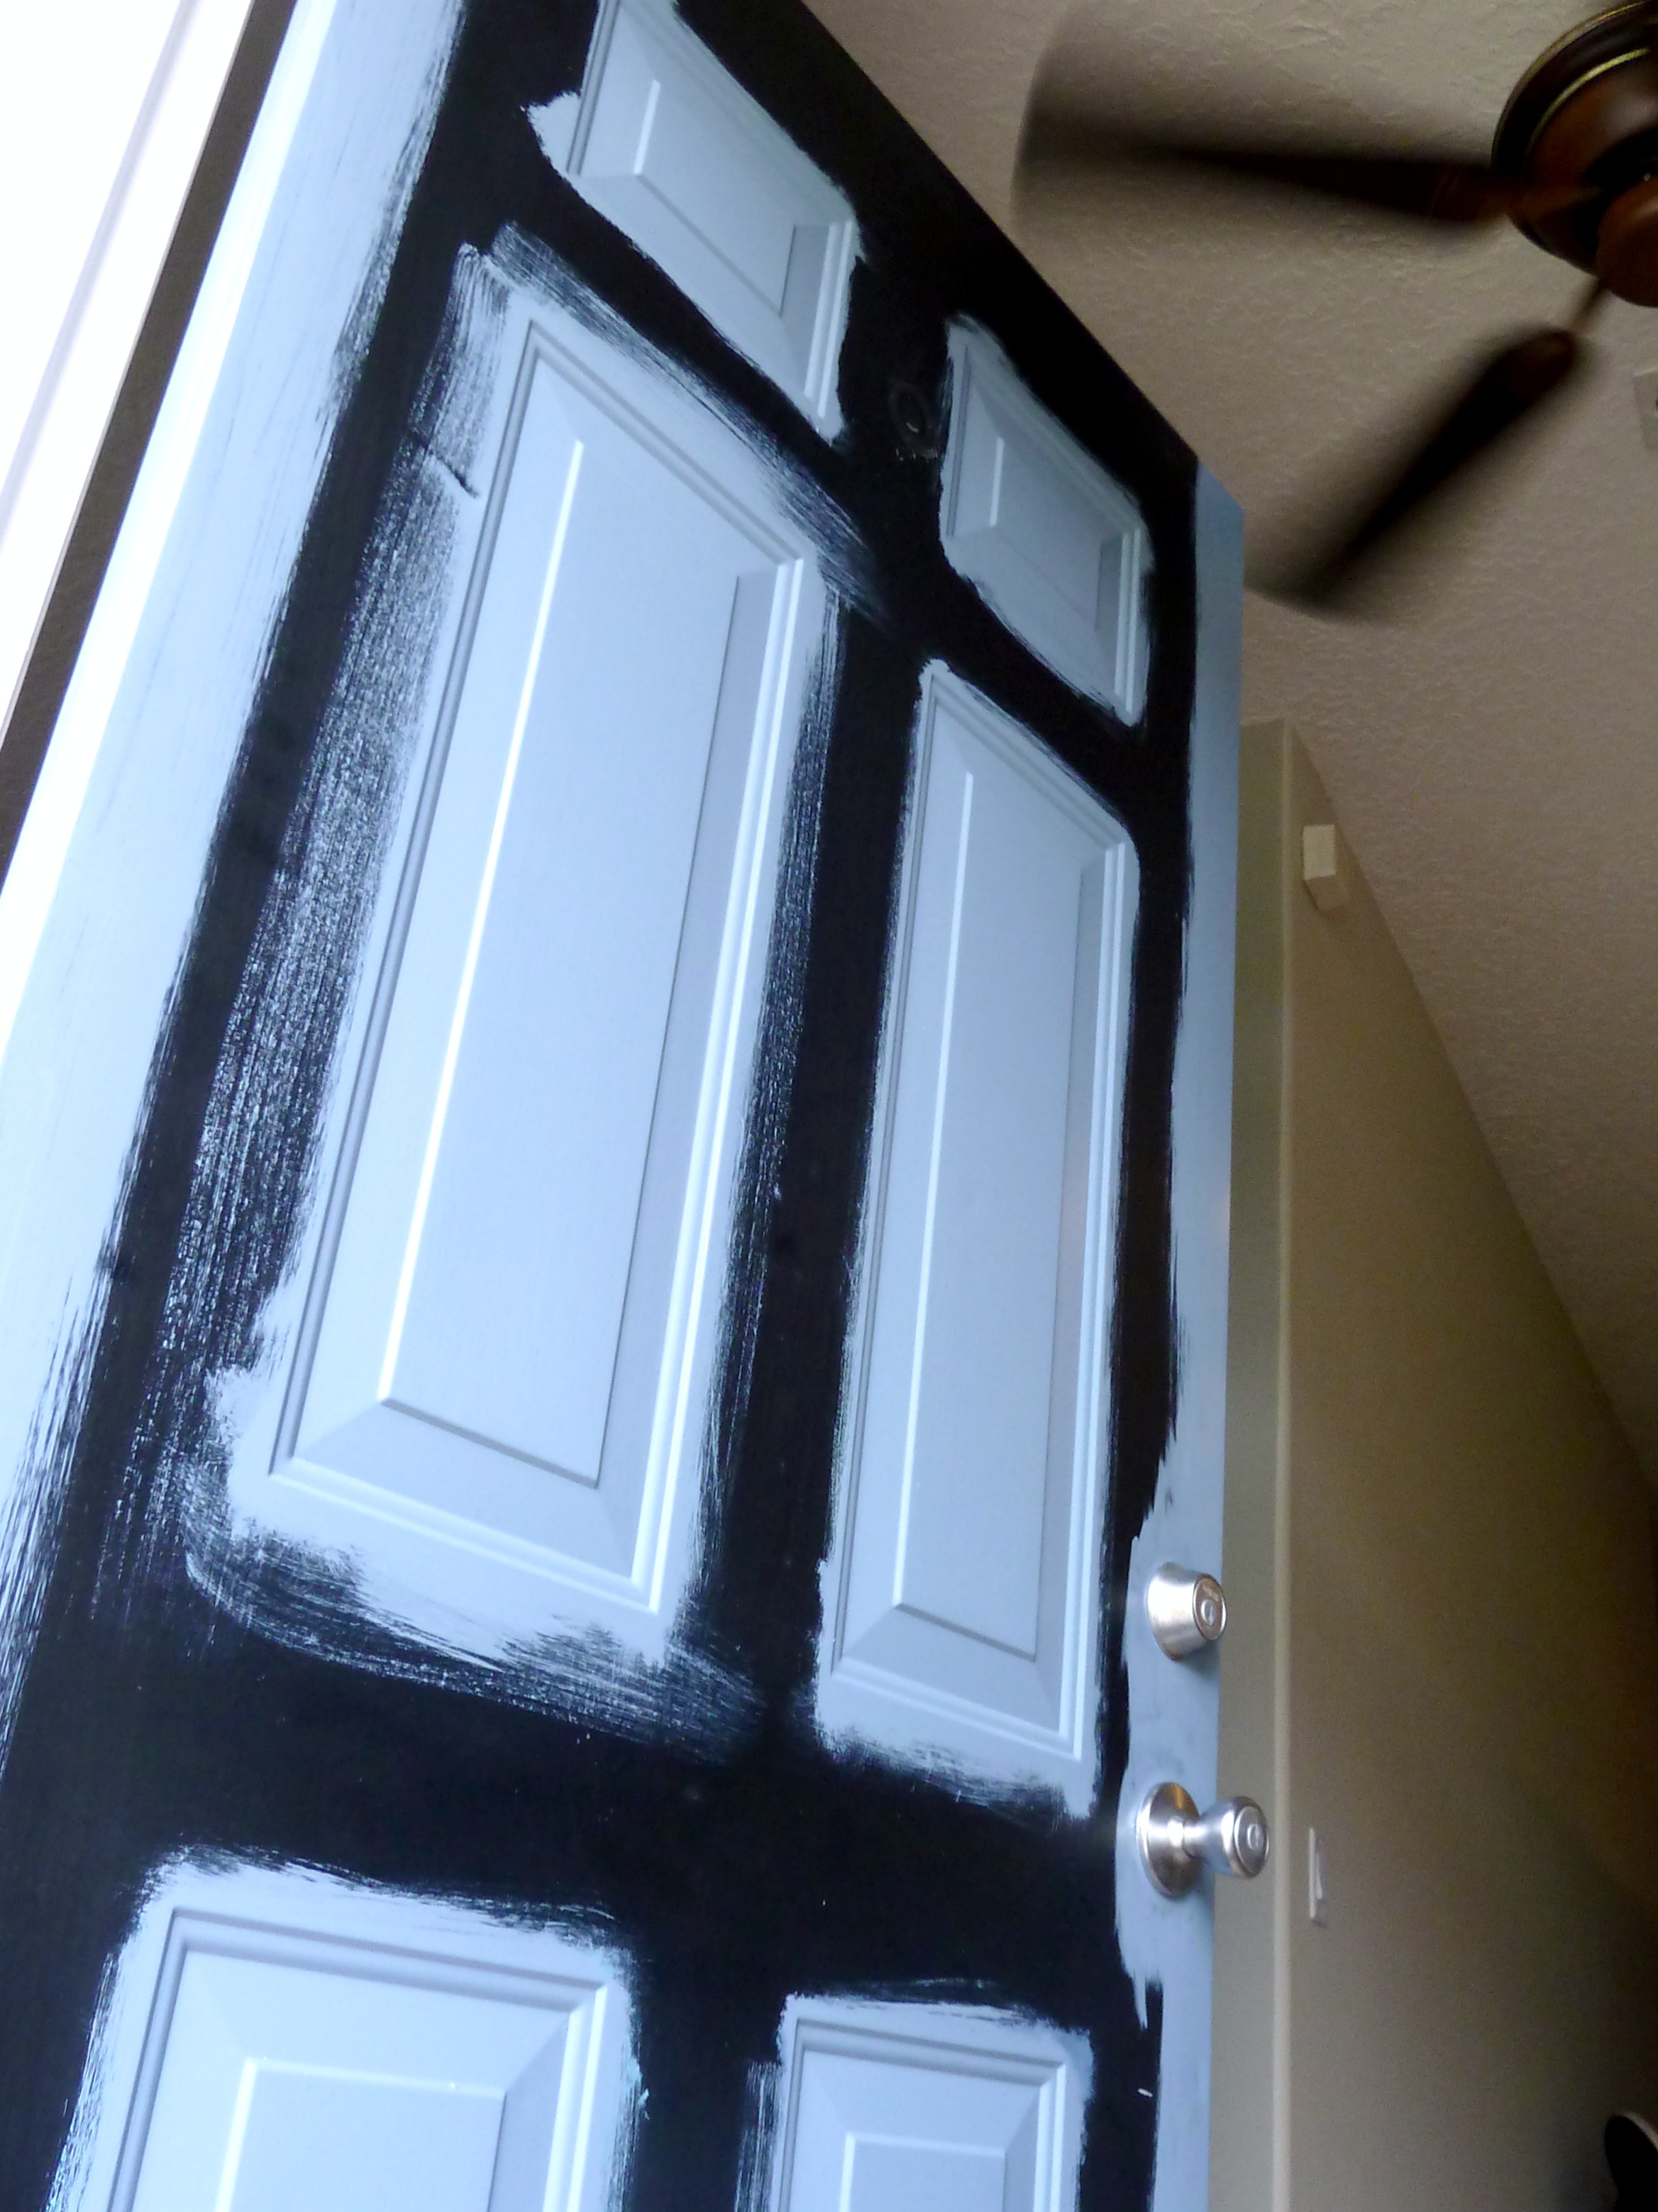
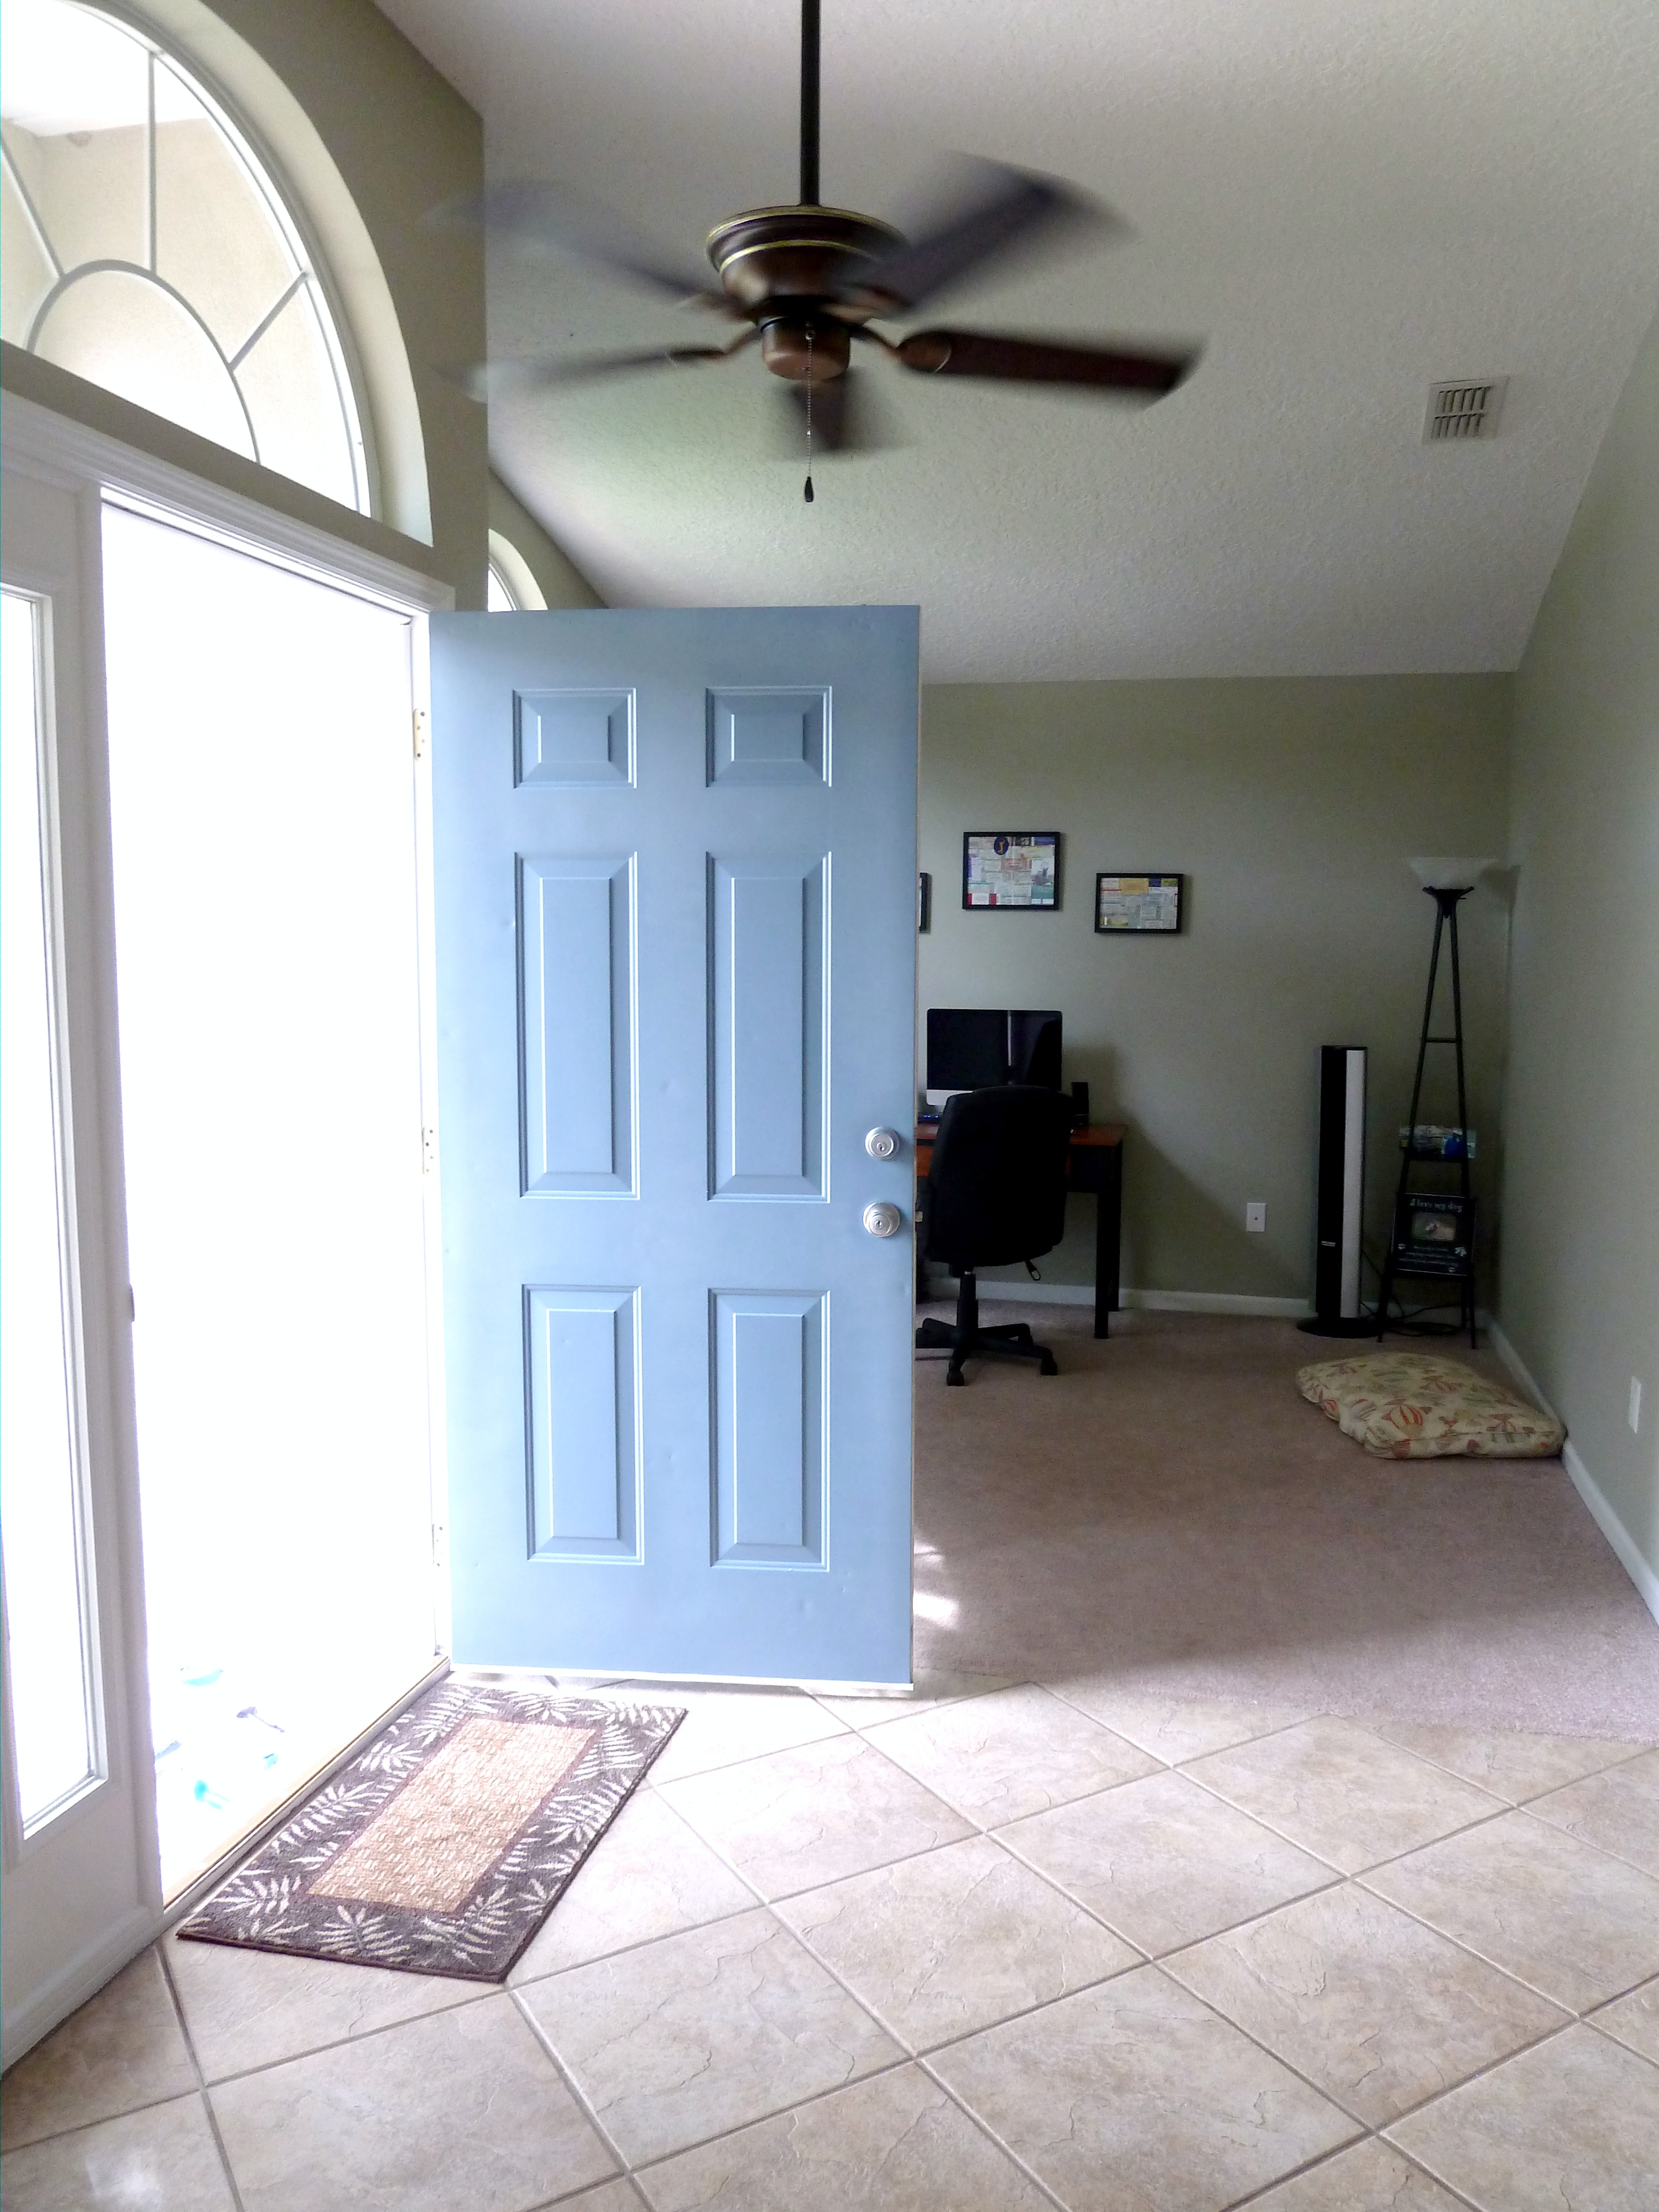
Long Hallway:
At first sight again…

Then on moving day….

And today…

What we have done:
- Prepped and painted walls and trim.
- Changed outlet covers, door handles and hinges.
- Removed lighting at front door.
- Added small hanging fan to front entry.
- Added carpet runner.
- Added long hall table.
- Let Charlie live here.
What we still want to accomplish:
- Paint inside of front door.
- Add glass storm door.
- Add art to walls(possibly gallery wall).
Kitchen:
At first sight…


Then on moving day…

And then today…

What we have done:
- Cleaned grout.
- Prepped and painted walls and trim.
- Changed outlet covers, door handles and hinges.
What we still want to accomplish:
- Paint cupboards white and replace doors with new white ones or replace cupboards completly with new white ones.
- Add granite counters.
- Replace island with butcher block.
- Get stainless steel appliances.
- Add art to walls.
- Re-grout tile(it’s all discolored).
Kitchen Eating Nook:
At first walk through…

On moving day…

And then today…

What we have done:
- Prepped and painted walls and trim.
- Cleaned grout.
- Added our kitchen table.
- Changed outlet covers, door handles and hinges.
What we still want to accomplish:
- Re-grout tile.
- Add art to walls.
Living Room:
At first sight…


Then on moving day…


And today…


What we have done:
- Prepped and painted walls and trim.
- Changed outlet covers, door handles and hinges.
- Purchased new couches.
- Purchased new TV console and TV.
- Made cornice for window.
- Added area rug.
- Added art to walls and mirror above fireplace.
What we still want to accomplish:
- Mount TV to wall.
- Add decorations to nooks.
- Possibly add a matching cornice above french doors.
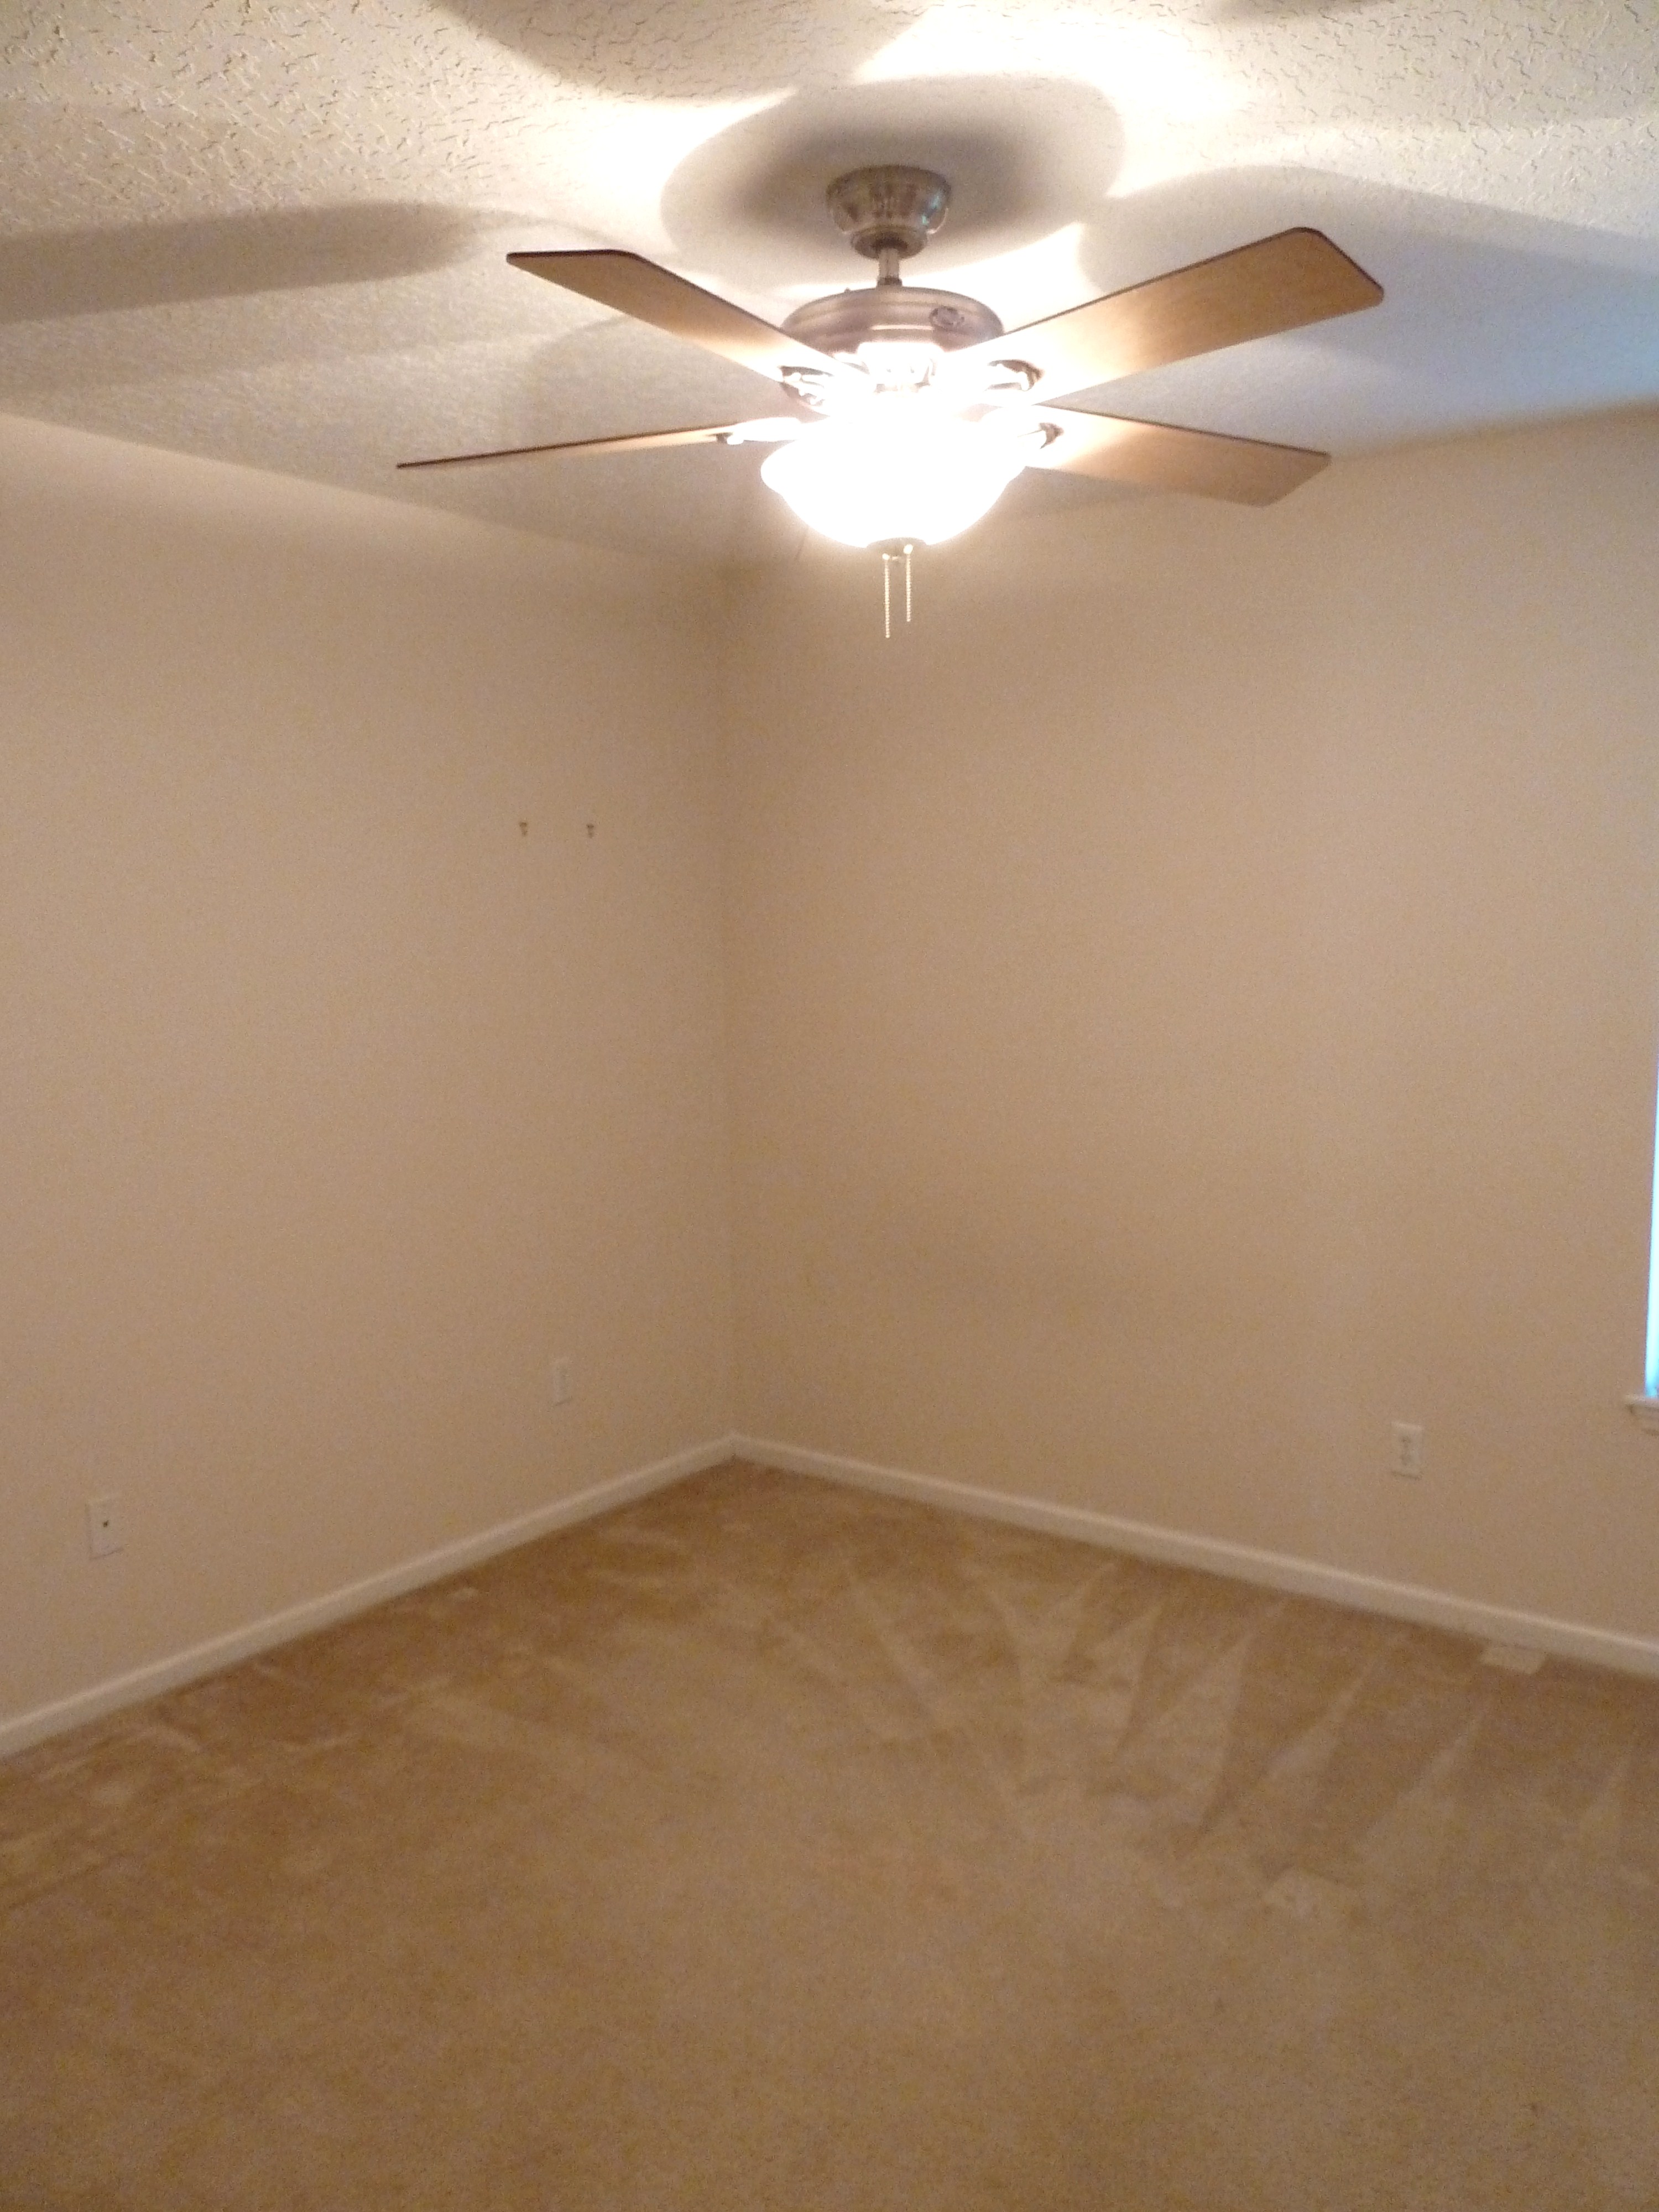
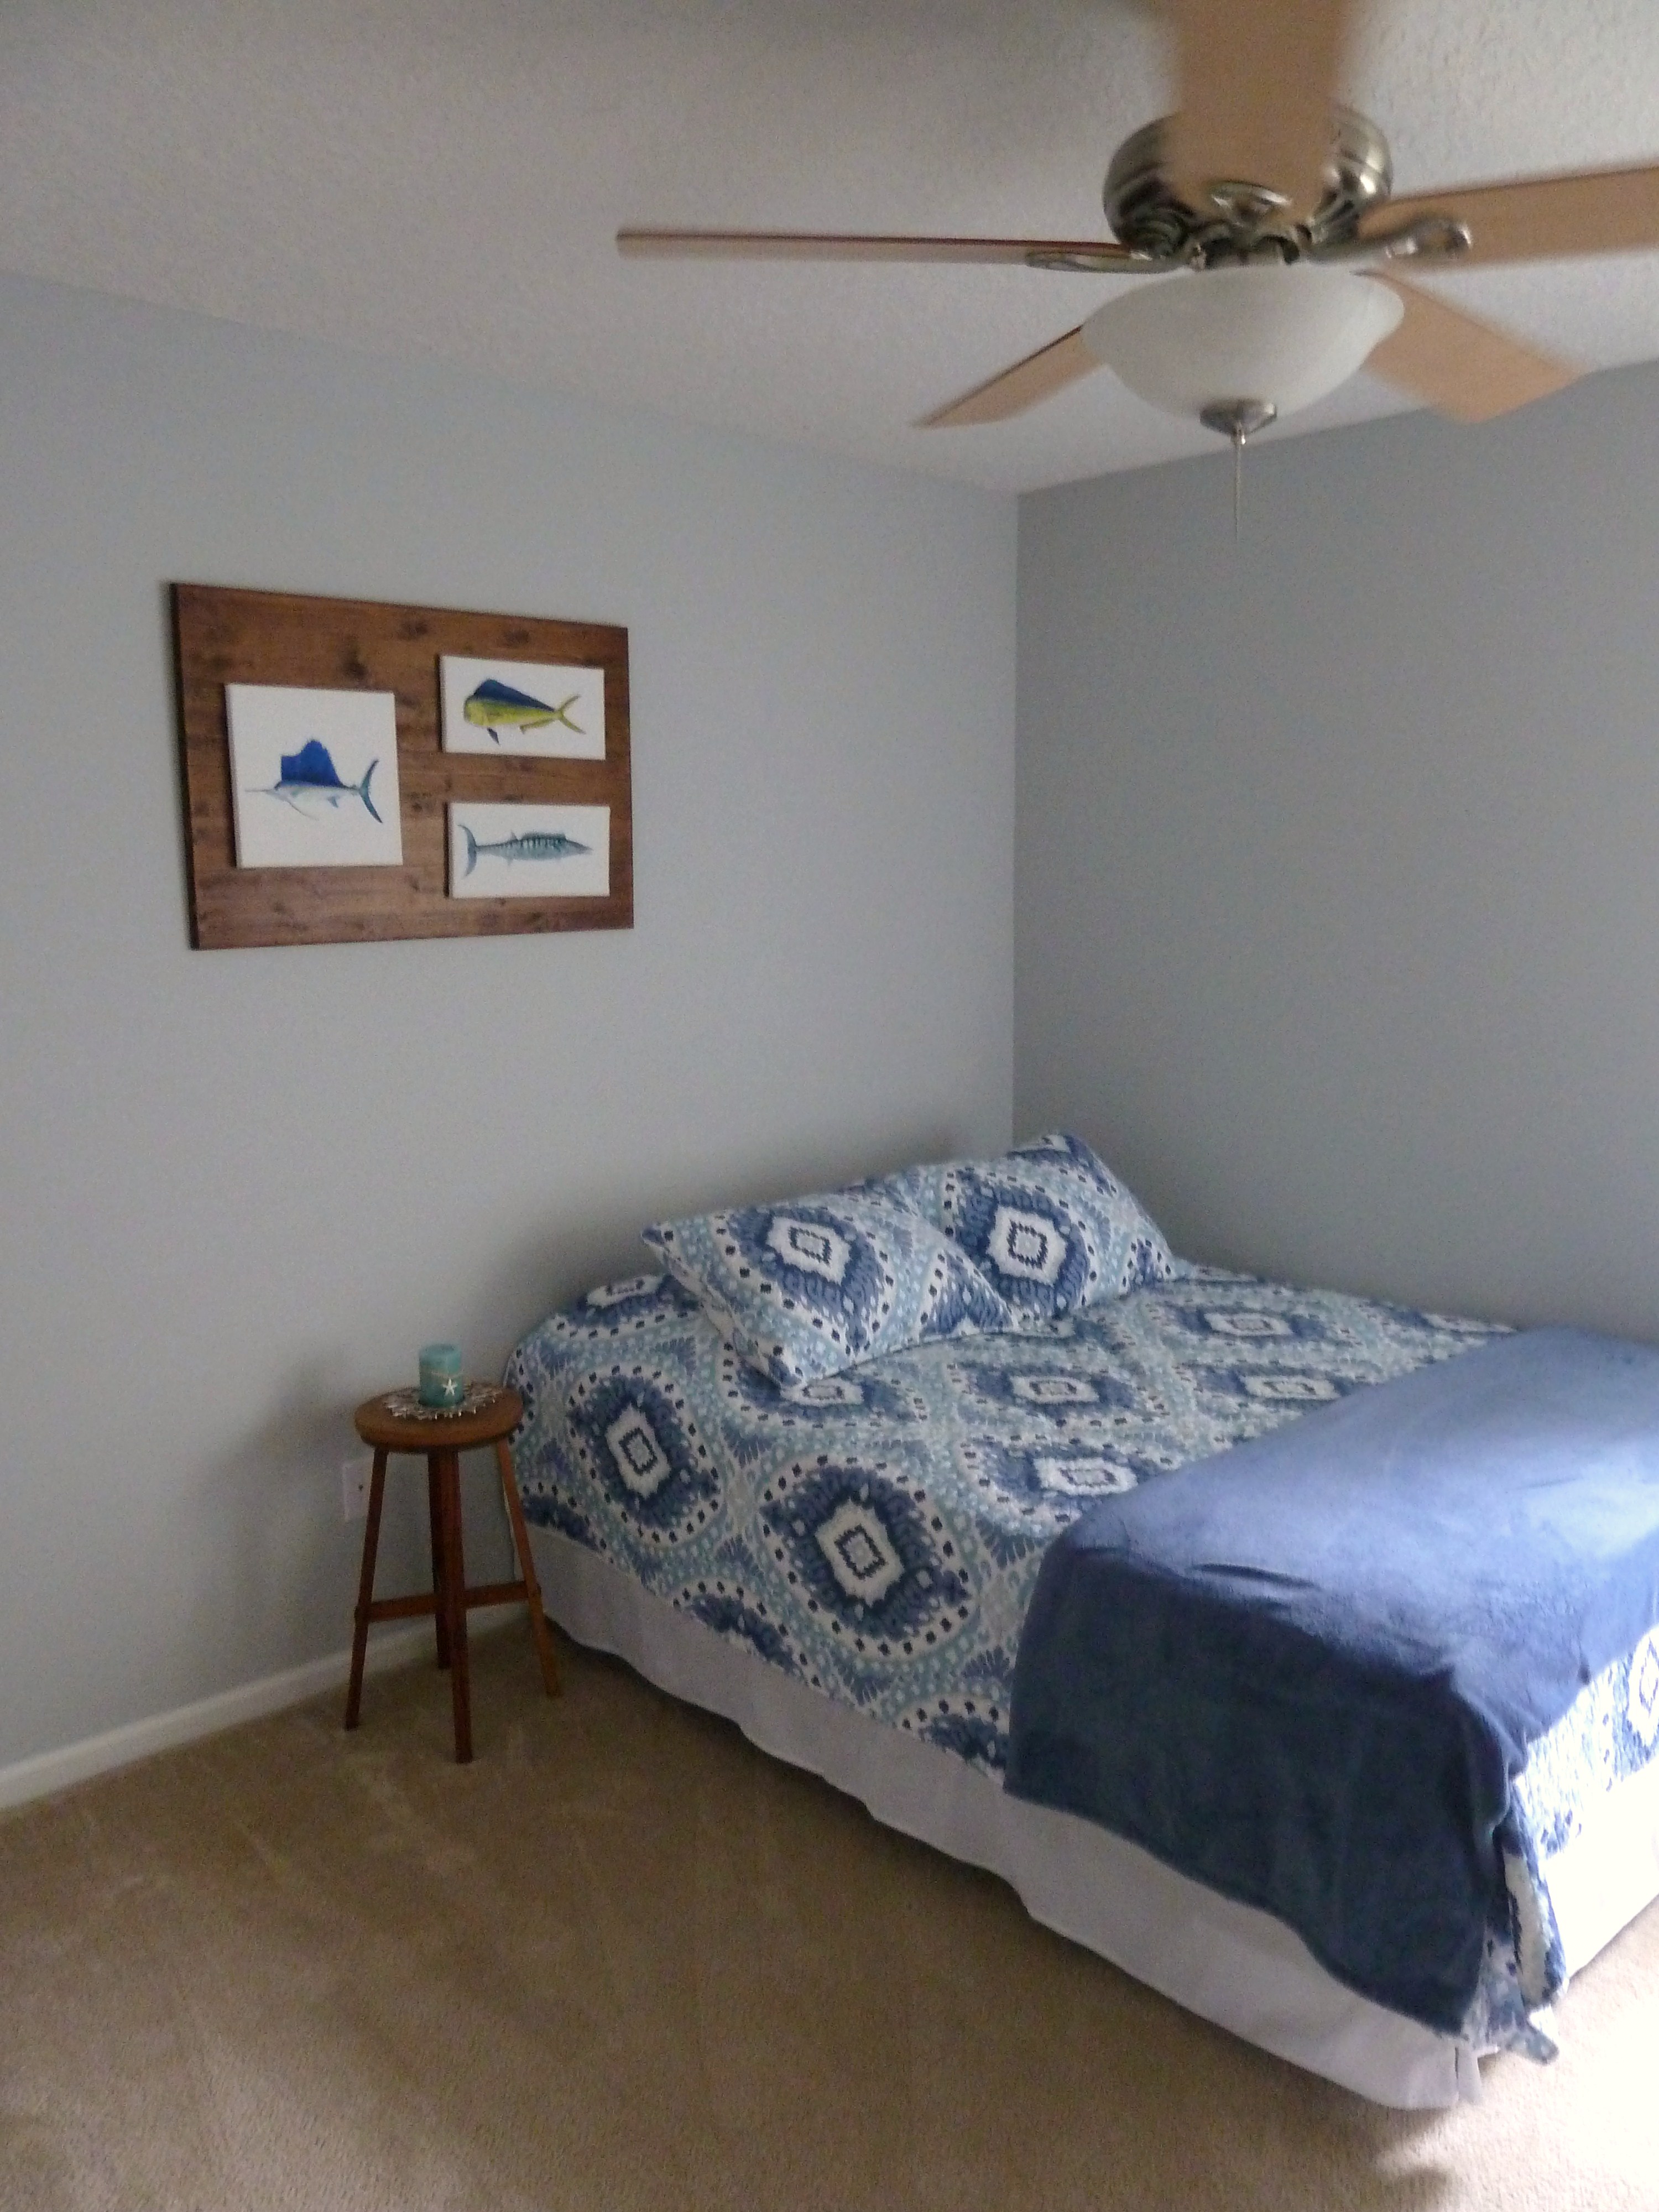
Guest Bedroom #1:
First sight…


Move in day…


Then today…


What we have done:
- Prepped and painted walls and trim.
- Changed outlet covers, door handles and hinges.
- Steam cleaned the carpet.
- Purchased queen guest bed and bedding.
- Added wall art.
- Added rocking chair and small stools for tables.
What we still want to accomplish:
- Remove and replace carpet.
- Get nice antique dresser.
- Add more art to walls.
- Make window treatment.
- Get headboard/footboard for bed.
Guest Bathroom:
First…

On moving day…

Today…

What we have done:
- Prepped and painted walls and trim.
- Changed outlet covers, door handles and hinges.
- Added shower curtain and rugs
What we still want to accomplish:
- Repaint walls(I do not like the color).
- Replace vanity.
- Possibly add bead board.
- Purchase new shower curtain and rugs.
- Add wall art.
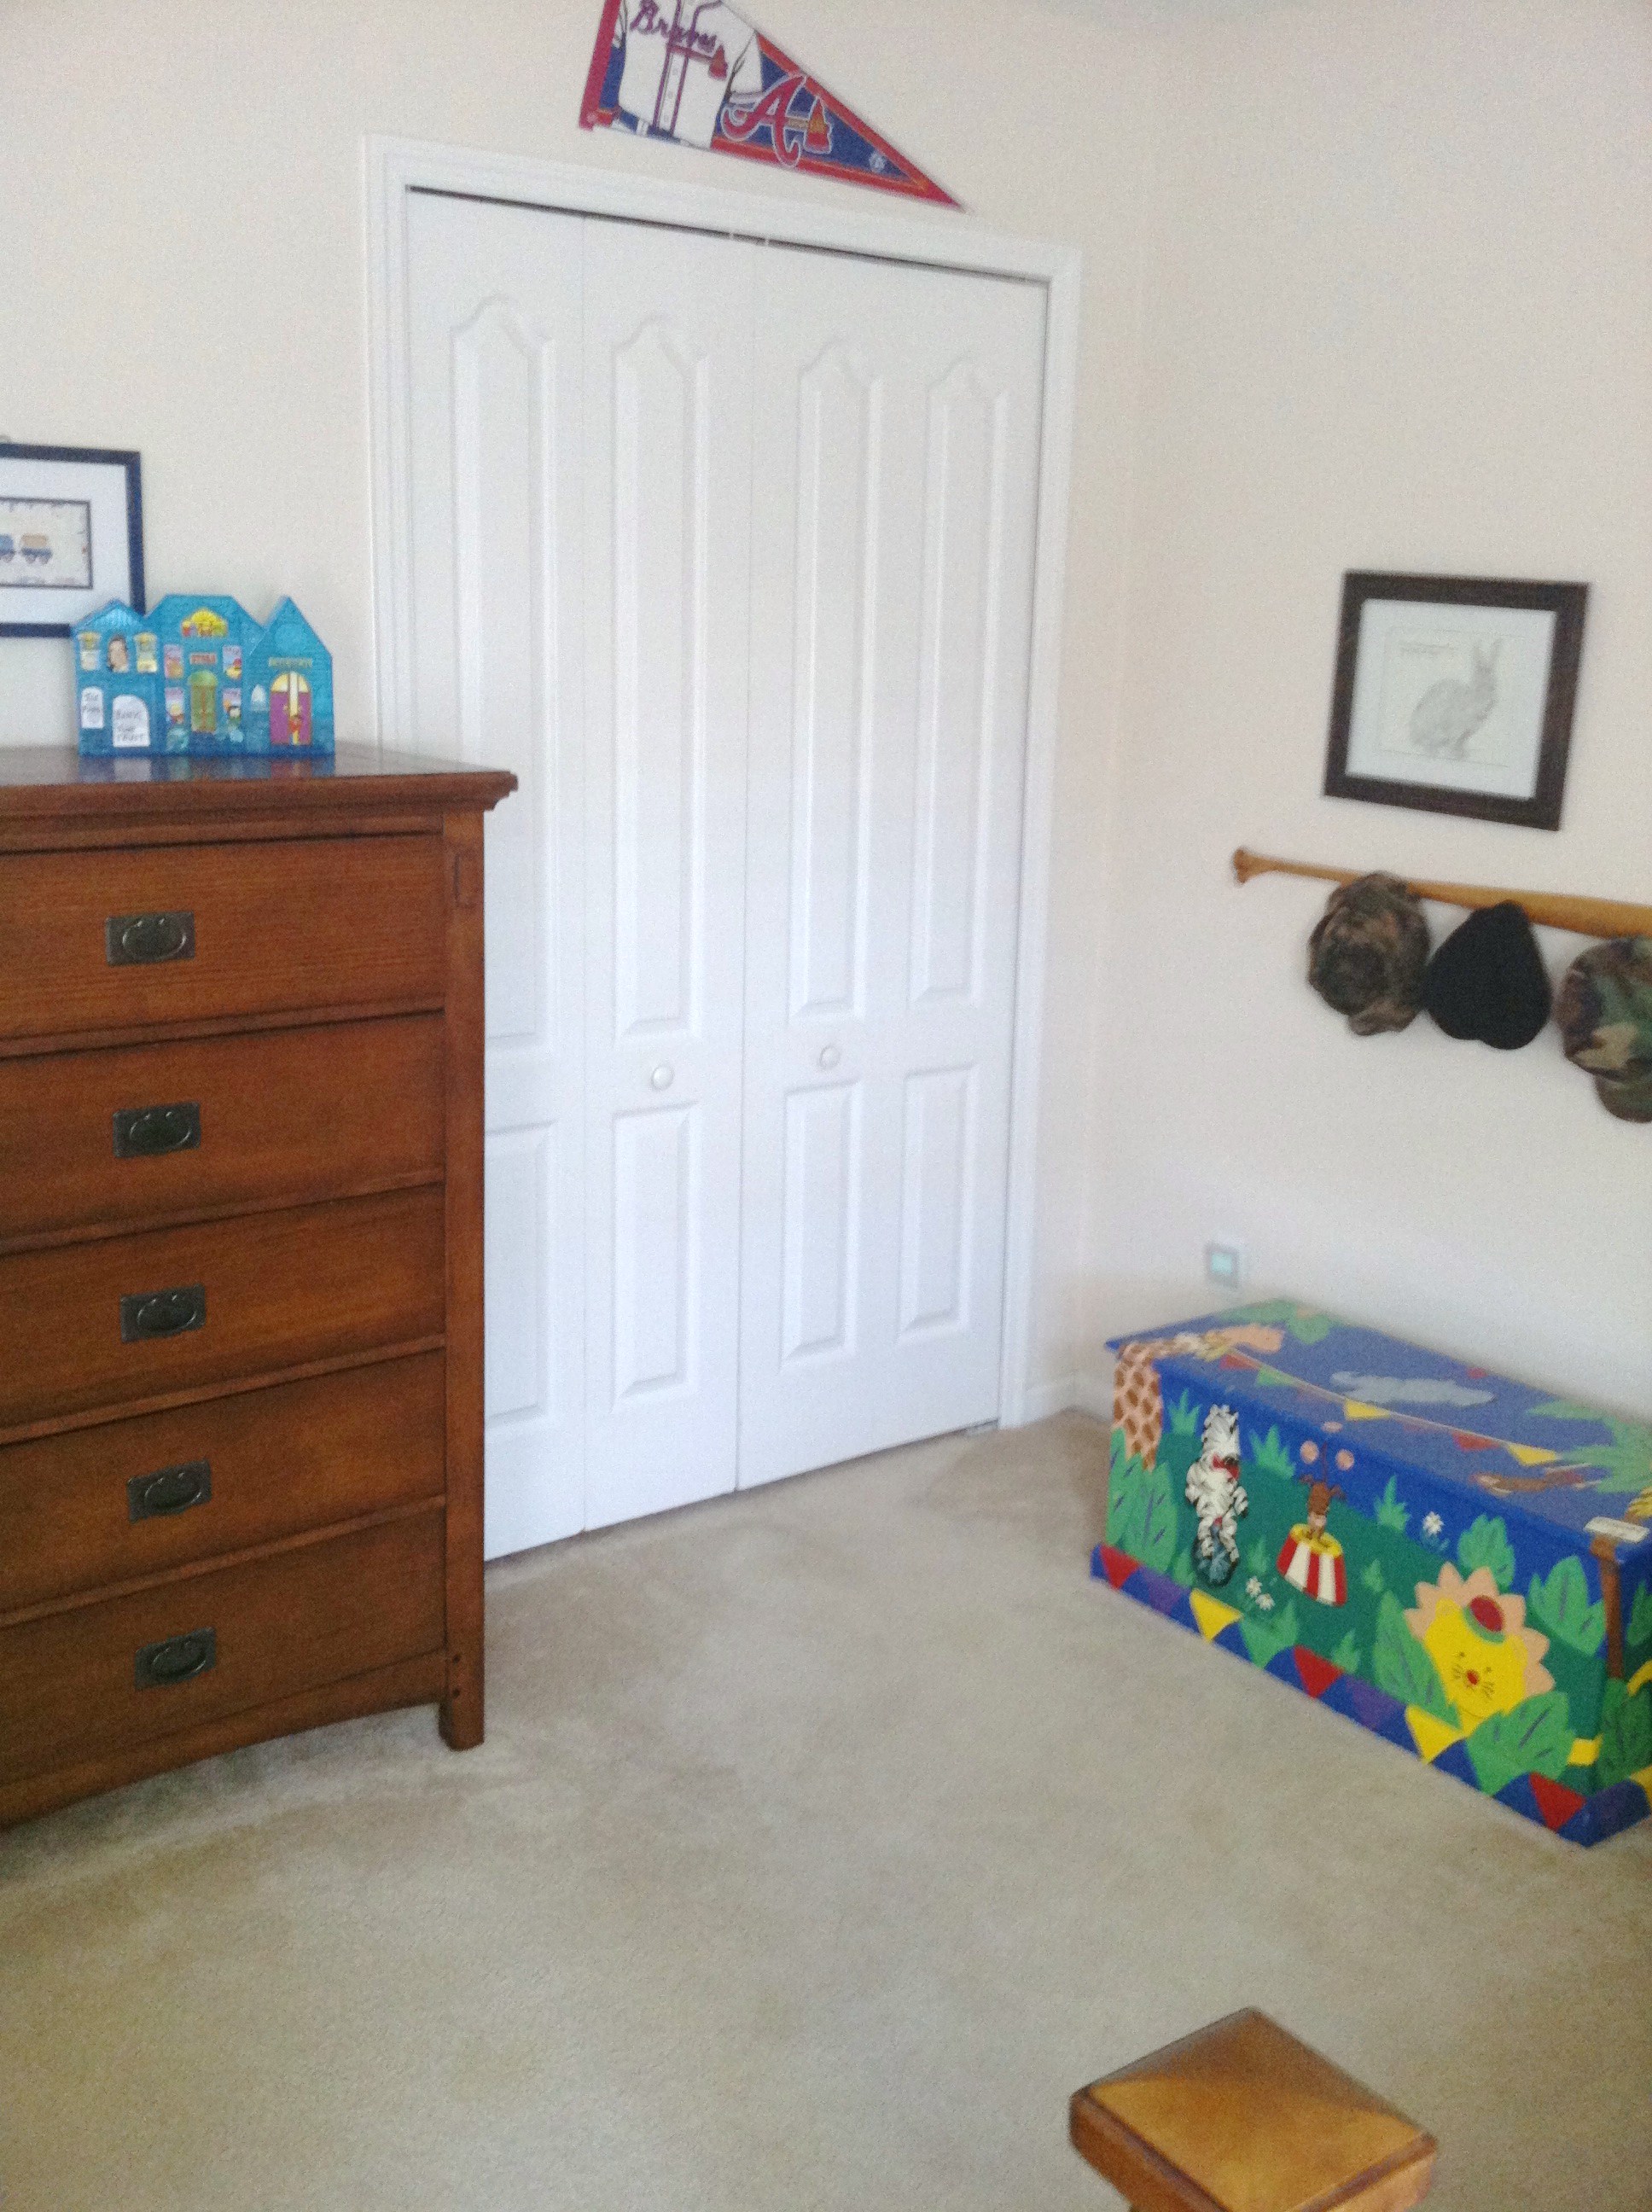
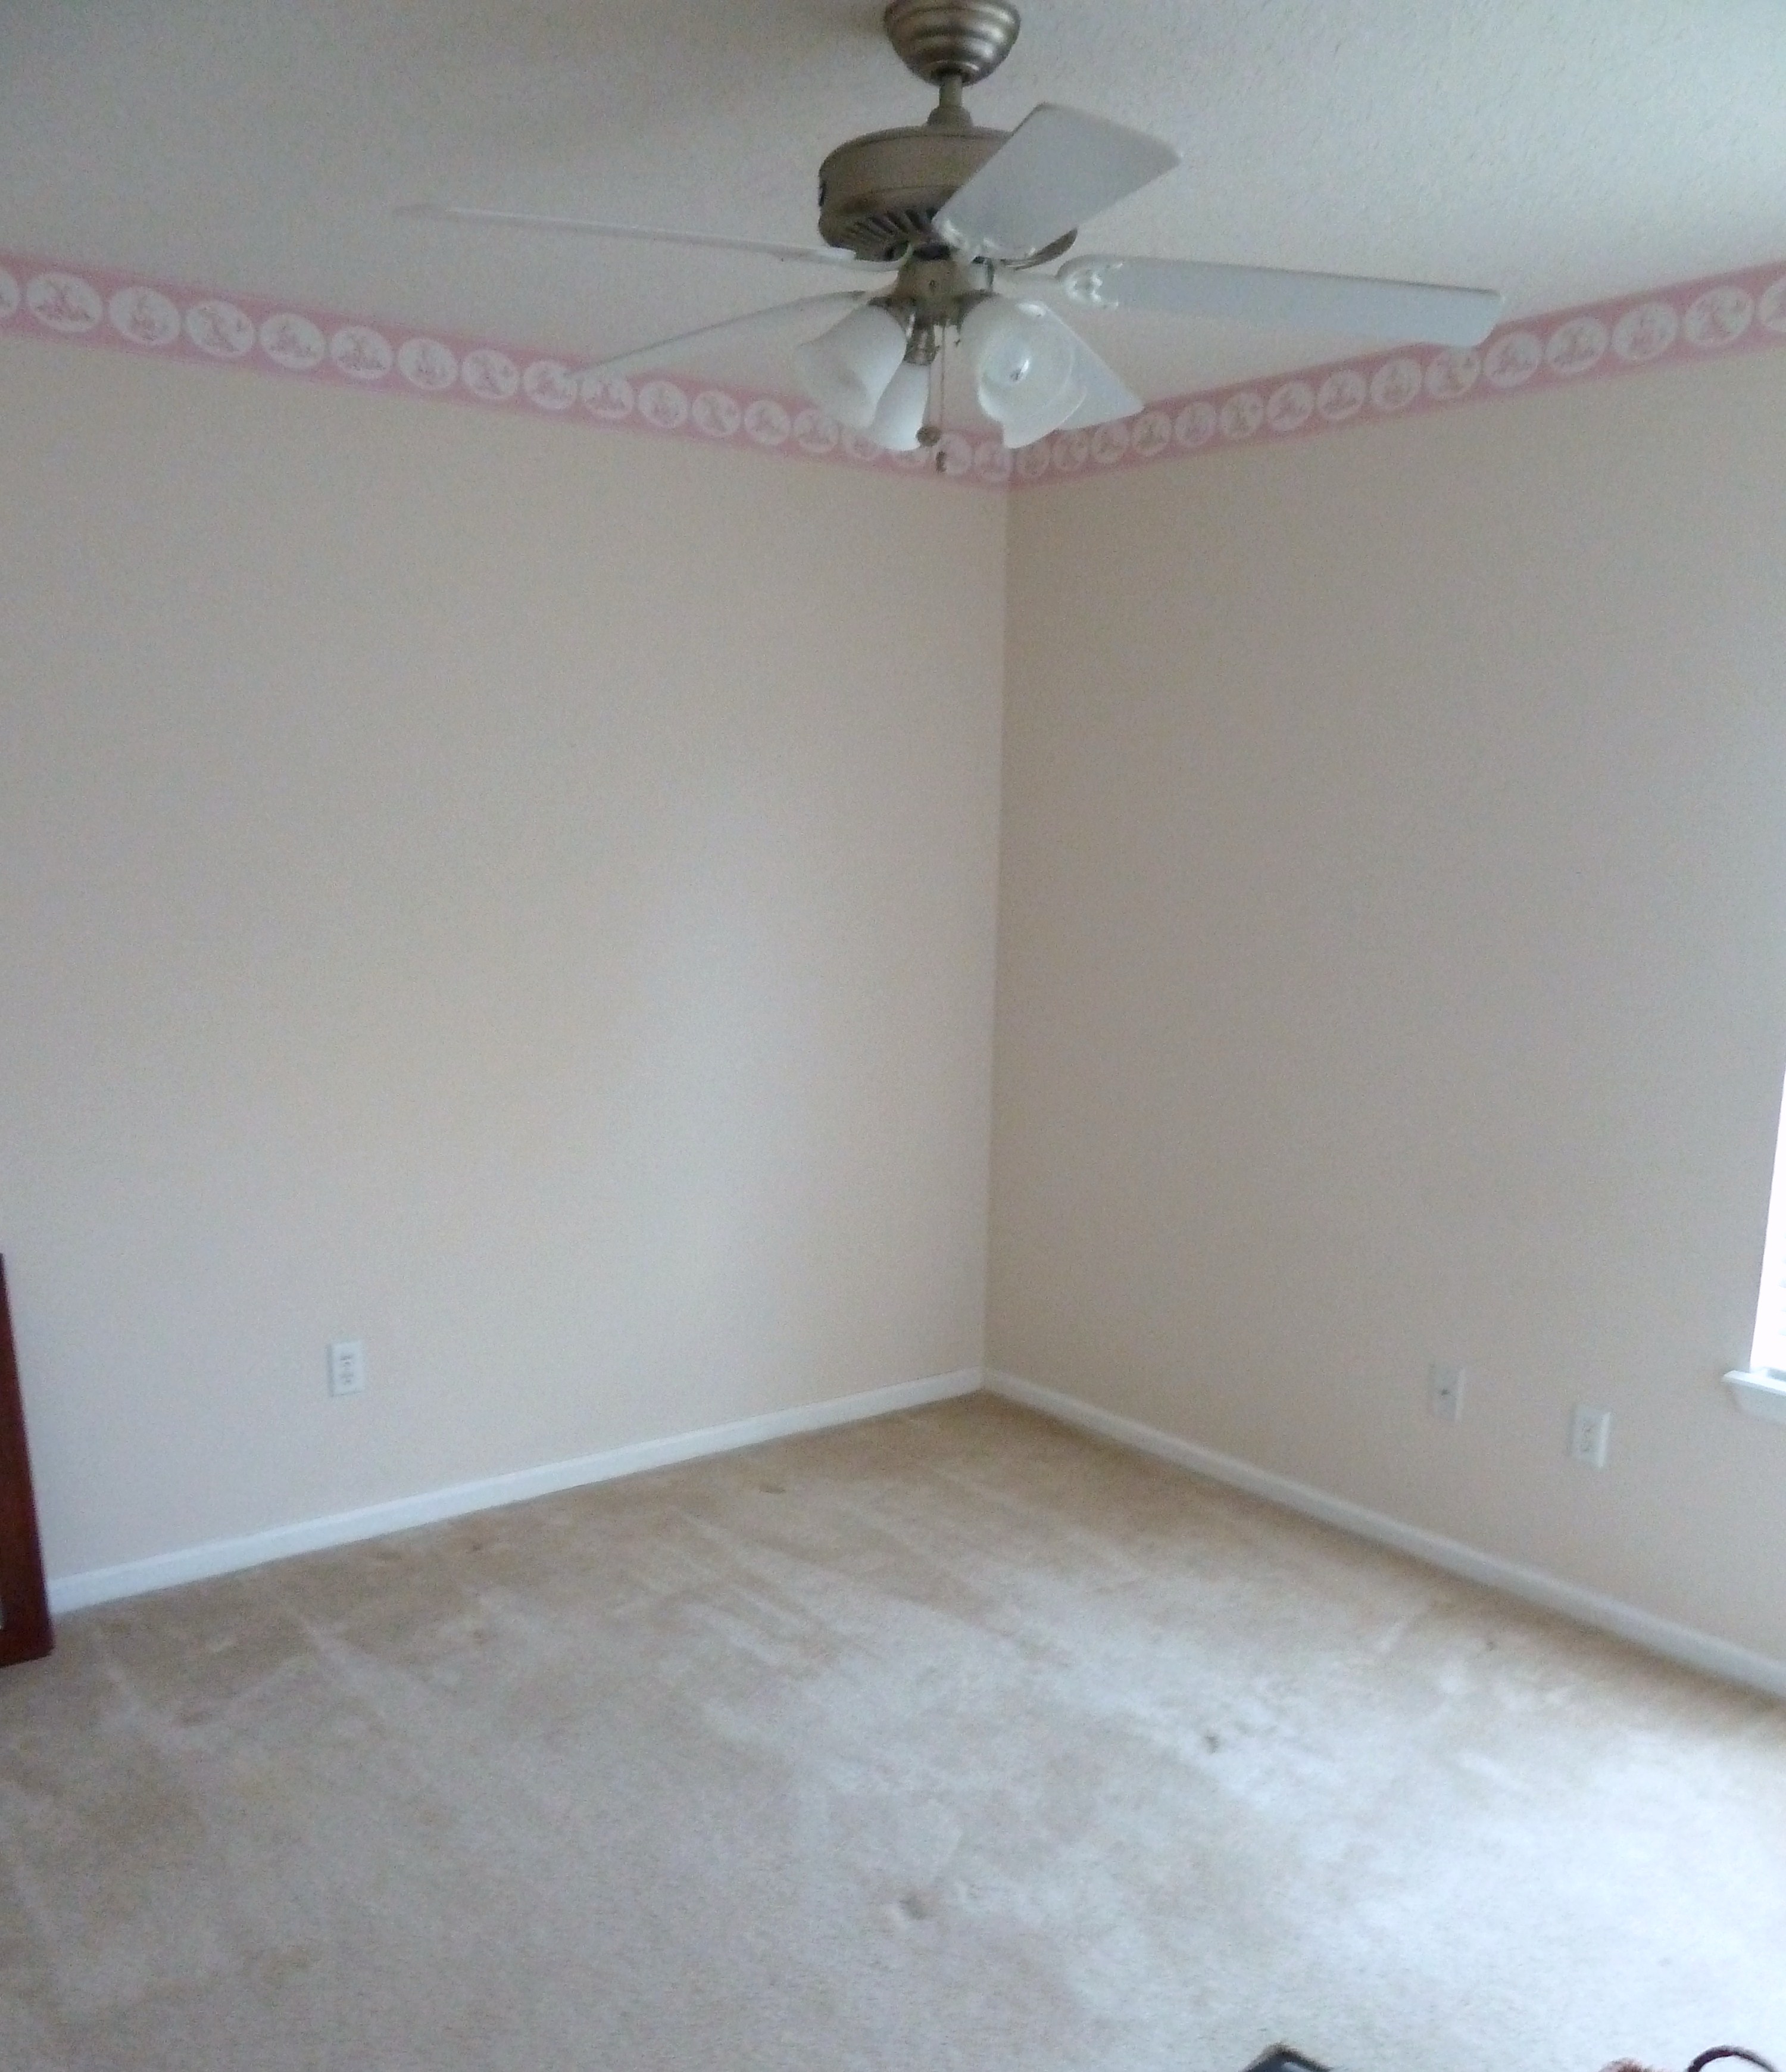
Guest Bedroom #2:
First sight…

Moving day…

Today…

What we have done:
- Steam cleaned the carpet.
- Added junk.
What we still want to accomplish:
- Remove border.
- Prep and paint walls and trim.
- Change outlet covers, door handles and hinges.
- Replace fan.
- Get shelving/furniture for storage.
- Remove and replace carpet.
- Get desk for myself.
- Purchase easel for painting.
- Organize and store painting, sewing and crafting supplies.
I have a lot of plans for this room since it will be my office. I am waiting until I find the right furniture and art. I want unique things in here! I can’t wait to get going.
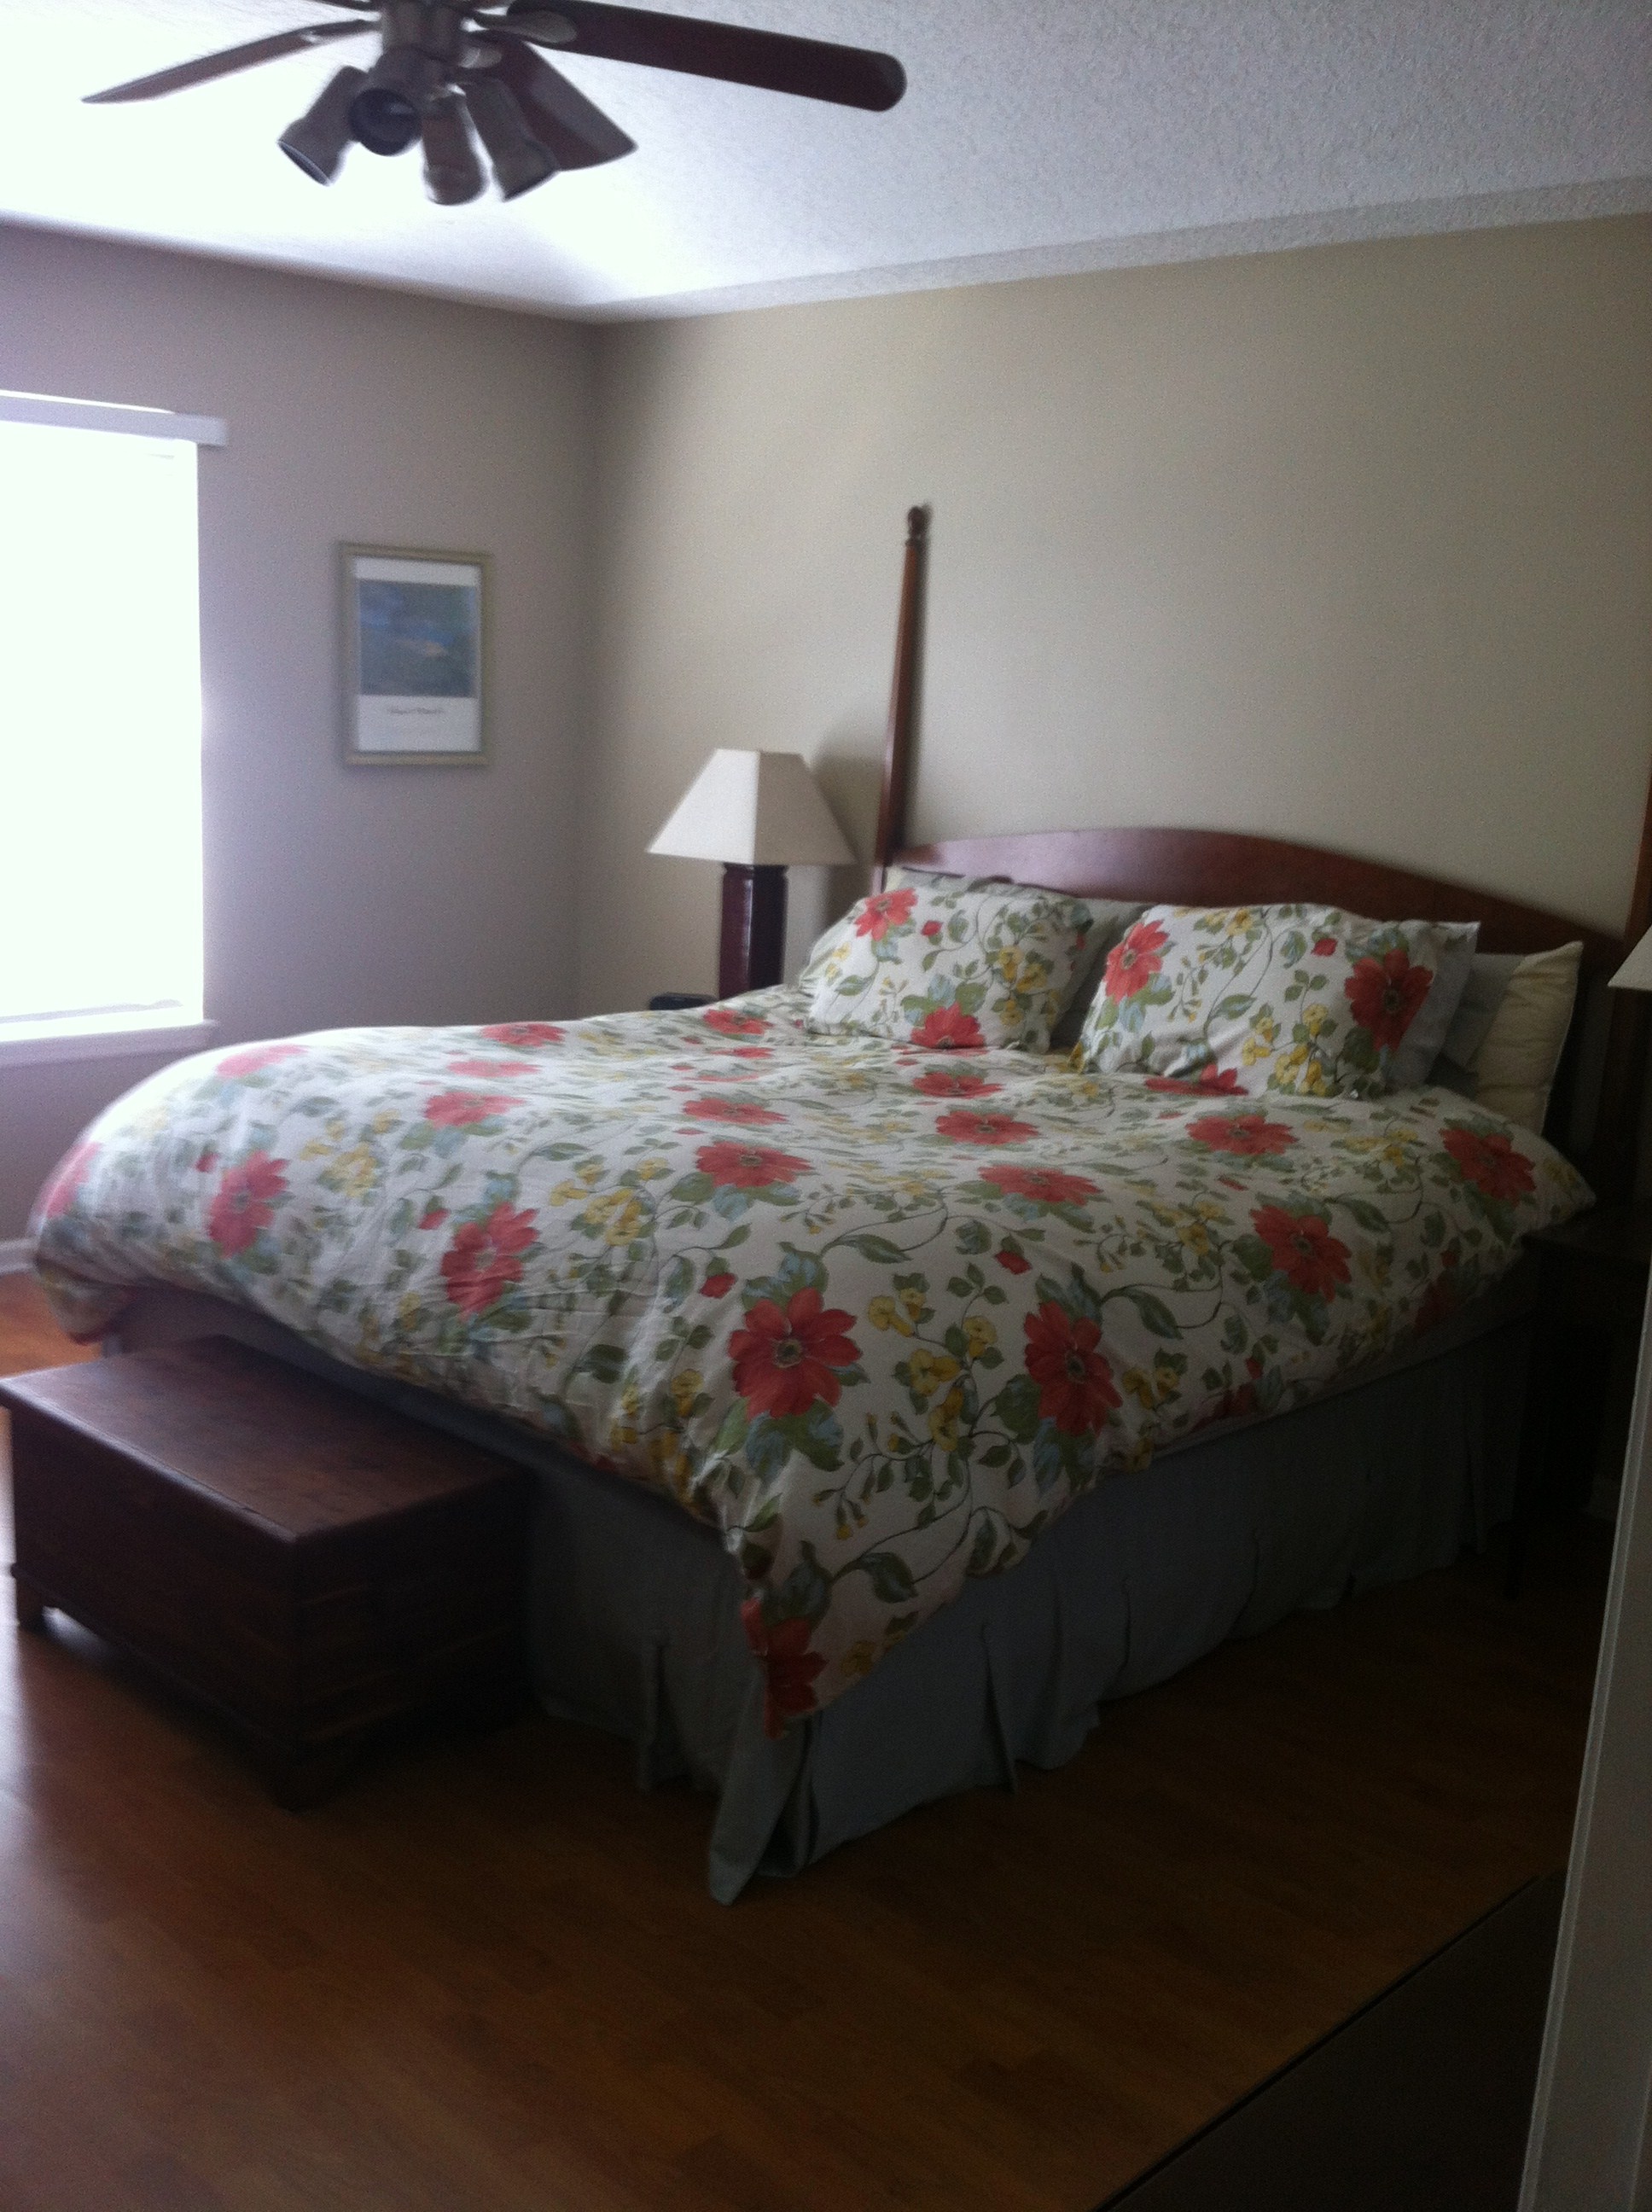
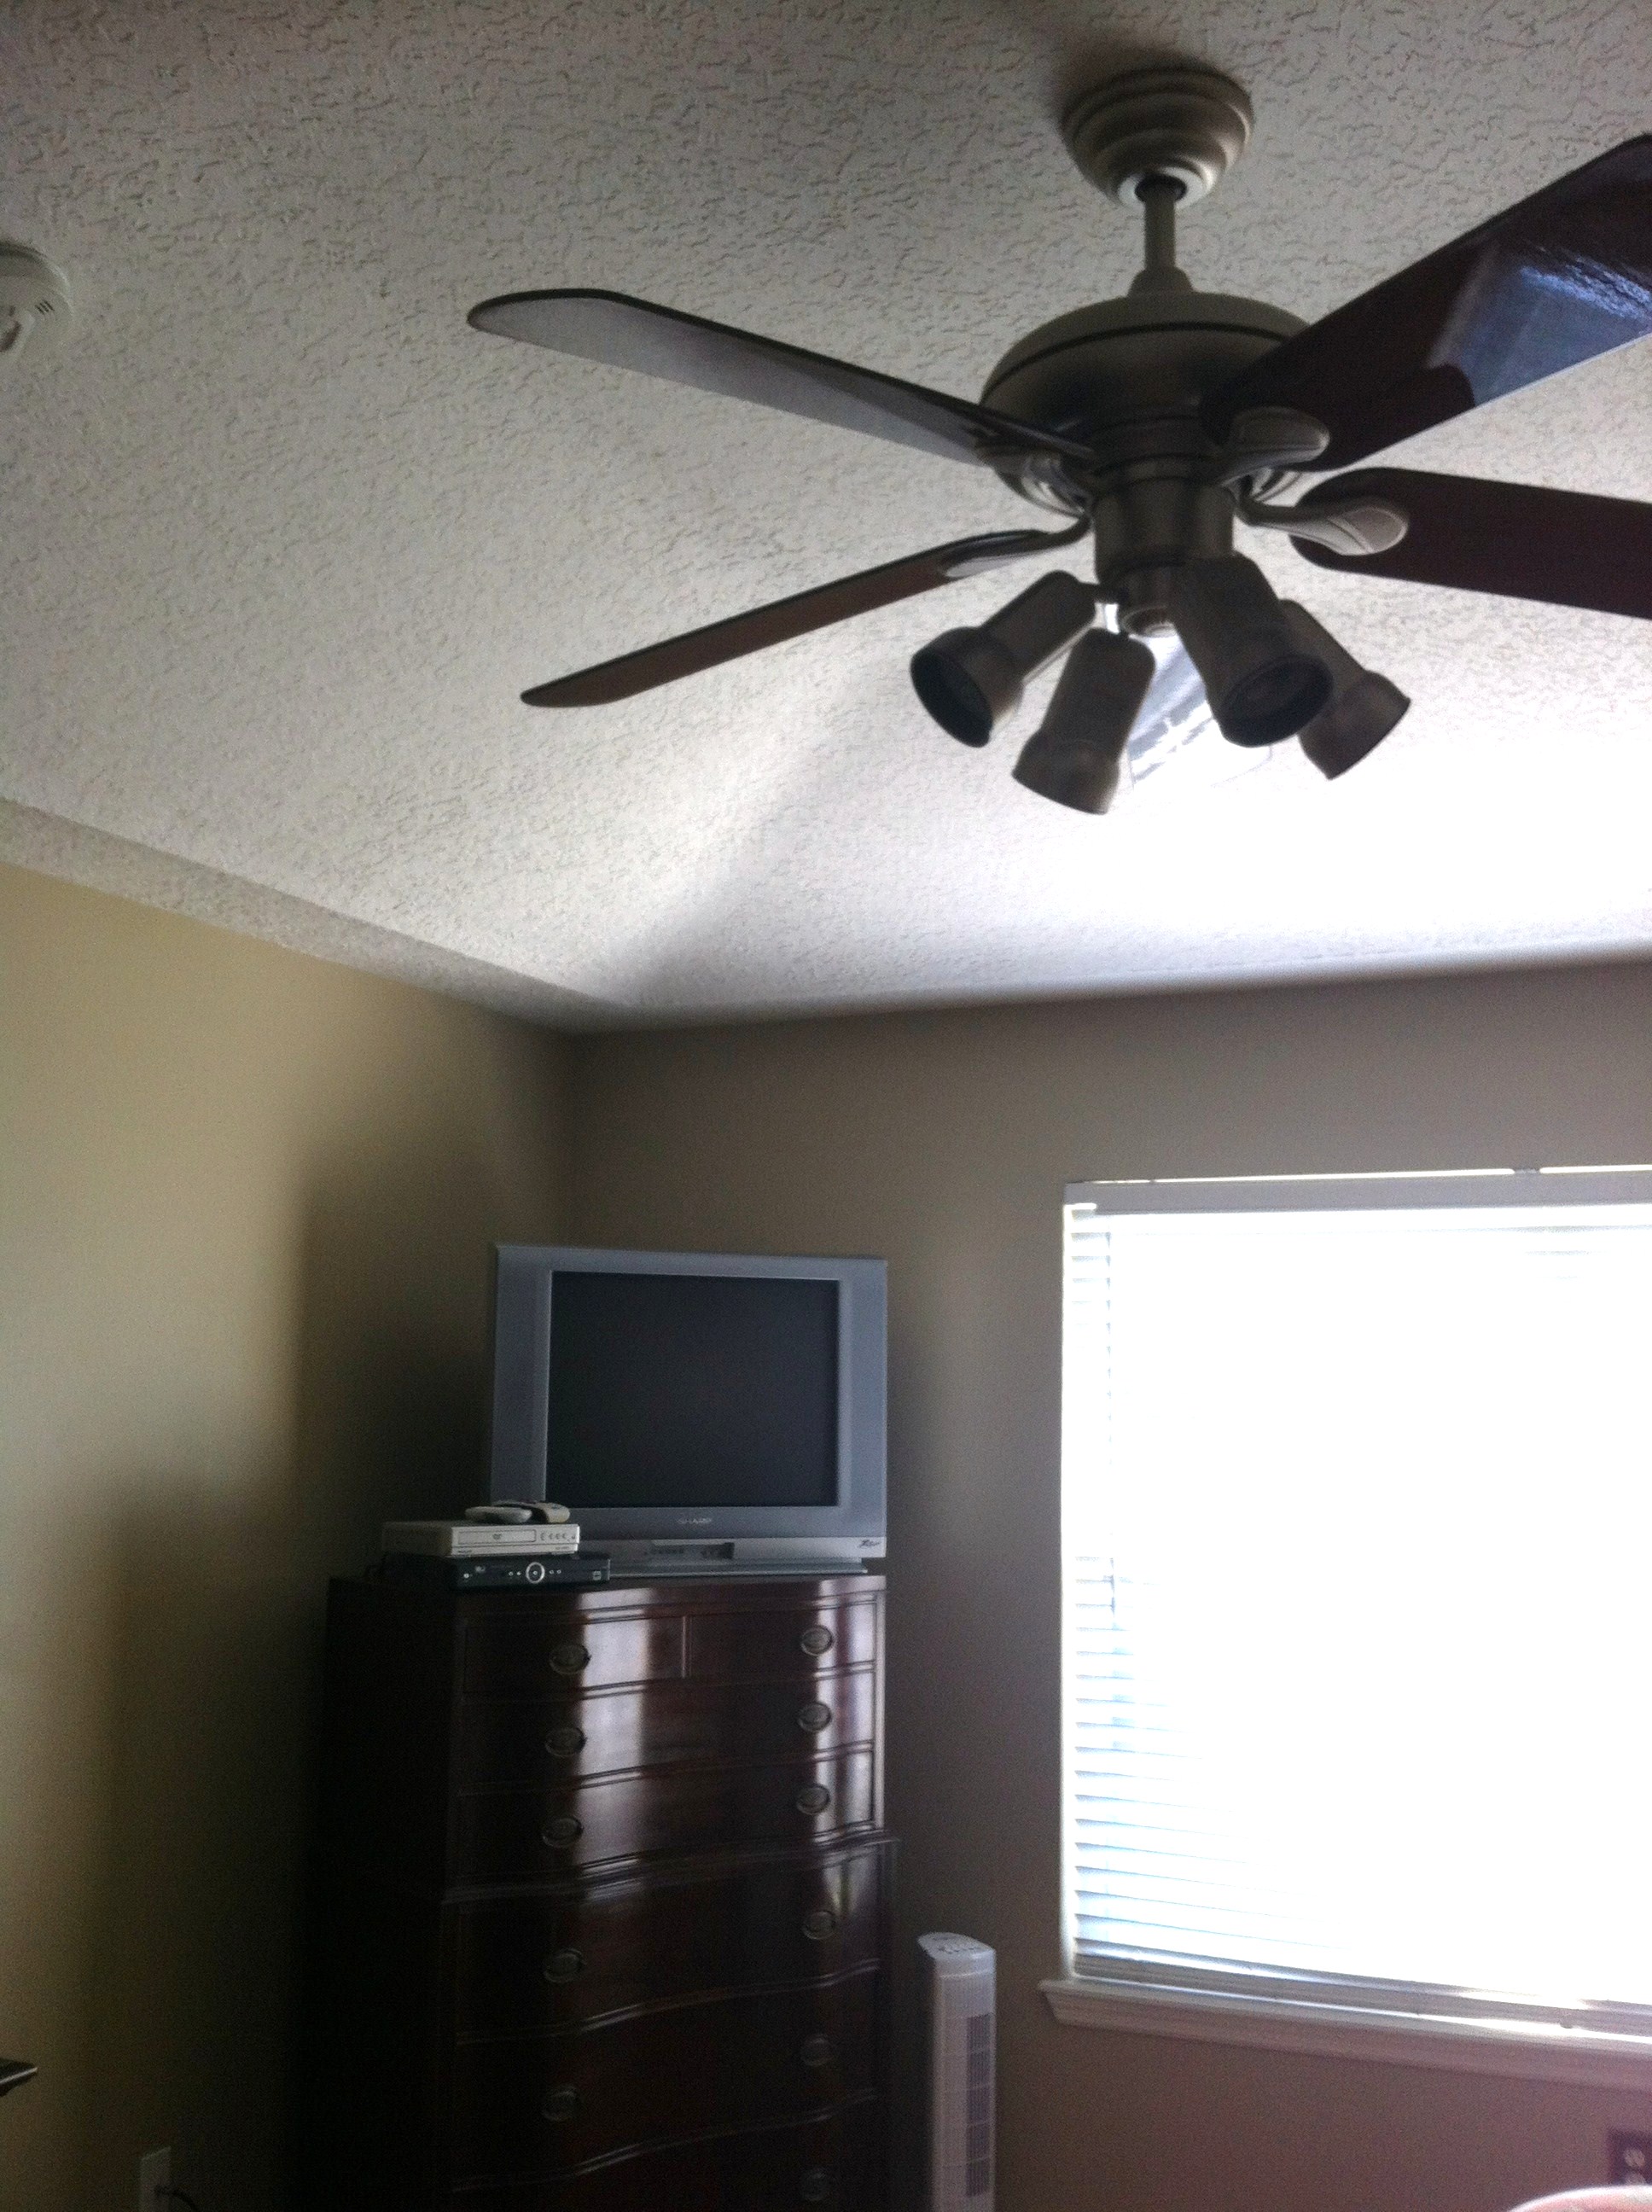
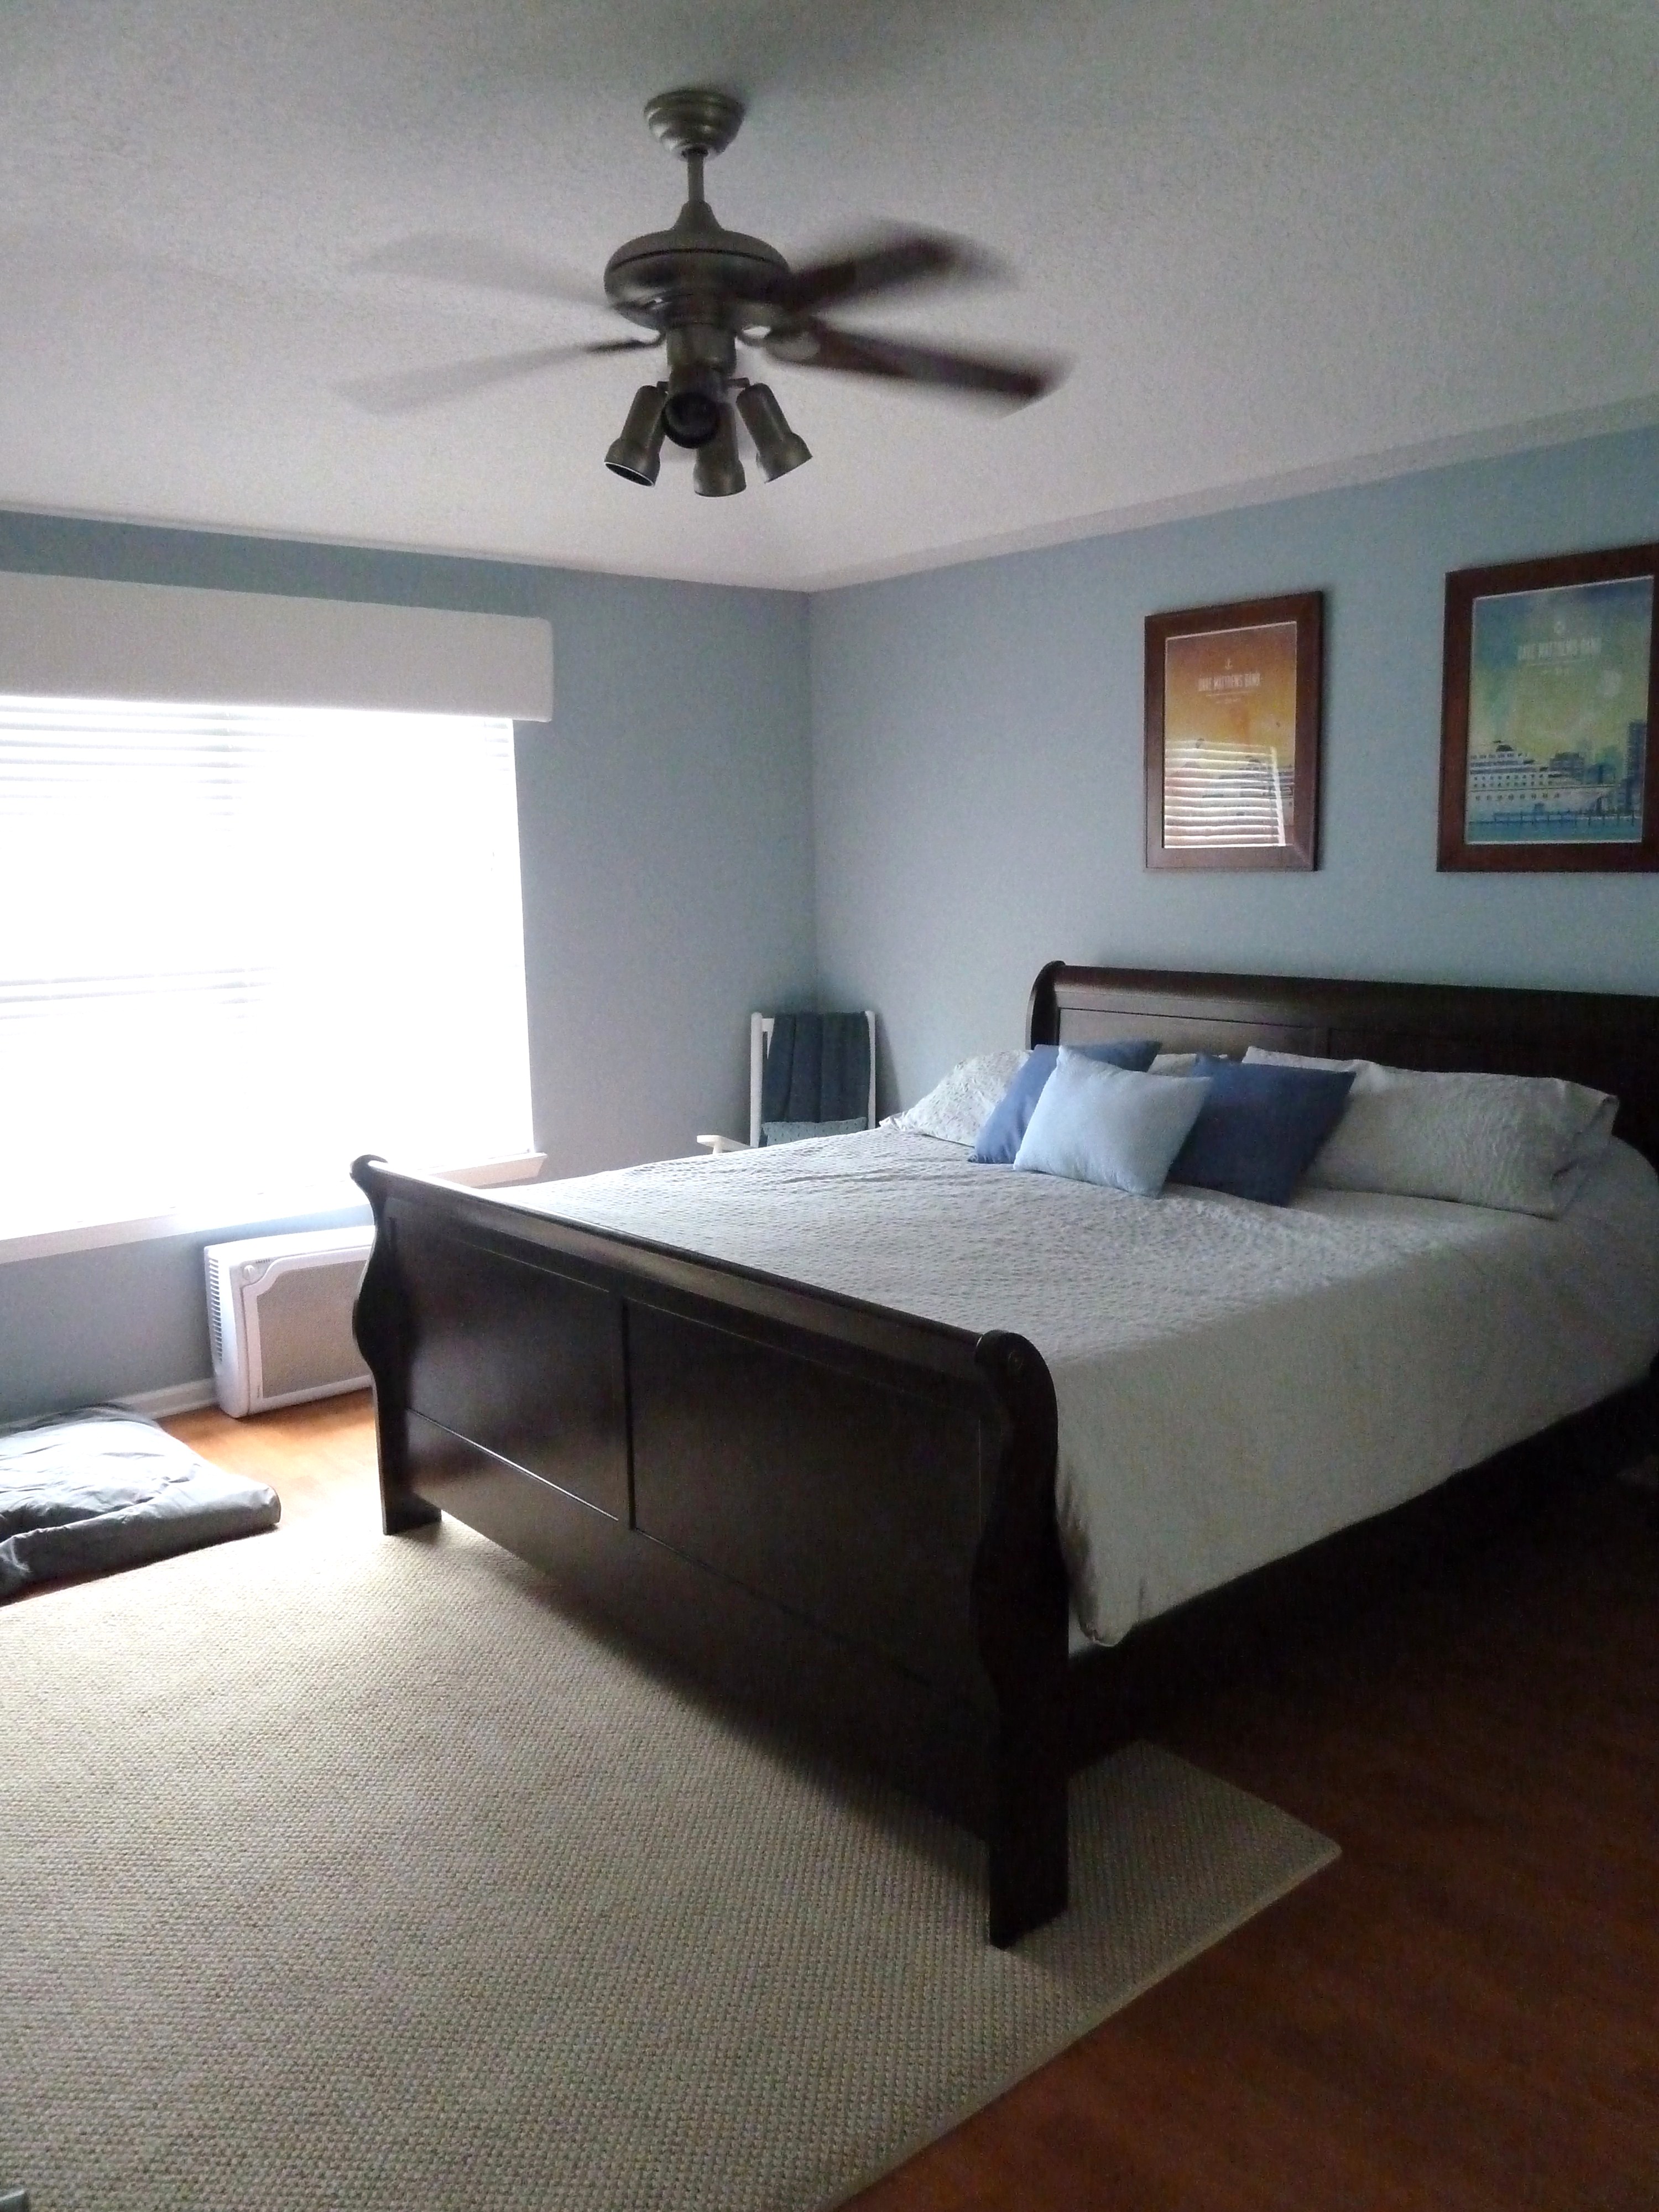
Master Bedroom:


Moving day…


And today…


What we have done…
- Prepped and painted walls and trim.
- Changed outlet covers, door handles and hinges.
- Got new bedroom furniture.
- Added art to walls.
- Purchased new bedding.
- Added area rug.
- Added rocking chair and old trunk.
- Made throw pillows for bed.
What we would still like accomplish:
- Add one more piece of art on the wall between the bathroom door and the bedroom door.
Very close to done! Woo hoo!
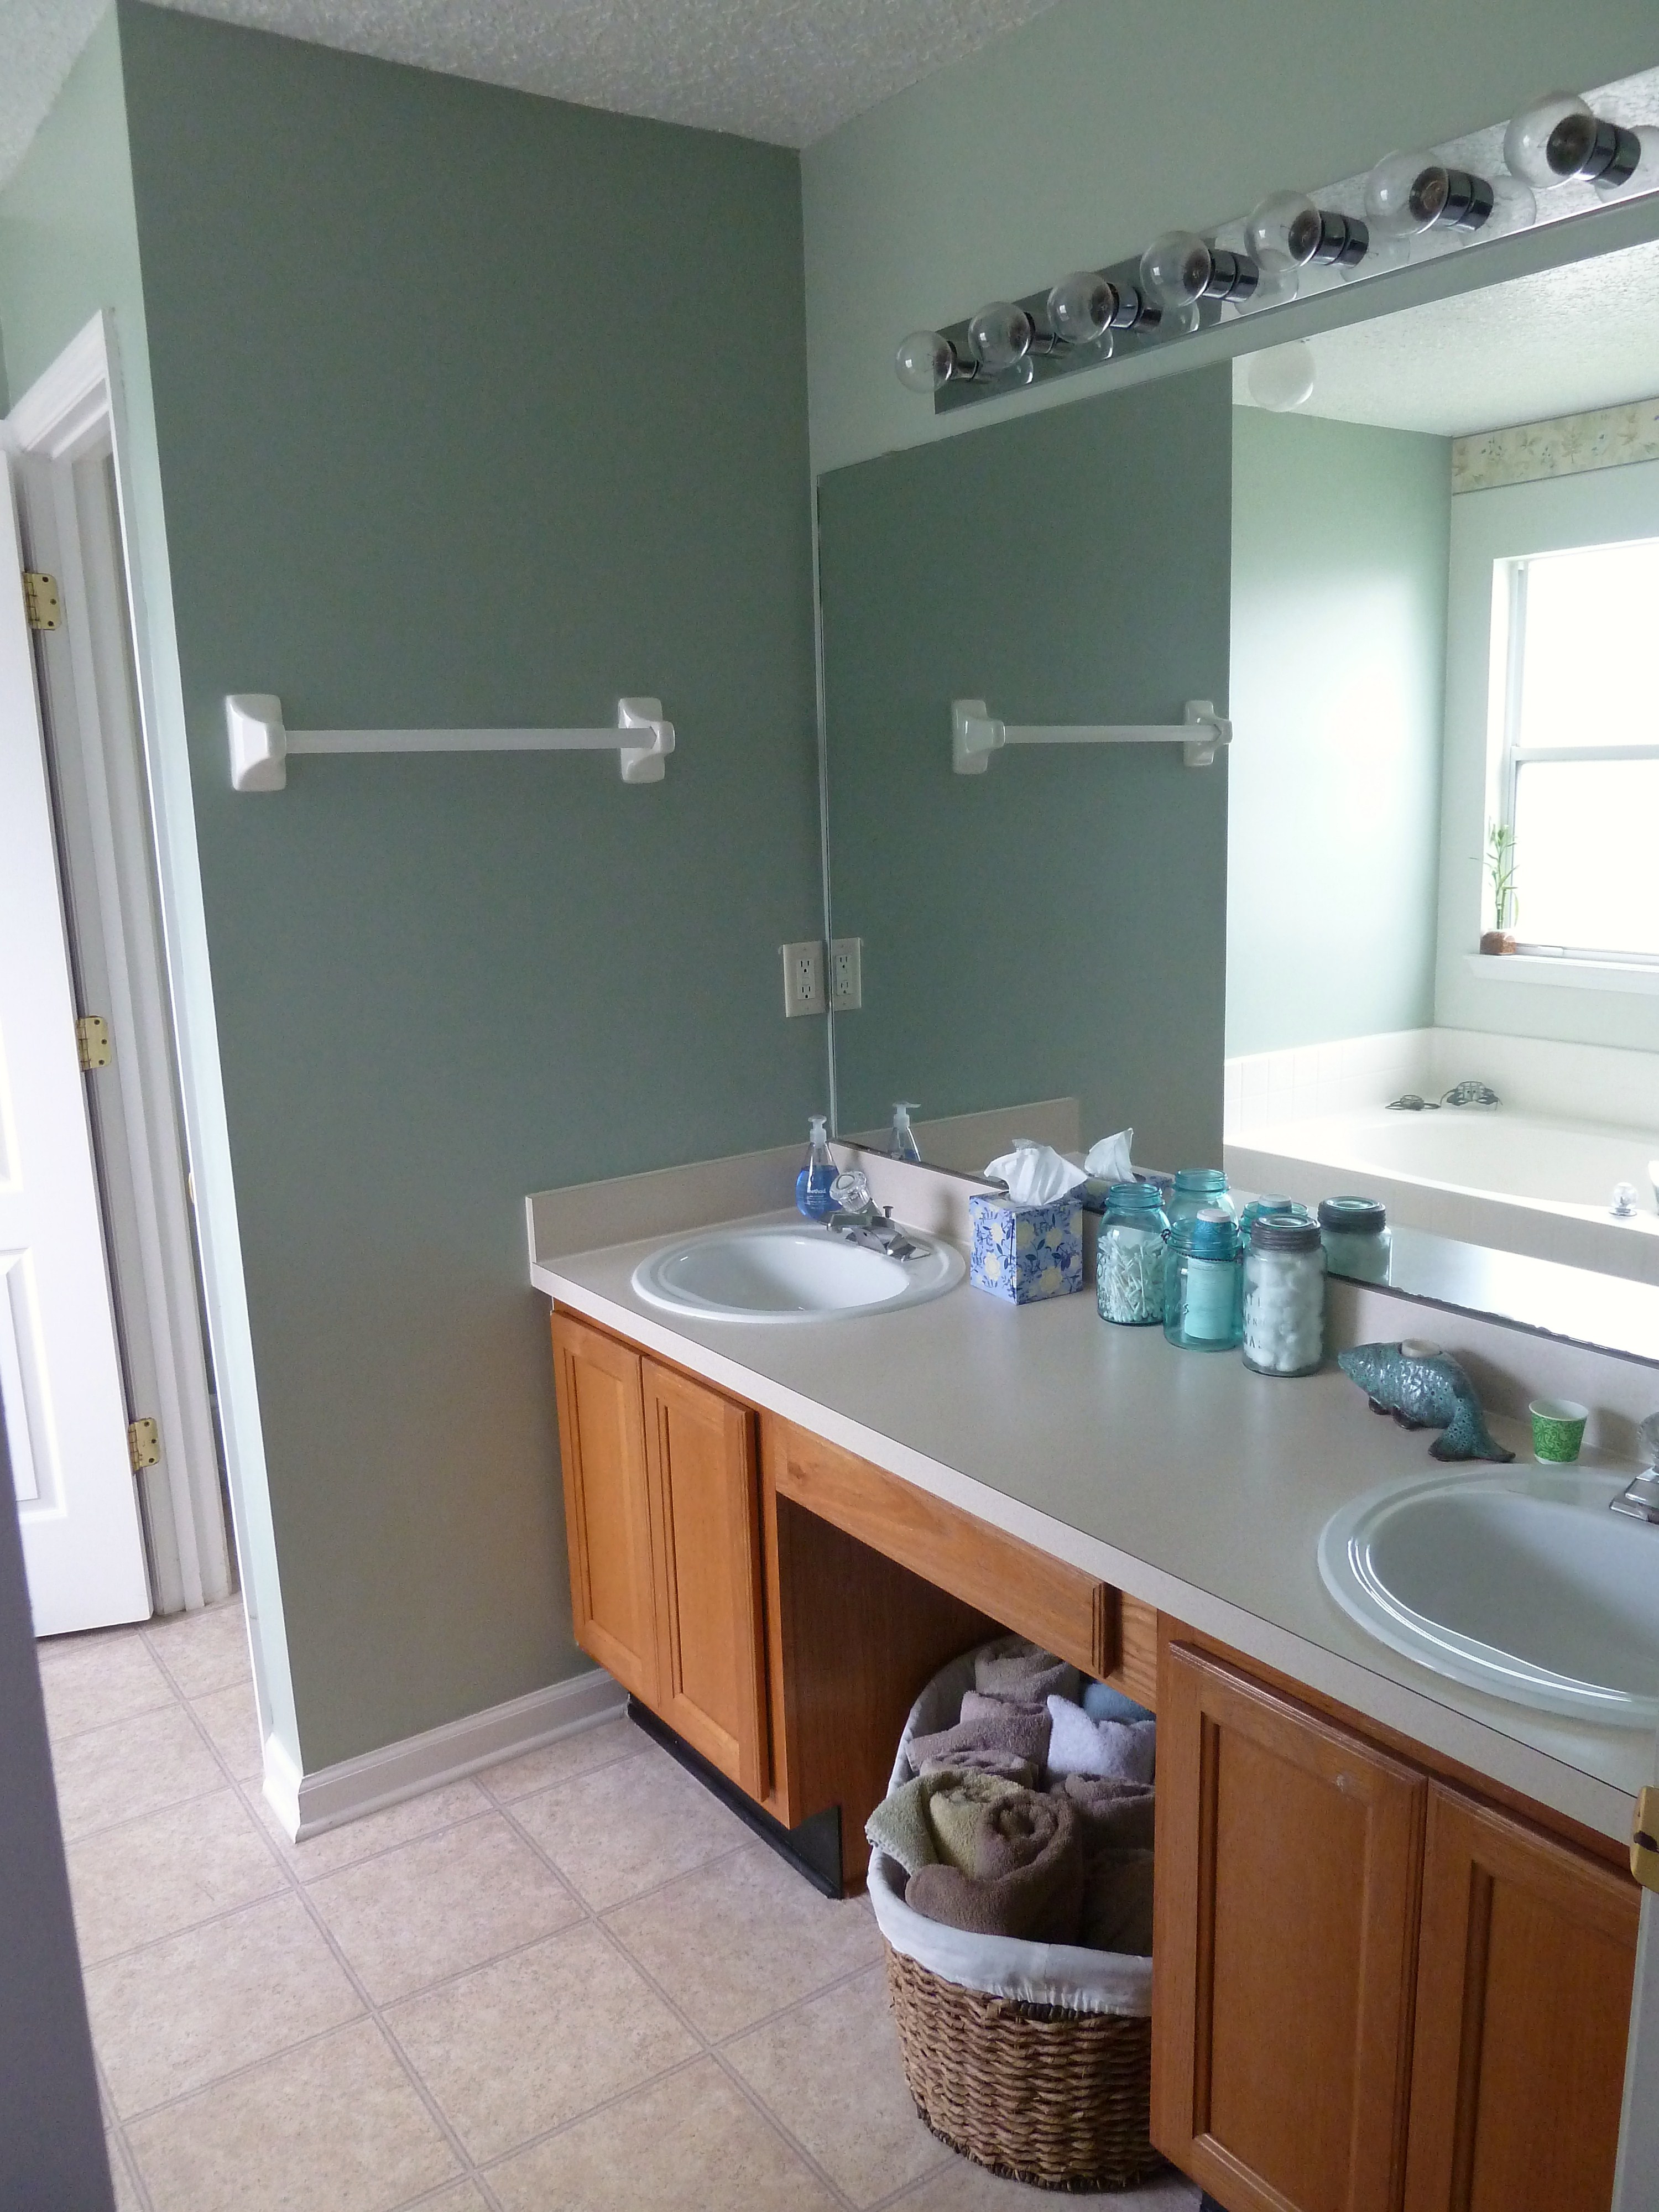
Master Bathroom:
First sight…


Moving day…


And today…

What we have done:
What we would still like to accomplish:
- Remove shower and tub.
- Remove linoleum.
- Remove vanity.
- Remove walls around the toilet.
- Lay new tile and grout.
- Add storage closet.
- Add new vanity, mirror and light fixture.
- Add glass shower stall.
- Tile and grout shower.
- Add art and decorations.
Basically we have done nothing in here. We would like to change the whole layout of this bathroom.
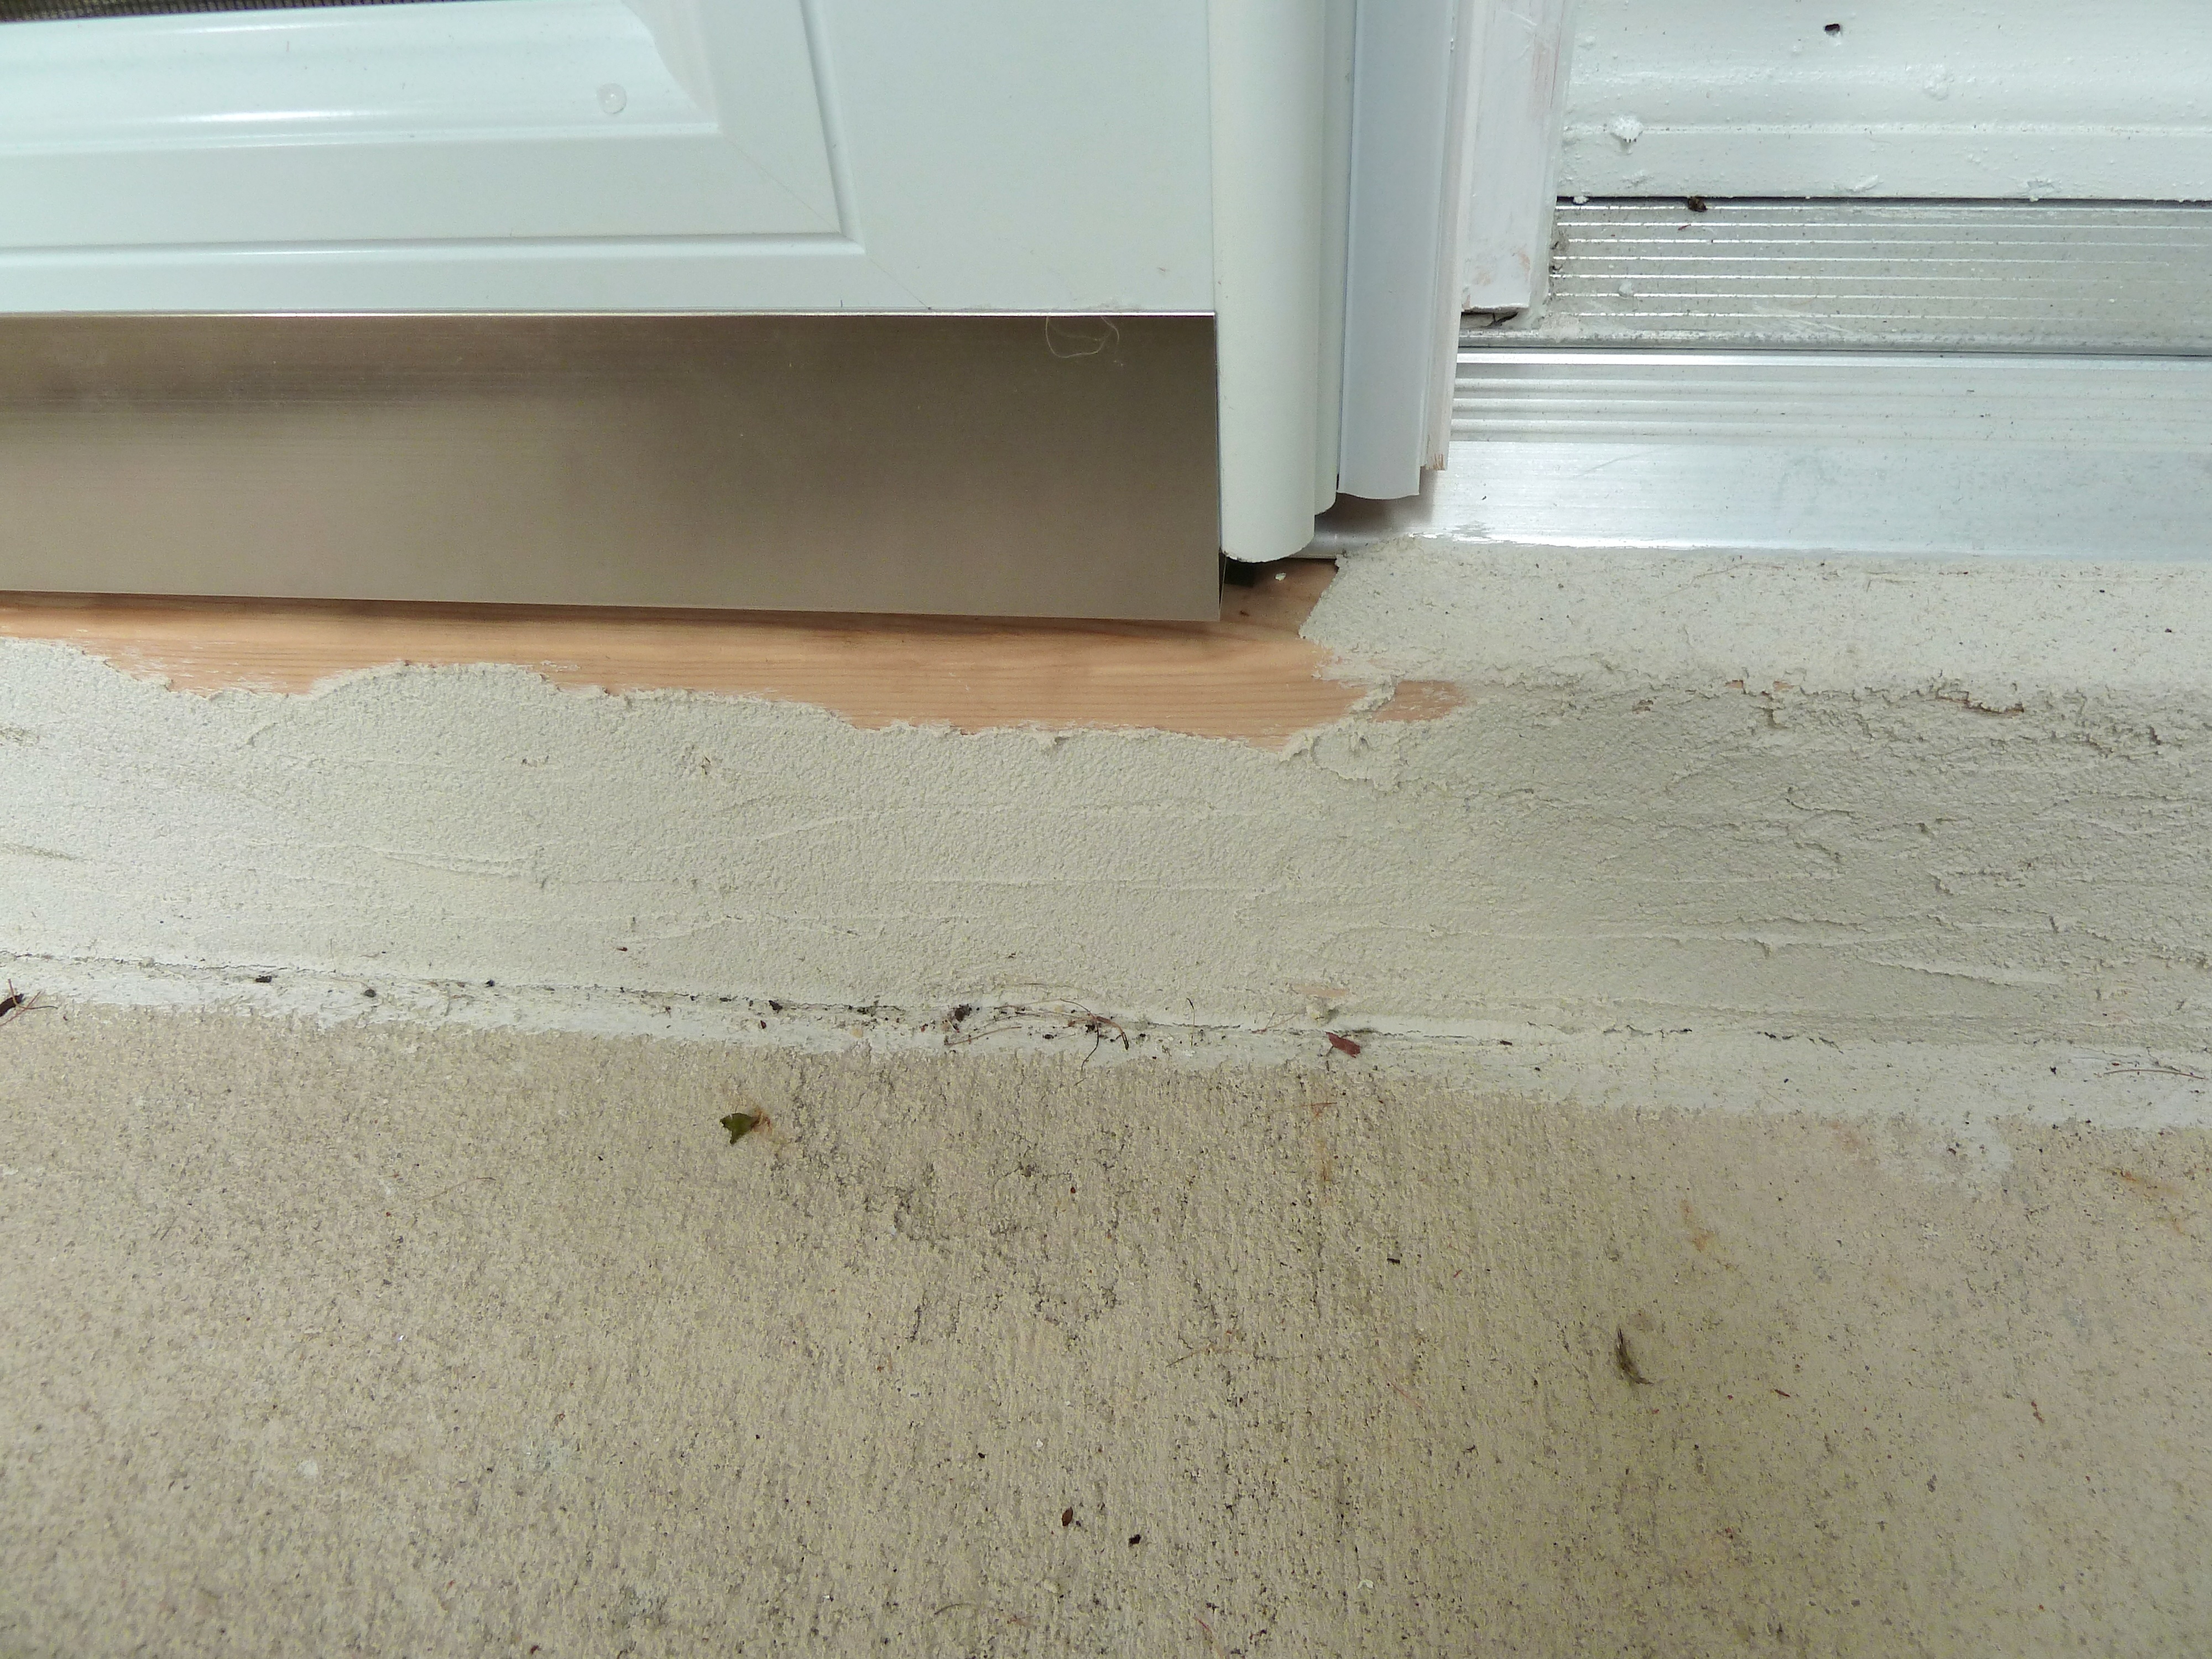
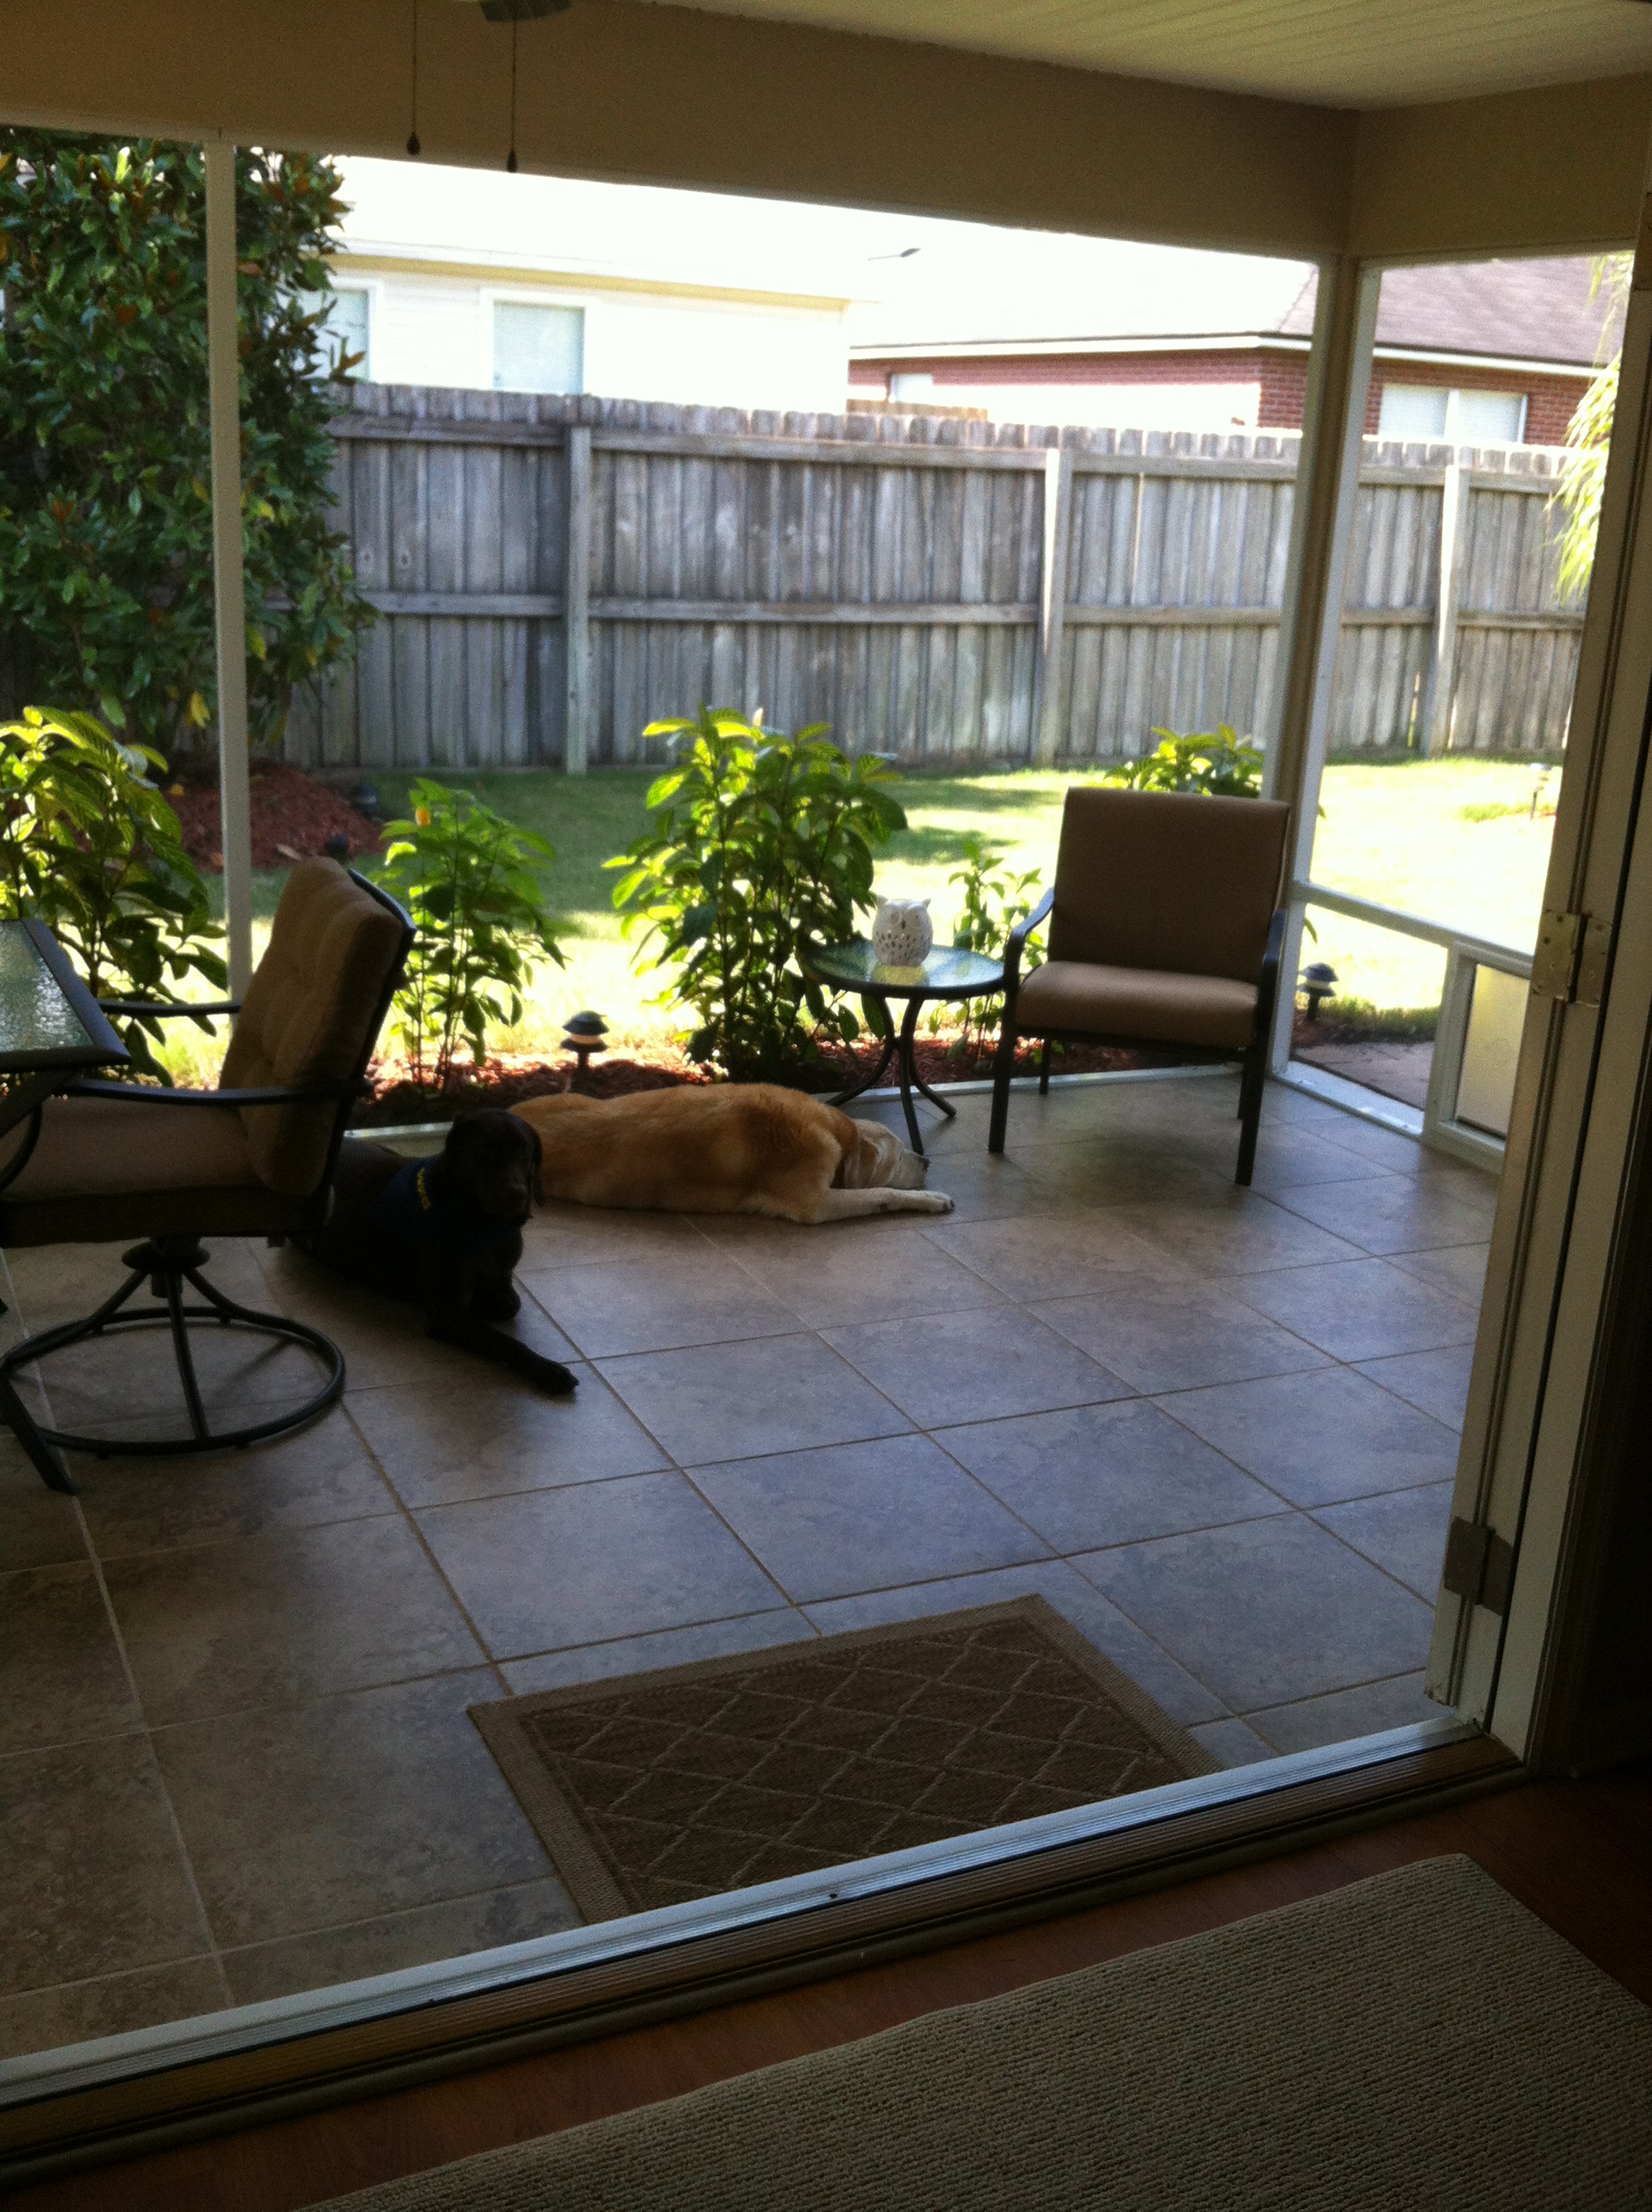
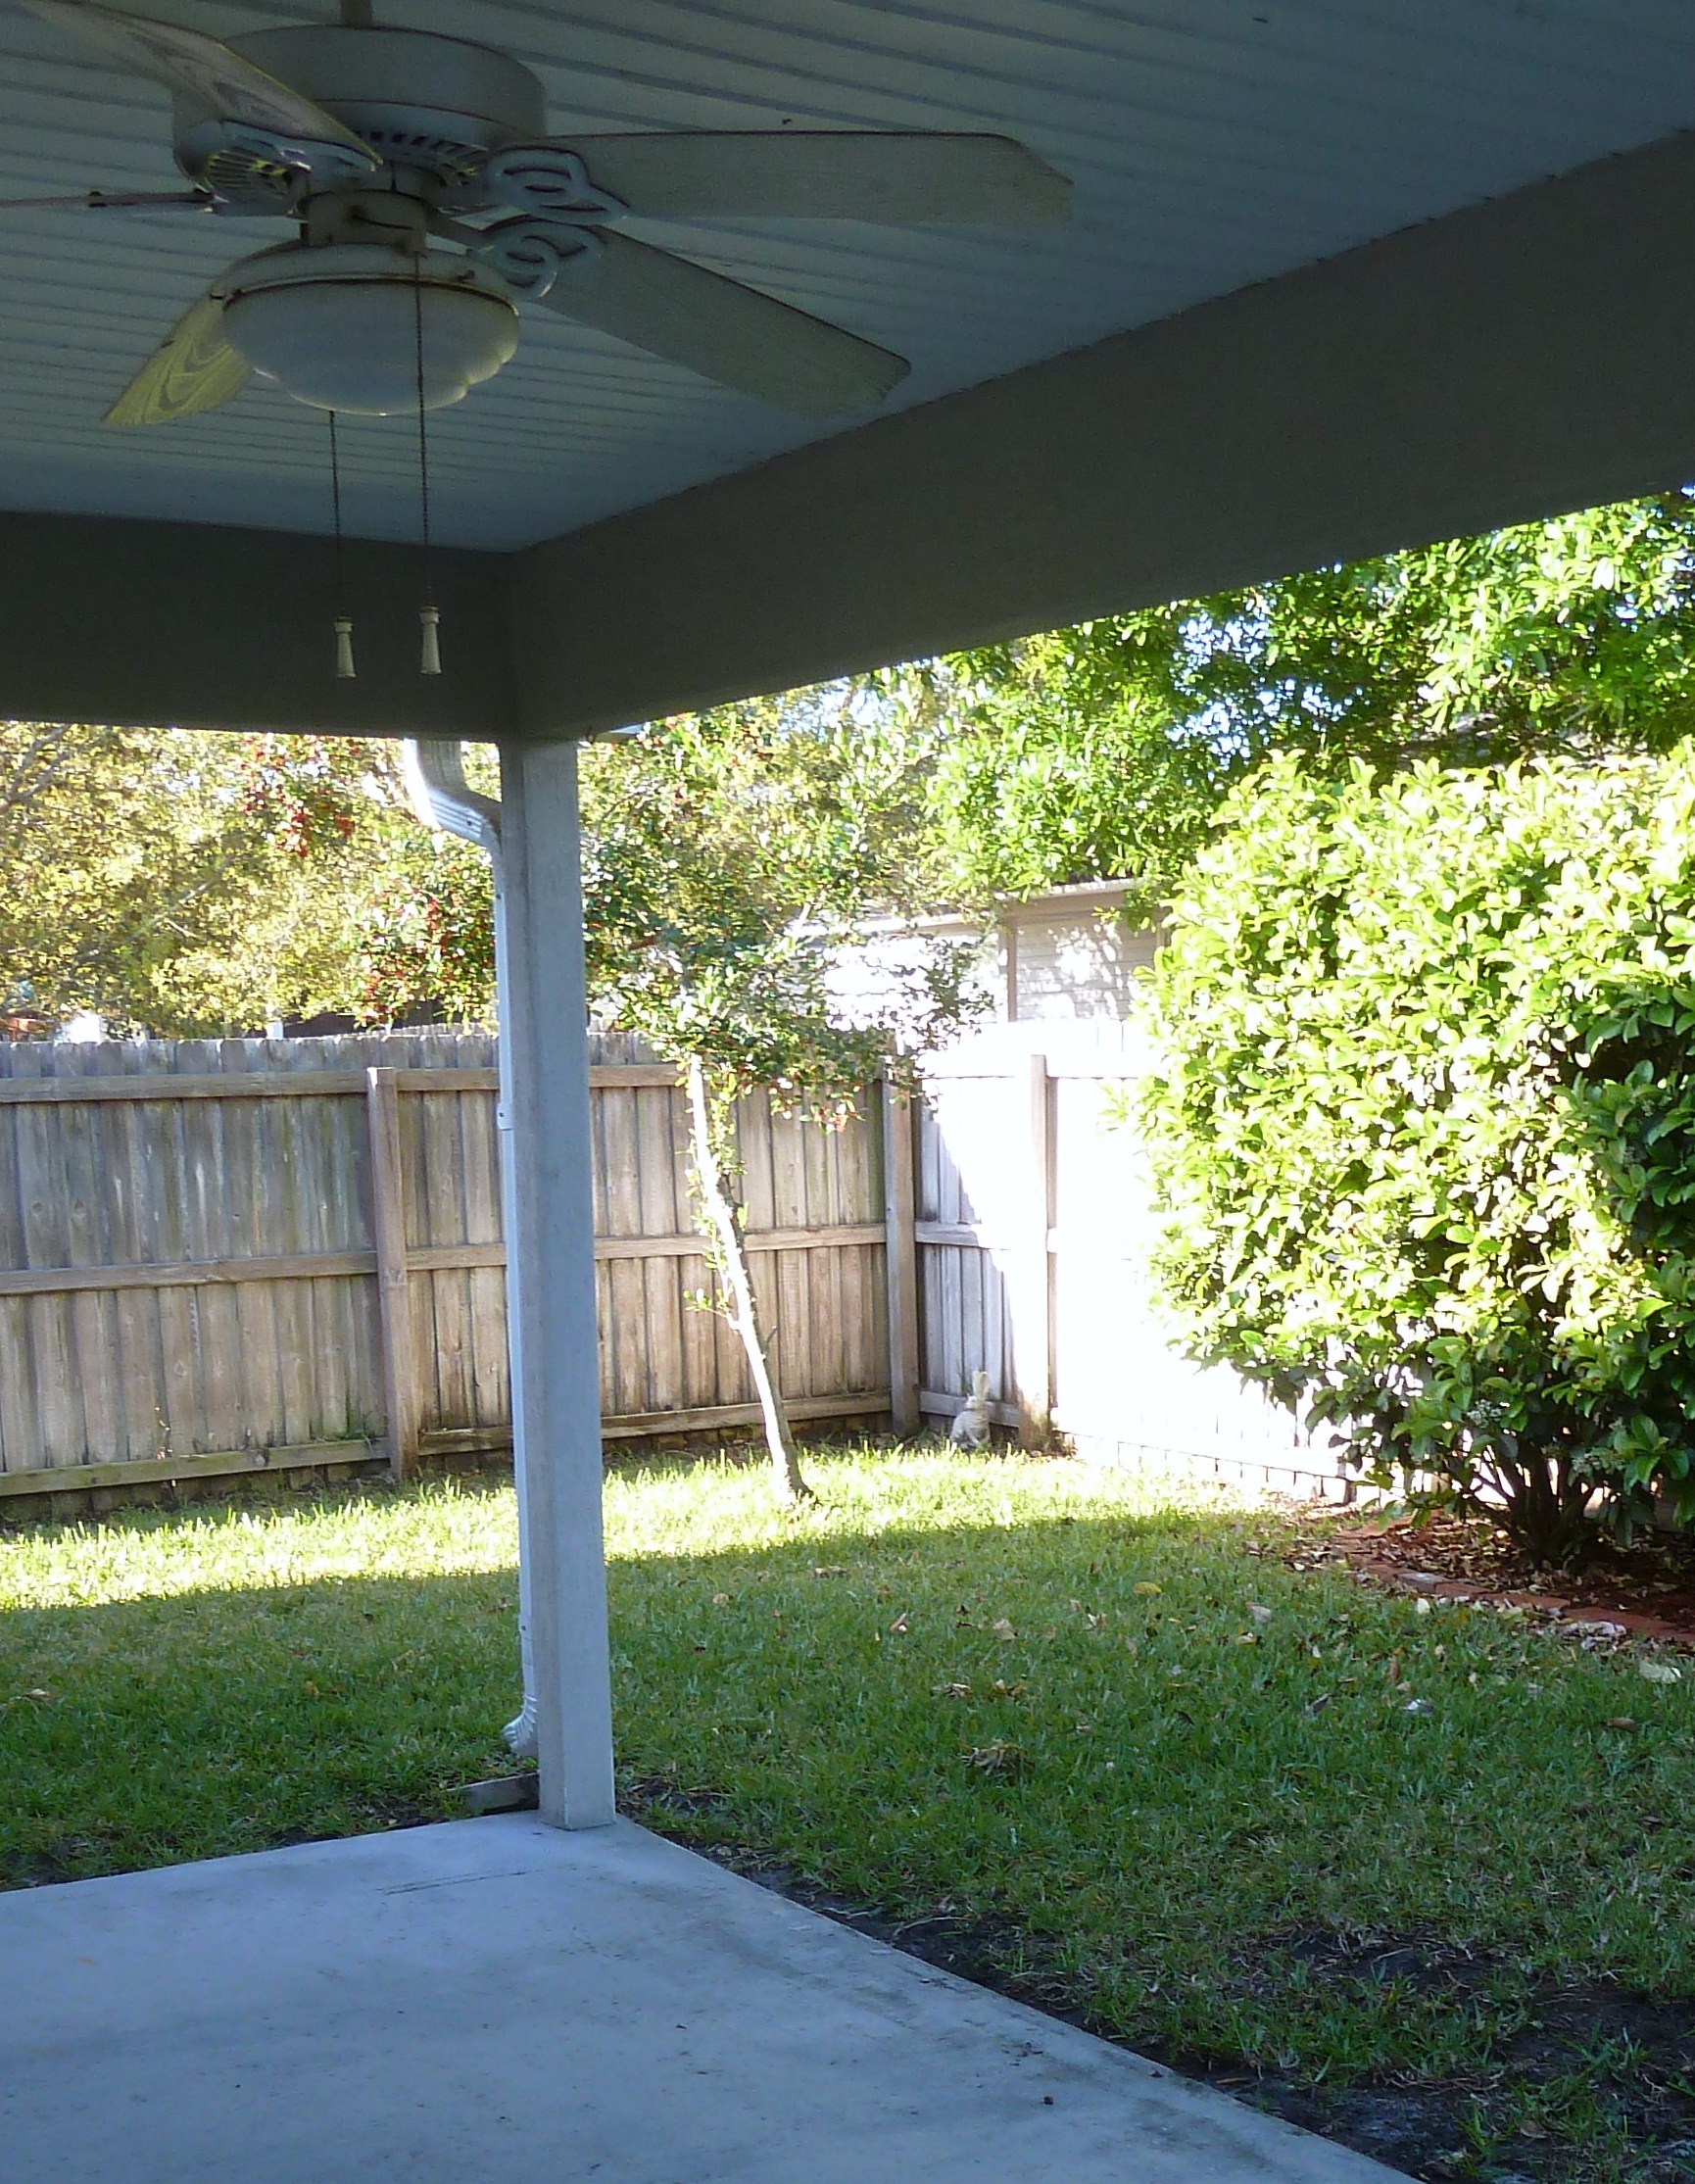
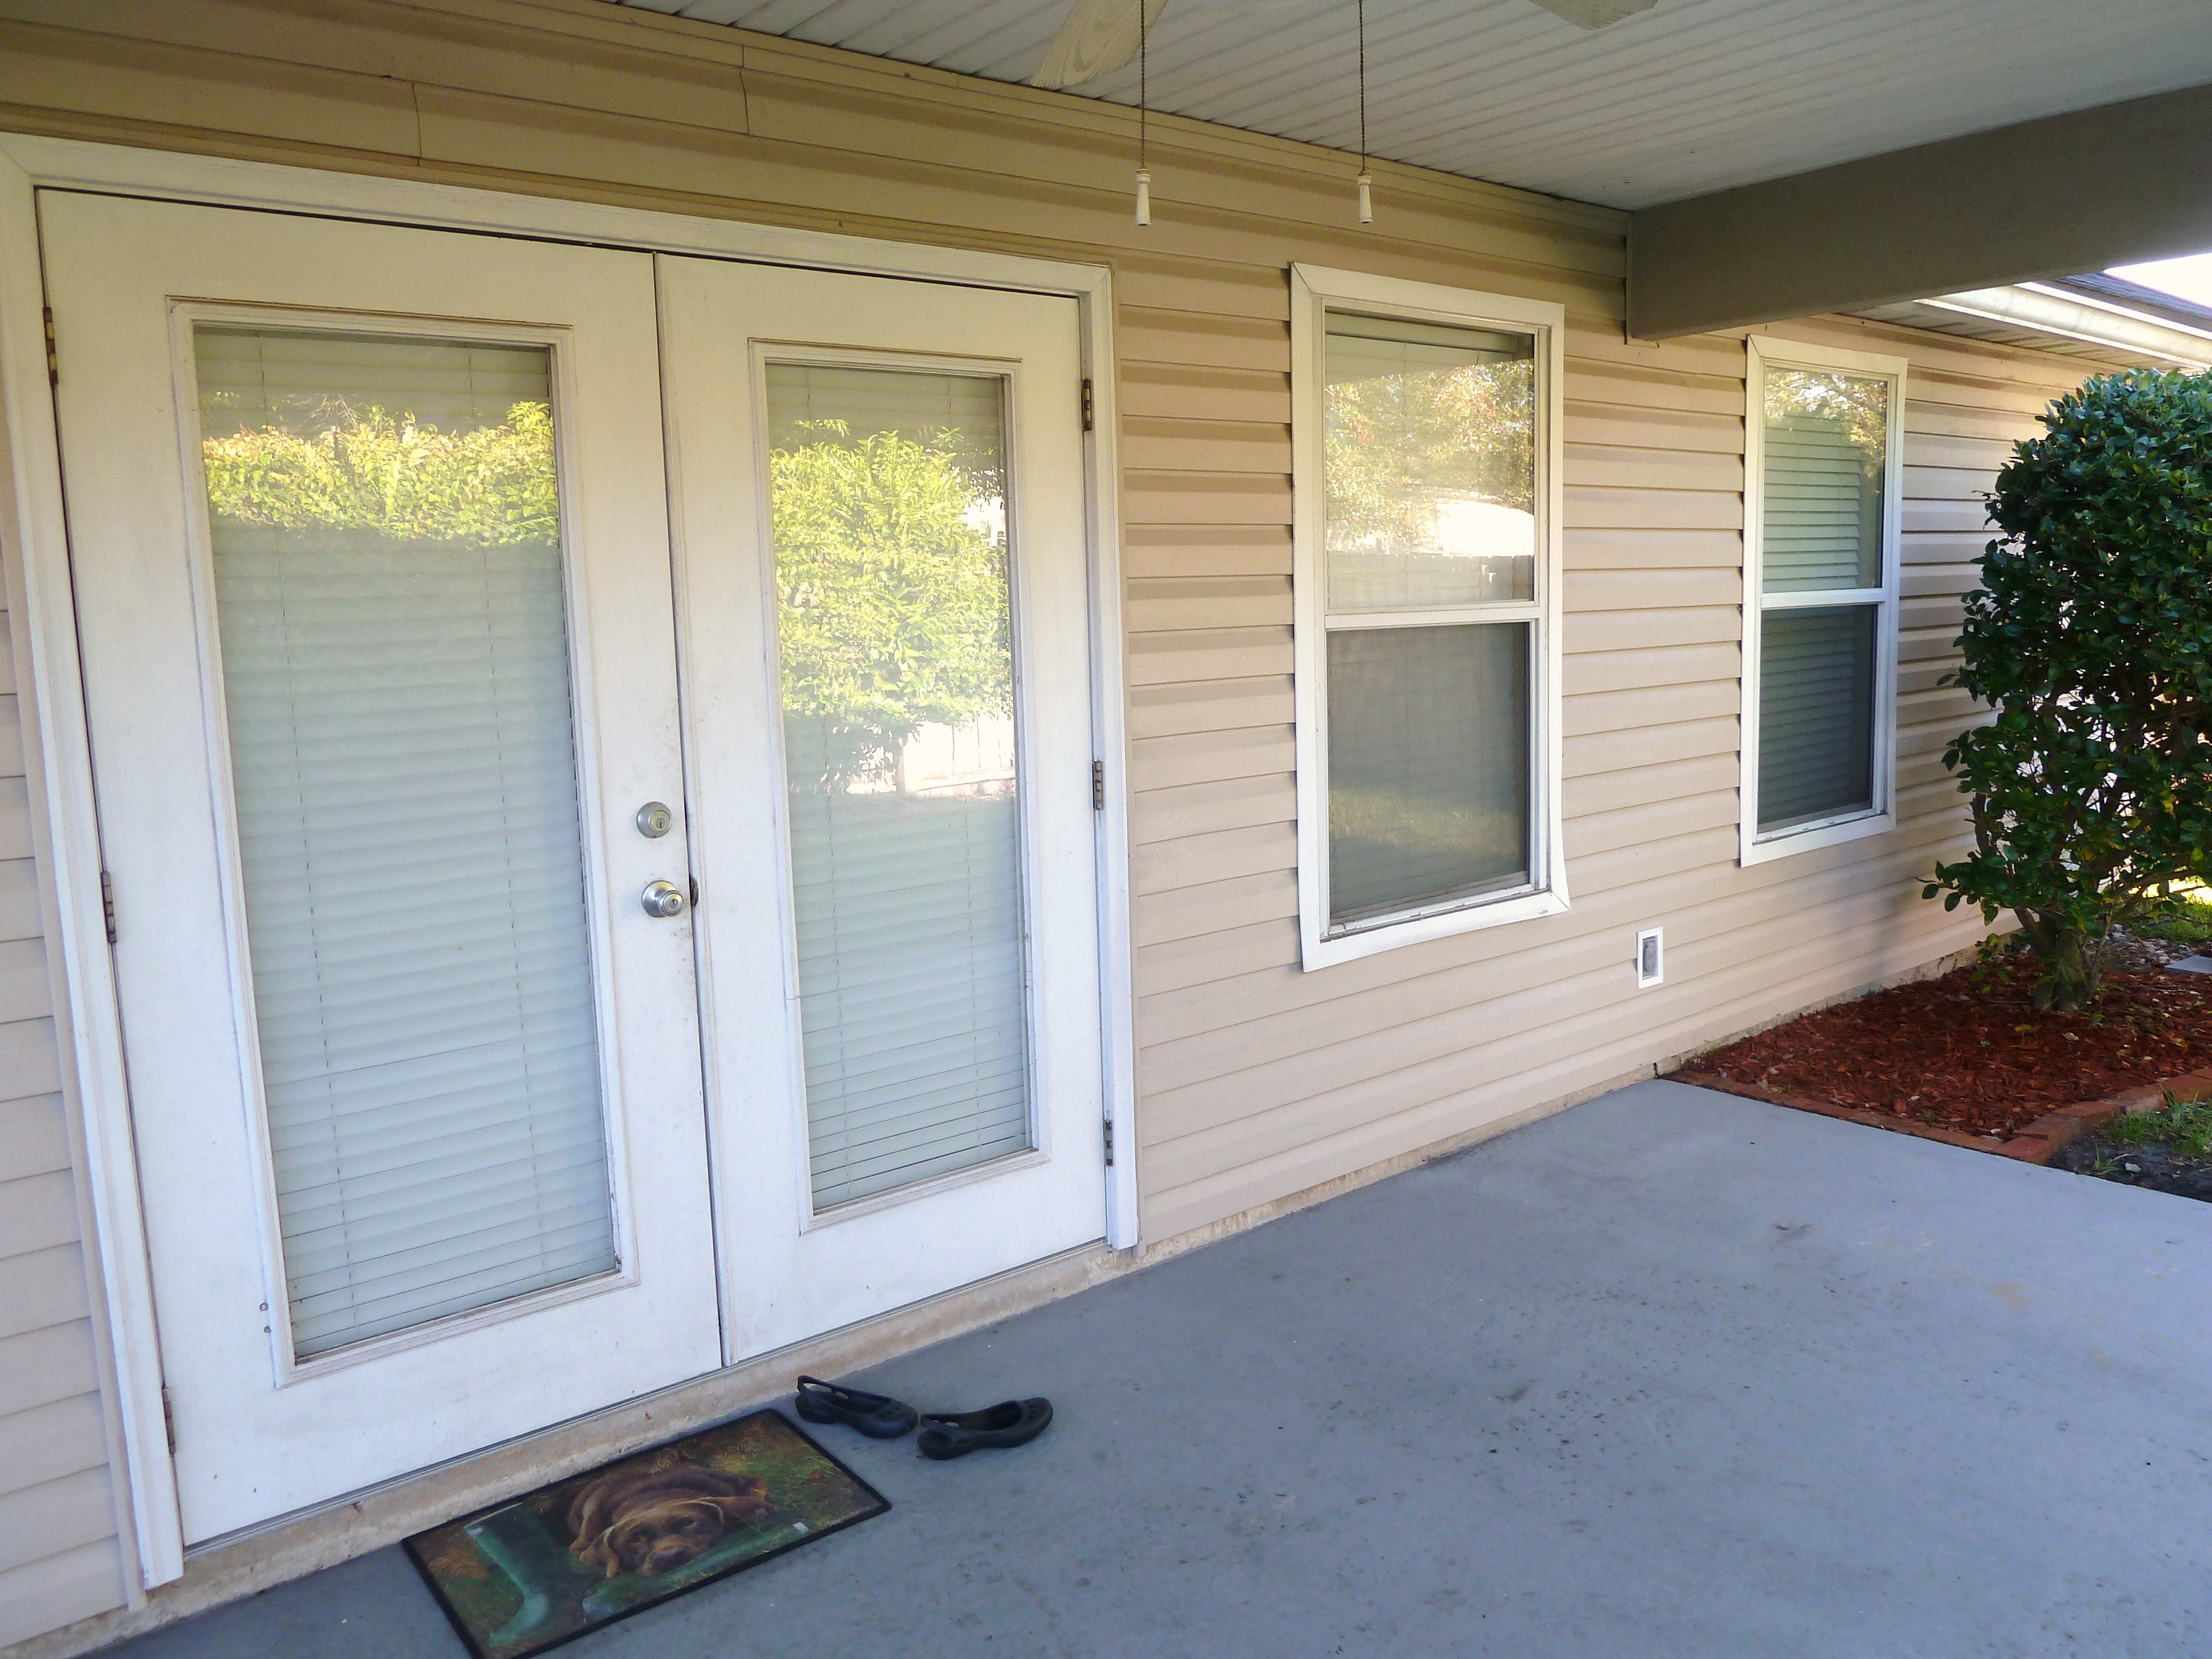
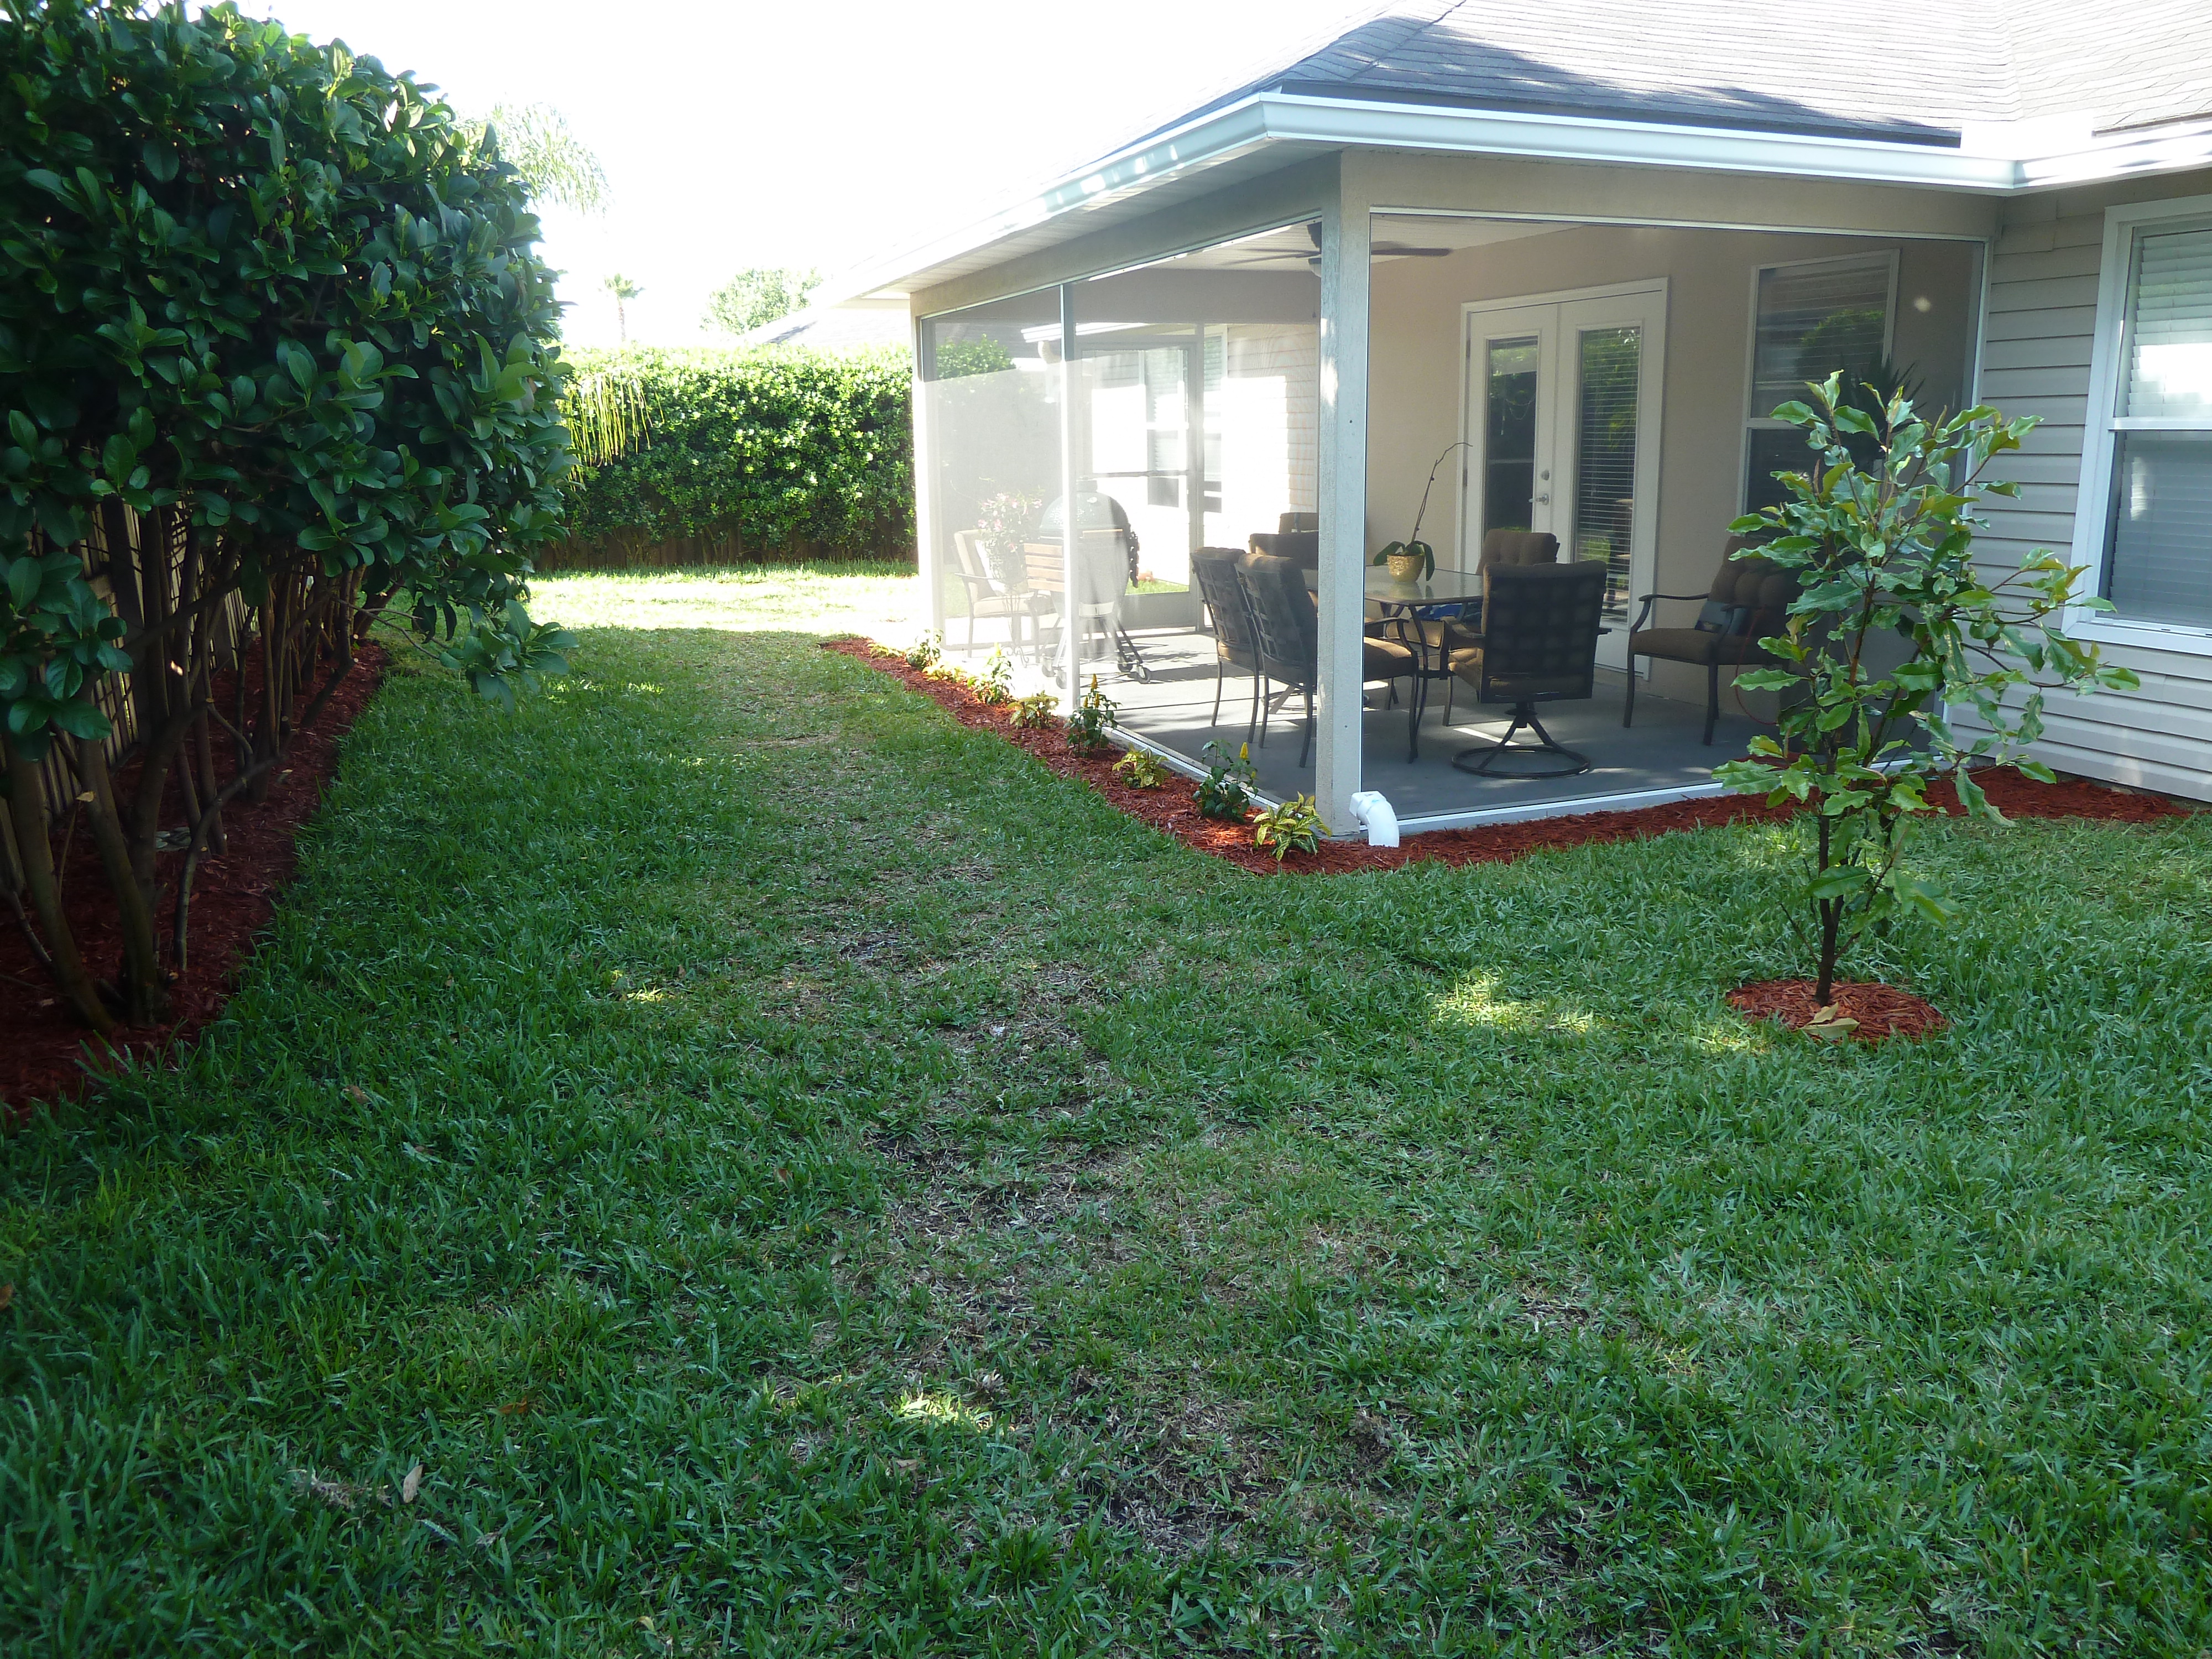
Back Yard:


moving day…


And today!


What we have done:
- Added screen.
- Replaced ceiling fan.
- Power-washed the house.
- Painted doors.
- Dry-walled, textured and painted back of house inside screened area.
- Tiled and grouted floor.
- Bought patio set.
- Bought plants for inside patio.
- Re-sodded yard.
- Trimmed bushed and trees.
- Removed holly trees.
- Planted palm tree and magnolia tree.
- Made garden around patio.
- Mulched all gardens.
- Bought Big Green Egg grill.
- Added patio pavers.
- Had new gutters put on back of house.
What we would still like to accomplish:
- Add trim between grout and wall of house.
- Add wall decoration in patio.
Laundry Room:
First sight…

Moving day…

and today…

What we have done:
- Prepped and painted walls and trim.
- Removed old shelving and added new shelves.
- Added decorations and wall art.
What we would still like to accomplish:
- Add art to wall on opposite wall.
So that’s our whole house! I think we have gotten a good start on changes we want to make. Of course we still have a few huge projects like the kitchen and master bath, but so far we have made some good improvements. What do you think? Please share!