If You Like it Then You Shoulda Put a Doily on it

Yup, just quoted a Beyonce song and added the word doily to it.  Pretty sure I just became the coolest I have ever been in my life.   Now that that’s cleared up, I can explain that this post is all about my wedding invites!  Yes!  I am finally able to share all the details with you, because they went out last week.  Woot woot!!  That means only 2 months to go.

First off, my invites were homemade.  I decided to go the homemade route because I figured it would do two things for me.  1. Save me money and 2. Be absolutely unique.  I have to say that I did accomplish both of these tasks, that is if you consider my time worth $0.  If my time is worth money than these are the most expensive wedding invites ever!

Here’s how it all went down…

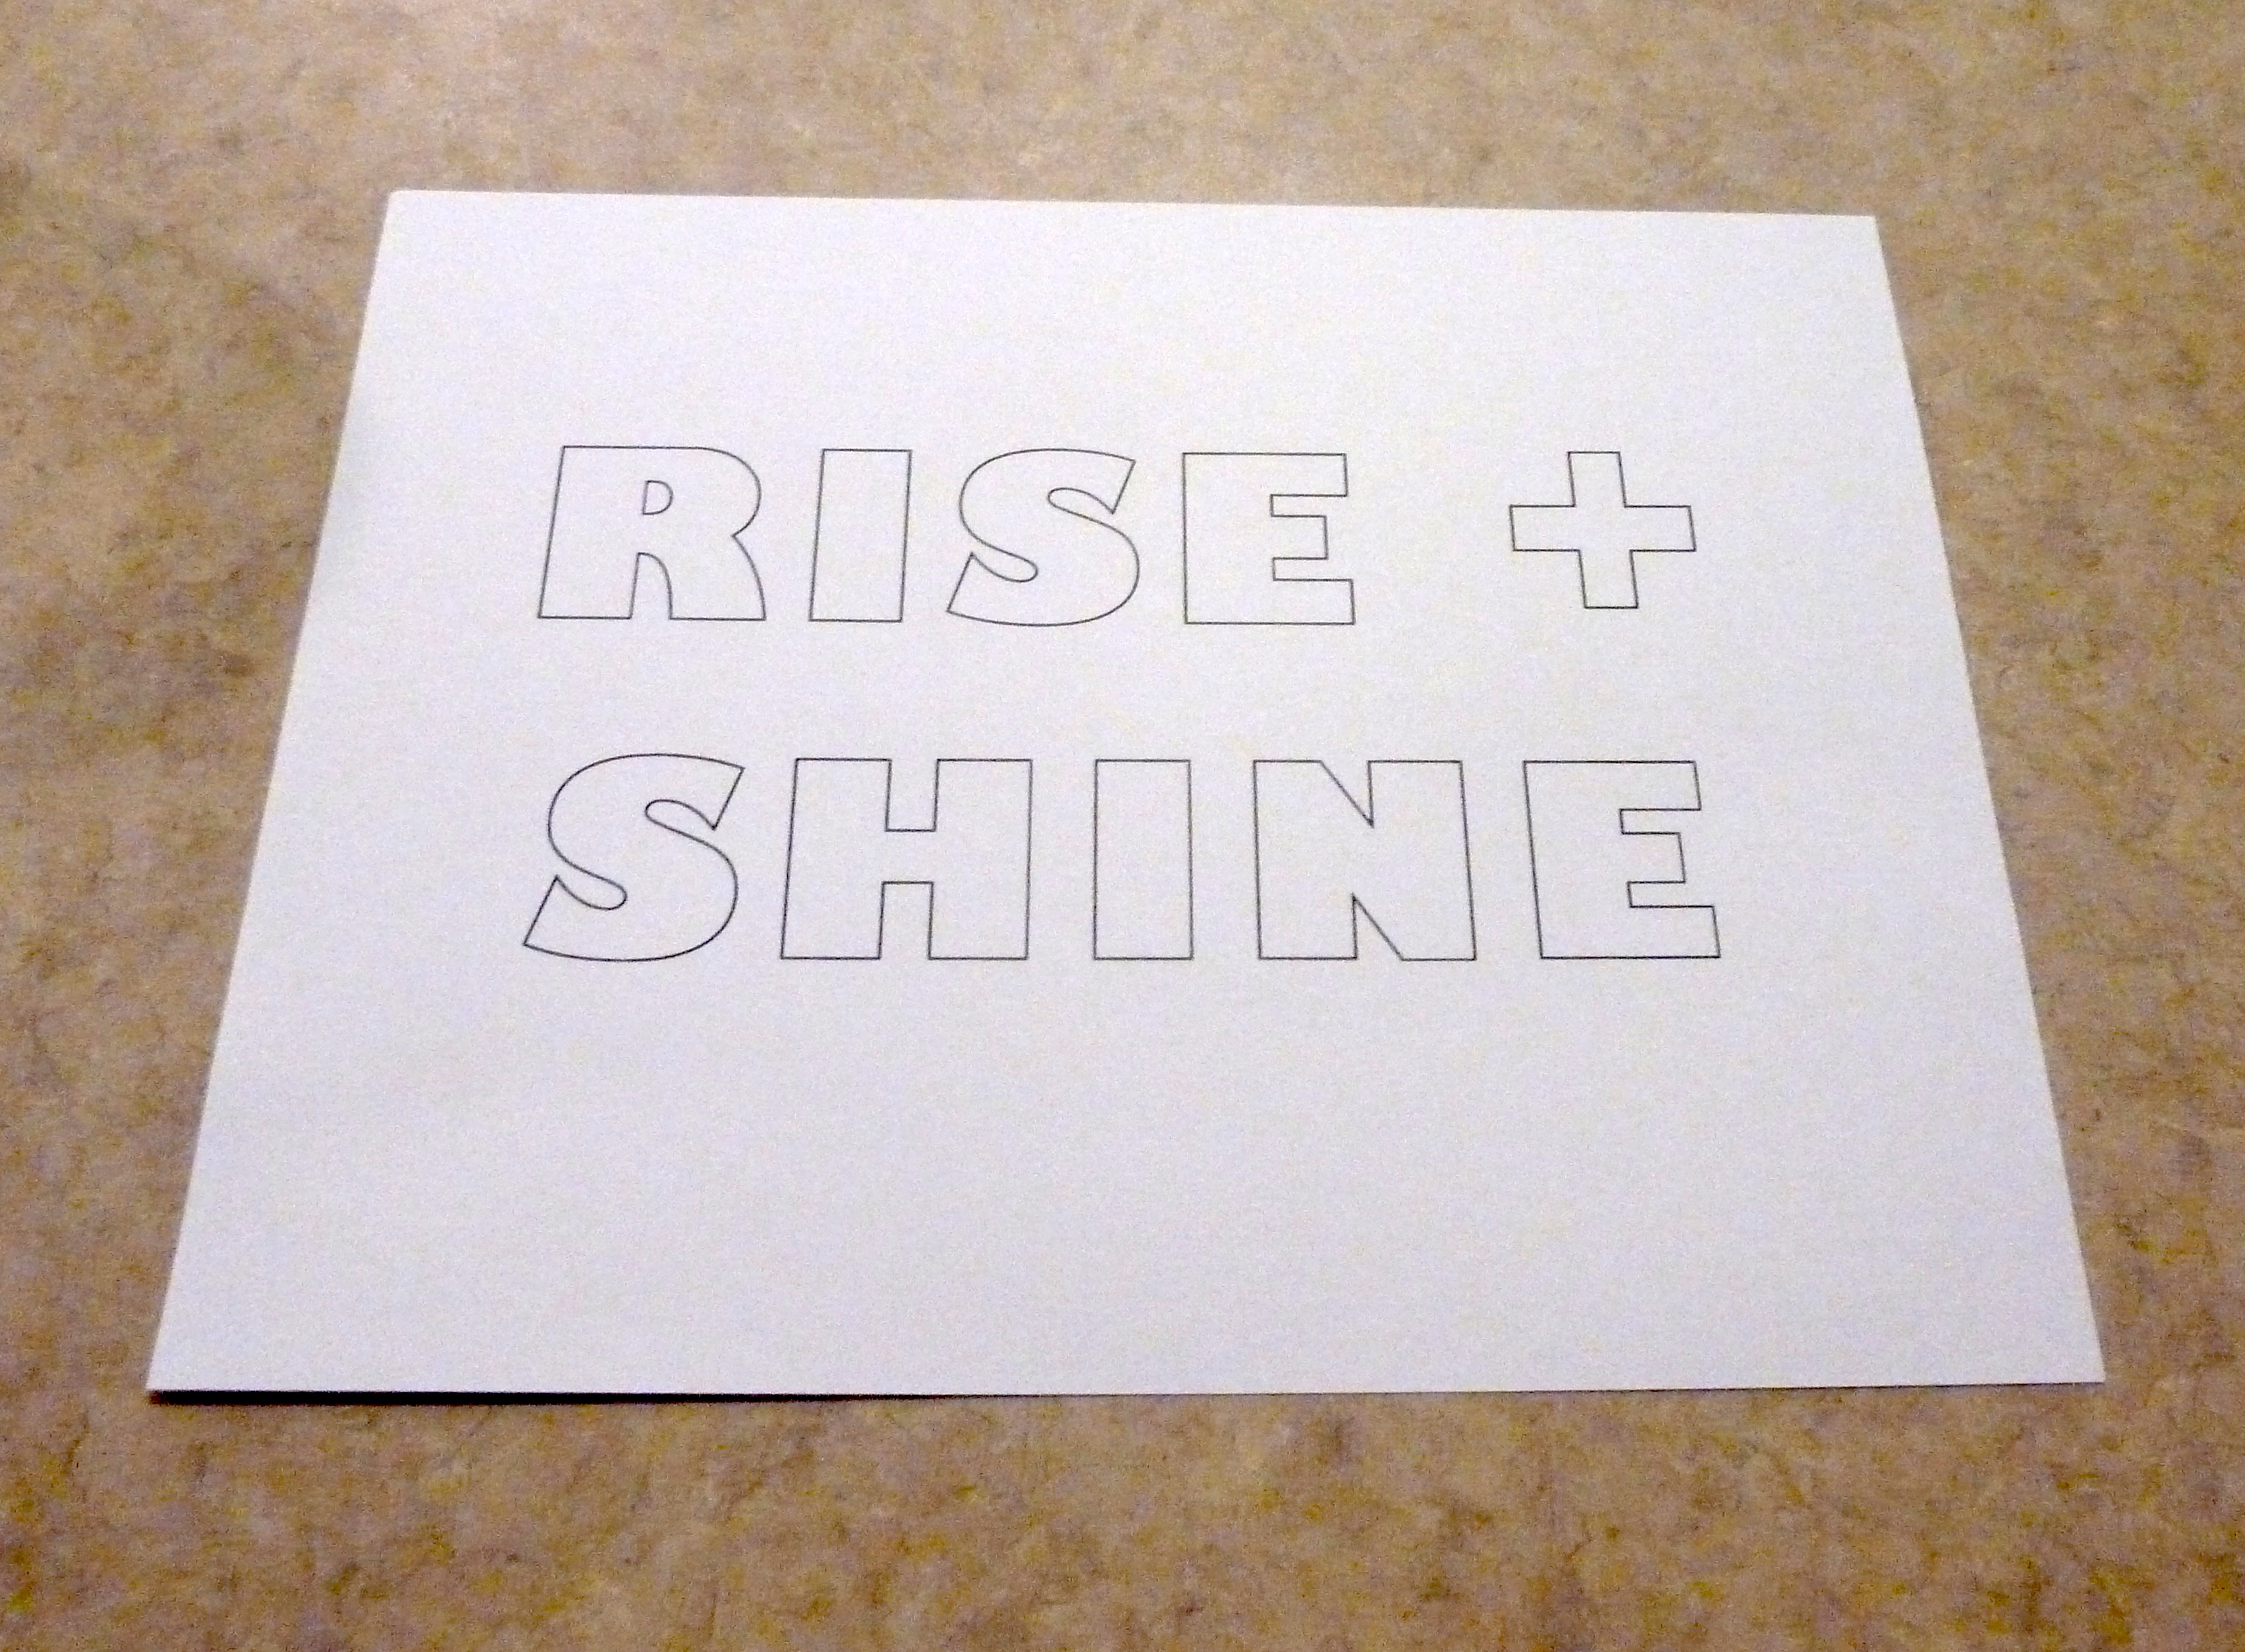
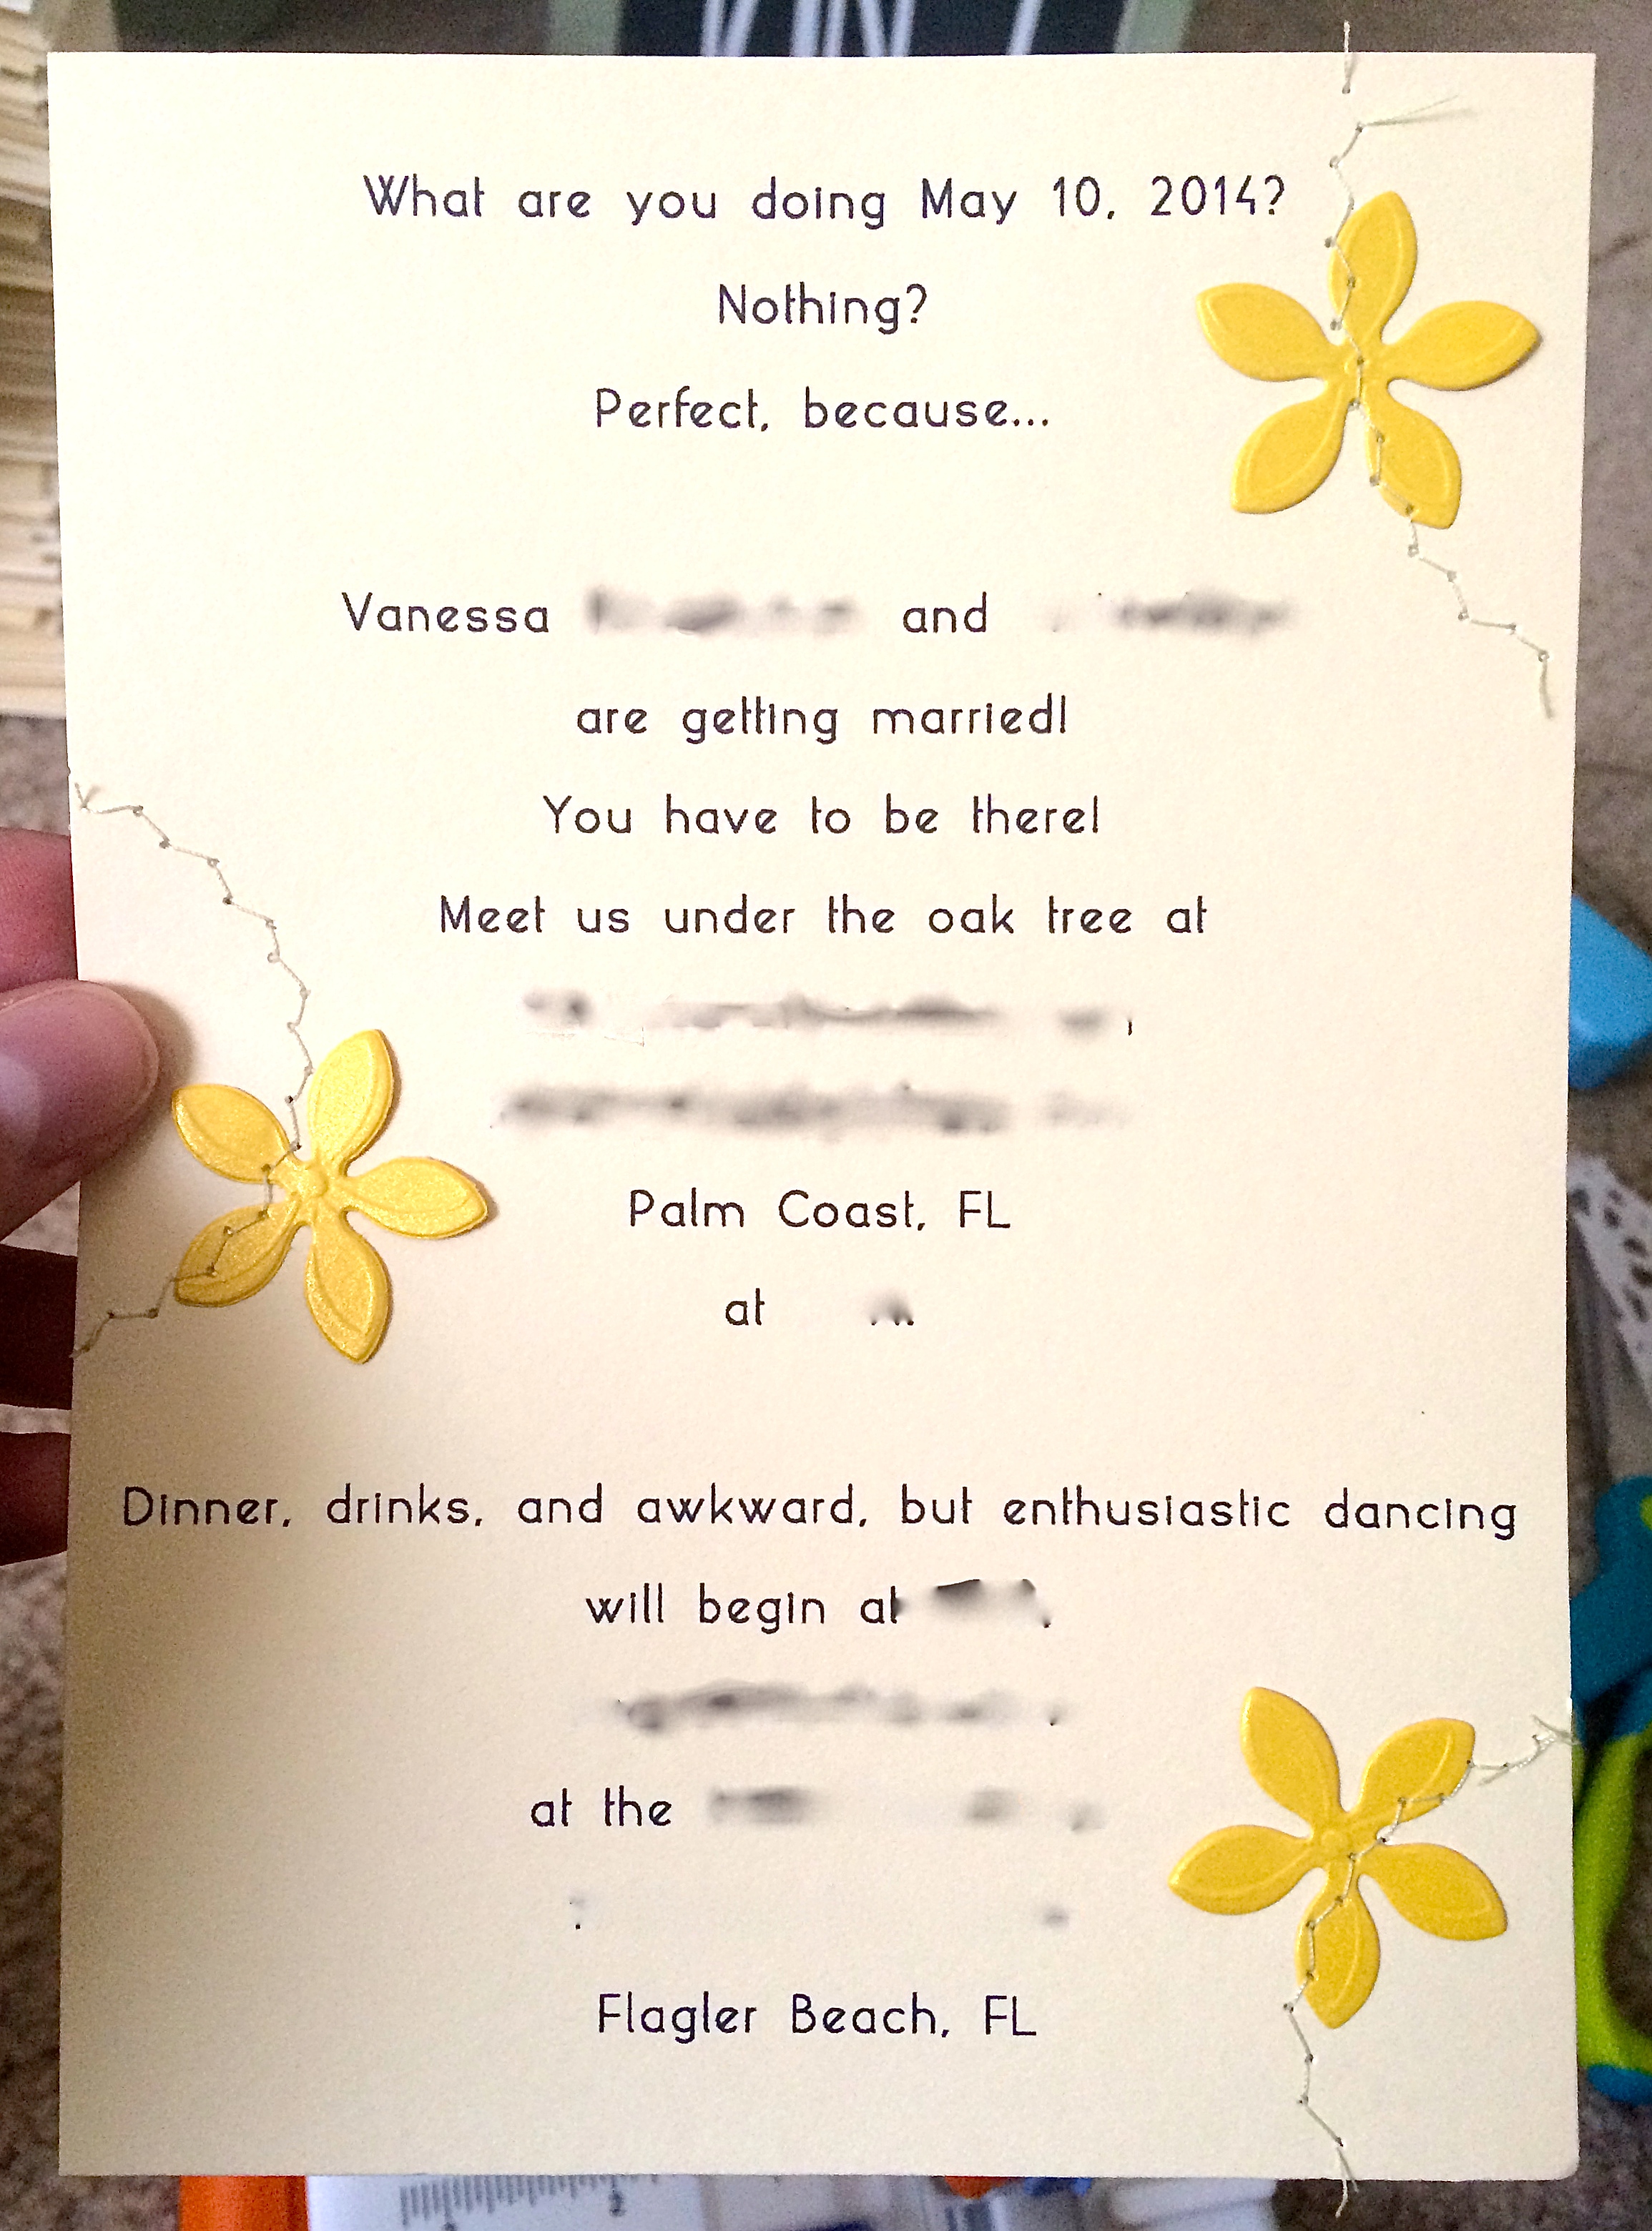
I googled around looking for some wedding invitation wording that I like.  Pretty much I was looking for something with a fun and casual feel.  I came up with this…

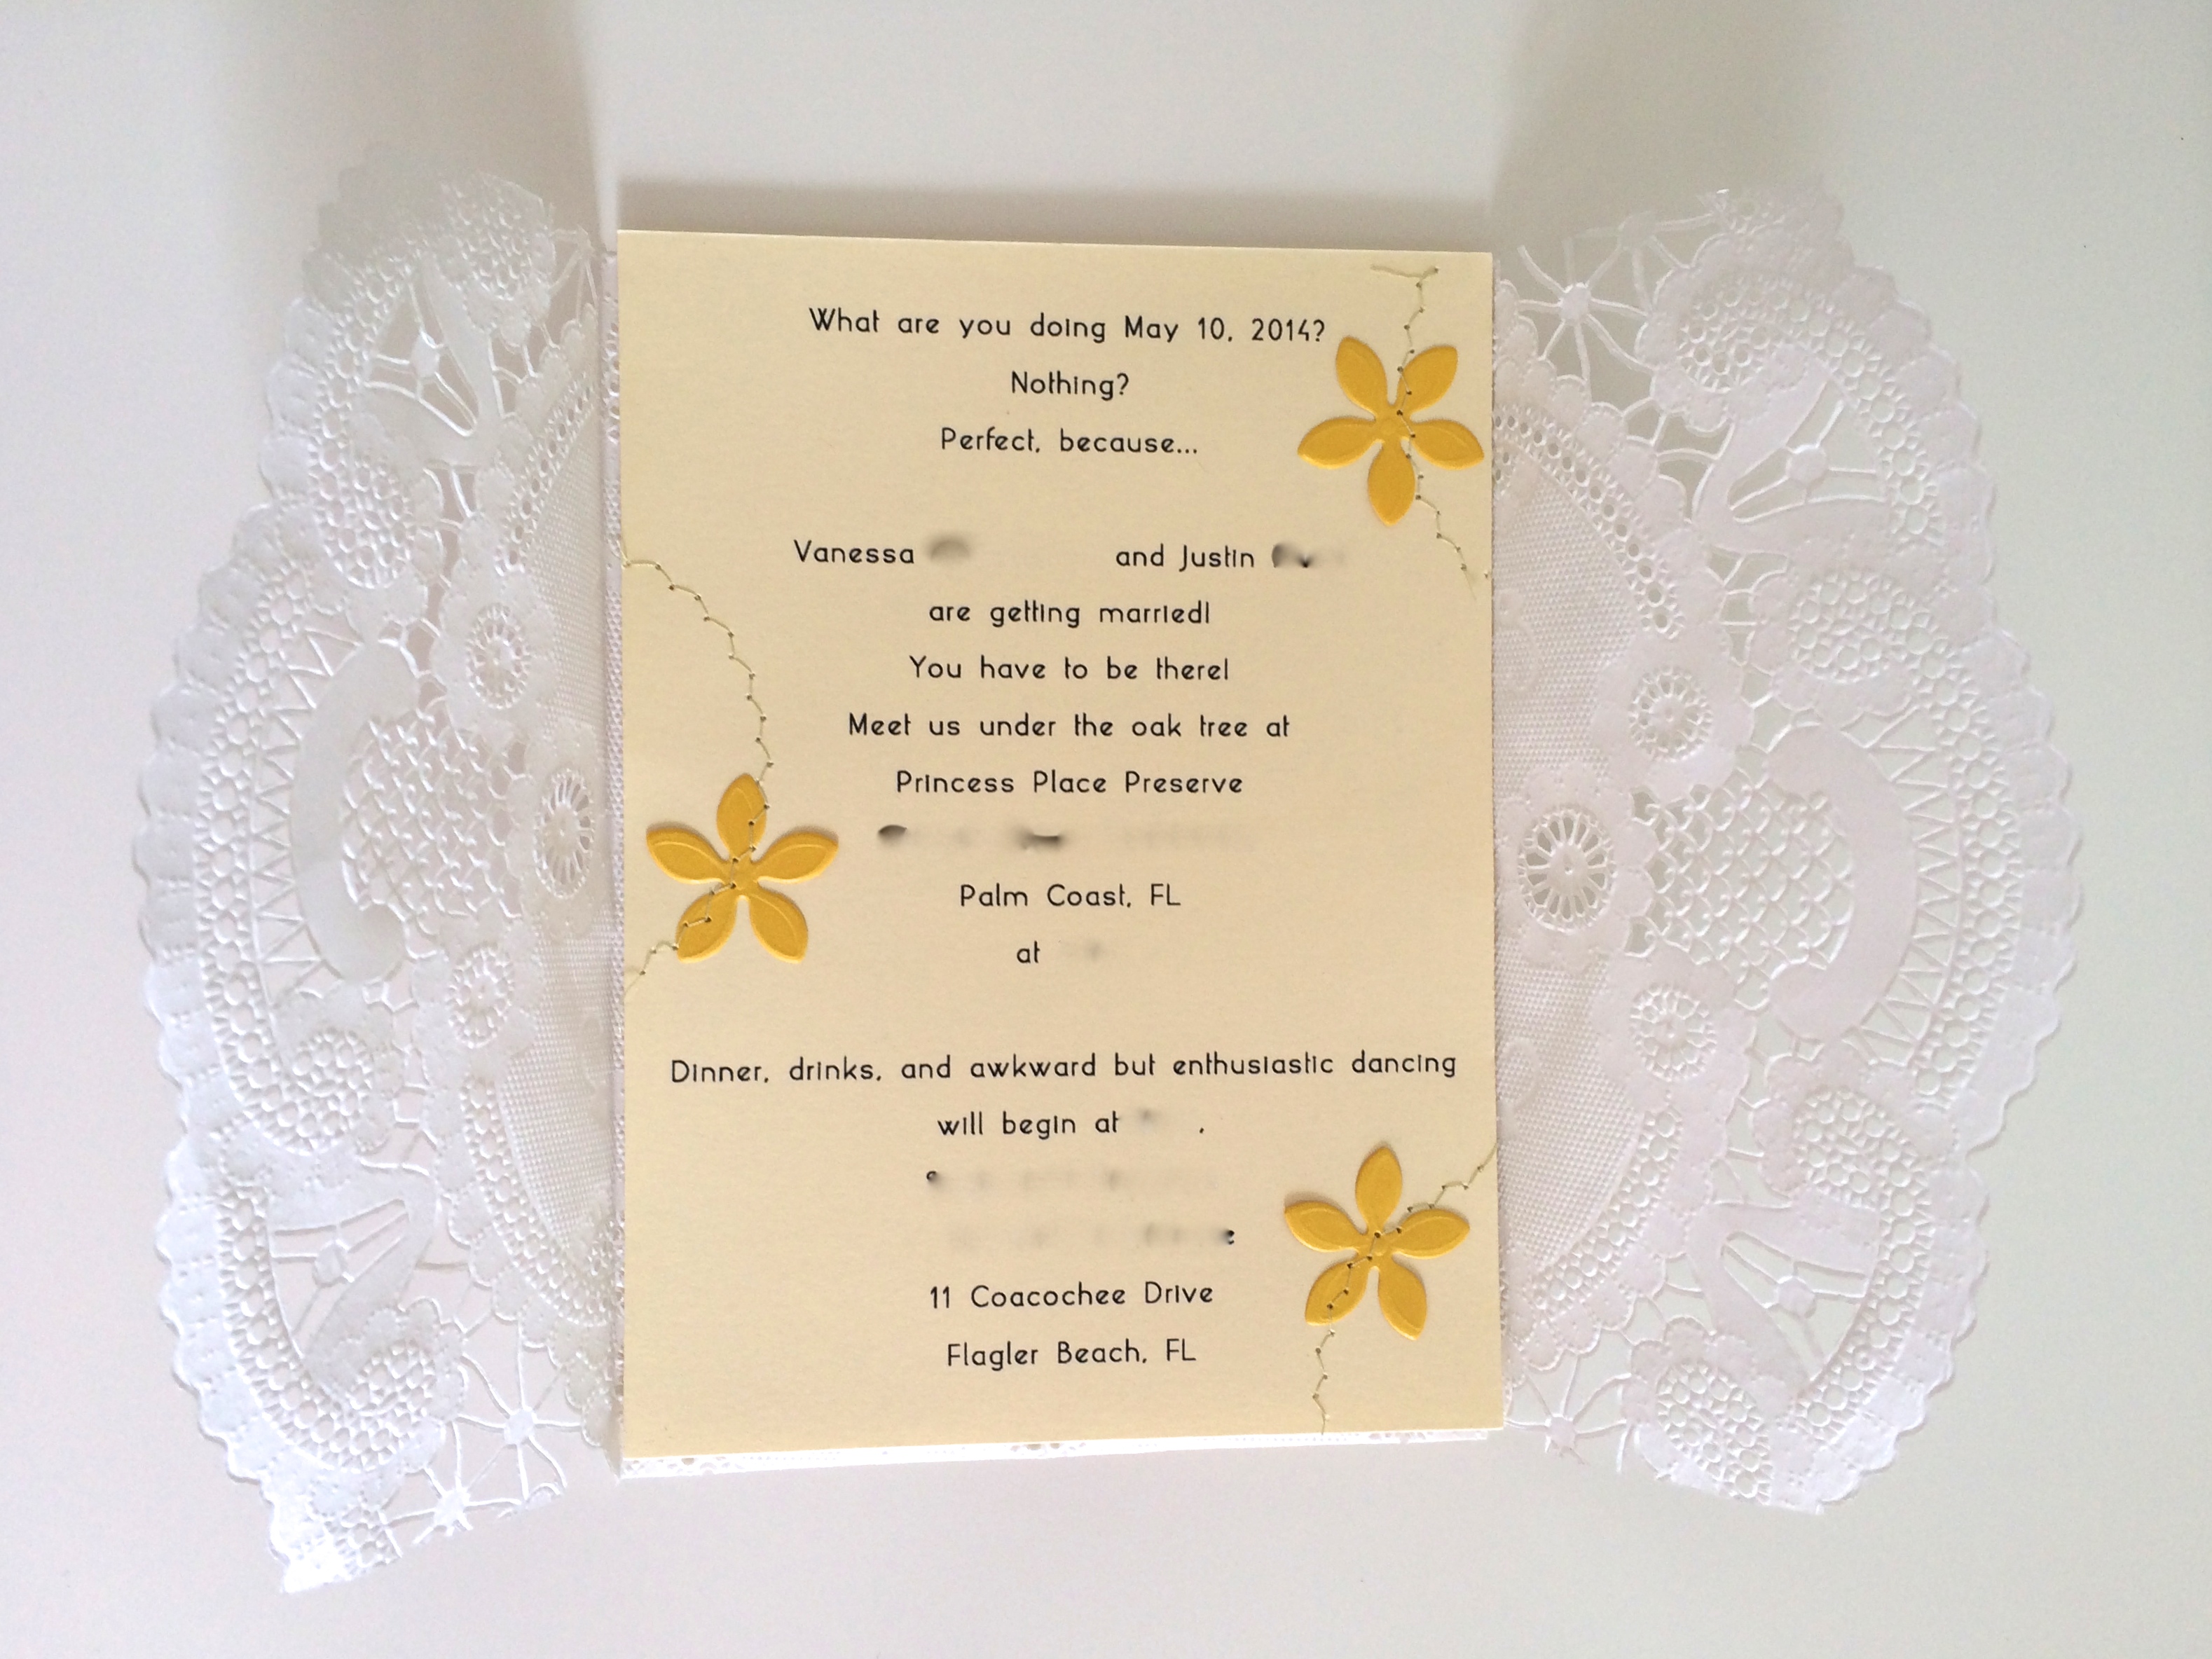
What are you doing May 10, 2014?

Nothing?

Perfect, because…

Vanessa and Justin

are getting married!

You have to be there!

Meet us under the oak tree.

Dinner, drinks and awkward, but enthusiastic dancing to follow.

Of course there are locations and times included, but I left those out.  Overall, I thought this was more us than the tradition wording that most have.

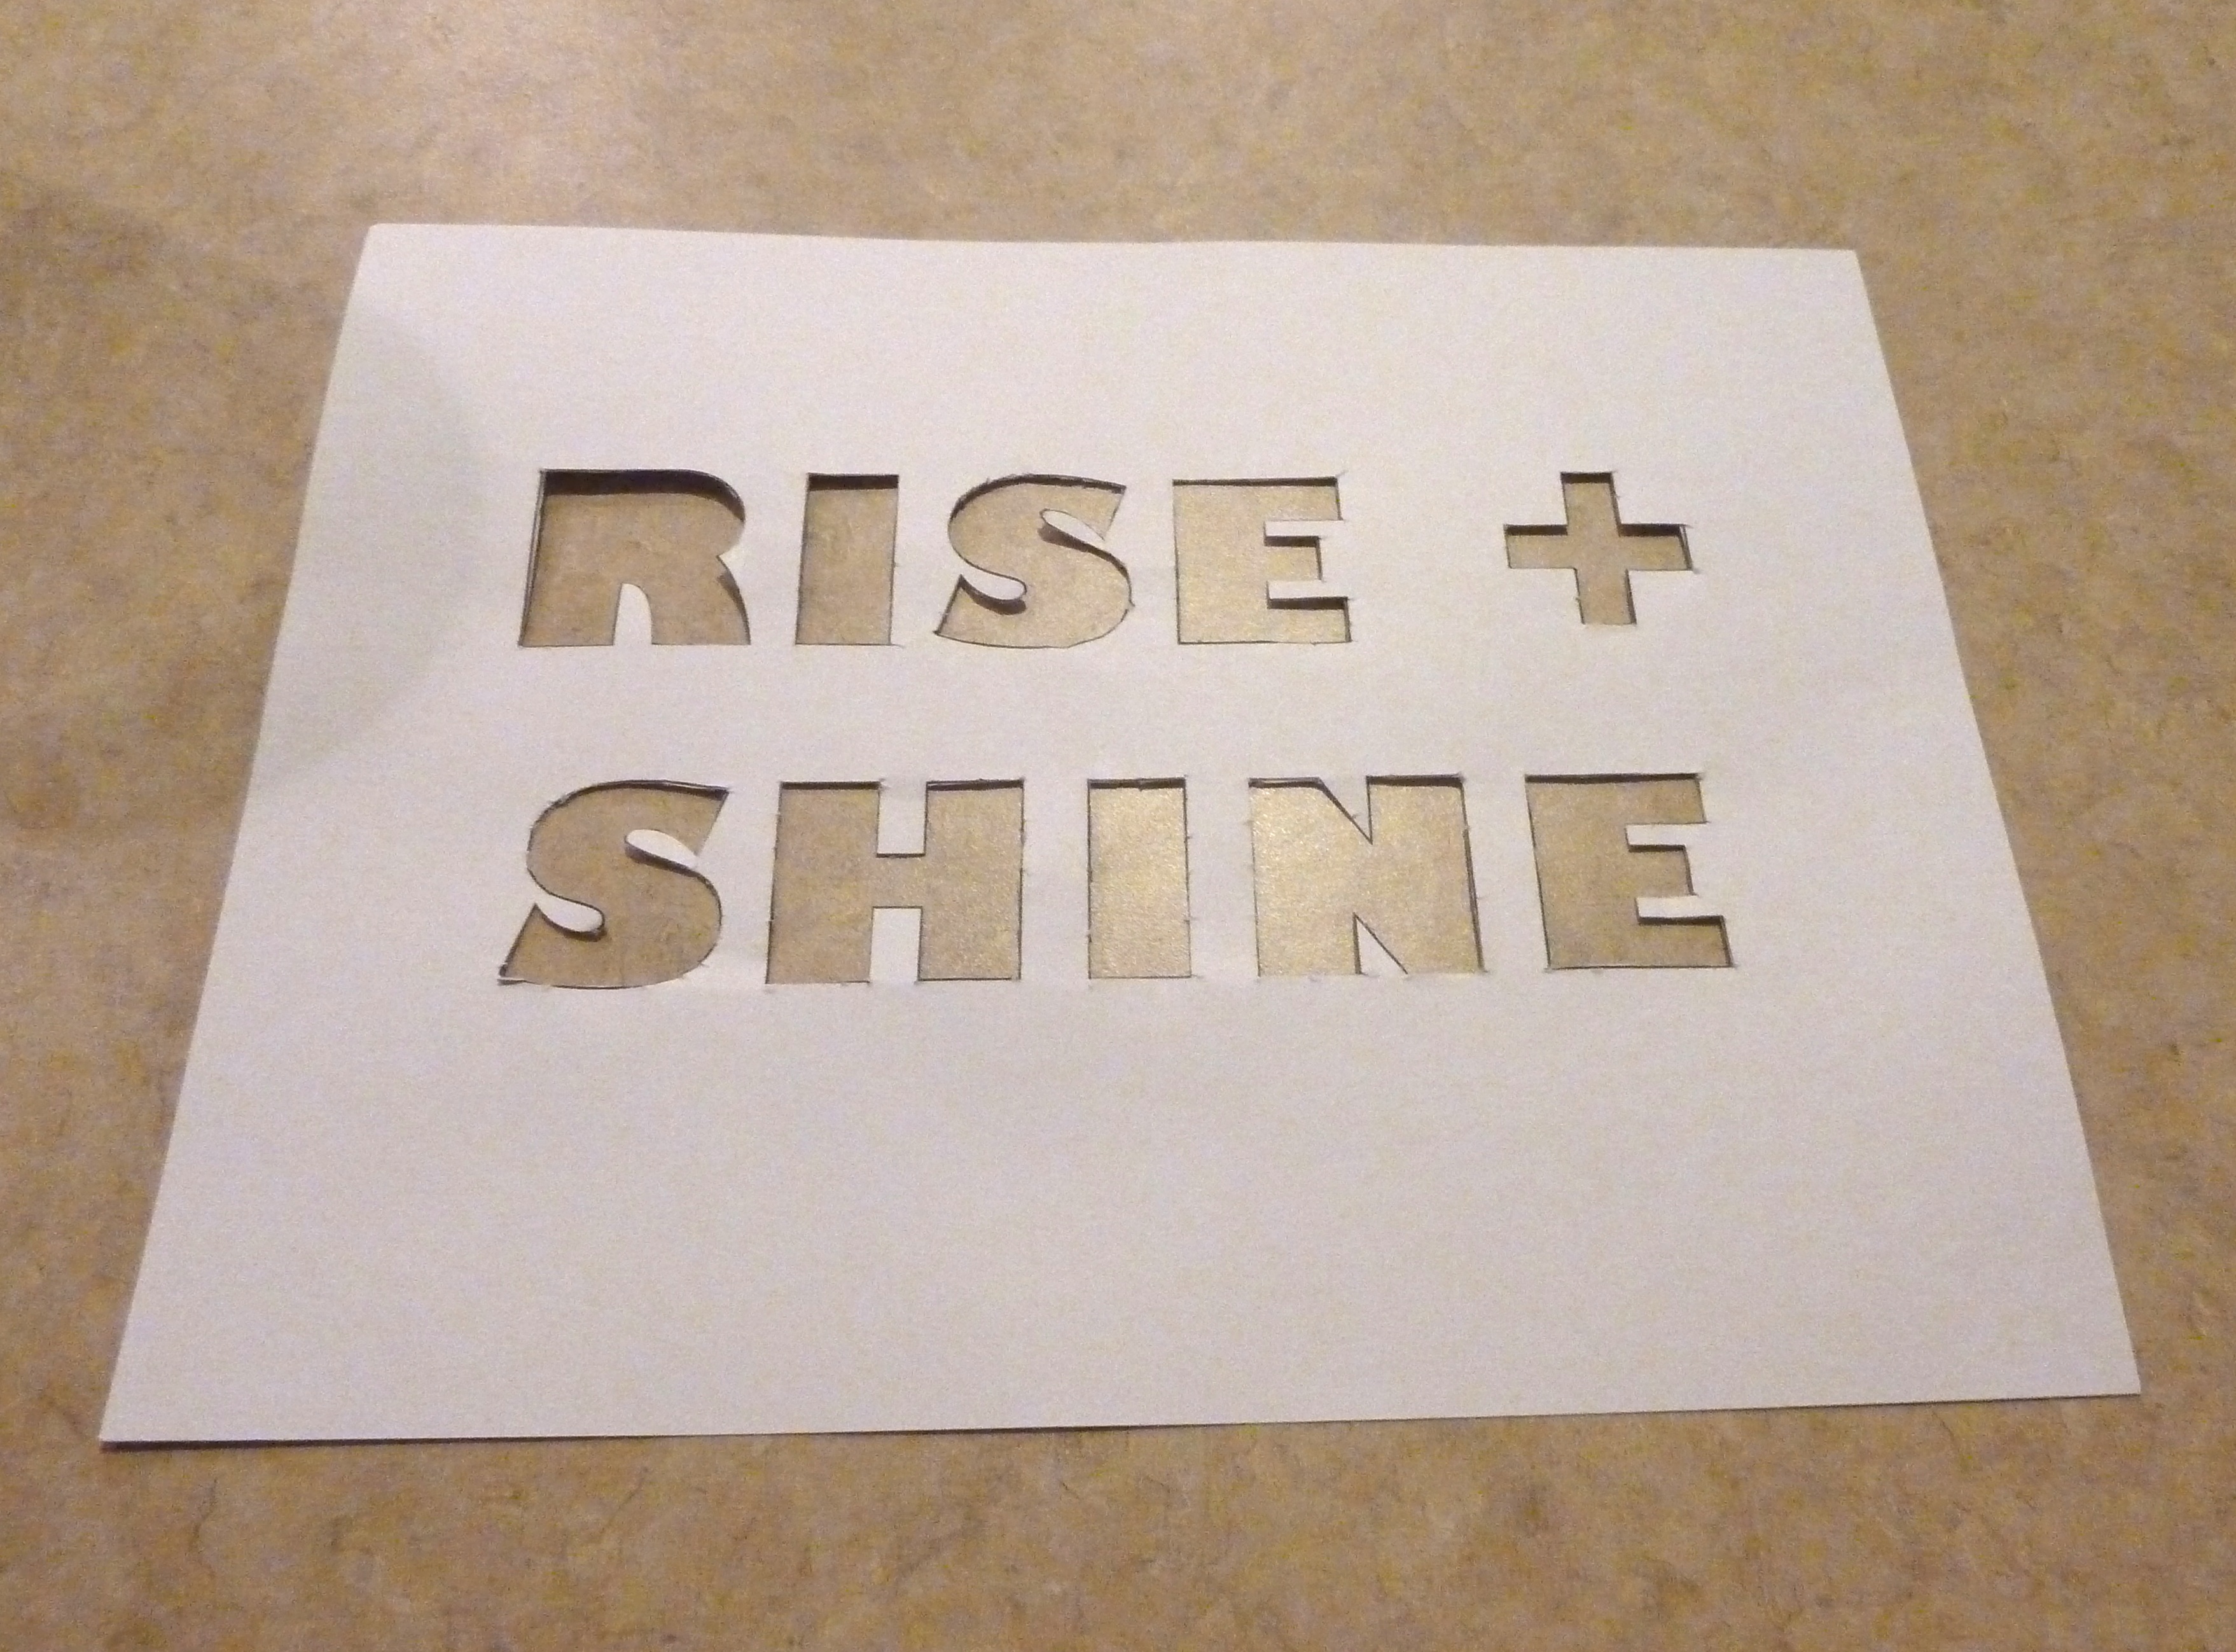
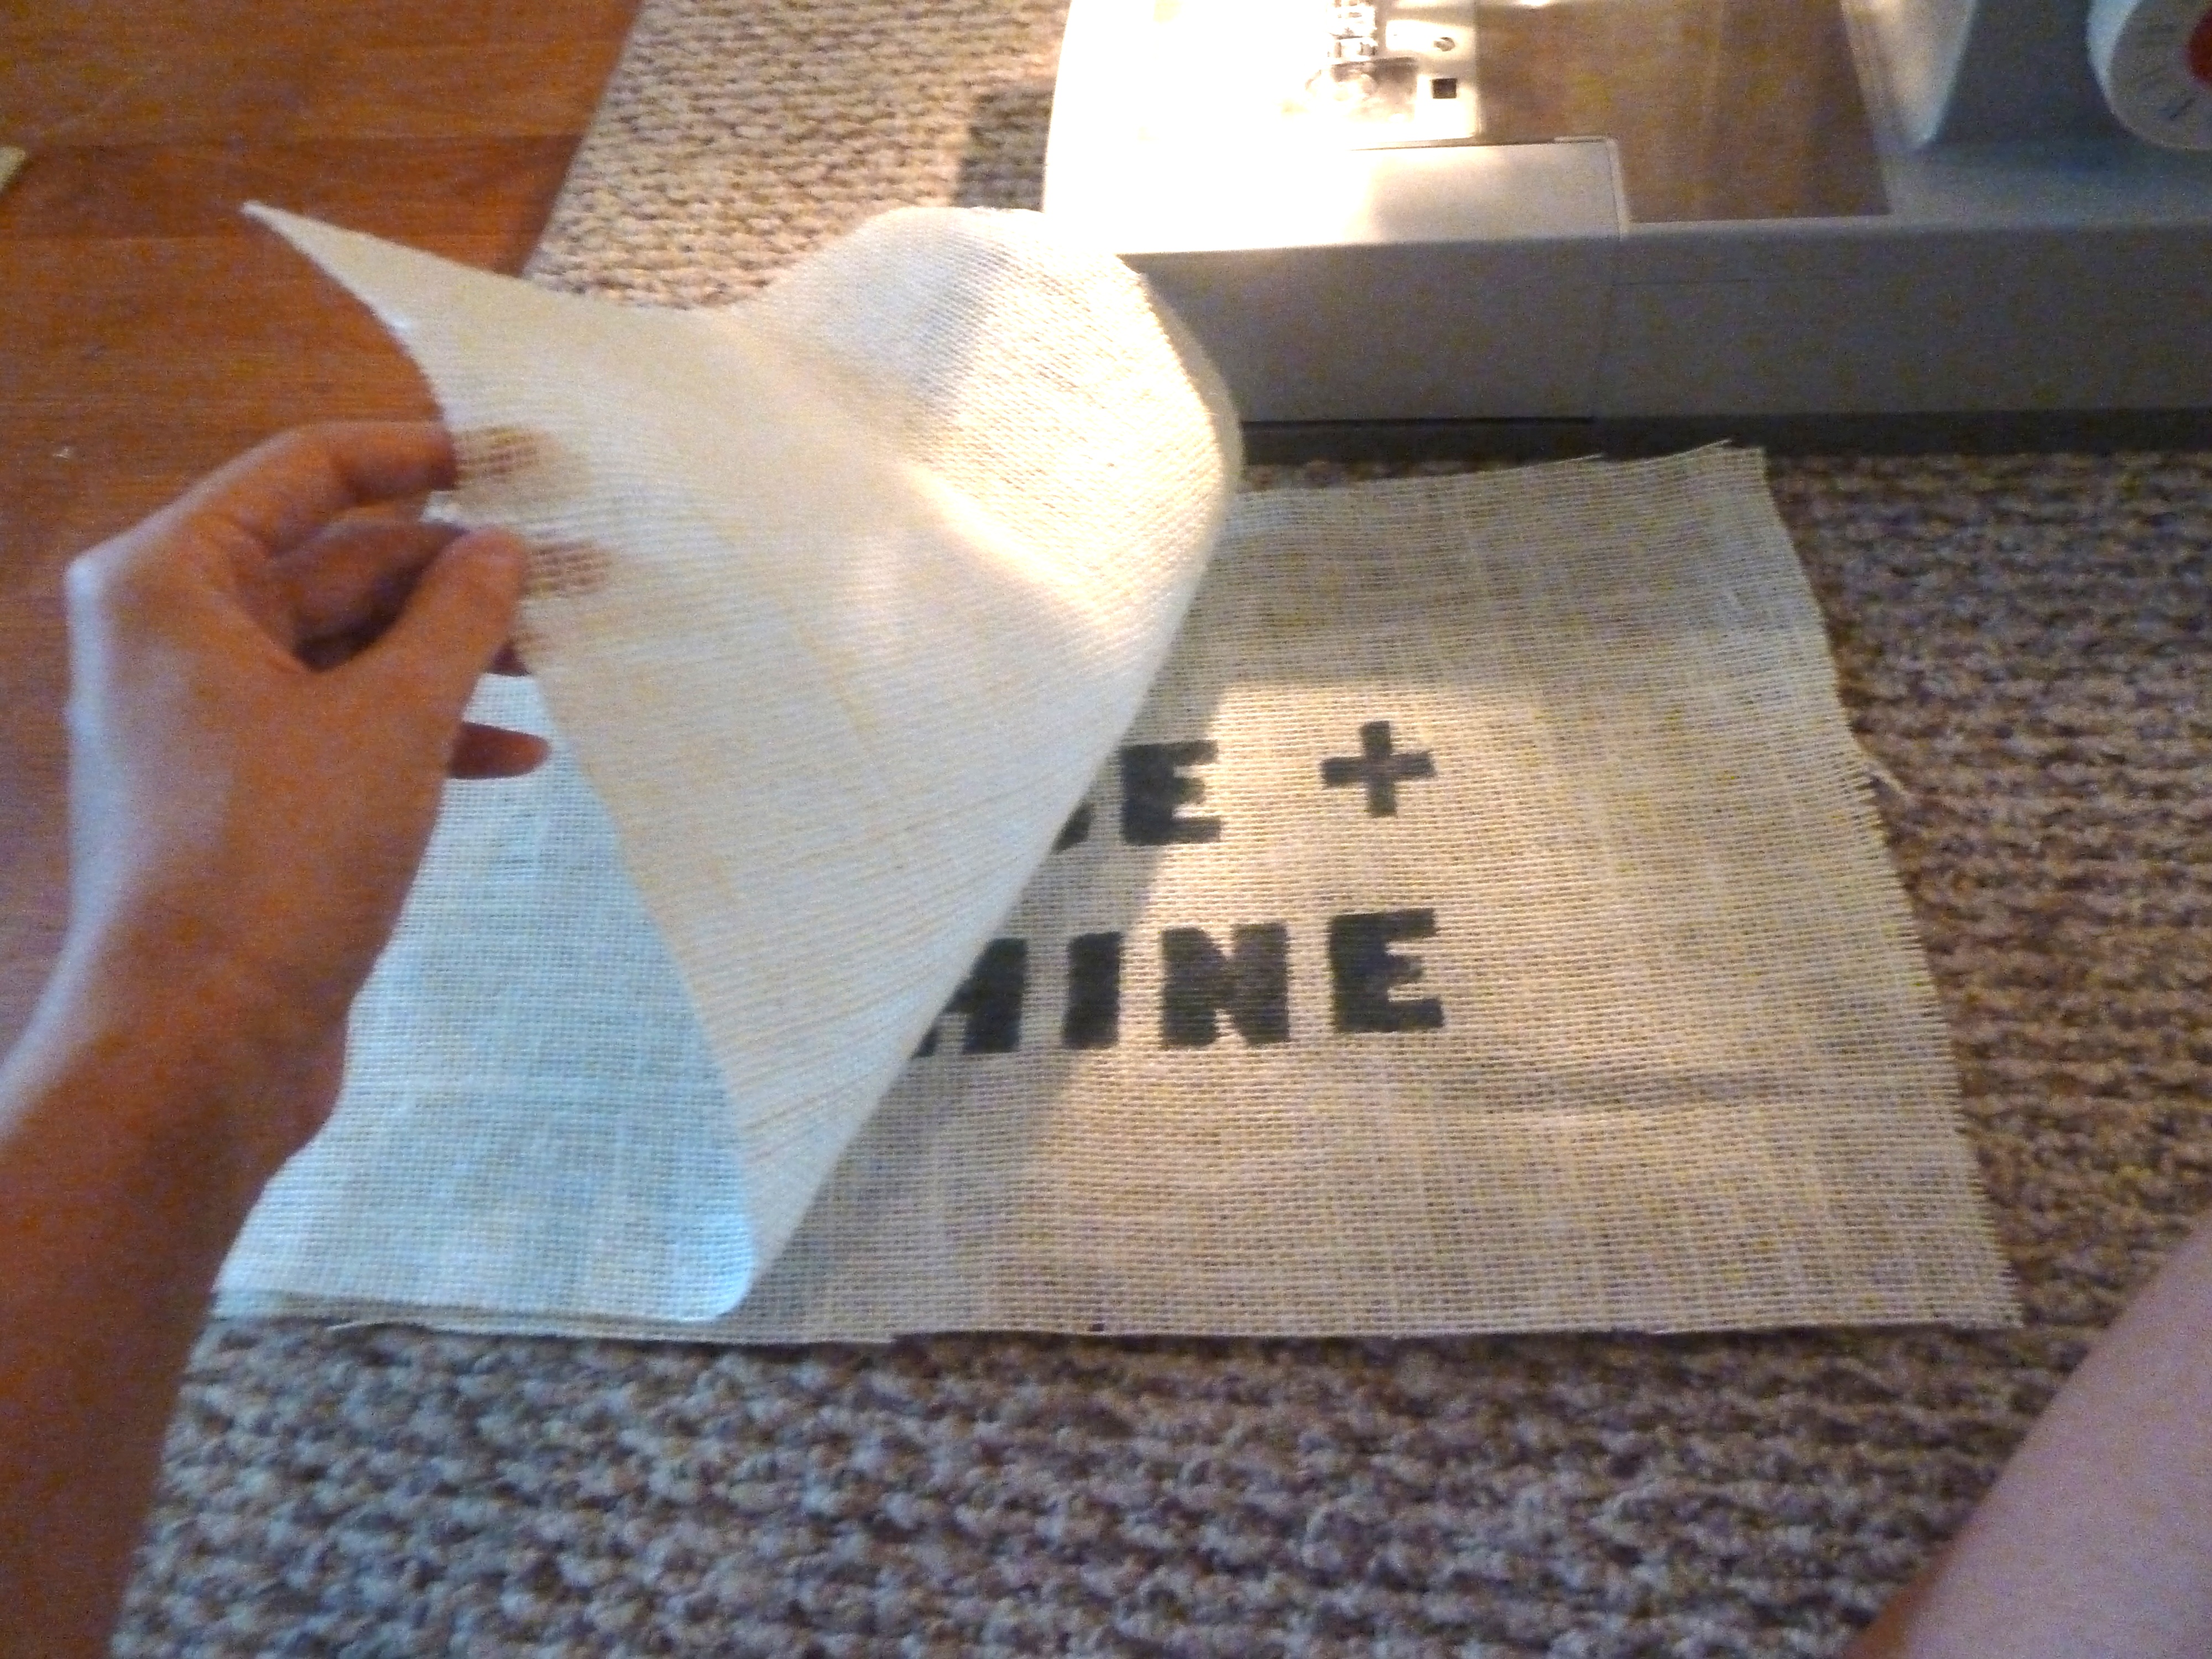
From there I had to figure out how I was going to print these.  I typed it up and purchased some cream colored card stock.  I went with cream because it was a good neutral base color and it tied in with my save the dates that previously went out…

save the date with dogs

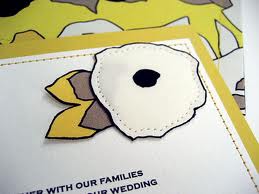
I also used the same font(yellow peas) that I used on the save the dates.  And see those little yellow flowers?  These guys…

t1

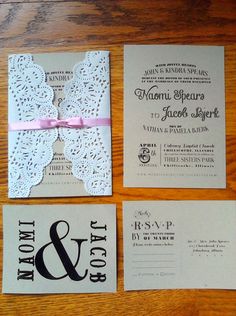
Welp, I wanted to include some of those as well, just to tie everything together with the save the dates.  Last time I attached them with my good ol’ friend the hot glue gun, but this time I wanted to try something else.  Then I came across a couple of ideas like this…

babyshower2

images

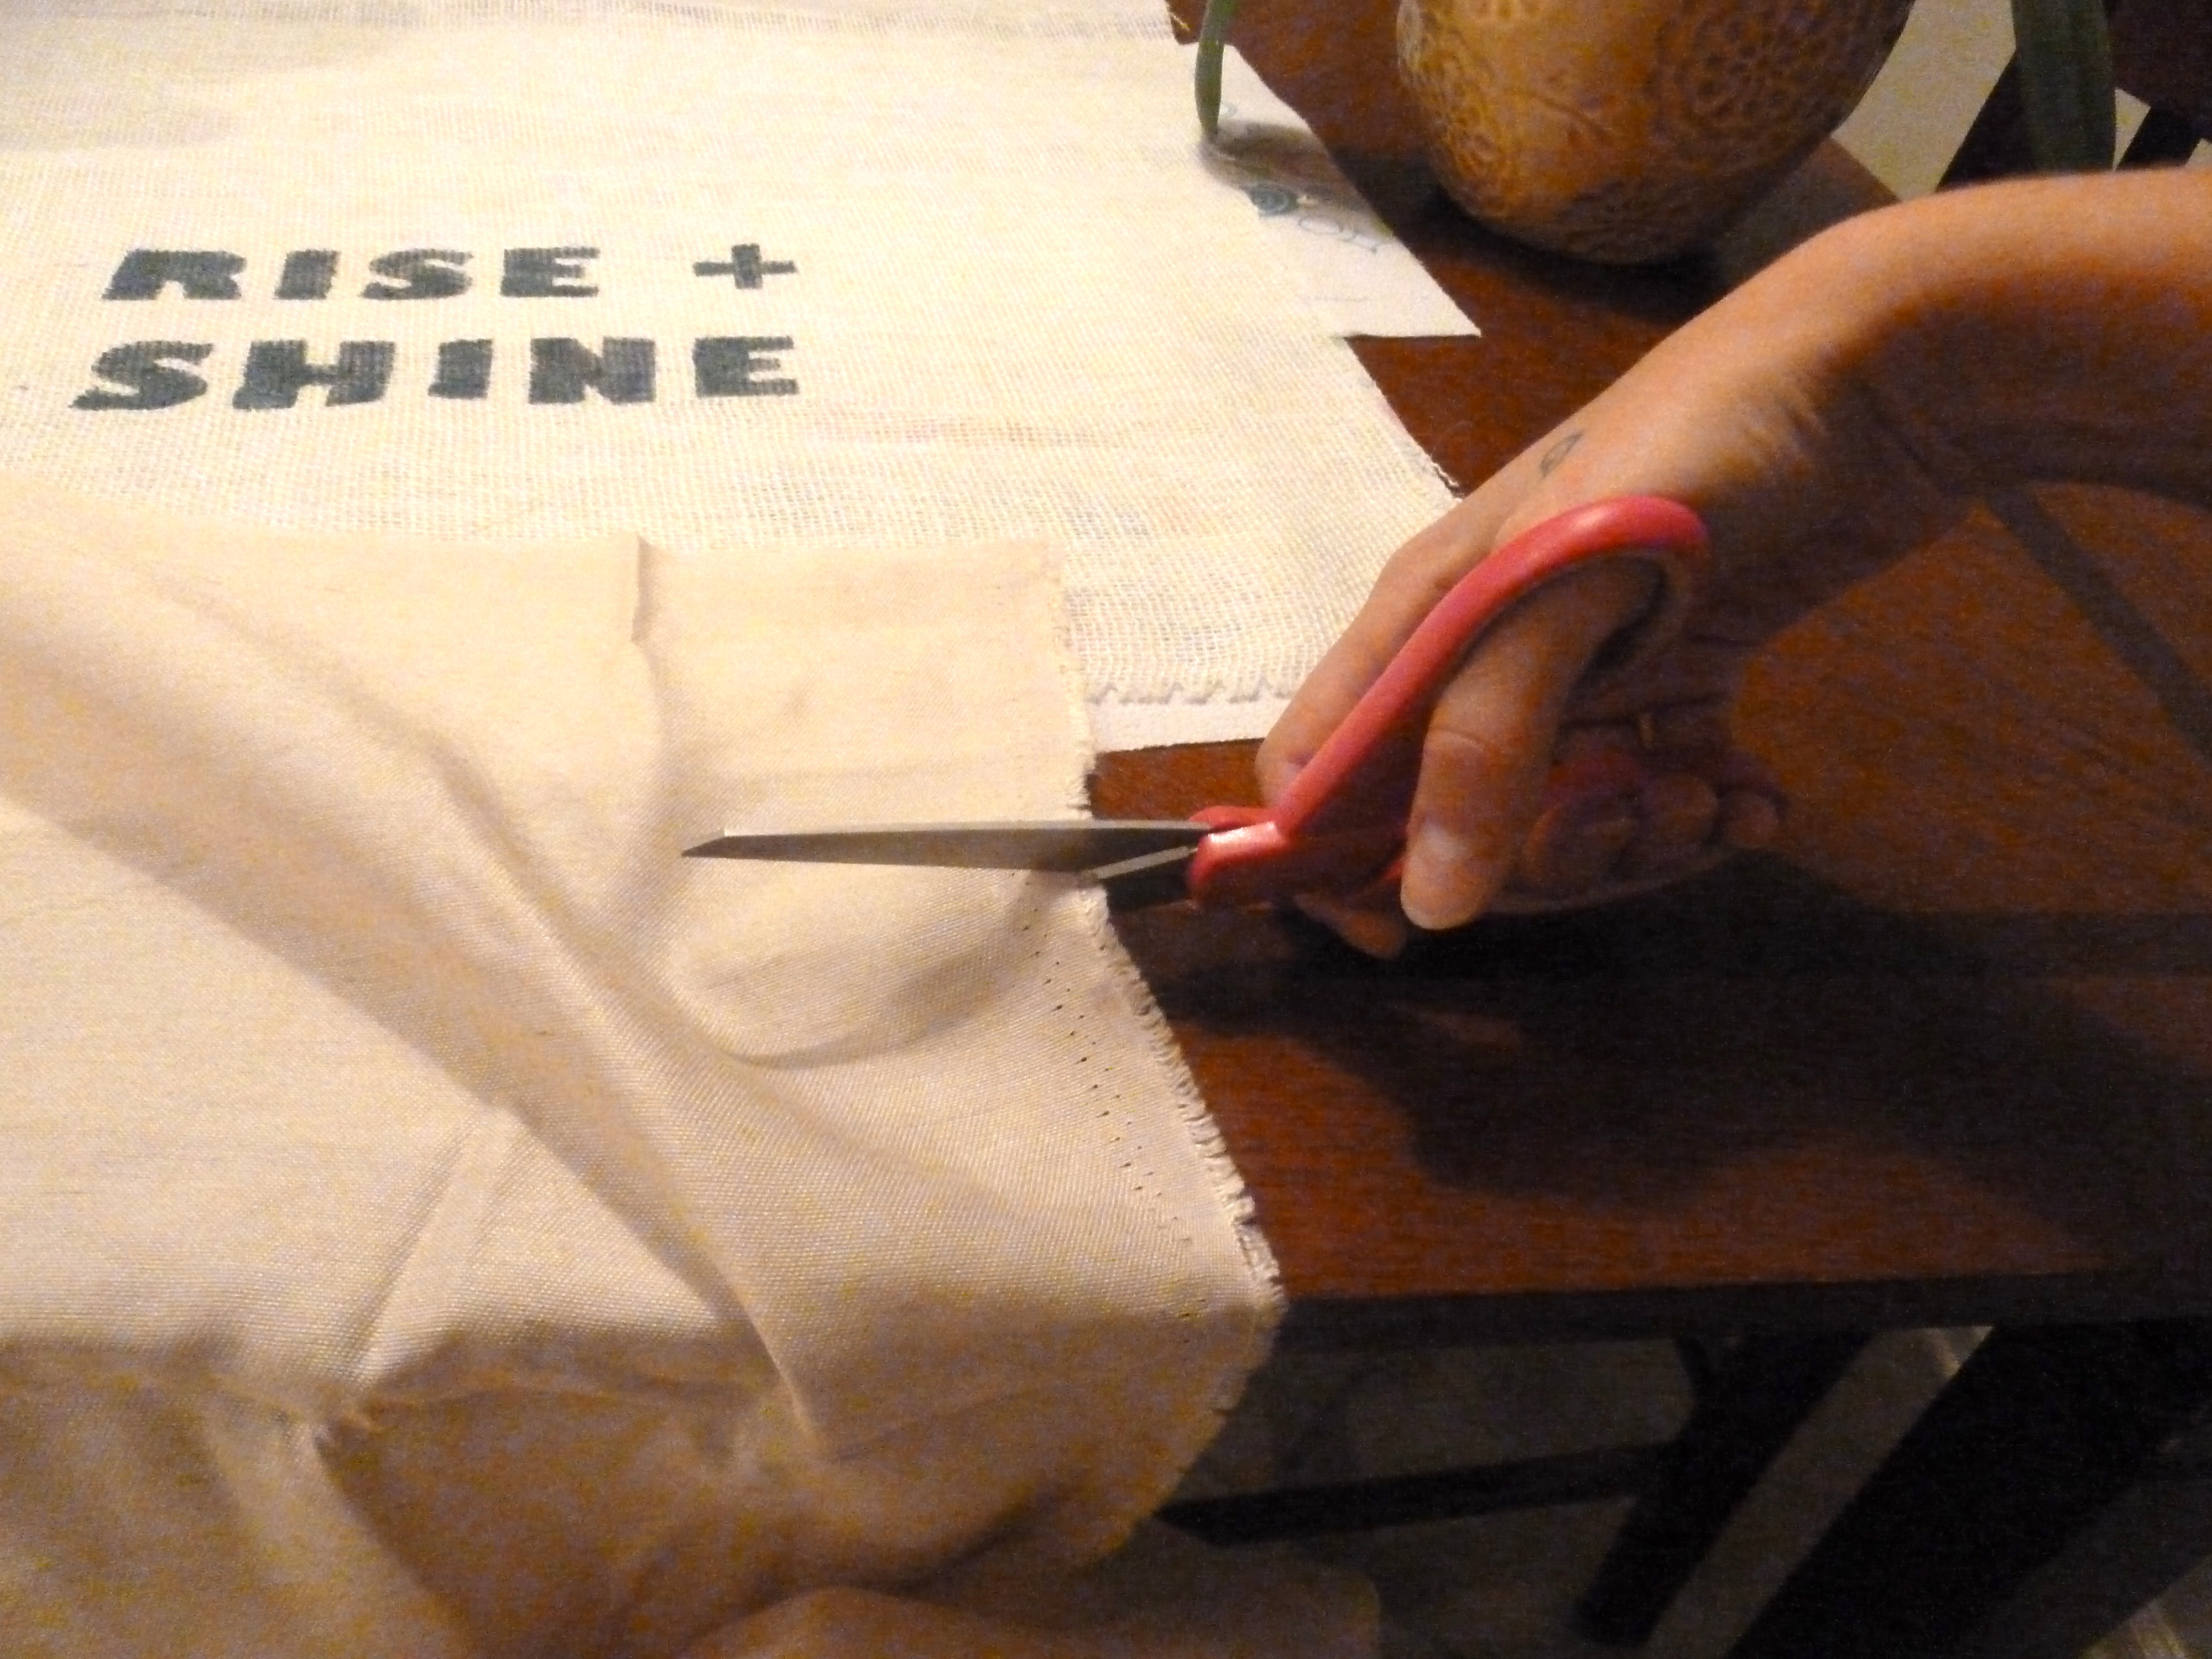
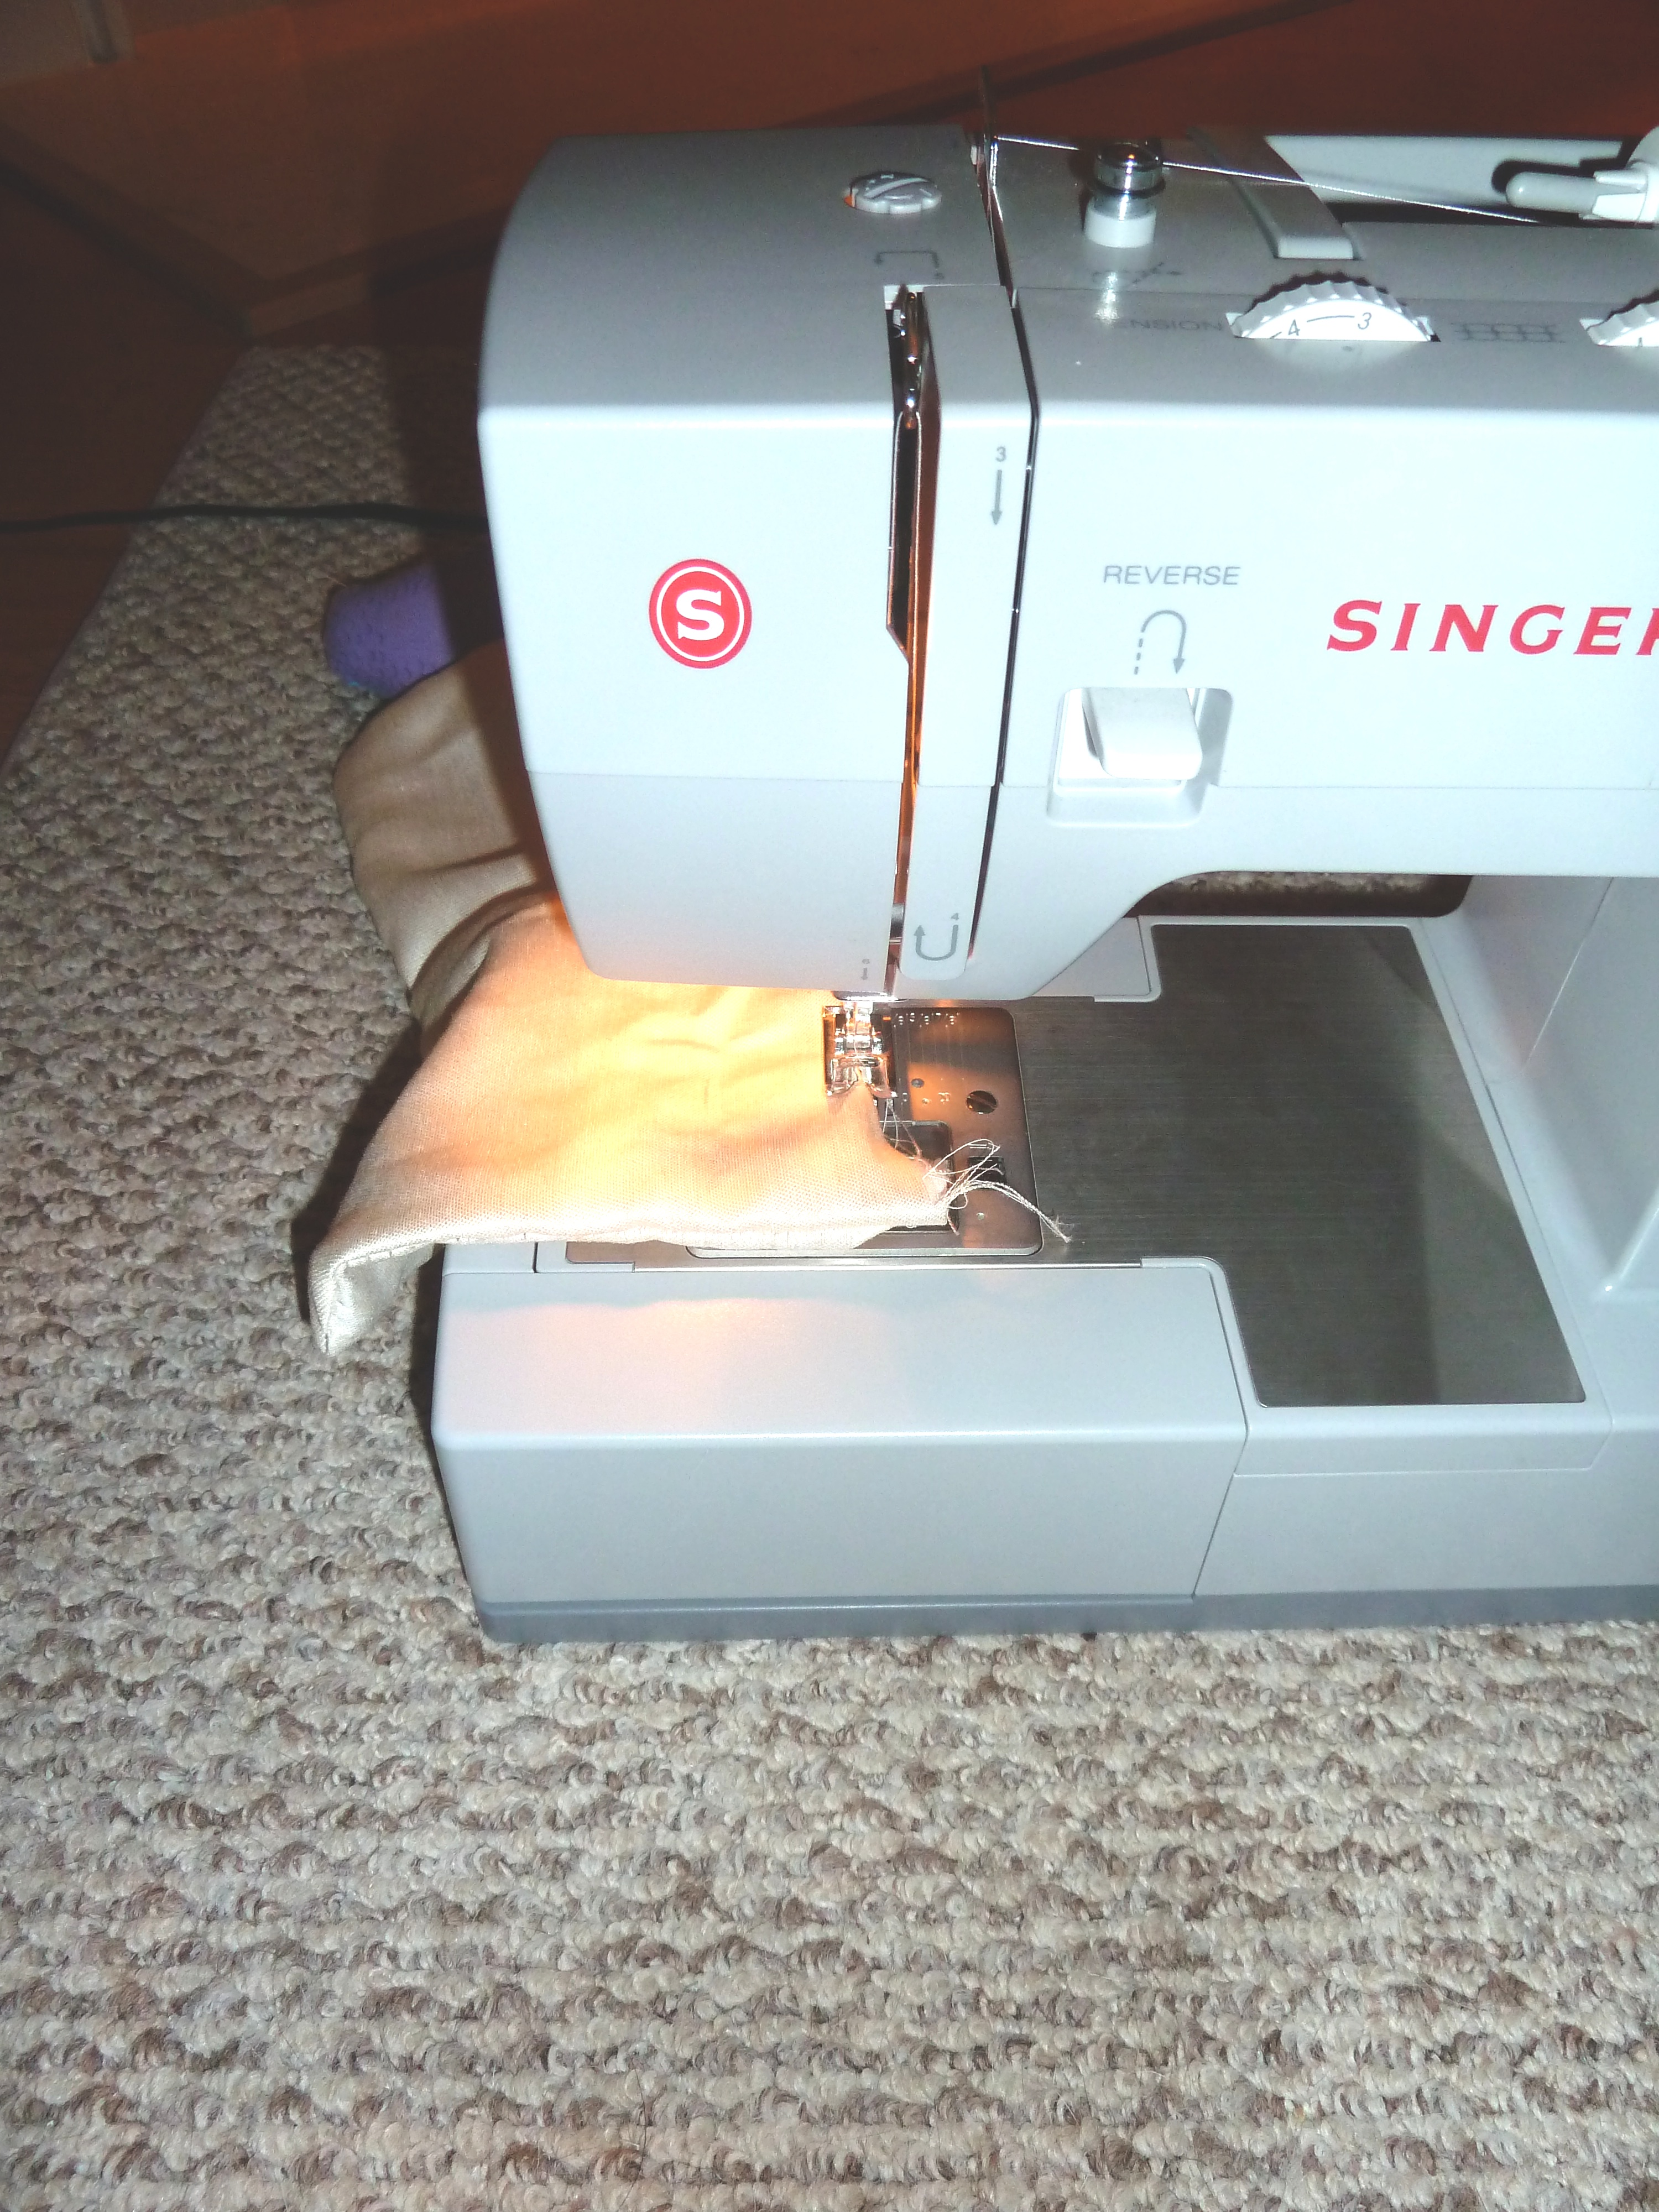
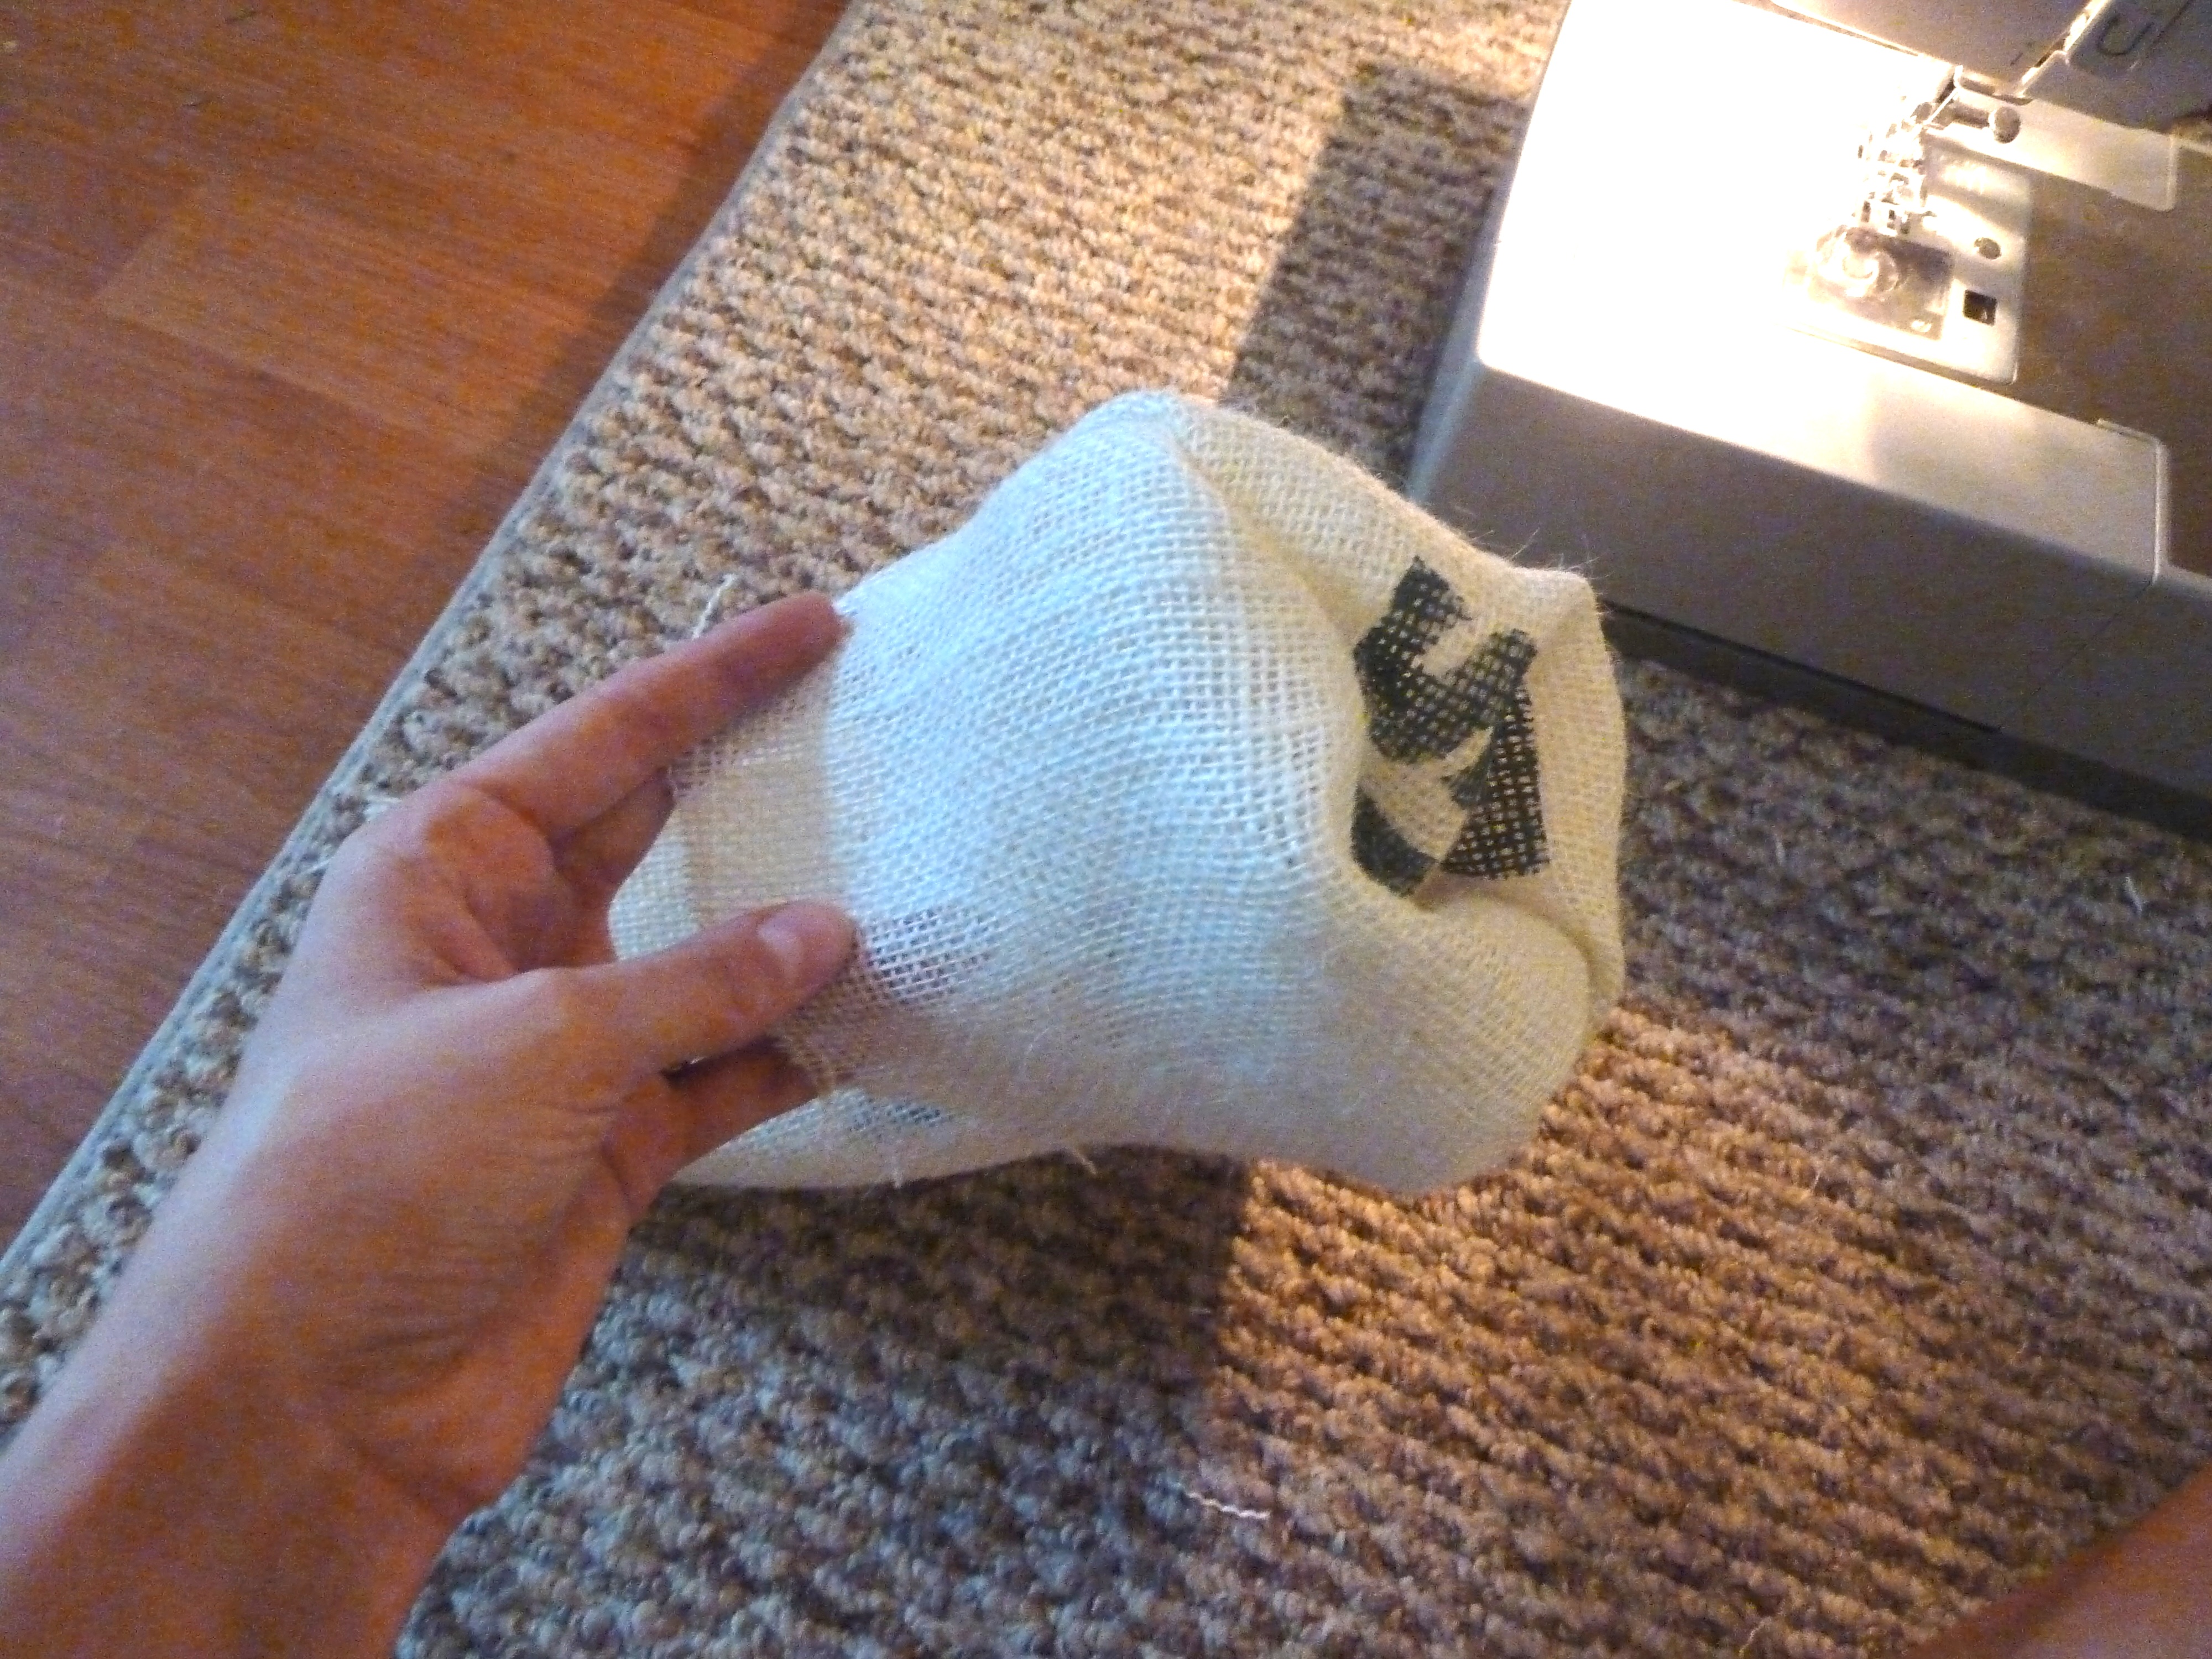
Sewn invitations!!! And guess what?  I have a sewing machine!  And boom!  Just like that I had a plan.

Sewing Cardstock

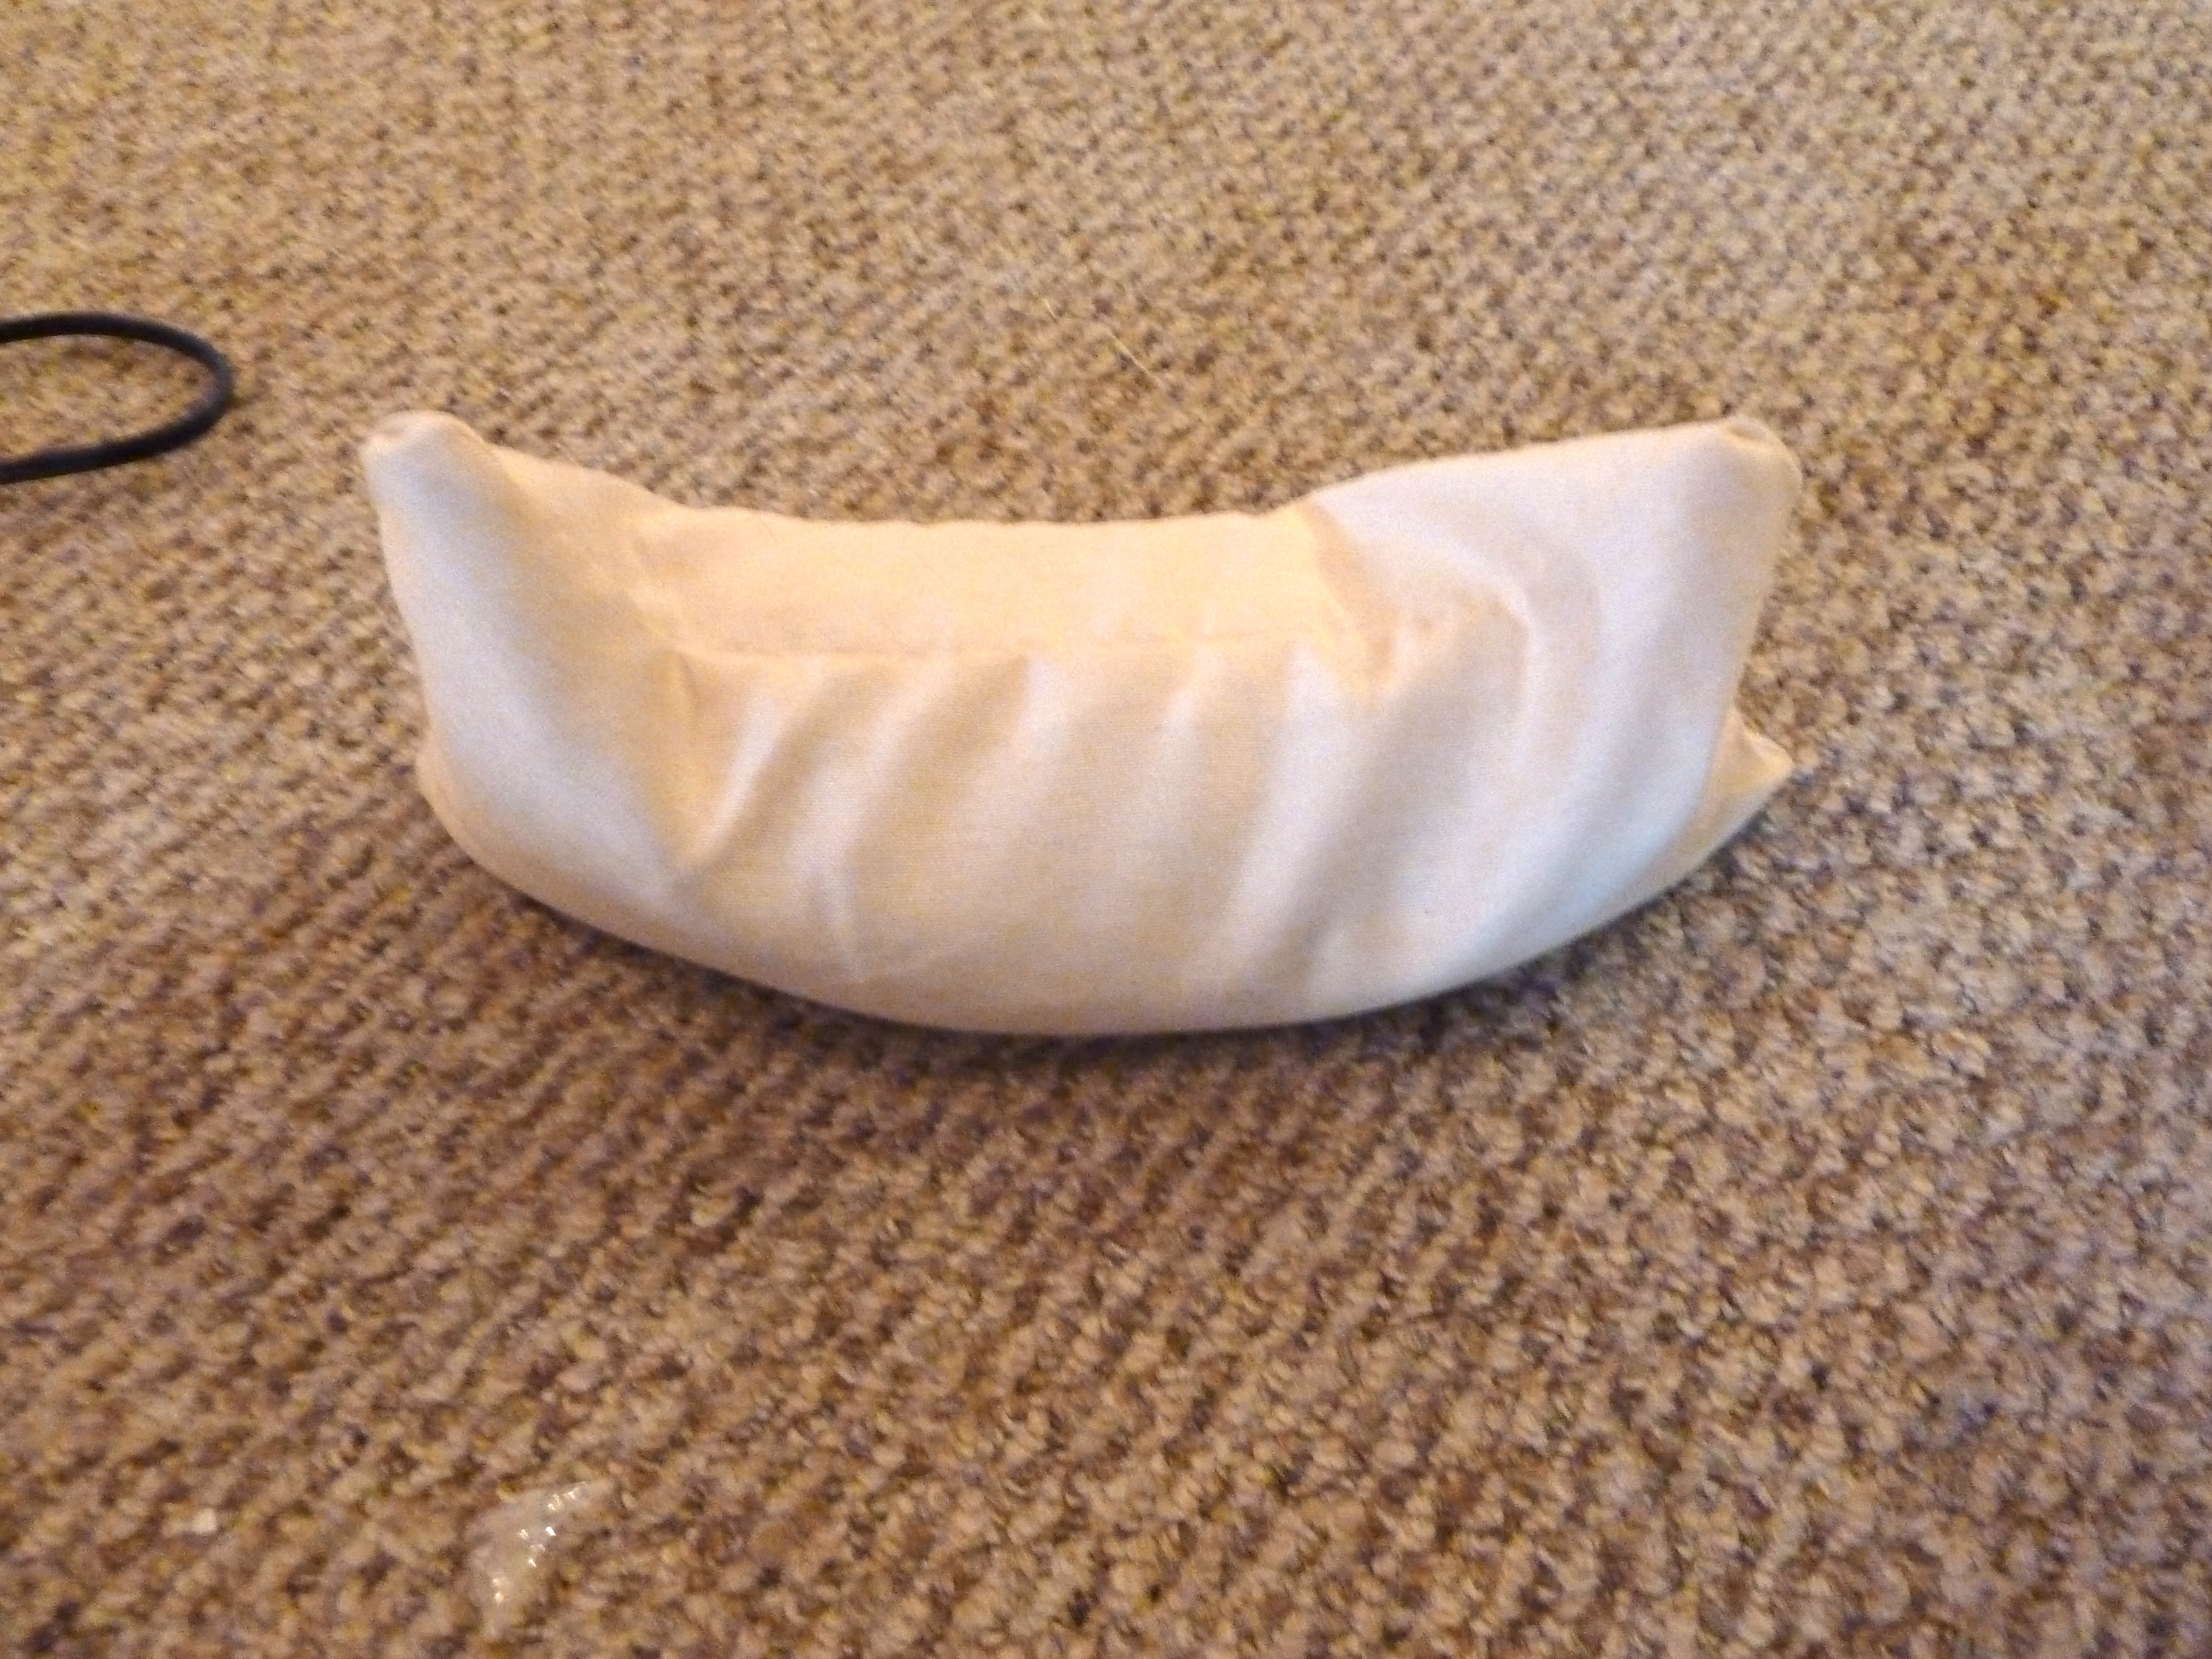
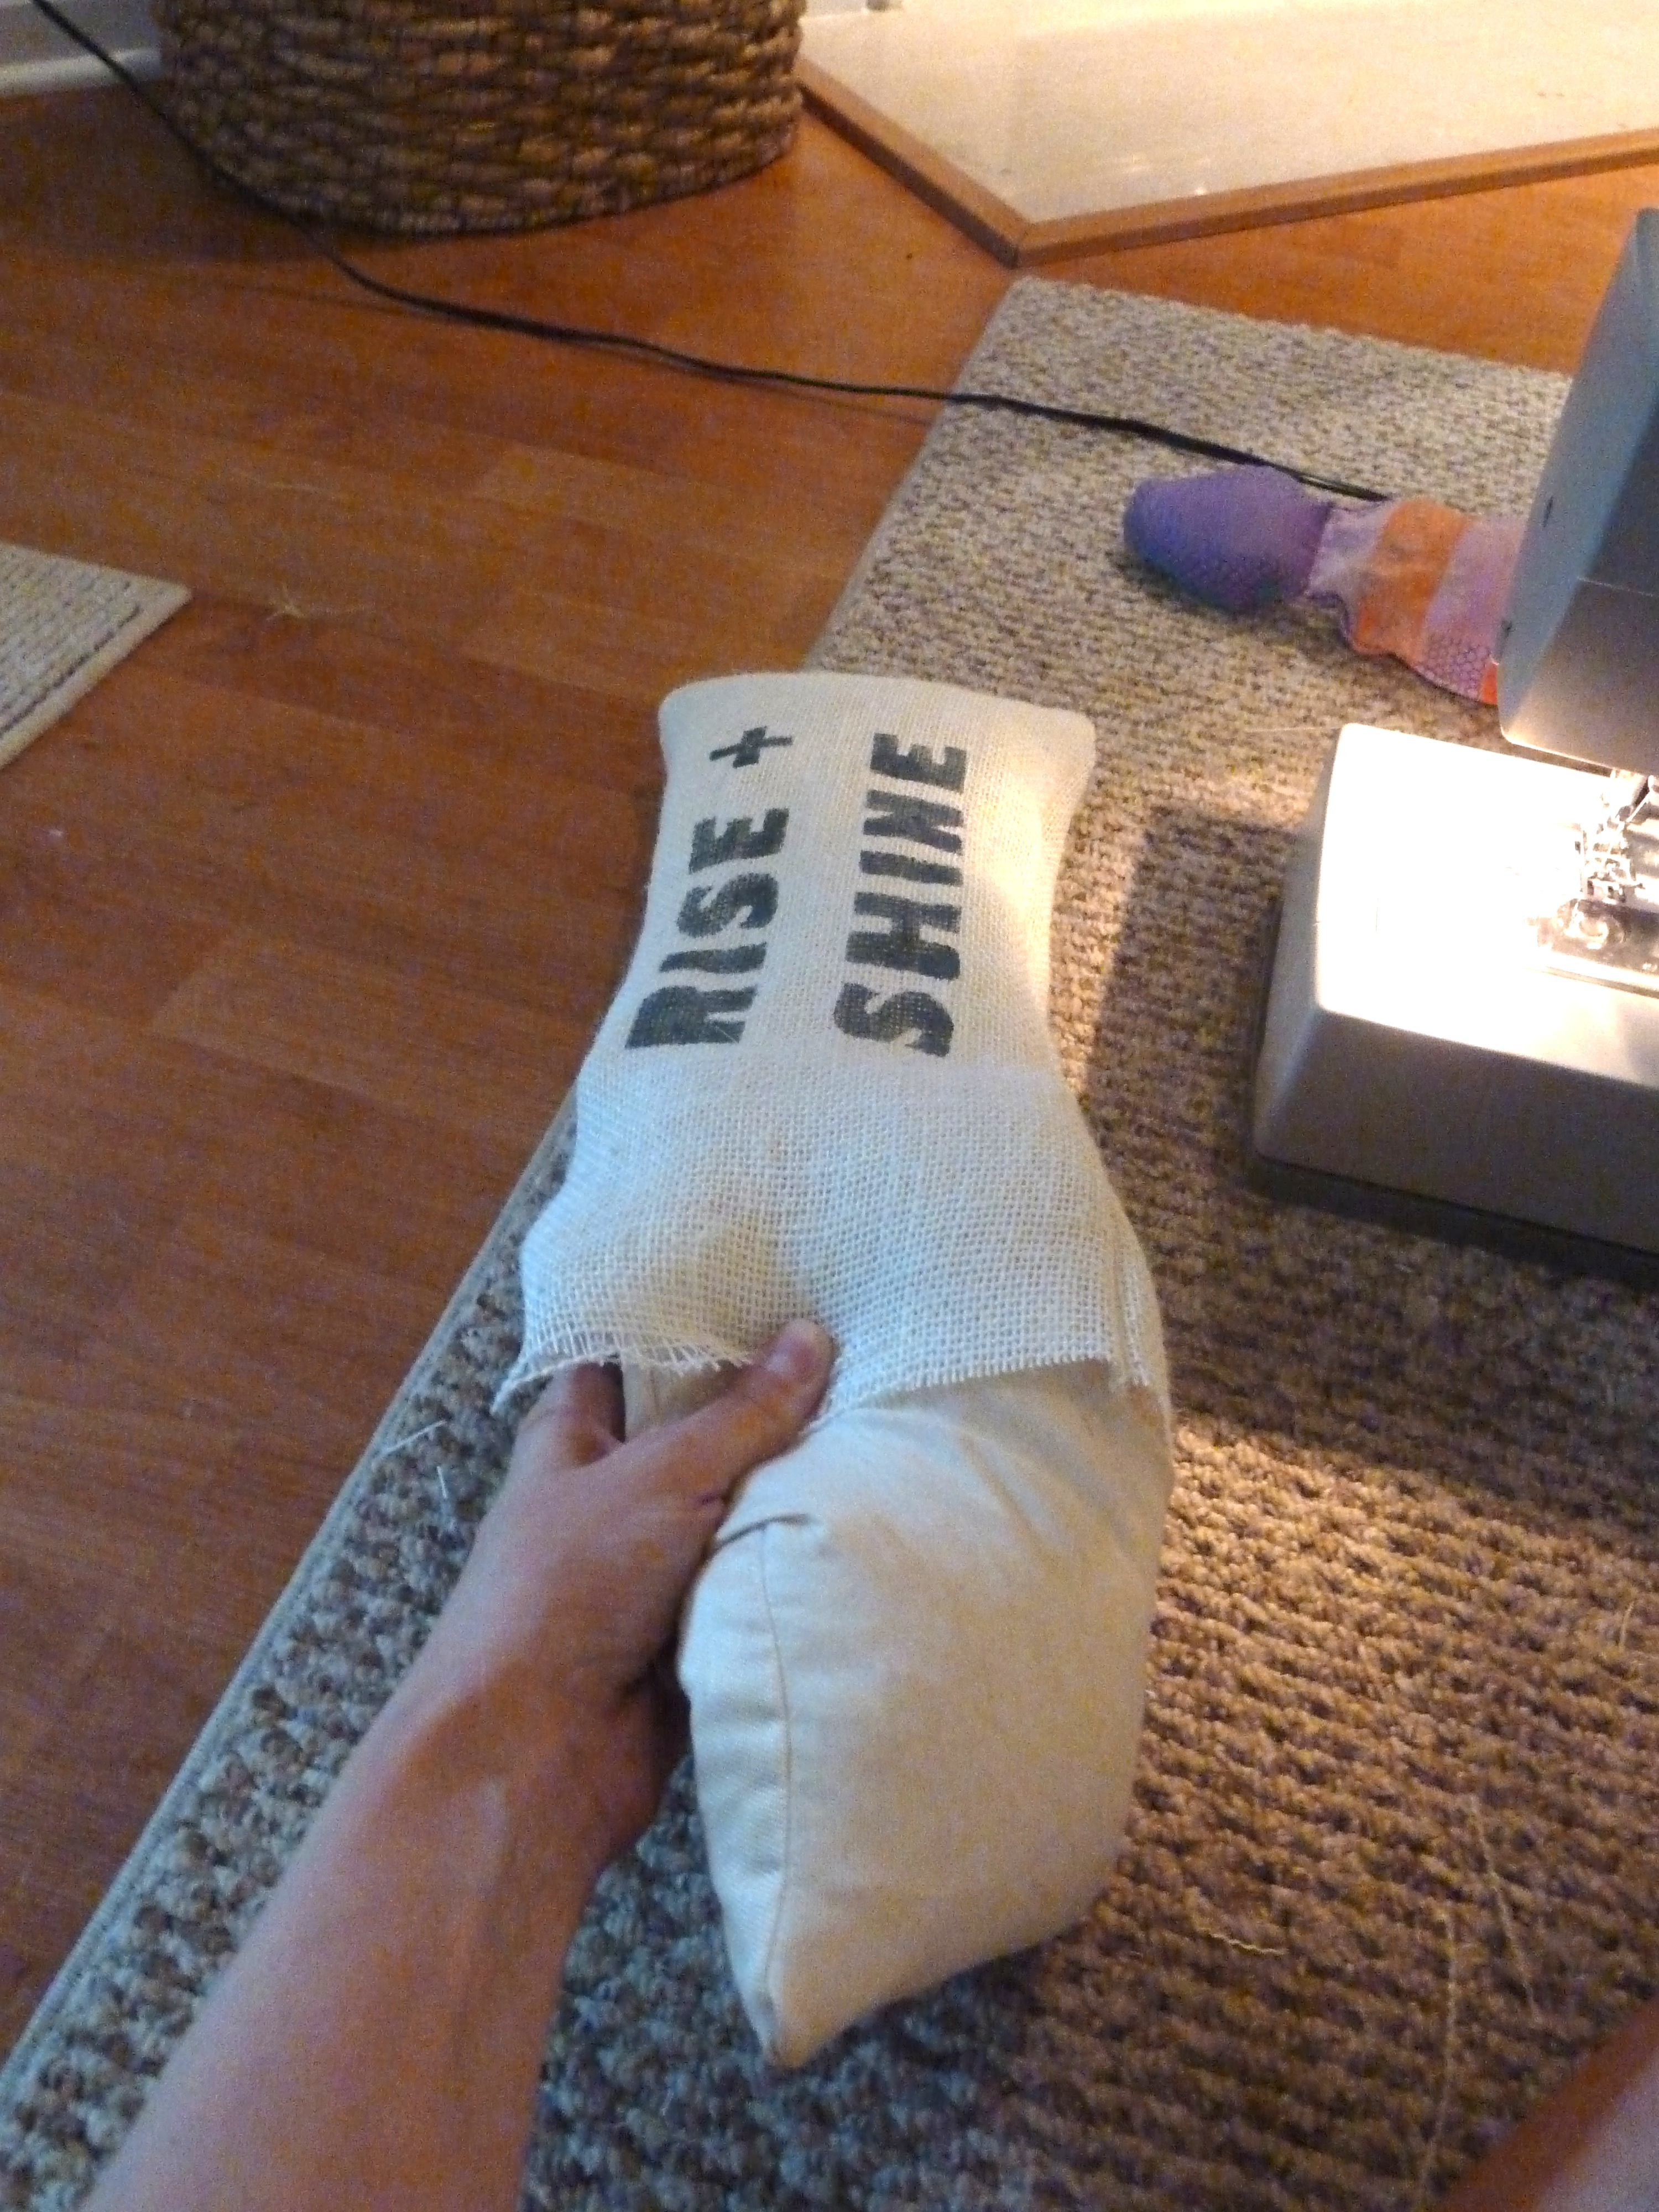
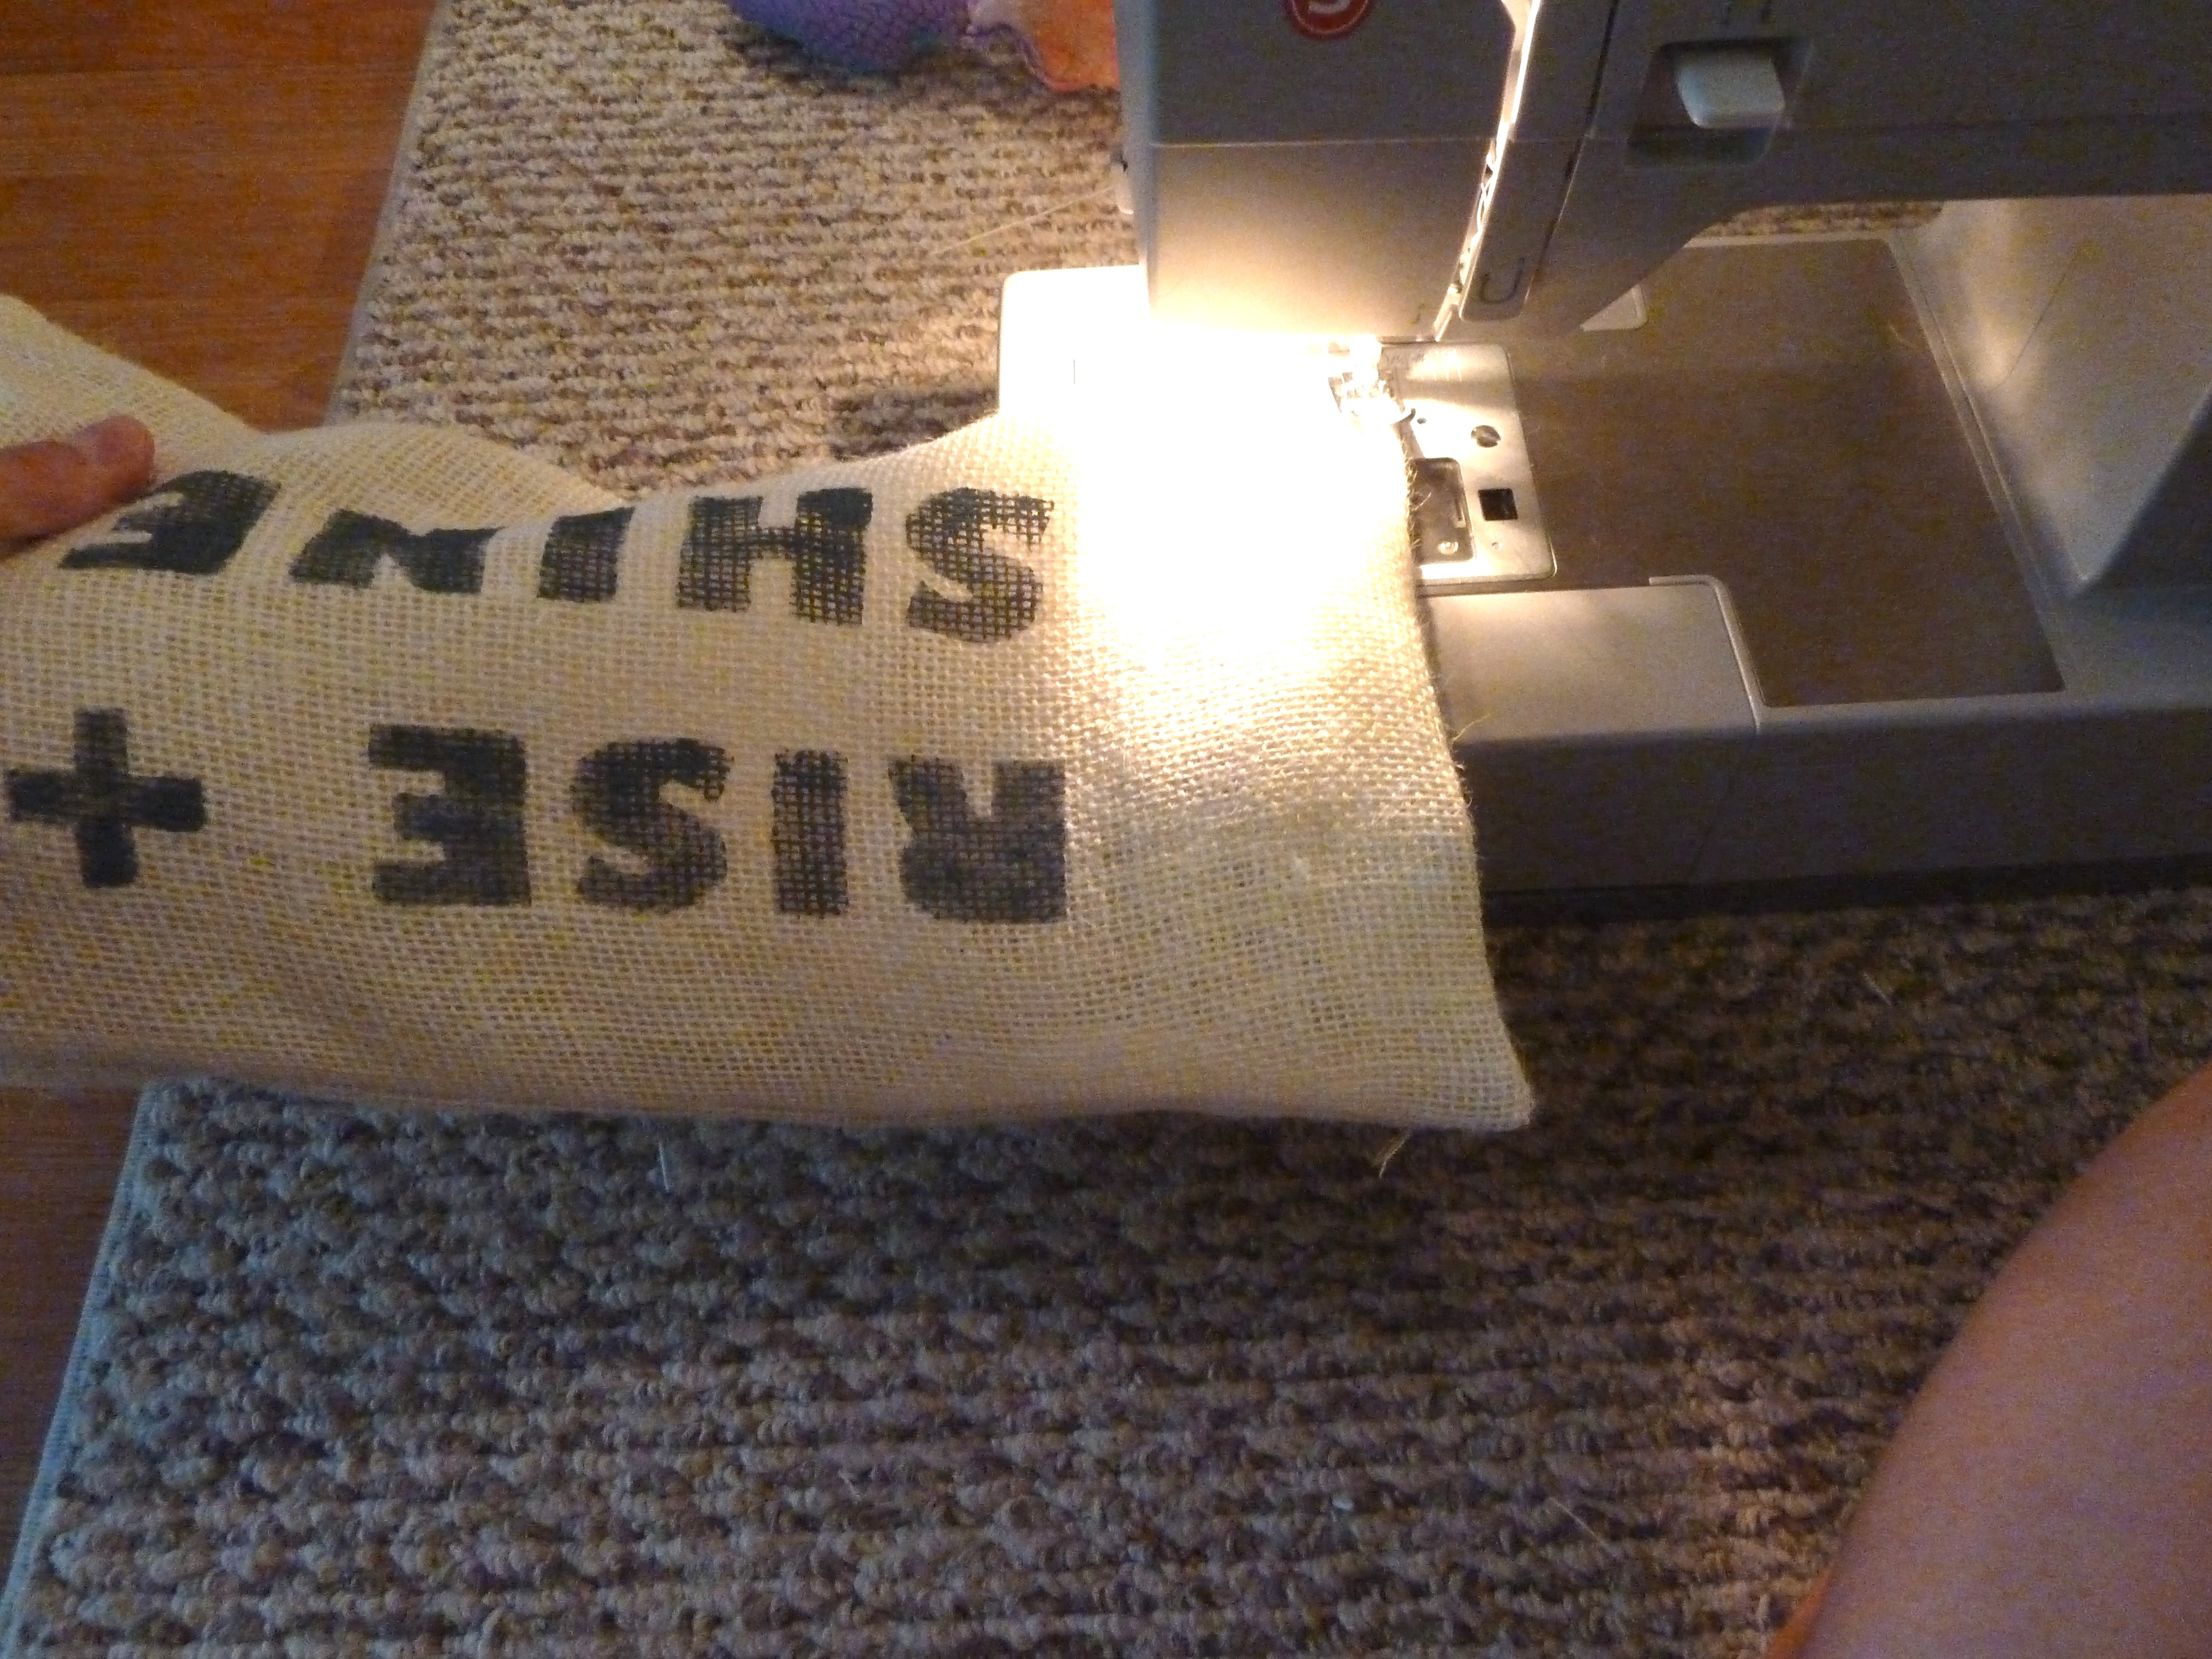
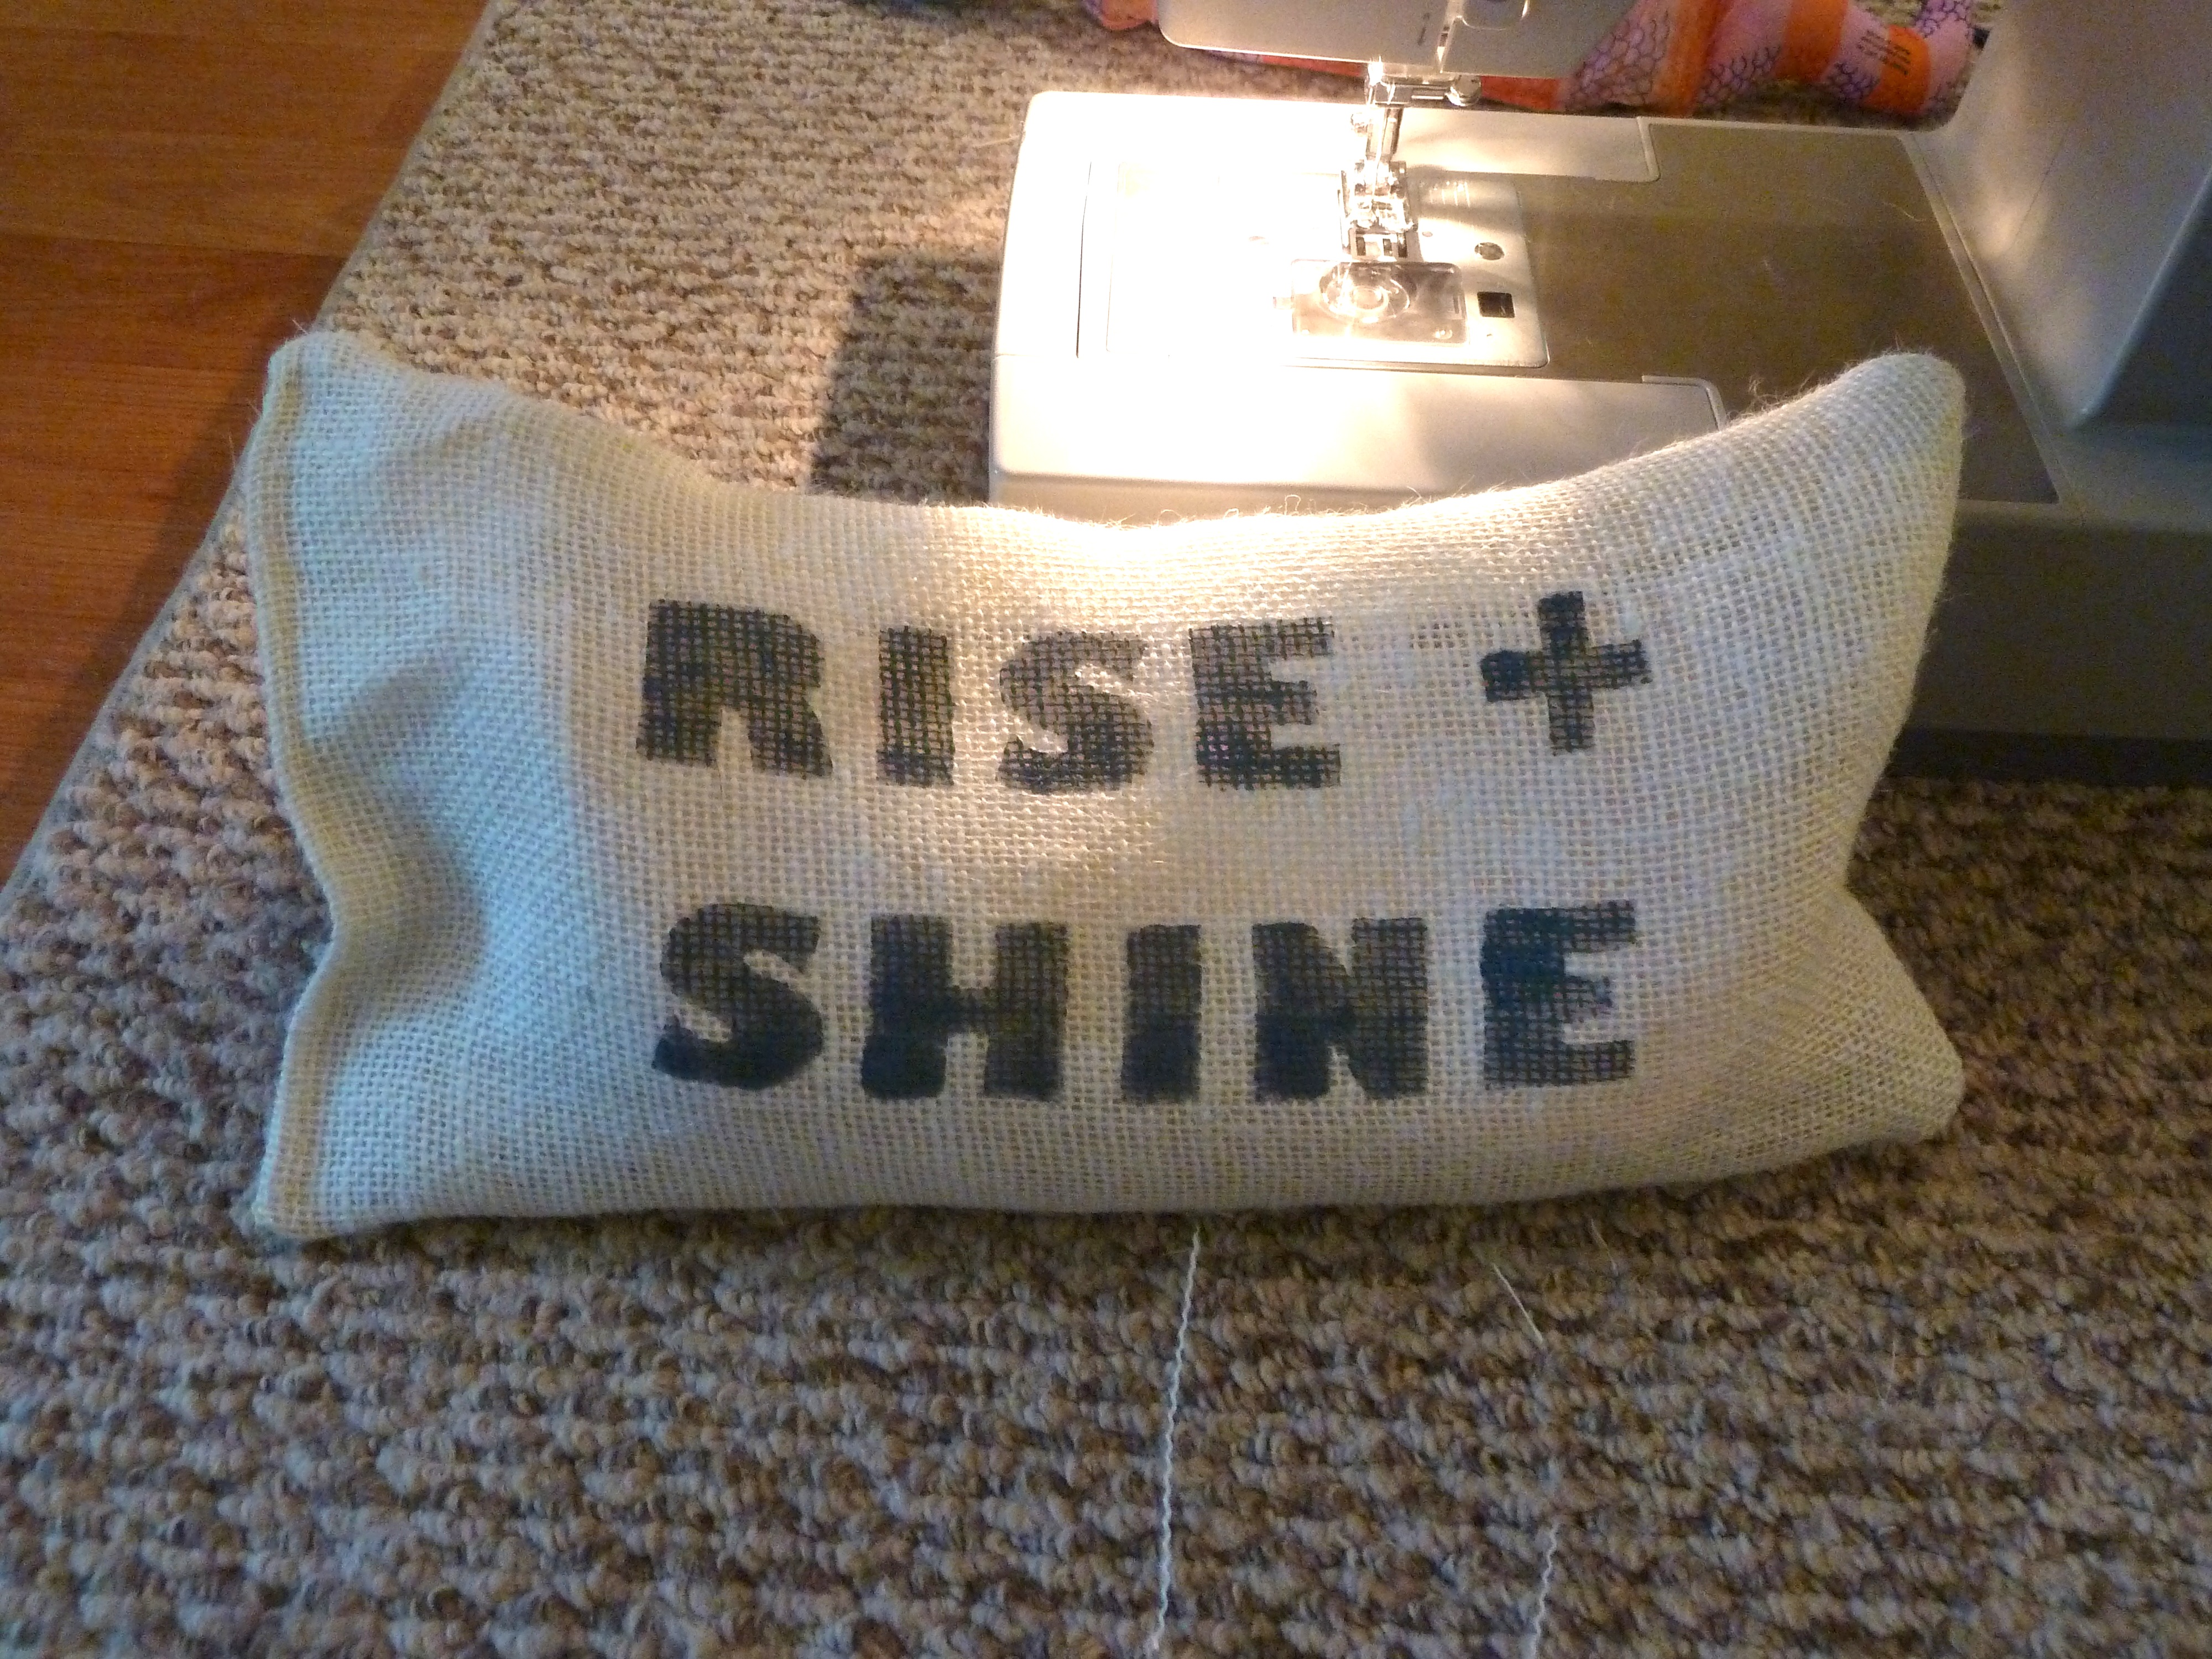
I sewed some of those cute little flowers on each invite and here is the end result…

DIY wedding invite

I went with a zig zag pattern when sewing the flowers on.

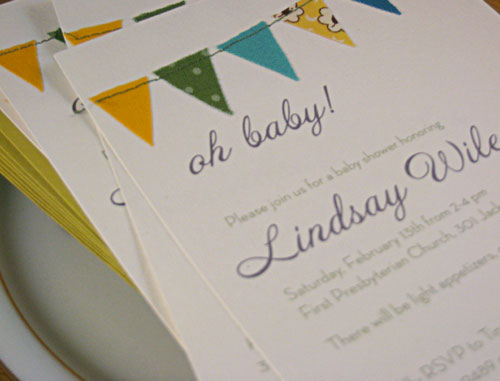
I also had to come up with an RSVP for the invites, so I did the same googling and pinteresting thing and found a few I liked…

albertinemadlibs

hoppe0059

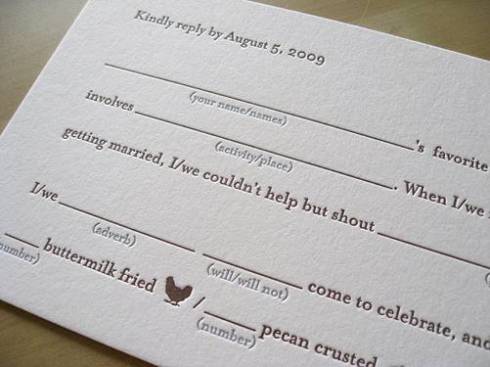
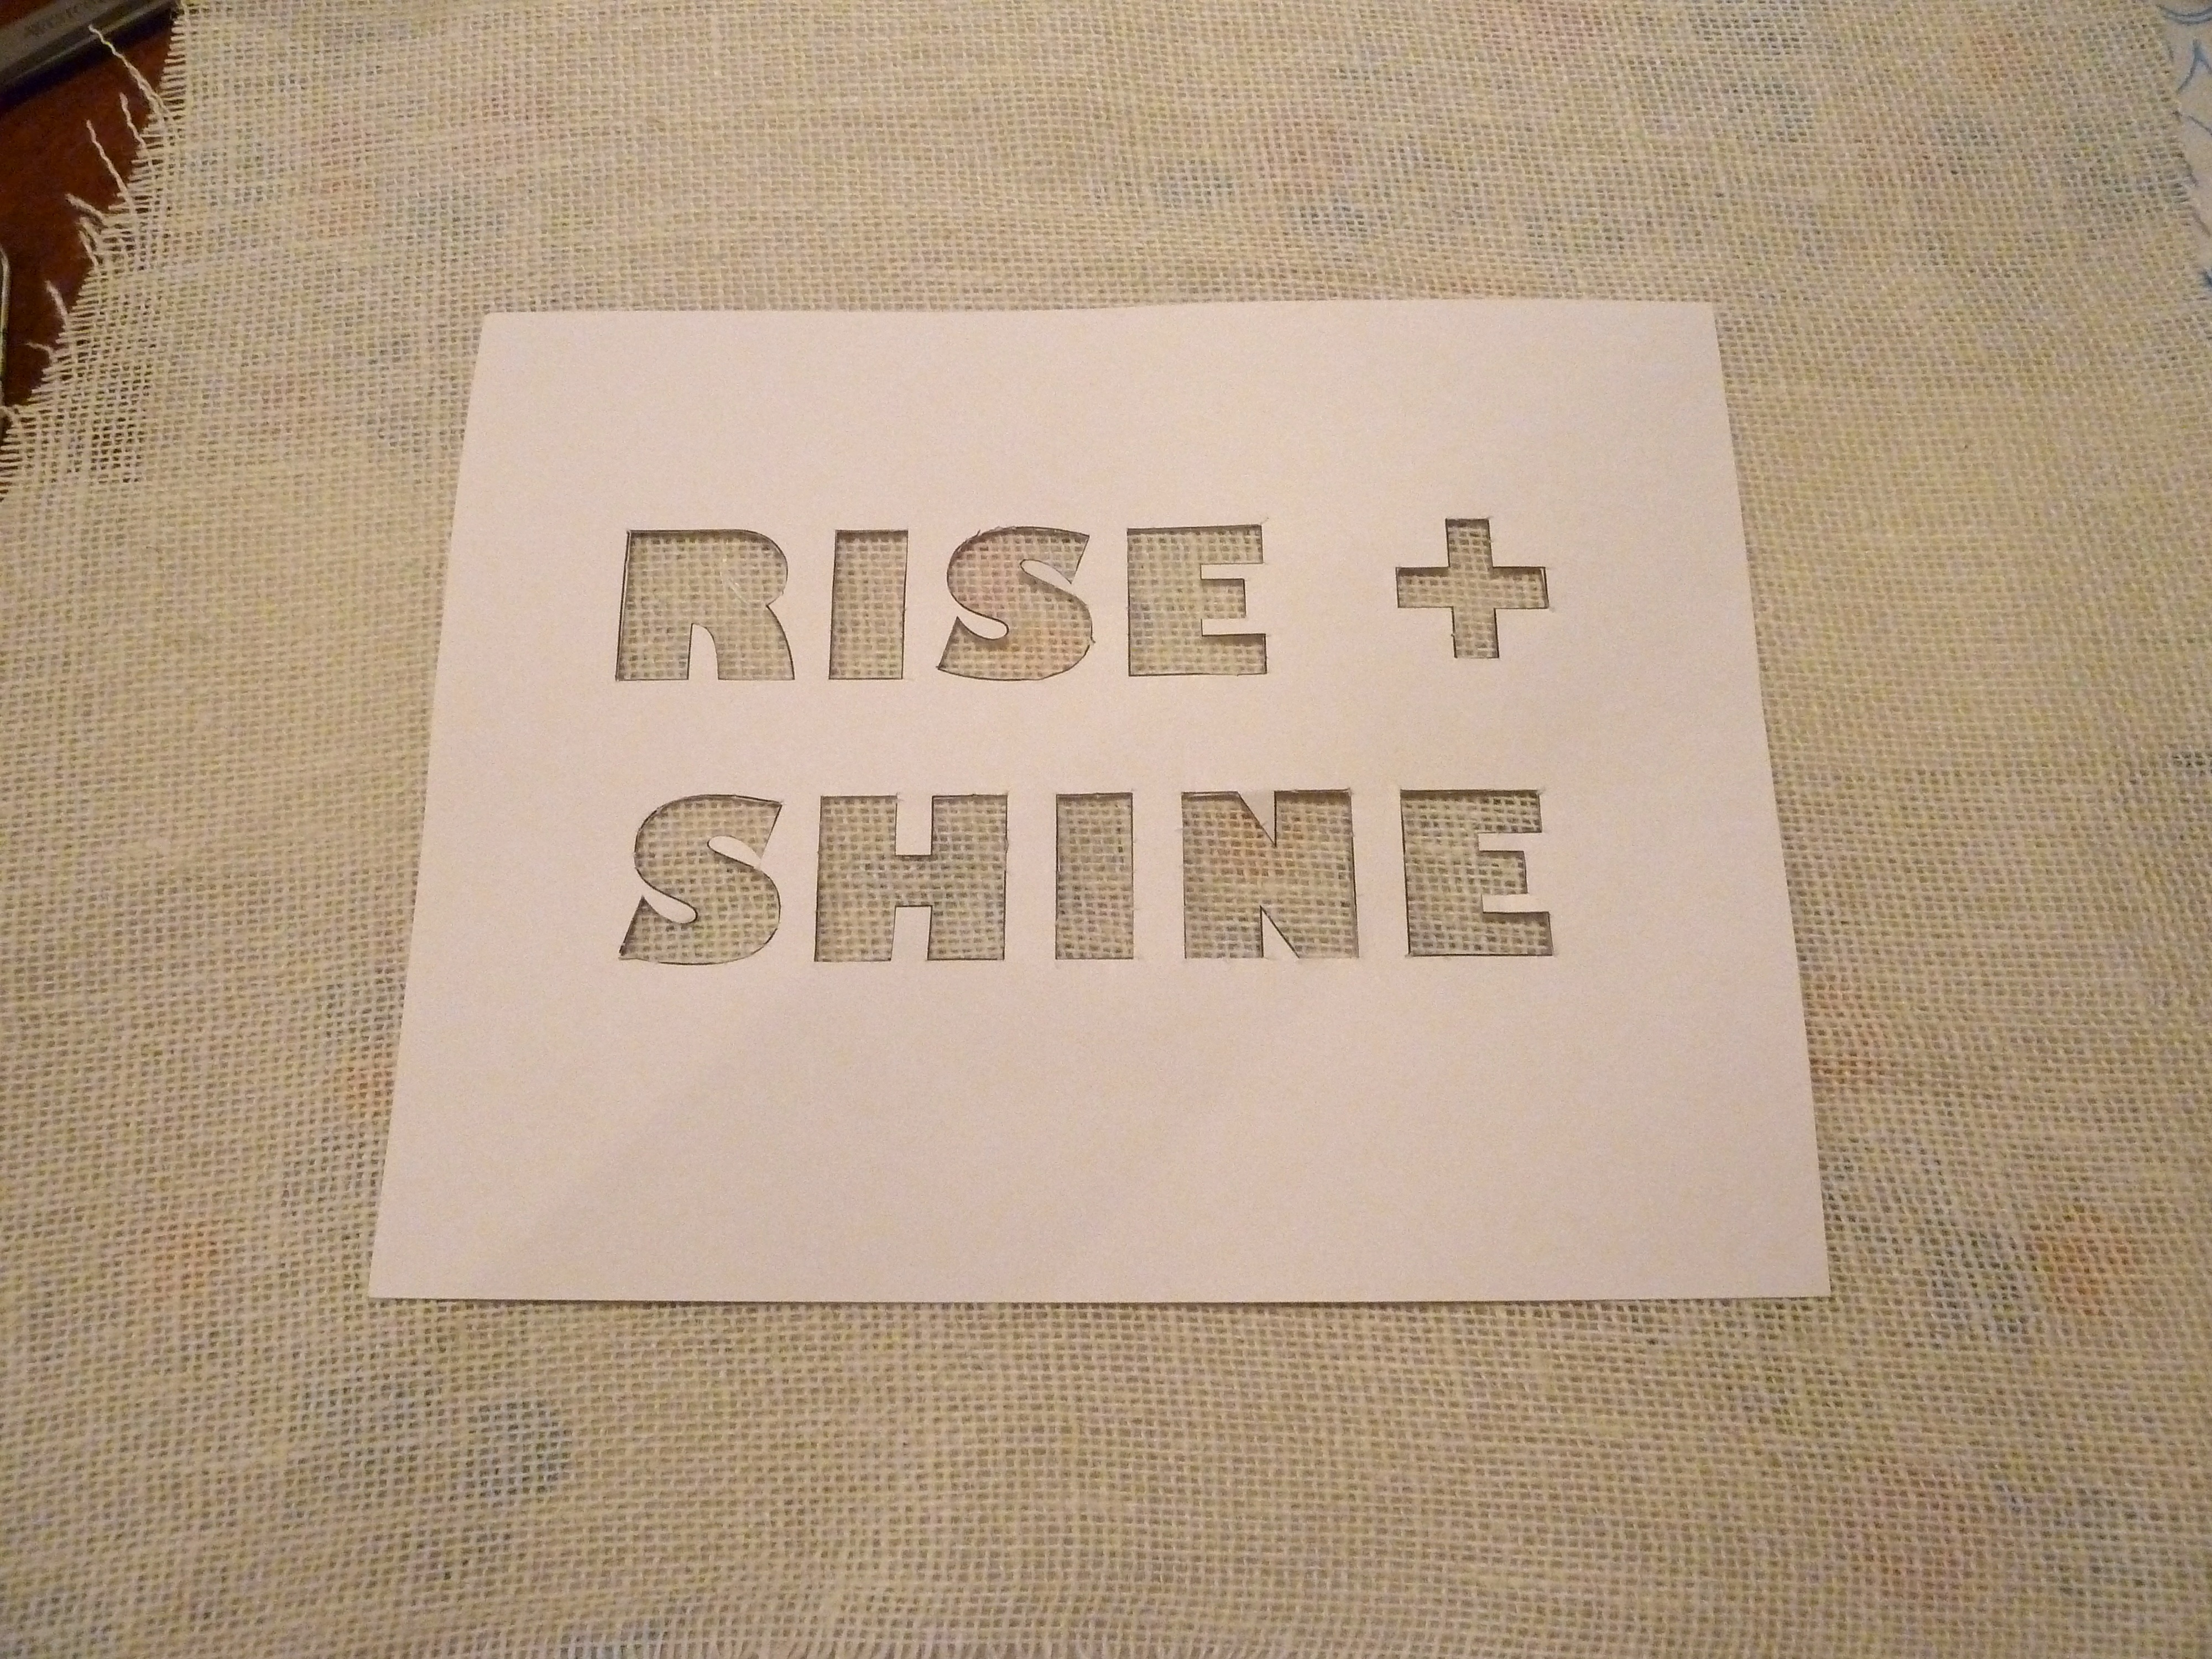
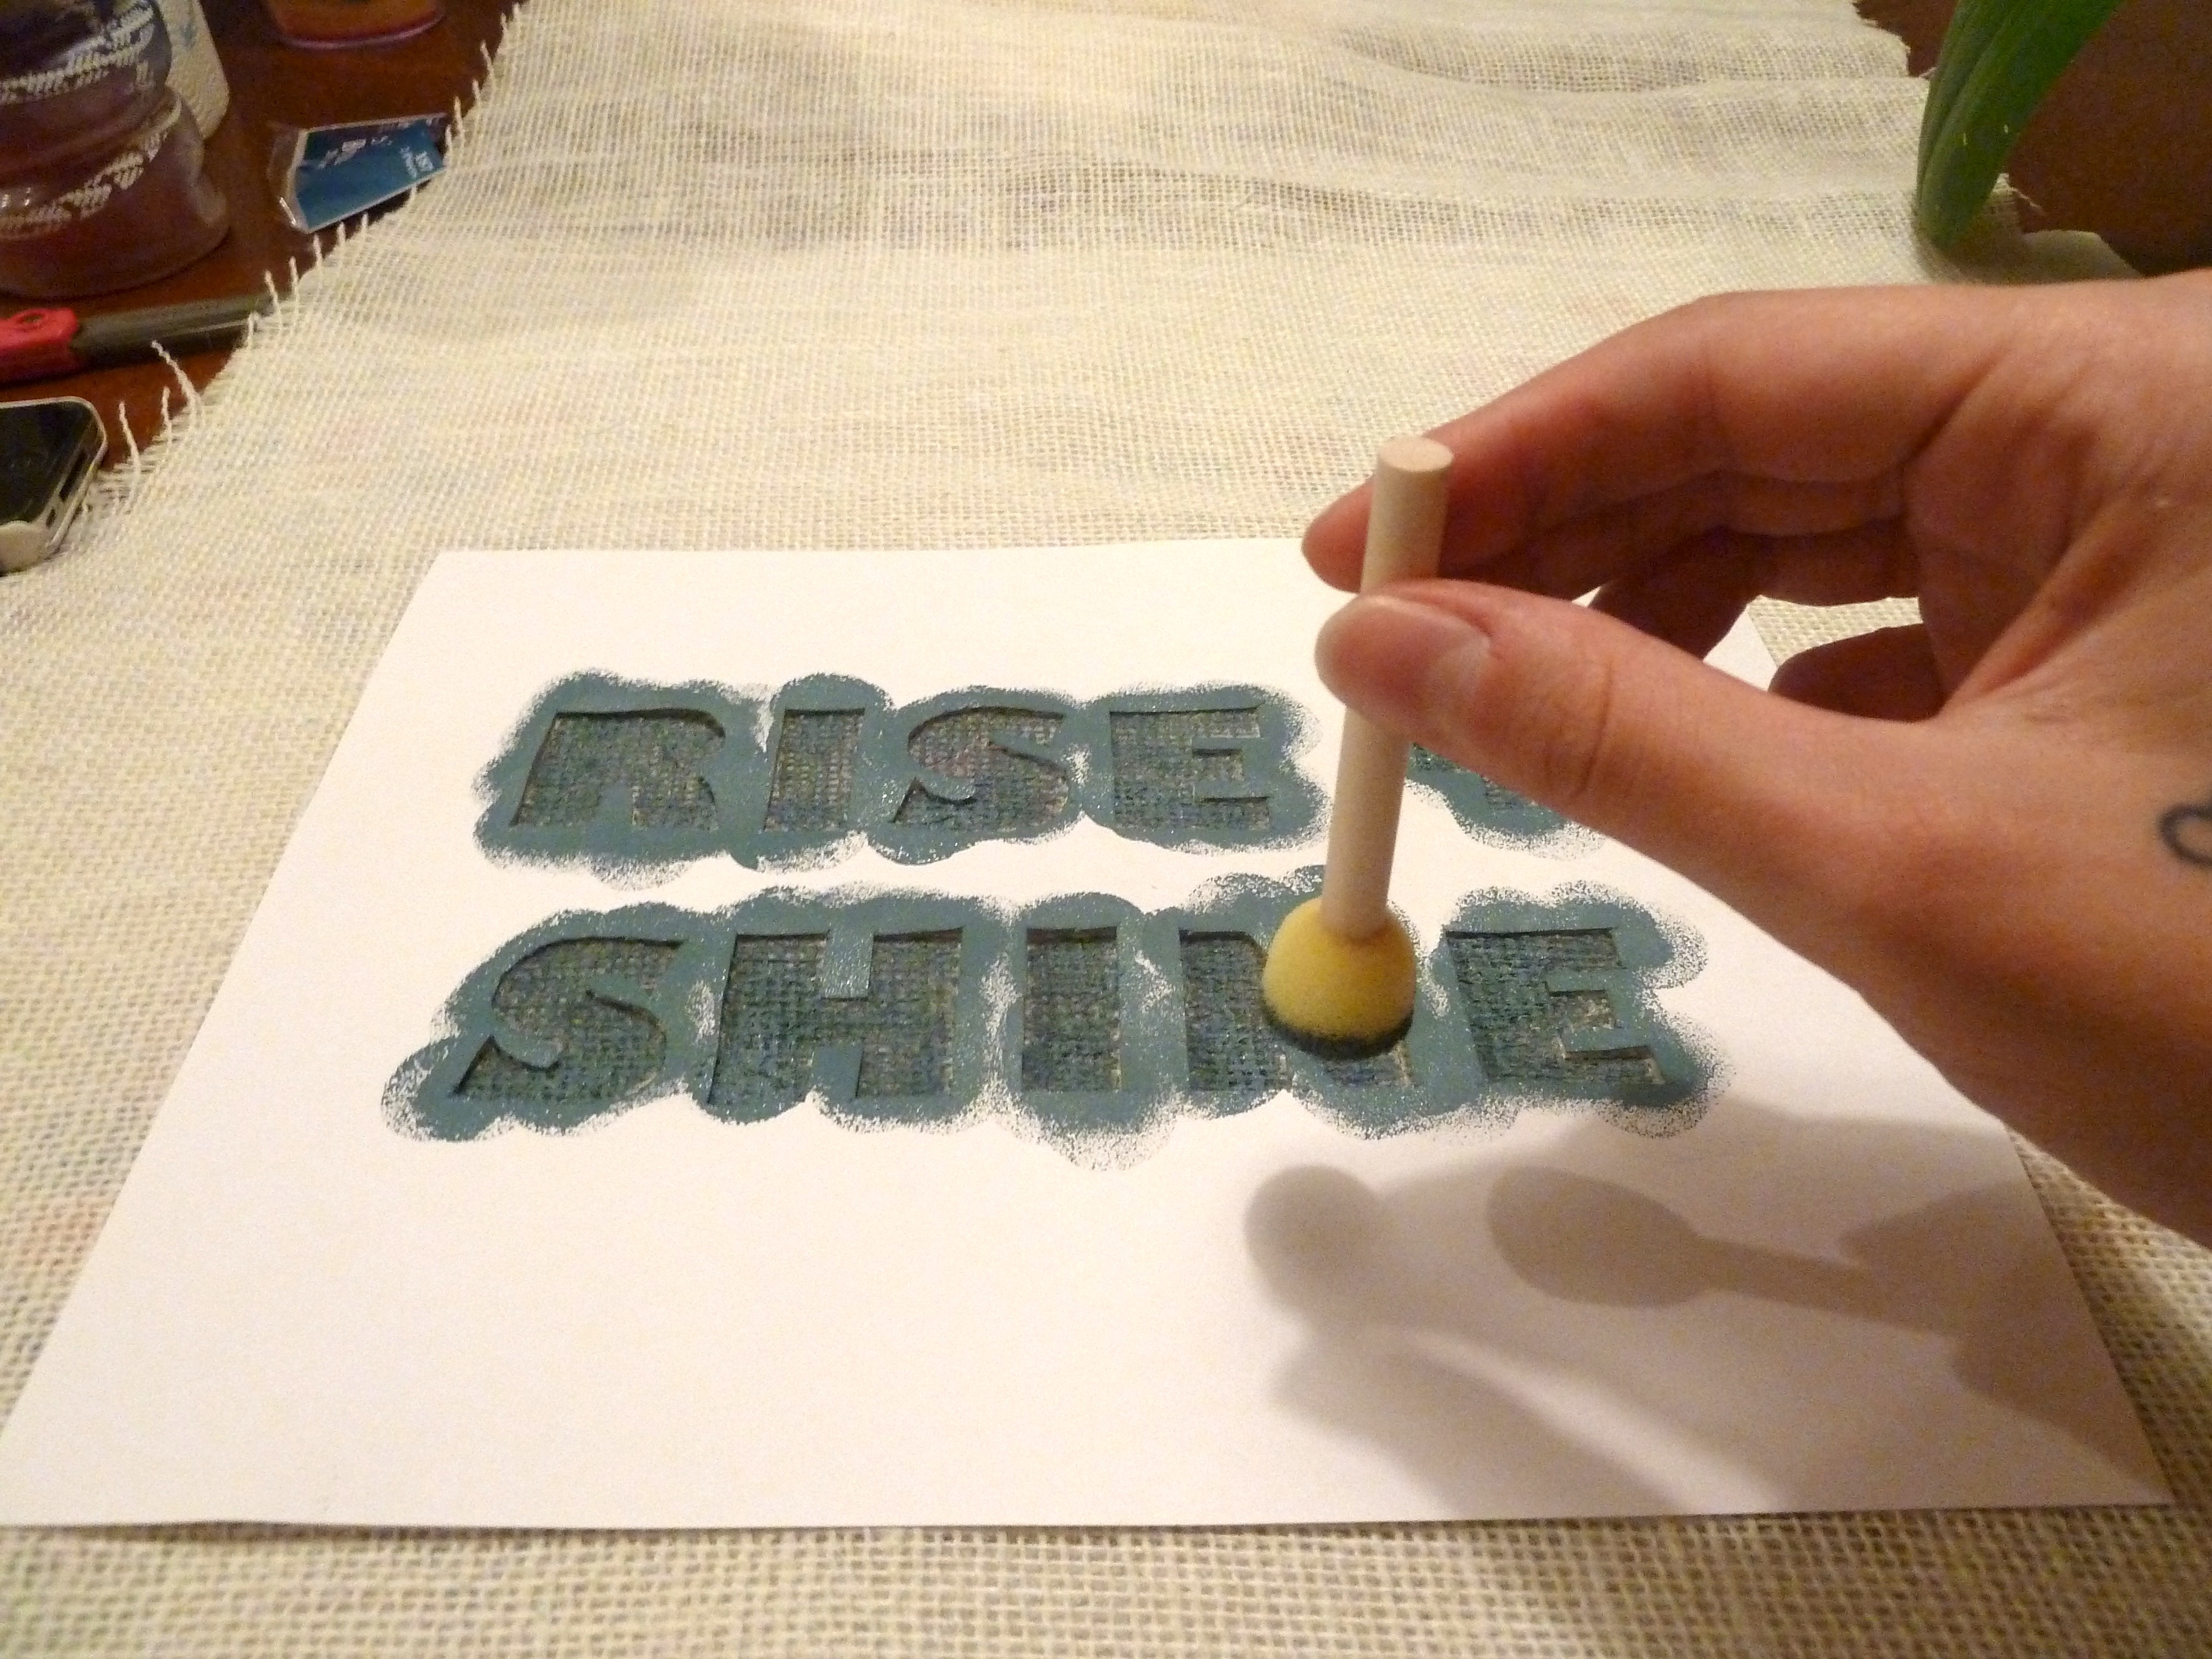
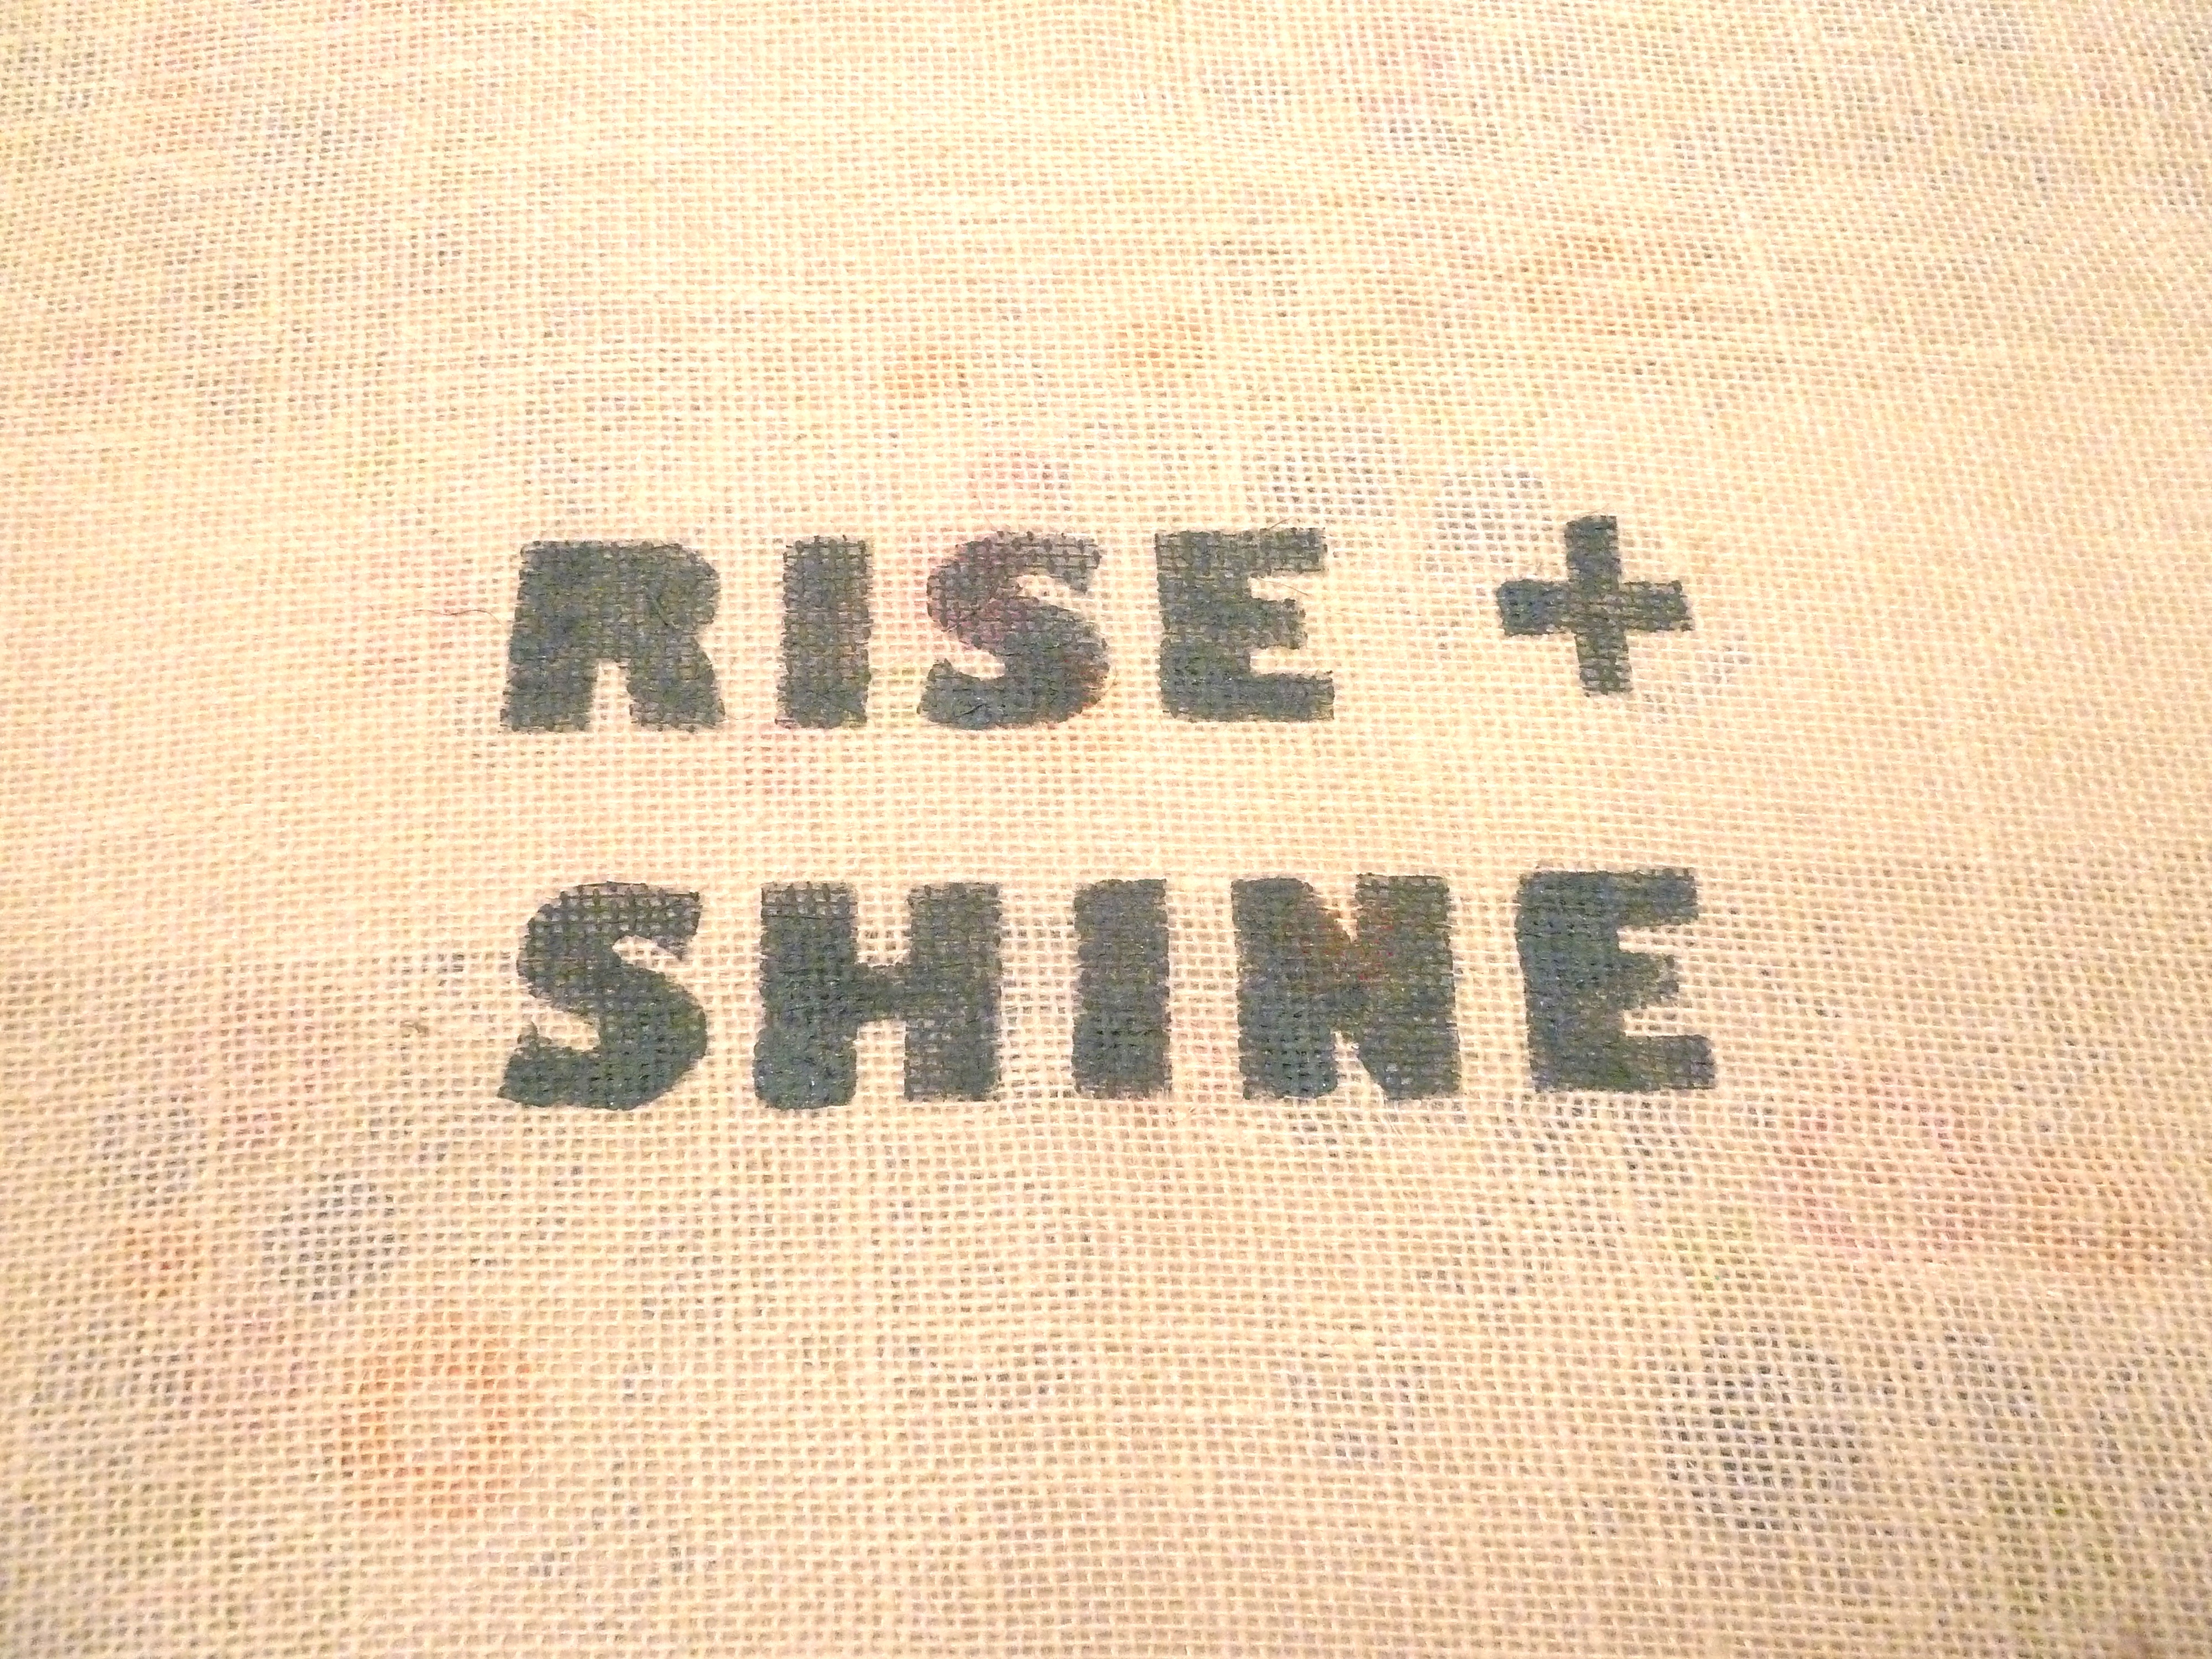
I was really digging the mad lib idea, I just needed to figure out what I wanted mine to say.  I wanted to keep it simple, since I thought this may confuse people to begin with.  Here is what I came up with…

mad lib wedding rsvp

They also each got a sewn flower.  Next up I wanted to include information about our hotel accommodations…

wedding accomodations

And lastly I created a map.  I once again googled around for how to create this map, and found a few that I loved on pinterest…

94269fdb6e0aabd9bd9ca37a4cbbfbf7

4fea8d3ee4c35792c540332ff7ebe748

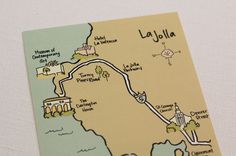
I wanted mine to be a bit simpler than these. I found a great blog post about creating a wedding map, that went step by step on how to create your own.  This is what I ended up with…

wedding map DIY

and on the back…

wedding invite directions

Some quick directions written out since it can get a bit tricky.  And here is the whole shebang together…

homemade wedding invitations

and one more for fun…

cream wedding invites DIY

I love how they turned out.  As you can probably see my colors for the wedding are super neutral, with some greens and yellows.  Just how I roll I guess, I like my neutrals.  Anyhow, once I put everything together, I still felt like it needed something.  Then I remember seeing some wedding invites wrapped in doilies…

6d8ea3a2e8d686b3eaff45f52438f516

8355d7521ec24498ad0f4fed64557281

I then headed out to Michaels so I could jump on the doily bandwagon.  The title of this post might be starting to make some sense now.  I bought some 12 inch circle paper doilies and folded them around each invite, just like in the photos above.  I then wrapped a piece of yellow or green string(I used both) around the doily and tied it into a bow.  Then a trimmed the excess doily that hung above or below the invite.  Not picturing it?  Well here it is…

wedding invite doily

And when you untie the string…

wedding invite with doily

IMG_7473

You’ll first see the invite and then below…

DIY wedding

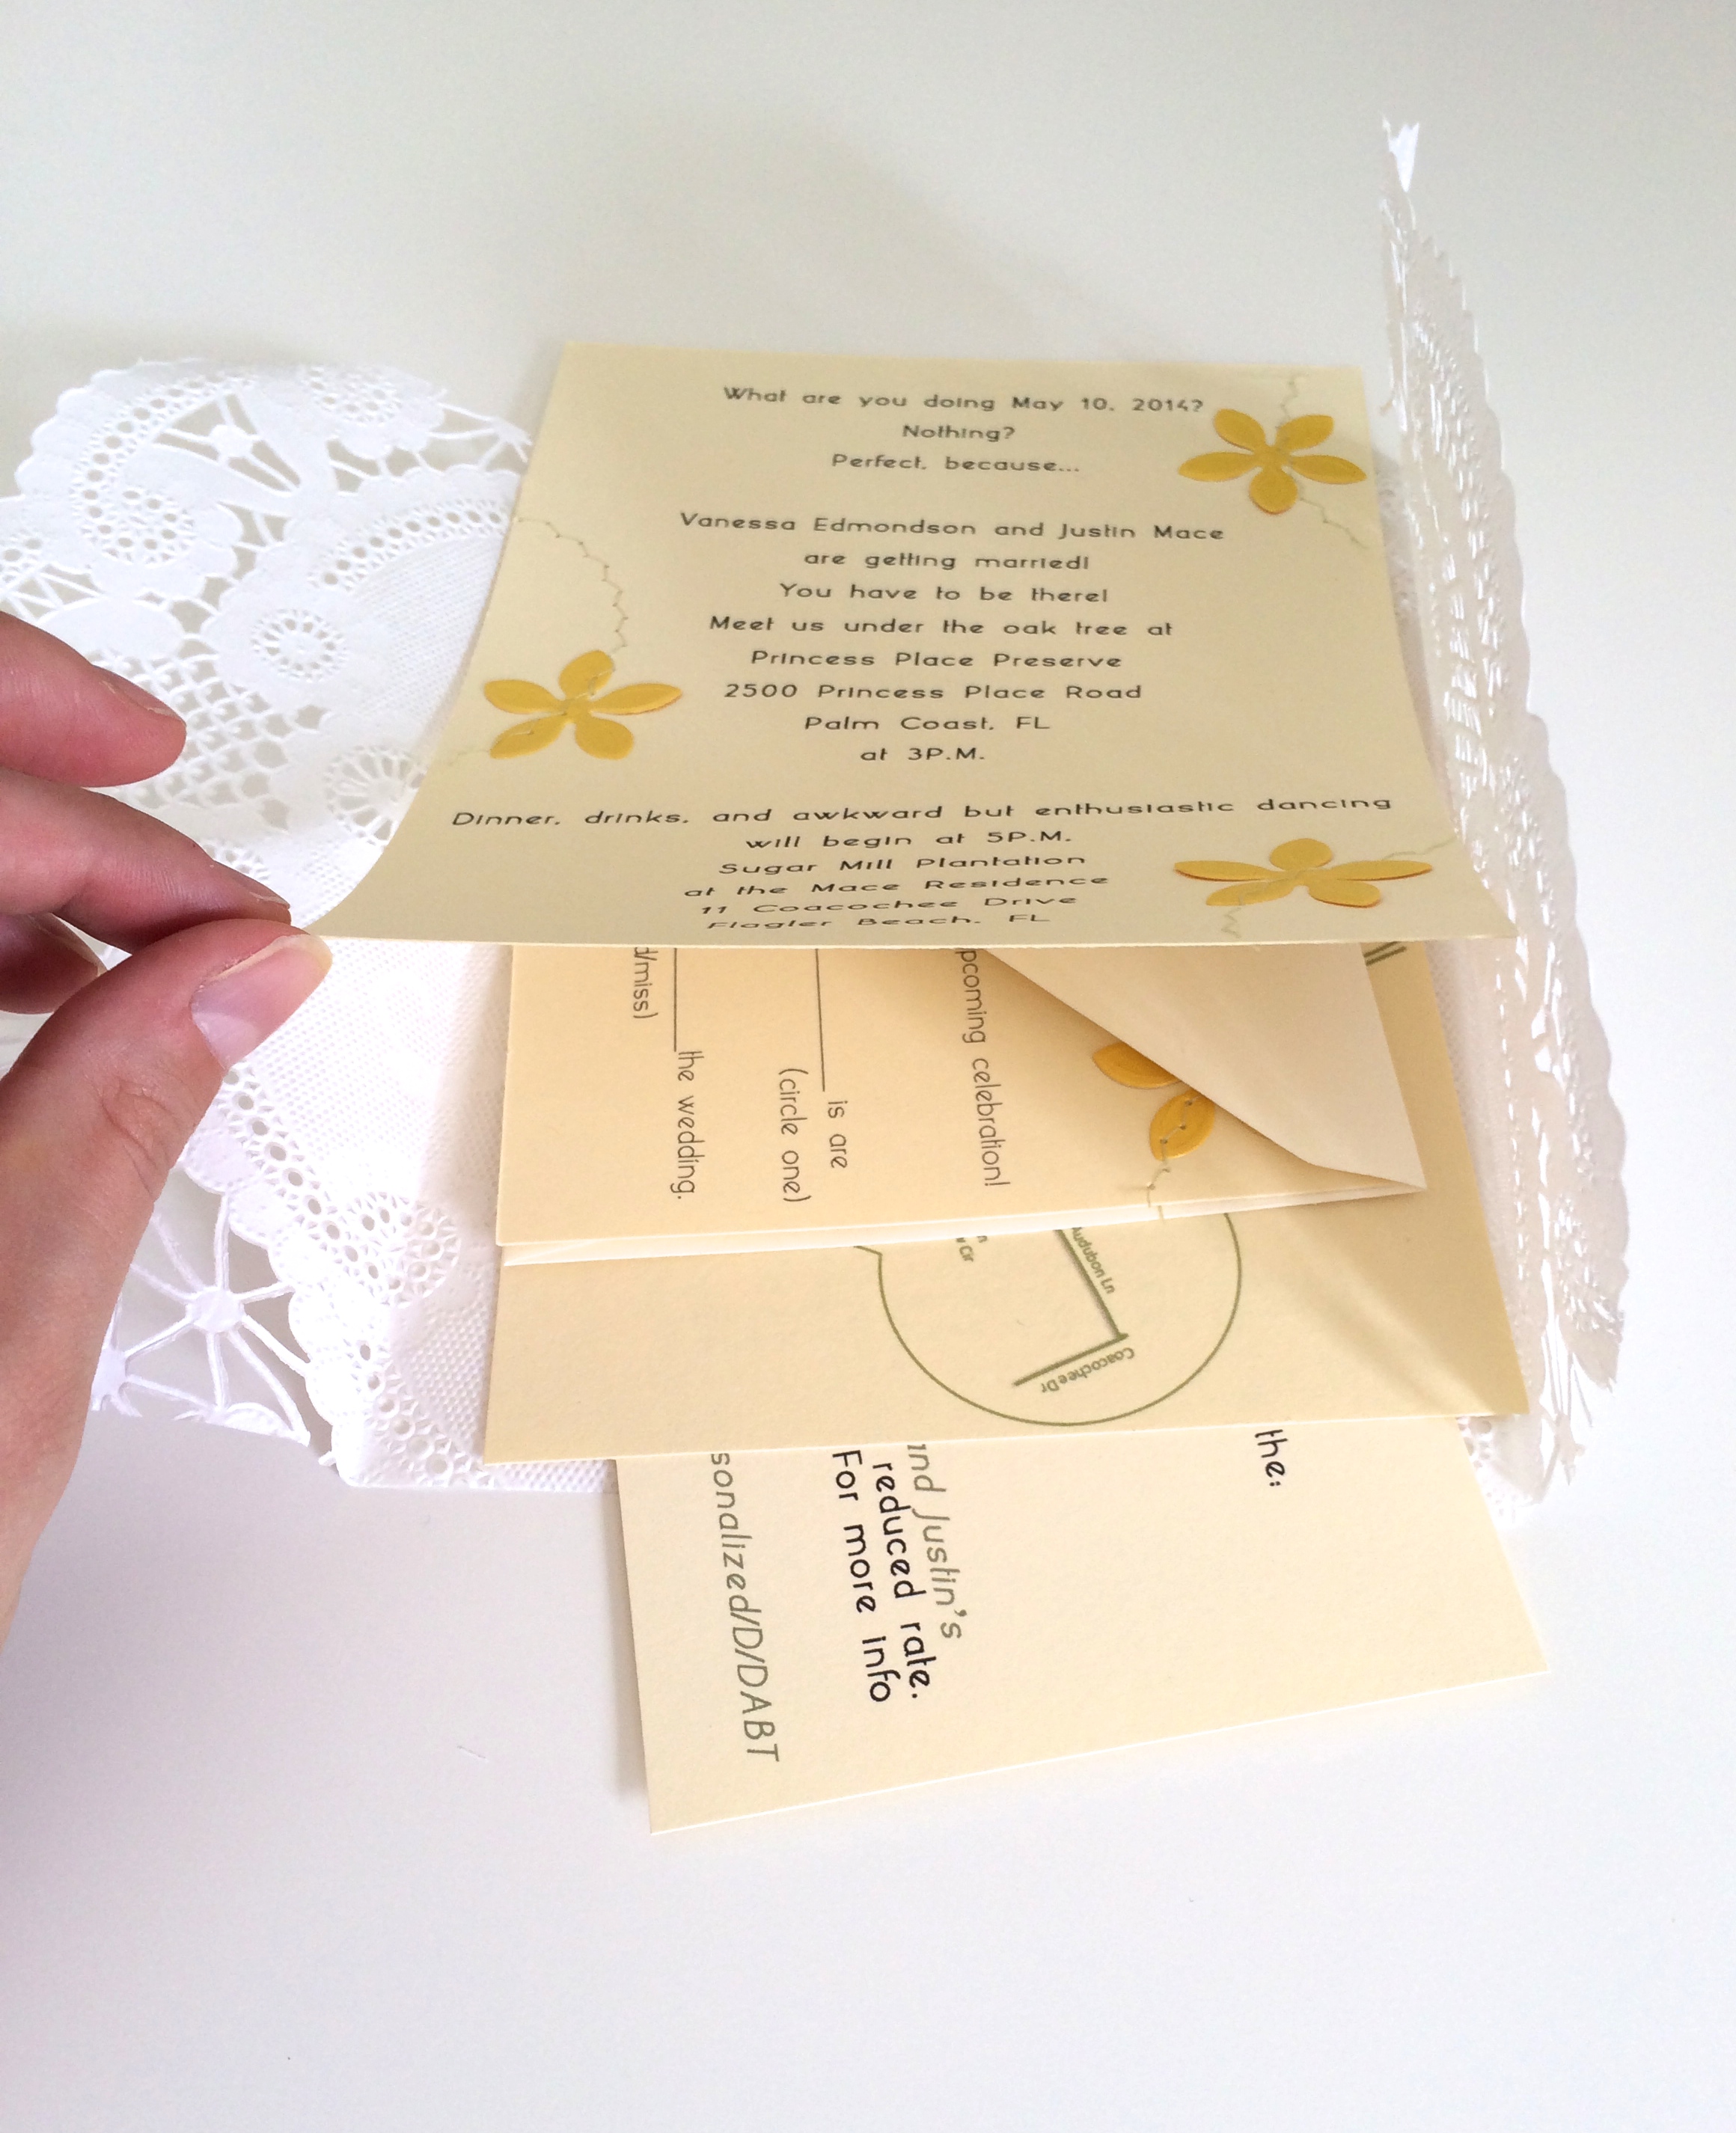
The RSVP, map and accommodations.  Wanna see a heap of invites?

DIY invites

Well, there you go.

The last thing I needed to do was address and stamp these suckers and they are on there way.  Here are the stamps I chose…

Picking Stamps for Wedding Invites

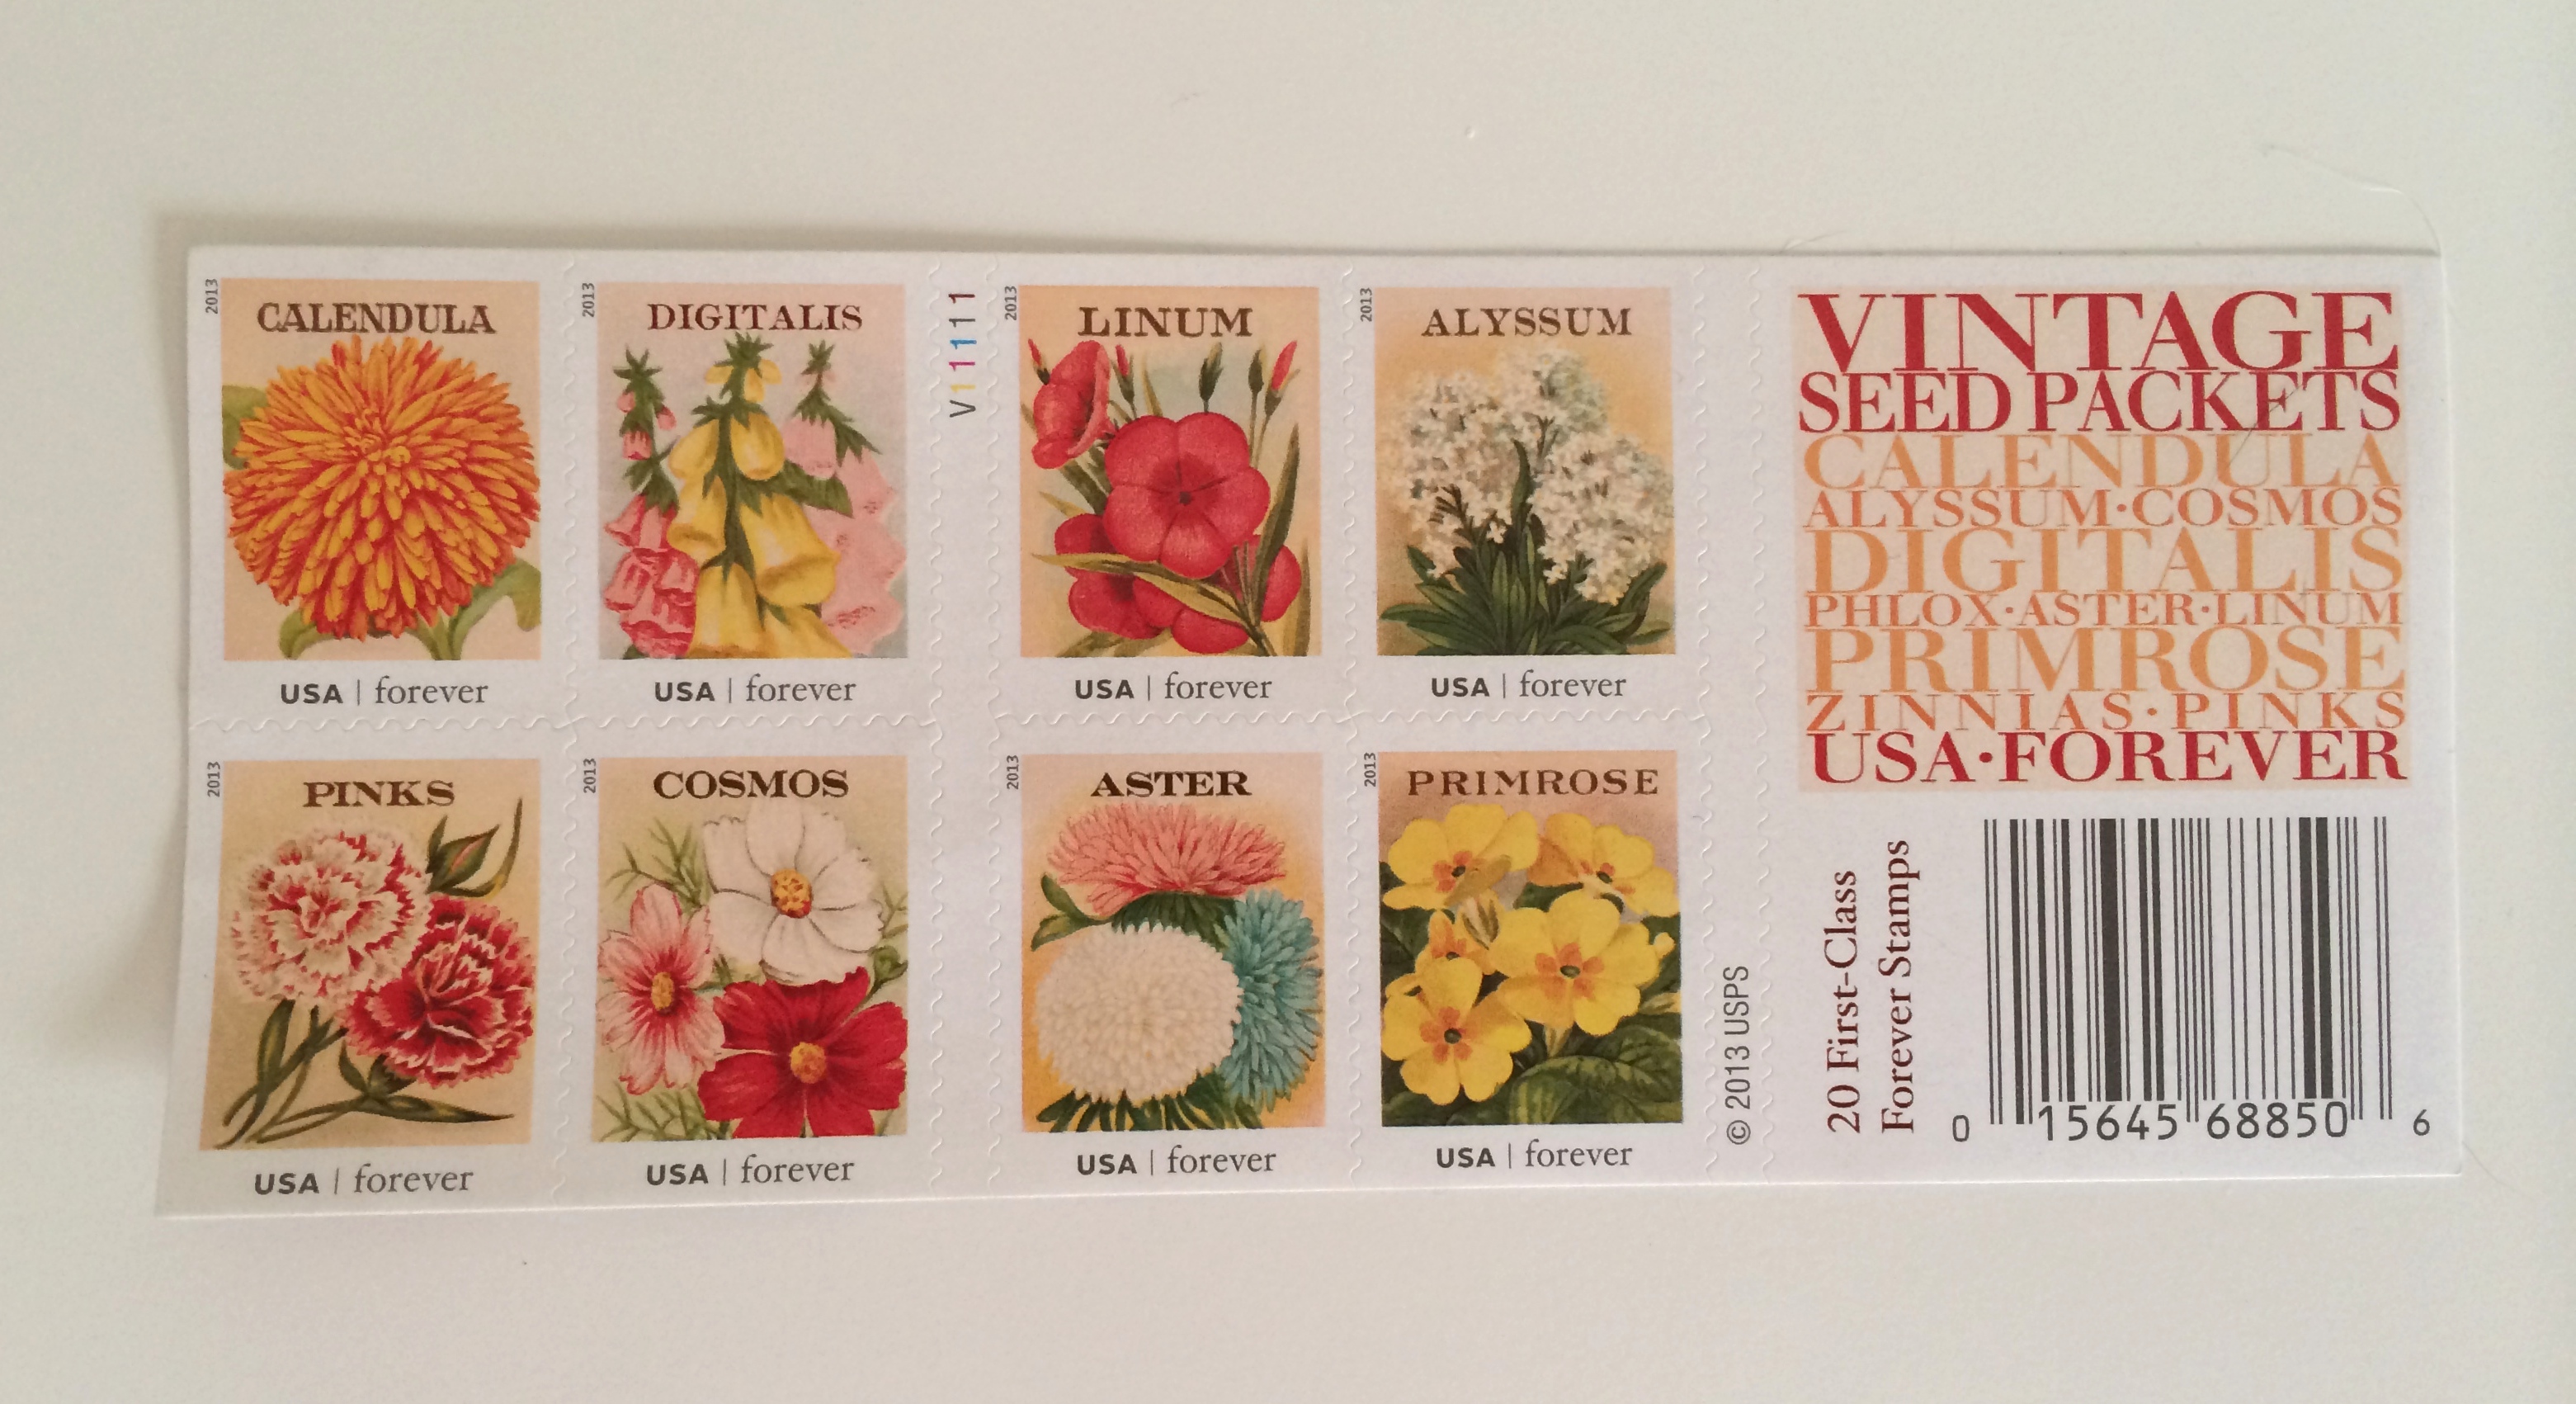
Vintage flowers, could it get any better?

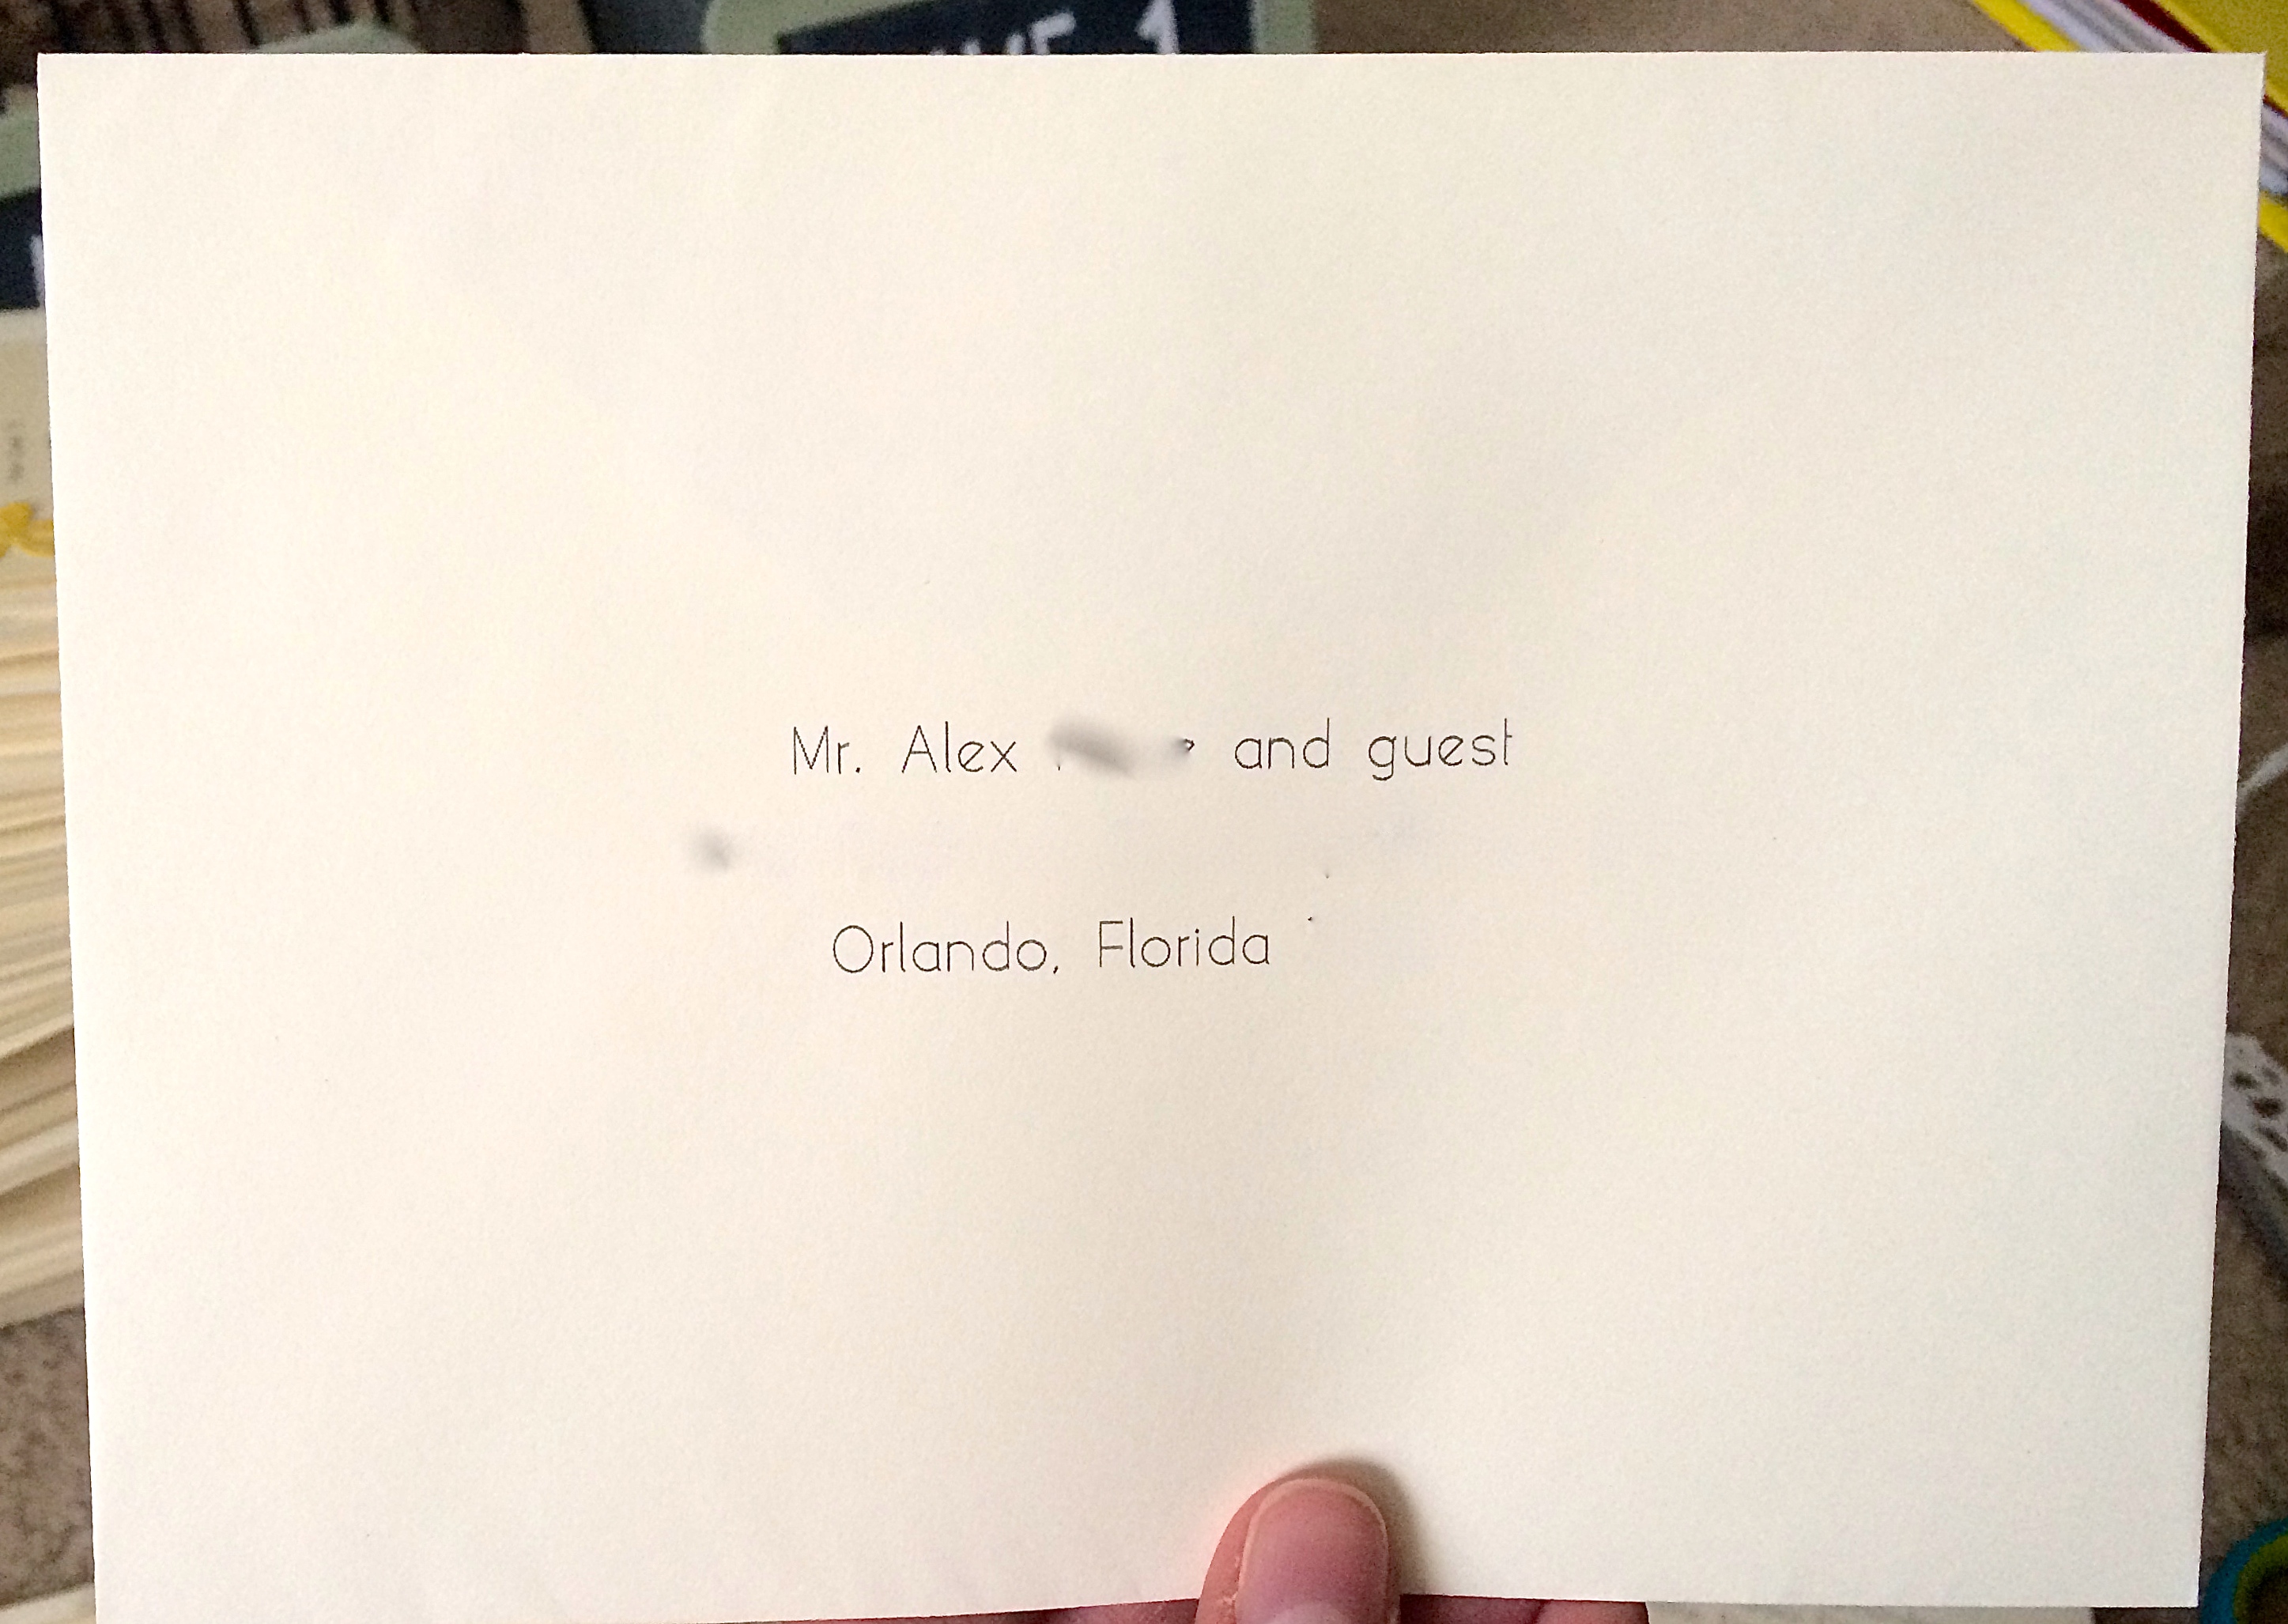
As for addressing the envelopes I typed up all of the addresses and printed them on each RSVP envelope and each invitation envelope…

printing envelope addresses

printing wedding envelopes

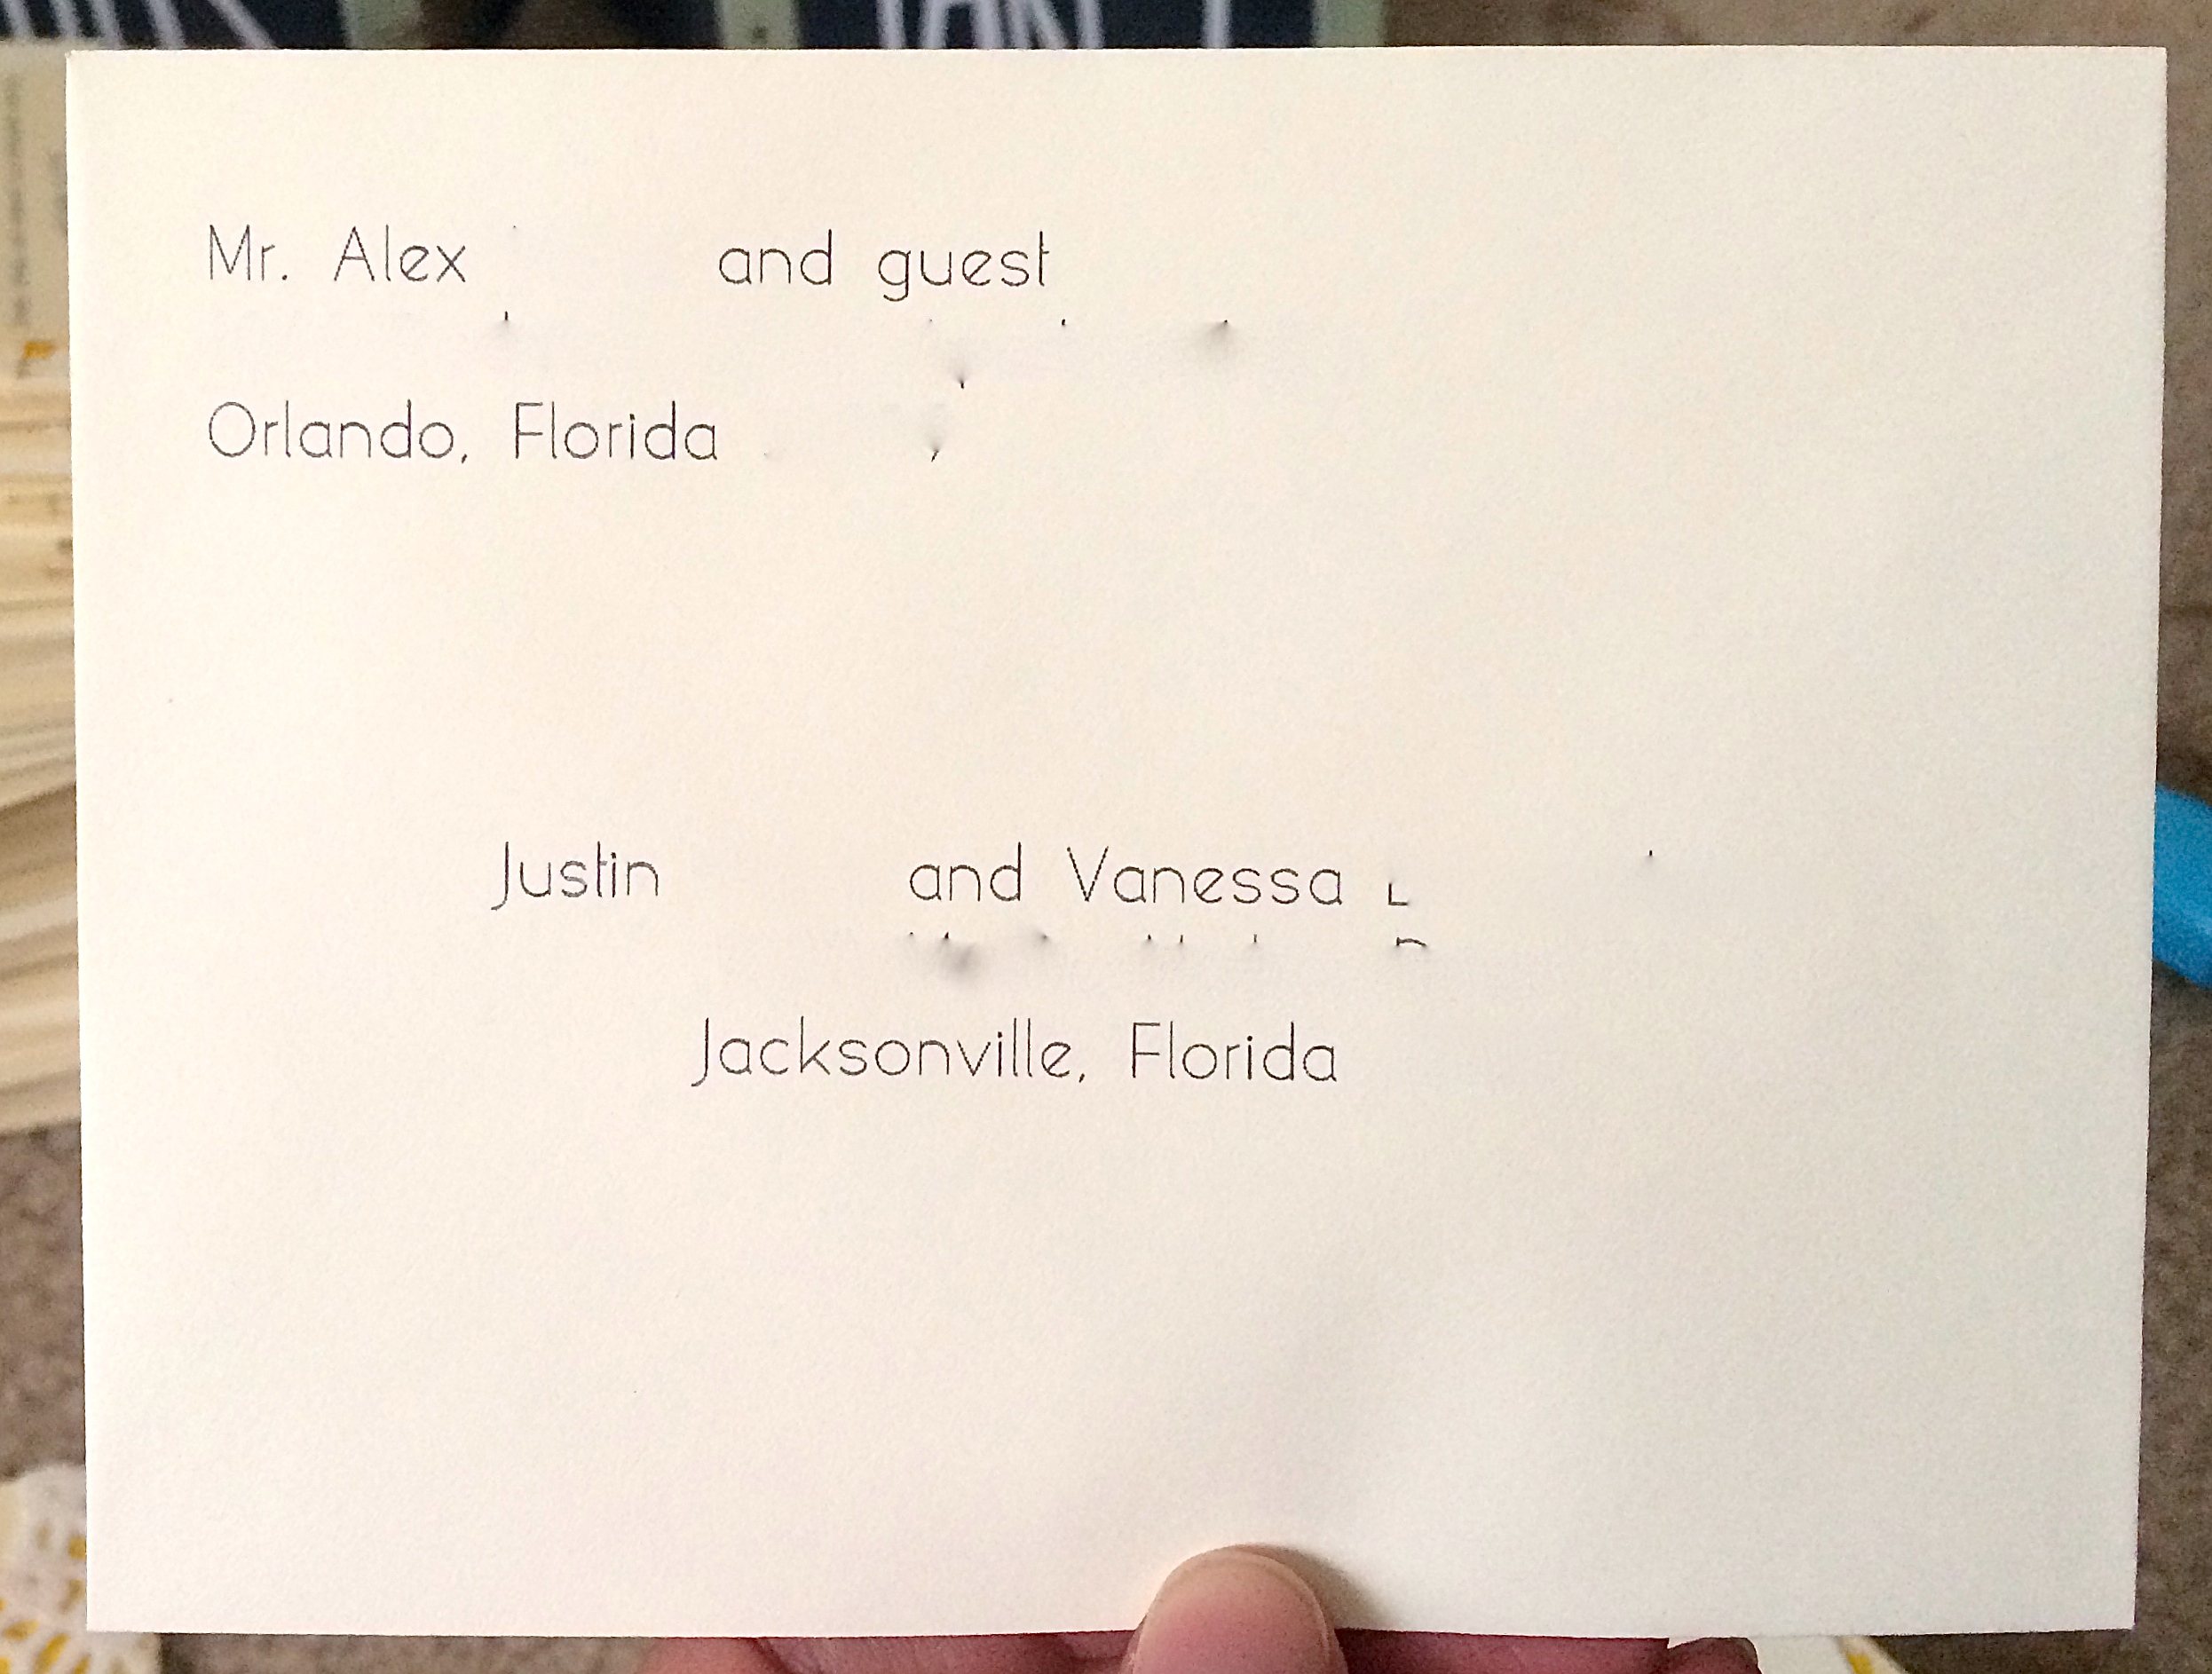
And then I did this for fun…

Sending our wedding invites

Overall, I can not say I saved a butt load of money on making these myself, but they are definitely one of a kind and I enjoyed making them my own.  Thanks for reading:)


Hilton Apple Fest What What!

As I previously mentioned, I went home this past weekend and I purposely scheduled my visit to land on the same weekend as the annual Hilton Apple Festival! I hadn’t been to the Apple Fest for a few years and since I grew up with it taking place basically in my backyard, I had to make it this year!  The Apple Fest is a huge craft festival complete with amazing artists, delicious food(lots of apples) and live music.  I have many great memories of attending the Apple Fest with my mom and sister, so that is just what I did again this year!

photo 4(3)

That’s my sister and I and her handsome corgi Samson.

I decided I should show you all my favorite hometown festival and also what kind of great finds they had this year.

e4

One of the first booths we hit, that I wanted to share, is a local artist from Hilton!  Her name is Barbara A. Palmer, she is a folk artist who also writes and illustrates her own children’s books.  Her art is colorful and also whimsical, my favorite was her seasons paintings.

e3

Even the wood frames are such high quality.

This next artist unfortunately was out of business cards and I was unable to get more information on her work.  I did however want to show you her adorable decorative pumpkins.

e5

She also had these cute country style ladders…

e6

Here is another artist that I did not get the name of, but I know the business is called Bulletin Boards Etc. and you can contact them at bulletinboardsetc@yahoo.com.  Now why do I want to show you these bulletin boards?  Because they are dog themed of course!

e7

Here is a yellow lab one…

e8

And only $5.95.  Woot woot! Here is one more that caught my eye…

e9

I wanted to take one home, but I couldn’t think of a good place for it, so it stayed at the fest of apples.

We also ran into our friend Rachel who was working the apple crisp booth! Hey Rach!

e2

Did I mention I come from a small home town?  We are bound to run into people we know.

e99999999

Next up we stopped at the booth shown above.  I fell in love with this booth immediately, look at all those succulents.  I do not have a green thumb so these are pretty much the only plant I am able to keep alive.  Wahoo for succulents!  These folks own a place called Tranquility Hill Greenhouse in Clifton Springs, NY. They make all of there own pots shown above out of a very light cement product. I was shocked when I went to pick up one of the planters, I almost threw it because I used a little too much muscle.  Also they grow all of their own succulents and they    are     BEAUTIFUL….

e22

ee1

They have such a variety.

ee3

I was planning to take one home with me since they were so light, I figured I would just carry it on my flight home.  We were suppose to head back and pick a couple up on our way out, but we forgot! Shame on us, I can’t tell you how disappointed we were once we remembered. Shucks!

This next booth was full of chainsaw art.  I mean does it get cooler than that?

e99

Here are some cute little owls that were $10 a pop, not too bad!

Also here is a cute little doe that I fell for…

e999

If you wanna check out more of this art, it is done by a guy named Rick Latson from Springwater, NY and he can be contacted at rlatson@frontiernet.net.

Samson was really into the next booth…

ee999

We had to stop in to Hands and Paws Cookies and Treats! This is a little business from Cheektowaga, NY. They had some fun snack choices for dogs like fish fry, hamburger and fries or even surf and turf!

ee99

Sam got a couple treats and I picked up one of these…

ee9

They made a variety of pet products including treats, bandannas, collars and leashes.  Can you guess which one I purchased?  Well I have a model to show you…

h4

Yup, I got the Sabres one!  Char Man loves it or maybe I love it and he tolerates it! Who knows?

h5

Back to the Apple Fest…

These glass flowers caught my eye.  I specifically liked the little mushrooms that you can see near the ground next to these ginormous flowers.

e999999

If these flowers were a little too big for your liking they also had these mini ones…

e9999999

I loved that you could mix and match the flower color and reattach them to whichever pot you were in to.  I unfortunately did not get this artists information, these were just quick walk by photos.

We also stopped at Nanny’s Naturals Goat Milk Soap booth where Jessica purchased some soaps.

ee99999

ee9999

Did I also mention that Samson was a hit at the apple fest?

e99999

He’s such a friendly dog.

Next up we stopped into Elijiah Smith‘s booth where he was selling his hand blown glass pieces.

eee1

That little green guy came home with me.  I thought these little pumpkins were so unique.  Check out this multi colored one…

eee2

ee8

We had a lot of fun and came home with a couple things too!

ee99999999

We also ran into my sister’s sister in law Melissa and her son Troy! Hope you read this one Meliss!

She’s Mad Crafty Yo!

I was checking out etsy the other day as usual, wishing I was had butt loads of money so I could buy everything my heart desires.  Seriously, I can’t get over how talented some etsy sellers are.  I love me some etsy! Anywho, I stumbled across this by this seller

il_570xN.235056233

and this by this seller

il_570xN.424731585_loe0

and this by this seller

il_570xN.253692565

It seems I’m really digging the burlap type pillows with awesome quotes.  I love the first one Live by the sun Love by the moon.  And the last one that looks like the whale was stenciled on.  I thought about purchasing the last one because it is actually a door stop and I think it is a really unique way to prop open your door shyaa!  I also have a rule that if I can make something myself for cheaper than it is being sold, then I should try to make it before buying it.  I decided that even though this doorstop is only $15($10 for doorstop + $5 for shipping), I think I can make it myself for cheaper.  It seemed pretty simple so I went for it.  First I purchased some burlap from JoAnne Fabrics…

P1070072

While I was there I also picked up a couple stencil brushes.  The burlap was $2.30 for 1/2 a yard and $.99 for the stencil brushes.  I had a coupon and my total came to $2 and some change, I also had a gift card so it ended up taking no mulah from my pocket woo hoo!

Next I picked up some rice from Walmart for a couple dollars.  I will use the rice as filler and for weight to hold the door back. Everything else I used I already owned, so total cost for myself was around $2! Score!

Here’s how I did it…

I first had to decide what I wanted on my doorstop, I knew I wanted a quote and I knew it was going to be holding our bedroom door open.  I decided to go with “rise and shine”.  I figured it would be one of the first things we see in the morning, anything to make me a little happier to be getting outta bed is welcome in my book! I started by making a template on the computer that would be my stencil…

P1070069

Here it is all ready to go.  Next I cut all the lettering out…

P1070070

Look at me go!

P1070071

Here’s the finished product, now I have my stencil.  Next I got my paint out.

P1070077

I decided to go with a grayish blue color for the lettering, who woulda thought?

P1070084

I came up with this color.  I used a paper plate for mixing, I love easy clean up!

P1070081

I then decided on the placement of my stencil.

P1070085

Next I just filled in the letters with my stencil brush.  I just used a blotting motion until all of the letters were filled.

P1070089

Here it is once the stencil was removed.  While that dried I worked on my next step.

P1070091

Since the burlap has small holes in the fabric, I needed to make an interior pouch to put the rice in.  I didn’t want rice slipping out all over my floor every time we moved it. So I found a similar color fabric and cut out a couple pieces about a half inch larger on each side than I wanted the actual doorstop to be.

P1070093

Next I got out my sewing machine(yup I have one of those). I started sewing the interior fabric inside out leaving one side open, then turned the pouch outside in(is that how you would say it?). I then poured in the rice filling the pouch up approximately 3/4 of the way. Then I sewed up the open end.

P1070096

This was what I was left with, a white pouch filled with rice! Fancy!

P1070099

I then cut the burlap with the stenciling about an inch larger on each side than i want the doorstop to be.  From there I placed the two pieces of burlap together stencil facing inward. Next I sewed up all of the sides but one leaving one end open again.

P1070101

Once the three sides were sewn up, I flipped the pouch outside in? again.

P1070105

Then I plopped the rice filled pouch in the open side.

P1070106

From there I tucked in the unfinished end and sewed it up and I was left with this…

P1070108

A pretty sweet doorstop that makes me feel better about getting outta bed in the morning.  Here it is in it’s new home…

P1070110

one more…

P1070113

Saved myself some money and I have a new way to keep our bedroom door open! Yahoo! Thanks for the inspiration etsy.