I came home from work on Friday and saw this on my way through the garage…

Woo Hoo! Tile. I made it in the house and Justin was just laying the first piece…

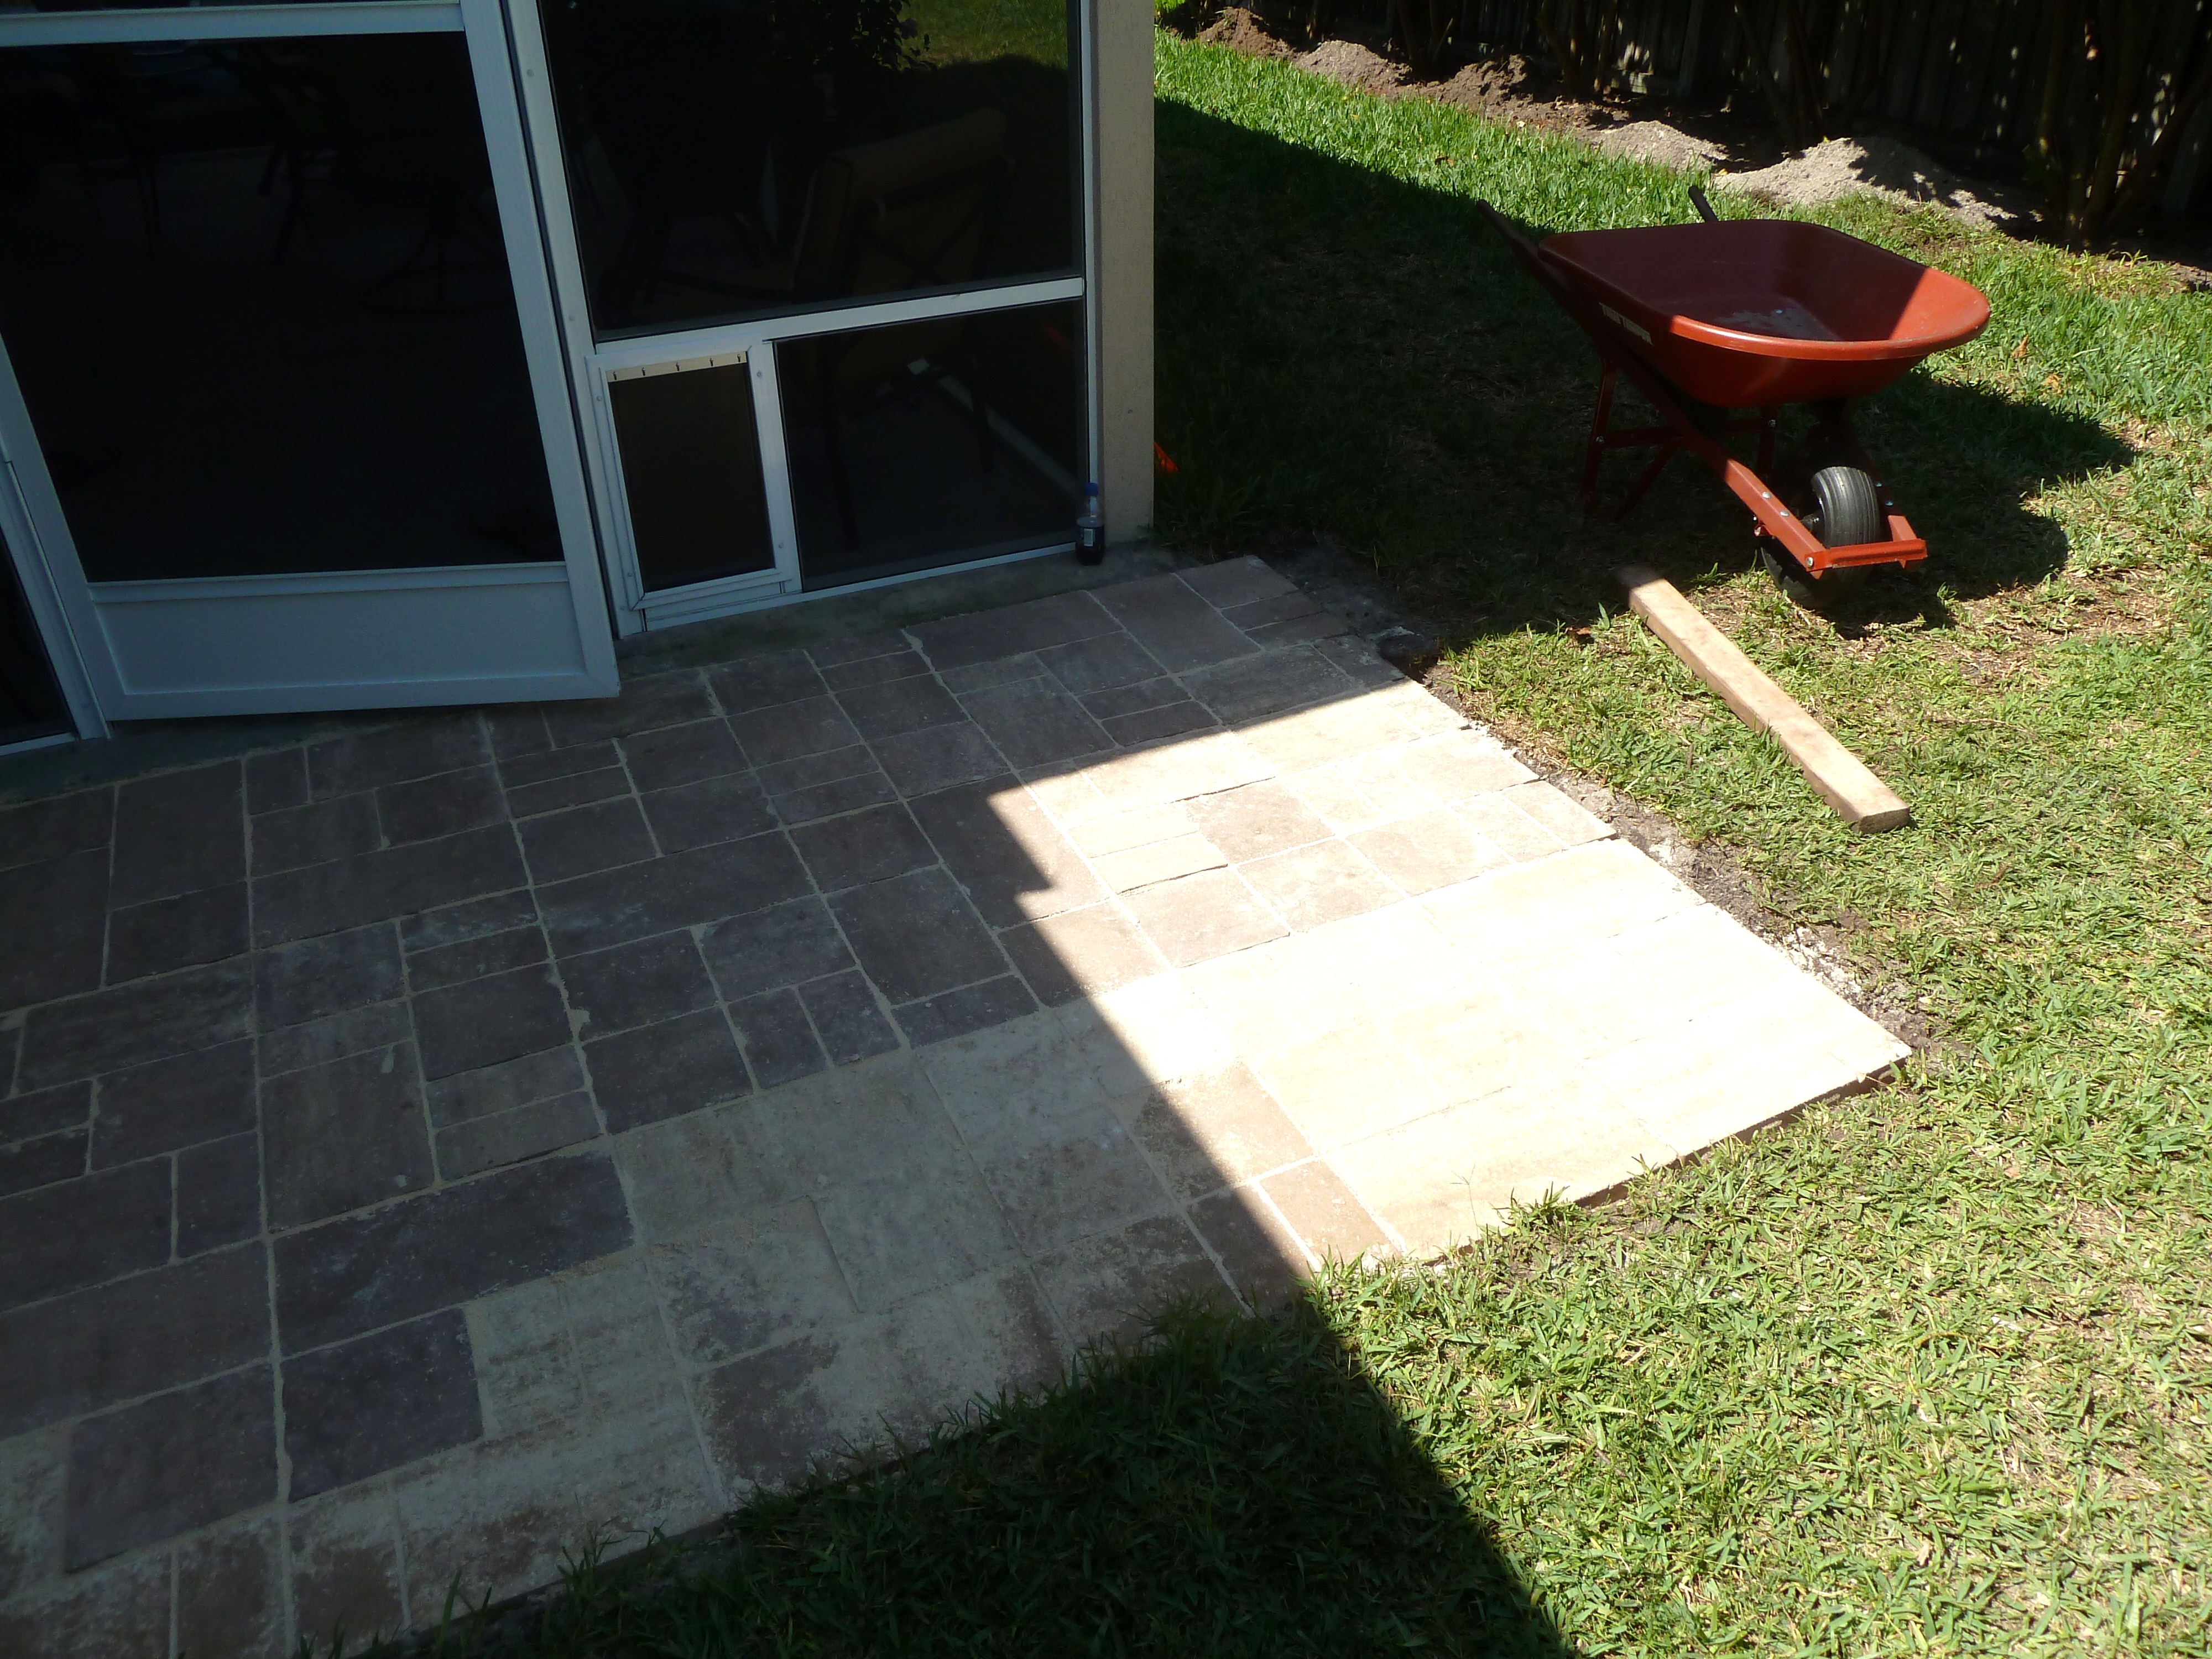
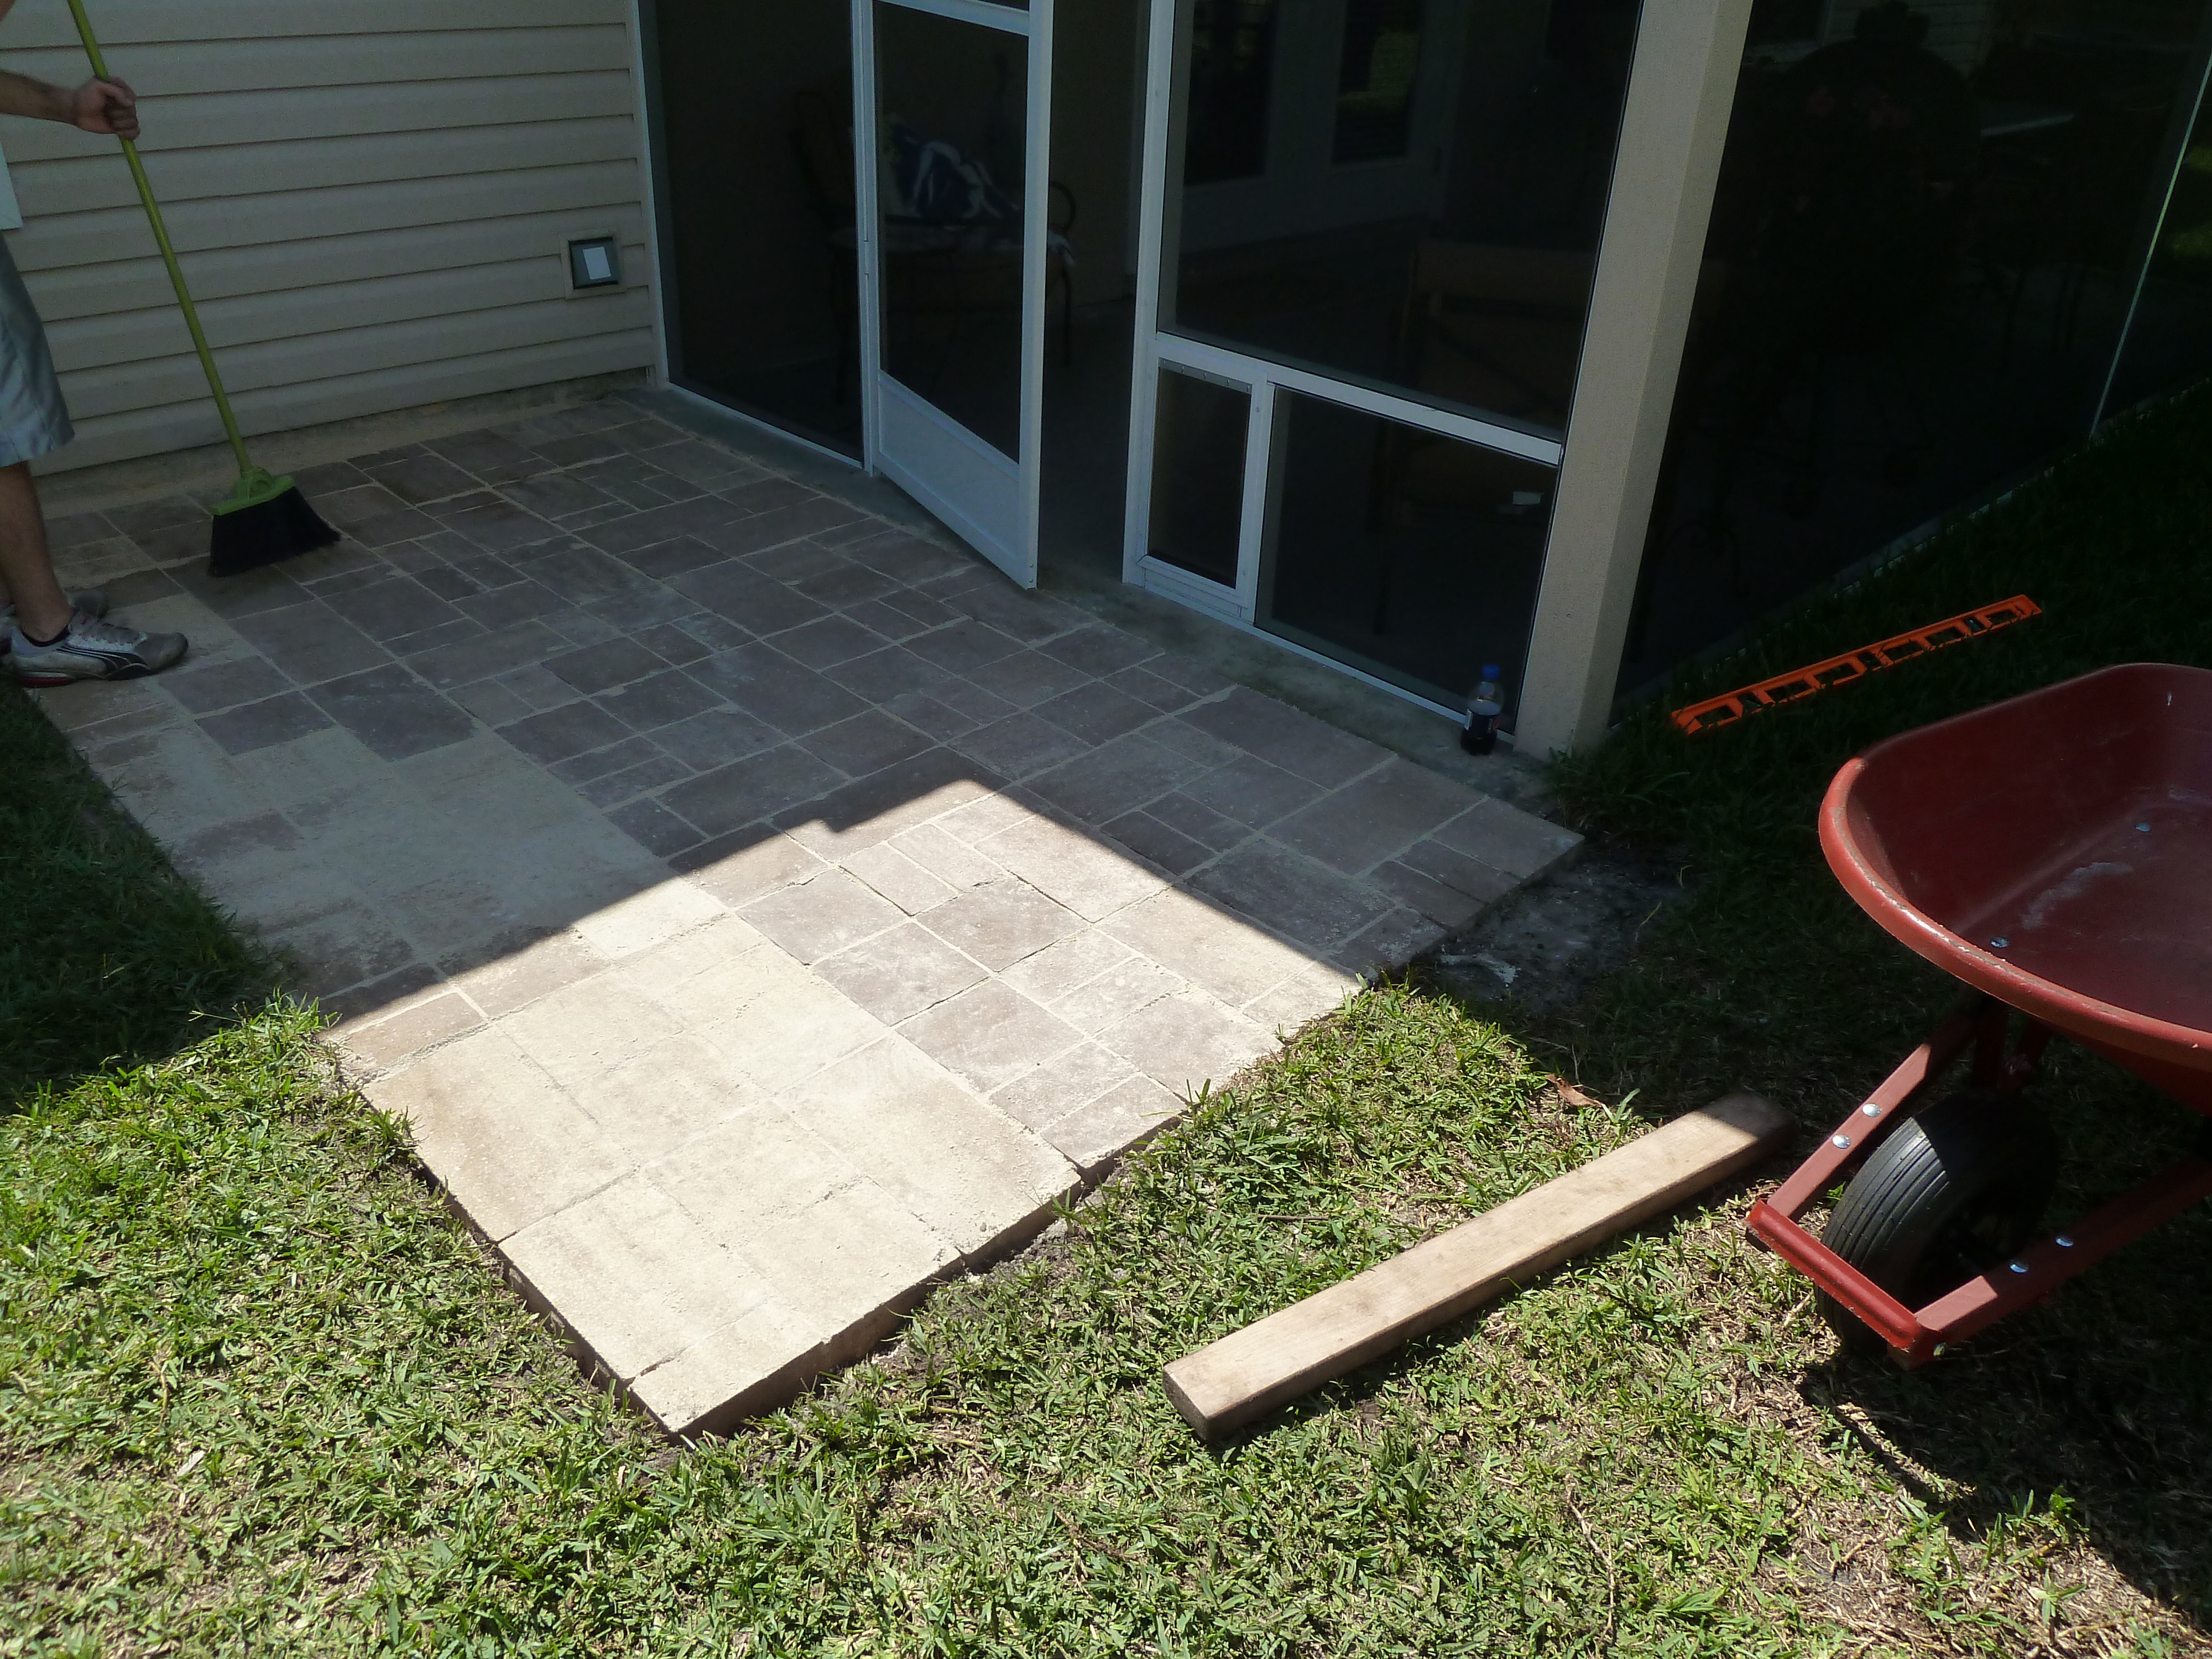
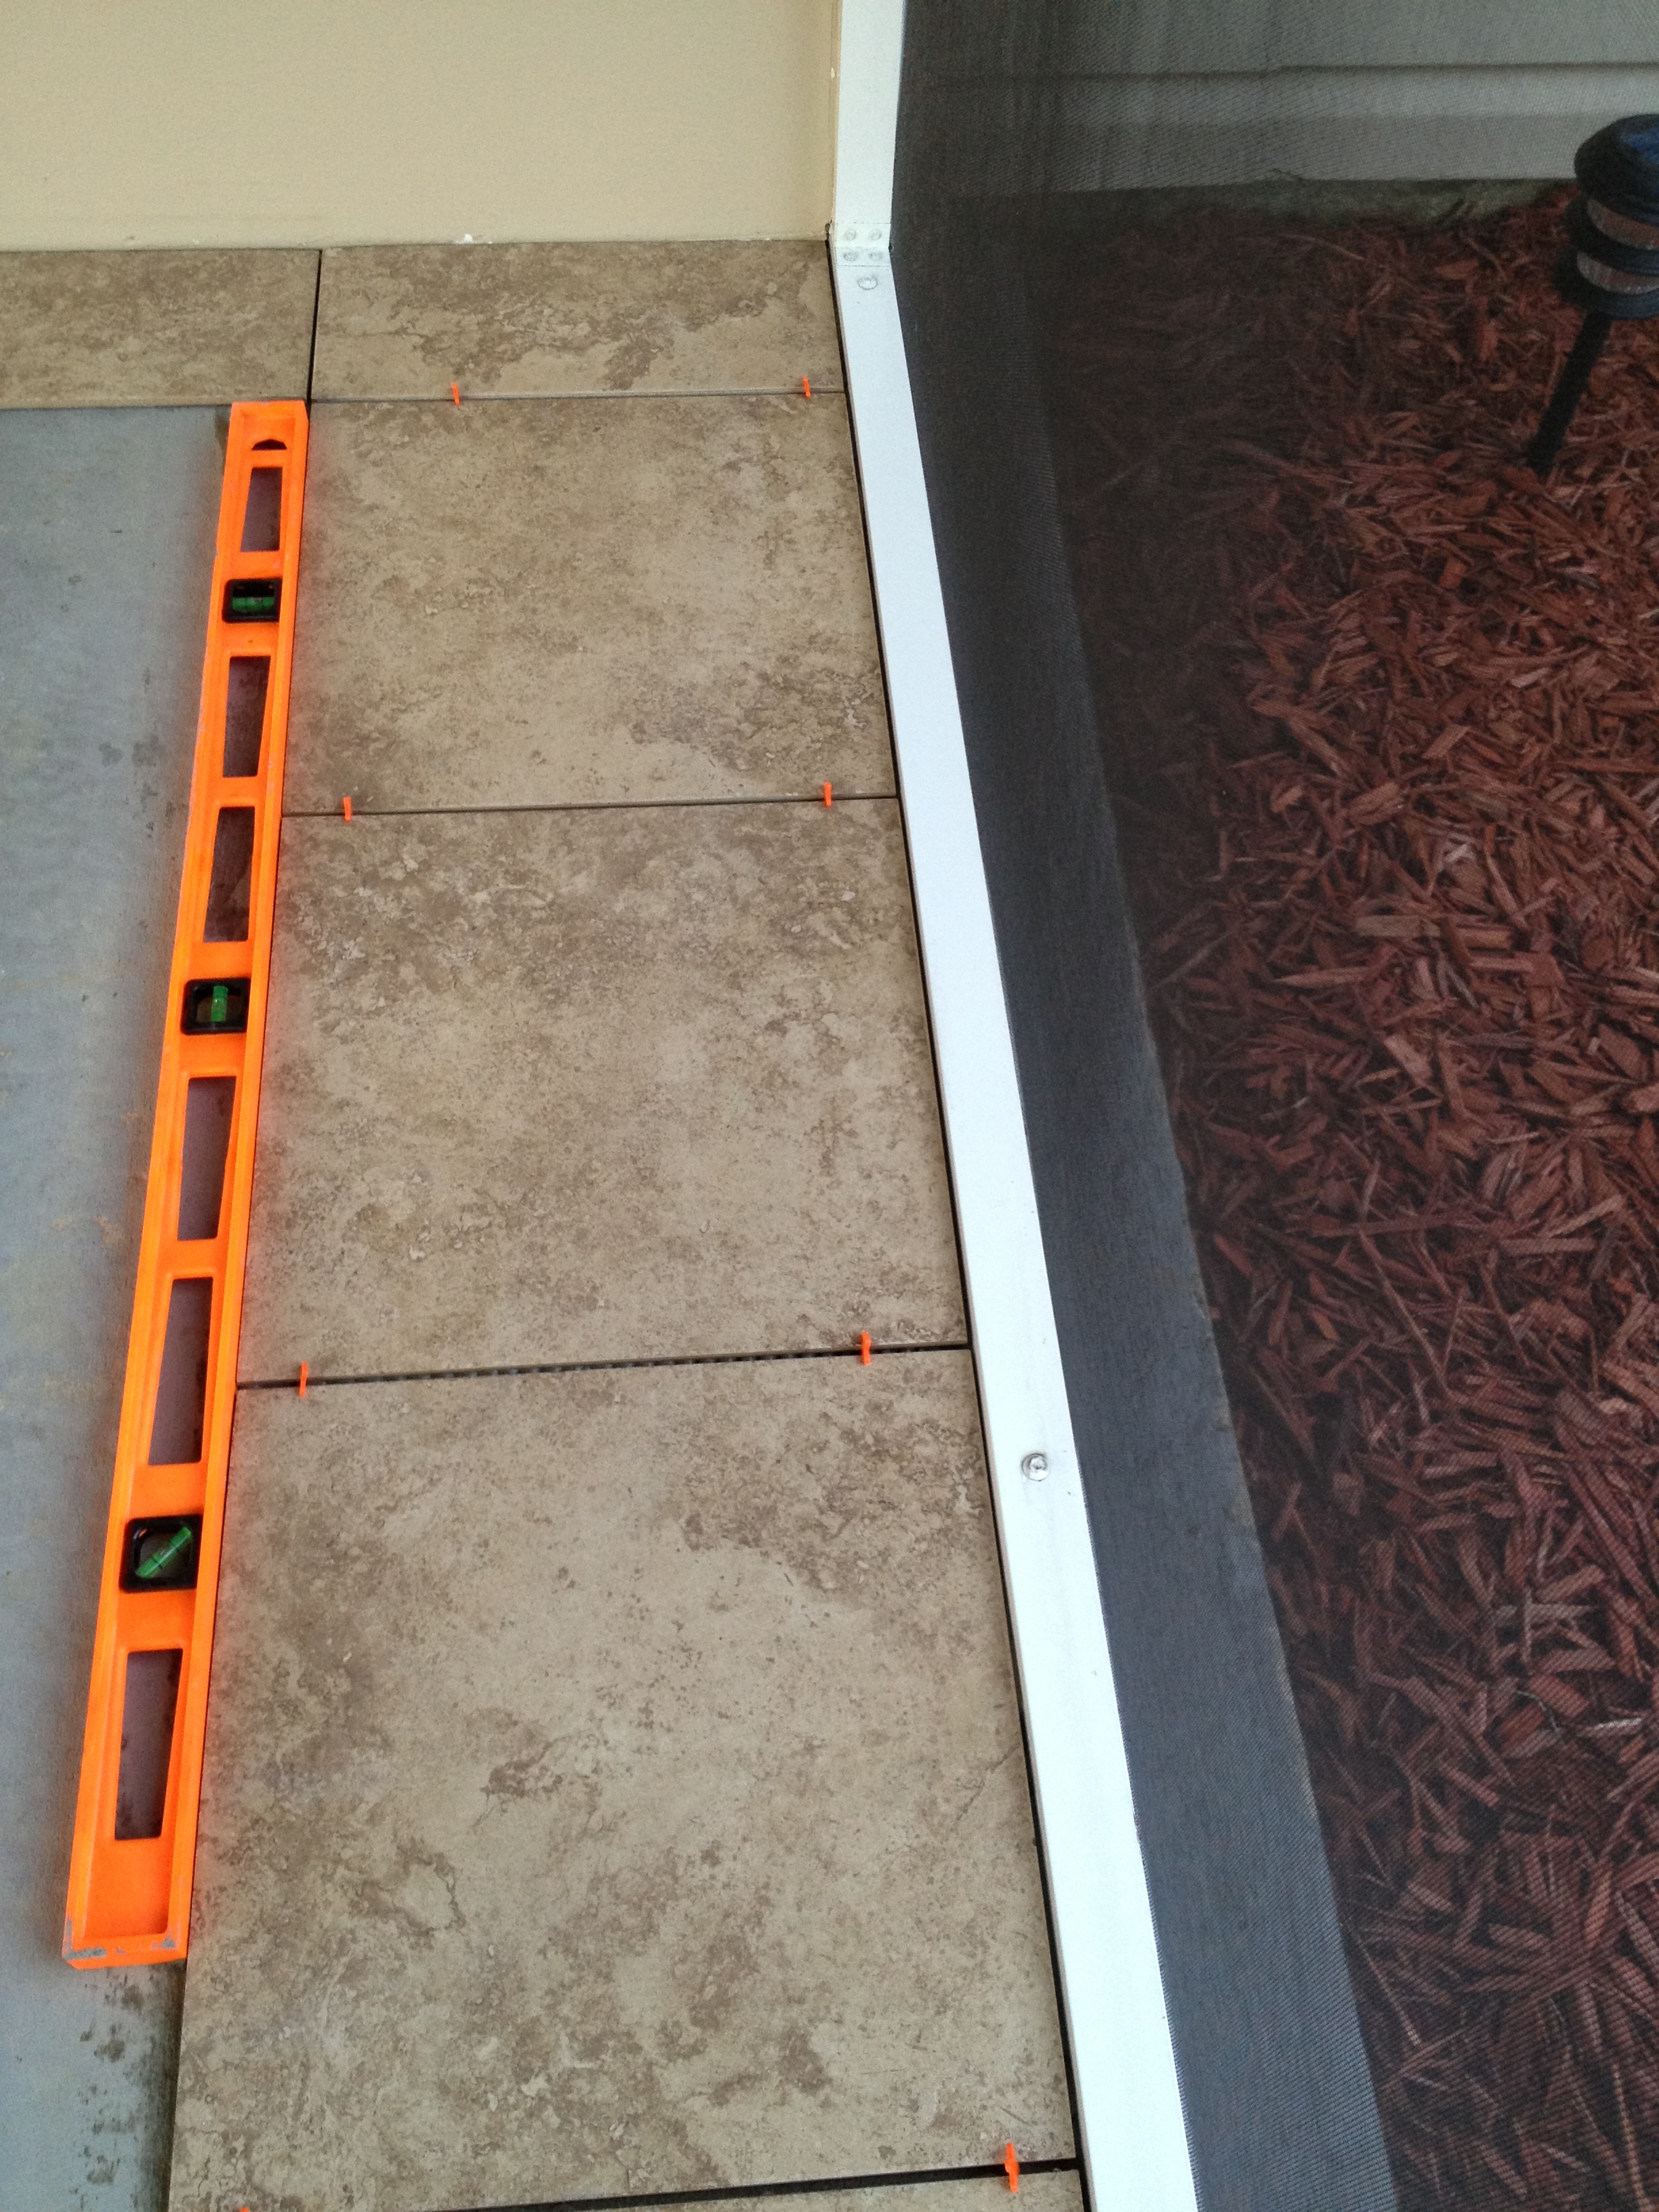
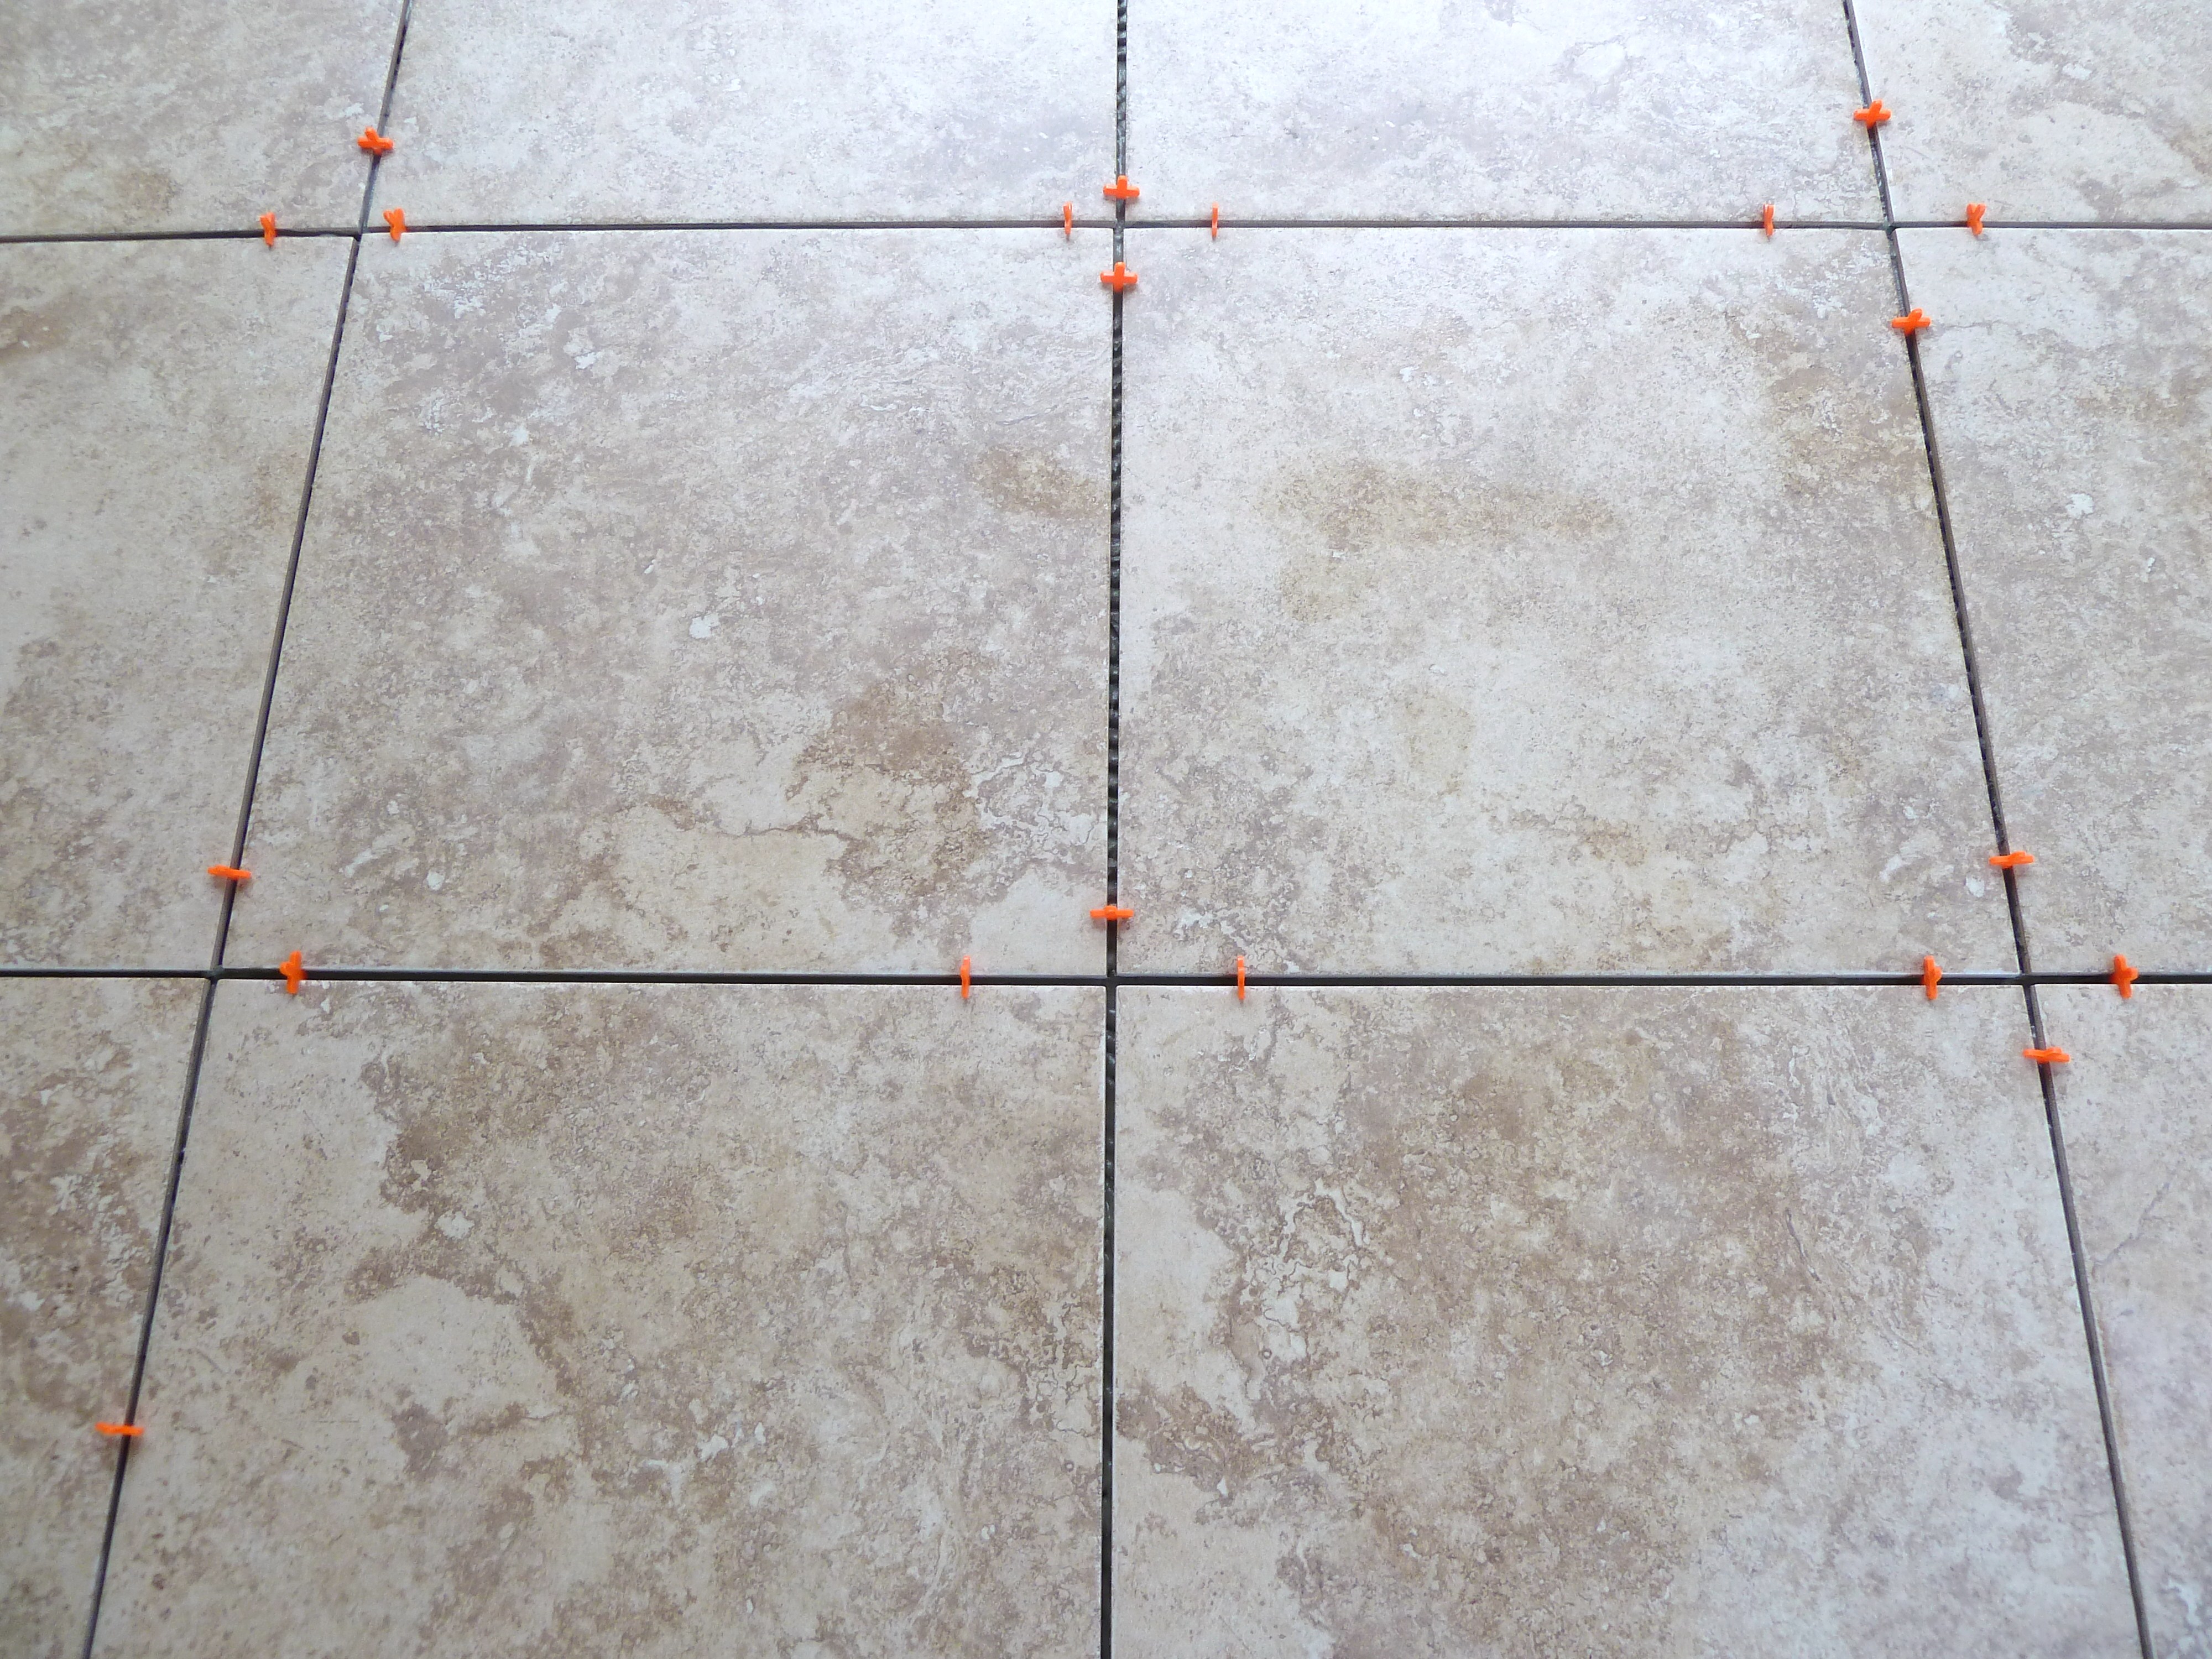
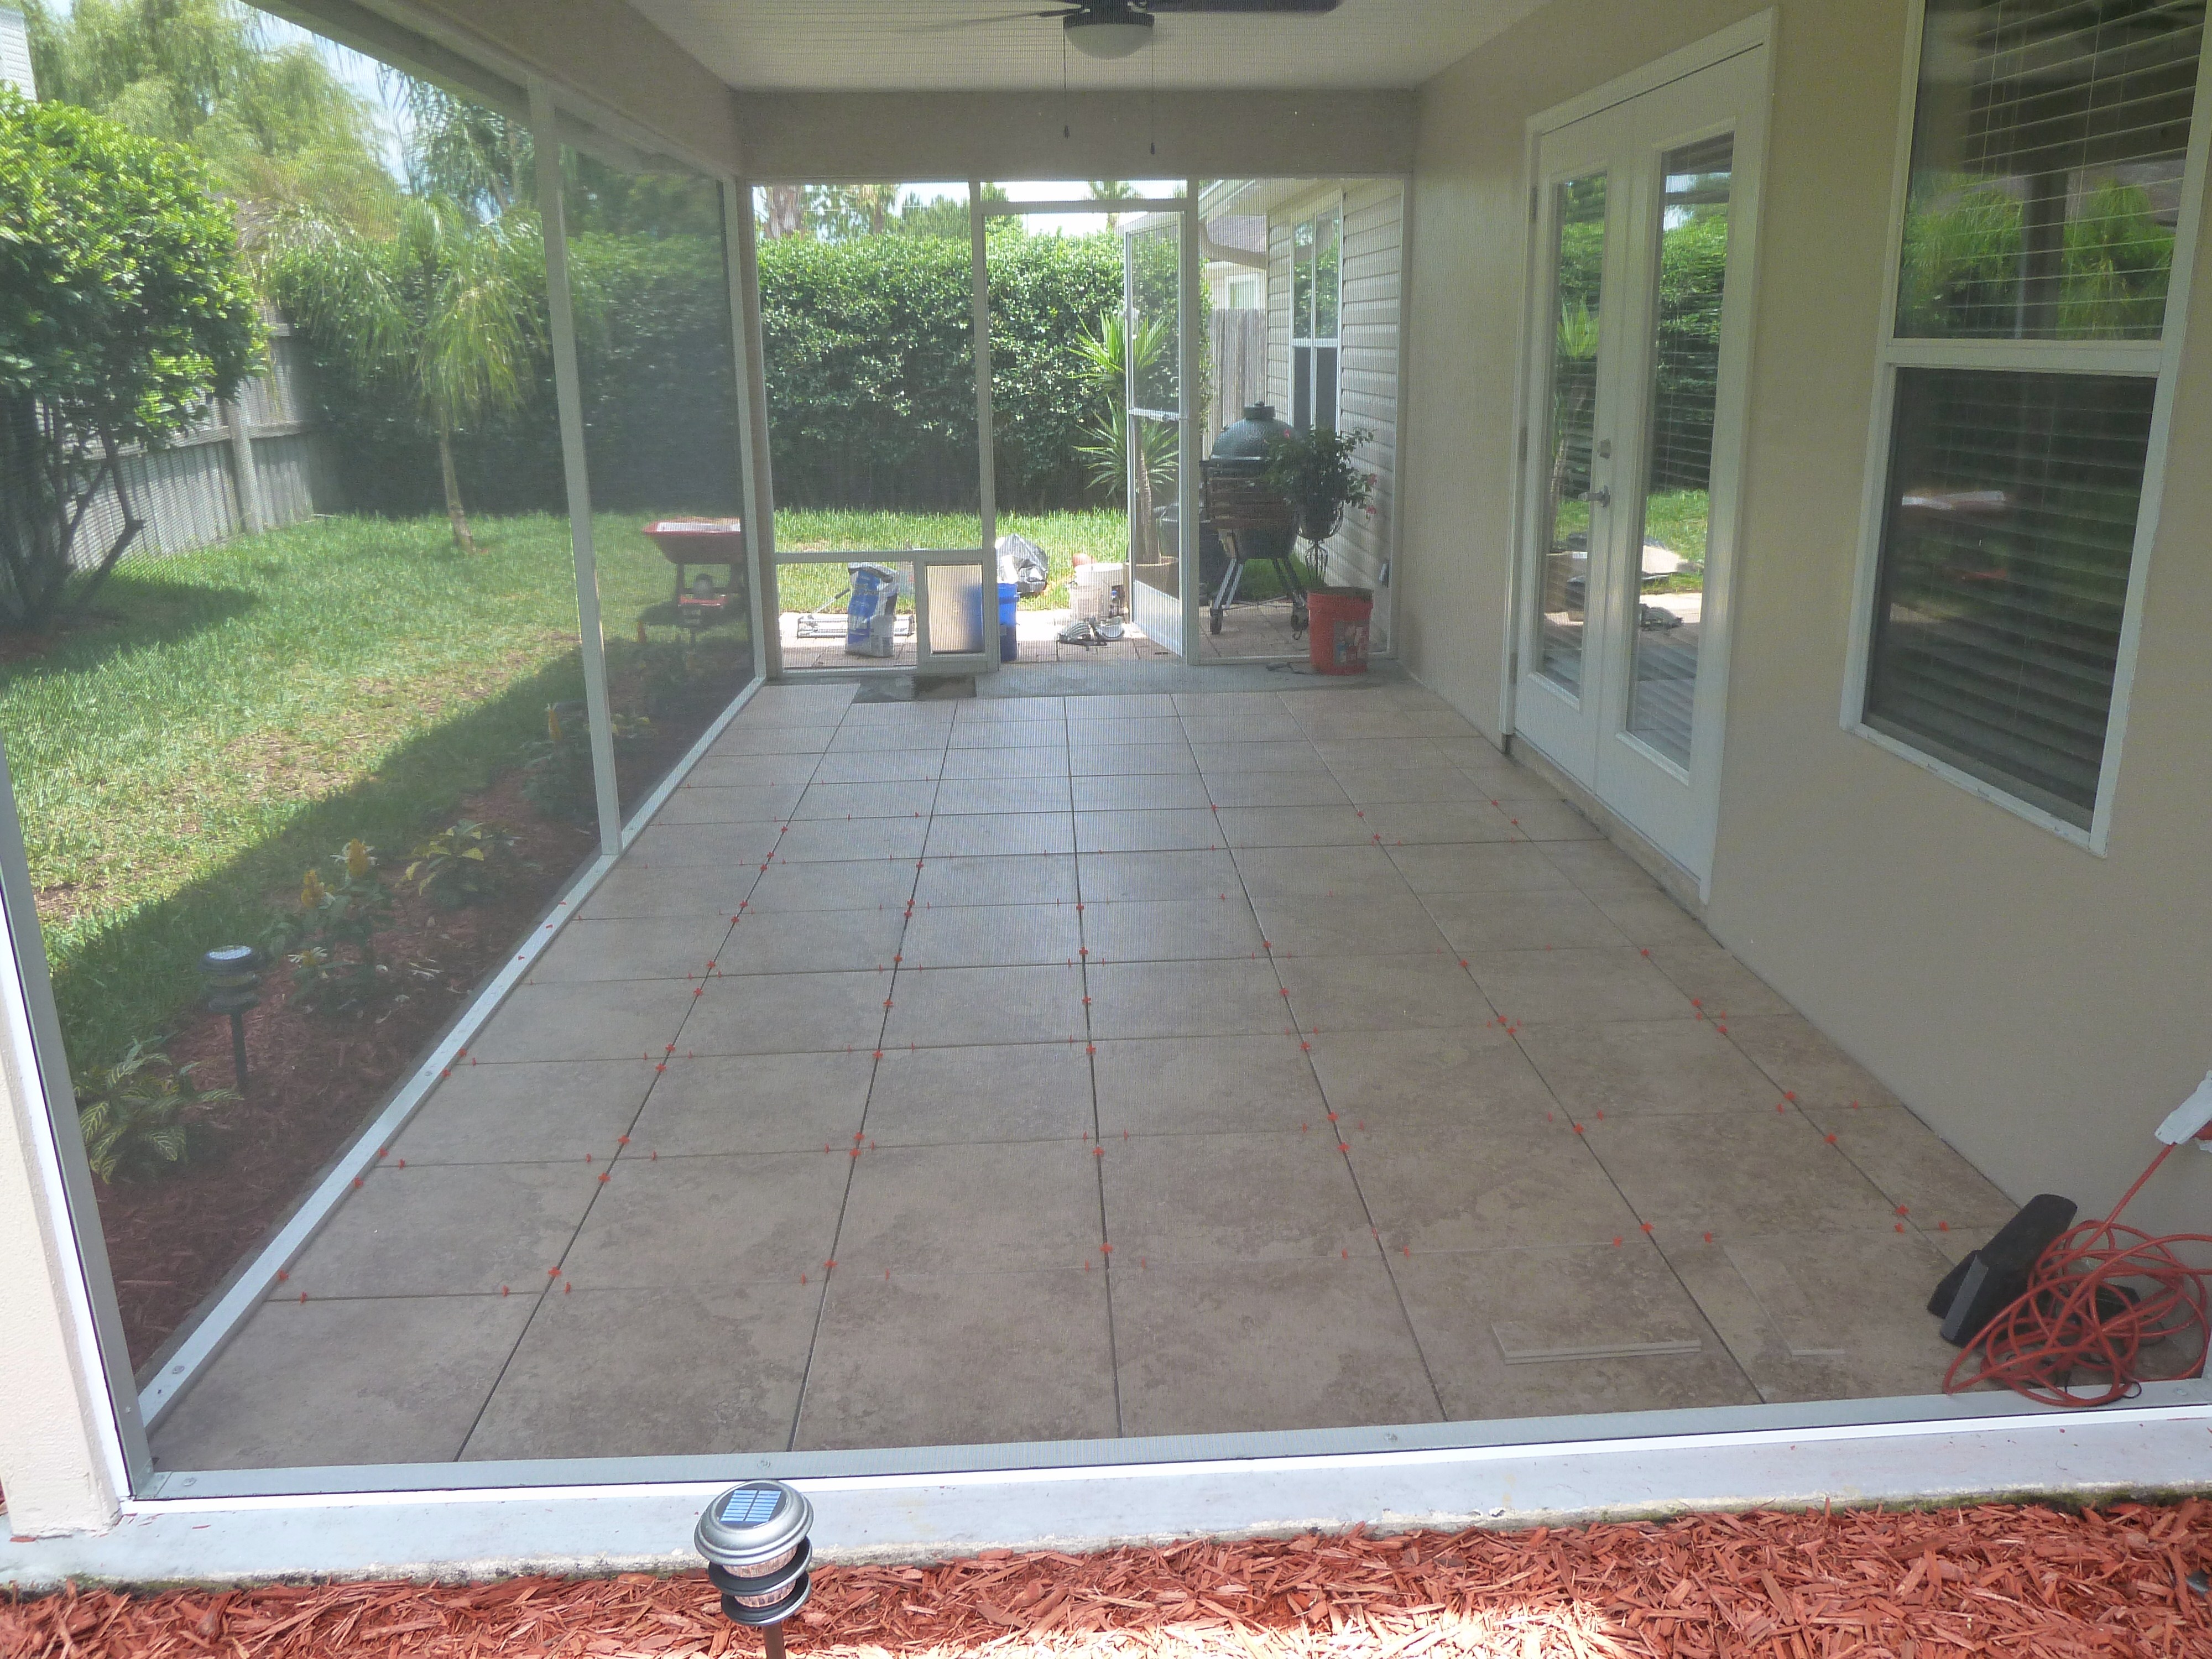
They are 18 inch tiles, they are called roman stone noche. He laid a layer of thinset tile adhesive with a notched trowel, then laid the tiles directly on top. He used tile spacers(the little orange things) to make sure the tiles were all the same distance apart. He also used this bad boy(wet saw)…
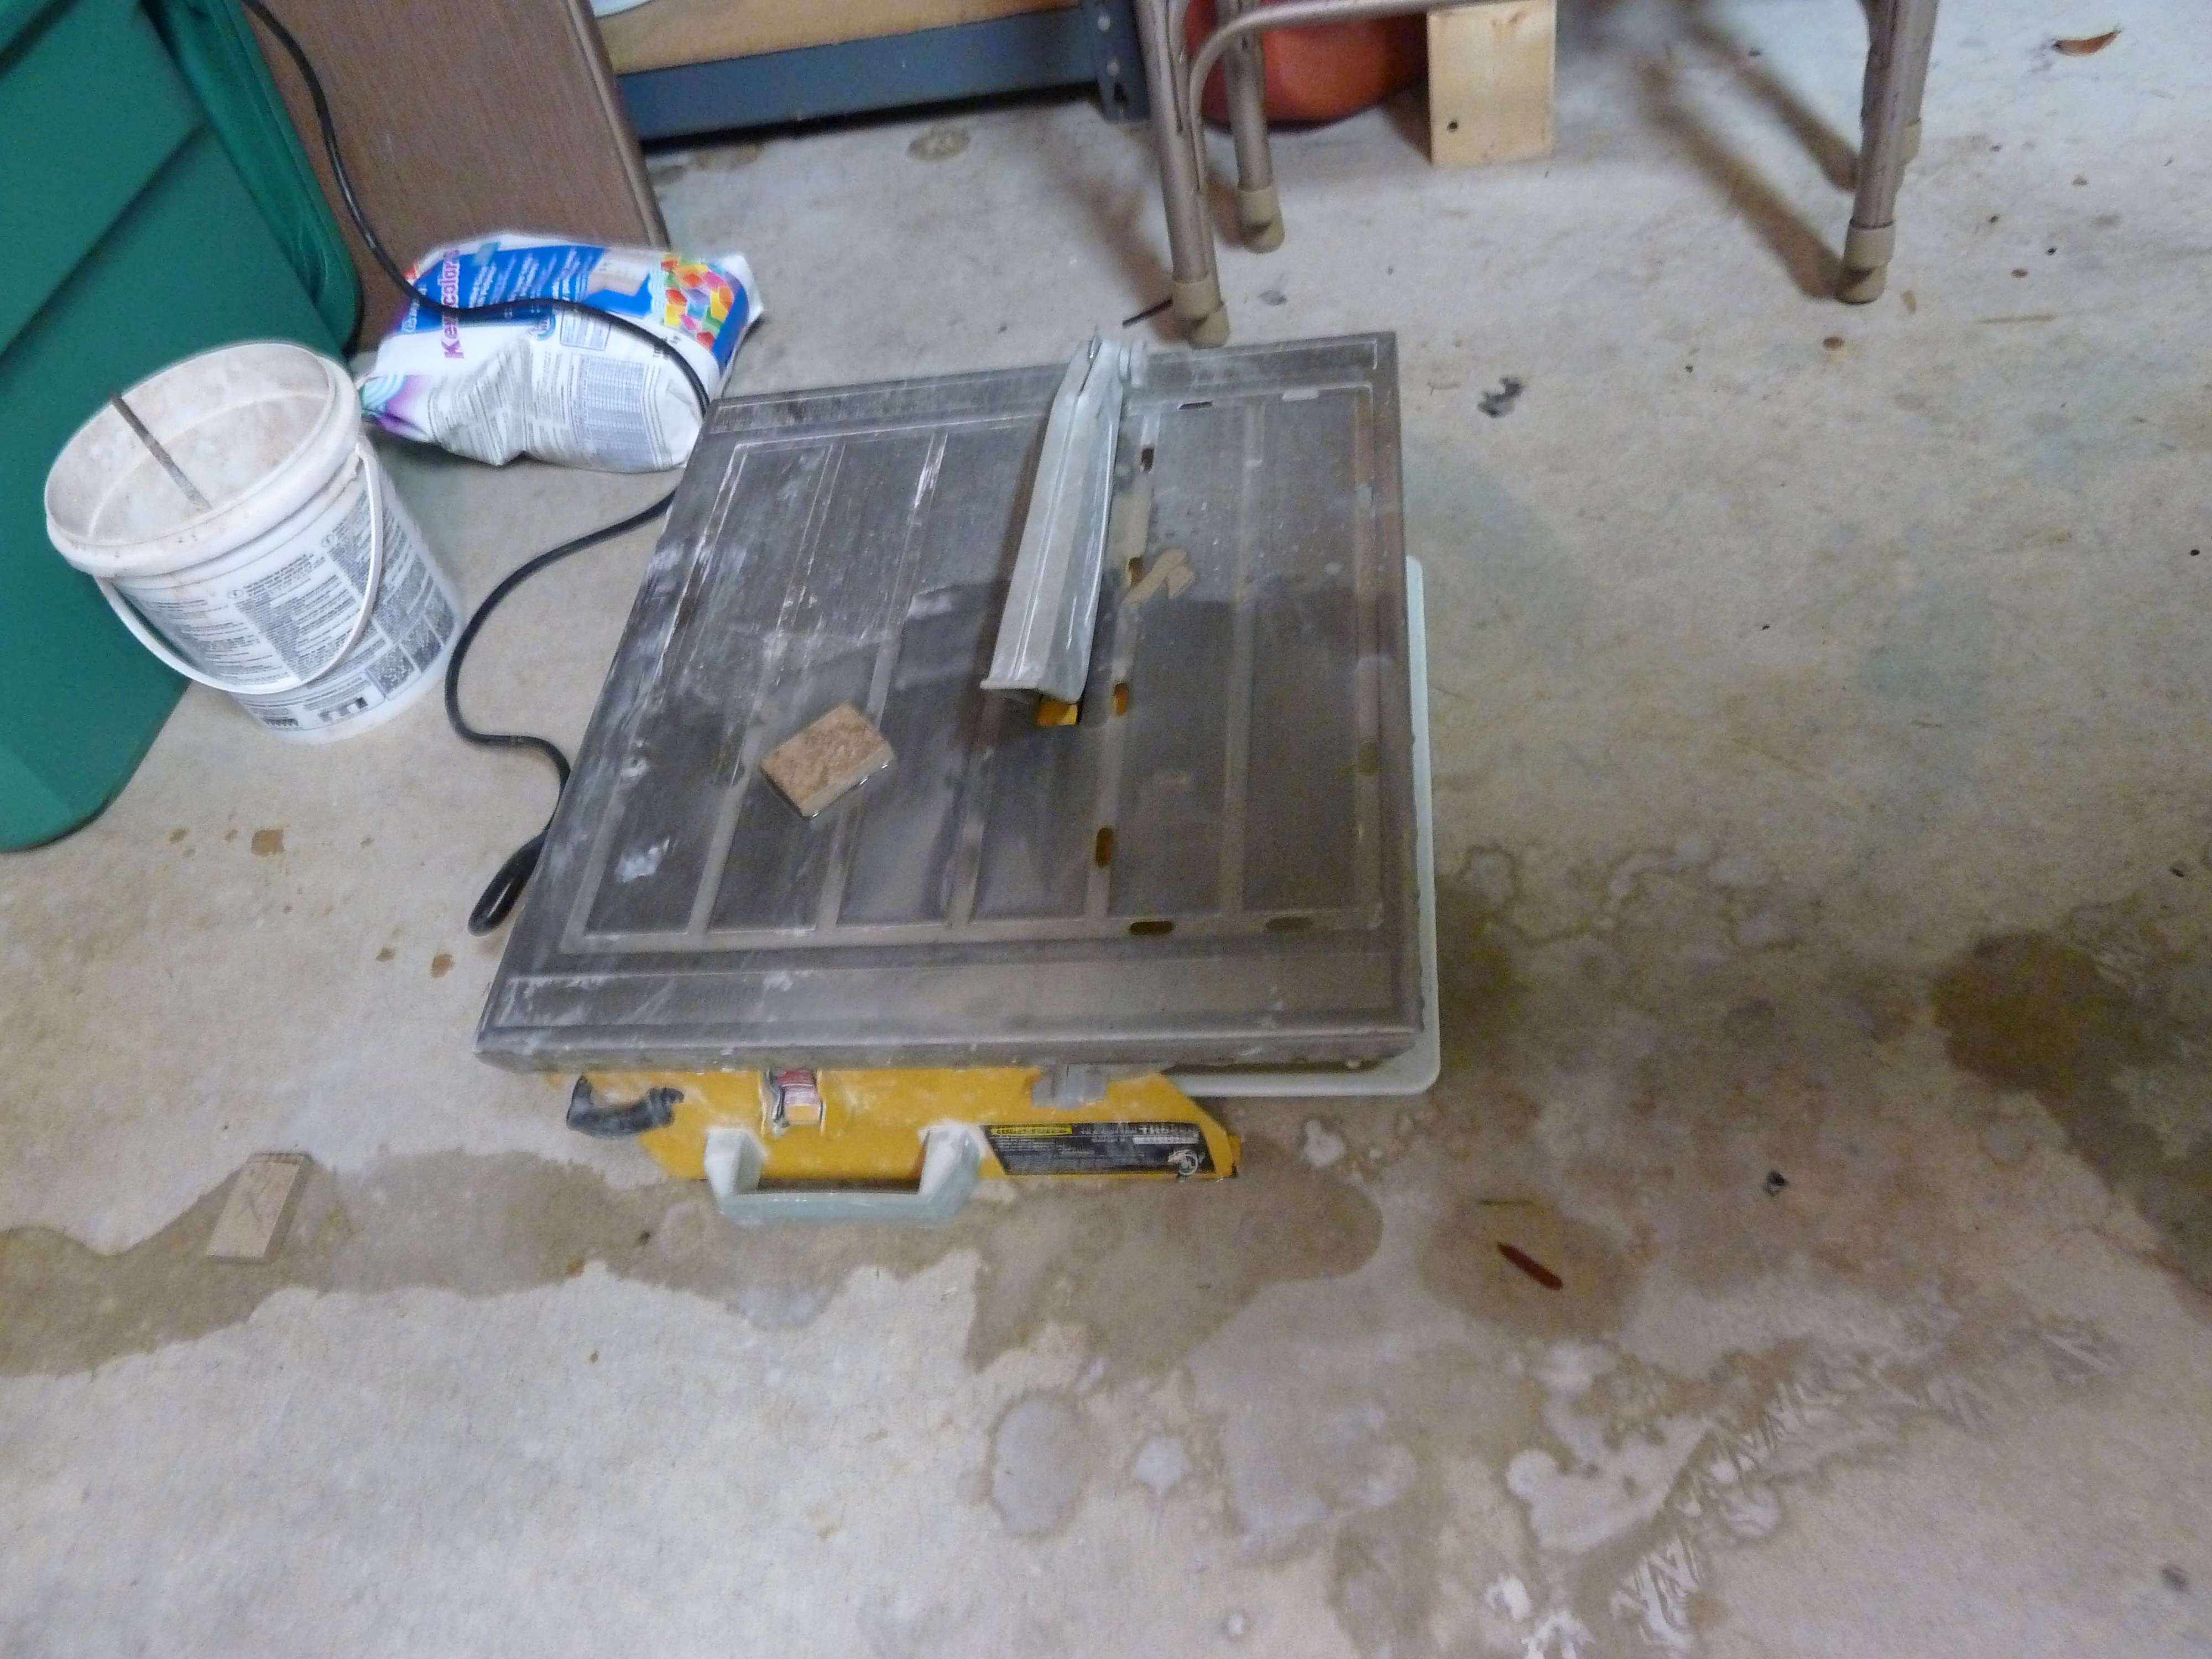
..to cut any tiles when needed. As he laid the tiles he made sure they were all level and straight.
He finished one row of the tile on Friday night, apparently he had some ants in his pants. Saturday morning bright and early he got right back to work.

I unfortunately was not any help to Justin, if anything I just got in the way when taking photos. I did offer to help though!

He did so great.
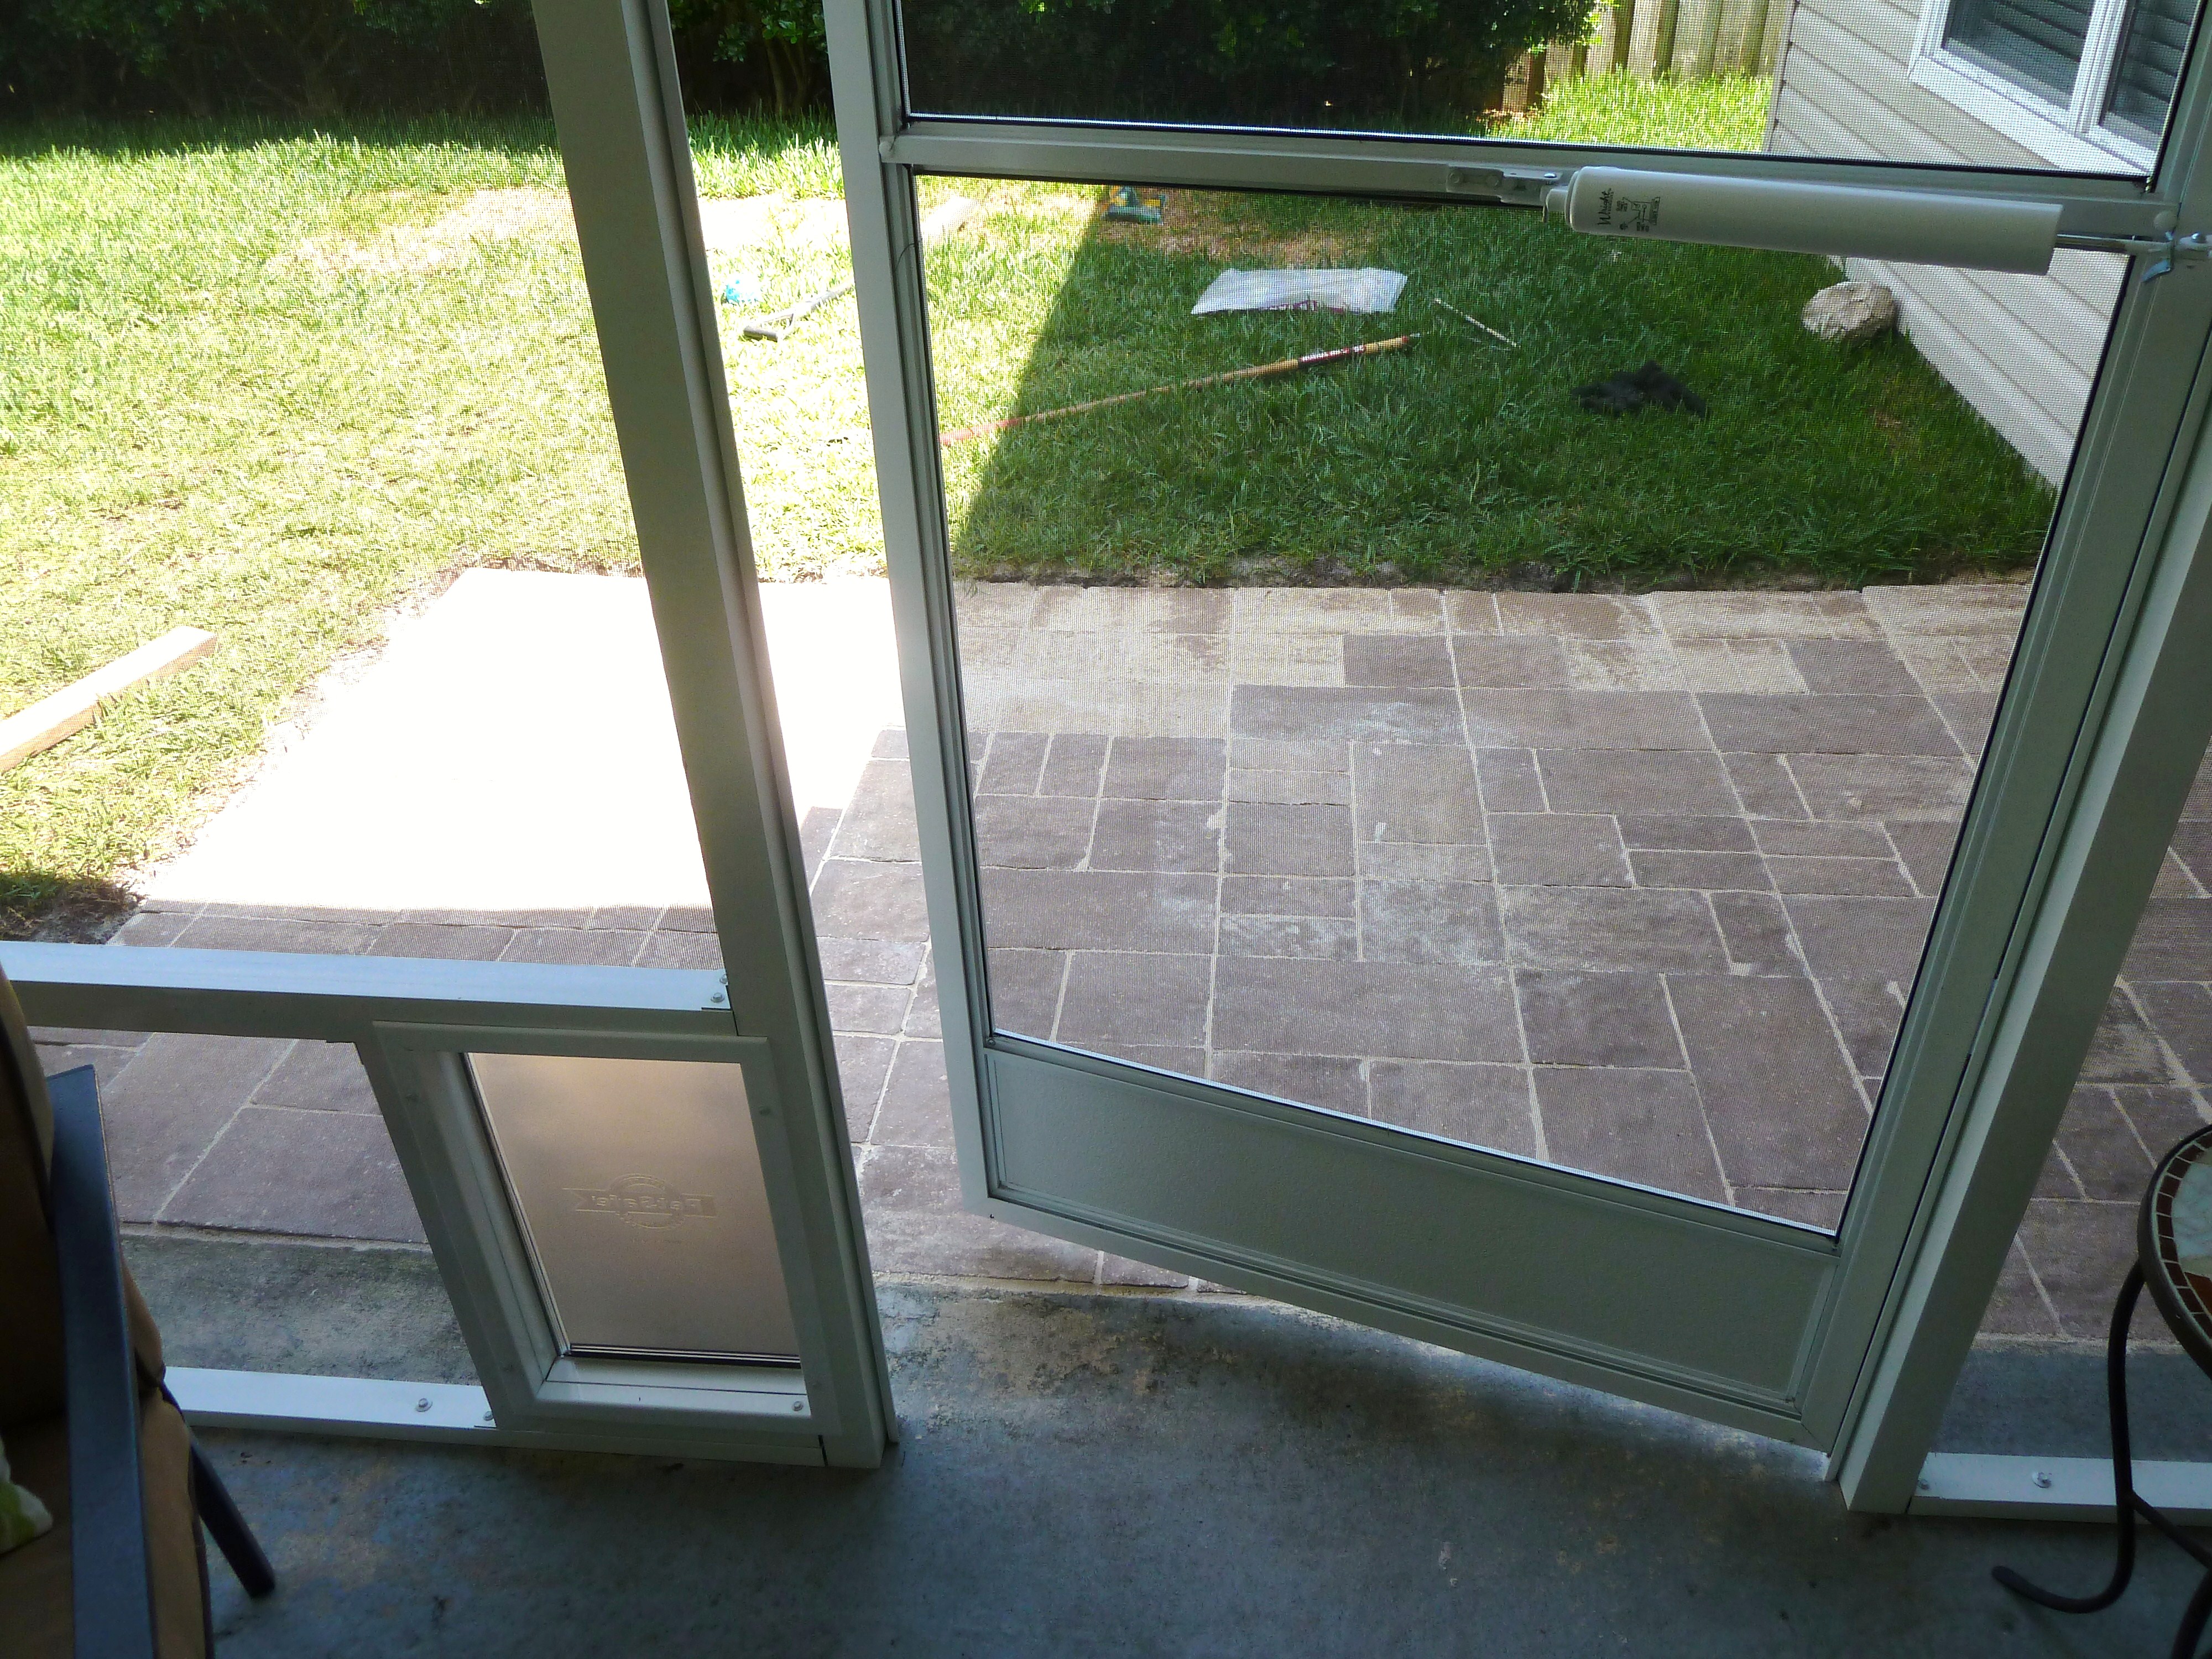
`Once they were all down it already looked like a whole new patio. I can’t believe what a difference it makes.
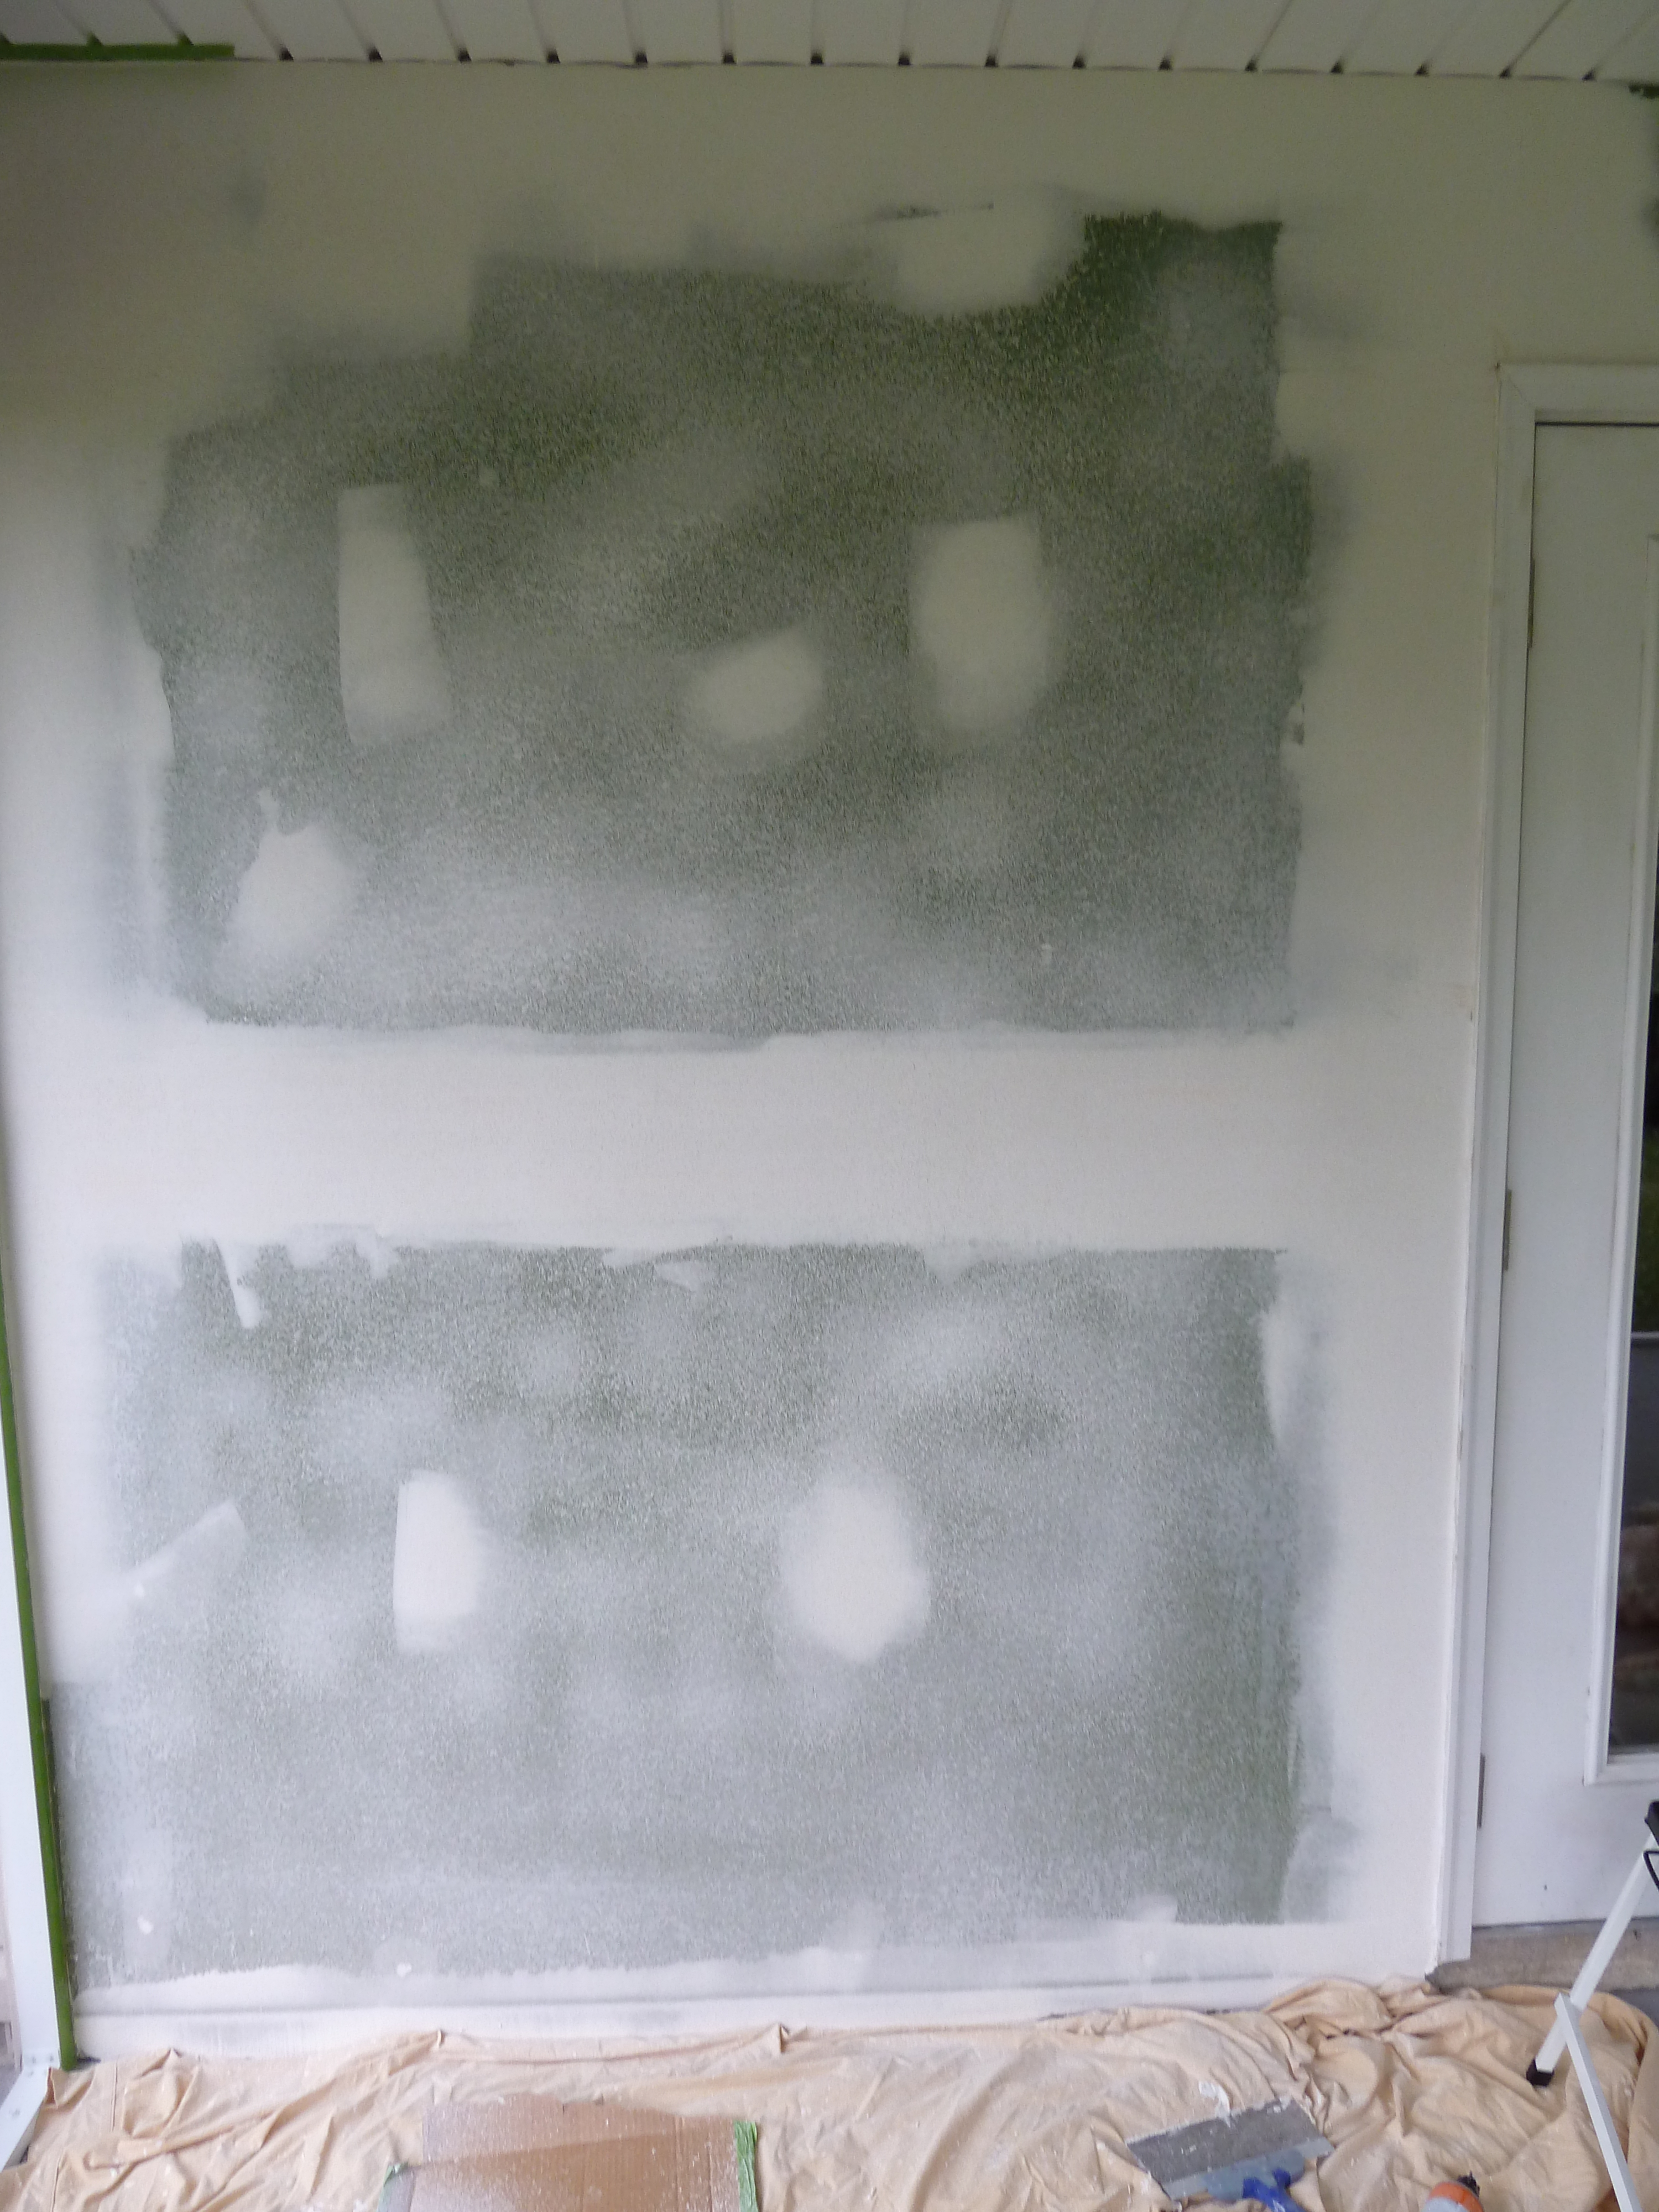
All that was left was grout. So bright and early Sunday Justin was back out there.

He started by using a grout float to push the grout in between the tiles. He made his way across the entire floor pushing the grout into the seems. At the same time he was using a wet sponge to wipe away the excess grout that remained on the tiles.

As he moved down to the other end of the patio, the previous tiles started to dry and look like this…
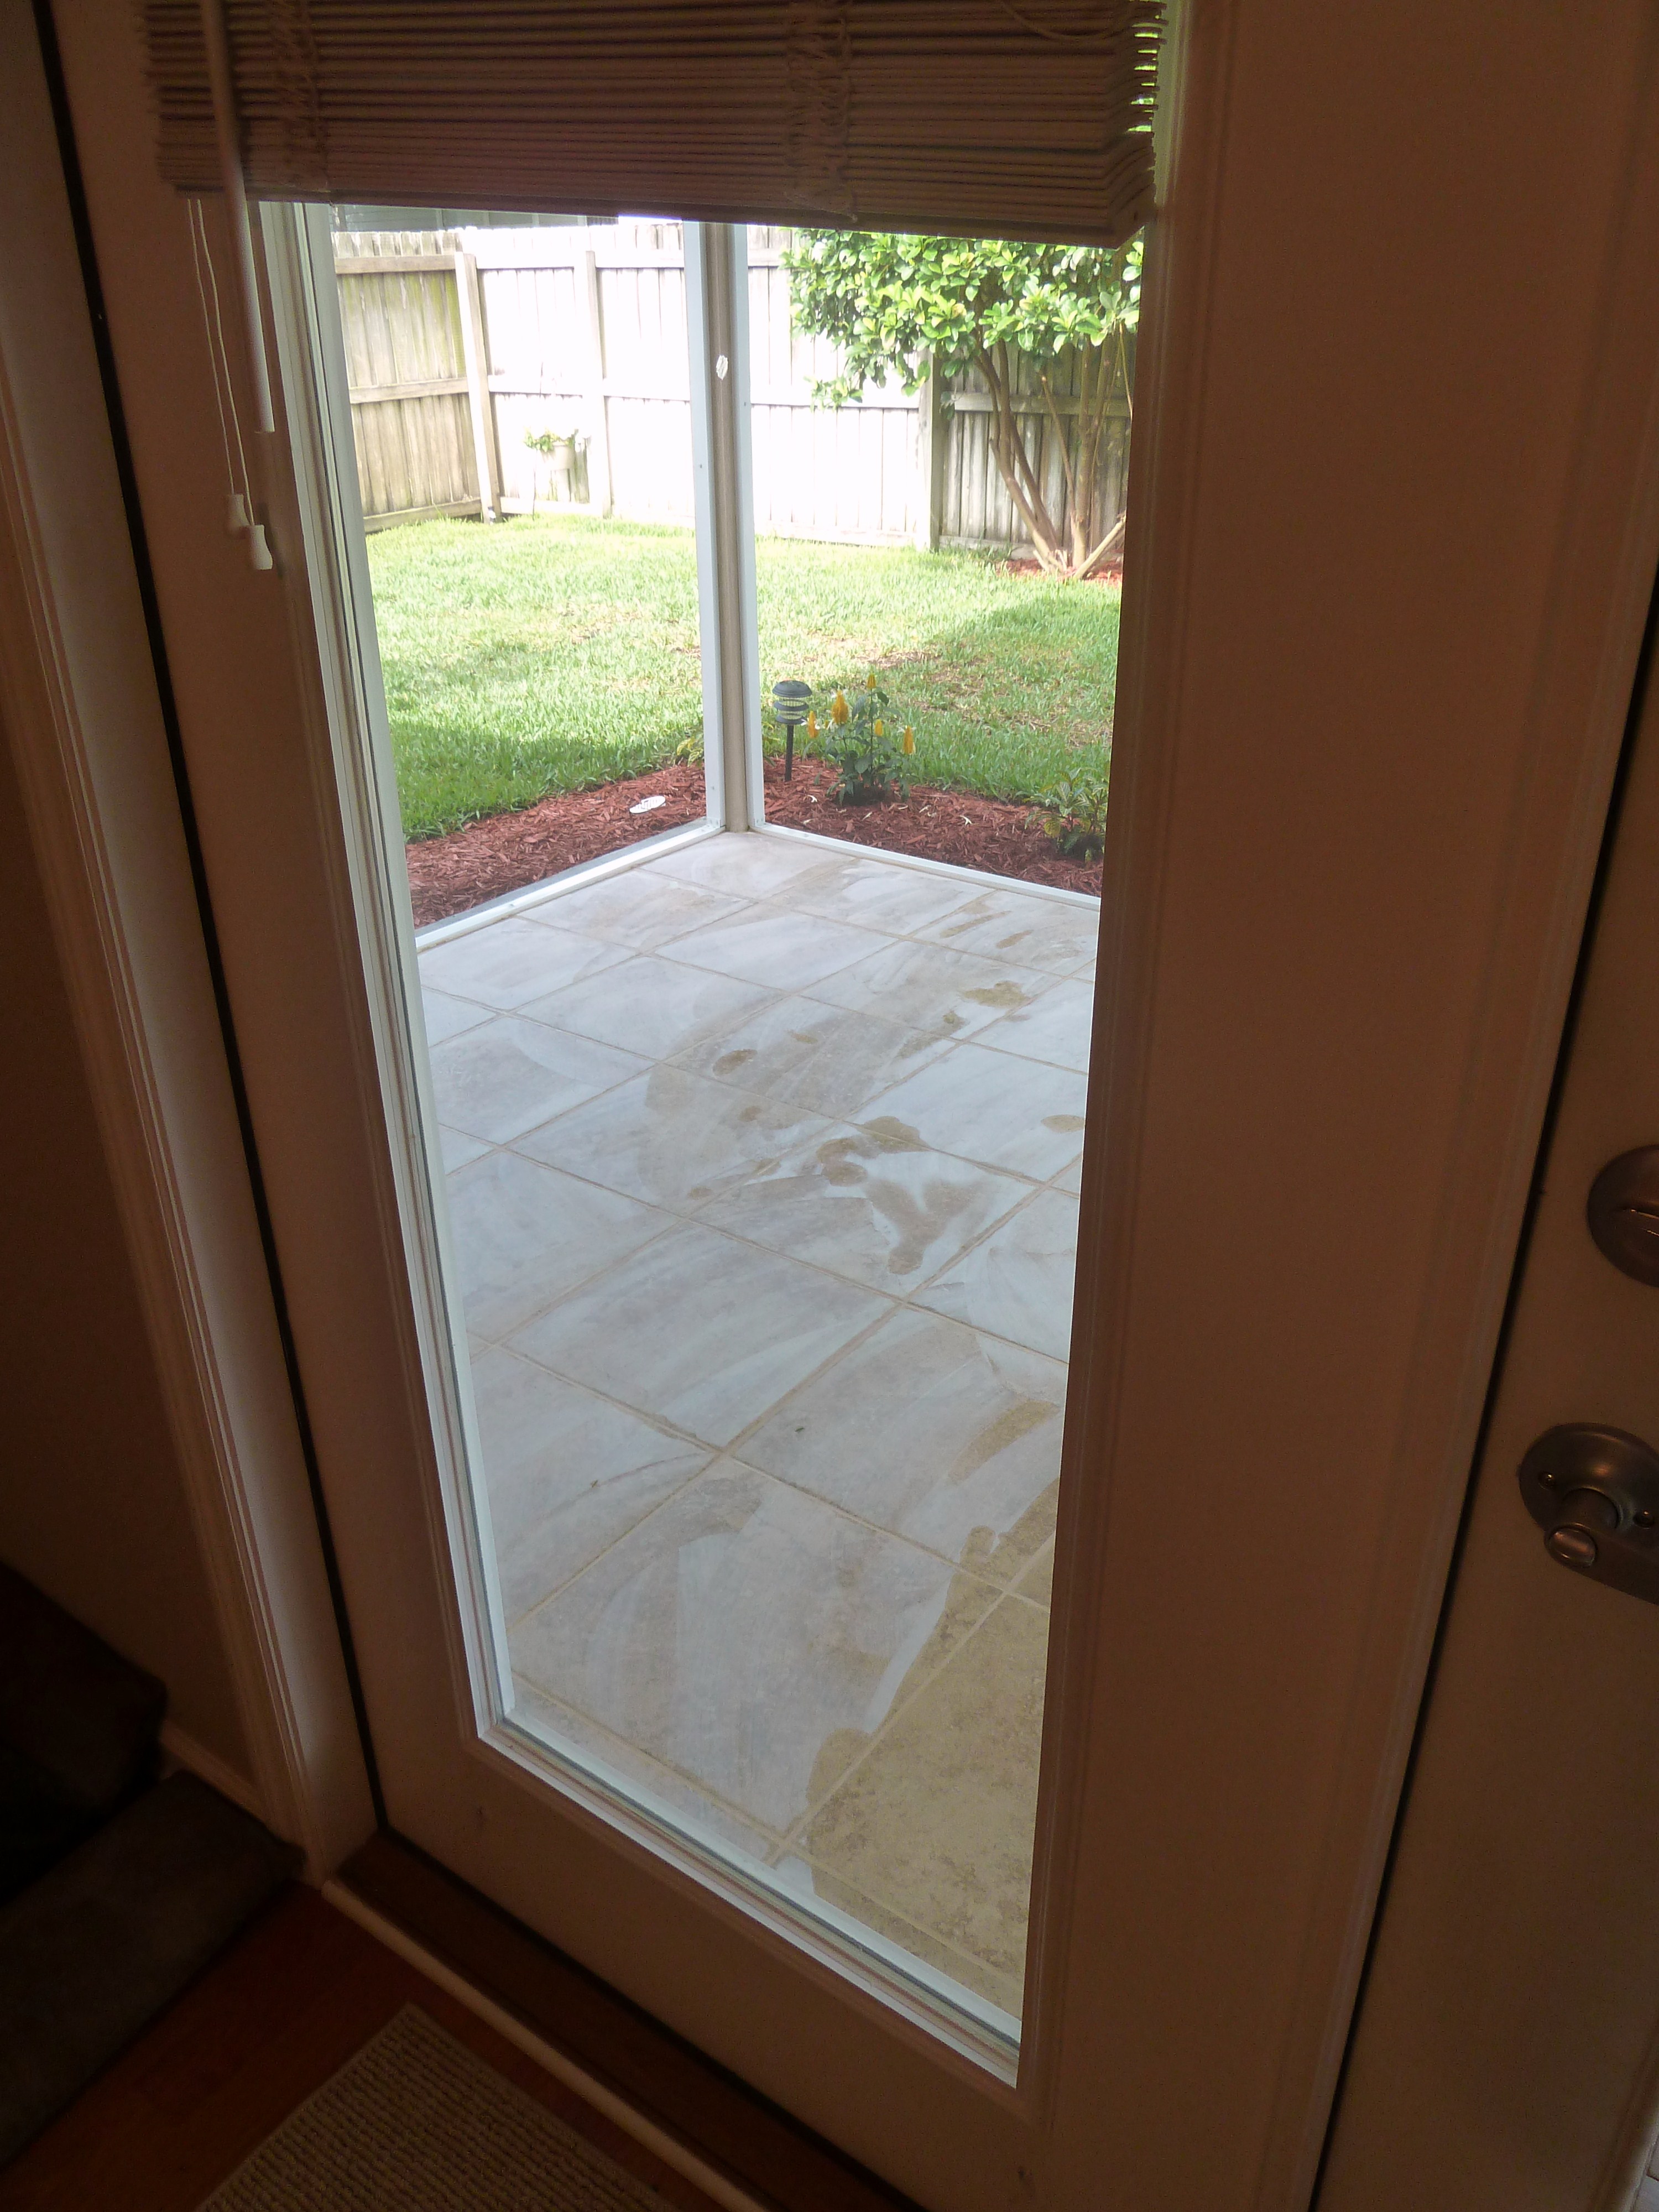
They were all turning a dusty white, showing all the still remaining grout. He had to go back a few more times and clean the tile over and over until there was only grout in between the tiles and not on top. He also went back through another time with vinegar to clean the tile. This is what the end result is…

YAYAYAY!
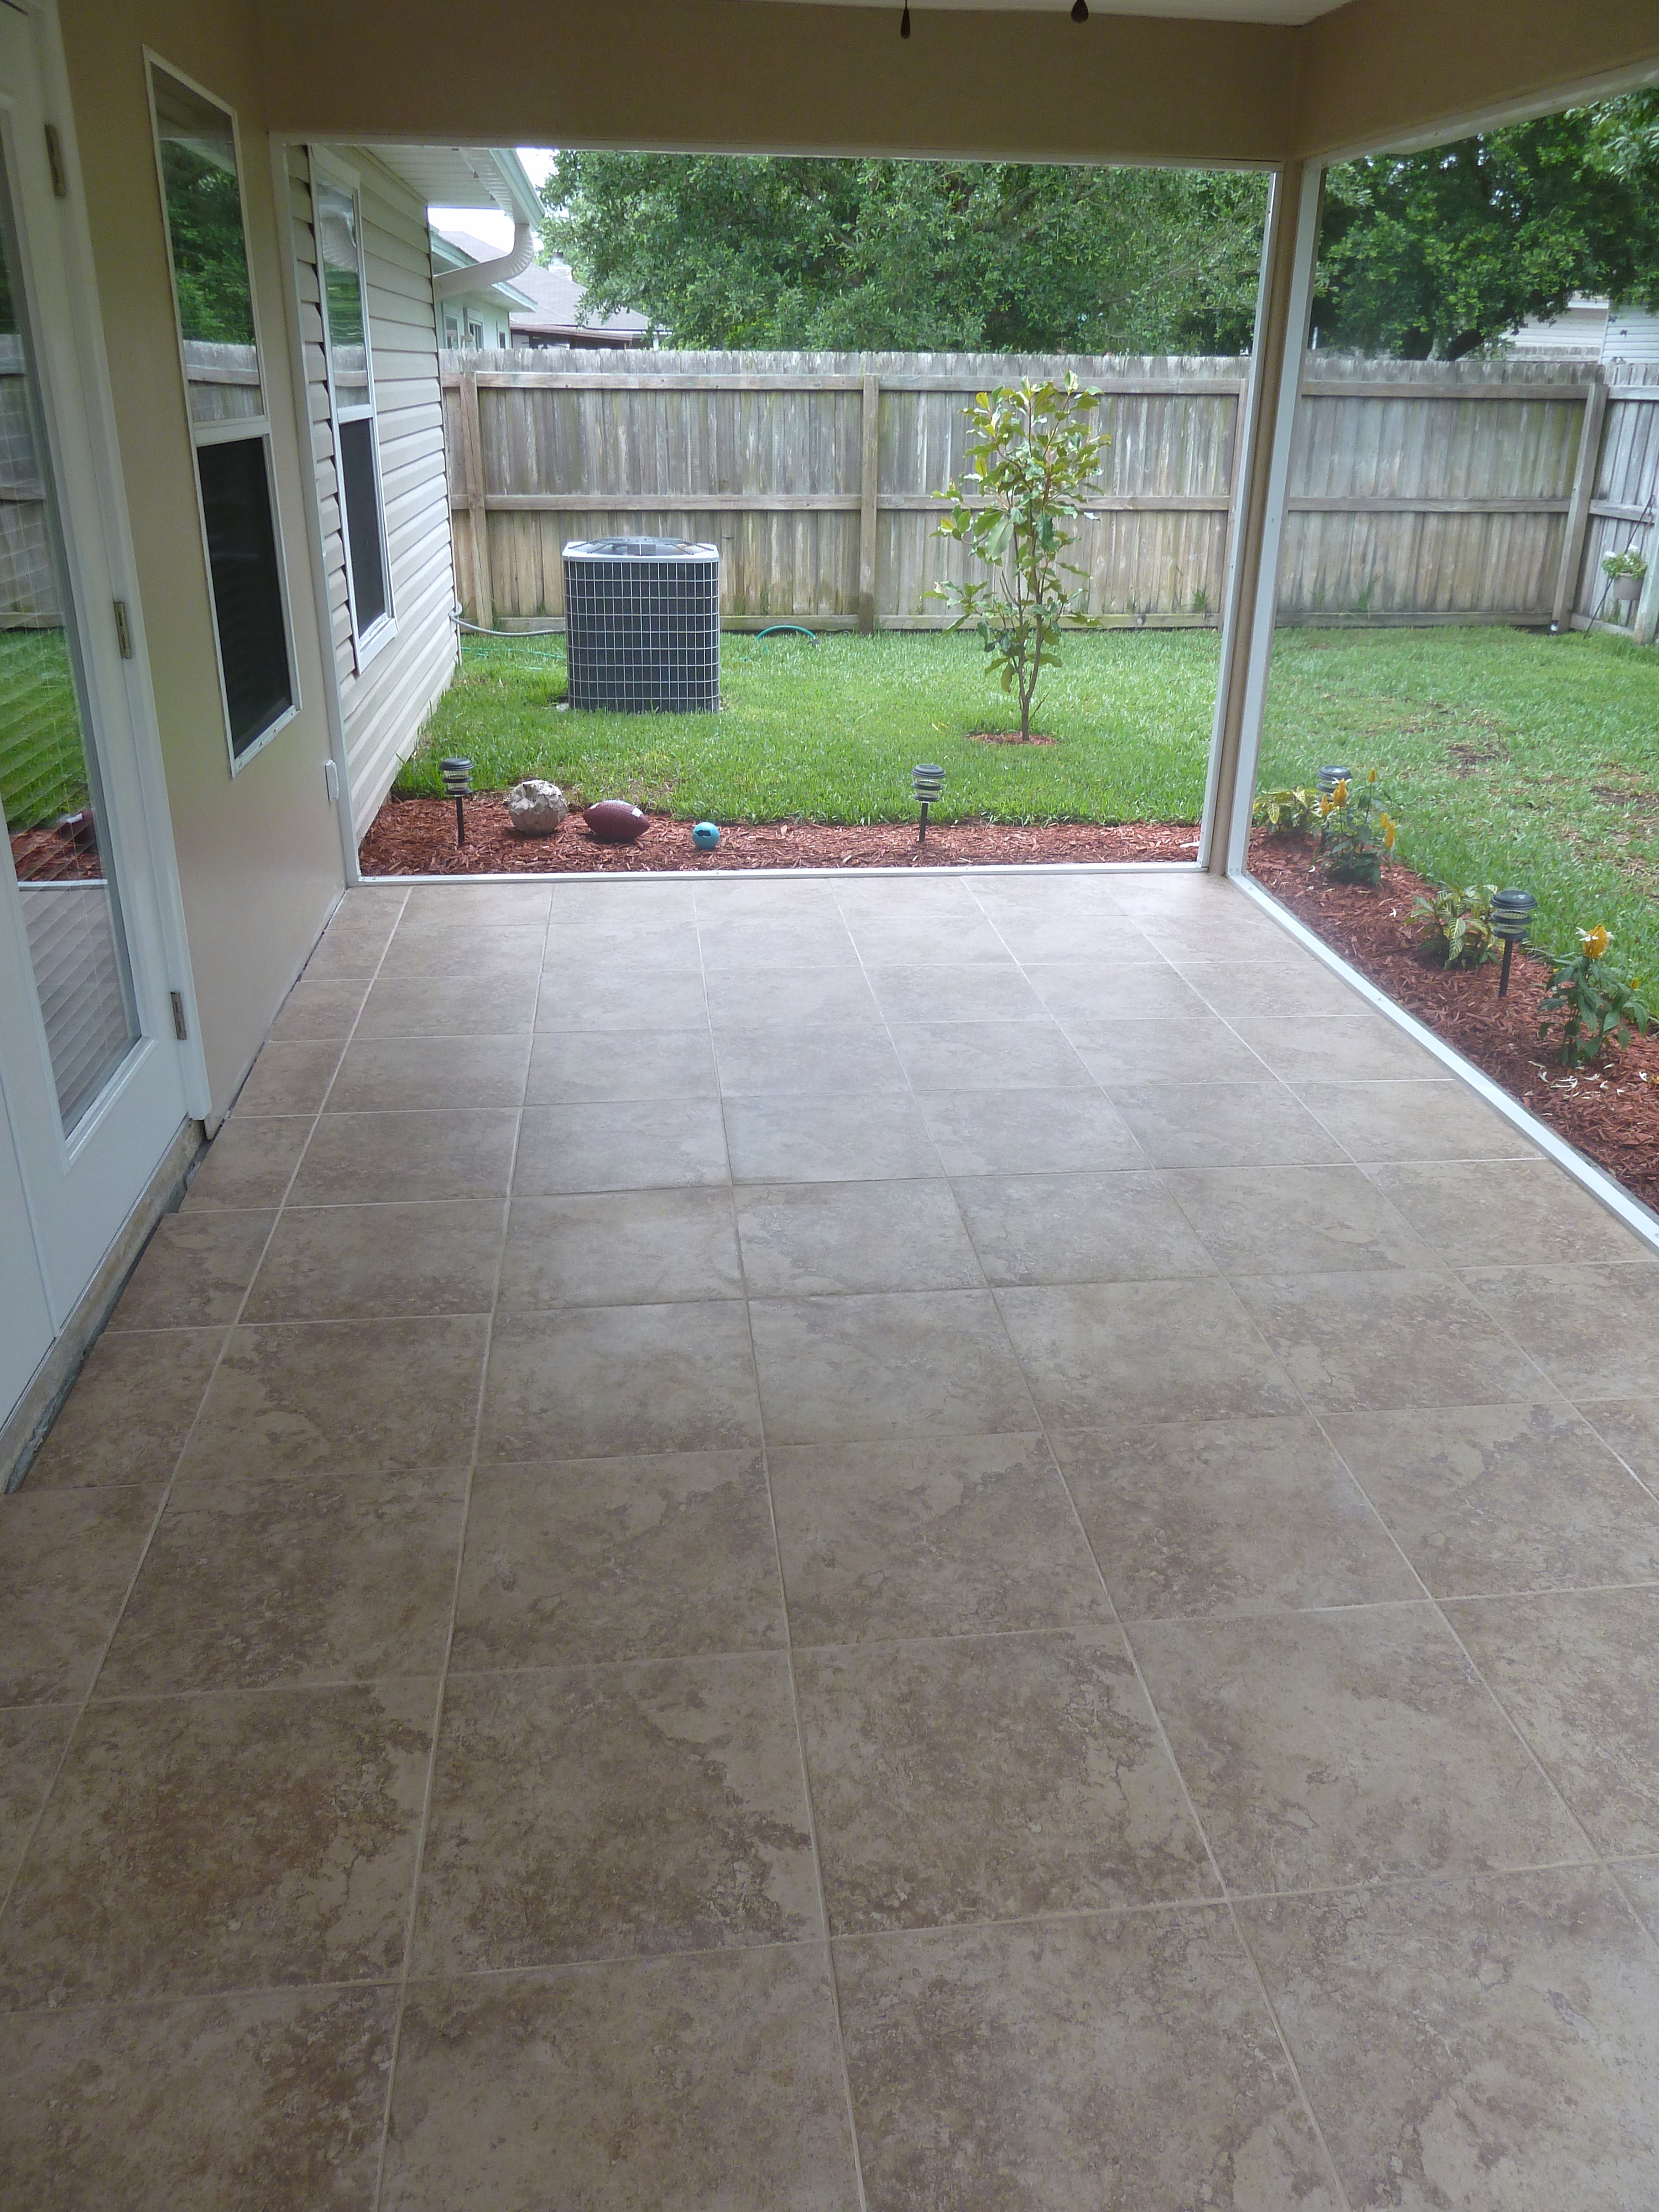
Love Love Love!

After we admired it for a while and let everything dry we brought all the patio furniture back out.


One more view…

I am obsessed. The tile floor just makes it feel more like a room instead of a patio. List update?
Patio to do list:
screen patio.replace fan.texture drywall.paint patio and doors.tile and grout floor.find patio furniture.enjoy!
Oh no you are not seeing things, everything is crossed off! I would like to eventually get something to hang on the bare wall and I am sure there will be other updates. Justin still needs to finish the tile next to the house with some sort of trim, but for the most part this room is done!