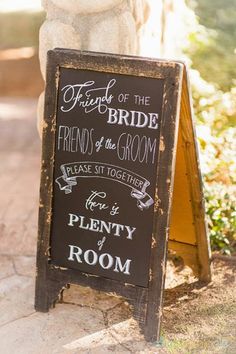
I previously mentioned that I DIYed the chalkboard signs that we displayed at our wedding, and I promised I would share how I did it. I had fallen for some of the chalkboard displays I had come across on Pinterest. Like this…
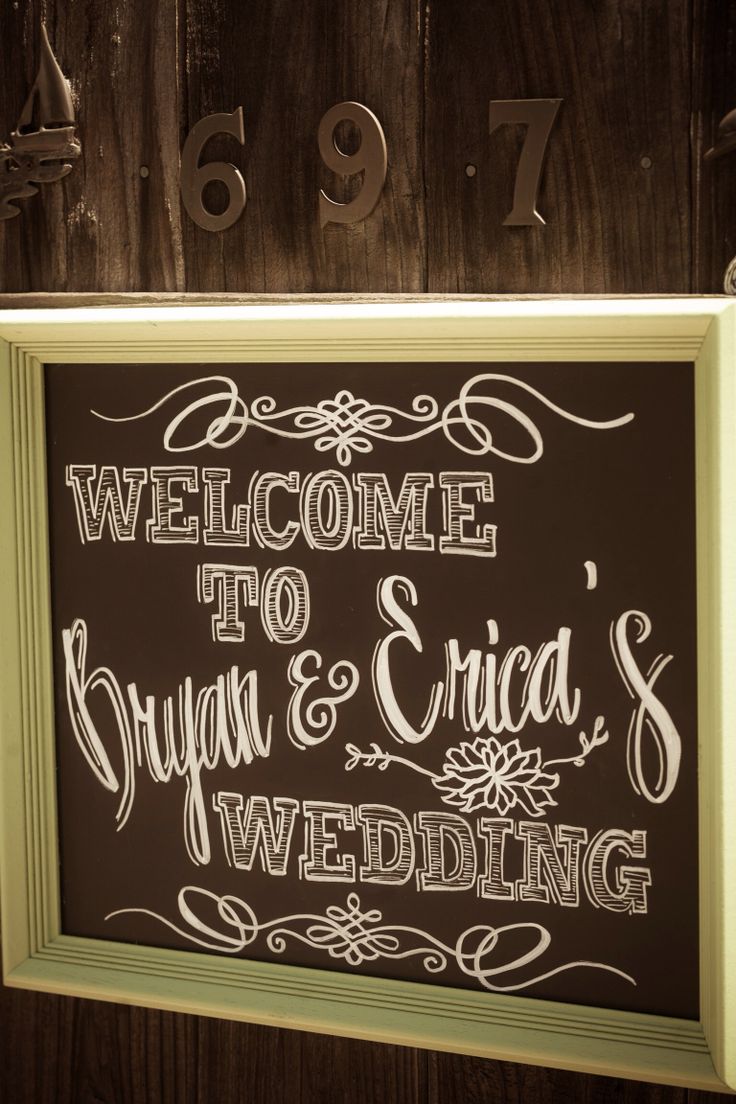
and this…
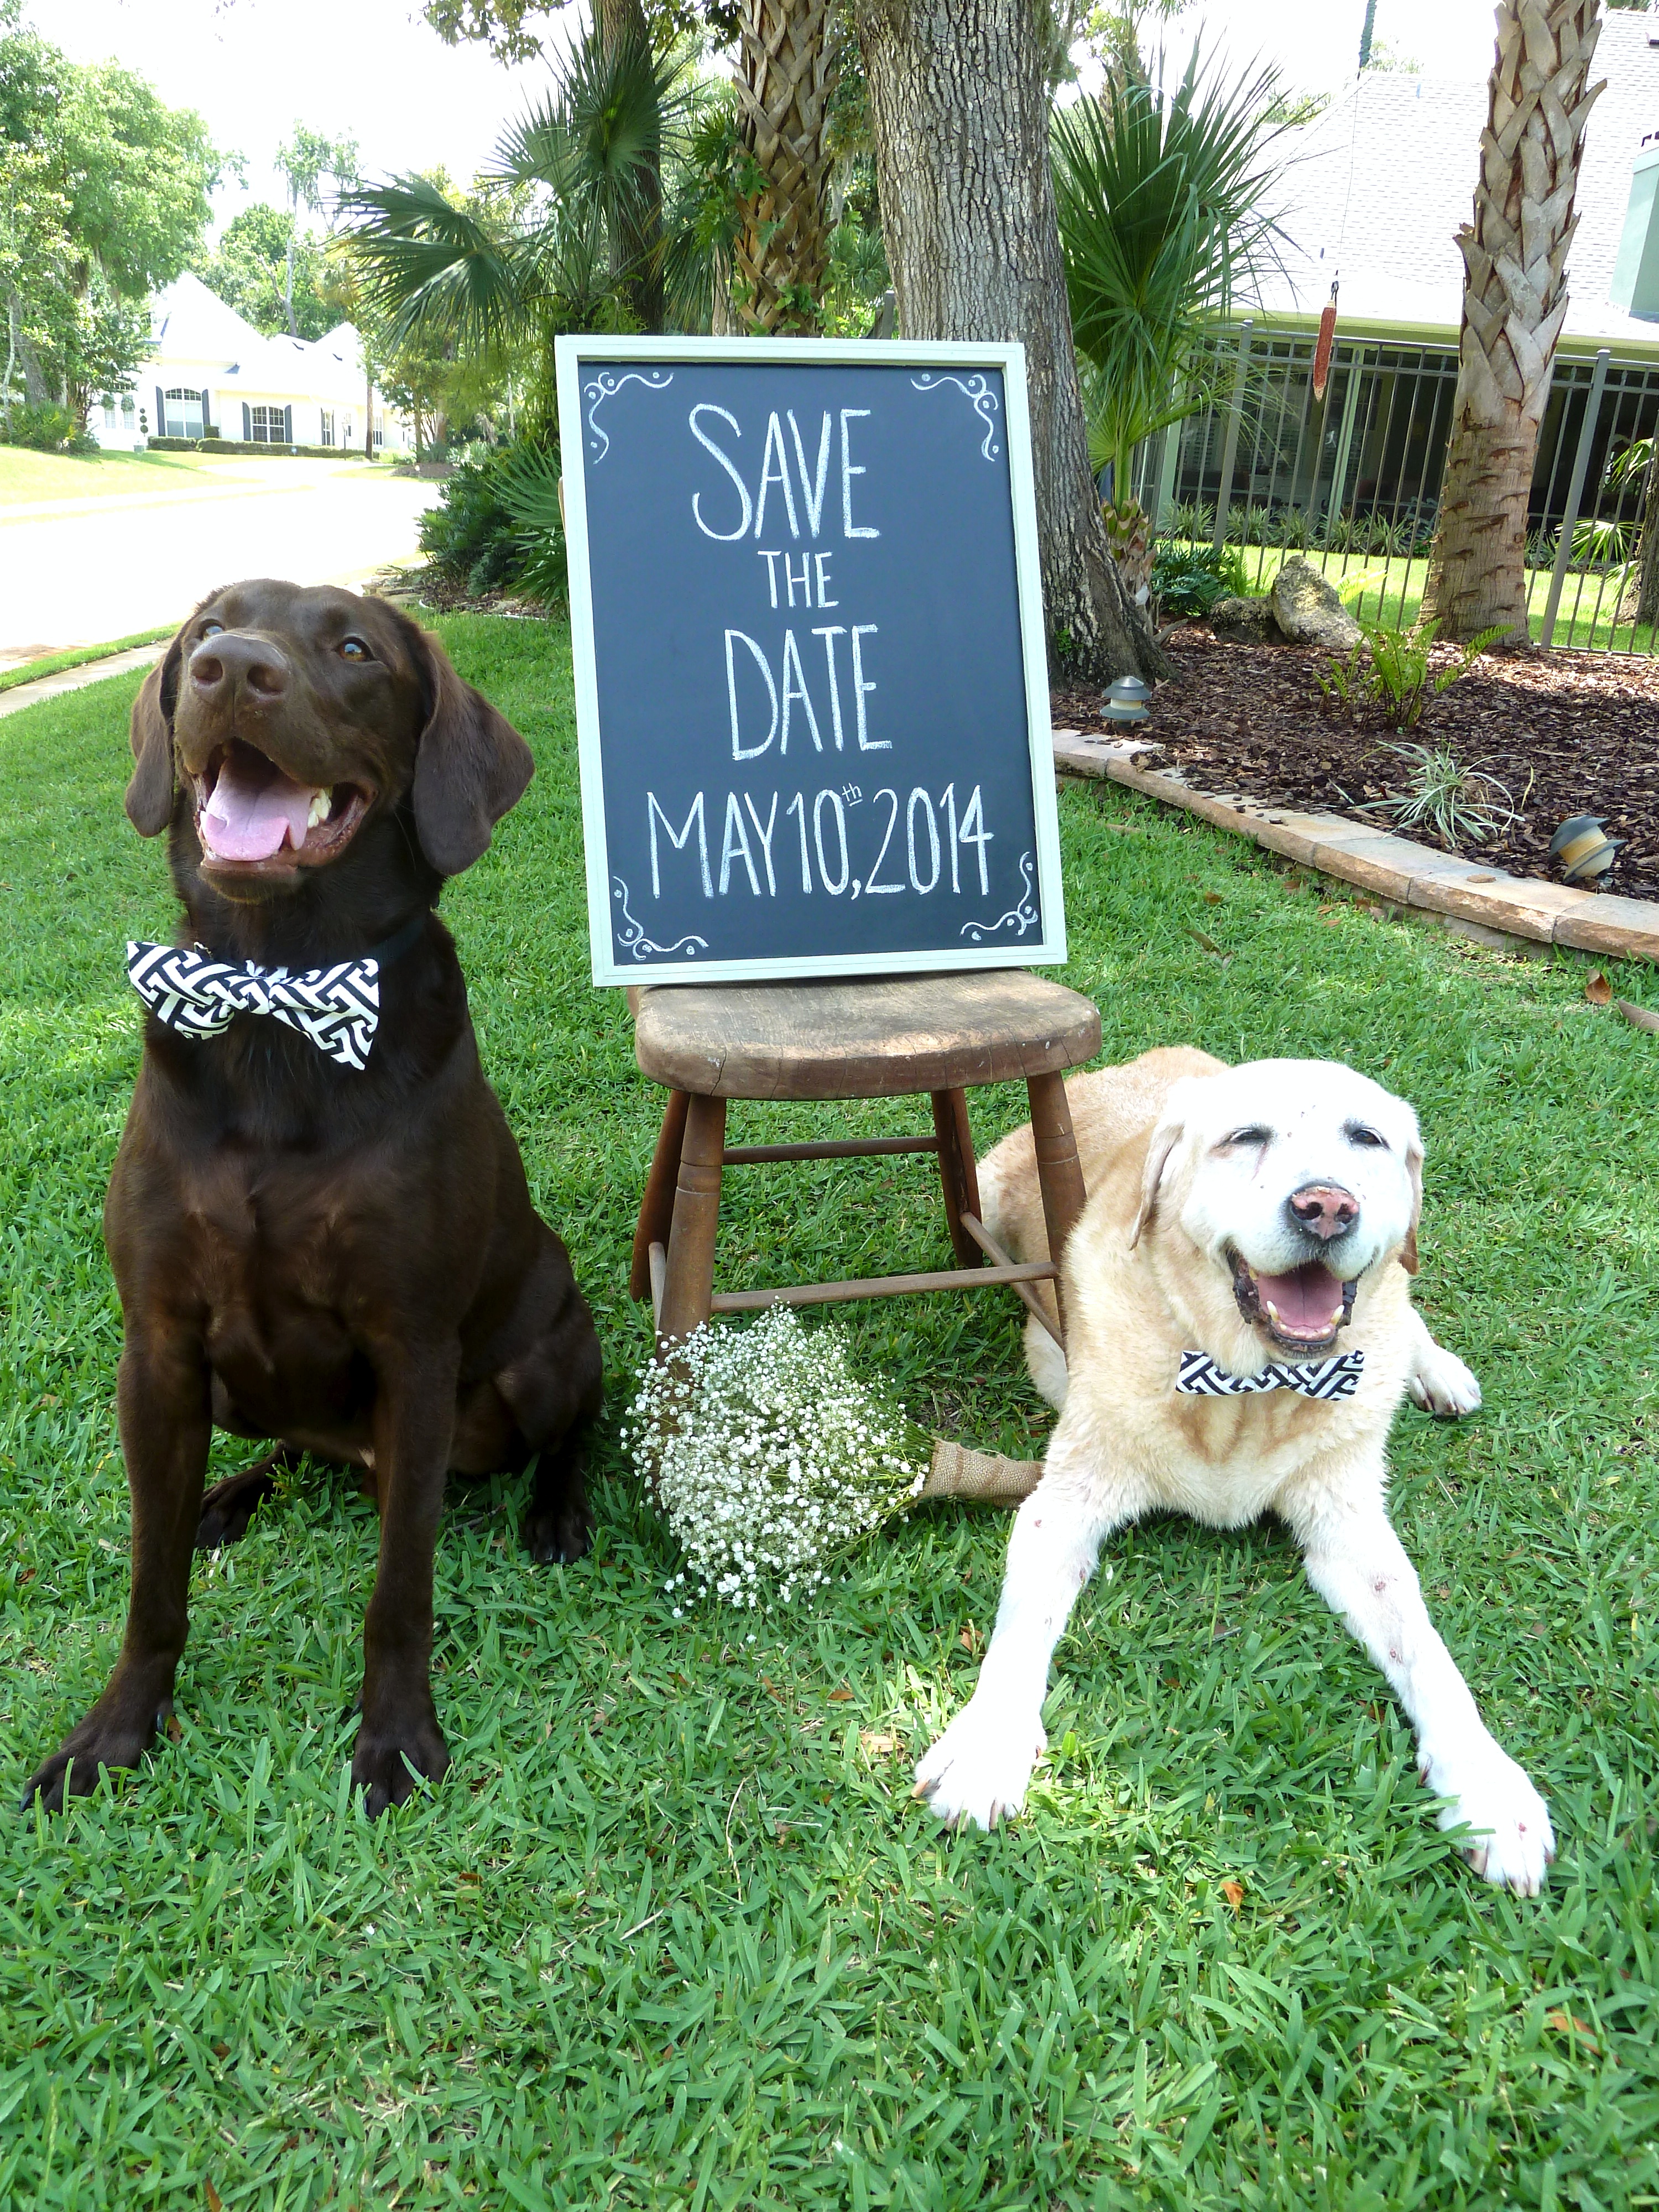
 I really wanted to have a of couple signs like this at our wedding. If you remember, I did do some chalkboard writing for our Save the Dates…
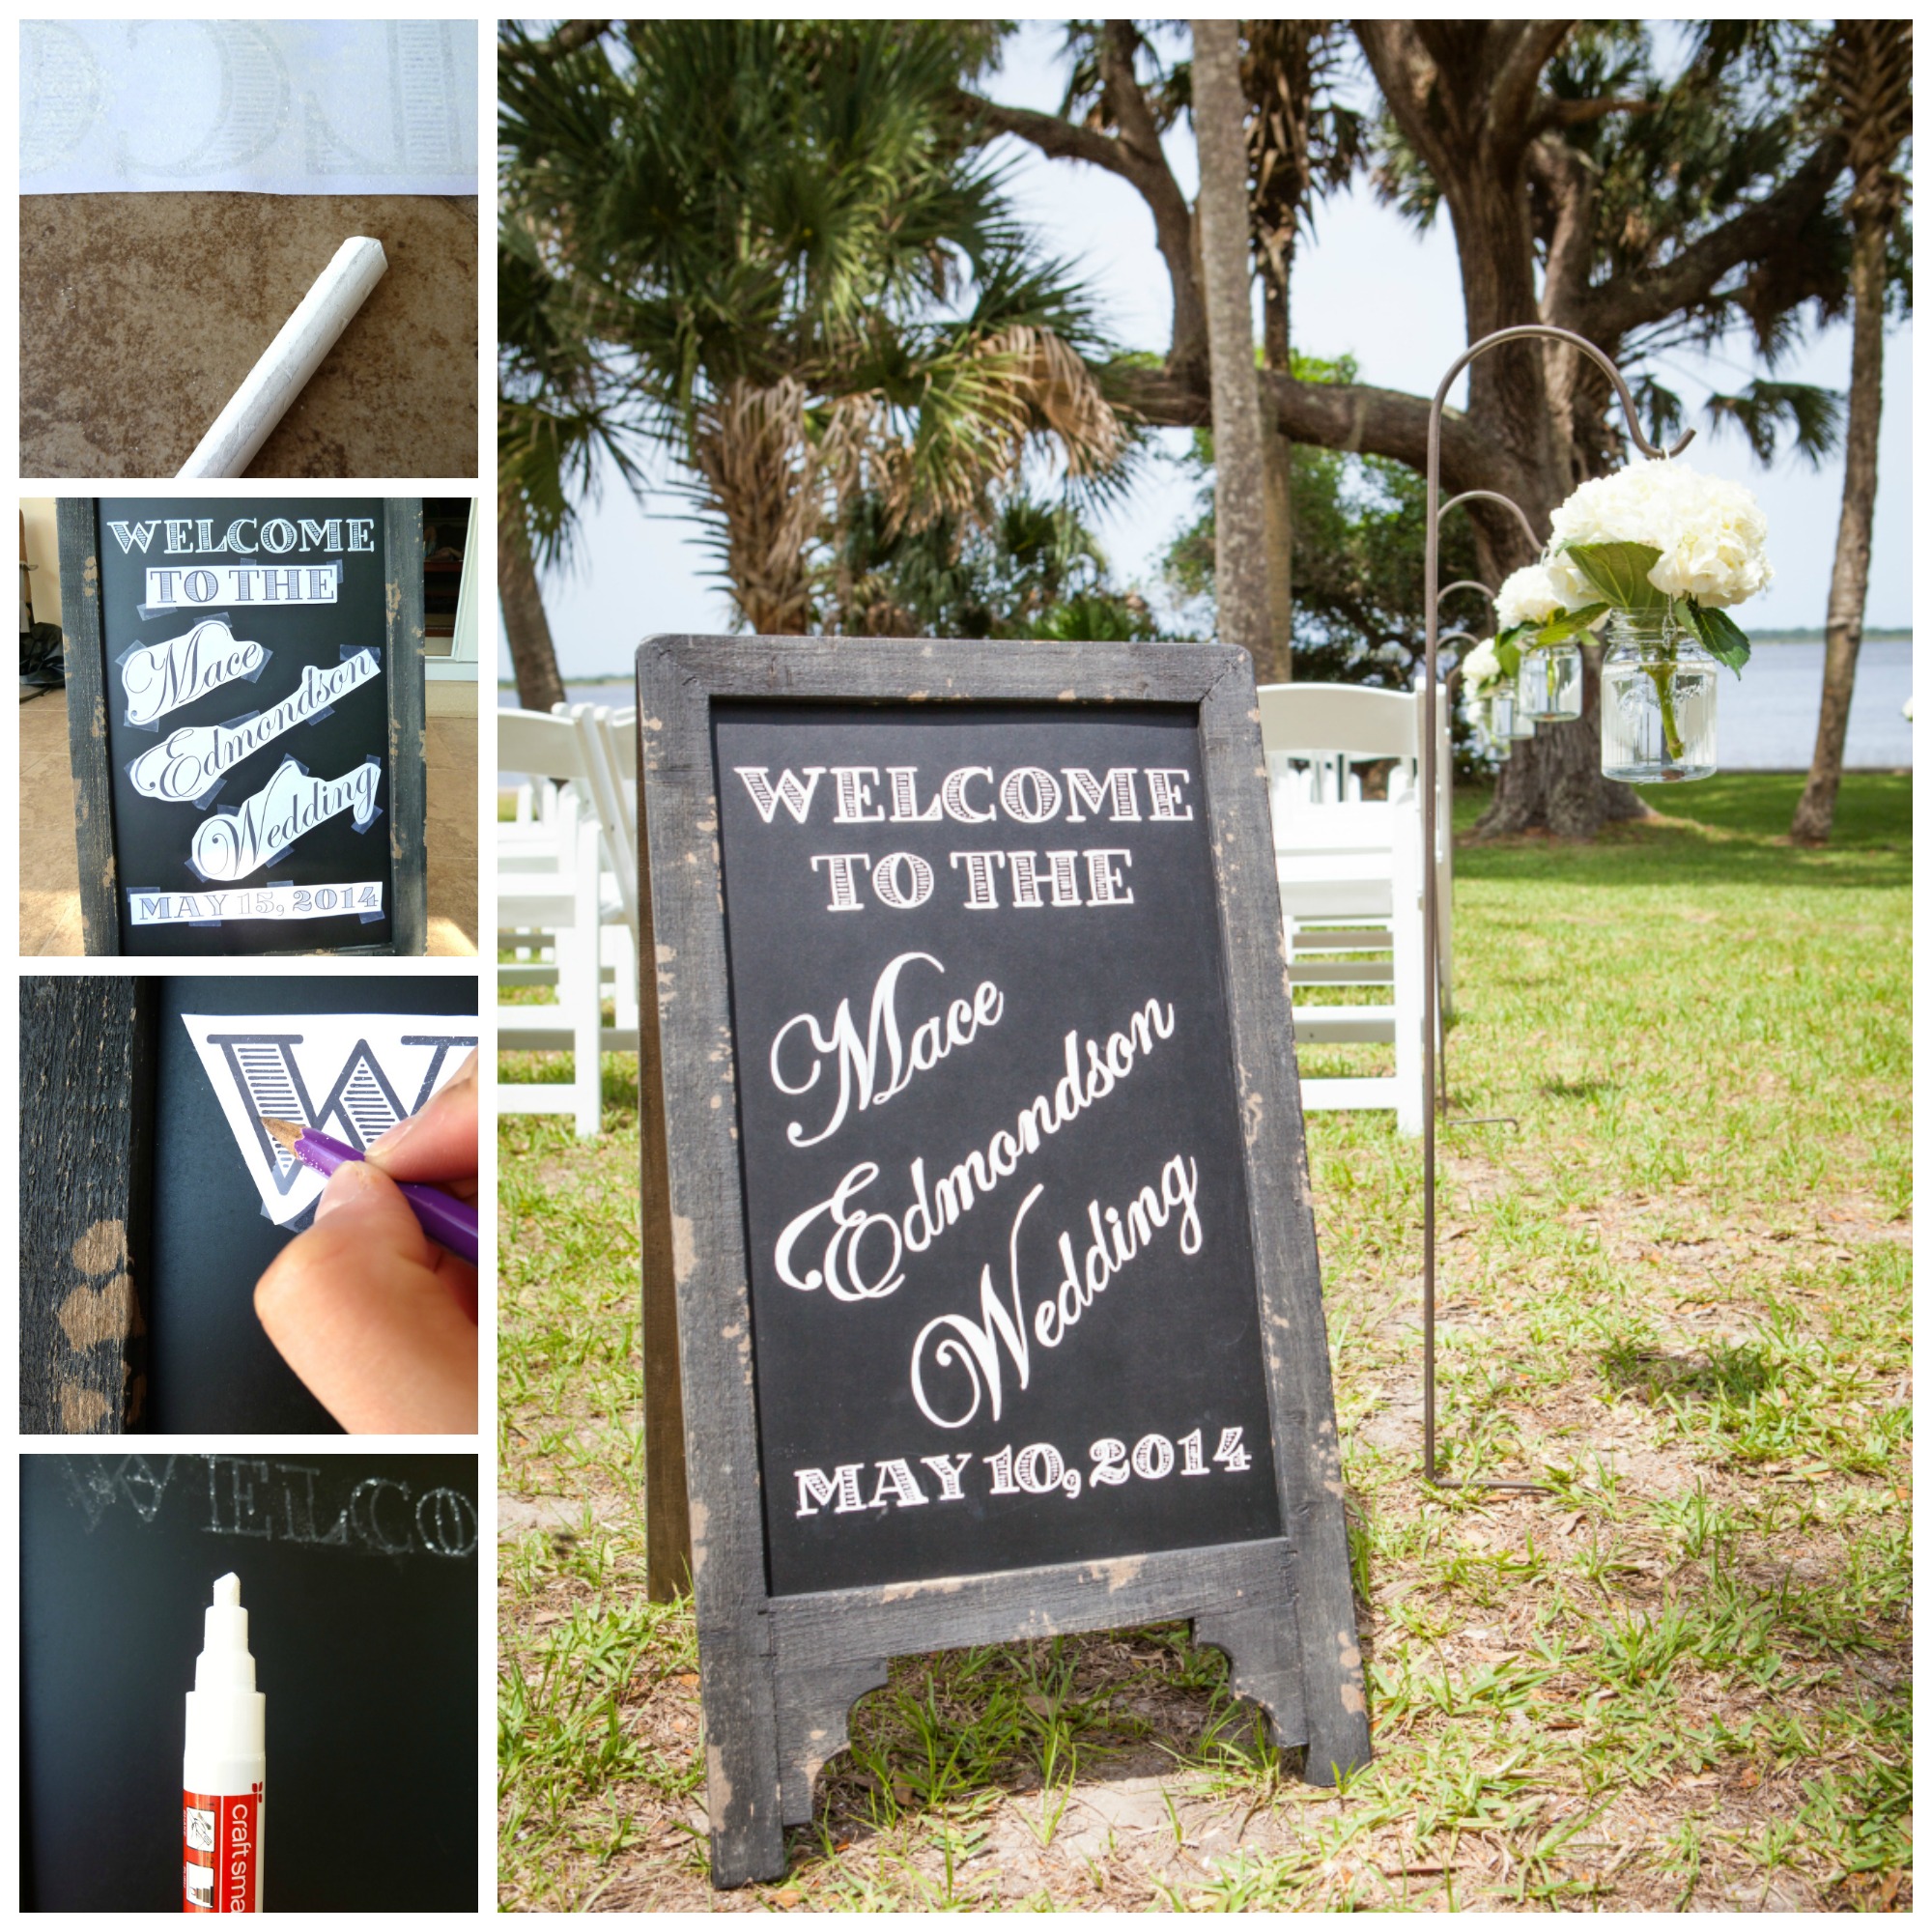
But, I wanted to get a little fancier with the font this time around. Here’s the thing though. When I write freehand, my words tend to slant weird ways and end up different sizes looking a little wonky. Then, I remembered tracing in art class in elementary school. Don’t you remember coloring the back side of a piece of a paper in a certain shape with pencil, and then tracing the outline of the shape with a clean sheet of paper underneath? Remember? Well, I do, and it got the gears in my brain moving. I figured, I can do that on a chalkboard, but instead of using pencil just use chalk!
Before I got my tracing on, I had to get a chalkboard.

Sandy found this guy at Hobby Lobby, and it just so happens to be the same exact one that I saw in my inspiration photo from Pinterest. How about that?
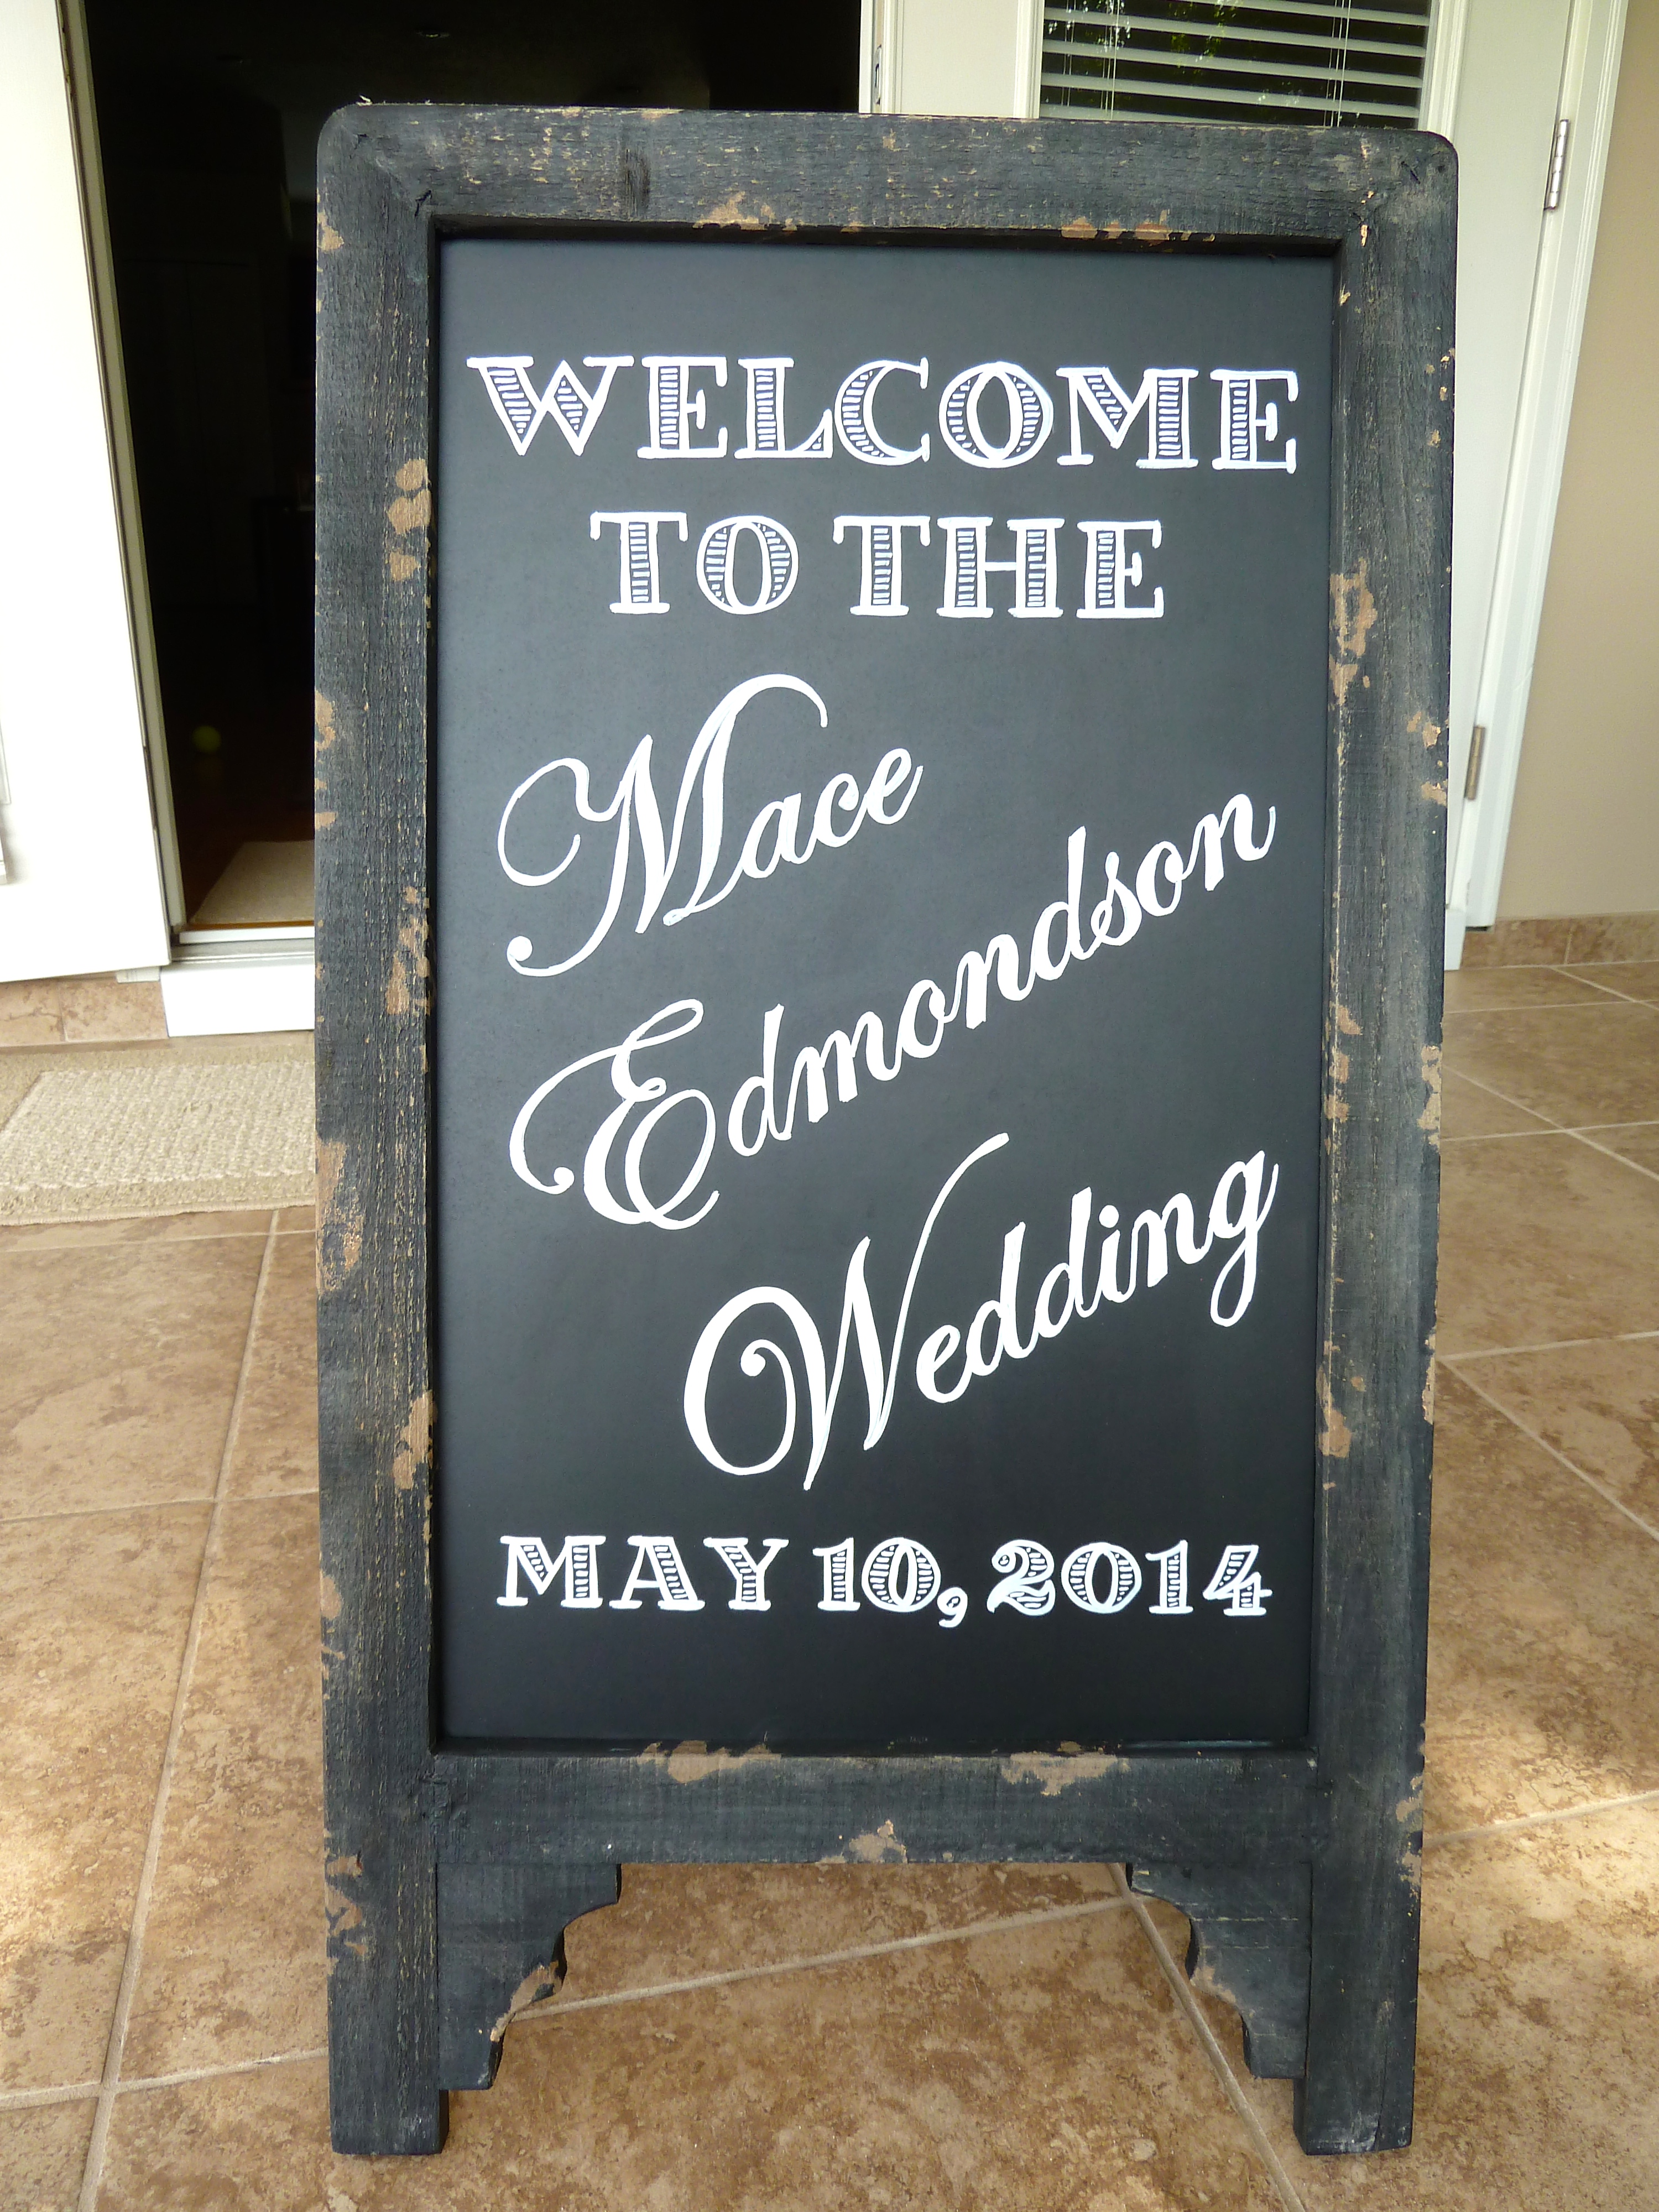
Since this was meant to be the welcome sign, I decided to go with “Welcome to the Mace Edmondson Wedding May 10, 2014”. Pretty straightforward, I think. I searched online for some free fonts that I liked and decided on Villa Didot and Edwardian Script. I then typed it up in a Word document and printed that sucker out.

You can’t really tell here, but I used legal sized paper. I did so, because I needed my words to be a bit longer to fill the width of the chalkboard, and I wasn’t looking to do any cutting and pasting. Next, I just cut all of the words out…

Then it was time to cover the back with chalk…

It’s hard to see the chalk, because it is white, but I made sure I covered the entire back of the paper with it. From there, I taped the paper onto the chalkboard, chalked side facing down. I made sure the positioning was straight and where I wanted it before taping.

Now, it was time to do some good old tracing. I used a sharp pencil and was sure to press hard enough that the chalk on the back stuck to the surface of the chalkboard. Make sense?

Before taking the paper off, I peeked behind the paper to be sure the chalk was transferring enough to be seen.

Huzzah! It worked.


I used a white liquid chalk marker to go over the traced wording.

Then, I added the fancy shmancy little horizontal lines that were in the openings of the letters…

And, BOOM, I had my first word.
I then covered the back of the remaining words in chalk and taped them on the chalkboard.

I completed the remaining words with the same steps and here she is…
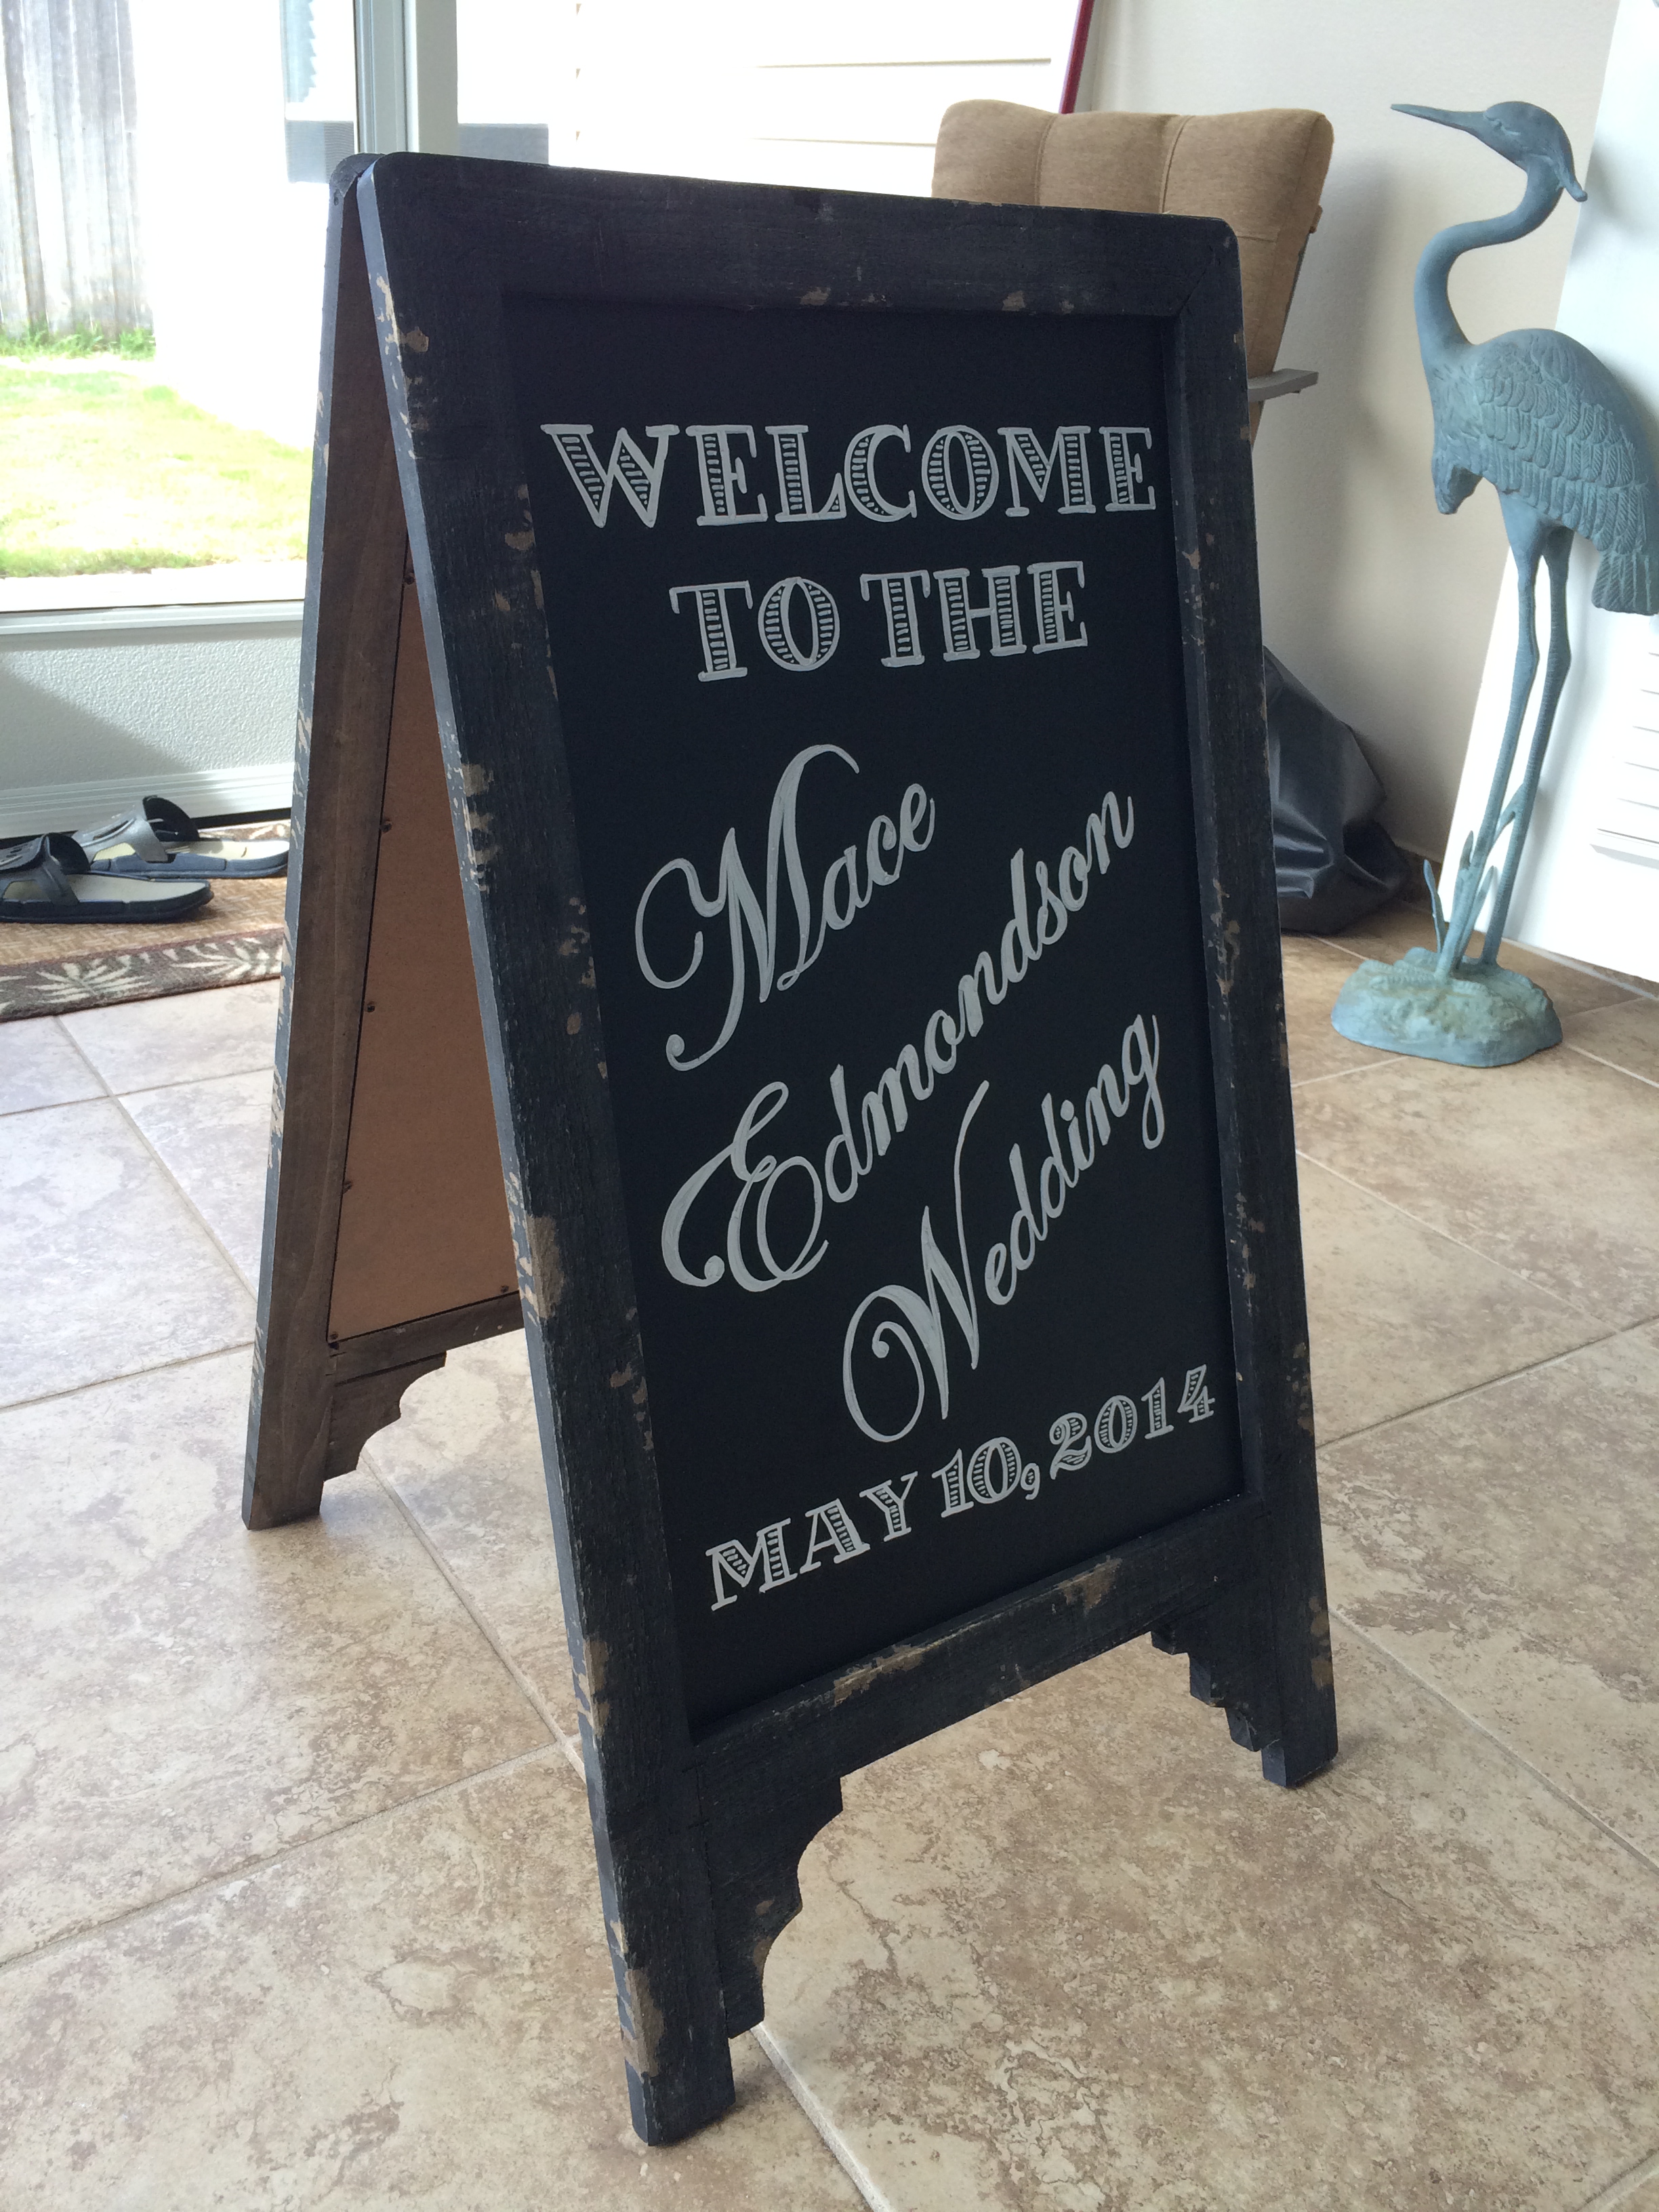
Oh, and it’s a double sided chalkboard, so I did it all over again on the back side.

Wanna see it in action the day of the wedding?

Woot woot! Welcome to our wedding!
I used the same steps again to make a seating sign…

I used a couple new fonts on this sign. I stuck with Edwardian Script, but also used Ever After and Matilde.

See it hanging out there at the entrance?
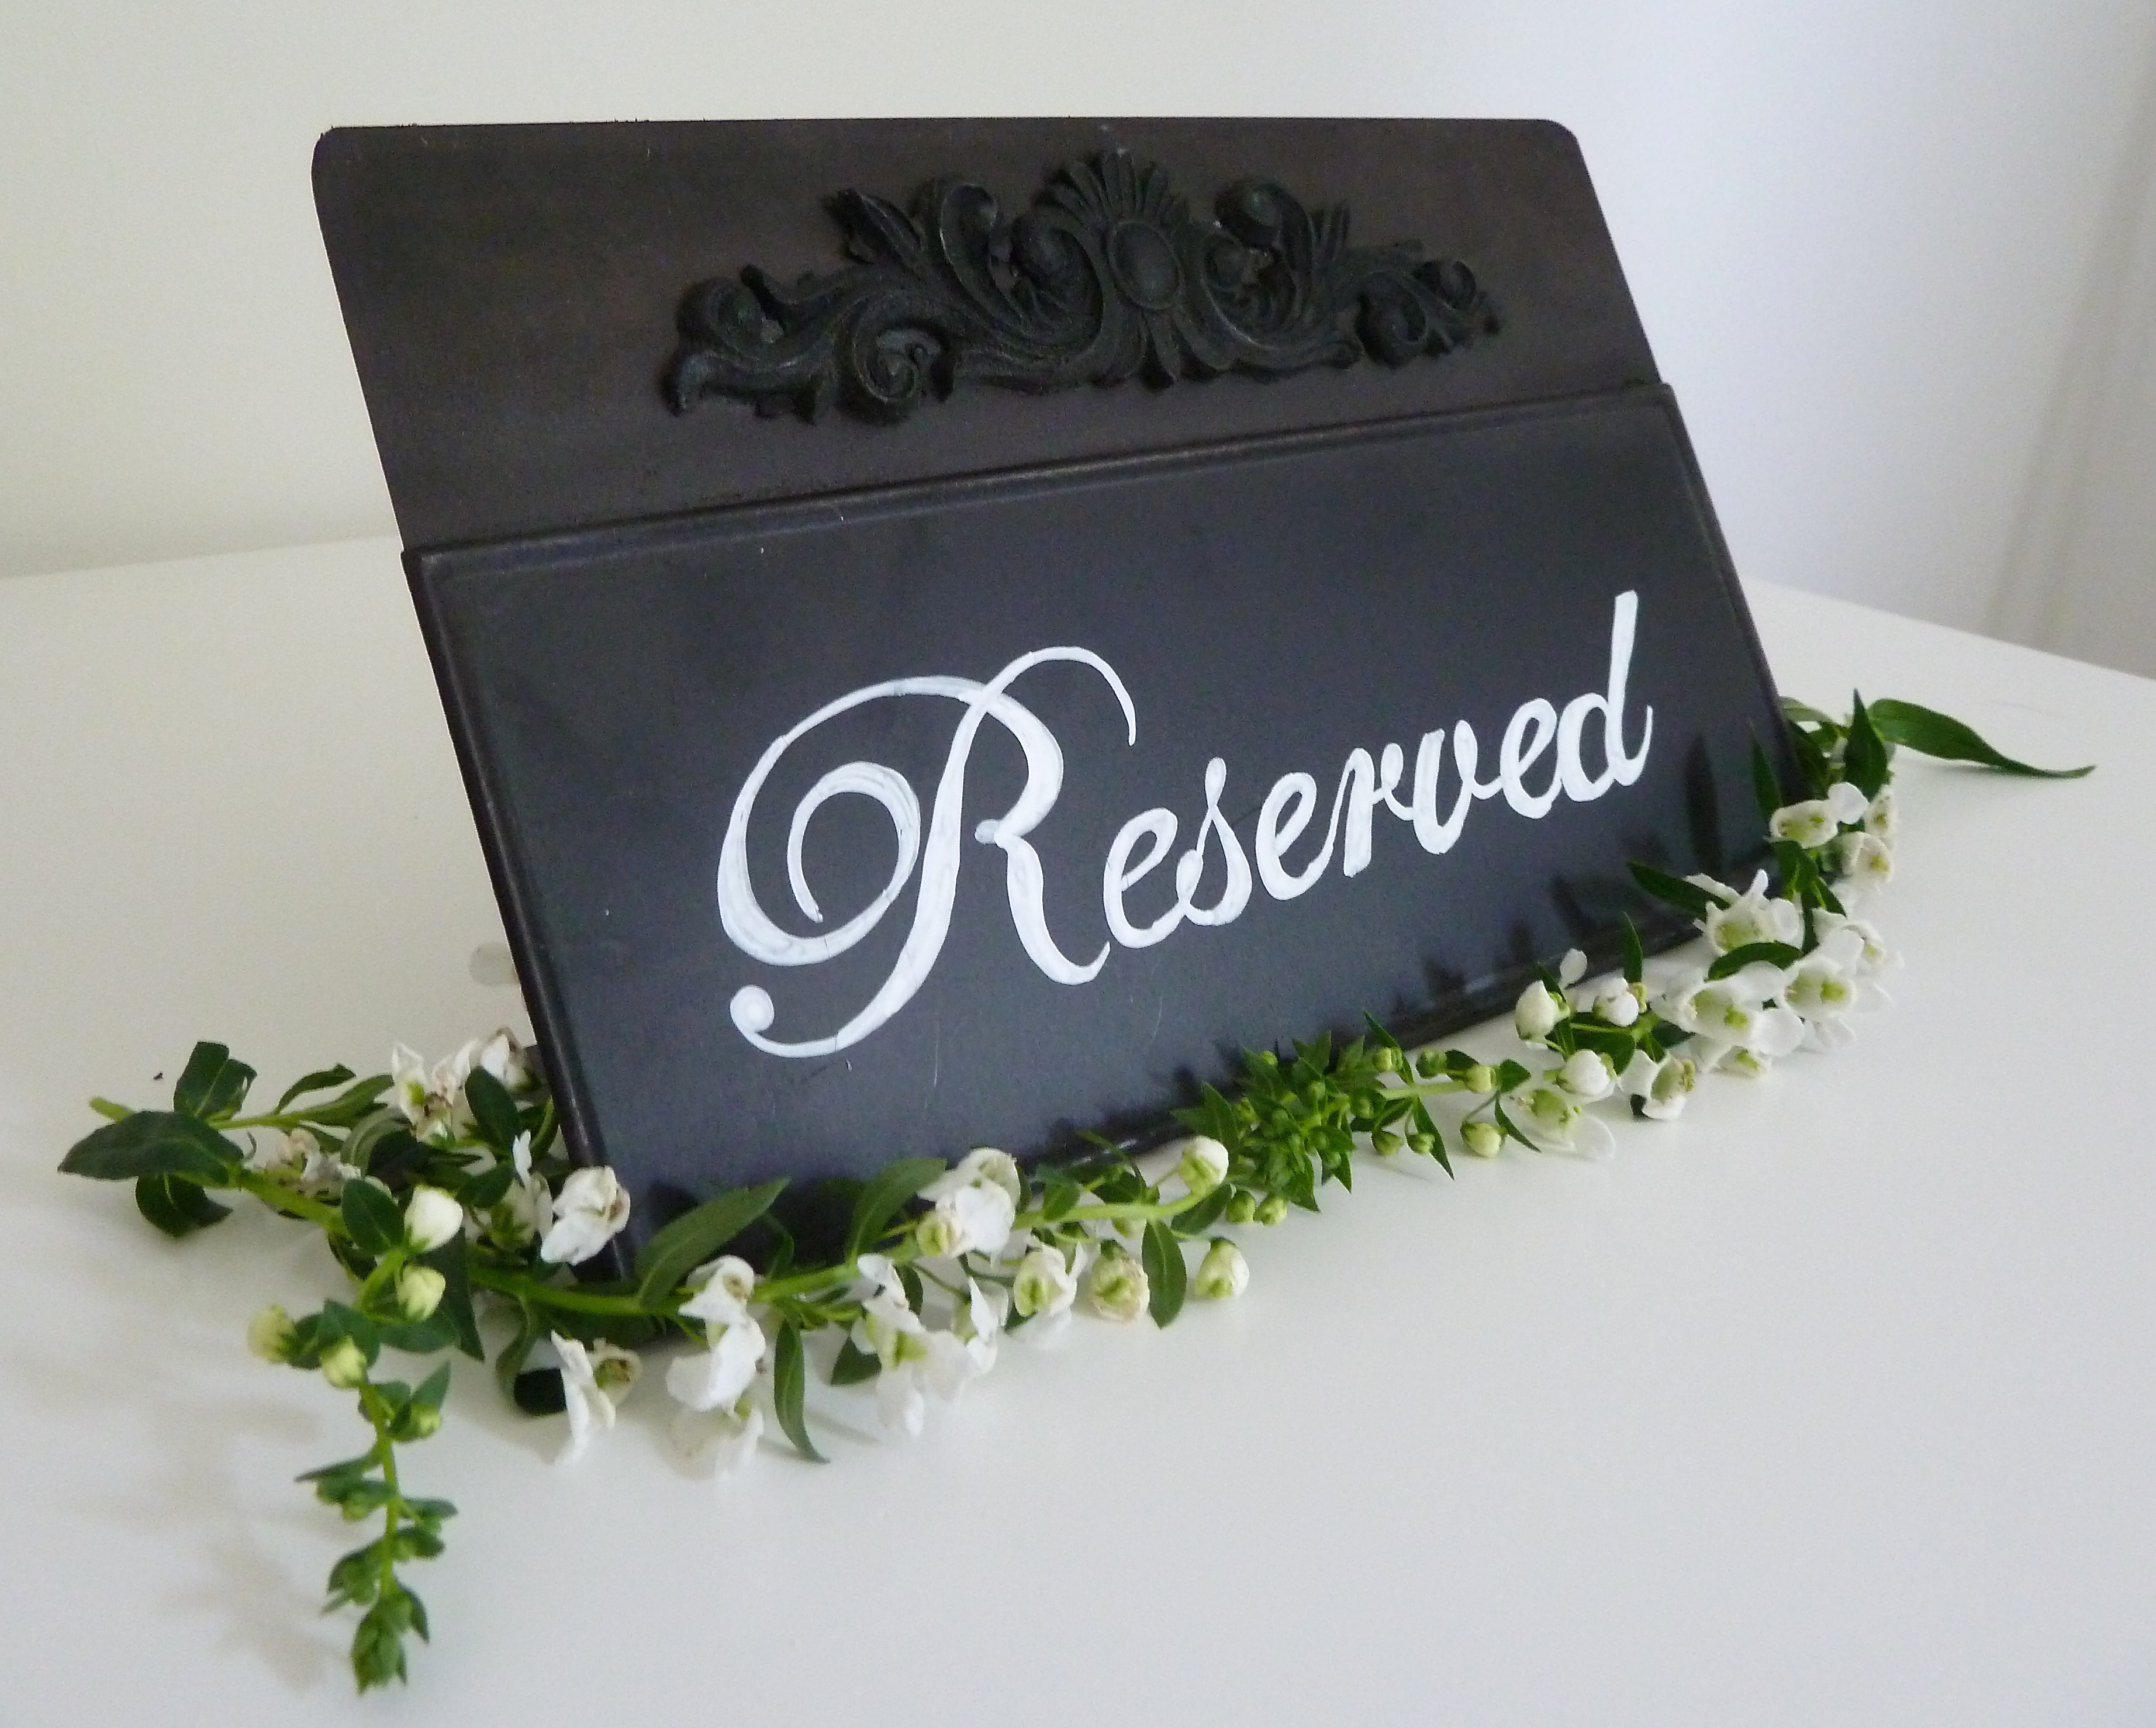
I also made some Reserved signs. Some for the ceremony…

And for the reception tables…
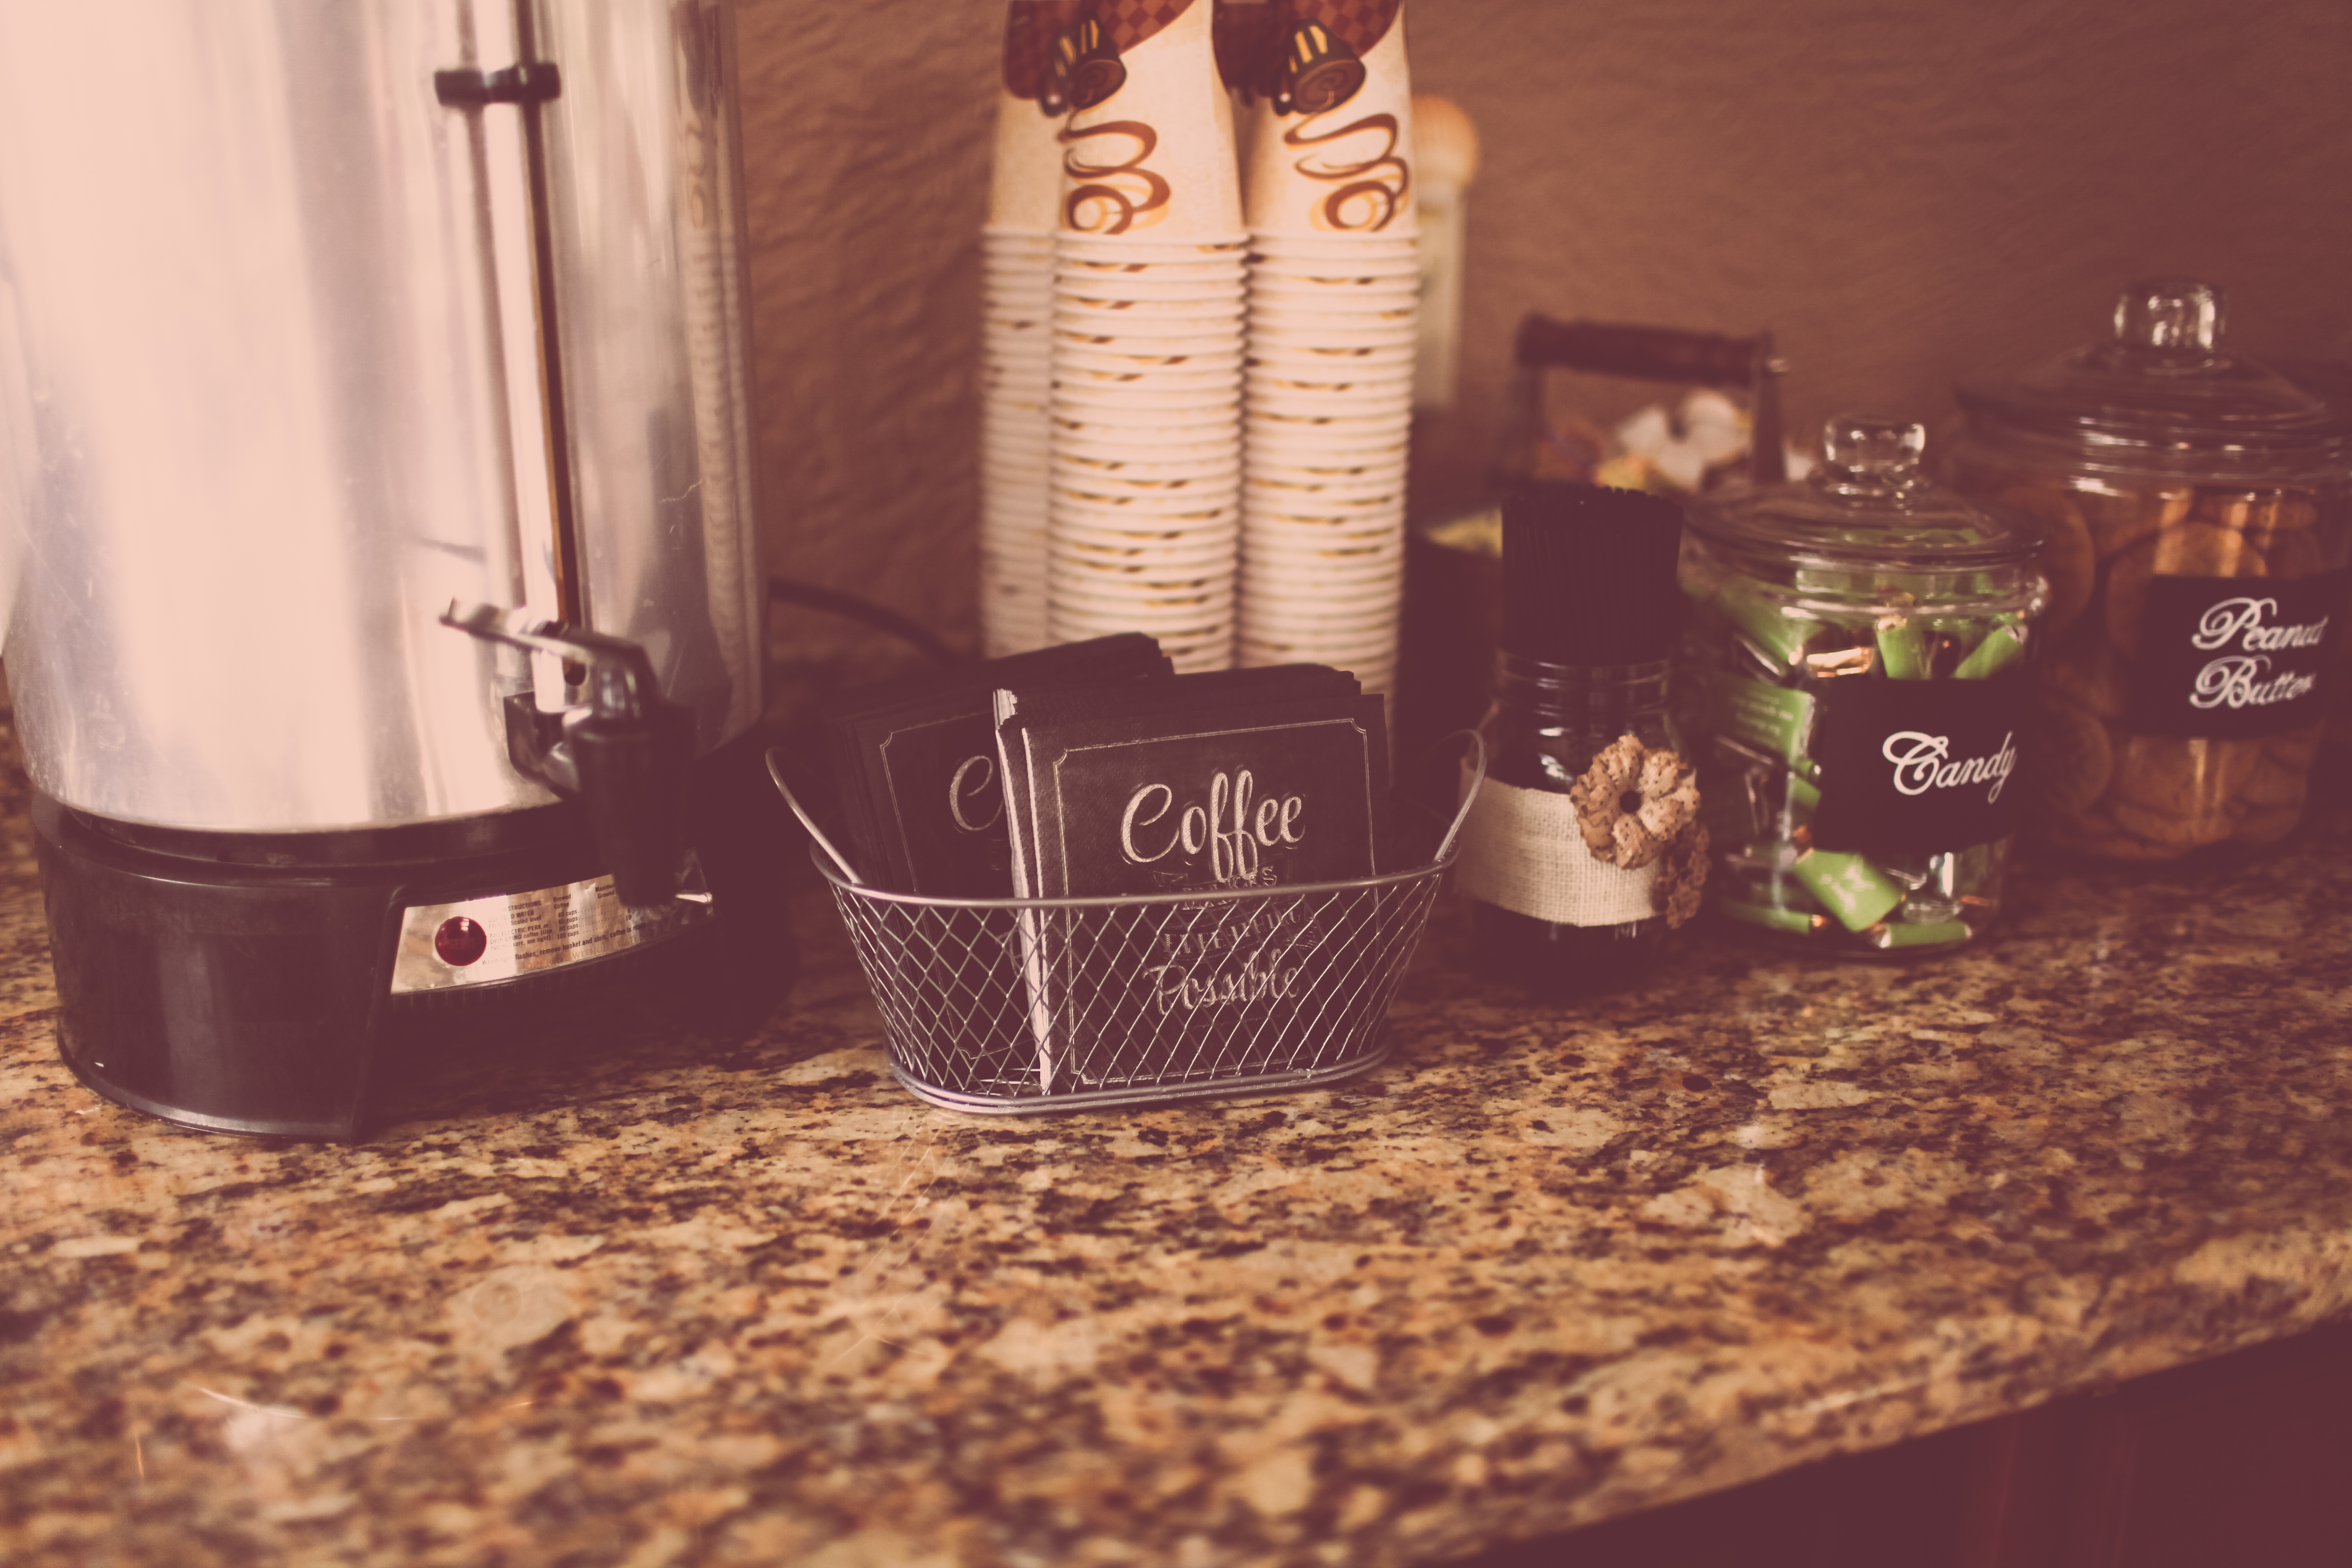
and cookie jar labels…
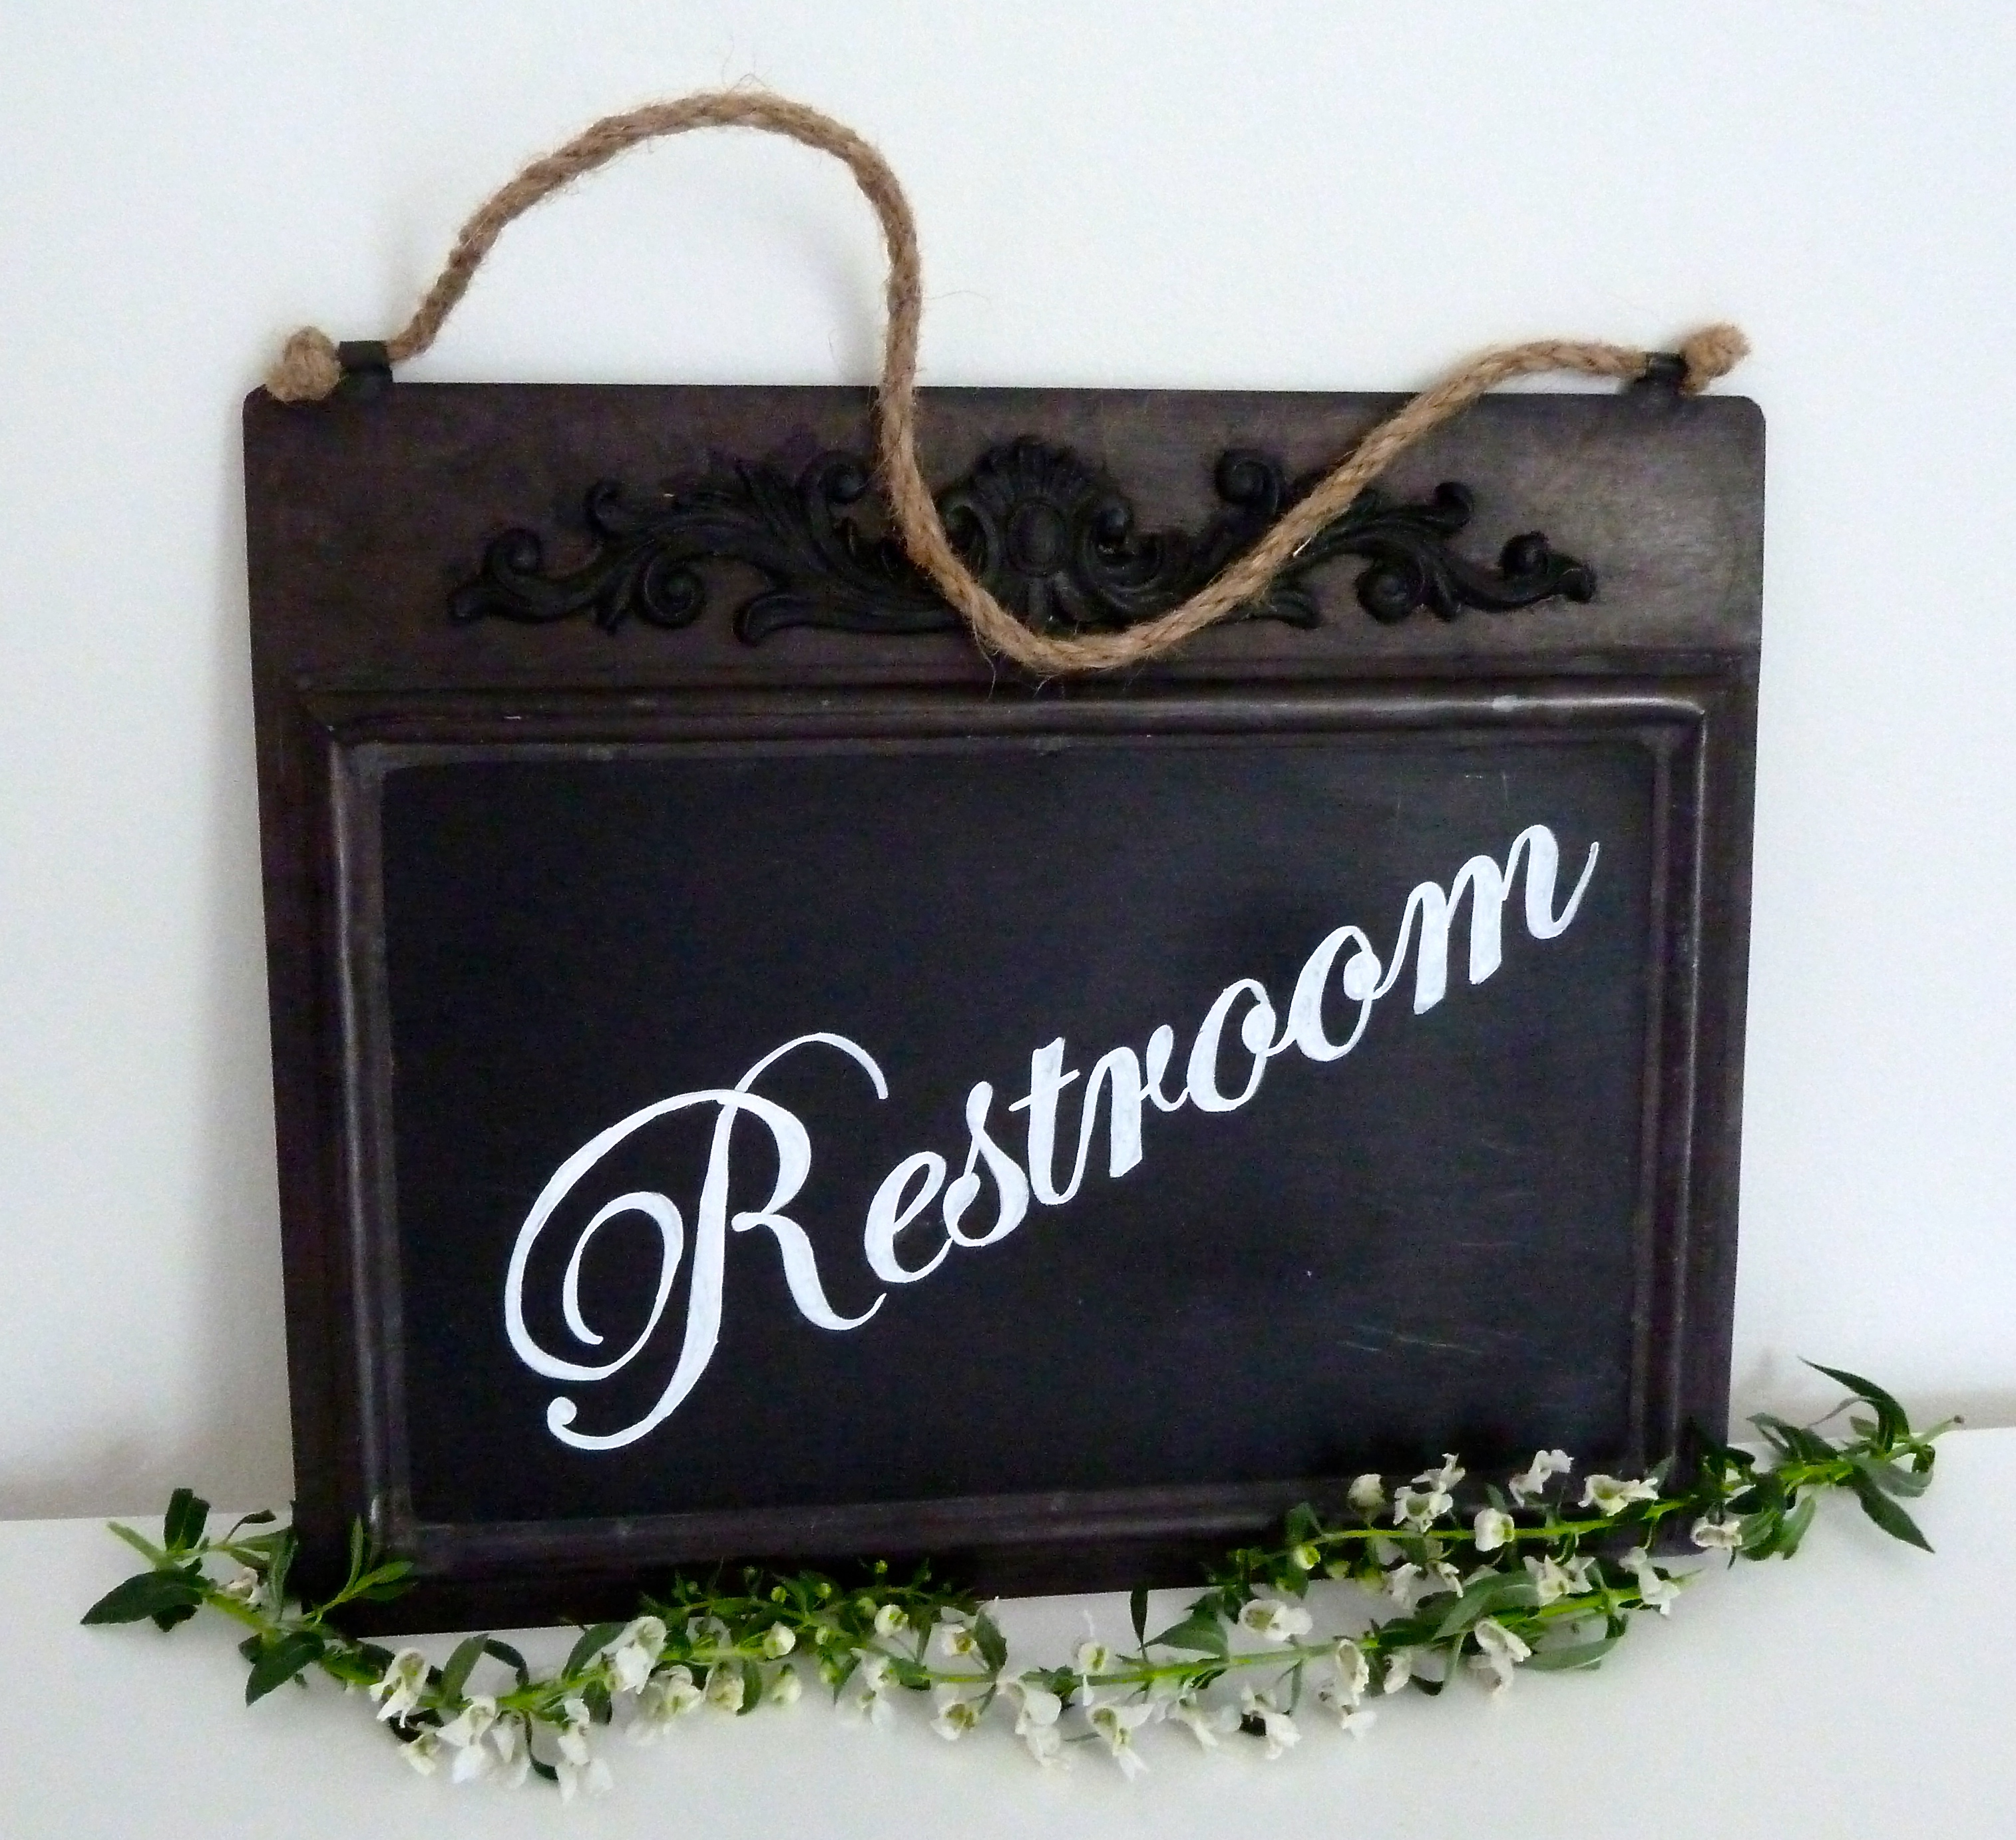
and a restroom sign…
So, there you have it. The easy way to make fancy pants chalkboard signs.