Feel that Air Flow

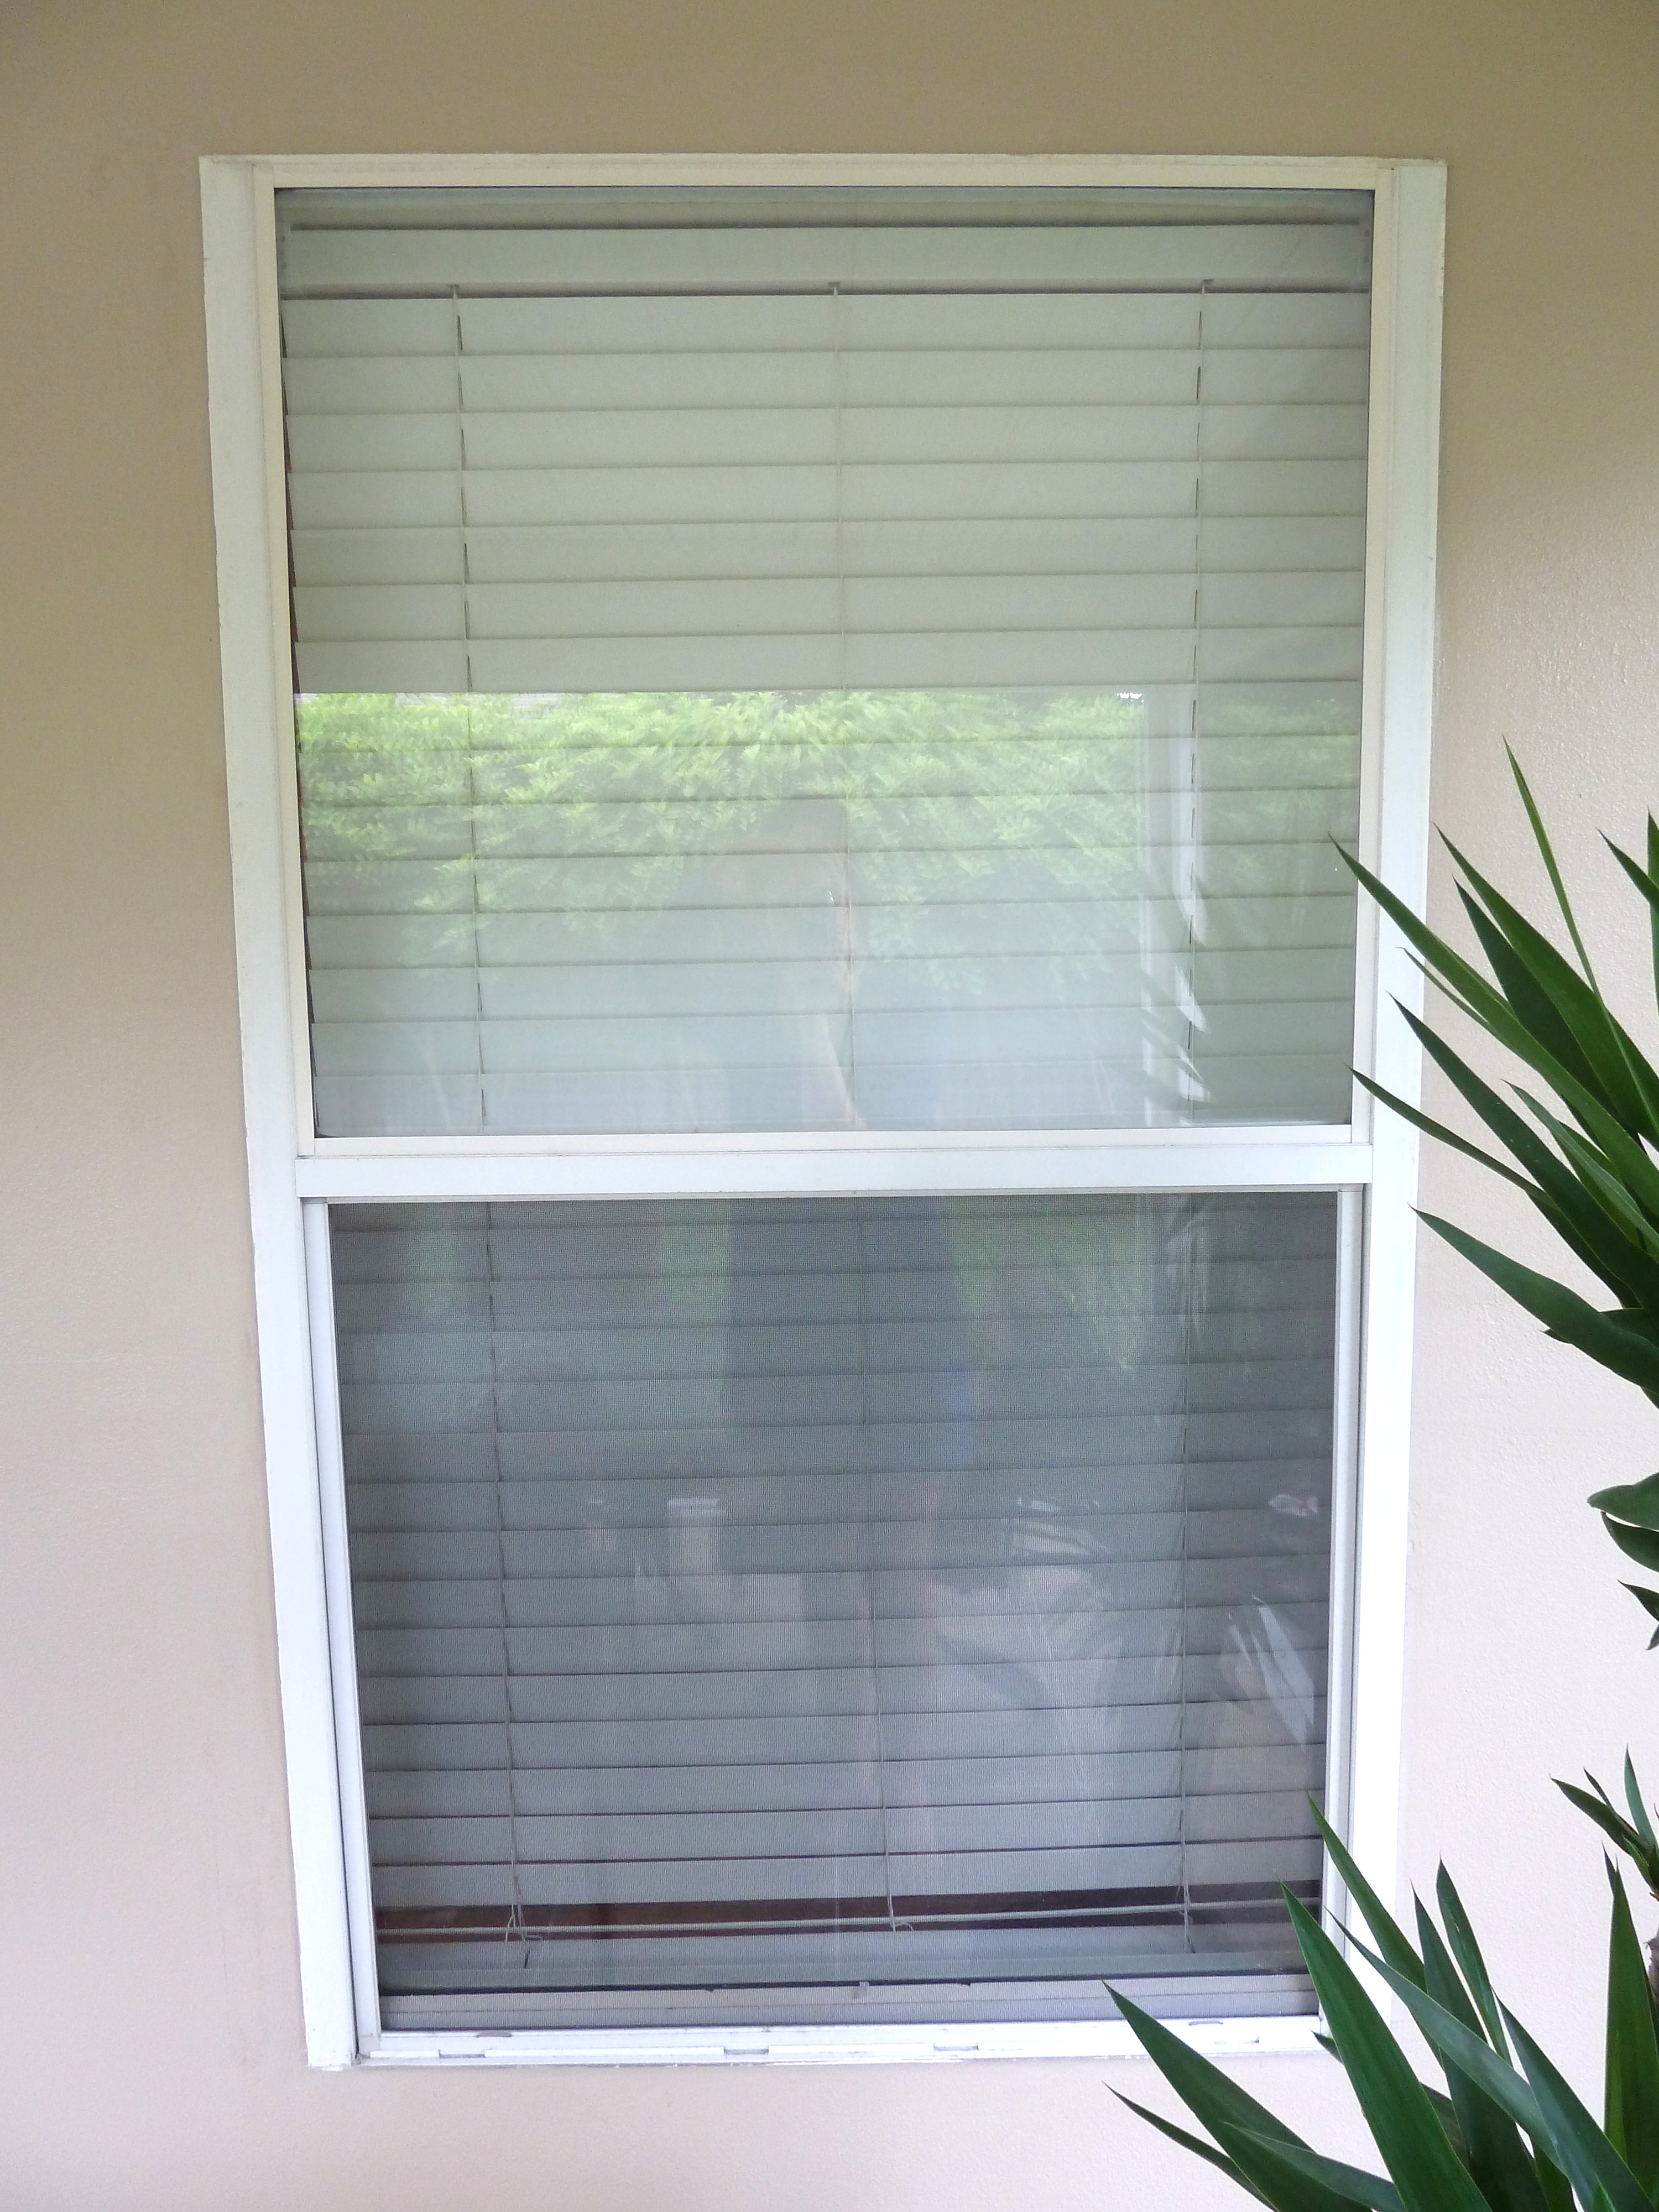
Since it hasn’t been the usually scorching 90 degrees here in Florida lately, we have been leaving our windows and doors open more often to let some fresh air in.  It is wonderful.  The back porch is completely screened, so we are able to just prop the back doors open and not worry about critters getting in or our little critters(Charlie Bean and Zack Man) getting out, it’s perfect.  However the front door did not have a screen.  Booooo!  Notice how I said DID not?  Well now it DOES! Woo hoo for more air flow!  Here is our door pre screen…

tan house blue door

Hi cute little blue door, I love you!

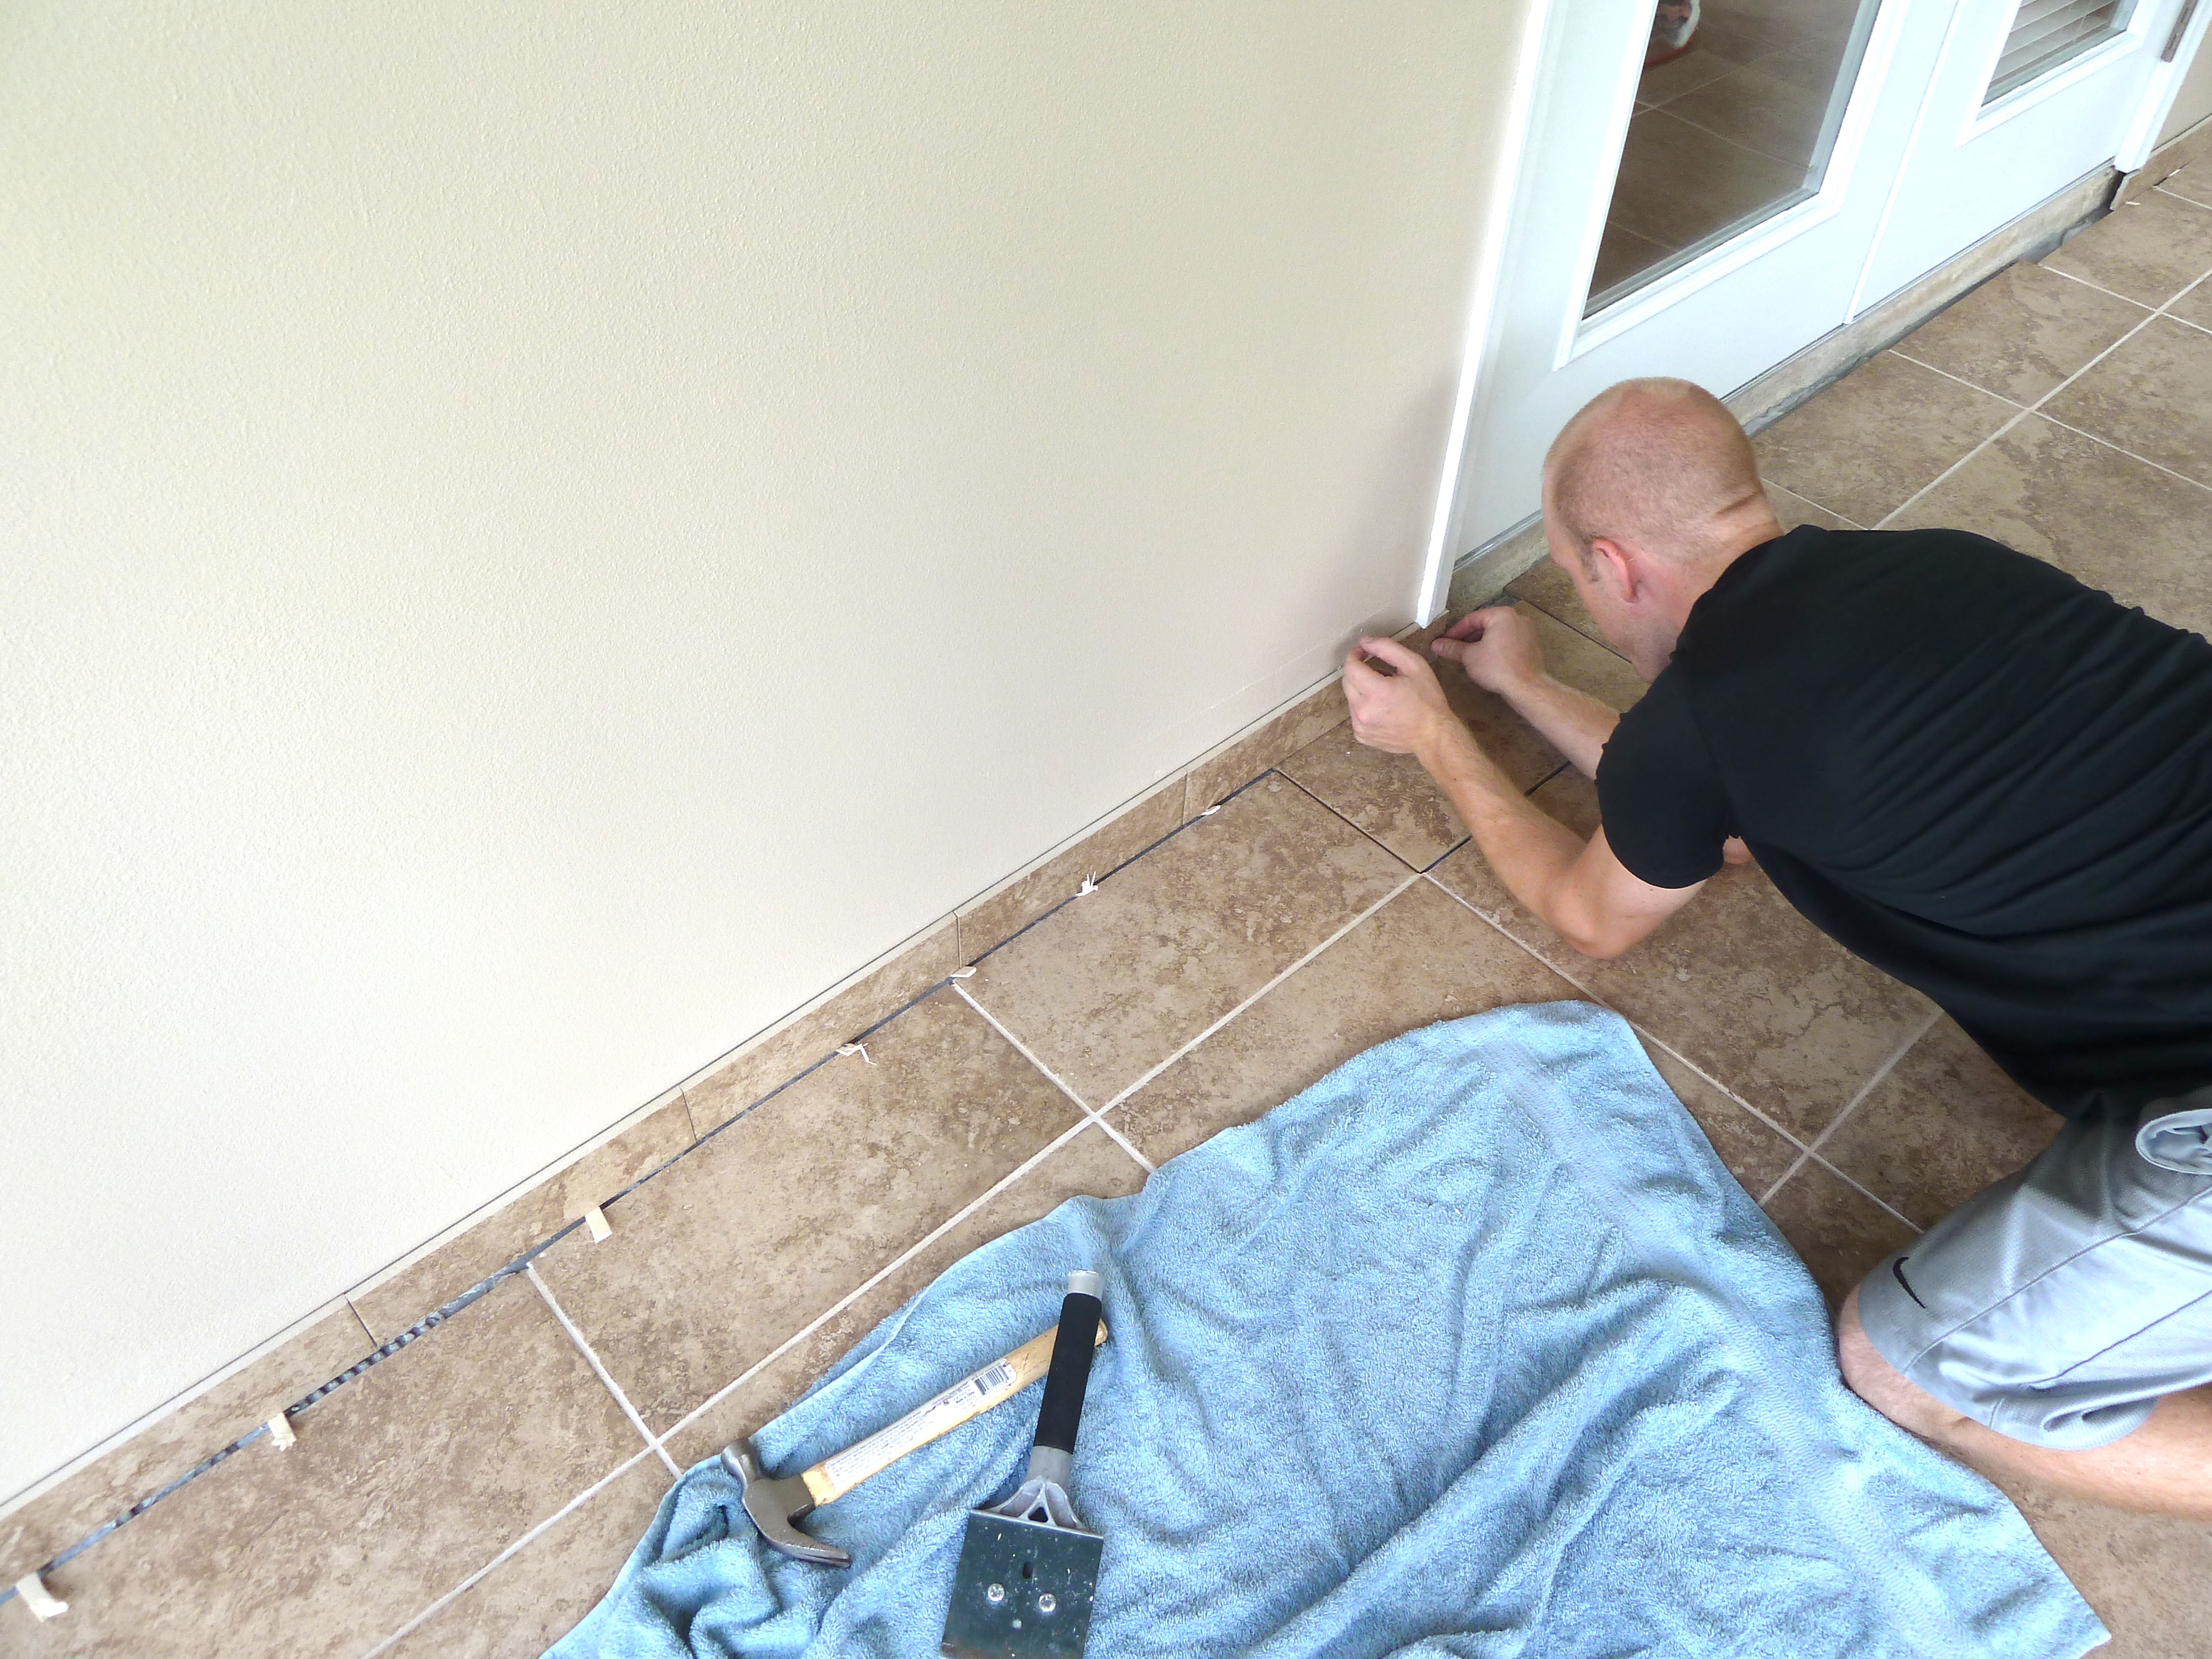
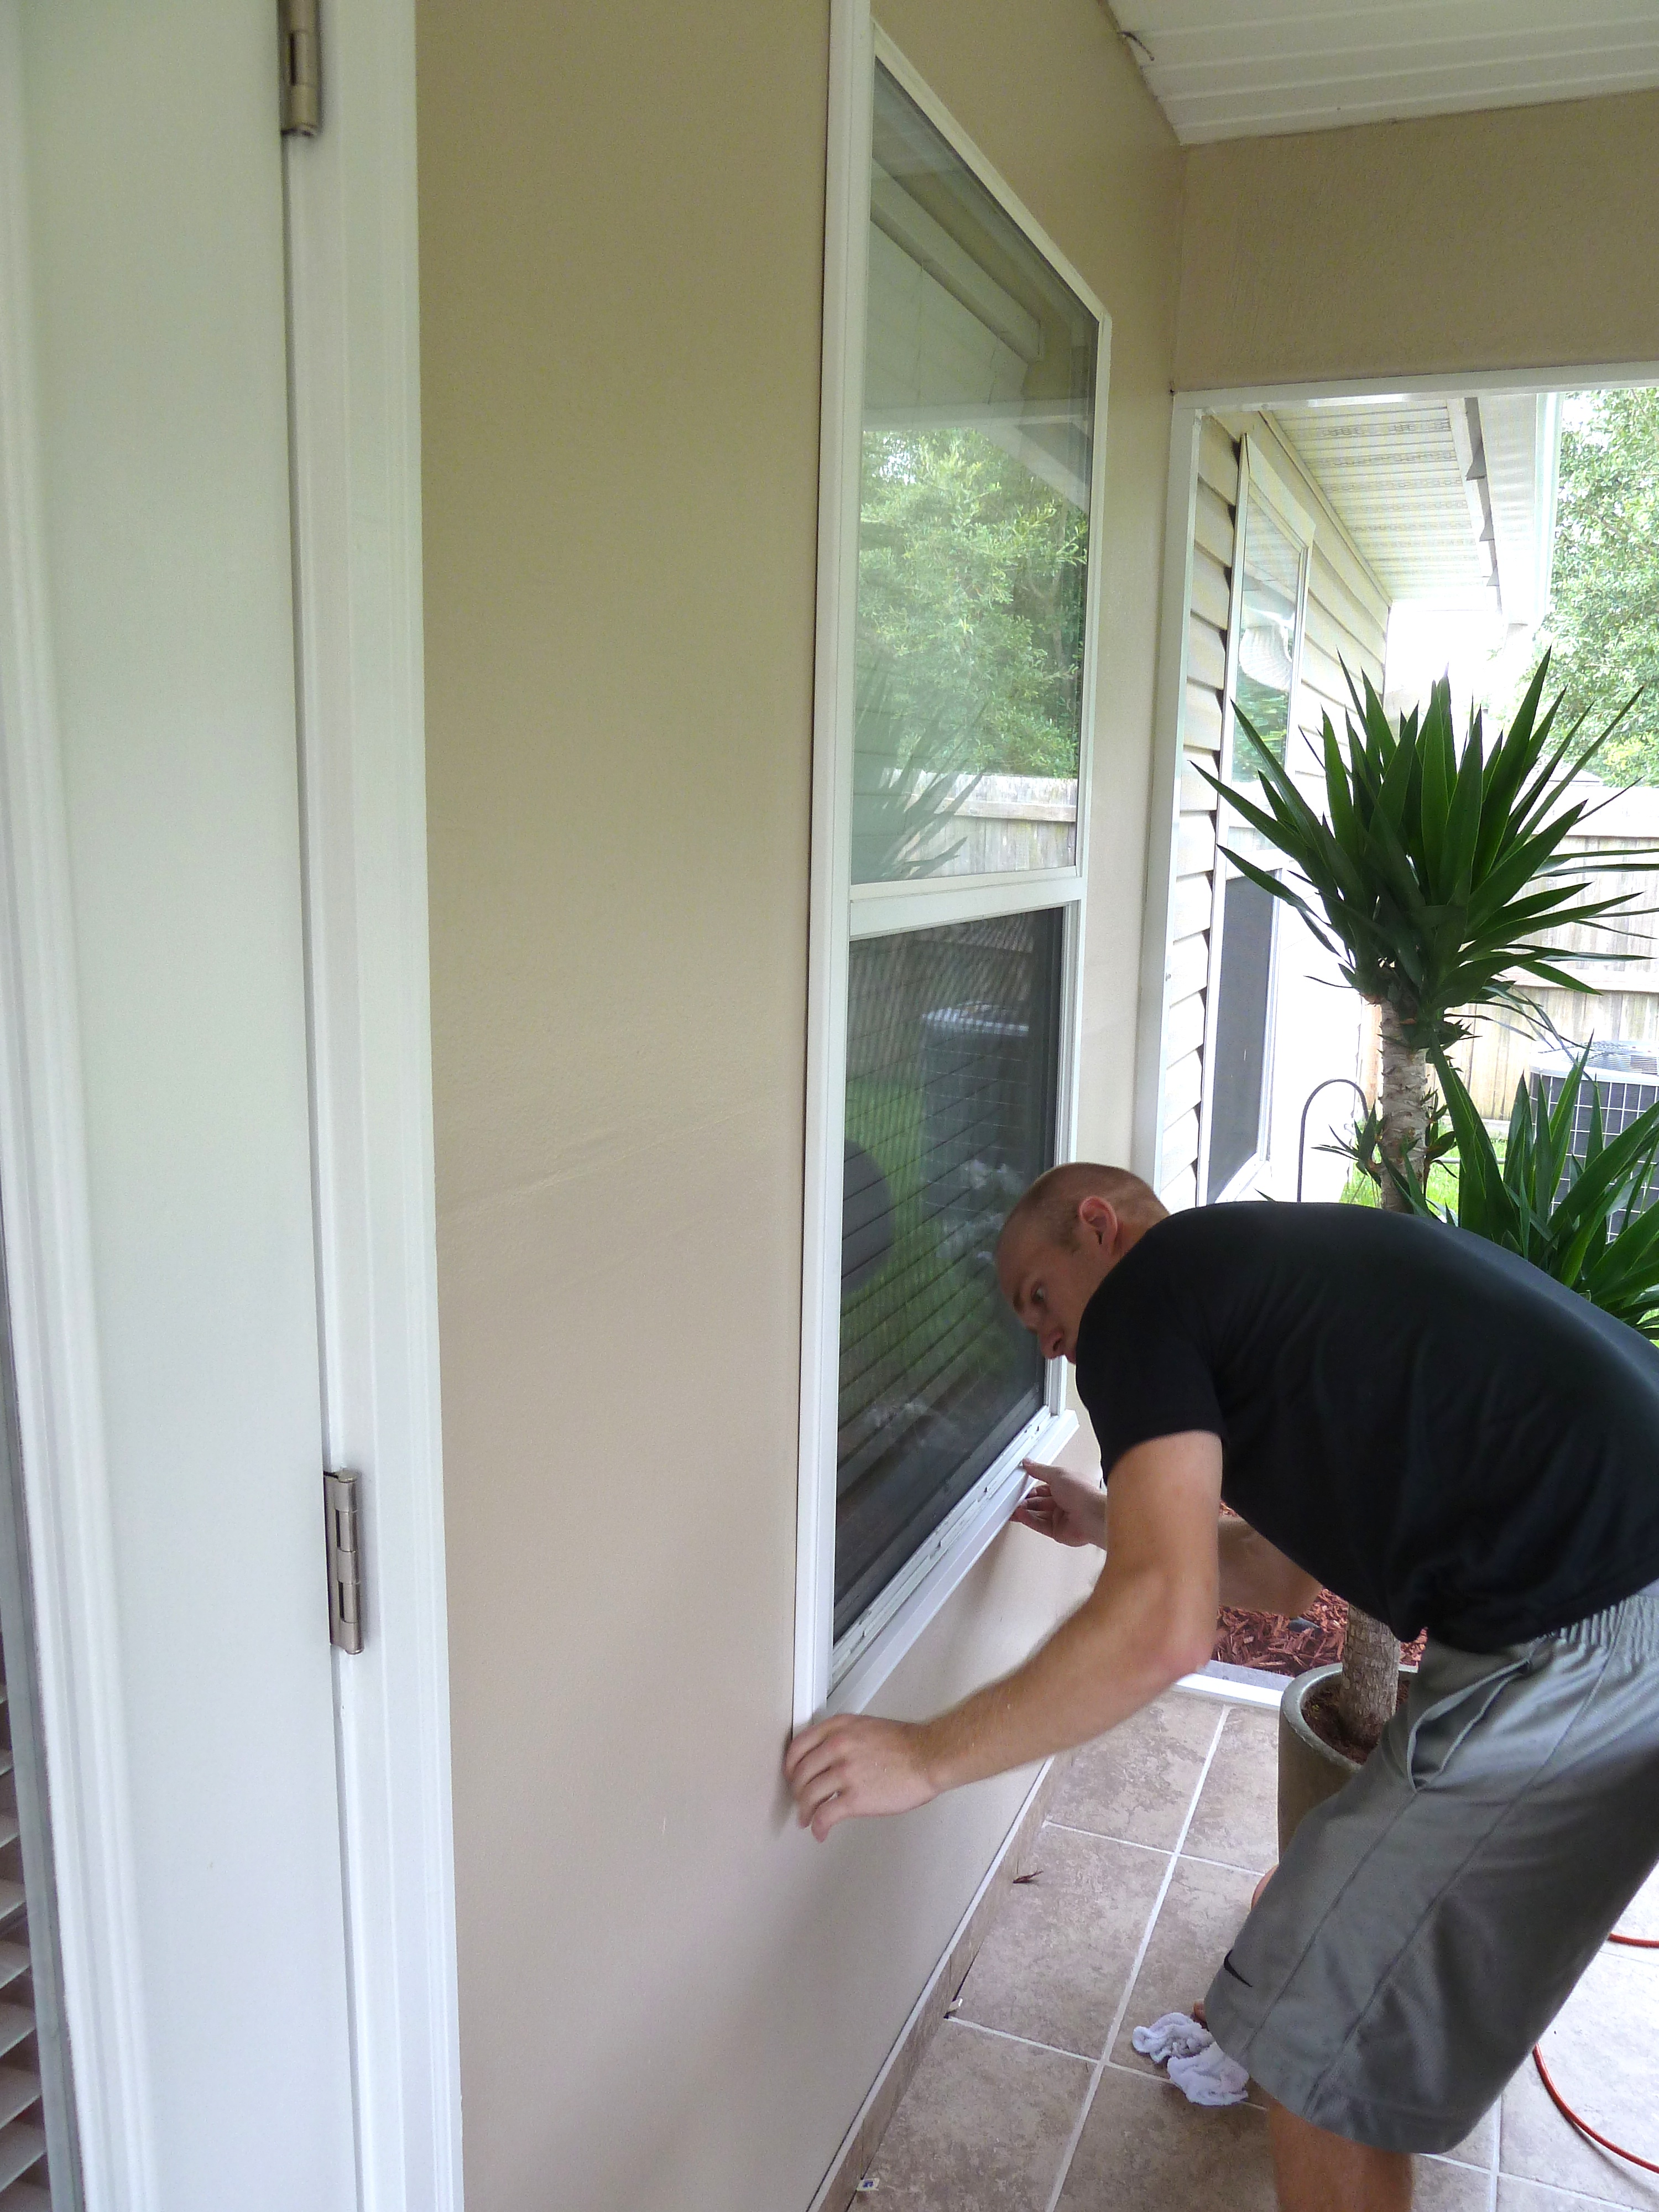
In order to add a new screen door there were a few things that had to be done first.  It seemed that the door Justin purchased wasn’t quite fitting correctly.  He had to add some wood to frame out the door a bit and make it so our new screen door would fit and sit flush with our house. This was not an east task though, Justin’s dad came by to help him out. If we can’t figure something out we usually rely on Kent to make it work! Thanks Kent!

painting outdoor trim

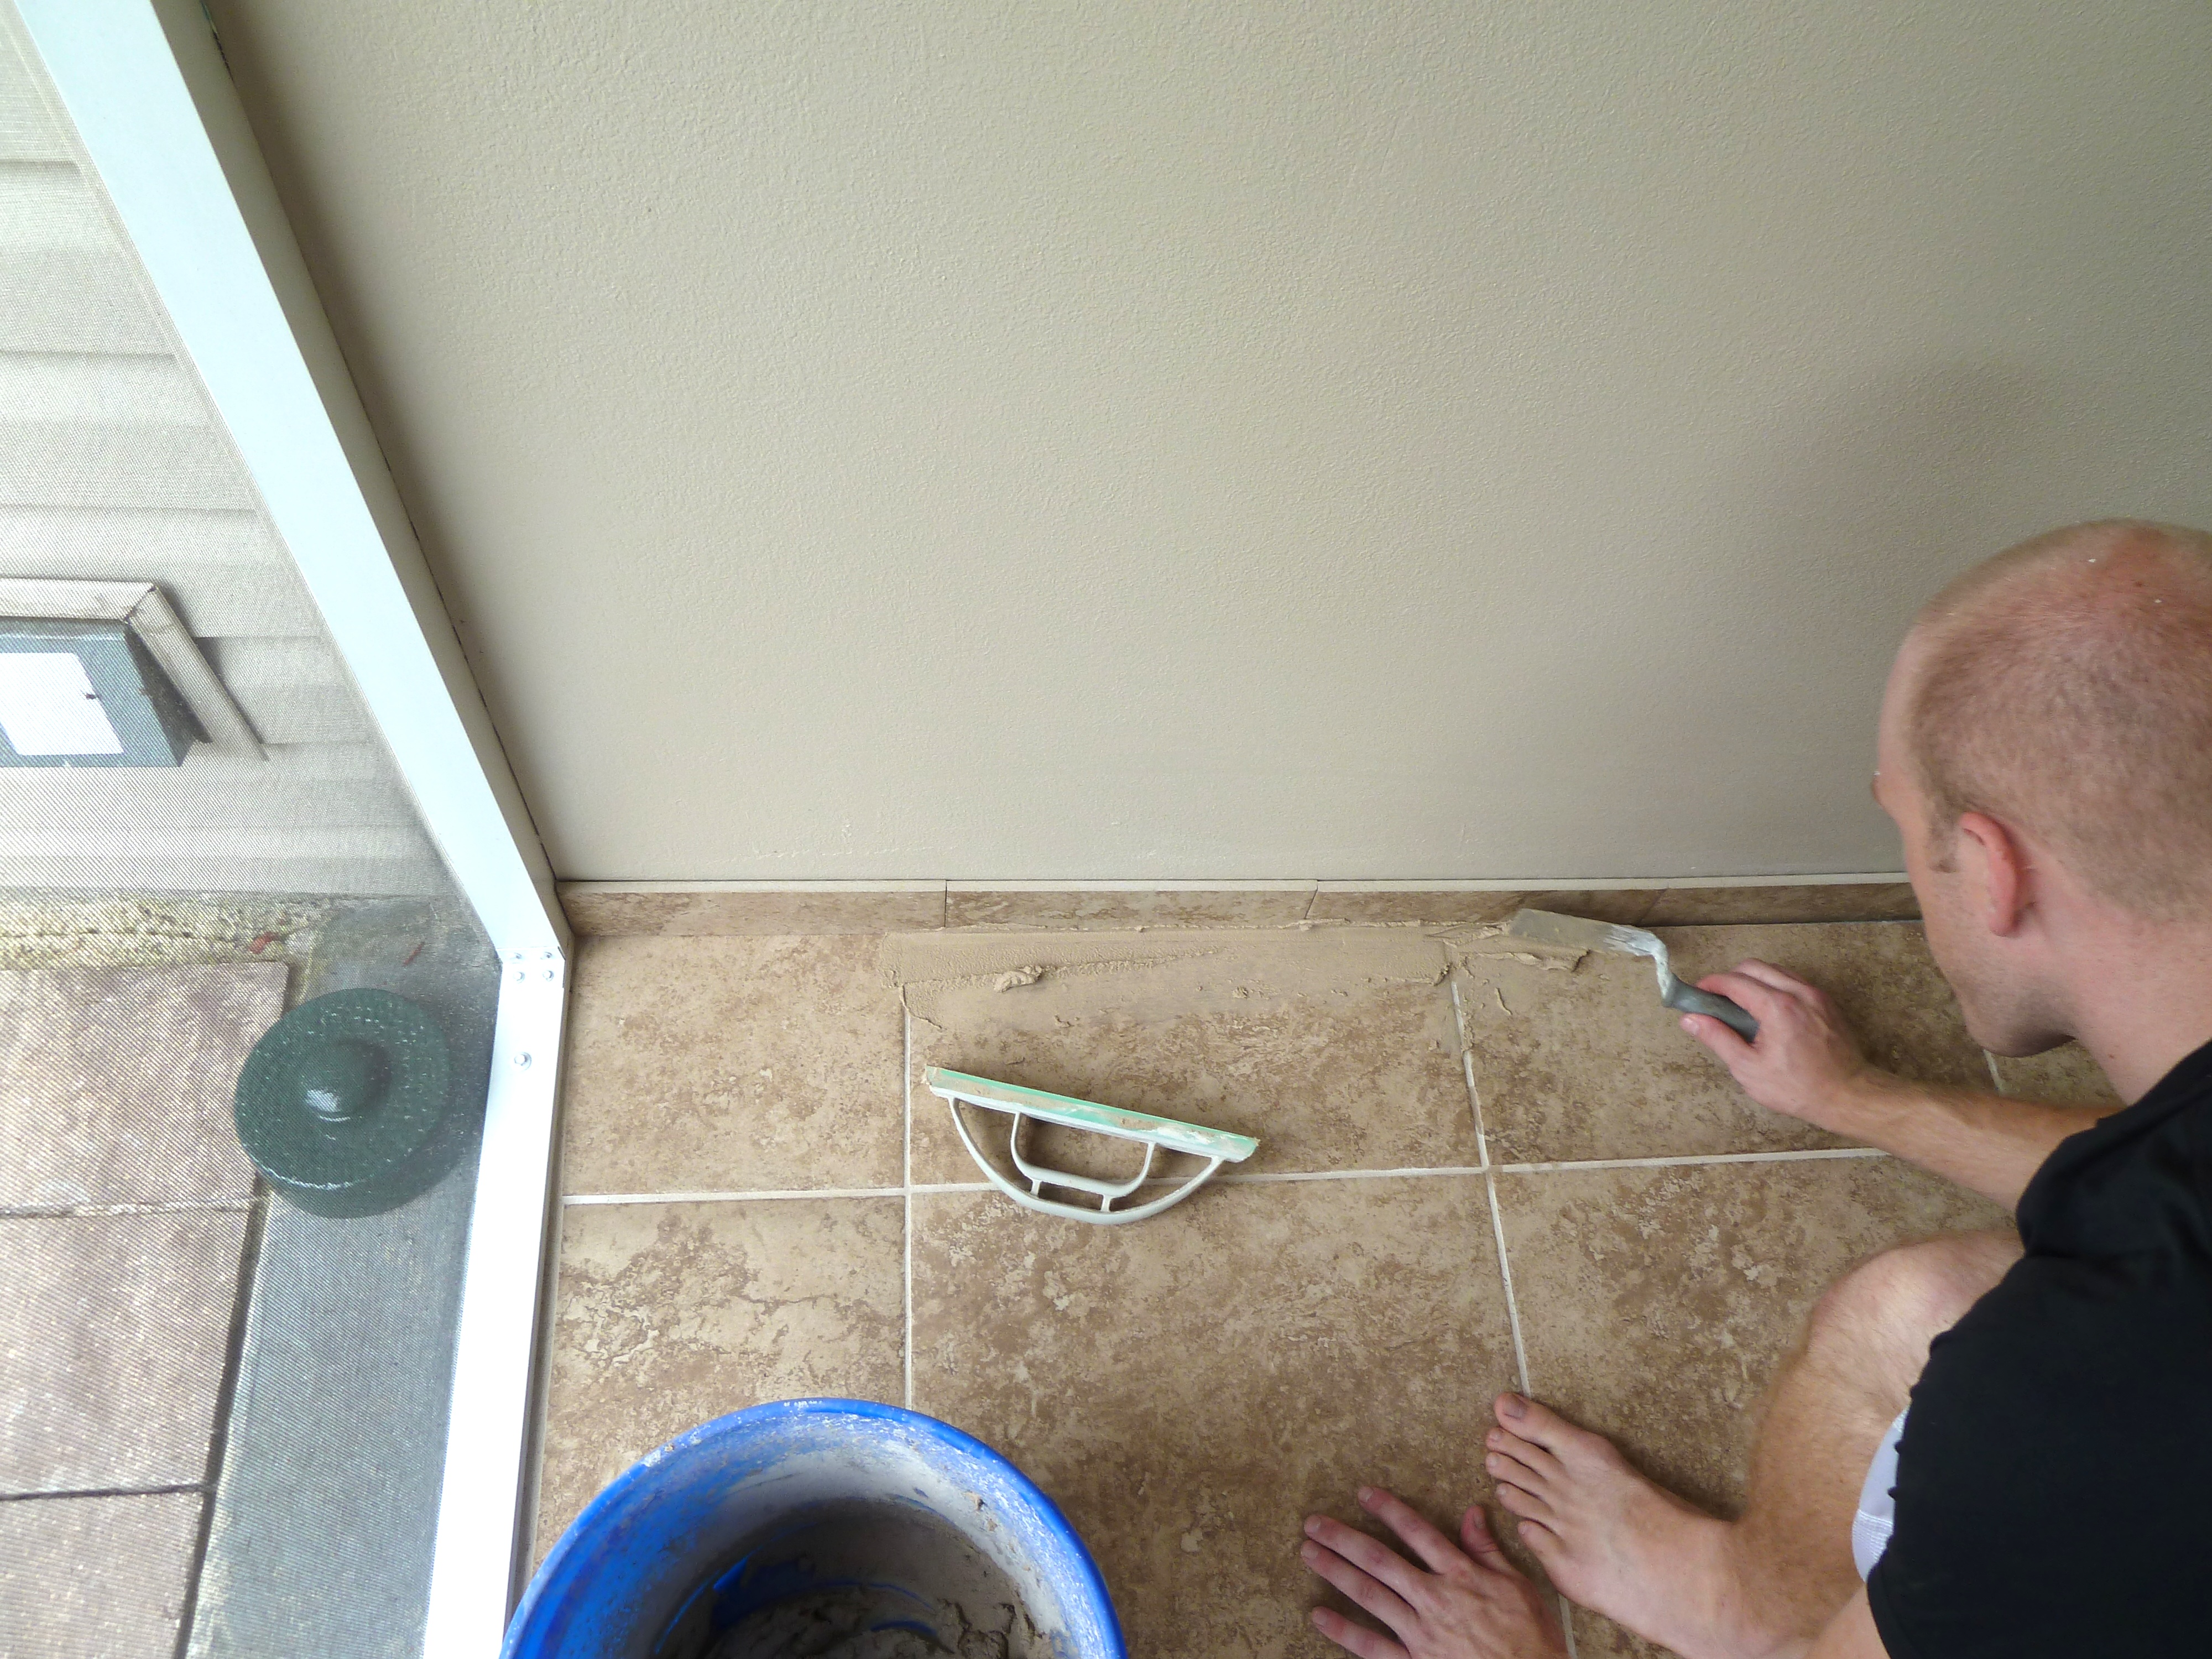
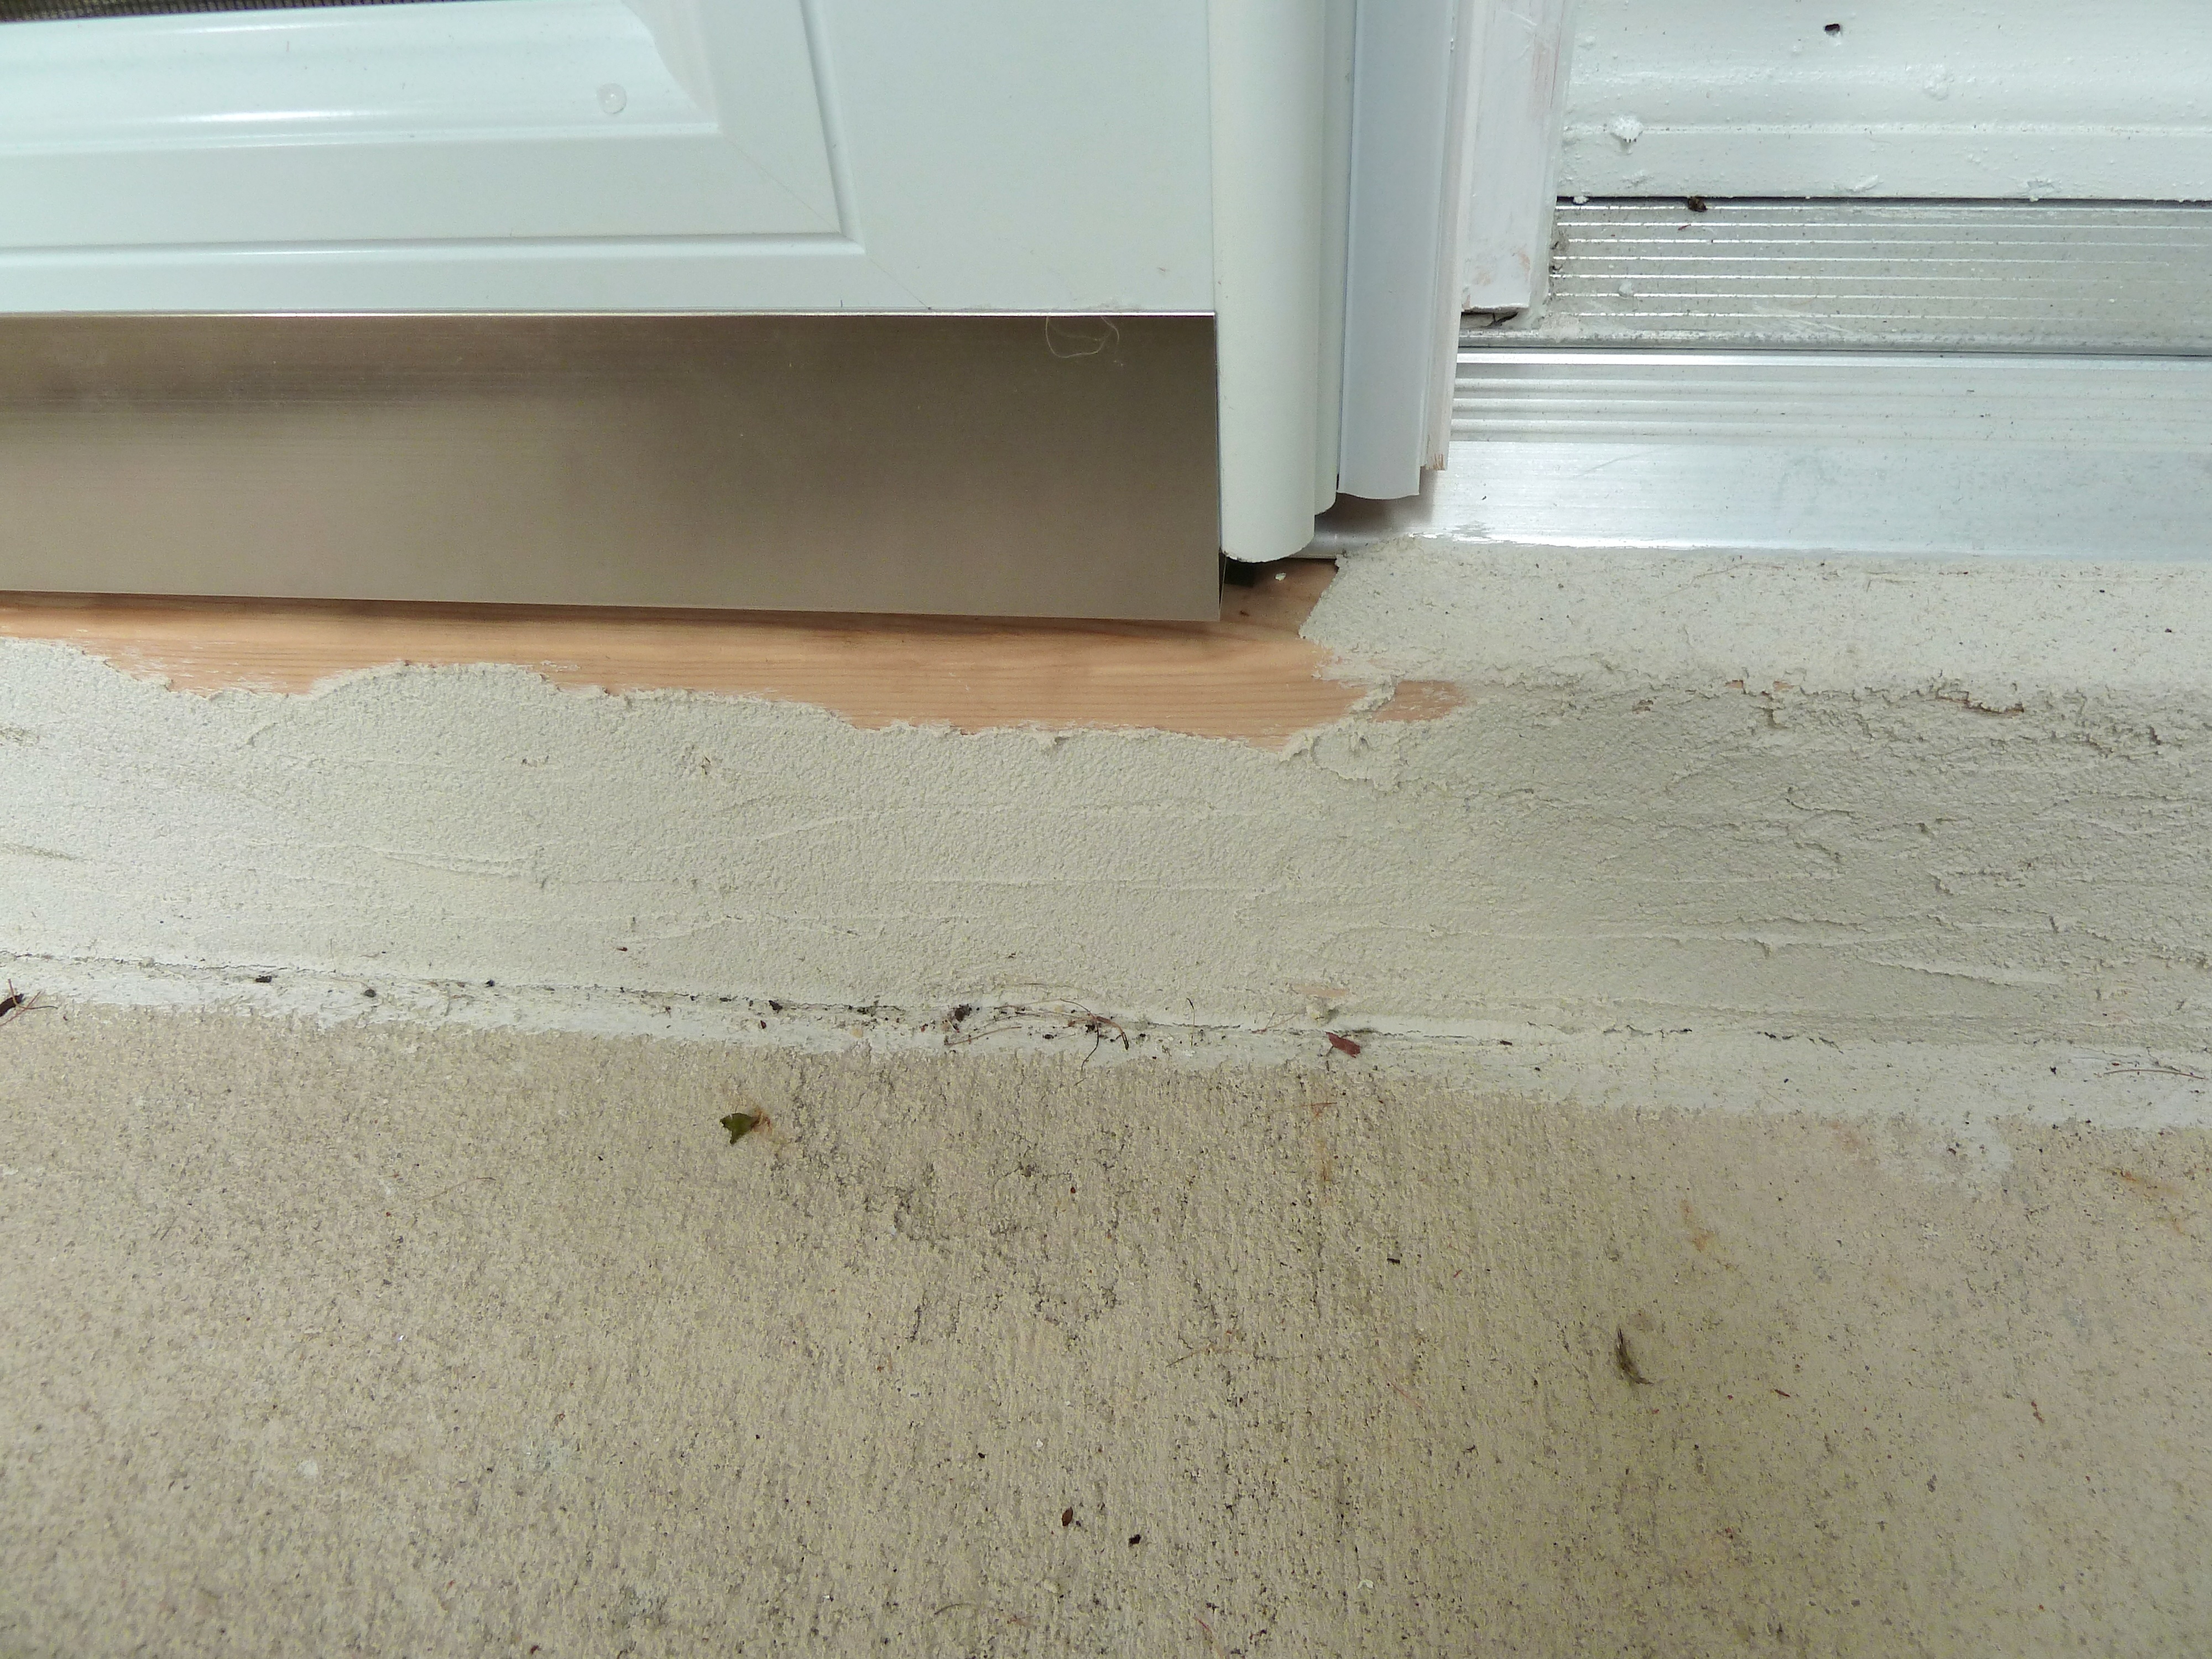
See the new wood that he added?  He also added a piece of 2 x 4 under the bottom lip of the door so there wasn’t such a large gap between the door and the ground.  Since our home is stucco Justin needed to texturize that piece so it doesn’t look so smooth and stand out against the texture in the existing frame.

painting outdoor trim

See what I mean?  Oh and check out those adorable feet and nose! Char man is such a good helper.   Here’s a closer look at the texture on the 2x 4…

painting outdoor trim

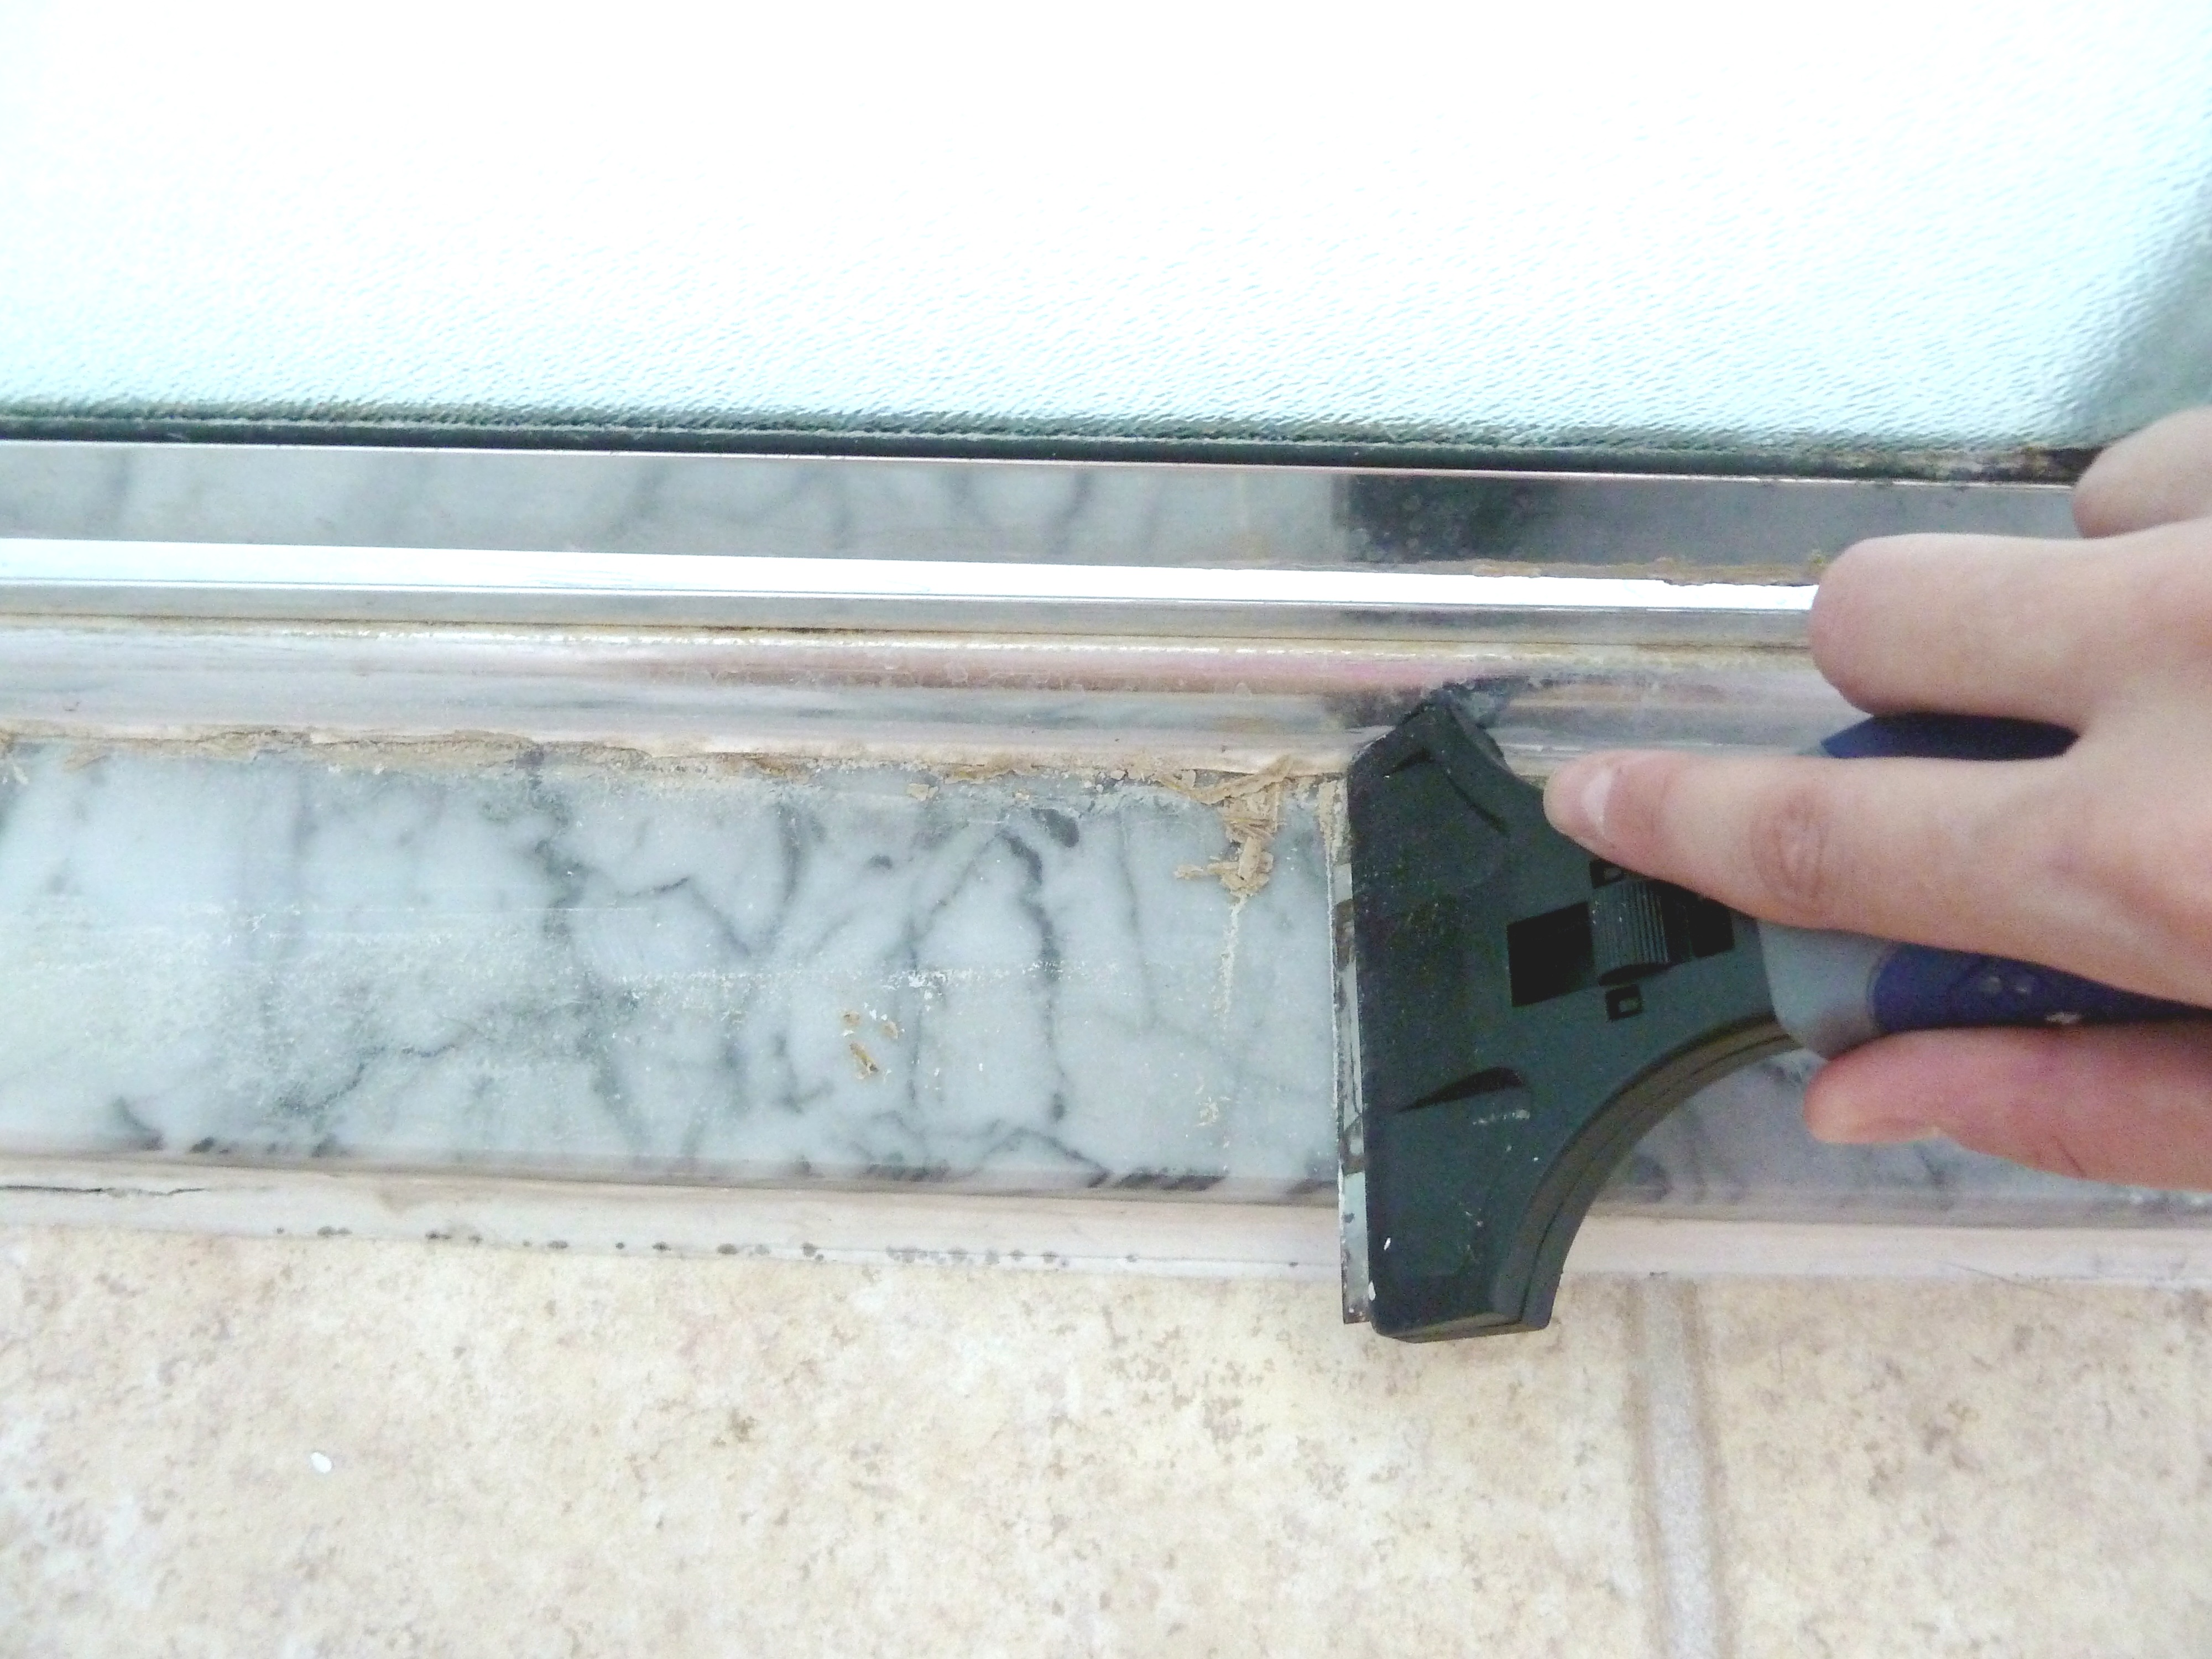
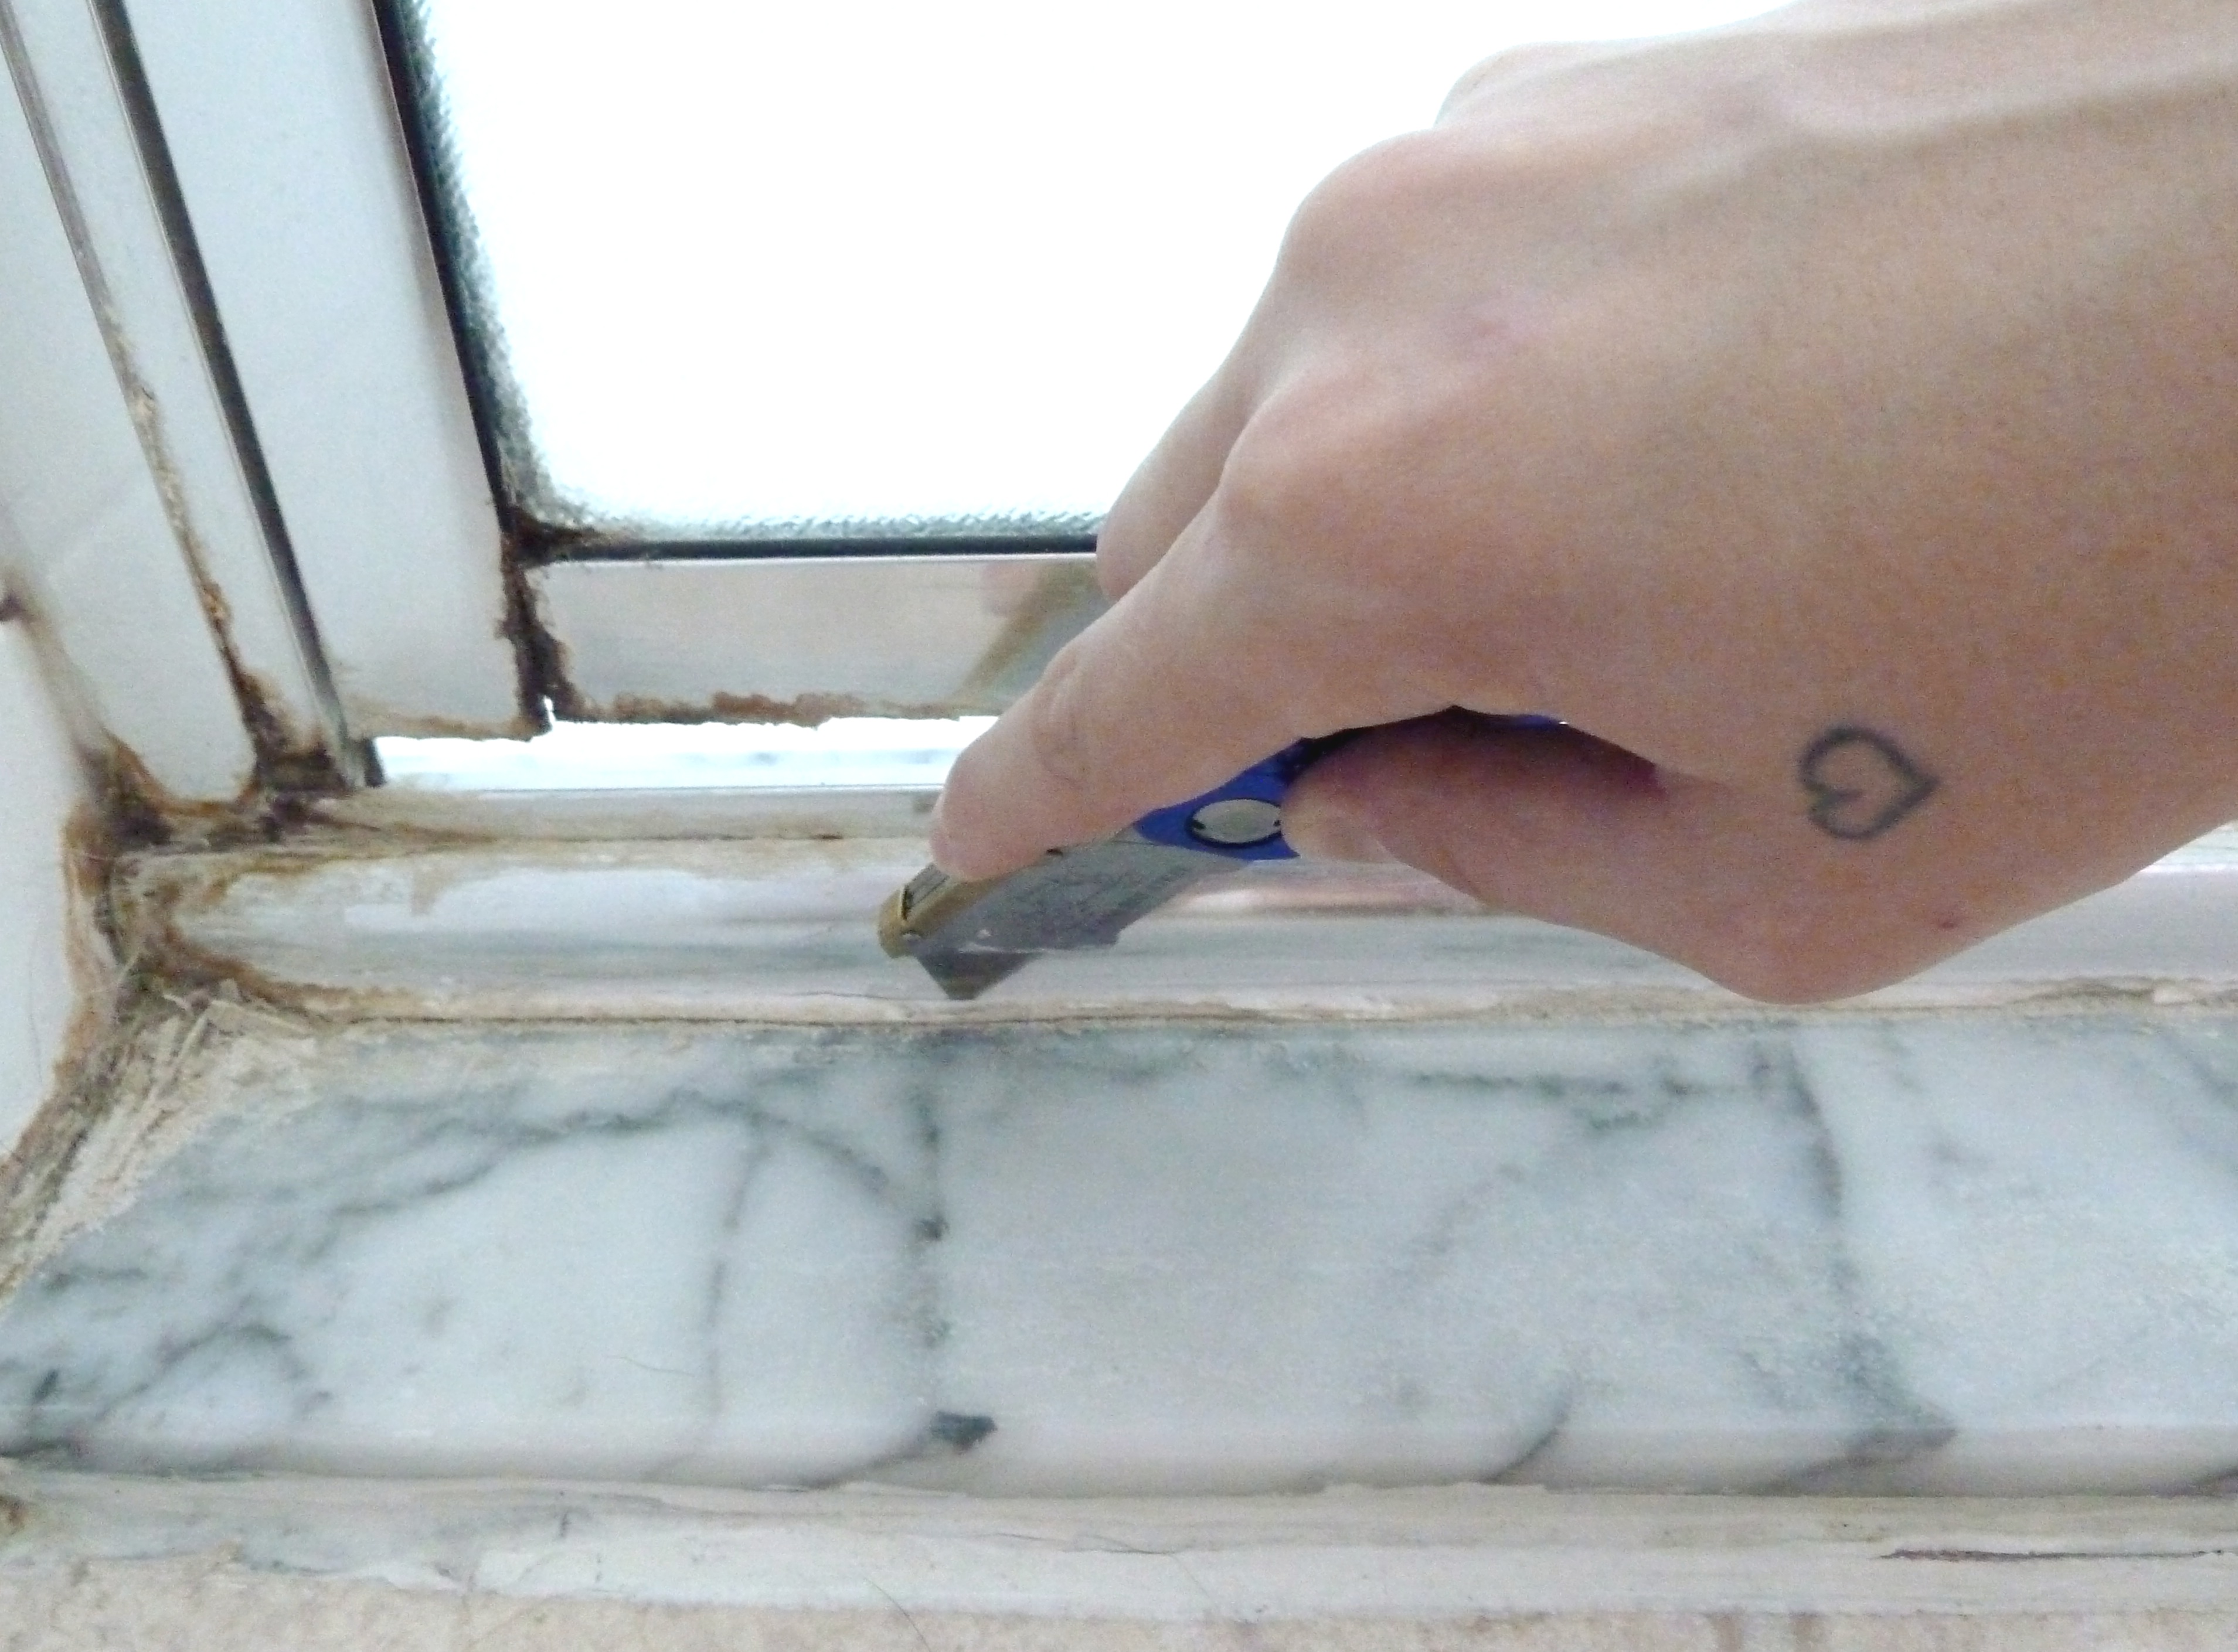
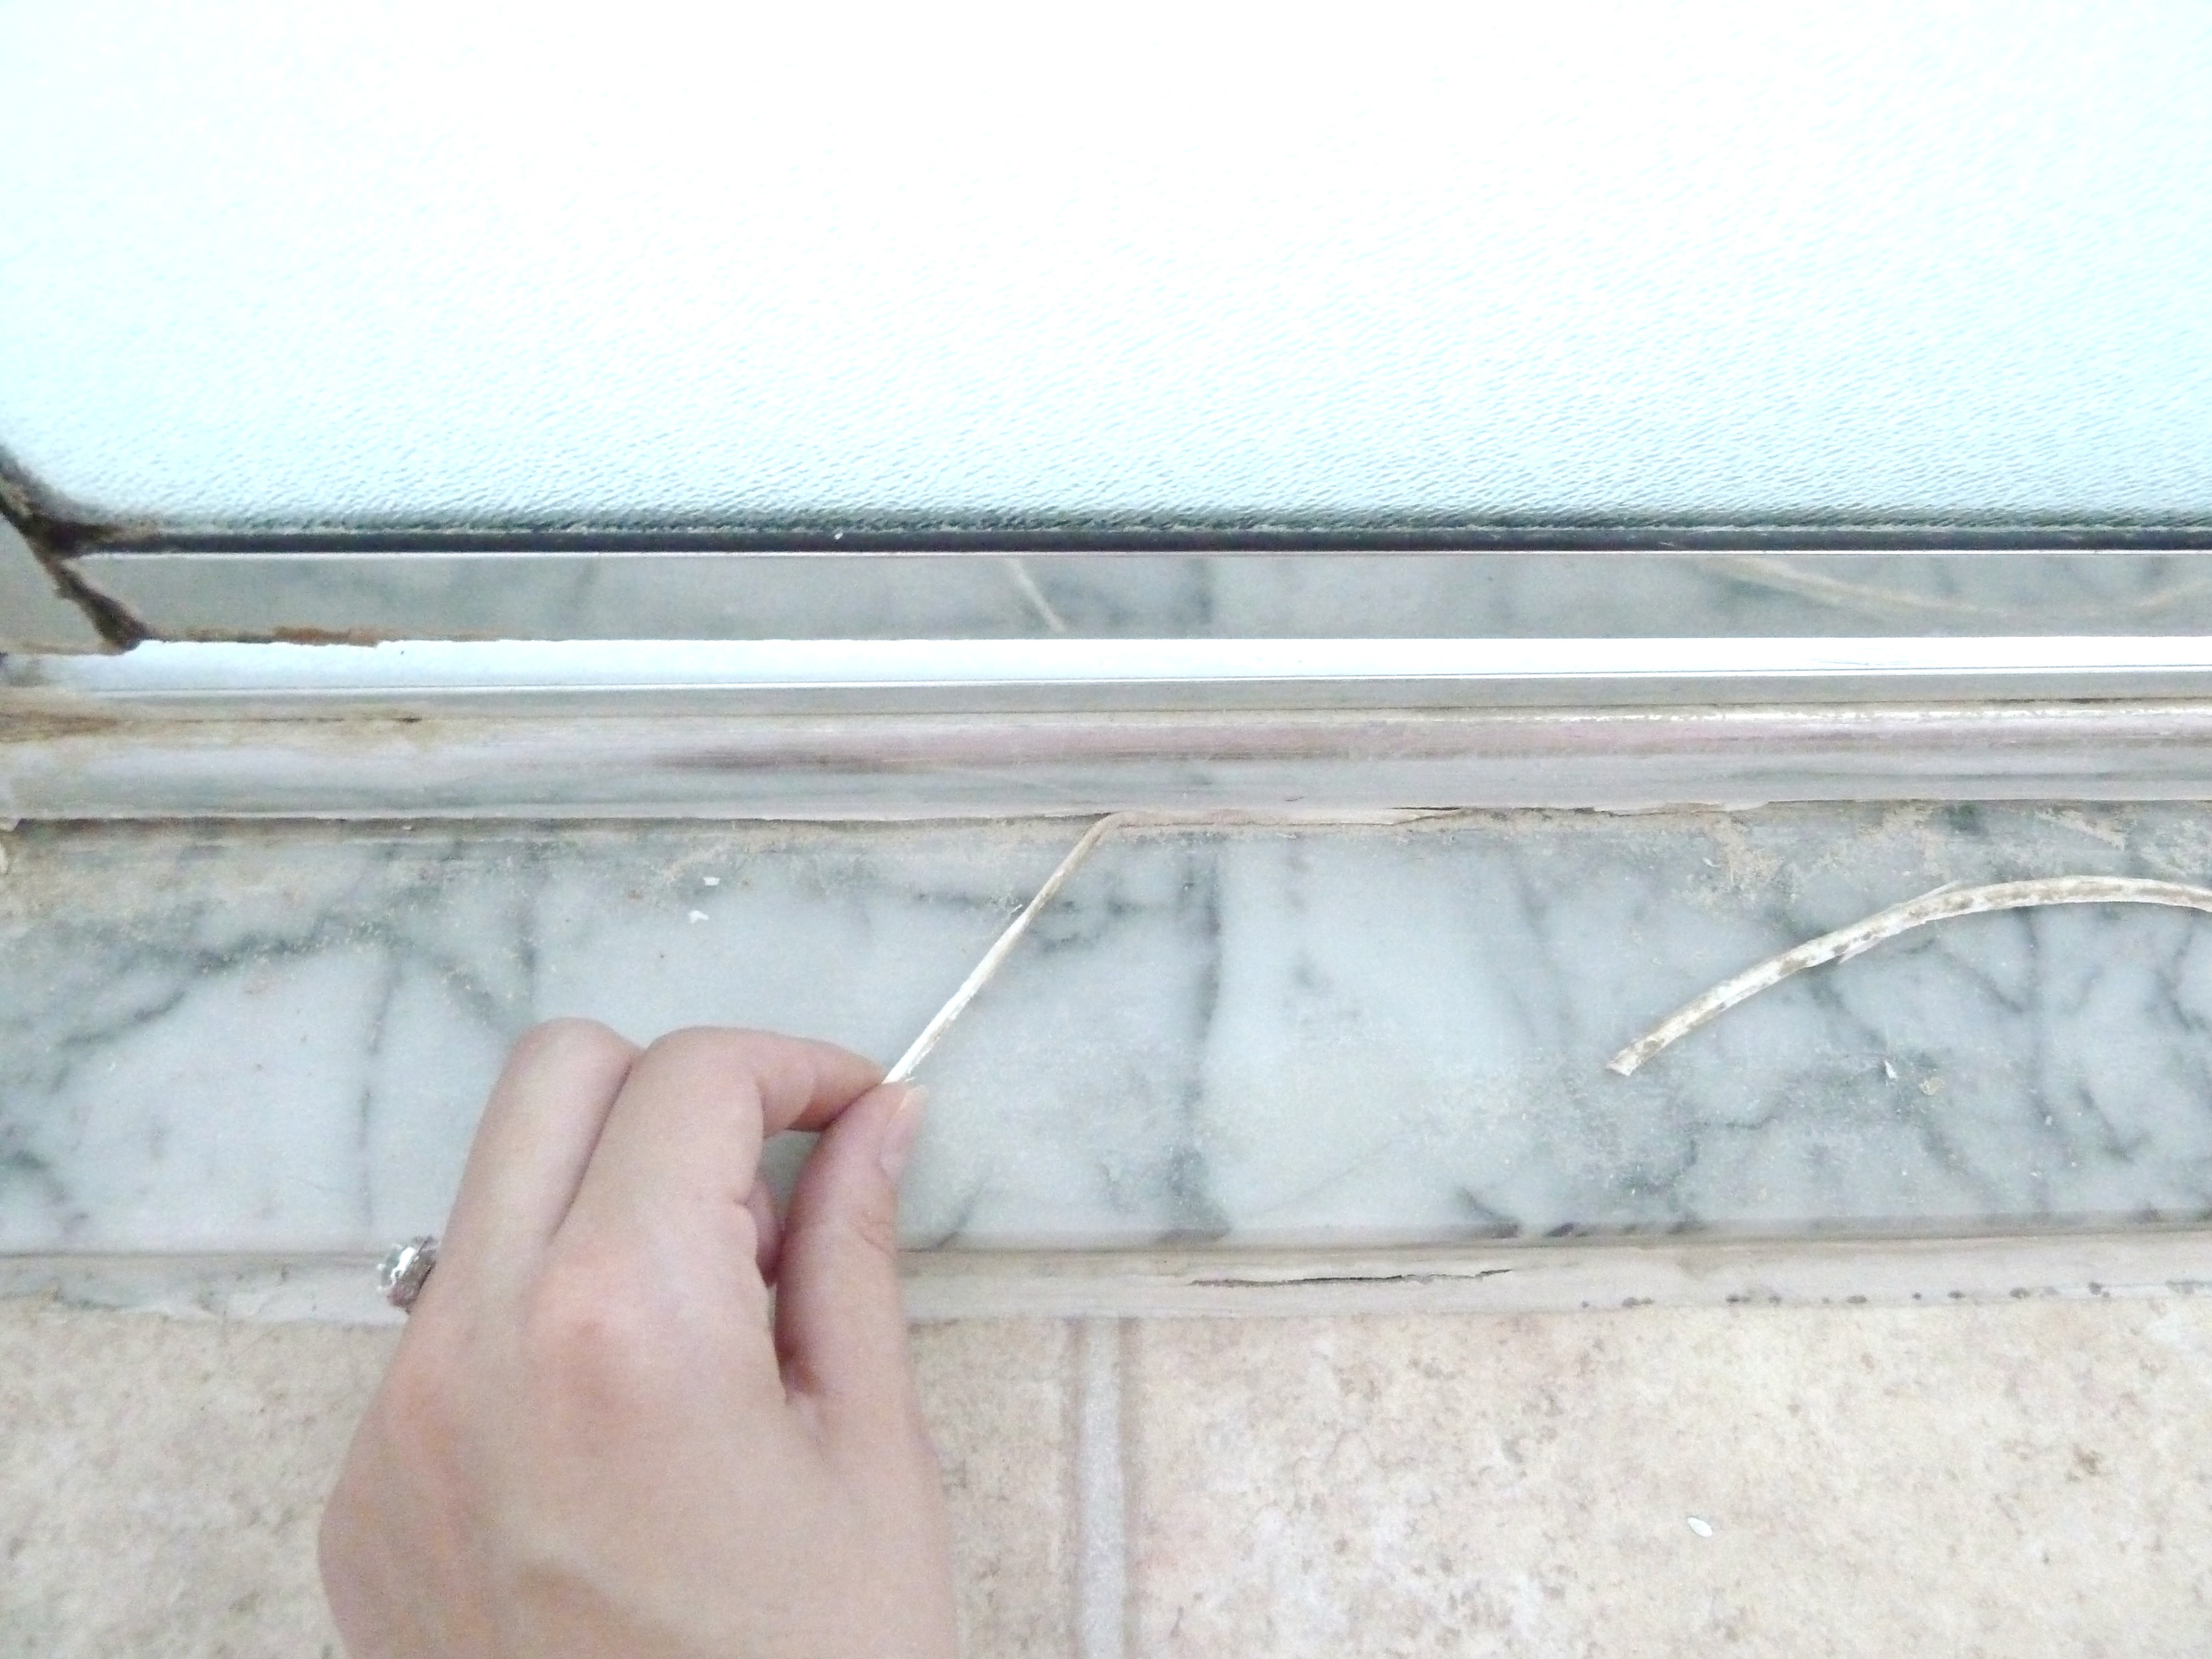
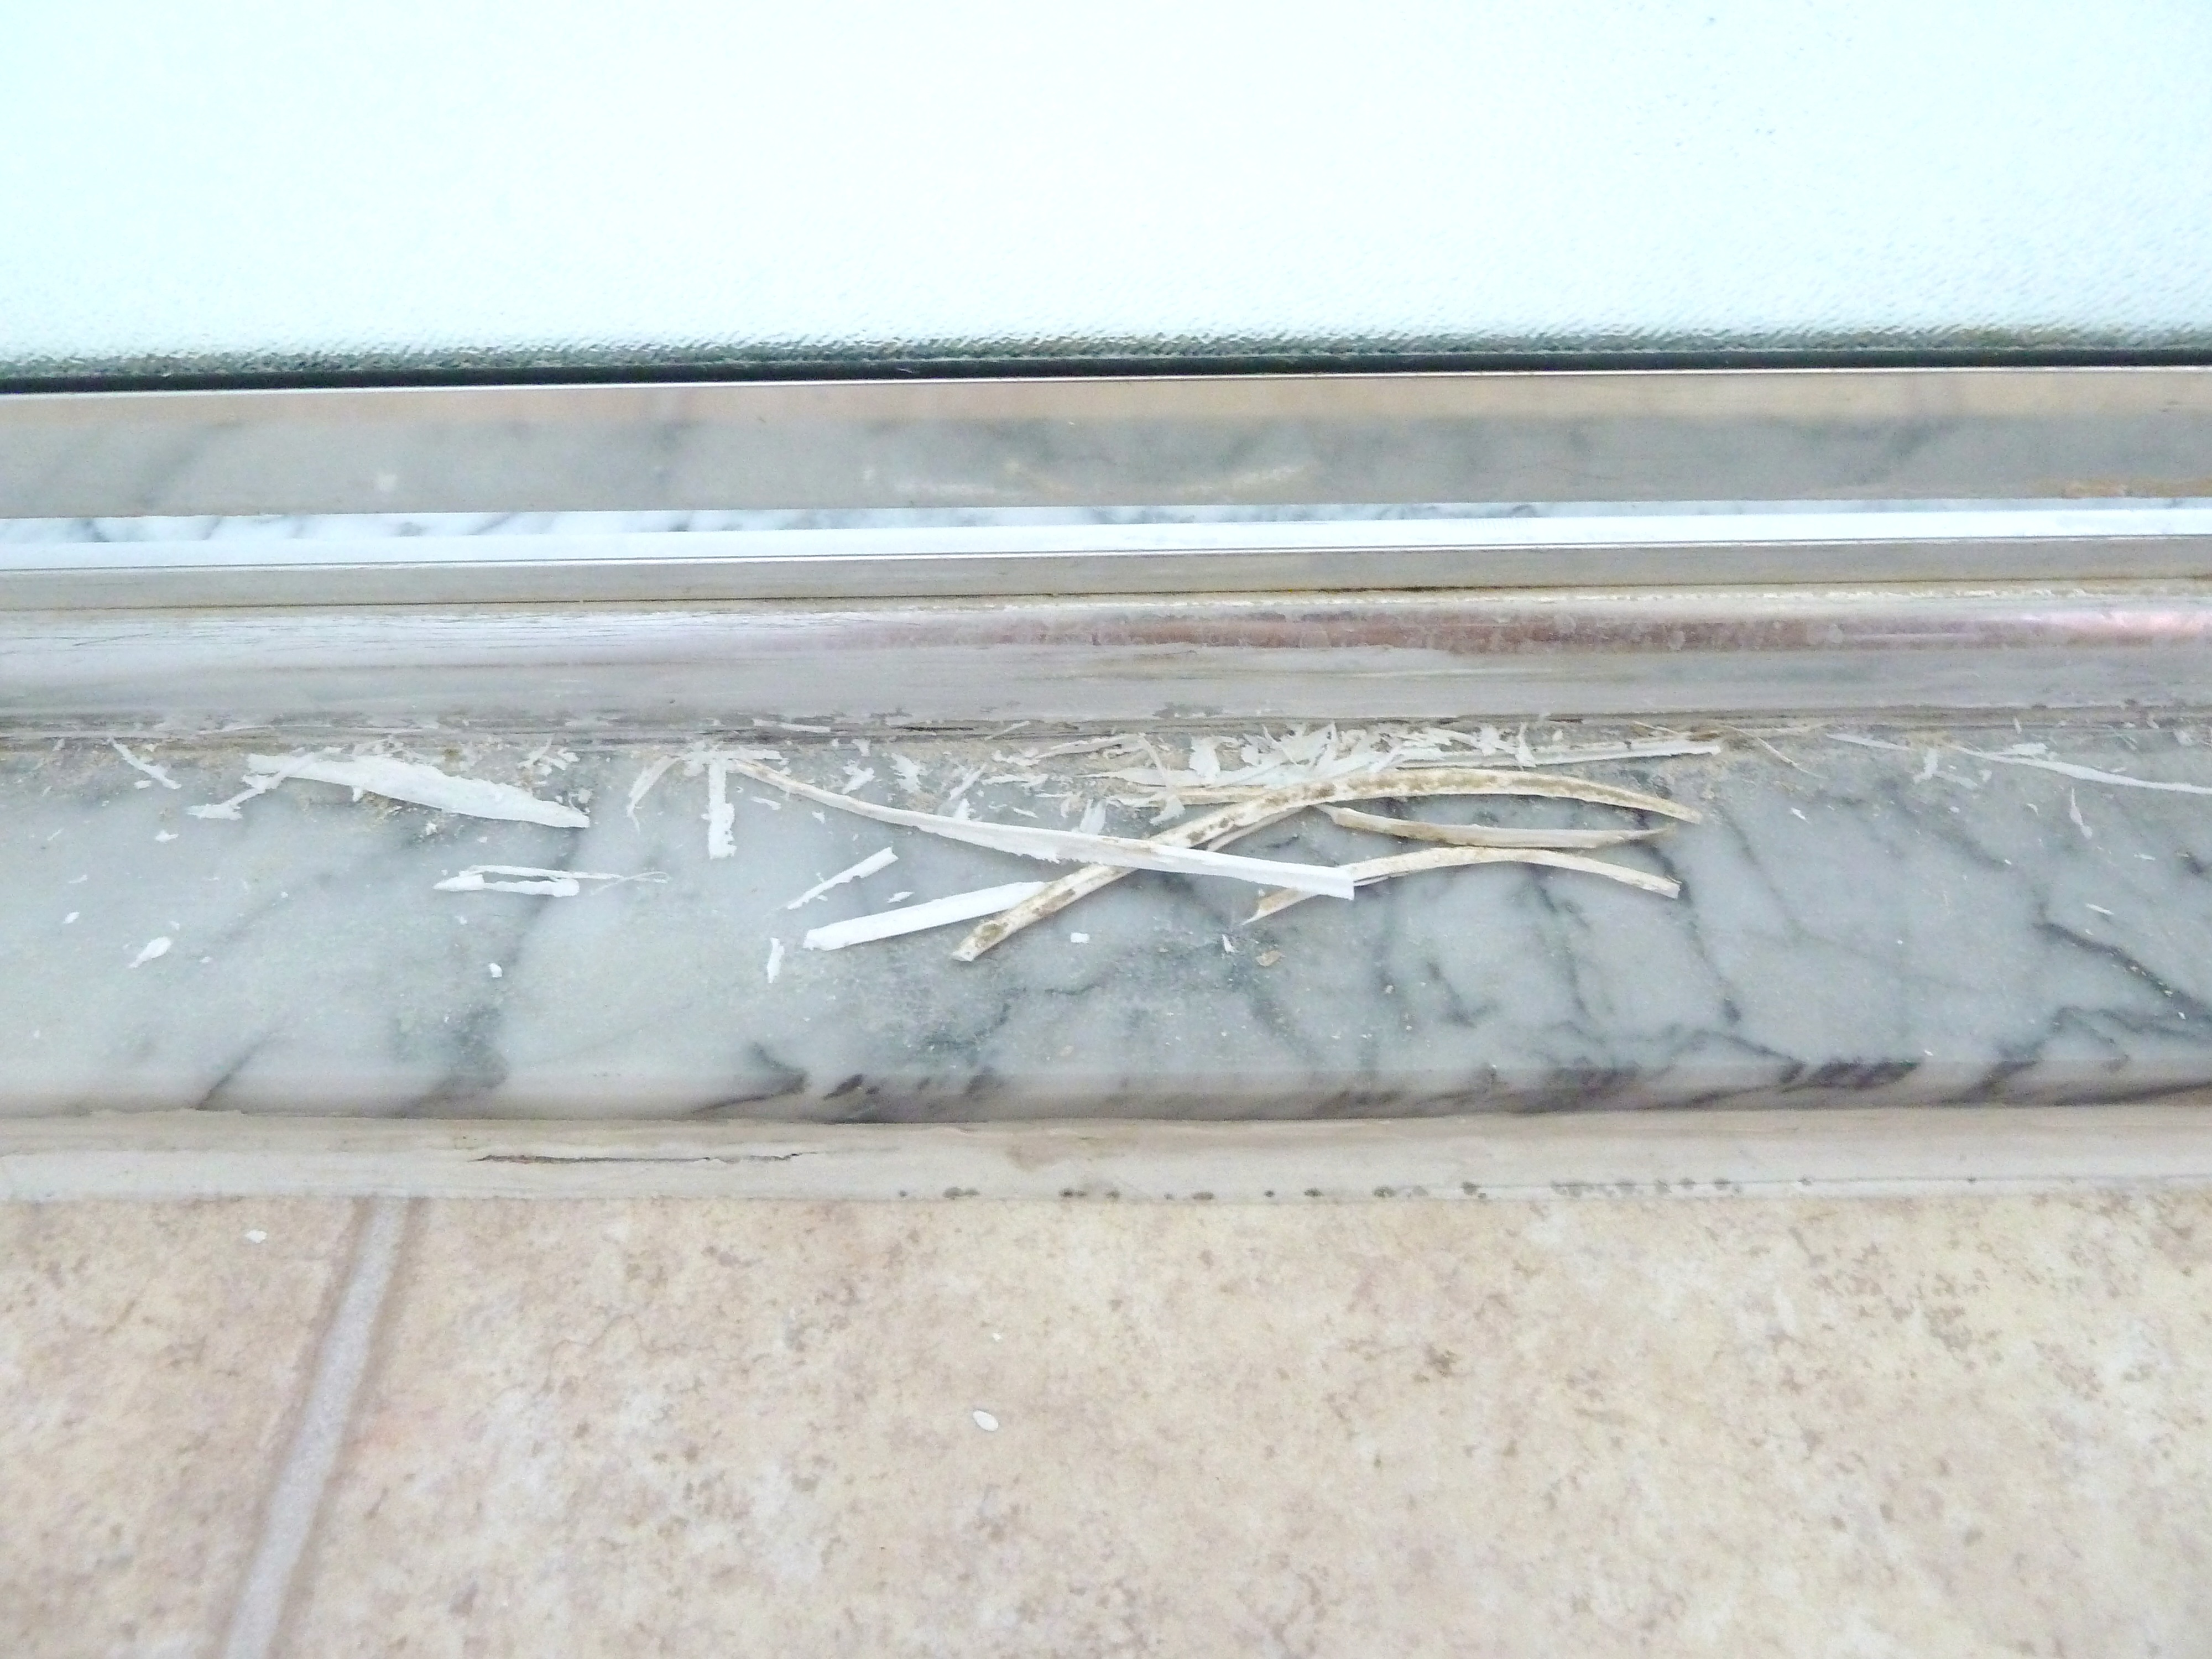
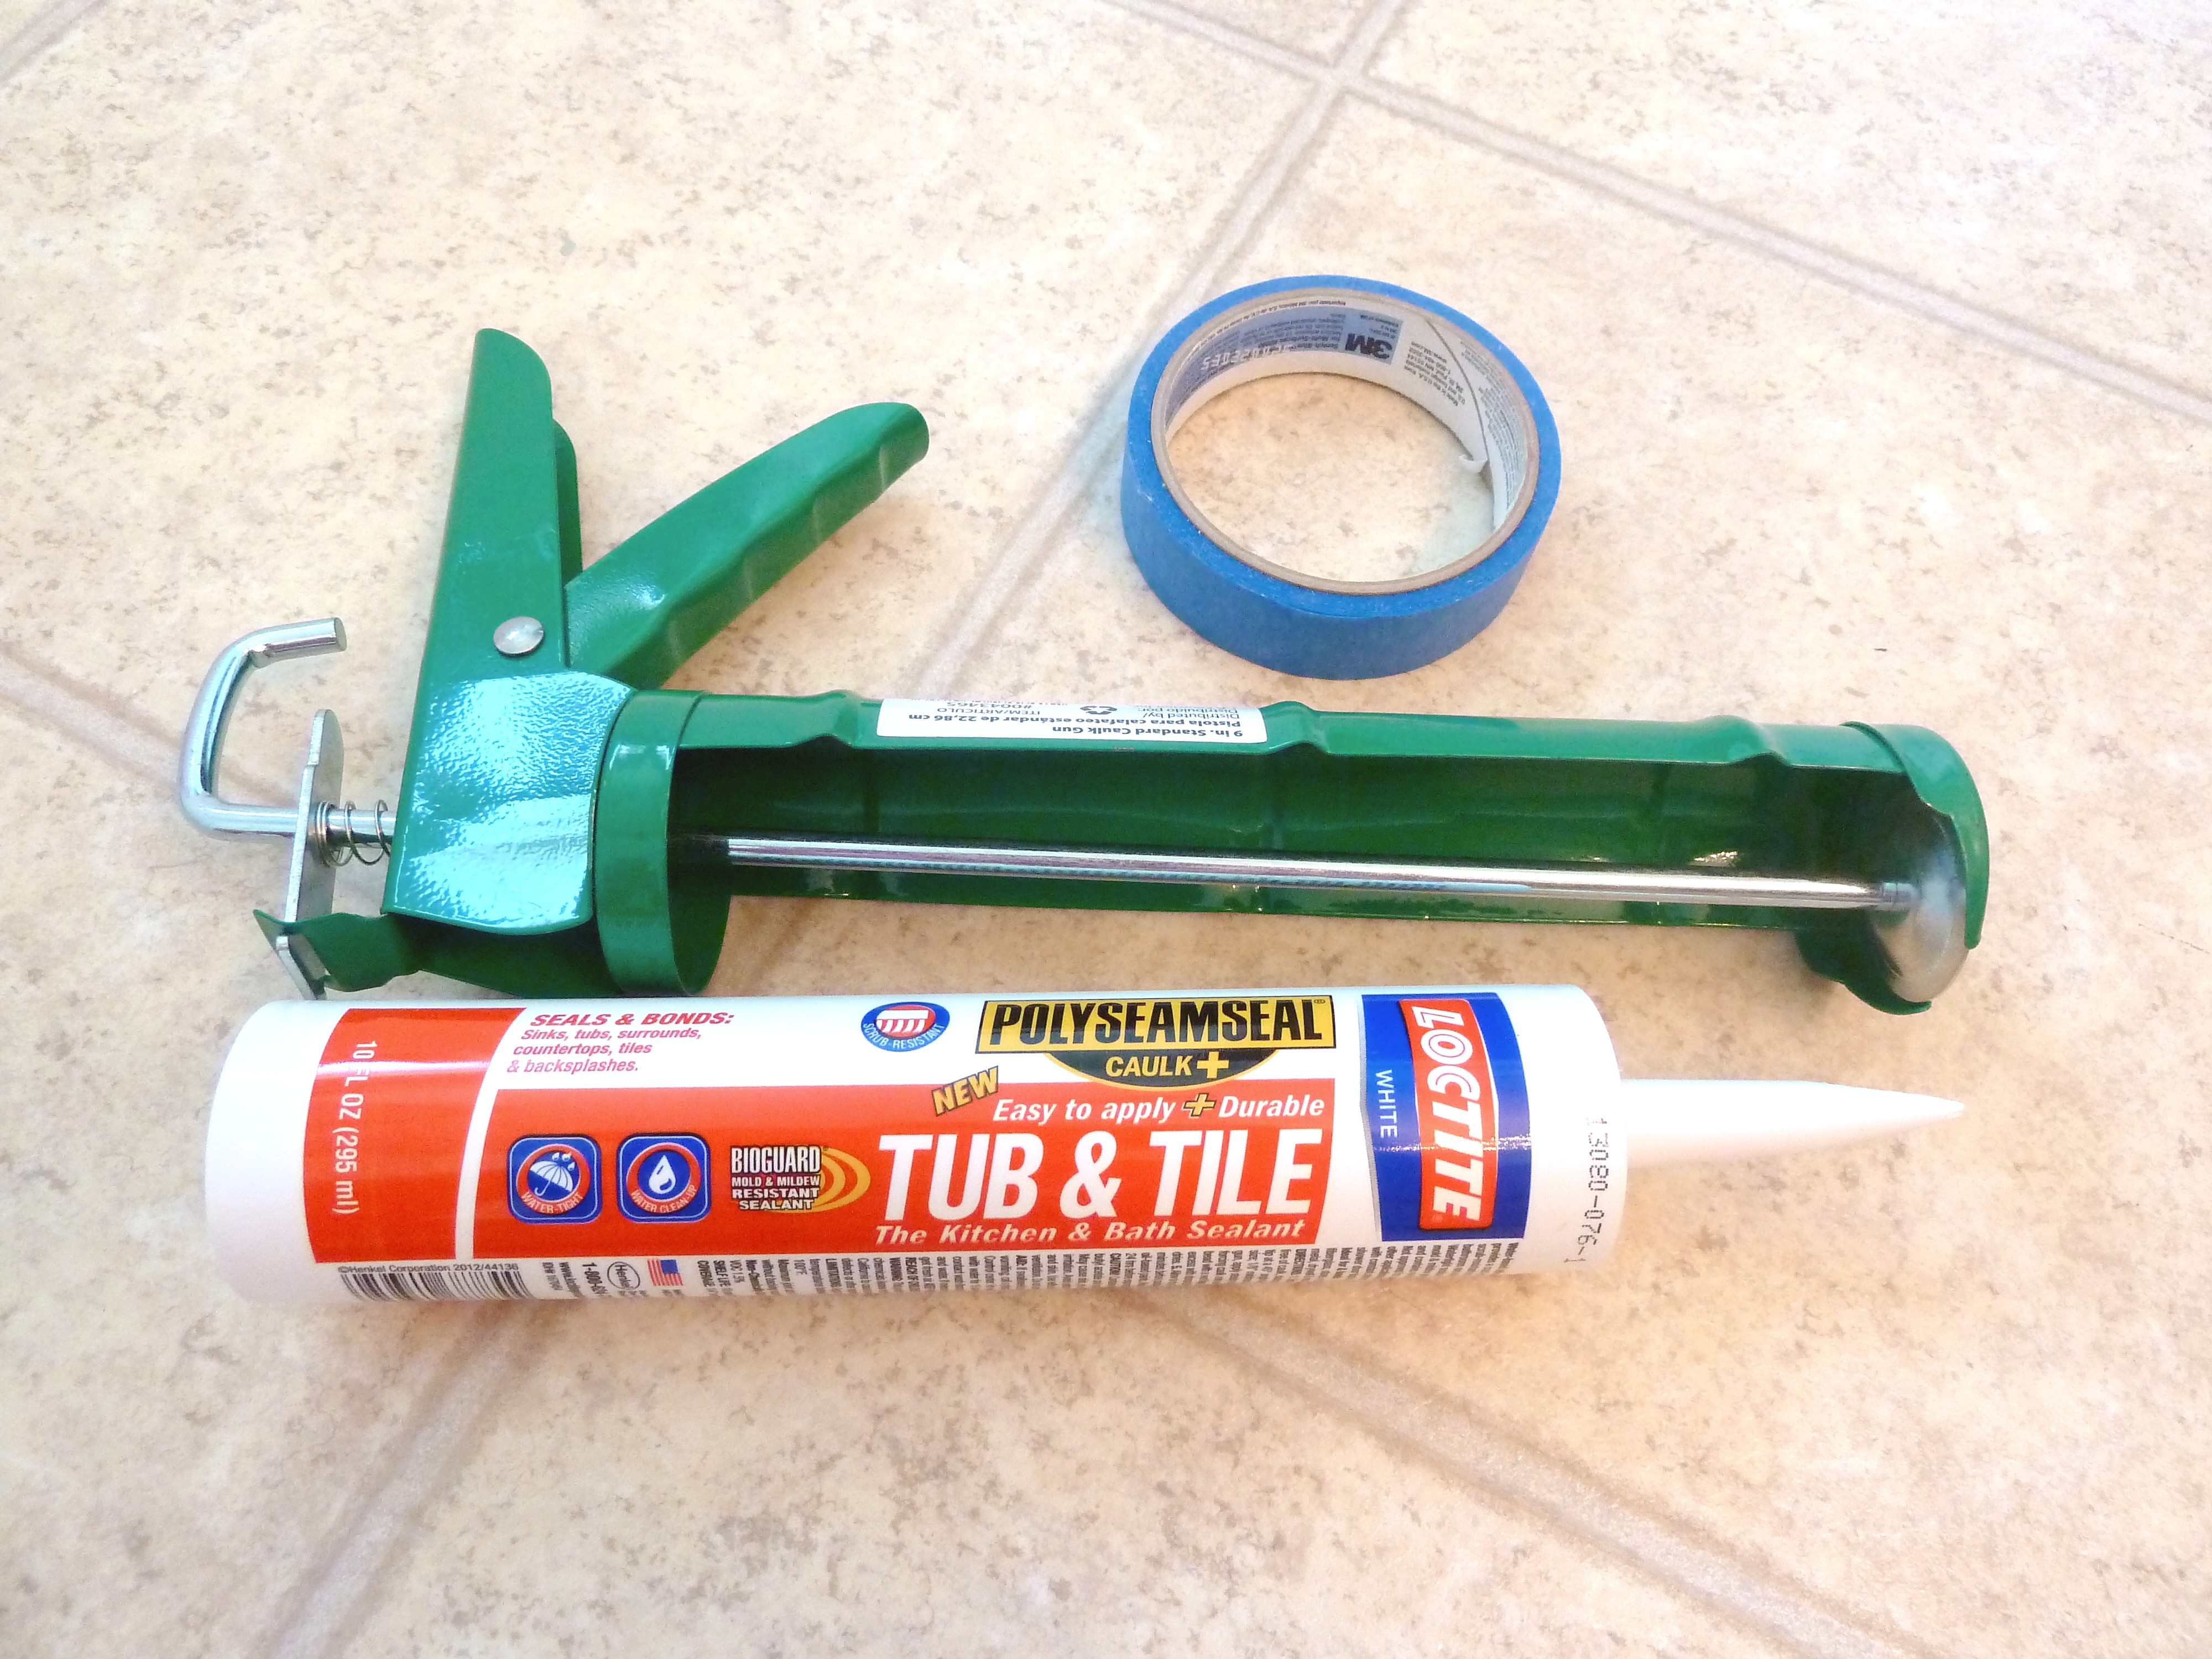
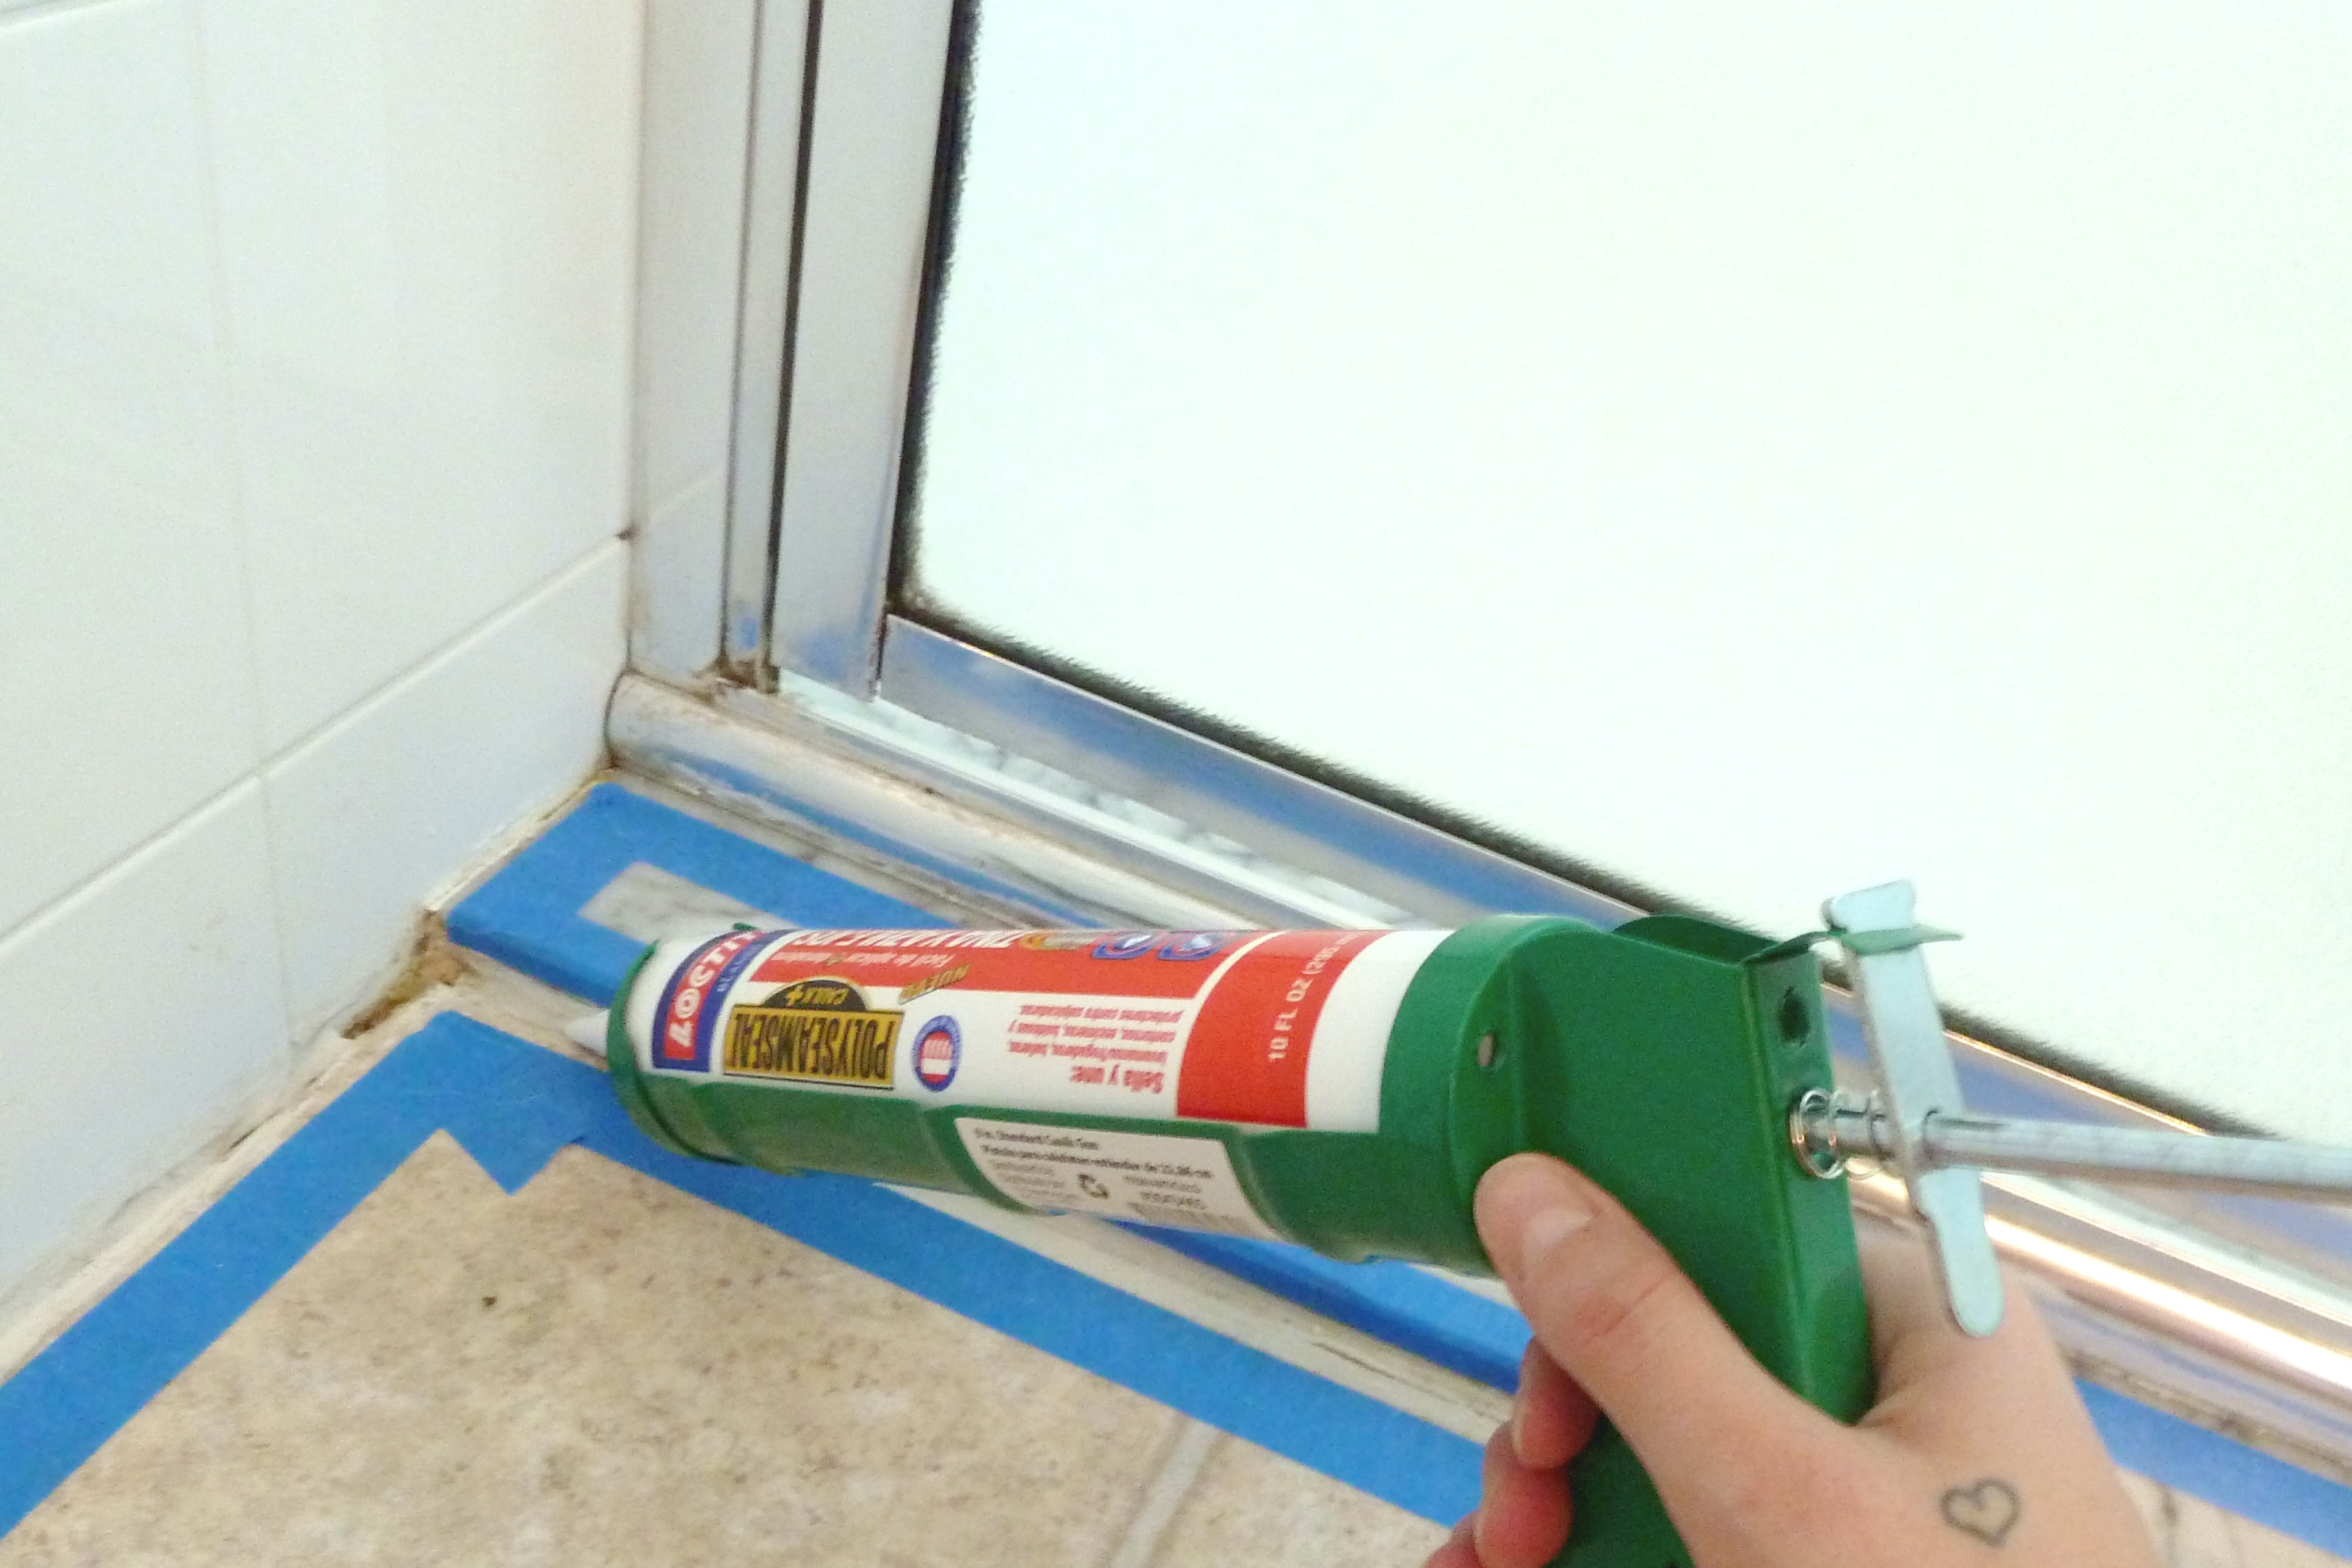
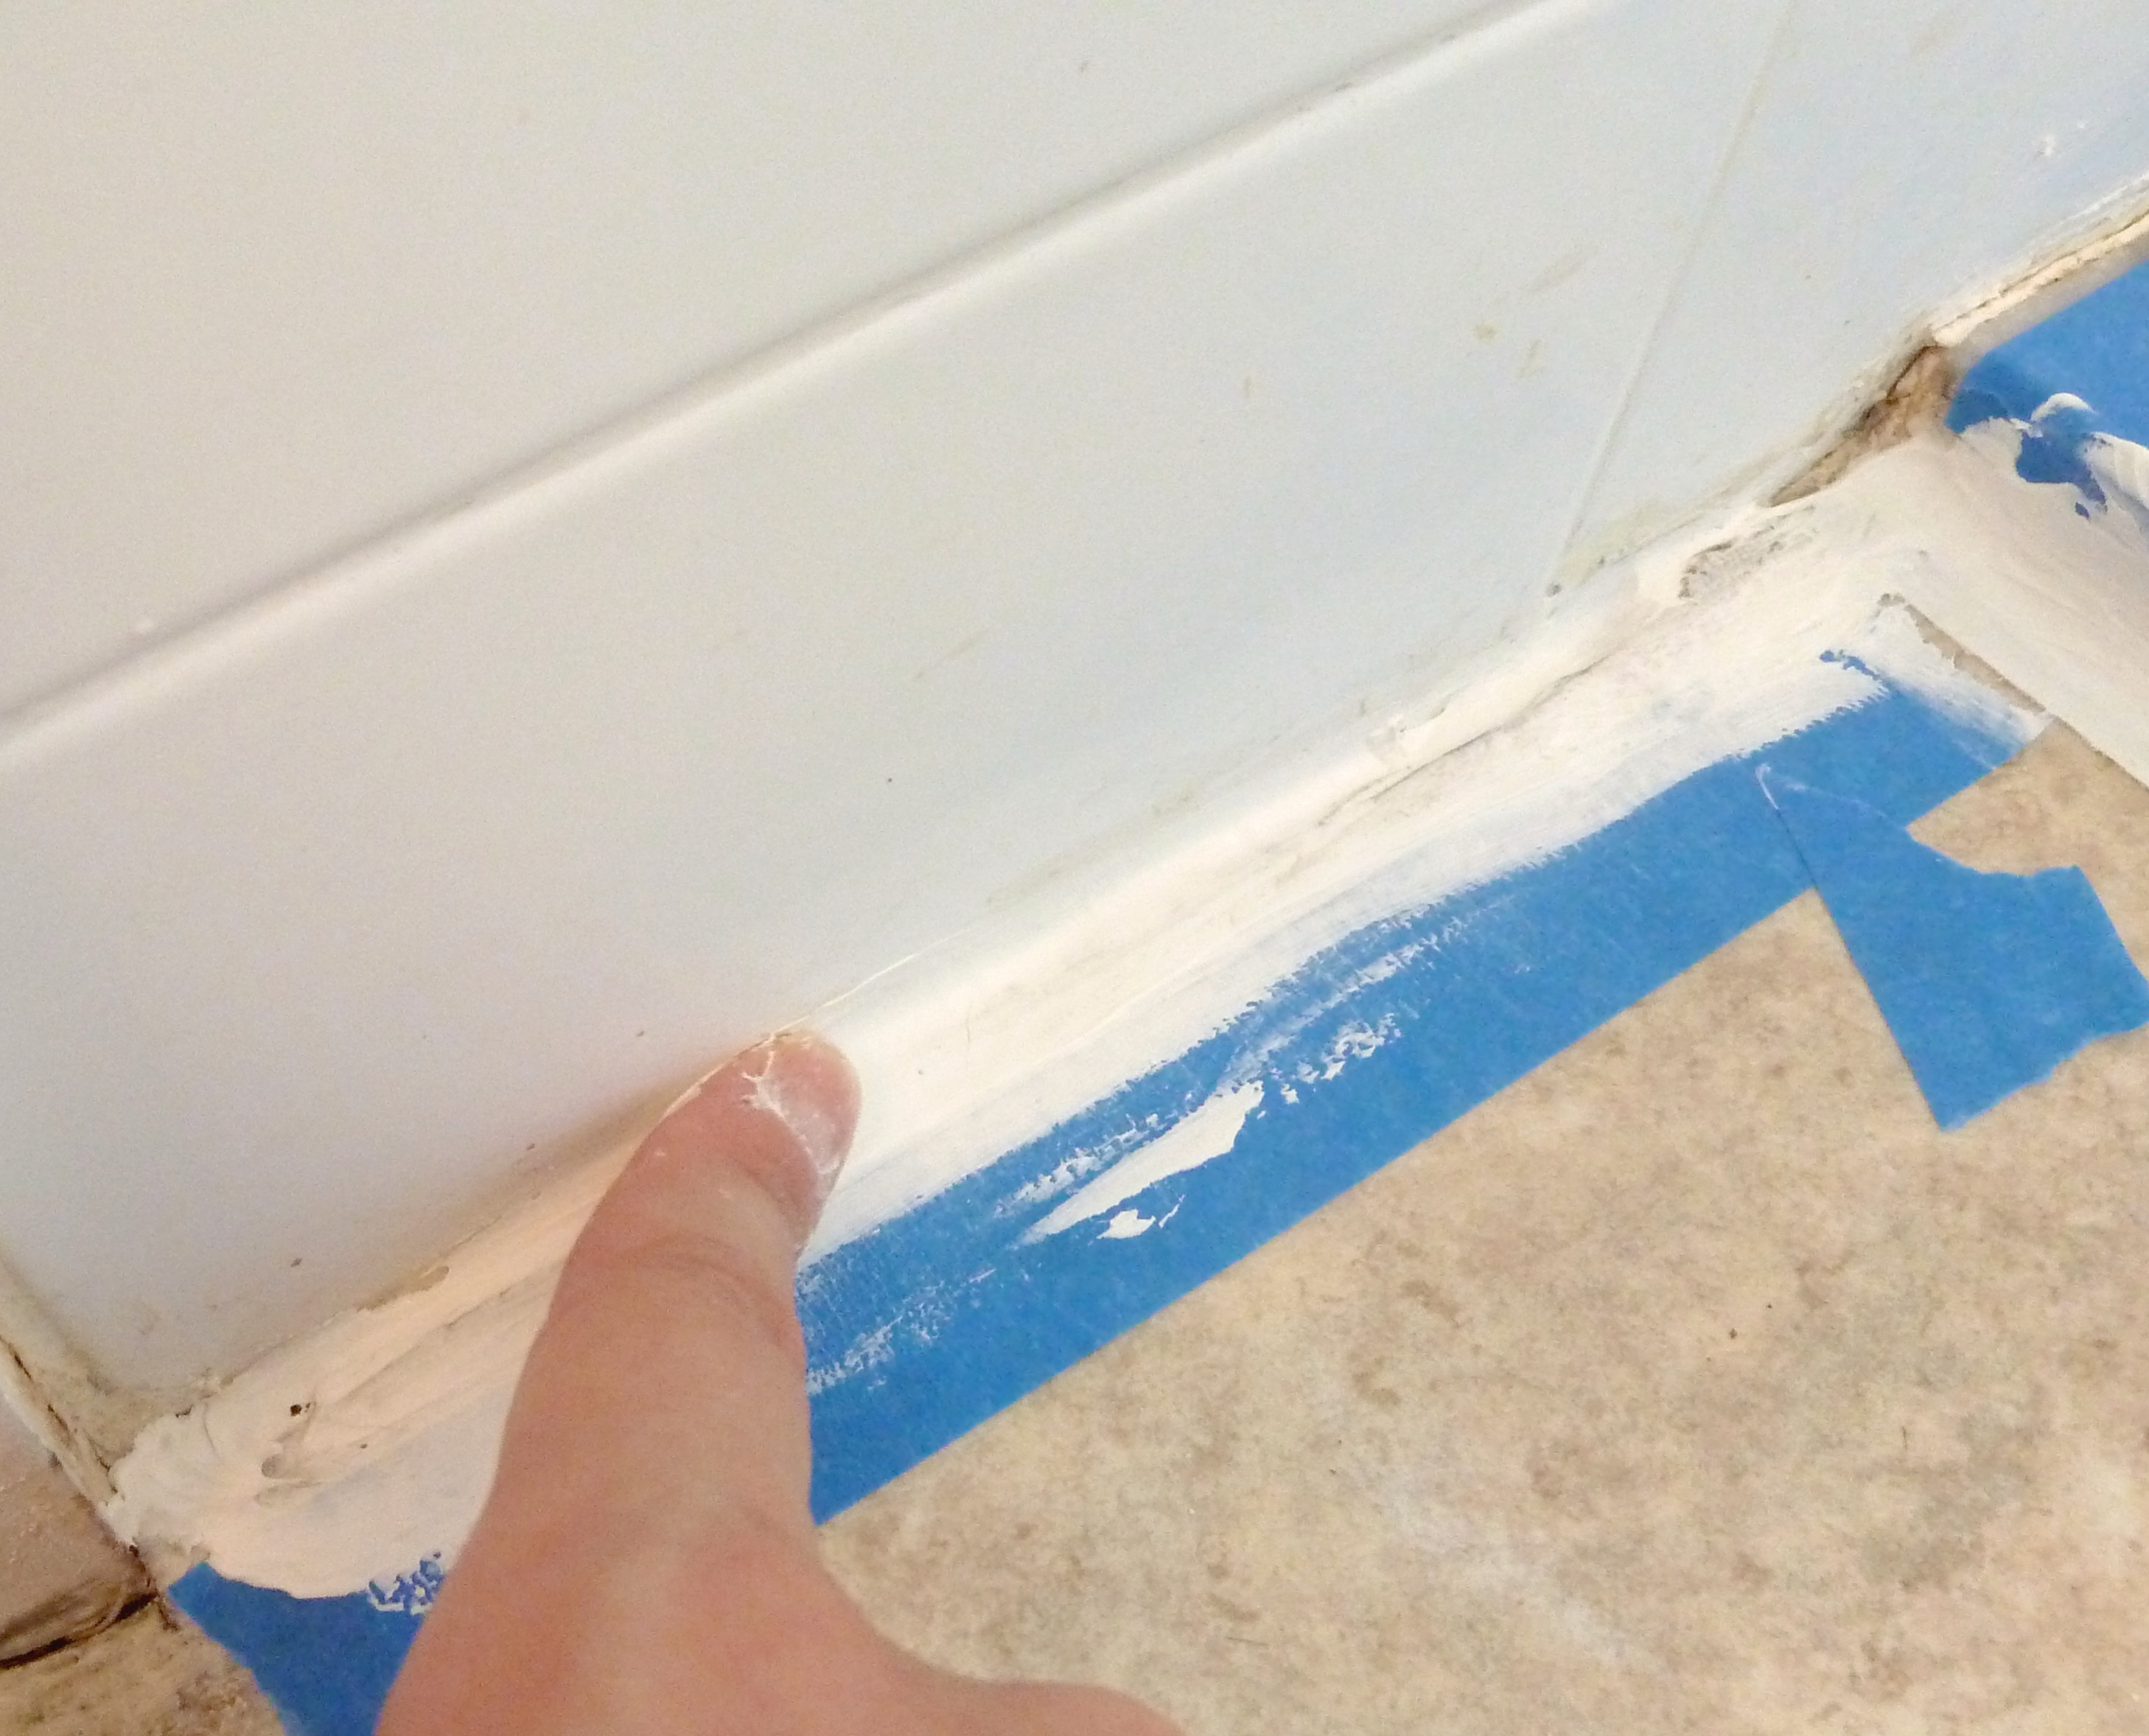
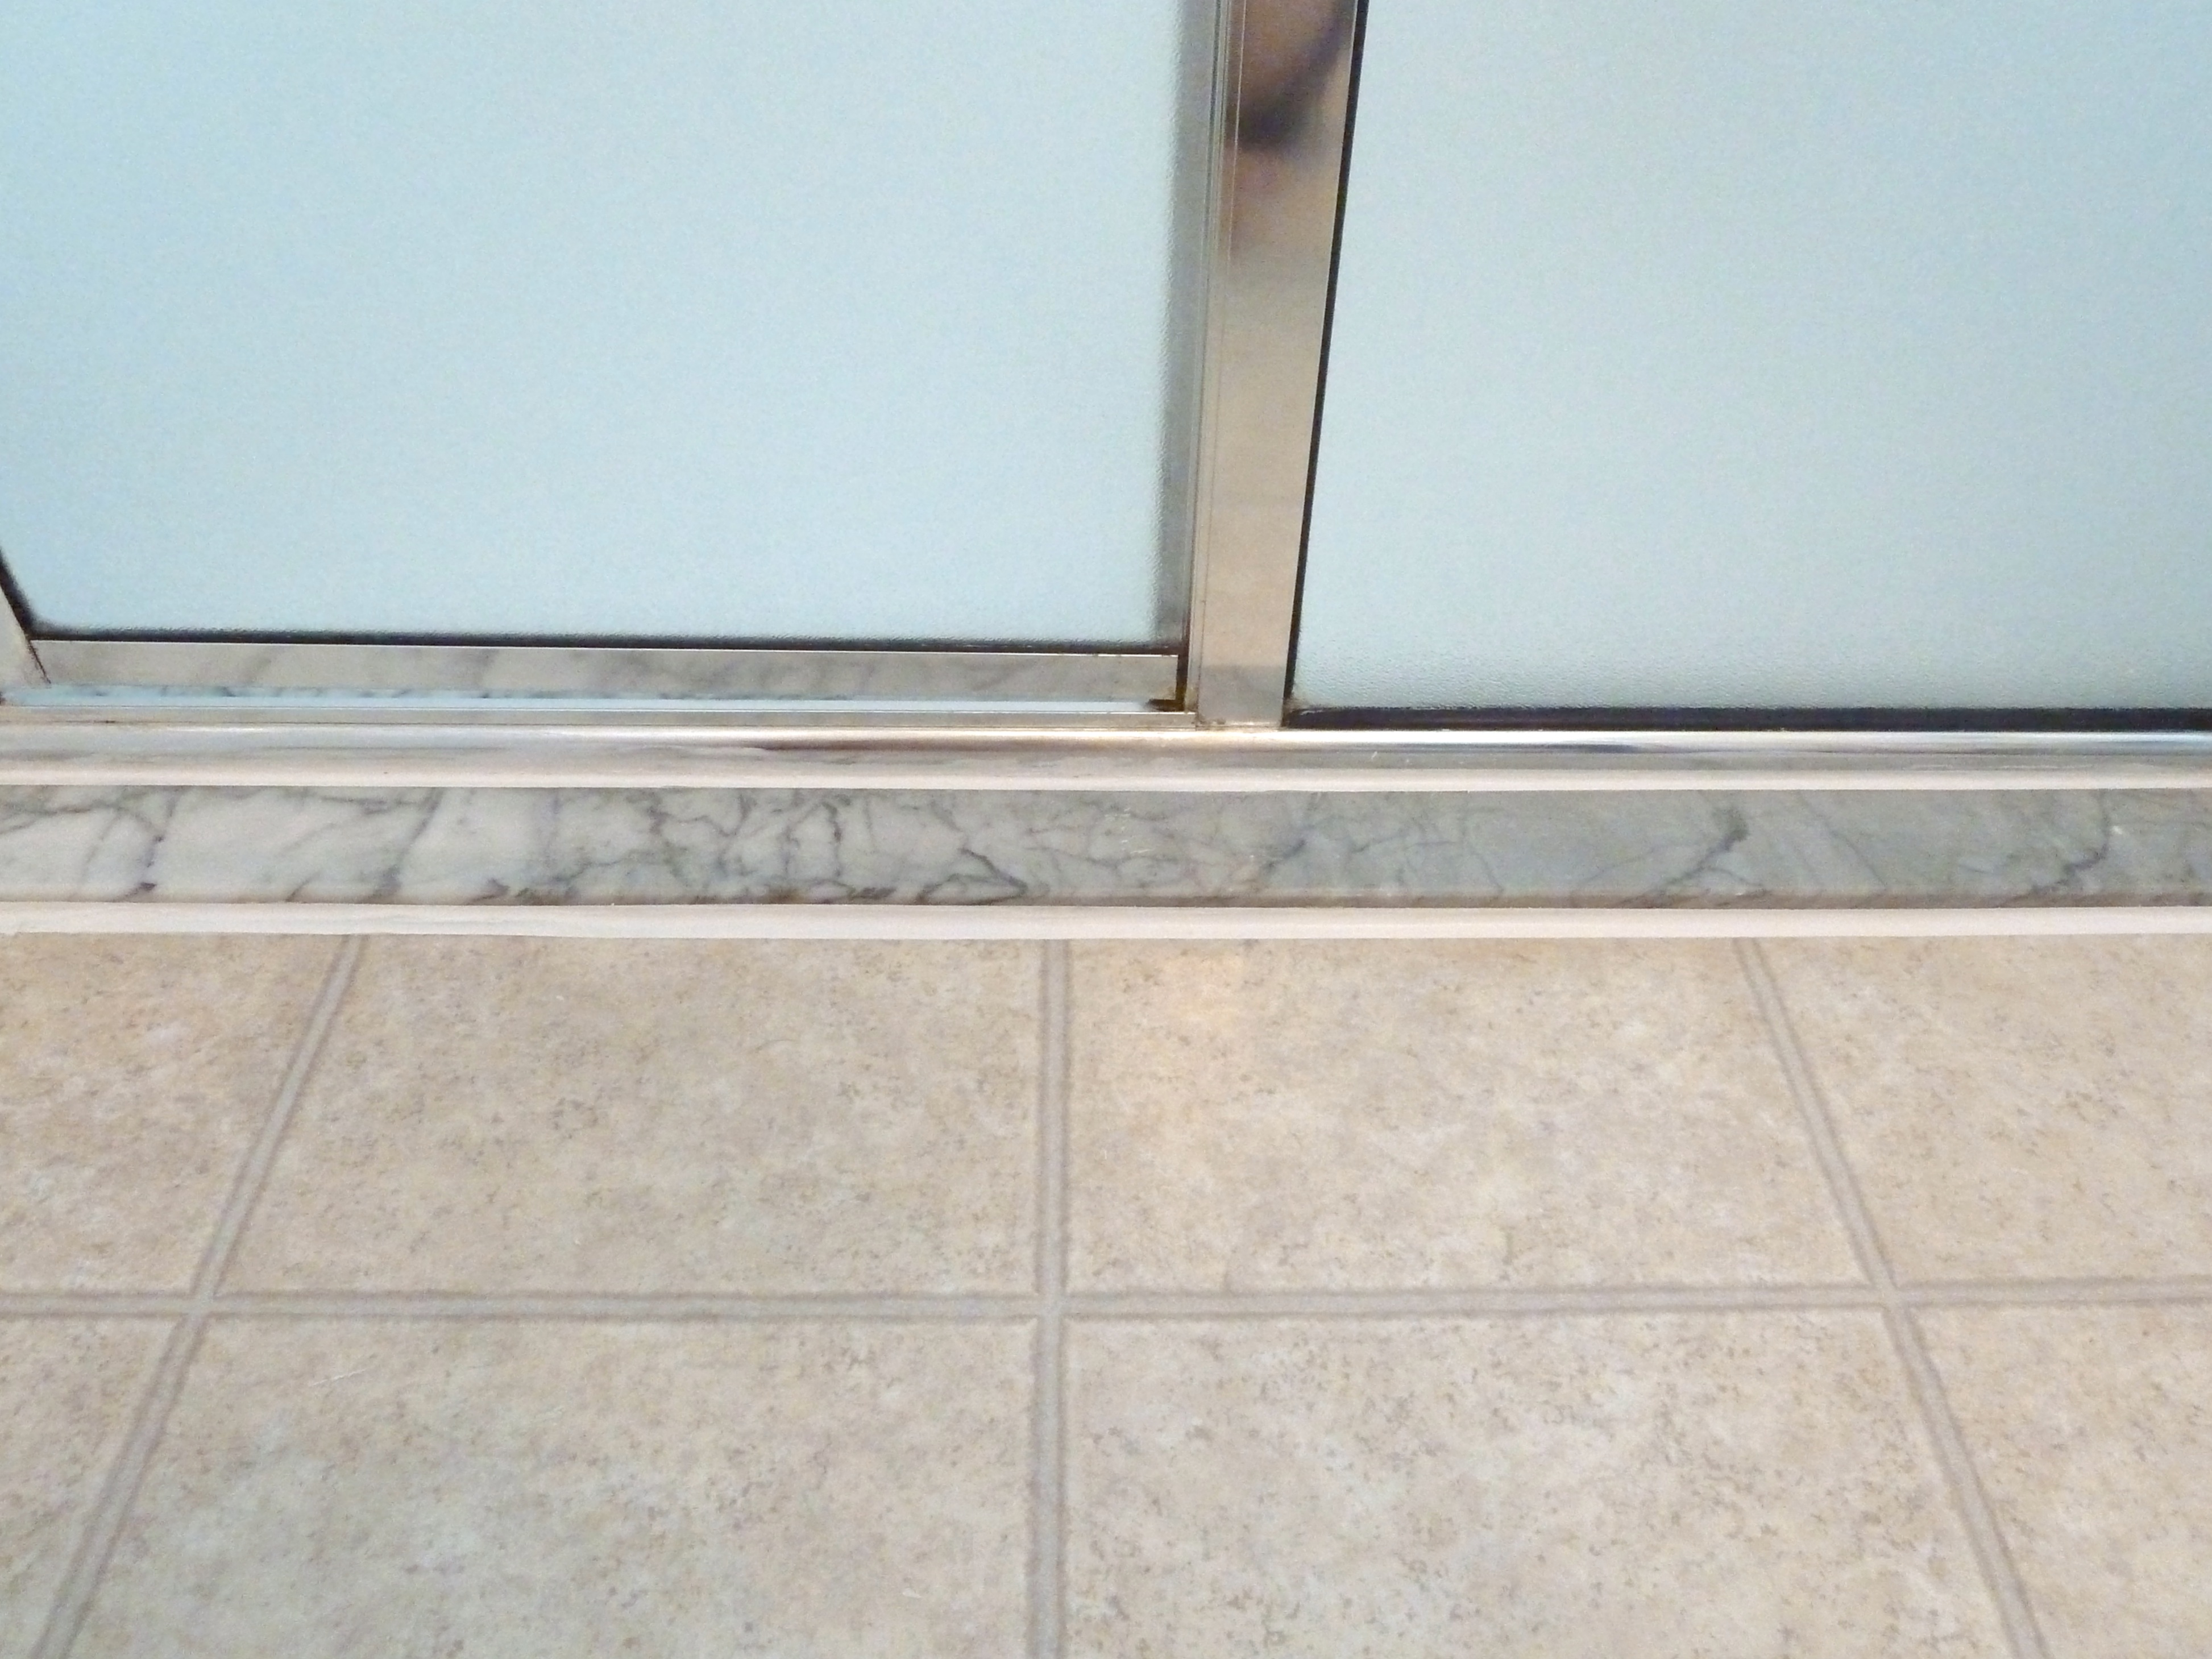
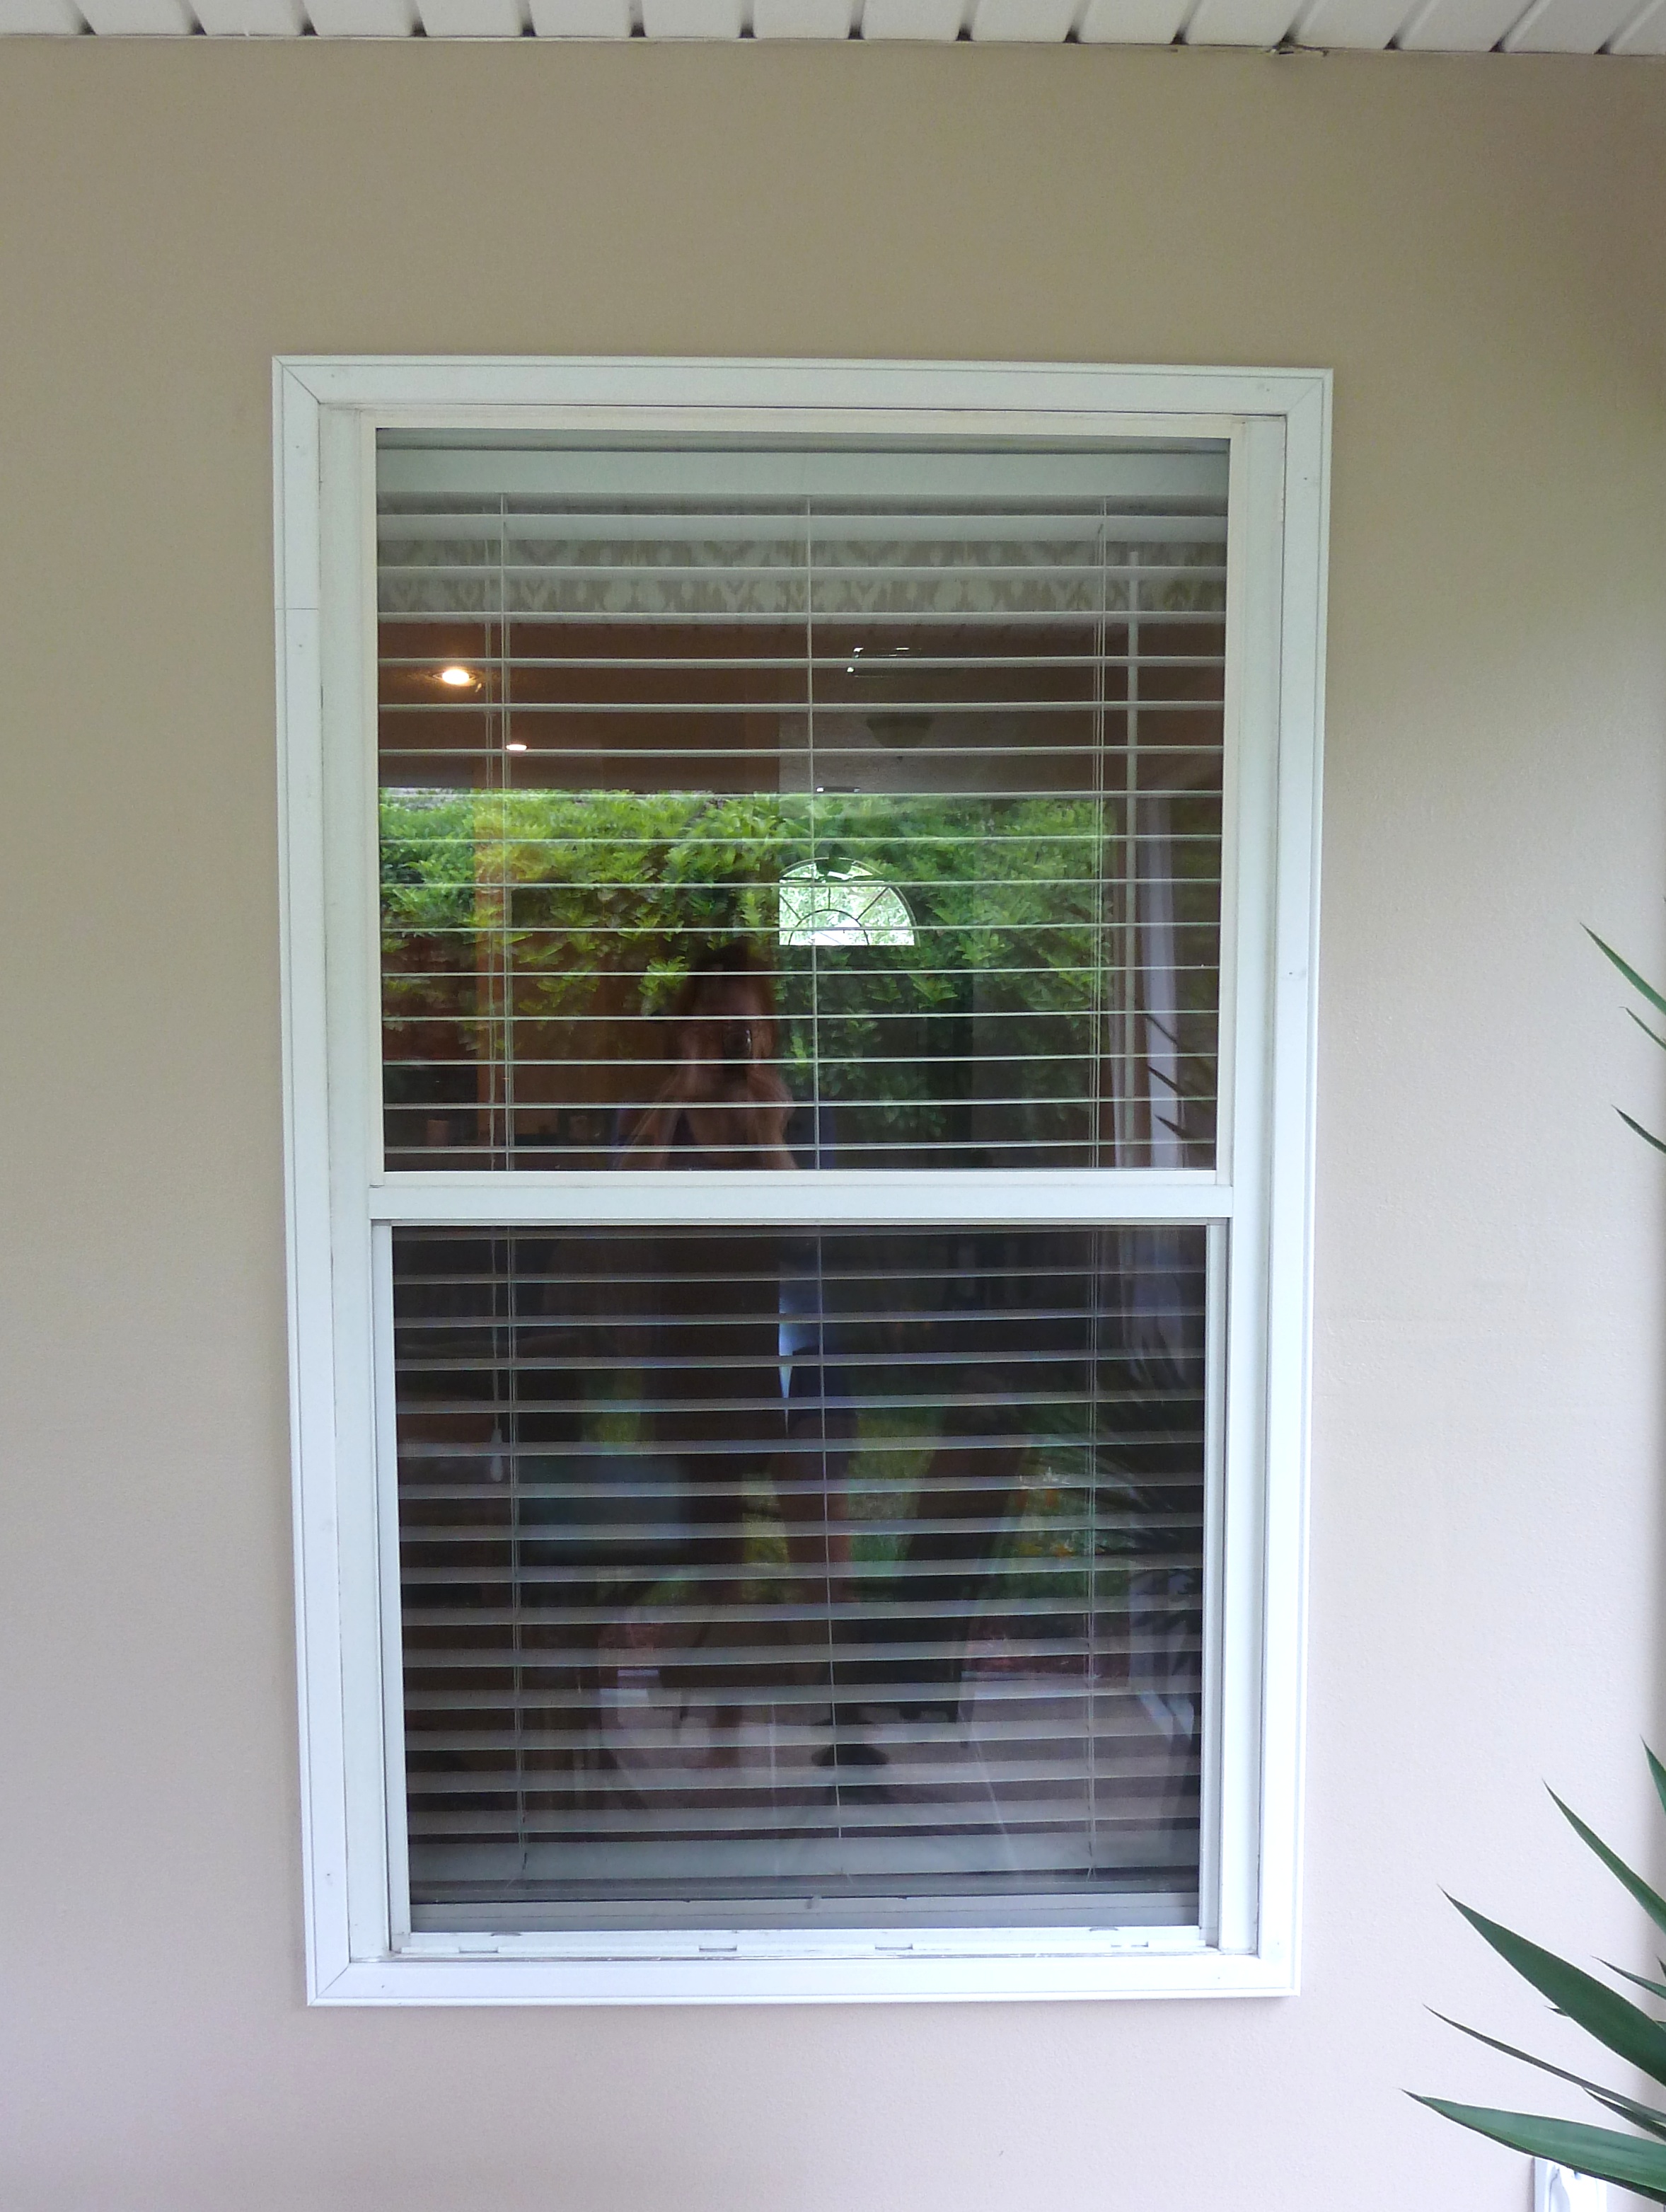
We also caulked all of the small creases and crevices, I sure do love caulk.  Once everything was dry it was time for some paint.   I just grabbed a quart of white outdoor paint and went to town.  Here are my finished results…

painting outdoor trim

painting outdoor trim

Here’s  quick before and after…

picisto-20131122151519-105835

Can you see the difference?  The white trim should look a whole lot whiter, but I think the only noticable spot from the photos is one little black spot in the top left side above the window.  In person this trim is bright white and looks much cleaner than it did before, so score for me.  The other couple differences you can see are obviously the missing wreath, booooo!  We can’t hang the wreath with the screen door up because it may tear the screen and aint nobody got time for that!  Also in this before and after you can see the added 2 x 4 that is now painted white, I think it gives the bottom of the door a more finished look.   Here is a closer look at the actual door that we added…

painting outdoor trim

We are lovin this screen door, it is so nice because we are able to leave it open and feel all the air flow!

When I was out, Justin sent me this picture after he installed the door…

photo

It’s not a very clear picture, but it’s Zack enjoying the breeze.  And here they are in the back patio…

patio

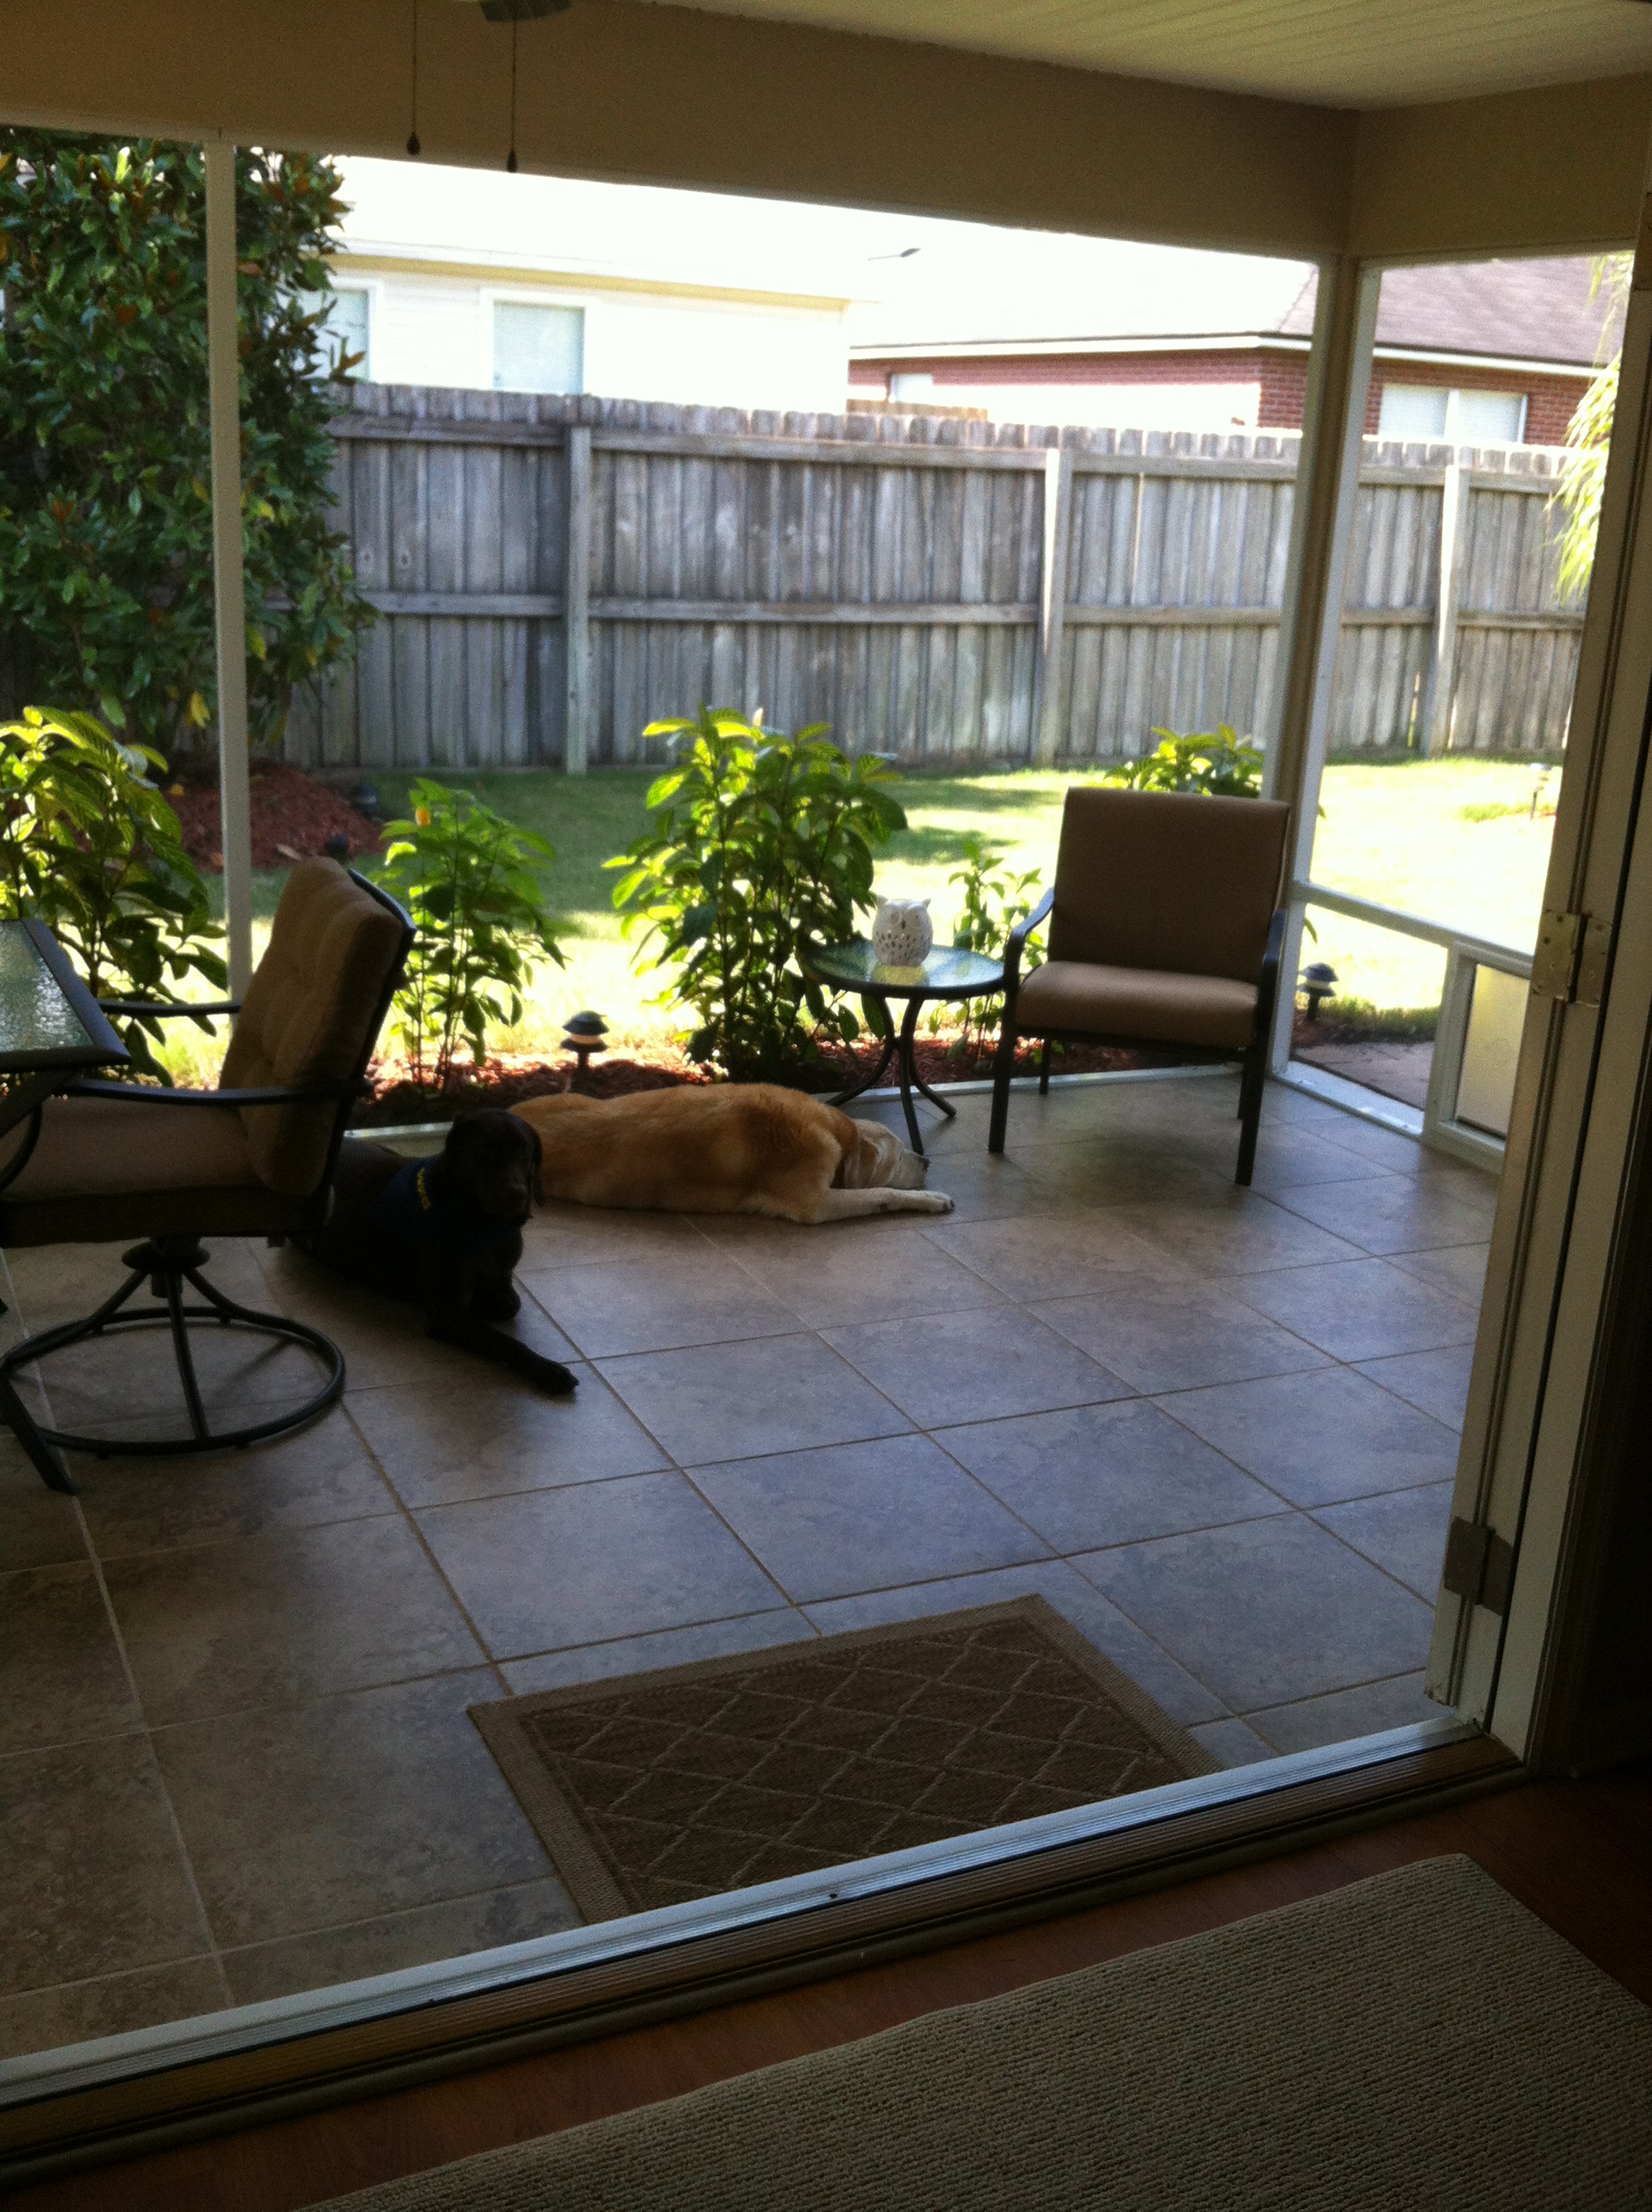
These dogs are lovin life.  Anyway back to the door.   We love it and we can change out the screen for a glass insert for the warmer months when we are running the AC and then I can put my wreath back up!

painting outdoor trim

Do you leave your windows and doors open?  Are your dogs as spoiled as mine?  Probably not.  Thanks for reading!

Lets Give Them Something to Caulk About

Yup, I just hacked a Bonnie Raitt song to named my caulking post.  I know I’m cool, you don’t have to tell me.

Our master bathroom has been grossing me out since the day we moved in.  I had to do something about it, at least to make it feel a little cleaner.  Please don’t think we are dirty from these photos, I scrub this bathroom once a week.  Let me show you what I am talking about.  I should warn you if you do not like disgusting bathroom things you should skip this post completely.

P1070705_Fotor

This is our gross entrance to our shower.

P1070707_Fotor

YUUCCKK!

P1070706_Fotor

All of the old caulk is dirty and the shower is rusting pretty bad.

P1070708_Fotor

And the inside doesn’t look any better.

P1070713_Fotor

The corners seem to be the worst areas.

P1070709_Fotor

Eventually we will most likely redo this entire bathroom, which would include removing the tile and shower surround.  Since that project is down the line I needed to do something to make this shower feel cleaner.  So I got out our razor blade and box cutter and started removing the old disgusting caulk.

P1070704_Fotor

P1070722_Fotor

I first started scraping what I could off the ledge.

P1070720_Fotor

This got off some of the hard water and dirt but did not remove the caulk.

P1070724_Fotor

I used the box cutter to slice into the existing caulk, I went back a couple times until some pieces started to come loose like this…

P1070726_Fotor

I started peeling the caulk away by hand, and then went back with the box cutter scraping any remaining caulk until I got as much as I could.

P1070728_Fotor

Next I hopped in the shower and starting removing the caulk in there the same way.

P1070735_Fotor

Inside the shower I did have to use the razor blade a bit to get any caulk that was stuck on the tile.

P1070738_Fotor

I then cleaned up all of the caulk pieces that I had removed with the vacuum, then scrubbed everything with CLR spray.  This helped remove any hard water or rust that I couldn’t get off with my normal tile cleaner.

P1070747_Fotor

P1070752_Fotor

P1070749_Fotor

I wasn’t able to get all of the rust stains, but it was already looking a ton better.

P1070760_Fotor

From there I grabbed my caulking tools.

P1070767_Fotor

A tube of caulk, a caulk gun and a roll of painters tape.

P1070768_Fotor

I wanted straight lines on the ledge of the shower, so I used the painters tape to mark off where the caulk would go.  I didn’t use the tape inside the shower since the tile is white, I didn’t think the caulk would be as easily seen.

P1070769_Fotor

I then just snipped the end off of my tube of caulk and place it in the caulk gun.  From there I just started applying the caulk in between the taped off areas in a thin bead.

P1070772_Fotor

Once I had the caulk down I used my finger to smooth it out into the crevice.

P1070778_Fotor

Once I had finished I peeled the tape away immediately.  I didn’t want it to dry, then peel it, because I wasn’t sure if the dried caulk would peel away with it.

P1070779_Fotor

Ah! Look at those clean lines.

P1070744_Fotor

While I was at it I decided to caulk next to the tub as well.  I didn’t remove the old caulk from here because it was holding down our beautiful linoleum flooring that I didn’t want to damage with the razor. (In case you don’t get my sarcasm, I hate the linoleum, it will be the first thing to go).

P1070787_Fotor

P1070788_Fotor

Looks so much cleaner.

I then caulked the inside of the shower the same way.  Here are some before and afters…

picisto-20130811141703-778909_Fotor

picisto-20130811142016-471885_Fotor

picisto-20130811142400-978973_Fotor

picisto-20130811142712-983314_Fotor

picisto-20130811142953-902097_Fotor

Yay for new caulk right?  Does that not make you want to go caulk your bathroom or kitchen or everything?  I now love caulk.  Here is the whole bathroom with fresh caulk…

P1070806_Fotor

I love little projects that make a big difference.   I know it’s not perfect, but it makes me feel better about showering in here.  Woo hoo!

Putting Finishing Touches on the Patio

I know that all of our to dos were crossed off on our last patio post, but there were a couple things that still needed finishing.  Since laying the tile, there was still a gap that needs finishing between the tile and the back wall of the house.  You could still see some of the grout and the tiles are also not perfectly flush with the house.

P1060866

See how the tile is not even and you can still see the unfinished floor below?  Well, that’s what we needed to fix.  So Justin went to Lowe’s and picked up a pack of bullnose tile in the same color of the tile he laid on the floor.  Bullnoses tile are short wide tiles with a finished top edge that are used for trim when tiling.

P1060864

Basically he started laying the tile against the wall using the same method as he did when tiling the floor.

P1060874

He then used small pieces of wood as wedges to be sure all of the tiles were level so they create a straight line on the wall.

P1060872

Next he grouted the in between the bullnose tile and also along the seem on the floor next to the new tile trim.

P1060886

Here he is again hard at work…

P1060887

Once the grout was all finished and cleaned up it looked something like this…

P1060888

and a close up…

P1060891

Lastly Justin caulked the seem between the bullnose tile and the wall.

P1060898

Here it is all caulked and cleaned…

P1060895

The caulk really makes it look finished.

Here is the area underneath the doors that also needed some work…

P1060868

The issue with this area is that we couldn’t use the bullnose tile, it didn’t fit in between the door and the flooring.  Justin decided to get a piece of wood and paint it white and place it under the door.  It was a pretty deep crevice that needed to be filled so wood seemed to be the best choice.

P1060996Here it is installed.

P1060992

Justin isn’t sold on it just yet, but I think it looks perfectly fine.

The last thing we needed to finish up in the patio was the window.

P1060878

When we moved in there was siding on the back of the house and the window had a siding type trim around it. Now since we removed the siding the window is bare.

P1060876

It just needed some kind of trim to finish it off.  The trim around the doors are average size, so we needed some kind of trim that wasn’t to thick, something that would look comparable to the existing trim.  Justin picked up some thin trim that is made specifically for an outdoor area so it doesn’t rot.

P1060881

He then cut it to length and installed it around the window, apparently cutting those 45 degree angles isn’t very fun. Here’s a close up.

P1060883

Here it is finished…

P1060892

So let’s back it up and show you the end results of everything…

P1060997

Oh snap, I think we have a finished patio!

P1060999Once again thanks for checking out our progress! Hope you enjoy.