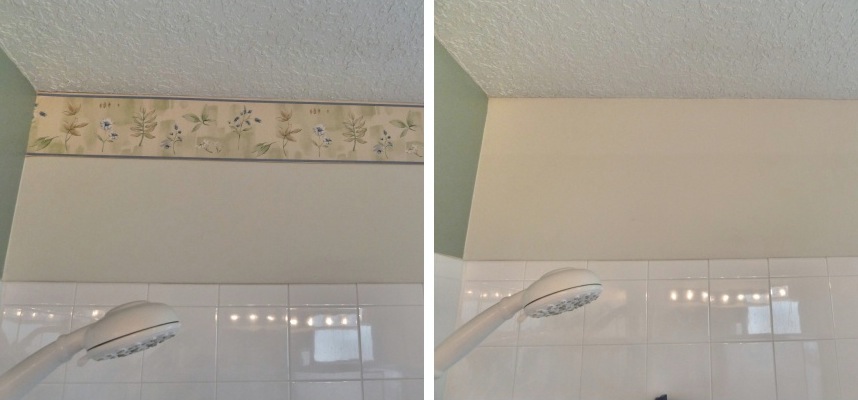
I think we all now know that I have a love for caulk. I just want to caulk everything! But that is not an option. I did however need to caulk a few more areas in the bathroom, yippee skippee right? That’s what I thought! As I last left off with the master bath, I had removed the counter splash guards…
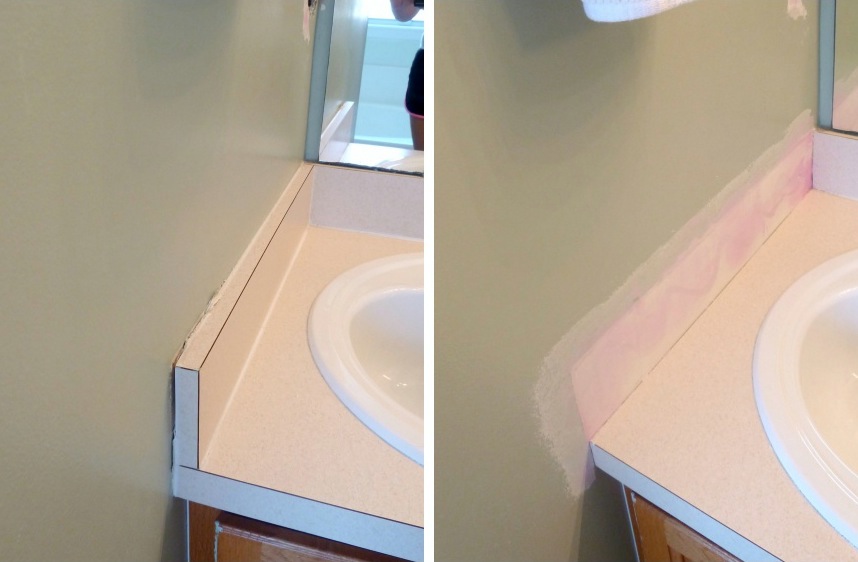
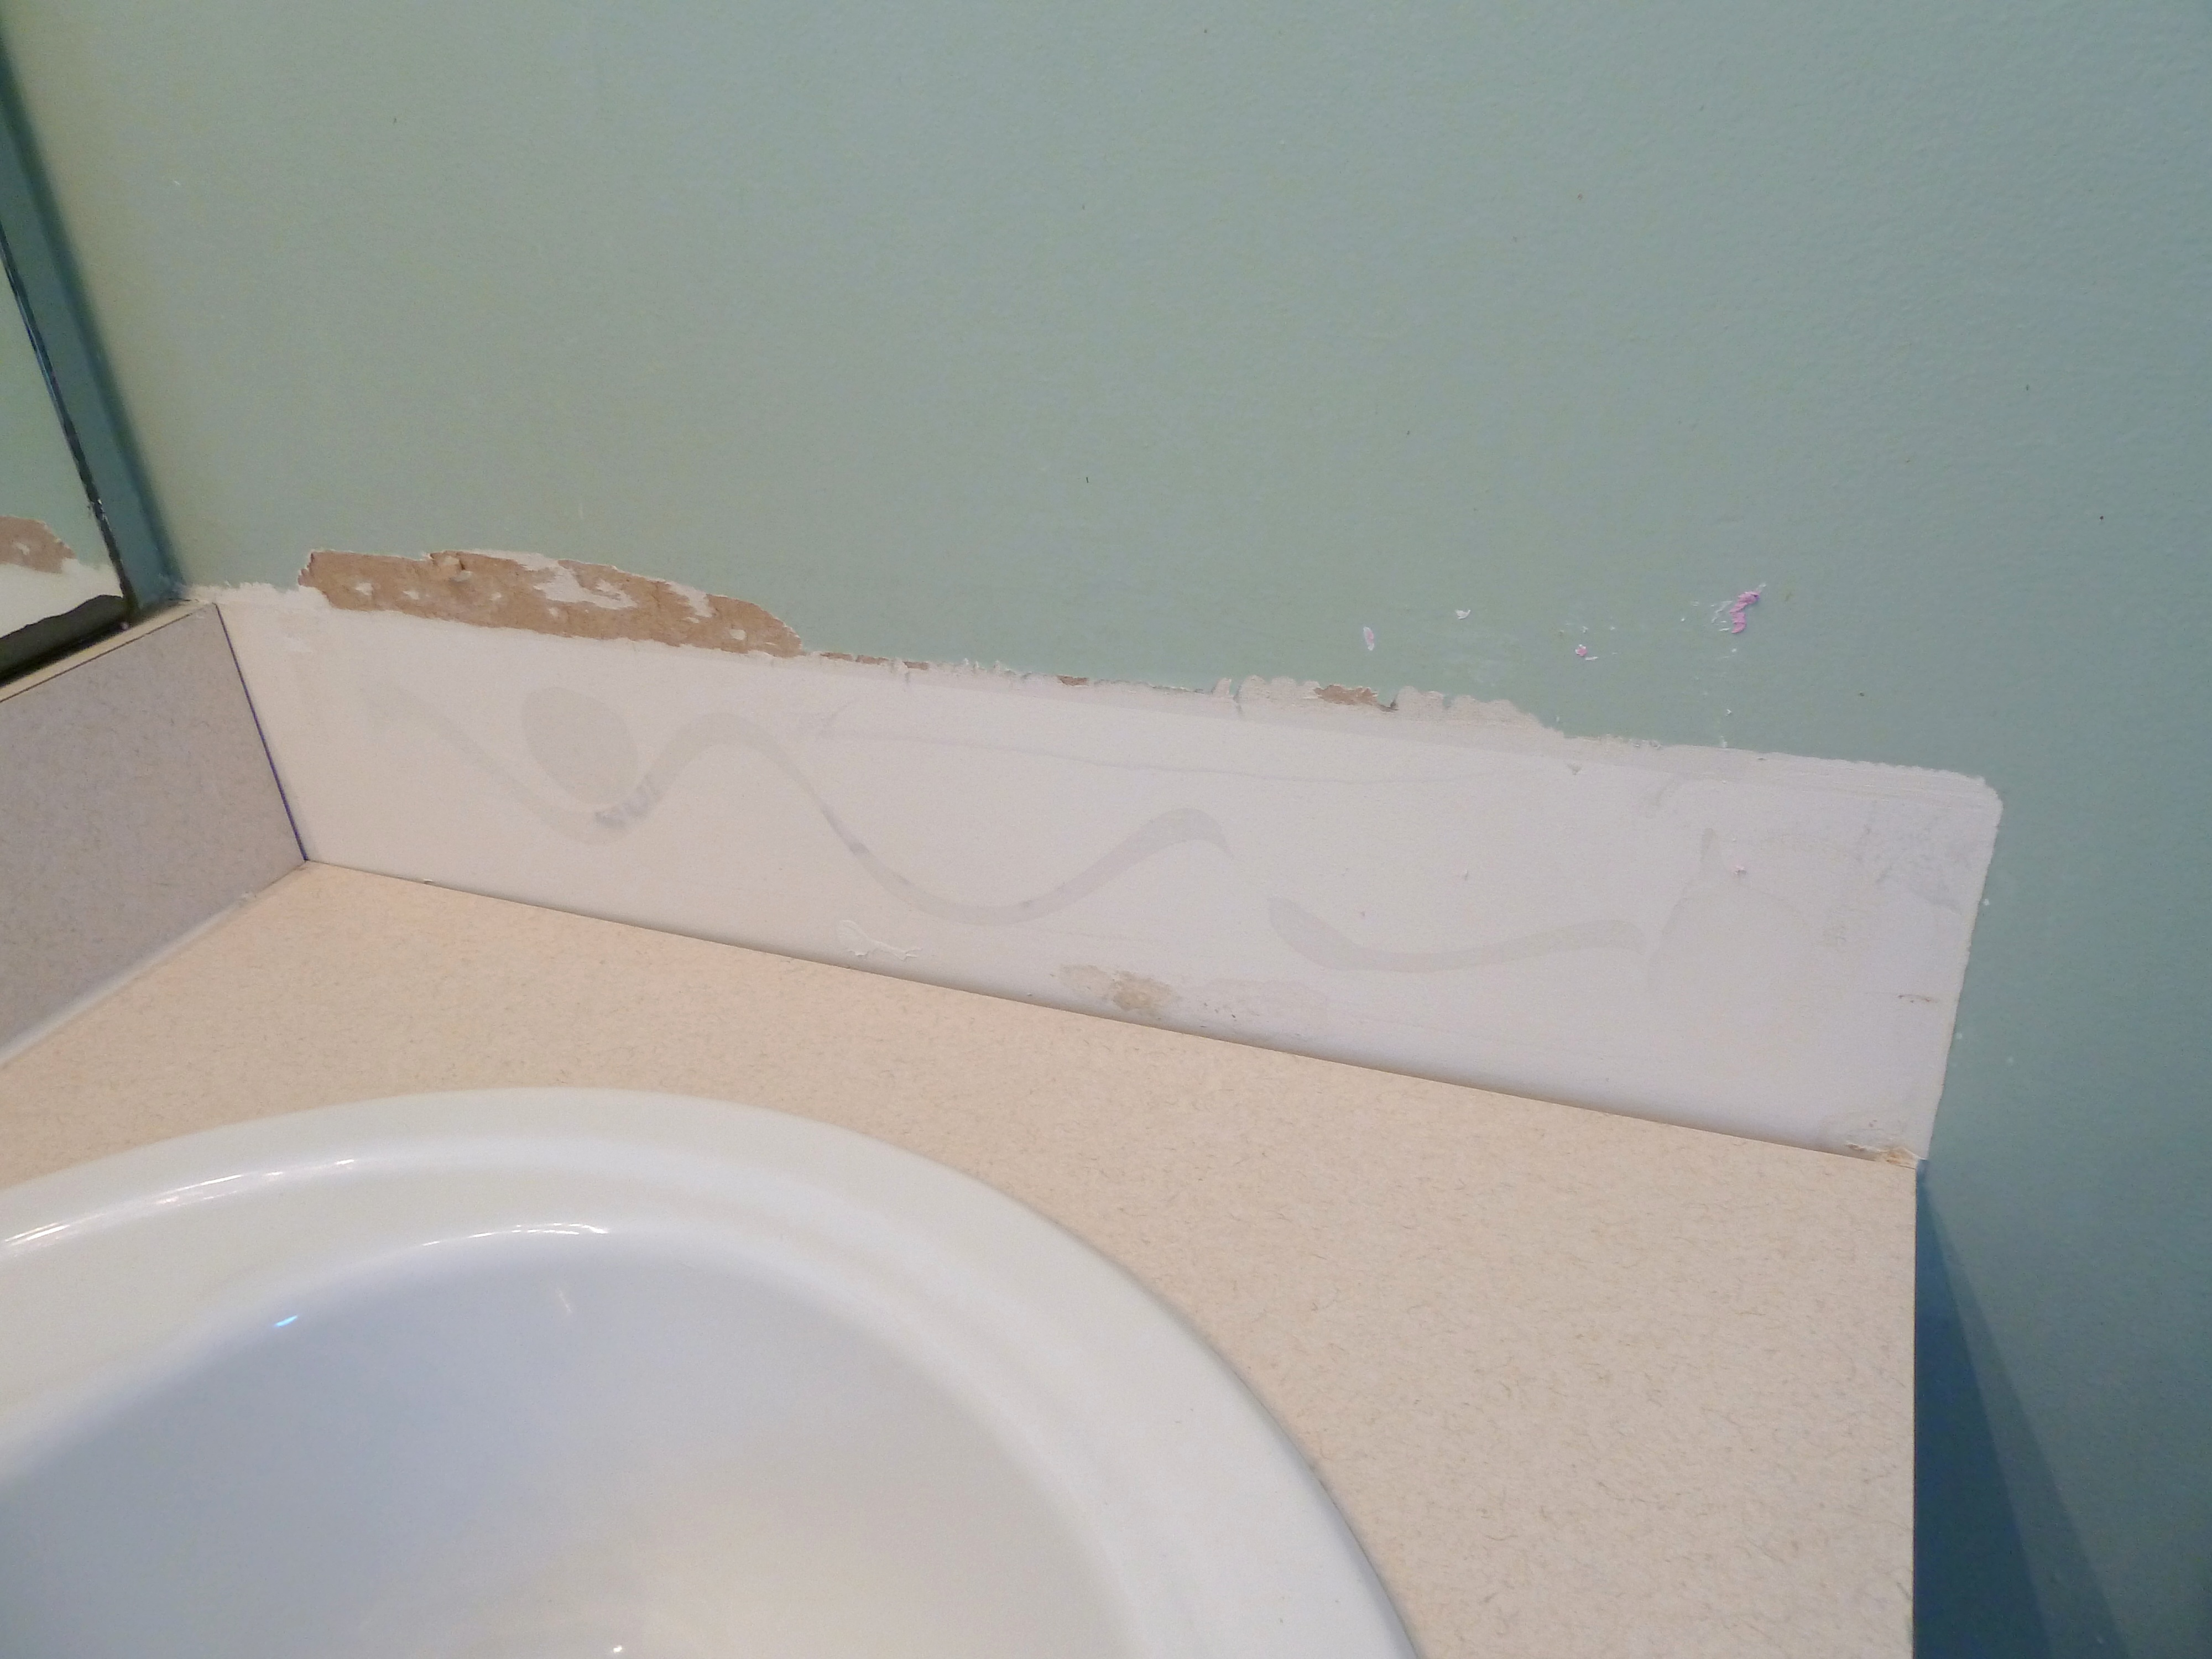
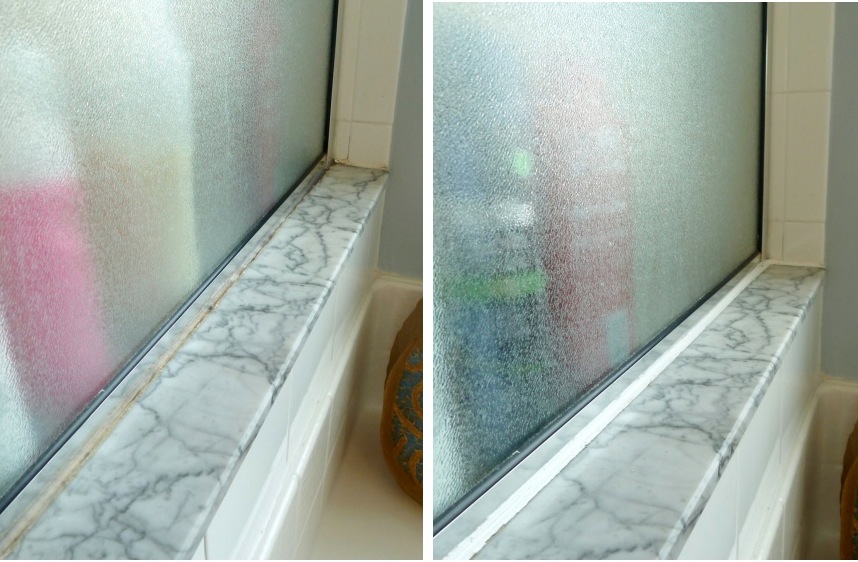
The walls are now all painted blue so you cannot see any of that spackle hanging out anymore, but what you can see are some crazy gaps between the wall and the counter top….
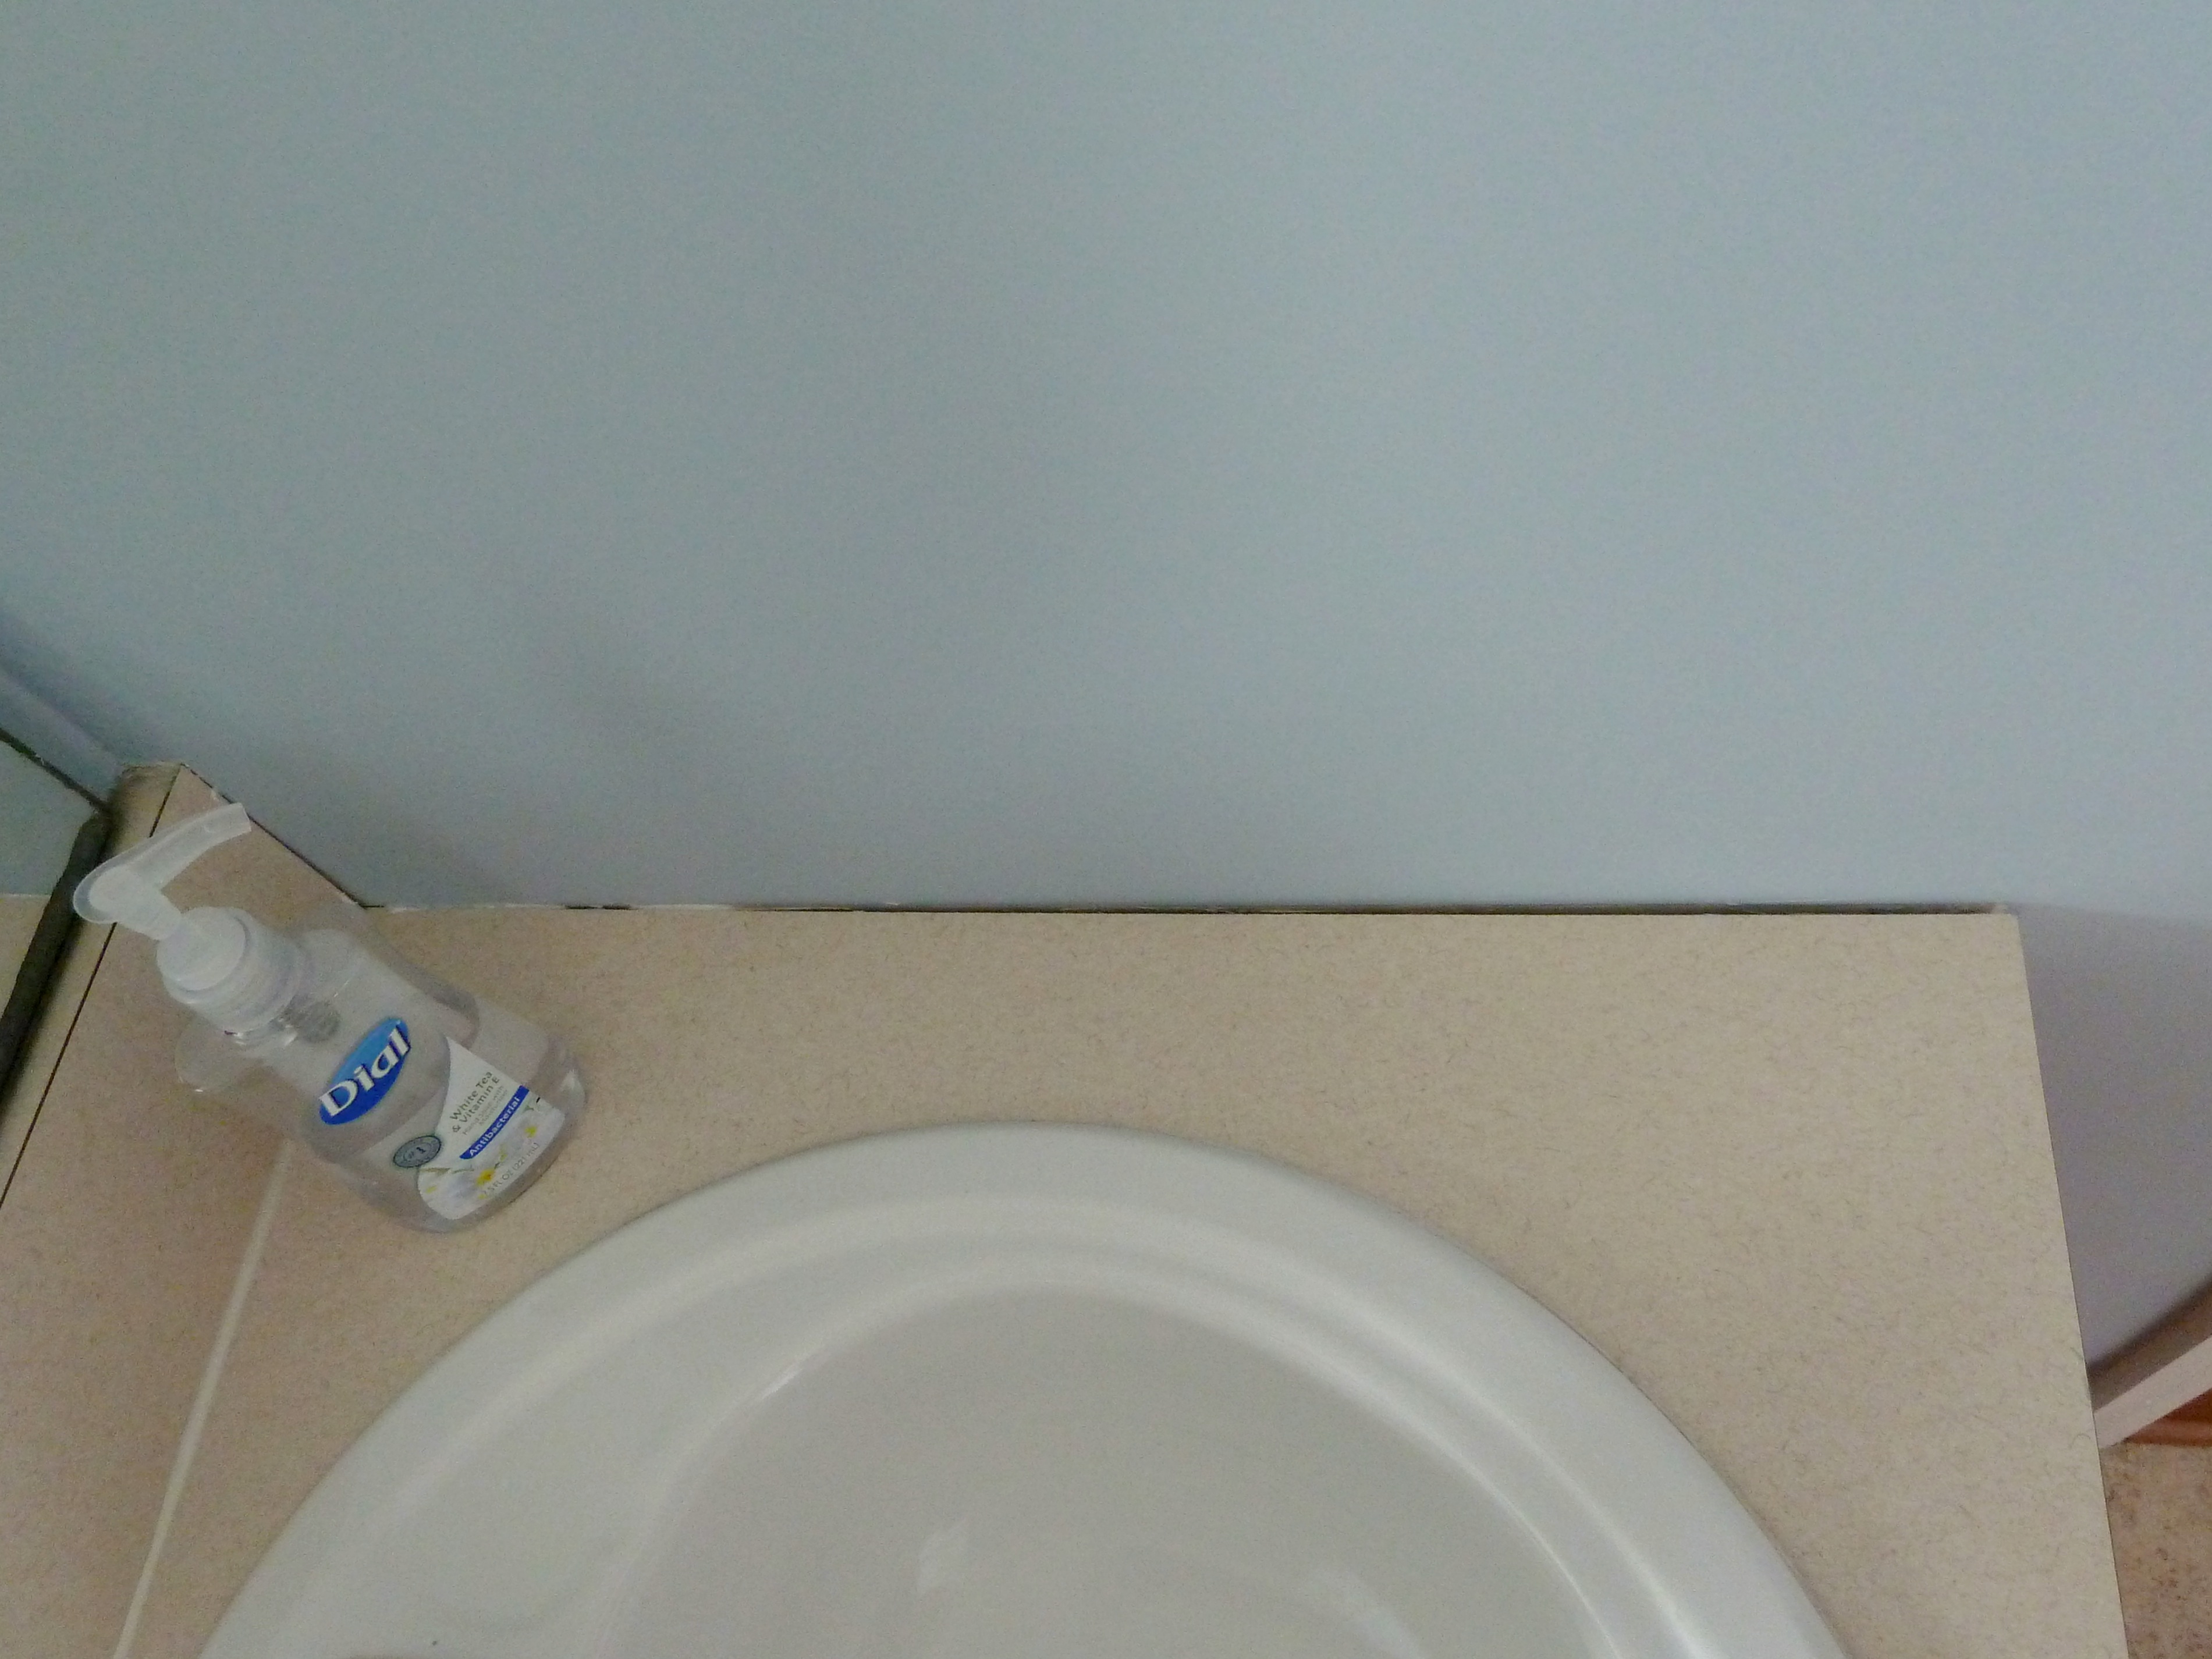
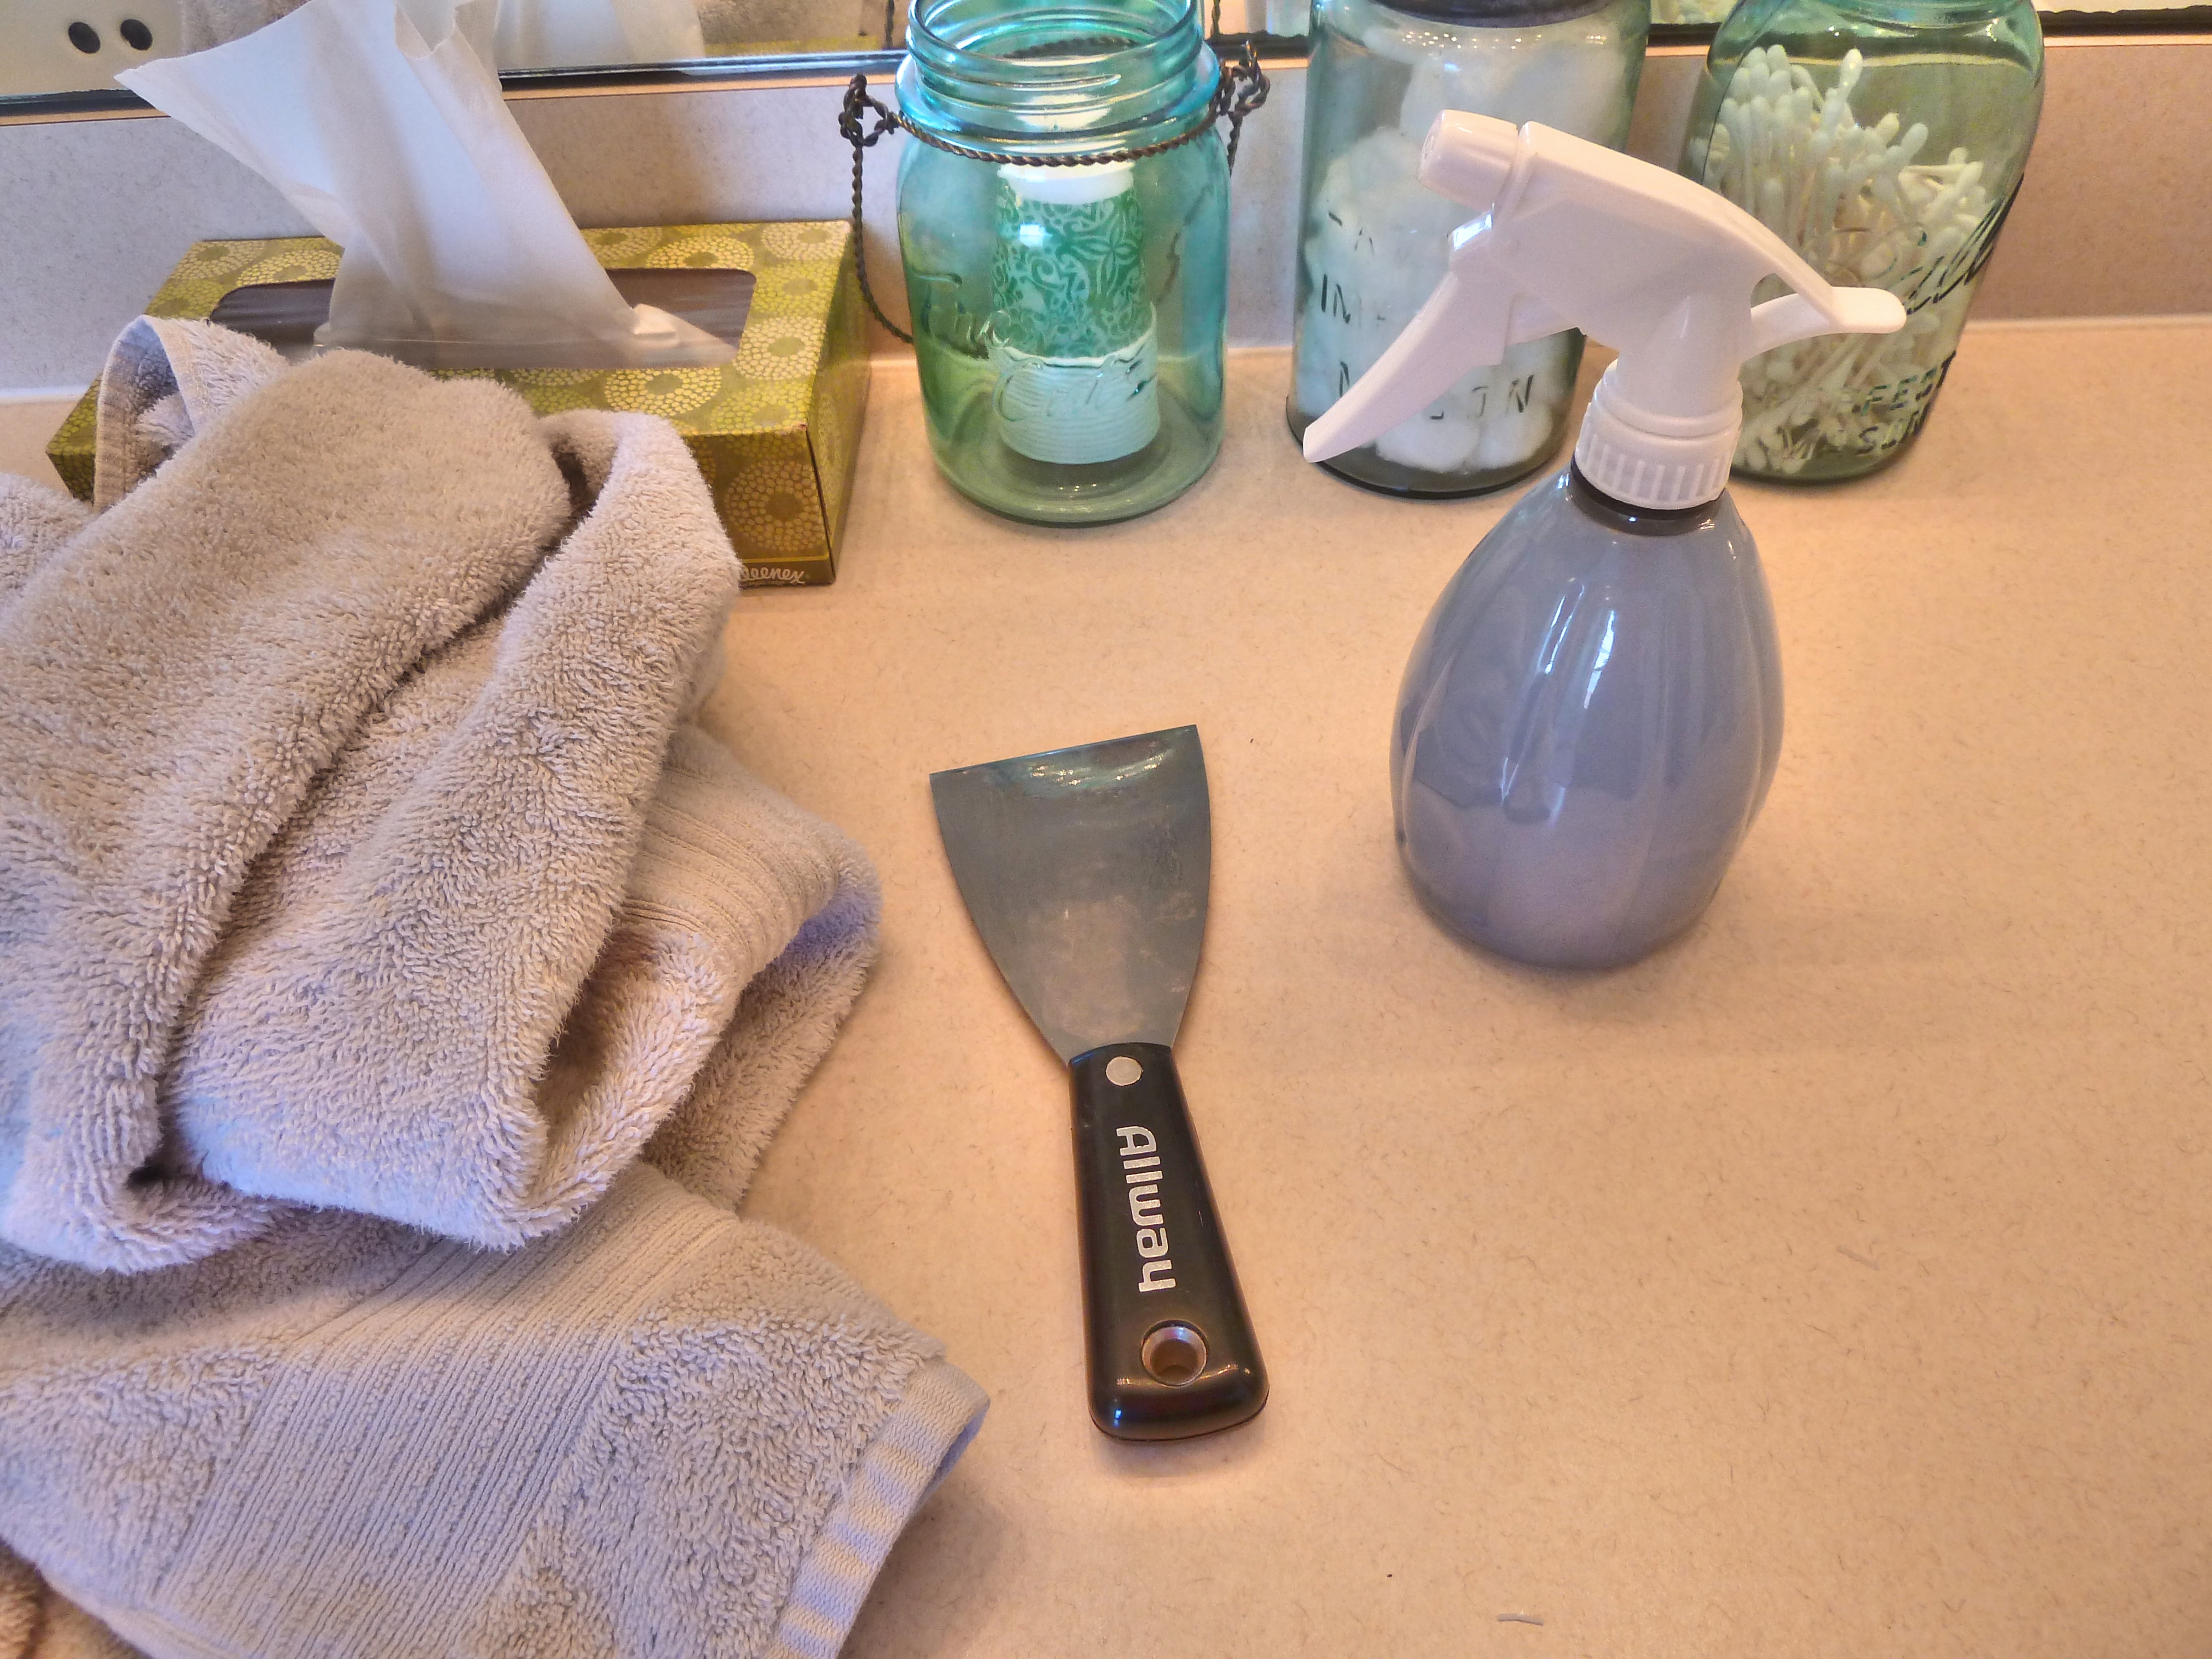
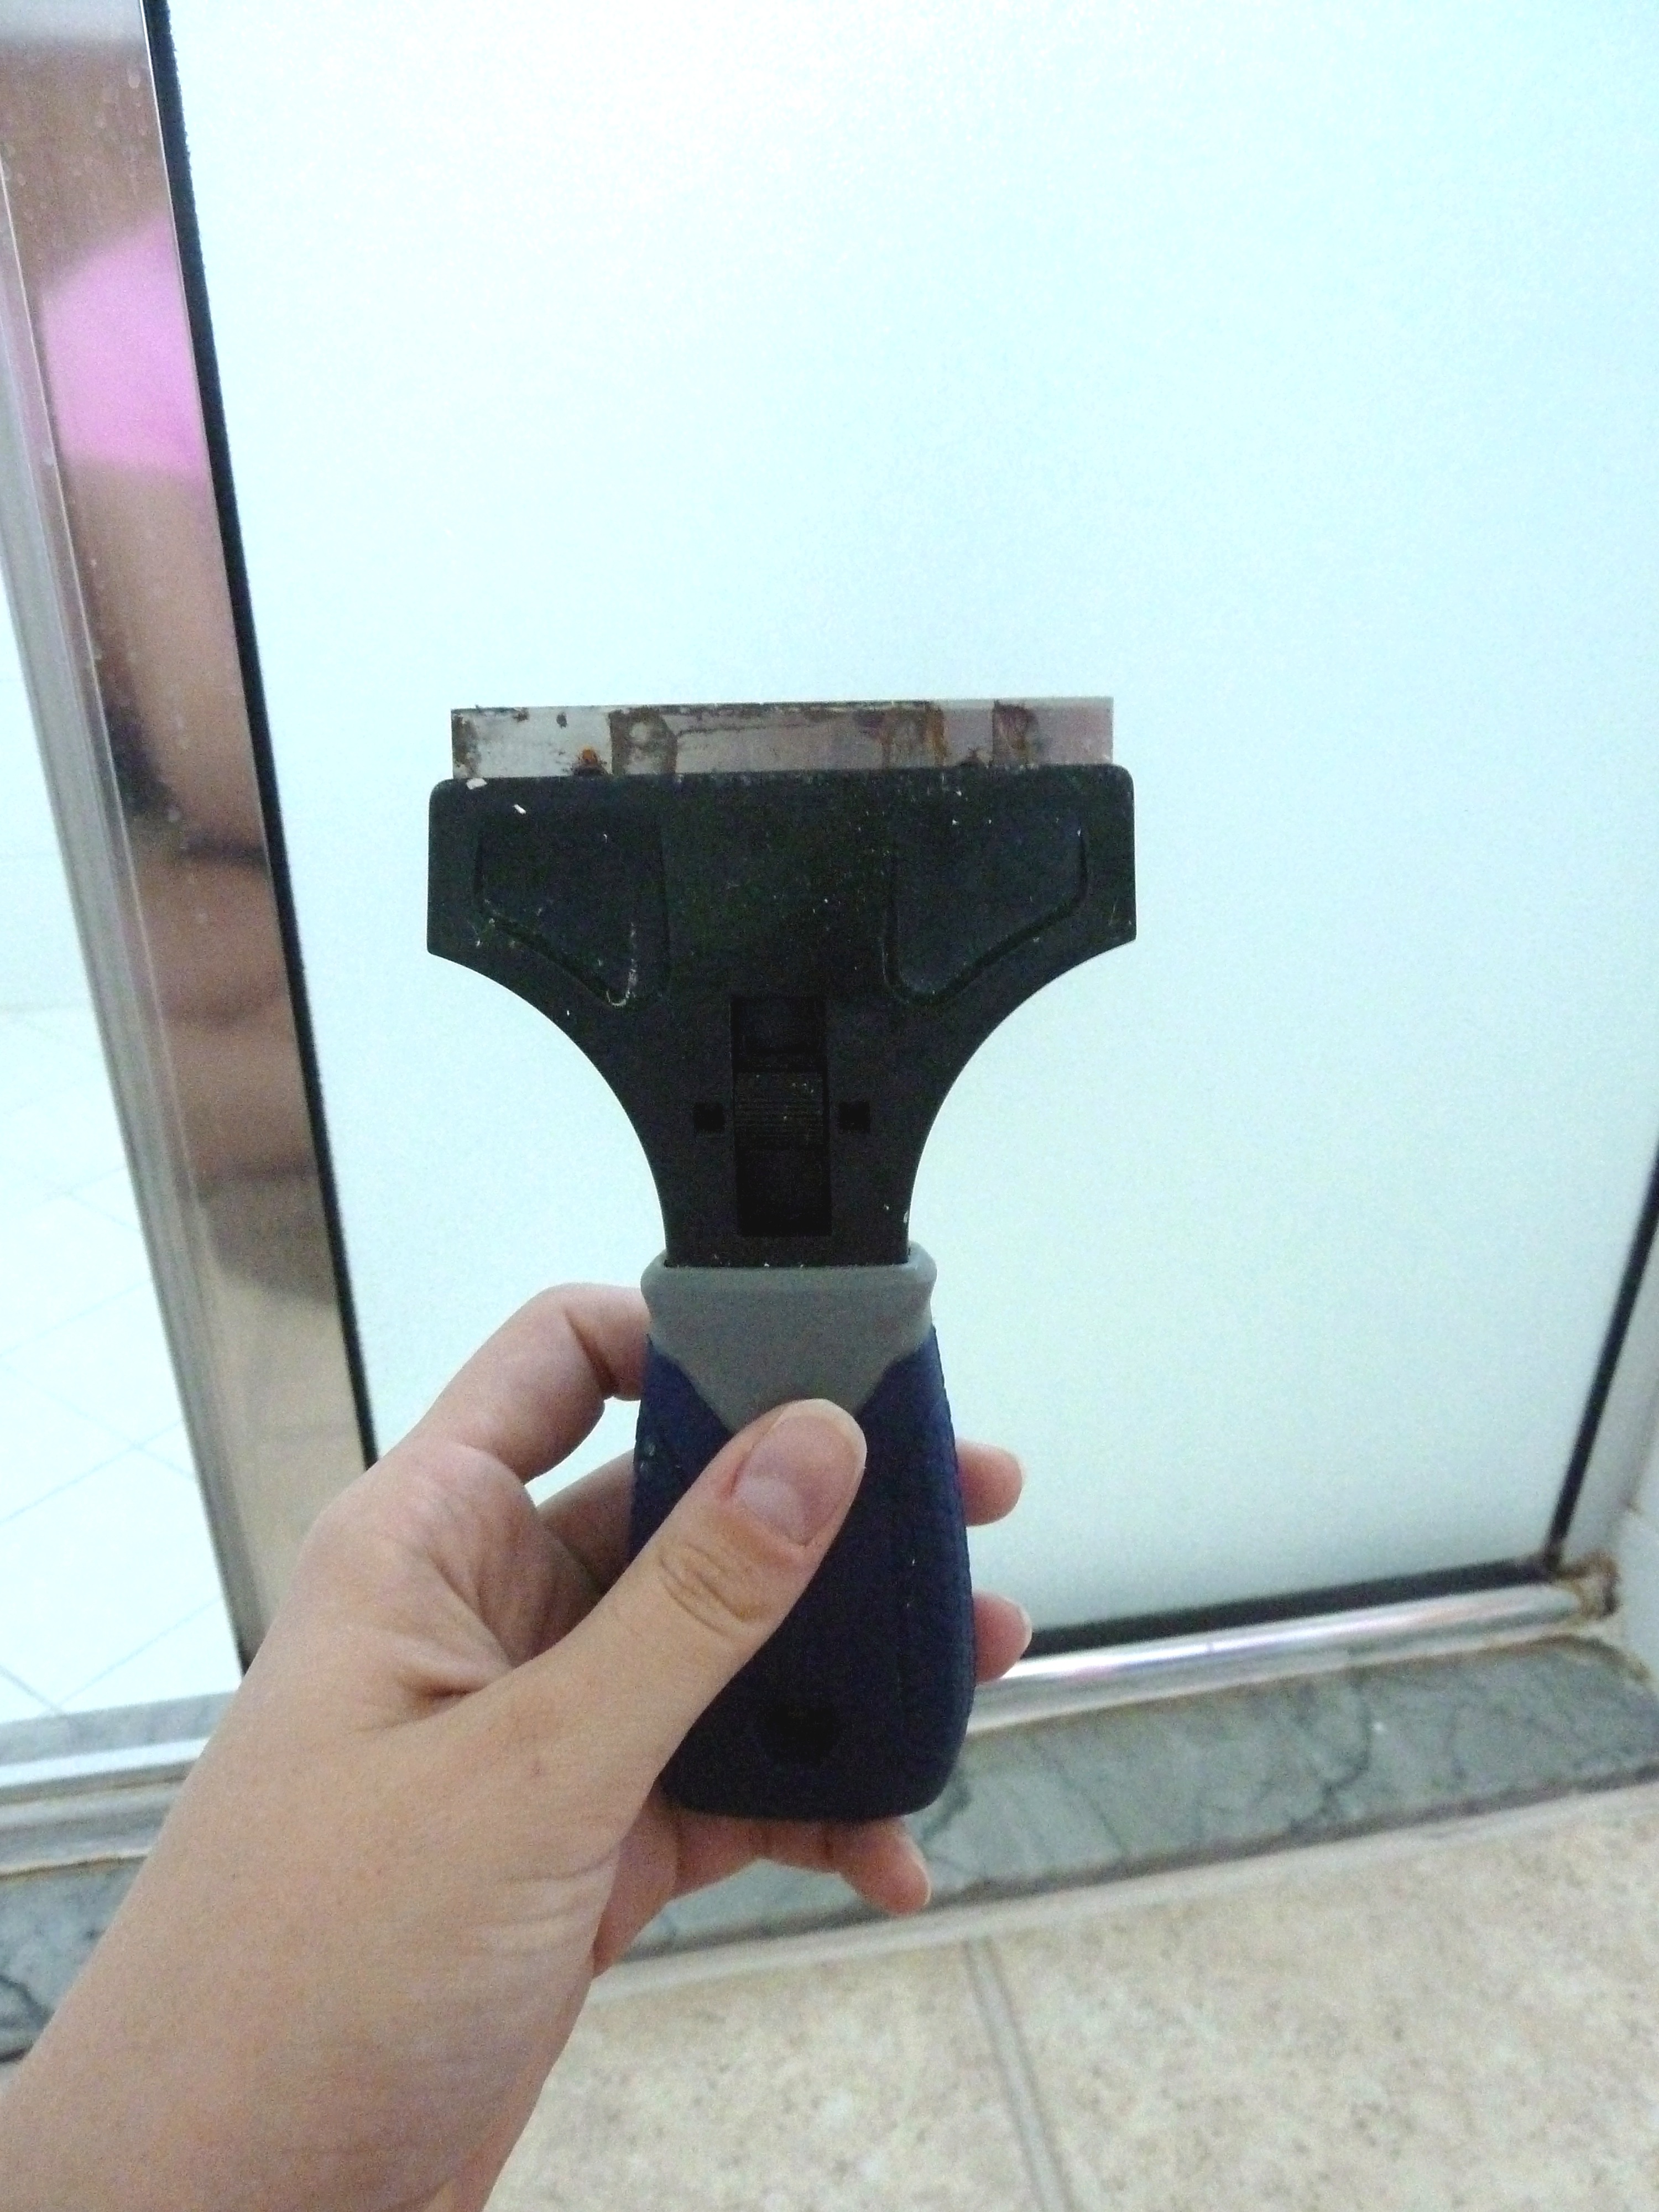
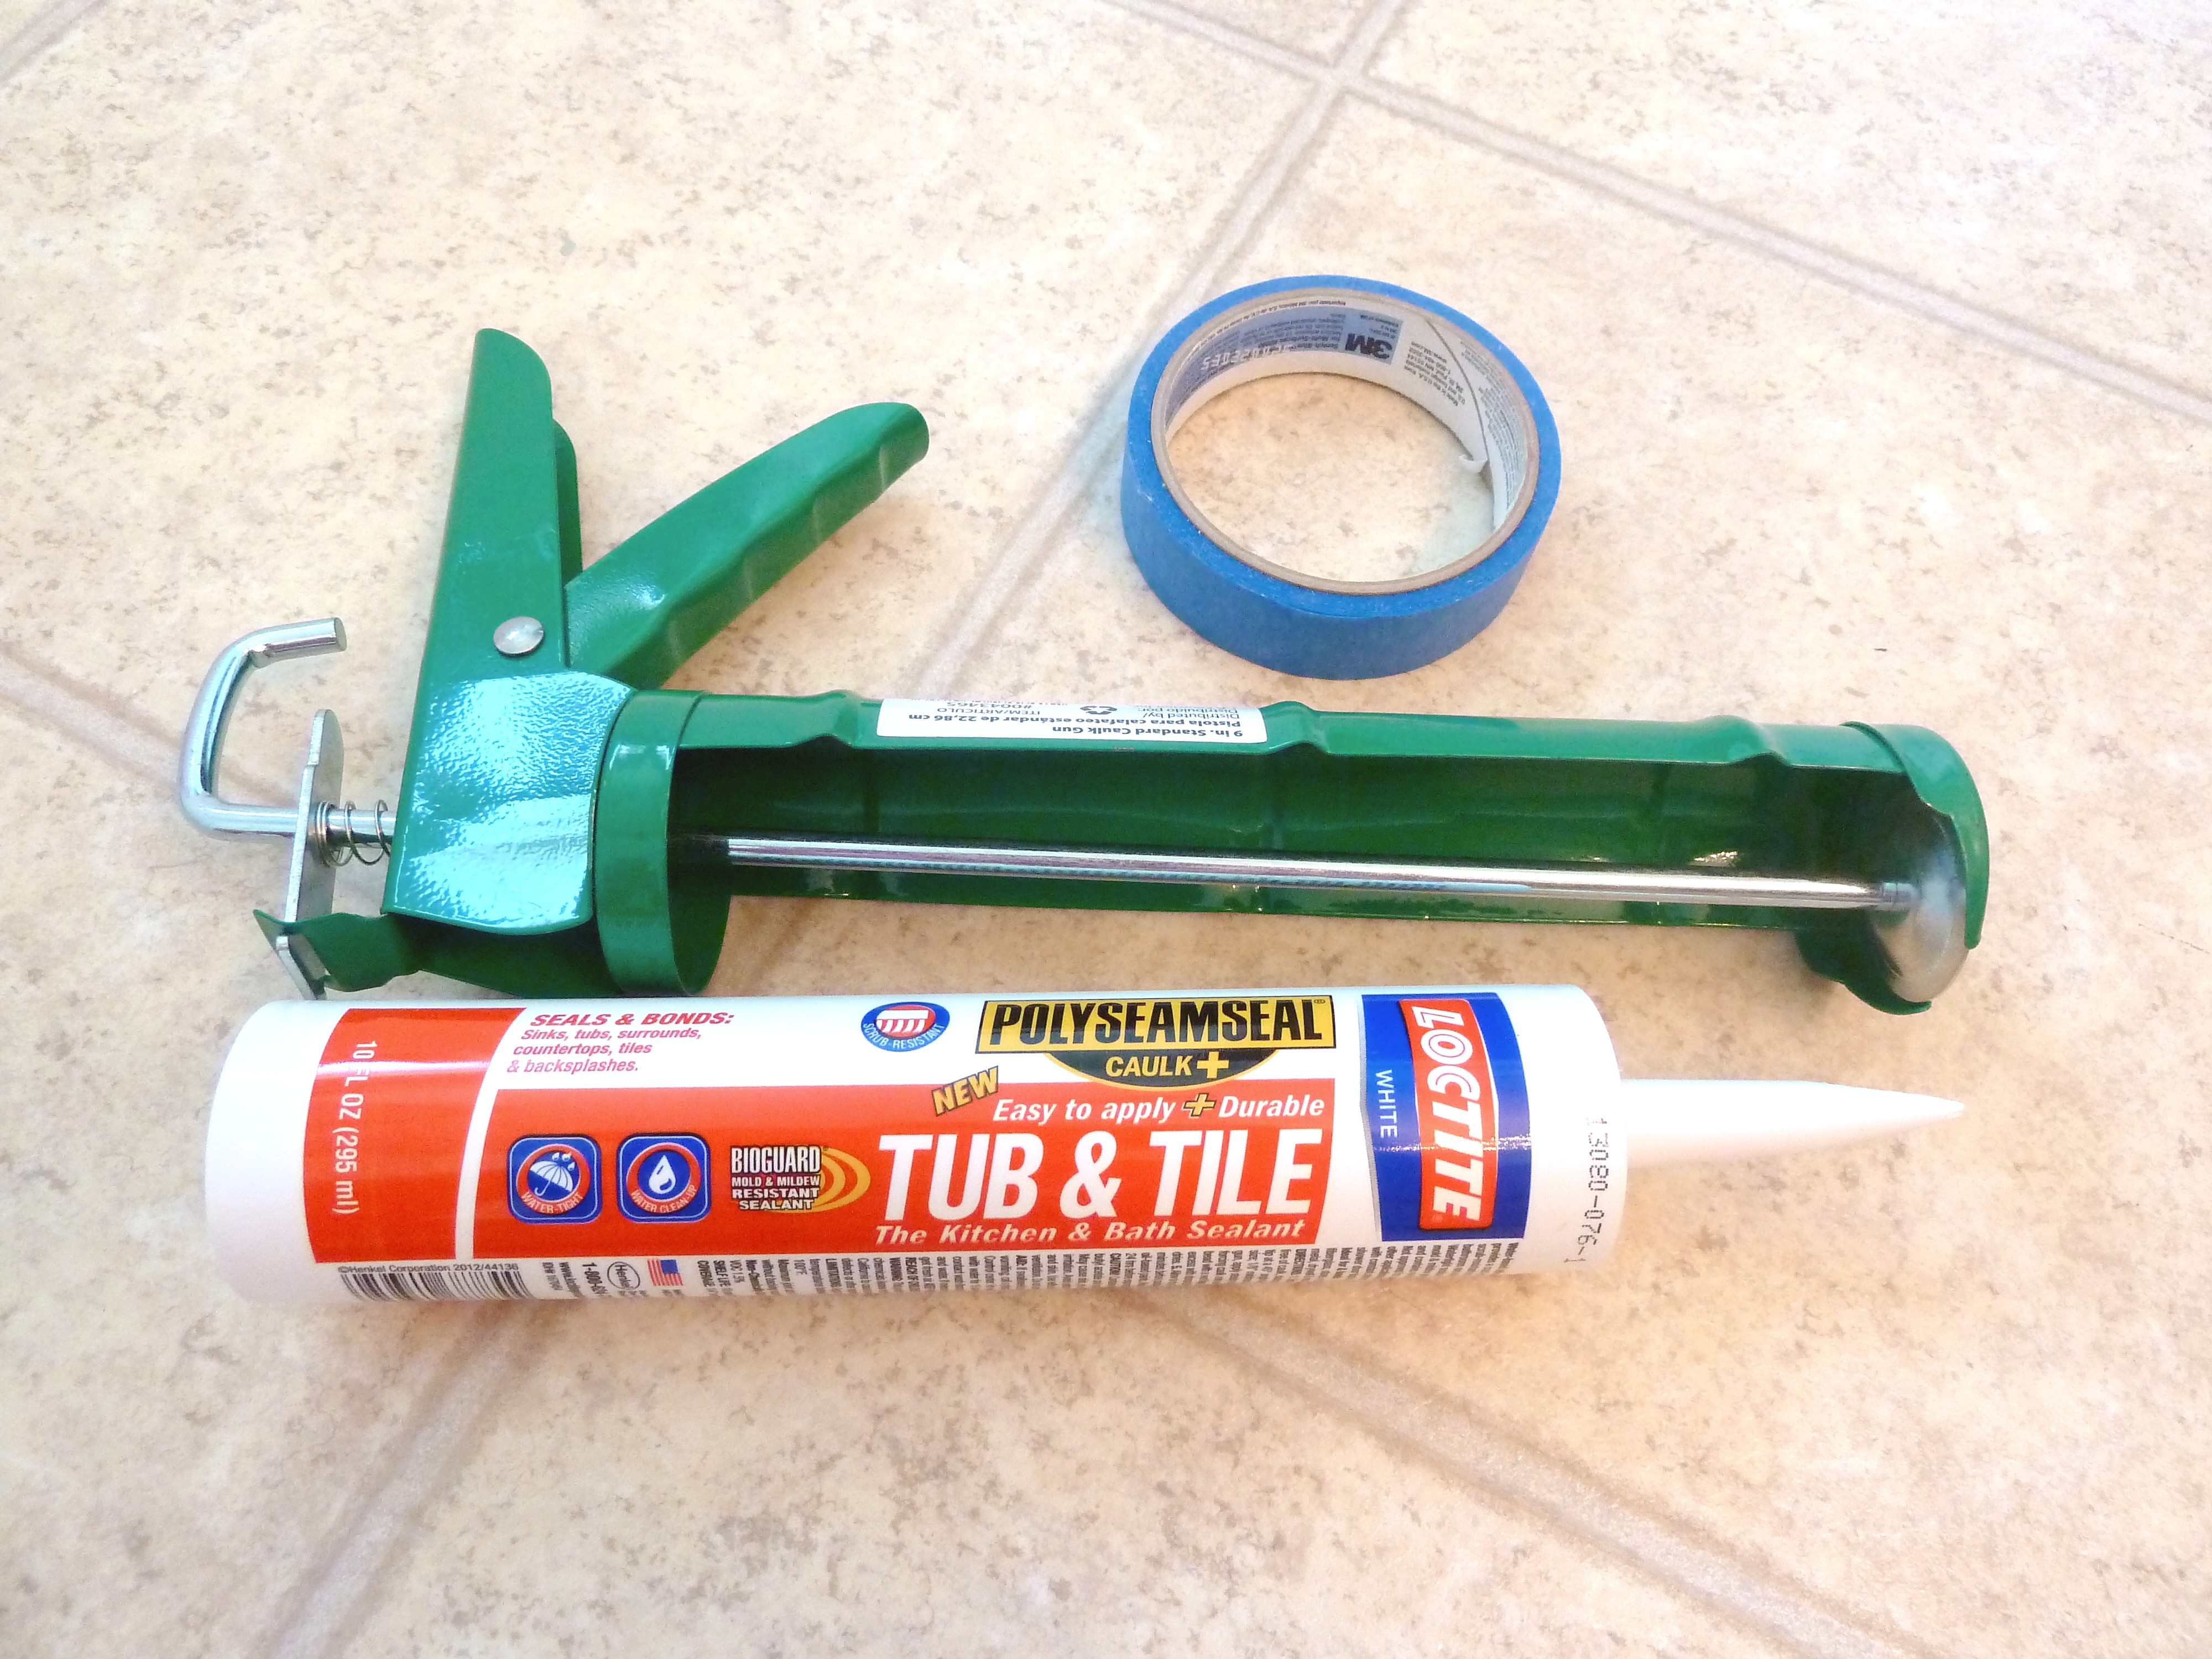
Careful, don’t get too close, you may fall in! This was in need of some caulk! So, I happily made my way to the garage to get my caulking supplies…
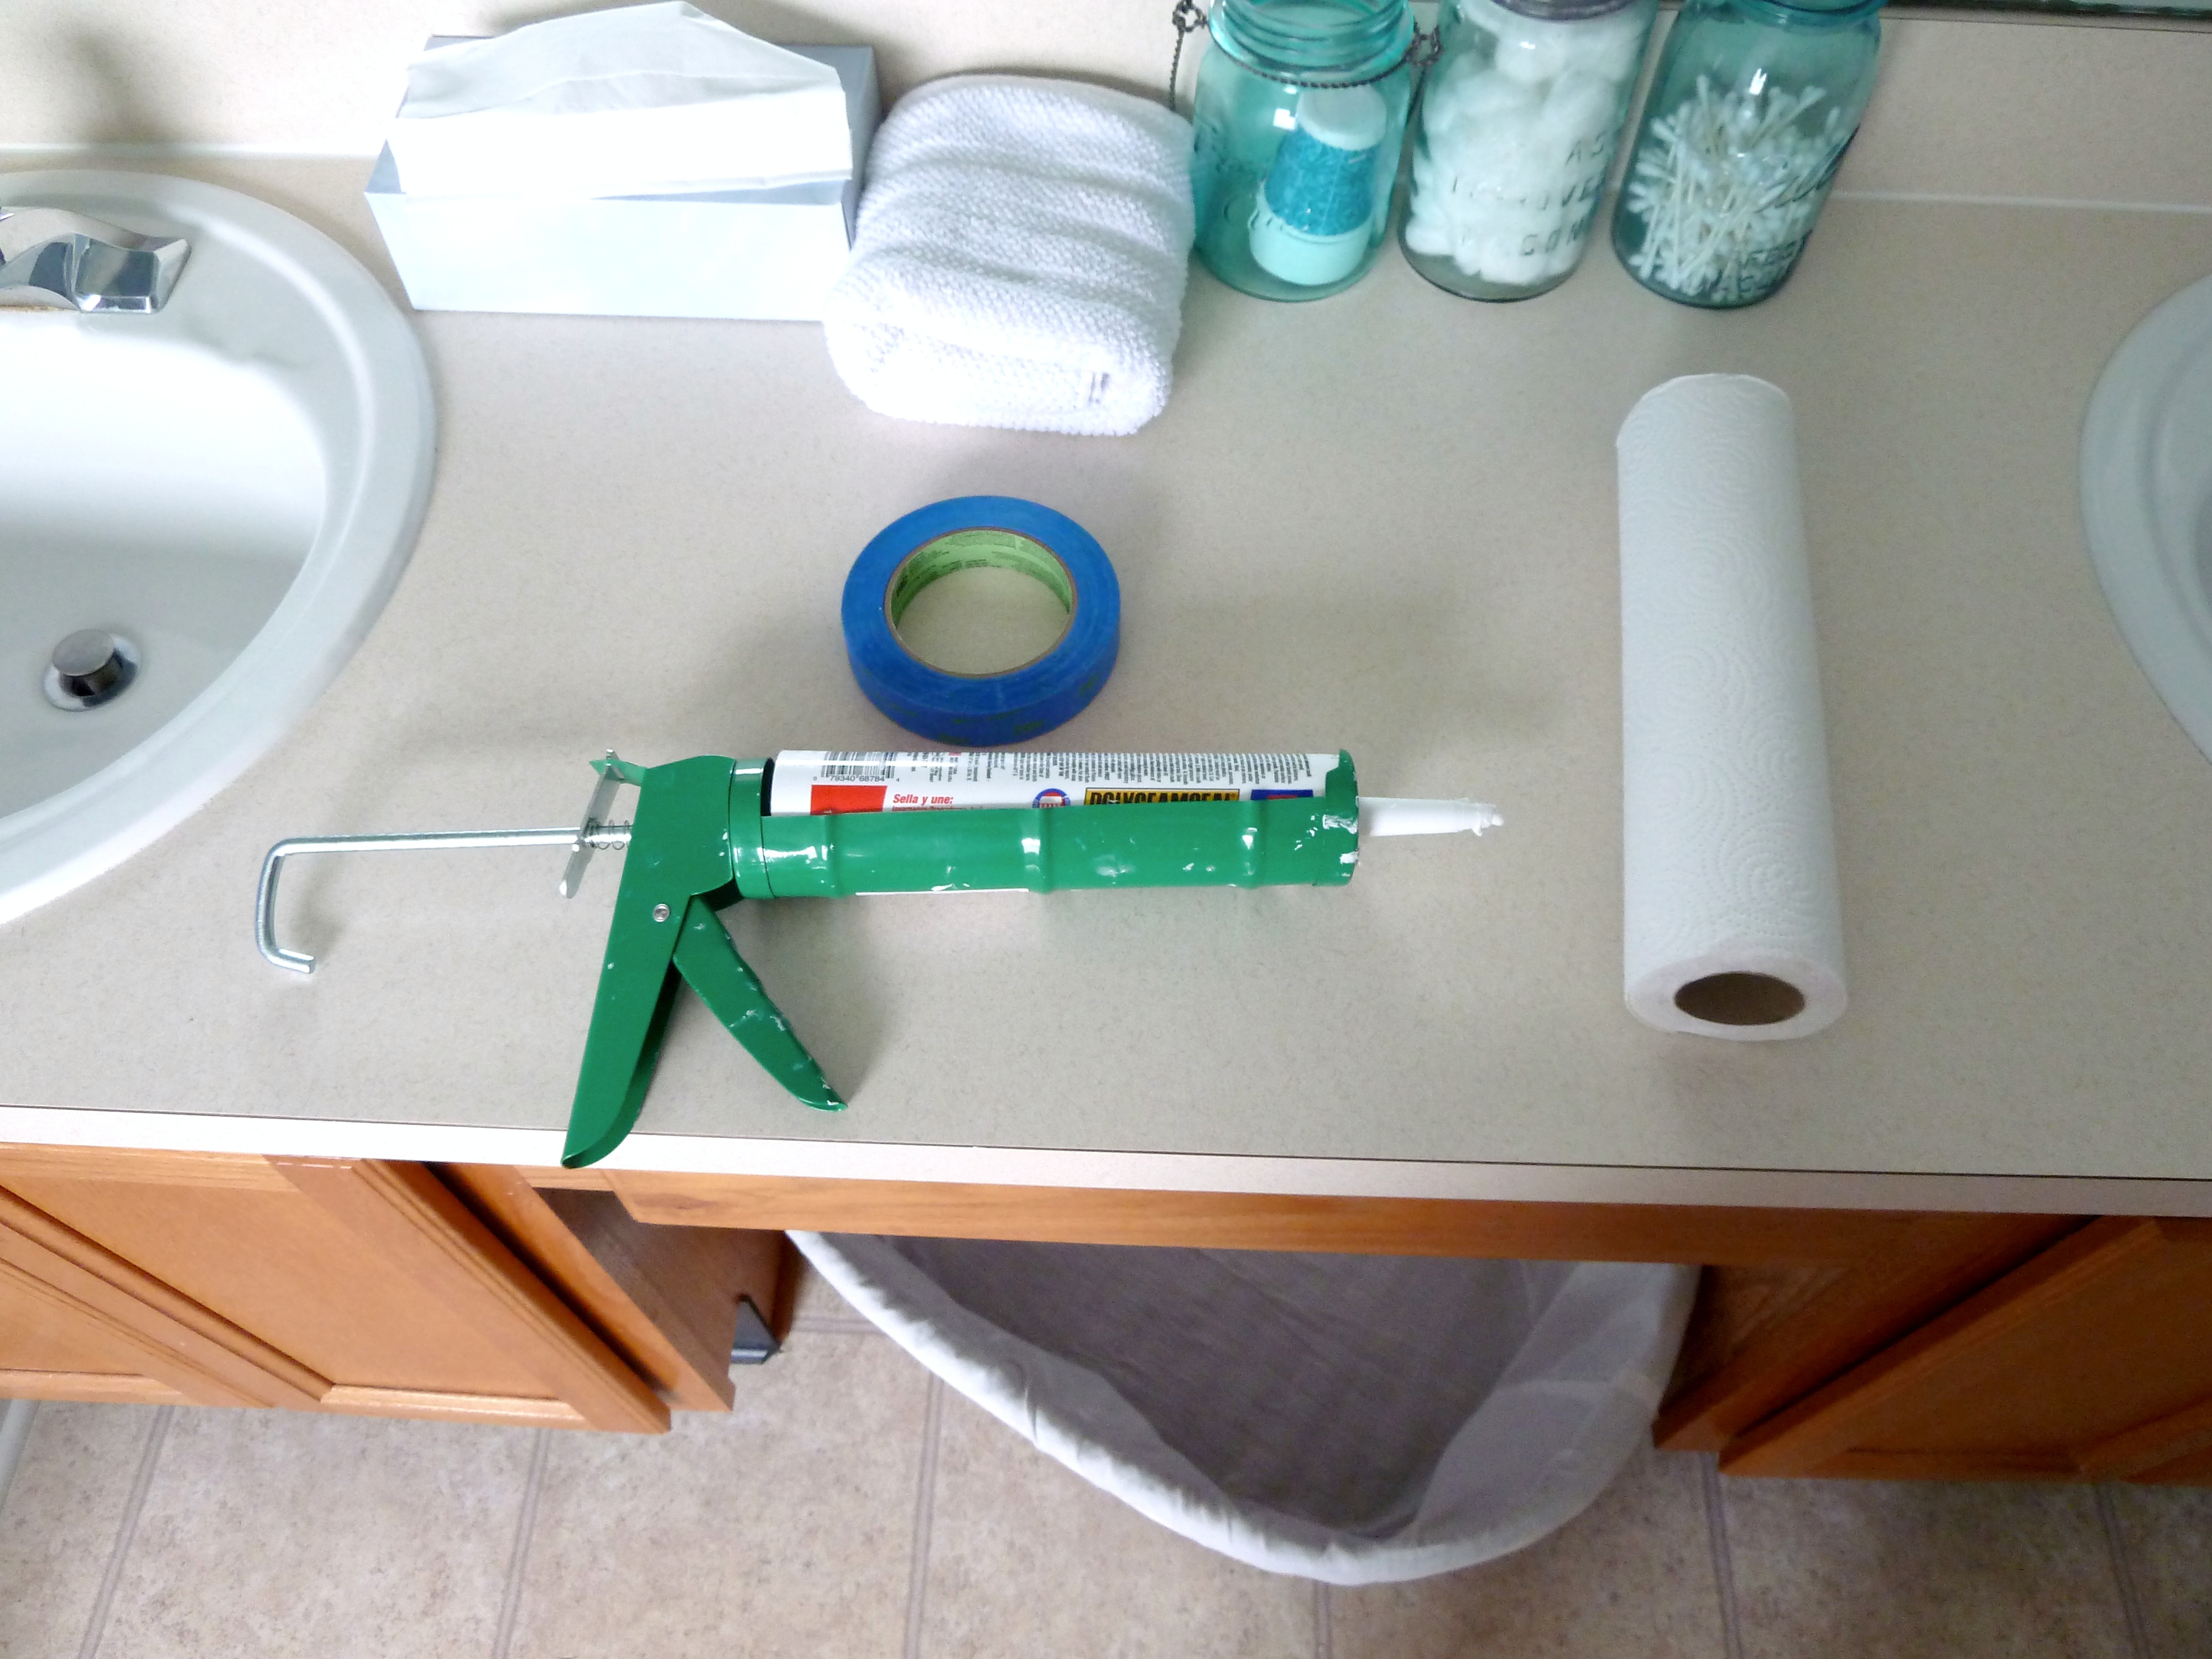
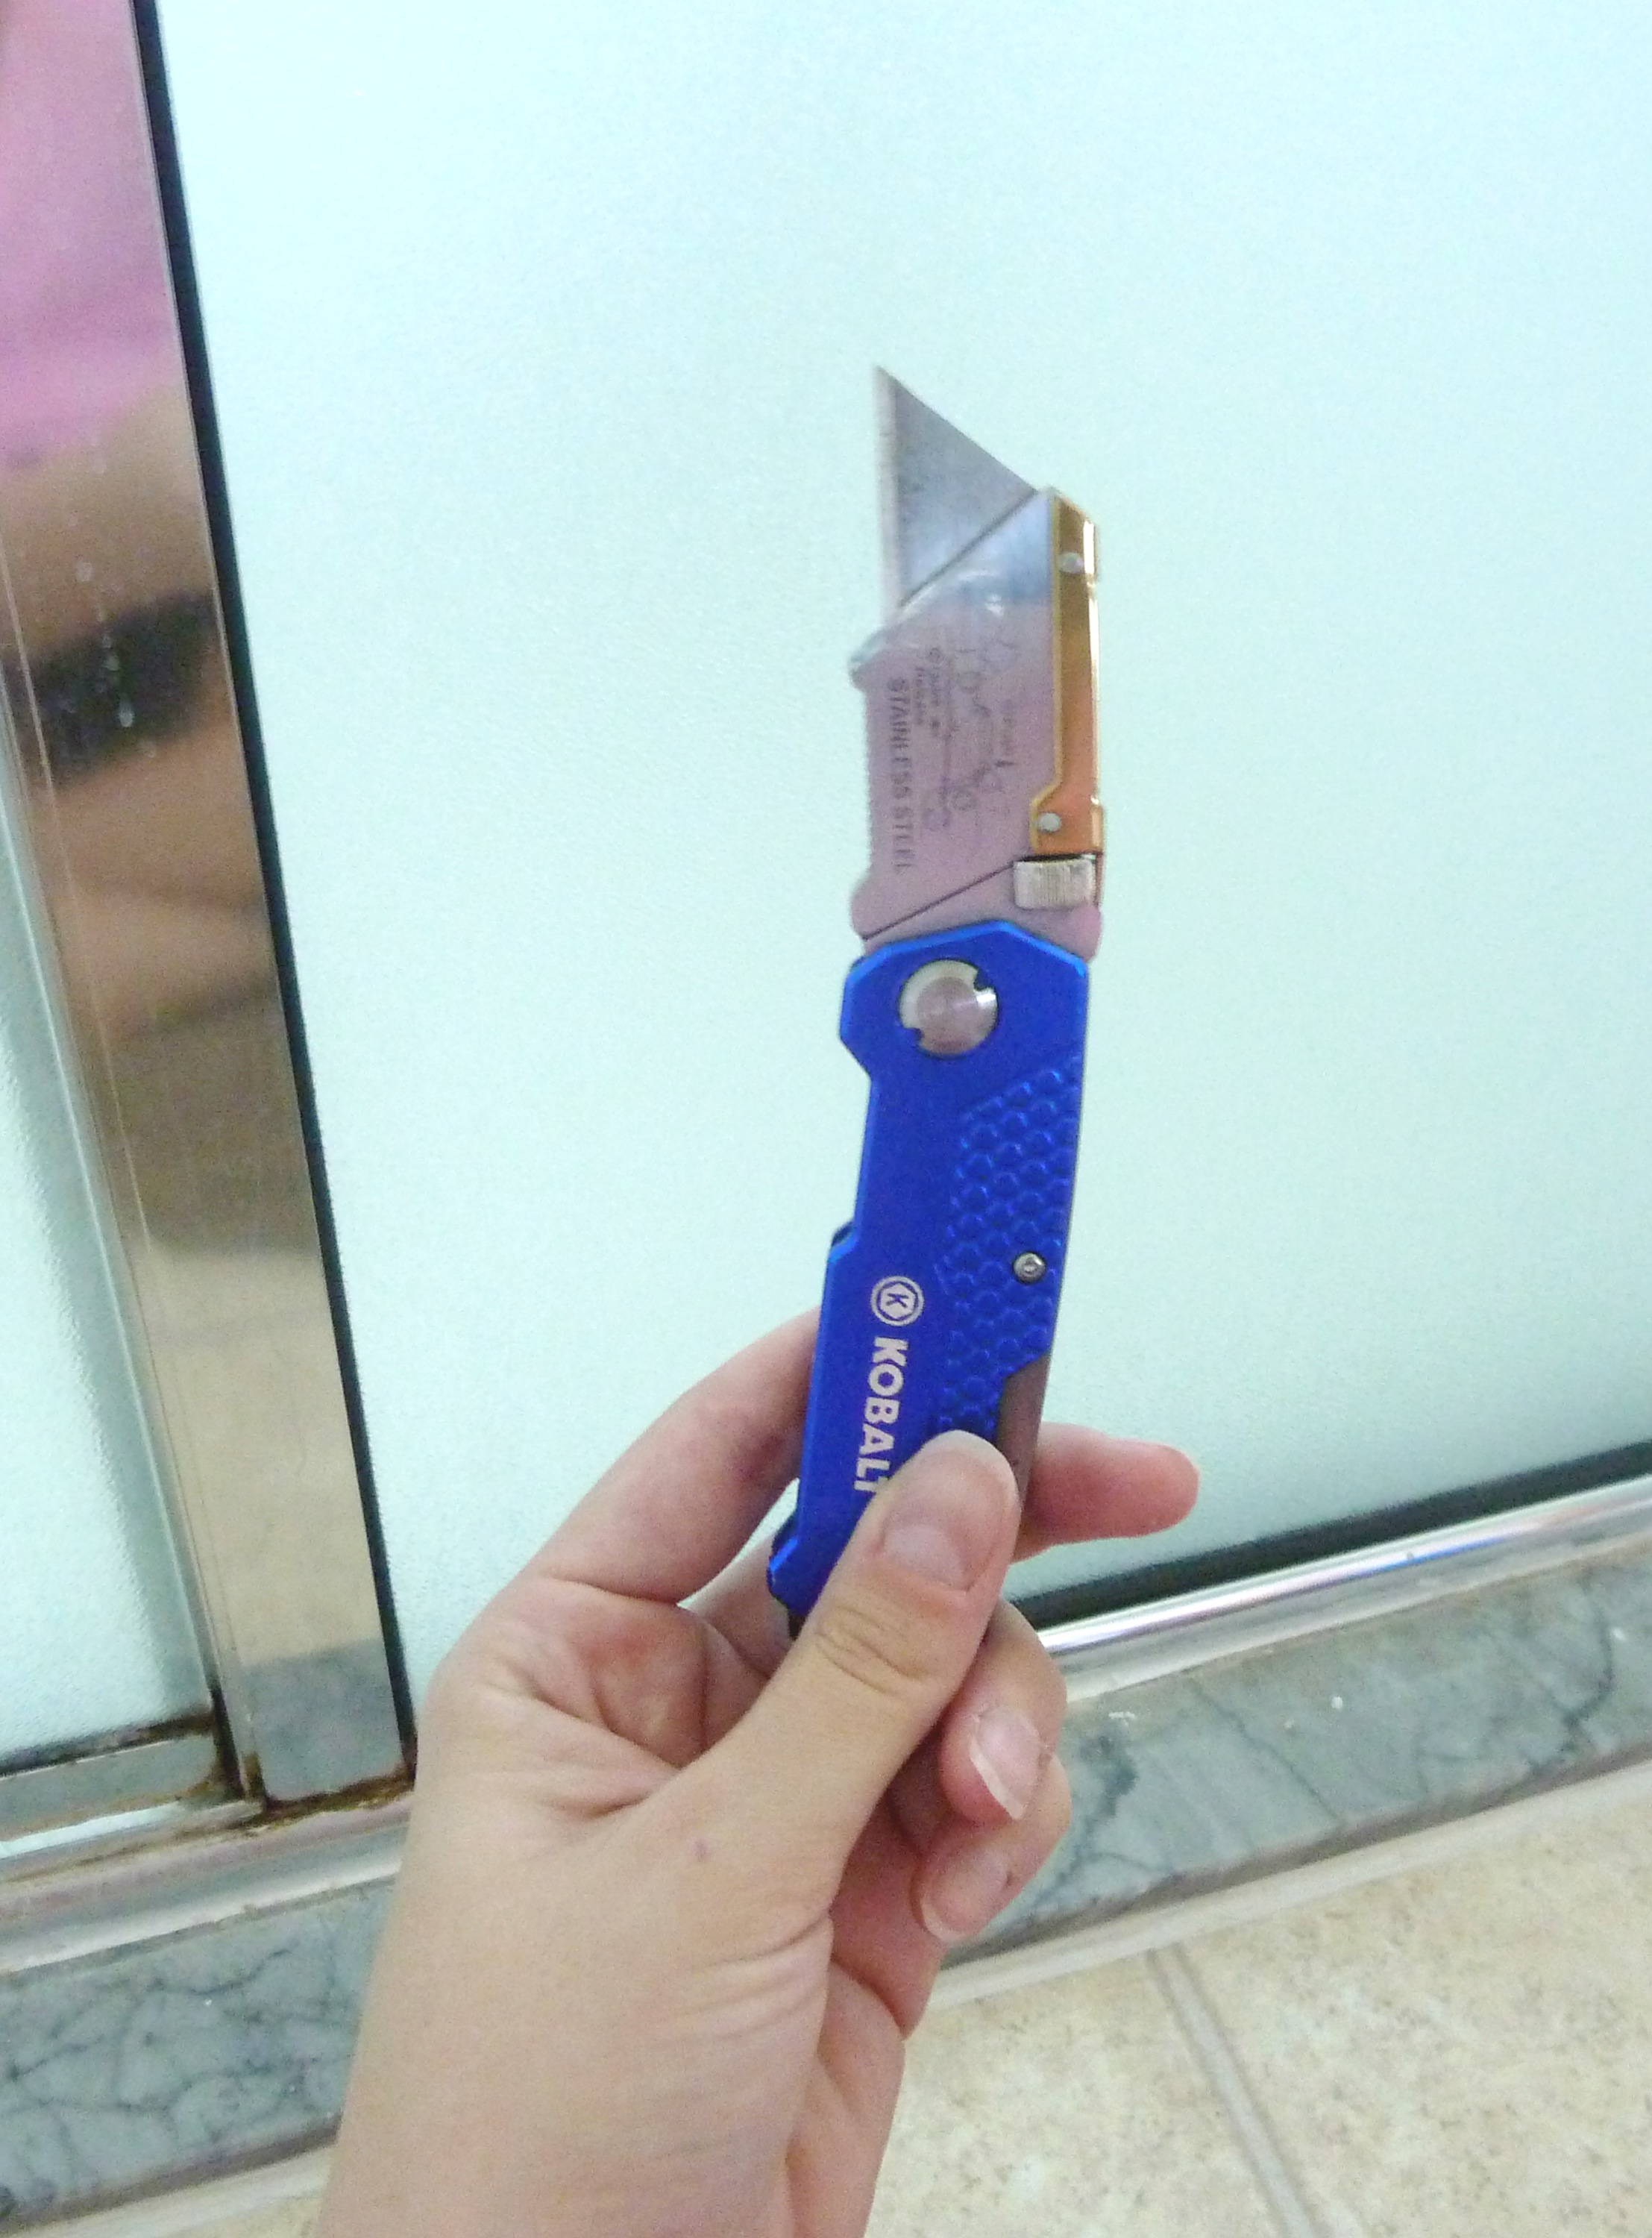
Pretty extensive supplies huh?
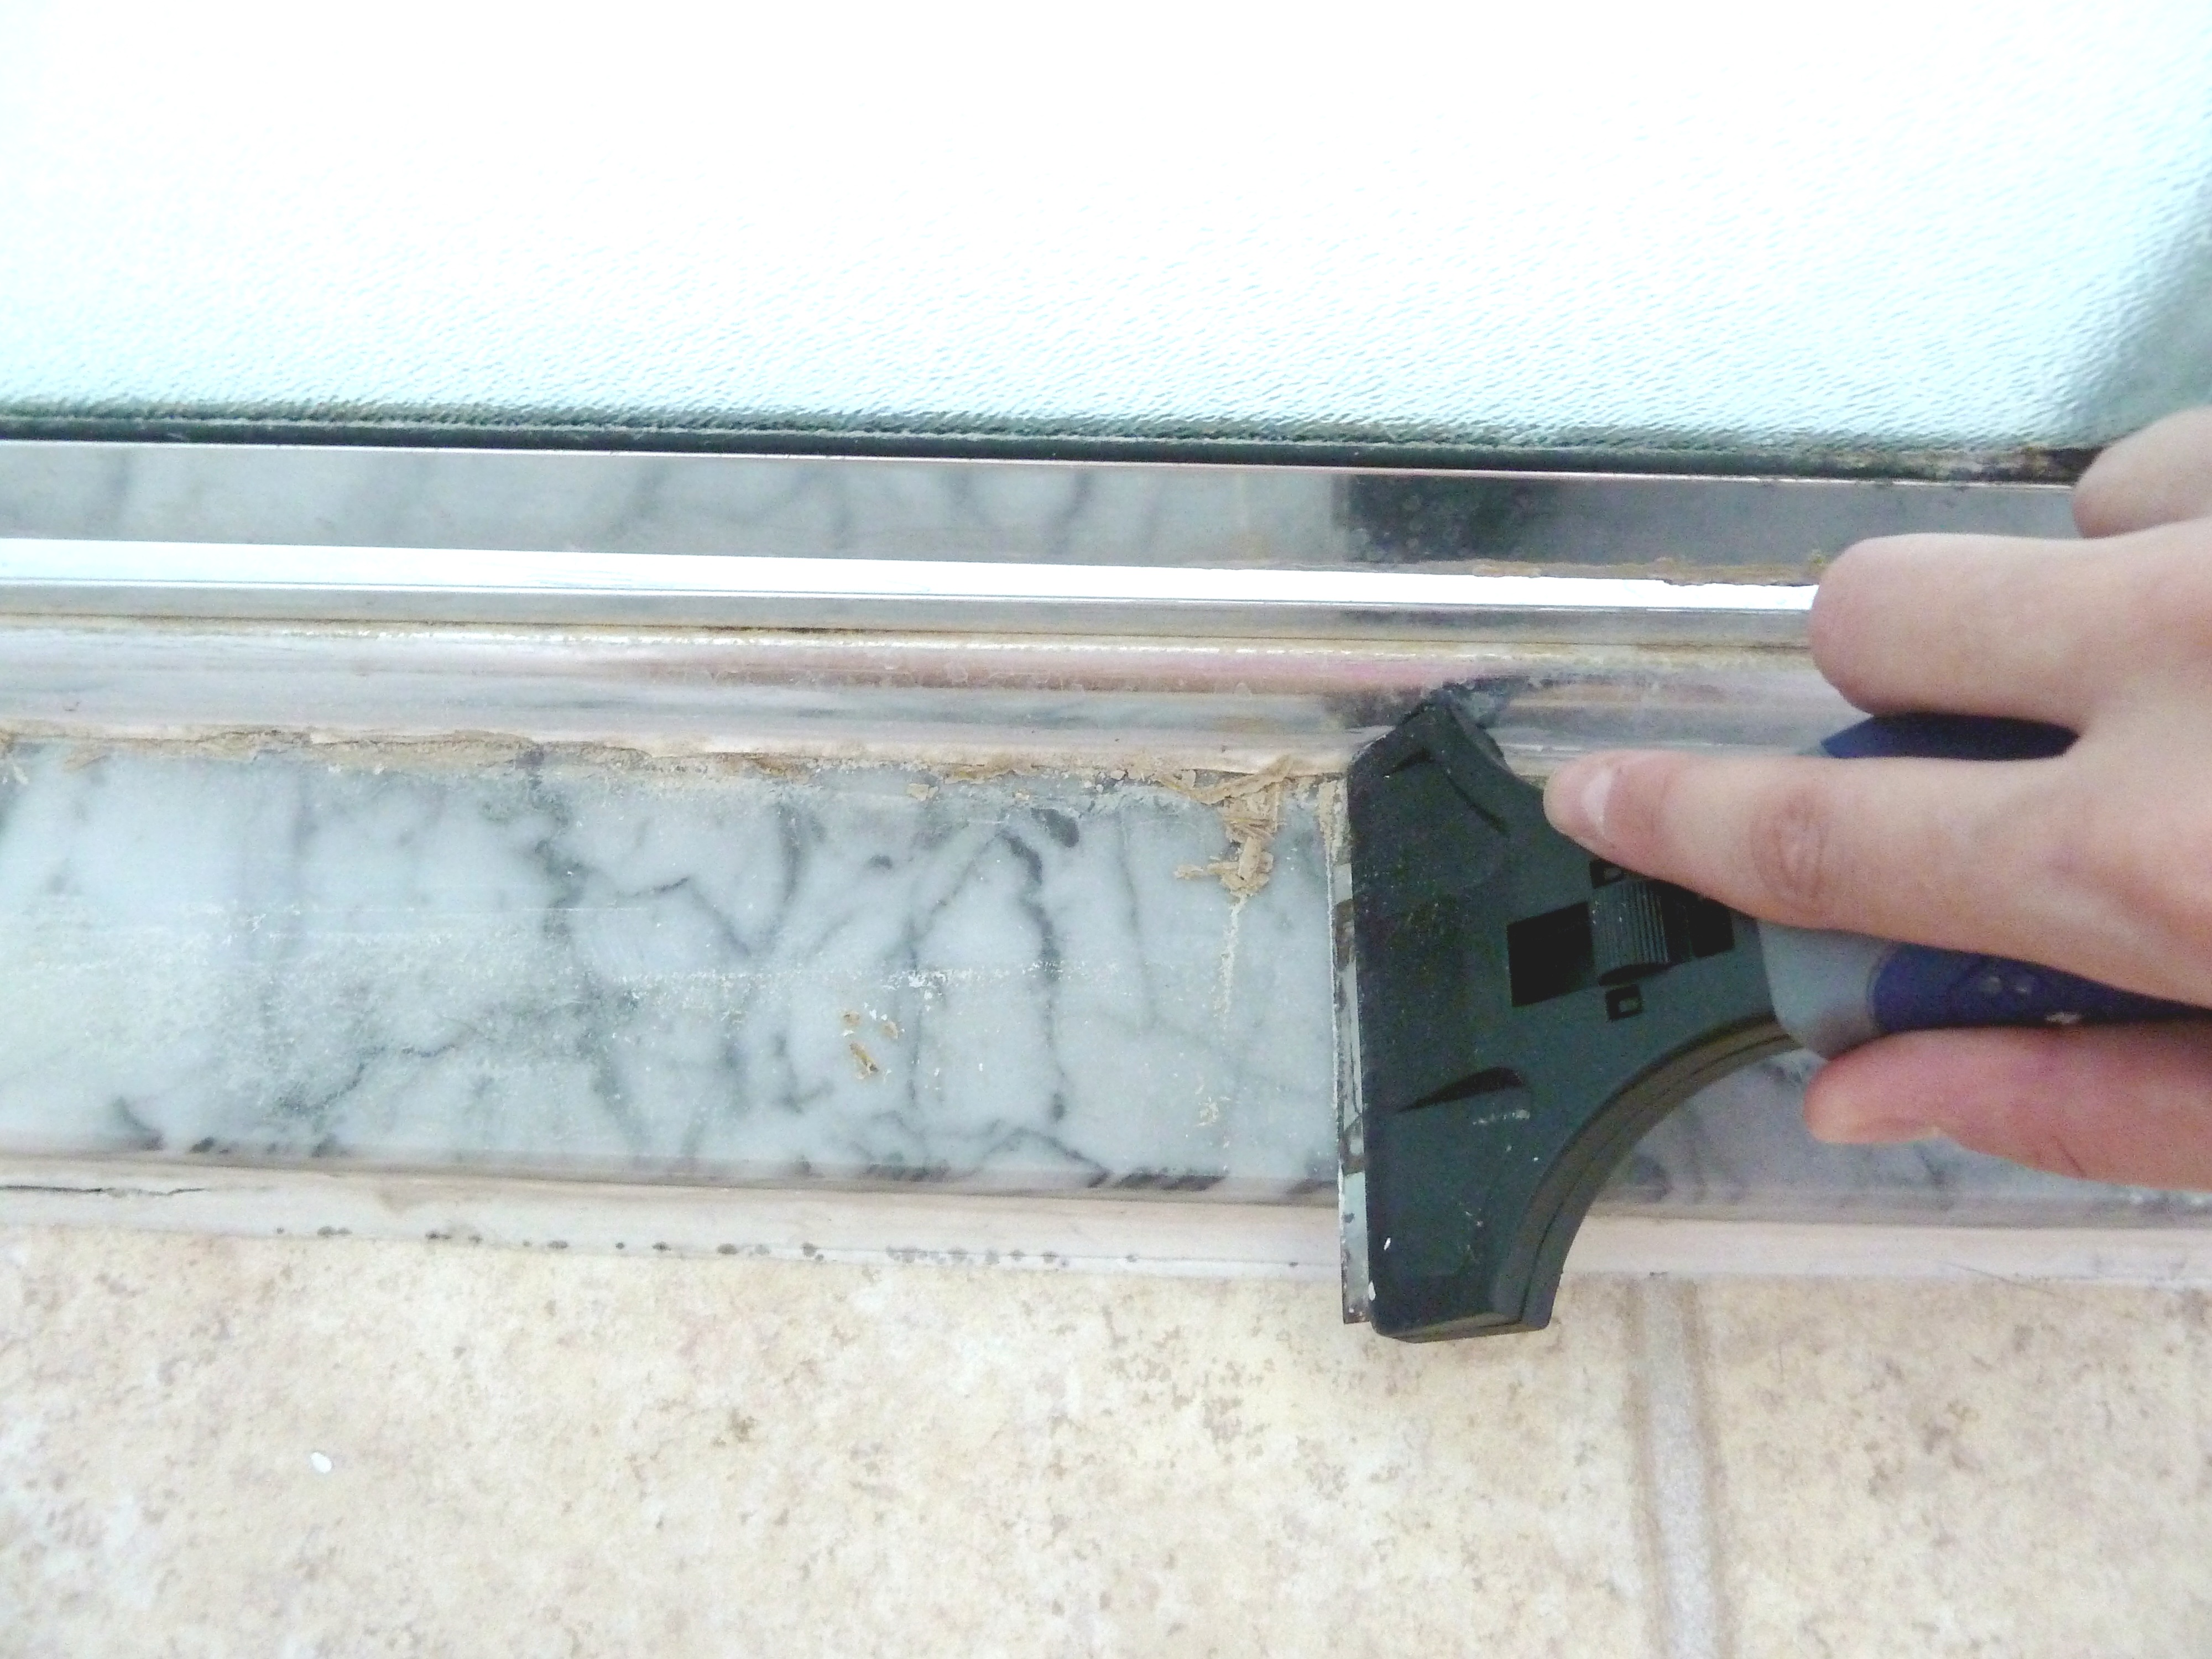
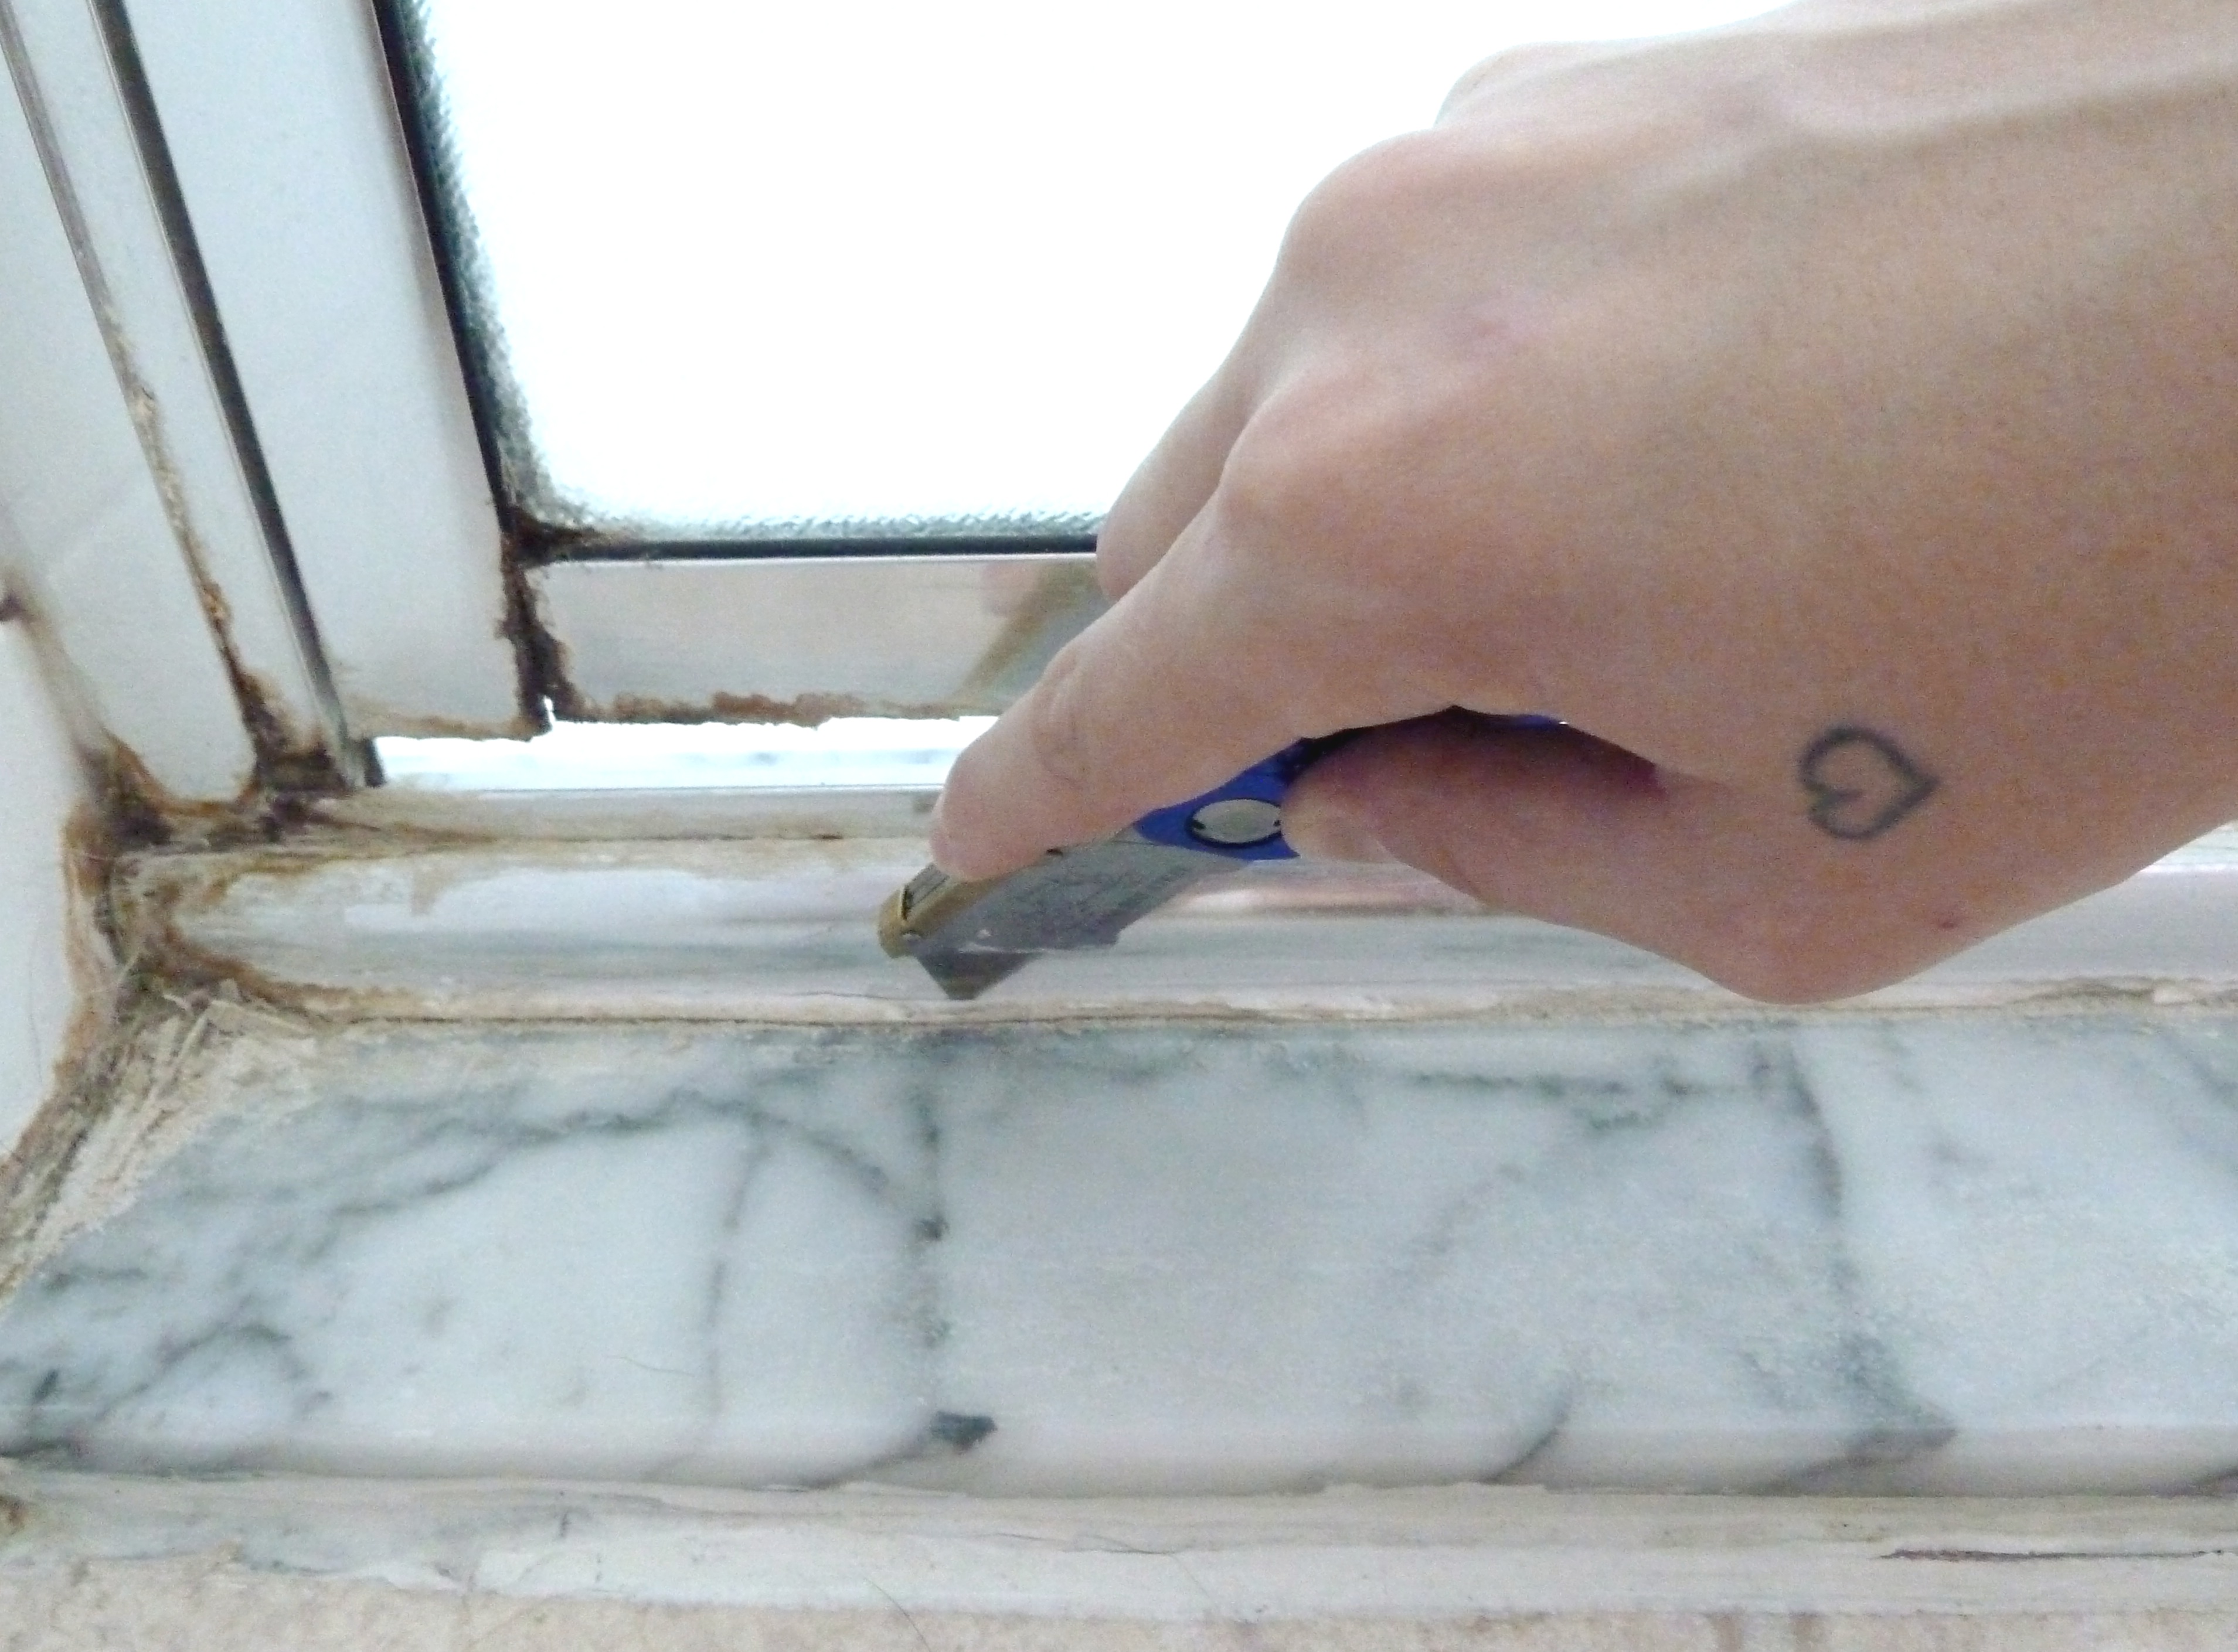
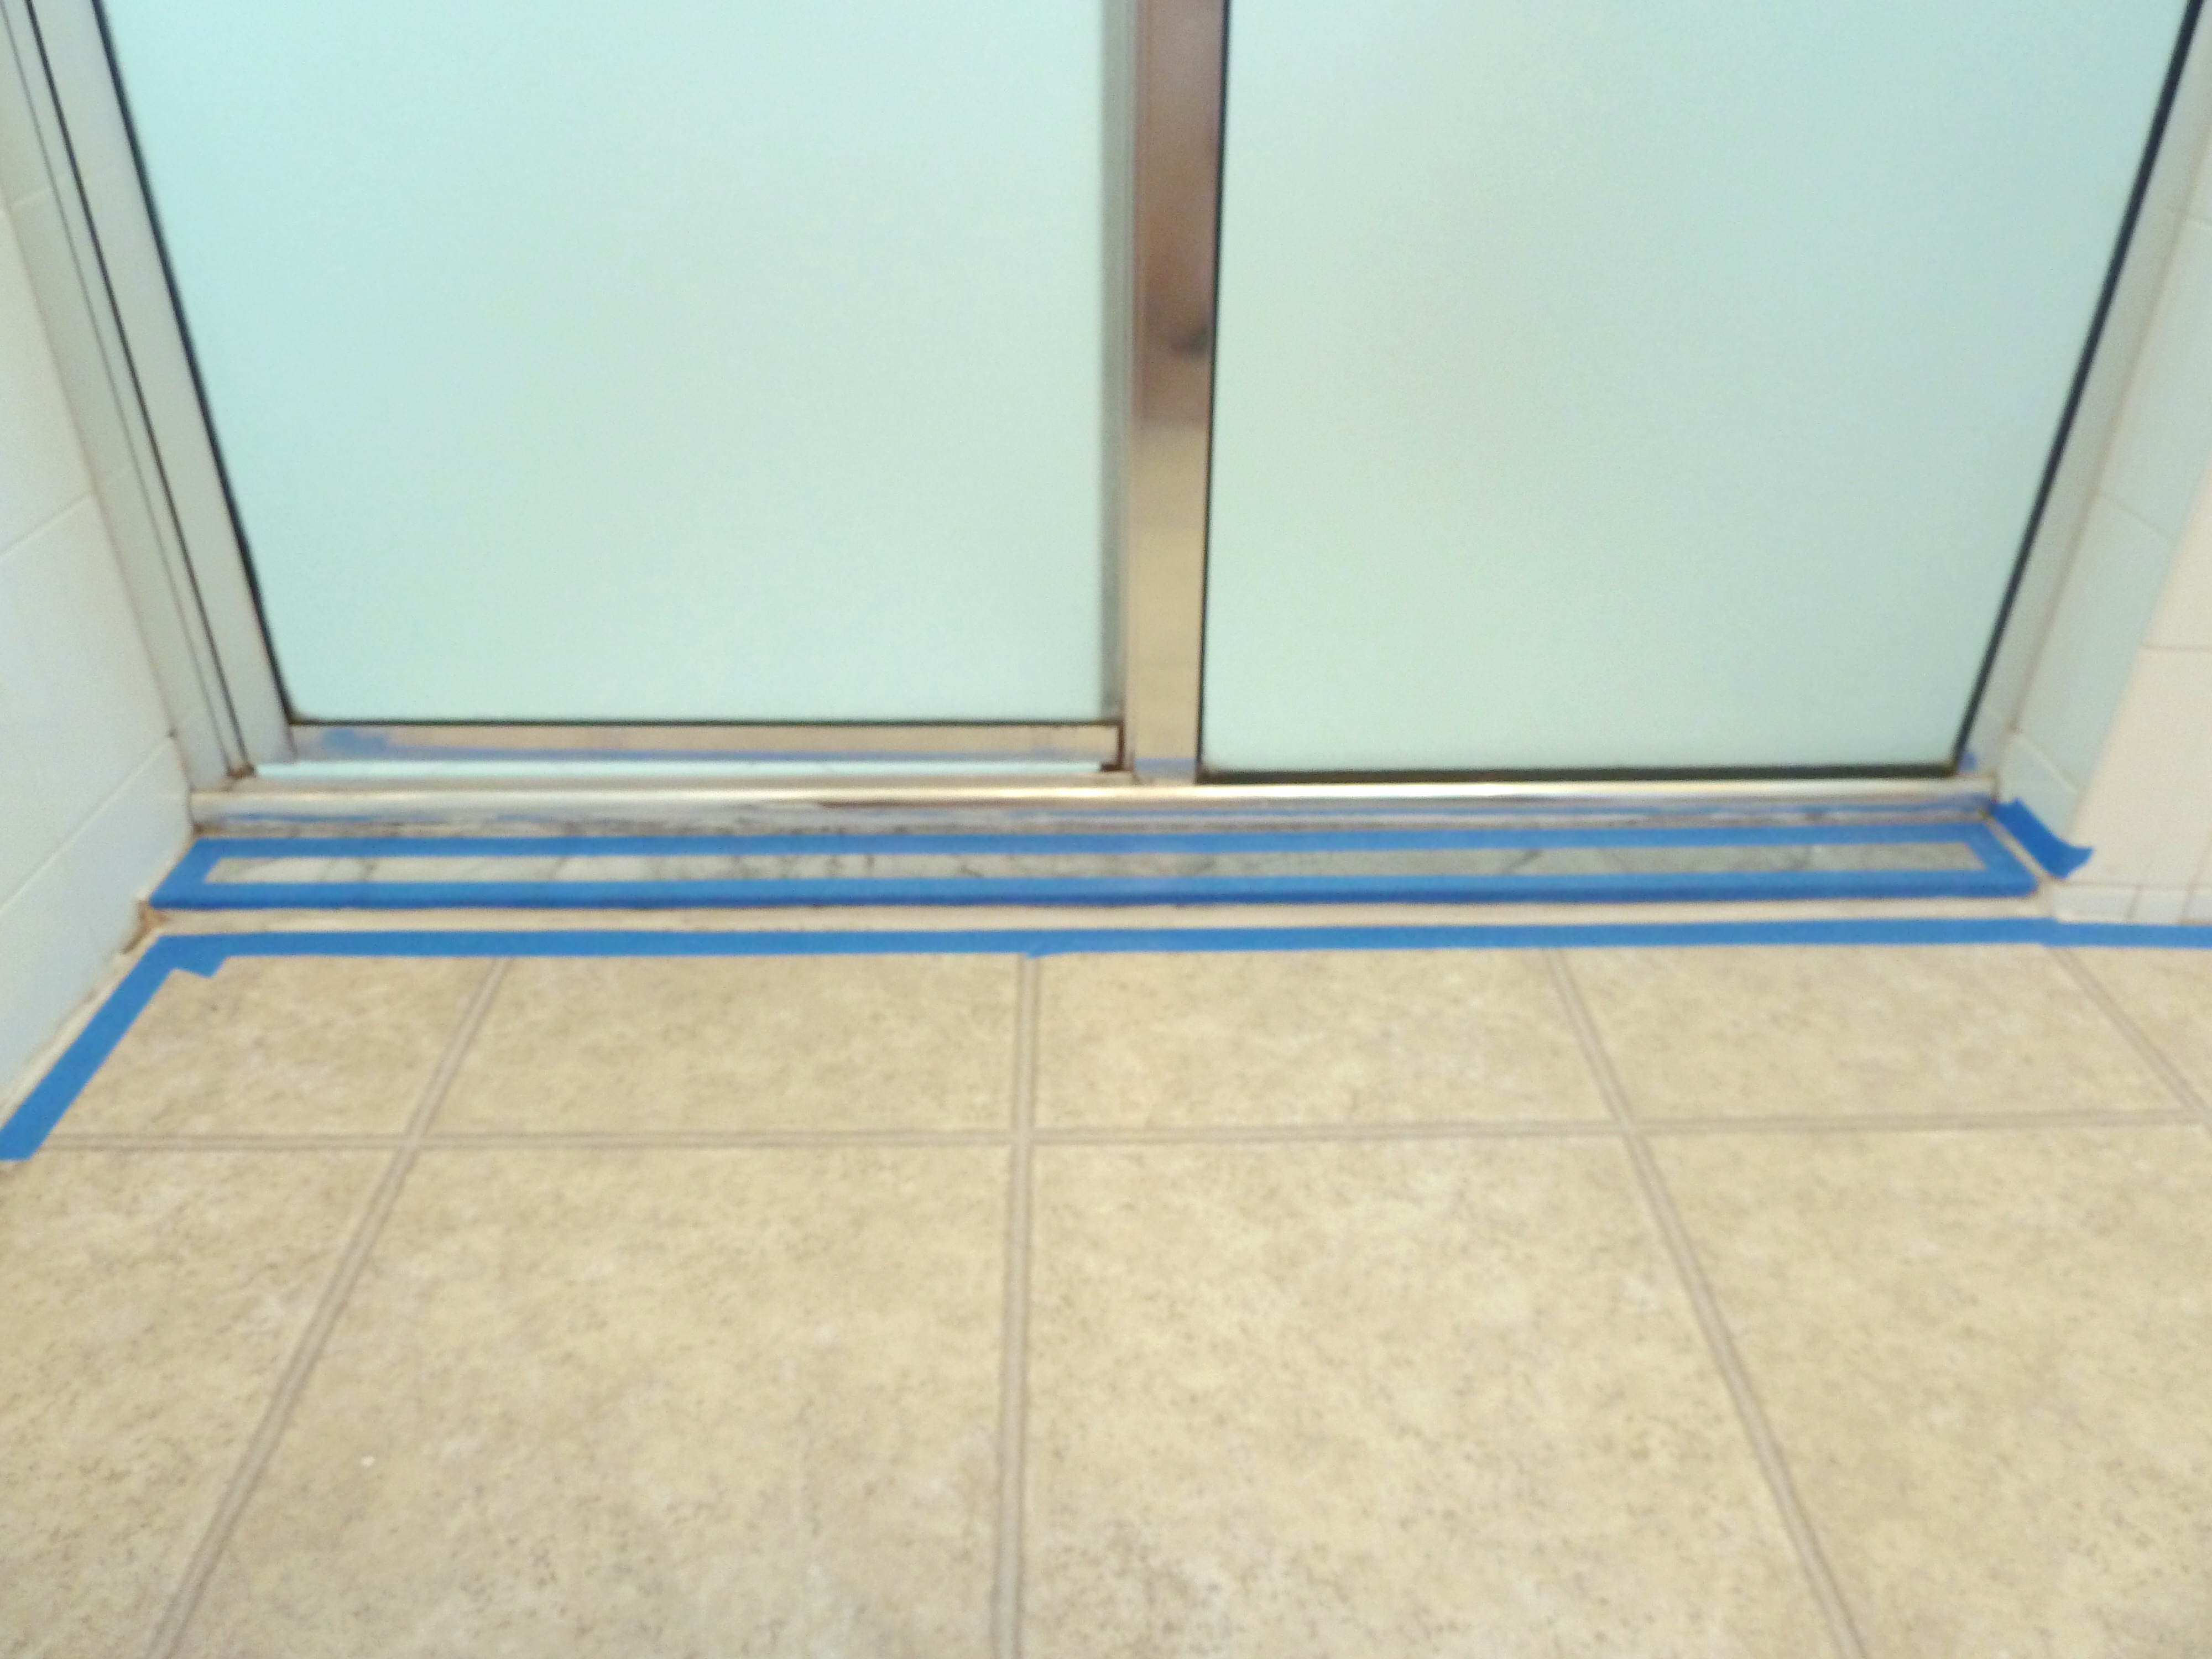
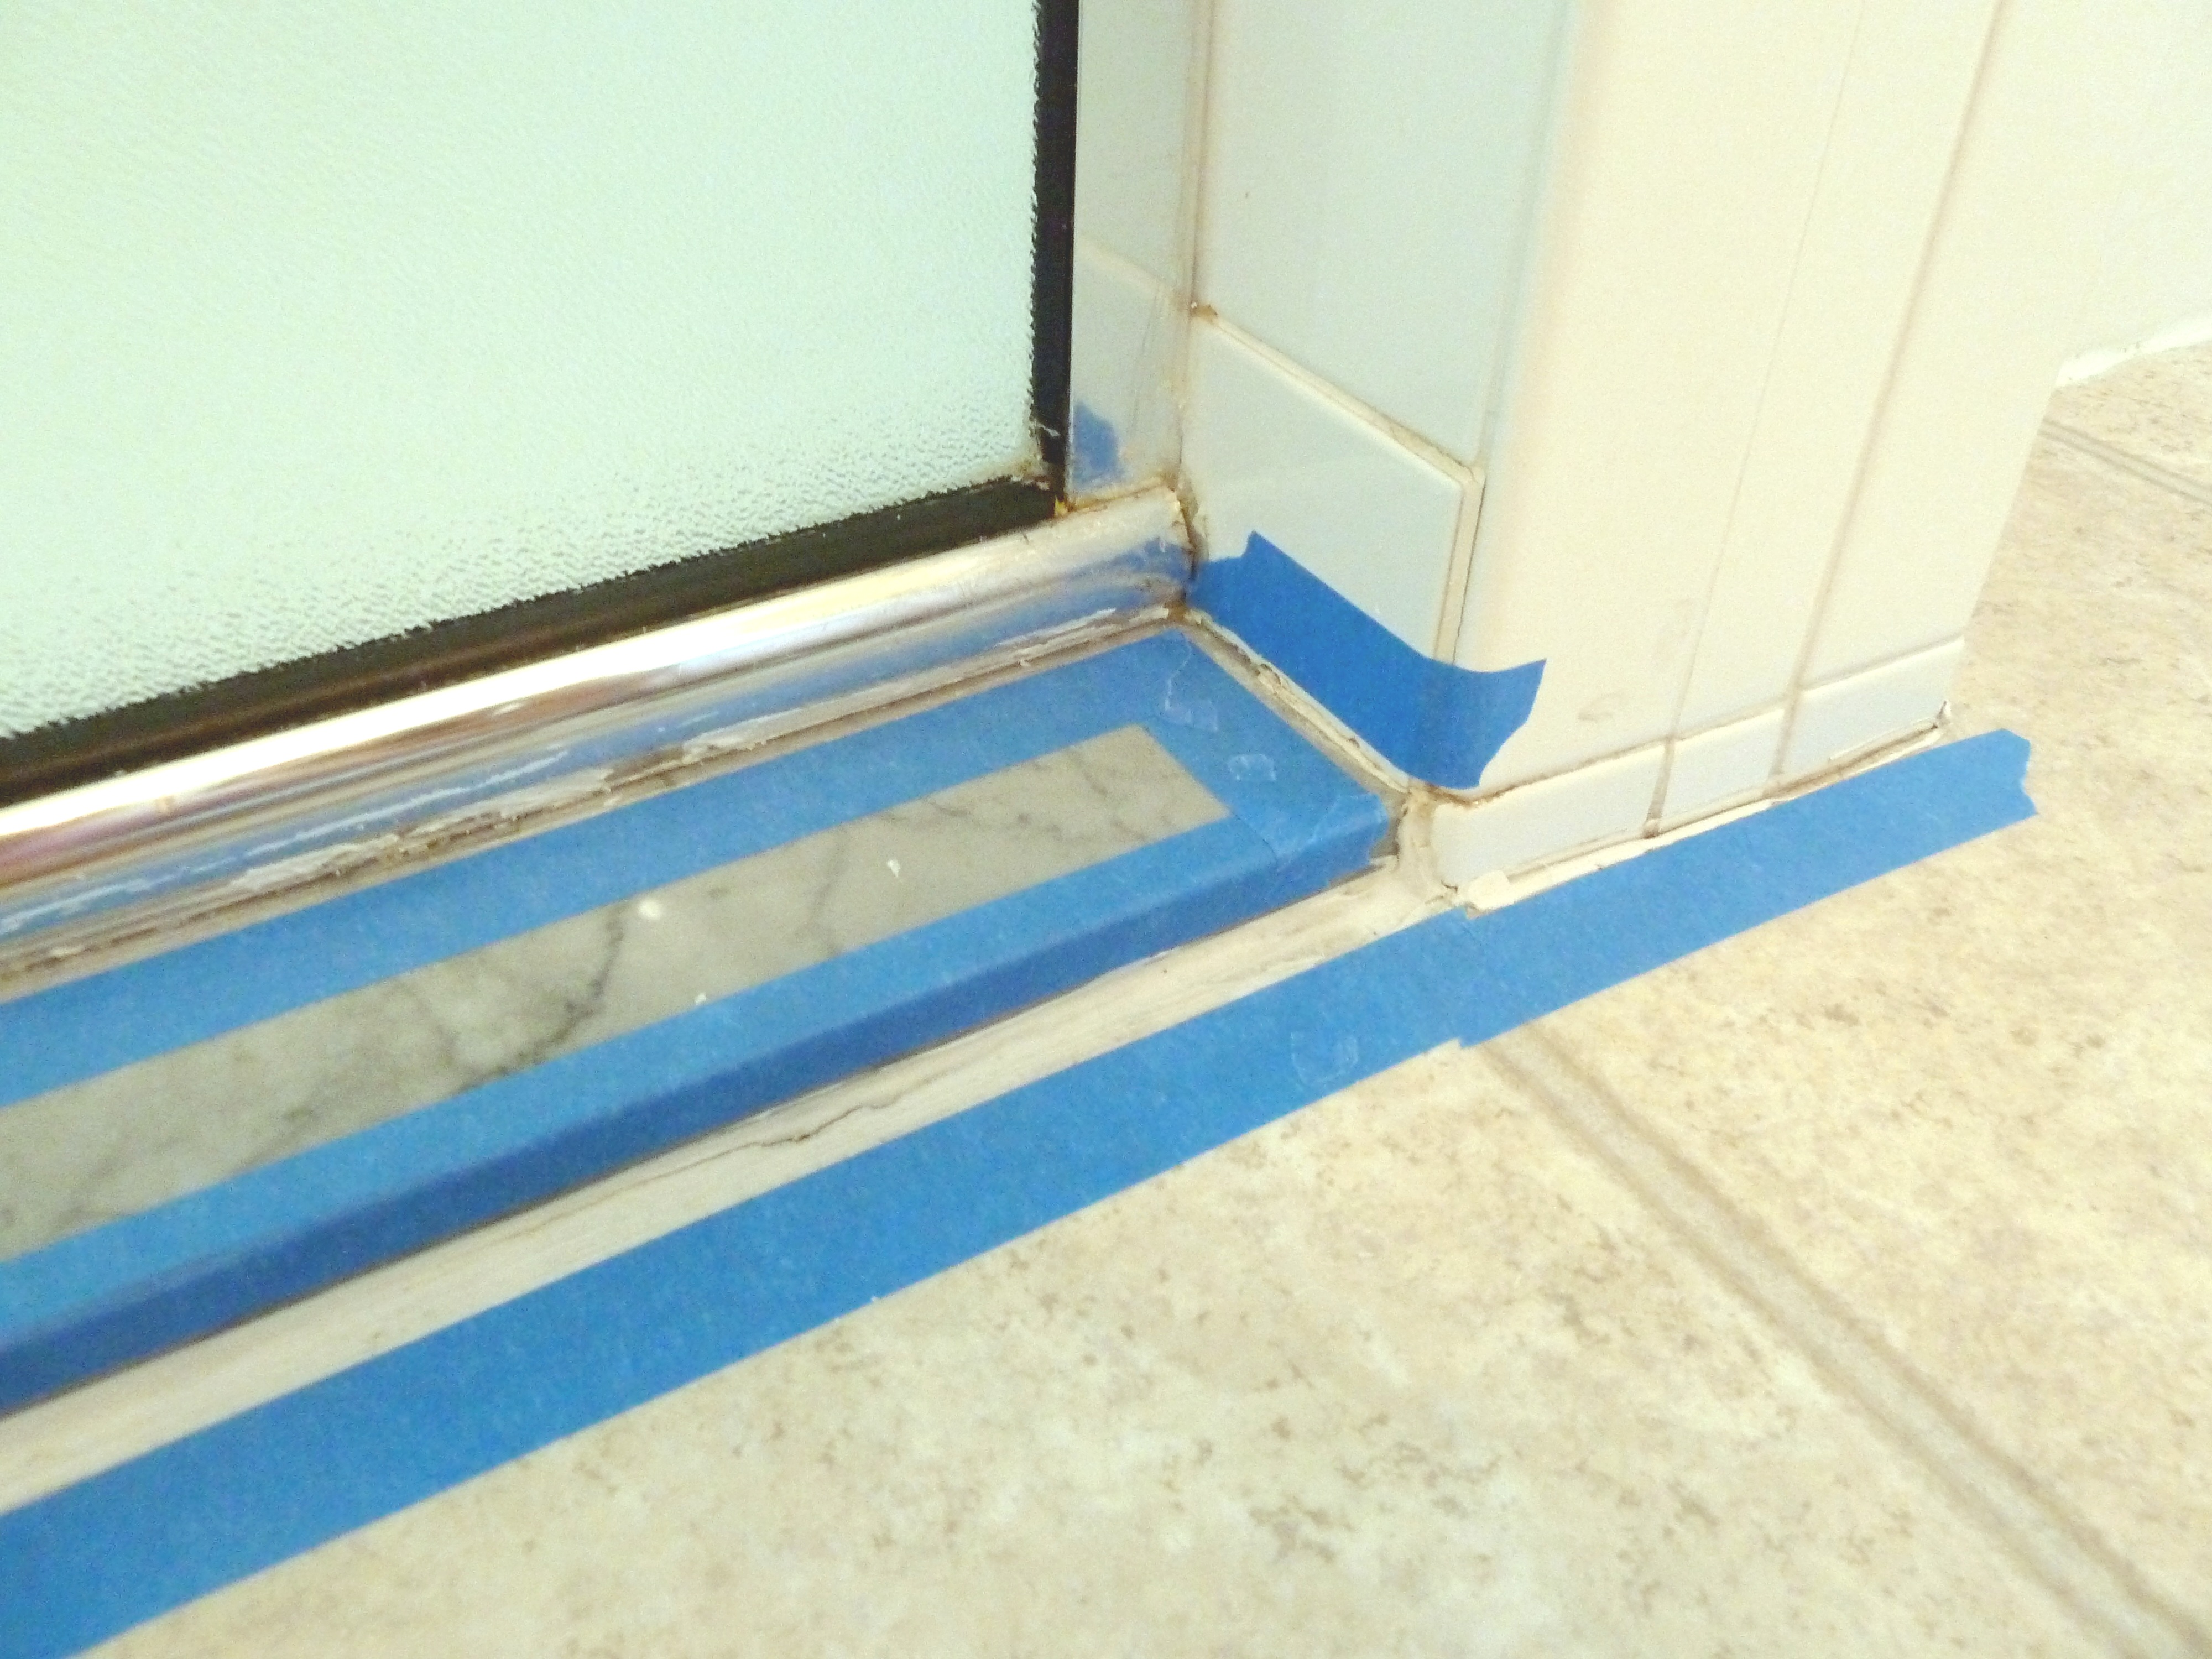
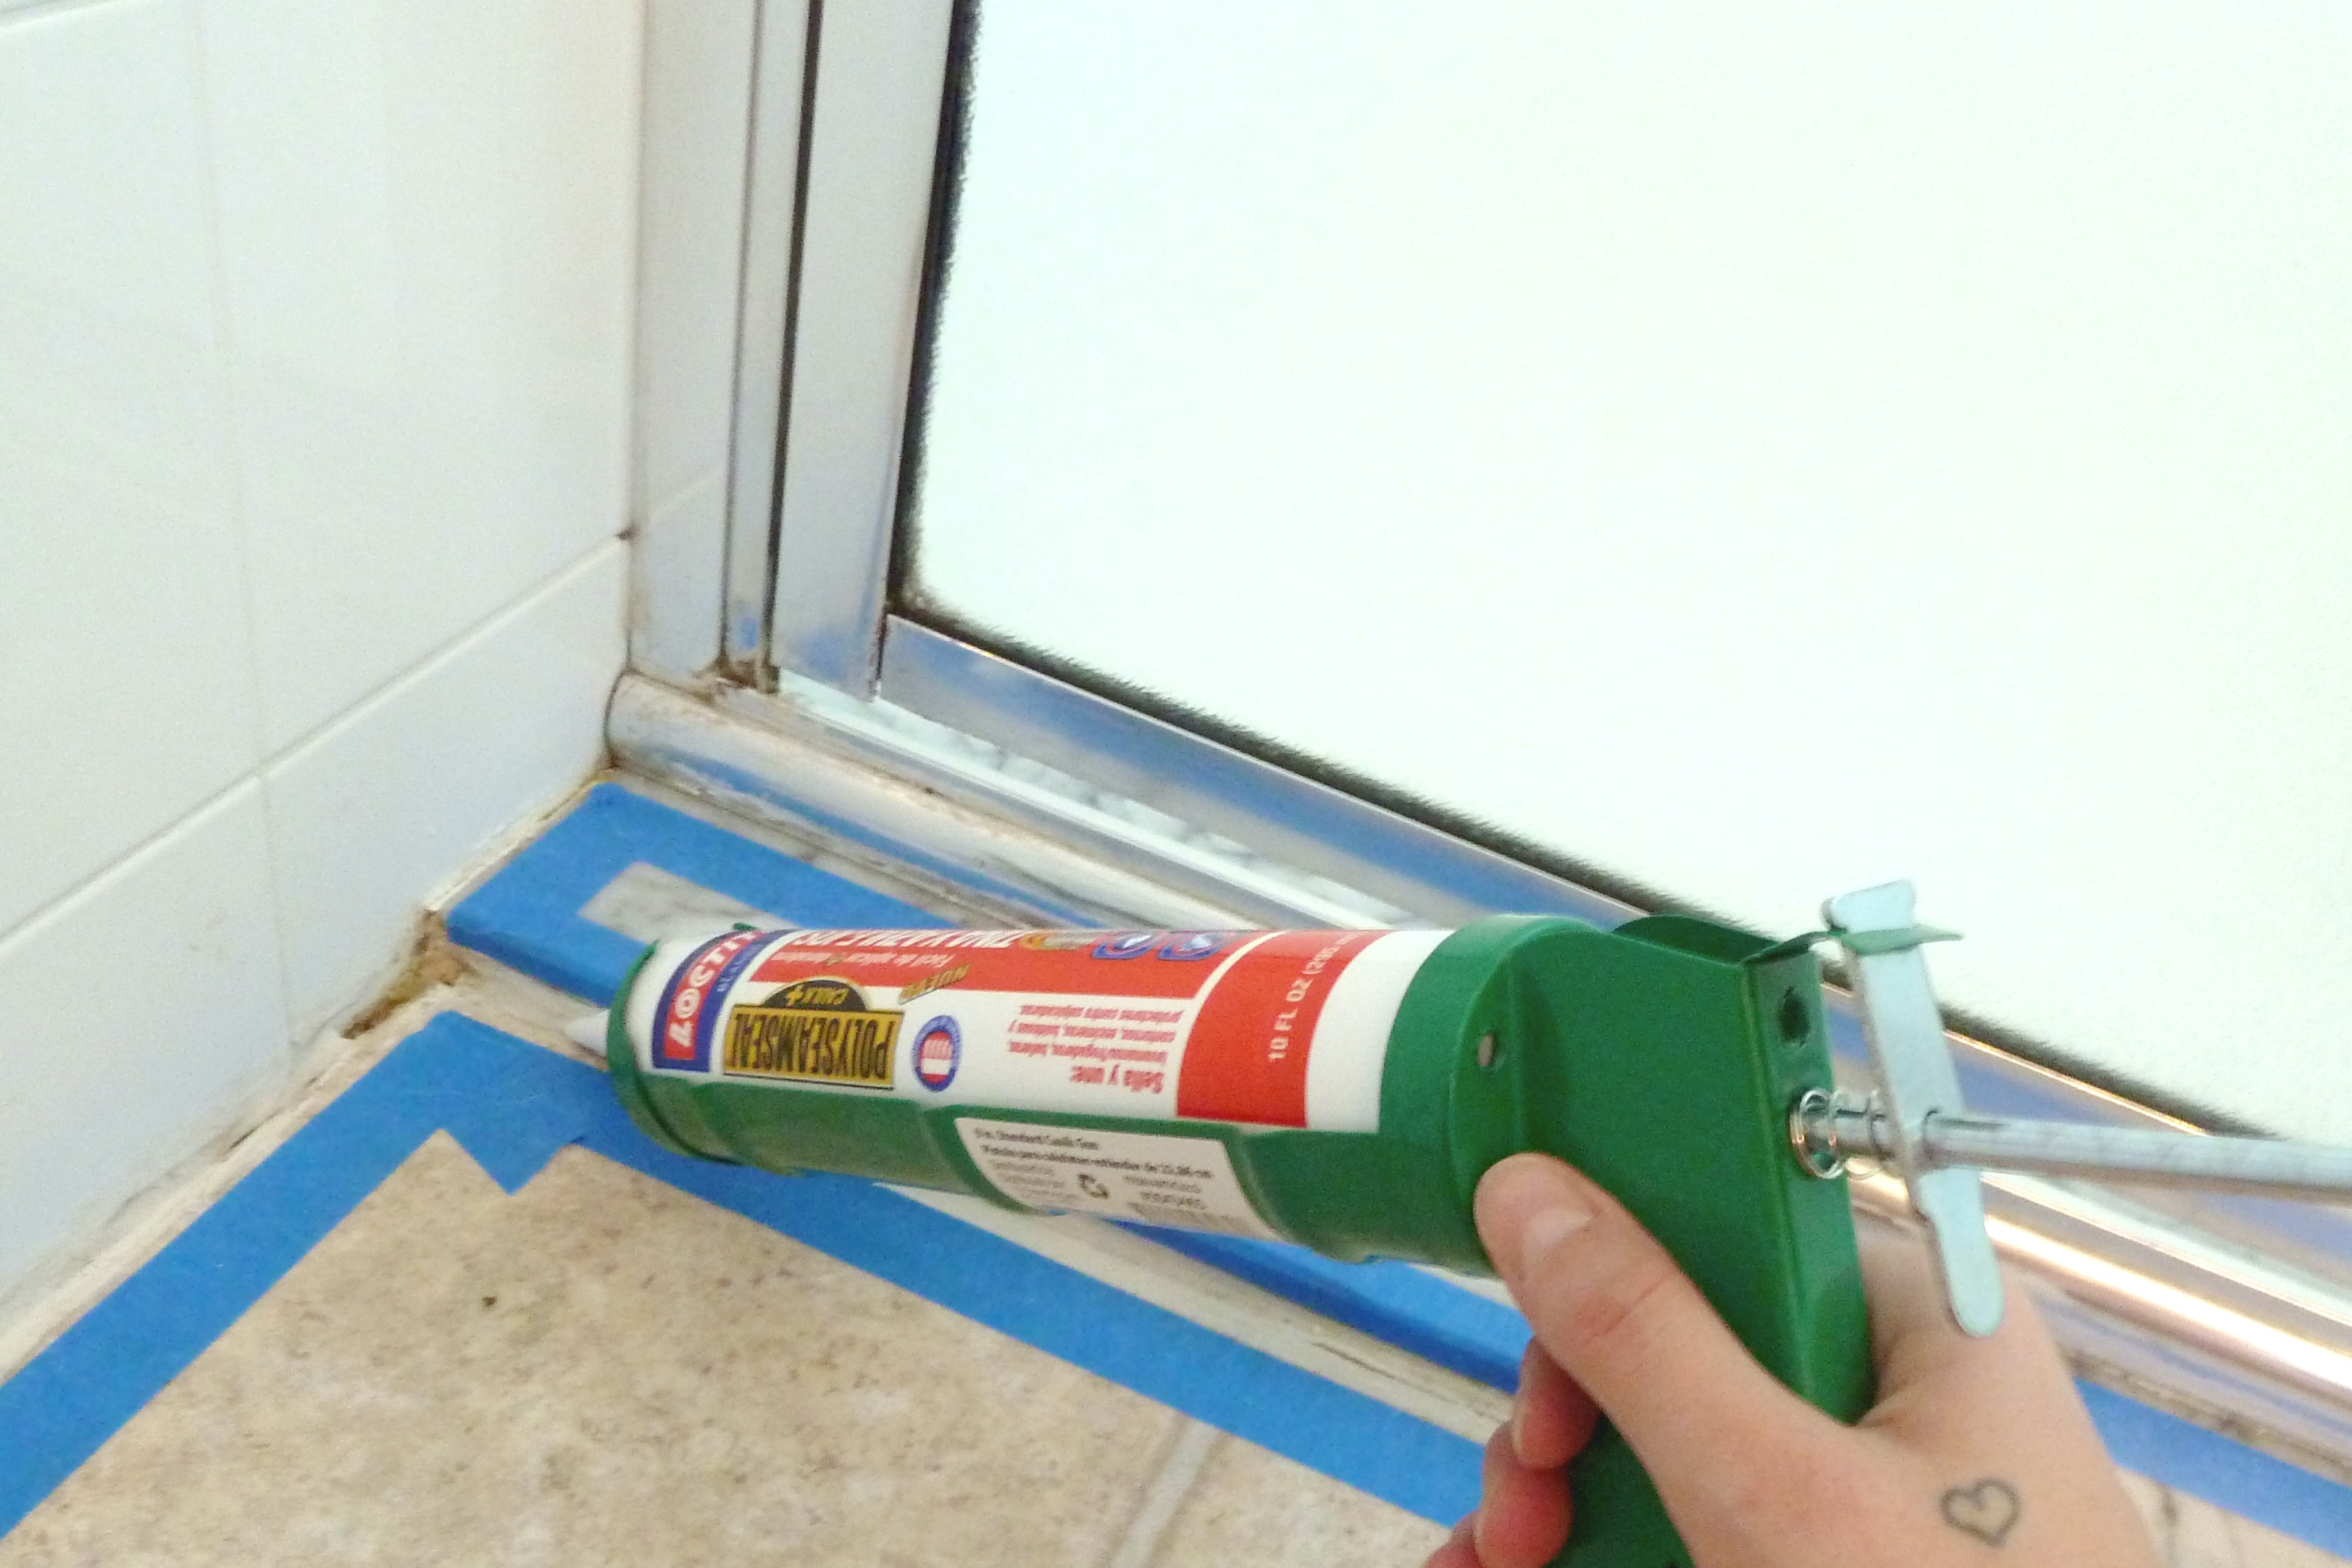
From there I just went my normal route of taping off the areas that I wanted caulk, then I plopped some caulk down…
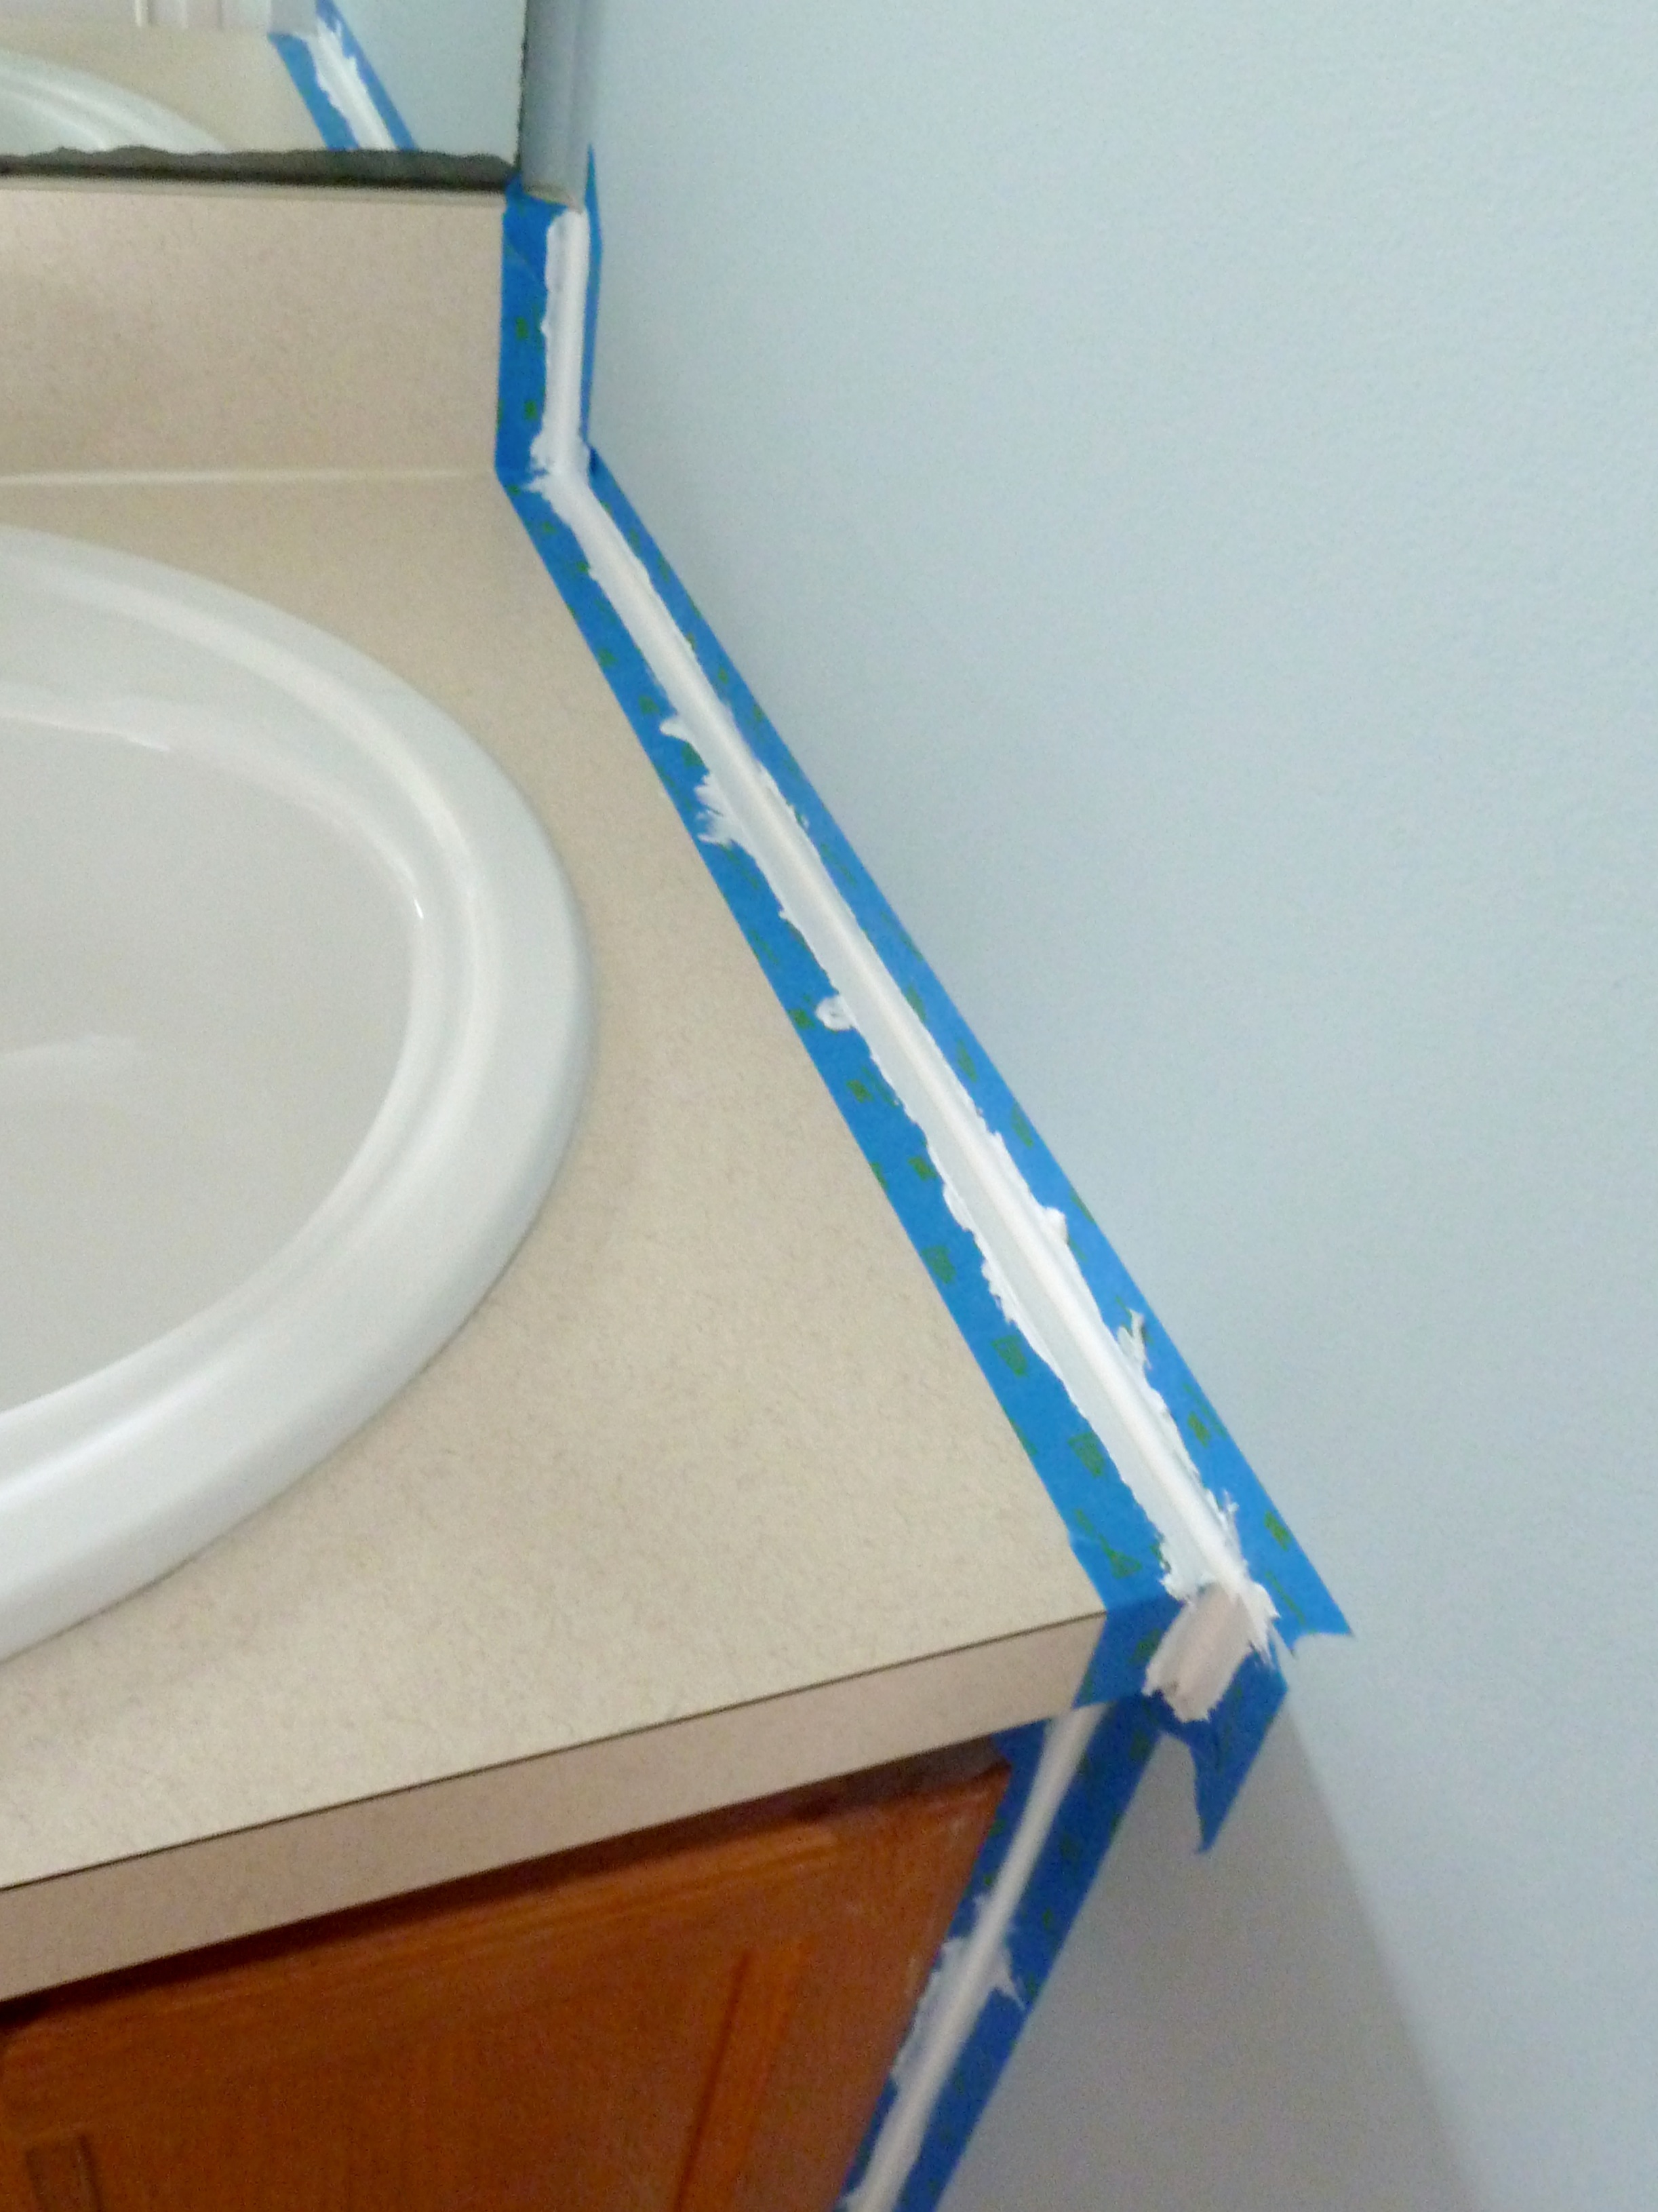
While I was at it I found a few other areas that I thought needed some caulk as well…
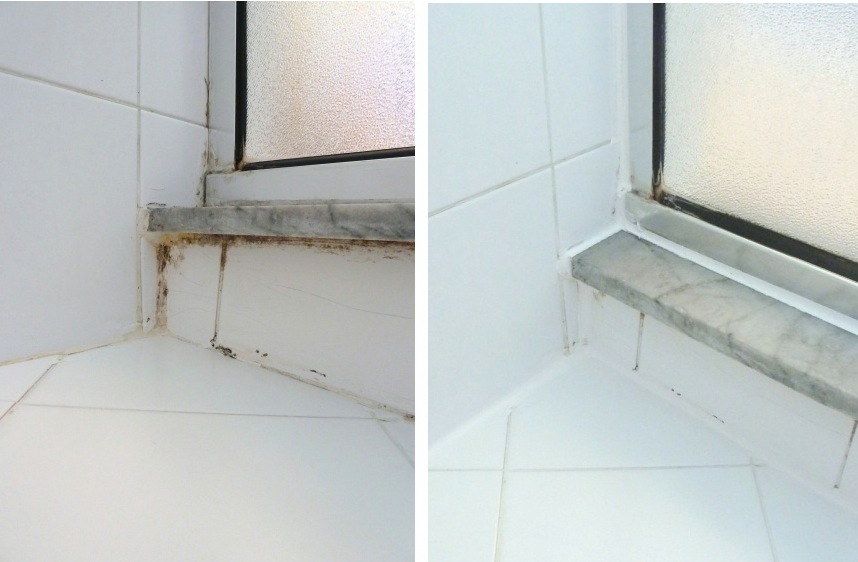
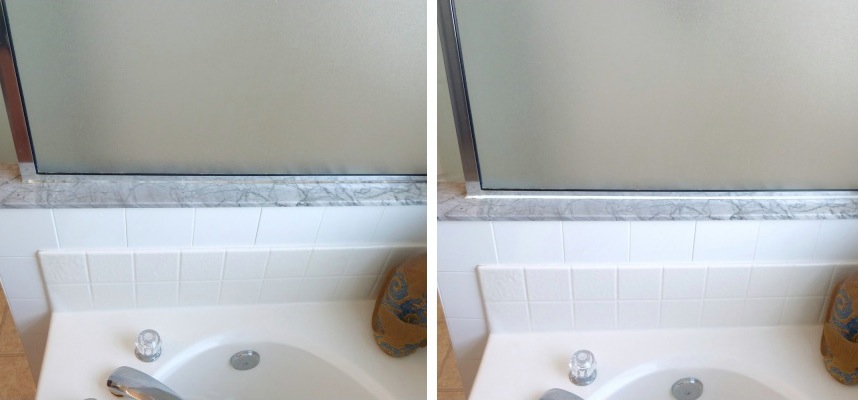
Wanna see the results? Good thing cause here they come…
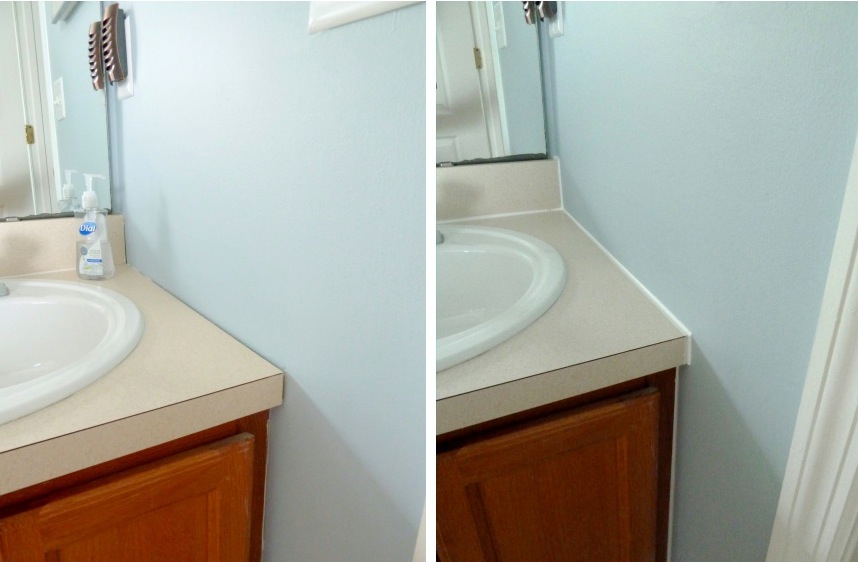
BOOM! Look at that!
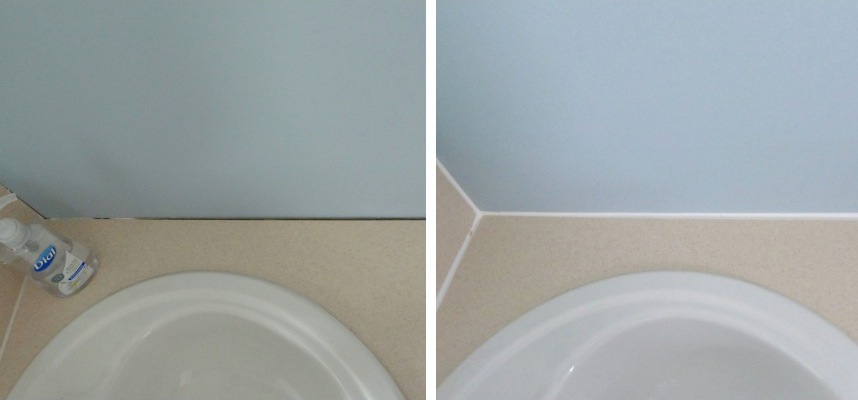
Much better!
Here is the back of the countertop…
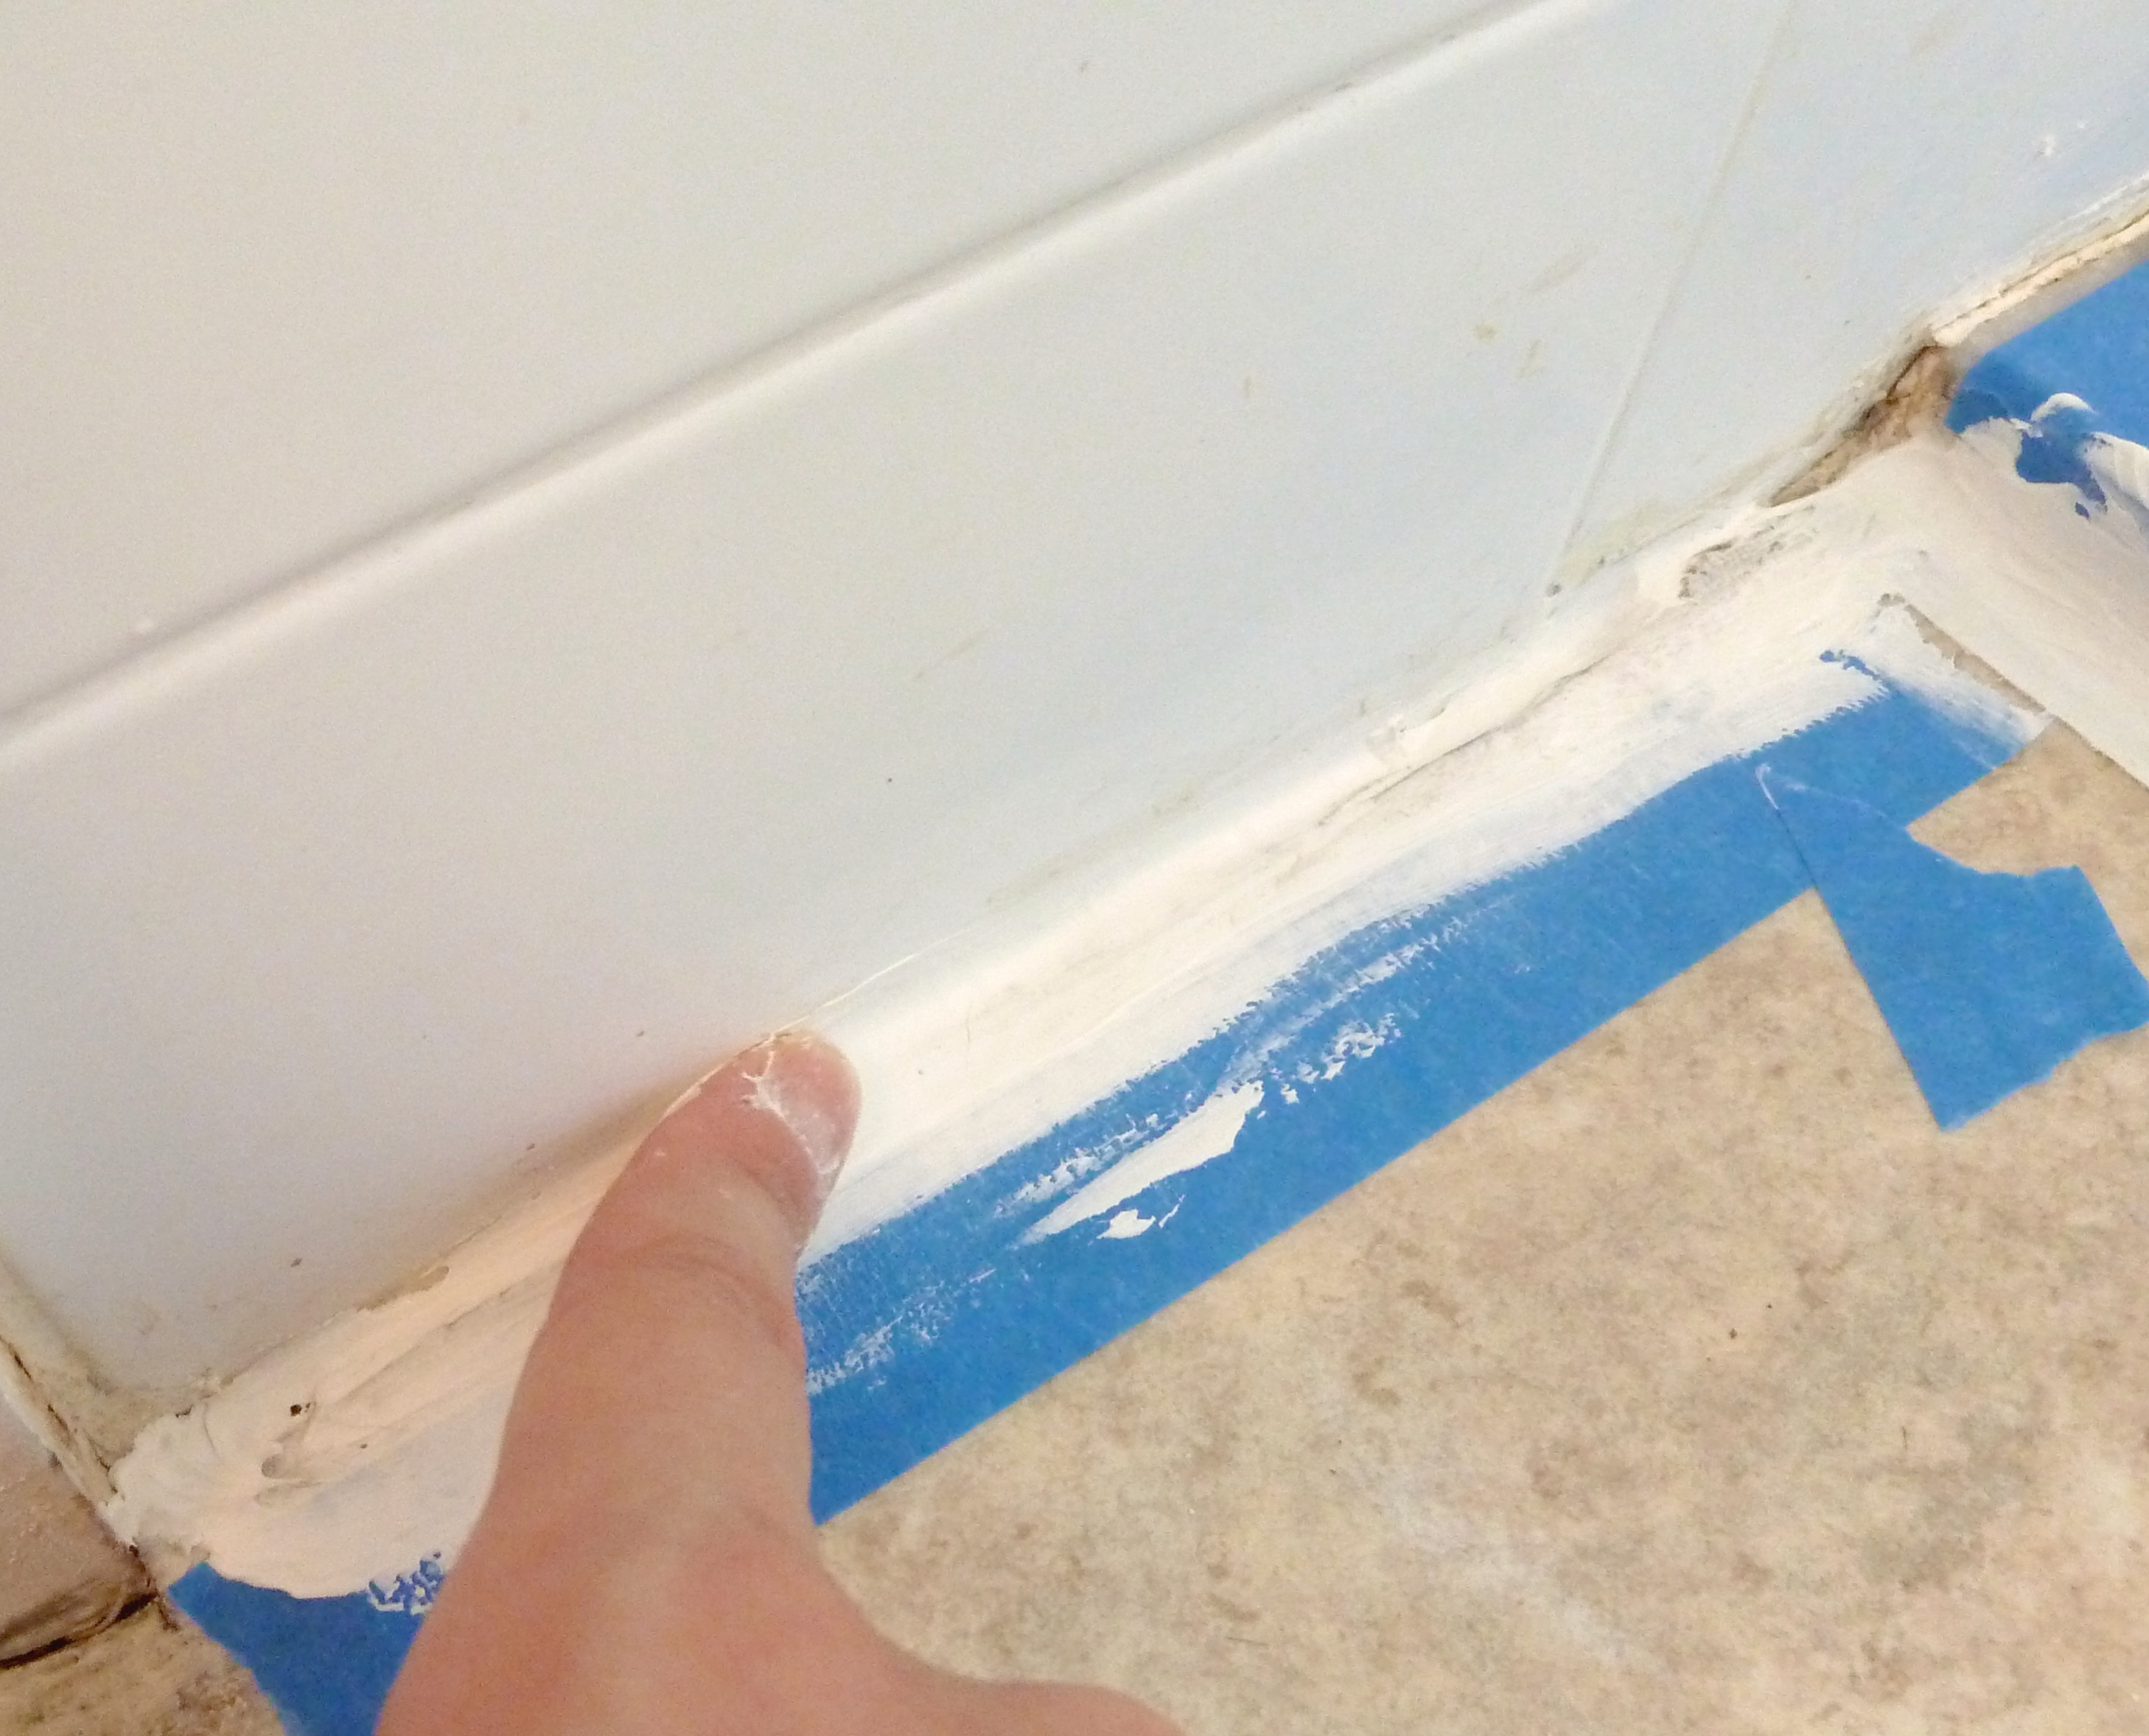
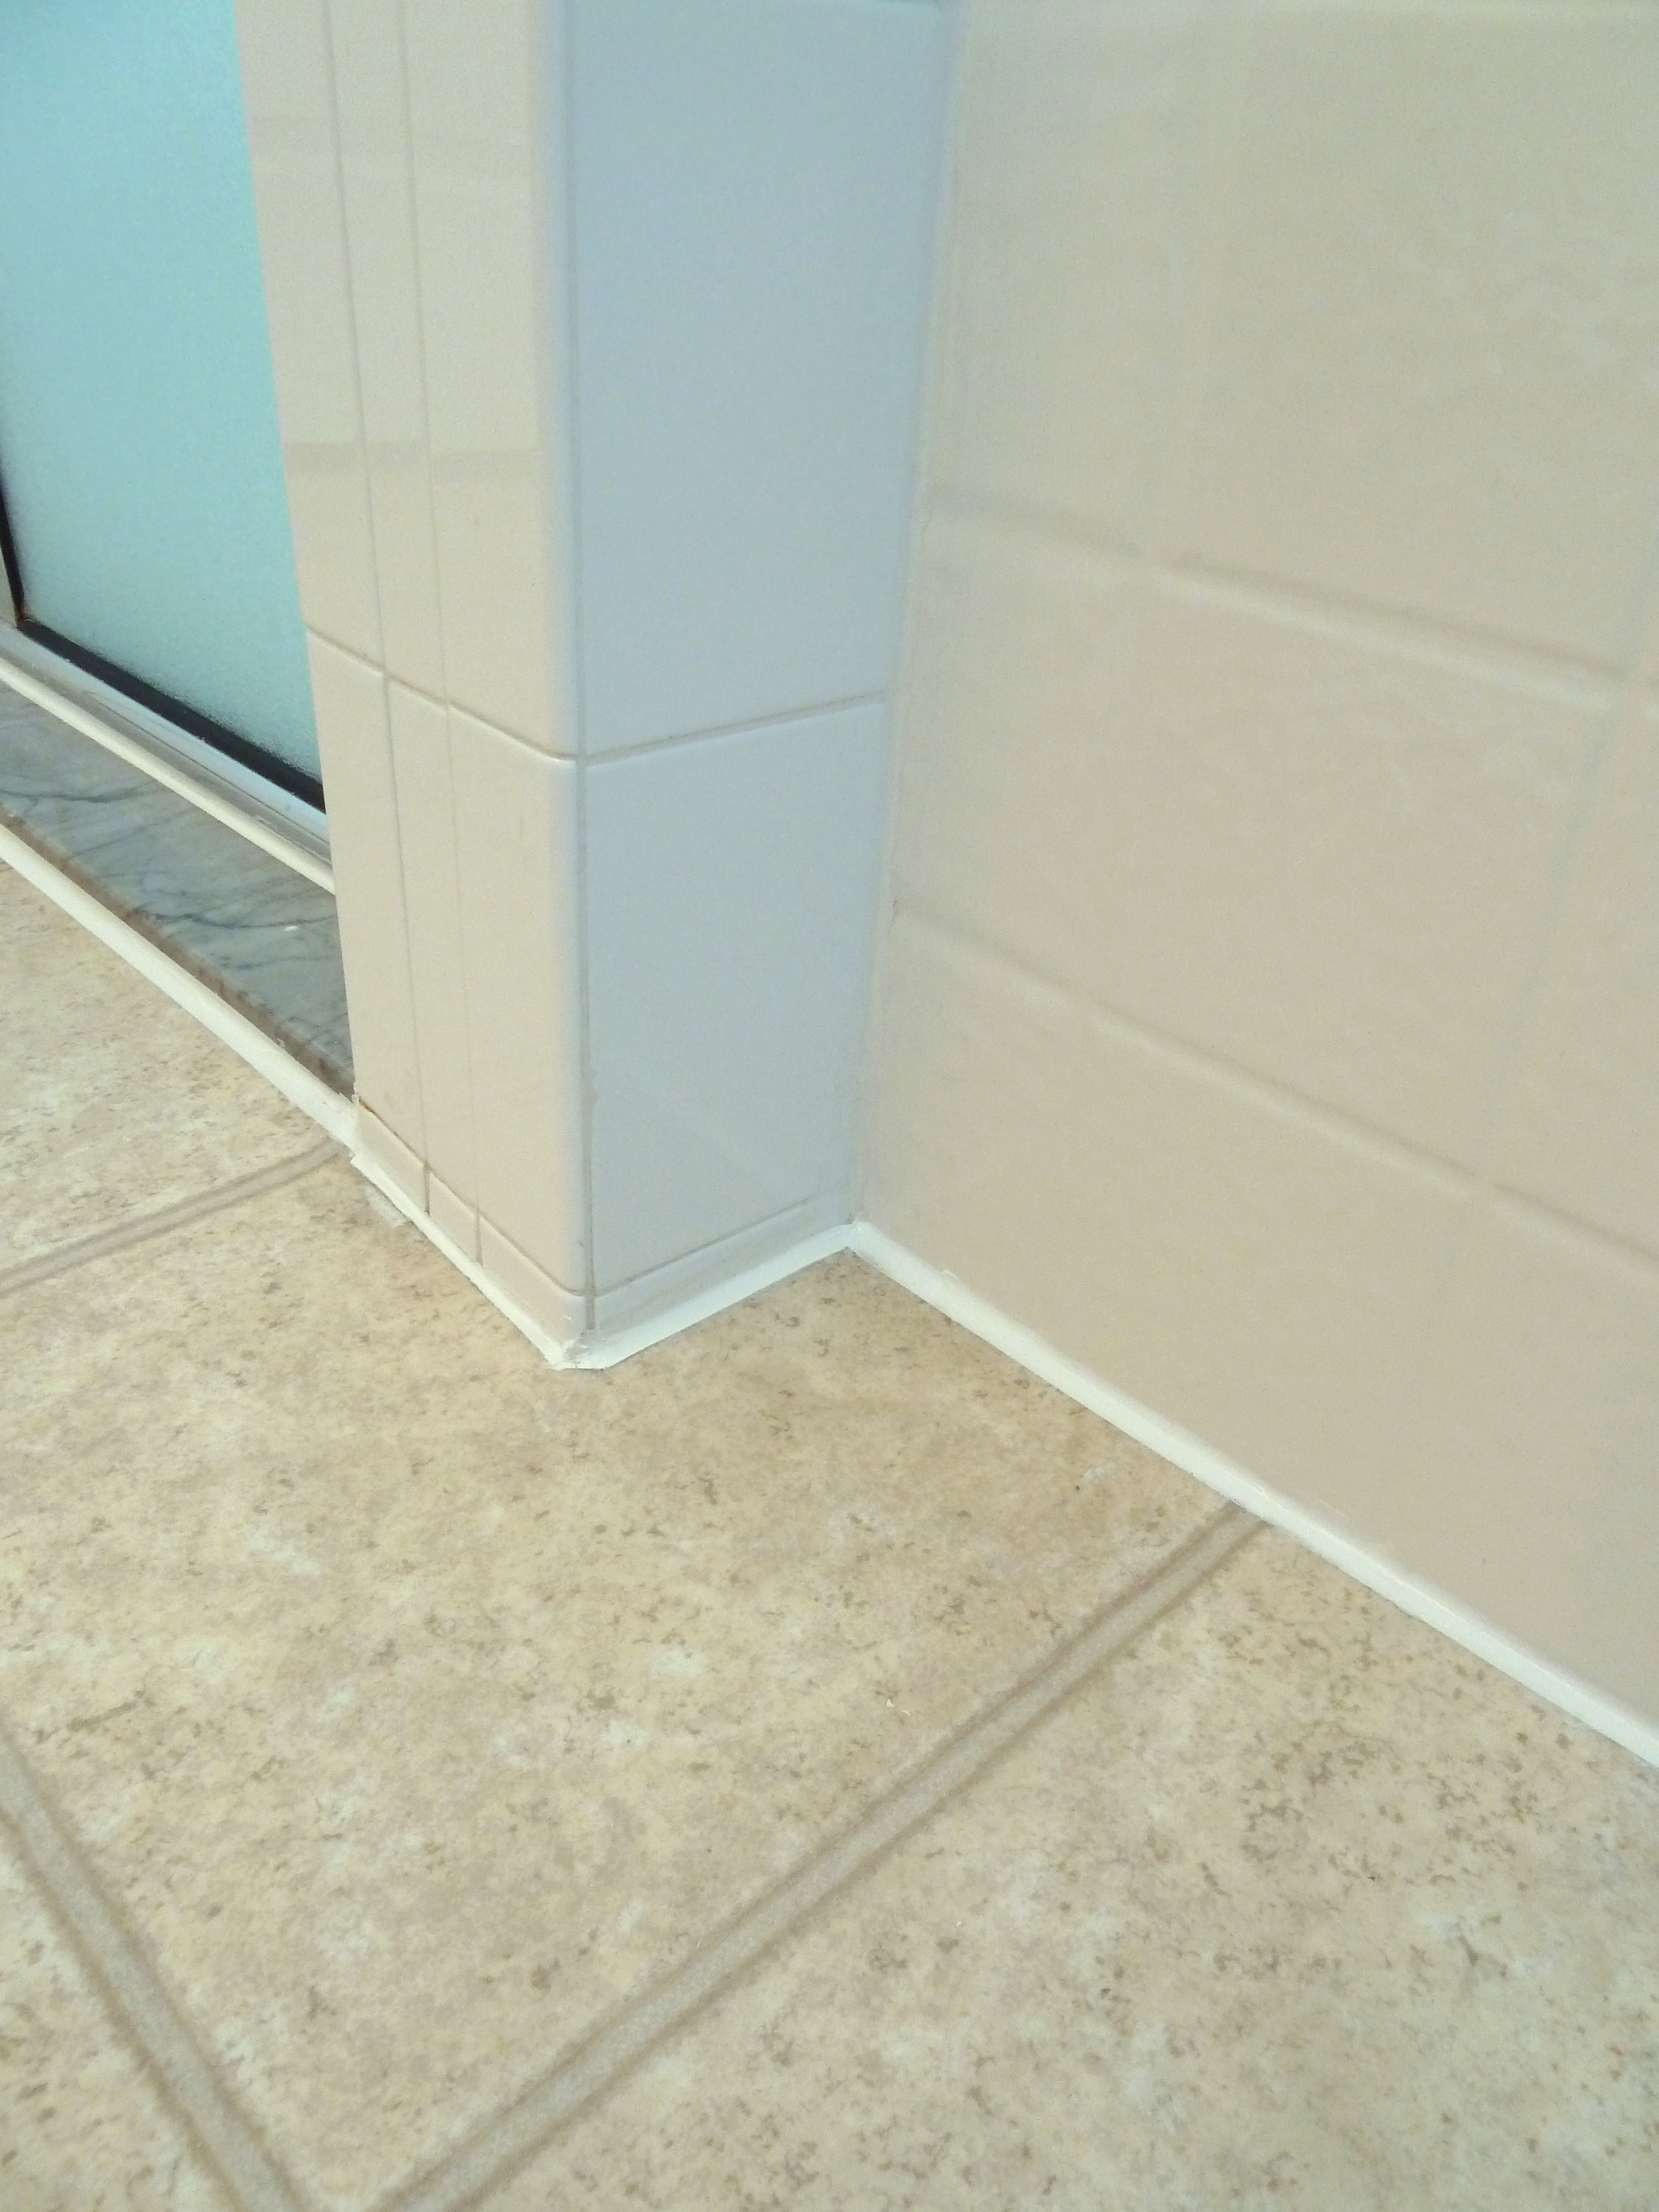
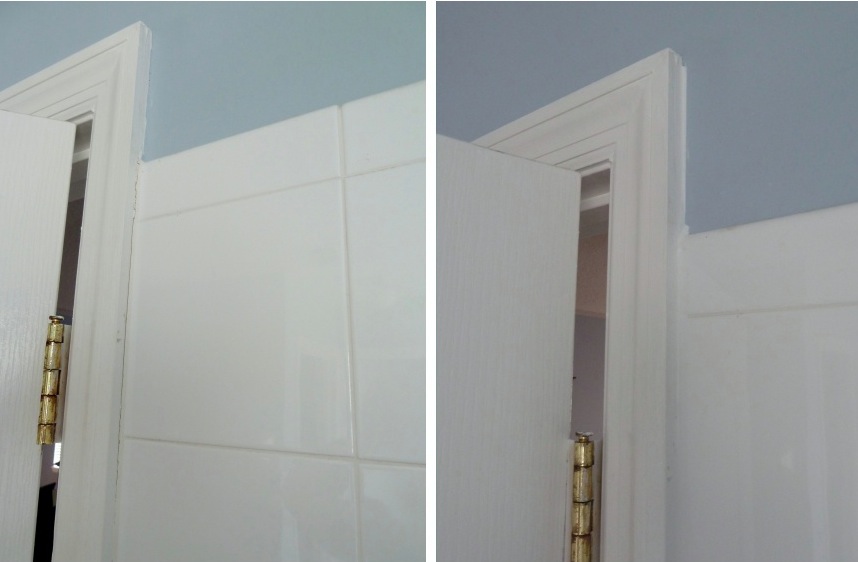
This piece of trim just had a crack down the side, so I filled that right in.
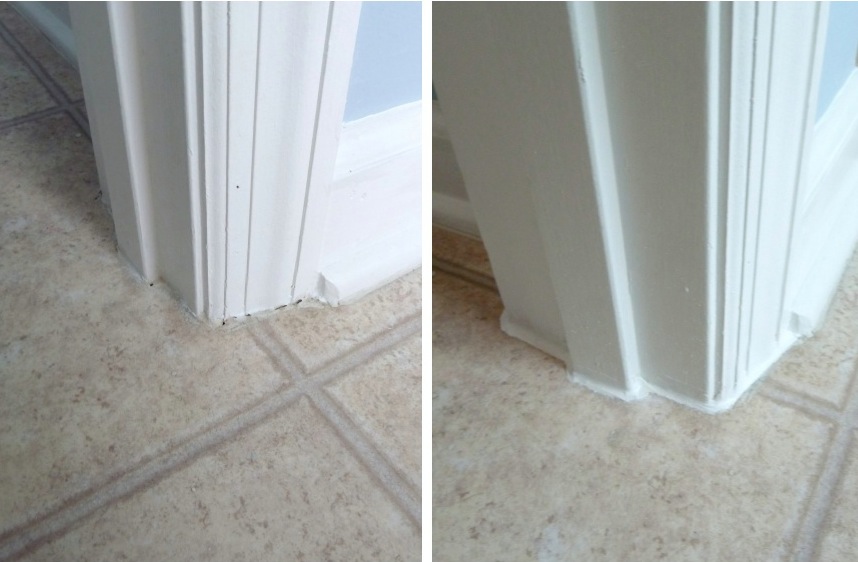
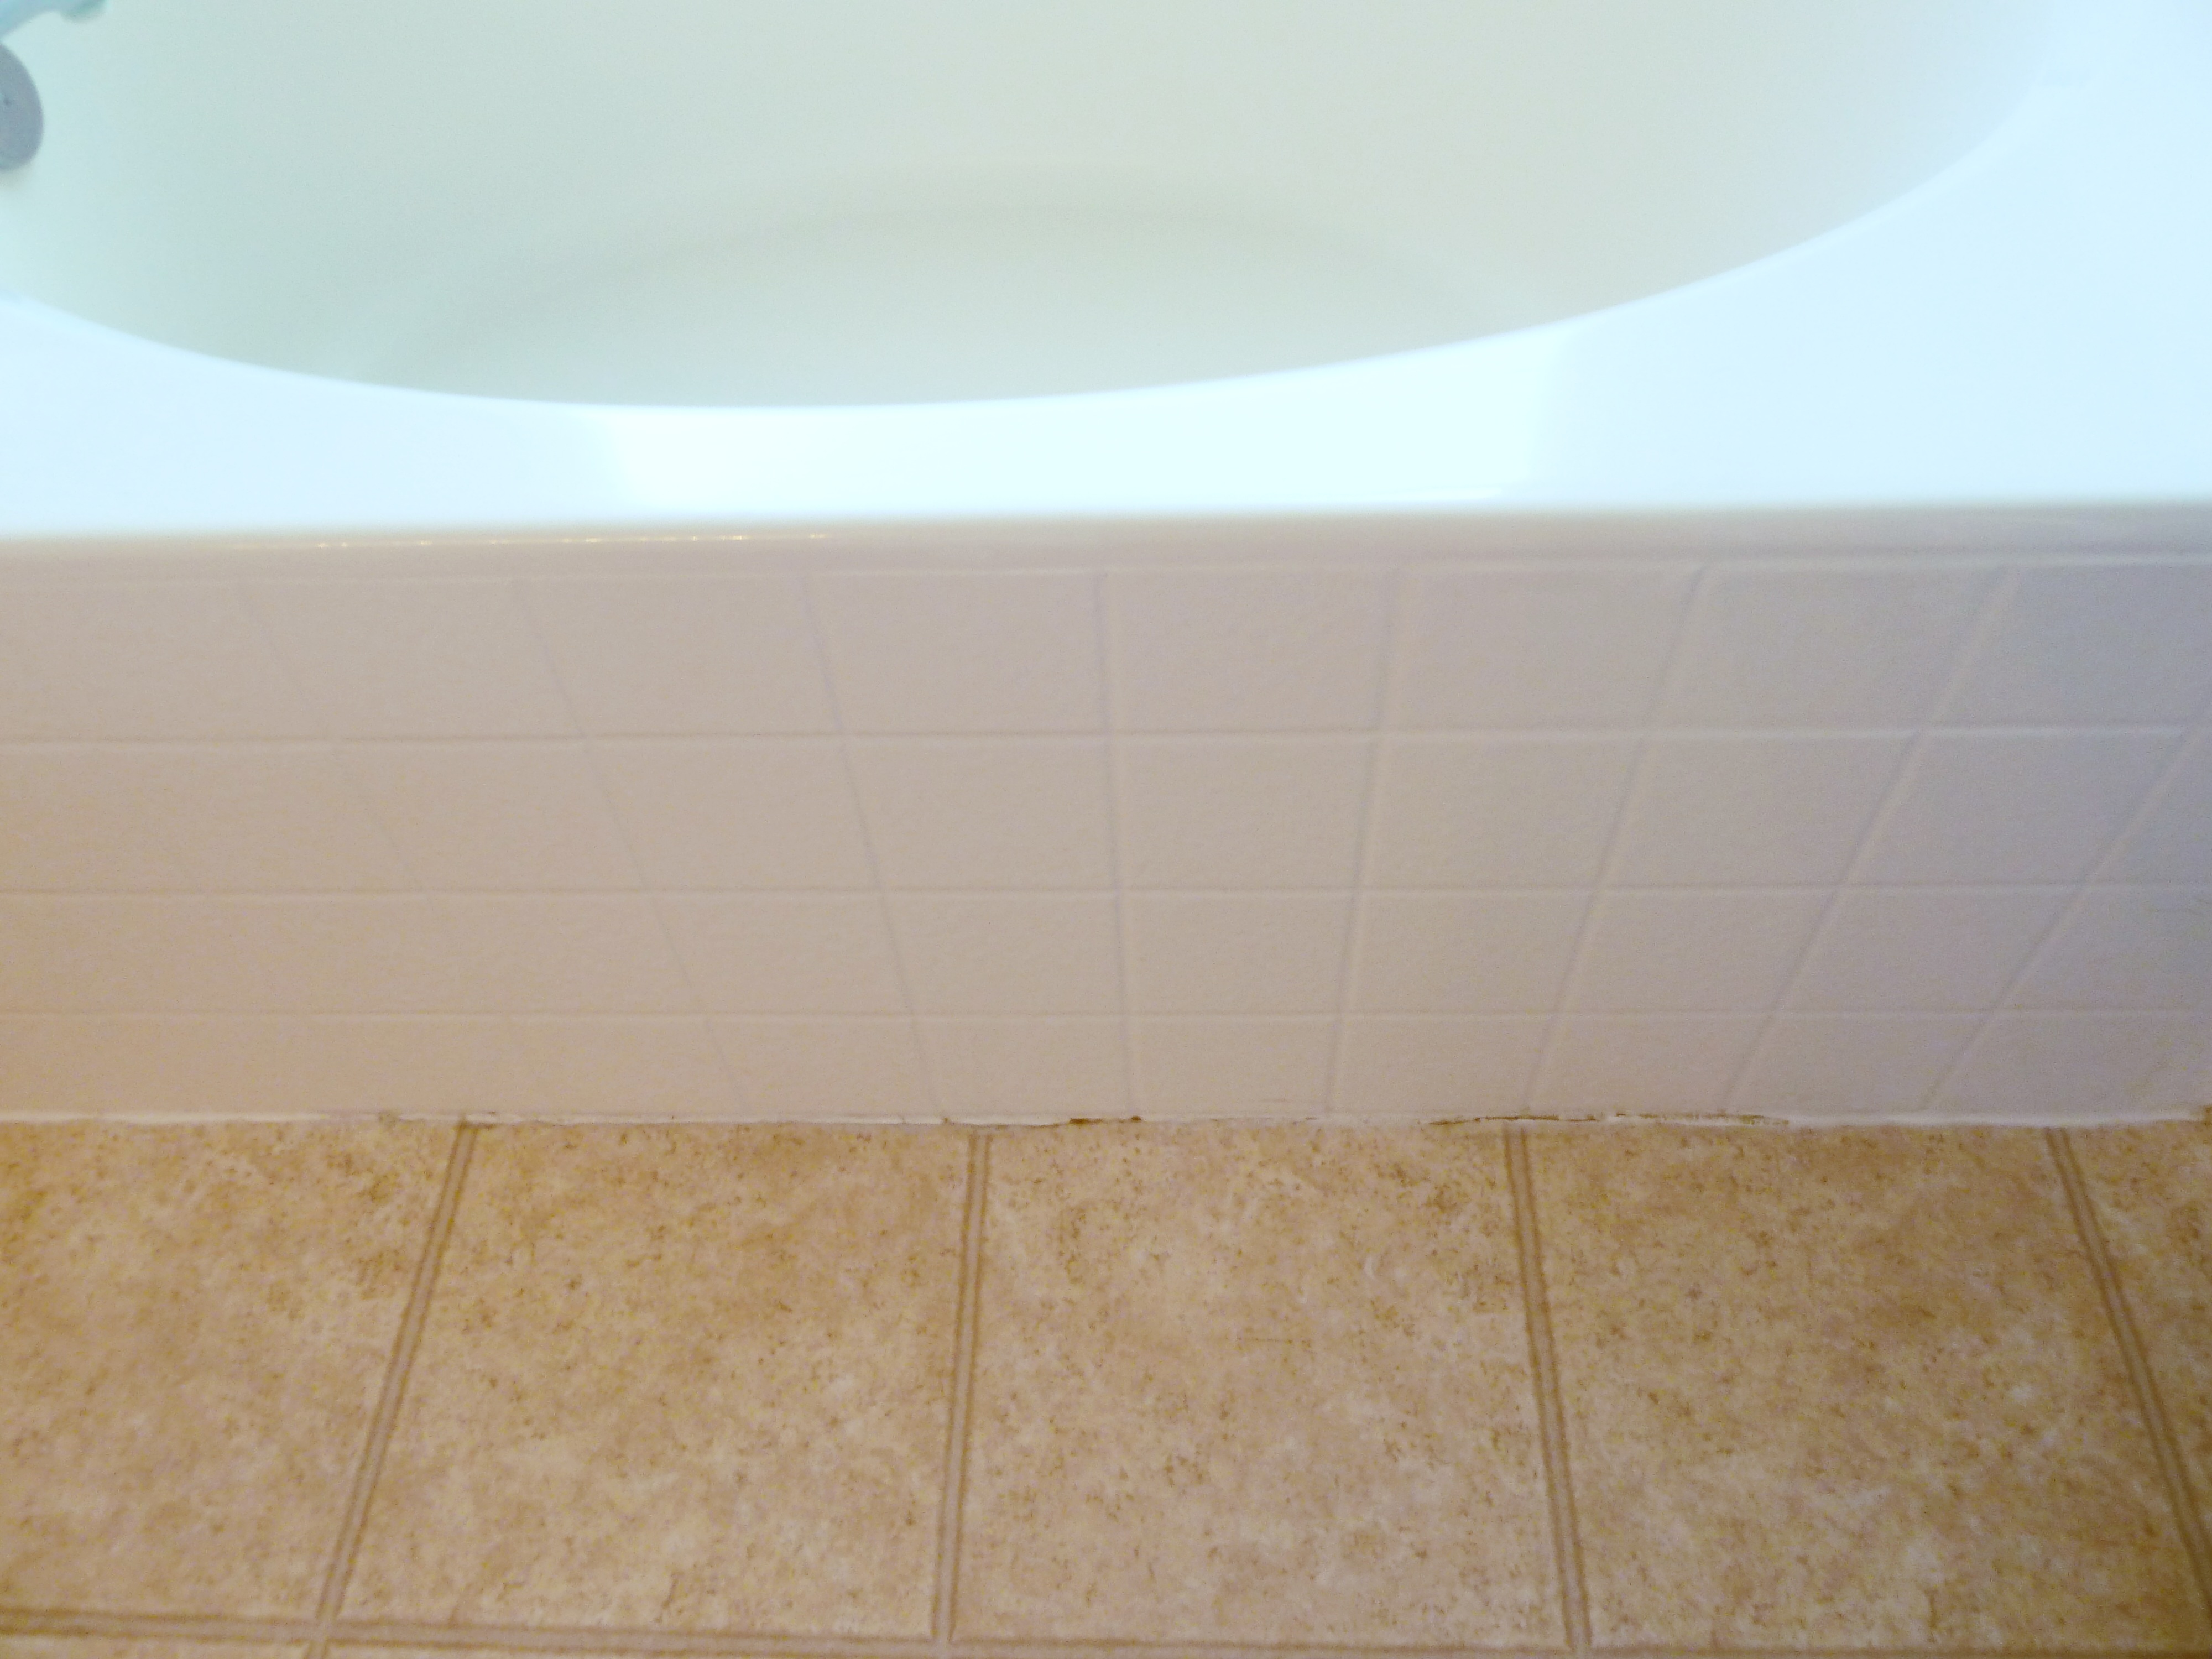
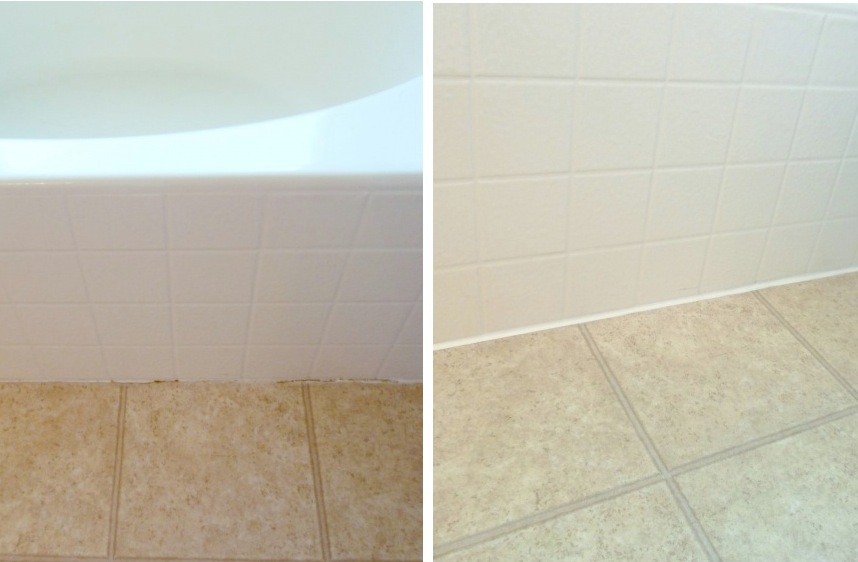
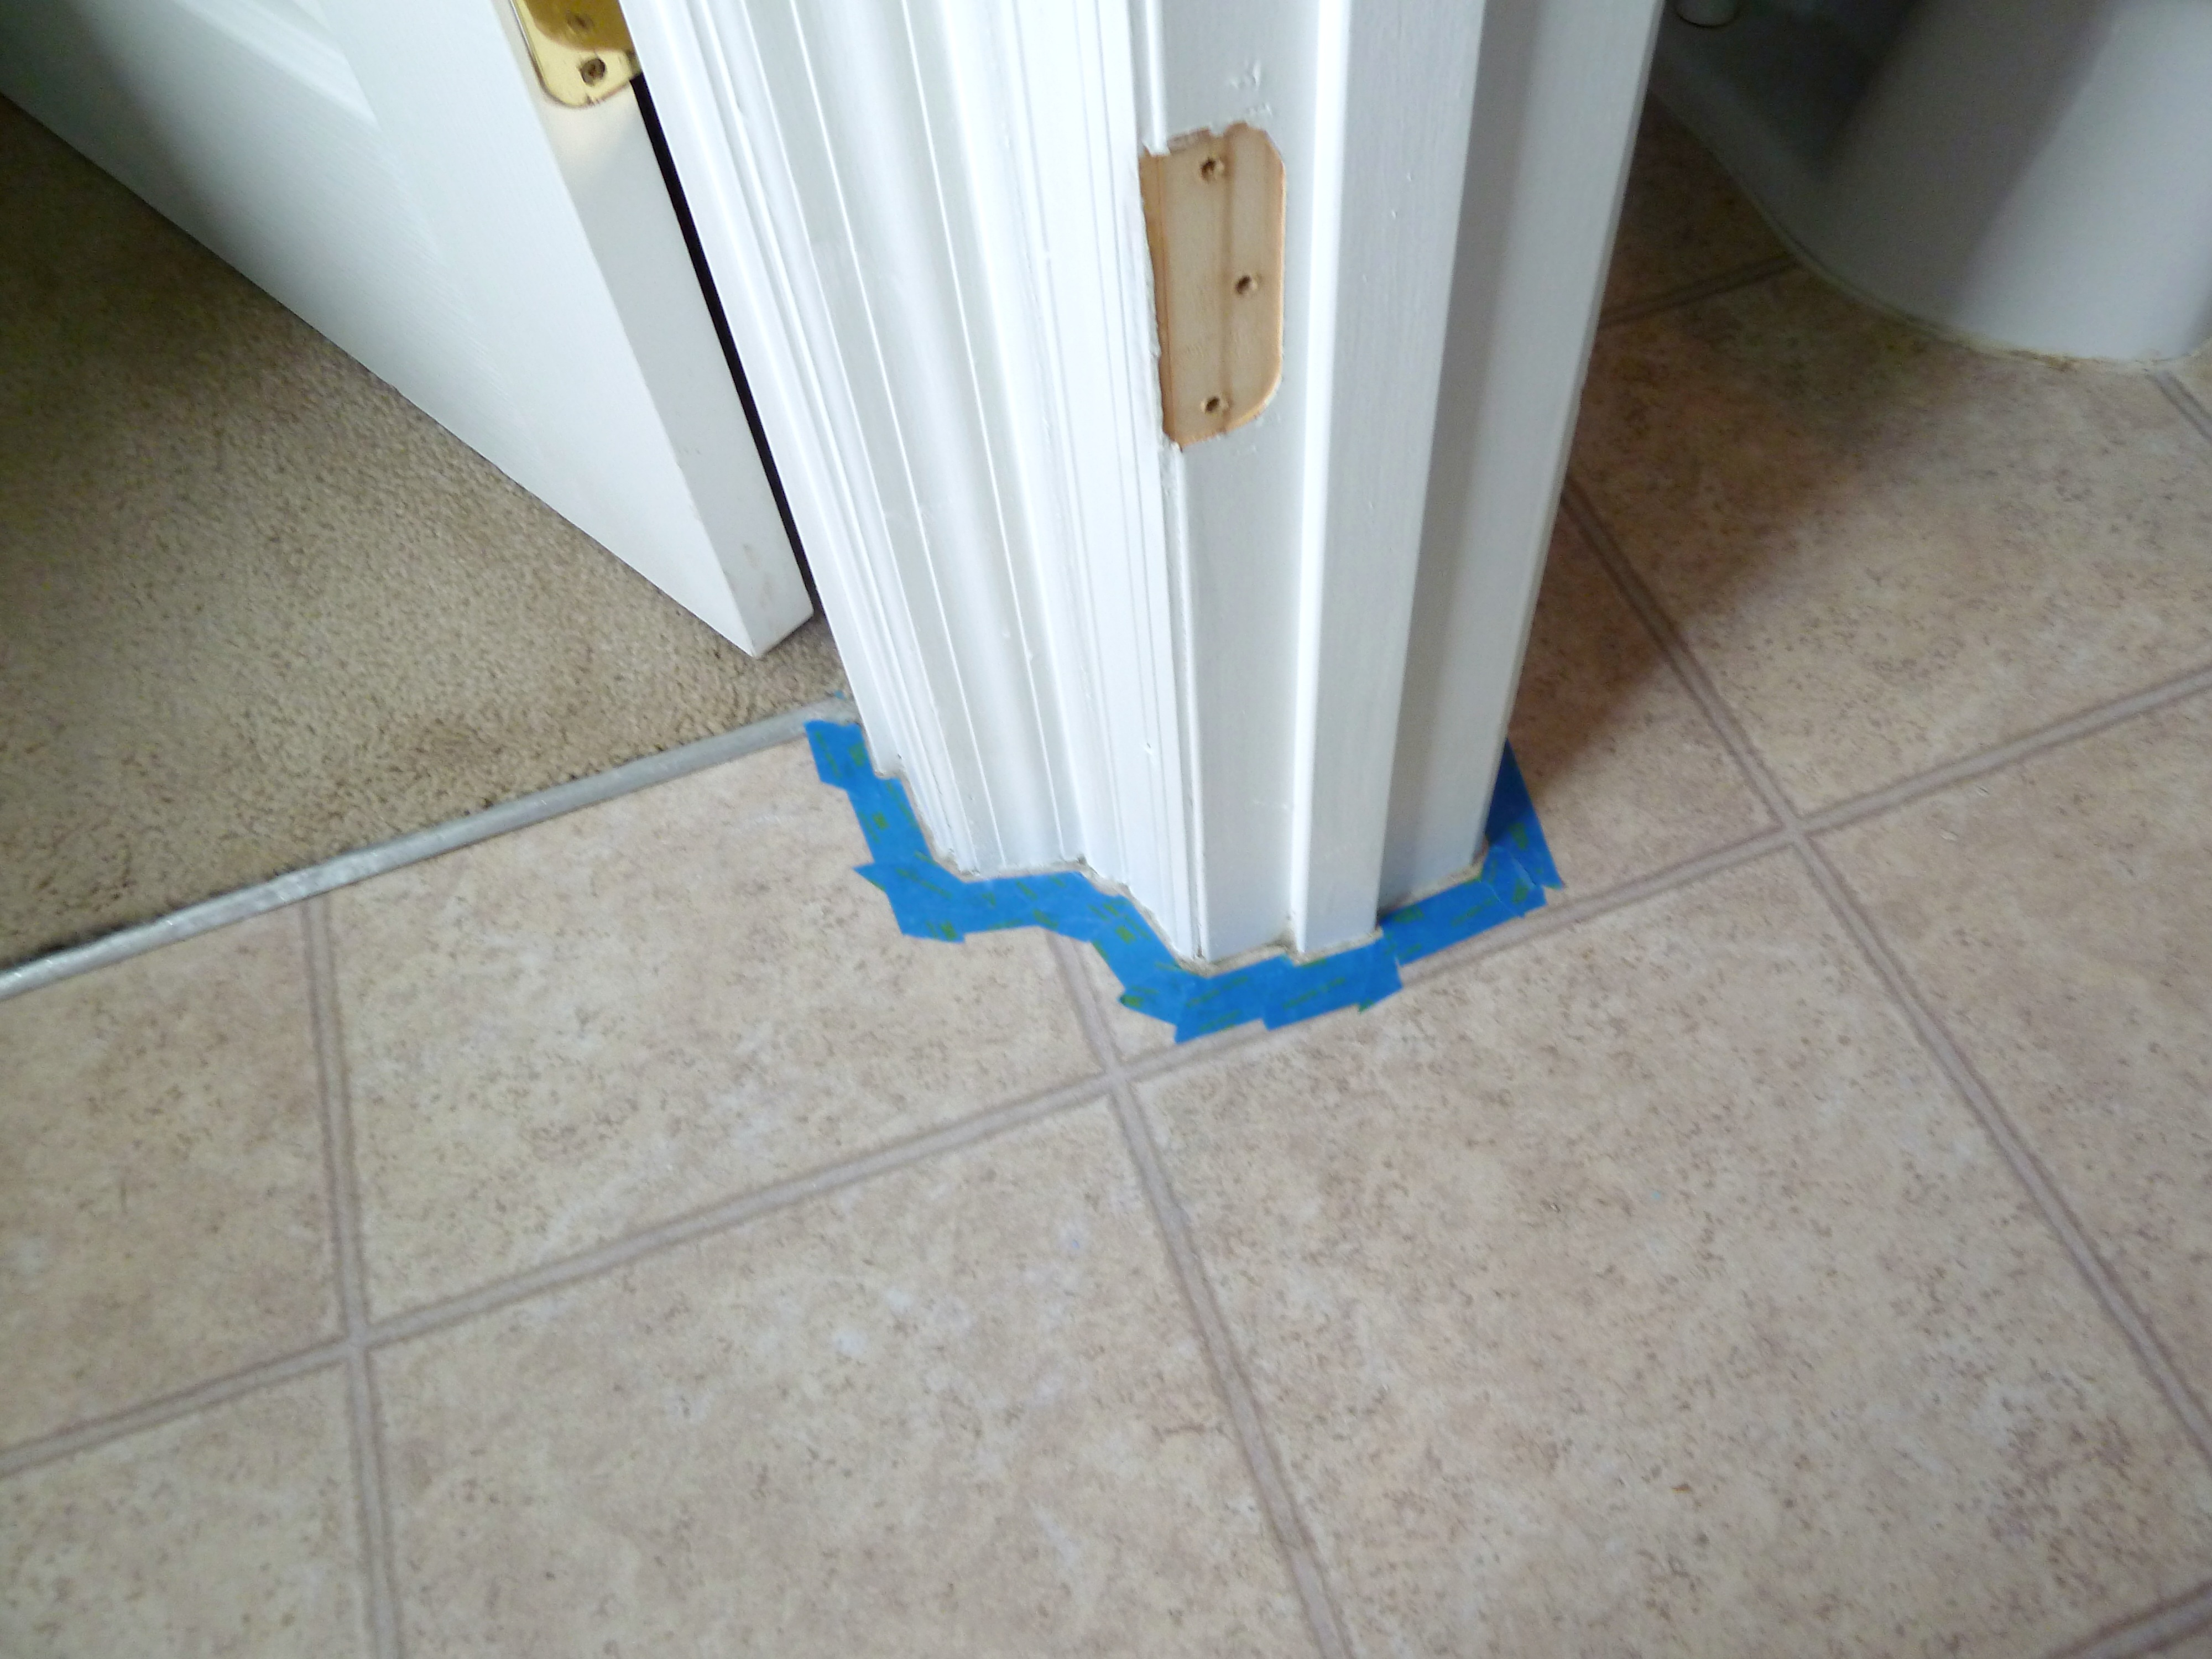
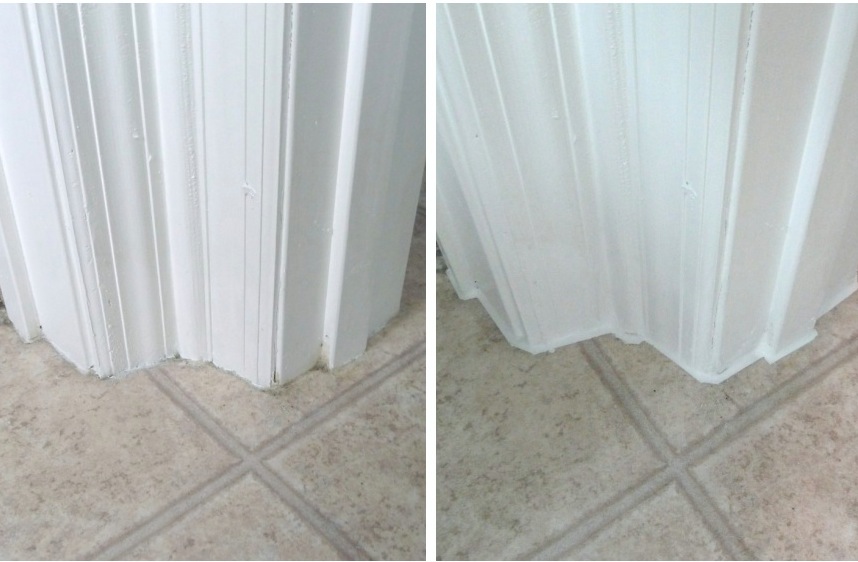
I also did some of the trim near the floor that had some cracks. Fortunately we still have these beautiful laminate floors! blah!
And around the toilet…
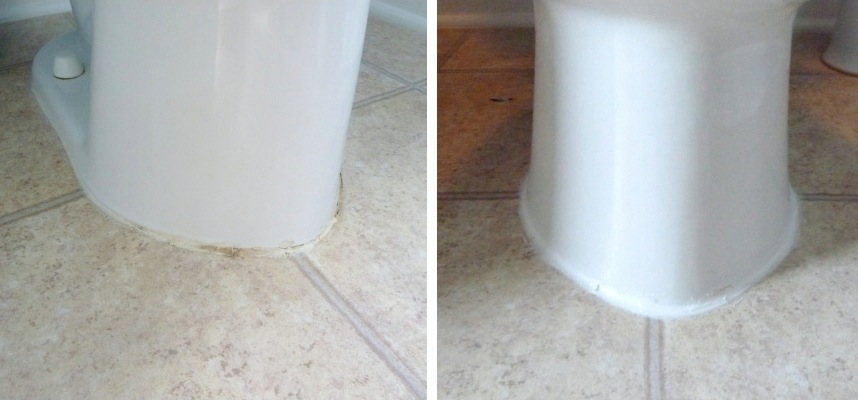
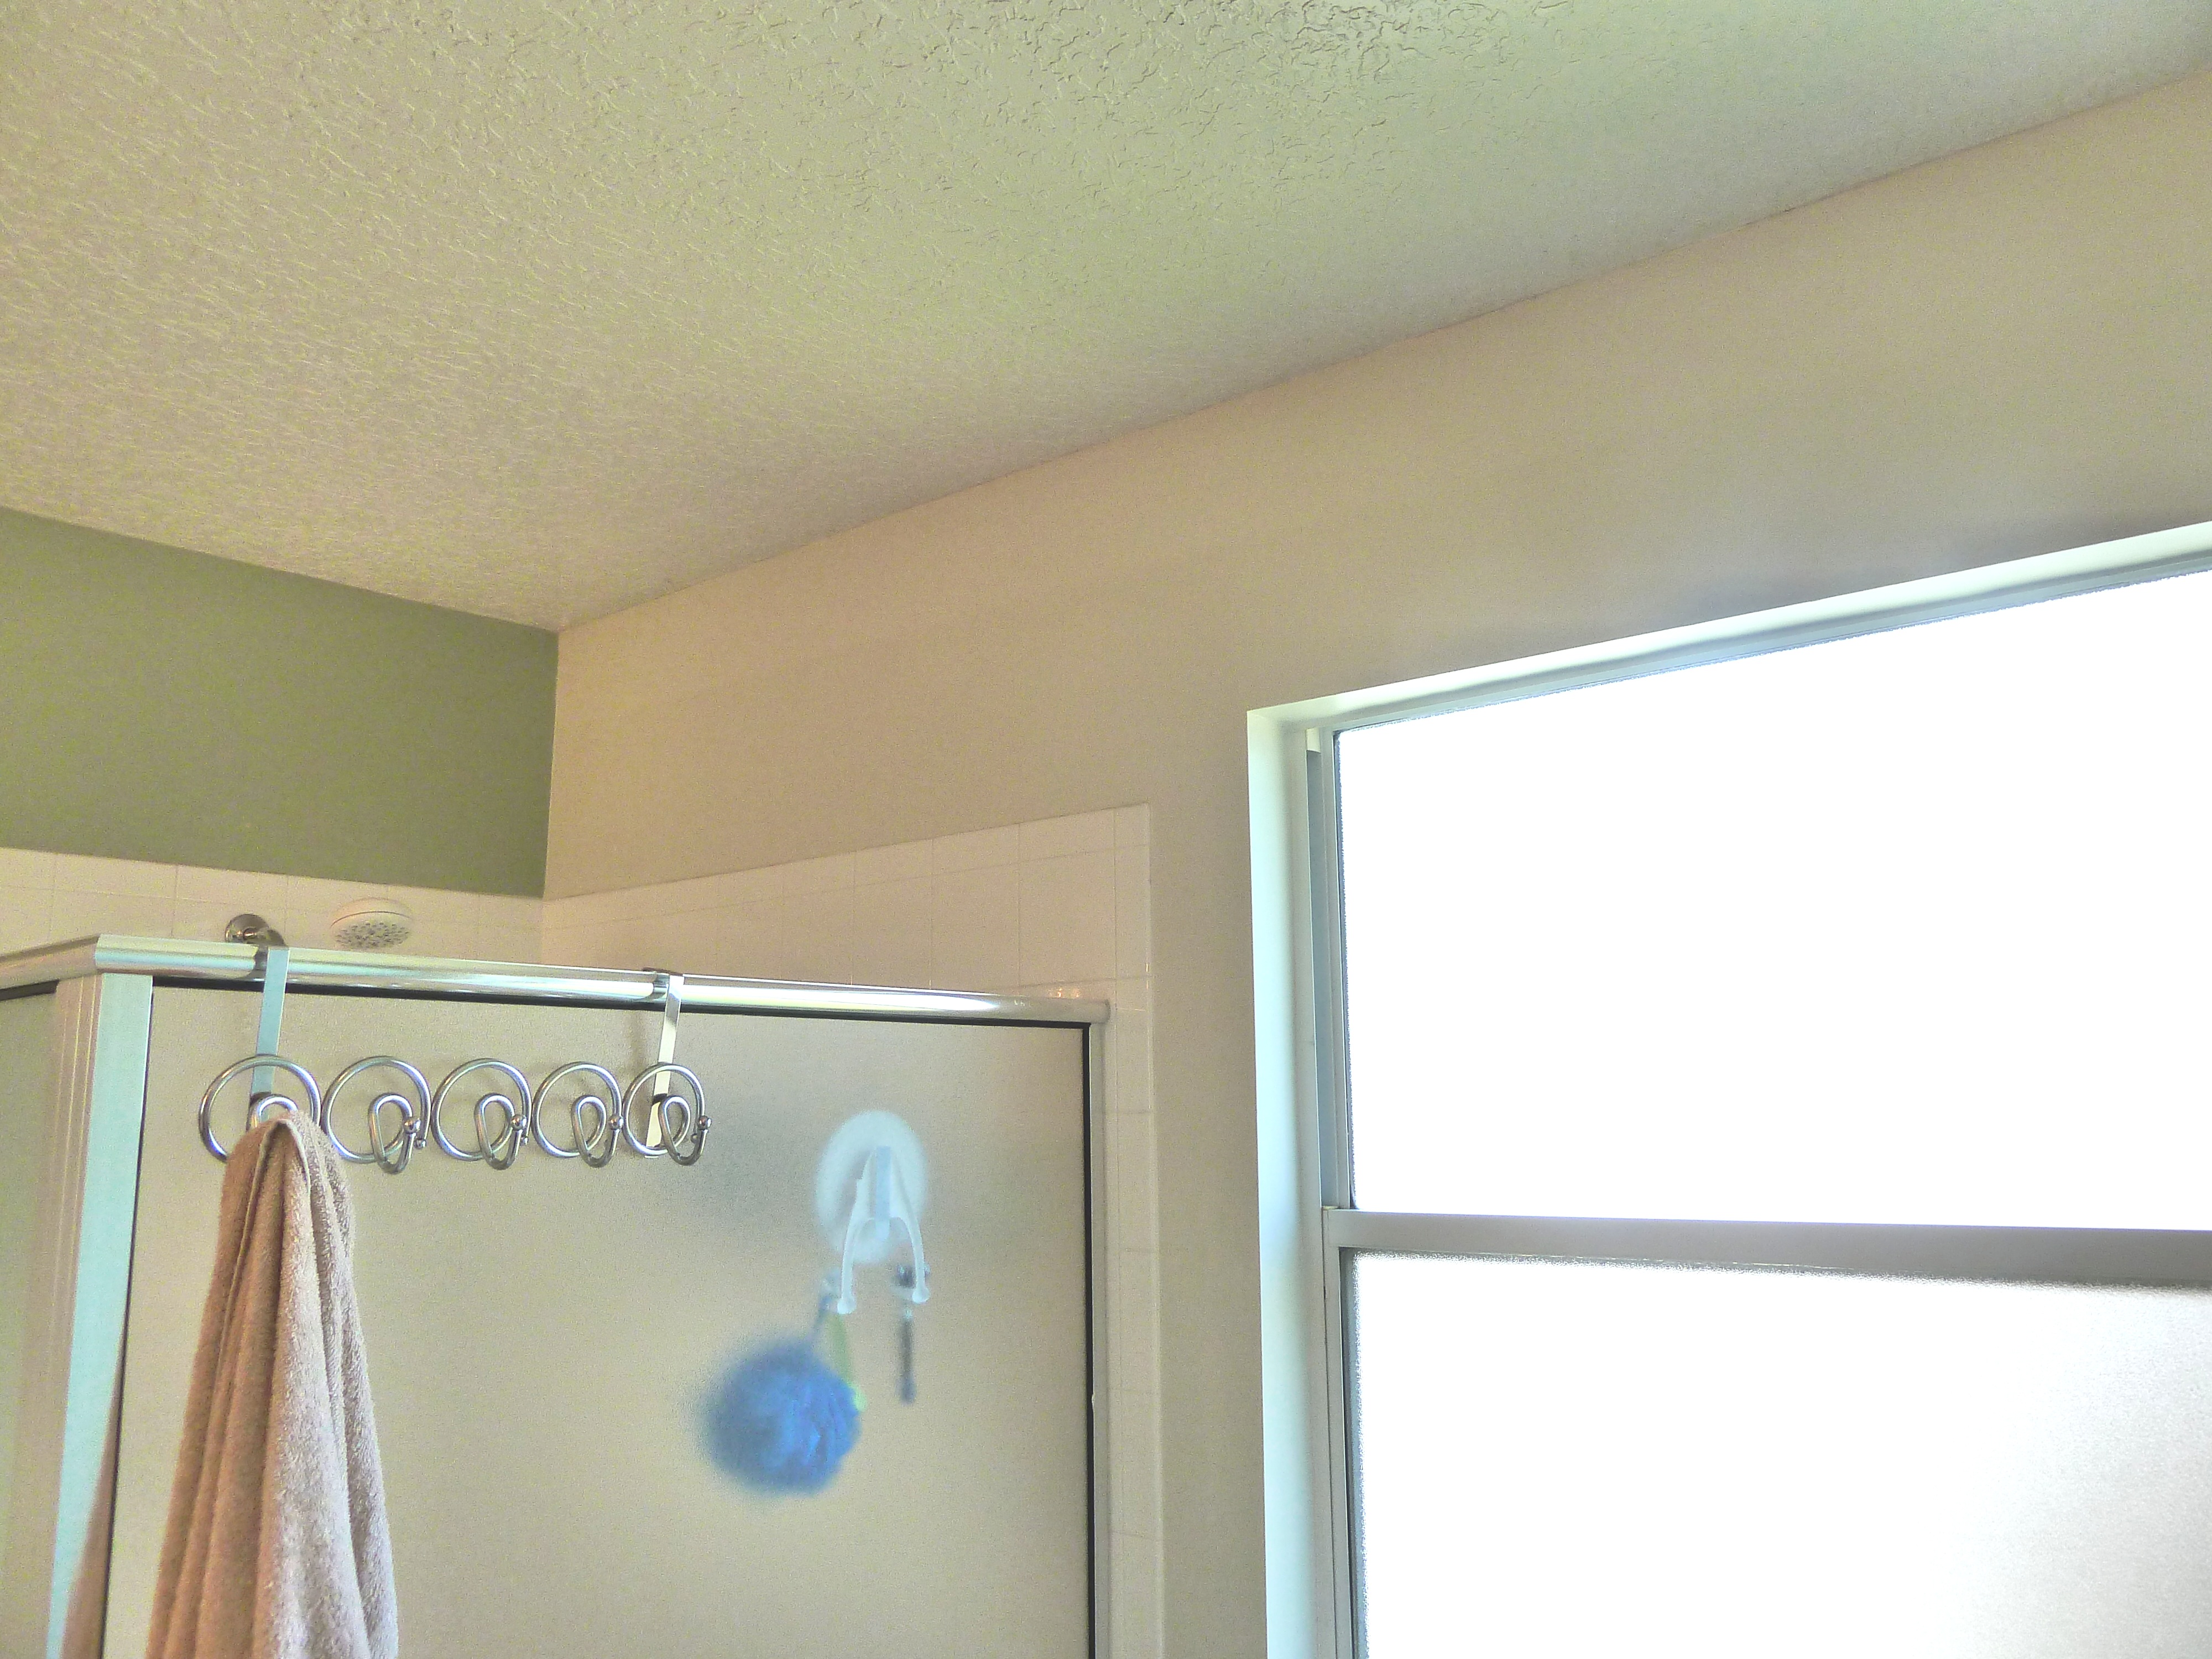
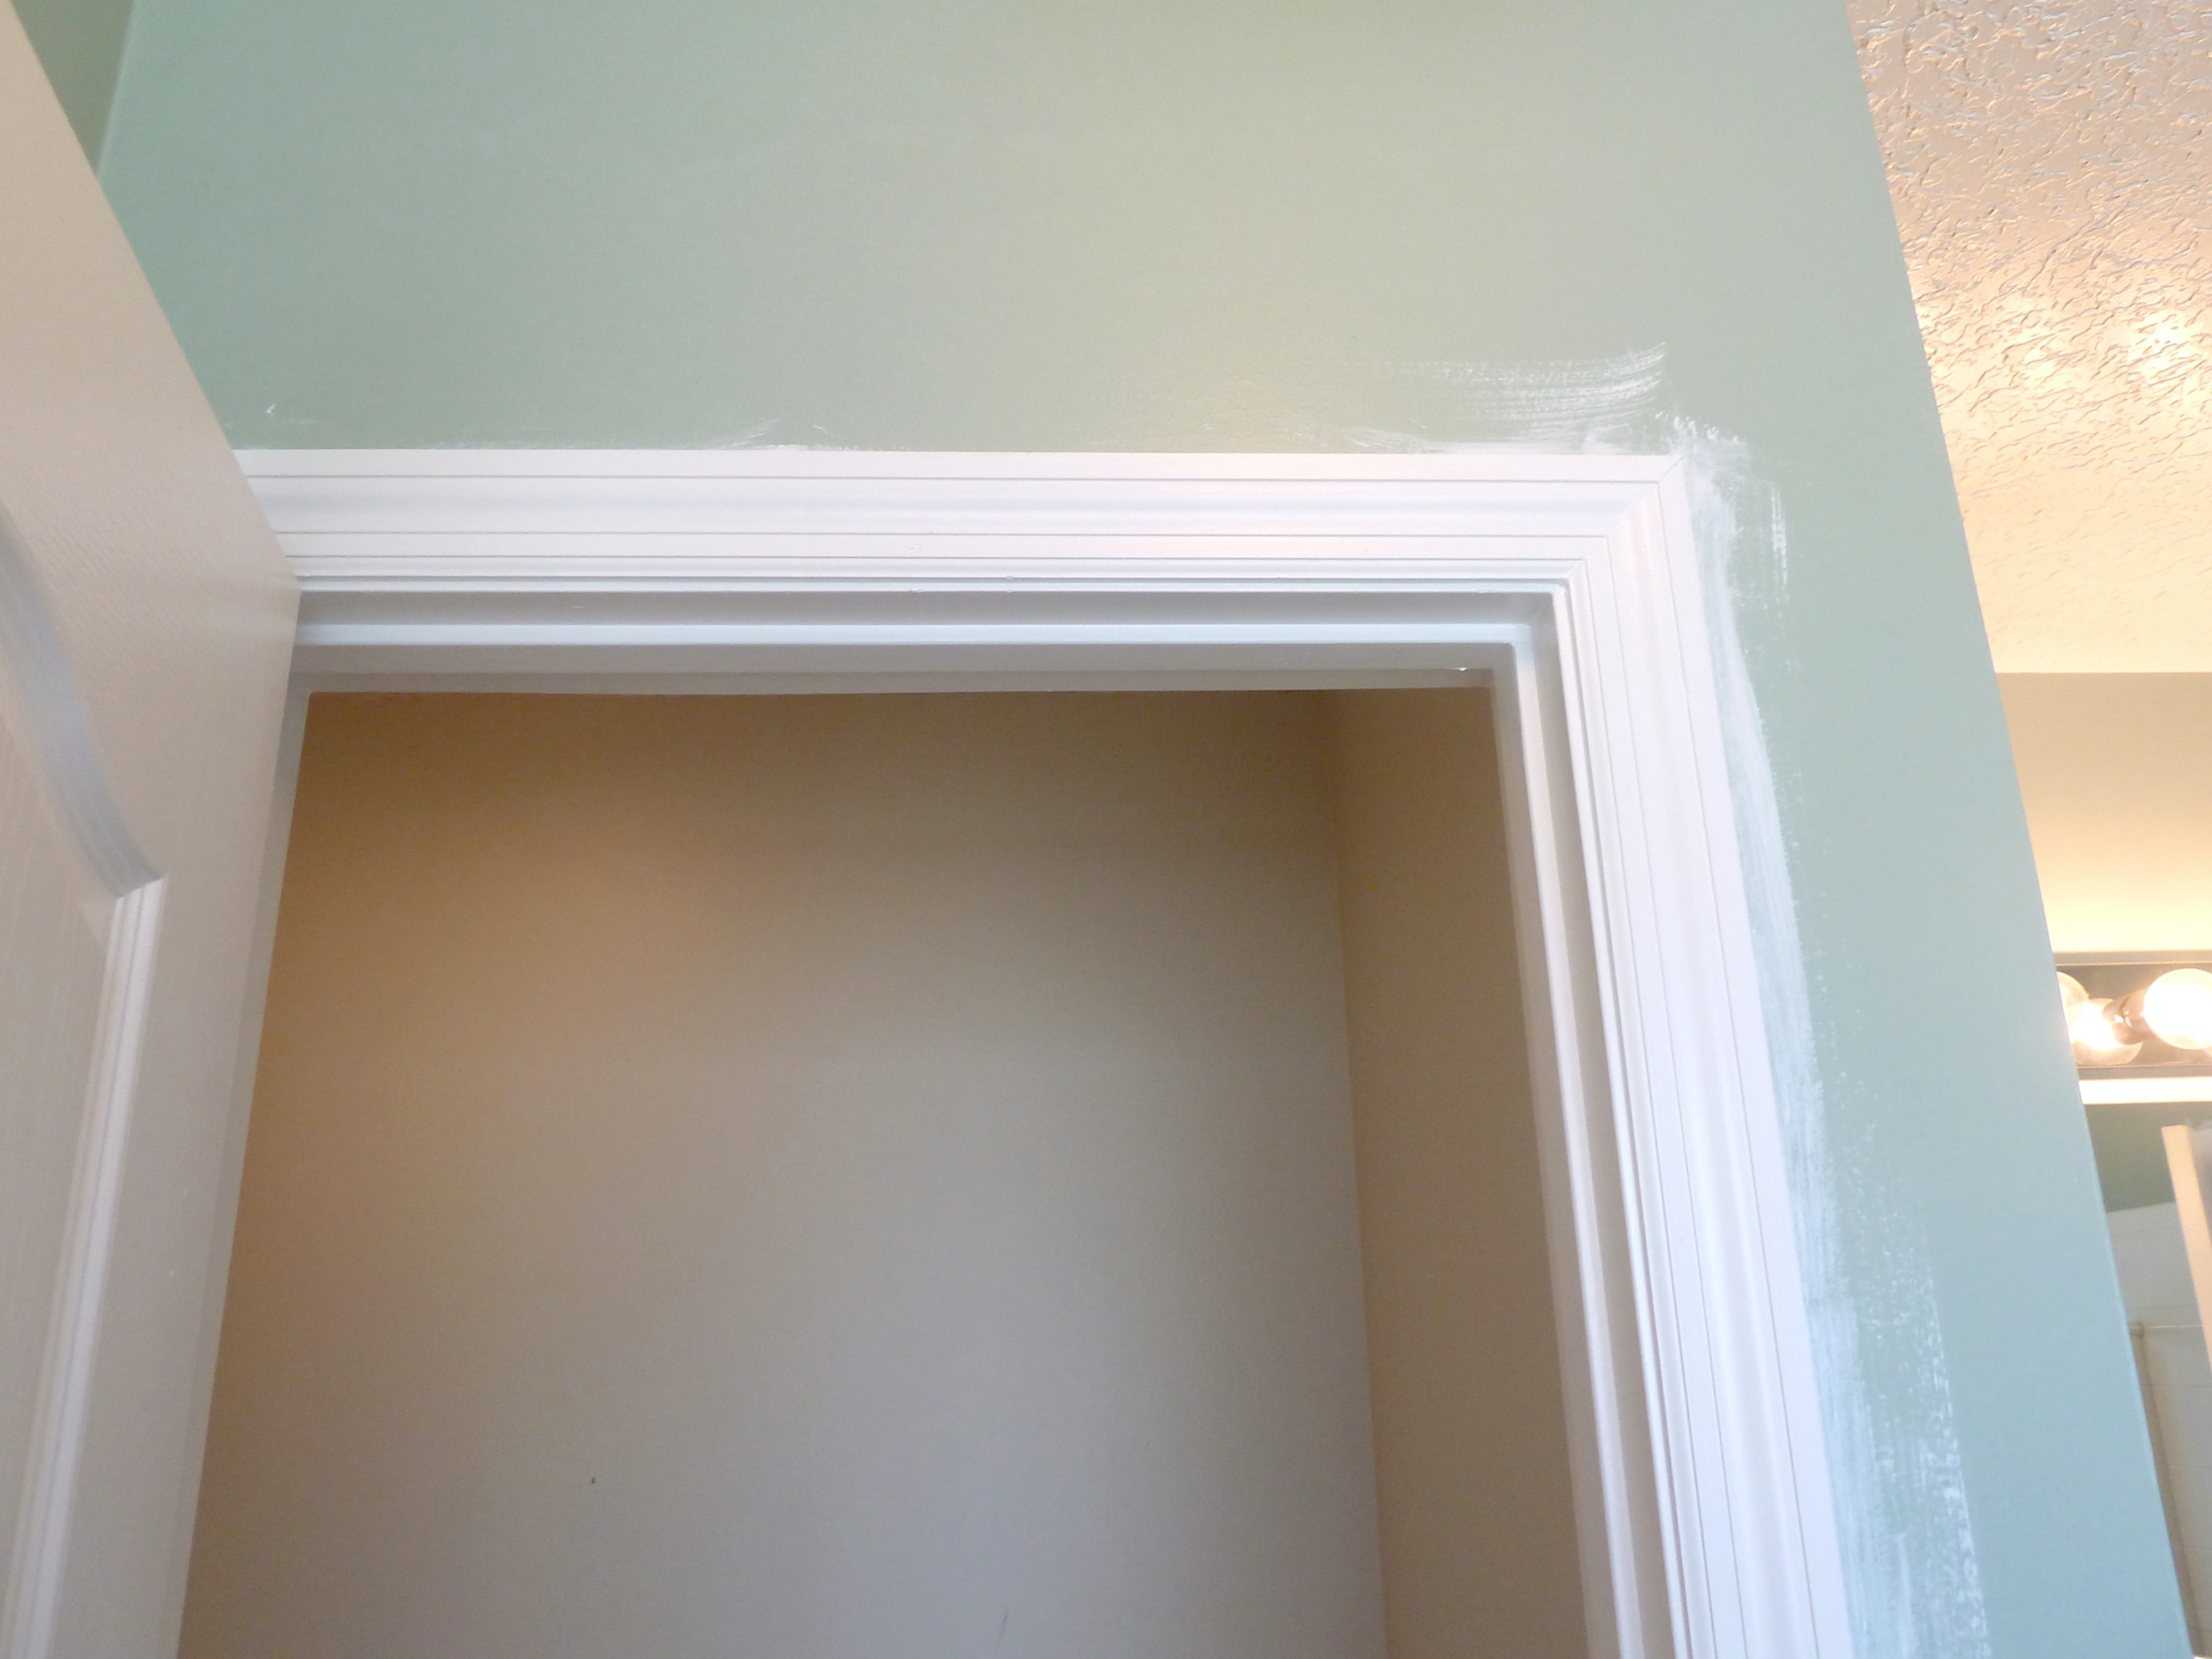
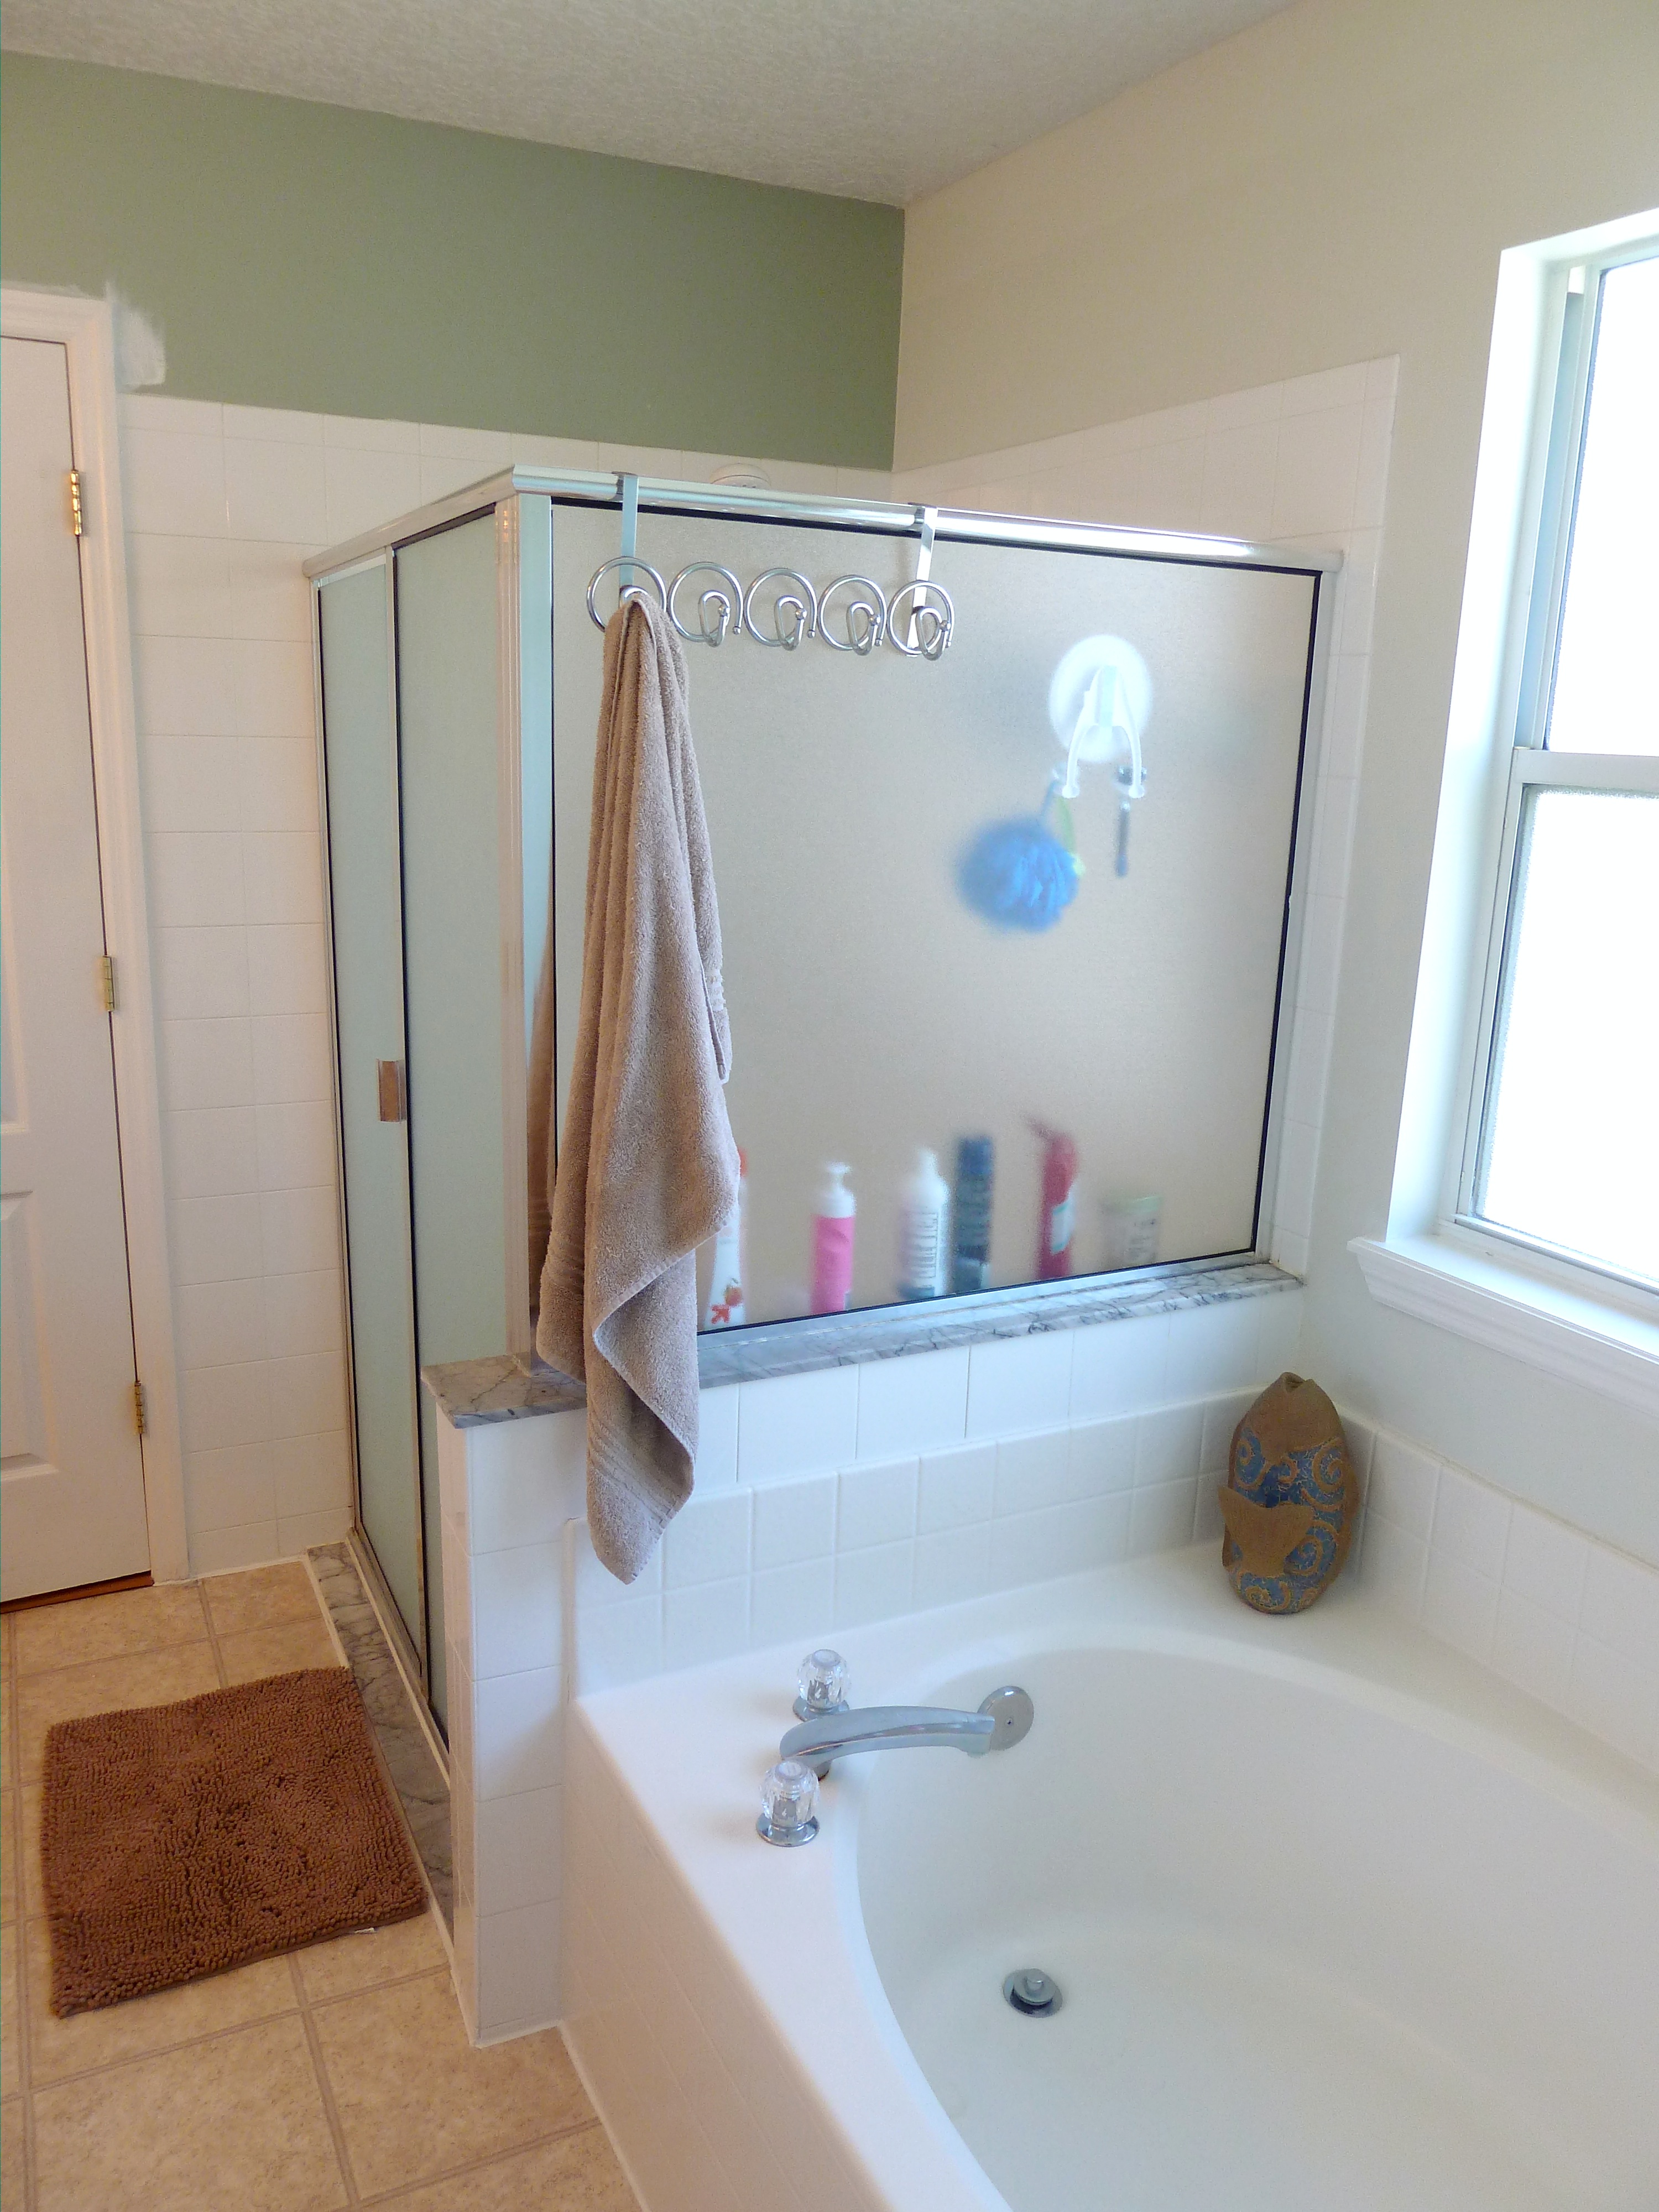
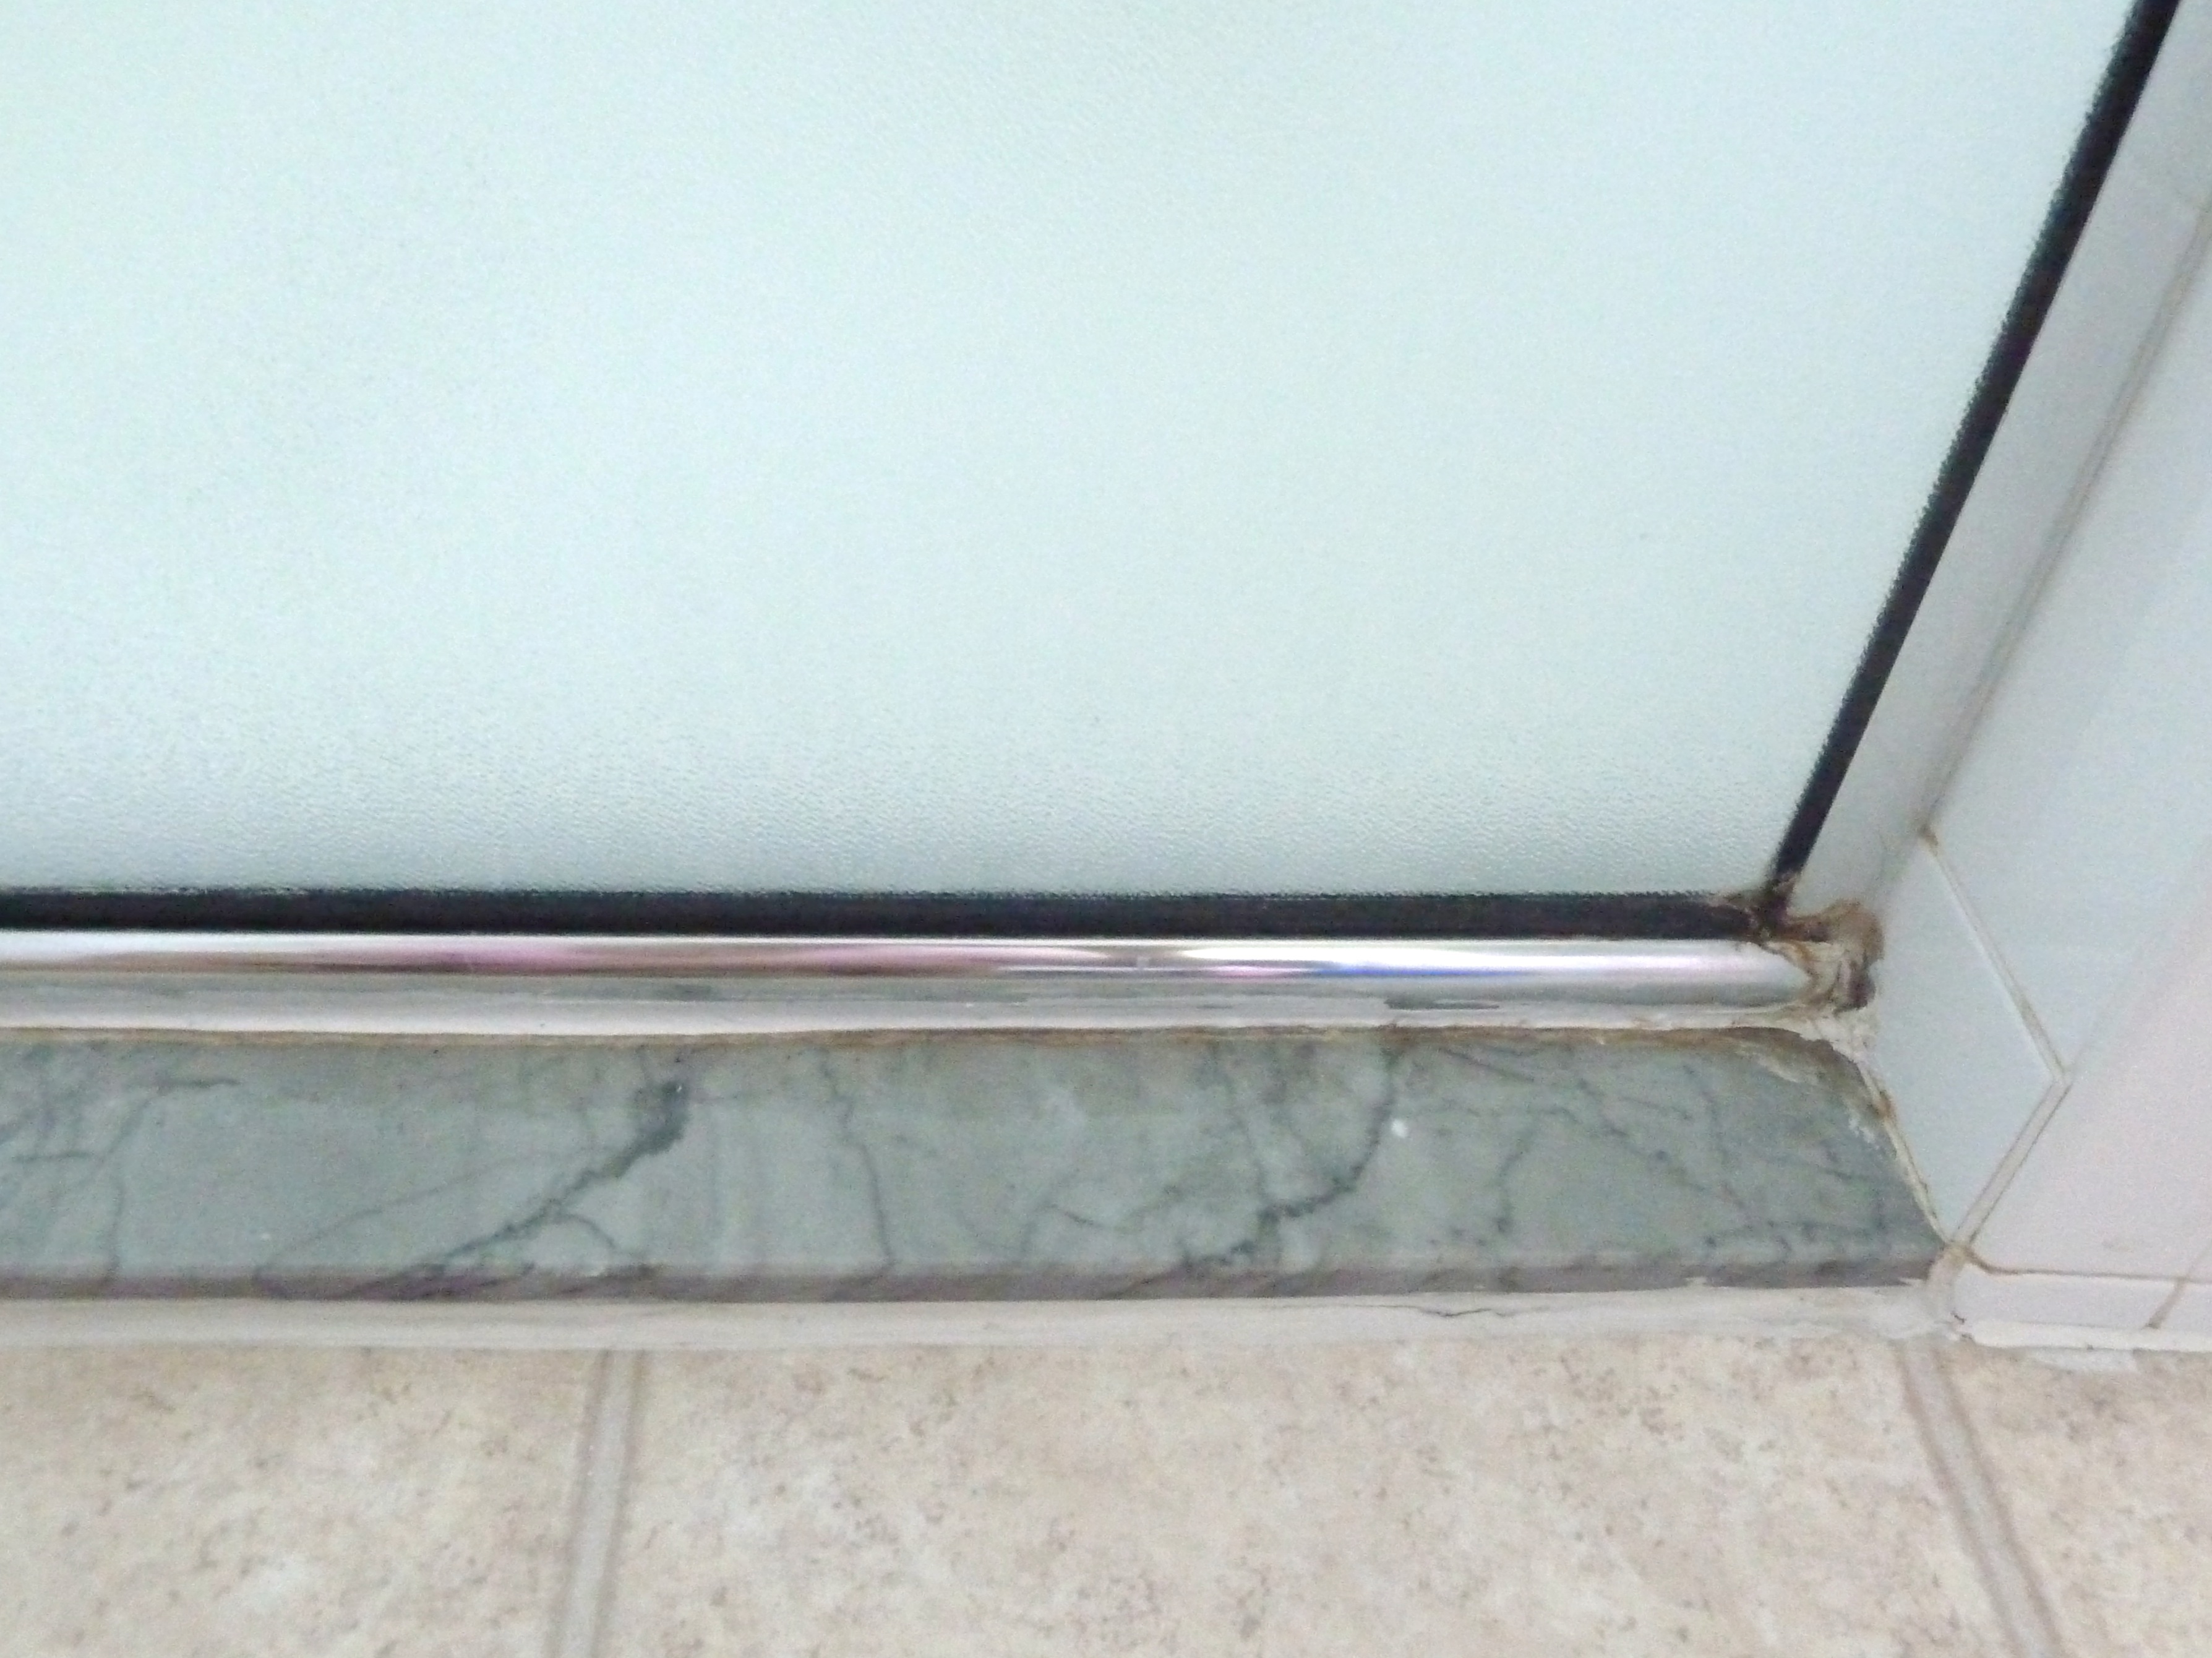
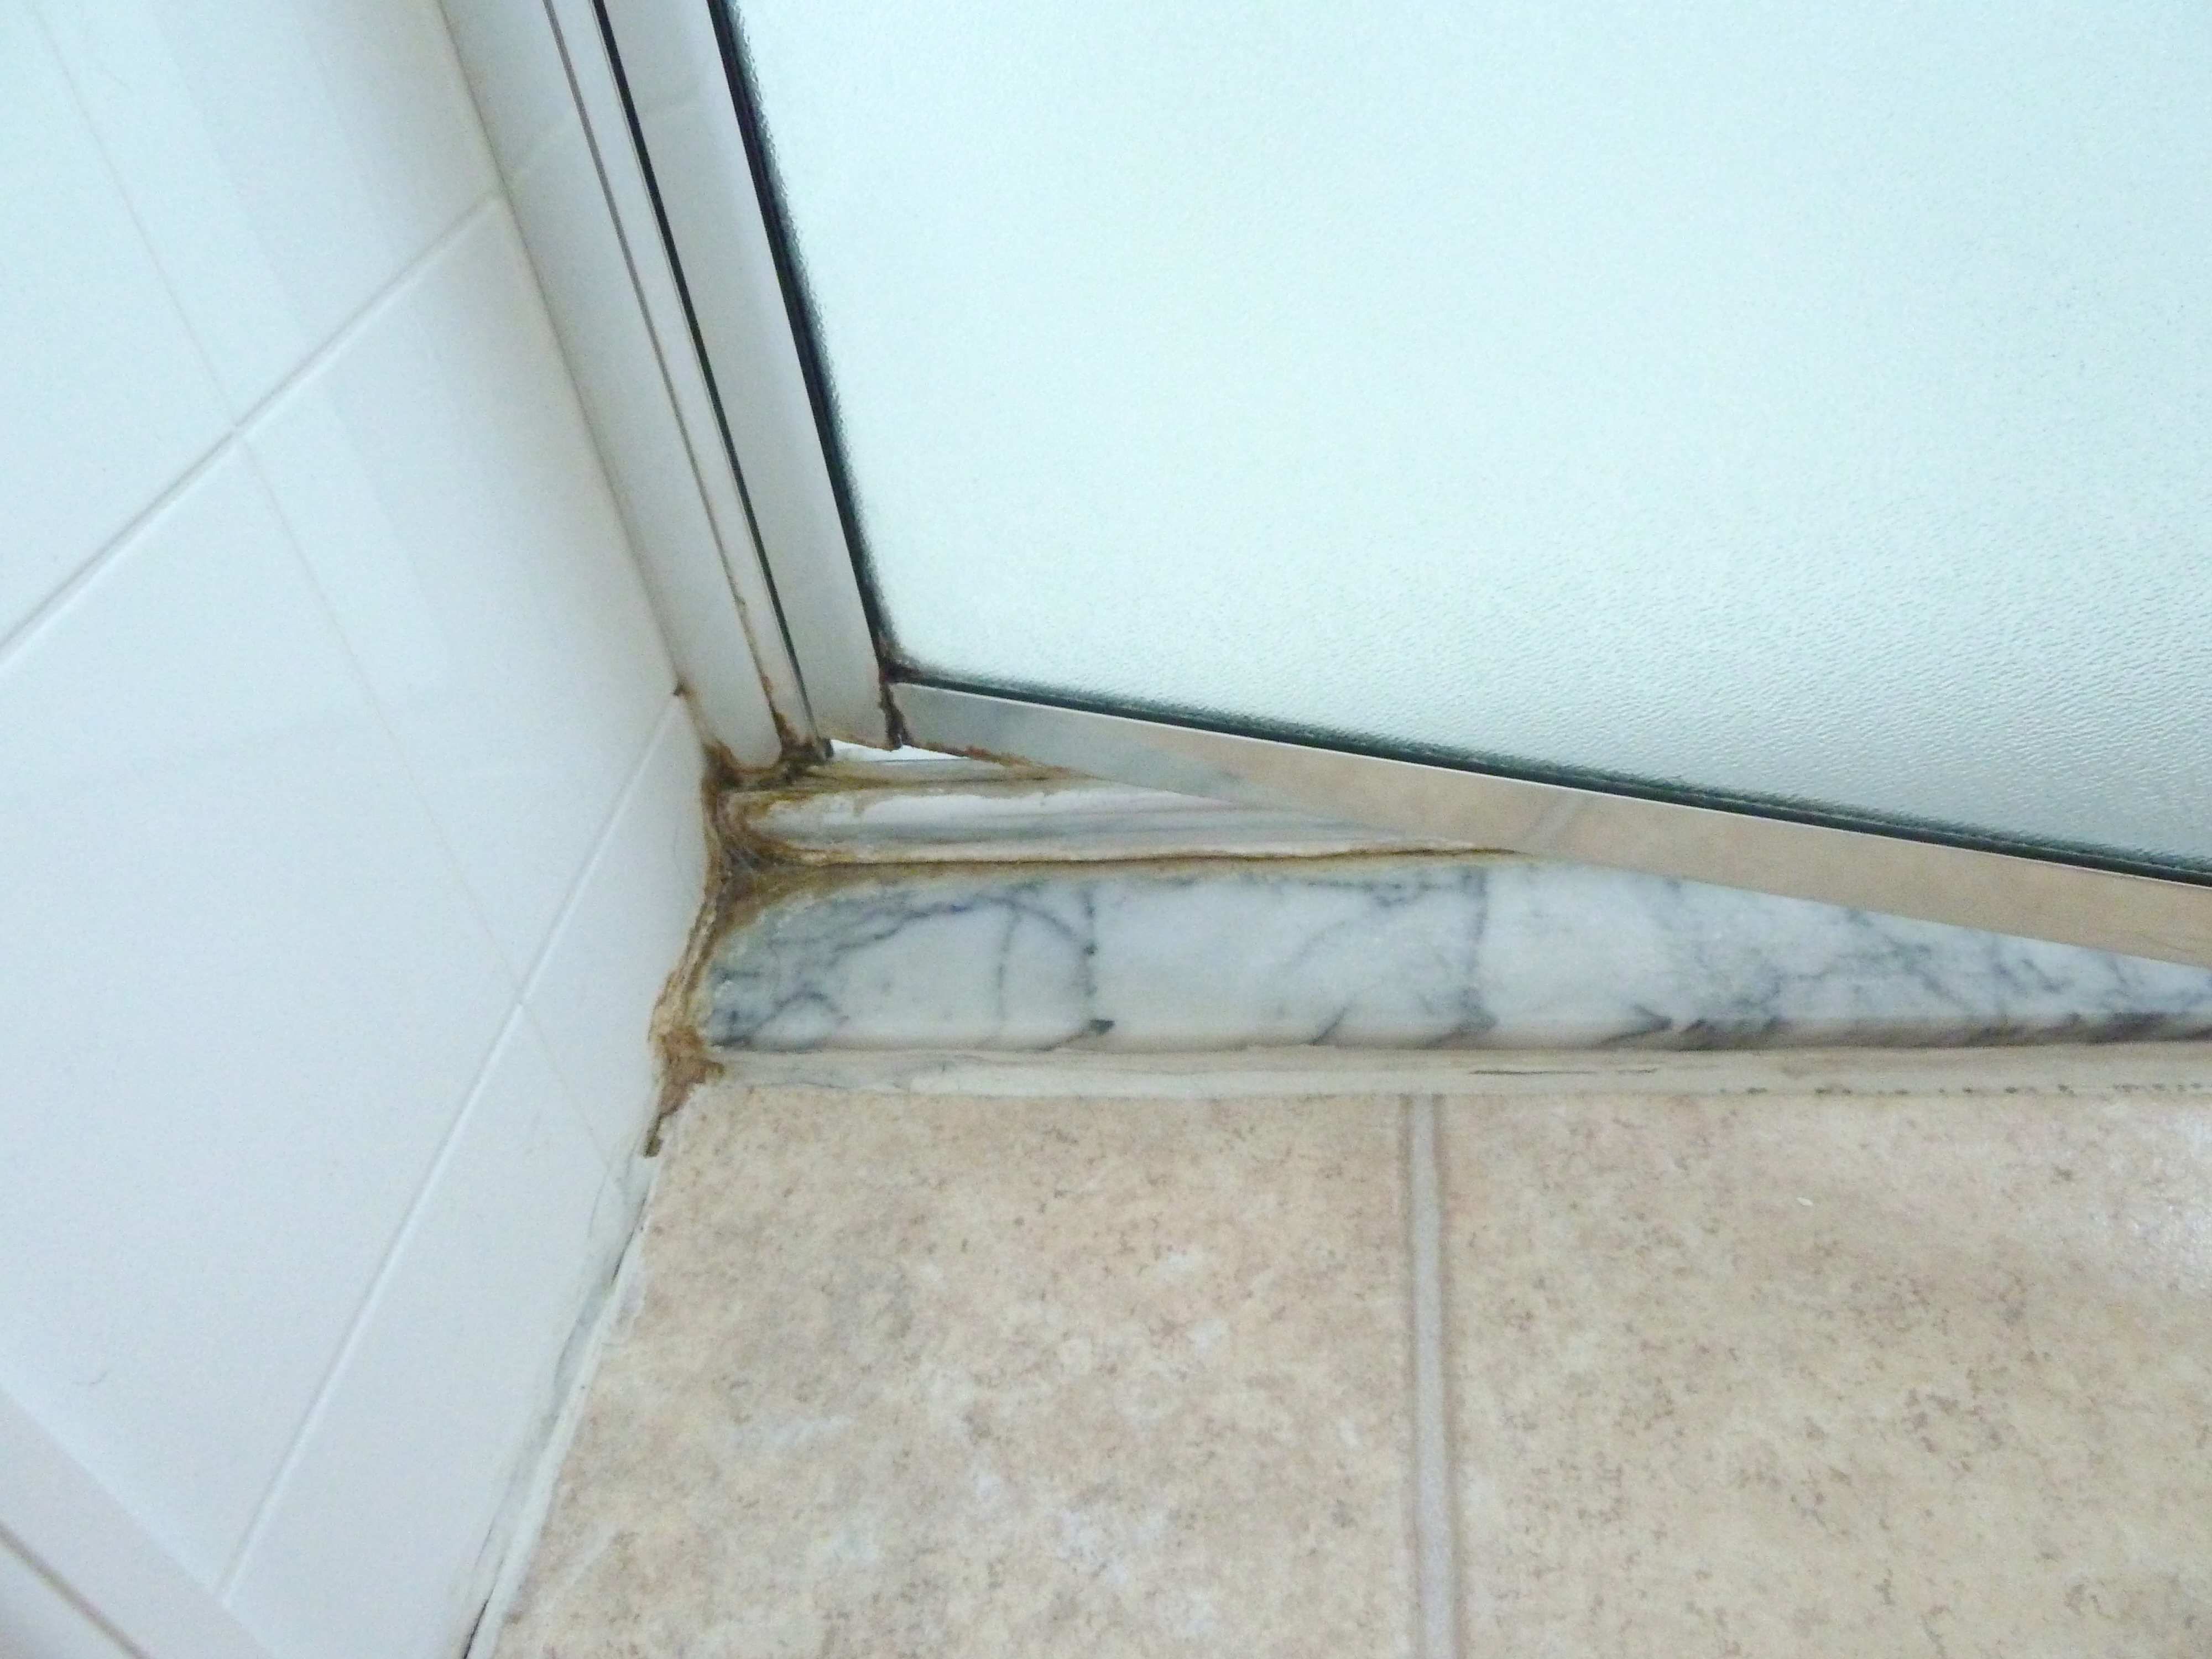
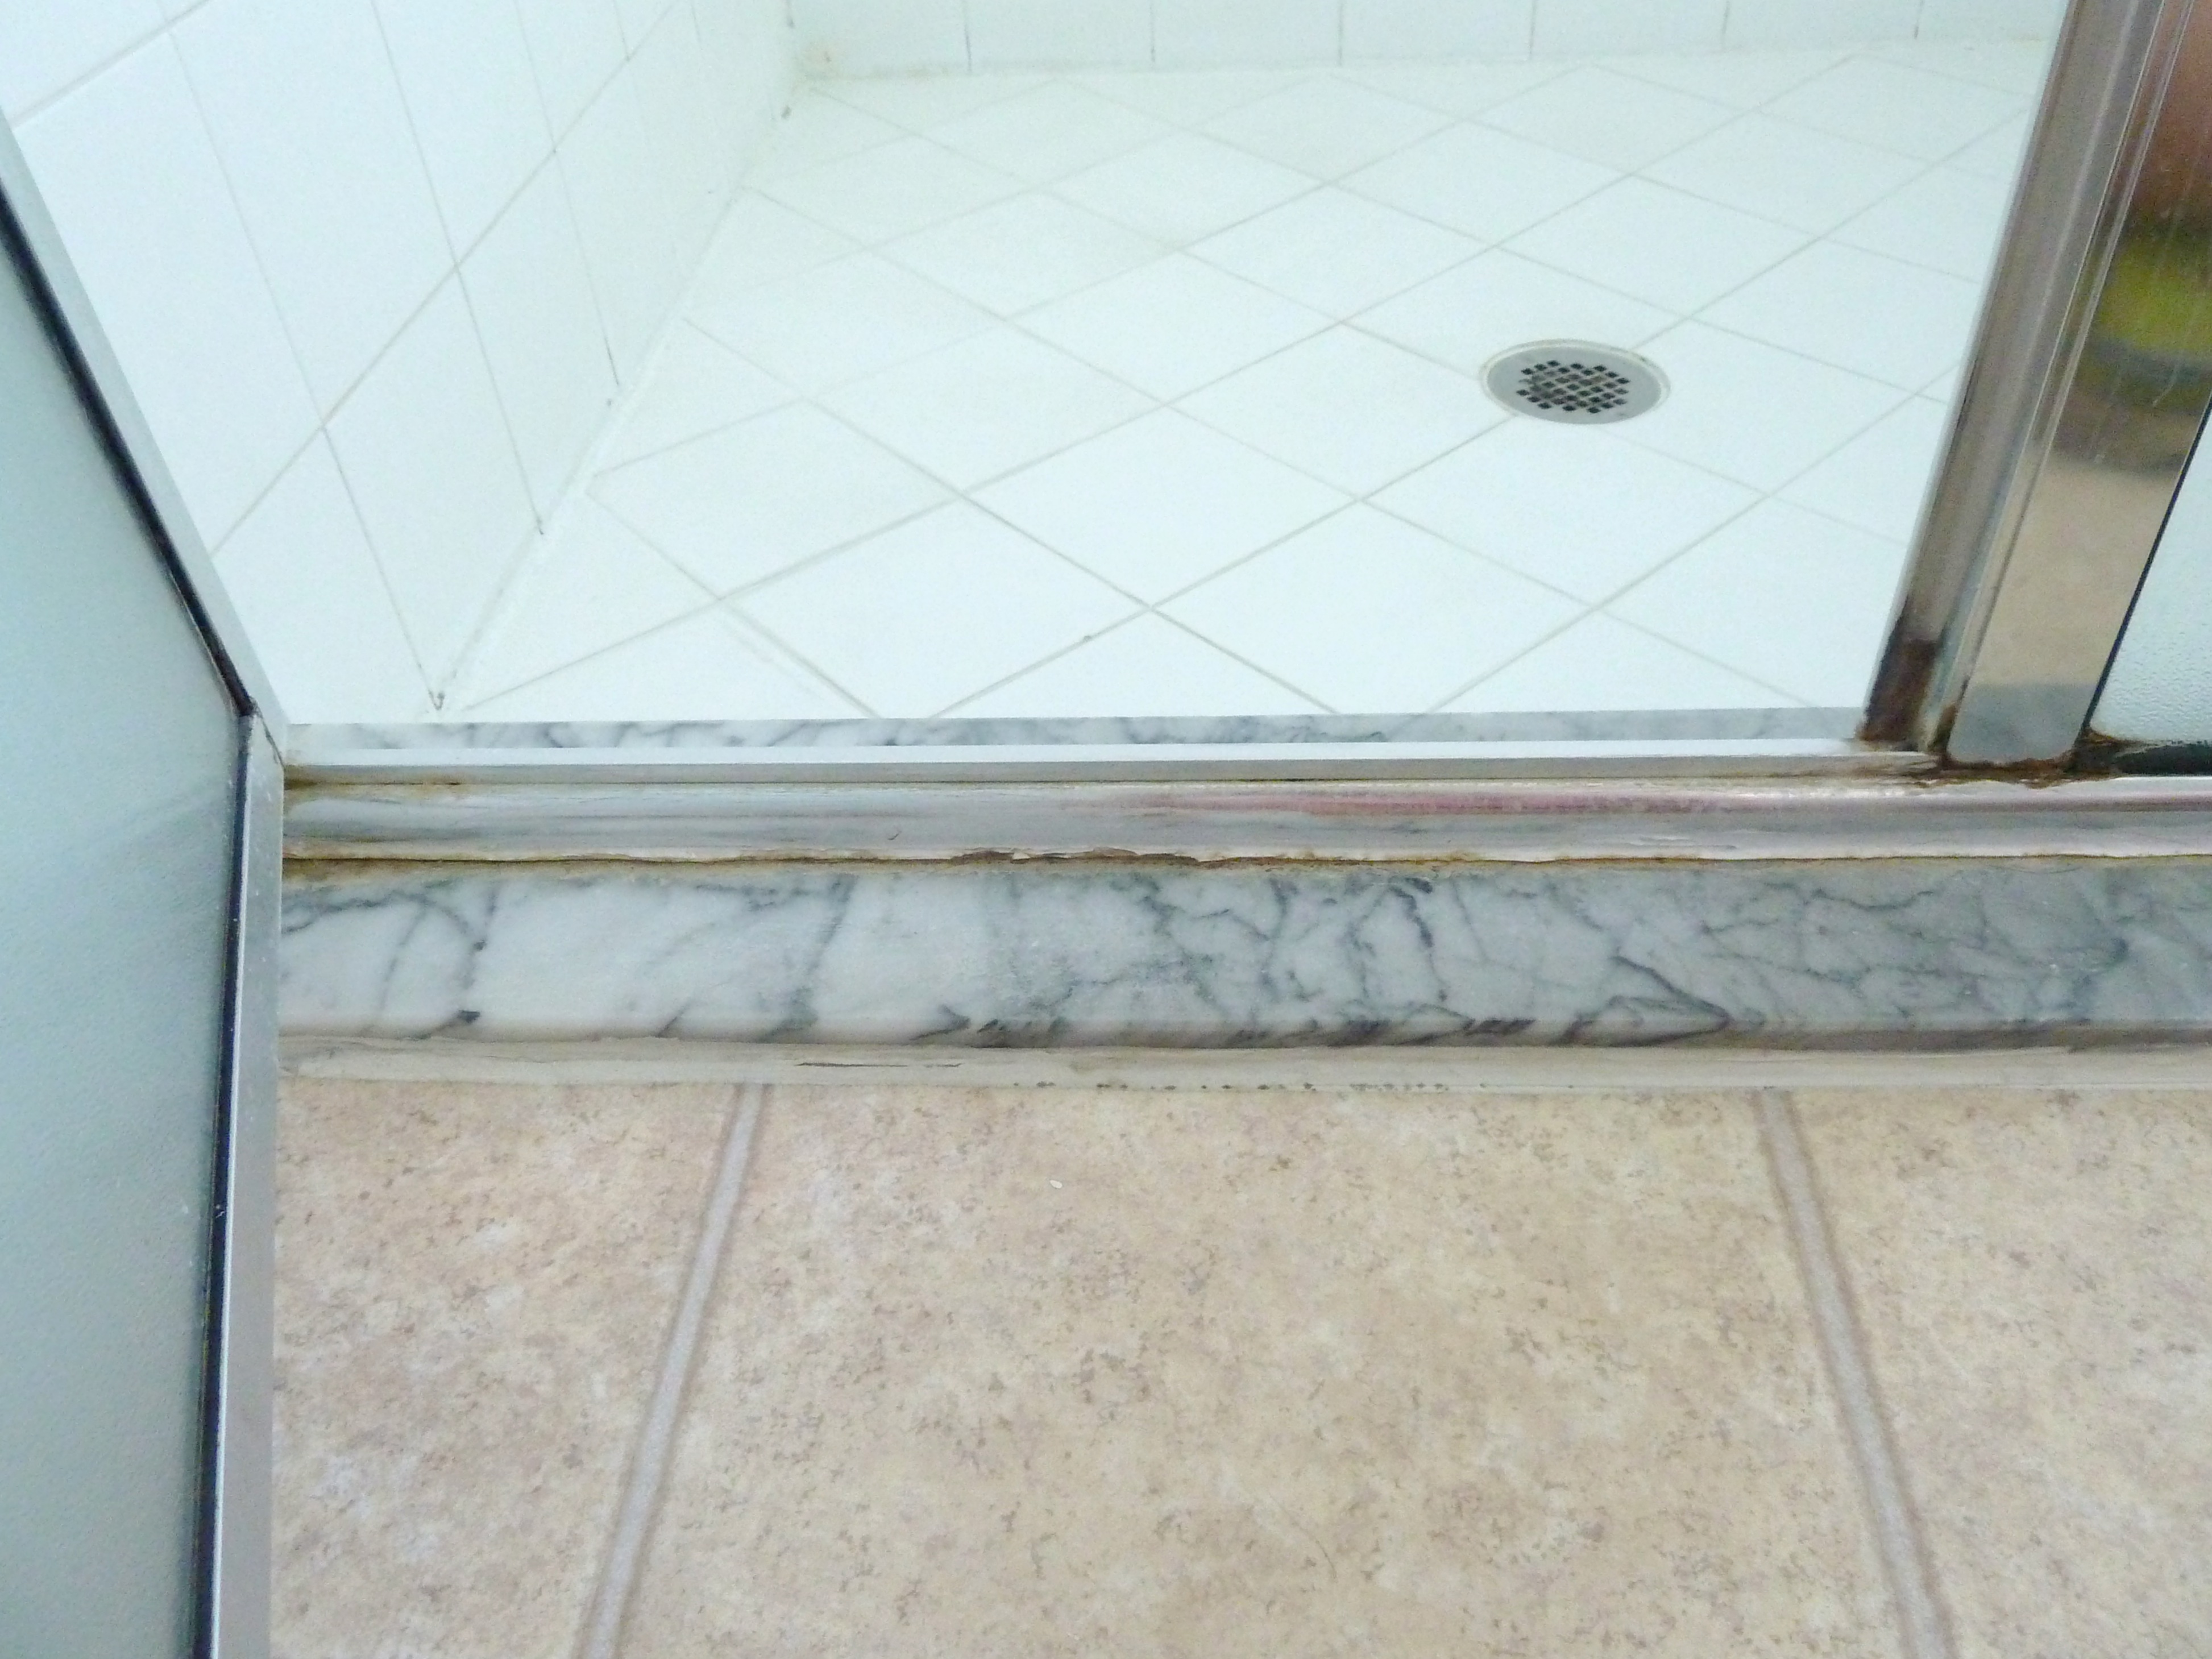
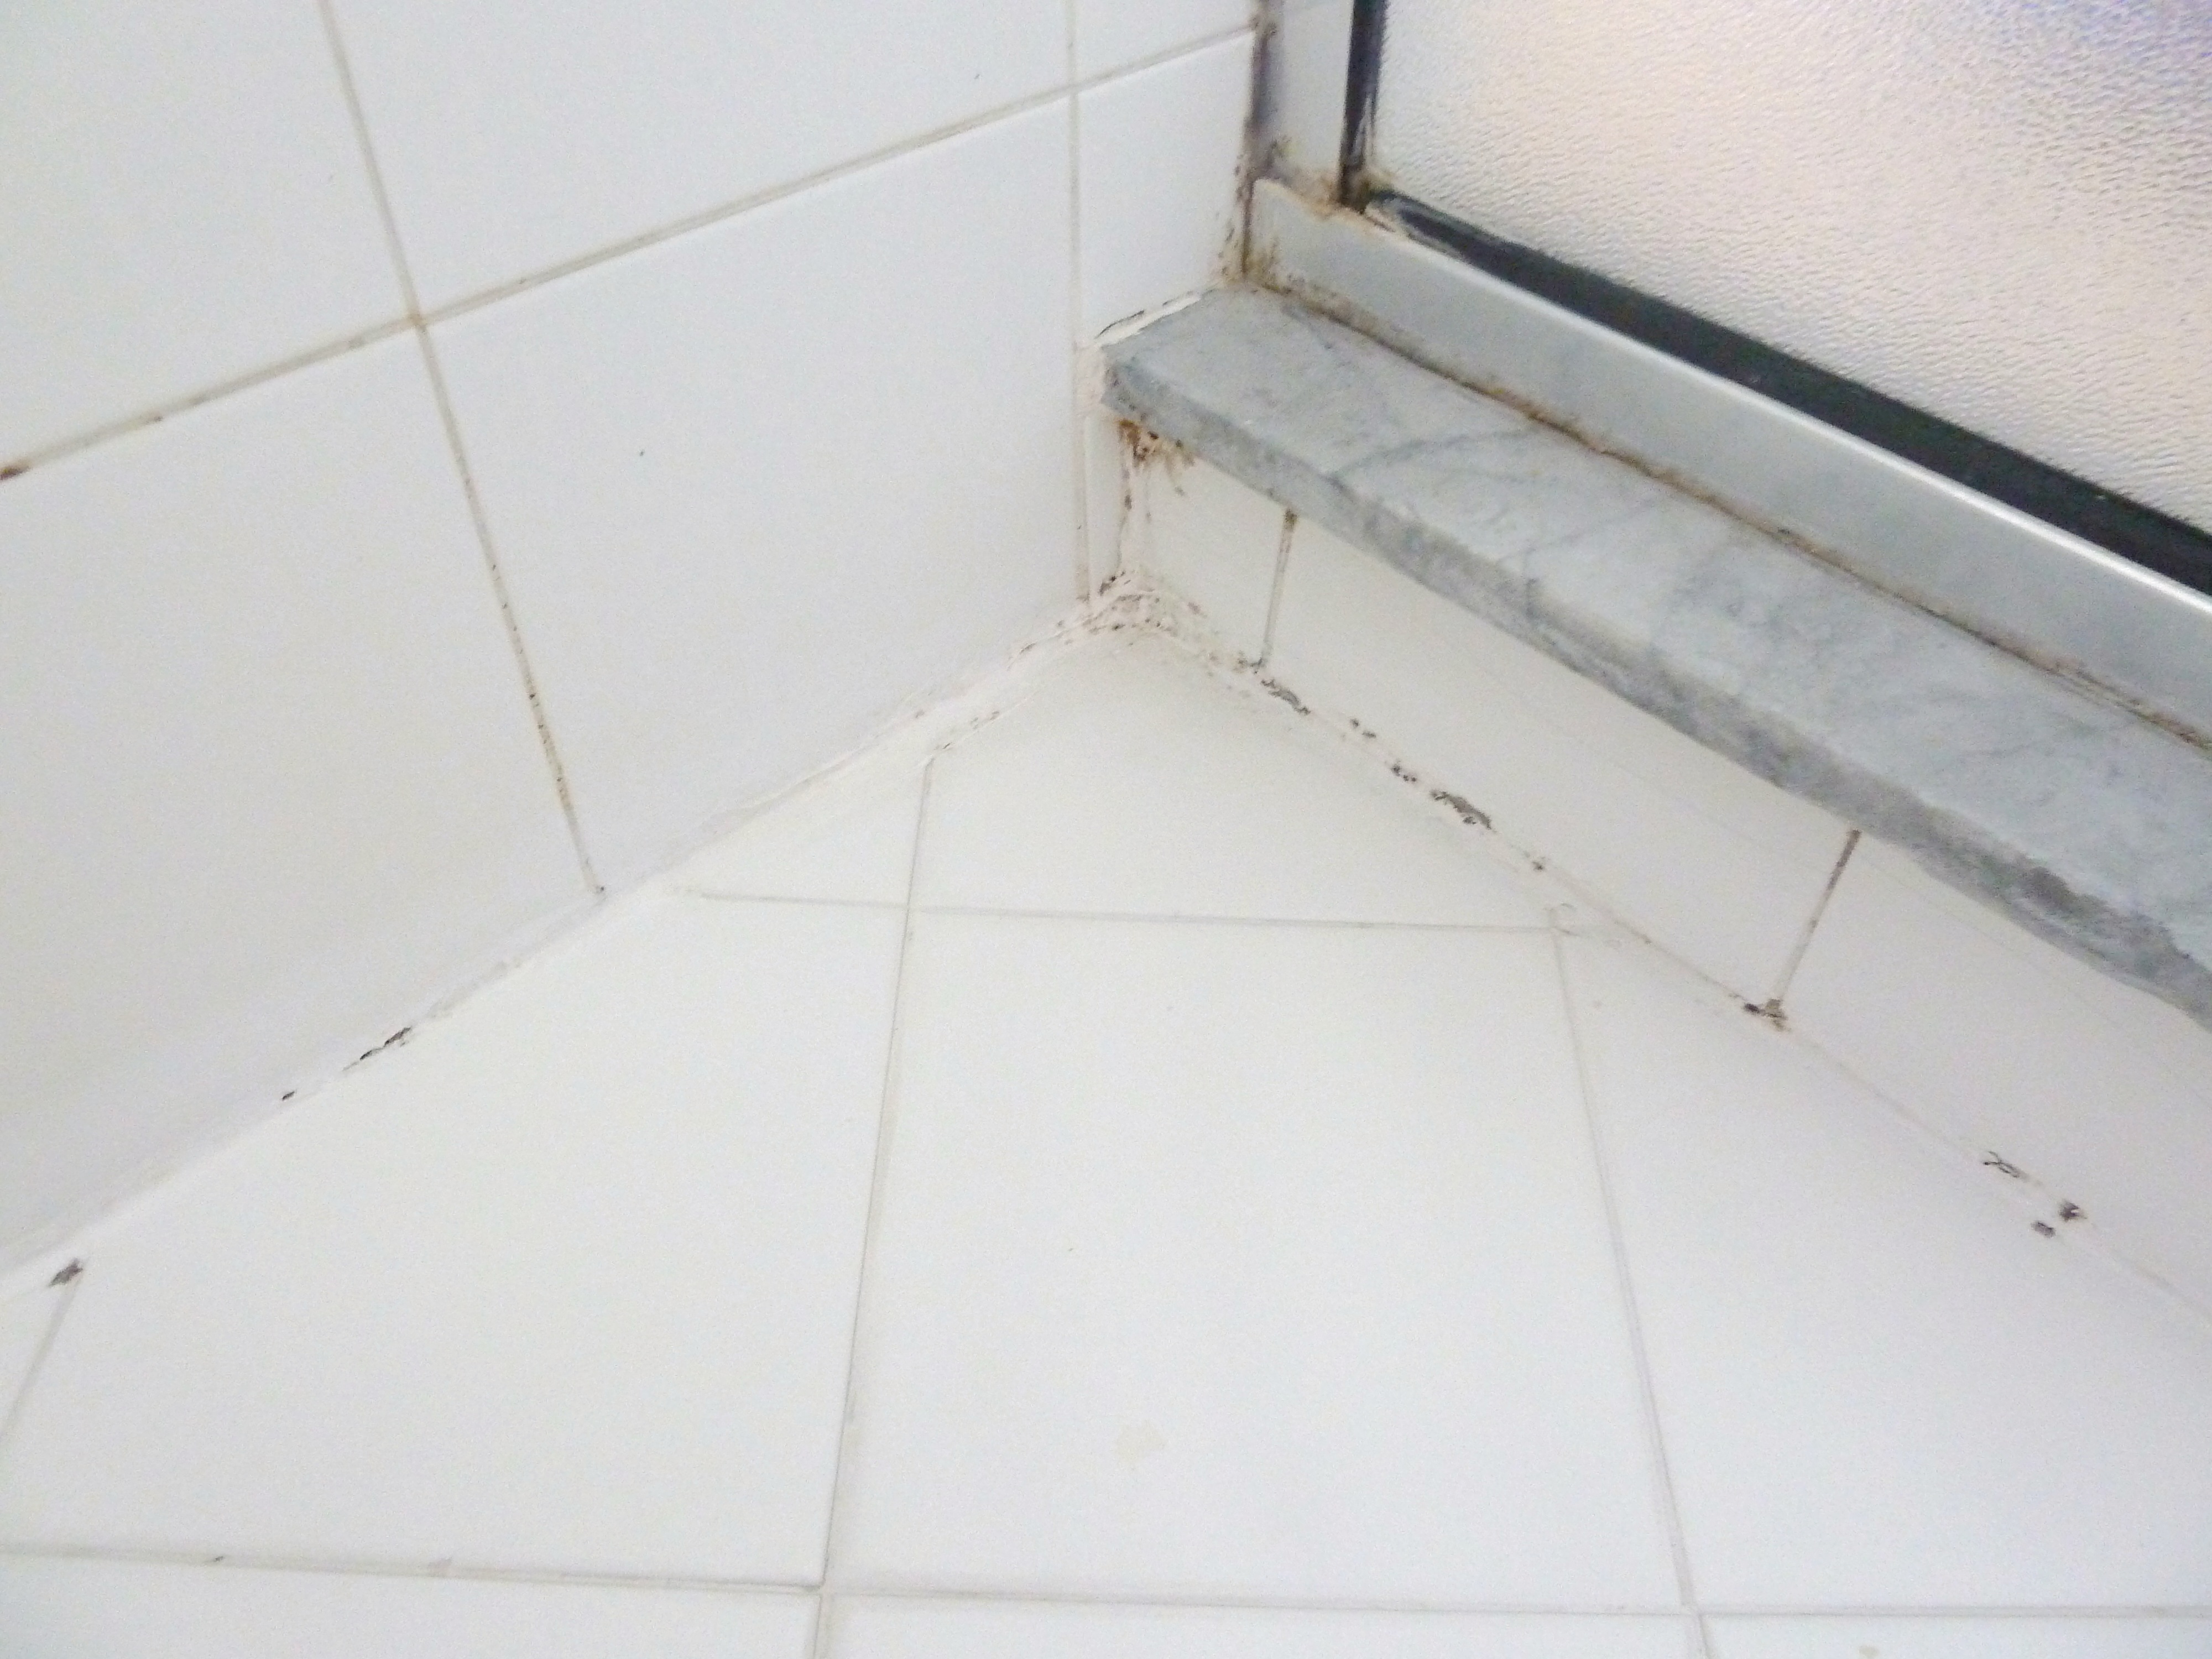
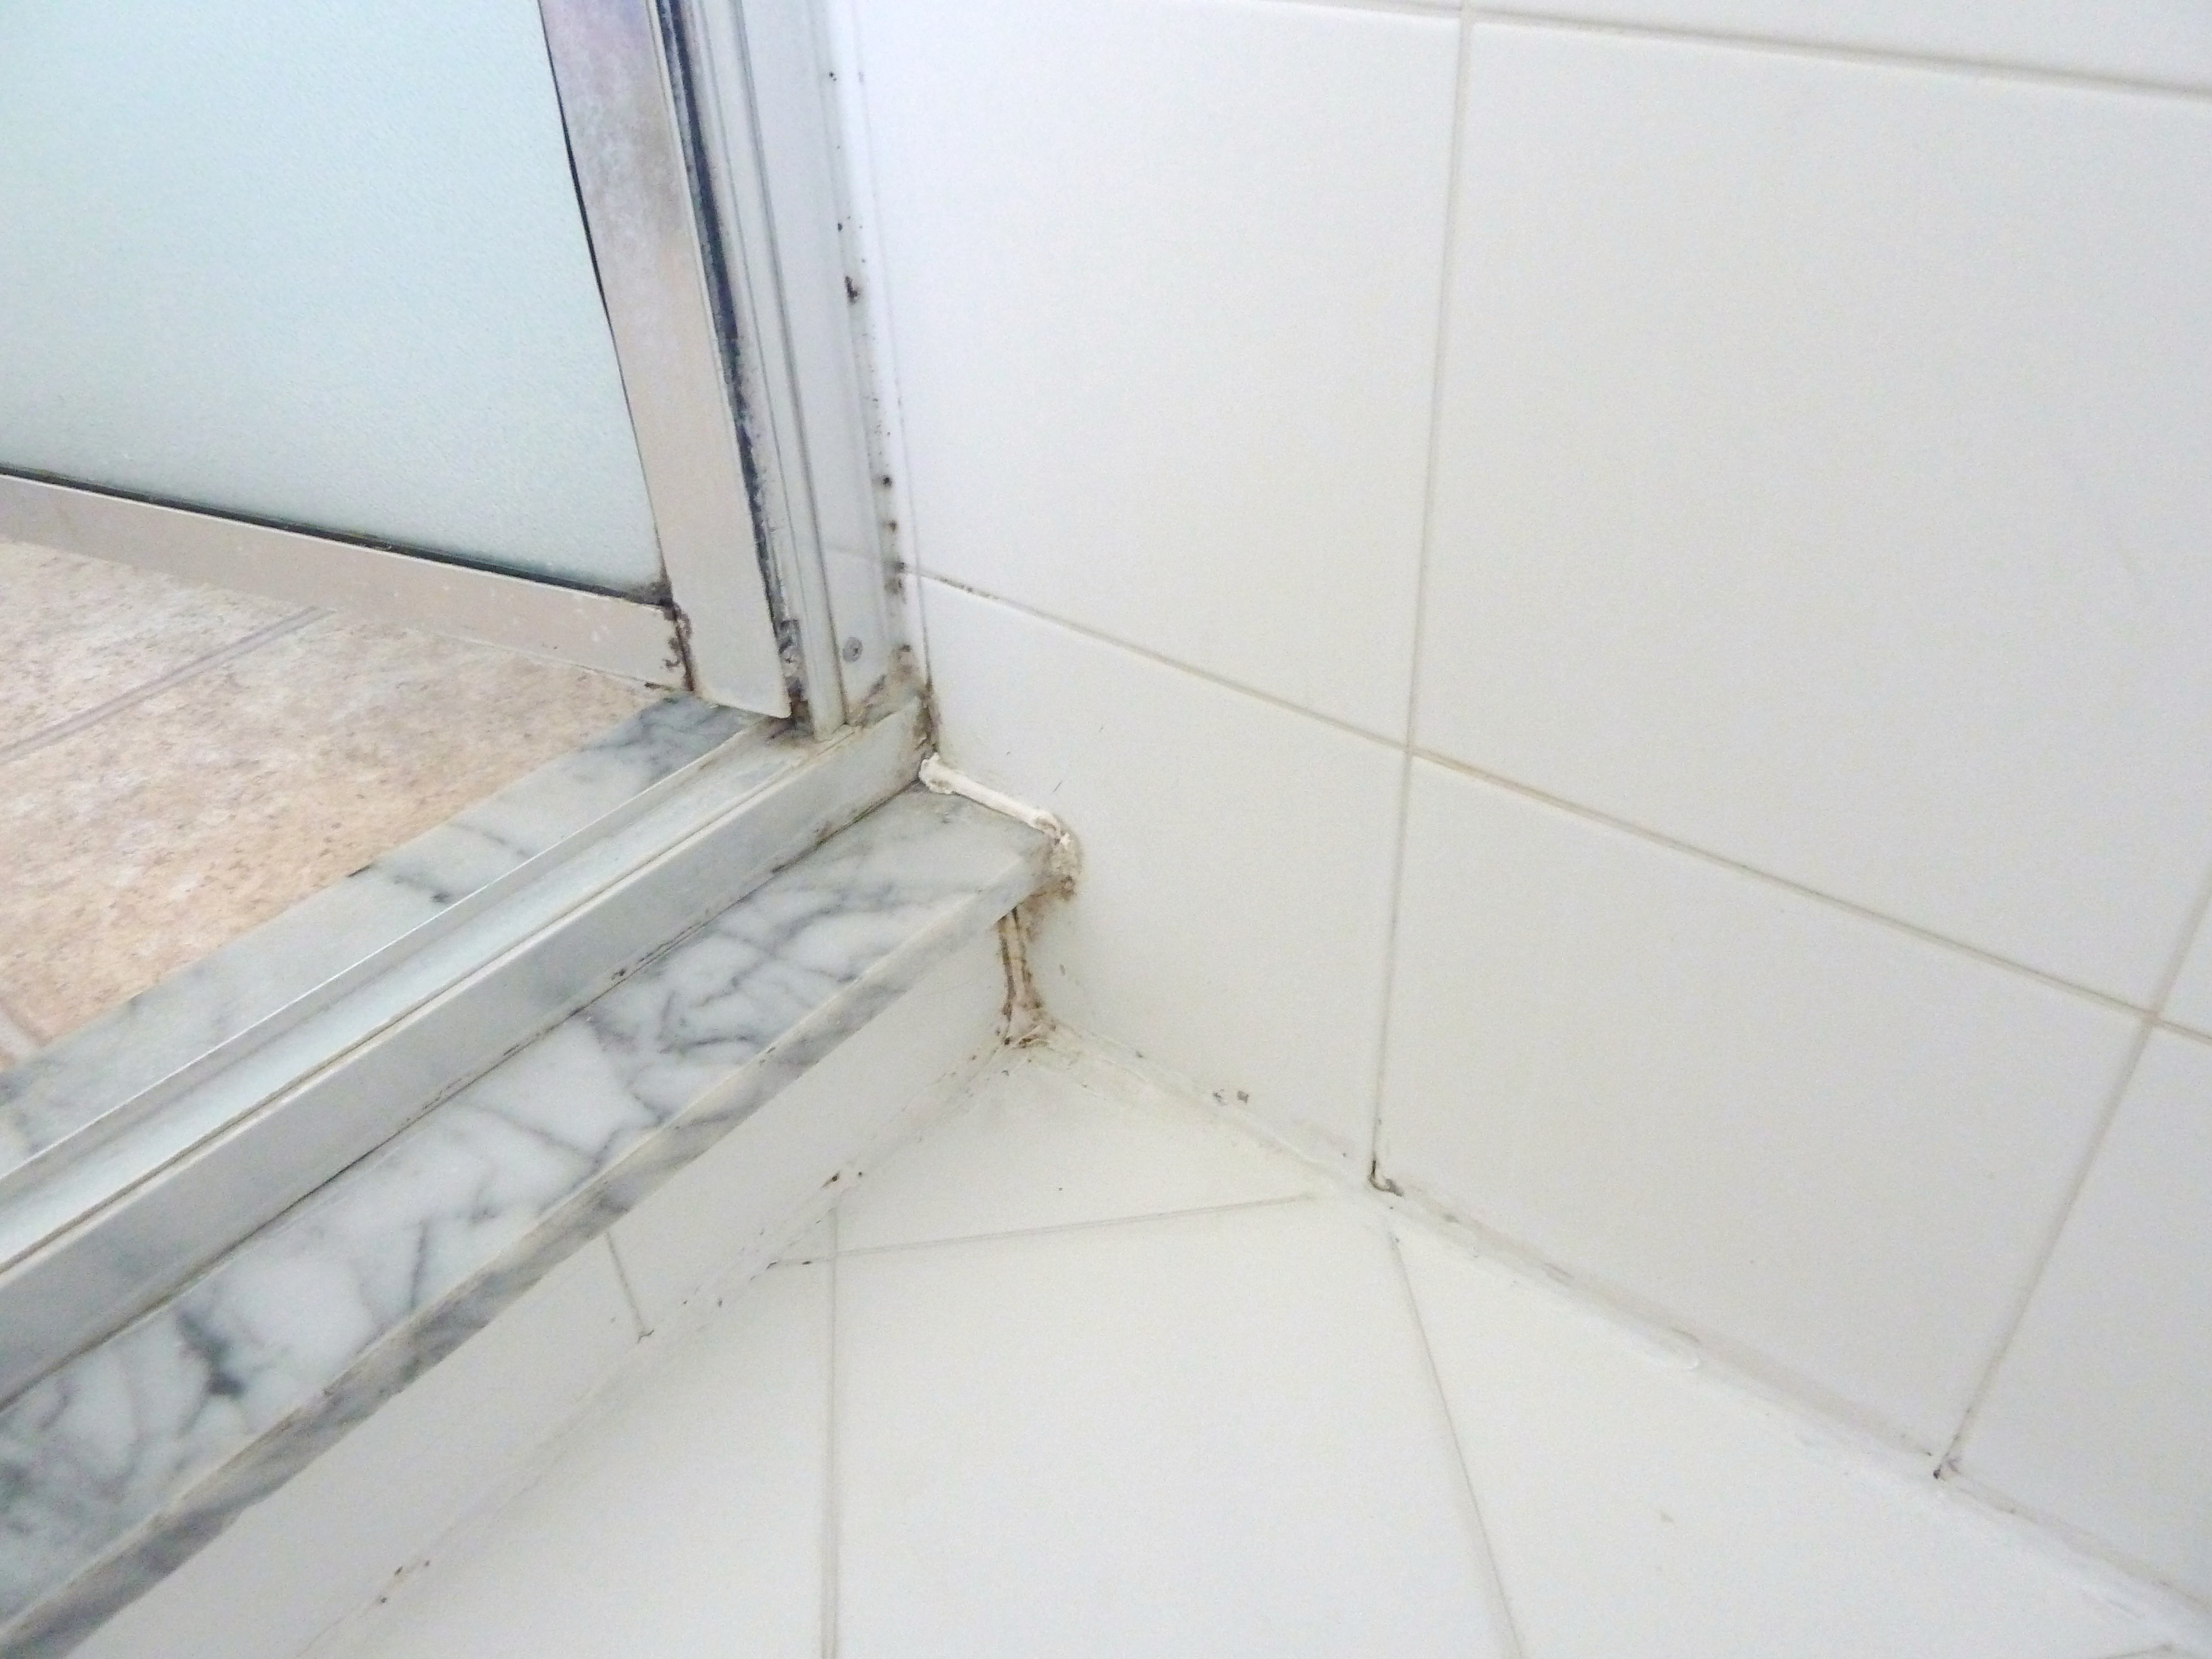
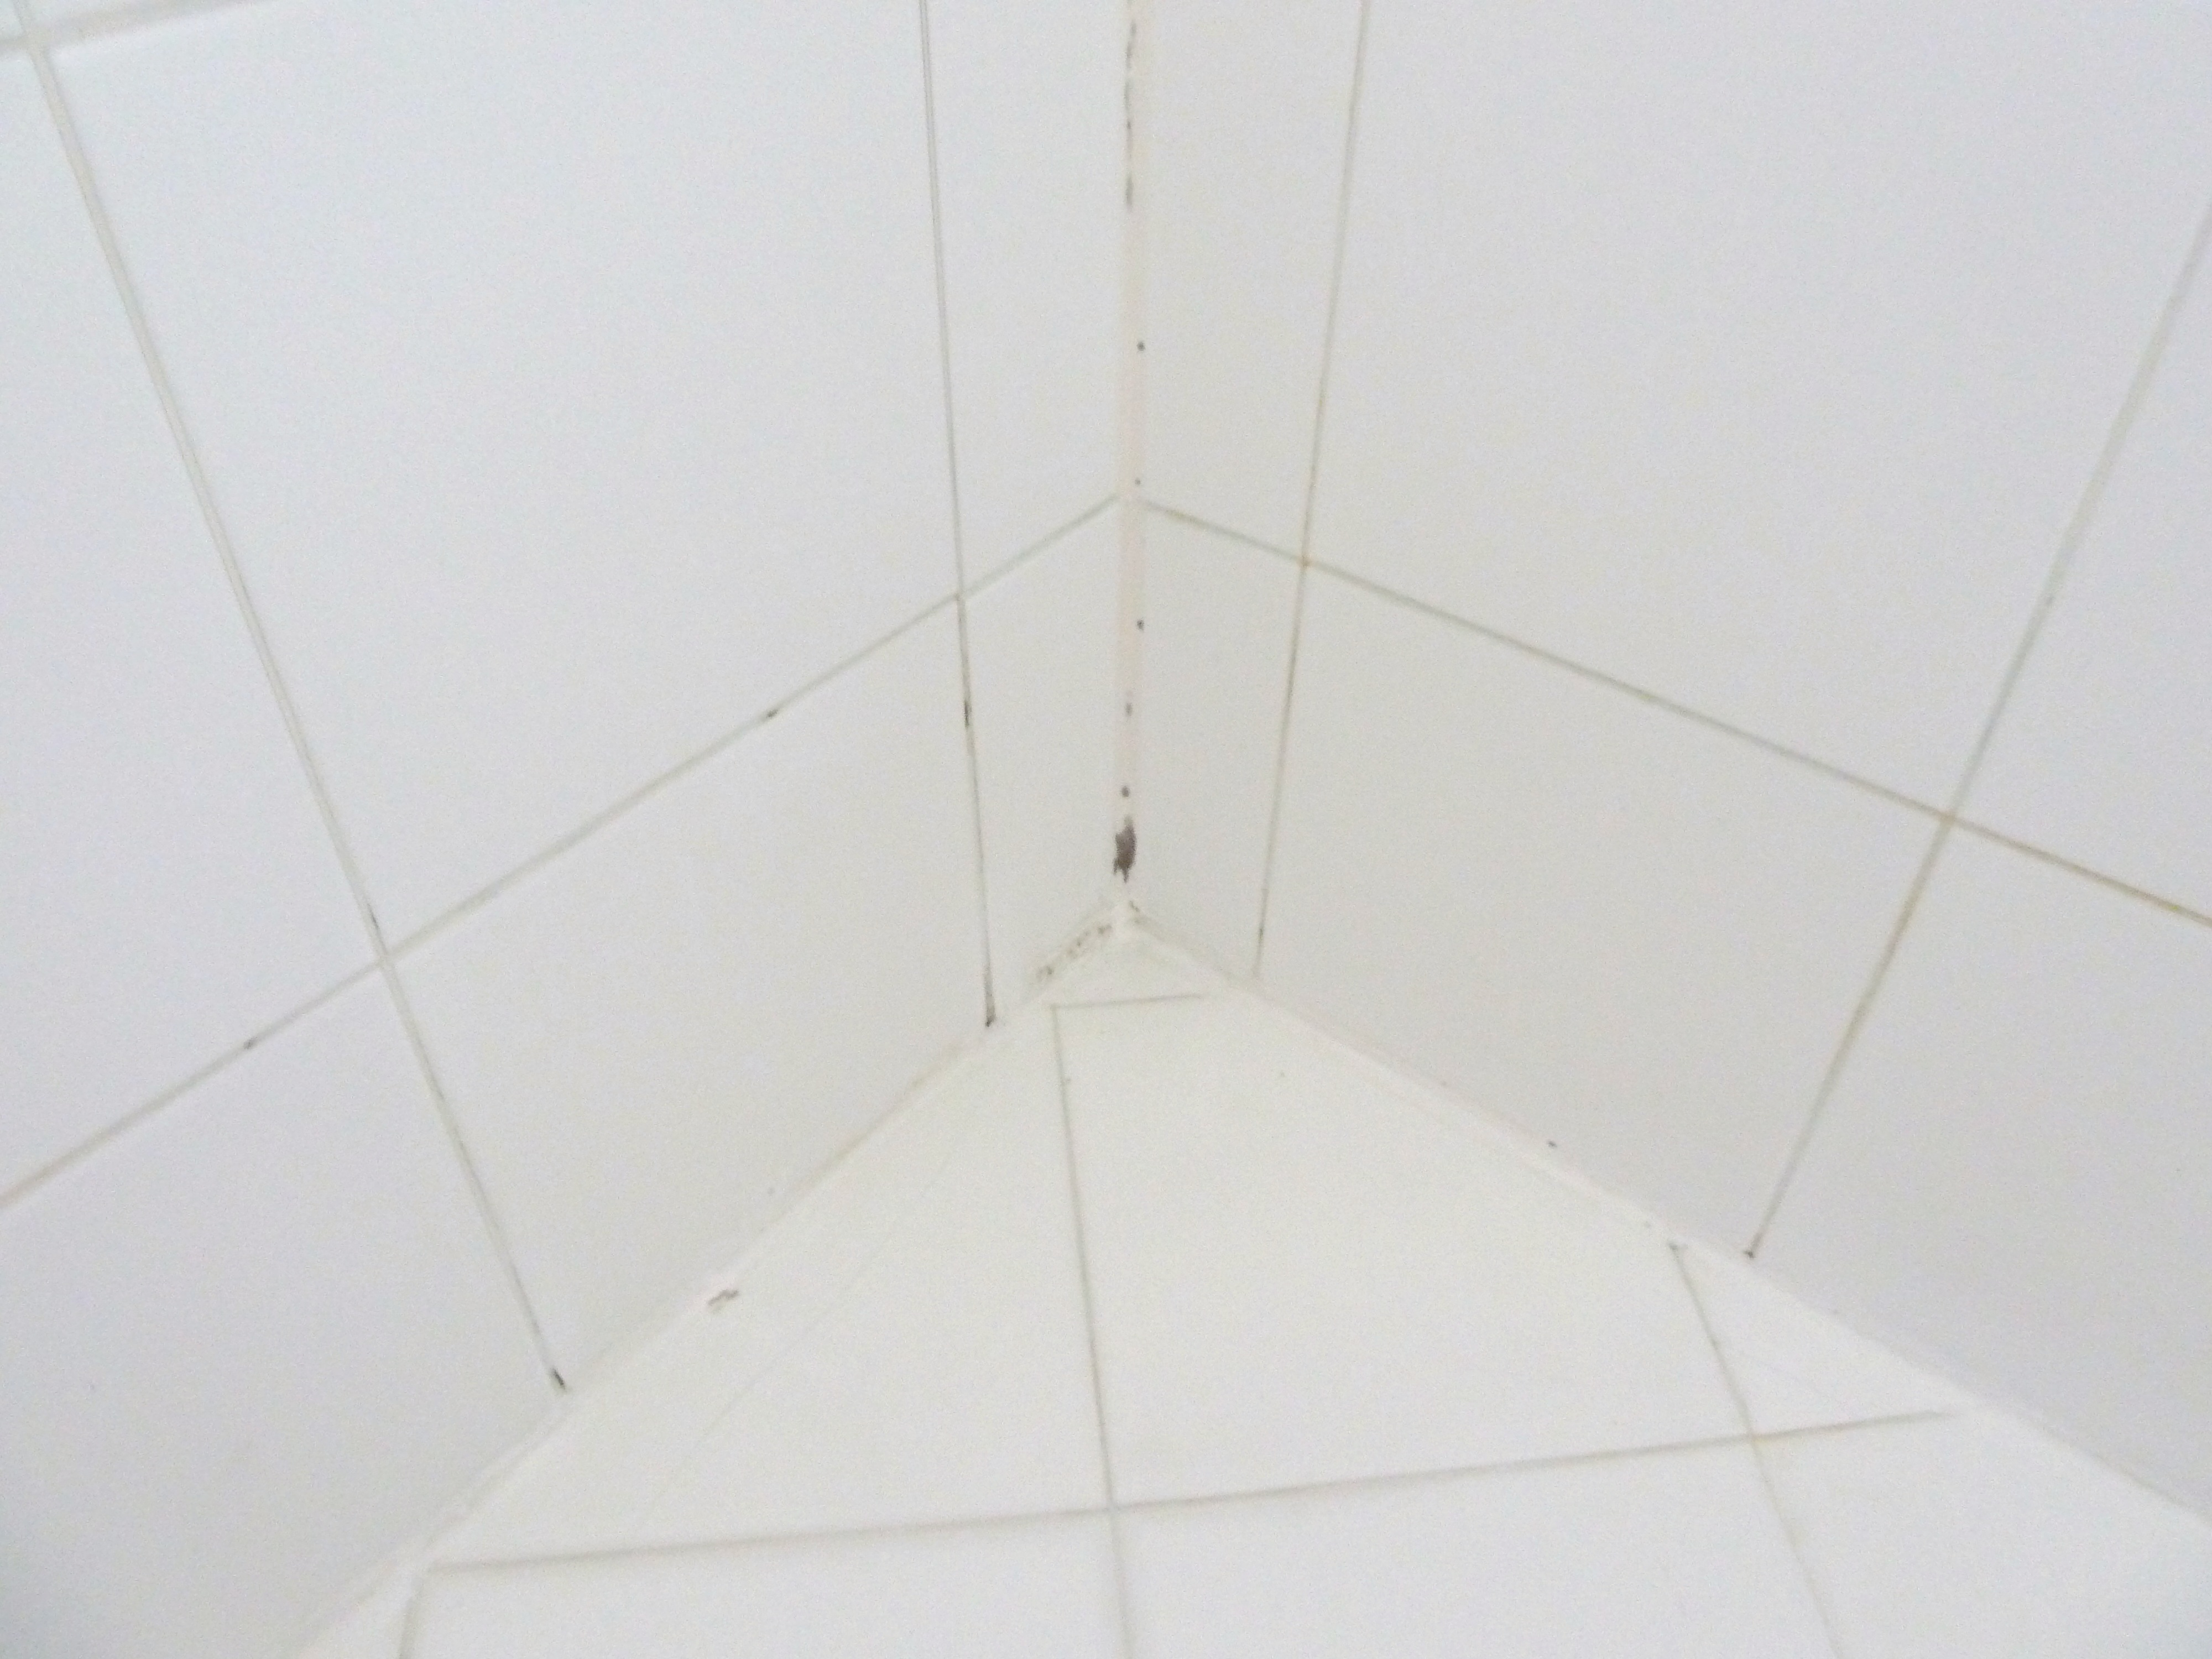
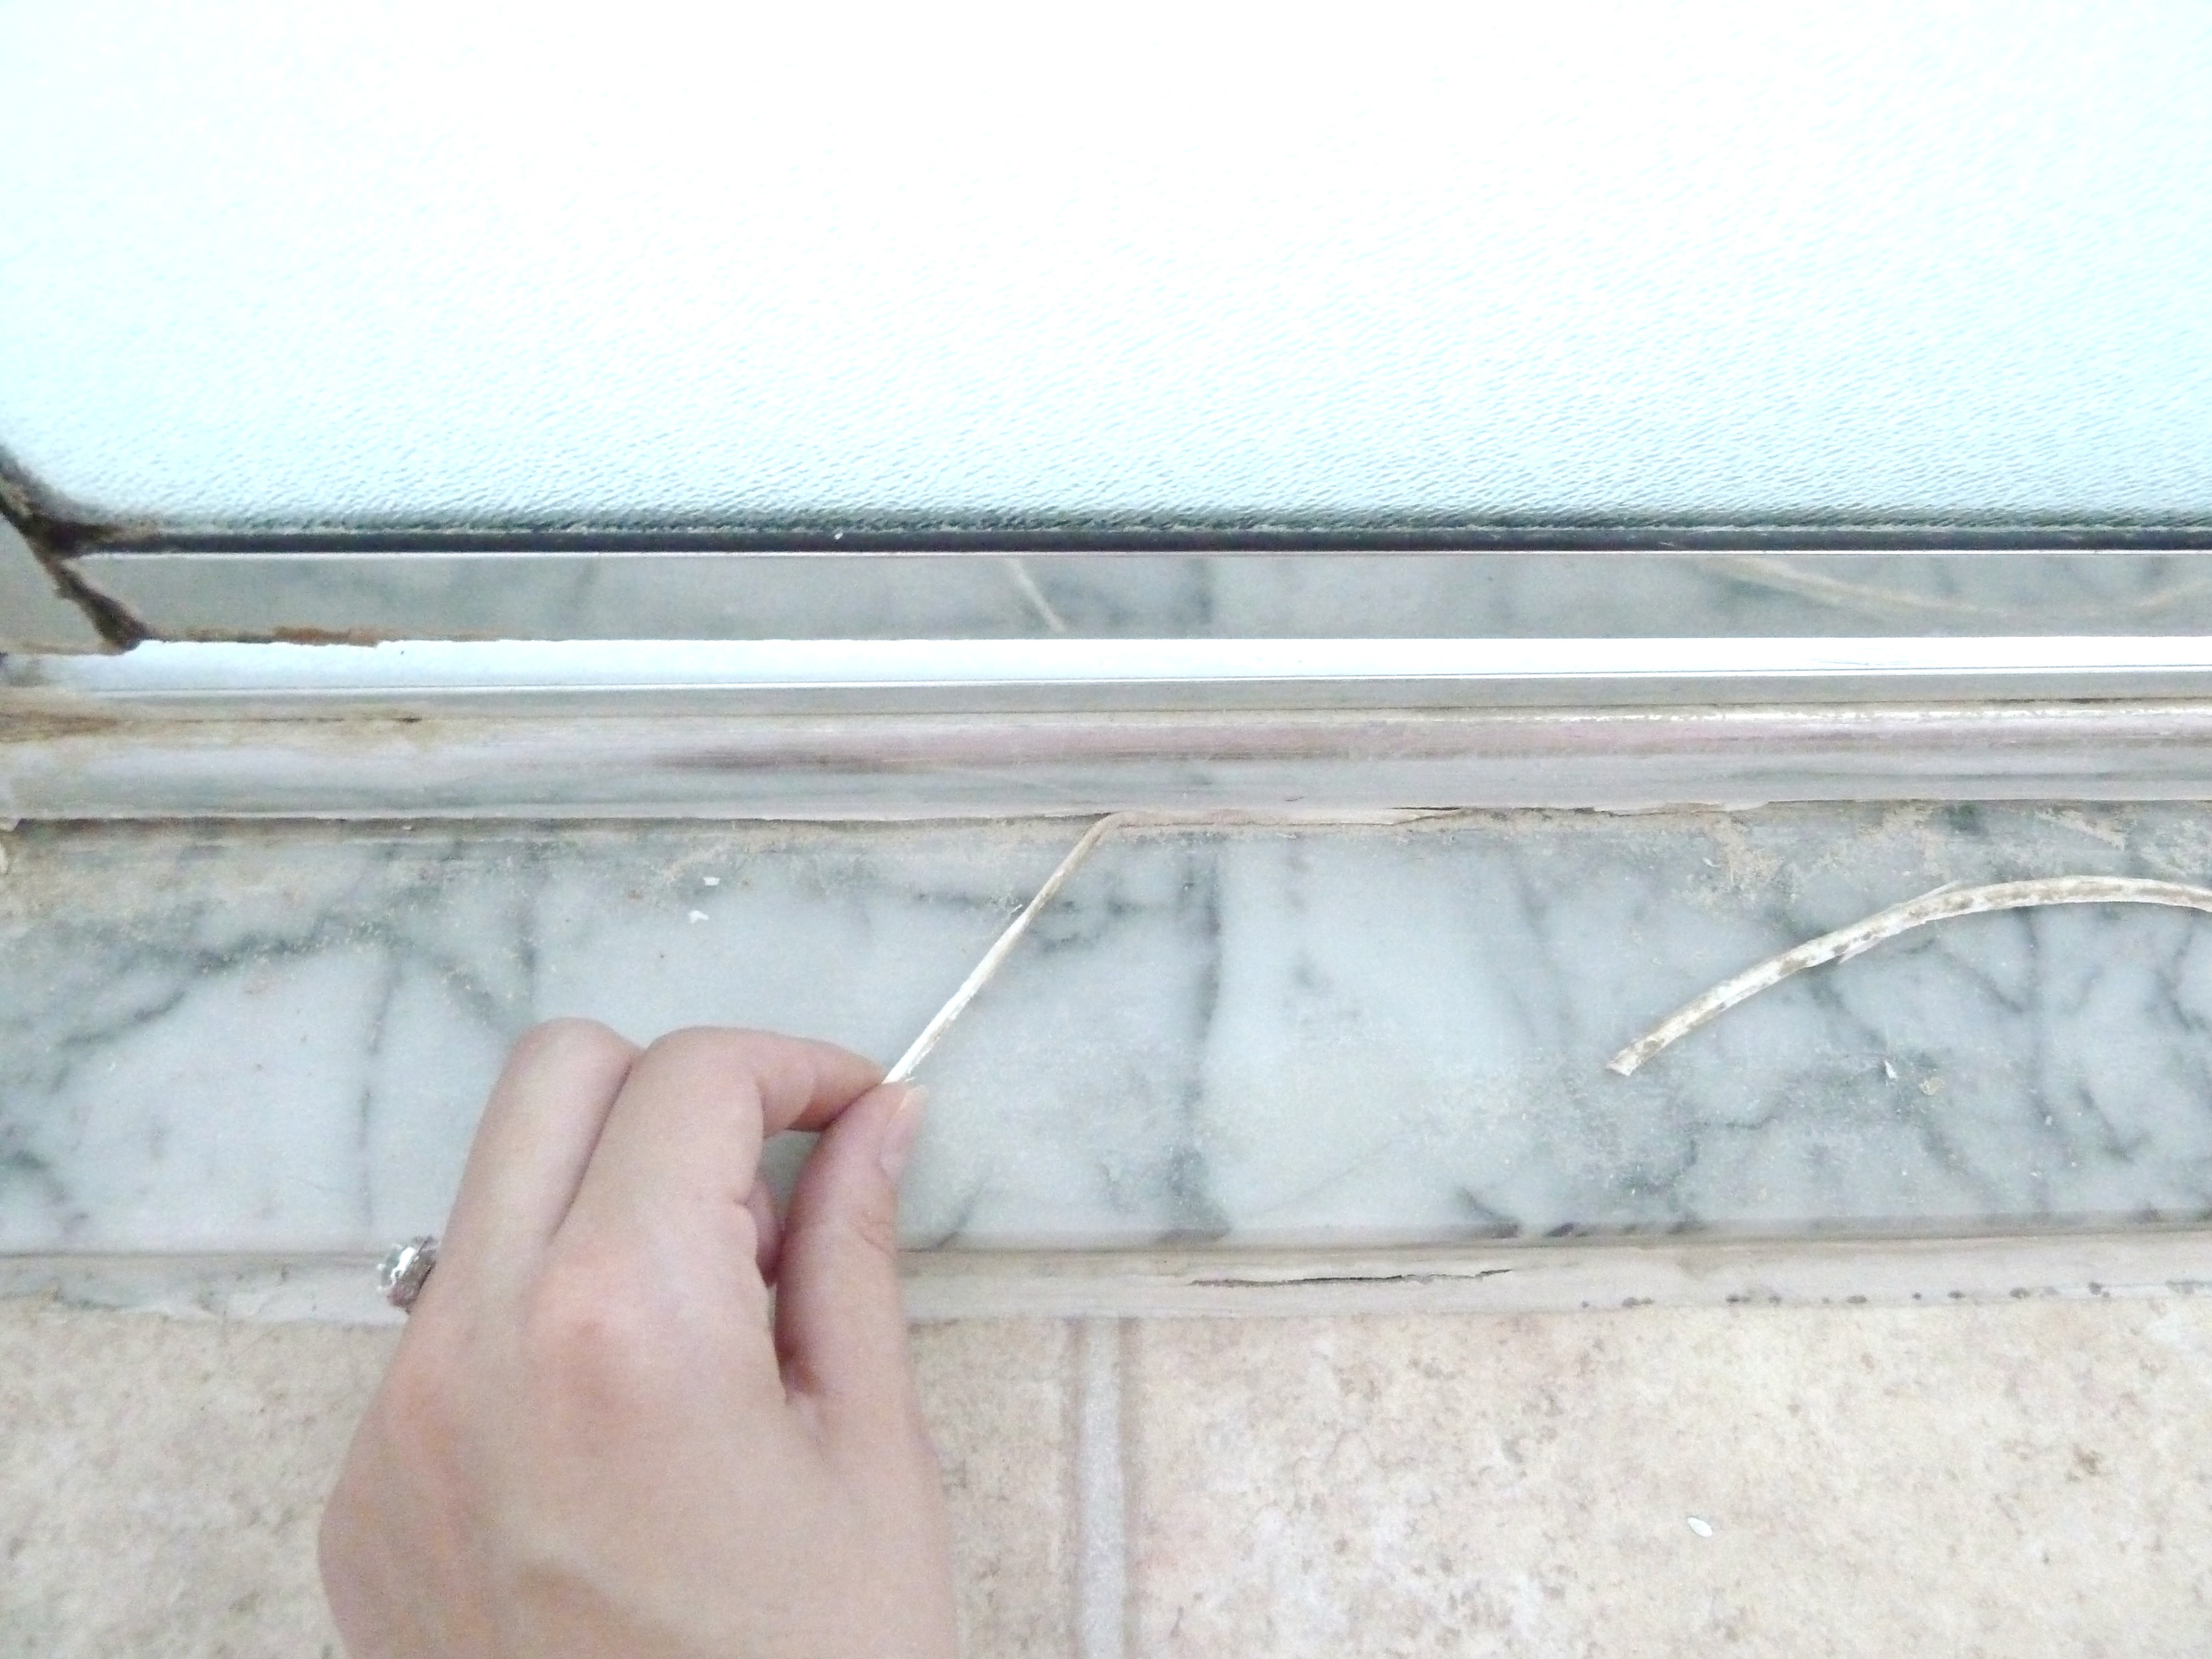
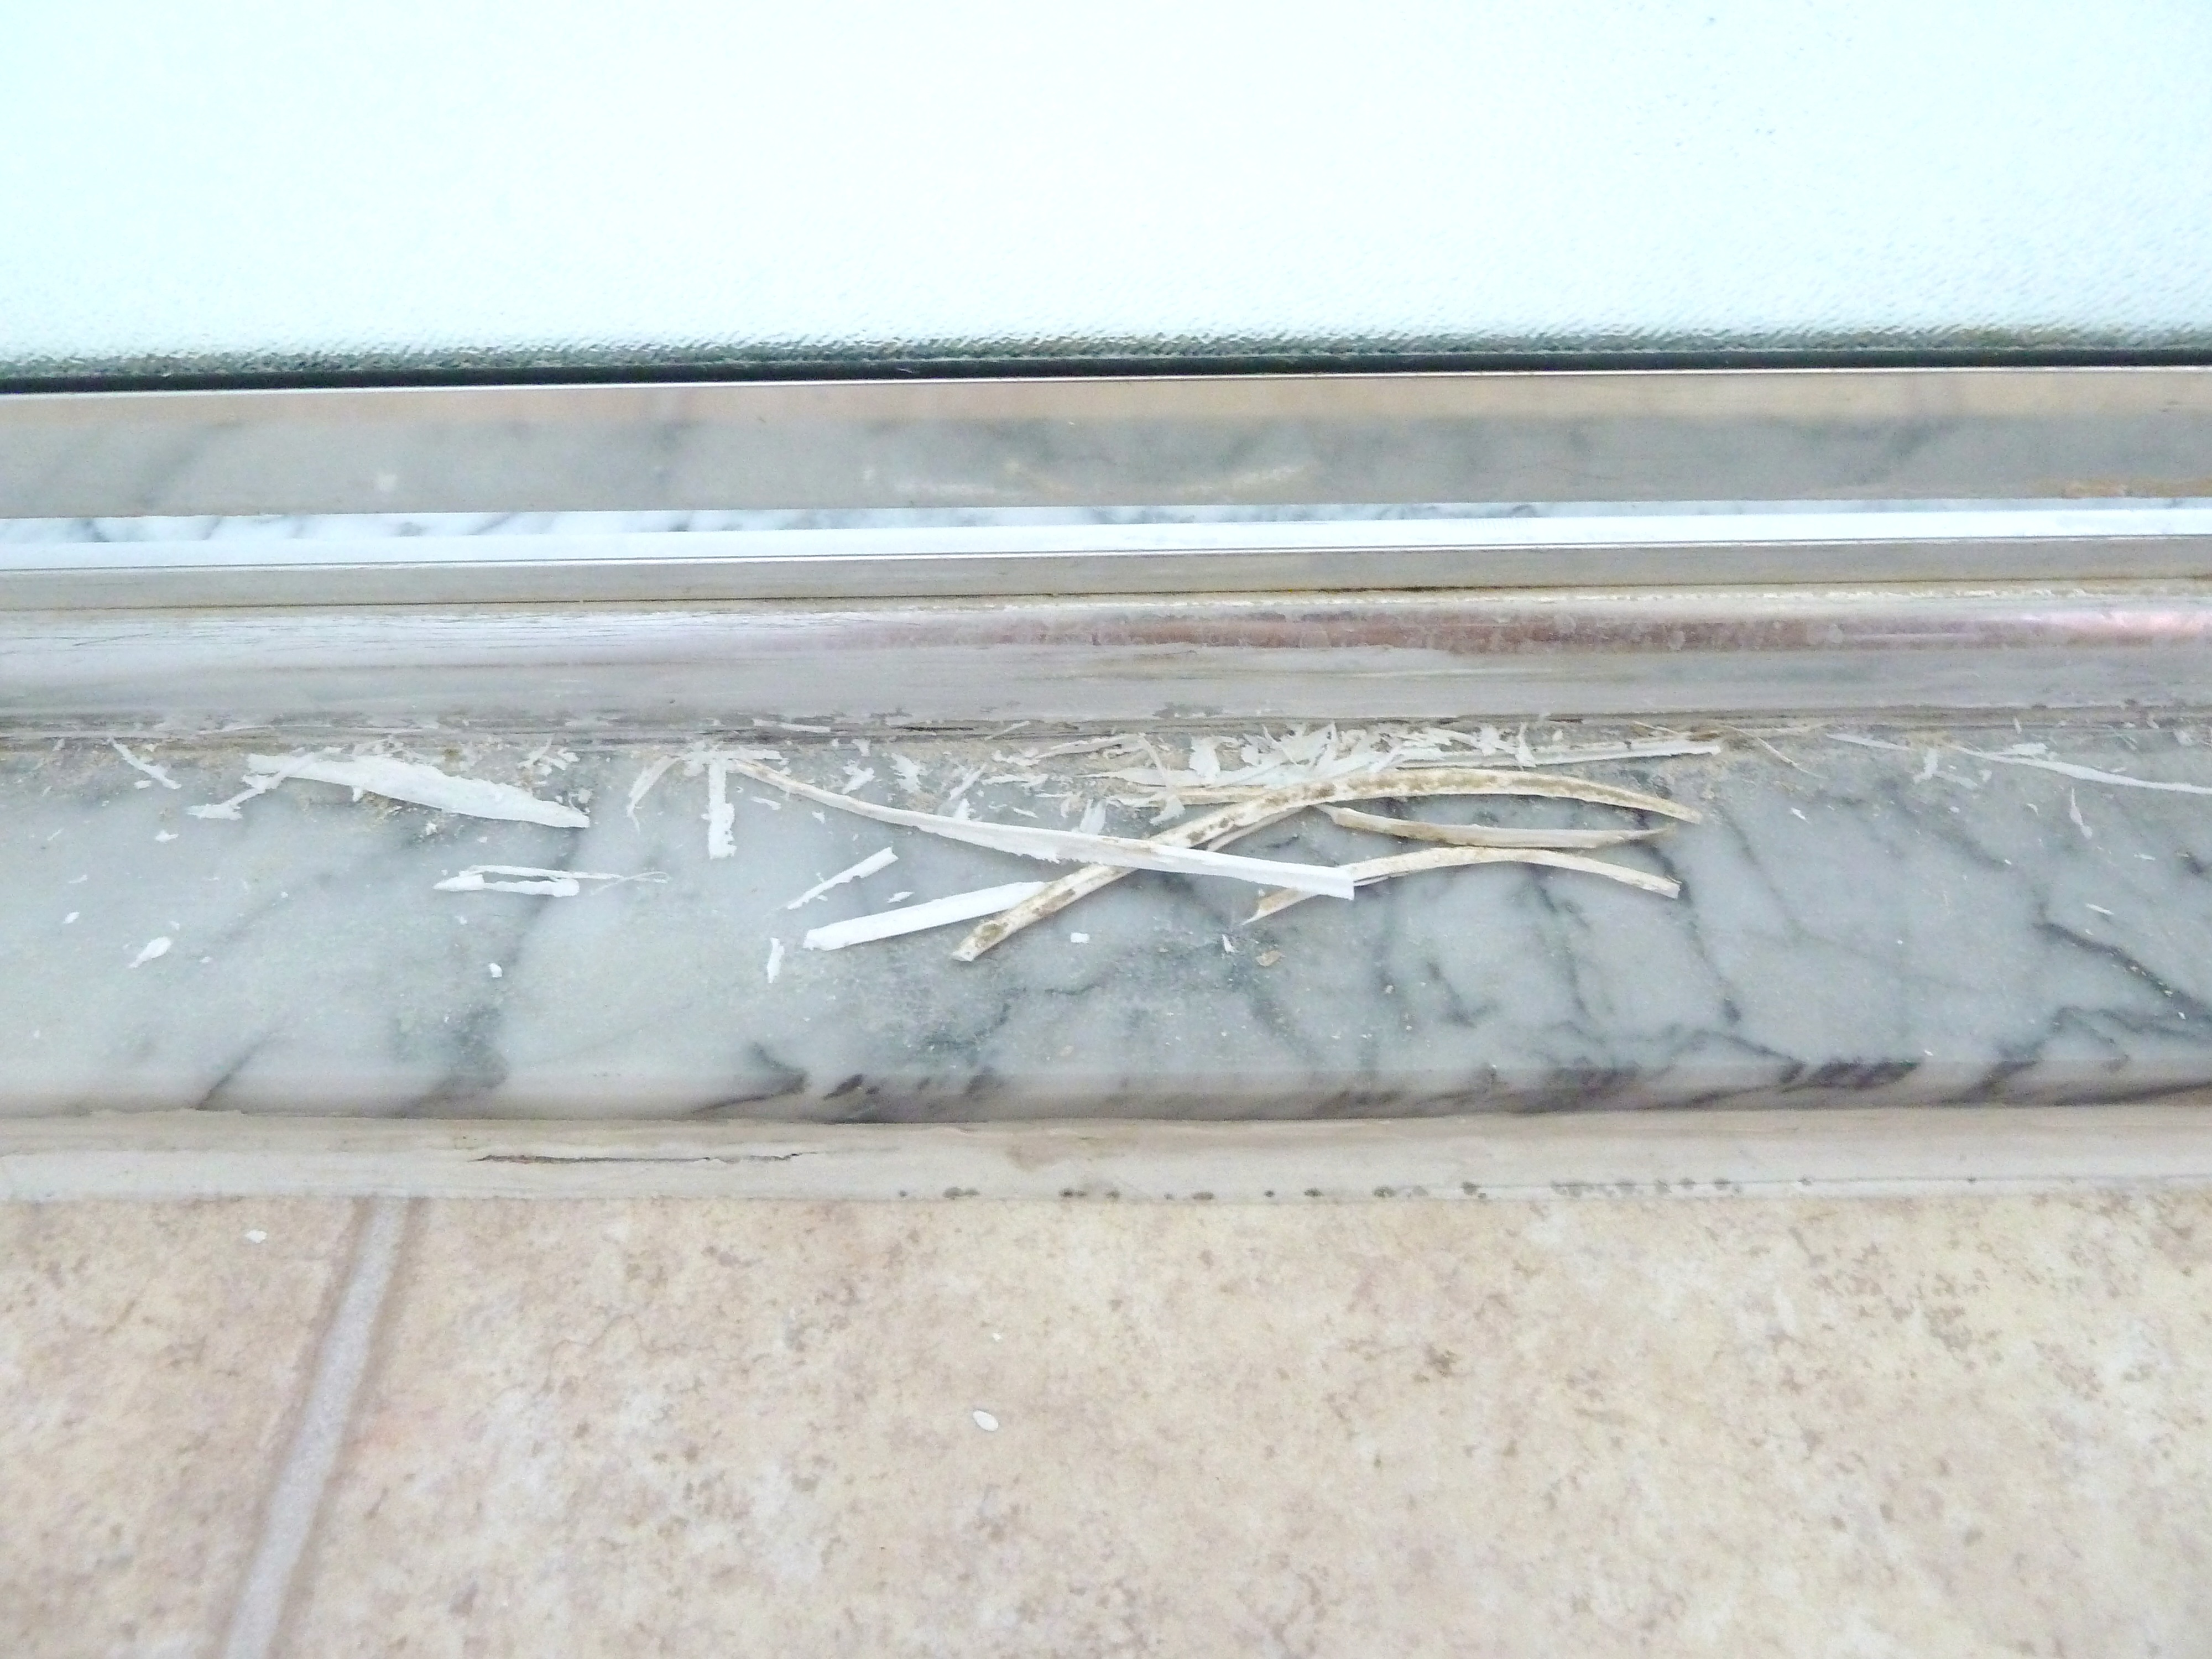
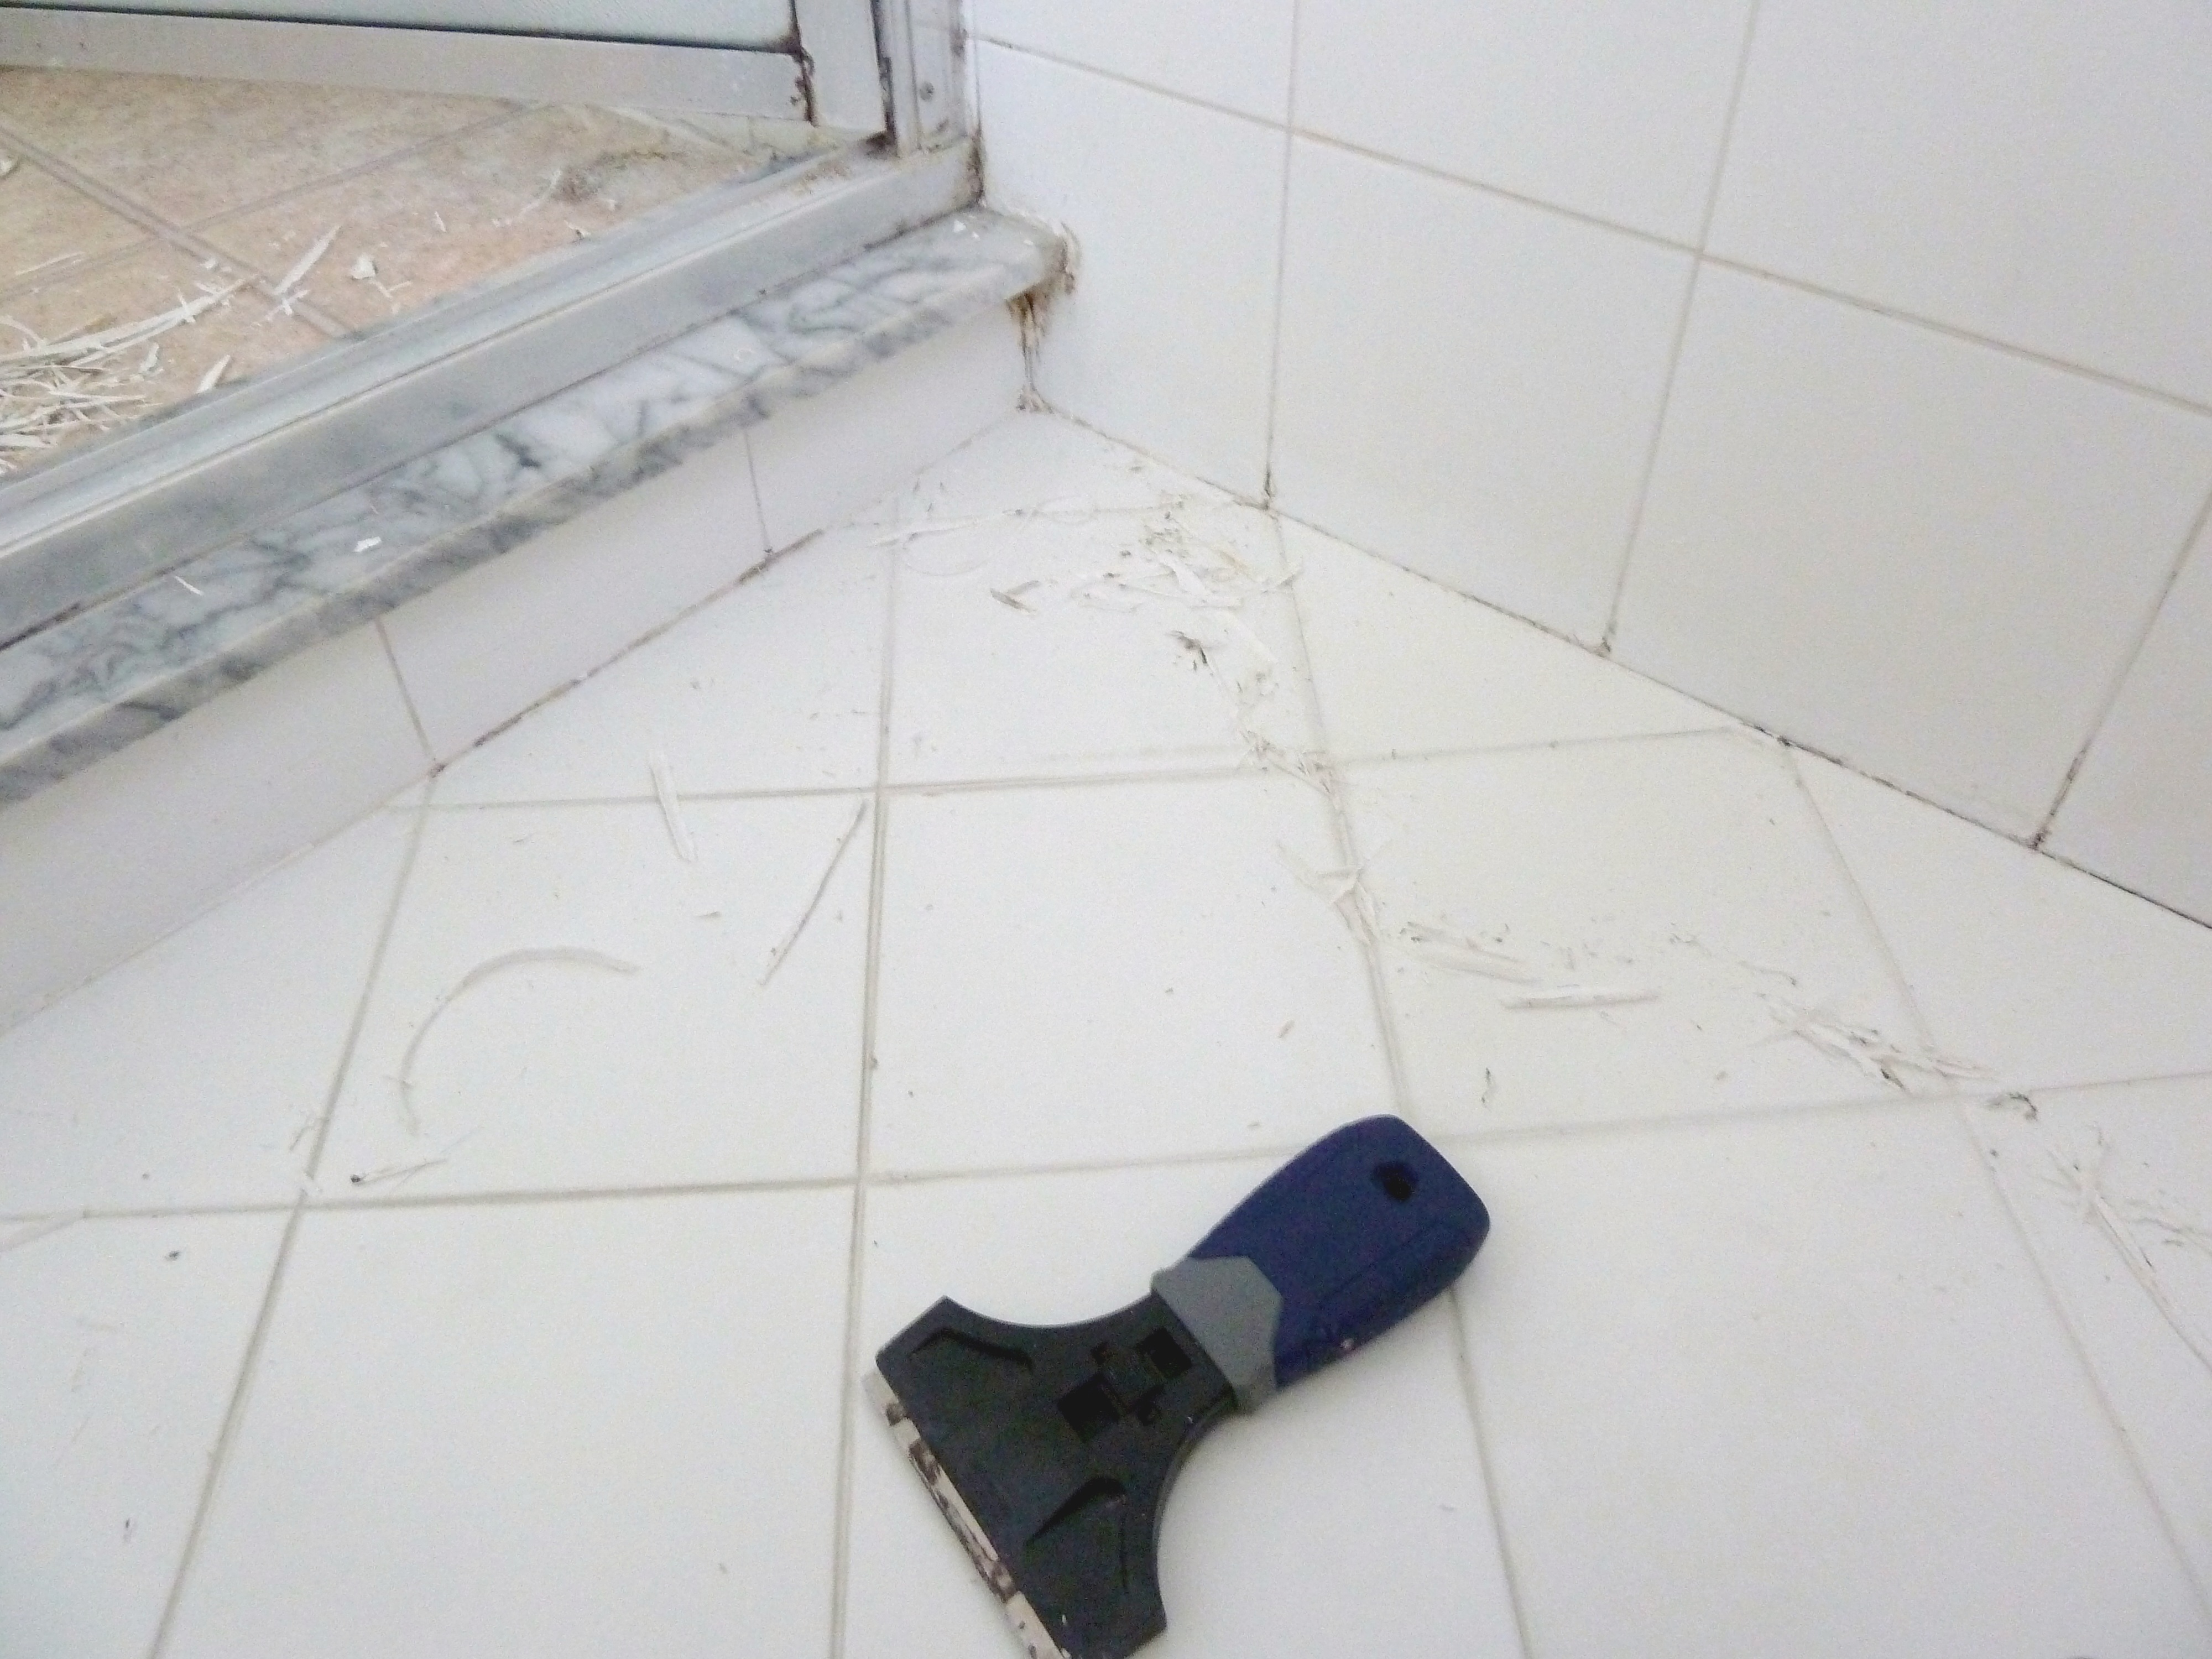
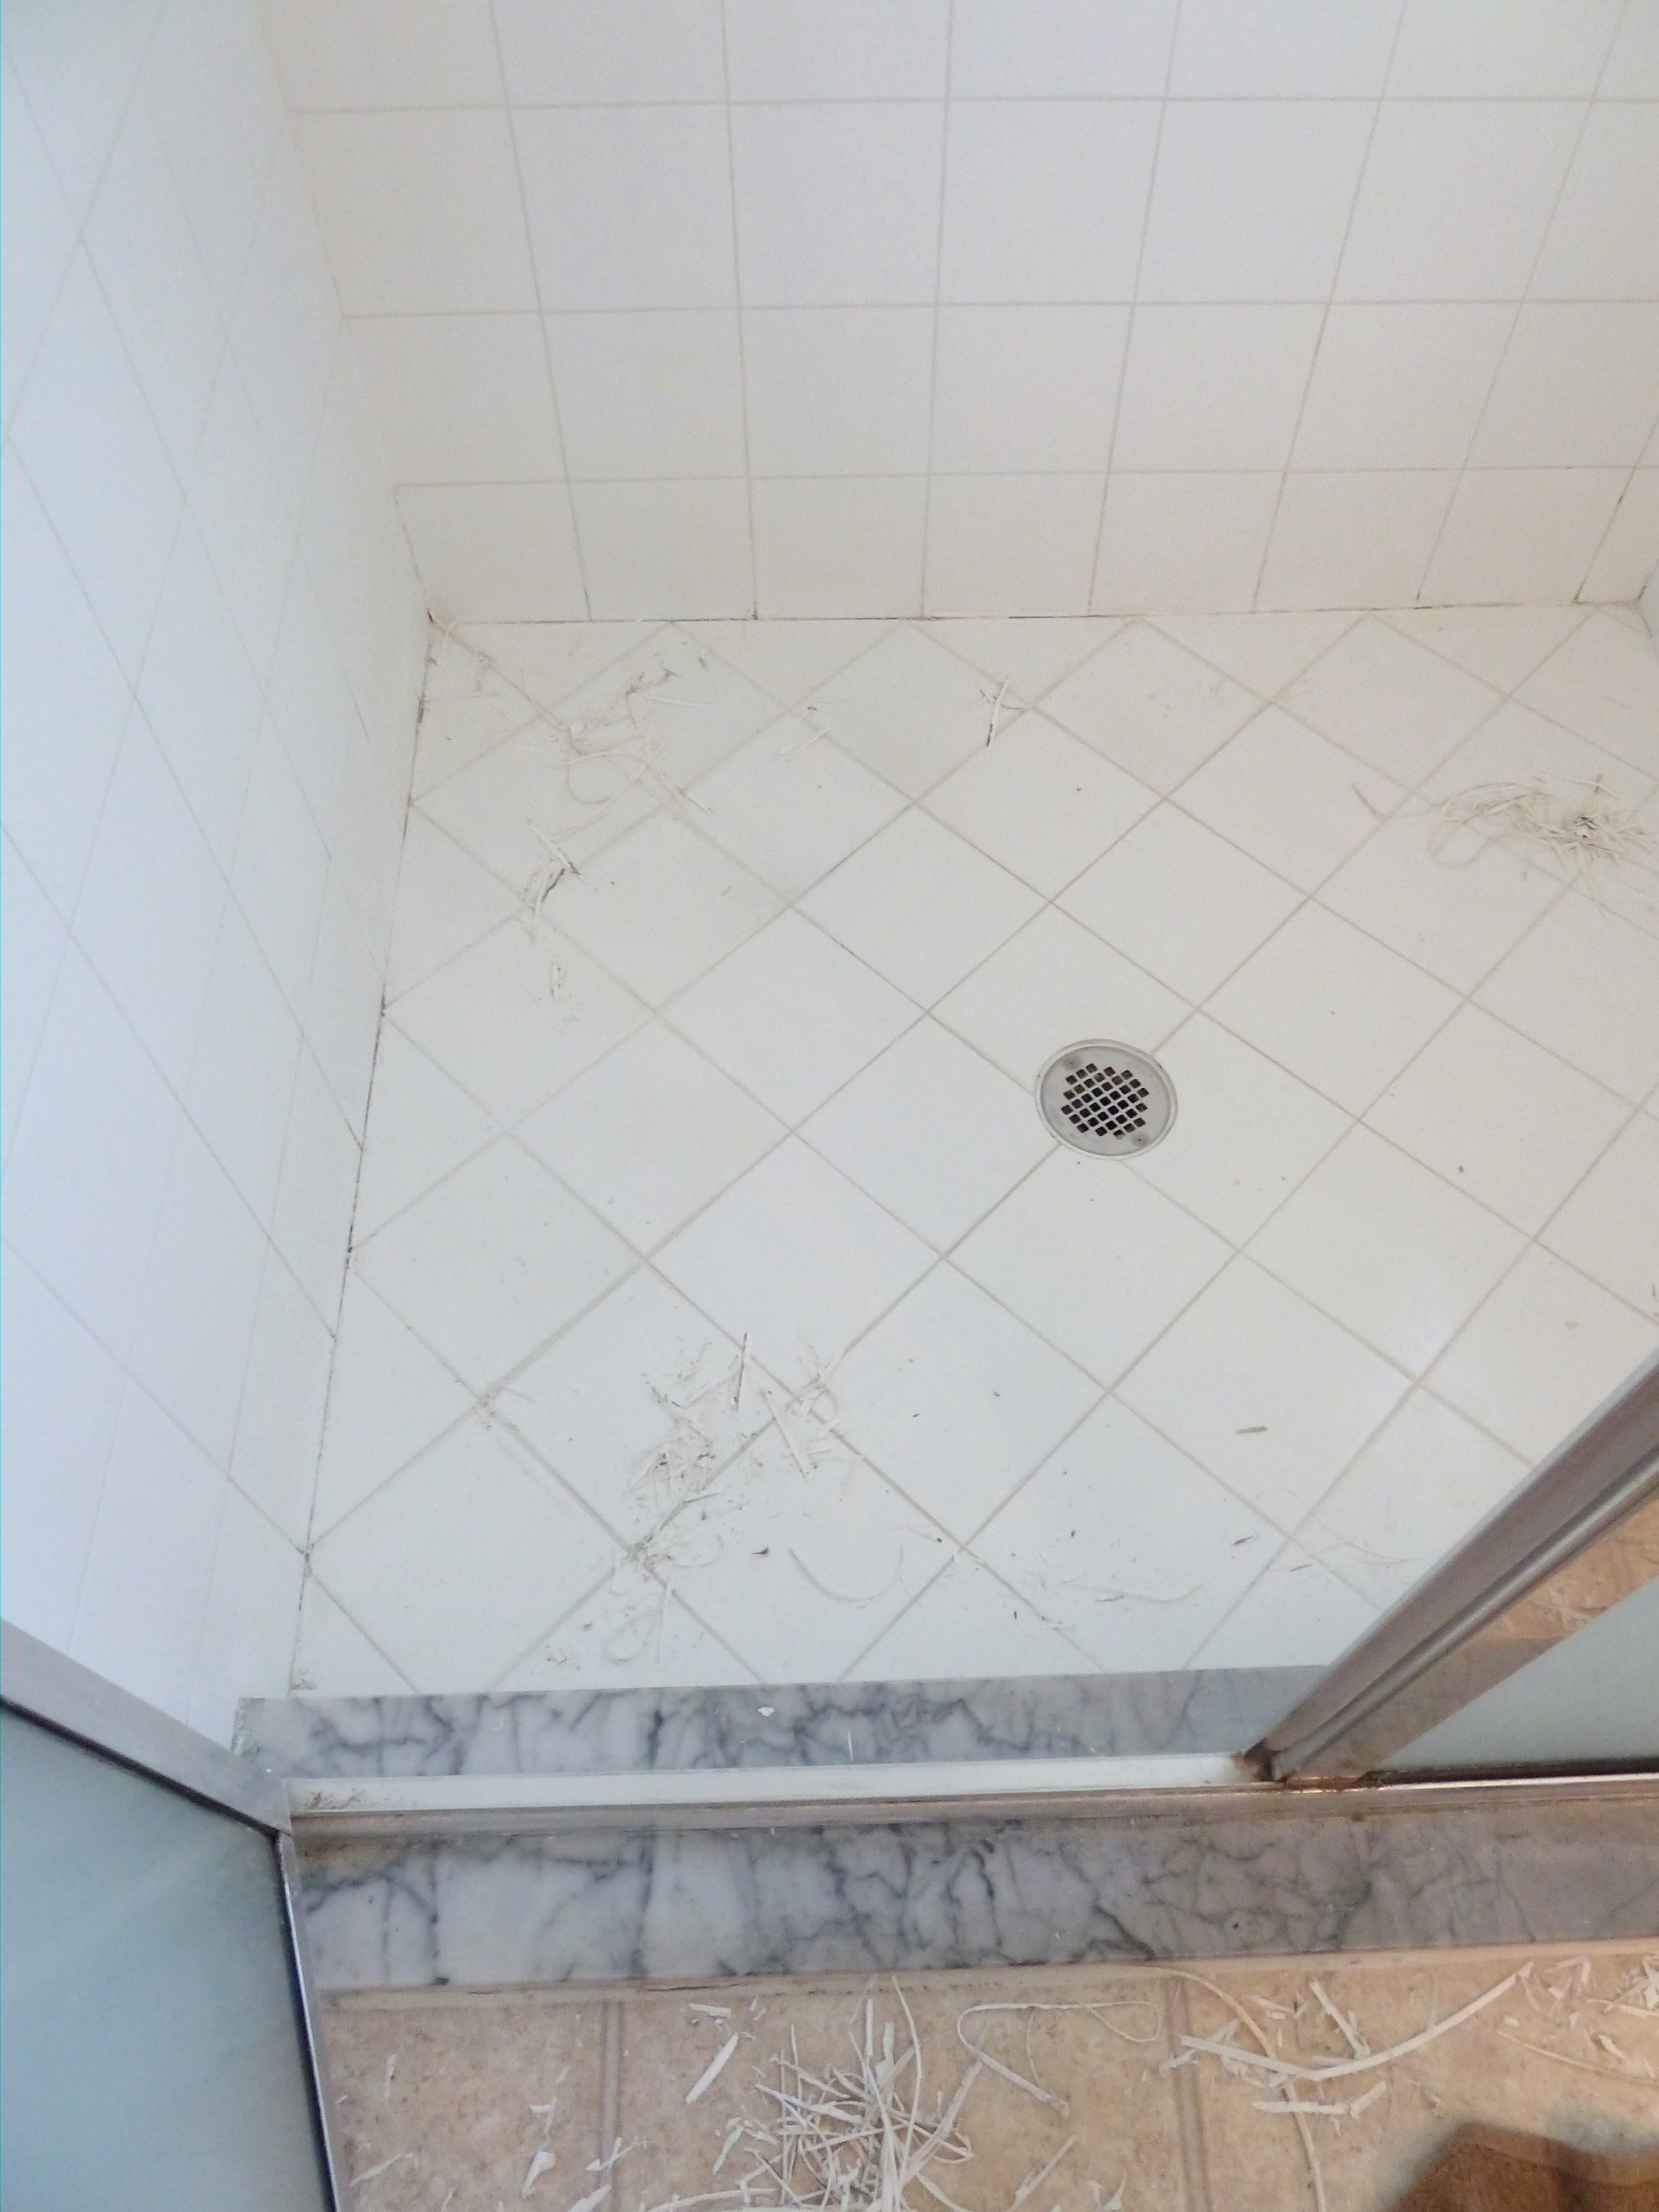
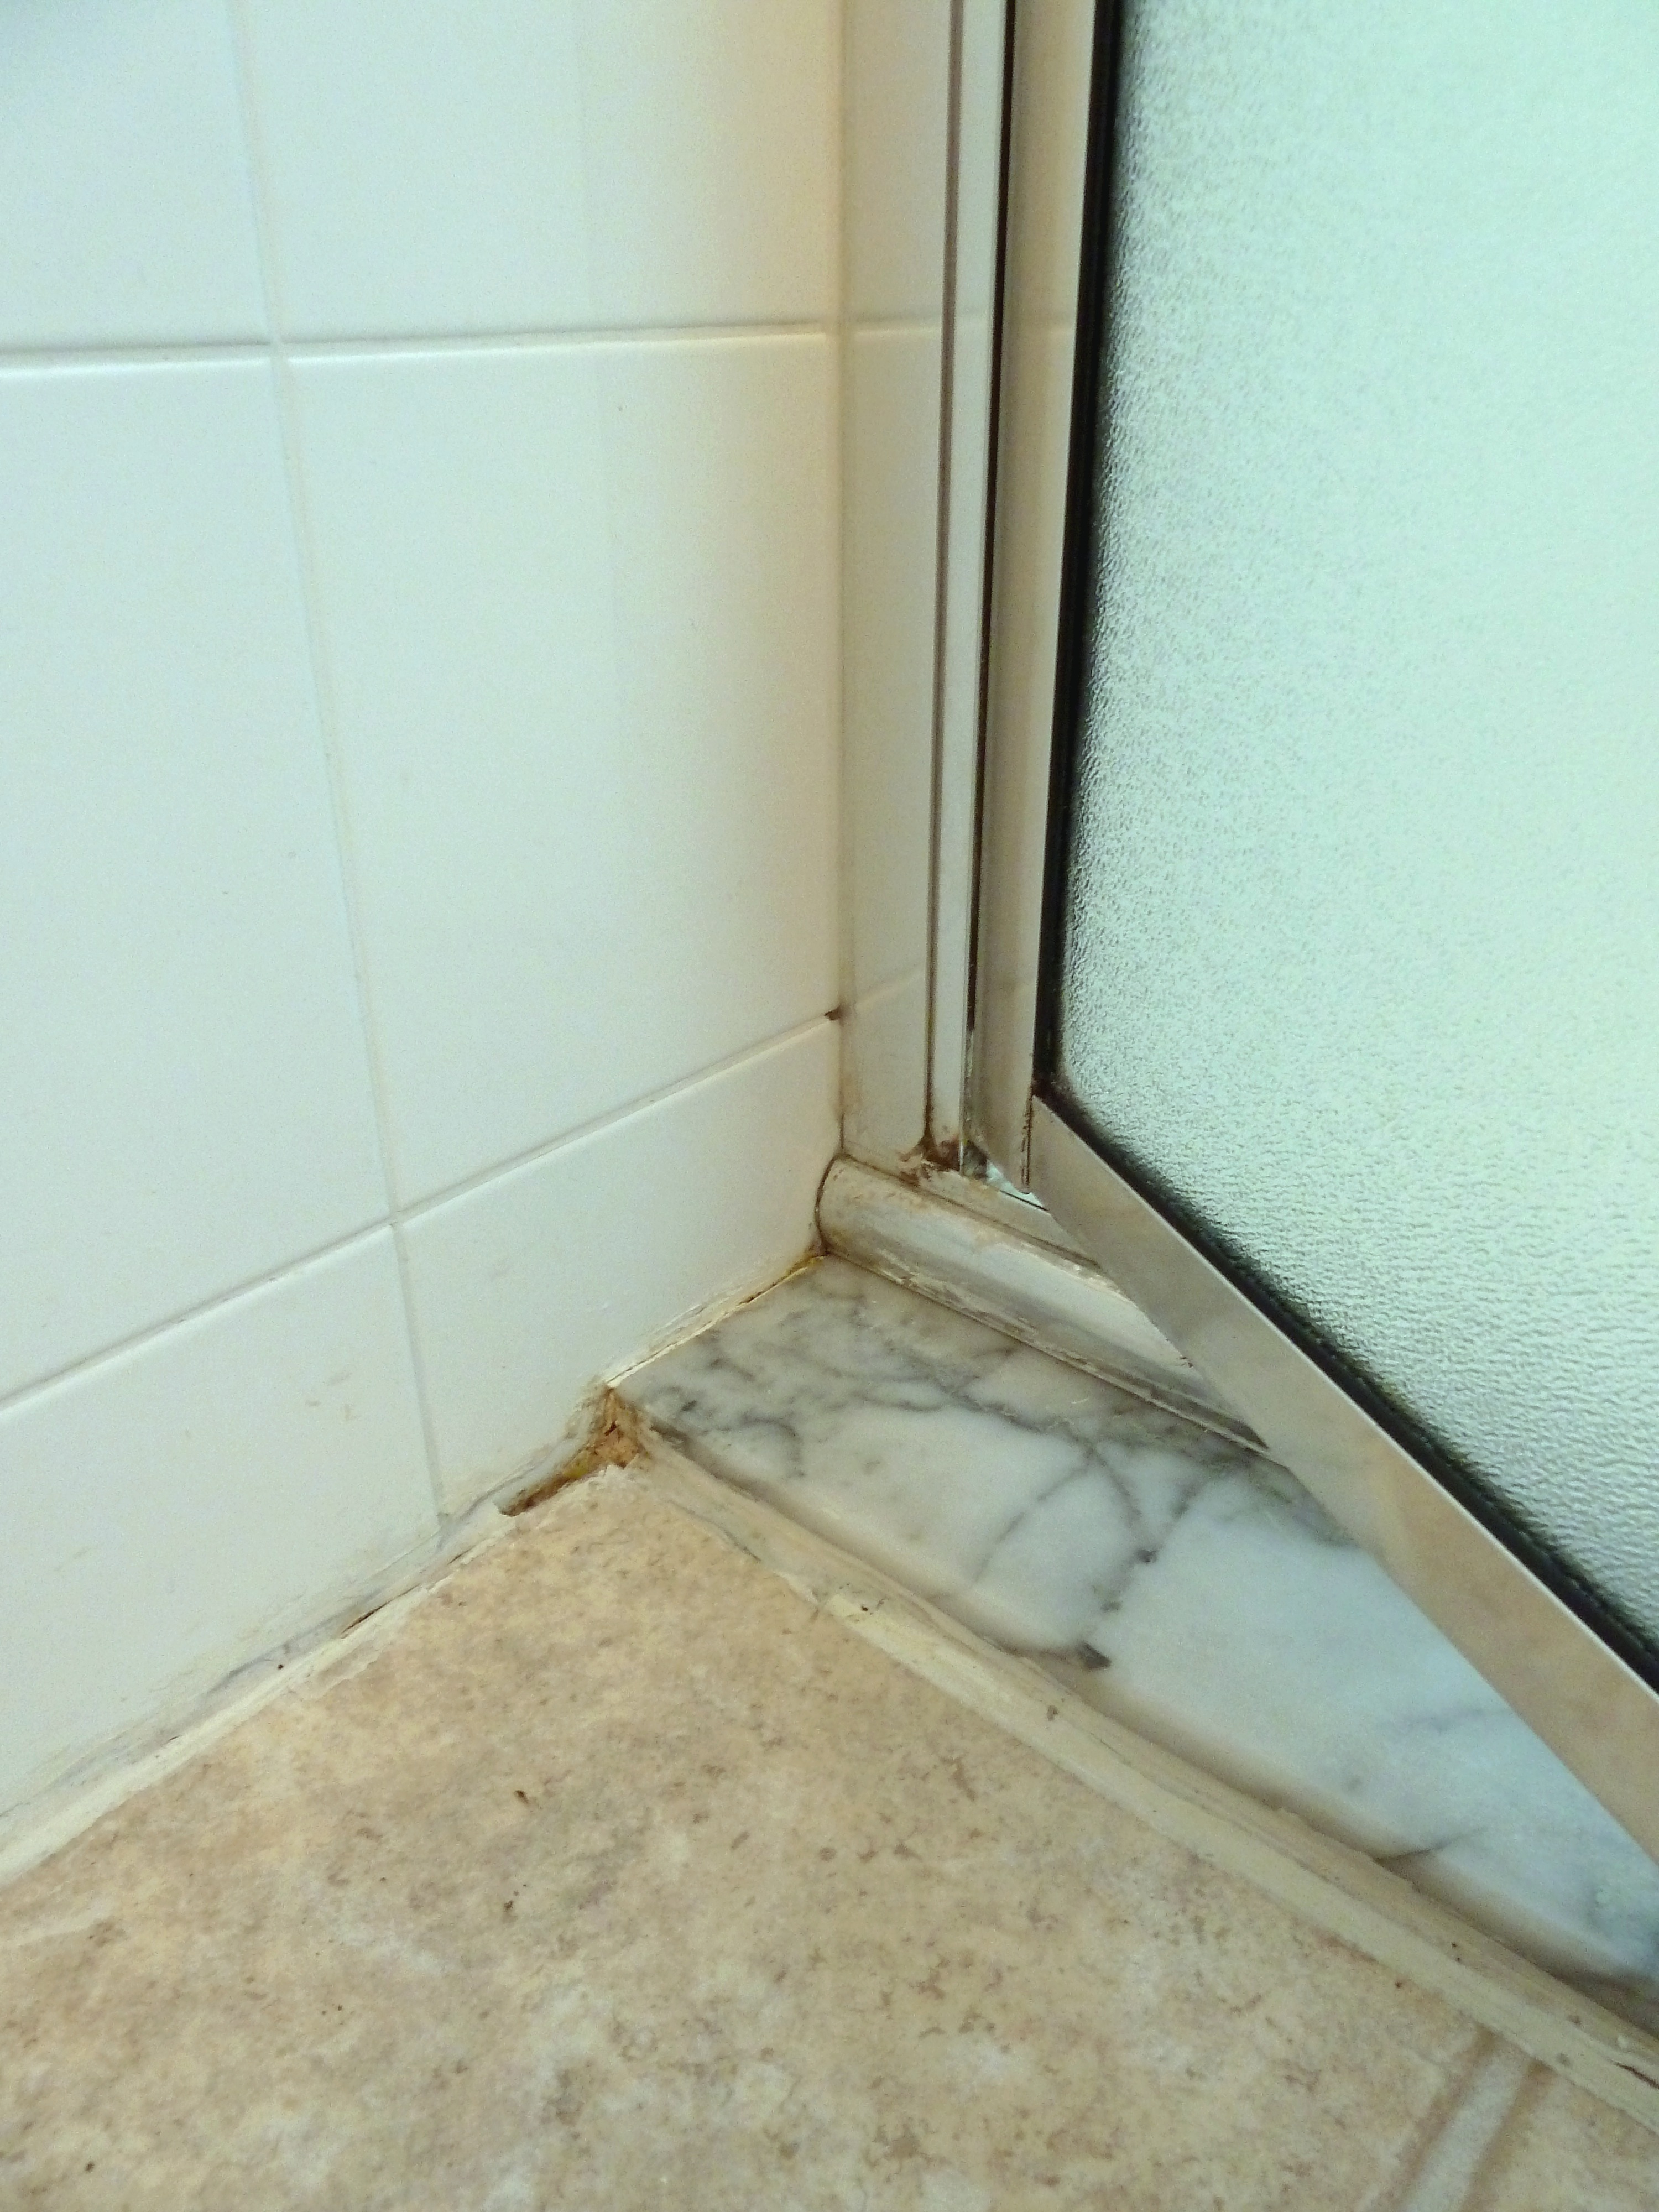
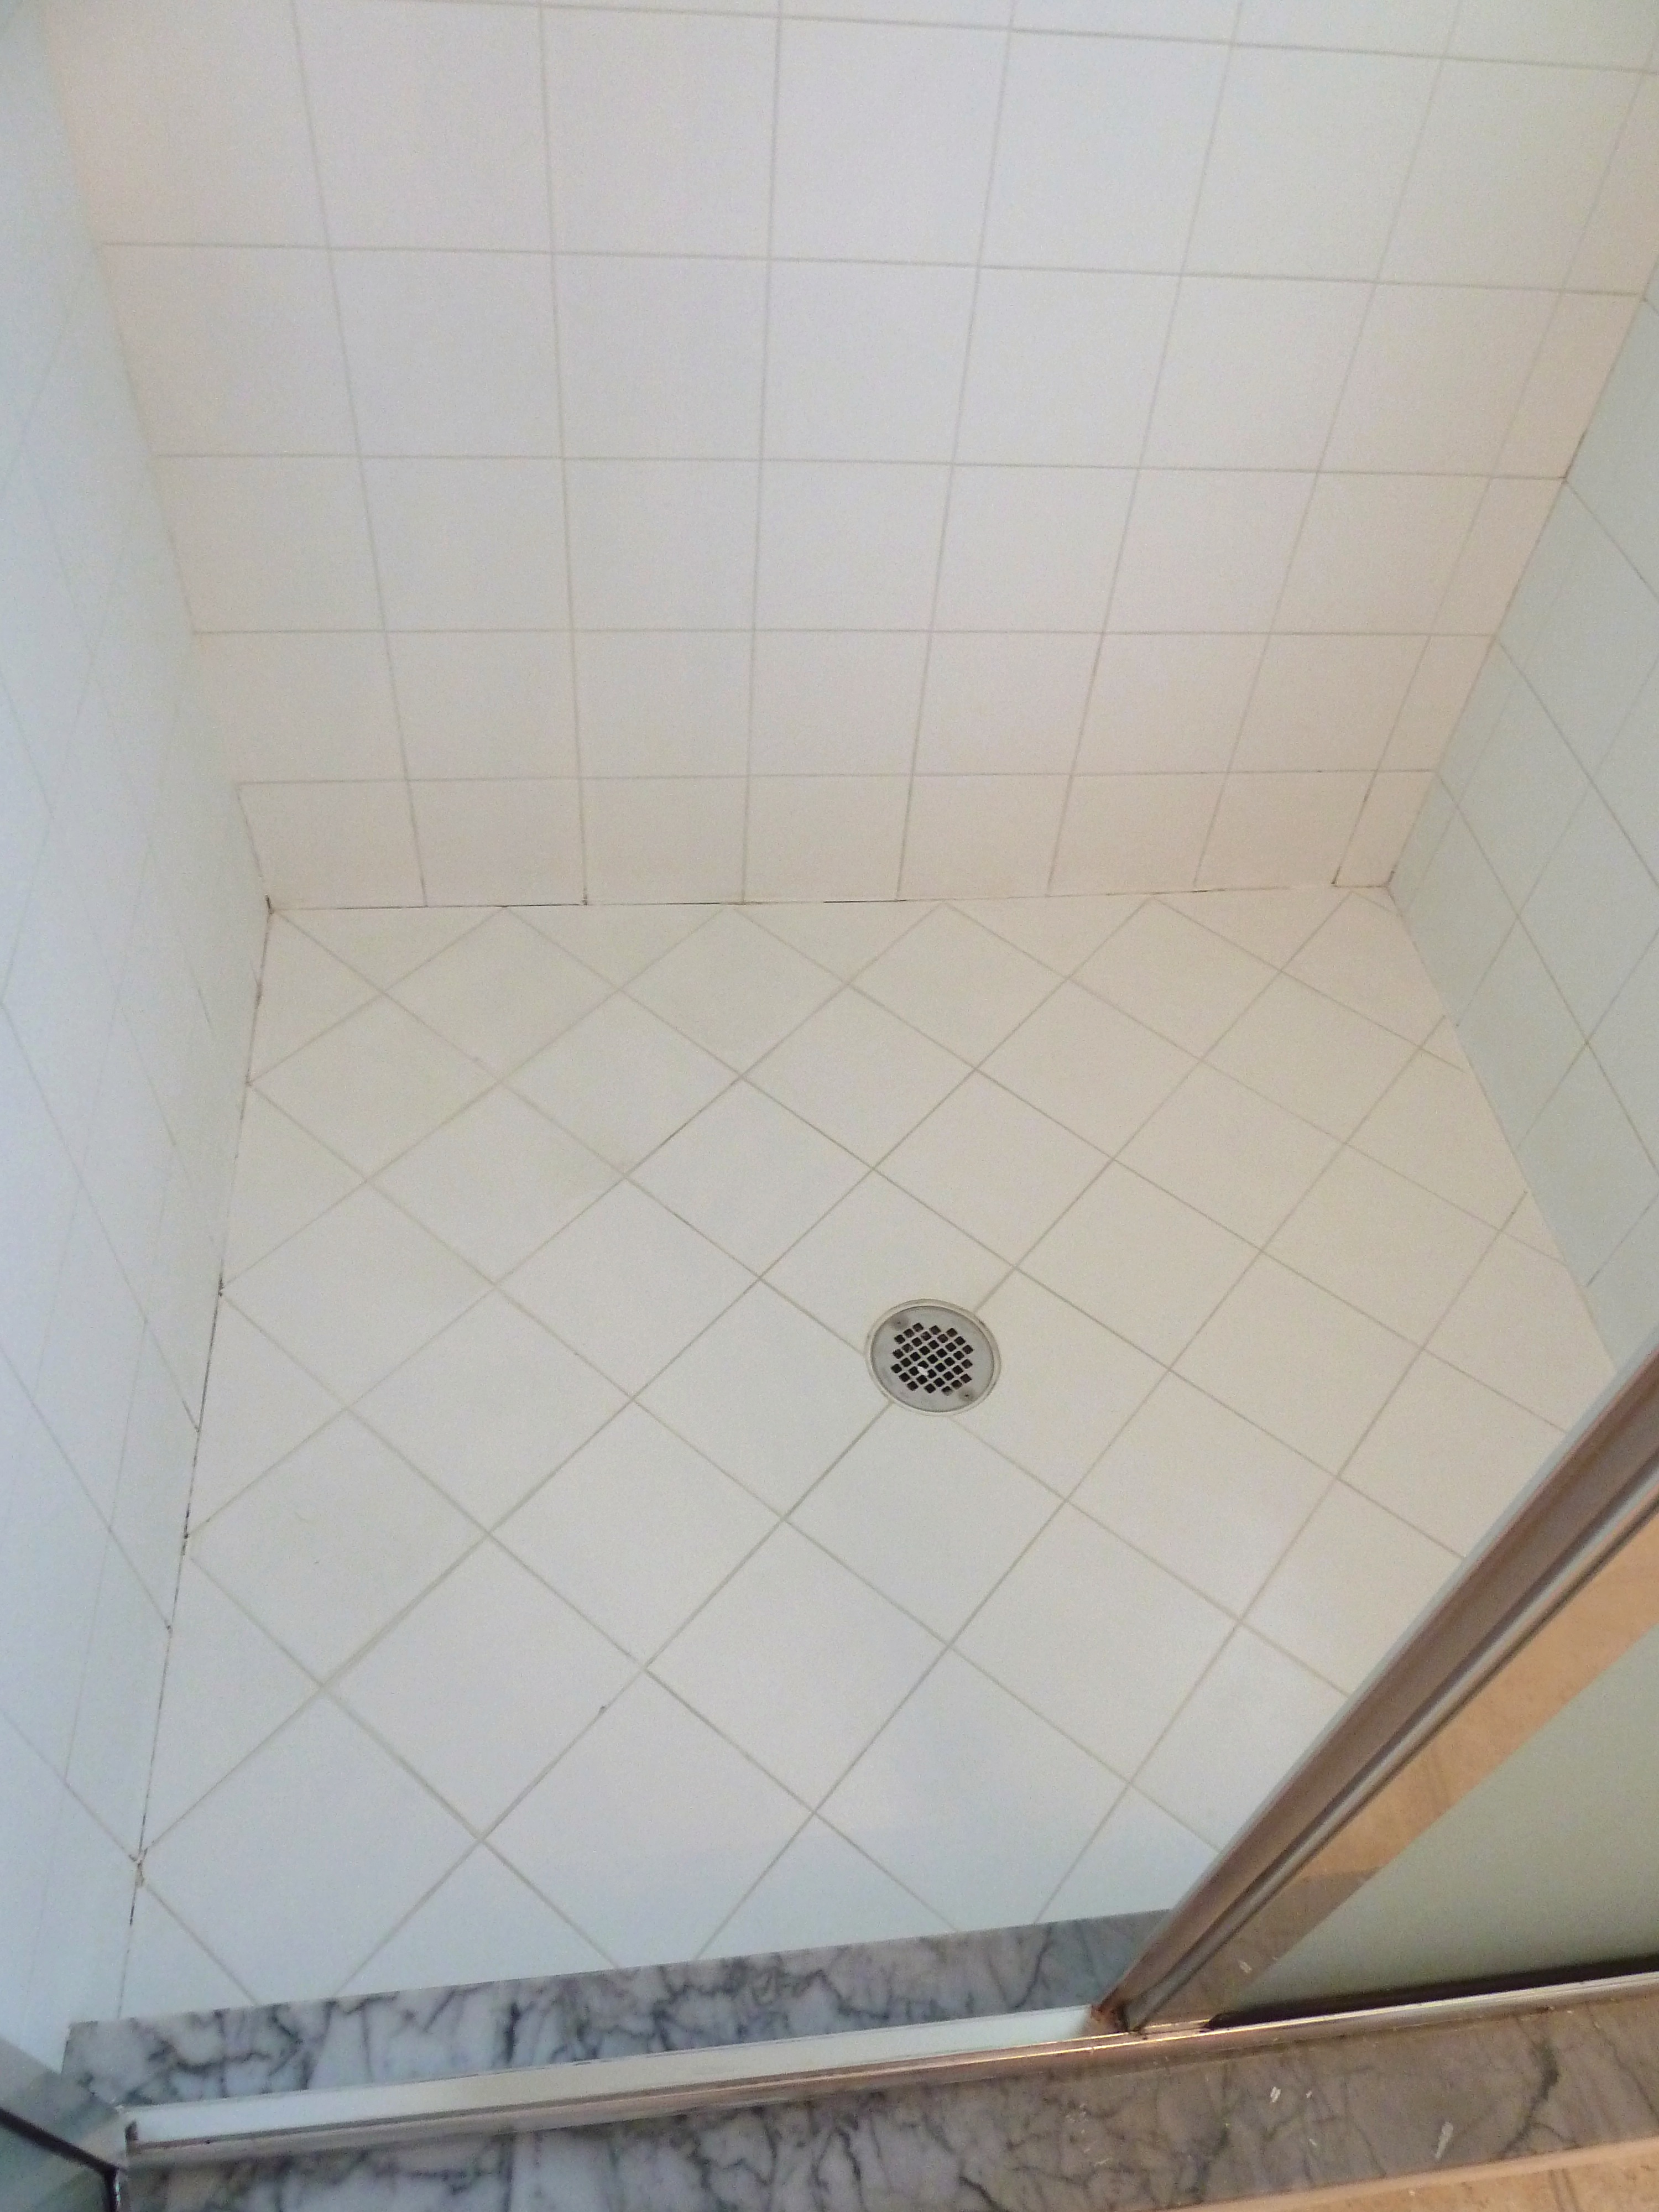
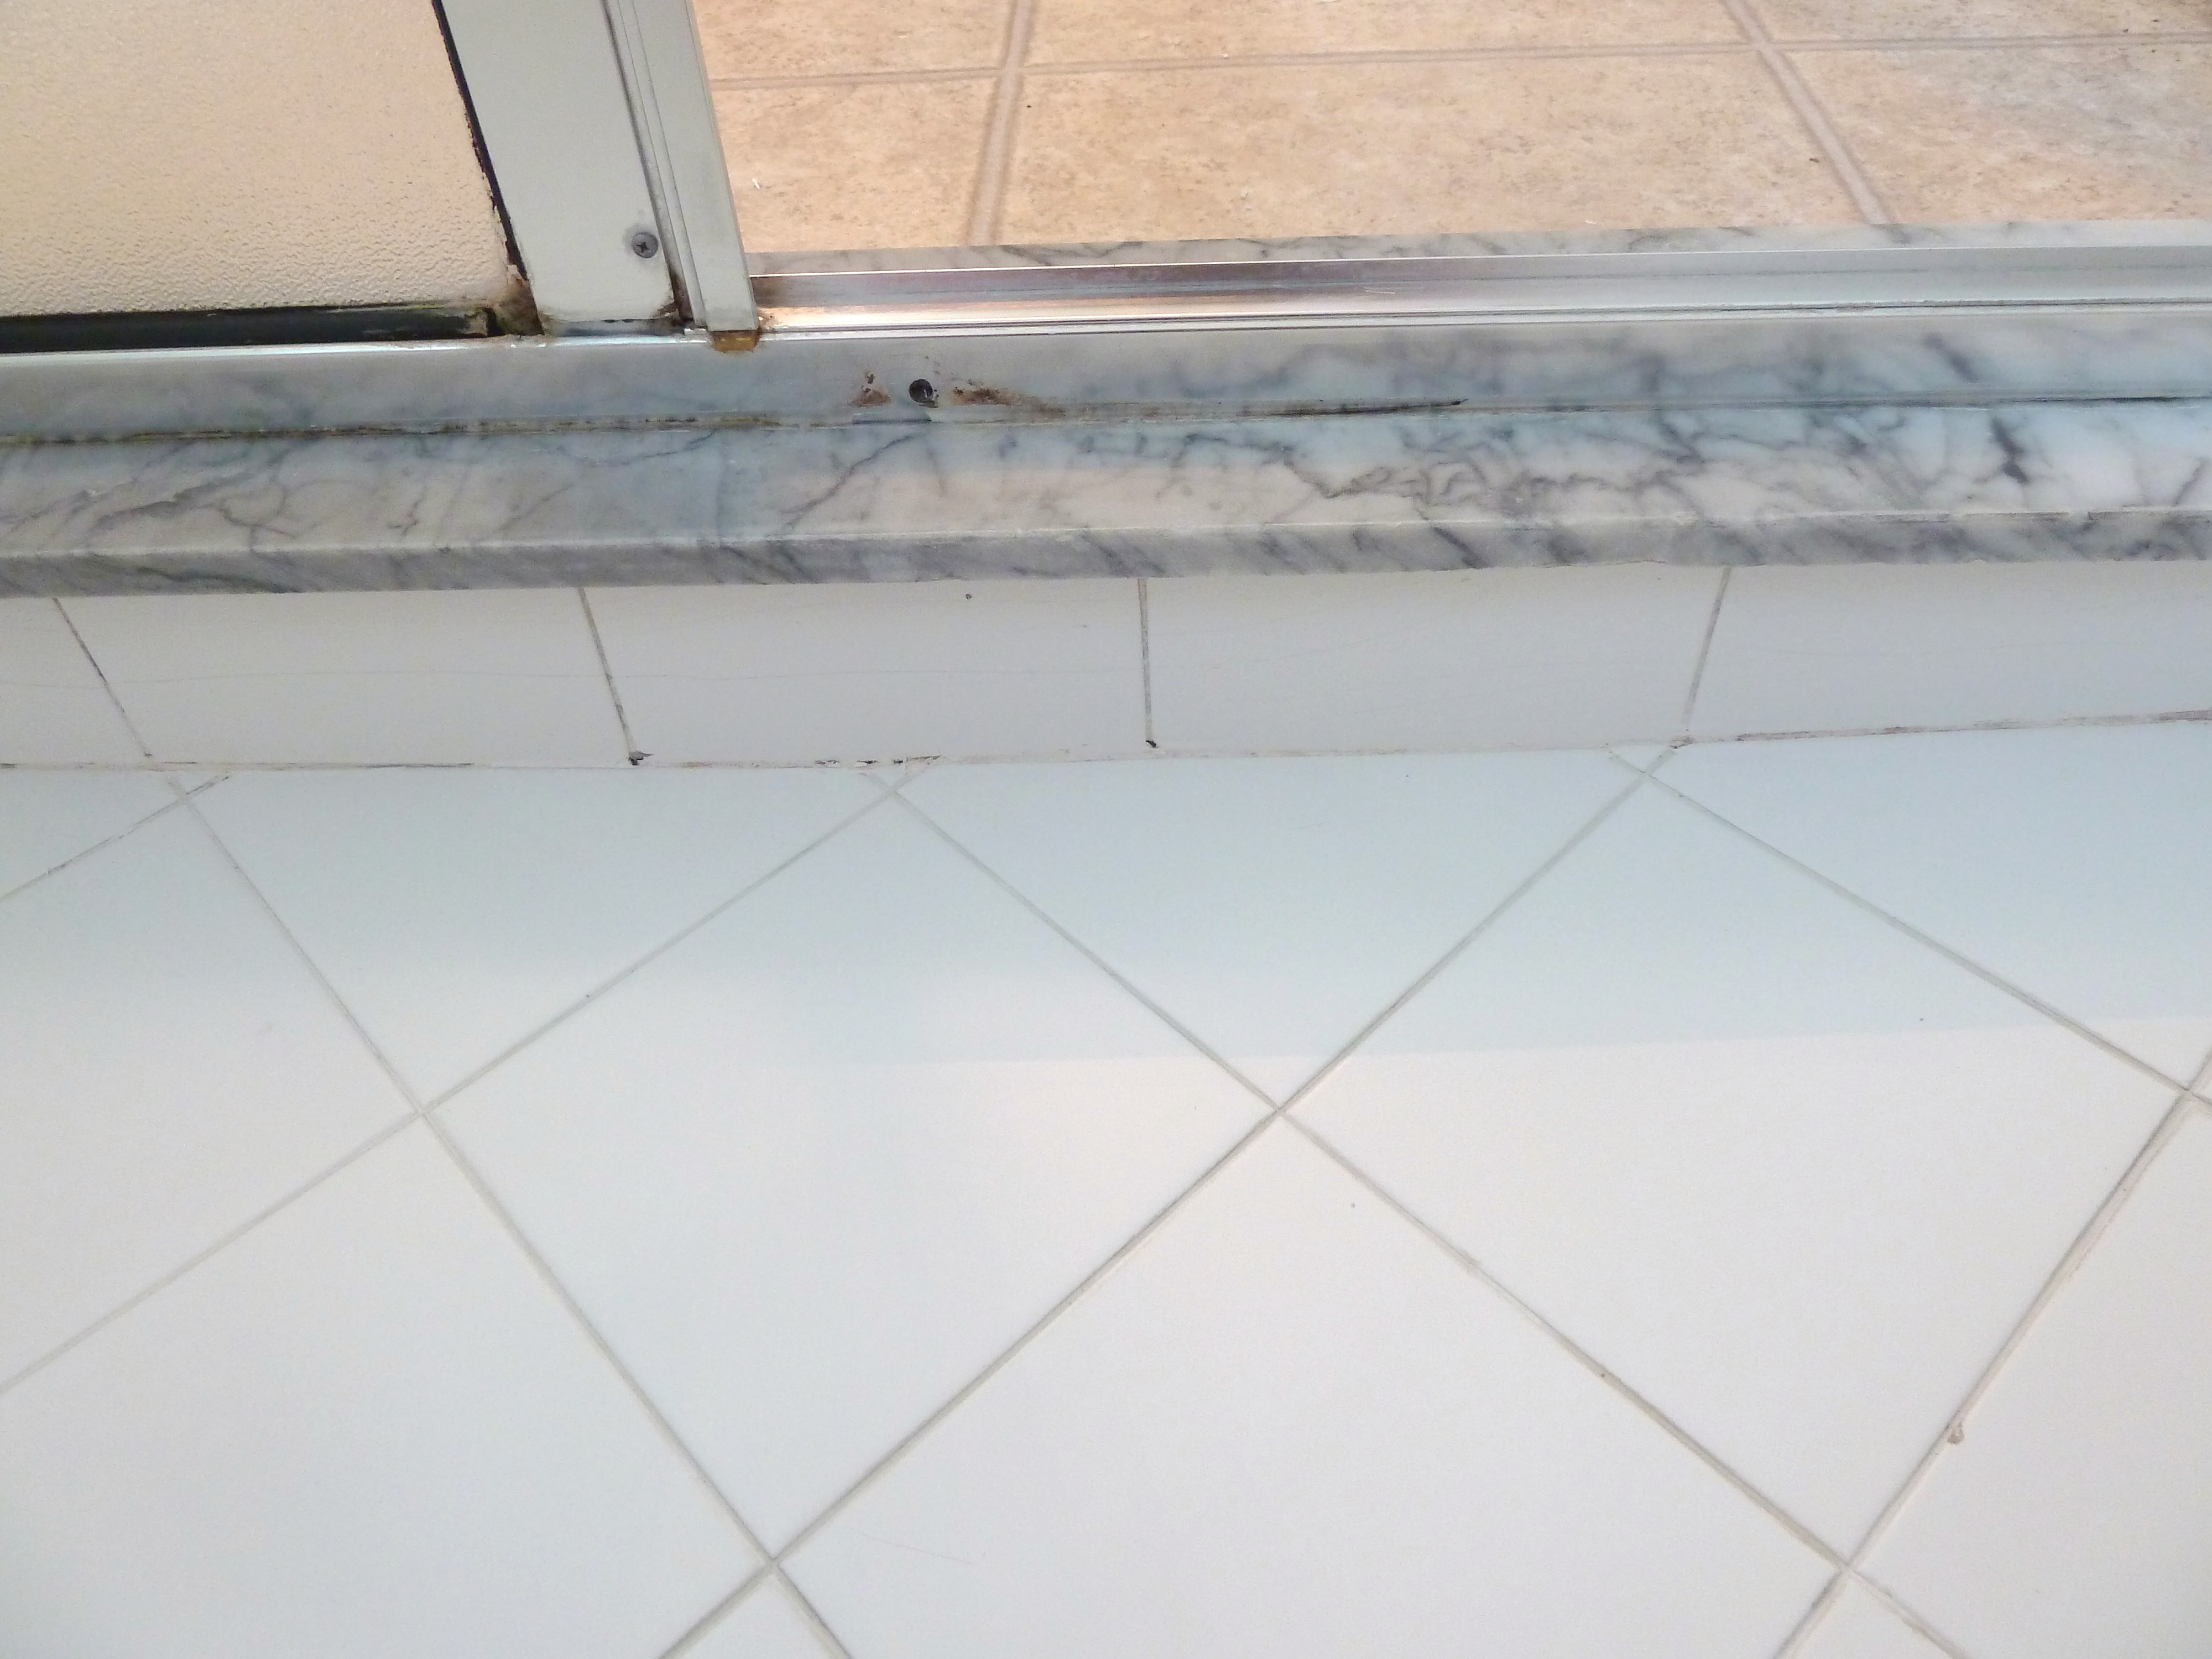
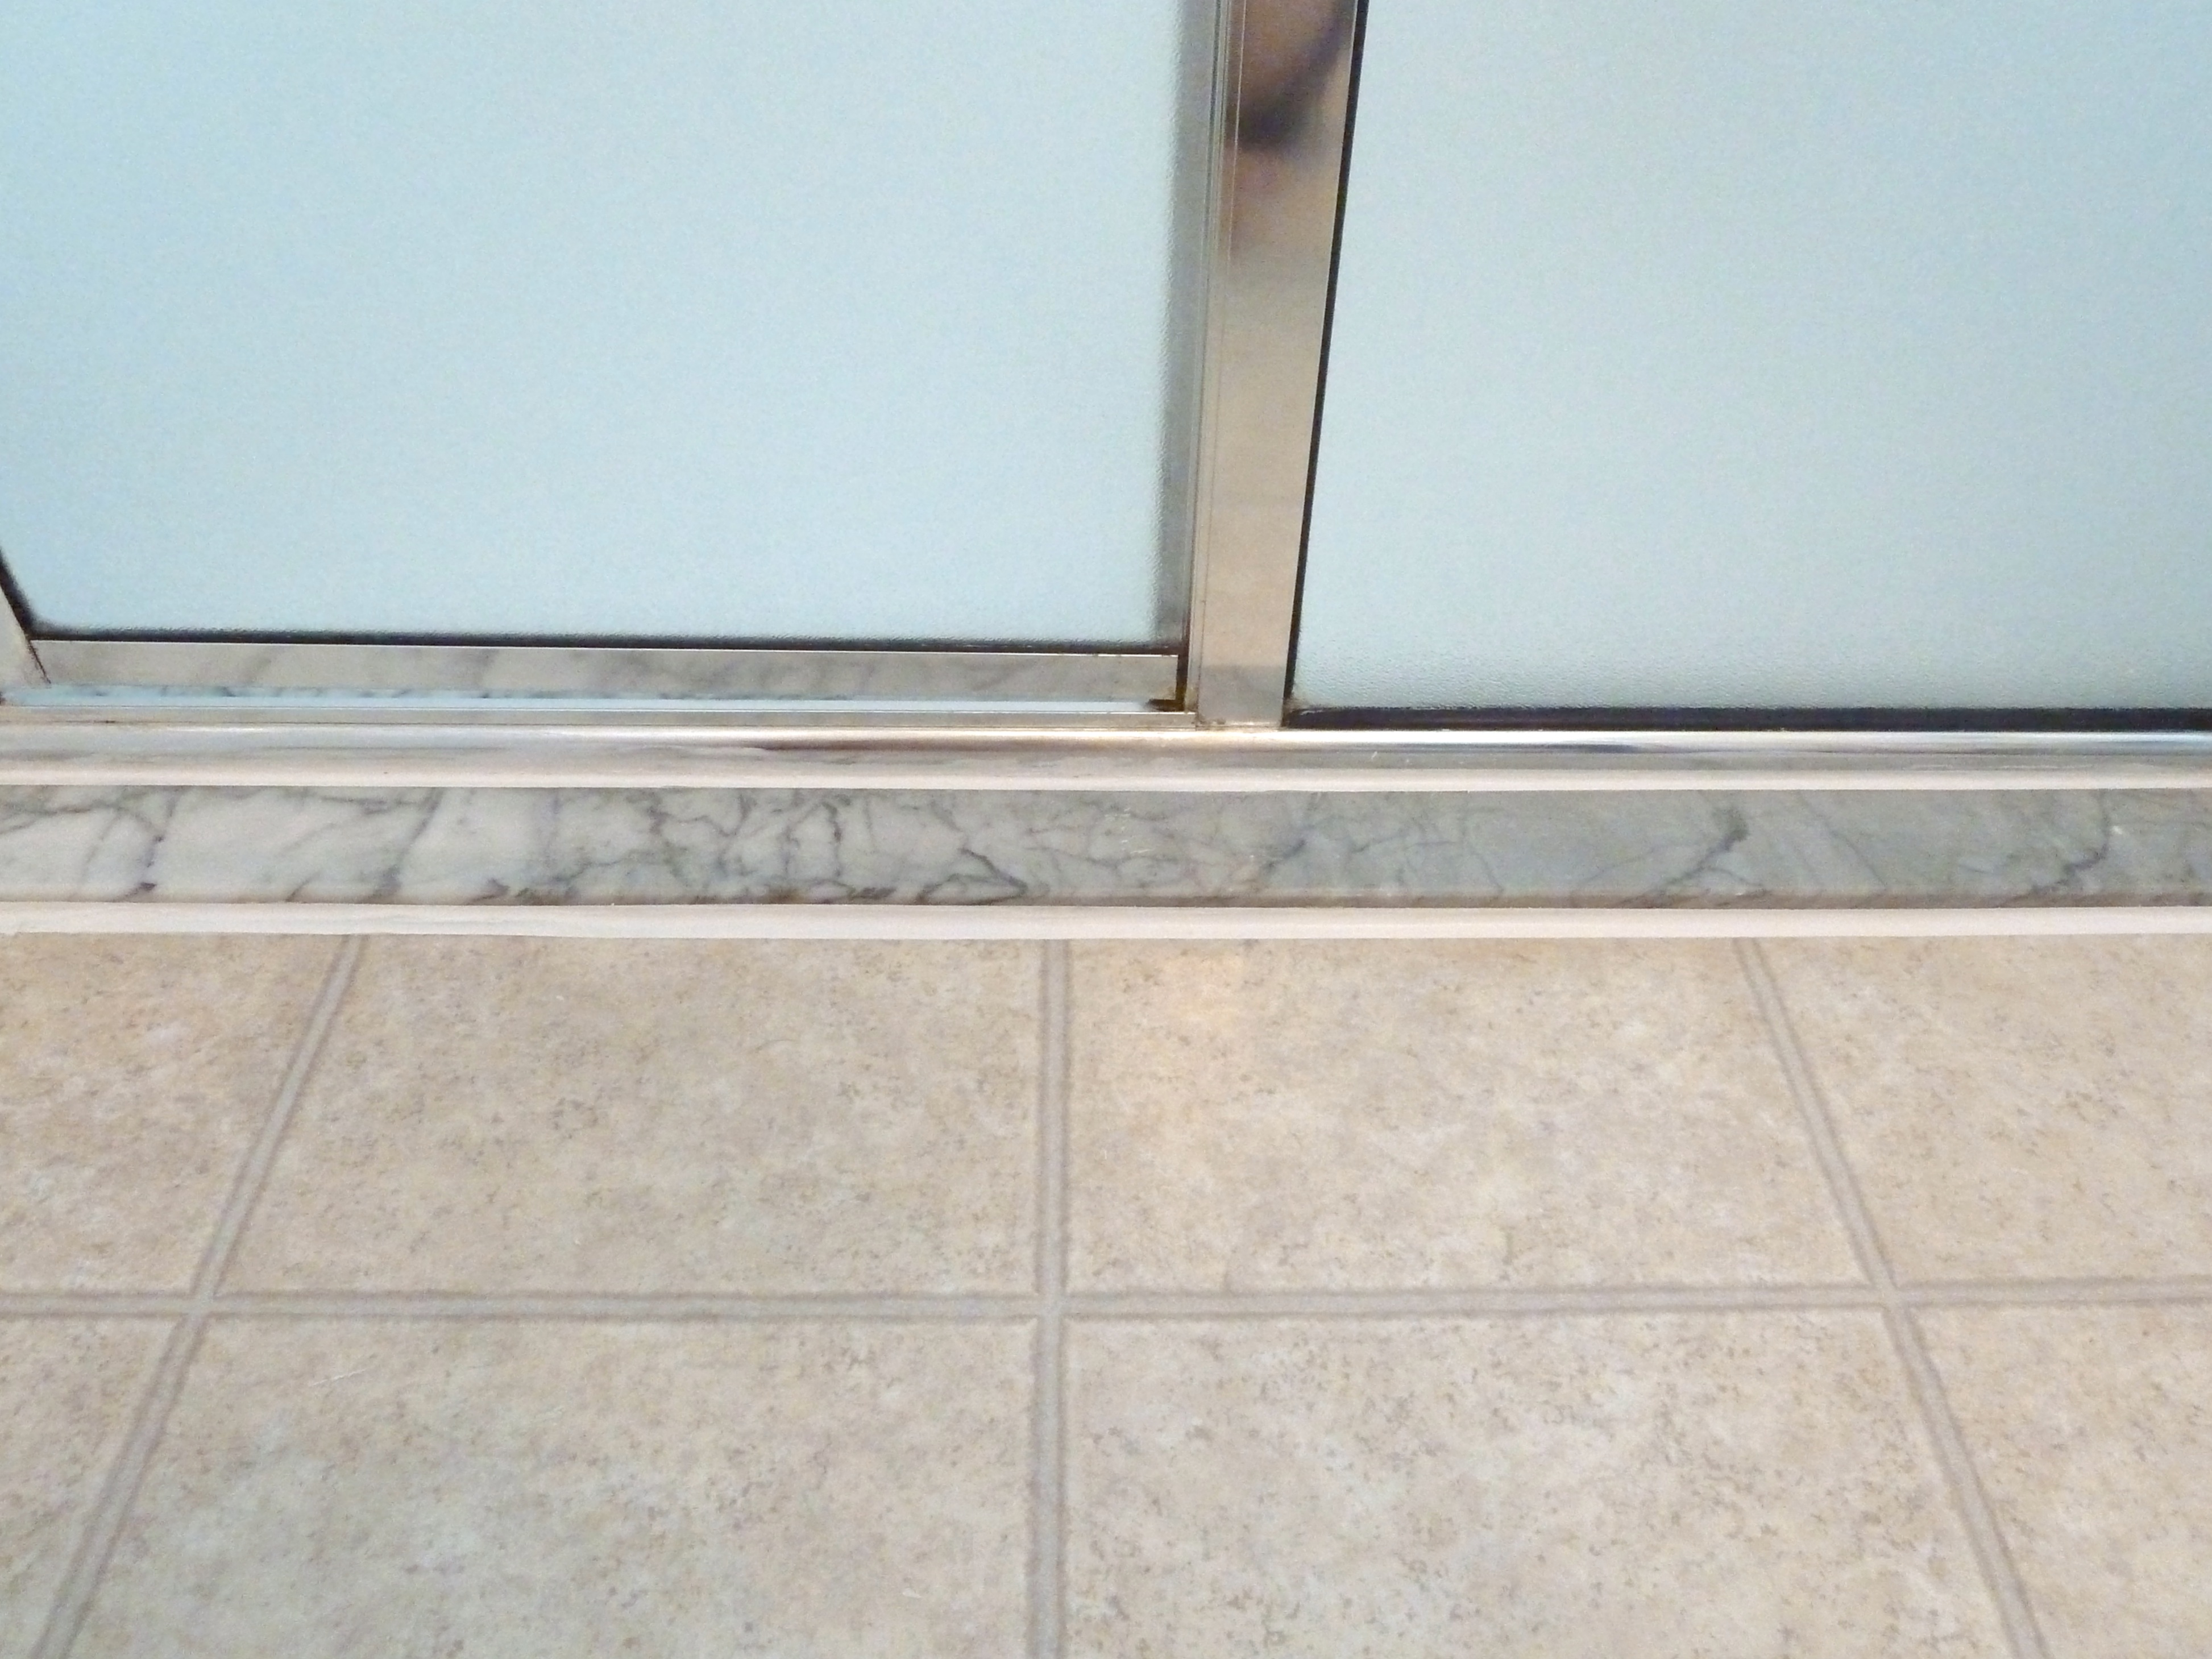
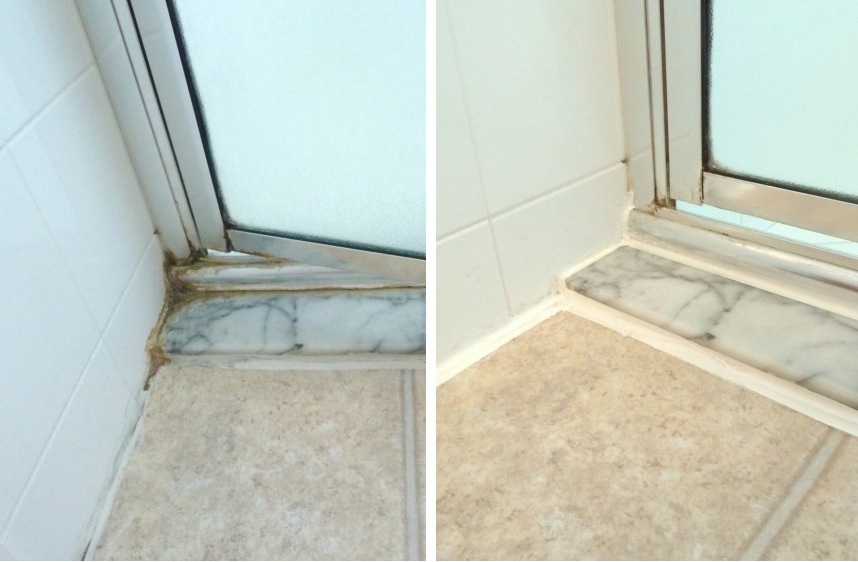
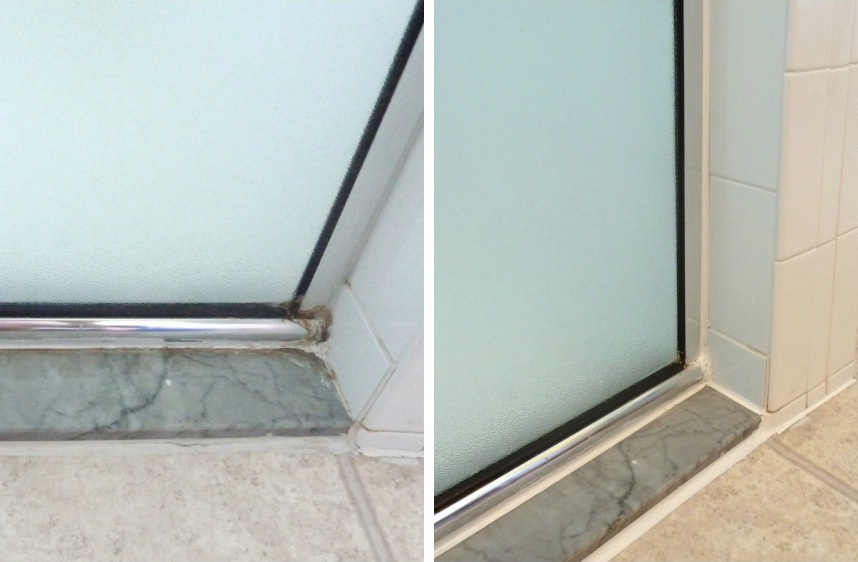
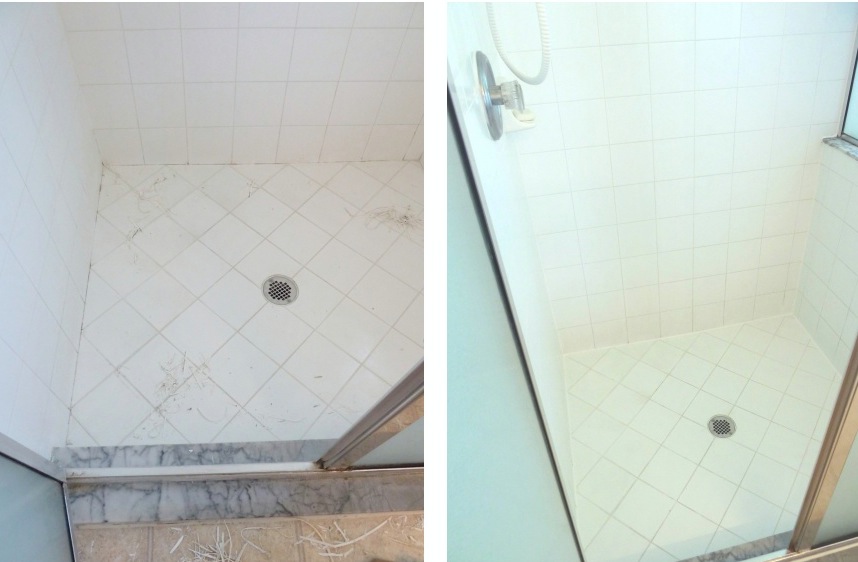
And next to the shower…
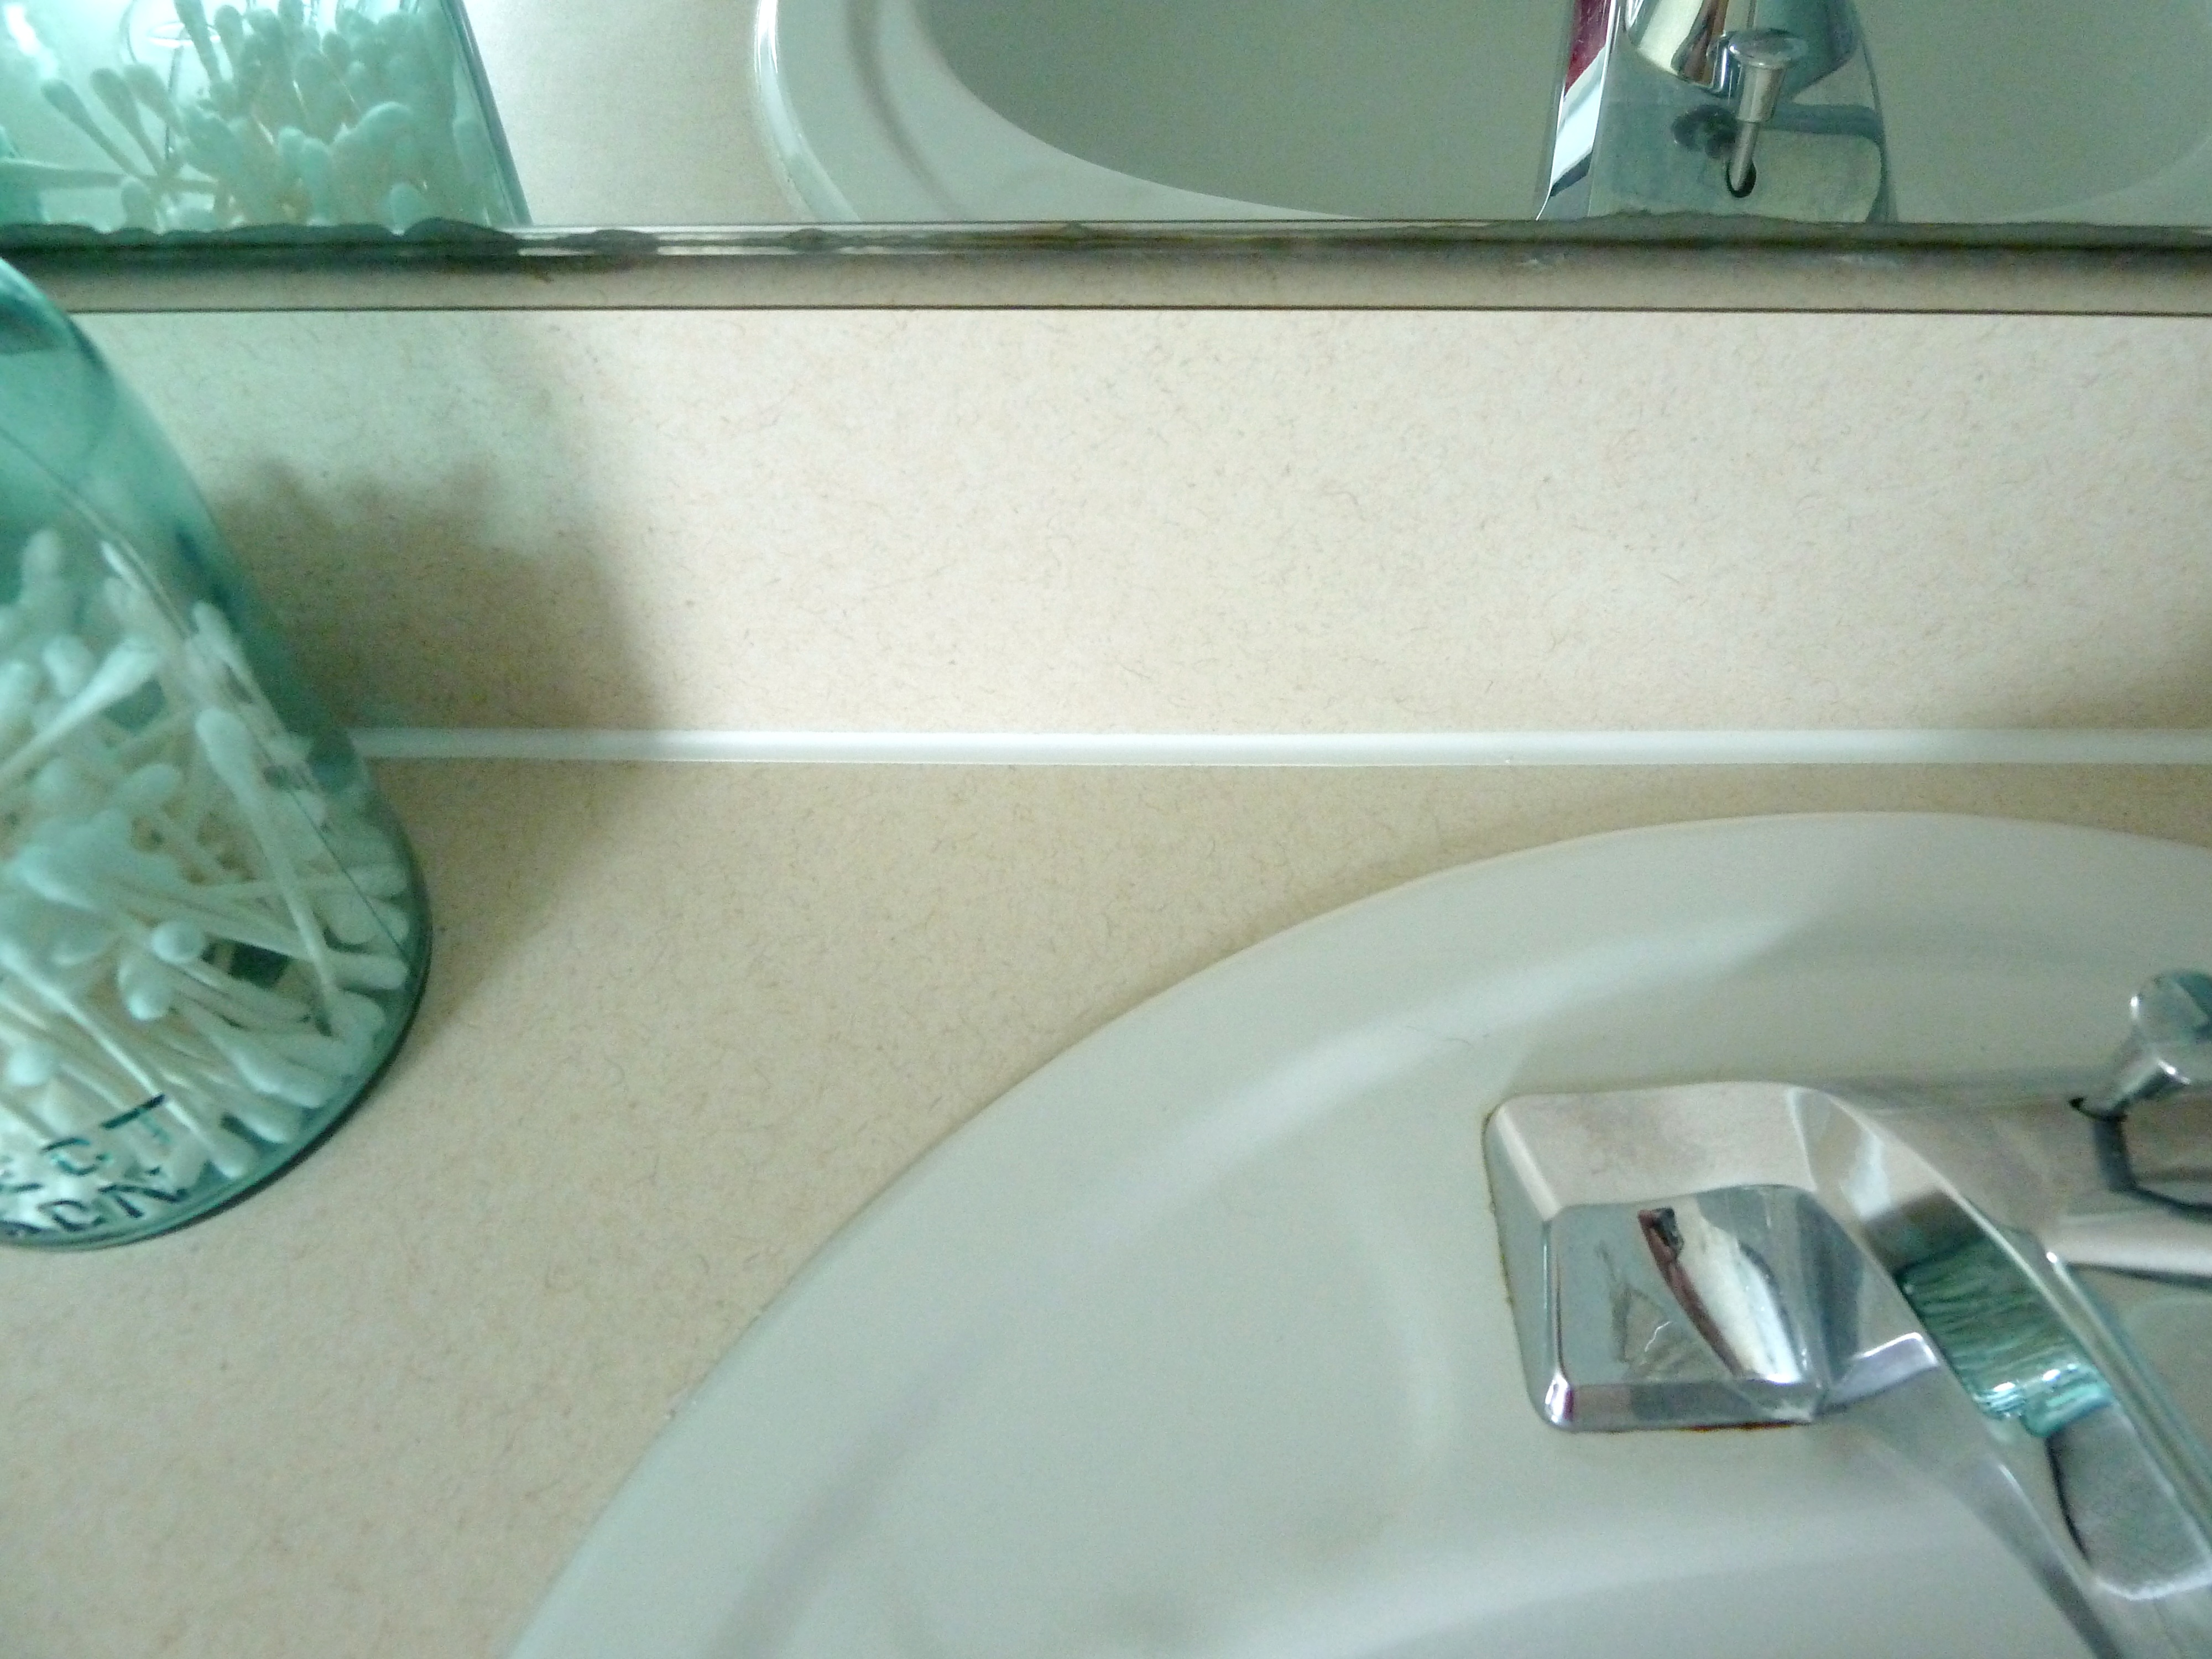
How about a close up?
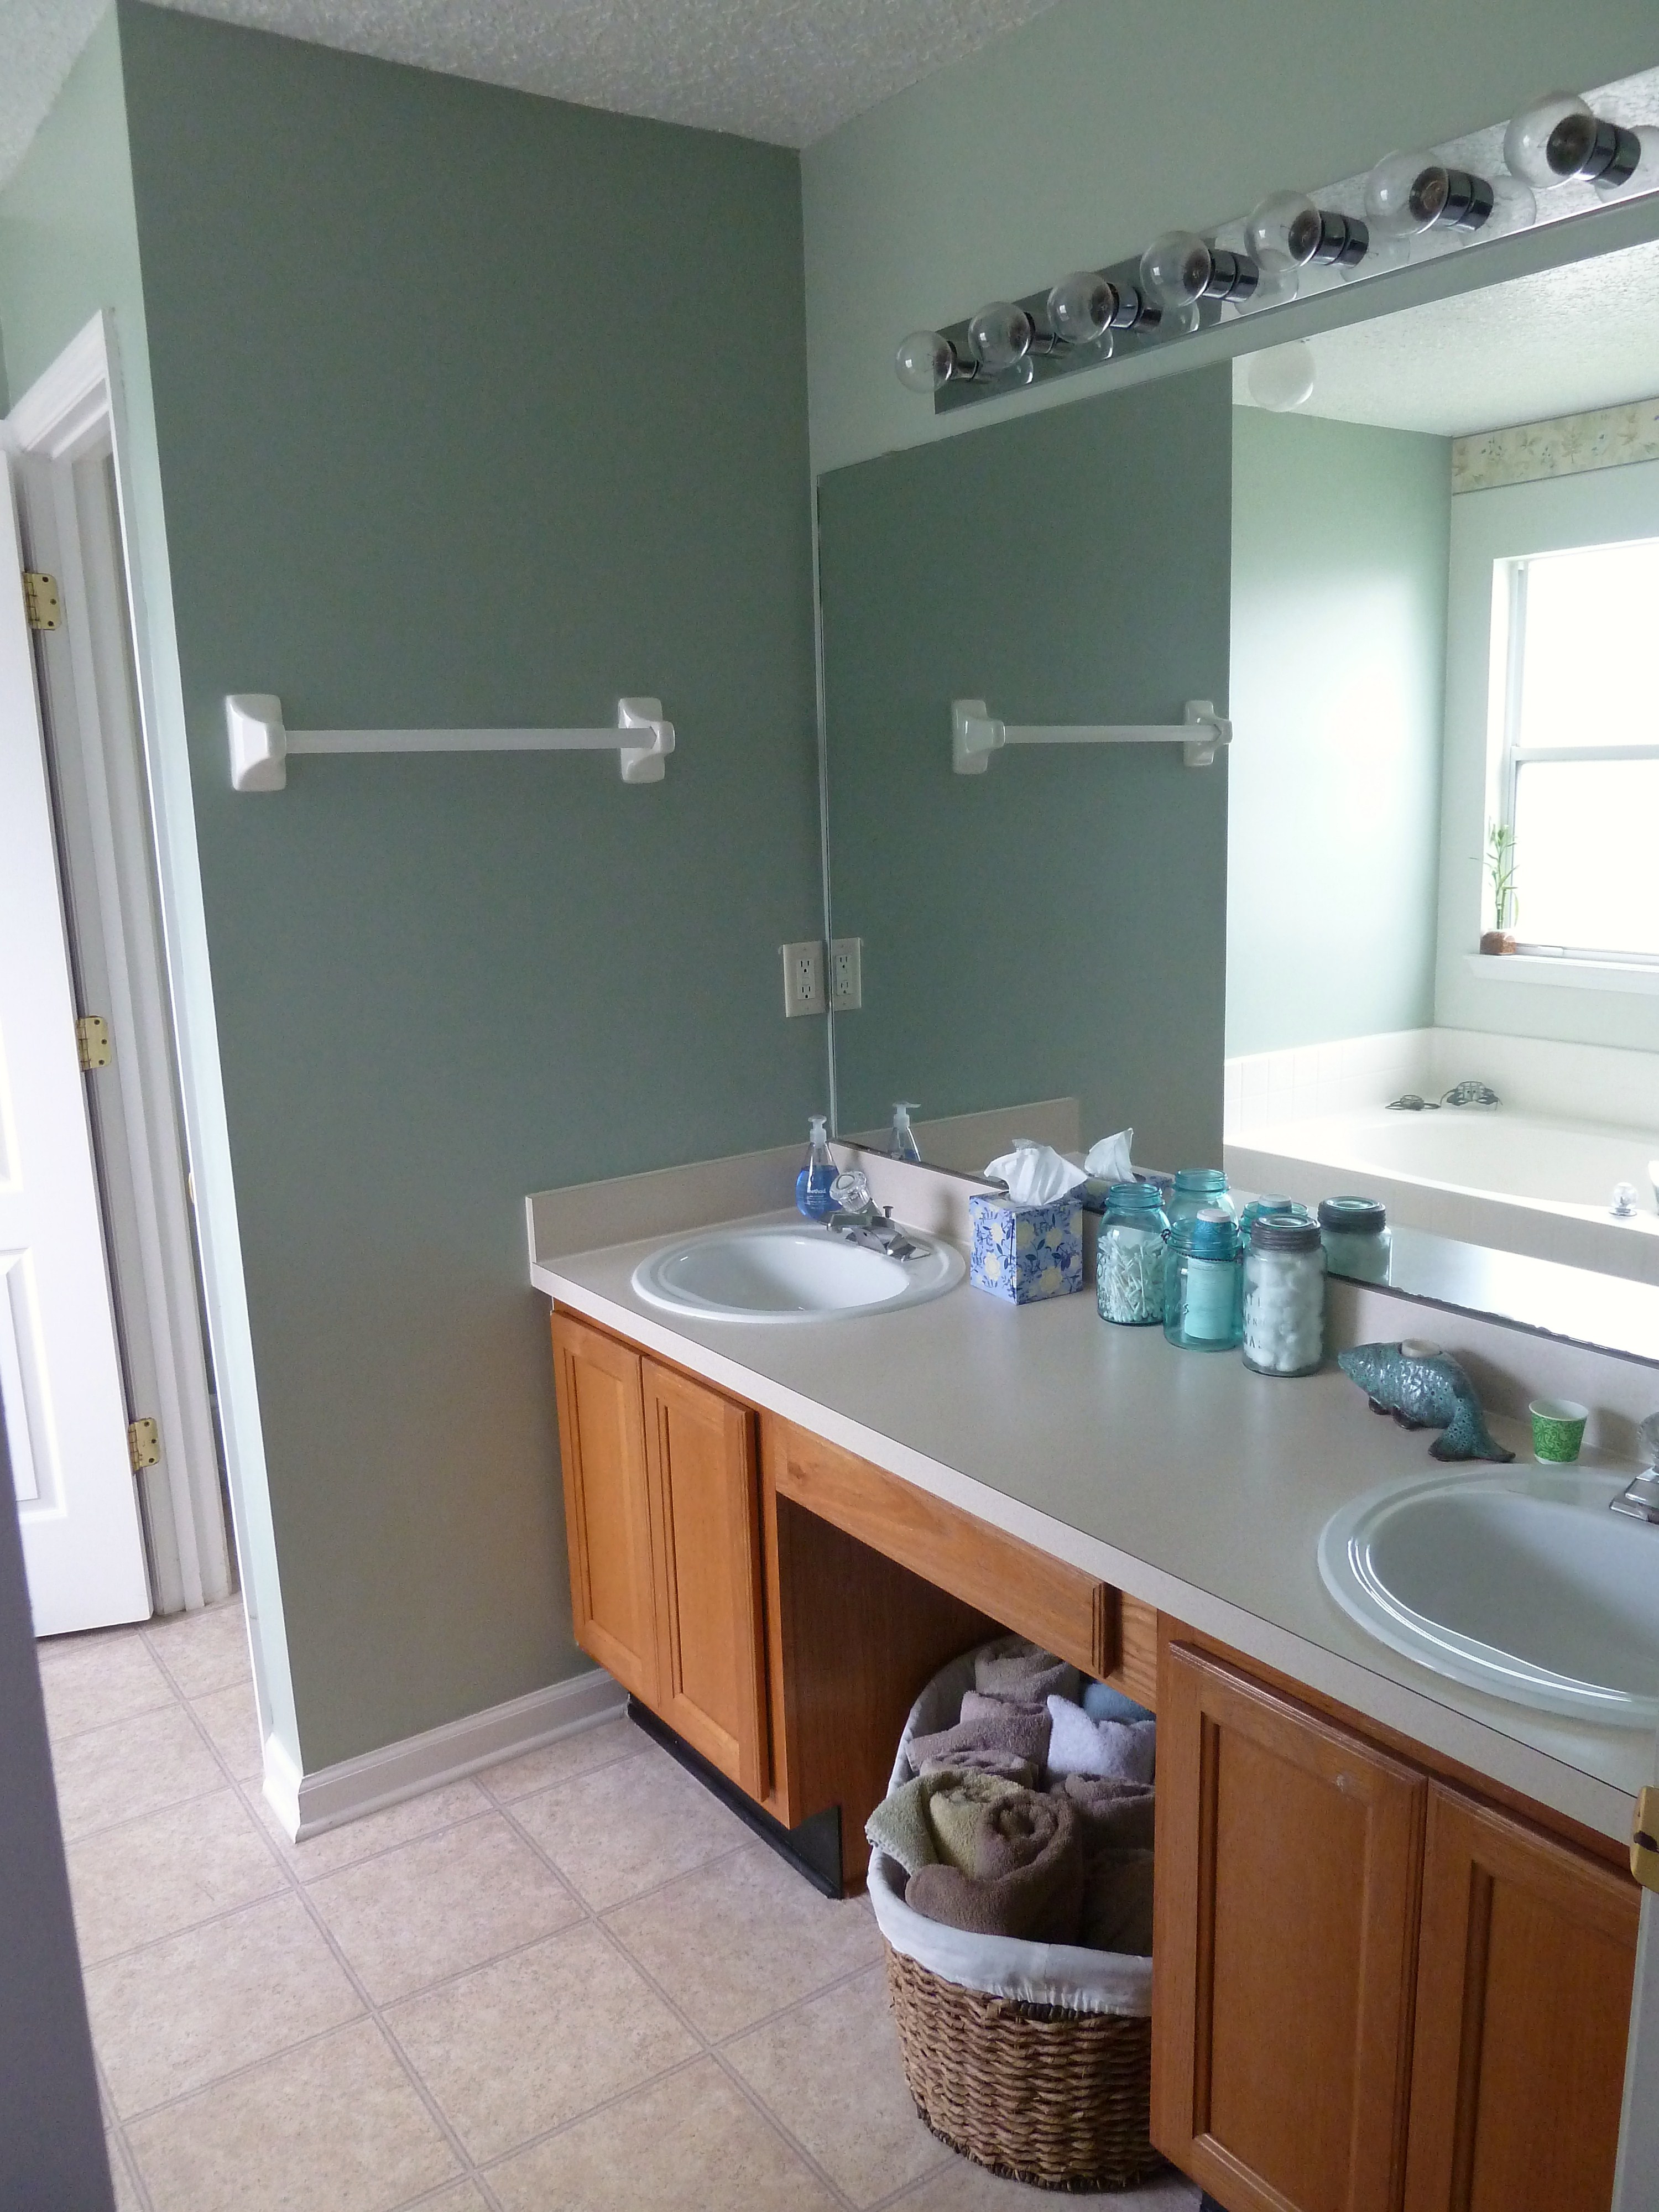
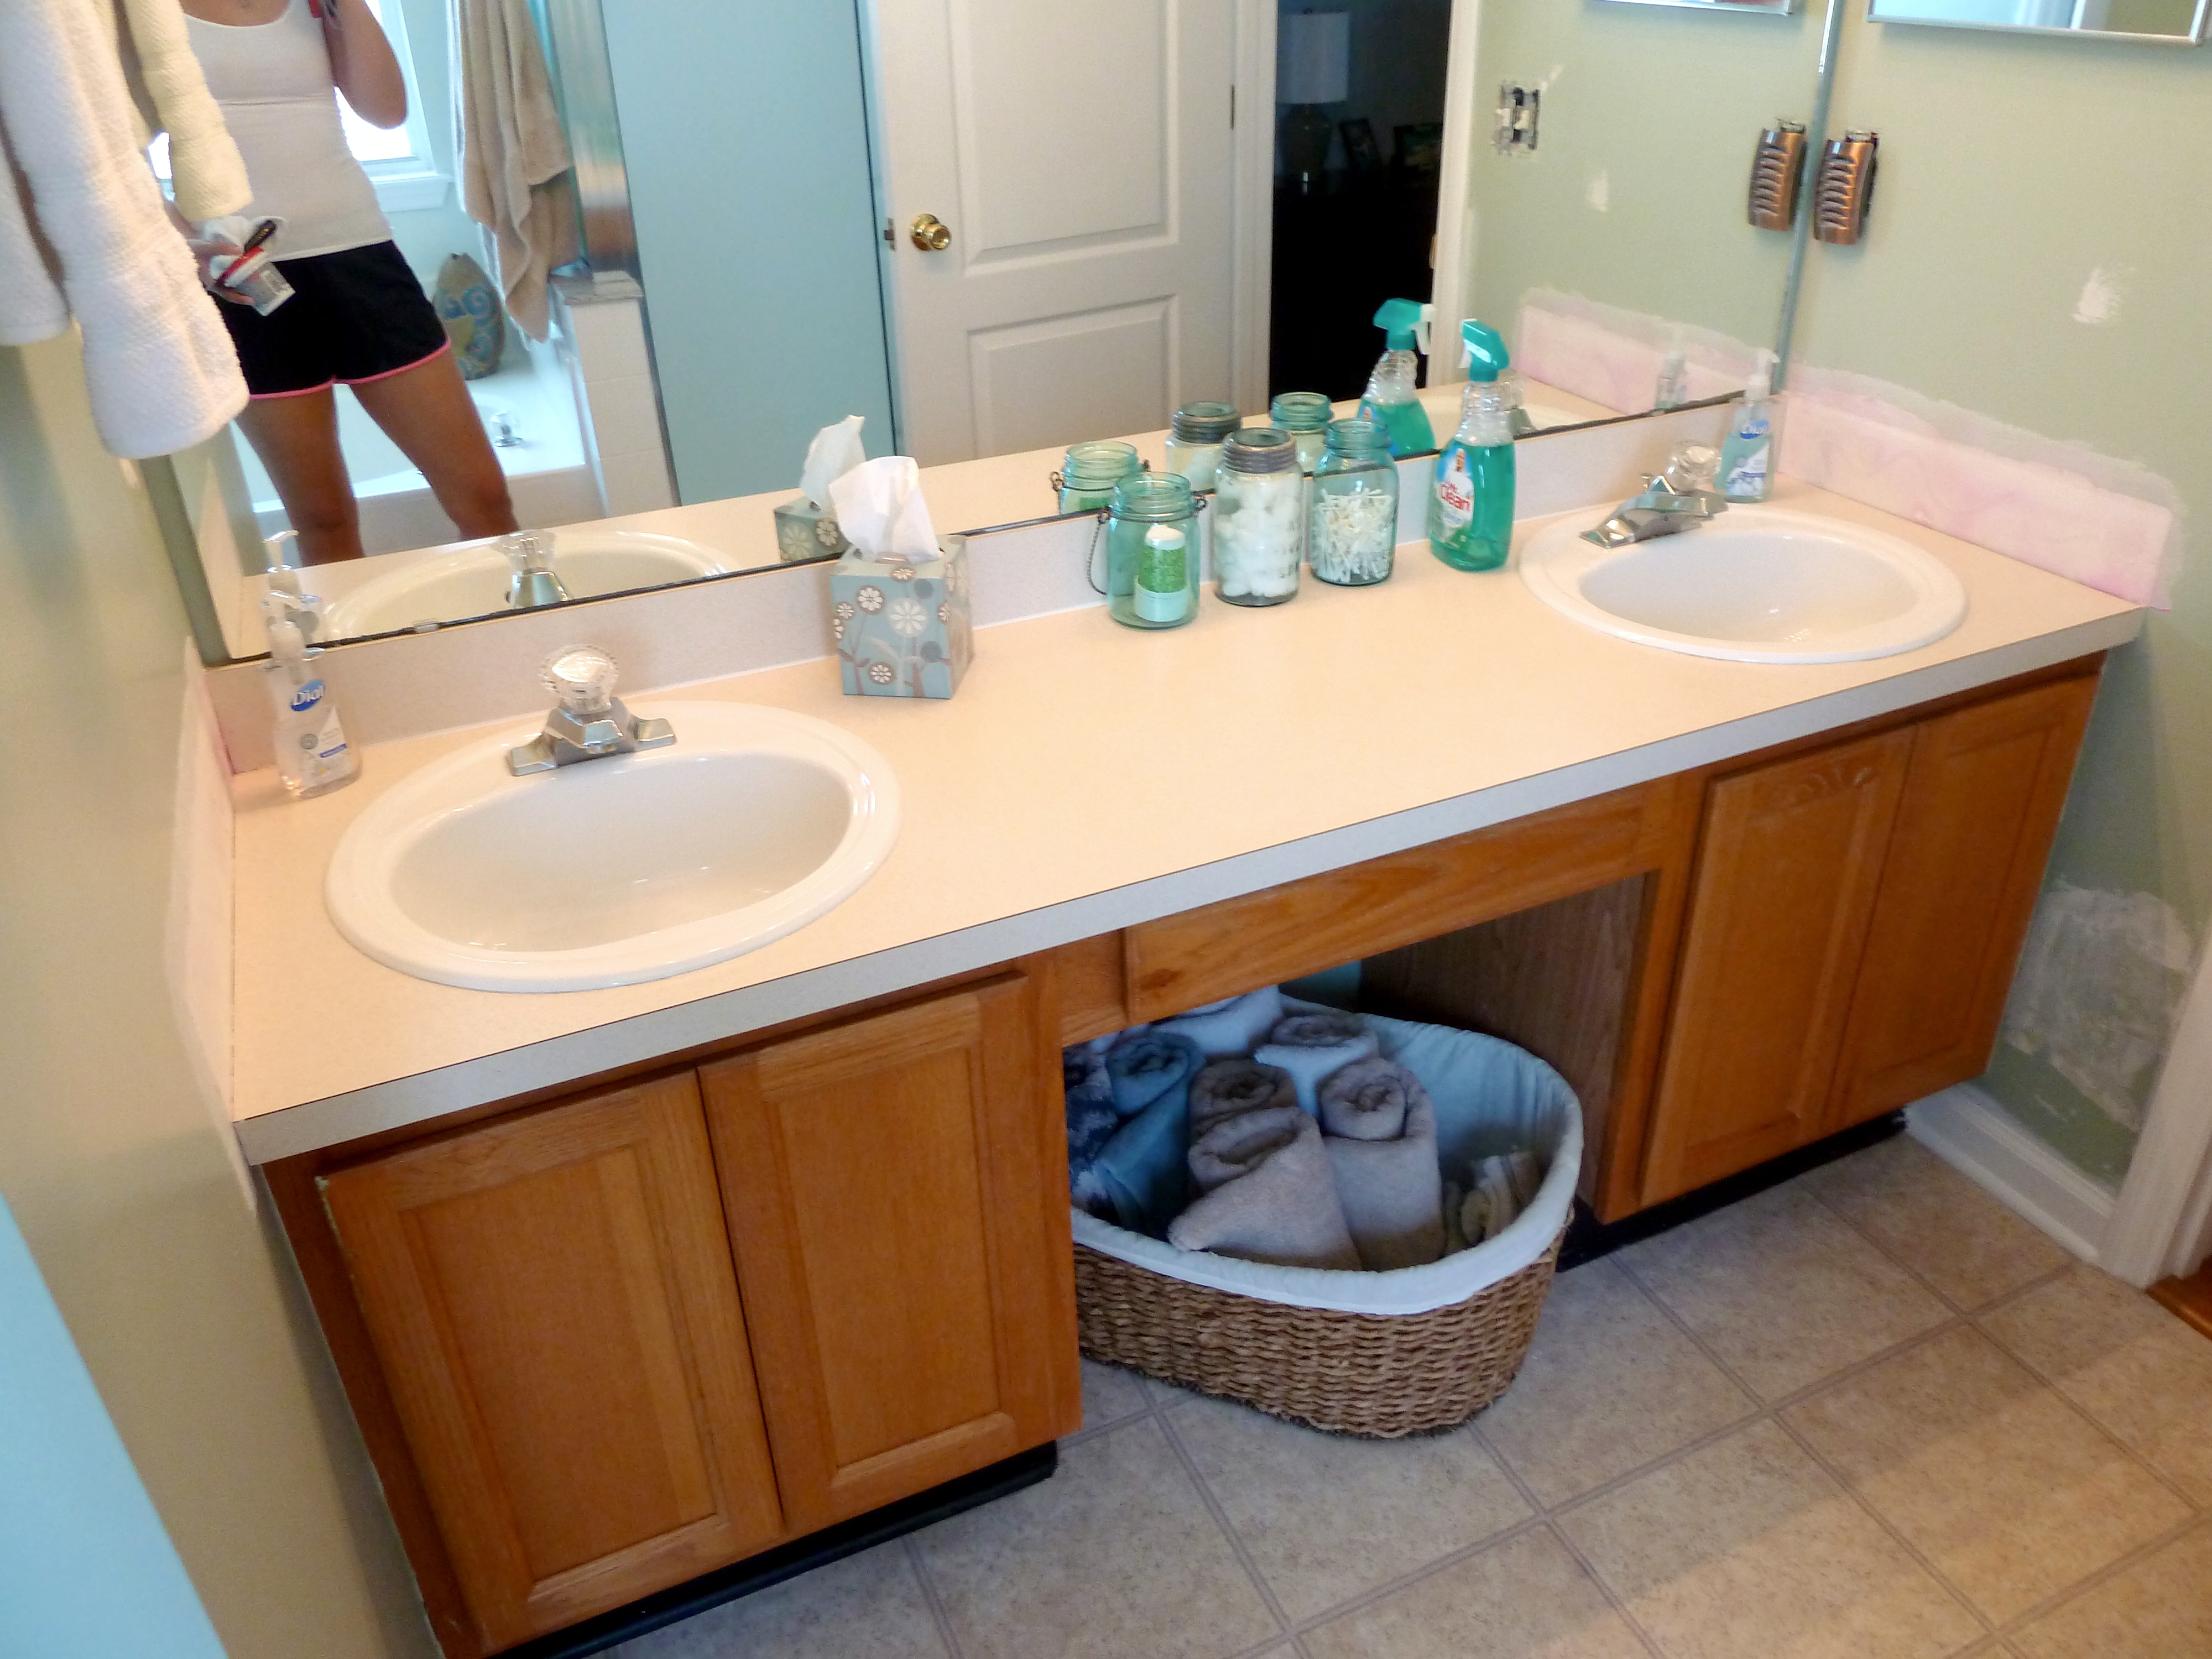
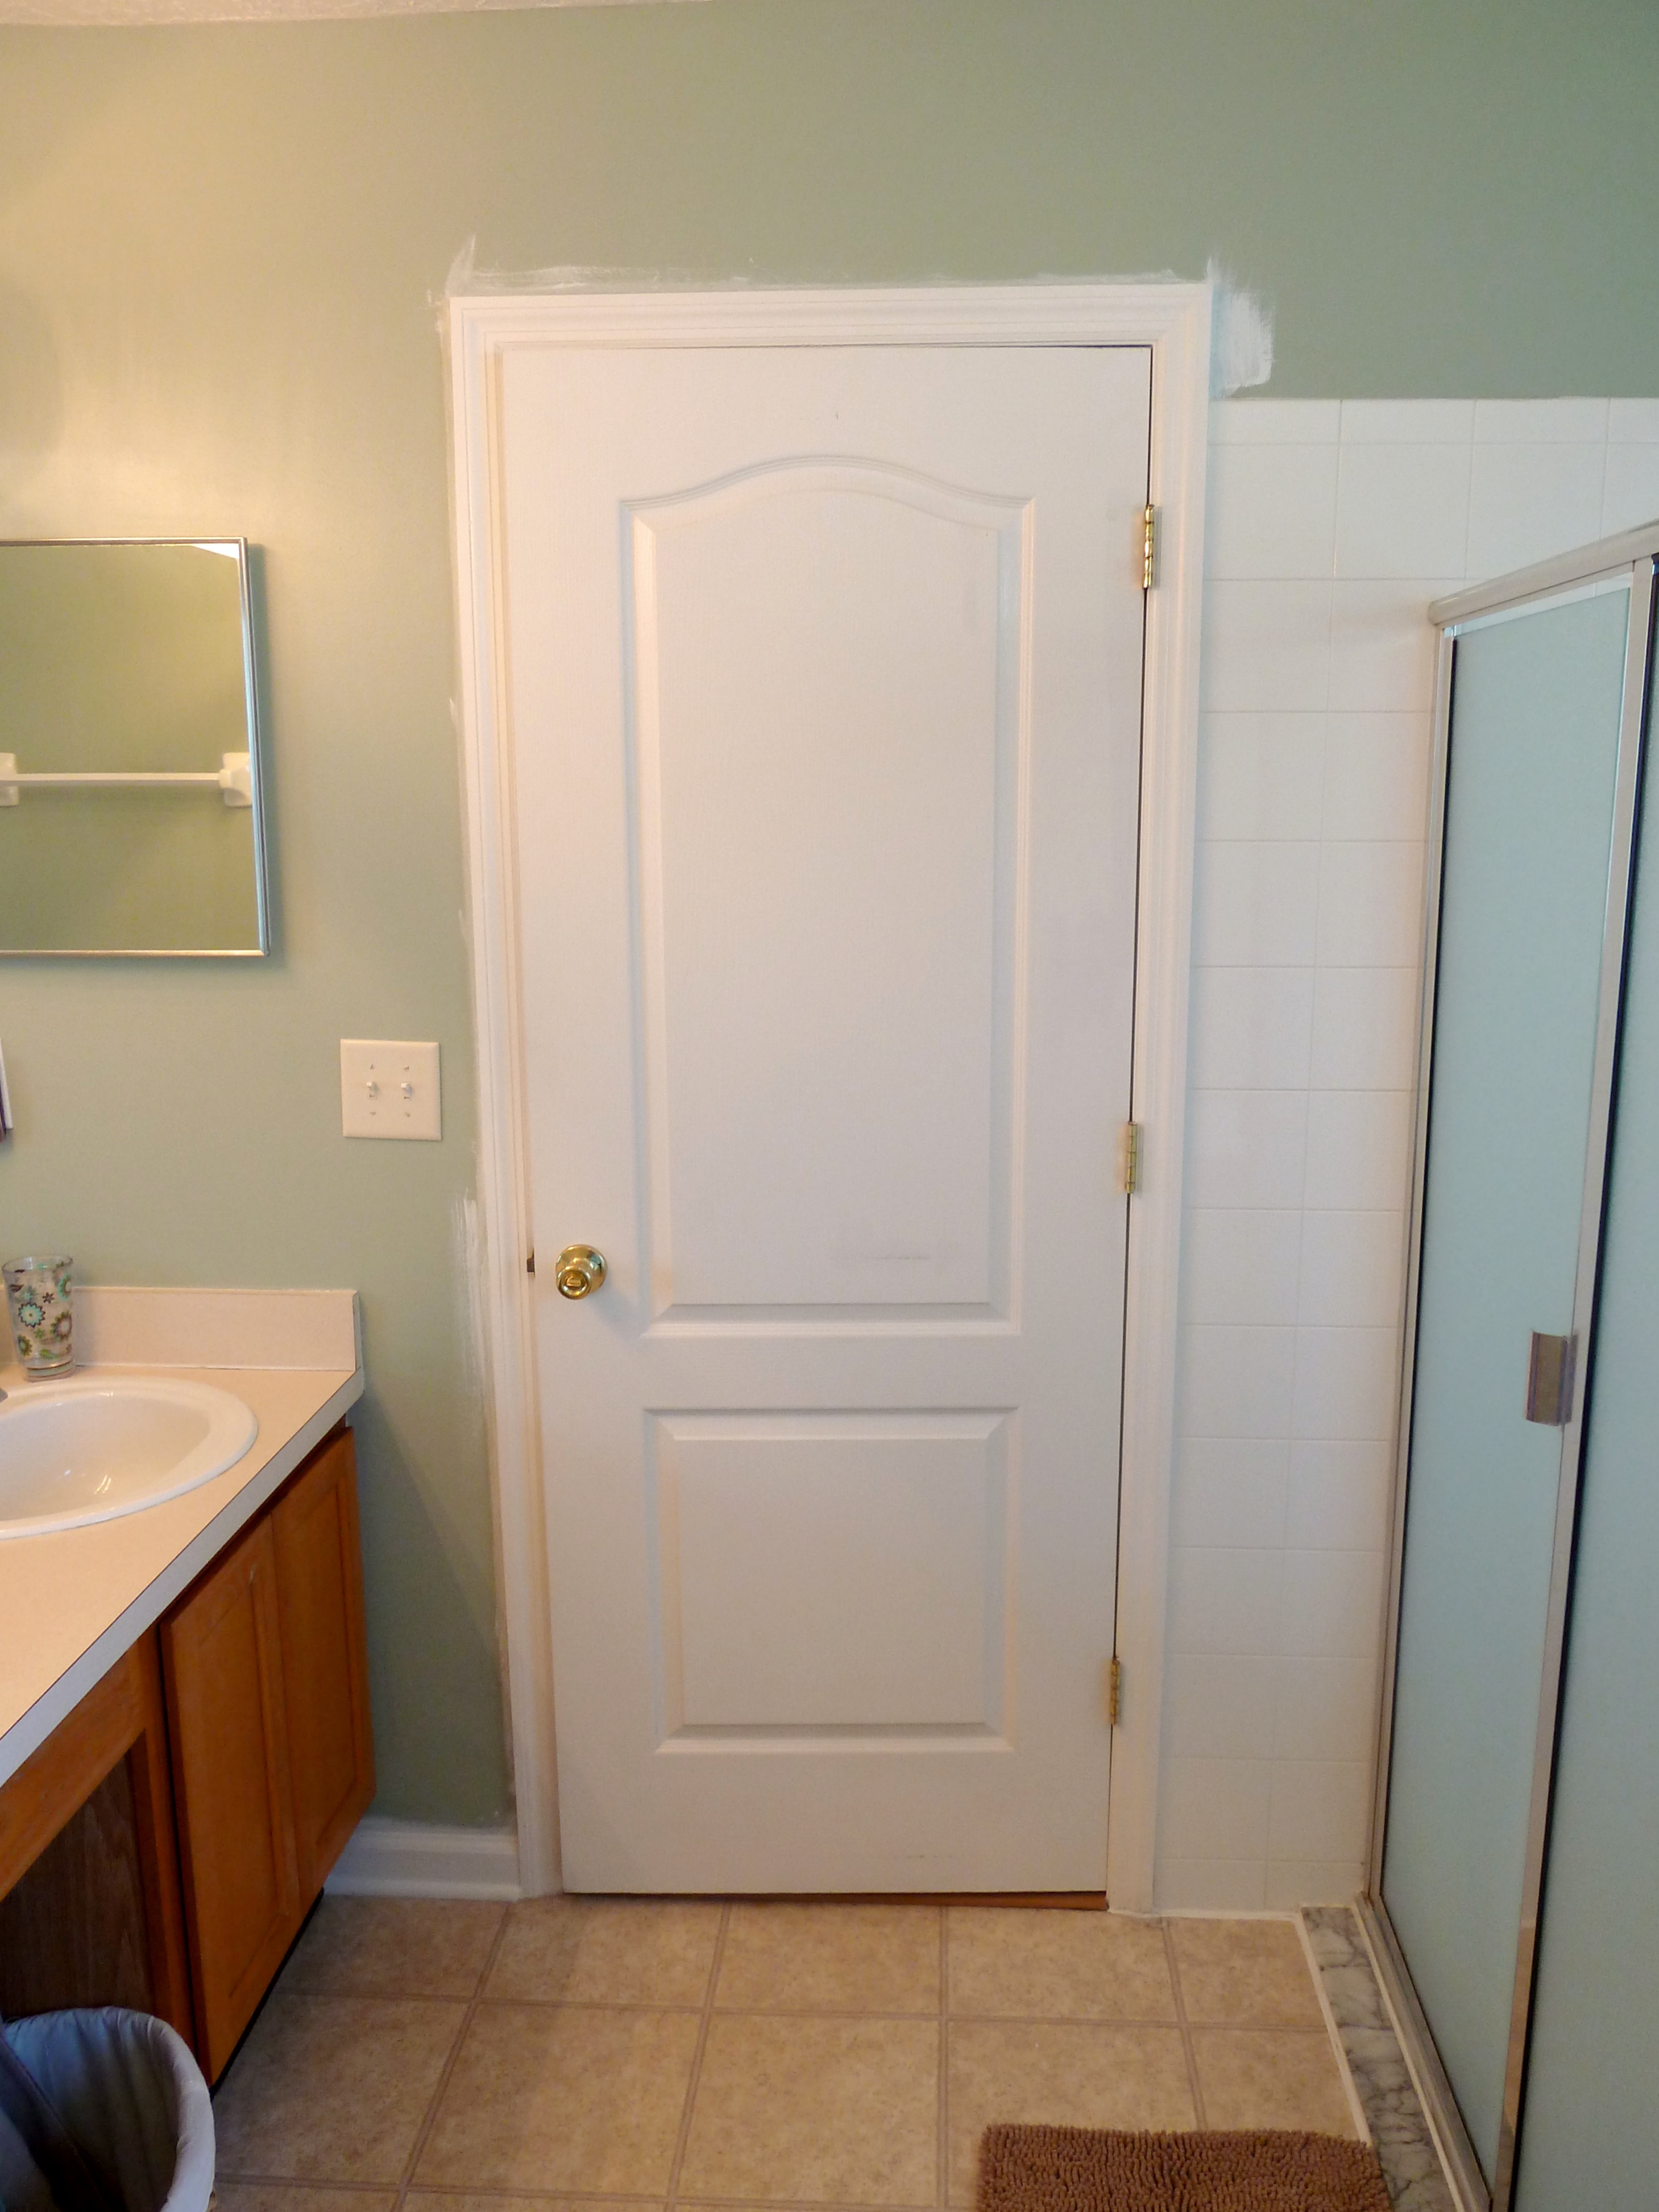
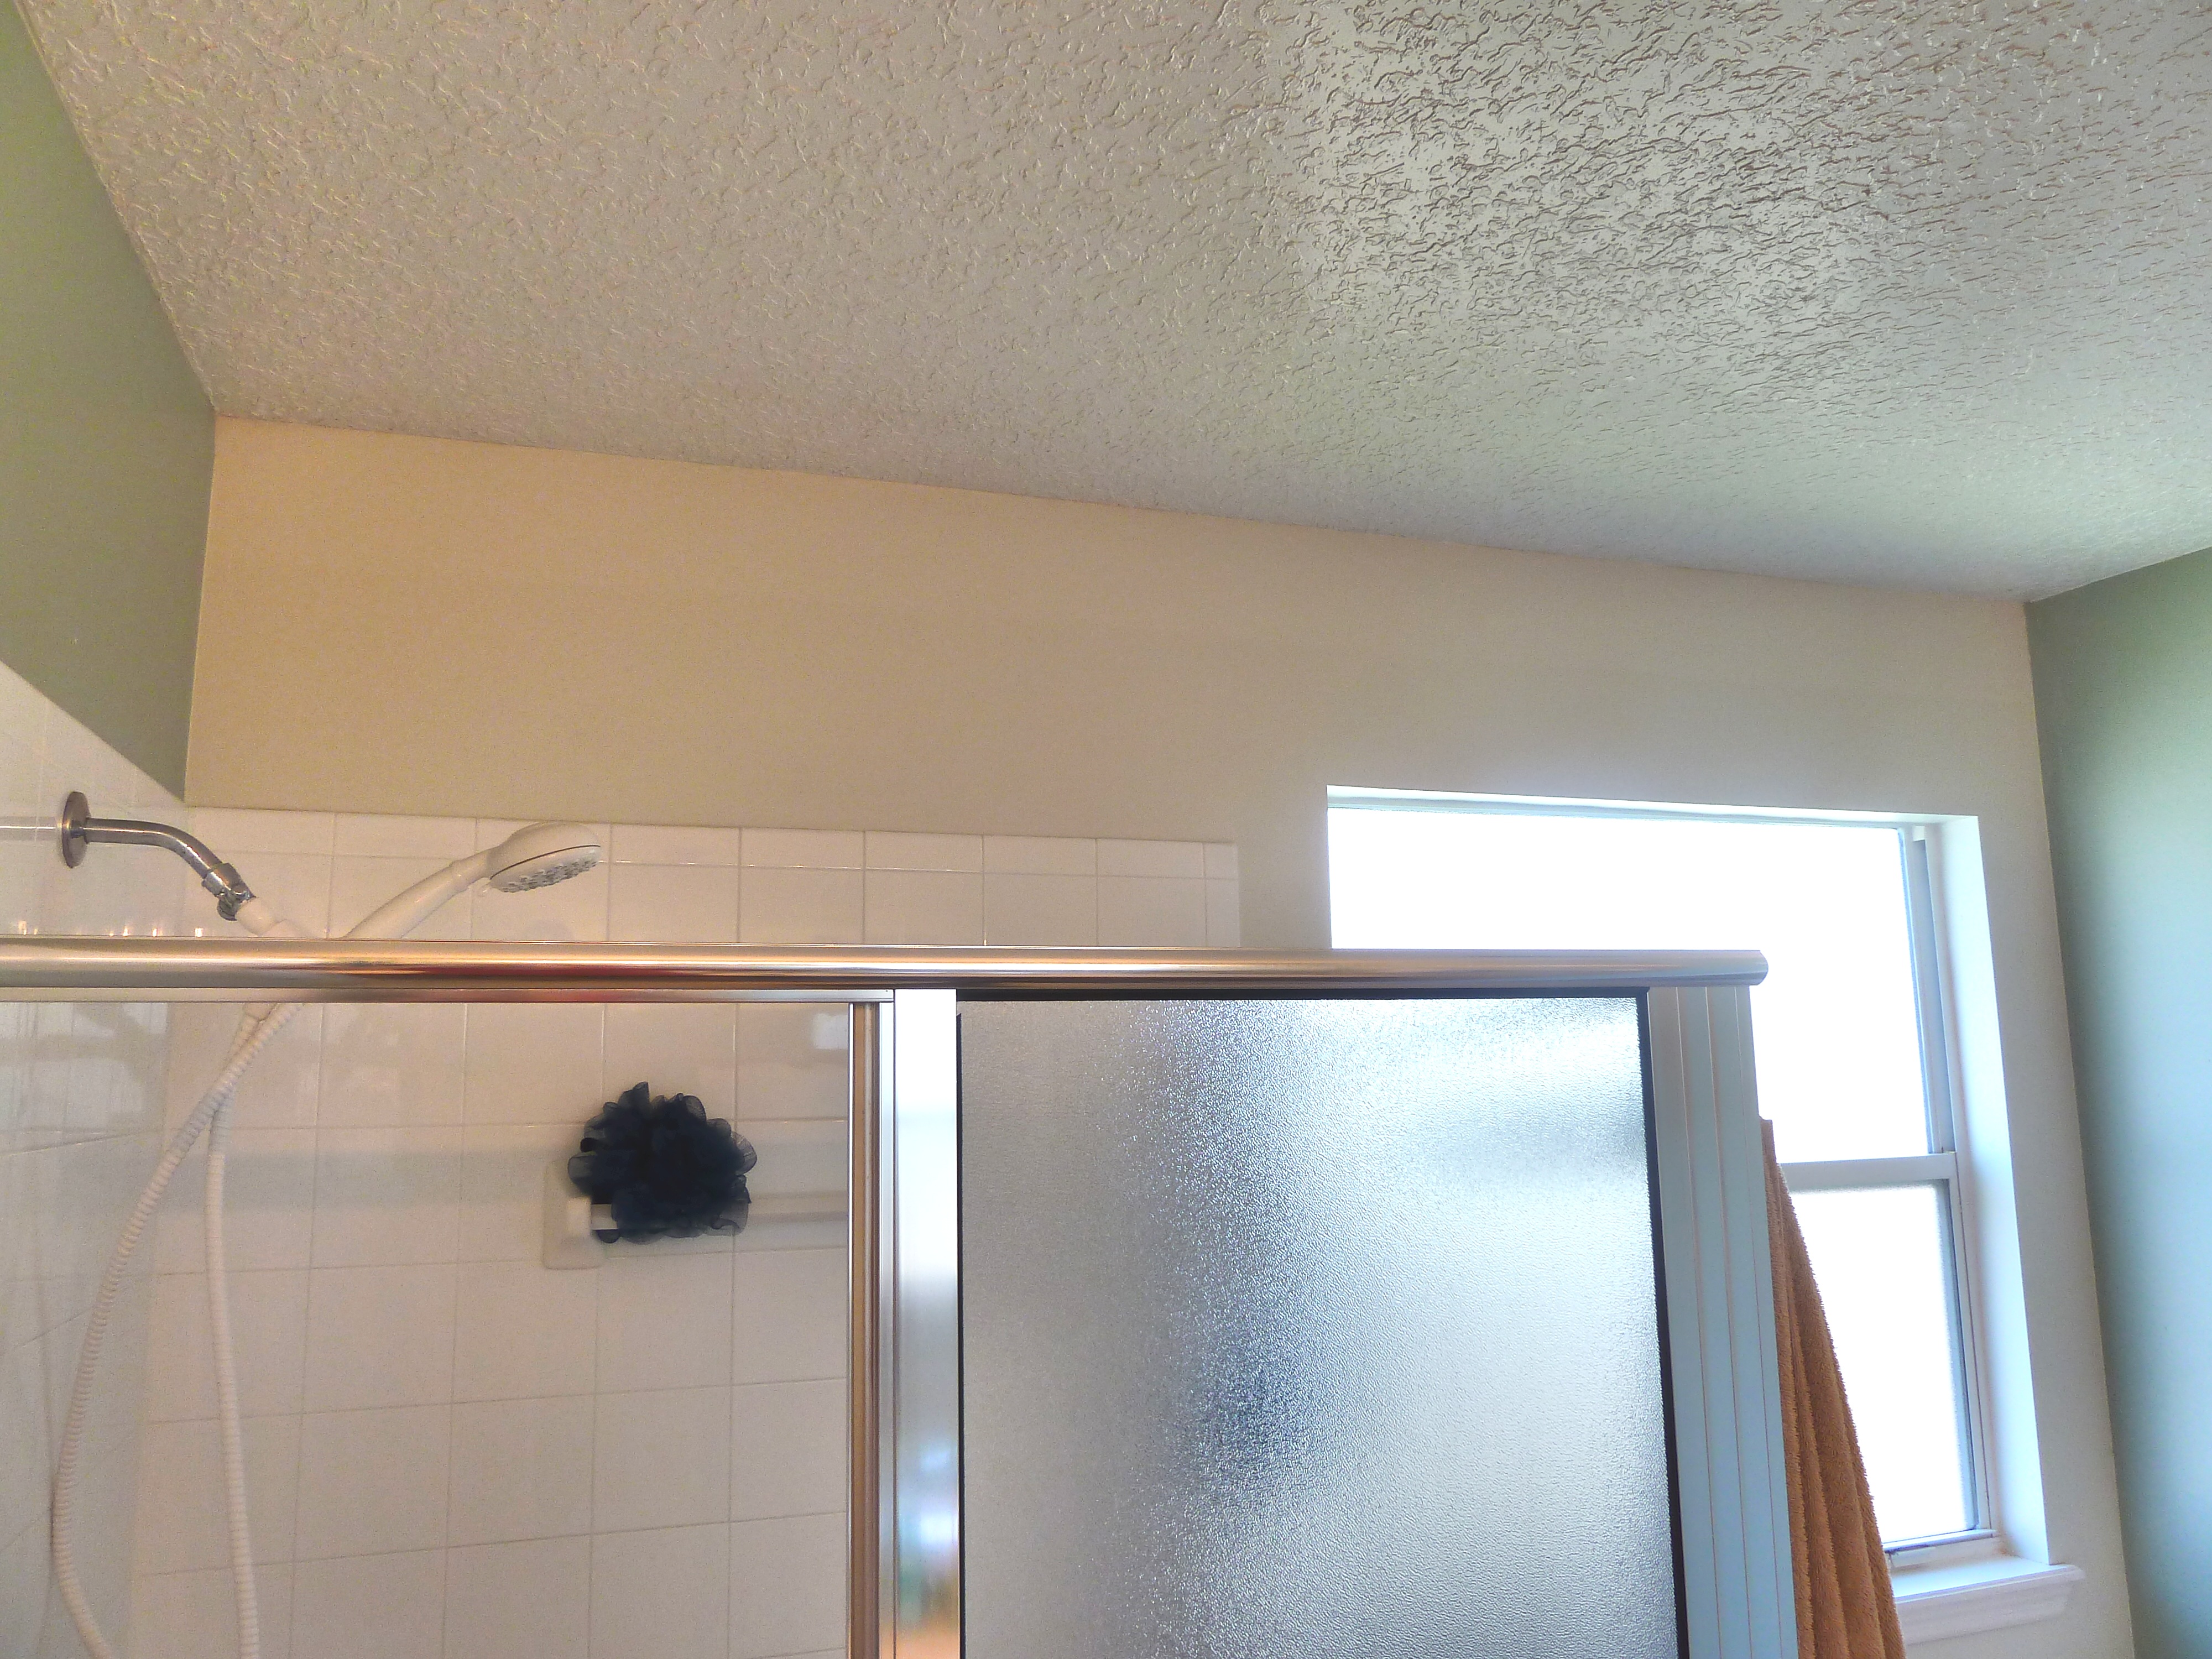
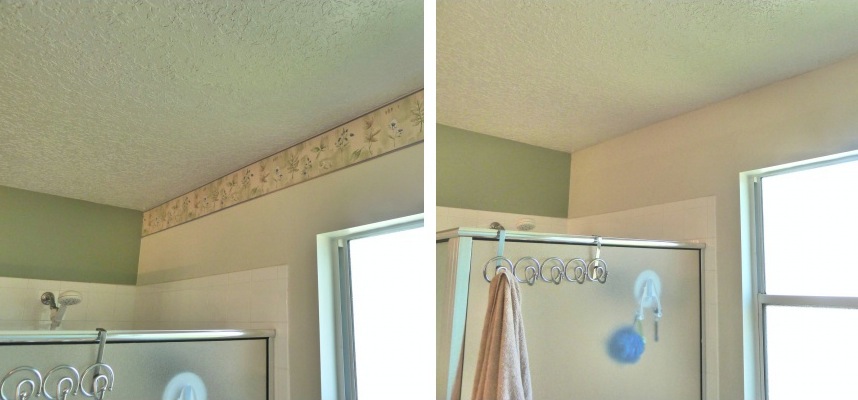
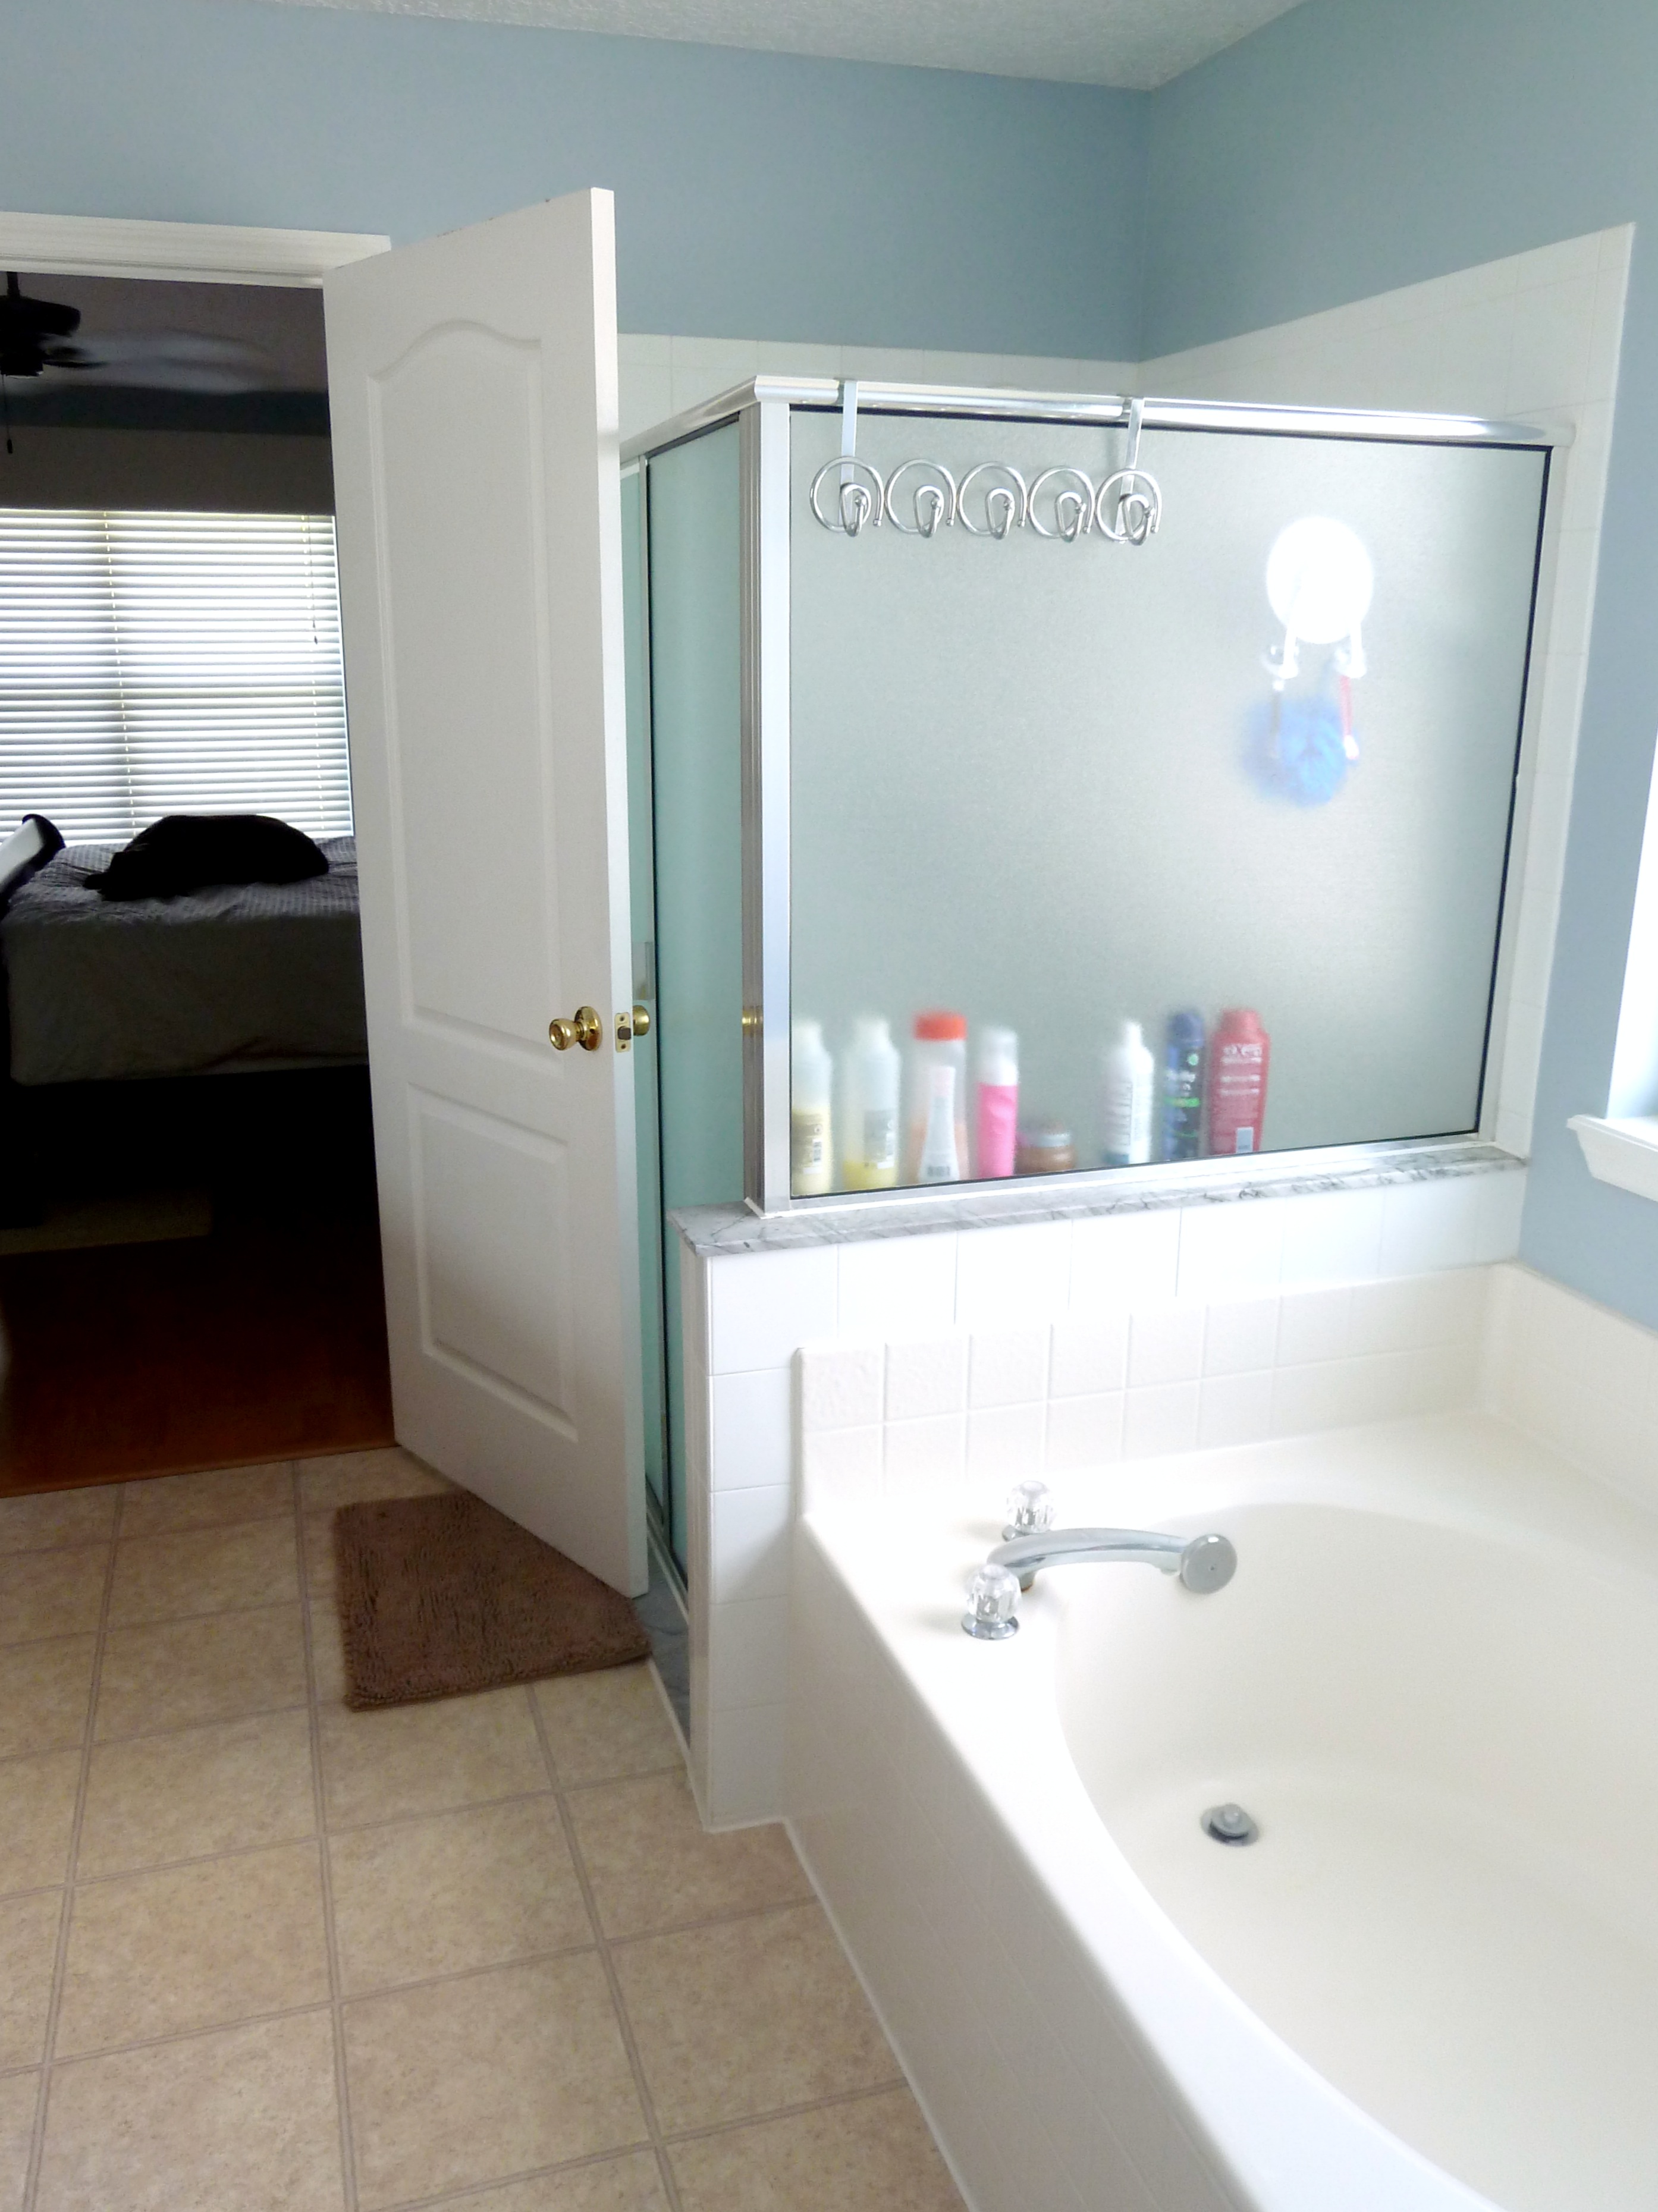
Here is how the bathroom looks today…

I decided to change out the countainers on the counter to something with less of a tealish tint.
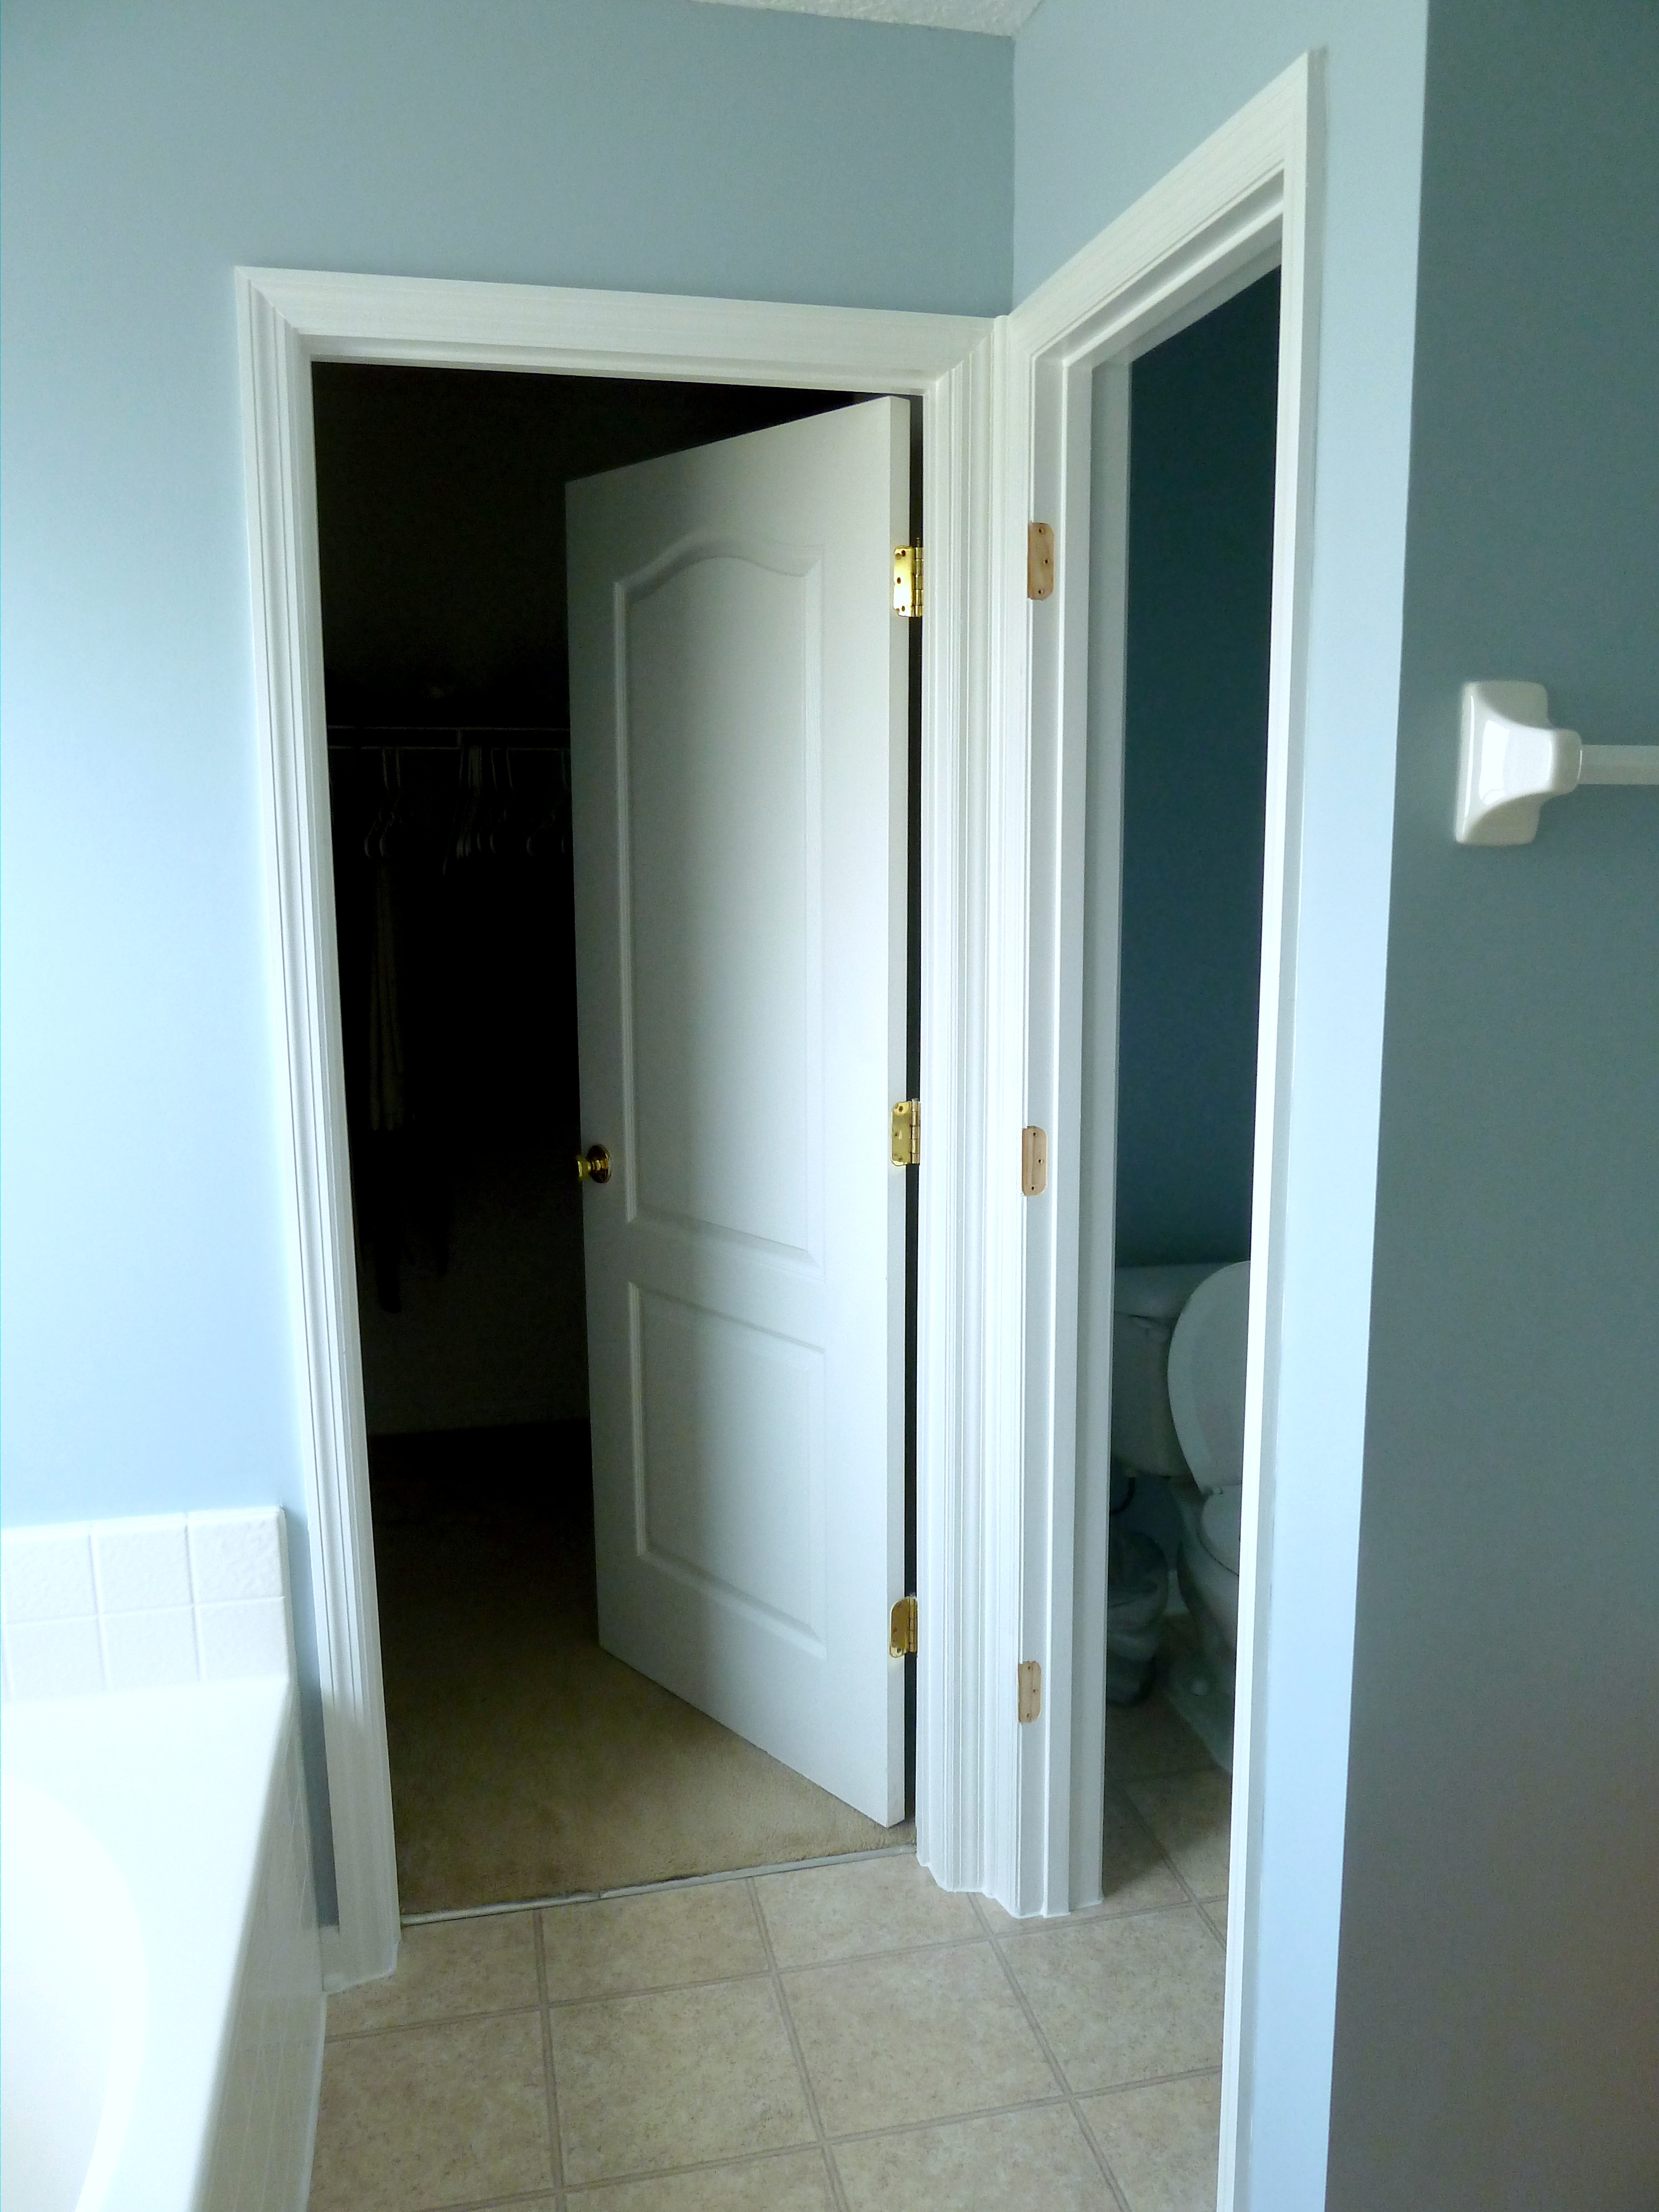
We also took the door off of the “toilet room”, we really hate having a separate room for our toilet, just seems like a waste of space.
We cannot wait to renovate this entire room, as for now we are going to live with everything as is. We are saving our pennies and one day we will have a brand new bathroom! Can’t wait.
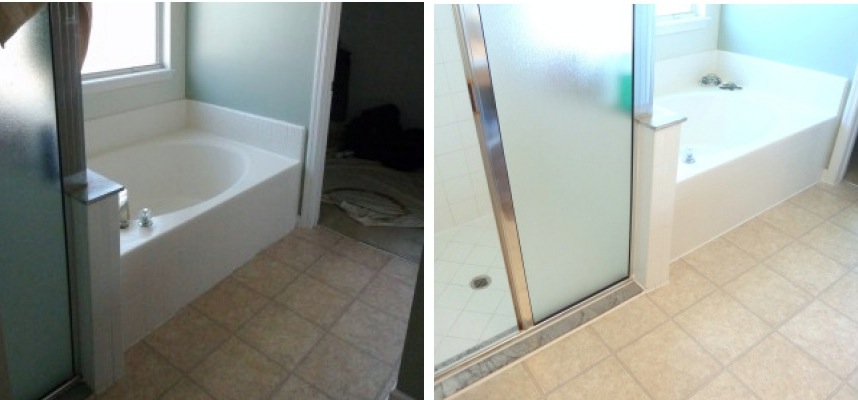
Here is one more before and after of this quick update on our bath…
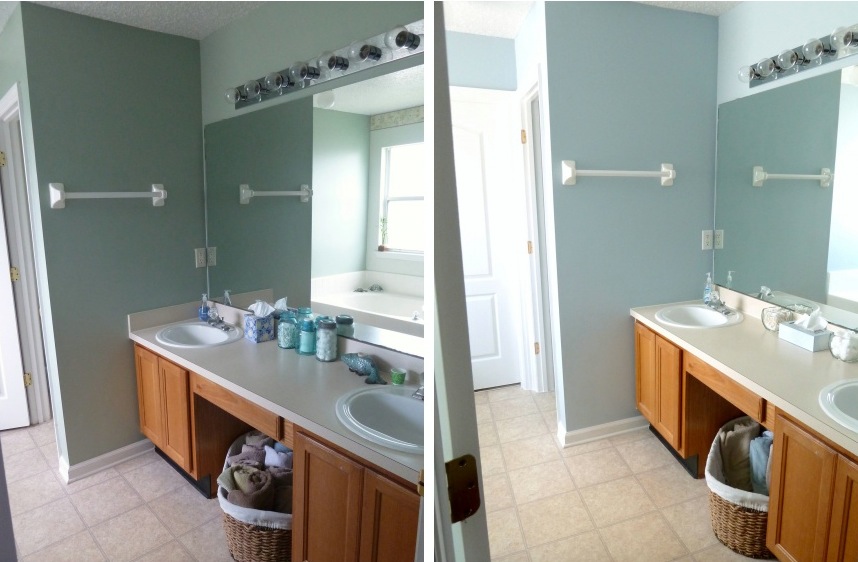
Better? I hope so!