Remember when my friend Christina gave me this awesome gift basket full of antiques for my bridal shower?

Well, I have been pondering about what I should do with that snazzy feed sack, and I finally figured it out. Doorstops! I have been thinking a lot about how we needed doorstops for our back french doors that lead out to our patio. And, we needed them A.S.A.P., since the weather is about to get cool enough to turn off the AC and leave the doors open! Woo to the hoo!
So, I grabbed my feed sack and did some more pondering about how I can make this work. I had previously made a pretty nifty doorstop for our bedroom, so I figured I would do something pretty similar this time around.
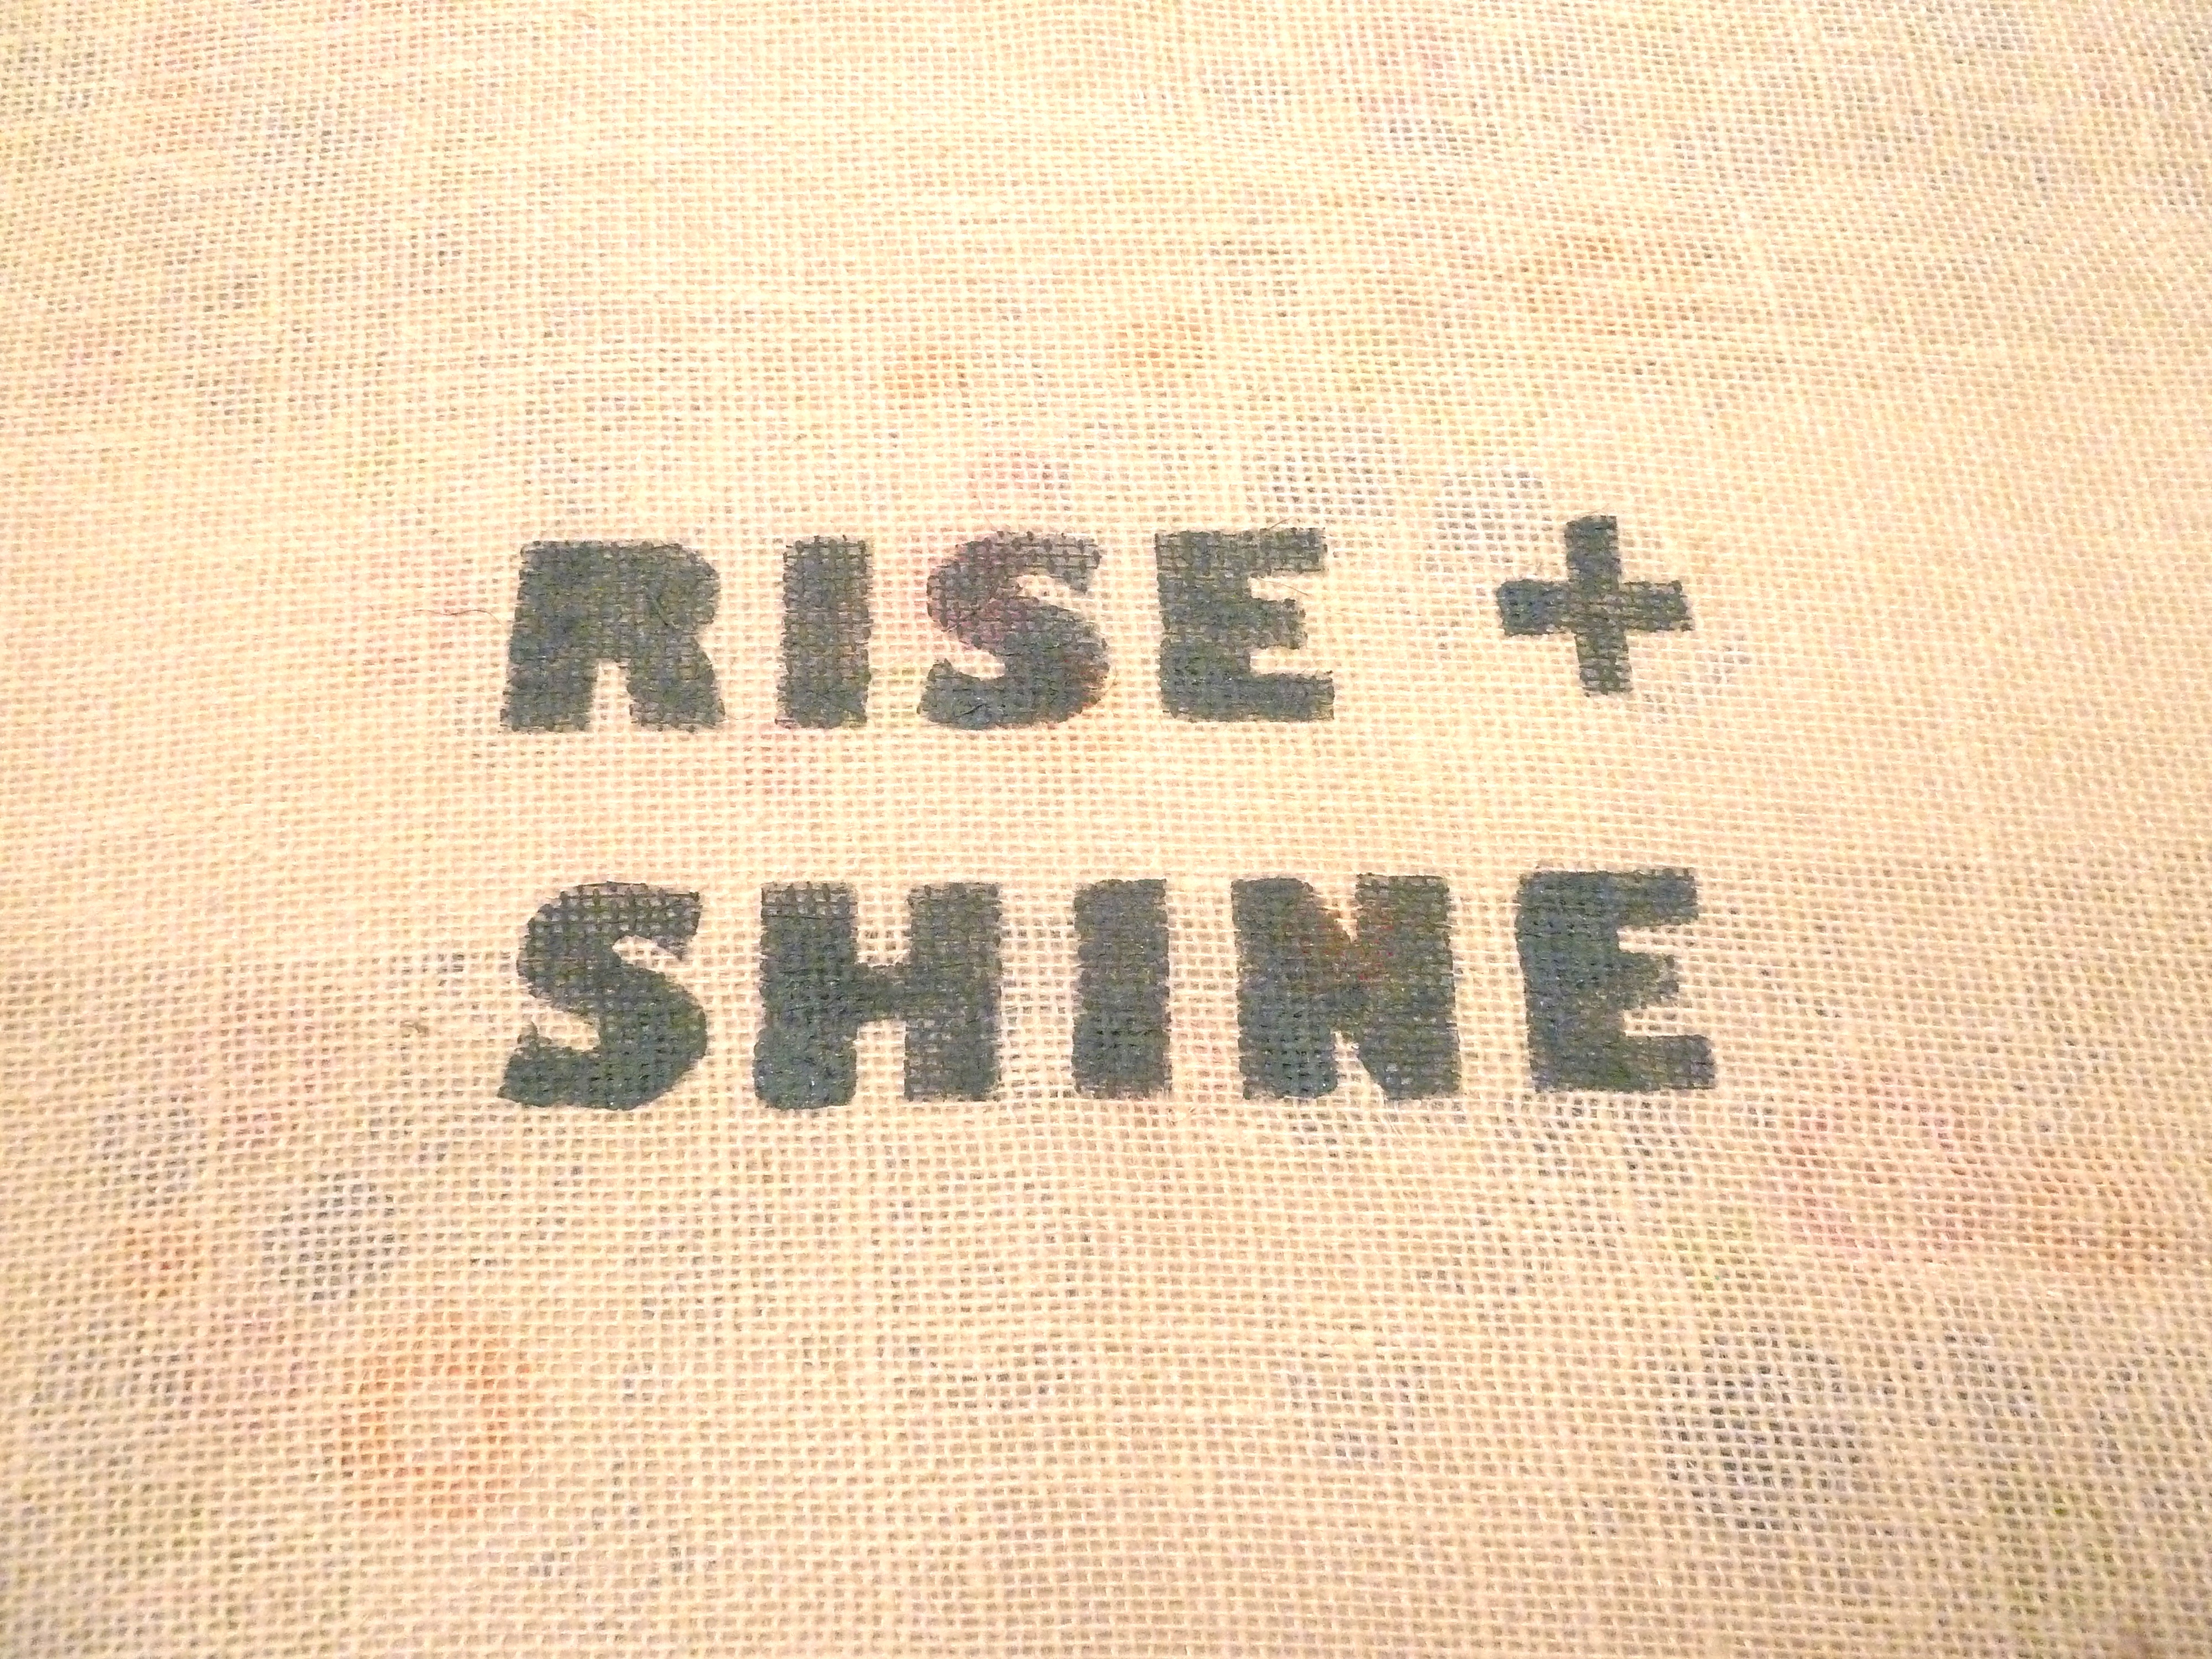
First, let me show you this feed sack…
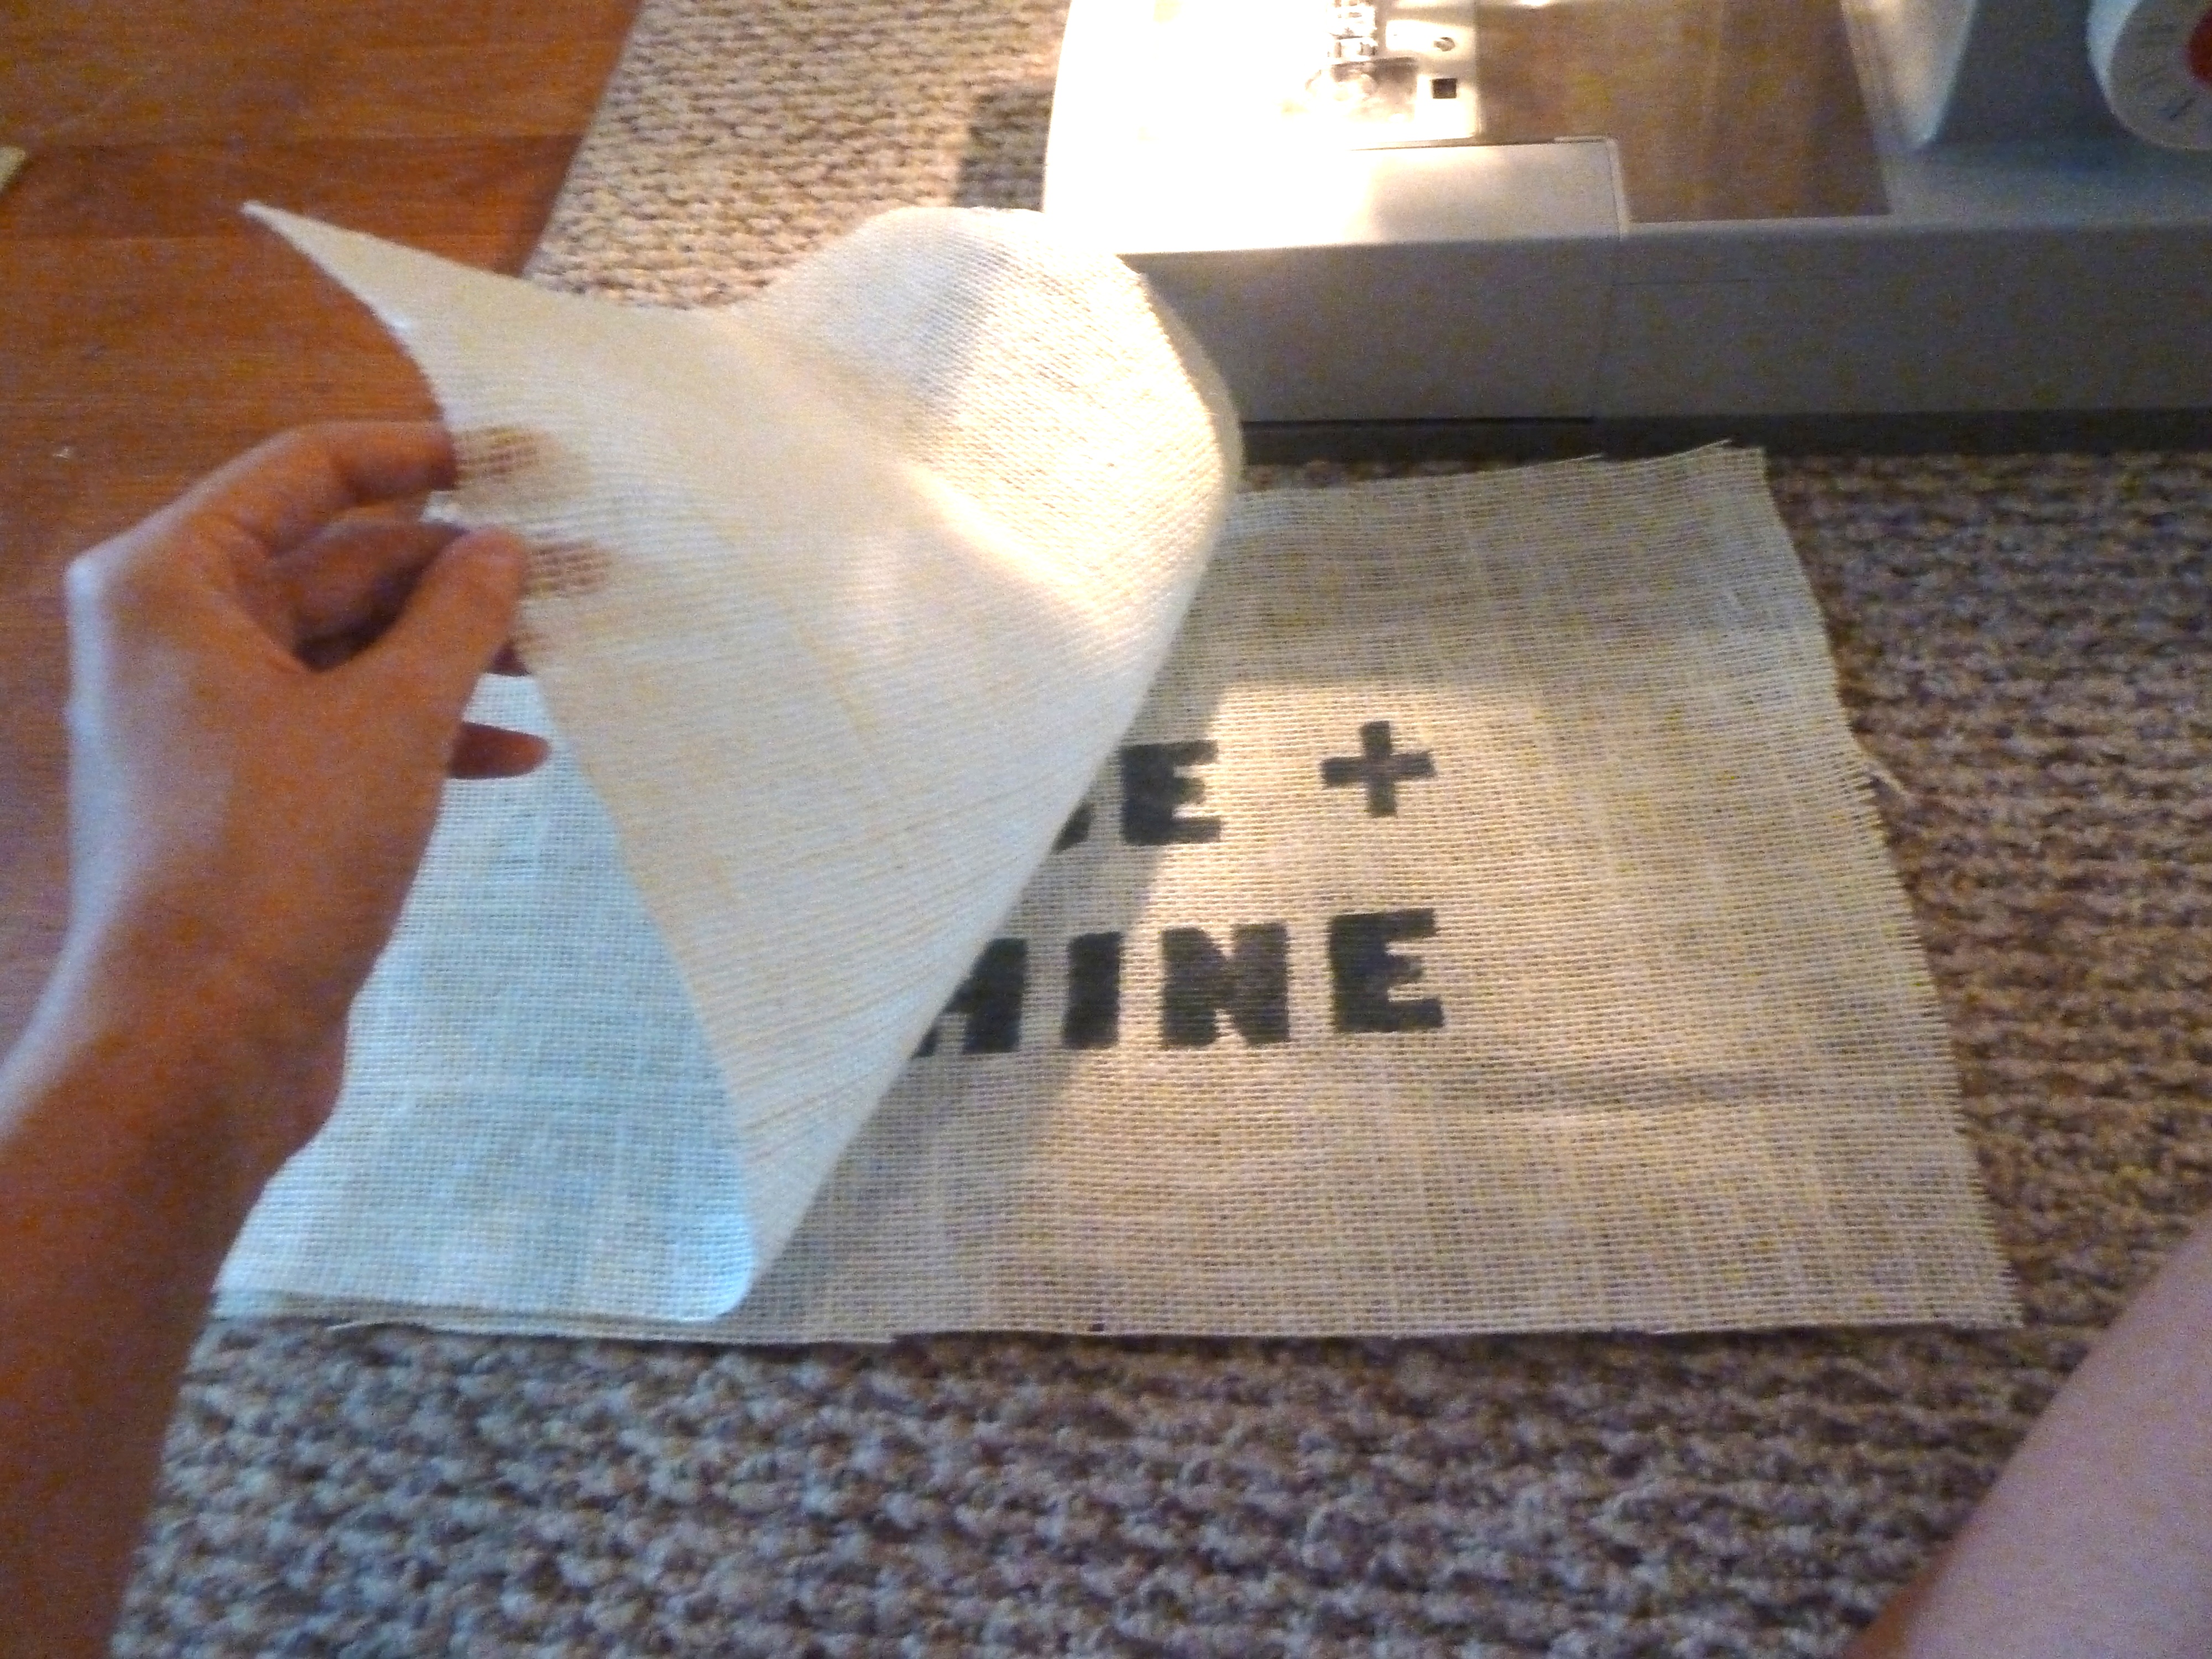
 One thing that I love about it is that it has something printed on both the front and the back.
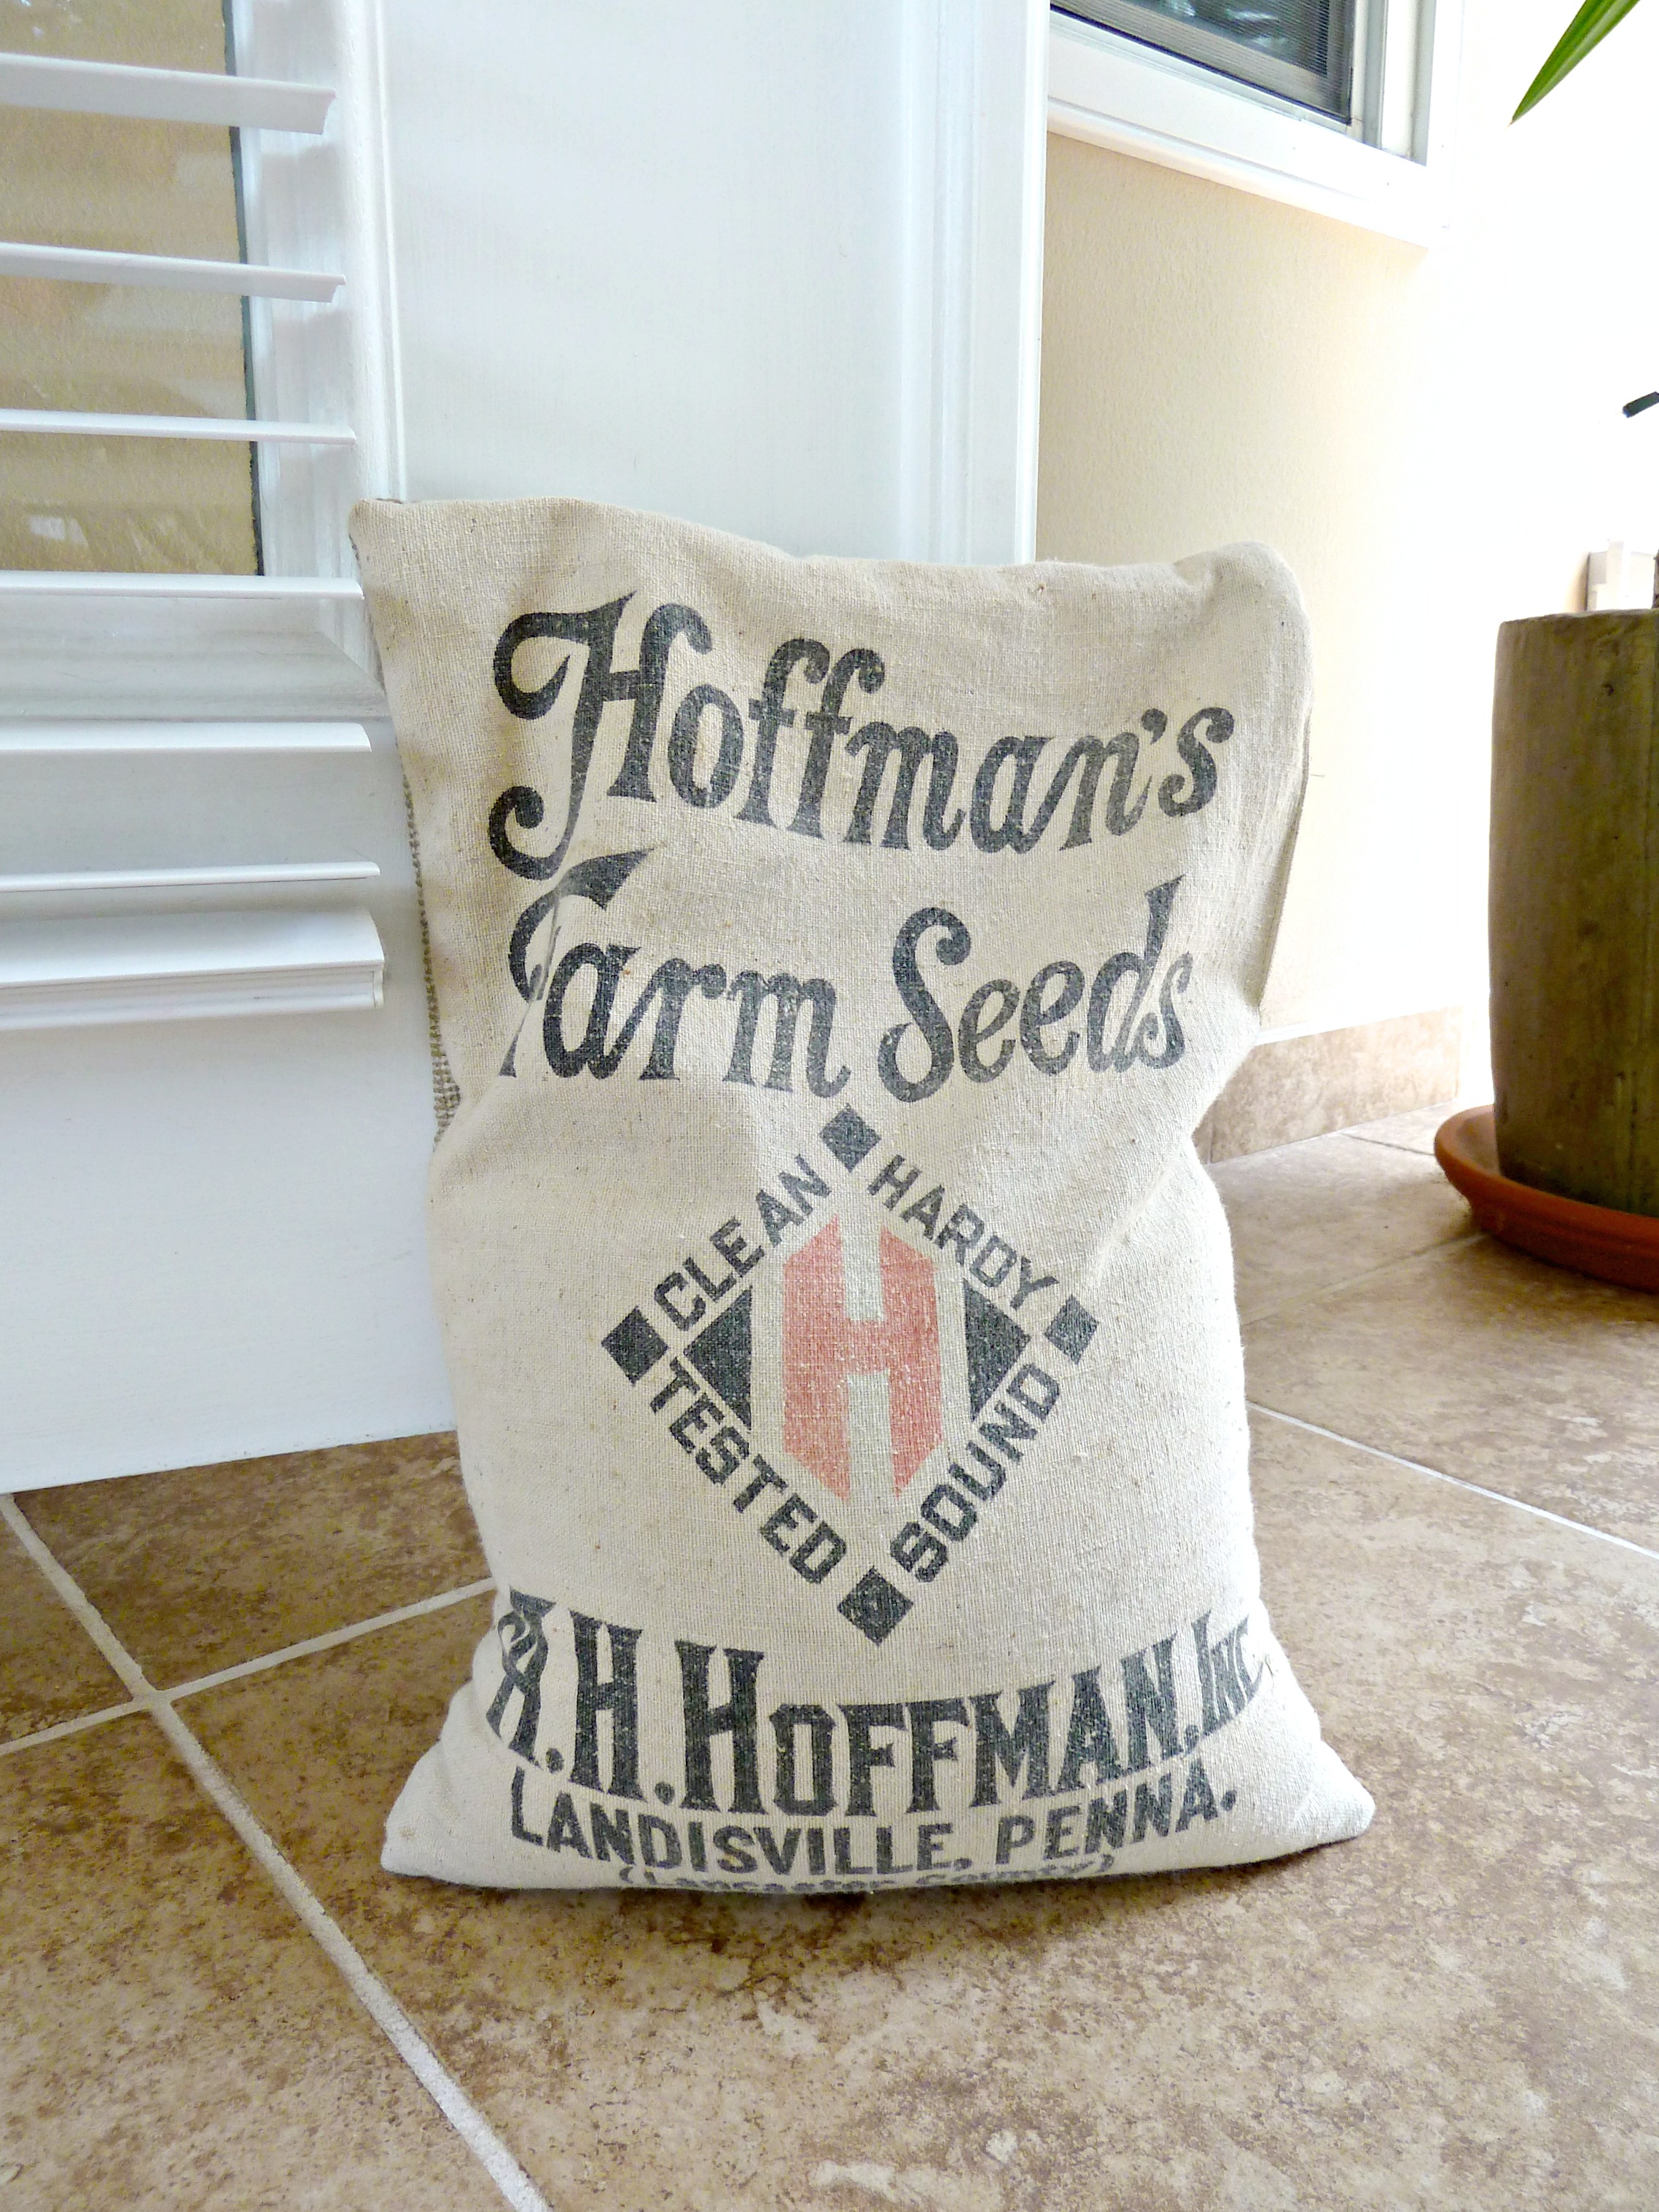
The front says Hoffman’s Farm Seeds. I dig it.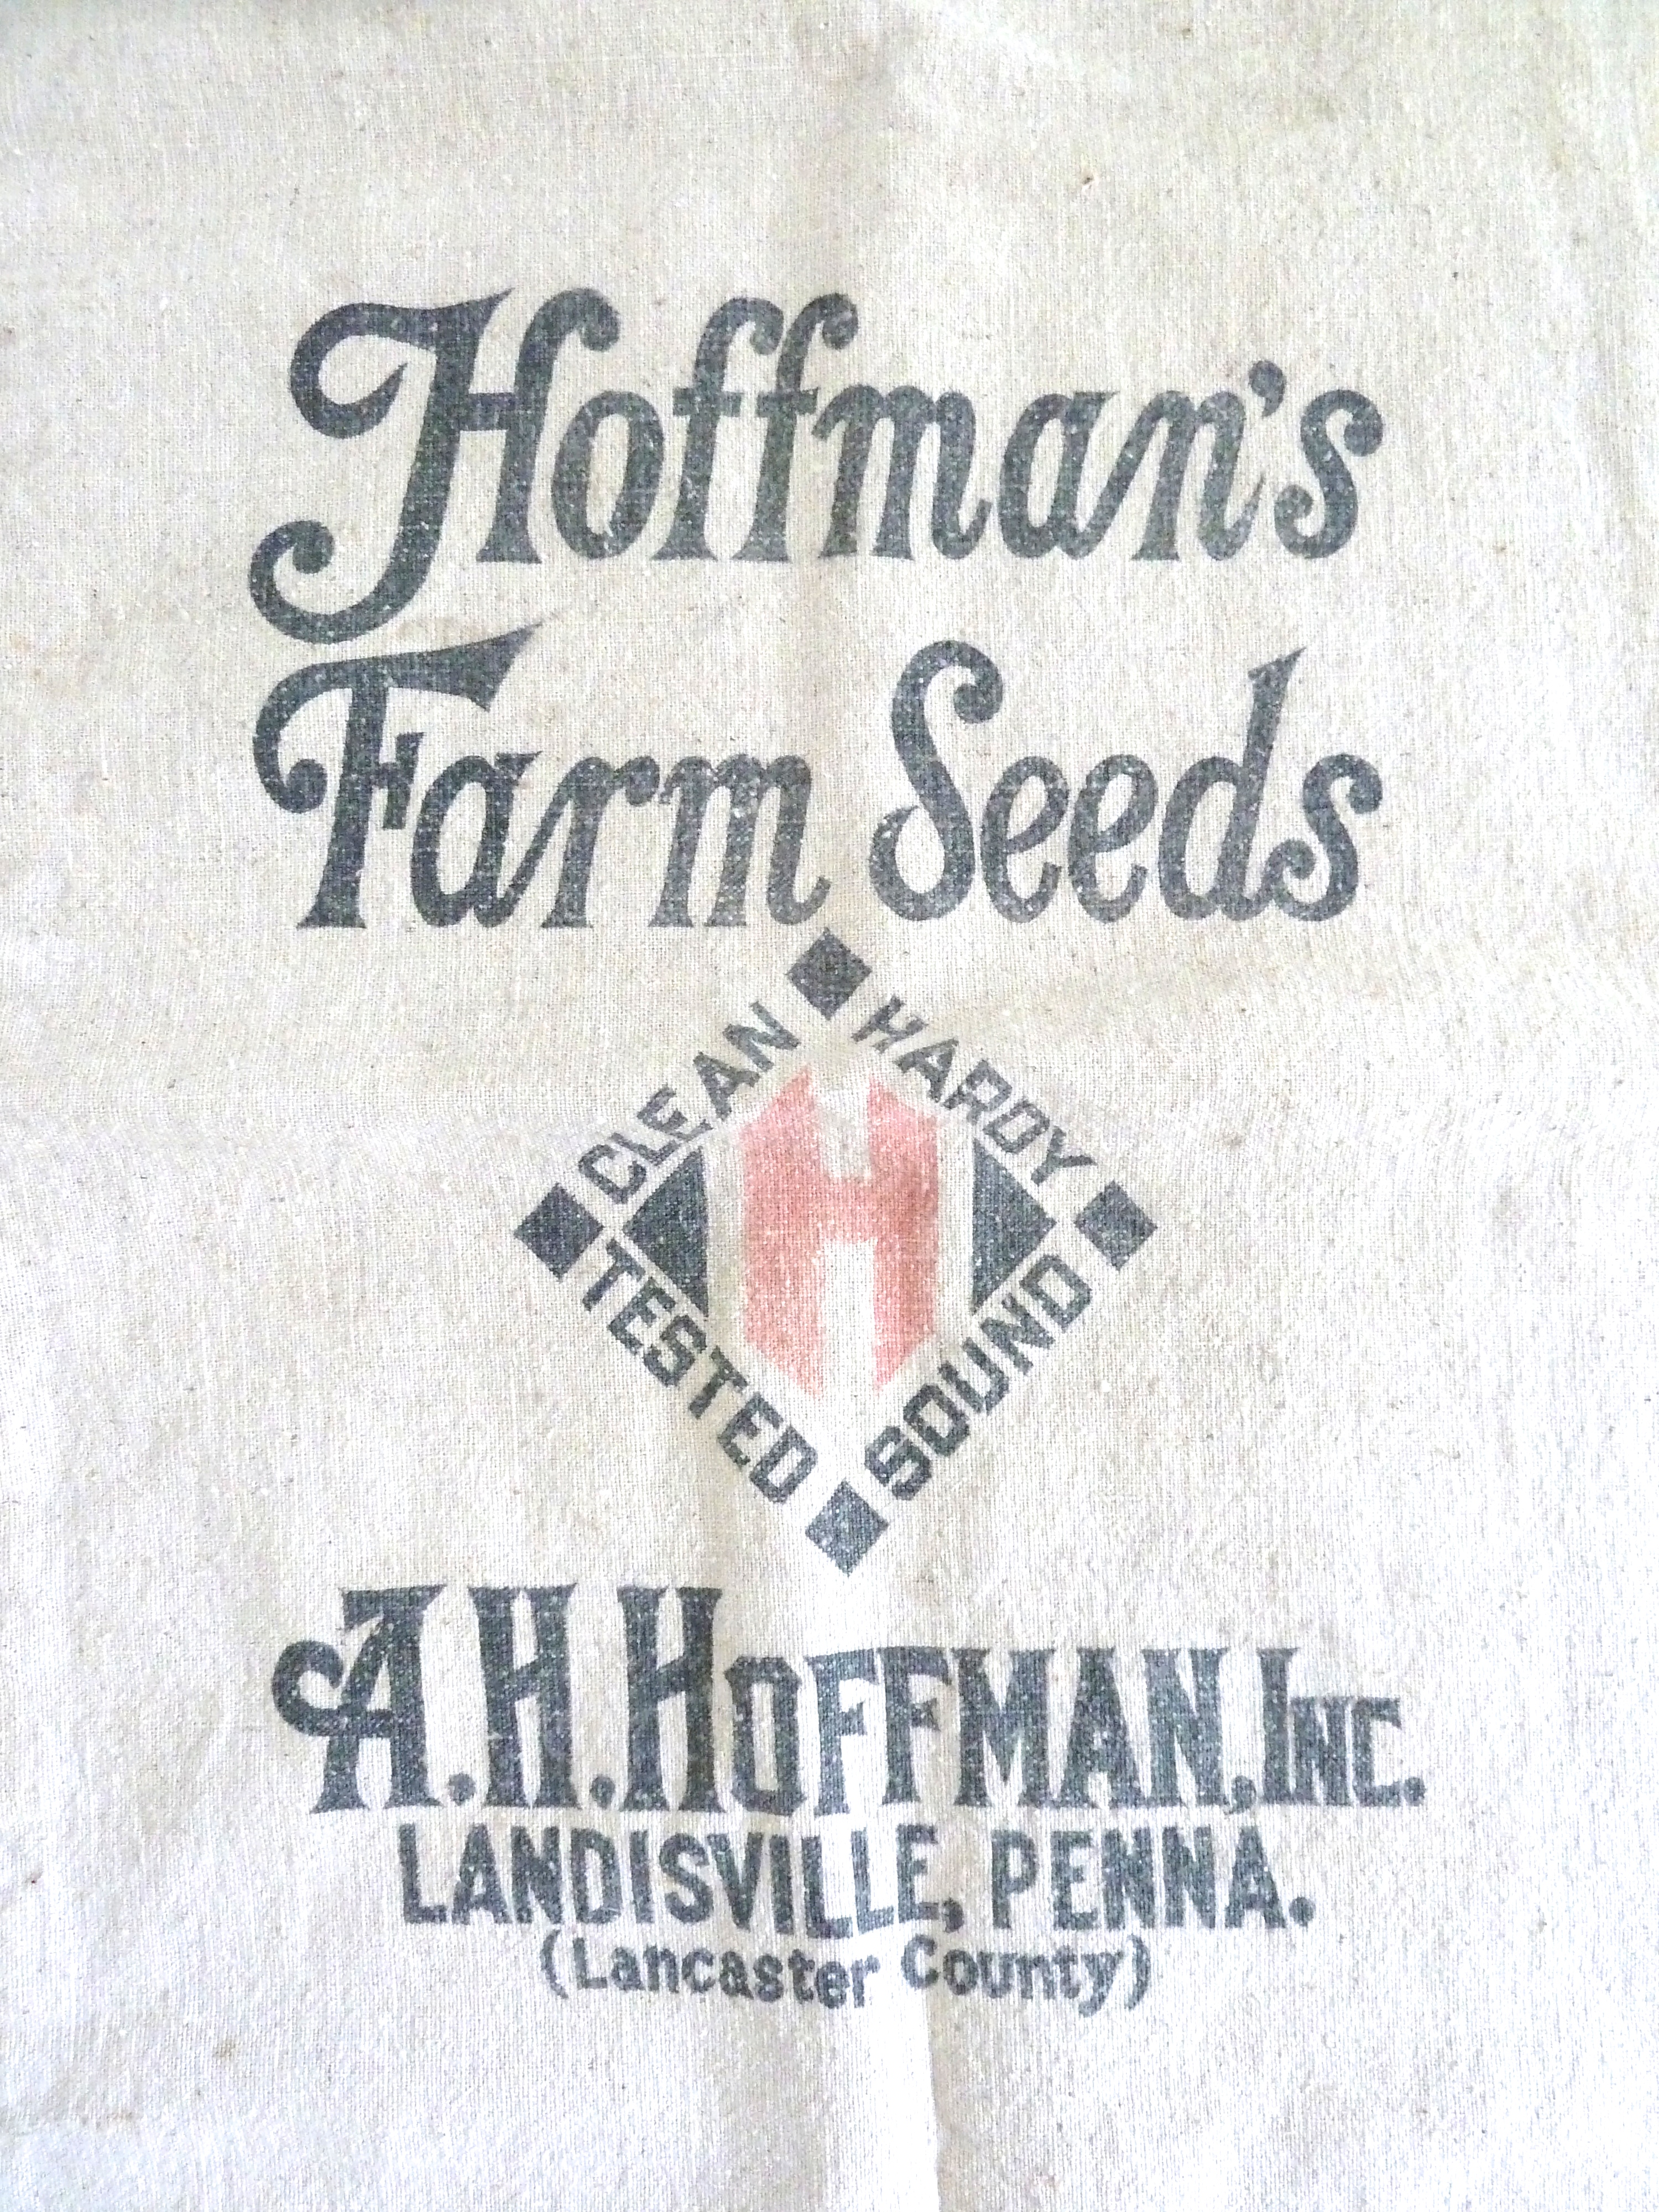 And the back….
 Funk’s Hybrid? I mean, come on, you had me at Funk’s!
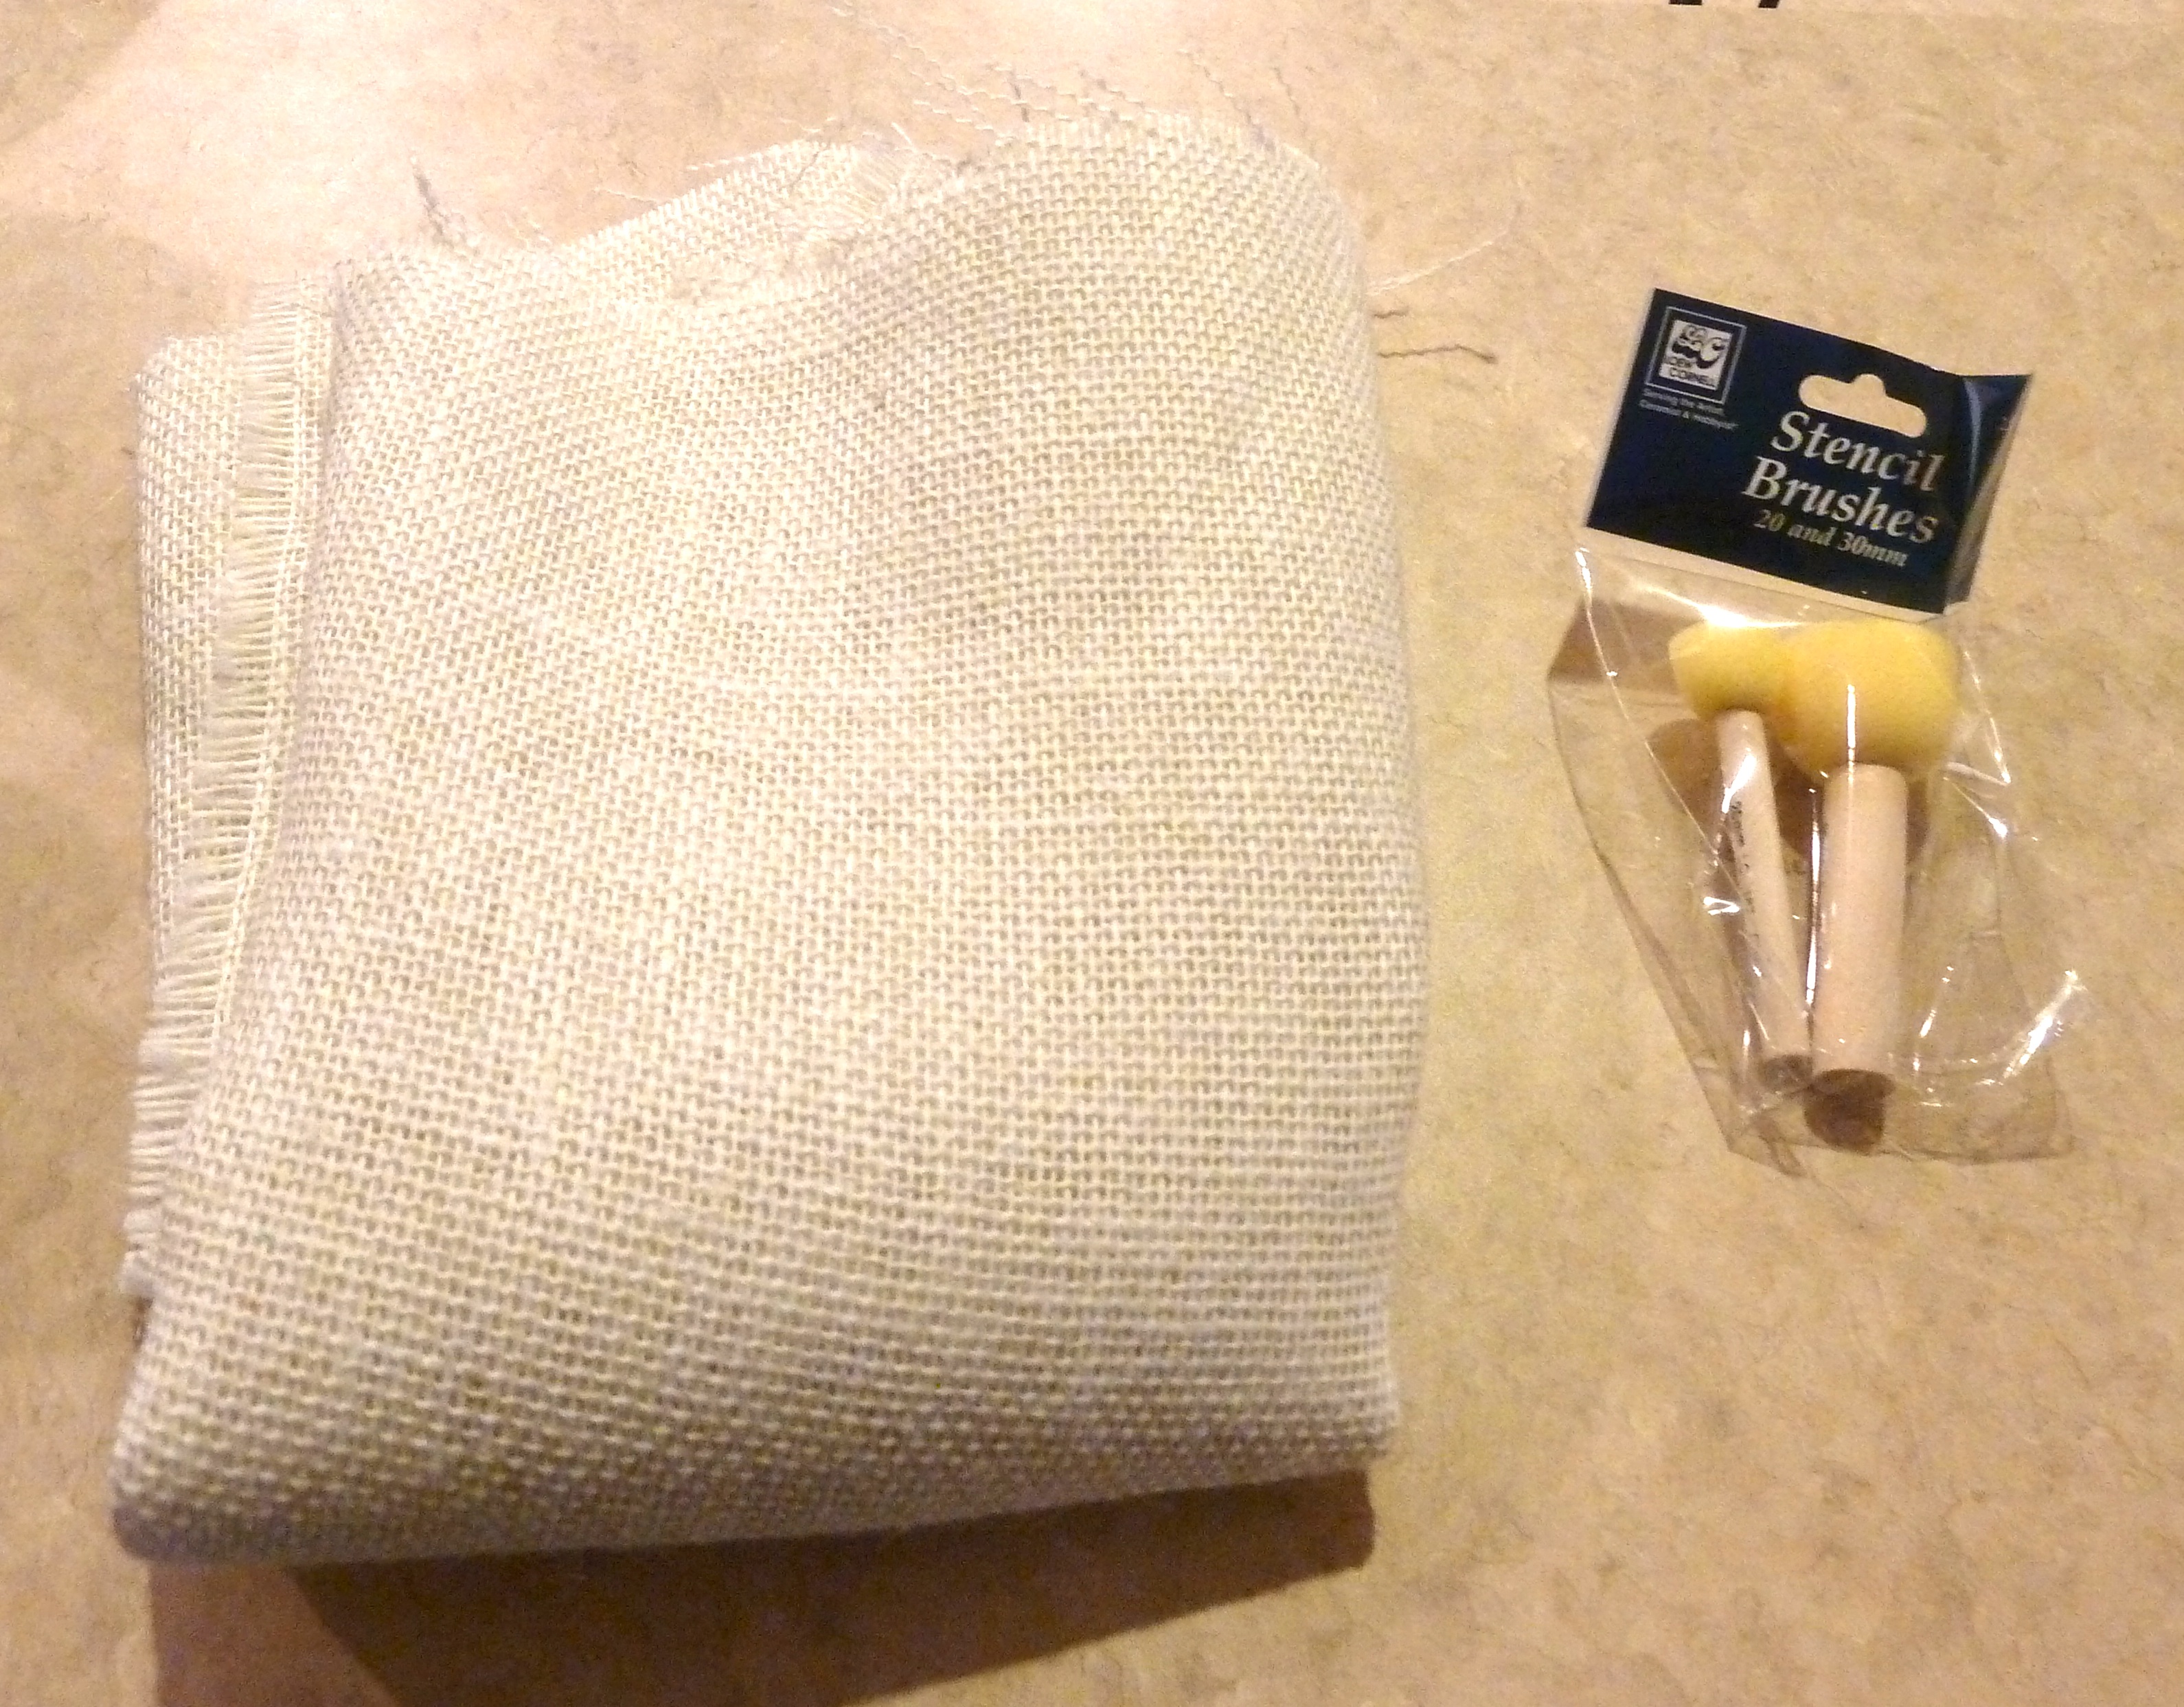
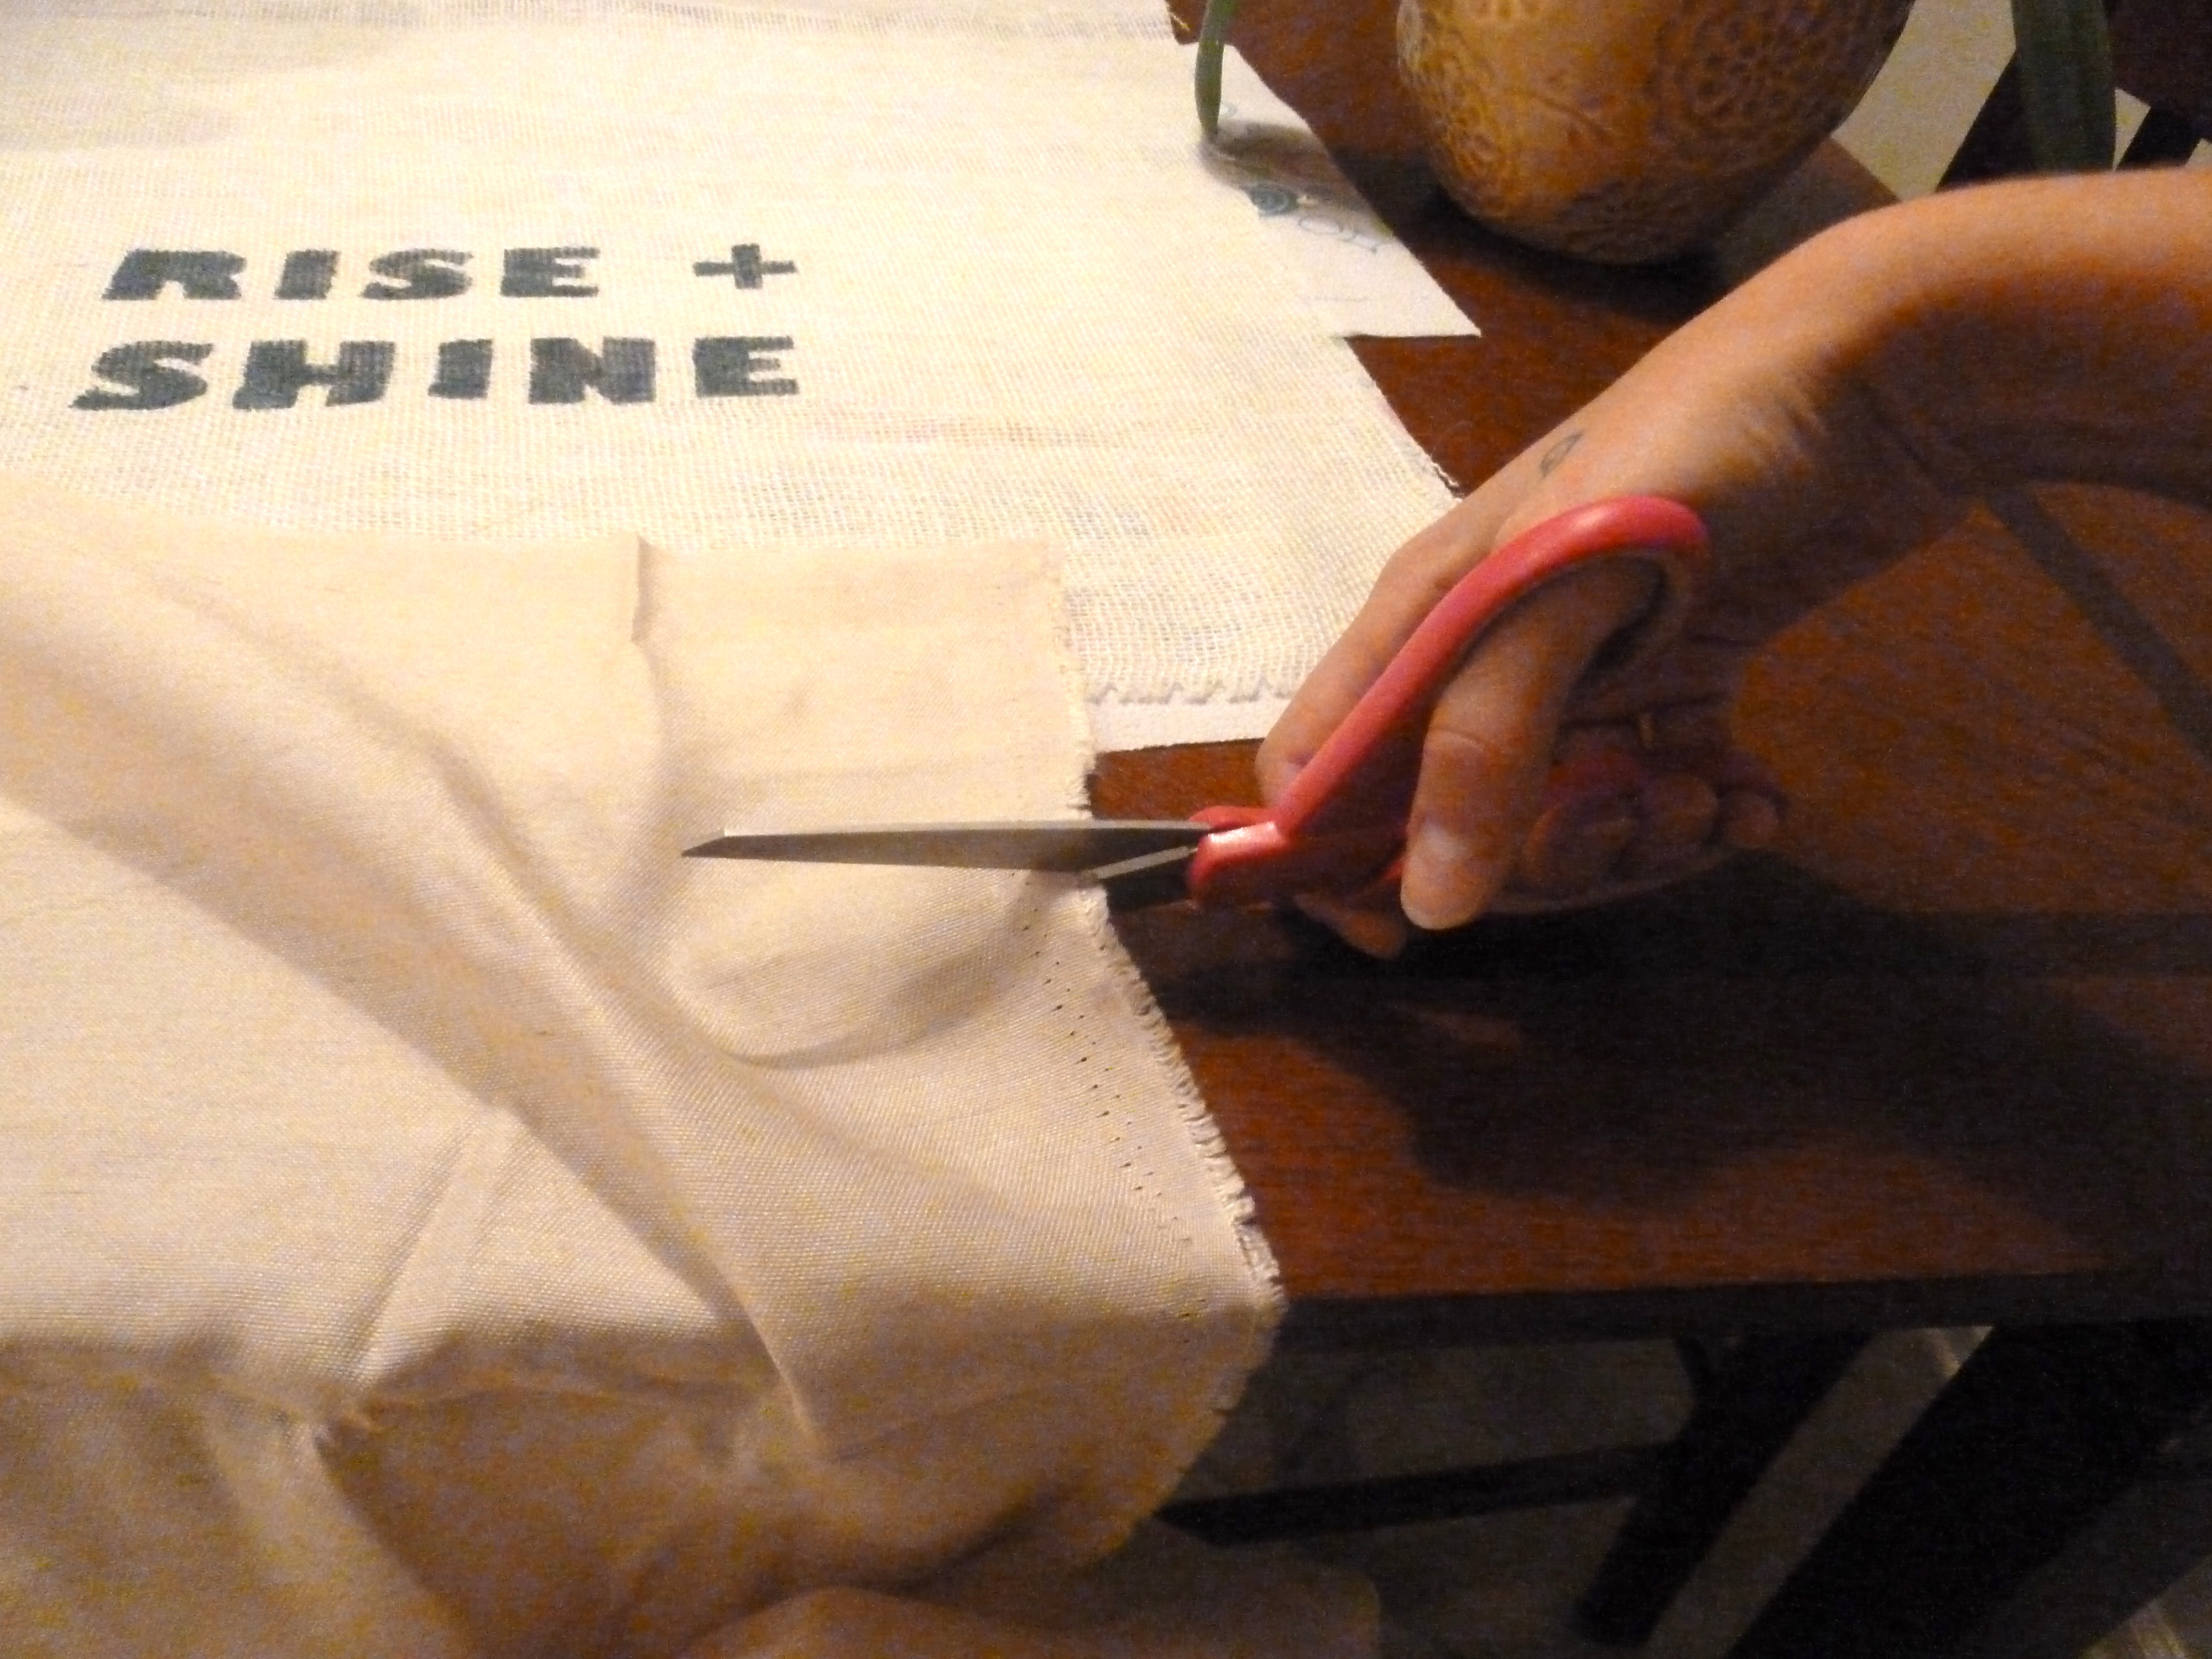
My first step was to cut the bag so that it laid flat. This way, I had one long piece of fabric. I did this by cutting across one side and along the bottom.  Voila!!!
Then, I gave the whole thing a good ironing. From there, it was time to do some cutting. I wanted the doorstops to be a bit taller this time around, because there is actually a step up into the house making the doors a bit higher. Since they needed to be taller, I cut the fabric longer vertically. This worked out well, since the printing on the bag is more vertical. 
I also made sure to cut both pieces the same size. I did this by cutting one piece to the size I wanted, then laying that piece directly onto the center of the uncut piece. I cut the uncut fabric directly around the edge of the top pre-cut fabric, basically tracing the exact size. Hope that makes sense! Probably not, but that’s as good as it gets for my explanation.
Anywho, those two pieces were to be the front of my new doorstops. That means I needed two more pieces that are the exact same size. I just so happened to have some tan fabric that matched pretty well with the fabric from the feed sack. So, I cut two more pieces of that fabric the same way. I needed two more pieces, because I was making two doorstops. Which both have a front and a back, just in case you’re not following where I am going with this. Now, that I had all of the pieces cut to the same size, it was time to get sewing.
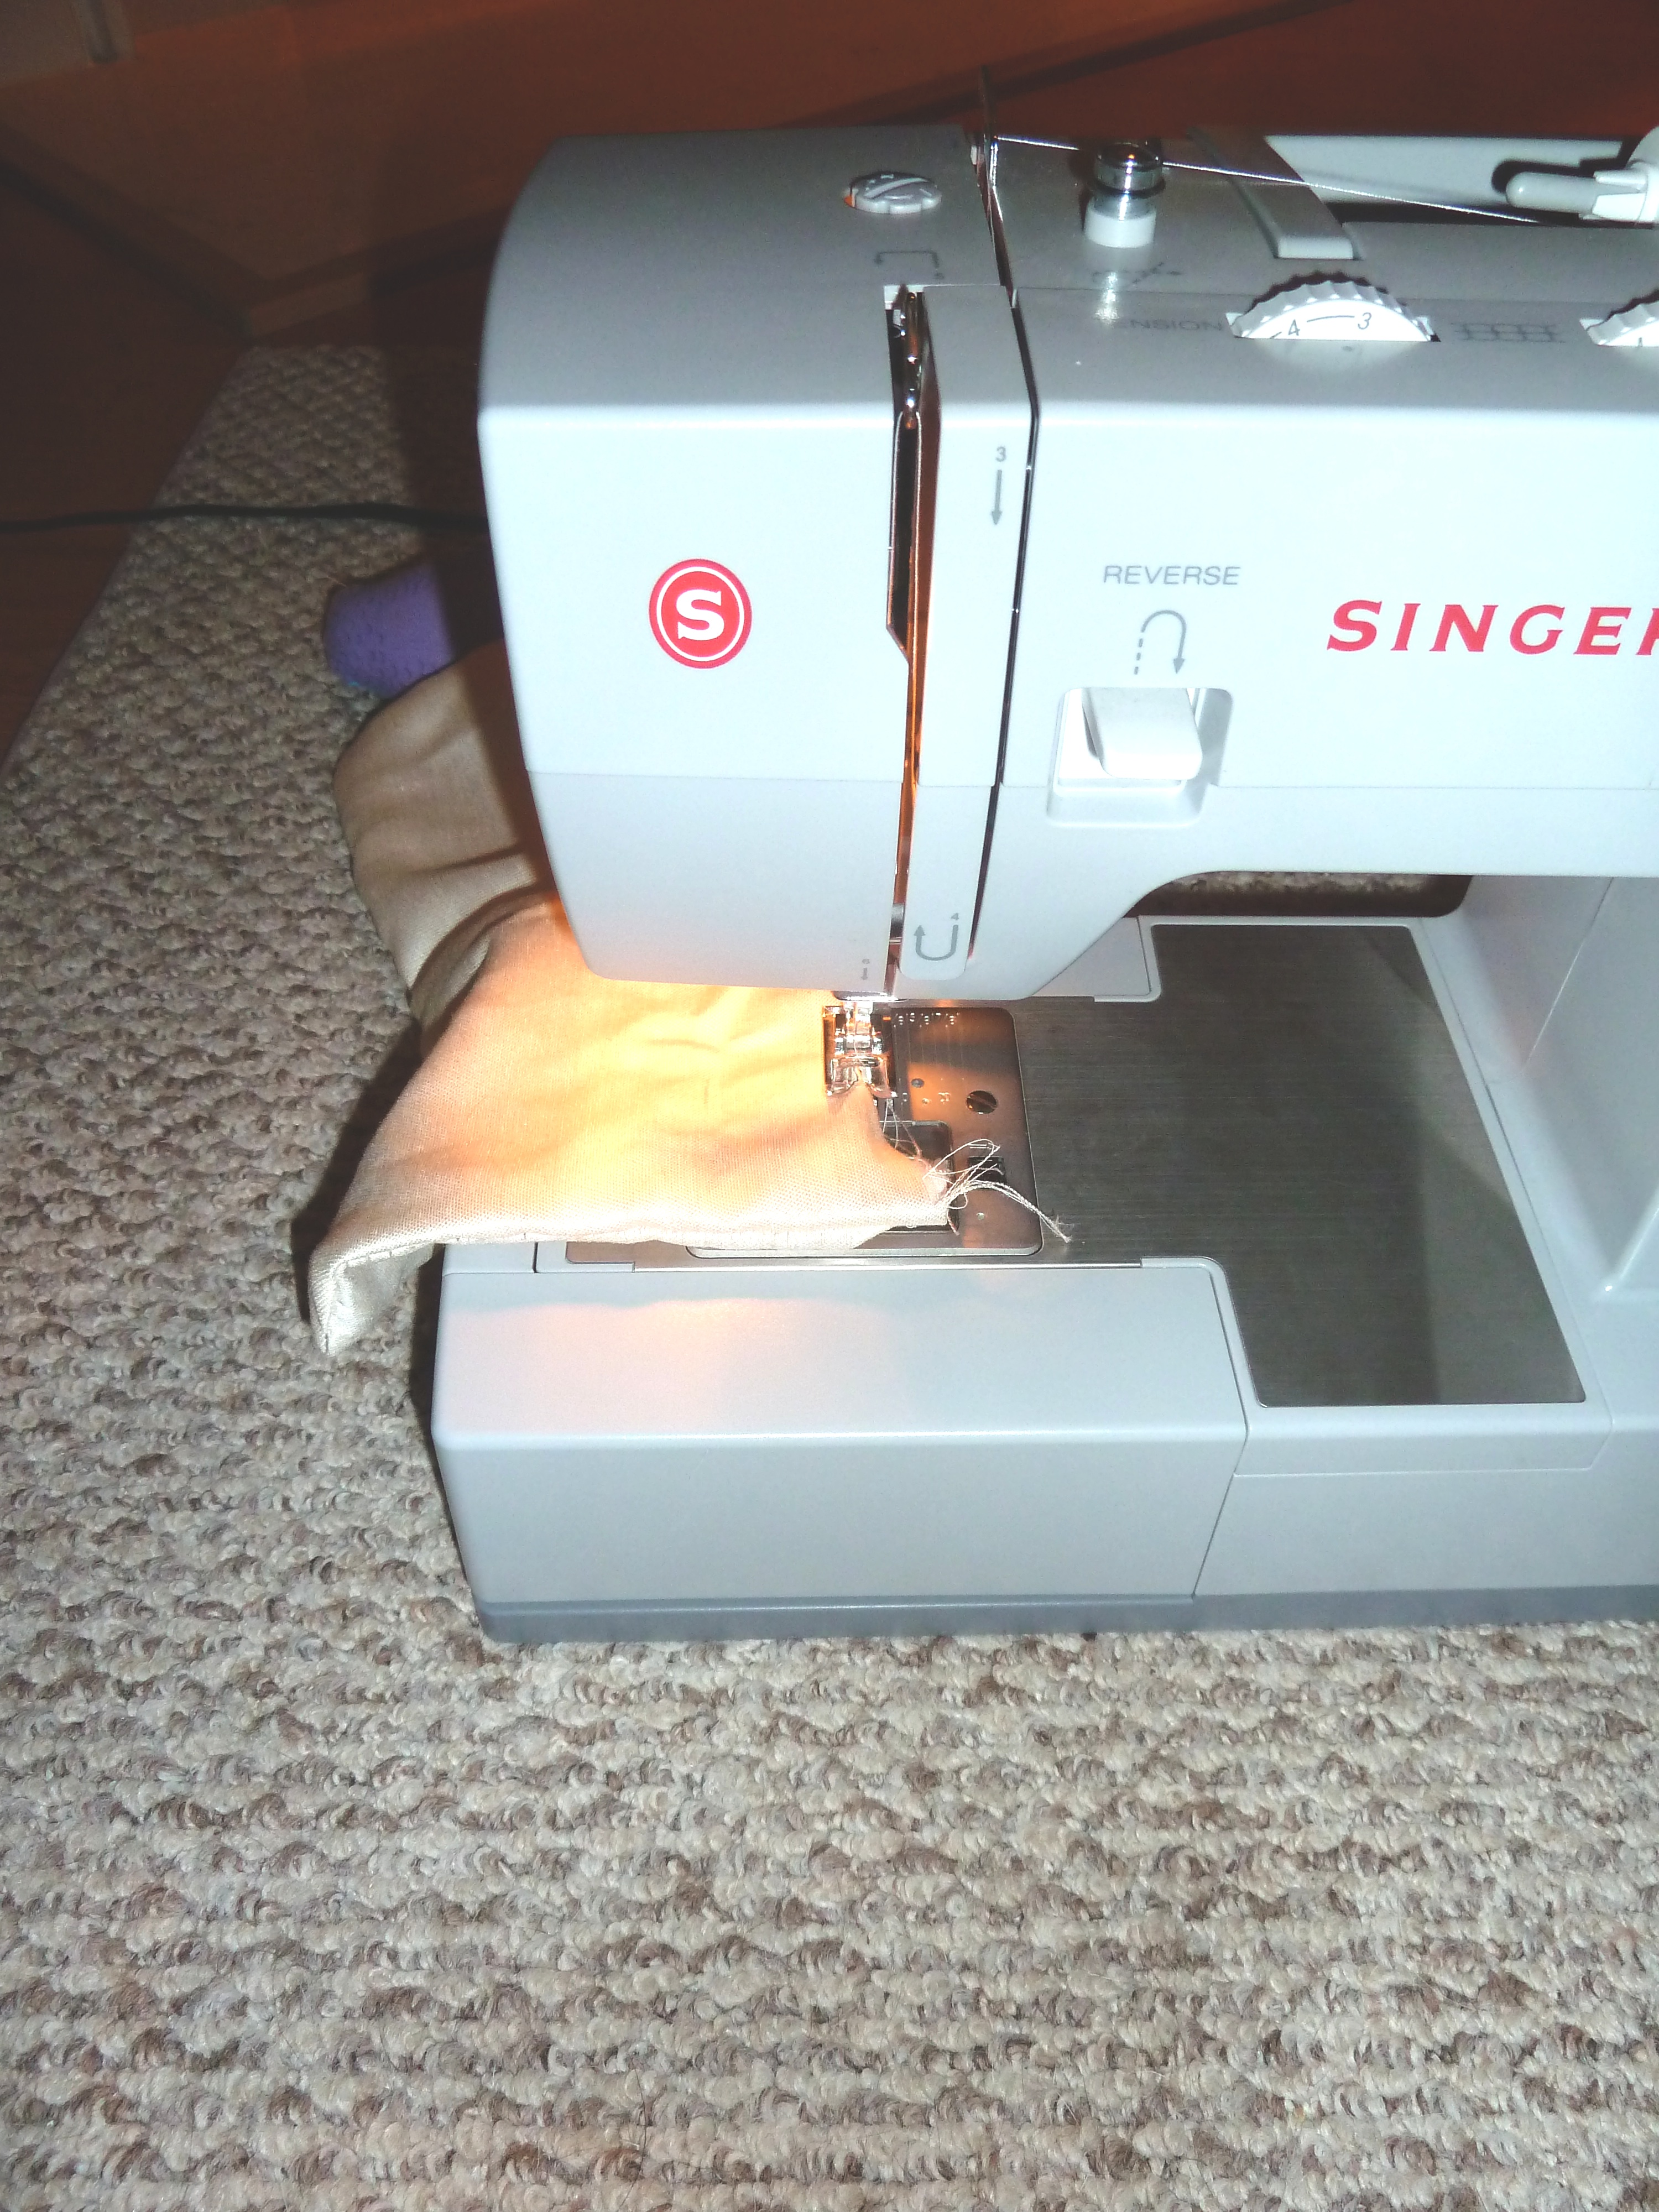
I took the tan fabric, “good” side facing up, and laid it down first. I, then, placed my feed sack piece, “good” side facing down, on top of the tan fabric, making a fabric sandwich. This way both “good” sides are facing inward. And when I say “good” side, I mean the side that I want to be seen when I am done sewing, so for the feed sack it would be the side with the printing.  Here is a peek at the inside of my fabric sandwich…
 Get it?
Then, I just sewed up all sides of each, leaving only a small opening on one side.  The opening was about 3 inches wide.
  I left an opening, so I was able to turn the soon-to-be doorstop inside out.
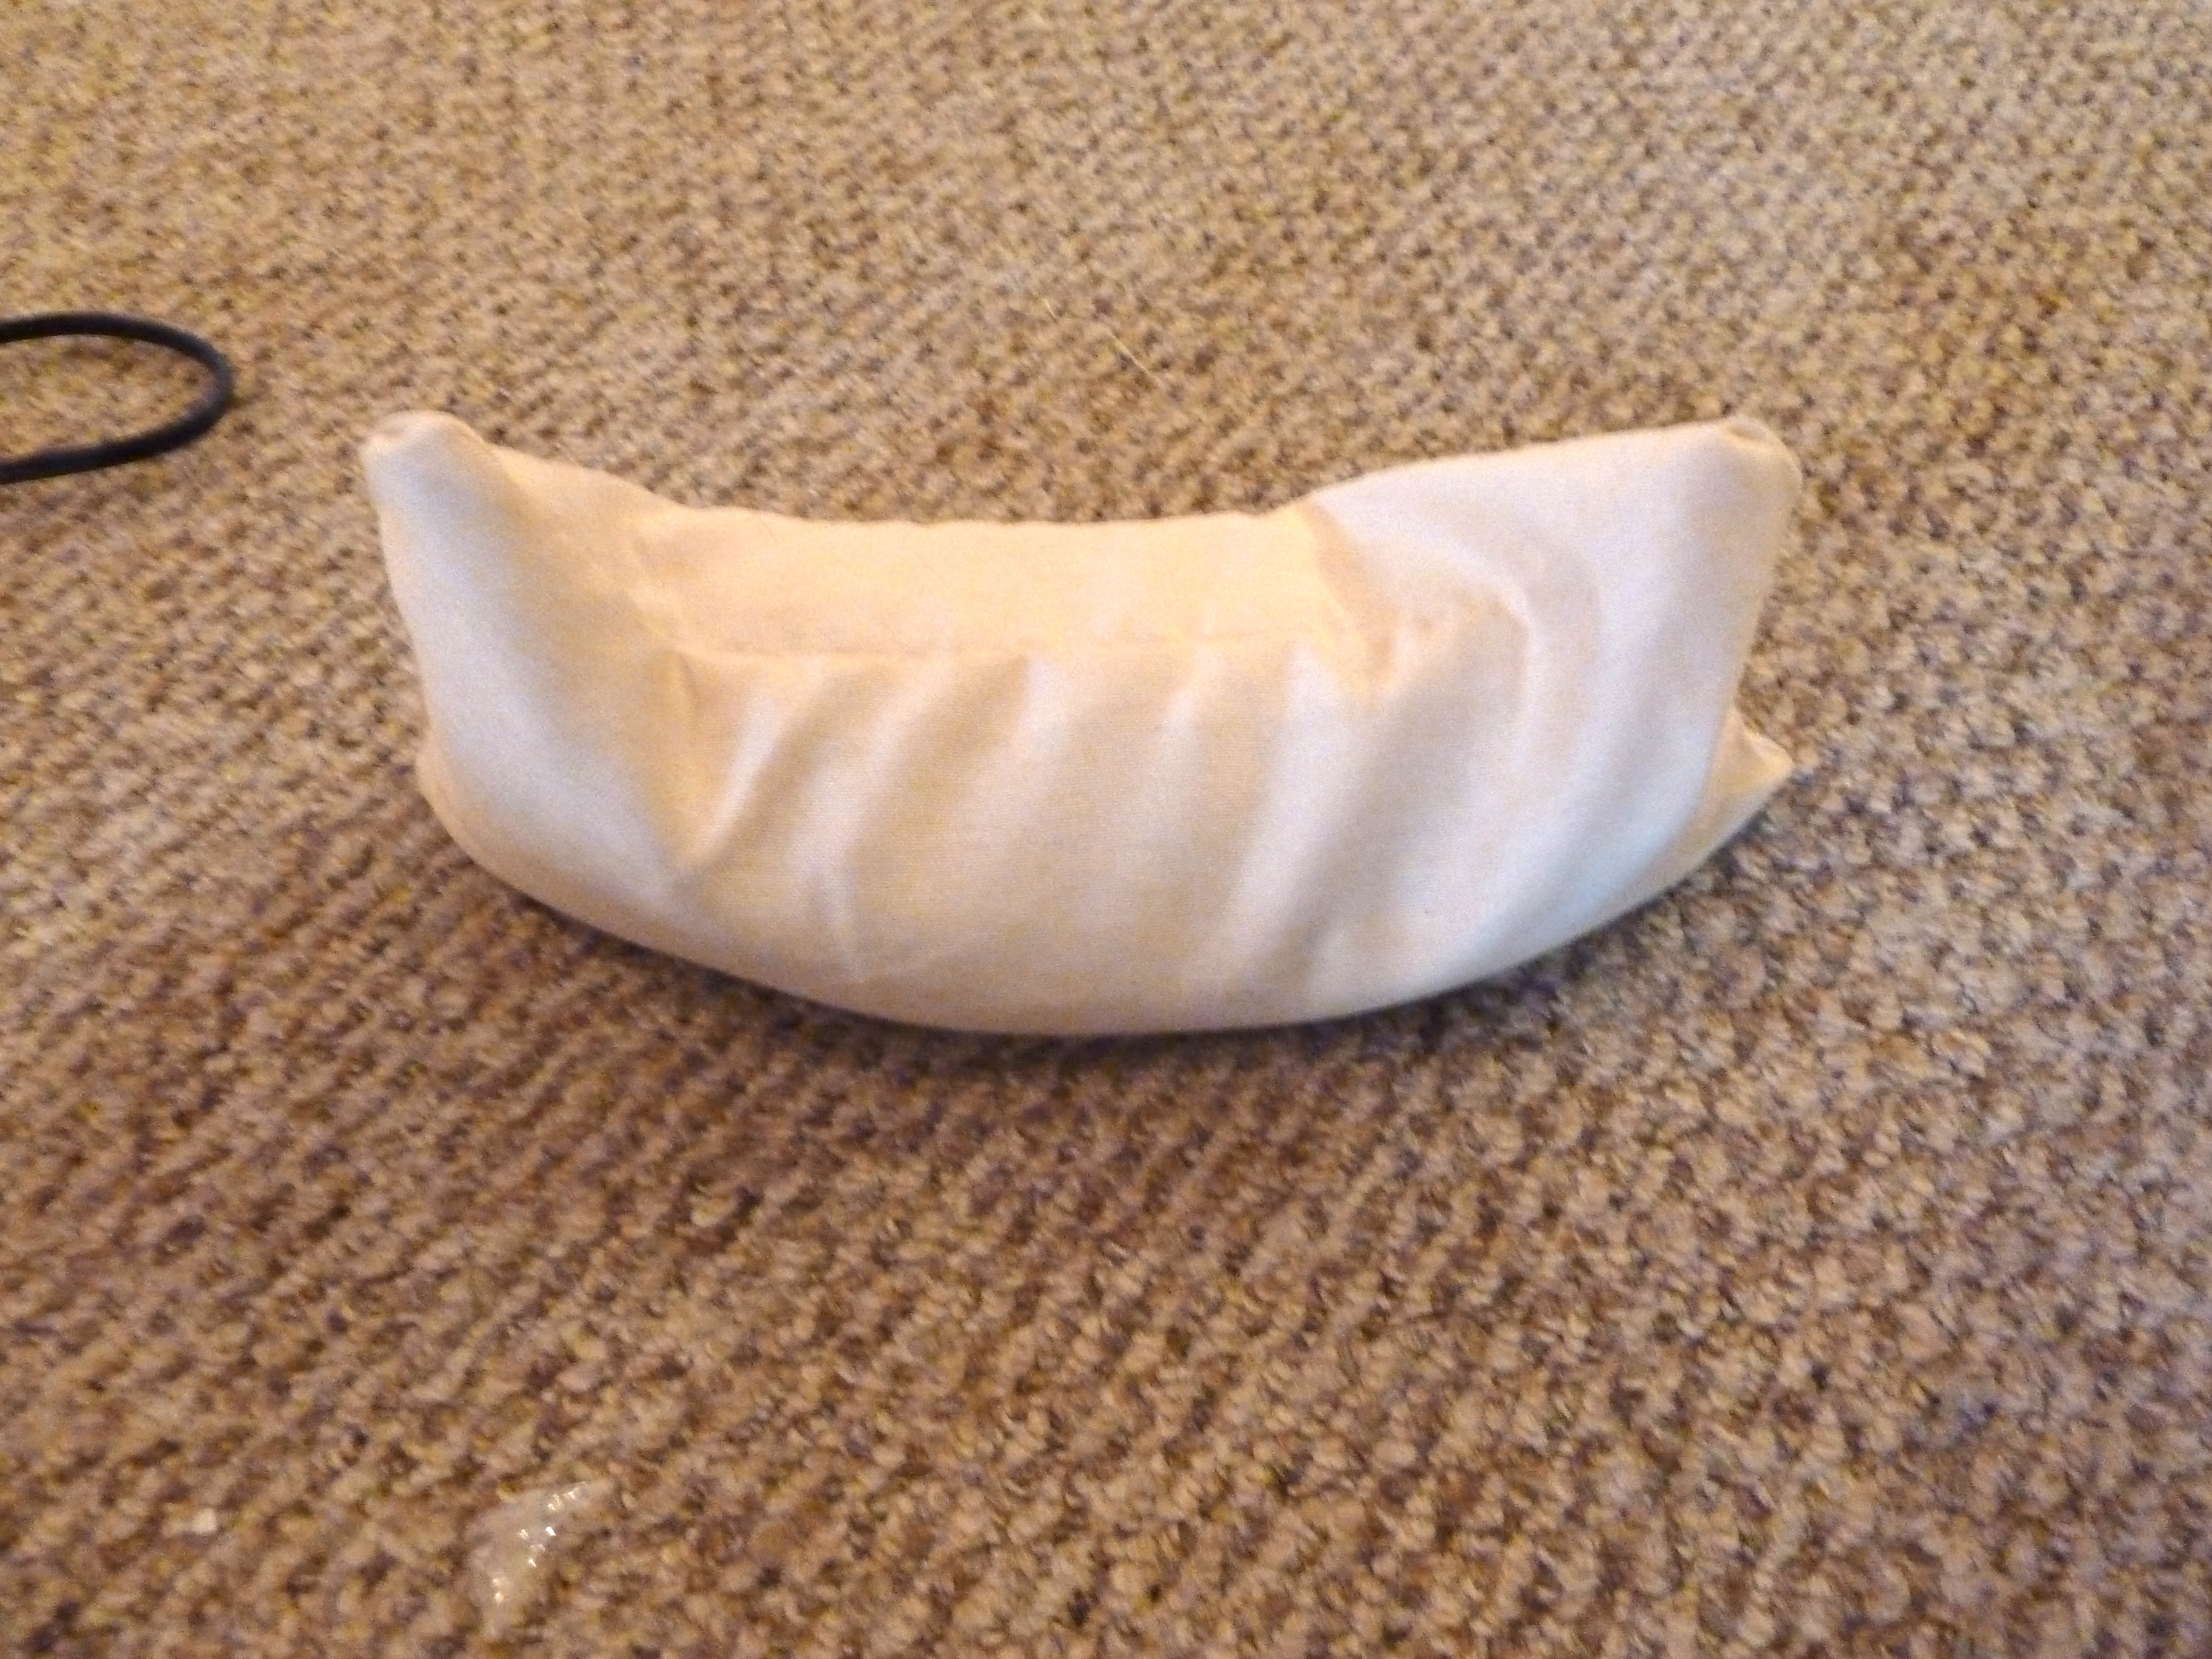
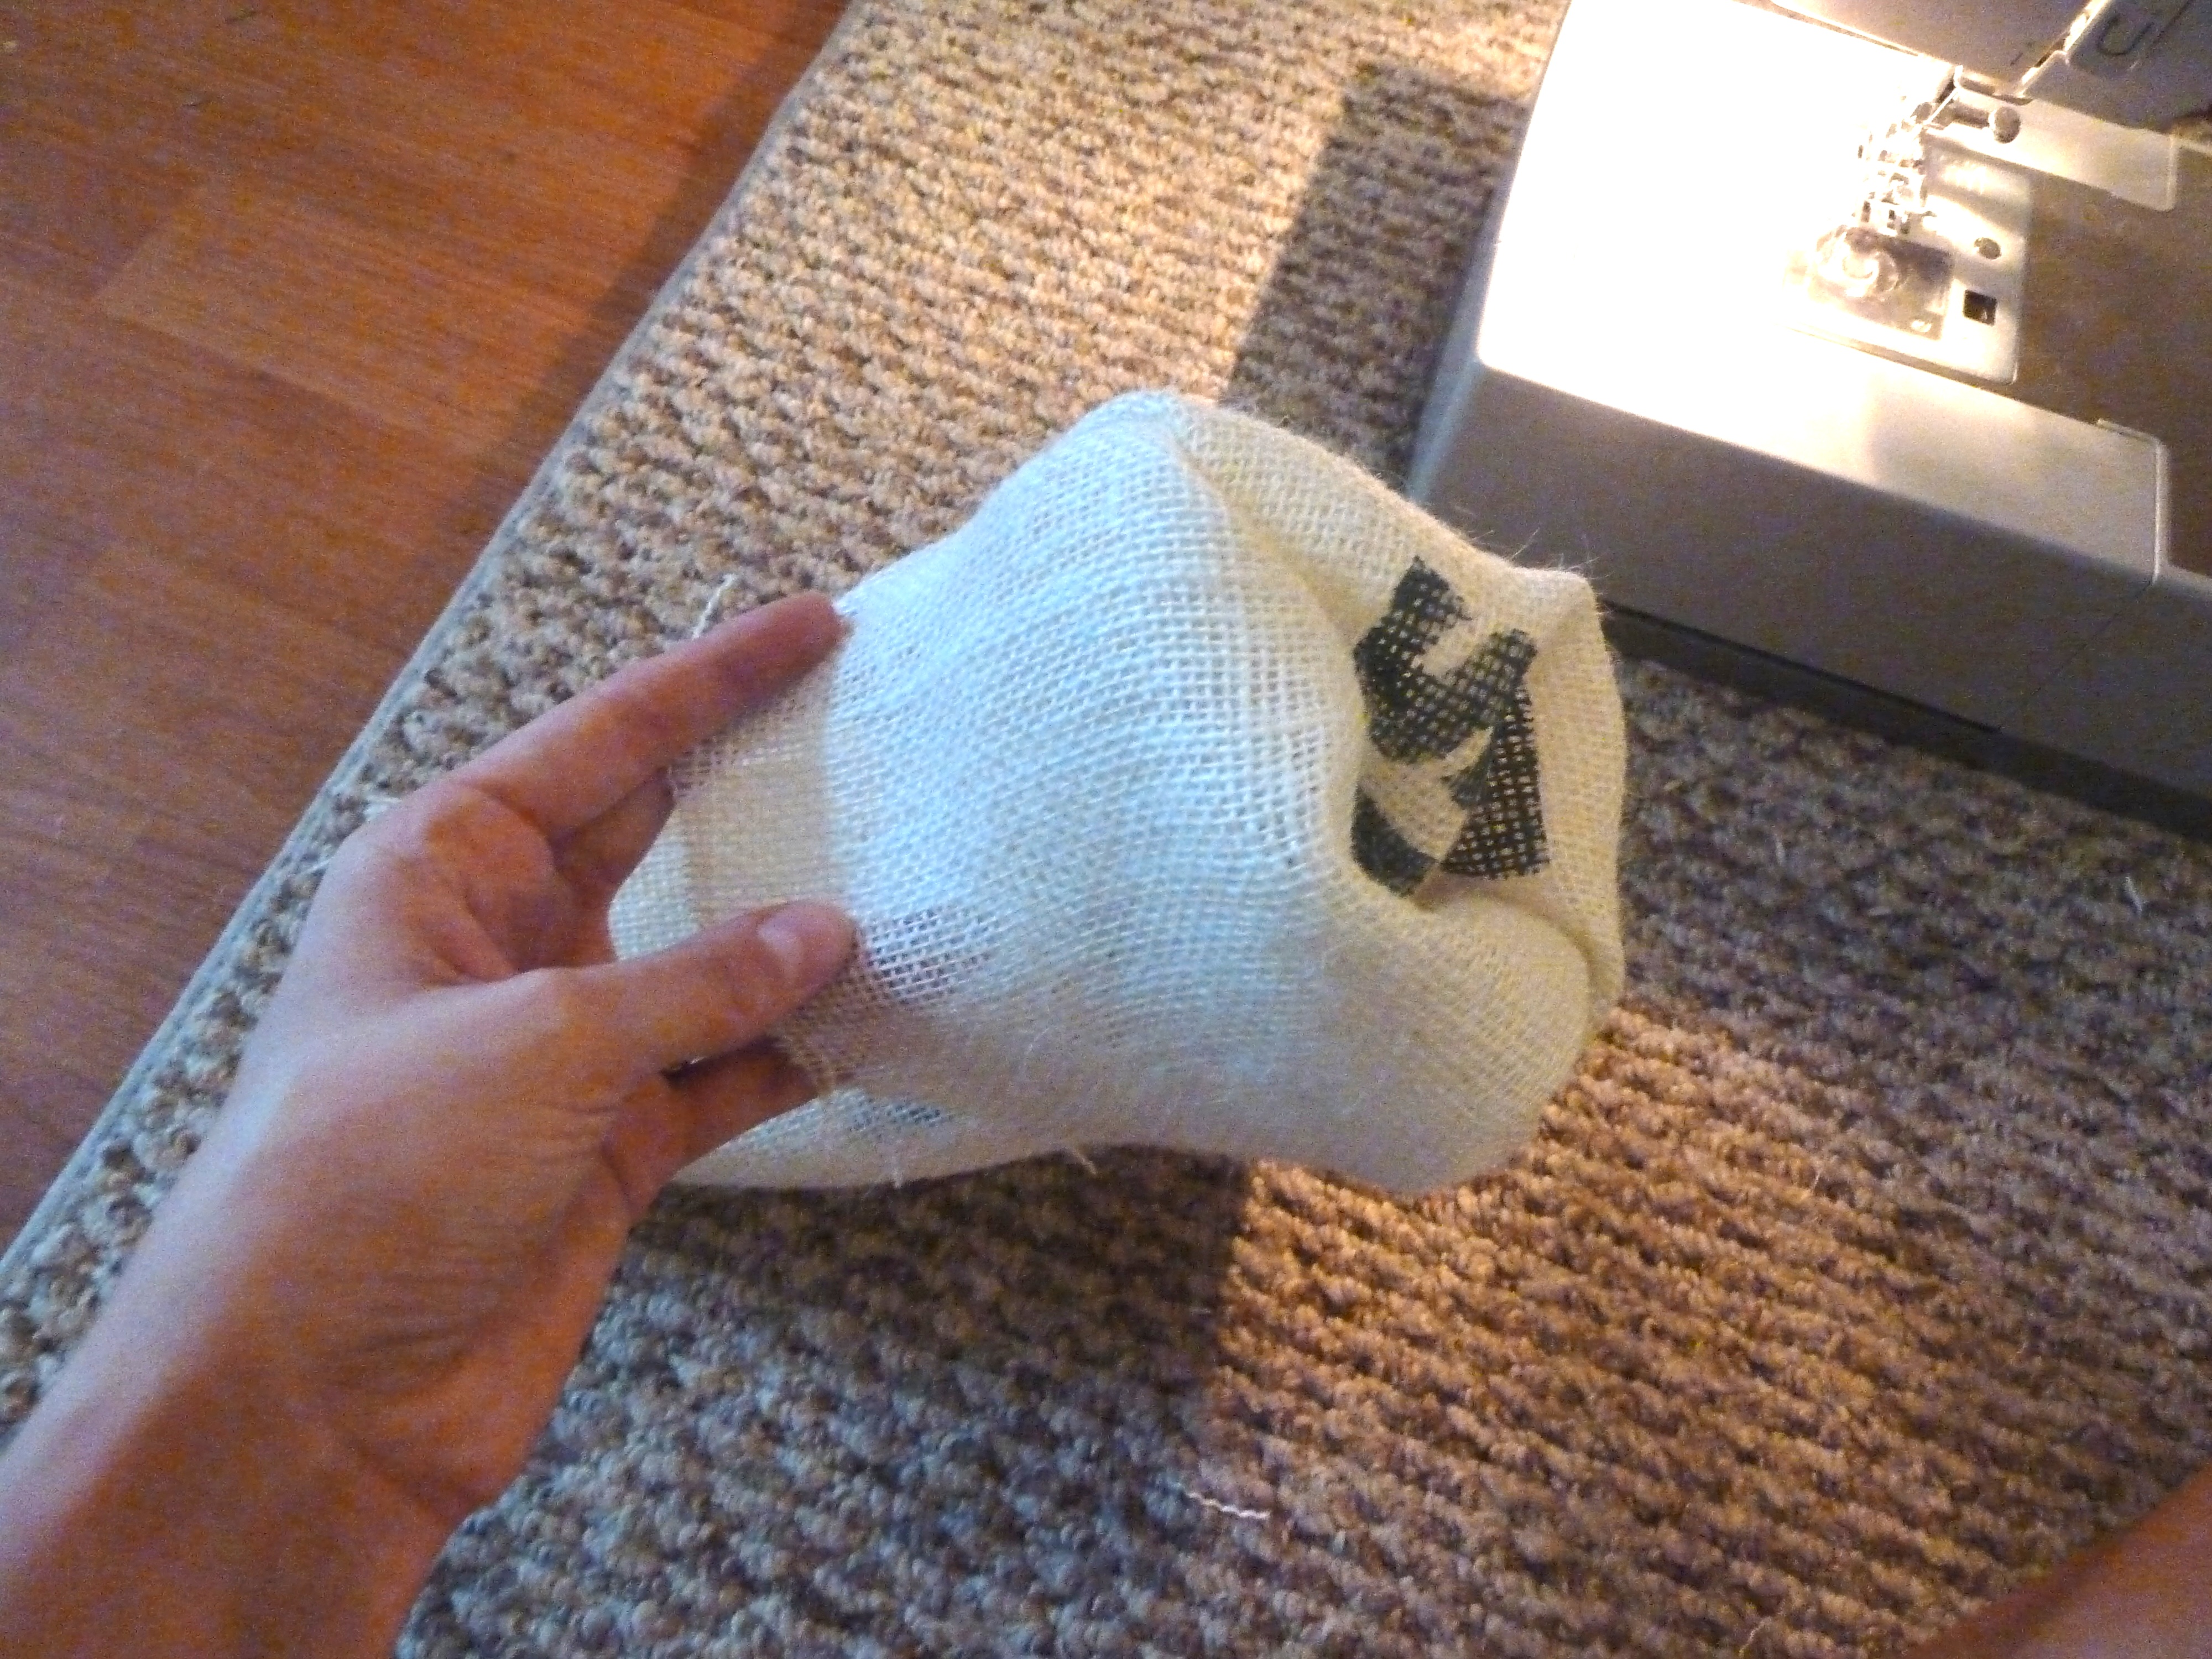
  Once, I had turned each doorstop inside out I was left with this…
 I didn’t sew those openings up just yet. I first used them to fill the doorstops with rice.
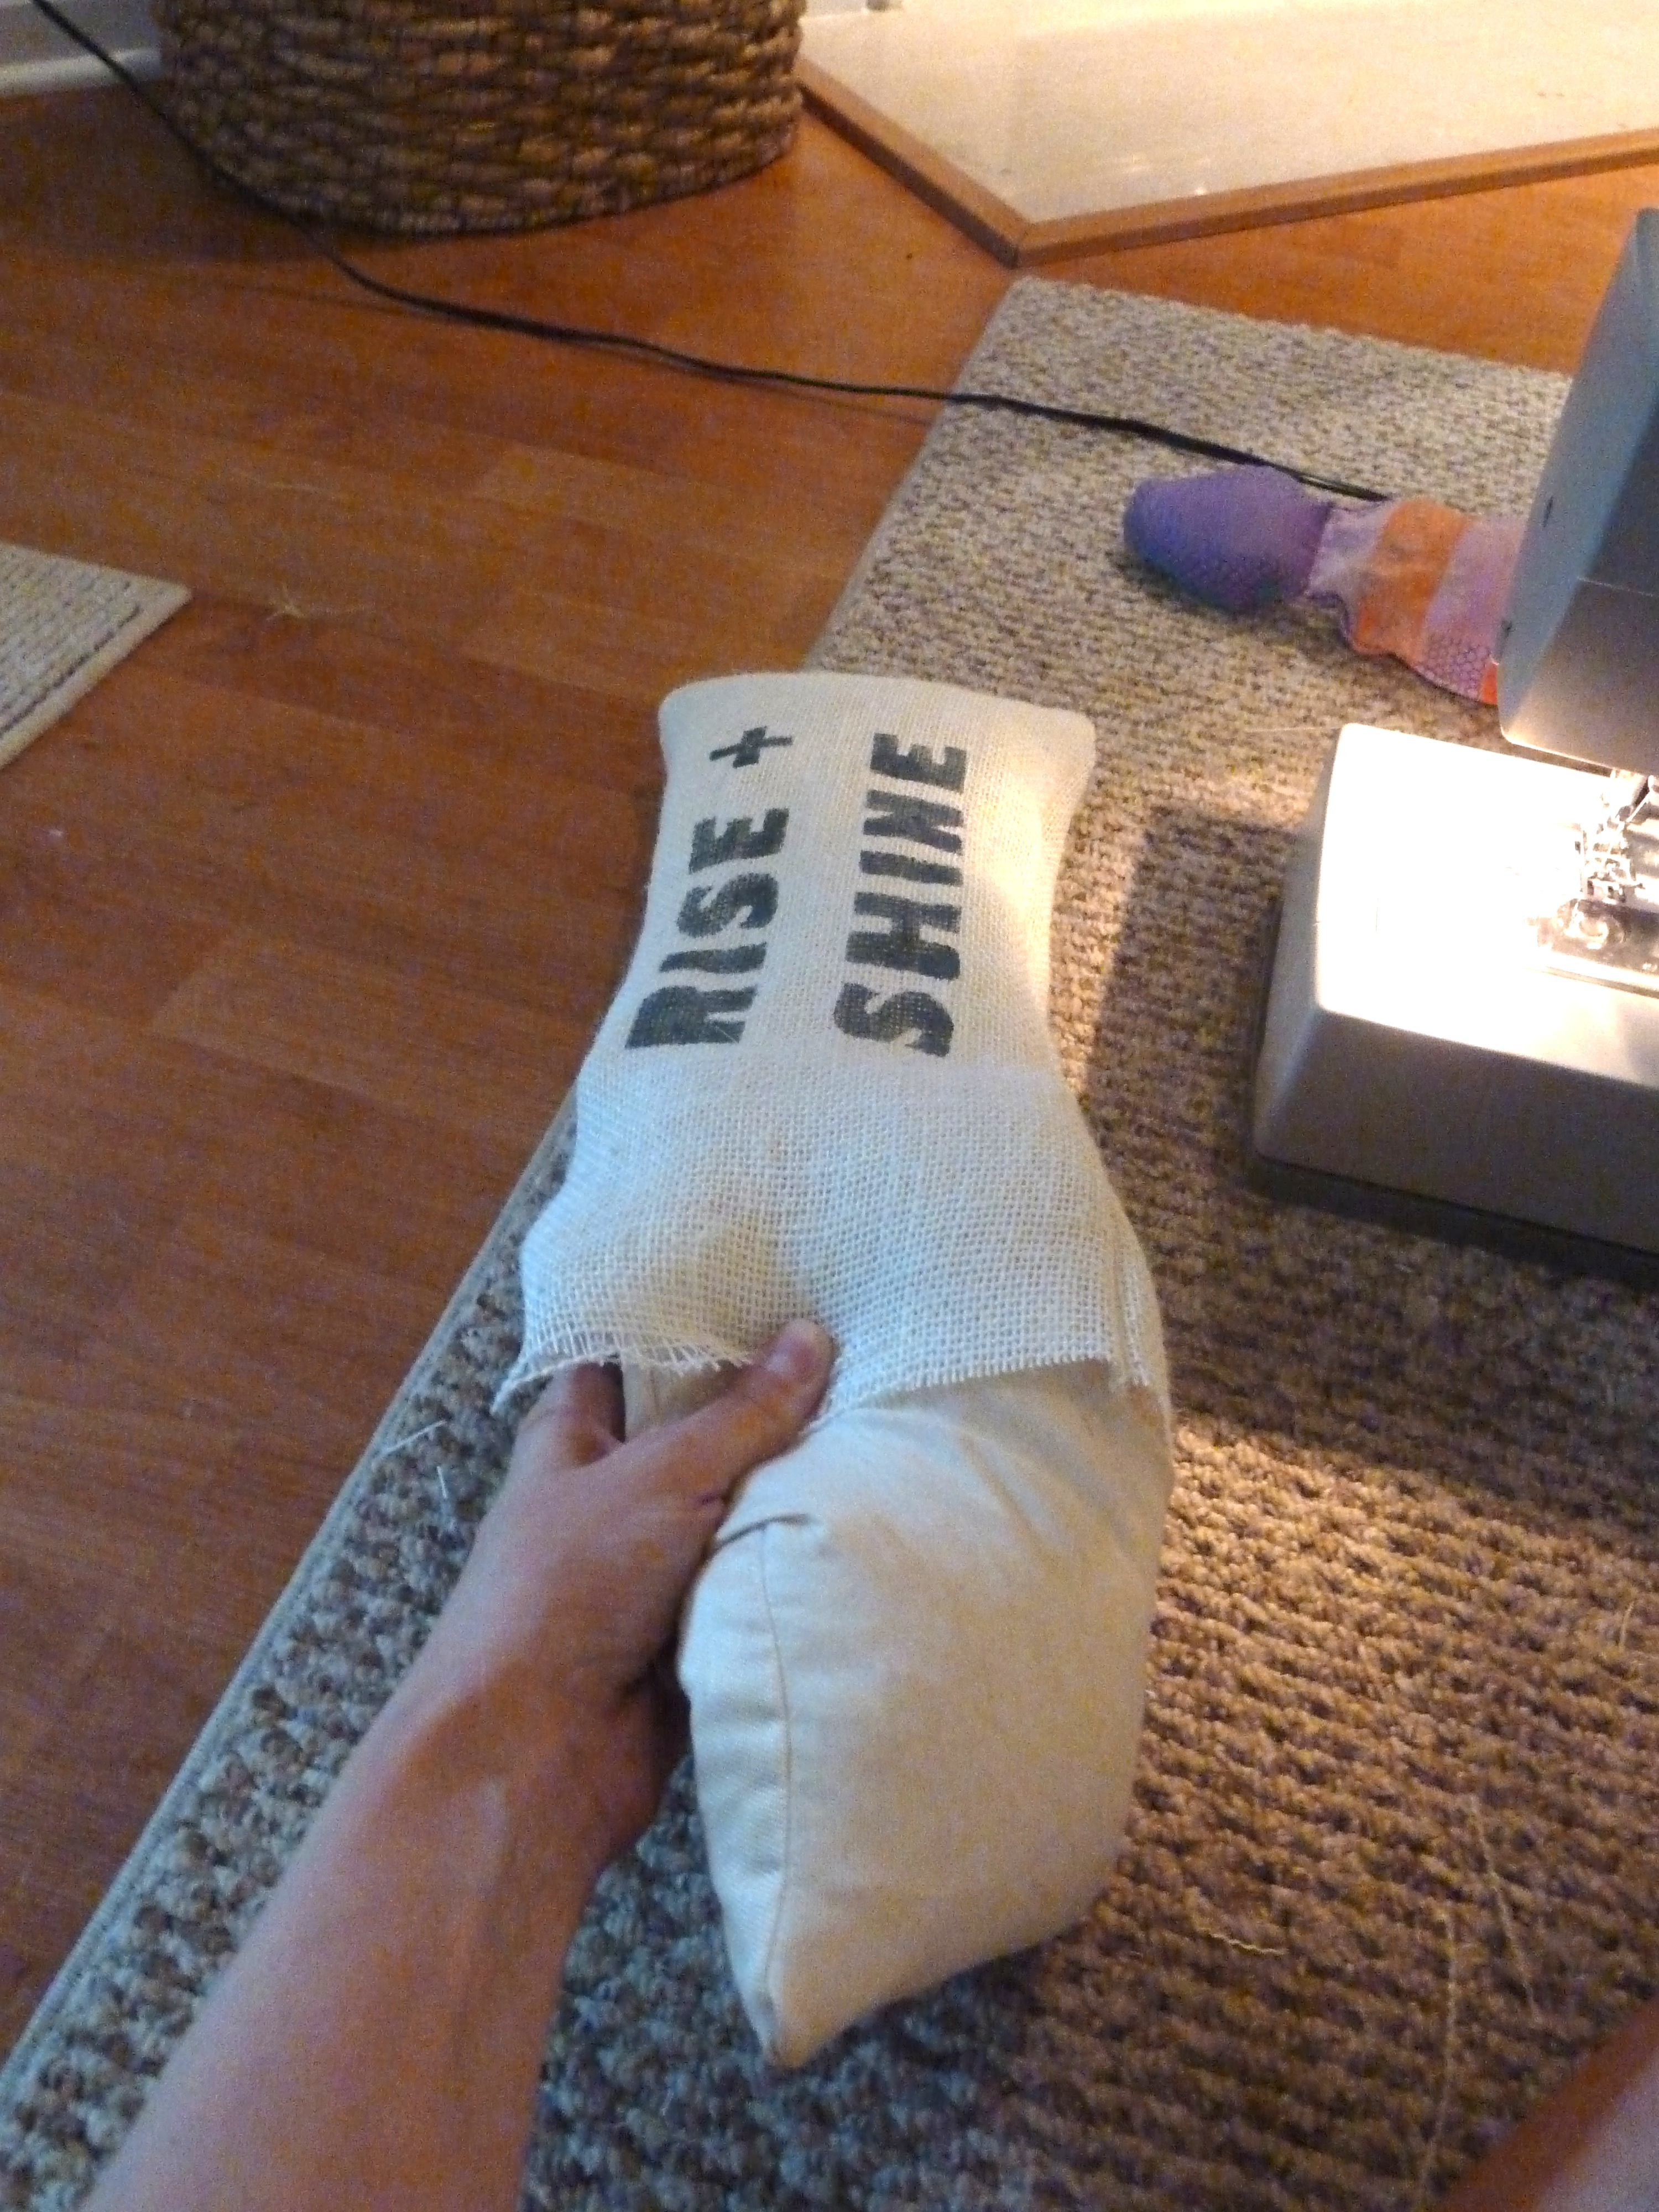
 I just poured the rice right in, totally expecting to make a mess, but it was pretty easy and mess-free. However, if you have a funnel, you might want to break it out for this step.
 It took about 7 lbs. of dry rice to fill each doorstop.
  I didn’t want them to be so stuffed they looked like they were going to burst, but I did wanted them to be heavy enough to prop each door open. So, 7 lbs. seemed like a happy medium.
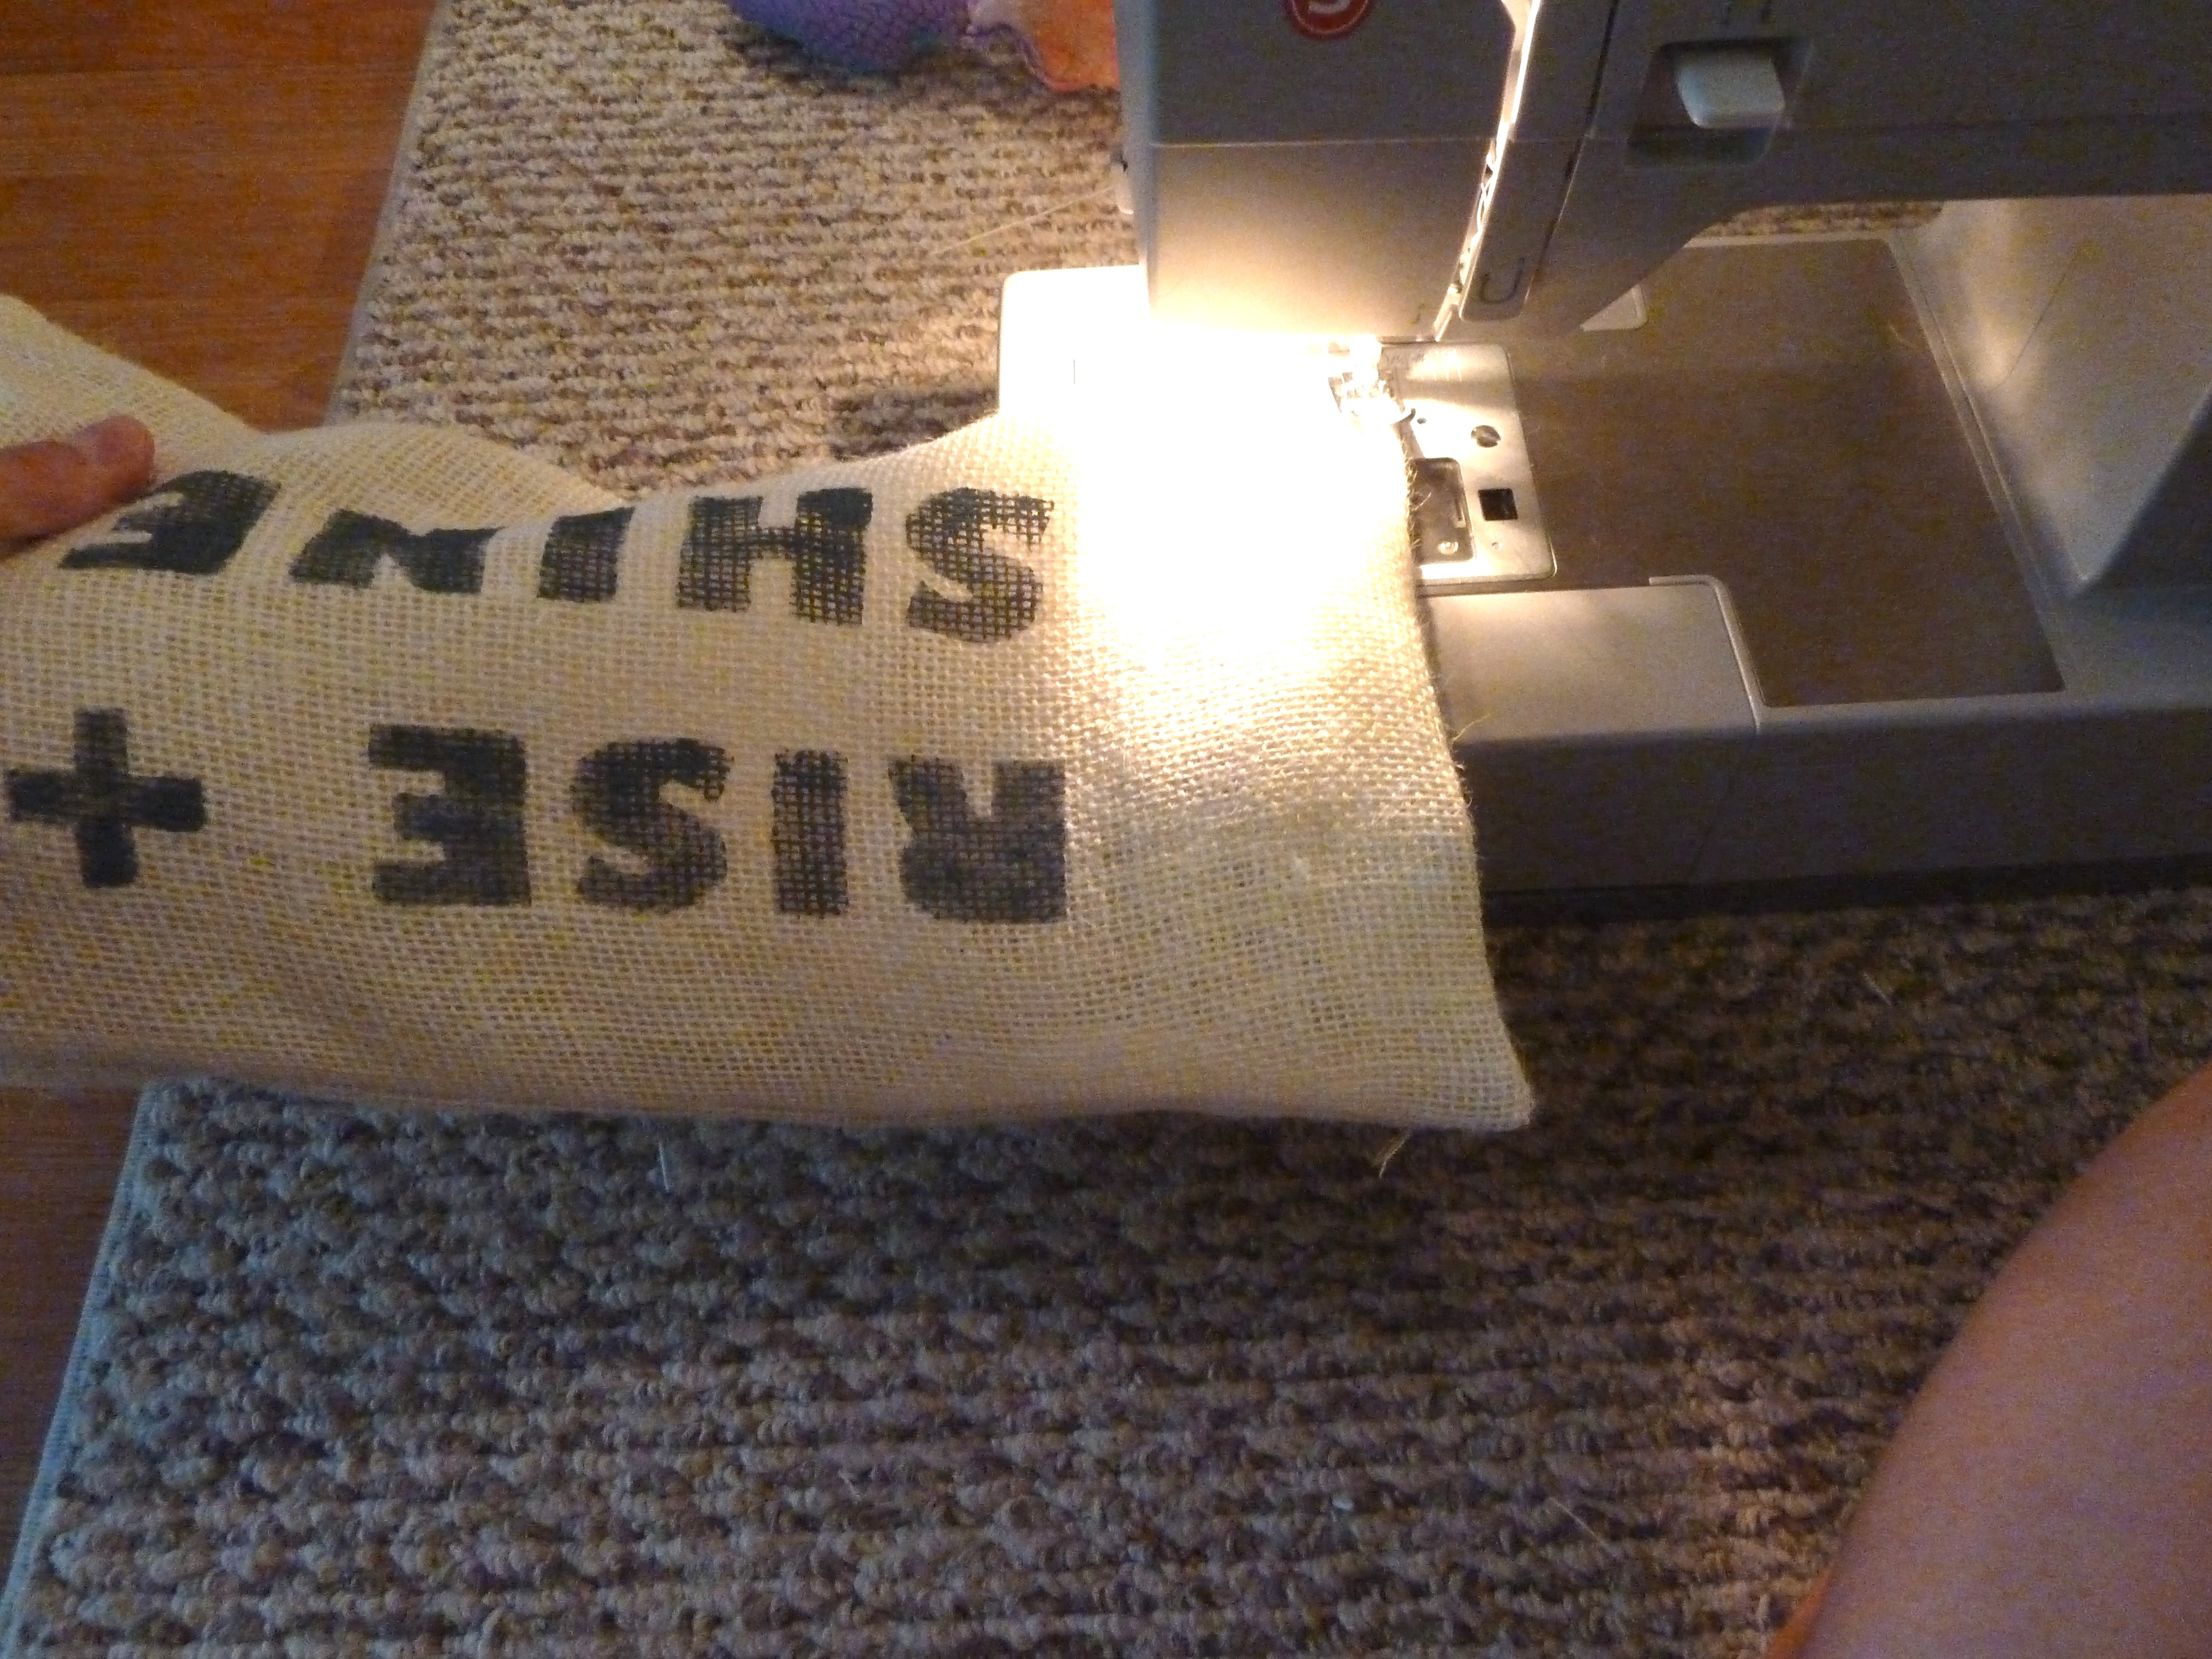
 Once, they were both full, I sewed up the opening and then took them for a test run.
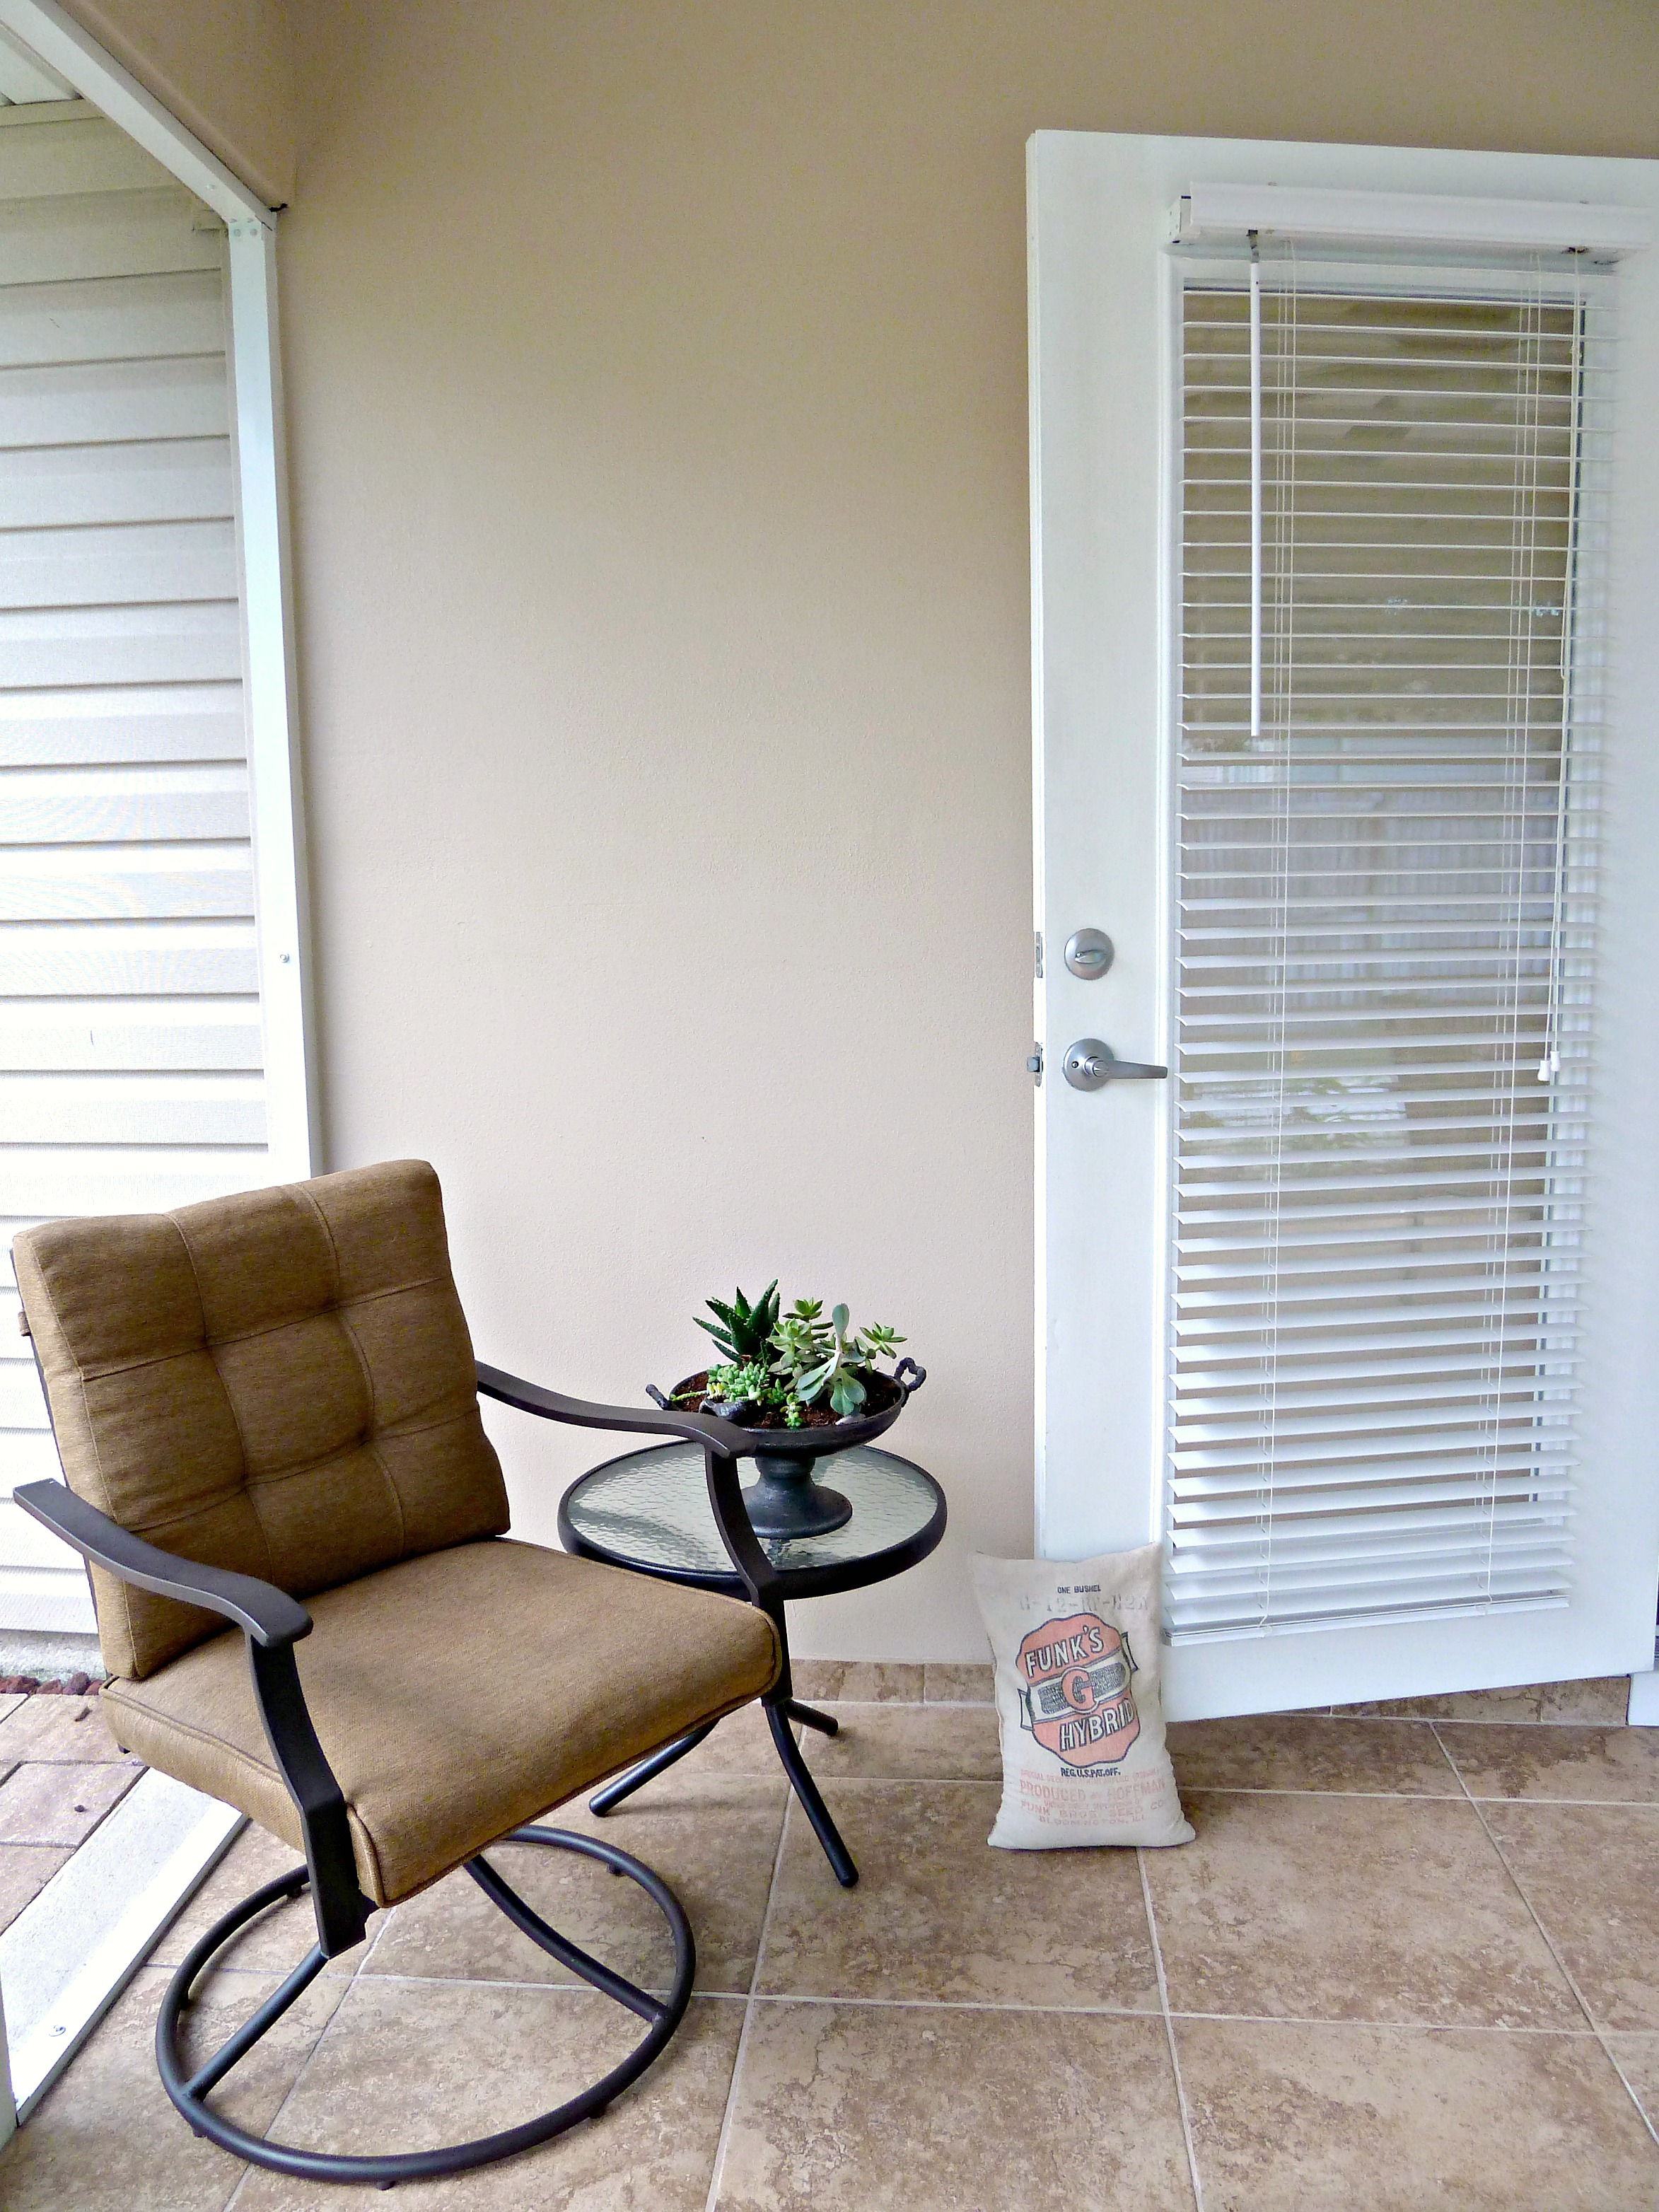
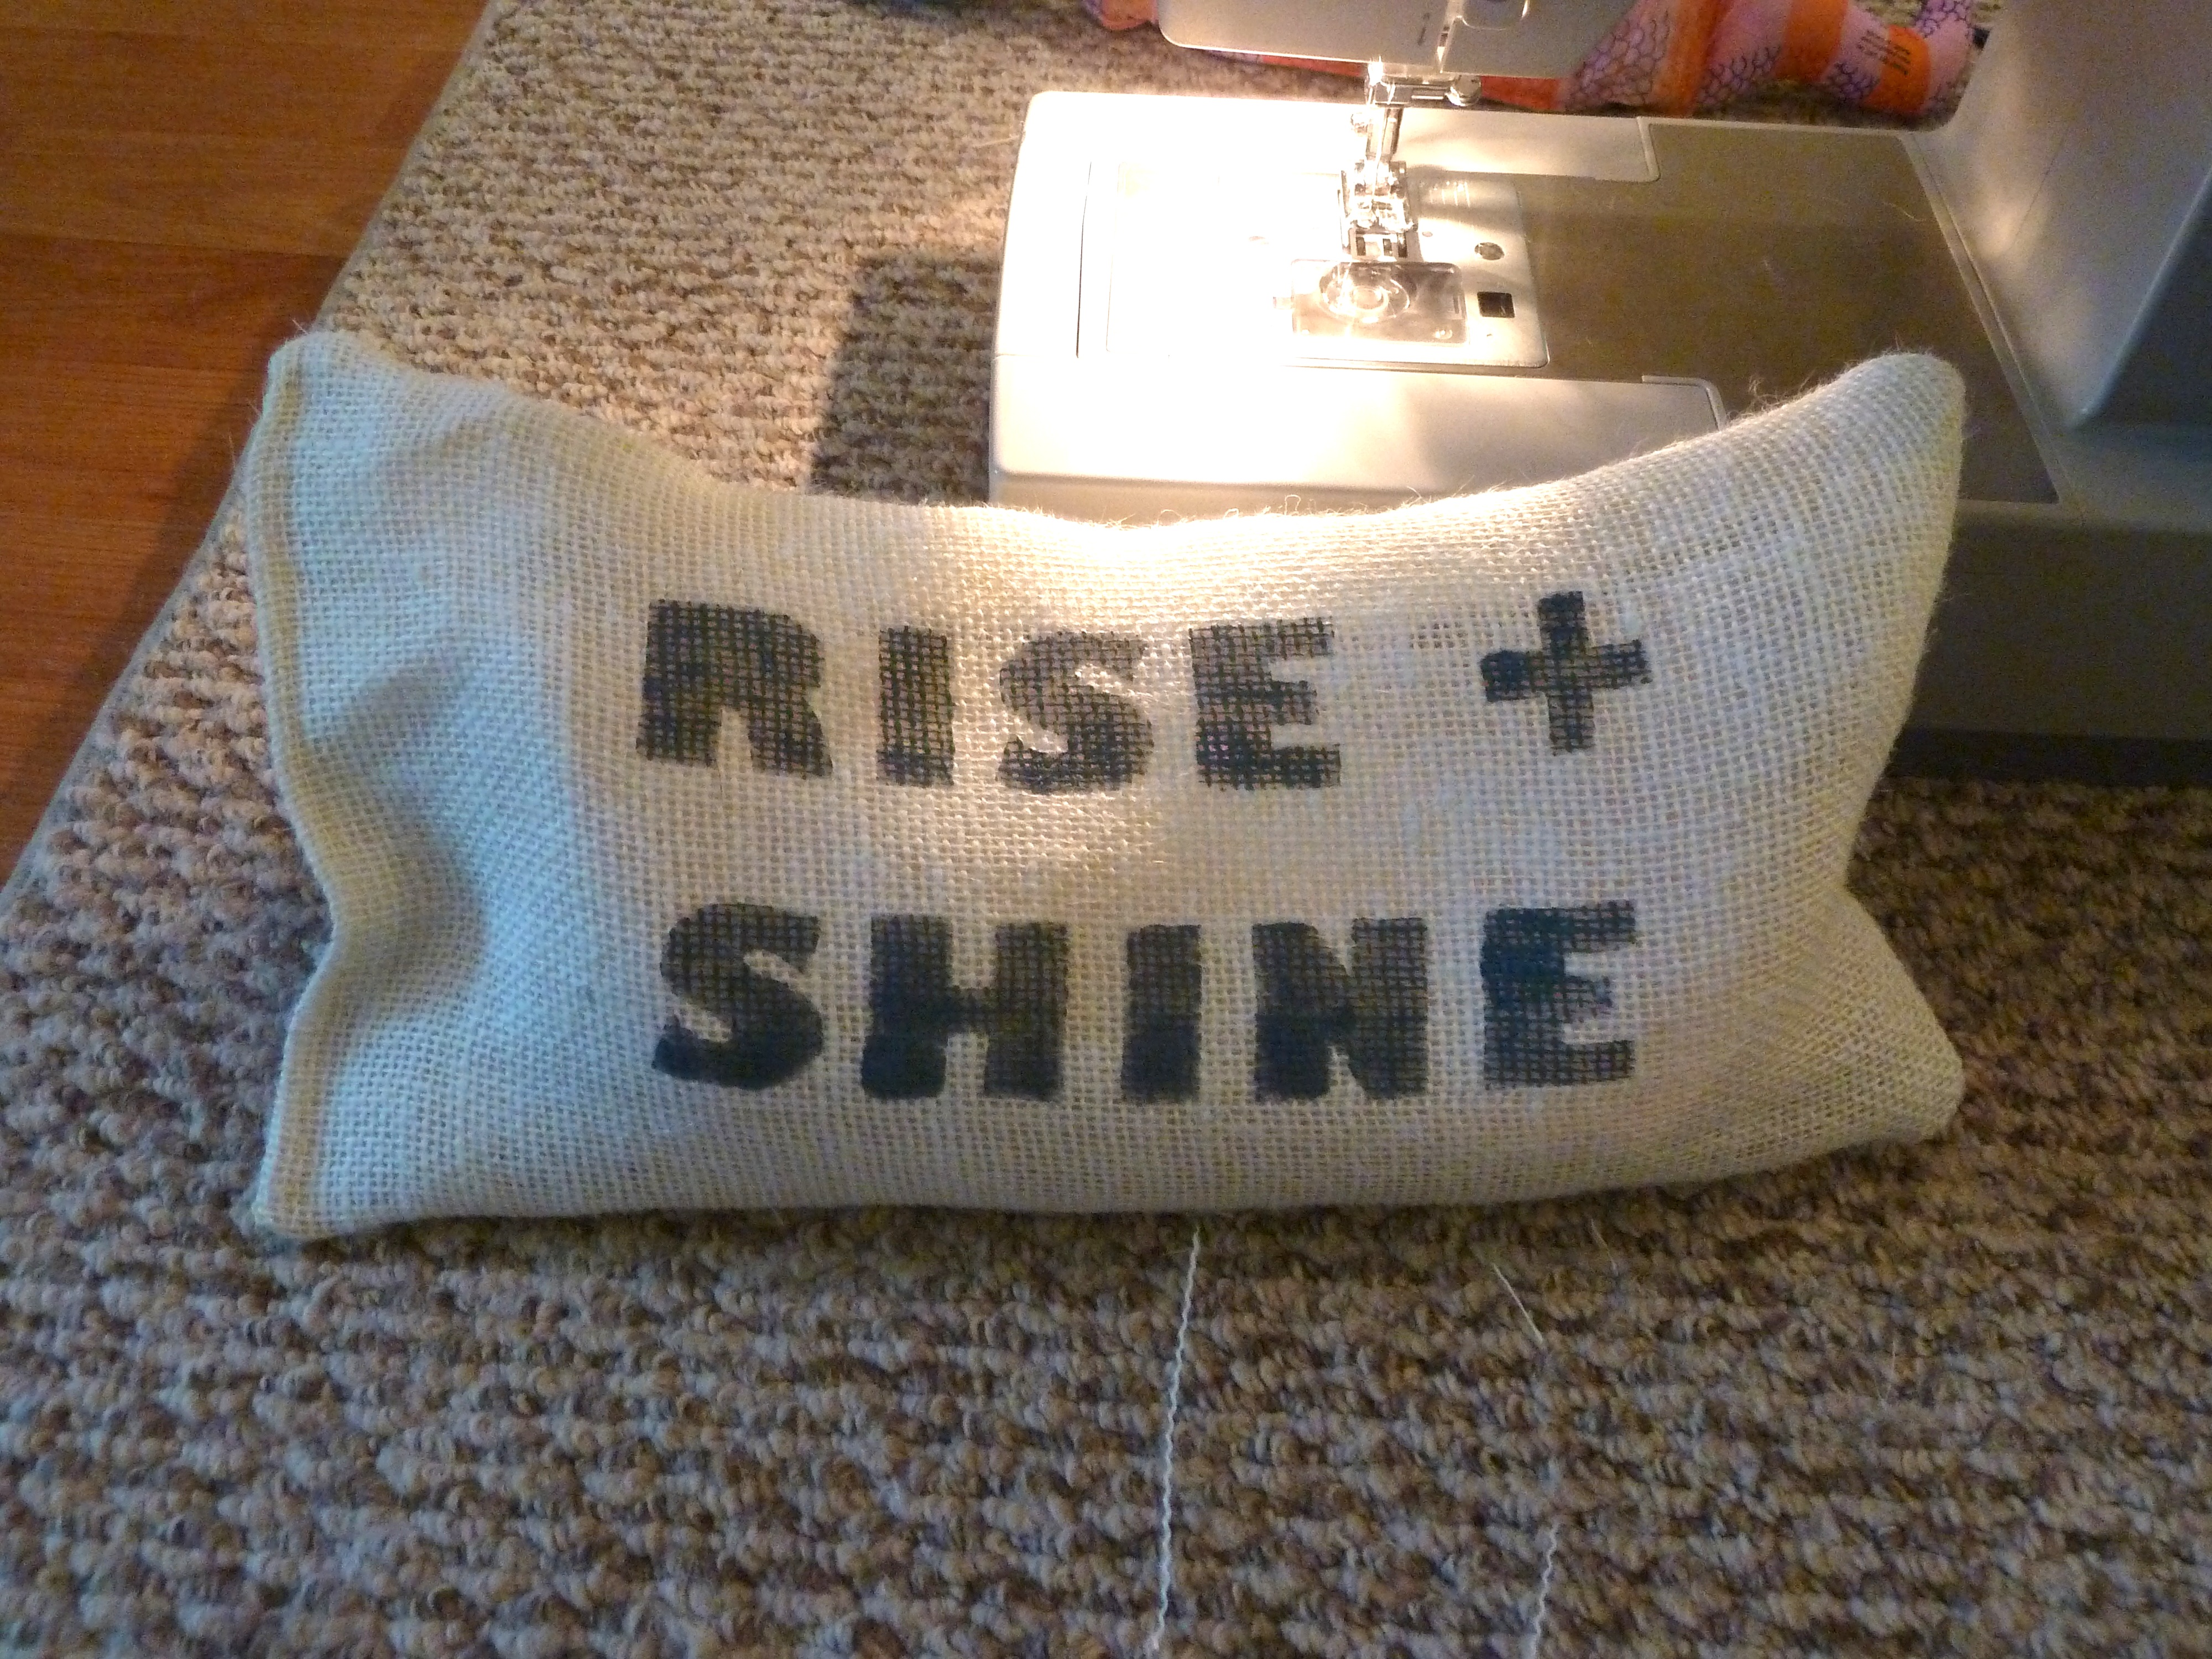
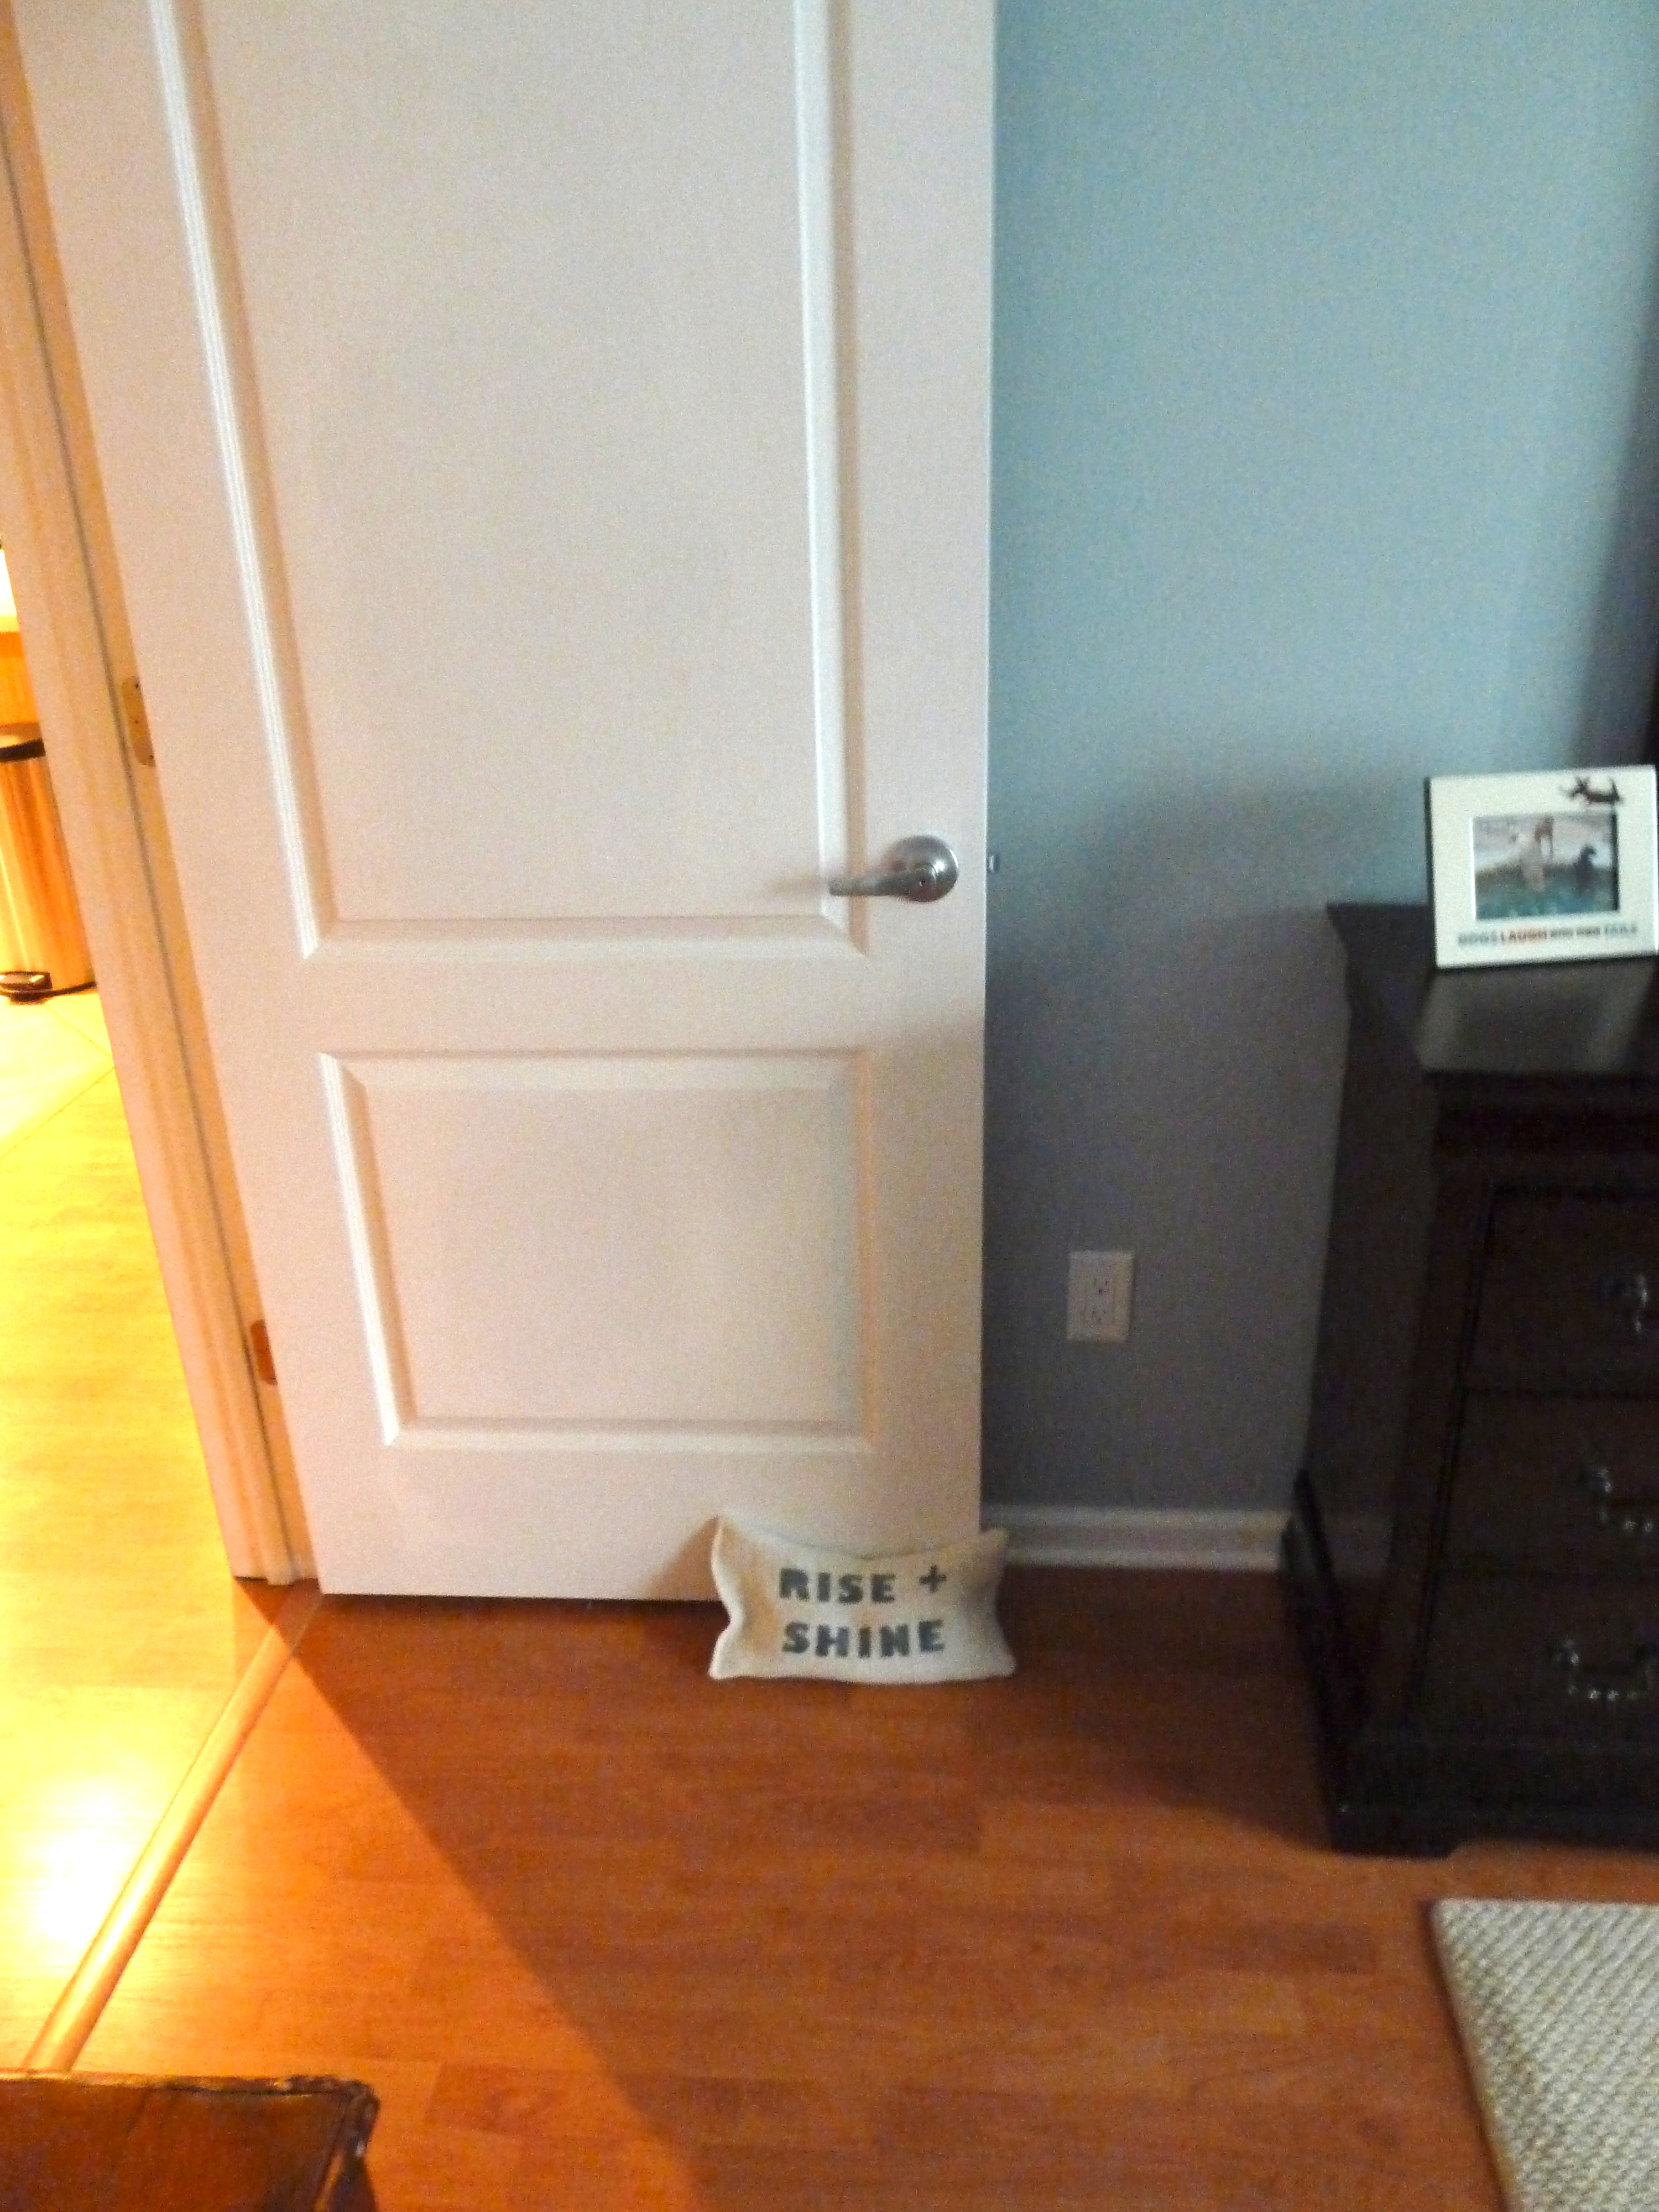
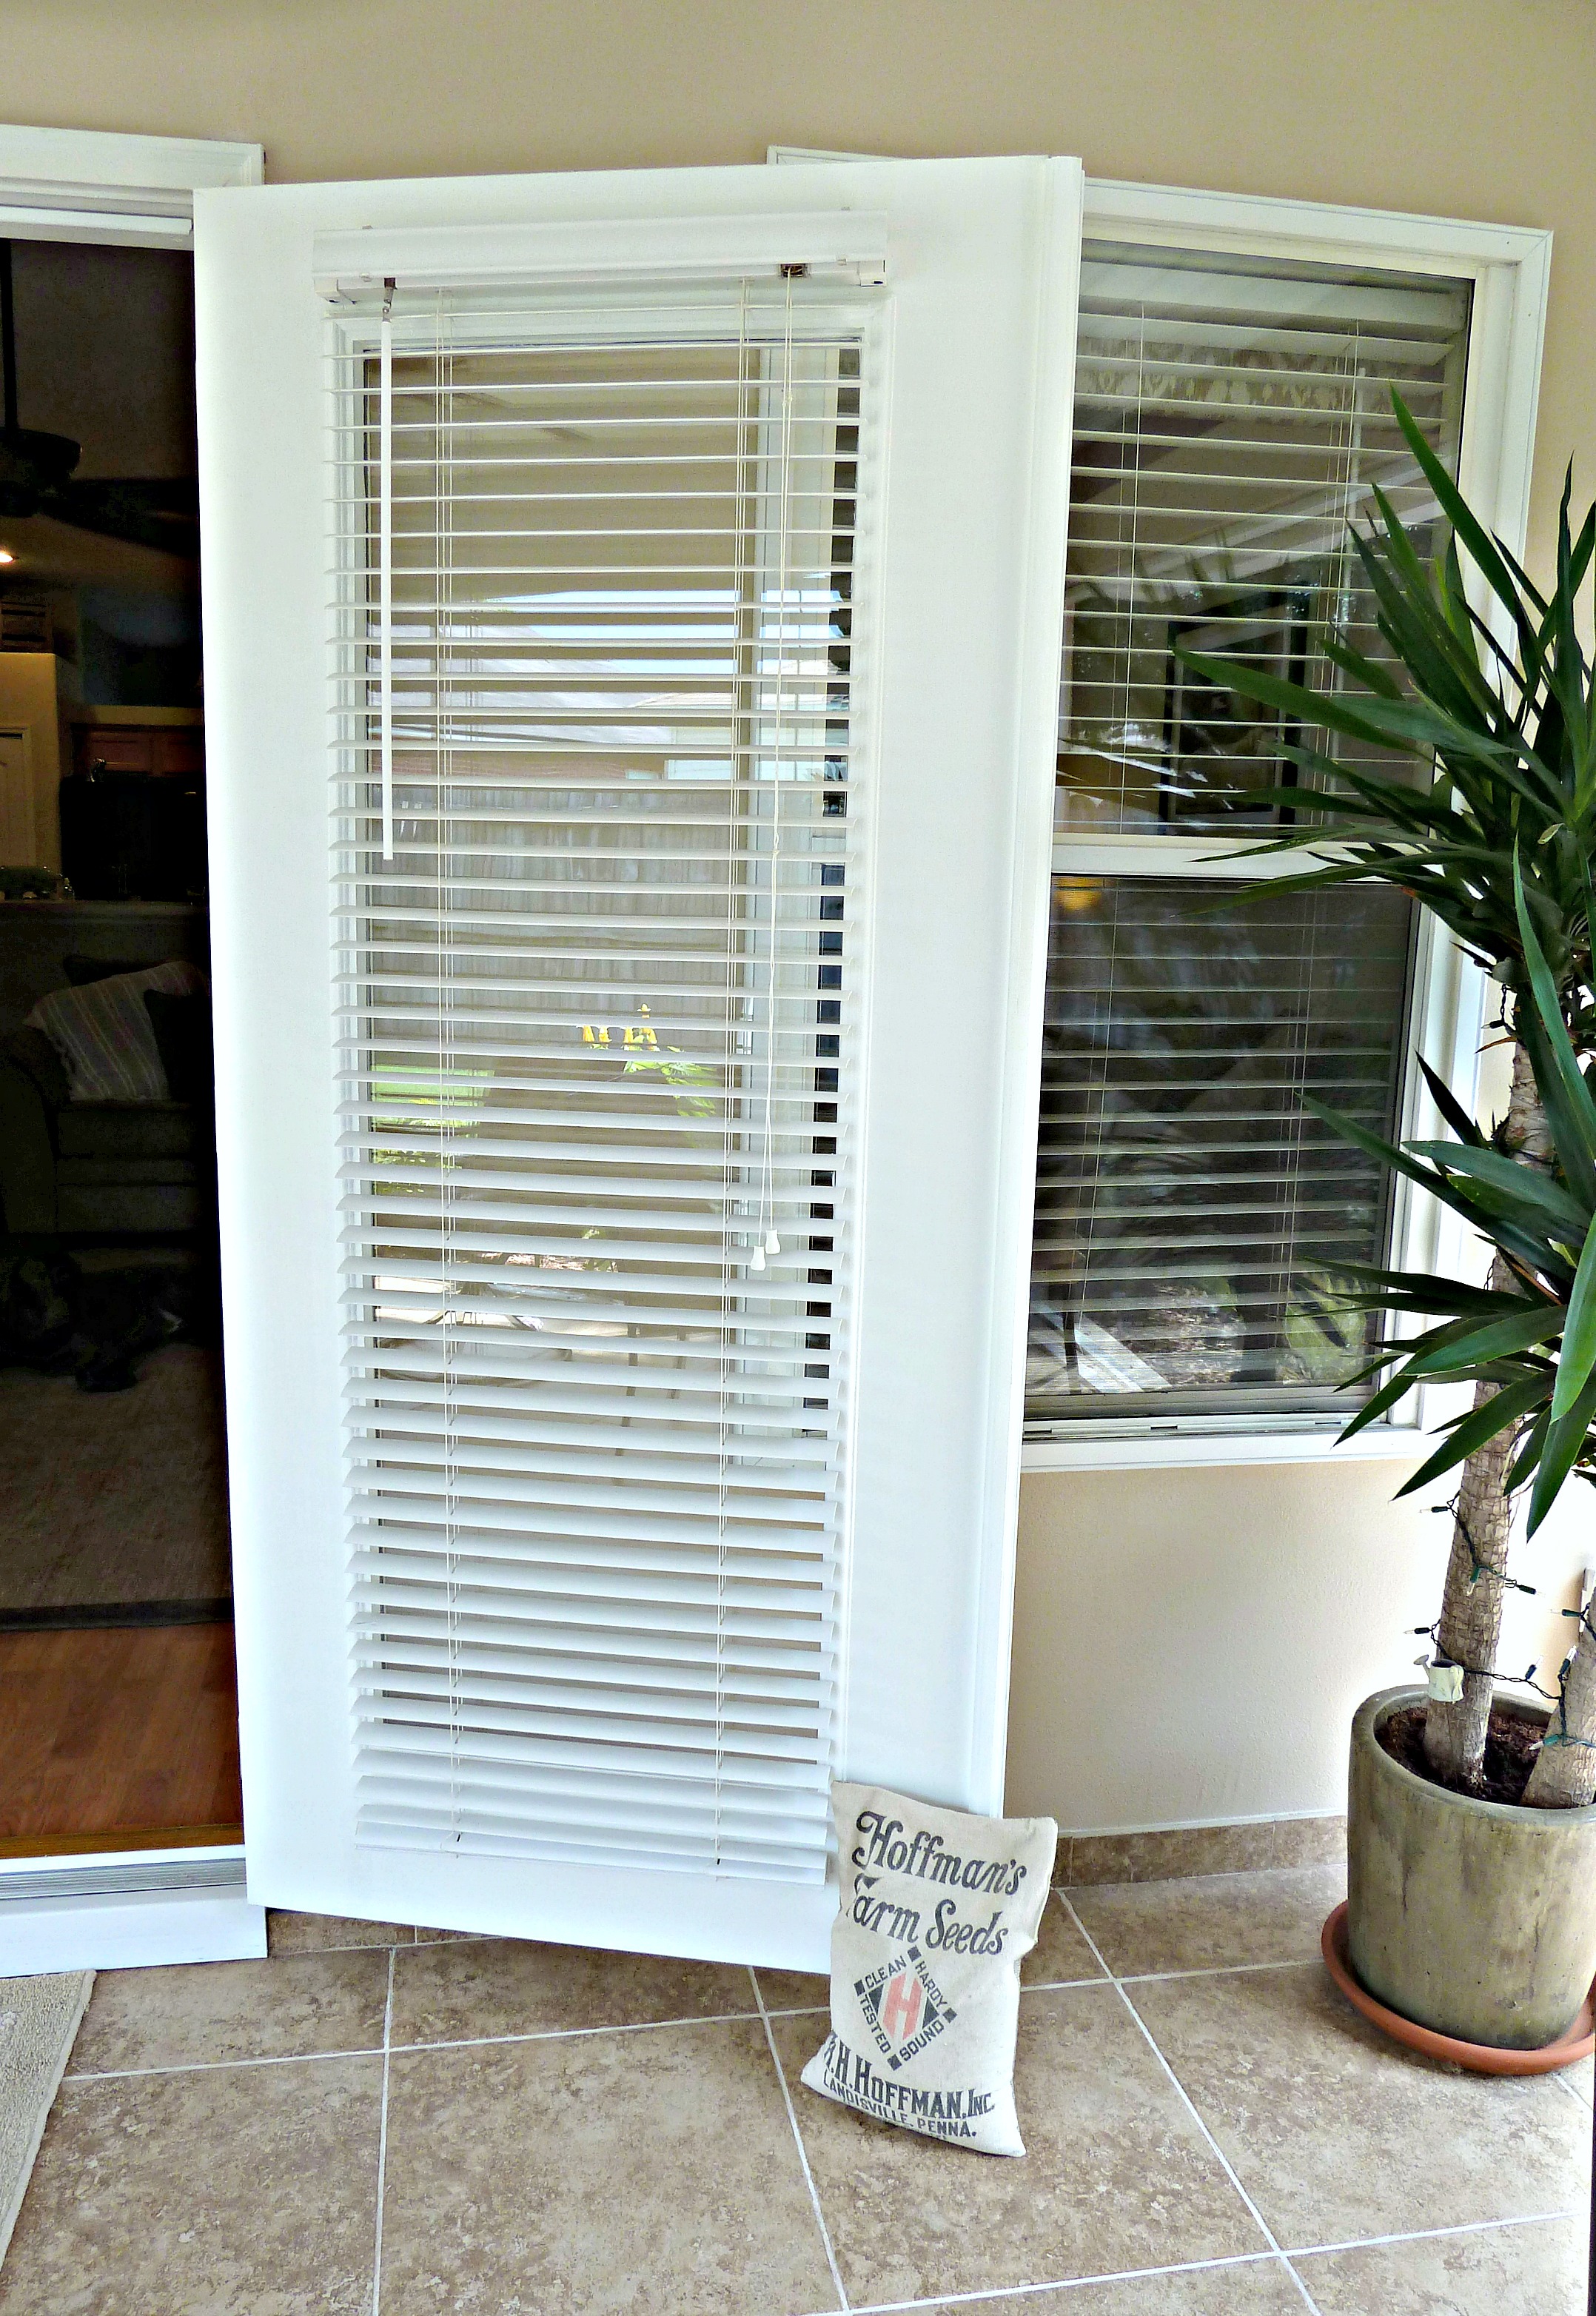 Check out that door propping action! Wanna get closer? Okay!…
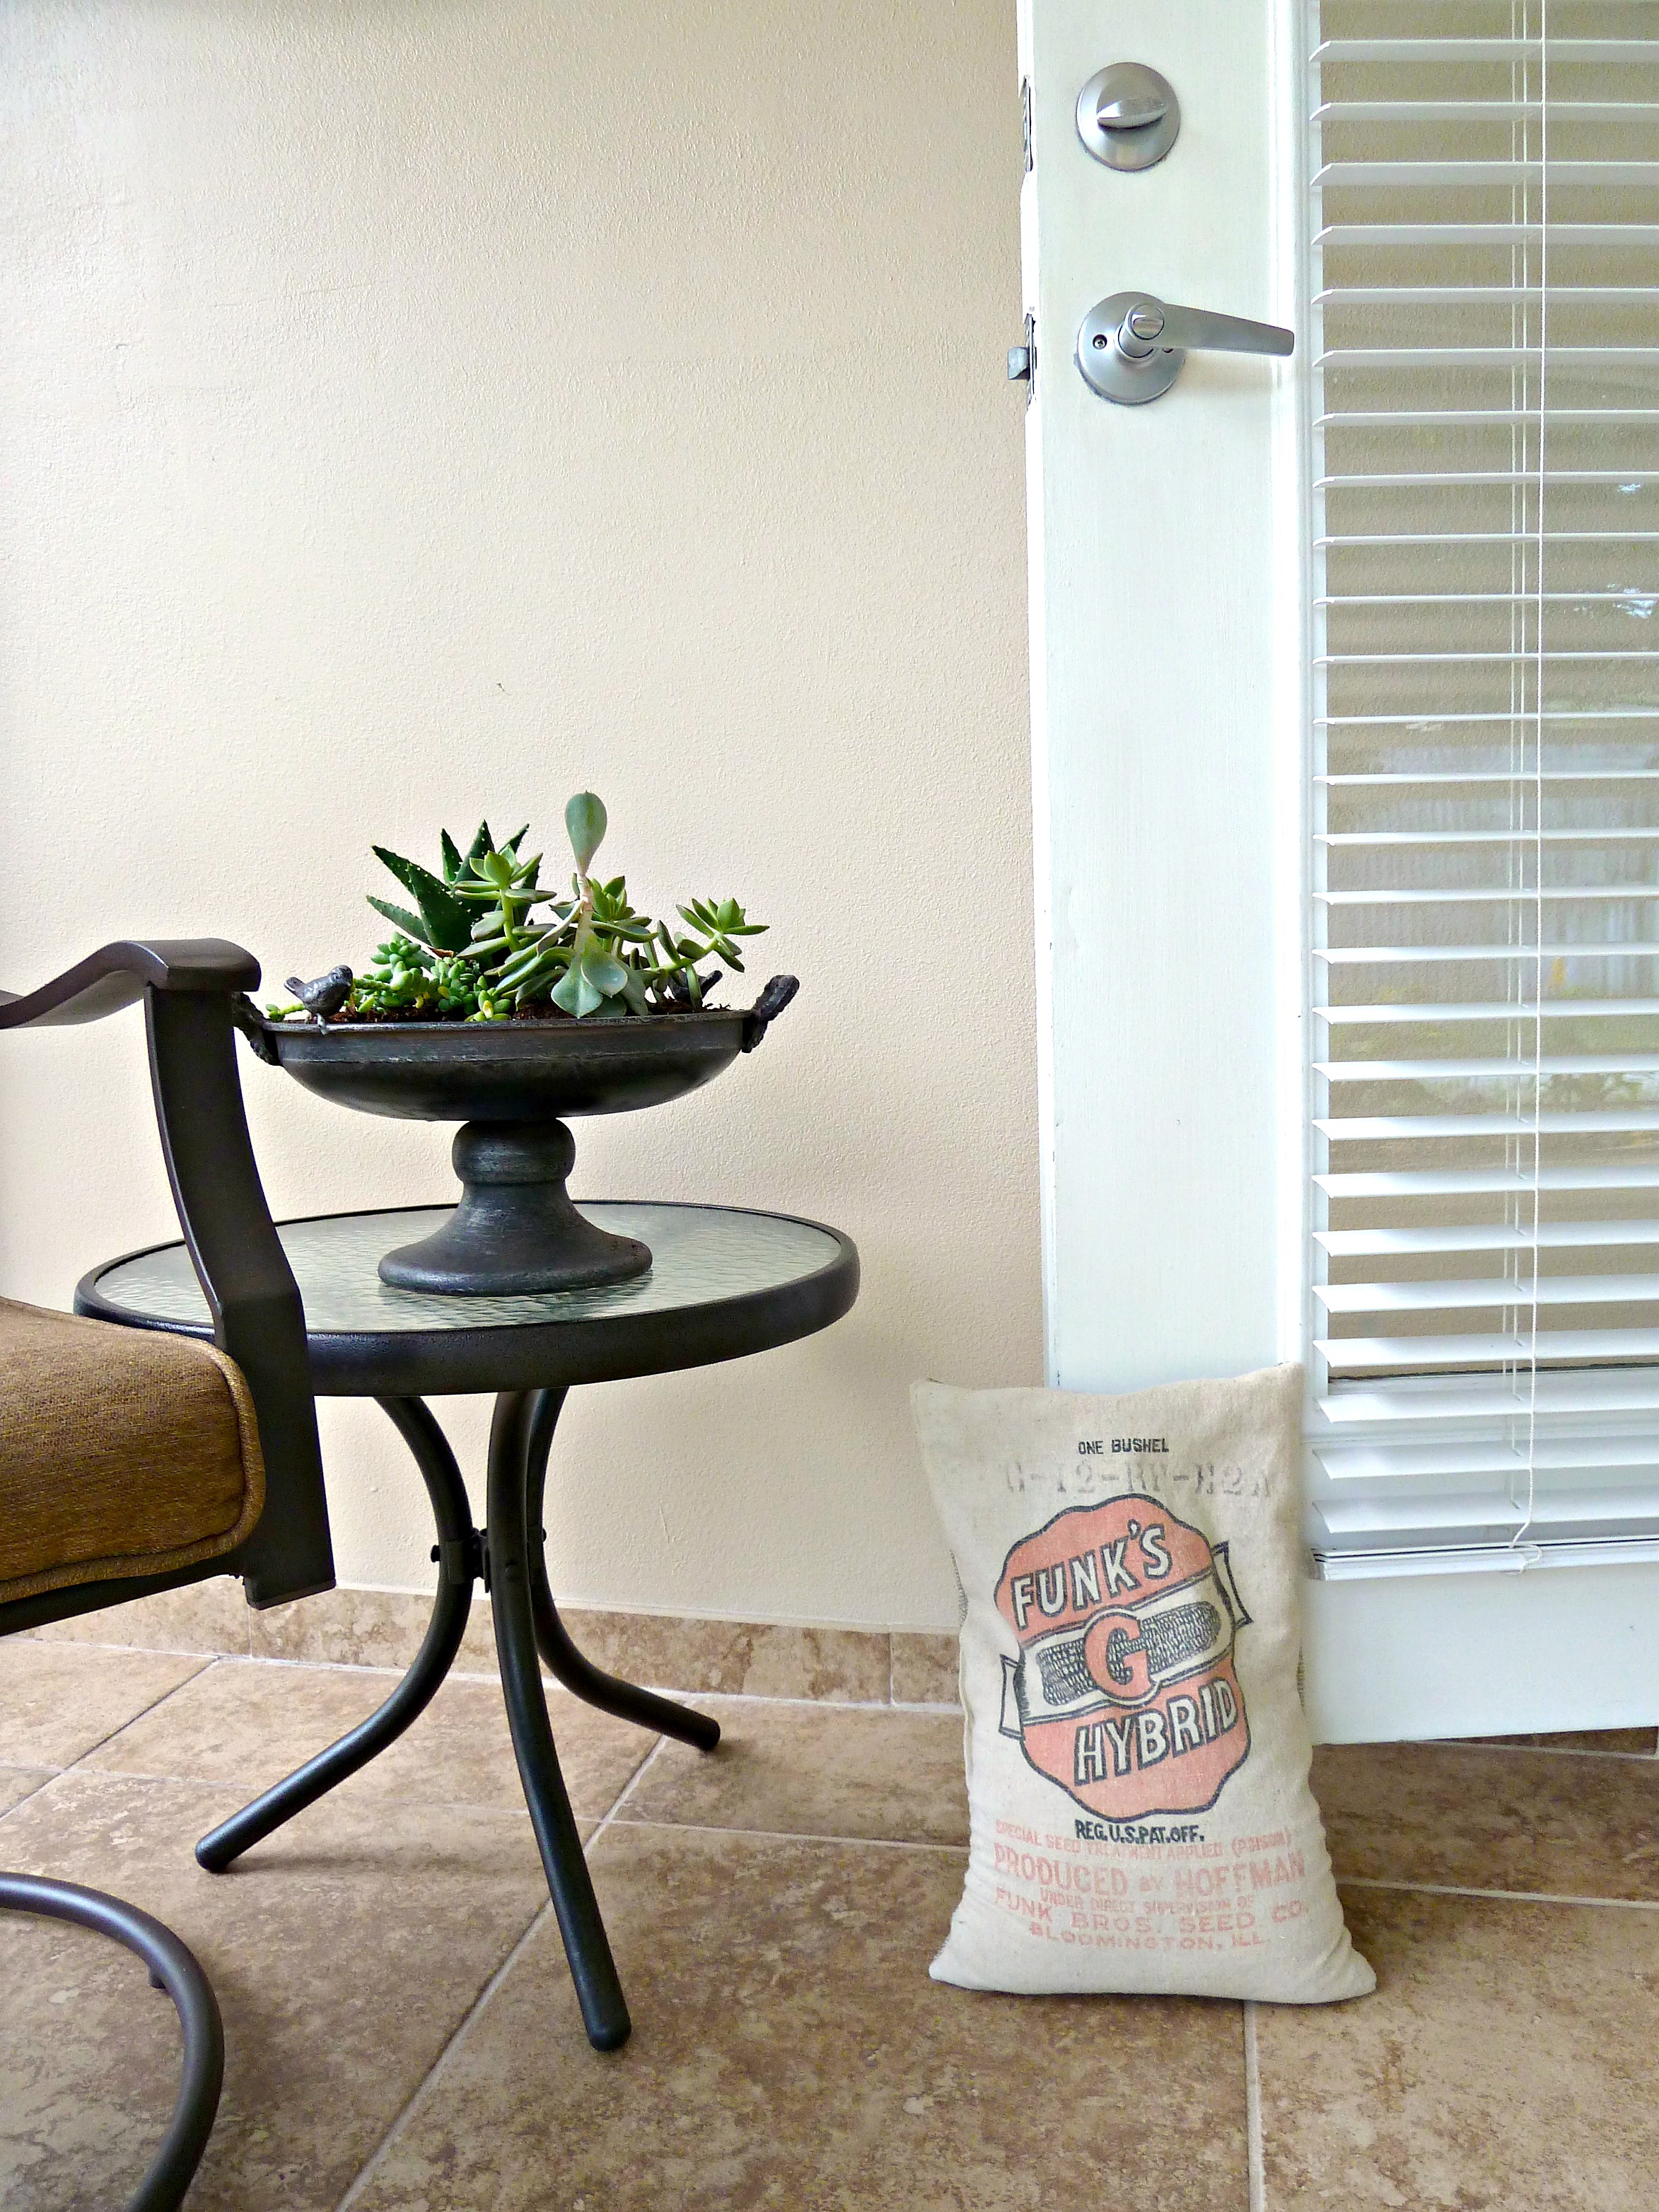
 Closer still? Fine!…
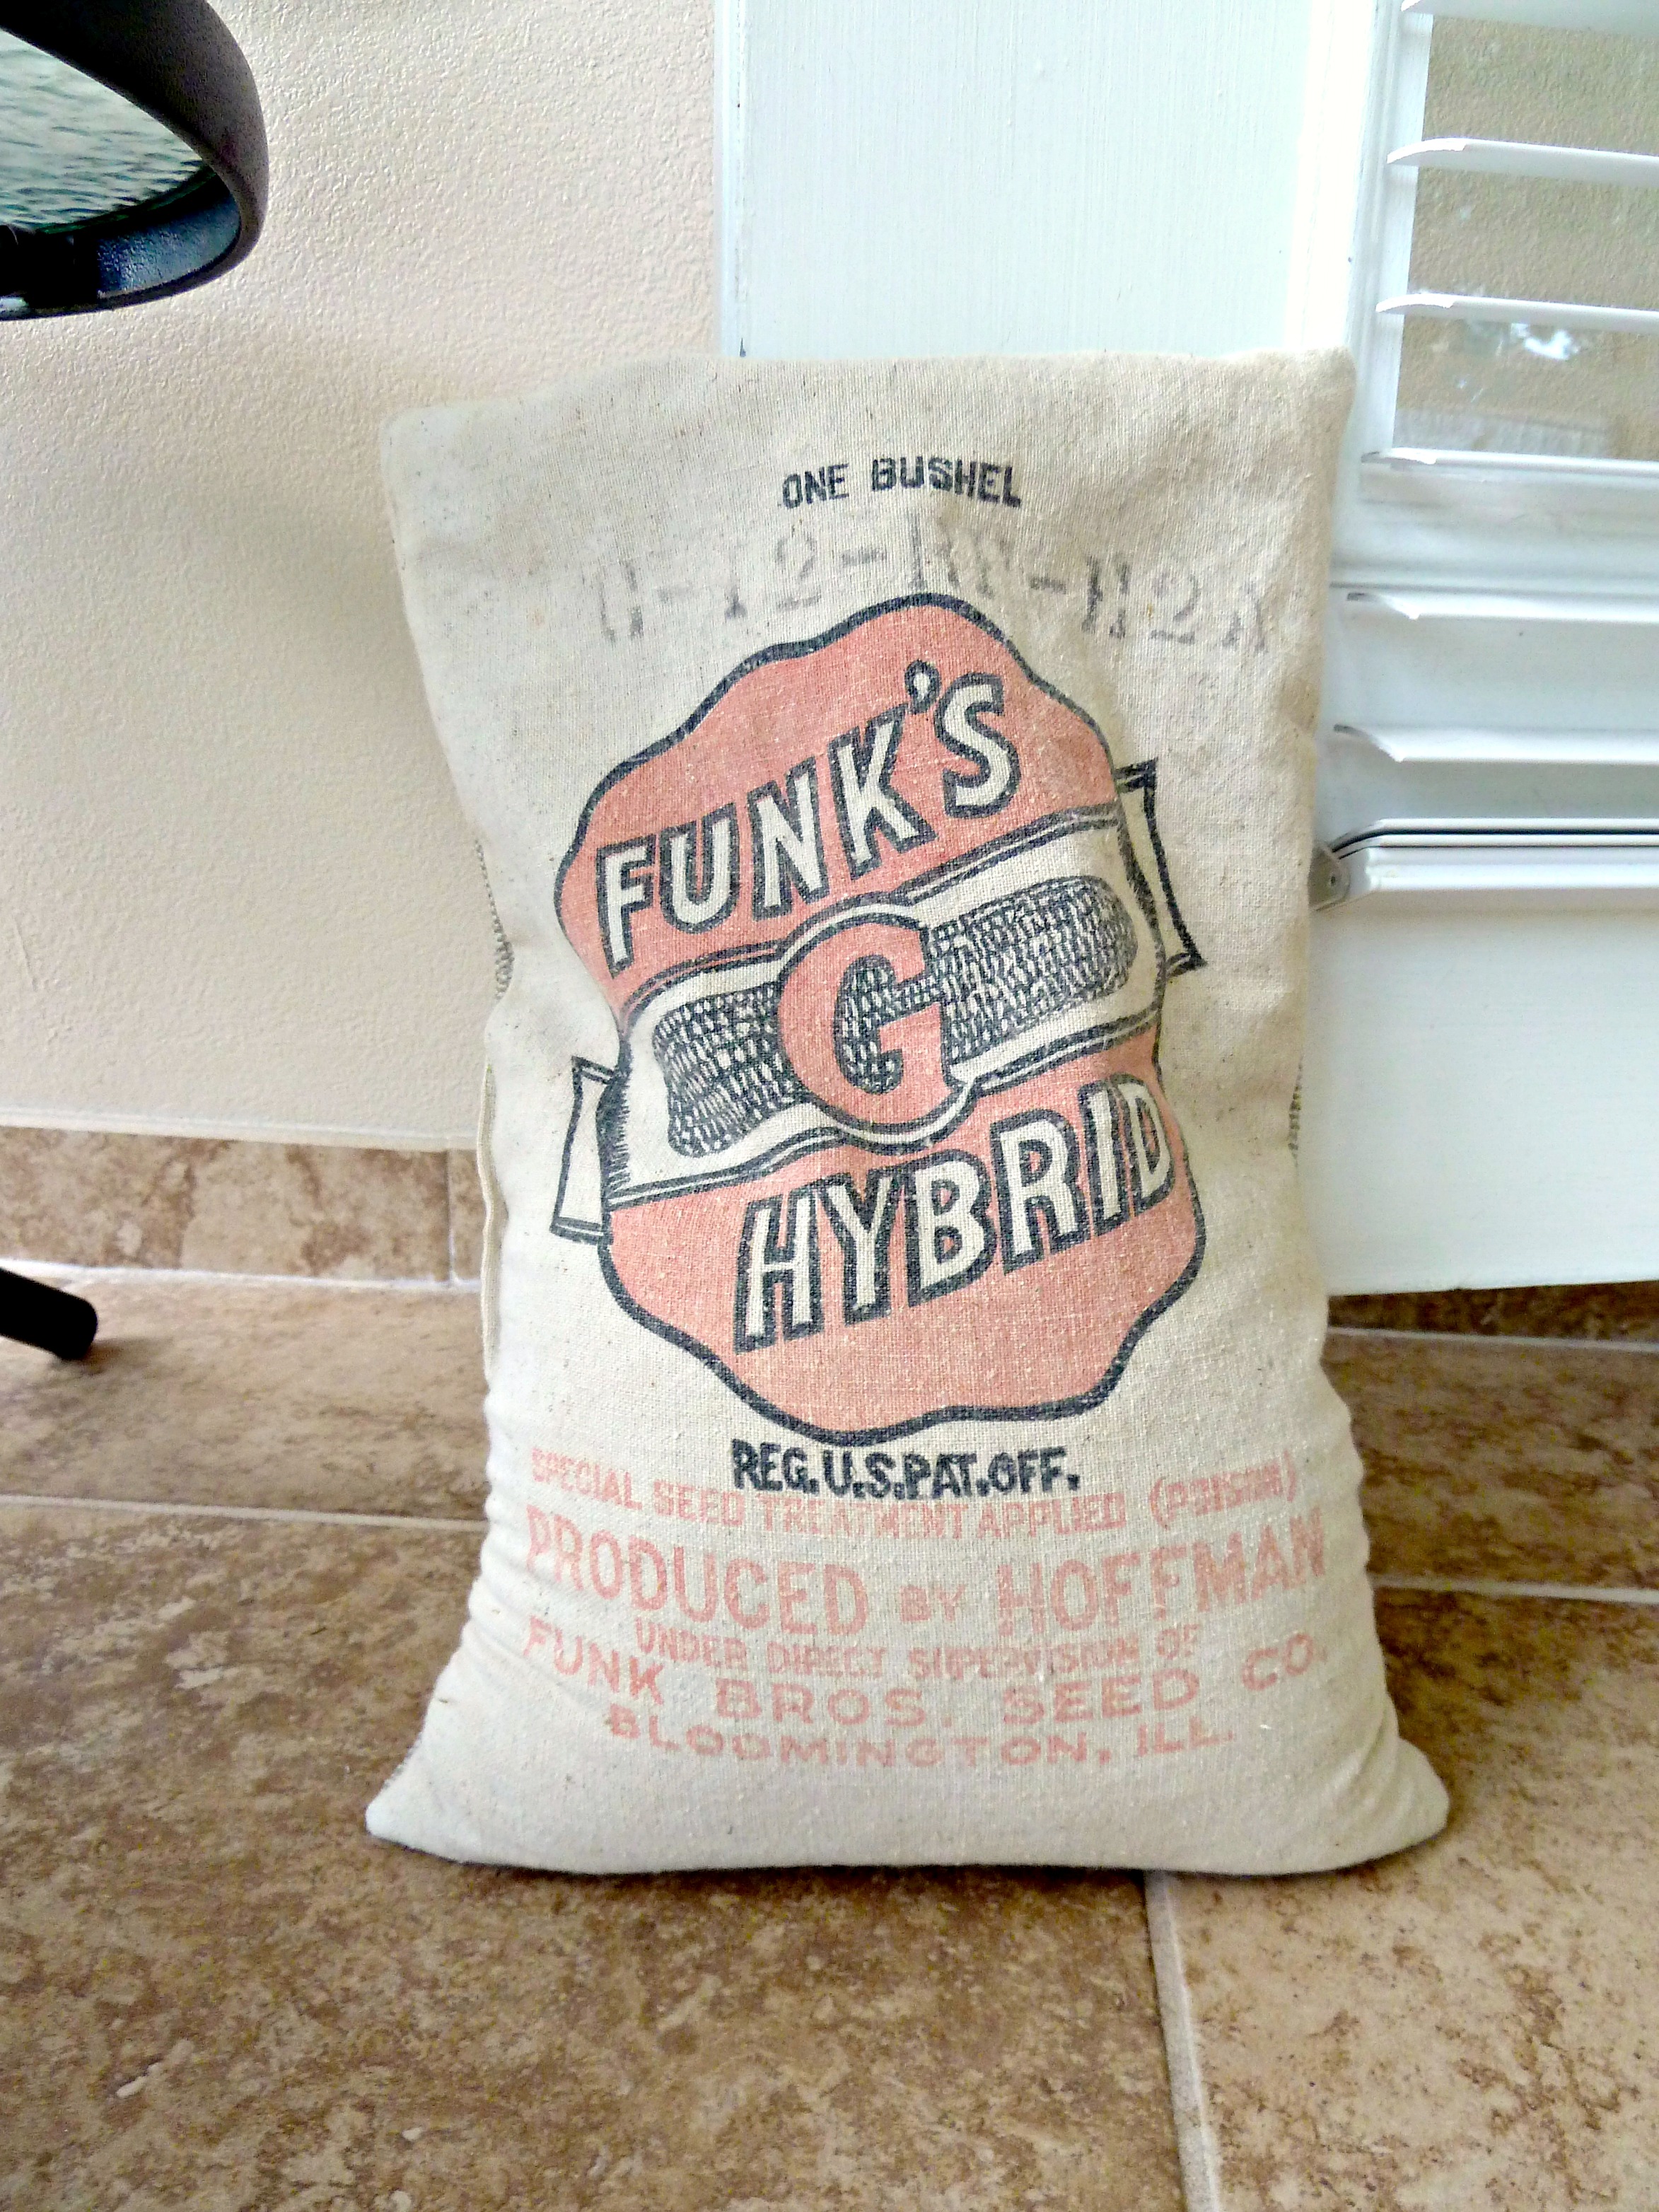
 I totally dig them, and they serve their purpose! Just in time for some nice fall weather.
  And, when they are not keeping those pesky doors open, they hang out here…
 Right next to the fireplace.
 I think I did a bang up job. Don’t you?

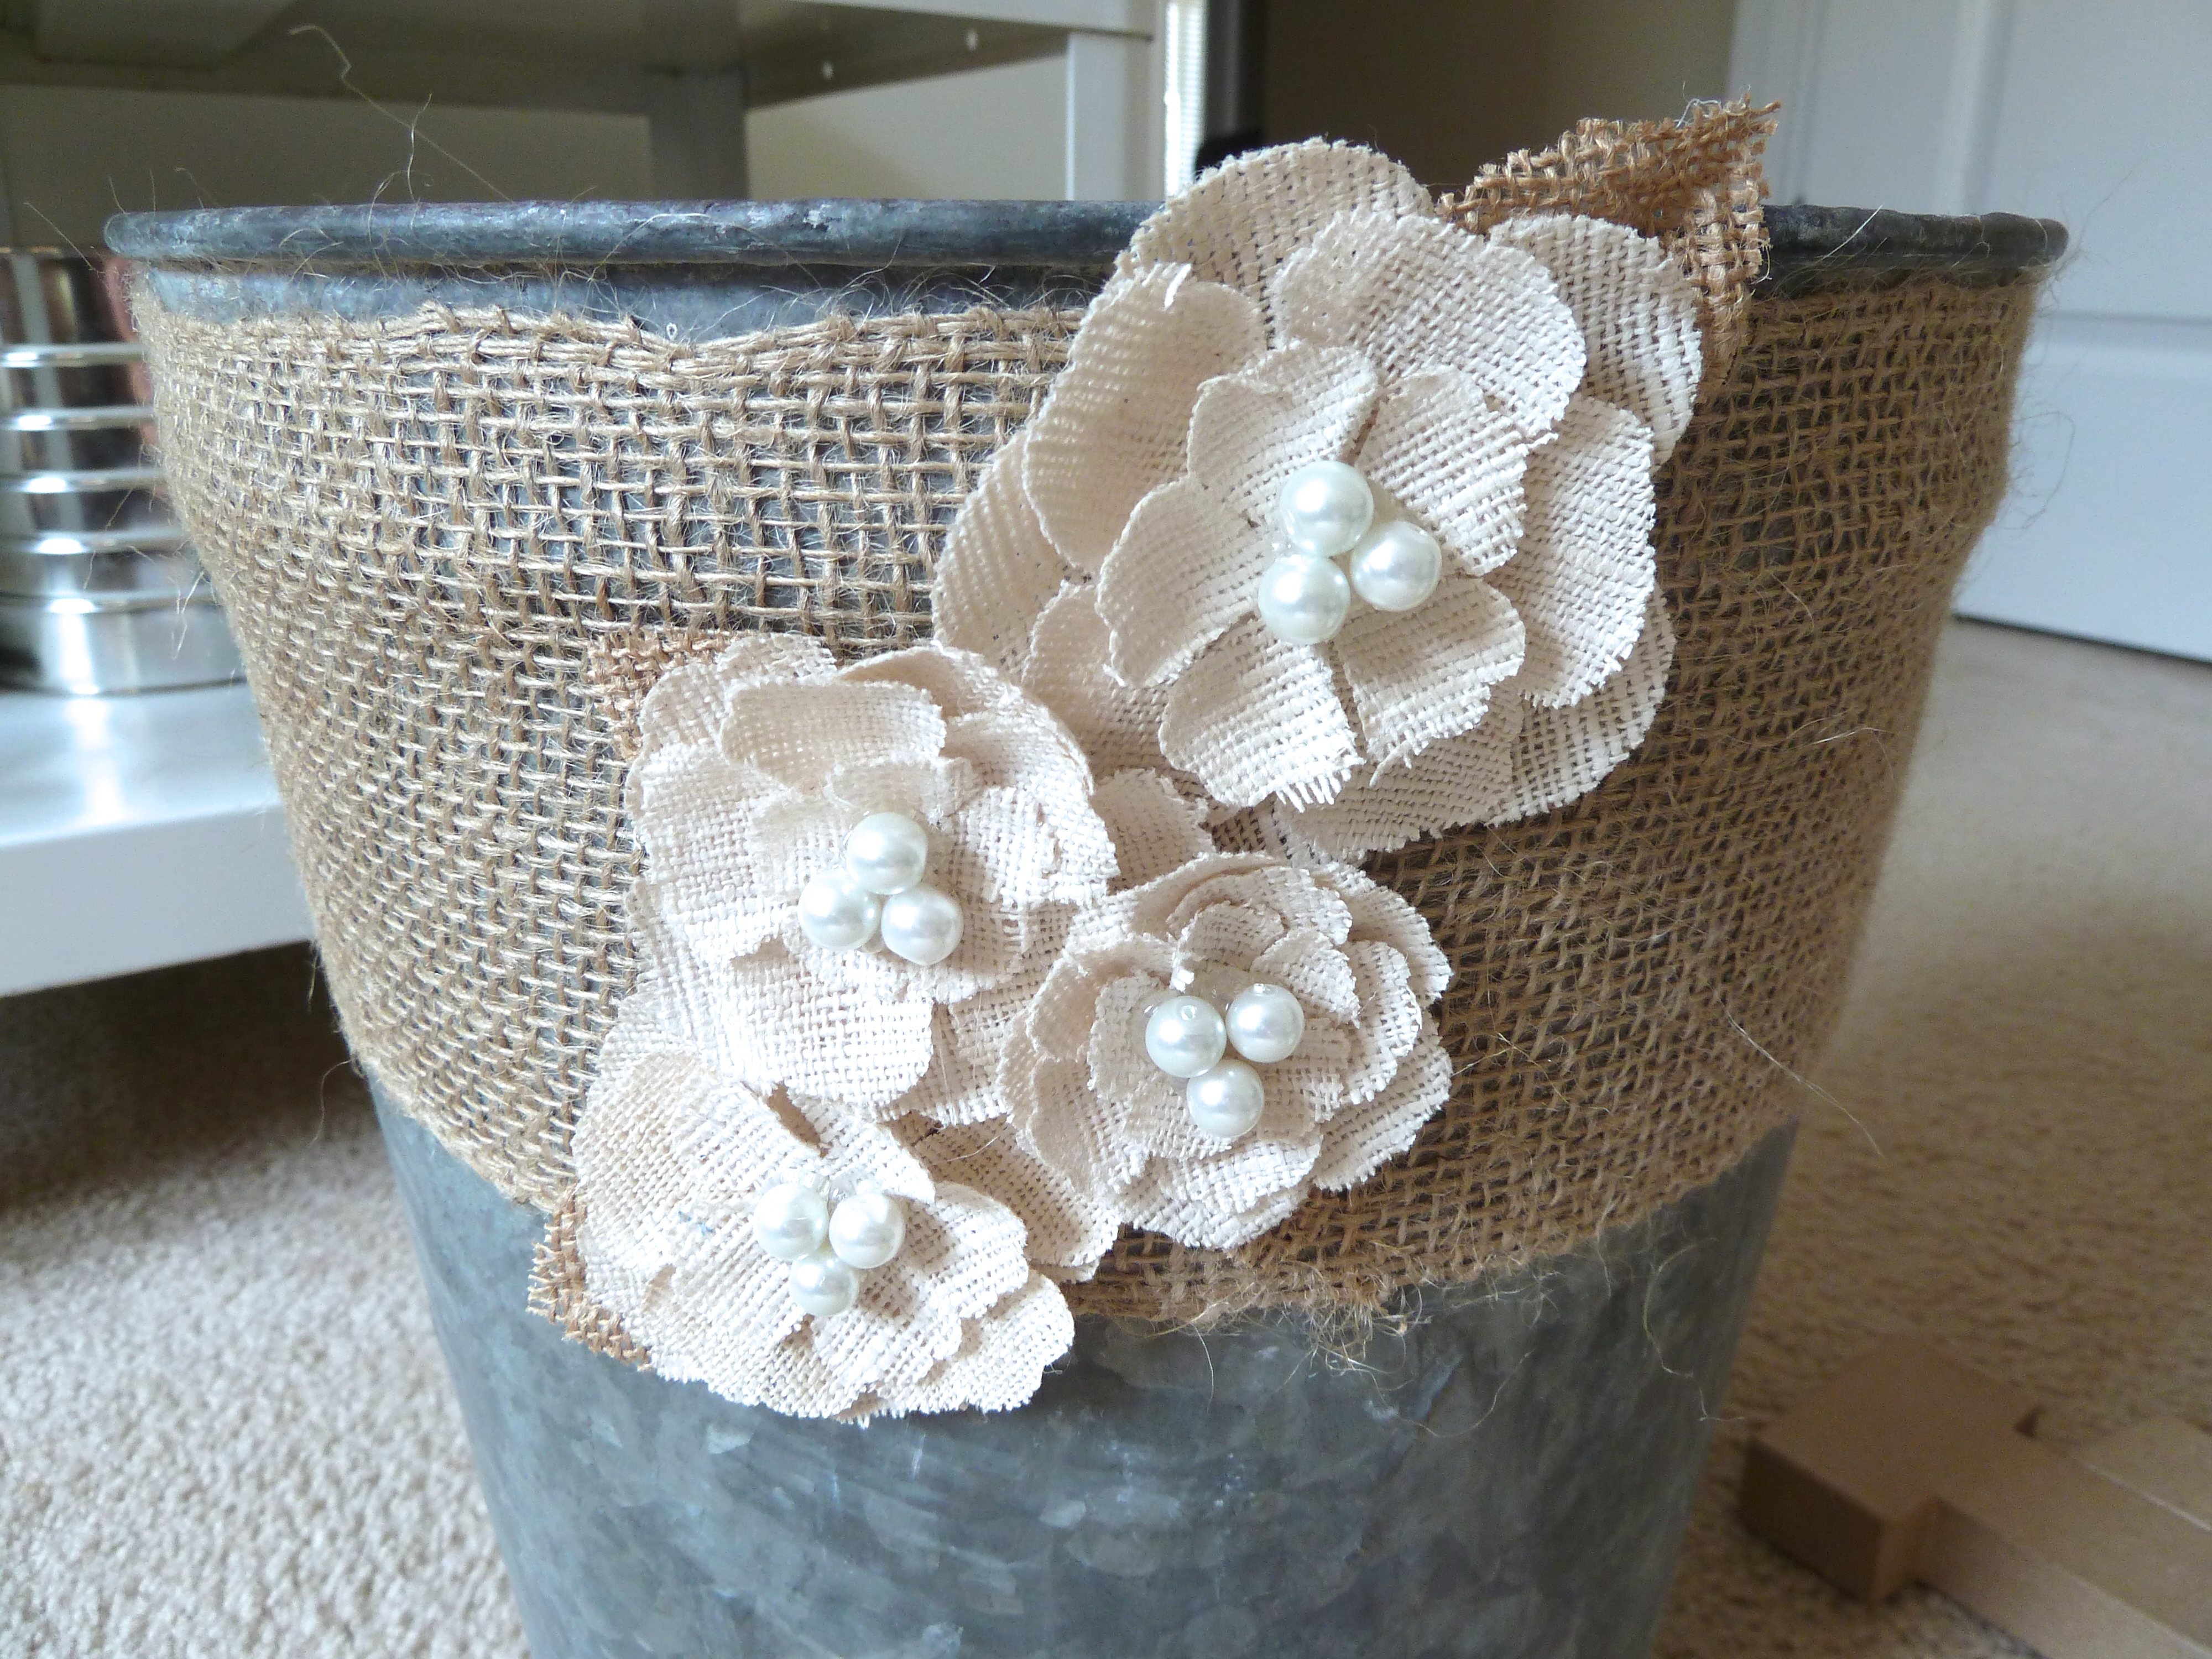
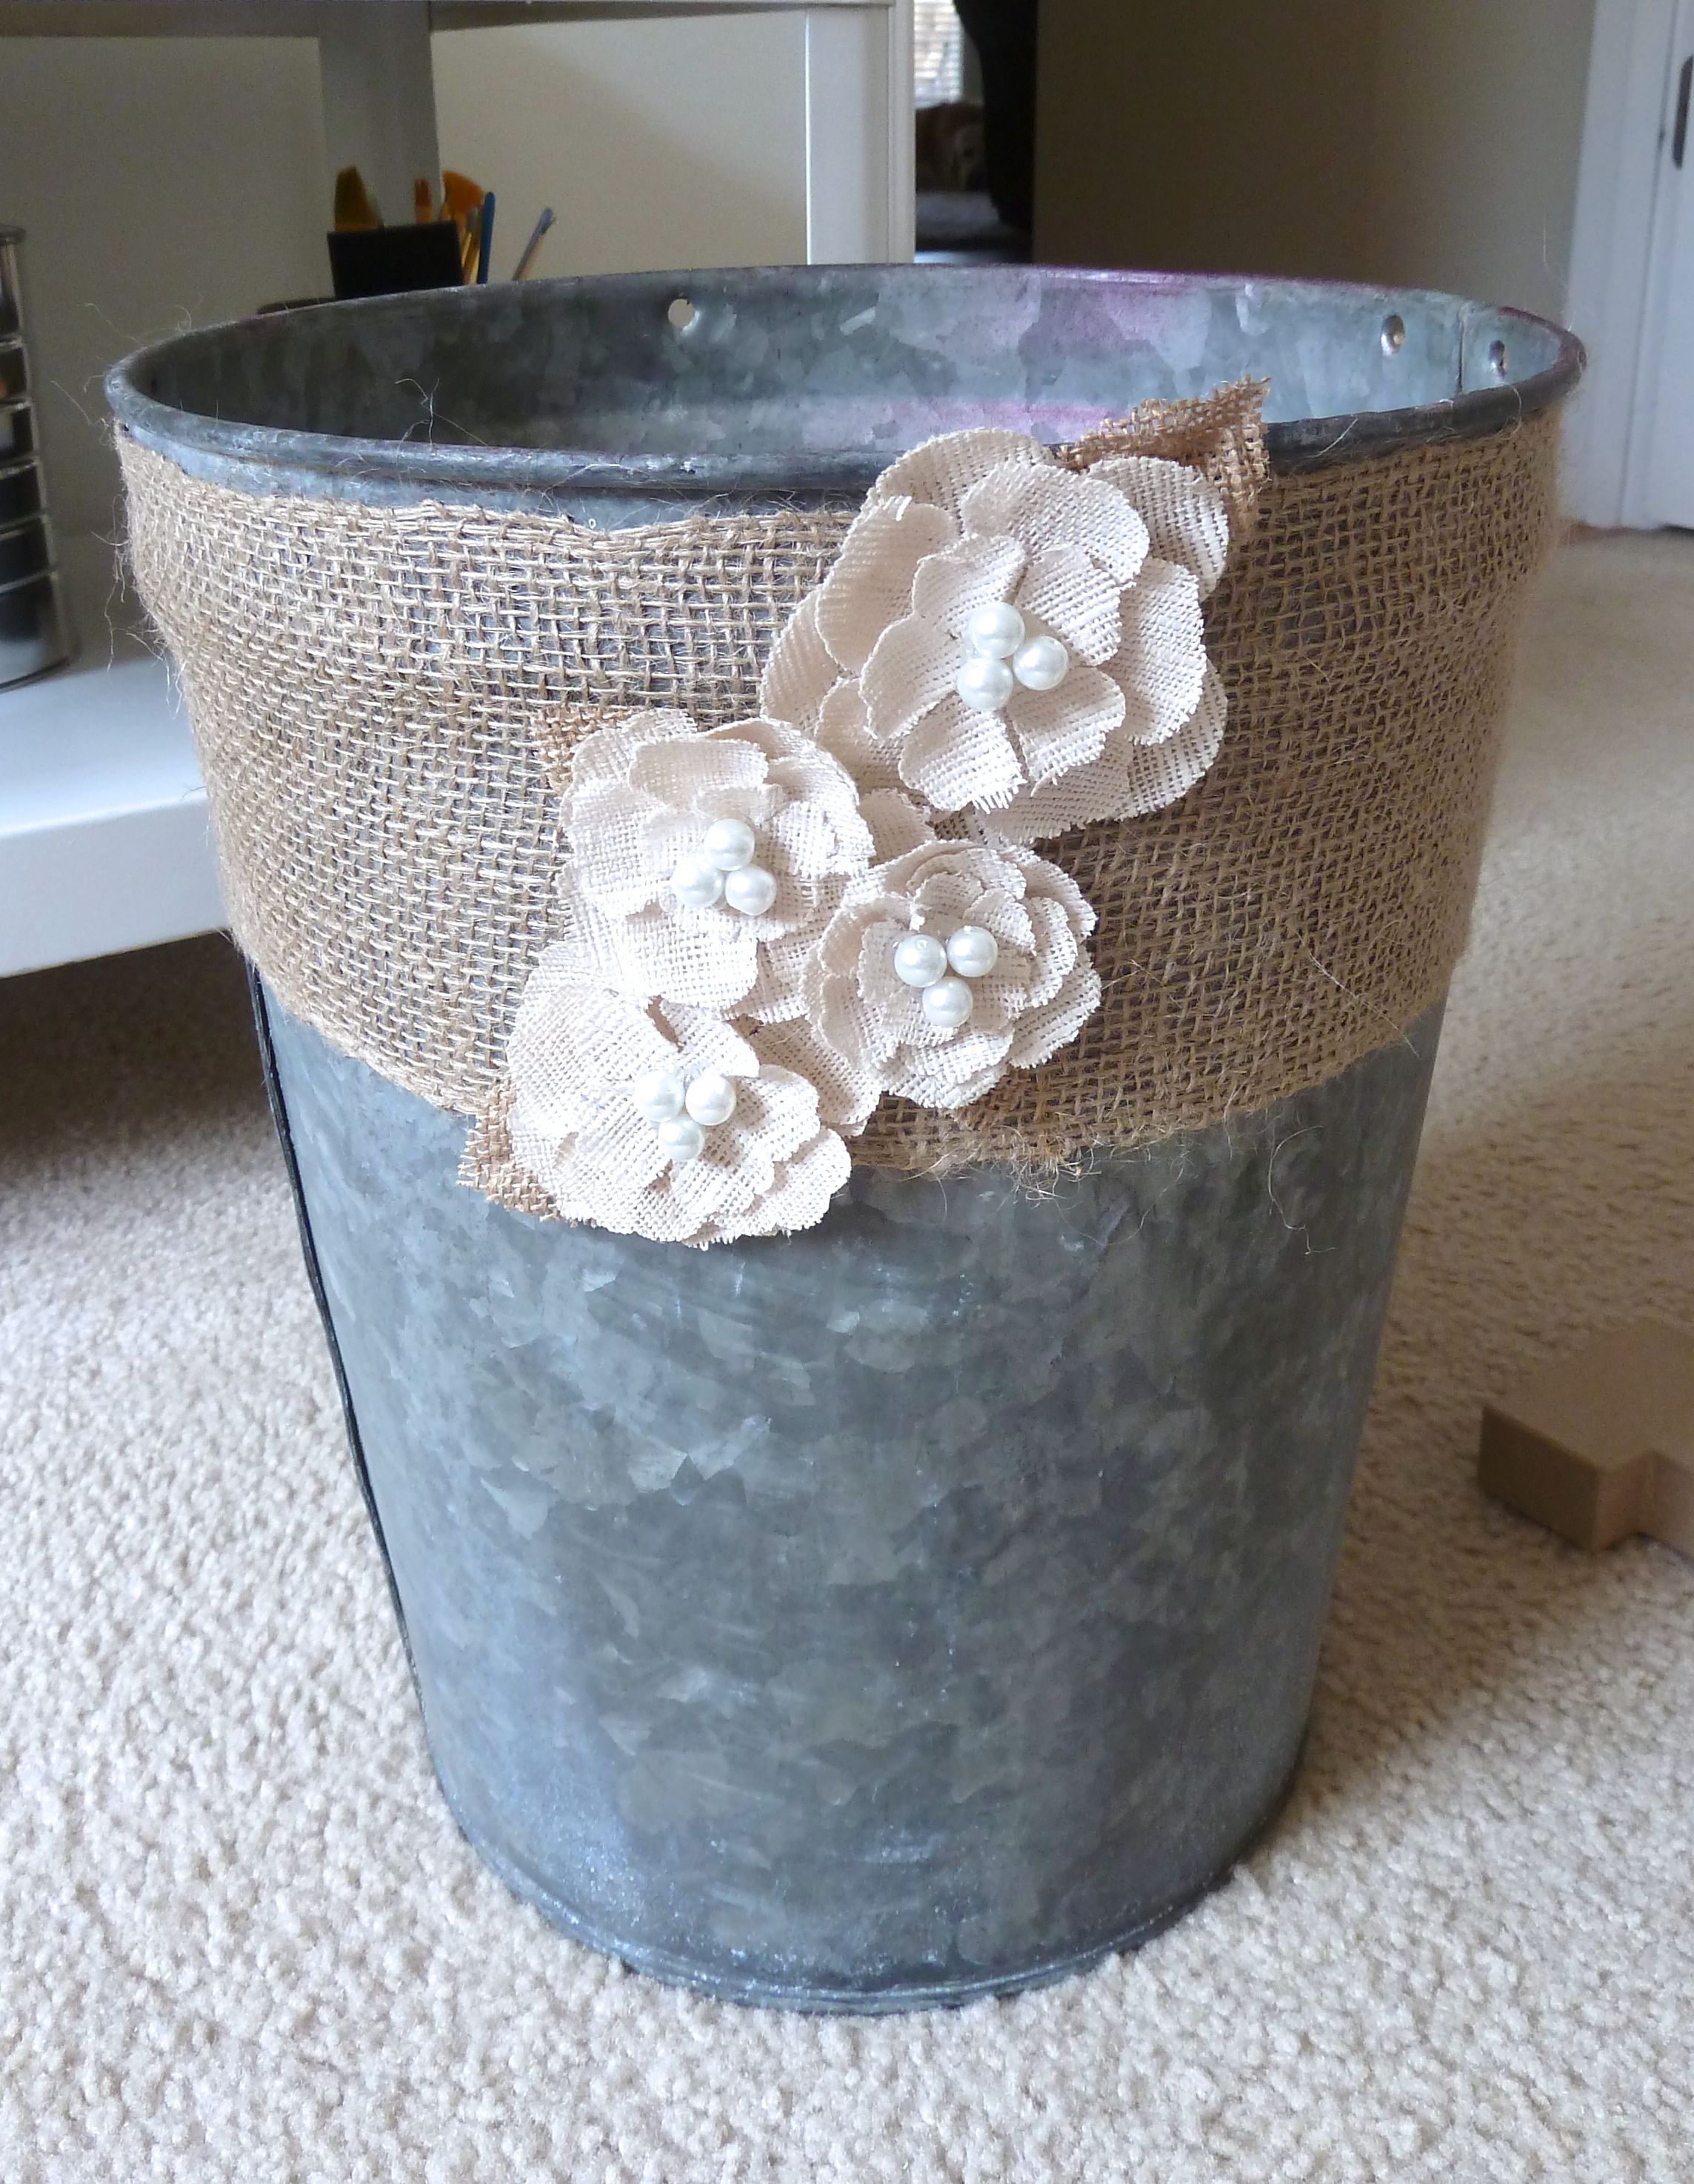
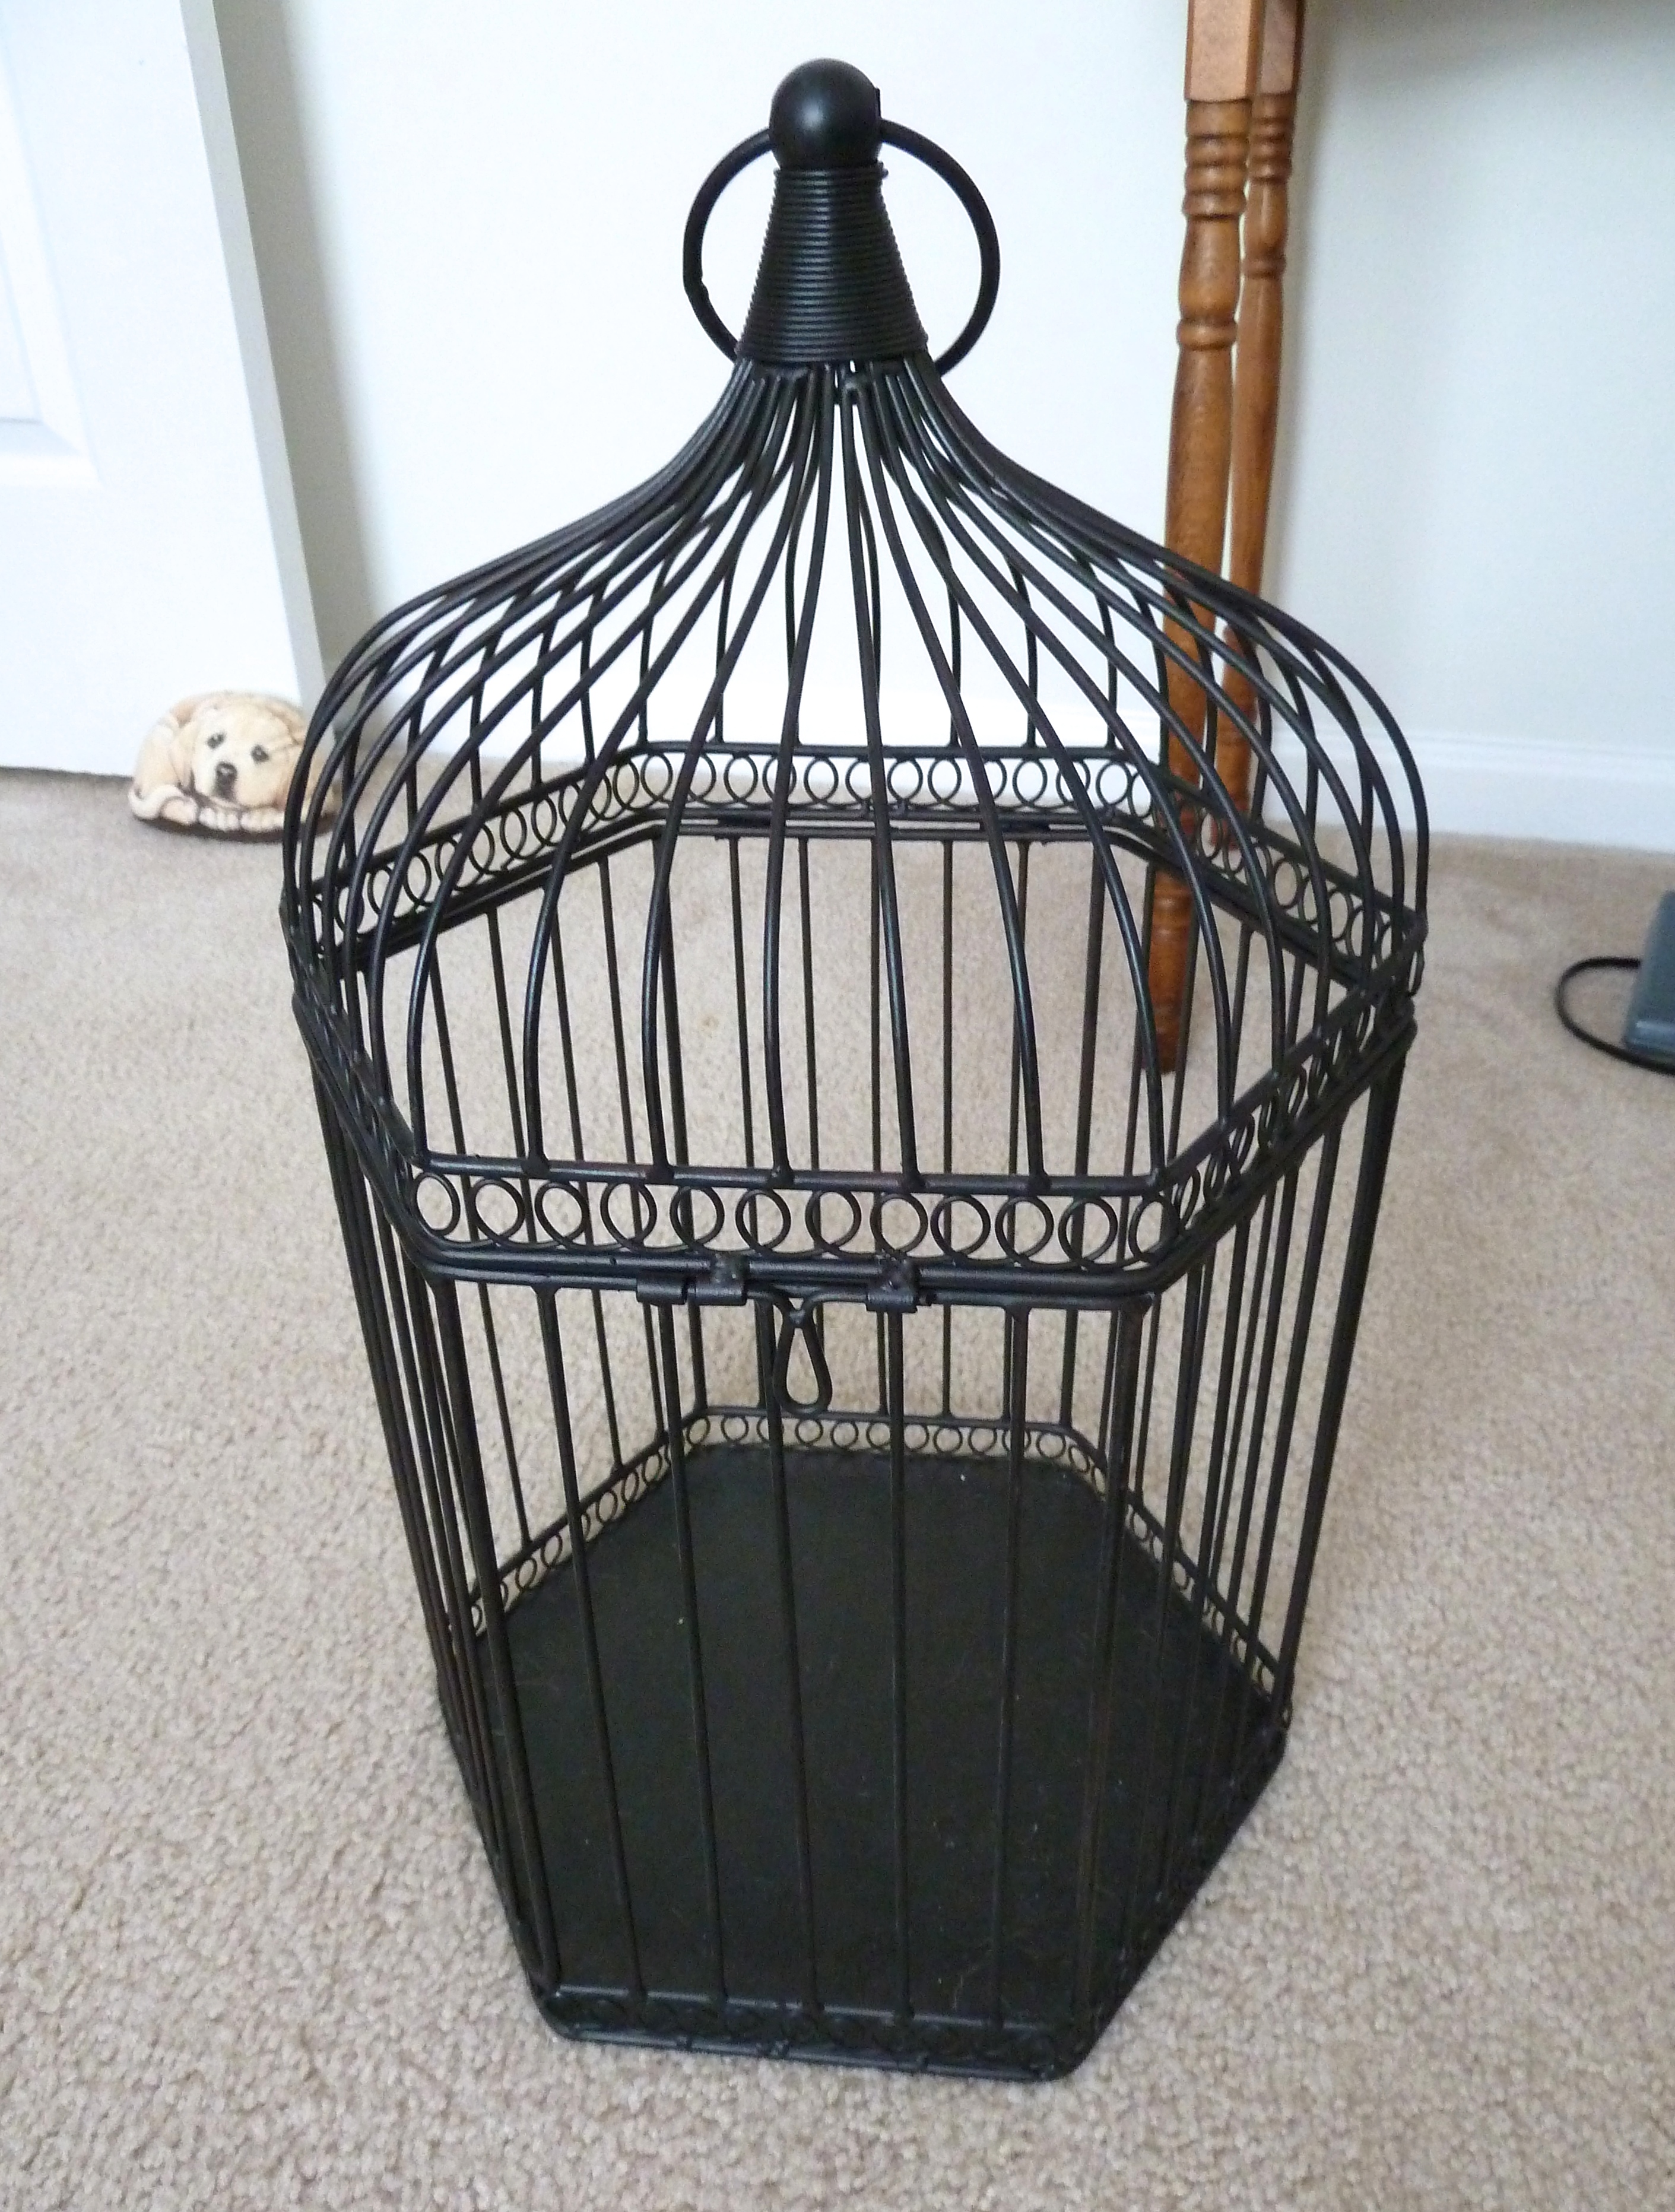
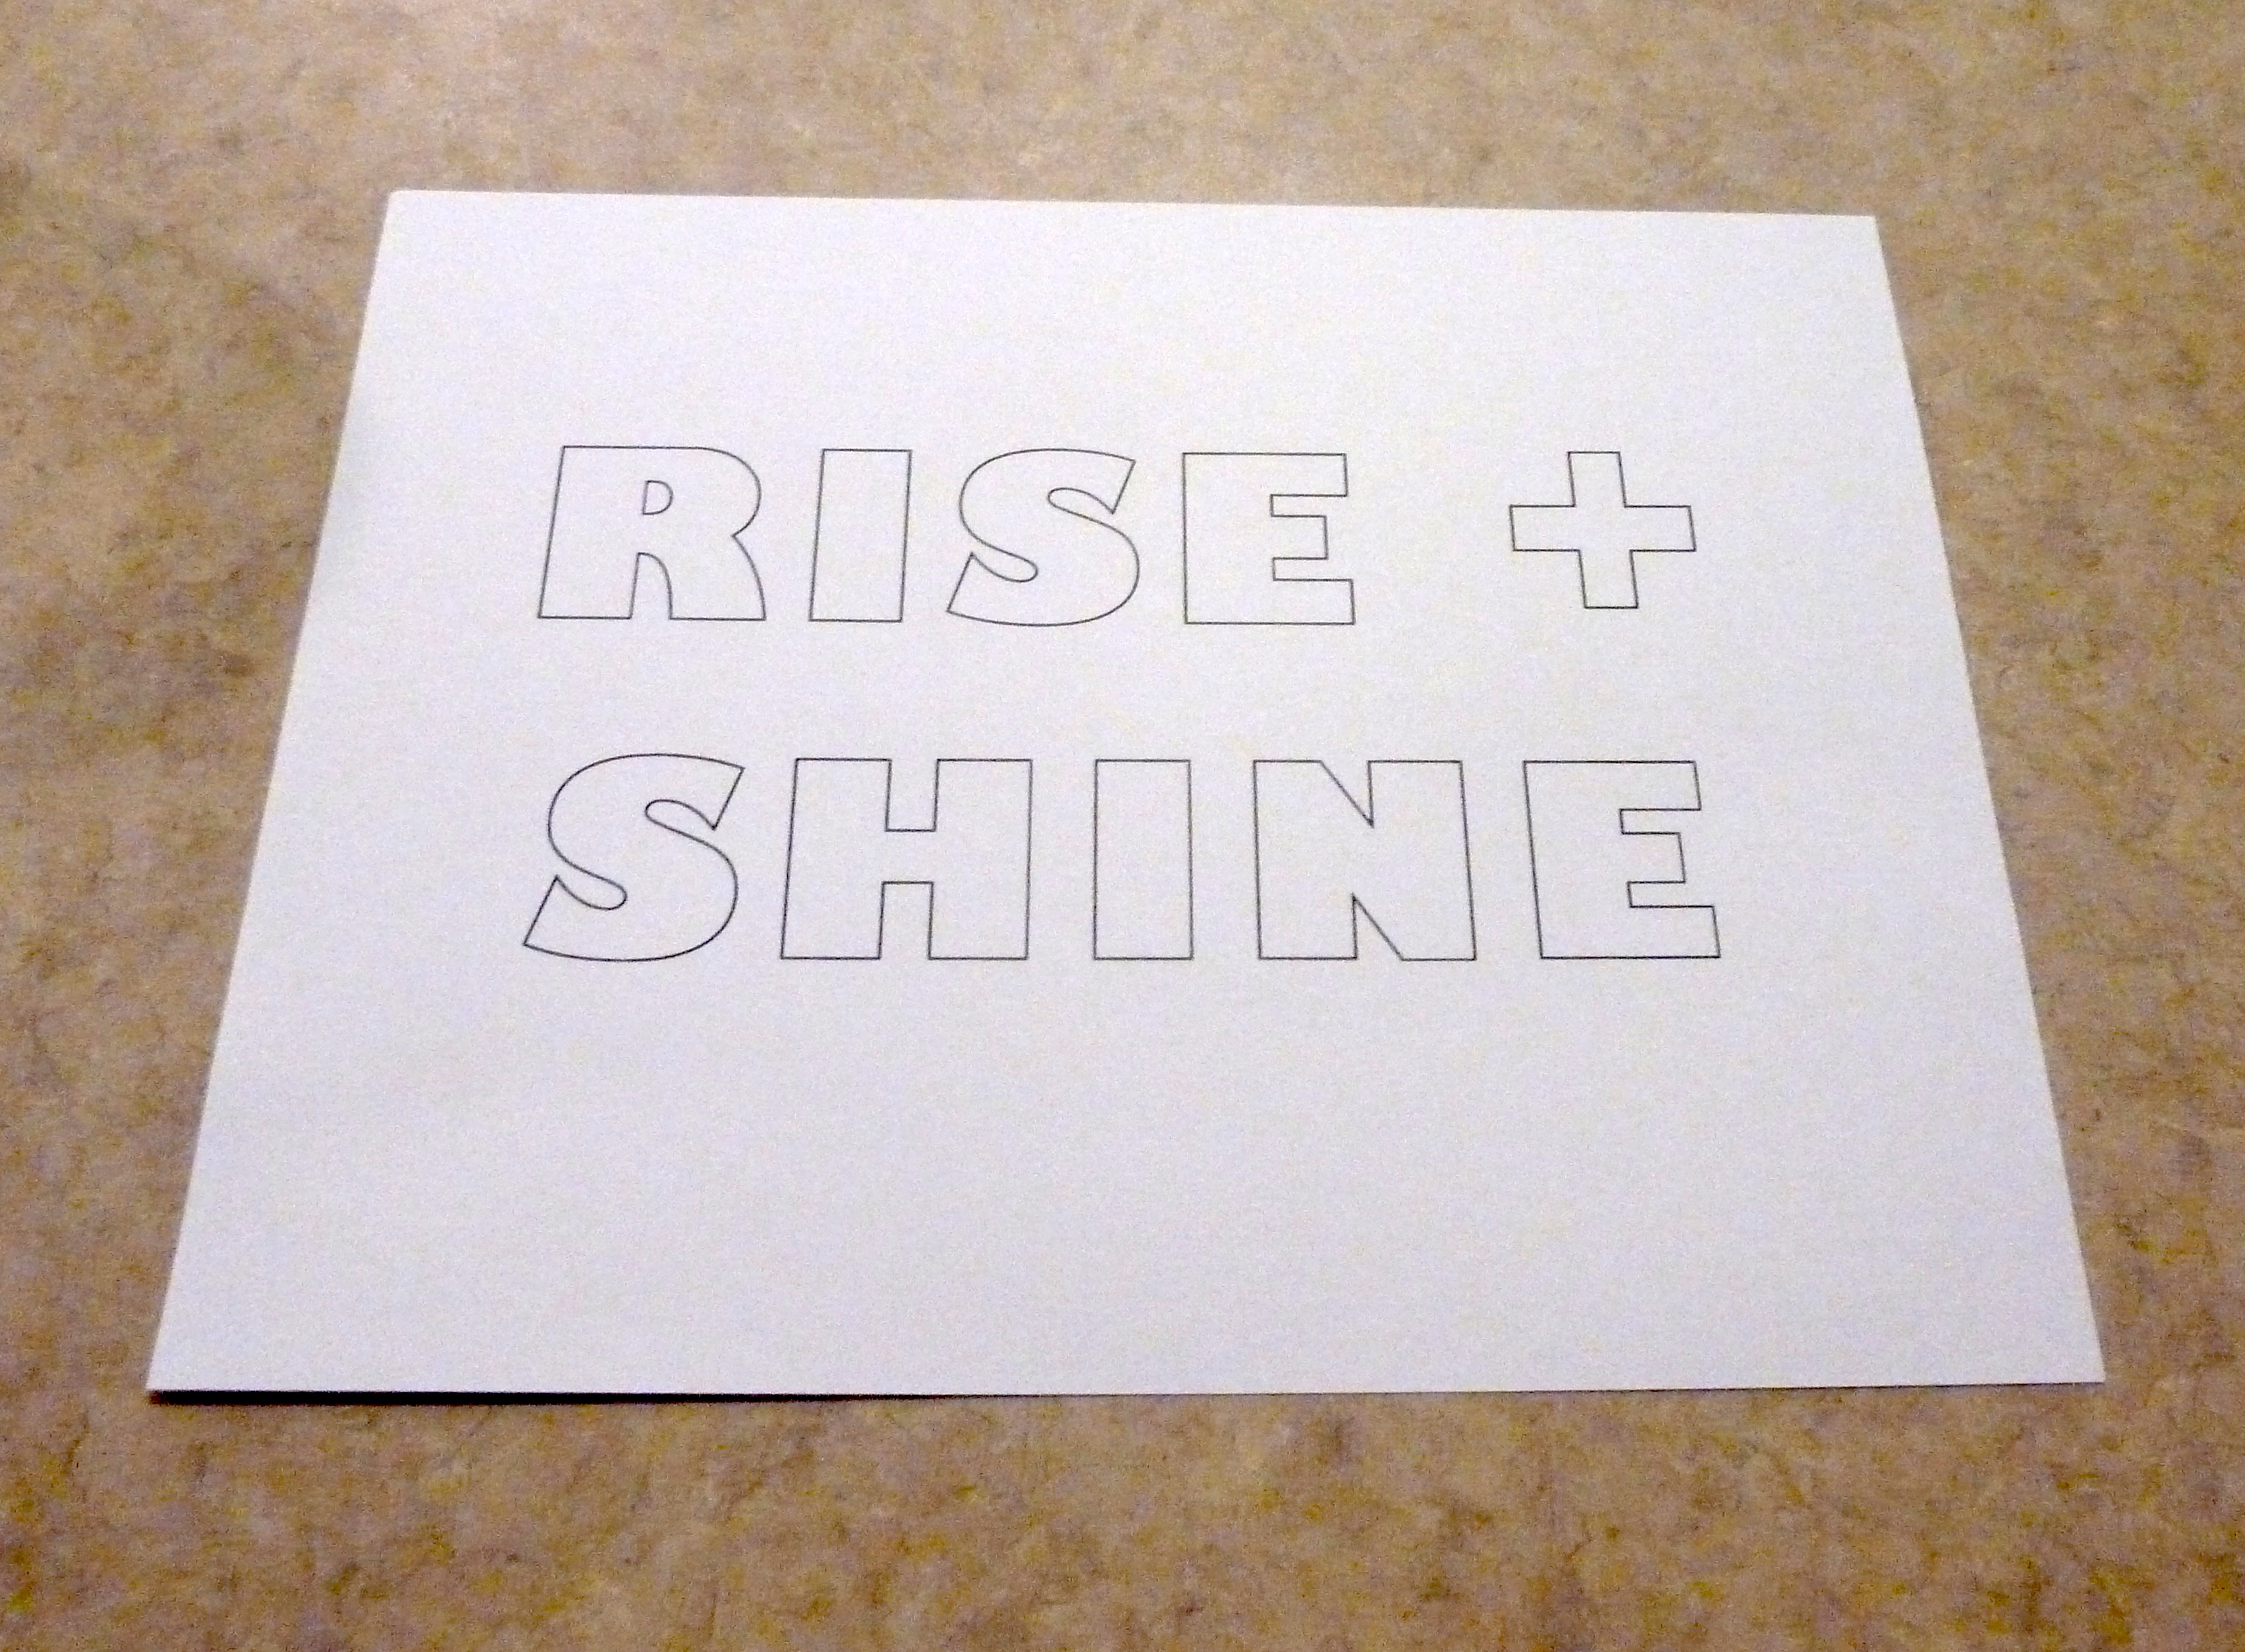
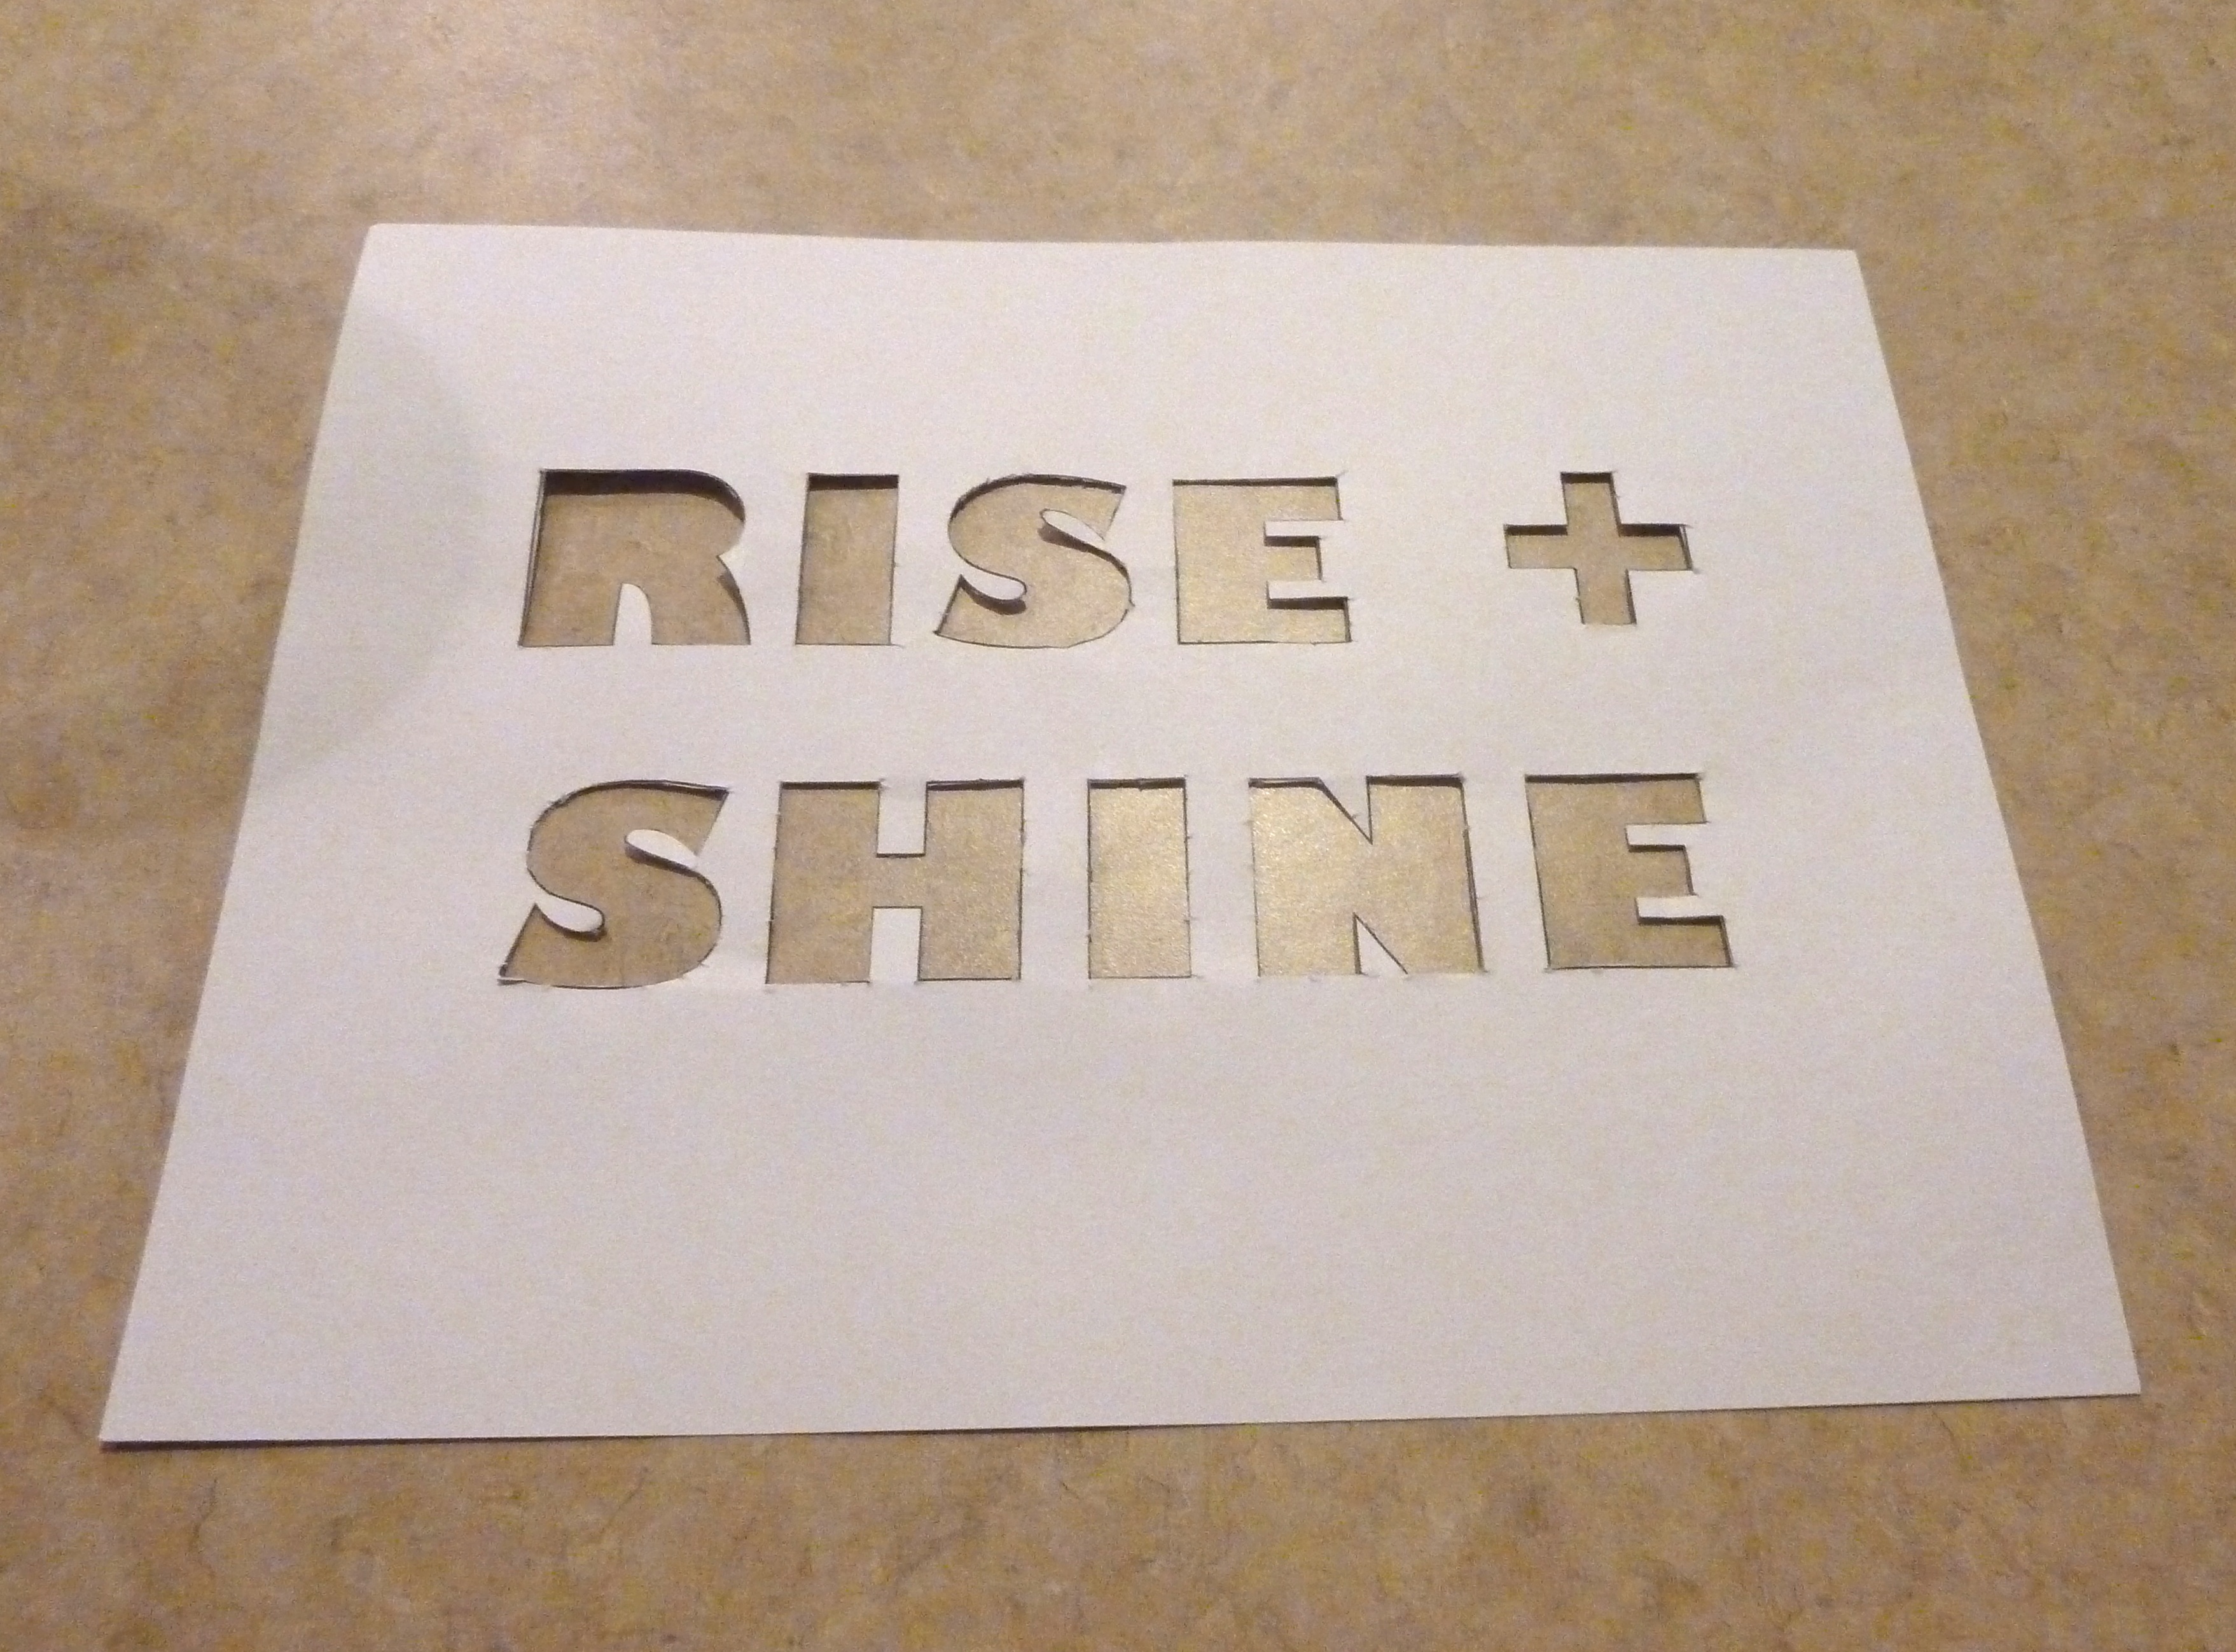
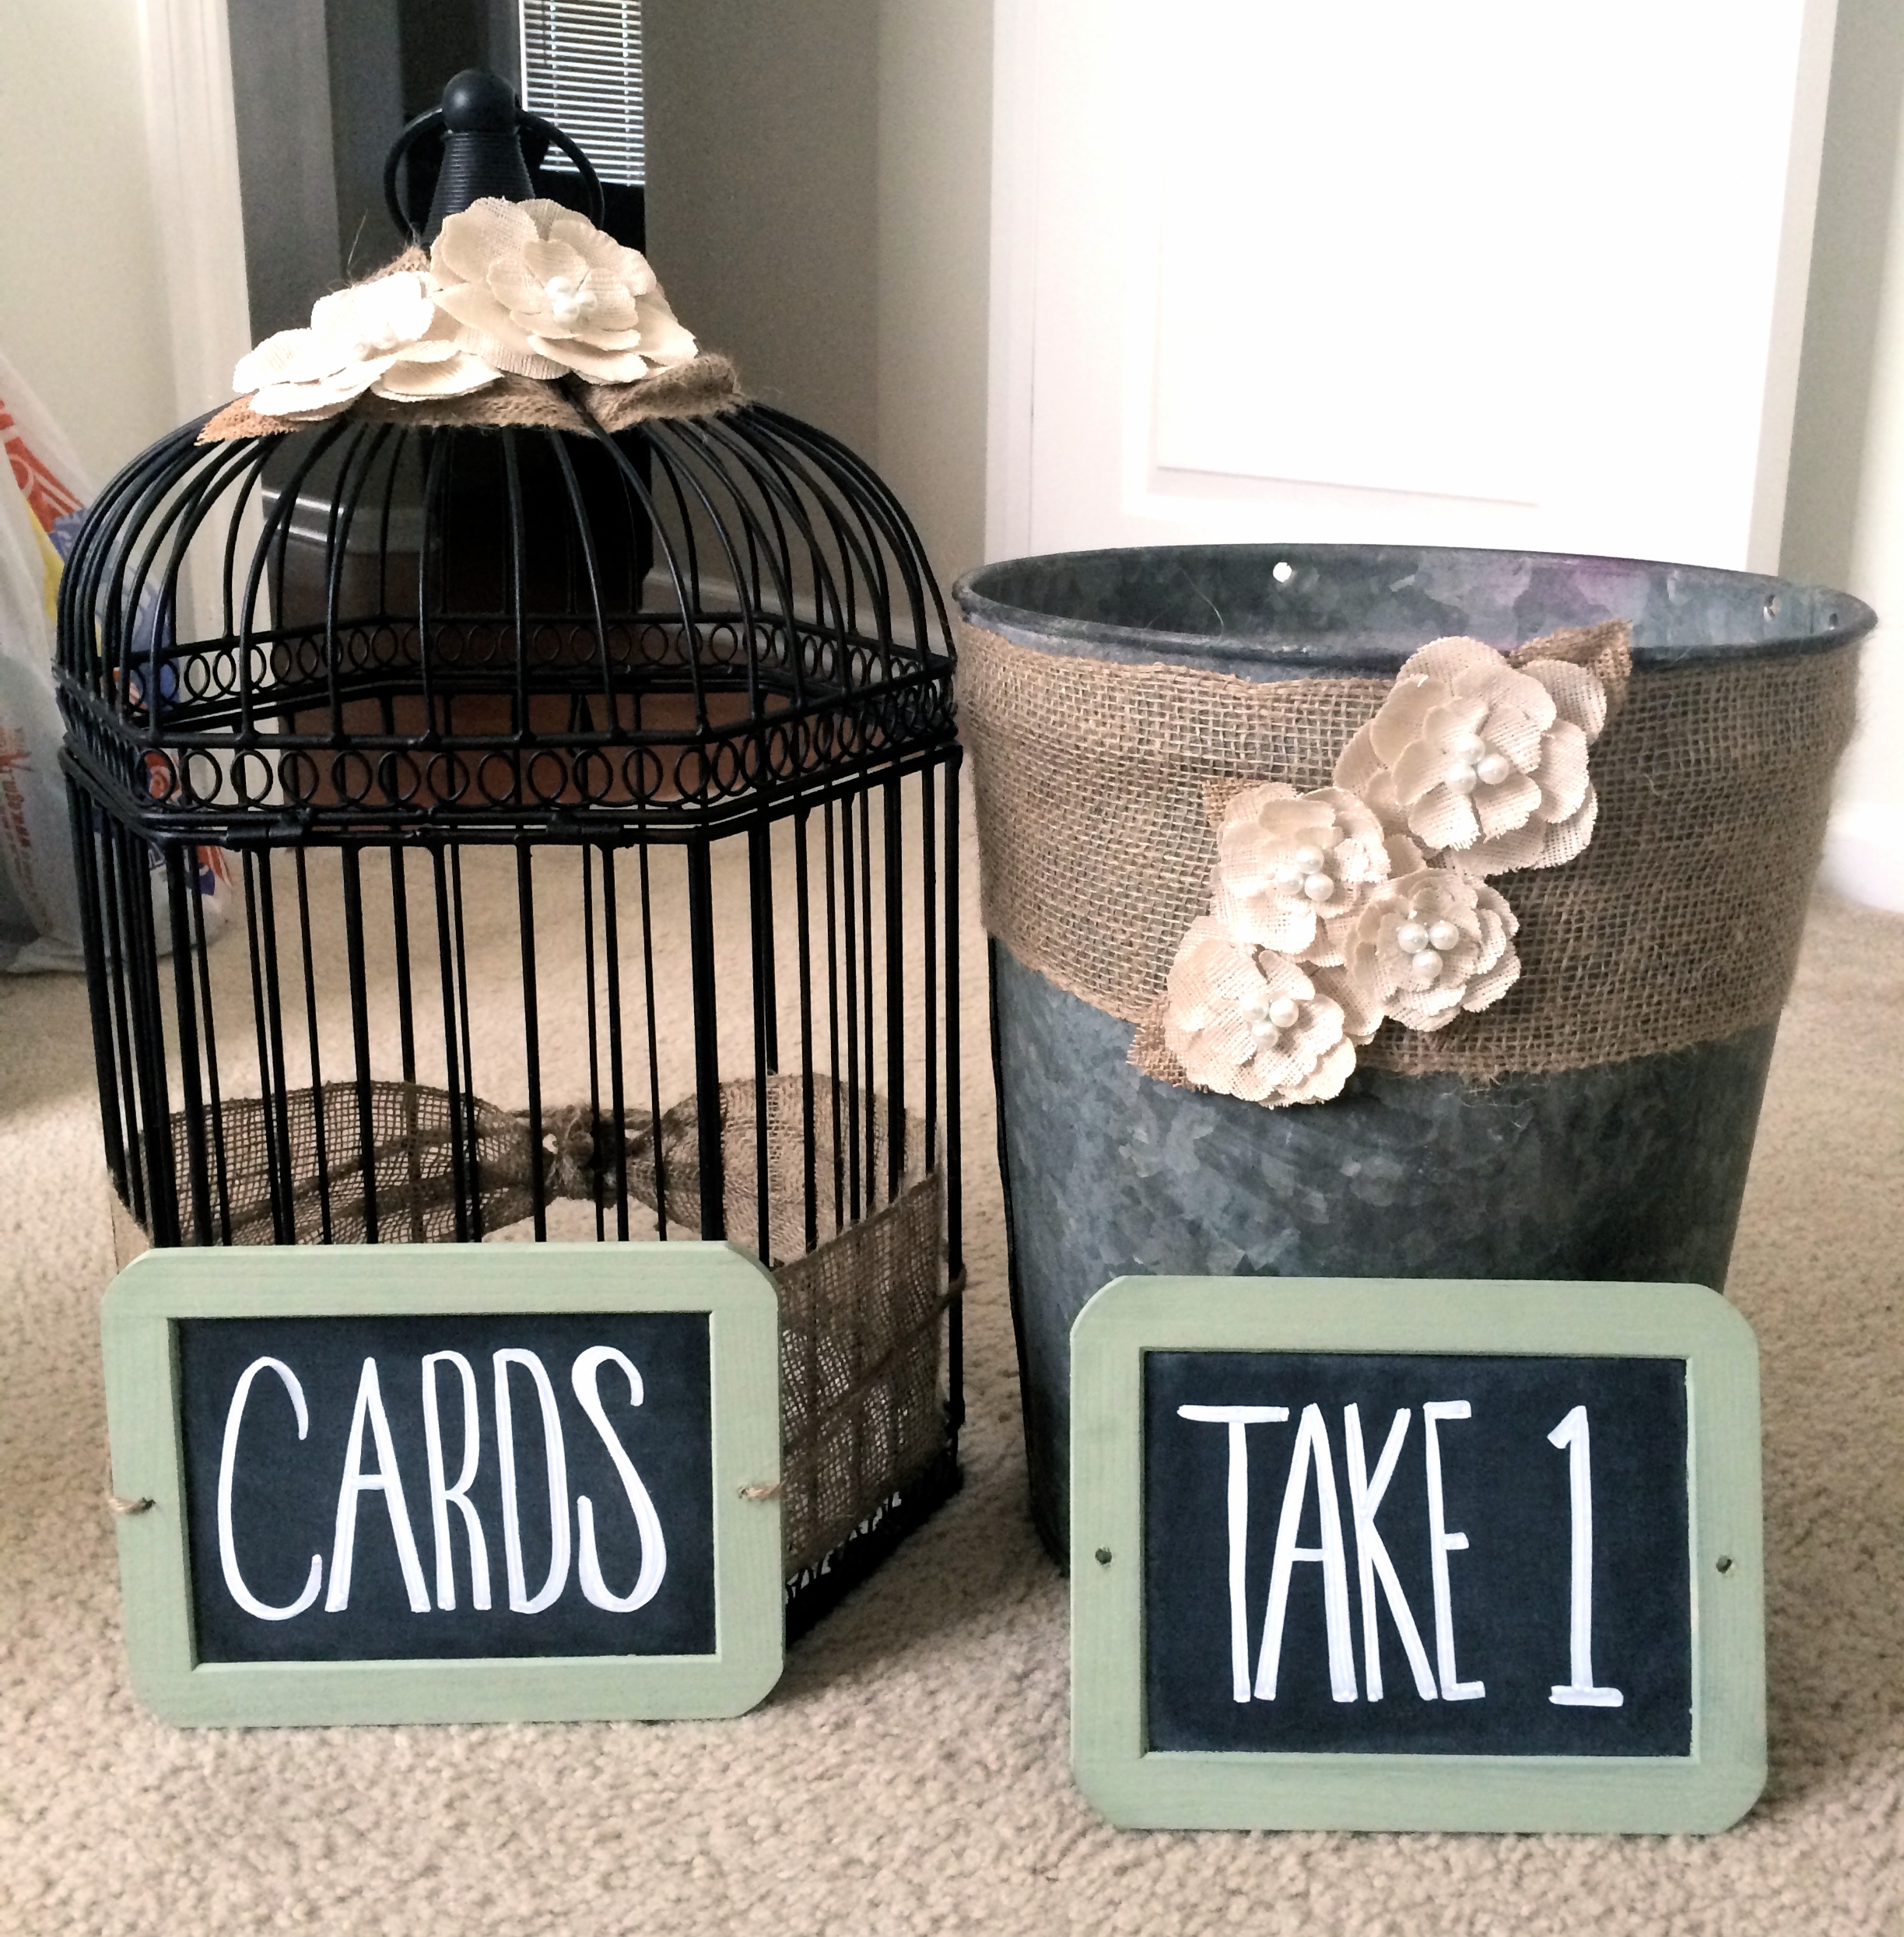
 In case you’re wondering, I used twine to attach the chalkboard. I just slipped it through the holes on each side of the frame, and tied it around the back of the cage. From there, I just hot glued a couple of the burlap flowers on top and called it done!
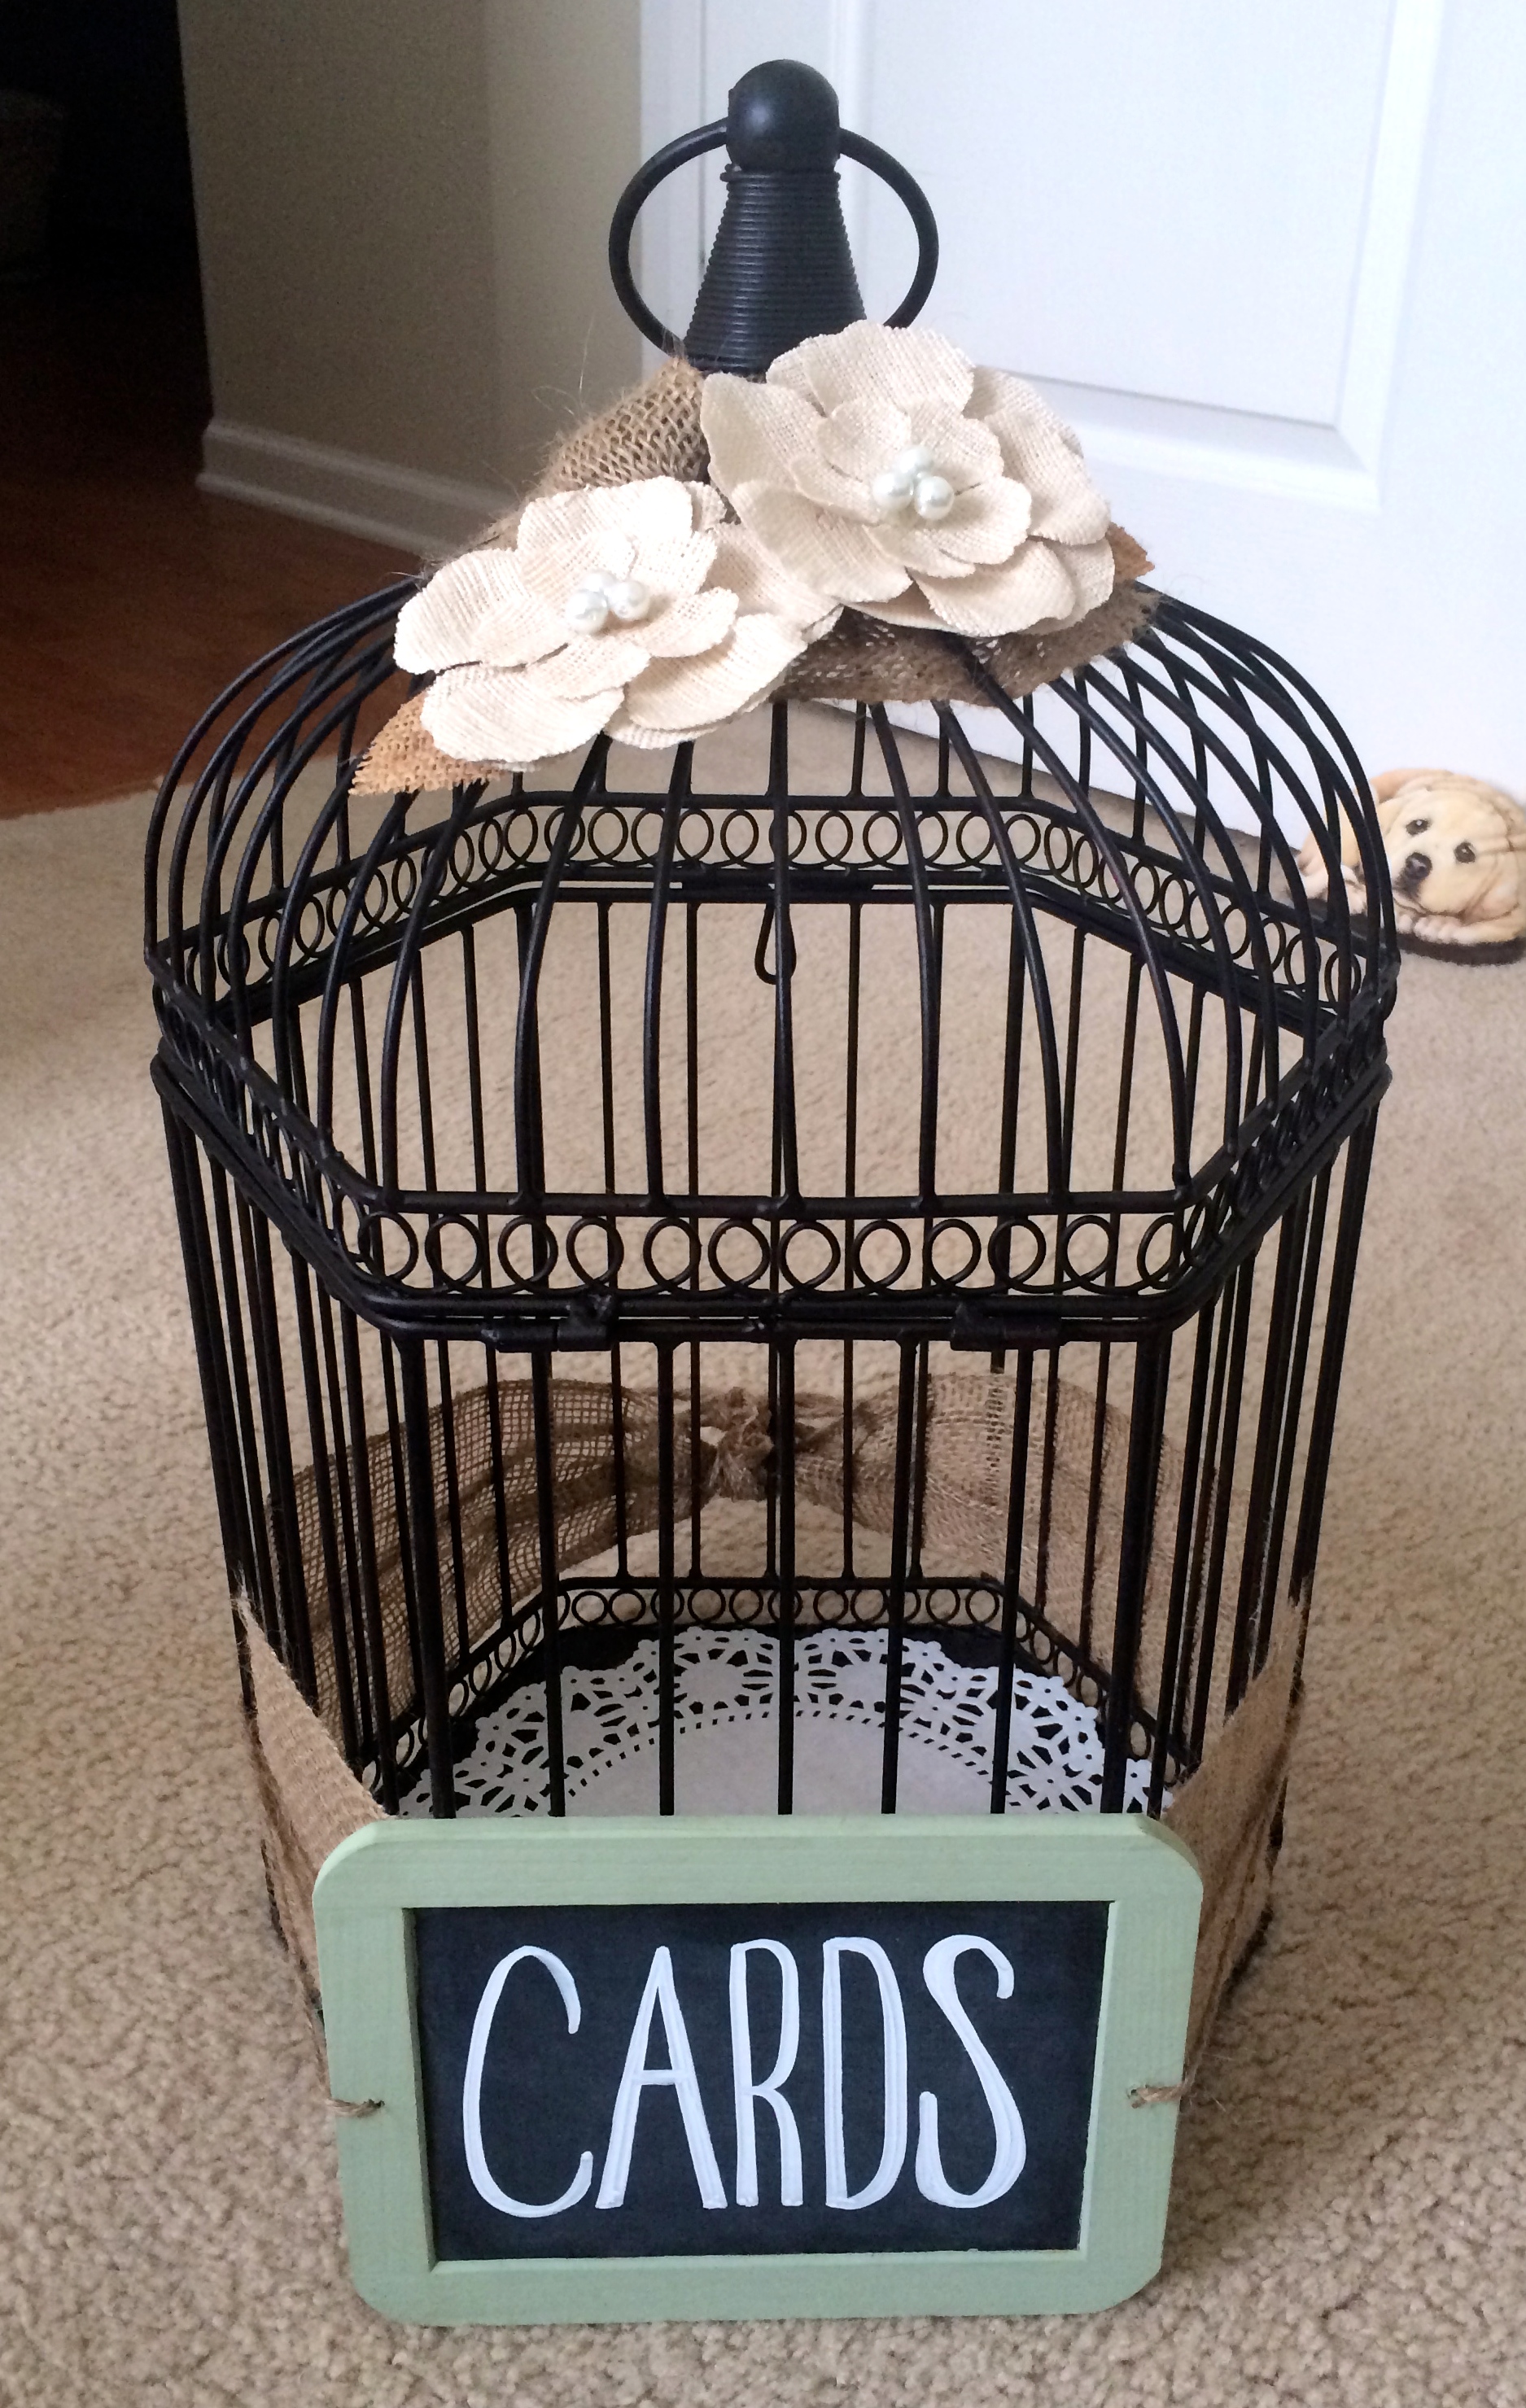

 Hubba hubba!