Homemade Cleaning Products

So, a while back, when I was going about my dusting business, I was cleaning and ran out of my wood duster (Pledge).  Well, this was an issue, because I was not about to go out just to get wood duster, and I was not going to skip dusting my house.  So, I figured hey I’ll ask Google what to do, which is pretty much my answer for everything.  And what do you know, I found all sorts of recipes for homemade dusting spray.  I mixed up a batch of an option, that I had all of the ingredients for, and got back to my dusting business.  Guess what?  I liked the new dusting spray better than Pledge.

I know you’re on the edge of your seat right now, this is pretty intense stuff.  I decided that once my other store bought cleaning products ran out, I would find recipes for homemade cleaners for those as well.

If you don’t know where I am going with this, I’ll help you out… I’m going to tell you all about my new cleaning supplies and give you their recipes.

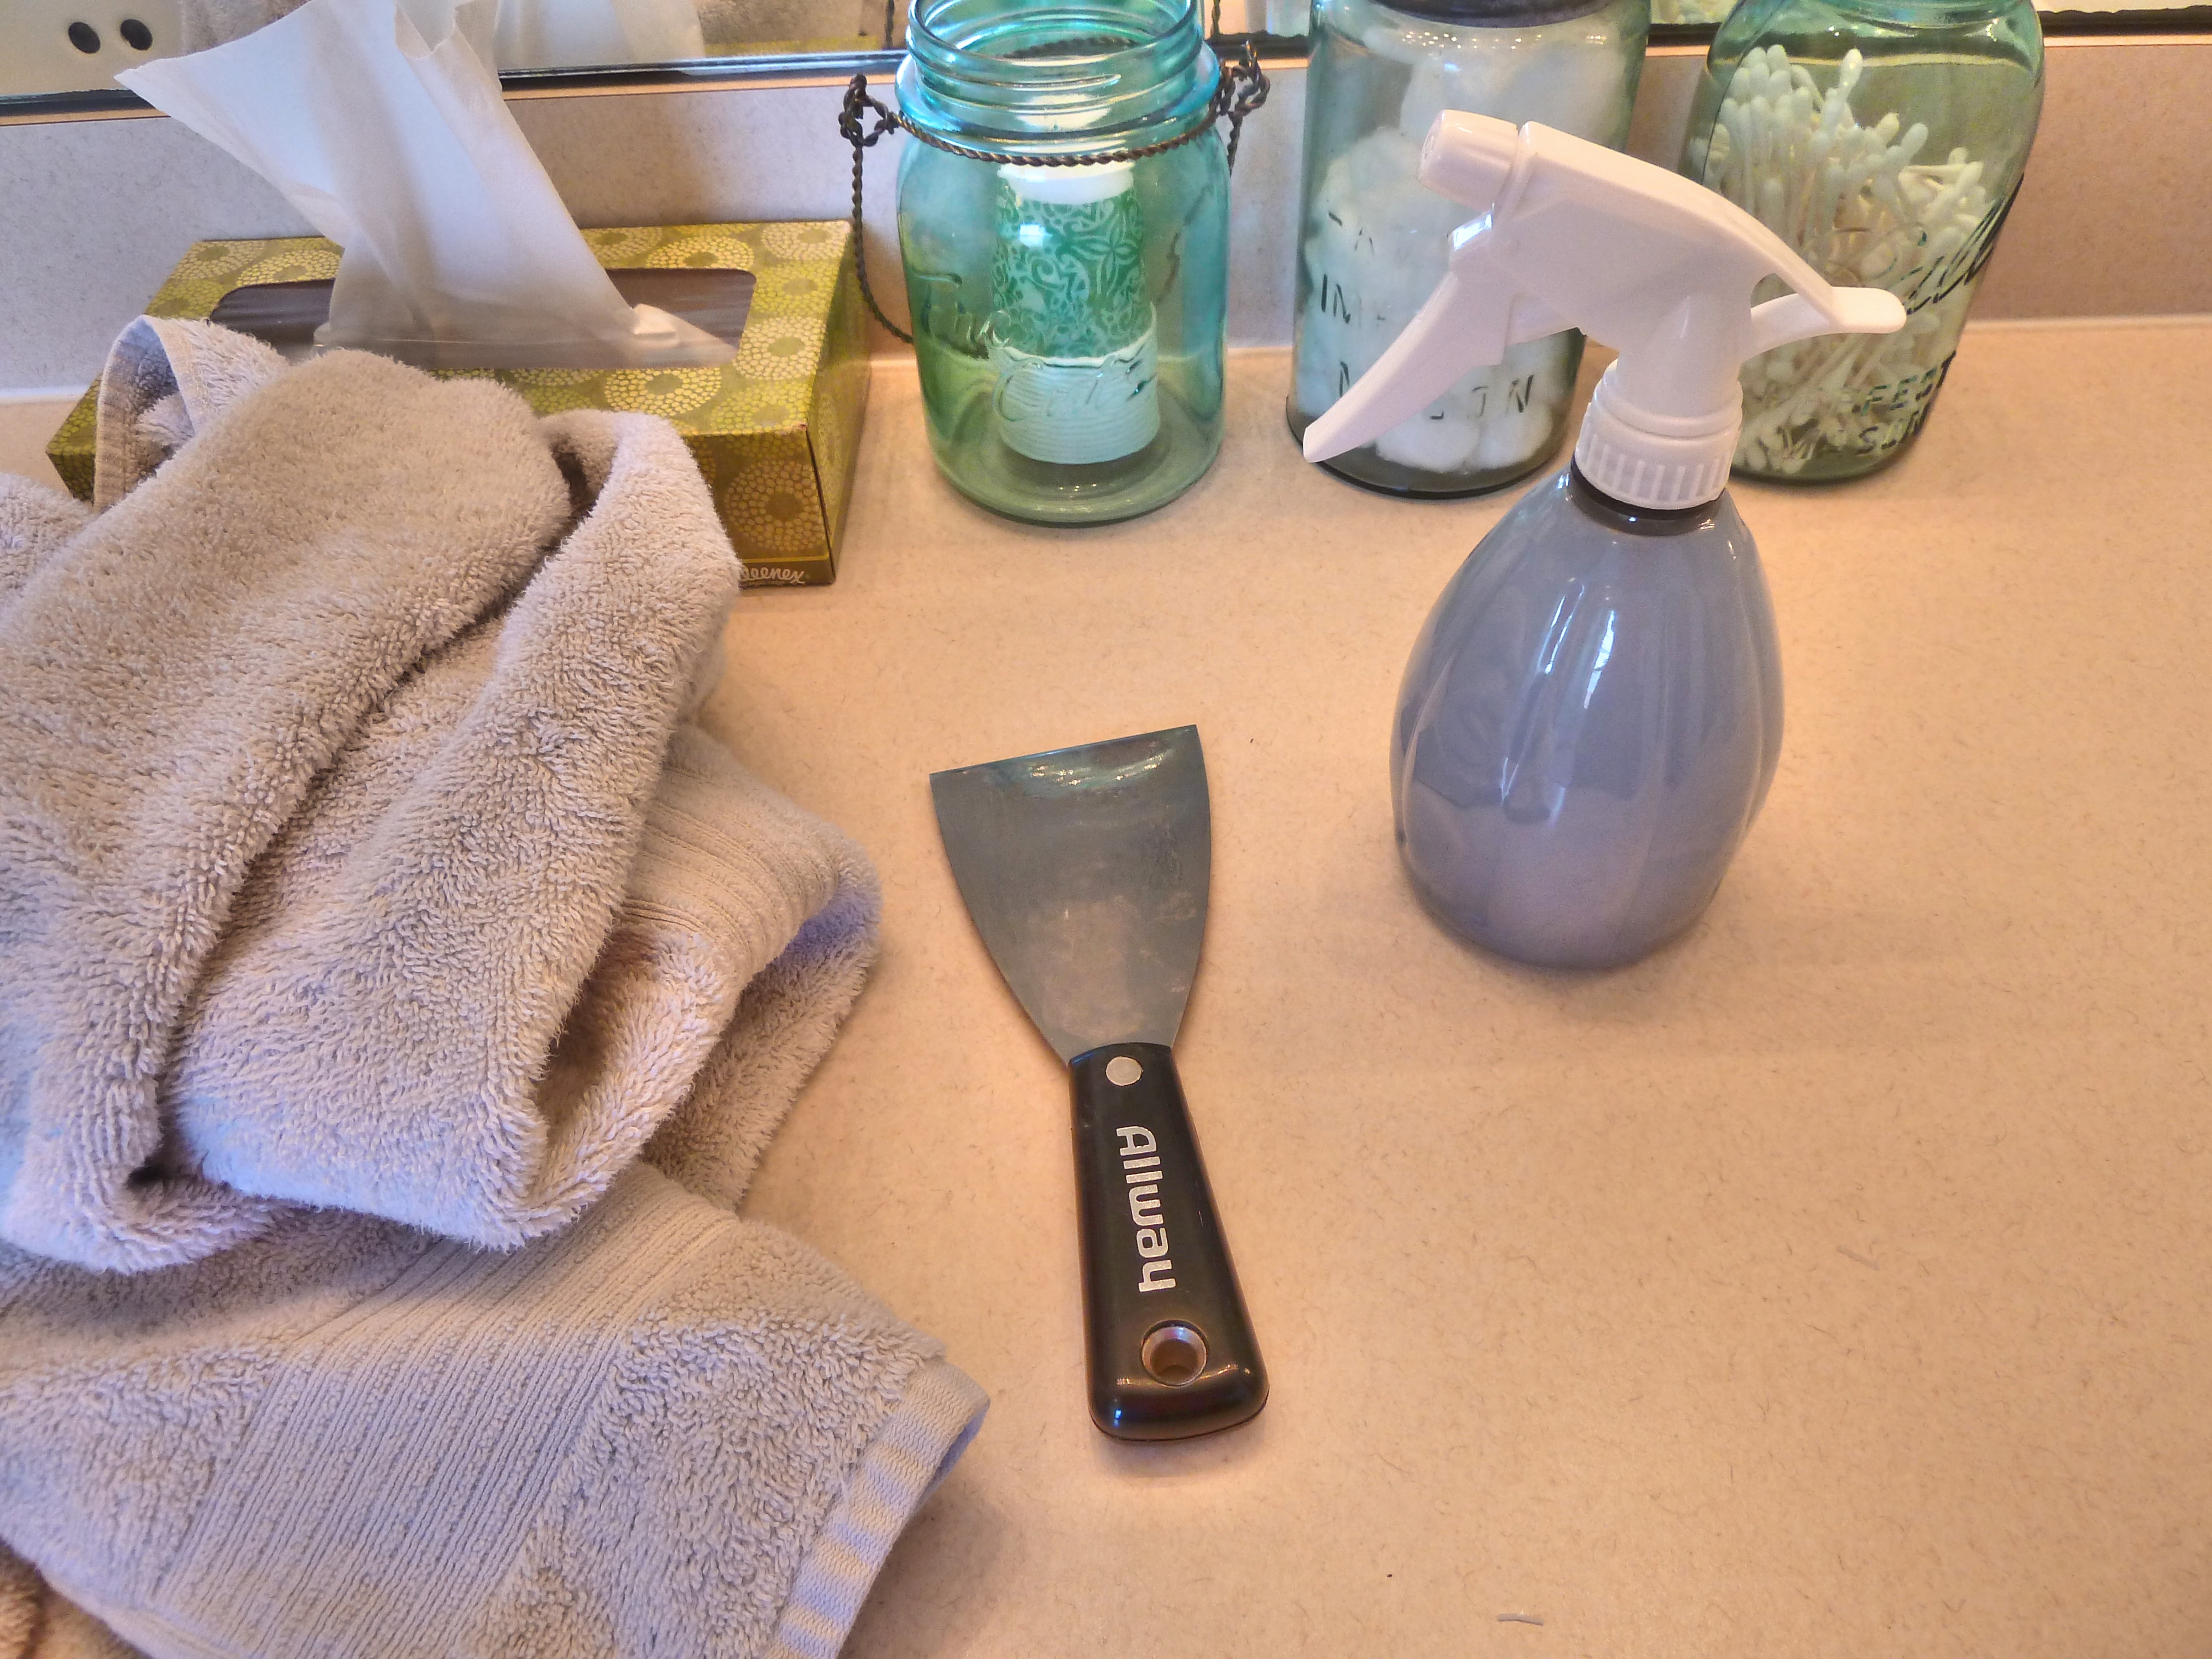
Before you get jazzed about making your own cleaners, you’ll need some spray bottles.  I got a couple different types.

P1110529
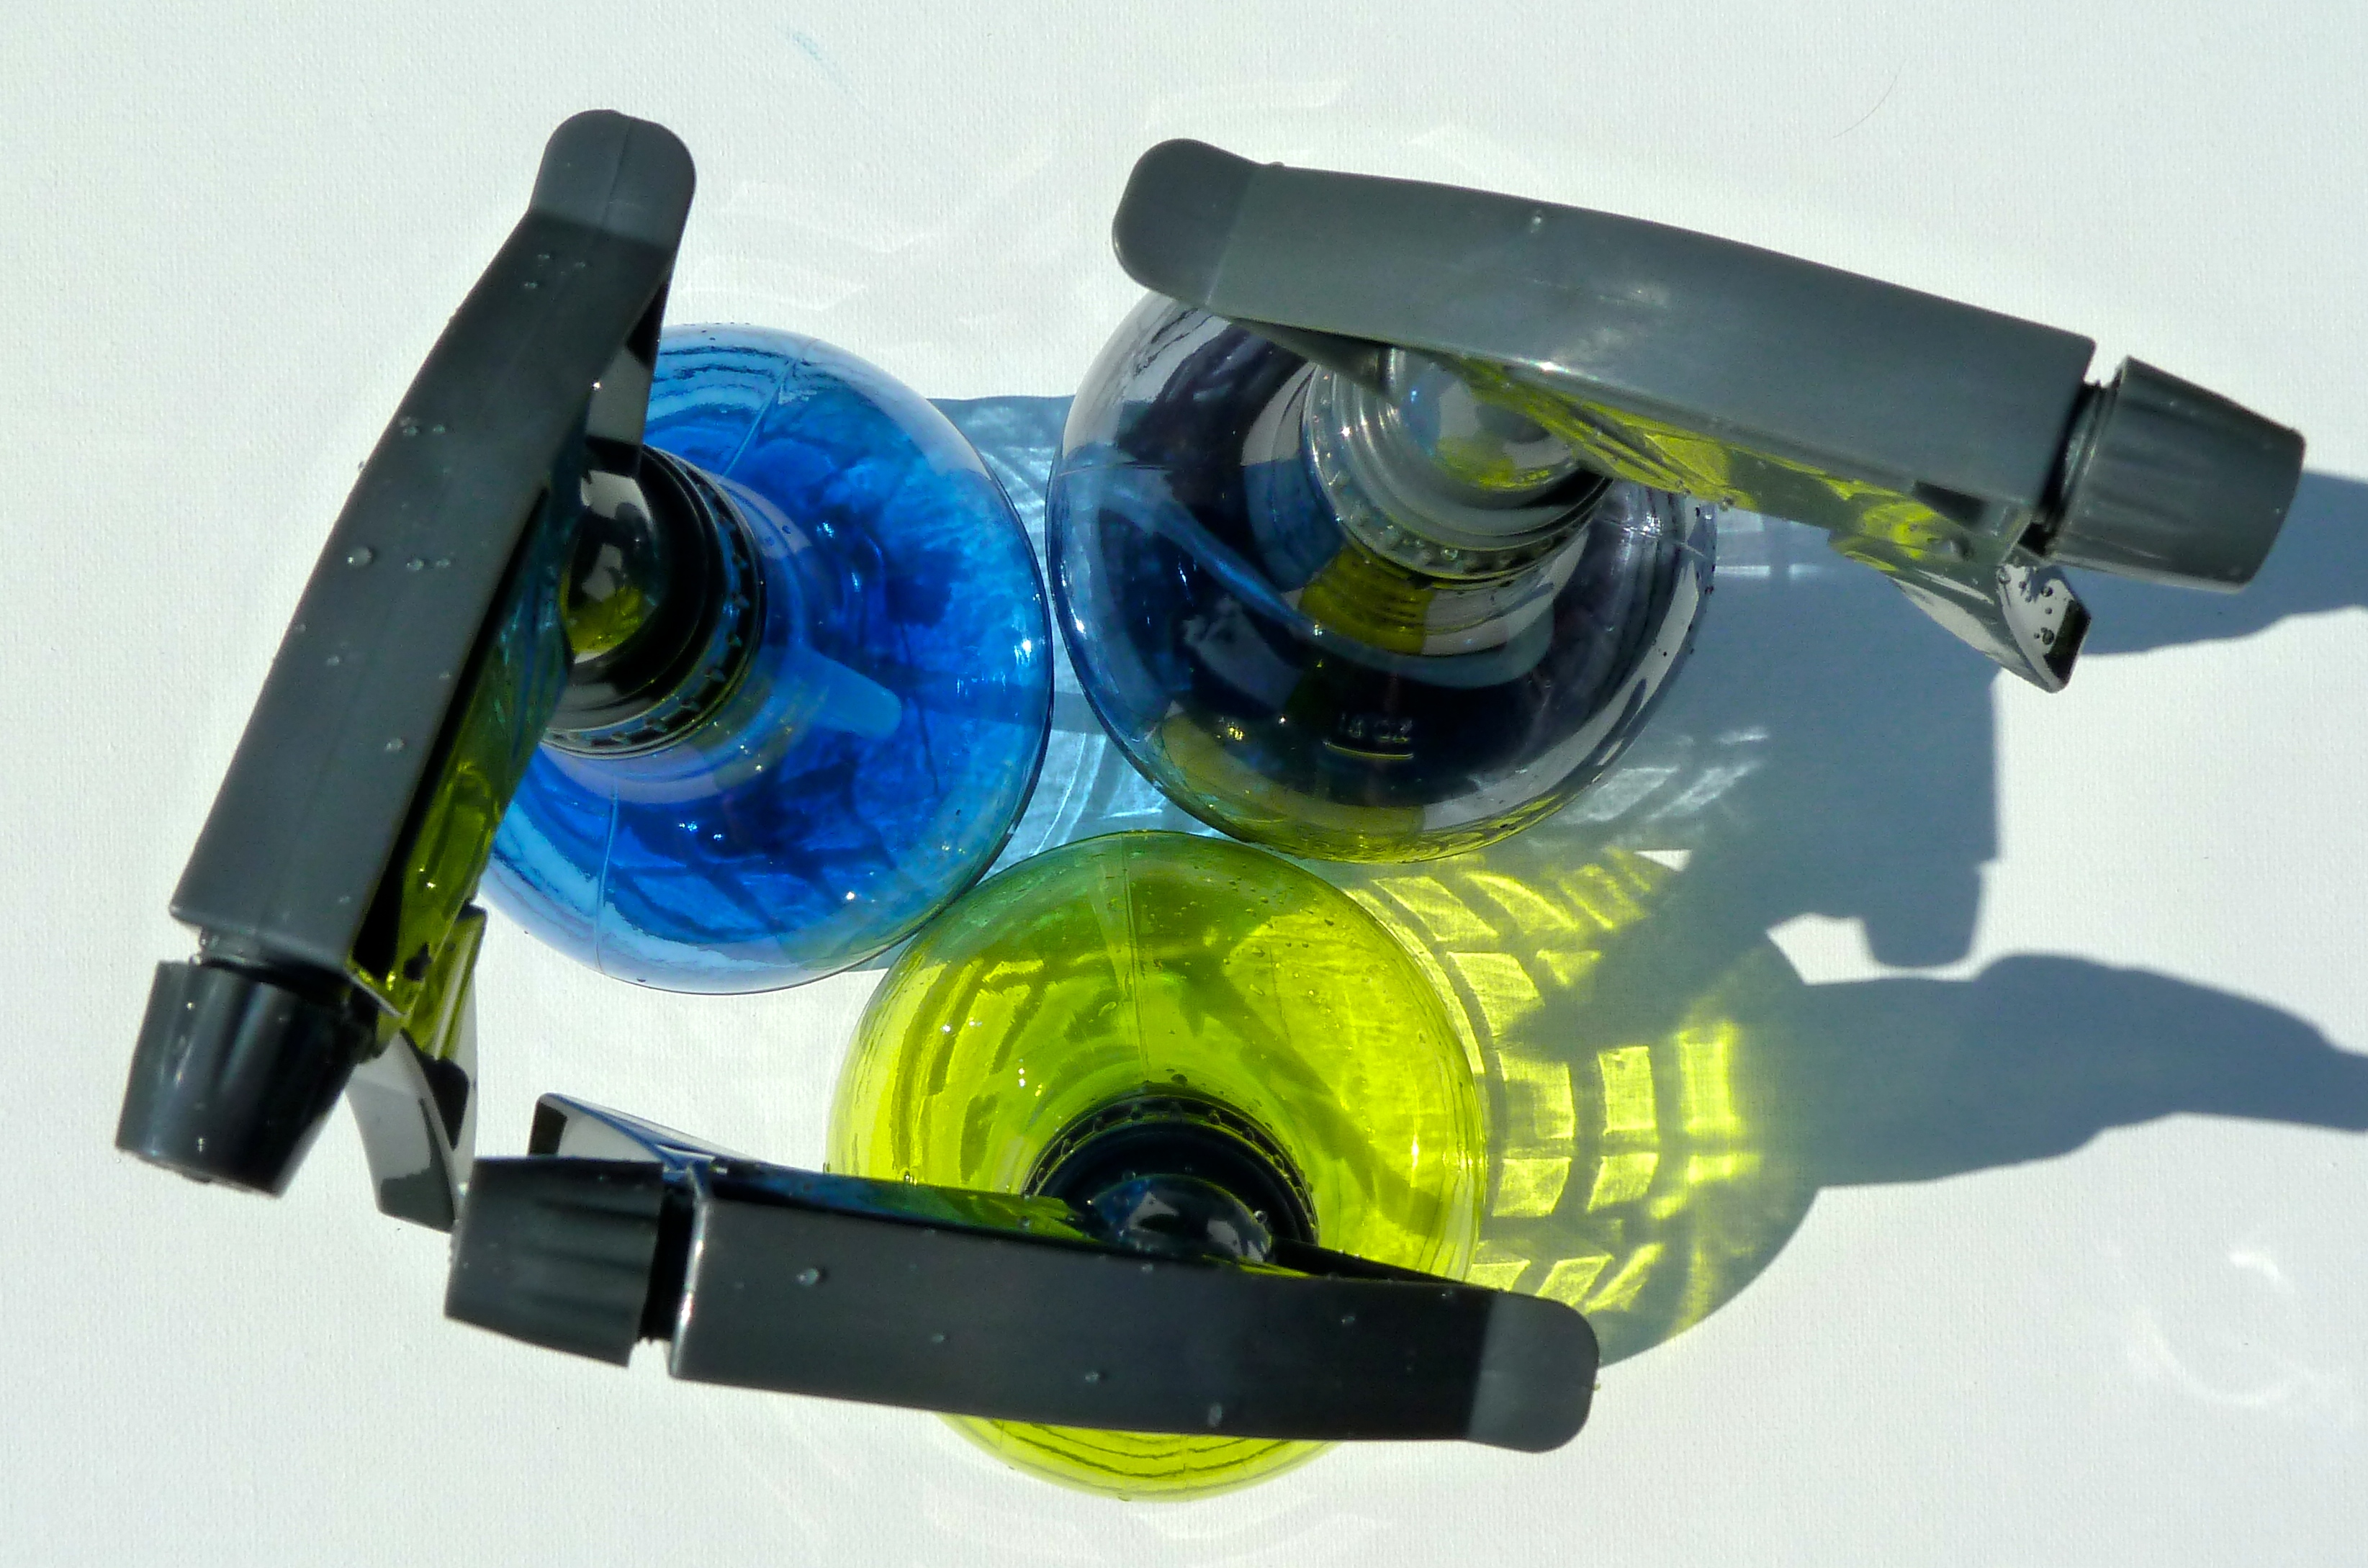
I found both of these options at Target.  The few above were $1.50 each in the gardening section and the 3 below were $3 each in the cleaning supplies area.  P1110533Now that we have the spray bottles covered, we can start getting crazy with some recipes.


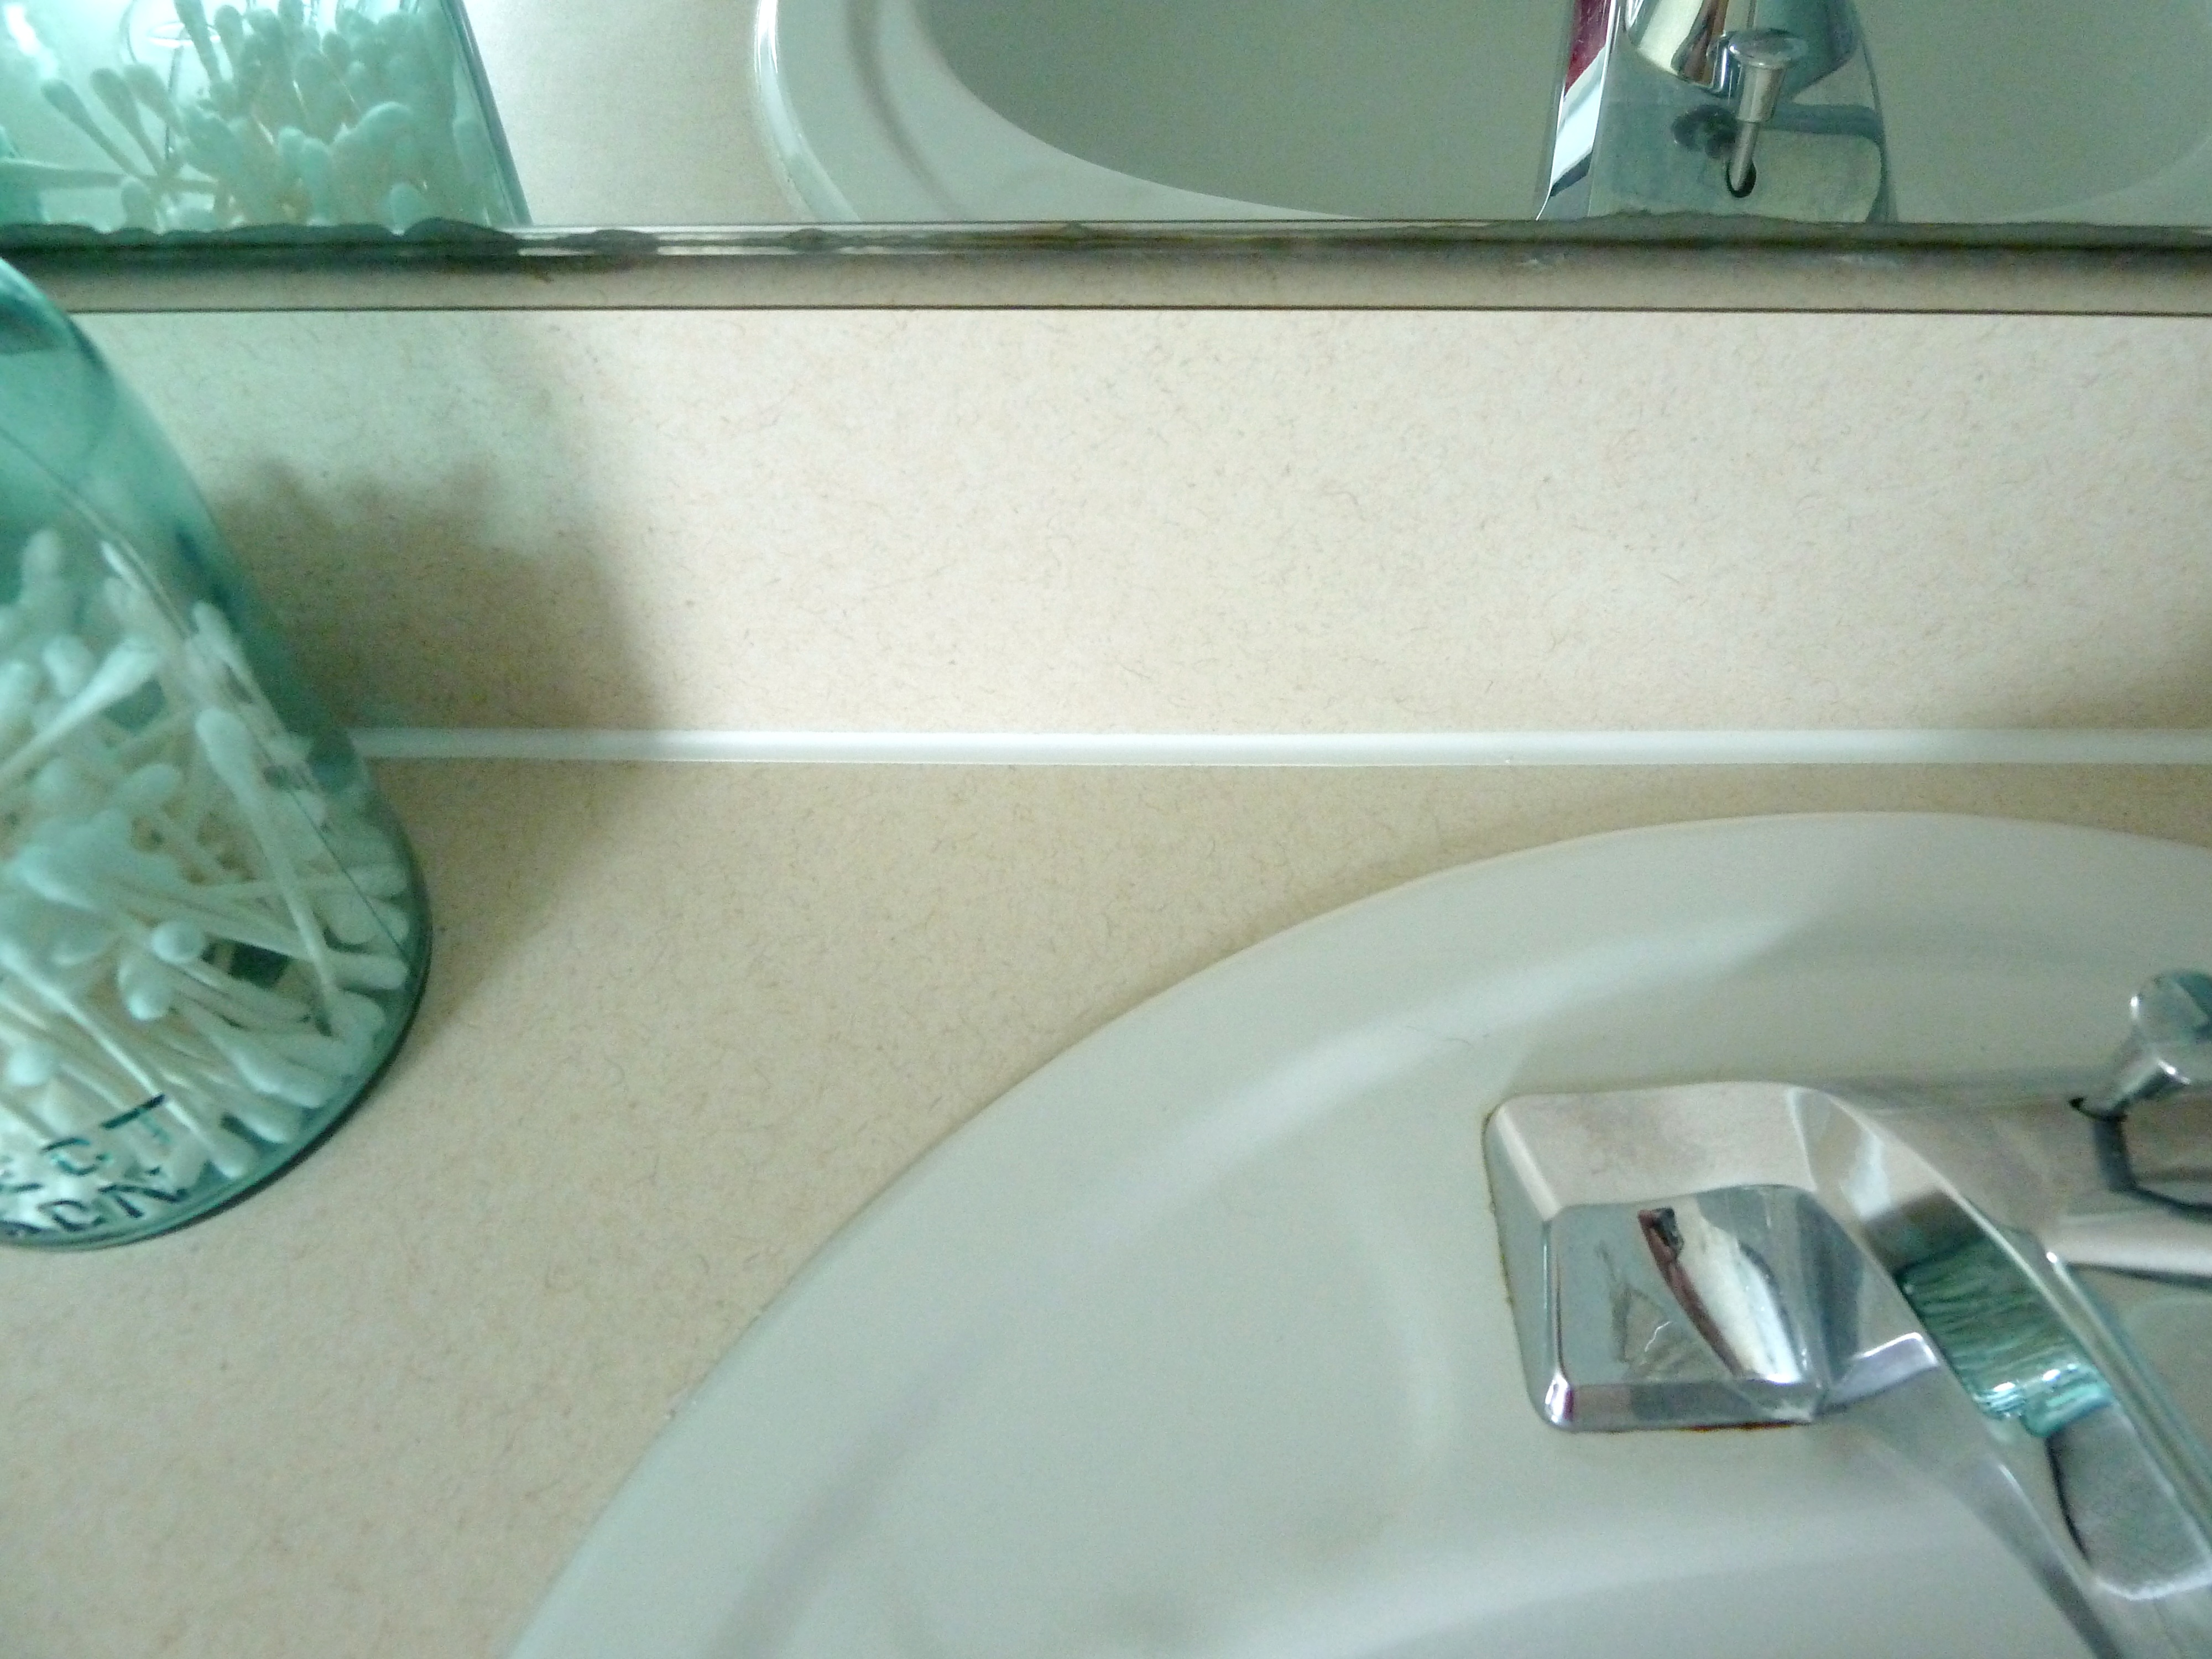
Let’s start with good ol’ glass cleaner, which is my substitute for my old go to, Windex.

Glass Cleaner

Ingredients:

  1. 1 cup water (I used distilled, since our tap water is pretty hard)
  2. 1/4 cup white vinegar
  3. 2-3 drops dish soap
  4. Spray bottleglass-cleaner-homemadeDirections:
  • Pour all ingredients into spray bottle.
  • Shake.

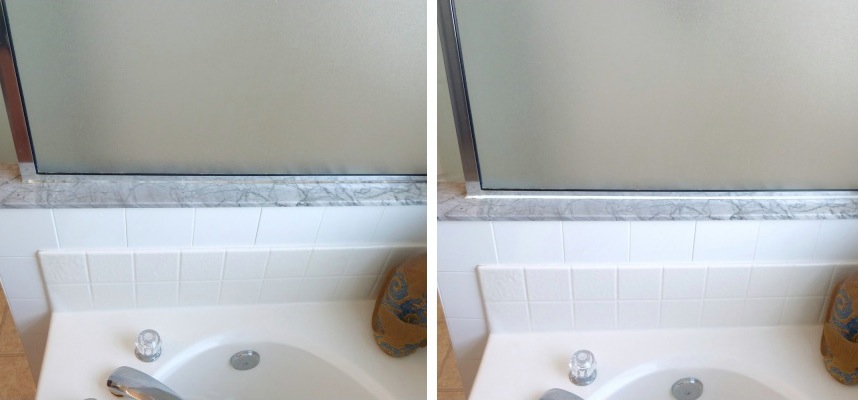
Congratulations, you have made glass cleaner!  I use this spray for all of my windows and mirrors, works just as well as Windex.  I made 3 batches, one for each bathroom and one for the kitchen/rest of the house.  Since one of my spray bottles was a bit larger, I just doubled the recipe.


Multi-Purpose Spray

Ingredients:

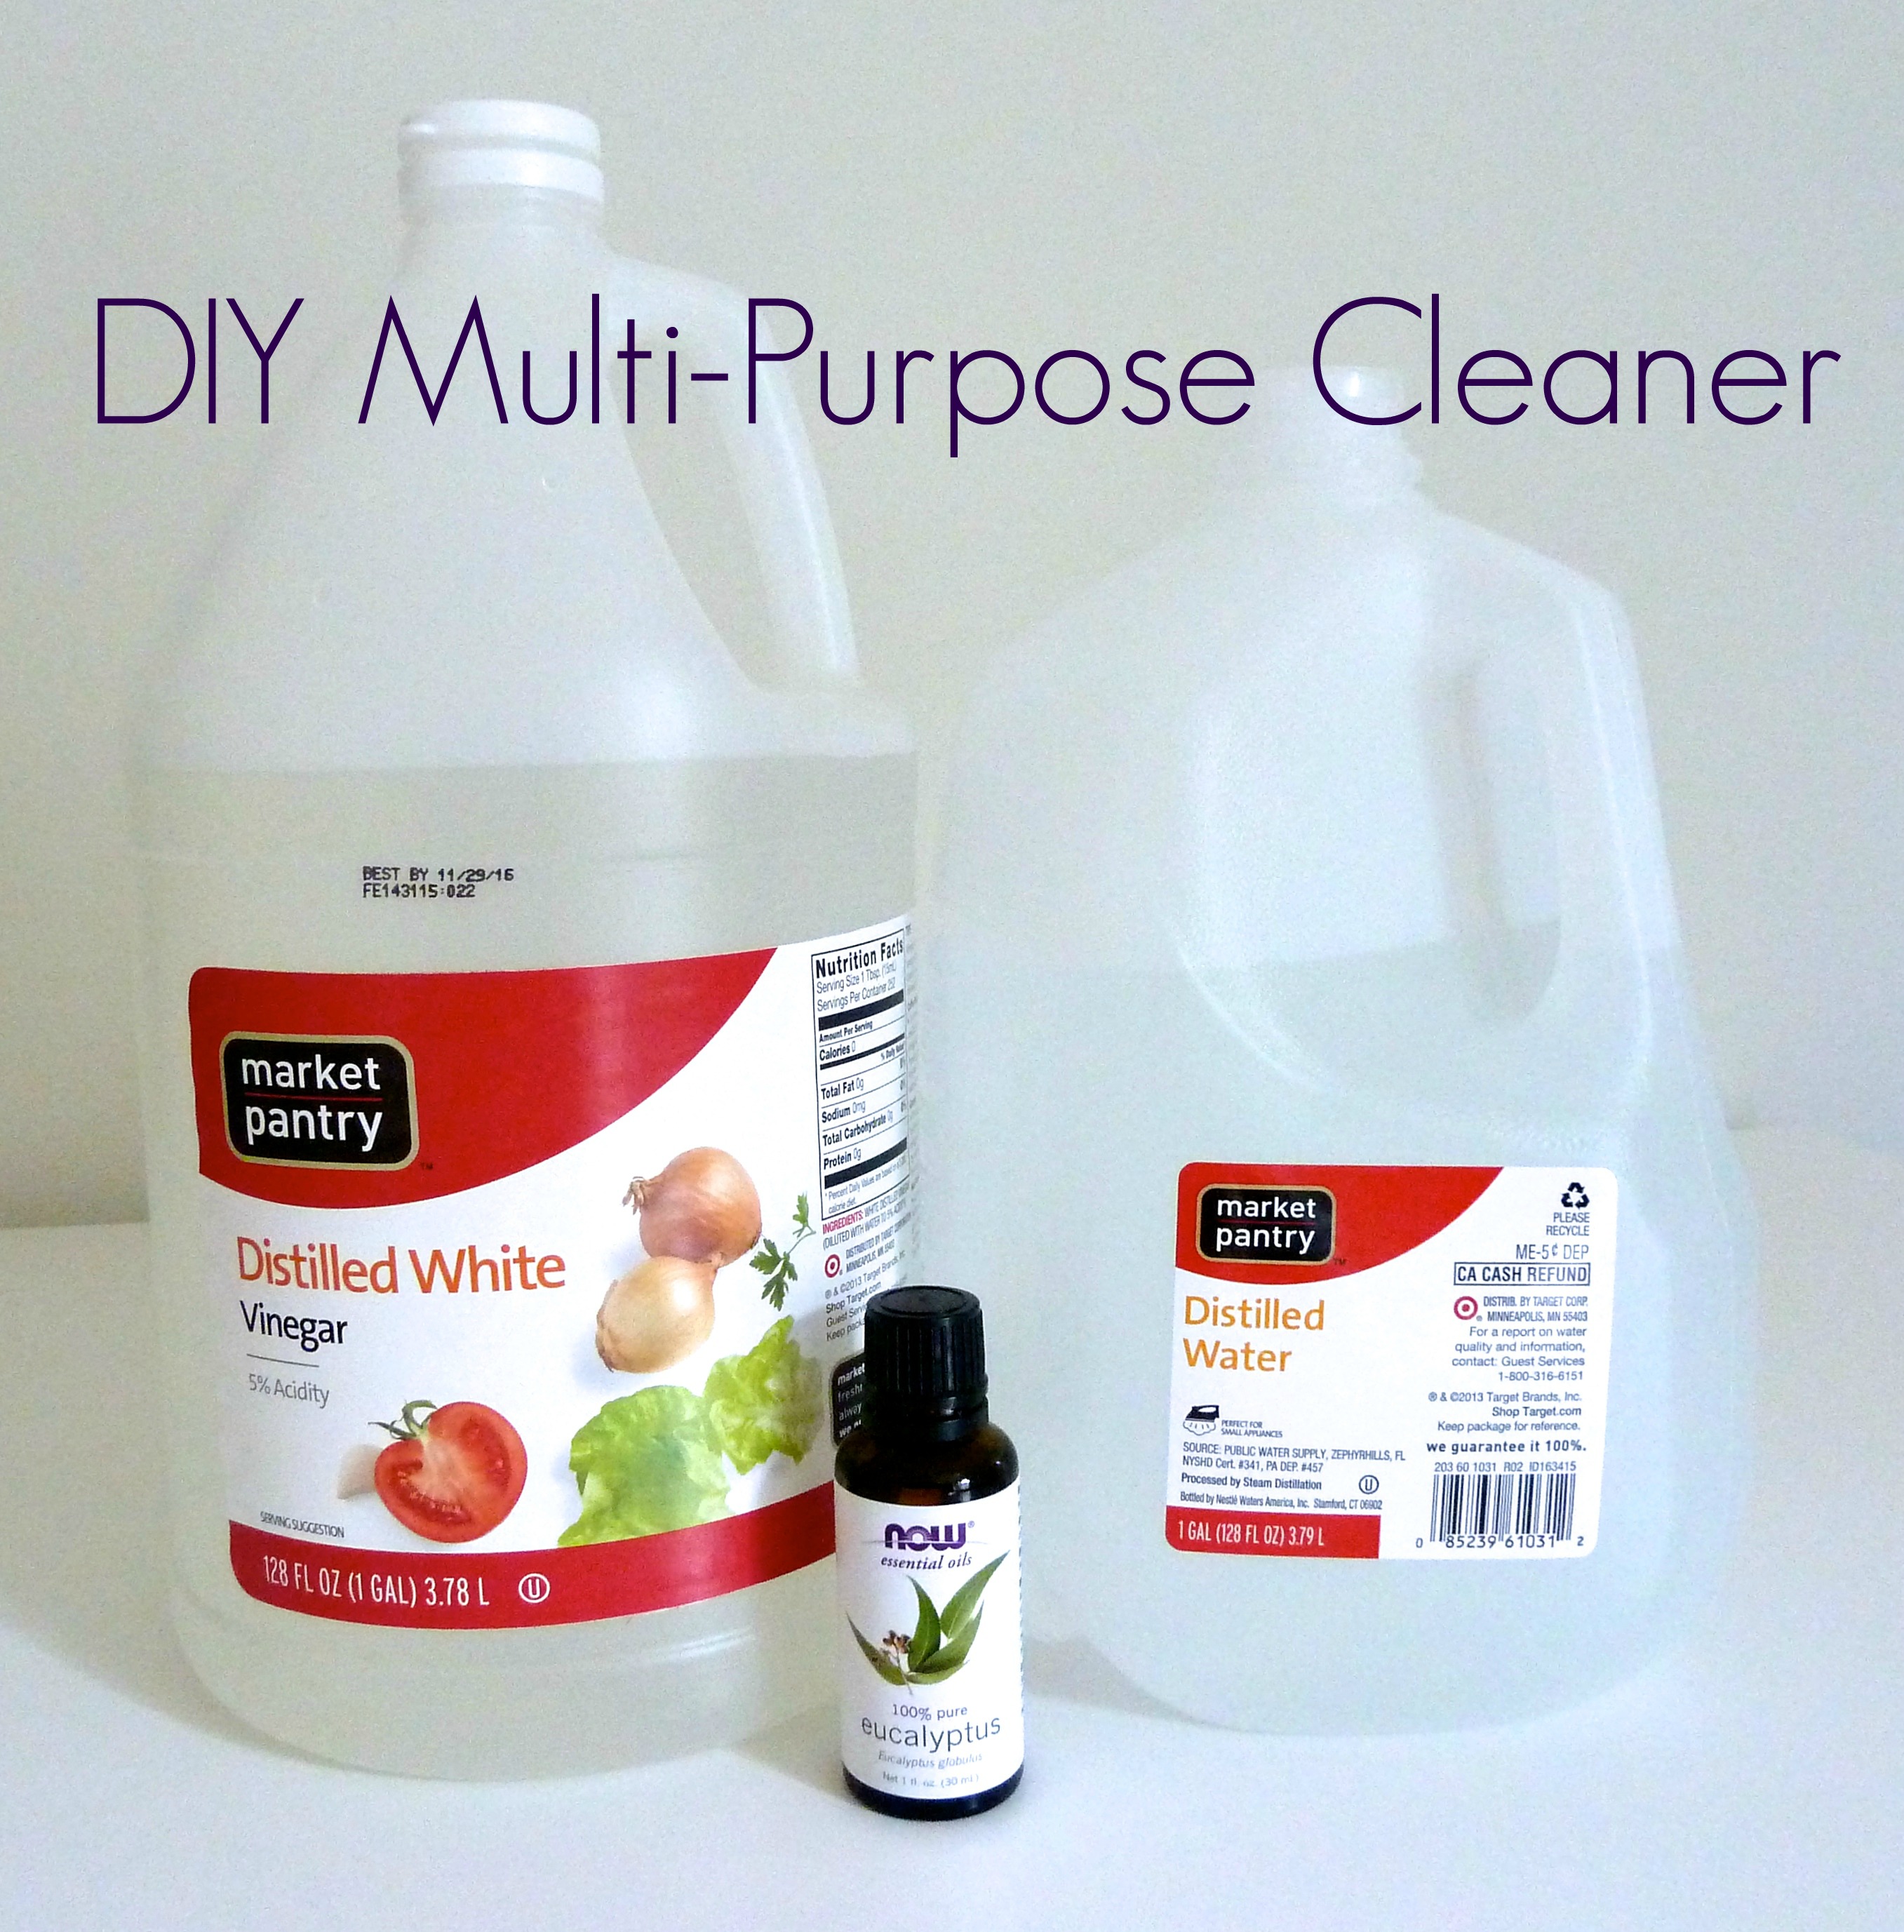
  1. 1 cup water (I used distilled)
  2. 1 cup white vinegar
  3. 10 drops essential oils
  4. Spray bottlehomemade-multi-purpose-spray

Directions:

  • Pour all ingredients into spray bottle.
  • Shake.

You’re simply amazing, because you just created an all natural multi-purpose spray! For the essential oils, I used eucalyptus, because I had some on hand. Most recipes I found used lemon oil.  Any essential oil will work, so use whatcha got.  I use this spray for almost anything: kitchen counters, fridge shelves, my desk (which is not wood), the sink or spills on the floor.  Pretty much anything, hence the name multi-purpose.


 Dusting Spray

Ingredients:

  1. 1 cup water (distilled for me)
  2. 1 cup white vinegar
  3. 1 tbsp olive oil
  4. Spray bottlehomemade-dusting-spray

Directions:

  • Pour all ingredients in spray bottle.
  • Shake.

Huzzah!  Another one down.  The olive oil kinda catches you off guard with this one, but it makes sense. It gives it the oily consistency that attracts the dust.  I use this on all of my wood surfaces.
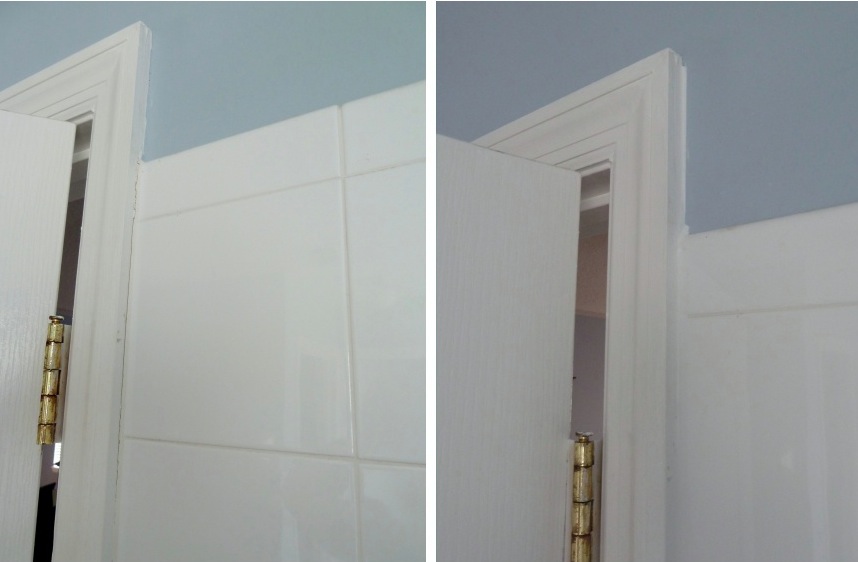
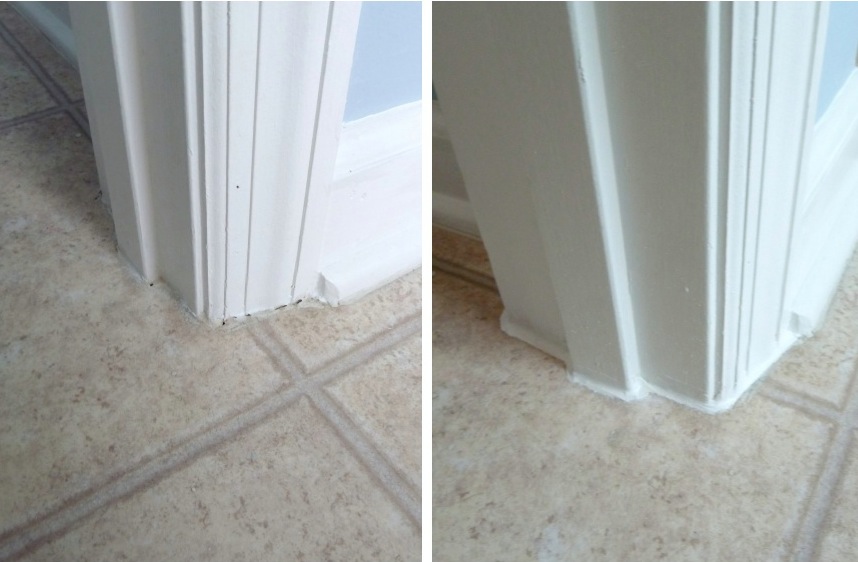
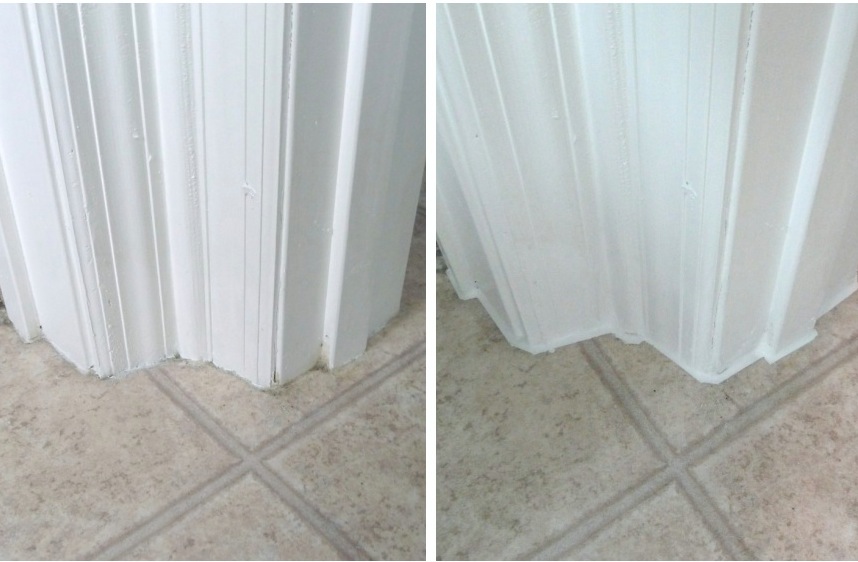

 Bathroom Cleaner

Ingredients:

  1. 1 1/2 cup water (distilled, if you prefer)
  2. 1 cup white vinegar
  3. 1/4 cup lemon juice
  4. 1 tbsp dish soap
  5. 2 tsp baking soda
  6. Spray bottlehomemade-bathroom-cleaner

Directions:

  • Add baking soda to spray bottle FIRST.
  • Next, add vinegar to spray bottle slowly.  Let things fizzle out if needed.
  • Once bubbles have subsided, add water.
  • Add lemon juice and dish soap last.

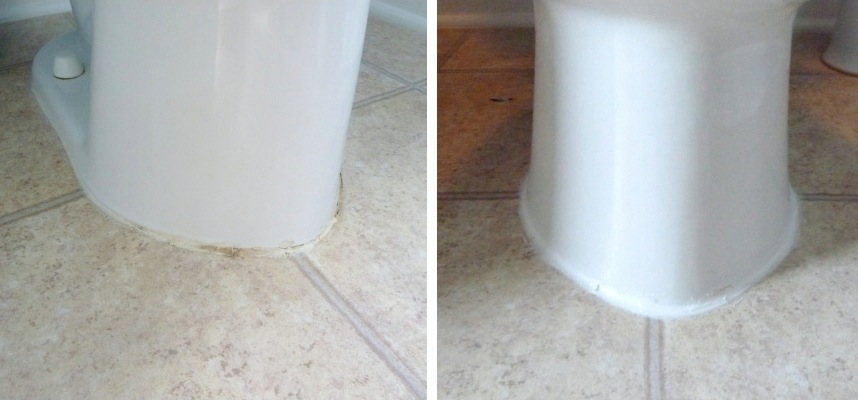
This seems to be the trickiest concoction of the bunch.  You might want to use a larger spray bottle. I found that since my bottle was smaller, it overflowed when I added the vinegar.  You’ll want to mix this one over a sink, just in case.  I made 2 batches, one for each of my bathrooms.  I use it for my bathroom counters and my tub.
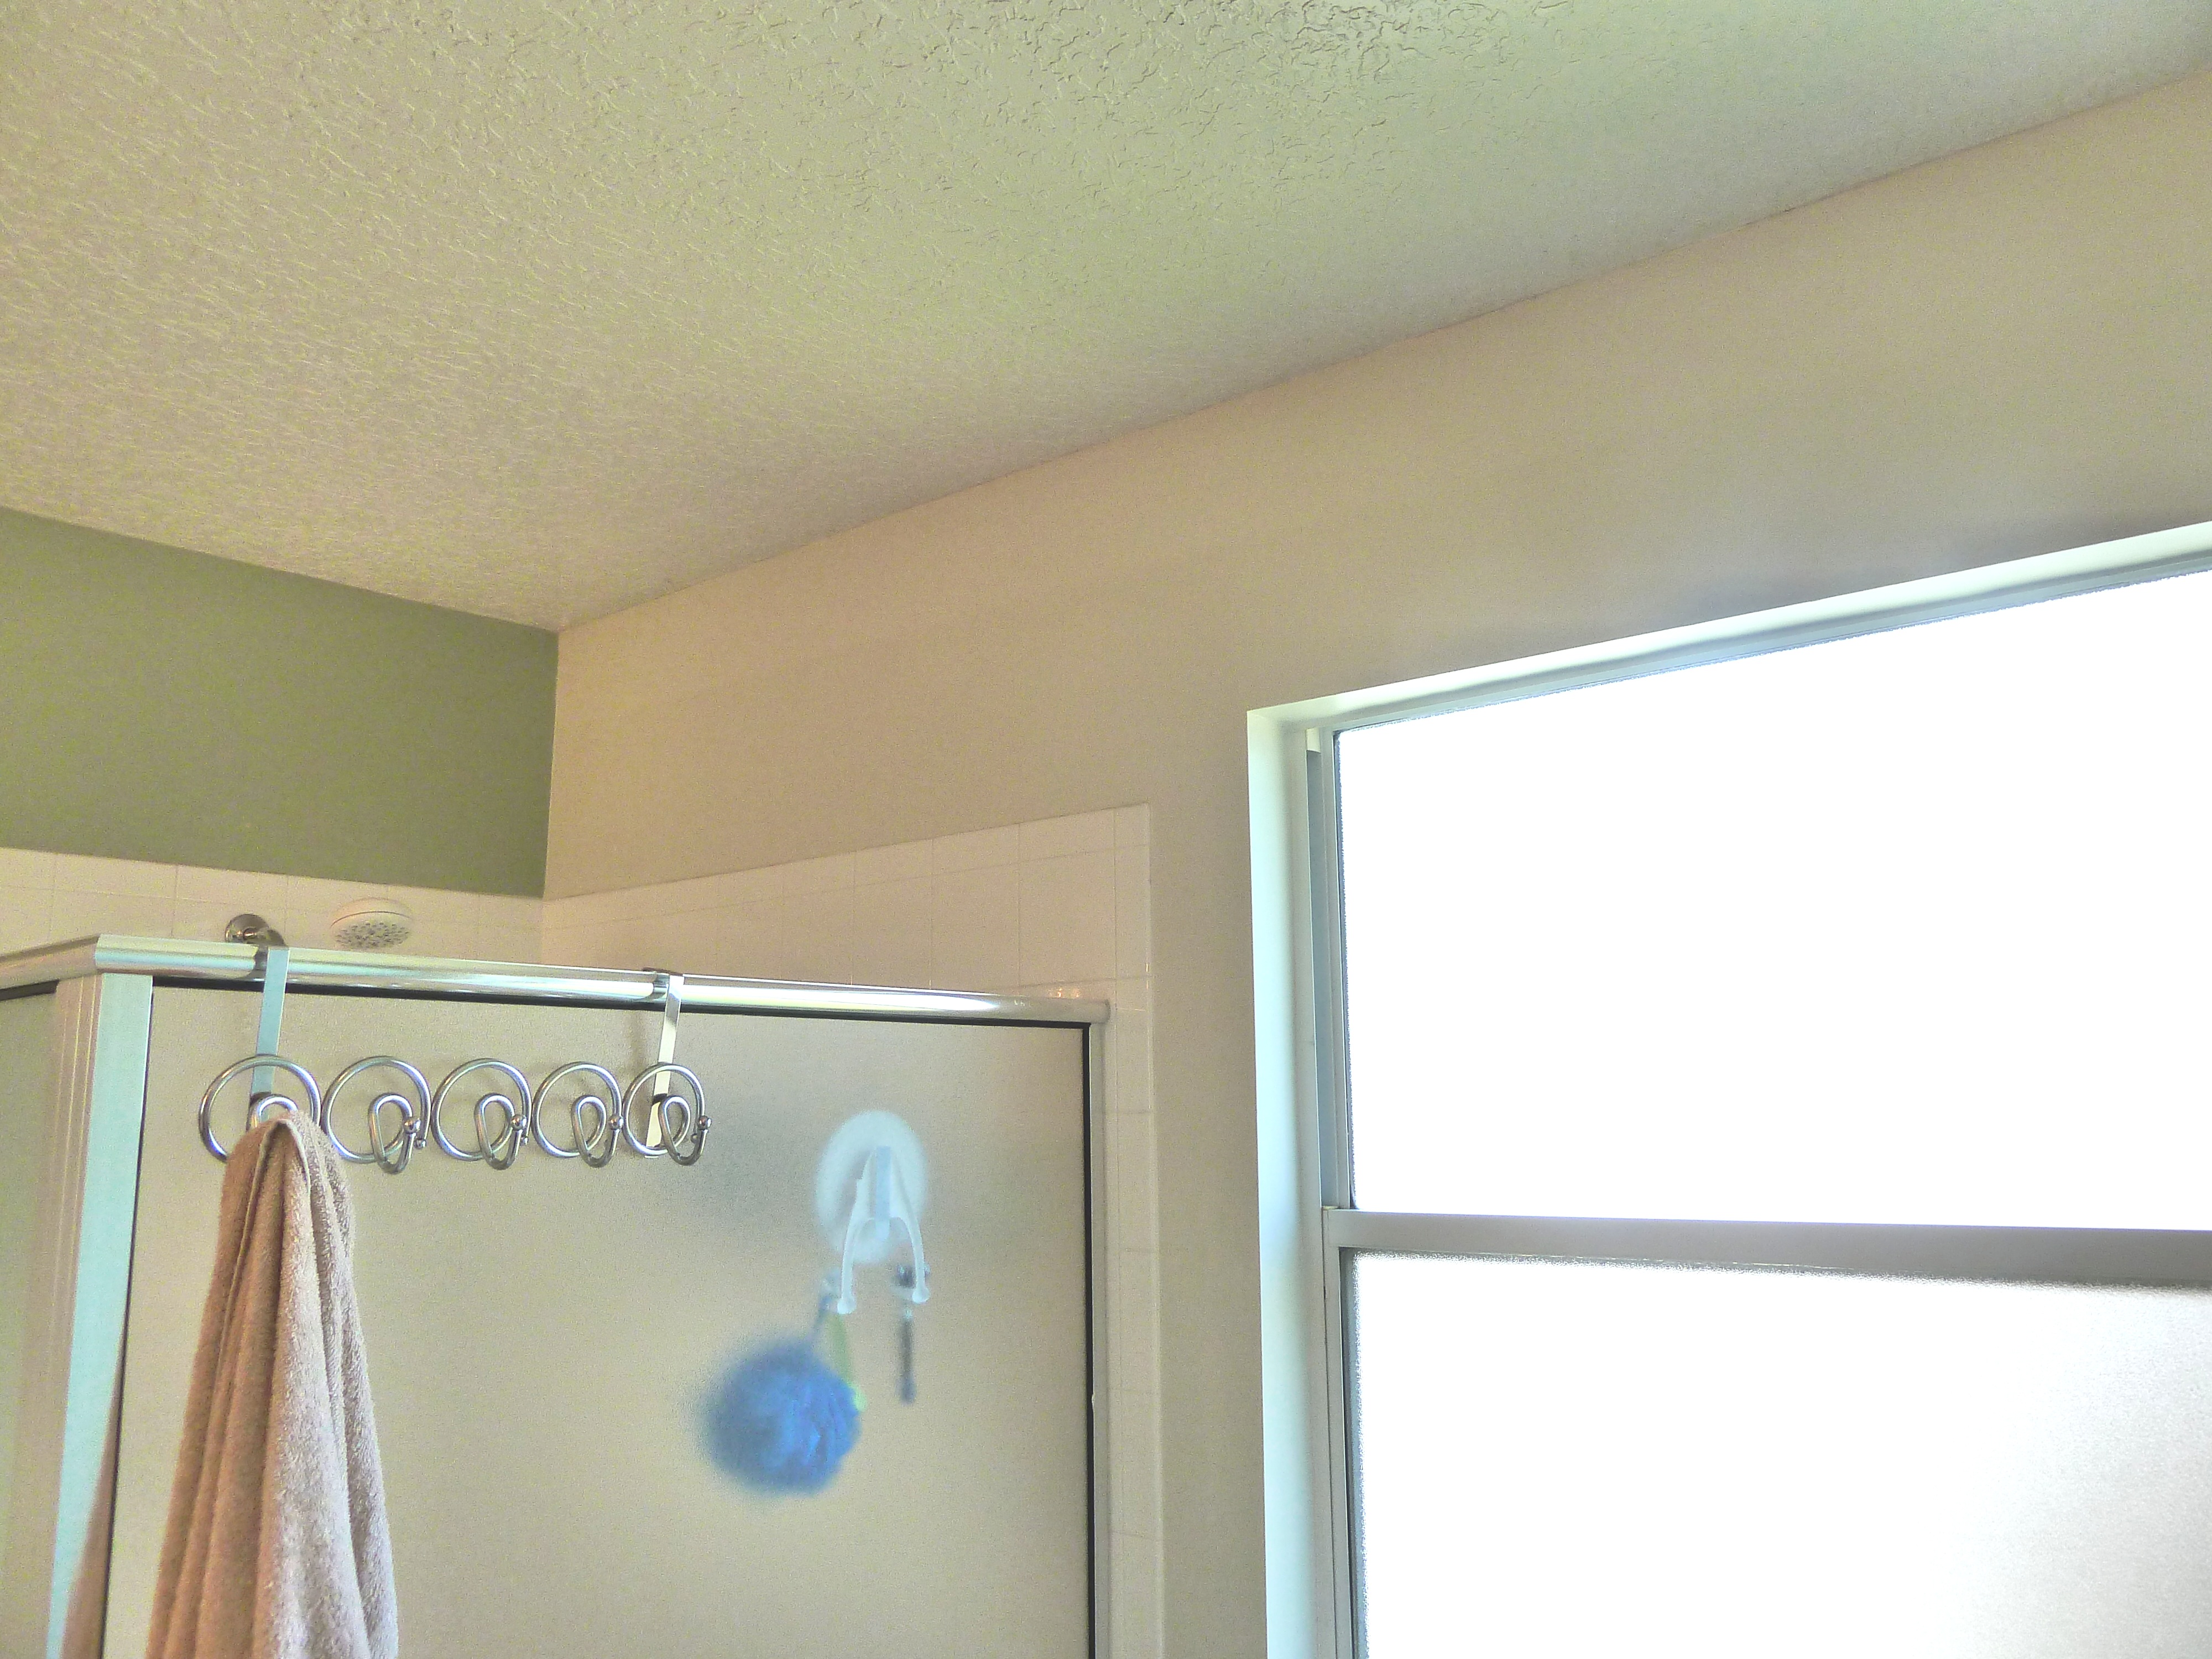
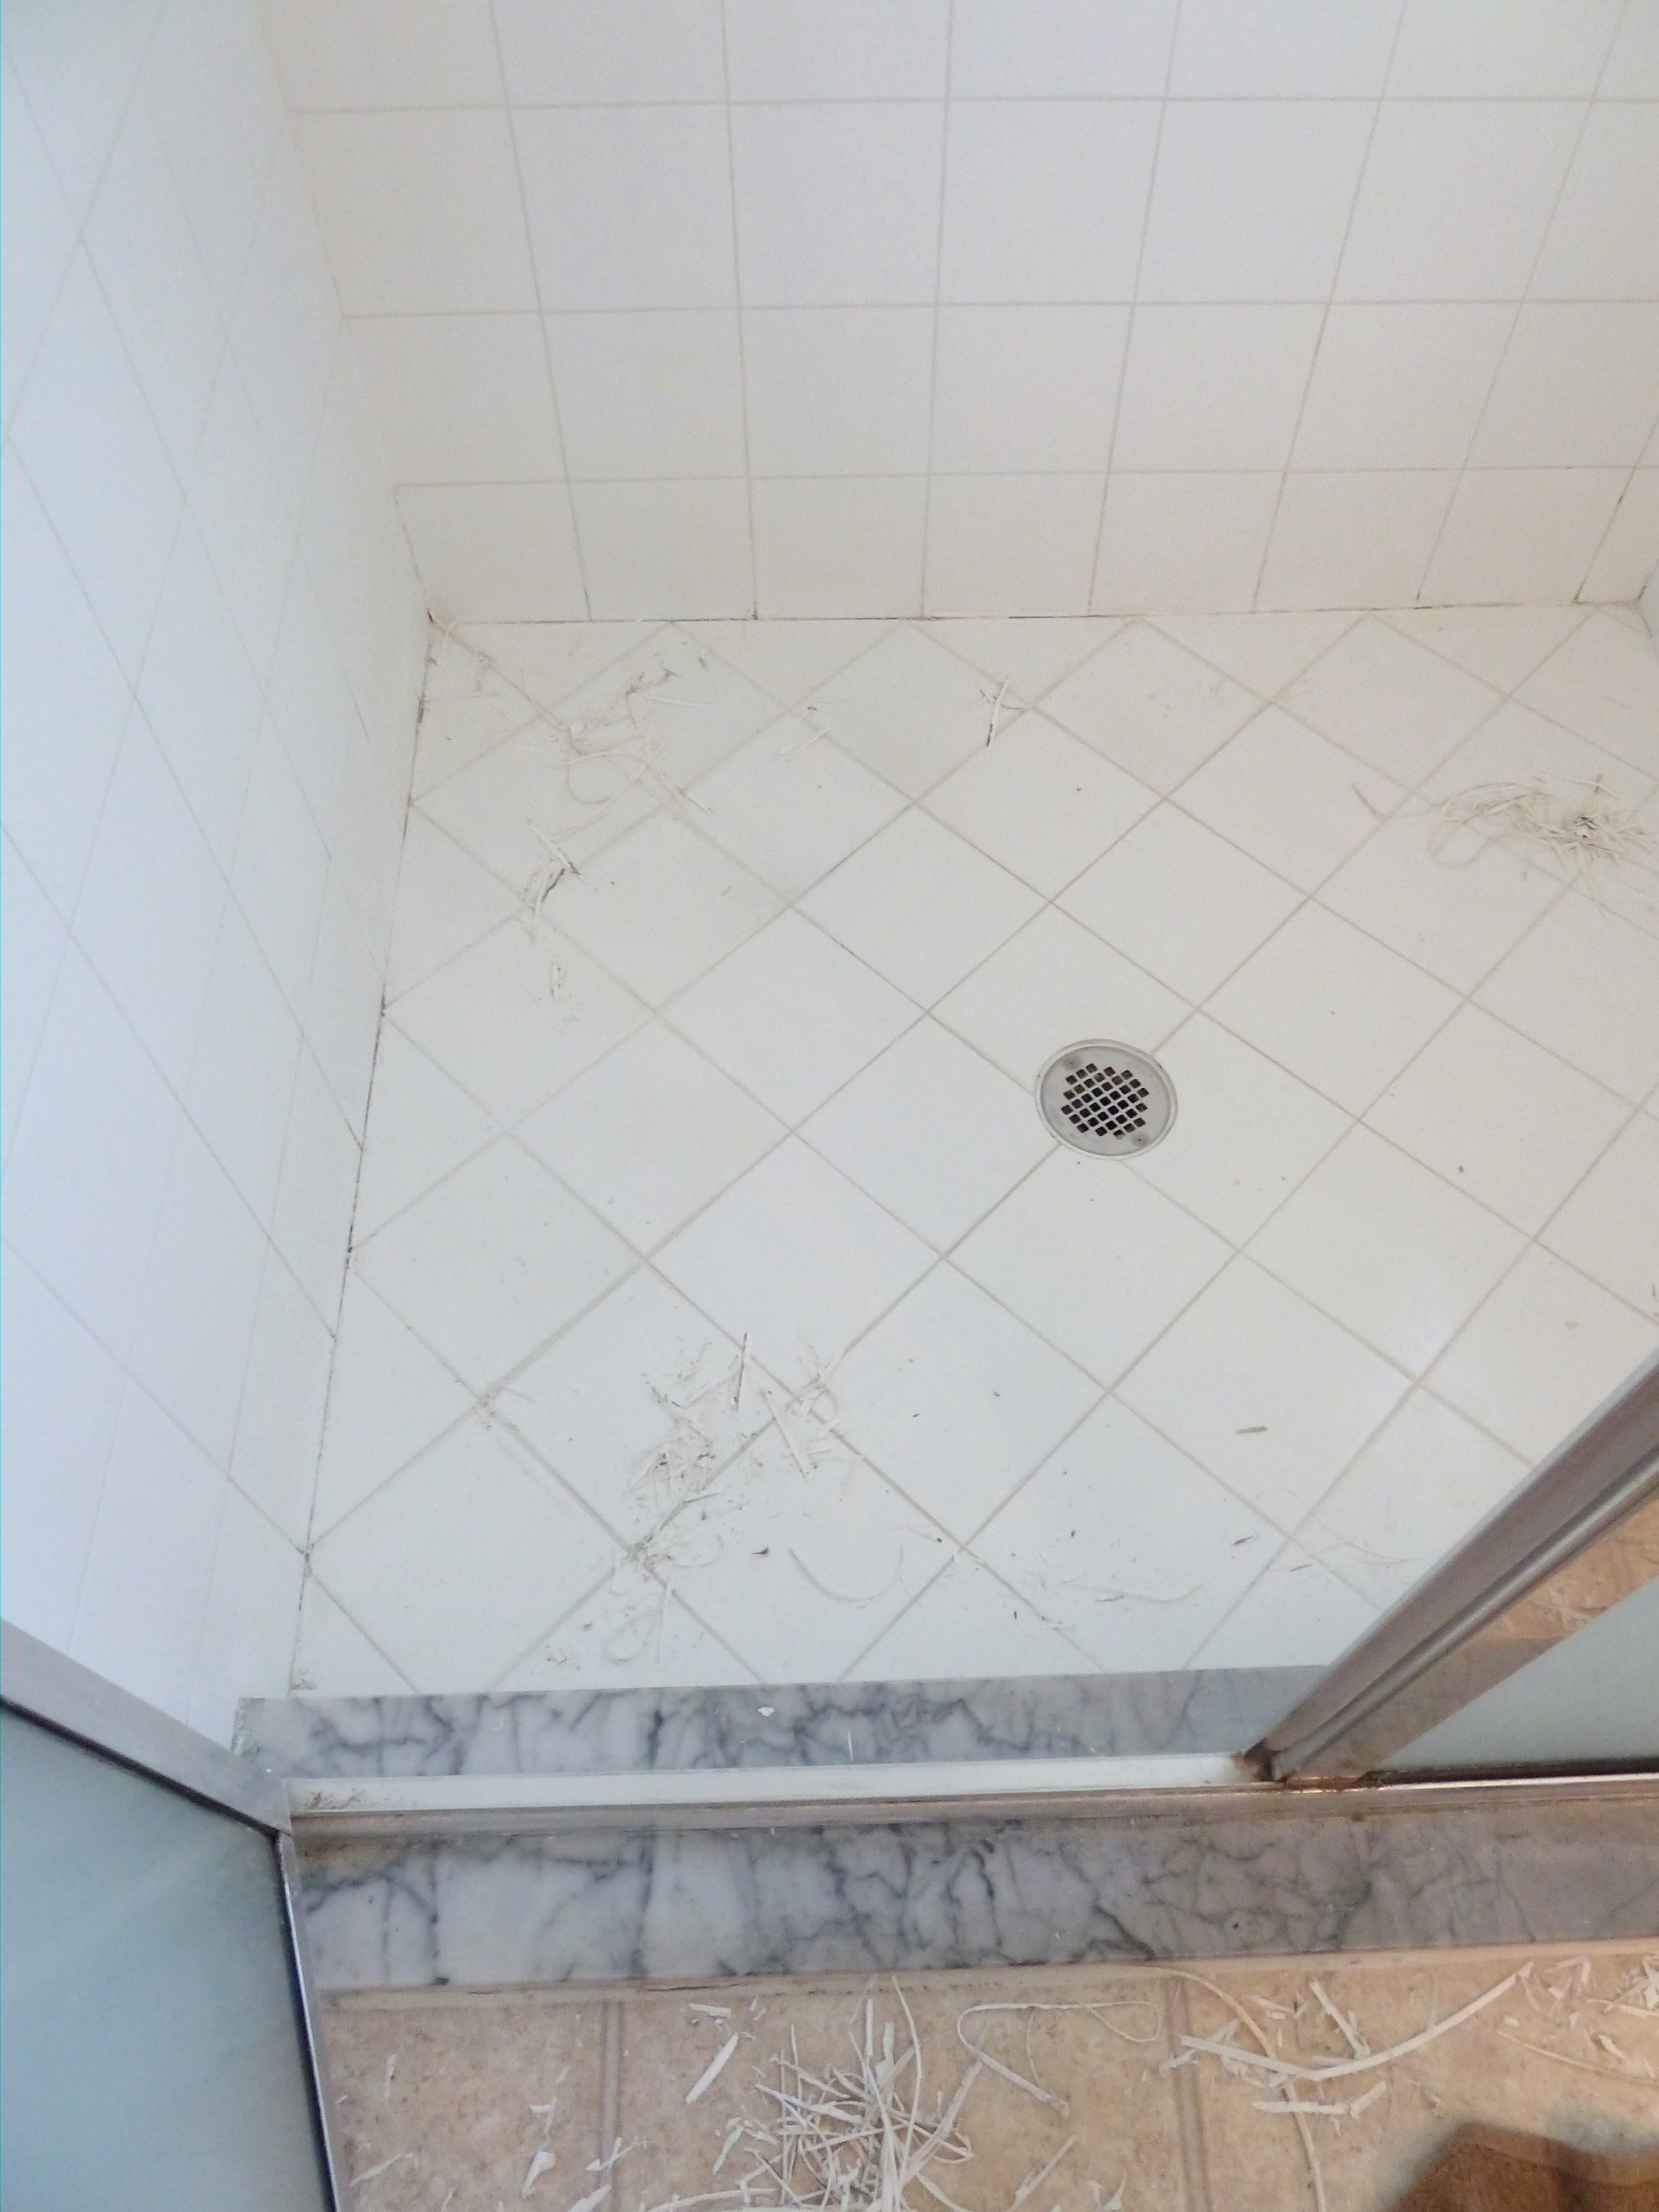
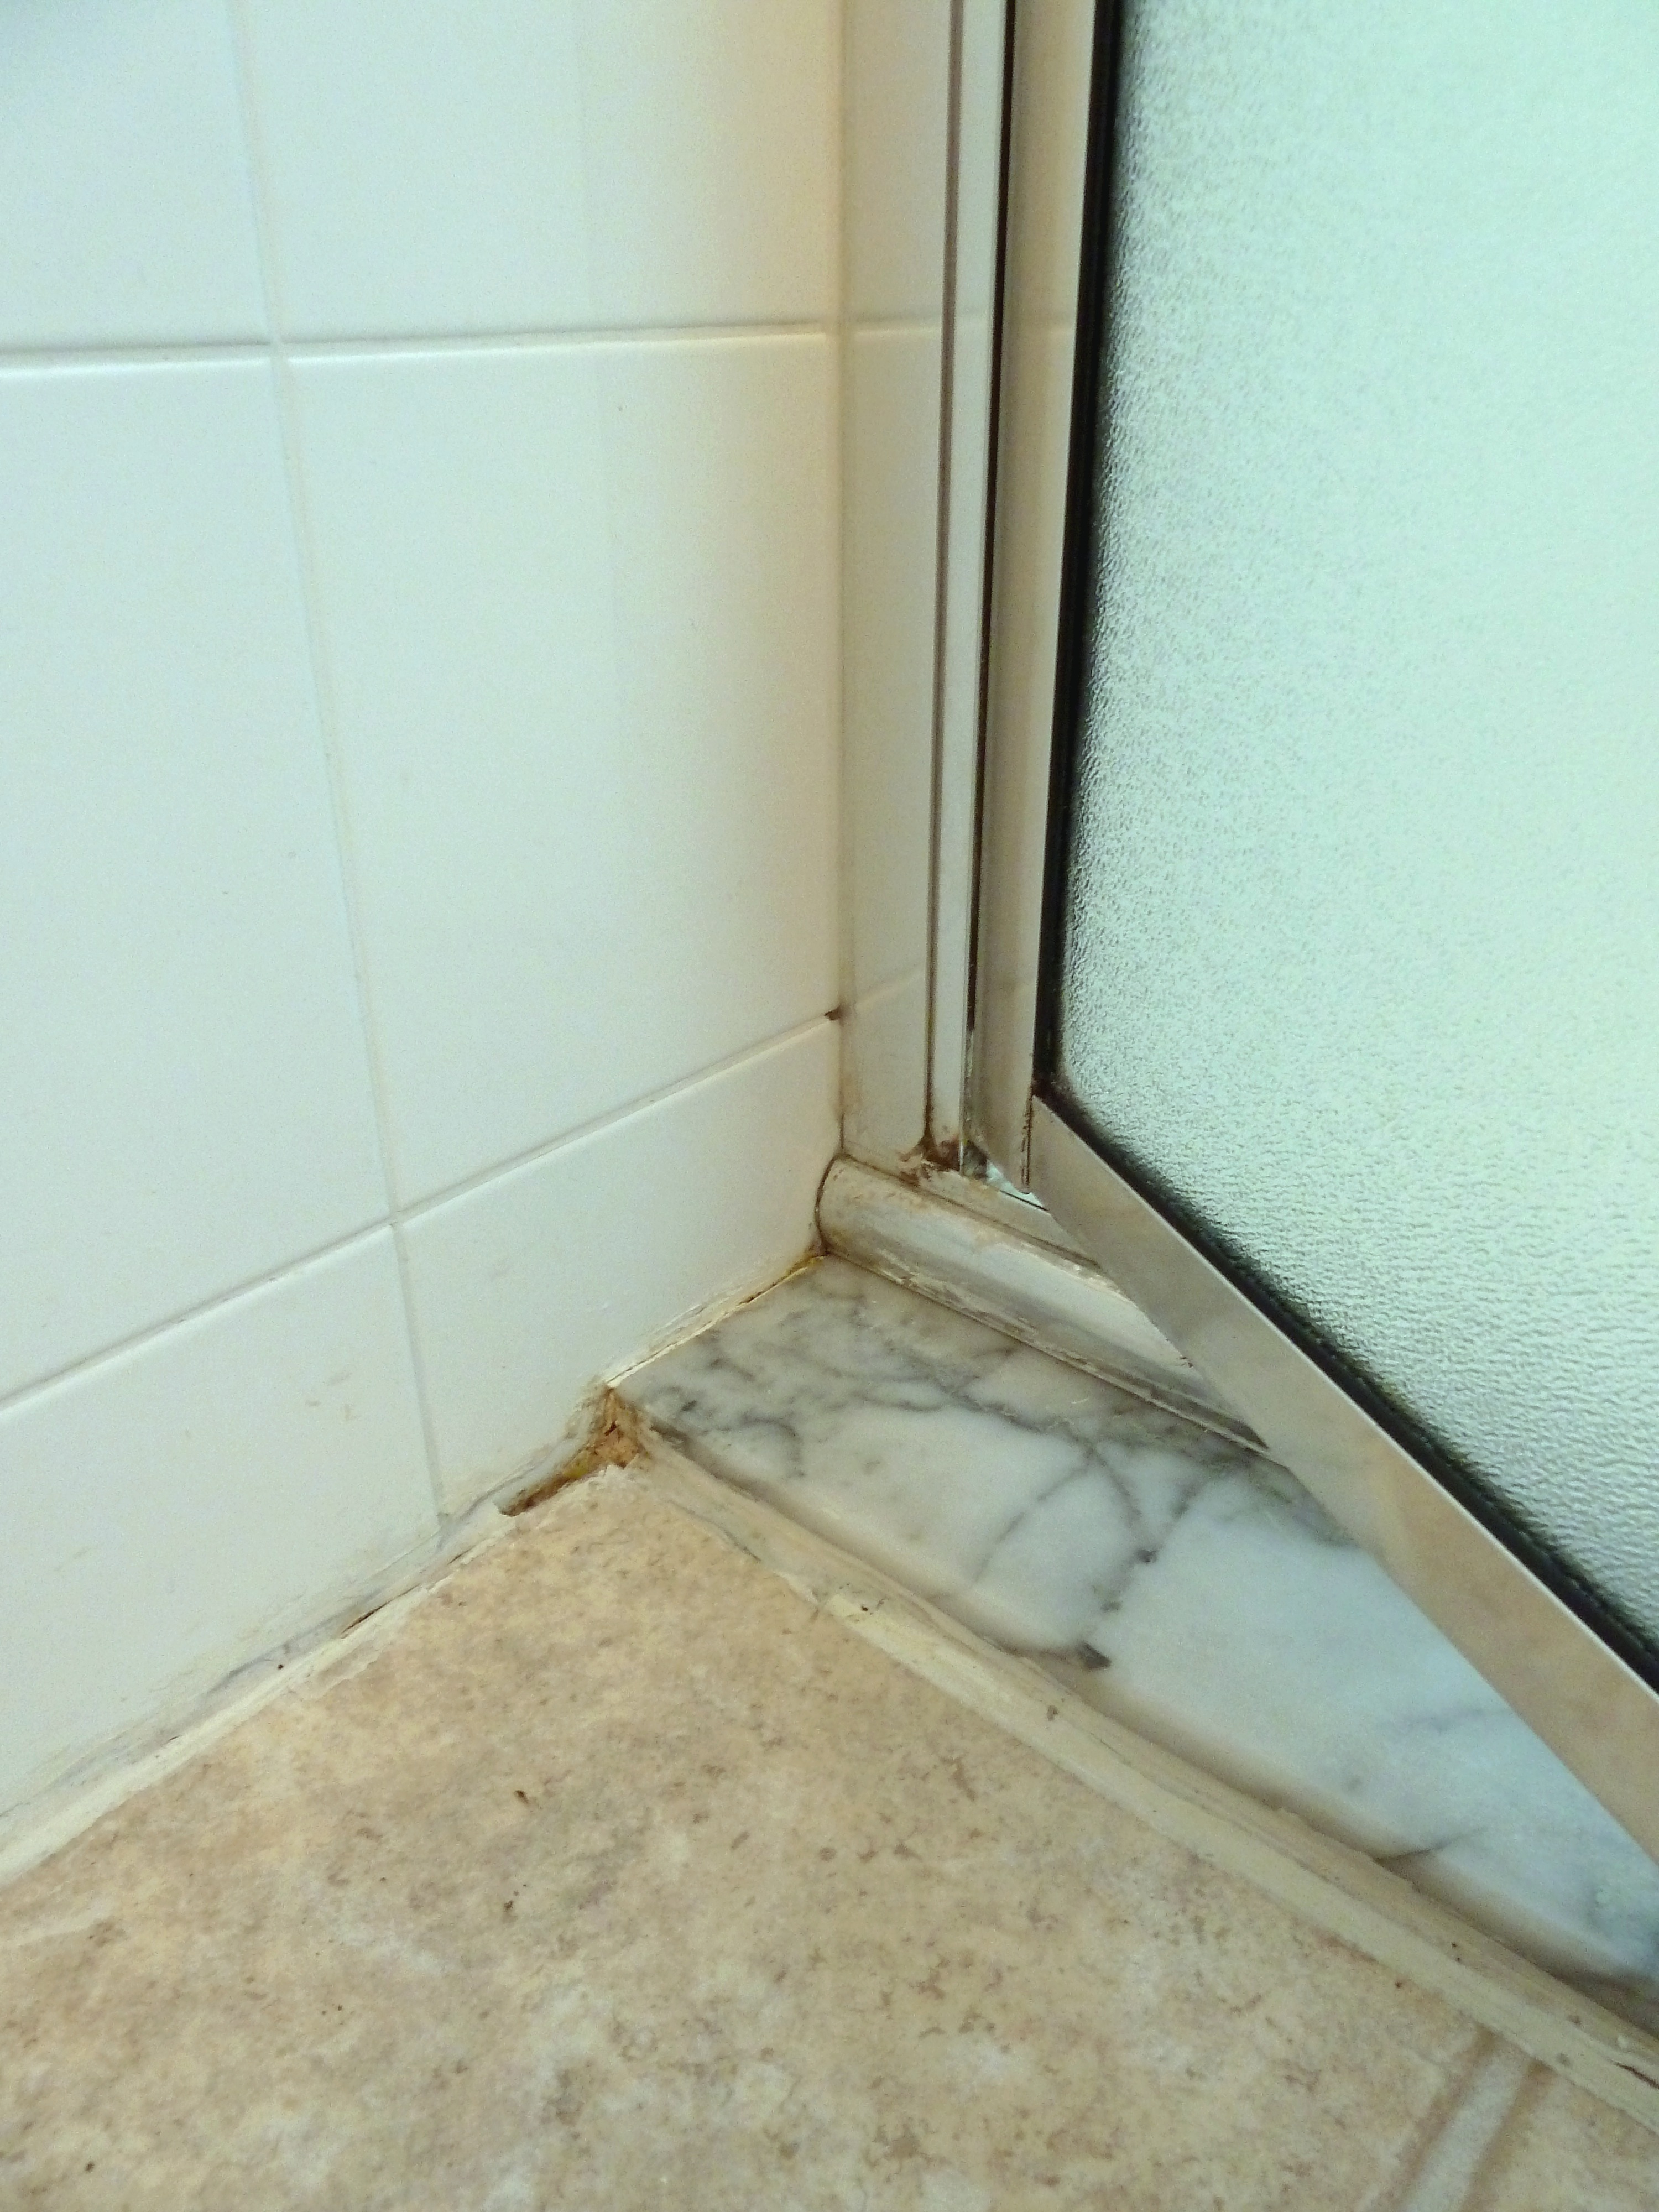
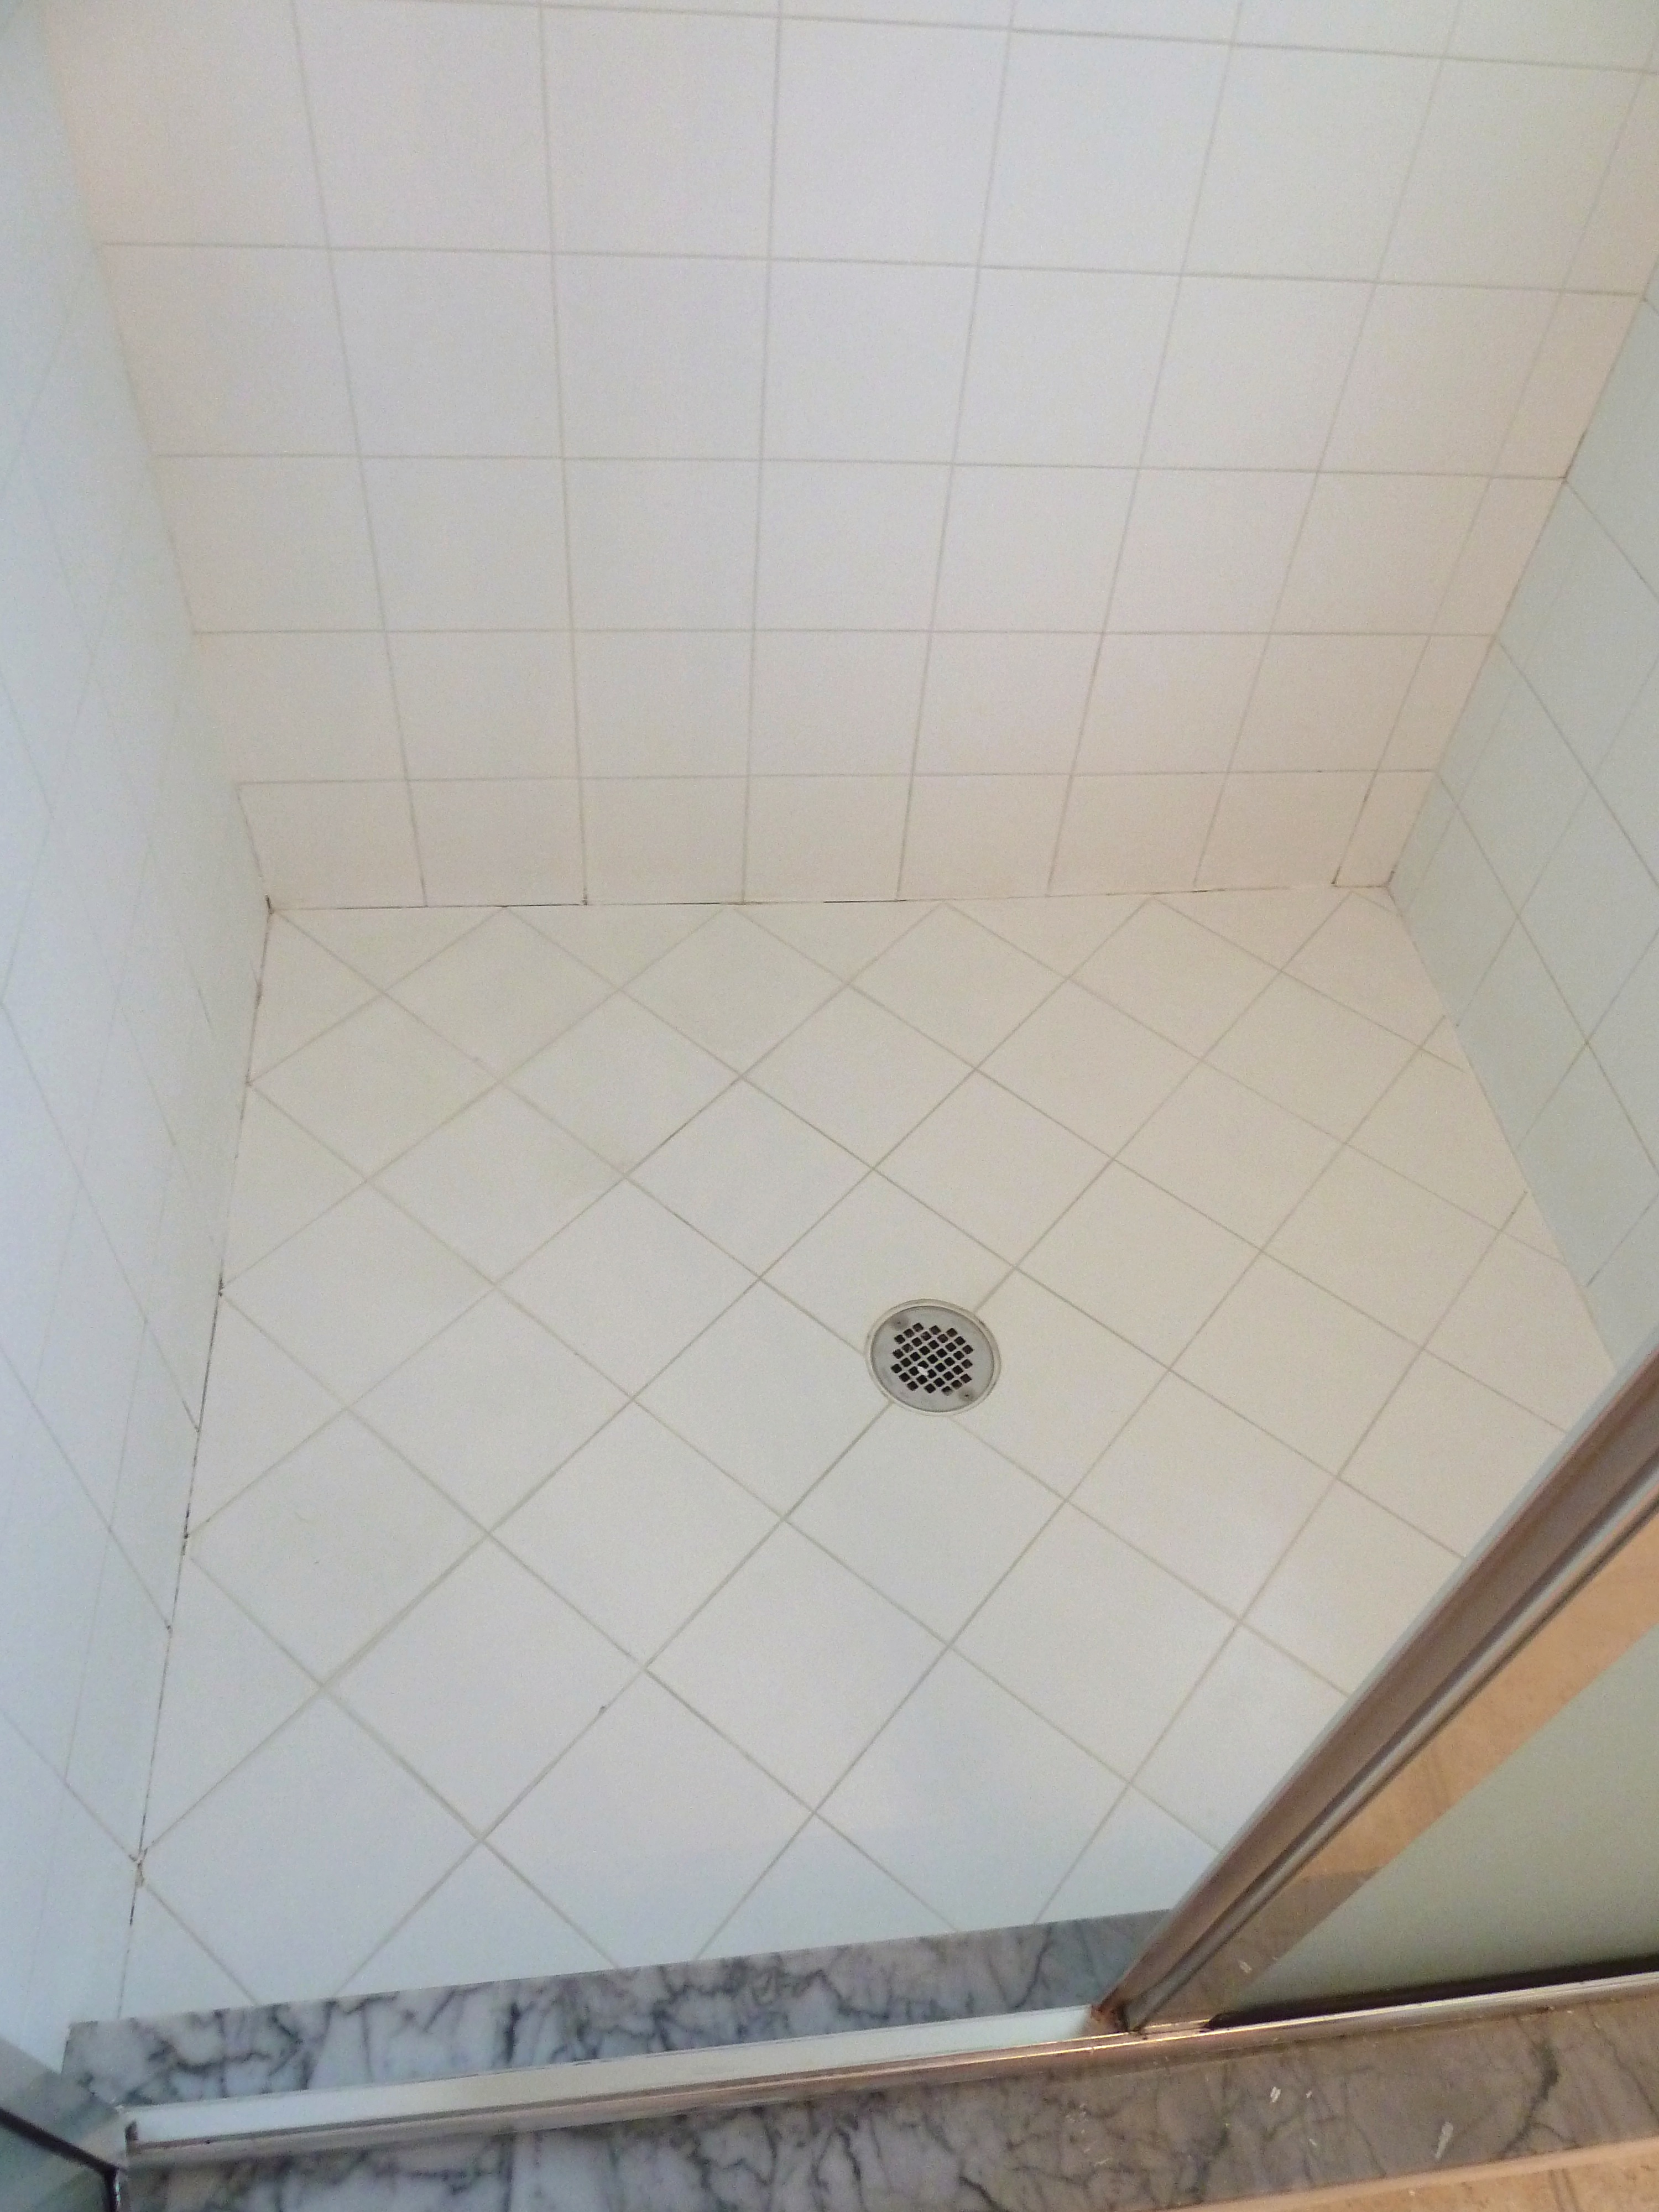
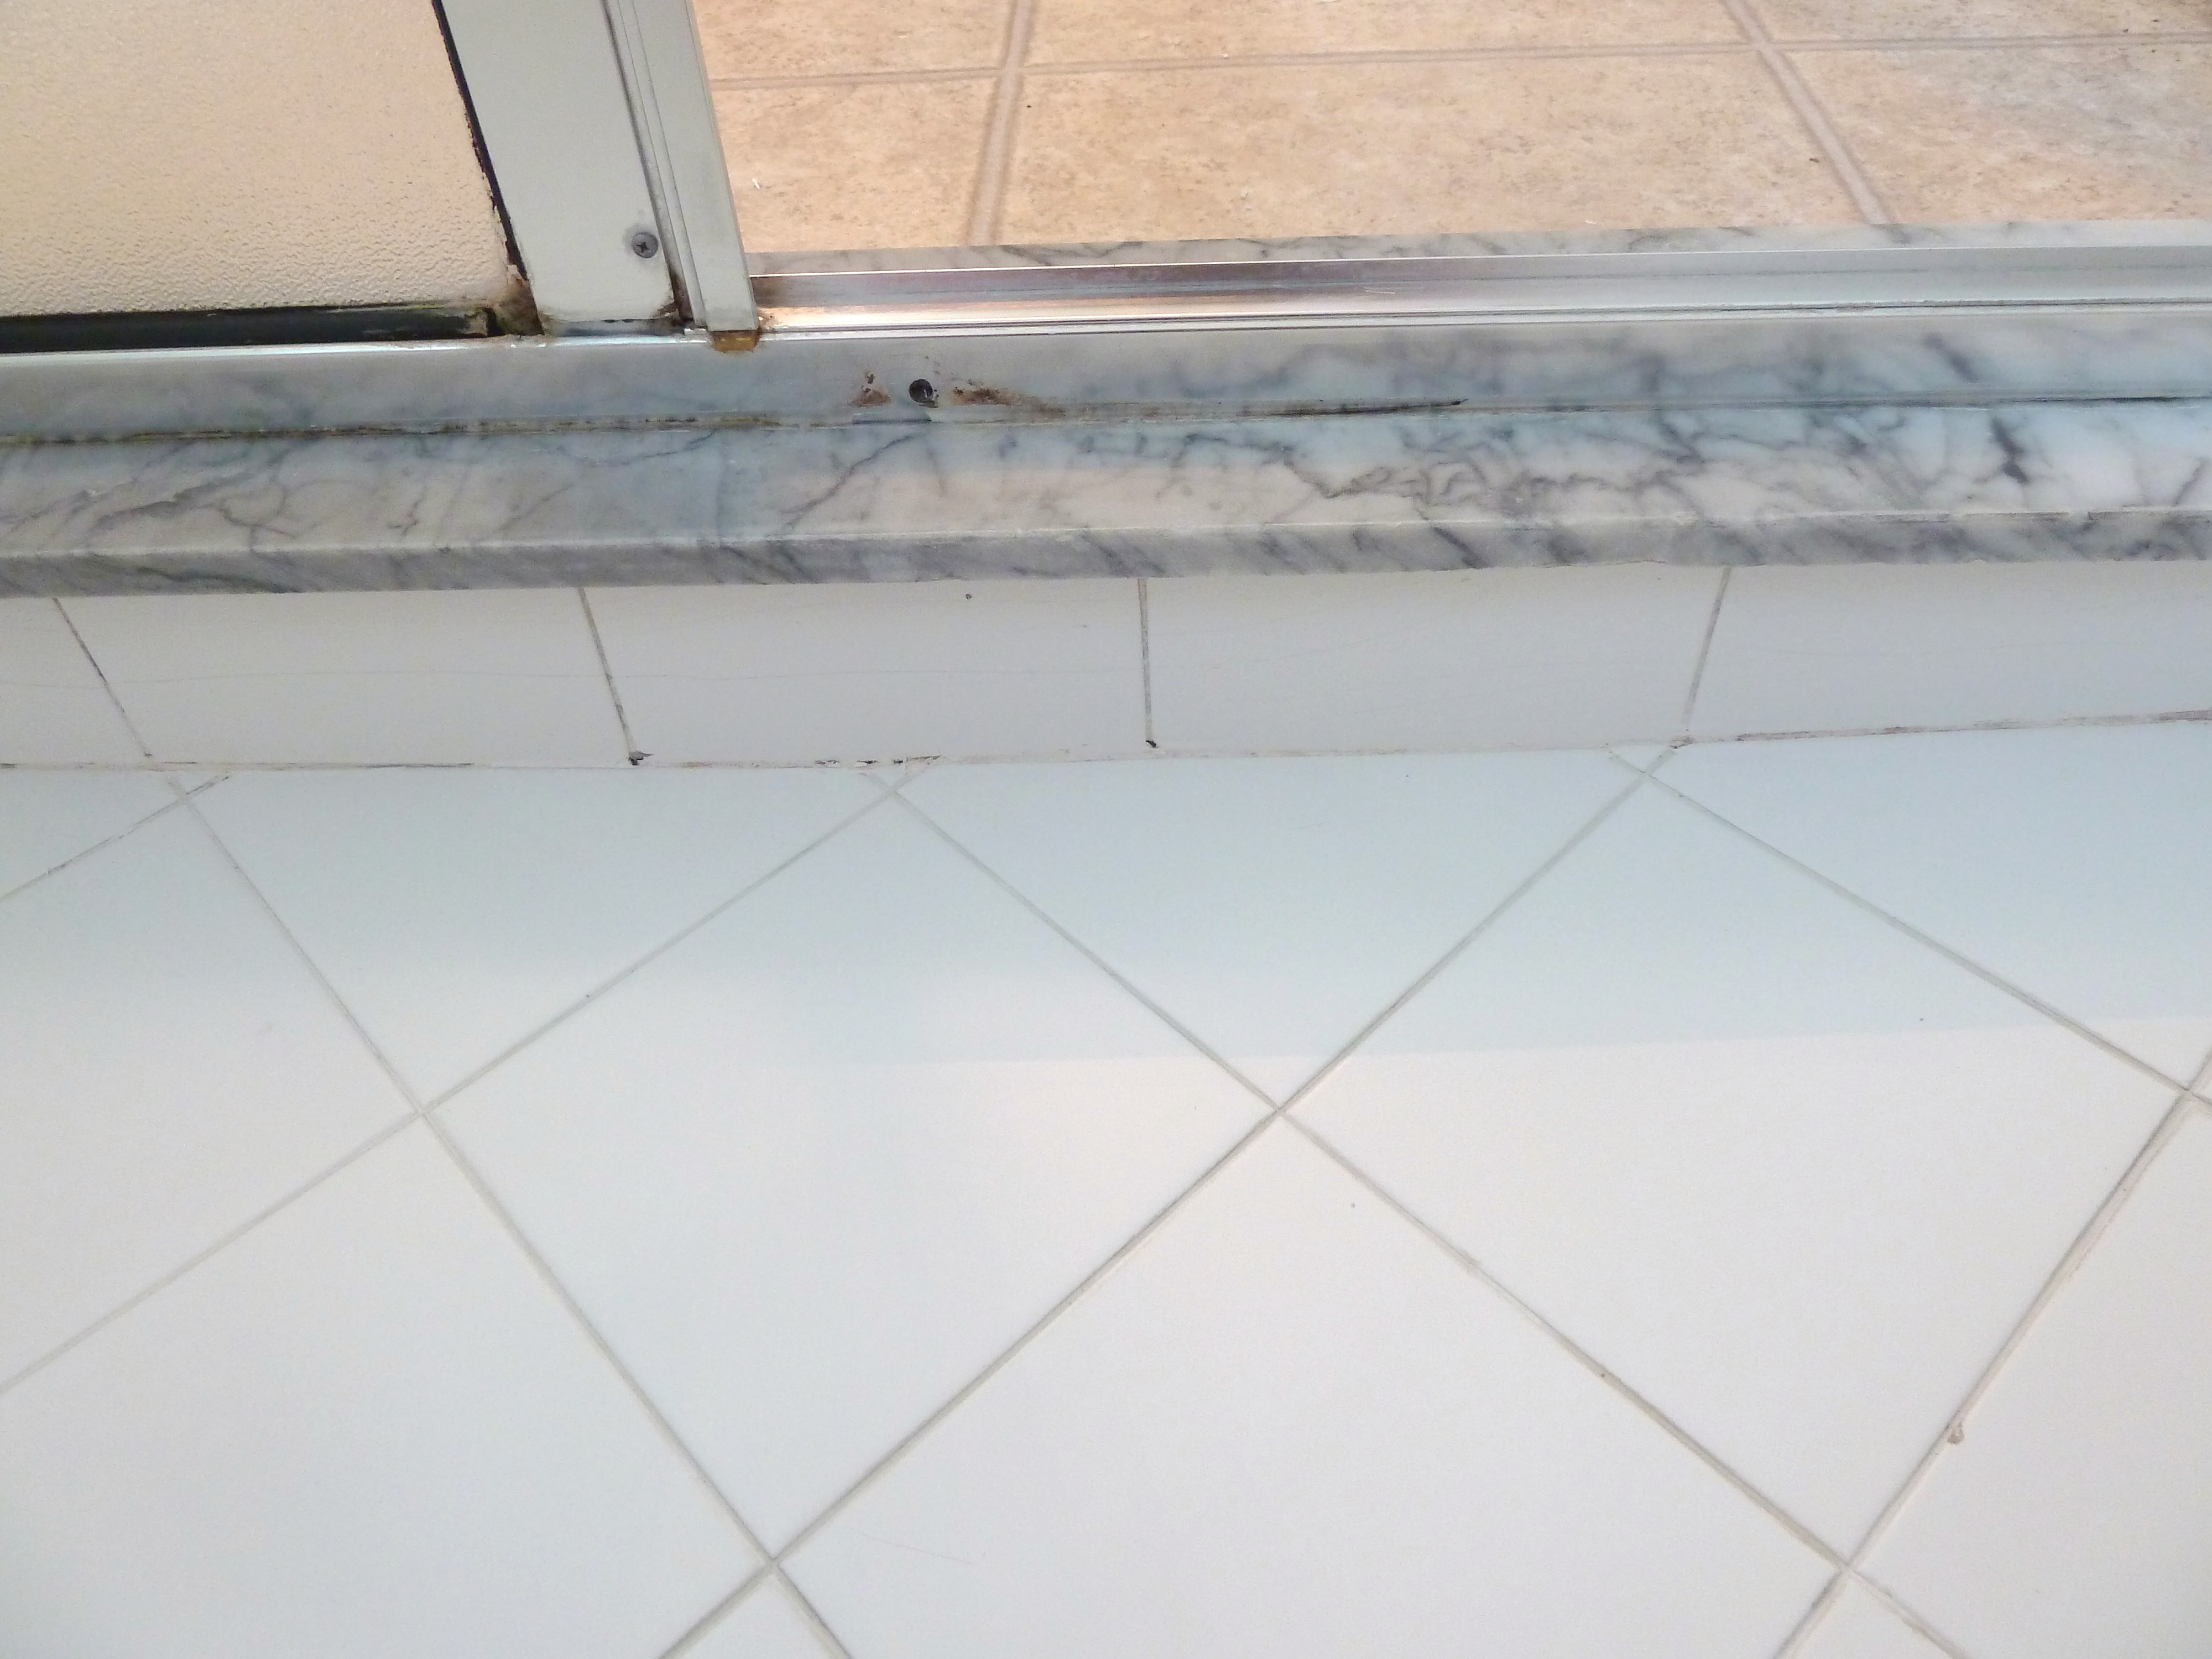
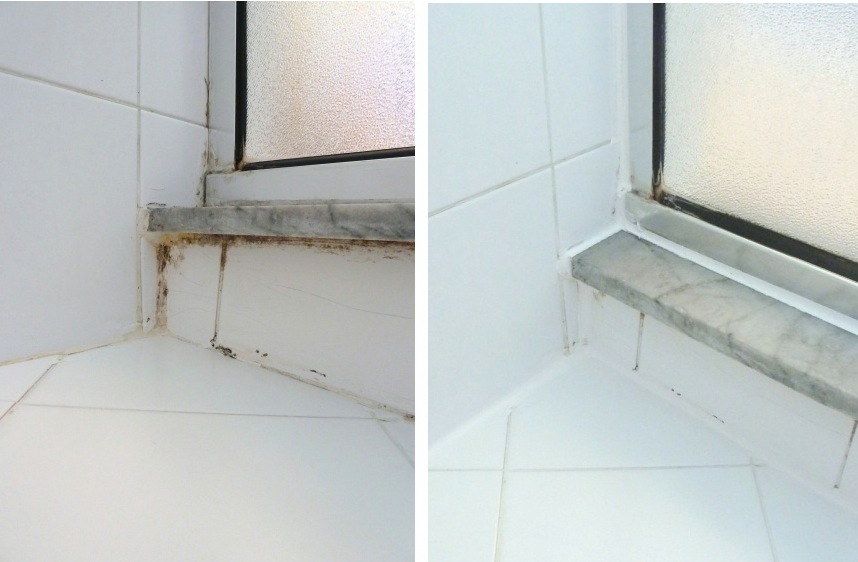
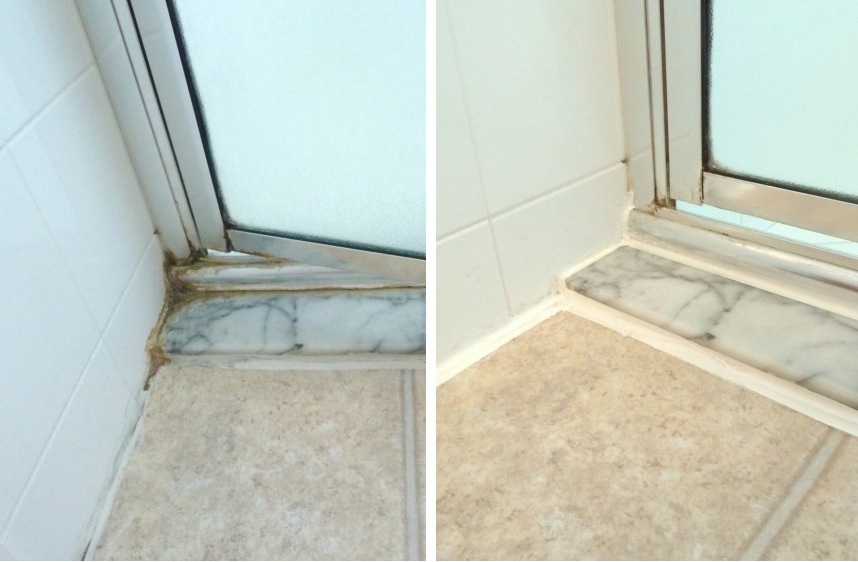
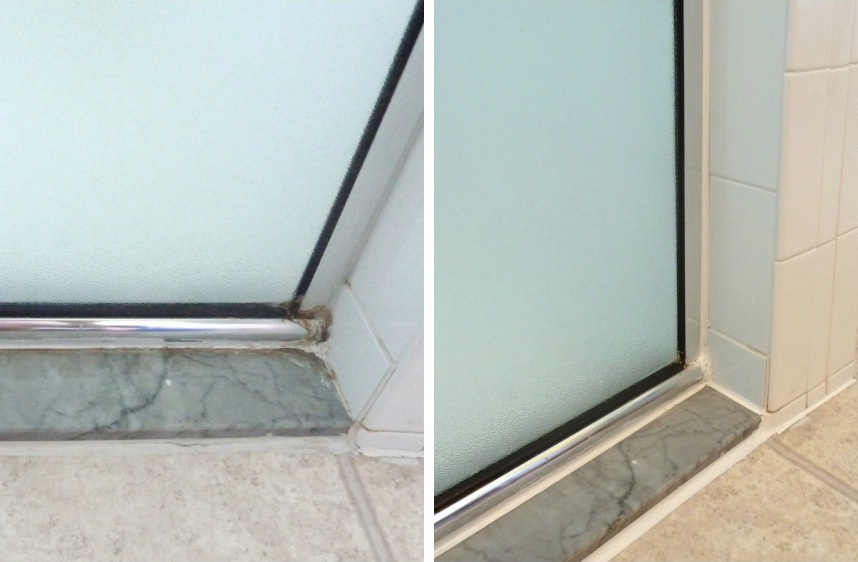
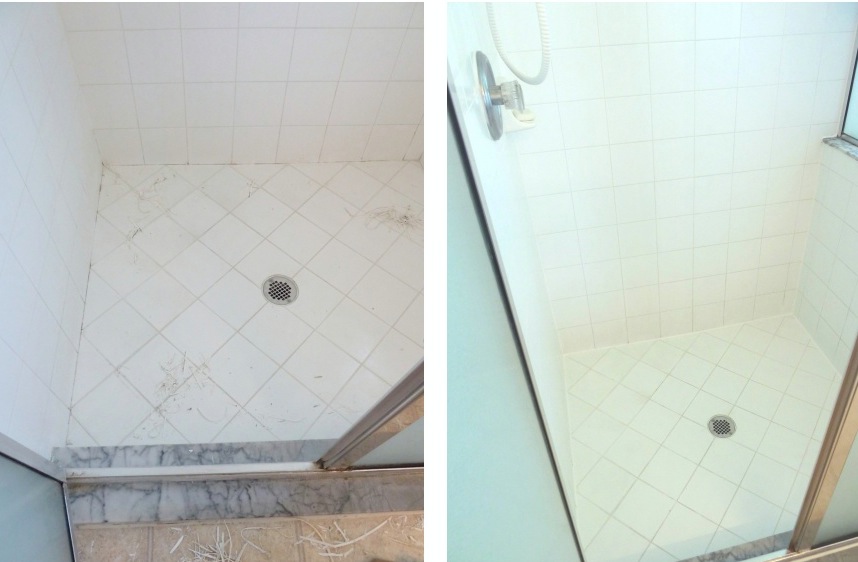

 Shower Cleaner

Ingredients:

  1. Approximately 1/4 cup dish soap
  2. Approximately 1/4 cup white vinegar
  3. Refillable dish scrubberhomemade-shower-cleaner

Directions:

  • Fill wand half with vinegar and half with the dish soap.
  • Shake her up.shower cleaner diy

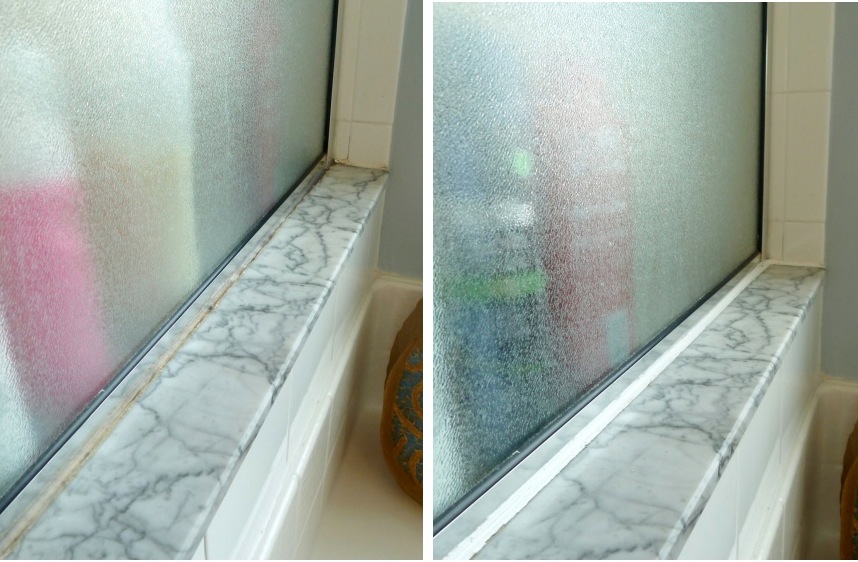
This one is ridiculously convenient.  I just wet my shower walls down and then scrub away.  It works just as well, if not better, than my old cleaner (aka Scrubbing Bubbles).


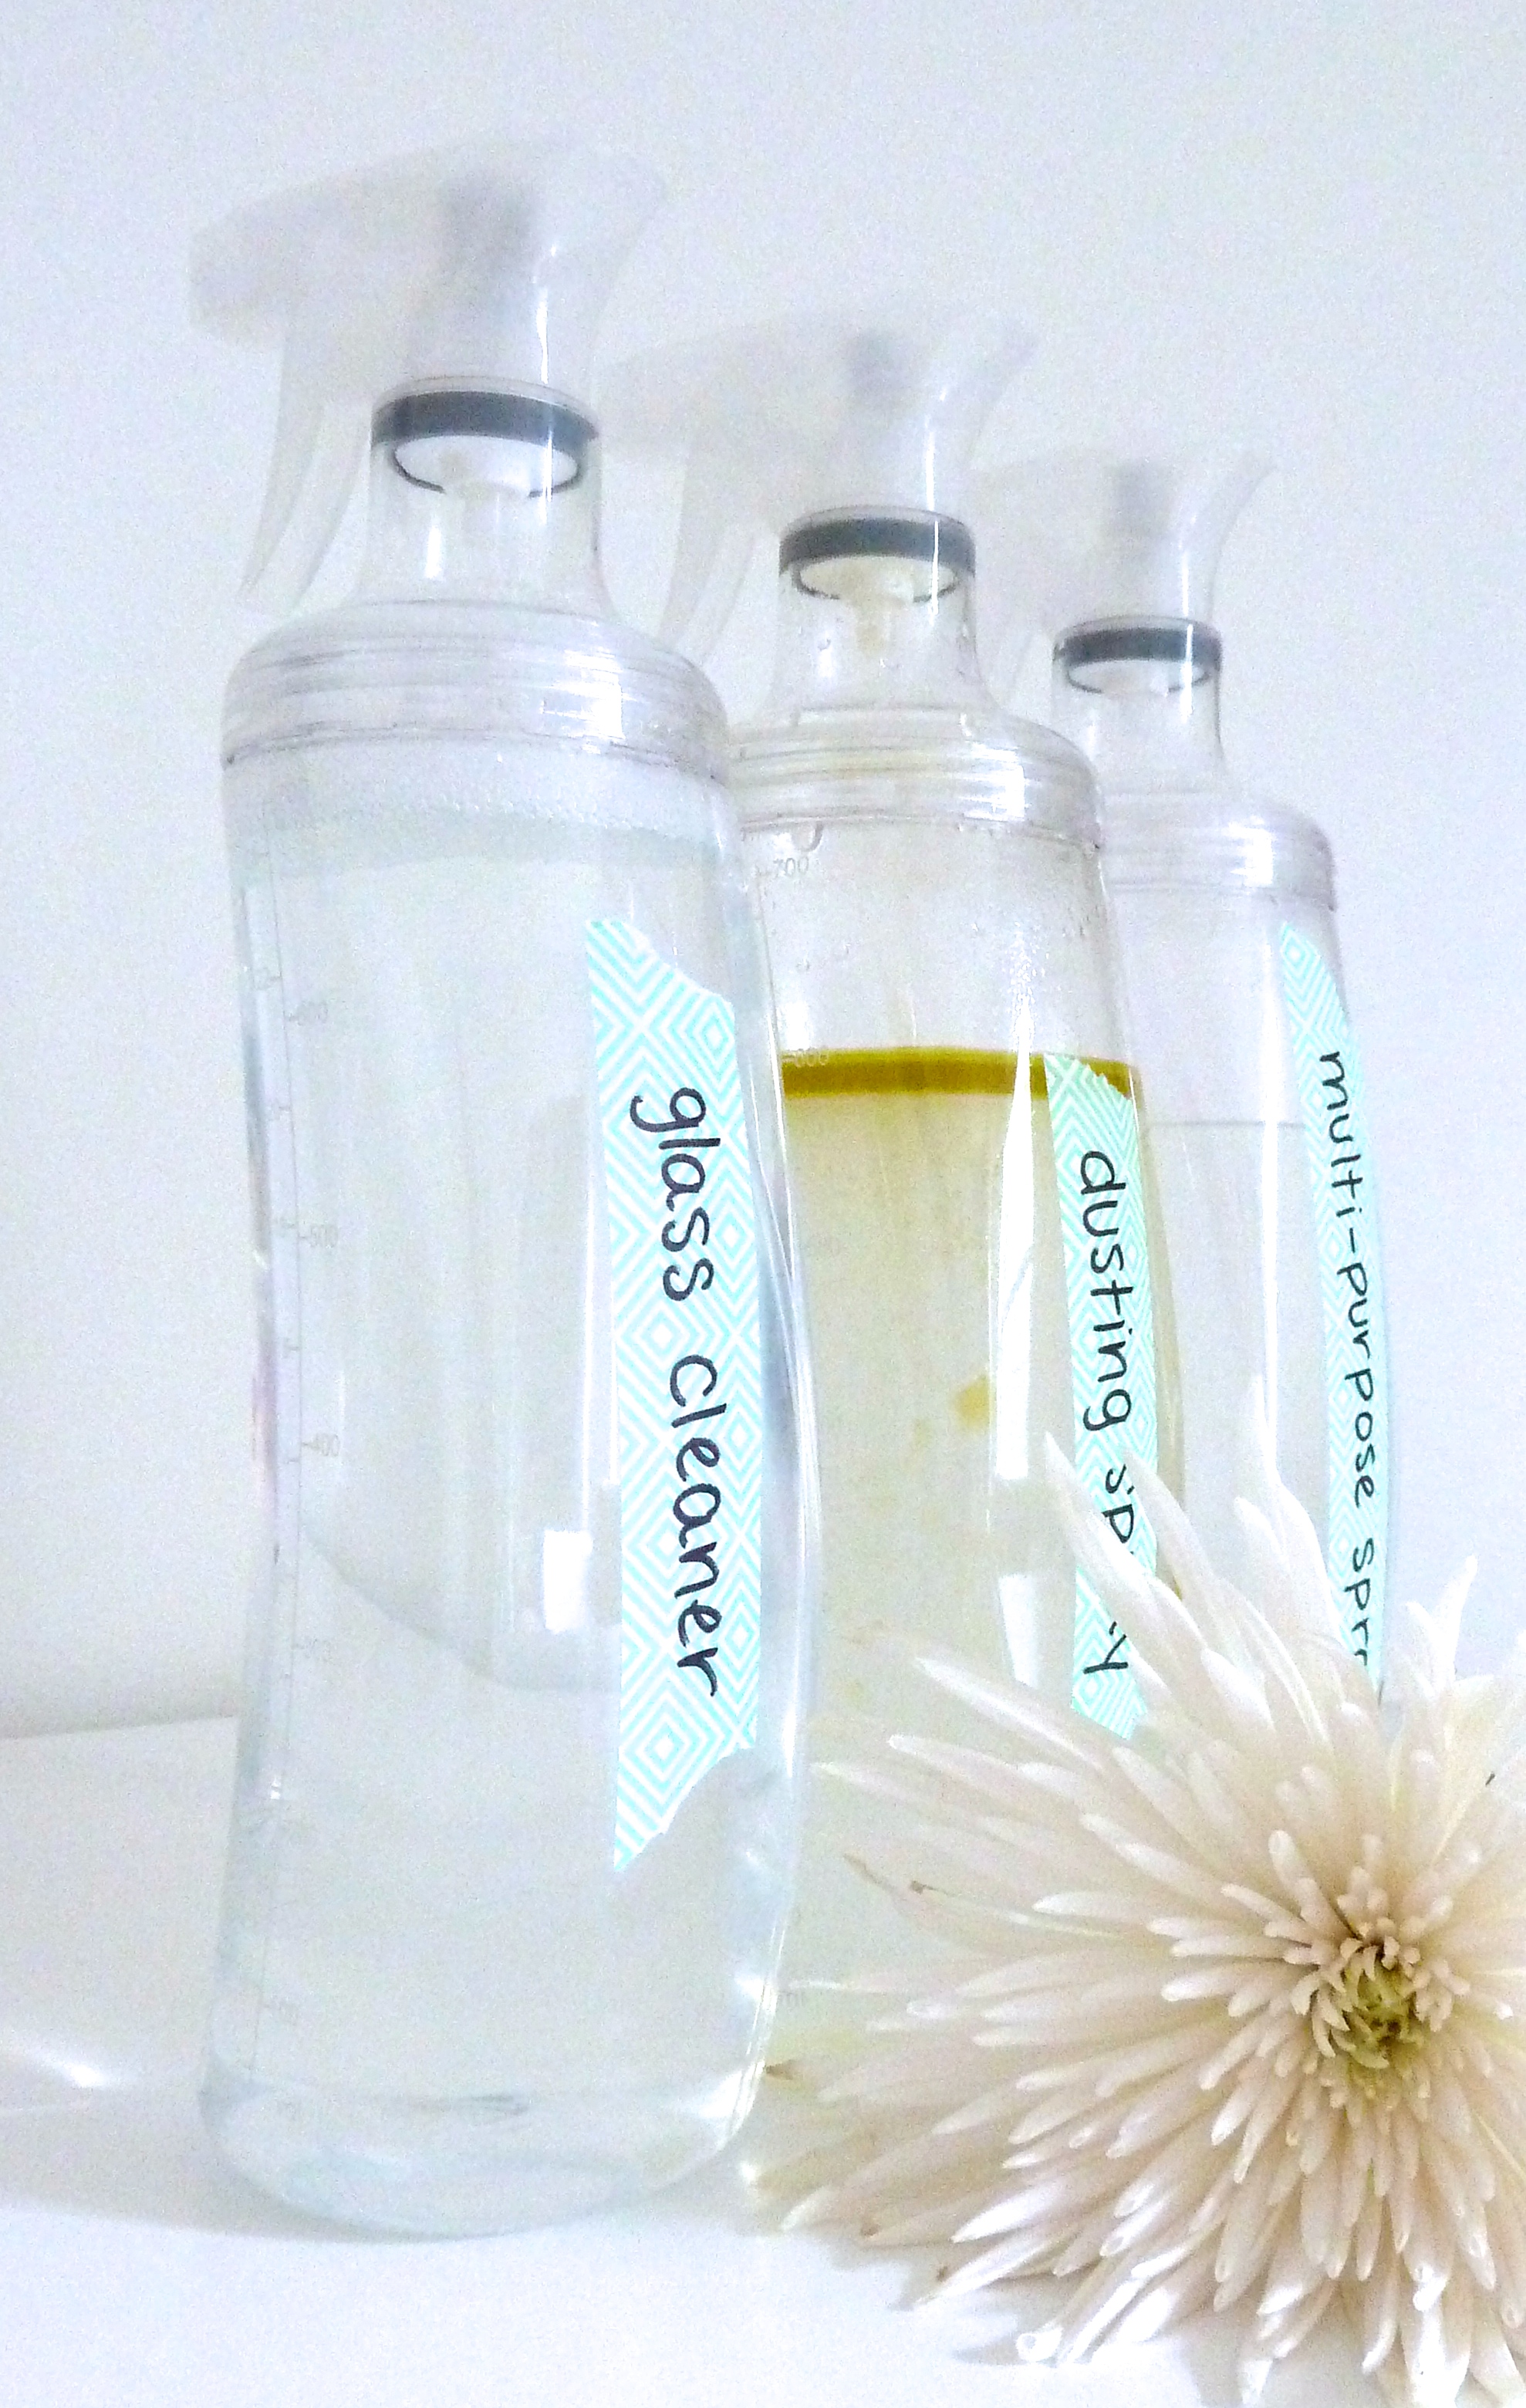
Now that you have a plethora of homemade cleaning products, you’re going to want to label them.  You don’t want to be spraying that bathroom cleaner on your wood surfaces, not that you wouldn’t be able to tell the difference.  For my labeling pleasure, I used washy tape and a sharpie marker.  Easy peasy.

labeling with washi tape

What do you know?  Those are some fancy labeled bottles!

The clear spray bottles live in my kitchen…

household cleaners diy

And for the bathroom, my more colorful trio…    bathroom cleaners diy

I think the best part about all of this is how much cheaper these options are.  They last much longer and if you haven’t noticed, they mostly consist of water (free) and vinegar (cheap).

Oh yea, they also can’t harm my Charlie Bean, if he decides to take a taste of the kitchen counter or toilet bowl, whatever floats his doggy boat.

diy-cleaners

Try these!  You won’t be disappointed.

Giving the Master Bath Some Love

I have been recently trying to update our master bath a little, so I am more comfortable using it. It is completely functioning and we use it daily.  We do plan to renovate the entire room, but that is still a ways down the road.  I figured why not make it a little more enjoyable to use right? To date I have already painted, removed the splash guards, caulked and then caulked some more.  While I was away Justin changed out the light fixture.  Don’t worry, not this one…

Slide1_Fotor

I know you’re all as attached to this one as I am.  The light I am speaking of is this guy…

Slide1_Fotor2

Does it remind you of this one?

015

Yup, it’s the same light that we had in the laundry room.  Guess what?  I am still not a fan of these dome lights, so it had to go.  Justin replaced it with this…

ggg3

A boob light! Gotta love those boob lights!  It’s nothing fancy, but makes the space feel a little updated.  Now we just need to take care of the 80’s broadway table lights complete with mirror backing.  Reminds me of something like this…

bf4a3ed1059391ad44ee5690cd897f59

Yuck! So not me!  Here is one more look at ours…

aa9999999

I am thinking something like this…

kids-nautical-bathroom-reveal-L-kq9_xX

I love these industrial looking lights.  I also love the navy mirror trim.  But now I am just dreaming, because we are a ways off from renovating this bath.  Anyhow, we did add one more thing to our master bath…

ggg2

This great watercolor that Justin bought me for Christmas last year.  Here is a closer look…

gg999999999

I found this print on etsy a while back and showed Justin.  Apparently, he remembered and purchased it.  I love the yellow lab and the little boy headed to fish at the beach.  I would like this room to be a nautical/beach theme in the end, so I figure this is the perfect art to head us in that direction.  This watercolor is done by an amazing artist from Fresno, California named DJ Rogers.  If you wanna check out more of his work visit his etsy shop, K9artgallery.

Here is a look at our bath with these quick changes…

gg999999

I guess it now feels a little more us, I am still dying to update everything!

Let’s Caulk it out

I think we all now know that I have a love for caulk. I just want to caulk everything! But that is not an option. I did however need to caulk a few more areas in the bathroom, yippee skippee right? That’s what I thought! As I last left off with the master bath, I had removed the counter splash guards…

picisto-20130915192302-183835_Fotor

The walls are now all painted blue so you cannot see any of that spackle hanging out anymore, but what you can see are some crazy gaps between the wall and the counter top….

c6

Careful, don’t get too close, you may fall in! This was in need of some caulk! So, I happily made my way to the garage to get my caulking supplies…

c3

Pretty extensive supplies huh?

From there I just went my normal route of taping off the areas that I wanted caulk, then I plopped some caulk down…

c999999

While I was at it I found a few other areas that I thought needed some caulk as well…

c9999999

Wanna see the results? Good thing cause here they come…

picisto-20130922175302-642397_Fotor

BOOM! Look at that!

picisto-20130922175426-671046_Fotor

Much better!

Here is the back of the countertop…

cc99999

This piece of trim just had a crack down the side, so I filled that right in.

picisto-20130922175730-309191_Fotor

picisto-20130922175850-135387_Fotor

I also did some of the trim near the floor that had some cracks. Fortunately we still have these beautiful laminate floors! blah!

picisto-20130922180005-263102_Fotor

And around the toilet…

picisto-20130922180124-654464_Fotor

And next to the shower…

picisto-20130922180601-980915_Fotor

How about a close up?

picisto-20130922180253-579575_Fotor

Here is how the bathroom looks today…

ccc9999

I decided to change out the countainers on the counter to something with less of a tealish tint.

ccc99999

We also took the door off of the “toilet room”, we really hate having a separate room for our toilet, just seems like a waste of space.

cc999

We cannot wait to renovate this entire room, as for now we are going to live with everything as is. We are saving our pennies and one day we will have a brand new bathroom! Can’t wait.

Here is one more before and after of this quick update on our bath…

picisto-20130922183633-488688_Fotor

Better? I hope so!

Painting the Master Bathroom

As you know I have prepped our master bathroom for paint. Now that it is all set to go, I got right to it. I decided to go with Lighthouse Shadows by Valspar, it is the color of our master bedroom. I had a bunch left over from painting our room, so I thought that would be a good choice. Since we will eventually be demoing this entire room, I didn’t want to purchase new paint. Here is what I started with…

056

Here is what we have now…

aa7

I love that it makes the bathroom feel like a continuation of our bedroom now…

aa2

aa1

I unfortunately did not get any photos of the painting process, but I do have some before and afters!

picisto-20130915195048-659890_Fotor

picisto-20130915195243-851282_Fotor

picisto-20130915195519-414100_Fotor

I also put a fresh coat of white paint on all the doors…

picisto-20130915195720-813552_Fotor

We still have big plans for this bathroom, but for now it feels a lot cleaner in here. I still need to do some more caulking and I would like to hang some art and change a couple other things. Thanks for reading folks!

Master Bath Changes

I am on a kick with the master bath right now.  I just feel the need to make some changes, so that’s just what I am doing.  Last I showed you I had taken down the wallpaper border and left the room looking like this…

P1080087_Fotor

No more border! Yahoo!  Next up I thought it might be nice to put some fresh paint on the walls.  I just can’t get enough painting apparently.  Before I started there were a few things I needed to do to prep the room.  Here is the sink area in the bath…

056

See the counter splash guard?  Well, I hate it.  There is one on each side, yay! I decided they had to go, but first here’s a close up…

a99

They were both semi-peeling away from the wall already, so removing them was pretty simple.  I just took my spackling knife and pried the piece away from the wall.  I had to cut some of the caulk as I went, but it pretty much just popped right out.

a99999

As you can see some of the drywall peeled up, nothing a little spackle can’t take care of, amiright?  So I got right to spackling…

a9999

I use Dap DryDex spackle from Lowes, it goes on pink and dries white.  That way you know when it is okay to start sanding.

picisto-20130915192302-183835_Fotor

I think it looks better already!a999999

From there I spackled all of the holes in the walls from the previous owners art.  Then I sanded everything down really well.  I also re-painted all of the trim in a white semi-gloss.

a3

a4

Now this room is all ready for a good coat of paint on the walls.

a6

If you check out the picture above, you can see that this room is two different shades of teal.  I am pretty pumped to change the color and make it all one solid color.  I’ll let you know how it goes!

86 Wallpaper

As I have previously mentioned our master bathroom is not my favorite place in our house. I have already removed all of the old caulk in and around the shower and tub and put fresh caulk down, which helped a bit.

picisto-20130908171349-414180_Fotor

Eventually we would like to demo this bathroom and start fresh, but since that is a ways off I needed to make some changes now. I started with removing the beautiful border. Here it is before…

P1080063_Fotor

Pretty nice huh?

P1080065_Fotor

Fortunately it is just on this one wall. Here is a close up so you can take in the lovely flowers…

P1080066_Fotor

So, I got out my tools I needed…

P1080070_Fotor

I decided to go with the same hot water/liquid fabric softener concoction that I used when removing the border in the guest room. It seemed to do the trick the first time, so stick with what works right?

P1080072_Fotor

This time I started to peel the border before spraying my fabric softener mix on it.

P1080073_Fotor

The border was already peeling up from the wall before I even touched it. I am assuming this is from all the moisture and steam from years of showering in here. I wasn’t complaining though, made my life a ton easier…

P1080076_Fotor

I just started pulling and was left with this…

P1080077_Fotor

Yup, the top layer all peeled down in one piece, wahoo!

P1080081_Fotor

From there I did my spray and peel thing until I had this…

P1080082_Fotor

This took a total of about 15 minutes. I was pumped, since the last room took me more than an hour. I think it looks much better…

picisto-20130908173108-986301_Fotor

picisto-20130908173313-924160_Fotor

What What! No more wallpaper borders in this house!

Lets Give Them Something to Caulk About

Yup, I just hacked a Bonnie Raitt song to named my caulking post.  I know I’m cool, you don’t have to tell me.

Our master bathroom has been grossing me out since the day we moved in.  I had to do something about it, at least to make it feel a little cleaner.  Please don’t think we are dirty from these photos, I scrub this bathroom once a week.  Let me show you what I am talking about.  I should warn you if you do not like disgusting bathroom things you should skip this post completely.

P1070705_Fotor

This is our gross entrance to our shower.

P1070707_Fotor

YUUCCKK!

P1070706_Fotor

All of the old caulk is dirty and the shower is rusting pretty bad.

P1070708_Fotor

And the inside doesn’t look any better.

P1070713_Fotor

The corners seem to be the worst areas.

P1070709_Fotor

Eventually we will most likely redo this entire bathroom, which would include removing the tile and shower surround.  Since that project is down the line I needed to do something to make this shower feel cleaner.  So I got out our razor blade and box cutter and started removing the old disgusting caulk.

P1070704_Fotor

P1070722_Fotor

I first started scraping what I could off the ledge.

P1070720_Fotor

This got off some of the hard water and dirt but did not remove the caulk.

P1070724_Fotor

I used the box cutter to slice into the existing caulk, I went back a couple times until some pieces started to come loose like this…

P1070726_Fotor

I started peeling the caulk away by hand, and then went back with the box cutter scraping any remaining caulk until I got as much as I could.

P1070728_Fotor

Next I hopped in the shower and starting removing the caulk in there the same way.

P1070735_Fotor

Inside the shower I did have to use the razor blade a bit to get any caulk that was stuck on the tile.

P1070738_Fotor

I then cleaned up all of the caulk pieces that I had removed with the vacuum, then scrubbed everything with CLR spray.  This helped remove any hard water or rust that I couldn’t get off with my normal tile cleaner.

P1070747_Fotor

P1070752_Fotor

P1070749_Fotor

I wasn’t able to get all of the rust stains, but it was already looking a ton better.

P1070760_Fotor

From there I grabbed my caulking tools.

P1070767_Fotor

A tube of caulk, a caulk gun and a roll of painters tape.

P1070768_Fotor

I wanted straight lines on the ledge of the shower, so I used the painters tape to mark off where the caulk would go.  I didn’t use the tape inside the shower since the tile is white, I didn’t think the caulk would be as easily seen.

P1070769_Fotor

I then just snipped the end off of my tube of caulk and place it in the caulk gun.  From there I just started applying the caulk in between the taped off areas in a thin bead.

P1070772_Fotor

Once I had the caulk down I used my finger to smooth it out into the crevice.

P1070778_Fotor

Once I had finished I peeled the tape away immediately.  I didn’t want it to dry, then peel it, because I wasn’t sure if the dried caulk would peel away with it.

P1070779_Fotor

Ah! Look at those clean lines.

P1070744_Fotor

While I was at it I decided to caulk next to the tub as well.  I didn’t remove the old caulk from here because it was holding down our beautiful linoleum flooring that I didn’t want to damage with the razor. (In case you don’t get my sarcasm, I hate the linoleum, it will be the first thing to go).

P1070787_Fotor

P1070788_Fotor

Looks so much cleaner.

I then caulked the inside of the shower the same way.  Here are some before and afters…

picisto-20130811141703-778909_Fotor

picisto-20130811142016-471885_Fotor

picisto-20130811142400-978973_Fotor

picisto-20130811142712-983314_Fotor

picisto-20130811142953-902097_Fotor

Yay for new caulk right?  Does that not make you want to go caulk your bathroom or kitchen or everything?  I now love caulk.  Here is the whole bathroom with fresh caulk…

P1070806_Fotor

I love little projects that make a big difference.   I know it’s not perfect, but it makes me feel better about showering in here.  Woo hoo!

Oh, hey new bathroom!

A little delayed, but I hope you all had a fabulous 4th of July!  We sure had a great long holiday weekend, we accomplished a lot!  We also got to relax and get together with friends.  I would say it was a successful little break.

Now lets get back to this bathroom! Last we left off it looked something like this…

P1070121_Fotor

We were well on our way to a new bathroom, but still had a few things on our list to finish up.  First up Justin installed the new mirror, which was also purchased from Lowe’s.  The mirror was the match to our new vanity…

They are both Style Selections Longshire Brand in Espresso finish.

P1070146_Fotor

Here they are all installed and hung! Much better than that 90’s vanity we had going on before. The next thing we wanted to tackle in here was the sink, having a toilet is great but let me tell you… it’s even nicer when you have a sink! So Justin got right to it.

P1070131_Fotor

Look at that beautiful new sink!

P1070147_Fotor

It’s even nicer when it’s on a vanity and hooked to plumbing!

P1070172_Fotor

This sink isn’t just for show… it works! Justin really is becoming quite handy.

P1070173_Fotor

There’s our new mirror and a little glimpse of the new light.

Next up I had to finish painting the trim and give the wainscoting one last coat.

P1070154_Fotor

Here it is all nice and white…

P1070176_Fotor

From here we were done with the painting and installing and it was just time to put this bathroom back together.

P1070179_Fotor

Our last toilet paper holder was attached to our vanity.  We really didn’t want to have it hanging off the vanity this time and the wall behind it was a little to far of a reach.  So, I picked up this guy at homegoods, it was only $14 and matched all of the faucets and the light fixture.  Which I unfortunately did not get any good photos of.  It is also from Lowe’s…

Just picture this guy on our wall above the mirror.

I also finally got to put up the shower curtain that started this whole bathroom renovation…

P1070180_Fotor

Sorry about the weird angle, it’s a small bathroom.  I bought this shower curtain at Target for $19. I love anything in an ikat pattern!  I also purchased that bath mat from homegoods for $12.  Here is the bathroom pretty much finished…

P1070181_Fotor

I still have to add some decorations and I already have some things brewing in my mind! Here is our updated list…

  1. Patch and sand all walls.
  2. Paint walls.
  3. Add wainscoting and chair rail to walls.
  4. Paint wainscoting, chair rail and trim.
  5. Tile and grout floor. 
  6. REINSTALL TOILET.
  7. Install new faucets and shower head in bathtub.
  8. Install new light fixture.
  9. Install vanity.
  10. Install mirror.
  11. Install towel bar.
  12. Decorate! :)

Last thing I want to show you is a before and after…

picisto-20130707191637-617509

Click the photo! It gets bigger!

The first photo is before we moved in, the second is once we moved in and I painted the walls green.  The last photo is now!  Woo hoo!

We Miss Our Toilet

Since demolishing the guest bathroom, we realized how much we miss having an extra bathroom.  Considering our other bathroom is off of our master bedroom and the guest one is off of the living room, we tend to use the guest one more.  So this weekend we were in power mode to get the this bathroom renovation on its way and better yet get our second toilet back! Hurrah!

Last weekend we ended our project with the bathroom looking like this…

P1060991_Fotor

Yikes! that is one scary looking bathroom. We had quite the work to get done before we had a working toilet in here. We had a few things we wanted to incorporate in the bathroom.

Here’s another handy list of our to do’s for this bath:

  1. Patch and sand all walls.
  2. Paint walls.
  3. Add wainscoting and chair rail to walls.
  4. Paint wainscoting, chair rail and trim.
  5. Tile and grout floor.
  6. REINSTALL TOILET.
  7. Install new faucets and shower head in bathtub.
  8. Install new light fixture.
  9. Install vanity.
  10. Install mirror.
  11. Install towel bar.
  12. Decorate! 🙂

We had a lot to accomplish before we had a working bathroom again, so we got right to work.  Justin started with installing the wainscoting.  He purchased full sheets of it from Lowe’s(of course).

765096139019

It is pretty affordable at about $10 a sheet which are 4 feet wide.  We didn’t need very much since this bathroom is pretty small.  The sheets come in a preprimed white coating, which was nice for me considering I’m the painter in this family.  Less coats of paint! suh-weet!

P1070012_Fotor

P1070013_Fotor

Justin had the wainscoting installed in no time! He did have to make a few holes for the plumbing as you can see.

P1070014_Fotor

We figured this would be the best time to do all of the painting considering the flooring was unfinished and I didn’t have to edge in to close to the wainscoting because the chair rail would be covering the seem. I also didn’t have to use any drop cloths, considering we weren’t too worried about maintaining the look of our concrete floor we currently had going on.

P1070016_Fotor

I got everything taped off and I was ready to paint! Oh ya I forgot to mention my paint color choice.  I am going with blue, shocker right?  The color is sweet slumber by Valspar.  It is a super duper light blue color, which you can see below…

P1070017_Fotor

I went my usual painting route by doing all of my edging in first then rolling.  This room is crazy quick to paint, piece of cake!

P1070019_Fotor

I love the color, it’s really light so I hope it will brighten up this room quite a bit and make it feel a bit bigger.  My plan to go really light with the laundry room worked out well, so I am hoping the same will work in here!

Once we had the mirror down, we were able to see the original purplish-blue color that the bathroom was when we moved in.  The color we went with this time was more blue, than the more purple color they had chosen and our color is also lighter…

P1070029_Fotor

The new color is on the right and the old color that was under the mirror is on the left. Either color I think is better than the greenish yellow I painted the room, that you can slightly see on the top of this photo.

P1070030_Fotor I also think the wainscoting is going to help to make this bathroom feel a lot lighter.

P1070032_Fotor

Here is all of the chair railing and trim that Justin purchased.  All of these pieces were also pre-primed in white, more great news for me!

P1070033_Fotor

Ah, beautiful untouched trim!

P1070035_Fotor

Justin used this guy to cut all of the trim and chair railing on 45 degree angles.  He had a blast doing this, seemed like a very time consuming job.

P1070040_Fotor

Here is the first wall with the chair rail installed.  I was so excited to see it go up, looks great already!

Next up was tiling.

P1070038_Fotor

We used the same Roman Stone tile that we used on the patio, but in a lighter shade.

P1070043_Fotor

Justin had to lay the tile before installing the trim, since the trim would lay on top of the tile.  He used the same method as he did when tiling the patio.

P1070047_Fotor

Here is the finished product.

P1070049_Fotor

I swear he did this so quick and it looks great.  I think he has tiling down, put that one on your resume Justin!

Once the tile was dry Justin started changing out the faucets in the tub.  We didn’t want the polished nickel look that we currently had, we wanted to change everything out to brushed nickel.

P1070052_Fotor

I know what you are thinking… why would we get rid of such a modern faucet?  Here is the new faucet…

P1070118_Fotor

It is Moen brand from Lowe’s.  We also replaced the shower head.  Unfortunately I didn’t get a before photo of the old shower head, Justin is just to quick for me.  Sorry folks.  Here is the new one though…

P1070119_Fotor

It’s huge! I might be showering in the guest bathroom from now on!  From there we called it a night and the next morning I woke up to this…

P1070066_Fotor

BOOM a grouted floor and half installed toilet.  I swear Justin doesn’t sleep, he thinks 5am is a good time to wake up on weekends! Crazy man!  He was even already started on installing the trim as you can see!

P1070067_Fotor

P1070068_Fotor

Looking pretty good!  From there he caulked all of the chair rail and trim.

P1070114_Fotor

Caulking trim just finishes it off so nicely!

P1070115_Fotor

From there Justin finished installing the toilet and even brought in the vanity.

P1070121_Fotor

So this is where two days of hard work got us.  I would say it was a job well done because we have a working toilet again!! Yahoo! Would you like a list update? Okay fine!

  1. Patch and sand all walls.
  2. Paint walls.
  3. Add wainscoting and chair rail to walls.
  4. Paint wainscoting, chair rail and trim.
  5. Tile and grout floor. 
  6. REINSTALL TOILET.
  7. Install new faucets and shower head in bathtub.
  8. Install new light fixture.
  9. Install vanity.
  10. Install mirror.
  11. Install towel bar.
  12. Decorate! 🙂

Change In Plans

I decided this weekend would be a good time to re-paint the guest bath.  So I headed to homegoods and target to find a new shower curtain to start.  I wanted to get a new shower curtain first, so I could pull a color from pattern for the paint.  I ended up having success and headed to Lowes to get a color that would match.  I made it home and showed Justin all of my finds.  Next thing I knew he was talking about removing the medicine cabinet before I painted because we really hate it.  I agreed and let him pull it out of the wall.

P1060900

Here she is, so we can all say our last goodbyes.

P1060905

Justin immediately started removing the cabinet when I said yes.  I figure I would start painting the other half of the bathroom while he patches the whole in the wall where the cabinet was.

P1060913

I also requested that we take down the exisitng towel bar and move it to the other wall.  I wanted to move the bar because where it currently was located I wasn’t able to hang a full towel.  I figured if we moved it to the opposite wall I could hang some kind of art above the toilet.  So the towel bar came down too.

P1060911

I thought we were done from there and I could begin painting. Well, I was wrong and Justin had another idea, he wanted to remove the mirror.  I did hate the mirror and I thought that would also be an easy fix so we took that down too.

P1060915

Once the mirror was down we could see all the gross grime that was left in the crevices where it was.

P1060921

Grrrross. Justin then said, while were at it we might as well remove the vanity since its old and we don’t love it either.  You can probably guess that I agreed and we started removing that as well.

P1060918

We started by removing the doors first.

P1060920

Justin then shut off the water and we started removing the plumbing below the vanity.

P1060923

I was lucky enough to get the job of removing the pipes and letting the old water and hair fall on me, not to mention the fabulous smell that comes with it.

P1060924

From there we removed the vanity top and the sink, turns out the sink was plastic, who woulda thought! Once the vanity top was off we saw this…

P1060927

A big hole in the drywall, not a good thing the discover.  We were now worried that there was no dry wall behind the vanity at all.  There was no turning back at this point so we trucked on.

P1060931

It took some prying and shimmying, but we got the whole vanity out and we were happy to find drywall!  Turns out it was just a small hole on the left side. Phew!

At this point we decided we had no choice but to remove the tile as well since there was no tile under the vanity and the new vanity we were imagining was a free standing one.

P1060932

So we started prying tiles out to find that the previous owners of this home tiled right over the original linoleum. Woo hoo one more thing to remove!

P1060942

We removed the tile by using a mason chisel and hammer.  We tapped the chisel under the tile, more like slammed the chisel under the tile and then pried them up.

P1060933

This job was not quick, we pried them up in pieces until every tile was gone.

P1060935

Also this job is kinda dangerous.  Justin and I were bleeding on our hands and arms and I even was bleeding from my forehead.  Little shards of ceramic tile pop up when you chisel them out. Fun stuff! From here we called it a night considering it was 8pm.

Bright and early I went to town removing the rest of the tile while Justin was prepping the wall to repair the hole from the medicine cabinet.  This time I was prepared though!

P1060941

Yes, Justin got me a safety mask and yes I am wearing the same shirt.

Justin also removed the toilet so I could get the tiles that were under the edges of it.  So once I finished removing the tile and ripping up the remaining linoleum it looked like this…

P1060954

Do you notice anything on the floor in this photo? Possibly a crack in the foundation?

P1060956

Oh hi crack! At this point we were thinking this project just got really expensive, so we called Justin’s dad.  Turns out it is perfectly normal for the foundation to settle and to get cracks in some areas. Man were we relieved!

While I finished up Justin had already installed the drywall to fill the hole in the wall.

P1060946

Finally making some progress!

From there Justin’s dad told us we should probably pour down some cement underlayment, so we are sure the floor is level when we lay the new tile.  So off I went to Lowes and picked up a bag of this…

093994178527

Once I got home Justin mixed up a batch of the cement and started pouring it in.

P1060975

At this point we need to wait for the underlayment to settle and dry for 24 hours and then we can start laying tile and working on other projects in the room! Man this project got big fast!