IKEA does it again!

My art room is in some serious need of storage!  I have a lot of art supplies and I would love to have it organized and contained neatly in one room.  I would be stoked if everything had it’s own little spot to live forever, or until I decide it needs a new home.  Right now everything is thrown into this closet… kk6 All mismatched storage thrown into a sad little closet.  Not to mention that those are the boxes that we moved into this house with! That’s right, not even unpacked, definitely rummaged through but not unpacked!  Shame on me! I needed to find some solution to this madness.  Who do you turn to when you have storage problems?  How about our friend IKEA! That’s right, take a browse through this guy…

IKEA catalog

and all of your storage problems will be solved! It’s where I found this…

Helmer IKEA drawer unit

It’s the Helmer Drawer Unit and it’s just $39.99.  Thought it would be perfect for holding/organizing all of my art and craft supplies, so I dumped one of these in my online shopping cart and kept browsing.  One other thing that has been on my list for this room for a while is a chair.  I have been checking craigslist from time to time and also checking out my options at local stores, but unfortunately I was having no luck.  So, what do you know, IKEA came to the rescue again when I found this…

snille-swivel-chair__34946_PE125269_S4

It’s a Snille Swivel Chair which is only $19.99.   I thought it would work well for my room and I was in desperate need of a desk chair, it wasn’t love at first site but it will work!  So, I plopped this guy in my online cart also and checked out my two new IKEA items.   In a couple days these arrived…

k1

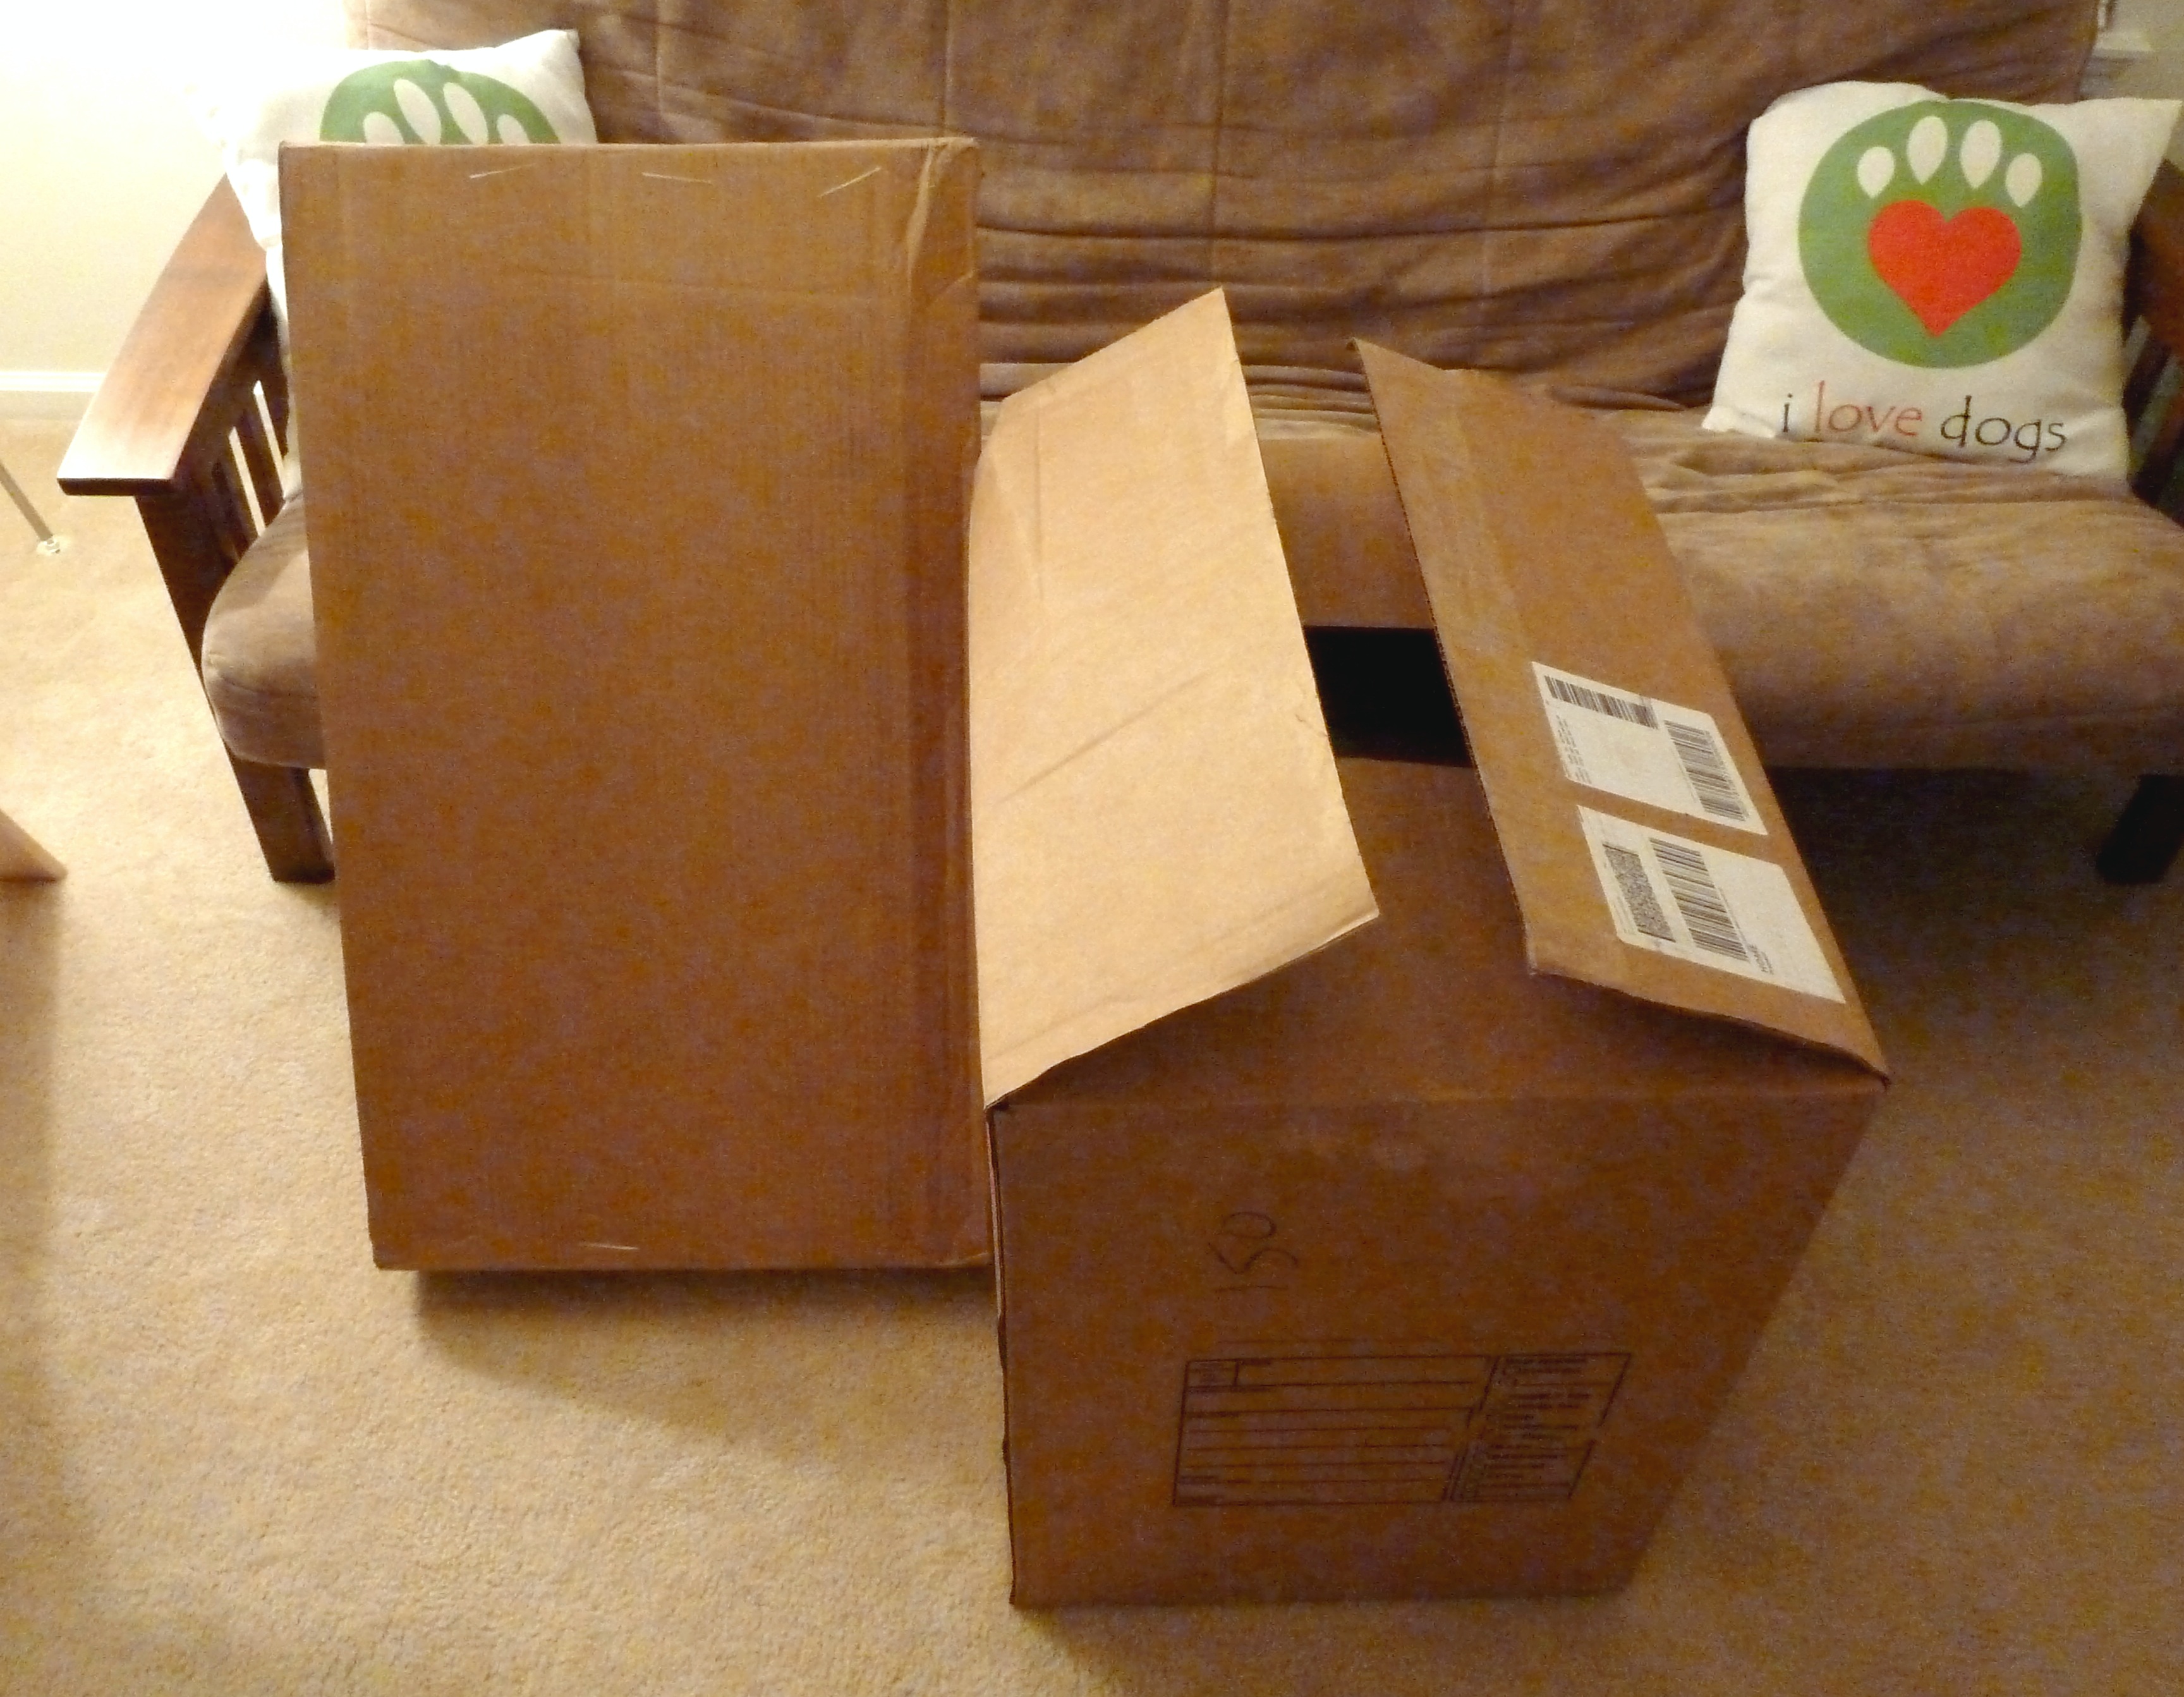
and it was building time.  I started with the bigger lighter box which I assumed was the chair and I was correct.  Here are the contents of the first box…

k3

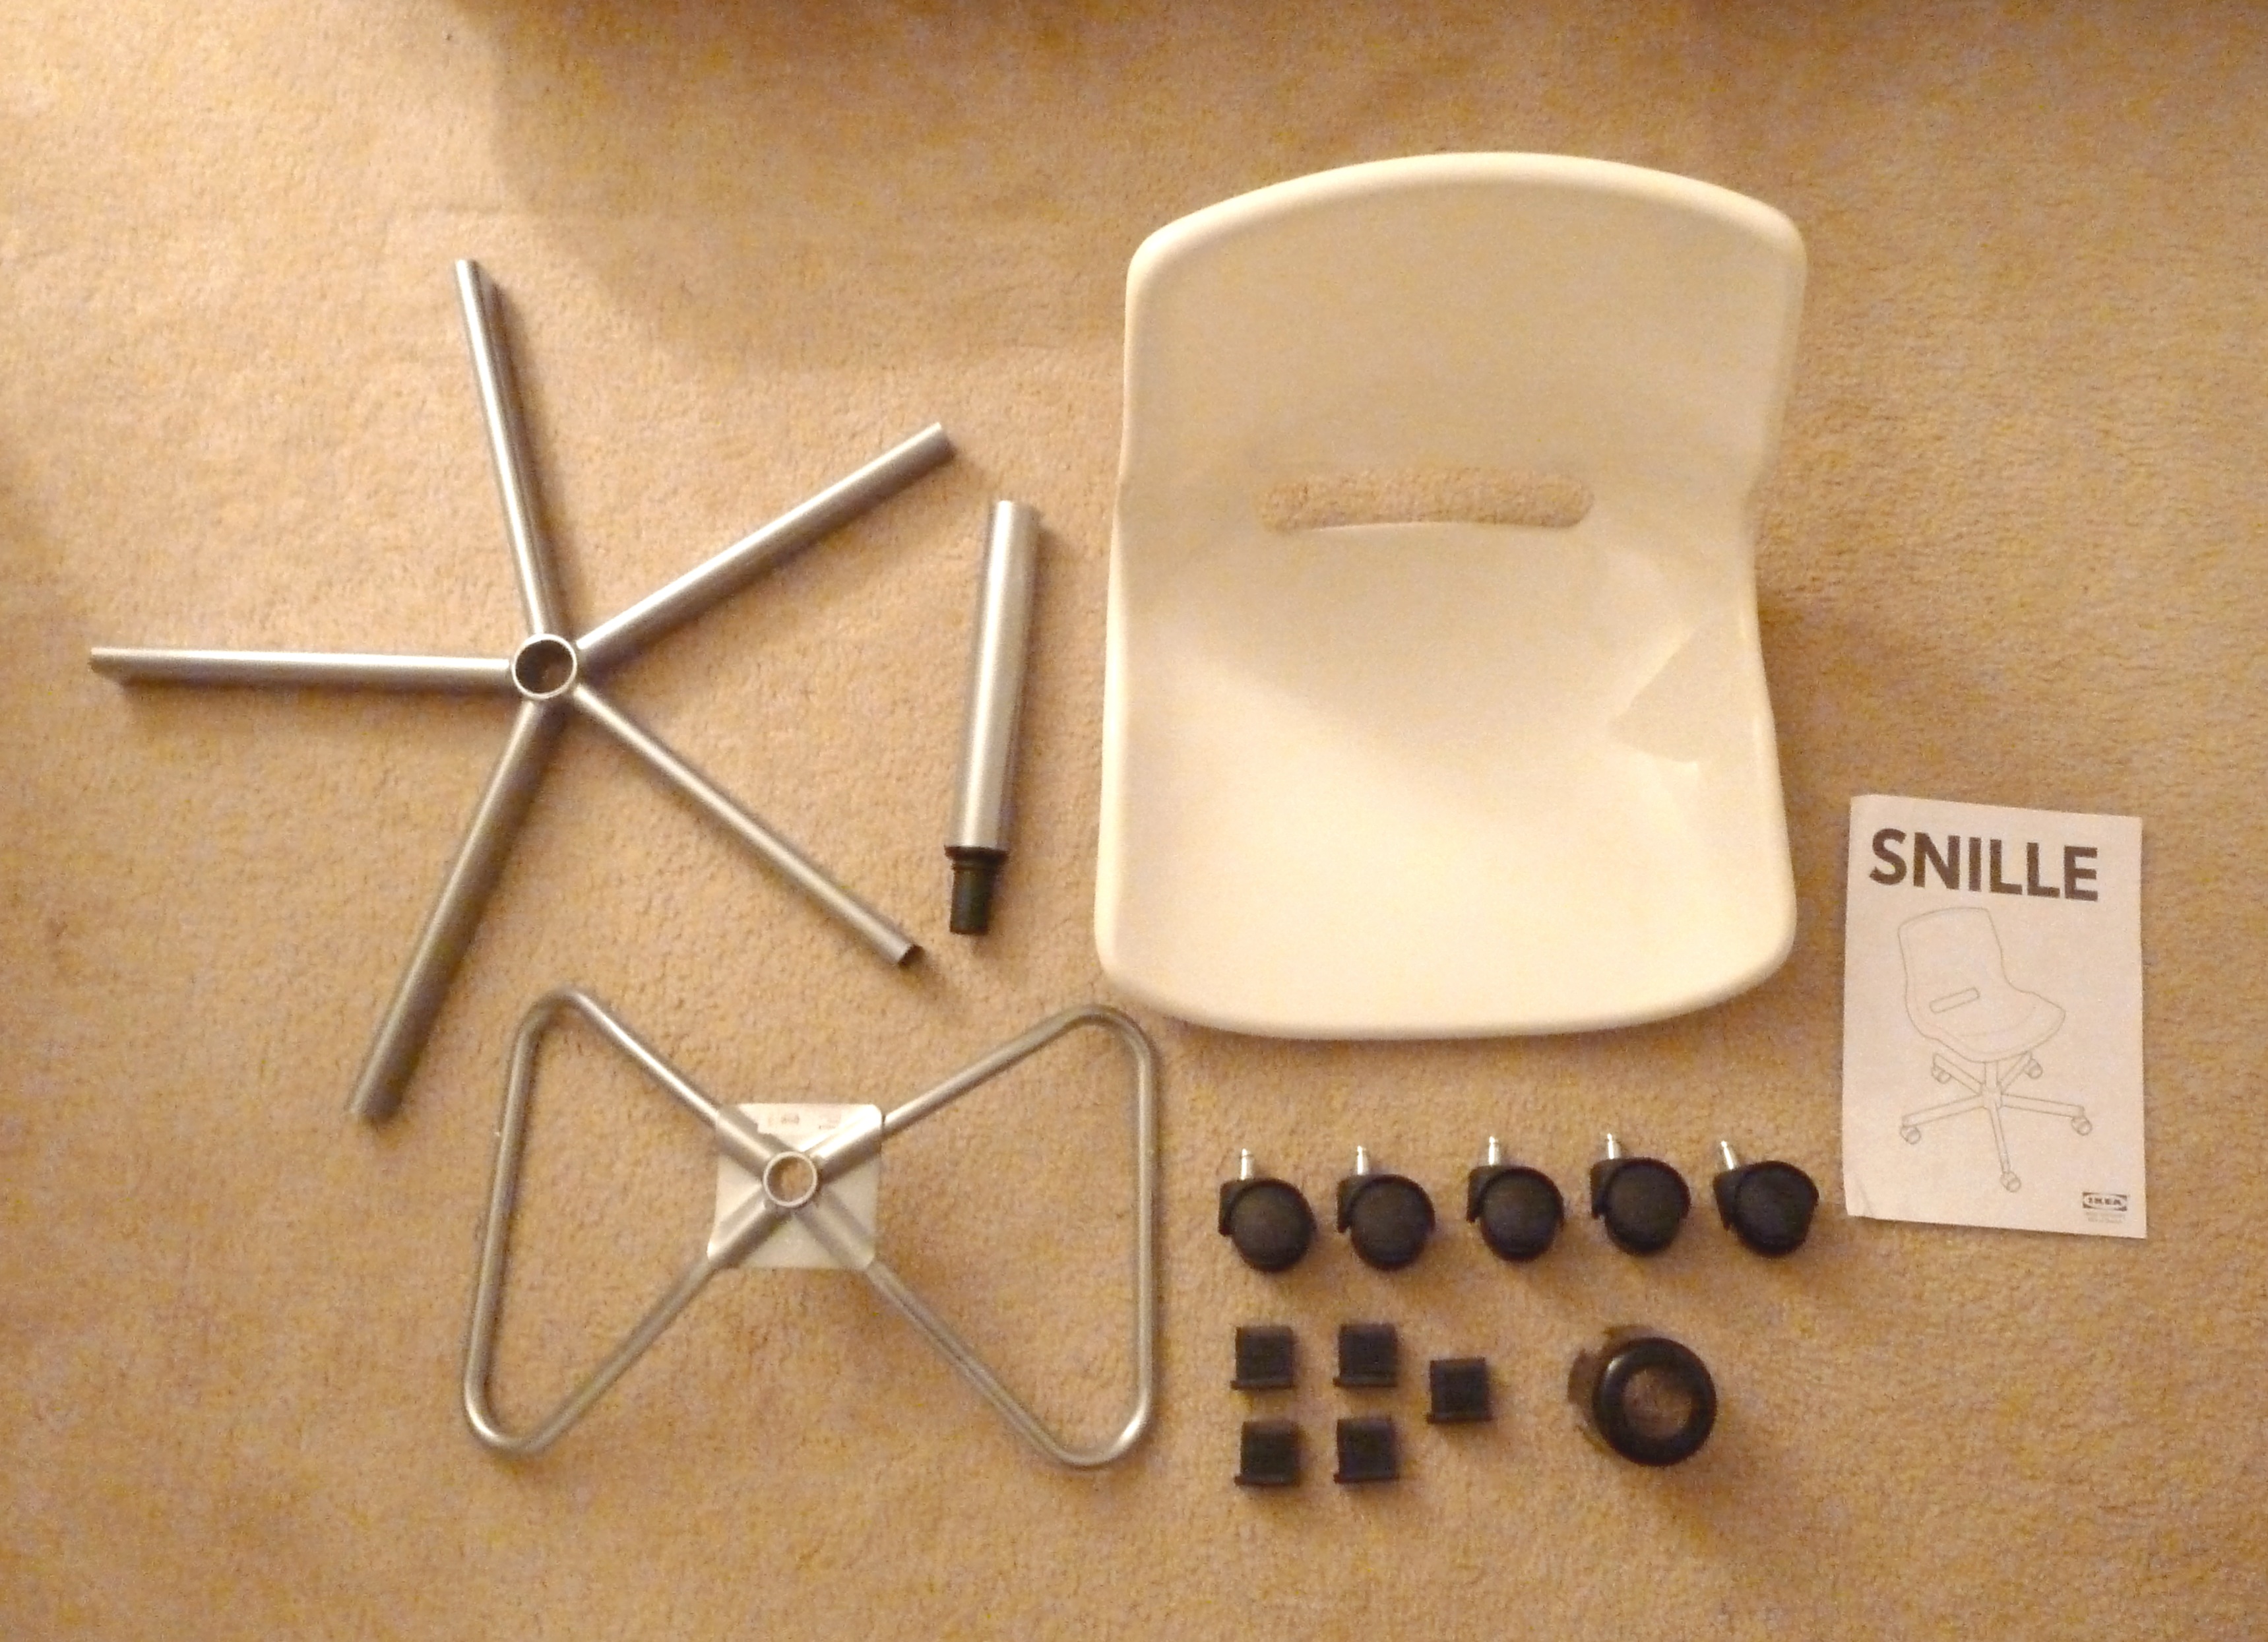
Not too many pieces, always a good sign!

So I got right to work and about 5 minutes later I had this…

kkk7

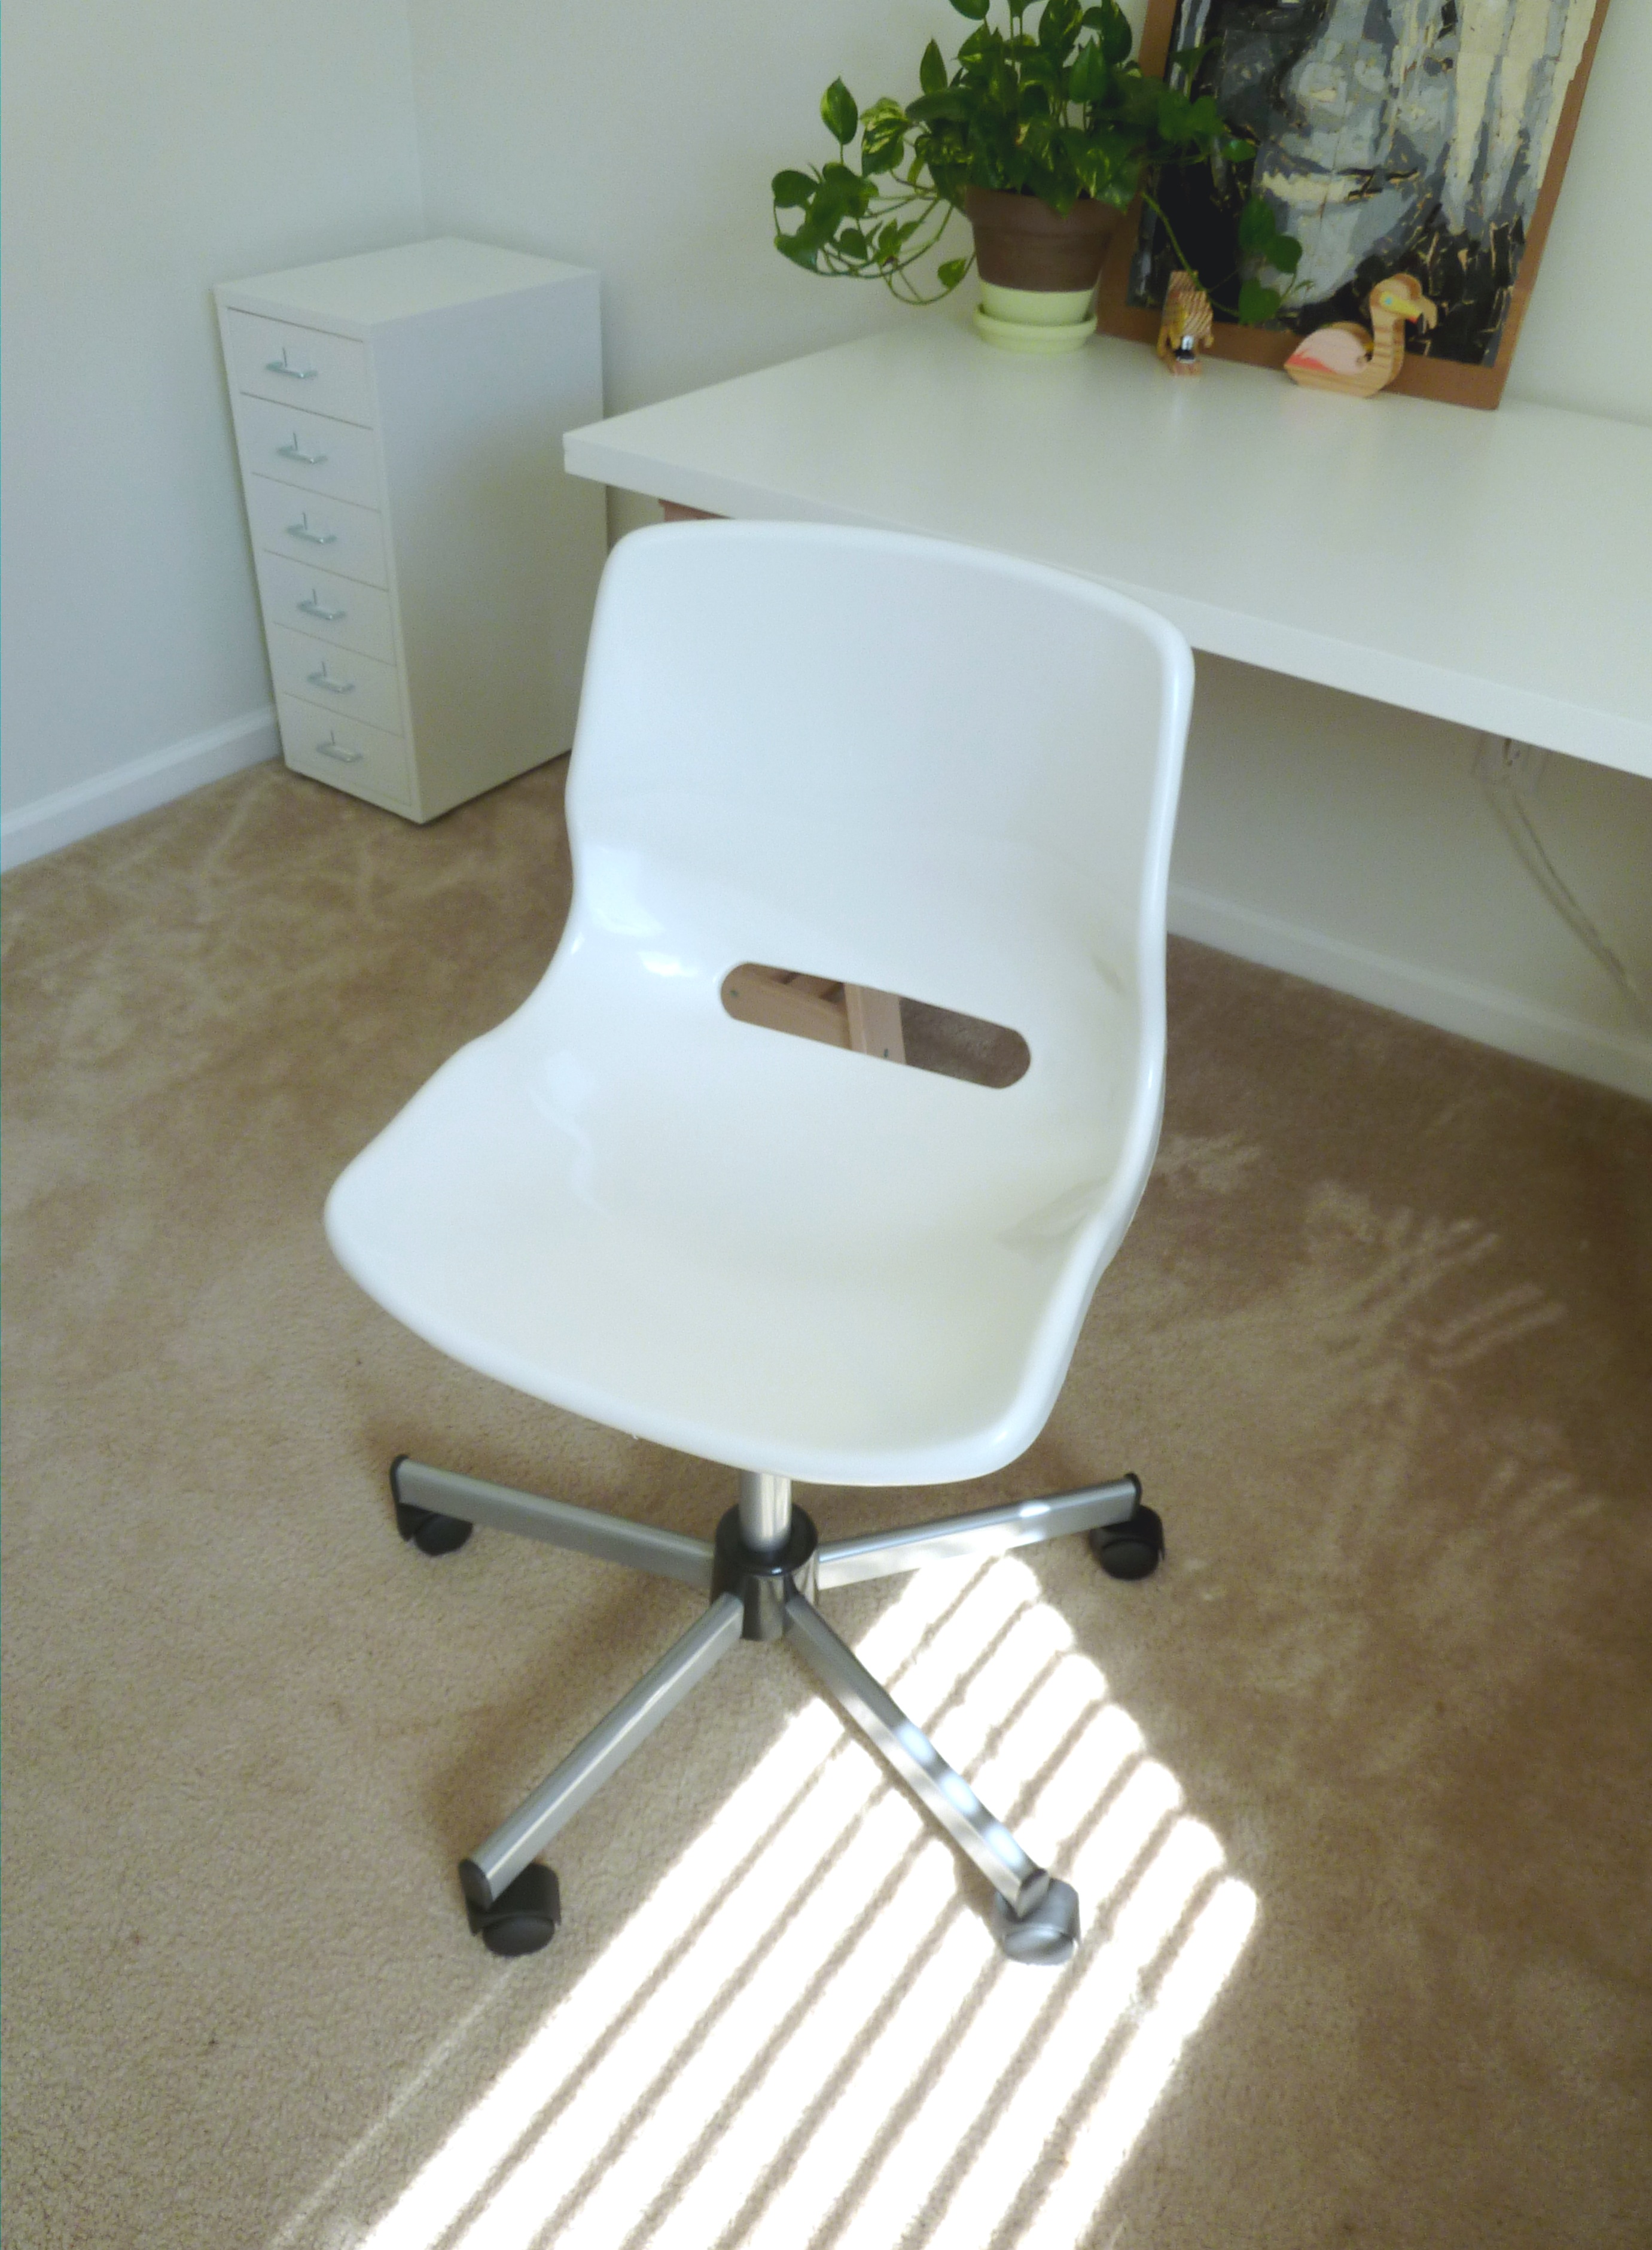
BAM, and I have a new chair! Next up was the Helmer Drawer Unit, which was not quite as easy.  Here is what you see when you open the box…

k4

A few more pieces came with this one as you can see.  So here is everything laid out…

k5

Looks like madness to me, how about you?  Basically I tried my best with building this one too, except it didn’t turn out as well as the chair.  Once I had the unit and the drawers assembled, the drawers weren’t fitting in the slots correctly and I could not figure out what I had done wrong.  In case you haven’t purchased anything from IKEA yet, I will forewarn you that their instruction manuals do not have words, just pictures.  This is great for me in most cases, except when I can’t figure out where I went wrong, at that point I need words!  So, finally I got frustrated enough and told Justin I needed some help.  Within 5 minutes he had it all fixed.  Turns out I put the walls of the unit on backwards, I had the right wall on the left side and the left wall on the right side, if that makes any sense. After all of the struggles this is what I had…

kkk8

So, the verdict is that I still love IKEA very much!  Here is my art room now…

kkk9

kkk99

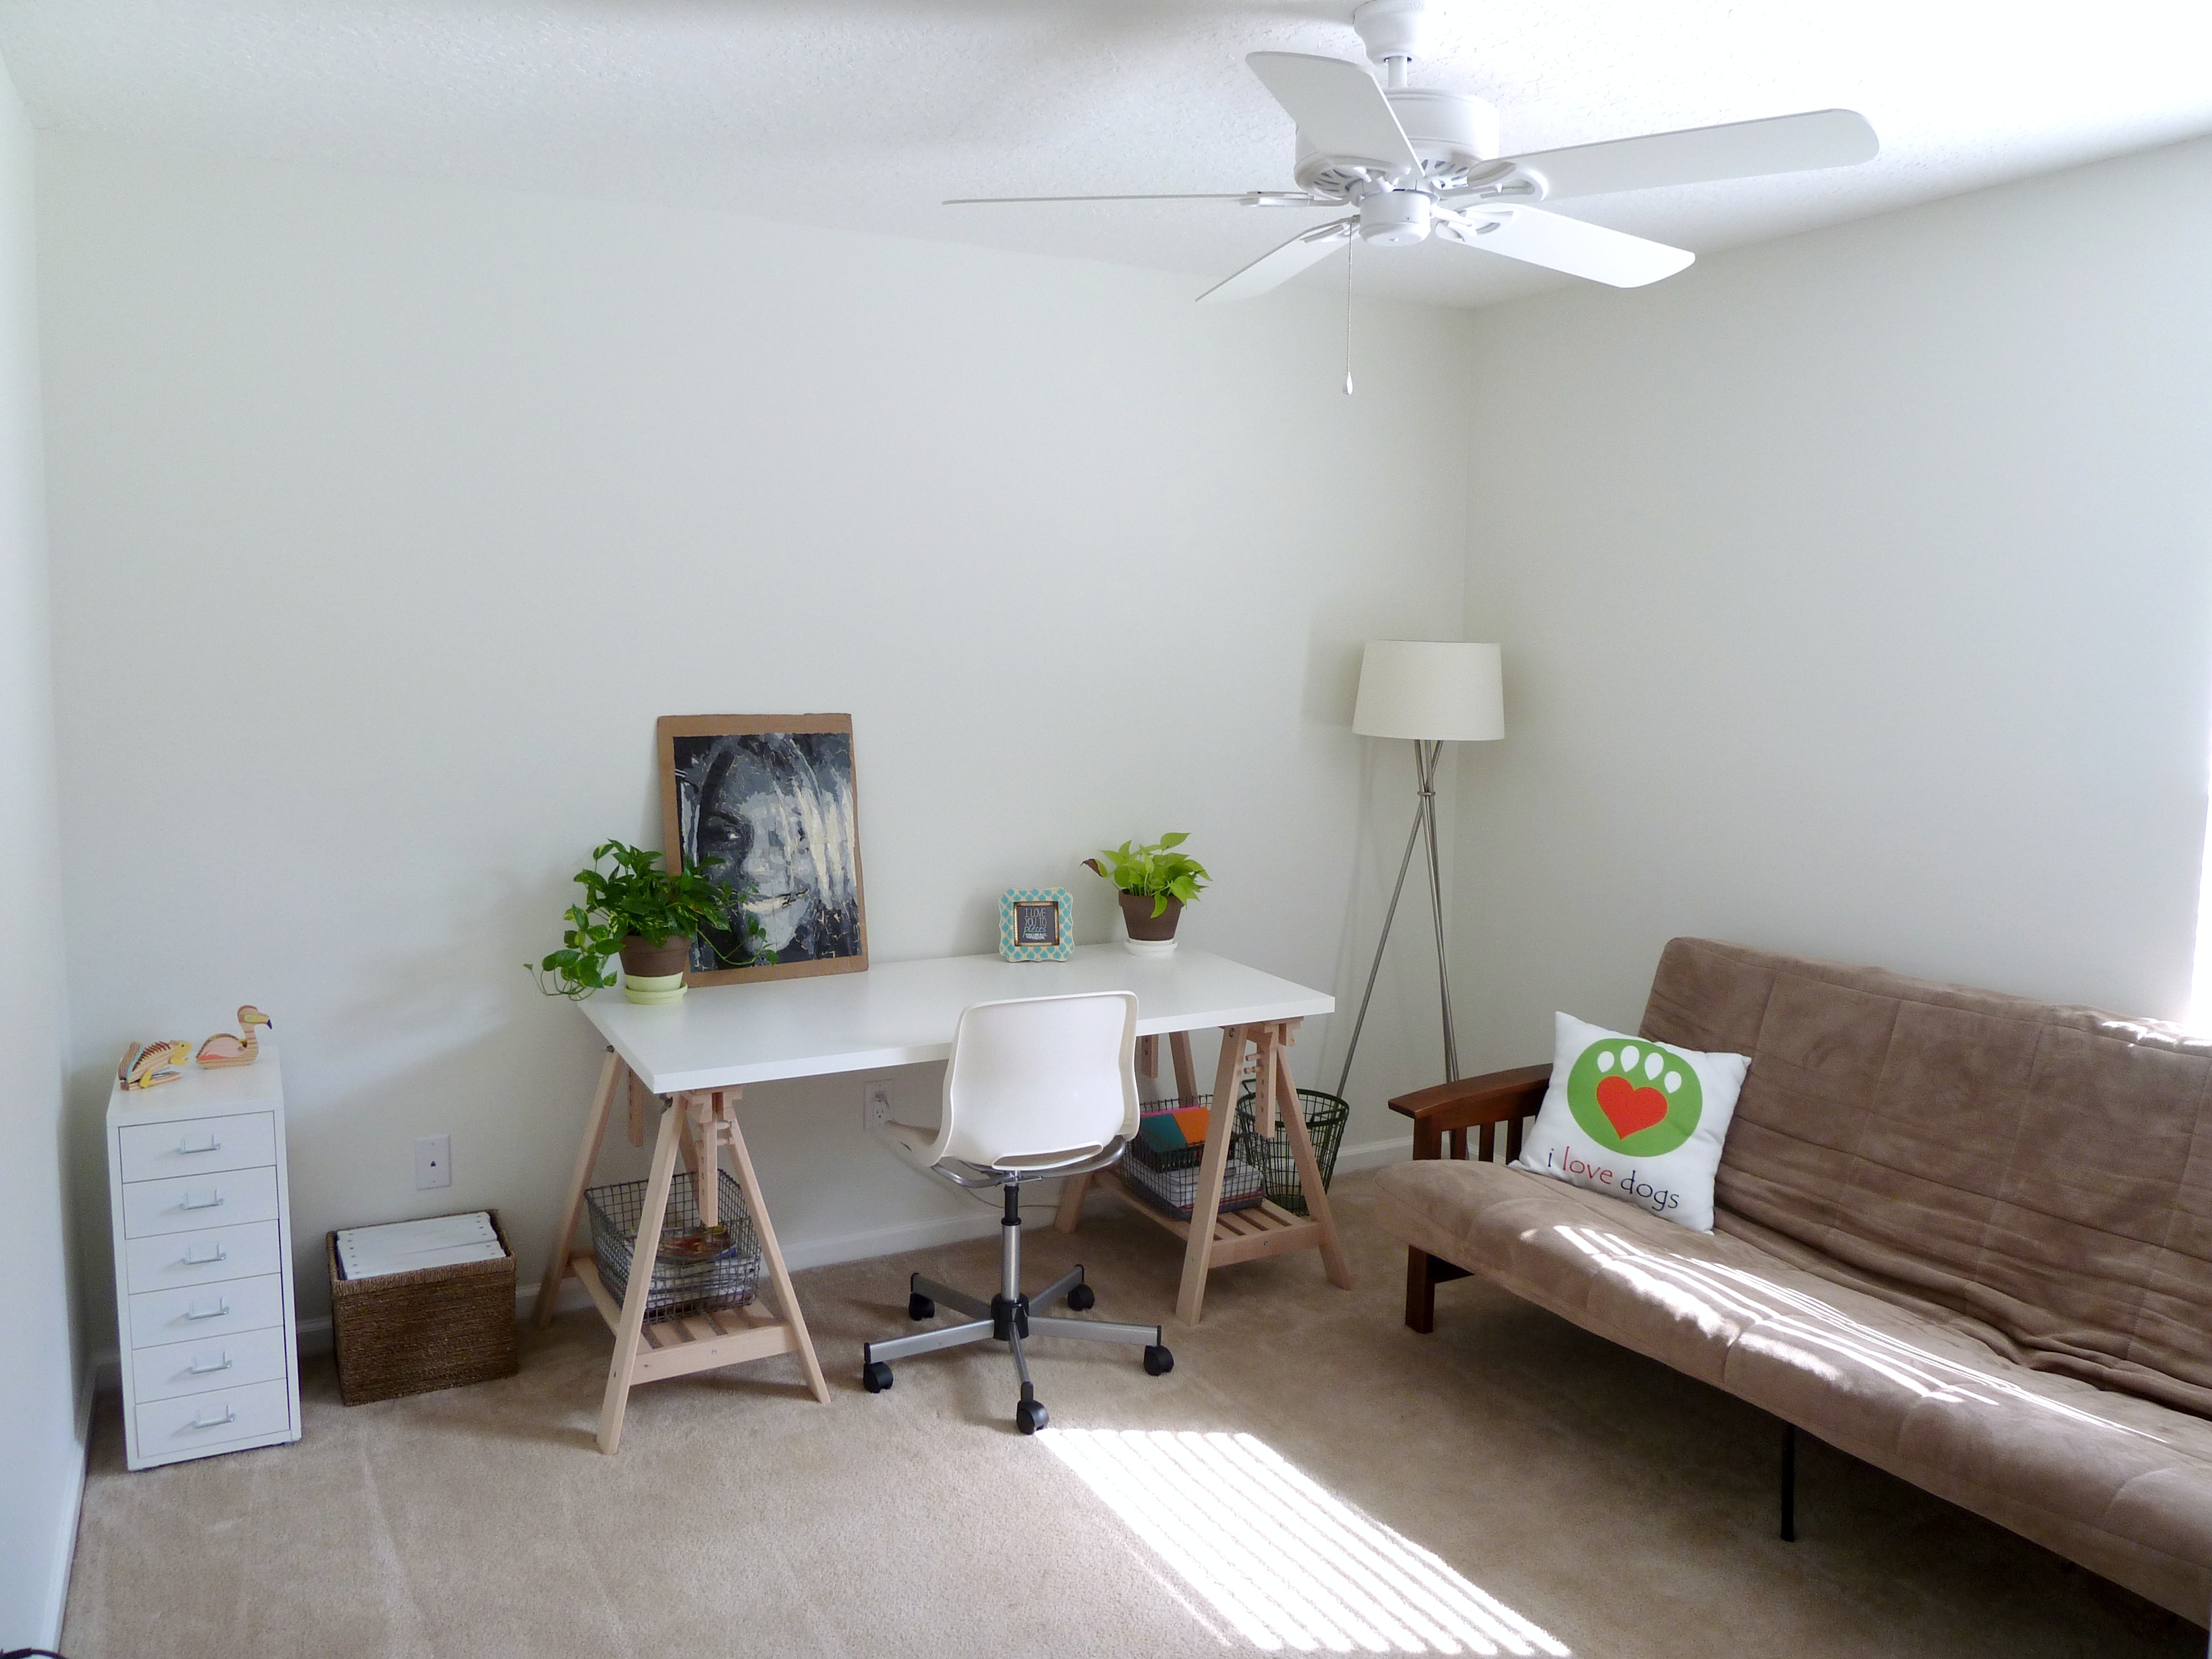
Wondering where my white rolling cart went?

kkk999

There it is, just using a different wall to hang out on.

Don’t worry, I’ll be back soon to give you a breakdown of what I used the new storage for.

Happy Fall Y’all

I seriously just typed y’all, I don’t even say that word.  Florida may be rubbing off on me afterall.  Anyway, Halloween is over and it’s time to plan for the next holiday aka Thanksgiving.  Can’t wait to stuff my face and hang with family, but in the meantime I figured I would throw some fall decorations up to get us pumped up for the upcoming festivities! First off I packed up all of the Halloween decorations, except a few pumpkins that will stay to help celebrate Thanksgiving.  Once I had everything packed away I headed out to the store to get some supplies for some decorations I was thinking about putting together.  I stopped at JoAnne Fabrics and Hobby Lobby and came home with this…

k7

Yup, got a butt load of stuff.  Everything was on sale though, I’m not that crazy, I spent about $25 for everything here.  I got the branchy thing with yellow looking berries from Hobby Lobby for $3 and it ended up here…

k8

To be honest this may hang out here year round.  I am really diggin the way that it helps fills out this little nook area.  Here’s a view from the other side…

k9

I heart it.  I wasn’t finished there, oh no.  I still had a couple other quick crafty projects up my sleeve, oh yes.

k99

I previously had this glass cylinder from Justin’s work Christmas party, believe it or not.  They always have nice little centerpieces and they let every couple take one home each year.  This guy was filled with pine cones and ornaments last year.  I have seen them at craft stores for around $5 though if you’re interested in picking one up.  I also grabbed a cylinder candle from Target, that was on clearance for $4.

k9999

Lastly, I picked up some beans. Yes, beans.

k999

Navy beans in particular, never heard of them.  I just liked them because they were white.  You can probably see where I am going with this idea now…

k99999

I poured some of the beans in the glass cylinder and then plopped the candle right on top.  I shimmied it around until it was level and centered then poured in the remaining beans.

k999999

I really wanted to try to stick with a white/tan theme for Thanksgiving this year, so I went with the white navy beans.  You could also use split peas or kidney beans or even acorns.  Anything your heart desires I guess!  Here is where this one ended up…

kkkkk7

kkk3

On the TV console.  I had one last project in mind, here are my supplies…

k9999999

See the wheat looking stuff?  I picked that up at Hobby Lobby for $3 also, the ribbon and mason jars I already owned.  I started by splitting up the wheat bunch into smaller pieces.  The bunch was held together by wire, so I had to use our wire cutters to do so.

k99999999

I was left with this…

k999999999

All of those little extended pieces are wire, I tossed this guy right in the trash.  Next I plopped a few of the bunches into a clear mason jar.

kk1

I thought this was looking pretty good, but I didn’t care for the way the bottom of the bunches looked unfinished in the clear jar.  I then grabbed a bag of white rice we had in our pantry and just poured some right into the jar…

kk2

Much better!

kk3

I also added a burlap bow on each…

kk5

Fancy, huh?  These two went to live on the mantle…

kk99999999

I also put a couple creamish colored frames and a few votive candles up there as well. This project cost me $3 total because I had everything on hand except the wheat bunch. If you had to purchase everything to replicate these I would say it would run you about $10. Not bad for a quick decoration project.

kkk1

I also purchased a little fall pillow that ended up in the patio…

kkkkk999

And I had to get one more pumpkin!

kkkkk5

And you know I have fall napkins!

kkkkk6

Lastly, I bought a crazy scarecrow guy that ended up on the kitchen ledge along with an acorn dish filled with candy.

kkk4

Do you decorate for fall?  Do tell!!!