I am on a kick with the master bath right now. I just feel the need to make some changes, so that’s just what I am doing. Last I showed you I had taken down the wallpaper border and left the room looking like this…
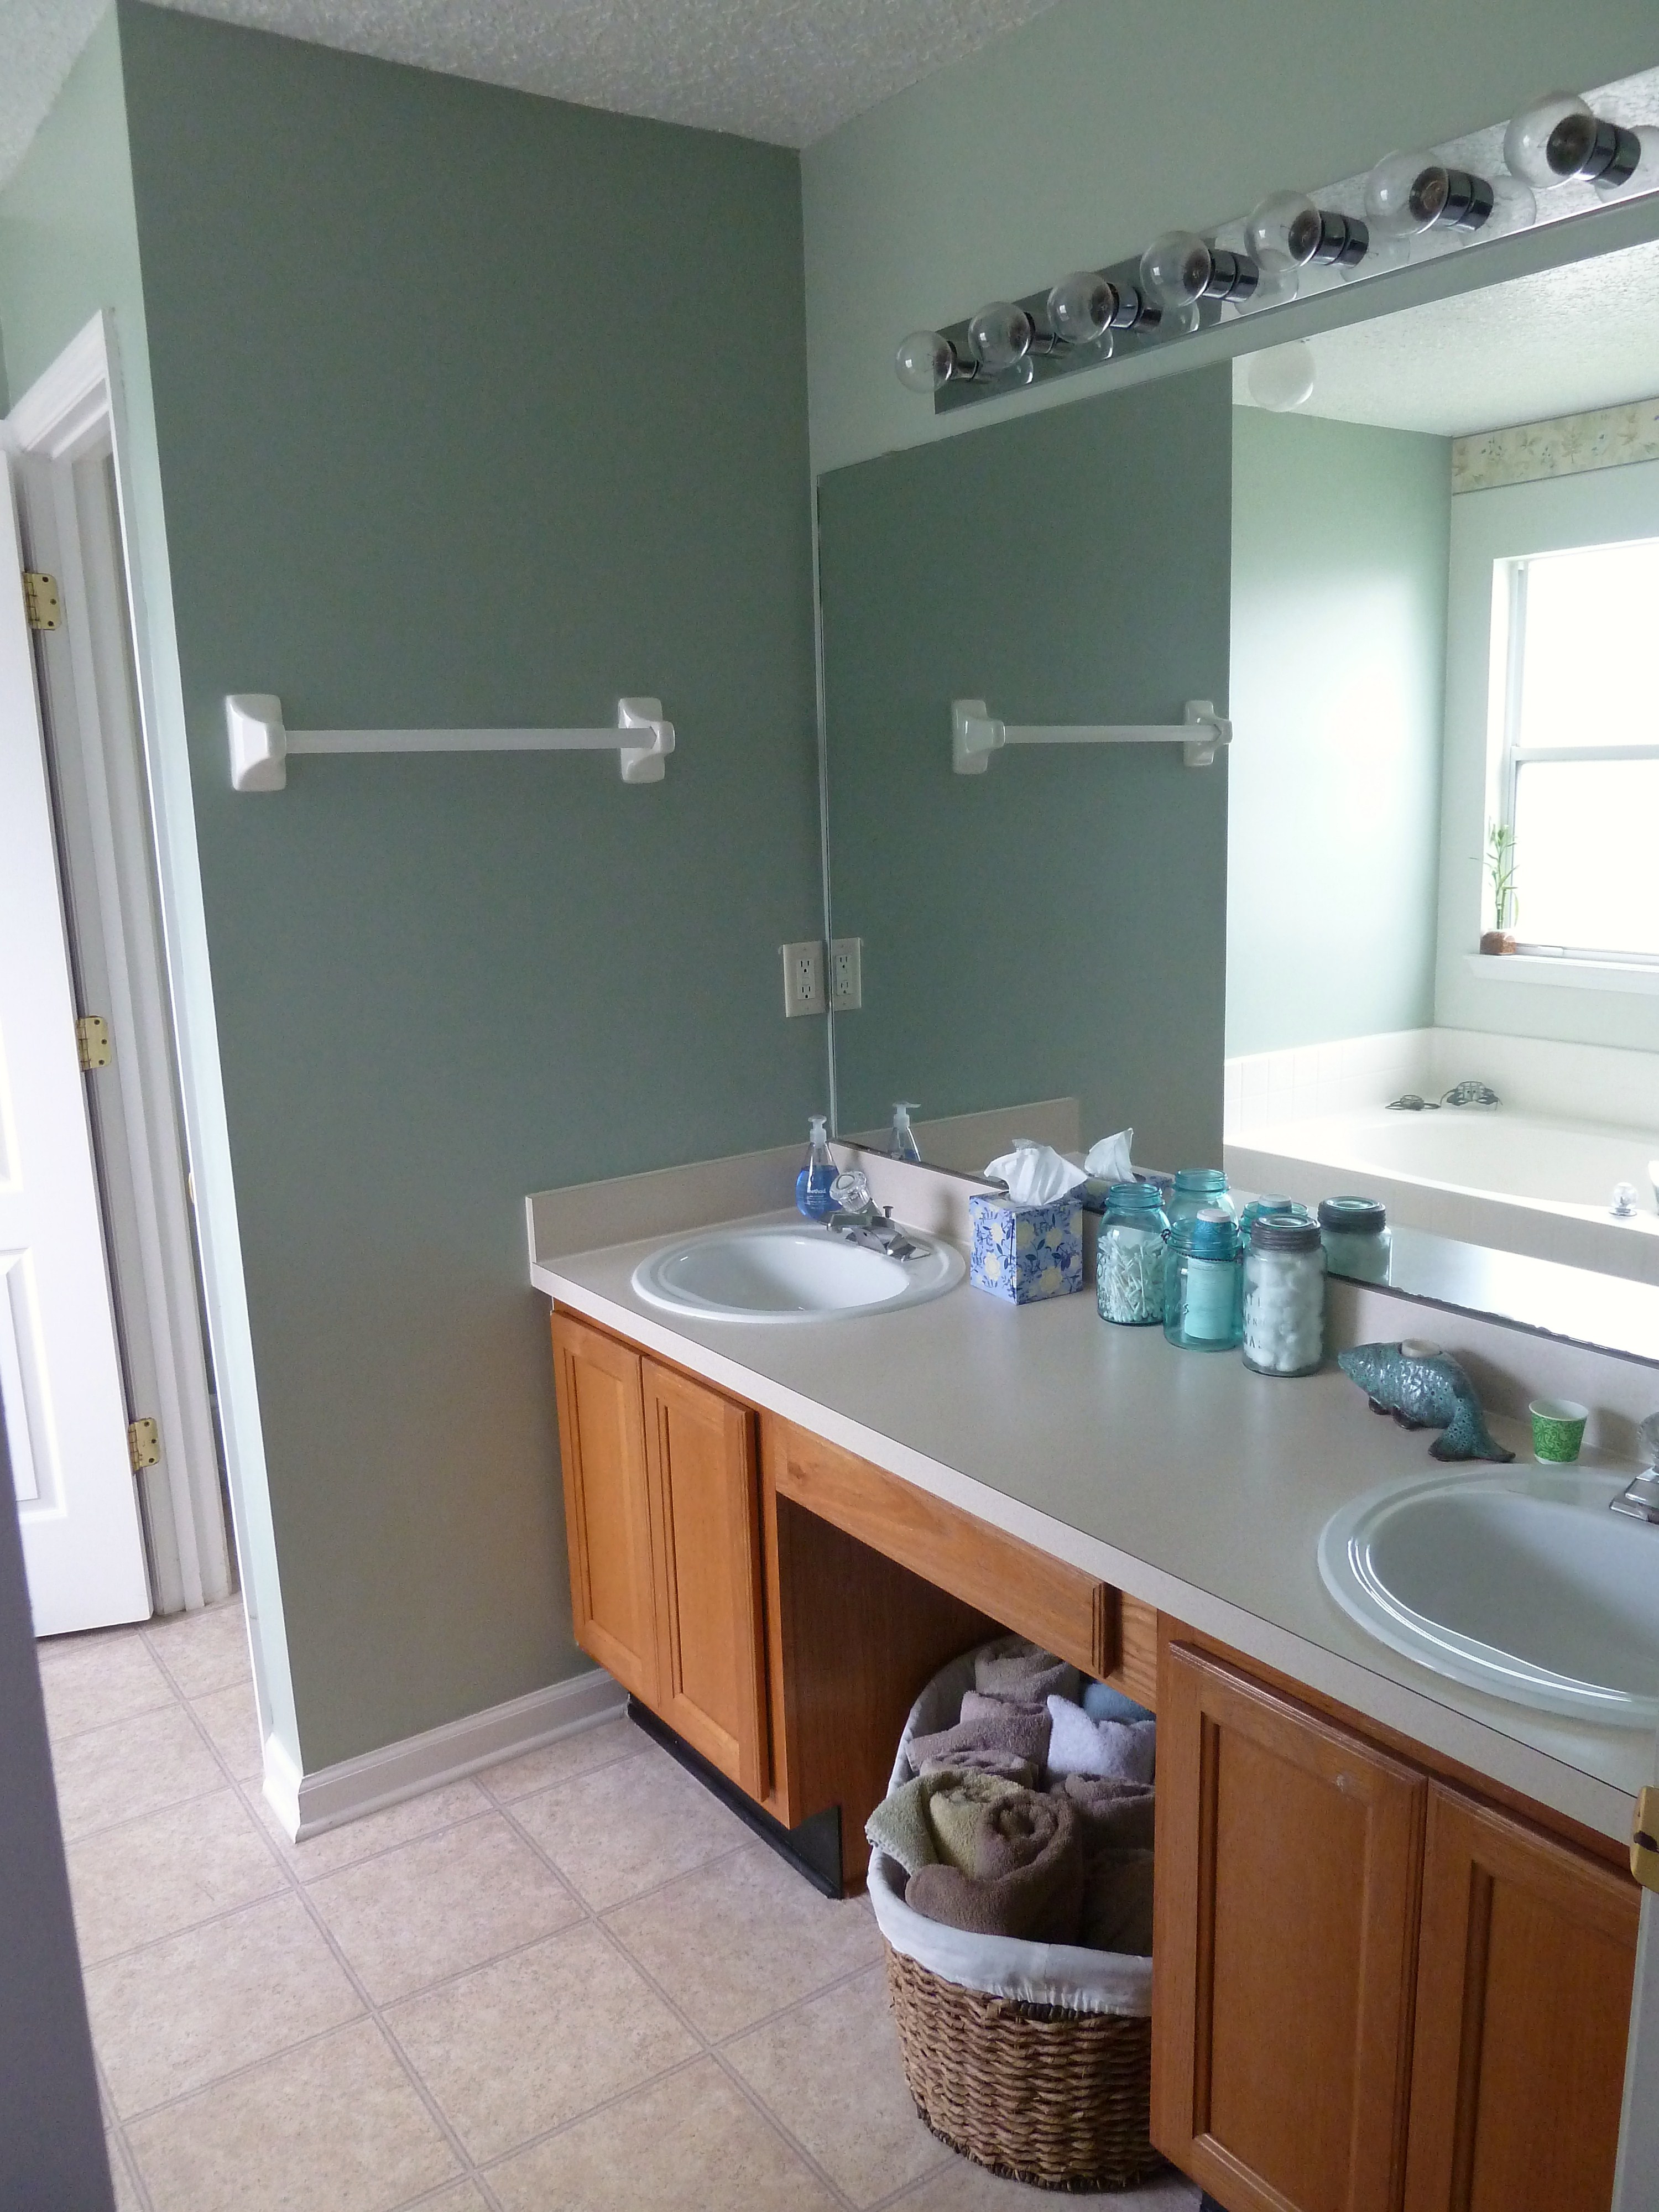
No more border! Yahoo! Next up I thought it might be nice to put some fresh paint on the walls. I just can’t get enough painting apparently. Before I started there were a few things I needed to do to prep the room. Here is the sink area in the bath…
See the counter splash guard? Well, I hate it. There is one on each side, yay! I decided they had to go, but first here’s a close up…

They were both semi-peeling away from the wall already, so removing them was pretty simple. I just took my spackling knife and pried the piece away from the wall. I had to cut some of the caulk as I went, but it pretty much just popped right out.
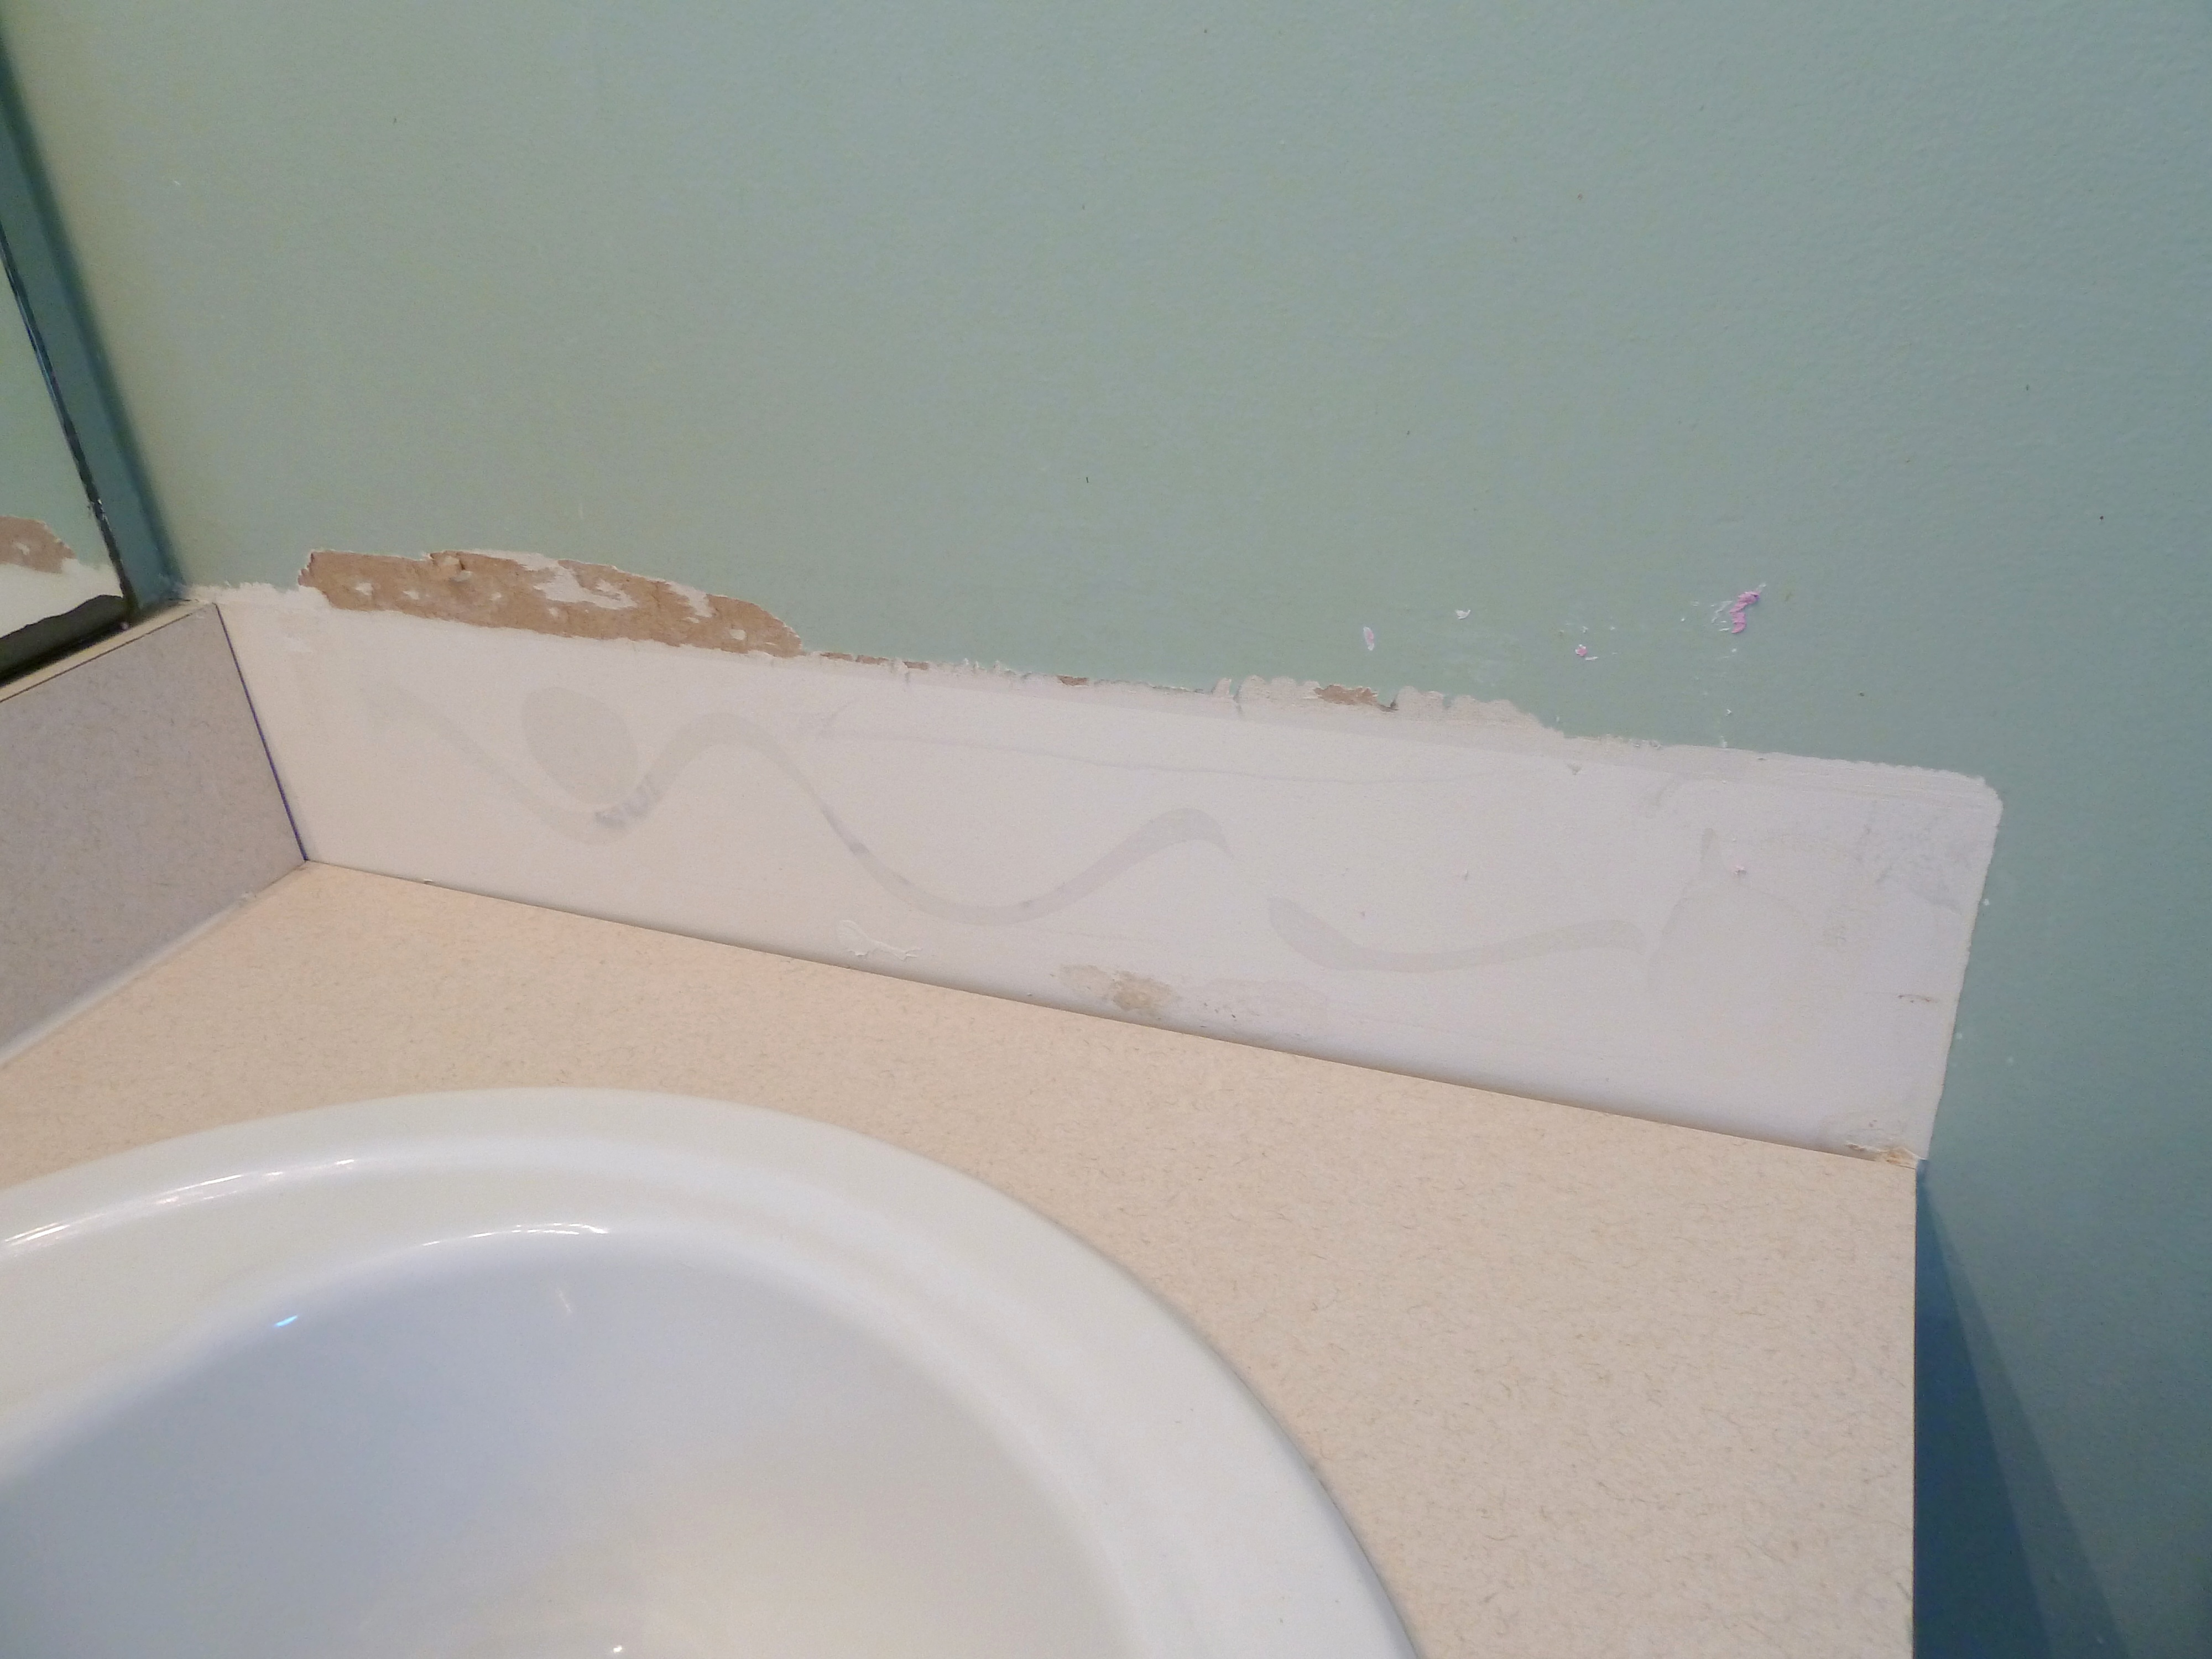
As you can see some of the drywall peeled up, nothing a little spackle can’t take care of, amiright? So I got right to spackling…

I use Dap DryDex spackle from Lowes, it goes on pink and dries white. That way you know when it is okay to start sanding.
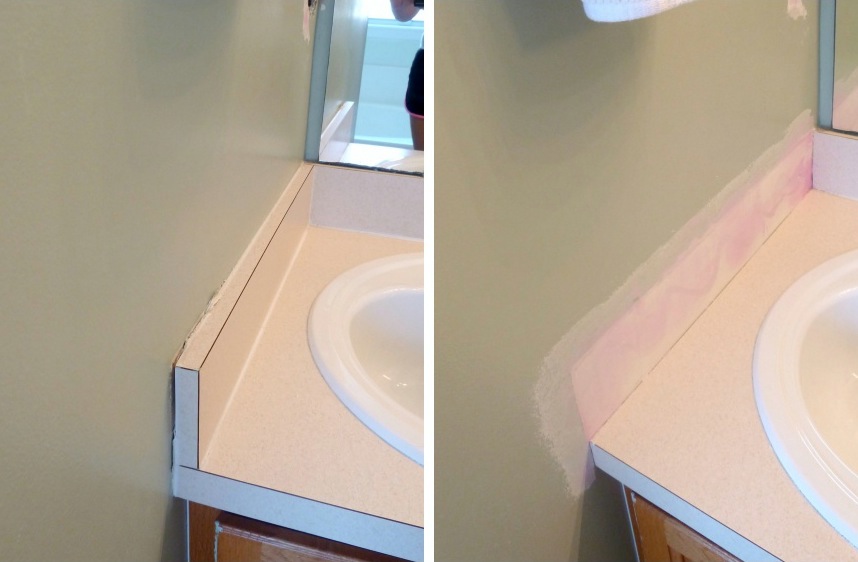
I think it looks better already!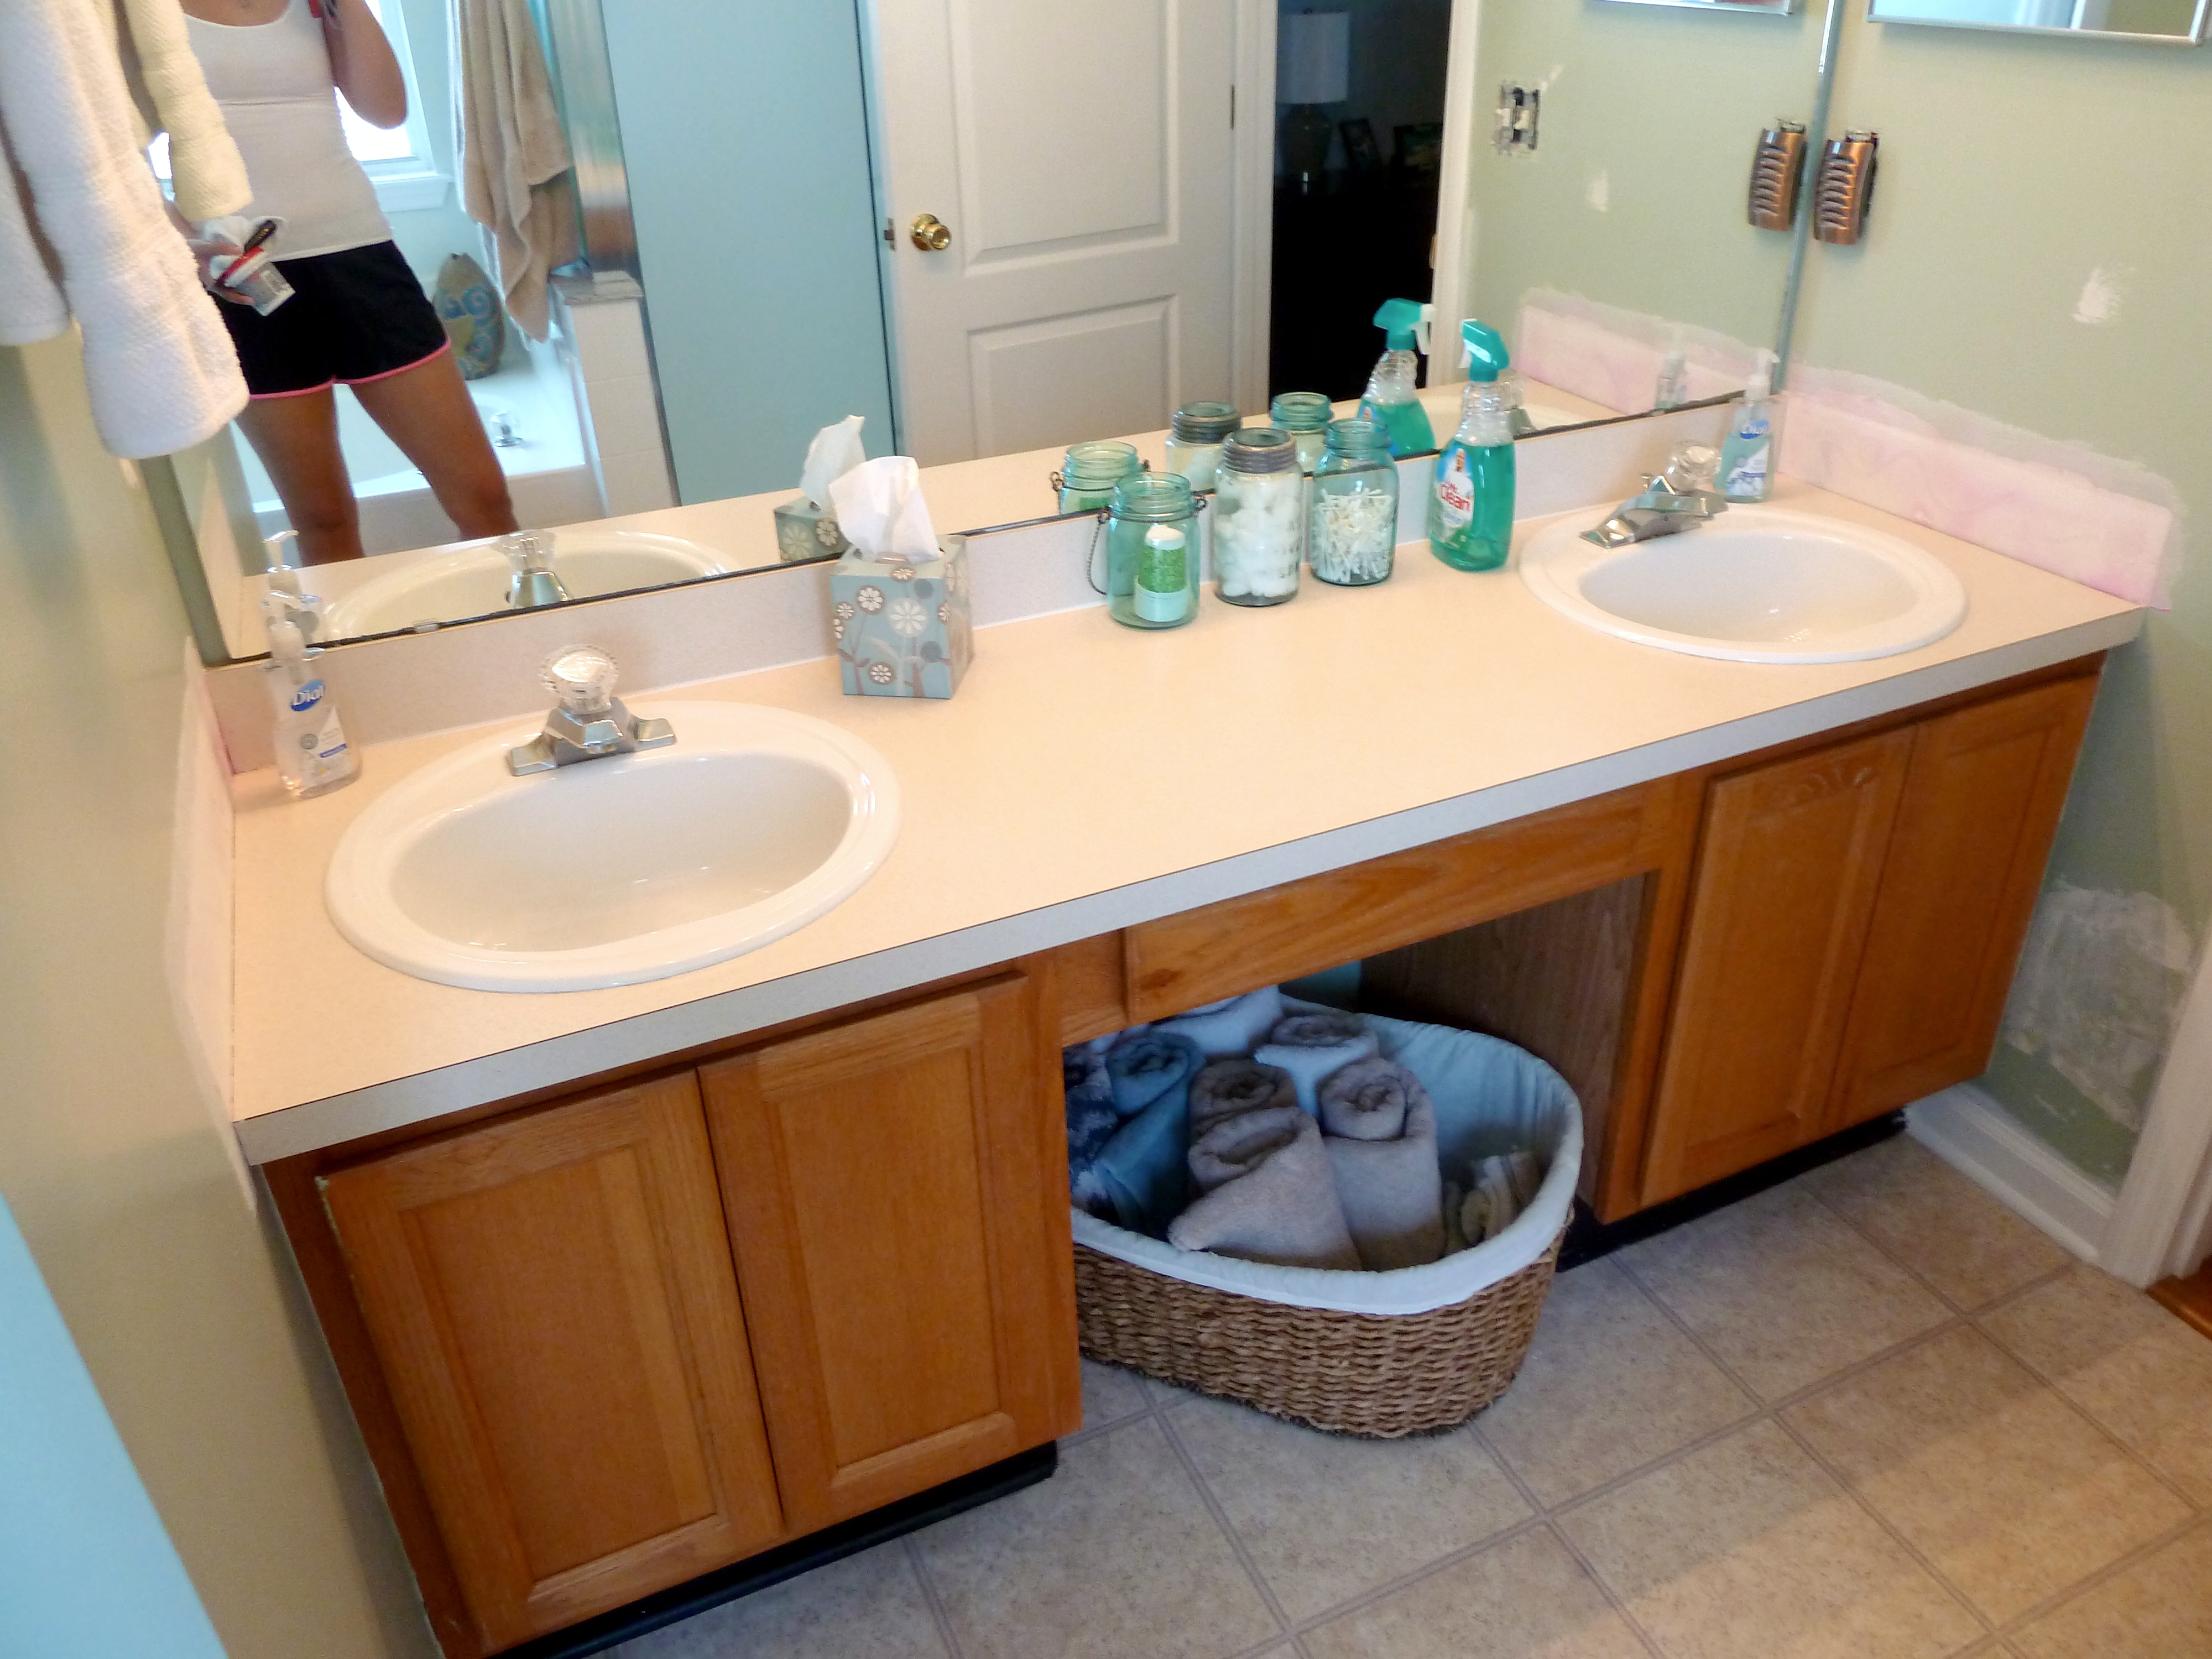
From there I spackled all of the holes in the walls from the previous owners art. Then I sanded everything down really well. I also re-painted all of the trim in a white semi-gloss.
Now this room is all ready for a good coat of paint on the walls.
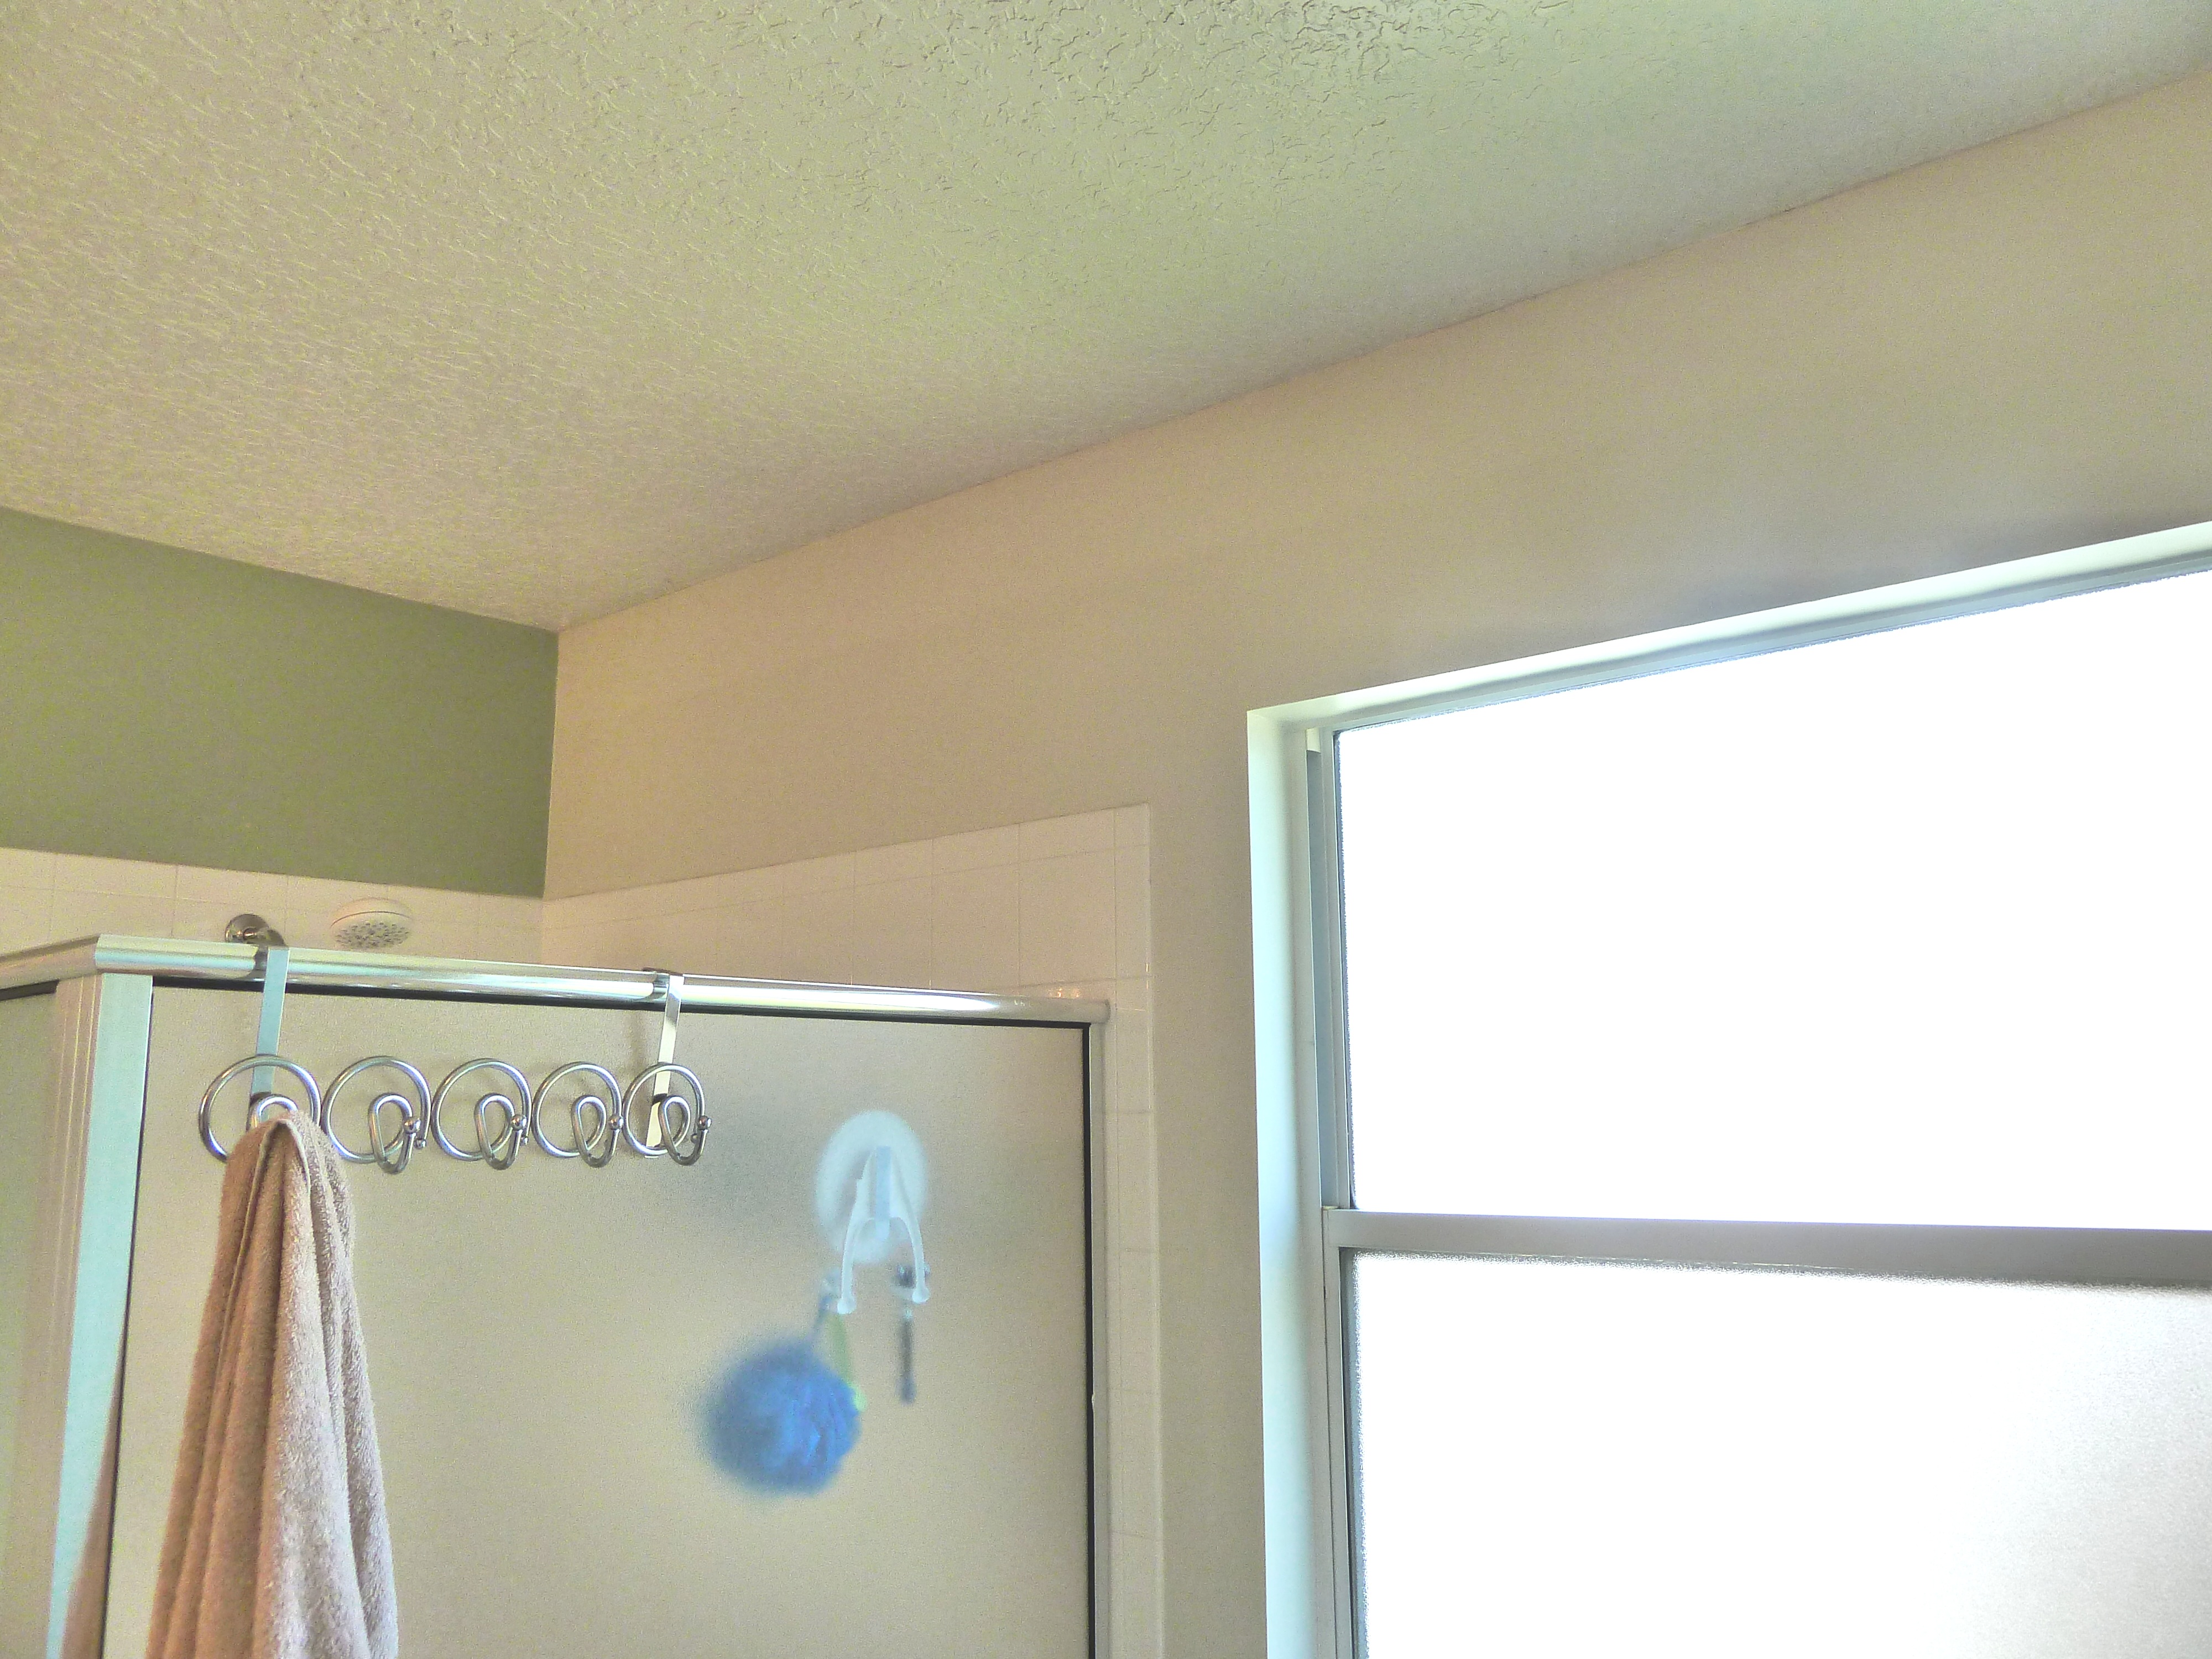
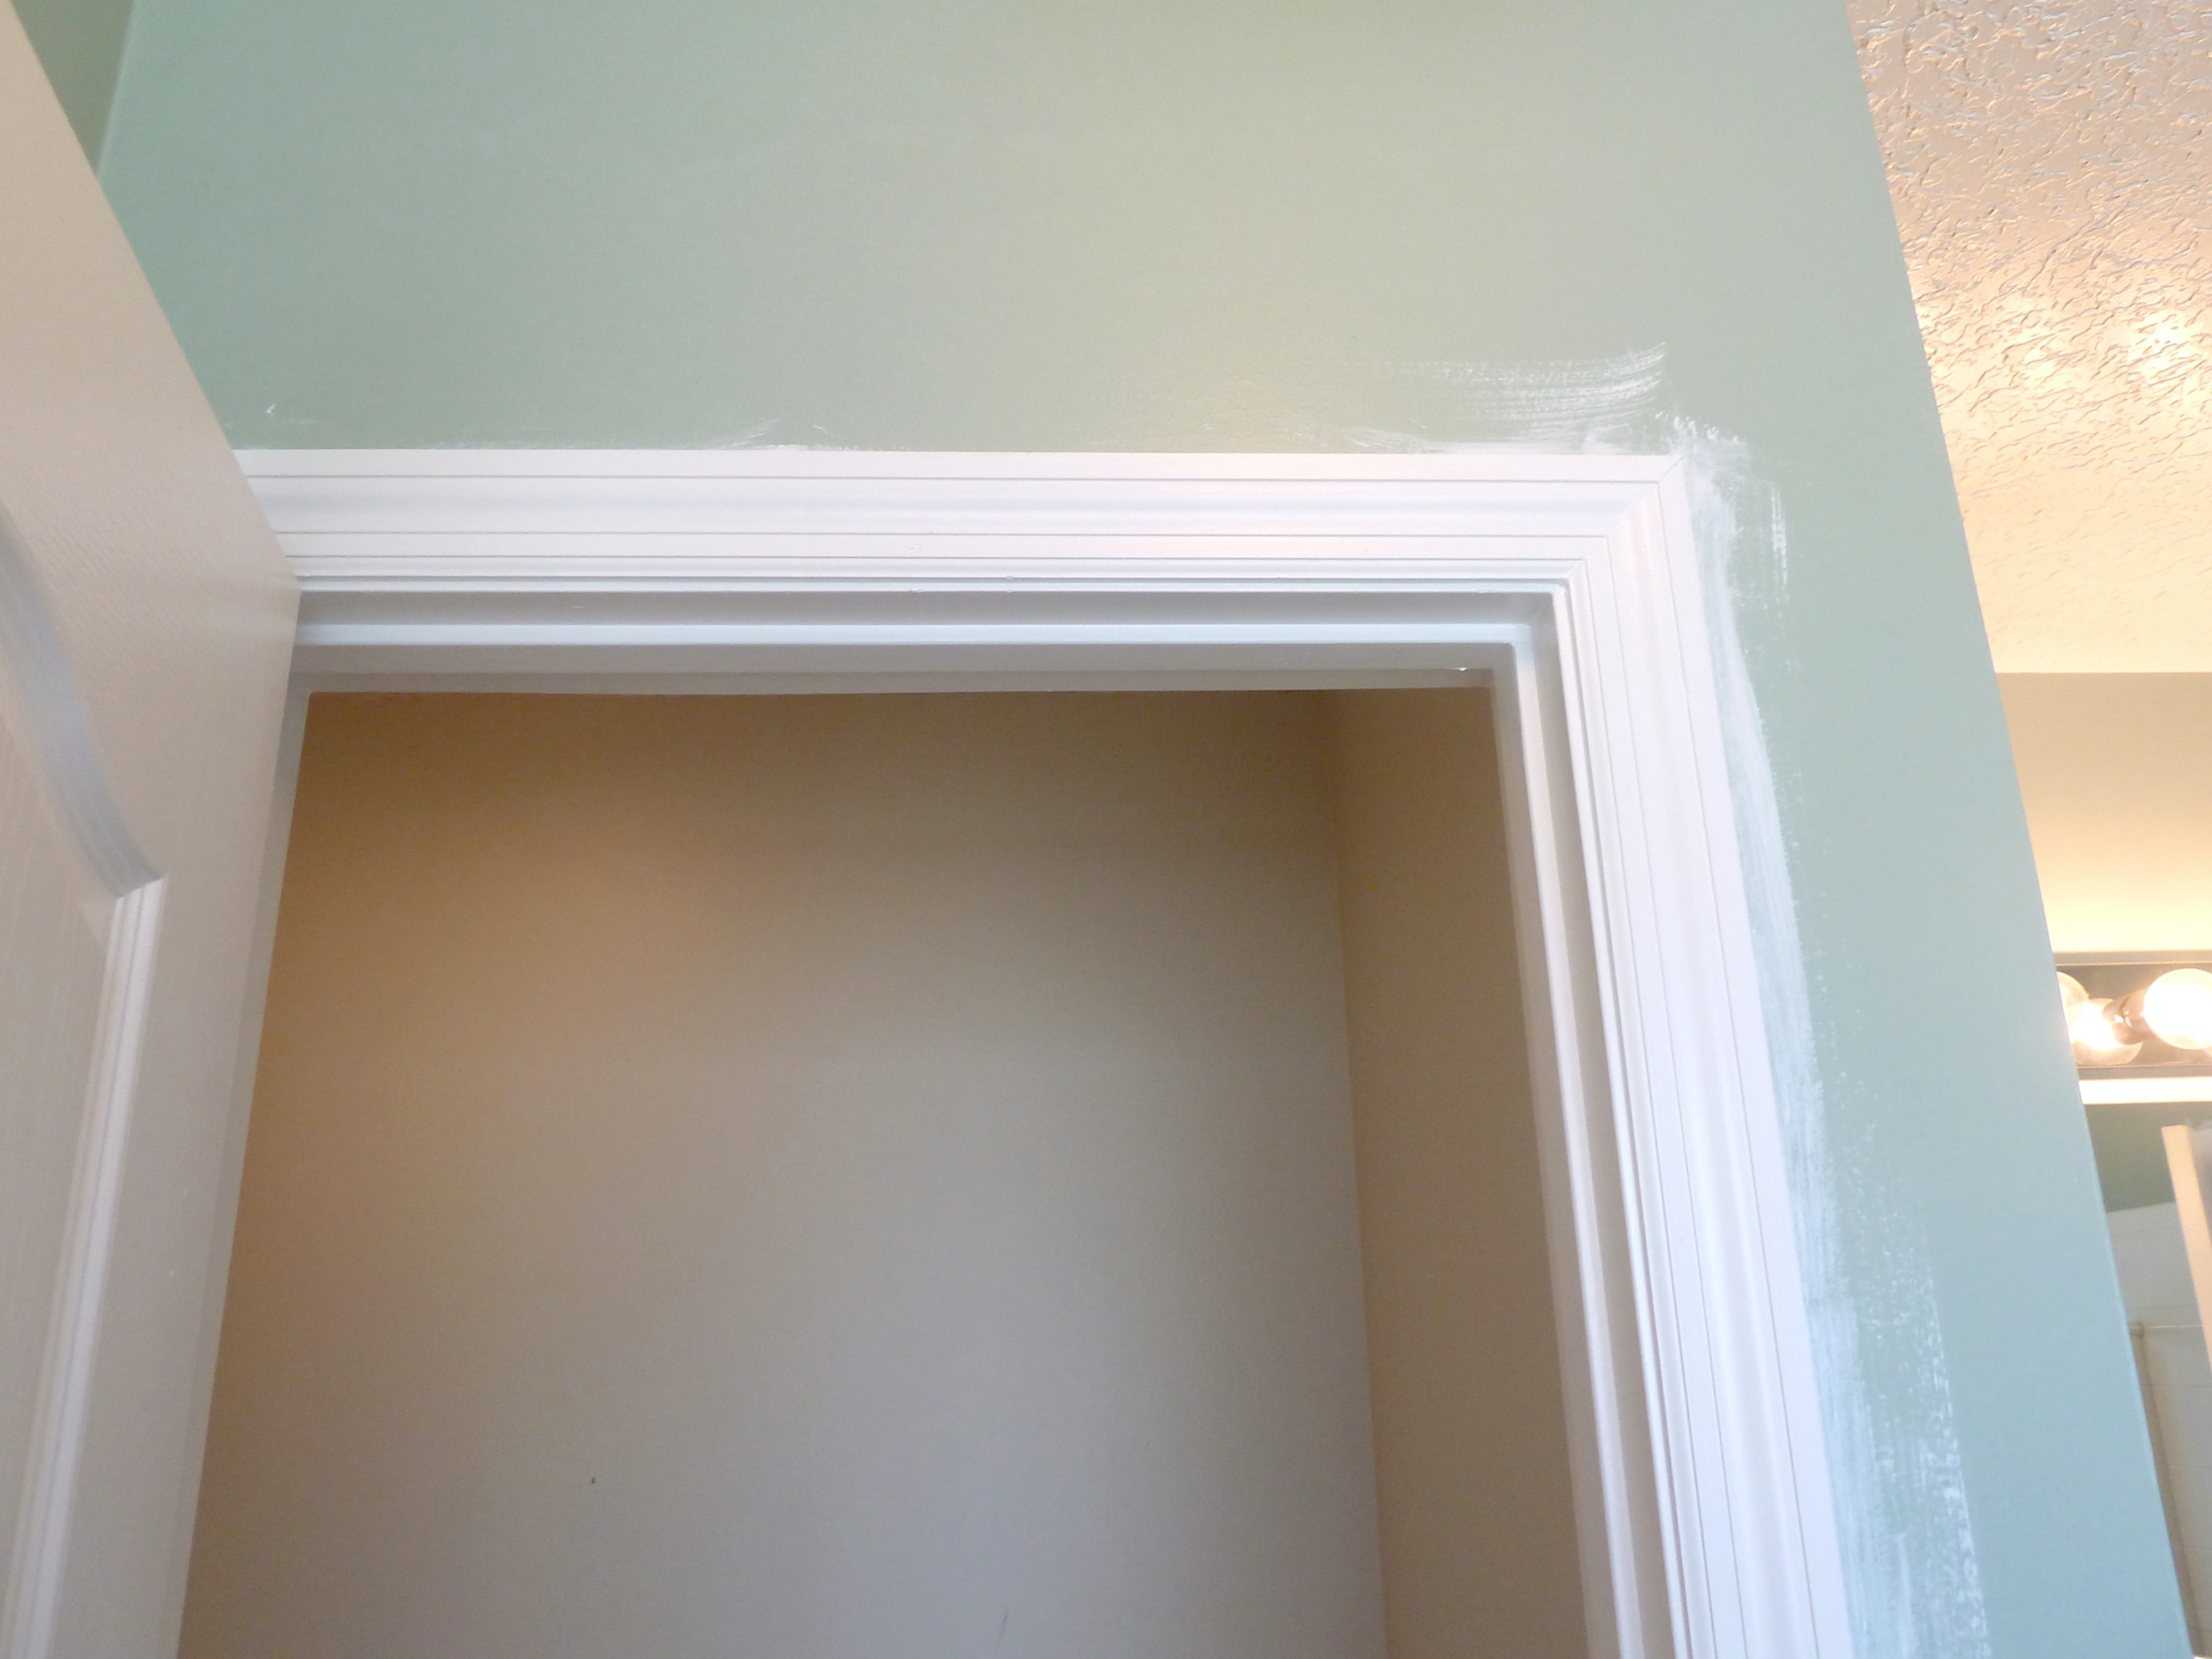
If you check out the picture above, you can see that this room is two different shades of teal. I am pretty pumped to change the color and make it all one solid color. I’ll let you know how it goes!


Pingback: Giving the Master Bath Some Love | What We're Up To...